
How To Bolt
Basic, intermediate and advanced techniques for bolting in designer, presented by Icarus Project.
Hello there! I see over and over my fello endos struggling with bolting in designer (the Ship Design Hall, a.k.a. the SSC). This guide will teach you how to bolt together strong ships. Starbase is one of those games where there is a huge gap between beginner and advanced techniques to achieve the same thing, but better!
In this guide, things shown in square brackets[] are keyboard shortcuts.
THE BASICS
Should I Bolt?
Before bolting anything, first ask yourself if it is time to bolt your ship. If you are early in the design process you might find yourself moving parts around (which automatically removes the bolts) and so needing to repeat work bolting those parts all over again.
Generally it is a good idea to get a ship functional and flying by bolting the core components first before bolting decorative parts and plating.
A Note On Ship Strength
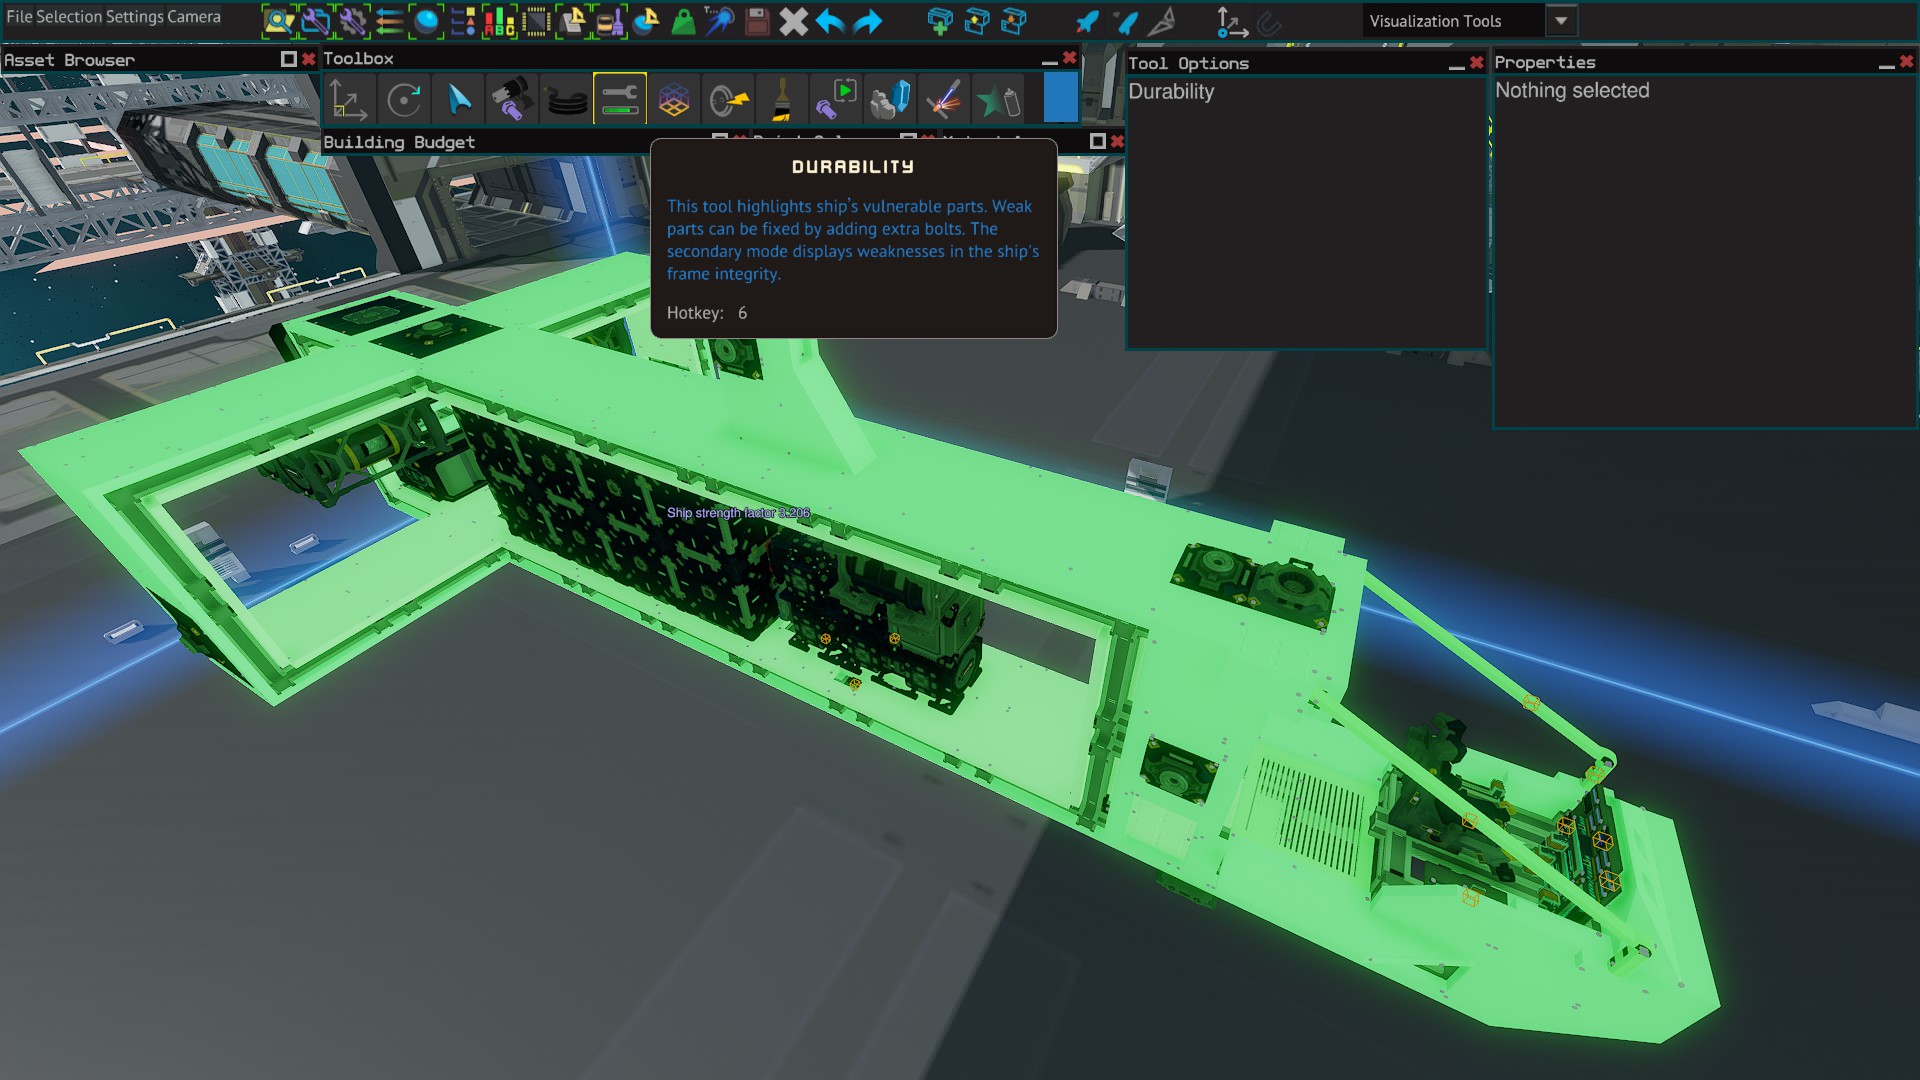
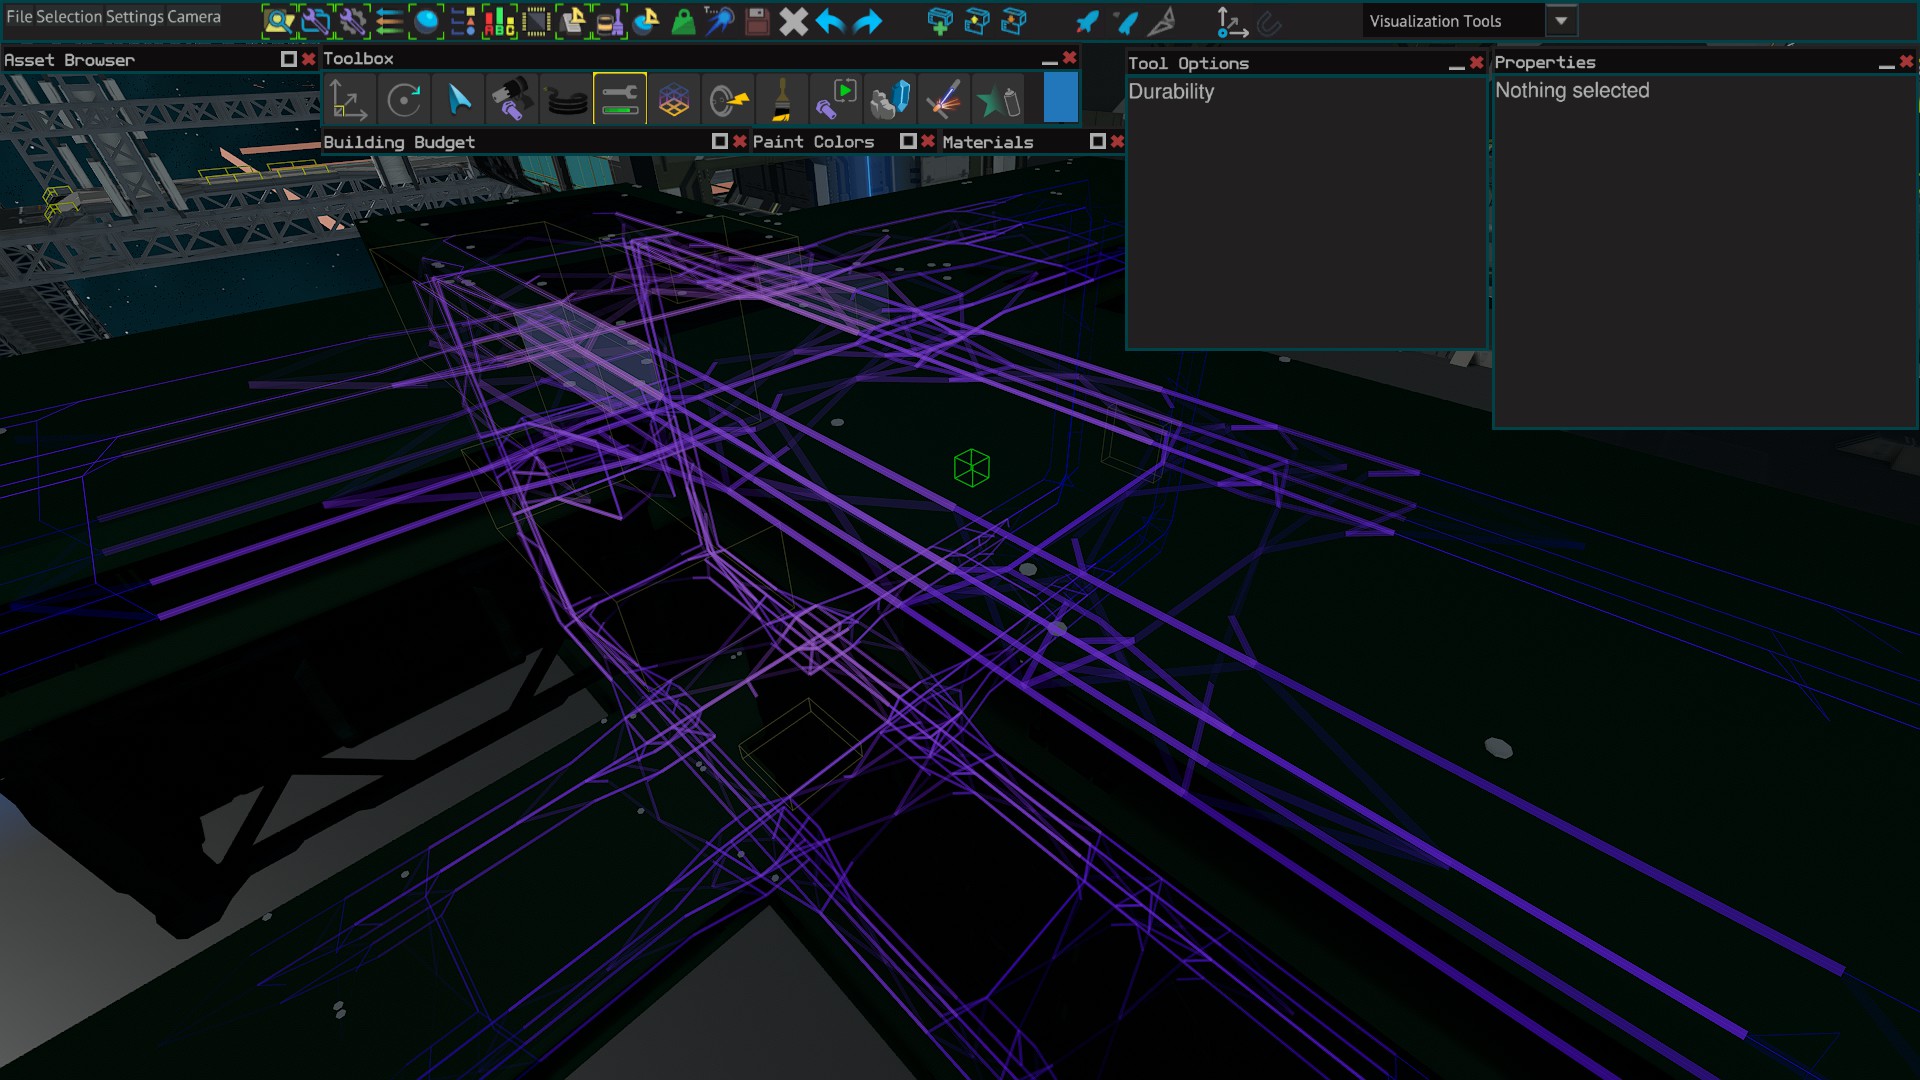
A ship needs a strength factor of 1.0 or higher to fly without falling apart (if you have ship's "safe mode" turned on, ship speed will be drastically reduced instead of flying apart). You can check the strength of your ship in designer with the ship durability tool[6], as long as the hull has a valid ship frame (3 beams correctly welded together with a hardpoint and thruster attached).
Autobolt
The autobolt[9] tool in designer will put the bolts in for you. What this tool doesn't do is check to see if what it is bolting into is really a good idea. Generally it works well for ducts. For anything else you can usually get superiour results with manual bolting. Feel free to give autobolt a try, but if the result lowers your ship strength you might want to hit undo[CTRL+Z]. You always want to avoid autobolt for crates, because it uses an insane number of bolts for impressively bad results.
Manual Bolting
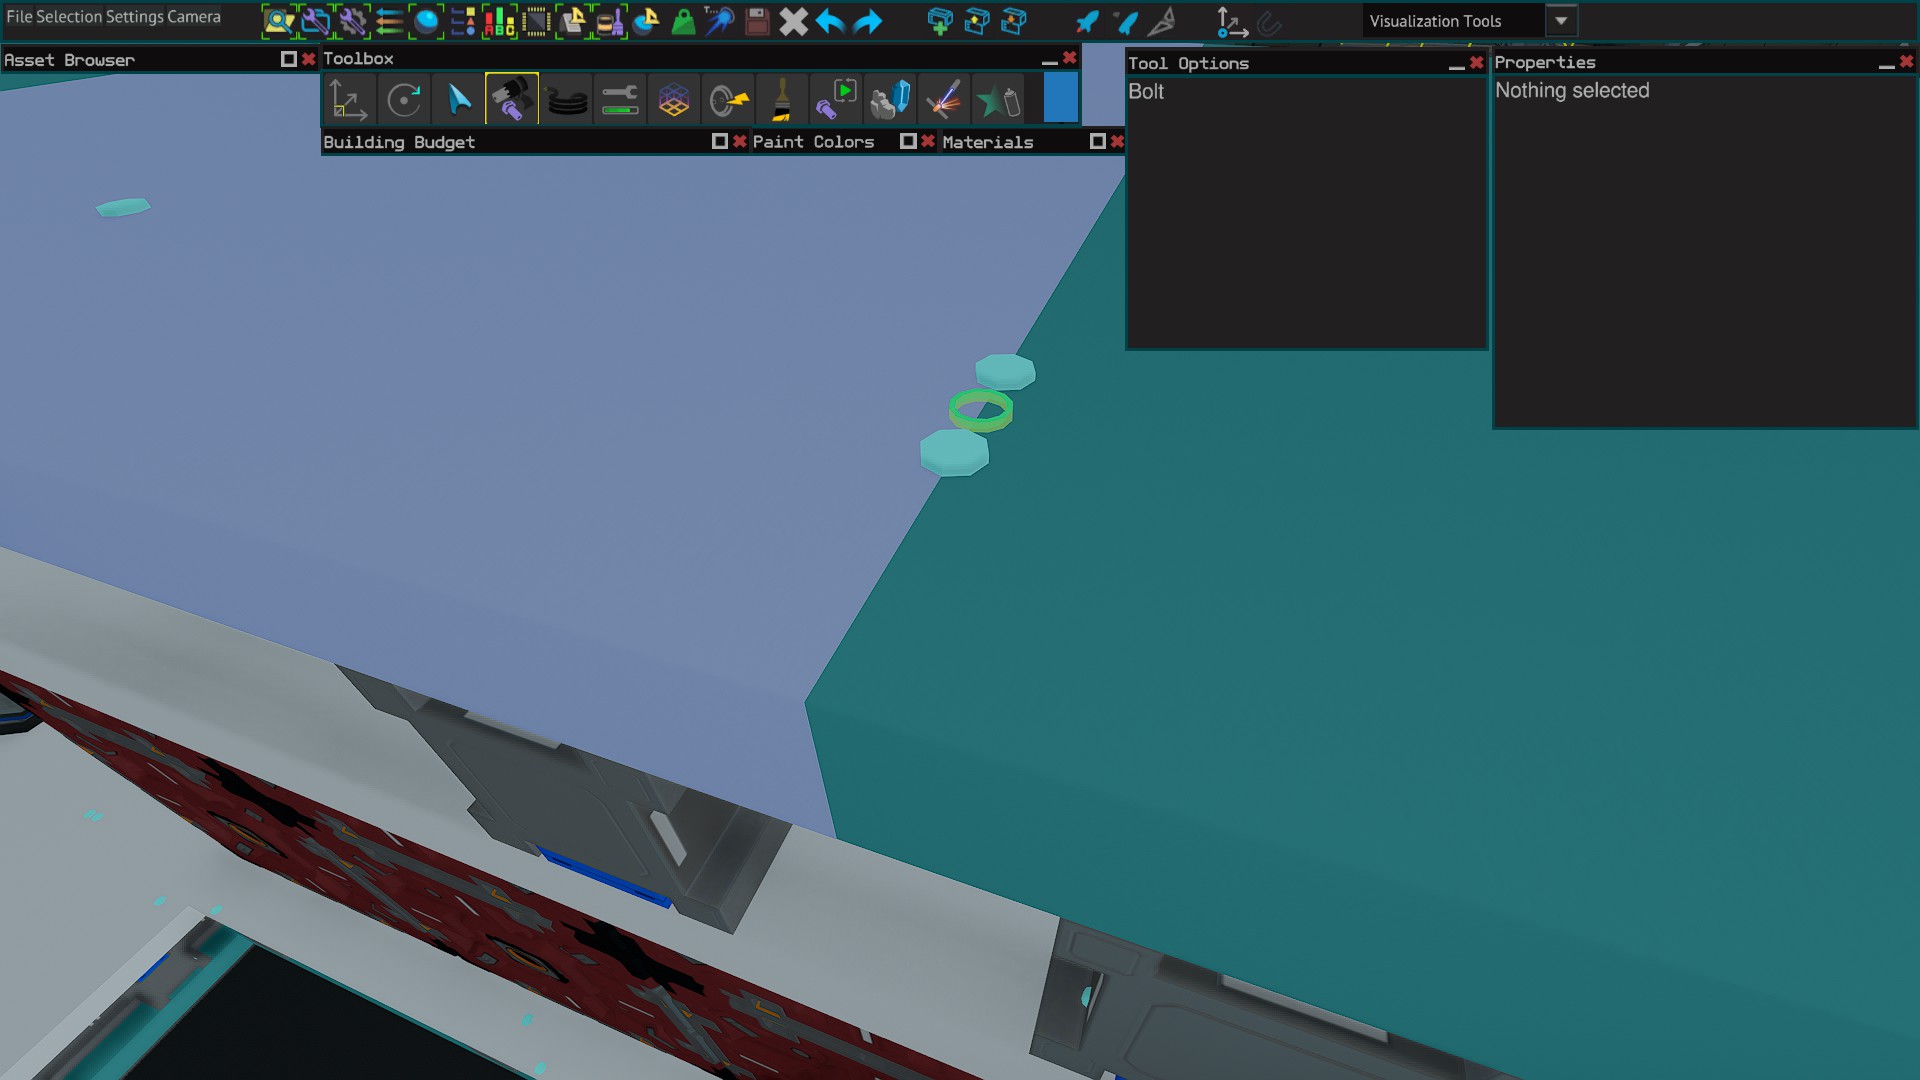
Try to place bolts on any given part as far away from the other bolts as possible so that you spread the load. You will get much better results with bolts on opposite sides of an object than all placed together in one place.
A Note On Beam Stress
To get better results with manual bolting[4] it's worth knowing that beams are special parts that transfer stress differently to other parts. This makes them much better for load-bearing.
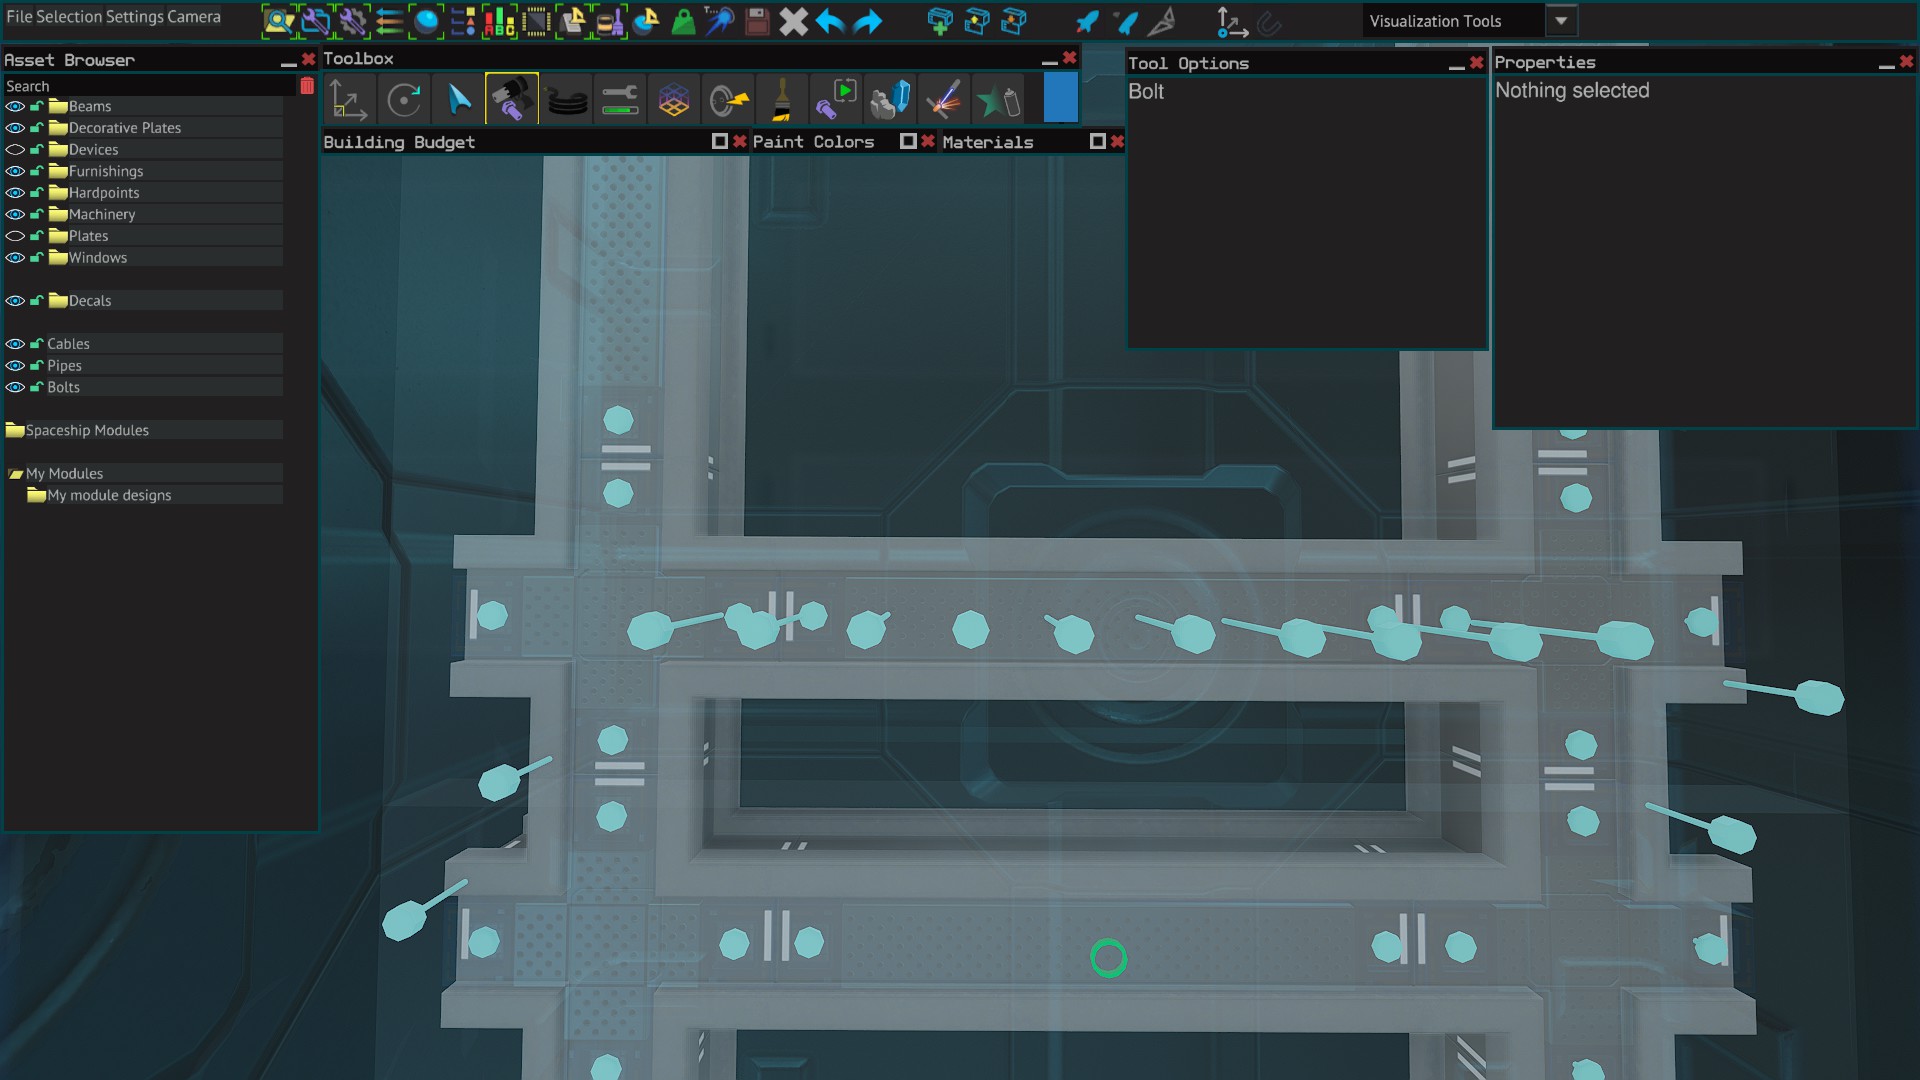
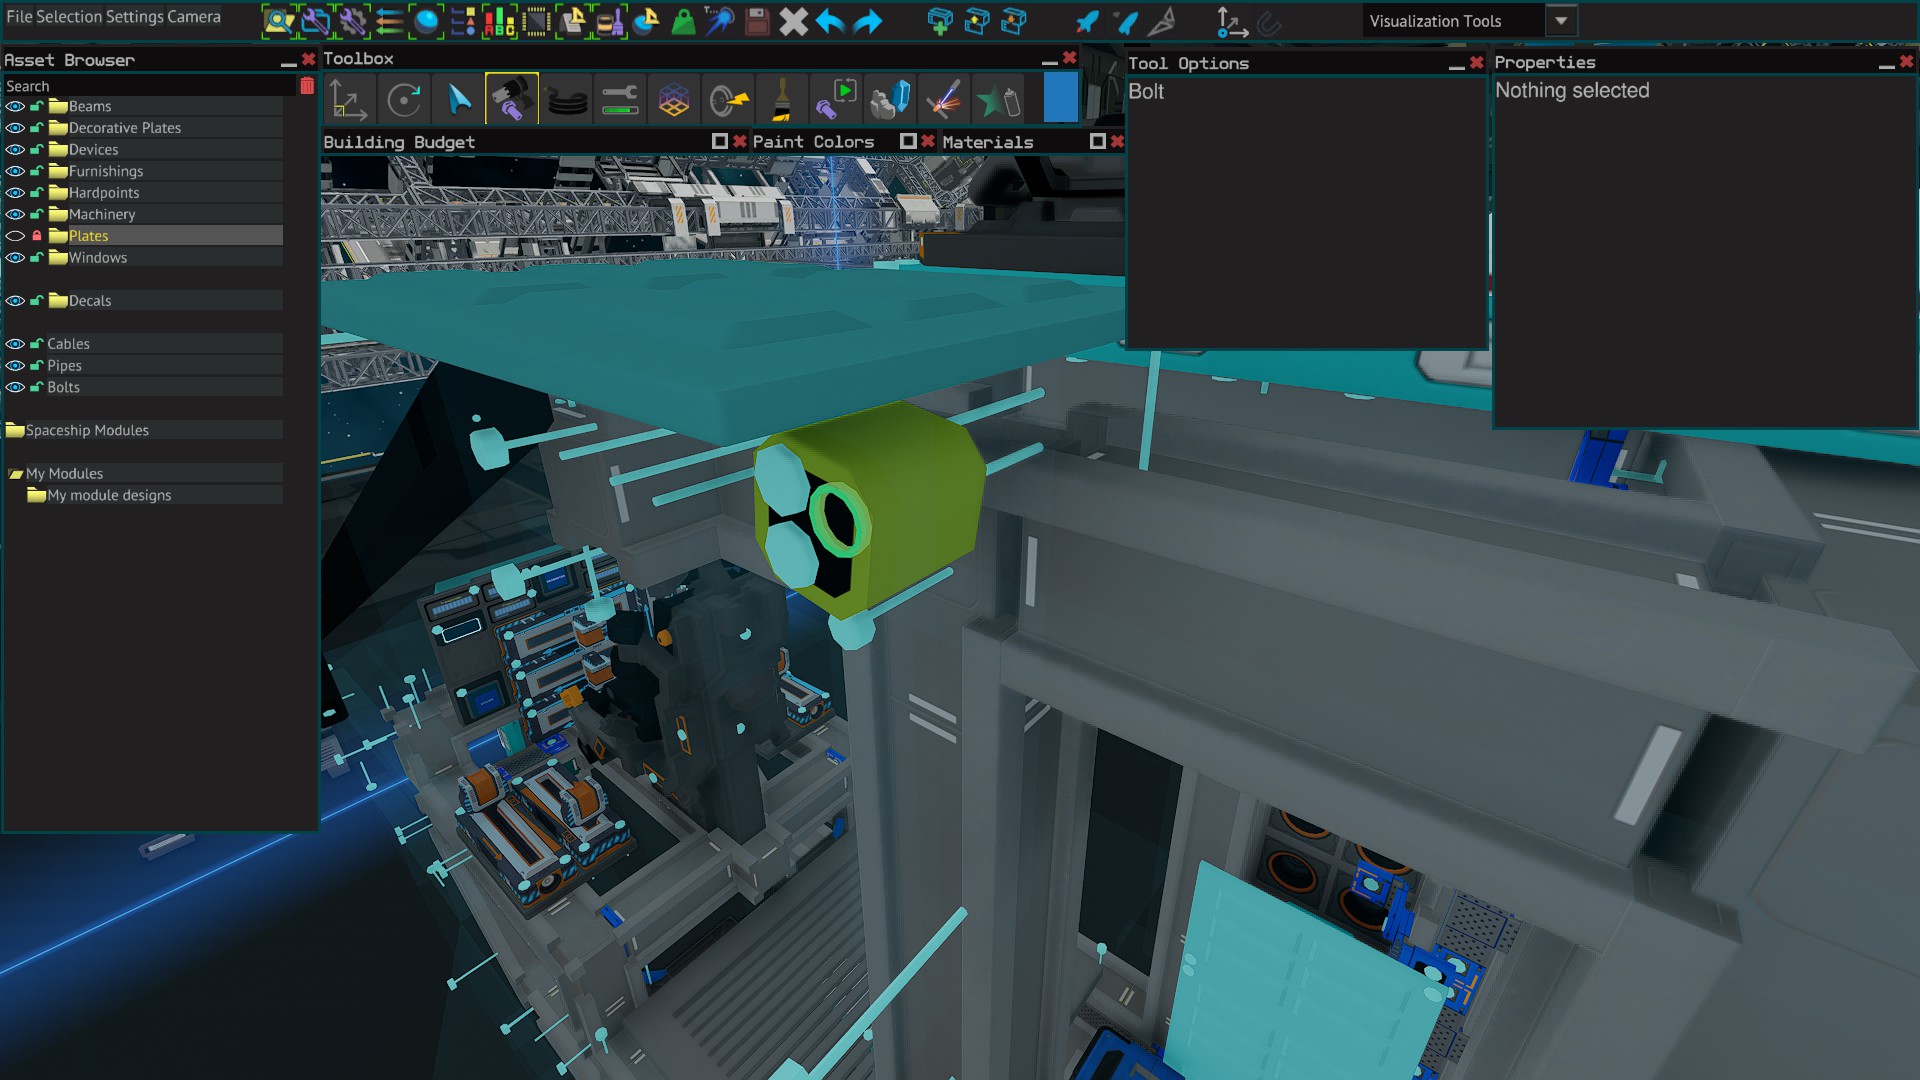
Bolting Into Beams

Because beams handle stress better you should aim to always bolt parts into beams whenever possible, not into other parts. If you are able to bolt a part into multiple beams this will spread the load stress even better.
Saving Bolts And Modules
[screenshot:module TO DO]
A great time saver is to bolt one part really well and then make a modules out of it. Then you do not need to bolt that part again. Just copy and paste the module over and over. Drag select the bolted parts when making the module to select all the bolts as well. Be sure that bolts and all used parts are unlocked in the asset browser, or they will not be selected for the module either.
INTERMEDIATE
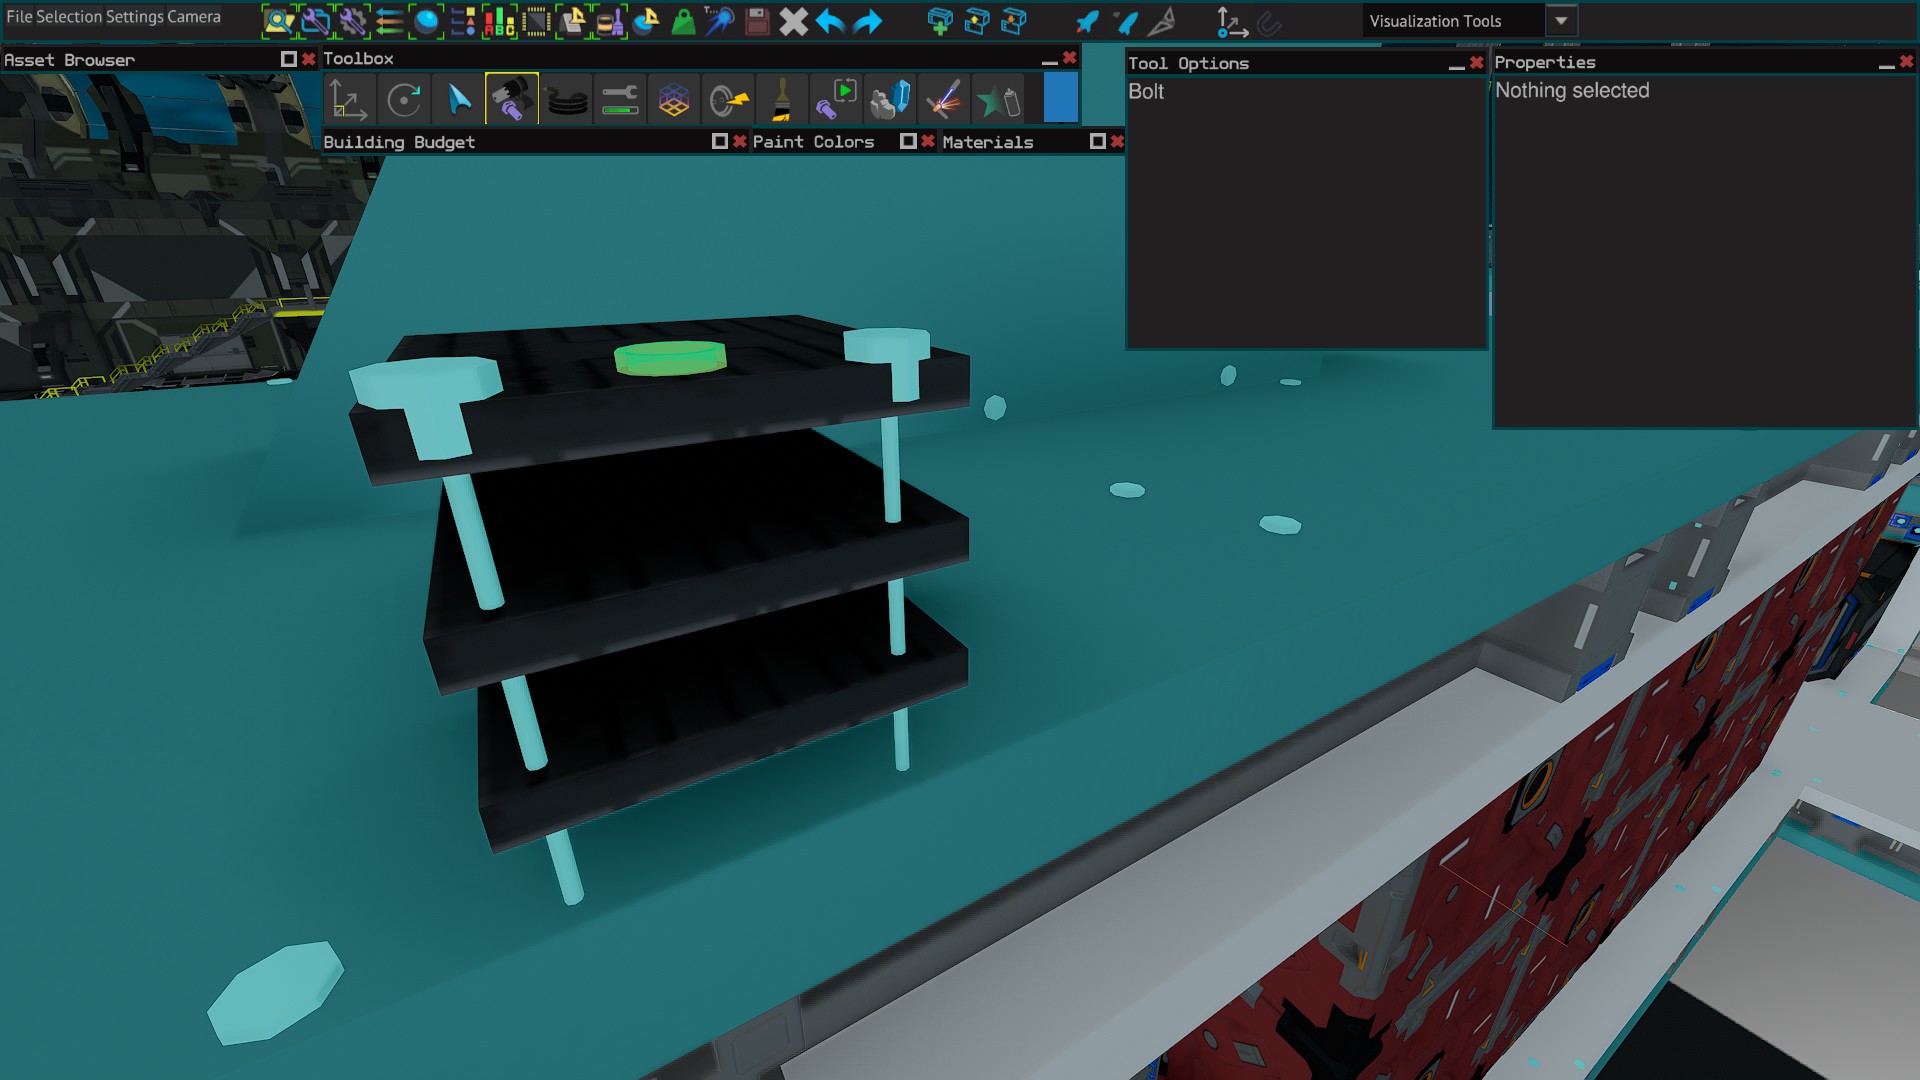
Flange Bolting
Many endos like to place bolts on the flanges of beams. They are just as strong as bolts placed through the thick part of beams. The advantage of this technique is that if you later want to run ducts along these beams you do not find them obstructed by bolts. It can be more tricky to place bolts this way, but it also adds a degree of "future proofing". The end result can also look cleaner. Angled beams can have some flange sections that cannot be bolted without using other techniques.
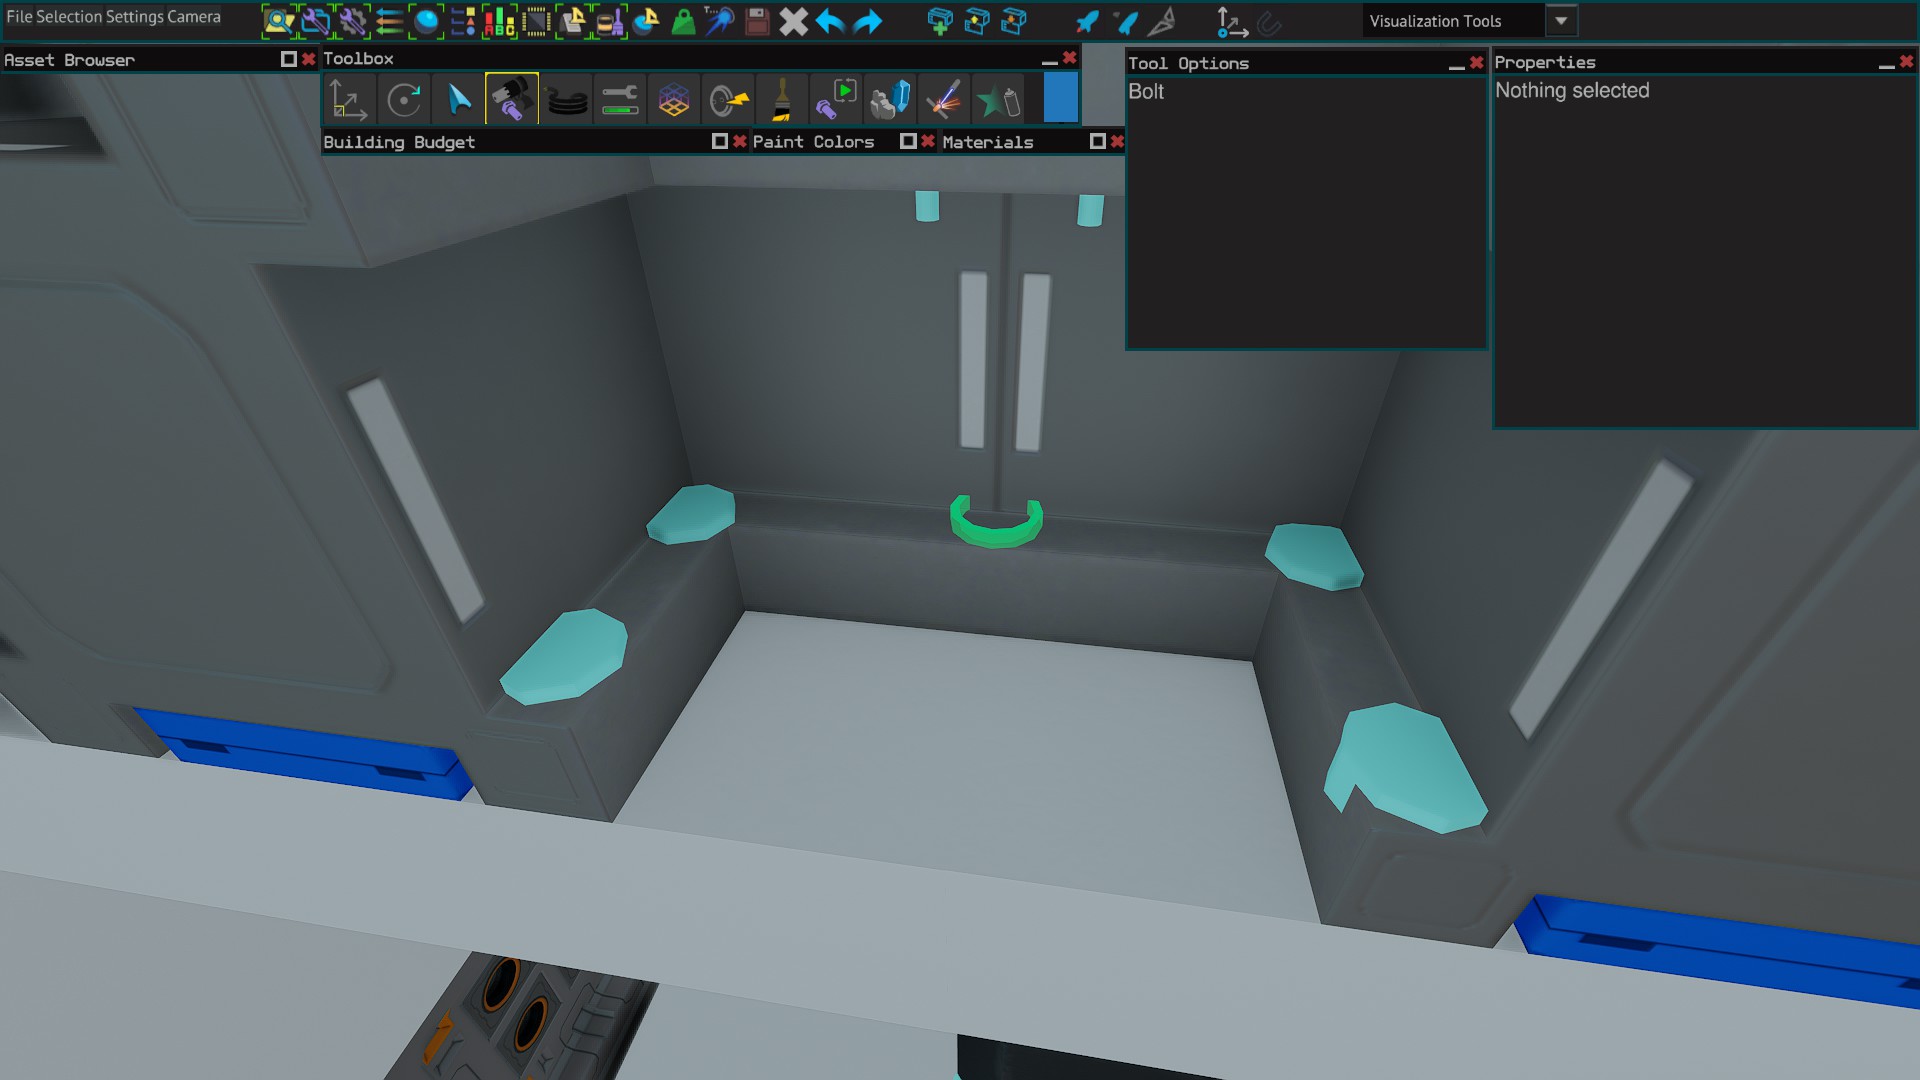
Inside Component Bolting
Another way to bolt is from the inside of hollow components (like crates and propellant tanks). This can be handy if you are working on a compact design with many placed parts, and it is otherwise difficult to see. Don't forget to use the "hide" feature on the asset browser to help see where you are placing the bolts.
Seam Bolting
Seam bolting is when you place a single bolt over the join between two components. This has the advantage that you can get very high strengths with very few bolts. The downside is that if a part is destroyed in an impact there is a risk of some cascading failure with other parts that depend on each other's bolts.
Perspective Bolting
[screenshot: TO DO]
If you are having difficulty placing a bolt in a place where logically you feel it should be possible, changing your perspective can often help. The angle at which you look at the place you are bolting can affect placement. There are some keyboard shortcuts to help - moving the camera[hold SPACE], freelook[toggle TAB]. [W][A][S][D] movement speed can be controlled with the "Camera" menu in the top left.
ADVANCED
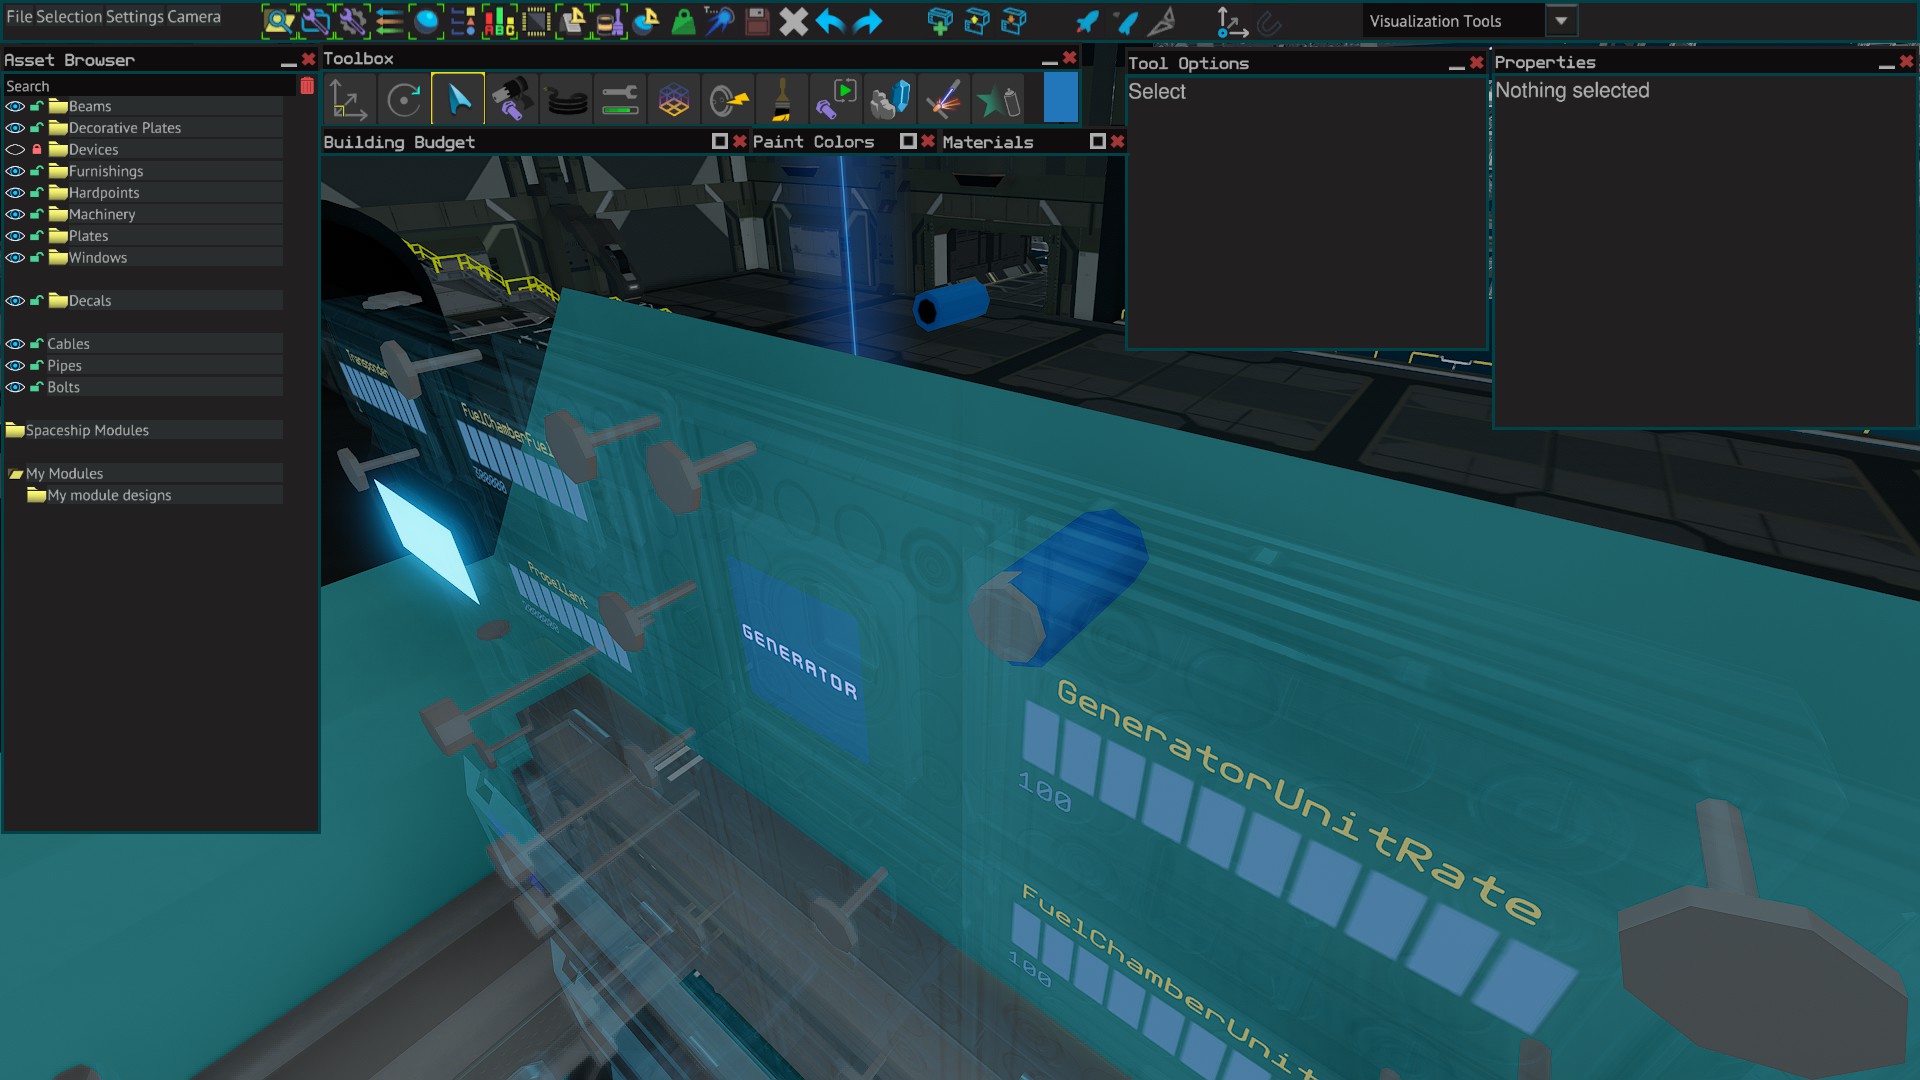
Pipe Bolting
Pipe bolting is where you use the pipe tool[5] to place pipe through an object, then make the object invisible and bolt through the pipe. This allows placement of bolts inside of objects that would otherwise be impossible. After you are done you can remove the pipe with the pipe tool (NOT clicking delete) to get rid of the pipe while keeping the bolts. Furthermore, if you are bolting a weak item, leaving the pipes in place instead of removing them afterwards can sometimes improve ship strength (I am not completely sure of the why behind this, but it might be because it is spreading the load over additional parts).
Socket Bolting
[screenshot: TO DO]
Socket bolting works similarly to pipe bolting, but gives more control over bolt placement. Make sure you have "Separate end placement" checked in the socket tool[8] options. Then place a socket. Now using the select[3], move[1] and rotate[2] tools place the socket between the parts you want to bolt. Then hide all but devices and place your bolts through the socket. Remove the sockets afterwards by right clicking with the socket tool (not by deleting the socket) to keep the bolts. This is really useful for hidden bolts inside of plates or connecting pieces of glass where there are no beams.
Flying Bolts
On some rare occasions you may want bolts to stick out a long way, or bridge large gaps. This can be done using thin items like floor mats to stretch the bolt out to reach between parts.
If you use sockets to extend bolts you can remove them afterwards by right-clicking with the socket tool, leaving the bolts sticking out.
Cable Positioning Bolting
Cable can be used in the same way as pipe bolting, but only has space for one bolt. However, for very precise bolt placement in otherwise impossible locations you can place cable in the orientation you want the bolt to be and the cut[CTRL+X] and paste[CTRL+V] to place a cable (and bolt) exactly where you want it.
FINAL NOTES
Bolts Blocking Object Placement
If you with to place objects where there are already bolts blocking the position, you can lock and hide bolts on the asset browser to do so.
Notes On Weld Blocks
Weld blocks are now used sometimes in place of bolts. There are advantages and disadvantages. Which is best depends on the situation.
- Weld blocks carry stress like beams when connecting beams together.
- Weld blocks are deducted from the part count of the building budget. Not the bolt count.
- Weld blocks are heavier than bolts.
- Weld blocks cannot be auto-replaced by the U-tool like bolts are when doing blueprint-filler field repairs.
- Hidden weld blocks cannot be removed in-game as easily has hidden bolts (which can be auto-unbolted). This can be good or bad depending on the situation.
TL;DR
General rules:
Always bolt parts to beams.
Placing bolts through multiple parts AND a beam gives higher ship strengths.
Source: https://steamcommunity.com/sharedfiles/filedetails/?id=2857775962
More Starbase guilds
- All Guilds
- Importing Blueprints
- How to make your own ore scanner (in 2024)
- Building a Pocket Tank
- New Player Resources (APR2024)
- Starbase Guide 207
- Starbase Guide 197
- Capitals 101: ,
- What to do when the Repair Job does not work
- Starbase Guide 167