
Warhammer 3 Immortal Empires Alberic - Bretonnia Campaign Overview, Guide And Second Thoughts
Hello everyone. In this guide I will cover:
- Victory conditions, faction and climate;
- Starting location;
- Diplomacy and outposts;
- Mechanics of the race and faction;
- Province edicts and army stances;
- Buildings and research;
- Lords and skills;
- Army compositions;
And give you my final notes on the specific faction. Hope you enjoy it.
If you prefer to watch the video, it does help support me:
https://youtu.be/VffBnxCTN_0
If you prefer to read:
VICTORY CONDITIONS:
Short victory:
- Complete the Grail Vow with Alberic;
- Occupy, loot, raze or sack 30 different settlements.
The reward is +3 hero capacity, which is average considering you only have 2 hero types, but decent considering that you will require them for your armies to be much more effective.
This is honestly quite an easy and straightforward campaign. It consists of leveling up your lord, really, which you will always do while conquering.
Long victory:
- Achieve the short victory;
- Occupy, loot, raze or sack 70 settlements;
- Attain 10000 chivalry;
- Complete the final Errantry war battle;
The reward is +10 hero recruit rank, ensuring that your heroes are better off the gate as you continue into domination or other goals.
Much lenghtier condition, of course, and obtaining the chivalry or even the settlements might take quite some time.
Alberic has the Strength of the Sea, and benefits from the following:
+2 Recruit rank for Bretonnian Knights;
-1 Recruitment duration for Bretonnian Knights;
Income from ports +50%;
Immunity to high seas, reef and storm attrition (all armies).
This last effect may prove to be the best; Alberic is incentived to take to the seas and he can take full advantage of being near the sea, and even play a sort of pirate campaign. In itself, it allows you quite a replay value for the campaign.
Climate is average at best, not the best map to conquer the whole map, since you will have income and replenishment issues the longer the game goes on. Good strategy on which places to conquer first is required and some tactical planning before conquering a bad climate location is essential.
STARTING LOCATION:
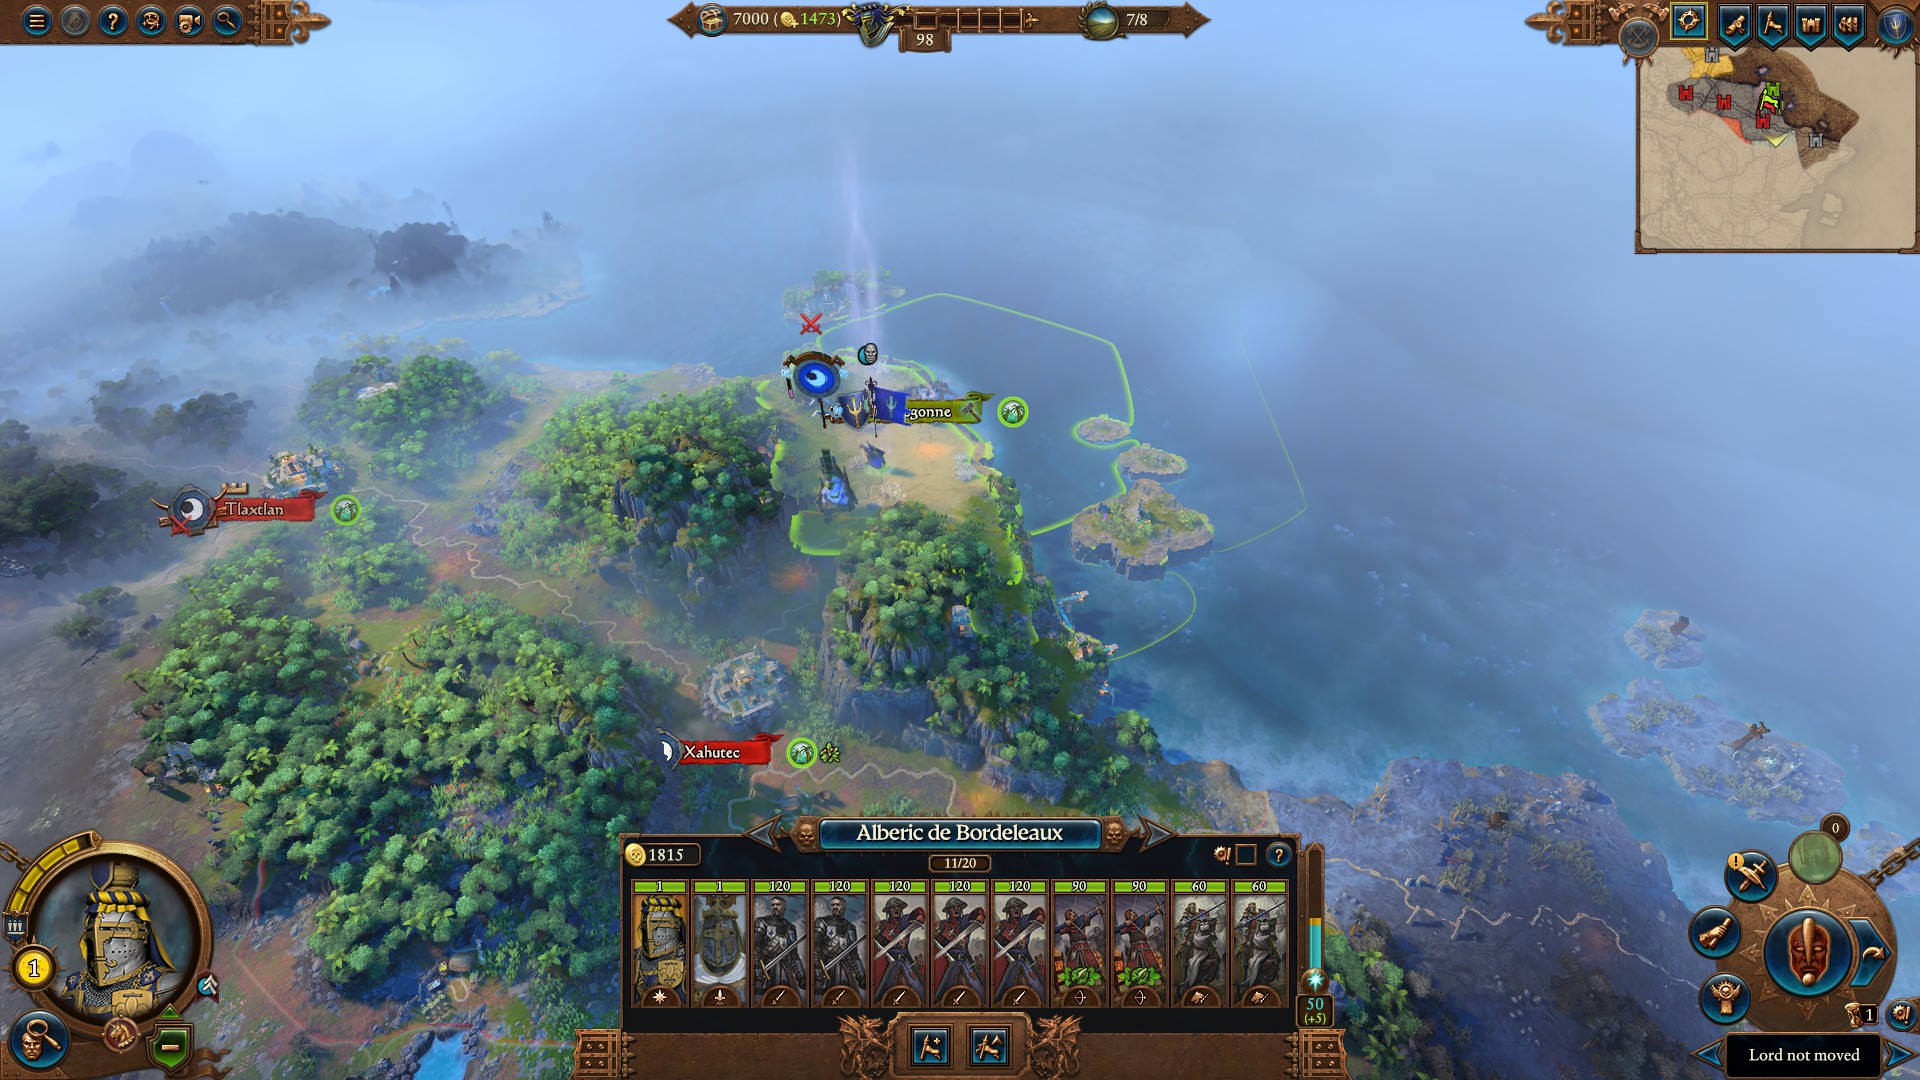
Quite defensible, since you are near an edge in Lustria, and you are in a 3 settlement province.
You start on a minor settlement, but it is a tier 3 with a tier 2 stables already; this is crazy good, you can immediately go for a tier 3 cavalry, which for Bretonnia is massive.(!)
Typical expansion is to dominate Lustria and you may win some allies along the way if Markus Wulfhard wants to help out. You will be fighting most of the time vs Lizardmen, Skaven, and Vampire Coast, so build your armies accordingly.
DIPLOMACY AND OUTPOSTS:
You are part of the order tide, so your closest friends will most likely be the Empire.
Lizardmen, although order aligned, will most likely be enemies because you do start at war with them. Vampire Coast will show up fast too.
Later in Lustria you will meet some Dark Elves and Skaven for the most part, other order aligned factions such as the Empire and High Elves are most likely your best chance for outposts.
MECHANICS OF THE RACE AND FACTION:
Vows: there are three for each lord, with various benefits, mainly the upkeep for your most expensive cavalry units. You will also get the wounded instead of being killed in action this way, so ensure you keep an eye on this mechanic for each lord.
To complete them, you need to select a mission and achieve it. Simple.
Chivalry: specific mechanic that you accumulate to generate campaign wide buffs. Extra lord rank, corruption reduction, unit experience, leadership, all important.
Green Knight: Once Chivalry is high enough you can recruit the Green Knight. Wonderful ethereal single entity, which is great at tanking damage as well as killing other single entities. However, given how prolific magic damage is nowadays, it has lost its strength a bit.
Peasant economy: each settlement grants a number of peasants, which adds to the overall number of peasant units you can have in total in your armies. As long as your farms are at full capacity, you have free upkeep for peasant mobs and reduced upkeep for non-knight units; if you draft too many peasants, farming income will be reduced. There is a symbol next to each unit explaining if they are peasant units or knight units.
Finally, no supply lines (!). Recruit lords and extra armies as you wish, just their recruit cost is important to note.
PROVINCE EDICTS AND ARMY STANCES:
These are quite important for Bretonnia. They can help shape your early and lategame a lot, so really ensure you double check on these:
Edicts:
Control +10 and corruption edict -2;
Research rate +10% ! and construction cost reduction -10%;
Income from buildings +5%;
Growth +15;
Recruit cost reduction -10% and local recruit capacity +2 !
Good decent ones. Research rate may prove very important as even 5 provinces will give you tremendous value overall.
Army stances:
They are fairly typical:
Encamp, costs 50% movement, grants replenishment and global recruitment;
Raid, costs 50% movement, costs 2 Chivalry per turn;
Ambush, costs 25% movement, costs 2 Chivalry per turn (note this);
Forced march, typical one.
Channeling for more winds of magic at the cost of 10% movement.
Remember that raiding and ambushing are somehow unchivalrous, they reduce your chivalry amount, so you have to check upon your armies once in a while to ensure you are not losing too much Chivalry this way.
Warhammer 3 Immortal Empires Alberic - Bretonnia Campaign Overview, Guide And Second Thoughts (continuation)
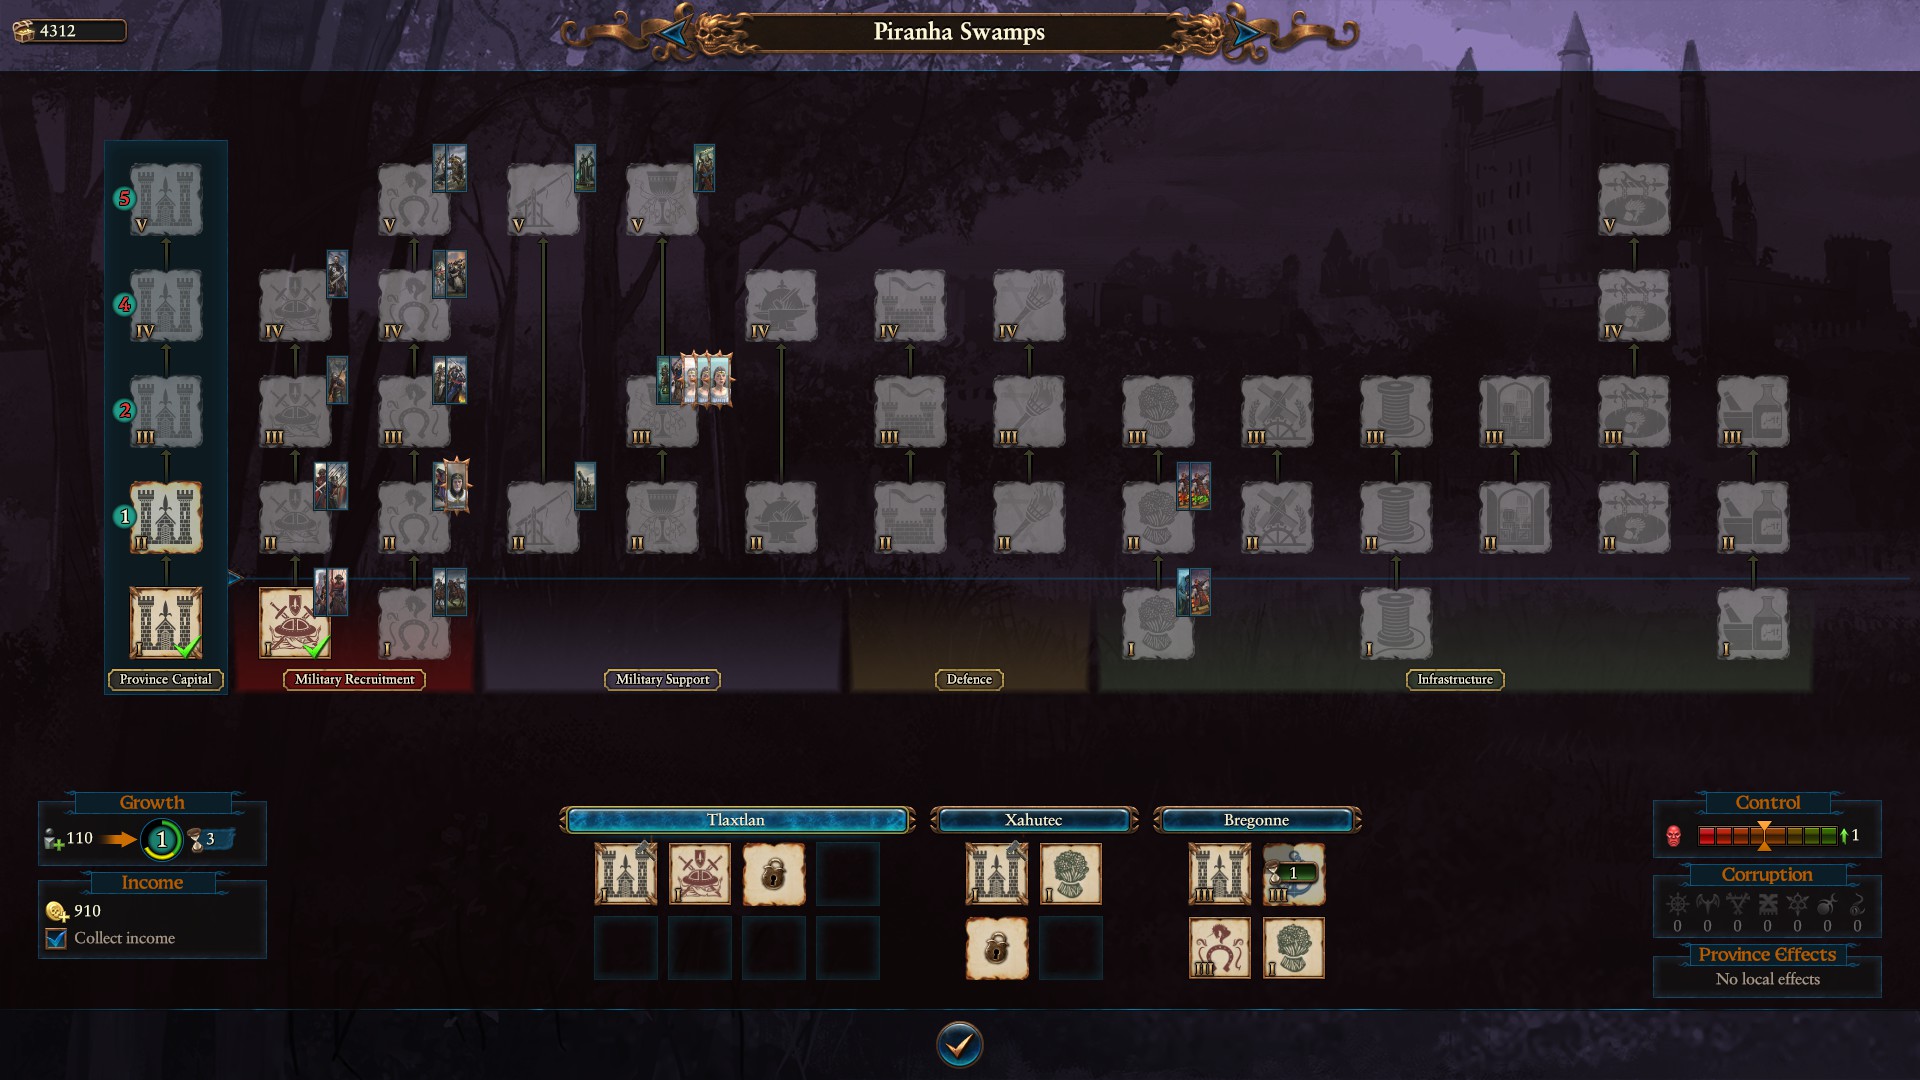

BUILDINGS AND RESEARCH:
You are lacking any special buildings around you.
You require 5 buildings for full military, but only one can be built on a minor settlement (farms). However, even tier 3 units are useful so you might have a shot with focusing more on economy later on, it is always up to you.
Questing Knights and Knights of the Realm, Battle Pilgrims and Polearms, Trebuchets and archers... those already form a decent army for fighting some of your foes. Of course your tier 4 and 5 are better units, but do not underestimate the initial ones.
One note is that the armory does not unlock units but rather gives campaign buffs including armor to all units and global recruitment capacity. This should not be overlooked, as in, 5 of these already add 10 armor to all units and 5 global recruitment; not bad at all.
Infrastructure has the unique situation of splitting farming and industry. They are mutually exclusive, so be wary.
Farms generate income, reducing income from industry by 100%;
Water Wheels increase income from farms, give growth and also growth to adjacent provinces, and local recruit capacity;
Tailors generate income, reducing income from farms by 100%;
Storehouses increase income from industry, campaign movement range for your armies in that region, less attrition and more ammo when under siege, and local recruit capacity;
Brothels give income, control;
Apothecary gives growth and casualty replenishment rate.
Note that you have 2 growth buildings, which is great; combined with the edict, you have a powerful way of growing faster than others.
Research is divided into 4 parts. The first part is basically a confederation mechanic. With Alberic, I do not believe it is too much of a necessity; let someone grow well in the main Bretonnia area and then force the confederation instead.
Then you have some specific bonuses vs some enemies. Note that there is nothing vs Lizardmen, so again I would advice avoiding this for a bit unless Skaven or Dark Elves become a major issue in Lustria.
This leaves the Industry and Farm part of the research, which I would definitely focus on as Alberic. Farming provides buffs for peasant units, infantry and campaign stuff, while the Industry part buffs your Knights units as well as plenty of bonuses for industry and campaign stuff.
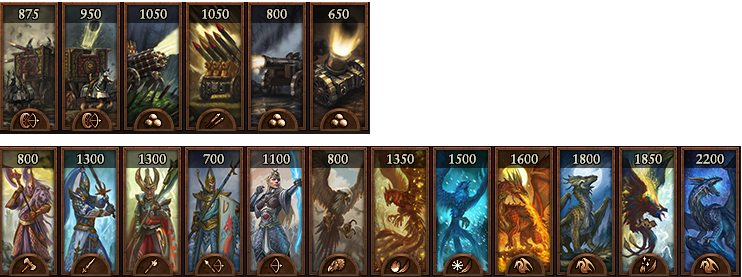
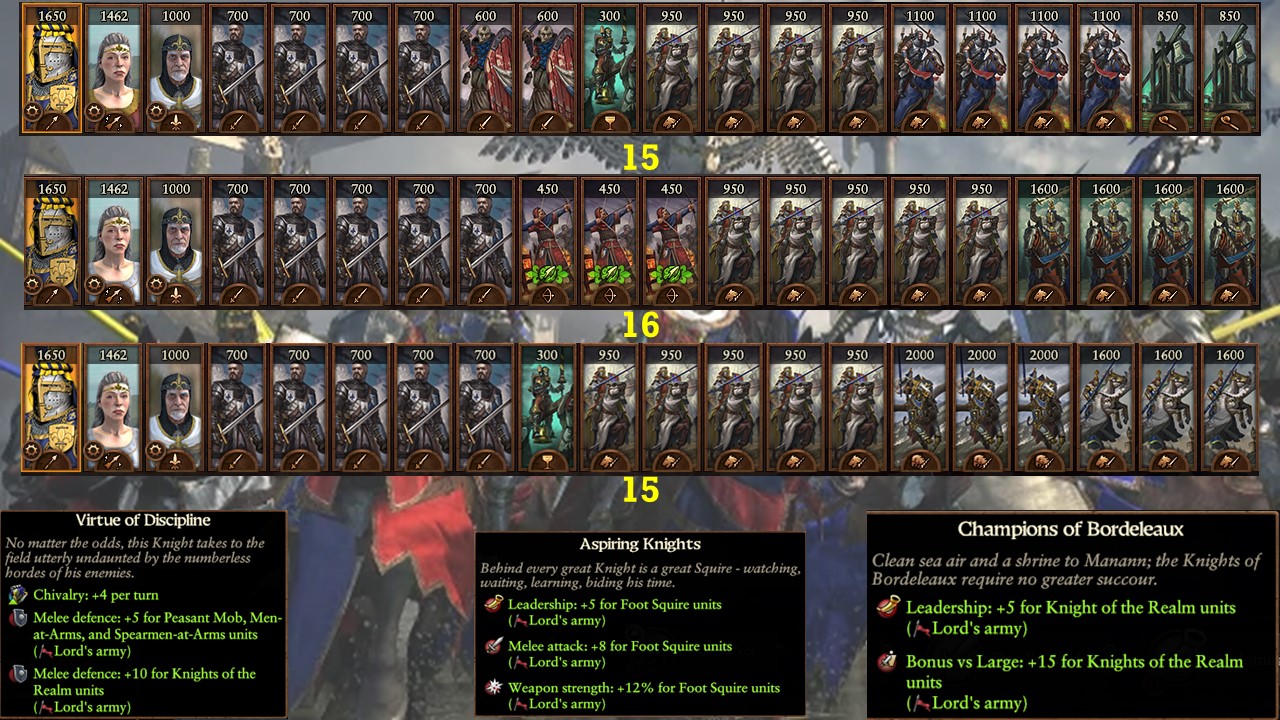
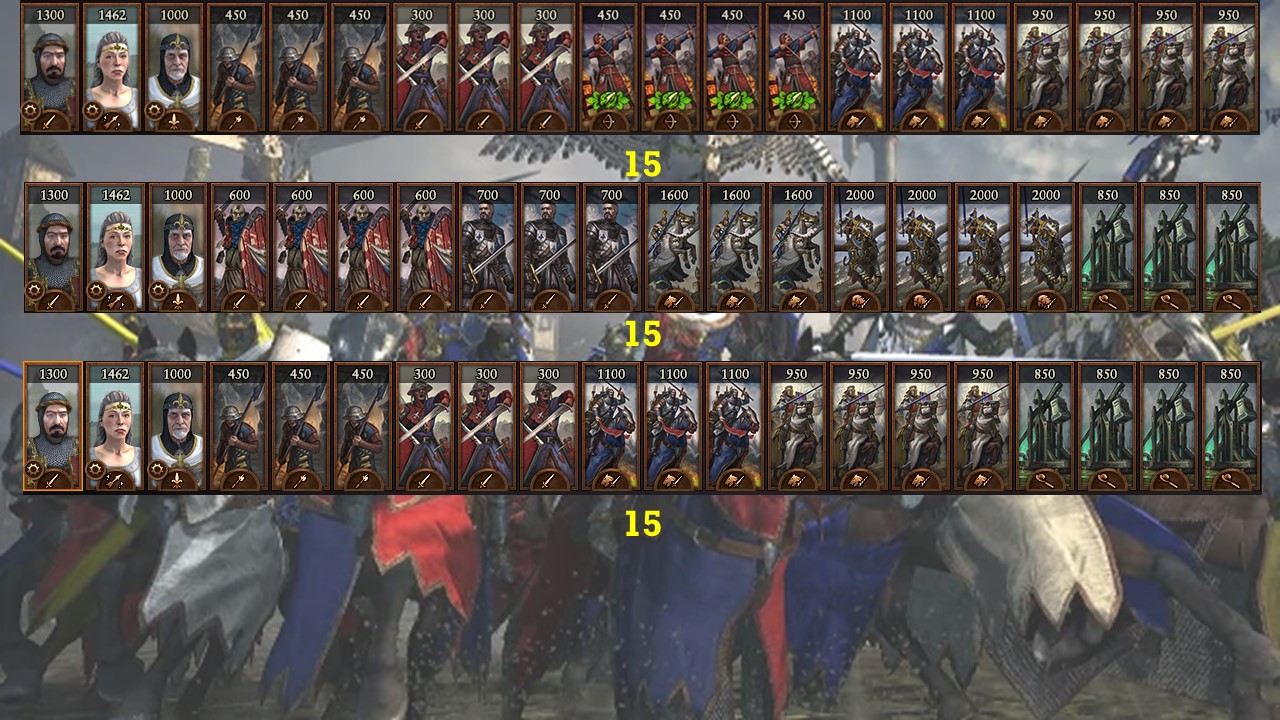
LORDS, SKILLS, ARMY COMPOSITIONS:
Starting with the blue line, nothing too important on the second part other than maybe Lightning Strike; Yield of the sea for income from all ports is all that I would really take as Alberic.
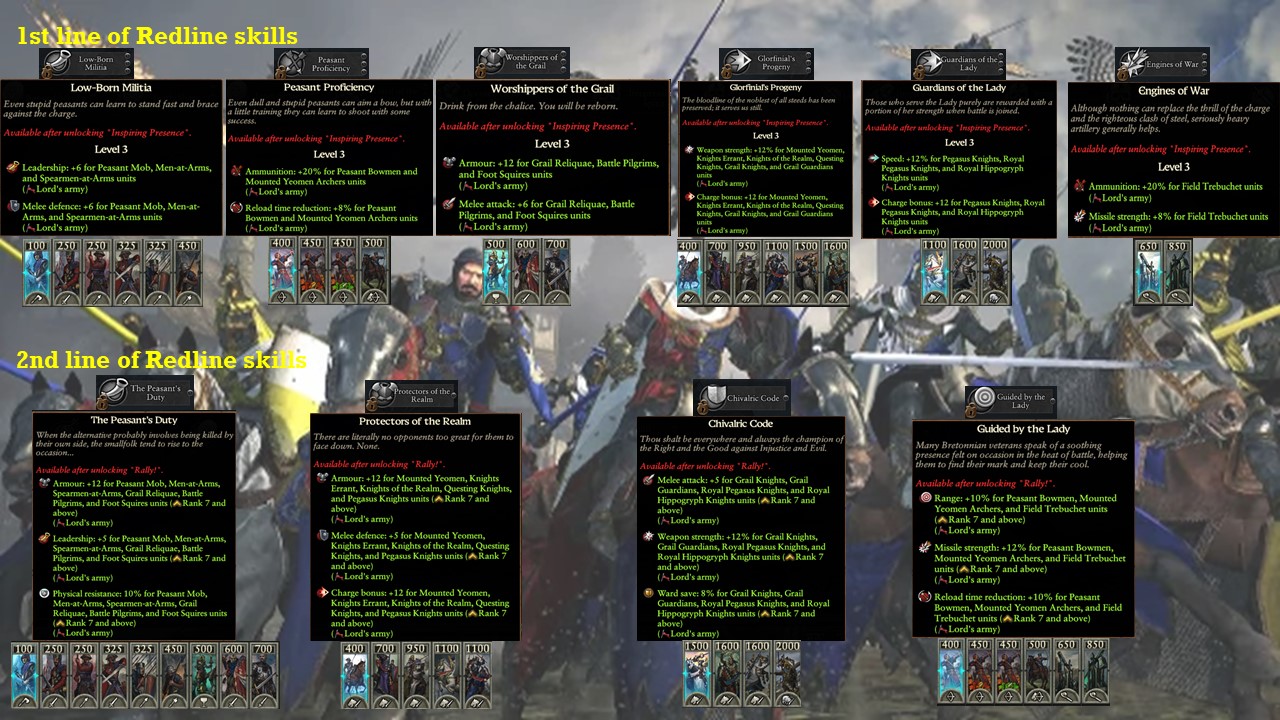
Redline skills are rather expensive considering the units you have. It splits both early and elite infantry and early and elite cavalry, so it makes it difficult to have a good synergy between your early-mid-late game army.
Alberic himself has good buffs for campaign and focuses on Squires and Knights of the Realm. So, of course you can try some combinations for a good ol' hammer and anvil. The ones I present are more typically mid-game armies, but you can definitely go well into the lategame if you know what you are doing.
The remaining composition are what I have already recommended for Louen; some infantry, missiles and cavalry, or some flyers instead of archers, useful for those sieges.
As always, the number of heroes is just a placeholder; I always recommend at least one melee hero and one caster hero, but feel free to use any combination and type you wish. For the casters, Lore of Life is generally easier to use, while Lore of Heavens is great if you wish to get some damage going; Lore of Beasts is more about getting those buffs and summons;
If you wish to have some experimenting, try some mass artillery or some cheap midgame armies and see how well they can handle the lategame after some buffs. It is all about having fun, guys 😉
FINAL CONCLUSIONS:
By having a different start location and different enemies, he brings a breath of fresh air to Bretonnia! Definitely has its strength in the coastal areas with the ports.
One of the factions that I would go to control the seas with, to explore the sea lanes, to ensure I get a completely different playthrough than other Bretonnian leaders.
Good ol' hammer and anvil tactics are the bread and butter of this campaign, but you can use some outpost units to change it as it pleases you, or the good ol' cavalry spam. If it is fun, do it 😉
You army consists mostly of:
1 - Average infantry;
2 - Average missiles;
3 - Great cavalry;
4 - Great flying units;
5 - Lacks strong anti-large infantry;
6 - Lacks single entities;
For the most part, the units will require some research or redline buffs to perform well against harder enemies.
Replenishment is average at best. Alberic benefits from no attrition at reef, high sea and storm, but for the most part, any Bretonnia faction is difficult to conquer the whole map with.
I believe now it is time for you to become the most chivalrous pirate in the known world. Go forth with Alberic de Bordeleaux.
As always, let me know guys. Hope it helps.
Source: https://steamcommunity.com/sharedfiles/filedetails/?id=2940474229
More Total War: WARHAMMER III guilds
- All Guilds
- How to beat Nuln Final MIssion
- Total War: WARHAMMER III Guide 1577
- Warhammer 3 Immortal Empires Boris Ursus - Kislev campaign overview, guide and second thoughts
- Warhammer 3 Immortal Empires Kroq-Gar - Lizardmen campaign overview, guide and second thoughts
- Solution for "Failed to join game: Connection timed out" error
- Creating Custom Units for WH3
- Total War: WARHAMMER III Guide 1540
- Tamurkhan - Nurgle overview Total War: Warhammer 3 Immortal Empires
- THE CHAOS DWARFS. - .
- Immortal Empires Maps: Climate 5.0.5