
Introduction To Medieval Warfare

Hello commander or soon to be one.
In this guide I will show what formation to use and how to use them. My personal goal in a battle of usually to win (duh), but one very important goal of mine is to win with style. Which is why I have an obsession with order of battles or keeping formation during combat. This is what I will try to show during this guide.
These tactics have been extensively tested against AI in the campaign. I don't play PvP and don't really care if it works or not in PvP so plz don't bother me with it.
I will go over the terms and basic information before starting so that we can understand each other.
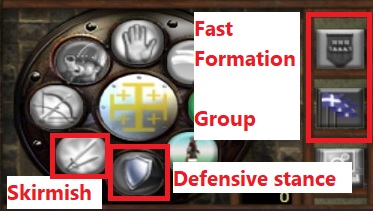
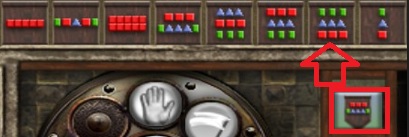
I will probably refer to skirmish button, defensive stance and the group buttons when I will talk about formation. In the case it's not clear, refer to the image above.
I will be using the Totalwar Medieval 2 formation icons when illustrating formation.
Red rectangles = Infantry
blue triangles = Archers
Green rectangles = Cavalry
Fast description since it's suppose to be a guide on the basics:
Infantry: Foot units with the intention of fighting in melee, they are very good to hold position and shield your important units.
Archers/crossbowman(xbow): Foot units with the intention of killing units from afar, they usually need to be well position or a good angle to do their job.
Cavalry: The mounted troops that win battles almost by themselves. Its very important to understand how crouch lance charge are op in this game in order to not become the victim of it.
Alright, let's get started!!
Basic Formations

Most basic formation
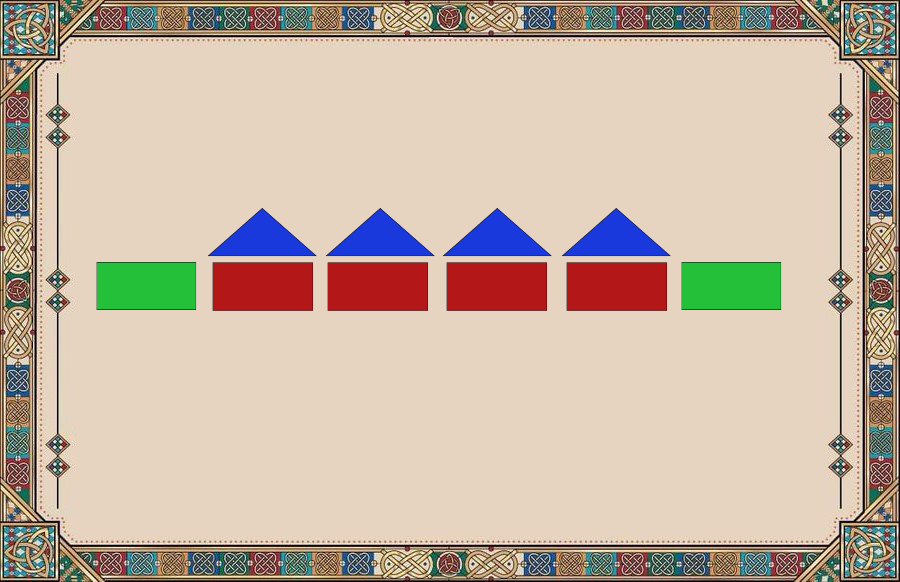
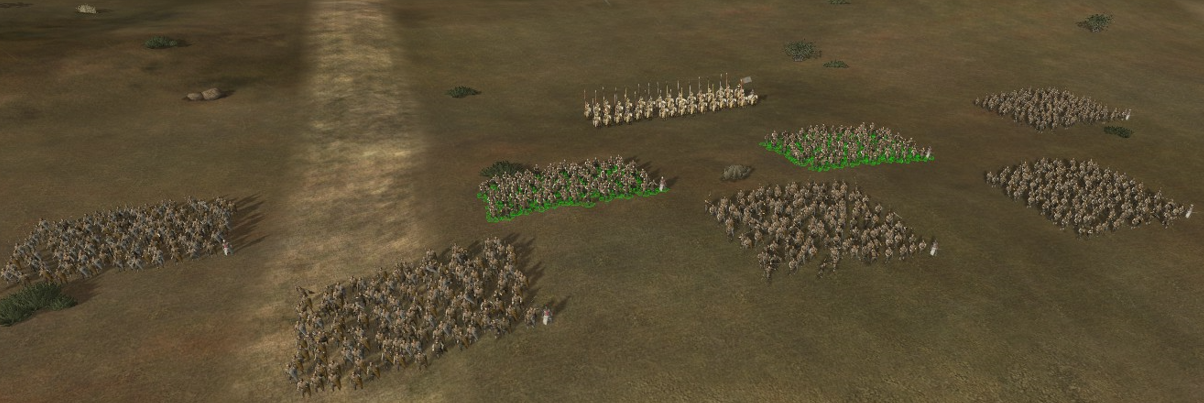
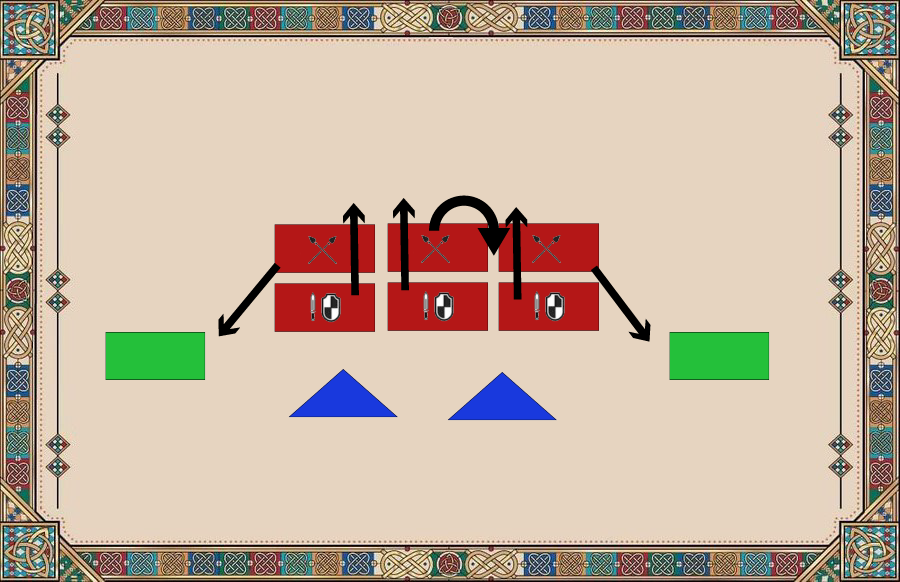
Vanilla AI FormationThis is the formation you will see the AI use. It place all unity where it has potential to do their job.
Keep archers in on skirmish for the start of the game and poke the most expose enemy and then back up behind the infantry for protection. Circle behind or counter the enemy with cavalry while the infantry hold them in place in middle. You cannot go wrong with this.
I would say the only weakness of this formation is the lack of defence to full on cavalry charge because the cavalry could be far away on the sides and the archers are in the front.
If you want a strait up fight with the AI, this formation will always give you line of battle. You may have to worry about enemy infantry going for your cavalry which is annoying, so I normally back them up a bit.
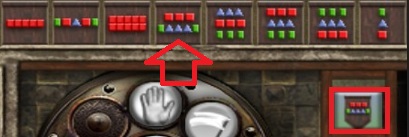
You can easily use it by making a group with your hole army and taking this option:
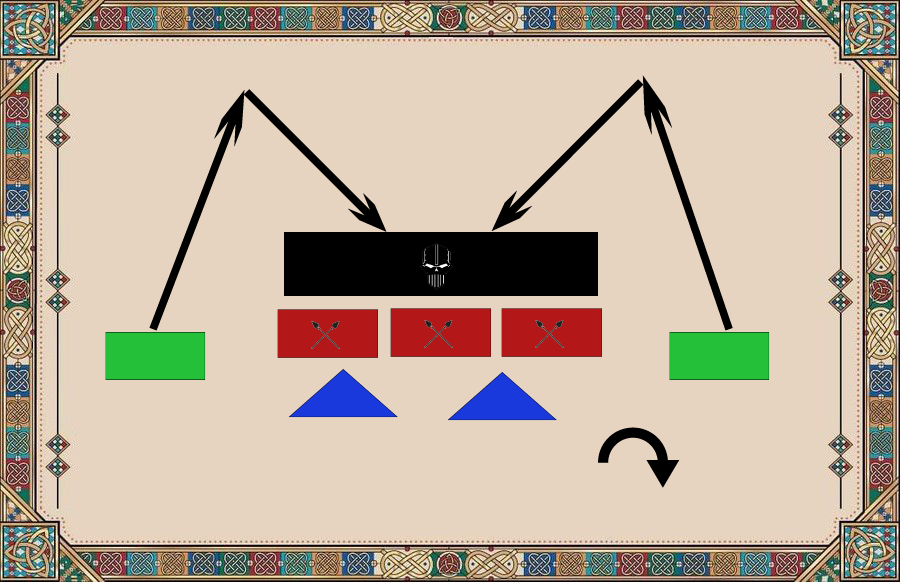
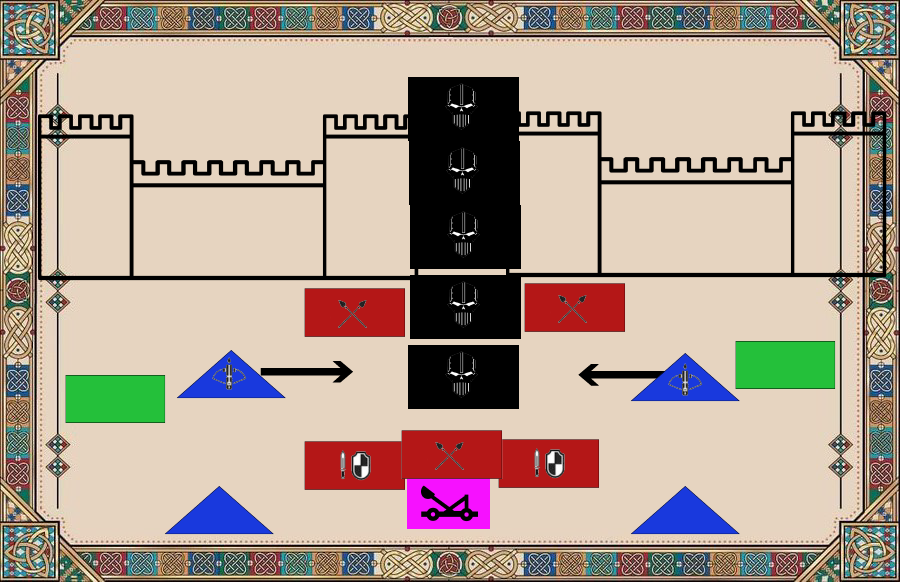
Cavalry VanguardAggressive formation that is very useful against a archer or infantry heavy enemy. It will make full use of your cavalry in the opening seconds, were the Ai is the most vulnerable. This is extremely useful when on the defensive in order to either provoke the AI to attack or take the initiative in the case they have superiority in archers or siege engine.
Big WARNING, this strategy relies on using heavy cavalry, it probably isn't the best do use it with light cavalry.
You can easily use something similar by making a group with your hole army and taking this option:
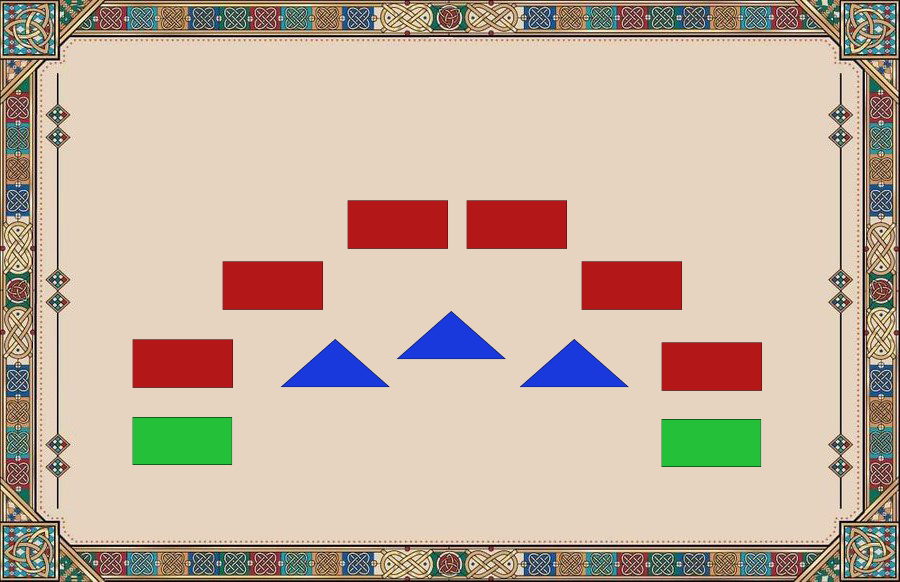
Hannibal Defensive Semi circleThe Semi circle is a very flexible formation that can engage a larger number of units than it use itself without being encircled and can easily send reinforcement for one place to the other. It doesn't mean you can win against superior numbers but you can hold them, you would need to make use of you cavalry to hammer the enemy or siege engine to do the killing.
This formation can be disadvantageous for range unit depending on the terrain. Cavalry may struggle with infantry charging them in the opening phase since the AI always try to make the longest line possible and will have less target to attack it will go for your cavalry when you get out.
Don't forget to remove skirmish mode from archers
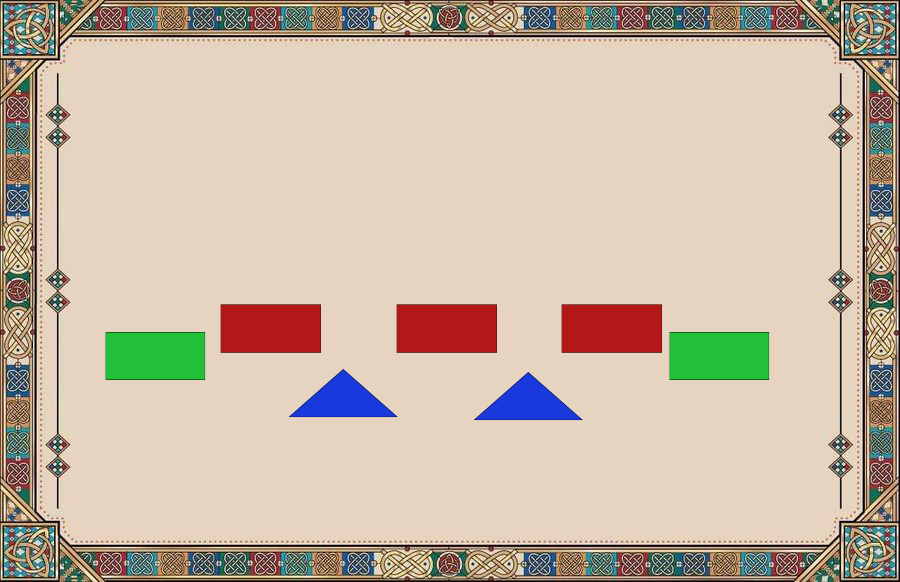
Archer BaitThis formation tries to make use of archers while covering them with cavalry instead of infantry to counter charge foes that would normally not be so reckless. It can be useful for baiting enemy cavalry assuming you have stronger cavalry yourself or even the enemy general bodyguard.
I find it also useful against horse archers, you will trade blows with cavalry in exchange for archers. Archers are easy to come by like militia so I think it's good exchange rate if you have the numbers.
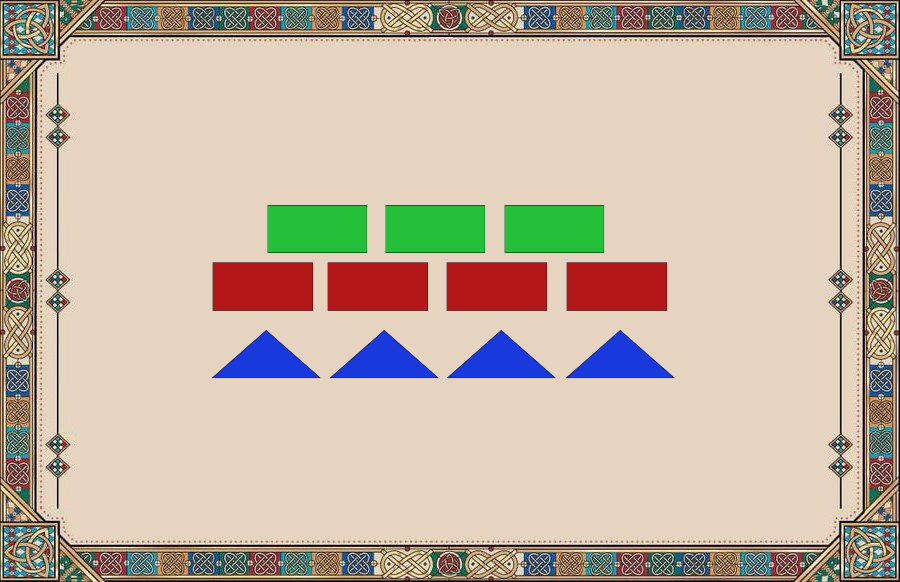
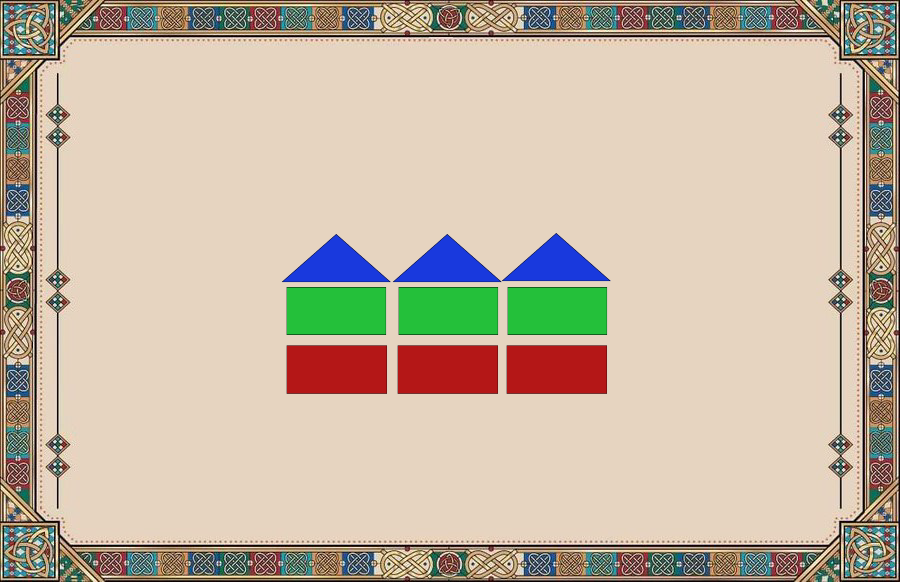
Infantry Archer checkersThis formation tries to somewhat abuse the AI but you could say it early use of spanish tercio formation. The benefit of this formation is that it attempts to use the full power of range weapons without friendly fire. Because of the space between the infantry you can cover more ground so you can keep more infantry in reserve or to cover the flanks.
I would recommend to disable the skirmish from archers since you want them as close as possible.
You will also want to put your infantry on defensive stance so they don't break formation, that way the enemy will go in the spacing and get kill by the archers.
Disadvantage is that if it doesn't work and the enemy cavalry or infantry don't get aggro by the infantry, it will be encircle and your archers in danger.
There is also a good guide about crossbows that you can go see that talks more about this.
Two ways to make it work:
Basic Aggressive Tactics
These tactic will be about taking the initiative and routing the enemy.
Let's tackle the obvious one first
Hammer & Anvil
The bread of butter or any Total war game, hold the enemy with infantry and charge at the back with cavalry. Once it is done, you fall back then rinse and repeat. I don't think I need to expand more.
Normally where it goes wrong is step 2, charging at the back because the enemy may have superior cavalry and wont let you do it.
First blood charge
This tactic is useful for tacking out a good portion of the enemy at the start of the engagement,
Very powerful on the defensive because when an enemy is marching or running toward you, heavy cavalry are so powerful they can completely wipe out a unit.
If you have in cavalry superiority, you can move to Hammer & Anvil tactic to finish the fight, otherwise it is best to fall back in formation, the Ai will usually run after your cavalry and that is a good opportunity to bring them in pinned on your infantry lines.
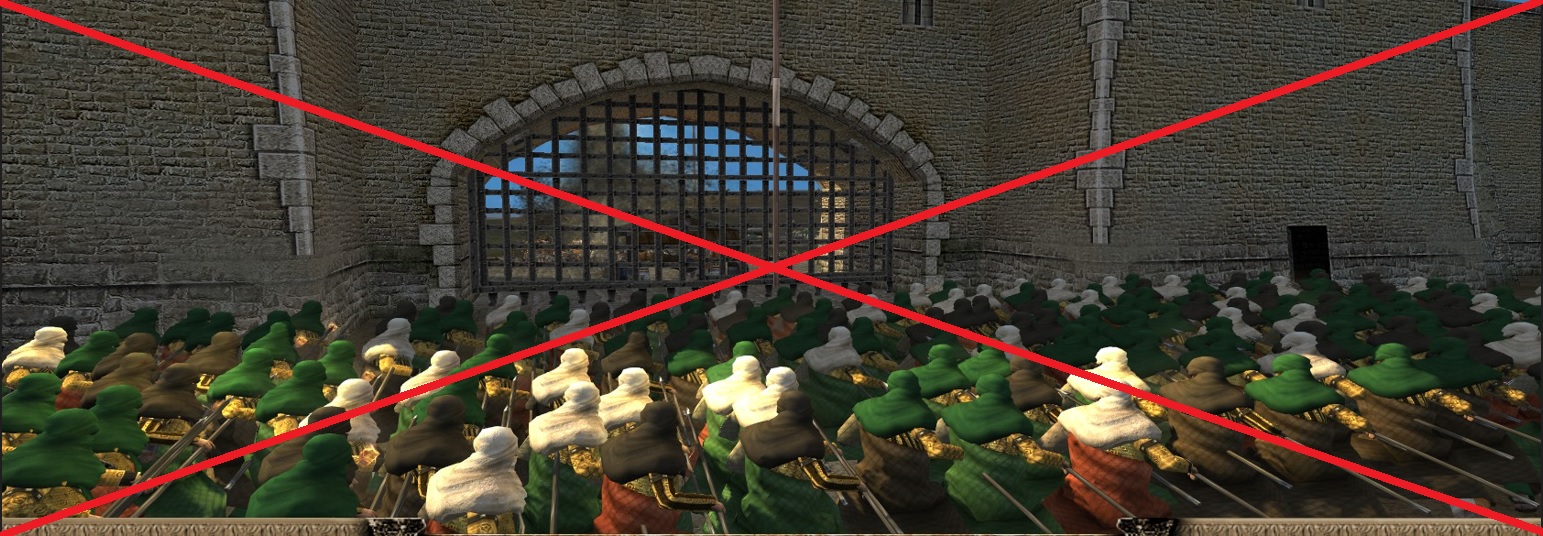
WARNING: DO NOT DO THIS AGAINST PIKE WALLS OR SHARPEN STICK WALL (or you will have a bad)
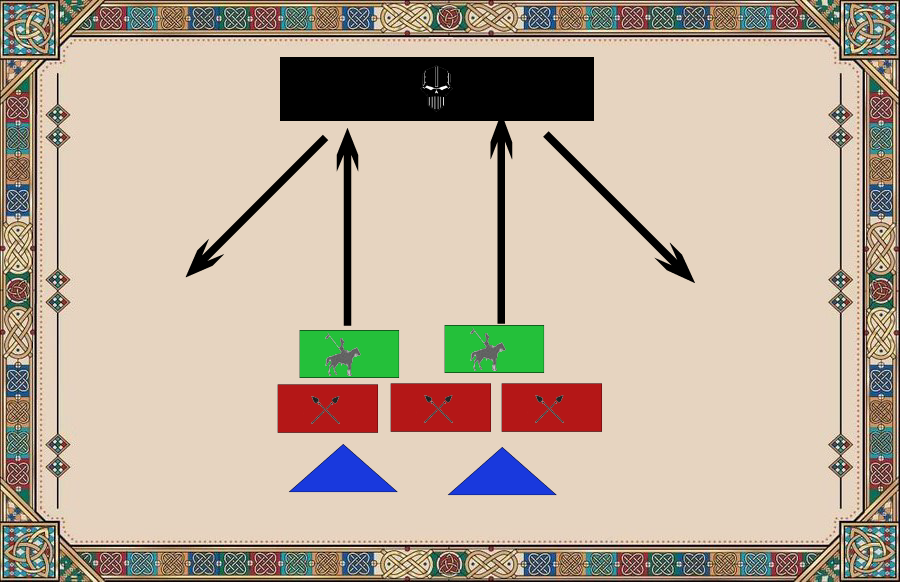
One side Gambit
This tactic is good against stronger enemy cavalry and makes good use of Xbox to compensate for the usual loss of cavalry that will happen. It is important to at least try to put one unit on the weak side even if it stretch your main line, it will slow down the possible but probable encirclement.
This strategy will concentrate more force on one side to attempt to flank the enemy with more success but will leave your other flank vulnerable. Somewhat similar to Alexander's strategy at Gaugamela.
You may want to remove skirmish from crossbowmen
Basic Defensive Tactics
Defensive tactics that will increase your odds of survival or just make better use of your resources.
Spearman - Heavy infantry swapping
This is a common tactic to save your best infantry from deadly heavy cavalry charge by keeping them in reserve. Always keep your cheap replaceable spear militia in the front, once you've made contact with the enemy infantry you charge your heavy infantry in the lines and back up your spearman on the flanks.
You will lose some men because they will show their back to the enemy, but the heavy infantry will make up for it.
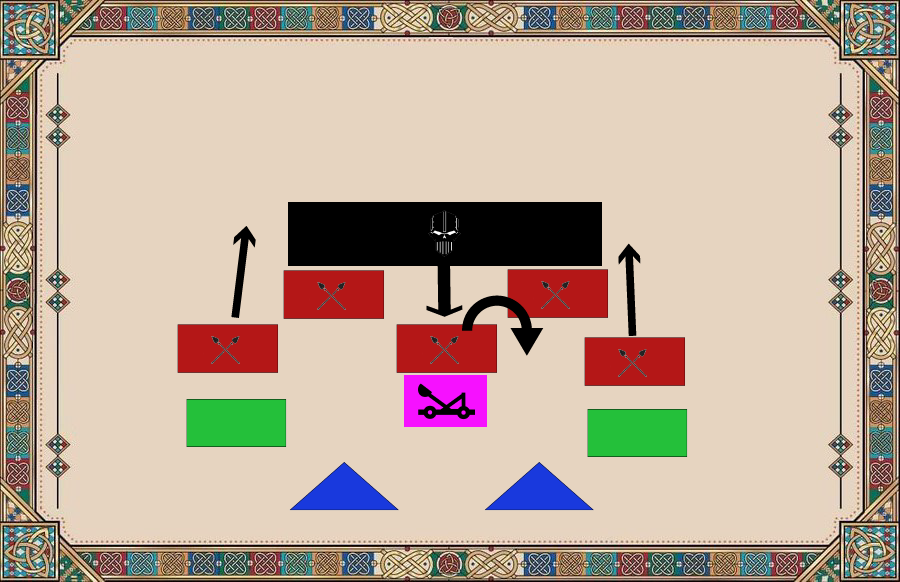
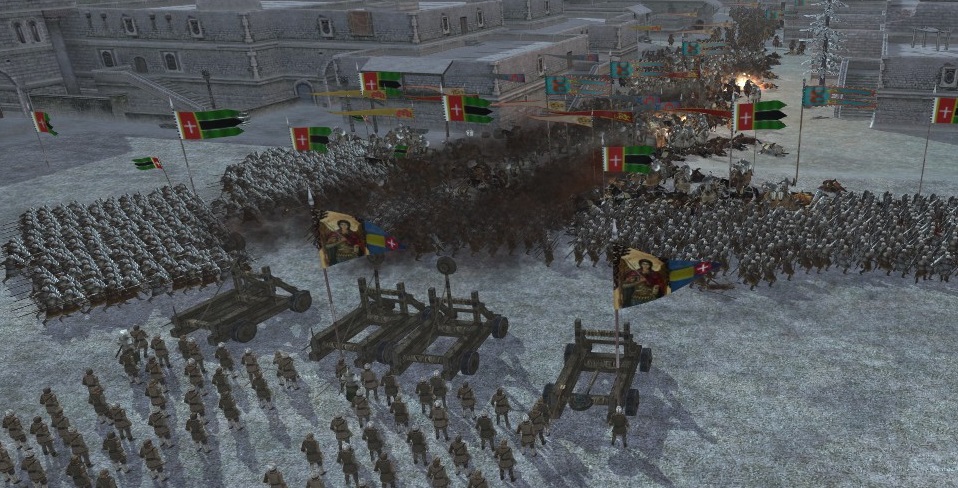
Close quarter Catapult
Very easy to use on the defensive against superior forces. Especially useful when defending a bridge, town or castle since there will be choke points. When in the open terrain, the important part that can easily fail is the fake retreat.
You can create the concave formation from the start but the AI may try to charge in with the general body guards, so this is a precaution. When possible threat to the flanks are secure you can take on the side but be worry of attack at the back since you might get hit by your own catapult.
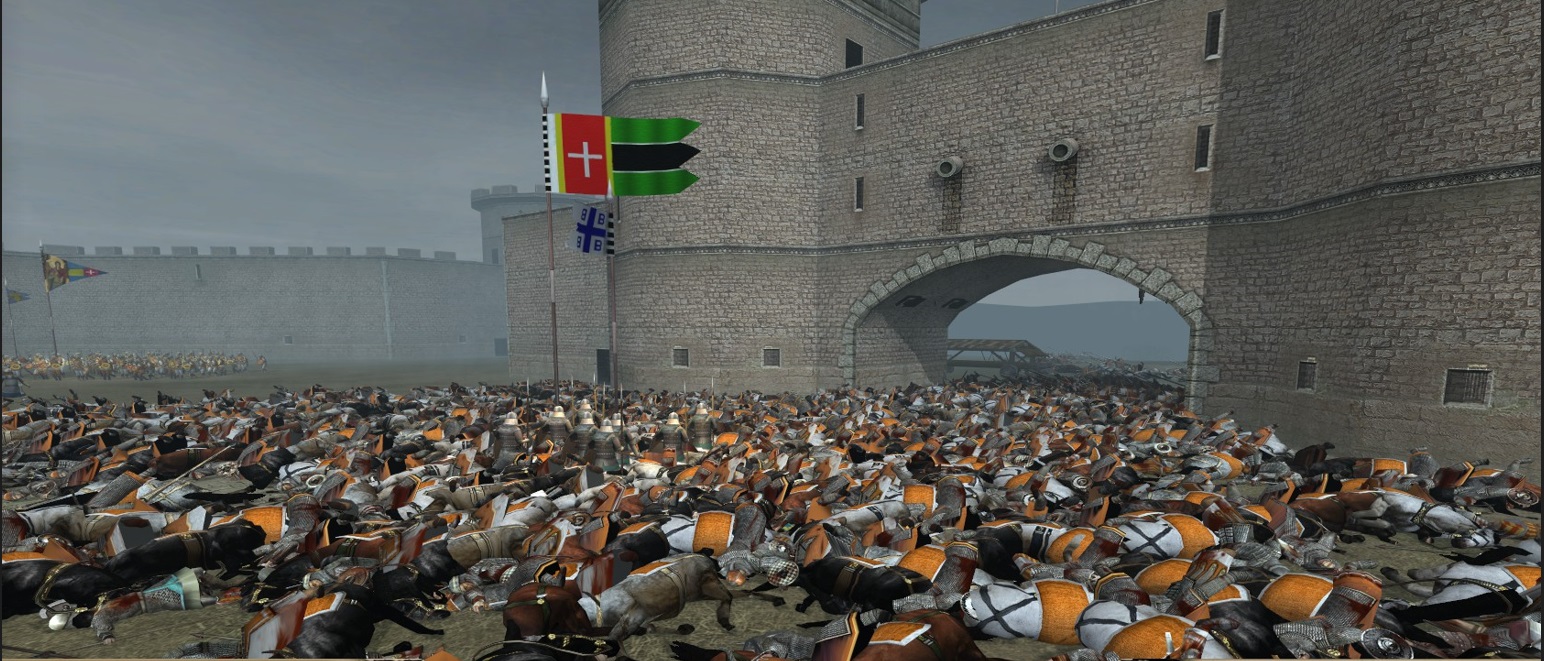
Siege Warfare
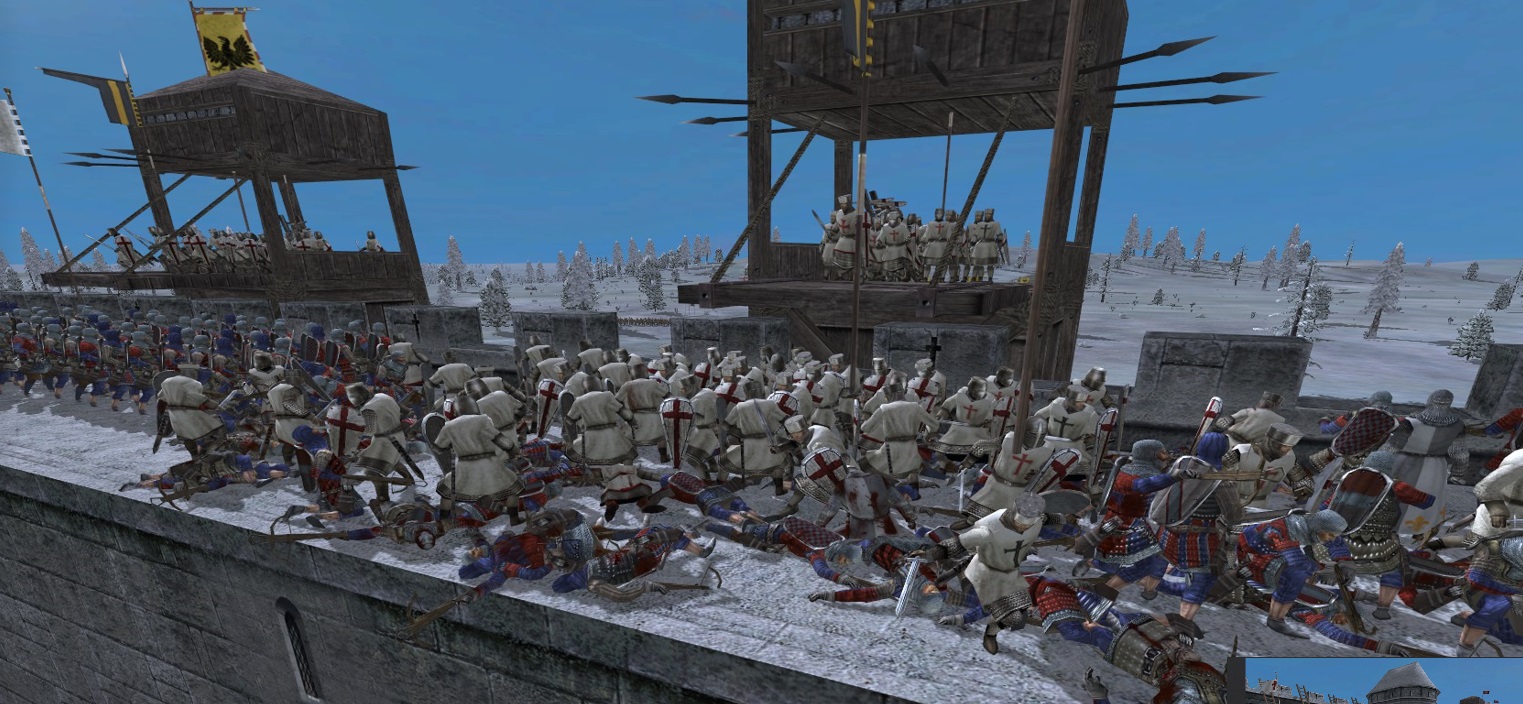
Taking settlement is an important part of the campaign. But they can be tricky if there's a lot of troops manning the fortifications. Of course the best option could simply be to wait for the AI to exit the town but that would make this section very boring.
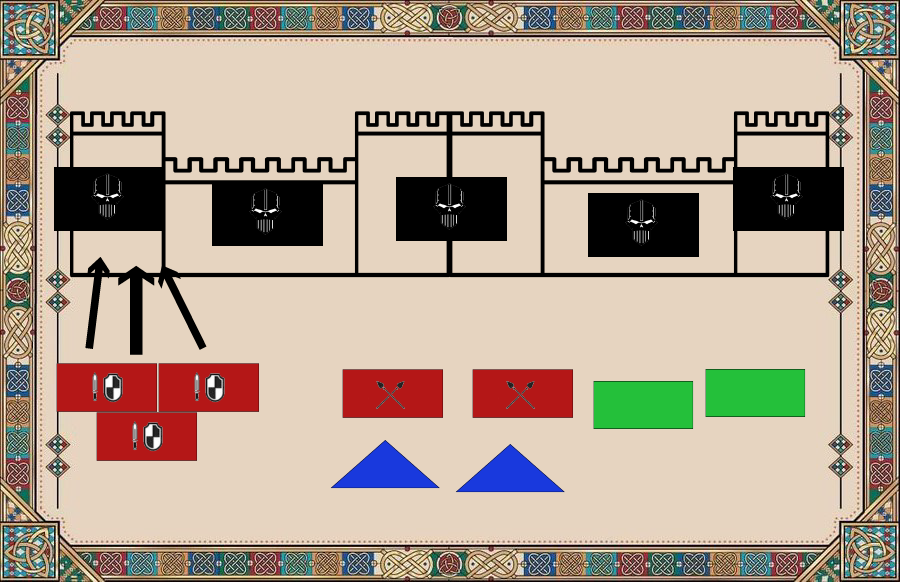
Getting to walls
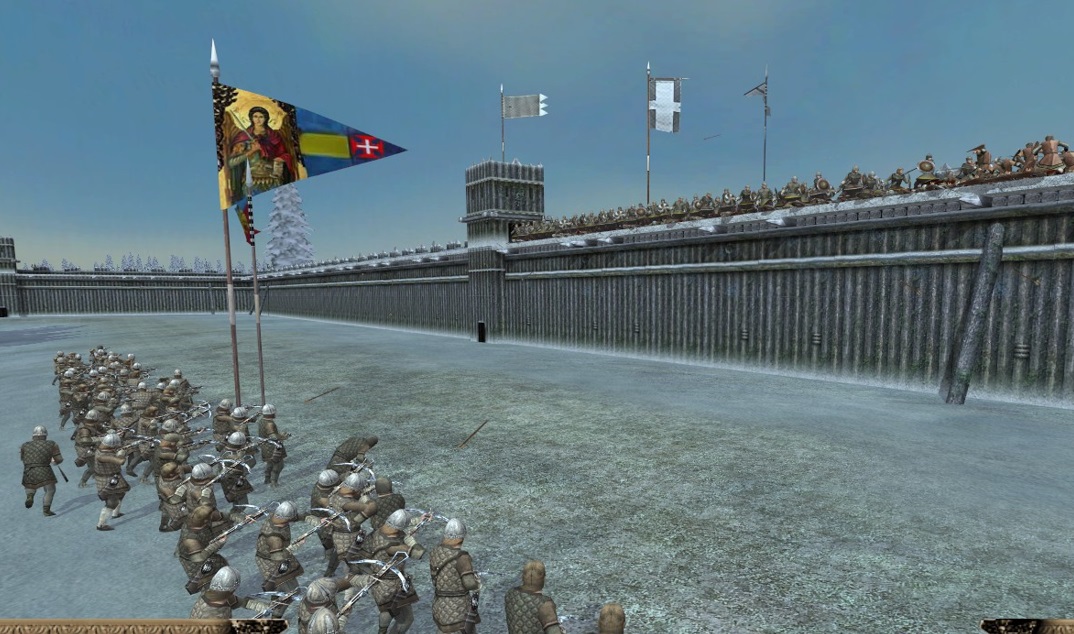
Siege towers and ladders are risky move that don't leave a lot of option easy retreat once engage. The AI will often throw everything it can to defend the walls and the gate, to reduce that number you disperse your cavalry and archer units around, this will reduce the number enemy to engage on the walls at the same time.
Ladders are generally more lethal for your troops because the arrive one at a time, but are faster to build in numbers and will give you the advantage of attacking from multiple direction.
Fighting on walls is something Heavy infantry excels at, it may still be useful to send dispensable troop first to soak up enemy missiles.
To make taking walls faster:
1- Tell your squad already engage on the walls to run behind the position of the enemy, that way they will group up and have more people attacking at once. It.s will make you lose slightly more men but since it makes the combat faster you will lose less men to tower arrows fire.
2- Bring archers inside the settlement and shoot from under them.
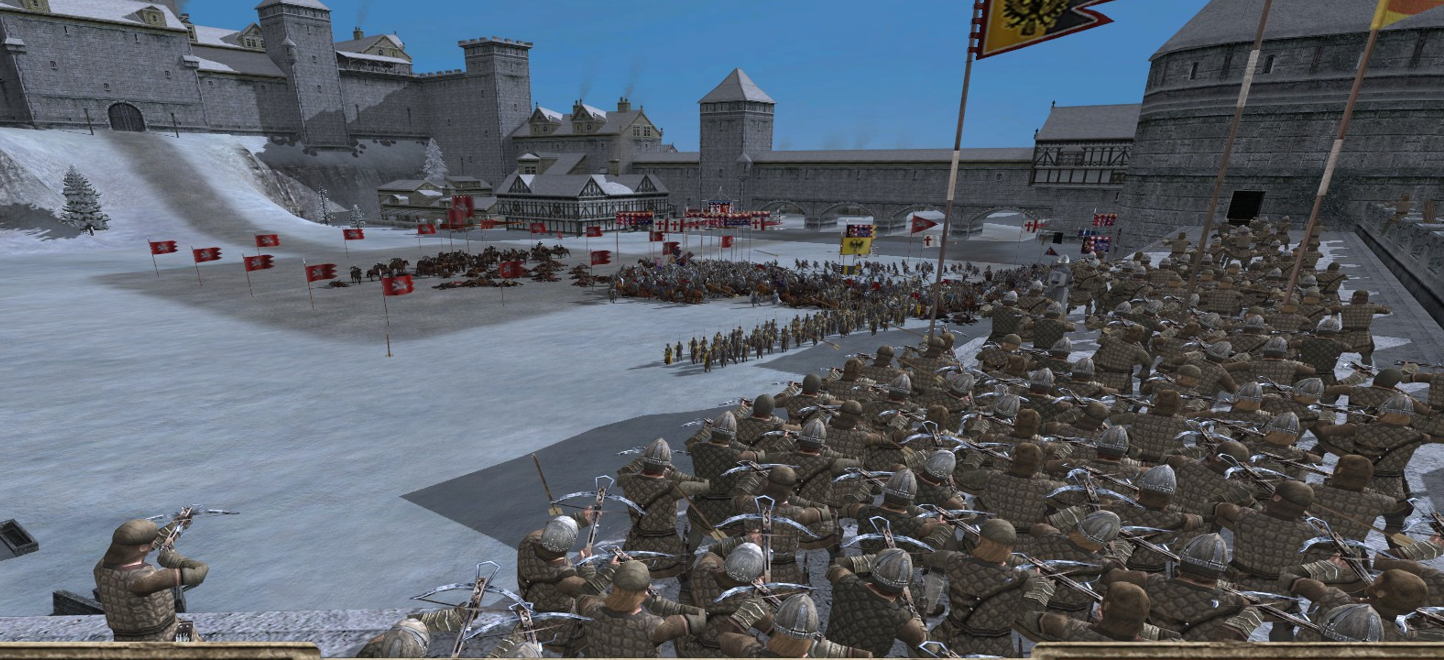
Once inside the walls it's a question of numbers and quality but you still use the walls to your advantage in Fortress and citadel because of the extra wall that provide vantage points for archers.
Fortify!!!!

Basic Formation
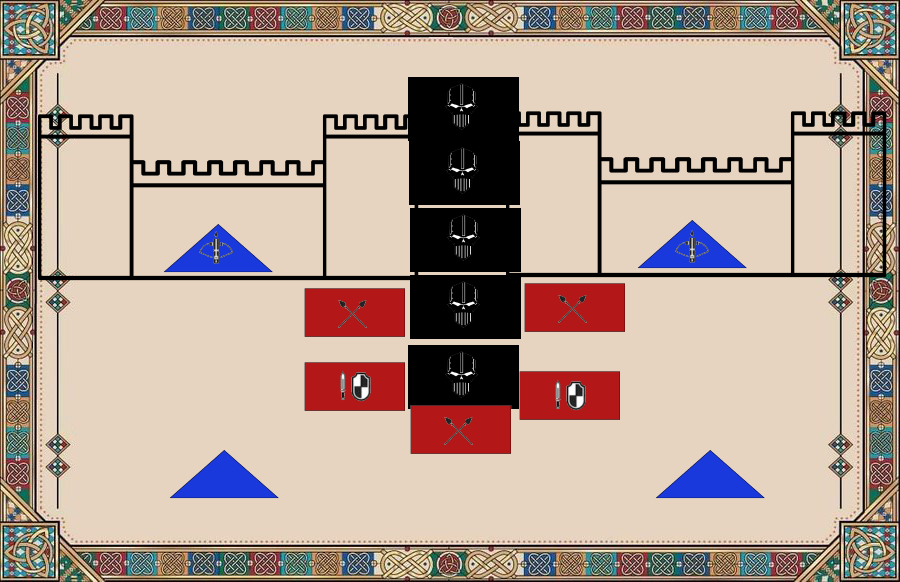
Concave Choke
For holding gates or plaza entrance. If there's a lot of cavalry, it's important to give some space away from the gate otherwise they will force there way through your soldiers like madmen and break you.
By making a concave form, it will make easy target for archers, using walls to shoot in those choke point is a good way to shoot in the back of the enemy, just make sure you will be in control of the walls.
With Heavy infantry on the walls you should be able to hold for a while against light infantry but if the gate fall don't hesitate to fall back before enemy cavalry make it impossible.
Kill Zone of perpetual pain
A bit more advance formation when you have more money and siege weapons.
Use the defensive strategy of close quarter catapult and aggro with infantry on the side of the entrance to leave a clear path for the projectiles. It can be useful to set the infantry near the gate on defensive stance so they don't spread and block the view of projectile.
Keep a space on the sides to shoot with throwing weapons or Xbows with impunity.
With catapult
Stack them up
Conclusion


Thx for reading this guide and leave a comment if you have feedback or if more formation of tactic that anyone can use easily.
I'm open to adding contributors if someone wants to add more formation with illustrations.
That will be all and have a good day.
You can also rate the guide up.
Plz keep comments toward PvE, I know there's already a guide about PvP so it might be more proper to post on that one if that's your thing.
Source: https://steamcommunity.com/sharedfiles/filedetails/?id=2844434777
More Total War: MEDIEVAL II - Definitive Edition guilds
- All Guilds
- Divide and Conquer V5: EUR V1.641 (submod) - All Campaign Settlements
- Medieval II Events (Crusades Campaign)
- A List of Naval Units Across All Factions (All Campaigns)
- Traits and Ancillaries: Kingdoms Expansion
- How to control Catholicism
- Cmo arreglar a los Piqueros de los Tercios Espaoles?
- Total War: MEDIEVAL II () .
- Americas Campaign - Spanish Prestige Explained
- MEDIEVAL II Total War traits & Triggers guide
- Unit/Weapon Attributes Explained