The Concept

Like the title said, This build focus on exploding mechanics, which we has two type of exploder to cover all kind of encounter.
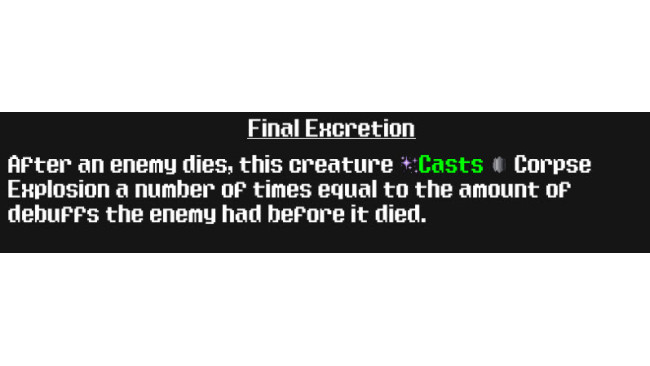
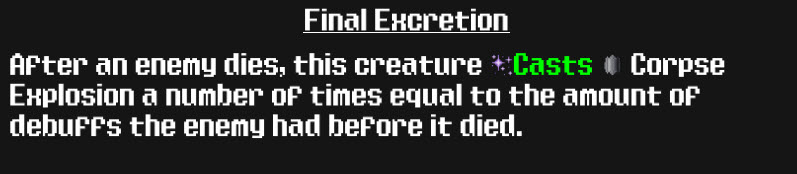
First one is corpse exploder who use Corpse Explosion from Final excretion
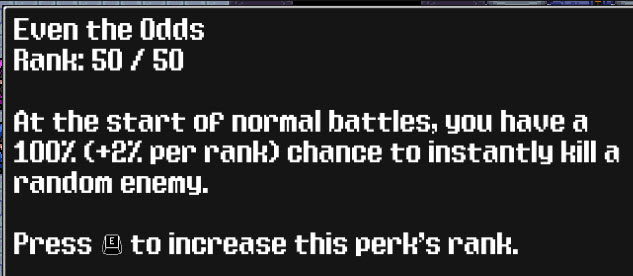
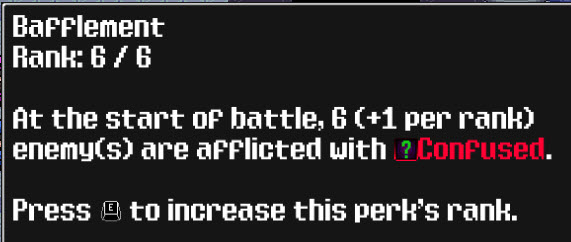
Combine this with Trickster perks Even the odds and Bafflement, We'll kill one of the enemy instantly and get the chain explosion running.
You can instantly nuke 70% of the enemies to ashes before the battle even start with this combo, but some enemy are immune to it, that's why we have our second exploder.
Second one is self exploder. Because some encounter (especially boss) will immune to Even the odds, and many of them may has more Health than you can one-shot them anyway, so we have this second exploder and team mate to handle the long fight.
This second exploder can nuke most of the enemy out of existence as well, still, many boss can withstand the nuke and prolonged the fight, that's why we have a teammate who specialize in helping you with that.
Team Composition
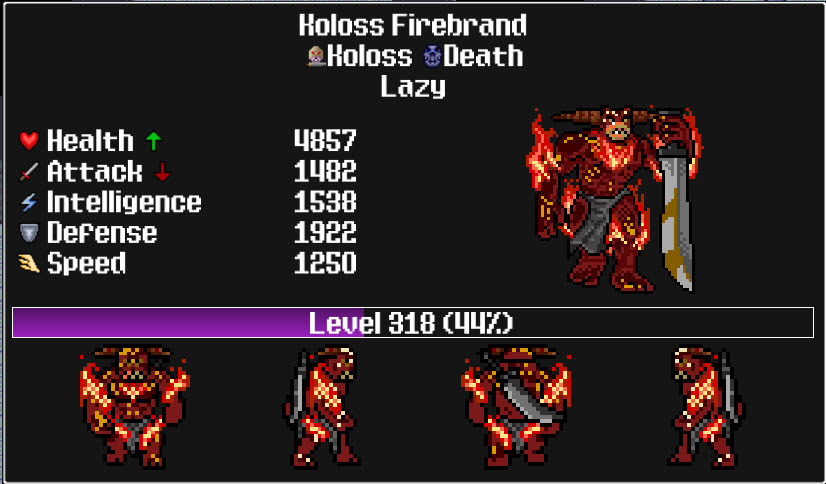


First Exploder Koloss Firebrand (fusion with Crazed Leaper)
With this combo, the higher his Health, the more damage of his corpse explosion will be. And we can pump his Health up with our support.
I suggest to use Koloss Firebrand as a main because he has higher base Health, use the one with more health growth is the most effective.
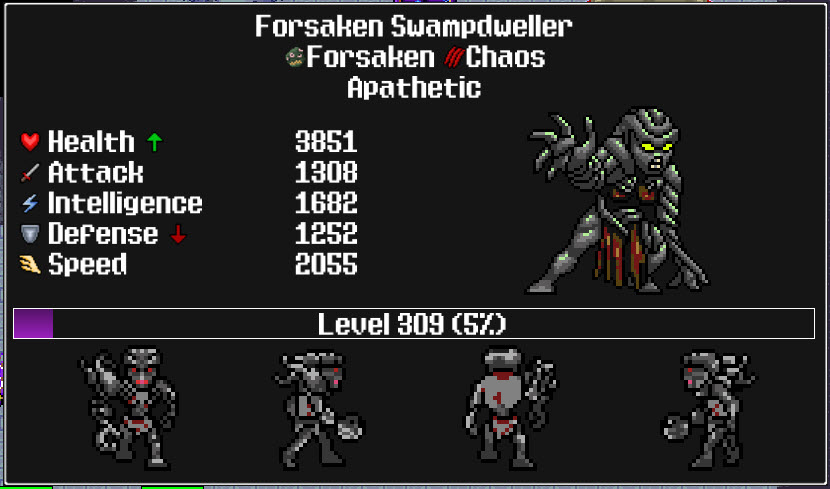
Second ExploderForsaken Swamplander (fusion with Armored Maniac)
When he die, he'll explode and deals 100% amount of his maximum health as damage. With 250% Health boost from the trait and some buff from our support, he'll become a walking nuke. But how can he die with that massive health pool? We'll talk about that in a minute, but first, let me introduce you how to make these two bulky guy more bulkier.
The Meat StufferPit Guard (fusion with Forsaken Swamplander)
This guy will give 65% of his Health, Defense, and Speed to the ad่jacent creature. Put him between our exploder and both of them will get Massive boost on Health and make a larger explosion.
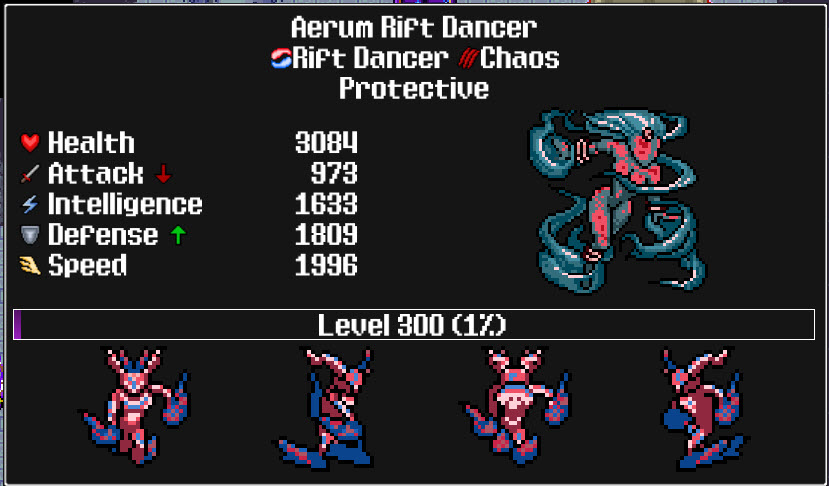
The Sacrifice HandlerAerum Rift Dancer (fusion with Maniac Mutant)
After your creature Provoke, they'll die and give 20% of their stats to the rest of the team. This is how you kill your second exploder at will, and Moon Dance can double the bonus from this effect. This is very important for a long fight, because you can boost your creature stats infinitely with this combo and eventually win any fight. But how can you do the infinite boost up when your creature can die only once? That's why we have the next guy.
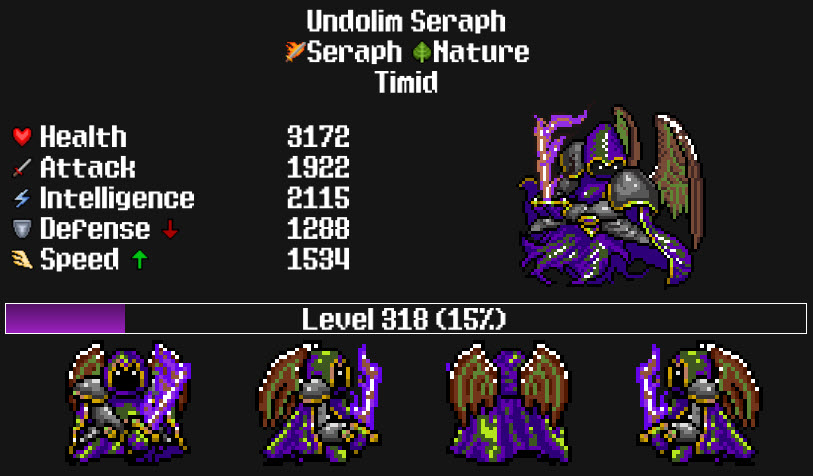
The ResurrectorUndolim Seraph (fusion with Ebony Ent)
After this guy Defended for a second time onward, he will resurrect ALL of your dead creature. We can run our exploding, team-buffing combo to infinite and beyond with this. The second traits is here for free Mending which we need for a defensive layer combo. But you can replace it with anything if you have this trait from the Artifact.
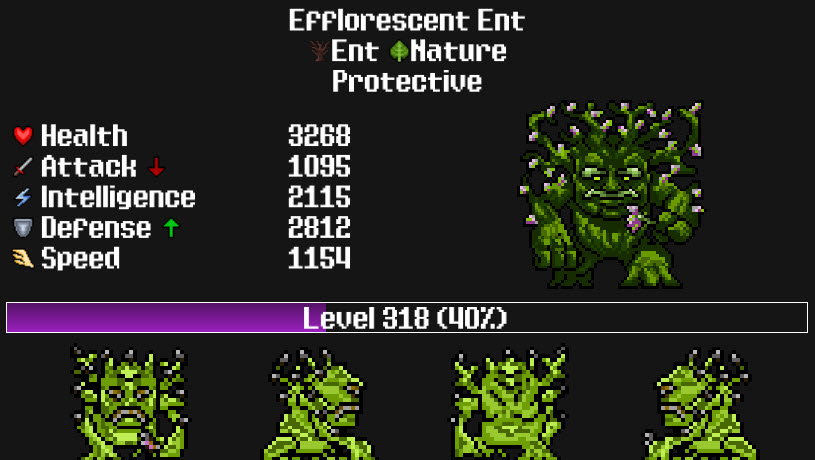
The Muscle HardenerEfflorescent Ent (fusion with Elder Ent)
Our defensive layer. If your creature have Mending, they'll receive 40% less damage and heal instantly after get attacked. That's why we need Mending from Previous guy (or from the Artifact). You can mix and match this Mending synergy as you seem fits. It's here to make sure that your team will survive long enough to out-growth your enemy.
ArtifactI suggest to equip everyone with Helm with maximum health upgrade. But honestly, aside from our main three meat guy, you can use anything you want. Artifact with any one of Mending trait that we need to build the defensive layer will help too. If you can get all traits from Artifact, you can even replace Efflorescent Ent with anything.
This is what the team look like on the field (around level 300).
The Strategy
Most enemies are instantly kill with Trickser+Corpse Explosion combo.
This may changes depend on what instability you're running, but I can one-shot most enemy in instability 2-3 depends on mods.
For a harder mob who didn't die or immune to Trickster perk, hit Provoke on our second exploder (Forsaken Swamplander) to trigger the Nuke and boost our team with stats.
If anyone of them die, it'll trigger corpse explosion. Result in full clear with one kill.
If things still alive, sacrifice Pit Guard with provoke to boost our stat further and resurrect all of them back by hitting defend button on Undolim Seraph.
Koloss Firebrand are a heavy hitter him self, and if any enemy die (with a debuff) It will explode with corpse explosion.
Many boss tend to withstand many wave of our attack, but the Mending combo should (hopefully) keep our key member survive long enough to out-growth the enemy with infinite stats boost.
And that's it. That is the build.
There's still much more room for improvement (I just reach mid game anyway). If you think or find something that'll make this build better, feel free to share!
Thank you for reading.
Source: https://steamcommunity.com/sharedfiles/filedetails/?id=2435898164
More Siralim Ultimate guilds
- All Guilds
- My teams for GotG Ascension
- Godforge Upgrades reference
- Community Spell Review Compendium
- Firebrand Bomber [RIP - Firebrand interaction no longer works]
- Dwarf Riddle Answers
- How Do Hurt Gud?
- Starter Specialization Guide
- Hellknight Autowin Story to Lategame
- The Damage-Proof Aeolian [Game v1.03]
- Same Race Realm Spawns