Introduction
Welcome, aspiring minelayers! Mines are a tricky and challenging to deploy - yet interesting weapon, as such I felt it was my duty as the recently proclaimed mine wizard (especially since I am responsible for a worrying amount of mine nerfs) to teach my best practices, principles, and strategies I developed both over testing and now in the days since OSP came to mainline. We will cover the basics of mines and work up to more advanced tactics and uses. This may seem boring to some, particularly the more experienced in the room, but I request you read all the same, as many have misconceptions about the role of the mine and functions that lead to difficulties later on.
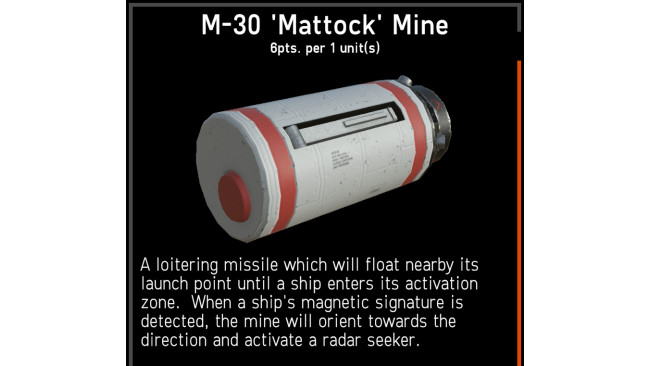
Anatomy Of A Mine
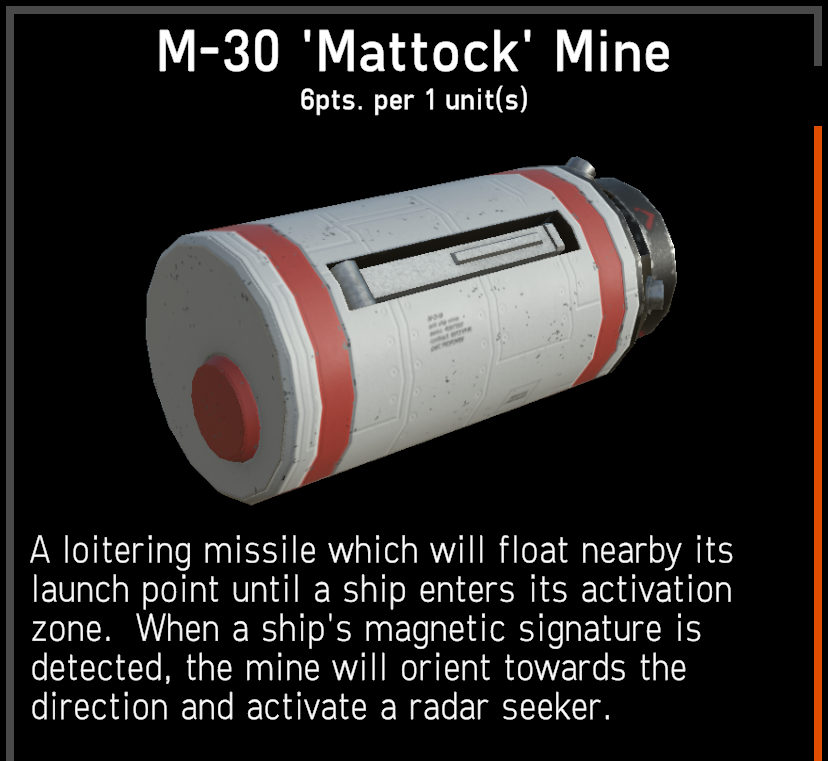
The ‘Mattock’ is the most basic mine type, but that doesn’t mean it's a downgrade to its more expensive sibling, the ‘Auger.’ Let us cover the basics. The mine has a magnetic activation range of two kilometers. This is accomplished by searching for components - not hulls - within that radius and applying an IFF check. Ships with comms off will always fail, while ships with comms on will always fail if they are ANS. Dead hulls cannot set off mines regardless of affiliation. It is important to note once a mine is activated by its magnetic detector, it is indiscriminate. Even if an actual enemy sets it off, the first target it sees will be blown up -- THIS INCLUDES YOU -- so do not play in the minefield regardless of how tempting it is! In an absolute emergency, remember that mines are active radar and will fall for chaff, so if you're in a pickle and think your comms may be shot off, begin deploying chaff; it could save your life! The mine has an actual range of 3.7km, so it can chase people out of its radius if needed, though that is rarely the case. As a fun bit of trivia, the battery life used to be a timed lifespan of the mine, but that was removed before the update went public.
Principles Of Mining (no Dwarfs, Sorry)
This area is where I diverge from the standard strategies and find more success than most. Do keep in mind that this is a particular play style. It may not suit you even if it is technically more effective in my experience, experiment and find what works for you!
Principle 1. Mines Are Not For Killing.

I'm sure this one will confuse people. Every mine that detonates on a hull is not precisely a failure but also not your goal. A minefield does its job when it does not end up being activated - at least, assuming you didn’t place it somewhere that never sees action. Mine's primary goal is to zone, funnel, restrict, and otherwise hinder enemy movement in the battlespace. Kills are a side effect and a way to force people to respect your fields, but they are not the goal. If you go into mine placements looking for kills, you will be disappointed in their performance. What is immediately apparent when considering this is that ‘Auger’ and cooperative mines are detrimental to this playstyle, as both types focus on killing potential rather than their zoning ability. A cooperative field will blow the entire group up on the first target that sets them off, leaving the area clear for subsequent ships, while sprint mines have a high cost to deploy, resulting in fewer fields being generated. For this reason, cooperative mines are at the same price, they used to cost double, but they ended up being a behavioral side grade rather than an upgrade.
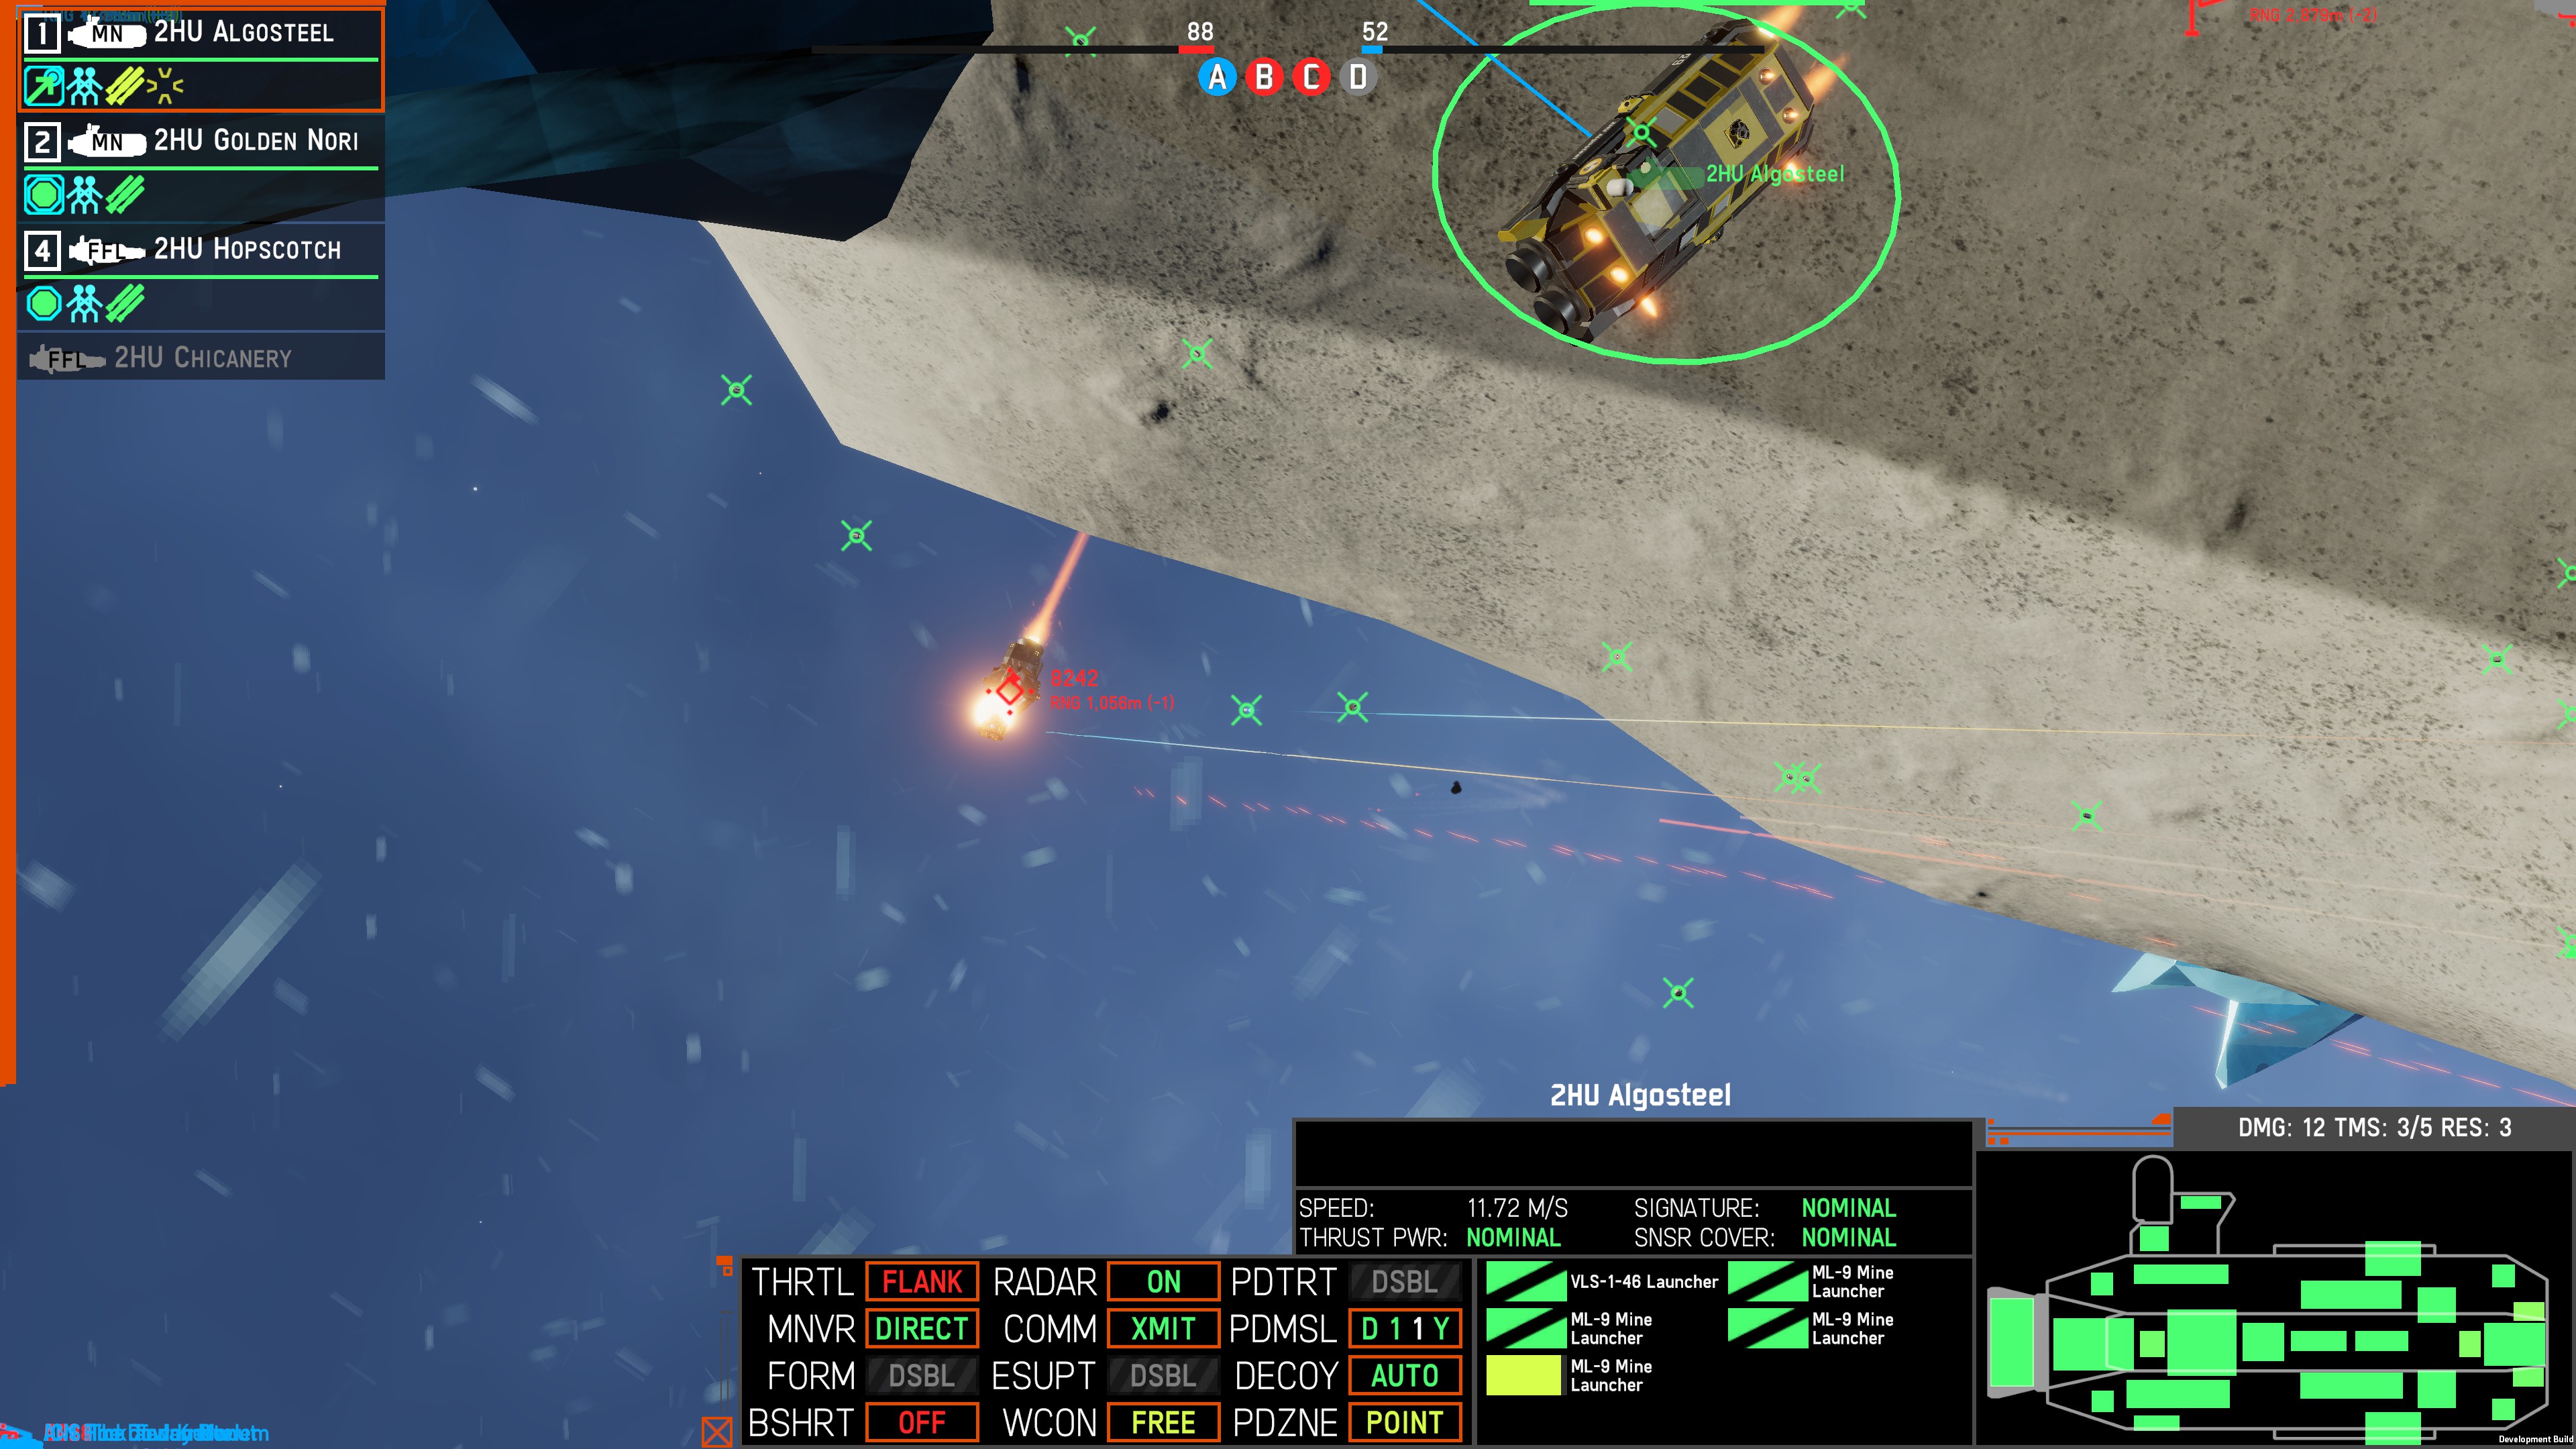
Here is an example of mines working as a zoning tool
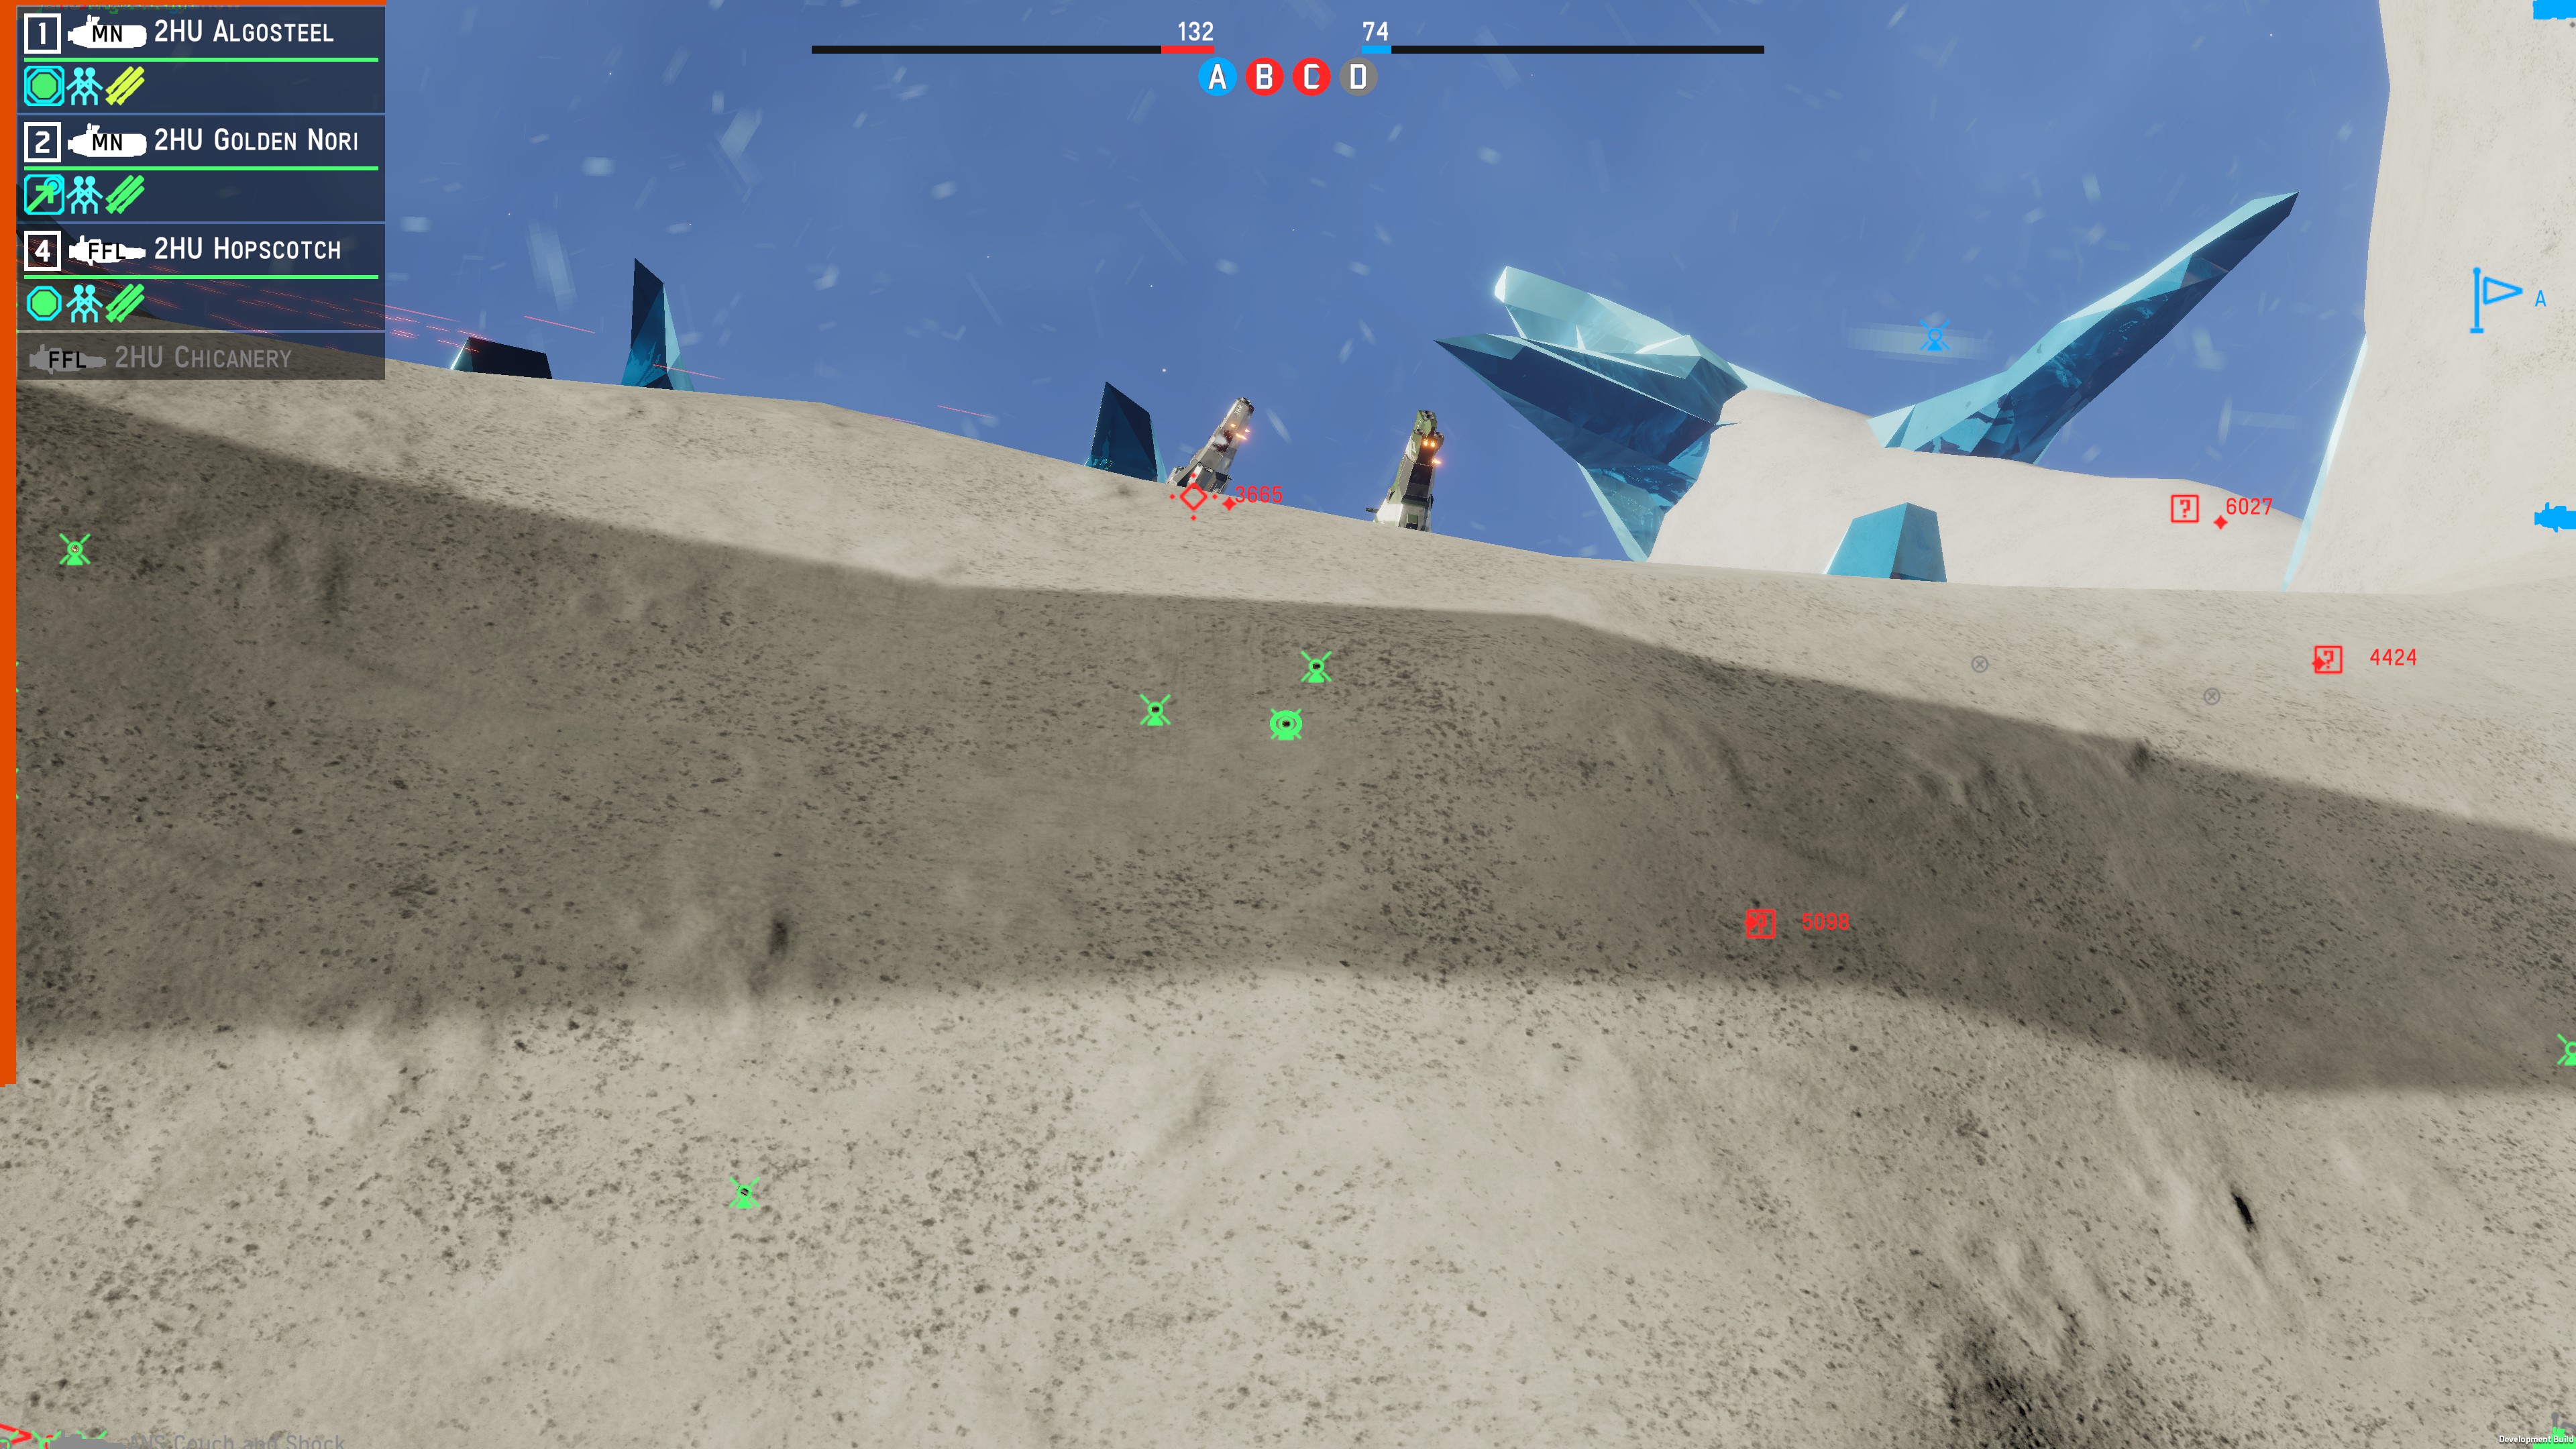
On Caltrop, I placed mines behind this ice spike, intending to delay any pushes coming from D I was correct in this assessment, as you can see, and the flank was at risk of being overrun, with two Ocellos attempting to hold back what they could.
An ANS Sprinter stumbled partially into the minefield, setting off a few and dying to them. This revealed the location of the field to ANS while taking out a ship. Now knowing there was a minefield of unknown amounts of mines, more than what was used to kill the sprinter at minimum, ANS is left with a choice. They can ignore that intel and continue to pressure the dual Ocello fleet, risking their ships and banking on their PD, or they can halt their advance and approach from a different angle.
As you can see with the movement vector (though admittedly hard to see here), the ANS fleet chose caution, halting their push momentarily and not risking the minefield. This is a successful field, as it destroyed a vessel, halted a sizable amount of the ANS fleet -- I later learned that this was a Solomon and dual Vauxhall group -- and took pressure off of my team. The field also contains more mines ready to continue their work should the ANS player eventually opt to disregard them.
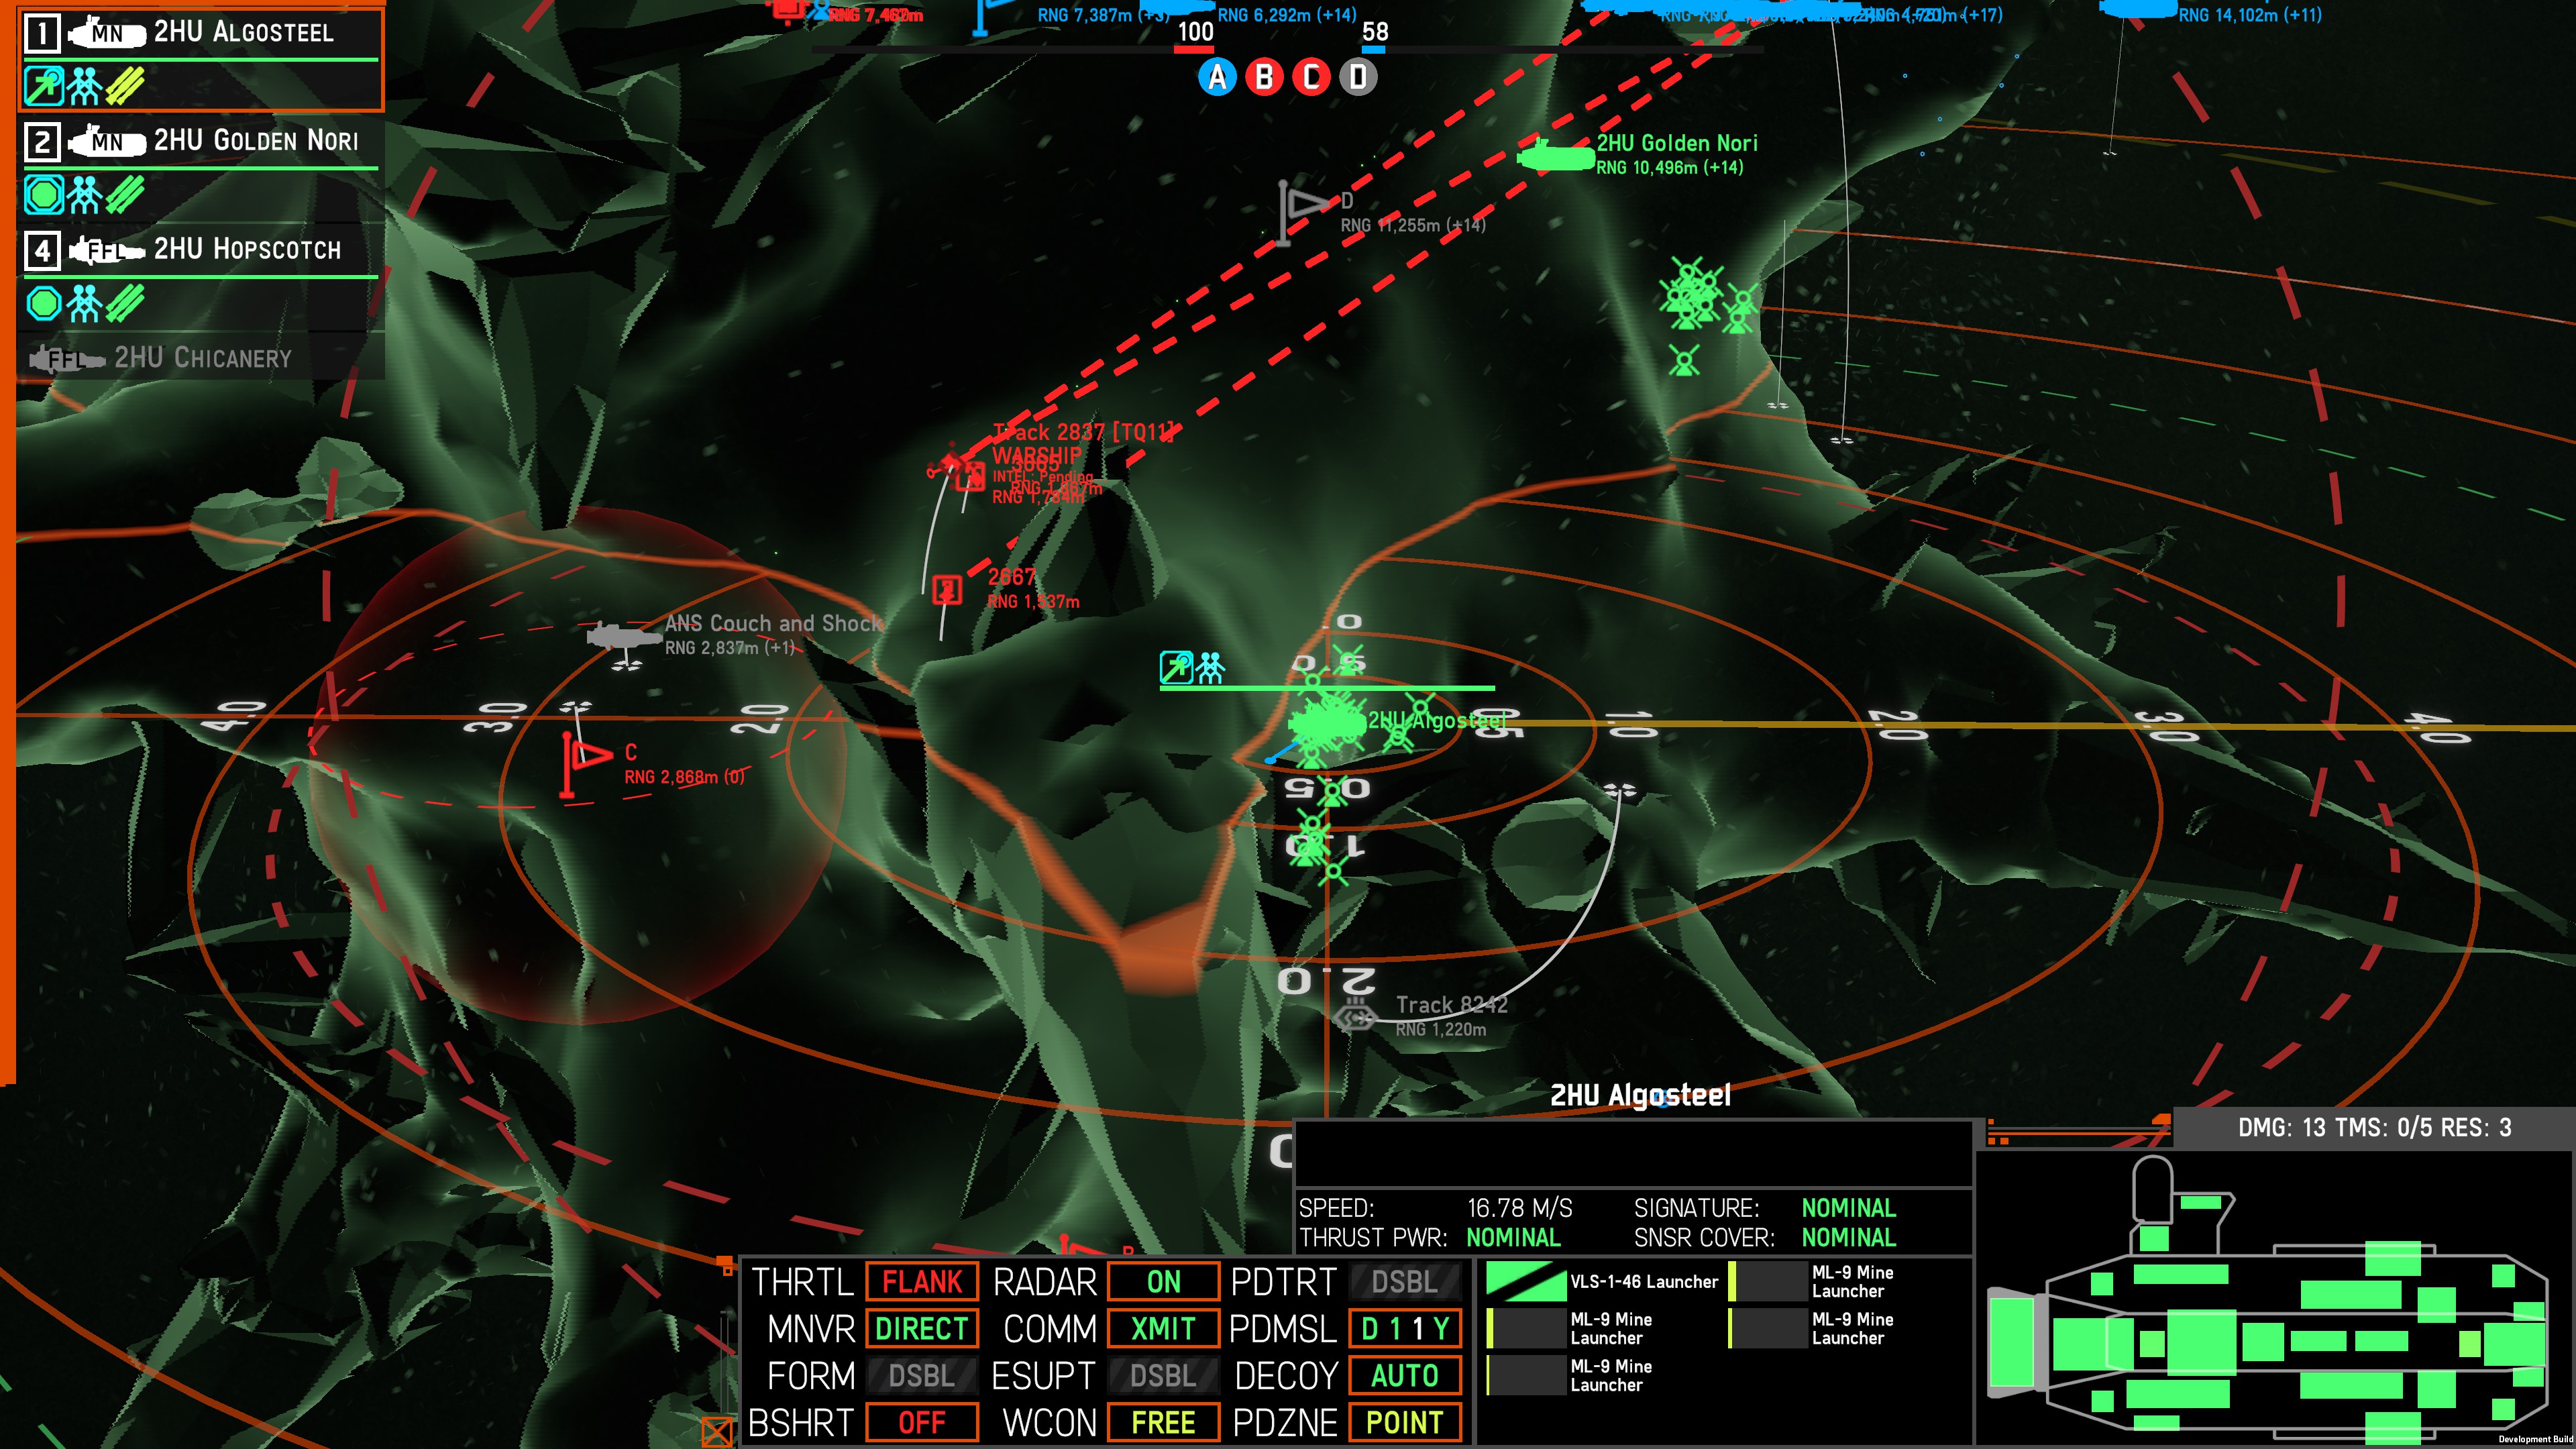
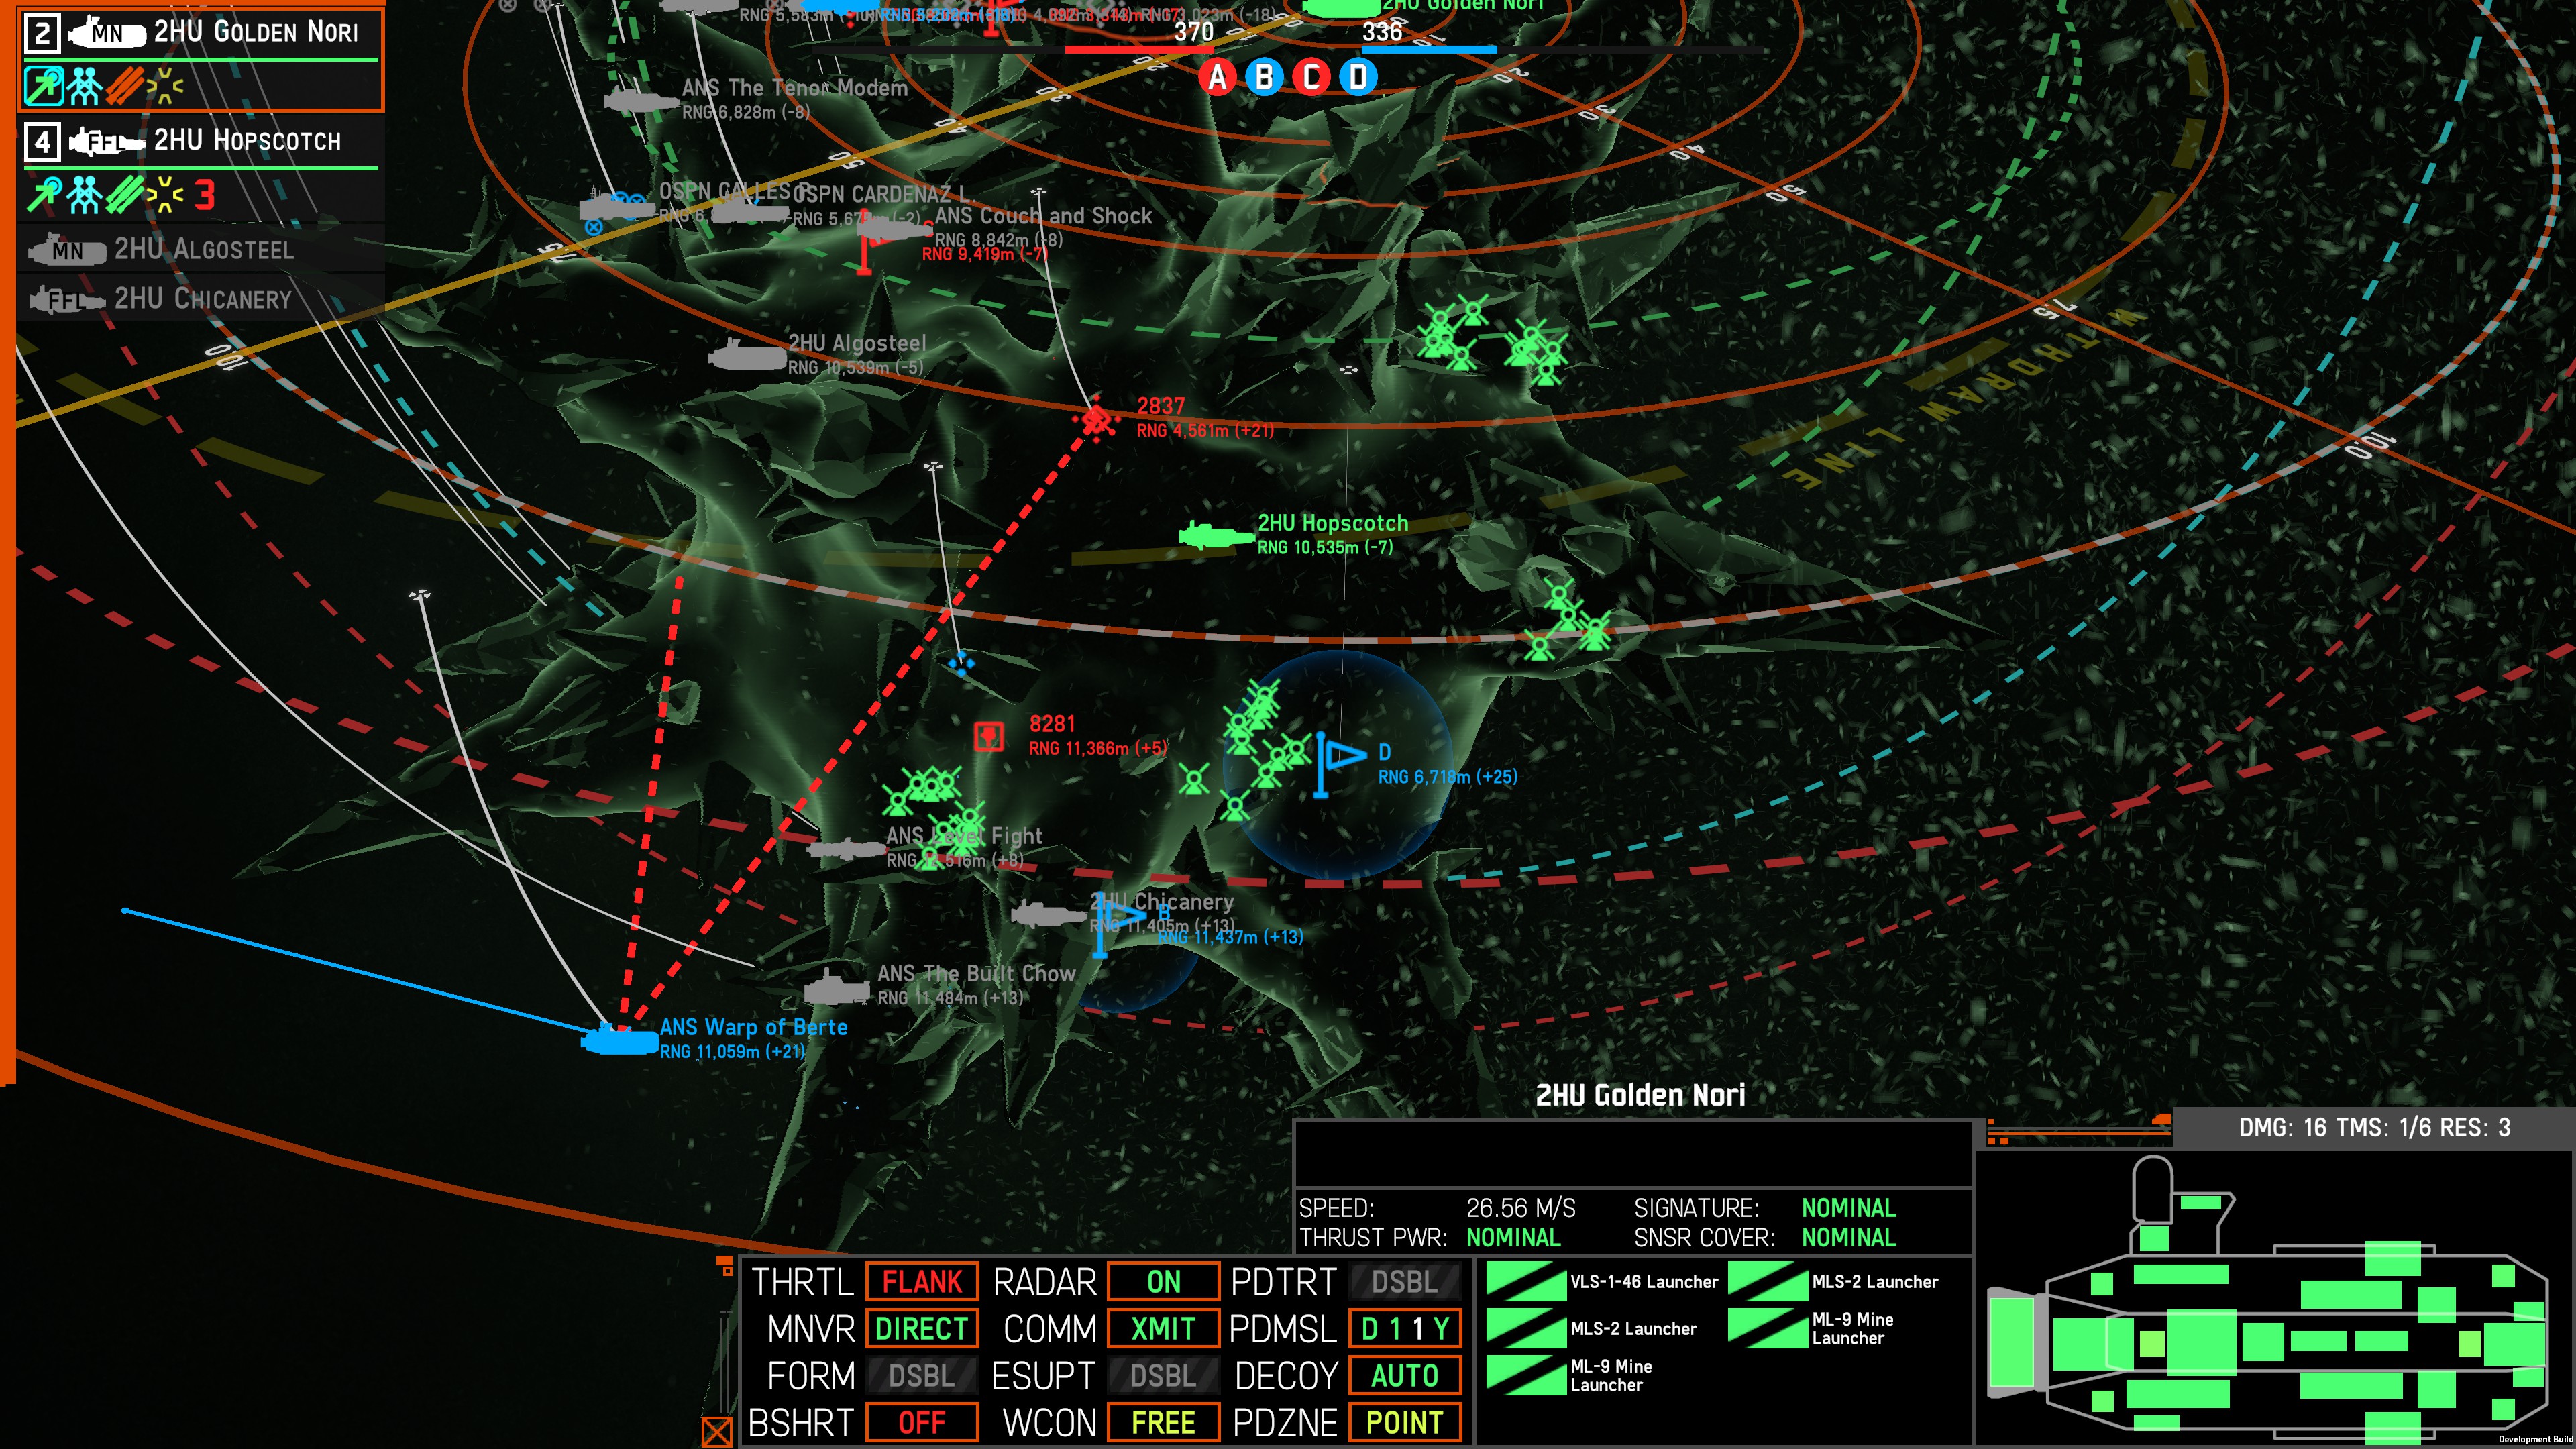
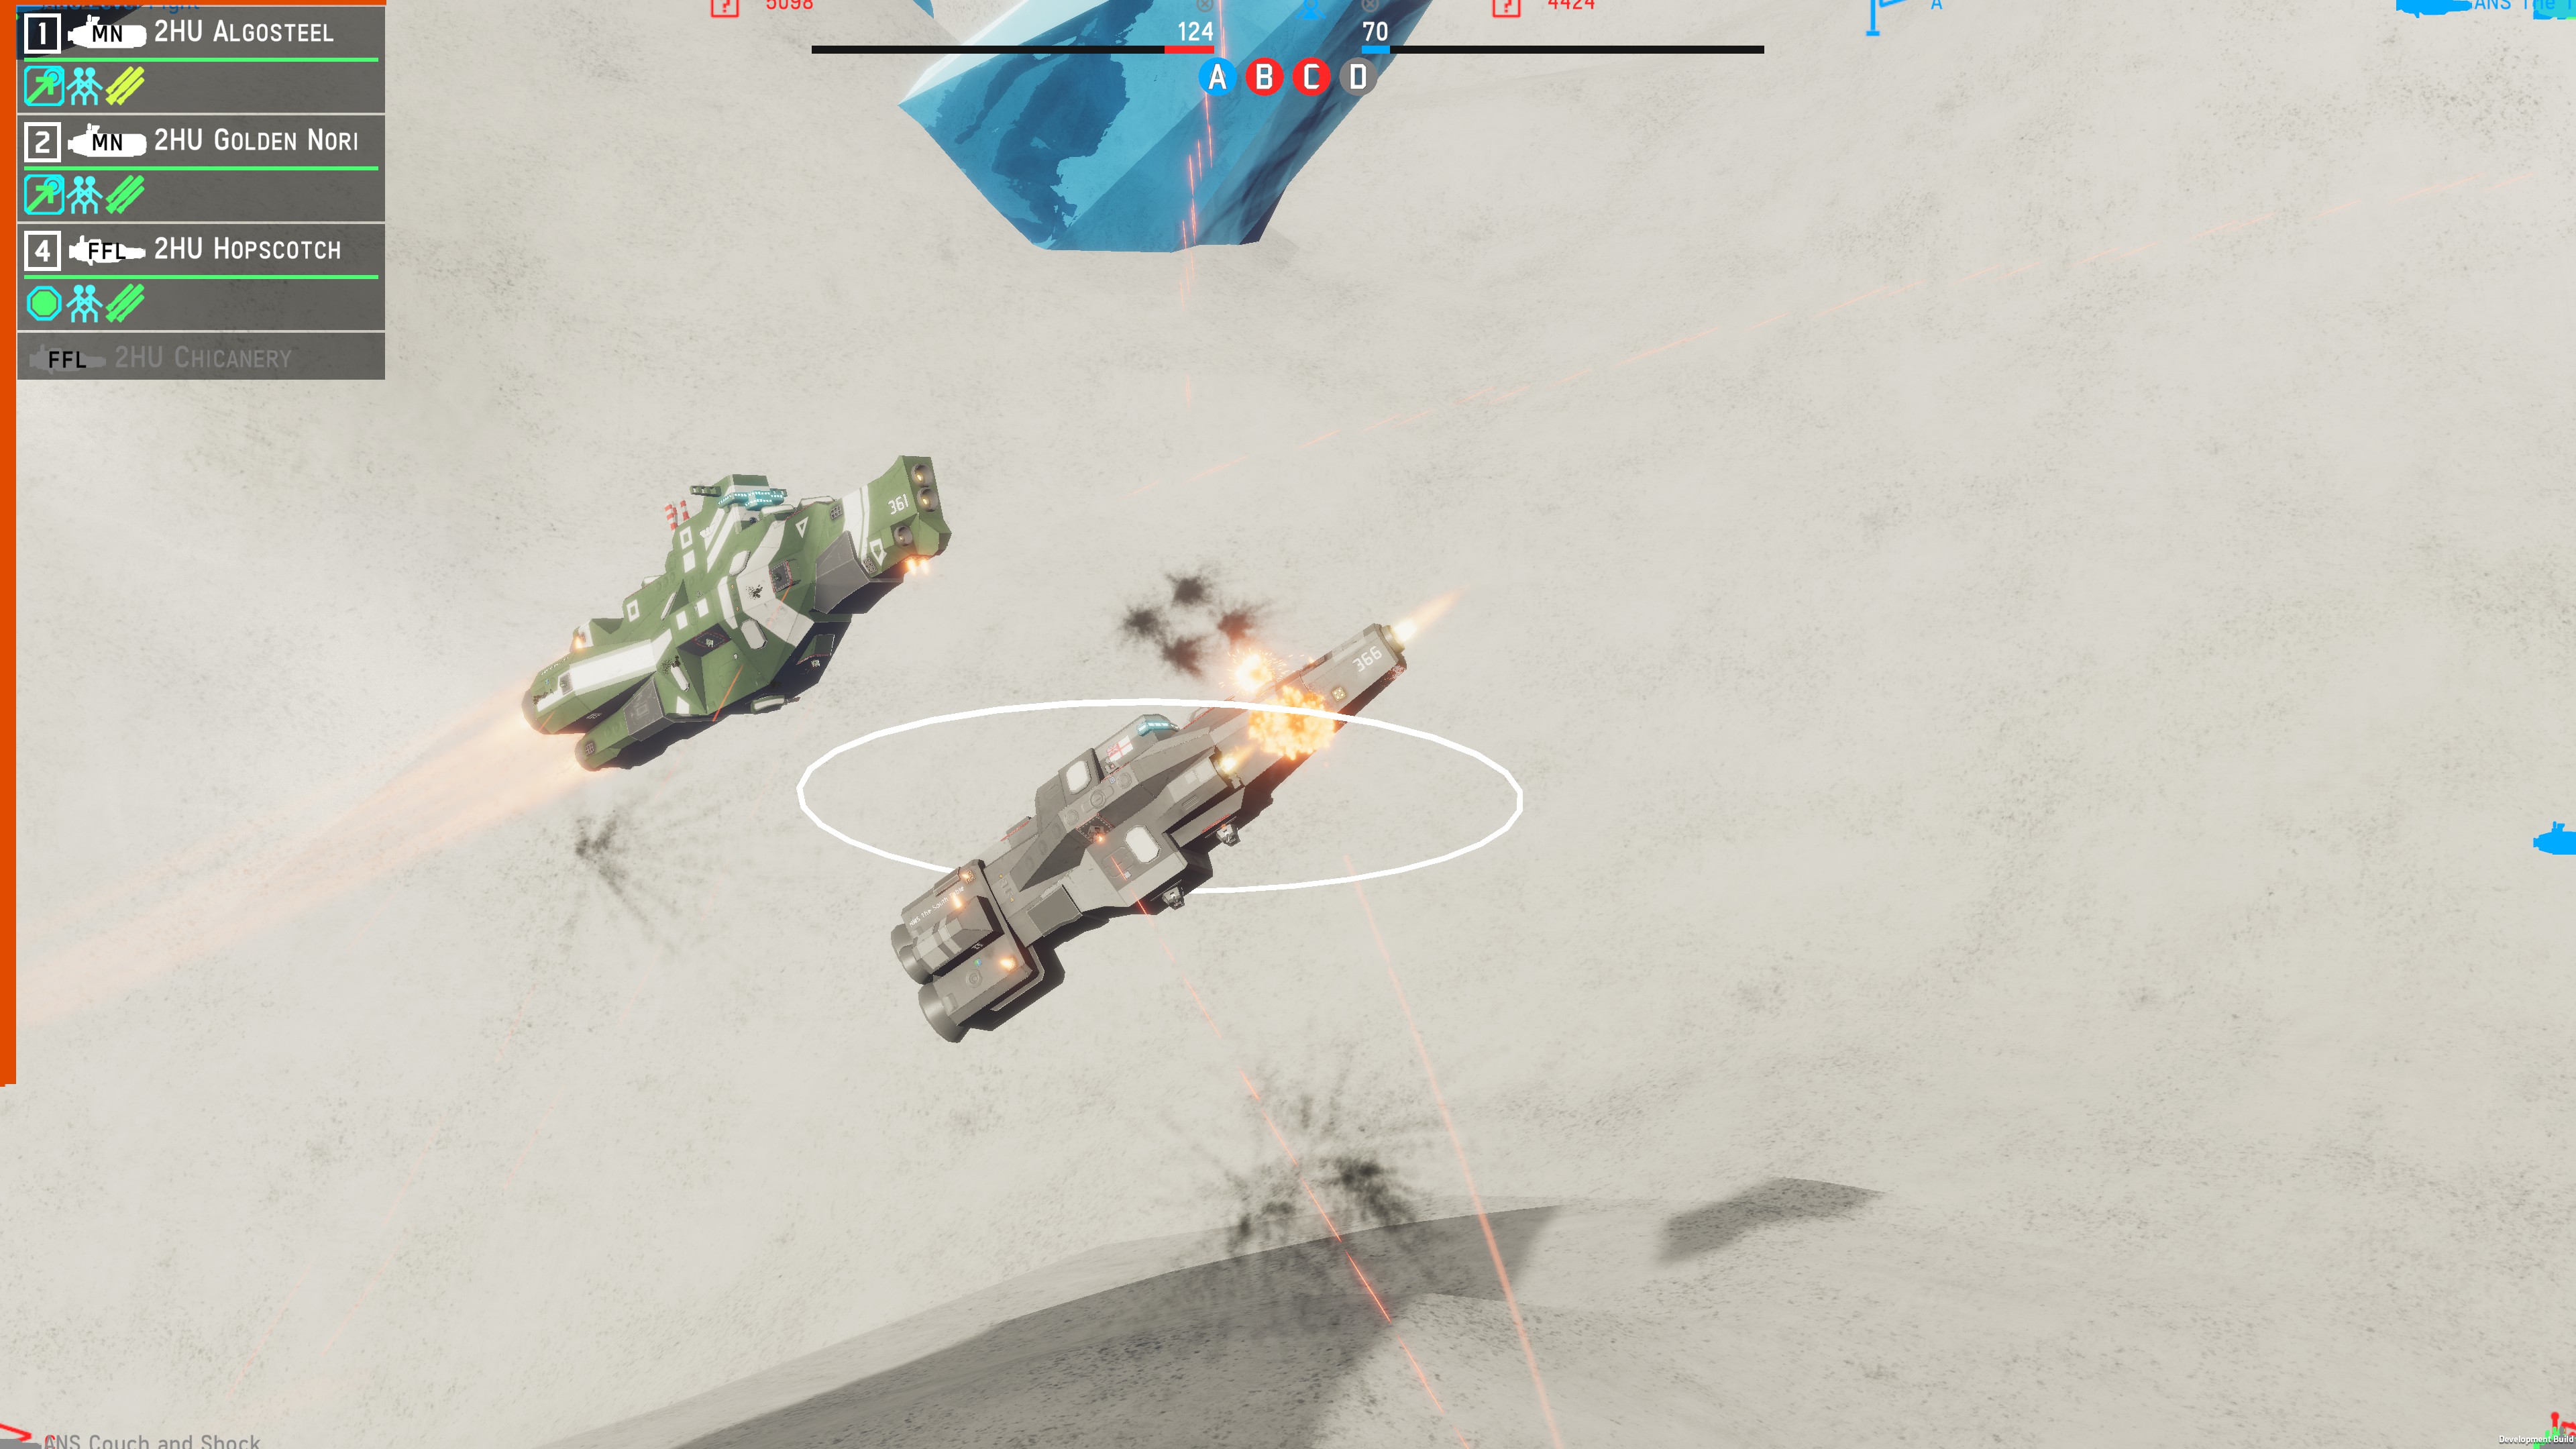
Another example, though, with fewer photos taken during it for me to illustrate, so you’ll have to take my word for some of this. During the same game, you can see my second mine feeder, “Golden Nori” in the background placing some mines uncontested at D. Left to my work, I eventually produced this network of minefields.
The track you see, 2837, is the battleship mentioned earlier, having gone over the top to attack the other side. I have several fields covering multiple angles of D. These are mixed fields of standard Mattocks and Augers. Despite being relatively unharmed and without any ships to contest, this BB did not get this cap. They would pick up mines, move to try and avoid, and then stumble into another field. This BB ended up taking 11k damage from just straying too close to the fields alone, and while they did end up clearing two of them, they did not get the point before the game ended. A big ship with lots of PD would conventionally be considered ‘immune’ to mines, as its PD would stop any that triggered. However, my placements are such that the PD did not get much time to react, leading to hits. Mines can be surprisingly overwhelming, especially when mixed, as the standard mines can pull fire, and then suddenly, the sprint mines become the priority. This causes PD turrets to ‘bounce’ and fail to focus fire, letting mines encroach.
Principle 2. Volume Is Key.
Hopefully, you now have the right mindset going into the application of the mines. So now let us talk about the mines themselves. As I hope was made clear in the above sections, your primary mine will be the base ‘Mattock’ mine, with some ‘Auger’ sprint mines thrown in to help your fields operate as a deterrent. My standard policy of that mixture is around 3:1, so with 4 MLS-9s, you deploy 3 batches of Mattocks and one batch of Augers.
The more important thing, however, is the volume of your mines. Just like any other cheap seeker missile system, such as Gales, a handful won't do you anything but waste points. A field composed of 5 mines will be cleared by a single defender, wasting the points and time spent to place them. However, a field of 20 mines can kill ships that aren’t careful, as the volume triggered at once and the duration of the triggering is expanded. Leading to encroachment and overwhelming PD. Having more mines in your hold also leads to more flexibility in your deployment. If you know a large group is coming your way, you can add additional mines to a field or use it to place additional fields that funnel ANS players or pick off lone support ships that were not being cautious, thinking the main field had been spotted. This volume also has an additional effect that one may not consider had they been looking at mines as a killing tool -- A large field takes a horrendous amount of time to clear. Having, say, 40 mines on a point can take quite a bit of time to clear, assuming ANS is being cautious, slowly advancing, spotting, and engaging mines with RPF or even personal PD nets takes a fair amount of time, time that ANS is not capping the point. An anecdotal scenario that really powerfully illustrates this point was a game during OSP testing (though mines were as they are now, so it still holds up). I had heavily mined B on a Pillars match, and ANS had rolled through E and up to B with a large amount of their team. Spotting the mines, as they approached from the side, ANS was at a point deficit and needed to take the cap not to lose. Having spent some time trying to clear and having success to a degree ANS realized after multiple minutes they were not going to clear the field fast enough, and the point lead was getting worse. They decided to run a sprinter, suicidally at full flank speed, into the point to try and clear it faster. This sprinter was blown to pieces, and the field was still there due to the amount placed. That field claimed two sprinters and a Vauxhall despite being spotted by ANS merely because it was holding their entire team up, and they had to rush. This is a big common theme with mines. When you are in a rush, mines are beyond deadly. The longer a match goes, the more valuable each mine can be. While I do not particularly recommend placing this heavy volume on a given point, it is possible and shows the merits of having large volumes of mines.
Principle 3. Lay Traps With Care.
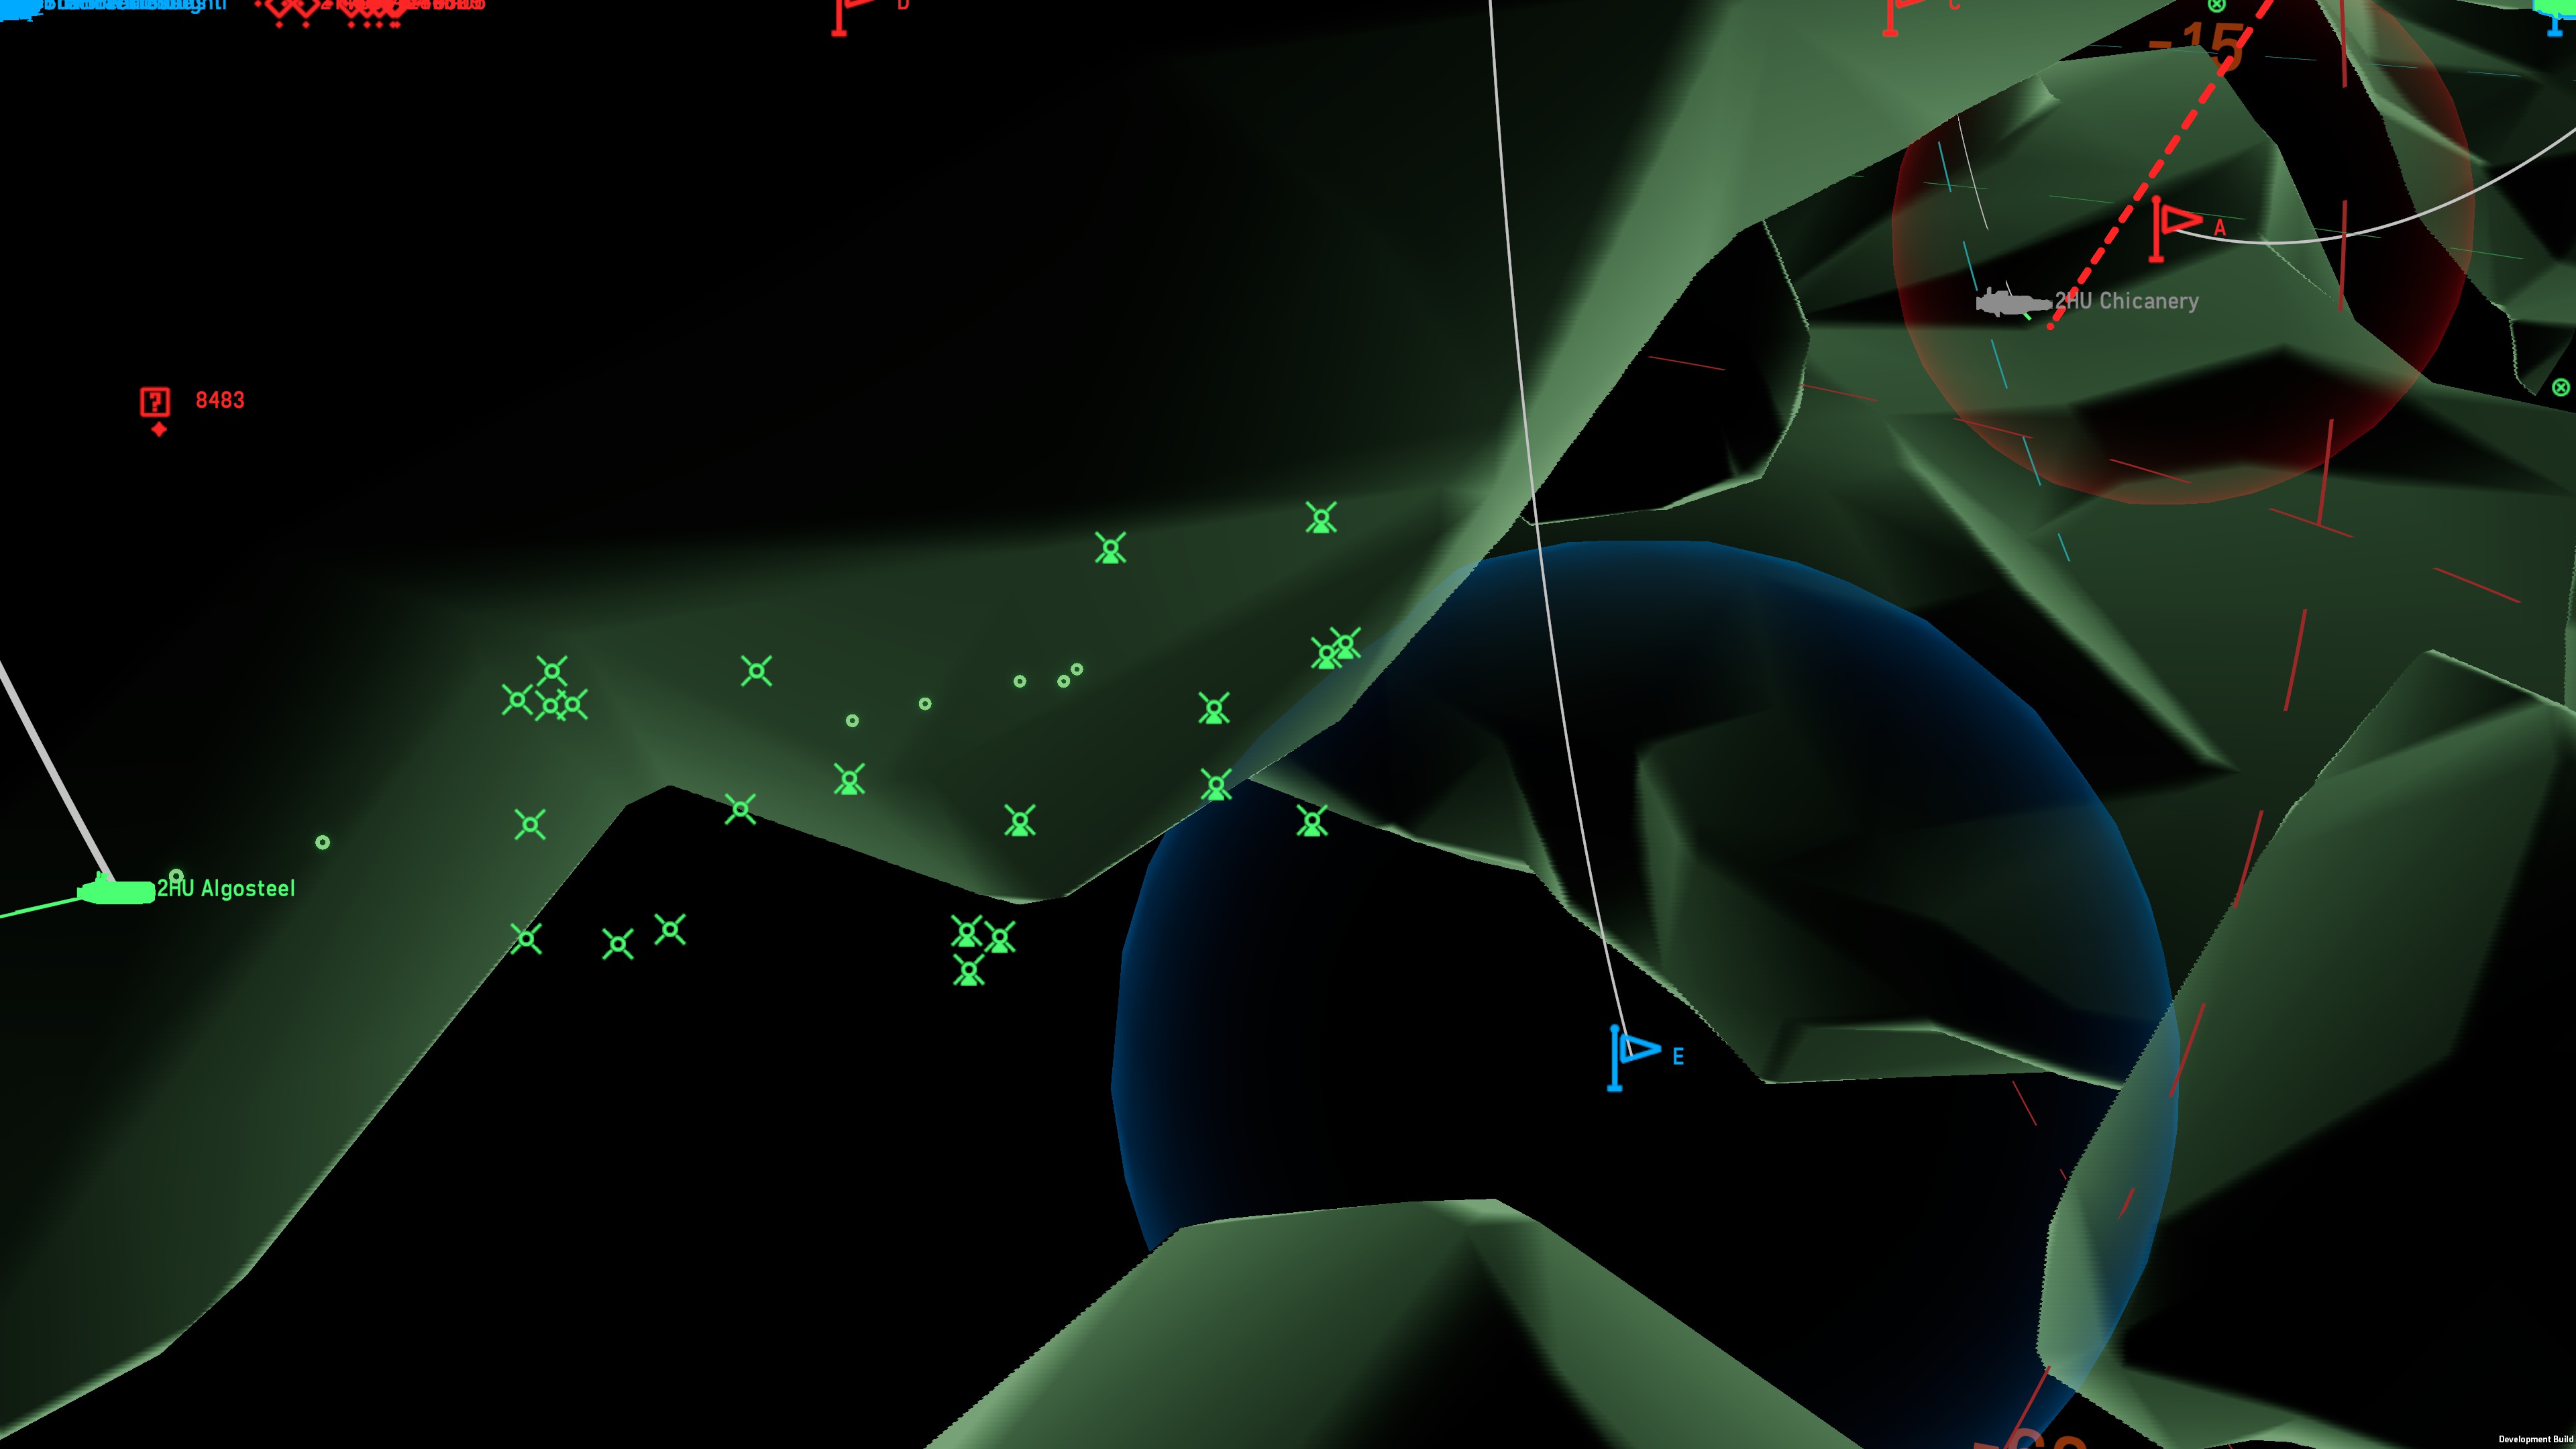
Another principle to consider regarding the placement of the mines is where to place the mines when attempting to create zoning fields. It may seem slightly counterproductive to principle one, but you do want to place mines where they are somewhat hard to spot and, more importantly, safe from PD networks until the last moment. The reason is that mines have two ways of revealing themselves; radar reveals are fine and dandy and give ANS plenty of time to plan around your field and avoid it. This does work for zoning and is a success. There is, however, another, slightly better way if it can be done. That is to slam a mine into the side of the nearest ship as a welcome gift. As seen in the demonstration I showed to principle one, ANS found that field when it obliterated a sprinter. This takes out a vital hull for ANS and still performs its job as a zoning tool. As such, placing fields in position to blow up ANS ships and then making them wary of approaching anywhere near that spot is actually preferable. You don't necessarily want a kill from this, though that is a welcome outcome, but rather you just want to deal damage as it will make the ANS players significantly warier of the field than if they just spot it on the radar. The best way to achieve this outcome is to put yourself in the place of the ANS player. If you were to approach that cap or that choke or that spot in general, how would you do that? And then take that information and place mines in the last space you would want to find a mine. By considering common avenues of approach, you can discover places to put mines that are notably more effective than others; for instance, this spot on E is a personal favorite of mine and one I have seen other players adapting as of late.
This spot works remarkably well, as it covers the majority of standard approaches to E. While somewhat hard to pick out from the image angle, these are obscured from the left (approach from D) and approaches down the center (from A). The only way to spot these mines early is to come from the OSP side of the map or the extremely low side of A. This spot has delayed many E caps and netted me a few kills in the process. This placement also banks on another technique, what I call nesting mines, as the goal is to place mines right up against a rockface, preferably in divots or minor indents.
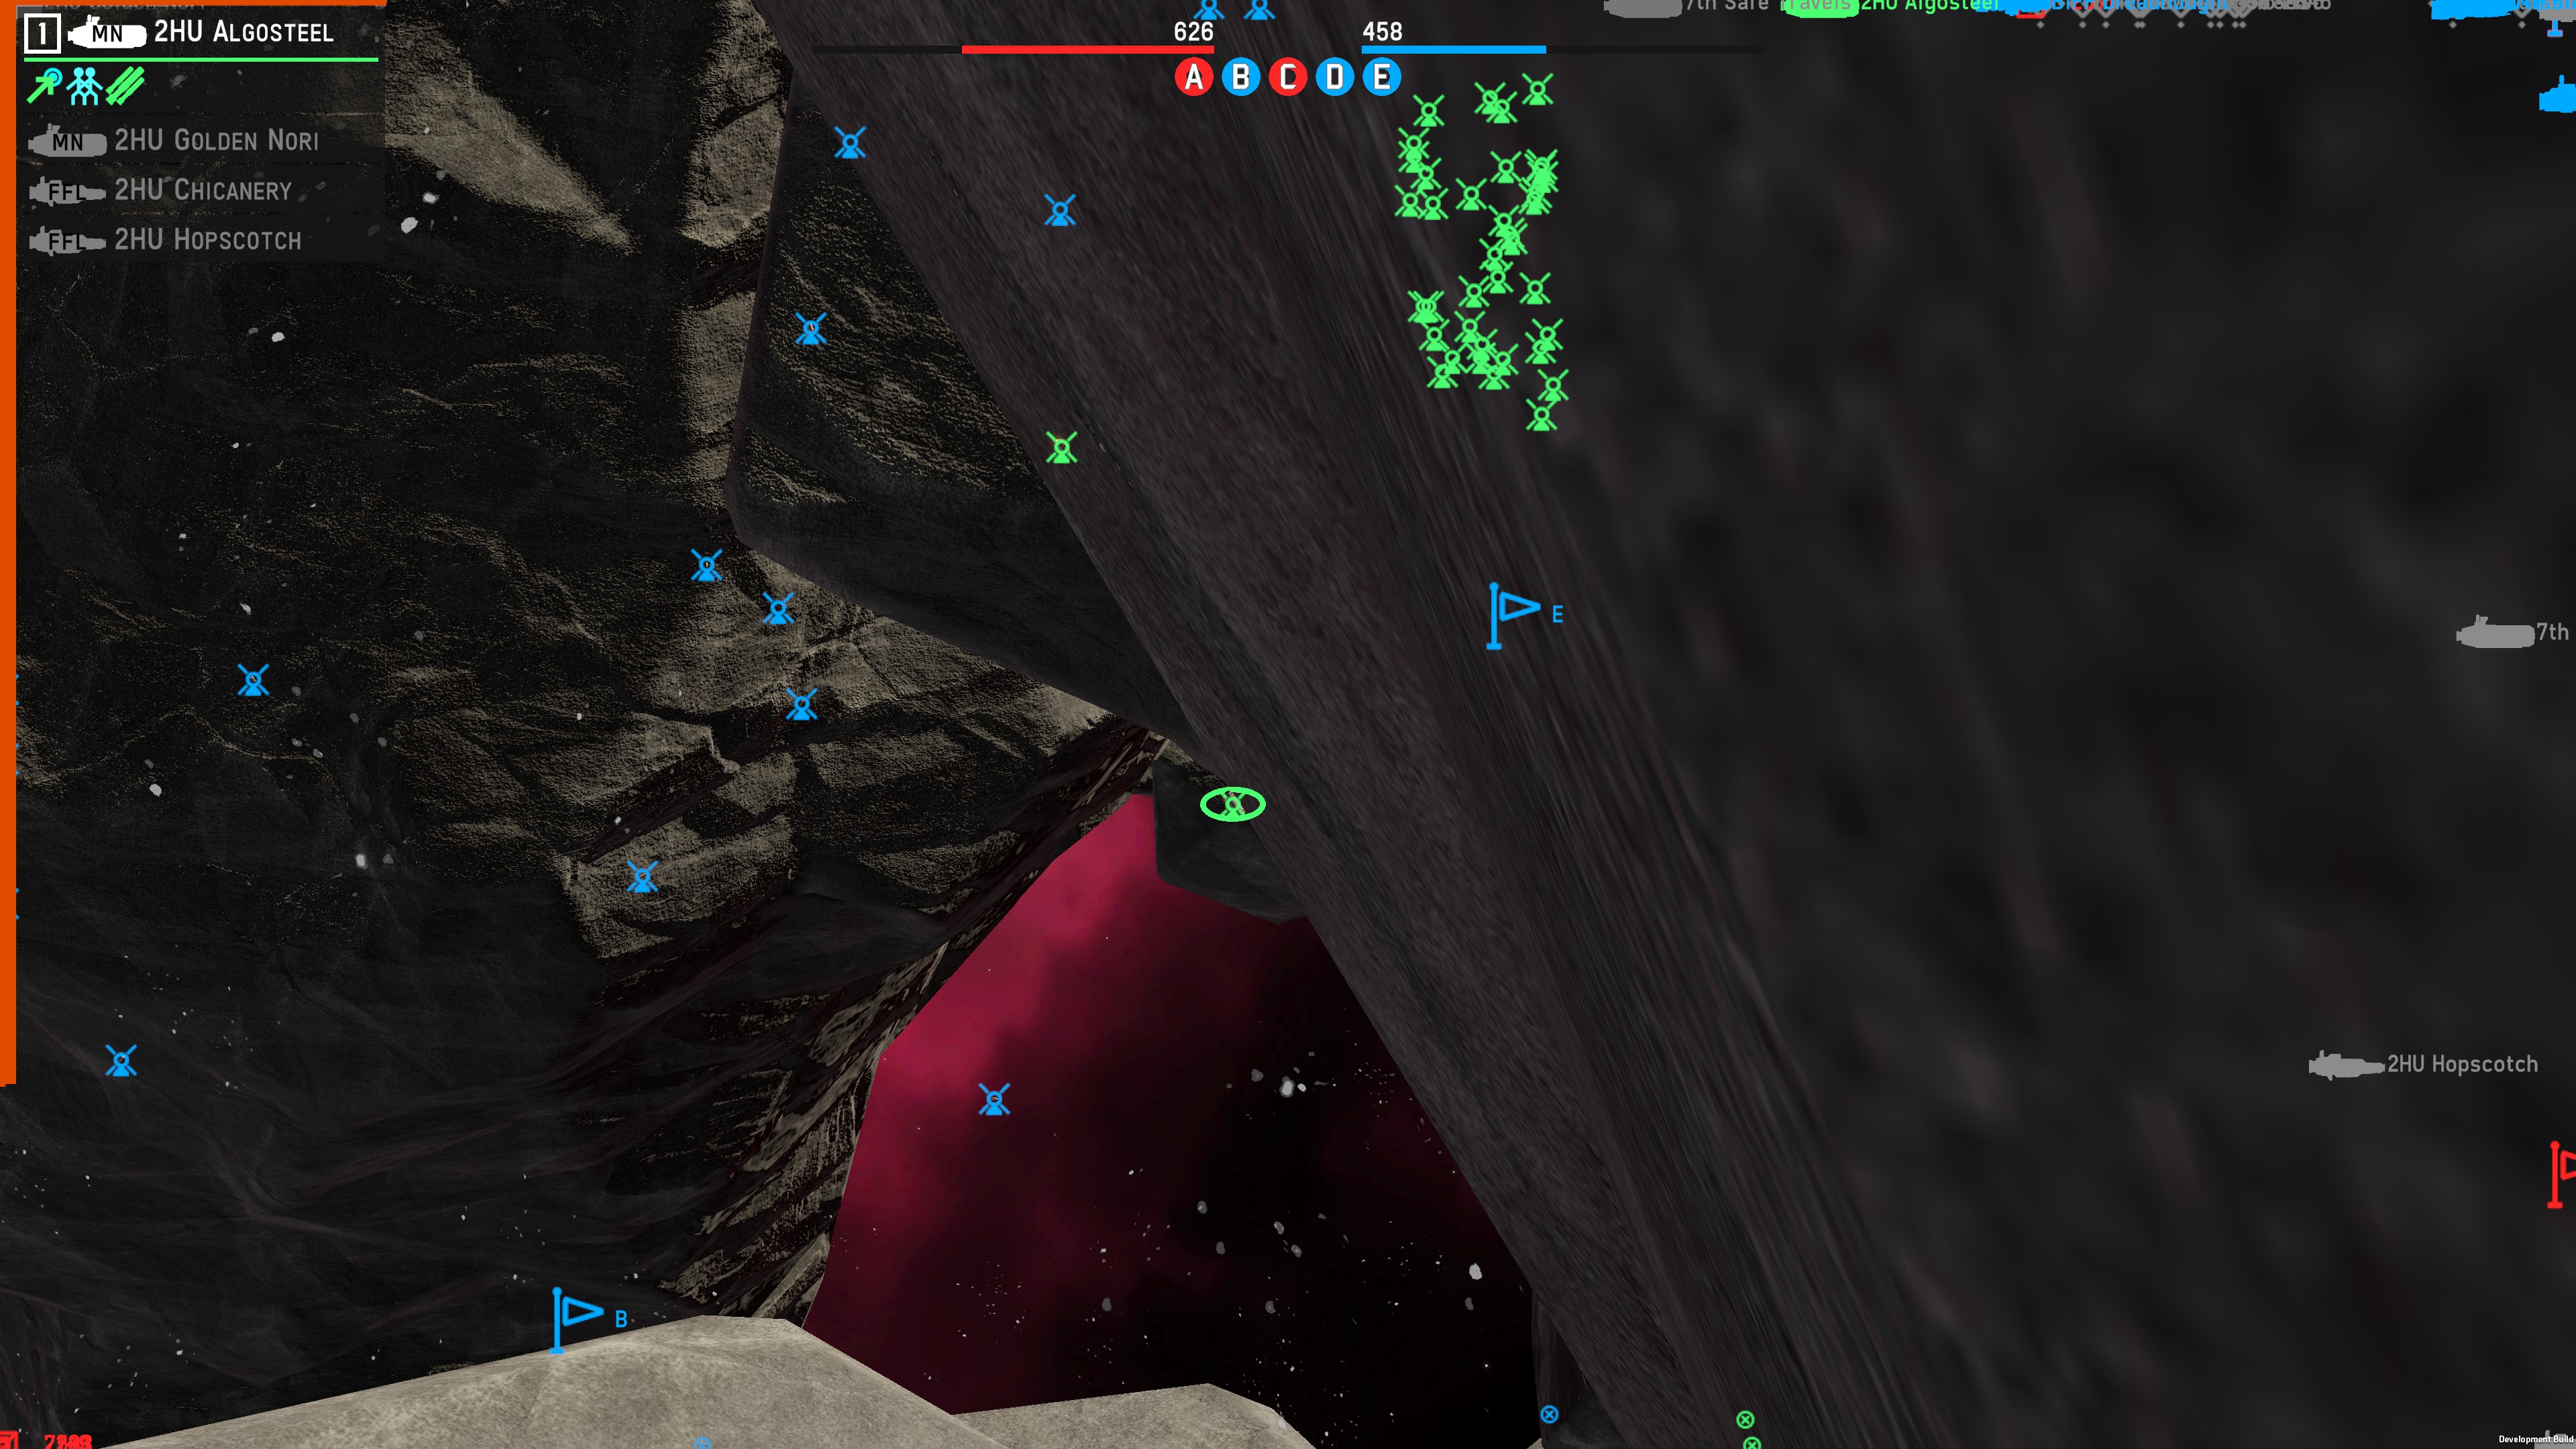
This image is taken from B of the same game but was a better demonstration of the principle I had applied at E. As you can see, the mines are very close to the rock face, which has several advantages. The primary advantage is that this gives PD the smallest possible window to react to your mine. When a mine is out more in space, ships that, as a rule, like to hug the rock face will have more distance from the corner to your mine, giving PD critical time to react and destroy your mine. However, suppose your mine is hugging the rock face. In that case, the curvature of the rock may have more of the enemy exposed before the mine activates. It likely will also activate at a much shorter distance from the enemy hull, reducing the PD window. This also has other benefits, such as reduced visibility, as they don't see the mine until they are more than likely committed to going around the corner and thus at a higher speed and unable to back up in time, and also can lead to partial rather than whole field activations. This can be a detriment in specific situations, particularly when it's a larger hull and you want that volume to land any damage. However, in the case of smaller hulls such as Sprinters or Raines, having some 30-40 odd mines activate is overkill to a detrimental effect. By placing along the rockface, the rockface may prevent some mines from activating at the target, and by the time the ship would have set them off, mines that have already activated may have killed it, preventing it from being triggered. This can increase the lifespan of your minefields and prevent massive overkill of targets that don't need that many mines to kill. This also makes it harder to clear these fields; as the mines are not out in space, it requires ANS to get closer or move specifically to get firing angles on your mines, delaying and distracting them.
This is another example of mine nesting, this time back on Caltrop. There are ships very close to the mines, but their PD is not firing upon these mines as they do not actually have a line of sight to them. As such, ANS would need to crest the ridge to fire upon the mines, setting them off and hoping their PD can destroy them before they trigger -- a risky plan that can result in unfortunate damage
Principle 4. Opportunistic Action
What's better than a mine defending your point? A mine defending the enemies. One of the key things to watch for when running a minelayer fleet is breakthroughs and opportunities to get into the enemy backline. Backcaps with a dedicated minelayer are the stuff of pure frustration for ANS teams; if you just send a single support ship to take it back, it gets deleted, and the point still belongs to OSP. Cementing OSP holds on backcaps taken by the main force is also fantastic for a similar reason, as it keeps a point that would require someone to hold and secure and turns it instead into the most perfect trap imaginable. Typically, ANS players do not expect mines on their side of the map, let alone on their point. I have had just about every build you can imagine walking straight into mines because the player set it straight for the cap and didn’t pay it any attention past that. Fields on the ANS side of the map can heavily restrict their movement, catch people off guard, and generally make them incredibly paranoid that nowhere is safe. This makes them act slower and spend more time looking at their half of the map rather than where the rest of your team is.
This also applies to other opportunities. Some may be familiar with the joke of placing mines to blow up a ship that is otherwise disabled but not dead. This is not a joke. It is possible to place mines next to a crippled ship to kill it, but also fully intact vessels. There have been times when I walk up next to a sprinter left unattended on a cap, rotate my mine feeder to block its PD turrets, and pop mines that I wait for them to run out of PD ammo, shooting the side of my feeder and then step aside and let the mines kill. This has worked against players up to silver rank and is, frankly, the funniest thing you can do with mines. If anyone reading this guide pulls it off, please toss me a video if you get one I love watching it.
What Makes A Minelayer?
Now that my principles have been covered let's move on to the execution of these principles. There are quite a few builds you can use with mines. Some are better than others; in my experience, some are flat-out bad, and some are rather interesting. Let us talk quickly about the bad ones, tugs, and shuttles; while capable of mounting ML-9s, they are not that great of an idea due to principle 2. They simply cannot take enough mines to be worth the cost in this doctrine. Similarly, while the utility of remote mine placement is real, container ships do not quite have the volume required to work in quite a few of these roles. It can catch small ships out and be a source of delay, but not quite in a way I consider as ‘minelaying’ but instead as harassment.
The core of a minelaying fleet is the cargo feeder. While it may seem strange that I am using one of the slowest hulls on OSP, when equipped with one, or in the case of my dedicated minelayers, two sundrives, even the monitor can get up to a respectable speed. Within this hull, there are two types of minelayers that I utilize. The first and foremost is the dedicated minelayer, 4 ML-9s, and generally a VLS-1 on the nose to act as point defense against hybrids and has softkill. This build is for early game minelaying and those breakthrough opportunities I brought up in principle 4. After dropping early mines, I send this ship to follow around the more prominent, meaner ships like Ocellos and Lineships to take advantage of their pushes around the map and provide security.
The second build is a hybrid layer; I operate these as both minelayers and, typically, as counter-scouts. These comprise two ML-9s, an MLS-2 loaded with ARAD/ACT missiles, and a nose VLS-1. This ship also lays early mines but then actively roams around the edges of the map to both plant traps and hunt for enemy scouts to silence with its size twos. This both helps the team and can help prevent premature detection of your minefields. This is typically the ship behind the enemy team without a main breakthrough to exploit and goes for backcaps. Other feeder builds are undoubtedly possible, but the main characteristic is at least two ML-9s to plant decently sized fields on command.
I am willing to provide this fleet (intended to be a minelayer starter fleet) to anyone interested in using it or merely looking at what I have done. Simply toss me a ping on the discord!
There is also a fleet, so forbidden that Mazer called it, and I quote an “abomination” and personally nerfed it. I am, of course, talking about the mine liner. This right here is why the ML-9 has a compounding cost. While prohibitively expensive now due to the aforementioned compounding costs, it is still possible to create a mine liner. Provided dual sundrives, the mine liner can reach speeds of 50 m/s and dump enough mines to give a radar operator a heart attack in mere moments. While I can't recommend it seriously, it does exist and is quite fun.
Advanced Tactics
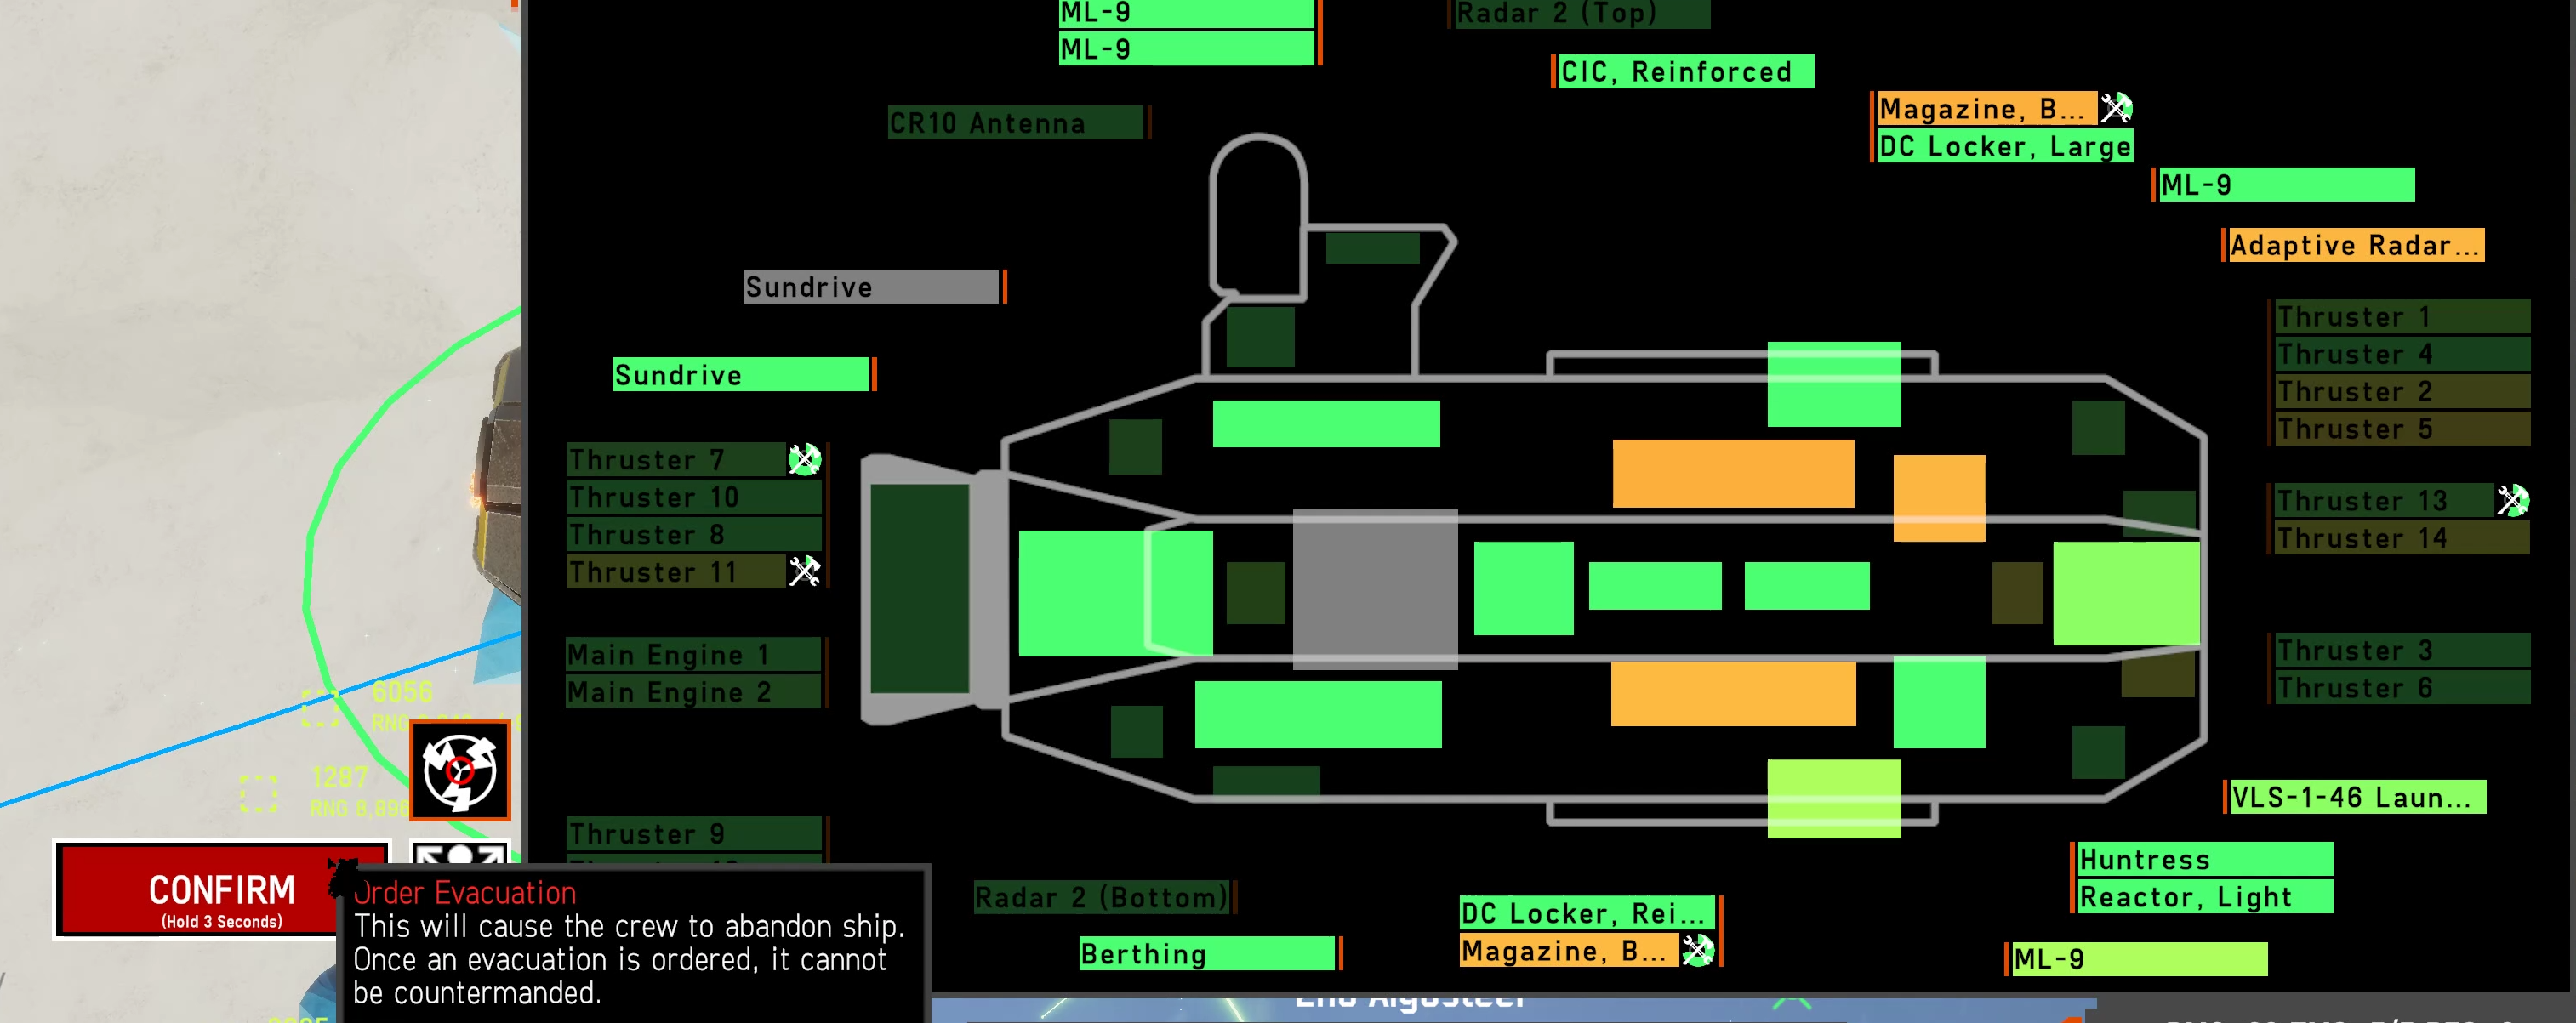
Calling it advanced tactic(s) is a bit of a misnomer. I only have one at the moment and just wanted to very clearly separate this out because it is not something you should do lightly—an actual real gameplay use for the abandon ship button. Recall for a moment in Anatomy of a Mine. I mentioned that dead ships could not set off mines regardless of affiliation. If your ship is undoubtedly going to die and is within activation range of your own minefield, abandoning the ship can save the mines when they may otherwise be triggered by your antenna being blown out.
In this situation, I am in the middle of my own minefield. While not pictured, there are hostile ships encircling me, making escape improbable, and I am actively being beamed by a ship I cannot see. This is a situation where I will undoubtedly die, and thus I make the decision to preserve the field above me by abandoning ship.
Now while I have most of my ship alive, I decided that the mines were worth more than the hull here. This did pay off, as the keystone beaming me was punched in the spinal by one of these mines later. So it's something to keep in mind as a possibility but only do it if you are absolutely sure you will have your antenna blown off or are already dead.
Conclusion

That's it for now, folks. I will update this guide as either new knowledge is shared with me or if I come up with anything new. Now get out there and ruin some ANS players' day!
Source: https://steamcommunity.com/sharedfiles/filedetails/?id=2974324107
More NEBULOUS: Fleet Command guilds
- All Guilds
- A Thorough Guide to OSPN
- Helpful Heuristics to halt Hodgepodges and Half-measures
- Guide to Missiles and Point Defense
- Hardly's Helpful Guide to: What The Heck To Do With Your Spaceships
- Nuclear or: How You Can Learn to Stop Worrying and Make the Bomb
- Better Battle Report (BBR) User Guide
- How to use ELINT and cosmo MiG-31
- Silent Thunder Gamemode Guide and Rulebook
- Missile Defence A.k.a: how not to die
- Hardly's Helpful Guide to: 450mm Revolver Bulkers