
Preface
This guide is proudly brought to you by RDLY - Reliant-Dux Local Yards, and is the first entry in the Oopsmodore Reference Library.
It is inevitable that there are errors in content, errors in tactics, and errors in speeling. You'll soon figure out what they are, I'm sure, and with luck, I may be able to fix them.
This guide is neither definitive nor exhaustive - there are many many viable and/or interesting ways to build ships & use them in Nebulous, don't let this guide cramp your style.
Thank you to Farmers_intel, Arofire, and PuppyFromHell for review & feedback during the drafting stage.
Thank you to you, the Nebulous community, for being welcoming, and repeatedly blowing up my ships until I learned to make them better.
Most importantly, thank you Mazer. This thing you made is pretty great.
And now .....
The Way Of The Revolver Bulker
Fire.
Cancel.
Flip.
Steady.
Fire.
This is the way of the revolver. Do not forget it. It sounds simple, it *is* simple, but it can go wrong in dozens of ways.
Fire. Cancel. Flip. Steady. Fire.
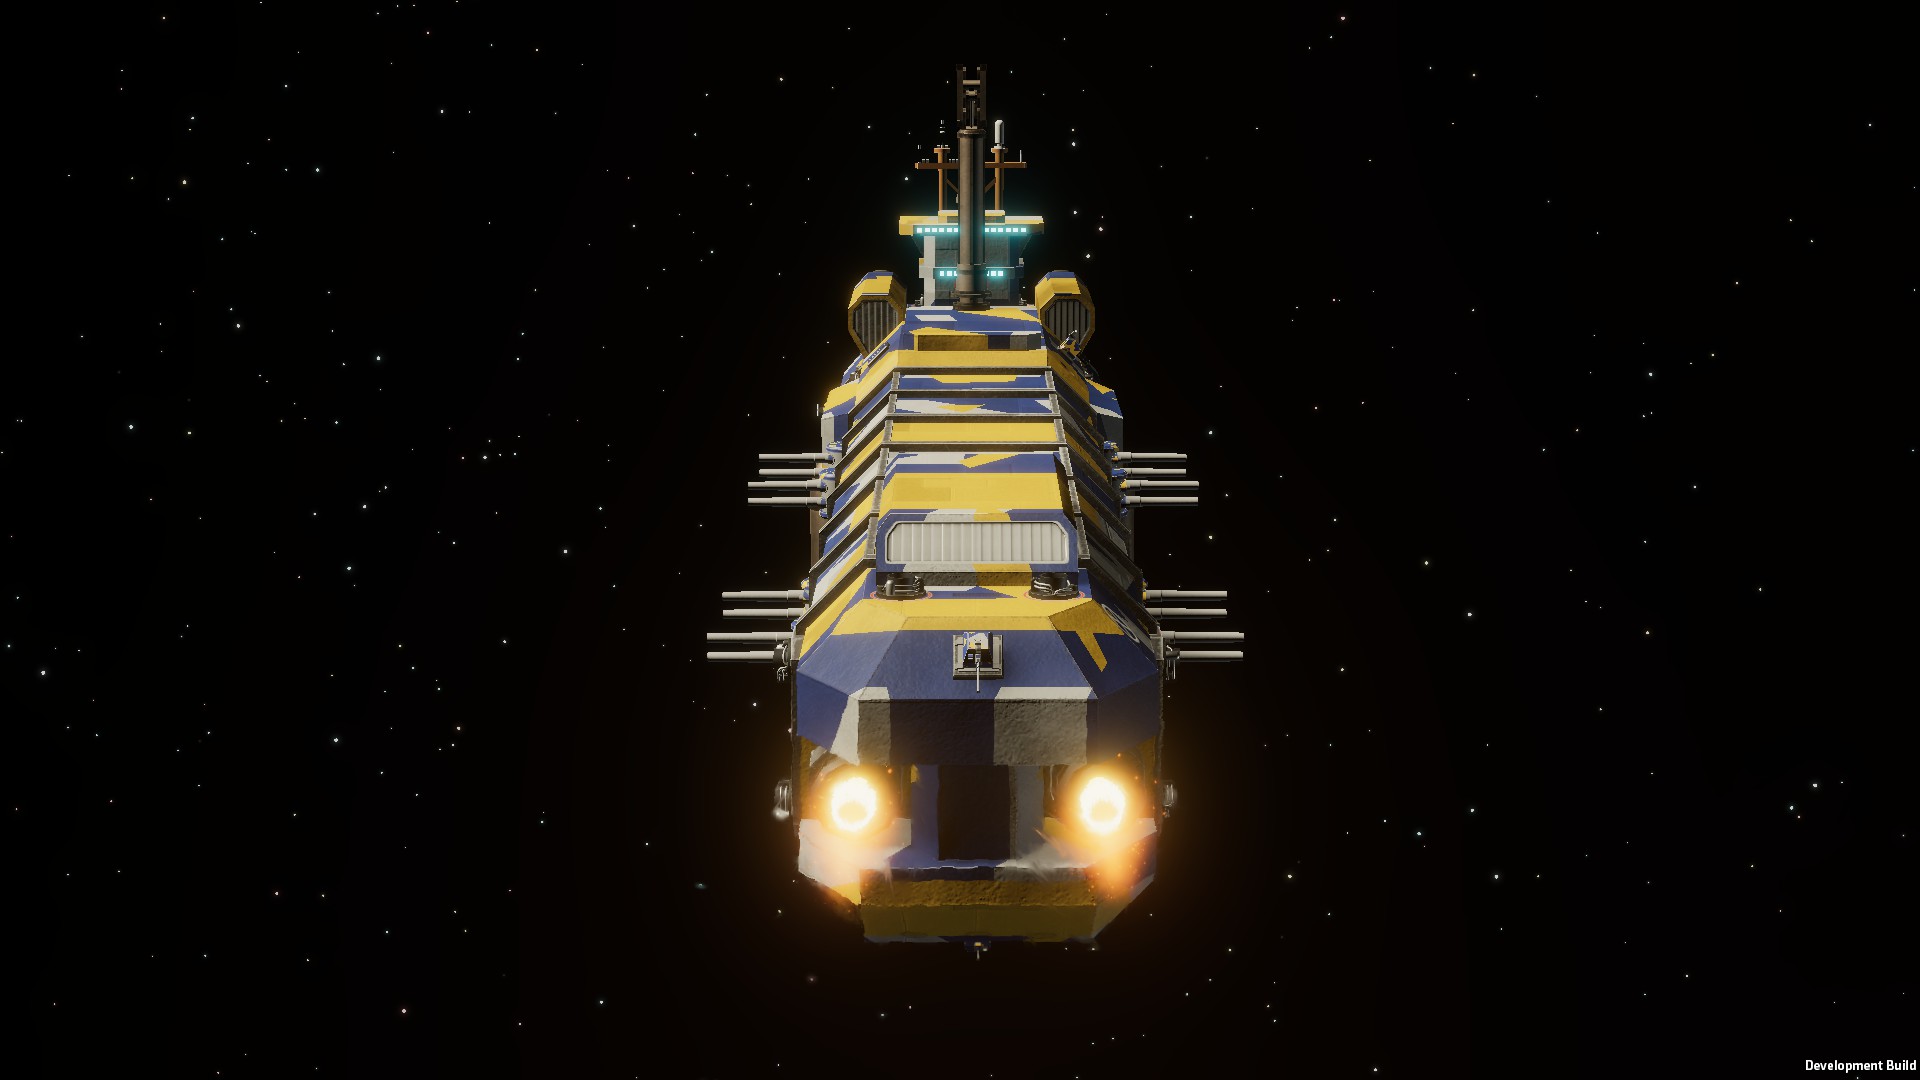
Getting this right is the secret to one of the most satisfying big-gun experiences in Nebulous ... the successful & sustained firing of a 450mm bulk liner in a double-broadside 'Revolver' configuration.
This guide will attempt to communicate the things I've learned while trying to find a way to make this build more viable, more accessible, and more consistent. It will include details on how to smoothly execute the FCFSF cycle, how to practice it, and some ship design approaches I have found to help reduce the hefty micro & attention tax that this liner configuration can impose.
The Two Lesser Secrets

Ahahaha okay sorry I couldn't resist the drama.
The secret is mostly that there is no secret - but that enthusiasm, greed, and the desire to make giant starships do flips can easily lead to approaches which make consistent revolver performance more difficult.
Secret #1) YOU DO NOT NEED TO BRING *TWO* REVOLVERSShocking, I know. Bulker fleets very commonly come in the form of a bulker duo, with supporting ships to fill out the points budget and pick up needed utility for the fleet. While it's fairly normal for plas/100 fleets to run very different configurations on each bulker in the pair, I've often observed that 450mm duos tend to be quite similar between the two ships.
Running a duo of revolvers, however, increases the chance of a number of problems becoming significant. A couple of major ones include:
a key part of fine alignment for bulkers is having a fire order in place; a key part of using revolvers is cancelling the fire order to allow them to flip. This often requires intensive micro to maintain alignment during the flip.
as enemy ships approach, managing range, alignment, cover, and positioning all become to take higher priority than the micro required for the revolver FCFSF cycle. Further, when under heavy fire, flipping can be dangerous due to the larger aspect of compartments when shot at mid-flip. In these situations, using the LNs in a conventional one-sided fashion is often needed - but results in the loss of 50% of your firepower potential.
If, instead, you run one regular single-broadside 450mm LN (let's call it a 'cornerstone' bulker, for convenience) as the formation lead, the cornerstone LN acts as a stabilising influence. As it does not need to cancel its firing orders (having no need to flip), it provides a live alignment reference to the revolver. Further, if forced by the tactical situation to use your revolver LN one-sided, the total firepower reduction is now only ~1/4, instead of 1/2.
Secret #2) BIG BRRRRRRTThis one's a bit more fun:
Put 5x Rapid Cycle Cradles in your revolver.
That's it. Sound silly, yeah? But the result is that the entire 32 shell firing cycle of your broadside completes in 5 seconds total.
The result is that you only need to pay attention to your revolver for 5 seconds at a time, executing the FCF portion of the the revolver cycle, before returning your attention to the cornerstone LN to manage the fighting position & targeting of your formation. With a longhaul, the revolver will take about 40s to flip and steady out on the new alignment; conveniently, the unbuffed reload on a C65 is about 90s, so after flipping, and flipping back, the new broadside will generally be ready to fire - spend another 5s of attention, then back to the cornerstone.
Combined Effects
By combining together these two simple ideas (1x cornerstone + 1x revolver; bringing 5xRCC on the revolver), we've vastly simplified the two biggest trouble areas of revolvers.
Formation alignment is easily maintained by directing the engagement & HDG of the cornerstone LN, removing the need for tedious HDG updates during the roll manoeuvre to maintain weapon alignment. This allows the formation to undertake evasive or orbit-dodging manoeuvres without adversely affecting revolver performance
The revolver's micro is condensed into a 5s firing sequence - short enough that paying exclusive attention to it is fairly low risk - allowing most of your attention to remain on the cornerstone, and the wider tactical situation.
We've also gained some unique properties, mostly as consequences of the 5s burst from the revolver.
Focused bursts of 450mm fire can be more damaging than expected, as they can repeatedly damage a reinforced component before a DC team can raise its health to allow the reinforced property to protect it.
A regular max-rpm 450mm LN build tends to have a recycle time (time between shots) of 2-3s (depending on whether you've structured the buff modules as 4AE+1RCC or 3AE+2RCC; both setups have nearly identical rpm), so the total firing cycle takes between 16-24s. This is long enough for someone to react after the first hits arrive, sliding their ship away from the mid- and tail-end of the burst. A 5s burst, however, leaves very little reaction & acceleration time for the ship between the start and end of the burst.
This has a flip side, unfortunately: if your shells are observed early enough in their flight time, a quick manoeuvre change from the target can result in the entire burst missing. There are a number of ways I have found to mitigate this, but this also isn't as terrible problem as it sounds - you are still shaping enemy behaviour - potentially even motivating them to stay in cover - enhancing the suppressive effect of your fire and allowing your team space to manoeuvre.
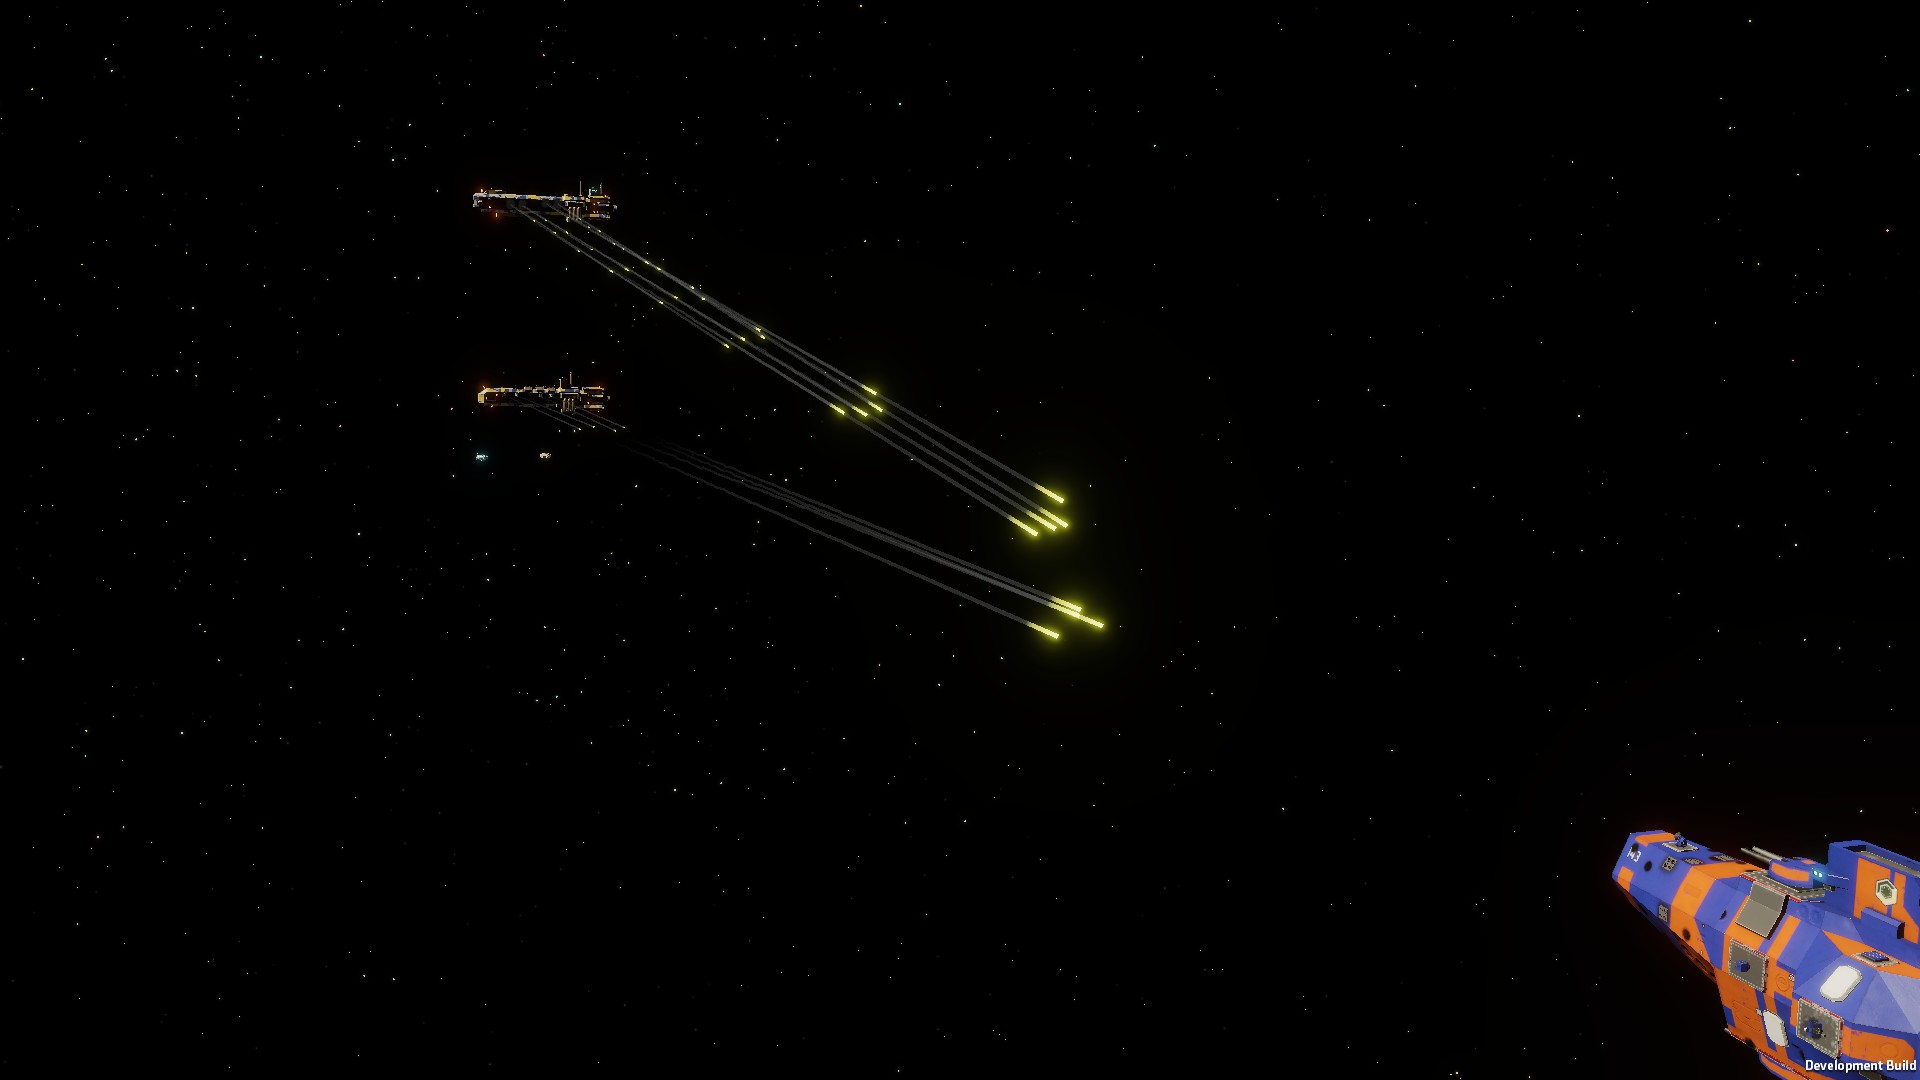
The 5s burst also allows the revolver to make fleeting snap shots while crossing small gaps, or while chasing the angles on a target kiting around cover, firing all 40 shells in the time a cornerstone LN can fire 8.
The Revolver Firing Cycle
Time to get down to business. Even with the assistance of our cornerstone revolver & BRRRRRT-build revolver, a revolver will always be more complex to use than a single-sider. So let's practice the FCFSF revolver cycle, so you don't have to try figure it out when those nasty cruisers come hooning around the corner of the rock.
Practice makes permanent, but not necessarily perfect, so a good practice setup is key.
FCFSF.
Fire. Cancel. Flip. Steady. Fire.
Build up your revolver, 4xC65 on each side, 5xRCC for the buff modules. Group each side of the ship together, so that each broadside is in its own group. "Left" & "Right", or "Port" and "Starboard", or whatever will let you quickly fire the correct side (though there's a trick I'll include later for if the fight is two chaotic to figure it out)
FCFSF.
To start with, I recommend setting up your revolver with a CHI-7700 drive ('Big Yard'), while slower to reposition than the preferred CHI-9100 ('Long Haul'), is much more forgiving for practicing the revolver cycle.
FCFSF.
Bring a standard 450mm cornerstone LN, as well as your revolver.
Head to the testing range (I usually bring a BB as the target fleet), set your formation (I usually favour LOOSE, with the revolver set 600m directly above the cornerstone), and set the HDG around to the side to align your cornerstone as normal.
Set HOLD fire on both ships.
Issue the cornerstone bulker a fire order at your target, then wait while it settles into its final alignment and all weapons are blinking green. Now switch to the revolver.
FCFSF.
Don't try to rush this. Even when you're super familiar, rushing leads to mistakes, and mistakes slow you down. Just calmly go through the cycle. It doesn't matter if you're late or slow. Just focus on making it familiar, before you try to make it fast.
Here we go.
FireIssue a firing order against the target. Once all weapons are blinking green, ready to fire, take HOLD fire off. The BRRRRT will begin.
CancelWhen the BRRRT finishes, and you see the reload timers start cranking around, cancel the firing order (CEASE FIRE to clear all firing orders, important if you have T20 sidearms, for example)
FlipIssue a ROLL order, flipping upside down. First time through, this will point straight down. Next time, it will point straight up ... or can just cancel the ROLL order.
SteadyThe roll will overshoot, but be patient, it will steady out. It's safe to issue the firing order early if you need to put your attention elsewhere, provided the new broadside has rolled over onto the engaged side of the ship.
FireOnce the roll completes and steadies out, if you haven't already, issue the firing order. Wait until all weapons are blinking green, ready to fire. Take HOLD fire off. Repeat from the top.
Repeat.
FCFSF. FCFSF. FCFSF.
Shoot the entire magazine dry. By that point, you should be feeling fairly comfortable with the revolver FCFSF cycle. You may even be finding you can sometimes do it smoothly enough that the freshly rotated broadside is finishing reloading juuuuuuust as it rotates into position.
Don't worry if its still tough. Don't worry if everything spirals out of control.
To reset everything .... redo the formation, ensure the cornerstone LN has HDG set and fire order at the target, then switch to the revolver and make sure all firing orders & hdg/roll orders are cancelled, then wait till the settle down. Then, try again :-)
(this is also how to recover if things go sideways in battle. Cancel the revolver's firing orders, make sure it is set to TIGHT fire so it doesn't add any firing orders of its own, cancel its roll orders, then completely ignore it for a minute.Just focus on managing the battle with the cornerstone bulker. With only a little luck, when you next look back at your revolver, it will have untangled itself, and you can resume firing, usually with the loss of only one or two firing cycles).
Next Steps
If you can smoothly do four flips in a row that are fairly close to the reload time?
Then you're ready to take this out to battle - just remember, your ships have big yards, not longhauls, so will be lacking some degree of mobility.
Once you feel comfortable with that, set up a proper battle fit, with a longhaul drive in each bulker. You can still flip in time, but to get the most out of your revolver, you will need to be fairly timely with your FCFSF cycle.
Just keep smoothly following the cycle, and you'll be fine.If the combat gets too pressured or dicey to do flips, just use the revolver one-sided - those nasty compressed 5s bursts will still hurt the recipient, and your cornerstone will be pumping out consistent max rpm fire until you gain enough space to resume flipping.
But the first time you manage to get the drop on an axford with a 5s burst of 32 x 450mm shells right into its side armour? No feeling quite like it.
The Real Secret
Look. All this work teaching you the FCFSF cycle, and I lied.
The *real* cycle is this.
FFC
Fire. Flip. Cancel.
All within 5s of each other.
This is what lets you fit the entire cycle into very short bursts of micro, and truly frees up your attention from the revolver, allowing you to spend most of your time & attention managing the fight like you were flying a normal 450 bulker duo.
It goes like this:
Fire - issue firing order.
Flip - while the BRRRT is in progress, issue the flip order. This works, because the firing order will override the the roll order. **DO NOT FLIP 180** ... set your roll about 20 degrees short of the final firing alignment.
Cancel - when the firing finishes, CEASE FIRE. The bulker will immediately start flipping to respect the ROLL order you had.Because you issued a roll order slightly short of the final position, it'll be slow enough doing the final alignment that you won't get overshoot problems. No need to HOLD fire, just issue the firing order once its close to alignment .... and return to the top to repeat.
Doing the operations in this order allows you to manage the revolver *without needing to see it*, letting you focus even more of your attention on the wider fight.
Because you queued the roll order immediately after the firing order, you can be observing other things, and simply issue a cease fire once you see the guns reloading on the status panel to get the ship flipping.
Because the ship flips twice in about the same time as the guns reload, you can occasionally select your revolver (I usually run cornerstone on #1, revolver on #2, but you do you) to glance at the casemate reloads - when one of the broadsides is nearly reloaded, you'll know that it's time to focus on the ship to issue the firing order. And immediately issue the flip order. And 5s later cease fire. Aaaaand you're done, and can ignore the ship for another 40s.
Fire. Flip. Cancel.
All within 5s of each other.
Smoothly. Repeatably. Until your target is pounded flat.
You Are Ready
With a cornerstone LN for formation stability and consistent damage.
With a 5xRCC BIG BRRRT revolver LN to bring additional punch within a manageable micro overhead.
With your mastery of the FCFSF cycle, and growing skill at the FFC ....
You are ready.
Go forth, do a barrel roll, and make ANS cruisers sad - one 5s BRRRT at a time.
__________________________________________________
Appendix I - Building A Bulker (+ Performance Comparisons)
As of March 2024, here's some guidance on building & buffing high-output 450mm bulkers.
In most cases, you really want to bring 4xC65 casemates to maximise the efficiency of the support modules you'll bring to buff them. The relevant support modules for this are the Ammo Elevator ('AE', reduces reload time) and Rapid-Cycle Cradle ('RCC', reduces the recycle time, the time between each shell fired from the autoloader ) modules.
BIG BRRRTThe star of the show.
You'll want 8xC65 450mm casemates, filling both broadsides. For ease of use, group each side with a name that will help you remember which one you want to select as the bulker revolves, left/right, port/stbd, normal/flipped, etc... Due to the additional heavy guns, a boosted reactor, expanded magazine space, and the usage of a larger slot for the crew berthing, will likely be necessary. Bring a CHI-9100 Long Haul drive for battlefield mobility, and you're good to go.
For a standard 5-module buff fit, your options are:
5xRCC, ~20 rpm per broadside, ~40 rpm theoretical maxThe C65 casemates in this configuration have a ~5s total firing cycle, with a 90s reload time; the Long Haul drive has a theoretical 180 degree roll time of 32s 32 + 5 = 37, and 90/2 = 45, so you'd think that this configuration would be wasteful, as the reload would finish mid-roll leading to wasted firing time.
However, once you factor in a small amount of time for operator error (you are doing barrel rolls in a live battle after all), reduce roll performance due to other manoeuvres the formation is making, and the time for the bulker to settle onto alignment after flipping, it tends to work out that the reload is 'roll-synchronised', finishing up about the same time it reaches alignment.
Thus, in practice, I find the sustained rpm of a longhaul+5xRCC 450mm revolver bulker is about 30% higher than a single-sided max-rpm configuration, for something like an 8-10% increase in the total cost of your bulk freighter.
For any other configuration of weapon support modules, you'll find that the C65s finish reloading substantially before you can rotate the new broadside into position; combined with their longer total firing cycle, this will ultimately reduce your maximum fire rate despite the shorter reload time.
So in terms of pure firepower, a BIG BRRRT bulker configuration gets you about 30% more bulker for your bulker; cost-corrected, you're still getting about 25% more firepower output for the points spent, compared to the max-rpm fit for a single-side 450mm bulker. Such as ......
Casemate CornerstoneFor your single-sided cornerstone bulker, you'll likely want a CHI-9100 Long Hault drive to maximise mobility, and a max-rpm configuration of your weapon support modules.
For a standard 4xC65 casemate supported by a 5-module fit, your options are:
4xAE + 1xRCC, for 27.89 rpm total
3xAE + 2xRCC for 27.88 rpm total As you can see, both produce nearly identical rpm.
The 3AE/2RCC has a firing cycle of ~16s, with a 54s reload. A long-haul equipped bulker takes about 9s to get up to top speed (at least, when using the main drive), so after sliding out of cover to fire, the 3/2 fitout won't delay you too much before you can dash back behind a friendly rock. If using T20s as a 100mm secondary battery, this configuration is also very close to the max rpm configuration for those.
The 4AE/1RCC setup, on the other hand, has a firing cycle of ~24s, with a 48s reload. It also is the max-rpm fit for T20s. This setup is excellent for sustain - you can split your C65s into two weapon groups of 2, and if you fire the second group about 12s after the first group begins to reload, there will be only very short gaps in your 450mm shelling. This keeps continuous pressure on your target, hampering DC efforts, and requiring them to continue any evasive manoeuvring without pause.
Appendix II - Calculated Choices
I have found just one other roll-synchronised 450mm configuration. The good news is that it produces a much higher total rpm than the longhaul+5RCC configuration typical for BIG BRRRT; the bad news is that you pay for it in mobility.
4xAE + 1xRCC, and a CHI-7700 'Big Yard' drive.
The Big Yard is an uncommon drive choice at the time of this writing, as the lower top speed (~29m/s at flank, compared to ~40 m/s with a longhaul) and small decrease in acceleration causes a loss of mobility, evasion, and positional flexibility that is often considered too high for a front- or mid-line bulker design.
However.
In the context of a revolver bulker configuration, the Big Yard provides a substantial boost in performance.
Remember how the longhaul+5RCC revolver configuration gets you about 30% more firepower output for about 8% more cost?
The 7700+4RCC+1AE configuration delivers about 60% more firepower, for the same price.
Your fleet of two bulk liners (one cornerstone, one revolver), is now approaching the firepower of three max-rpm bulkers (well, y'know, 2-and-2/3rds, but hey, who's counting) for the price of two, leaving generous room in the points budget for scouts or cheap capping shuttles.
The trade-off, of course, is a massive loss of tactical mobility and flexibility. At only 29m/s, you're slower than a monitor. You can't quickly reposition if the other team pushes hard on the opposite flank. Your ability to dodge incoming 450mm shells will be reduced. You will struggle to control range against beamstones, fast battleships, or axfords. Light cruisers will run rings around you.
But ... in a team composition that can protect your flanks, this trade-off can let you bring 450mm firepower unrivalled by any other single-ship configuration in the game, excepting only a Solomon battleship.
Who can say? Maybe this time, it'll work out okay ;-)
Appendix III - Special Sauce
You can use the basic principles of this concept - a cornerstone bulker with a rapid-burst revolver - to approach & stabilise other revolver concepts too.
A favourite I've been tinkering with involves a revolver with C56 250mm casemates on one side, and T81 plasma turrets on the reverse, that only needs to make a 90 degree turn for each firing cycle .............
I look forward to seeing what other revolutionary ideas you come up with!
Source: https://steamcommunity.com/sharedfiles/filedetails/?id=3172221868
More NEBULOUS: Fleet Command guilds
- All Guilds
- Gopher OSP Guide
- Armament to Zoning, a Comprehensive Manual on OSPN
- The Vibes You Need For Frontline CLN (Or How to Ultrahot)
- Making a Puppy Map: Handling Player Feedback
- Making a Puppy Map: The Beginning
- NEBULOUS: Fleet Command Guide 454
- Understanding the Role of MDs and Rails
- Comprehensive Craft Clobbering Compendium for Chic and Comely Captains: A guide on ACM design and usage
- How to Win As a Carrier (Intermediate Doctrine and Tactics Guide)
- A Step By Step Guide to Setting Up Your Carrier and Loading Craft