Welcome To The Guide!
Hello There!
Legend of Mana is a fun game isn't it? And I definitely encourage playing through it fully blind the first time, just to enjoy the full creativity, exploration, and non liner questing this game offers you. But if your like me, and have grown up on the game - or just have thousands of hours playtime and want to satisfy your completionist side - then this guide is for you!
In this, I've broken down exactly where to place your artifacts, and exactly the quests you need to complete - and in what order in order to fill in this 'around the tree again' placement that will give you everything in one play through. Which is great for getting all those delicious achievements.
So if your ready, buckle in, start up your game, and lets DIVE IN!
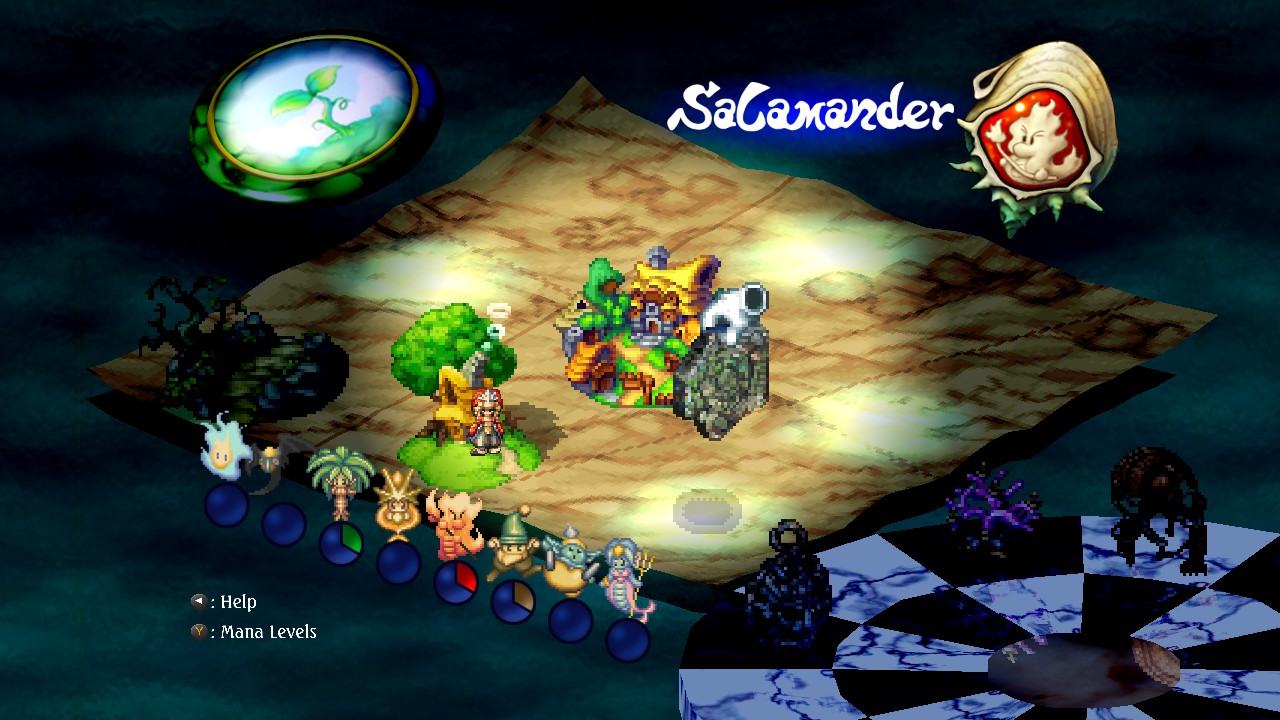
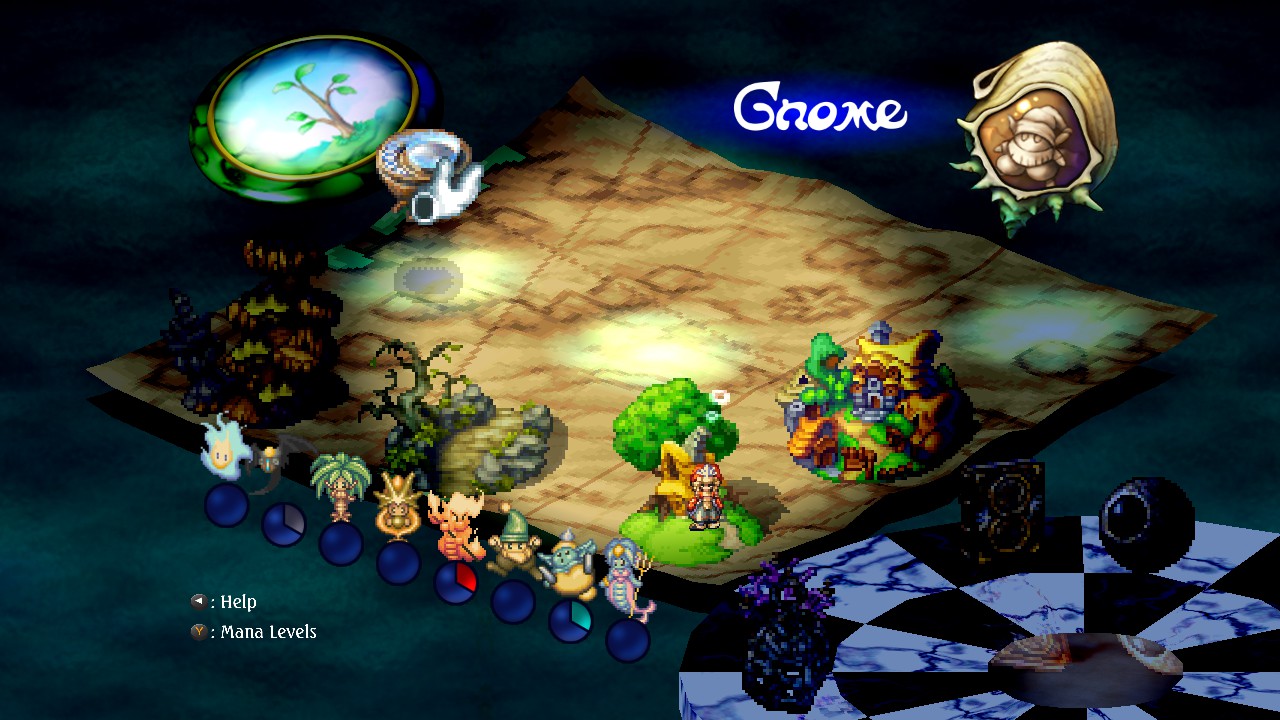
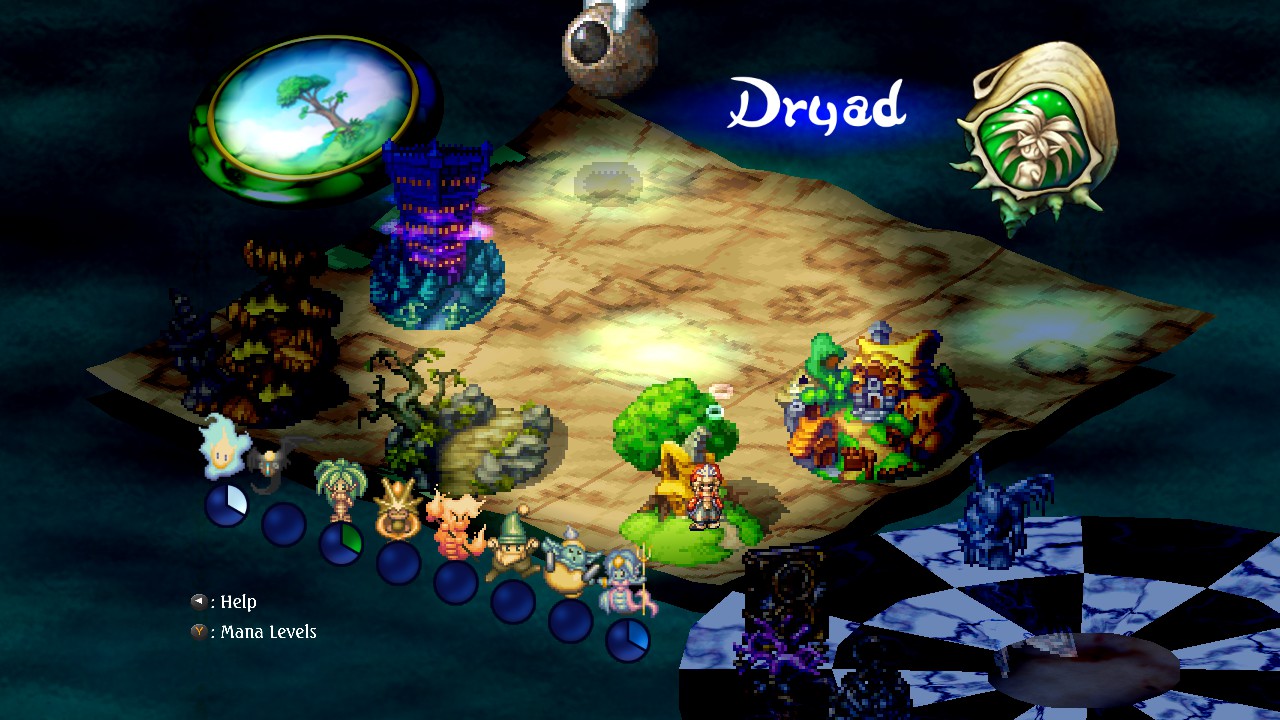
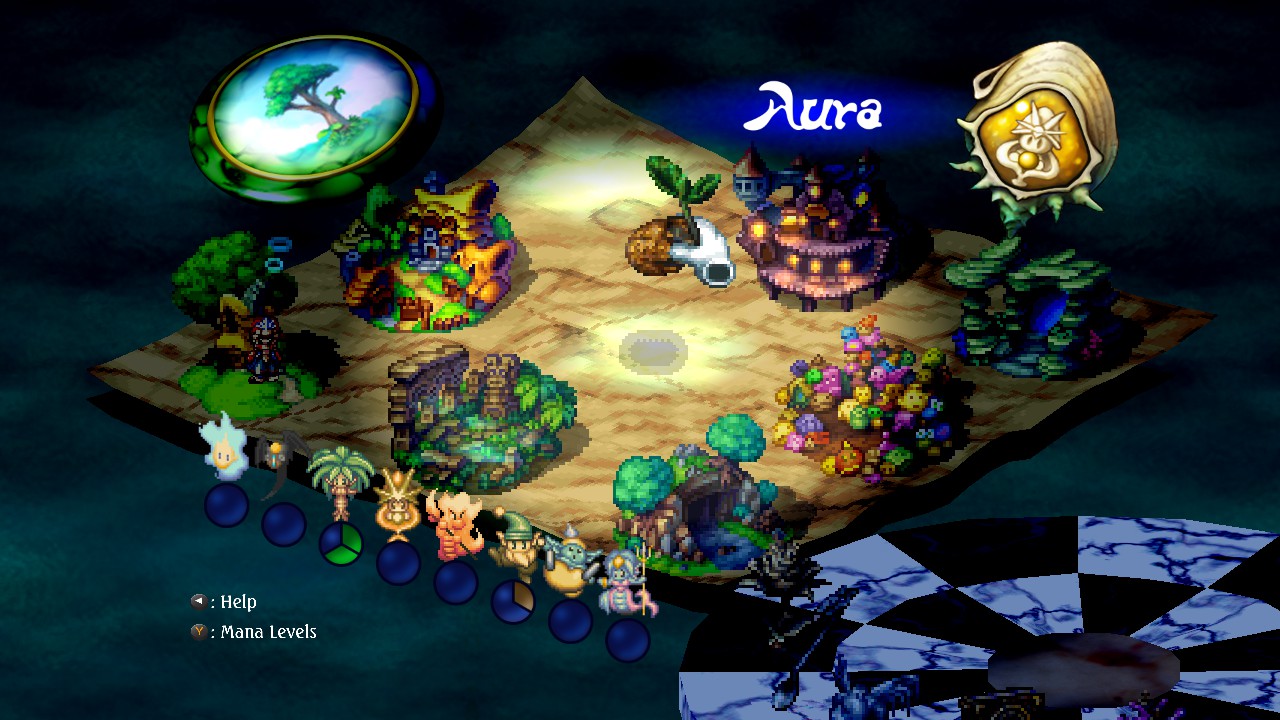
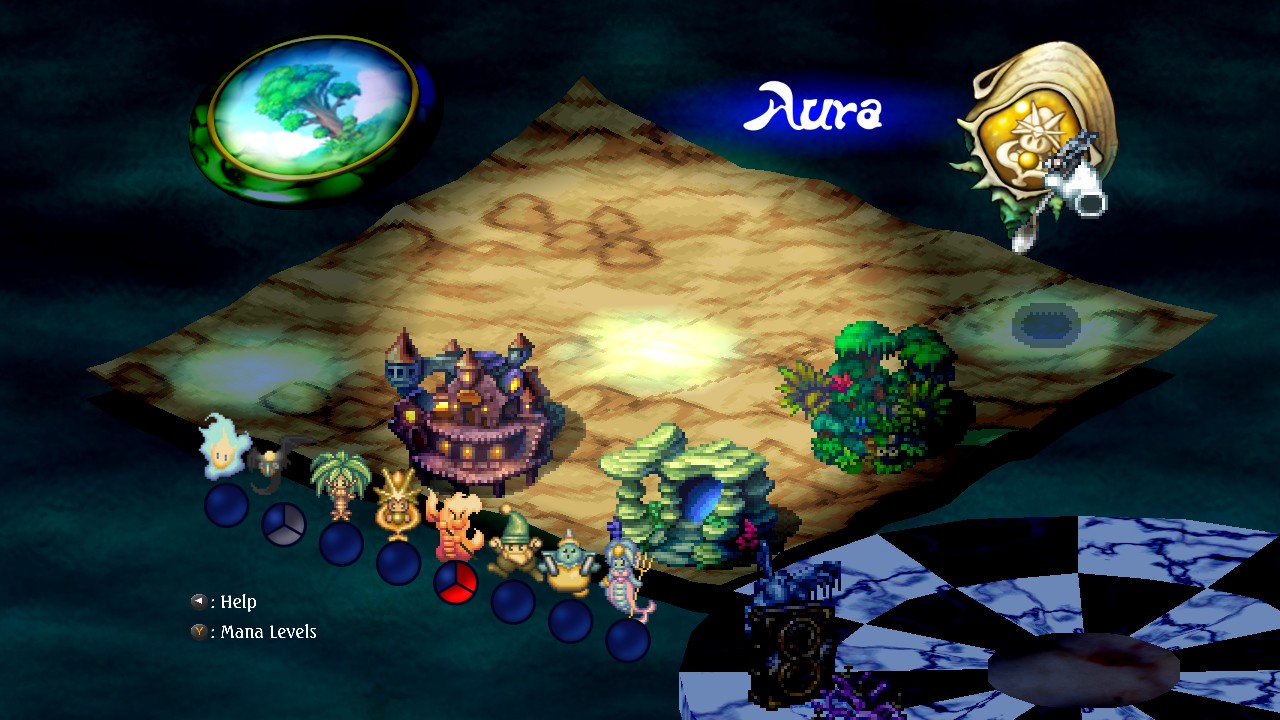
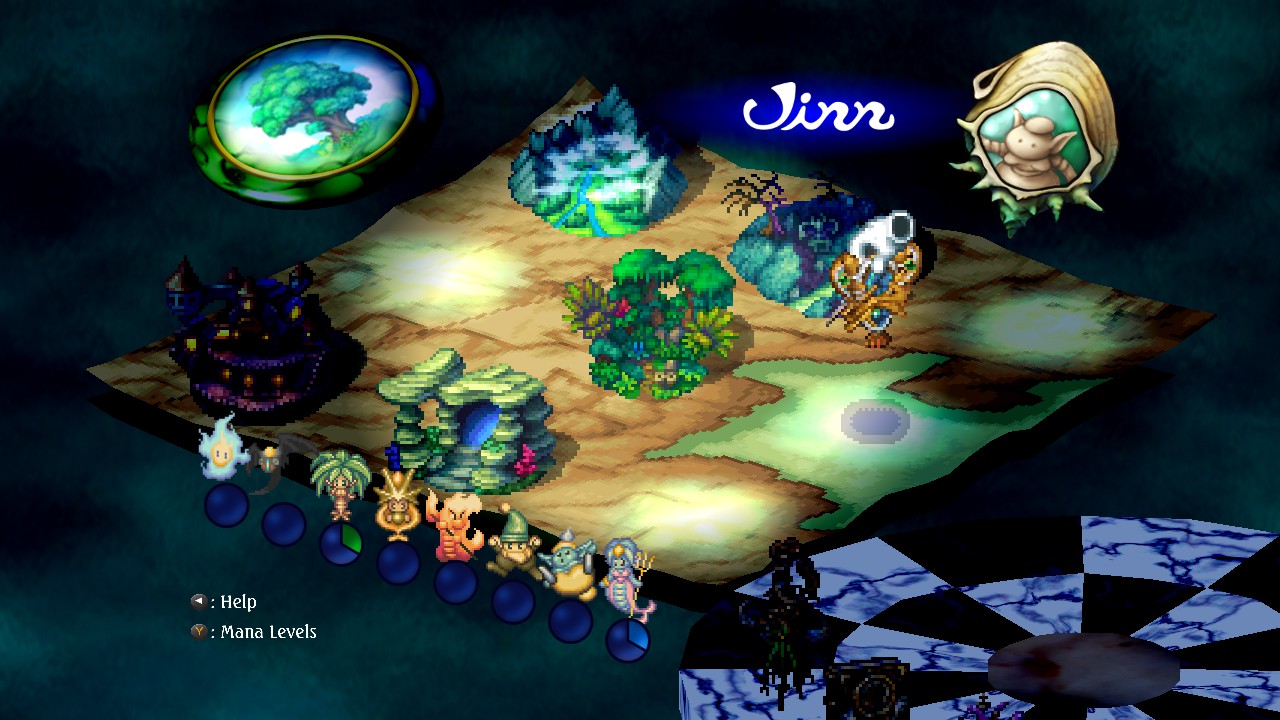
World Map Selection
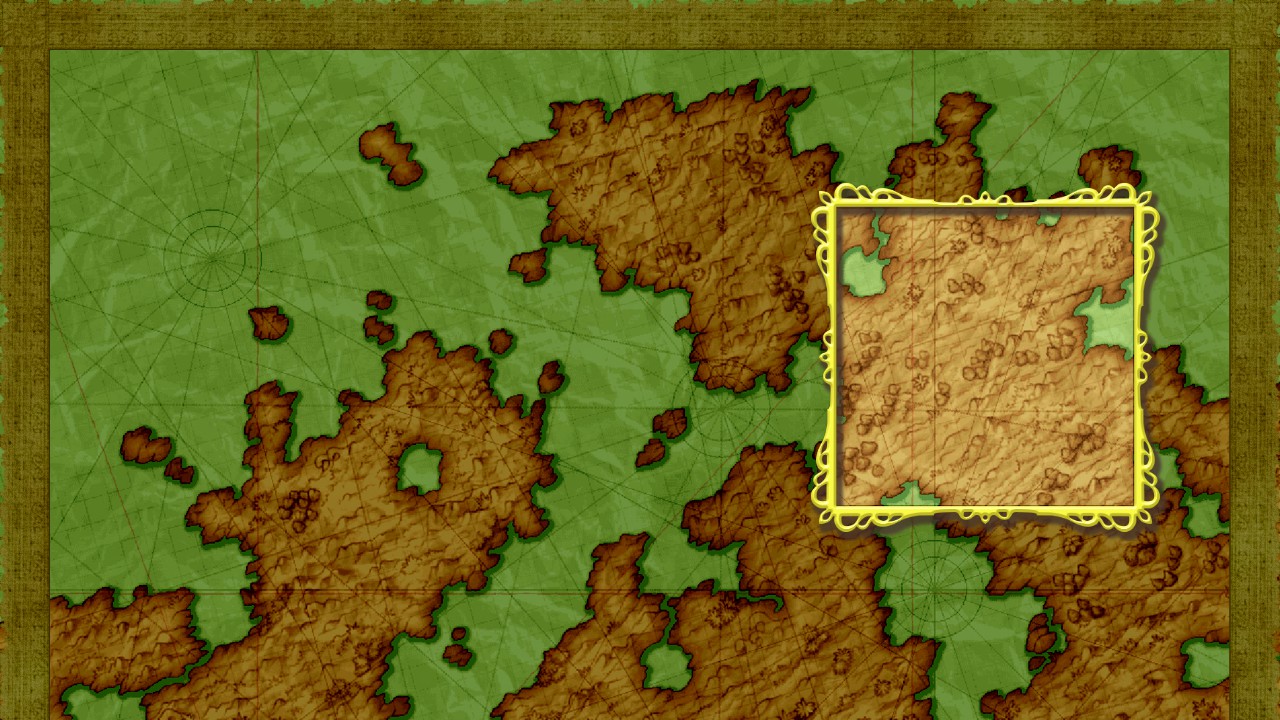

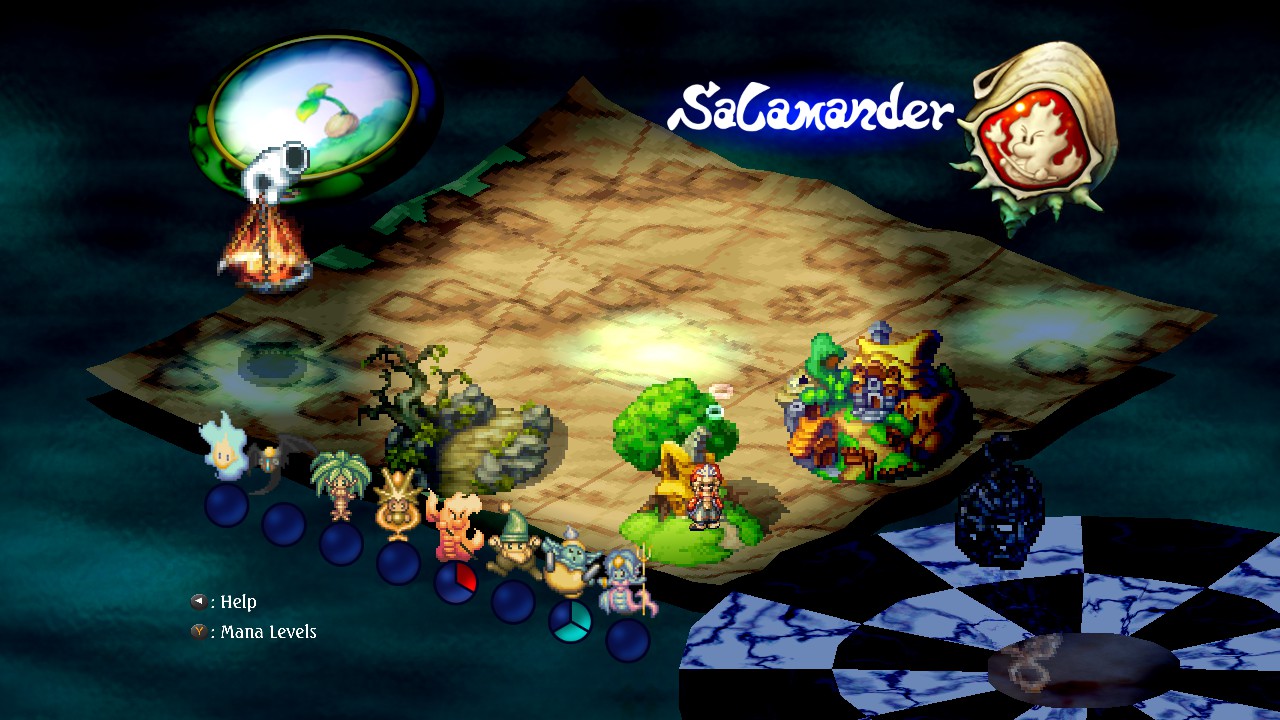
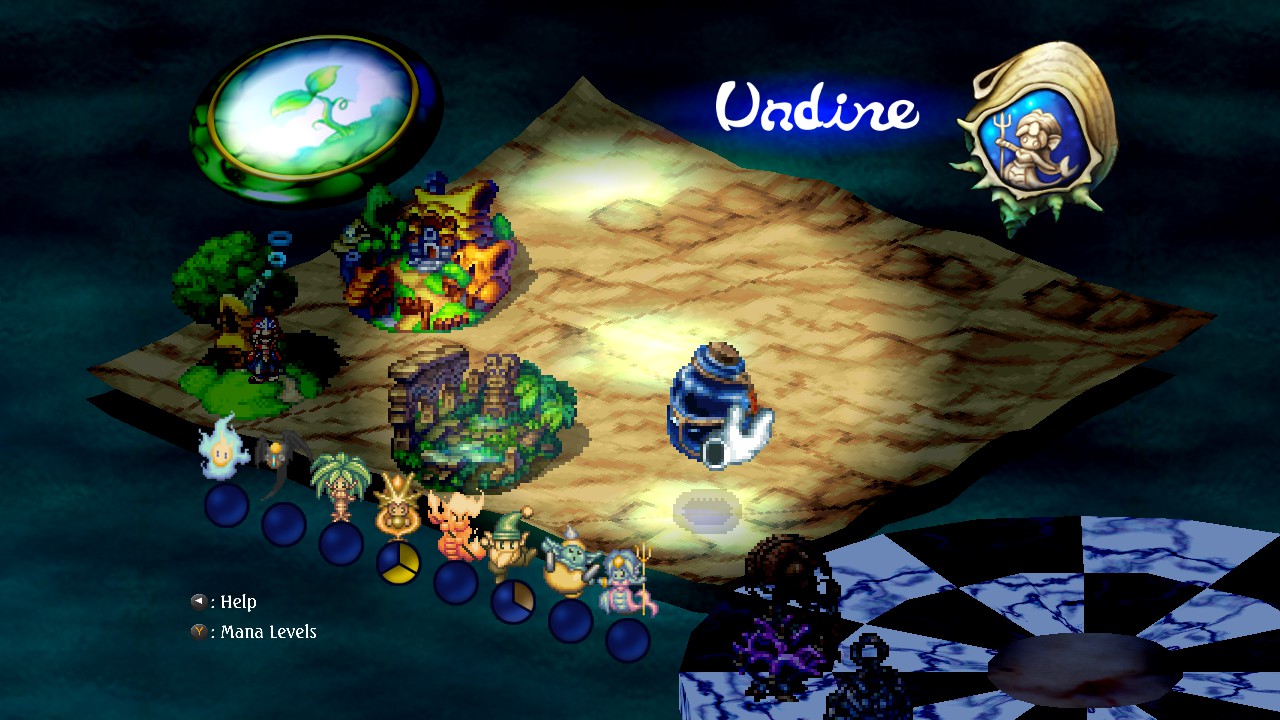
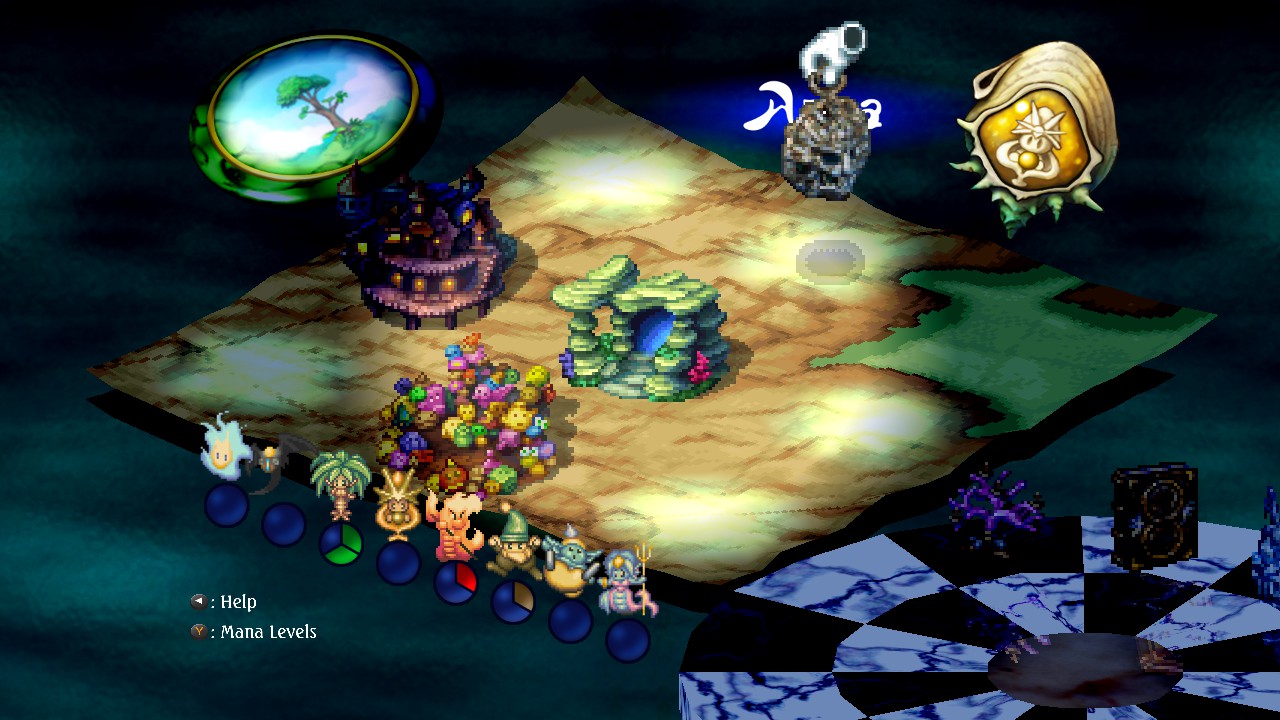
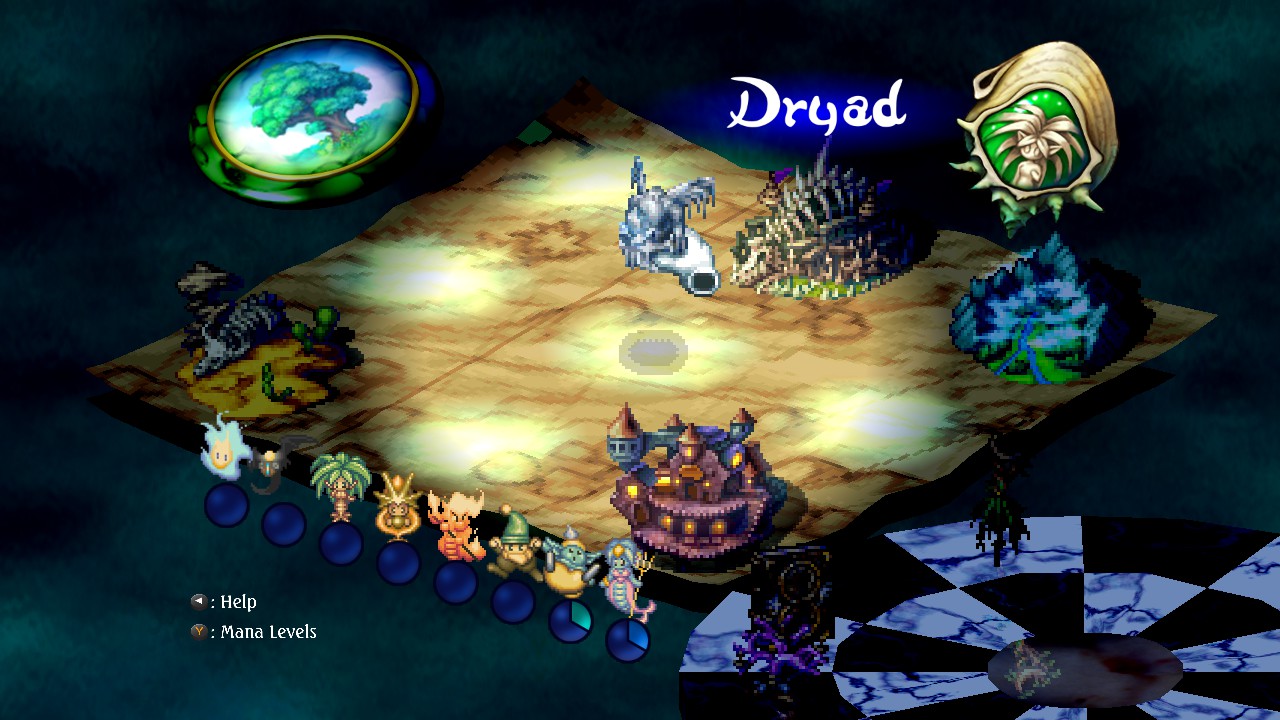
So the First things first when you start a new game, is of course to choose your character and the starting -map- your going to play in. Now for the specific placement were going for? Your going to need to select the Map block right here:
Now that you've gotten your map selected, your now going to want to place down your artifacts. For a quick reference, we're going to be following this layout below:
But AUGH! How is that going to work?! The map's on an angle!
Don't worry! I have you covered.
First things first is our lovely Mailbox, were going to put that -right here- next to the water.
Enjoy that lovely intro!
First Artifact! Town Of Domina
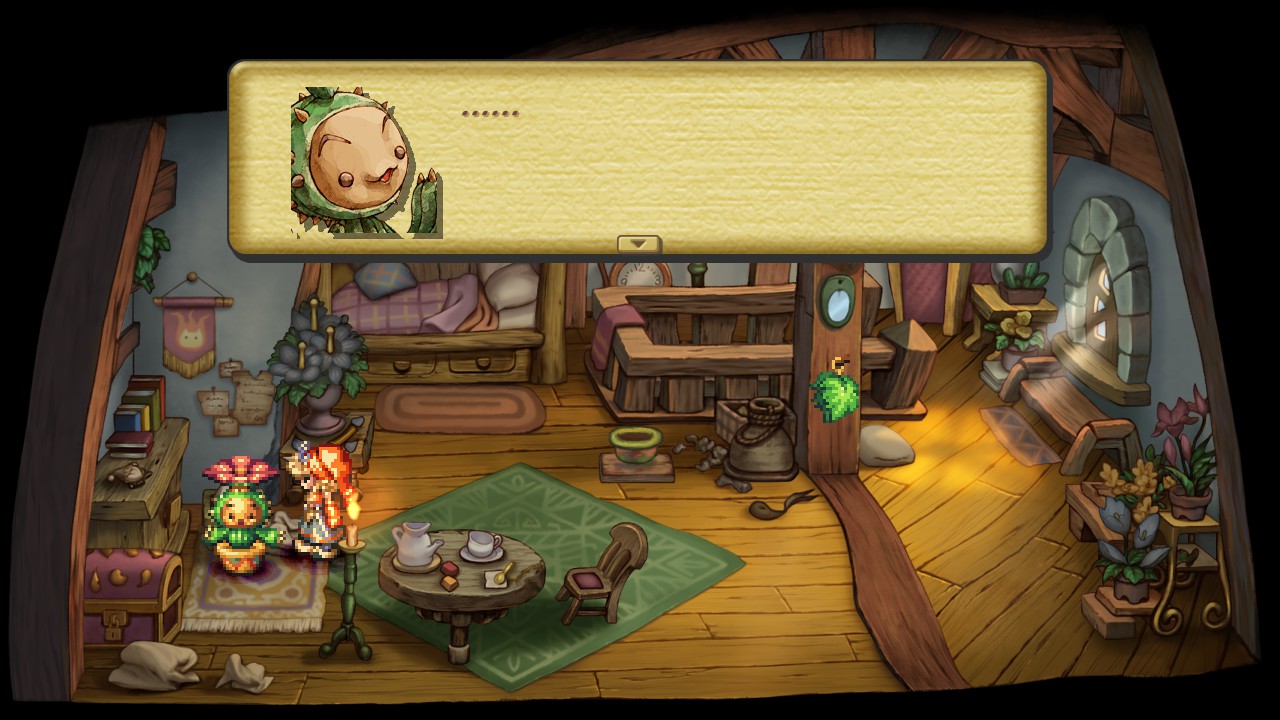
So now were in our house! Feel free to run around, poke around everything, scream into the void. You know, that usual stuff you do when you live alone by yourself in an empty world. Oh! and say hello to lil' cactus, he's the kid that looks like a potted plant near your bed on the second floor.
He's going to be your -best- friend, so remember him - and I'll even help you remember to talk to him after every mission. Trust me, it's -worth- it.
Now then, when your done poking things with sticks, head outside and talk to the walking cabbage kid. Your also free to say anything to him - he's going to give you the 'colorblocks' either way, which will turn into Domina!
So once you leave your house, we're going to birth a city! So go ahead, grab the blocks, and place it here:
Domina Exploration And First Event
Welcome to Domina! Lovely place isn't it? Now then, pay close attention here because it might get a little confusing. When you first enter town, there is going to be a conversation happening between Onion man and Mr. Blue Attitude.
I know your going to be tempted to follow the man into the tavern -- (and hey, you can walk up to the tavern door for a neat little exchange, if you want to - Just don't go in!) -- But feel free to completely ignore him for now, he's not going anywhere and you have to do things in the right order!
Veteran's Tip: Head into the southern shop you saw onion guy go into. Buy yourself some gauntlets, and boots - then equip them using the 100 lucre you got at your house. Then talk to the blue beetle looking guy in the armchair right next door - he gives you the equipment encyclopedia for your house.
Great! Now head up north to get to the markets.
Remember that rude rabbit? Yeah, that guy, go talk to him. Now the dialogue options you want to choose are as follows:
No
YesCongratulations on your merchant friend! This starts your first key event 'Niccolo's Business Unusual'
Niccolo's Business Unusual

Now let's go talk to the totally sentient teapot - back to the shop we go!
-- Yeah, that genuinely just happened. Poor Teapot. Now let's leave town and put down our highway! It's going to go right here, next to the house:
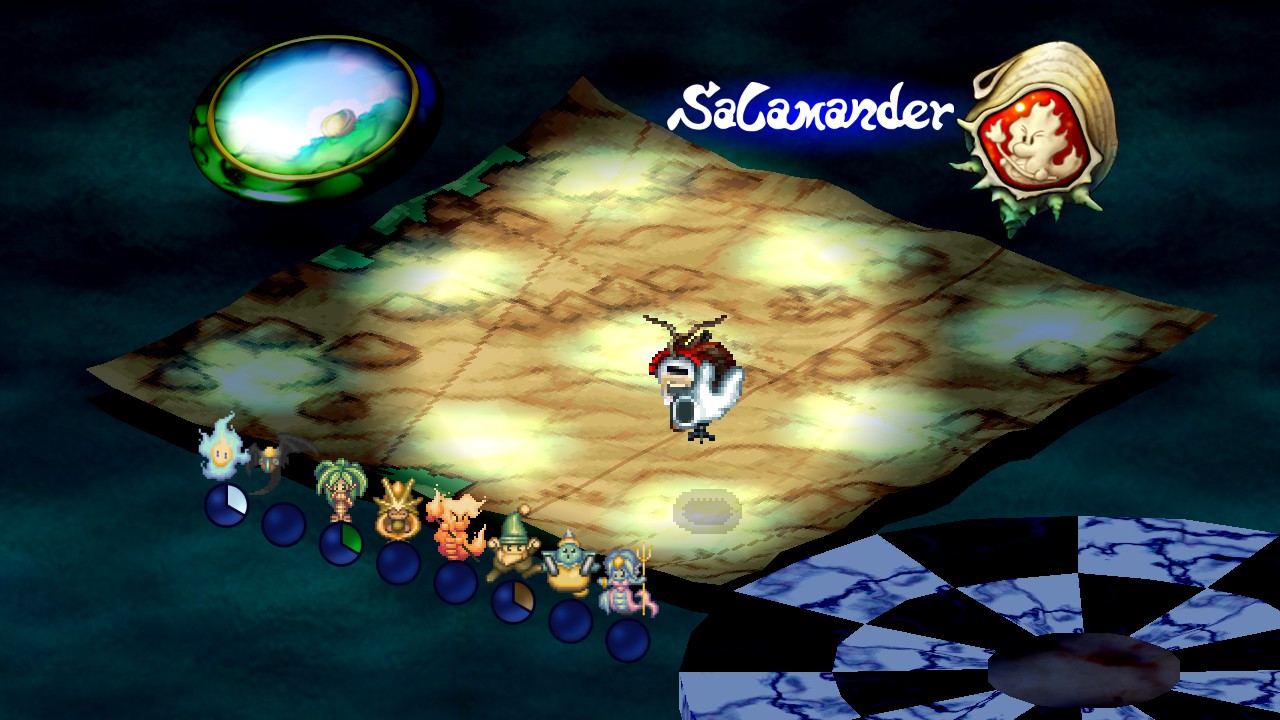
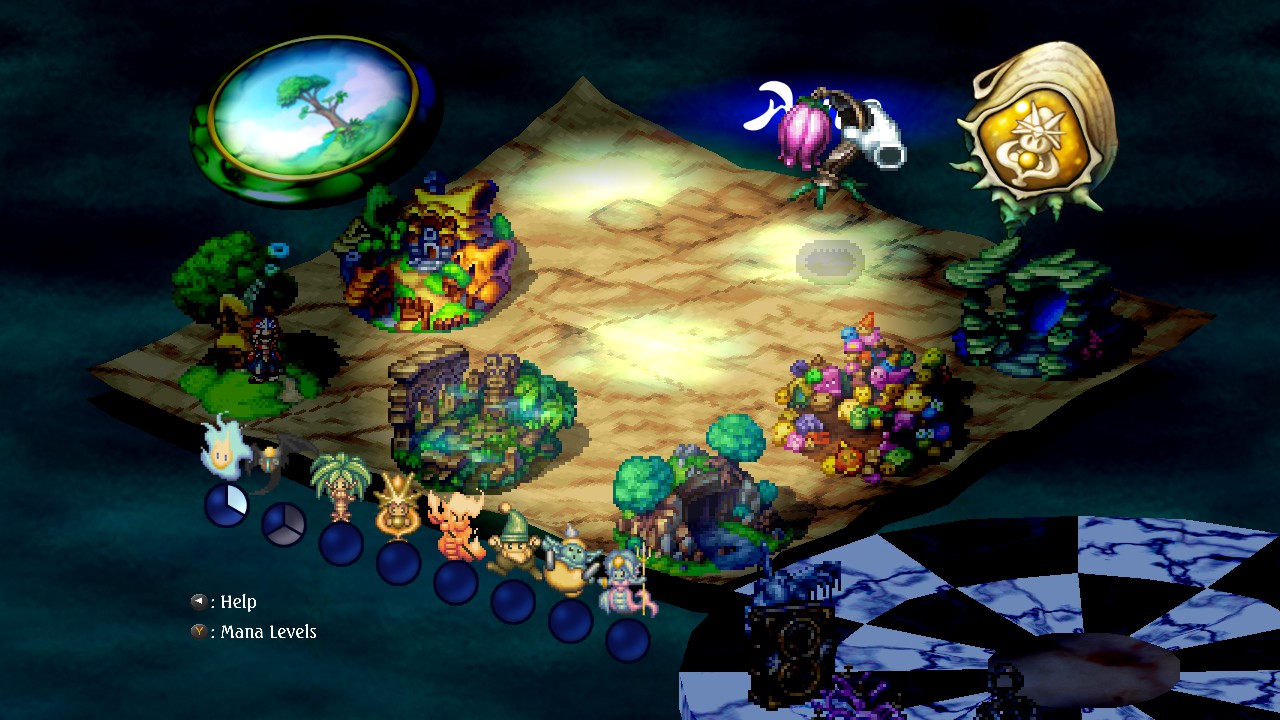
Now were here at Luon Highway, and in this section of the guide - I'll cover all the events we need to do, the order in which they need to be done, and any important bits along the way. This is key to getting the artifacts we need, in order to put them on the map where we want them. So Unless I say and show where to place them? Just keep them on that lovely checkerboard wheel for the time being.
Now then! Let's make this rabbit happy! Fight your way through until you reach the 'Fork' - you should see a weird looking cat woman wandering around, talk to her and feel free to say whatever you want to her, and then speak to her two more times to get all her dialogue interactions.
Now head north, and fight your way all the way to the end until you find two robin hood rodents who demand cash (you can give them candy just for hilarity and i always do)
Veteran's Tip: Farm that area right passed the upper fork by exiting, and reentering that section. Not only will this get you loot, level you up a bit, and make the up coming boss easier. But your going to want to make sure you have 300 lucre on you before you proceed with the above. Trust me.
Hurray! You killed your first boss! and because of that (and having at least 300 lucre on you) Niccolo gave you some extra's in addition to those two shiny new artifacts of yours! The flame and the Medallion, Now - don't go slapping those on the map -just- yet. Instead, go home and talk to lil' cactus up in your bedroom. And save, if you want to. But -definitely- talk to the cactus!
The Little Sorcerers
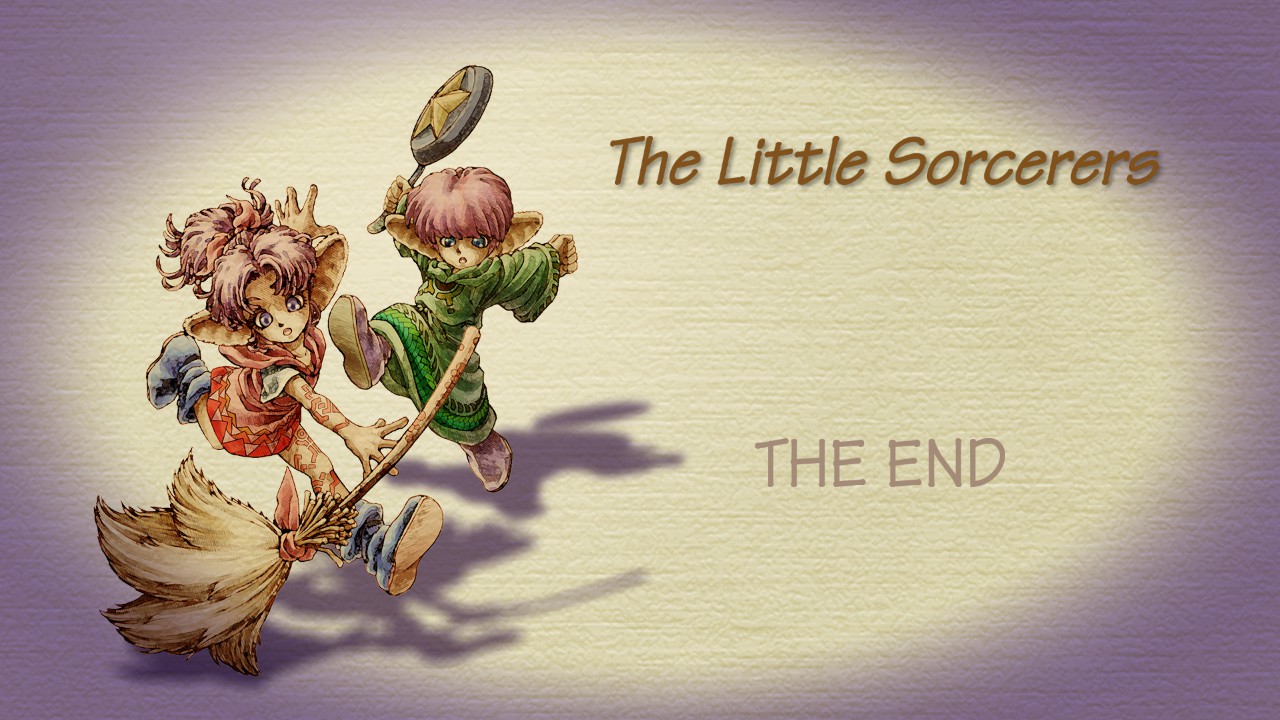
See? Look at him waddle, wasn't that worth it?
Now when you leave your house, the local mailican will want to talk to you about pumpkins. Oh no! This should start "The Little Sorcerers" so head straight on over to Domina to see what the heck is going on. Your going to want to take the path to the left once your in the town center again (where elazul and onion had their street tiff), and keep going left passed our friendly malican and up the path to the upper left.
Welcome to the pumpkin rave!
Veteran's Tip: Bud and Lisa can stun/combo lock you if you stay in close range. So be careful to not have your back against a wall, and give yourself lots of space out maneuver out of their magic attack telegraphs and pumpkin drop blasts. While they both do seem to have a lot of health, they are easily kited and as long as you give yourself room? Easy to avoid the attacks of. Just focus them down one at a time, and they are much easier to handle.
Now that you knocked some sense into them, time to adopt them! Select "You can be my apprentice" to unlock them as potential party members in the future, and let them live at your house. (it's harmless, and unlocks future quests as well).
Now that you've finished that quest - head back home and talk to lil cactus again. Save if you want to, and stretch a little.
The Monster Corral

Ready? Awesome! Then head -straight- back to domina, and back to where you found Bud and Lisa's Pumpkin party.
Yeah, that's right, it's time to unlock monster catching and the Monster corral!
Veteran's Tip: While this may seem very confusing at first, it's actually easy once you get the hang of it. First: Do not have yourself on auto-run, this will just mean scaring the thing every time you move. Second: Stay behind it as often as possible. Three: Drop the food at cardinals (top, bottom, left/right) around the egg baby. Then just linger behind it until it gets excited, runs to food and starts munching. Once it has a heart over it's head, or falls asleep? Run to bump into it and catch it. - Works every time if you do it right. Then just pick back up the uneaten food and Vola! New pet friend!
Now that you've finished that bit, head back home and talk to lil' cactus again - save if you want to.
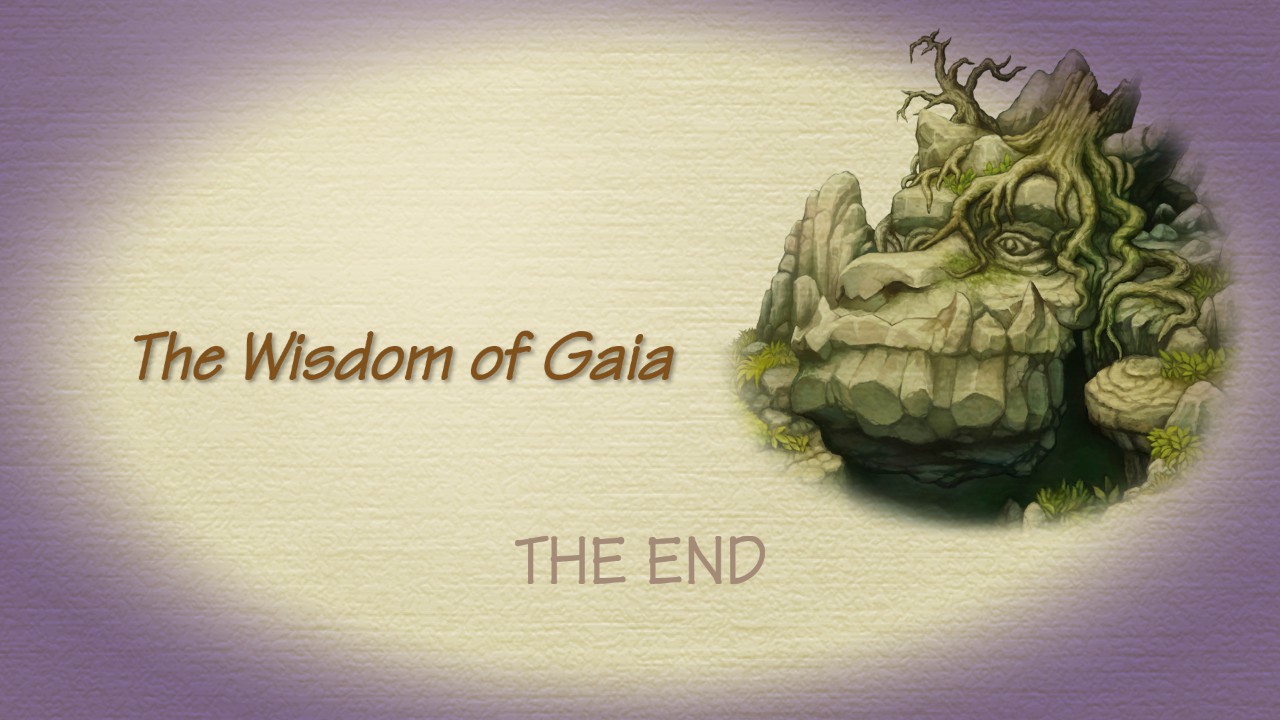
Wisdom Of Gaia
When your ready, head straight back to Domina. This time, your going to want to go to the inn (the building next to the tavern where elazul is likely still brooding). You'll want to go to the room on the lower level, and to the right.
Yep! Cat girls here! Now speak with her and your going to want to choose your dialogue options very carefully:
This and That
They Live Forever
I'll go with you
This will start "Wisdom of Gaia!" and now we'll want to take our new friend over to the highway. So head on over and let me know when you get there -- I'll wait!
You're here! Awesome! Now there are a few ways you can do this. You can either poke the big pink chonk and let him teleport you. Or, if you want more loot, money, and exp. Proceed as normal through the highway and down to the fork. - I'm going to treat it as your taking the long way.
At the fork? Awesome! Now head down to the lower right path this time, and follow that all the way down until you reach -yet- another fork in the road.
Veteran's Tip: You can catch bird eggs here where you fought the boss for 'Niccolo's Business Unusual'. Just take the upper right path at the fork with the golden statue instead. If you reach the boss arena and it's not there? Just leave and re-enter over, and over, as many times as it takes to force a spawn (which usually isn't many). Keep in mind however, bird eggs do -not- like meat, and at this point you only have two extra produce (they like fruit). So you'll only have two chances to claim the egg at most. You can -always- come back here and farm more eggs once you've unlocked and built up a bigger bait/food supply by growing things in the orchard. It's up to you and your confidence.
At the second fork? Good - now while the guy you need to take the catgirl too is straight ahead, try going down the lower left path instead. Following this will bring you to a cave, where inside you'll find chests full of items ripe for the plucking.
After you enter, head up the stairs on the upper left first. Fight past the mobs, and two treasure chest are your reward! Now go back out into that cave fork, and head down the lower left stairs. See those two chests? Loot them! and then fight your way deeper and down the next flight of stairs. Now across, and up the next set - and here you are! The last chest. Wasn't that worth it? Now head back out, and once you've reached the fork with the wagging pink tail - hook a right and follow it all the way down to Gaia. After your done, head out and you'll receive the 'Forbidden ring". This is a -great- accessory that functions as an exp. share for your entire party -- Pets included!
Now head home at -- you guessed it, talk to lil cactus again, save your game. And feel free to check on your eggs in the corral. When your ready, head to the front of your house, and go down the southern path on the right to get to the orchard and start the next section of this guide!
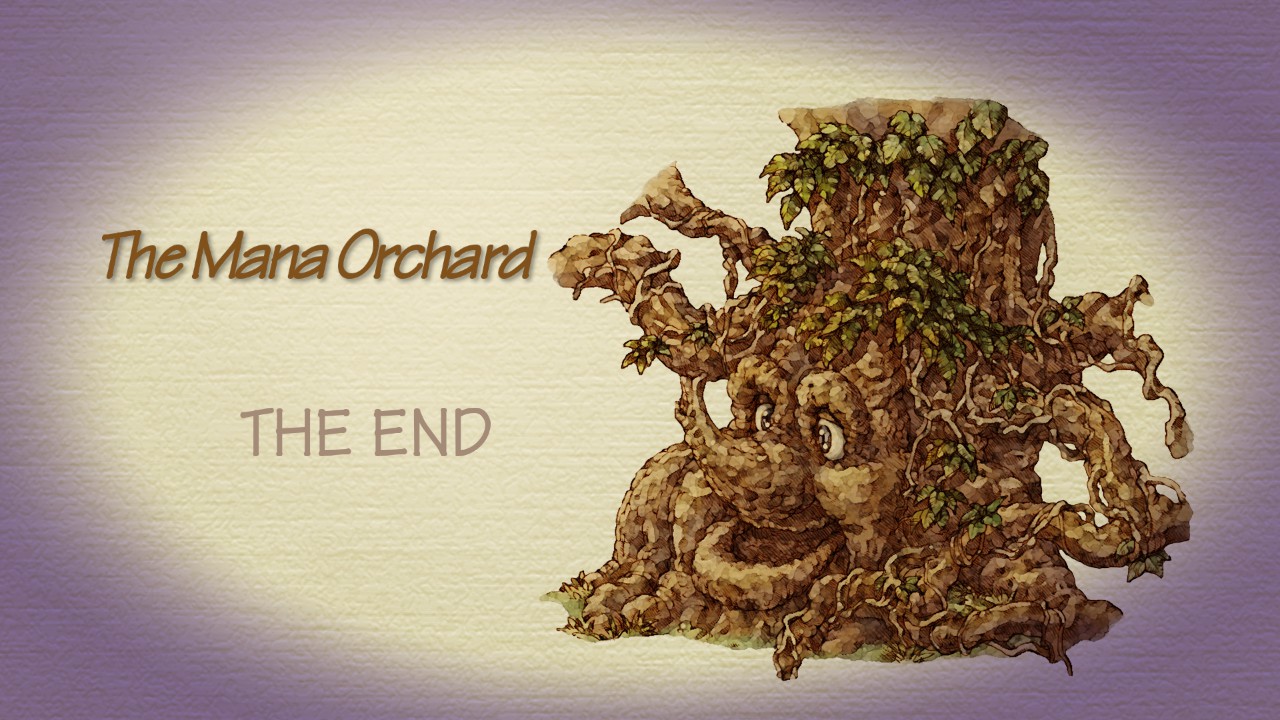
The Mana Orchard
Time to do some weeding.
-- Yeah, that just happened. Now go ahead and feed him some seeds and then head out into the world map. You can enter the highway for some leveling, if you like - but I usually just walk around place to place to place to pass time without entering anything. Usually two weeks (I usually wait till jinn or undine have cycled twice then go back home). By now your fruits ready to be picked! SO just stand under one with a large shadow circle, and pluck it. Then drop it in the bin - vola! quest done!
Veteran's Tip: You can give Treant here 4 seeds total, and no more then that per time. That maxes out his yield and branches, and to get the most out of your seeds - simply wait until you've picked everything off of him and then give him four more seeds again. Certain fruits spawn from different seeds, and seed combinations. But just throwing anything you have at him works too.
Now head back home again, and speak to lil cactus, save. And do whatever else you wish here at home before heading back out to Domina again.
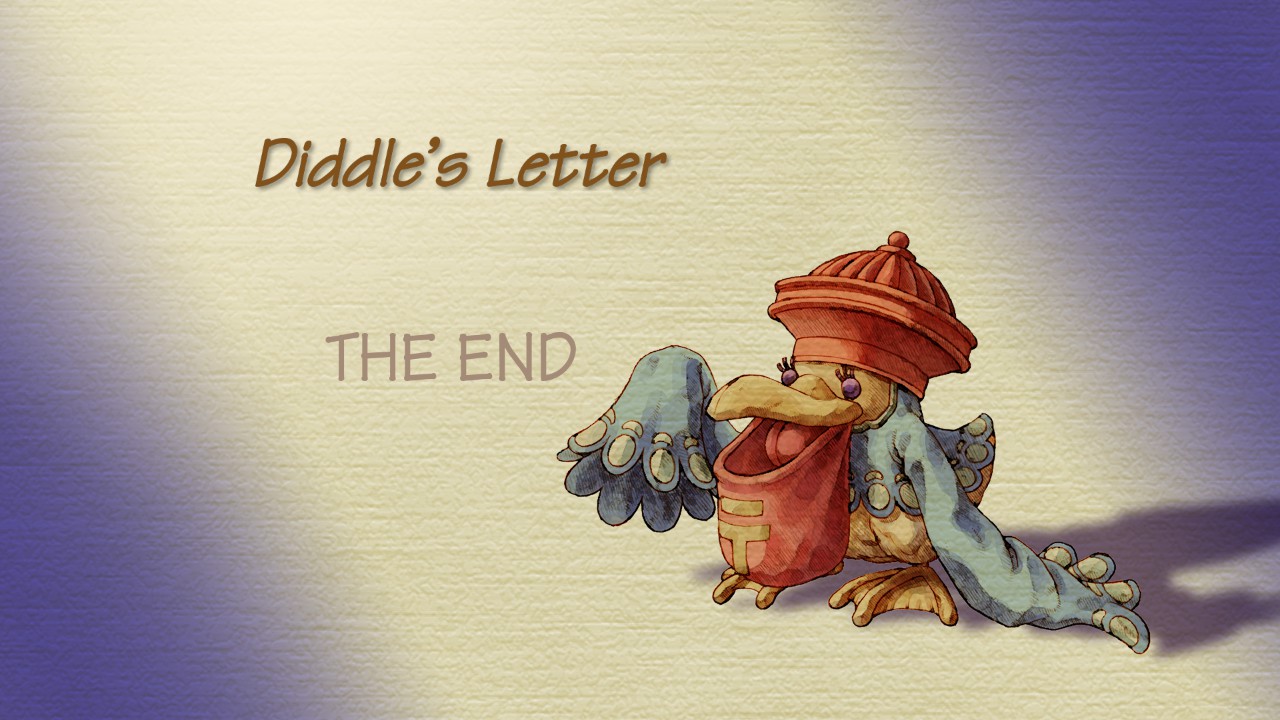
Diddle's Letter
Ready for the next Quest? Awesome! - head back to Domina.
Remember the juggling monkey and the music change on your way to the pumpkin rave? Your going to want to chat to diddle, the one making the music! -- yeah, that was awkward, go try and follow him.
See why I said 'try'? Go ahead and return to the fountain and then have a chat with the one left behind. Then follow him also back into the town center, where your going to want to talk to the cabbage kid.
-- Good? Good! Now head into the inn and talk with the chicken lady - once she's done talking with the monkey of course. Last saw him? That street you couldn't find him on of course! Head there and talk to capella.
Yeah, that happened. Welcome to "Diddle's Letter!". Now just leave the outskirts and come back in to talk to the mailican. Looks like it's back to the highway for us! -- Remember that cave we explored last time and looted when we were here for wisdom of Gaia? That's where you'll want to return. So fight your way there, or take the pink chungus - your call!
When you reach the fork, you'll see a letter left on the ground. I don't do spoiler's much in this guide, so the dialogue options you want to choose are as follows:
Just Watch Him
Lets look for him!
Now go ahead and head towards the caves, and talk to diddle. The dialogue option your looking for here is 'He read it' and when they head on into the caves? go after them. Now remember where that last chest was, all the way at the bottom level of the caves? You'll want to head there, and then take the double stairs to the left of that chamber. - And get ready for a Boss Fight!
At the end, you should get a 'Gator Skin'. Hold onto this! Your going to need it for a future event! But now you know the drill, head on back home to Lil' cactus, and then do whatever you wish to do before we head out on the next adventure and finally set down that 'flame' artifact of yours!
The Flame Of Hope, And The Flame AF

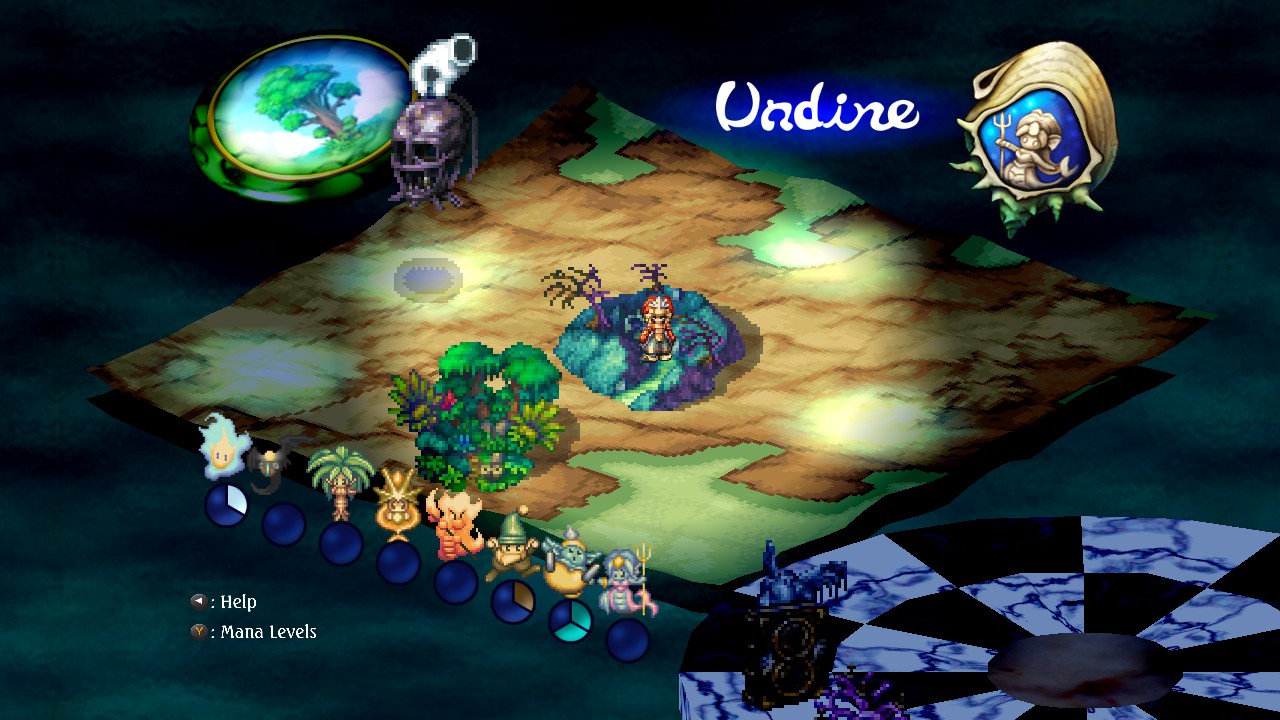
All done at home? Awesome! Head on out to the world map, and lets set down that flame artifact of yours. Your going to want to put it down right here, next to the highway:
This creates a new town for us to explore! So head on in, and as soon as you enter - your going to want to head up to the northern dot and interact with the nun and the cabbage kid. This will start "The Flame of Hope' - which is the official start to my favorite story arc in the entire game.
Now before you go running after the cabbage kid, head on into the item shop. Not only is there a save statue in here, but you might find something you like for sale! Weapon upgrades anyone?
When you end up in the 'Pathways', speak to the man tapping his foot and looking utterly annoyed. Once your done with him? Head up the path to the right and talk to the cabbage kid again. When your done, head on back to the pathways, and go left behind Rubens this time - your welcome to talk with him again though.
Once at the temple, just talk to the cabbage kid again - and then head back to the pathways where rubens was again ad then head up the right path back up to the terrace. Aaaand now back to the temple again! Now - back to that upper terrace! Hey, at least your legs are getting a workout.
Now that our back at the temple, of course your going to help. Right? Right?! - Ahem. Go ahead and head all the way down to the entrance of Gato, save instead of leaving - your going to go down to the southern dot and then follow the sproutlings leaves all the way to where you need to go. If you question the directions, you can follow this guide here:
Far upper Left
Right
Right down stairs
Right
Left
You should now have the "Ancient Tablet" and the "torch of coral!" Just let these two artifacts sit on your wheel a while. For now? Head on back home, talk to lil' cactus and save - you earned it!
Niccolo's Business Unusual, Part 2

Ready for the next bit? Head back over to gato and revist the item shop where you'll find our bunny merchant friend! Once you've spoken and agreed to help him out, then head on down to the caves and just choose the 'To the waterfall option'.
Once at the waterfall just chill on the log for about a half minute or so, then go to the left to make the Fae appear, just have a chat with them (You can tell them anything) and you'll score a new artifact! the "Broken Doll".
You know the drill! Now go head on home and speak to lil' Cactus again and save!
Teatime Of Danger And The Ancient Tablet AF
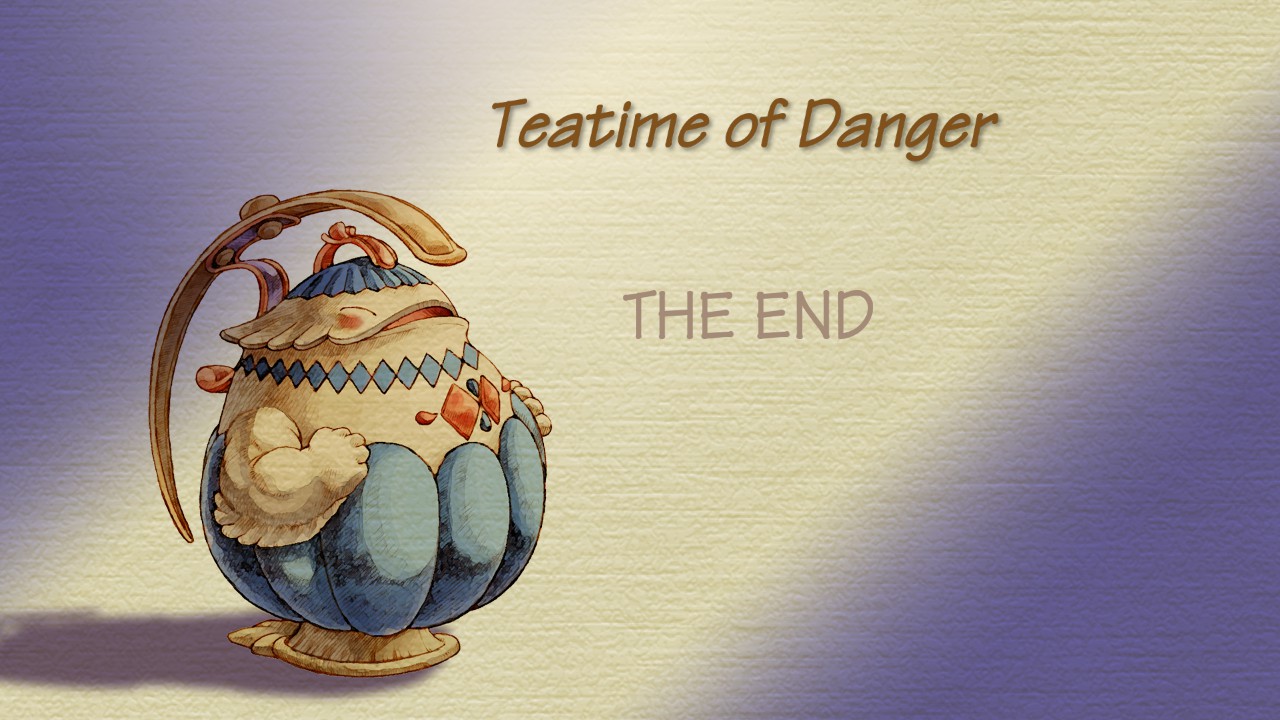
All rested? Done your chores? Fed your pets? Awesome! Let's head on out to the main map and get our next artifact down. Your going to want the Ancient Tablet for this one, and were going to put it down right here:
Interesting isn't it? Head on in, and talk to the onion man! And I'll give you a walk through for this place, because it can be -quite- confusing at times. So for now, head on through the gates and follow the path left until your forced to go up. Then? Speak to the flower lady - and she'll explain how the 'keys' work for this area. Now navigating the ruins can be a bit tricky, and a pain. Because opening some doors will close others, but I'll guide you through.
First? Head directly left, and save at the big golden statue. (this works well in case you accidentally mess up, and need a reset back to how things currently are - or if you just get horrifically lost).
Now go ahead and hook a left again, and into the ruins to the left of the flower guy. This will get you two chests for the looting! Then simply go back to the flower guy and head up. This will get you to the first set of 'Flowerkeys'. You'll want to talk to the one in the middle to make two more fall, then talk to the top and bottom one to position them too.
They should look like this:
Now that they are in place, head back down to the flower guy, and then head down south again. This might get a little disorienting, because suddenly your on a left facing path - don't worry, just keep going left all the way at the end. Now you should reach a pavilion with locked north and south gates and a flowerling. You can talk to her, but it won't do much. So head passed her and continue down the path to the lower left. Now keep going allll the way left again and through the arch to find a flower guy and a chest. Loot the chest, and talk to the flowerguy to make him flashbang.
Now retrace your steps by heading right. Then head down the path directly south of you.Now you should be on a path headed right, follow it all the way right until you reach the flowerkey's corner. Talk to the flower guy to make two more of them drop, and then you'll want to arrange them to look like this:
Now this, is where many get lost. You have to make your way all the way back to the first set of flowerkeys. Don't worry - I'll get you there safe and sound.
Head back out to the left, and now head all the way down the path to the left again. Now hook a right and this should take you back to the locked north and south gates again. So head on up the path leading upper right. Now head all the way right again. This should take you to the flowerguy wandering around, so just head up the path up above him and now your at the flowerkeys again!
This time, you want to arrange them as shown here:
Now head back down to the wandering flowerguy again, and head passed him down the southern path again. Then follow it all the way to the left.
Welcome back to the gates! The Southern path to the lower right should now be open, so head on down it and into the next area. Now you should be at a huge structure with a flowerling off to the side of the stairs, go ahead and talk to her to open up the entrance. Now? Head on down the passage she just opened.
It's pretty straightforward from here, just keep going left - loot the chest - and find teapo. And hear that music? Yep! BOSS TIME!
You should now have the "Bottled Spirit" AF! Congrats!
You know the drill, head on home and tell lil' cactus all about it! -- Then save, of course.
Mine Your Own Business, Bottled Spirit AF
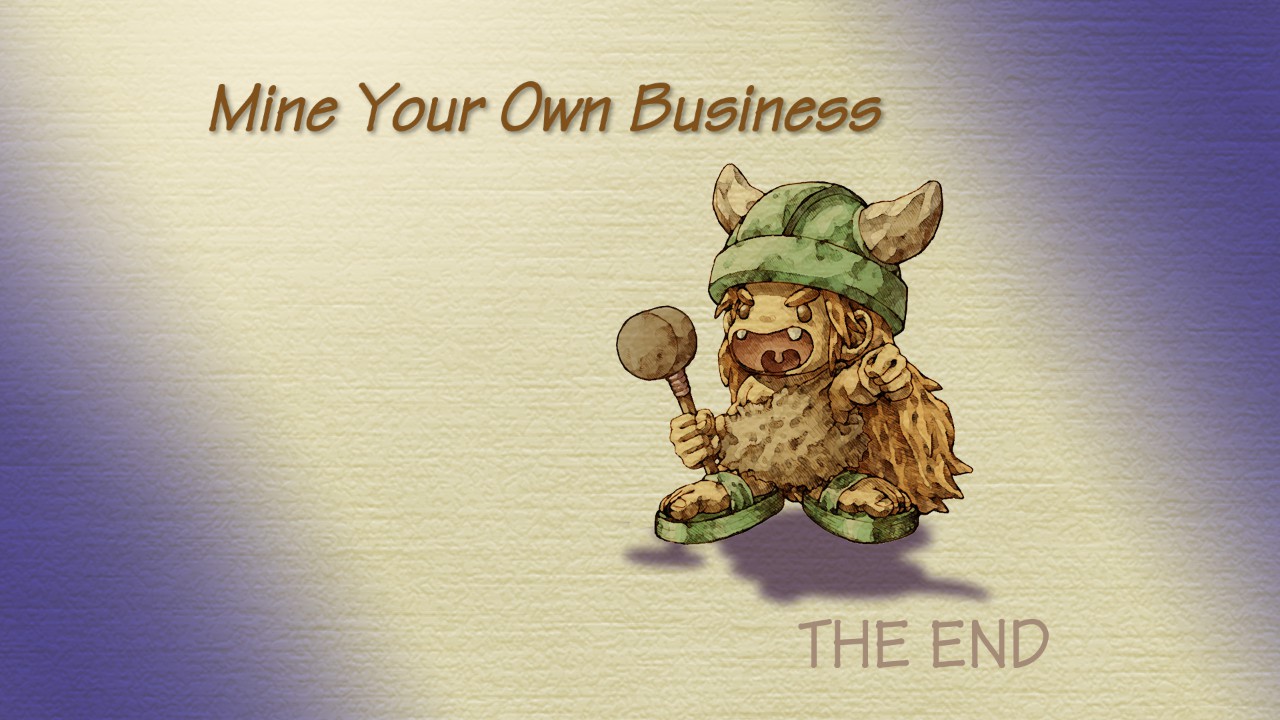
All done at home? Awesome! Now before you leave, talk to bud - the little guy who now lives in your house with purple hair. He needs to be in your party with you for this next event, or else you'll be unable to complete "The Persuit of Wisdoms" later. Now that event -will- start during this one, but you can fully ignore it and don't have to complete wisdoms for now. Just make sure he's with you until Mine your own Business is finished.
Now head on out to the main map! Your going to want to put the bottled spirit AF right here:
Nice music, isn't it? Head on over to the right, and then when you reach the chest in the next chamber - head up along that rope railing to enter Watt's shop. Then talk to Pokiehl, and you'll see why we brought Bud along!
Now to go find watts, so leave the workshop and then head down to the lower right. Down the stairs, and all the way across to the lower left corner where the bridge is - then down another flight of stairs.
Heck yeah! save statue! Might as well, right?
Now head on over to the very upper left, the -very- upper left. So you should be in underground level 2 now. Go all the way across to the upper left again. And again, then up some stairs! Now head alll the way across, and down the steps again.
Oh yeah, hear that music? This is the place. Head on across the arena and talk to watts three times. This starts the BOSS FIGHT.
Veteran's Tip: This guy can be a bit tricky, and can cause a lot of damage and KO your entire party easily if your not careful. If you have a long range weapon like the bow - you can tuck yourself into the entrance of this chamber and just shoot spam away without being in the line of fire. If you don't, this is still a safe spot to go to when anyone starts flashing. No attacks will reach you there.
Congrats! Now just enjoy your conversations with the man. And you'll get the "Moon's Mirror" AF!
Now head on home, talk to lil' cactus - save, and do as you wish! I'll be in the next section when you want to take on the next event.
Watts Drops The Hammer
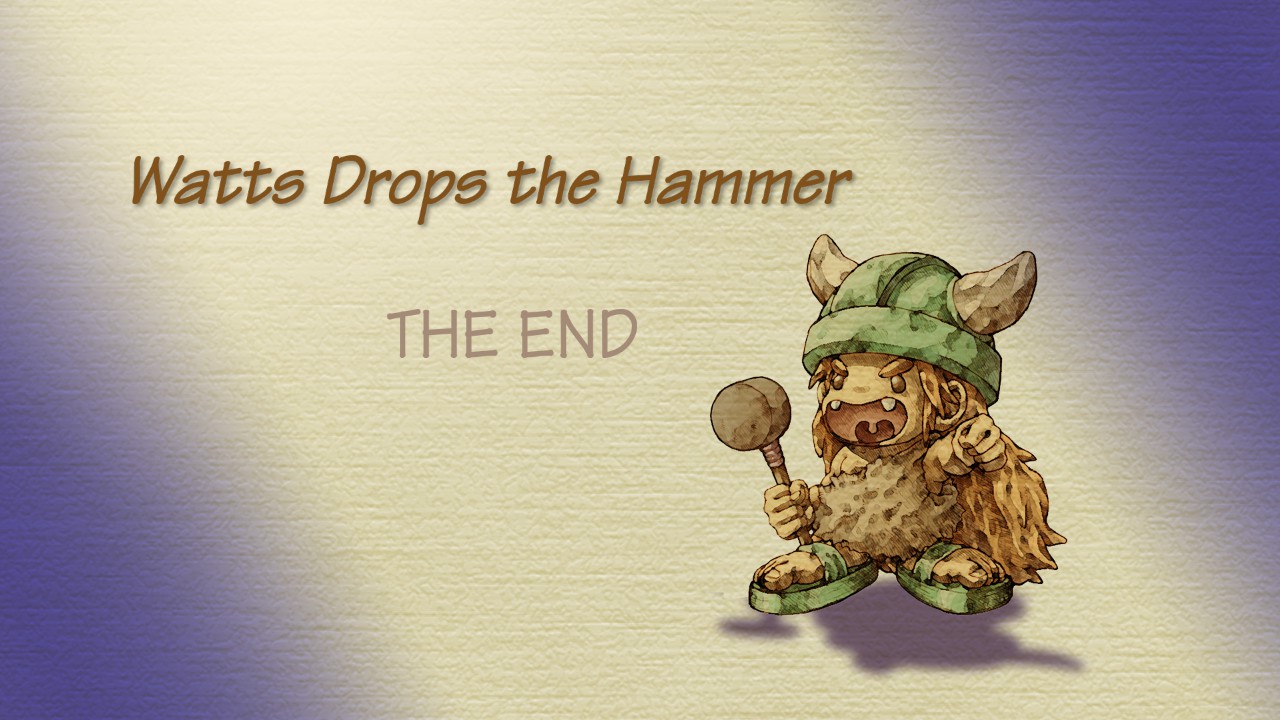
Head on back to the mines! You don't need anyone else in your party for this, though it is optional.
Now when you get here, you'll notice a new sign in the entrance. DONT TOUCH IT. Just uh, pretend it's not there and head on over to Watt's workshop.Now he's roaming around like a nut - so I usually just wait by the sword rack and poke him when he stops there. Might take you a few tries, but go ahead and agree to help him find his hammer.
Now go touch that weird sign at the entrance.
And there it is! Easy right? Well now you have to find your -own- way back to watts, but don't worry - I've got you. Just follow my directions and we'll get back to him easy.
Go ahead and head down, and from here? Hook a left and head on up the stairs. There's our buddy the save statue! Go ahead and use it, just in case you get lost and need to revert back to this save.
Now head to the upper right, just to the side of the save statue. Up the stairs, and head all the way to the right this time. Up the stairs again, and vola! Watt's shop is right there in the middle. So waltz right in and flag him down again to finish the quest.
No Head on back to lil' catus and save at home again!
Path Of The Blacksmith
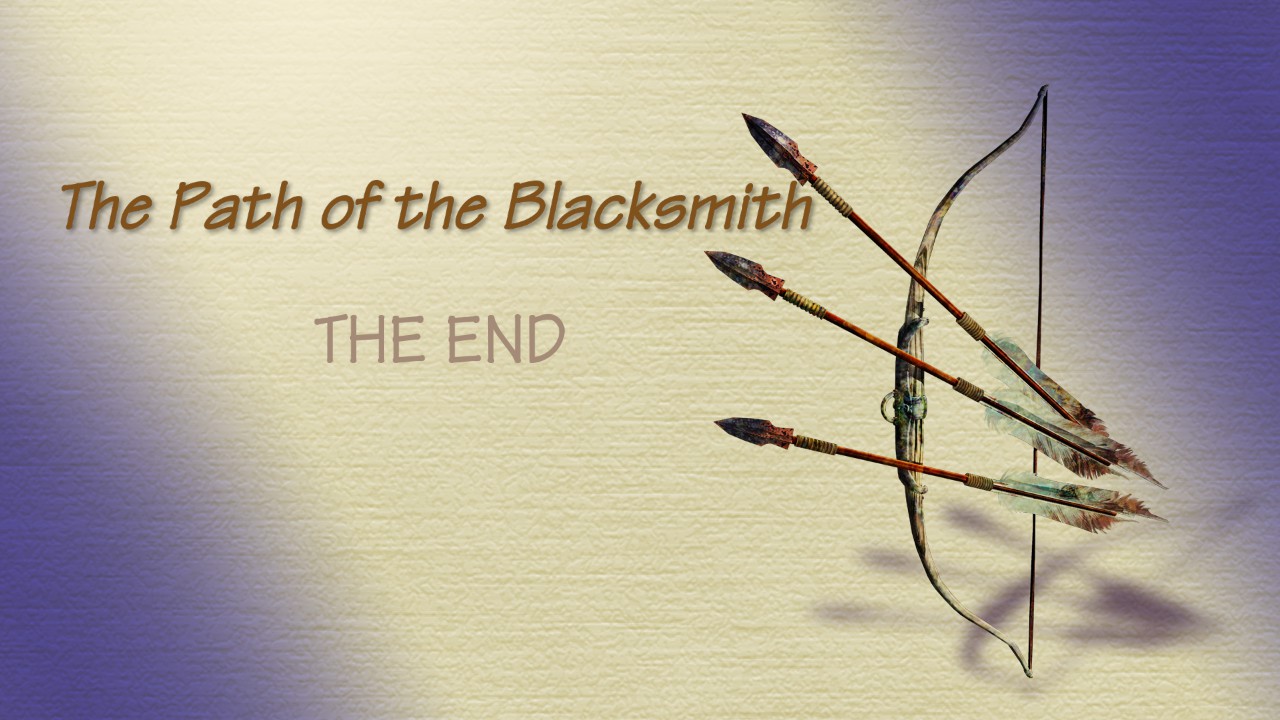
Good thing you went home, yeah? Now it's time to make that helmet head make good on his promise. So now head out of your house and around the left side of the entrance to make it to the workshops. Just head on up to the door, and he'll pop out.
Now is the time for sweet sweet vengeance. Annoy him to death, ask him every single question possible, and when he asks if you gave him enough Bronze. Tell him 'no you didn't' to make him give you more - all the way up until the quest ends.
Isn't that satisfying? Now head home again and talk to lil' cactus and save. And -now- you can make your own weapons and armor!
The Infernal Doll
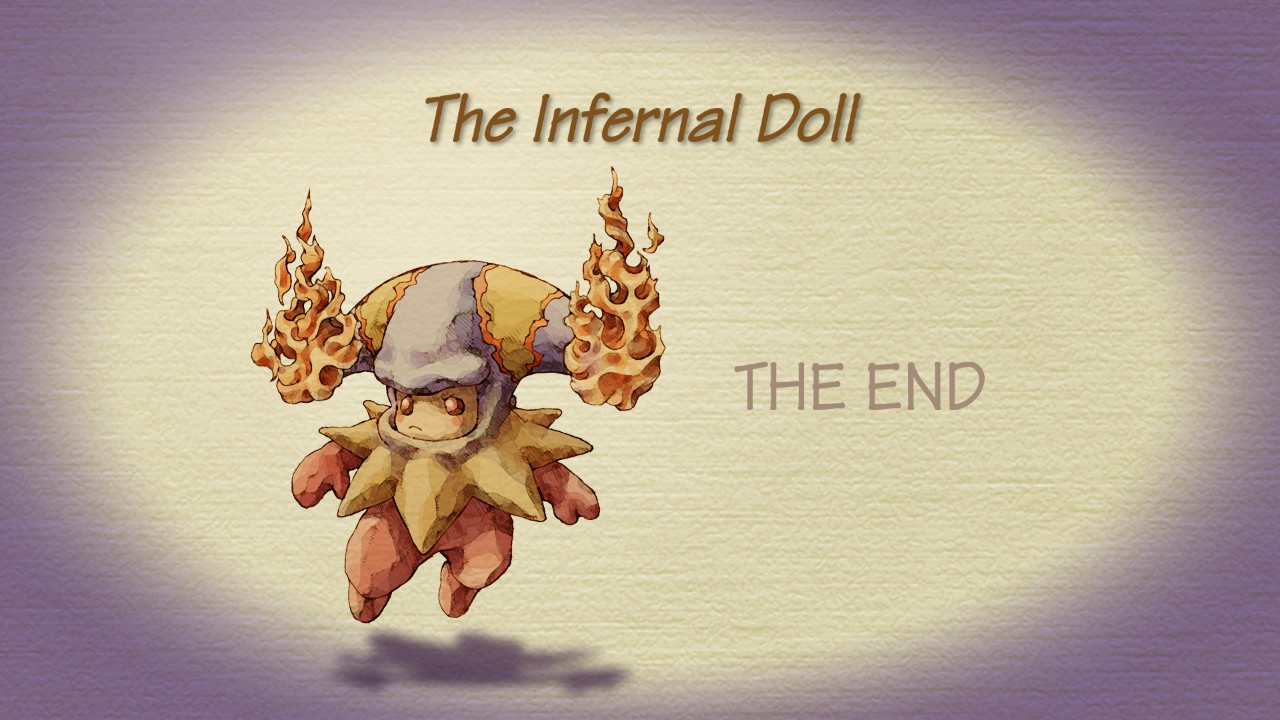
Ready for the next event? Awesome! Grab the broken doll AF, and were going to go ahead and set that down right here:
Now lets head on into the junkyard!
Well that was an experience, now talk to that jack-in-the-box. This is a riddle, and it tells you how to get to the doll that ran off, but don't worry - I'll give you directions right to him.
First, head to the upper right. Make sure to grab the chest! Then head down to the lower right. Grab the next chest, and then head to the upper right. There will be a chest here you can't get to, so just head to the right.
Now grab the chest here, and go all the way right. In here will be a save statue, and two treasure chests. Can even talk to the guy if you'd like! Multiple times even. Make sure to save, and then head back out into the previous section.
Now from here, head south passed the teddy bear and follow this path all the way to the left. Now head passed the doll on the upper right. And now follow this all the way to the right again and you should end up back at the acropolis. Now head to the upper left, and make your way around to the path marked by the rocking horse. Go all the way to the right until you hear the music change.
Once you defeat all the enemies, you'll be given the "Tome of Magic" AF.
Now head back home, talk to lil' Cactus and save!
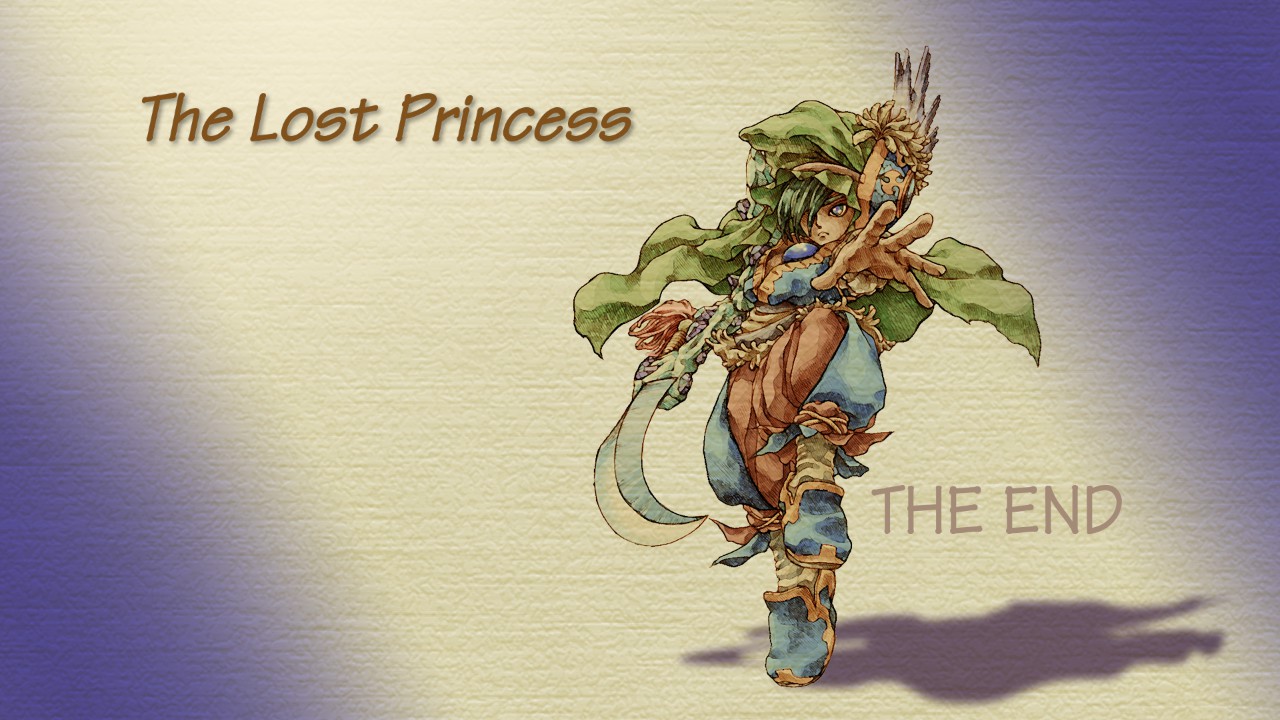
The Lost Princess, Jade Egg AF
Ready for another adventure? Awesome! Because now we -finally- get to deal with that guy who's been brooding at the Domina pub since the start of the game. So head on over to Domina, and head inside the pub to finally find Elazul and talk to him.
I won't spoil anything for you, but here's the Dialogue options you need:
Ask what happened
Ask about the friend
Lets look for her!Once you finish chatting, Rachel will give you the 'Jade Egg' AF. So lets head out to the main map!
Go grab the egg, and were going to want to put this down right here:
Now head on inside and let's go find Pearl!
To get to her, just follow my instructions. First, head to the lower right. Now down those stone steps to the south of you, and all the way over and down the lower right again.
From here, just keep heading right until you hit the next section, then drop down those stars below you in the lower left. Now head all the way to the left again, and down the stone steps. Grab that chest, and head left for a boss fight!
You can choose whatever dialogue options you want, and you'll receive the "Stone Eye" AF
Now head on home to lil' cactus and save!
If he's not there when you get home, Head into the next section!
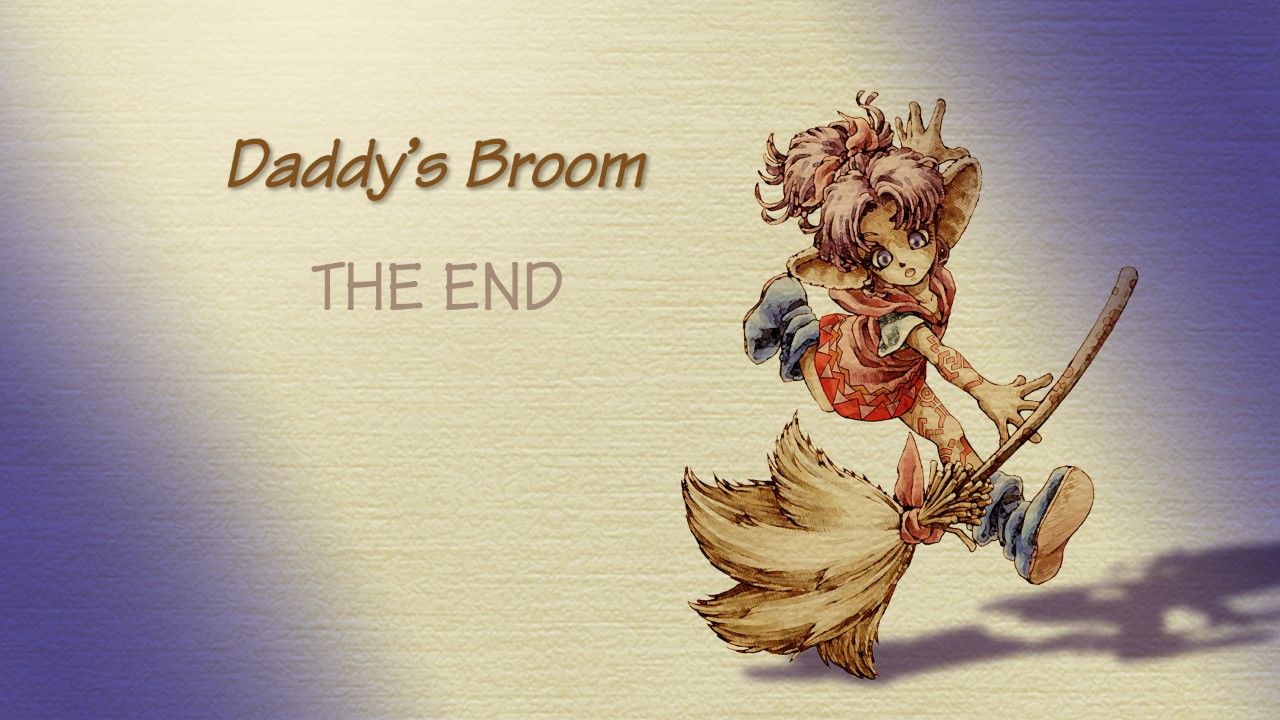
Daddy's Broom
So this might happen right after, but when you get home to talk to lil' Cactus about Pearl and Elazul. His pot will be empty! Don't worry, just go downstairs and talk to lissa and watch her literally go off the walls.
Eventually cactus will come back, so just head upstairs and talk to him. -Then- talk to him again until he says 'Fun to get lost'. -Then- save. This locks in your journal entry for Lost Princess, before we do -anything- else. Then head back downstairs, and agree to take bud with you to the junkyard.
From here you can do your usual running around if you'd like. But when your ready to do this event, head to the junkyard. Now you'll need to follow a whole new set of instructions to get to where you want to go.
So first? Head to the Upper Right. Then Head to the lower right. Now the Upper right again passed the doll. Then all the way to the right until you reach the acropolis with the stump in the middle. Now head to the Upper left. Then loop around to the right passed the rocking horse. Then all the way to the right again until the music changes.
Congrats! Now just re-enter home, talk to lil' cactus and save.
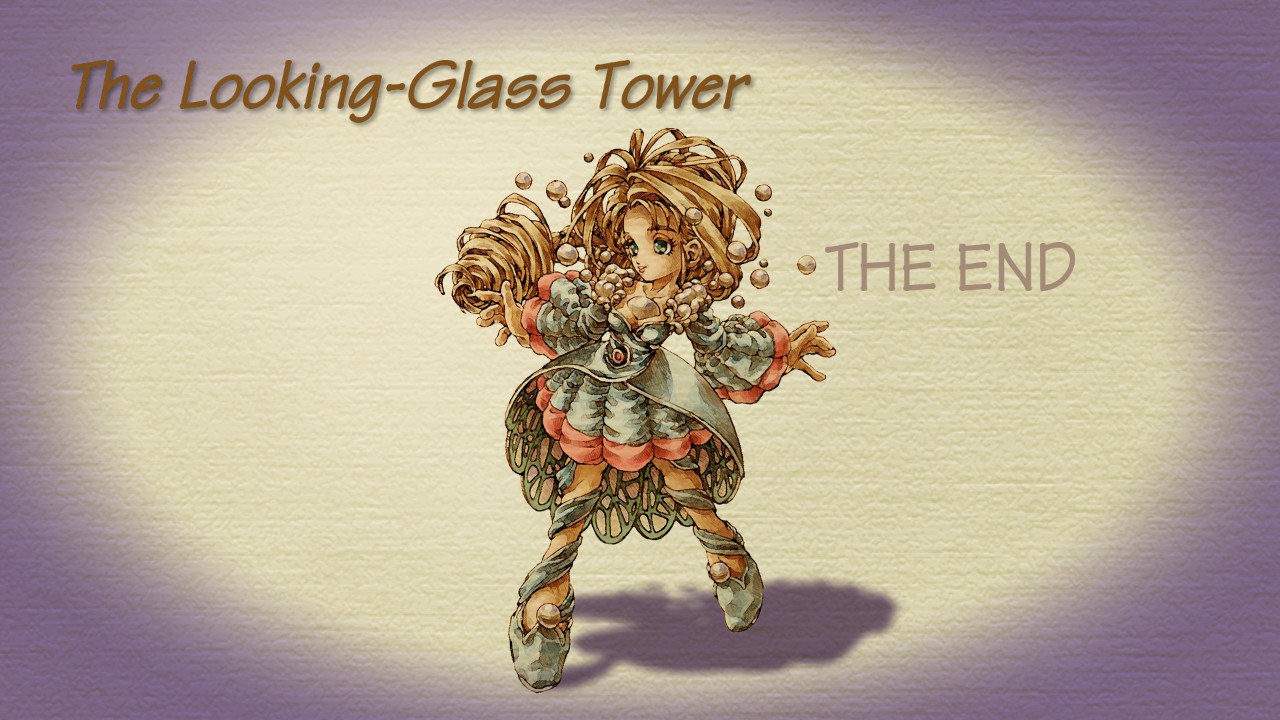
The Looking Glass Tower, Moon's Mirror AF
Ready to head out on the next adventure? Awesome! Grab the moon's mirror, and let's put it right here:
Pretty spooky tower isn't it? Head right on in! Pearl is waiting for you here at the entrance, so talk to her and agree to go with her.
Veteran's tip: Prior to this, all the party members who've joined you actively help fight. Pearl is -not- that, she's an escort quest and will just curl up into a ball. However, don't feel that you have to protect or keep mobs off of her. She'll be fine.
Now the tower is a -big- puzzle, so I'm going to walk you through all the steps to make it a breeze. So head on into the tower, and let's begin.
Once inside, you'll want to hook a right. Now head all the way to the left, then left again which should bring you to the stairs leading up to the second floor - So head up. Now head all the way to the right and through the arch there, and go up the stairs to the third floor.
Now head all the way to the left, through the arch, and up the stairs to the fourth floor. Then head all the way to the right, through the arch, and up the stairs to the fifth floor. Now head down from where you just entered this section. Then go all the way to the left until you reach the stairs and head up to the 6th floor.
Small room isn't it? Take the obvious left after snagging that chest and these stairs will take you up to the 7th floor. Now head all the way to the right, through the arch, and up these stairs to the 8th floor. Now go all the way to the left -but-, don't go out that arch, instead head down the lower left path.
On this side there should be a massive door on the back of the central column, go through it. Inside is a large crystal you'll need to use, and once your screen stops being a rave party - head out and you should be on the 10th floor. So just go left, and up these stairs to the 11th.
Go all the way to the left, and then down to circle around. Pearl will have something to say, but once your ready, head on through the doors.
BOSS TIME!
Veteran's Tip: This boss chamber is the best and easiest place to come to farm the eggs that give you the 'polter box' monster p0et. This pet increases the rare drop rates of items when it's in party with you. So coming back and getting one after this event is a -must- if your after rare drops, and the exclusive 'Spiny seed' which you need for rare produce growing!
Now that the boss is dead, we need to quick travel back to the ground floor. To do this, head back out the doors into the 11th floor and head left, then up towards the back of the tower. See that hole in the railing about halfway down the hall? Yeah, run up to it, and scream as you fall how many floors down? Oh yeah, six, and you didn't even break your spine - Good on you!
Now head to the right, and head downstairs. Now all the way to the left, and down the stairs again. Now all the way to the right and -- you guessed it, down the stairs! And left again, till you reach the last set of stairs and head down.
Now head to the right, and up. Then repeat again to make it back to the front entrance of the building. Also, I thought Elazul said he'd take care of all these mobs for us? Ah well, loot and exp!
Wait is that new music? Yep you bet.
SECOND BOSS TIME.
After you beat it, you'll be given the "Frozen Heart" AF! So head on home, talk to lil' cactus, and save!
The Gorgon Eye, Stone Eye AF
All set and ready to head back out again? Cool! This time, your going to want to head out to the main map and set down the "Stone Eye" right about here:
Welcome to Lake Kilma! Now head on in, and lets have some fun! Also the password is What? - No, literally, select that.
Not much to go off of eh? That's alright! I can give you directions if you want them.
First, go the same left as the others went (the lower one). Then all the way to the left again and up the only path there. Grab the chest here, and then head to the upper right and follow this all the way to the right.
Veteran's tip: This section of the lake will be where you will find beast eggs once you defeat the boss for this event. So come back here and farm them to your hearts content later.
Now, once in this new section - grab the chest and then go help the poor turtle.When he asks you about the fae, say no. Then head to the lower right when your ready. Now head all the way to the right again! It's our buddy the save statue! Go ahead and use it just in case.
Now head to the upper right, and all the way across to the right -- and don't forget the chest! Now head over to the upper right again, grab the two chests here, and head up to the upper left. Now all the way to the left again and over the cliff!
BOSS TIME!
For your efforts, you'll receive the "Firefly Lamp" AF! Now head on home and tell lil' Cactus all about it.
Professor Bomb's Lab

Ready? Head on over to the junkyard for this one, and once your inside - speak to the flowerguy to get teleported to the lab and speak to the furry Geodude out front, twice. When you have the option to go find his golem - say so, and the event begins!
Now to get out of the junkyard is pretty simple, just take a left -- grab the chest here, then go to the lower left. And then all the way to the left again to head out into the world map.
Now, you want to go to the lake. See the Golem? Speak to it, then follow it, then kick it's shiny metal ass!
That's it! Now go home, tell lil' catus all about this, and save.
Golem Go Make 'em
To trigger this one, just head to the workshops around the back of your house and head up to the door. Your already home, so you don't even have to go anywhere!
Yes, he's going to give you a test, and yes that's a lot to READ. But don't worry, take the Golemology at your leisure, because here's the cheat sheet for your test!
A body and a logic block
Weapons or Armor
Musical instruments
The Number of Armor Pieces
The combination of equipment
The materials they're made of
Weapon Type
The Armor's defensive strength
Number of armor pieces
Distance to the enemy
And there you go! Now you can make golems - and out of your unused/old equipment or failed blacksmithing attempts no less. So re-enter your house, and go tell lil' cactus all about it! Then save, of course.
The Spirits' Light, And The Firefly Lamp AF
Ready to go on the next adventure? Sweet! Then grab that firefly lamp, because were going to place that down right here:
Now head on into Lumina! The city is separated into two parts, the left side which is the tavern. And the right side which is the shopping district. Right now, you want to head into the right, then head into the upper right, and into the lamp shop at the top of the stairs. Just talk to the shopkeeper to start the event.
Now head back out of the shop and talk to gilbert, and agree to sell three of the lamps on his behalf with the 'go sell them' option. Now head back to the entrance of the city, you'll need to go visit the tavern side now.
Up on the second floor of the tavern, you'll want to talk to the guy that looks like a living jigsaw piece (or swiss cheese, depending). He's going to teach you the dudbear language so you can sell off the lamps. Study it if you wish! But I'll be giving you all the right conversation choices in this guide.
The first dudbear you want, is the one just near the puzzle guy that looks totally disinterested in the show. The conversation choices you need are here:
Dud!
Dud!
Dub!
Dada dadda?First lamp sold!
Now you want the dudbear down below, the one also not interested in the music going on. The conversation choices you need are here:
Dub!
Dud!
Dud!
Dub!
Dada dadda?Second Lamp Sold!
Now head over to the shopping district side. They will be right there in the first section, and the conversation choices you need are here:
Dud!
Dud!
Dub!
Dada dadda?Last Lamp Sold!
Now head back to the lamp shop and talk to gilbert, and then head inside to watch the scene. Then leave the shop and talk to Monique after she leaves. Watch the next scene, and then head back into the shop again and speak to monique. You'll get the "Trembling Spoon" AF!
Now head on home and tell lil cactus all about it!
Huntin' Du'Cate, Medallion AF
Ready for the next adventure then? You know the drill - head on out to the main map, and were going to put down that medallion with the face. Right here actually:
Welcome to the jungle! and just like a real one, this place can be very tricky to Navigate. So follow my instructions, and we'll get through this easy as a breeze.
After the exchange between the three of them just leave this section and then come back into it again. You should see sotherbee chasing a jigglypuff. Just run into him (since it's easier), and the lilipea will run off - go after it, and talk to it to get it to lead you into the next section. Simply repeat this until long legs goes dashing passed you. Then talk to the lilipea again and follow it some more - don't forget the chest though!
In this next section, you'll need to defeat the mobs before a penguin shows up - talk to him. Now that your 'buffed'! Head to the right, talk to the lilipea and let it guide you to where you need to go in each section. When you reach where Hanson is, head to the upper right after grabbing the chest here. Now speak with Hanson, and then follow him into the forested ruins.
It's our buddy the save statue! Go ahead and use it, then go in the direction long legs was headed to speak to him. (if you went passed him) just exit this area, talk to skippy and after they run off -then- go back in. Now talk to Bisotti (He's one of the seven wisdoms, we'll come and find him later with bud).
Now talk to his friend the Penguin roane, he mentions that his sister went investigating the fae in the courtyard of rain. Remember this reference for later.
For now, head back to the save statue and then take the lower left path. This will get you teleported back to the entrance. Now head to the upper right again and talk to skippy. Agree to team up with them, and then follow them into the next area. Here you'll find hanson, talk to him, and agree to work together with him. Then follow -him- into the next area all the way to the left, and then head into the upper right. Then head all the way to the right again to find skippy. Follow them to the upper right!
Now follow them both, all the way to the right. -not- the upper right, this just takes you back to the save statue. But now you should be in the Du'cate's territory. Now fight your way to the upper right, and then fight your way to the right, then right again.
BOSS TIME!
Once it's dead and sotherbee rewards you, choose 'Give it to them', and he will instead give you the "Sand Rose" AF! Much better reward, i'd say.
Now go home and tell lil' cactus all about it! Then save, of course.
The Murmuring Forest
Once your ready, head on back to the jungle again and once inside? Talk tot he flowerguy to get a teleport to the courtyard of Rain. Once here, loot the chest, defeat the mobs, and have a chat with Roane's sister!
Now you have to make your way back to the entrance, so head to the left, then left again, then left once more! Now talk to the flowerguy again, and this time ask him to teleport you to the forested ruins. Then head tot he lower left - which will have you teleported to the entrance again.
I -promise- this isn't redundant! Just talk to the flowerguy, teleport back to the forested ruins, then go to the upper left path this time to get to the beast's throne. This time, talk to selkie and ask for the spell to be removed, and then agree to help her. This officially starts "The Murmuring Forest".
Now head back to the save statue, save, and then head down the lower left path.
That was -interesting-. Now follow him to the left! Then the upper left! then left again!
You'll find a winged demon with wings when the music changes, tell it you want to talk to it. When the conversation ends, talk to it again to begin the boss fight.
The plot -thickens-! Now head back home, and tell lil' cactus all about it - and don't forget to save after!
Golden Seed AF
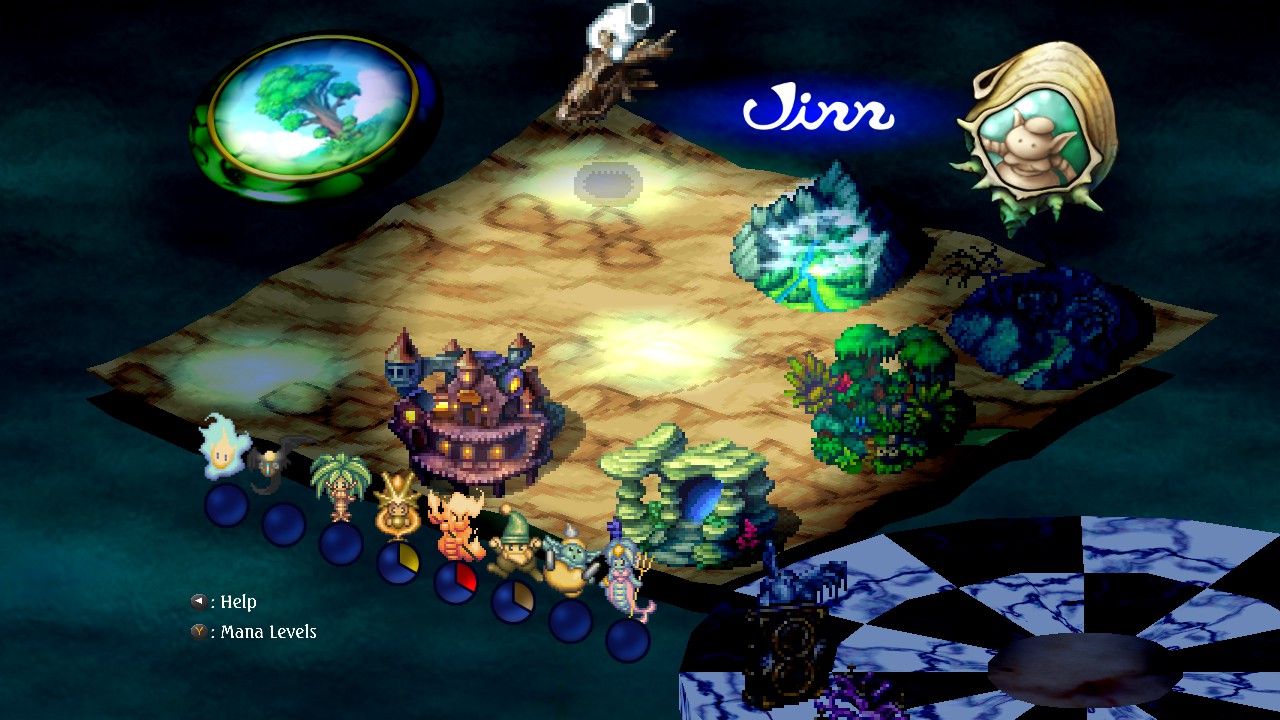
At some point during your adventures, Treant down in your orchard will give you a really big seed he says he can't grow. This grants you access to a second orchard! So when you do get it, head on out to the main map, and your going to want to drop this artifact down right here:
Once you do? Just drop on in and speak tot he new trent, feed him some seeds, and there you go! This isn't really tied to an event, it's just useful to have and know!
Two Torches

For this one, head on down to Gato and make your way to the temple of Healing. When you reach here, just head to the far left or right of the prayer hall to get into the back, and then head up and talk to Daena.
Veteran's tip: Explore the side rooms of this back hall to find some chests to loot!
when she moves off to the side, head on in. During the scene, you'll have a dialogue option - and you can choose whichever you like. Once Escad leaves, speak with Daena to learn more about what's exactly going on here. You can also speak to matilda herself if you'd like but once your ready, leave the room.
Strange looking nun, or am I the only one who thought that? Head back into the dreamweaving room.
Now then, that was interesting
If you speak with Daena, she'll become your partner. Or, you can hold off and head straight down towards the Gato caves. Here you can team up with escad as soon as you arrive just by talking to him, and agreeing to go with him.
Veteran's Note: Choosing who you want as a partner in these 'arc' quests, and the ones after will influence how the story unravels later. So if you want to get the full story from the character you prefer Escad, or Daena, partner with them consistently from now on in these 'Fae arc' quests. Daena for this one, gets you through this event without having to fight any mobs besides the event boss. But if you don't mind that, you can team up with escad instead. But definitely follow your personal preference for the story.
If your with Daena She'll take you straight to the sealed room.
If your with Escad The directions to the sealed room are as follows. Head through the closest opening up behind escad, down the stairs and into the next section. From here, head into the closest upper right opening, grab the two chests in here. Then head back out into the main section and take a left. Then head through this section to the left. This will take you back outside, where you need to head down the path, and then go left and through the upper opening. Now that your back inside the caves, take the lower left bridge. This will bring you to some stairs with a nun to head up, do so, then head all the way to the right as far as you can go and into the next section. From here, head through the upper opening, up the stairs - and here's the meditation room!
BOSS TIME!
Veteran's Tip: This boss can be very annoying and very difficult. To avoid it's rug and ball attacks, just head up into the top of the upper section everytime it flashes just as a precaution. DPS down the adds that spawn to build up special, and then try to land one on them as much as possible.
Such conflict, be sure to head home now and tell lil' cactus all about what happened!
In Search Of Faeries
Ready to head back out onto your next adventure? Sweet! Then head back over to Gato and the Temple of Healing. Your going to want to go into that back room where Matilda stays, and to get let inside - just talk to the nun guarding the door for them to stand aside. So head on in and speak to Matilda. When she asks if you can help find Daena, say 'Sure thing!' to start the "In Search of Faeries" Event! (If you refuse her, this event will be gone for good)
From here, your going to want to head to Lake Kilma to find Daena. To get to Tote, your going to want to follow these instructions to get there:
First, head all the way to the left, and then all the way to the left again. Now up to the Upper right, and all the way to the right of this section. For this section, you can head to the upper right for a chest passed the mobs, and then go back and take the lower right to continue onwards.
Veterans Note: This area where you get the chest is also where beast eggs spawn. So if you want to catch a bunch while your here, you have a decent chance of getting rare mobs because of this artifacts placement in the world map! If it doesn't spawn for you, exit and reenter this area over and over until it does once you've looted the chest and left.
Now head all the way to the right of this section to reach the save statue, and go ahead and use it! Then head to the Upper right, then all the way to the right of this section. From here, passed the faeries, take the Upper right path. Now take the Upper left, and all the way to the left of this section!
When talking to tote, you can choose whatever Dialogue options you'd like, but make sure to talk to him twice. Then when your ready, follow these instructions to get to Daena:
First, head back into the section before the cliff - then take the lower right. You'll see Daena! Go ahead and talk to her, and you can again pick whatever dialogue you'd like. But when she leaves, do ahead and follow the path she went down to the lower left. In this section with the faeries, head south (down). Now head all the way to the left of this section.
Phew! False alarm, no boss yet. After the scene, head to the lower left - and then all the way to the left of this next section.
BOSS TIME!
Veteran's Tip: This bbss has a massive cone aoe, so whenever it flashes, get behind him as soon as possible and as far away as possible to avoid it. Doing so makes this fight much easier to handle, but if you cannot escape - get between the arcs of lightning to avoid damage.
When you finish and make your way back to matilda, tell her Daena is in the land of Faeries. Then enjoy the scene to follow!
Now head back home, tell lil' cactus all about it, and save!
Pokiehl: Dream Teller
Ready for the next adventure? For this one, your going to want to head to the mines!
Once you arrive, you'll find Pokiehl at the entrance - so say hello!
Once the event begins, and kid escad appears Do not leave the mines. This will make you fail the event. Instead, head to the right where the kiddo went in the direction of. Now head down to the lower right! This should take you to the stairs with Pokiehl. Go ahead and chat with him again, and when he asks if your in a hurry - say 'Yes'.
After the scene with Matilda and Irwin, loot the chest here, and then head to the upper right. Now head to the lower right of this section. Now head all the way to the right, and then down this set of stairs to reach the next scene!
Veteran's tip: This is now the point of no return in the story arc, and you must pick a side. Daena, or escad and remain with them for the rest of the story arc. If you choose Daena here, Escad will fight you. Or you can choose to side with him. Personally? Stick with who you sided with during the two torches quest line for their full character stories - or go with the one you feel the most dawn to.
If you choose to go with escad, or fight and defeat escad - the event concludes.
Now head home, tell lil' cactus all about it, and save!
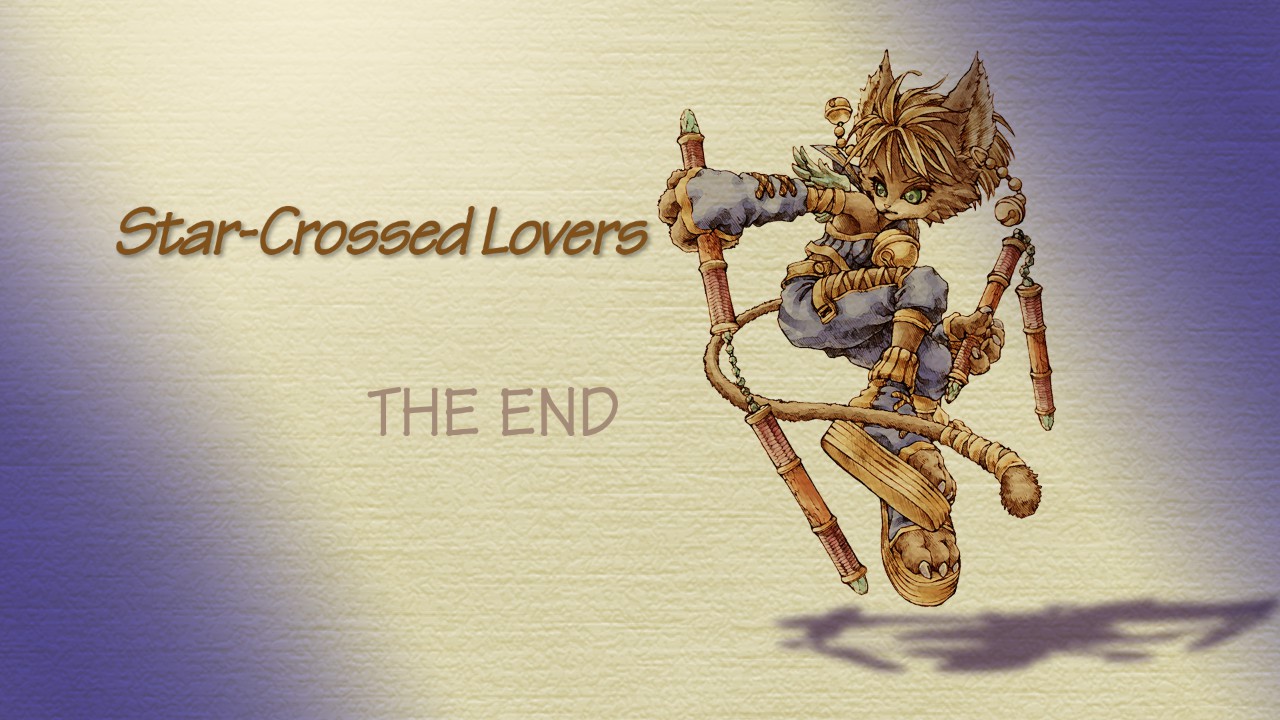
Star-Crossed Lovers
Ready for the next adventure? For this one you'll want to head to Gato! and Back to the dream weaving chamber in the upper back of the temple of healing to find matilda again.
That was quite a long scene wasn't it!
Don't worry, I have all your instructions to help you get through this place!
First head all the way to the right Until you reach the stairs to head up and out of the underground. Once your above ground, head left. Now head to the upper left through the gates!
For the flowerlings here, you'll want to arrange them like this:
Now head to the right! Then head through the gates, and down to the lower left -- Hey it's niccolo! Talk to him and ask him to take us to the tower of winds.
It's our buddy the save statue! Use it! Then head up the monument.
Your going to have to pick a side, choose whoever you've been favoring up to this point - and stick with them for the rest of the story!
Once you defeat the other, enjoy the scene!
This concludes the event! So head home, tell lil' cactus all about it, and save!
Niccolo's Business Unusual: 3

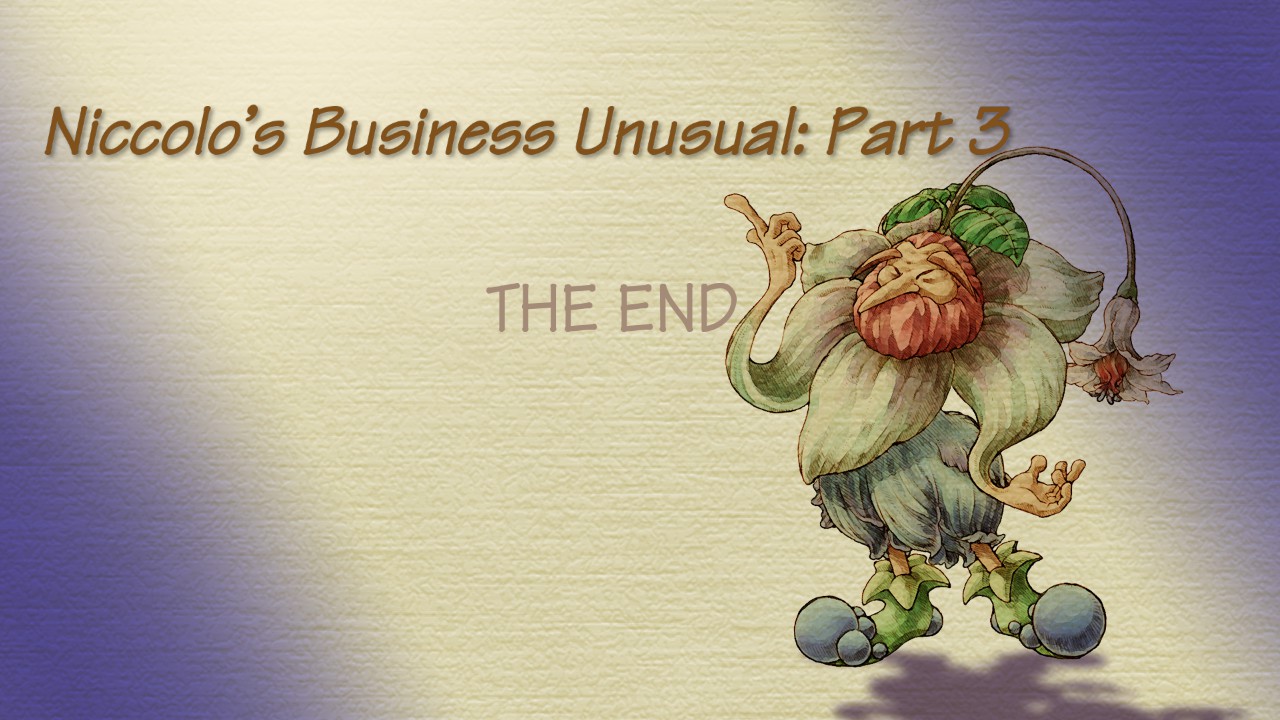
Ready to head out on your next adventure? This time your going to want to head to Lumina, as it's time to say hello to our old friend Niccolo! You can find him in the item shop. When he asks to go on the adventure with him, say yes!
Now head on down to the midas ruins, and it's time to go get us a flowerling! I'll guide you along the way as usual, so head on in.
In this section, you want to go all the way to the end and to the upper left. This should take you to a wandering pink lady flowering - head left of her. This should be the tower of winds! Go ahead and save your game here in case you get lost, or mess up on the flowerling keys.
Now head to the upper left again. This should take you to a wandering flowerguy, head up the path just above him to reach the flowerkeys corner. Your going to want to arrange them as follows:
Now head down back to the wandering flowerguy. Now head down the lower left path, then all the way to the left through the arches. Now head on through the gates to the lower left. From here, head all the way through this section, and left through the arches again.
Here you'll find a lone wandering flowerguy, talk to him!
Now that was a thing, and now we have to get our way out of the ruins. So head back to the right to leave this small area. Now head to the lower left, then head all the way to the right of this section. Until you find the flowerling.
Yep! There's only two, and your going to want to arrange them as follows:
Now head to the left to leave this area, Now go all the way to the left again. Now from here, take a right - this will take you back to the gates, and you'll want to head to the upper left to reach another flowerkey corner. You'll want to arrange them as follows:
Now head to the right to get back out to the gates. Now head through the only open gate to the lower right. This should bring you to the ruins, from here head all the way to the right, passed the lone flower girl in the corner. This should take you to the next set of gates, head to the lower left. Now head all the way to the left, and through the arches to reach another flowerlings corner.
You'll want to arrange them as follows:
Now head to the right to leave this area. Then head all the way back to the right again to reach the gates. Now head through the upper right path, then head all the way to the right. This will take you to the section with the wandering flowergirl, head to her right to get the chest with the blackened bat in it. Now go towards the flowergirl, and head down the path directly south. Then head all the way to the right of this next section to get back to the entrance!
Well that was an adventure alright, head back home, tell lil' cactus all about it - and save!
Reach For The Stars, Sand Rose AF
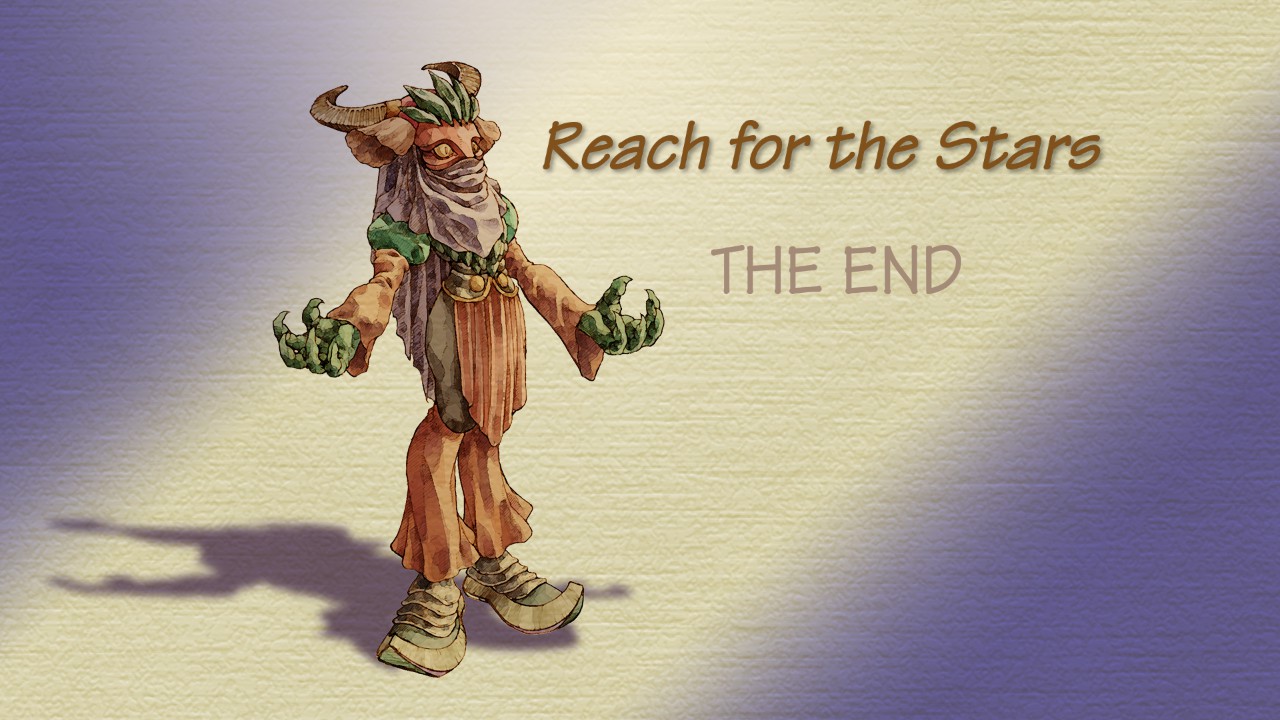
Ready to head out on your next adventure? This is going to require us to put that Sand rose to good use. So head on out to the main map, and your going to want to place it down right here:
Now head on into the new area! You'll see a bunch f students wandering around, so go ahead and talk to the guy sitting on a cactus. After she tells you what's going on, talk to her again and offer to help her.
Now from here, head to the lower right. Now from this section, head all the way over to the lower right again passed the students, and you can talk to them if you like. Now head to the upper right. This will take you to two students and a waterfall, grab the chest and then speak to the students. Choose 'Push passed them' and then do so.
From this section, head to the lower left. Then from this section, head to the left until your able to head straight up. This will take you to another blockade of students, go ahead and talk to the three blocking the way. Repeatedly. And when you get the option, choose 'Push Passed them', again.
Now head all the way to the left, when the teacher stops you, just talk to her and let her know your ready.
BOSS TIME!
Well that was an unexpected outcome. Now head on home and tell lil' cactus all about it - then save, of course.
Enchanted Instruments 101
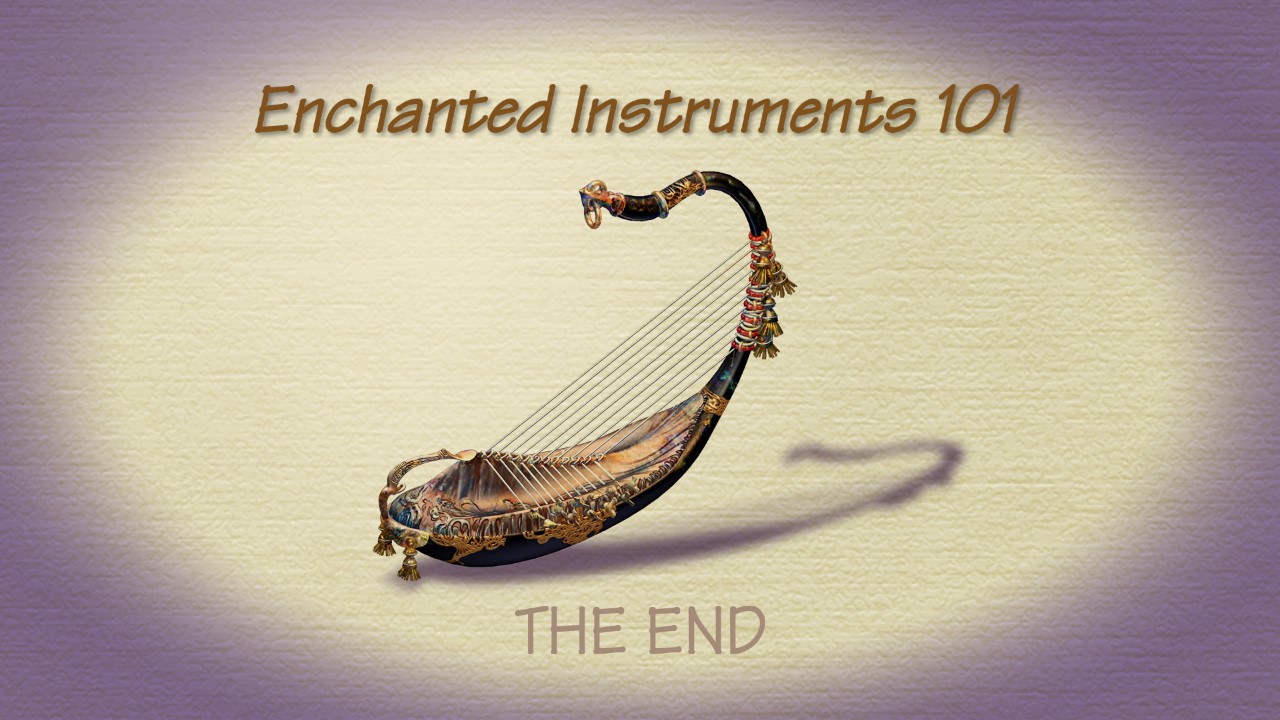
Now this adventure doesn't even require you to leave home. Just head to the workshop behind your house and waltz up to the door. When the student asks you if you can help them, agree to!
I got wisp spirits, and I'm unsure if it's random - But I used the 'Serene' melody on them and played the harmony. Wait till the spirit is right next to your instrument before stopping, and then just interact with it as you would catching eggs!
Once the event ends, head home, tell lil' cactus all about it, and save!
The Fallen Emperor, Trembling Spoon AF
Ready for your next adventure? Head on out to the Main map, and grab the spoon that's been sitting on your wheel for ages now. Your going to want to put that down right here:
Welcome to the Underworld! Head on over. Once here, head on up to the gravestone and talk to it. Once inside, Larc will talk to you - and you can choose any dialogue options you want with him. Once he joins your party, follow my instructions to get to where you need to go!
First head to the upper left, then to the right passed the two striped ghosts. Now head all to the right again! From here, your going to want to go through the first opening above you, before you cross the bridge. Then head up through the available opening of this section. Now head all the way to the right again. Now in this section, take the path directly down from you in the lower left. Now head all the way to the right.
Head right through the first opening to enter Olbohn's Study and talk to him a few times until the shadole appears. Then speak to it and tell it to take you to the Baptismal Chamber, and once here - talk to the shadole in the upper left to receive the blessing.
Now head to the lower left! And lower left again! In this new section, head right and through the second opening. Then head all the way to the right, then all the way to the right once more! Now in this section, head through the first available opening.
When Larc stops you and asks if your ready, say you are and let's go kill a boss!
Veteran's tip: When the ghost vanishes, pay attention to whatever faces are moving and get as far to the side and behind them as you can to avoid their attacks. This makes the boss much easier to handle.
After the battle and speaking with the Emperor, agree to help him. You'll receive the "Skull Lantern" AF for your troubles!
Now head on home, tell lil' cactus all about it - and save! Larc will run off, but you can find him wandering outside the underworld when you need him again.
Diddle's Had It!
Ready for the next adventure? For this one, your going to want to head up to Lumina, and go to the section with the tavern (the left side of the city). Where your going to want to speak to both Diddle, and Capella before simply leaving the area (back to the map of Lumina) and then back to the tavern.
This should trigger Diddle into leaving, and then Starting the event "Diddle's Had it!". From here, Go ahead and leave Lumina and out to the world map. From here, head home - and then turn immediately around and go back out into the world map again. This should trigger four Shadoles to span and head for Lumina!
So run on back there and see what's going on! head to the Tavern (The left area) again, and once cabella leaves, follow him. After this scene, head to the underworld.
Now that your here in the lowest level, DO NOT TALK TO POKIEHL - it will cause you to auto-fail this event. Instead, follow my instructions below, and do not bump into any of the shadoles. Just gently and carefully maneuver around them.
First, go left to leave the boss chamber, then go all the way left while carefully avoiding the shadoles in this section. Now Head to the left of this chamber while avoiding the group of wandering shadloes.
For this next section, which is a big long hall, head all the way to the left (there are no shadoles in this section, just a single mob fight). Now you'll be in another long hall again, just do the same as before and make your way to the far left and through the only opening (again, no shadoles in this section).
Now this section is with appearing and disappearing Shadoles. This one is tricky, because even if they disappear - they are -still there-. So treat them as if they didn't disappear at all and be careful as you make your way to the left.
Same thing with this next section, be careful, study the group of Shadoles - and make your way across.
Here that music? BOSS TIME!
Now go home and tell lil' cactus all about this and save. But important note: Do not enter Domina for any reason after this event. Just follow my guide and avoid it for now.
The Pursuit Of Wisdoms
We started this event a long time ago, and now it's able to be finished! So after talking to lil' cactus and saving, grab bud (the purple haired kid in your house) and let's go on an adventure!
First, We're going to want to go to the Luon Highway to meet Gaia!
veteran's note: Head to the boss area of this map from Niccolo's Buisness unusual to farm some Aerial eggs while your here if you want to. While you can head to the boss area of the caves for reptile eggs. If you have the polter box pet, this is a great place to farm rare 'spiny seeds'.
The directions to get to him are as follows:
Fast method - Just poke the big pink bloink and head to the right until you reach gaia.
Slower, loot heavy method. Head to the right from the entrance, all the way until you reach the fork with the golden save statue. Now head to the lower right. From here, keep going right all the way until you get to gaia.
After speaking with them, follow my instructions in reverse to get back to the entrance.
Second, were going to Lake Kilma!
veteran's note: Head to the 'Eastern Shores' section of this map to farm beast eggs. Due to the location of this area, you have a high chance of getting a Grey Ox pet. Still it may take some repeated tries to get one.
To get to tote, follow these instructions:
First, head all the way to the left, and then all the way to the left again. Now up to the Upper right, and all the way to the right of this section. For this section, you can head to the upper right to farm monster eggs or Spirit coins, or the lower right to continue onward.
Now head all the way to the right of this section to reach the save statue, and go ahead and use it! Then head to the Upper right, then all the way to the right of this section. From here, passed the faeries, take the Upper right path. Now take the Upper left, and all the way to the left of this section!
To get back to the entrance, just follow my instructions in reverse.
Third, Were going to the Jungle!
Getting to the wisdom is the easy part, just talk to the flowerguy and ask to be teleported to the Forested Ruins. The head to the upper left of the save statue.
After you speak to Rositti, it's time to head back to the entrance. So follow my instructions below to make that -much- easier on yourself.
Veteran's tip: You can likewise head to either boss location to farm plant monster eggs while your here, if you wish.
First, head lower left from the save statue, then south. Now go all the way to the right. From here, head to the Upper right after grabbing the chest here. Then in this section, head south. Then head left passed the fairies to make it back to the entrance.
Fourth, were headed to the Underworld!
Head there, and speak with the gravestone to head below. From here, follow my instructions to reach Olbohn's office:
First head to the upper left, then to the right passed the two striped ghosts. Now head all to the right again! From here, your going to want to go through the first opening above you, before you cross the bridge. Then head up through the available opening of this section. Now head all the way to the right again. Now in this section, take the path directly down from you in the lower left. Now head all the way to the right. Now head right through the first opening to enter Olbohn's Study.
When your finished, speak to the white and yellow shadole and ask to be taken to the surface. Then Speak to the blue and white shadole to be taken topside.
Awesome! Now head to Gato for the last wisdom. You'll want to head to the fork leading to the temple of healing to find him there.
Now head back home, and that will finish this event. It's going to kick you back to the world map, but head on inside your house, talk to lil cactus, and save!
The Guardian Of Winds, Skull Lantern AF
Ready to go on the next adventure? Head to the Underworld and pick up Larc from outside - were going to need him. Then head back to the world map, and select the skull lantern from your artifact wheel. We're going to place it down right here:
Welcome to the Norn Peaks! Now head on inside. After the scene plays out, head to the right until you reach the village. Once there, speak to the three green bird men in the upper right corner. After these scene, head up the now open path to enter the peaks proper.
You'll have to defeat all of the windcallers to get access to the dragon. So below is how you get to them.
To reach the first windcaller, head to the upper right of this area, then head to the upper right again.
After you defeat this windcaller, your going to need to find the second. To do that, head out of this section to the upper left. Then head all the way to the left of this next section. Now head to the left again, and then left once more.
After you defeat this windcaller, your going to need to find the third. To do that, head right. Then in this section, your going to want to head to the lower right. Noe head right again, before taking an upper right. From here take a right again, then a lower right passed the windcaller statue (don't interact with it). Then head to the Upper right.
Hear that? Barrier's down! Now to get to the dragon, you'll need to go to the lower left to leave this area. From here, go all the way to the left and then interact with the statue on the upper right. Once it vanishes, head up the path. Now head to the right, then to the upper right of this next section. Now take a left twice, and enjoy the scene and the boss fight!
For your troubles, you'll gaint he 'Dragonbone' AF.
Now go home and tell lil' cactus all about it! and save of course. Don't worry about Larc running off, you can get him again outside of the Underworld when you need him.
The Field Trip, Dragonbone AF
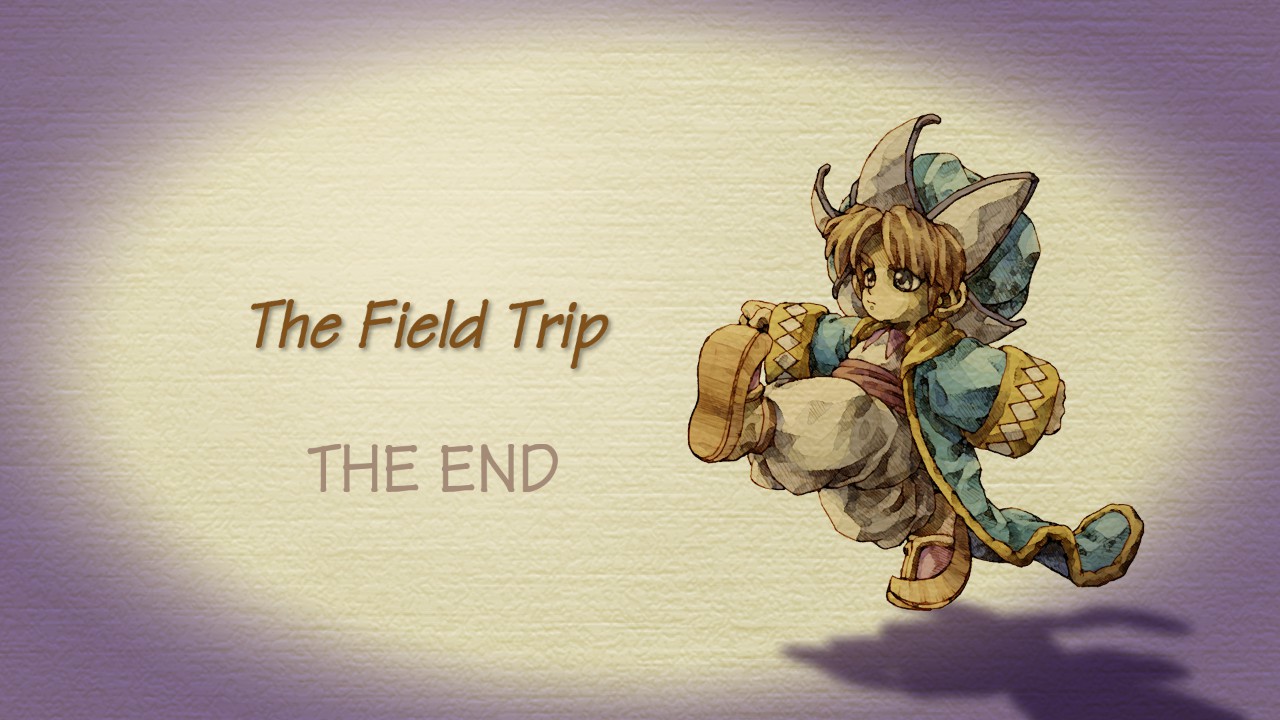
Head on out to the world map when your ready for the next adventure, and grab the dragonbone from your artifact wheel. Were going to want to put that down right here:
This spawns the bone fortress, so head on in! The event starts automatically, but your going to want to talk to the student in green right by the entrance. They ask you to go snag three ingredients for them from the individuals in the section to the right of the huts. Your going to want to talk to these three in particular
It's the student in blue with the Faerie scales. The Flowerling lady with the reddish petals, not the vibrant pink with spotted silver mushrooms. Then talk to the vibrant pink male flowerling for the star sparkles.
And that concludes this event! Now head home, tell lil' cactus all about it, and then save!
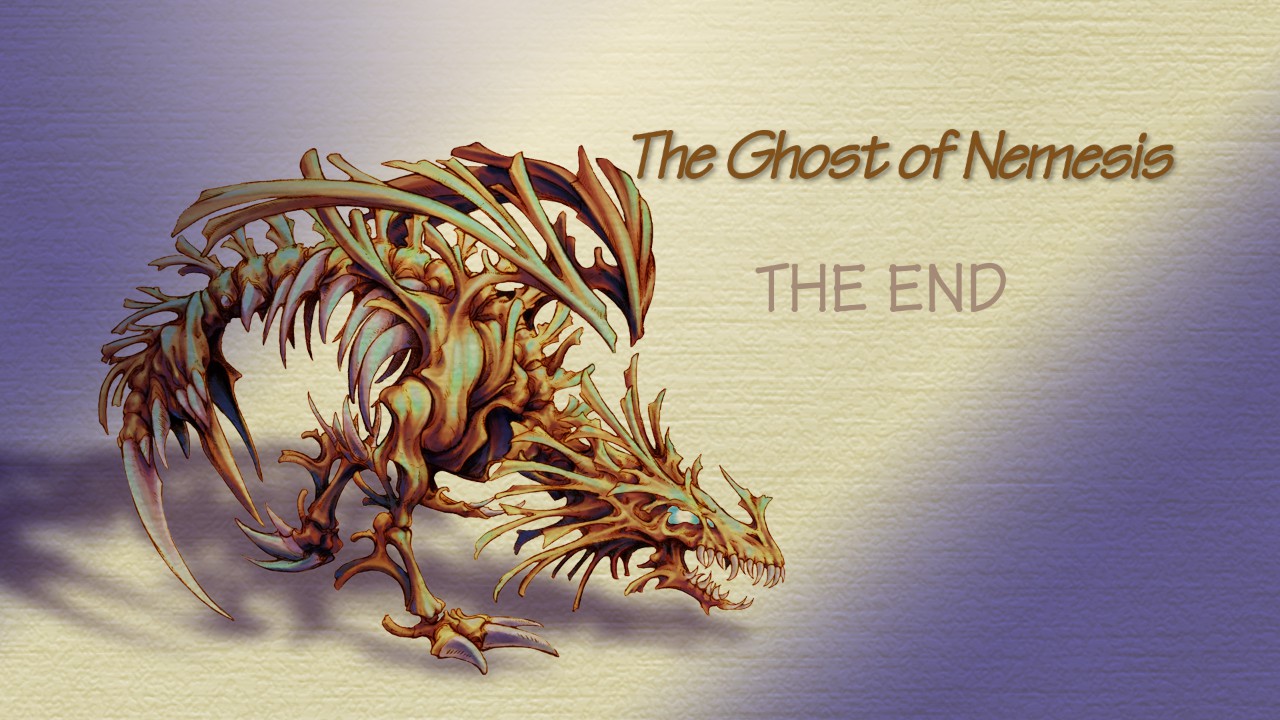
The Ghost Of Nemesis
Now before you leave home to take on this event, make sure you have a pet with you. It's required to start this event, and once you do - head over to the underworld to pick up Larc again. Once you've secured the furry axeman, head to the bone fortress! There our adventure shall begin.
After the scene at the entrance, head right to the fortress entrance. When the undead knight commands you to leave, defy him and stay. Once defeated, walk up tot he jaws of the fortress and interact to be let inside. Head on up to the platforms and interact with them as well.
Ah ♥♥♥♥, well - that happened. Now we'll have to find the others, and the dragon on top of it all. So grab the chest in this first chamber, then head south. Now head left - passed the sword mobs. In this next chamber, there will be a skull on the ground - search it. Now head left through the freshly opened hole. In this chamber, speak with the knight, then right through the entrance they opened.
Hey it's our pet! and a chest to boot! Grab them, and now it's time to find Larc.
To do that, head left - then take the lower right back into the skull's chamber. Now head to the lower left, then all the way tot he right passed the sword mobs again. Now were back in the chmaber with the risen platforms, you'll want to interact with the one on the left. Now head into that opened entrance, and take the elevator to the third floor.
Sierra will want to talk with you, and you can choose whatever dialogue options you please. Either way, it's going to end up in a fight - and for her, I suggest ranged because her attacks can stun clock you at close range if your not careful.
Once she's defeated, pick up the key she leaves behind. Then head back into the elevator, and head for the second floor.
Now to find Larc, head left and speak tot he knight in this room. Then head left again through the passage the knight just opened for you. Once larc is in your party, head right, then right again to make it back to the elevator. This time, you want to head down to the 1st floor.
Remember these? Search the lower left platform. Then head back into the elevator, and make your way back up tot he third floor again. Now head left, grab the chest in this room, and then head to the left again. Grab the chest in here as well, then go right to head back to the previous room. Now head up that big staircase.
First Boss time!
After you defeat deathbringer, head to the right for the next boss!
You'll receive the "Green Cane" AF for your troubles!
Now go home and tell lil' cactus all about it! And save, of course.
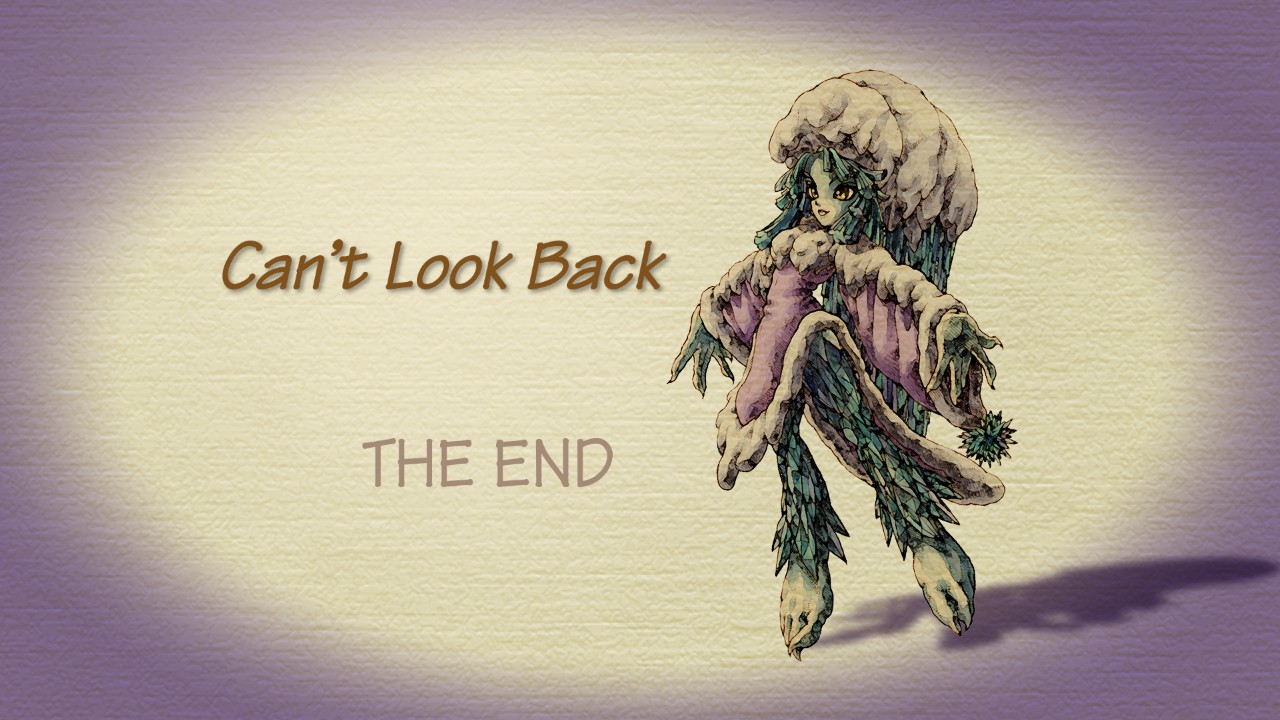
Can't Look Back, Frozen Heart AF
Done talking with Lil Cactus? Awesome! The next adventure awaits!
You'll want to head out to the overworld map, and grab that frozen heart Artifact from the wheel and set it down right here:
Head on in! The quest will start as soon as you enter the zone, and follow my lead to make your way through the fields~
First, talk to the guy at the entrance and then head lower left like he did. From here, take the only left, then the only left again. This will bring you to a 'Sharp Claw' chest! From here, head lower left. Then keep heading left until you reach the golden save statue, and make sure you save!
Head to the Lower left, and get the 'Giant's Horn' item from the chest. Then head back to the save statue, and then head up to the upper right path. Then head all the way to the right, this will bring you to the camp. After the Conversation scene, loot the chests and to speak to those present. Once the teacher runs off, head back to the save statue.
From here, head to the lower left. Then take to the lower right. Then follow this linear path all the way to the right until the next conversation scene. Speak to both of them, and then head right past where the ice Faerie was blocking the path. Follow this all the way to the right until the only path is up. Now take a right into the Boss arena.
Veteran Tip!
Come back to the boss arena anytime to get the unique 'Dragon Eggs'! They -only- spawn here, and no where else in the world. So make sure to get them if you want the land, sky, or kid dragon pets.
Congrats! You'll Get the 'Rusty Anchor' as Your reward! Now head on home and talk to lil' cactus!
Heaven's Gate
Done talking to Lil cactus? Awesome! Then your ready for the next adventure in the list. Before you even leave home, speak to Lisa and take her with you. She's the pink haired girl with the red tunic downstairs in your house. If you've forgotten who she is by now.
Her relentless casting of spells in battle can prove influential in the trials to come, and your friends Escad or Daena (depending on who you sided with in the last 'Faerie Arc' quest) will not party with you.
Veteran's Note!
Unlike all other areas in the game, you only have access to the upcoming area -once-. So during this walk through, I will be leading you through every nook and cranny of the place to take advantage of all available loot and chests. Leave no stone unturned, so you don't have regrets or second guessing later.
When you are ready, head to Gato Grottoes and up to the temple's dreamweaving room. After the Scene, speak to matilda to receive the "Brooch of Love" artifact. From here, head on out to the main map.
Your going to want to put that here, next to the jungle:
Head straight there.
Welcome to the Great Serpent Lucemia! begin by heading as far left as you can. This can be deceptive at times with pathing, because the 'raised' parts of the serpents shell are obstacles. If you'll look closely, to your immediate south is a ramp like downward path, take that then go left, and back up a similar ramp in the shell up, then left to head into the next area.
Here, you'll need to go all the way to the left again. Thankfully this section is straightforward to the next transitioned area.
Now this part, you'll need to head all the way left until you can't anymore due to a raised portion blocking you. Take the 'Ramp like' Section of shell down, and then enter the hole.
Now inside, take the only available path north.
In this area, grab the treasure chest here for some 'Rotten Meat'. Then head up the ramp to the left path.
Passed the mobs, is a treasure chest containing a 'Zombie Claw'. Once you have it, head back to the previous area you came from.
Now take the right path. Fight through all of the monsters in this section, and out the right edge again.
In this room, don't forget the chest before heading up the ramp and out onto the top of the shell again.
Here, you'll be visited by one of the Seven Wisdoms!
Pick "Of course!" if you want to keep going through this section.
If for whatever reason you need to leave and return here later, pick "I can't take it anymore."
I suggest the first option, of course. So head up the 'Ramp' he was hovering over and head left.
From here, you'll need to head left again. So head that way past the mobs until you reach another 'Ramp', take it down, and then head all the way to the left and into the hole in the shell.
Now take the only path available to the right. Then through the mobs, and all the way to the right again. Here, grab the chest, and take the curved path north.
At this fork, head through the -lower- left path first. At the far end up the ramp will be a treasure chest, grab it, then head back to the previous area and head up the upper left ramp.
From here, fight your way to the left. Now in this chamber, head up the ramp and out through the shell again if you want to farm exp. As the only thing there is mobs and it will constantly respawn and refresh each time you go through the hole and go back out again. Otherwise, head straight to the far left of the interior chamber.
In this room, fight your way left, grab the chest, then head up the ramp and out of the shell. You'll be greeted by the wisdom again! He'll ask you the same question as before, so answer accordingly. Once he vanishes, go up his ramp, and head right.
Note:
You -can- just keep to the lower portion and head right, but it will just lead you to a dead end with mobs. So feel free to use that to your advantage if you want to farm exp. Otherwise, there is nothing of note.
Now head all the way to the right again. Then all the way to the right once more until you reach another 'Ramp'. Take that down, then head right into the hole in the shell.
Grab the chest, and head down the only available path to the upper left. In this section, fight your way to the far left, then all the way to the left once more. In this chamber, grab the chest, then head up.
Phew! Outside the shell again, head left up the 'ramp', then all the way left again. Now head all the way to the left once more.
BOSS TIME!
Veteran's Note!
He cannot take damage while casting spells. So when he starts, head to the far right of the screen to avoid his bomb barrage damage. Otherwise hug the side of the screen he's not facing. Ranged weapons like the bow make this a sinch, but otherwise weave in and out between avoiding spells and smacking him around.
Once the scene completes, head home and tell it to lil' cactus!
Cage Of Dreams
Now for this event to trigger, you may need to leave home and come back a few times. But you'll know you've triggered it when you come home to lil' cactus outside your house with a 'dead' sproutling.
When lil' cactus runs back into the house, follow him. Grab Lisa, as she'll be useful to you in the upcoming segment. Then head upstairs and talk to lil' cactus. He'll say nothing of course, so go ahead and head out of the house again.
This will trigger the event start! So follow the leaves towards your workshops then head in. After the conversation, turn around and leave the shops. it's another of the wisdoms! When he asks if you'll join the conversation, agree.
After the scene, speak to the picasso disk. This will have you transported into the spirit world.
This first area, is the 'Thorn of Hope'. From here, head left. Now in the 'Entrapment of Love" head right. In the "Pitfall of Knowledge" head to the lower right. This is "Desire to Awaken", head all the way right again. This will take you to the sproutling.
After the scene, head back home and talk to lil' cactus!
Seeing Double
Closing Notes
Phew this is a lot of work! Nor am I finished yet, as due to having to fresh install windows on my computer, I'm having to start over from scratch again in my save file. So once i'm all caught up to where this guide ends, I will be continuing to add onto it all the way to the last zone of the game. So rest assured! More shall come to follow soon enough.
That said, I hope you enjoy the guide!
It's been written both by consulting online resources, the printed strategy guide - which I found far too vague and not too helpful. But also my own step, by step, playthrough of the game as well. So everything I've written should be accurate to the letter, if it's not - feel free to let me know in the comments below and I'll re-check things with my own game.
All in all, I hope it helps you have an amazing experience with LoM, and allow you to fully enjoy every nook and cranny of it's story and experiences. If you feel like it, consider dropping a small tip into my ko-fi~
Ko-fi: https://ko-fi.com/lastzenith
Stay safe out there traveller!
Source: https://steamcommunity.com/sharedfiles/filedetails/?id=2529160385
More Legend of Mana guilds
- All Guilds
- Explanation of the Artifact Placement System
- Legend of Mana Guide 105
- Legend of Mana Guide 95
- LOM Player Stats
- Ability and Weapon Techniques Checkbox List
- Recipes
- Produce (A quick summery)
- Legend of Mana Guide
- Basic Missables List