A Few Notes To Take Into Consideration
DO NOT sell your equipment, at least not before you learn every support ability related to them.
I recommend ignoring tetra master for now, you can get all the achievements related to cards and cards itself at endgame (except for some like Namingway, but they are pointed out in this guide).
If you don't fancy an image heavy guide, see this walkthrough version instead.
http://steamcommunity.com/sharedfiles/filedetails/?id=680623233
Missables
Just a list of missable achievements and a quick glance as to why they're missable: To avoid spoilers, end-game is referring to the end of Disc 3. (Do it before Ipsen's Castle)
Movie Critic - There are a total of 80 ATEs, but only 79 ATEs can be obtained in a single playthrough. You need 79 ATEs for this achievement in a single playthrough.
Another Man's Treasure - At the end of the game, you can figure out your Treasure Hunter rank. You need Rank S here. Rank S is obtained by looting the majority of treasures, side quests, and minigames. You can miss SOME treasure.
A Round of Applause - During the swordfighting scene near the beginning of the game is the only chance you have for this. Completing this also grants you a Moonstone (also missable).
Over the Moon - The Moonstone from the swordfight scene is missable. Conde Petie's Moonstone is also missable with the stones. Do note, you NEED at least one moonstone later on, so don't lose them.
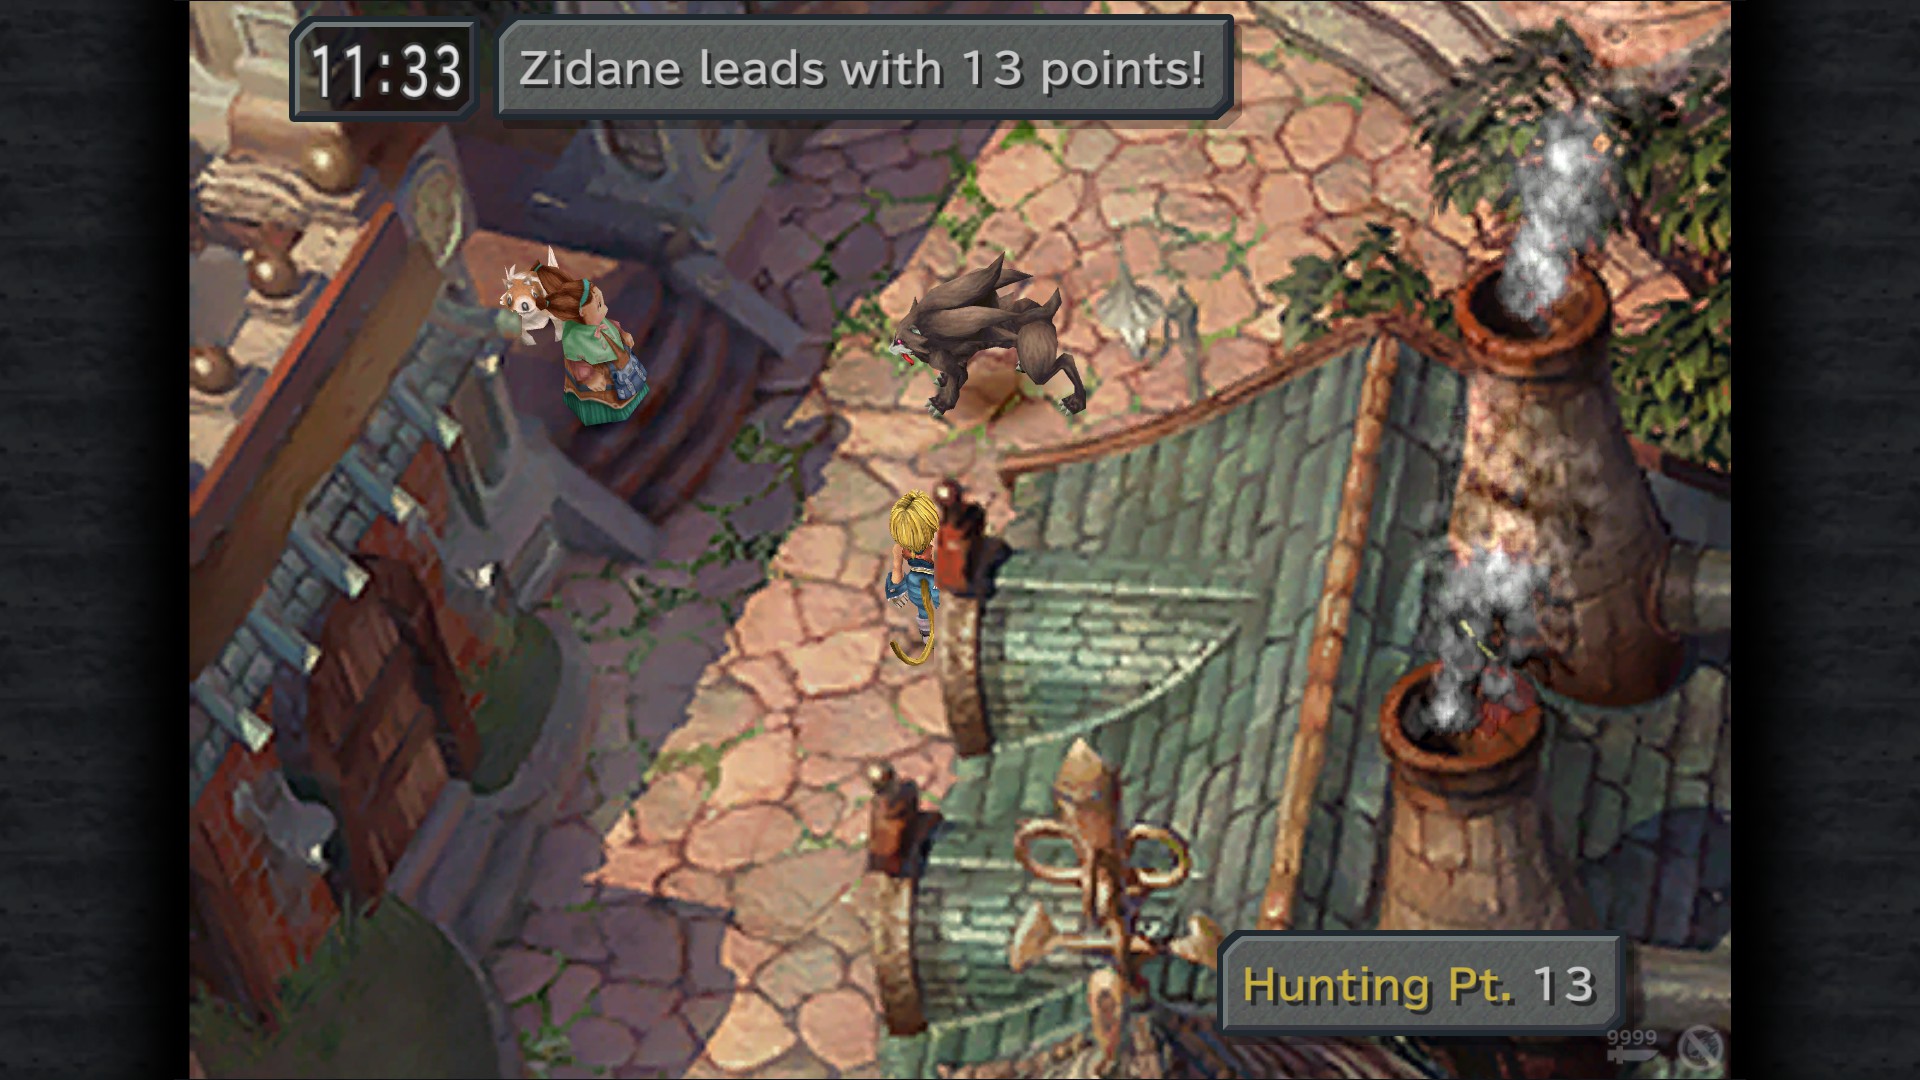
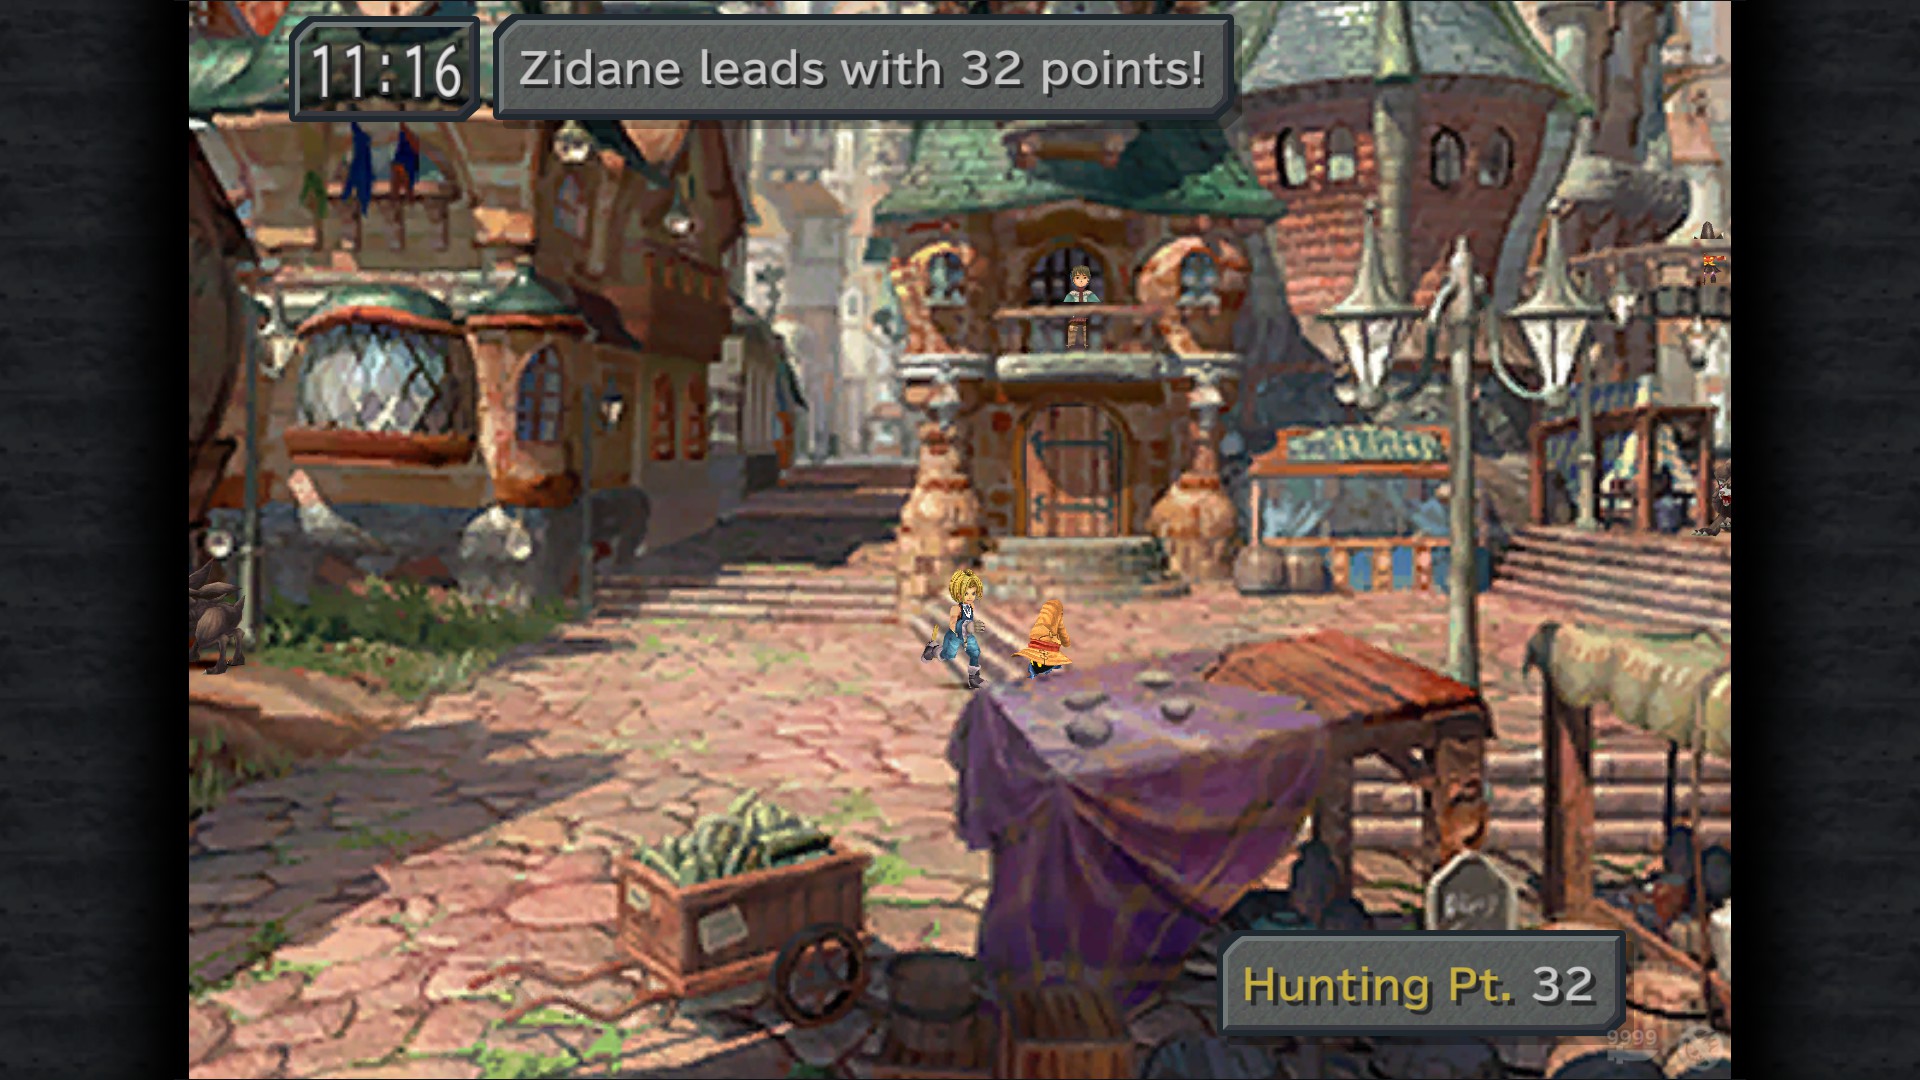
A-Hunting We Will Go - During Lindblum's Festival of the Hunt, Vivi must win the hunt. This can be done by having both Zidane and Freya faint against the Zaghol at the end.
Driving the Hard Bargain - During your visit to Burmecia, you will encounter Stiltzkin who will often ask you to purchase goods to fund his trip. Make sure you purchase his stuff every single time.
Out of Harm's Way - During the siege on Cleyra, you'll be given choices to give to its residents as to where they should retreat, you must pick the right choice for all the residents.
Peek-A-Boo - In Fossil Roo, the tunnel connecting the Mist Continent and the Outer Continent, you can play the mining mini-game for items. Mining the moogle to the right will grant this achievement. Fossil Roo becomes inaccessible at the end of the game.
The One Ring - In the same mining game, the player can obtain a Madain's Ring. With Fossil Roo unavailable end-game, you can no longer play the mining game.
Track Star - During your return to Alexandria from the Outer Continent, you can race Hippaul for a short period of time. Going to watch Ruby's play will prevent this.
Found in the Shuffle - During your return to Alexandria from the Outer Continent, you can find the Nero brothers in the weapon shop where they'll have you gamble in a shuffle game. It is unavailable after this.
My Little Airship - The Prima Vista requires you to collect all of the coffee. During Treno's card game tournament, you'll have to go to Dali to get the Mayor's Key for Burman Coffee. Also Dali becomes unavailable in the end-game.
Exalibur II - The player must reach the final area of the game within 12 hours playtime. Technically this isn't missable, but amassing 2 years of gametime to overflow the playtime back to 0 isn't a good route either.
Dragon Lady - Treno has a monster in the weapon shop that changes from time to time. Eventually, a Behemoth will be that monster and you'll need to defeat it with Dagger. This is end-game, but you must do it with Dagger.
Mister Nice Guy - The second to last monster requests a Moonstone which the previous monster grants. There is a very limited amount of moonstones, so if something were to happen to your moonstones, this quest would become impossible.
Other Notes The Mognet Central quest is NOT missable. If you miss too many letters, you won't be able to start it in Disc 3, but you can start it in Disc 4 with no issues. So this note applies to the Superslick achievement as well. Mois will relocate to the entrance from the Marsh (requires Quina in your party)
There are 100 unique Tetra Master players that you can challenge at the end of the game. It's difficult to find them all, but it's not missable.
Alexandria


Prima Vista
Before lighting up the candle
47 Gil - Dark Room
Potion - Dark Room
Alexandria
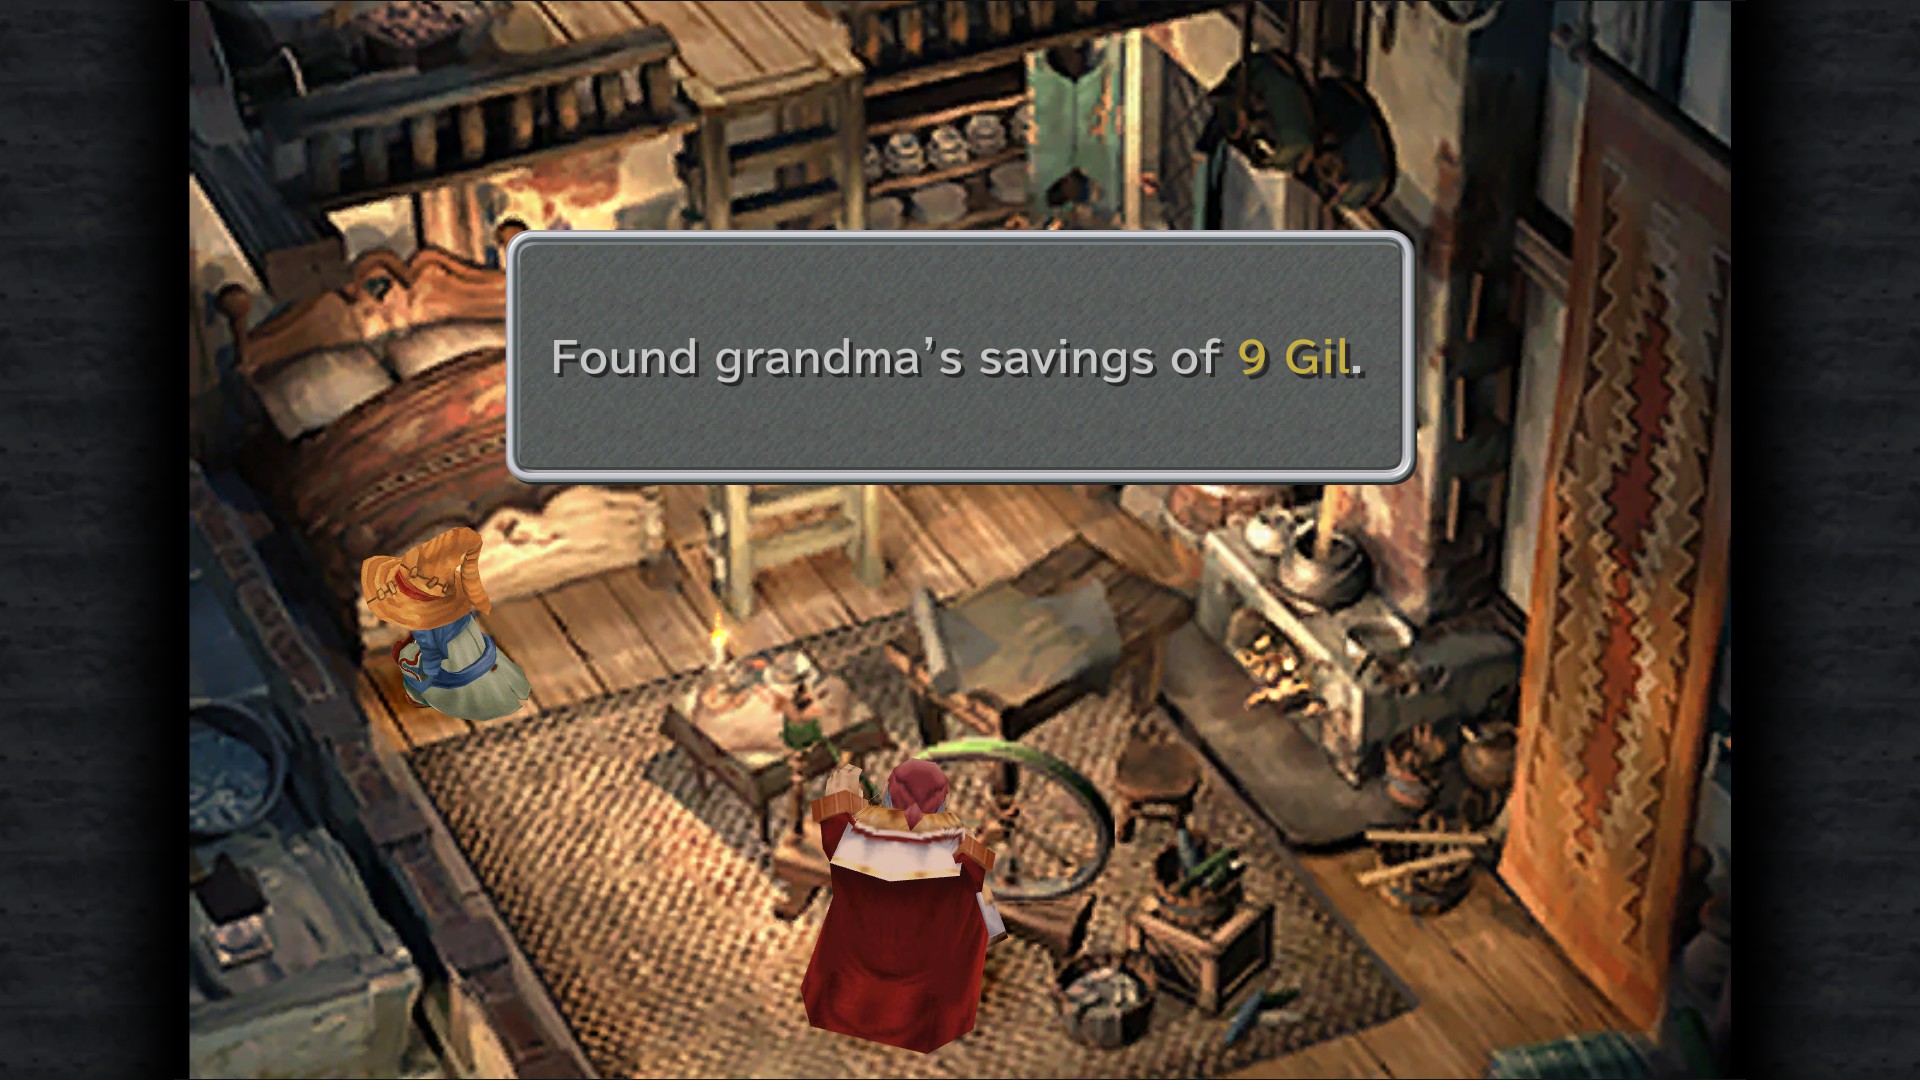
9 Gil - Right House
Potion - Right House
Fang Card - Right House
Potion - Main Street
Potion - Main Street
33 Gil - Intersection
Goblin Card - Intersection
27 Gil - Tavern
Flan Card - Tavern
Potion - Tavern
38 Gil - Item Shop
Phoenix Pinion - Square
Minigame: Jump Rope - You do not have to hit the 1,000 jumps now, but at least do 50 jumps for Kupo's letter to Mosh.
Remedy - Weapon Shop
Ether - Synthesis Shop
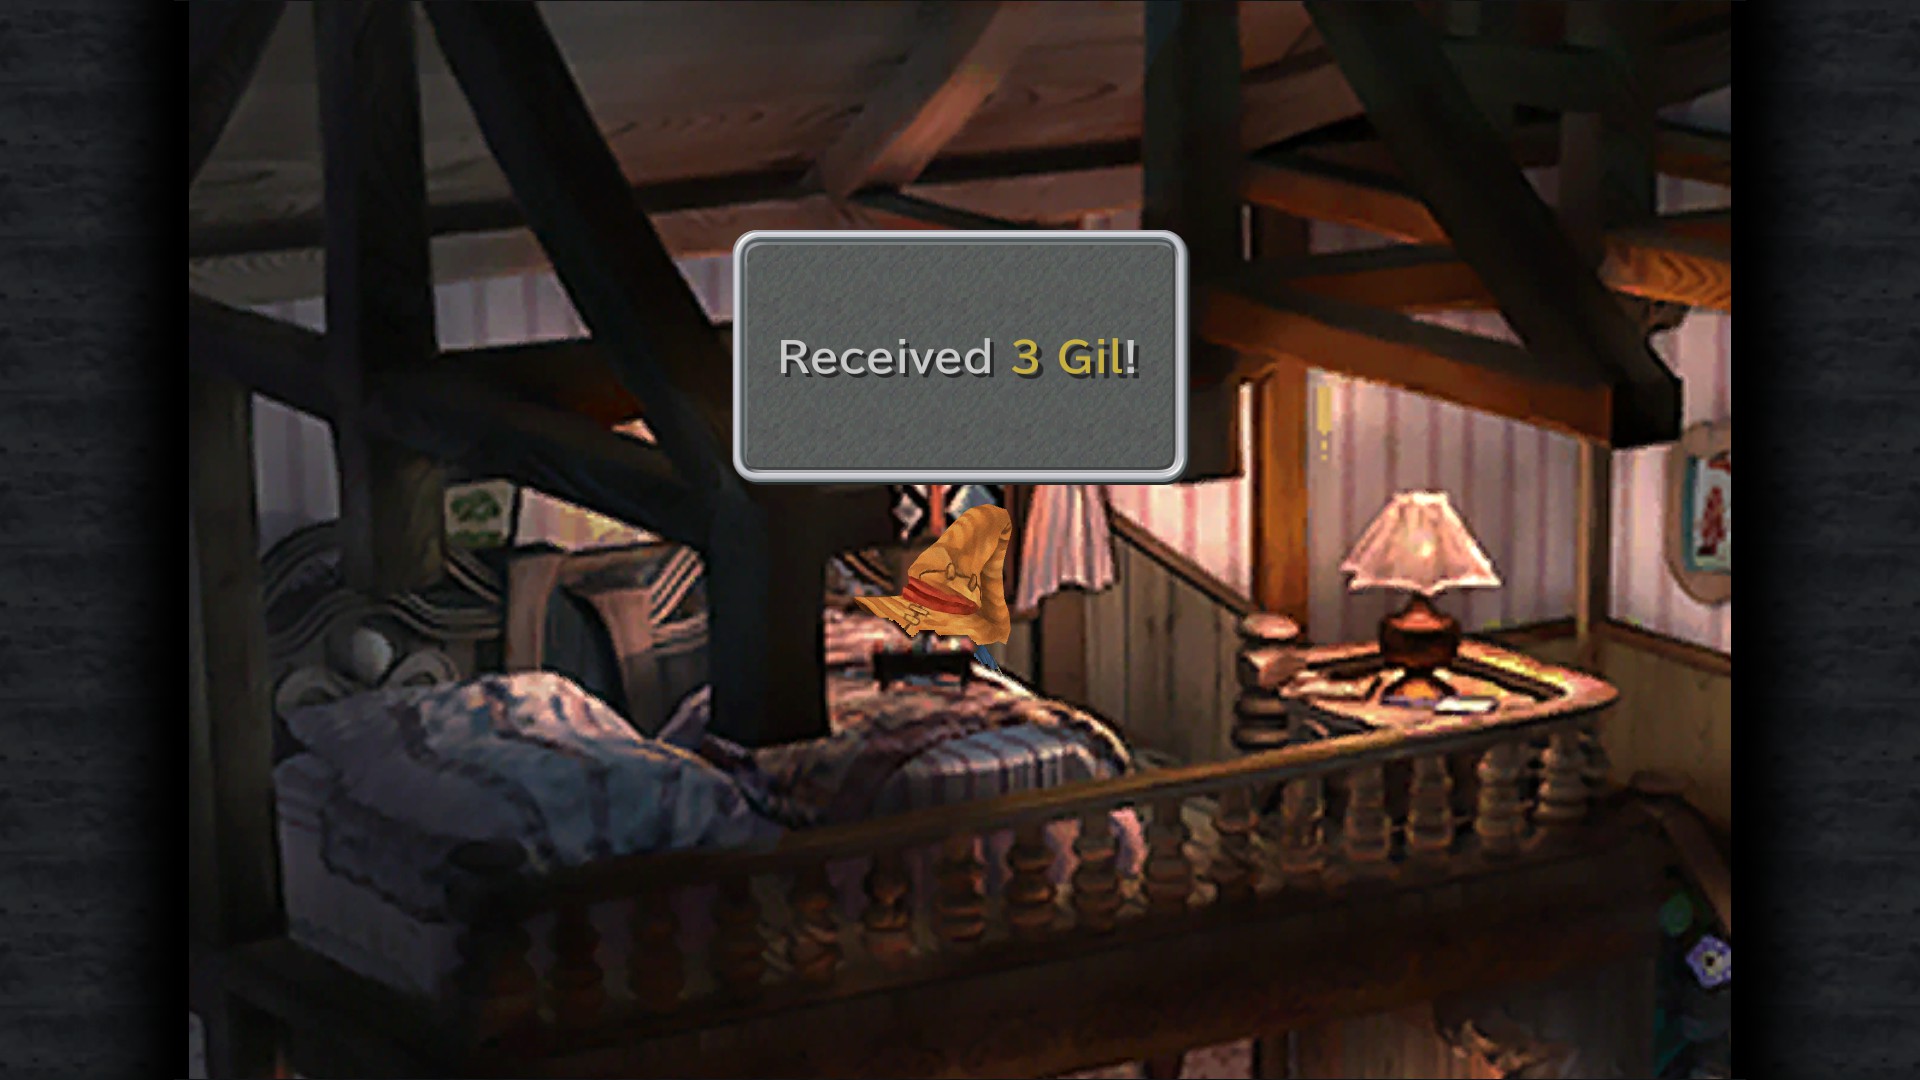
Eye Drops - House by the stepple
3 Gil - House by the stepple
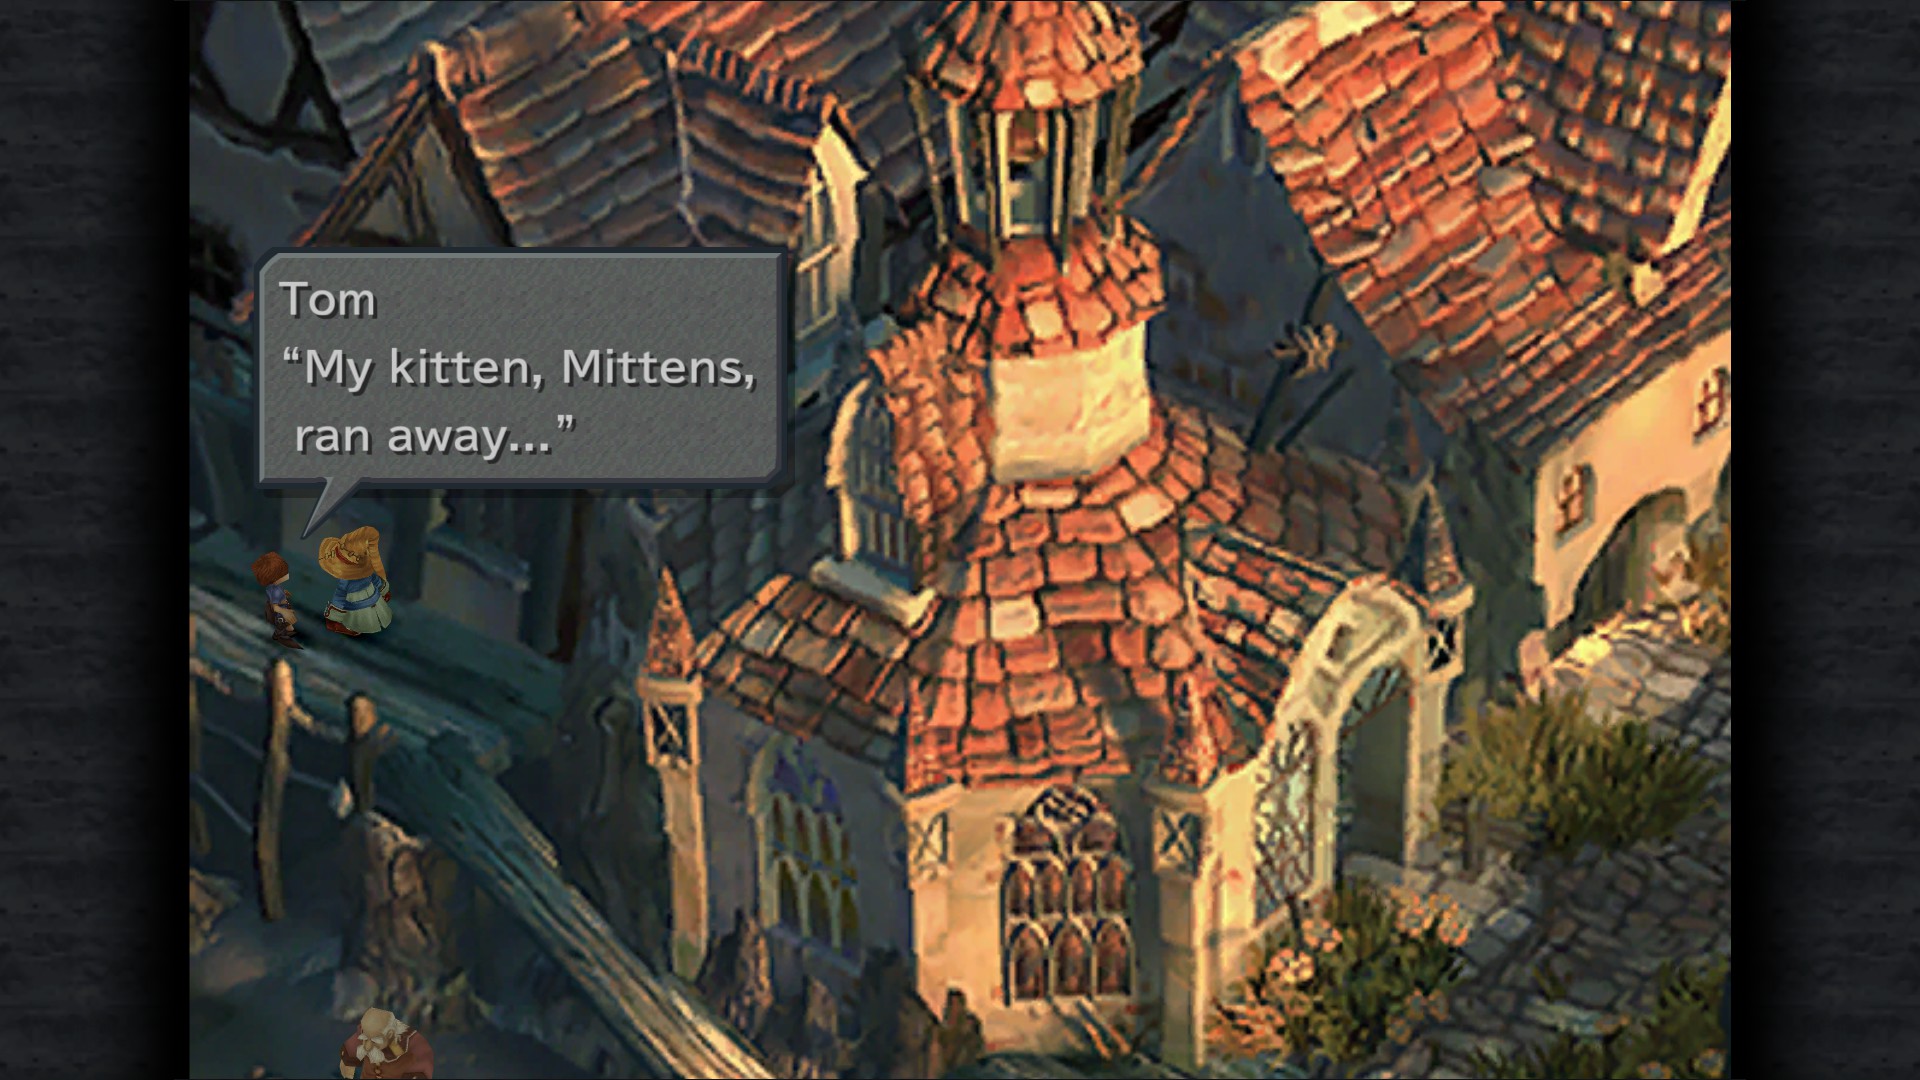
Tom Sidequest
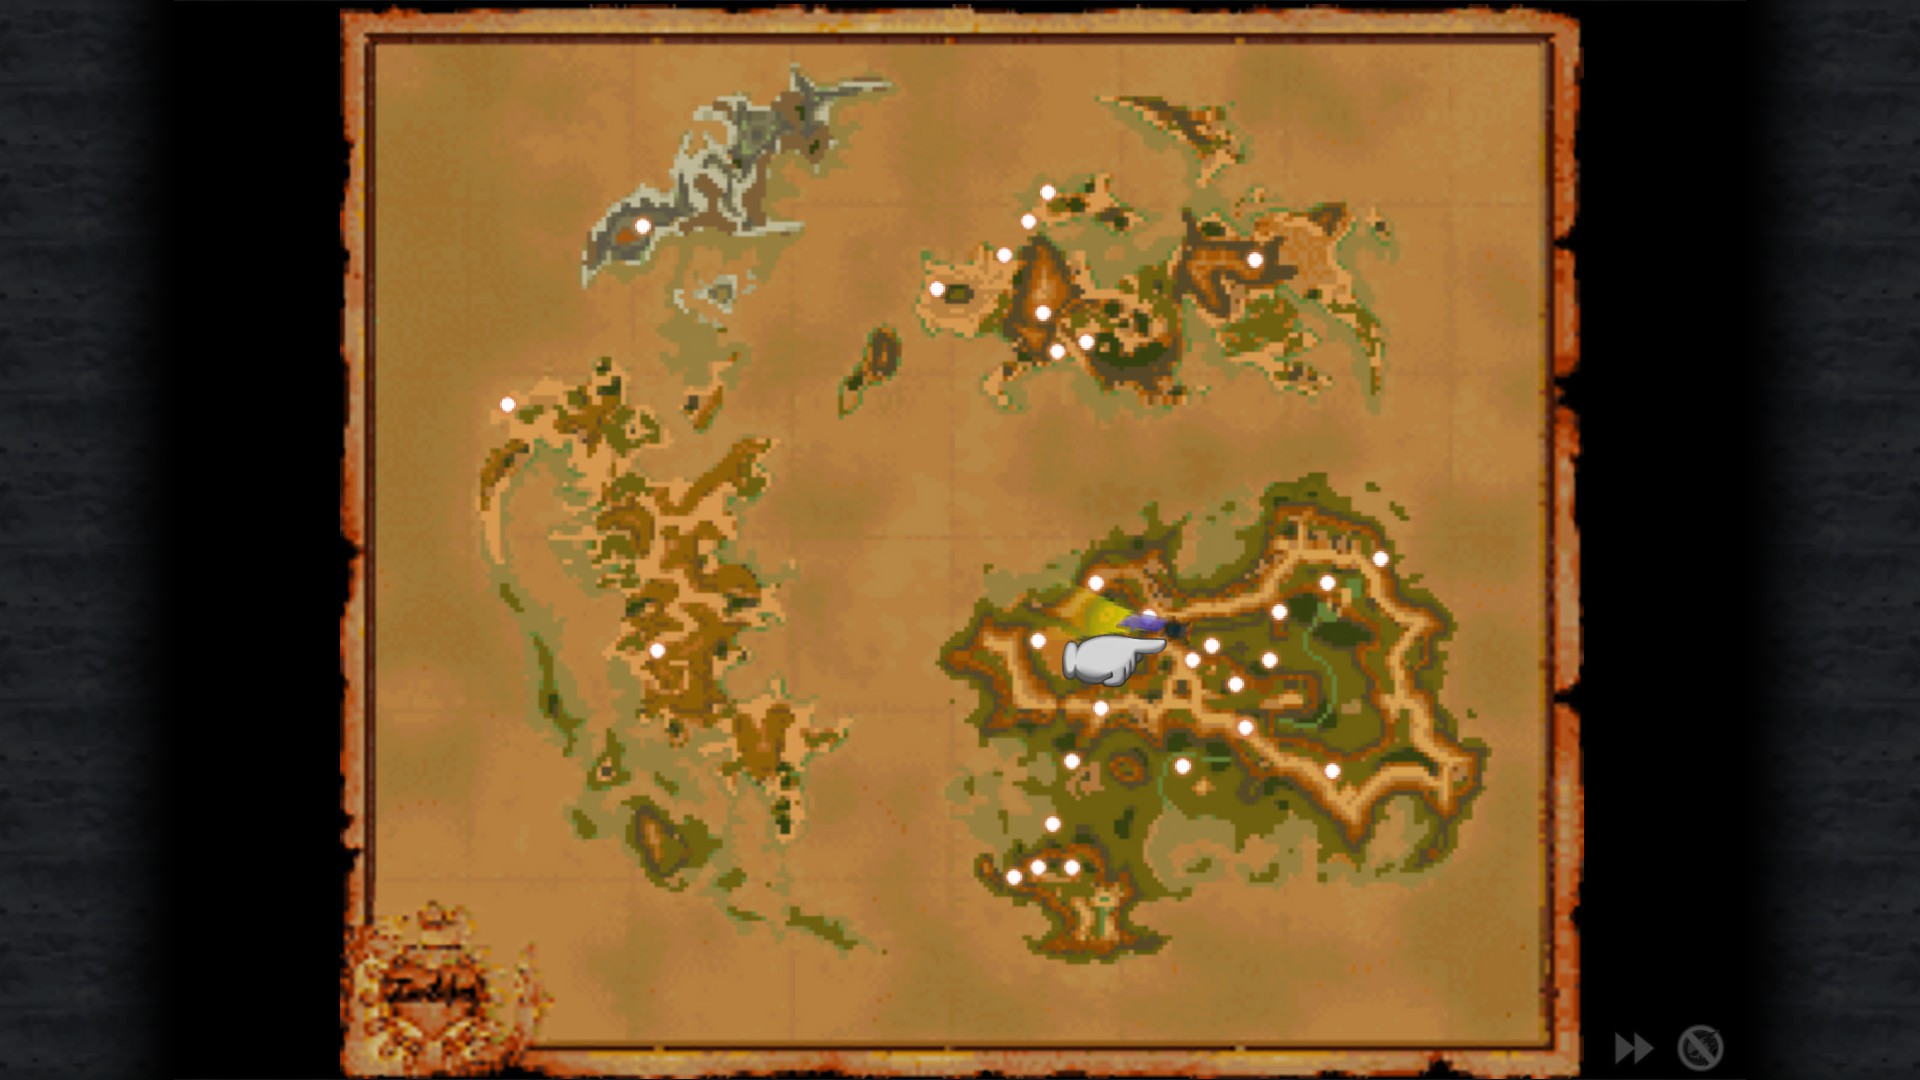
Tom Location screenshot - Left from stepple
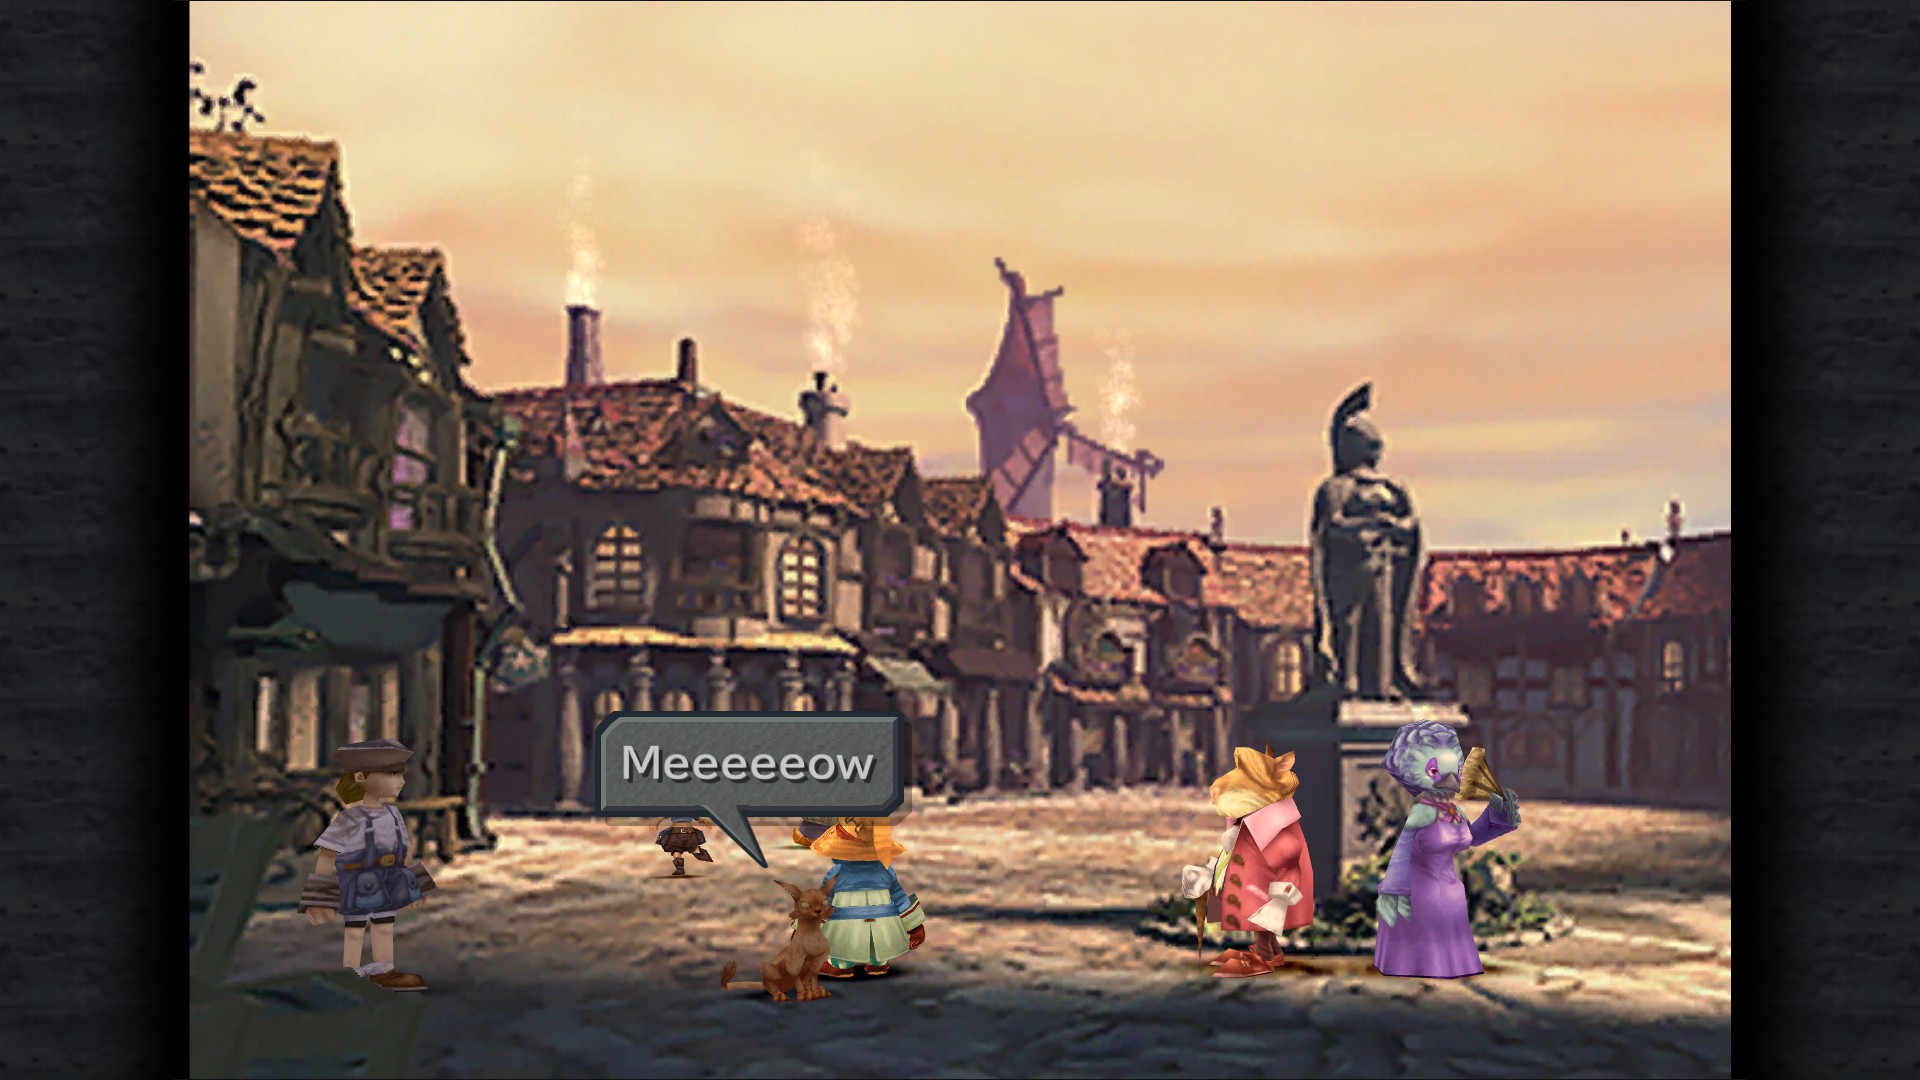
Cat Location screenshot - Entrance
Sahagin Card - Entrance
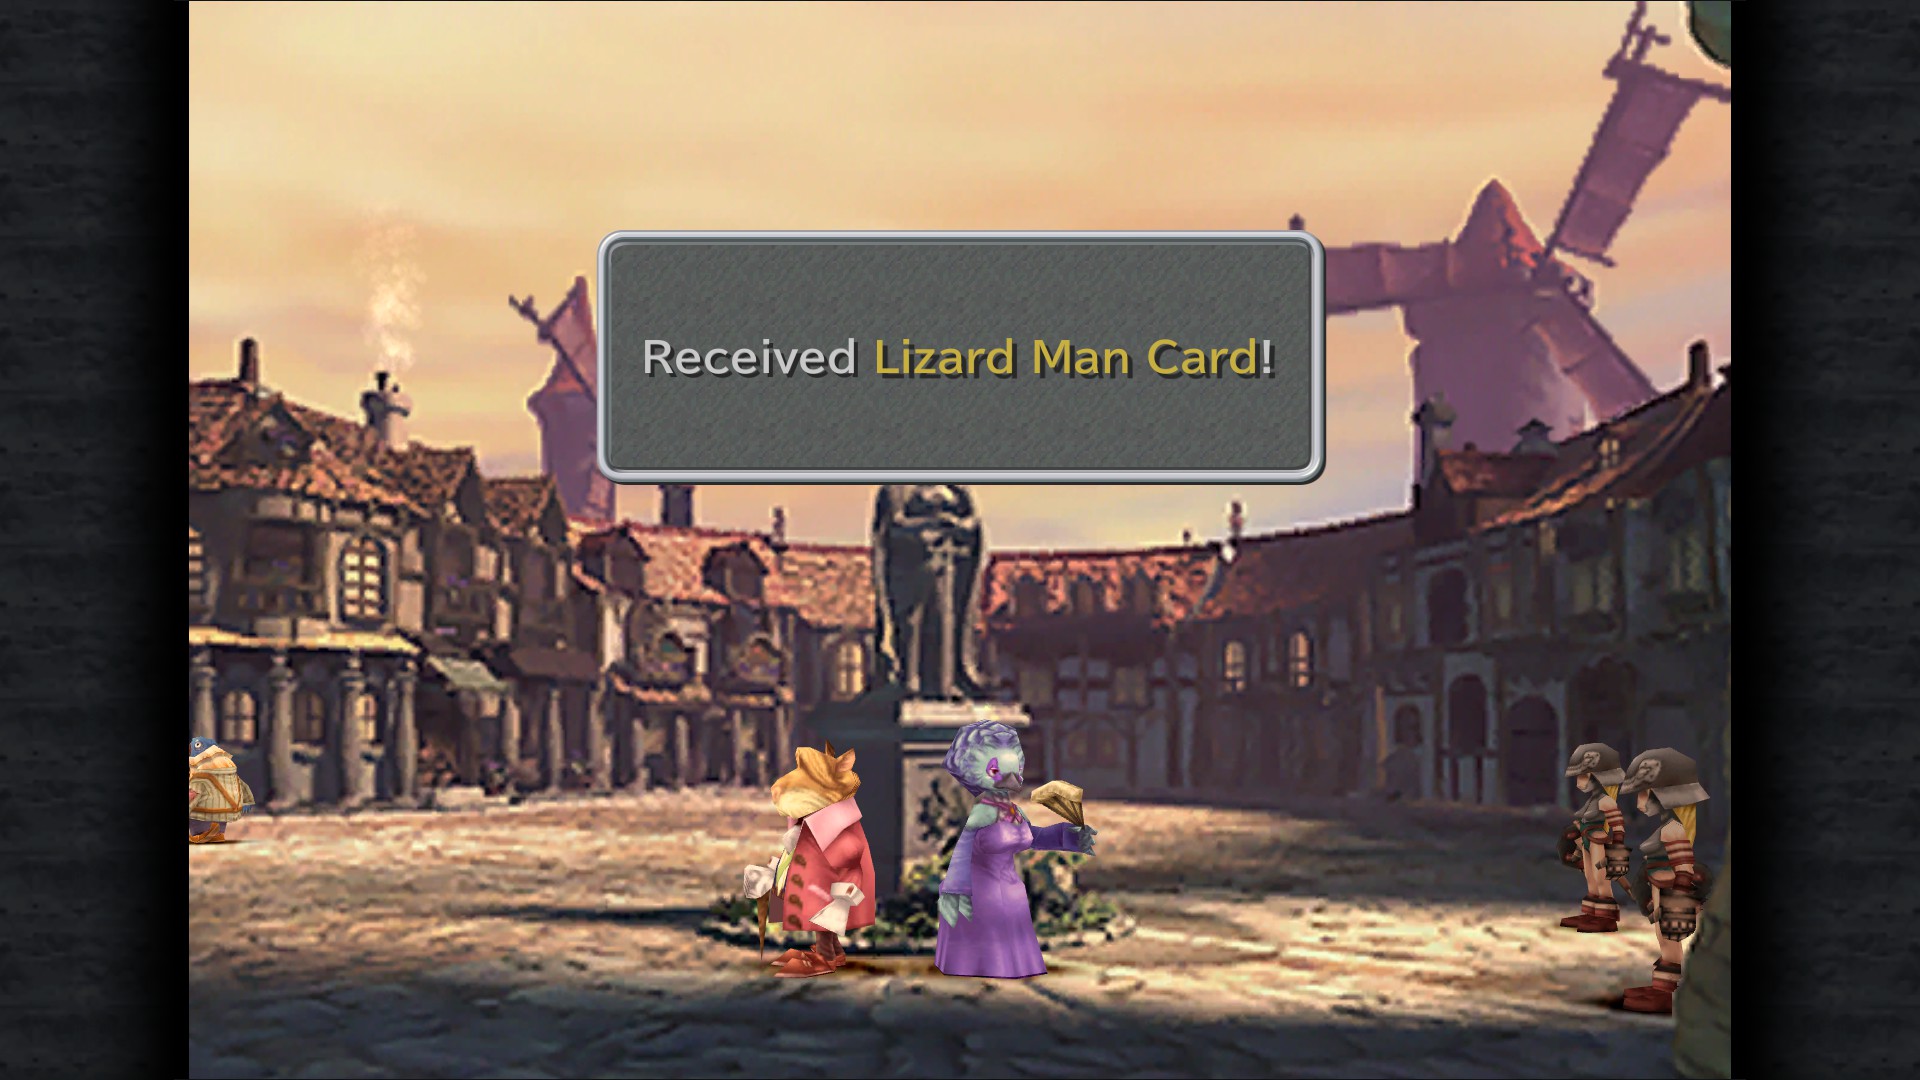
Lizard Man Card - Entrance
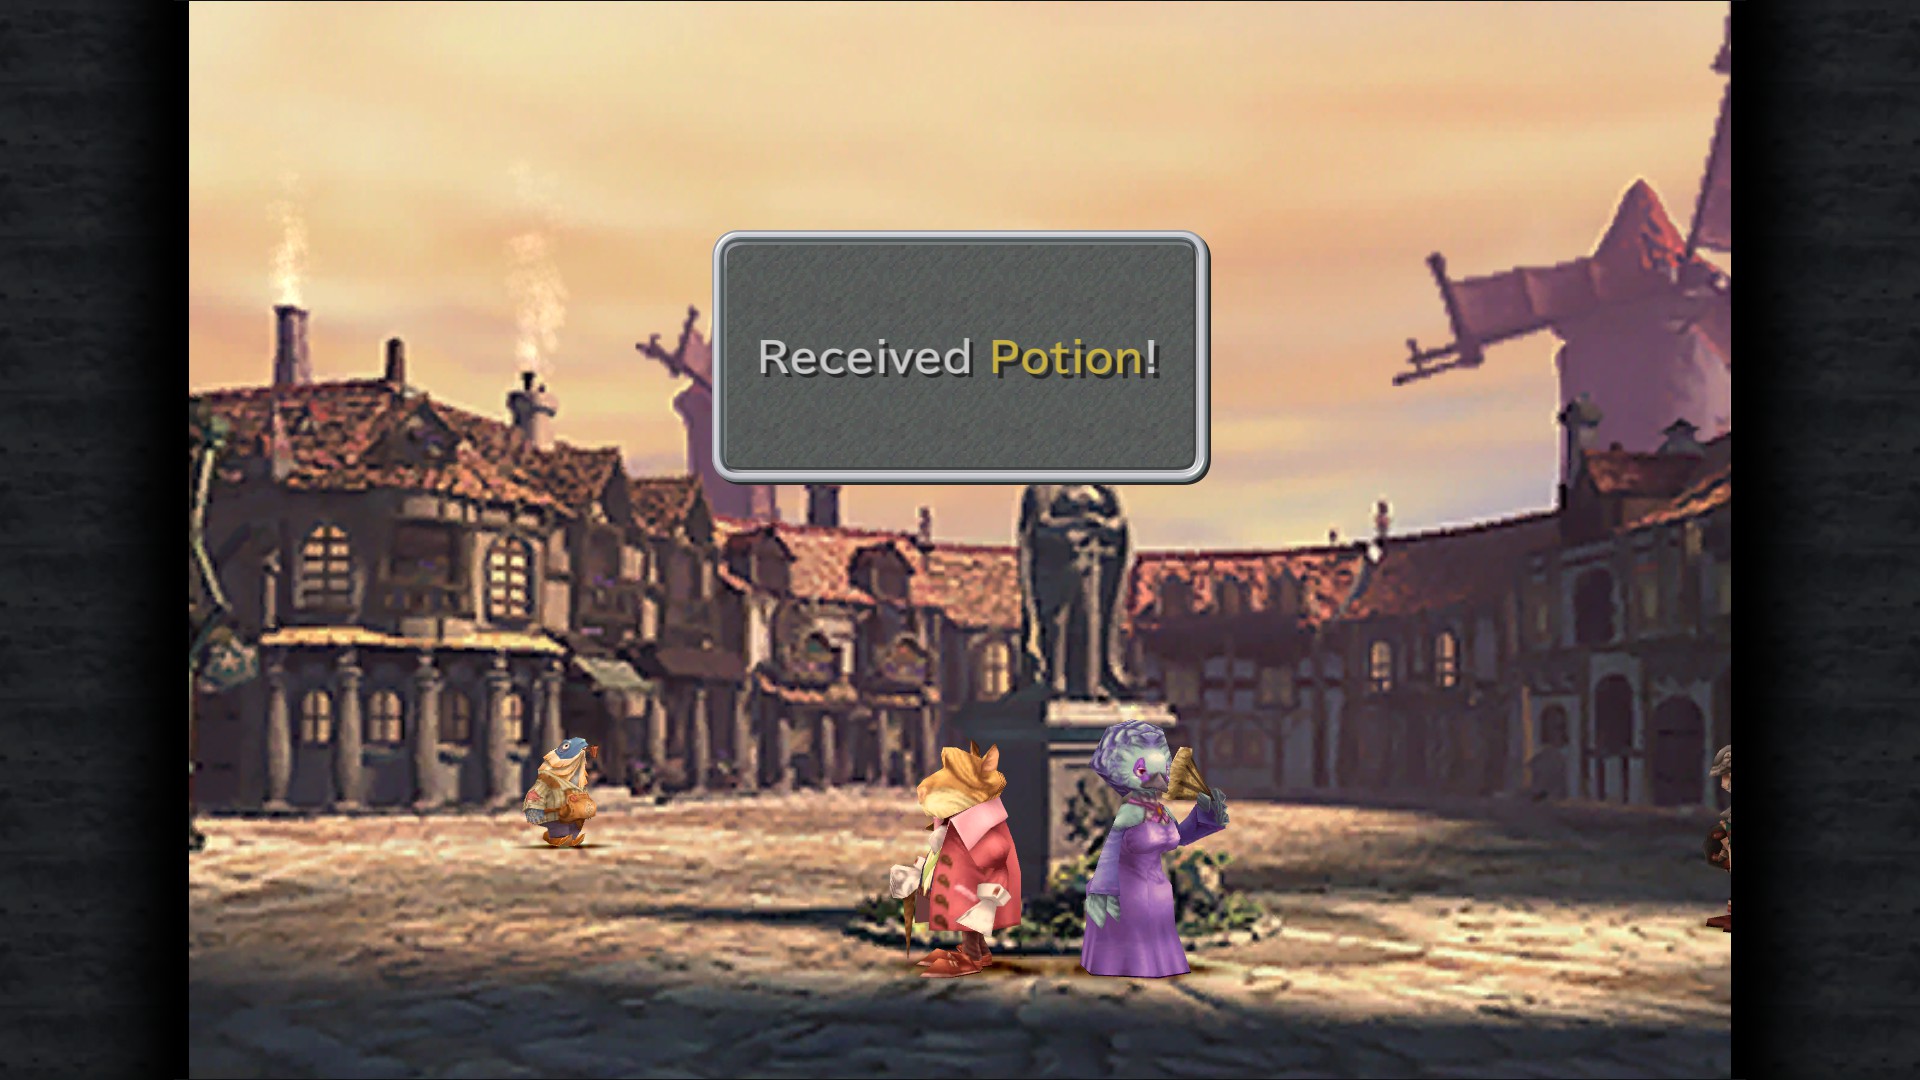
Potion - Entrance (Statue)
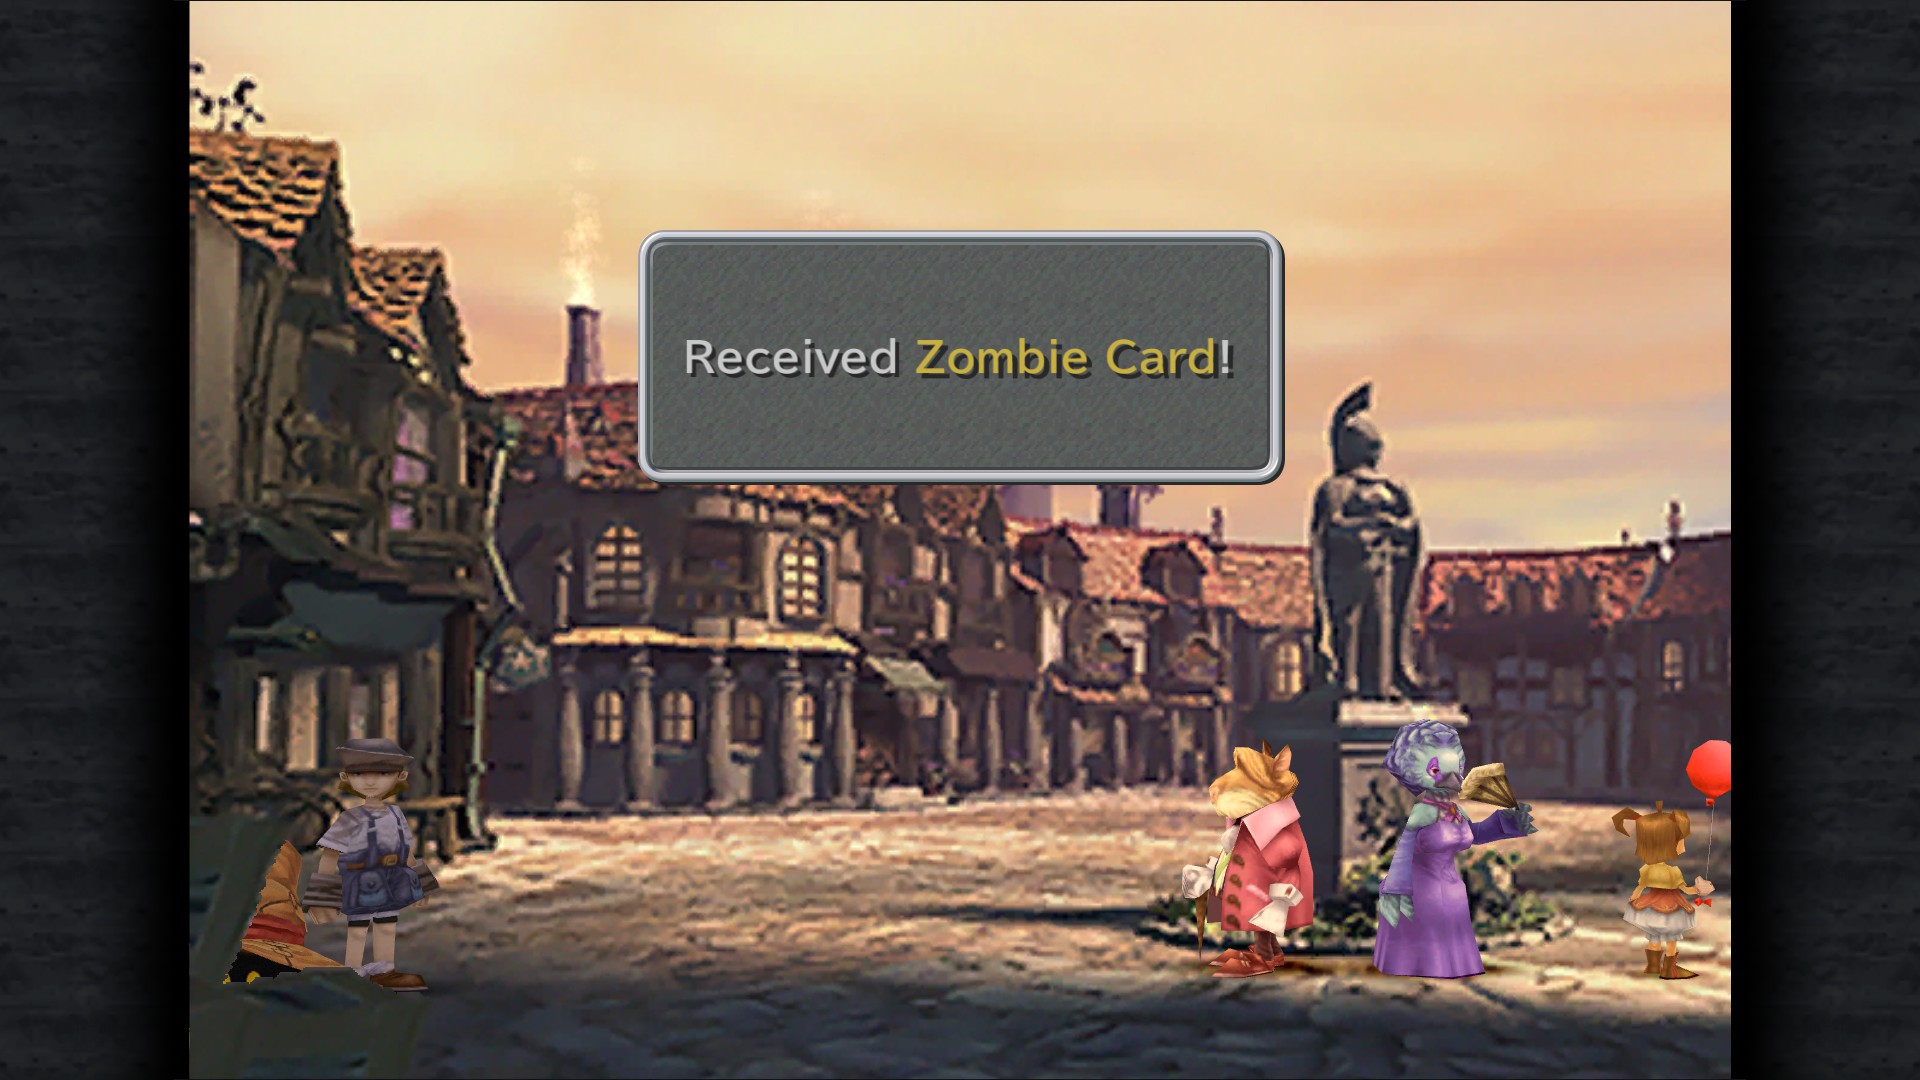
Zombie Card - Entrance
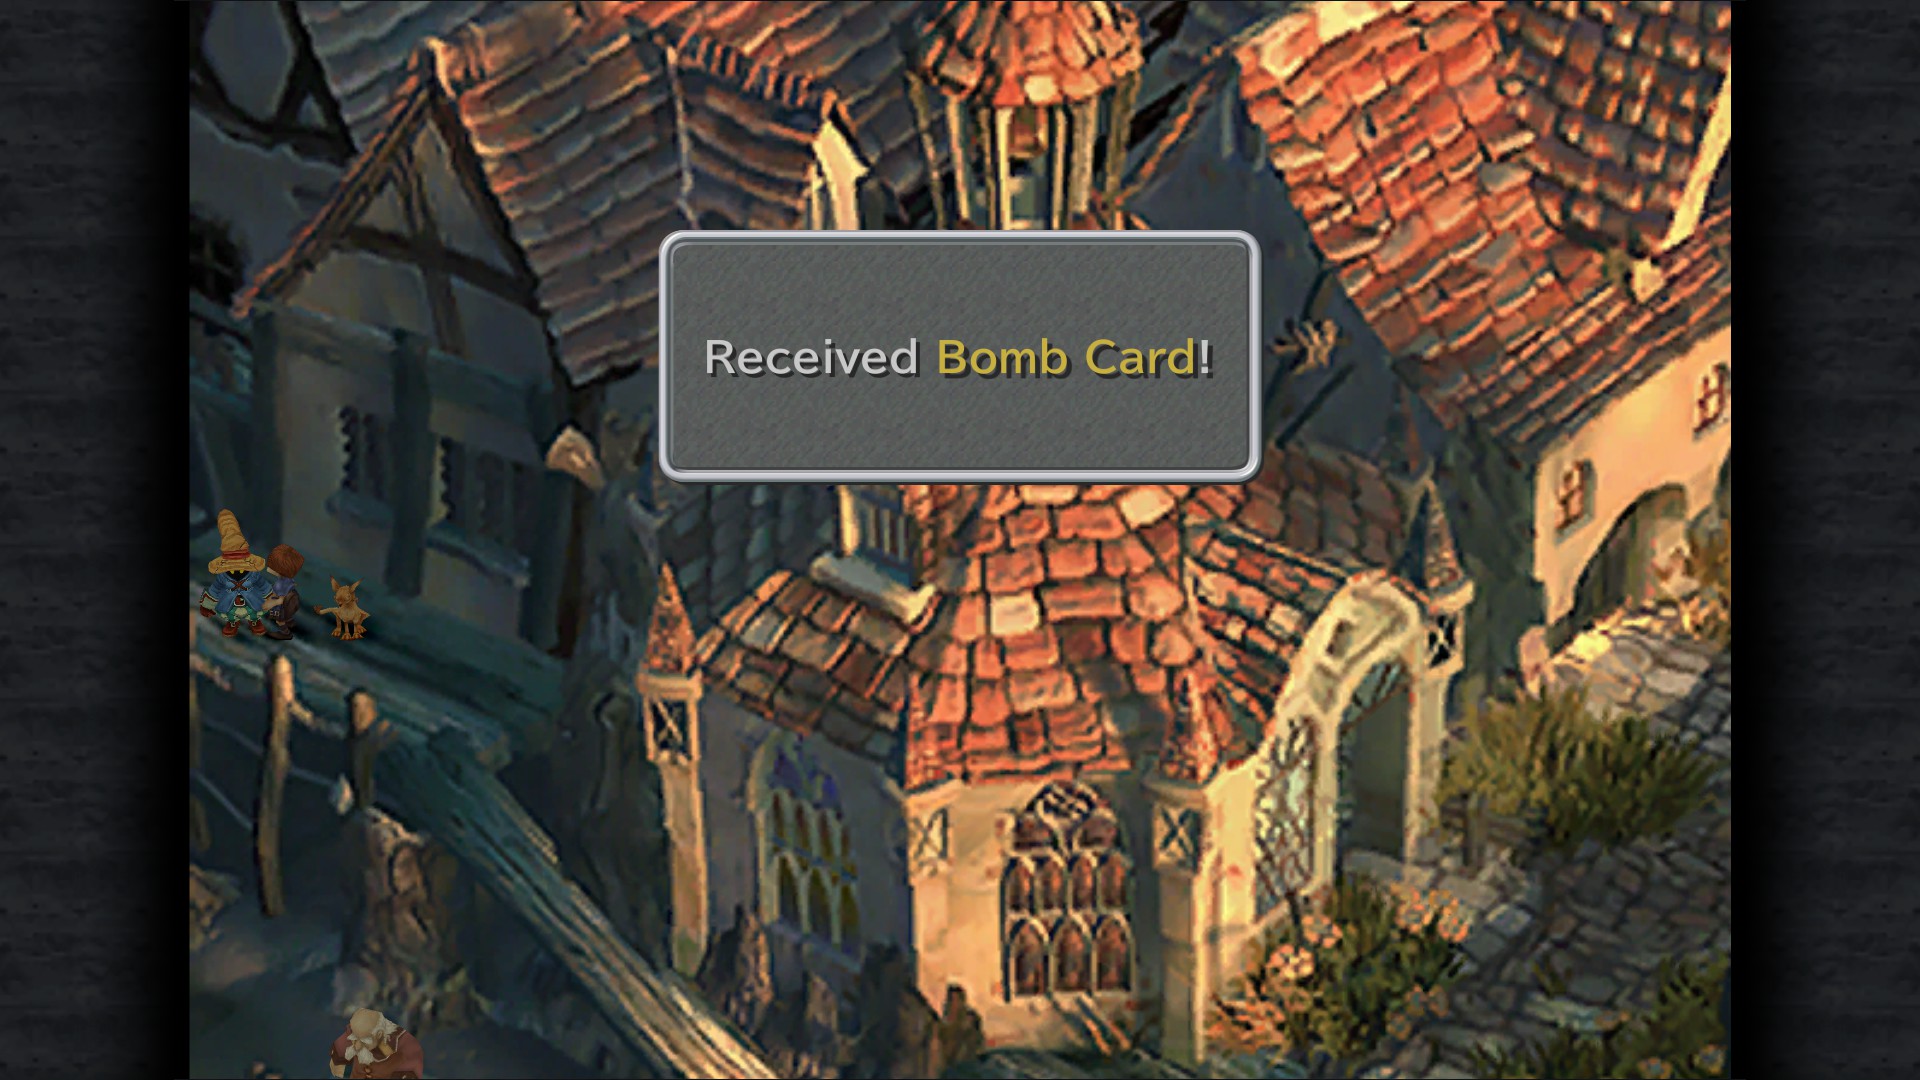
Talk with Tom again to finish his sidequest, you'll receive "Bomb Card"
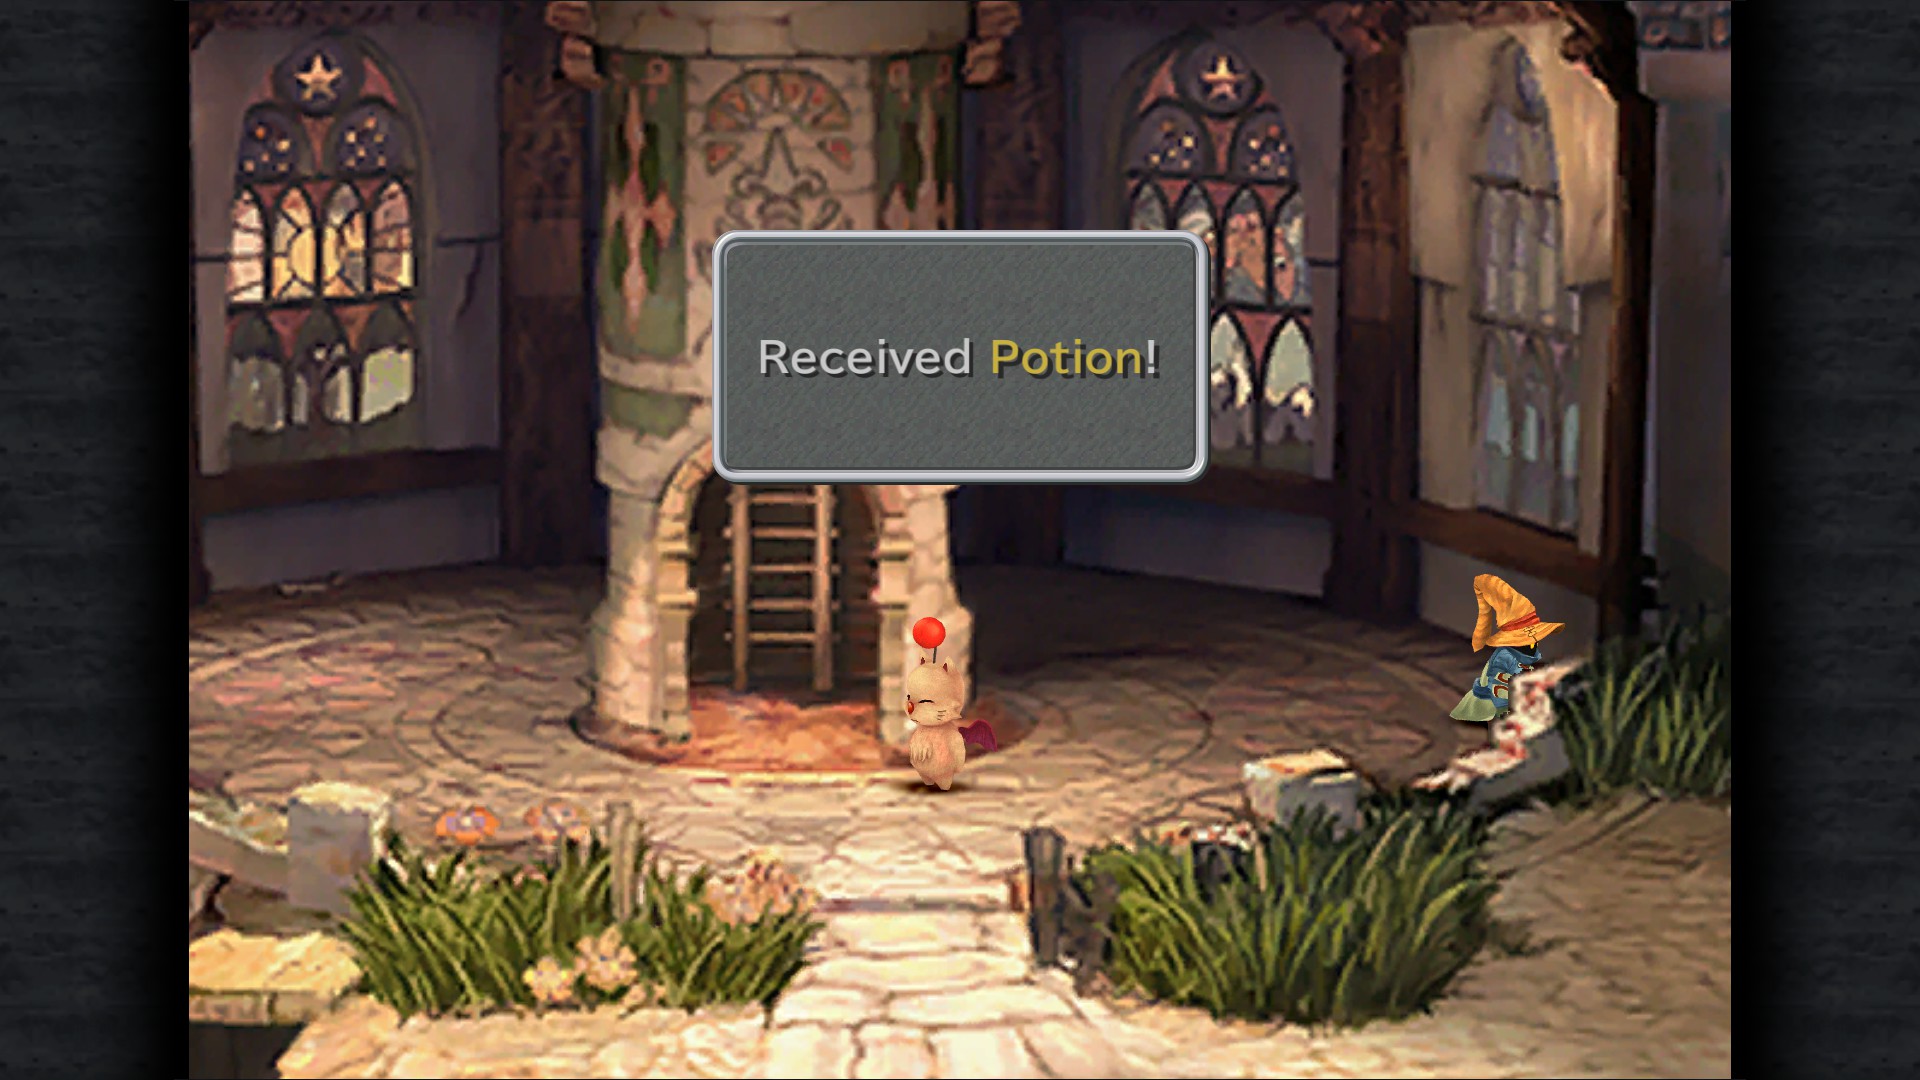
Potion - Stepple
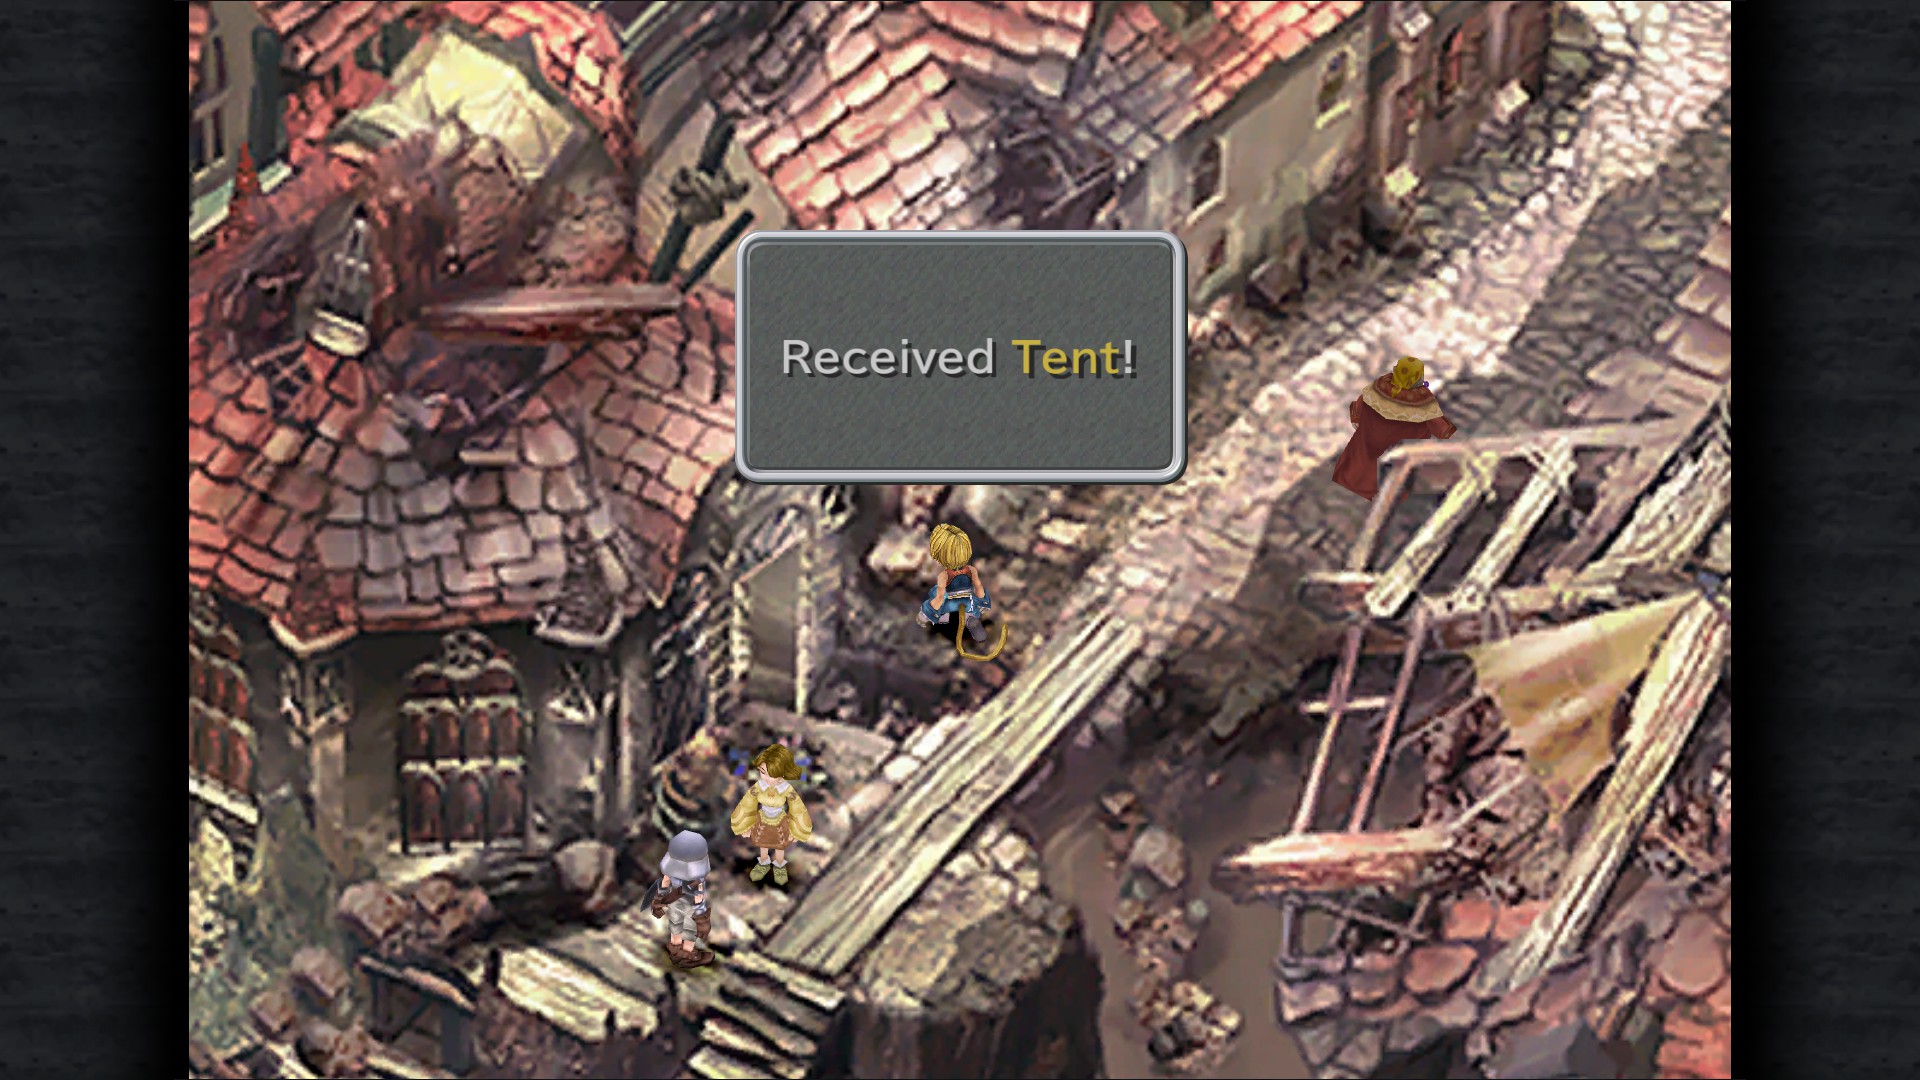
Tent - Stepple
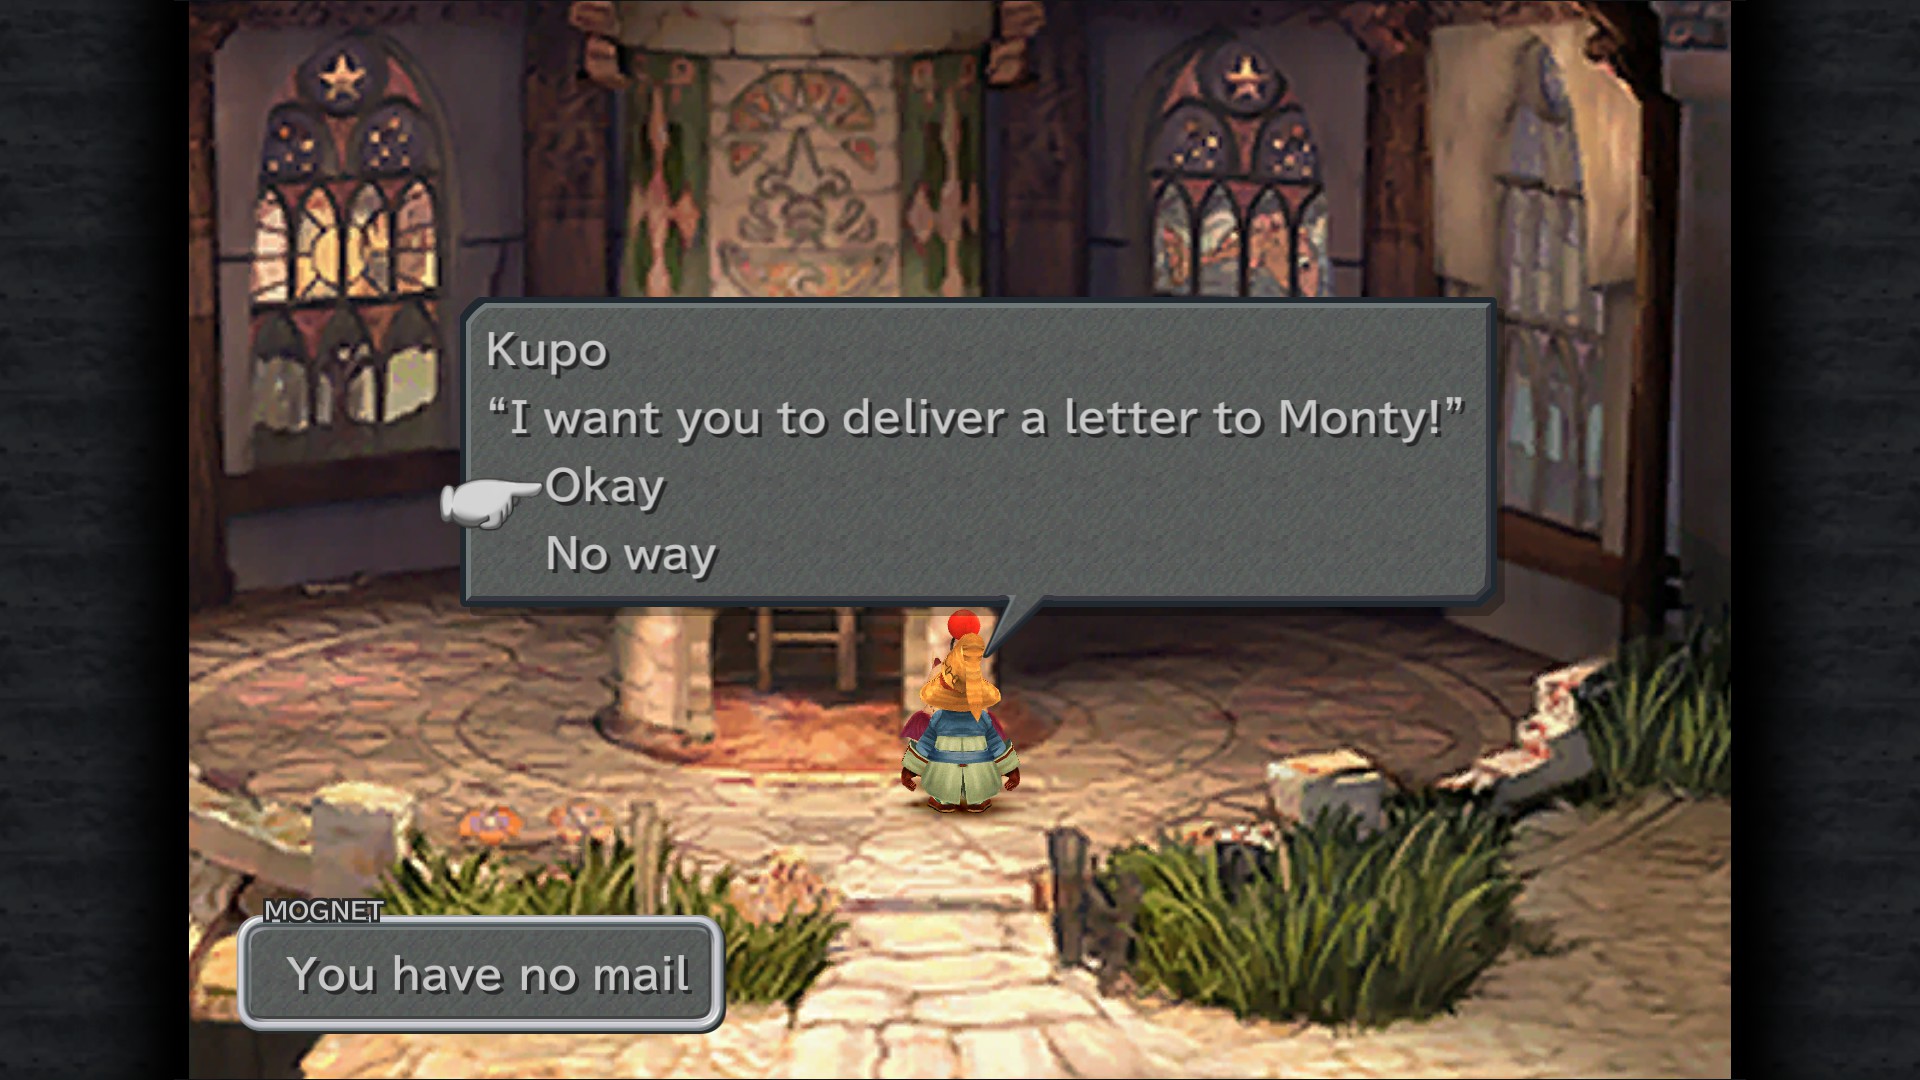
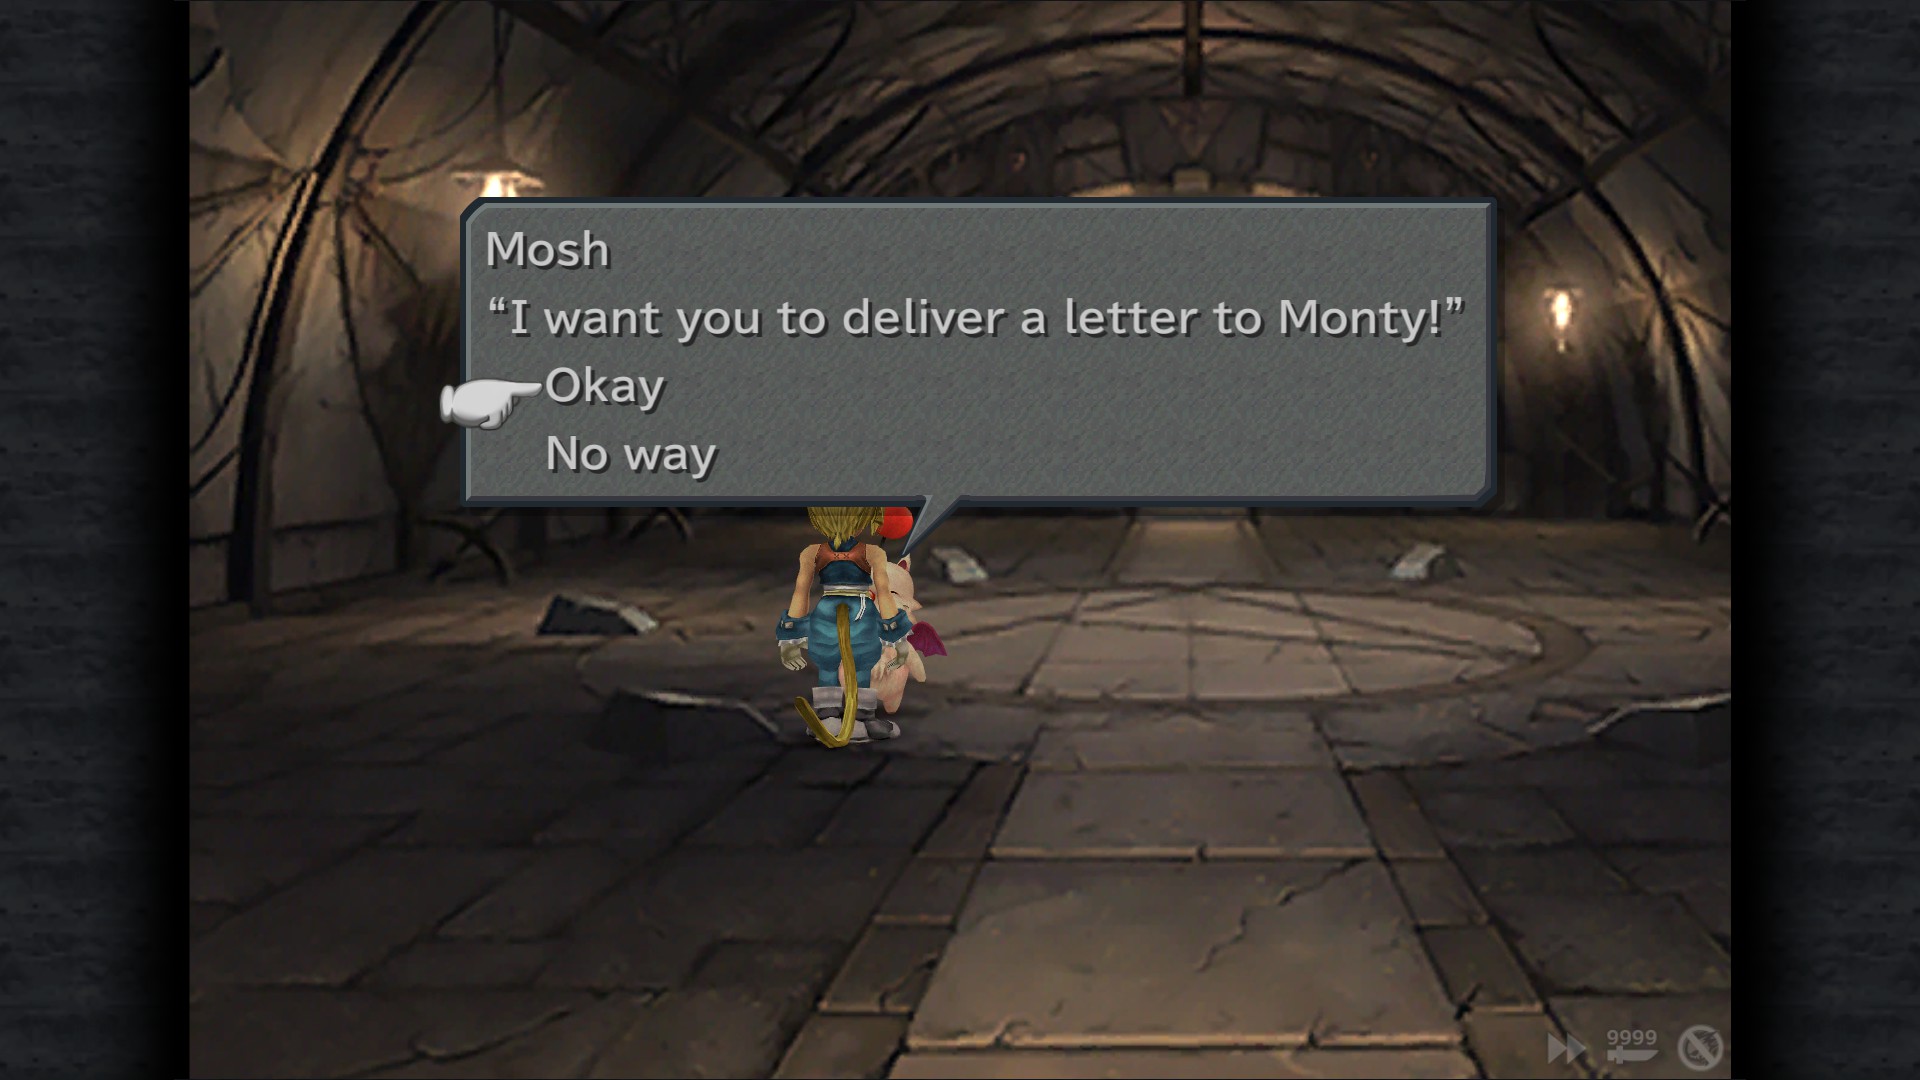
Mognet: Pick up Kupo's letter for delivery - Stepple
29 Gil - Rooftop
63 Gil - Rooftop
92 Gil - Rooftop
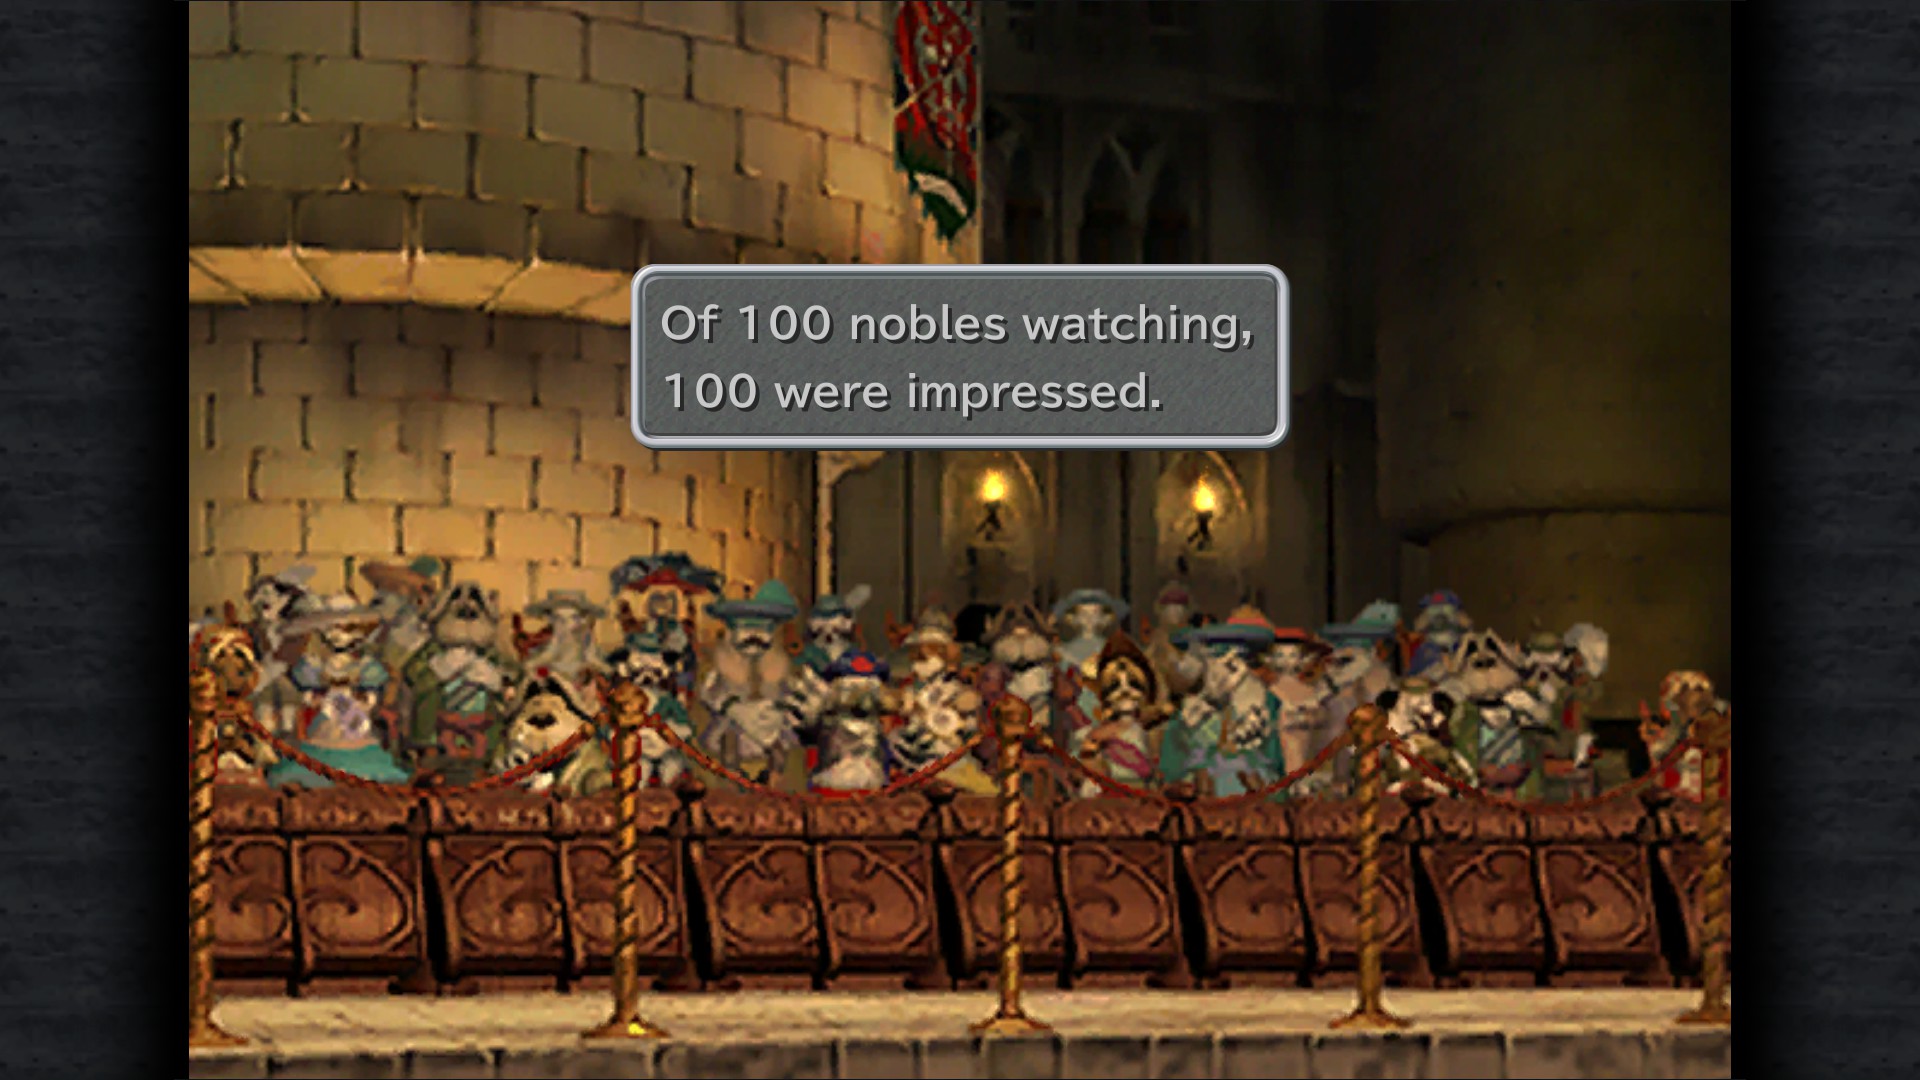
Minigame: During the sword-fight minigame, make sure to impress all 100 nobles, don't worry, It's way easier than it was in PS1.
This is the first step for the achievement "Over the Moon: Obtain 4 moonstones."
You'll also get this achievement:
A Round of Applause
Have the nobles demand an encore
Note: Don't forget to talk to Brahne to receive your Moonstone (1/4).
Alexandria Castle
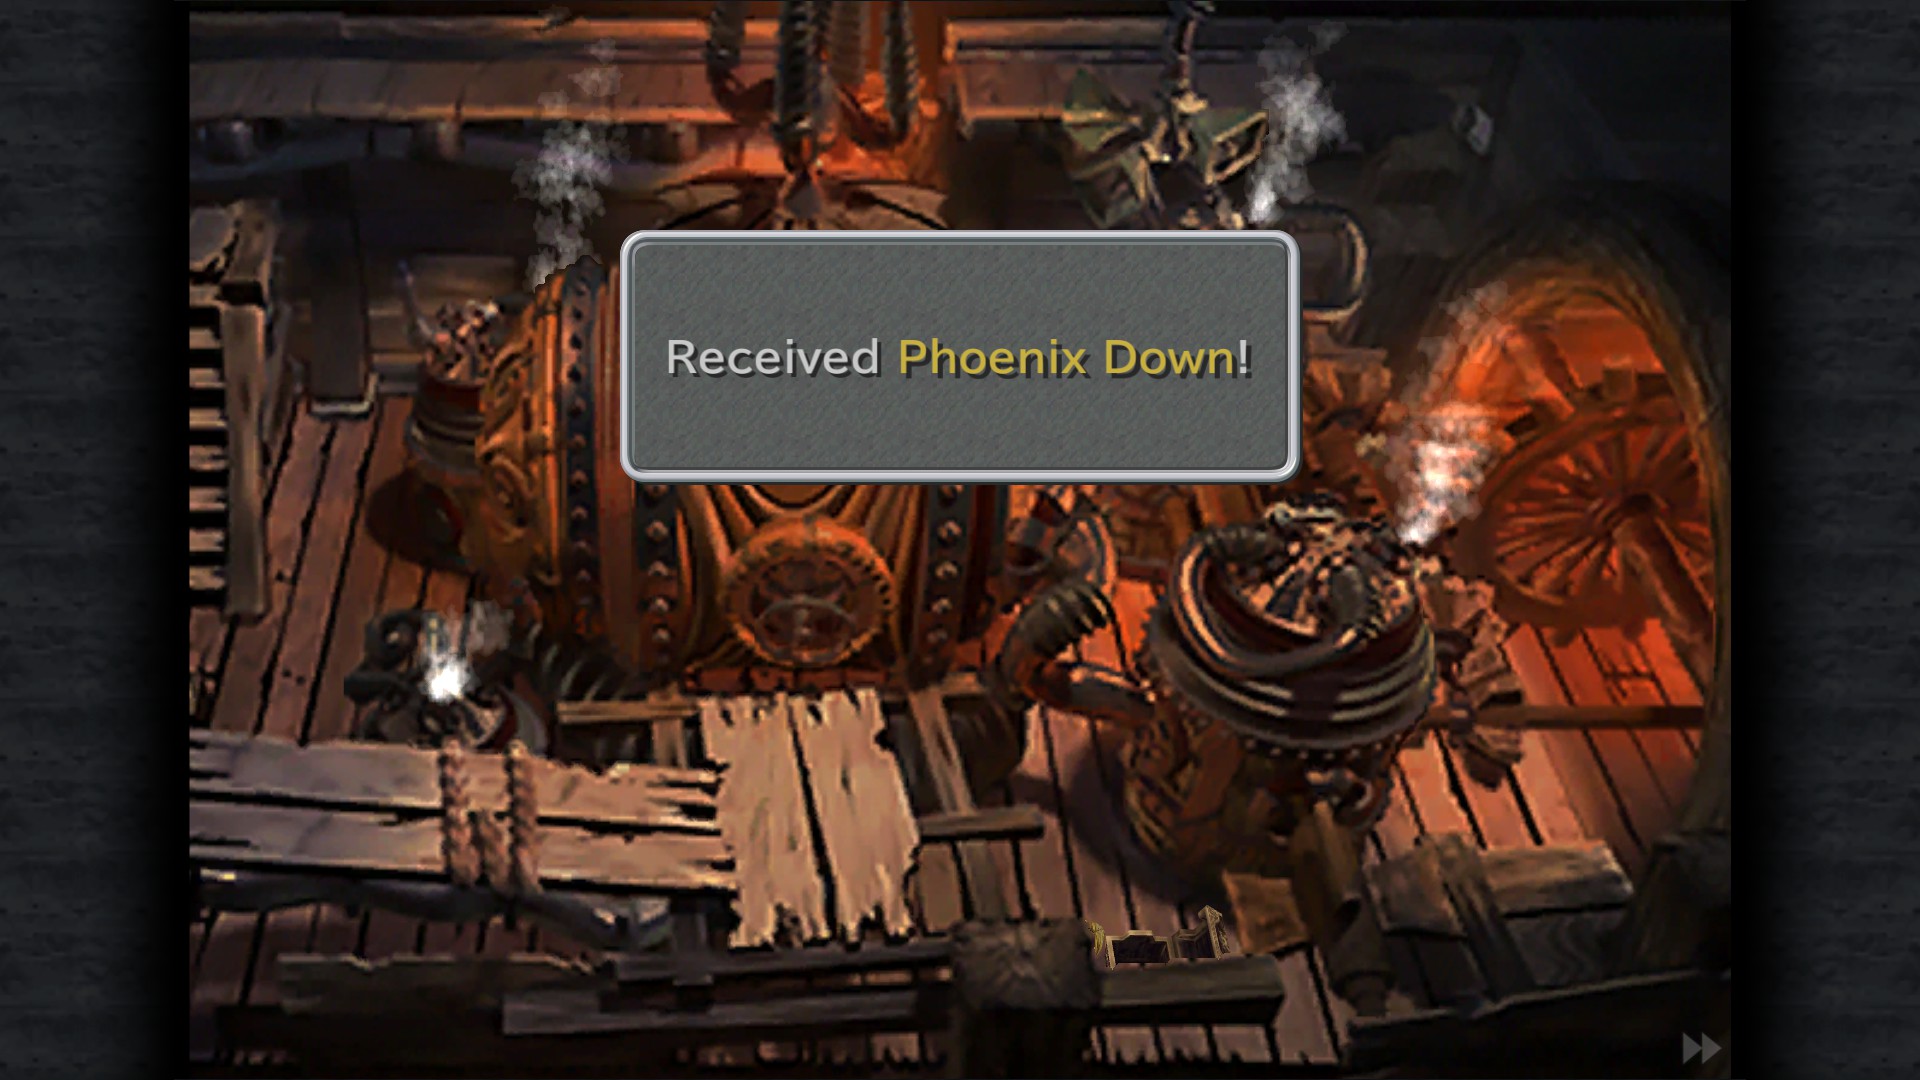
Phoenix Down - Guardhouse
Mognet: Jump-rope Champion Appears! - Guardhouse (only viewable if you did jump 50 times in Alexandria)
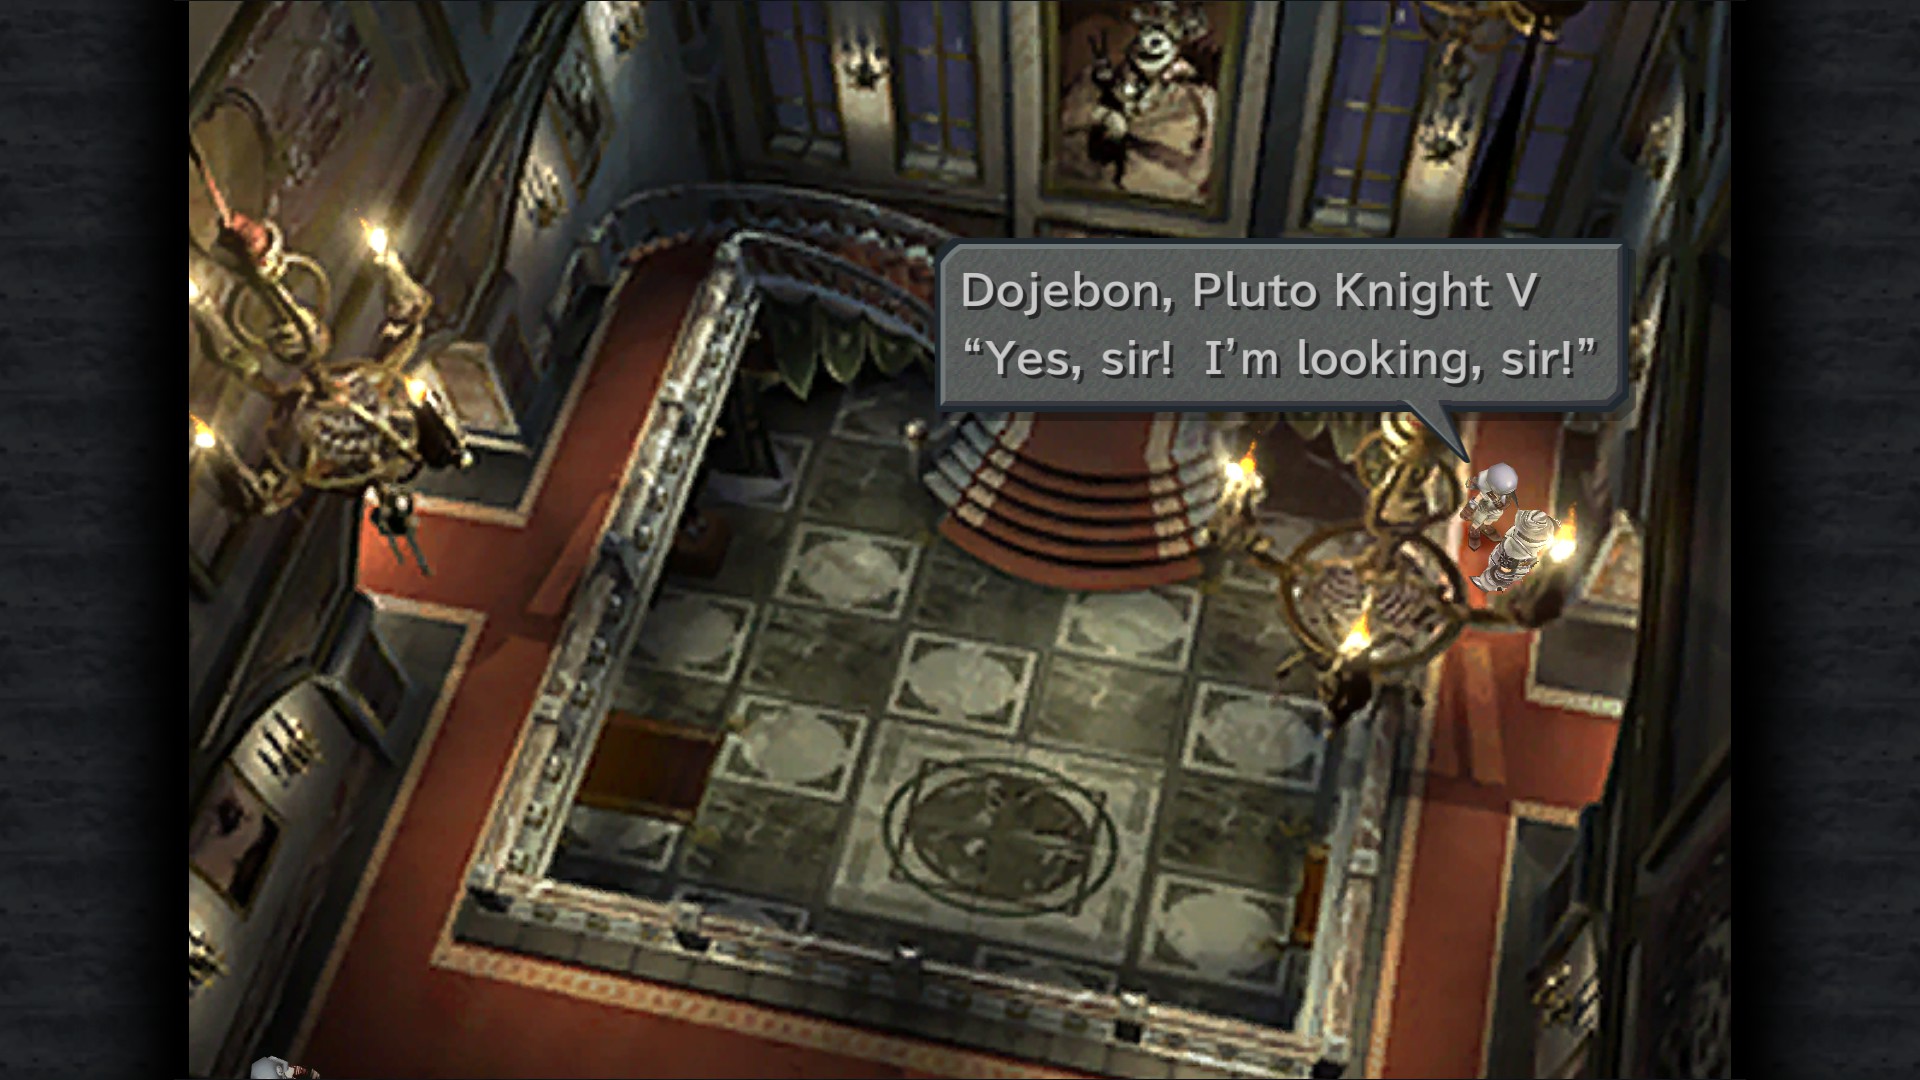
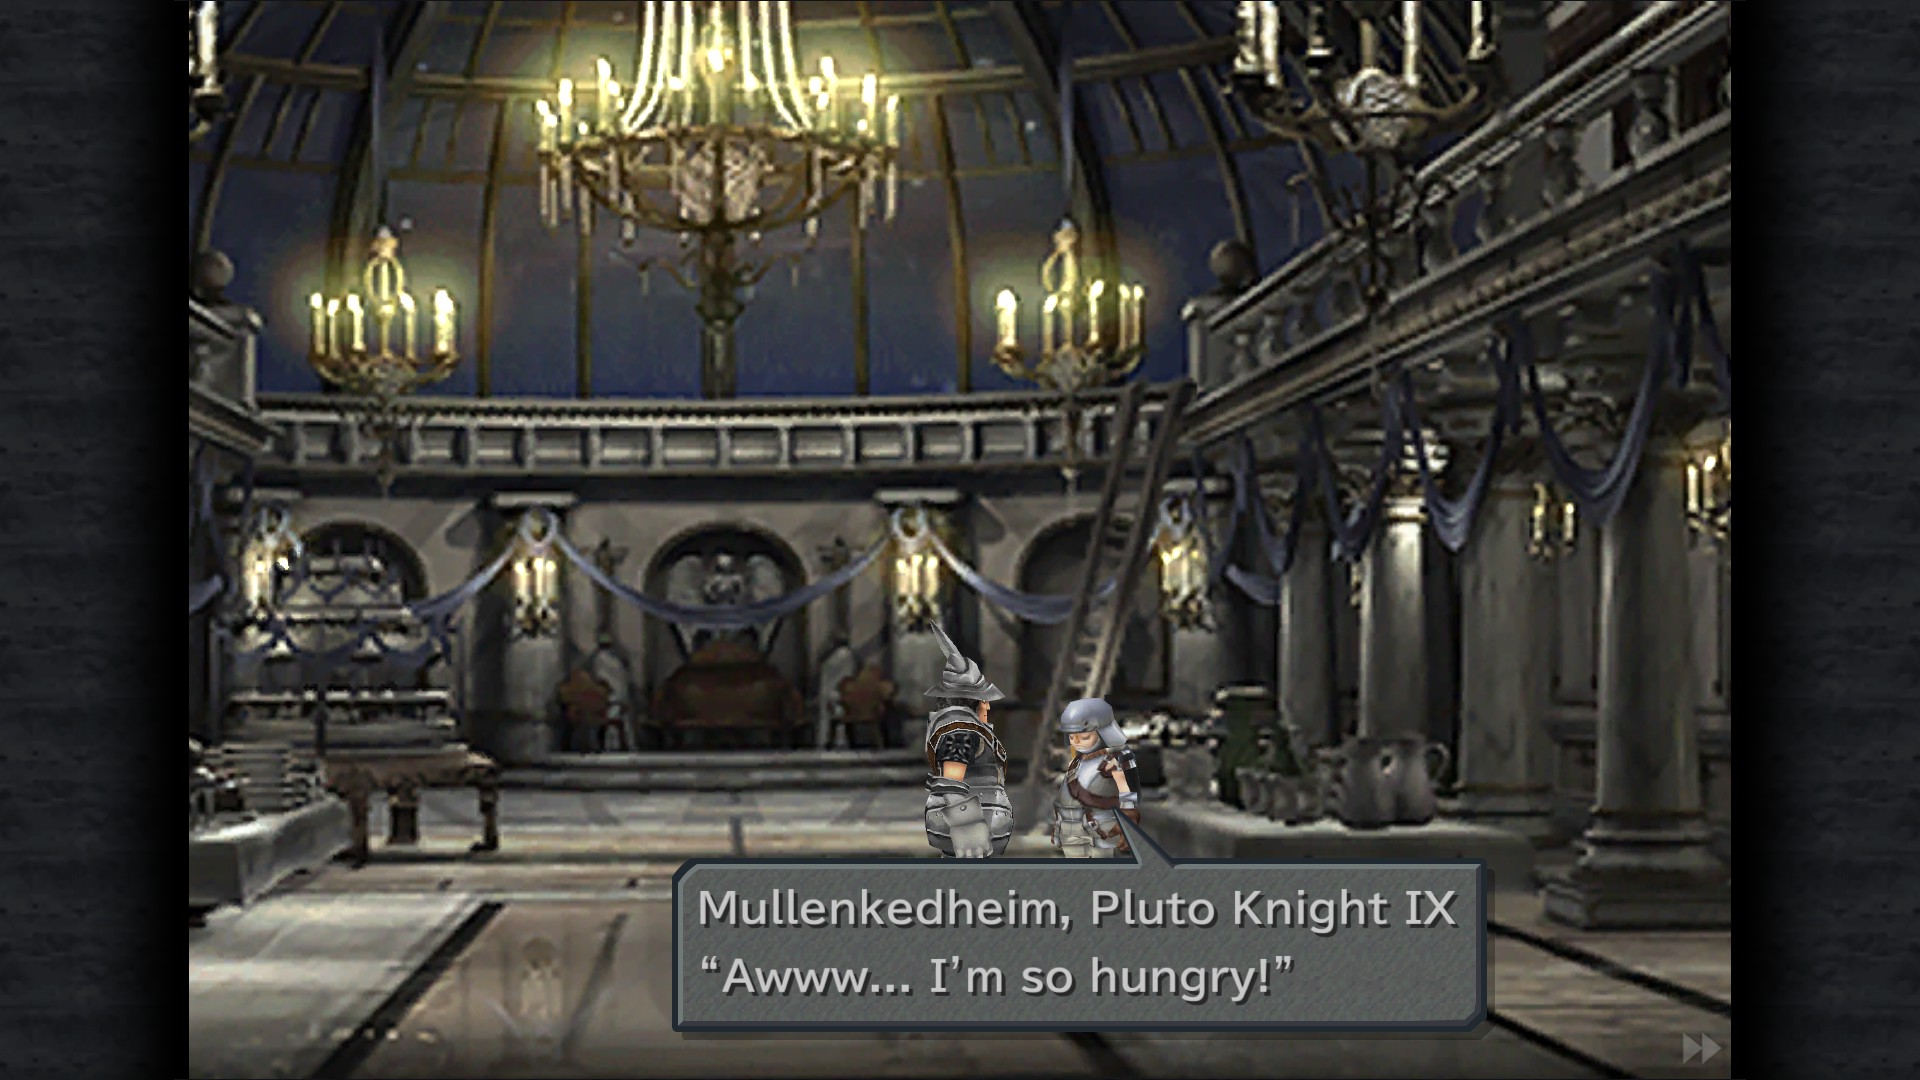
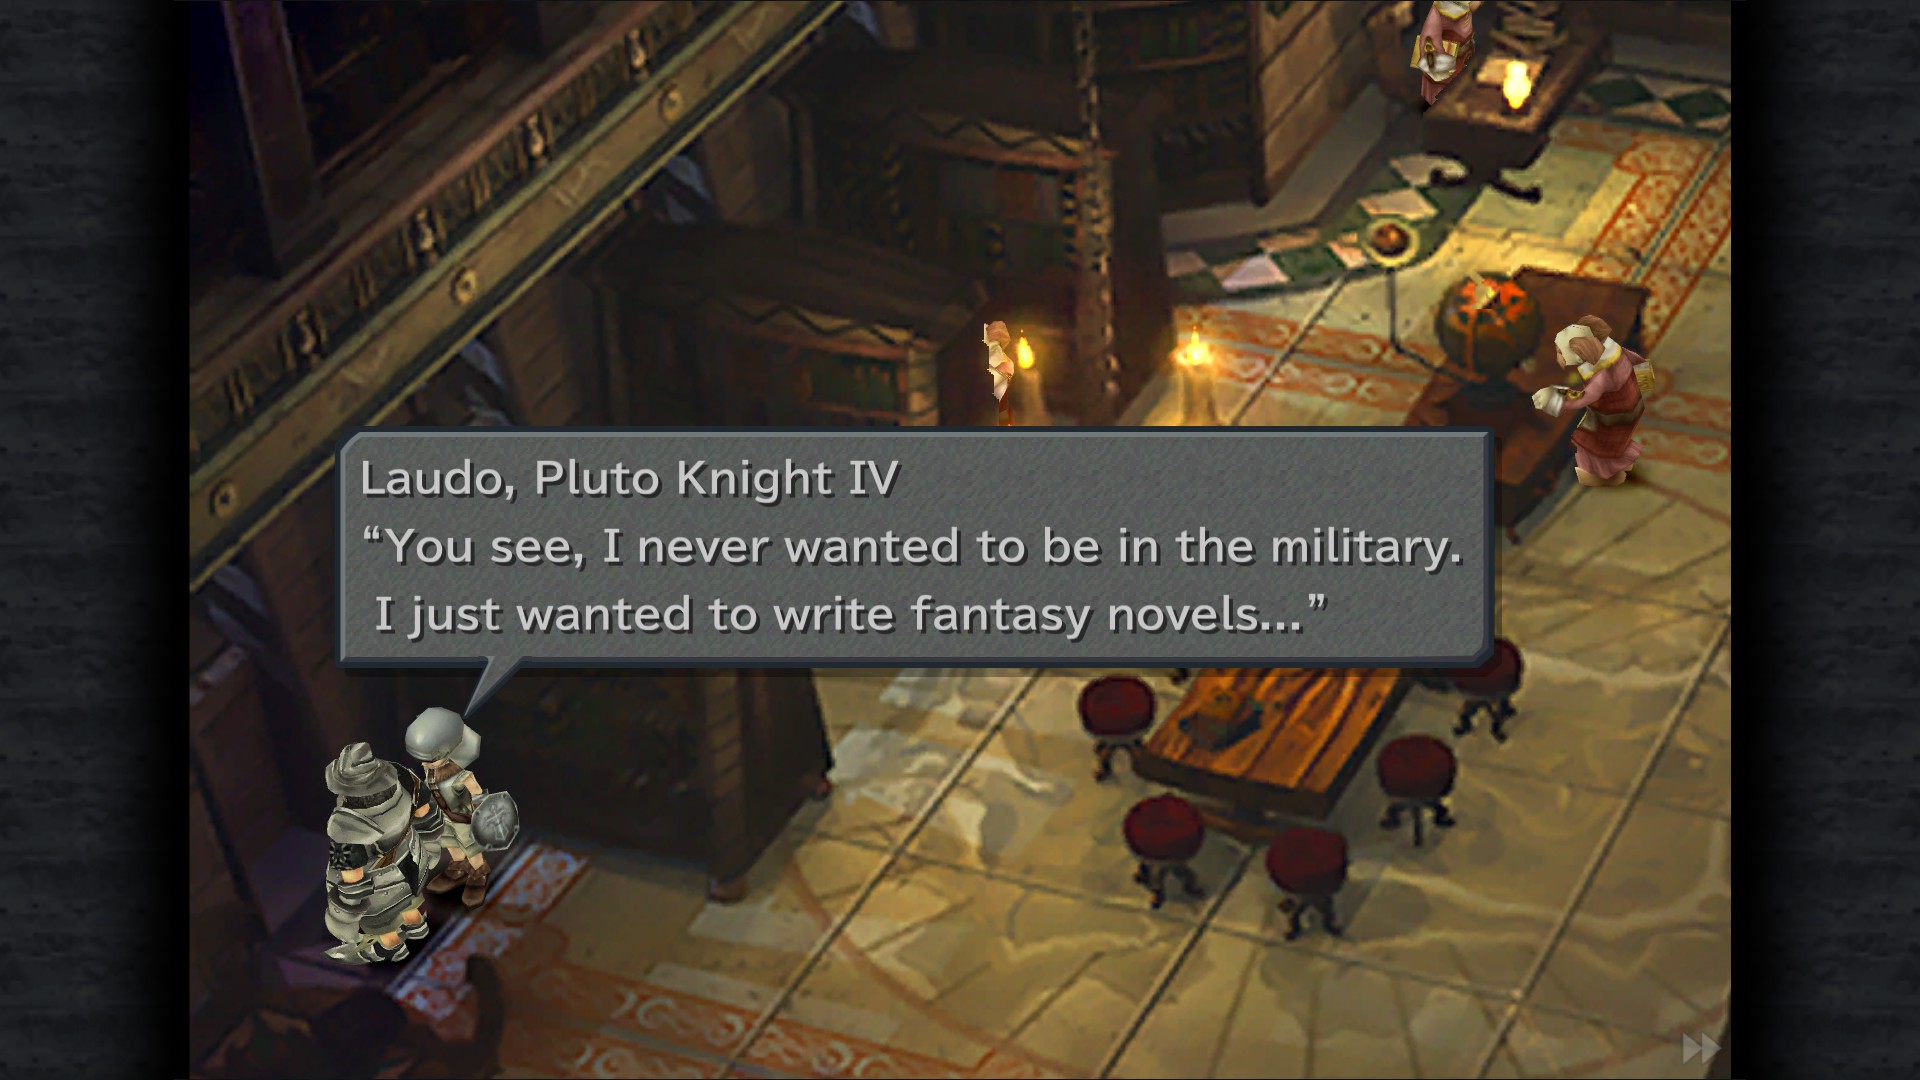
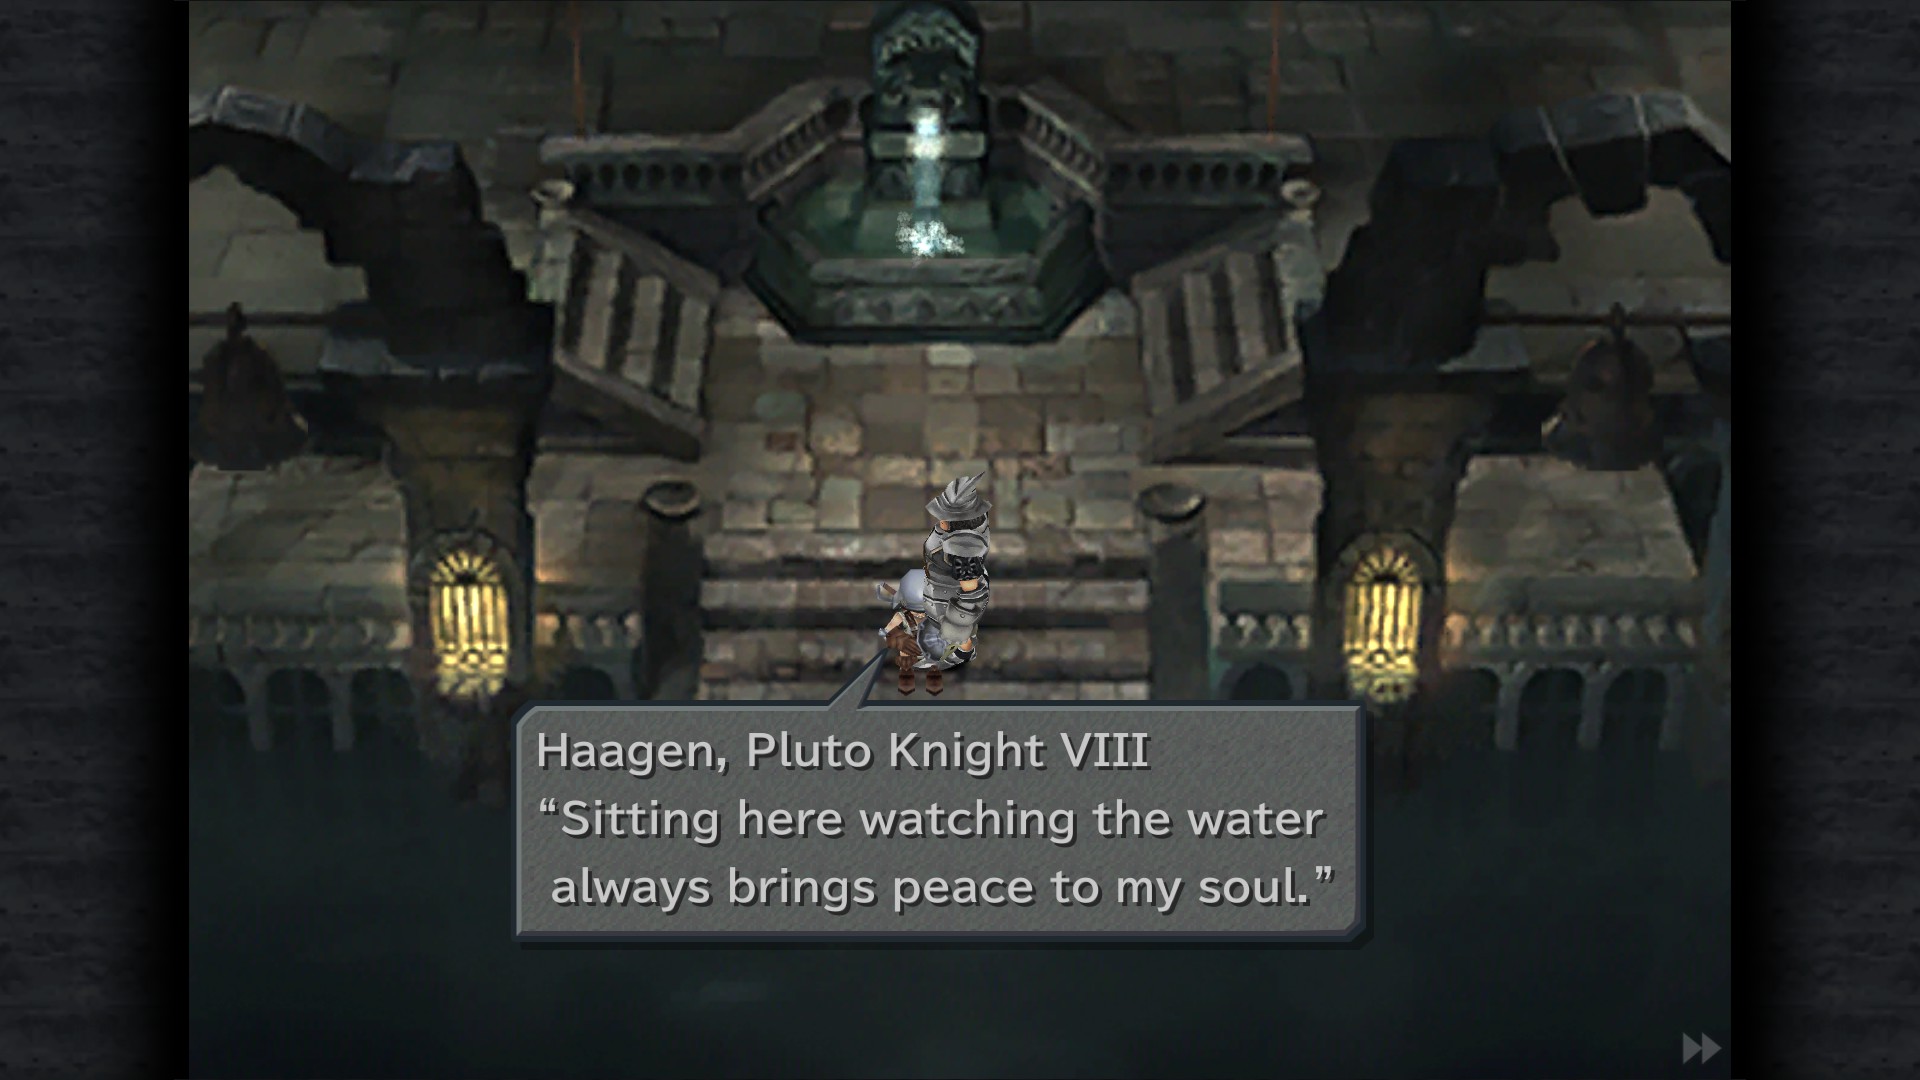
Pluto Knights location:
Catch Pluto Knight V - Hallway
Pluto Knight IX - Guest Room
Pluto Knight IV - Library
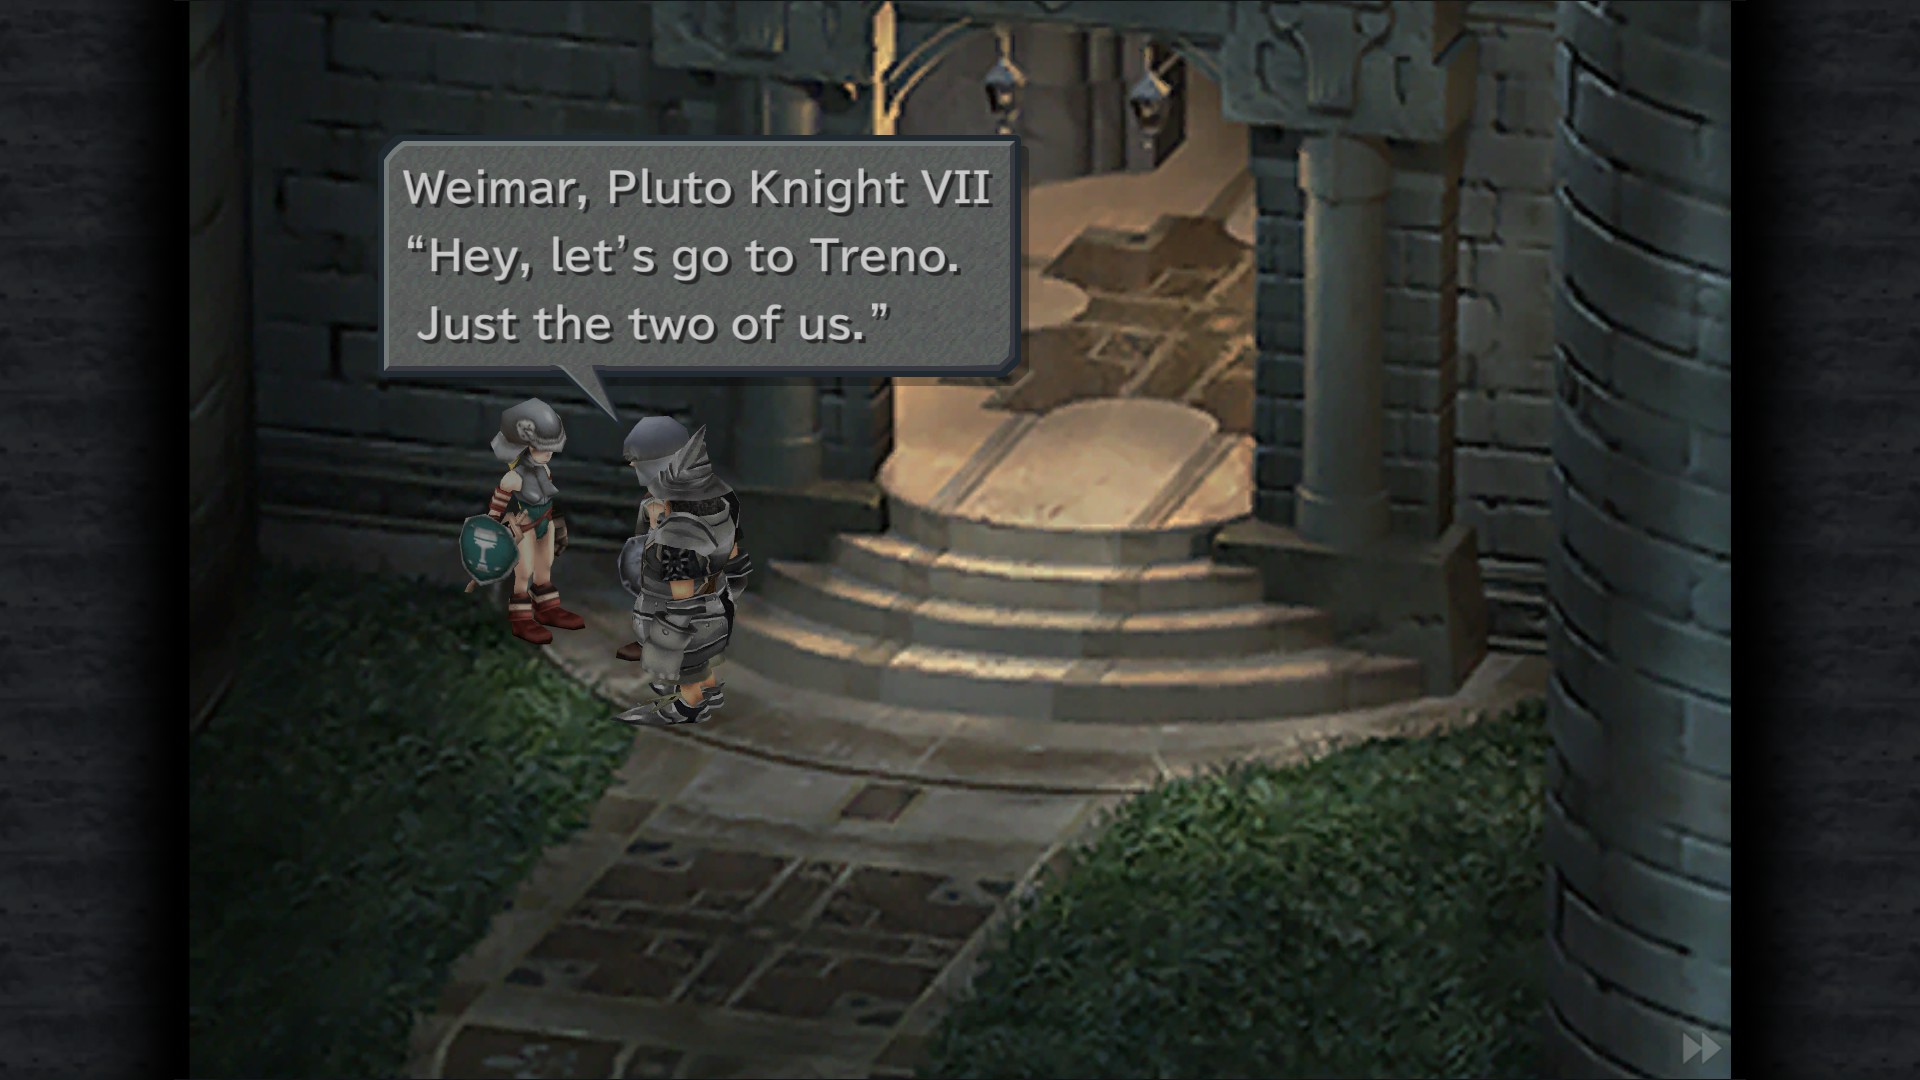
Pluto Knight VIII - Courtyard
Pluto Knight VII - Courtyard/left side
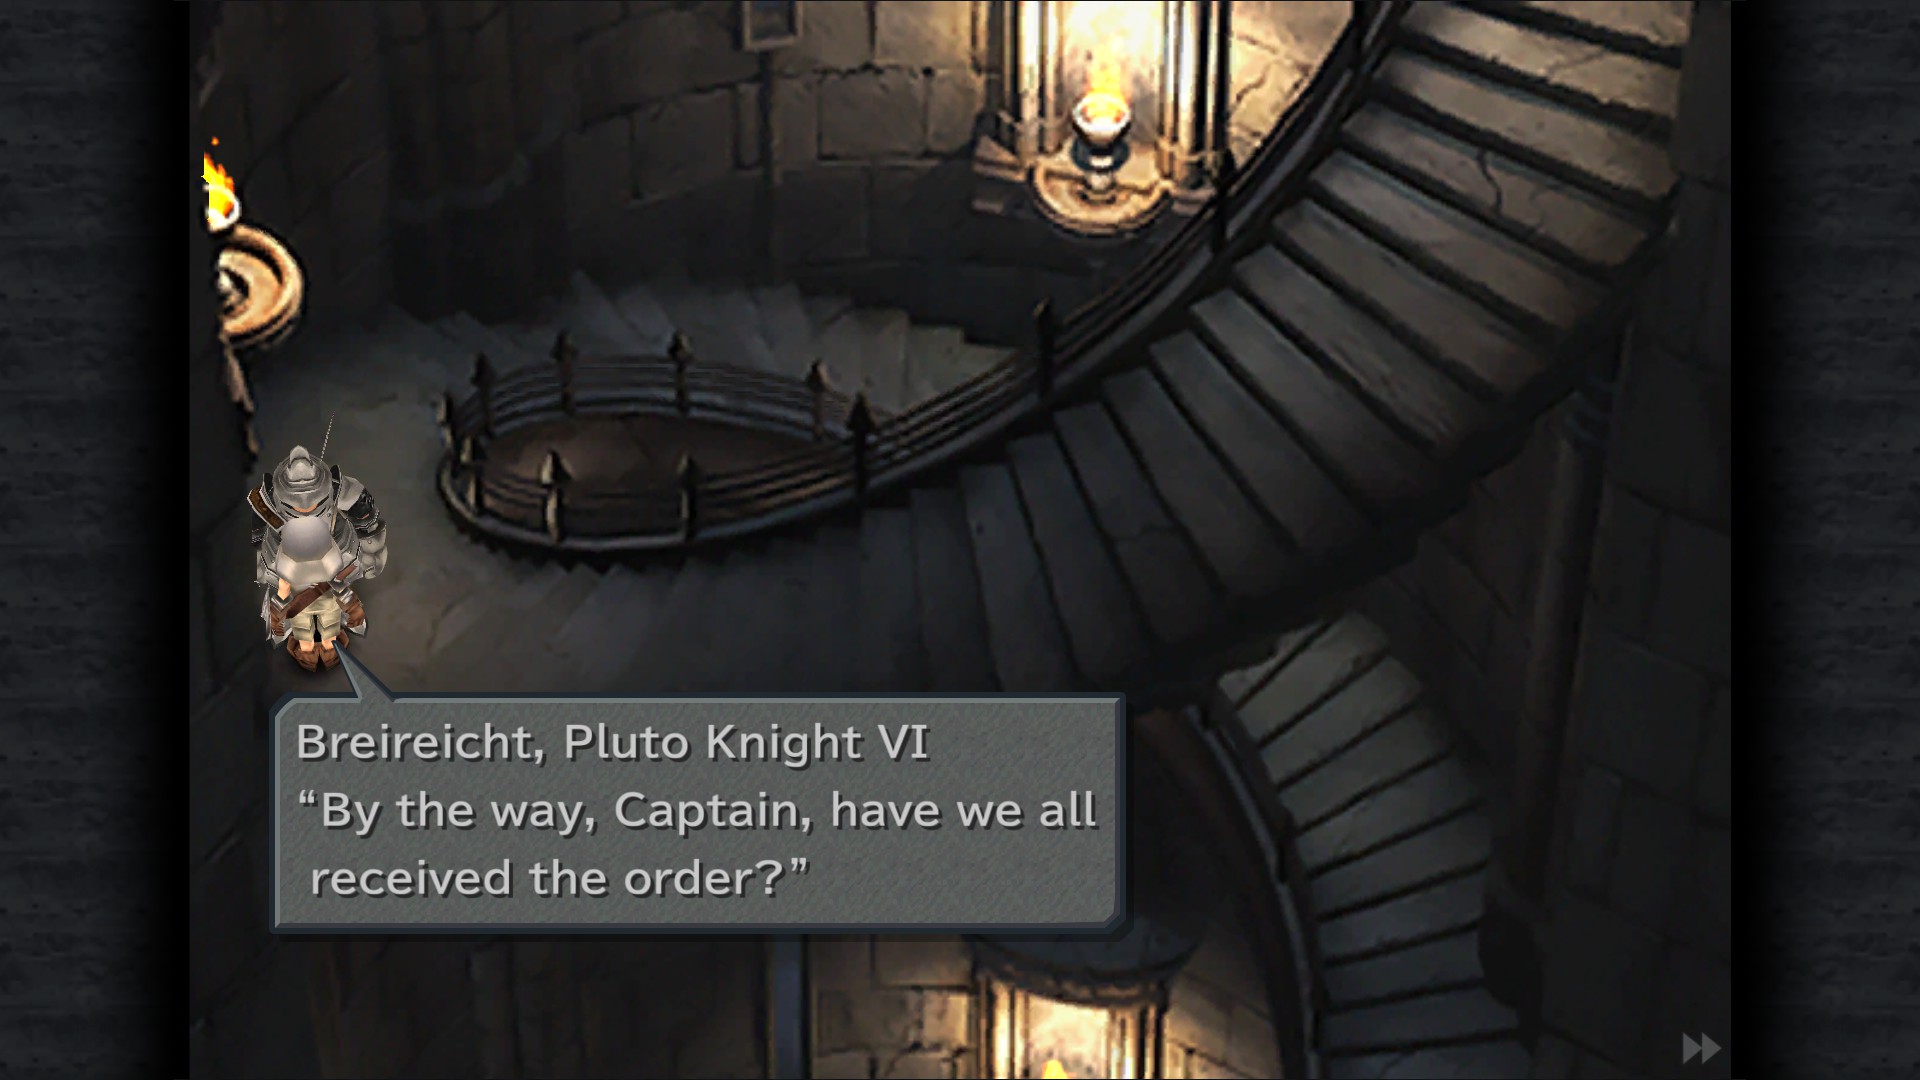
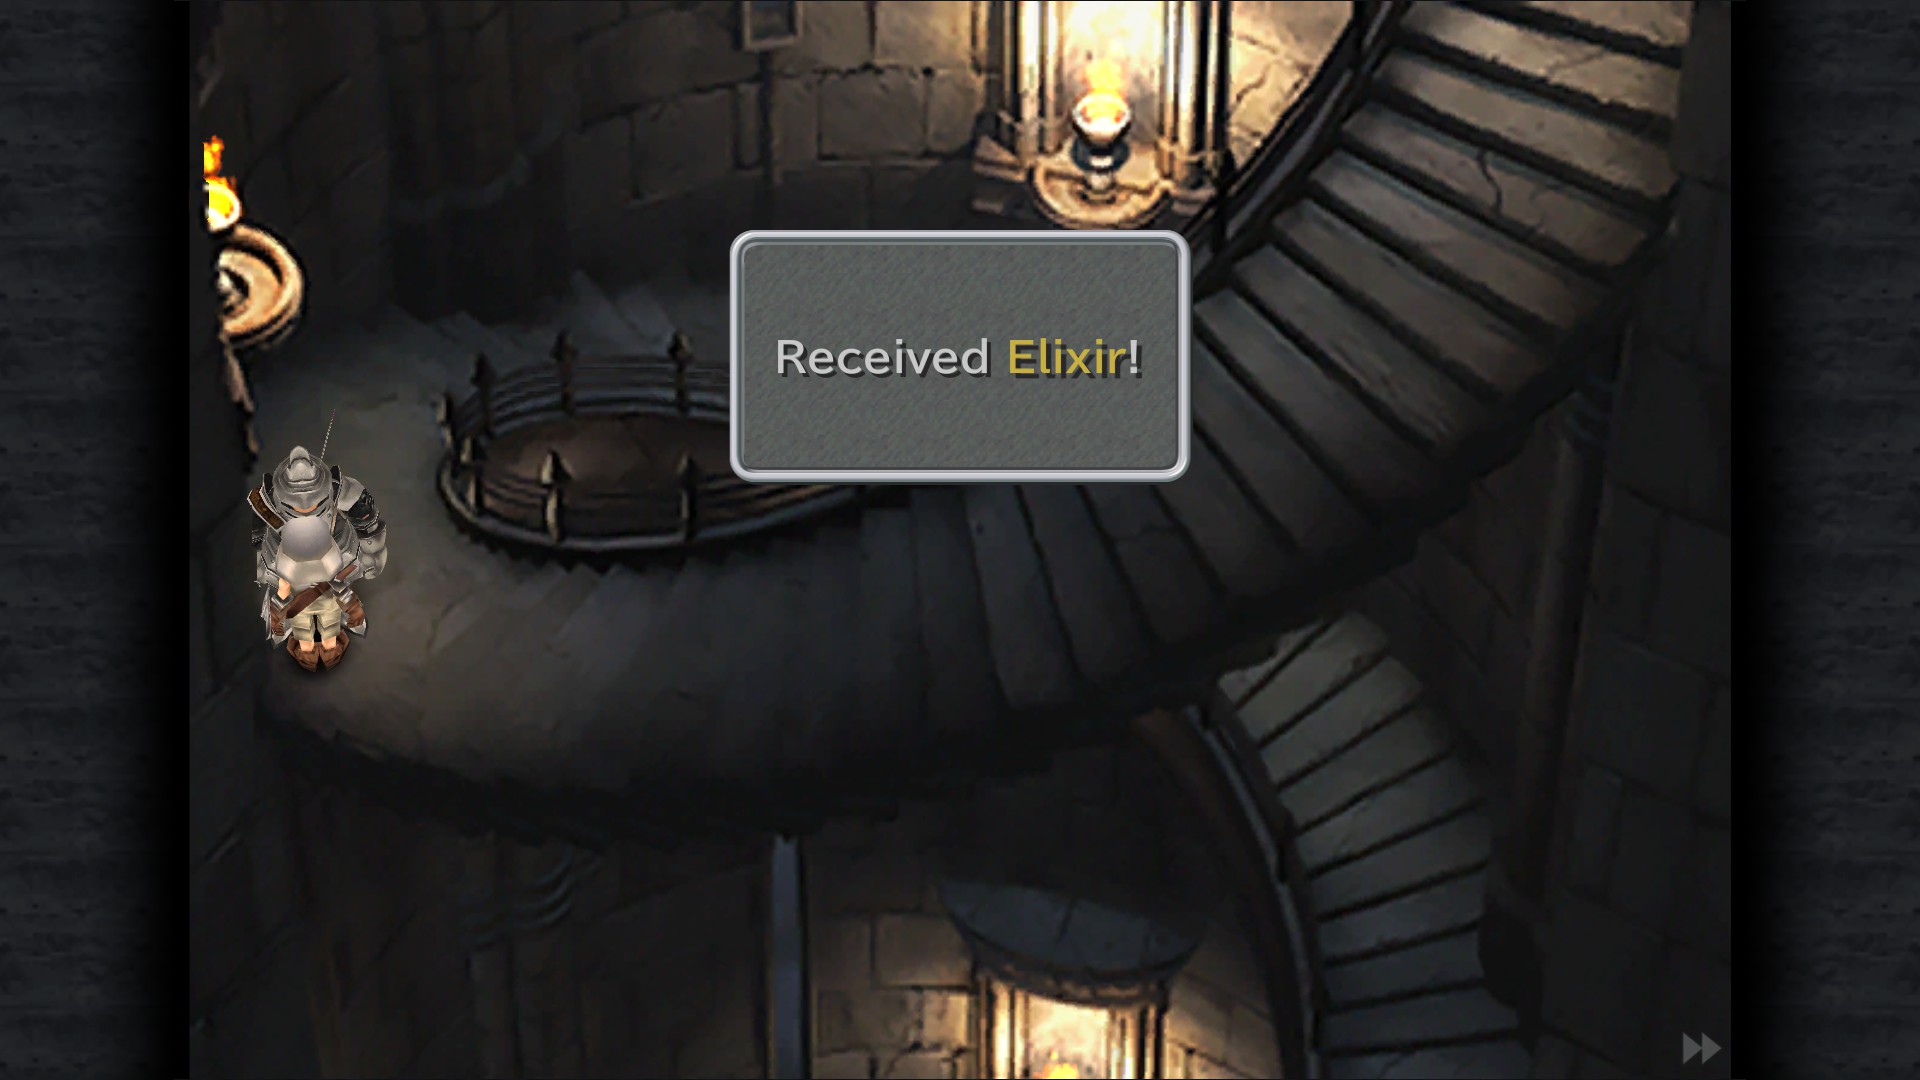
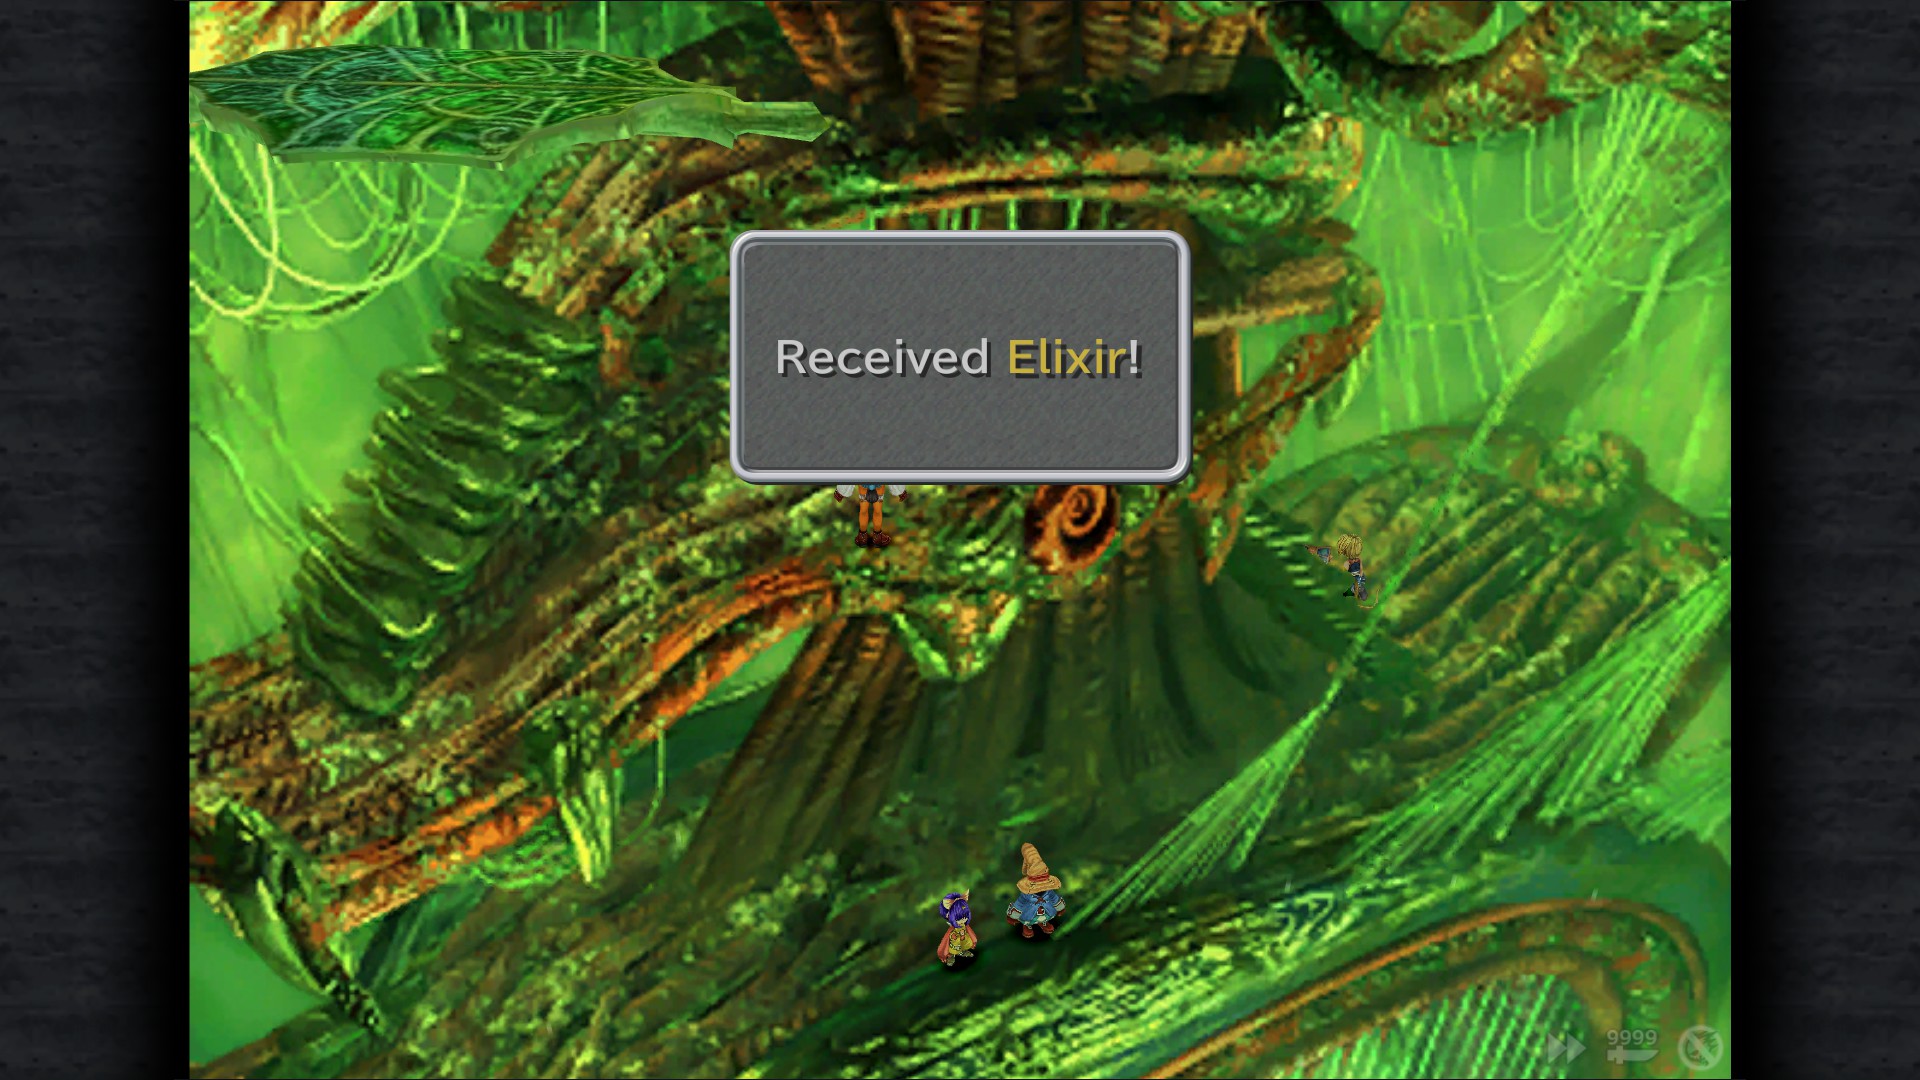
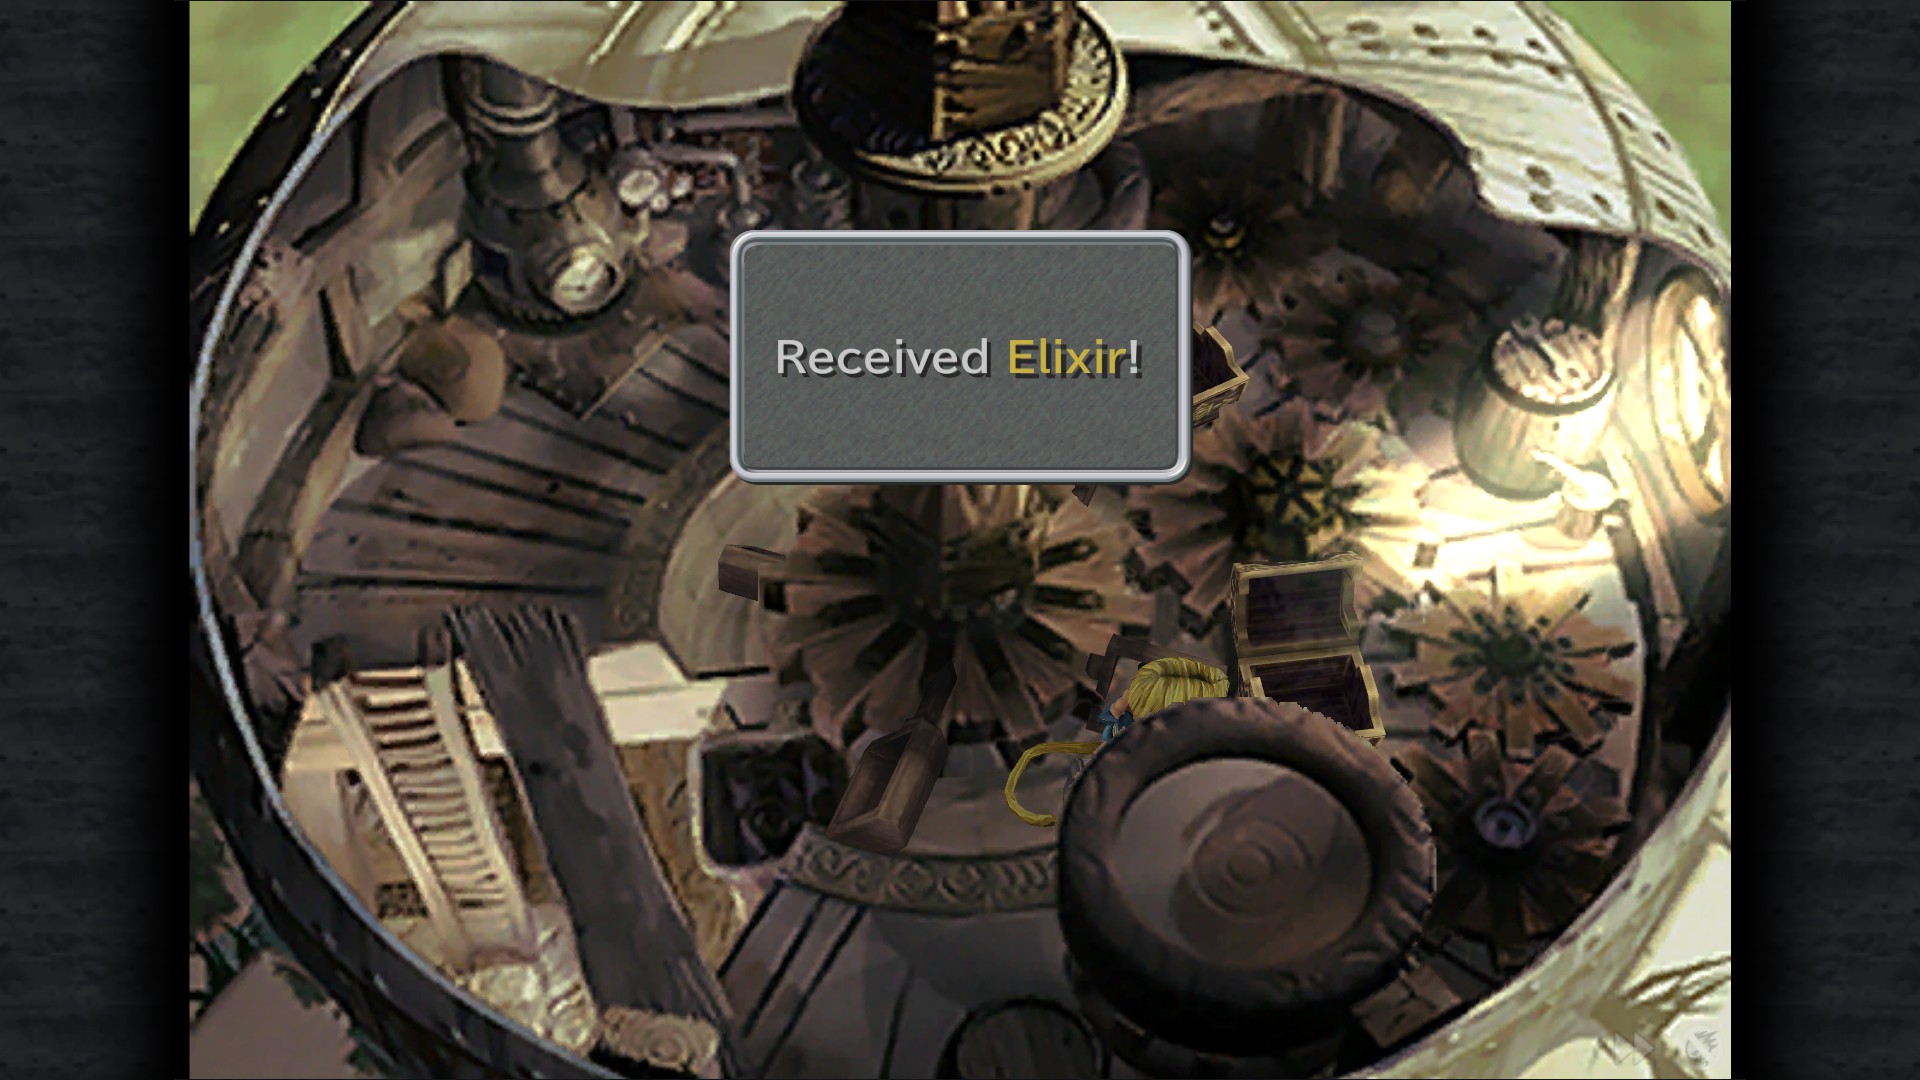
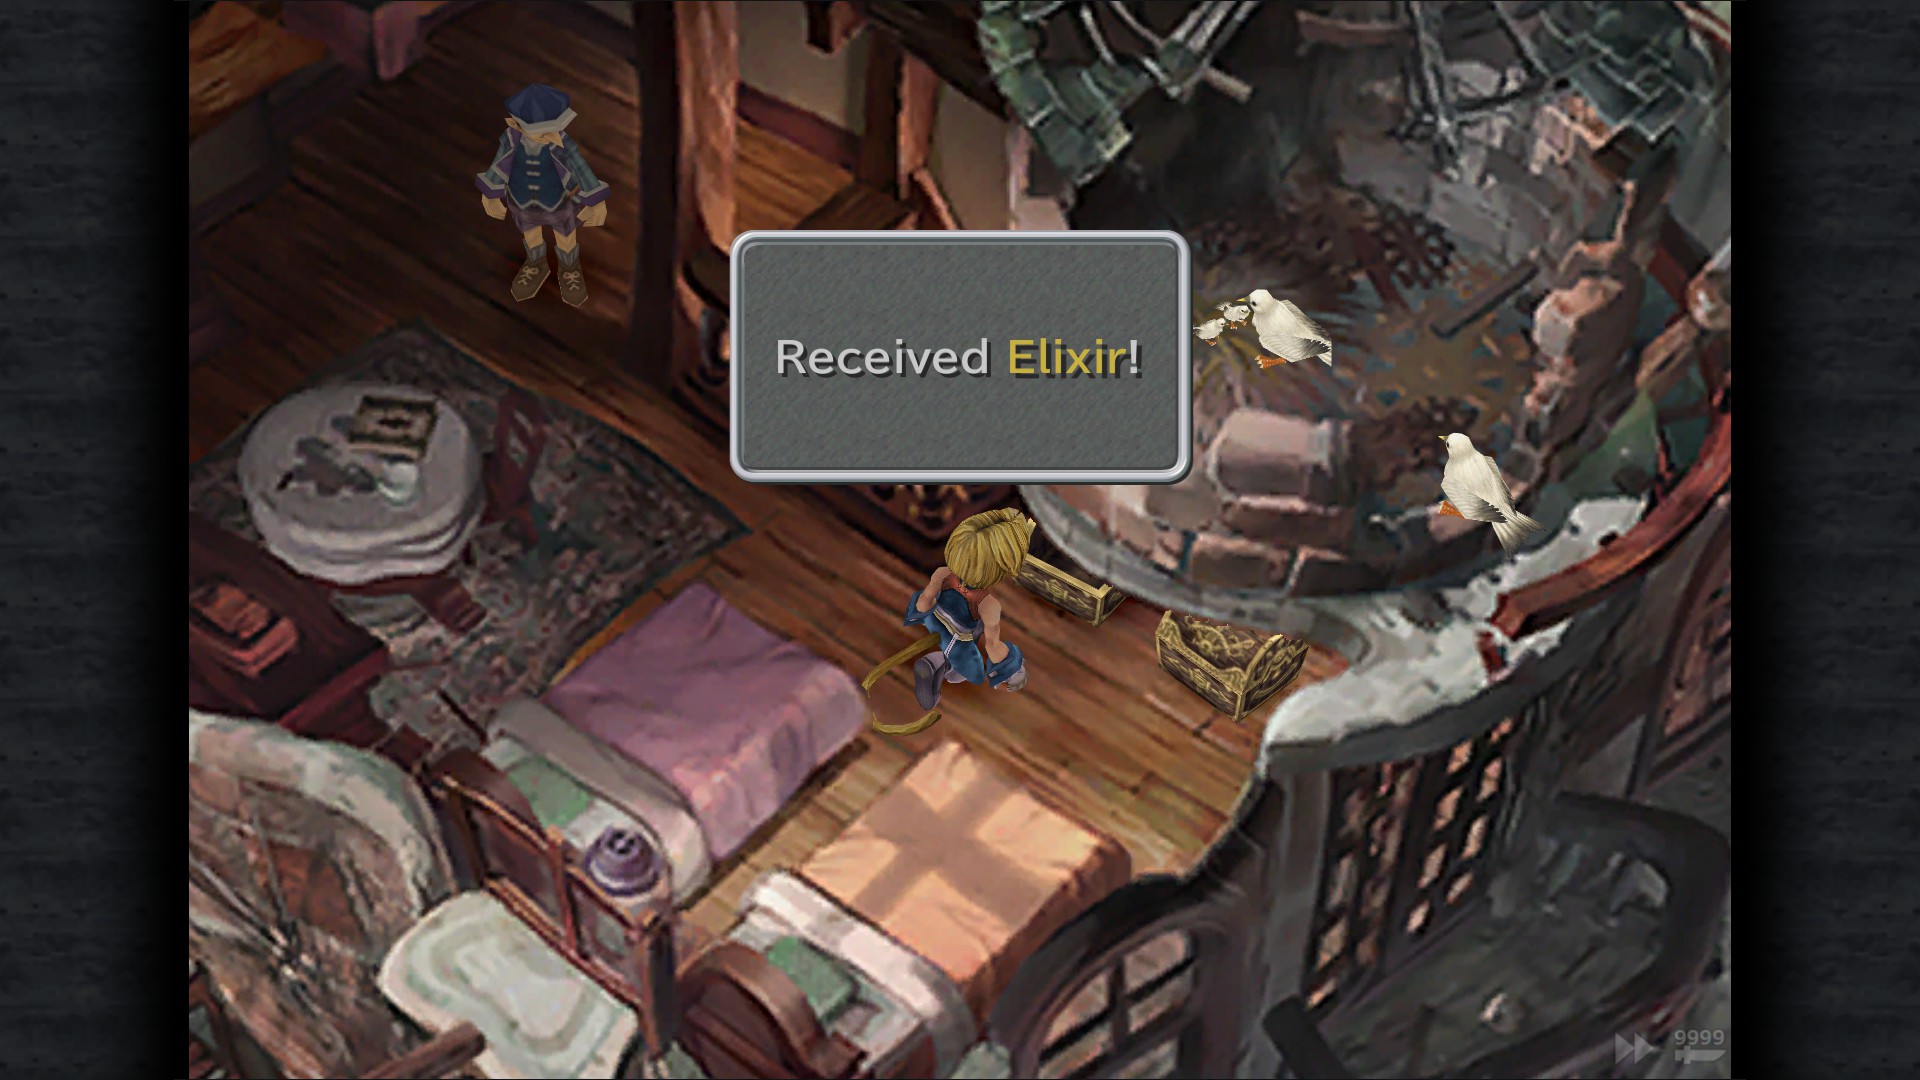
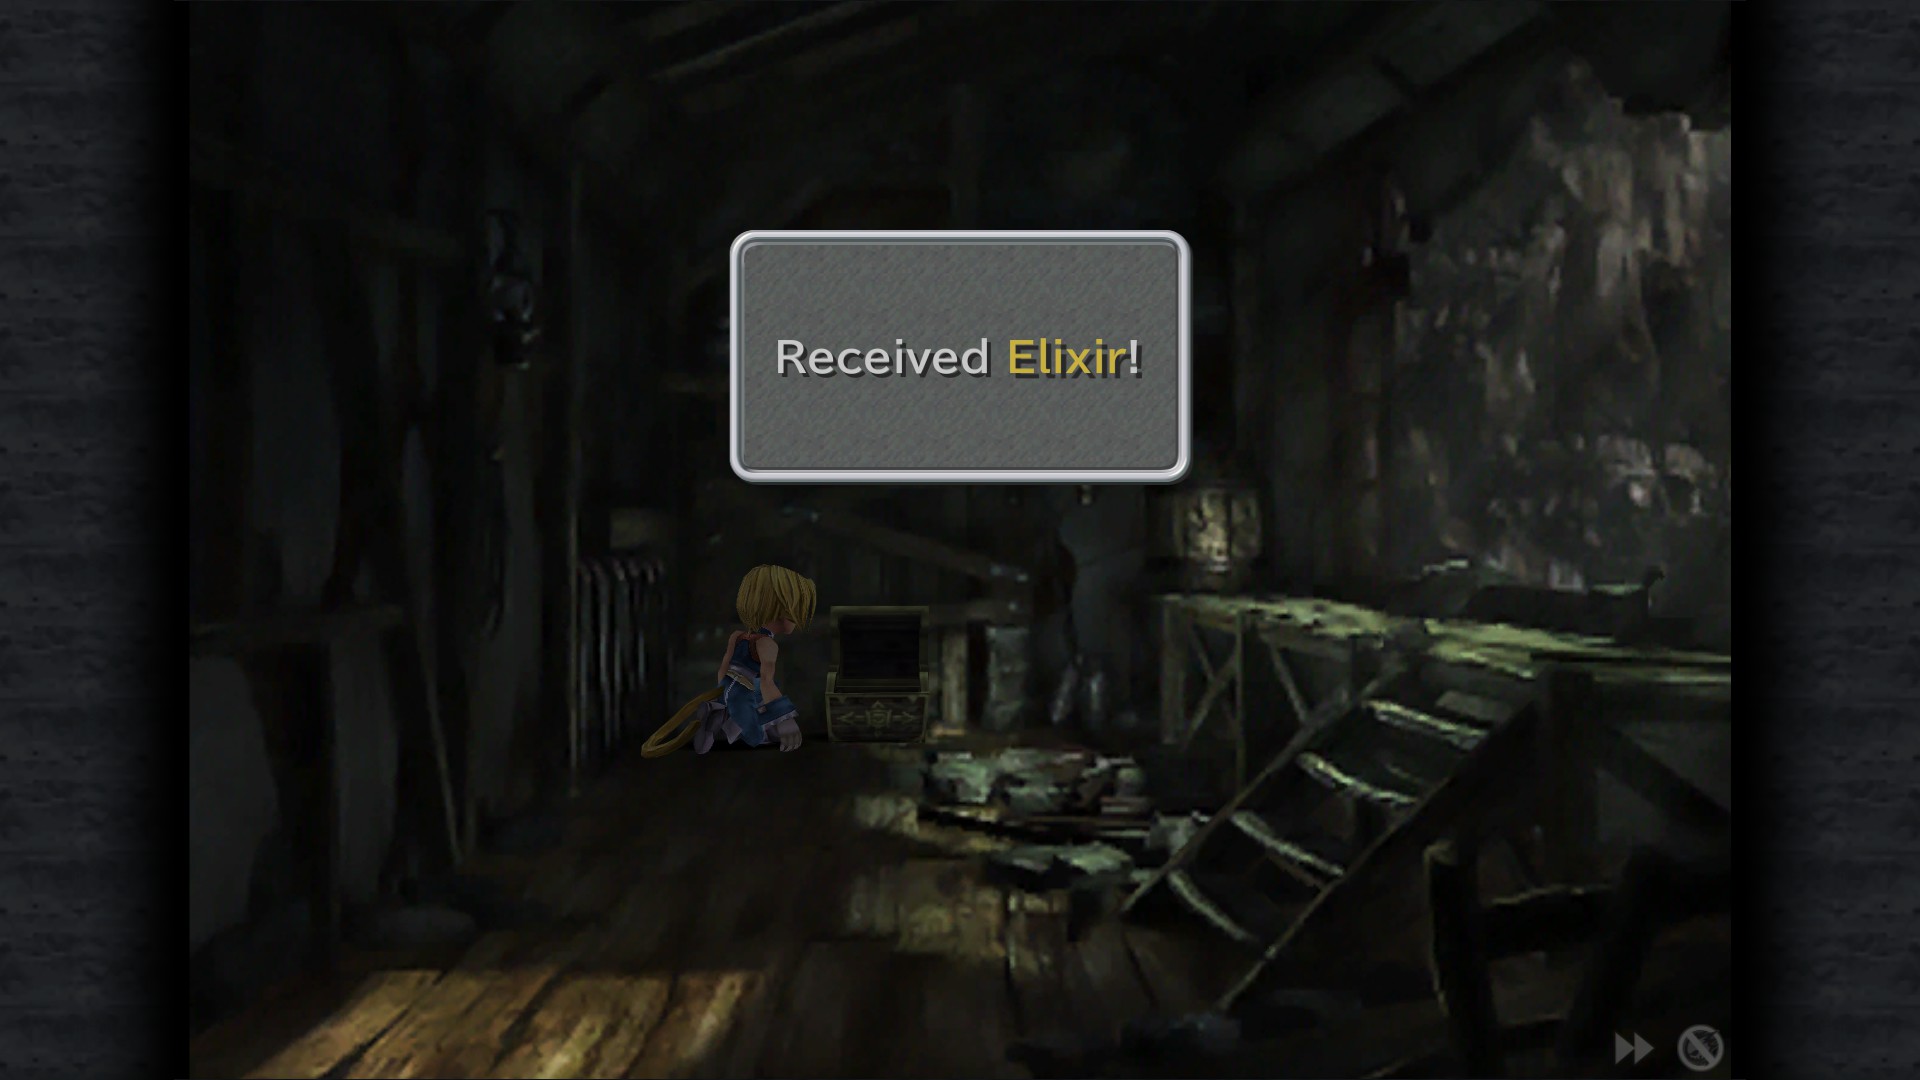
Pluto Knight VI - West Tower (You'll receive an Elixir here)
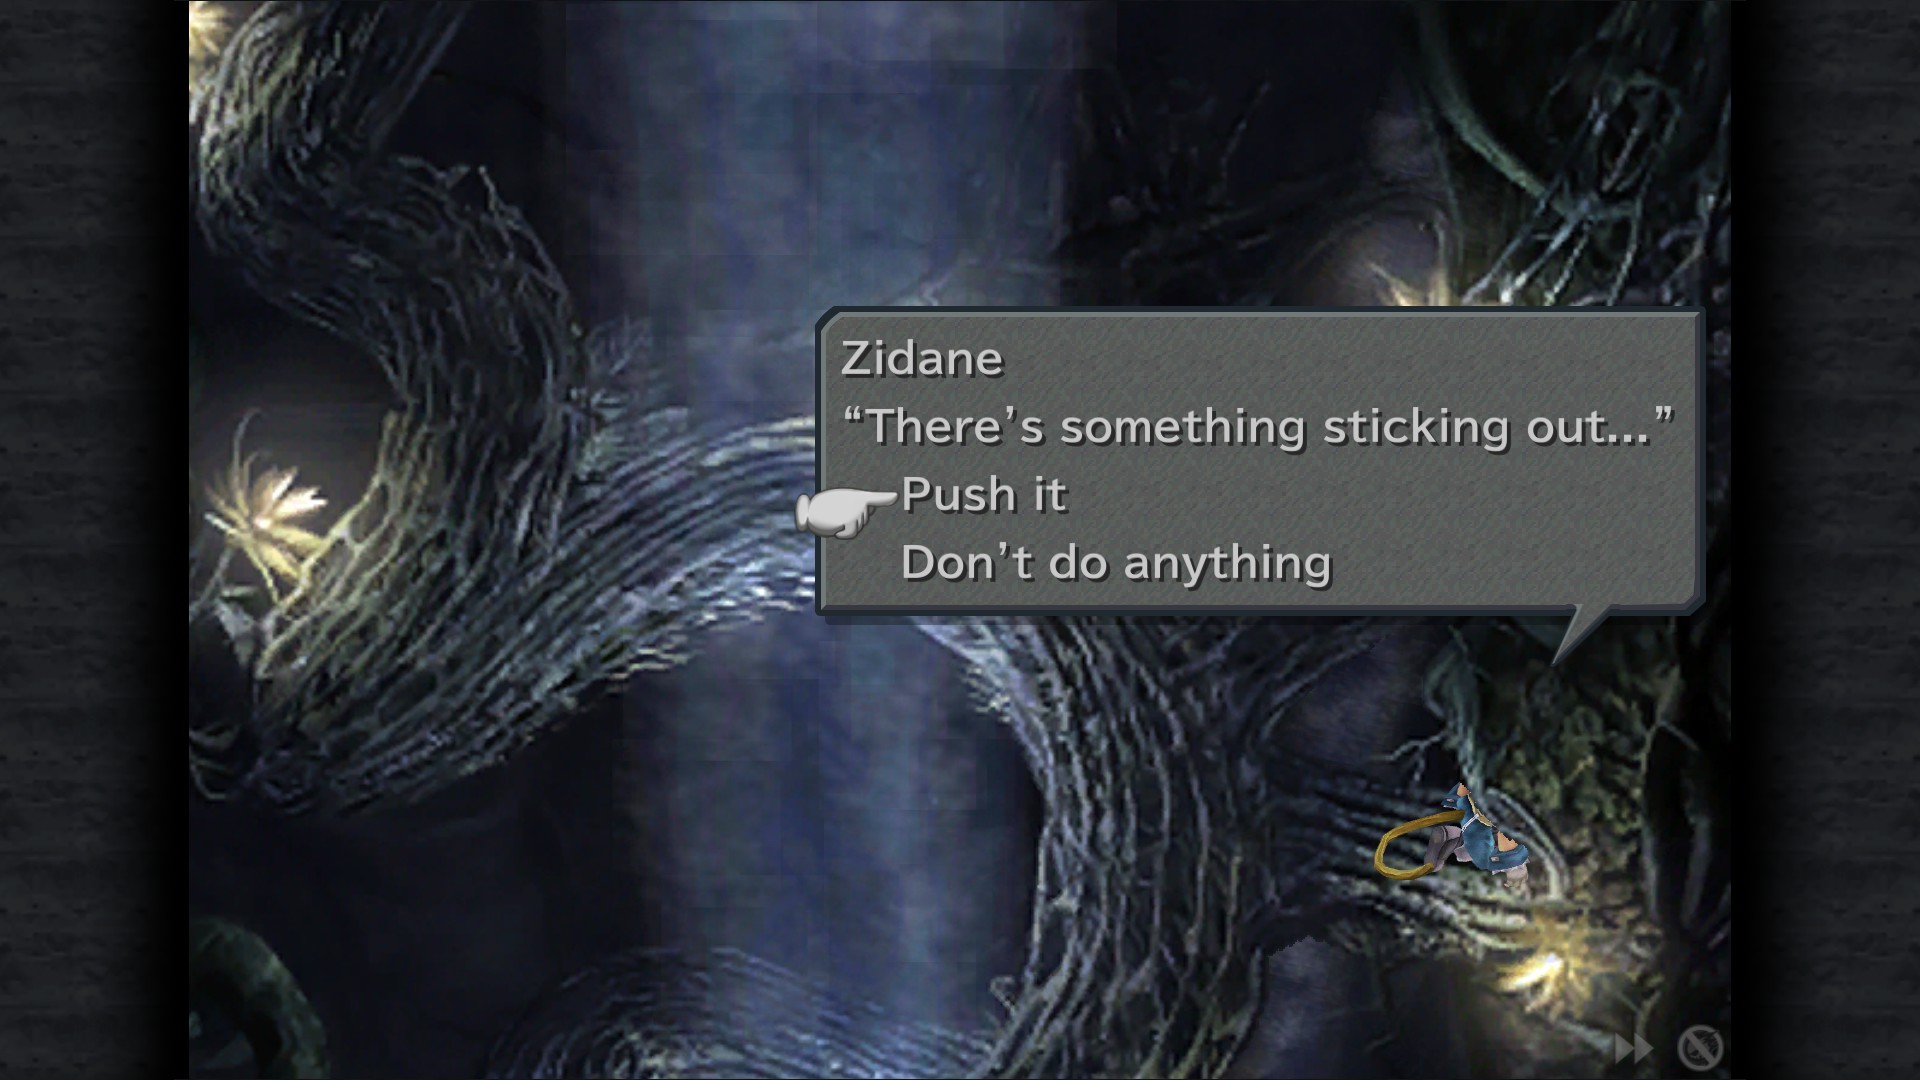
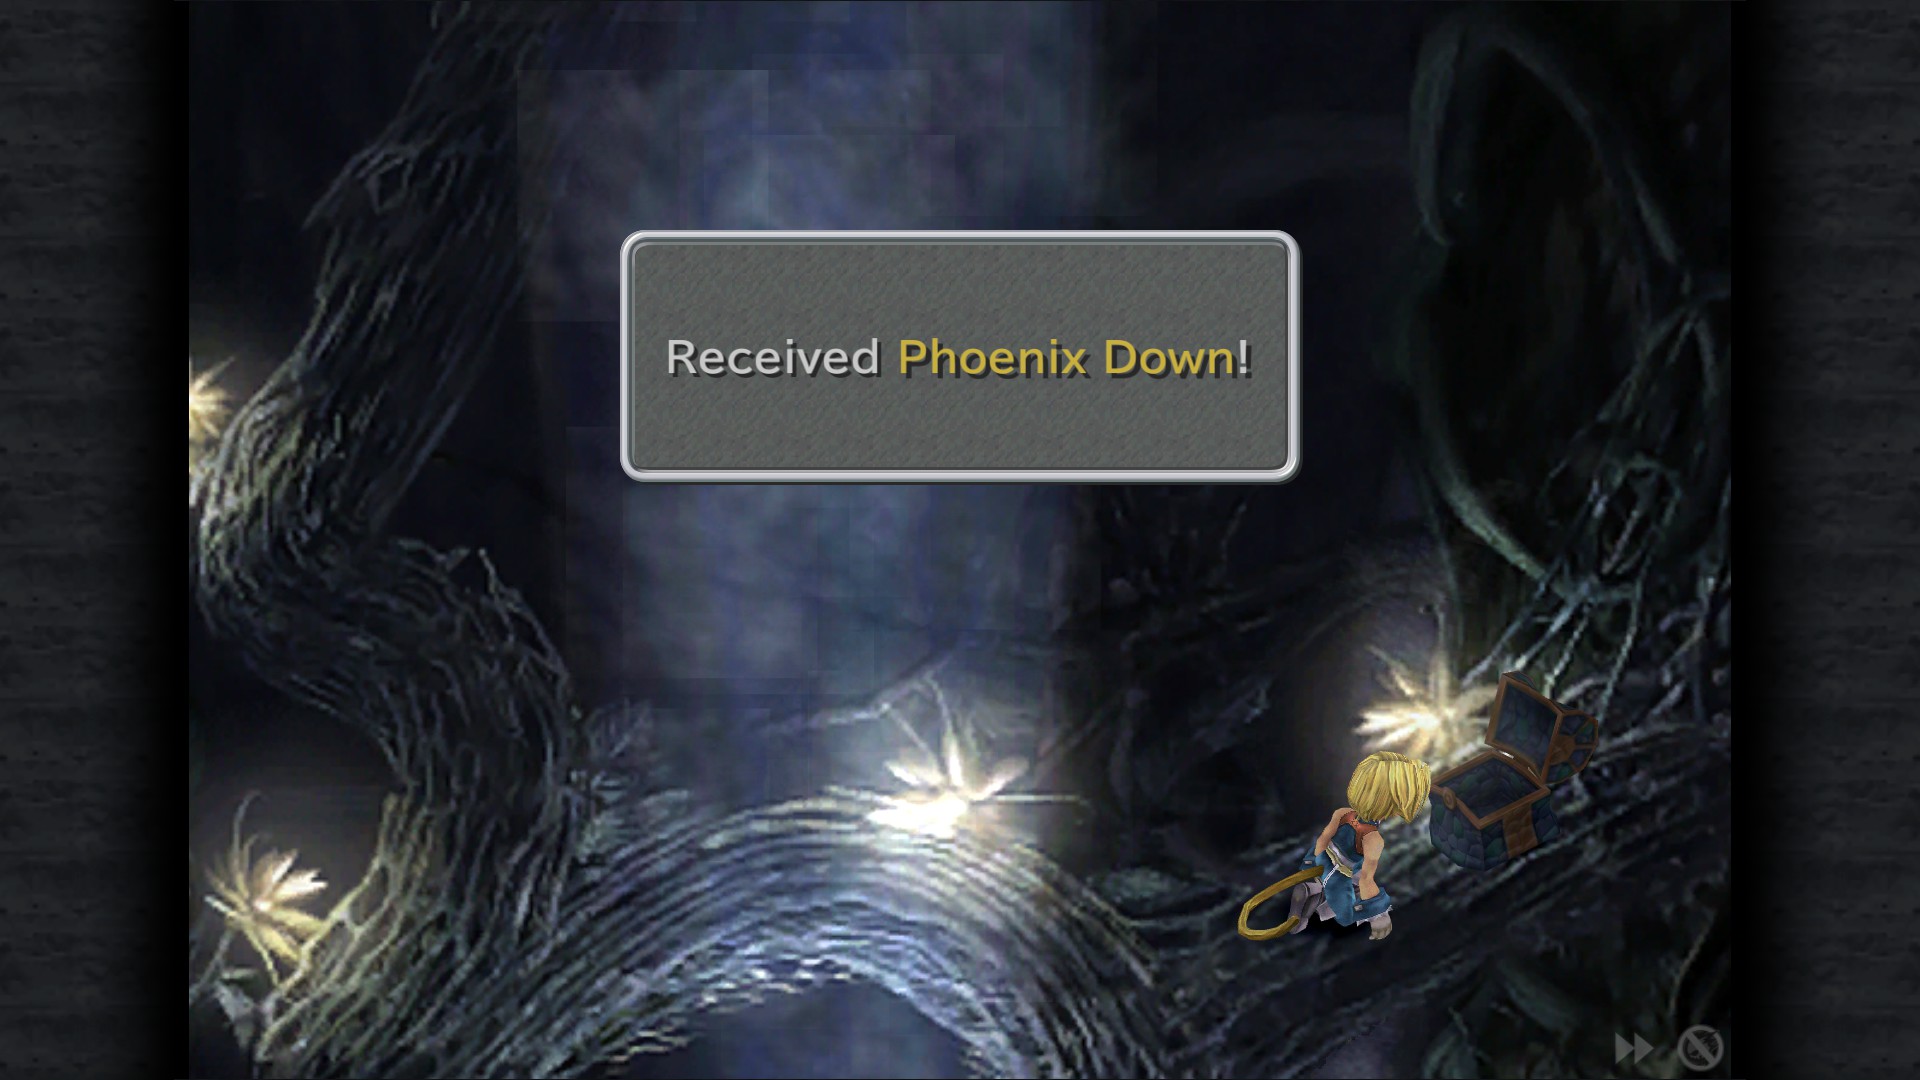
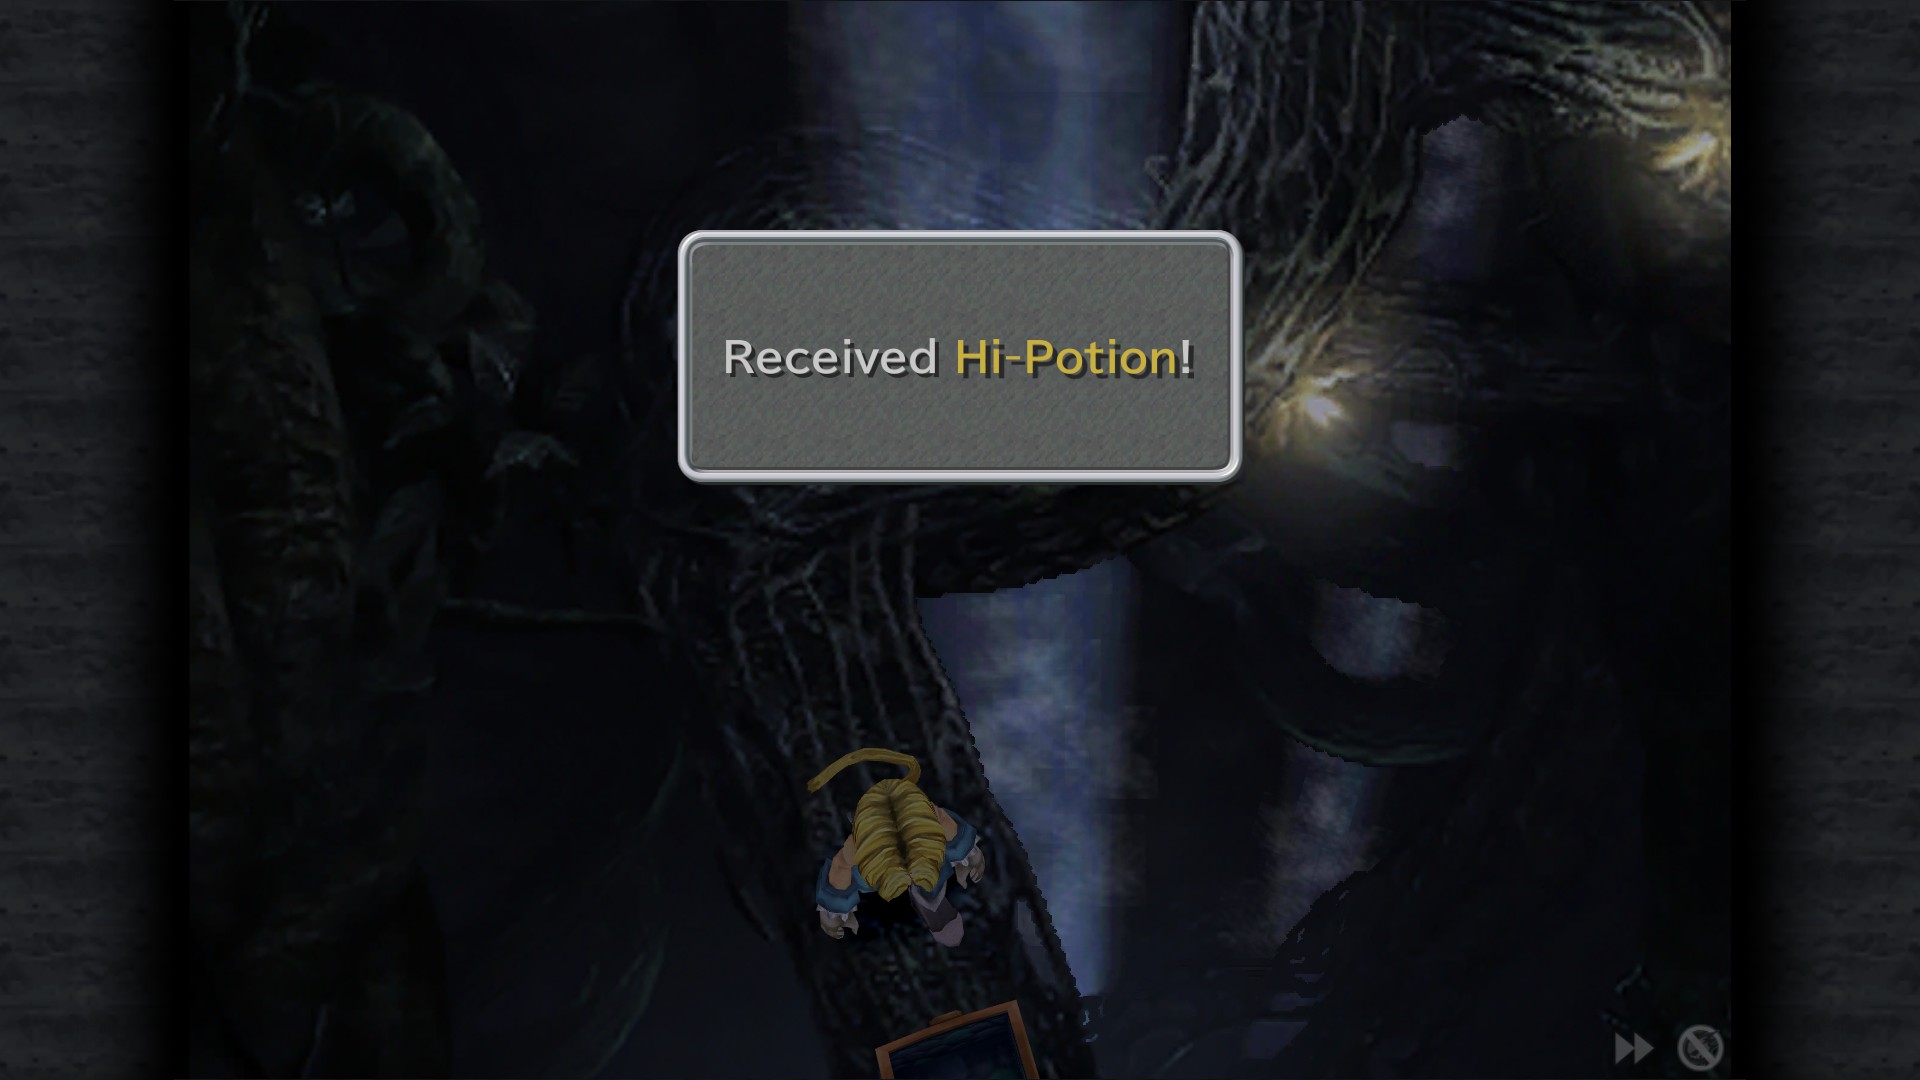
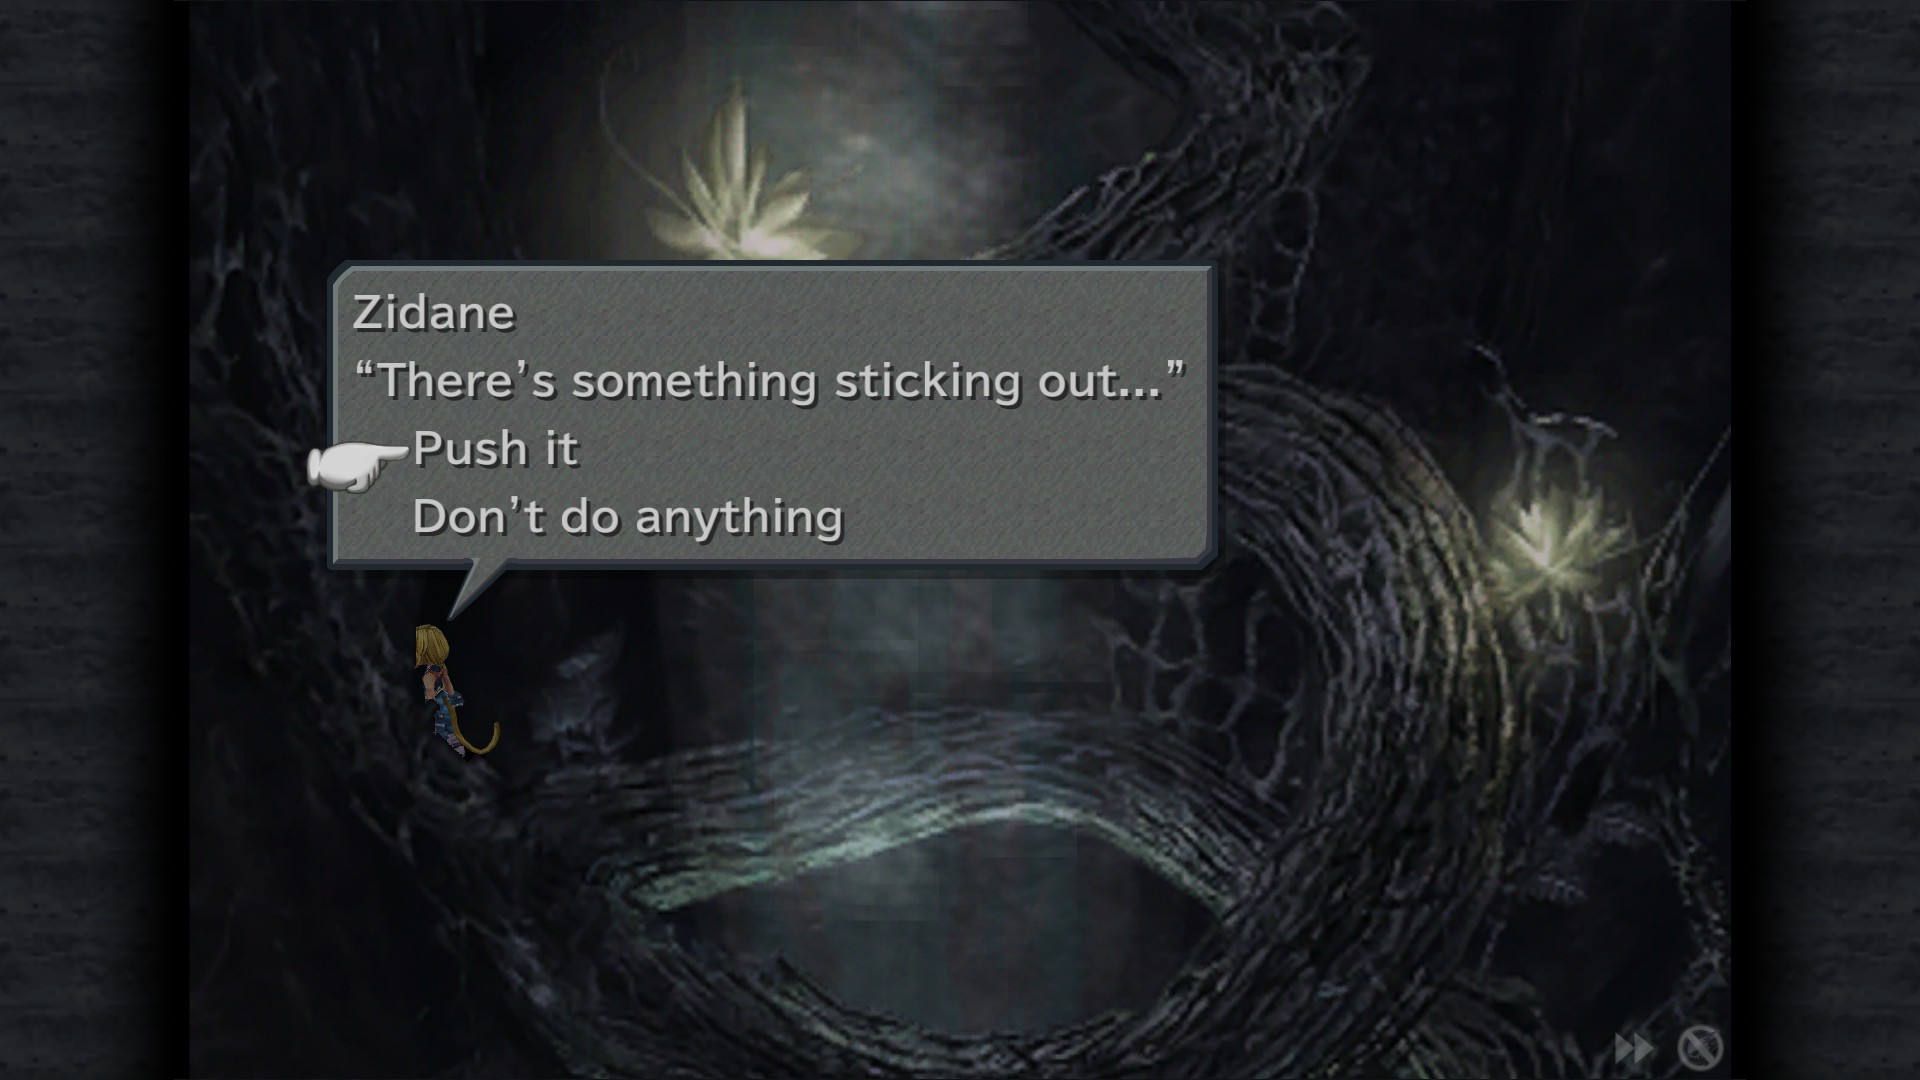
Engine Room
Turn the lever both ways to make 2 treasure chest fall from the ceiling.
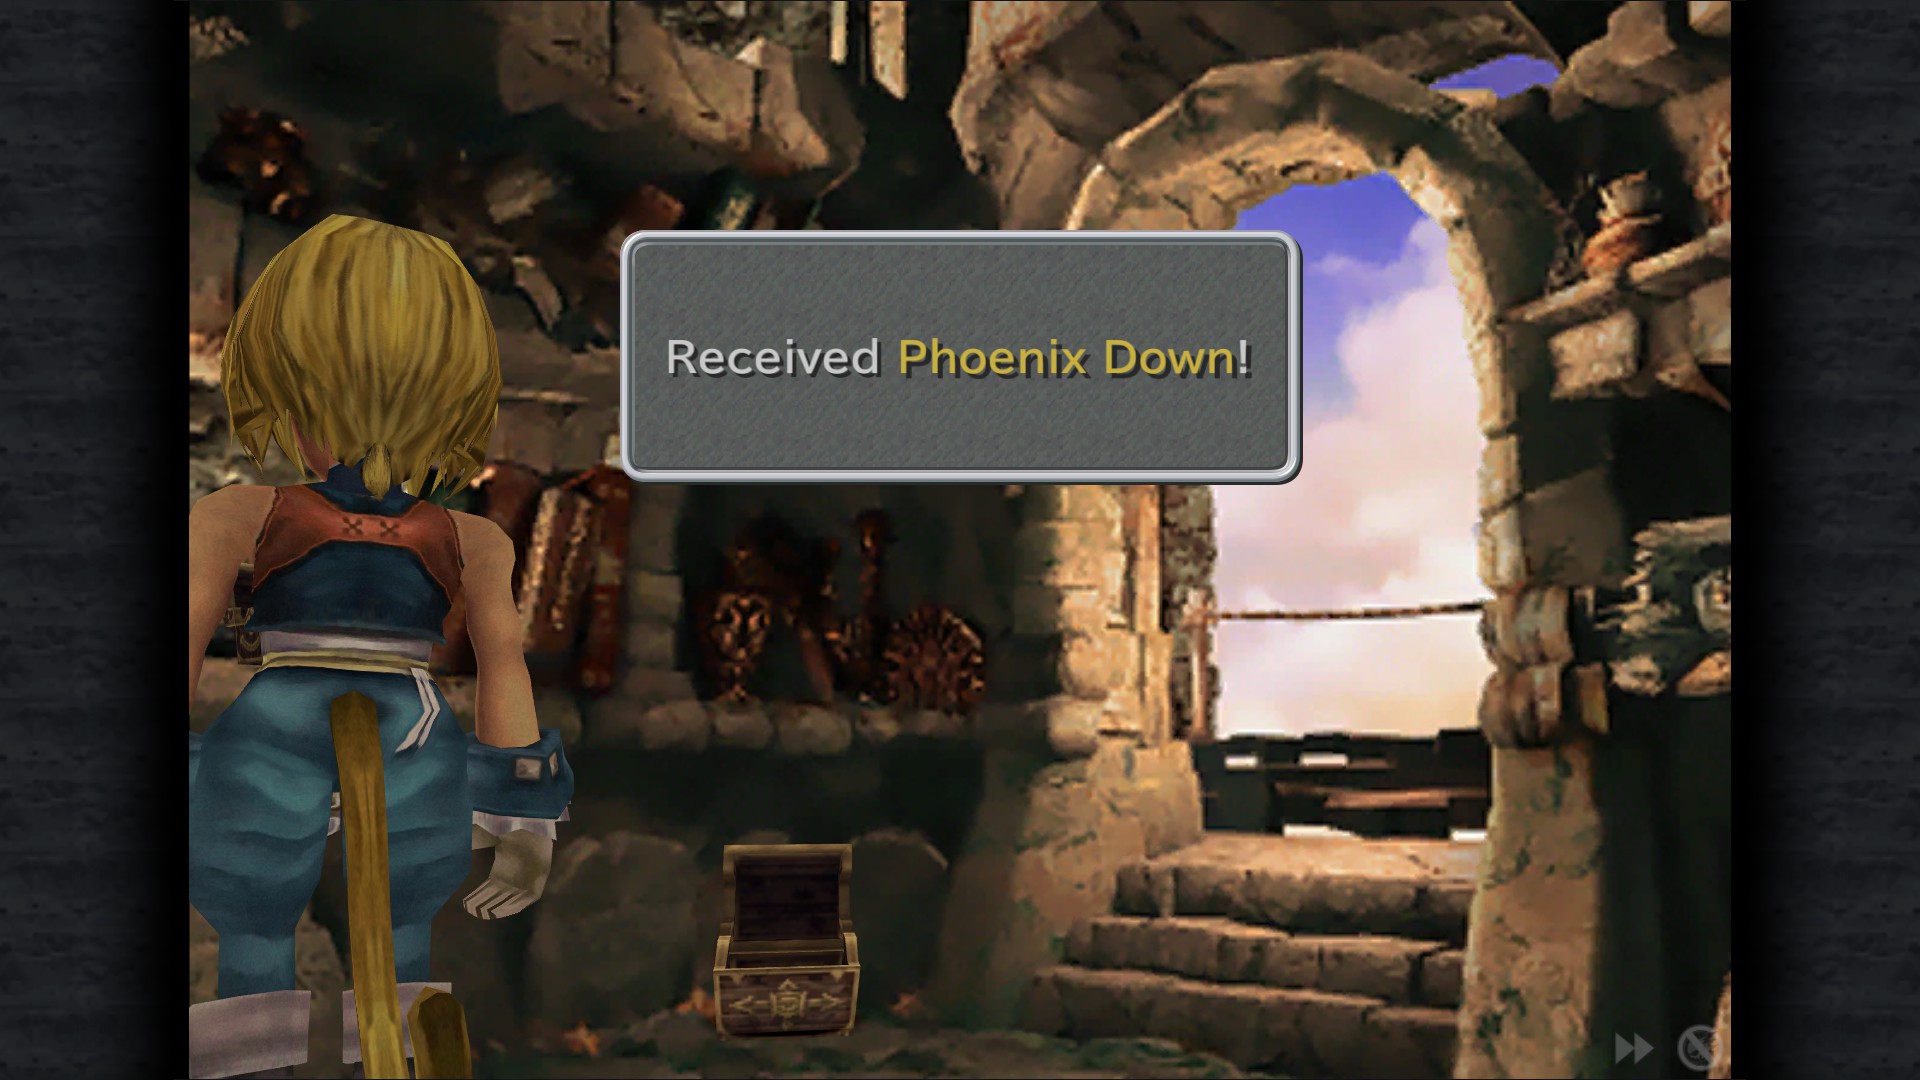
Phoenix Down
Phoenix Pinion
Prima Vista - Evil Forest


Prima Vista
The Forest Keeper ATE - Crash Site (Forced)
Getting Emotional
Enter Trance for the first time.
Bronze Gloves - Bridge
Time to Escape ATE - Hallway
Girl Who Was Left Behind ATE - Hallway
My Little Baby ATE - Hallway
Wrist - Hallway
Ether - Cabin
116 Gil - Cabin
Ether - Left Hallway
Rubber Helm - Cargo Room
Leather Hat - Entrance Hallway
Potion - Meeting Room
Ether - Storage
Phoenix Down - Crash Site
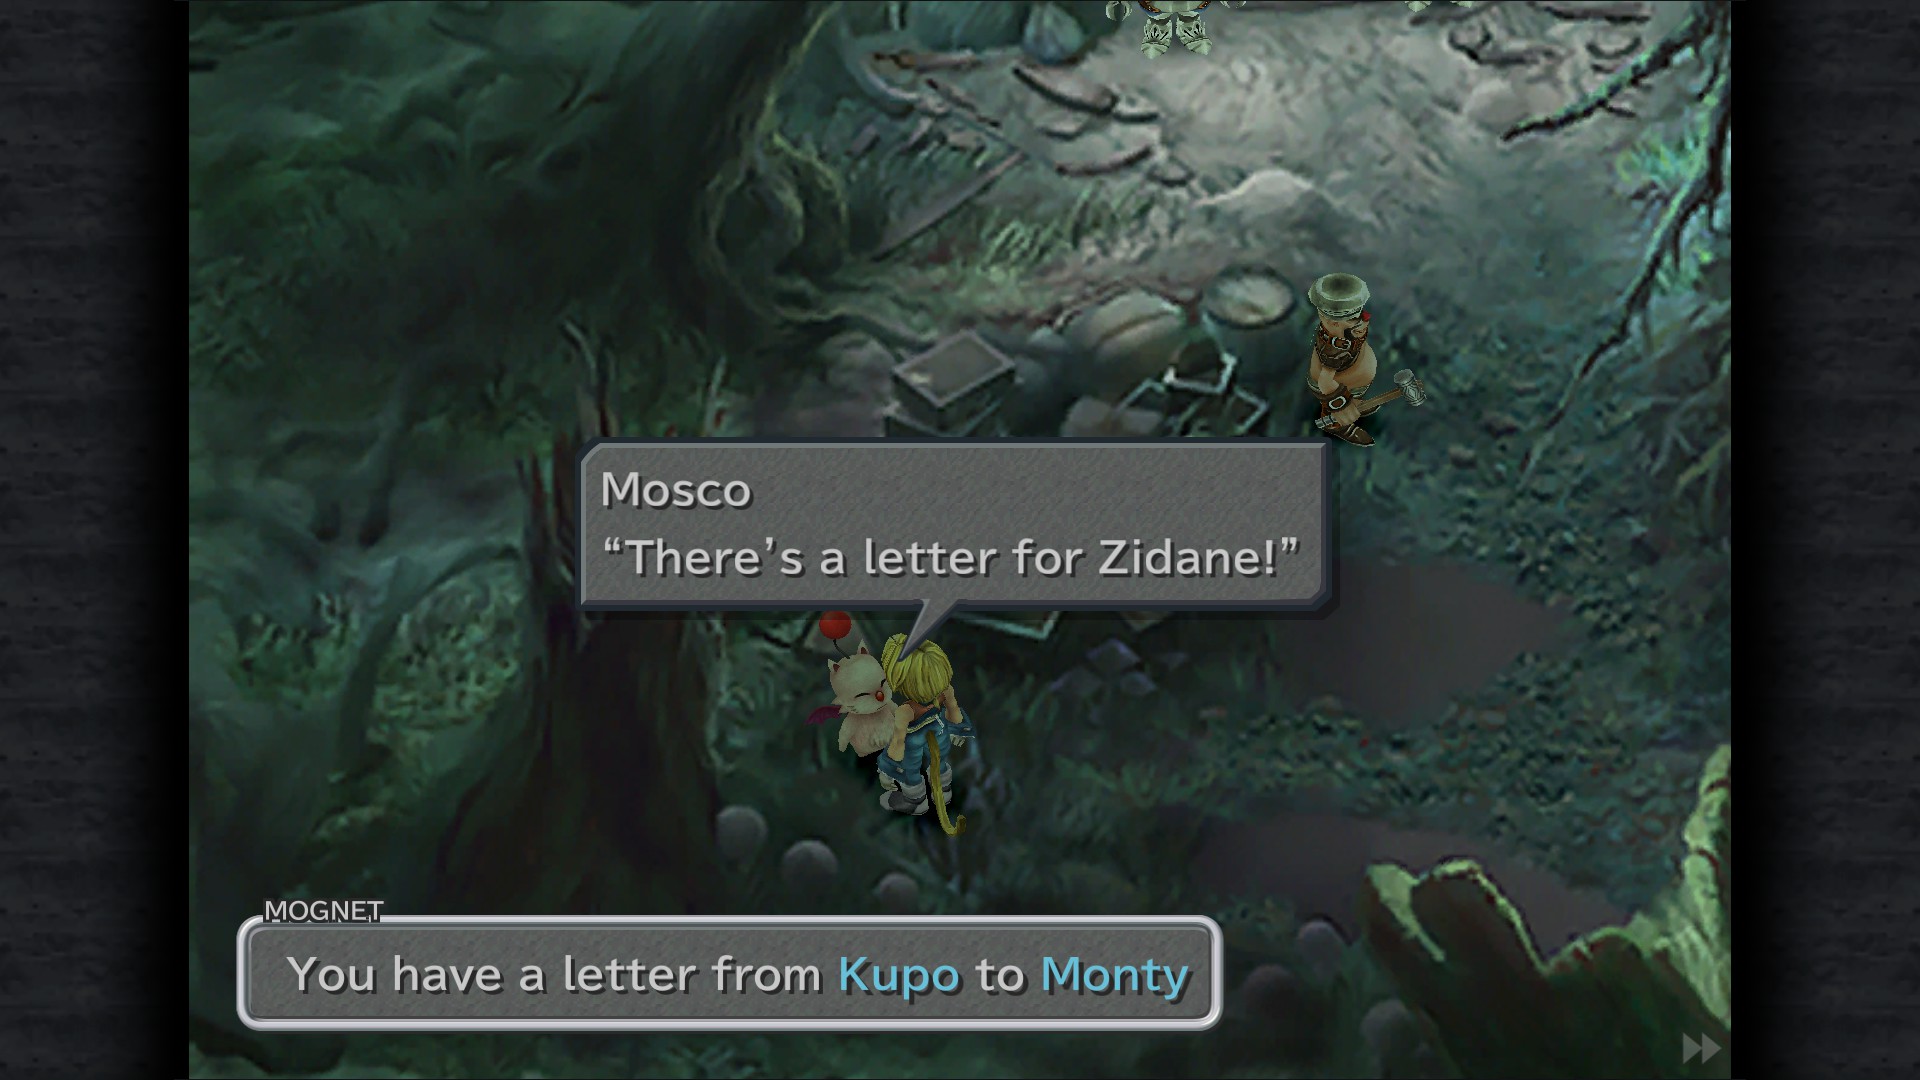
Mognet: "How Ya Doin'?" - Crash Site
Evil Forest
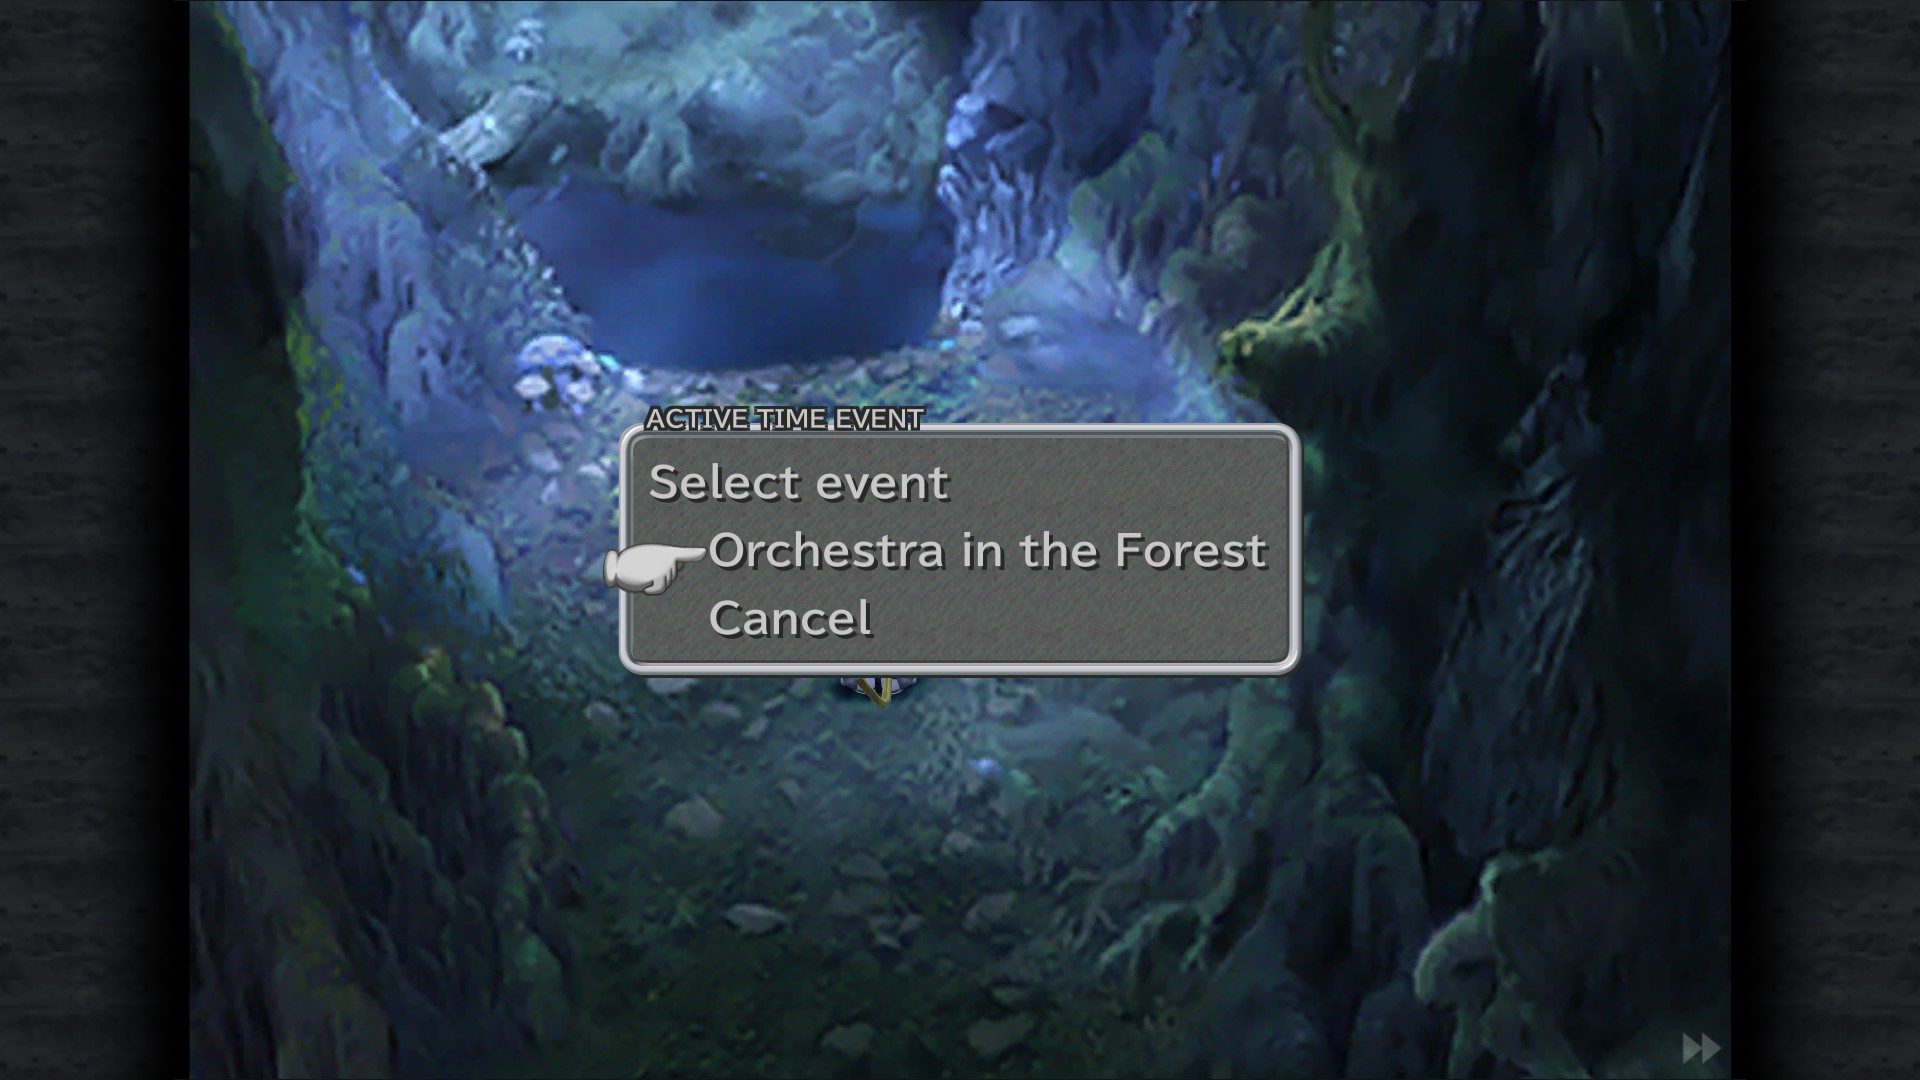
Orchestra in the Forest - Trail
Do As I Say, Not As I Do ATE - Spring (Forced)
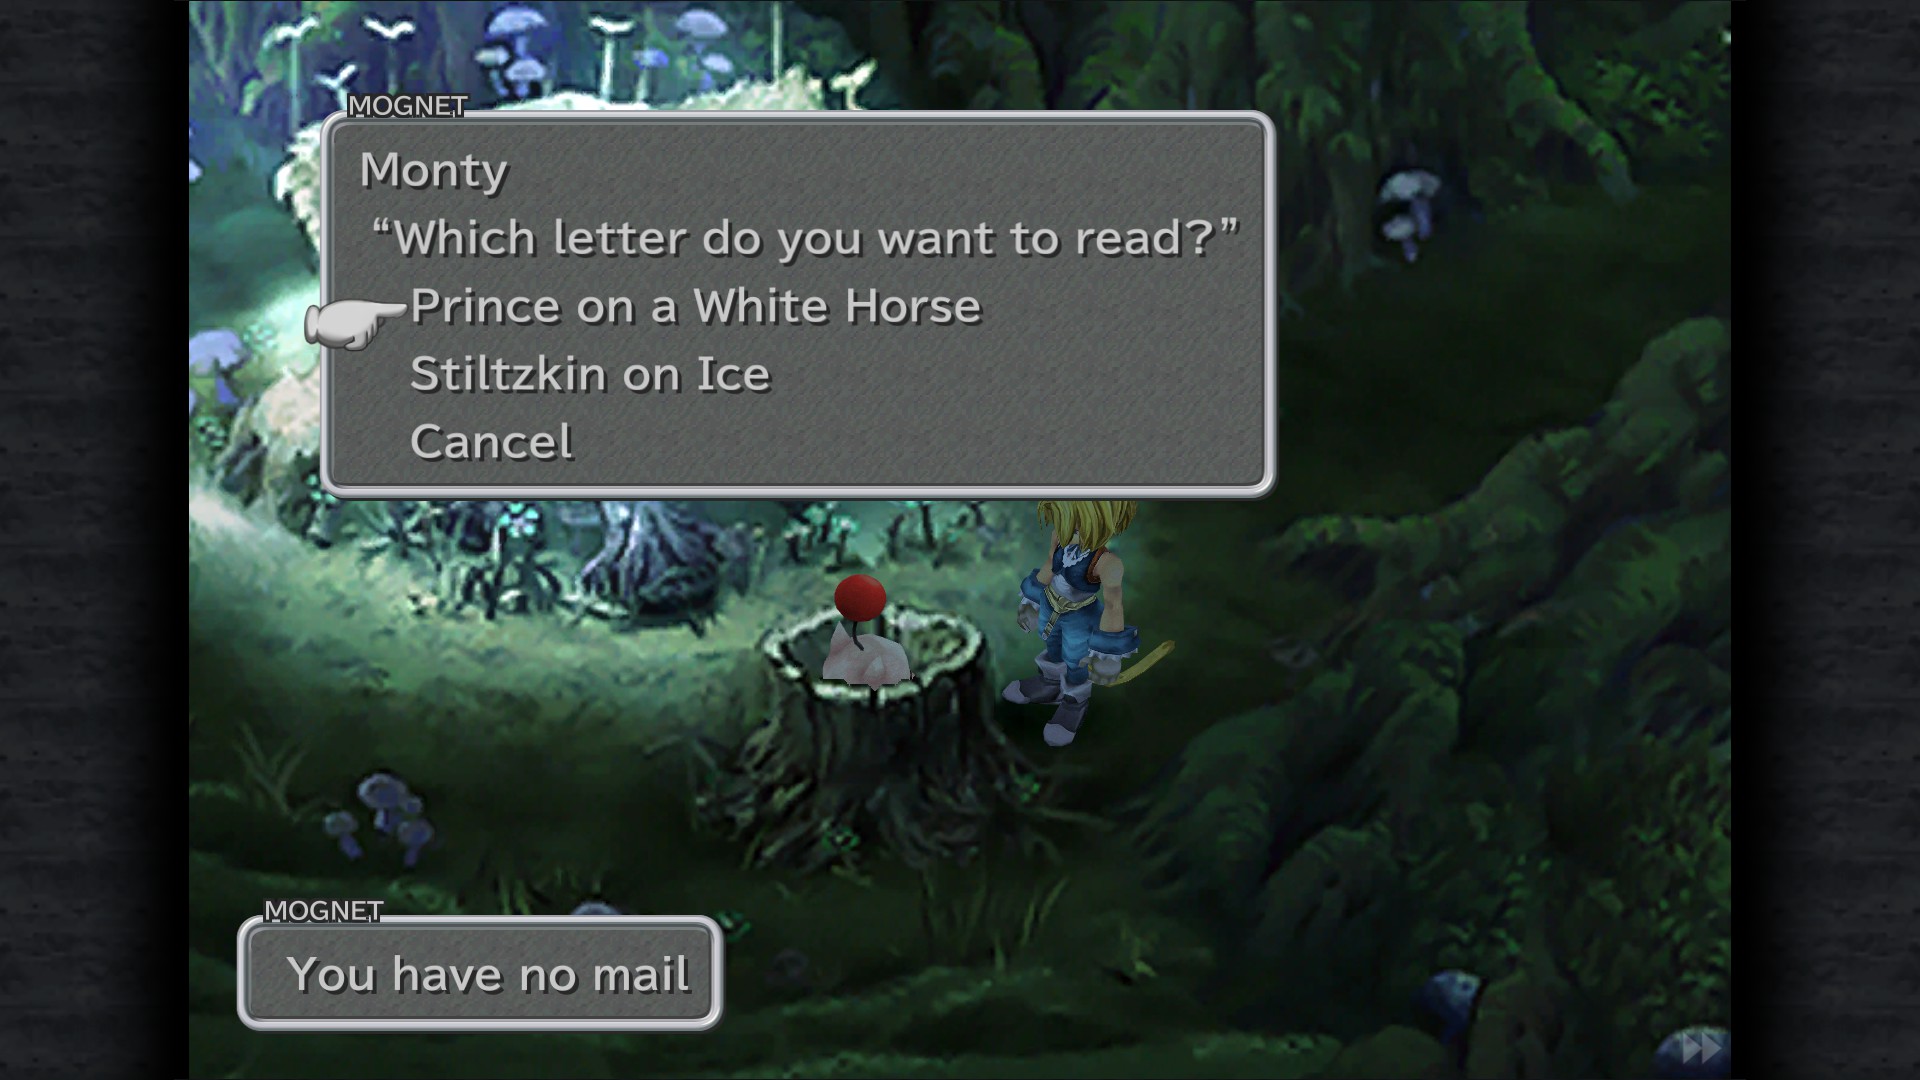
Mognet: "Prince on a White Horse" - Spring
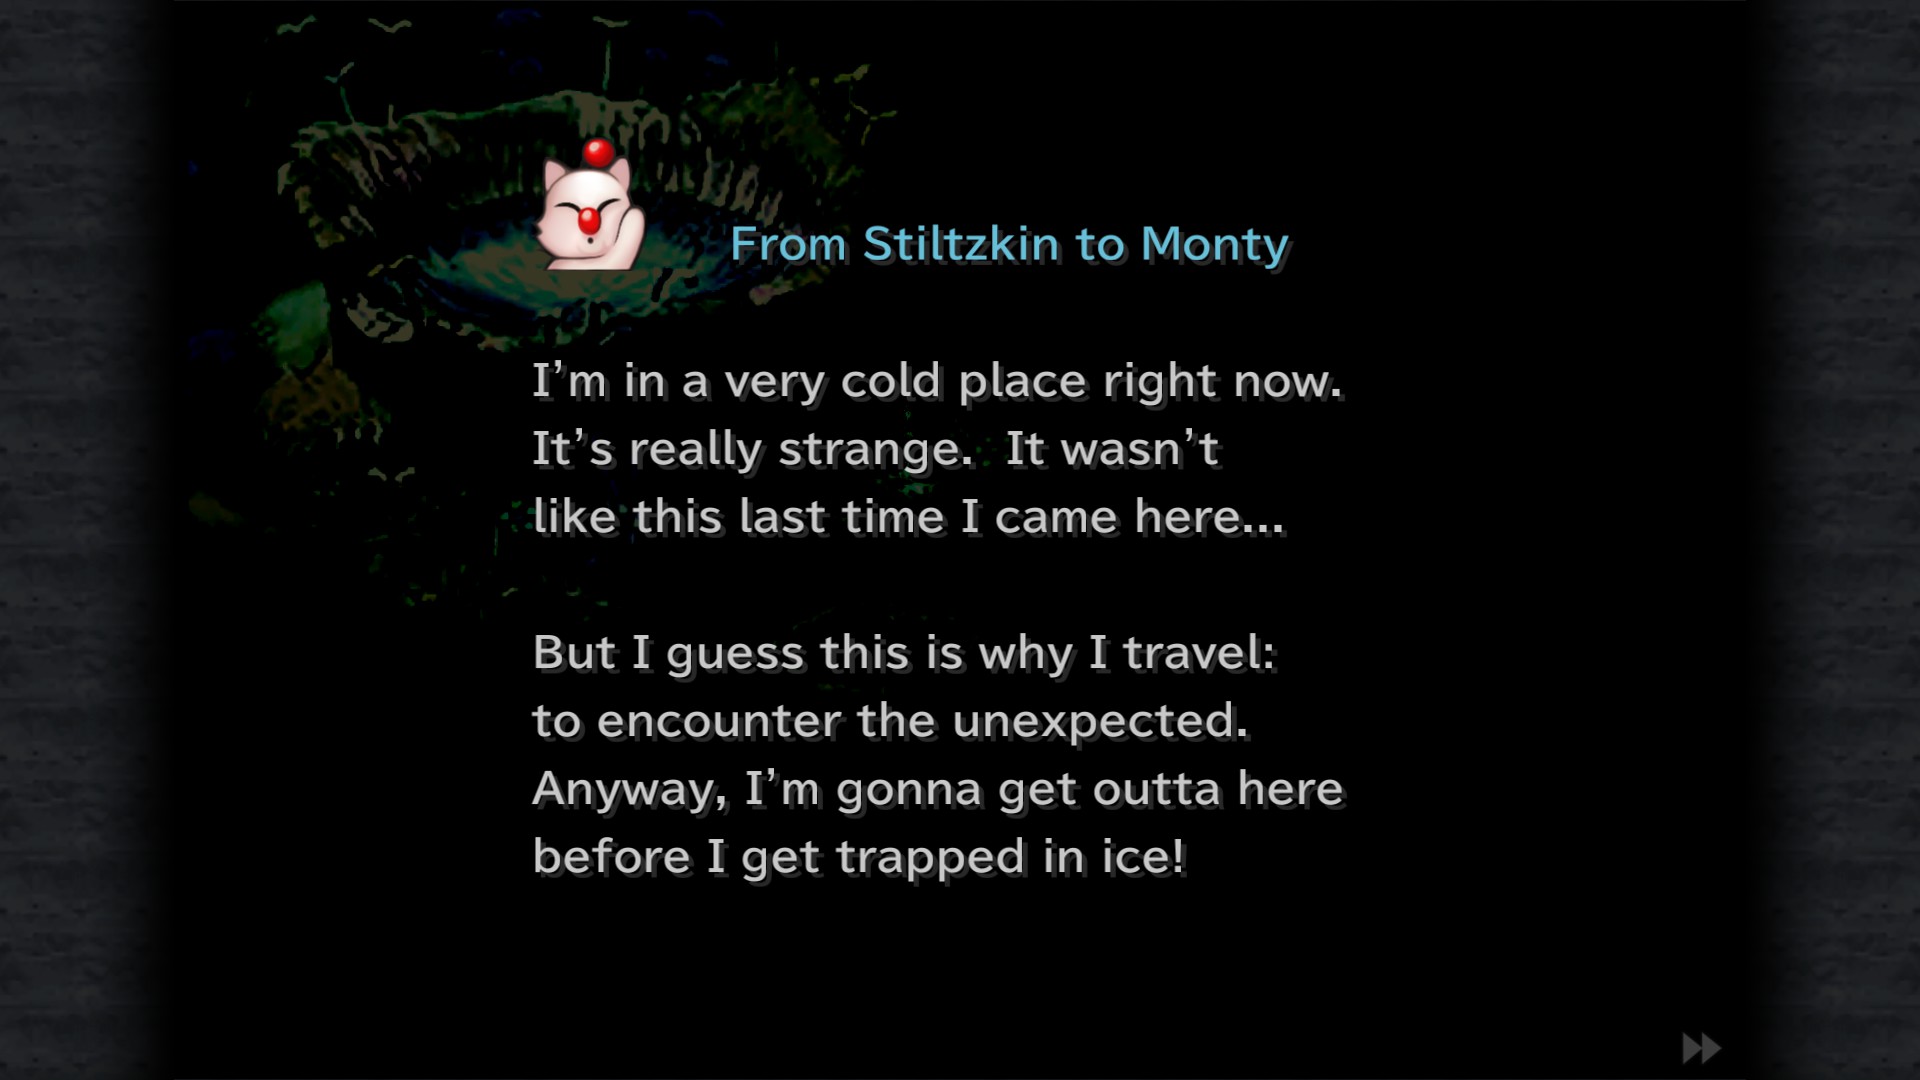
Mognet: "Stiltzkin on Ice" - Spring
Lesson 1 ATE (Forced)
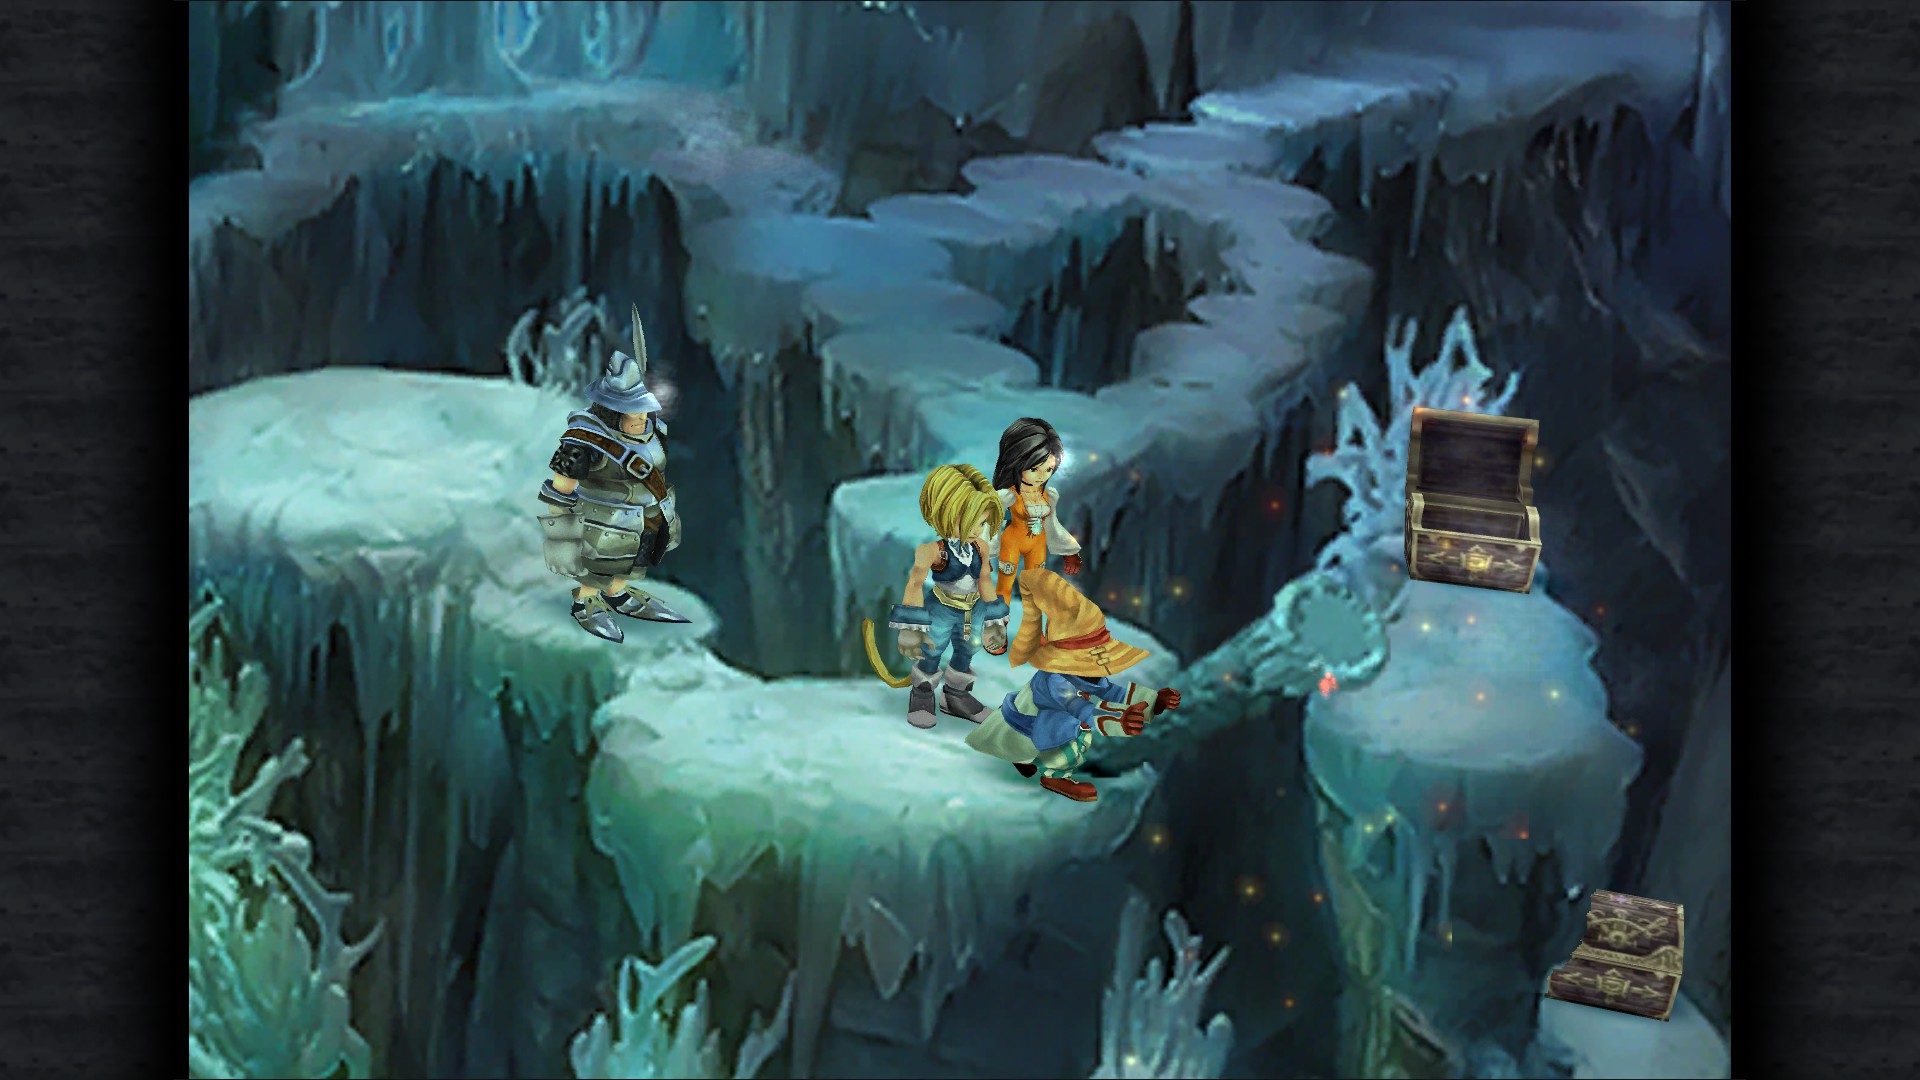
Ice Cavern


Tent - Ice Path
Ether - Ice Path (Frozen wall)
Potion - Ice Path
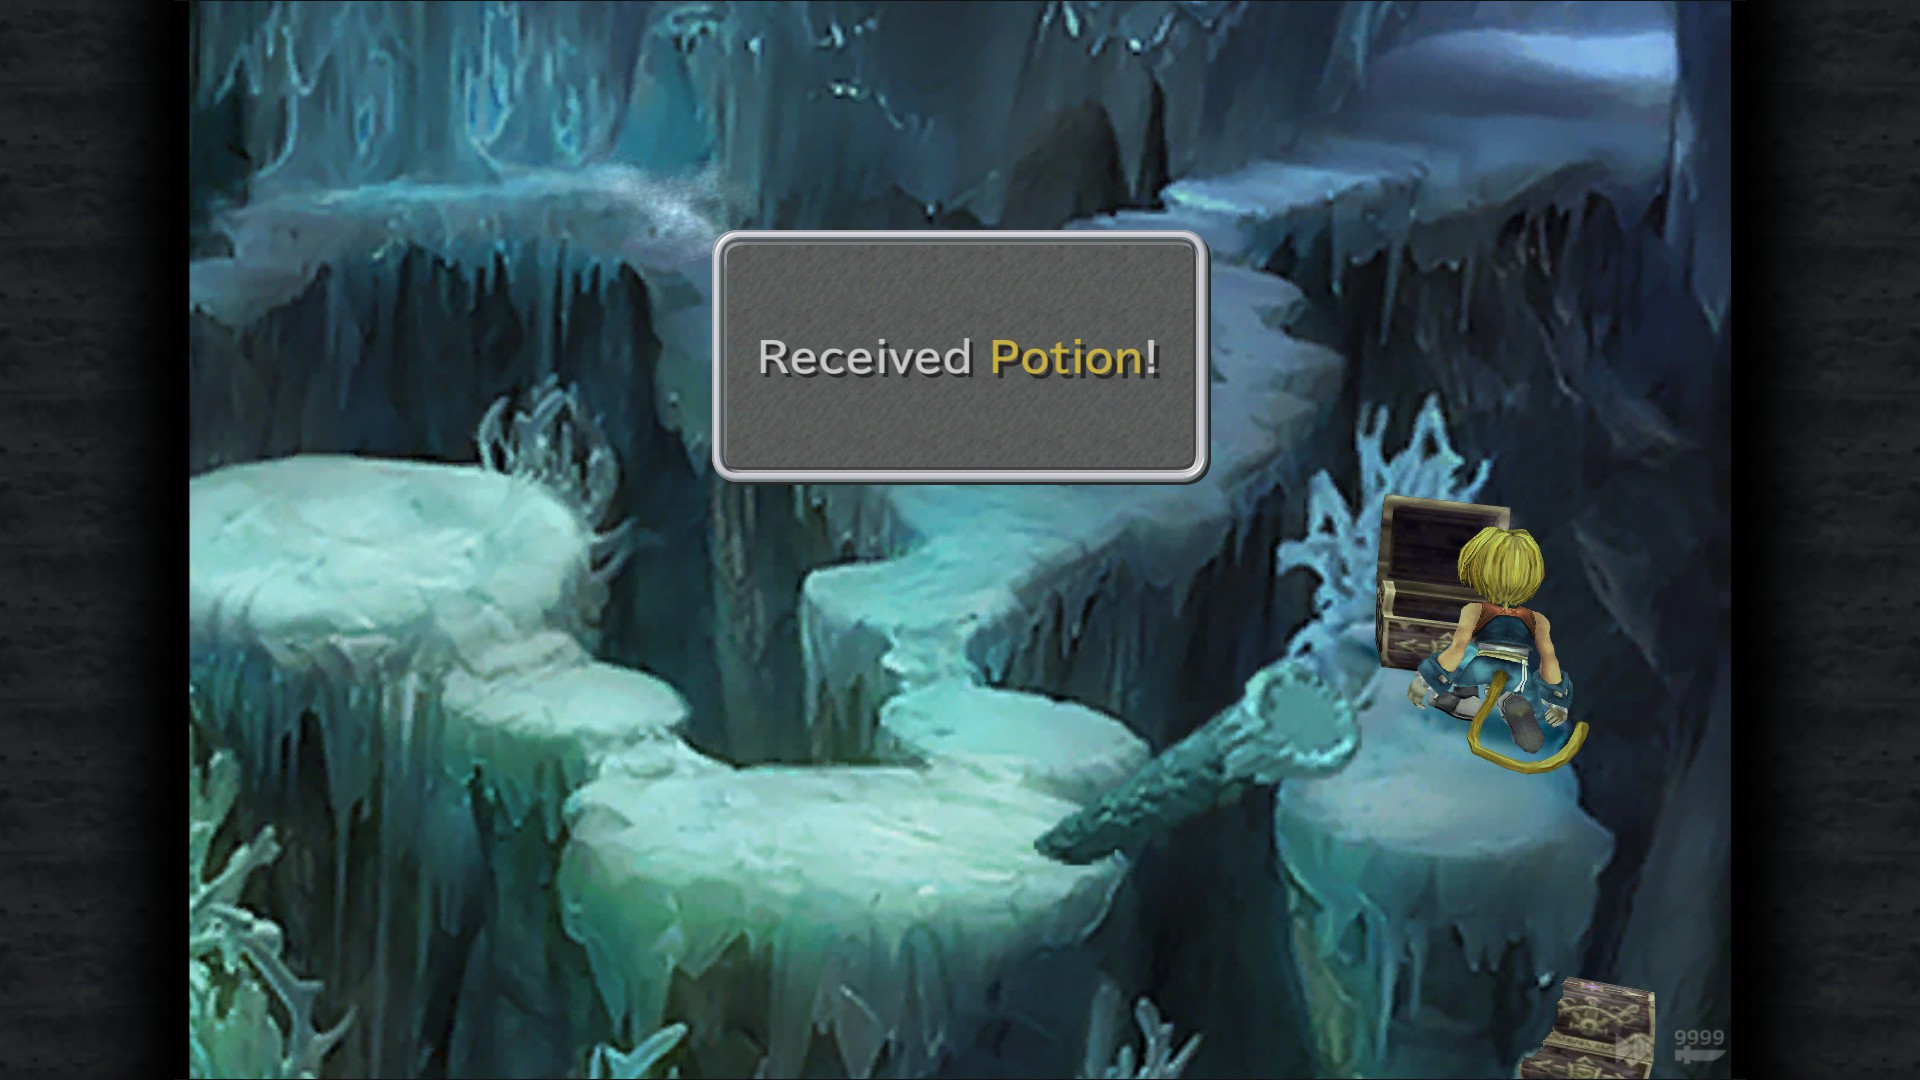
Potion - Icicle Field (Make sure to pick this one first)
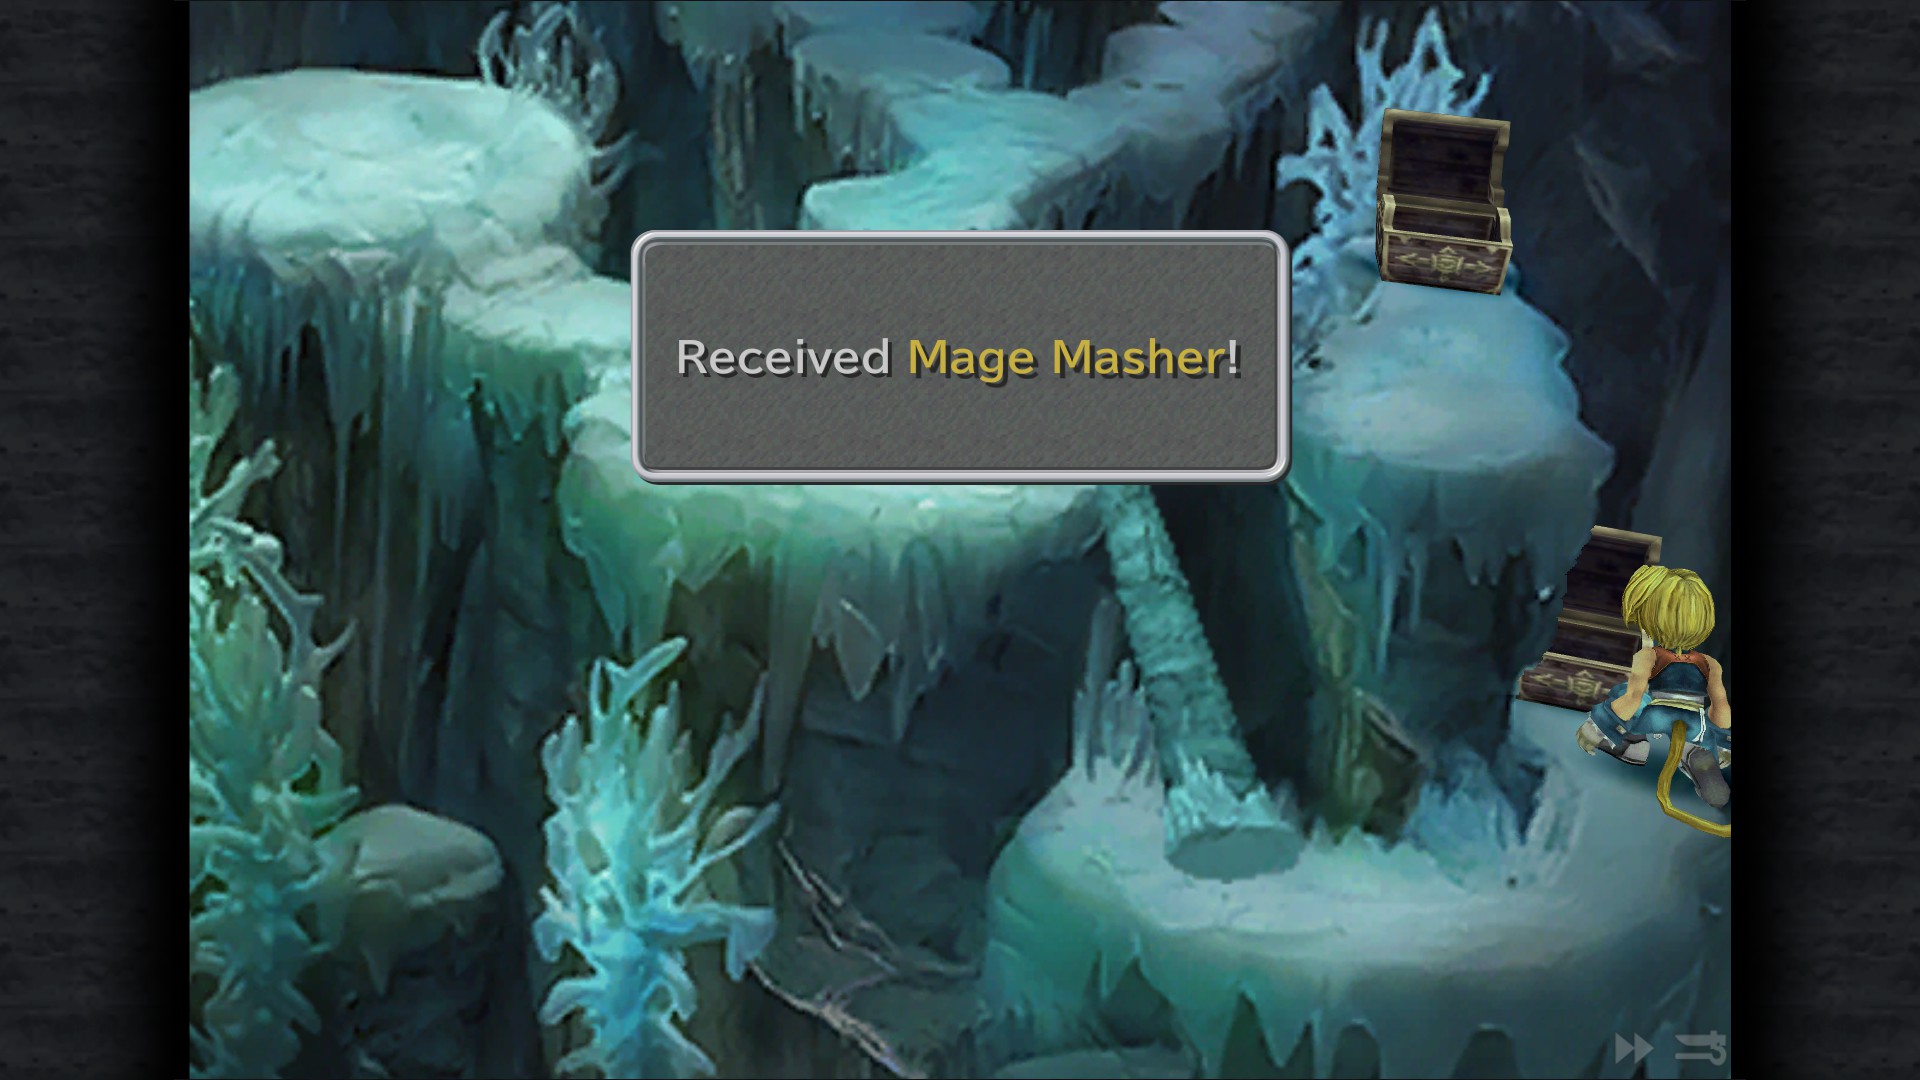
Mage Masher - Icicle Field
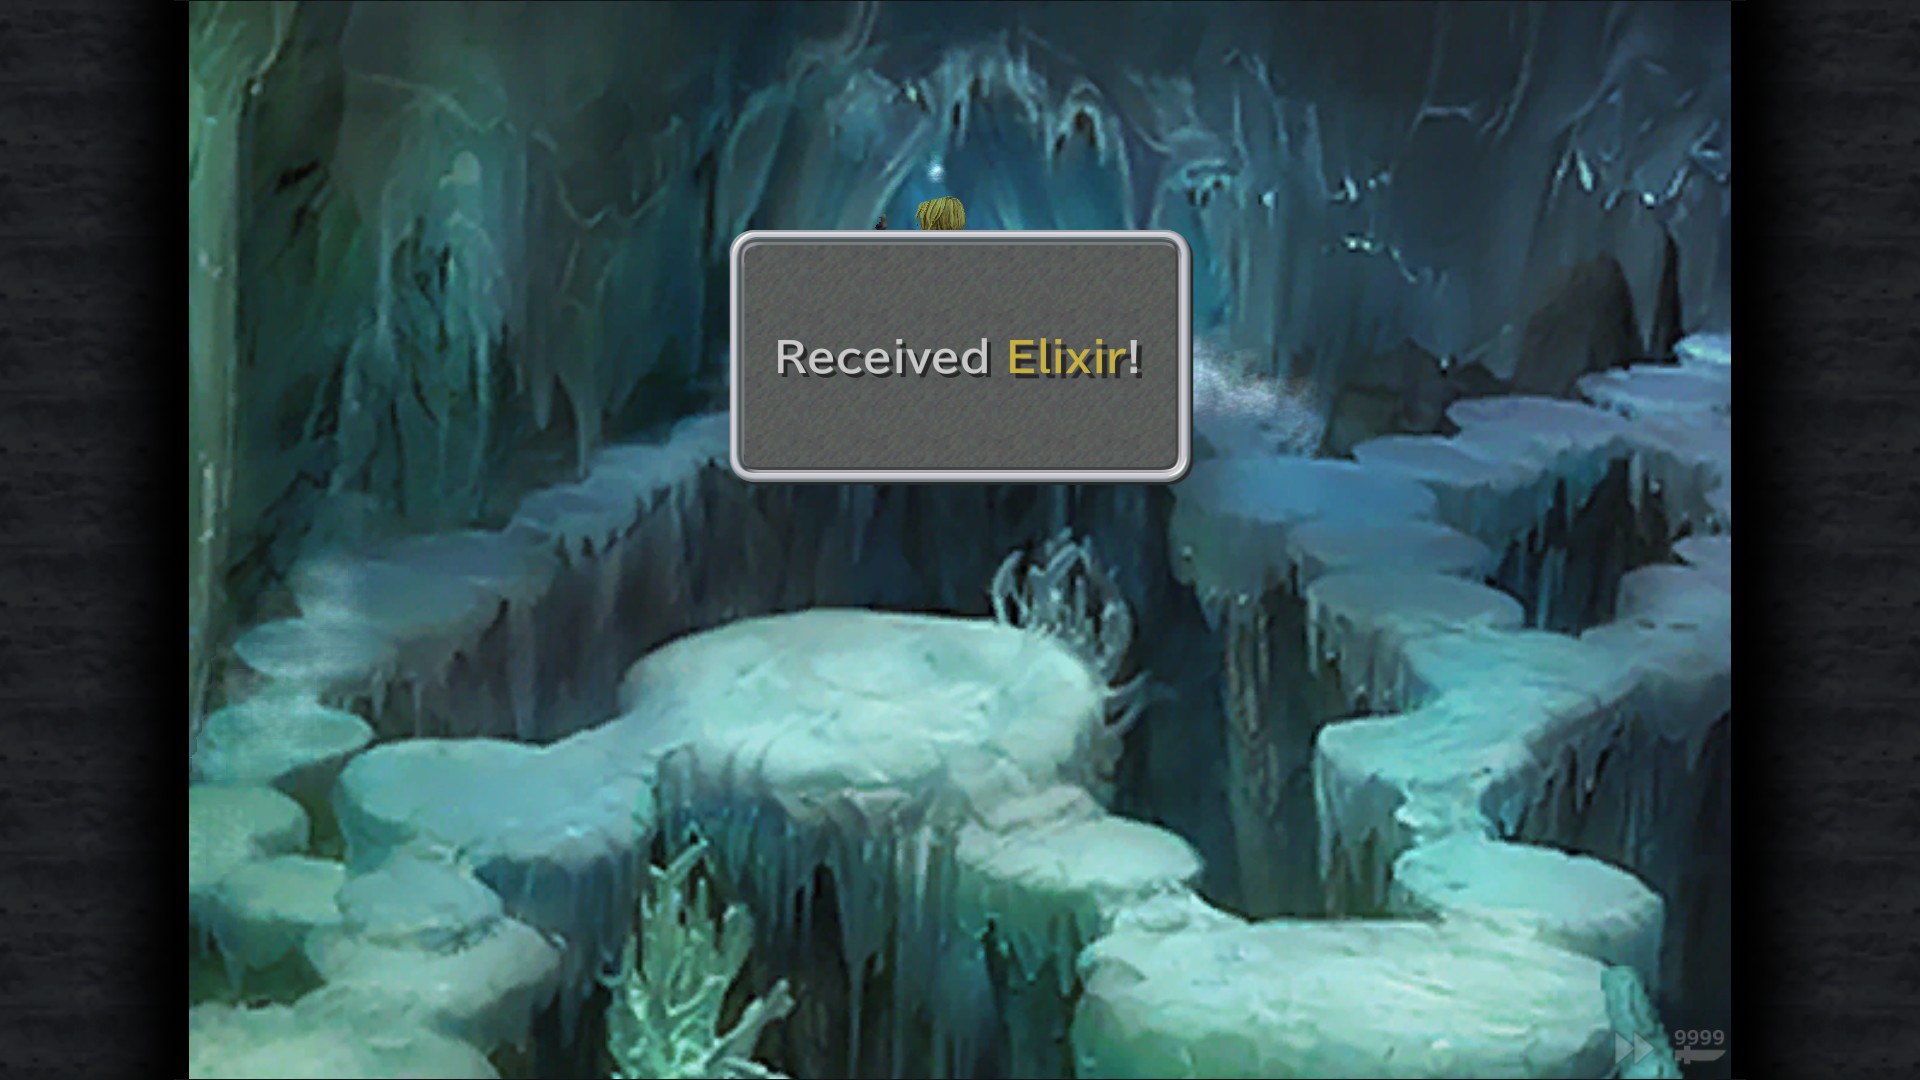
Elixir - Icicle Field (Top frozen wall)
Phoenix Down - Ice Path
Leather Wrist - Ice Path (West frozen path)
Lesson 2 ATE (Forced) - Cave (Left path)
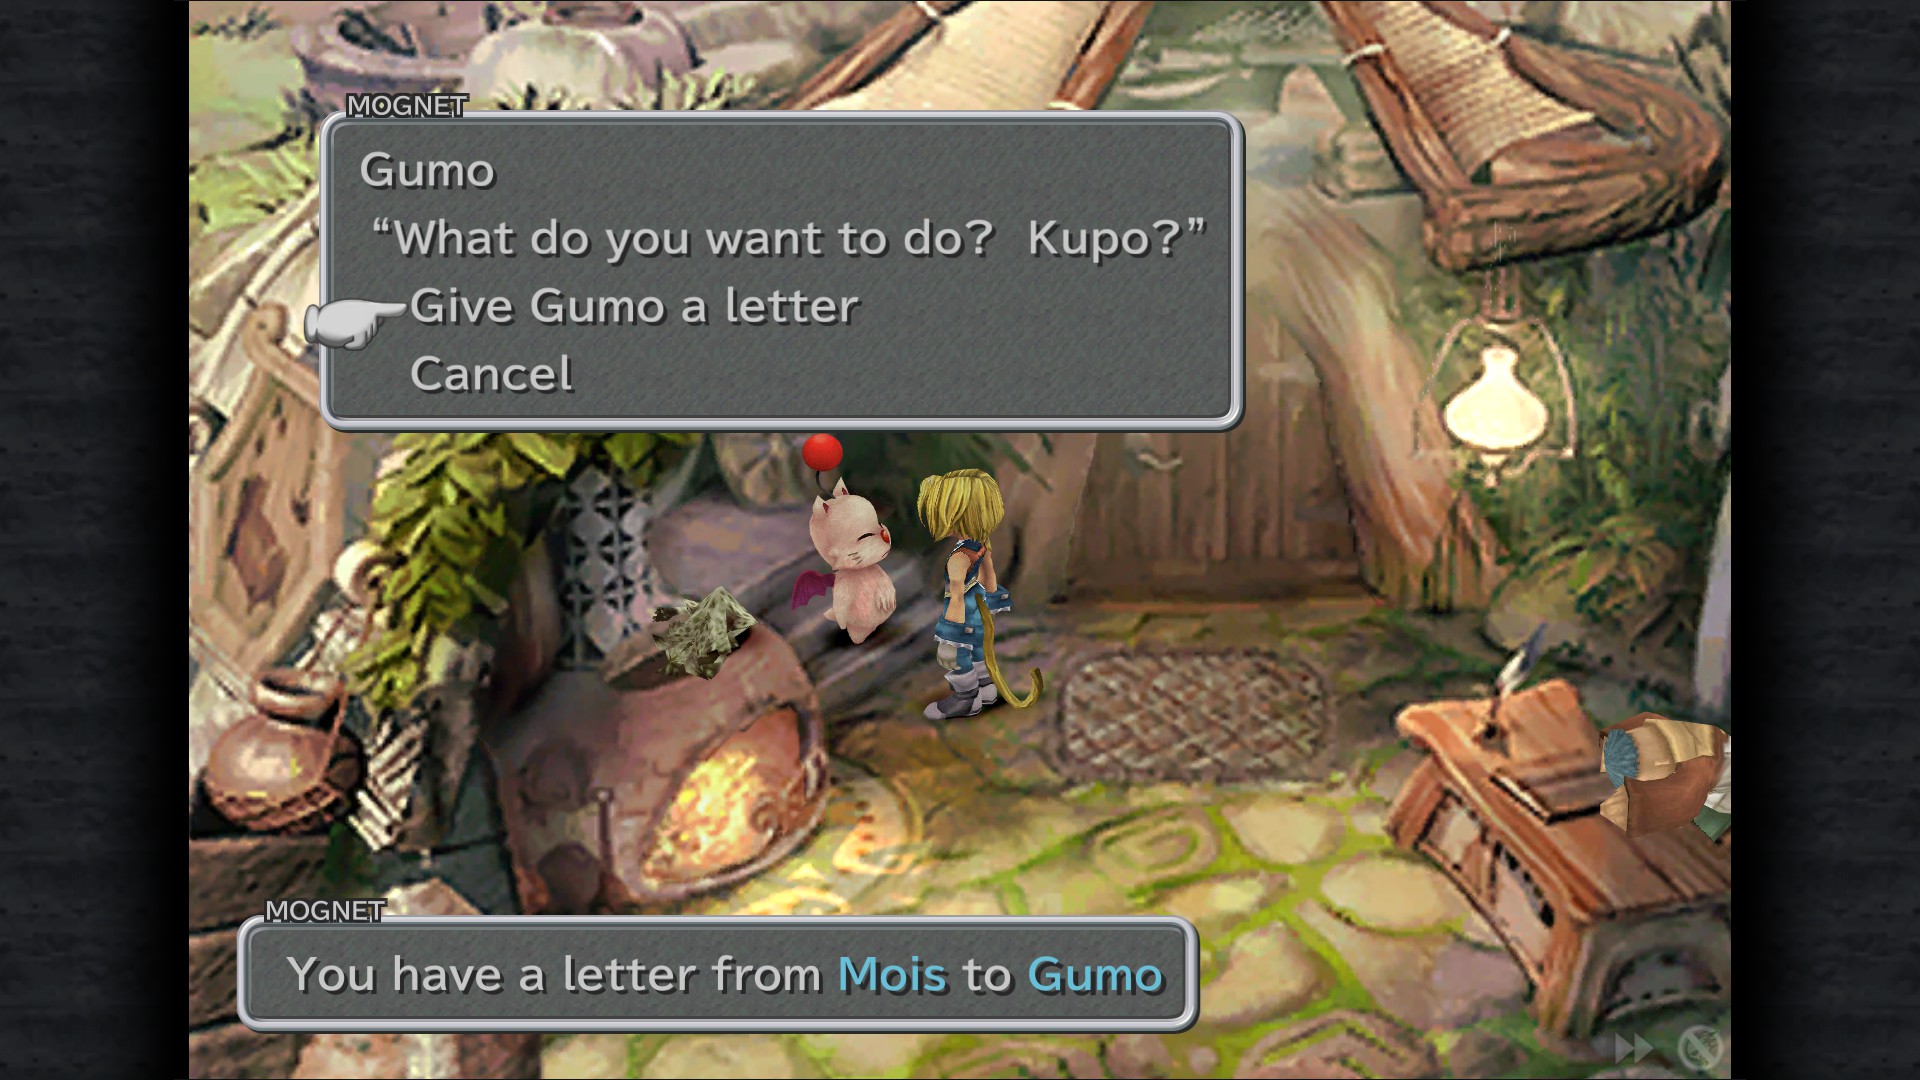
Mognet: "Mois letter for Gumo" - Cave (Left path)
Village Of Dali

Potion - Dali Inn
Antidote - Dali Inn
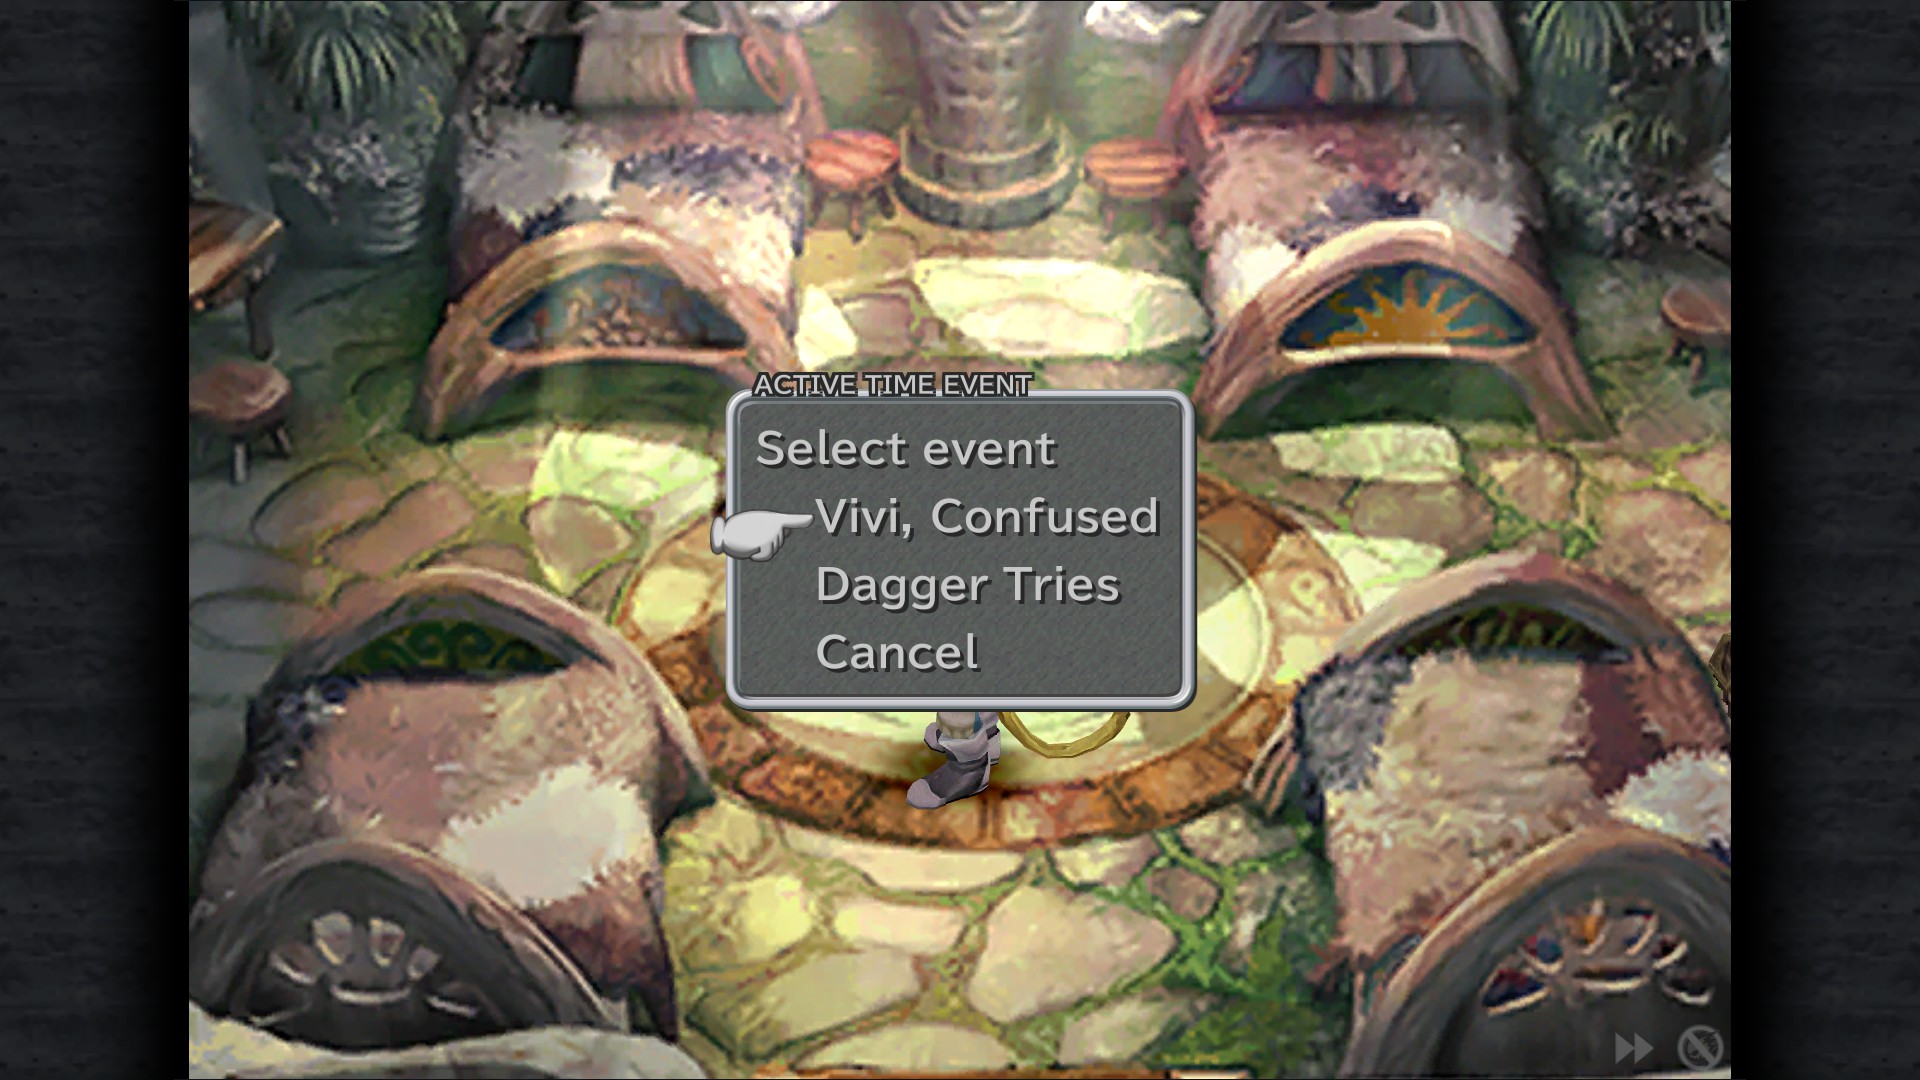
Vivi , Confused ATE - Dali Inn
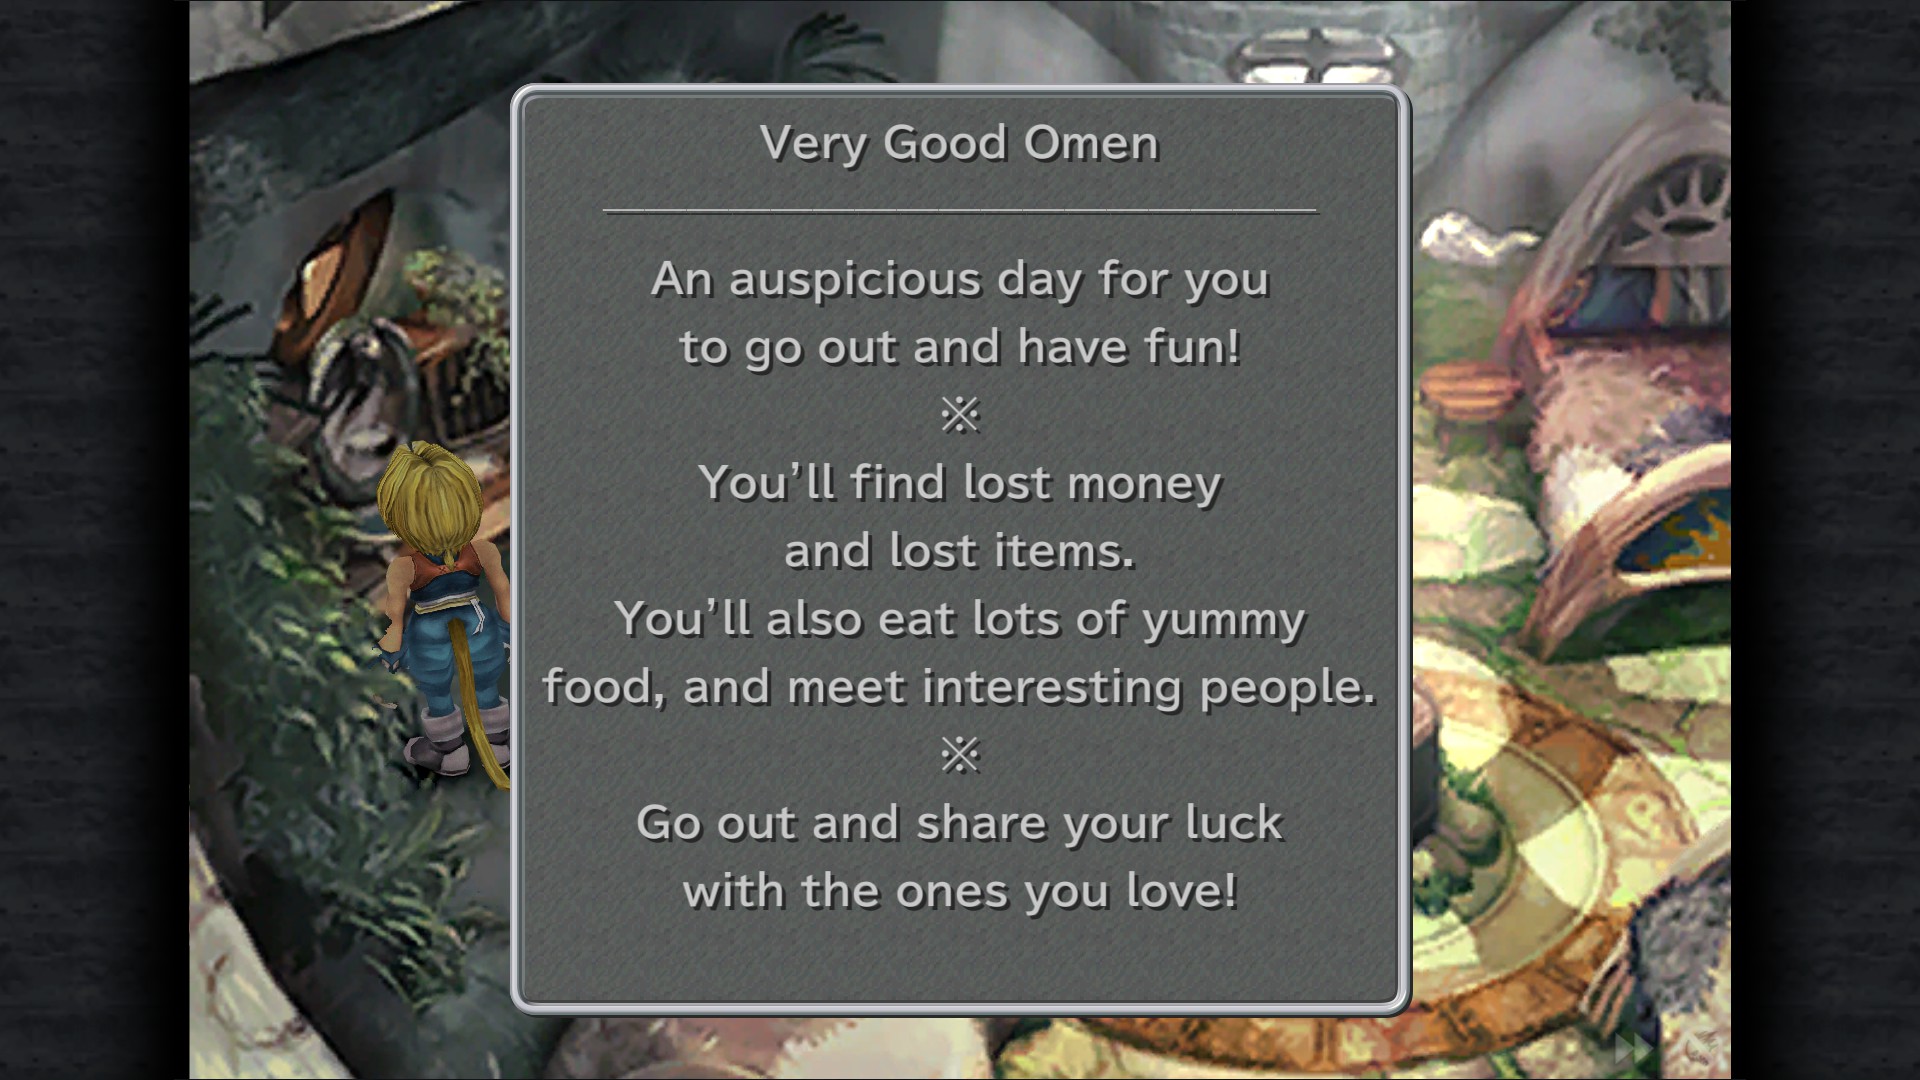
Your Lucky Day
Receive a Very Good Omen from a color fortune
Keep rolling until you get a Very Good Omen (shouldn't take many tries)
Dagger Tries ATE - Dali Inn (Next room)
Give Gumo a letter "Trapped In Ice" - Dali Inn
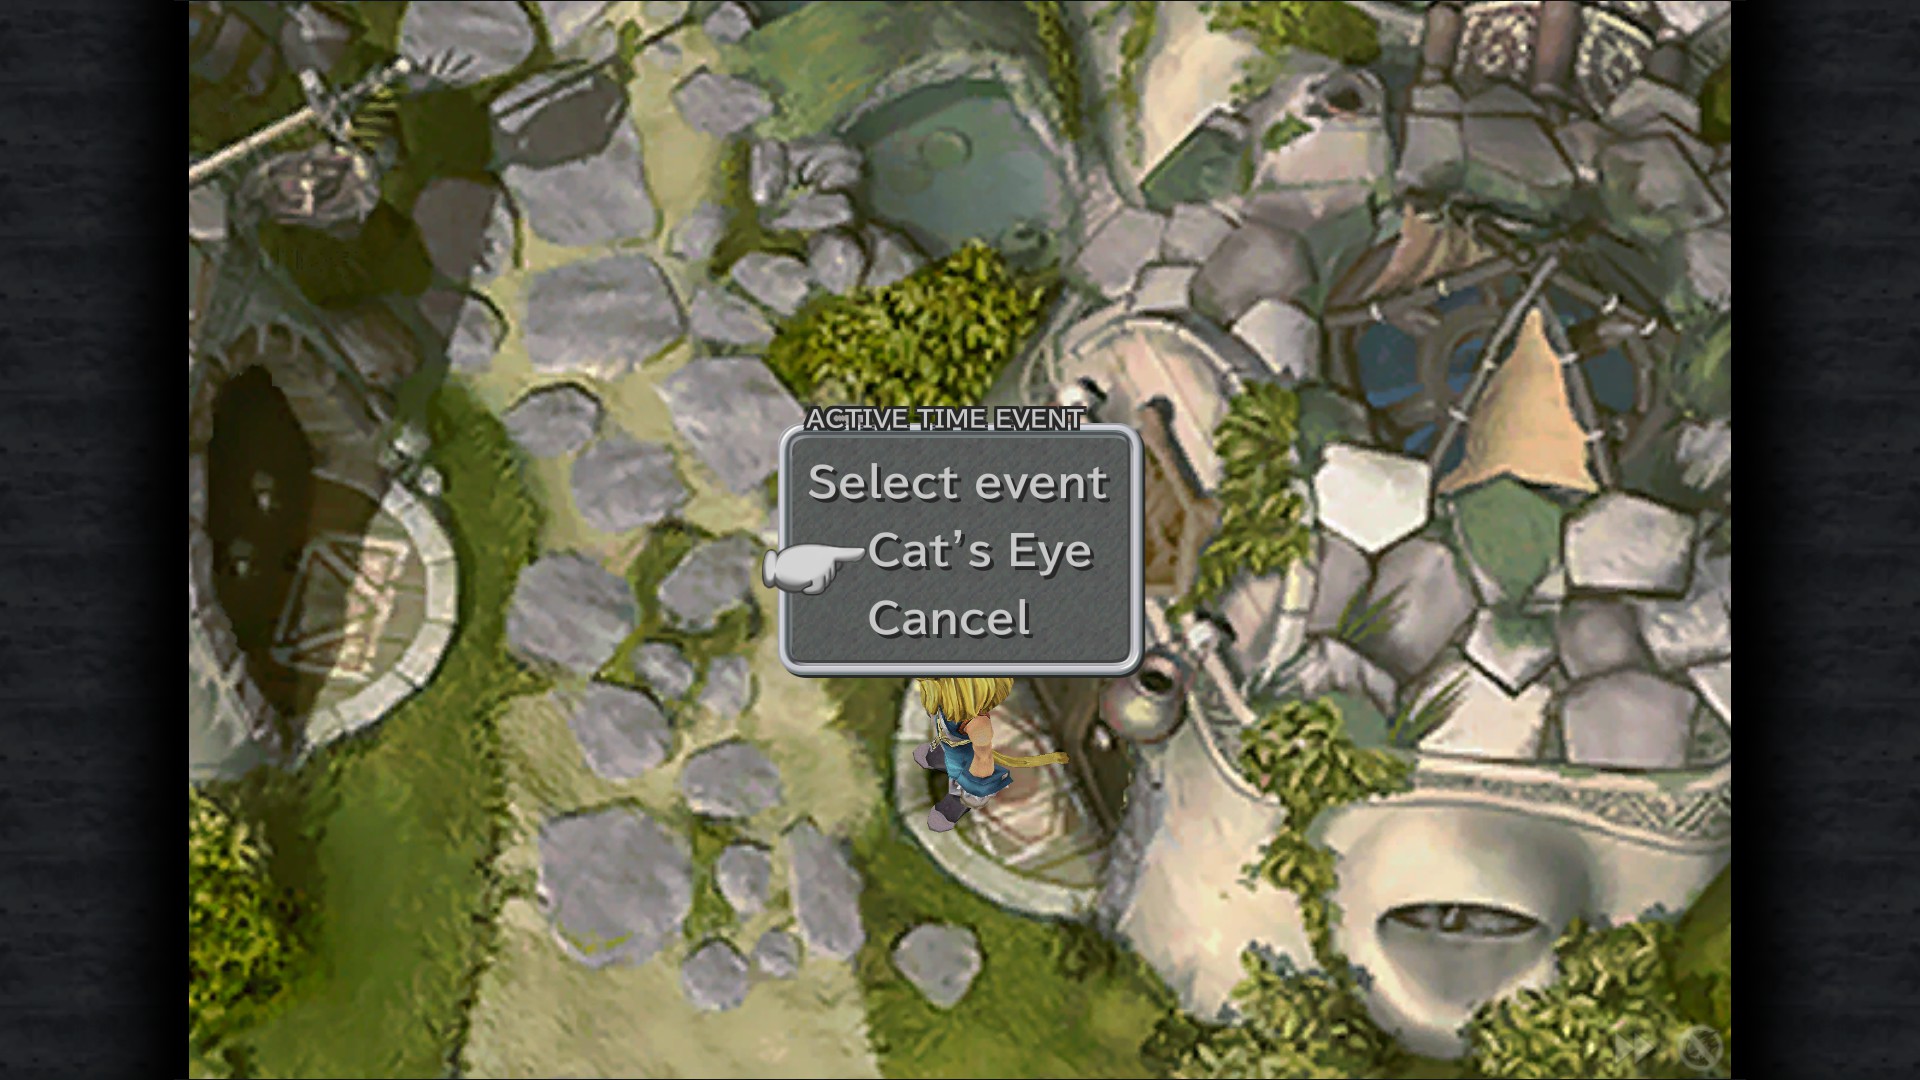
Cat's Eye ATE - Village Road
120 Gil - Village Road
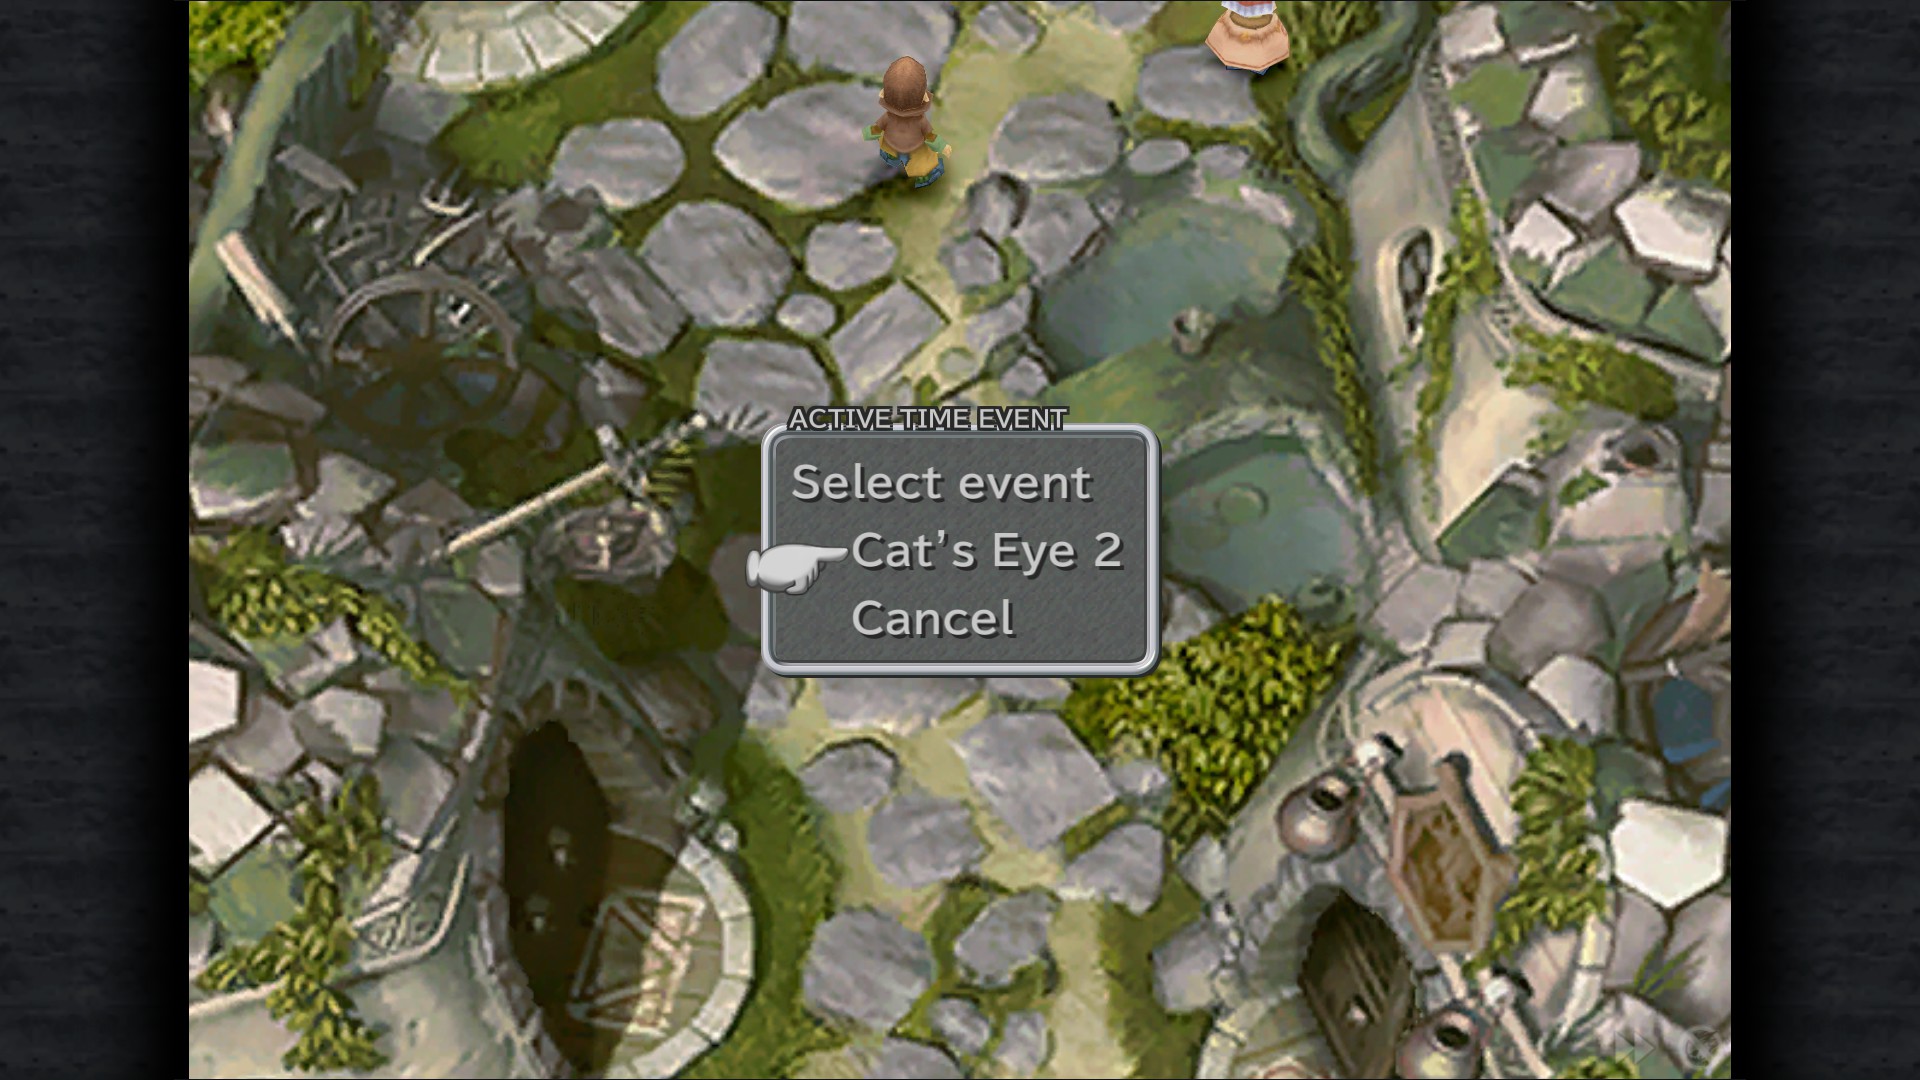
Cat's Eye 2 ATE - Village Road (After Vivi scene)
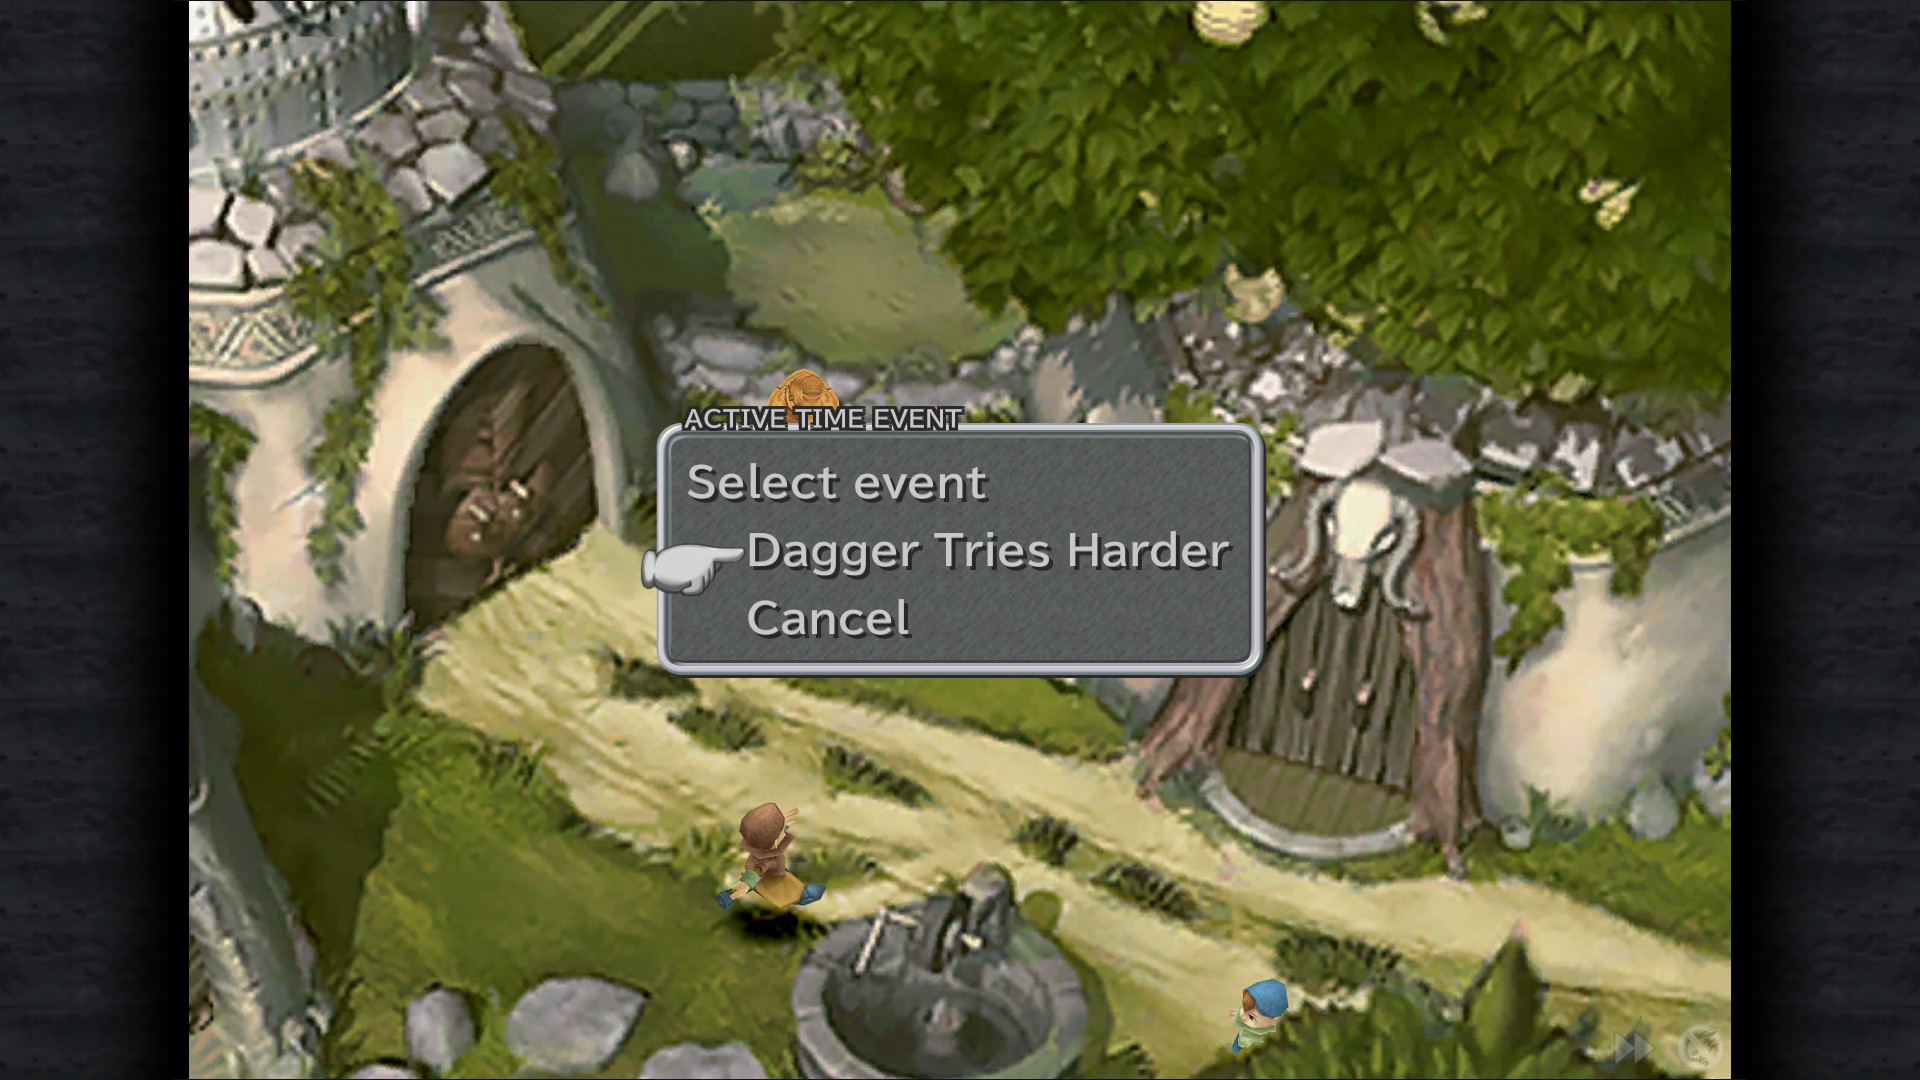
Dagger Tries Harder ATE - Field or enter and exit Windmill (Mandatory)
Queen Brahne's Steiner ATE (Forced) - Inn
Aries* - Windmill 1F
156 Gil - Underground Entrance
Potion - Underground
Eye Drops - Underground
Potion - Storage Area
Ether - Storage Area
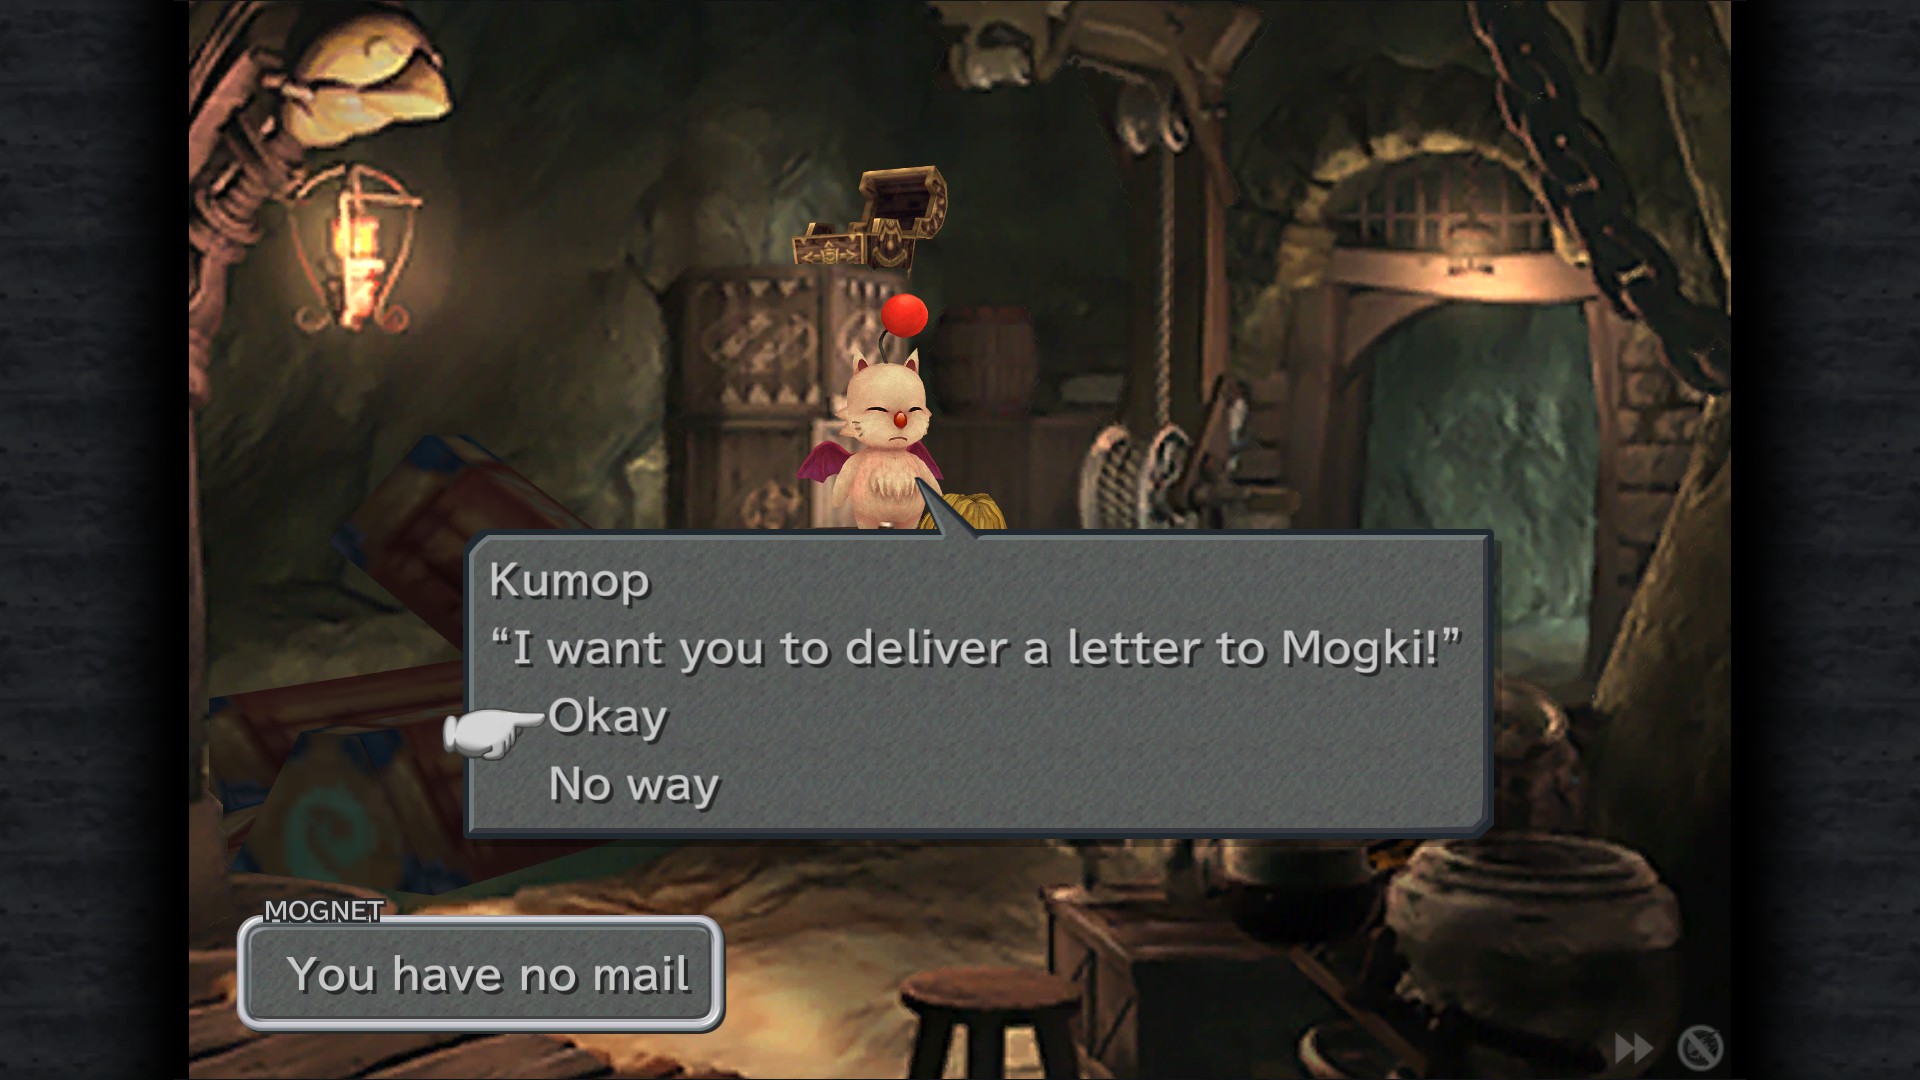
Mognet: Pick up the letter for delivery (Kumop to Mogki)
Leather Wrist - Storage Area
Iron Helm - Storage Area
95 Gil - Production Area
Potion - Underground
Phoenix Pinion - Underground (hidden)
Phoenix Down - Underground
Mountain
135 Gil - Base
Hi-Potion - Base
Lindblum


Business District
My First Synthesis Lesson ATE (Forced)
Mognet: "Opening a Mini-Theater" - Lindblum Inn
163 Gil - Inn F1
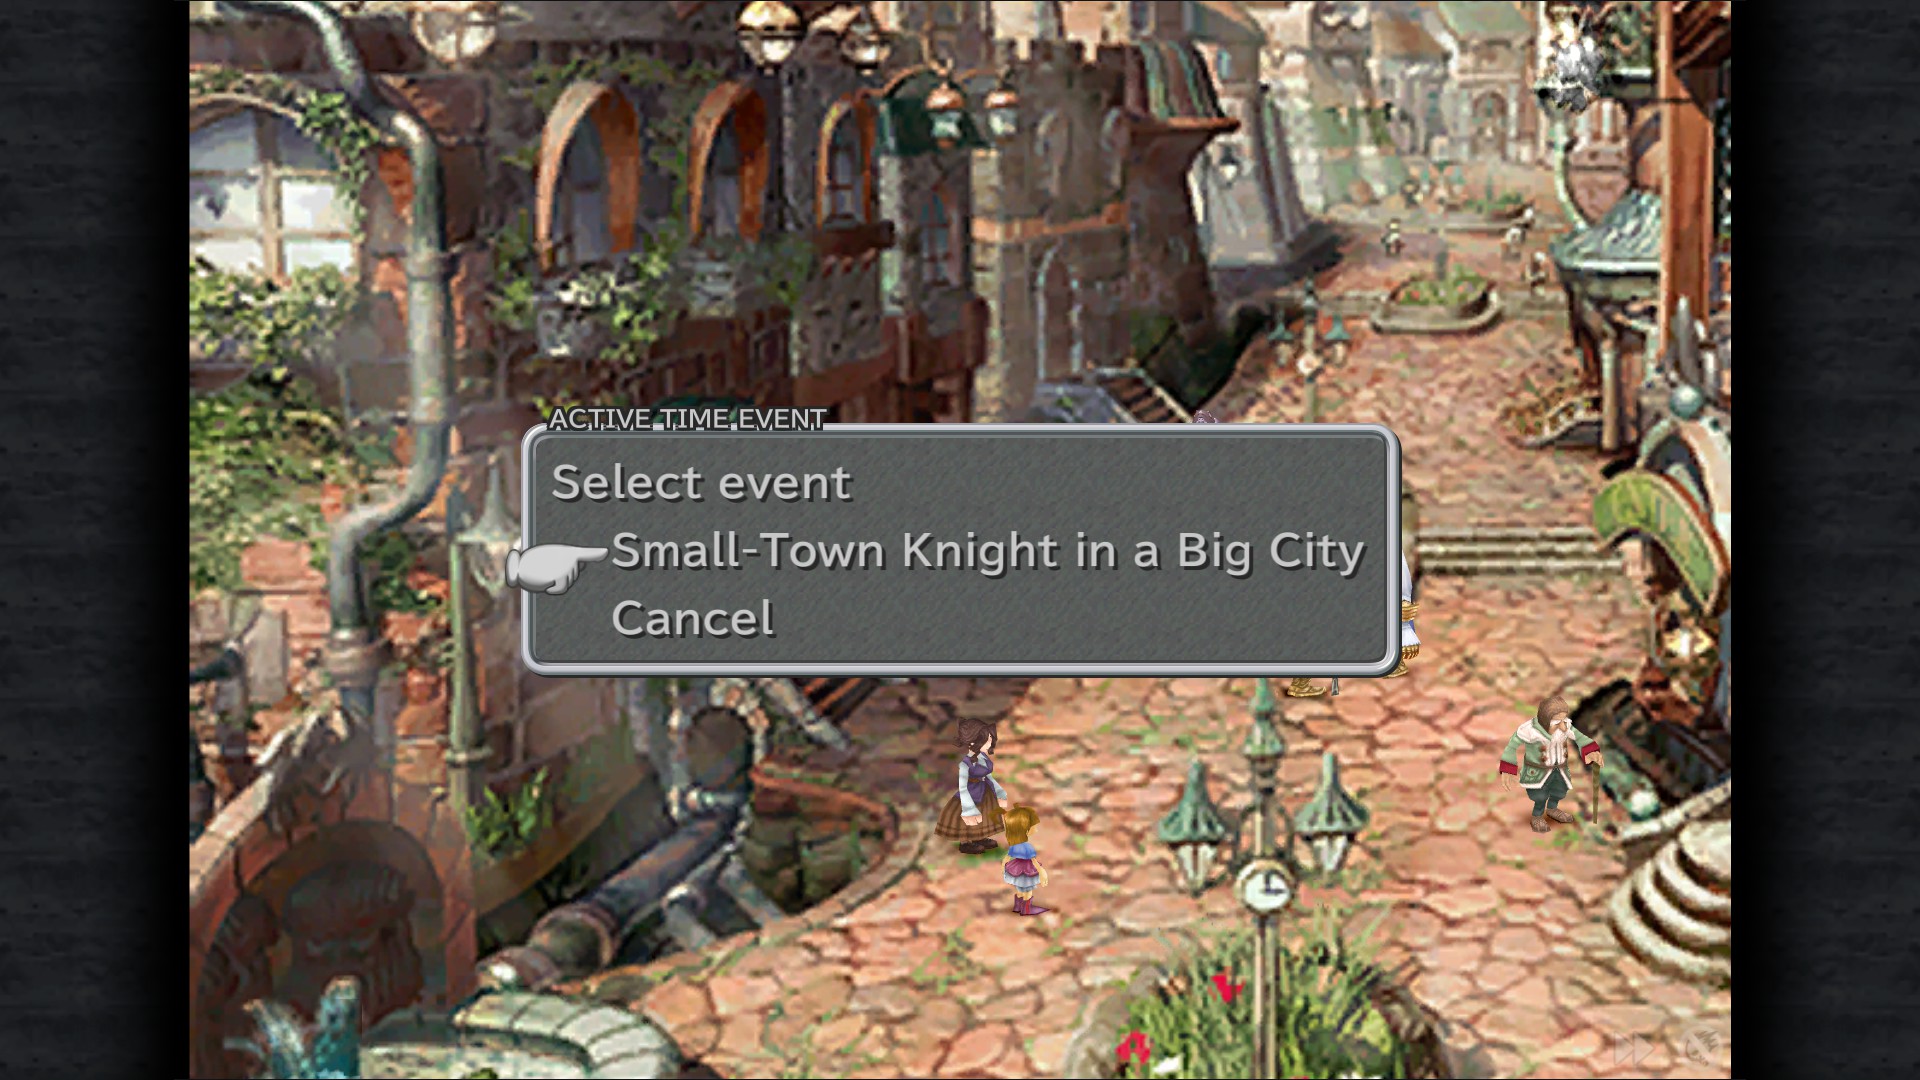
Small-Town Knight in a Big City ATE - Main Street
Tent - Church Street
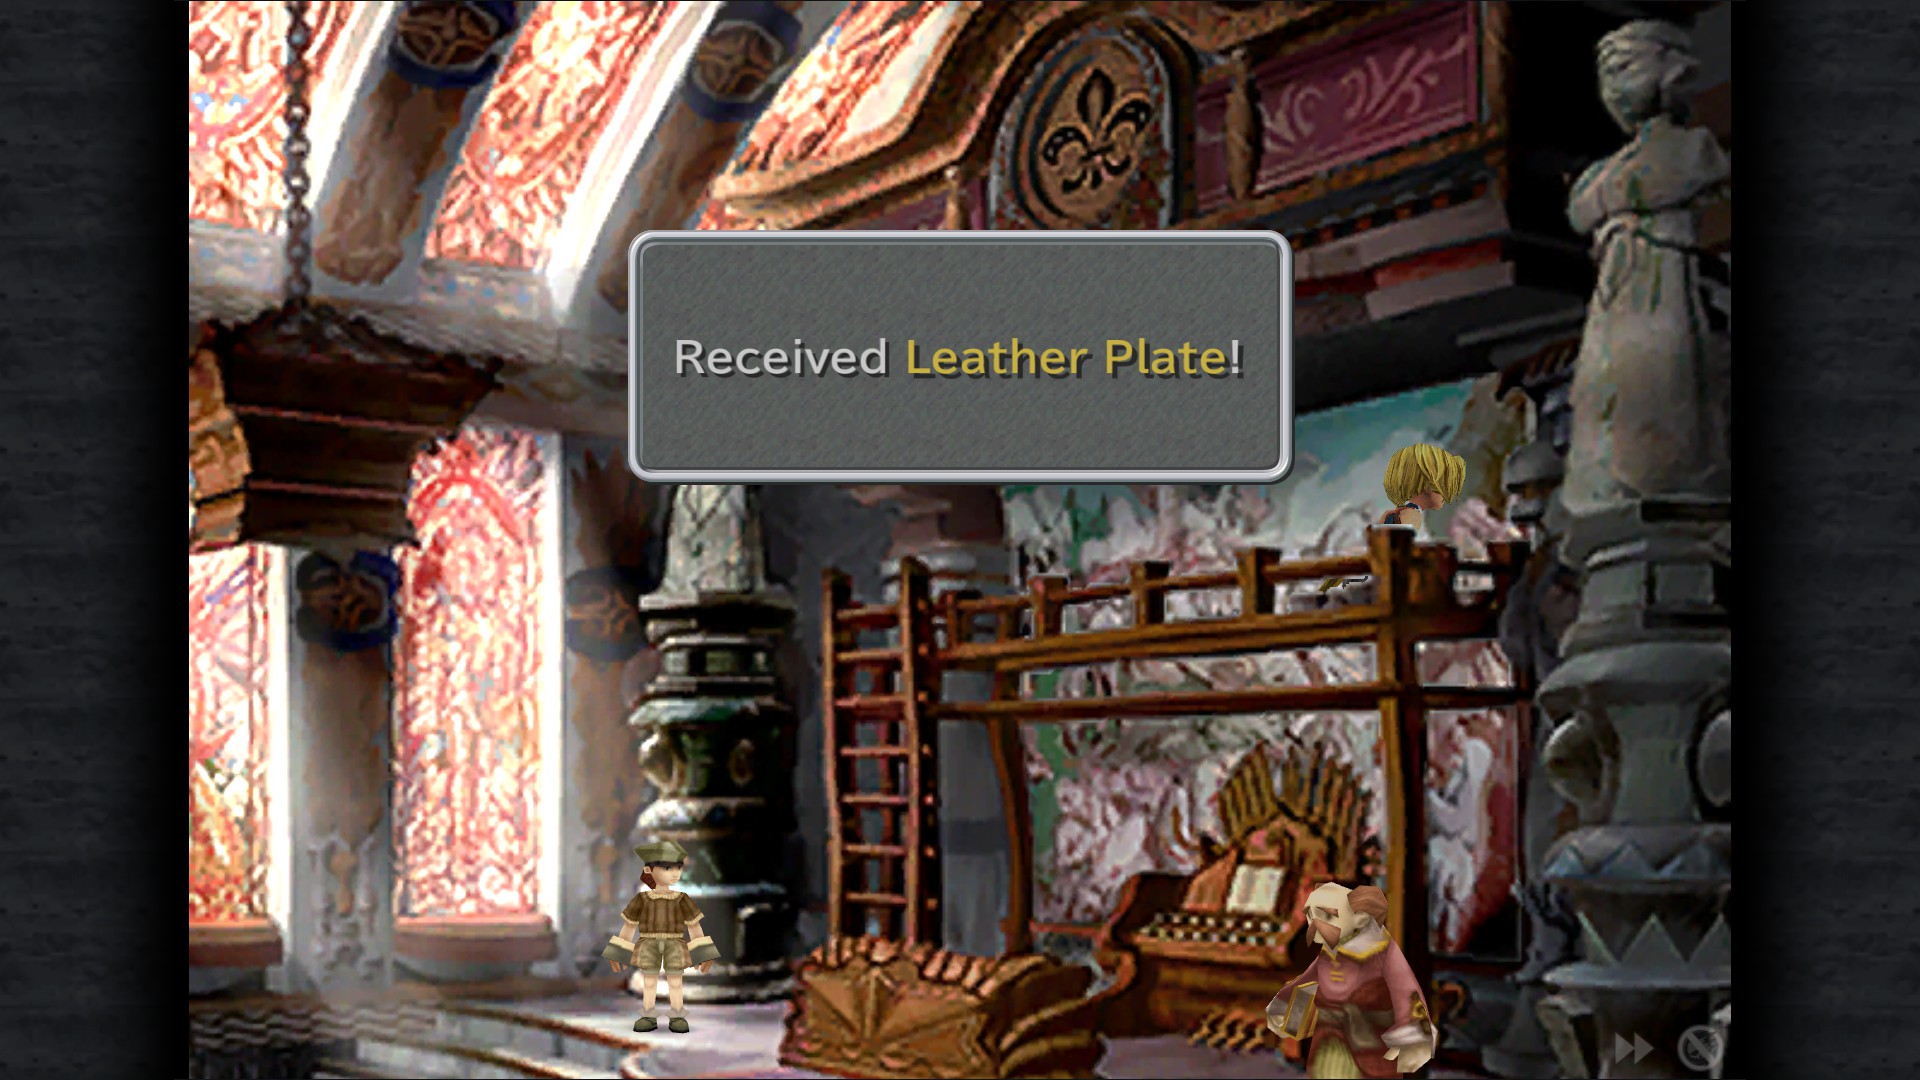
Leather Plate - Church
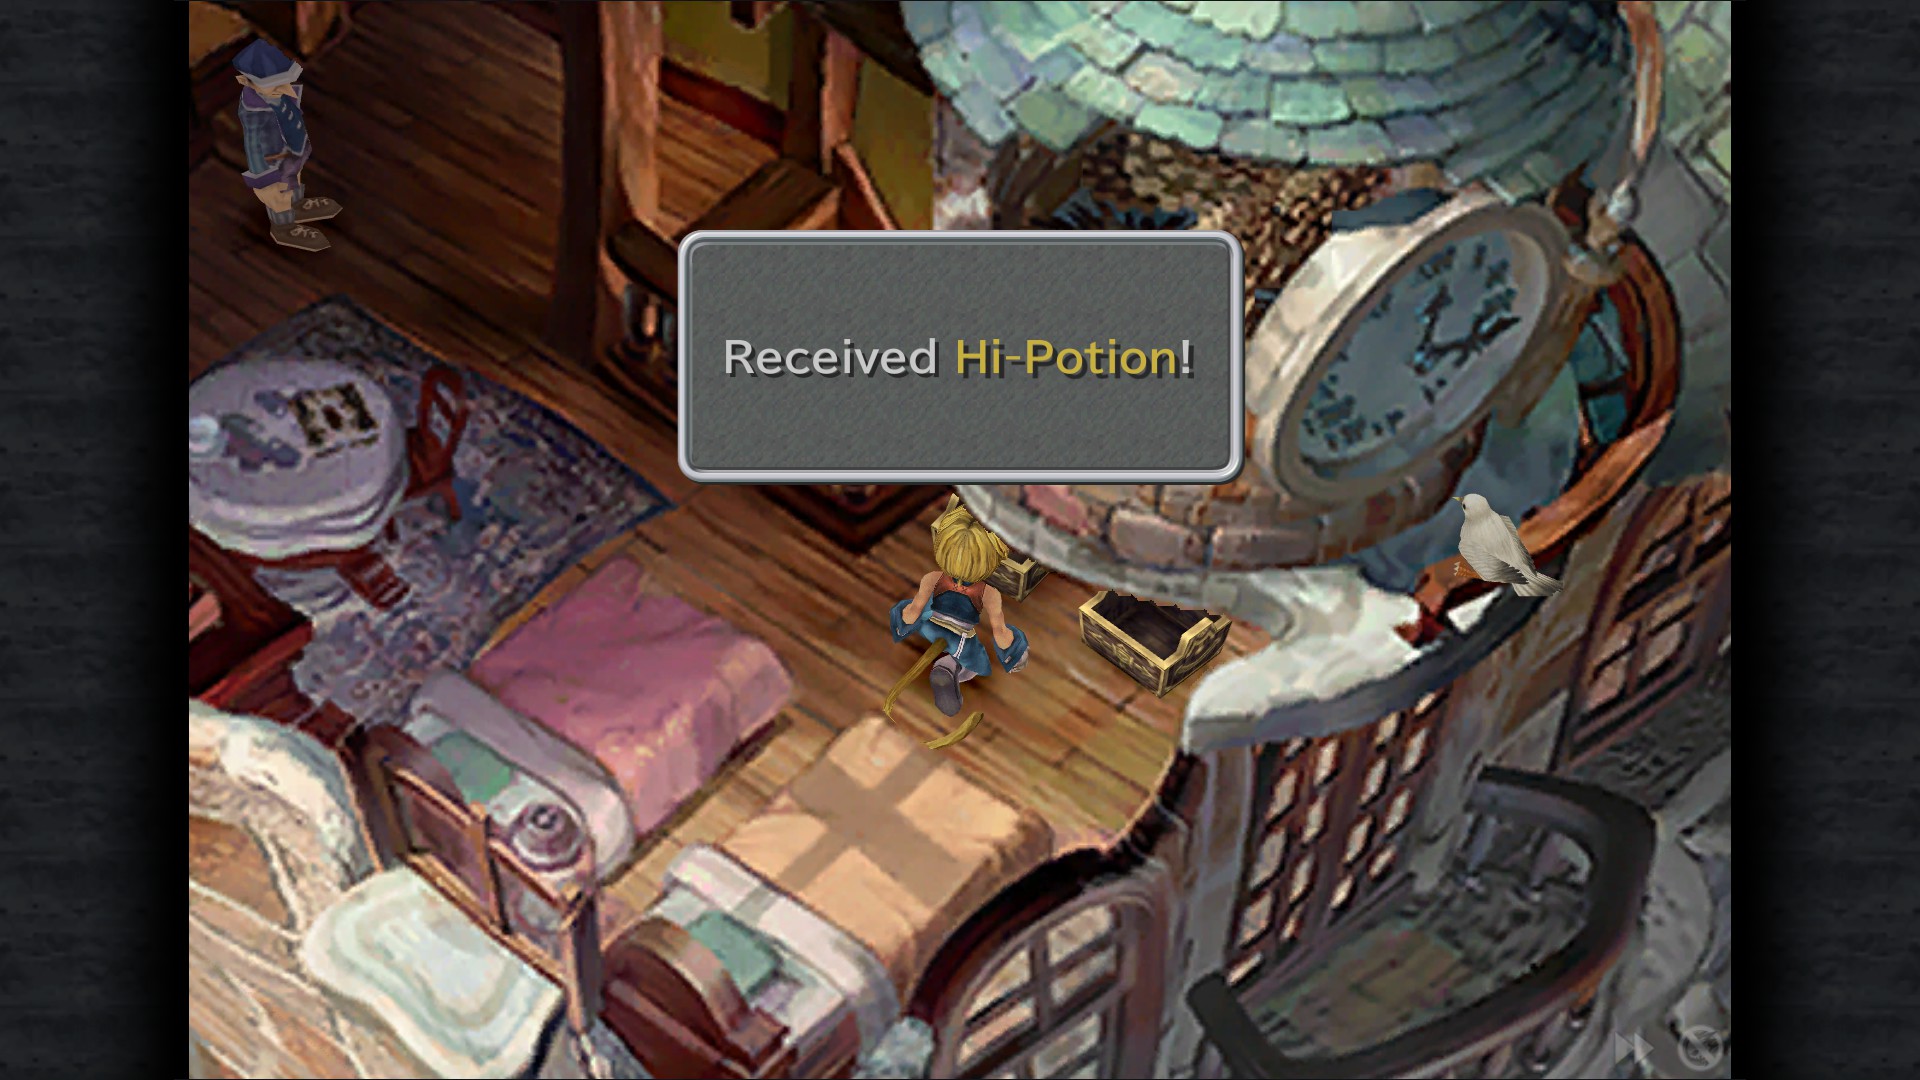
Hi-Potion - Shopping Area/Residence
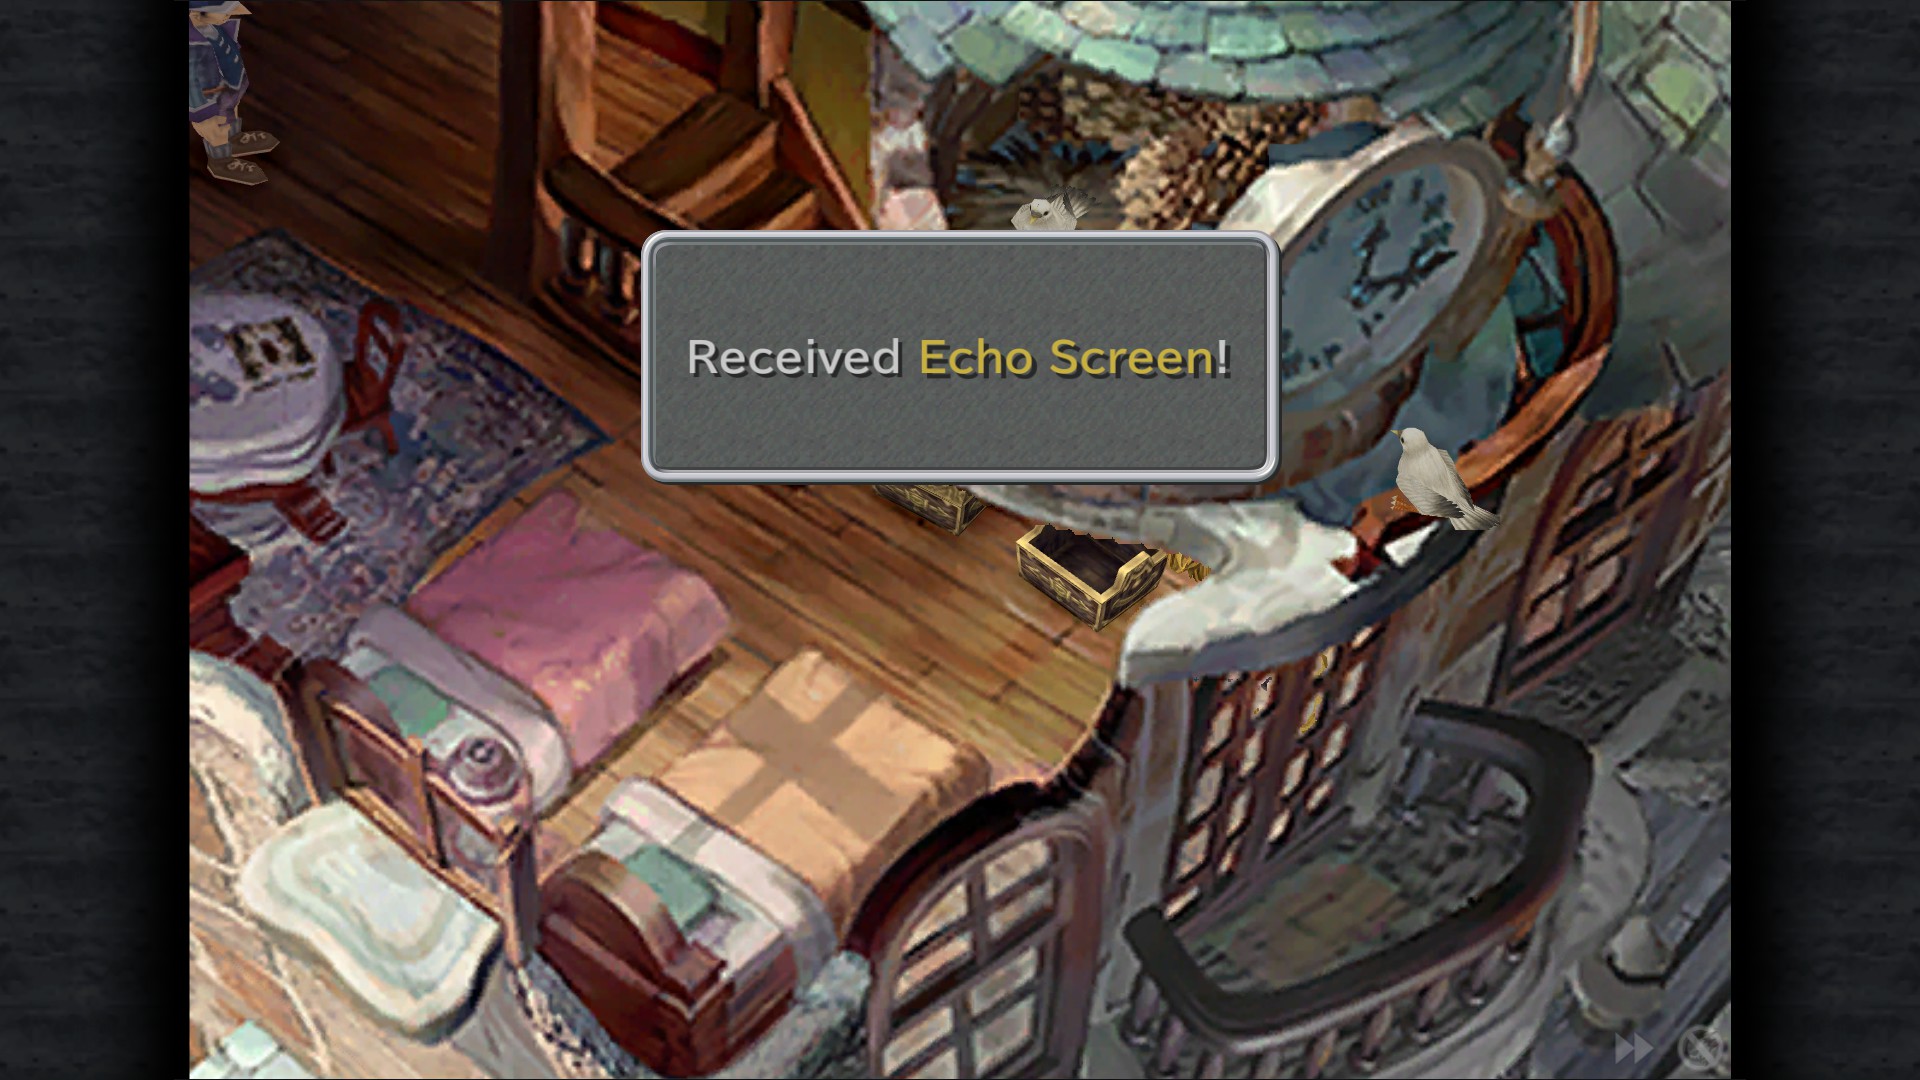
Echo Screen - Shopping Area/Residence
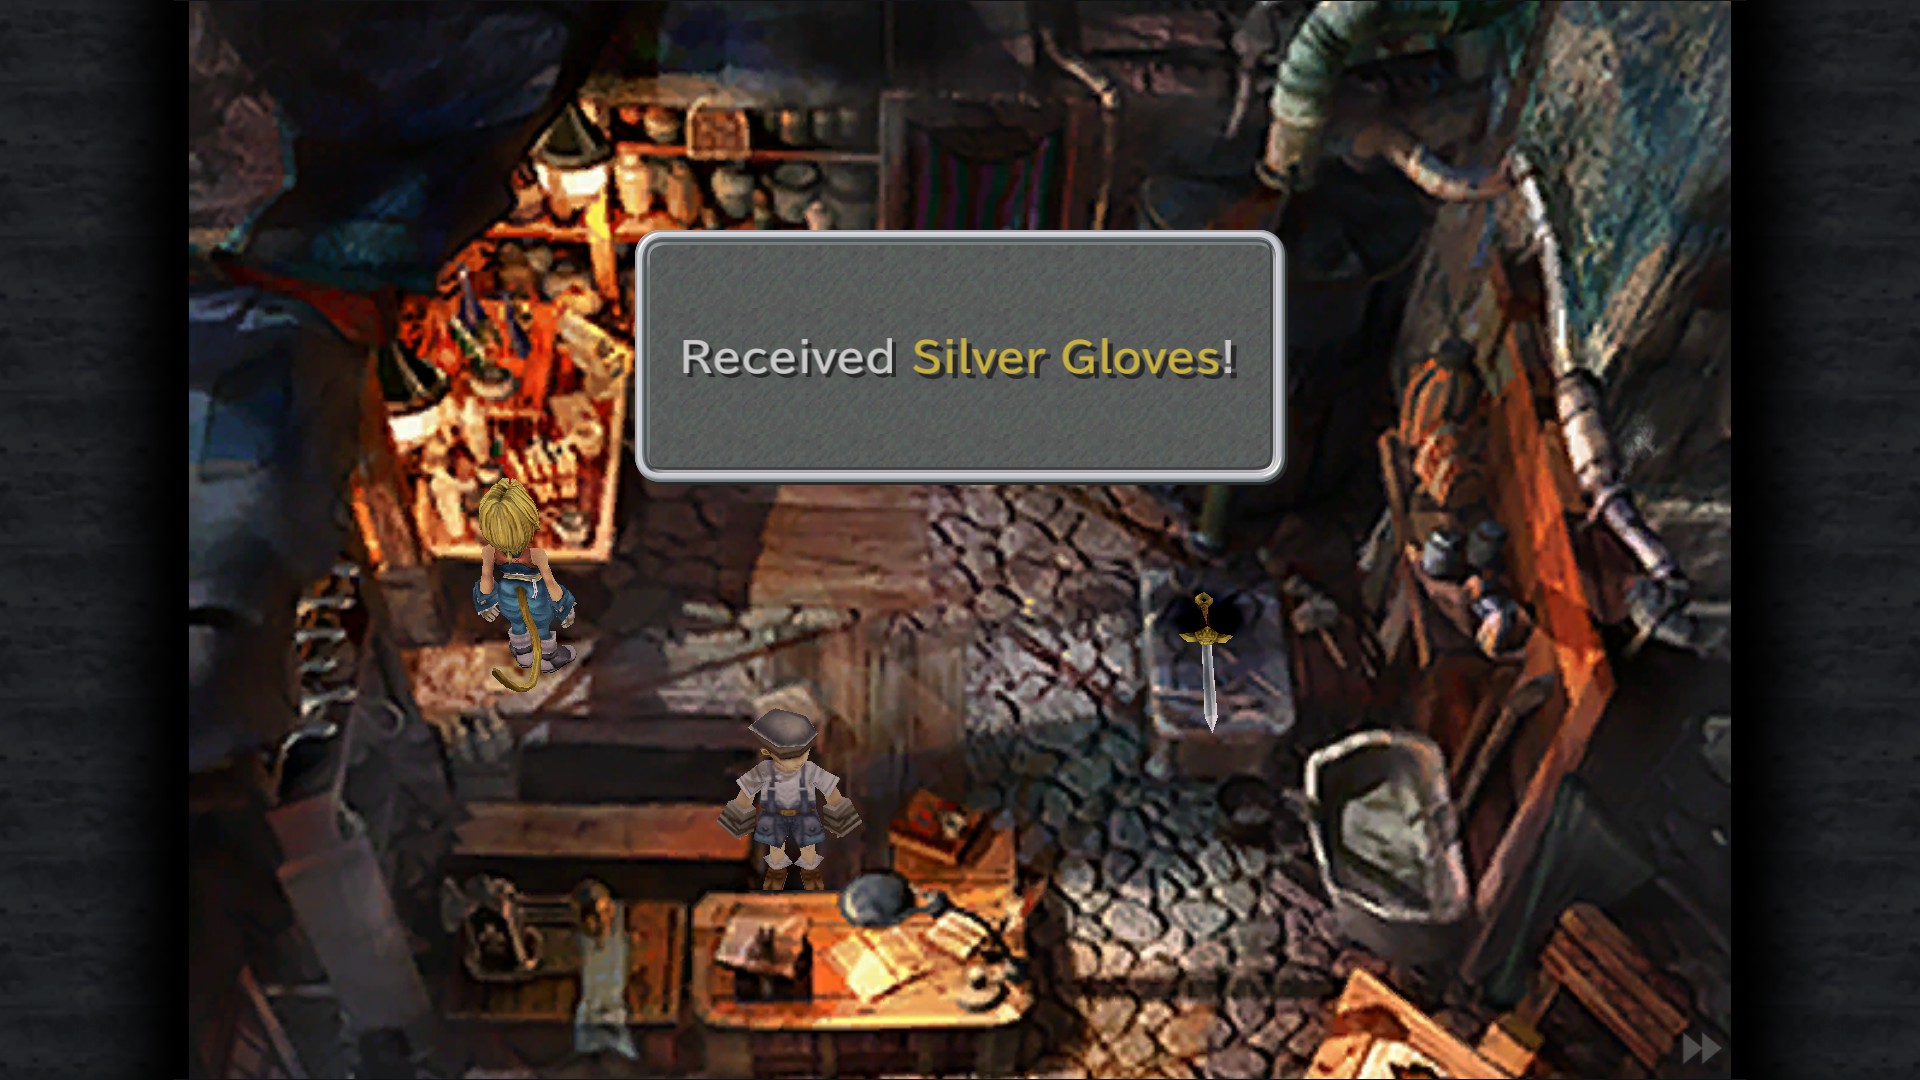
Sidenote: The weapon shop here is one of few places where the Javelin is available, and it becomes unobtainable later in the game. It's required for one synthesis recipe.
Silver Gloves - Shopping Area/Synthesis Shop (Near door behind counter)
Vivi's Shopping ATE (Forced)
Industrial District
Leather Wrist - Square
Bronze Vest - Industrial Way
Mimic Card - Industrial Way/Residence
Steepled Hat - Industrial Way/Residence
Theater District
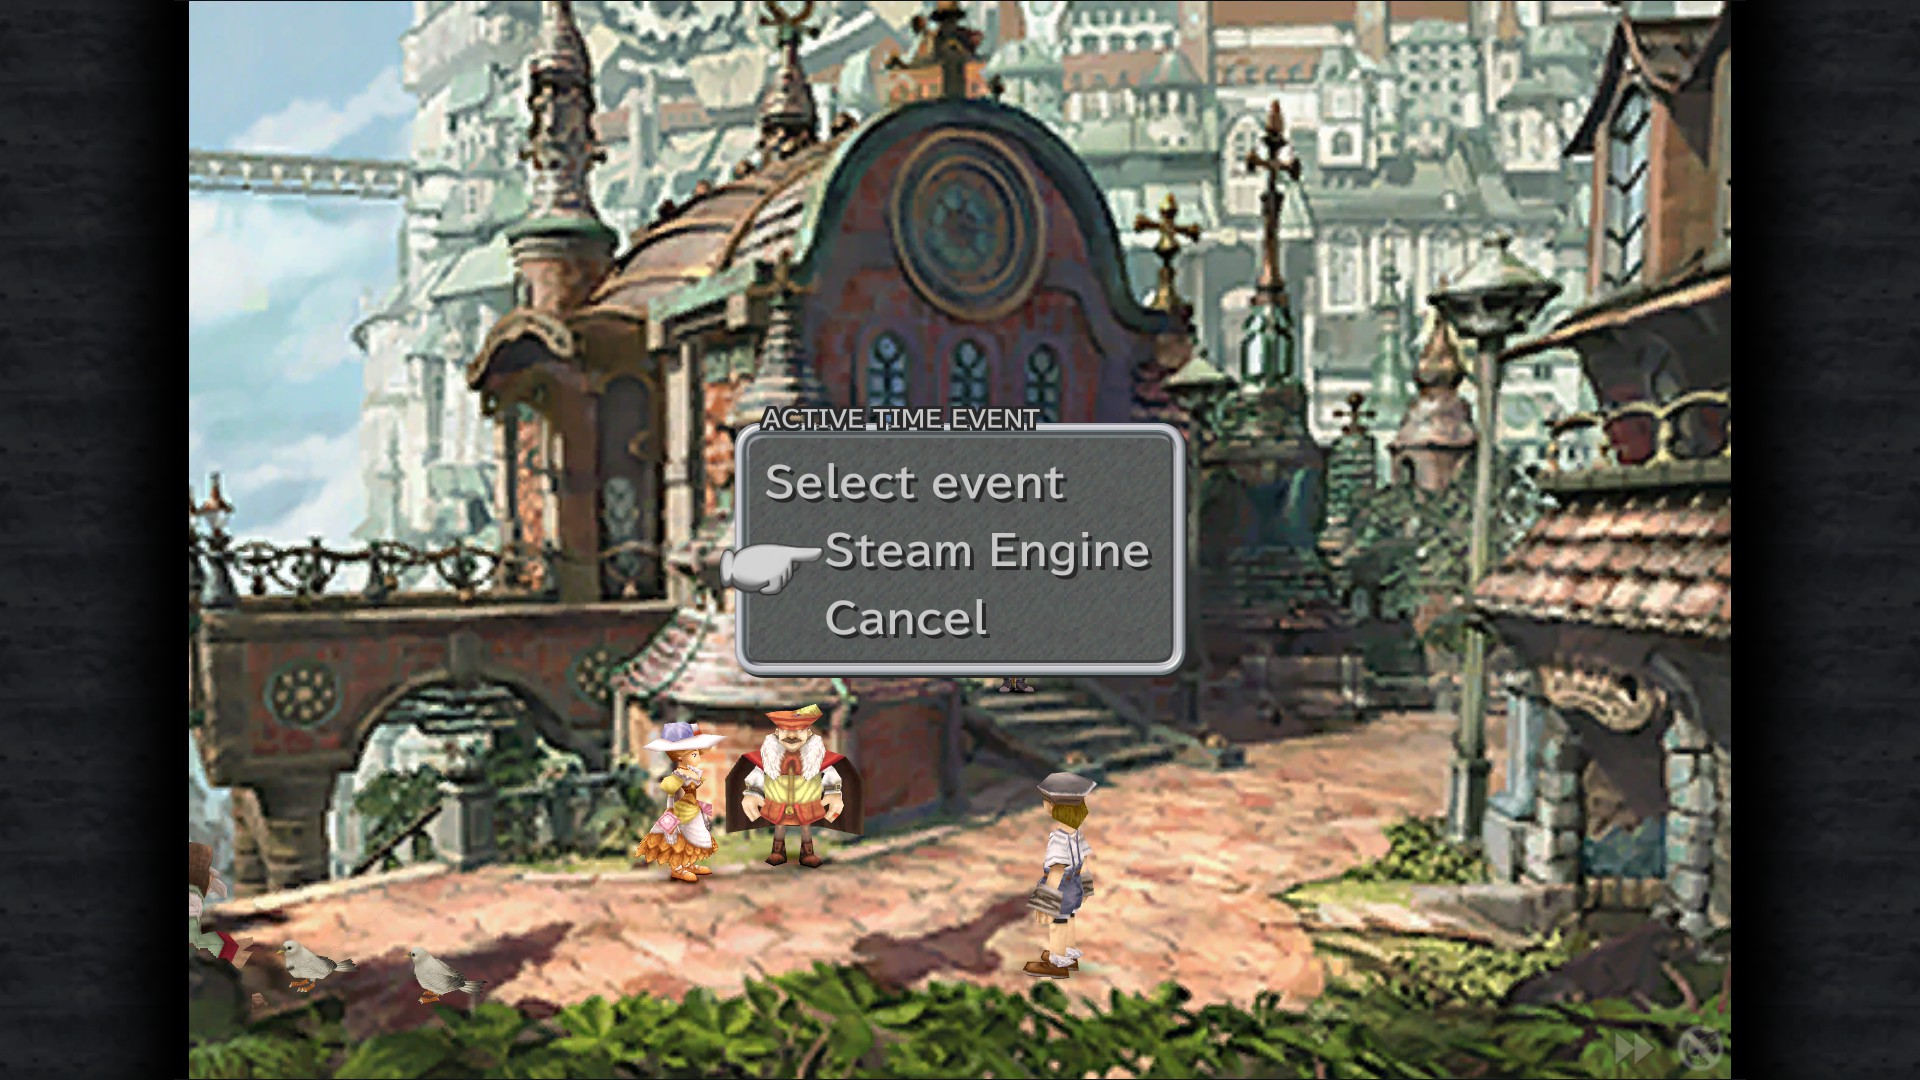
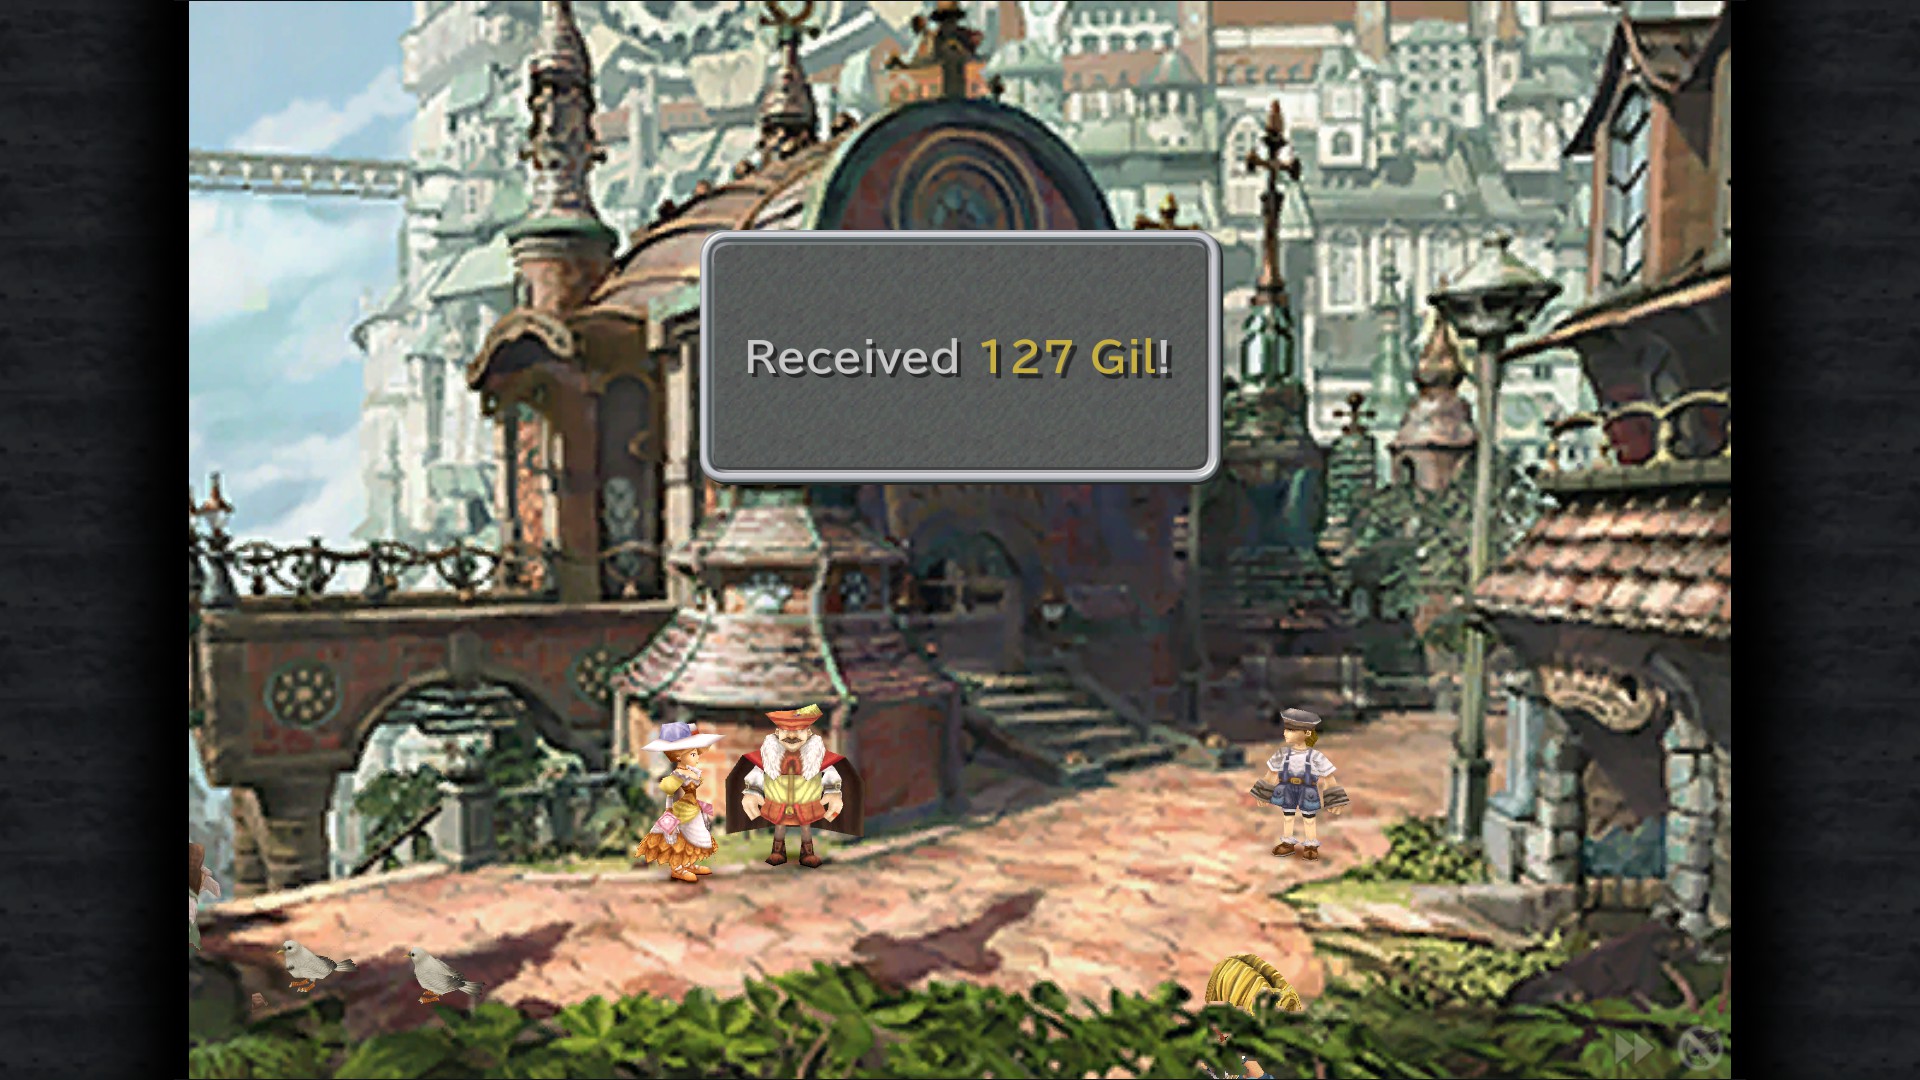
Steam Engine ATE - Station Area
127 Gil - Station Area
What can I do? ATE (Forced)
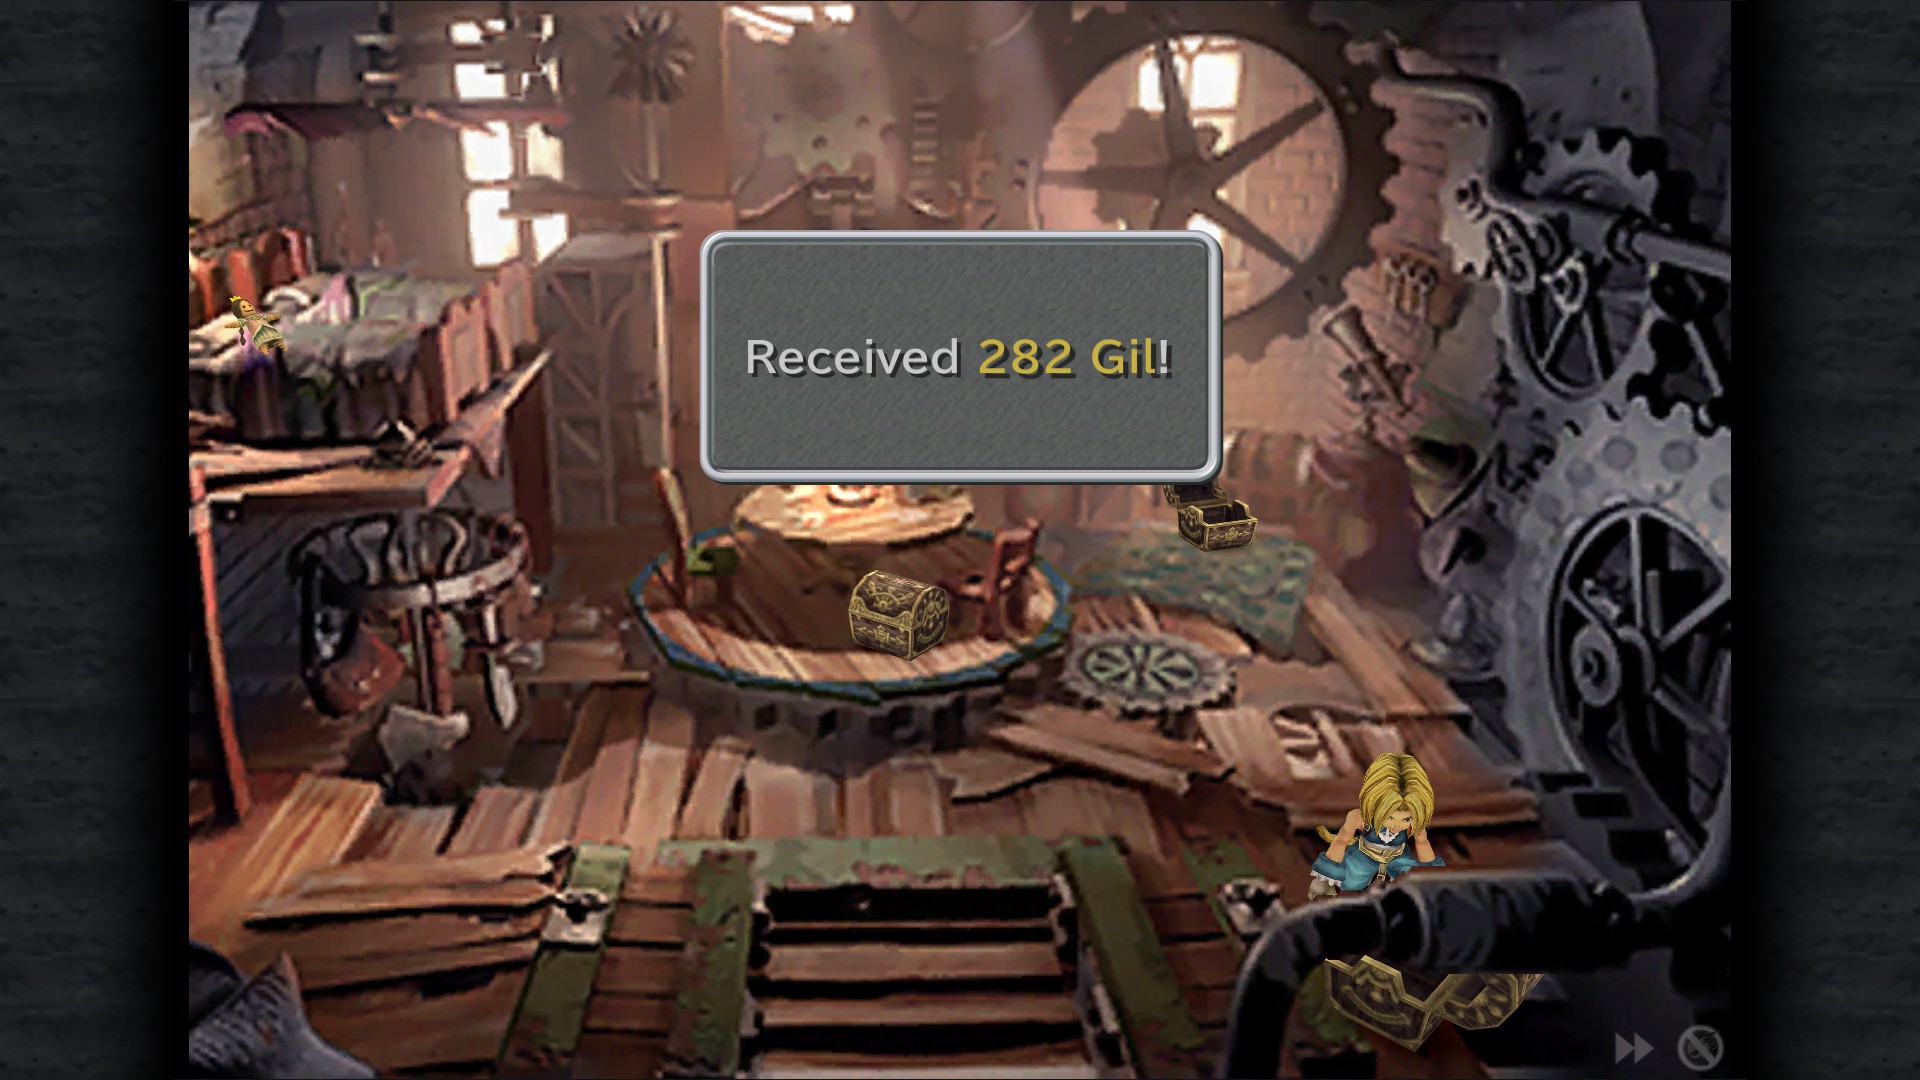
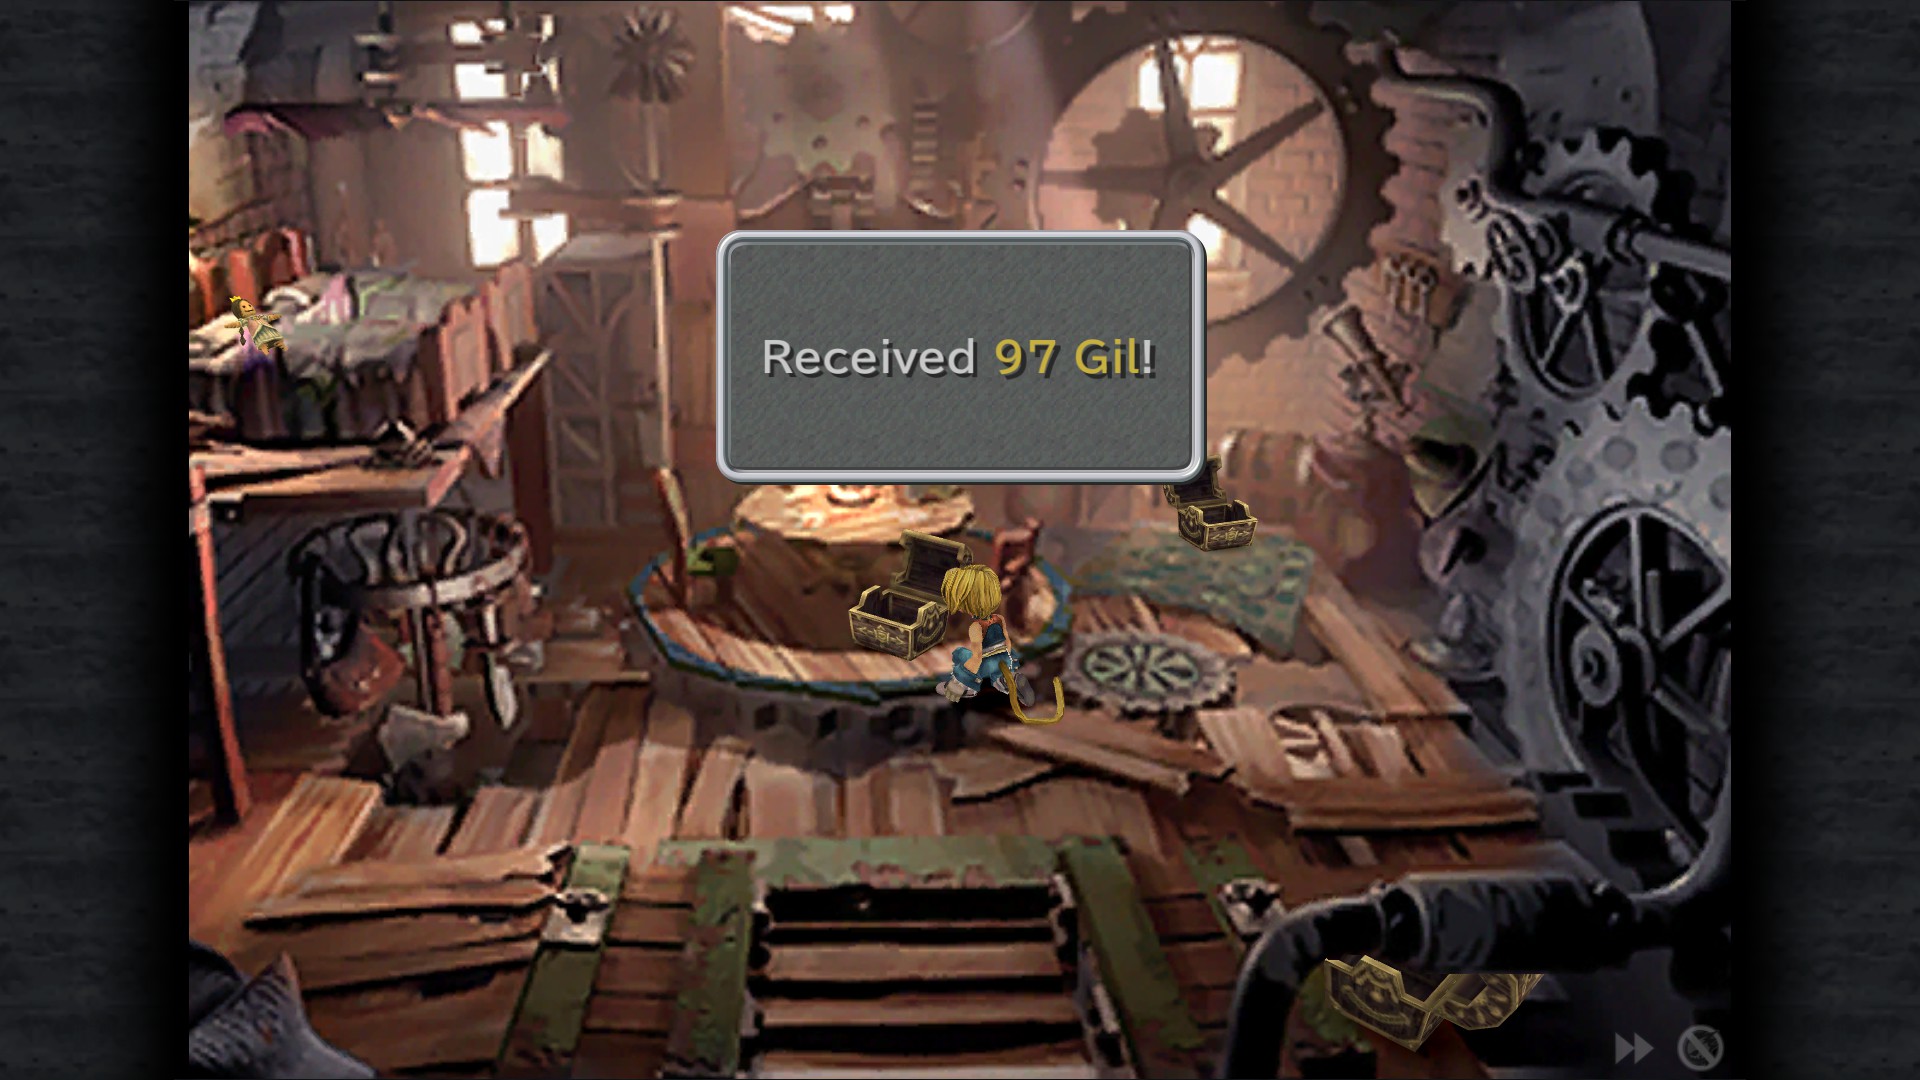
68 Gil - Hideout
282 Gil - Hideout
97 Gil - Hideout
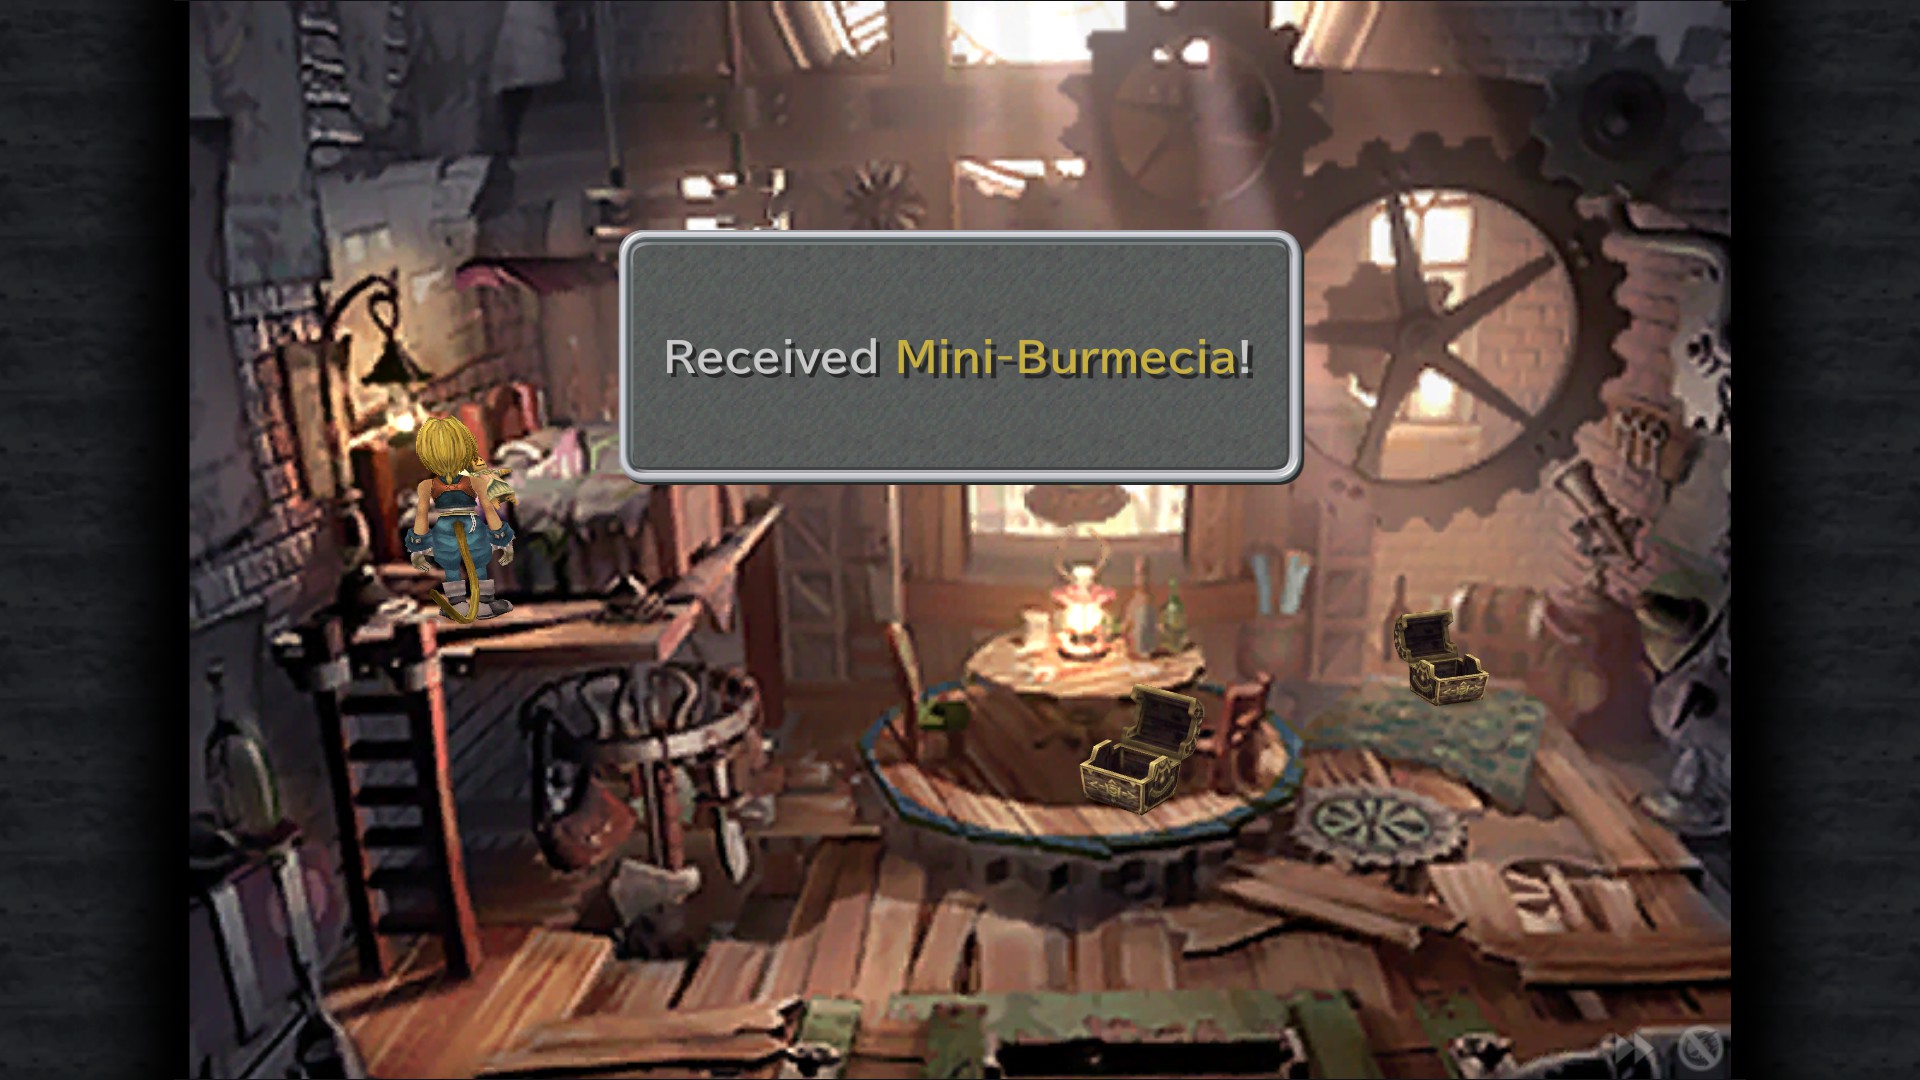
Mini-Burmecia - Hideout
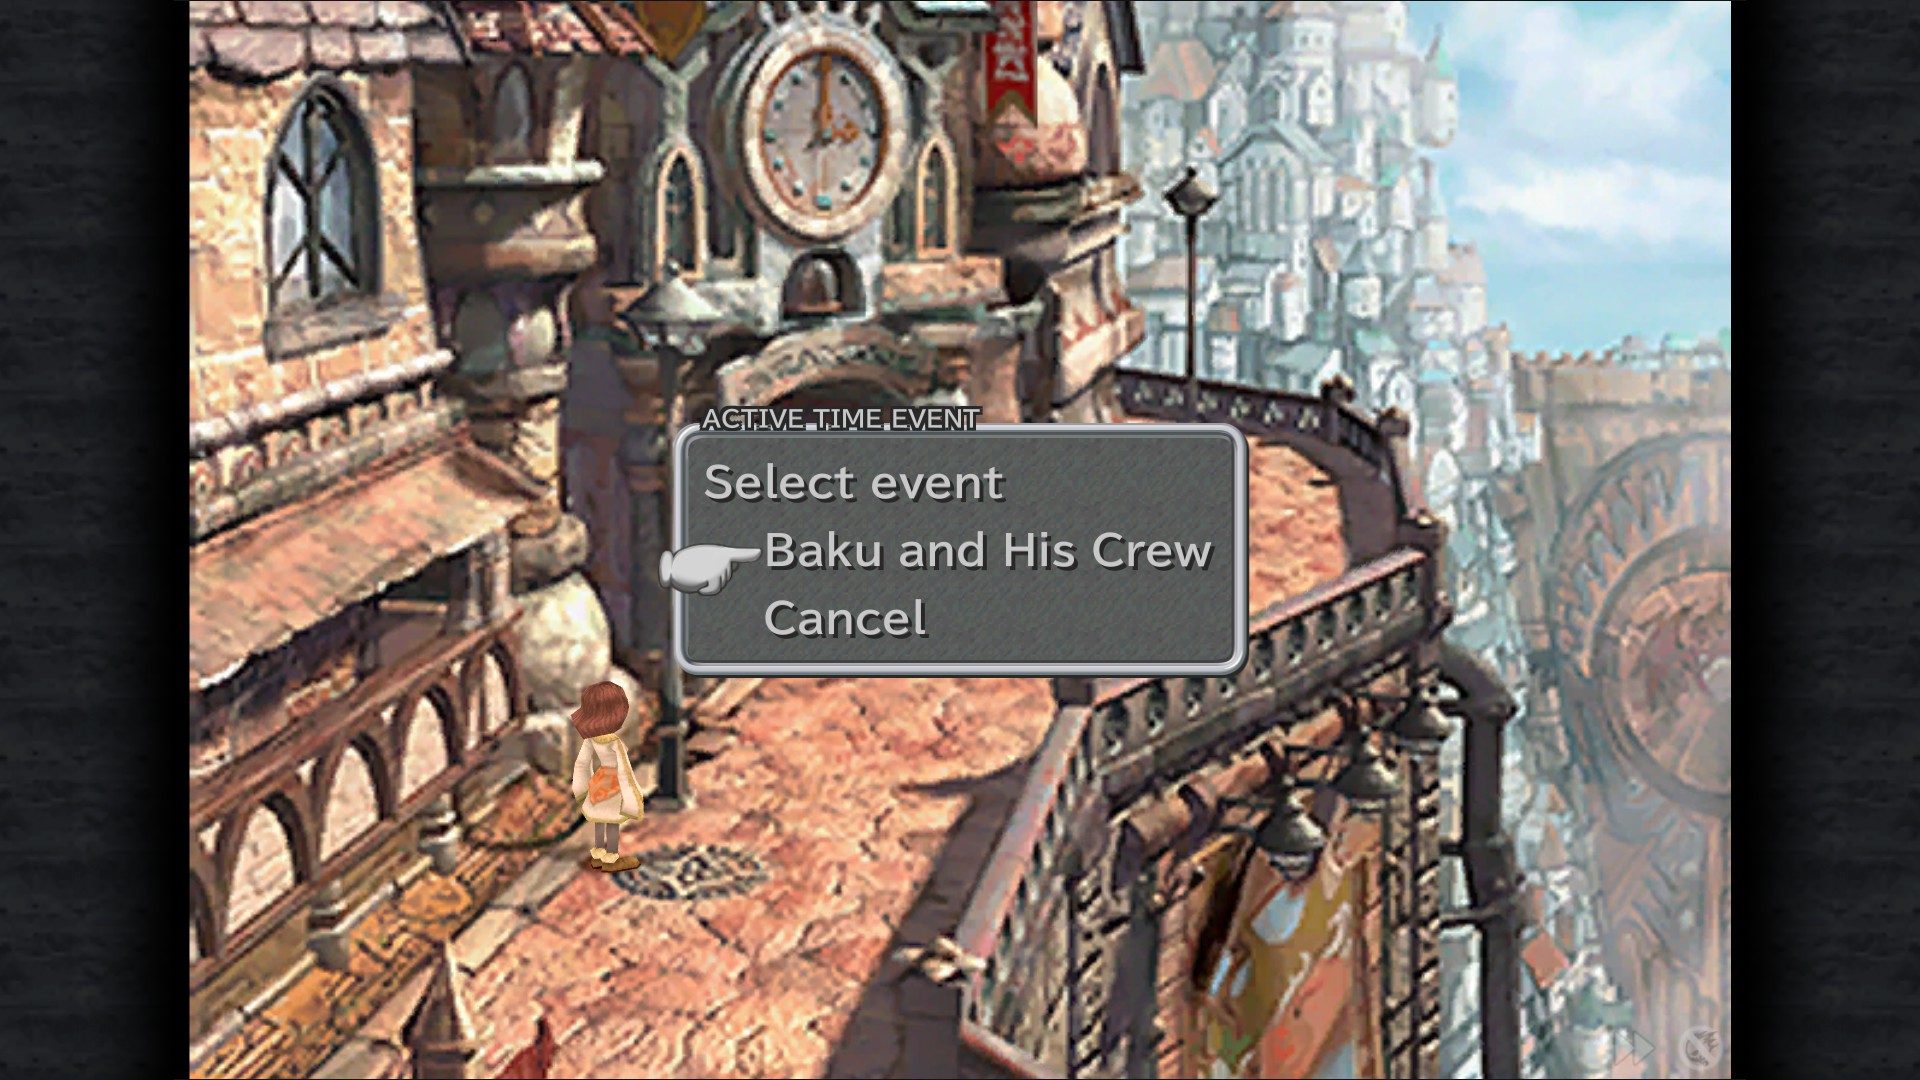
Baku and His Crew ATE - Theater Ave.
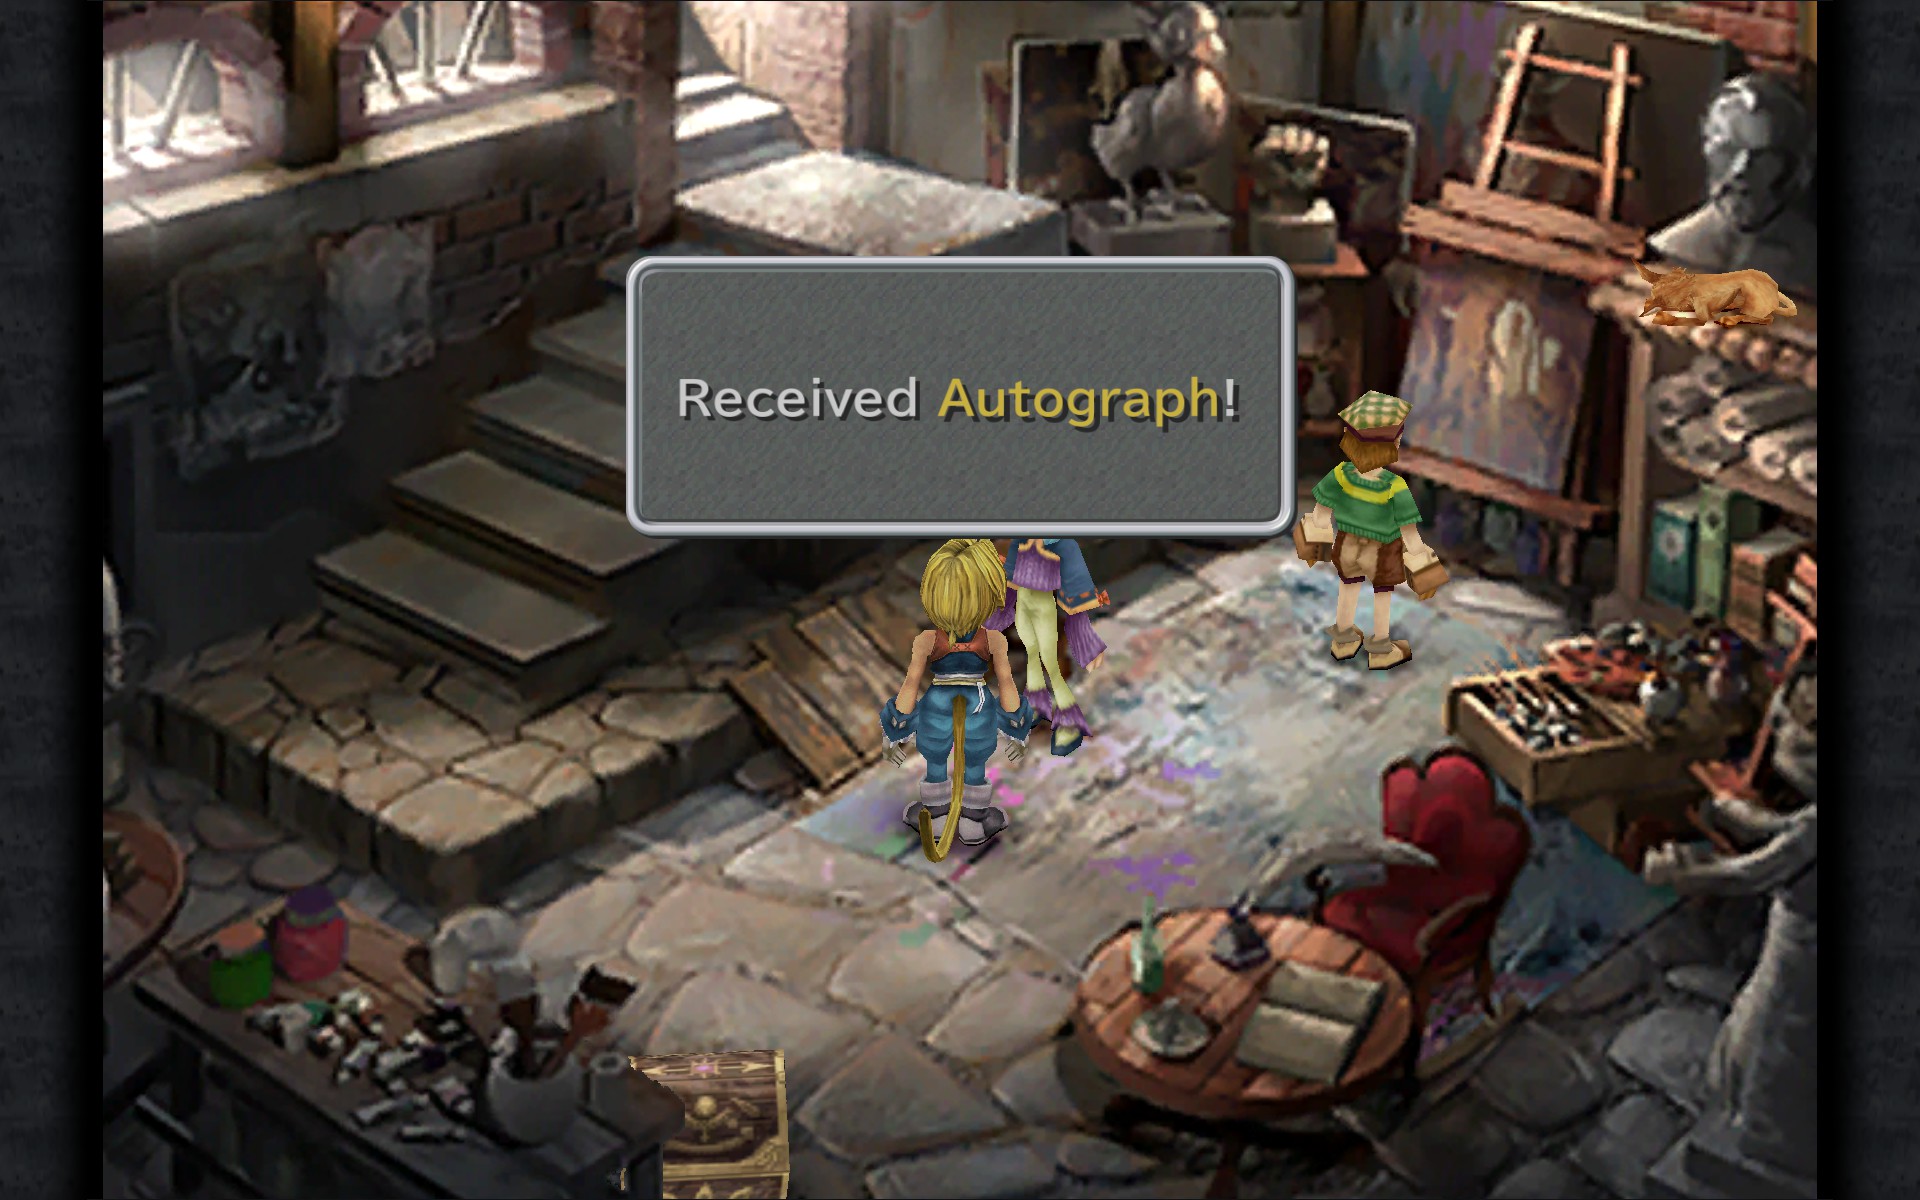
Note: you have to see the guy in the moogle suit leave the theater to get "Autograph" and "Moogle Suit" items.
Autograph (talk with with Lowell to receive it) - Studio
Moogle Suit - Studio
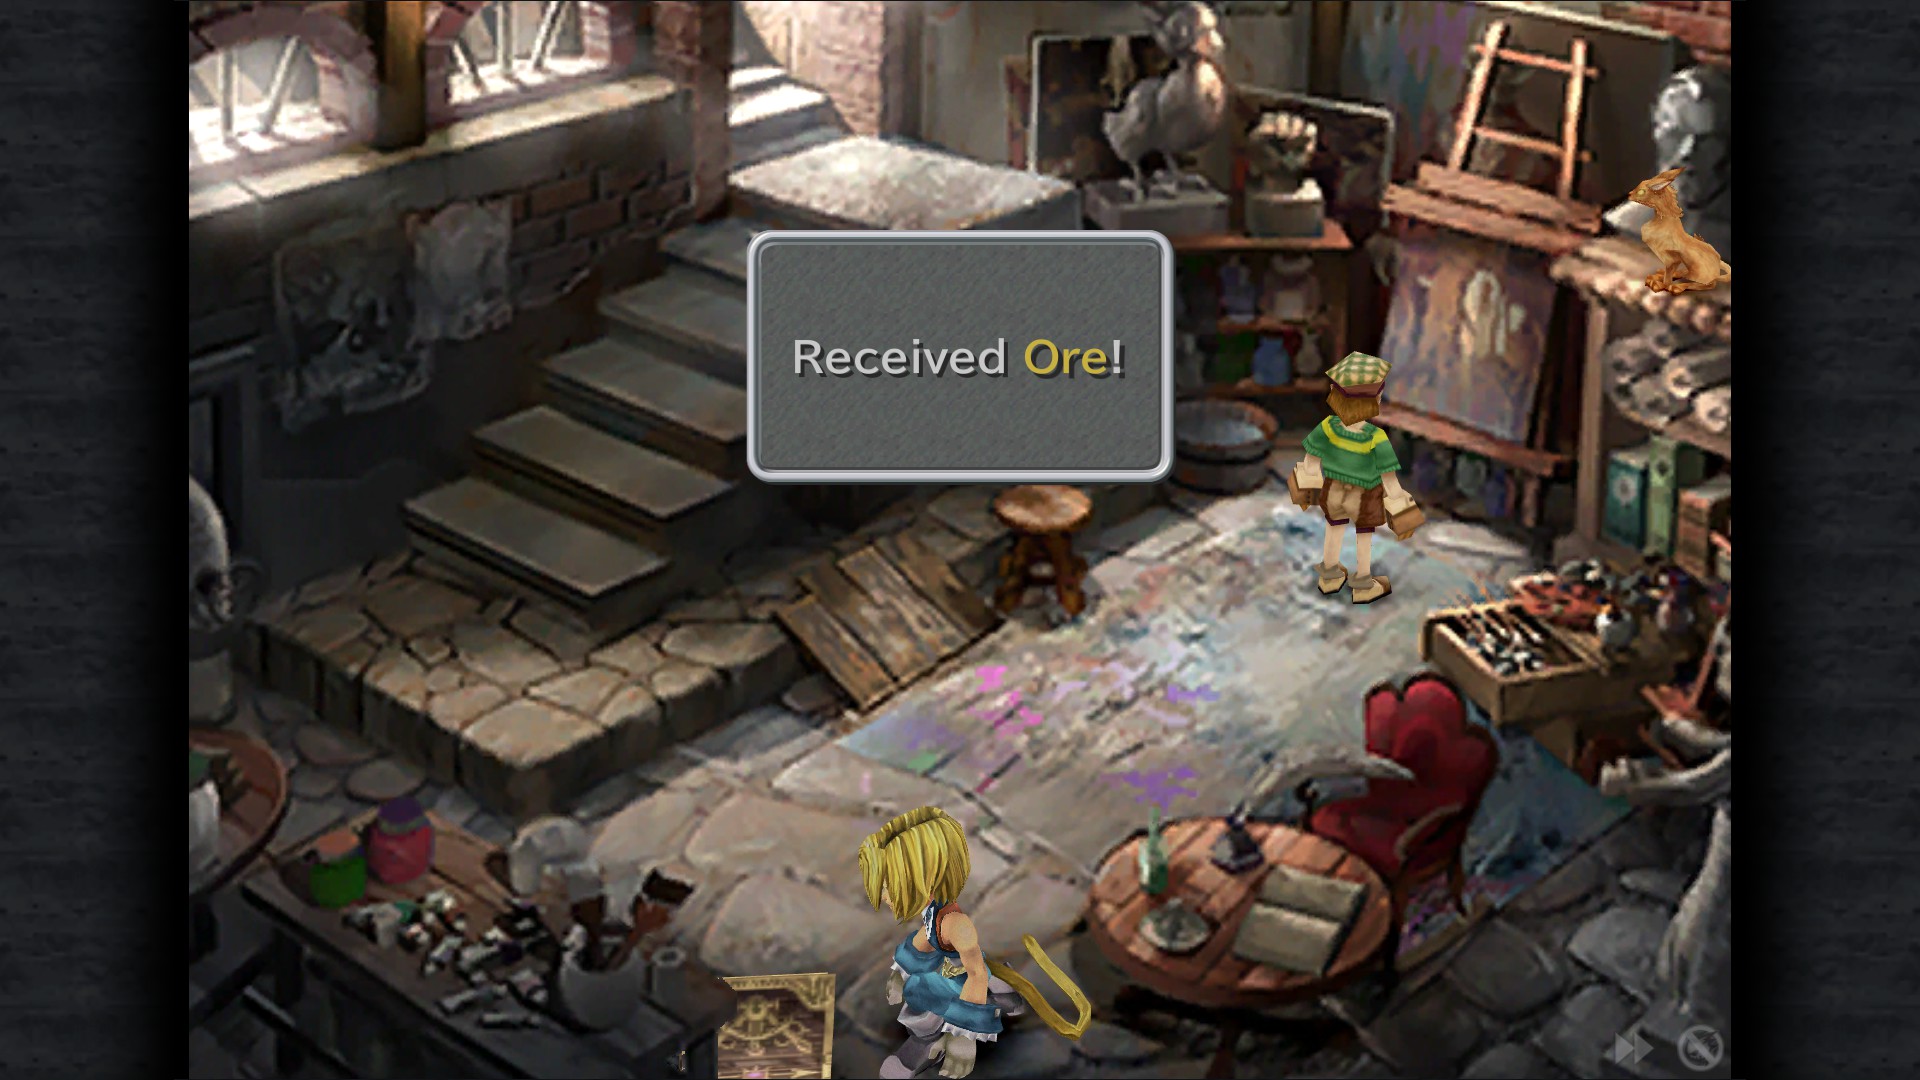
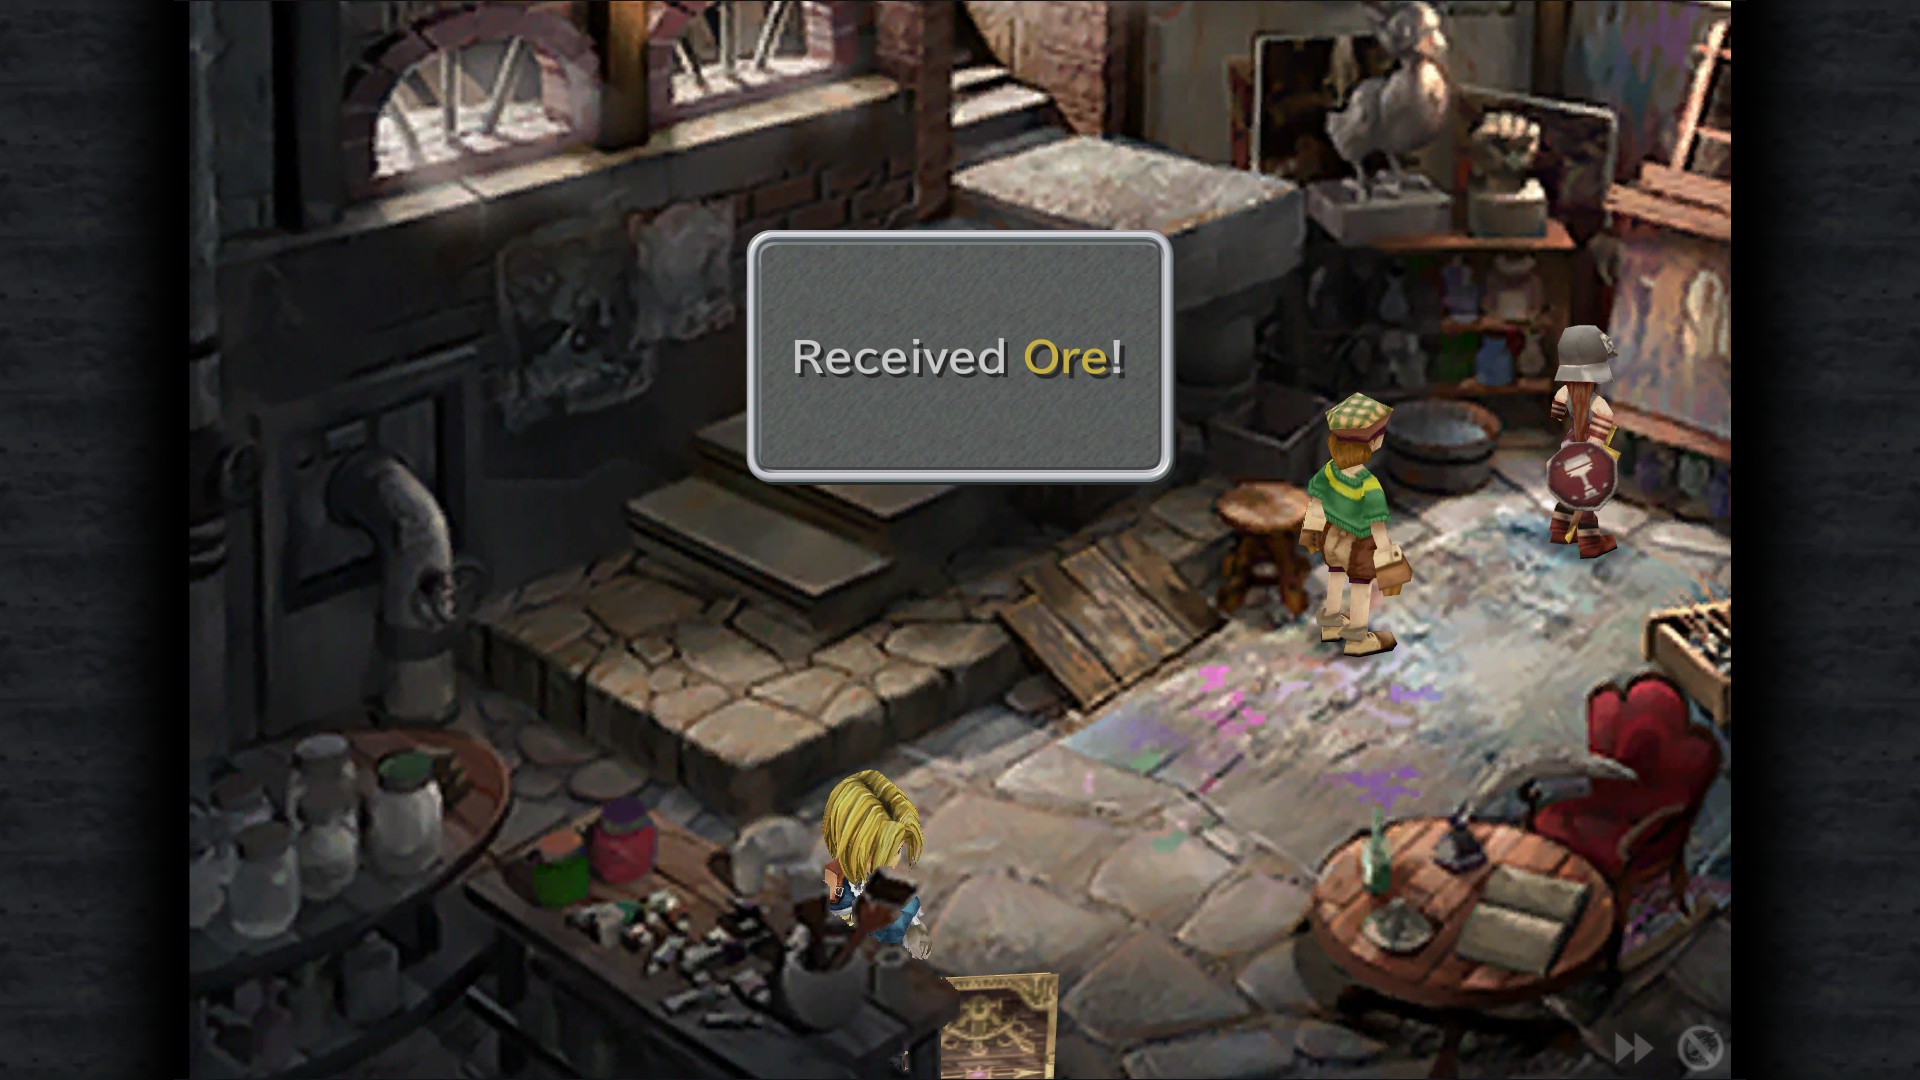
Ore - Studio
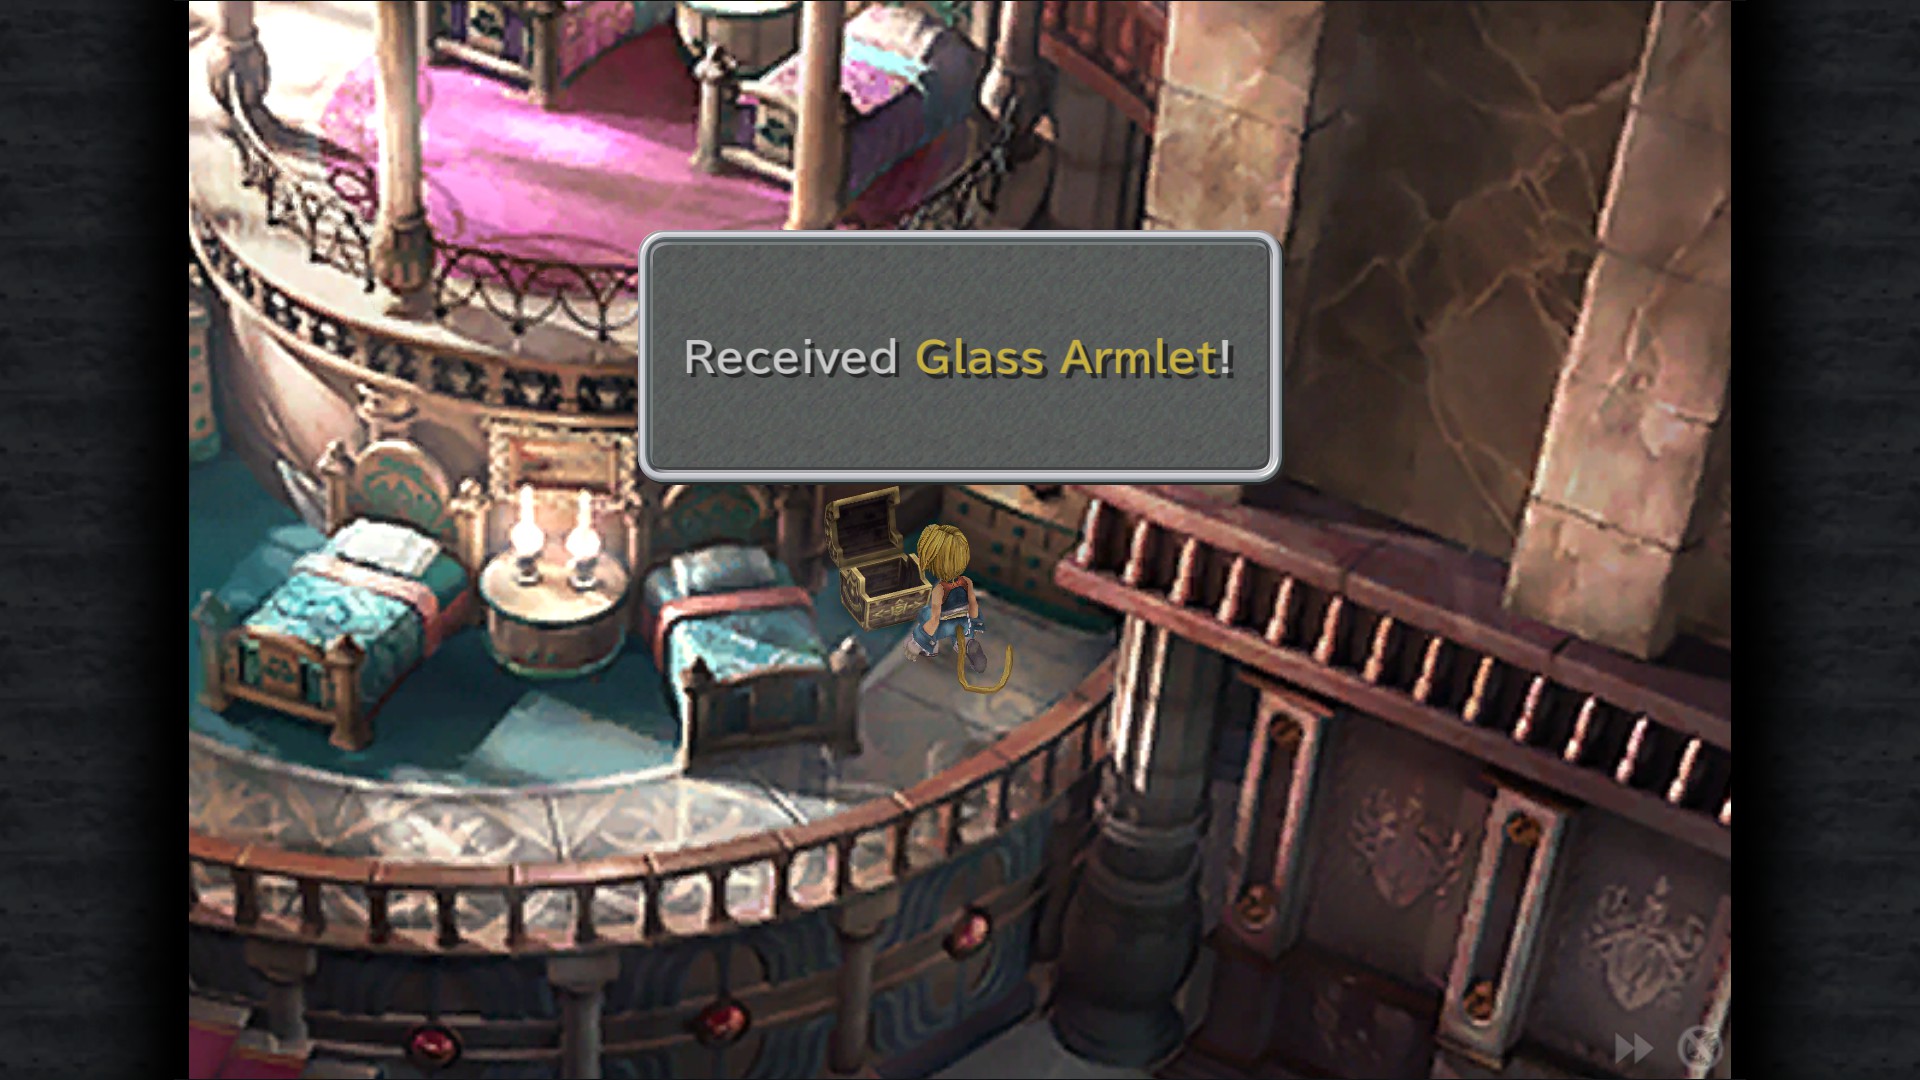
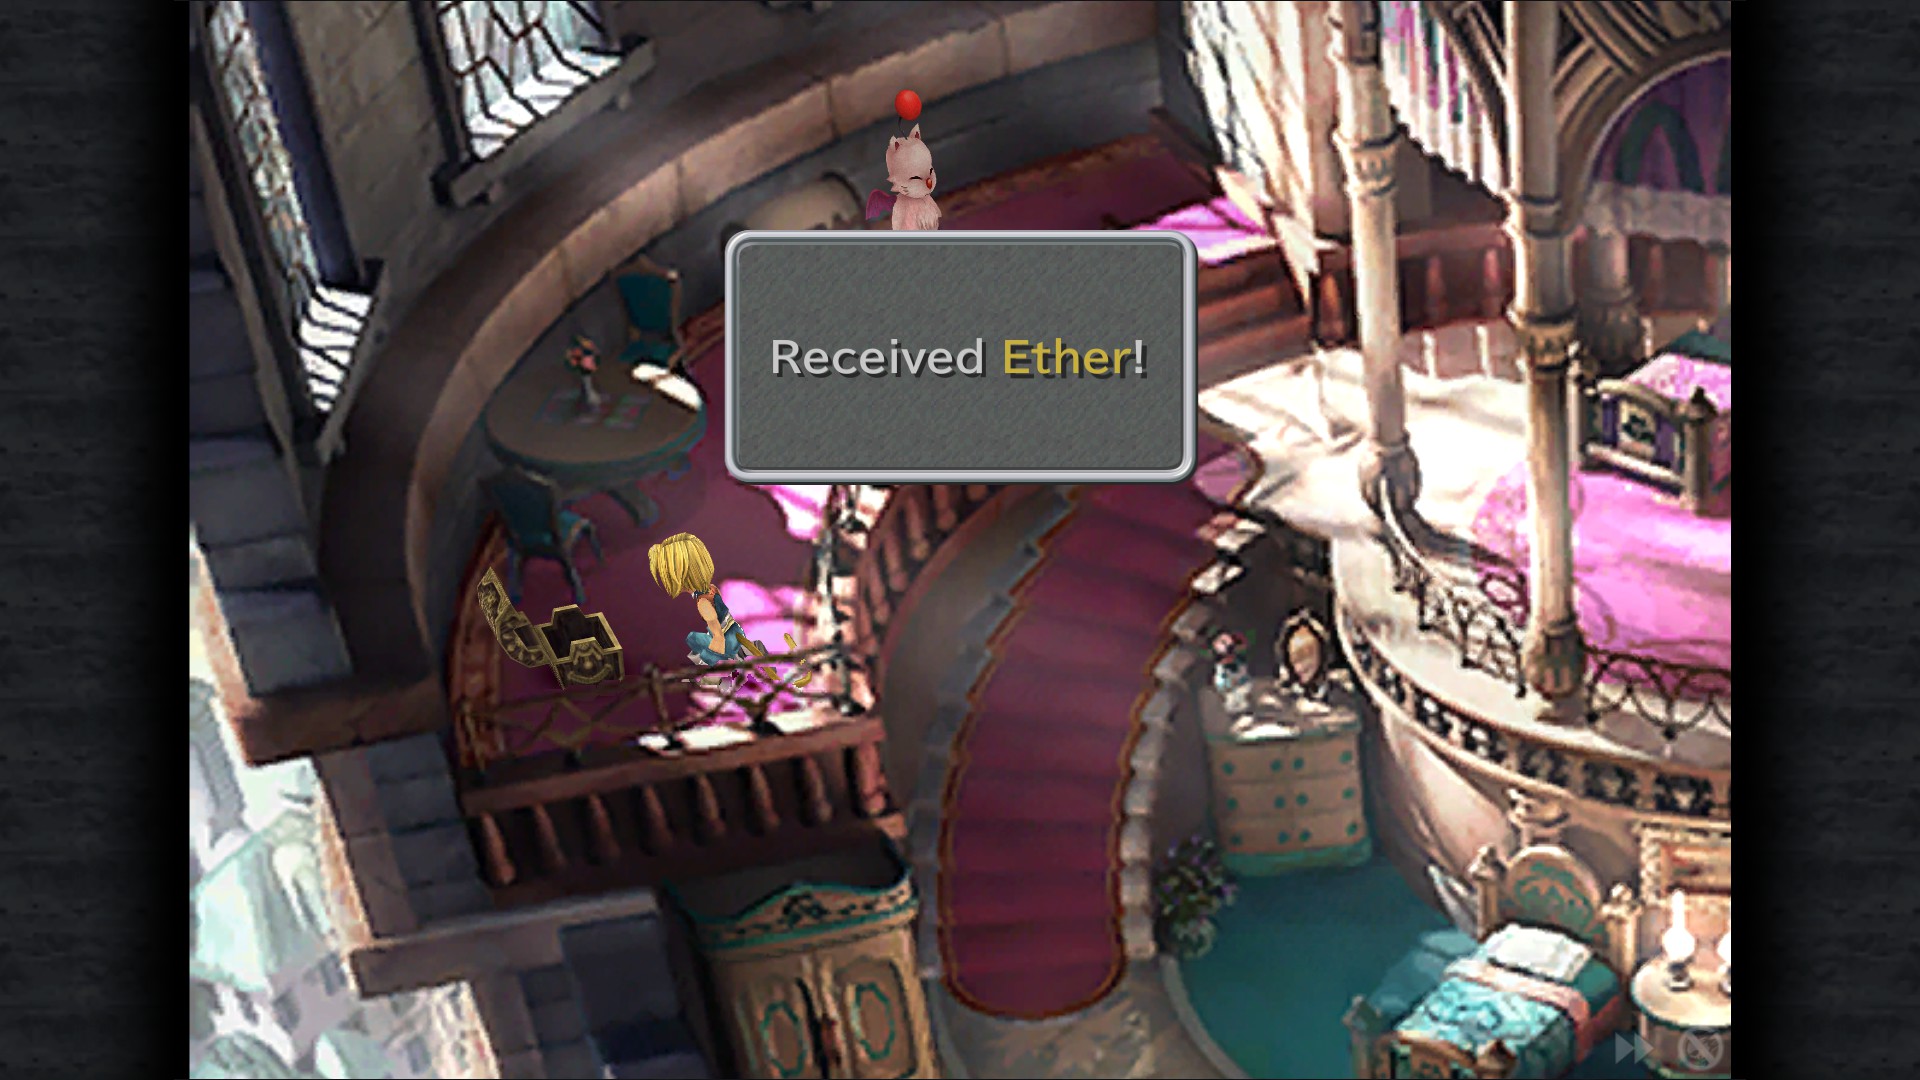
Lindblum Castle
Glass Armlet - Guest Room
Ether - Guest Room
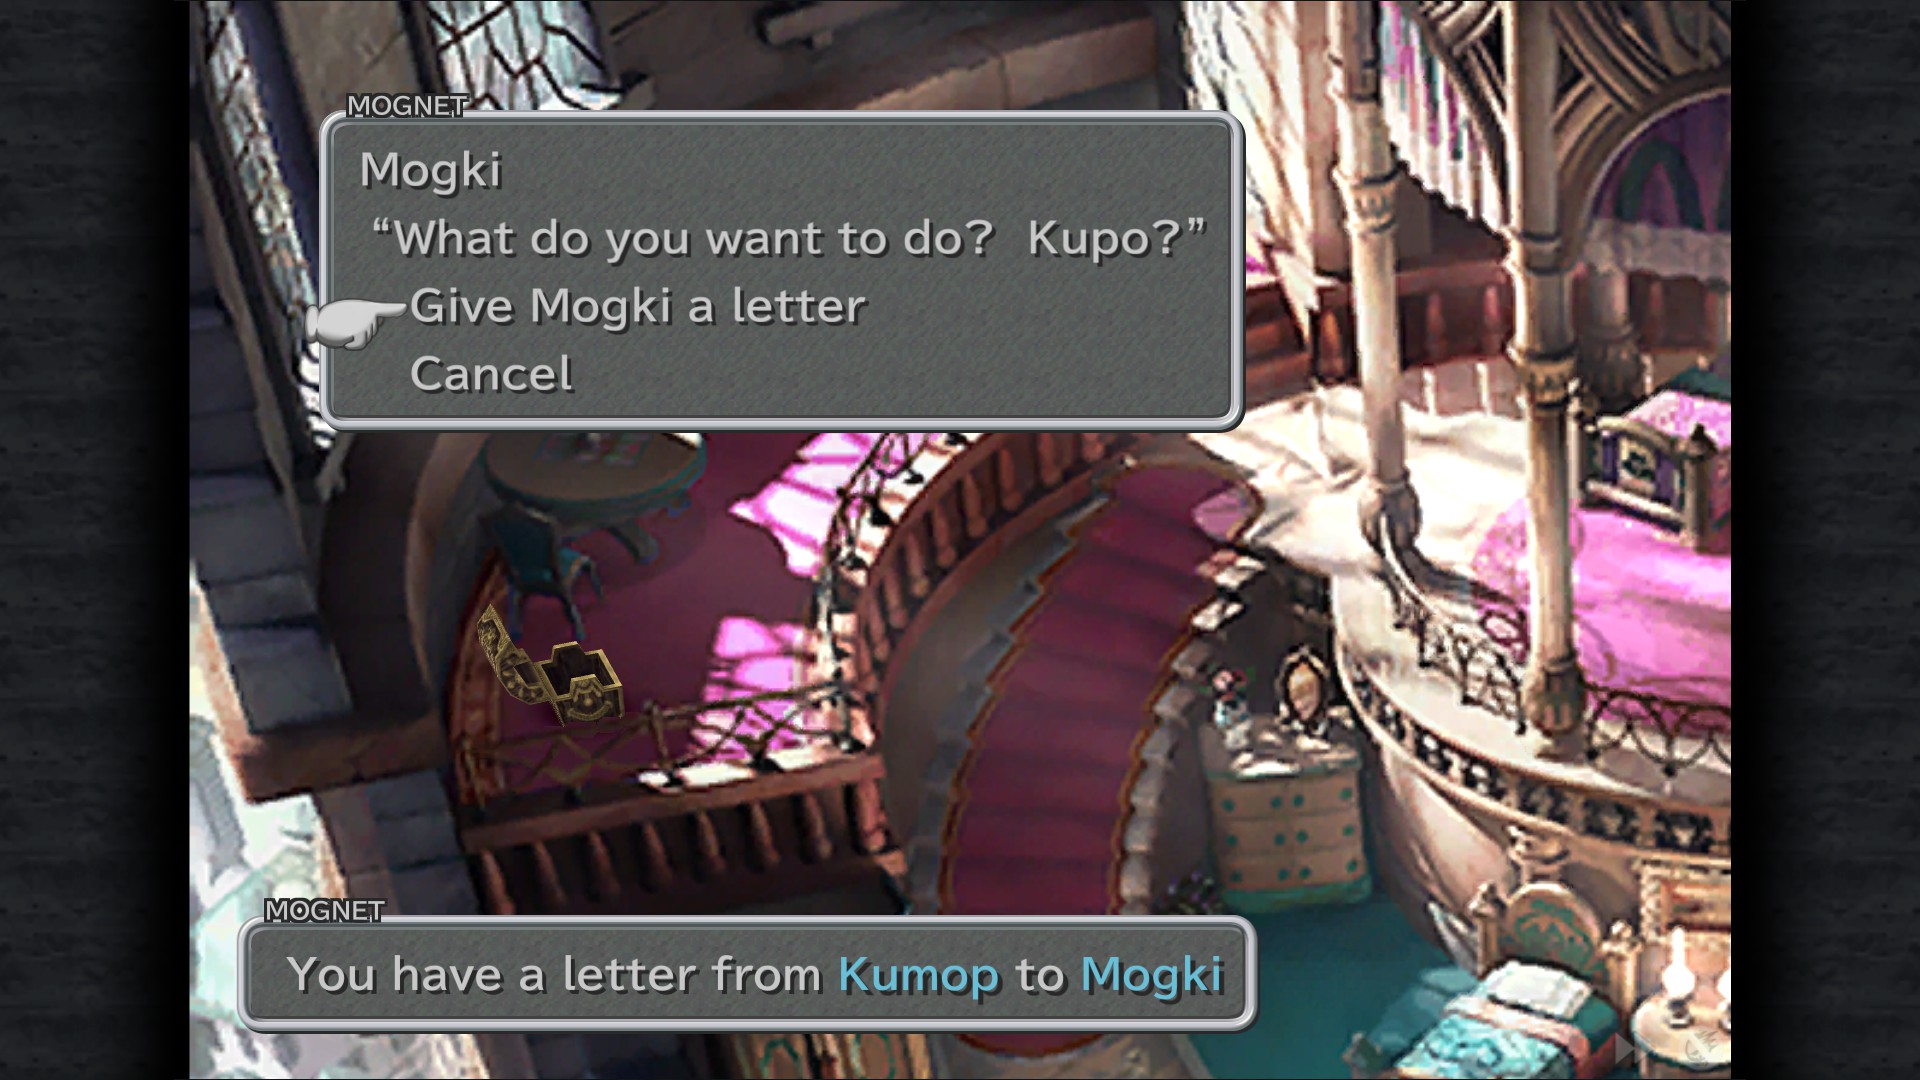
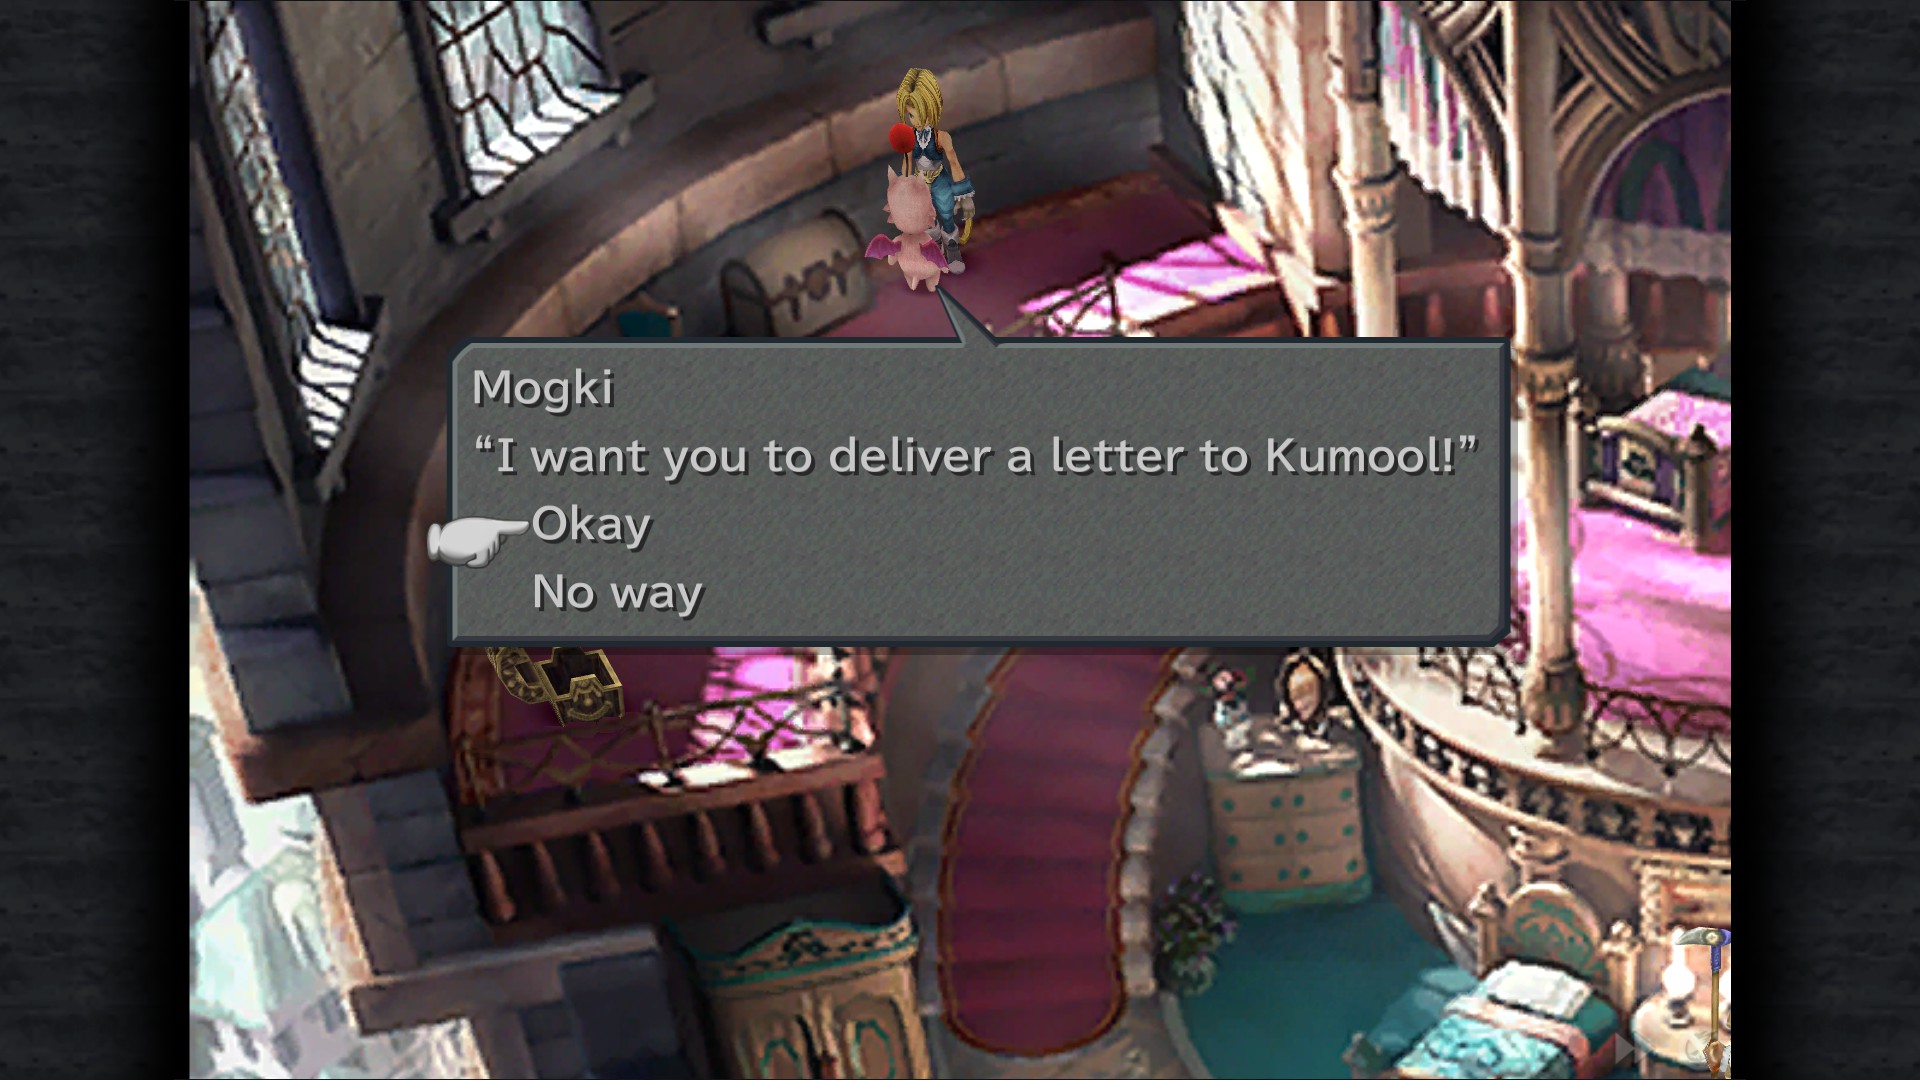
Mognet: Give Mogki a letter "Stiltzkin Visited Me!" - Guest Room
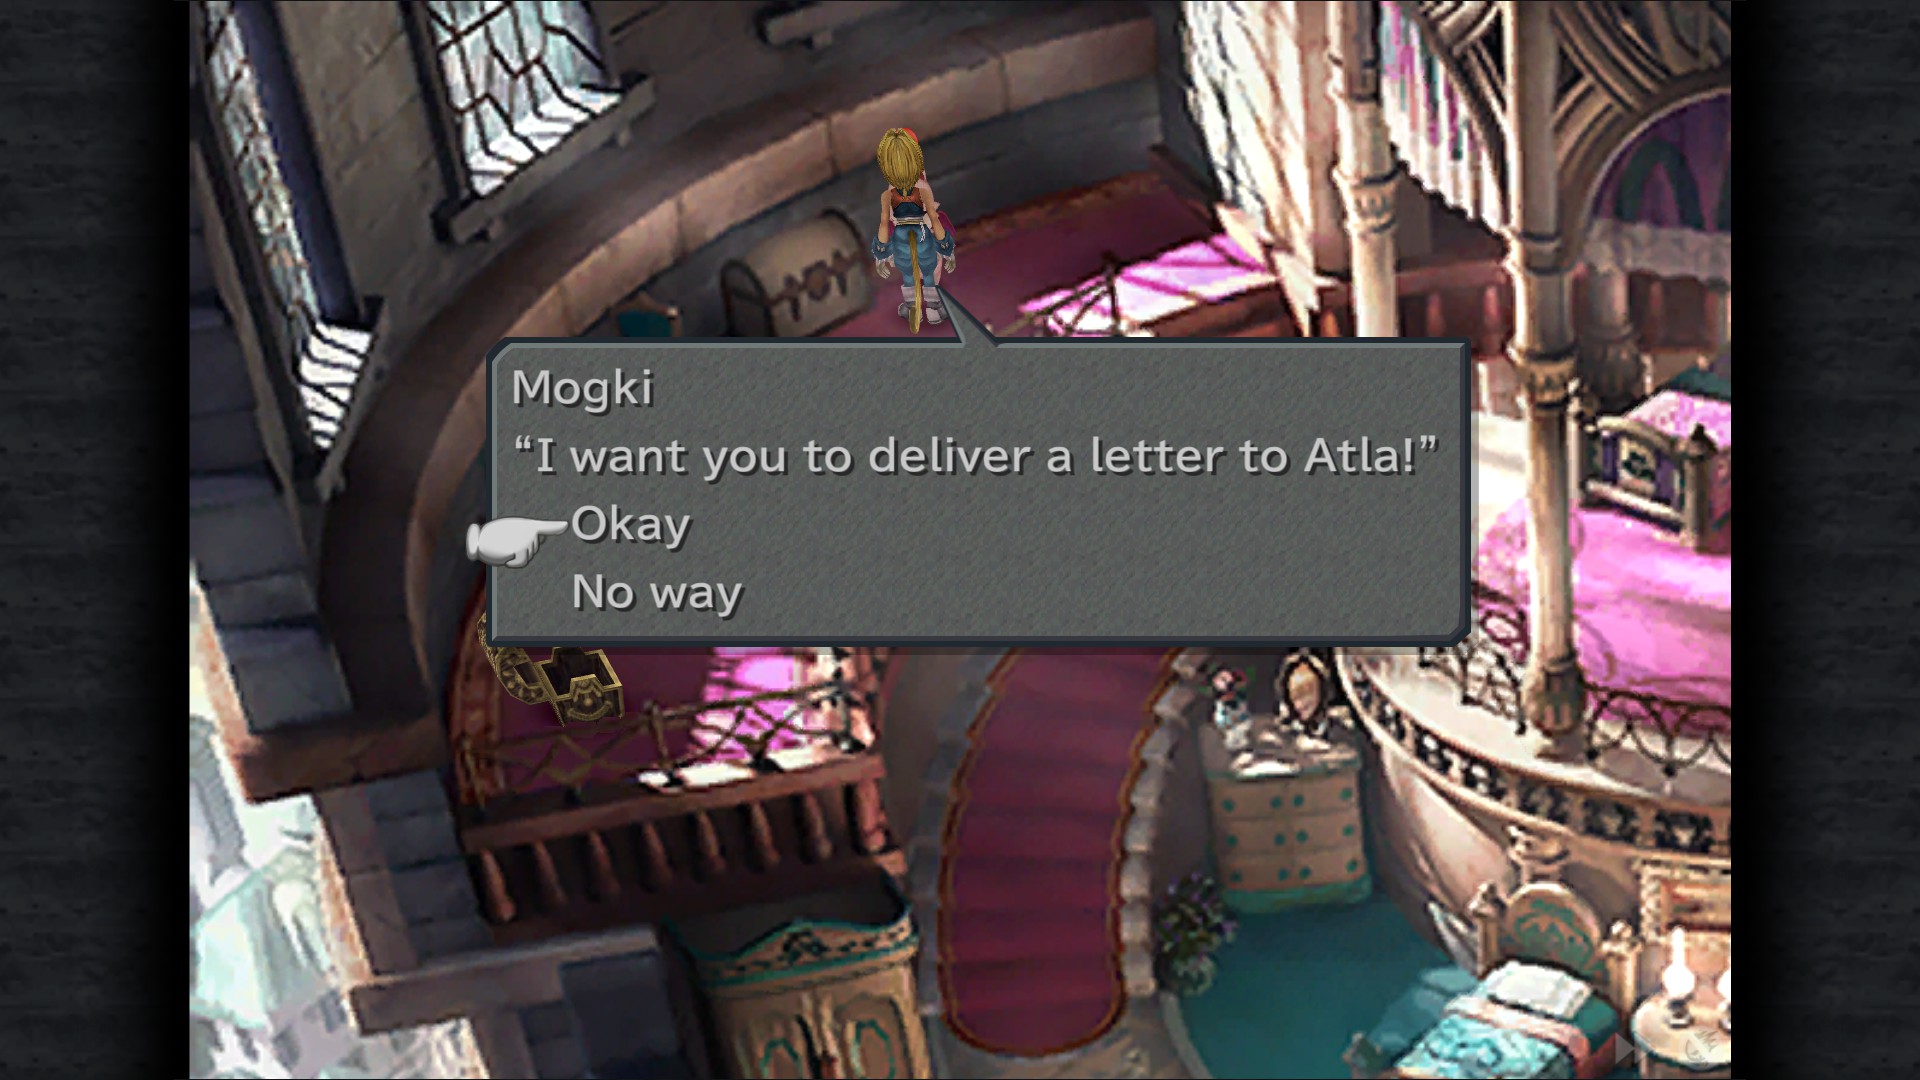
Mognet: Pick up the letter to deliver (Mogki to Atla)
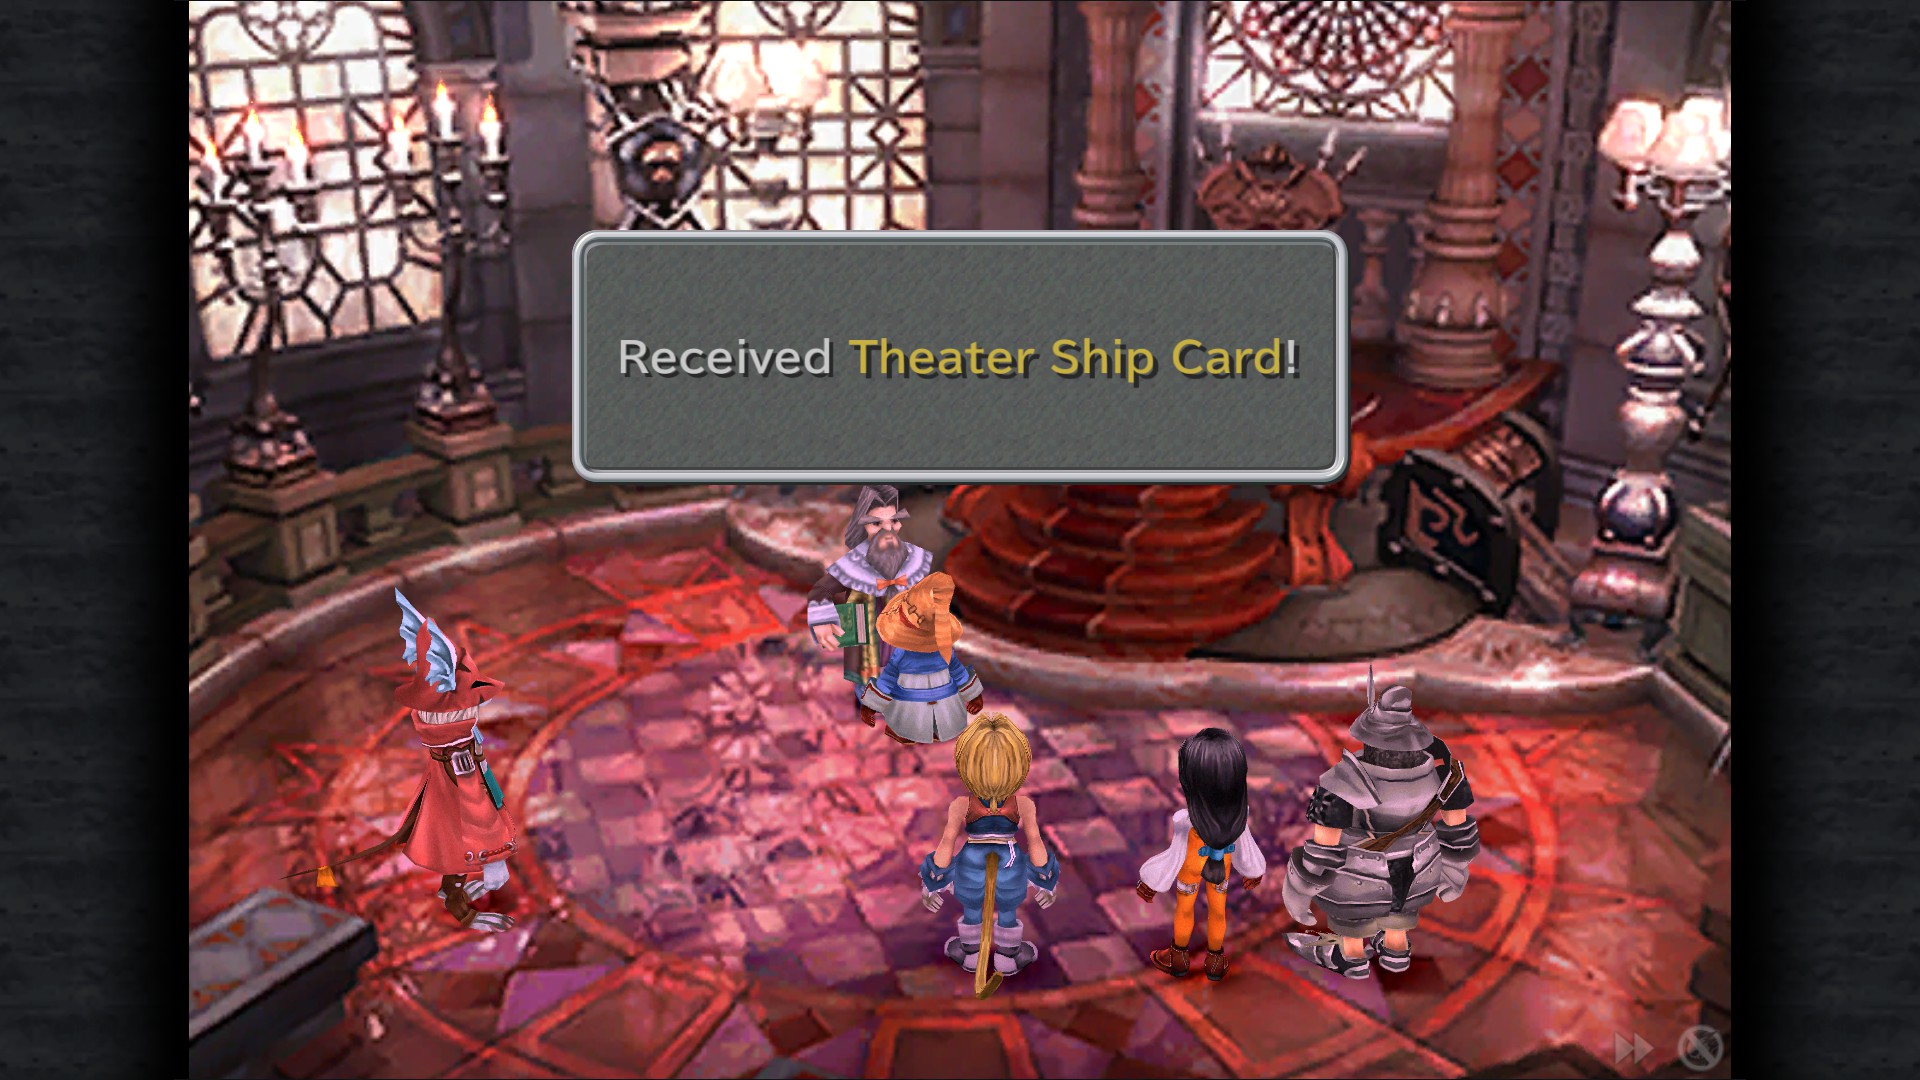
Festival of the Hunt
A-Hunting We Will Go
Win with Vivi during the Festival of the Hunt
Go to the Business District.
Head to the church area and kill the Fang that is in there.
Head back out , You'll see Vivi being chased by a Fang , kill the Fang.
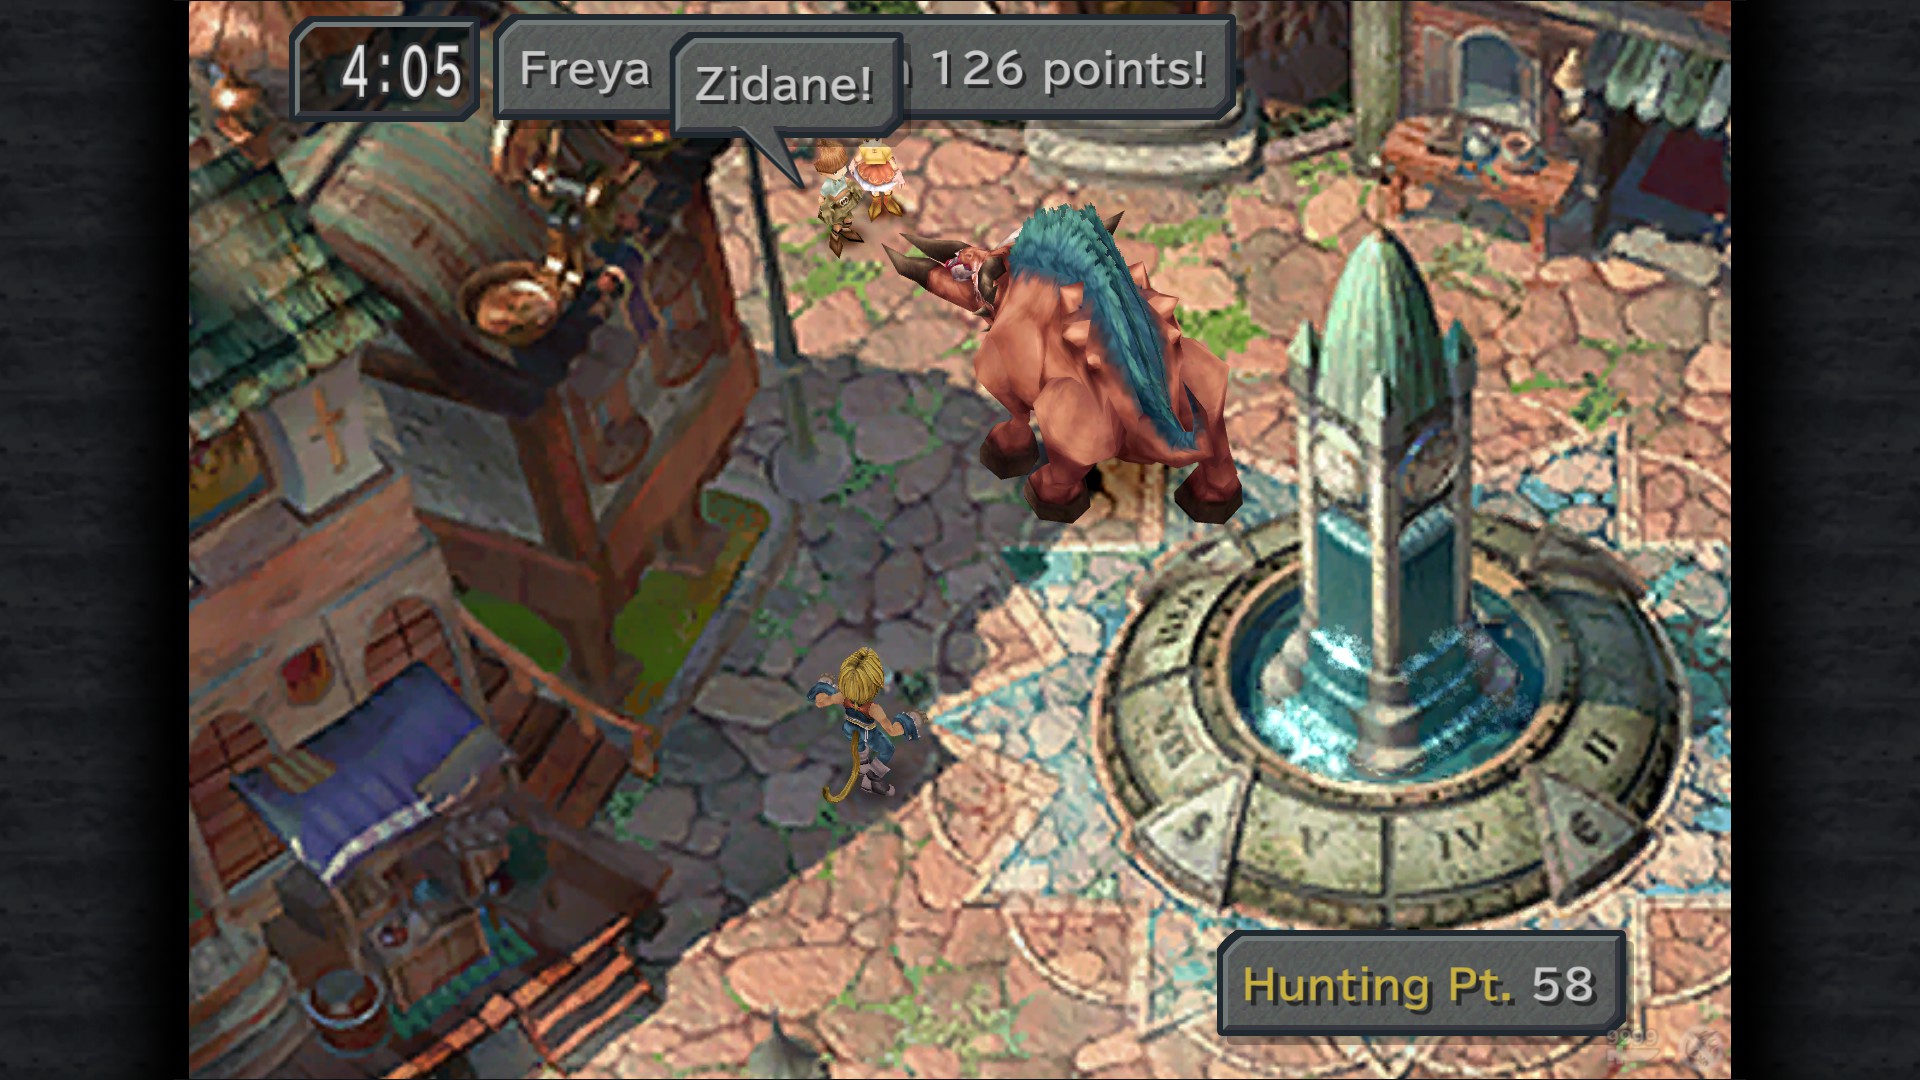
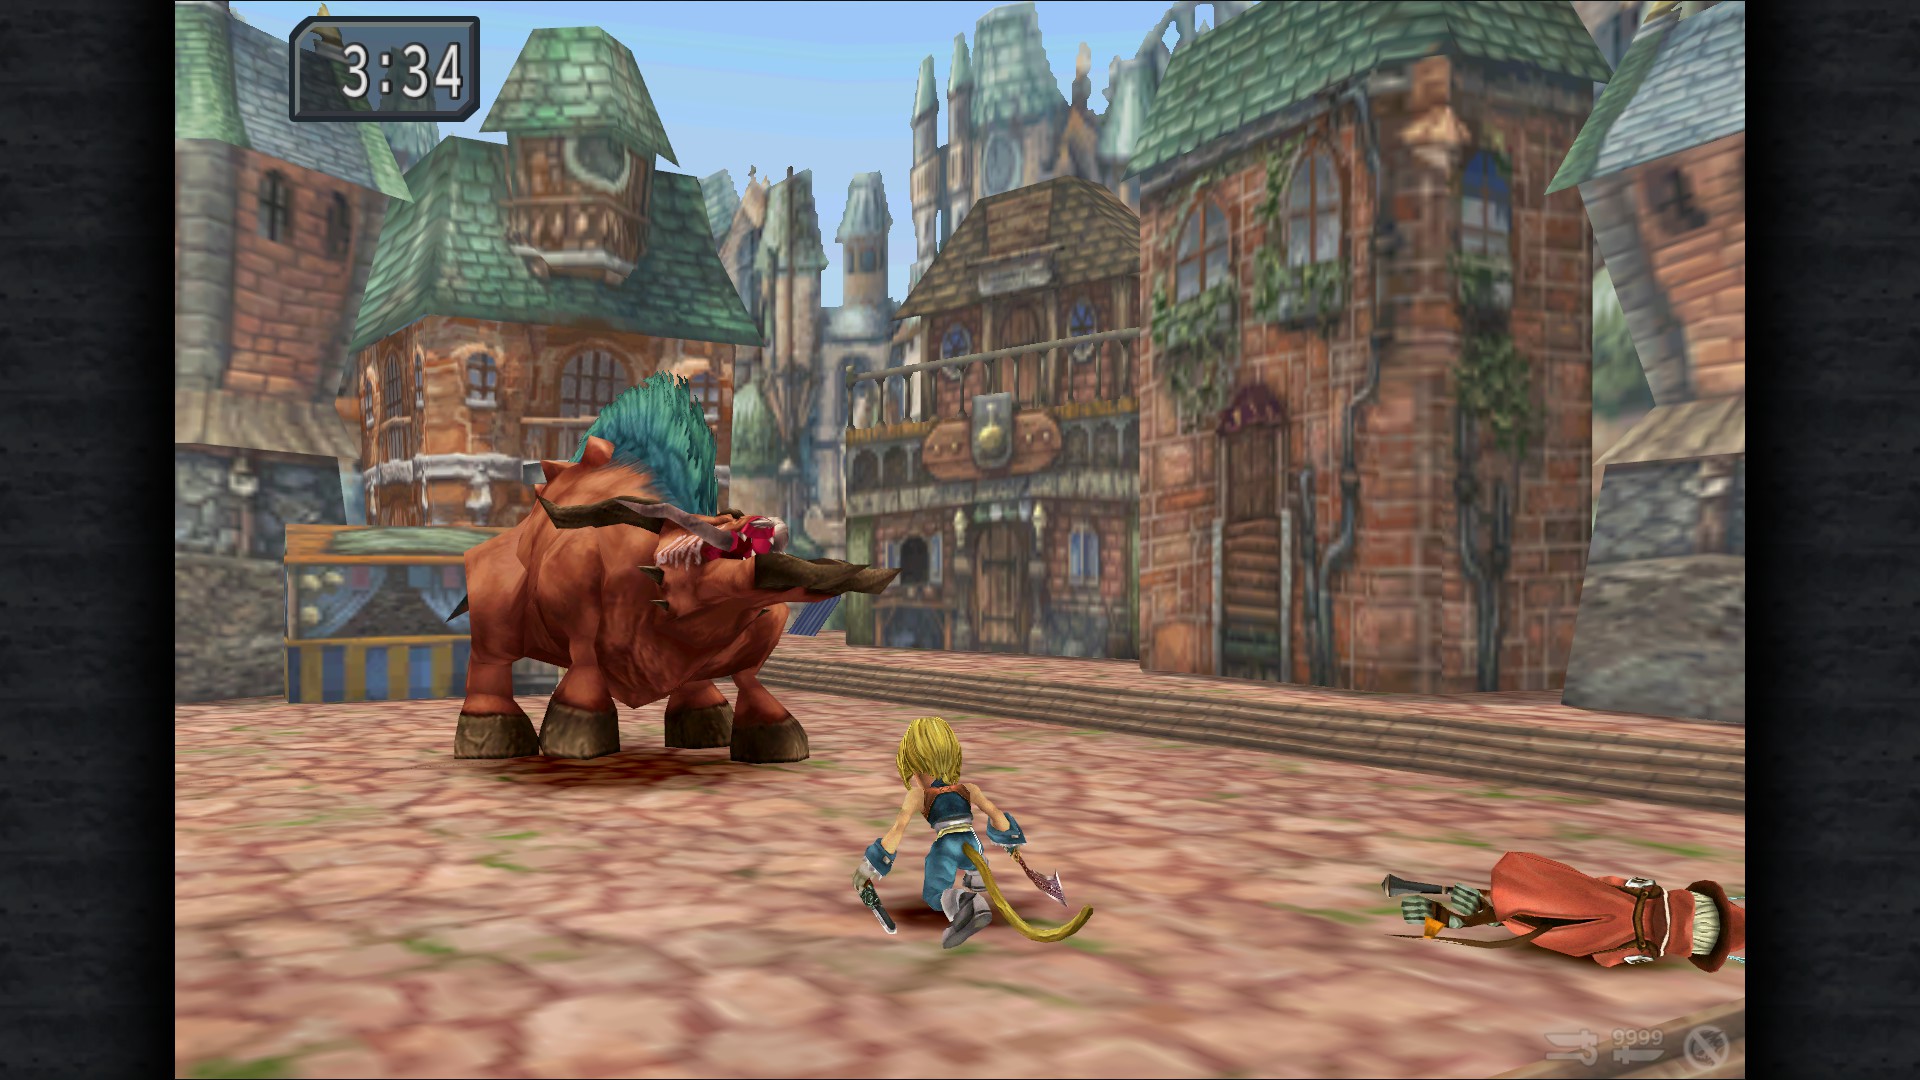
Now head to the right-hand path , where Zaghnol is located. (he won't appear until there's 4:30 or less time left)
Knock out Freya and Zidane during this fight , they both will be disqualified from he hunt , now Vivi will have a chance to win.
If he wins, you'll receive: Theater Ship Card and this achievement.
Lindblum Castle
Wyerd Card - Serpent's Gate
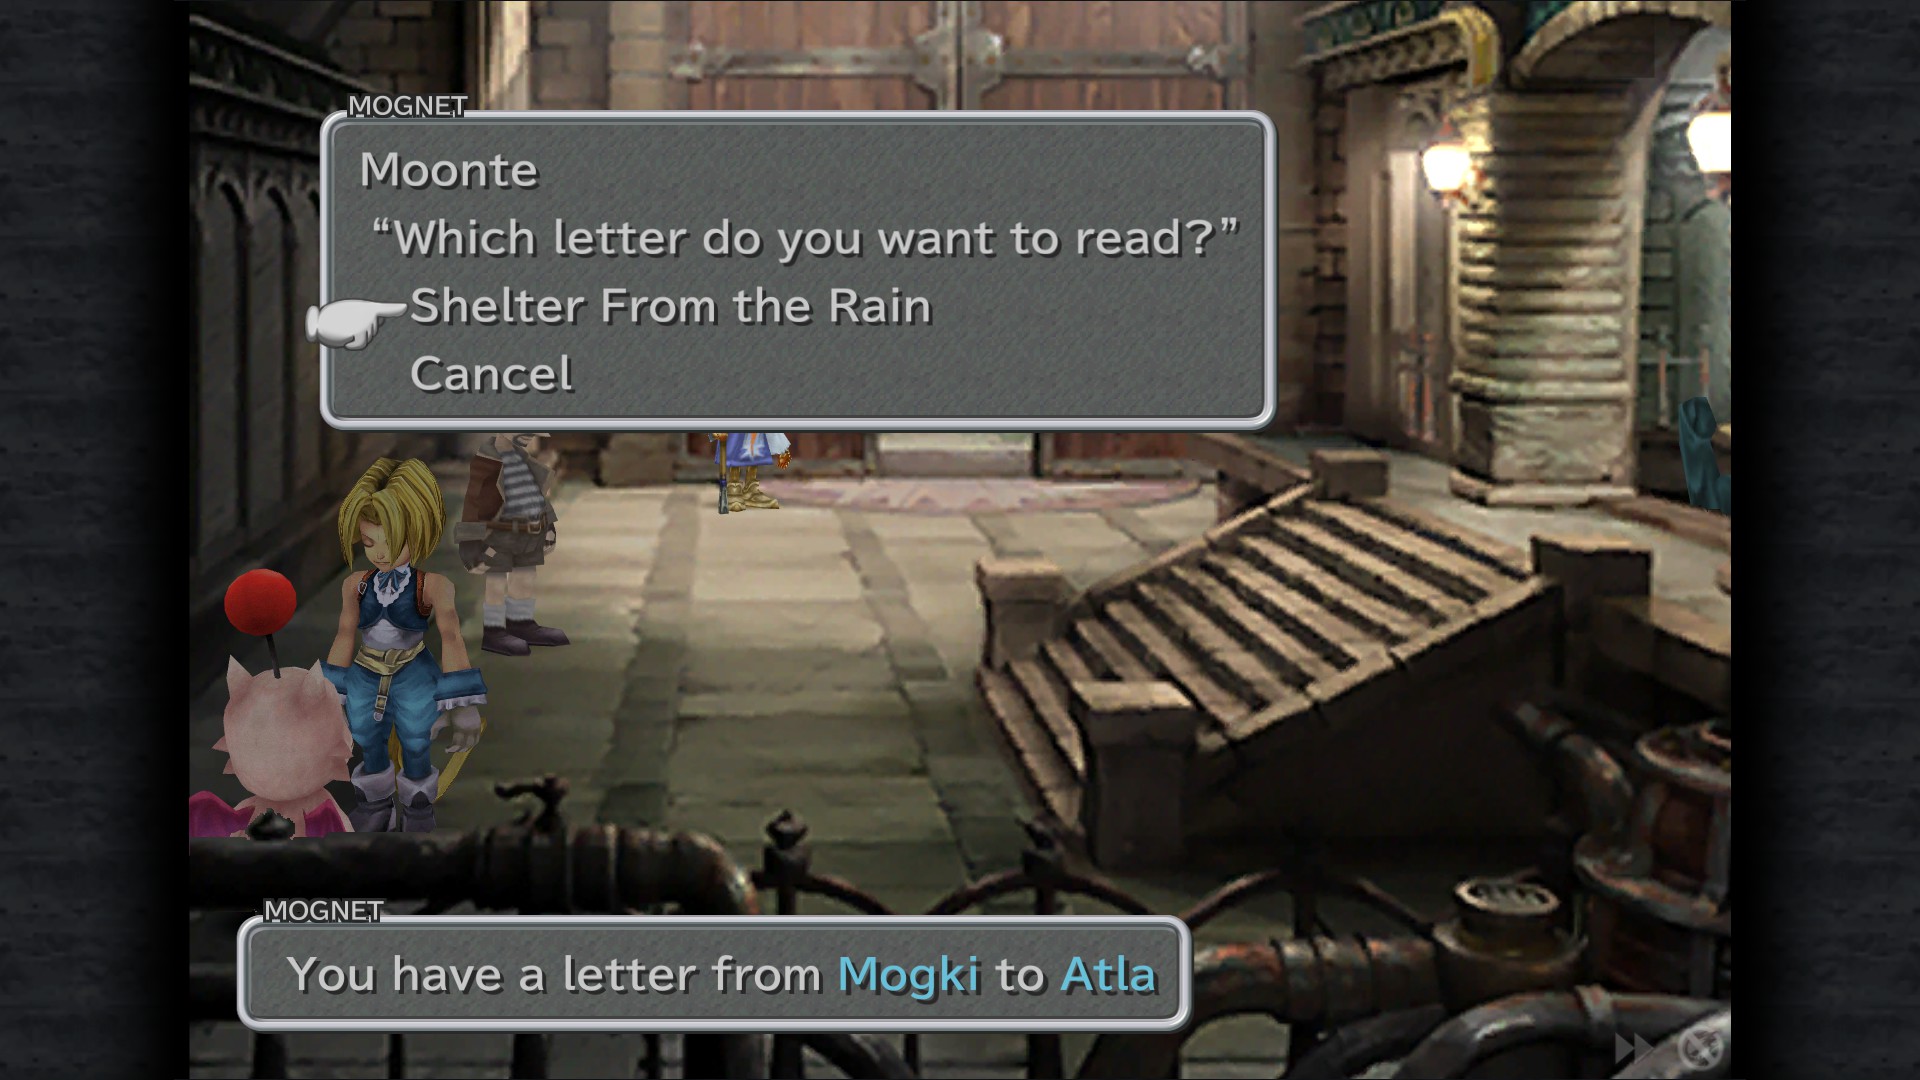
Mognet: "Shelter From the Rain" - Dragon's Gate
Tent (Hidden) - Dragon's Gate
Gizamaluke's Grotto Area


Bohden Arch
Location:
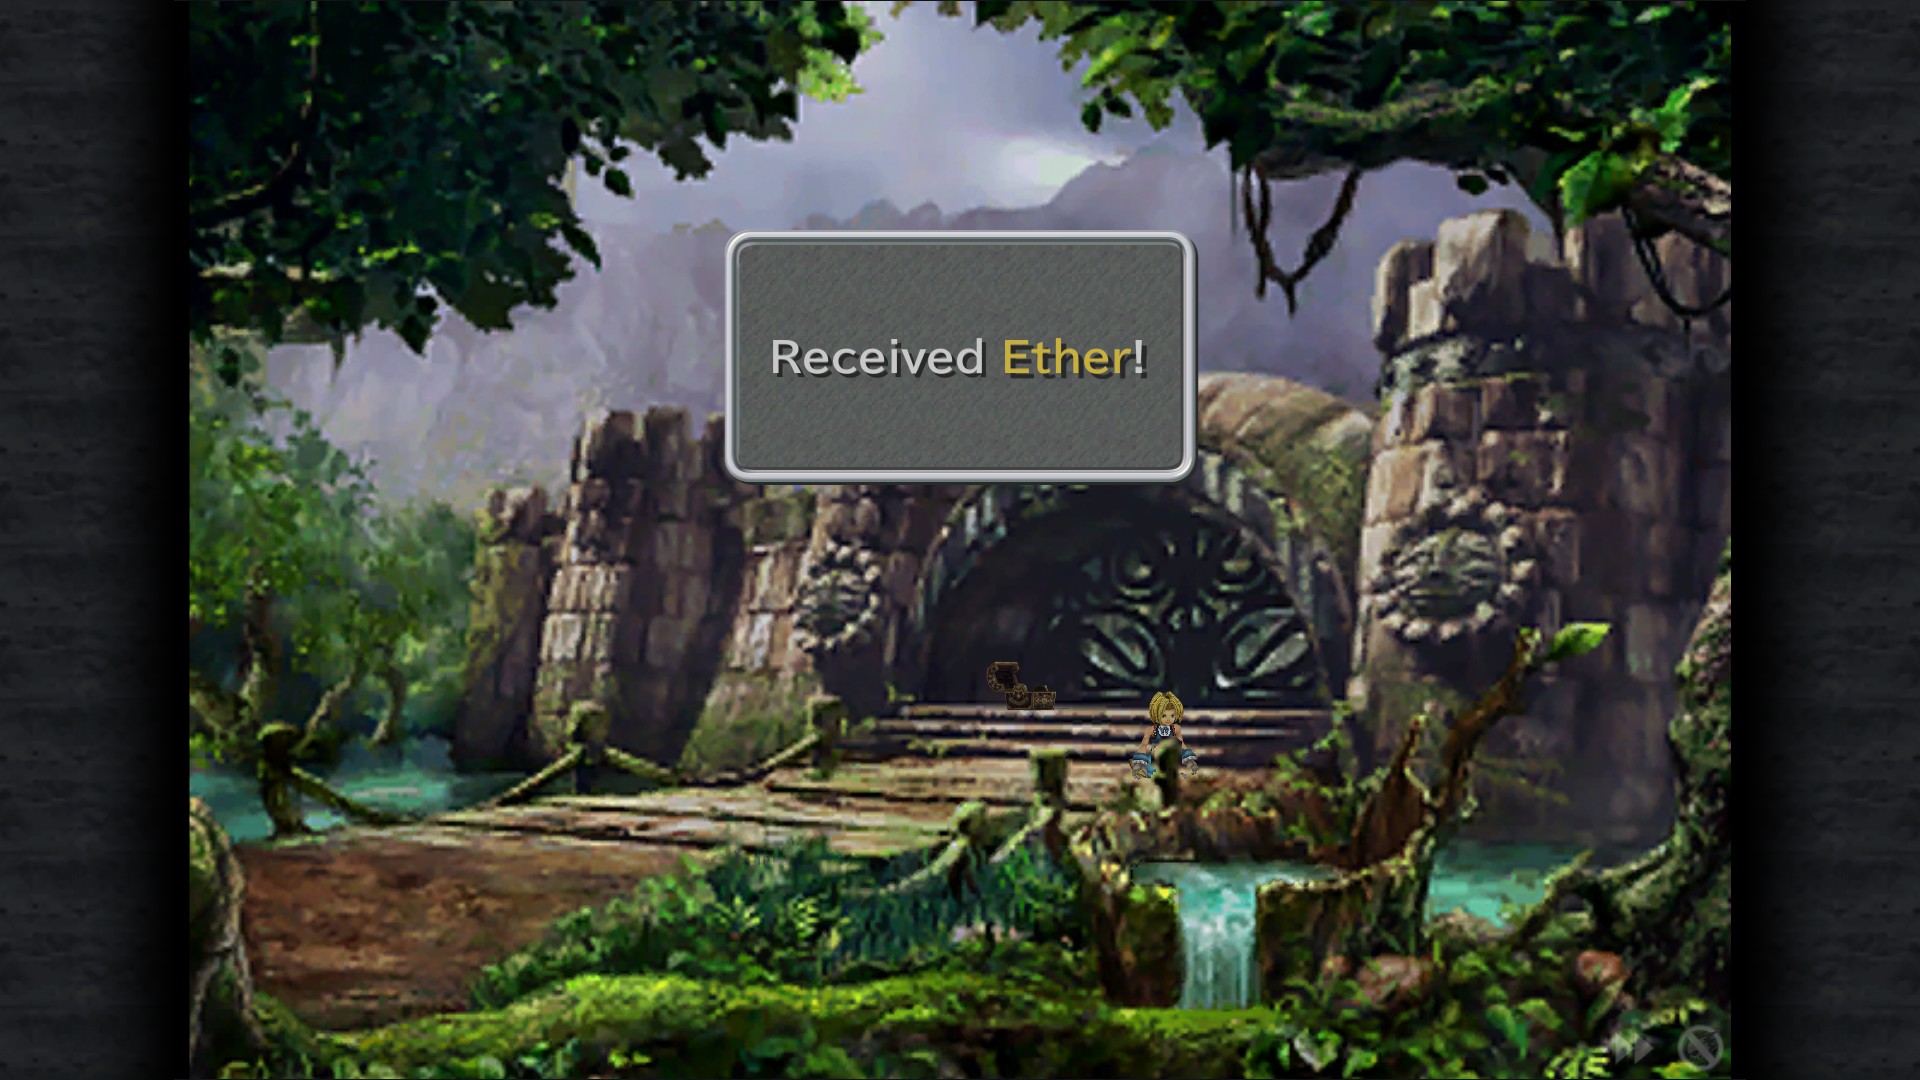
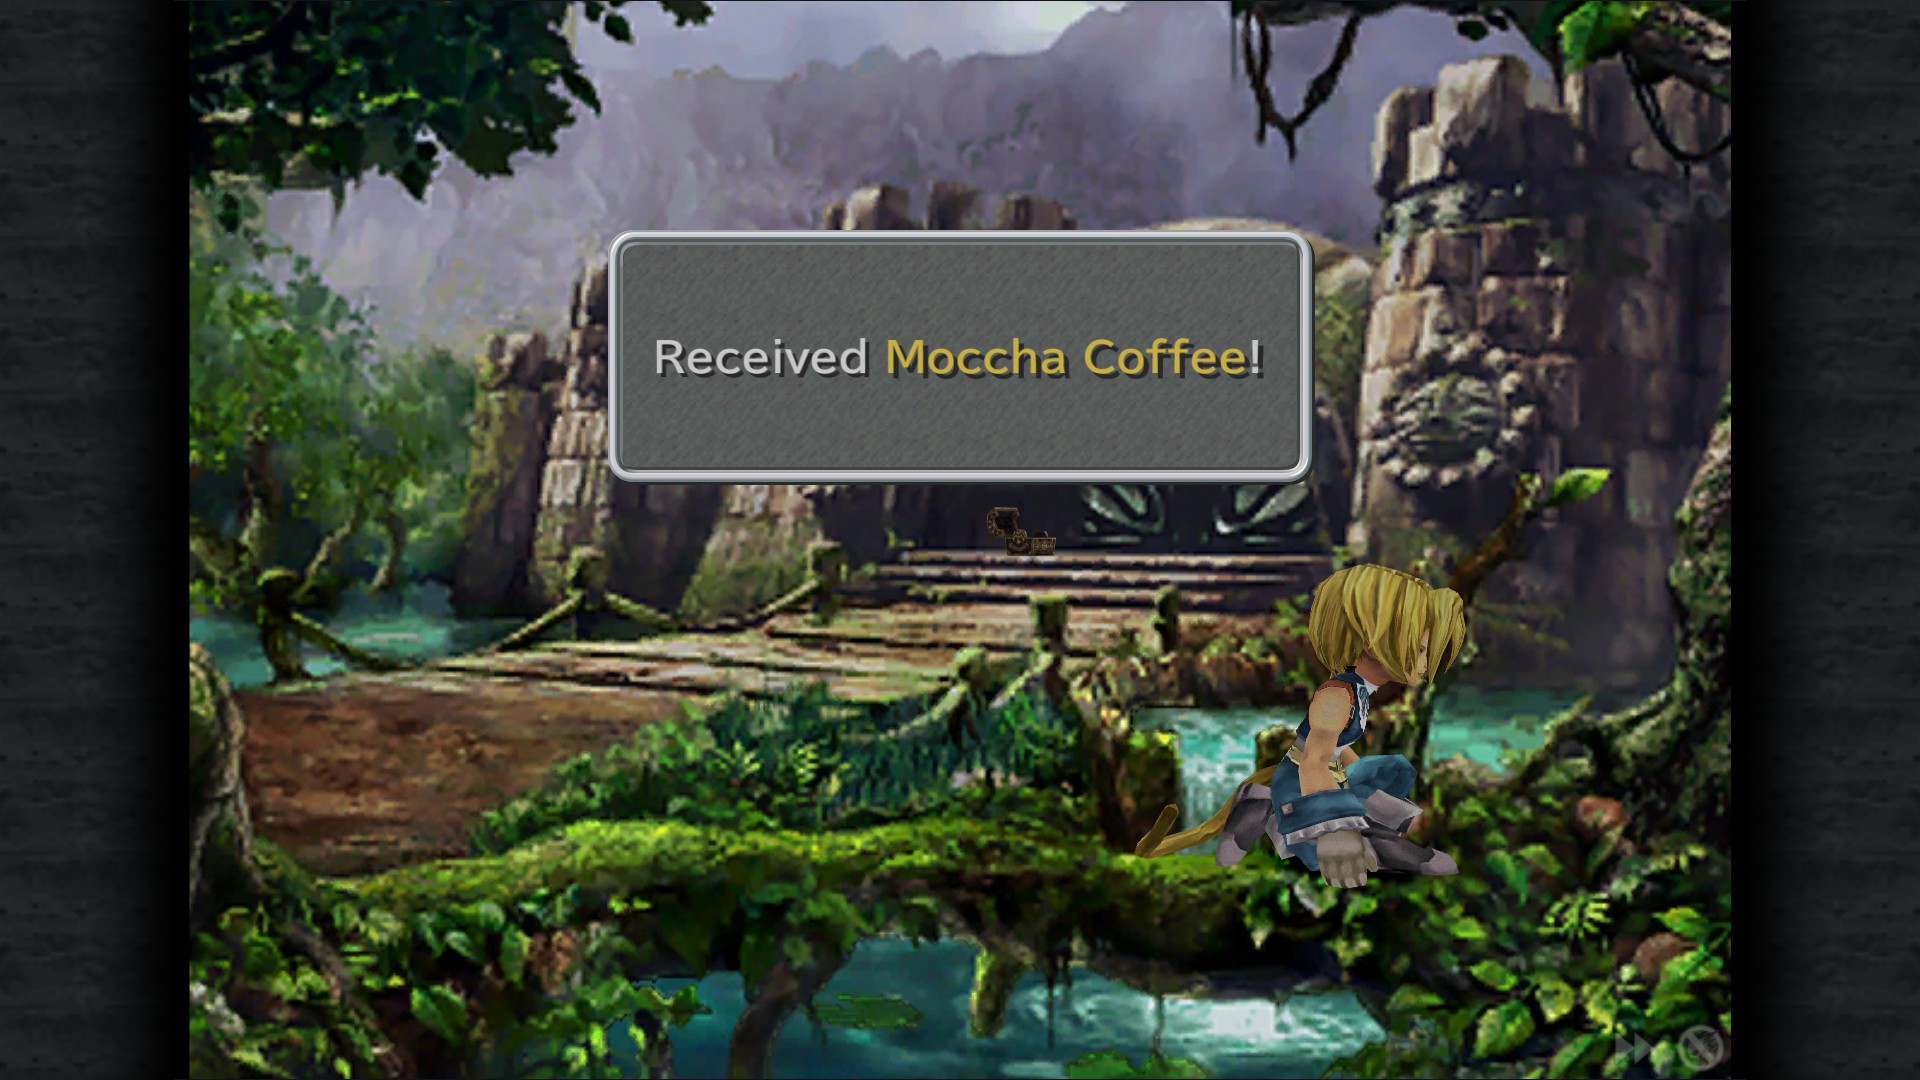
Ether
Moccha Coffee (Sidequest item)
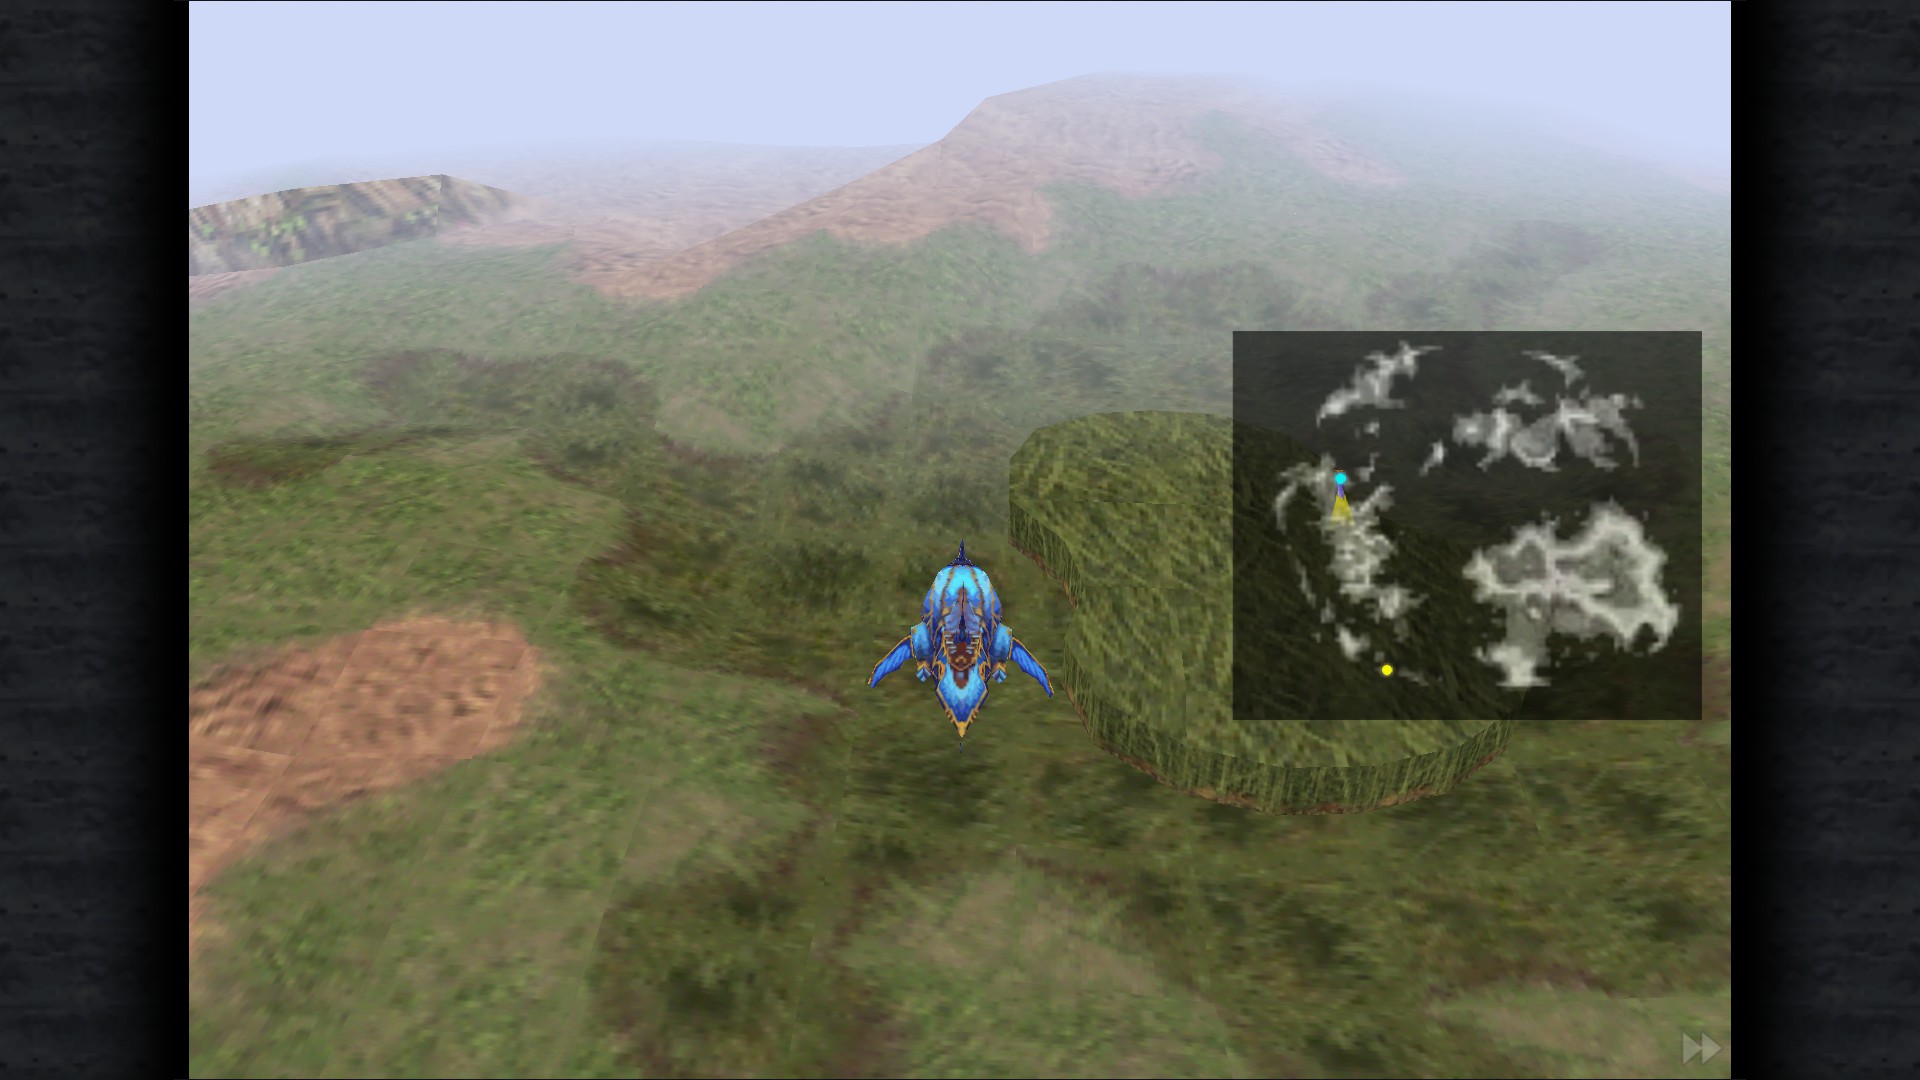
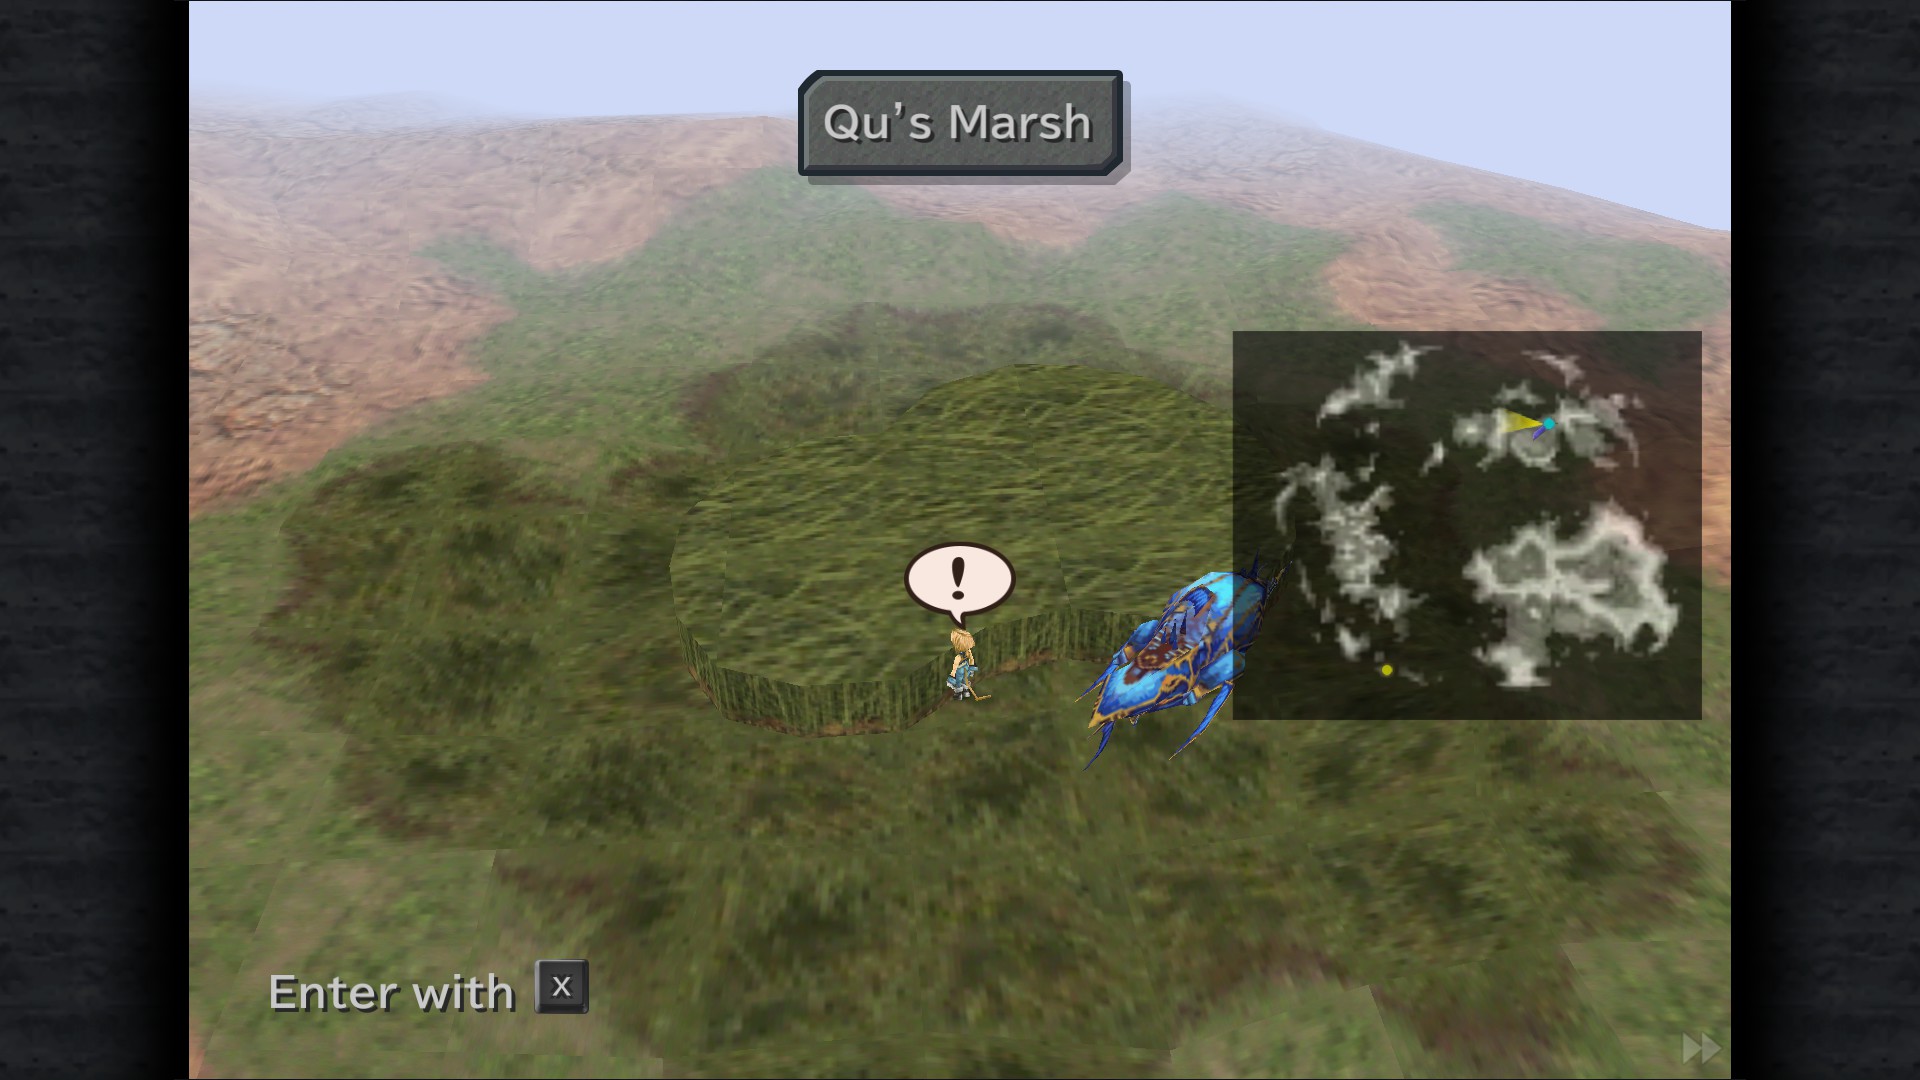
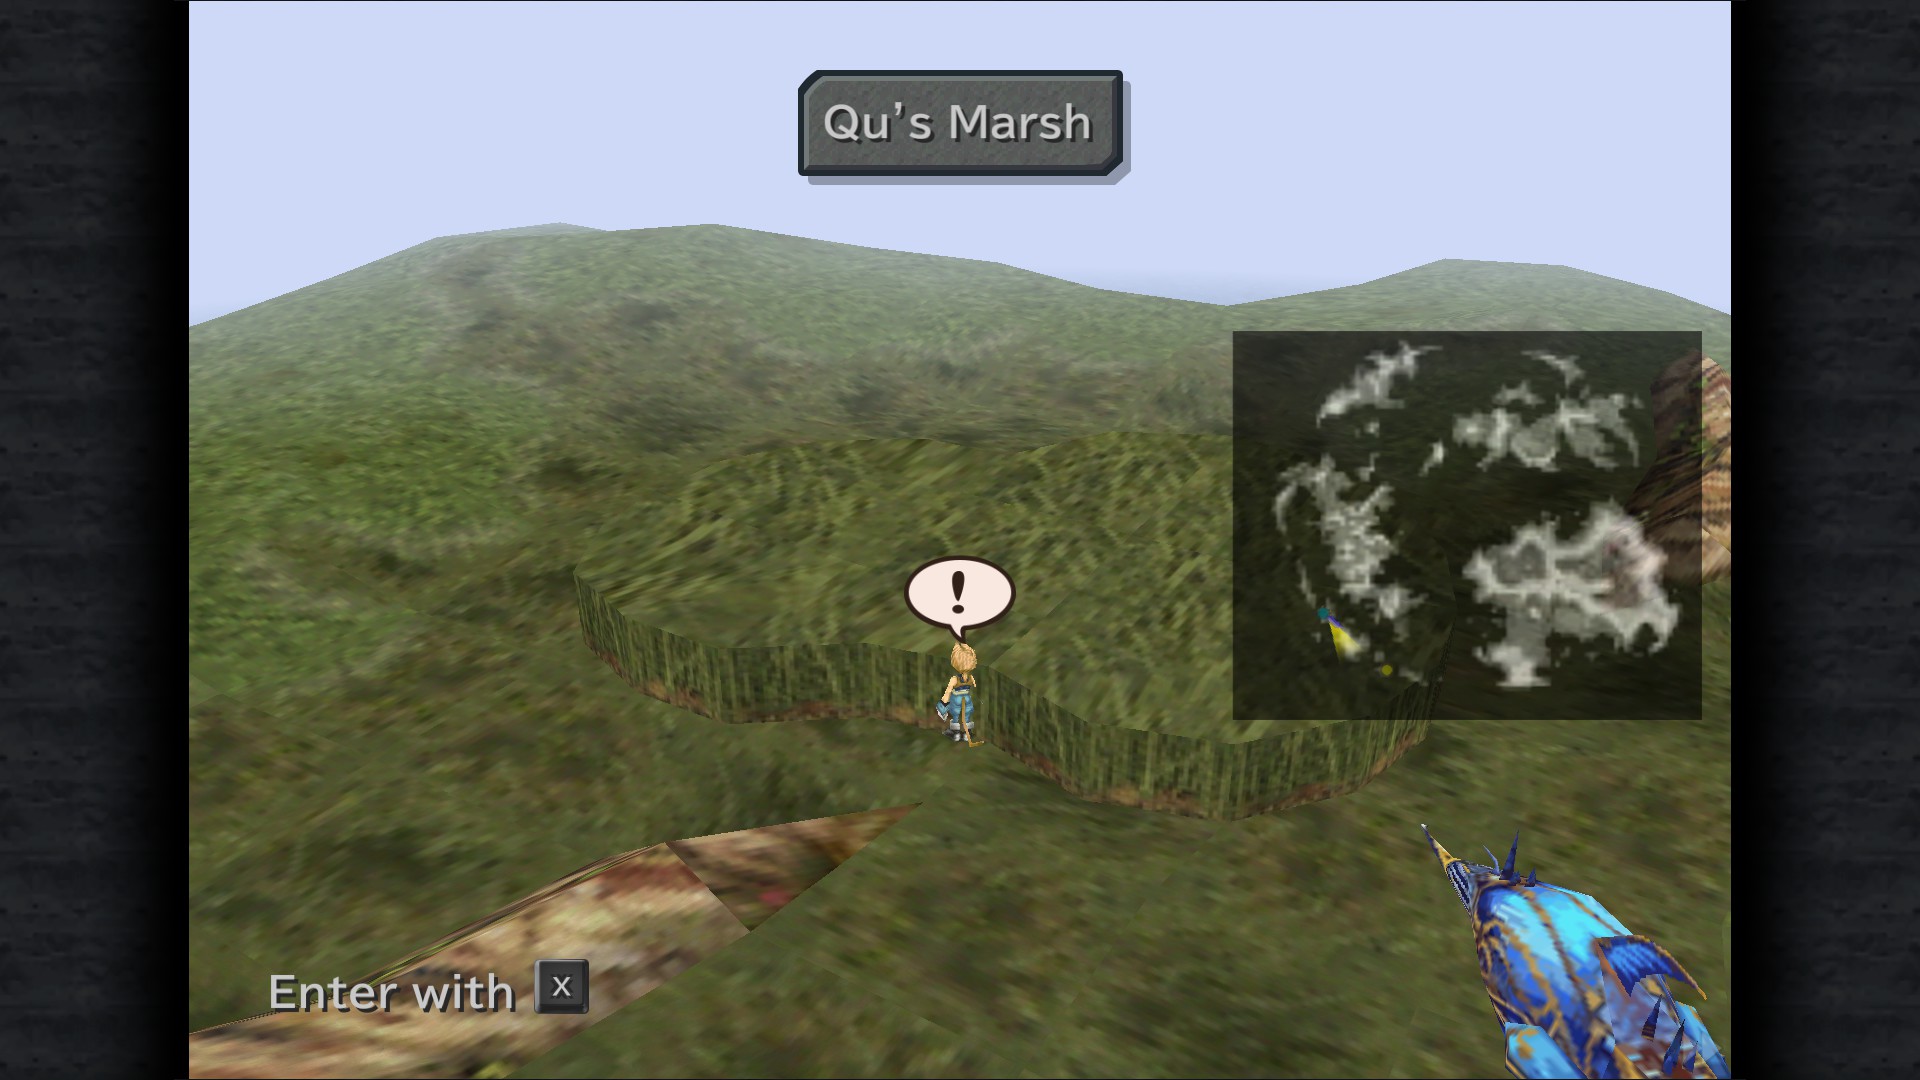
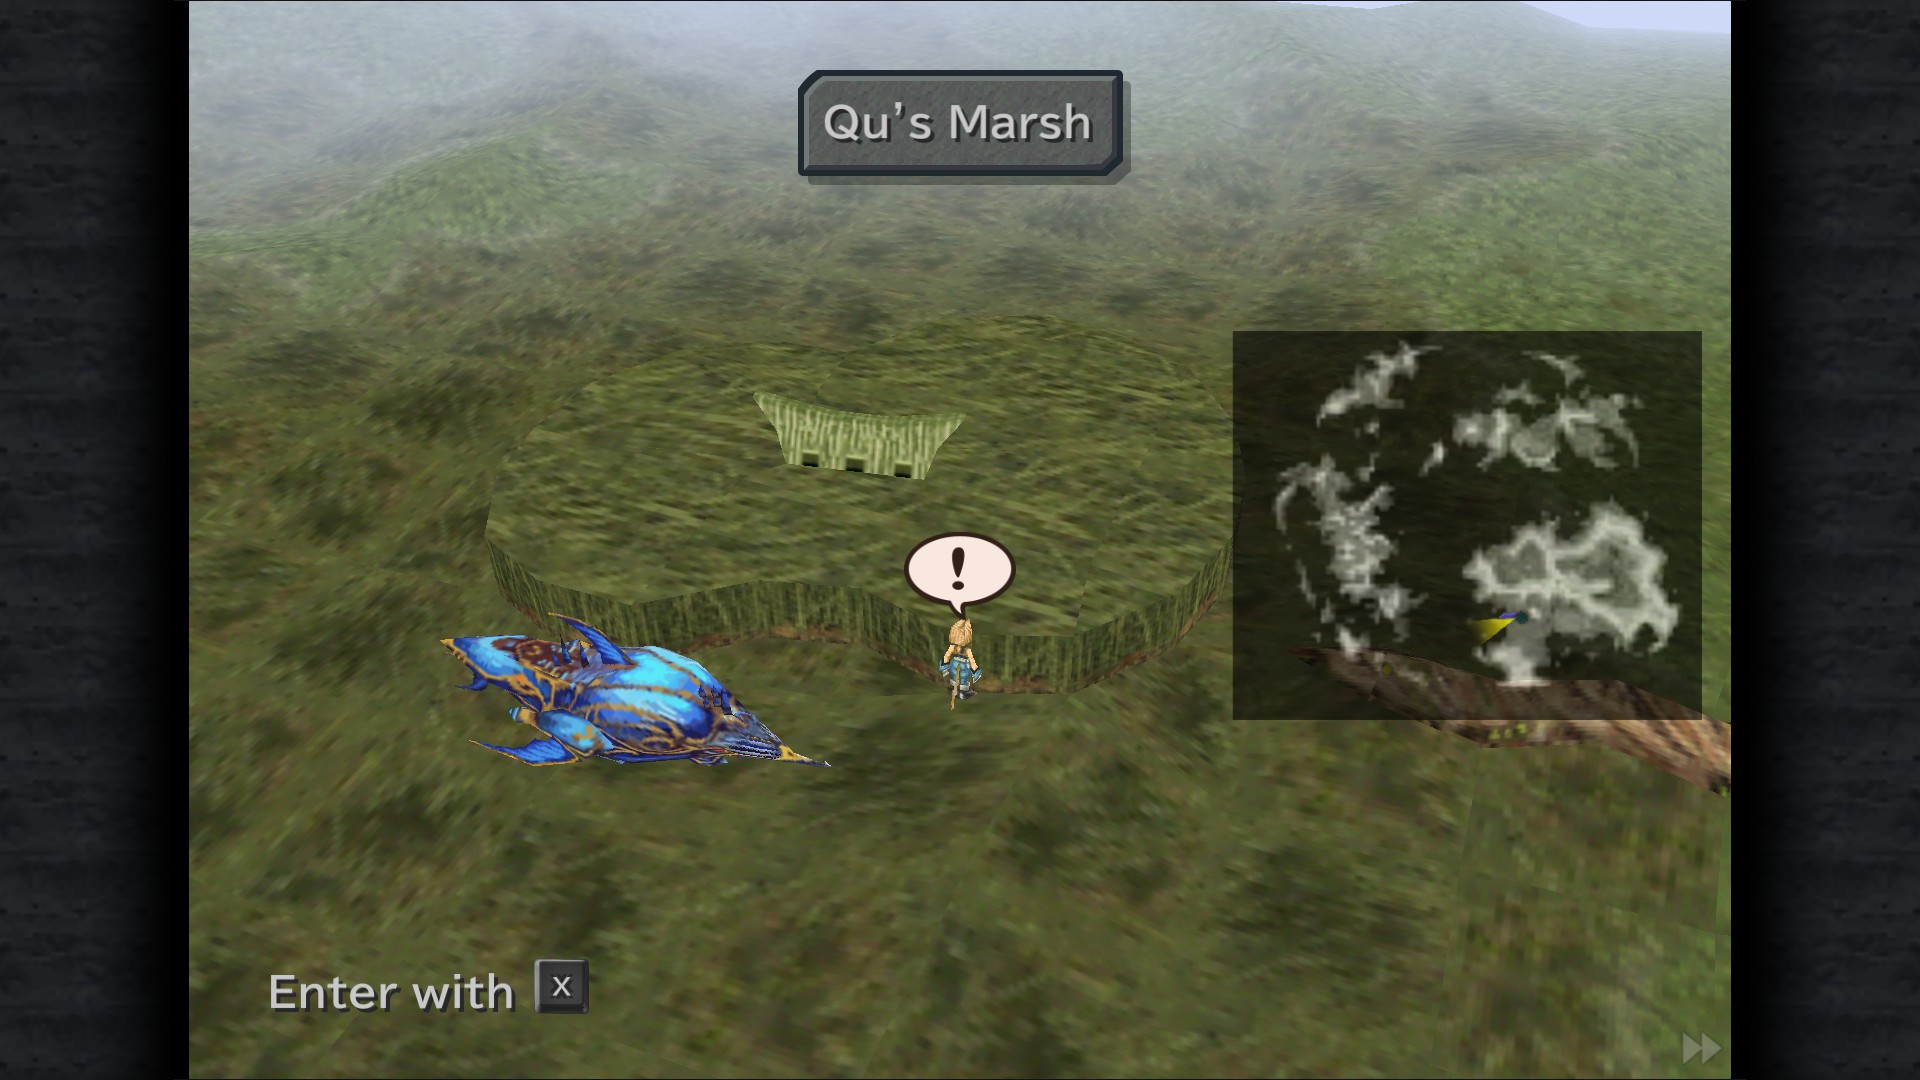
Qu's Marsh
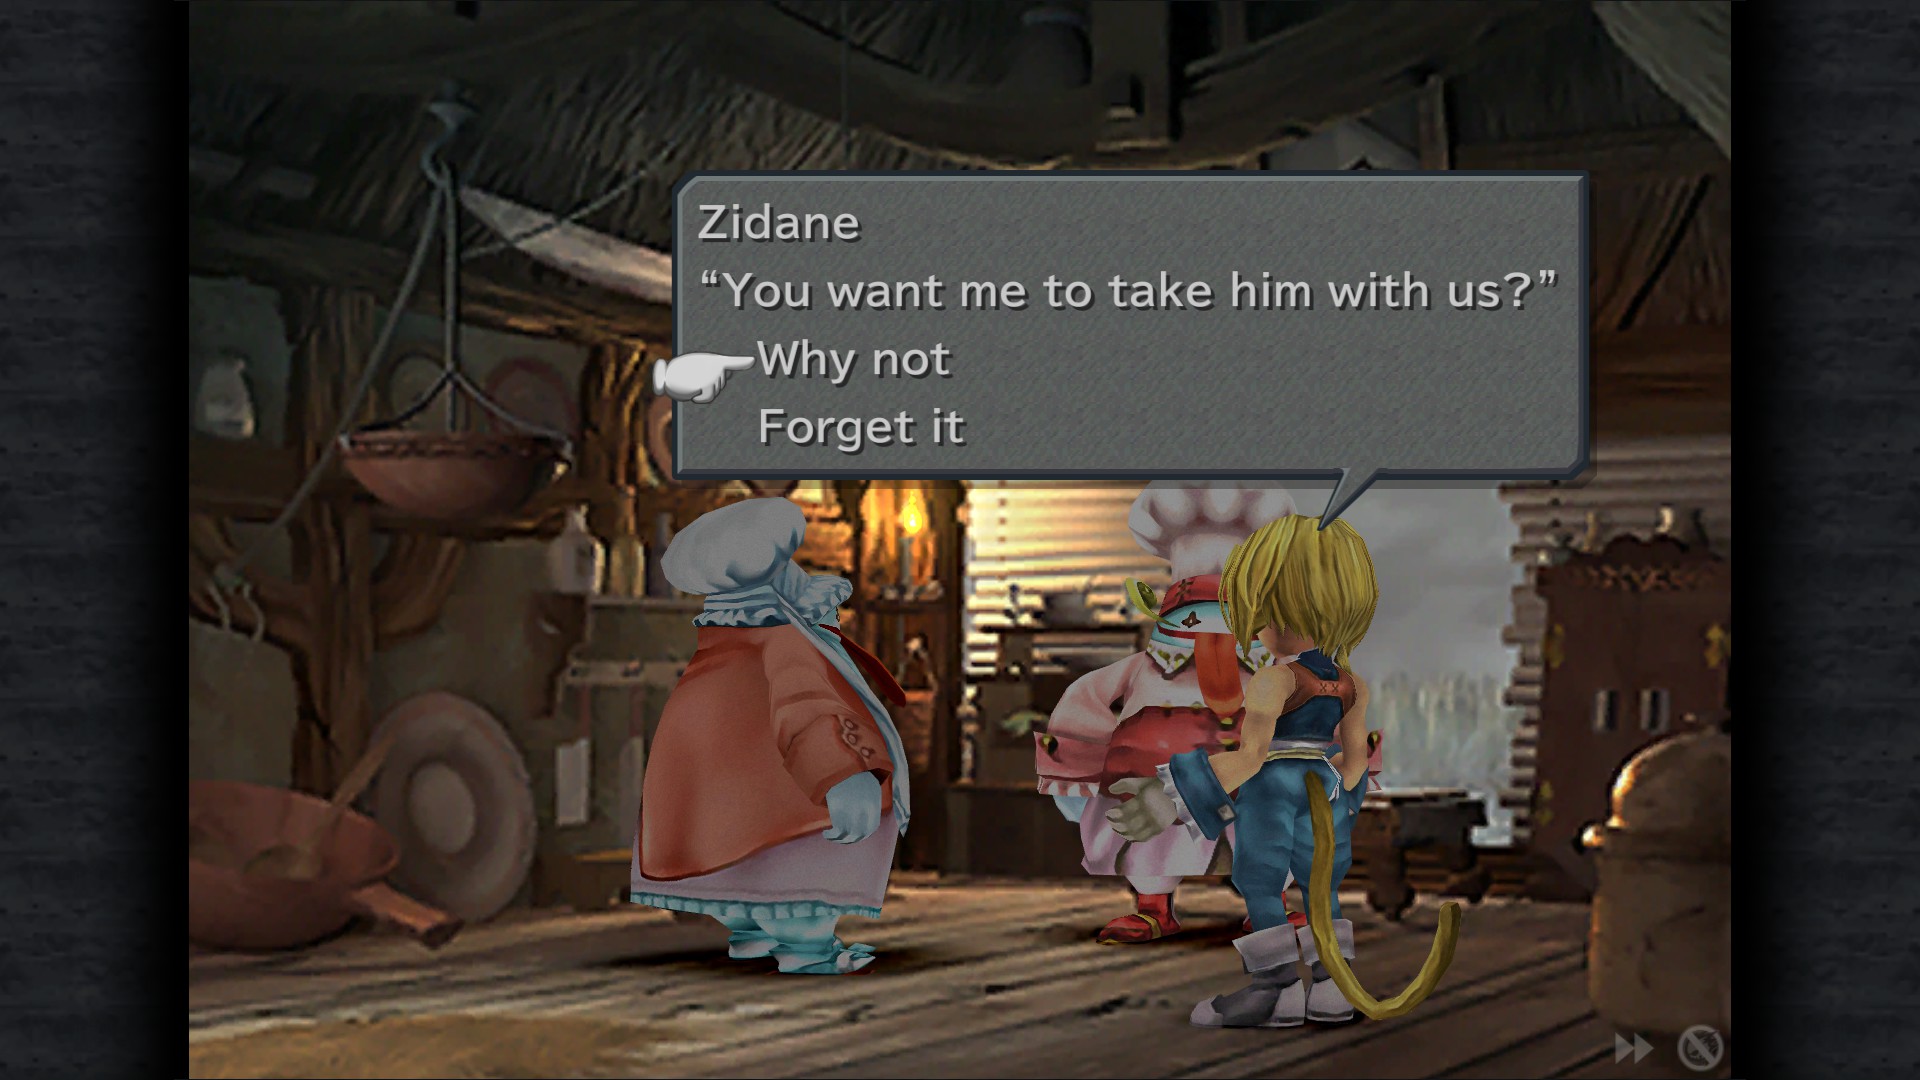
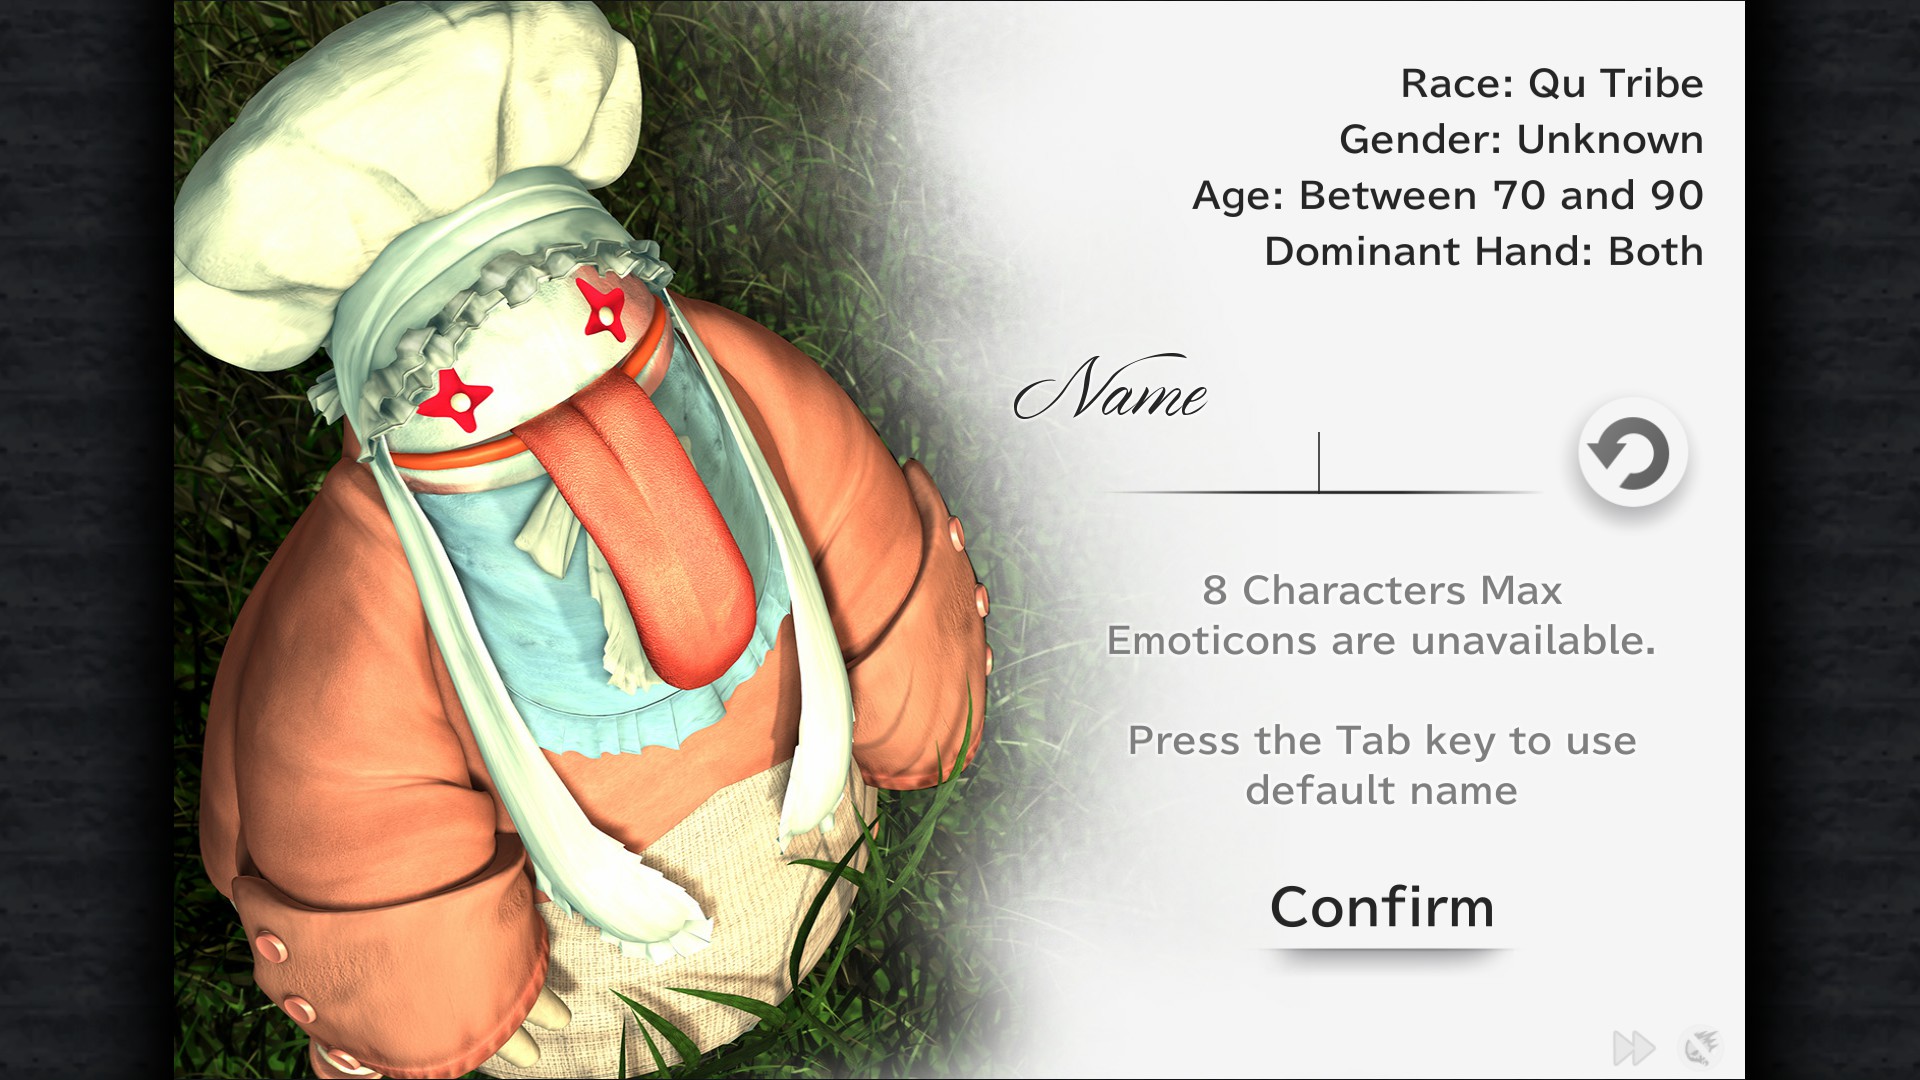
Don't forget to recluit Quina here, just catch and give a frog to her to do that.
Gizamaluke's Grotto
Bronze Vest - Cavern
Magus Hat - Bell Room (Under the bridge)
Mythril Gloves - Bell Room (Top of the bridge)
Mognet: "It Was So Exciting!" - Cavern
Bohden Gate
Multina Racket
Potion - Bohden Station
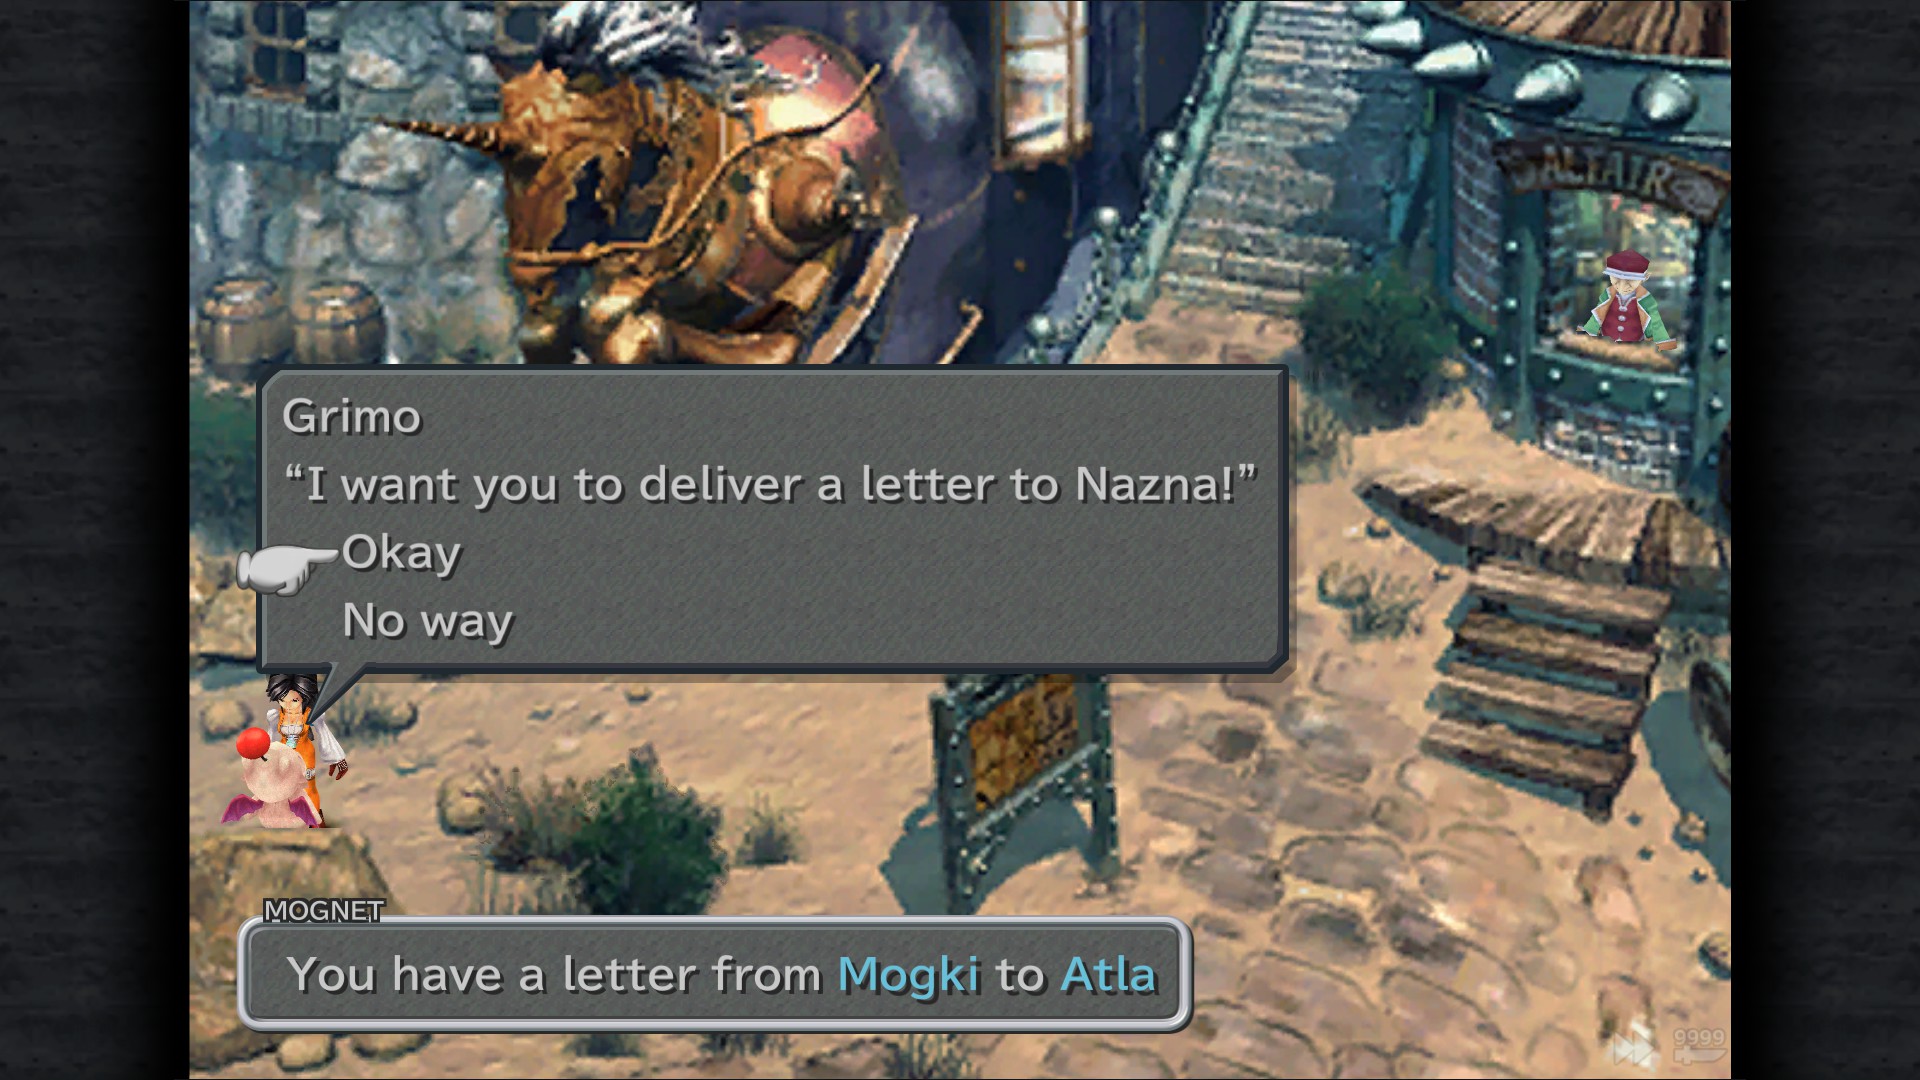
Mognet: Pick up the letter for delivery (Grimo to Nazna) - Bohden Station
Burmecia Arch
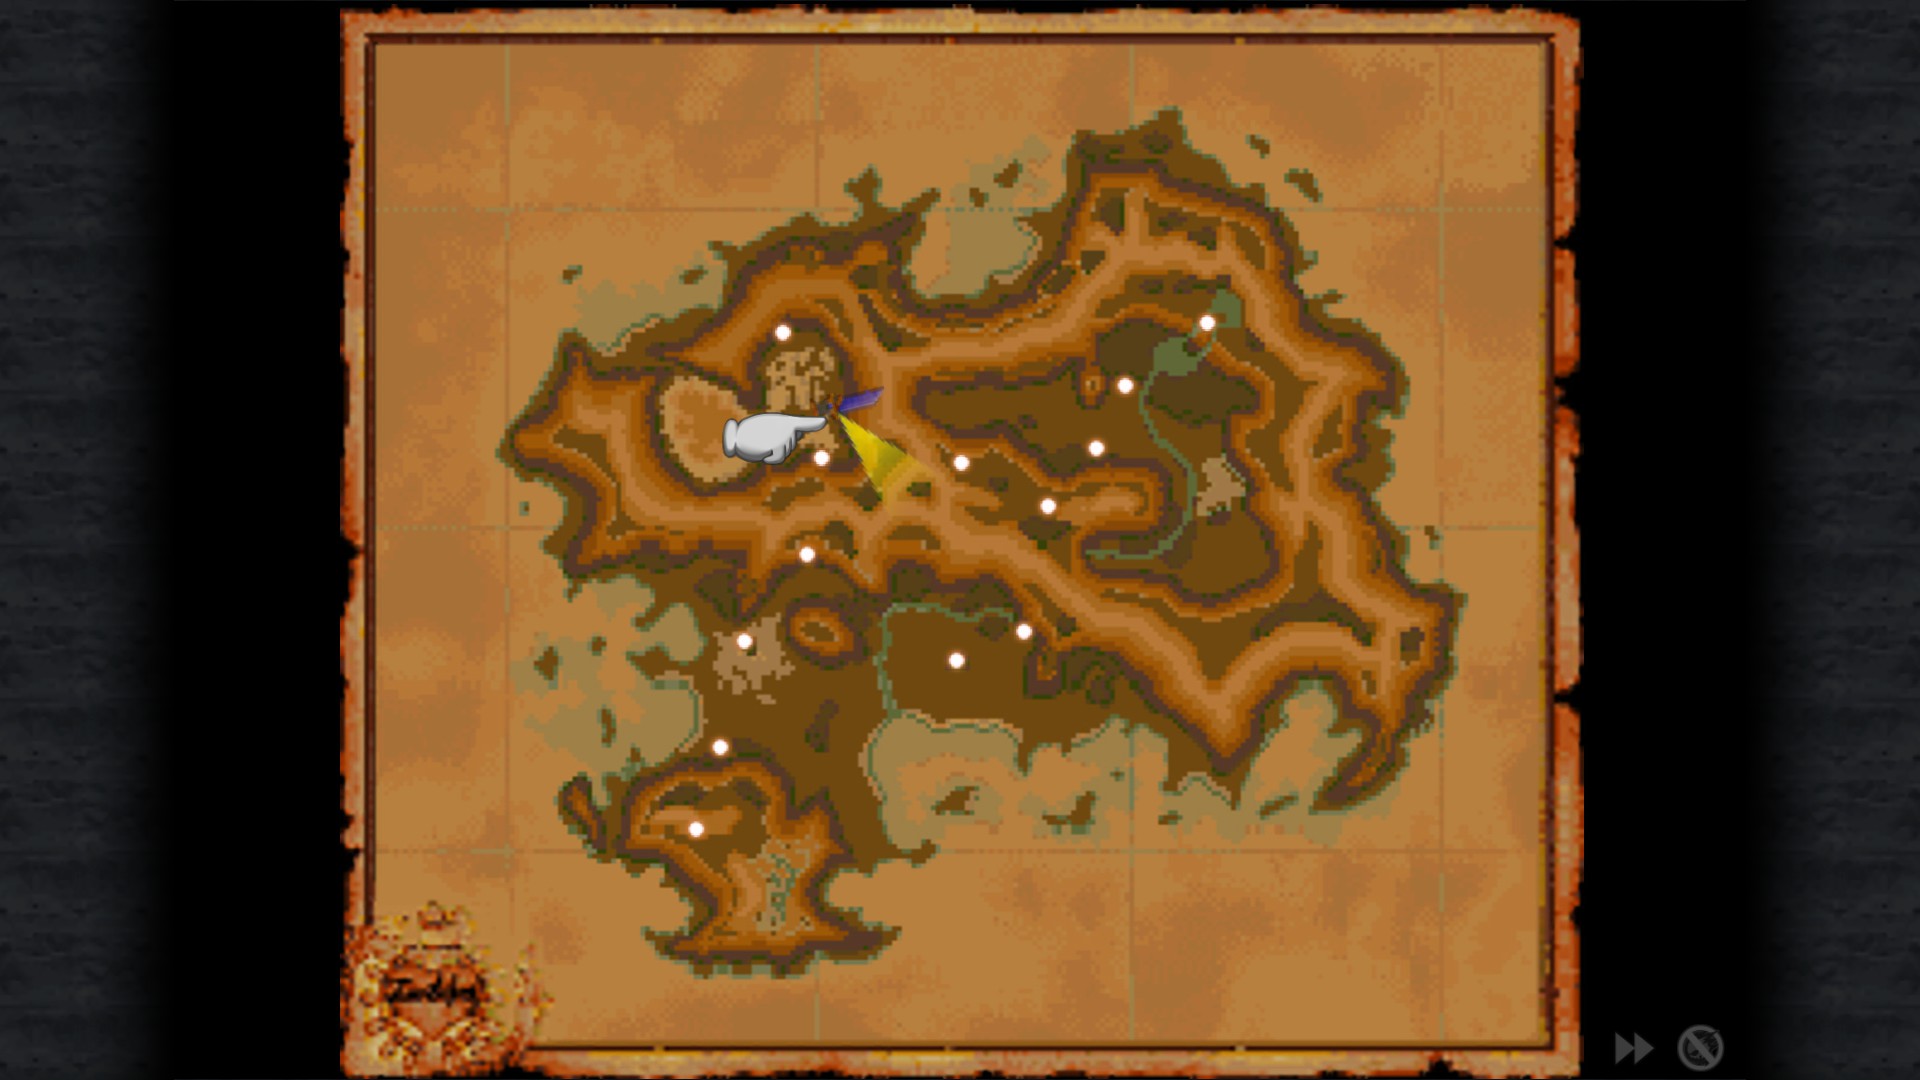
Location:
Hi-Potion
Tent
Burmecia

Cancer* - Suburb
Potion - Residence/Left entrance
Soft - Residence/Left entrance
Soft - Residence/Right entrance
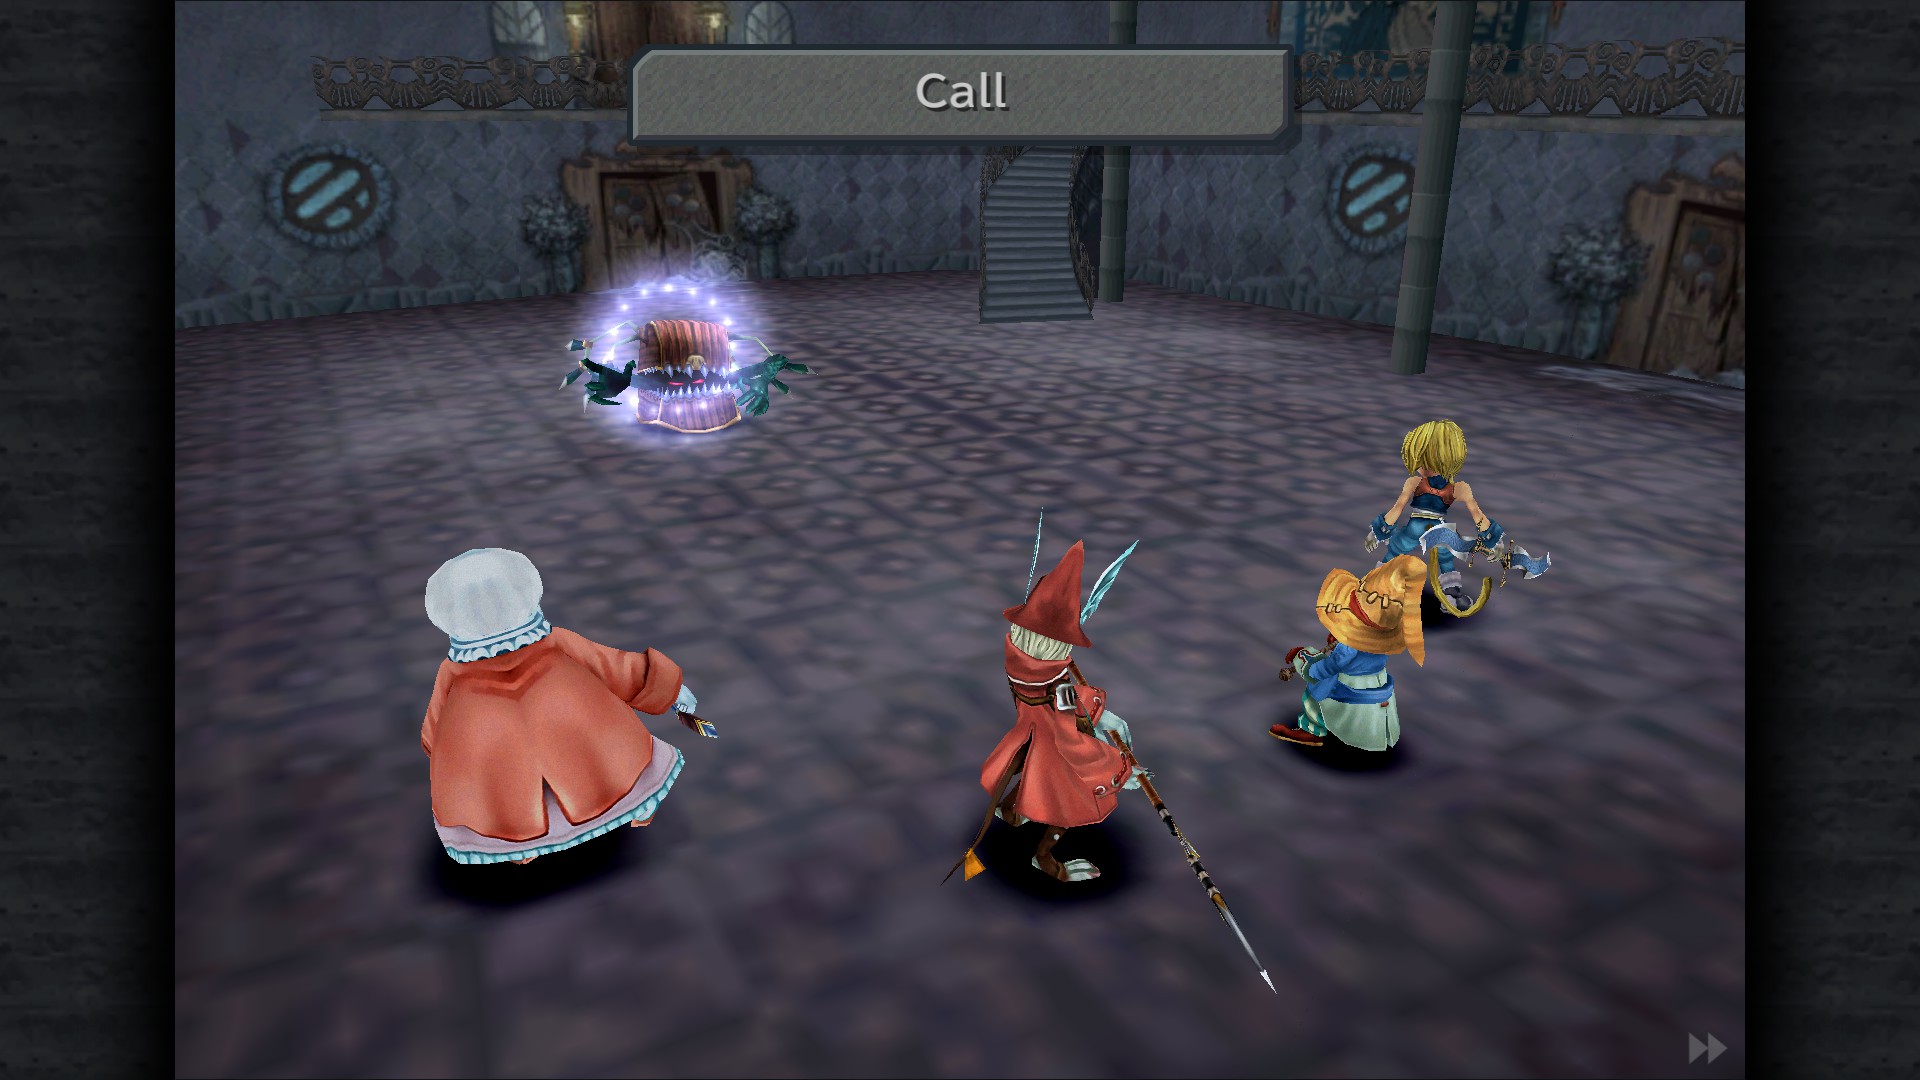
Mimic battle - Residence/Right entrance upstairs
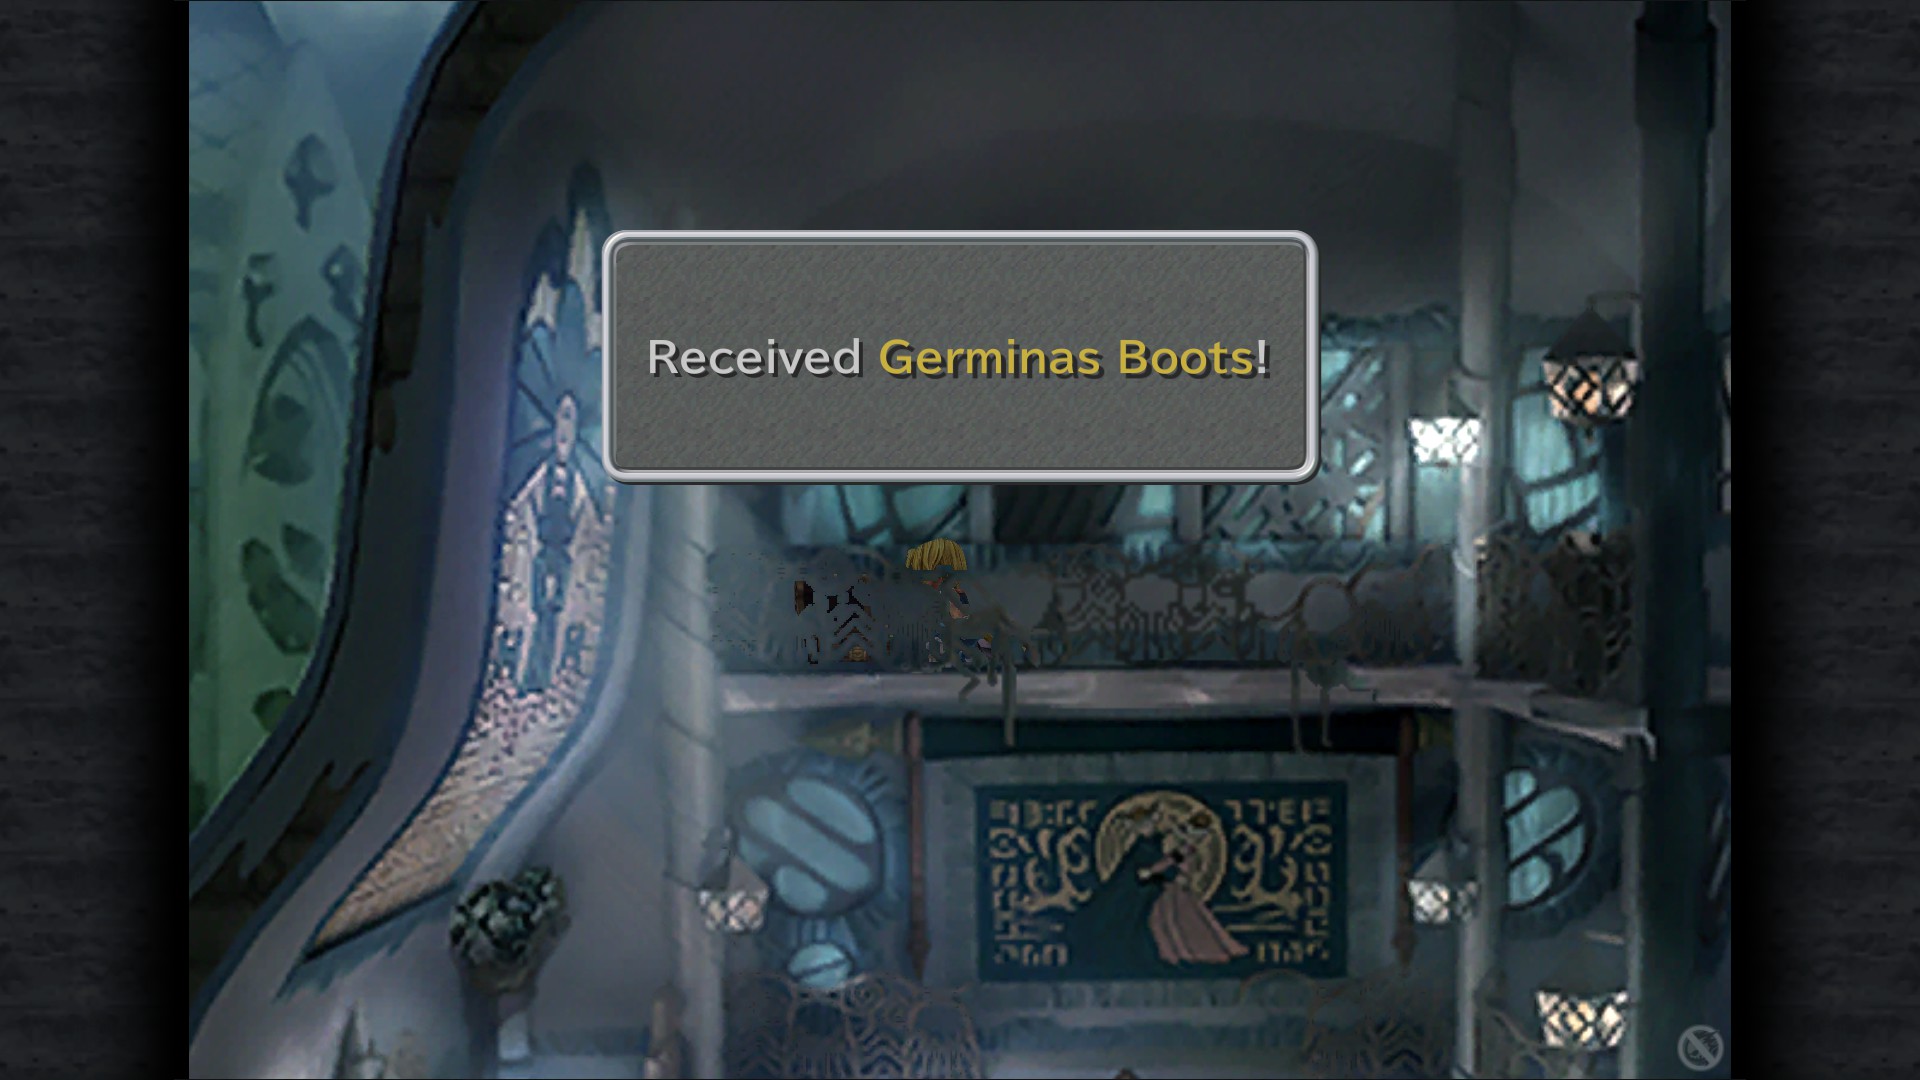
Germinas Boots - Top balcony of left residence (Walk or you'll miss it)
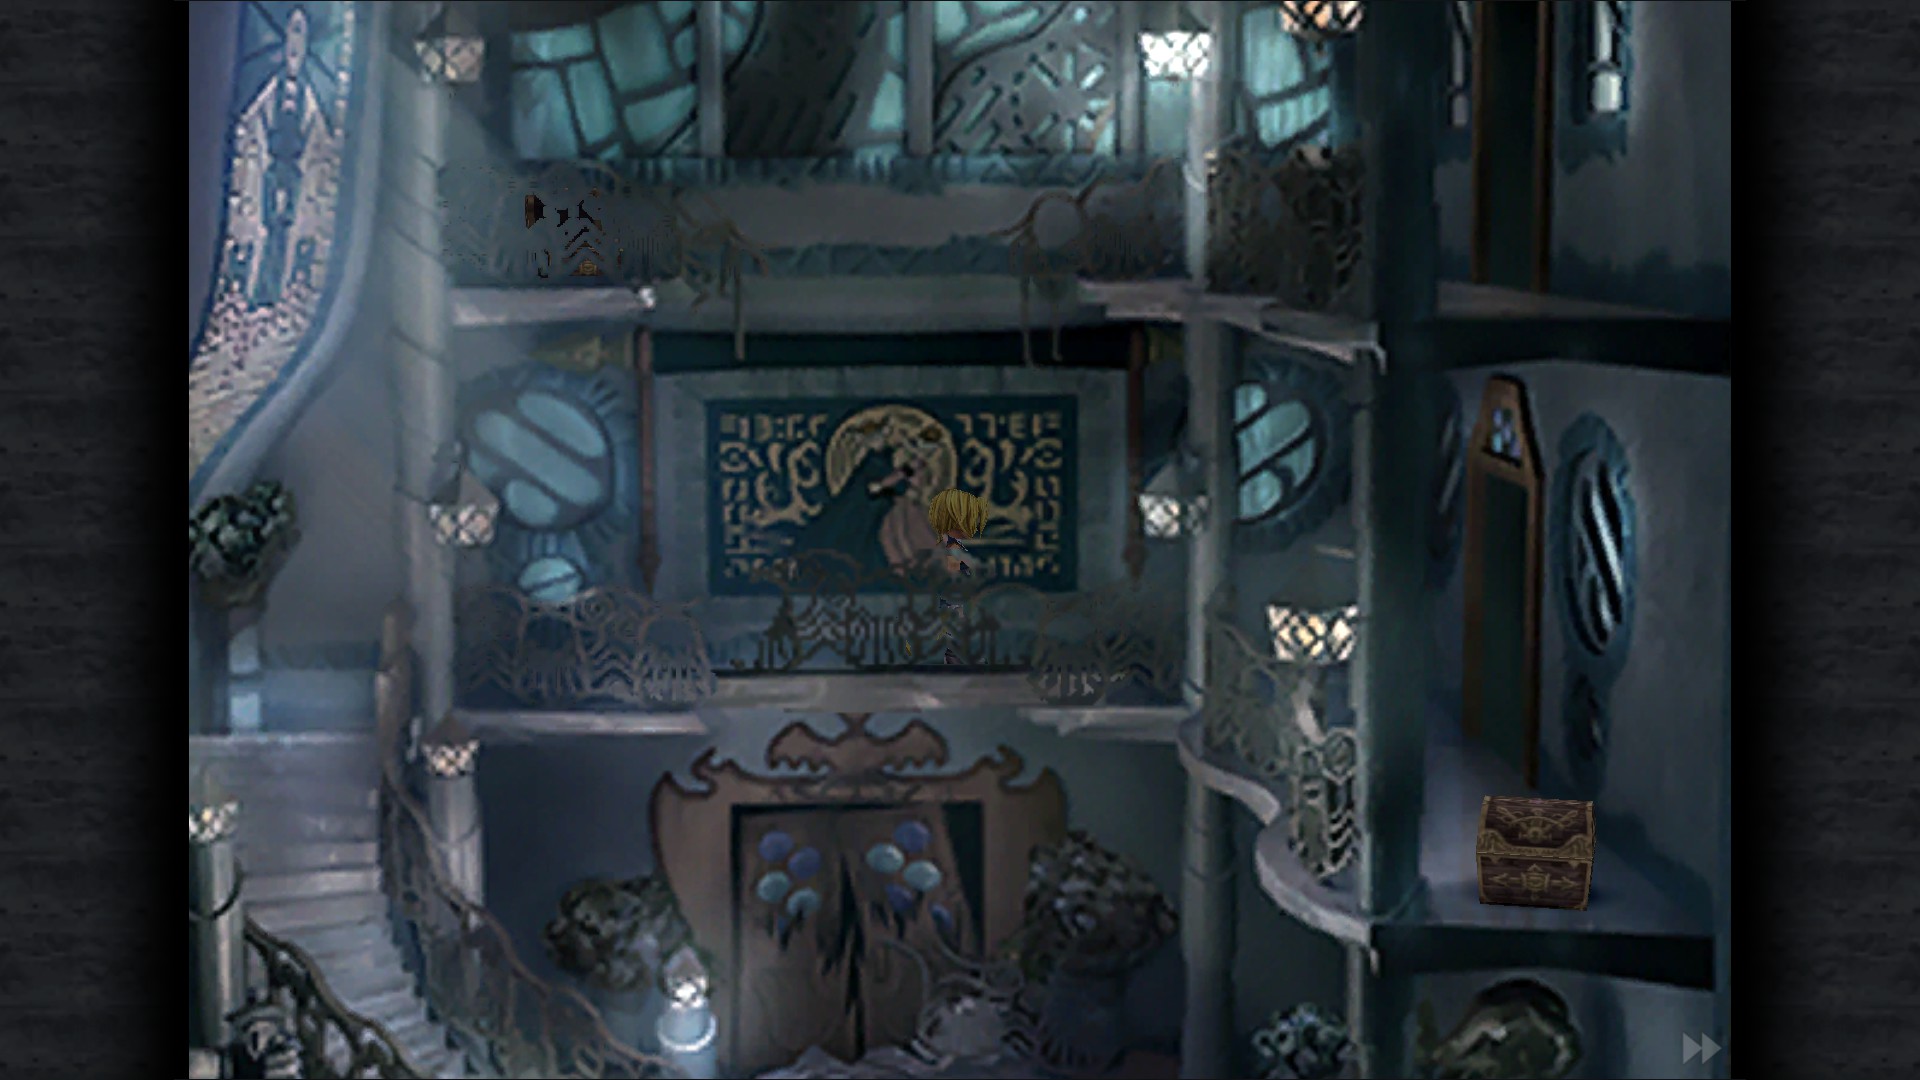
Mimic battle - Left residence/after dropping top floor structure
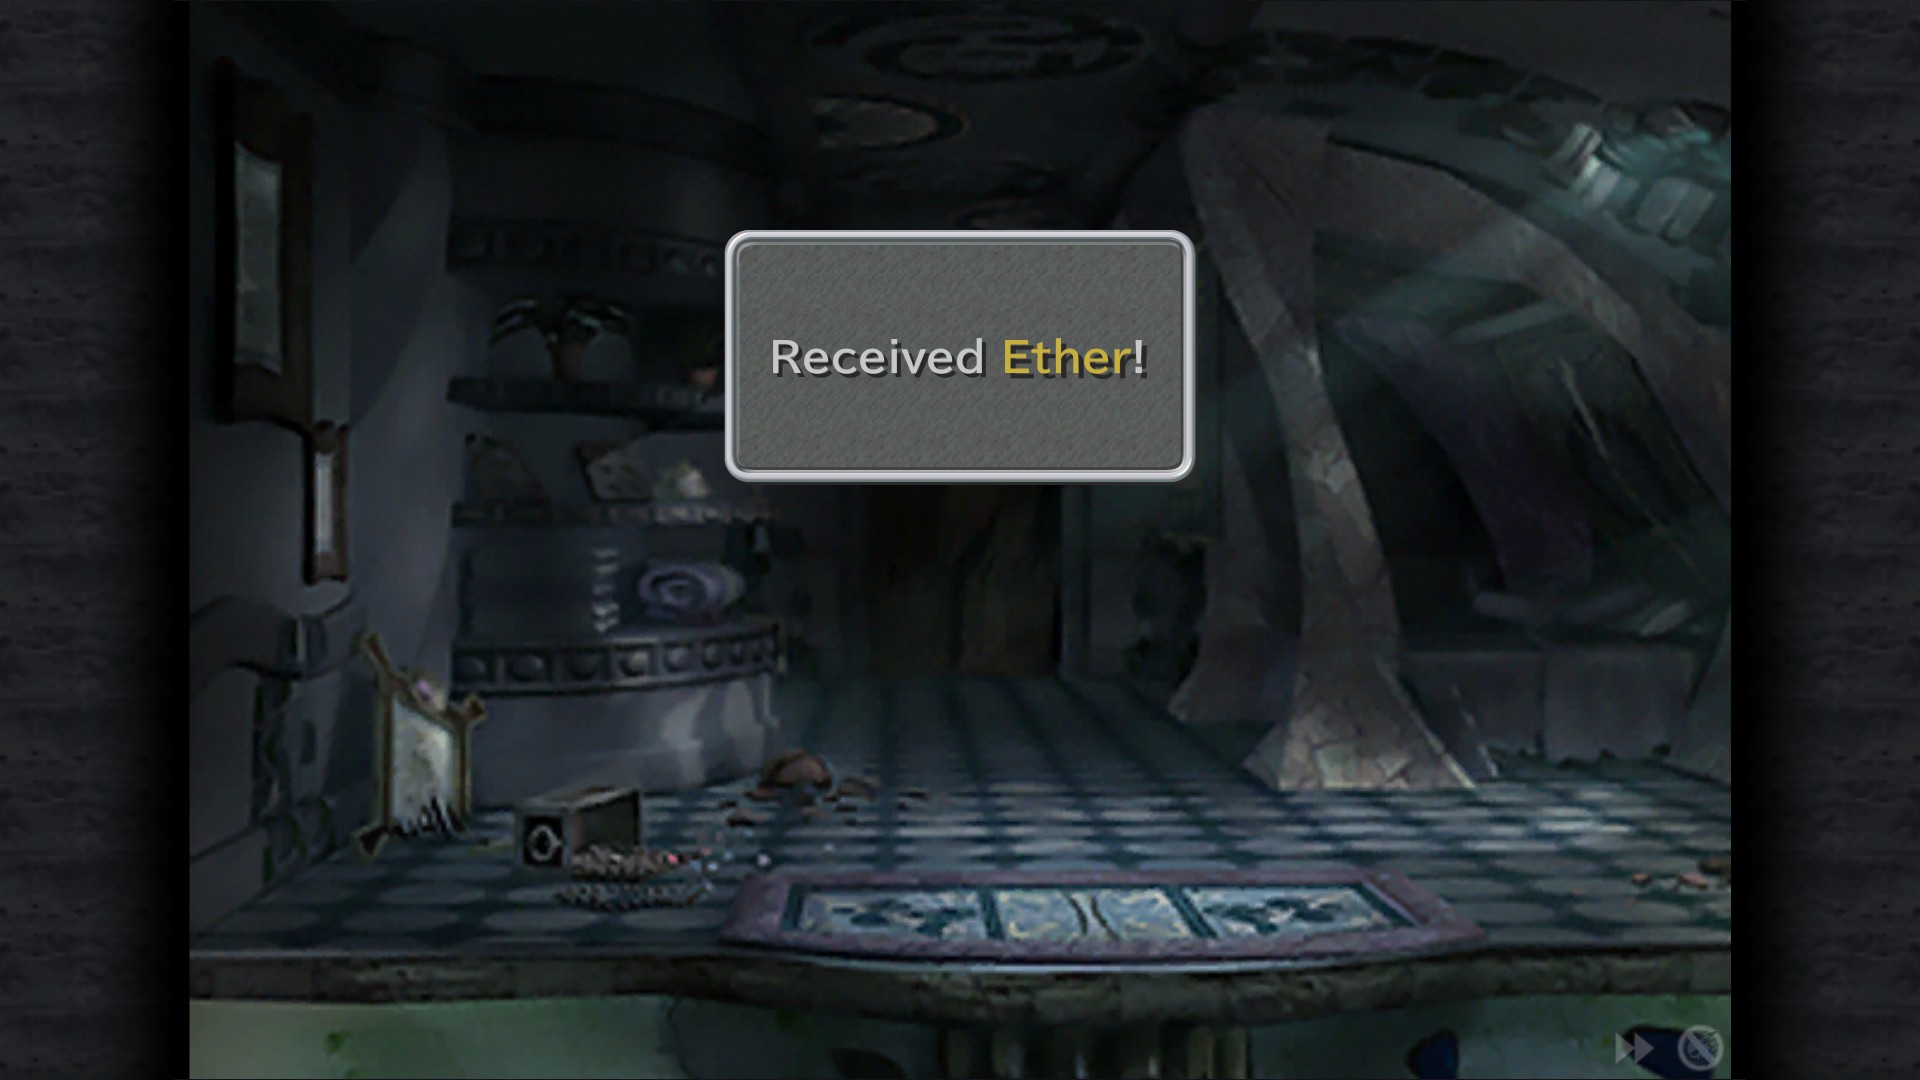
Ether - Behind fireplace in the room with a bed
Tent - Uptown Area
Phoenix Down - Uptown Area
Mimic battle - Uptown Area
Mythril Spear - Armory (automatically picked up when entering)
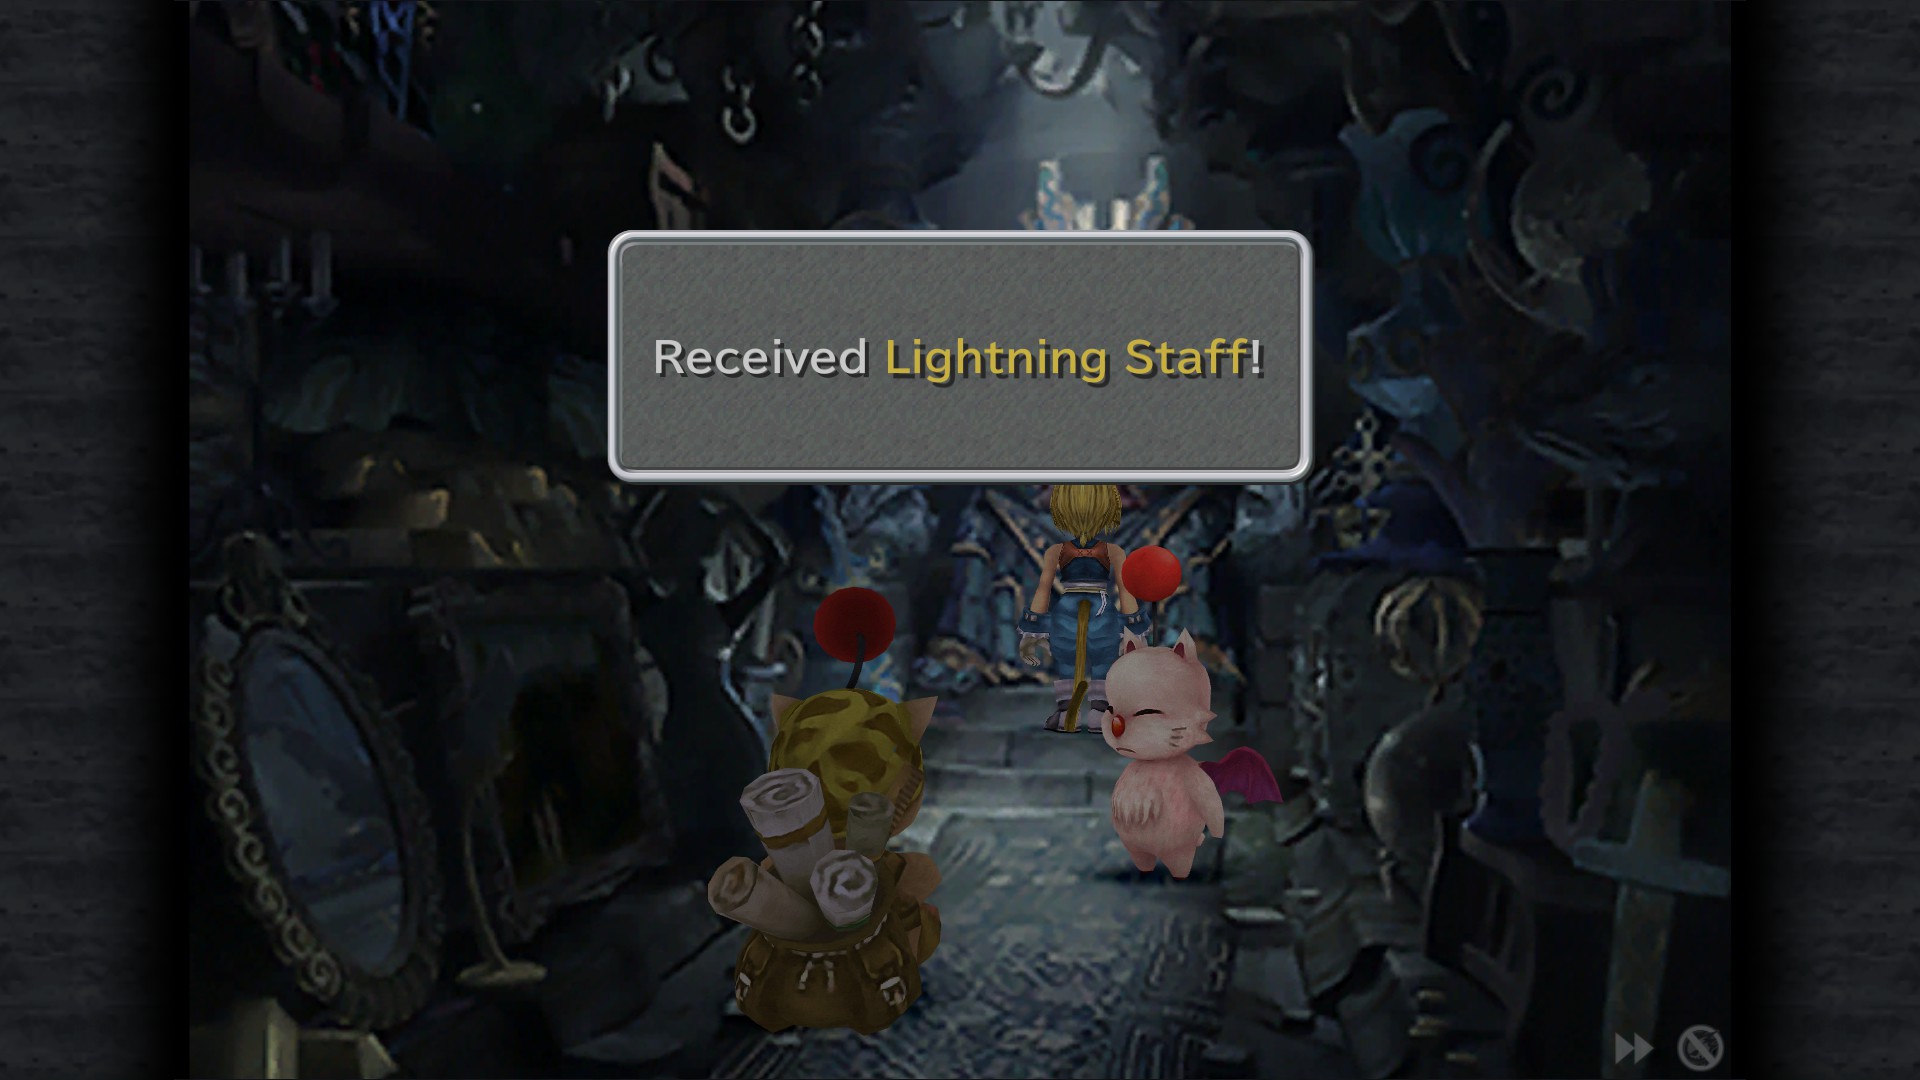
Lightning Staff - Vault (triggers Stilzkin visit)
Stiltzkin: Pack available for 333 Gil (Soft, Hi-Potion, Ether)
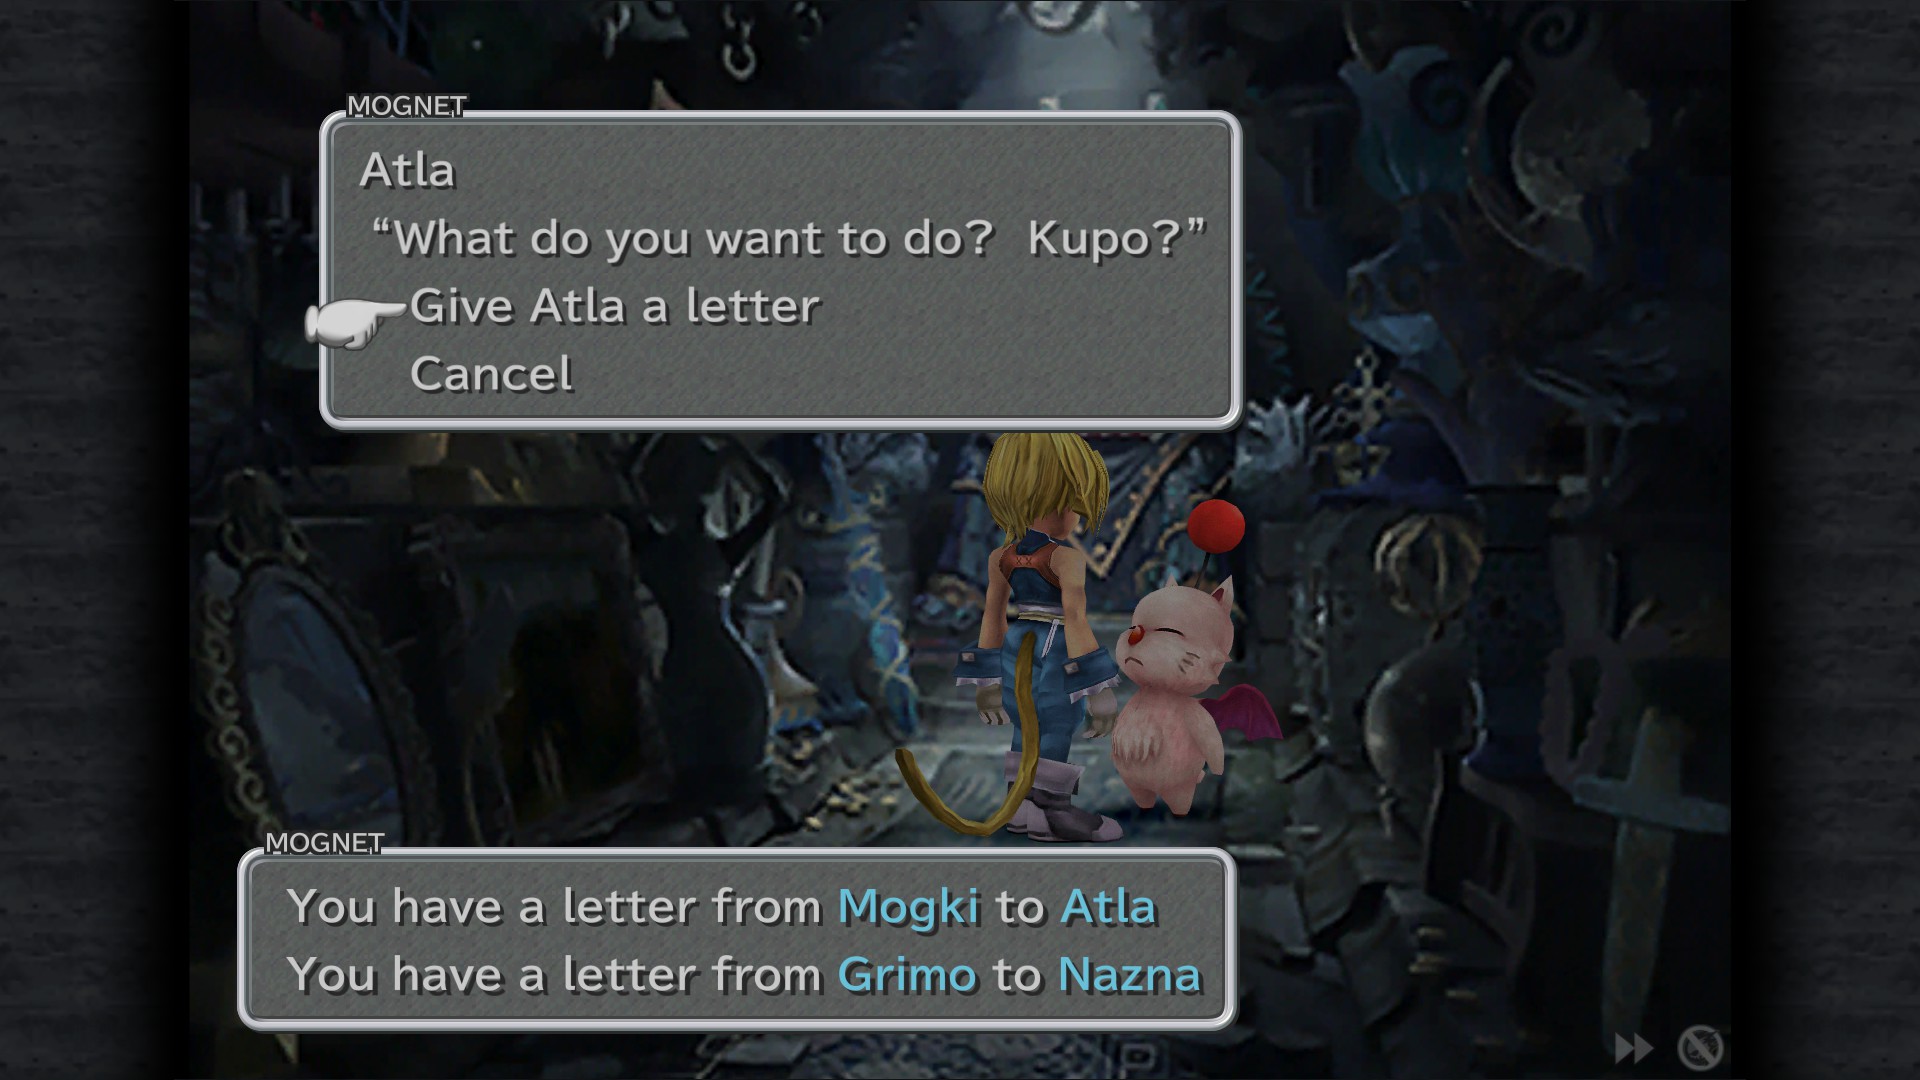
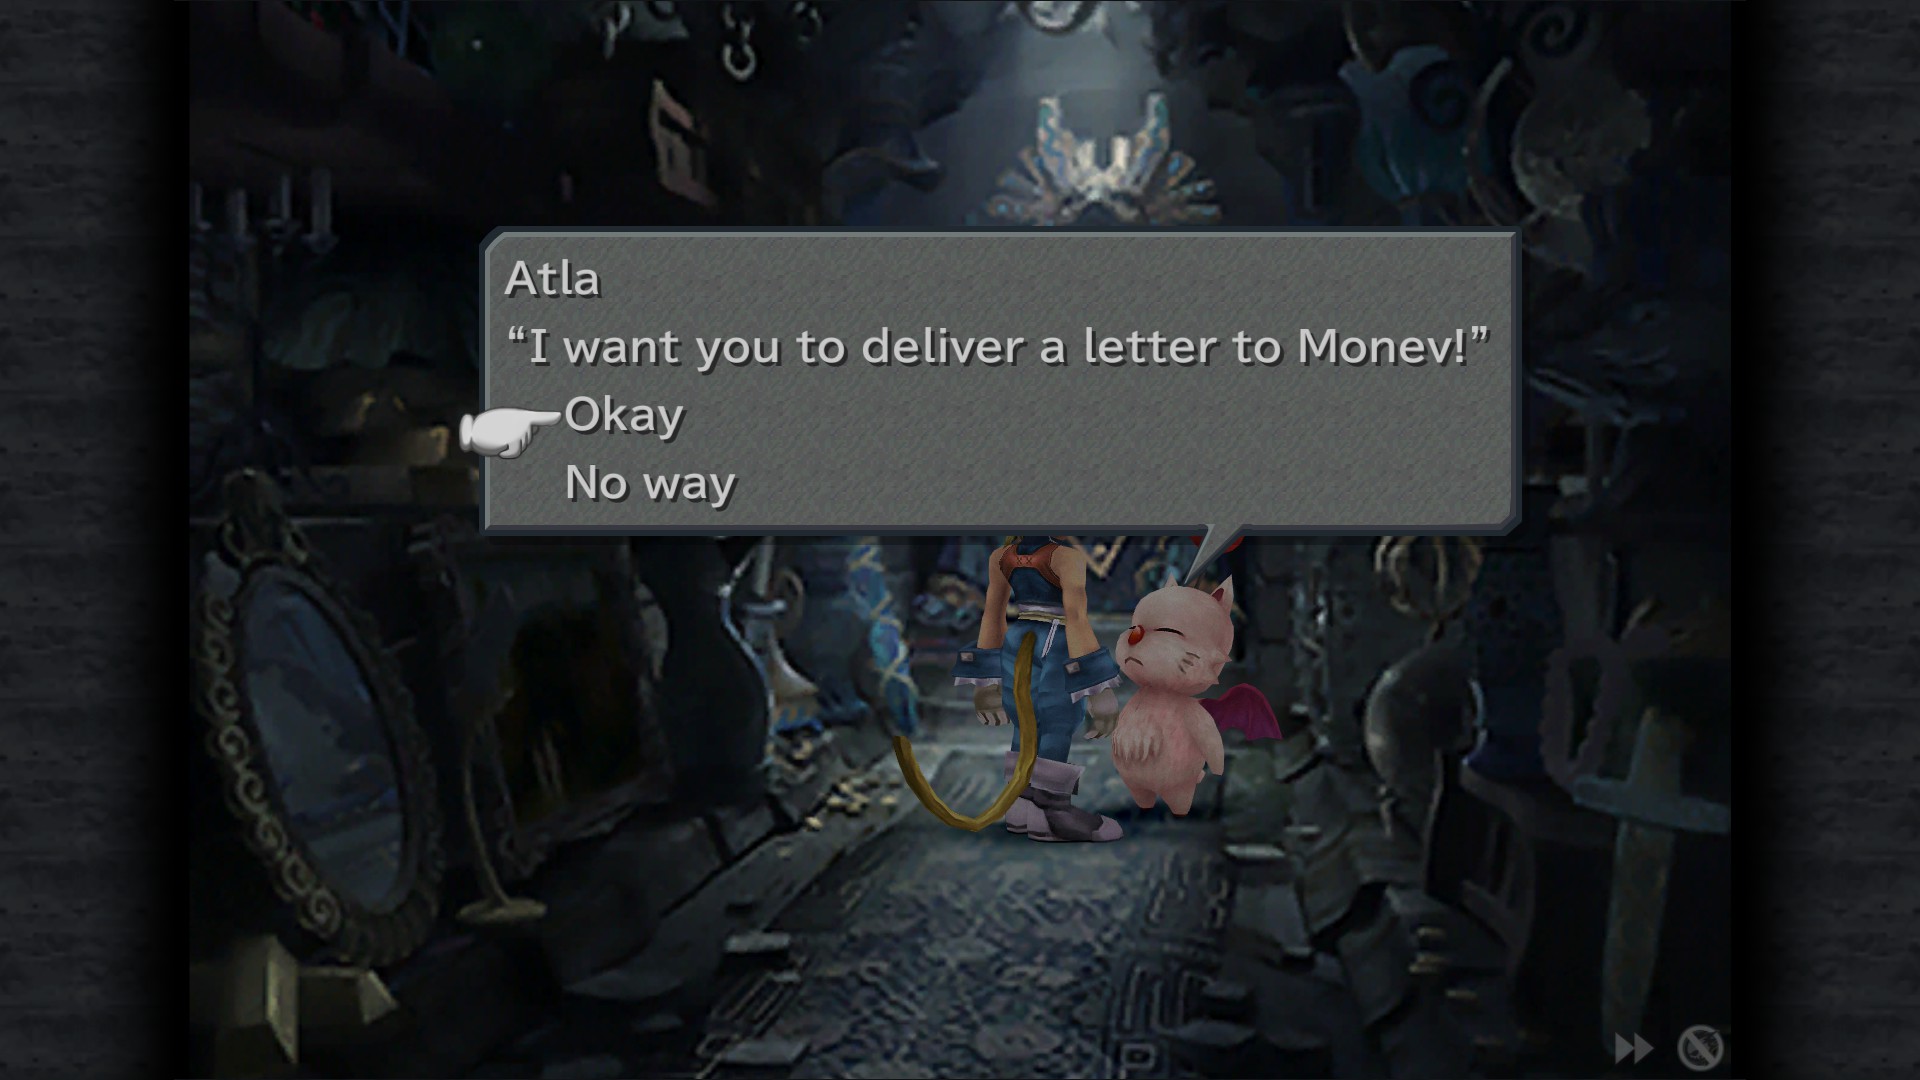
Mognet: Give Atla a letter "Map of the Entire World in His Bag" - Vault
Mognet: Pick up the letter for delivery (Atla to Monev) - Vault
Treno


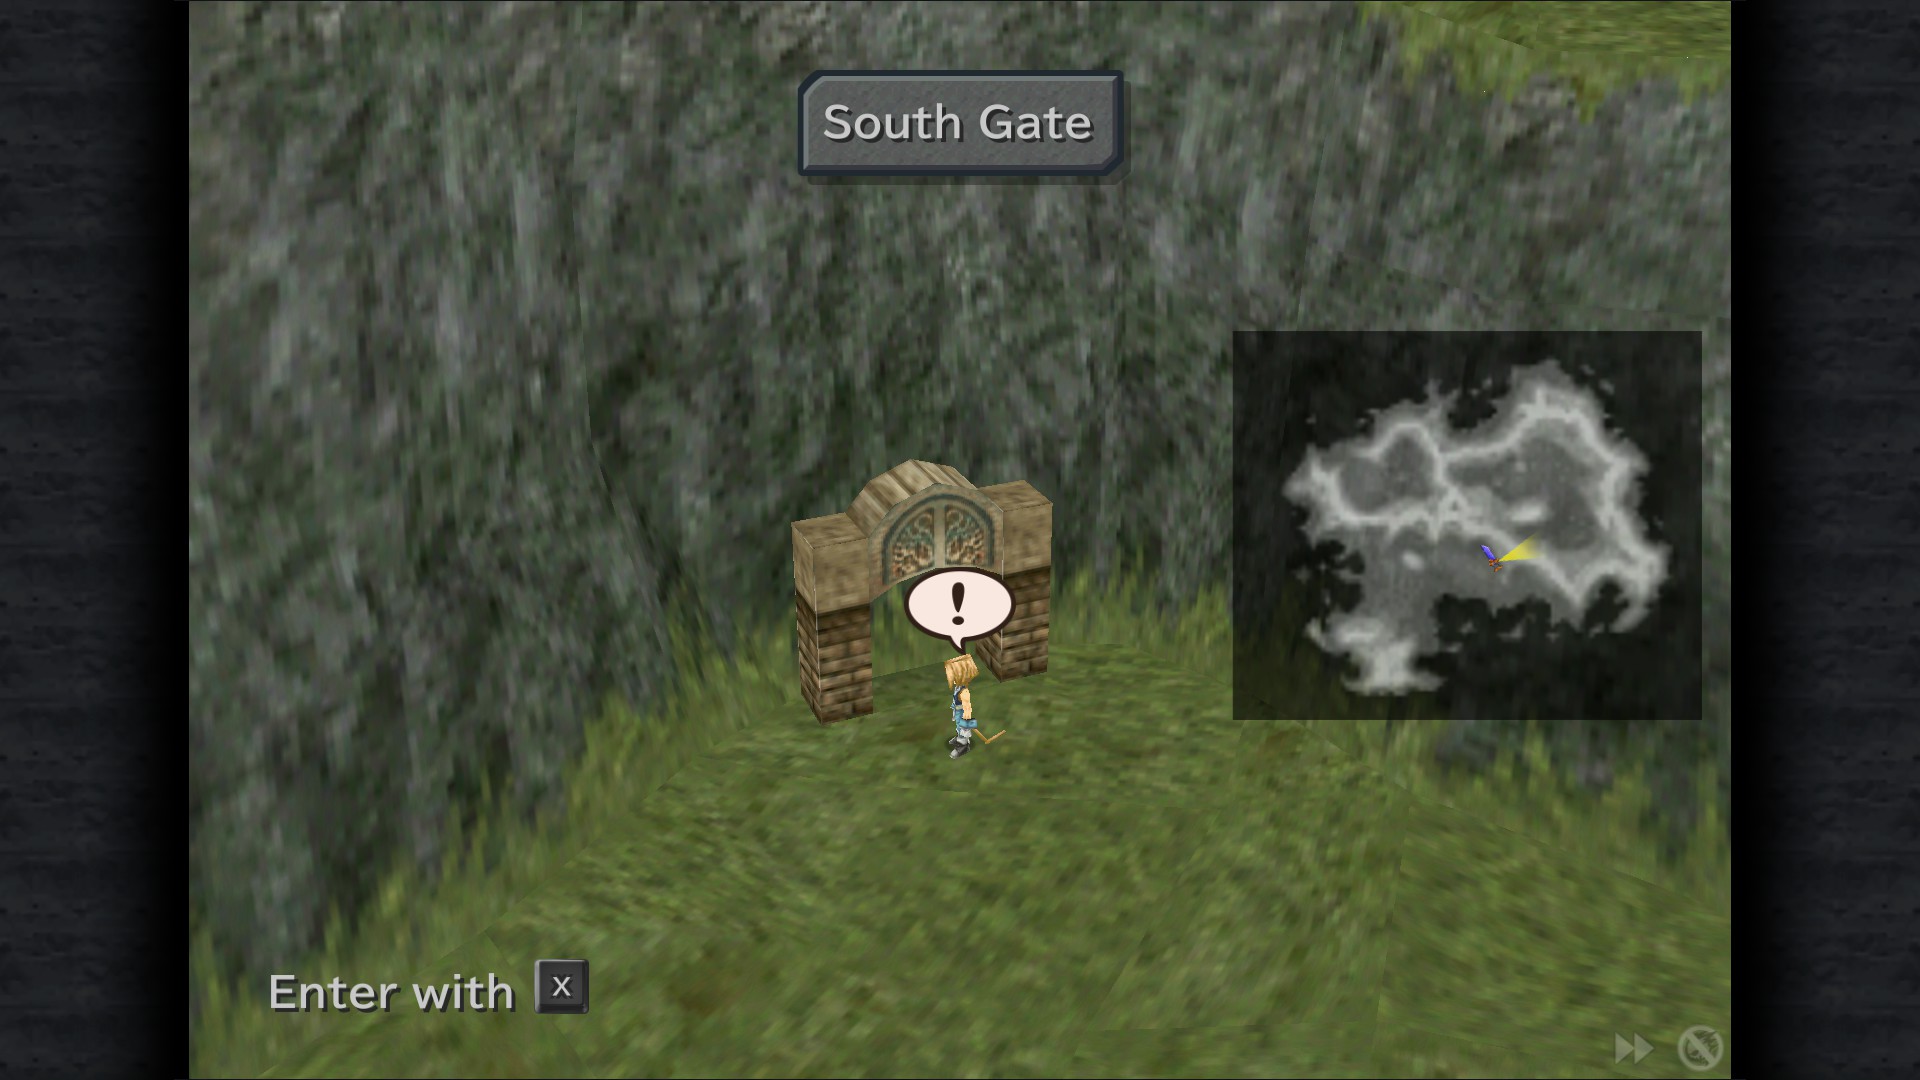
South Gate
Important note: The weapon shop here is last chance to get the Iron Helm, as it becomes unobtainable beyond this point in the game.
Iron Helm is the only equipment that can teach Steiner the Bright Eyes Support Ability (A Pillar of Support achievement).
Sidenote: The weapon shop here is the last chance to get Silver Gloves, as they become unobtainable beyond this point in the game. It's required for one synthesis recipe.
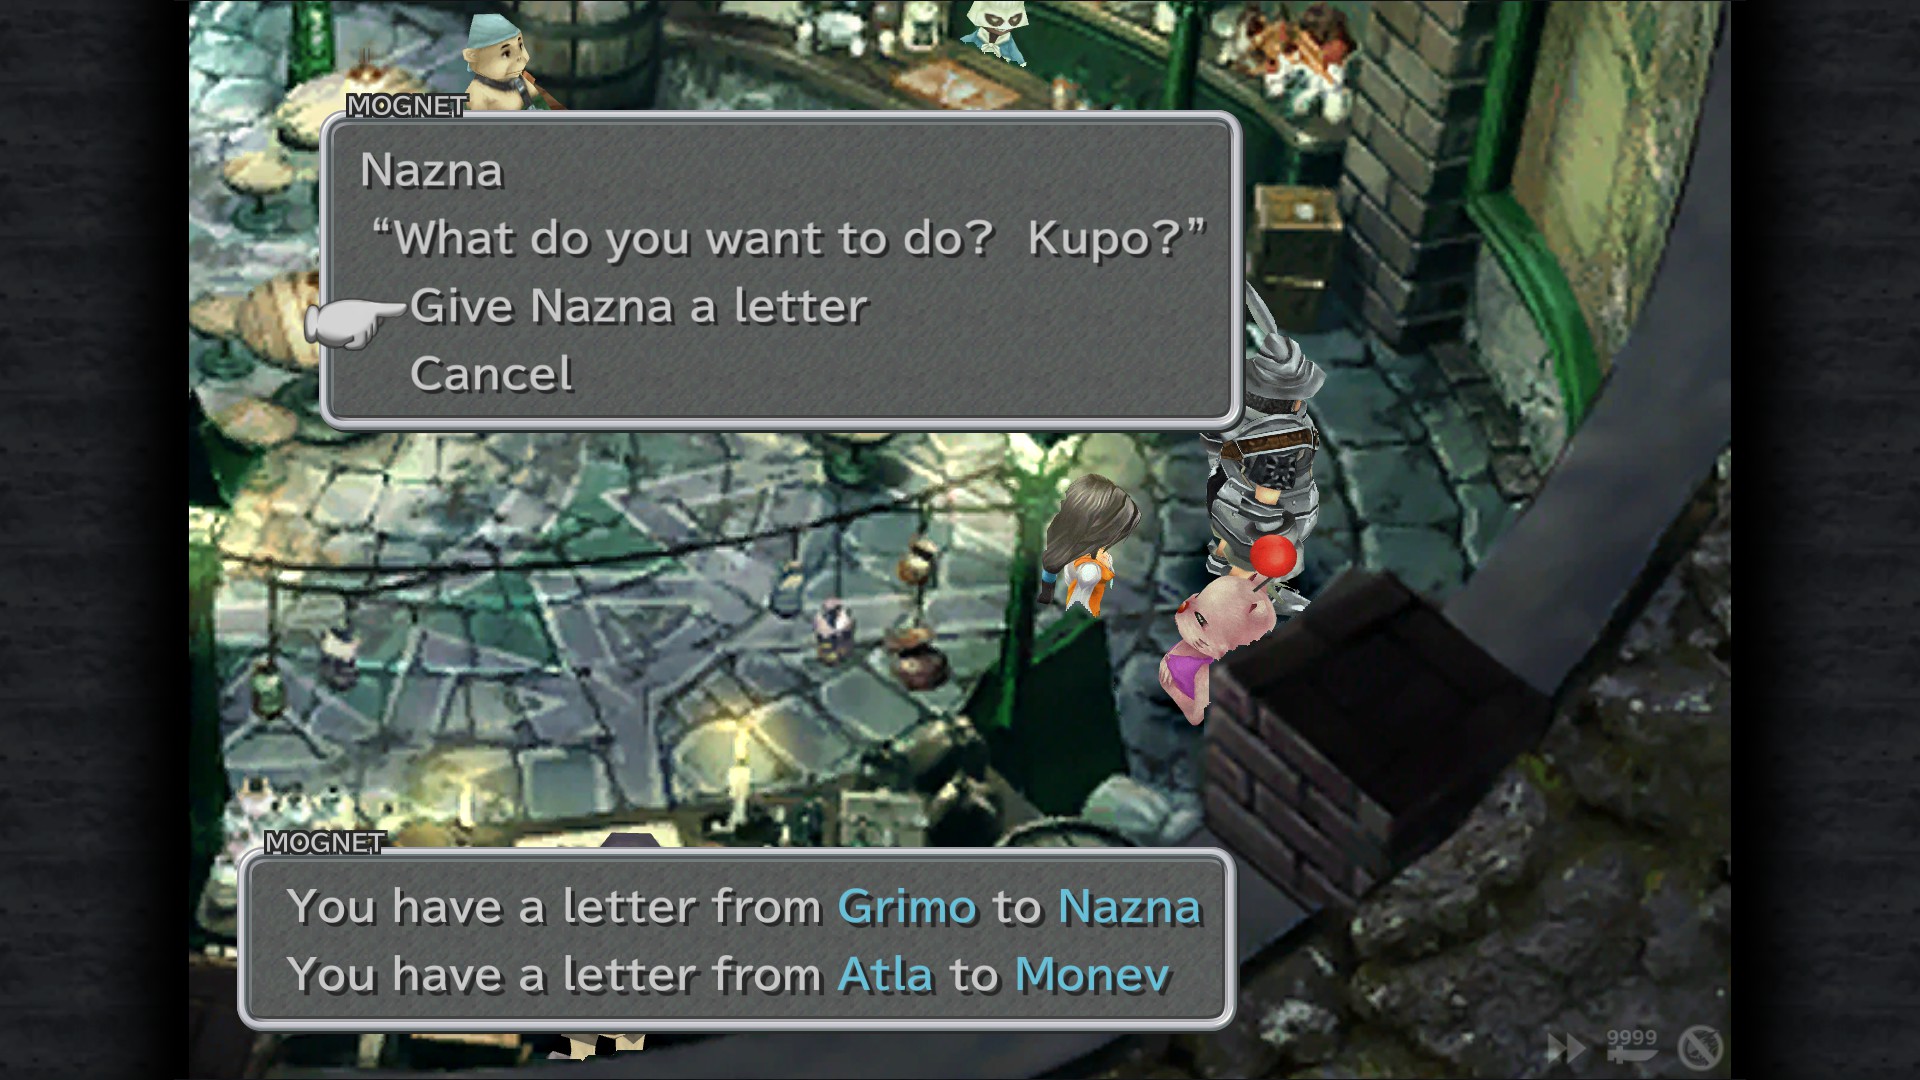
Mognet: Give Nazna a letter "Mary's Unrequited Love - Rest Stop
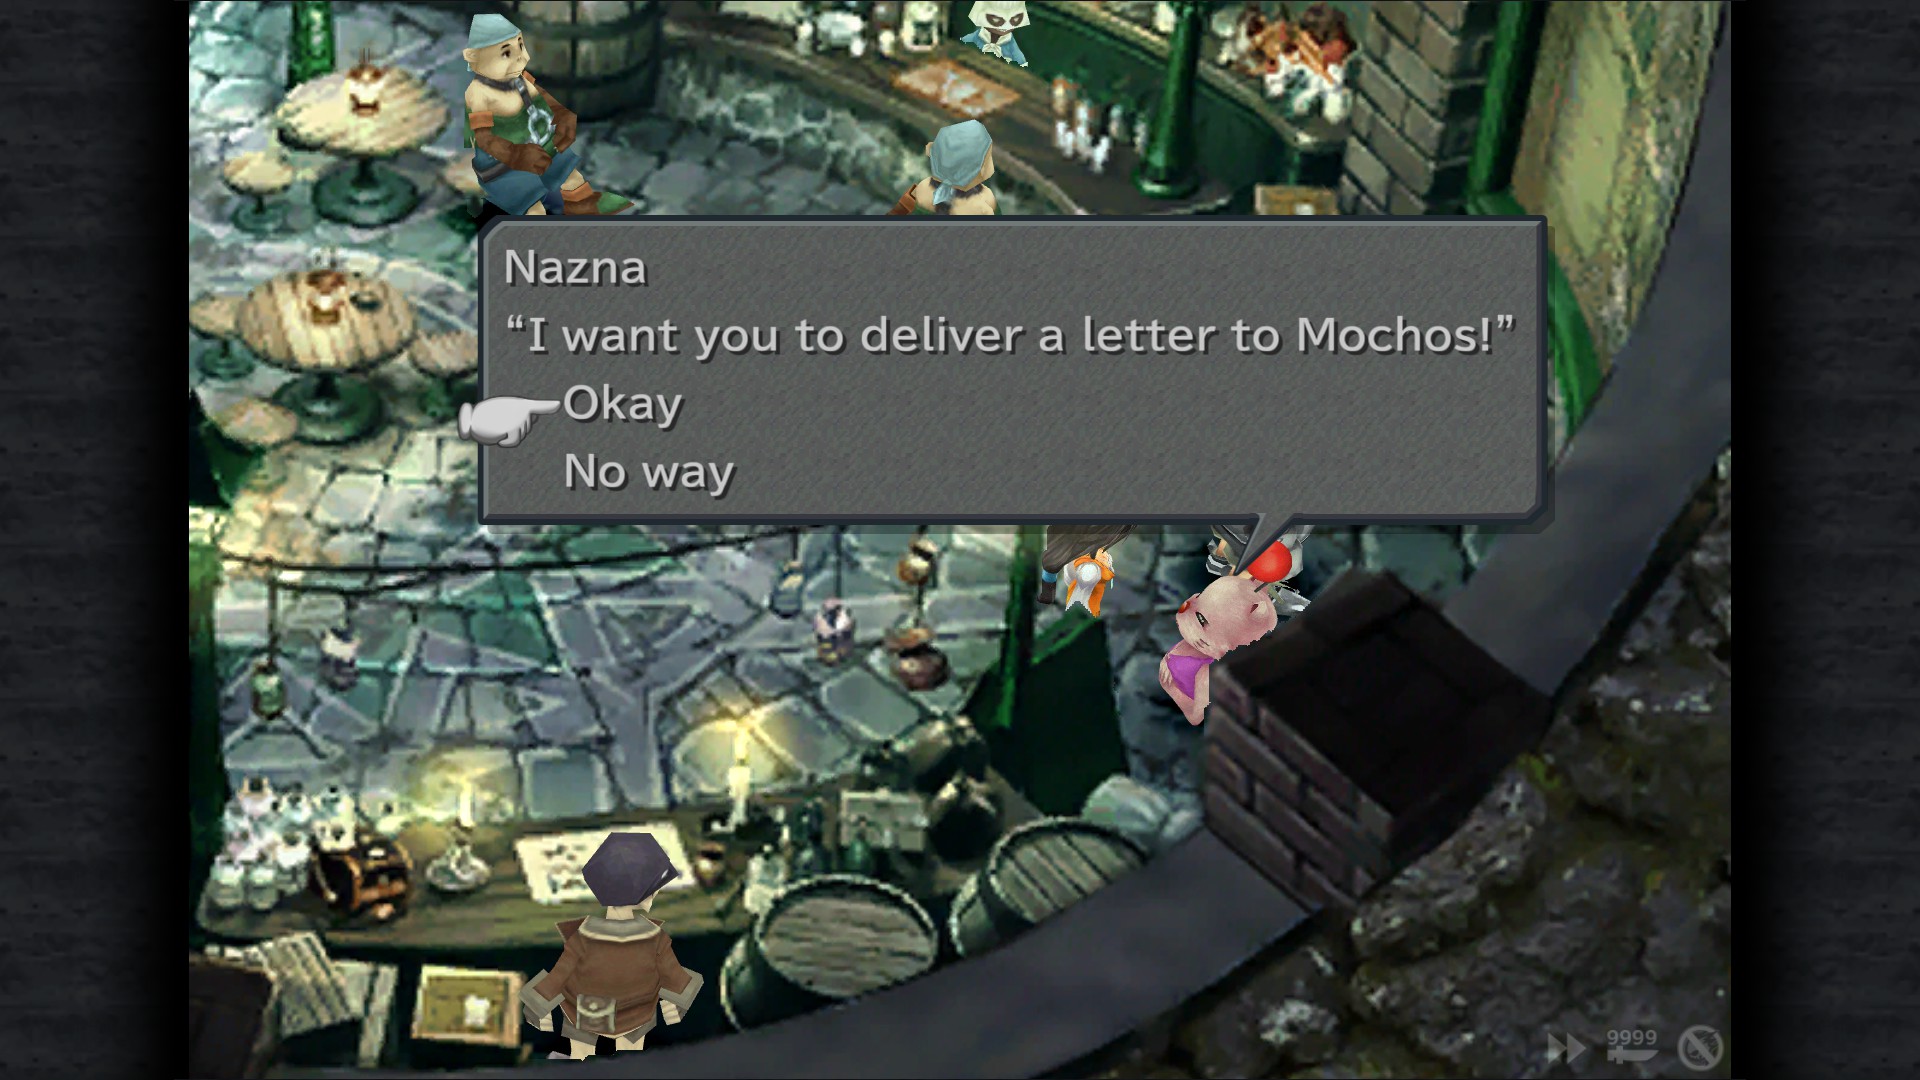
Mognet: Pick up the letter for delivery (Nazna to Mochos) - Rest Stop
Phoenix Down - Rest Stop
Dali
Elixir - Field
South Gate
1610 Gil - Bridge
Treno
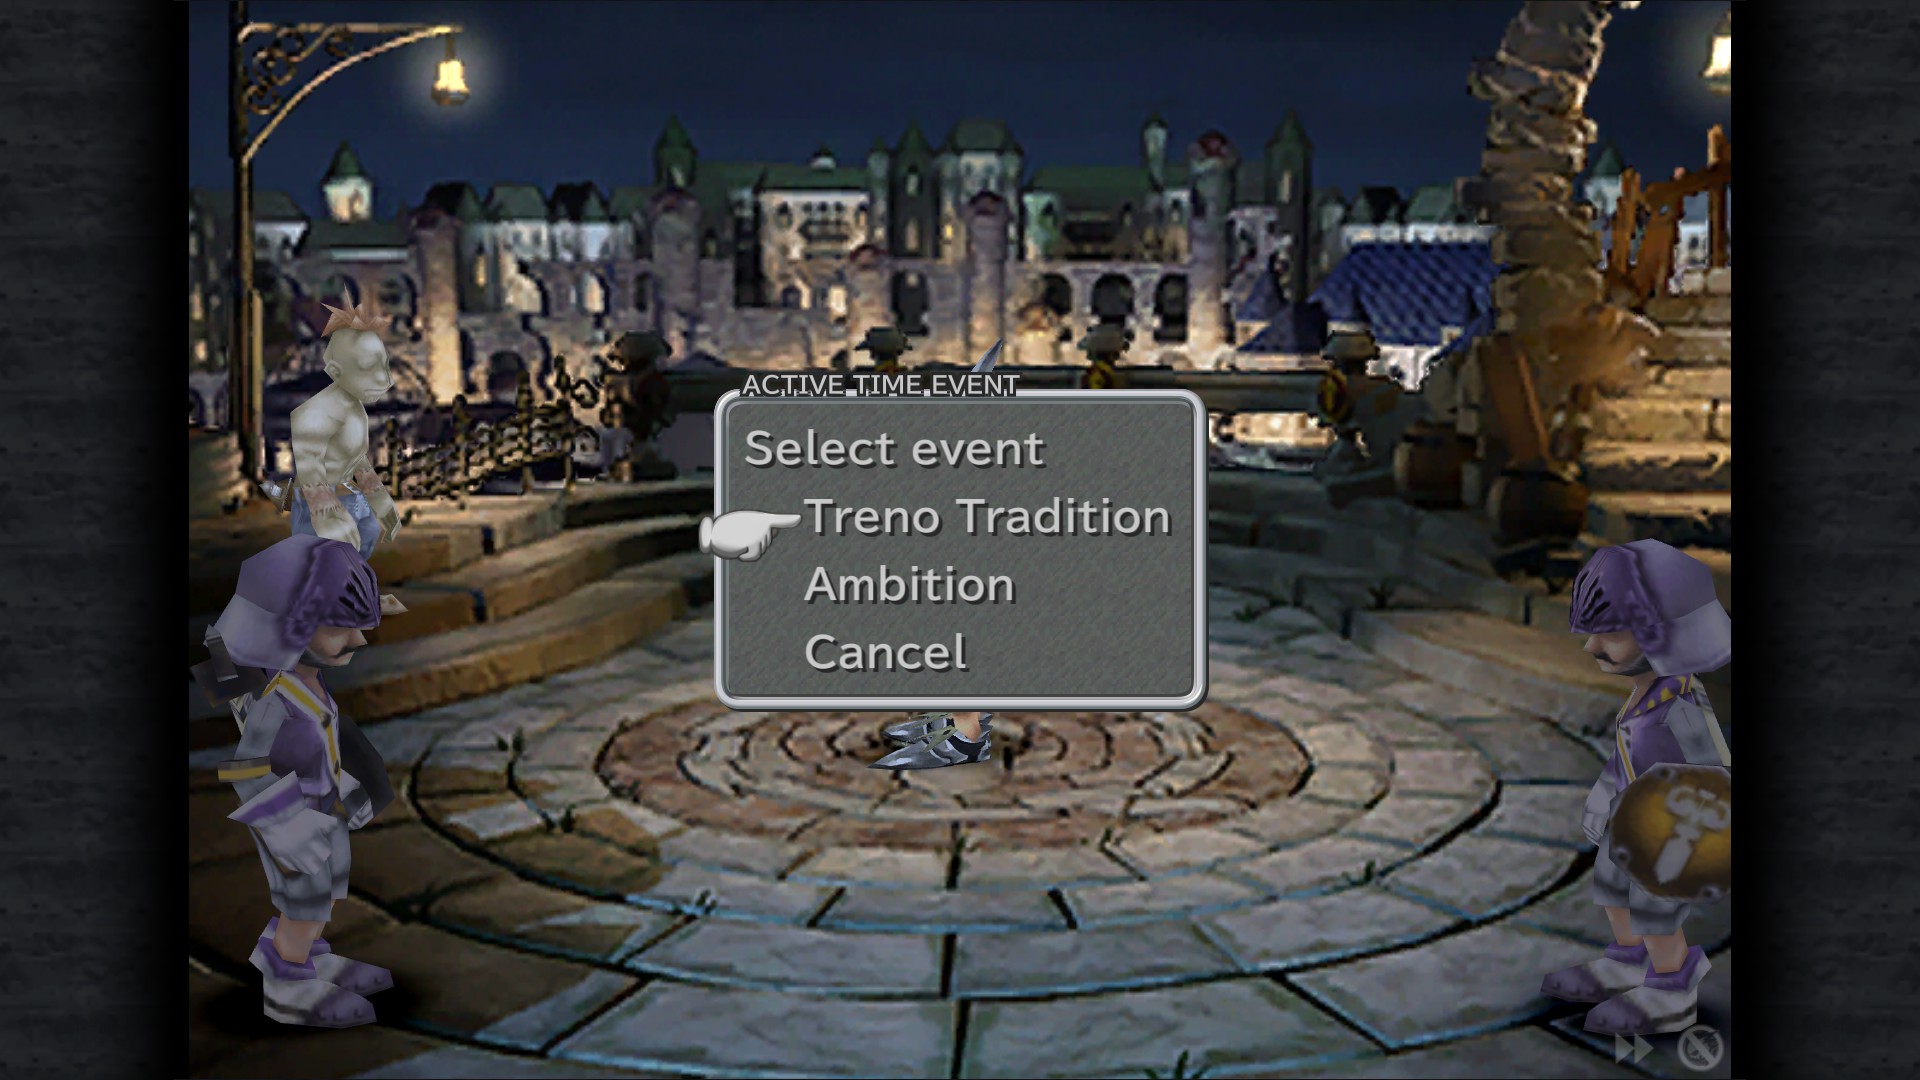
Note: Do them in order or you can miss some ATE.
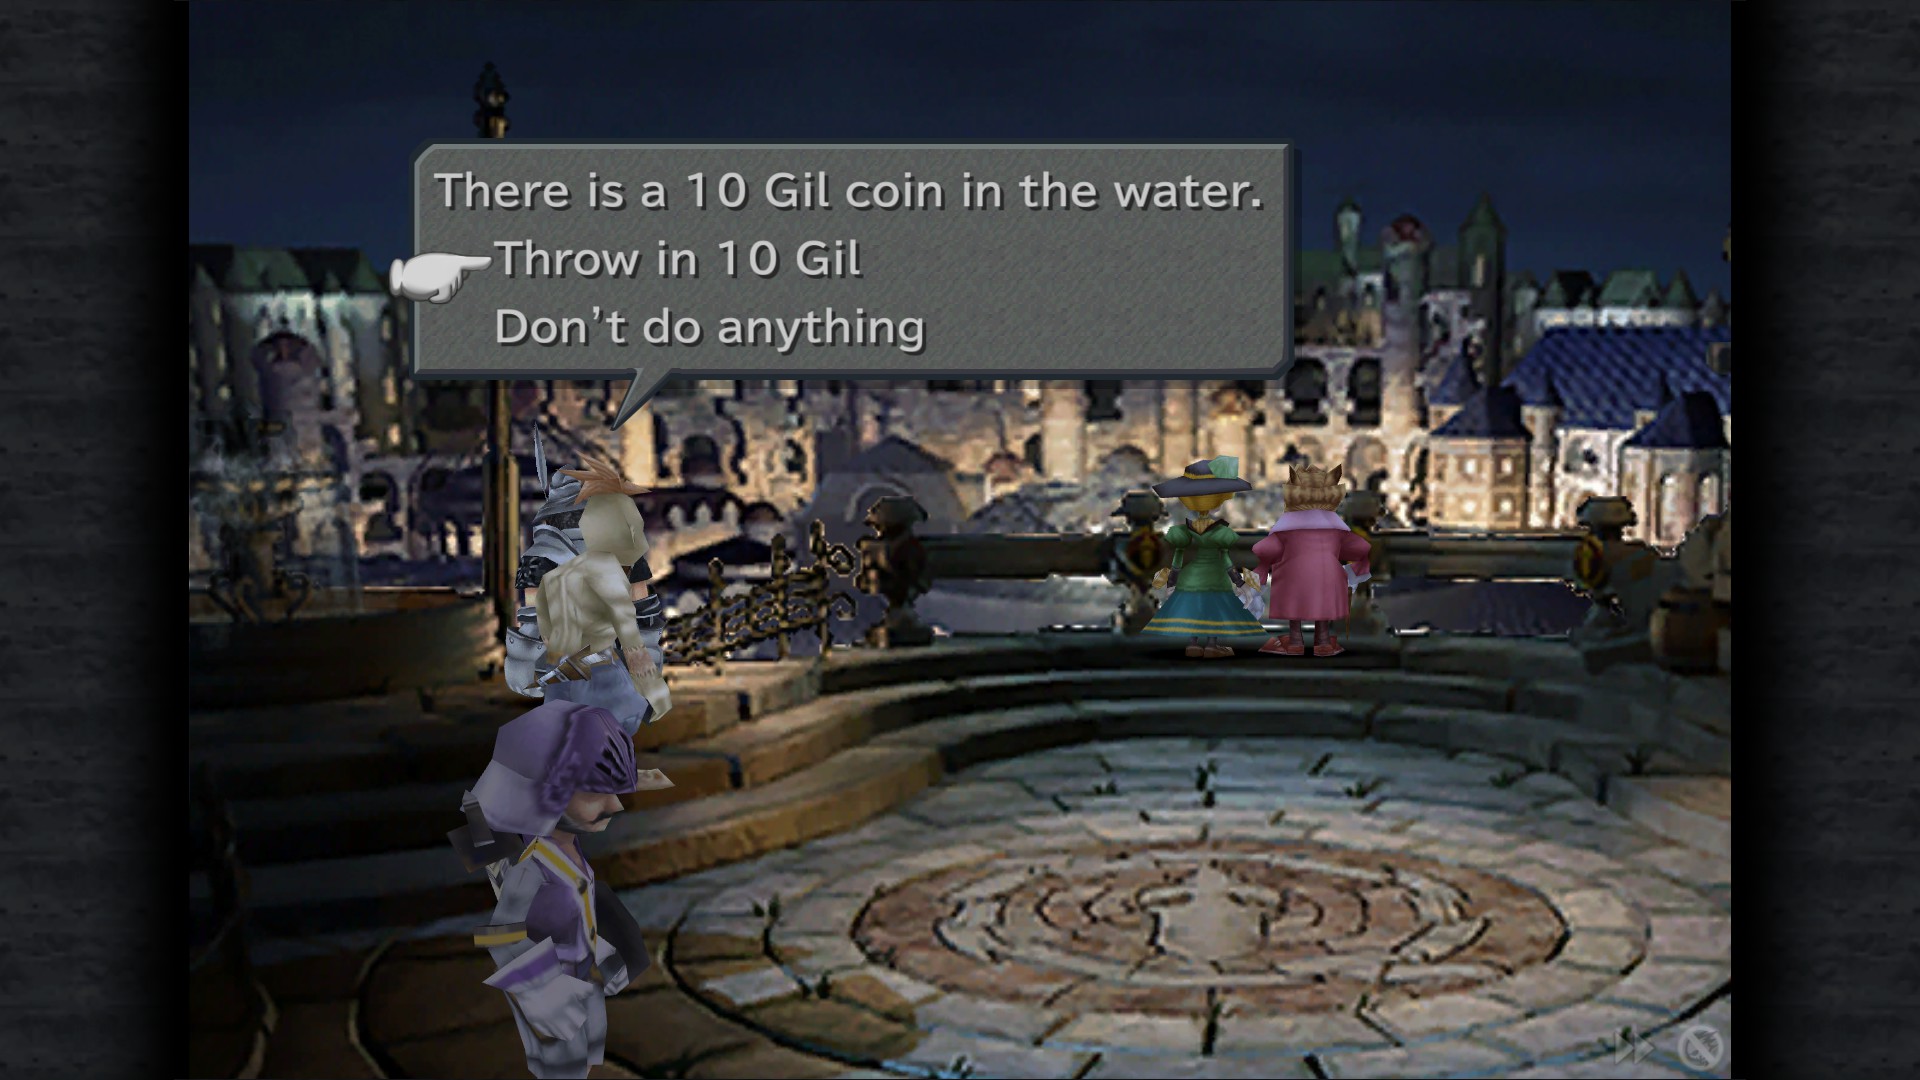
Treno Tradition ATE - Gate
Gemini* Throw 10 Gil into the fountain 13 times
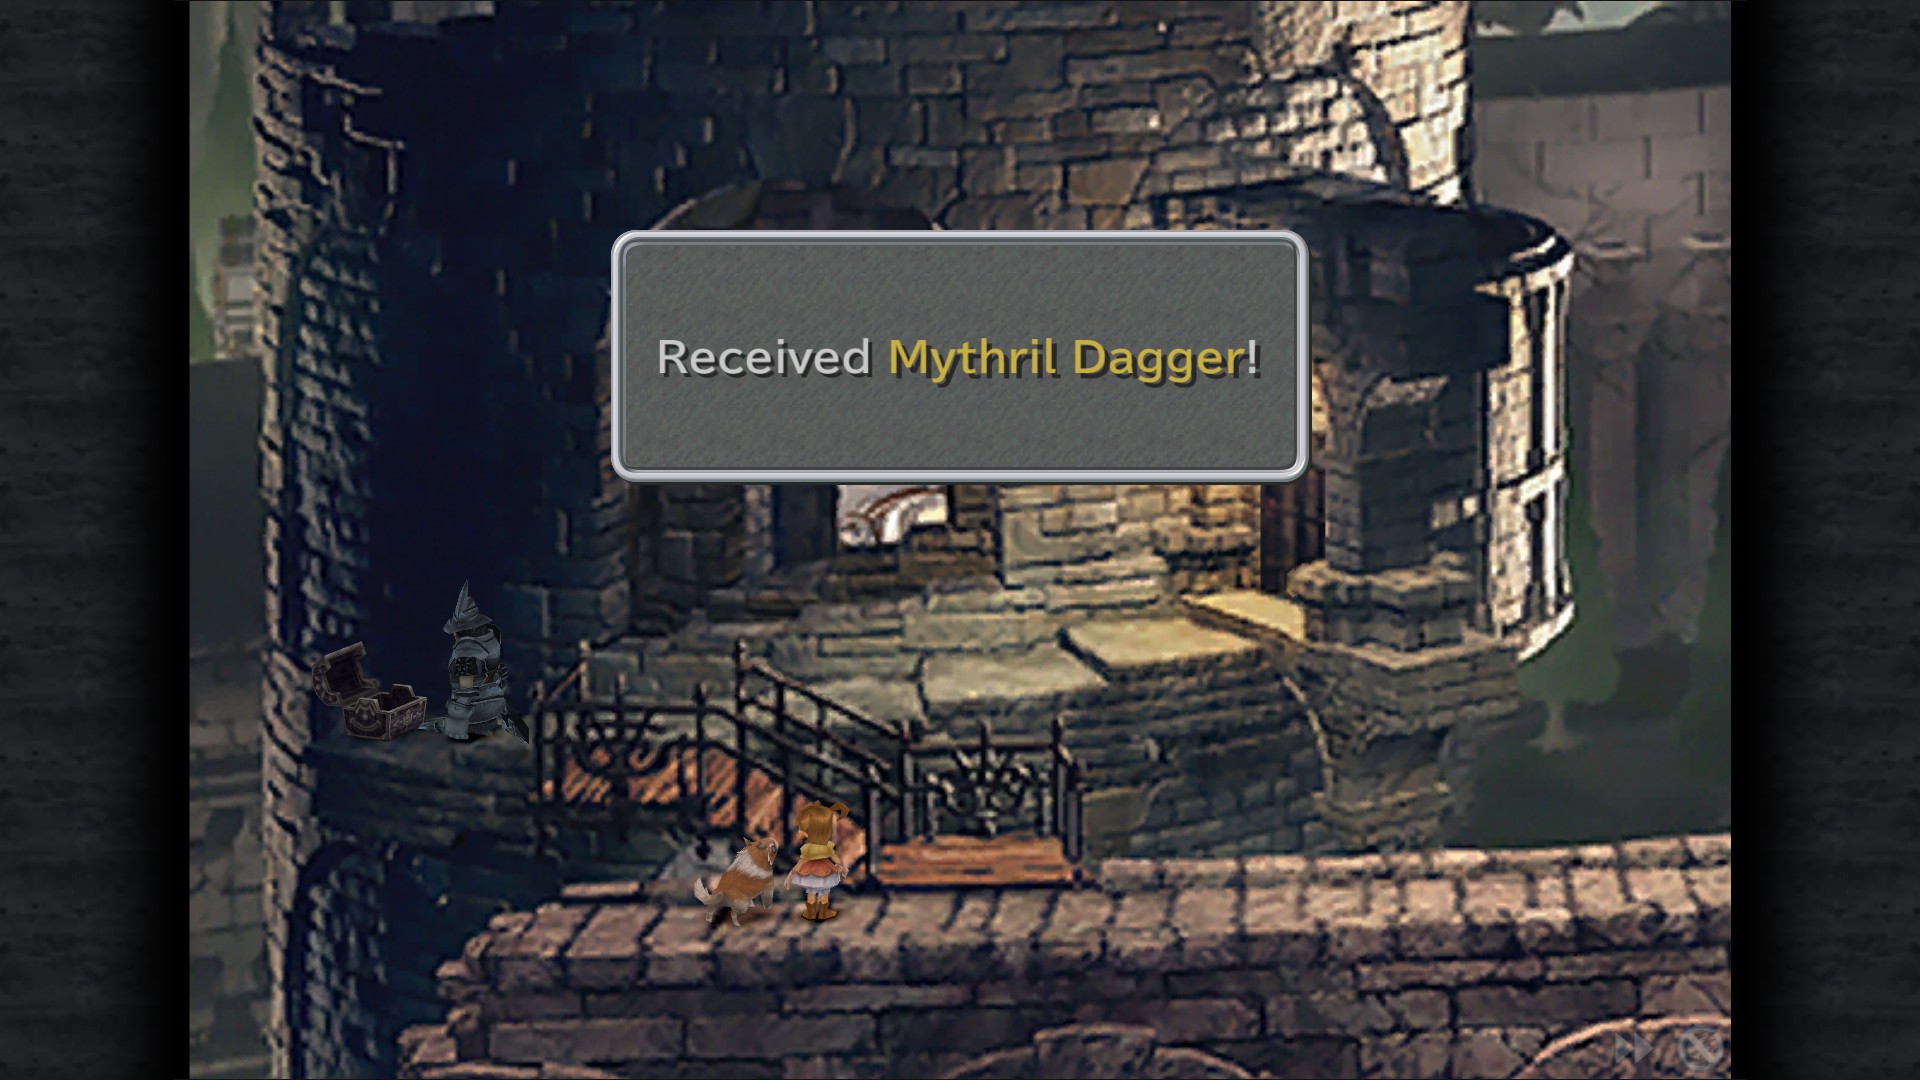
Pursuit ATE - Walkway (First walkway to the left)
Mythril Dagger - Walkway
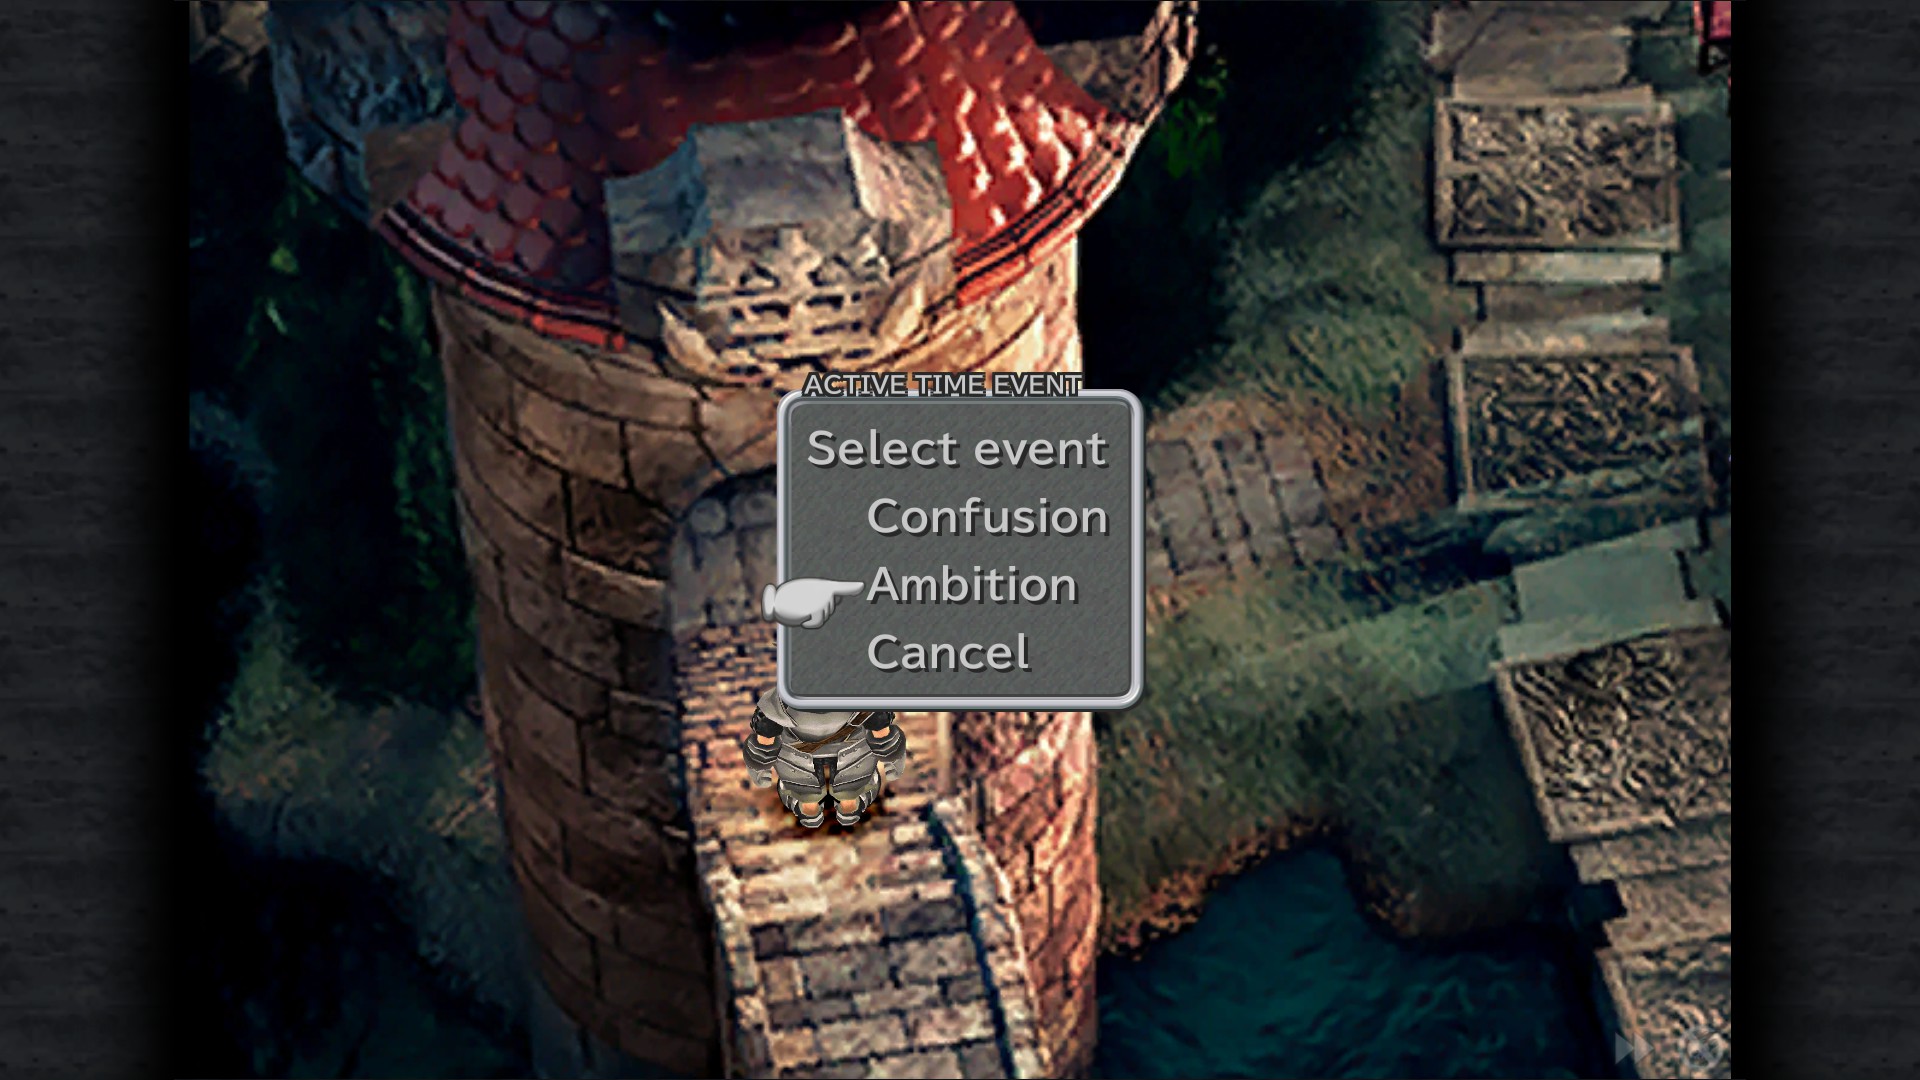
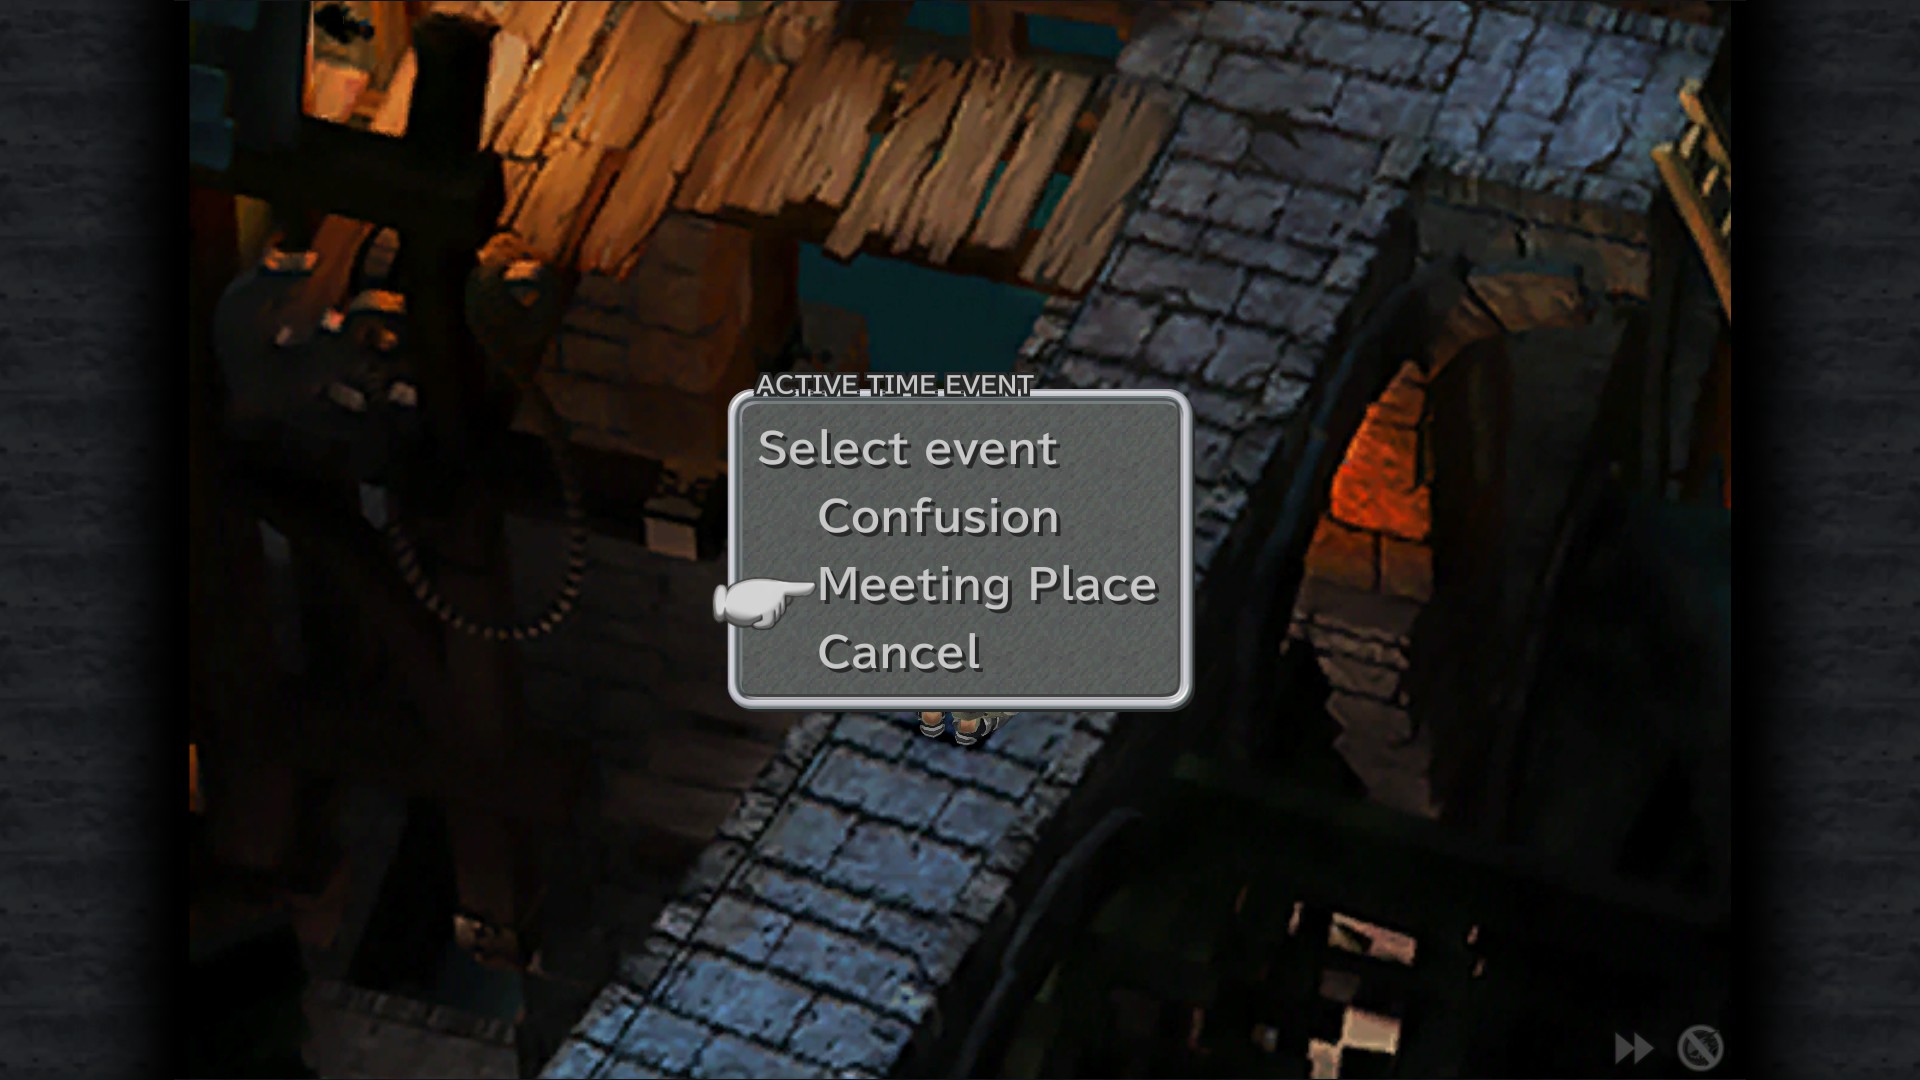
Confusion ATE - Do this at Bishop's House
Ambition ATE - Card Stadium [SS Says Confusion, but easier non-missable route is to do Confusion at the previous area, then do Ambition at Card Stadium]
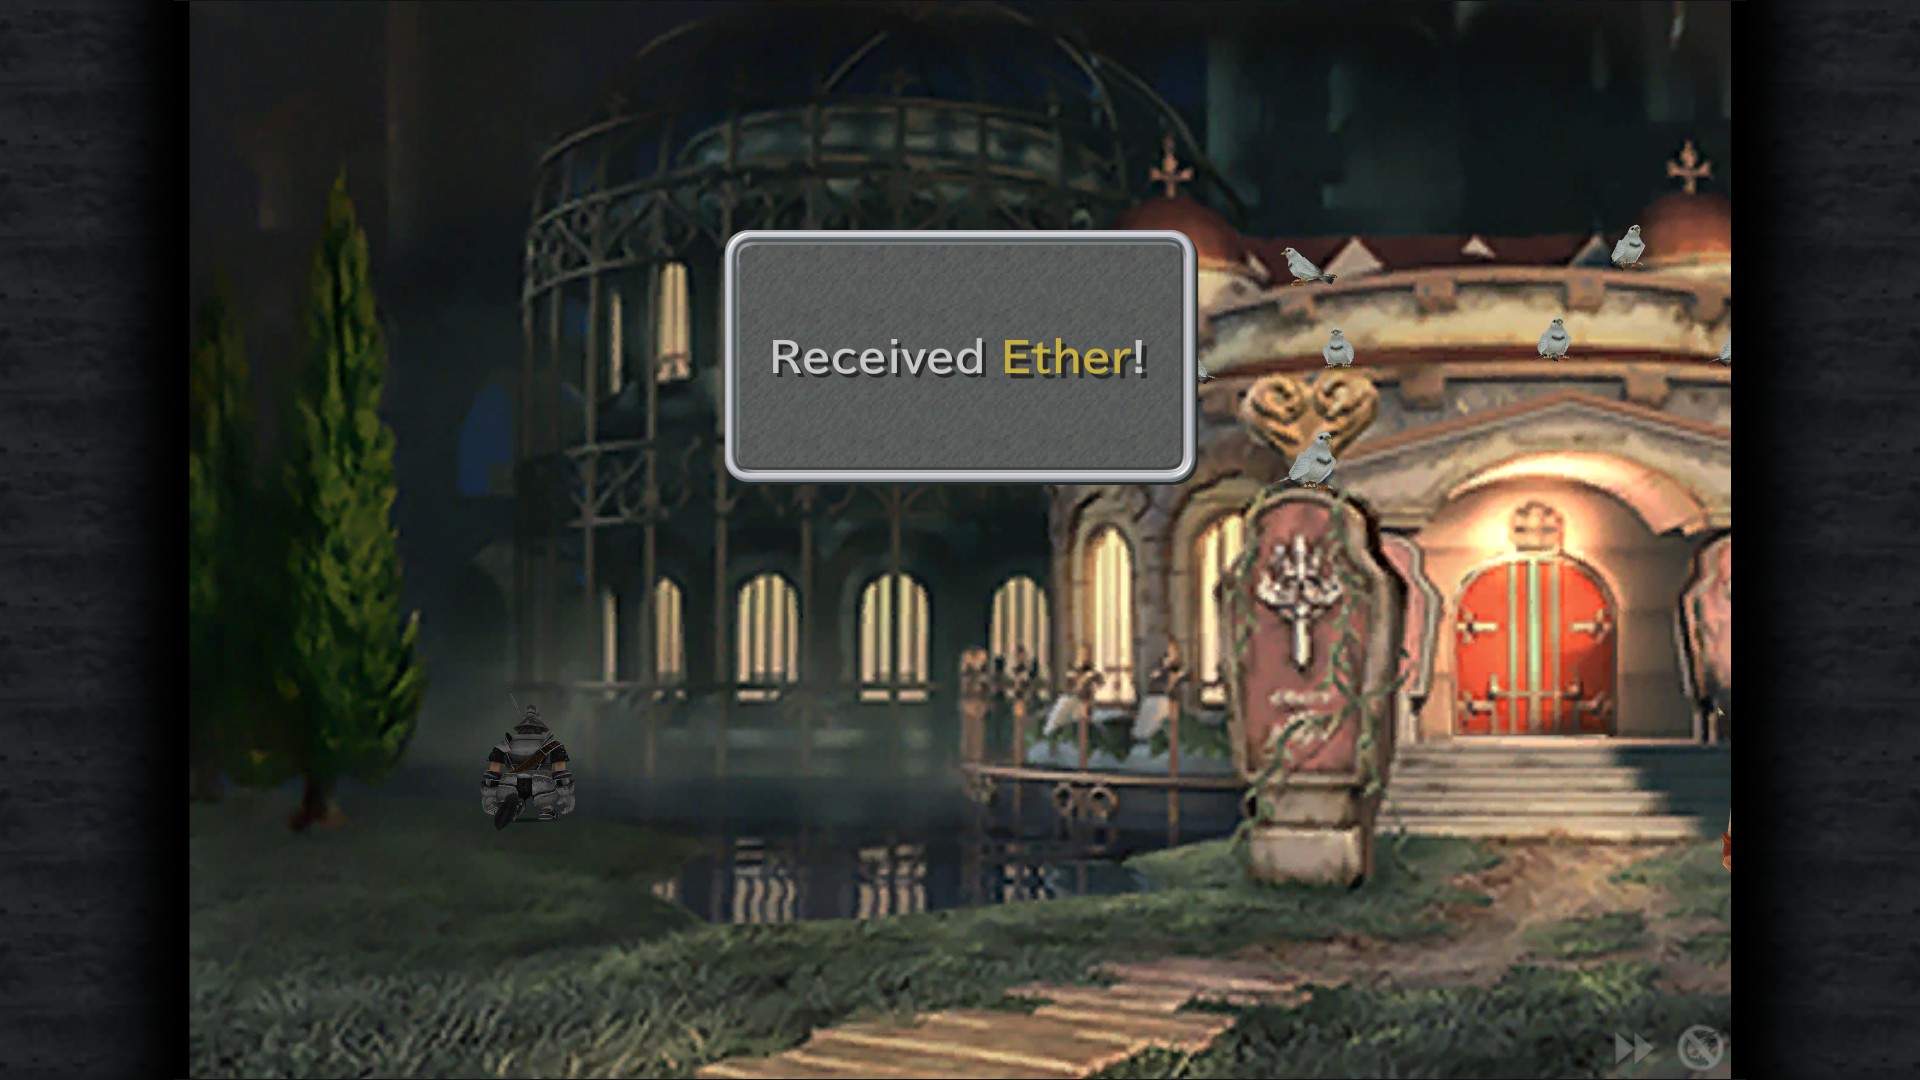
Ether - Queen's House
Meeting Place ATE - Slums (now make your way back to the slums before going to anywhere else, It's to the right from the entrance)
Yeti Card - Slums
Taurus* - Slums
1 Gil - Slums
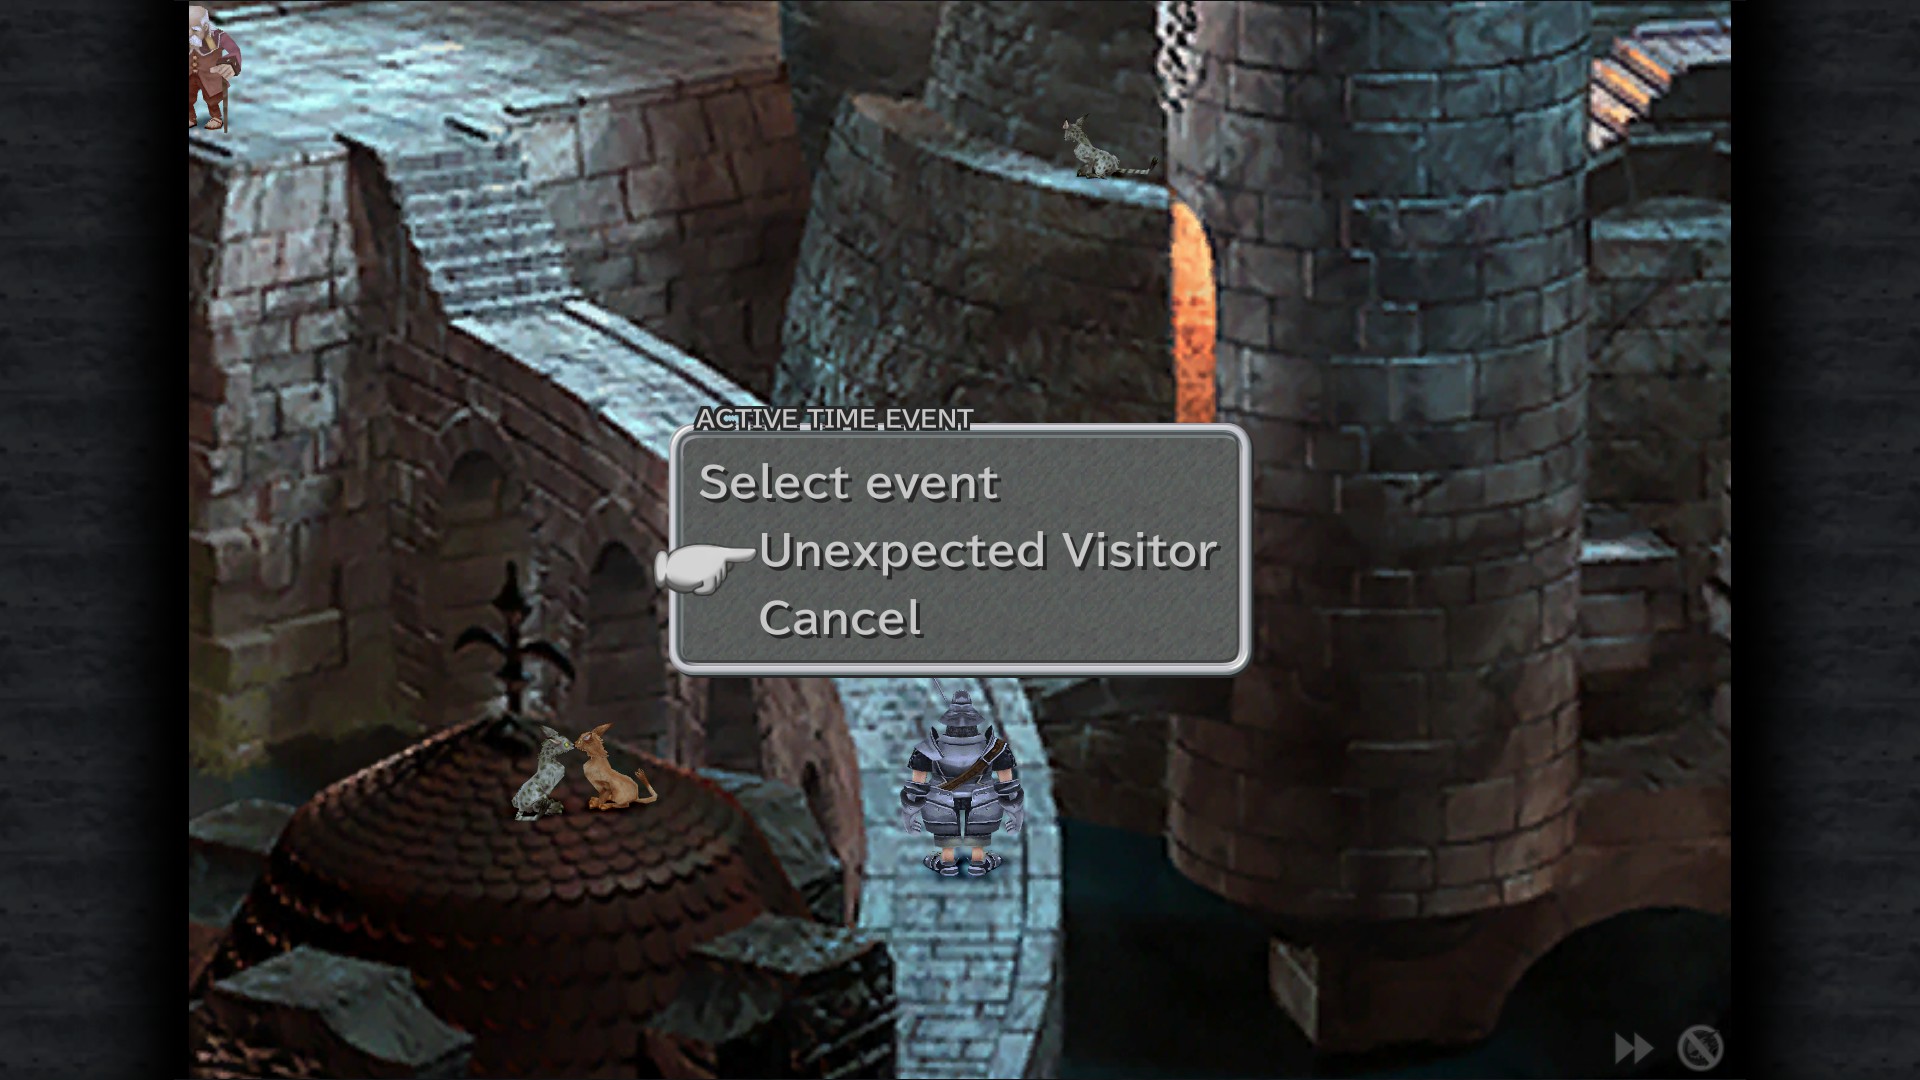
Unexpected Visitor ATE - Knight's House
Mognet: "Vube Desert" - Knight's House
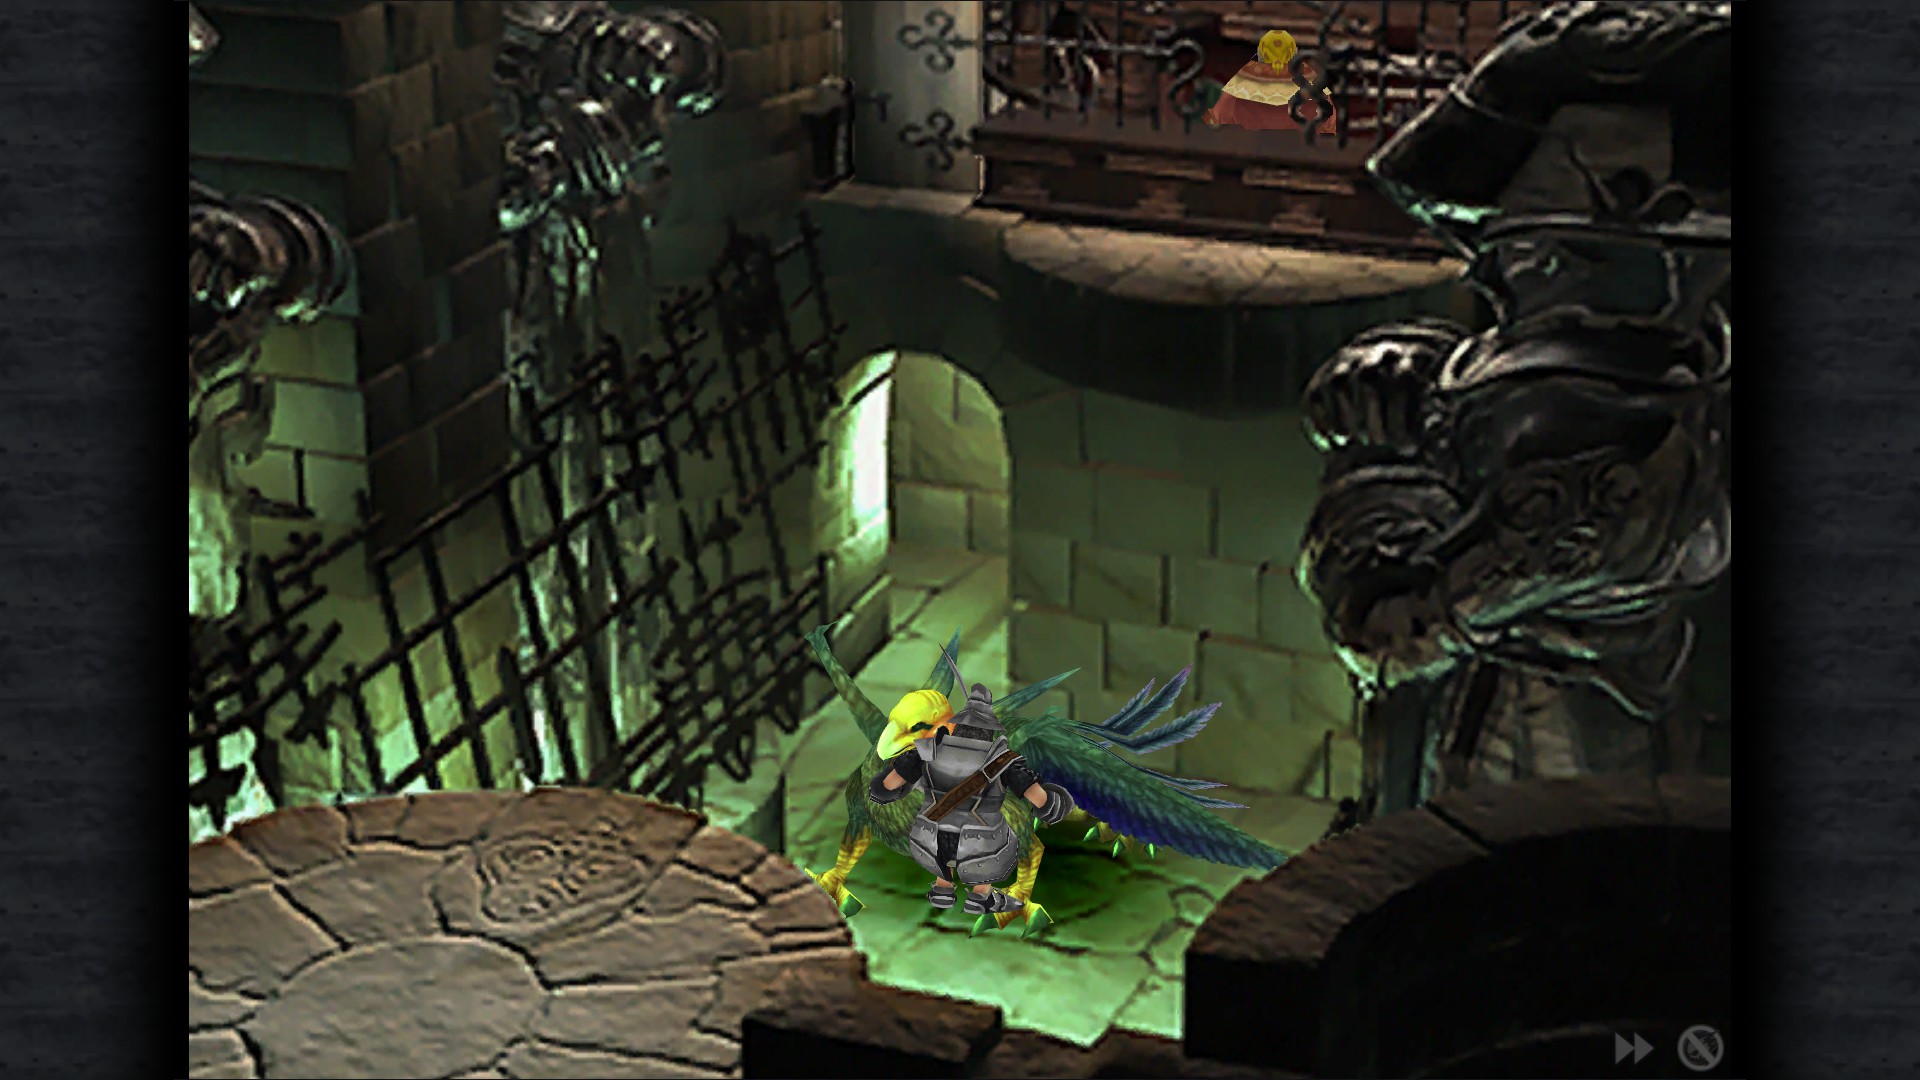
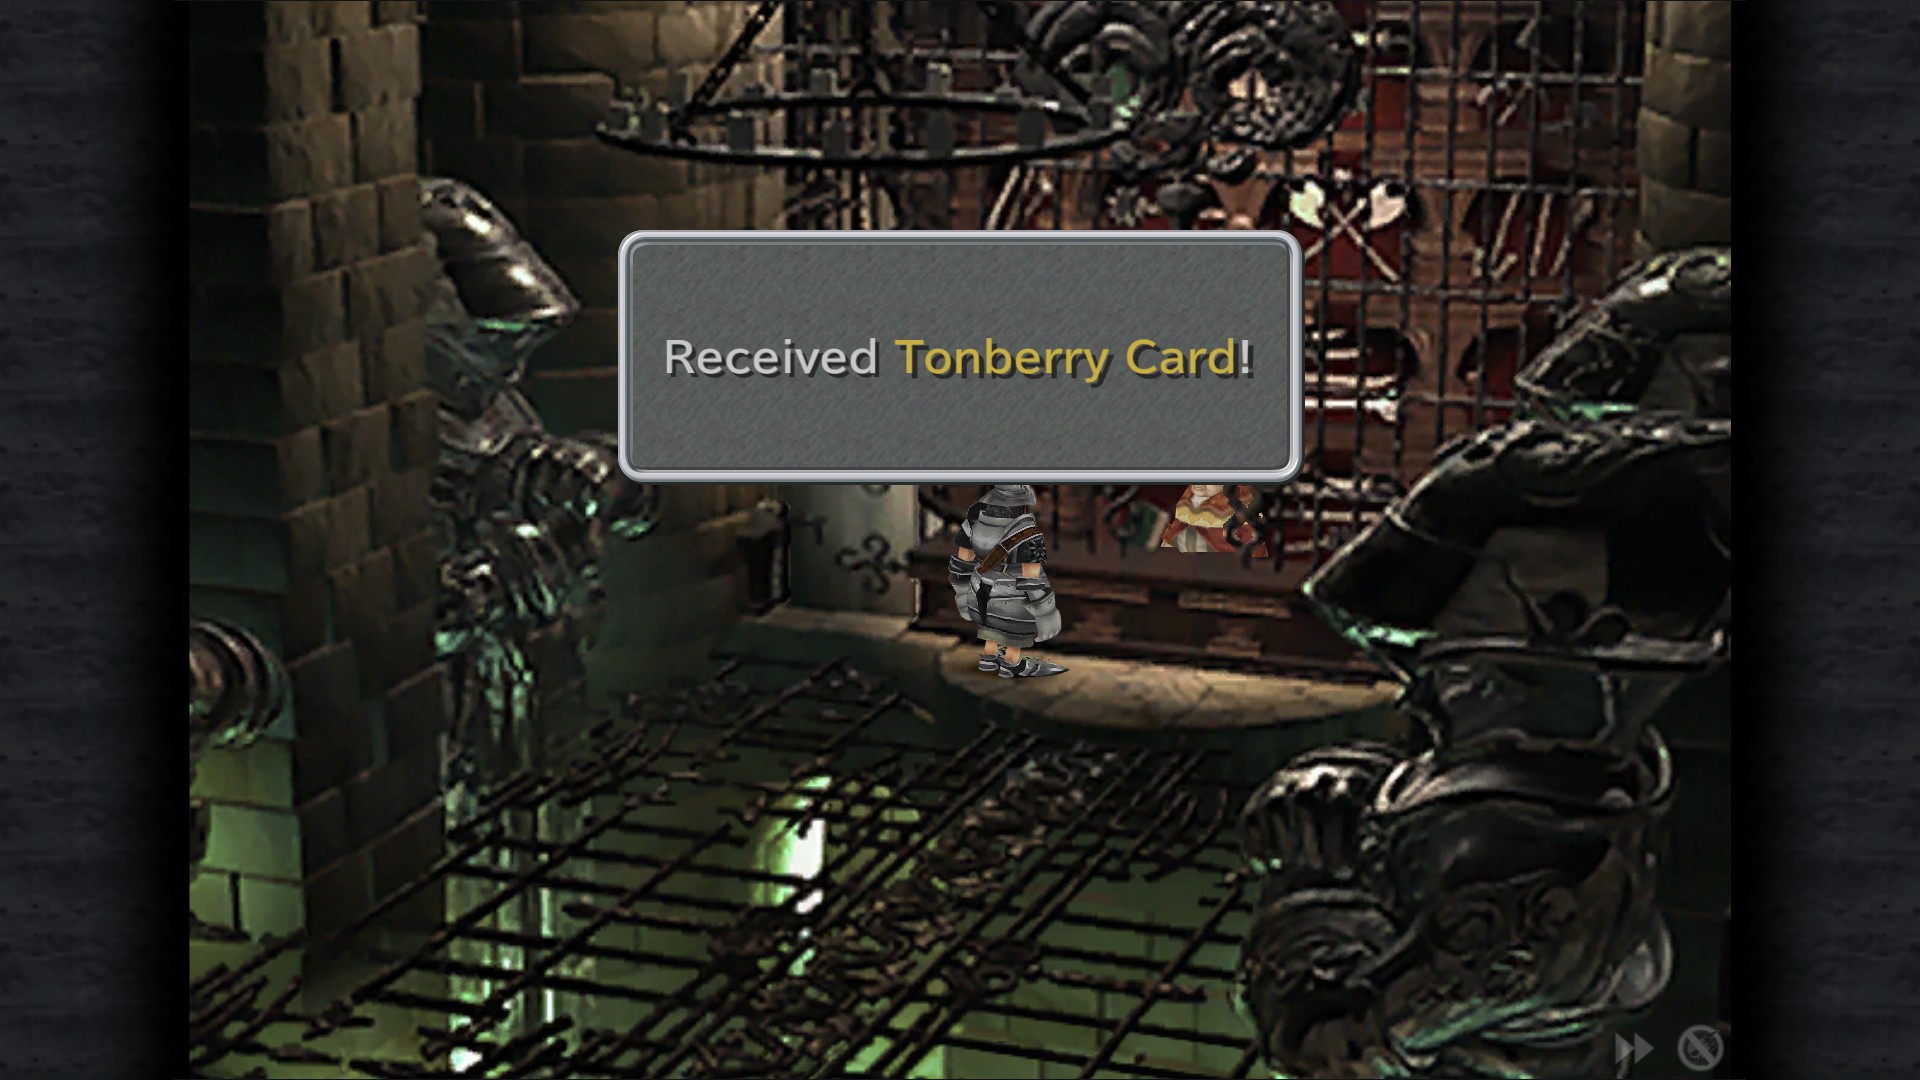
Tonberry Card (Defeat Griffin in Knight's House)
Sidenote: This weapon shop is one of few places where Mythril Sword, Air Racket and Chain Mail are available, and they become unobtainable (Mythril Sword, Chain Mail) or rare (Air Racket) later in the game. All are required for one synthesis recipe each and Mythril Sword is the only equipment that can teach Steiner Armour Break.
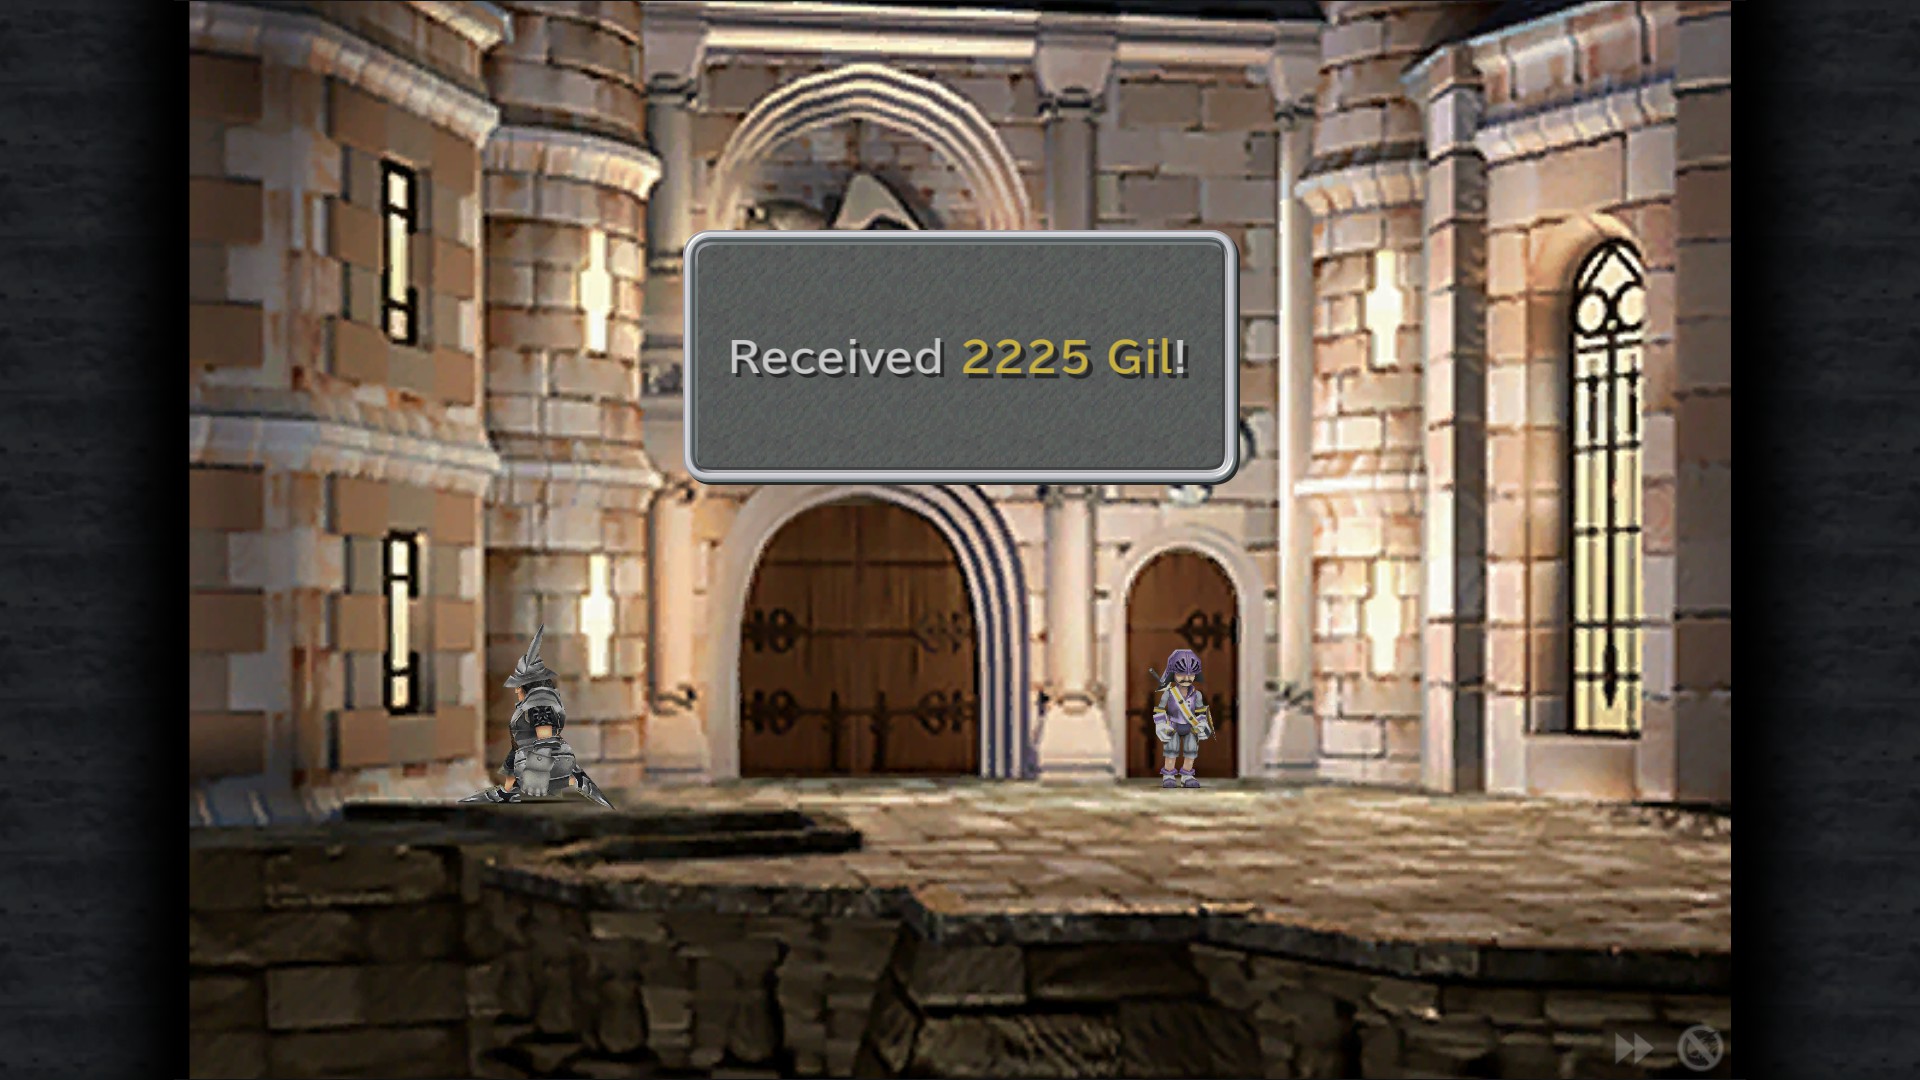
2225 Gil - King's House
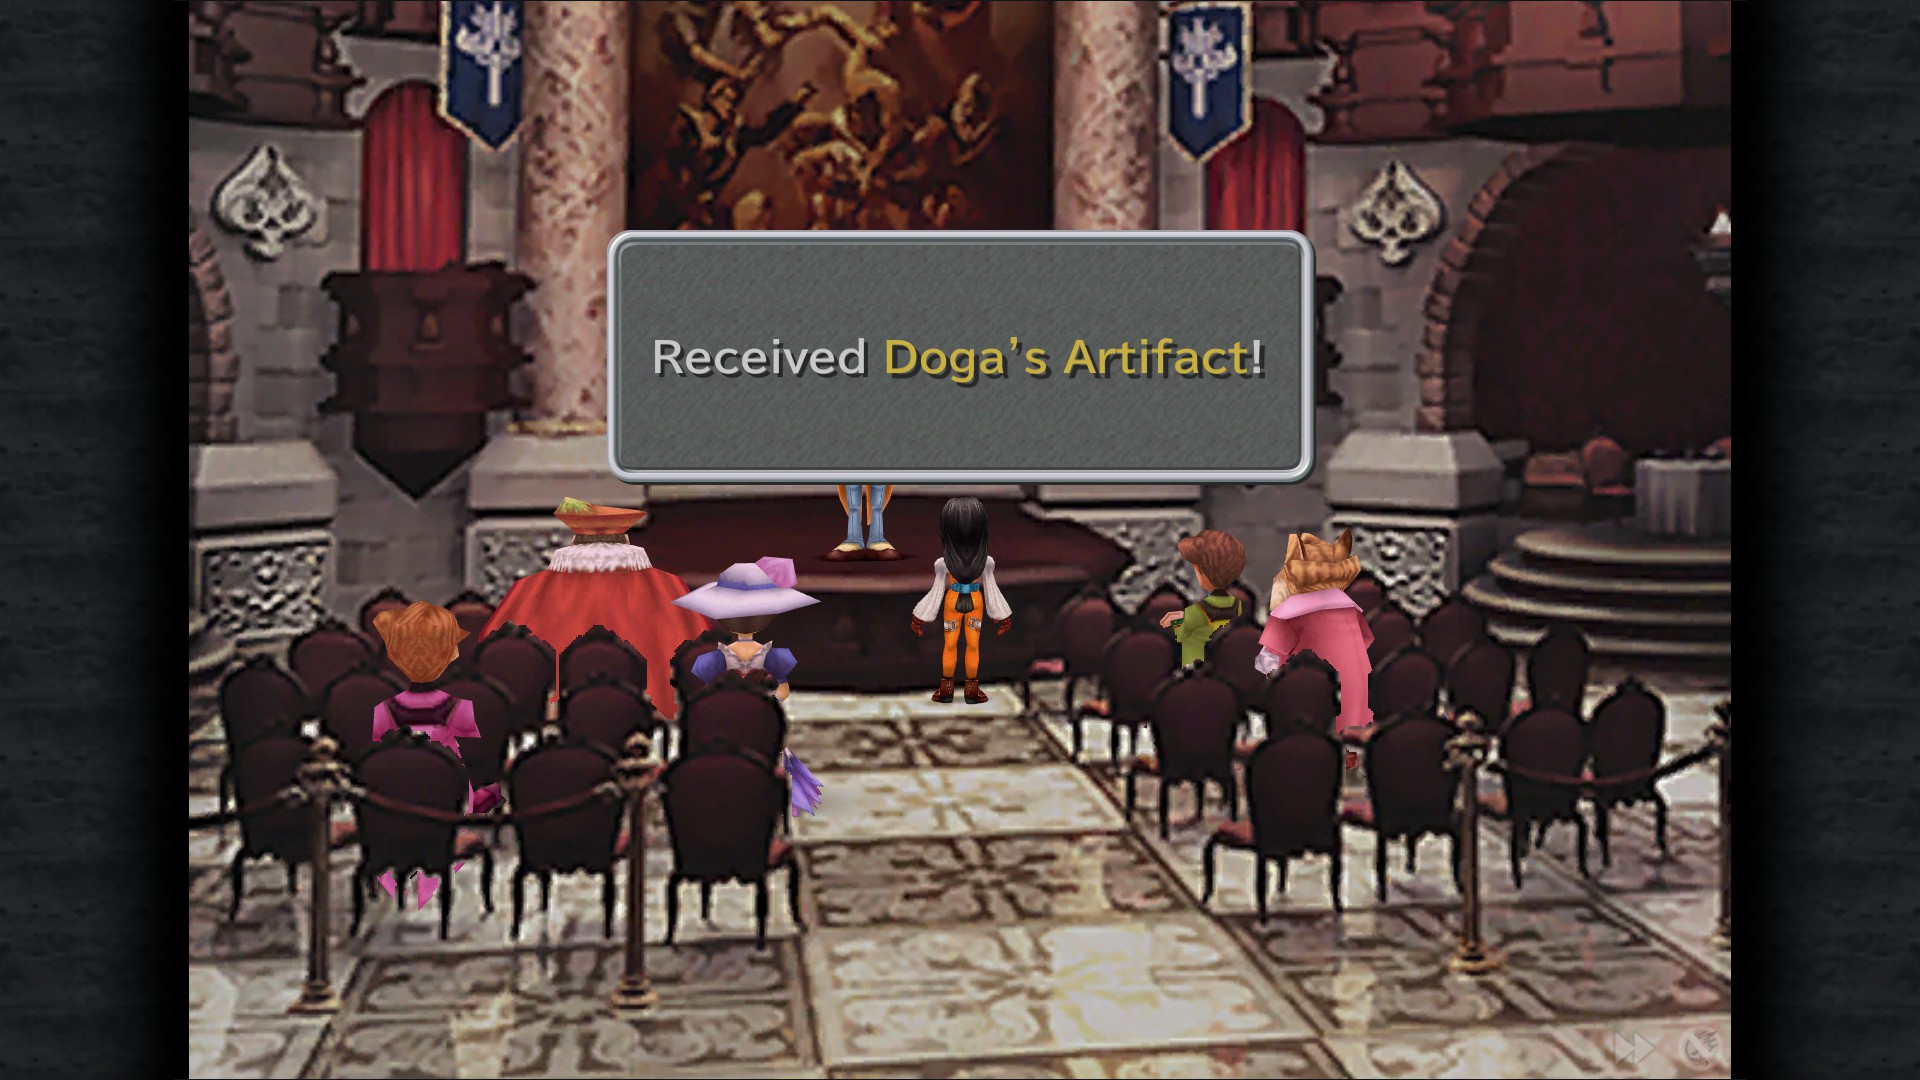
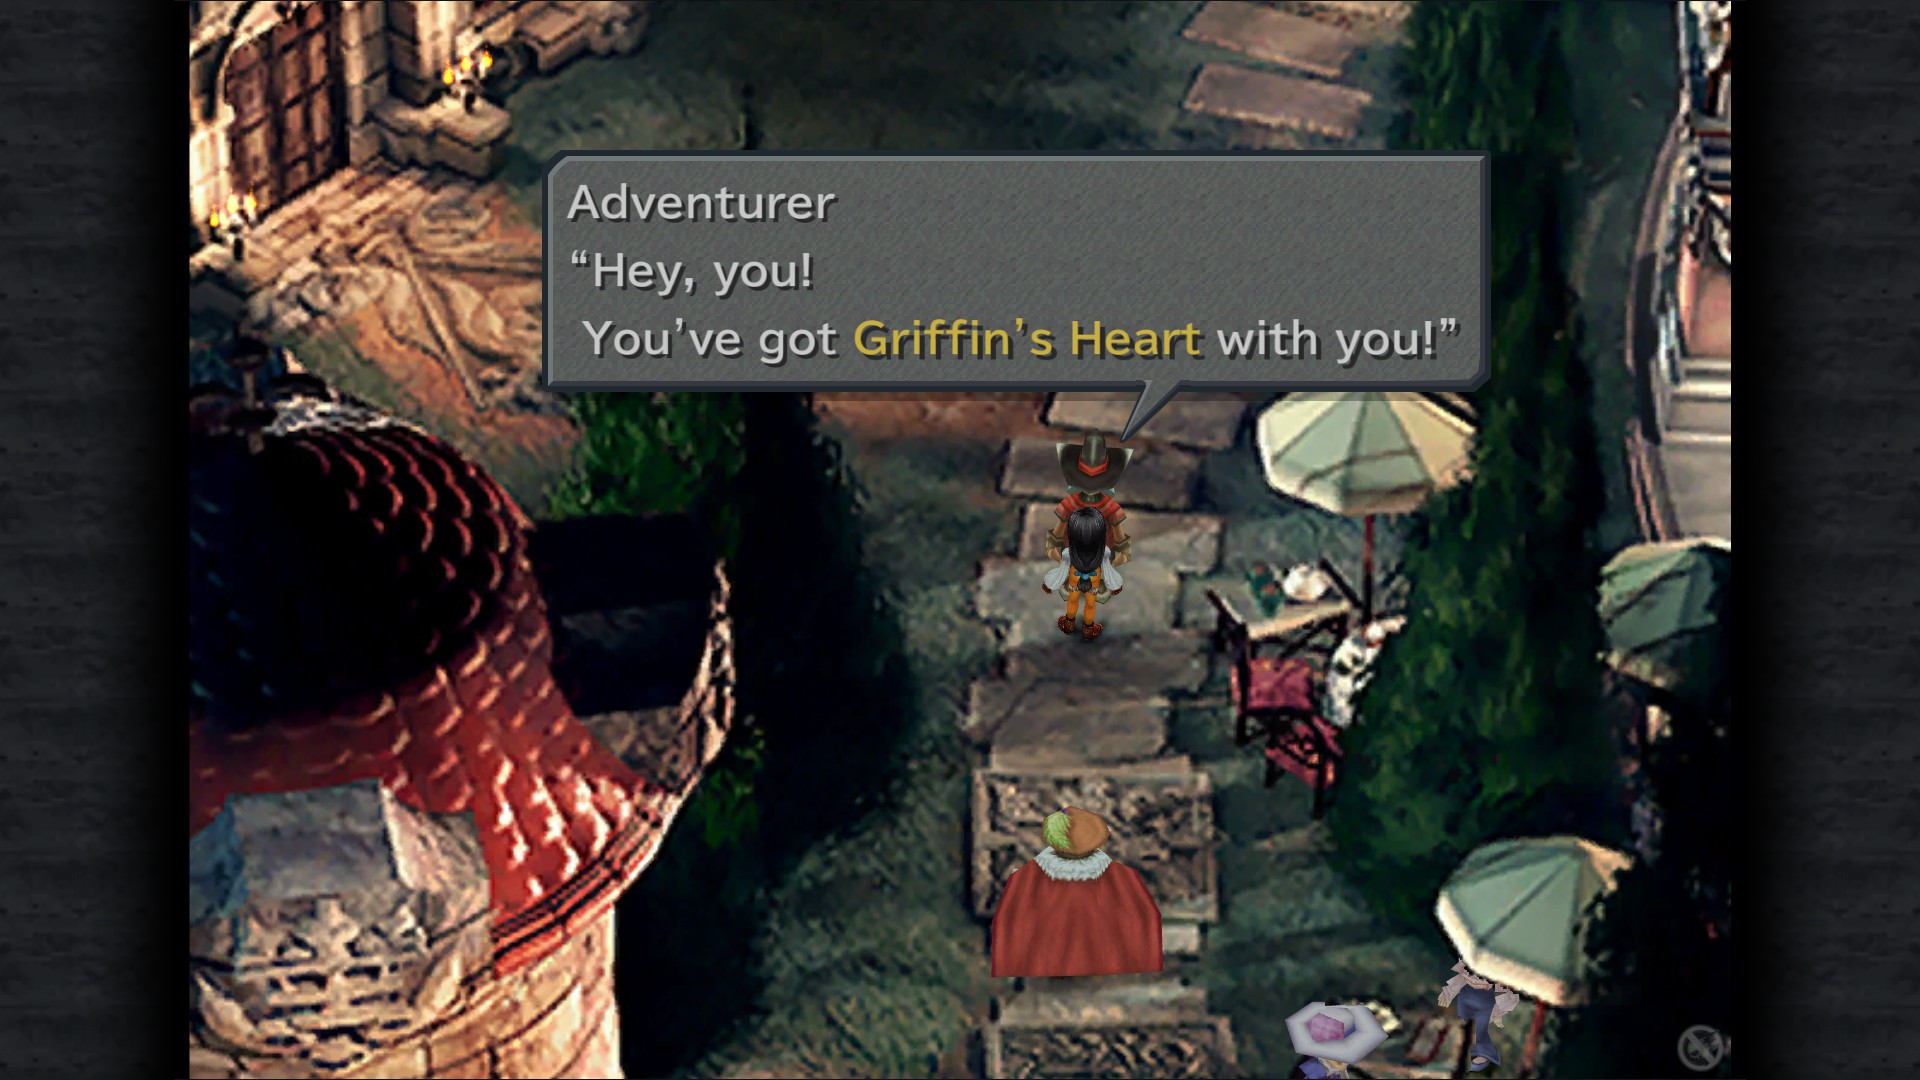
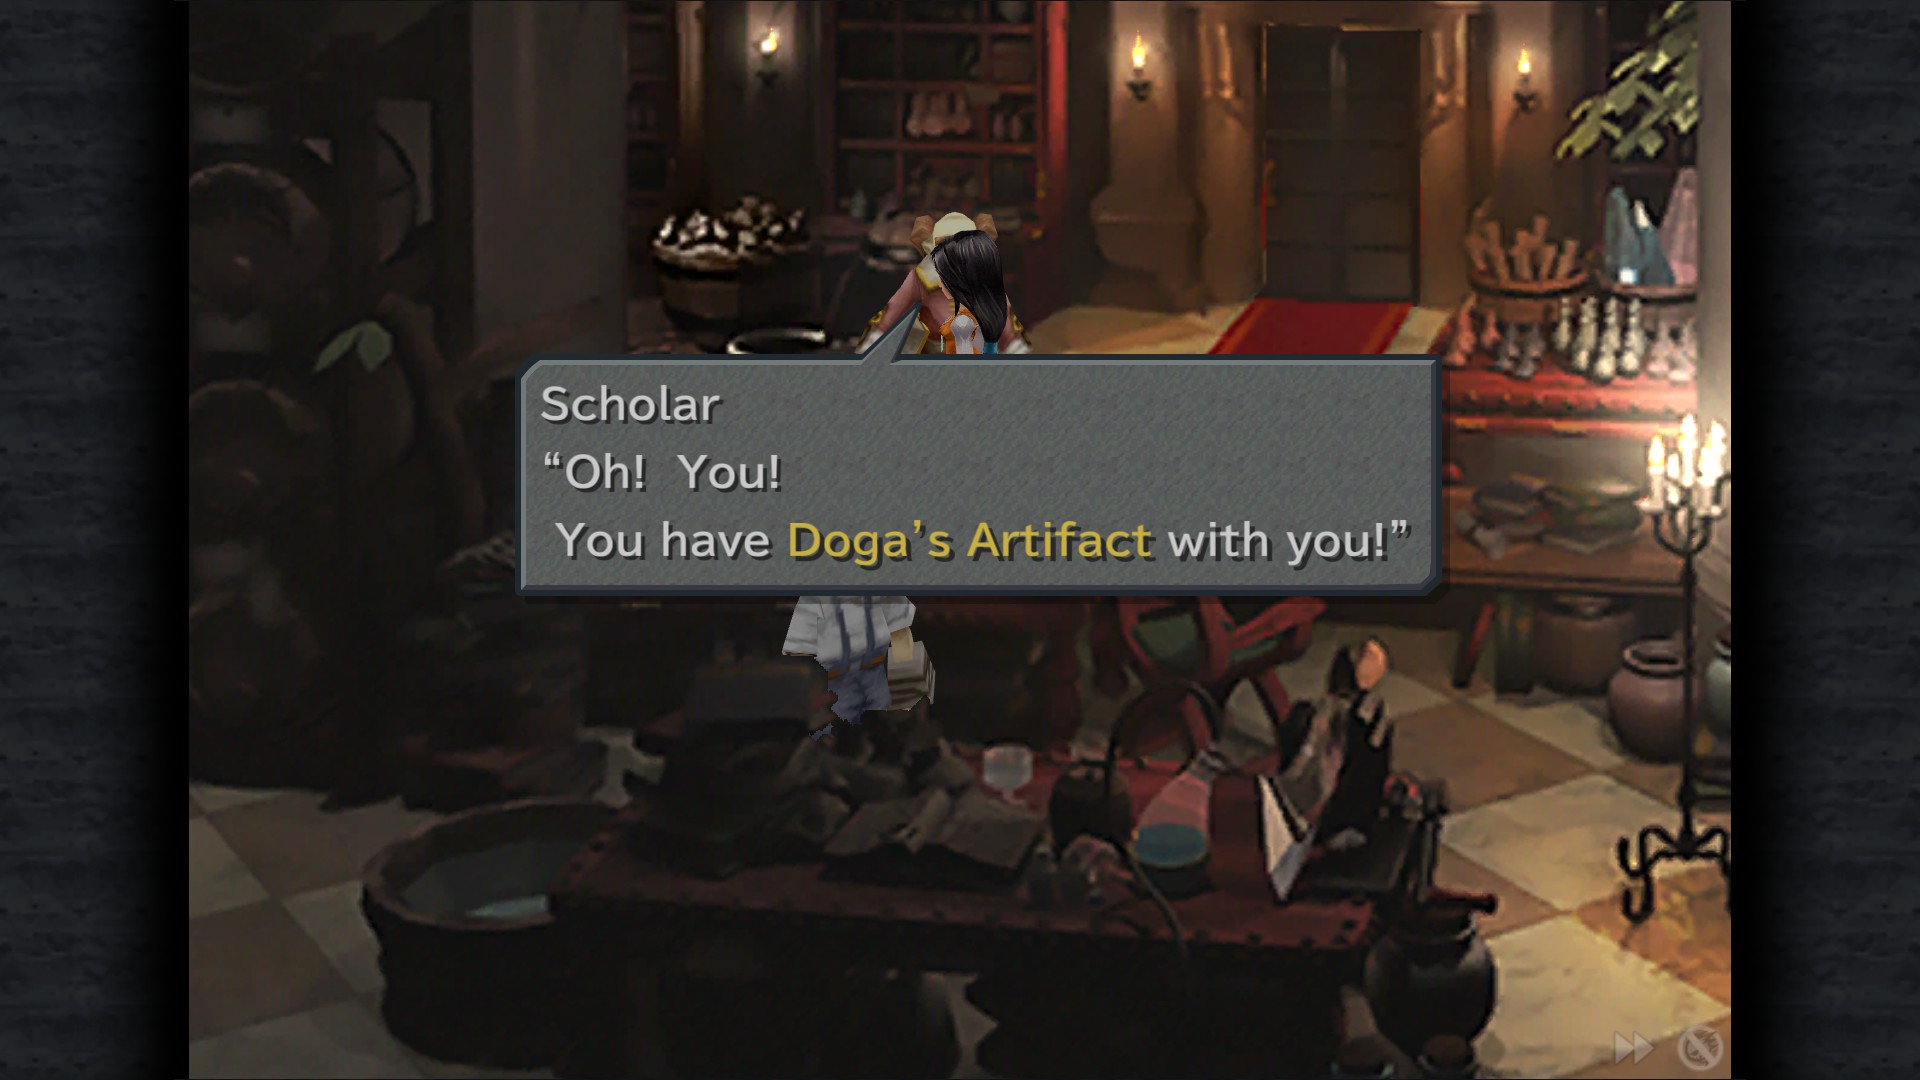
Win Griffin's Heart , Une's Mirror and Doga's Artifact on Auction House
Sell Griffin's Heart to adventurer in Bishop's House Area
Sell Une's Mirror to Nobleman in Bishop's House Area
Sell Doga's Artifact to Scholar in Synthesist Store
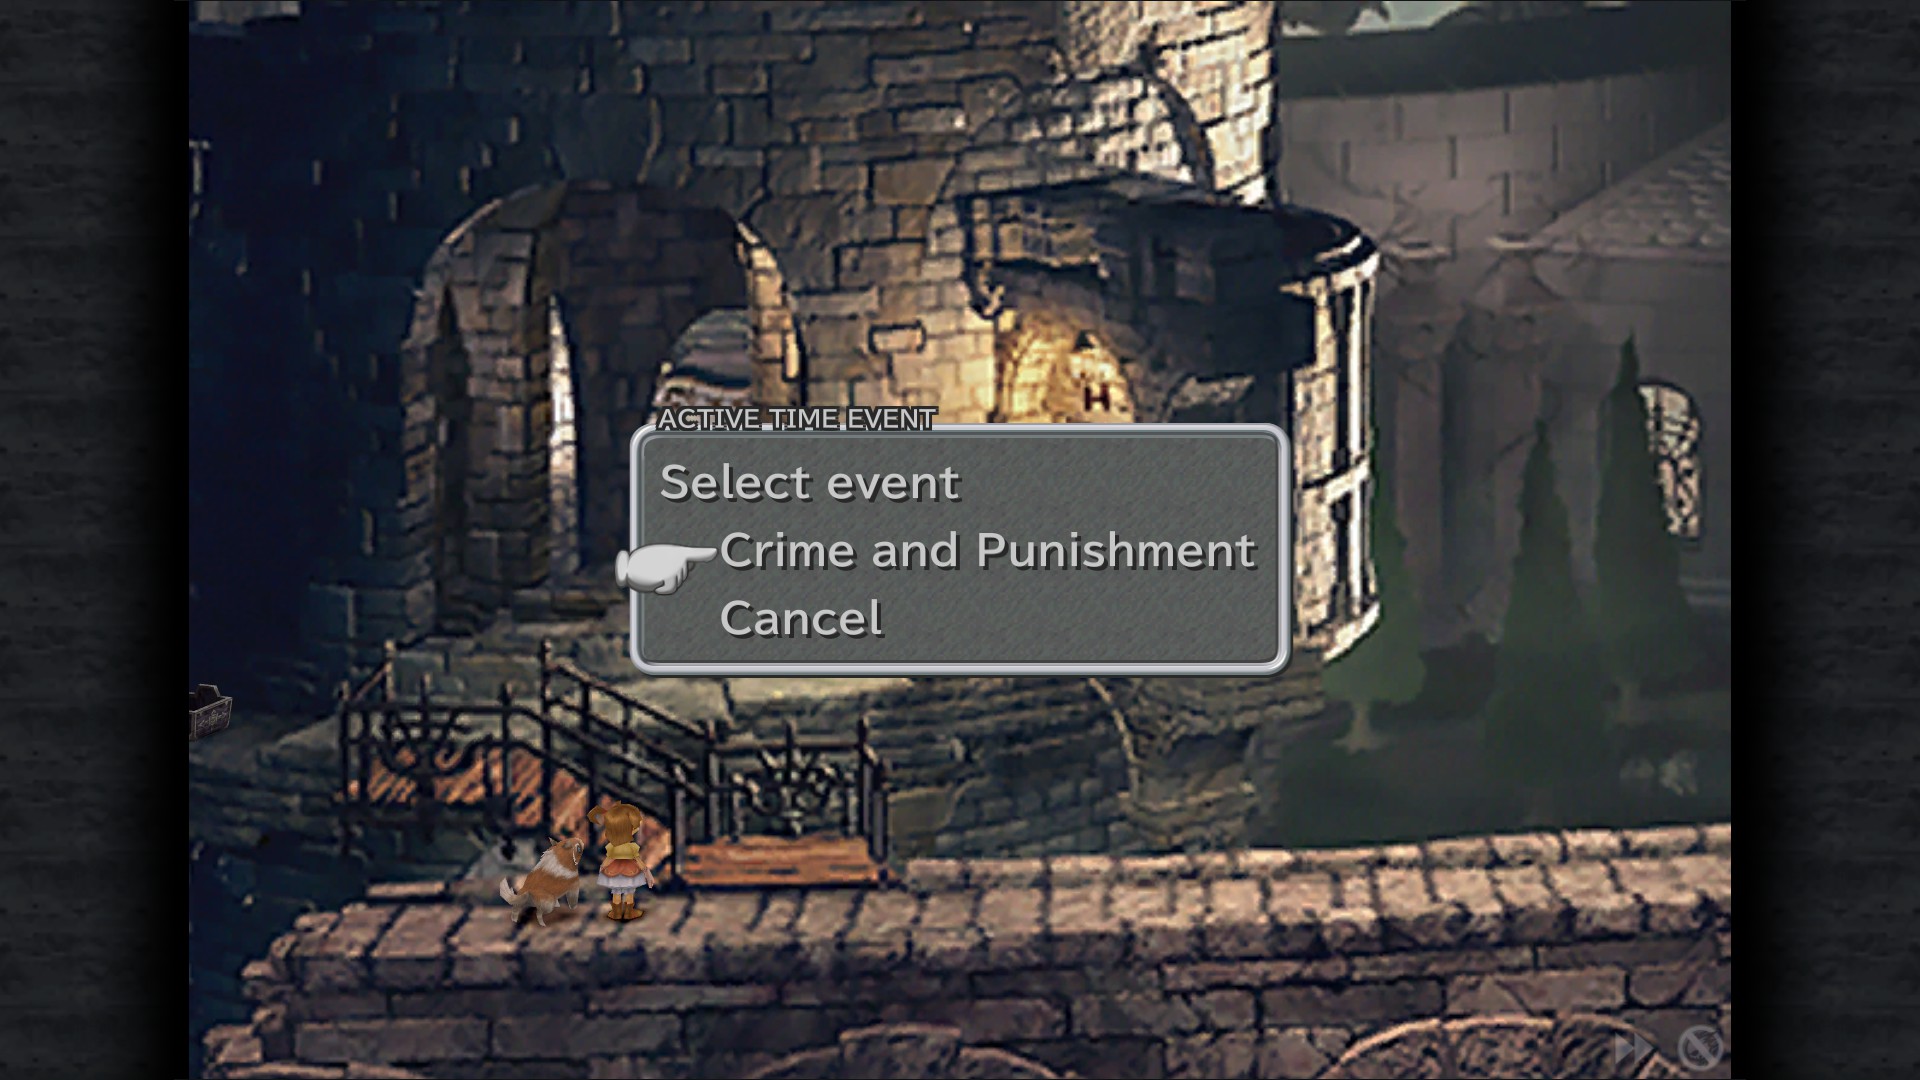
Crime And Punishment ATE - Walkway (Only available before entering Gargan Roo after talking with Dr.Tot)
Gargan Roo - Cleyra


Gargan Roo
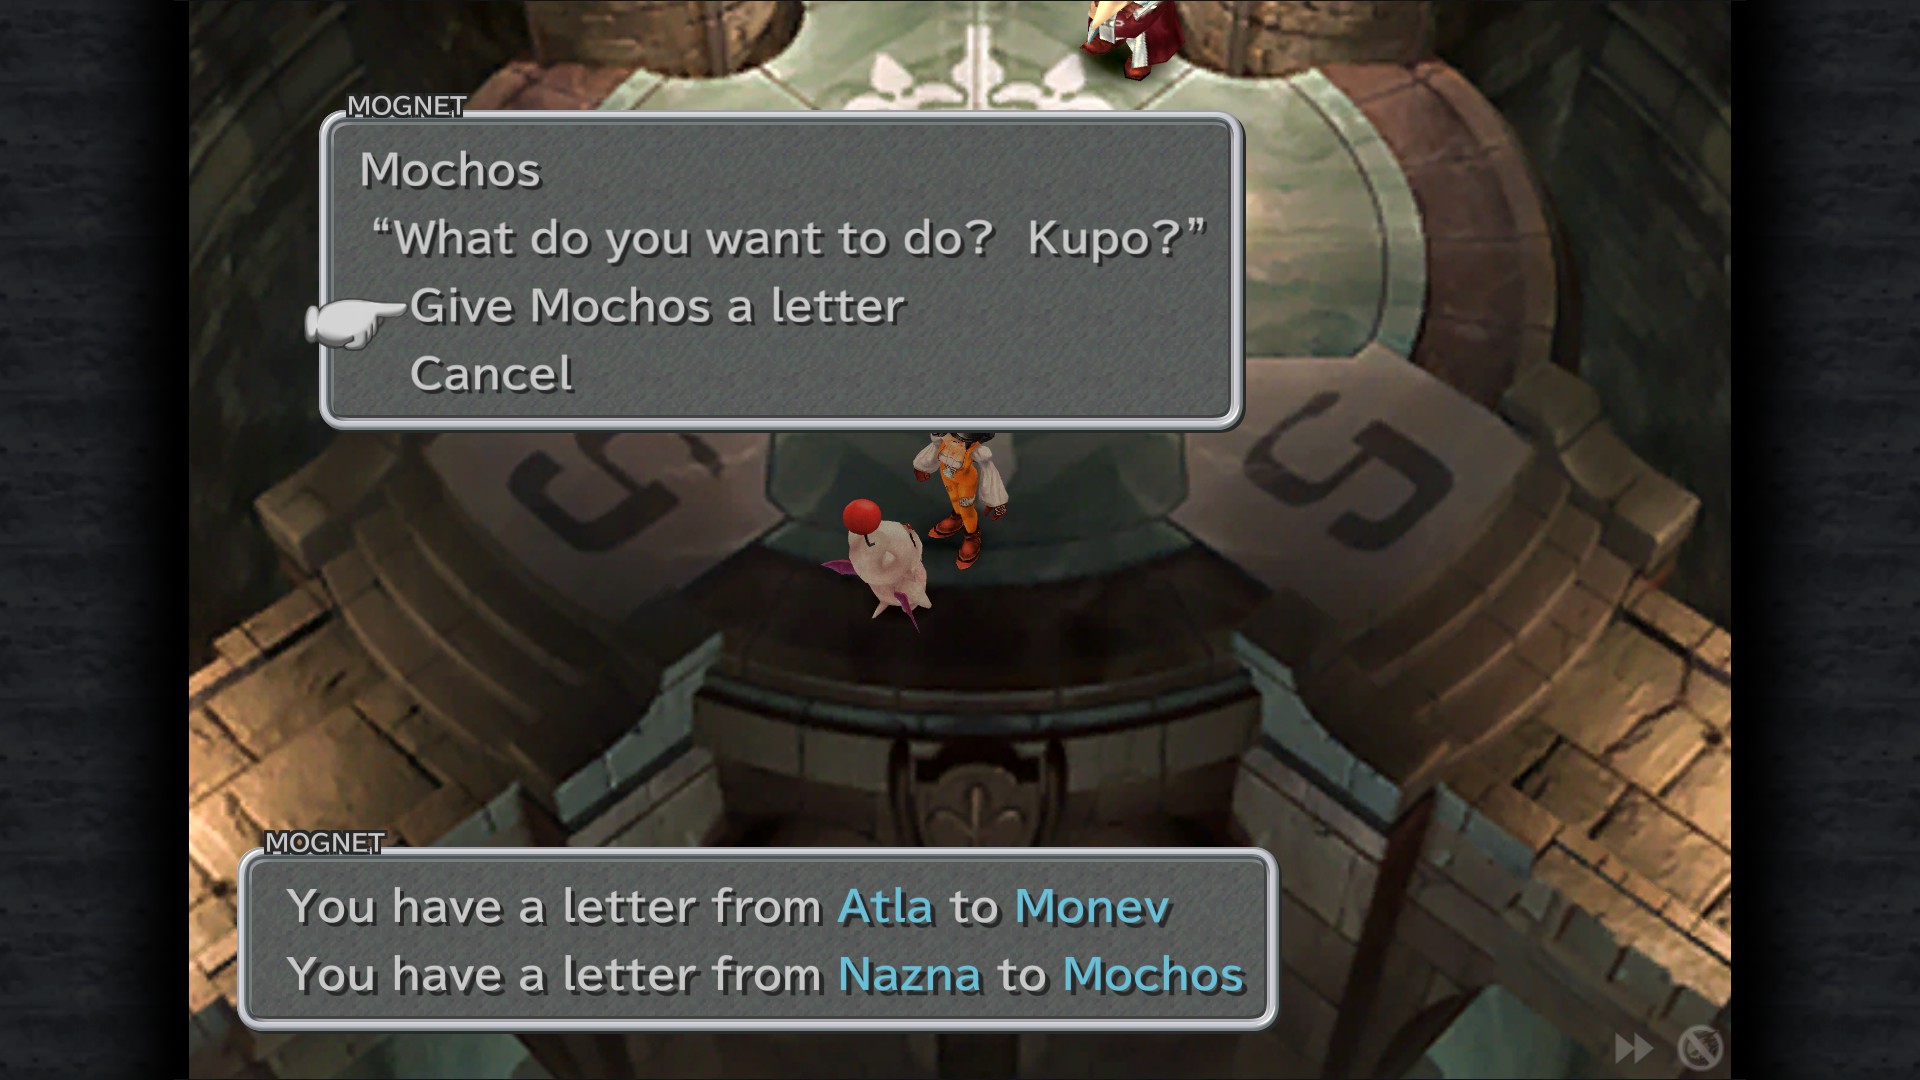
Mognet: Give Mochos a letter "Am I Right?" - Entrance
Chain Plate - Passage
Phoenix Down - Passage
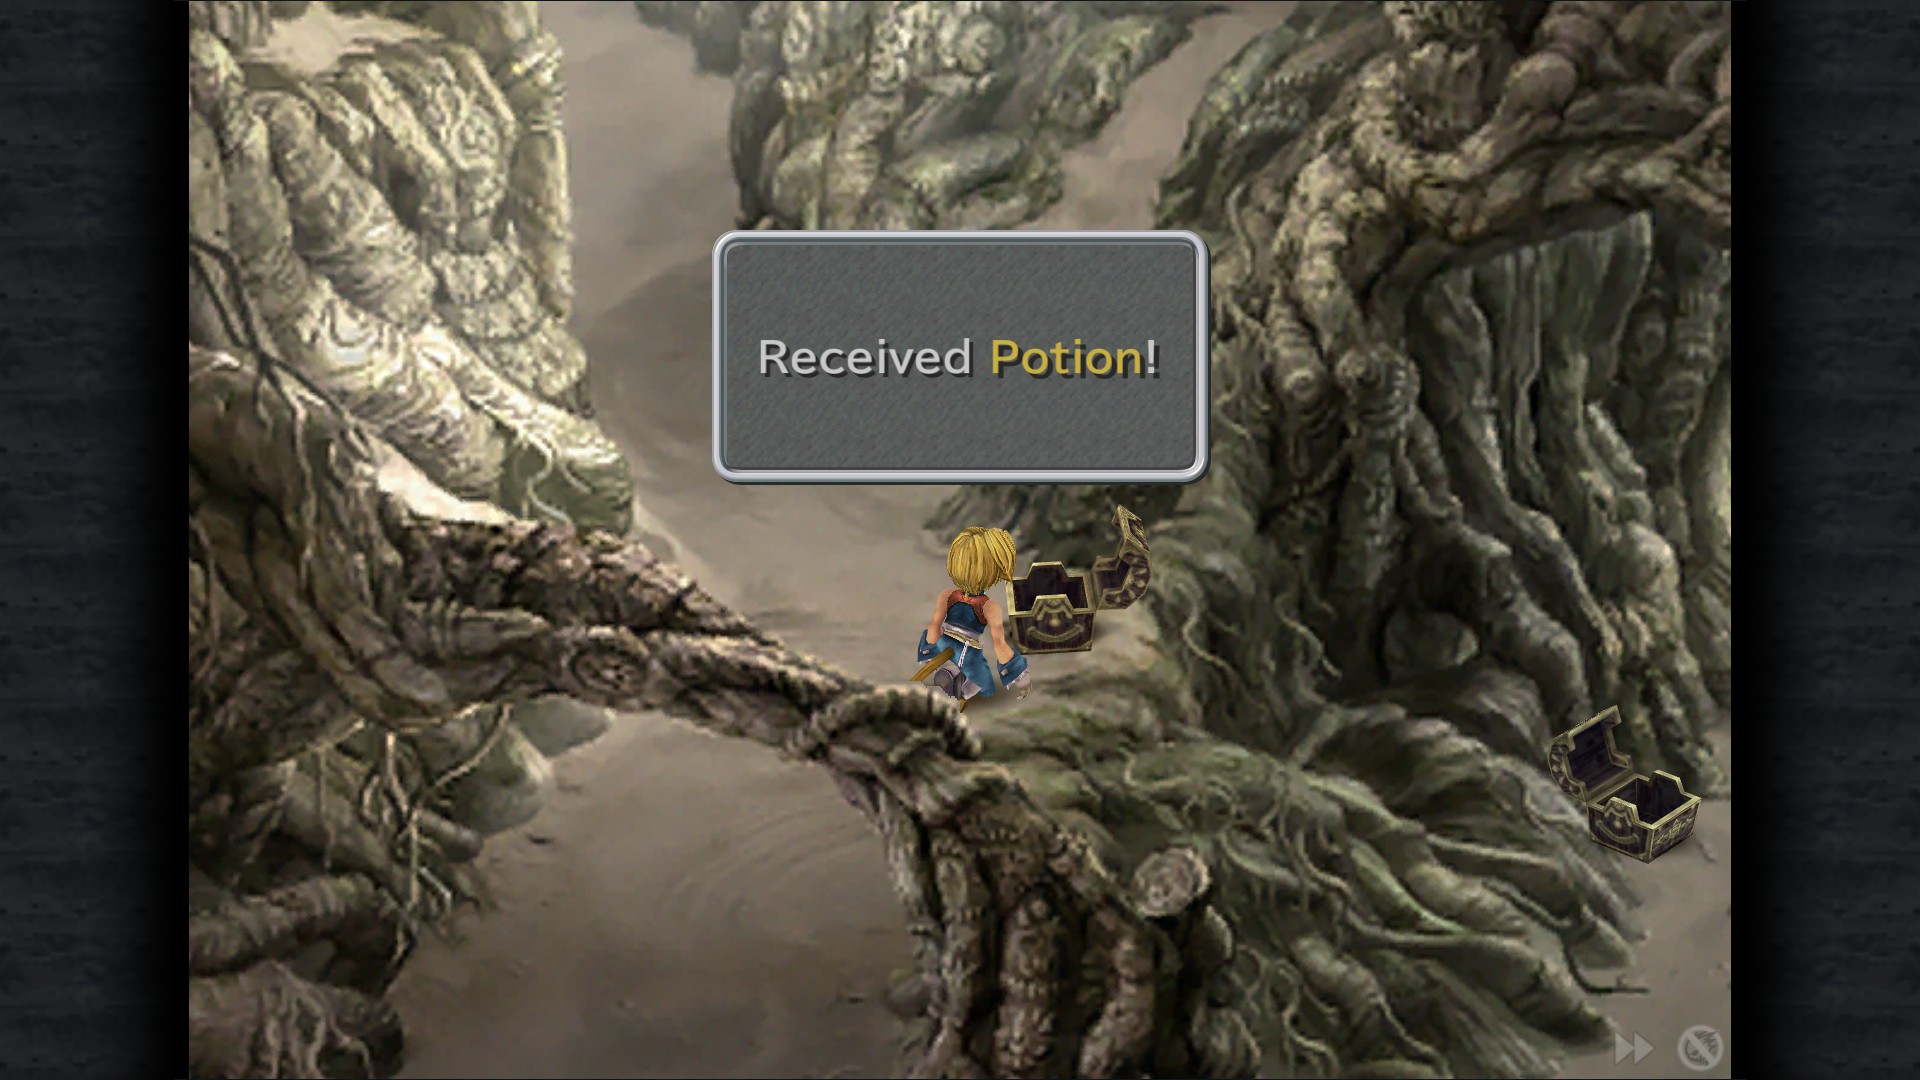
Cleyra's Trunk
Phoenix Down - In the first screen inside the trunk
Magician Shoes - Flooding chamber
Ice Staff - Flooding chamber
Ether - Next to the hole with the switch
Needle Fork - Sandfall area
Tent - Sandfall area
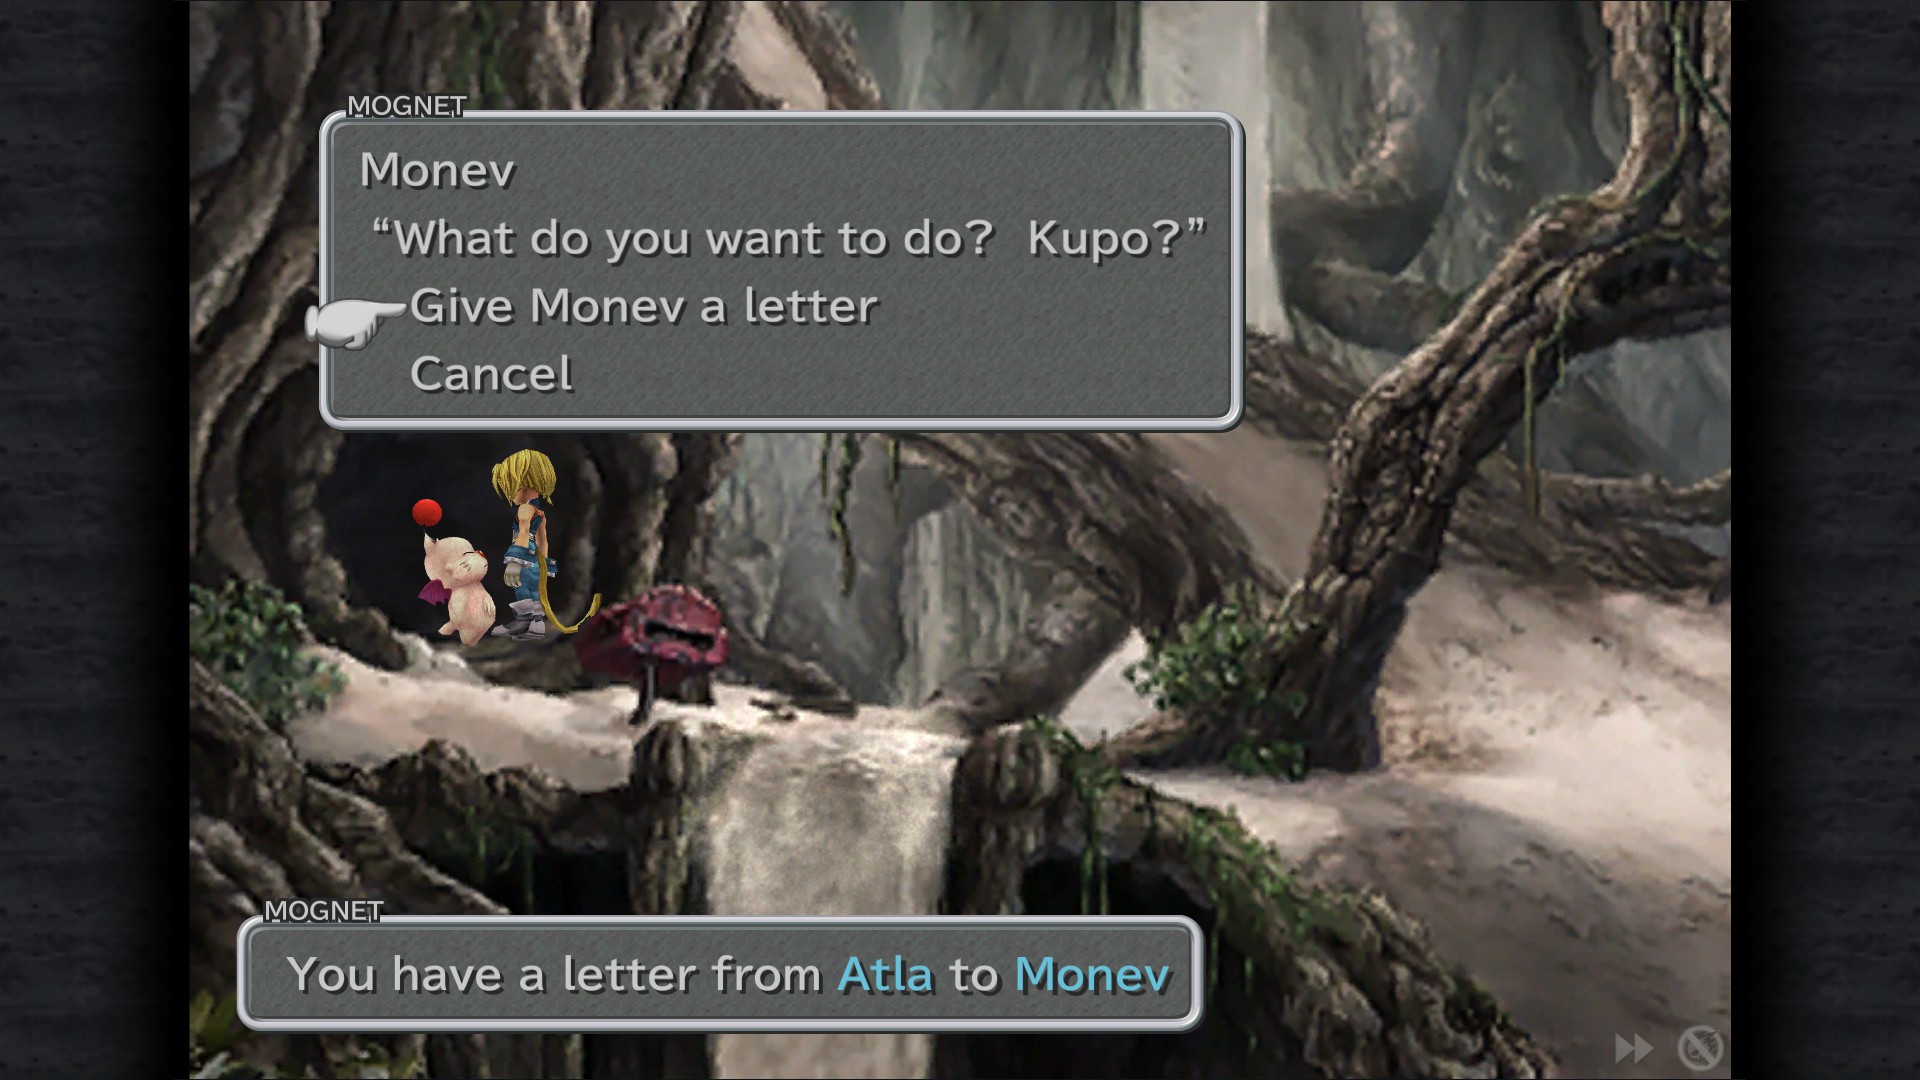
Mognet: Give Monev a letter "No More Pointy Hats!" - Sandfall area
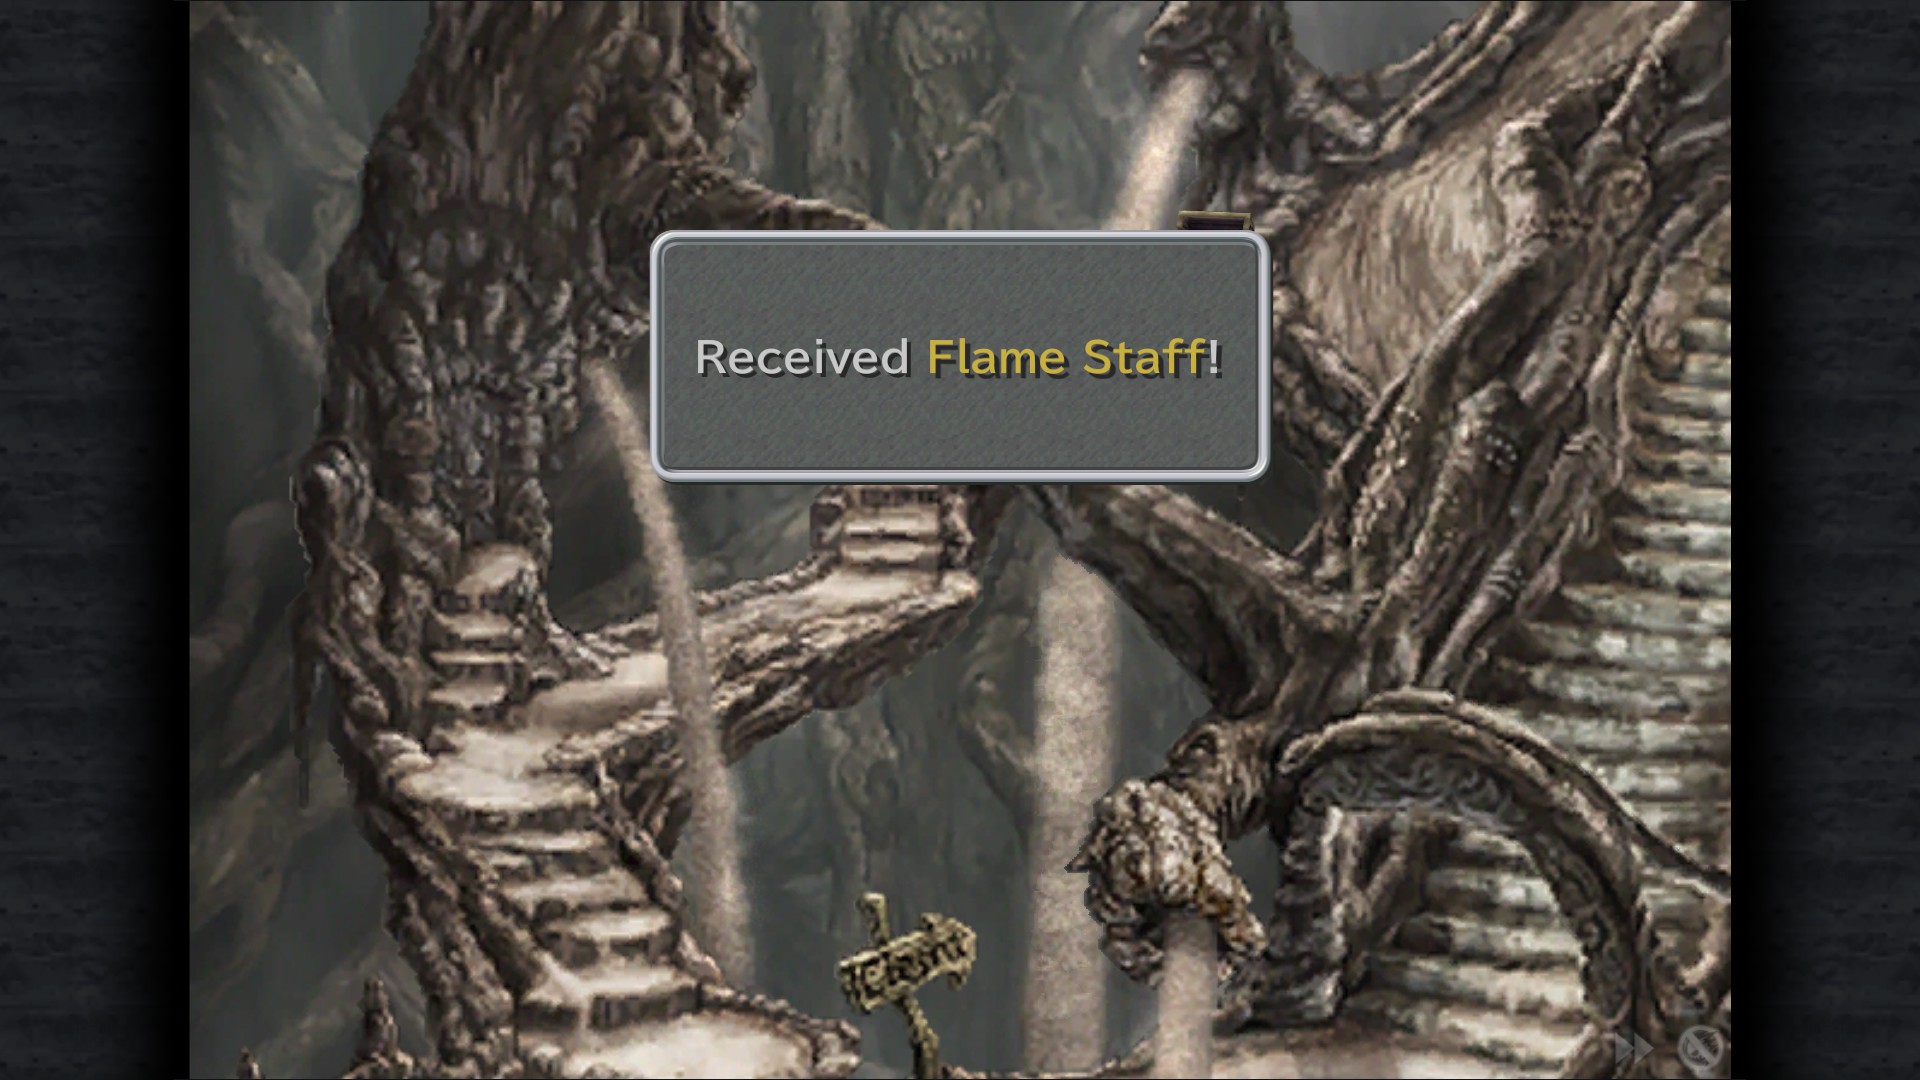
Flame Staff - Room before wooden bridge
Desert Boots - Behind the center pillar in the area after the bridge
Mythril Vest - Hidden behind the center pillar area
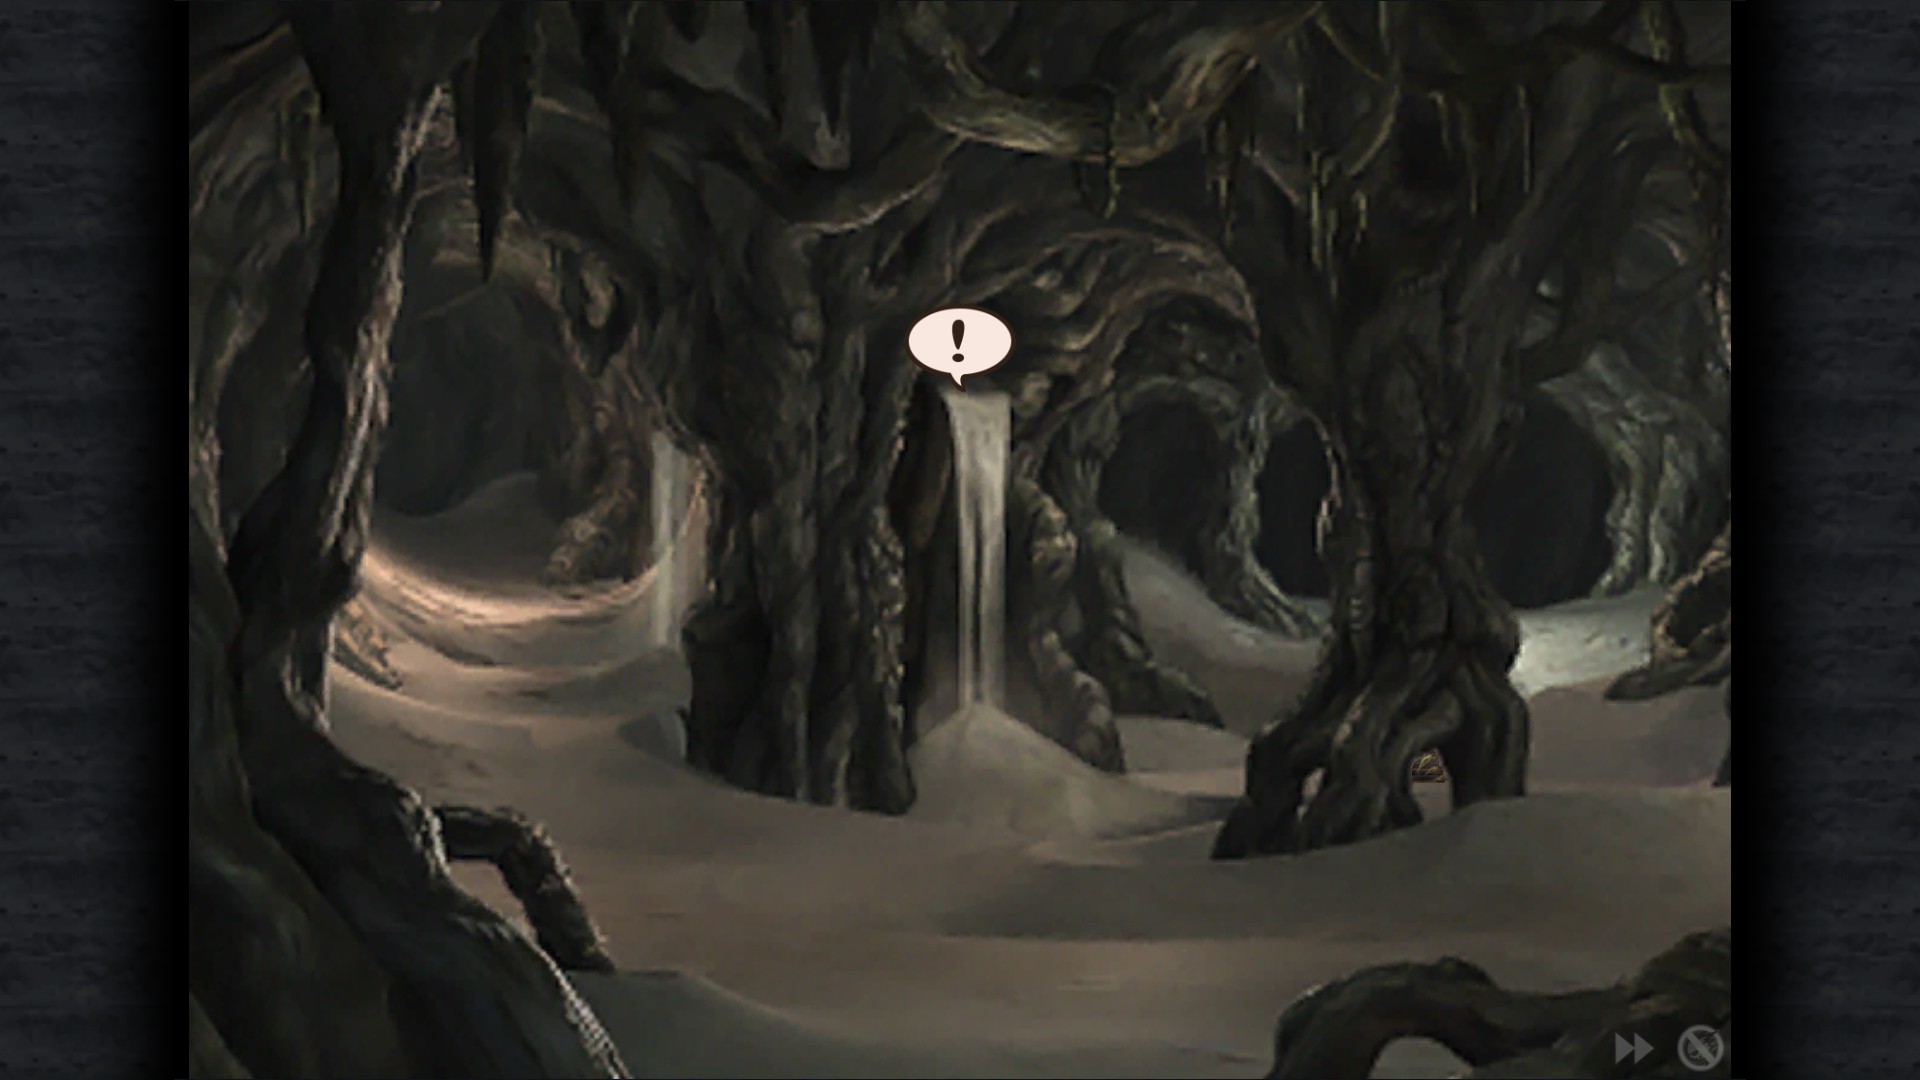
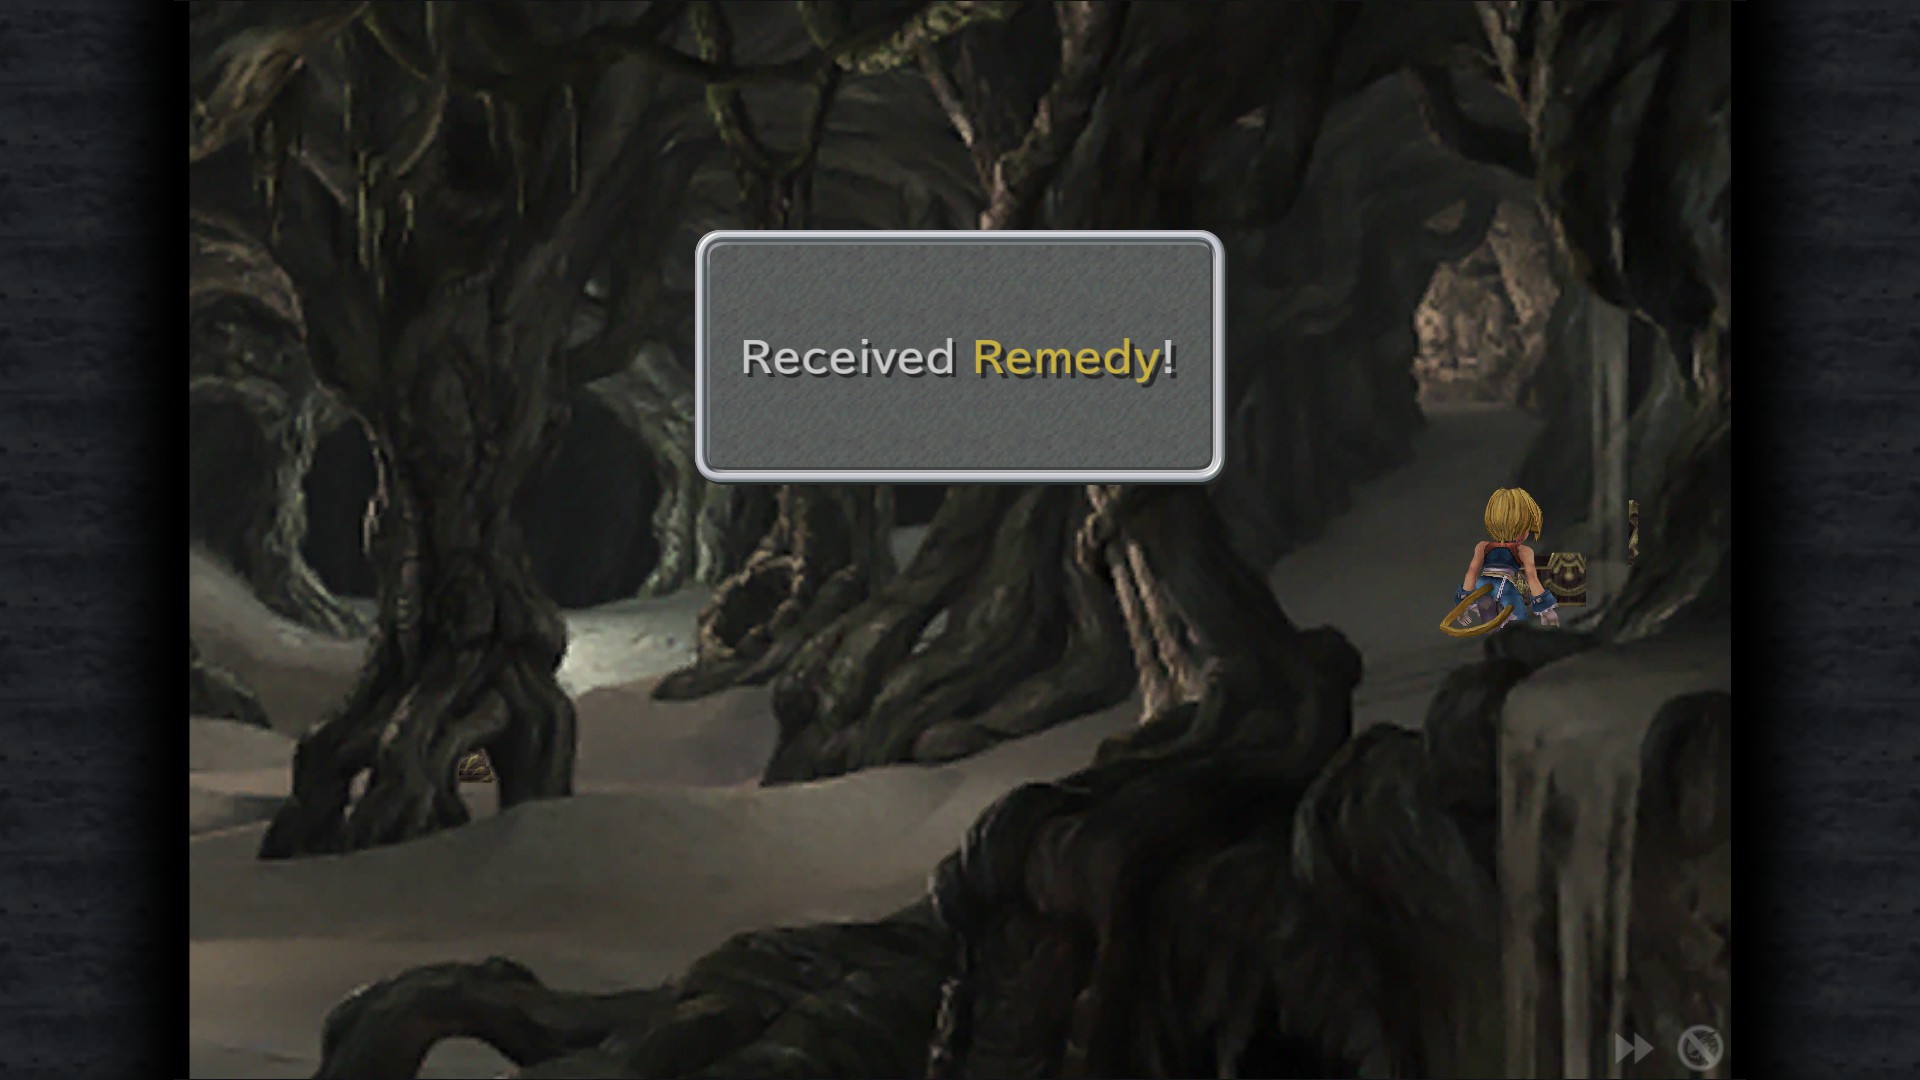
Remedy - Same room , right path
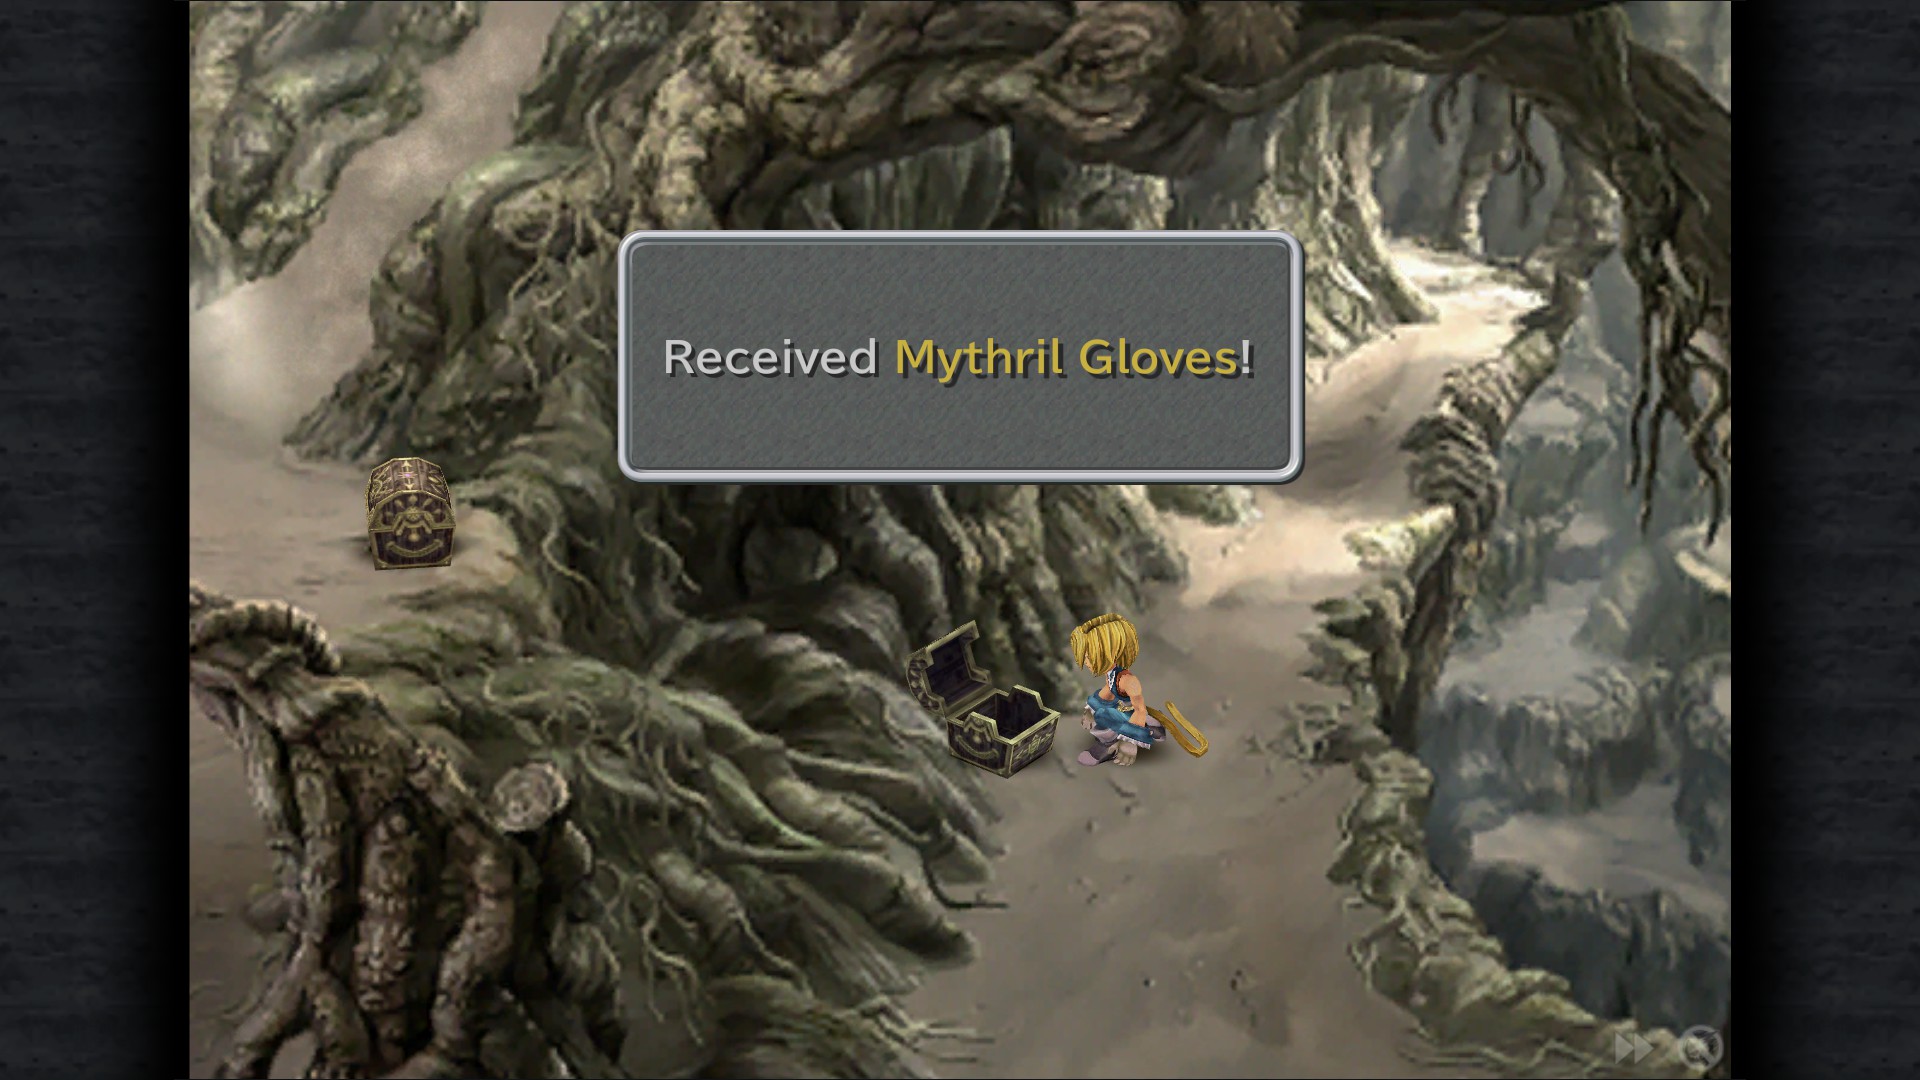
Mythril Gloves - Right fork area
Note: Pull the lever to stop the sand at the end of this area
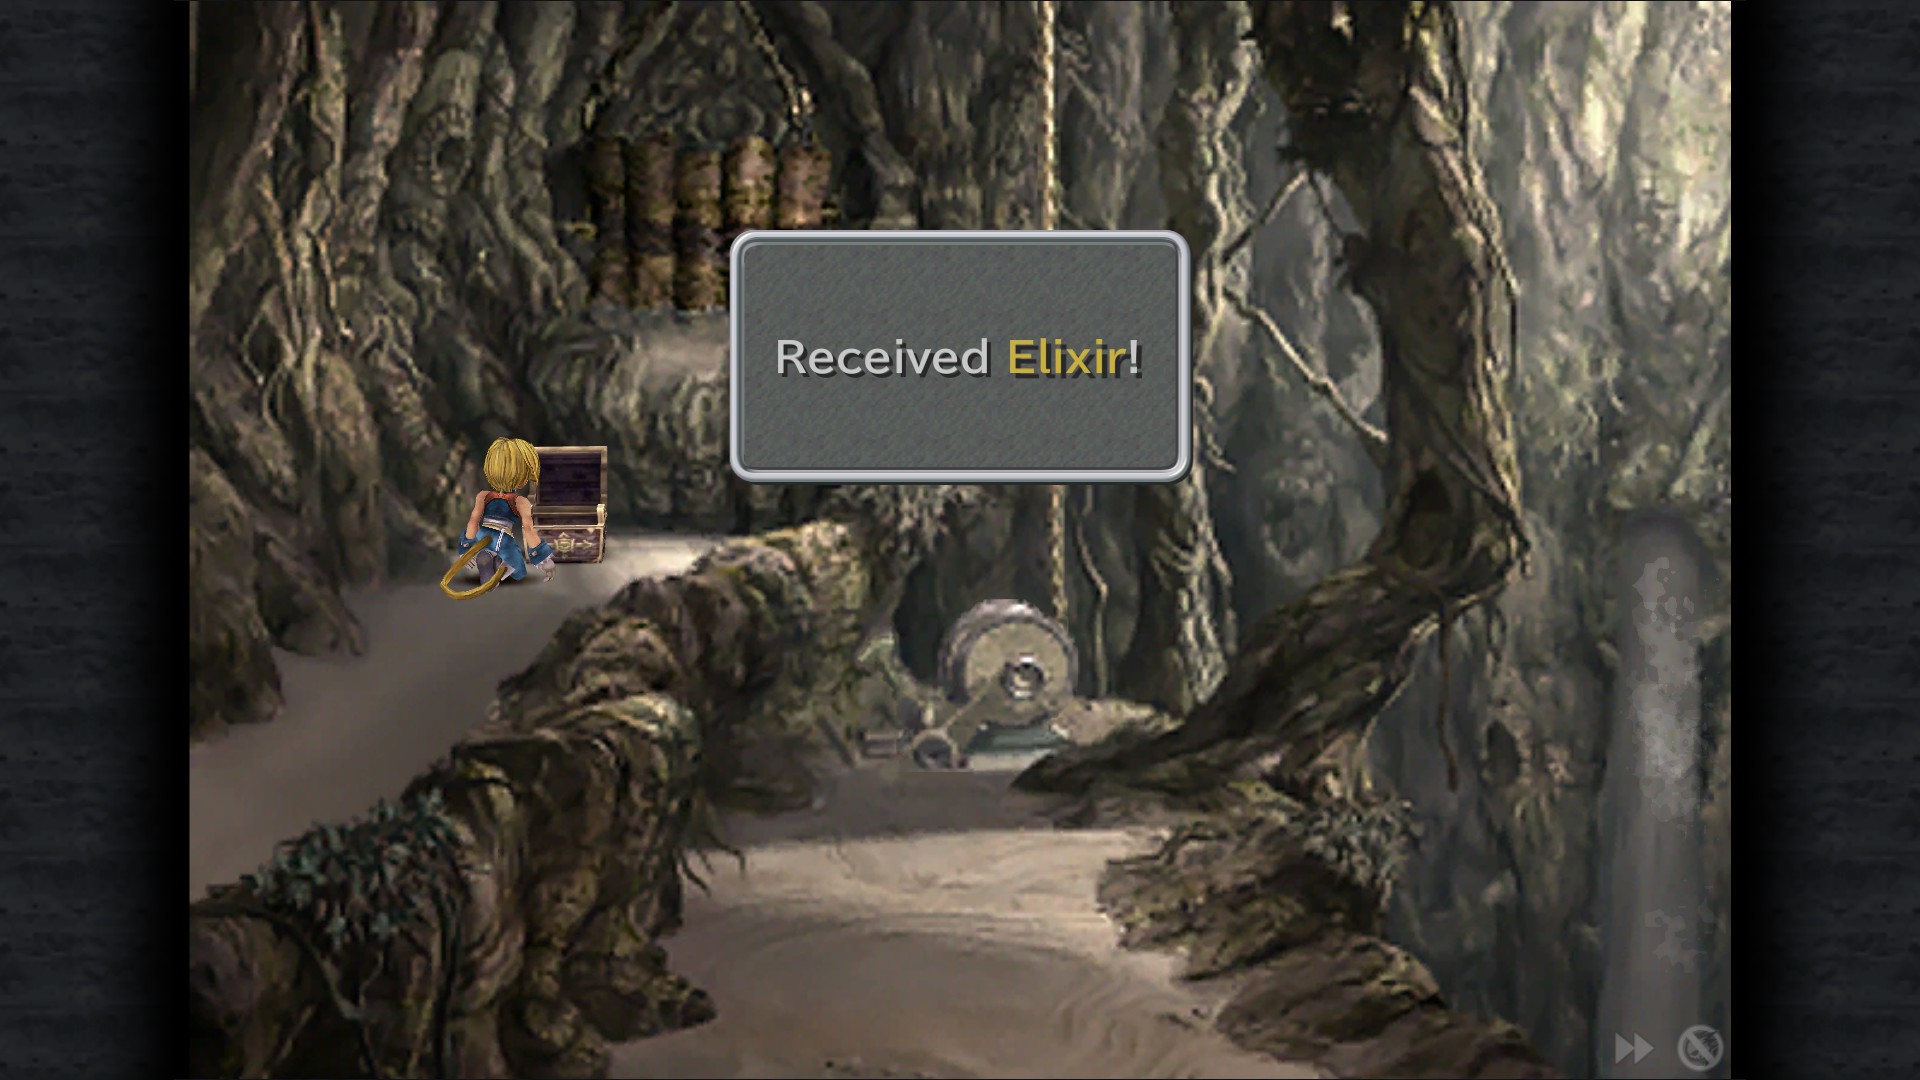
Potion - Left fork ,near the top
Elixir - Path opened when stopped the lever
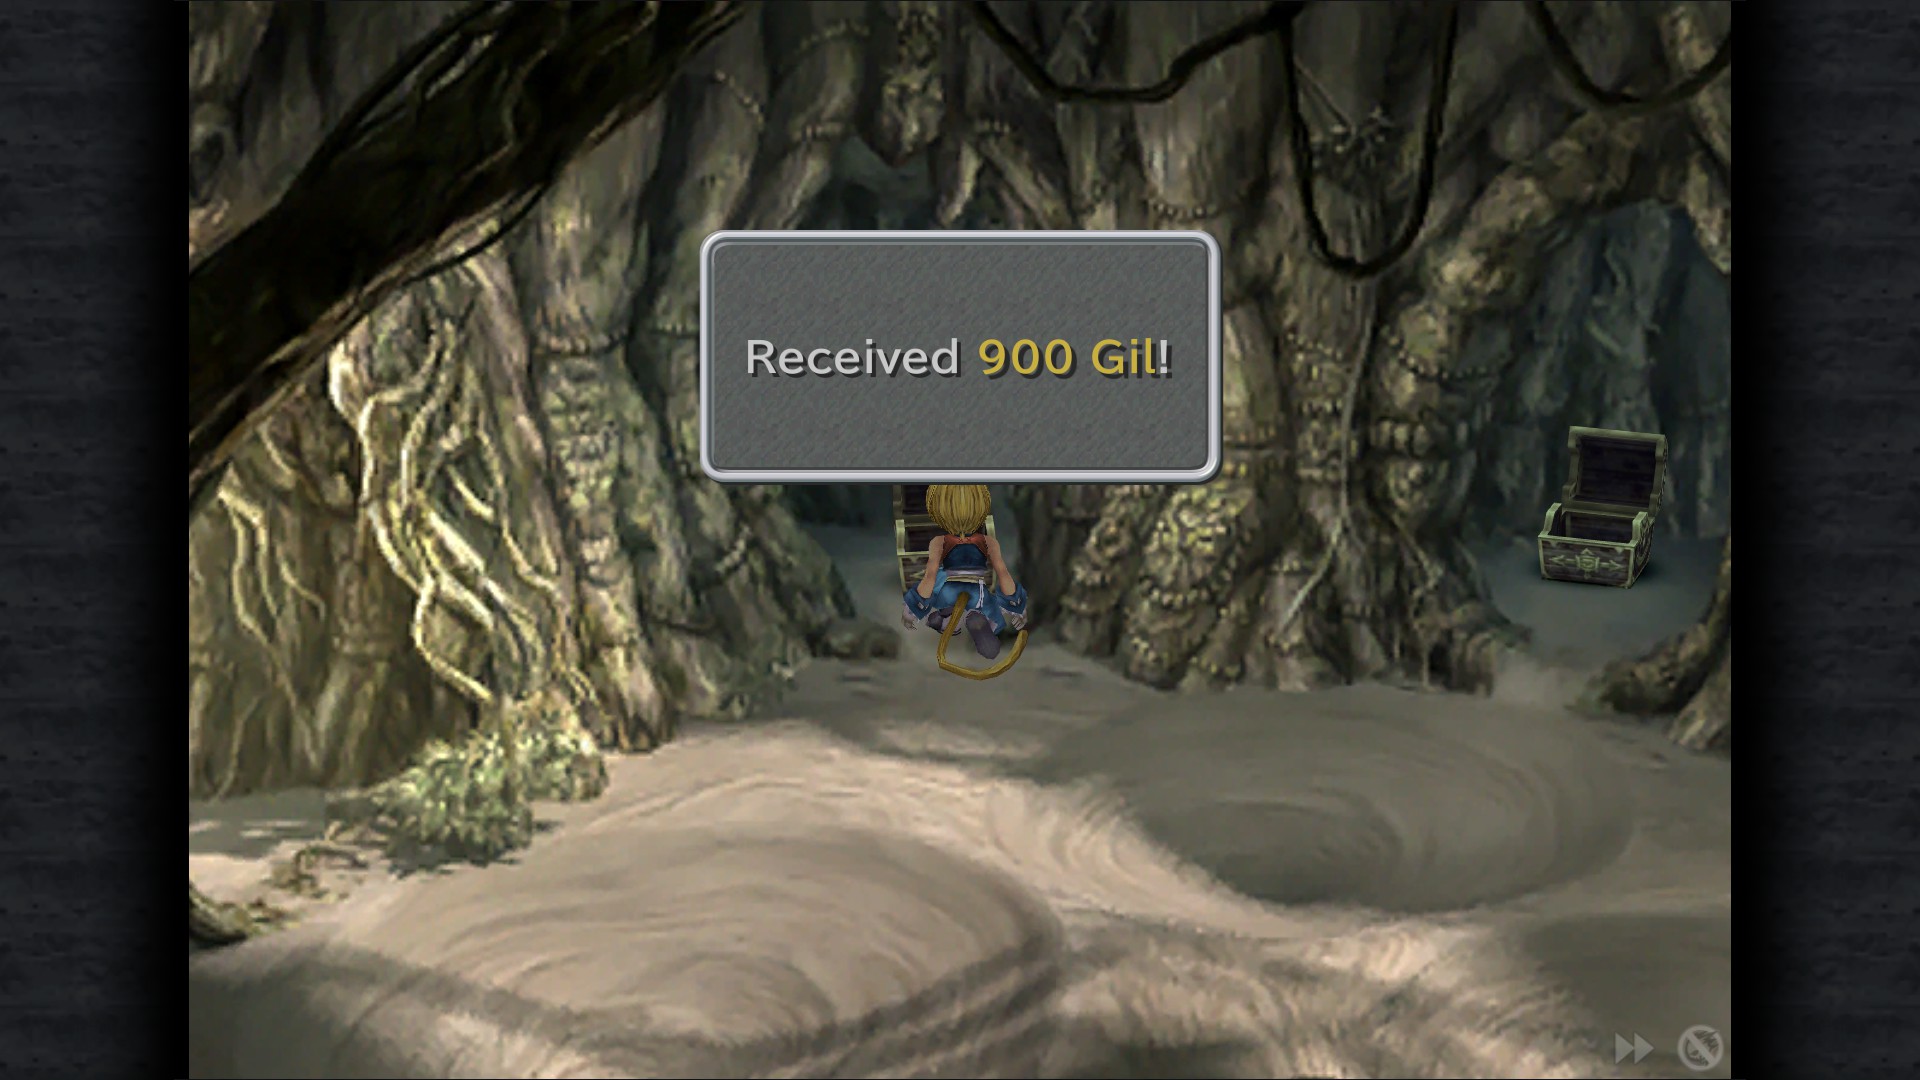
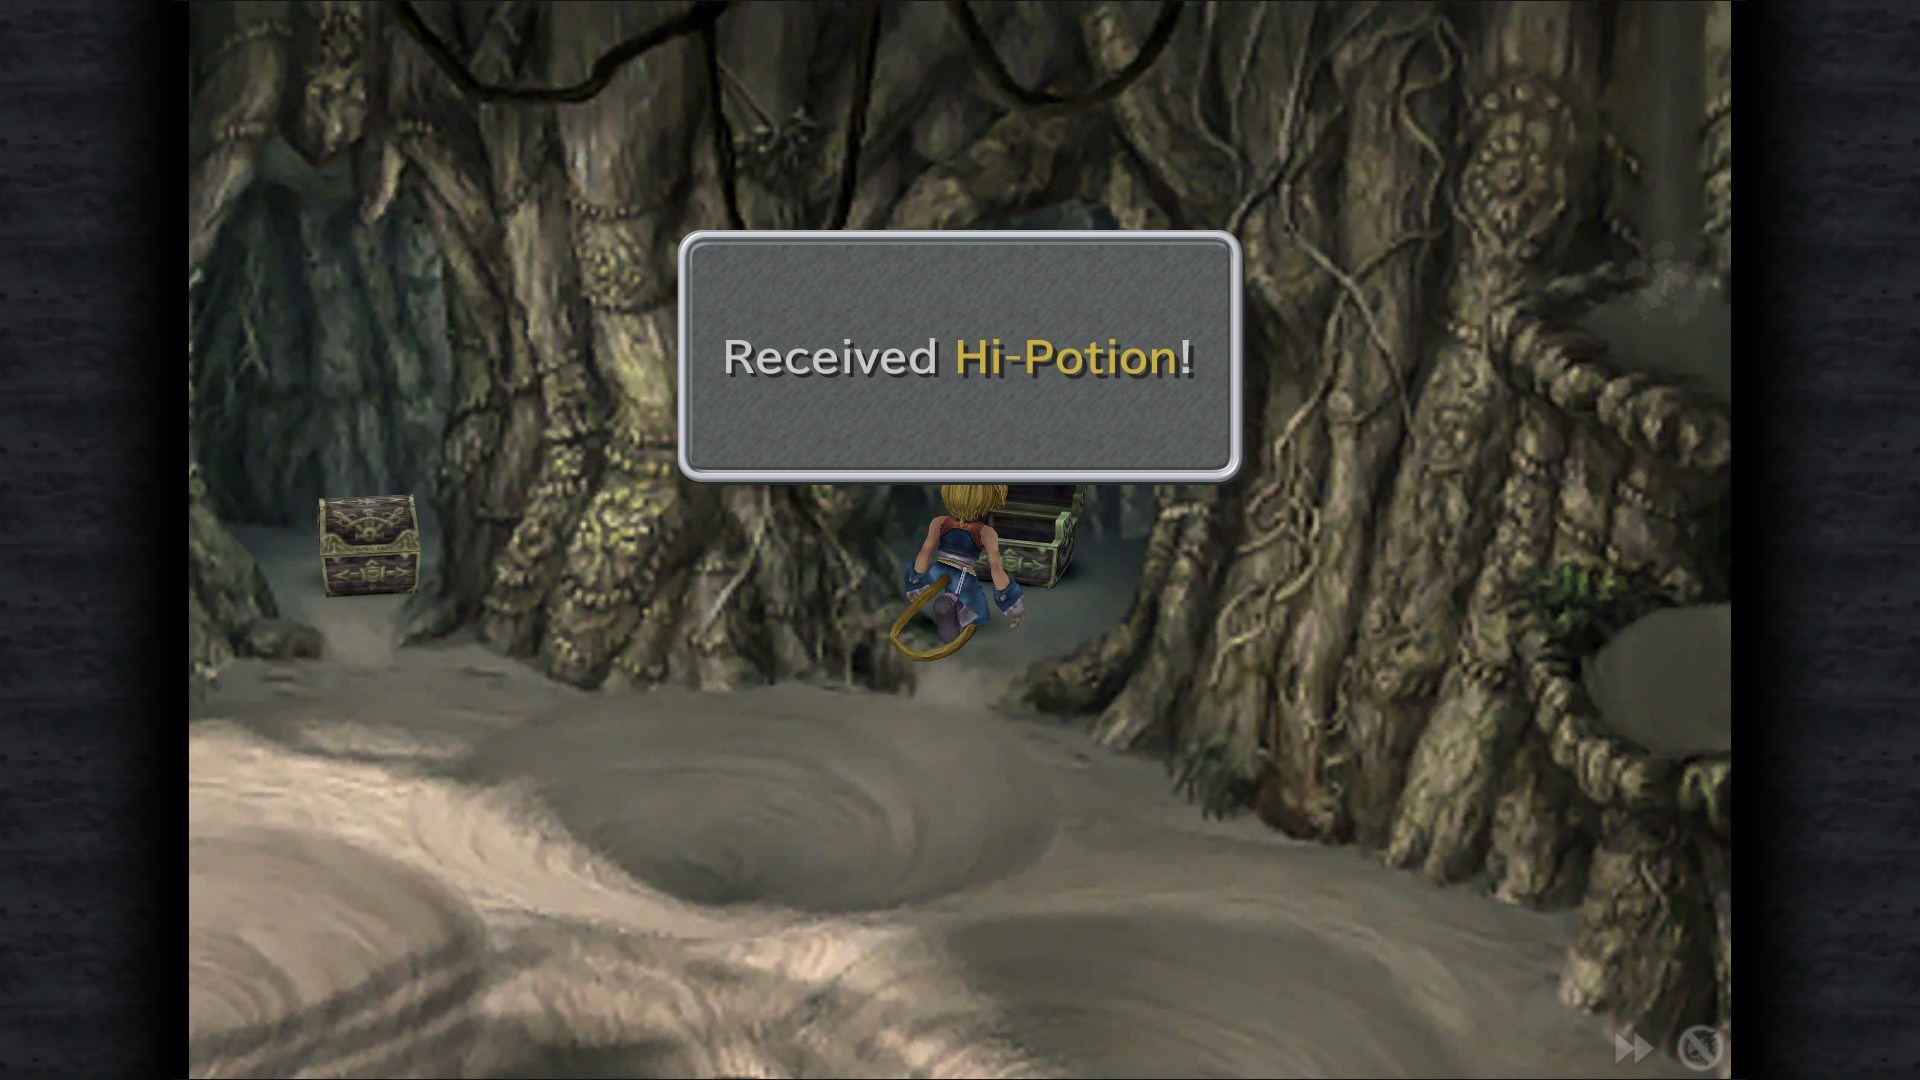
900 Gil - Room with sinkholes
Hi-Potion - Room with sinkholes
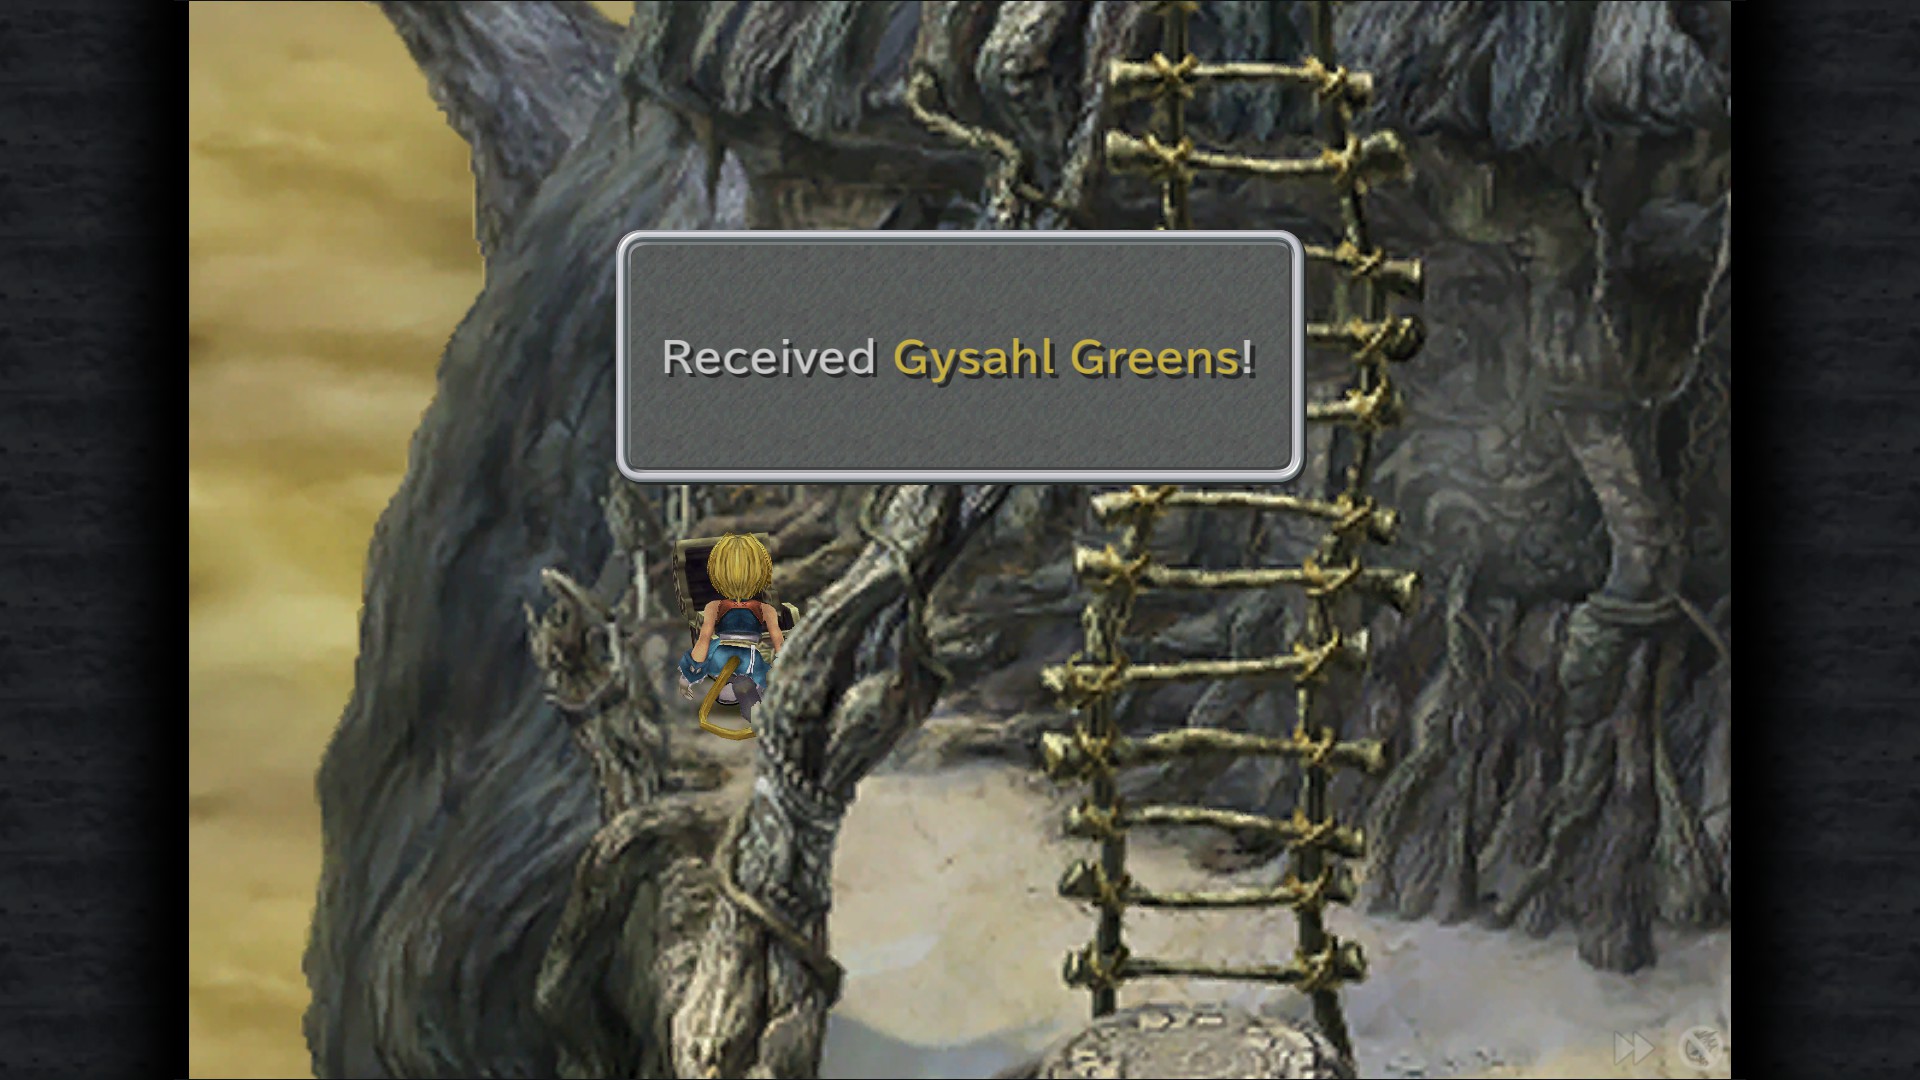
Gysahl Greens - behind the ladder leading to Cleyra settlement
Cleyra Settlement
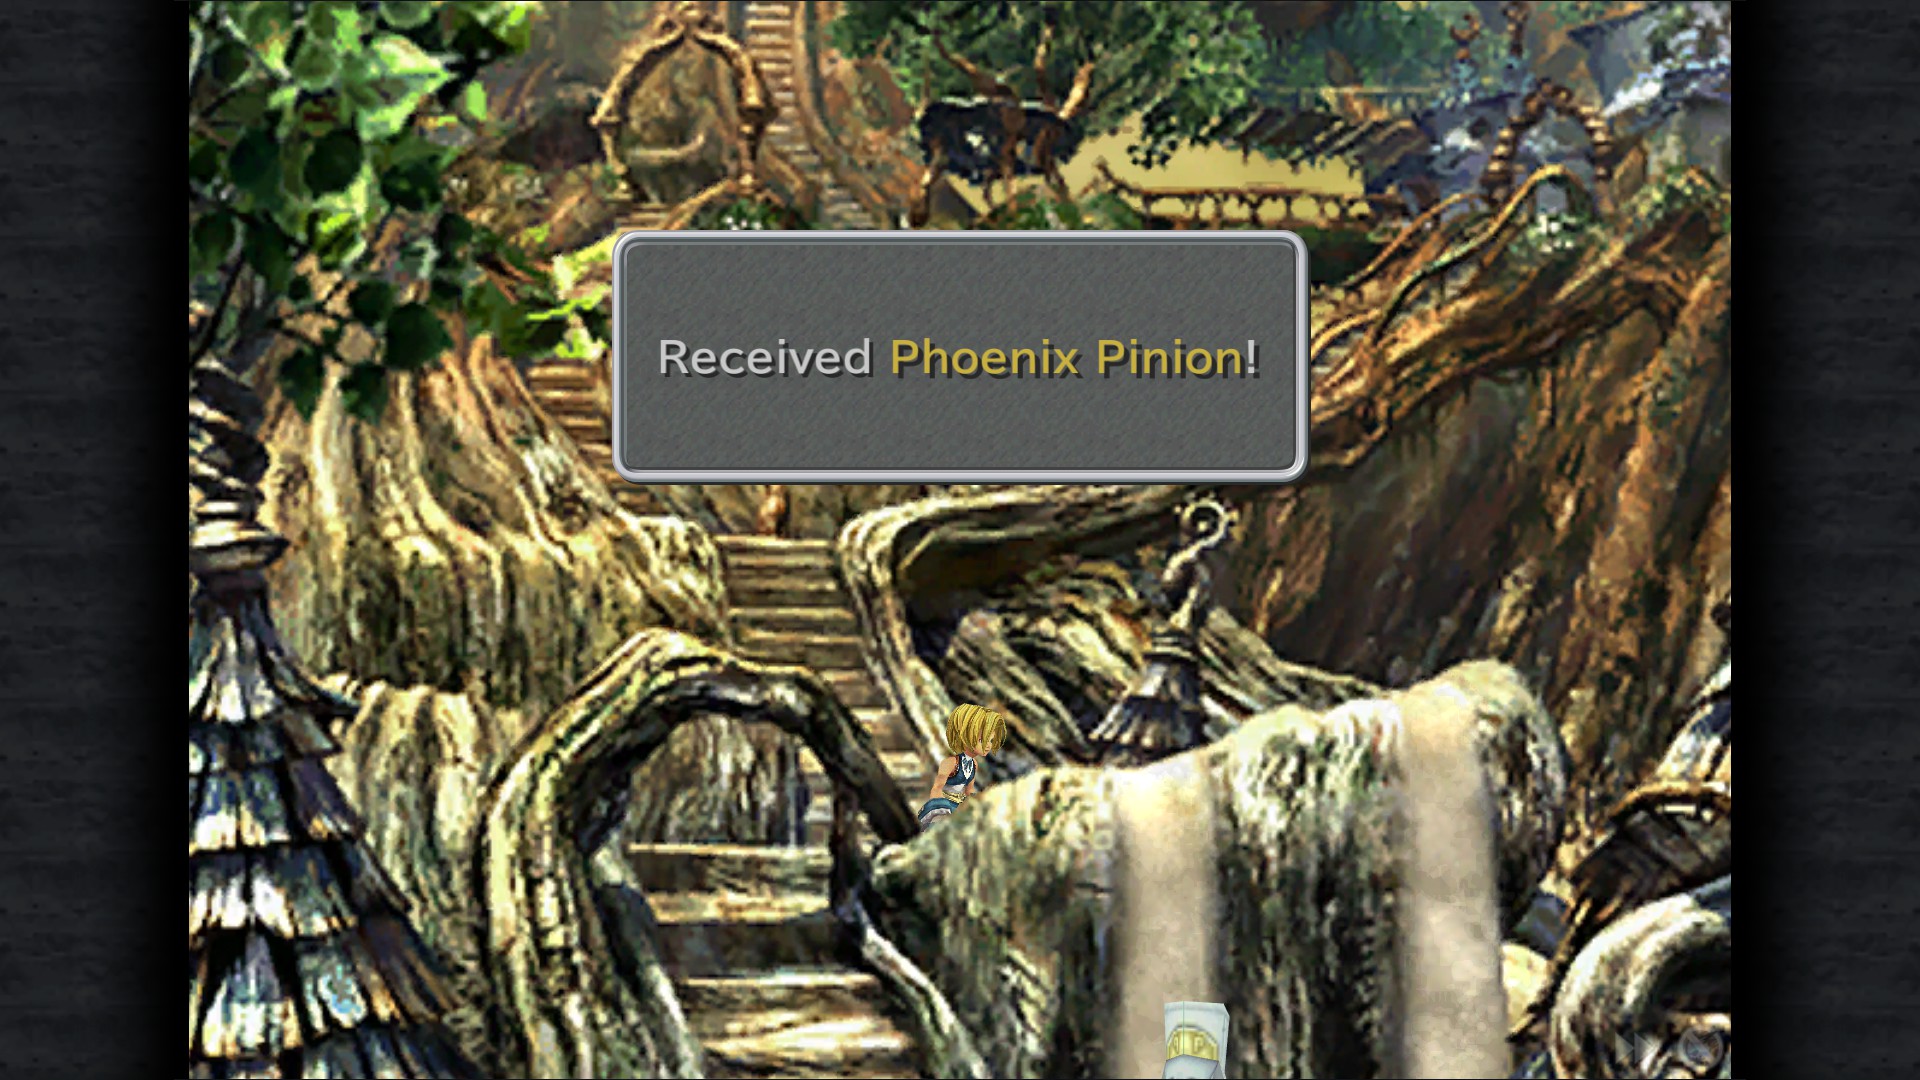
Phoenix Pinion - Entrance
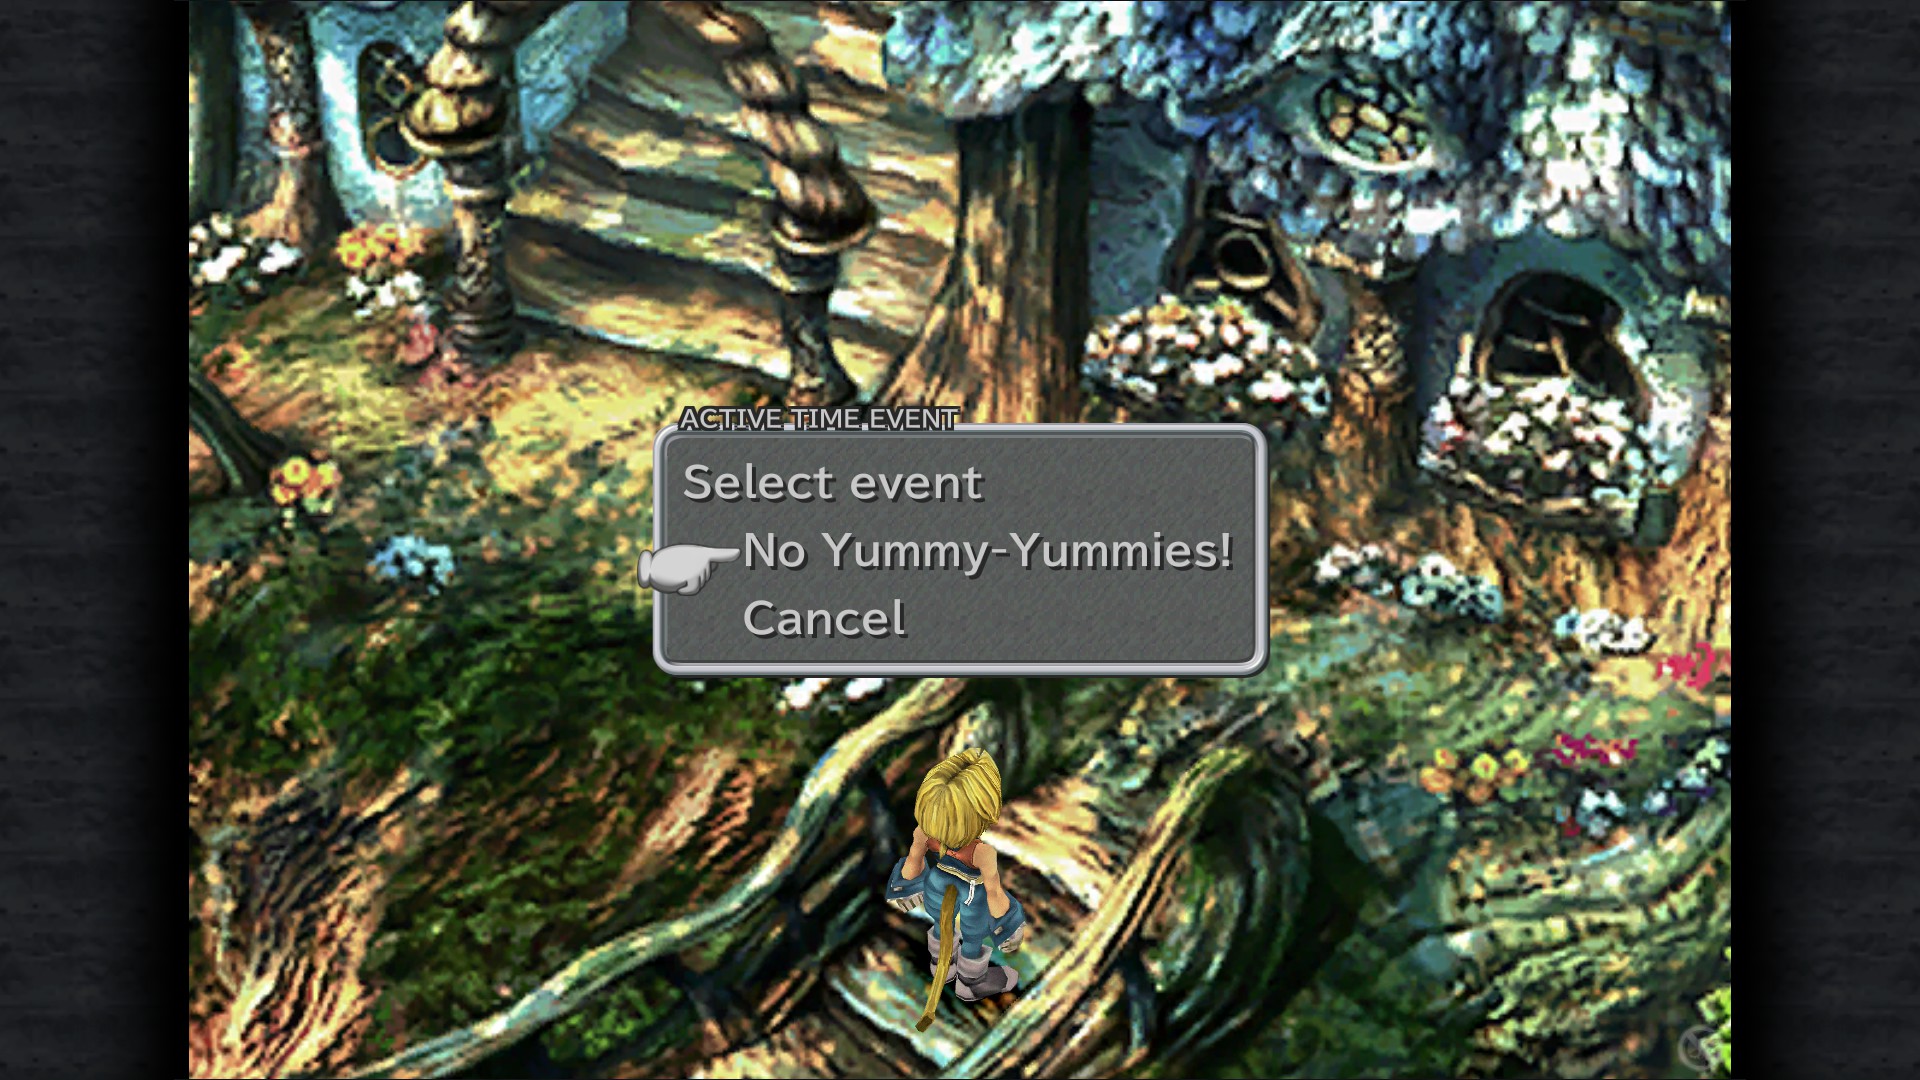
No Yummy-Yummies! ATE - Town Area (Quina in your party required)
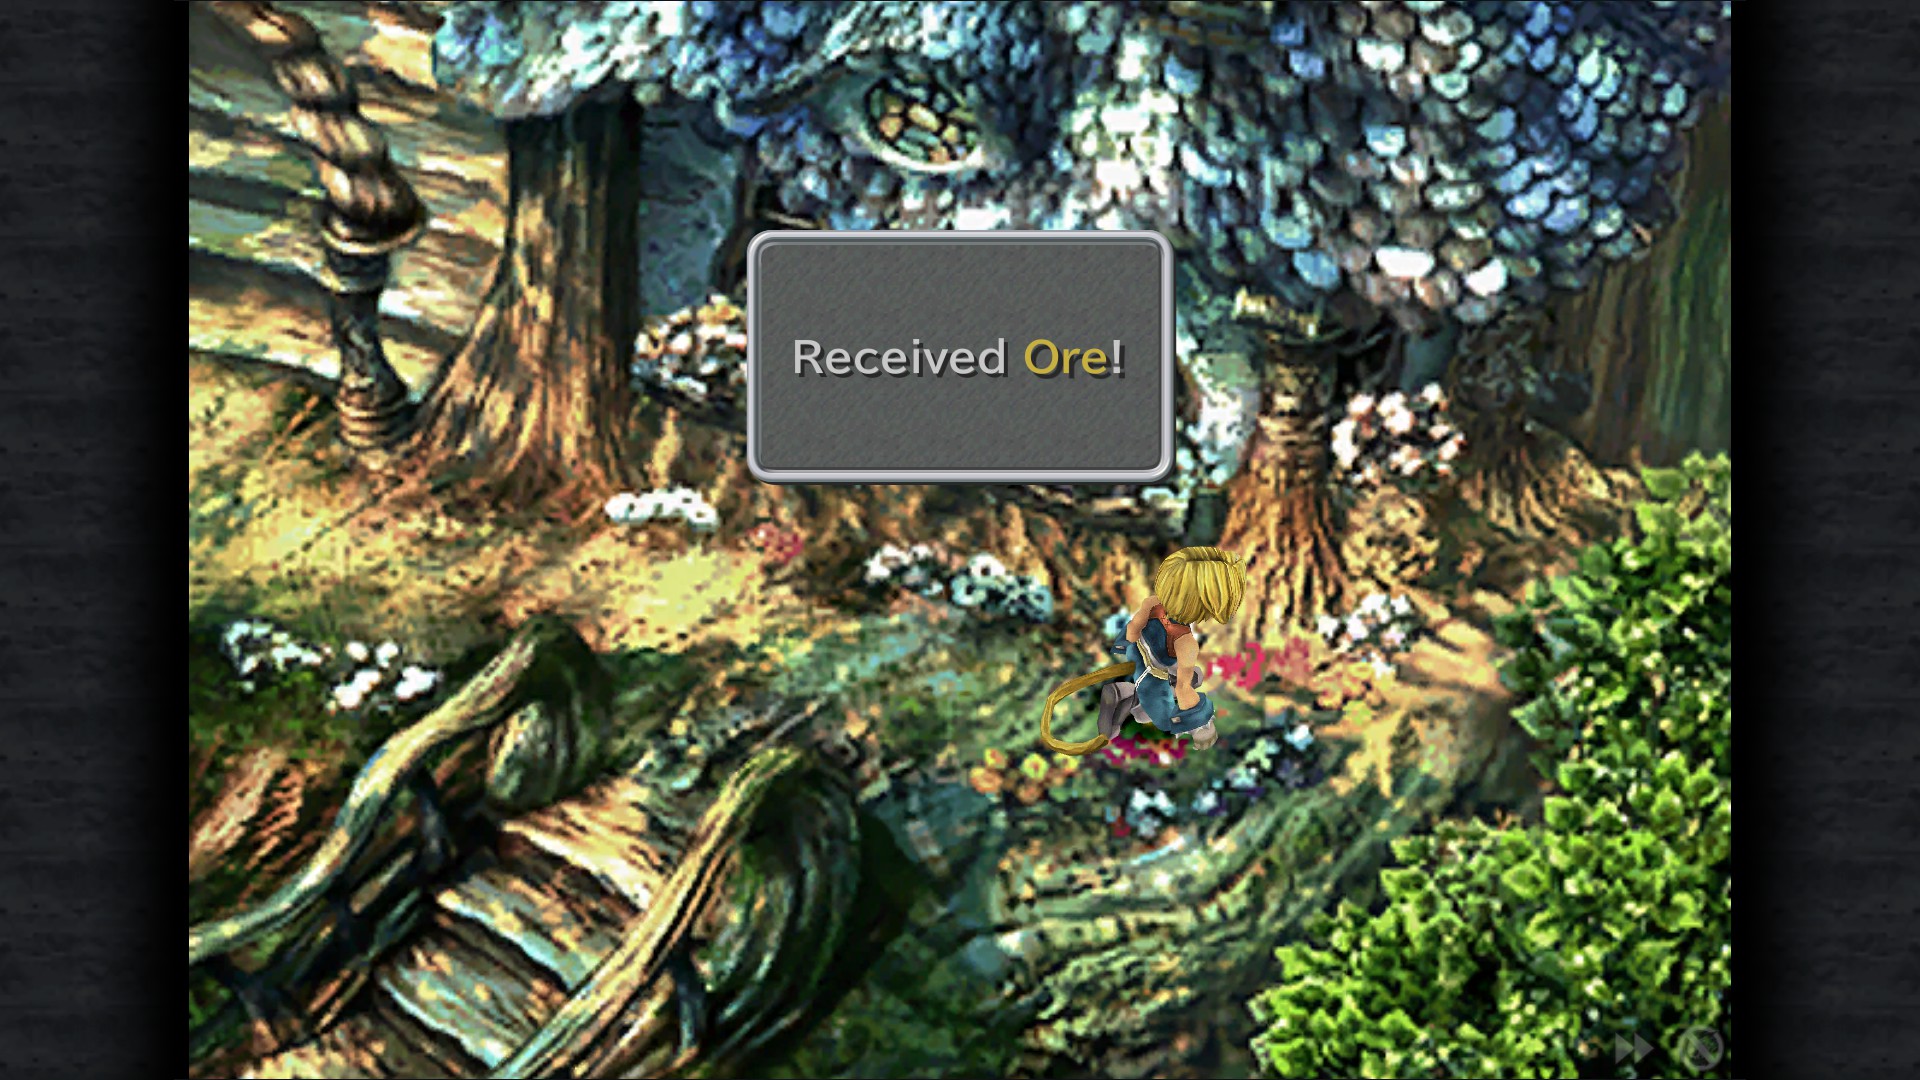
Ore - Town Area
Remedy - Town Area (right from the Inn)
Echo Screen - Inn
1250 Gil - Inn
Ether - Inn
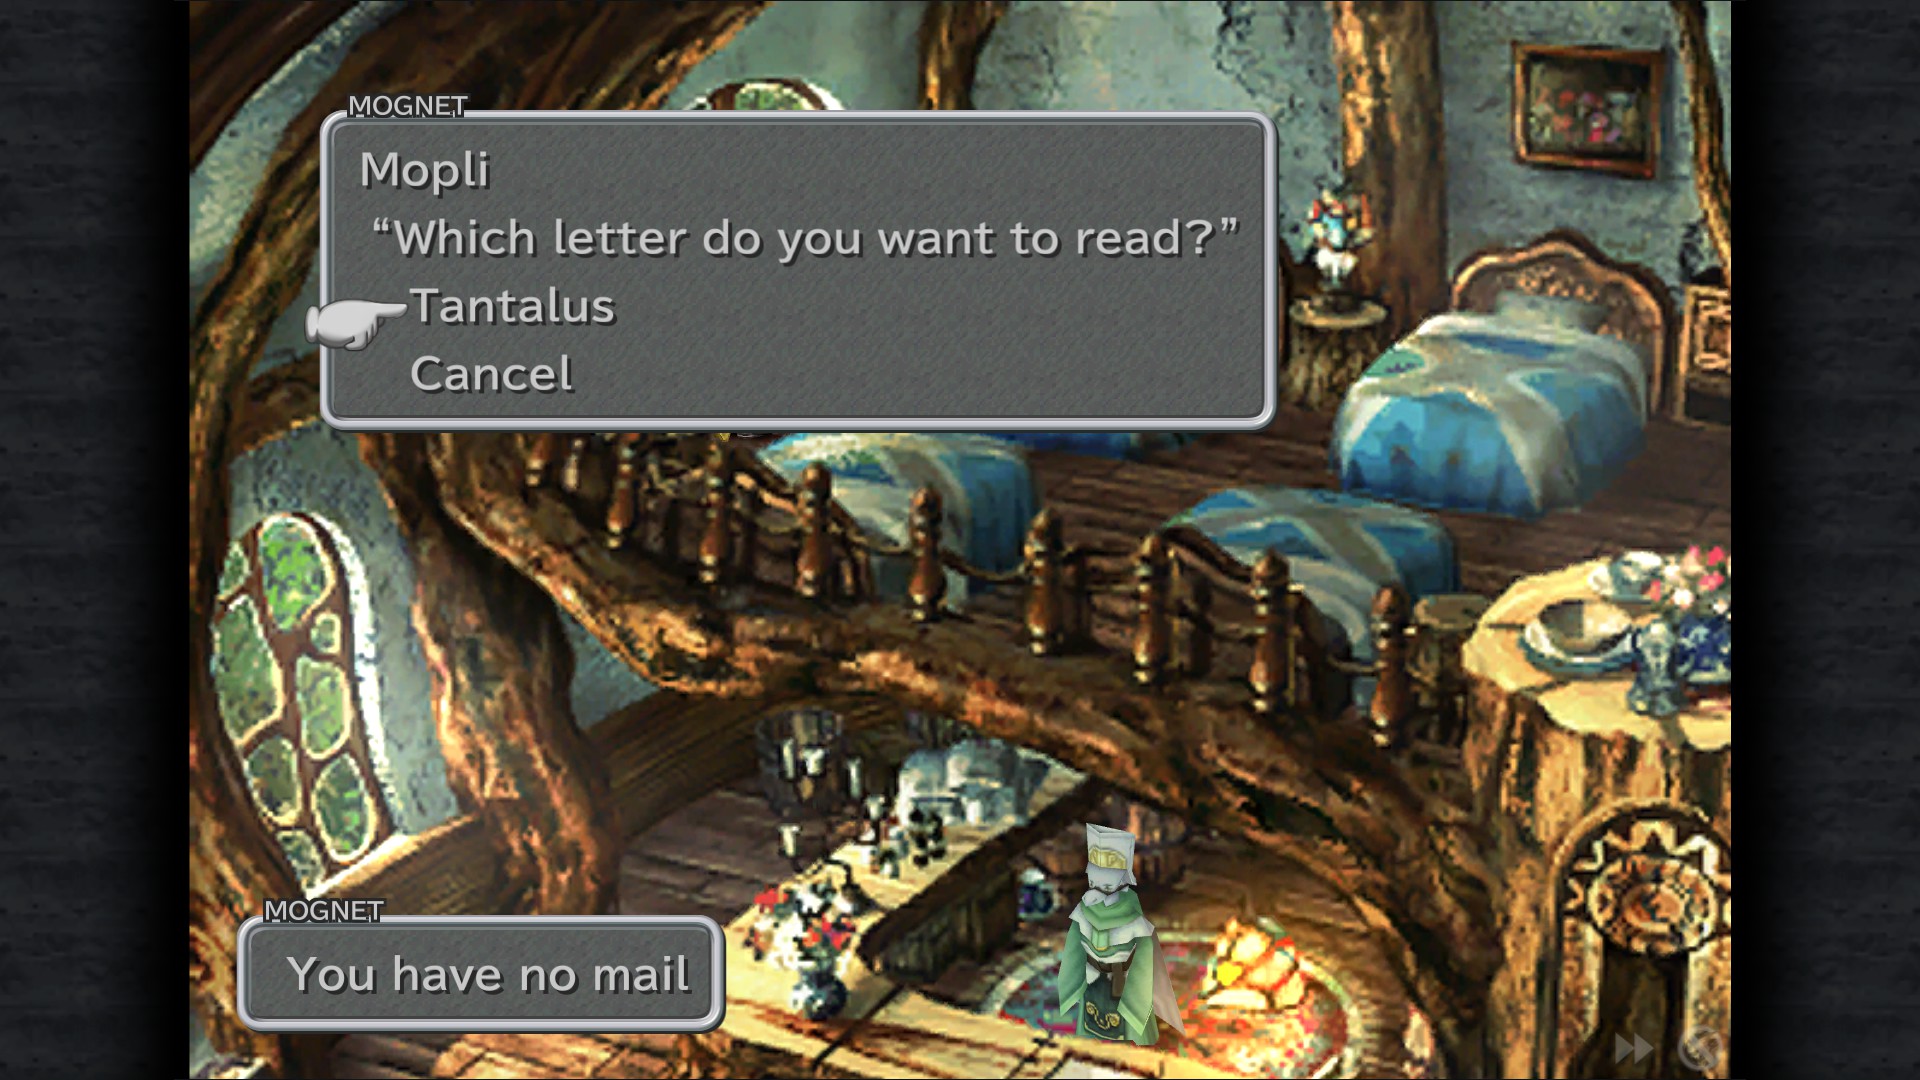
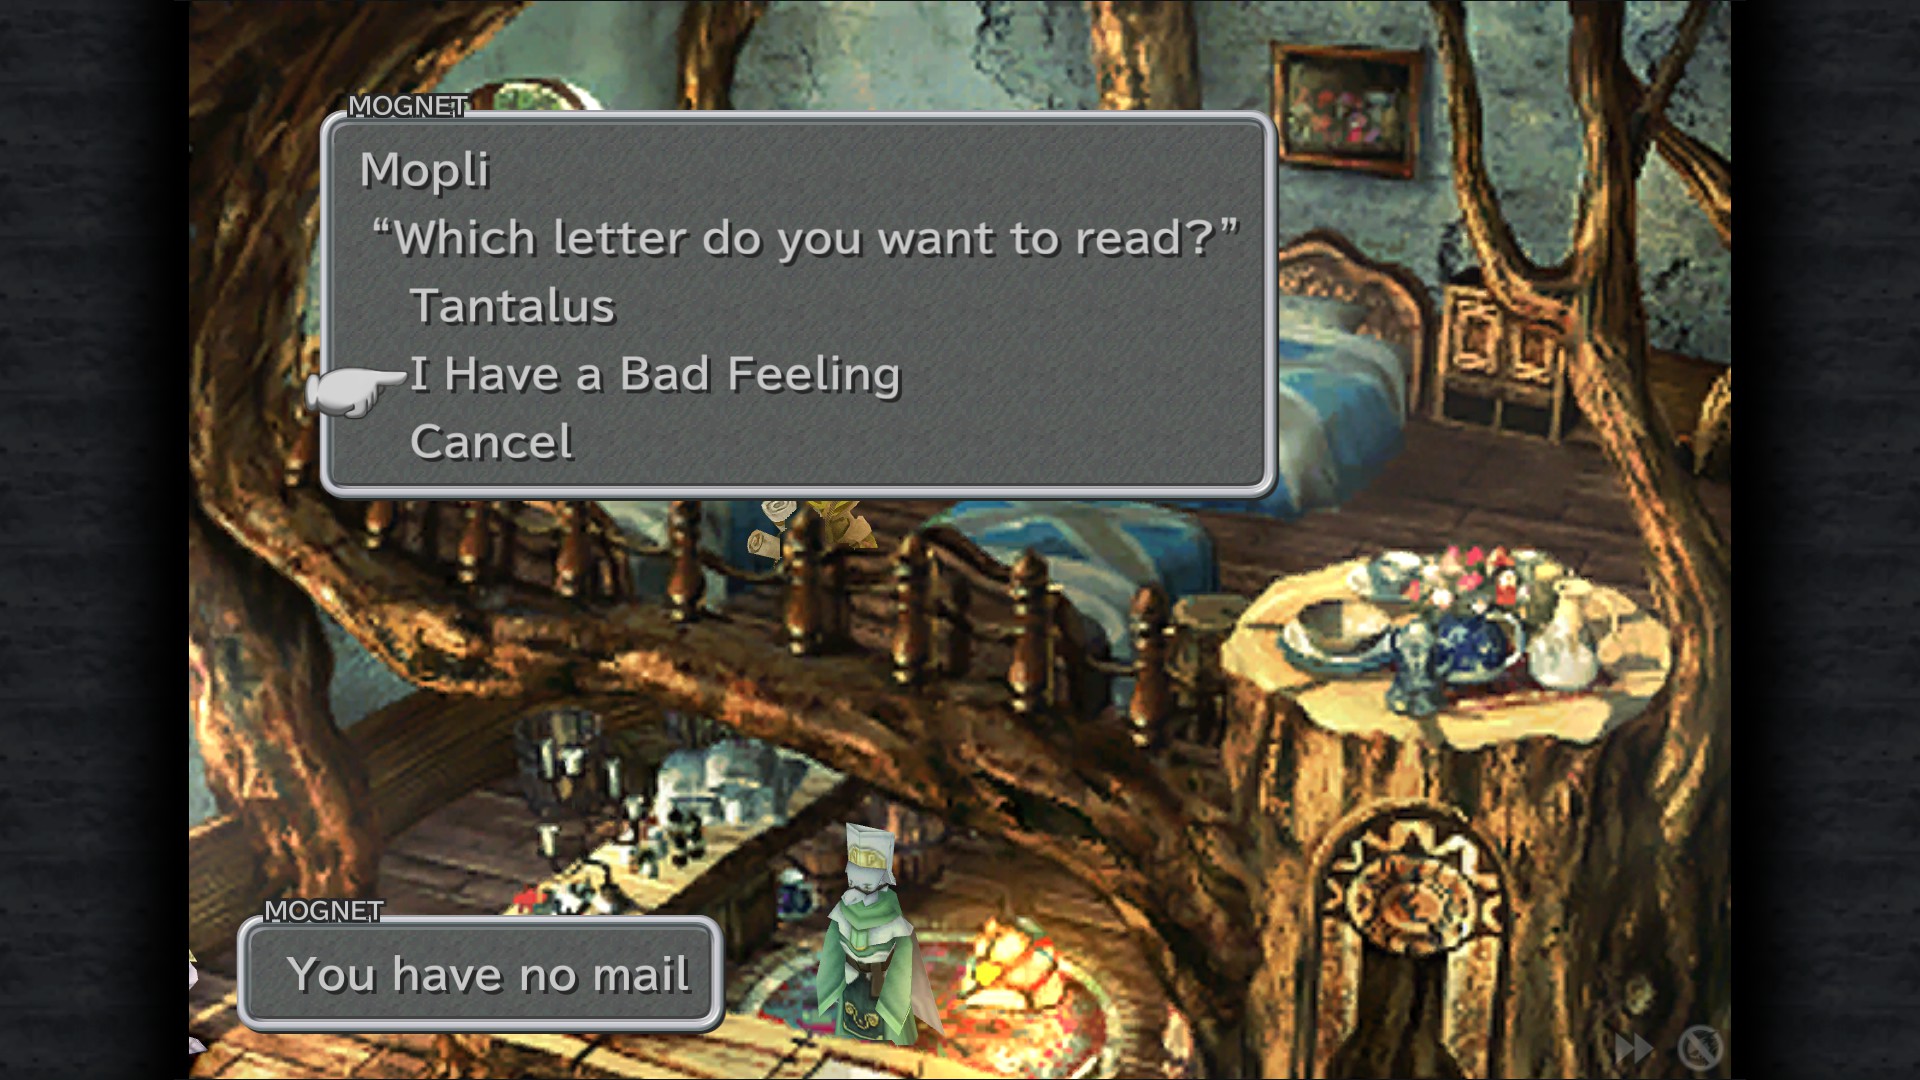
Mognet: "Tantalus" - Inn
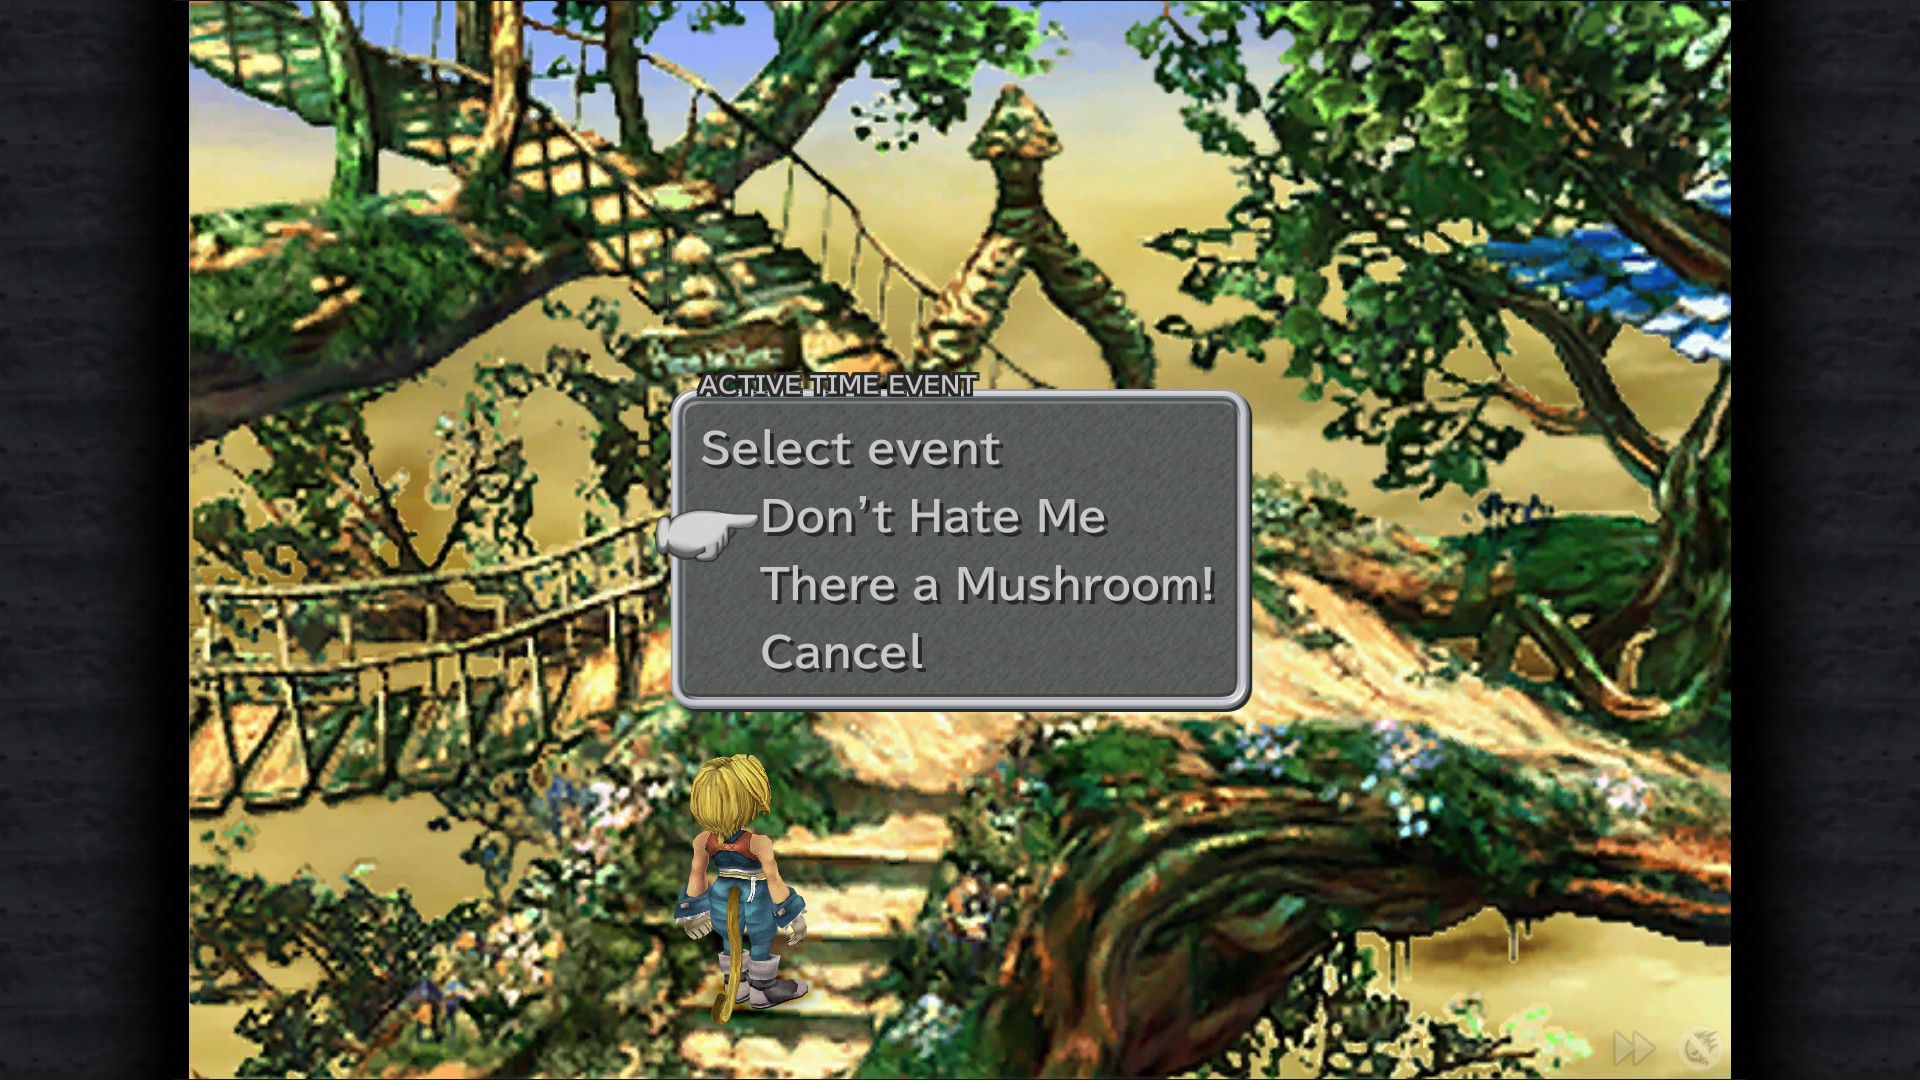
Don't Hate Me ATE - Observation Point (you can get both ATEs here)
There A Mushroom! ATE - Observation Point
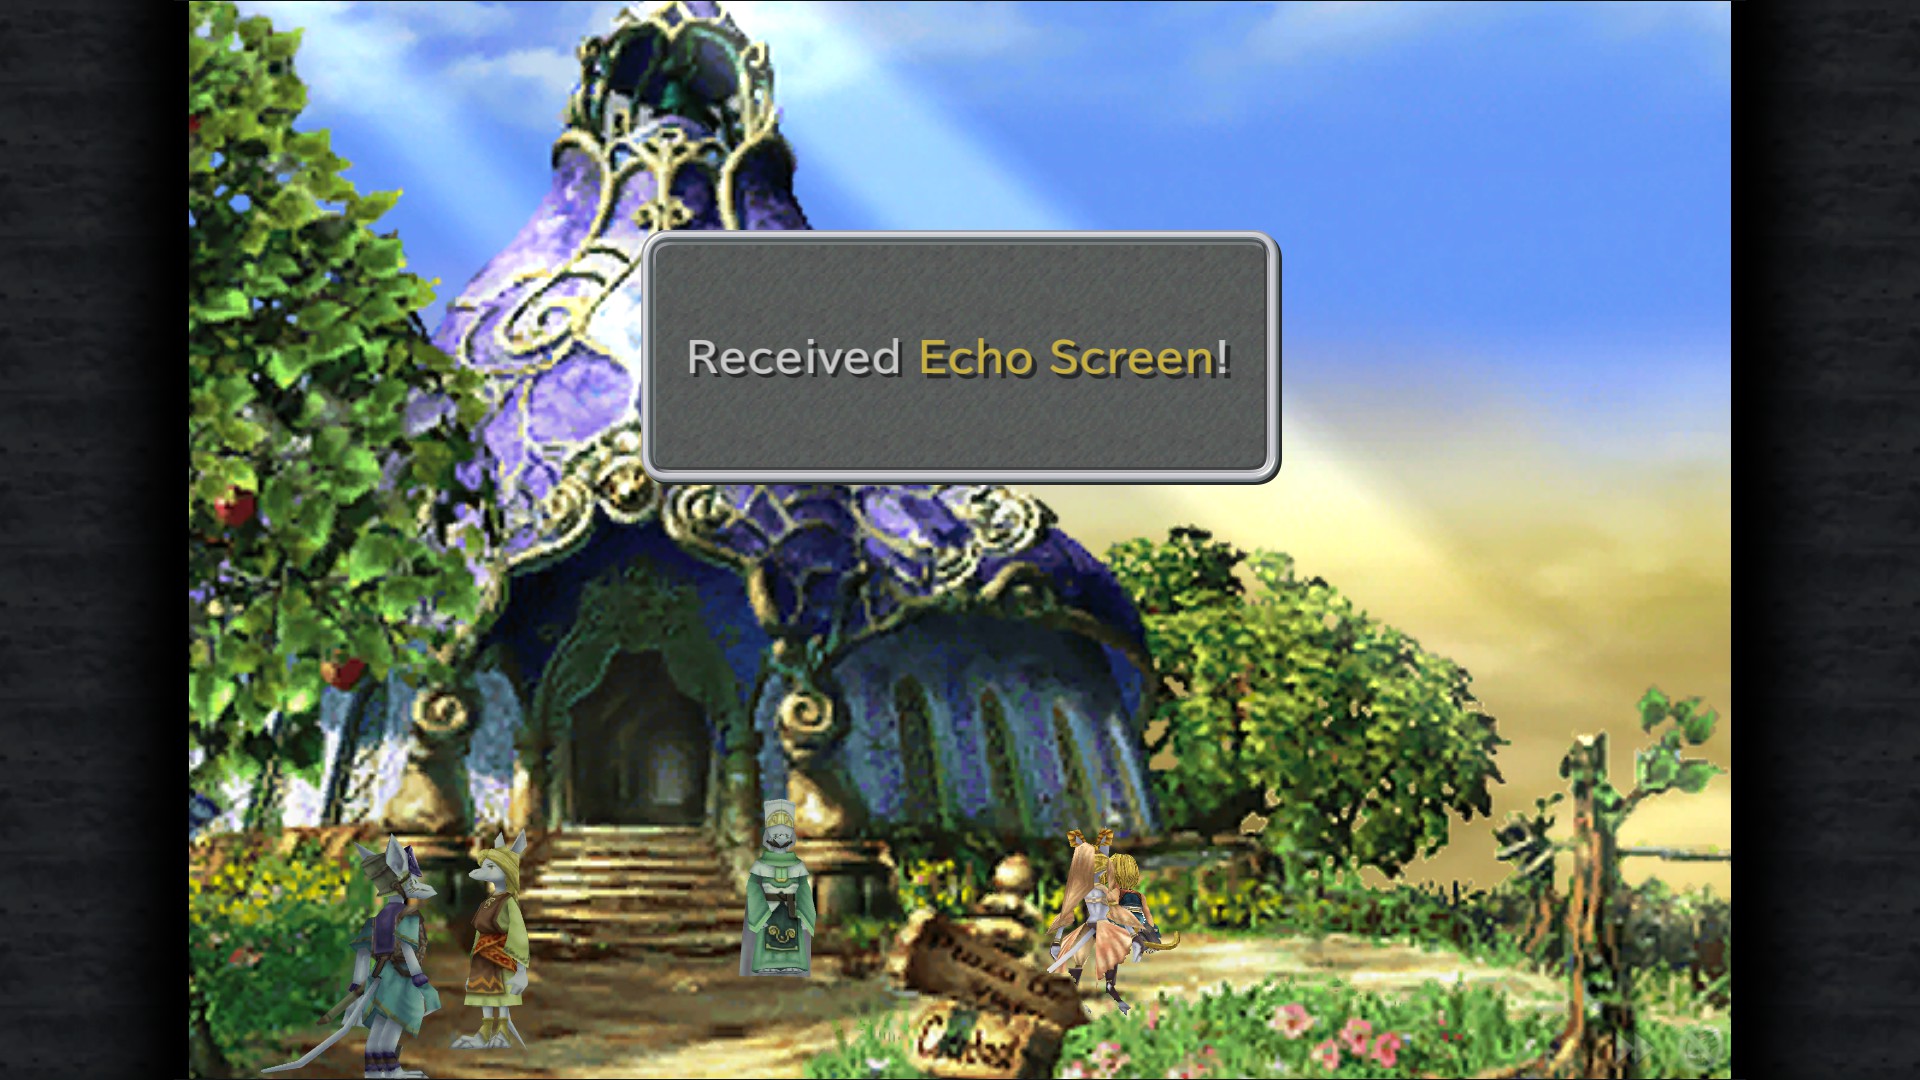
Echo Screen - Cathedral (Outside)
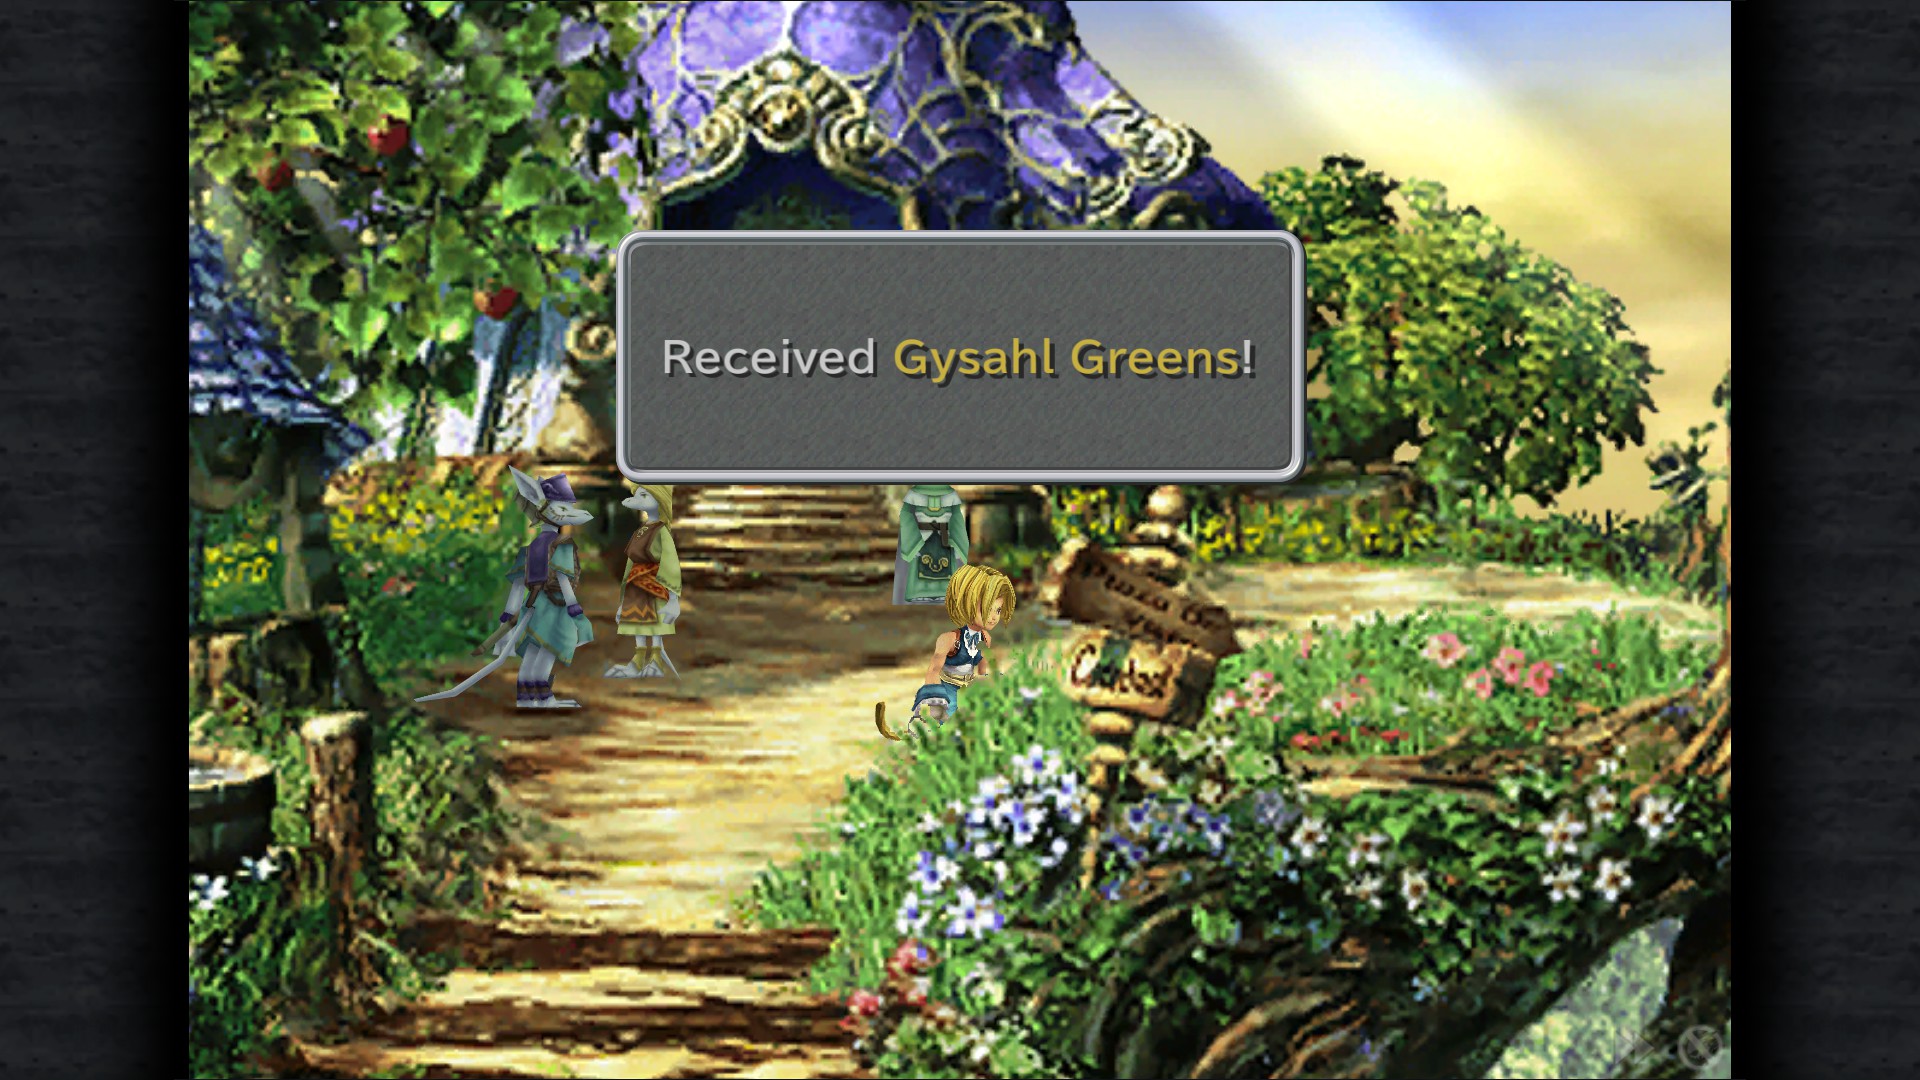
Gysahl Greens - Cathedral (Outside)
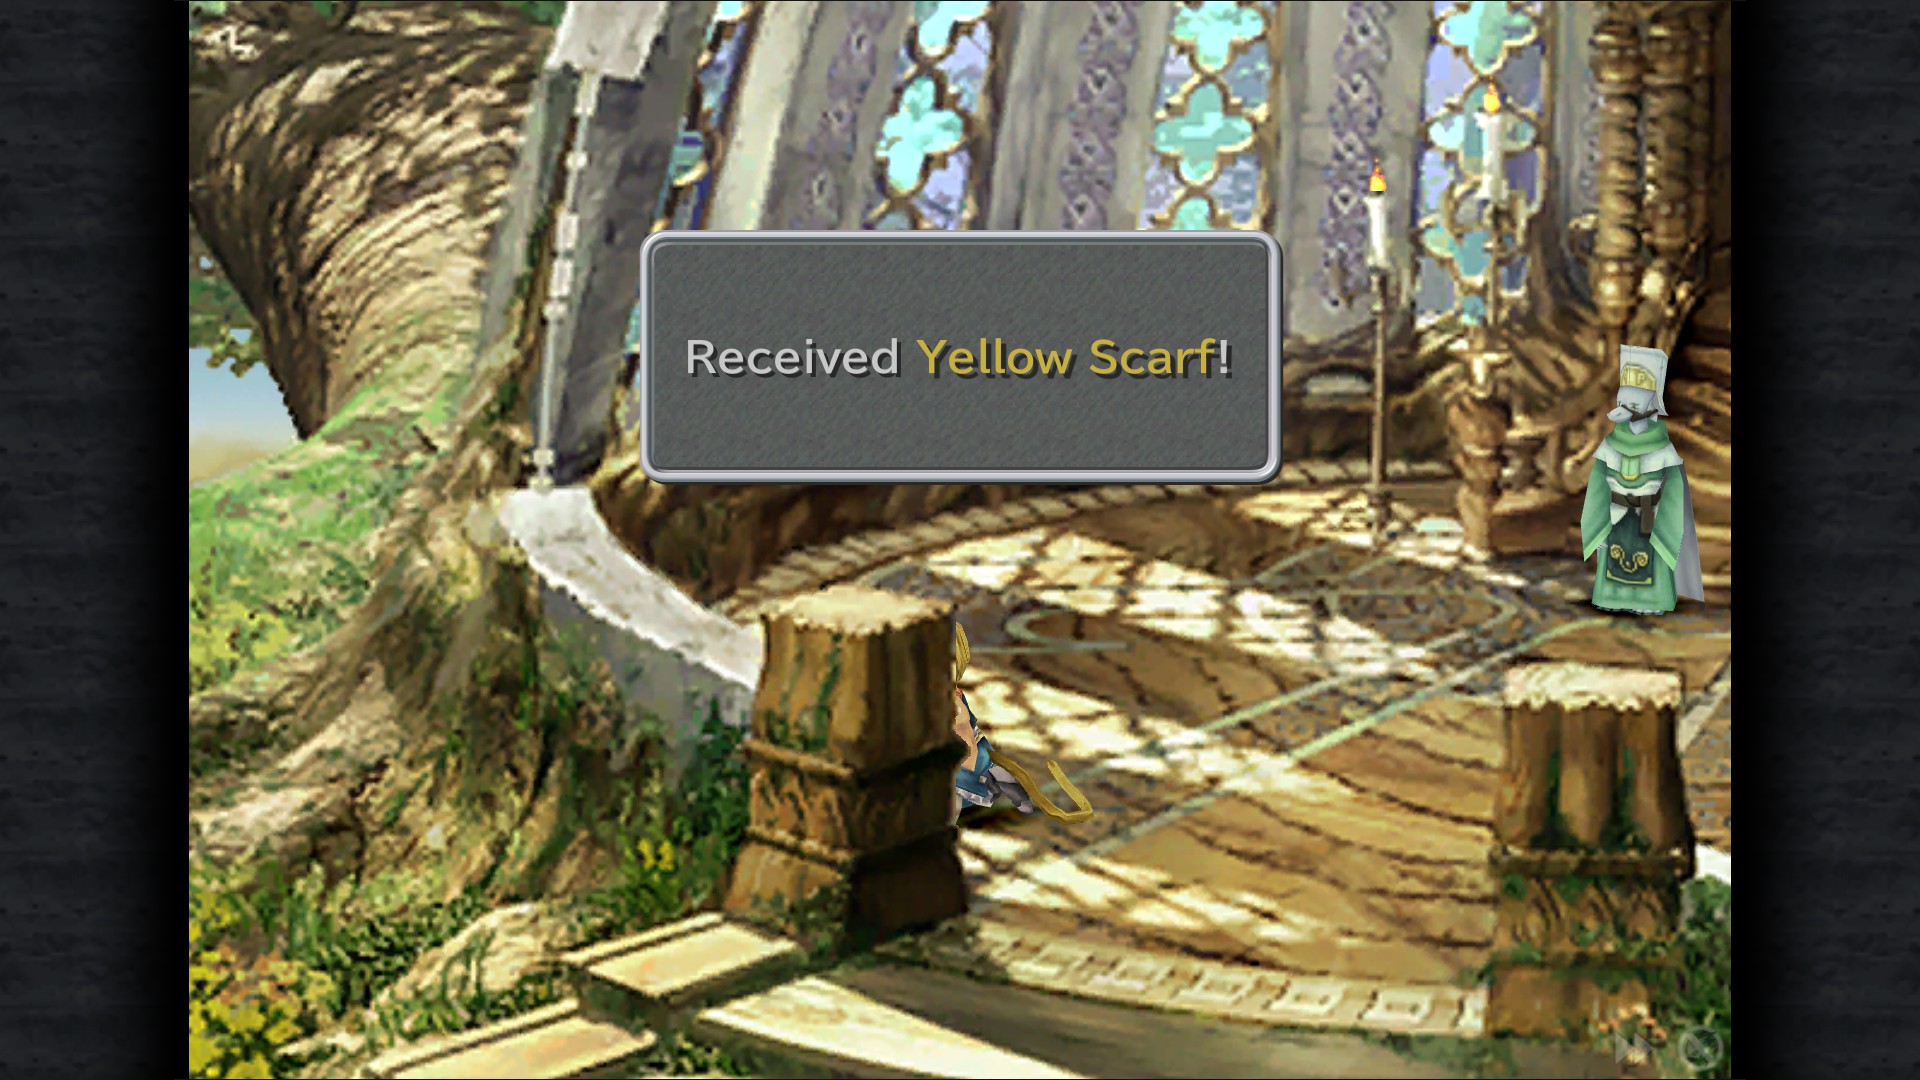
Yellow Scarf - Cathedral
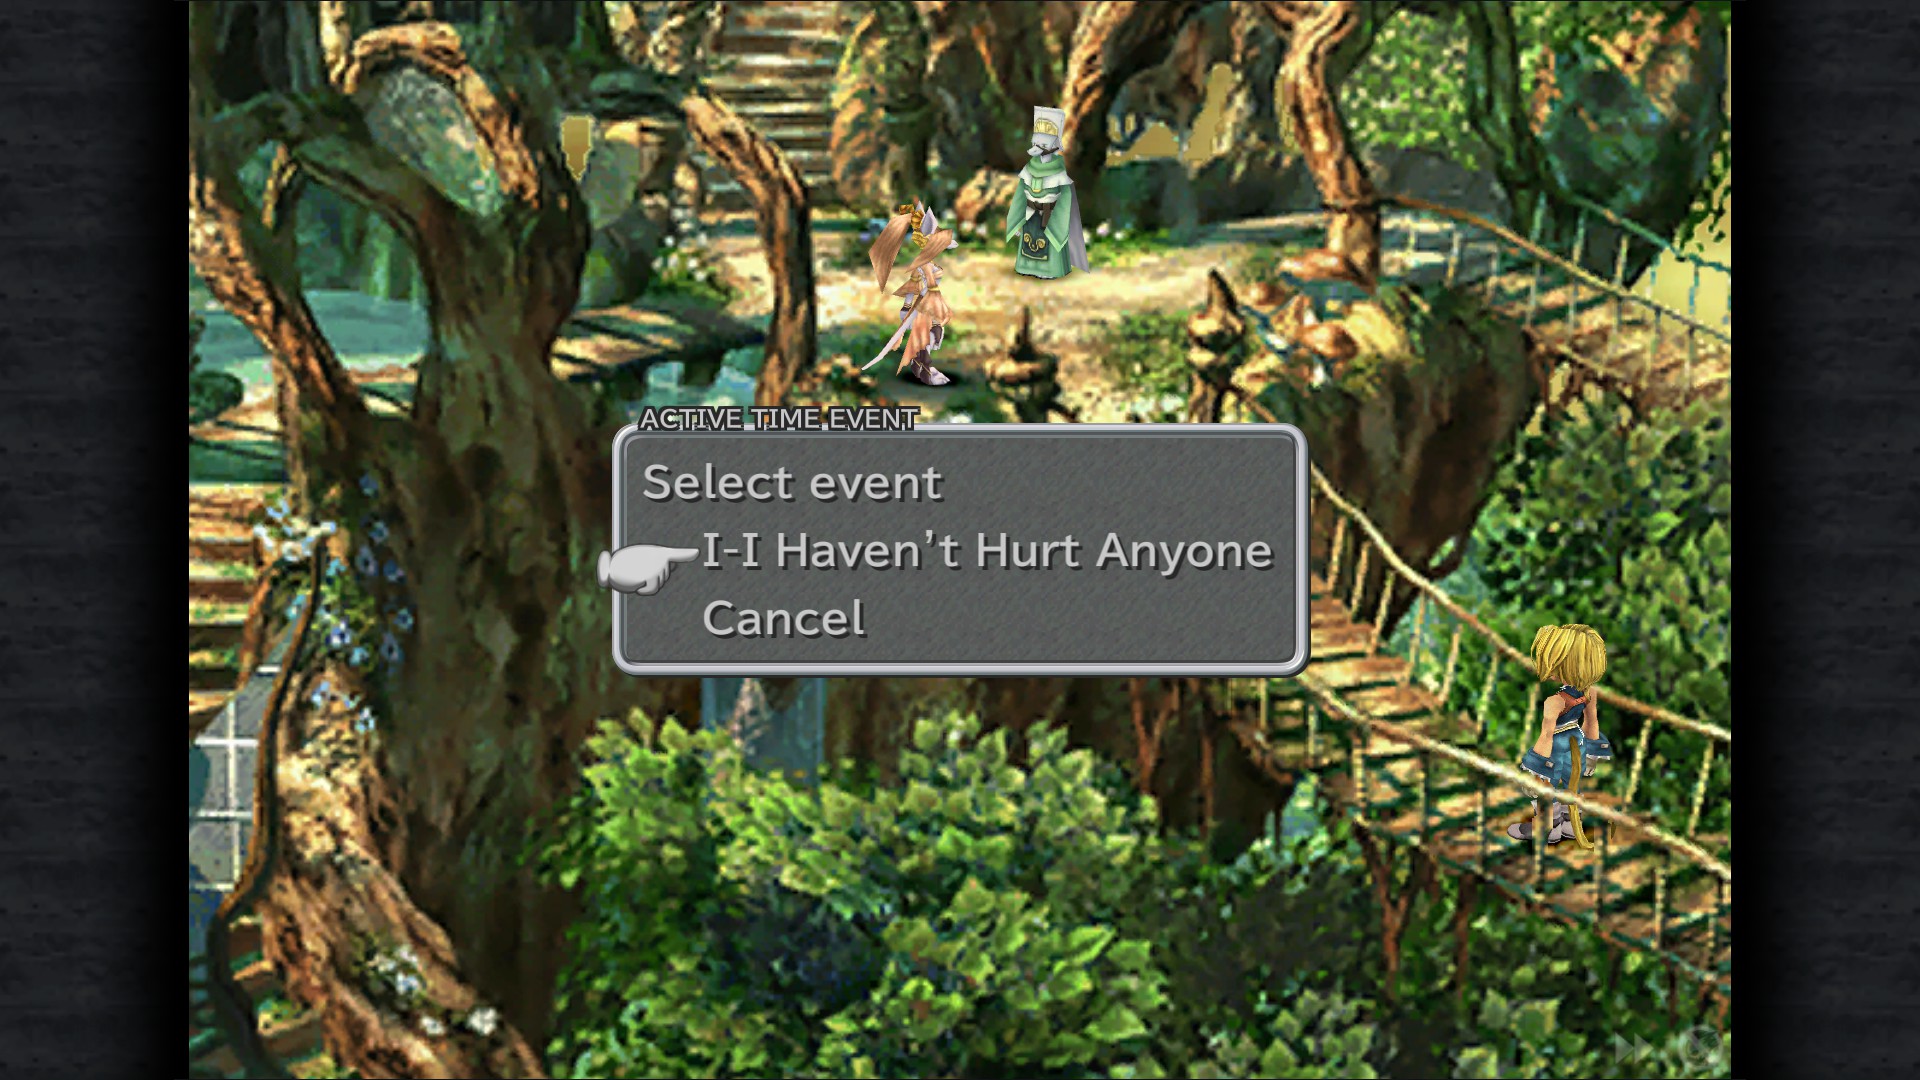
I-I Haven't Hurt Anyone ATE - Windmill Area (Reenter here from Town Area to make this ATE available)
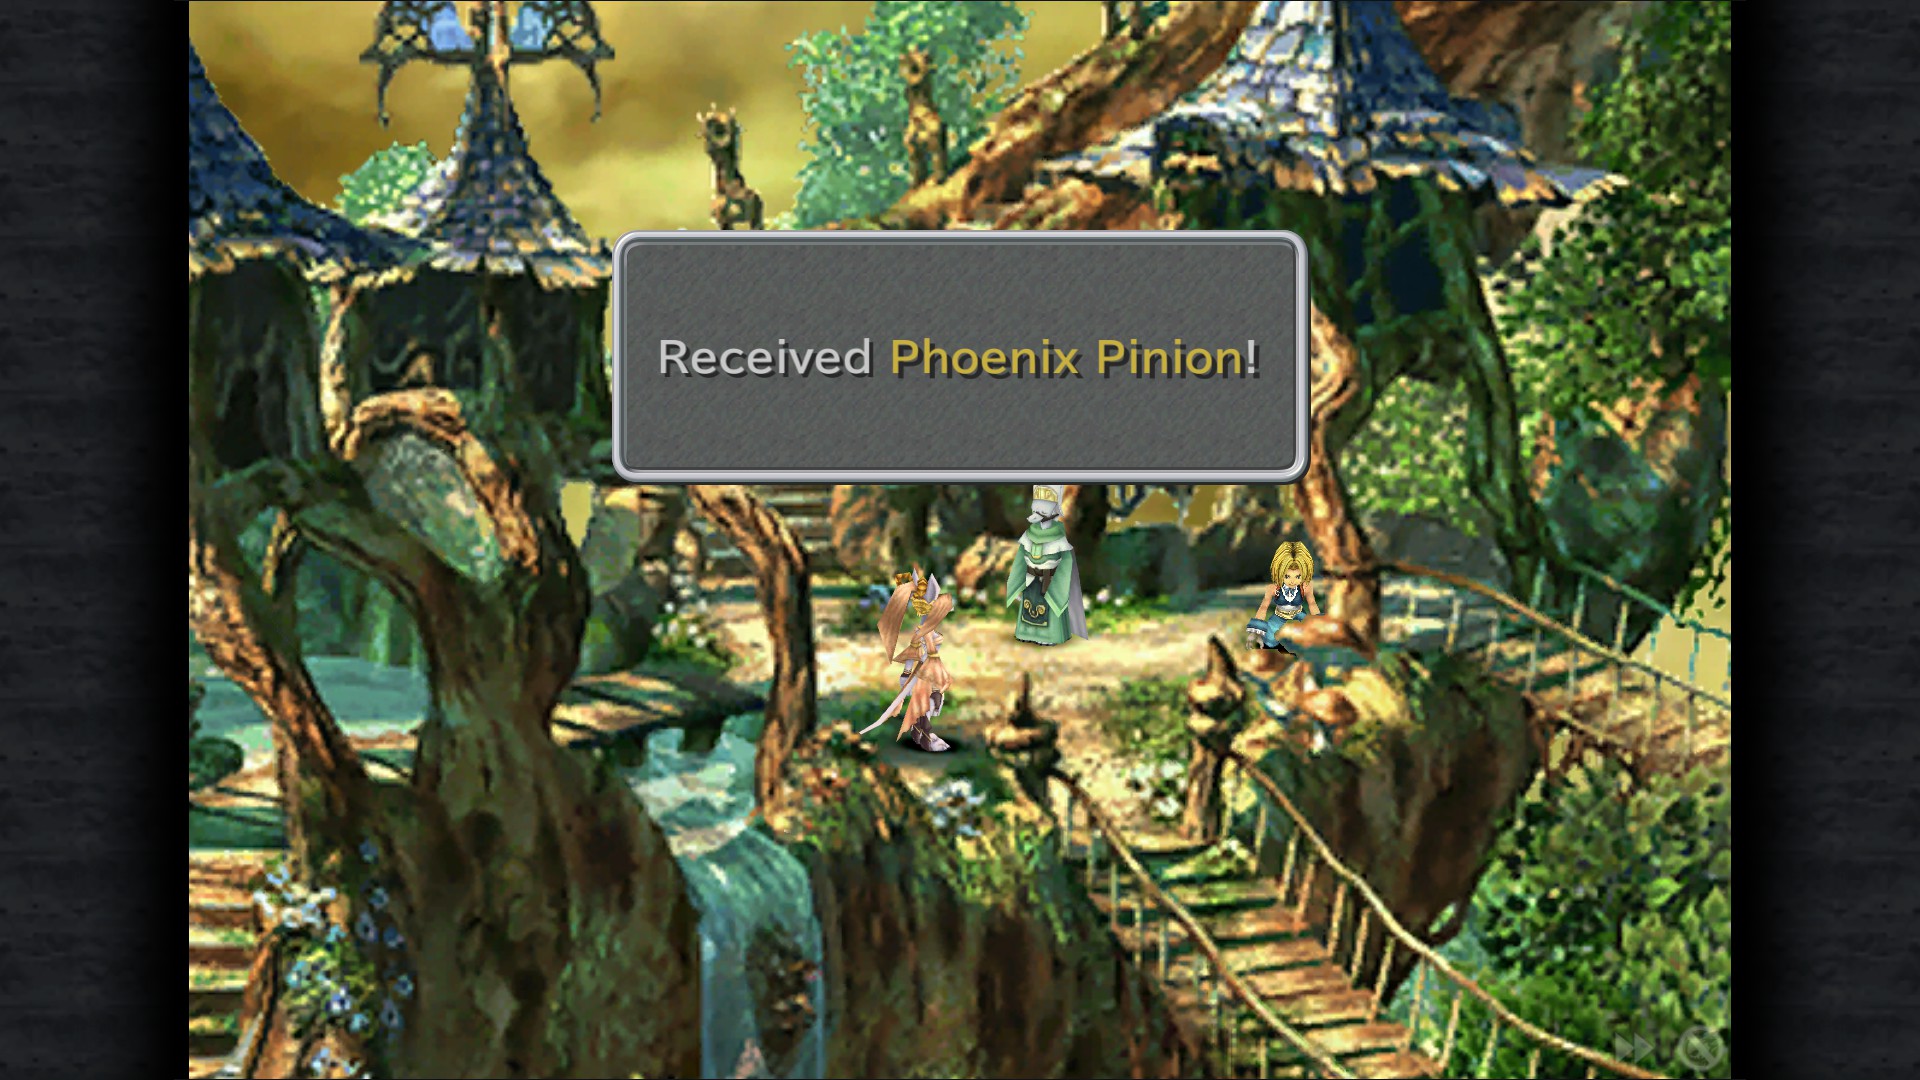
Phoenix Pinion - Windmill Area
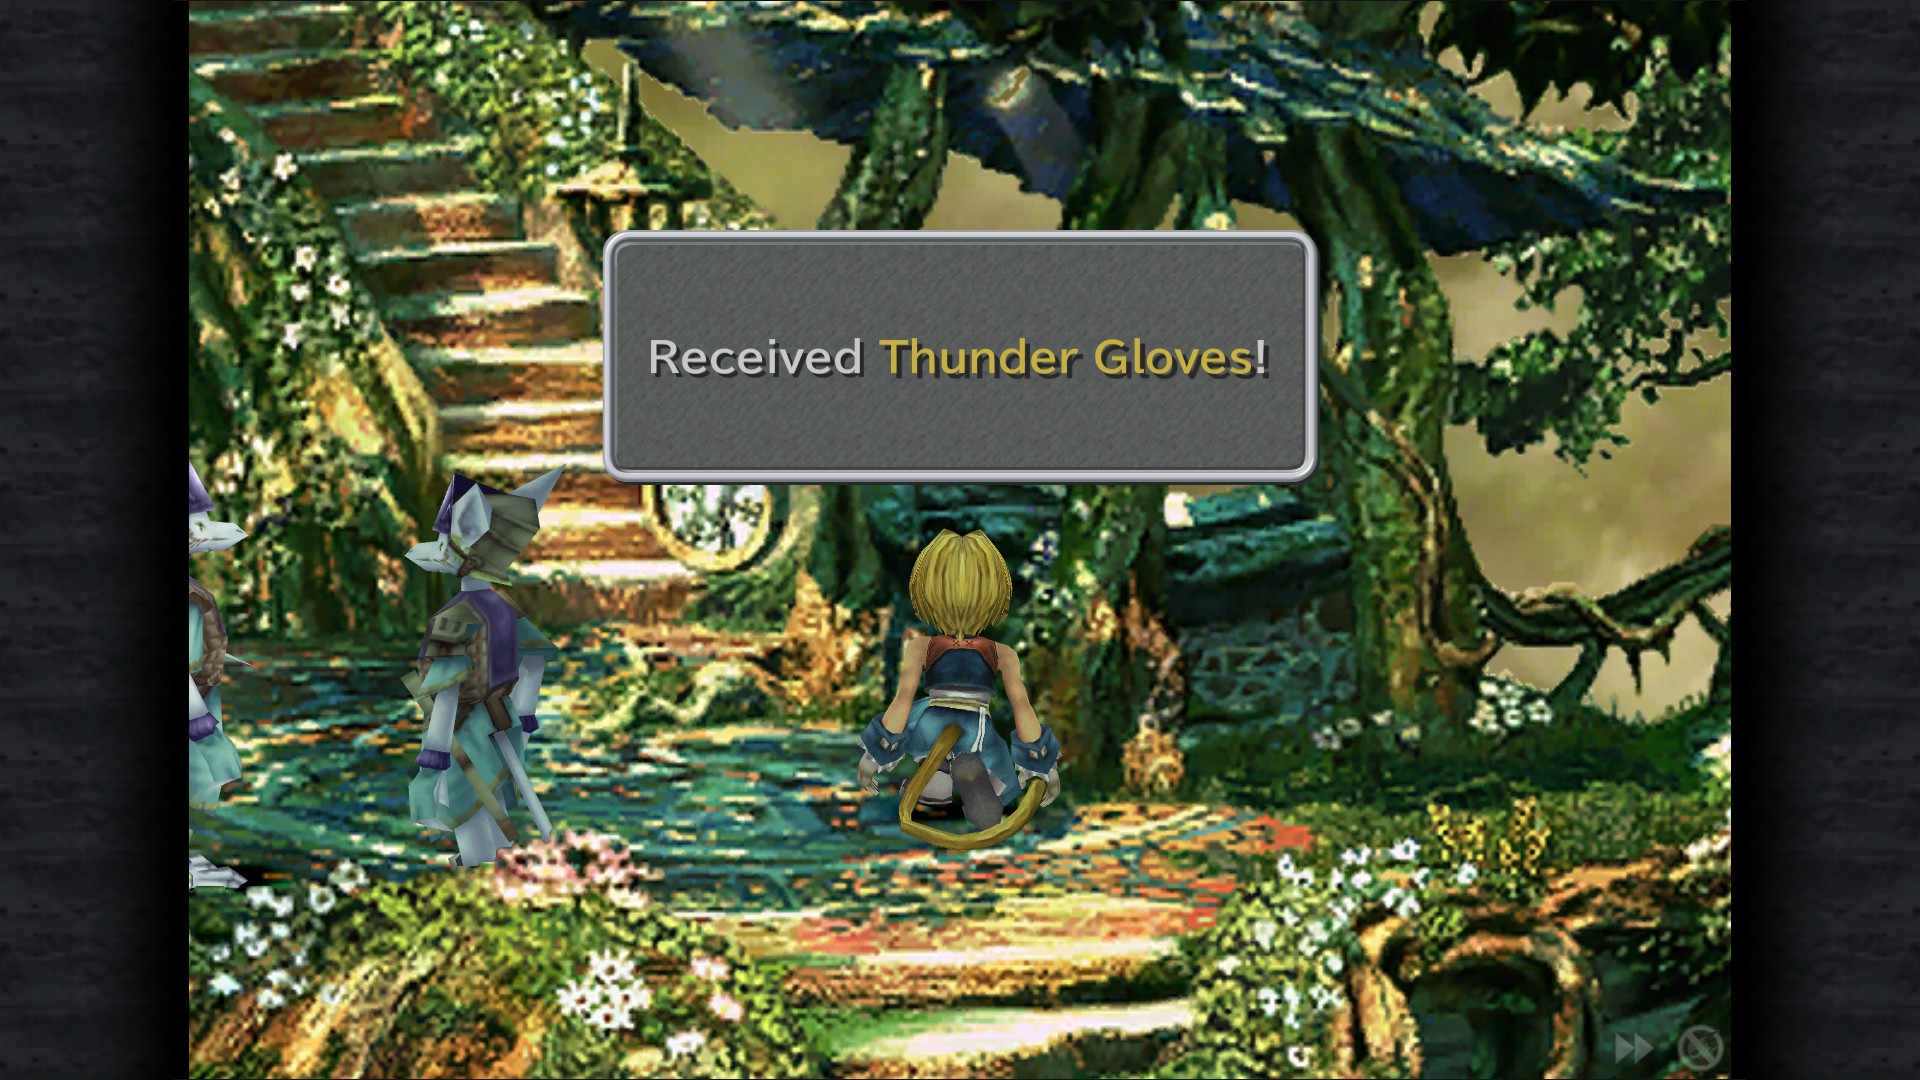
Thunder Gloves - Water Mill Area
970 Gil - Sandpit
Now jump into the hole
Magician Shoes - Tree Trunk (from Sandpit)
Silk Robe - Tree Trunk (from Sandpit)
After Antlion's fight
Phoenix Pinion - Cathedral
Ore - Cathedral
Emerald - Cathedral (given by the High Priest)
Ether - Cathedral (hidden behind left pillar)
Stiltzkin: Pack available for 444 Gil (Ether, Hi-Potion, Phoenix Pinion) - Inn
Mognet: "I Have a Bad Feeling" - Inn
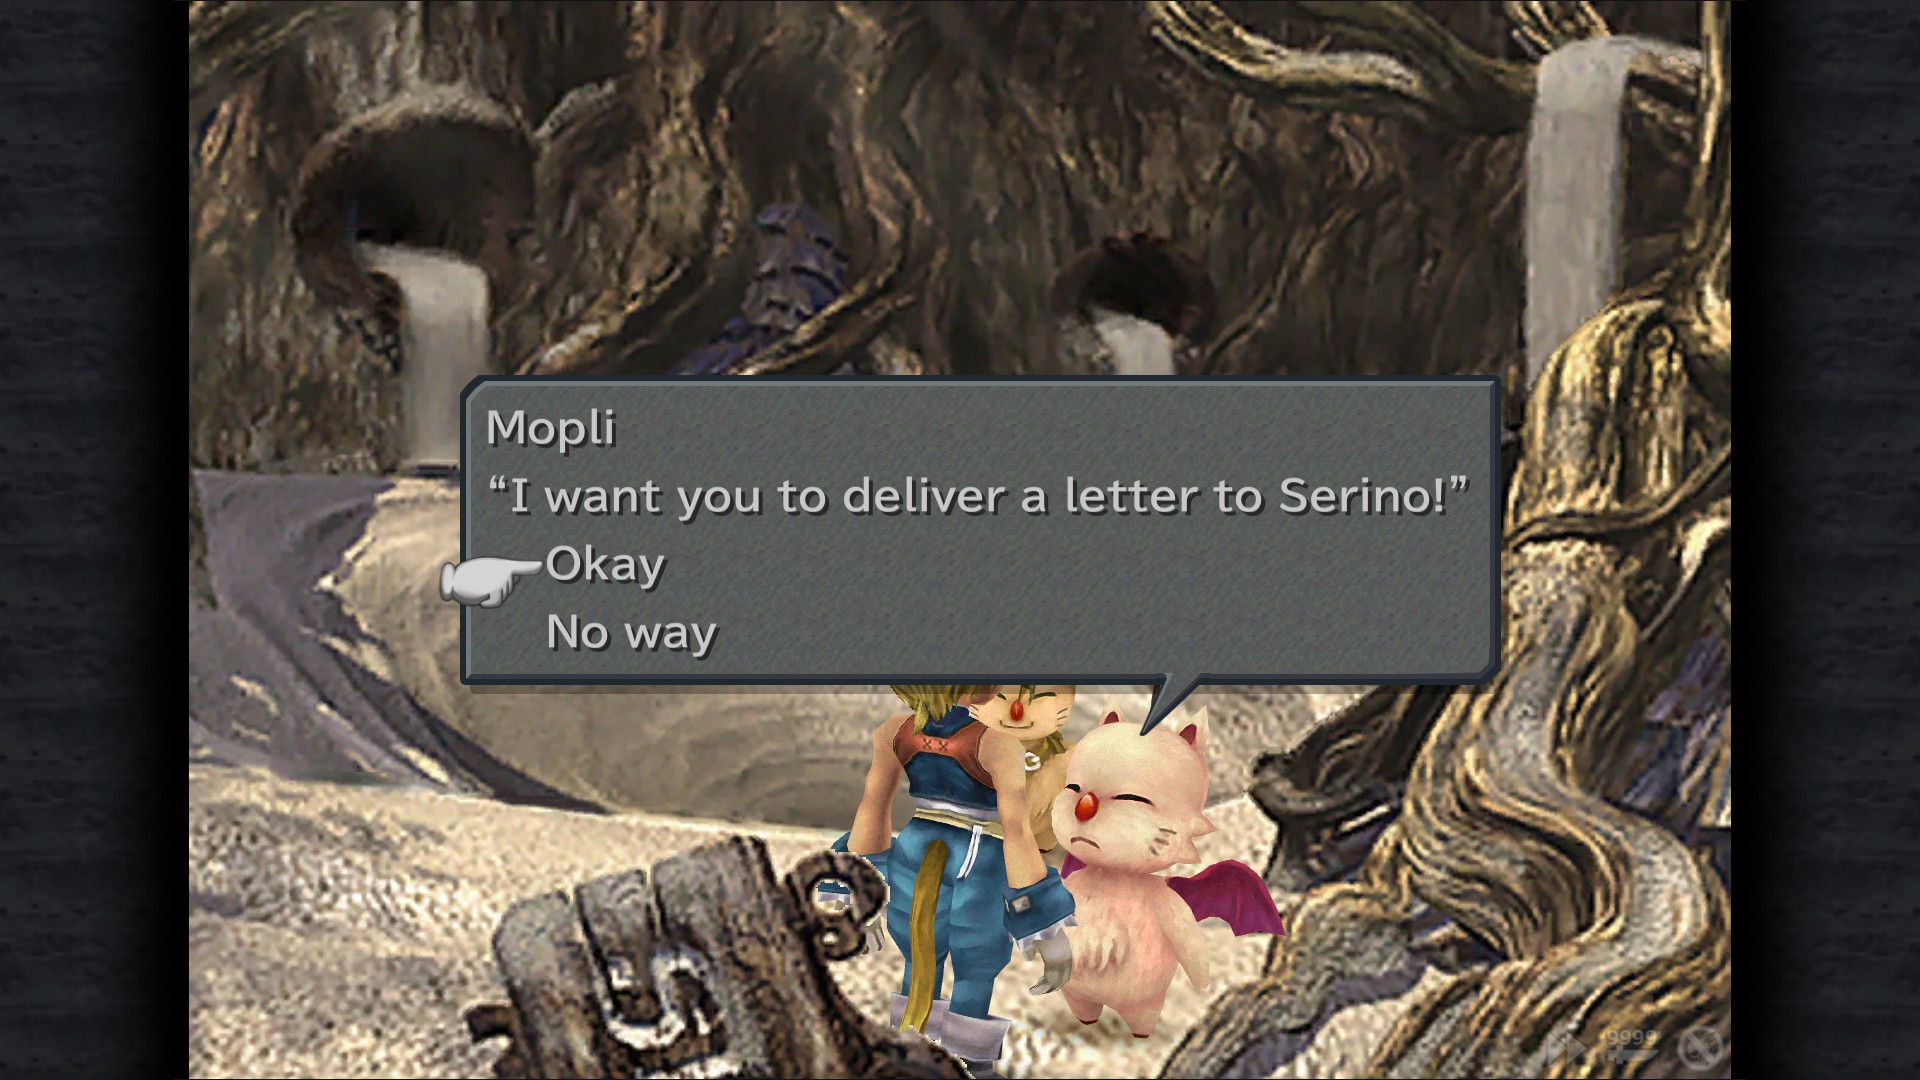
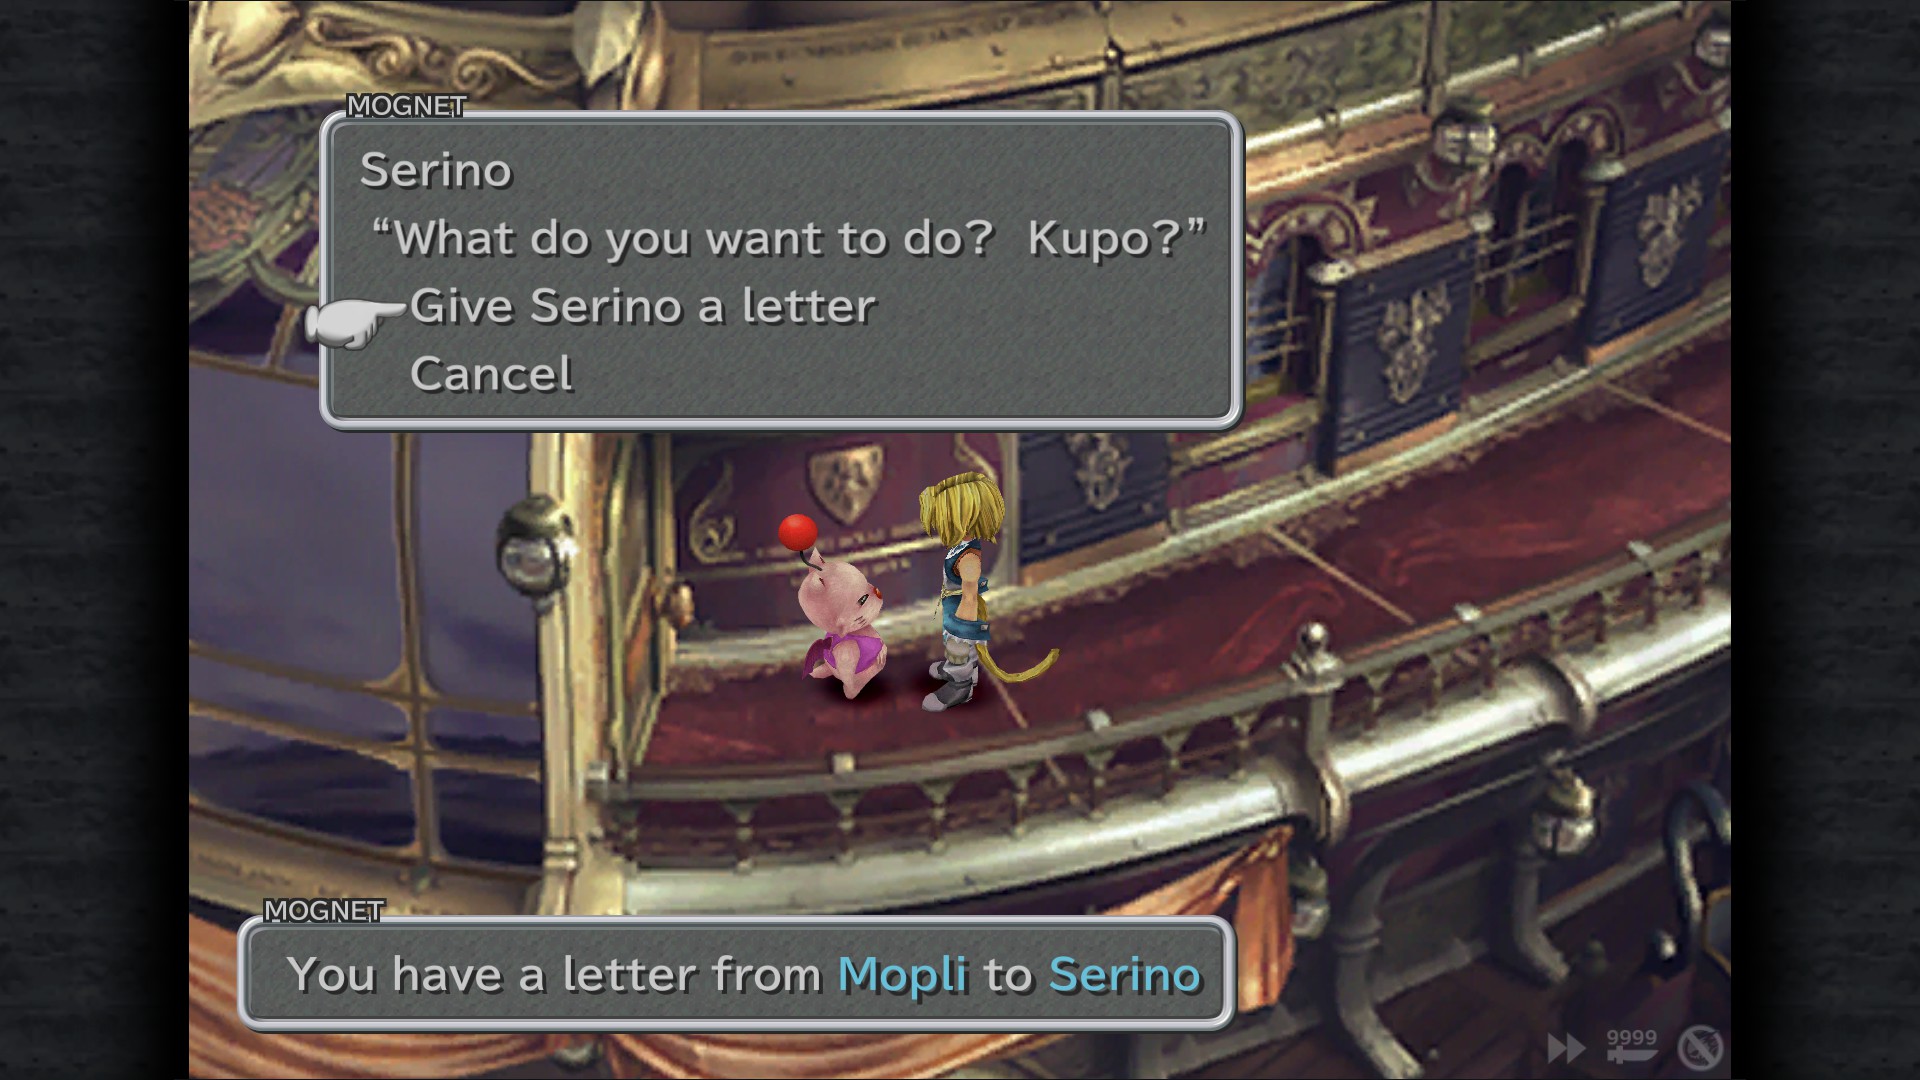
Mognet: Pickup the letter for delivery (Mopli to Serino)(Only available during Cleyra attack) - Sandpit
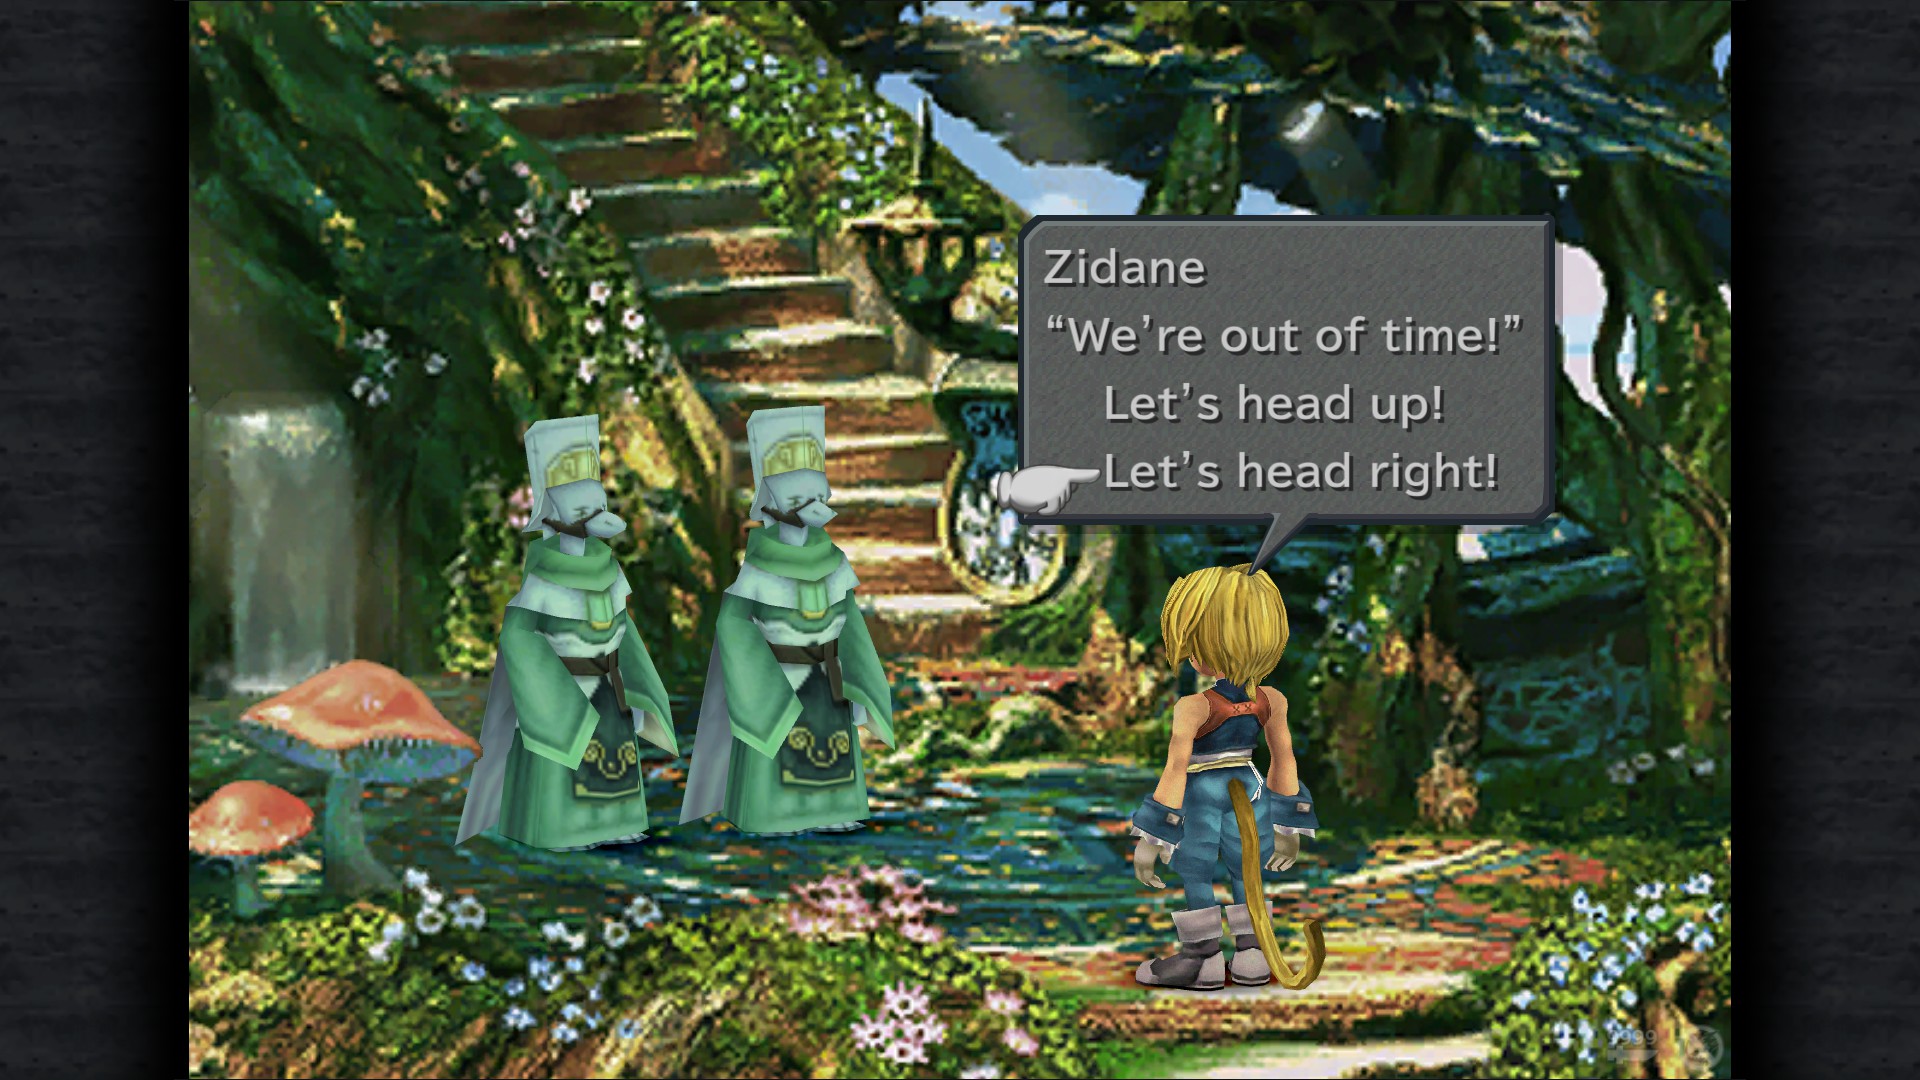
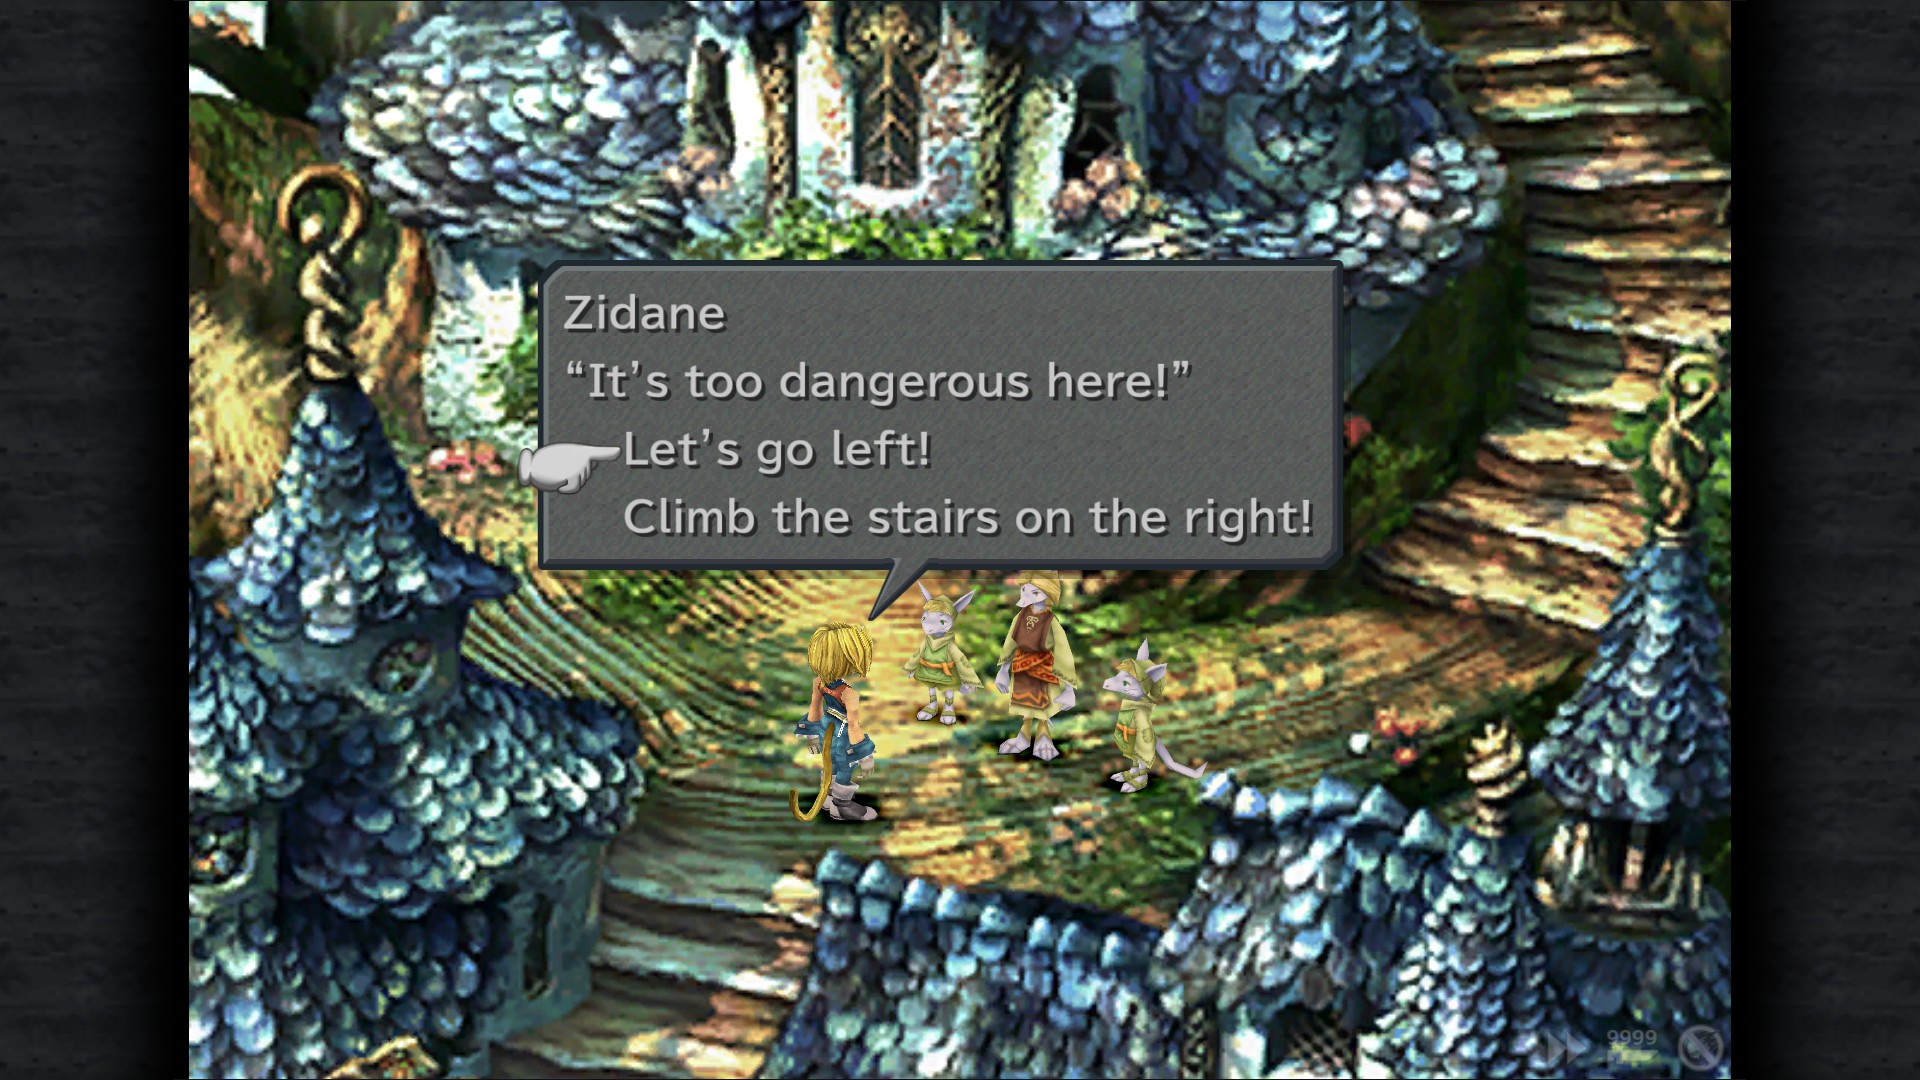
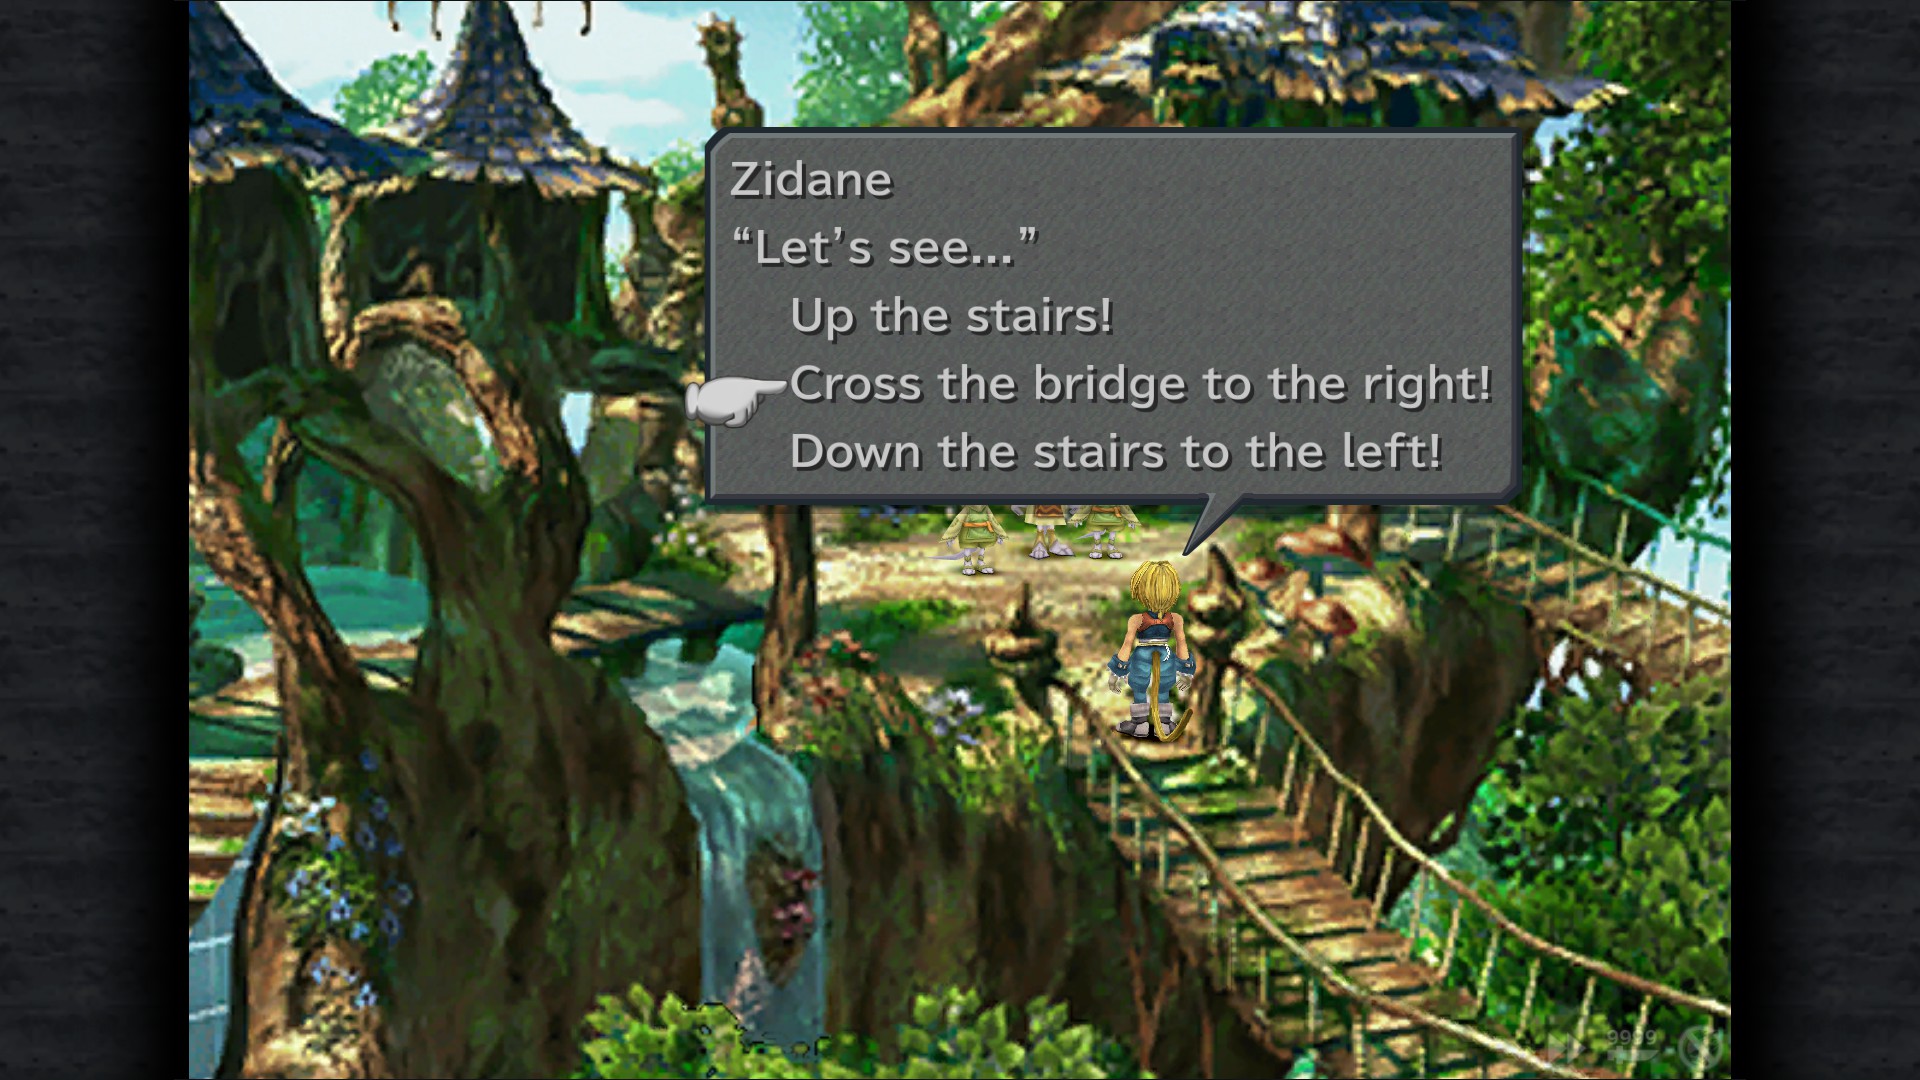
Out of Harm's Way
Guide all the residents of Cleyra to safety
1 Let's head right!
2 Let's go left!
3 Cross the bridge to the right!
4 This choice won't make any difference.
The achievement should unlock after exiting the Cathedral.
You'll also receive: Remedy , Phoenix Down , Nymph Card , Elixir , Zuu Card , Ether and Phoenix Pinion if you talk to survivors.
Alexandria Revisited


Red Rose
Note: leave and reenter this area to make the Moogle appear.
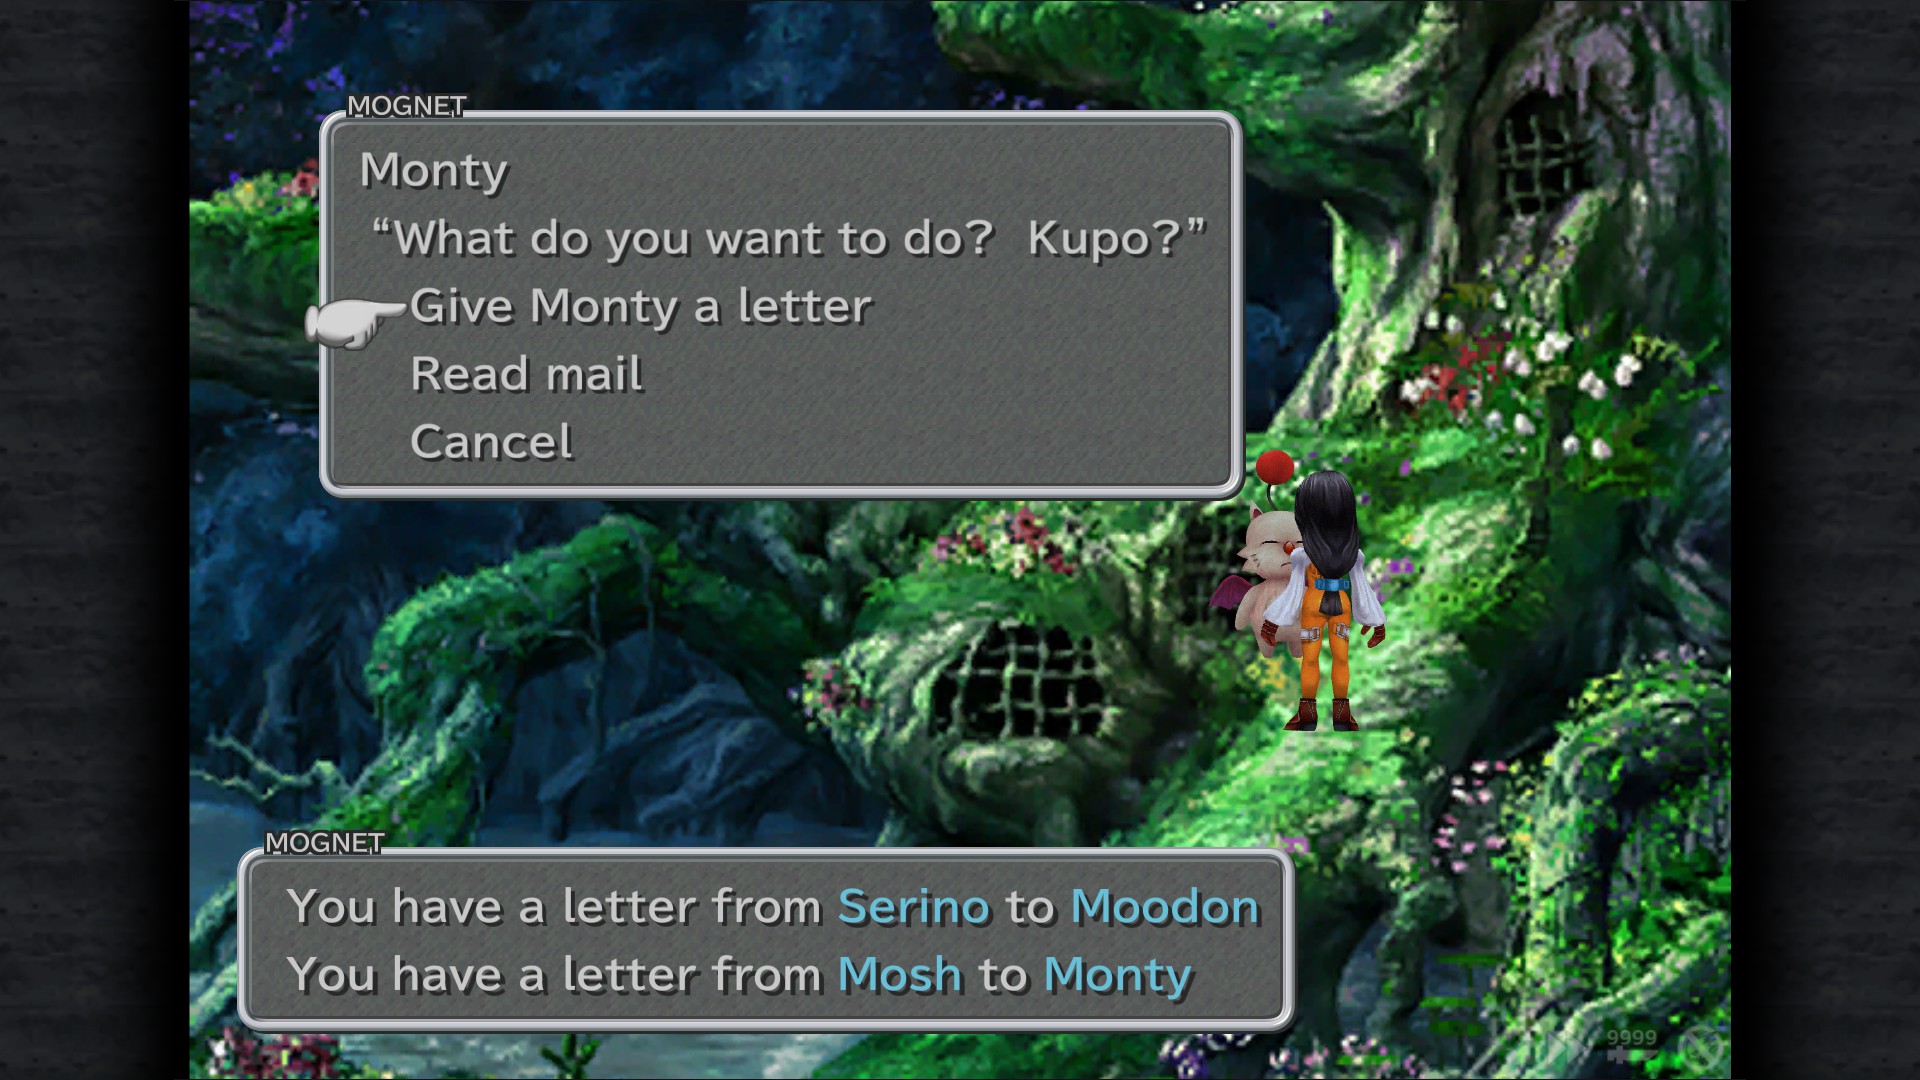
Mognet: Give Serino a letter "In danger" - Cabin
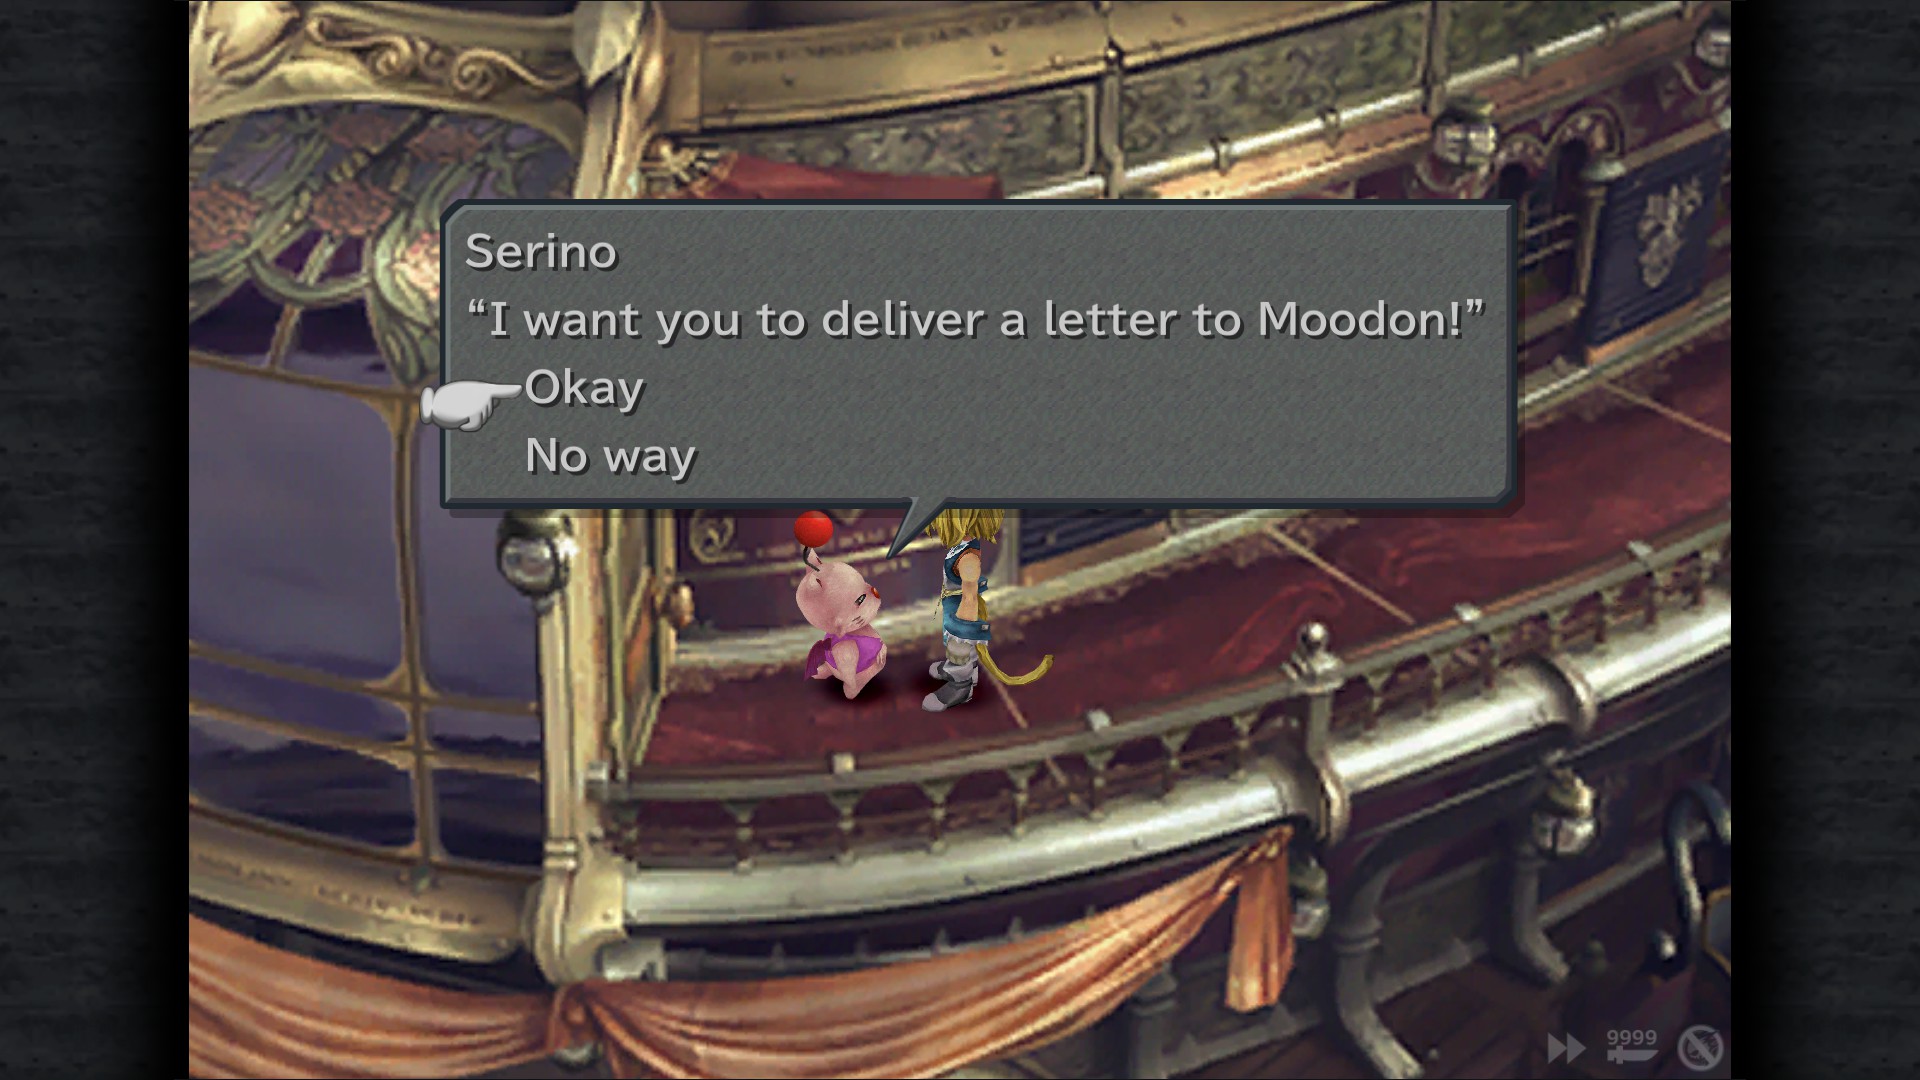
Mognet: Pickup the letter for delivery (Serino to Moodon) - Cabin
Alexandria Castle
Ice Brand - Staircase
Tent - Staircase
Friendship ATE - Chapel (Forced)
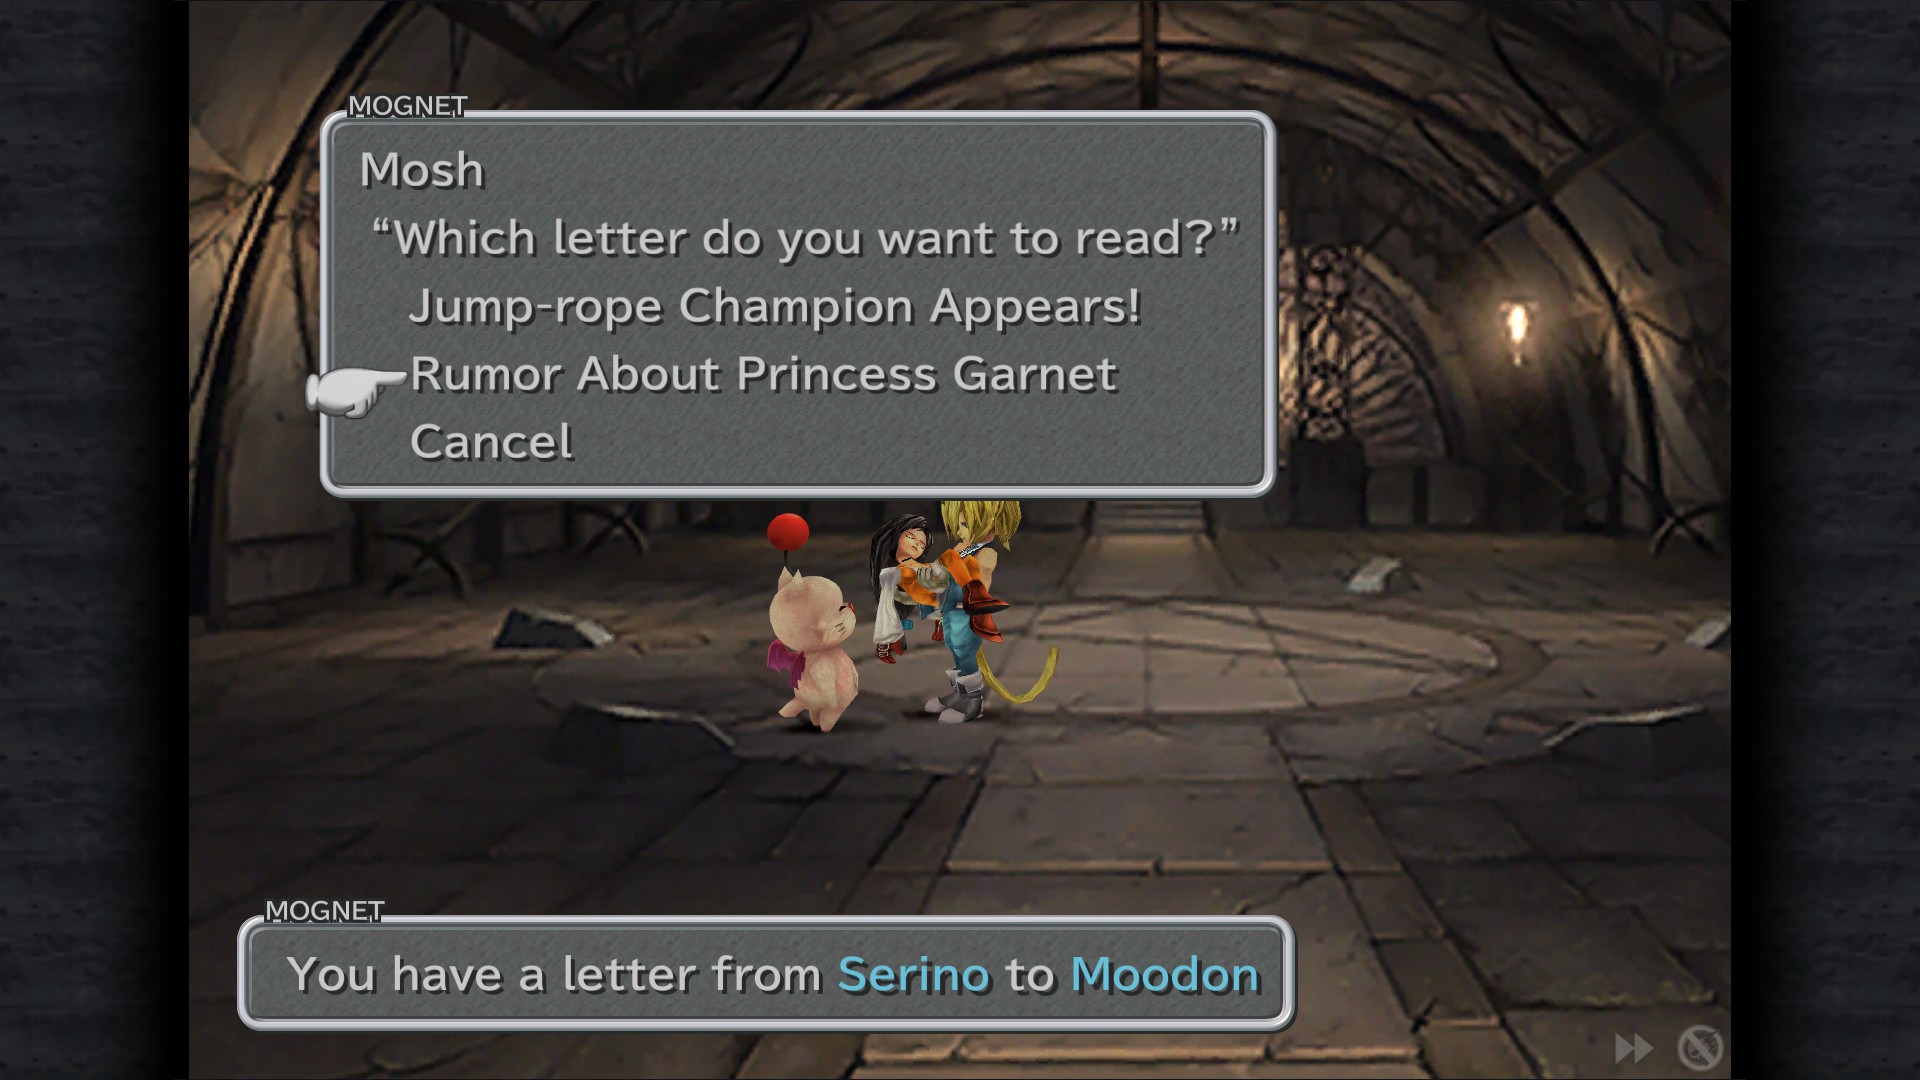
Mognet: "Rumor About Princess Garnet" - Chapel
Mognet: Pickup the letter for delivery (Mosh to Monty)(Only available when you're escaping with Garnet after she's healed) - Chapel
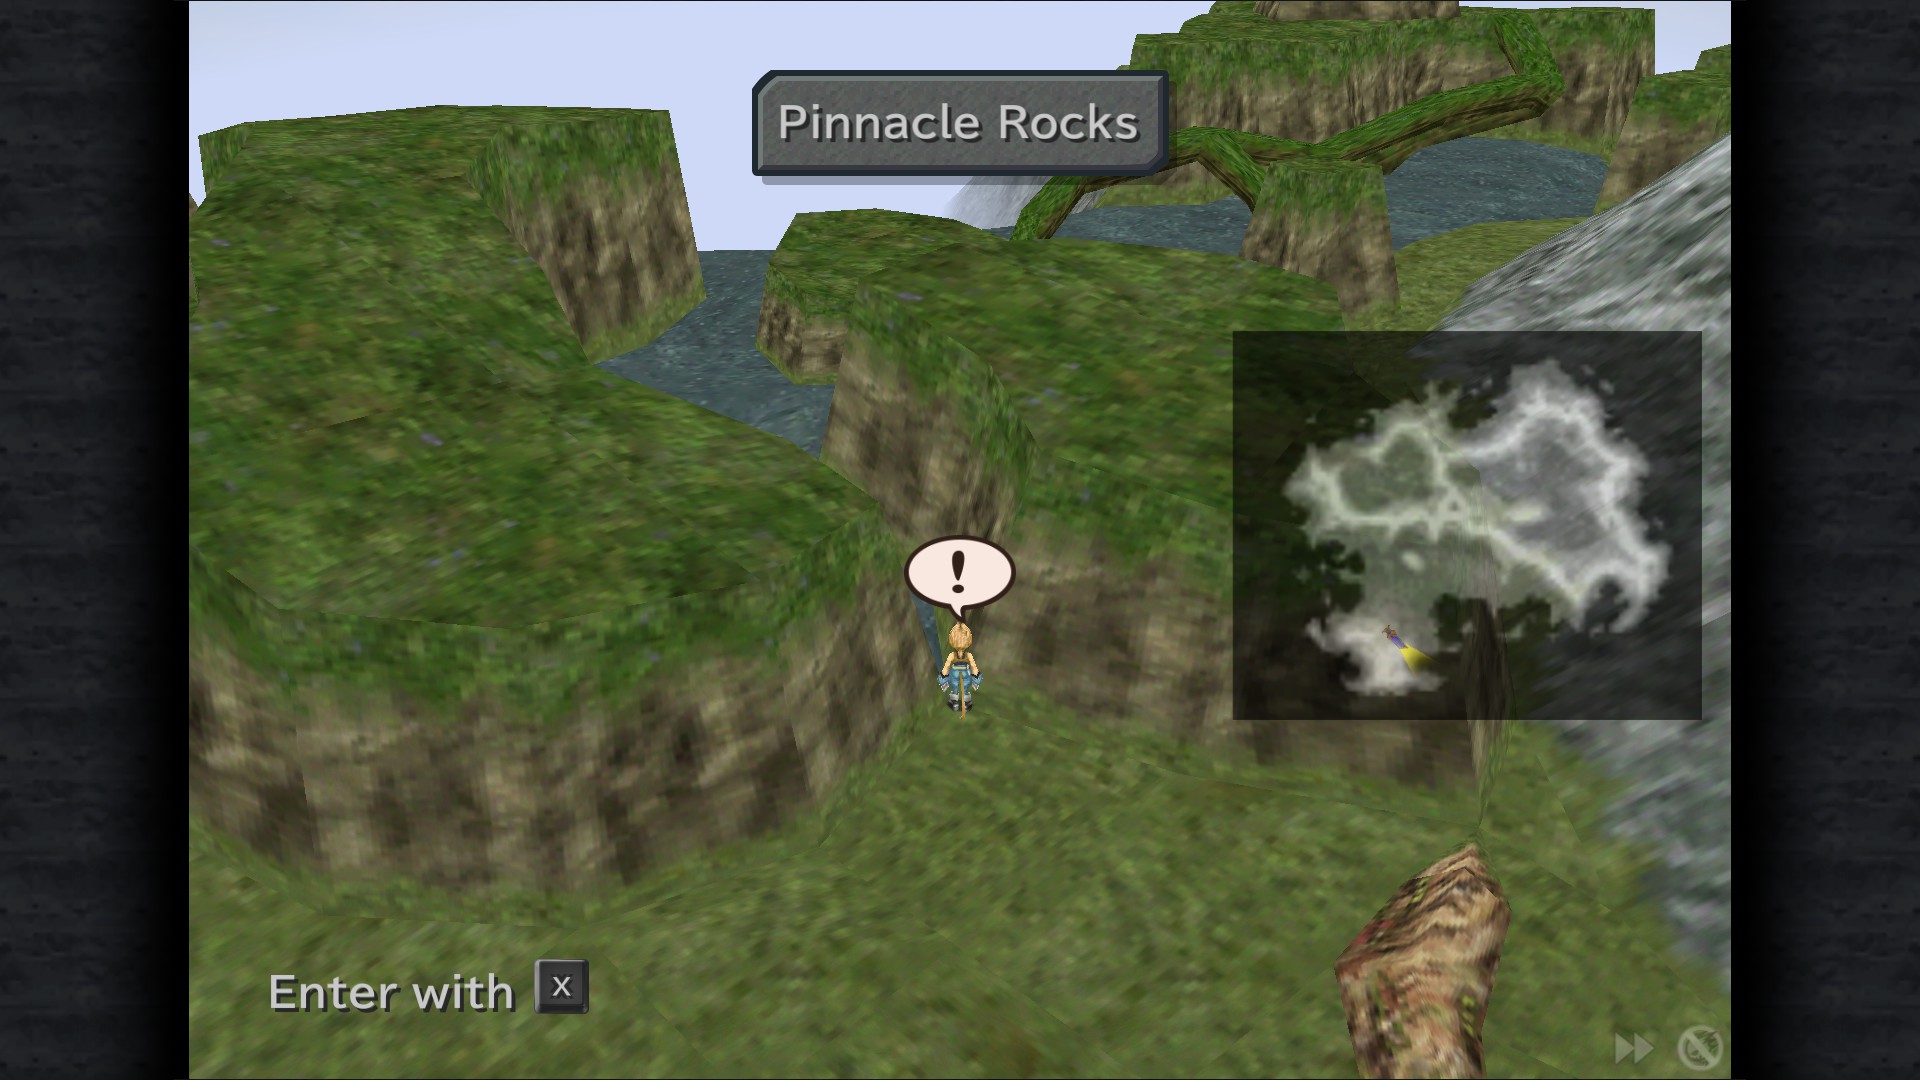
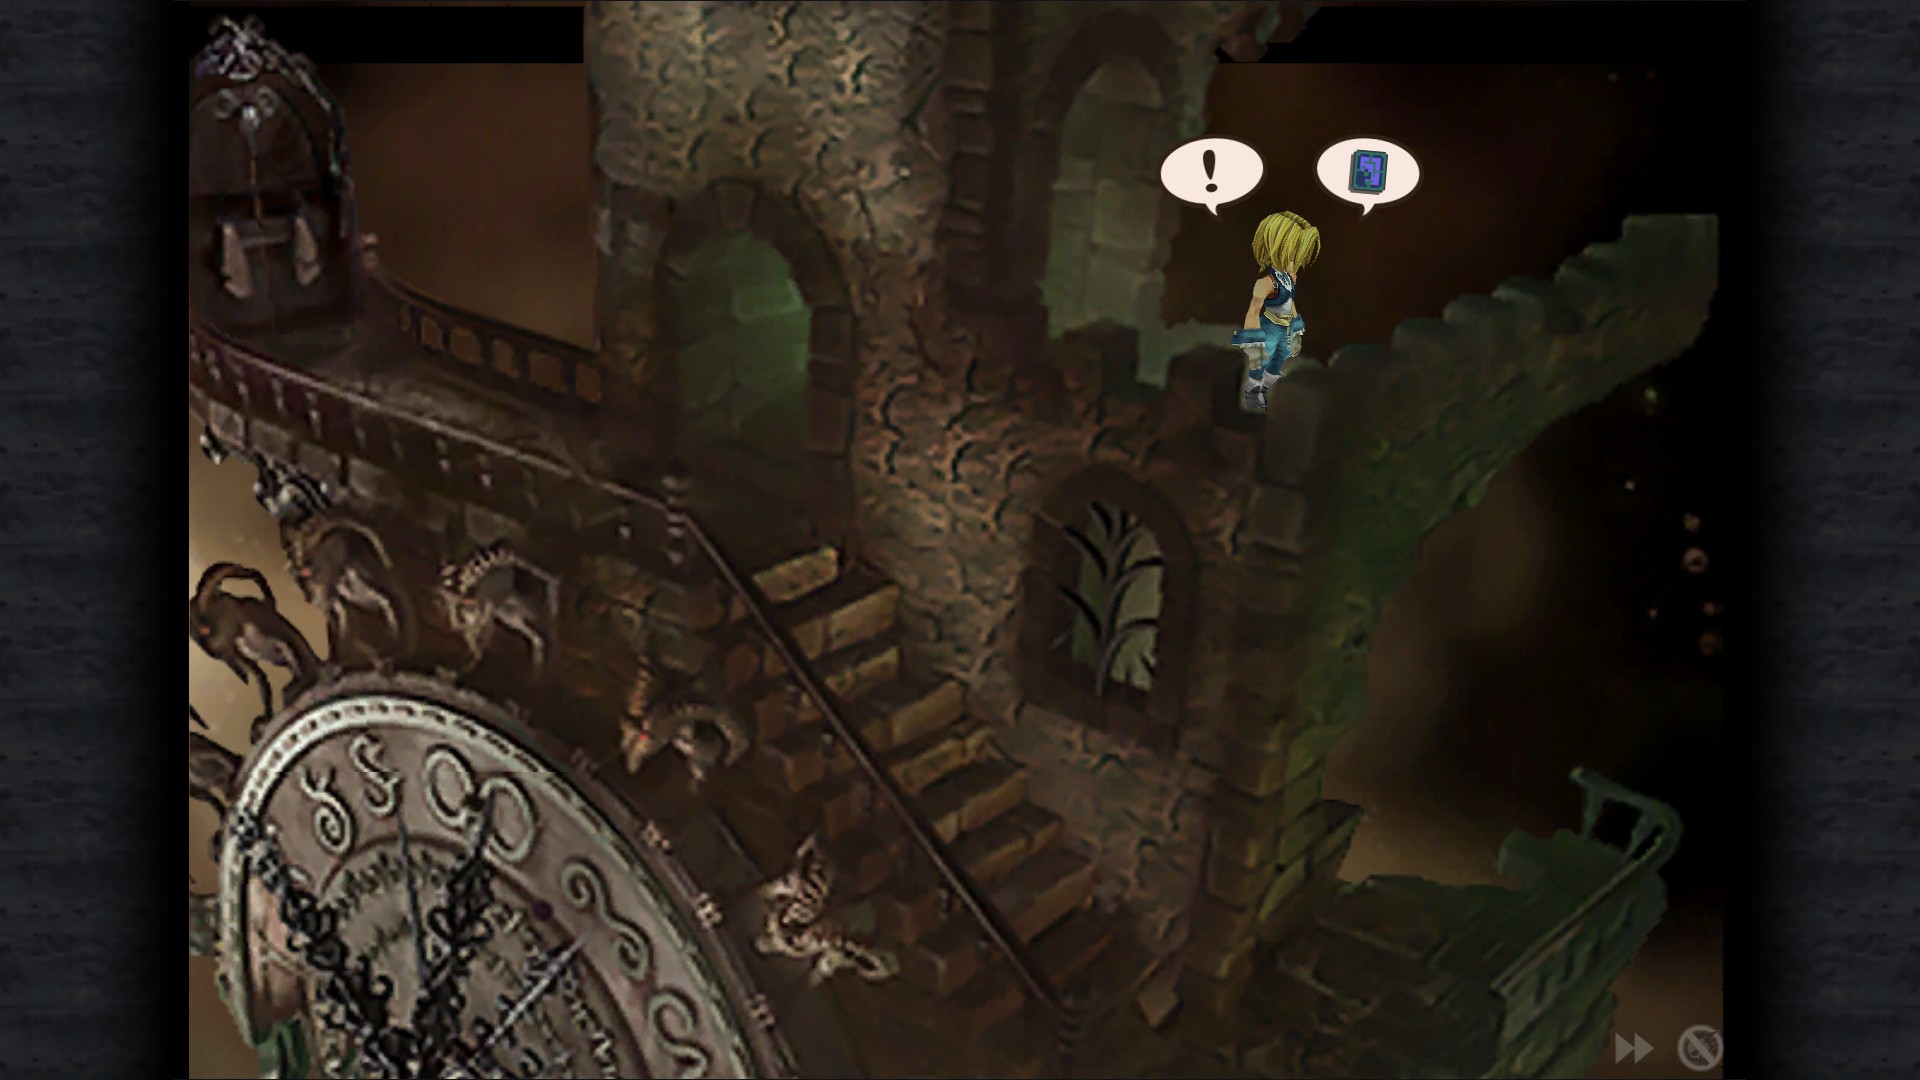
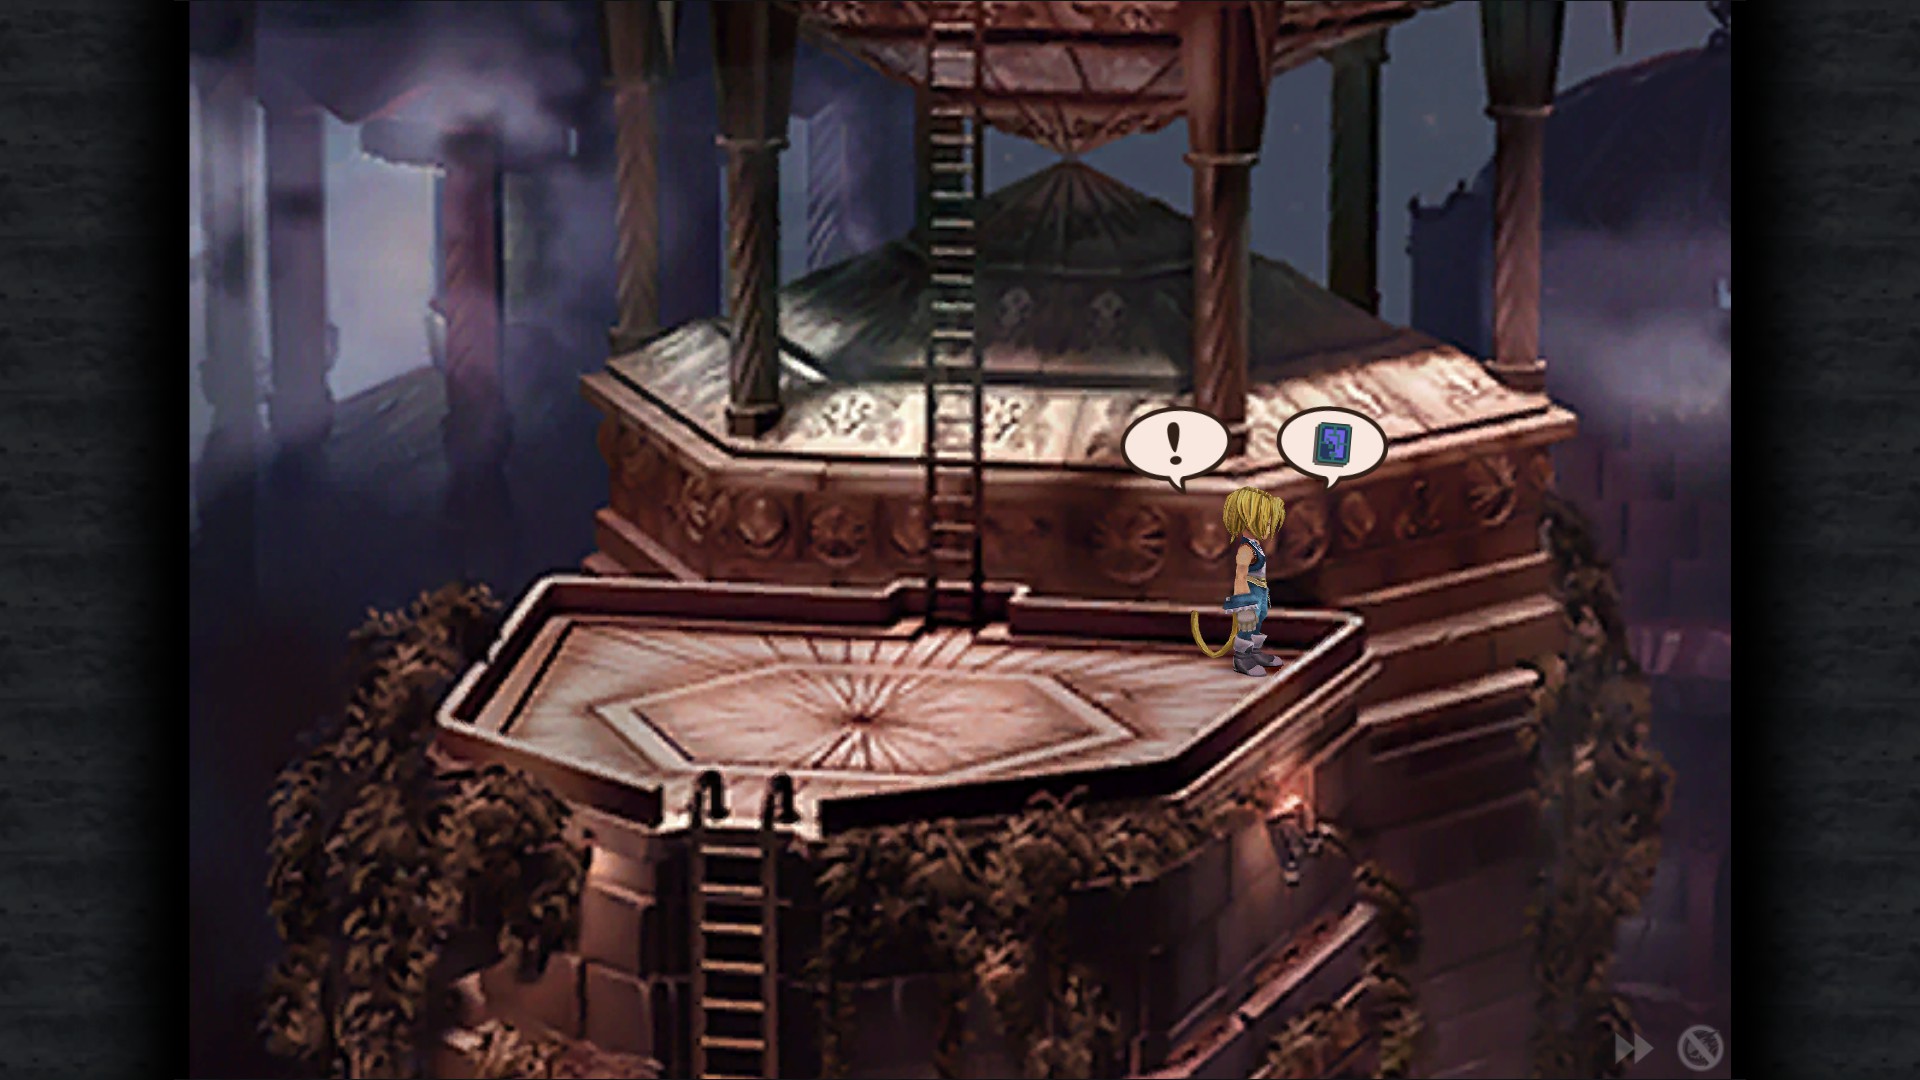
Pinnacle Rocks
Mognet: Give Monty a letter "Escaping Evil Forest" - Path
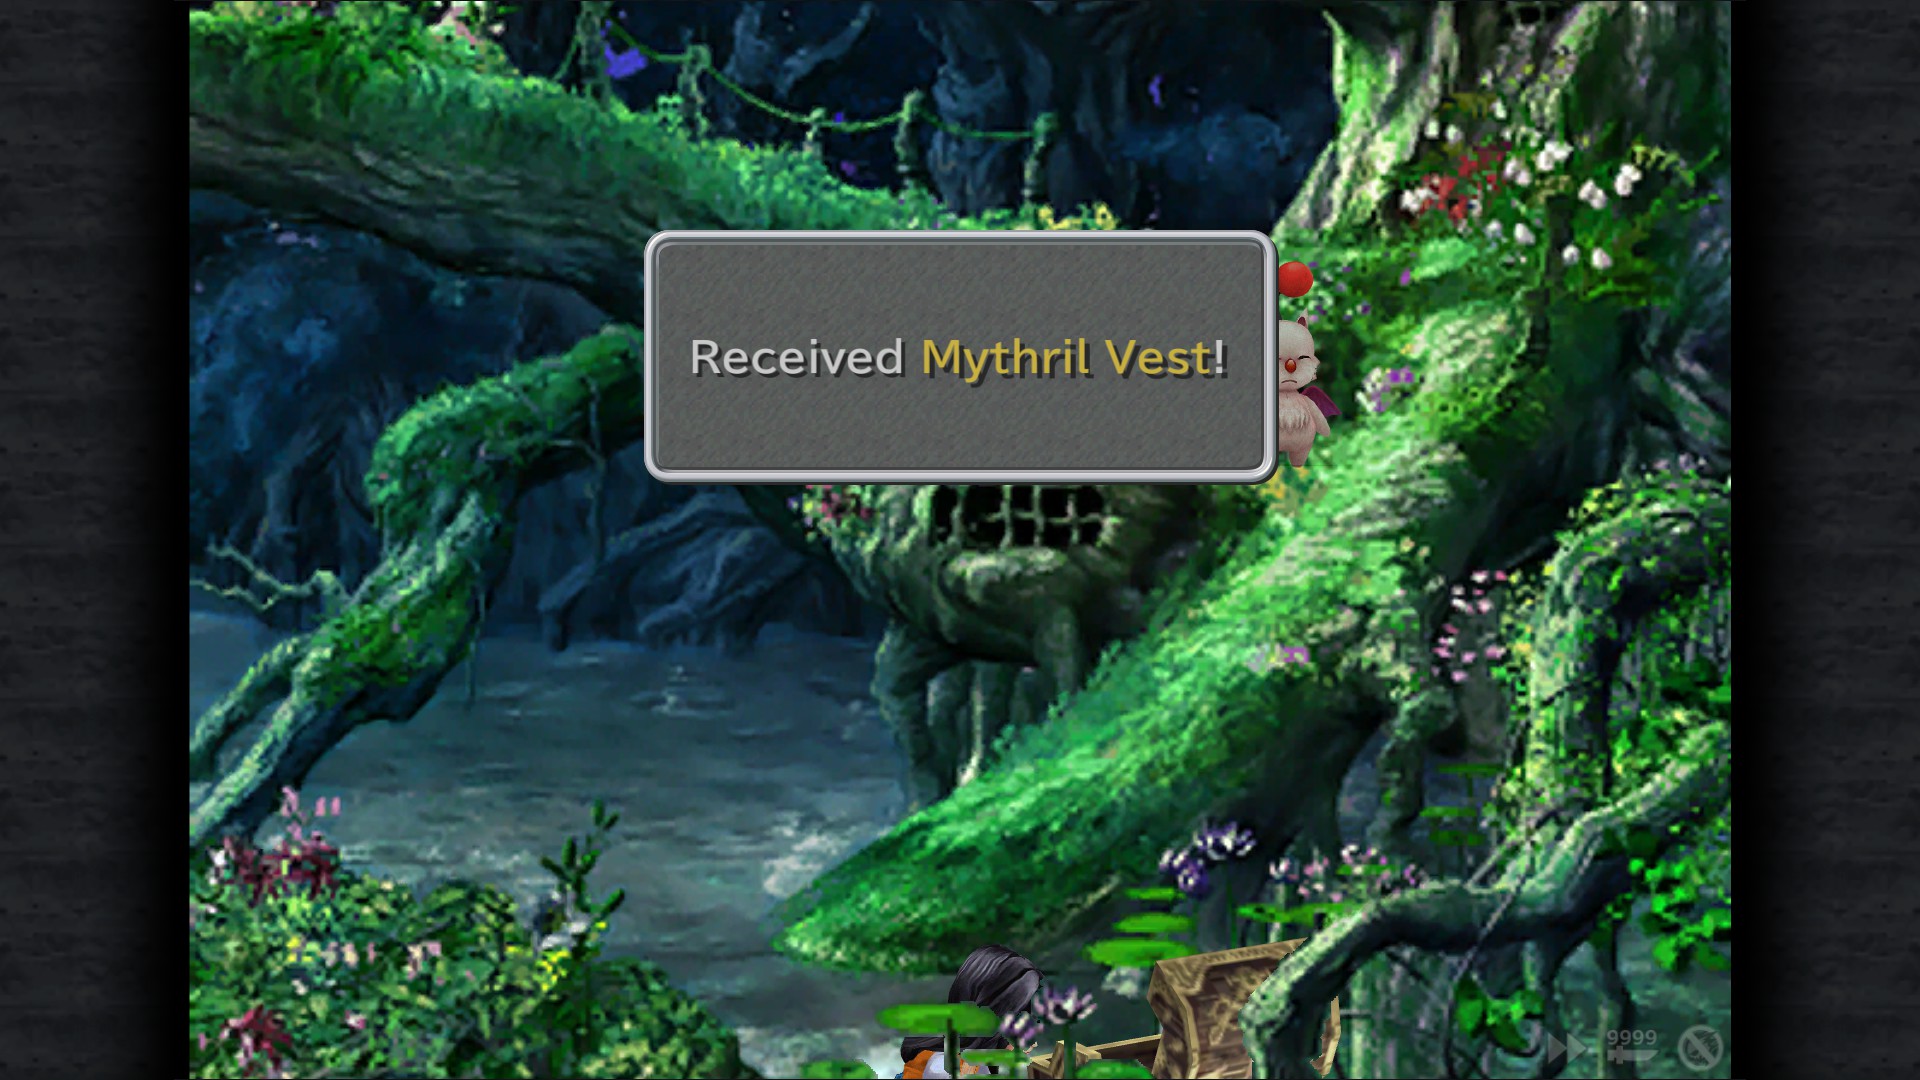
Mythril Vest - Below the moogle
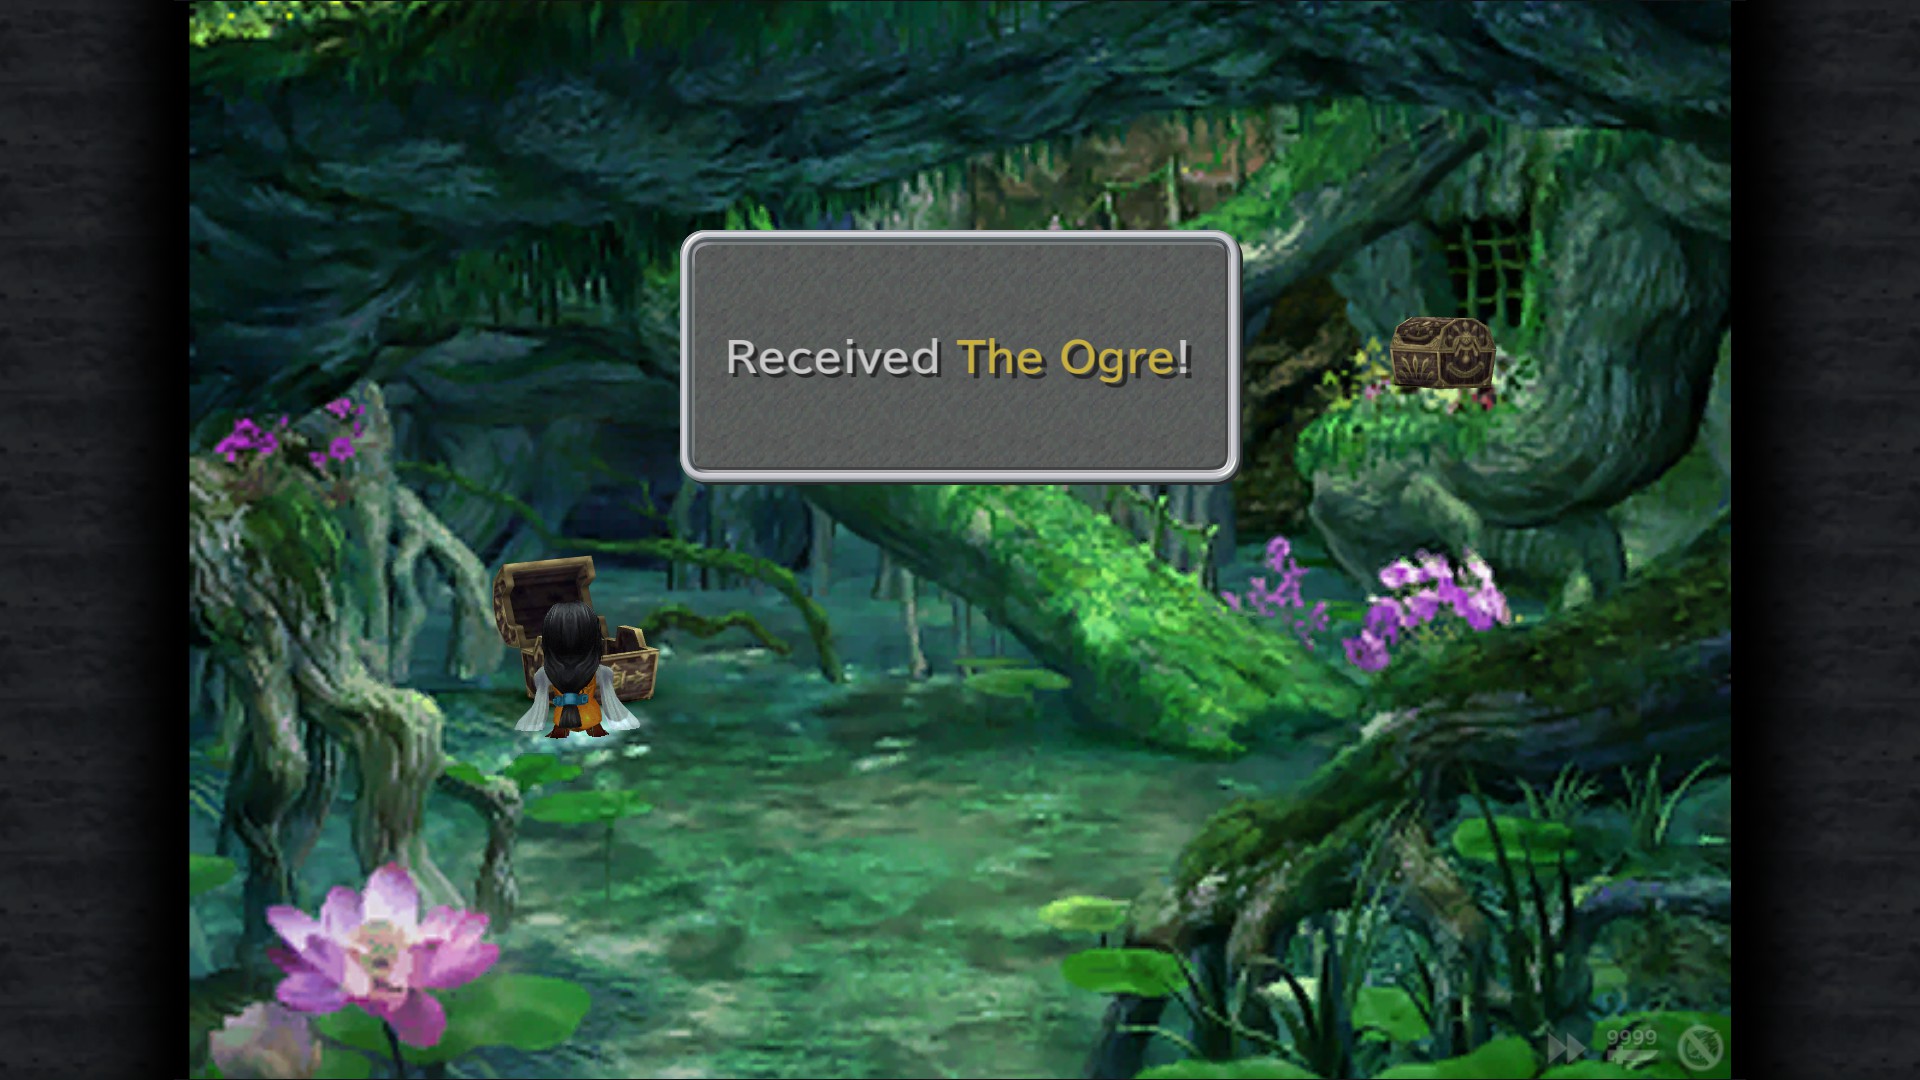
The Ogre - Left of the rising branch
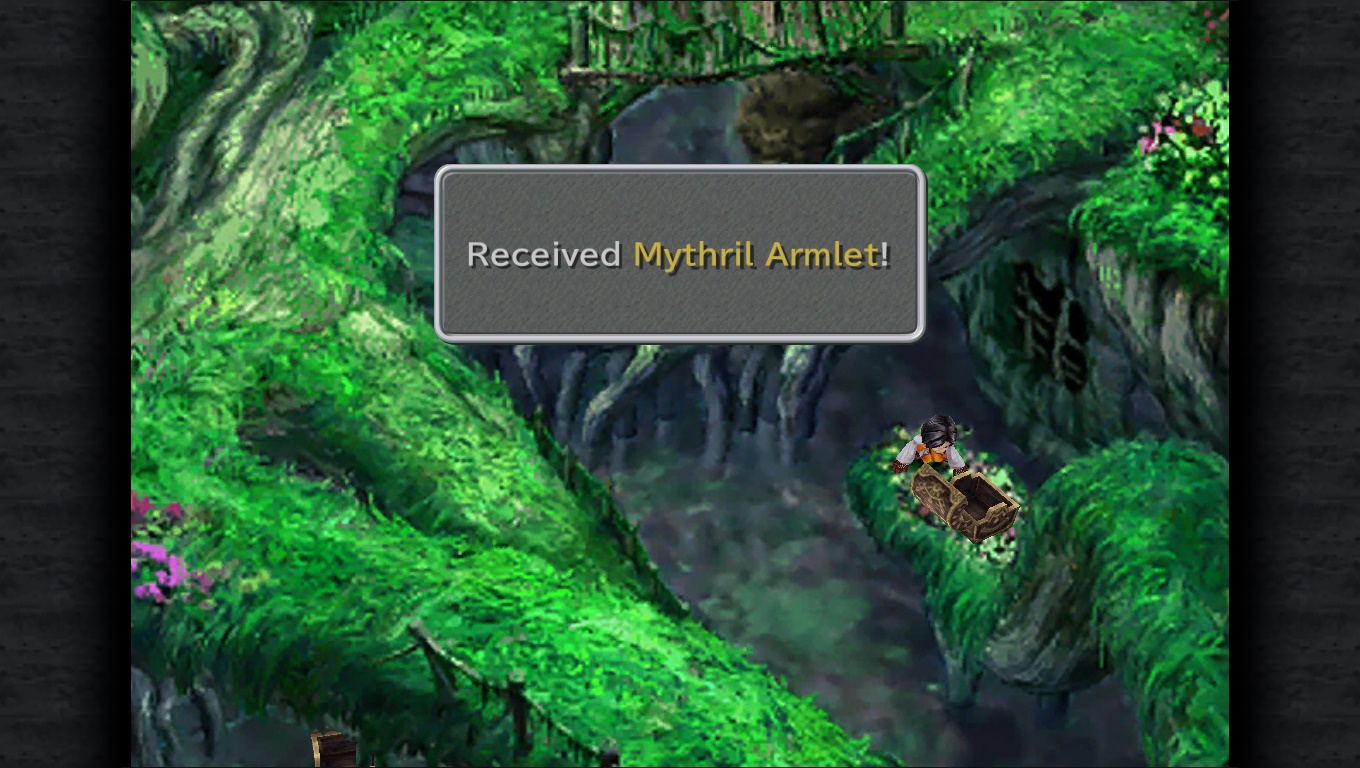
Mythril Armlet - Jump from above
Ramuh's Story:
1. Beginning
2. Cooperation
3. Silence
4. Human/Hero
Lindblum Revisited


Start heading out to world map then go to...
Pinnacle Rocks
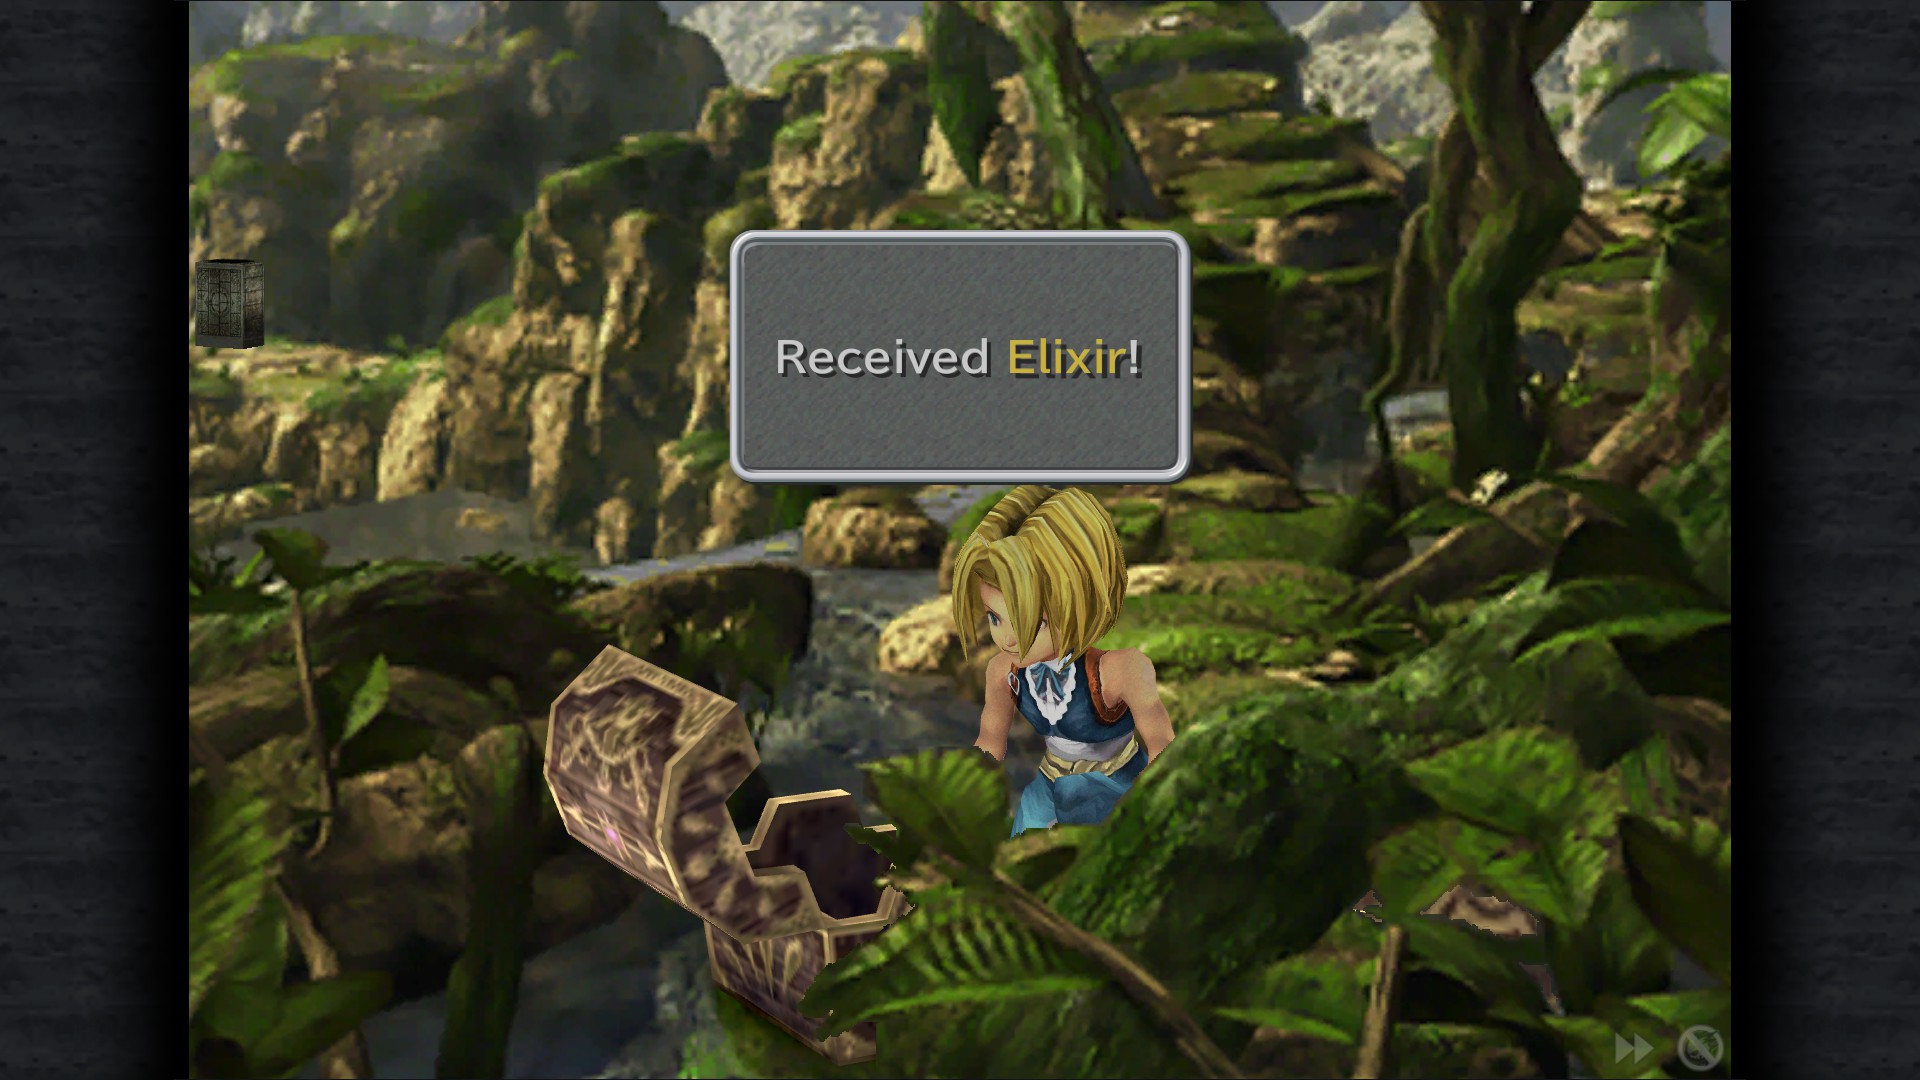
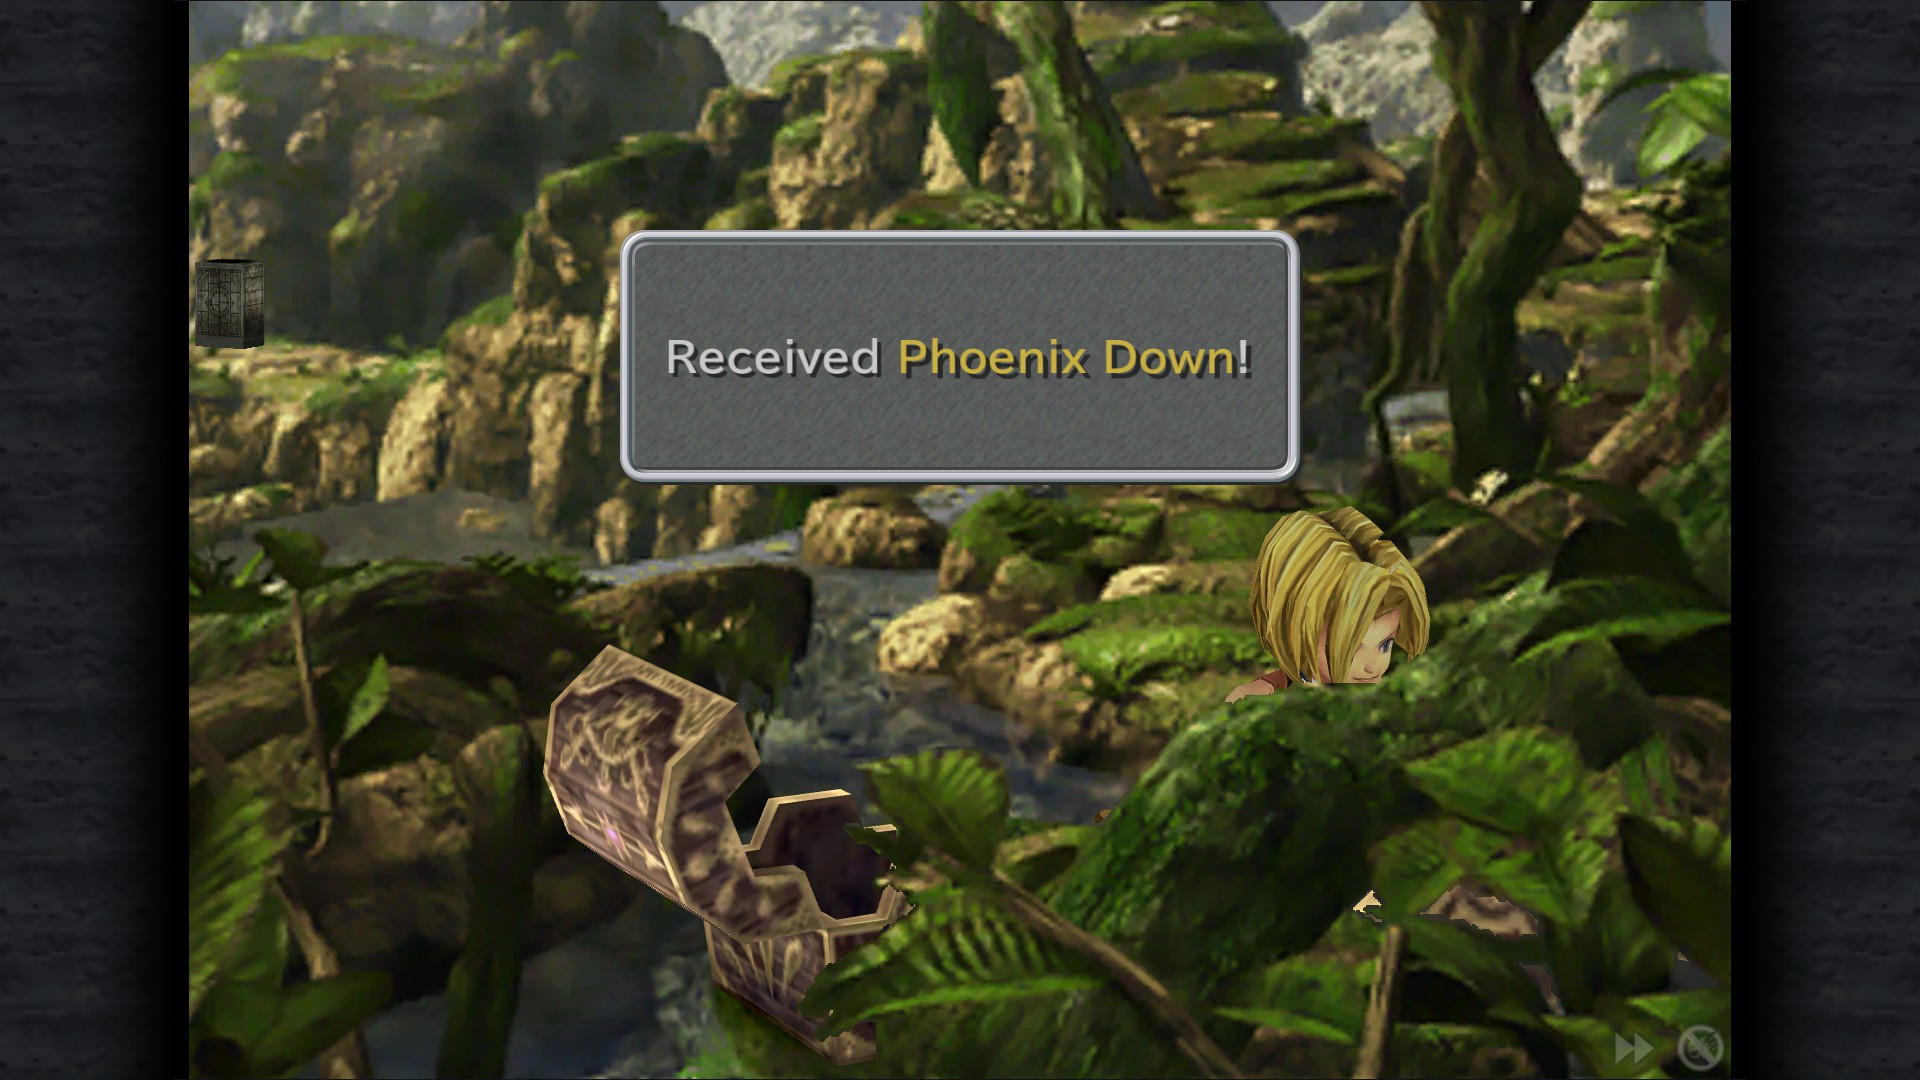
Elixir - Entry
Phoenix Down - Entry (Right from the last treasure)
Lindblum in Ruins
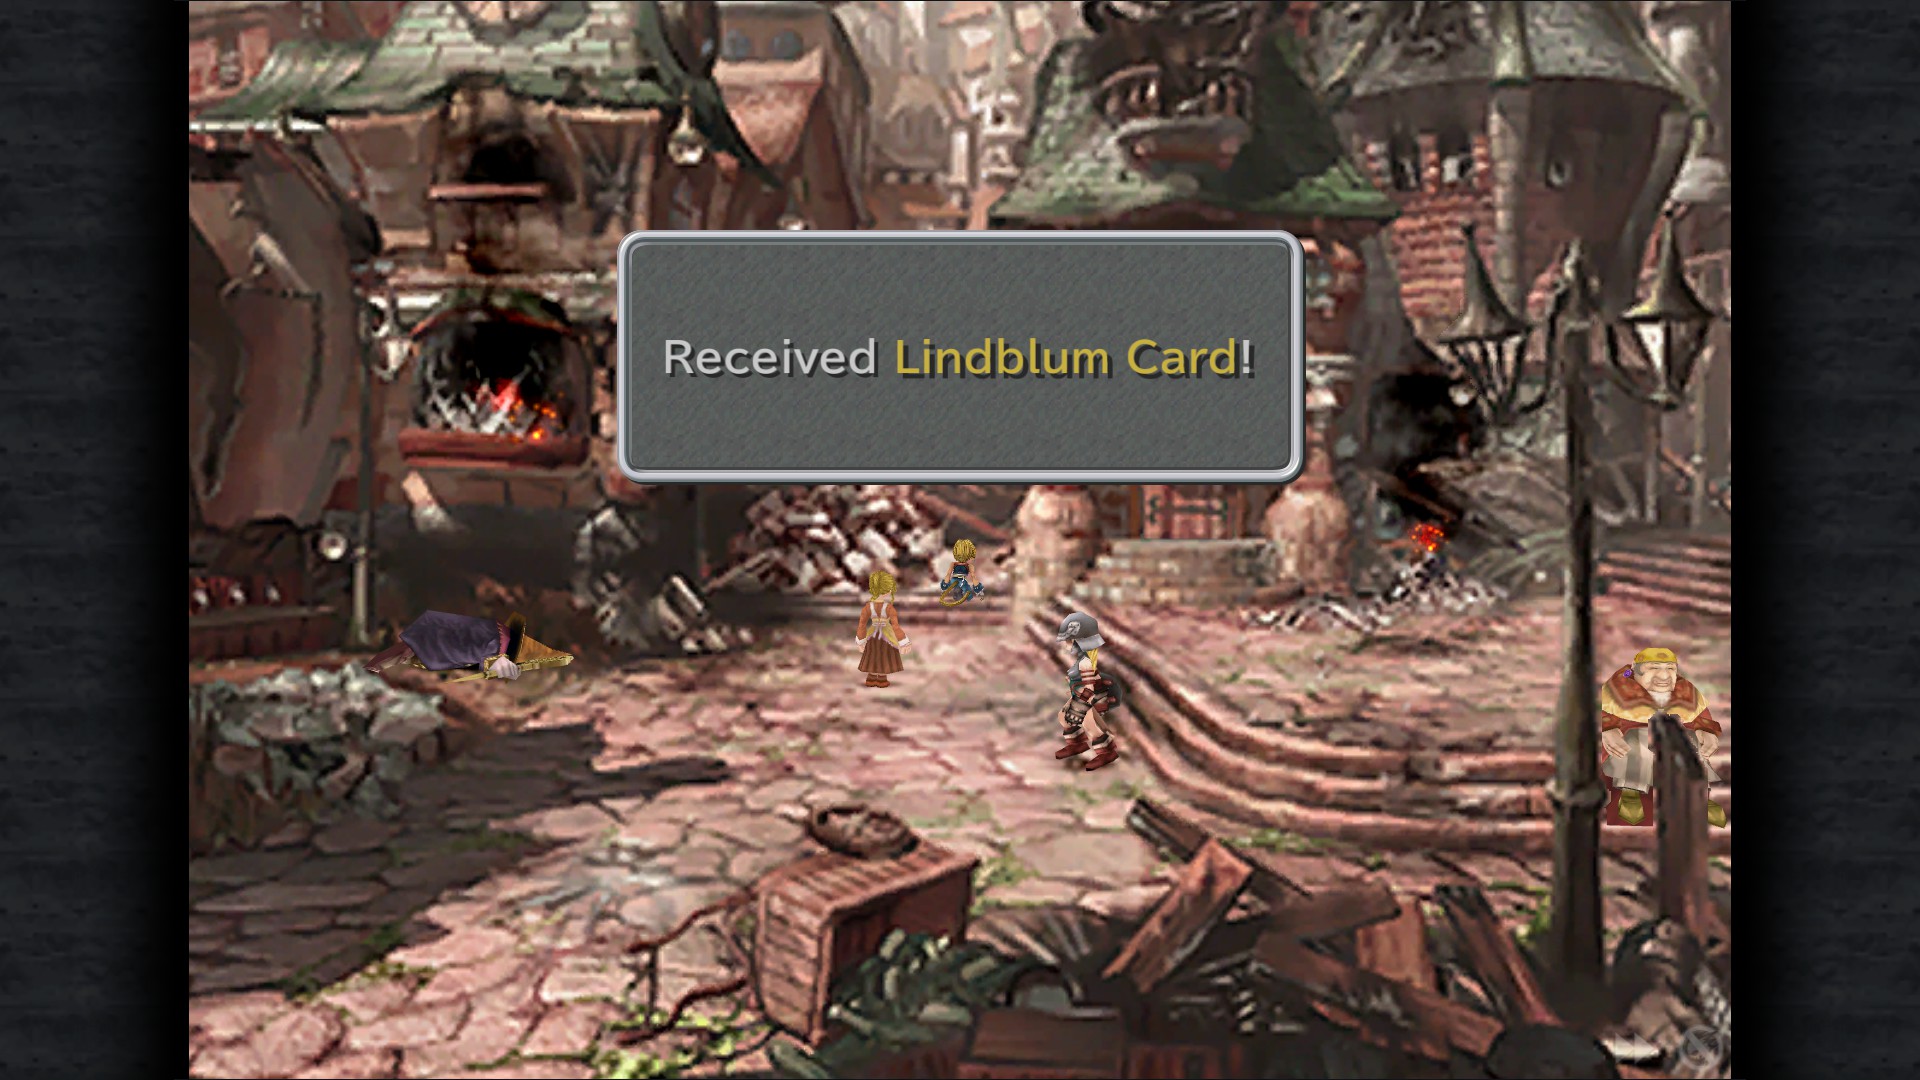
Lindblum Card - Shopping Area
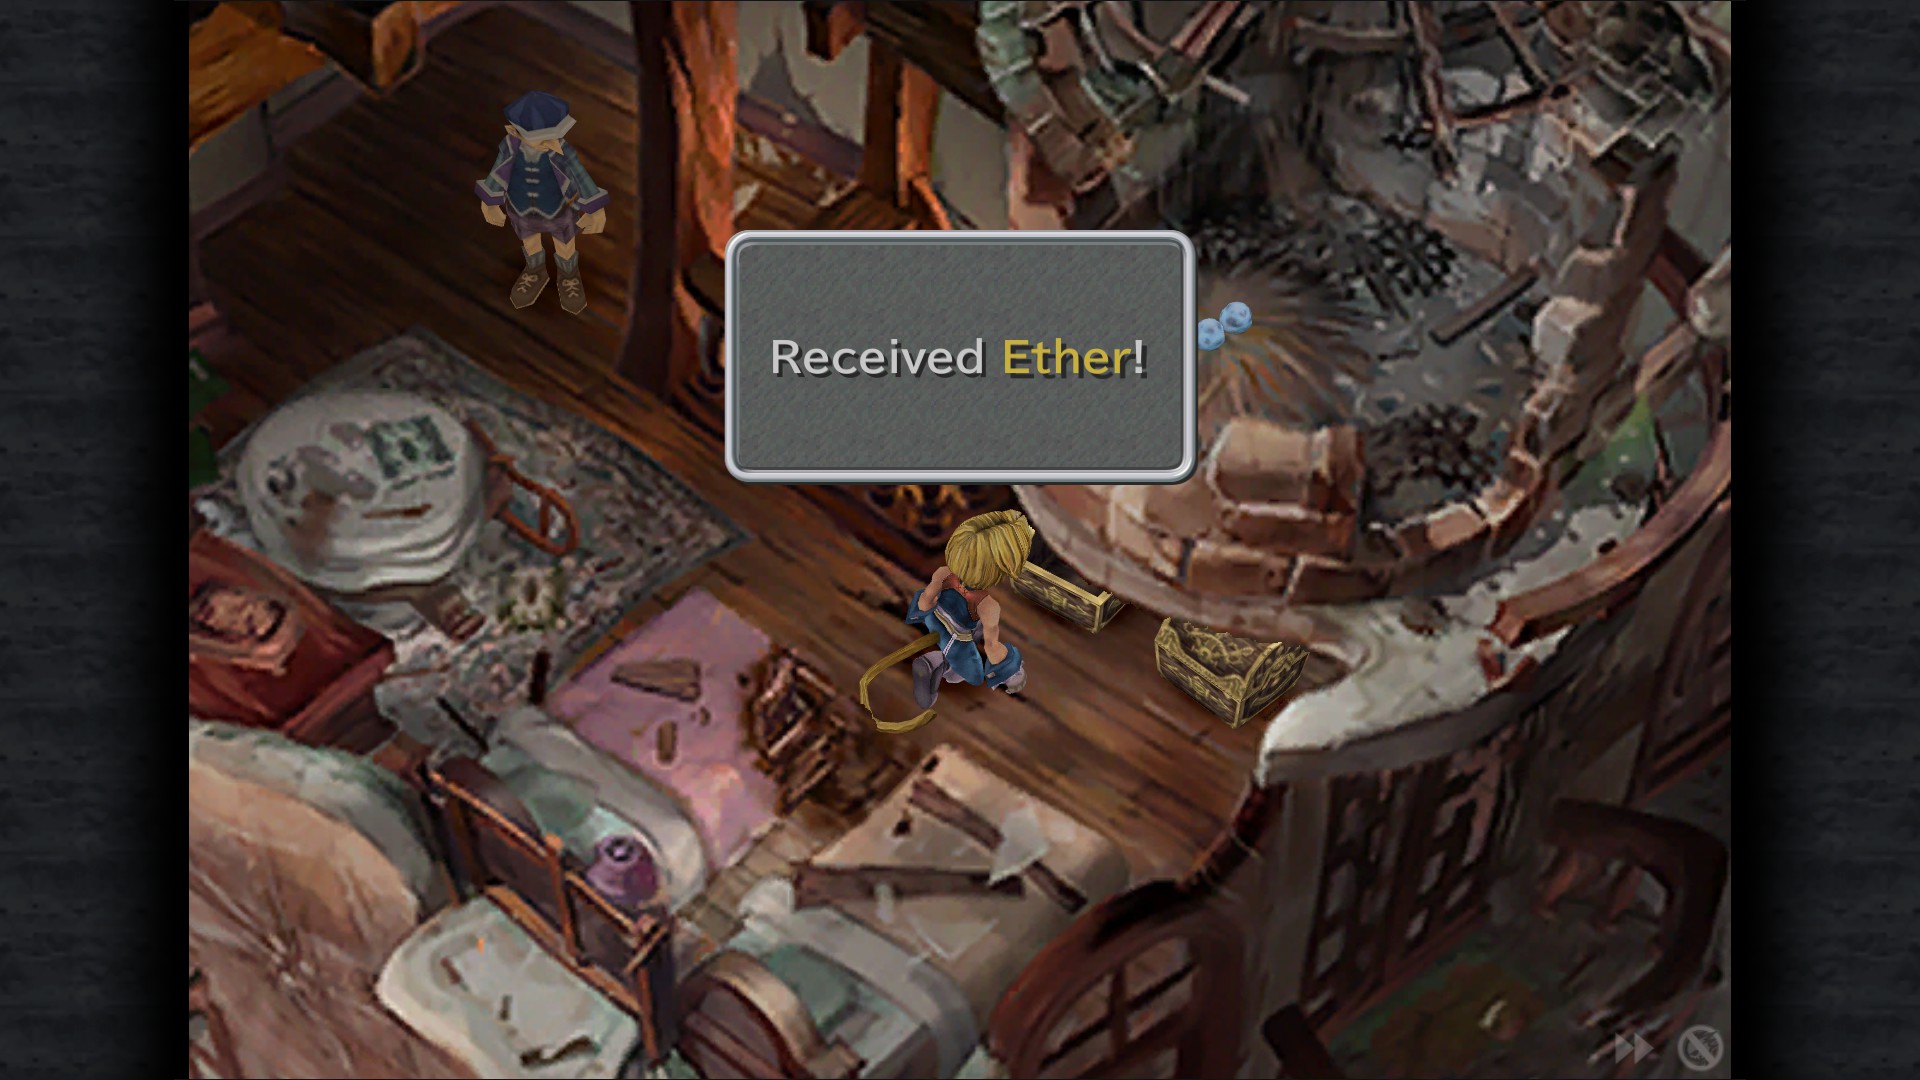
Ether - Shopping Area Residence
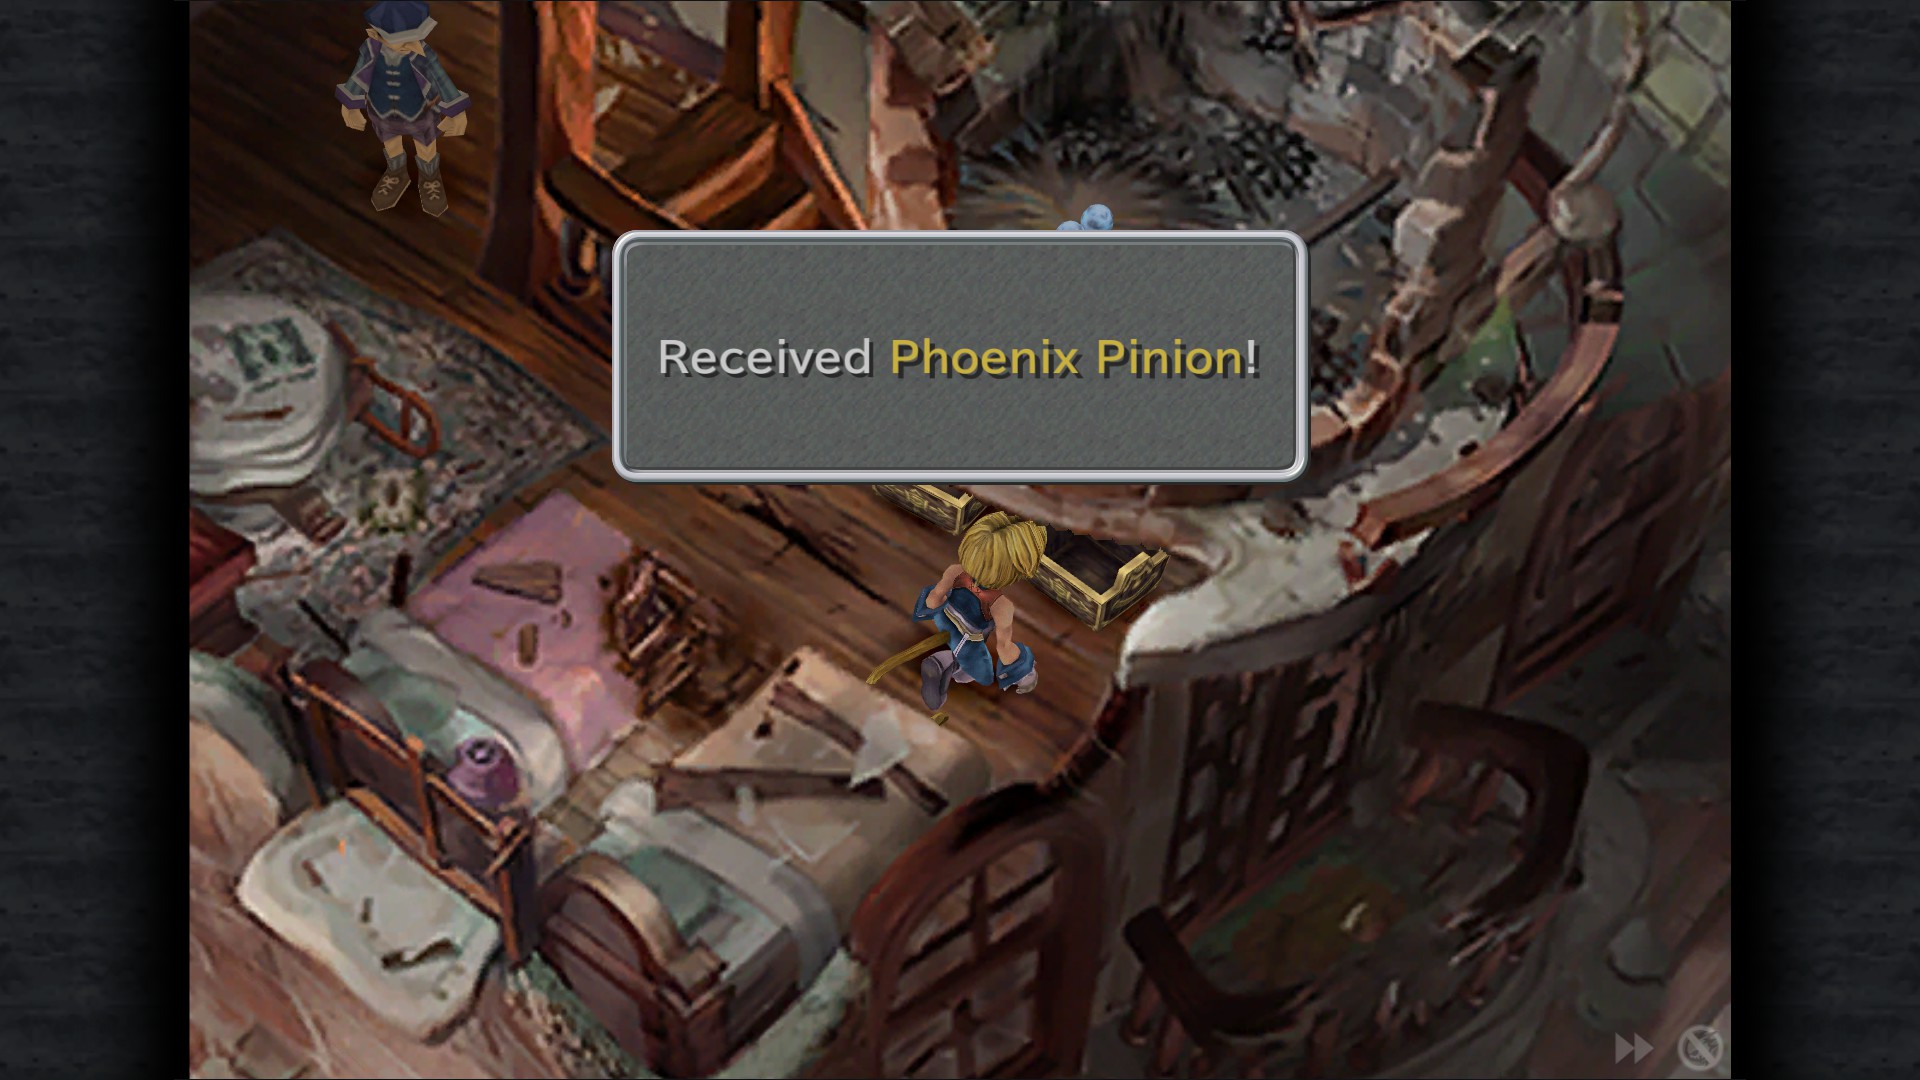
Phoenix Pinion - Shopping Area Residence
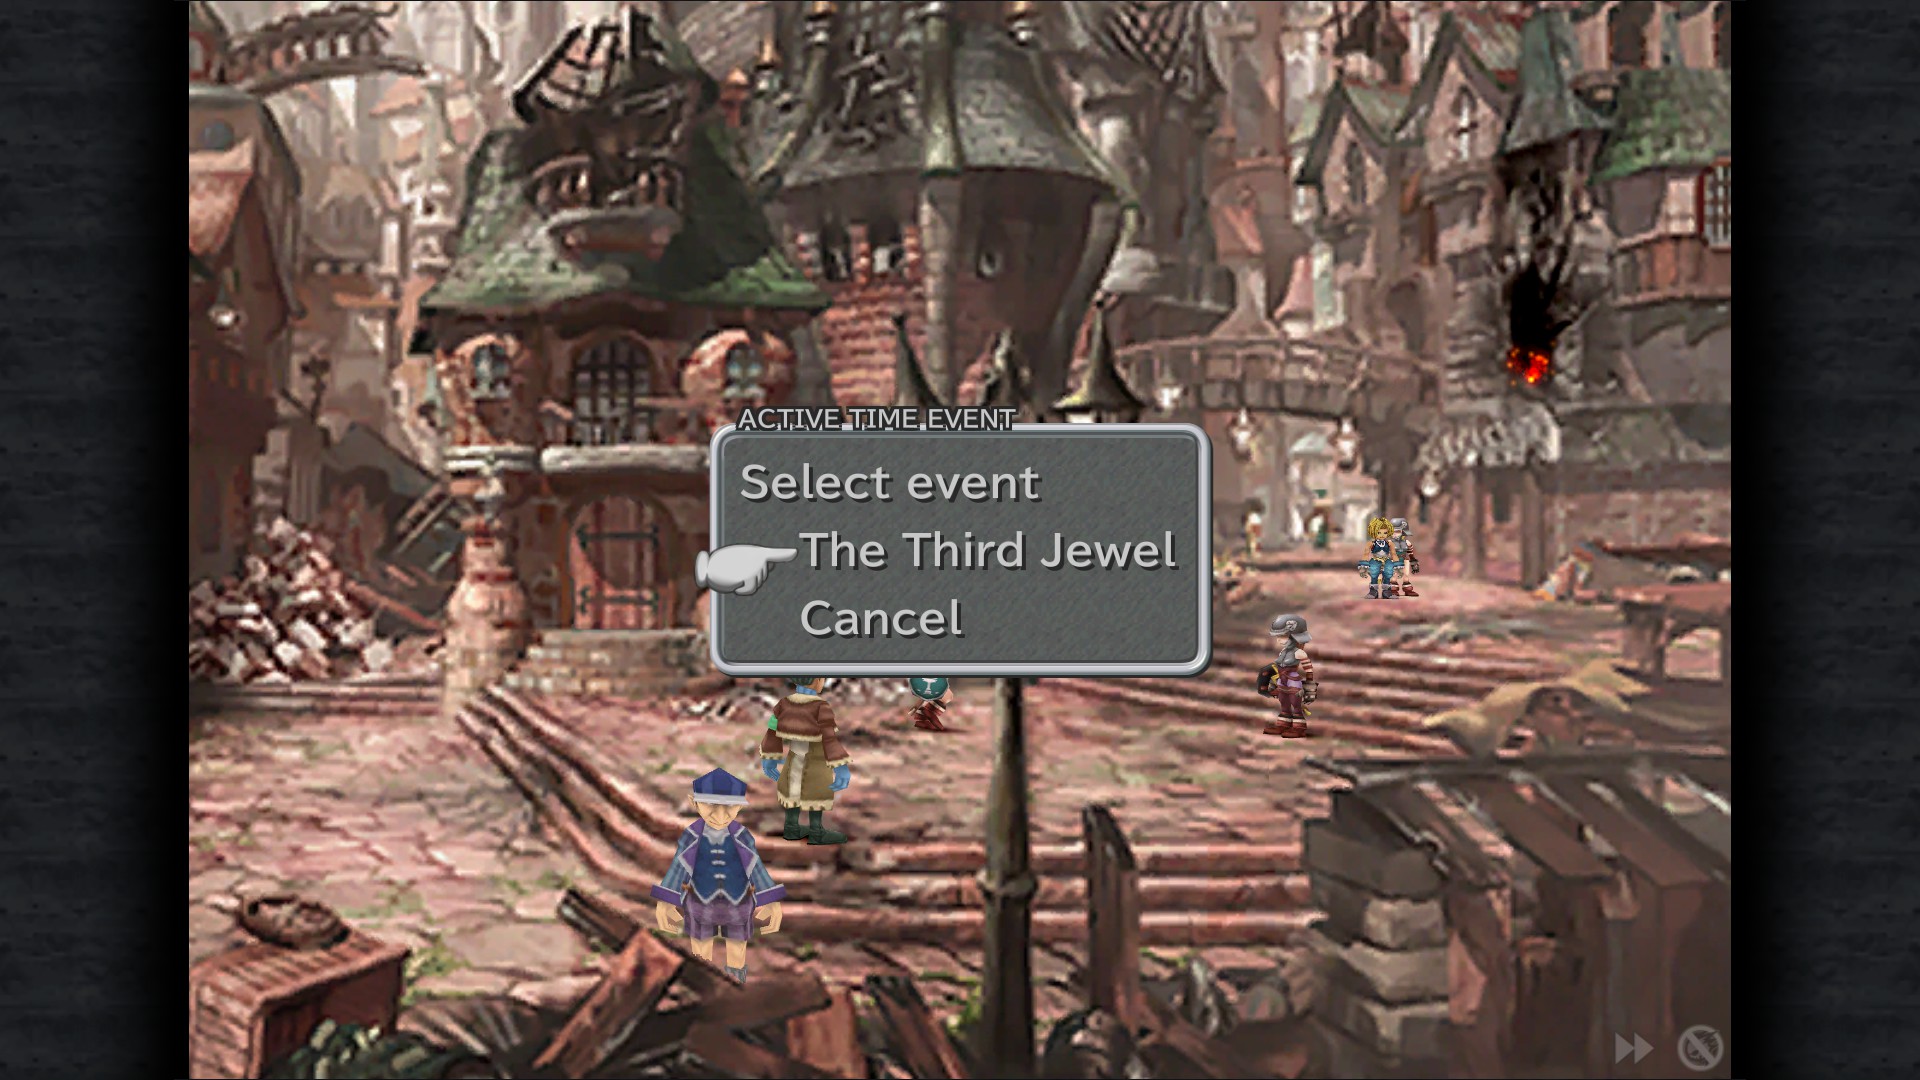
The Third Jewel ATE - Shopping Area (after talking with Cid)
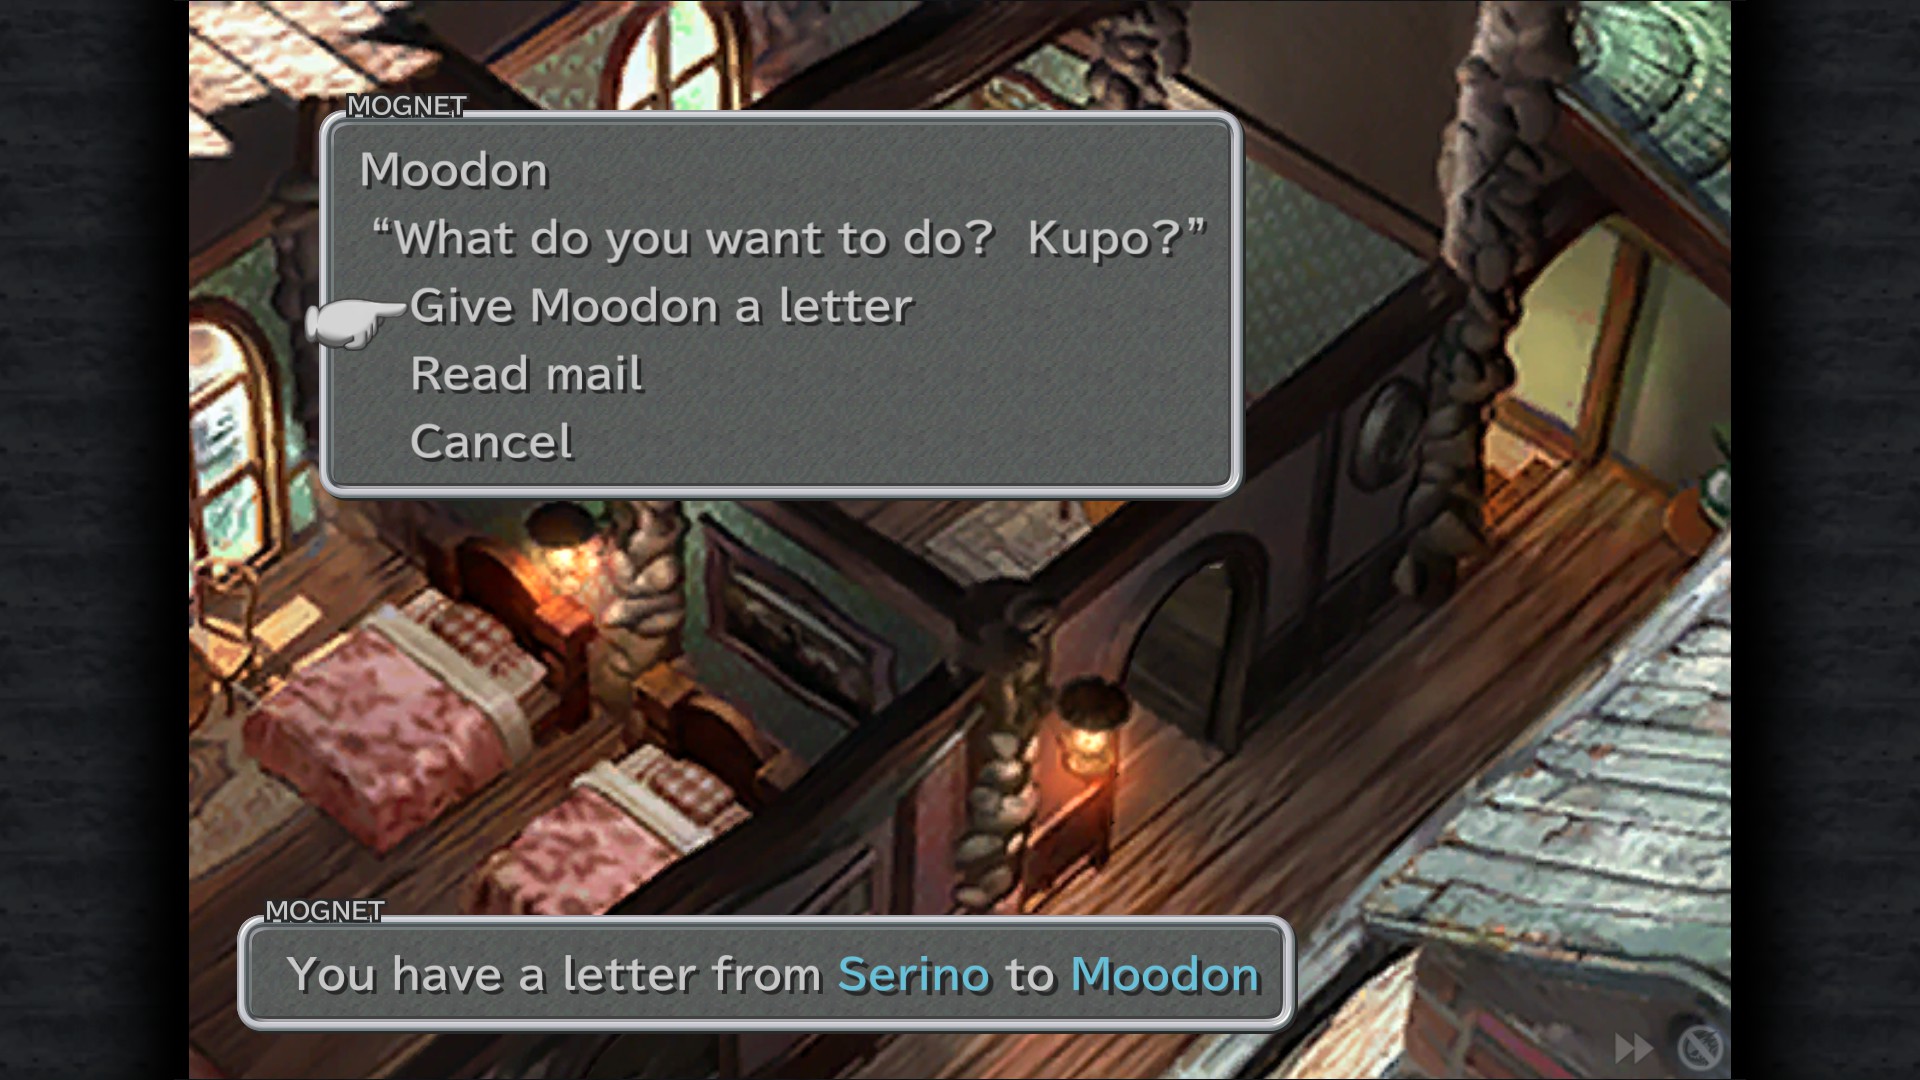
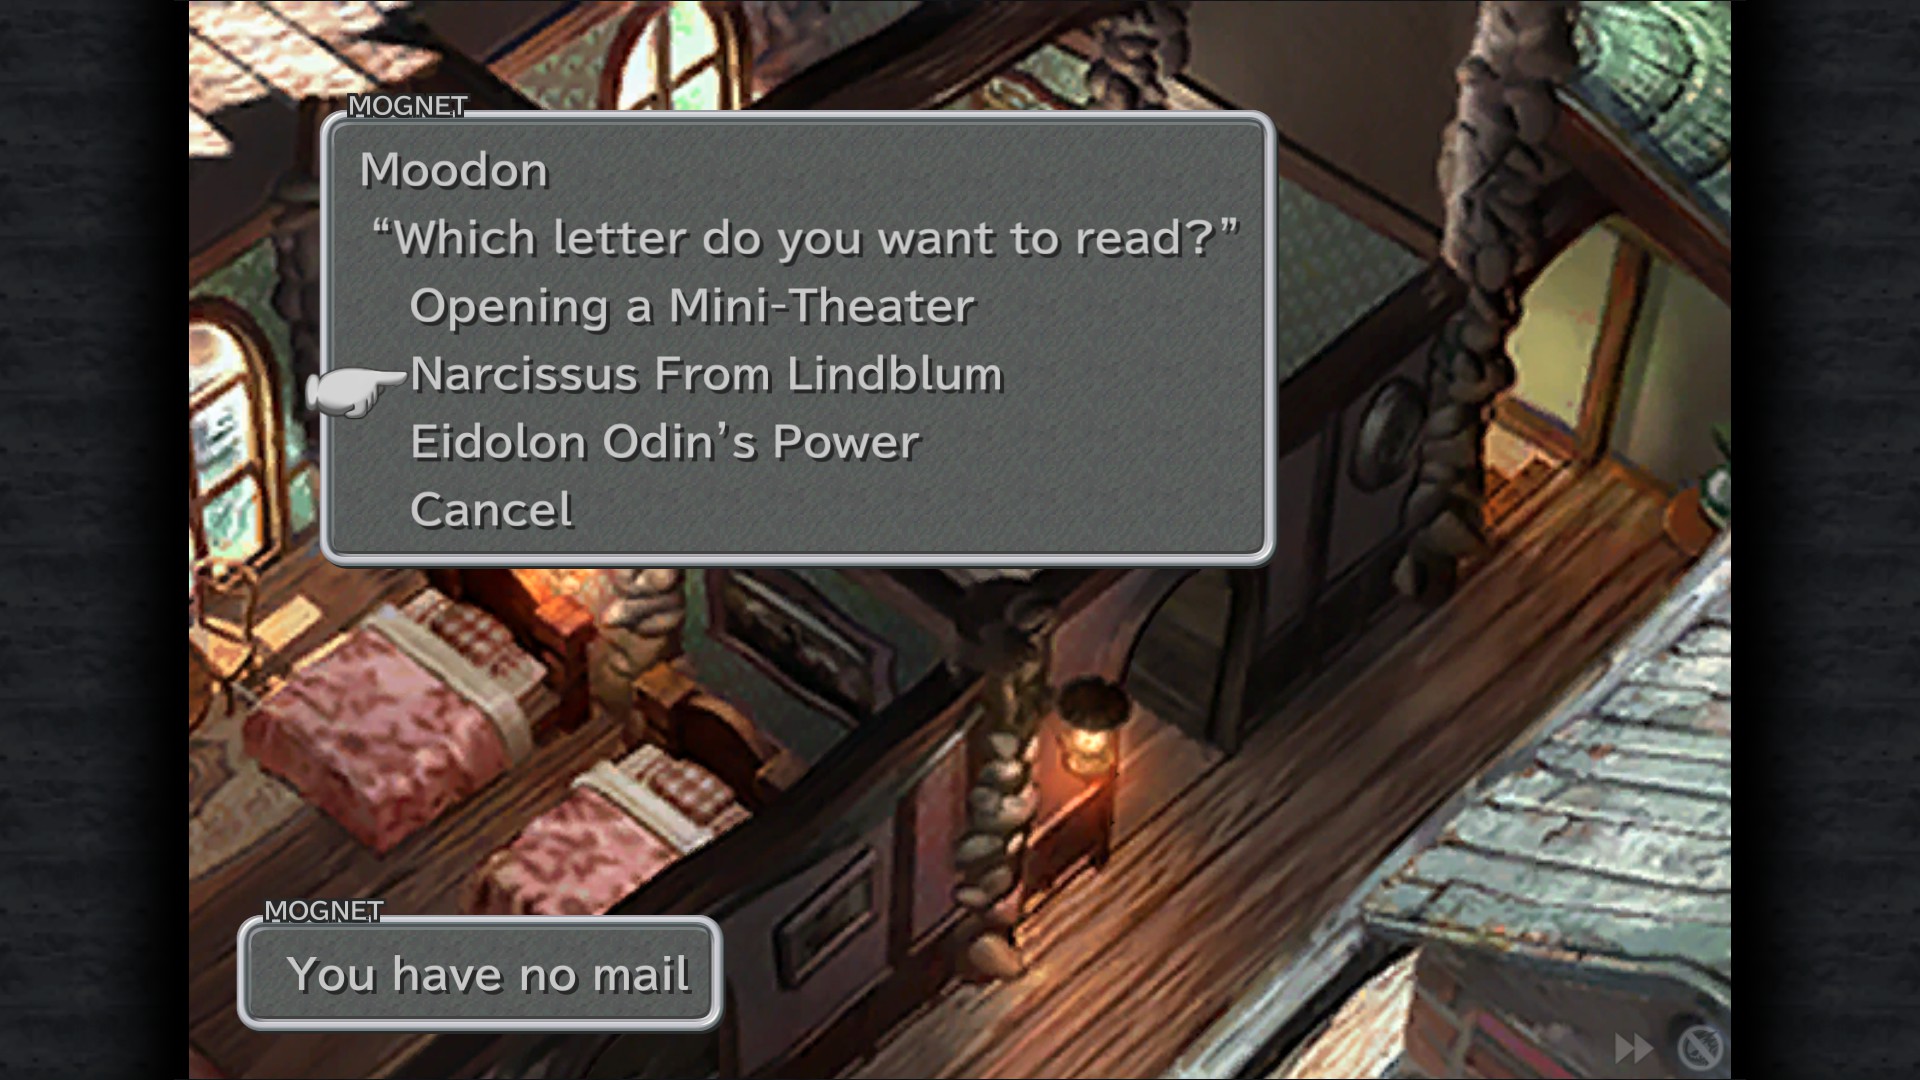
Mognet: Give Moodon a letter "Eidolon Odin's Power" - Inn
Mognet: "Narcissus From Lindblum" - Inn
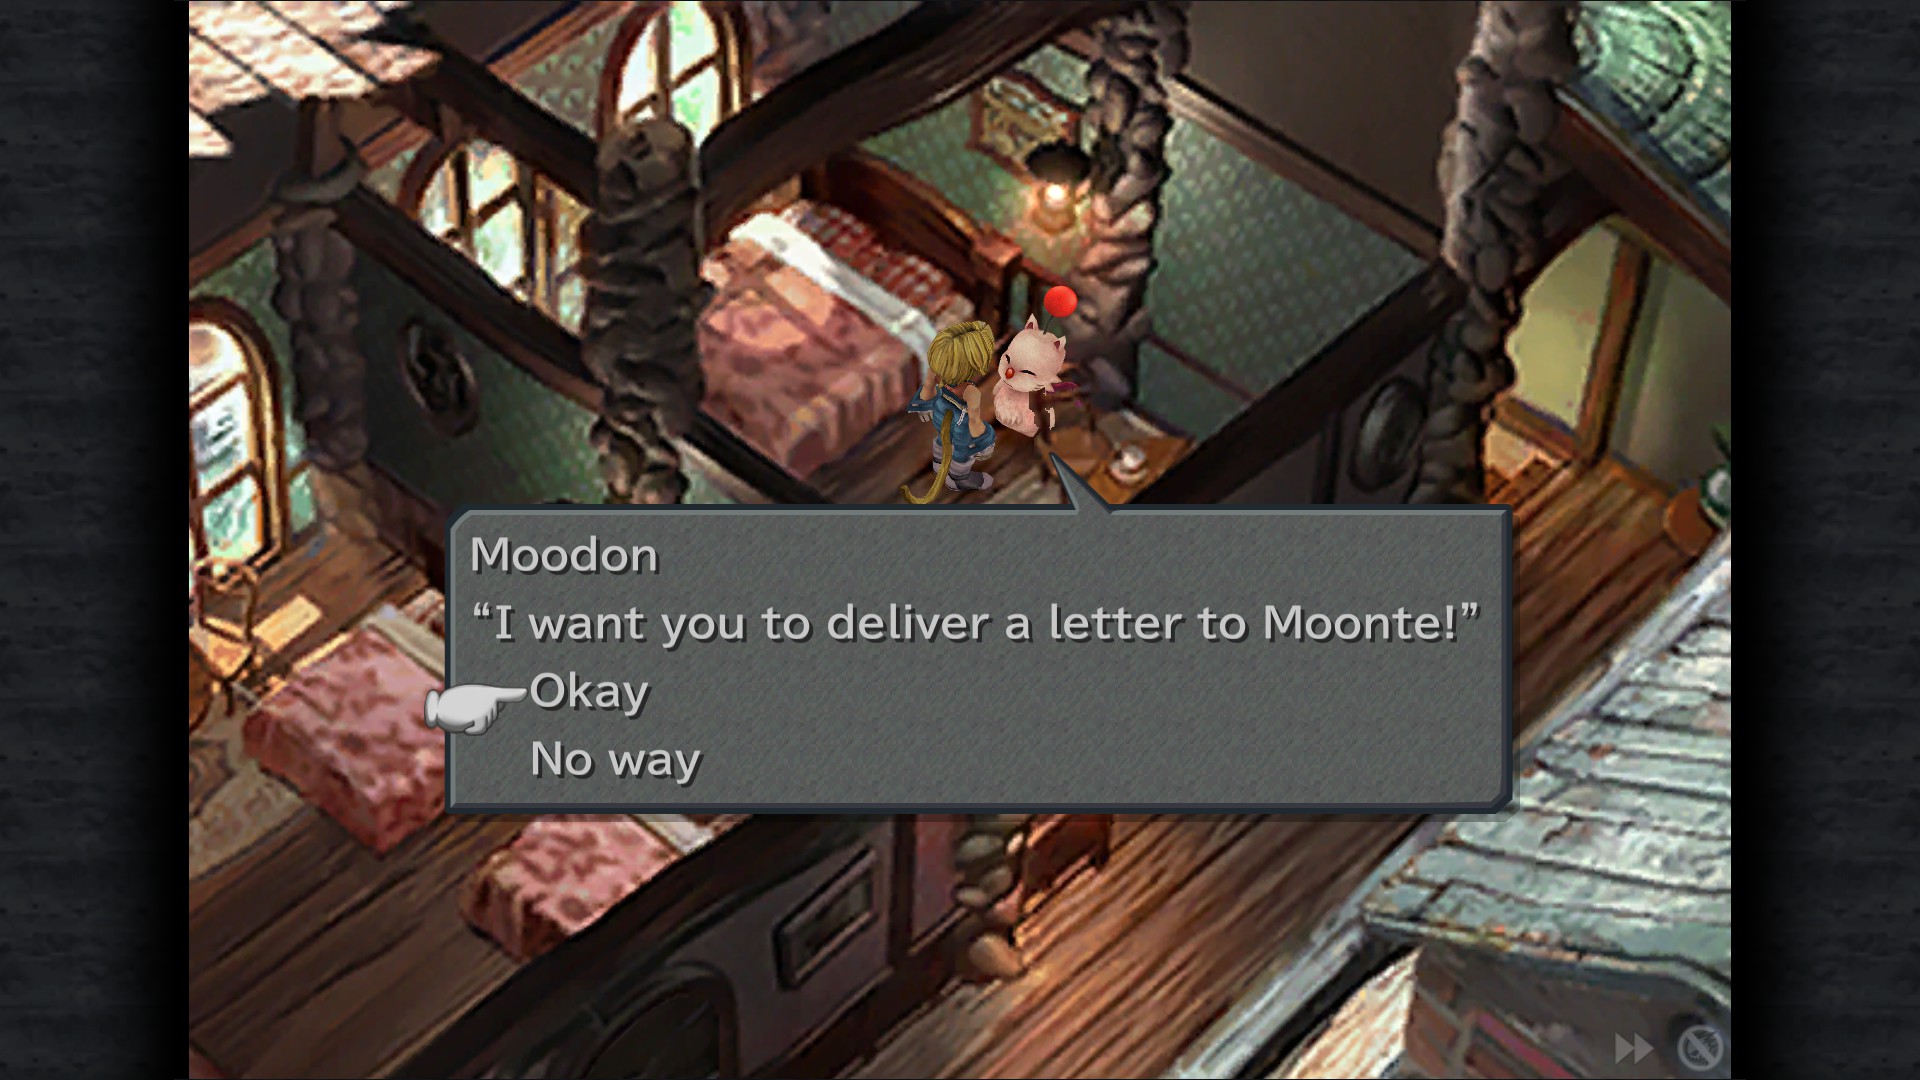
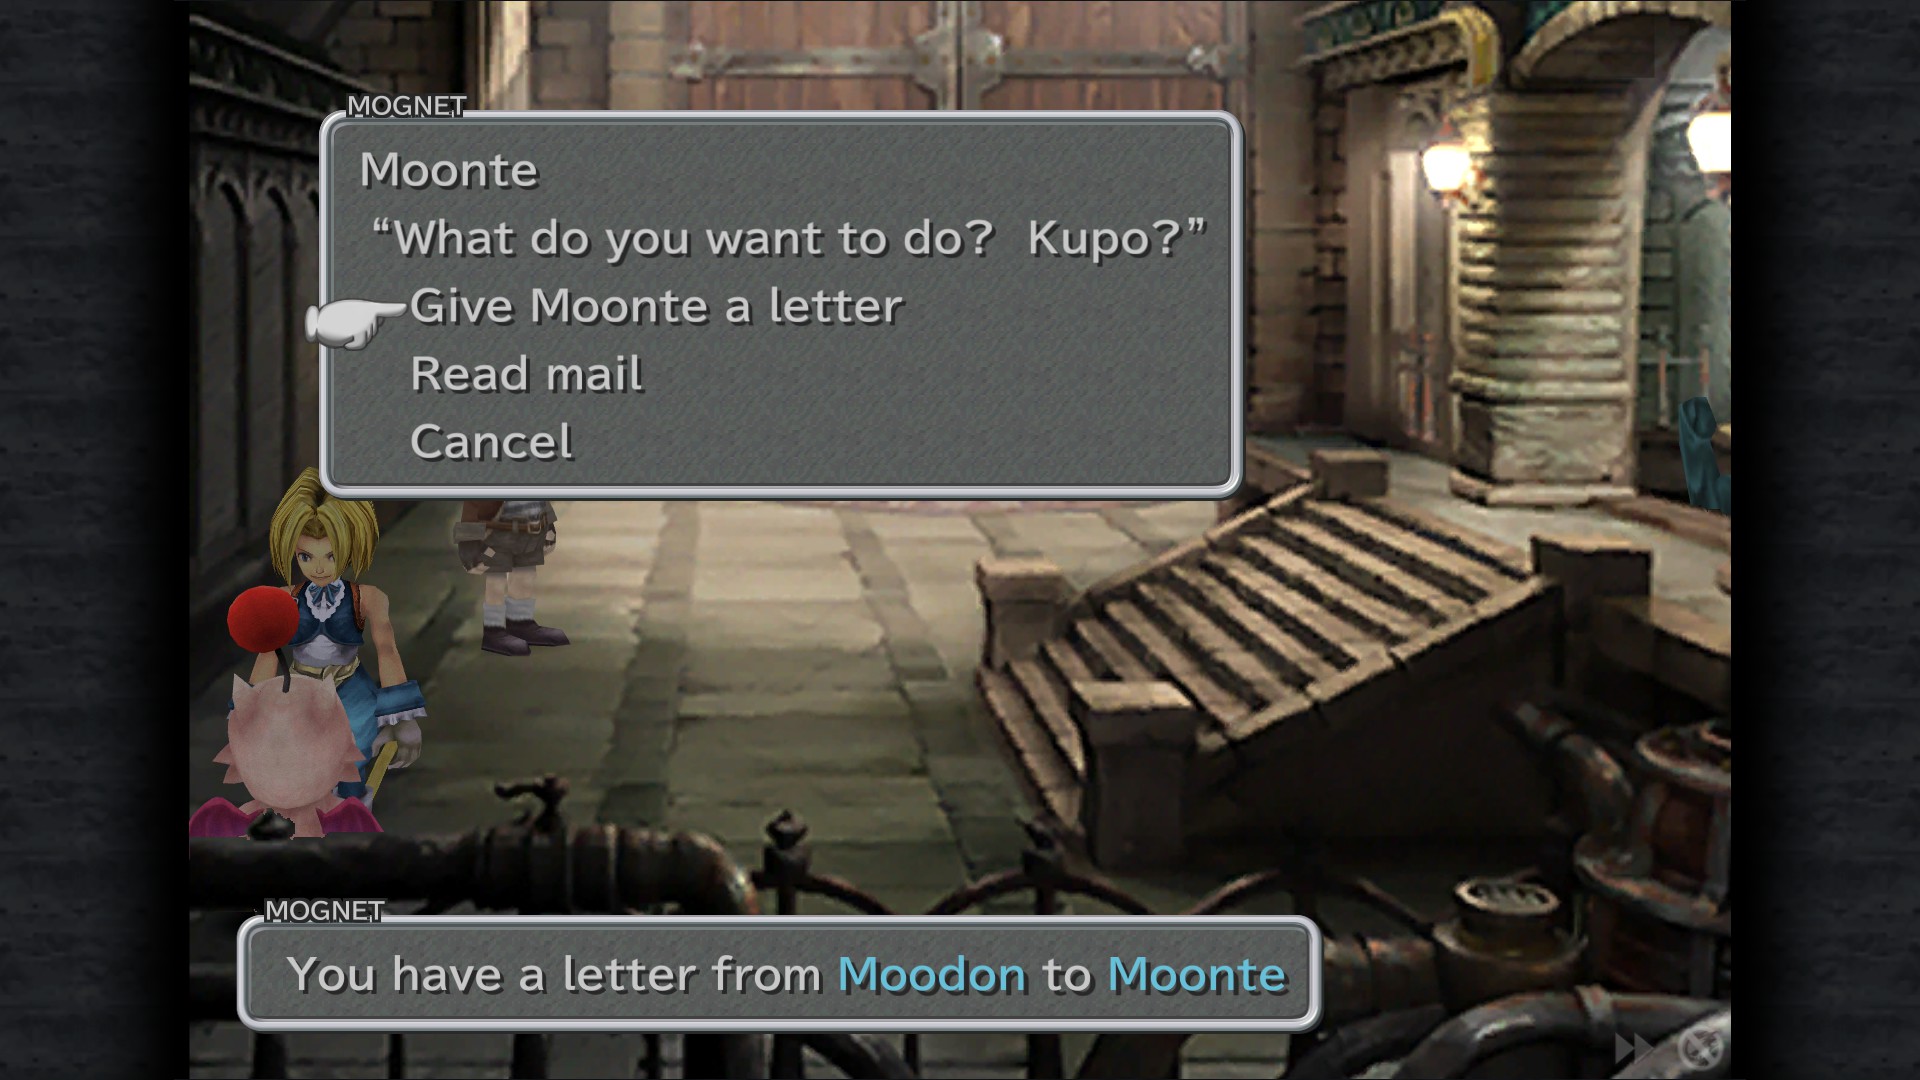
Mognet: Pickup the letter for delivery (Moodon to Moonte) - Inn
Theater District
Ore - Studio
262 Gil - Hideout
340 Gil - Hideout
993 Gil - Hideout
Business District
Brahne's Fleet Arrives ATE (Forced)
<Gwok-Gwok!> How Infuriating ATE (Forced)
Mognet: Give Moonte a letter "Missing! Kupo!" - Dragon's Gate
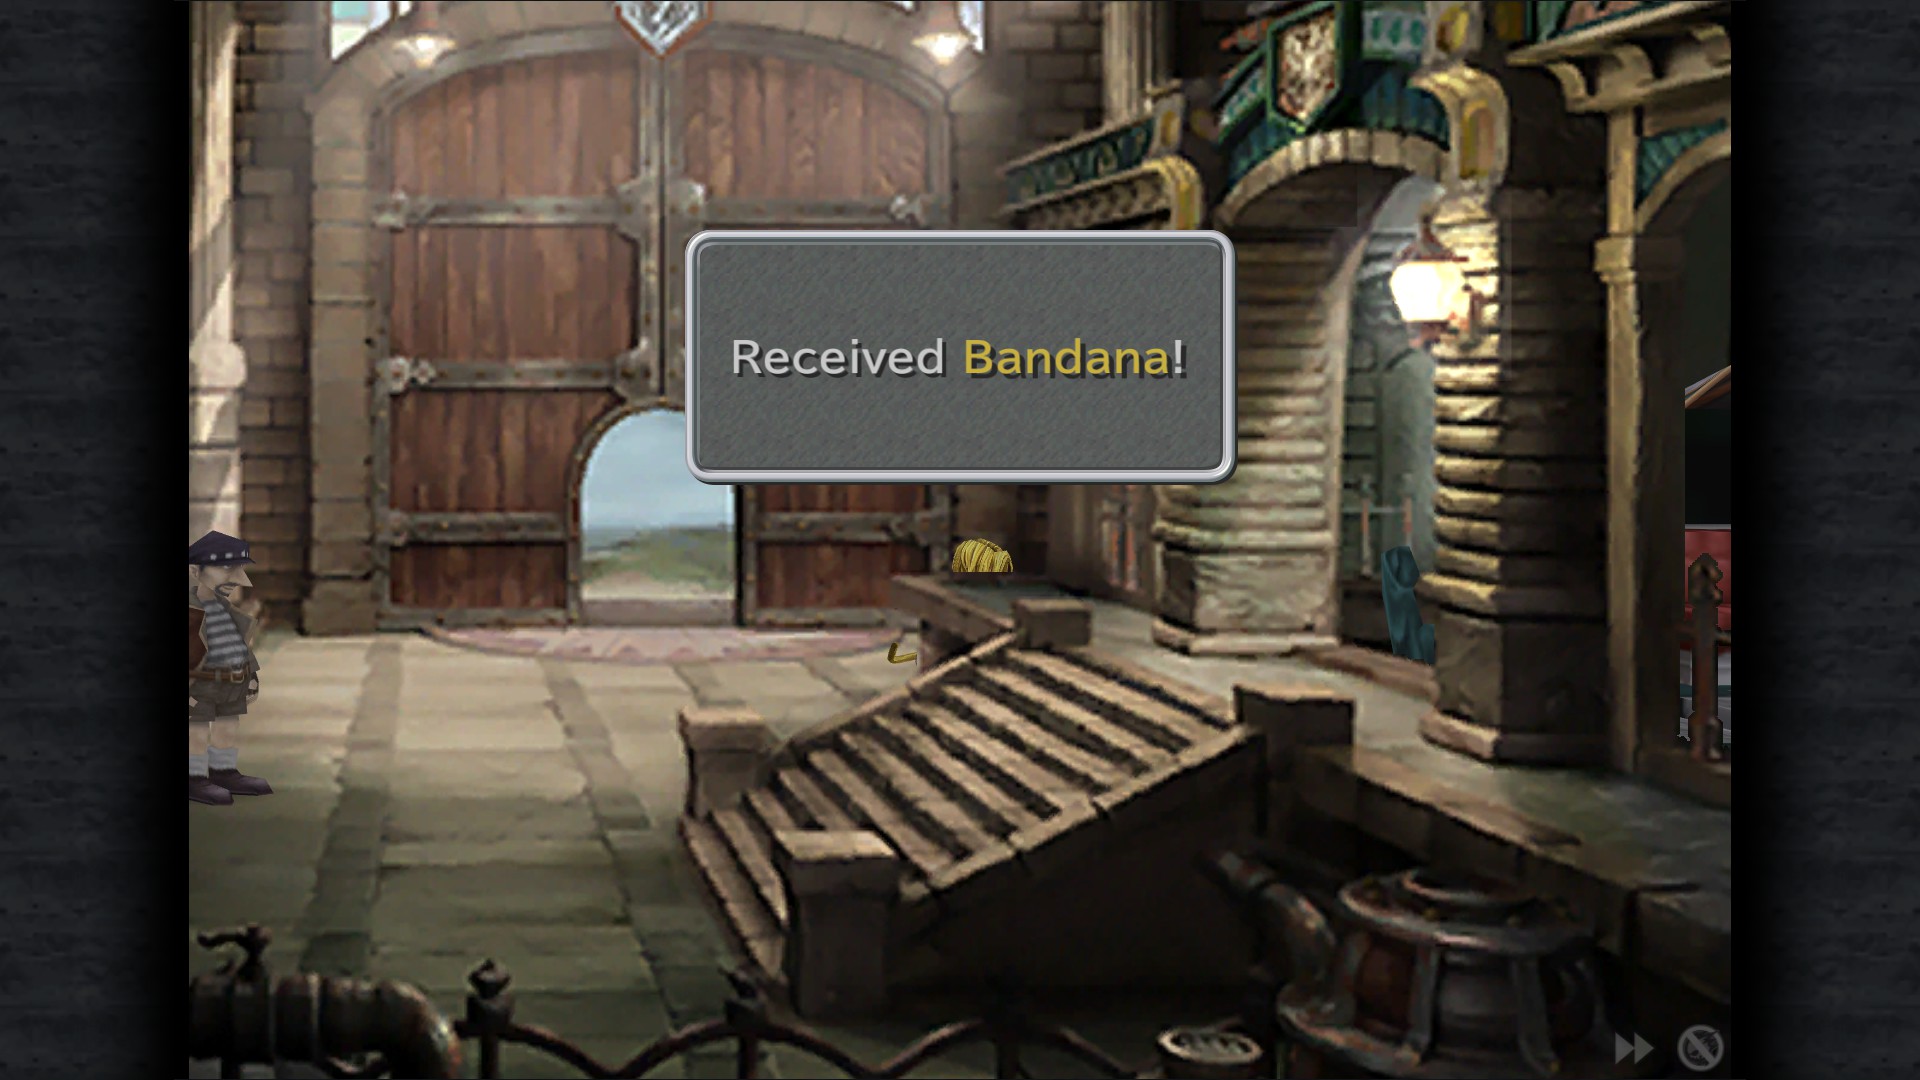
Bandana - Dragon's Gate (hidden)
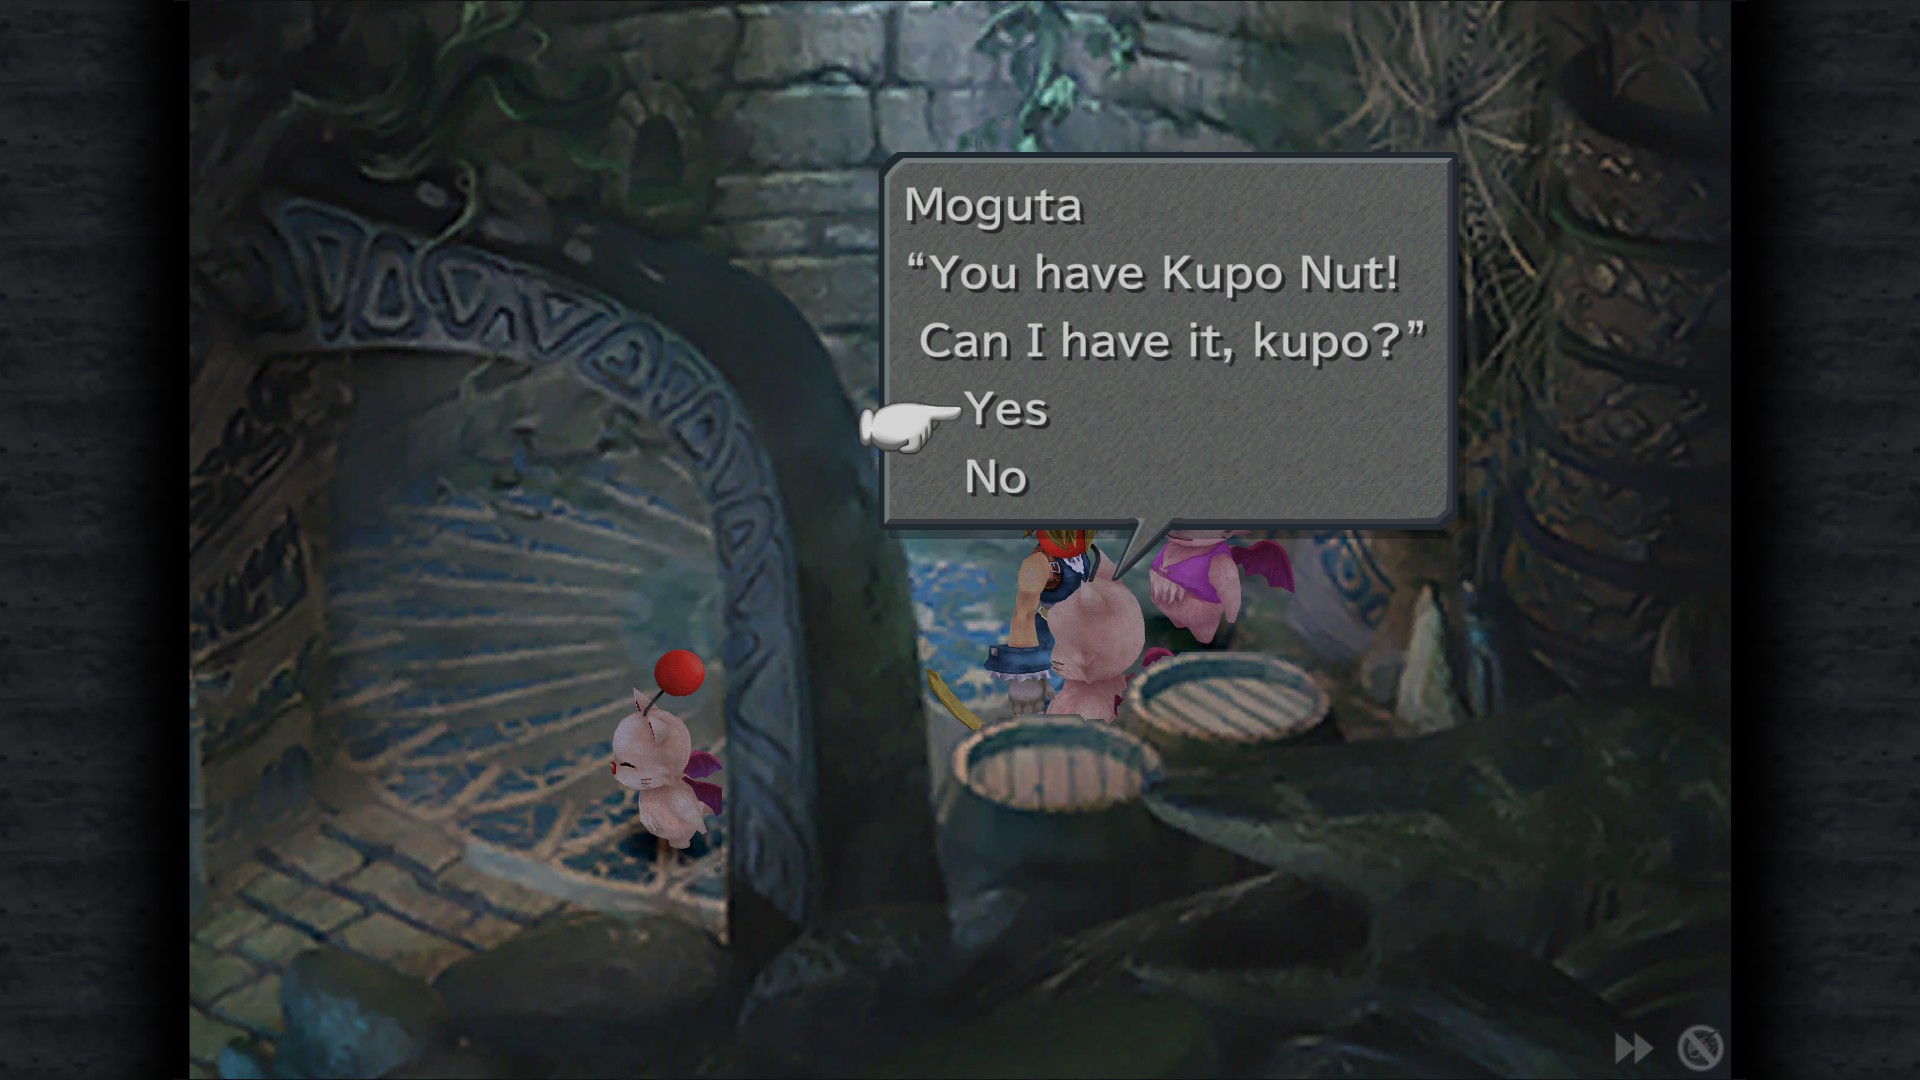
Note
There's an Elixir available in Gizamaluke's Grotto ,just give Moguta a Kupo Nut to receive it.
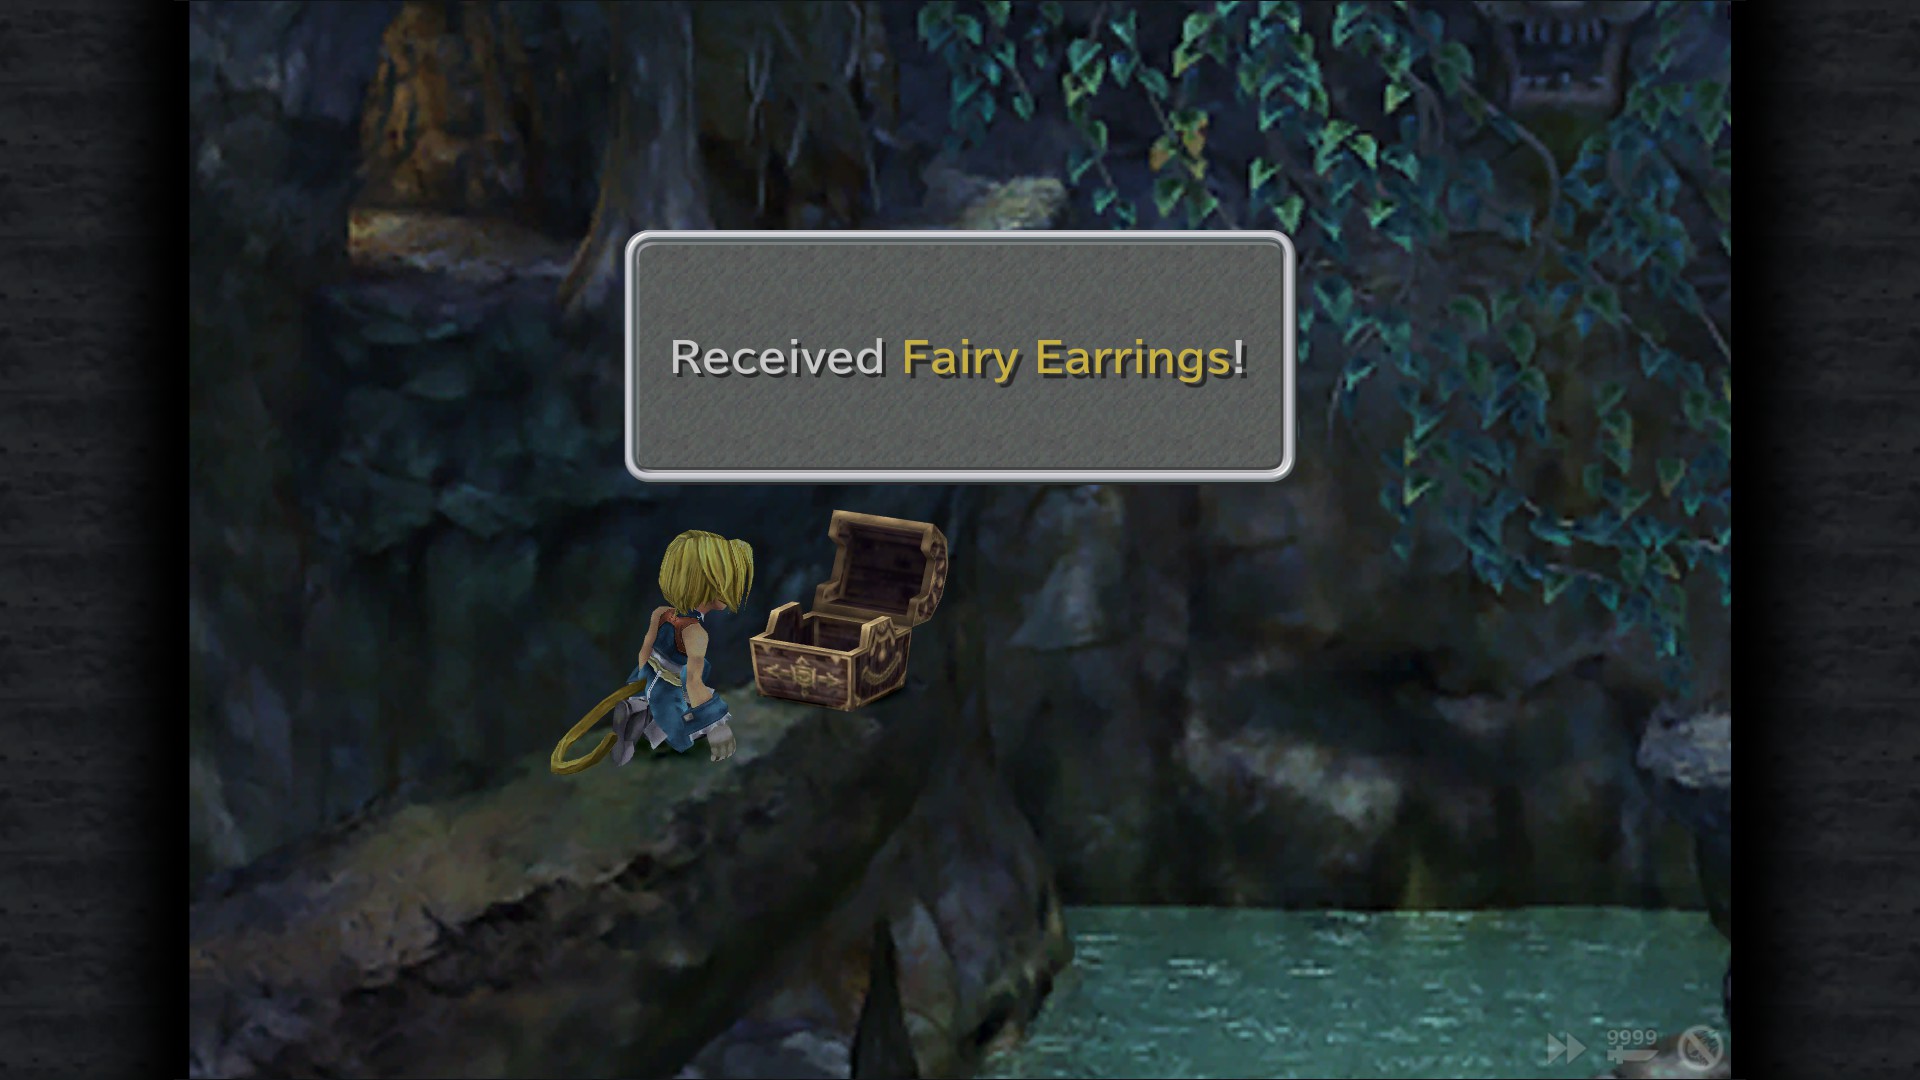
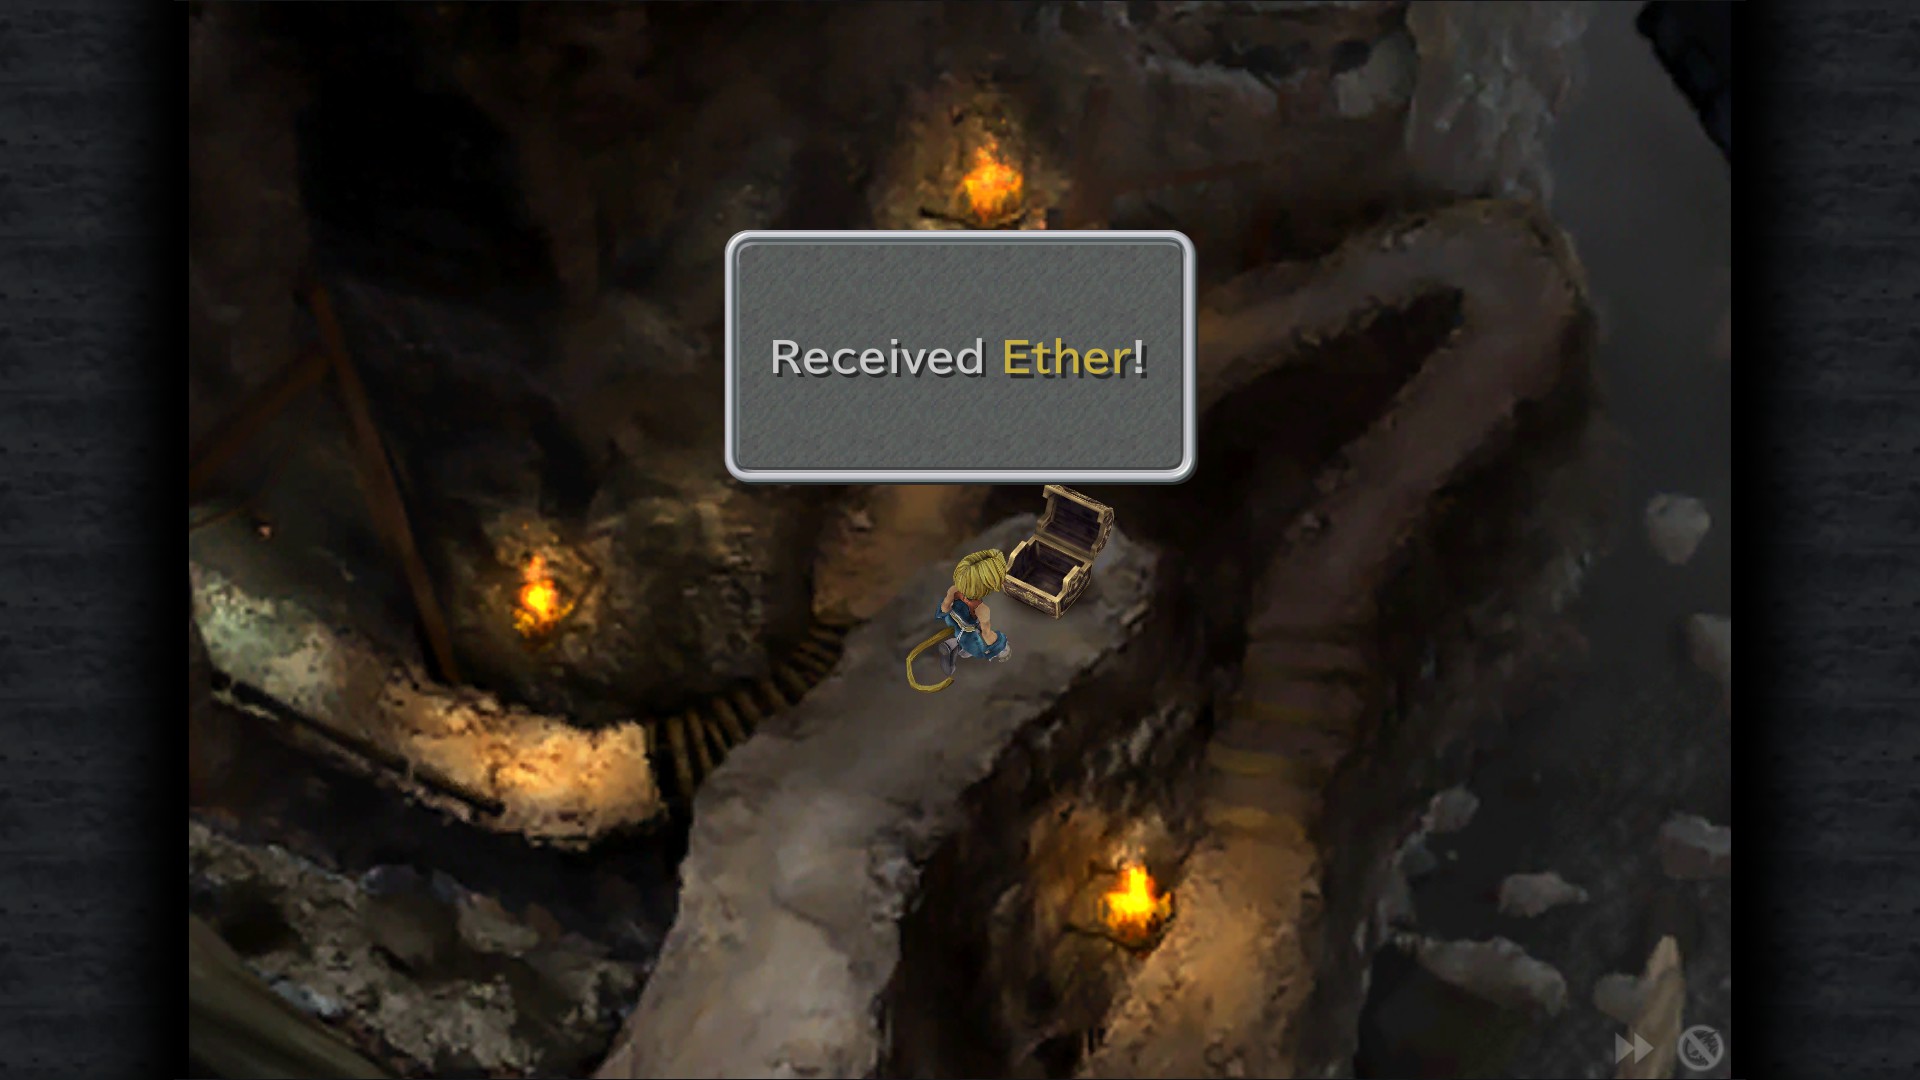
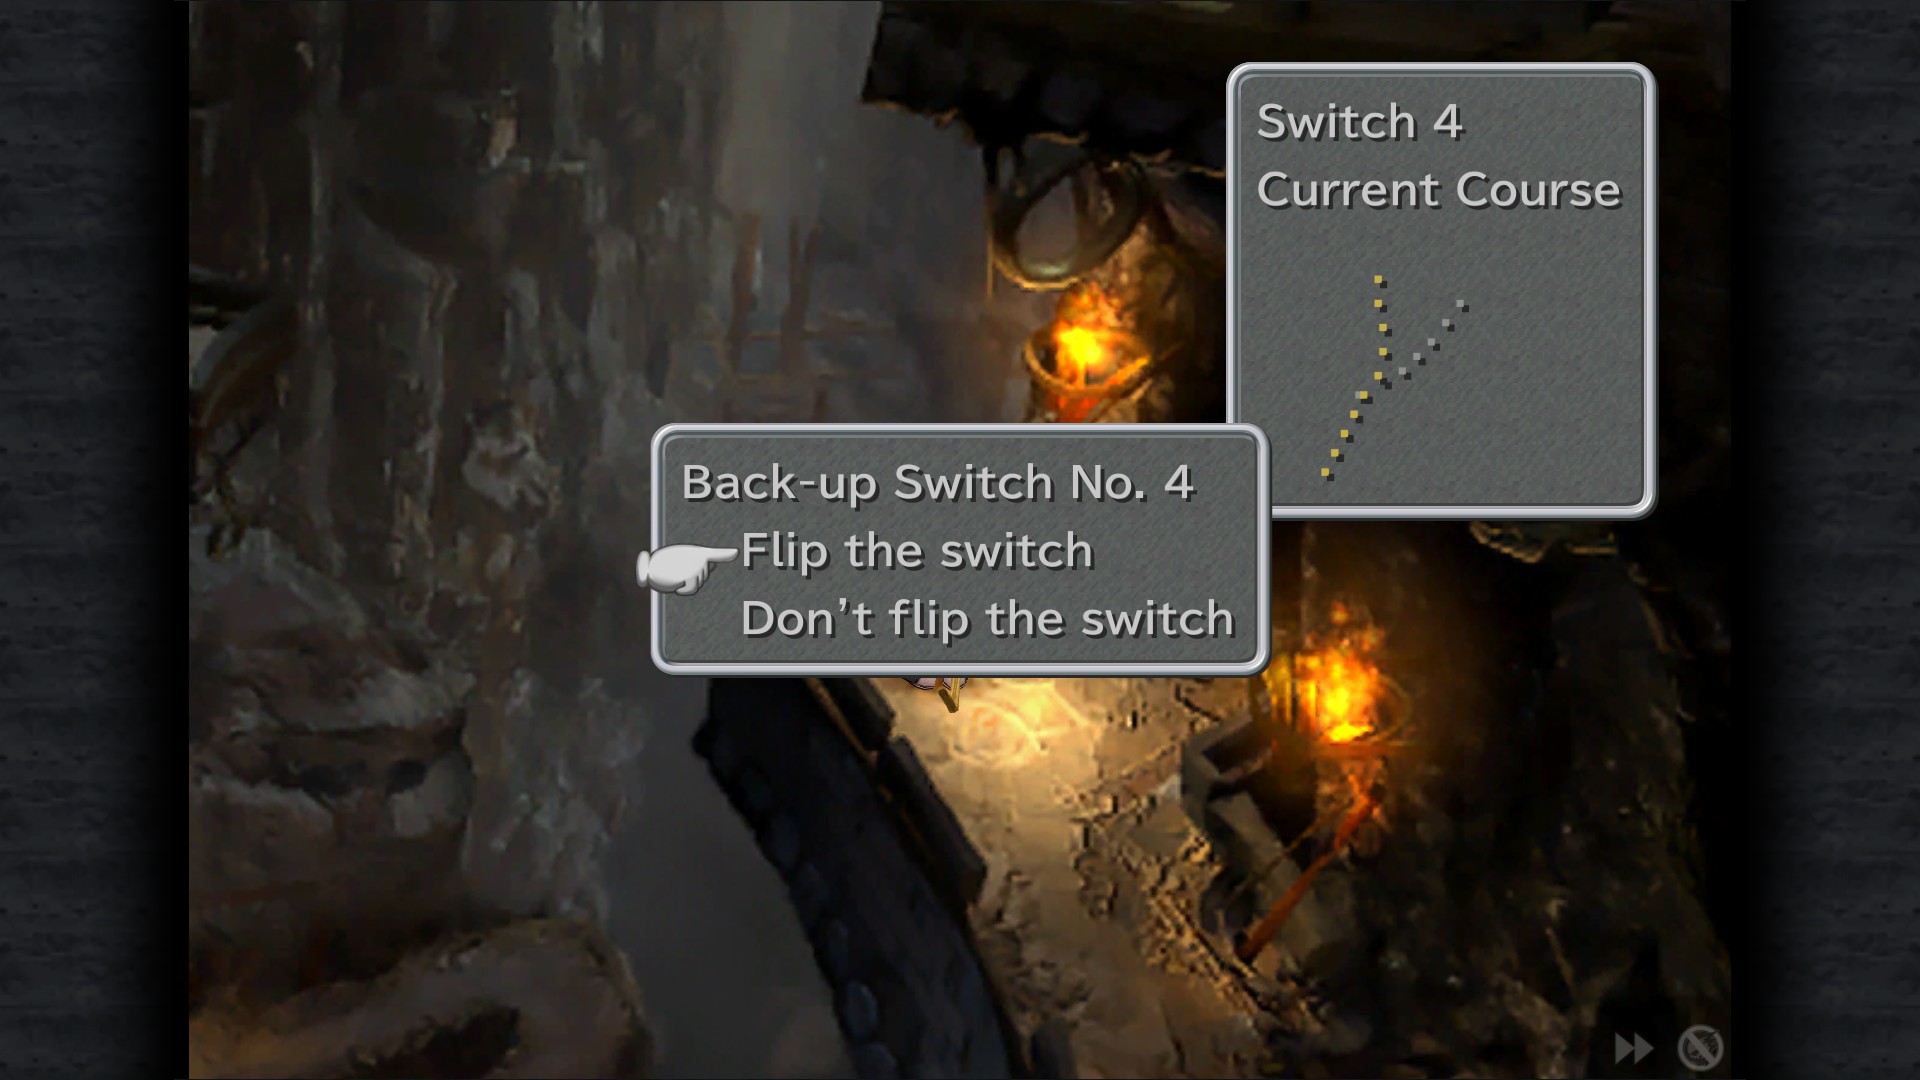
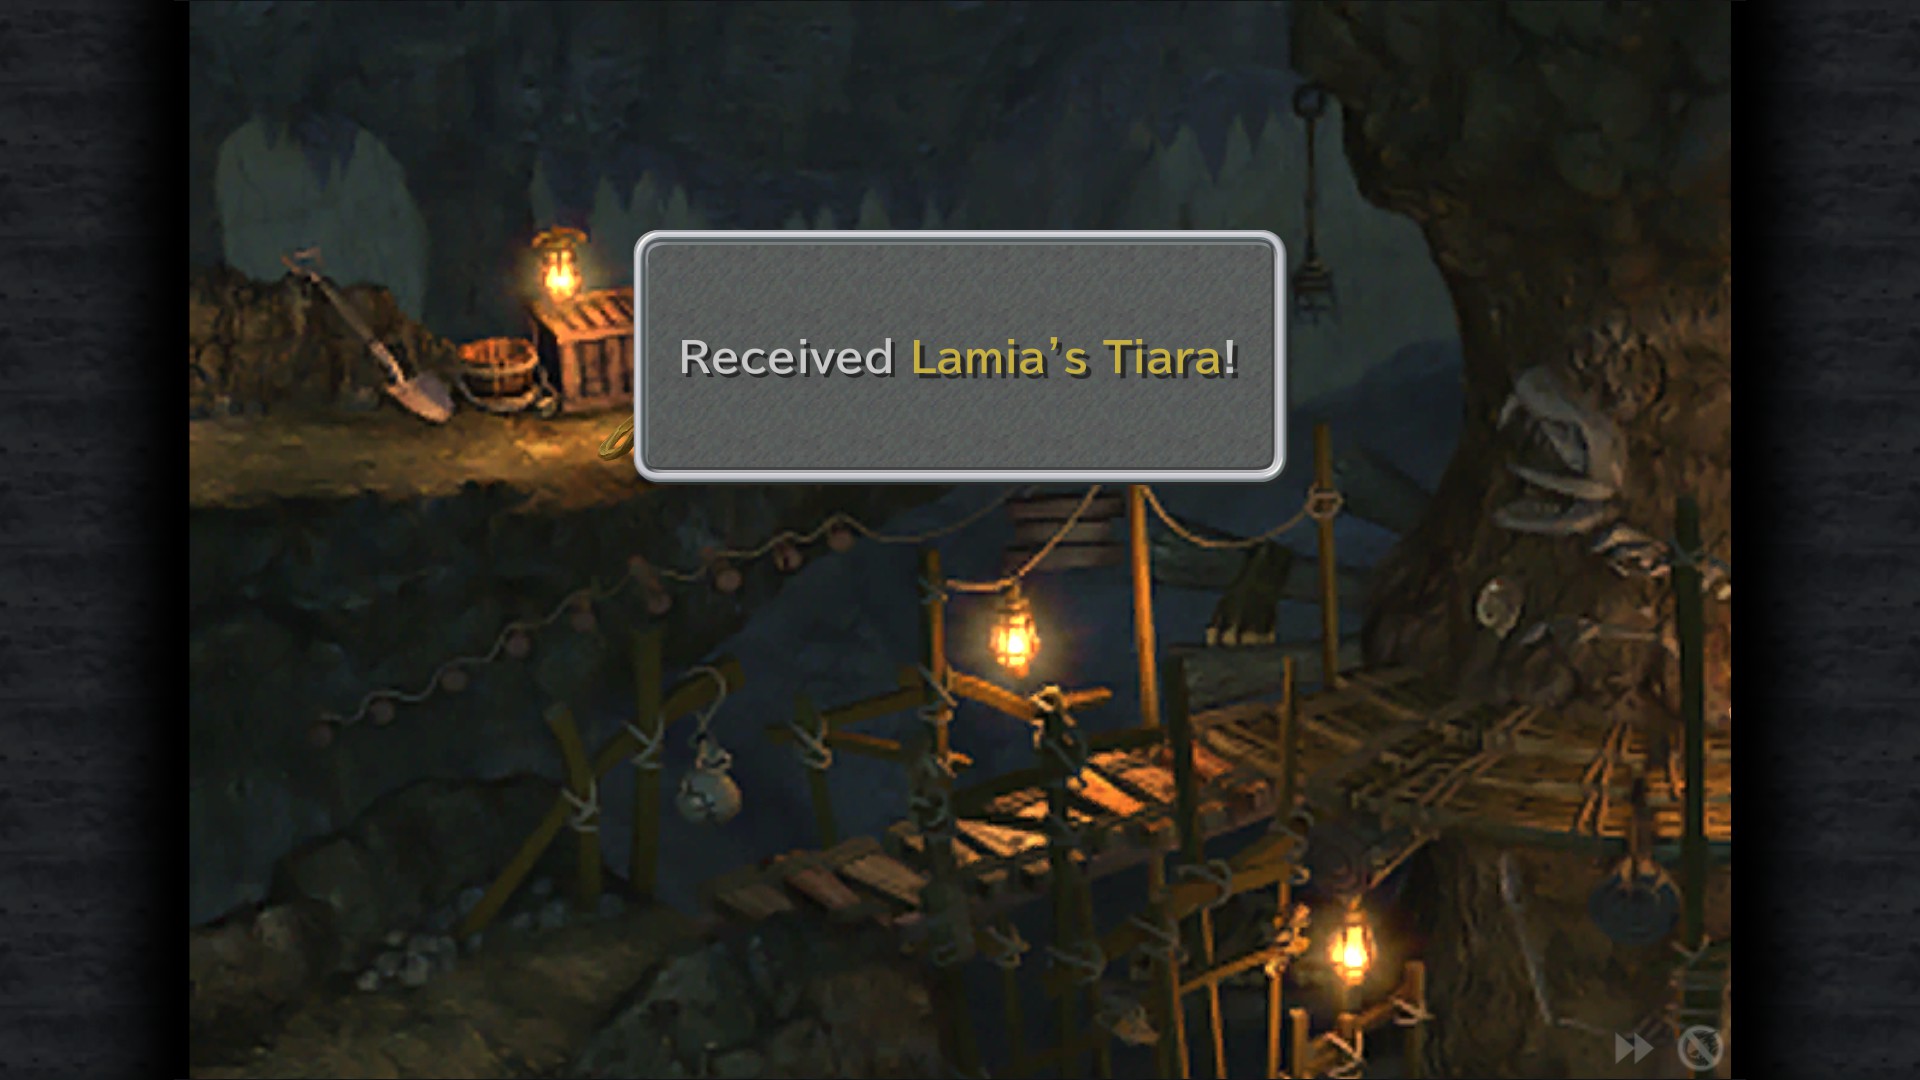
Fossil Roo
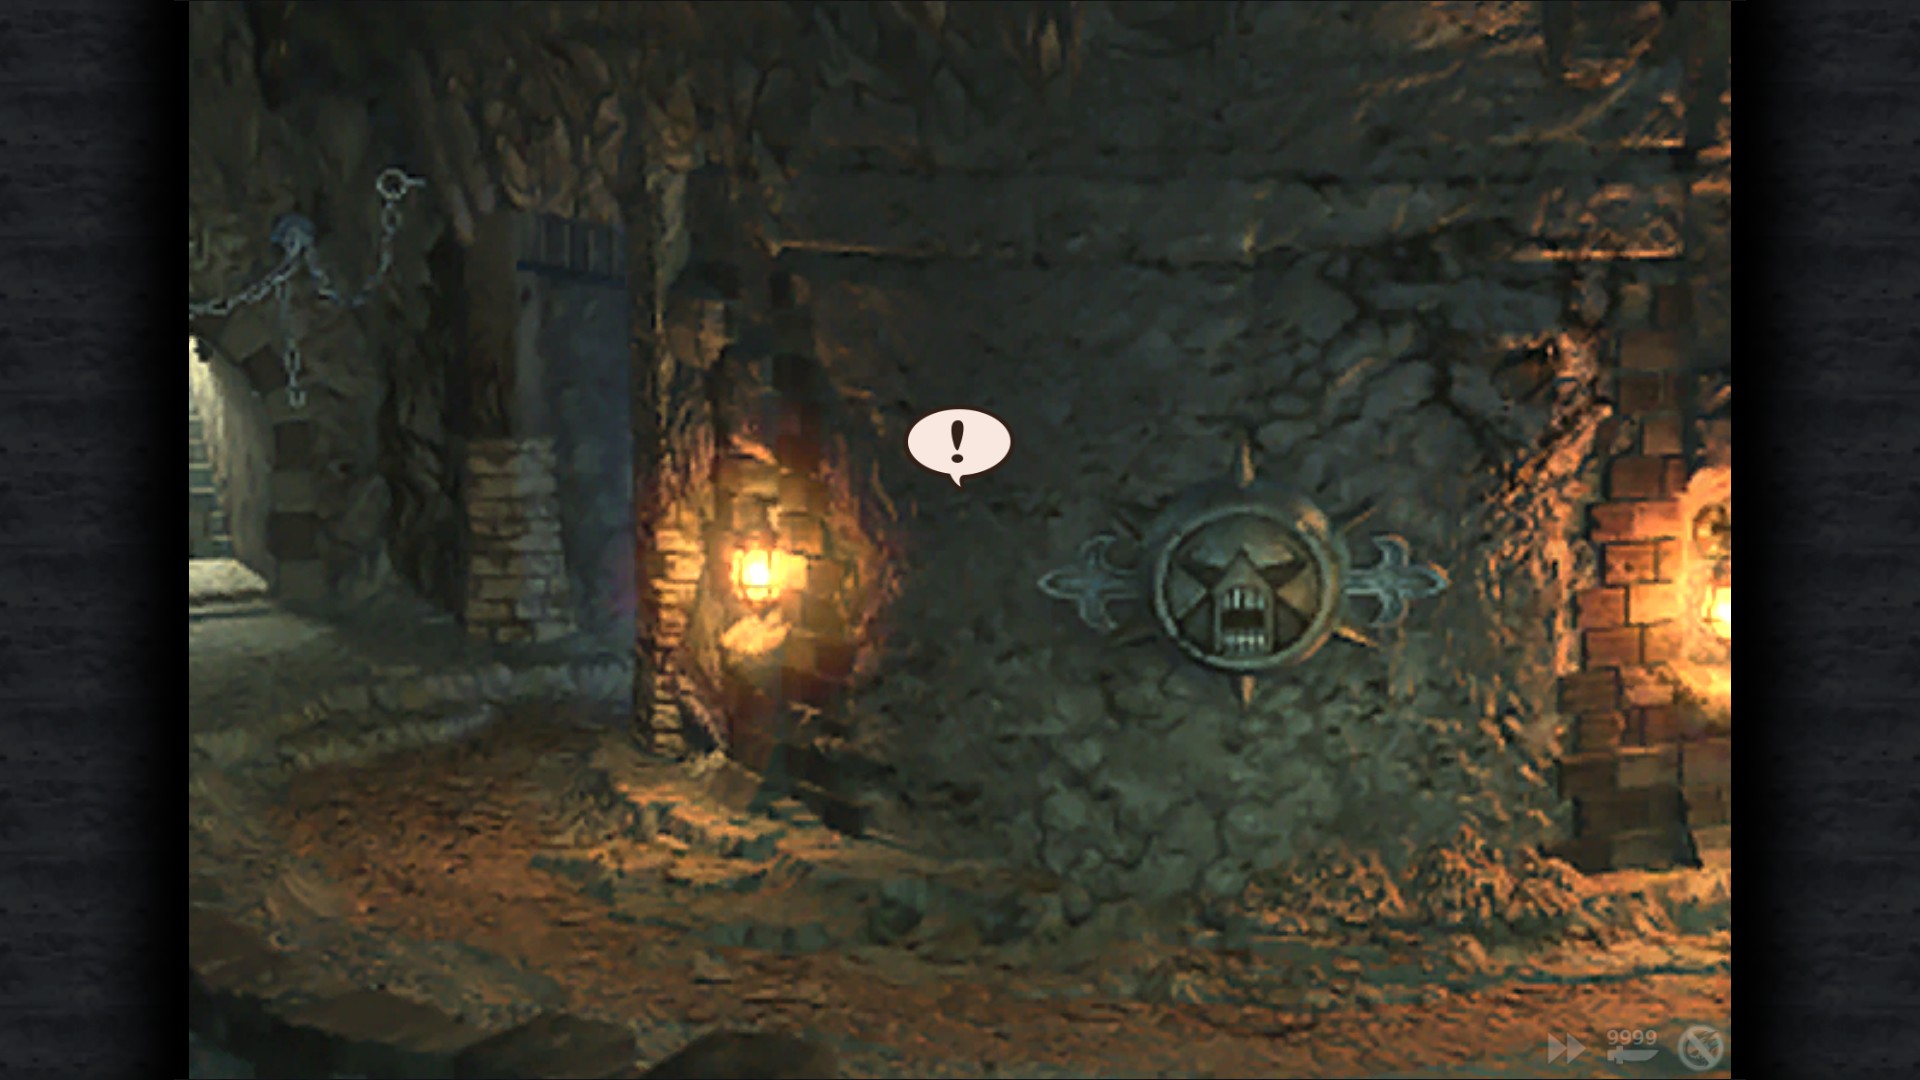
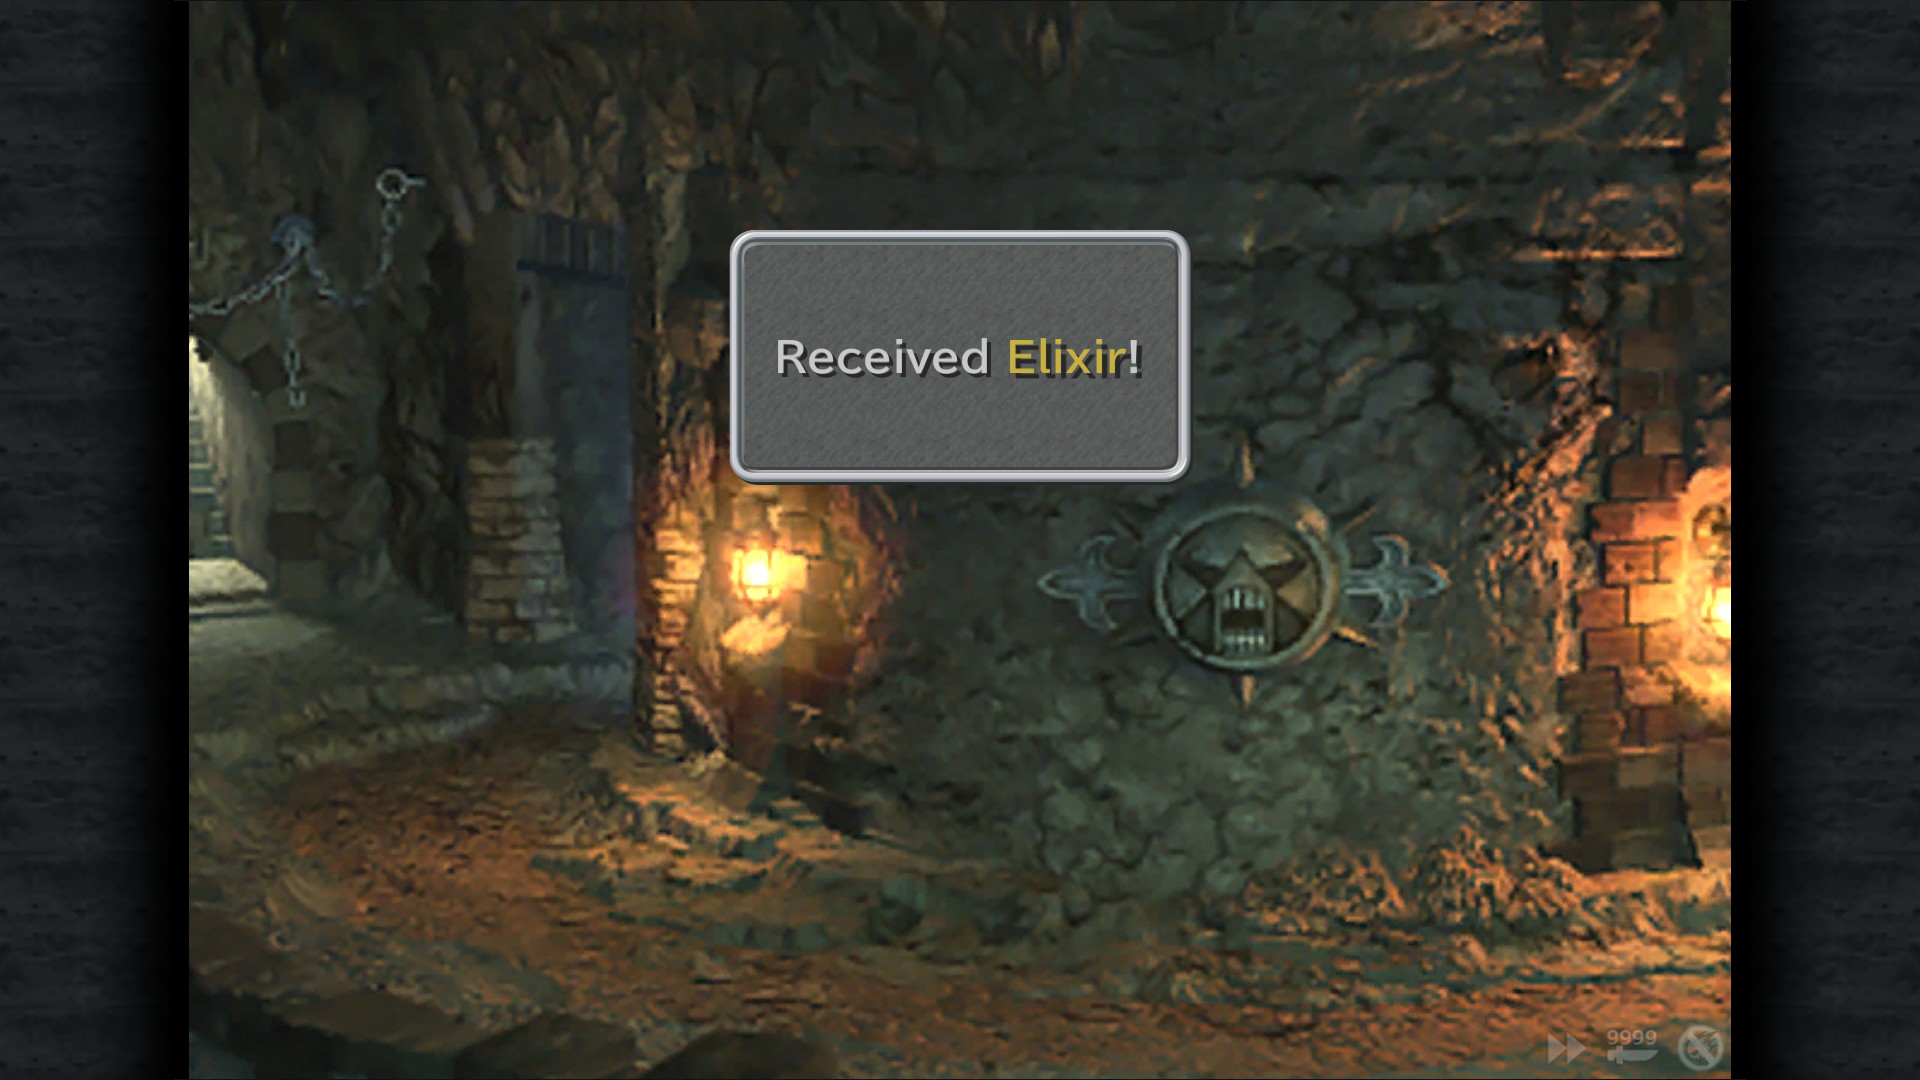


Elixir - Entrance (Cage where Armodullahan's was)
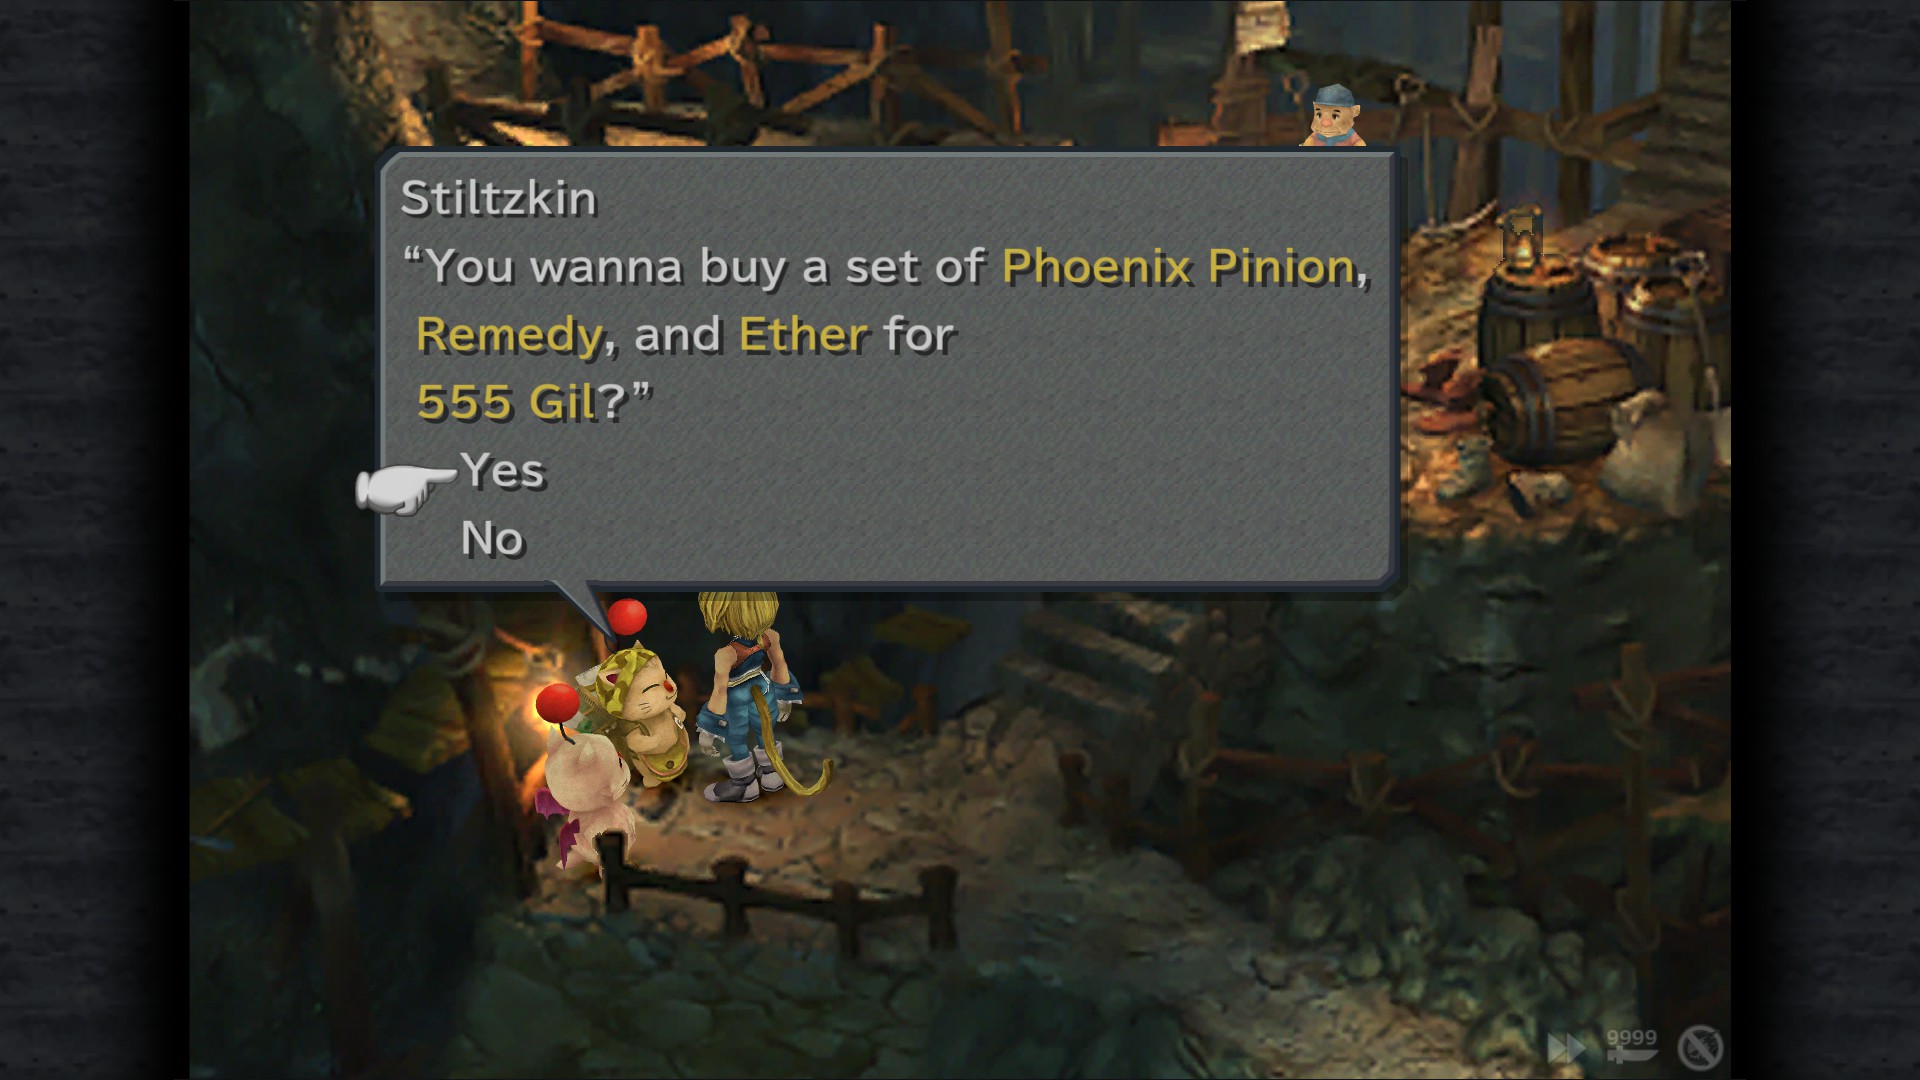
Stiltzkin: Pack available for 555 Gil (Phoenix Pinion, Remedy, Ether)
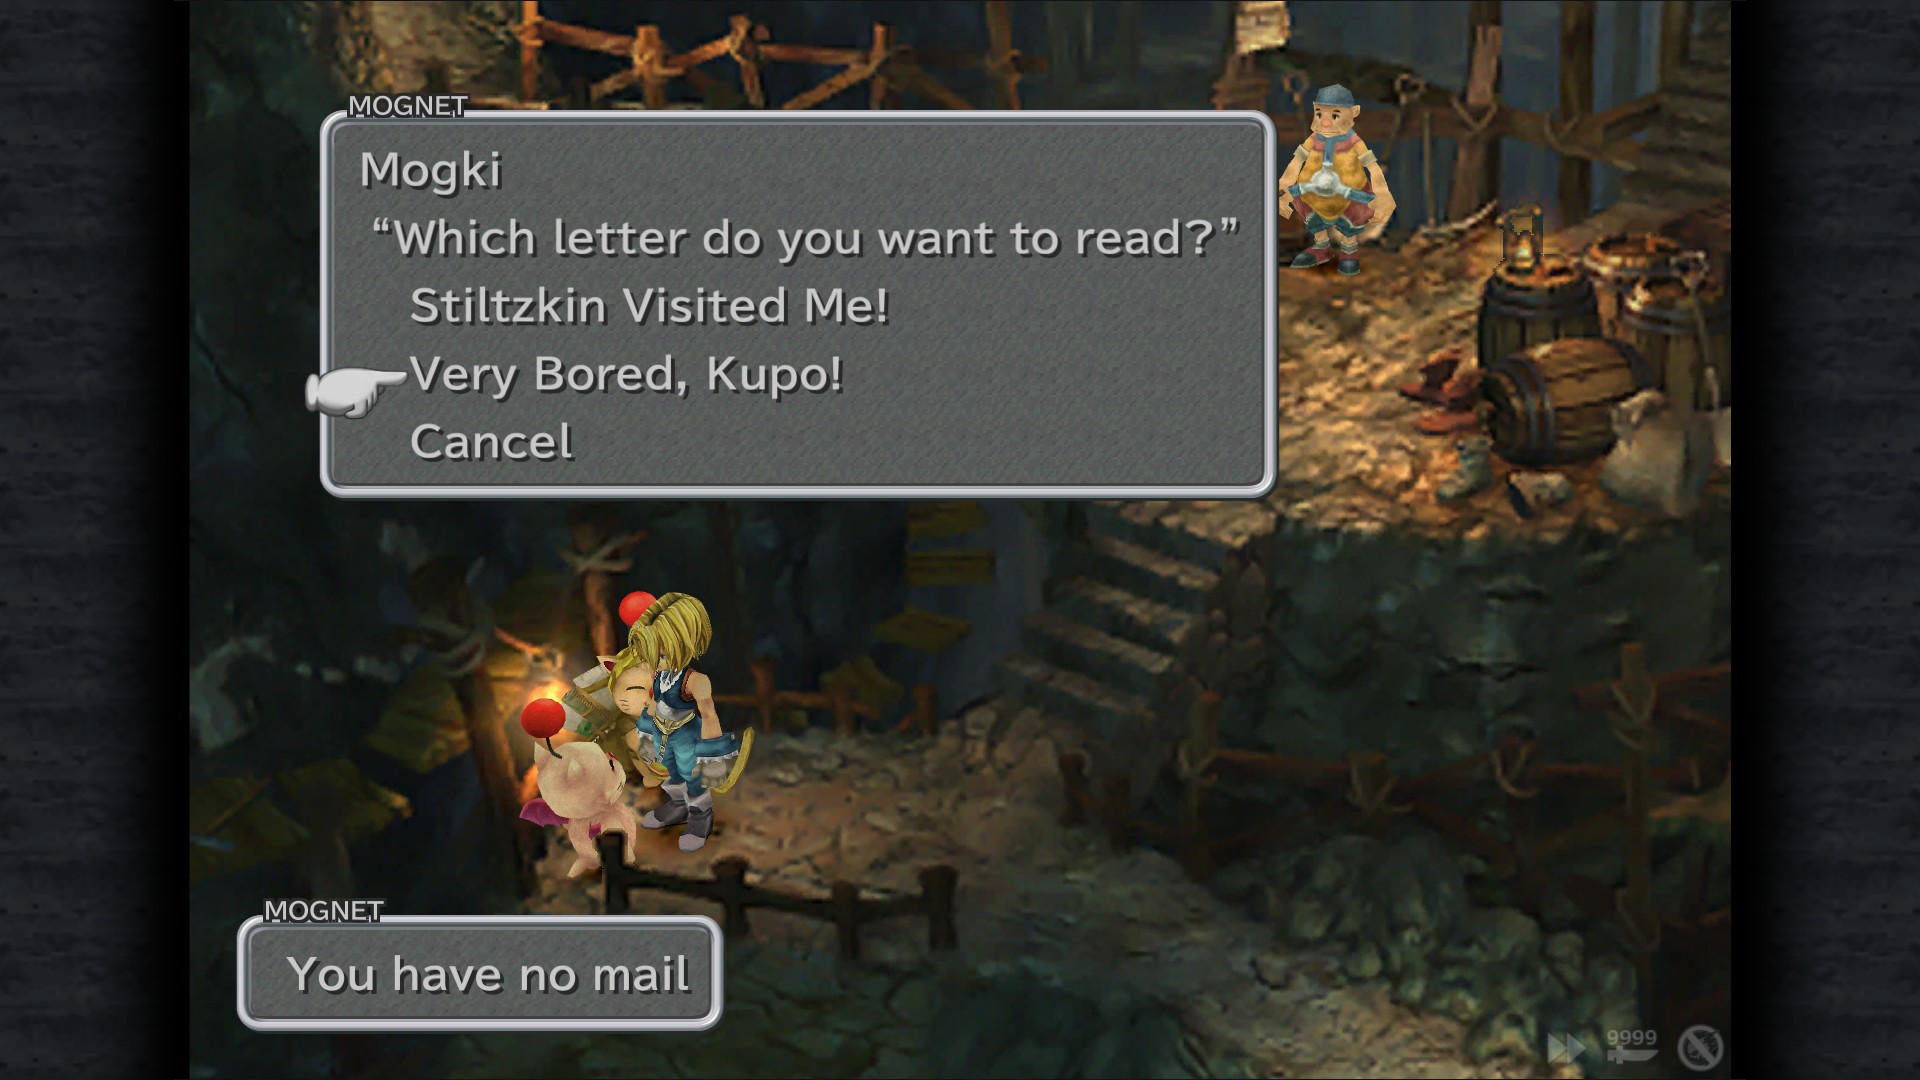
Mognet: "Very Bored , Kupo!" - Cavern
Fairy Earrings - Switch #2 path (South route)
Ether - Switch #1 path (East route)
Lamia's Tiara - Switch #4 path (North route)
Mining Site
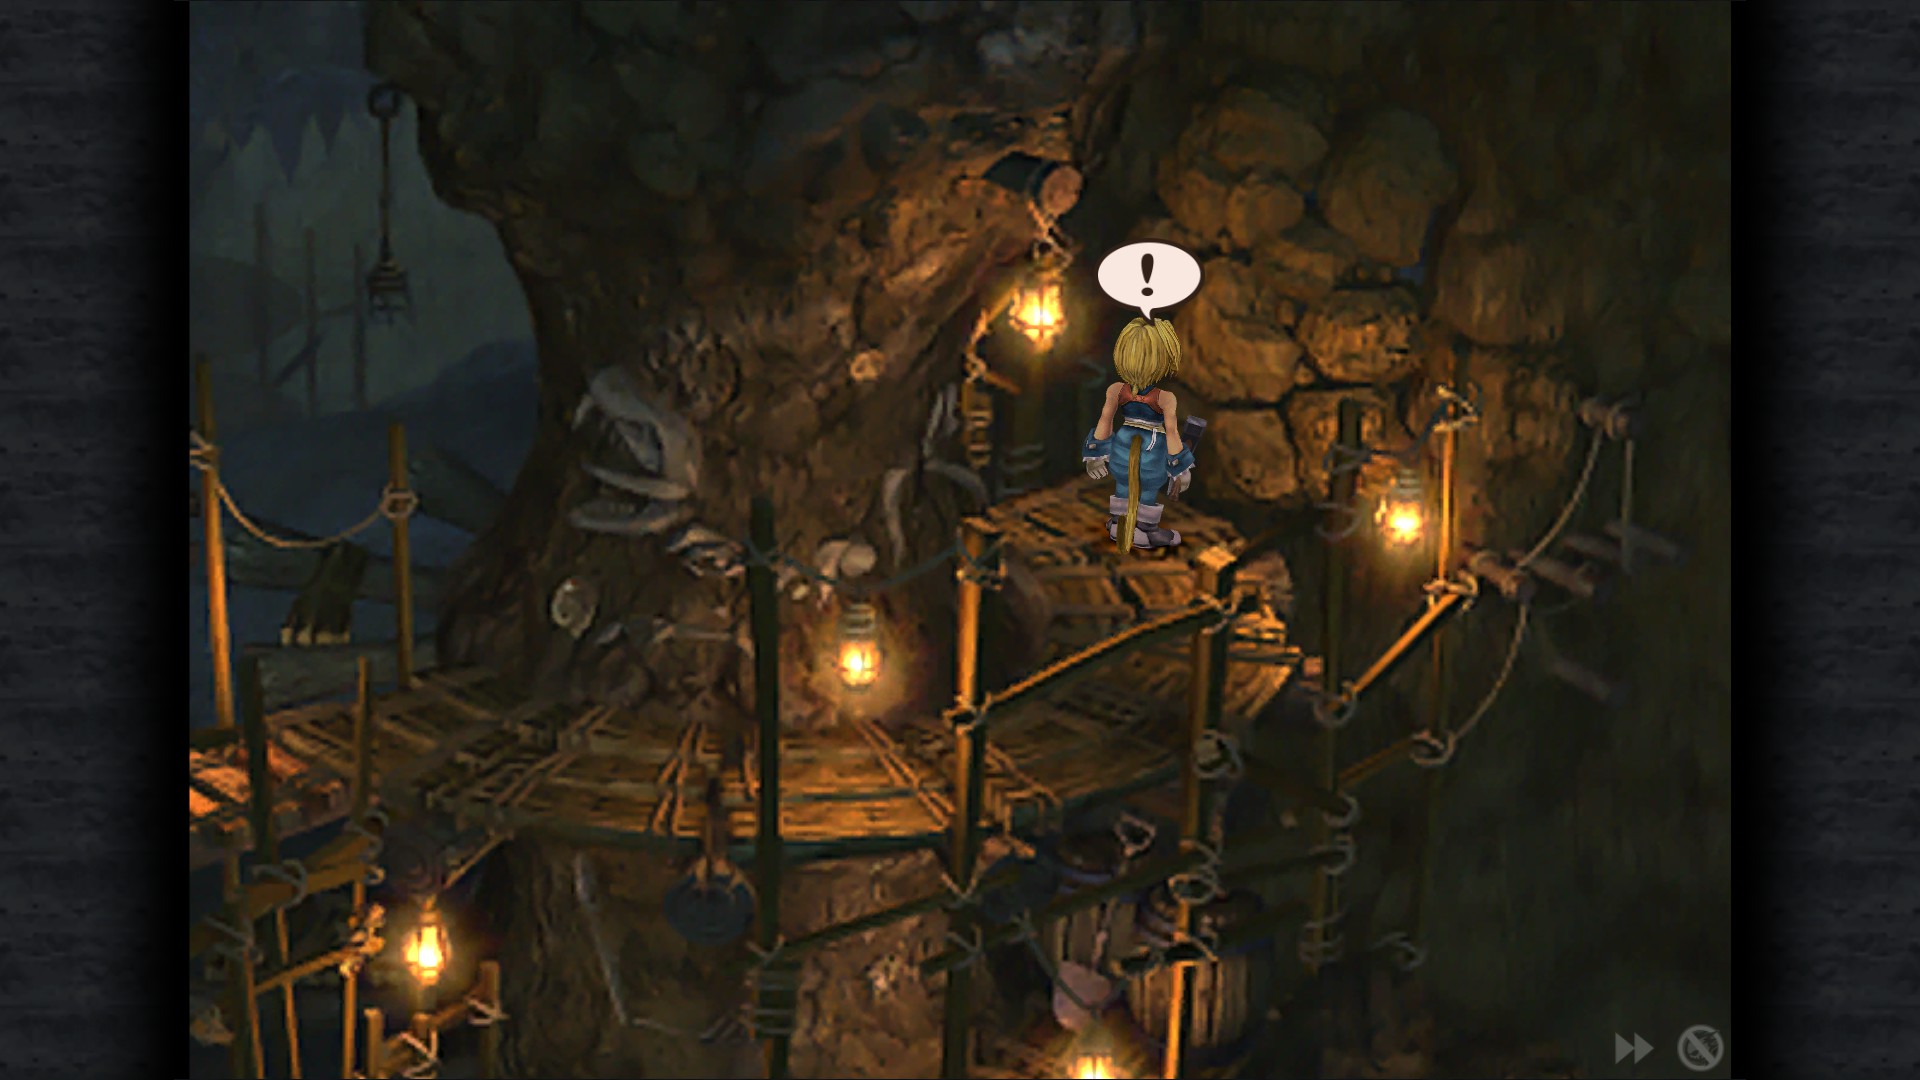
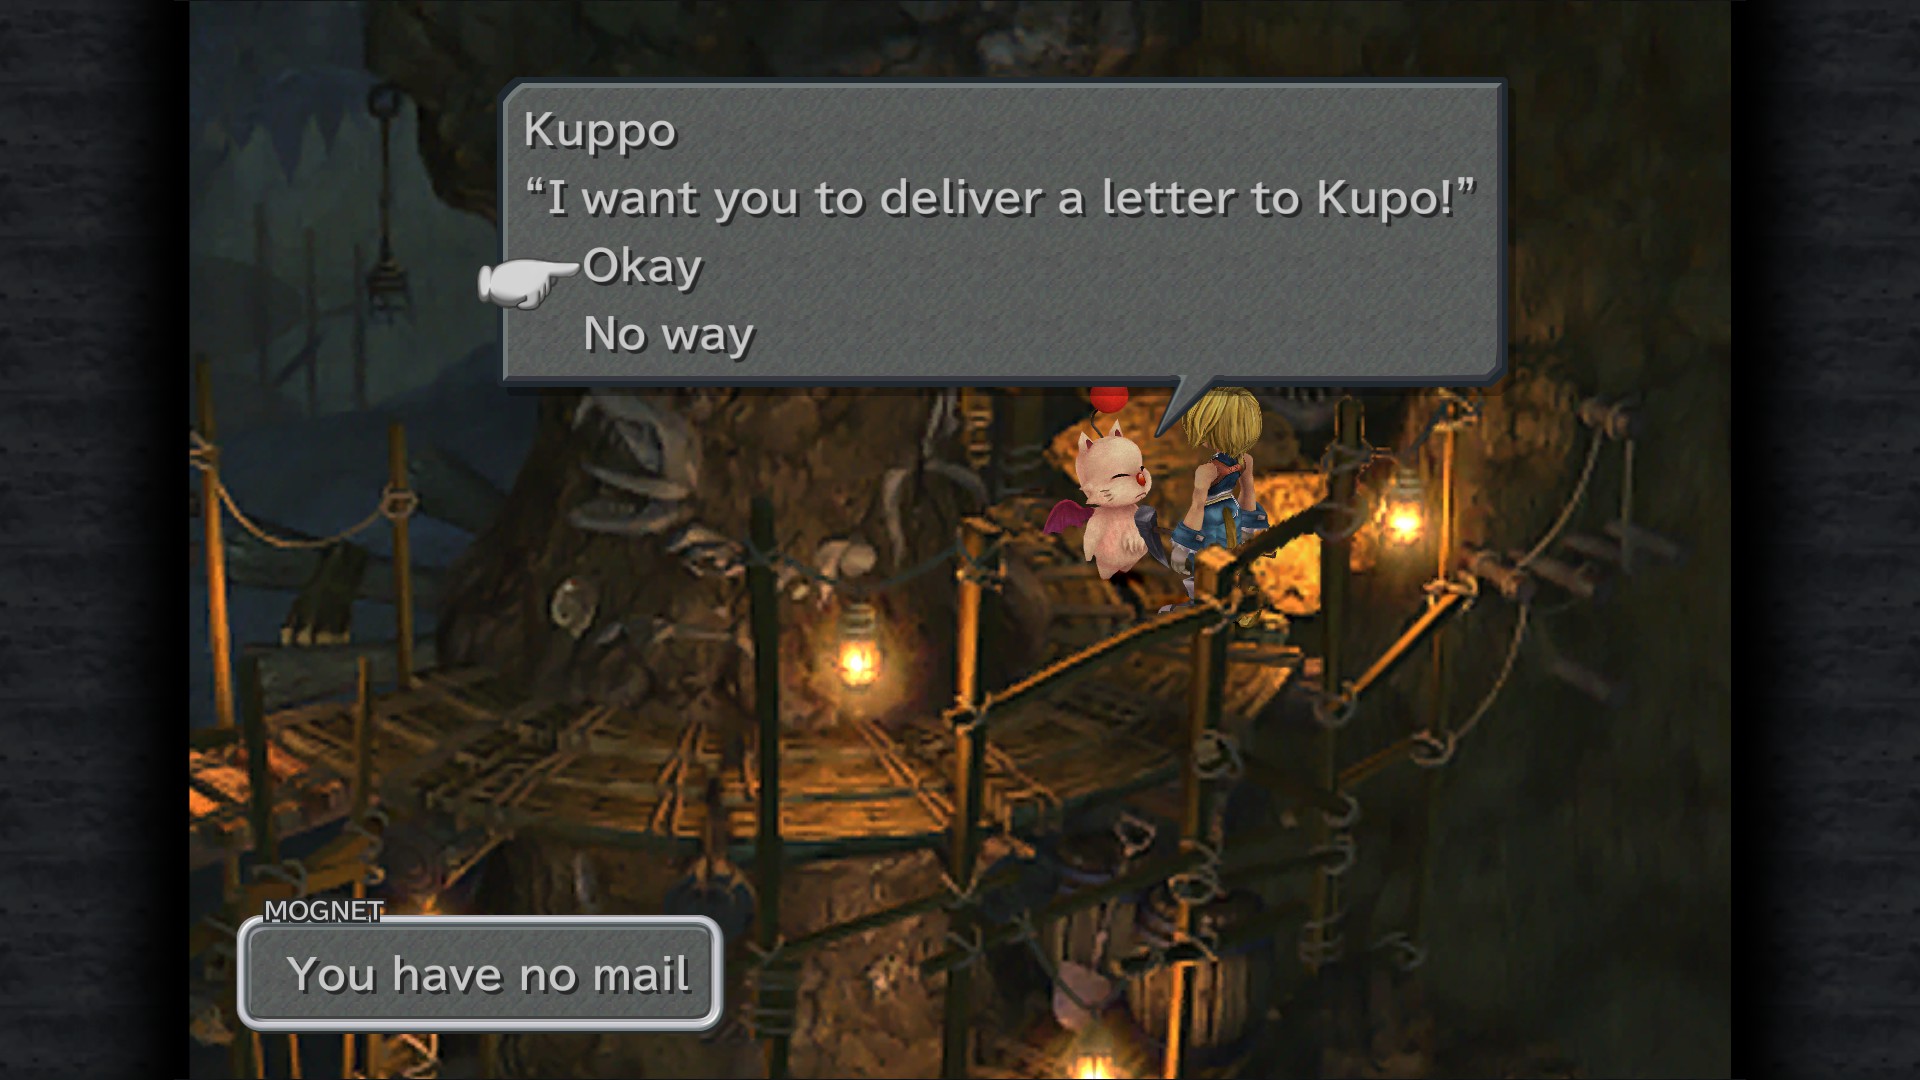
Peek-A-Boo
Free Kuppo from a wall in Fossil's Roo
Just mine on the far right of this area.
Mognet: Pickup the letter to delivery (Kuppo to Kupo) - Mining Site
The One Ring
Obtain Madain's Ring via mining
Madain's Ring - Continue mining in this area until you find a Madain's Ring (might take a while since It's random)
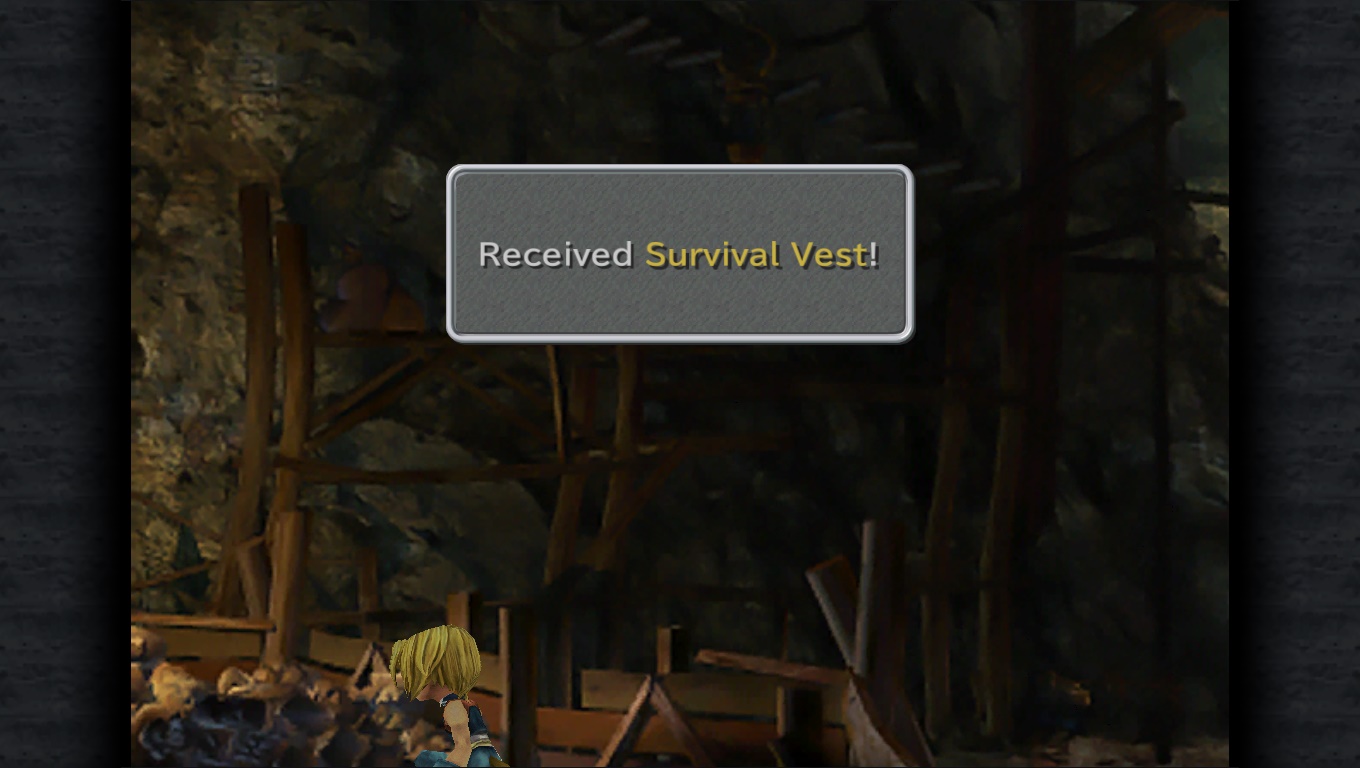
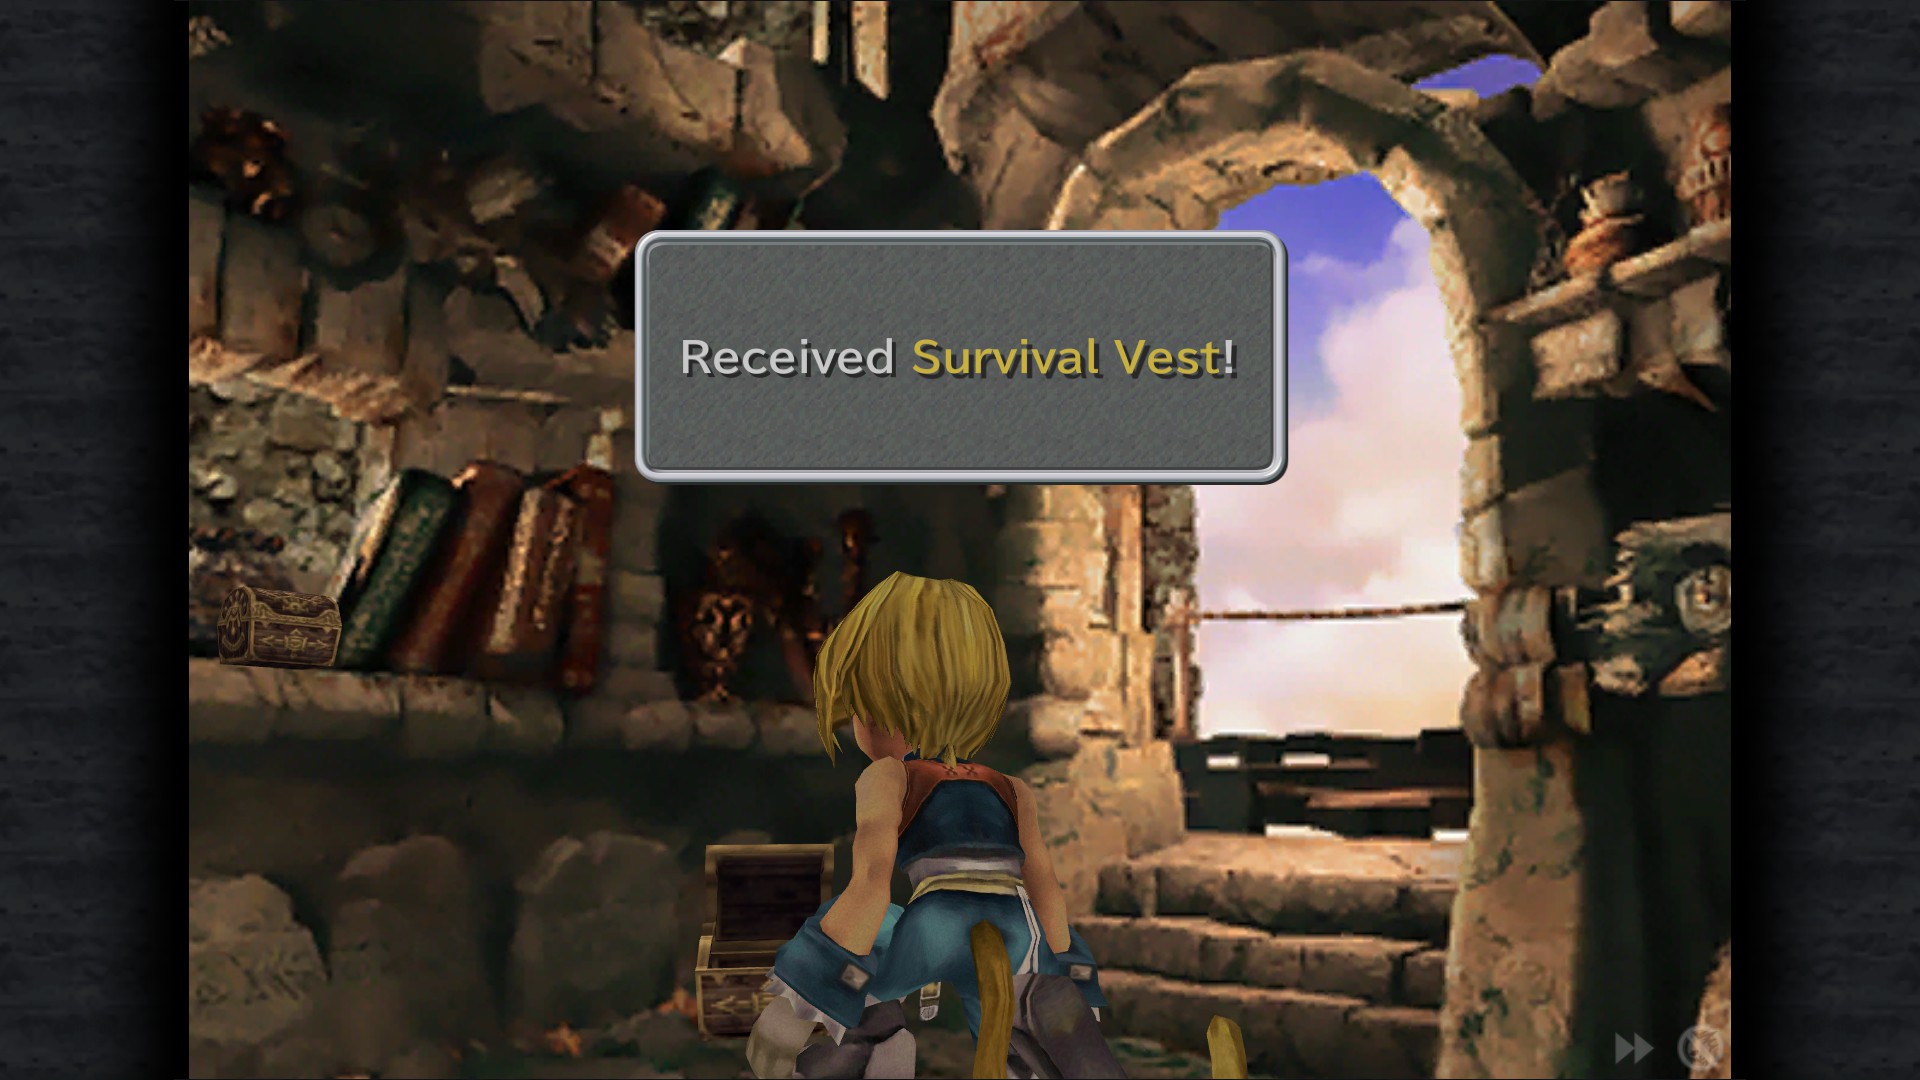
Survival Vest - Nest
Conde Petie - Black Mage Village
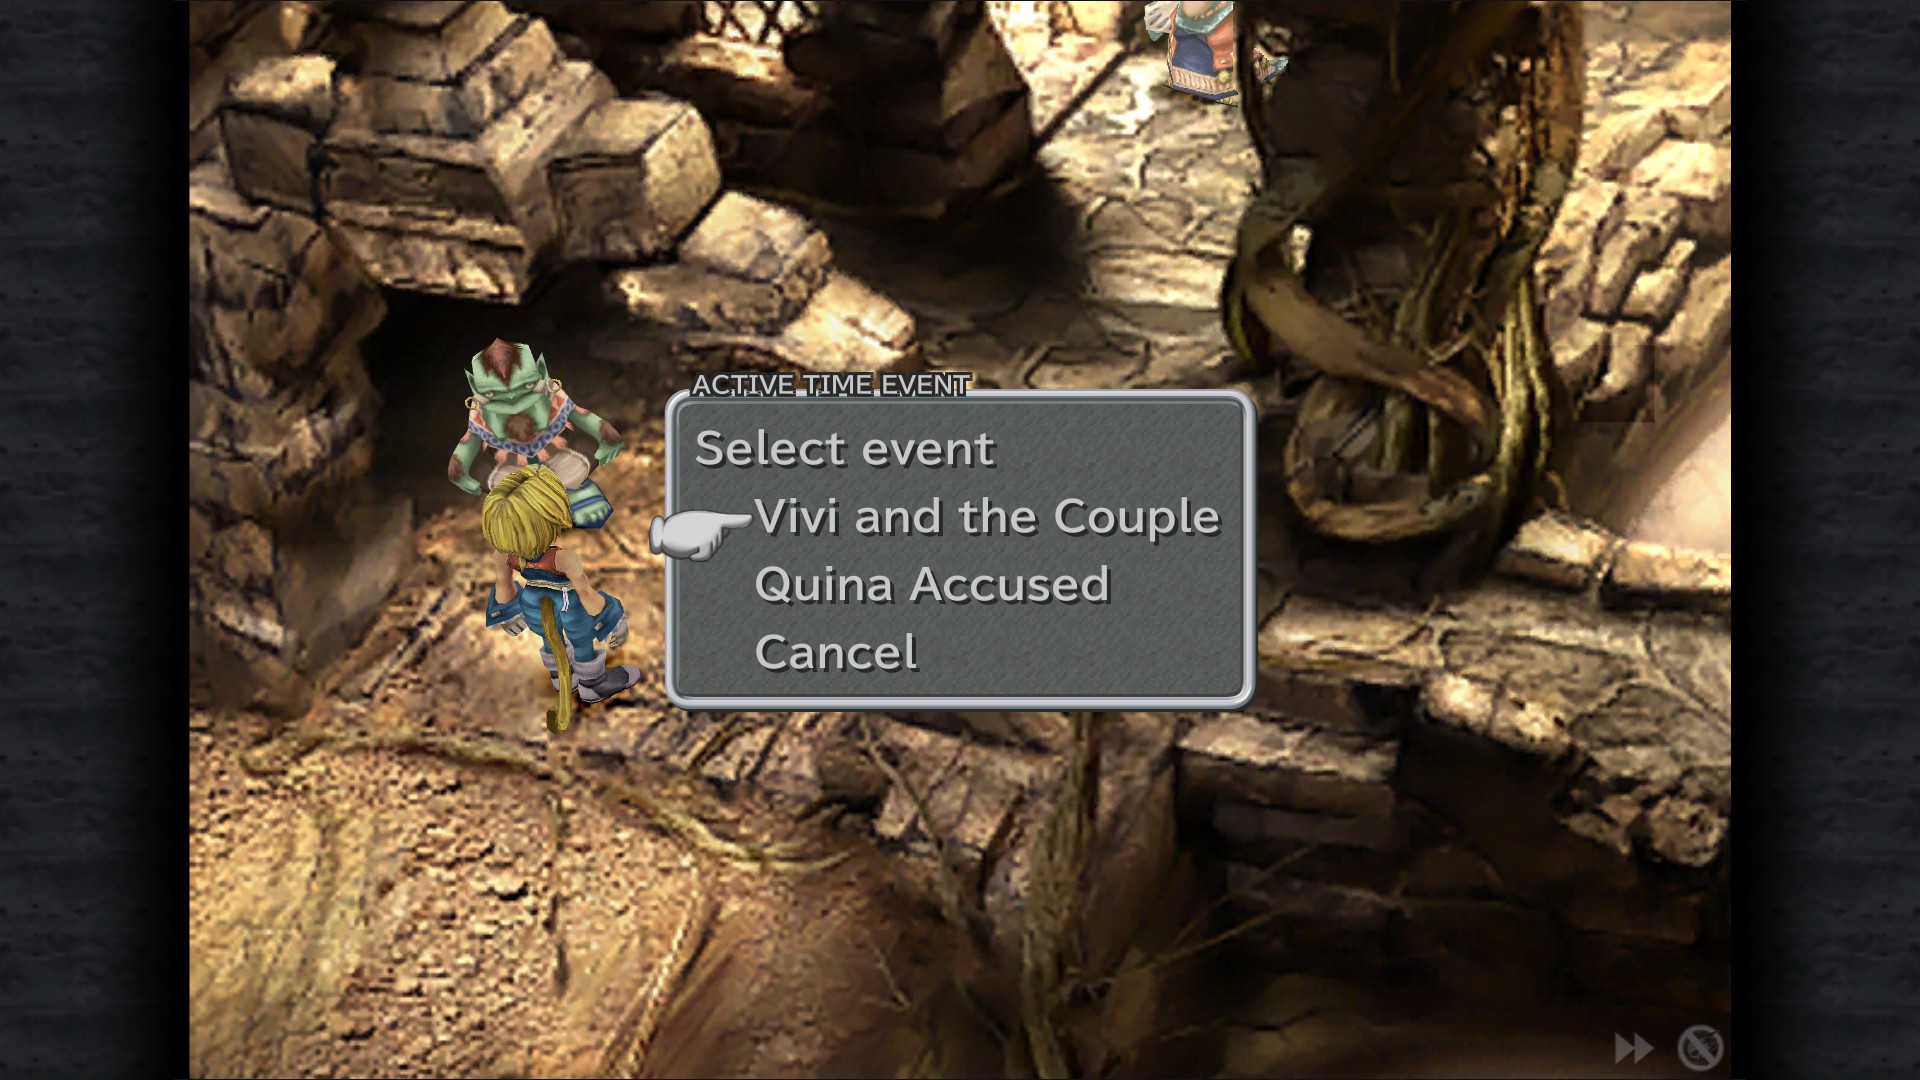


Conde Petie
Vivi And The Couple ATE - Entrance
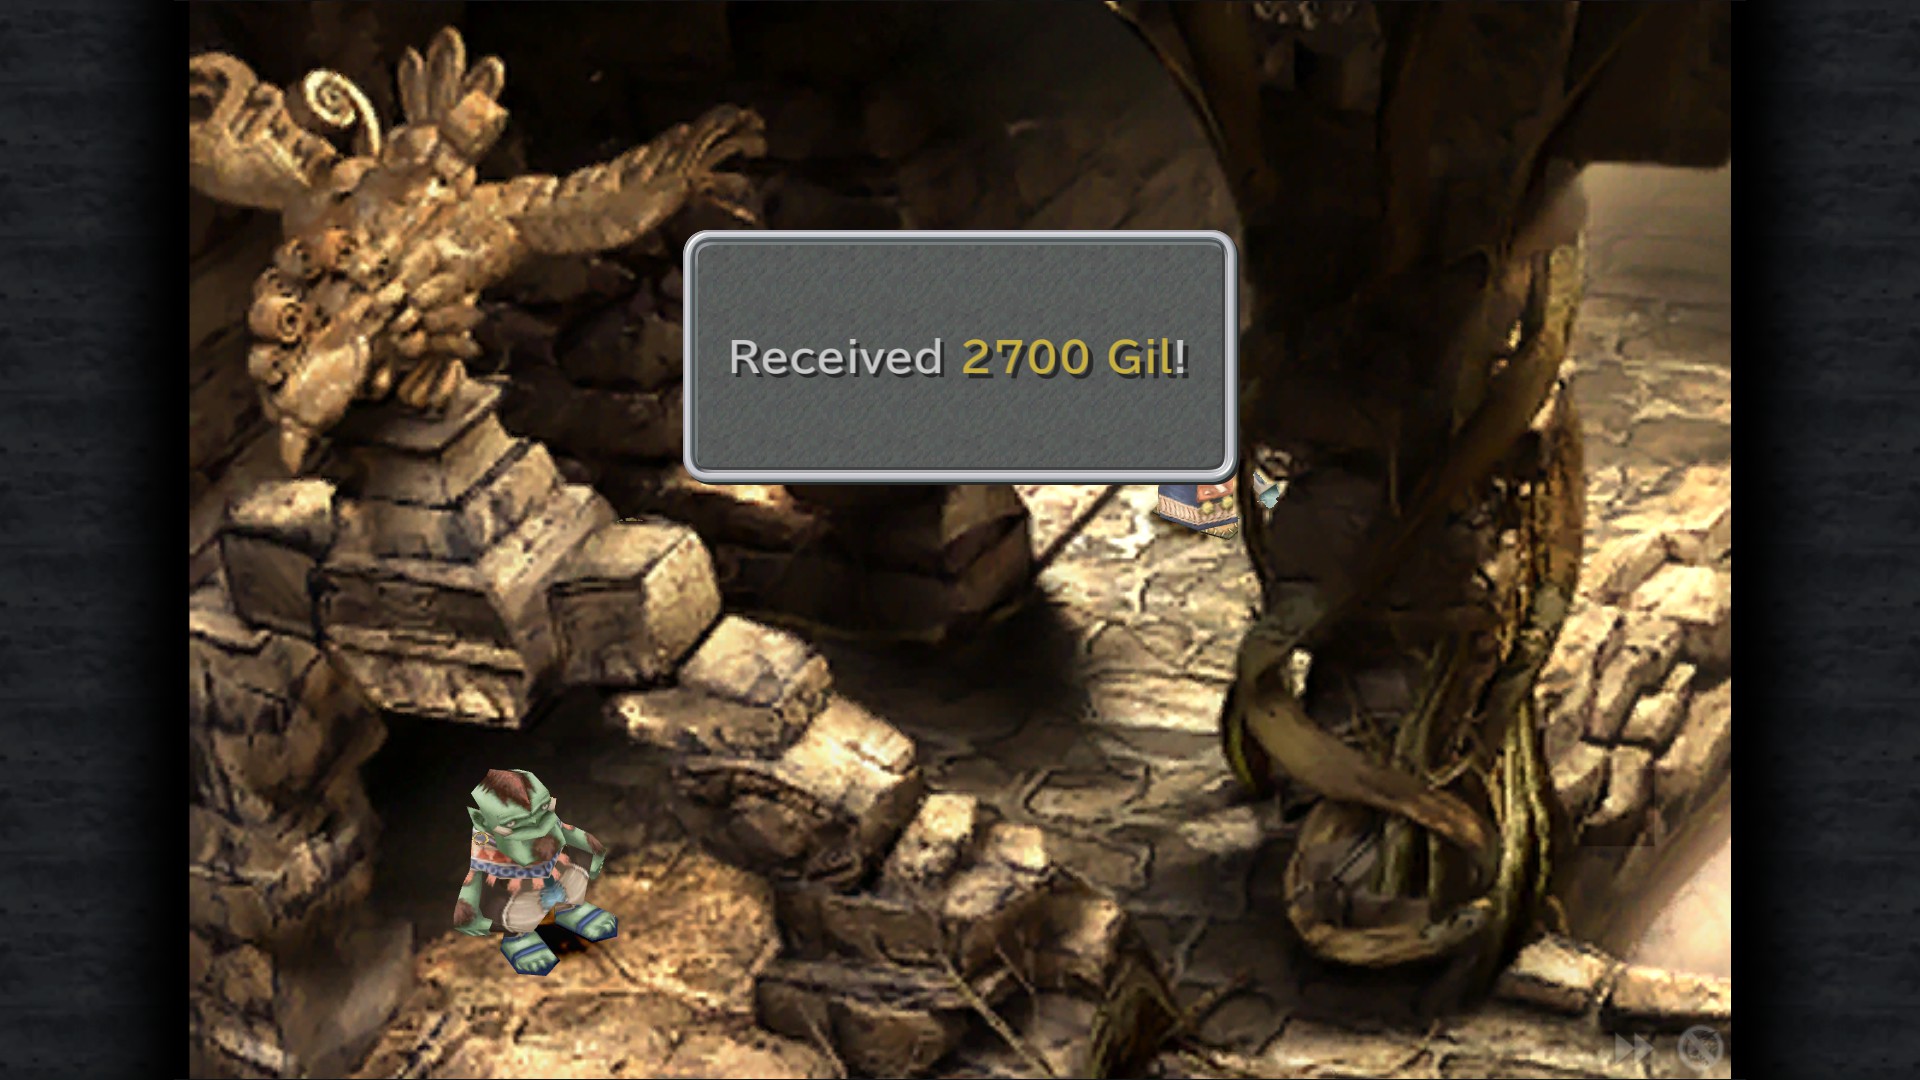
2700 Gil - Entrance (Left side, hidden)
Quina Accused ATE - Pathway
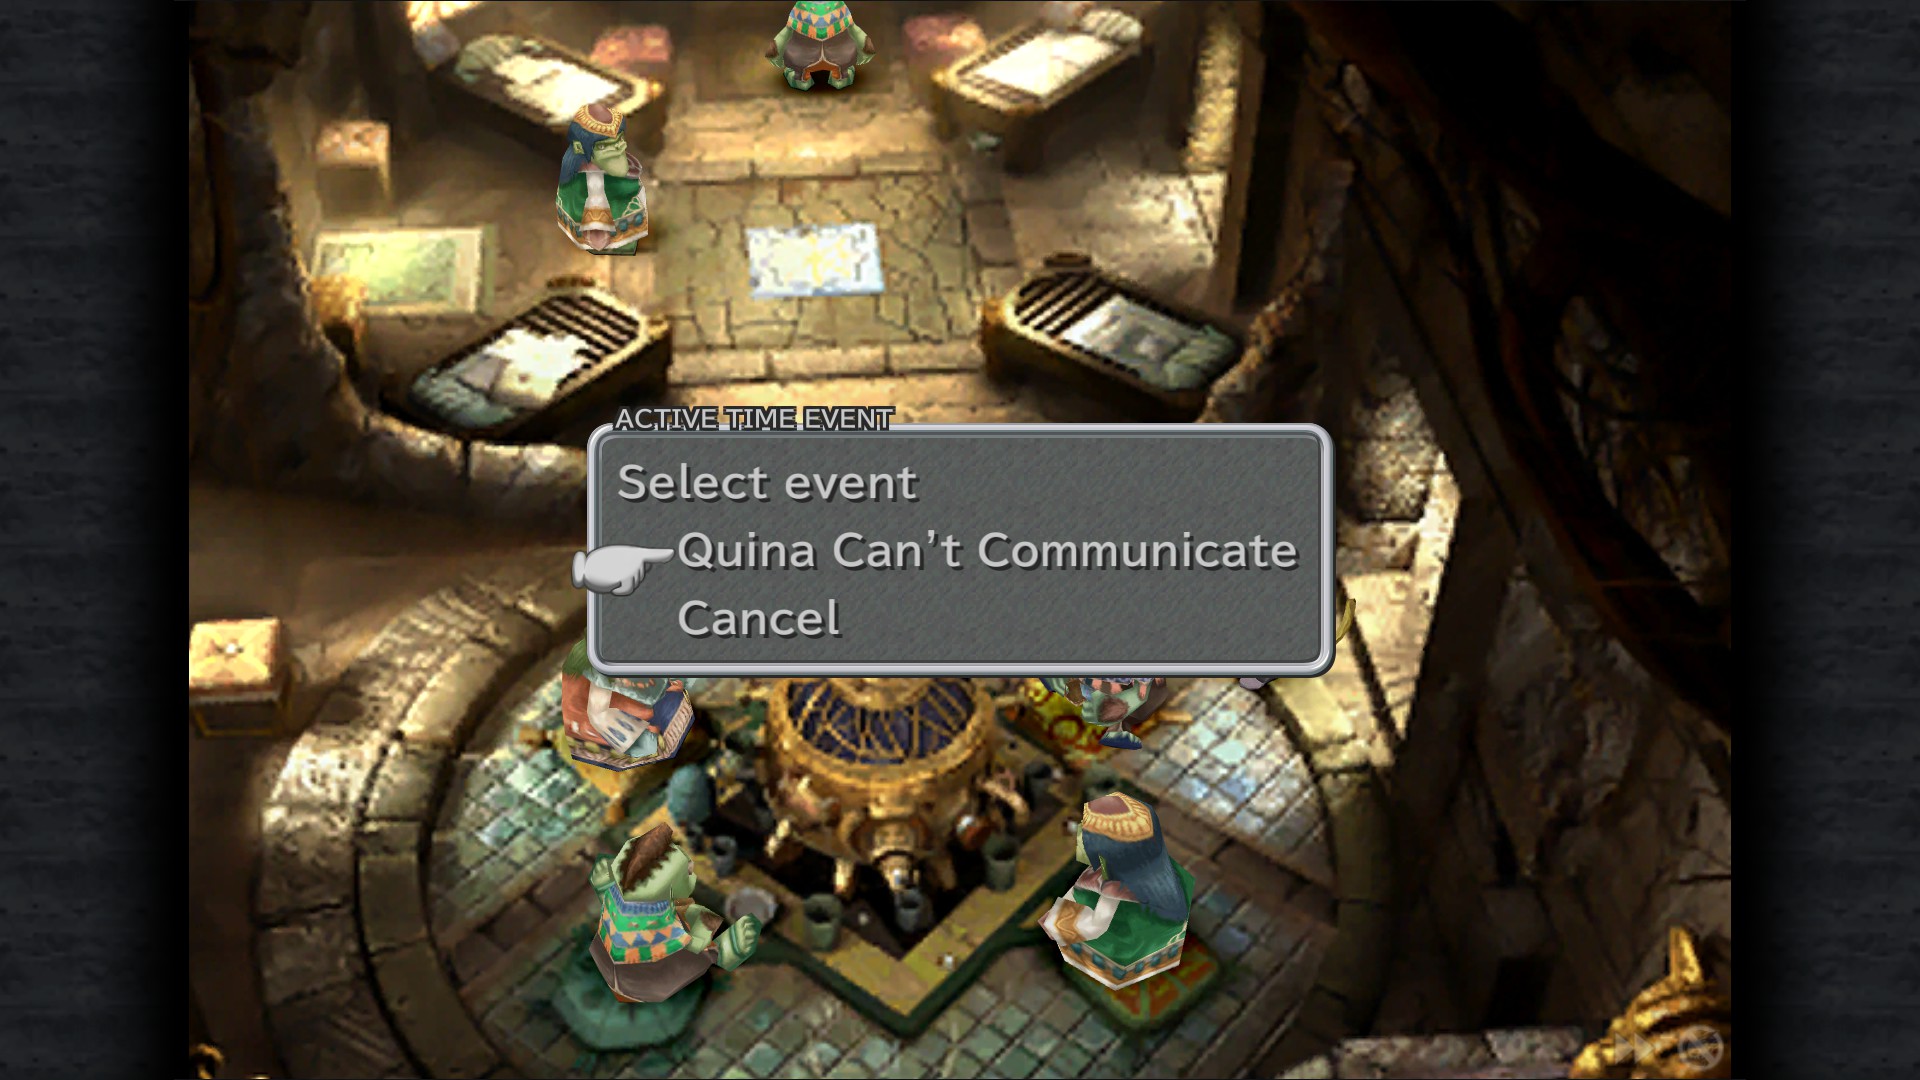
Quina Can't Communicate ATE - Inn
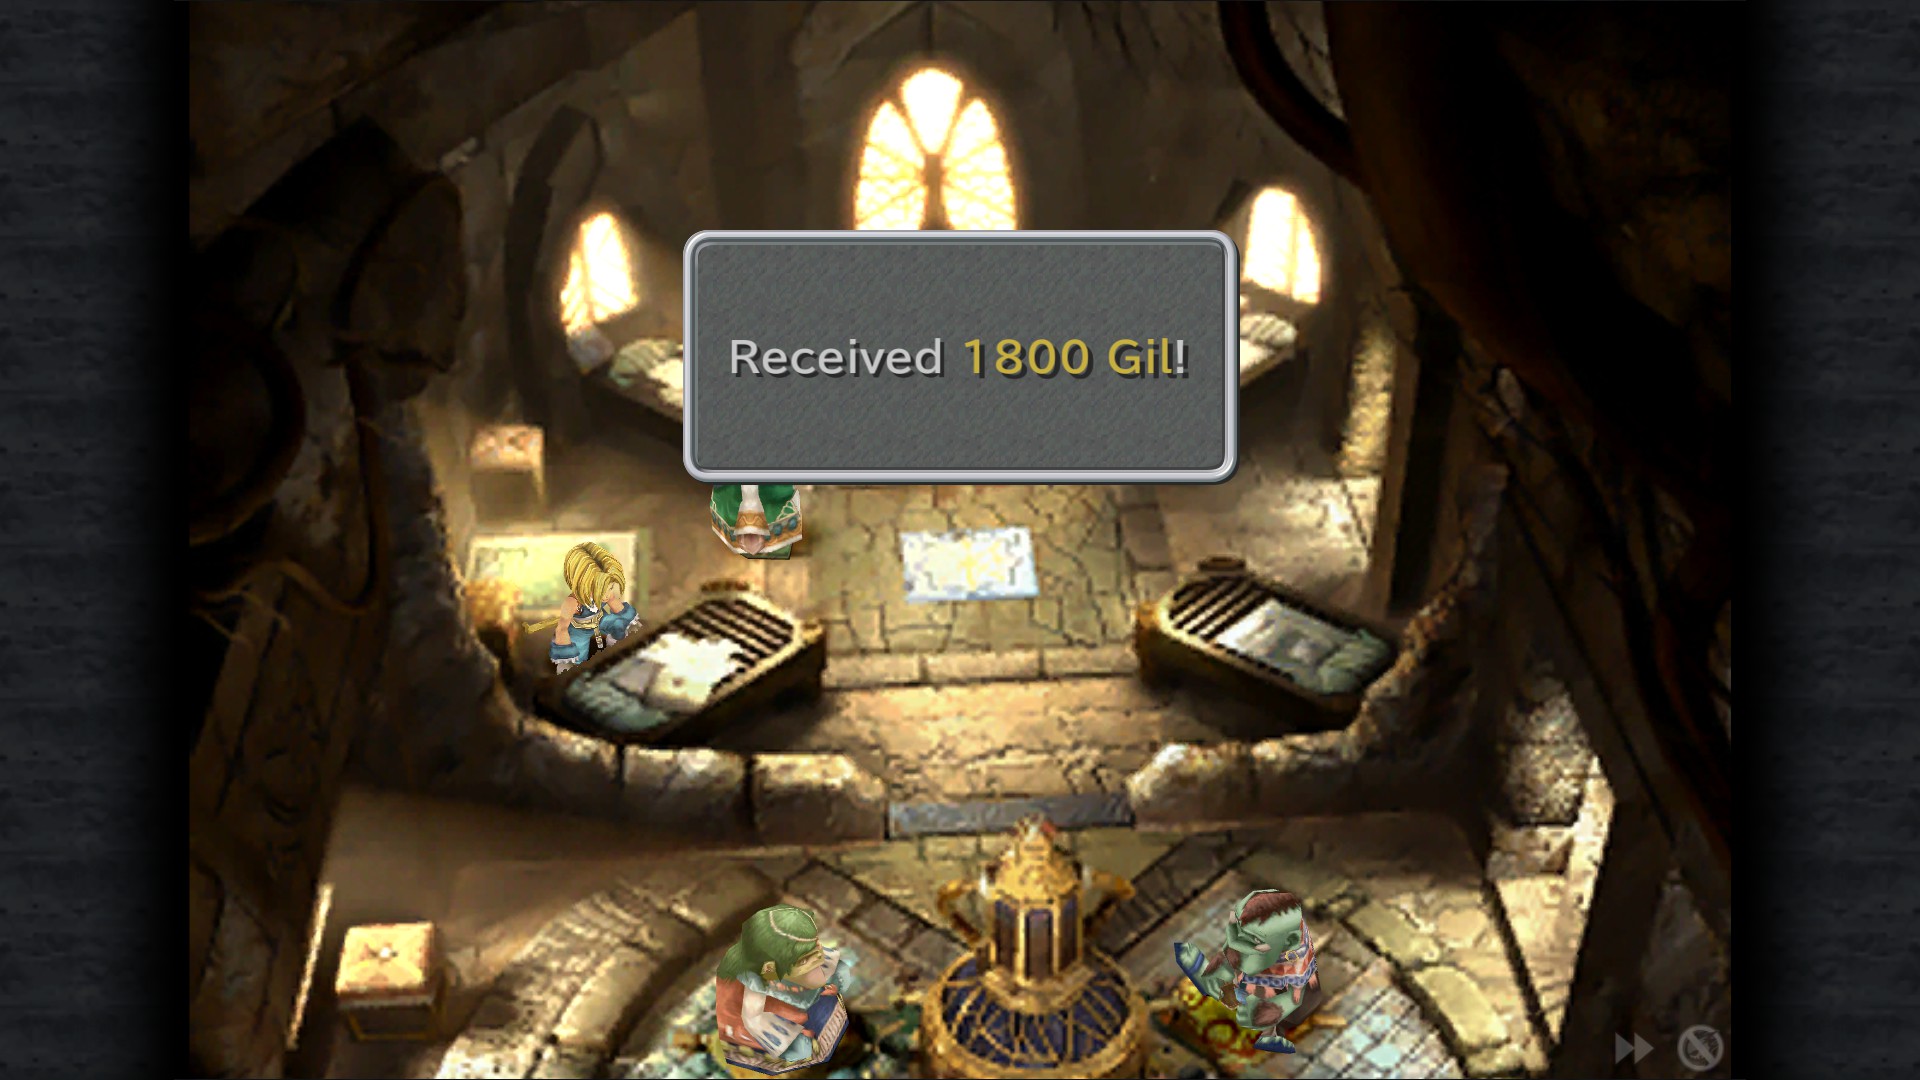
1800 Gil - Inn (behind one of the beds)
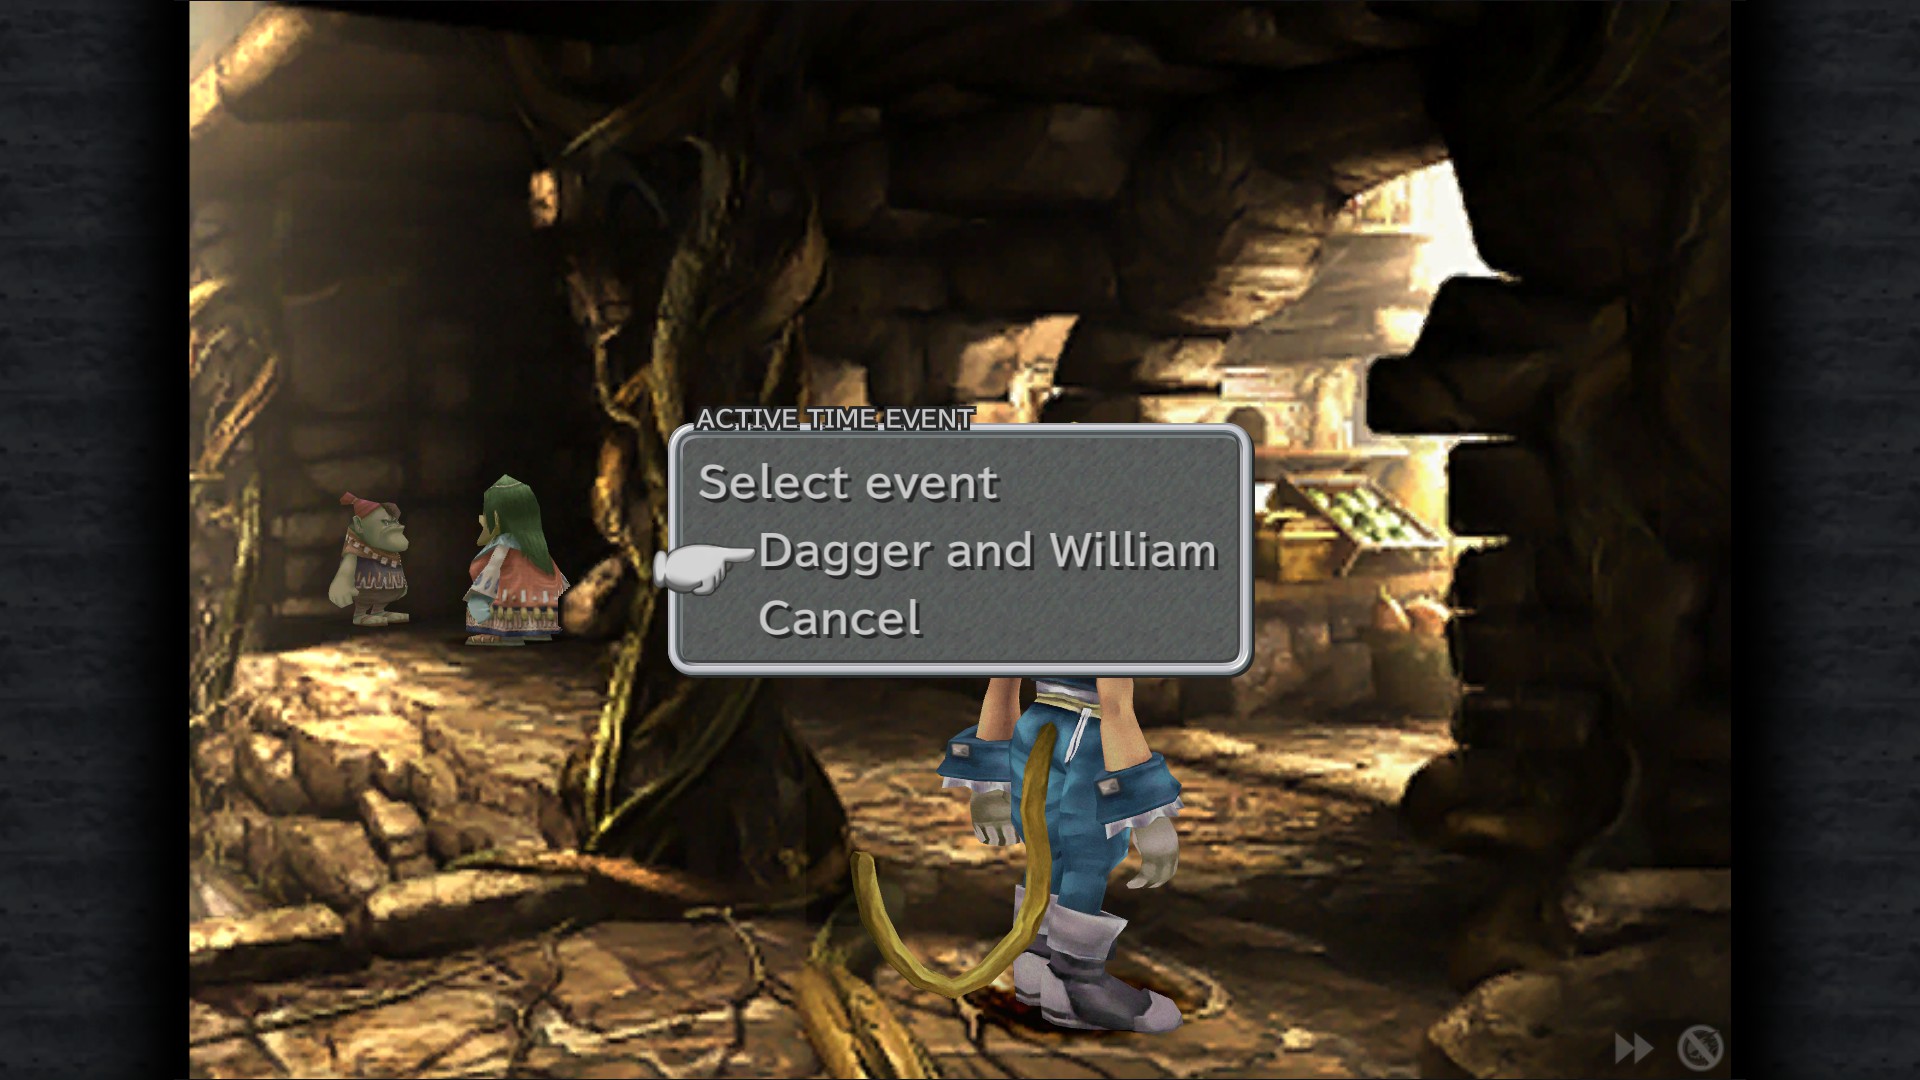
Dagger And William ATE - East Corridor
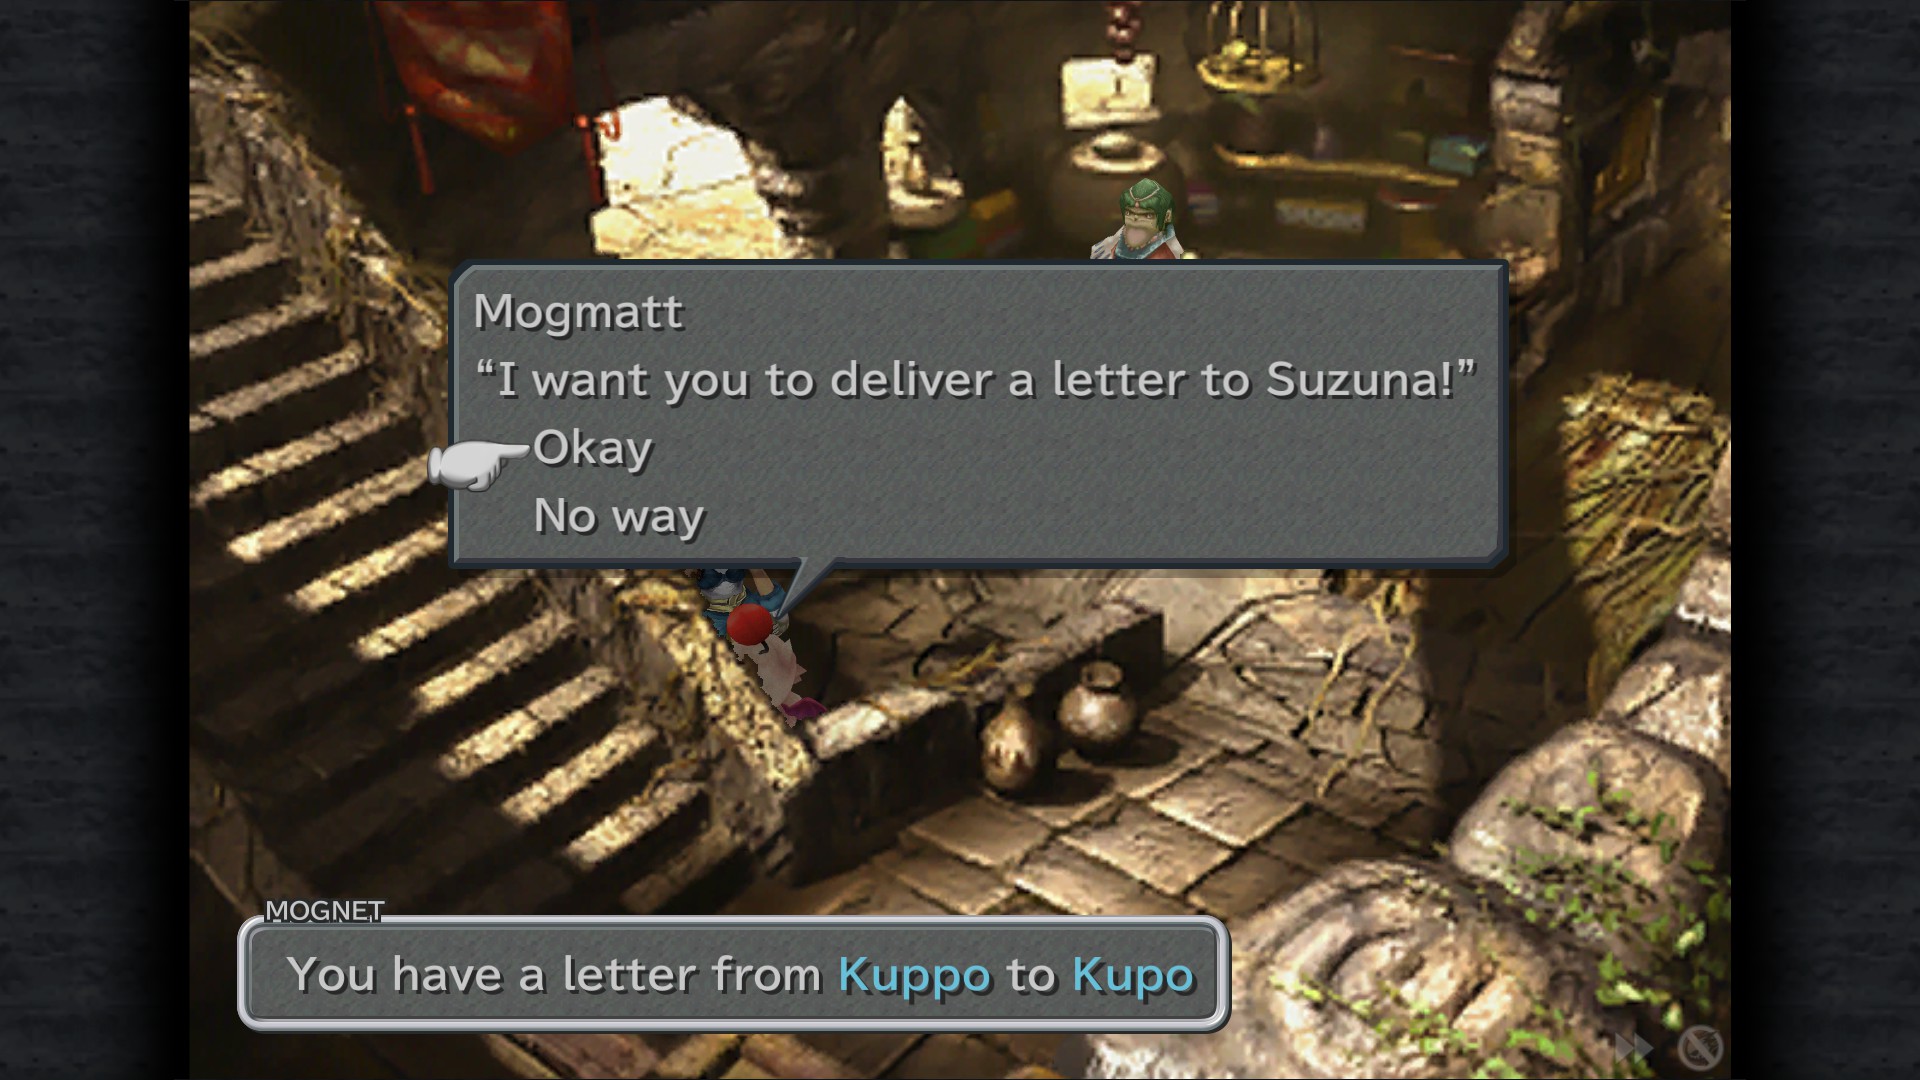
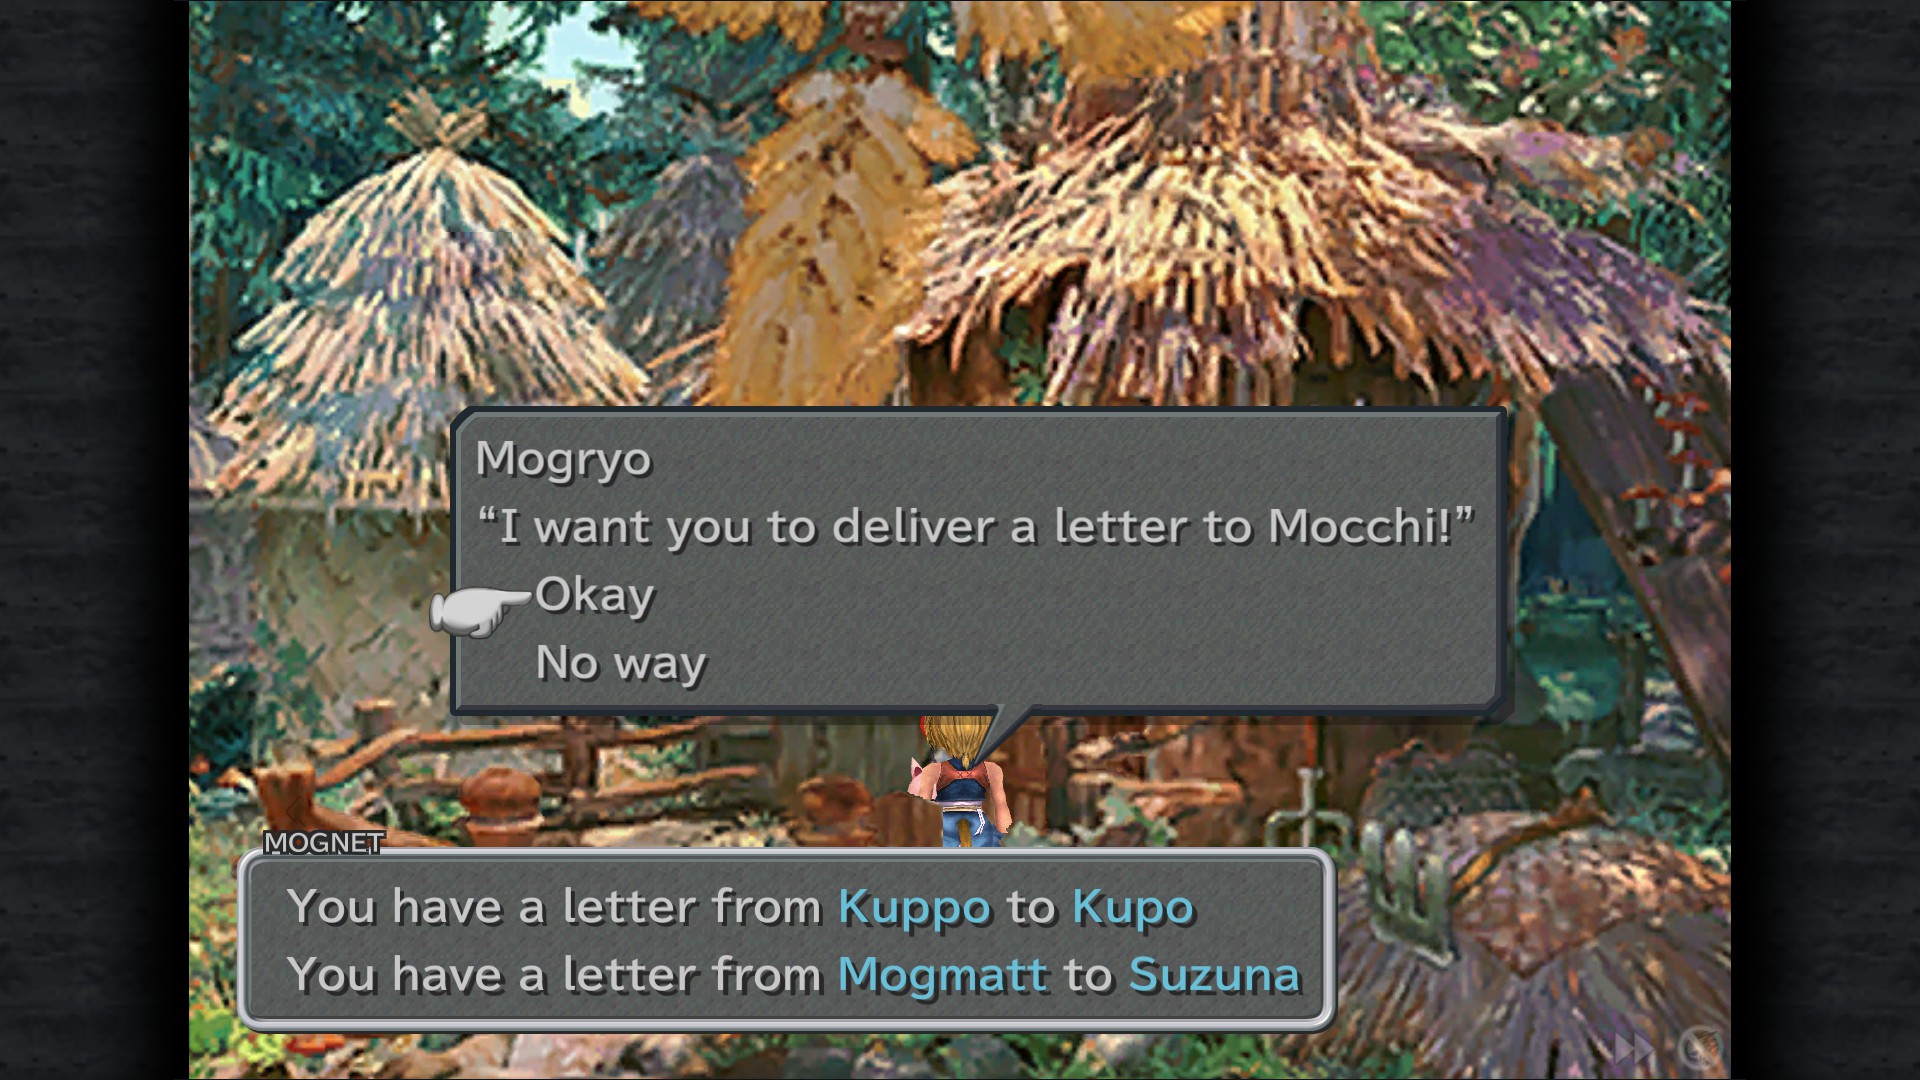
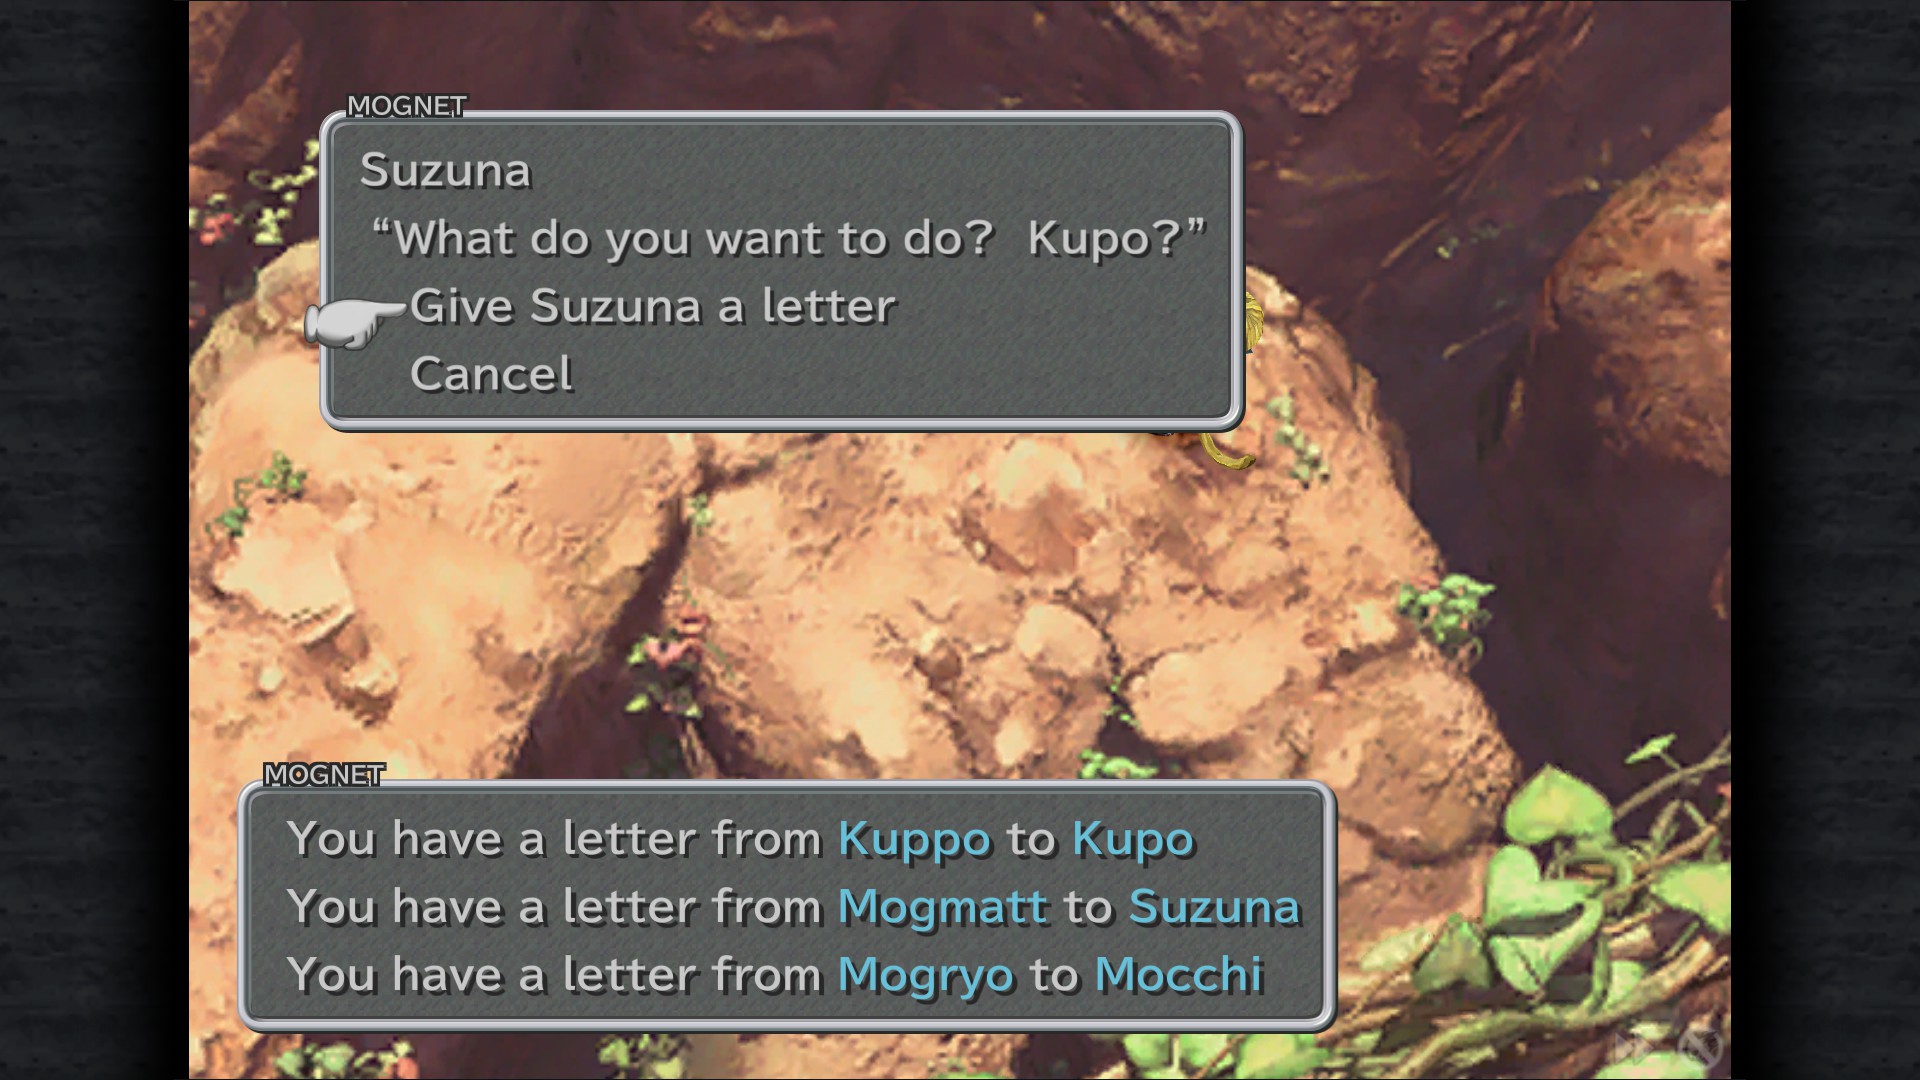
Mognet: Pickup the letter for delivery (Mogmatt to Suzuna) - Item Shop
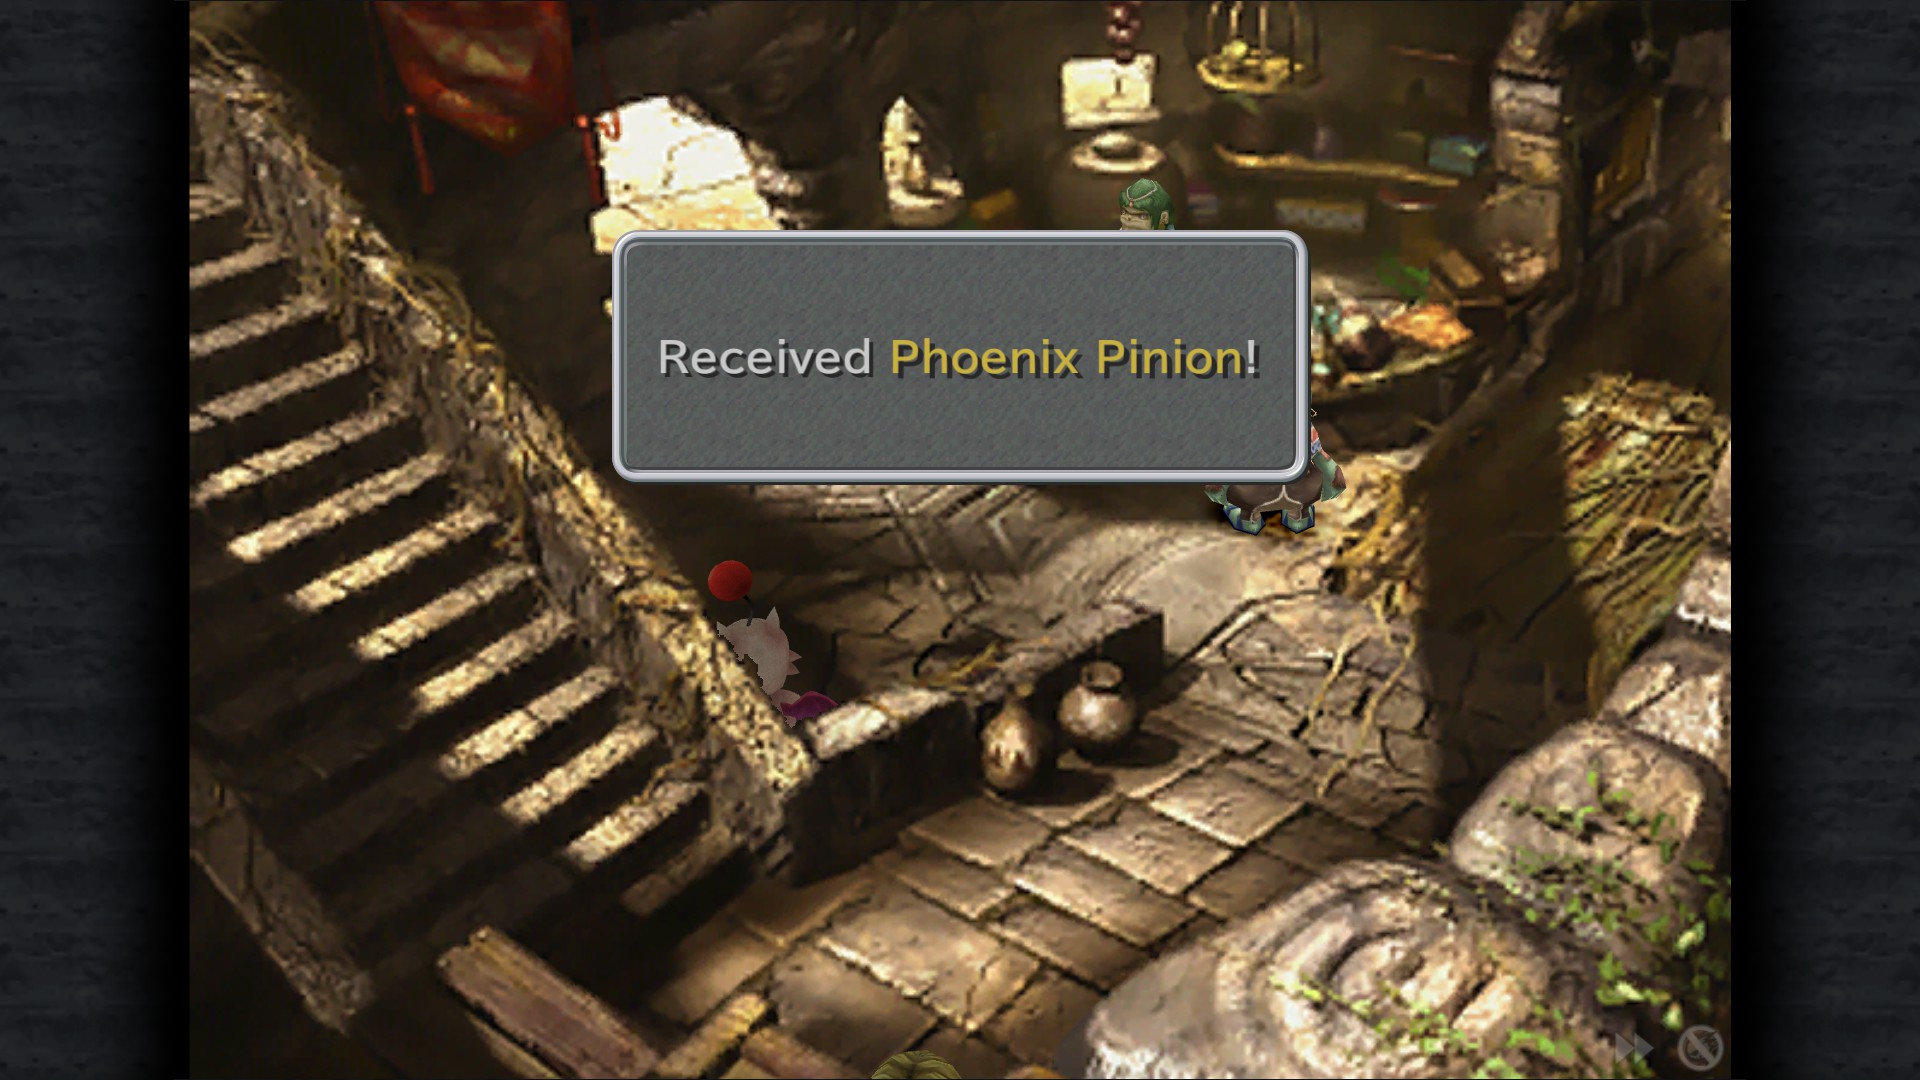
Phoenix Pinion - Item Shop (bottom corner)
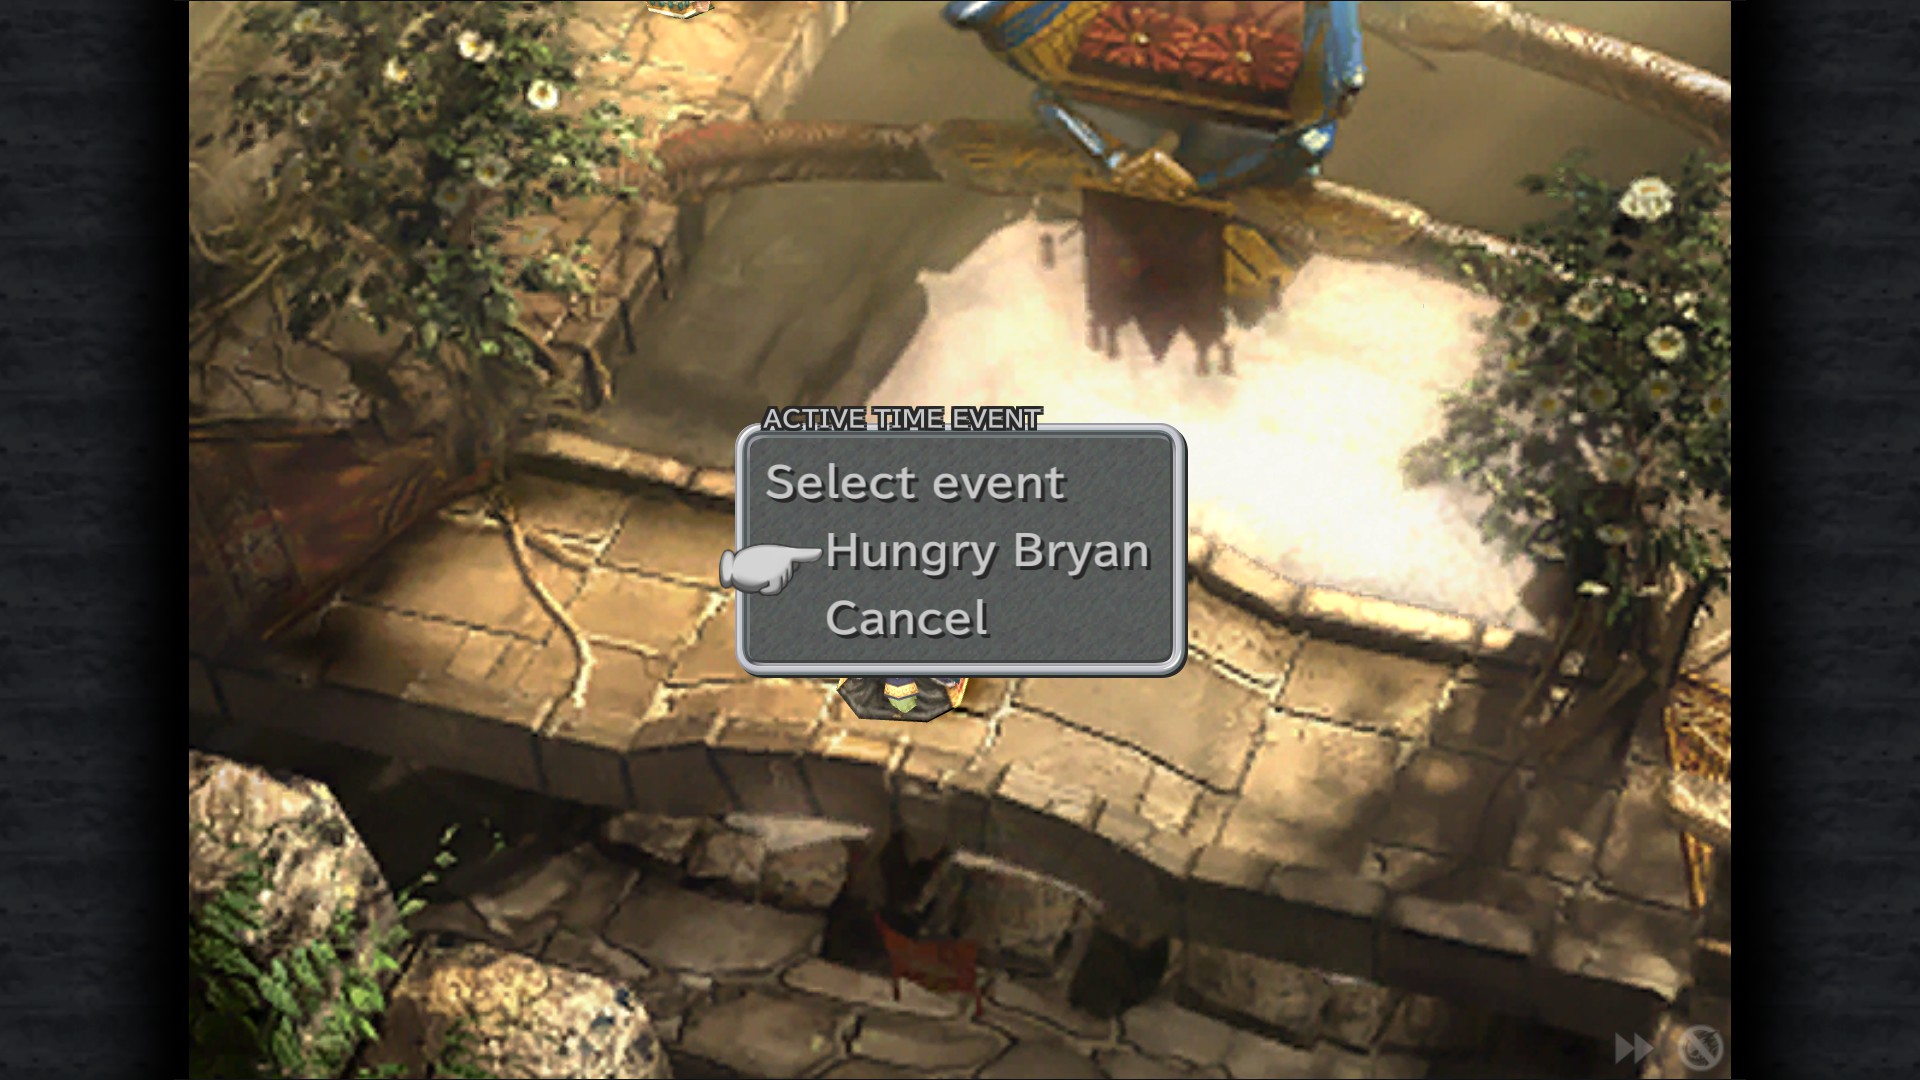
Hungry Bryan ATE - Shrine (After talking to Vivi)
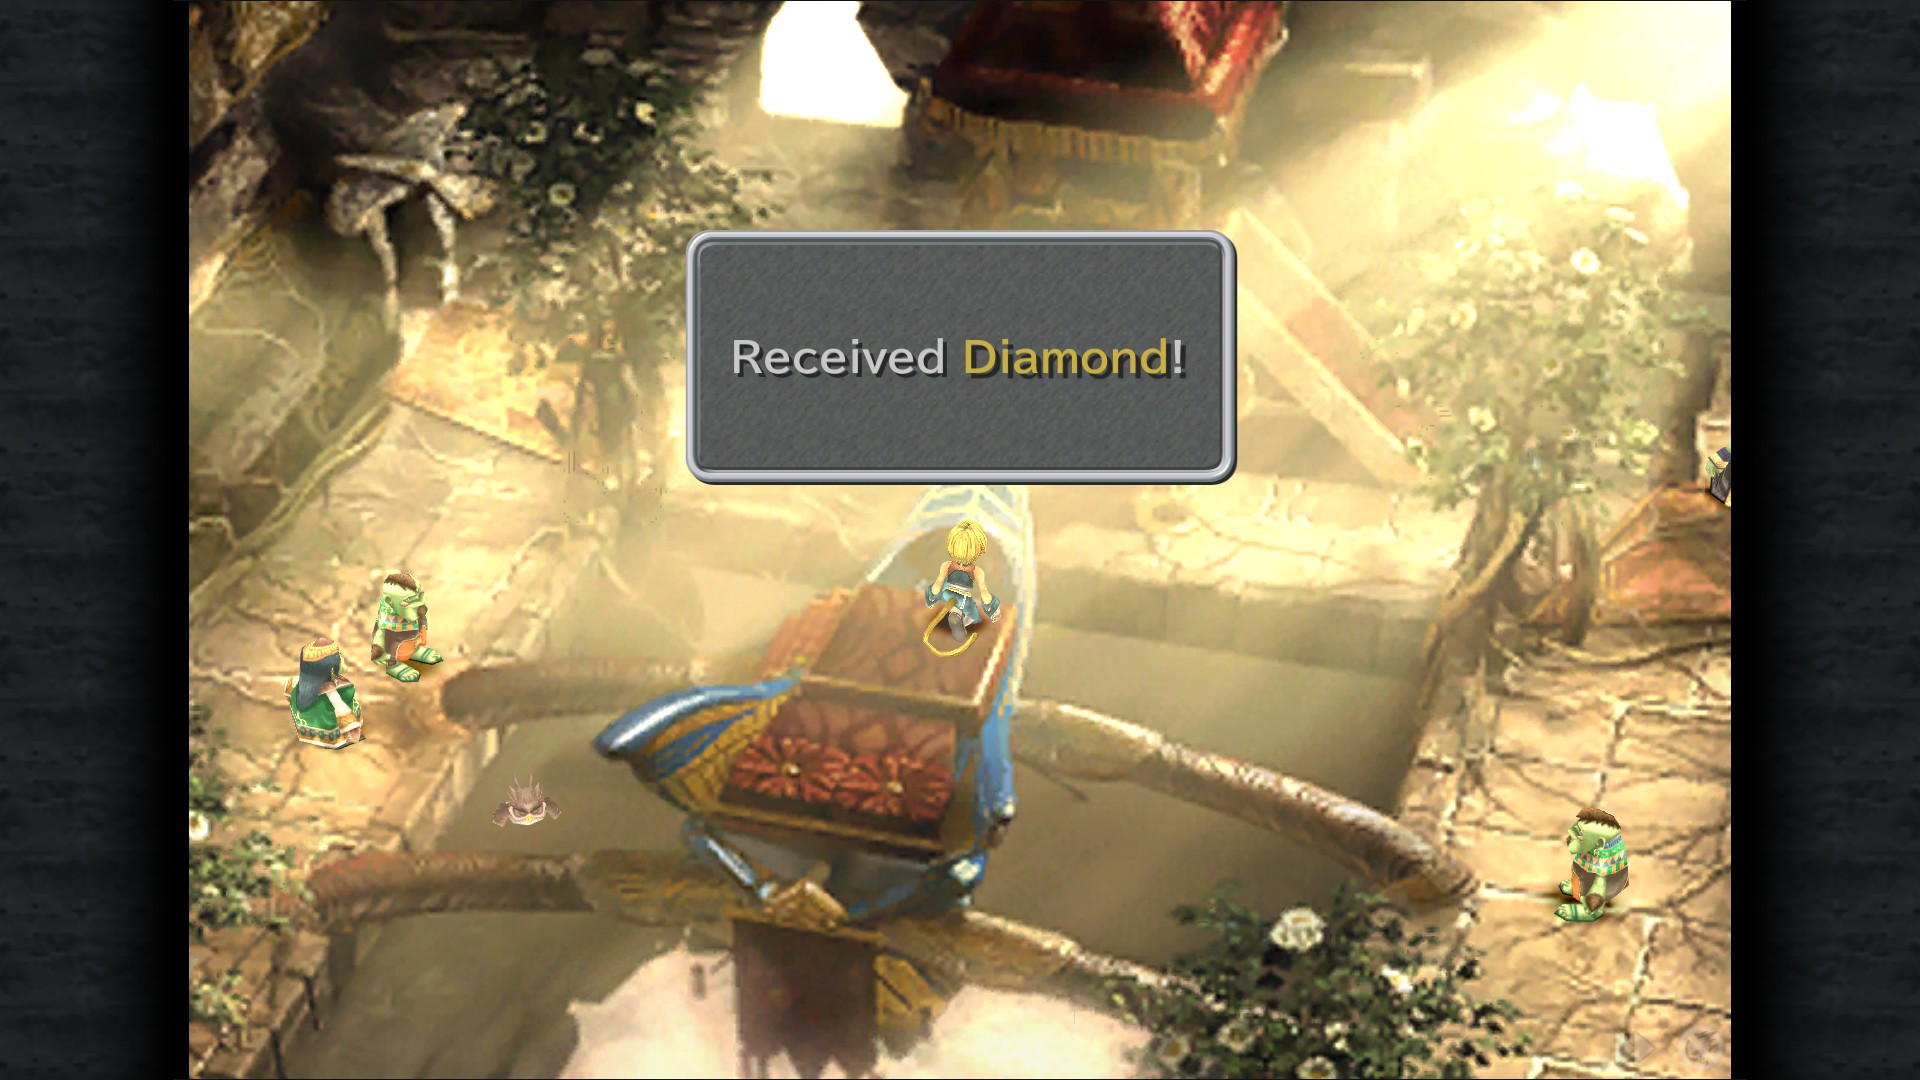
Diamond - Shrine (Kirkboat)
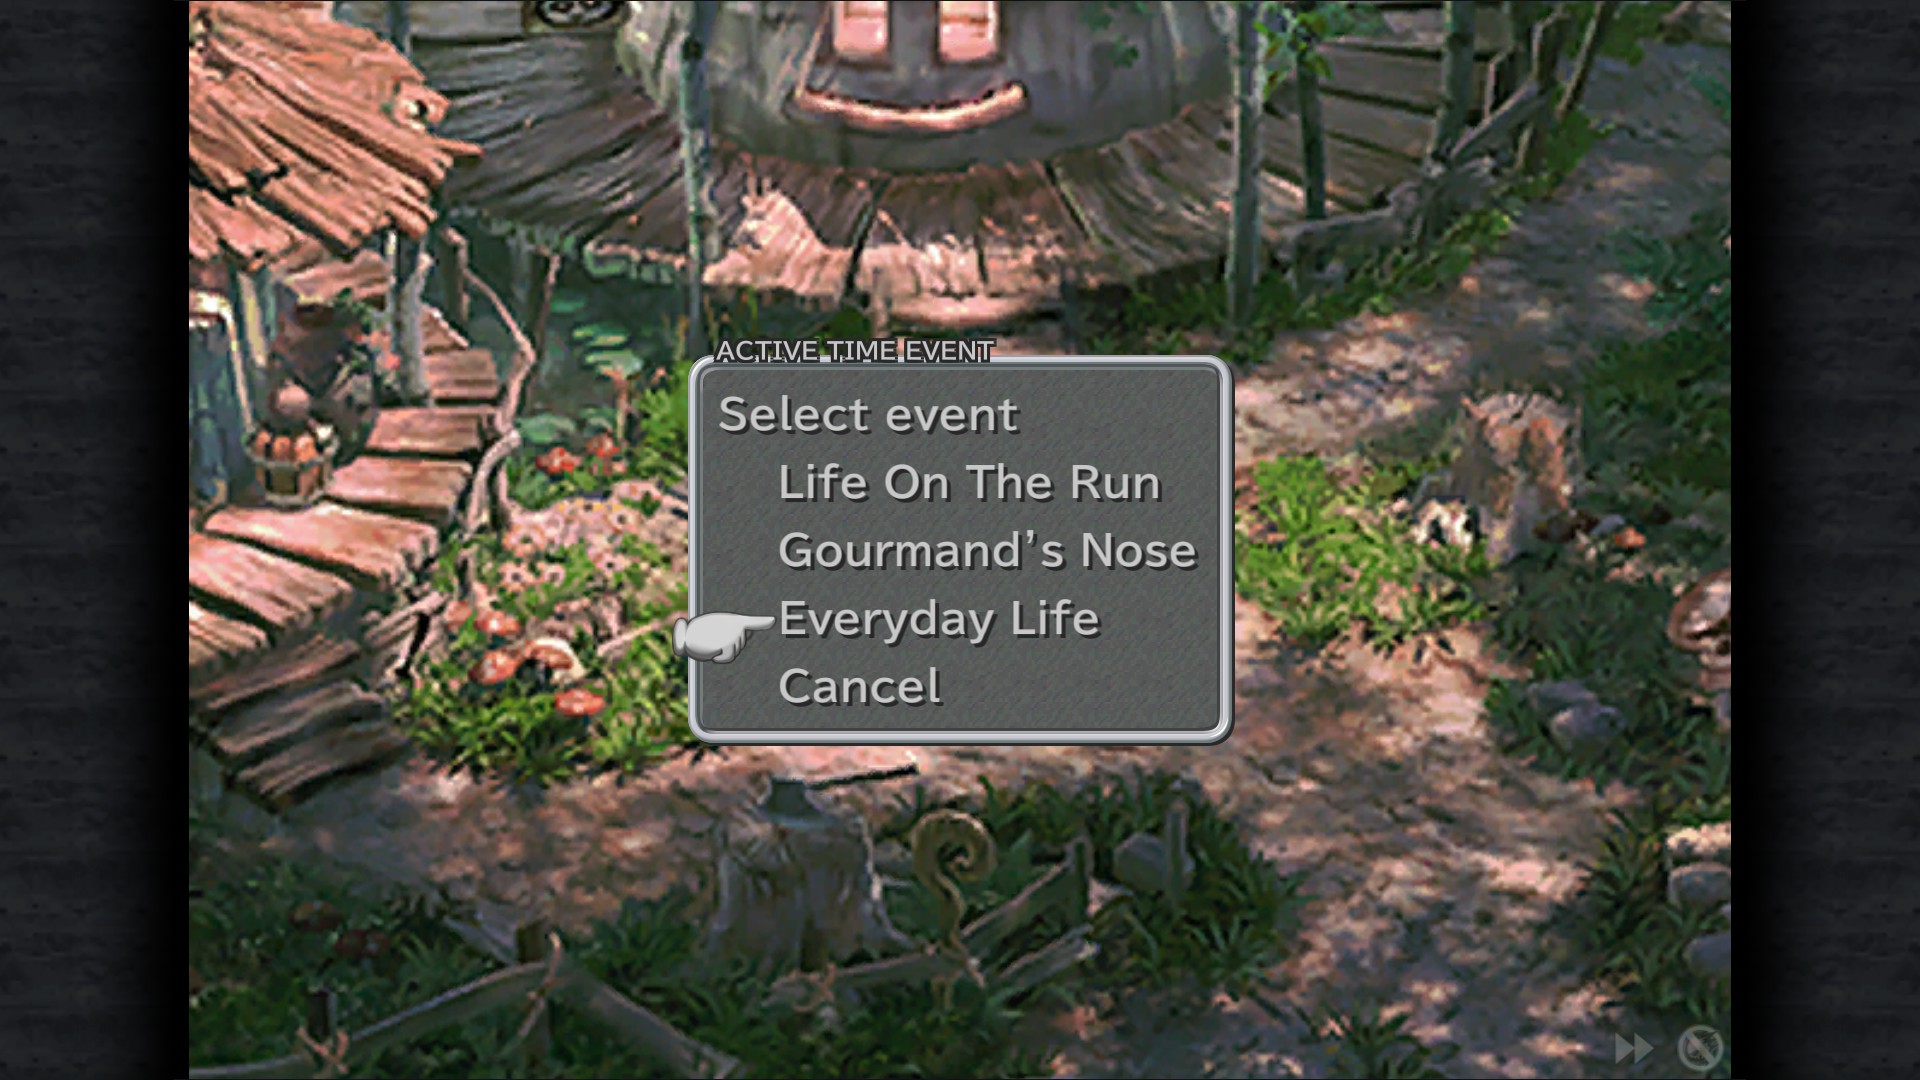
Black Mage Village
Note: Do these in order or you'll miss some ATE.
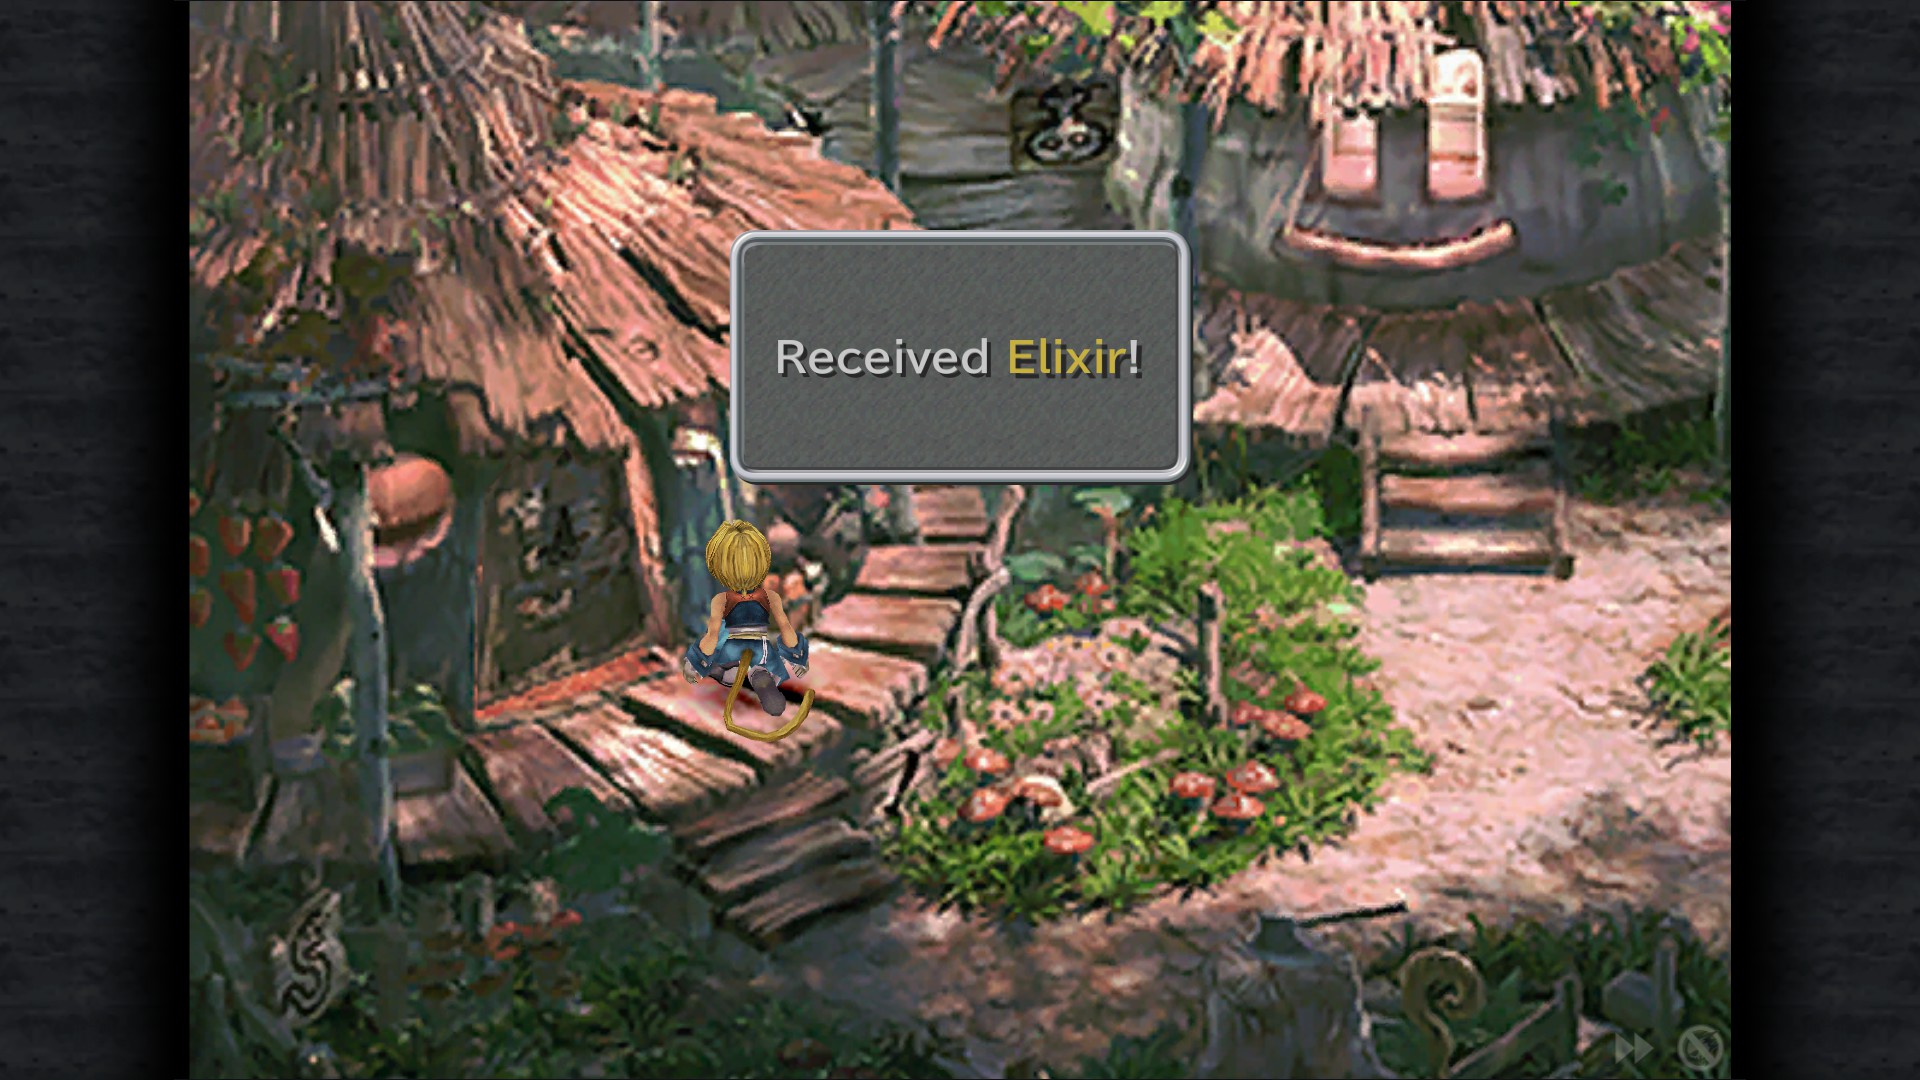
Everyday Life ATE - Entrance
Elixir - Entrance
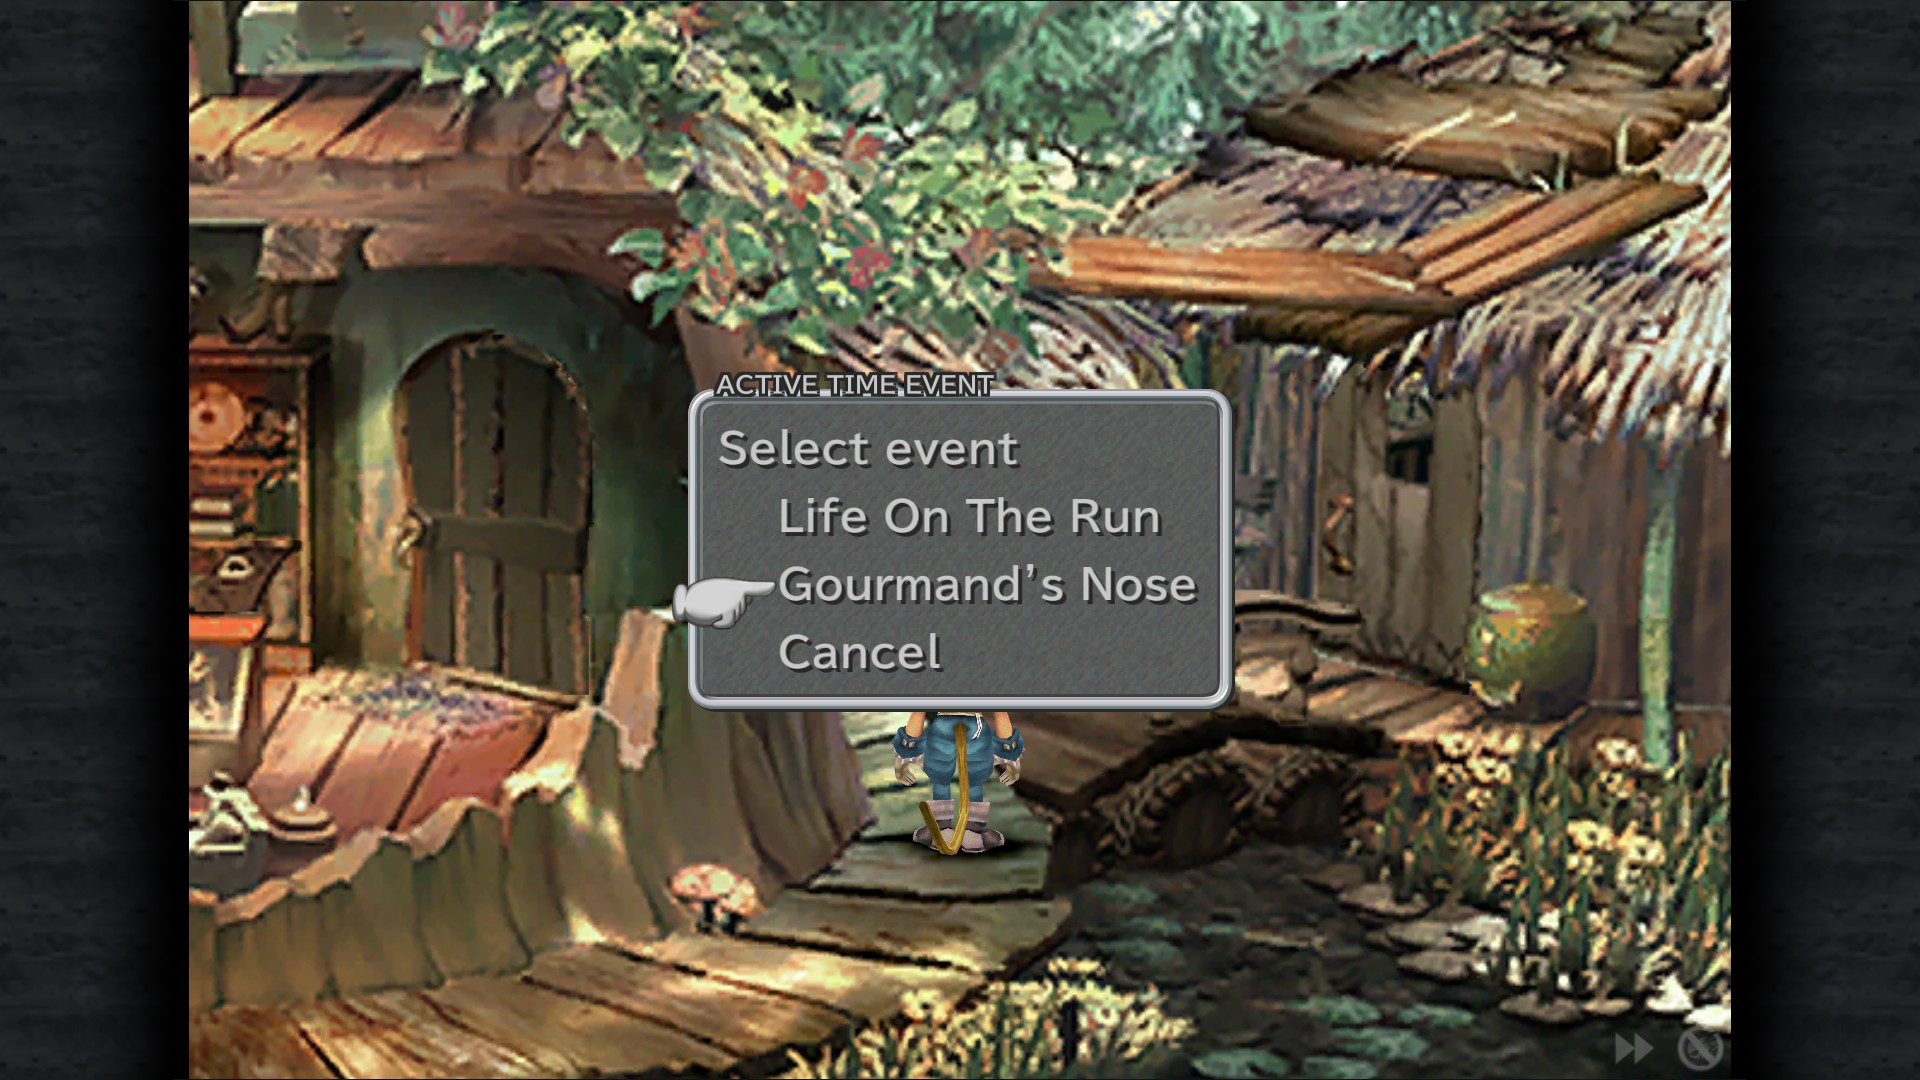
Go here:
Gourmand's Nose ATE - Item Shop
Ether - Item Shop (Bookcase)
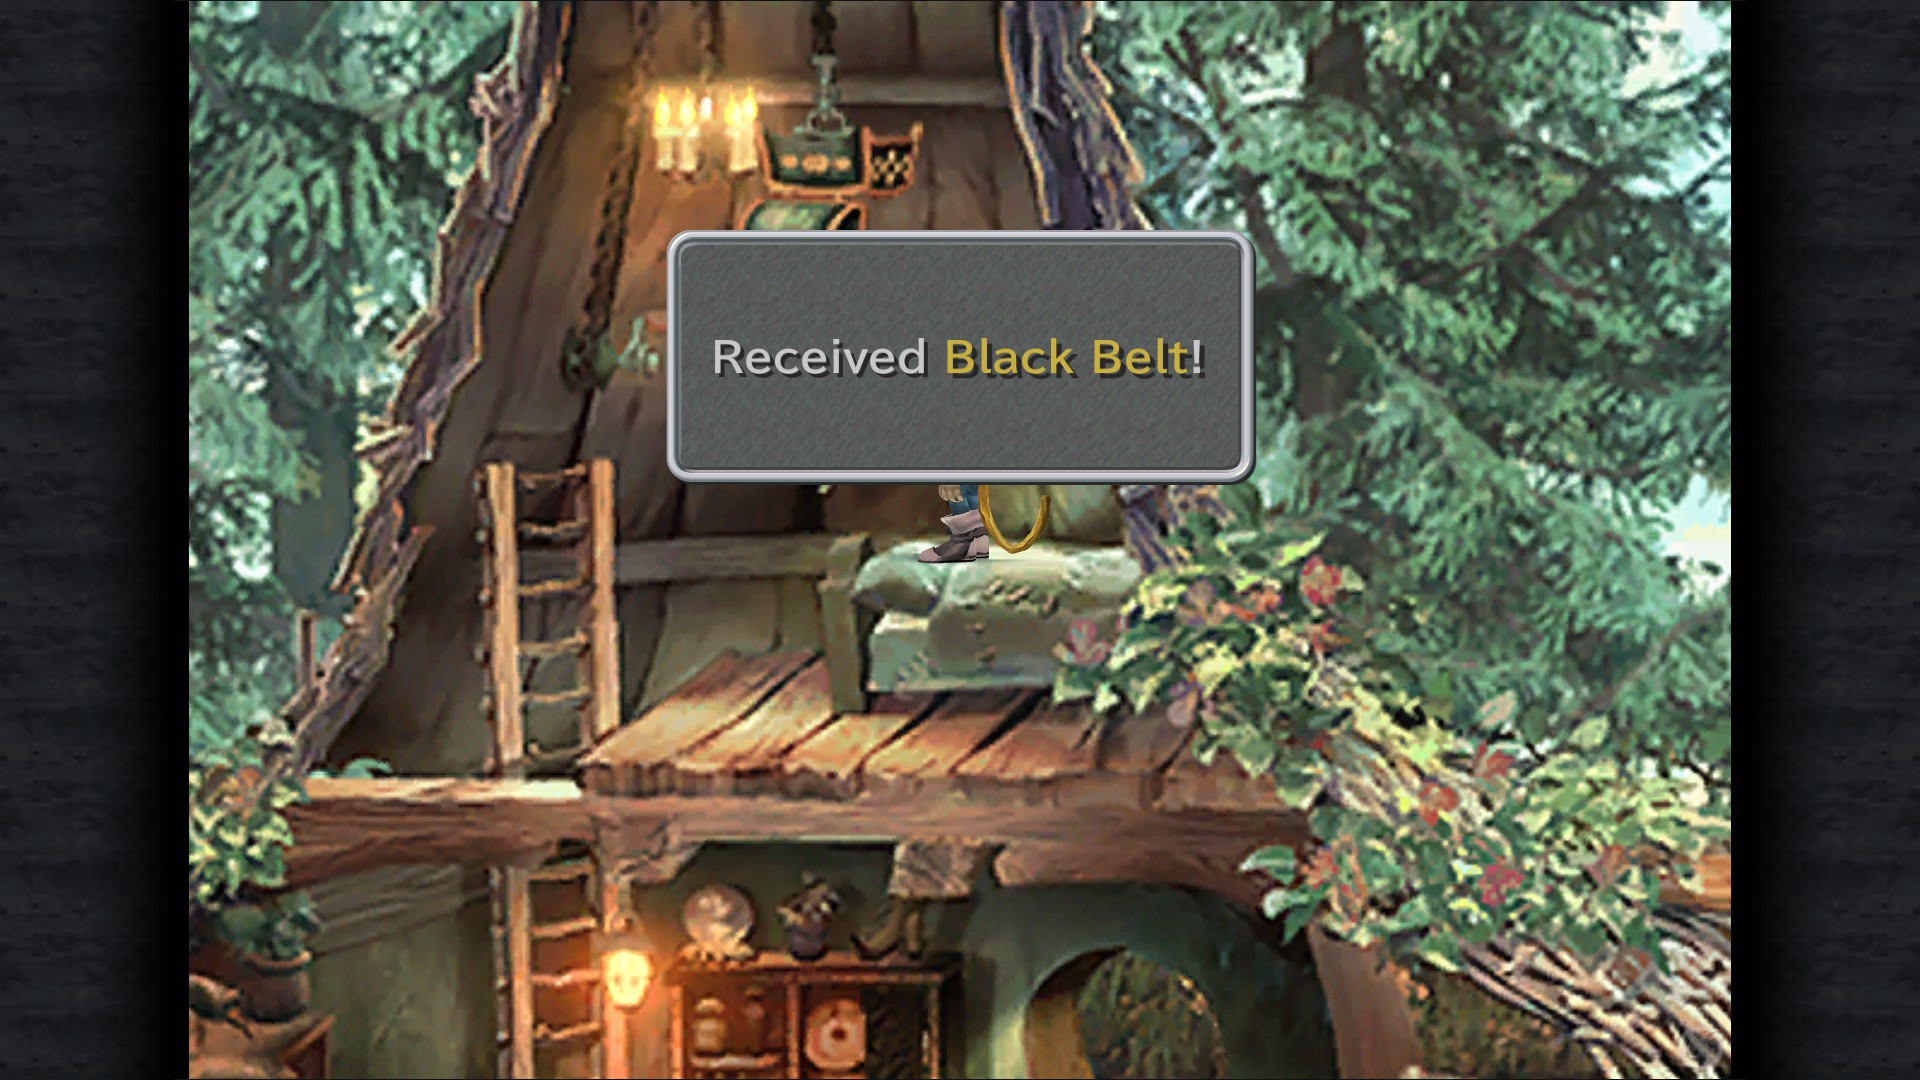
Black Belt - Item Shop (Upper floor)(Ask vendor for the usual)
Now return to the entrance and take the right path:
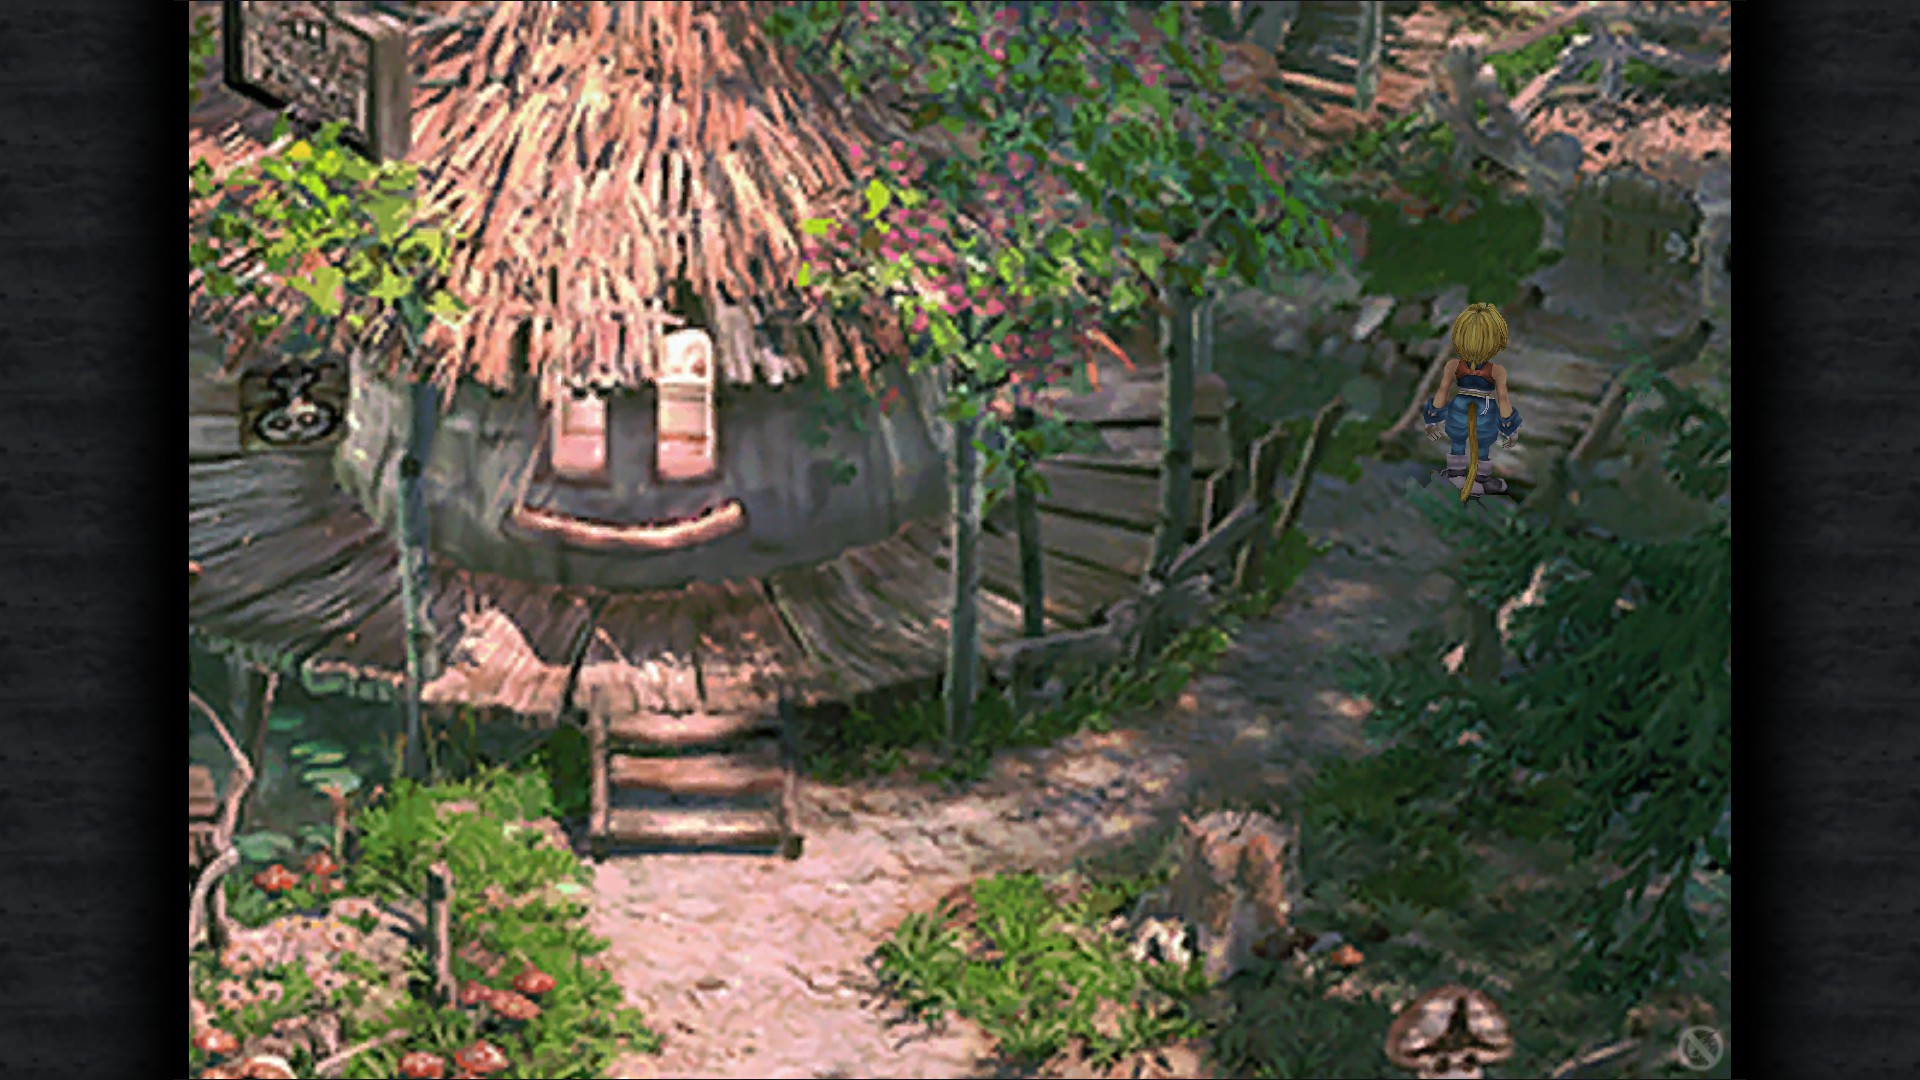
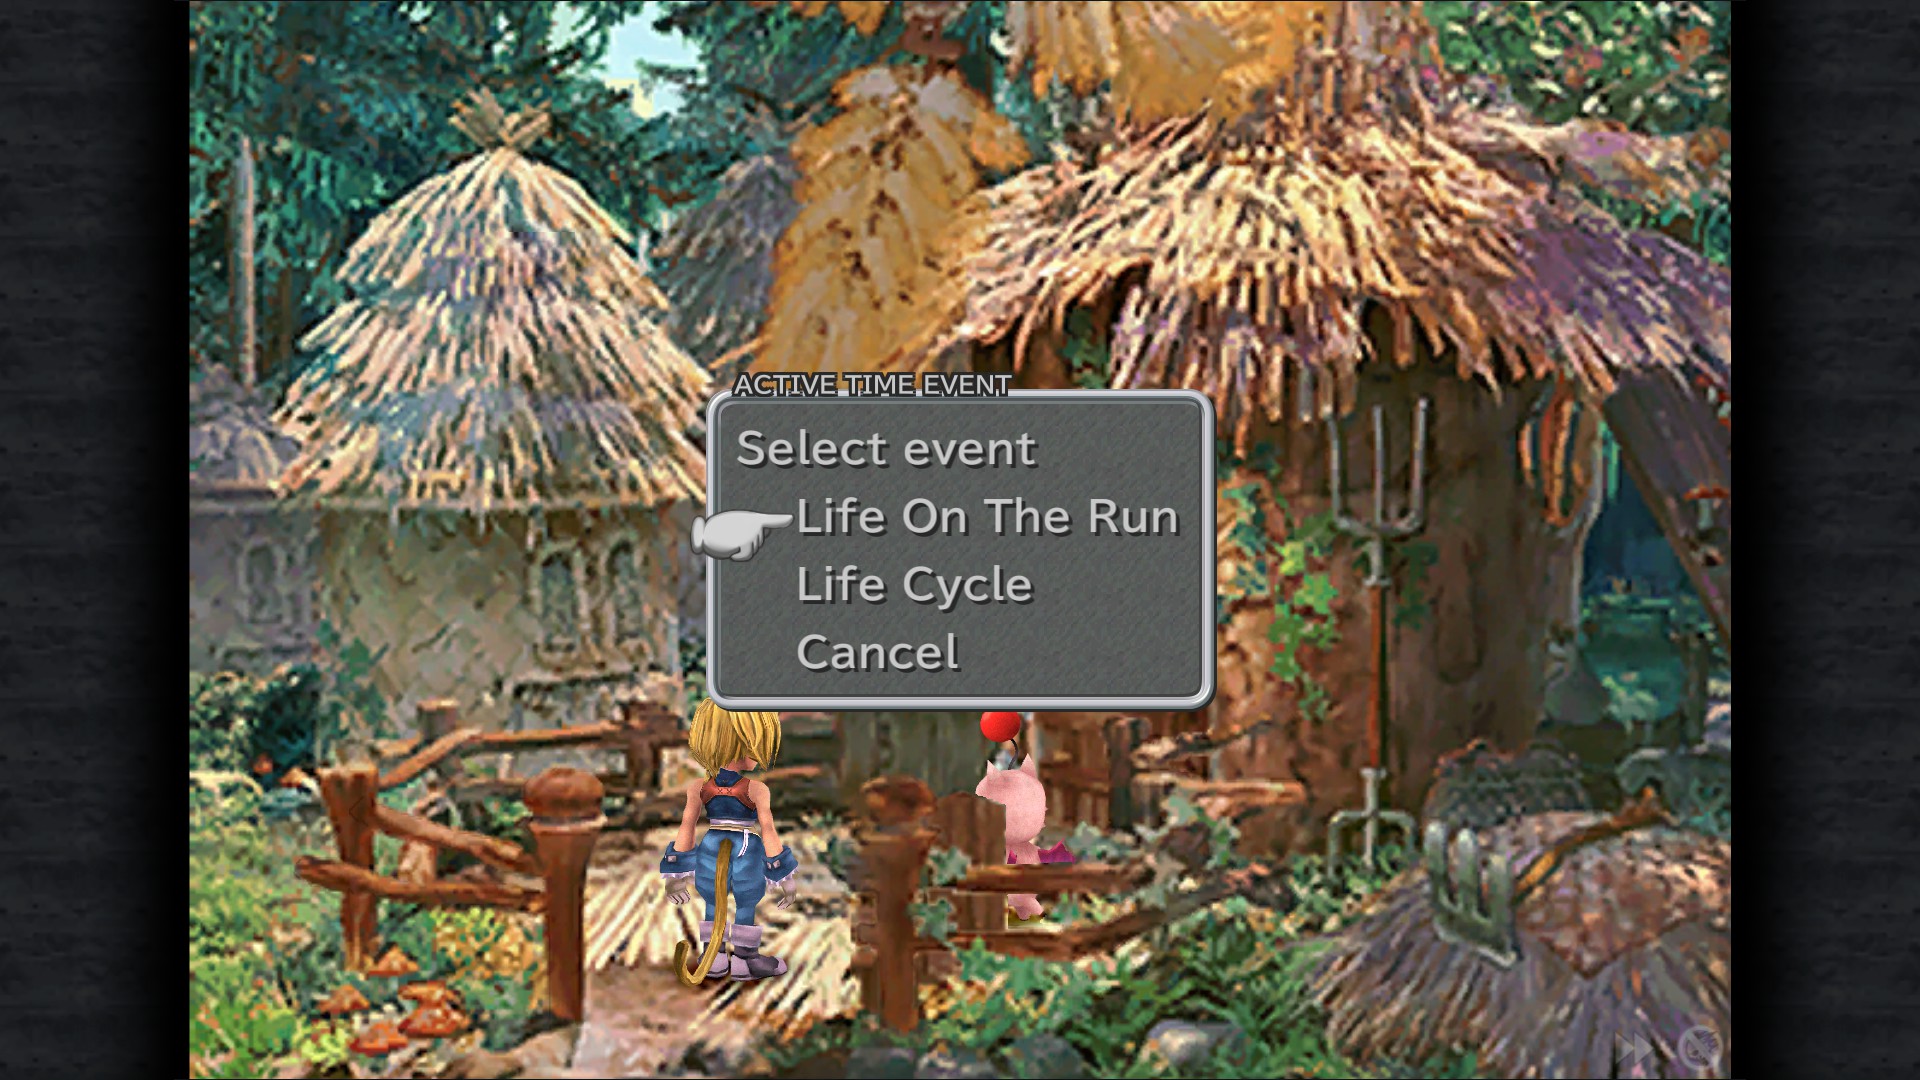
Life on the Run ATE - Water Mill
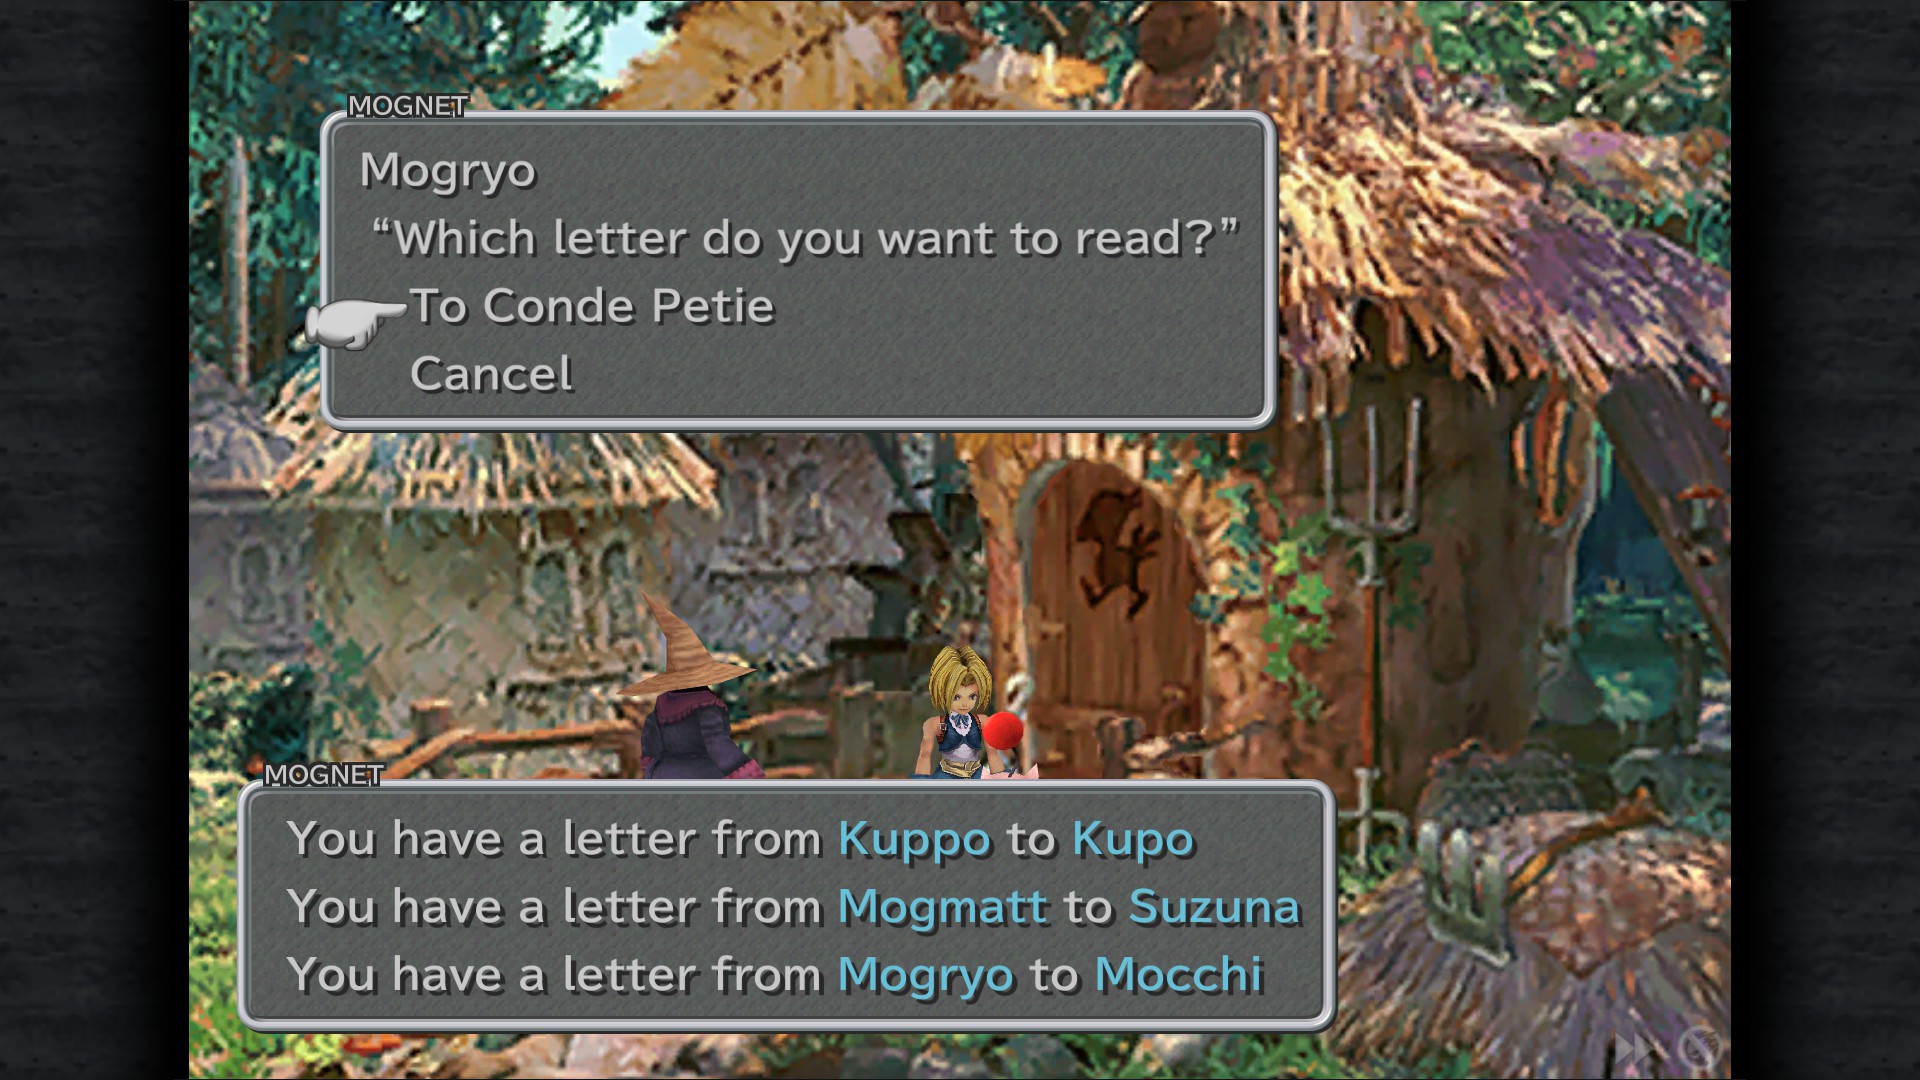
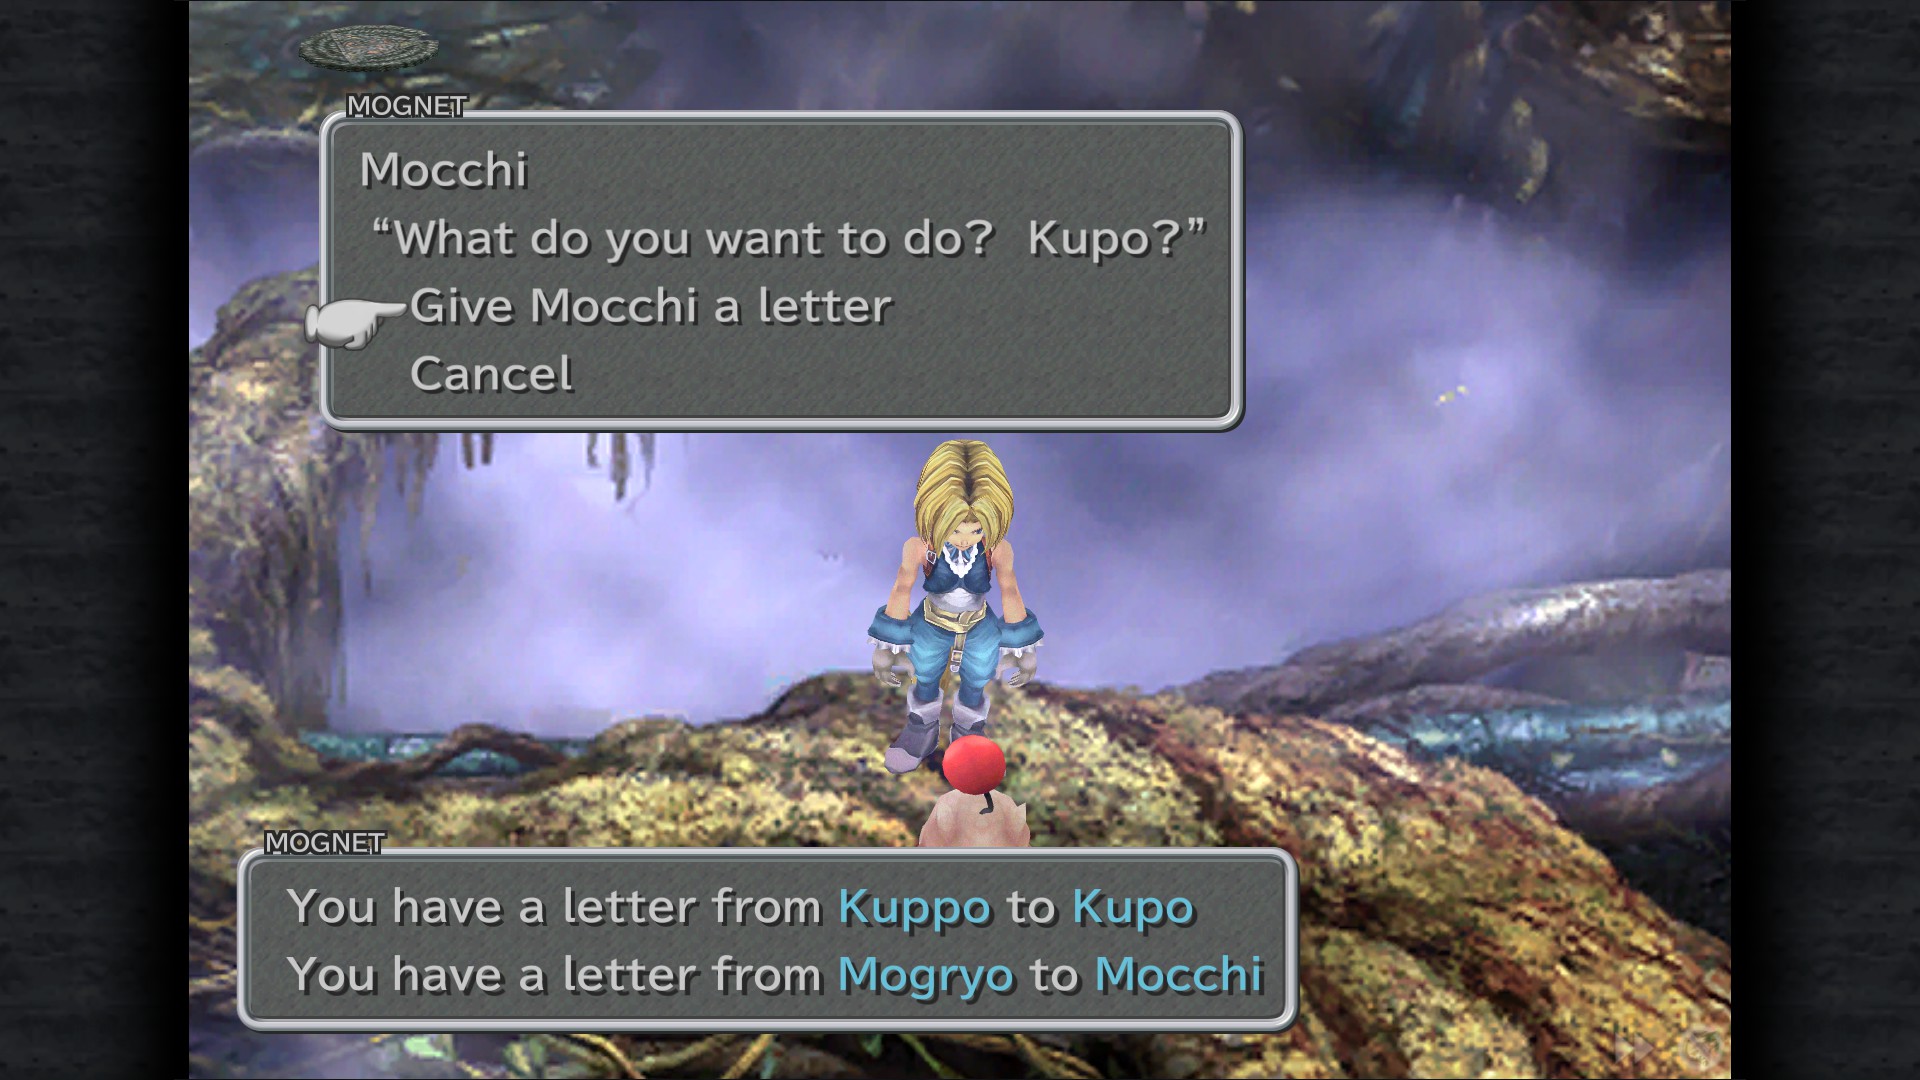
Mognet - Pickup the letter for delivery (Mogryo to Mocchi)
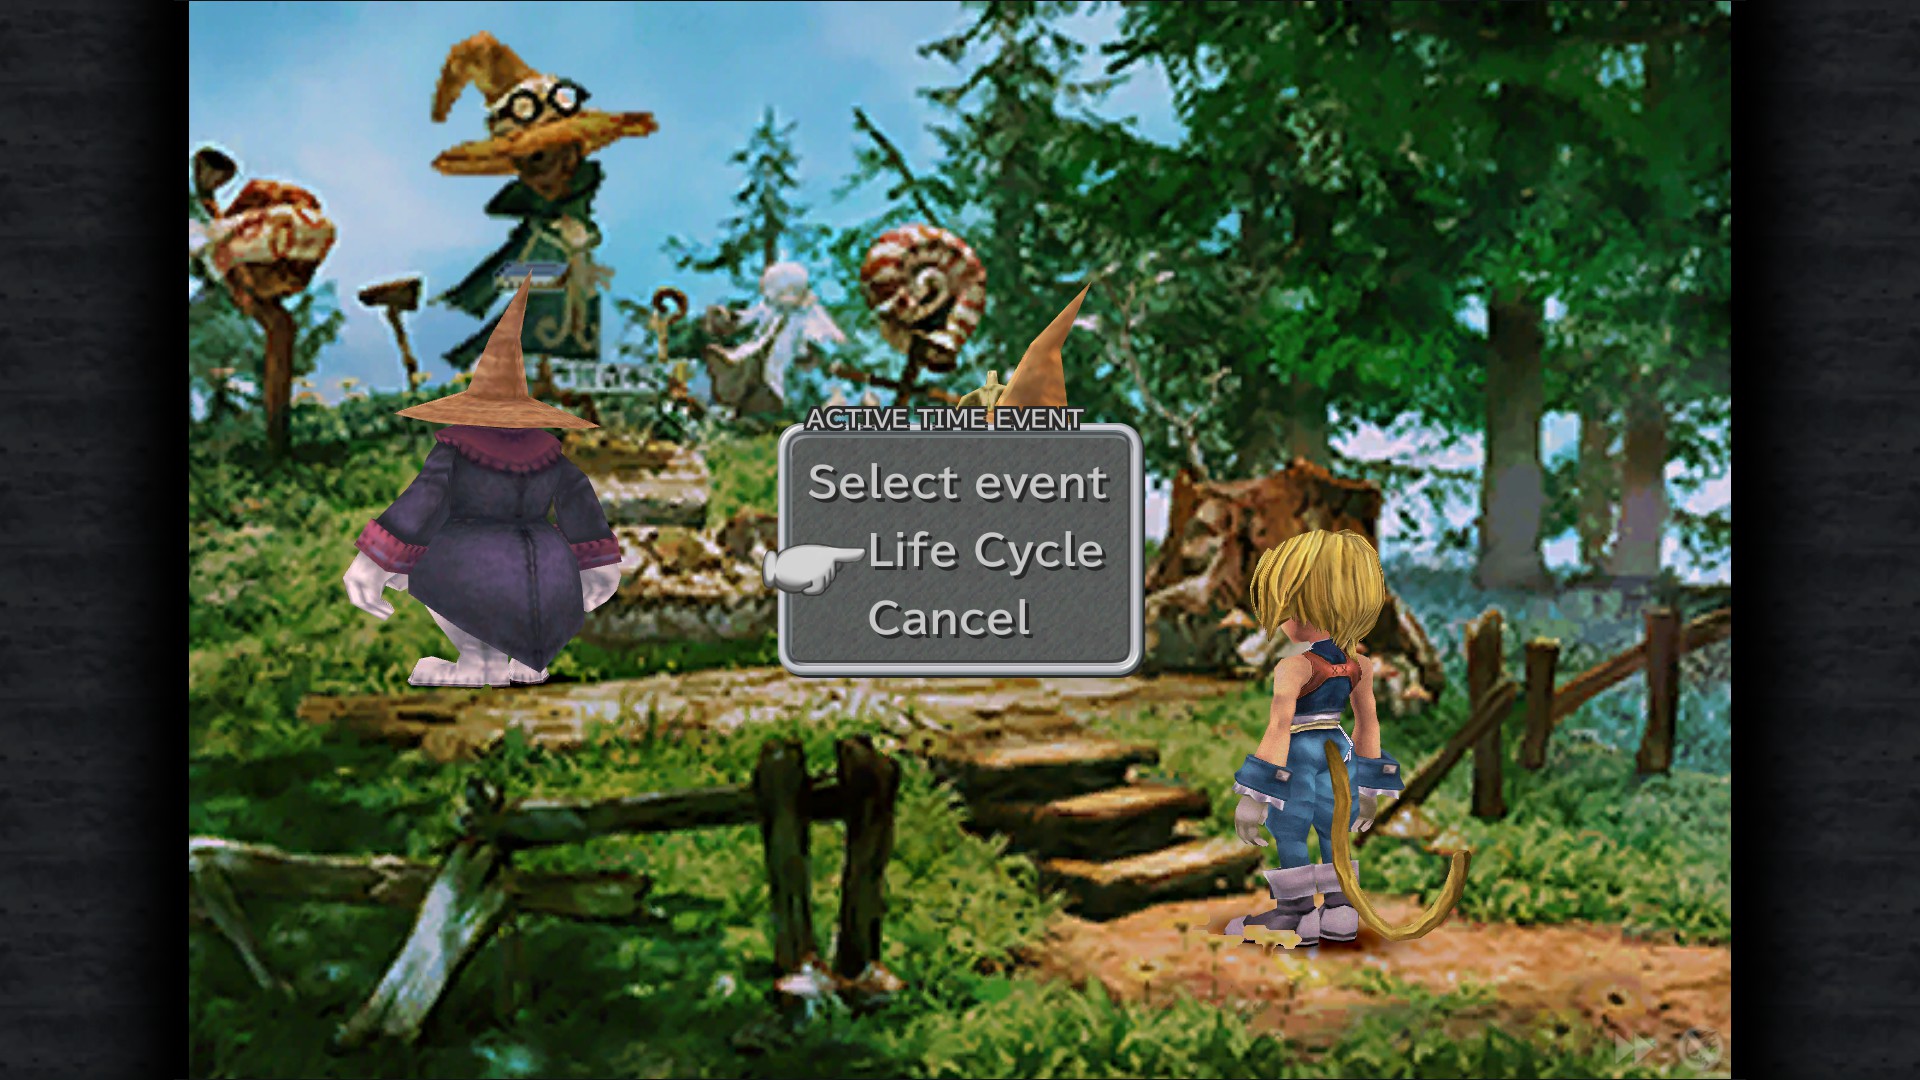
[color=red]DO NOT WALK INTO THE CHOCOBO HUT. Doing so will miss out on the Life Cycle ATE[/color]
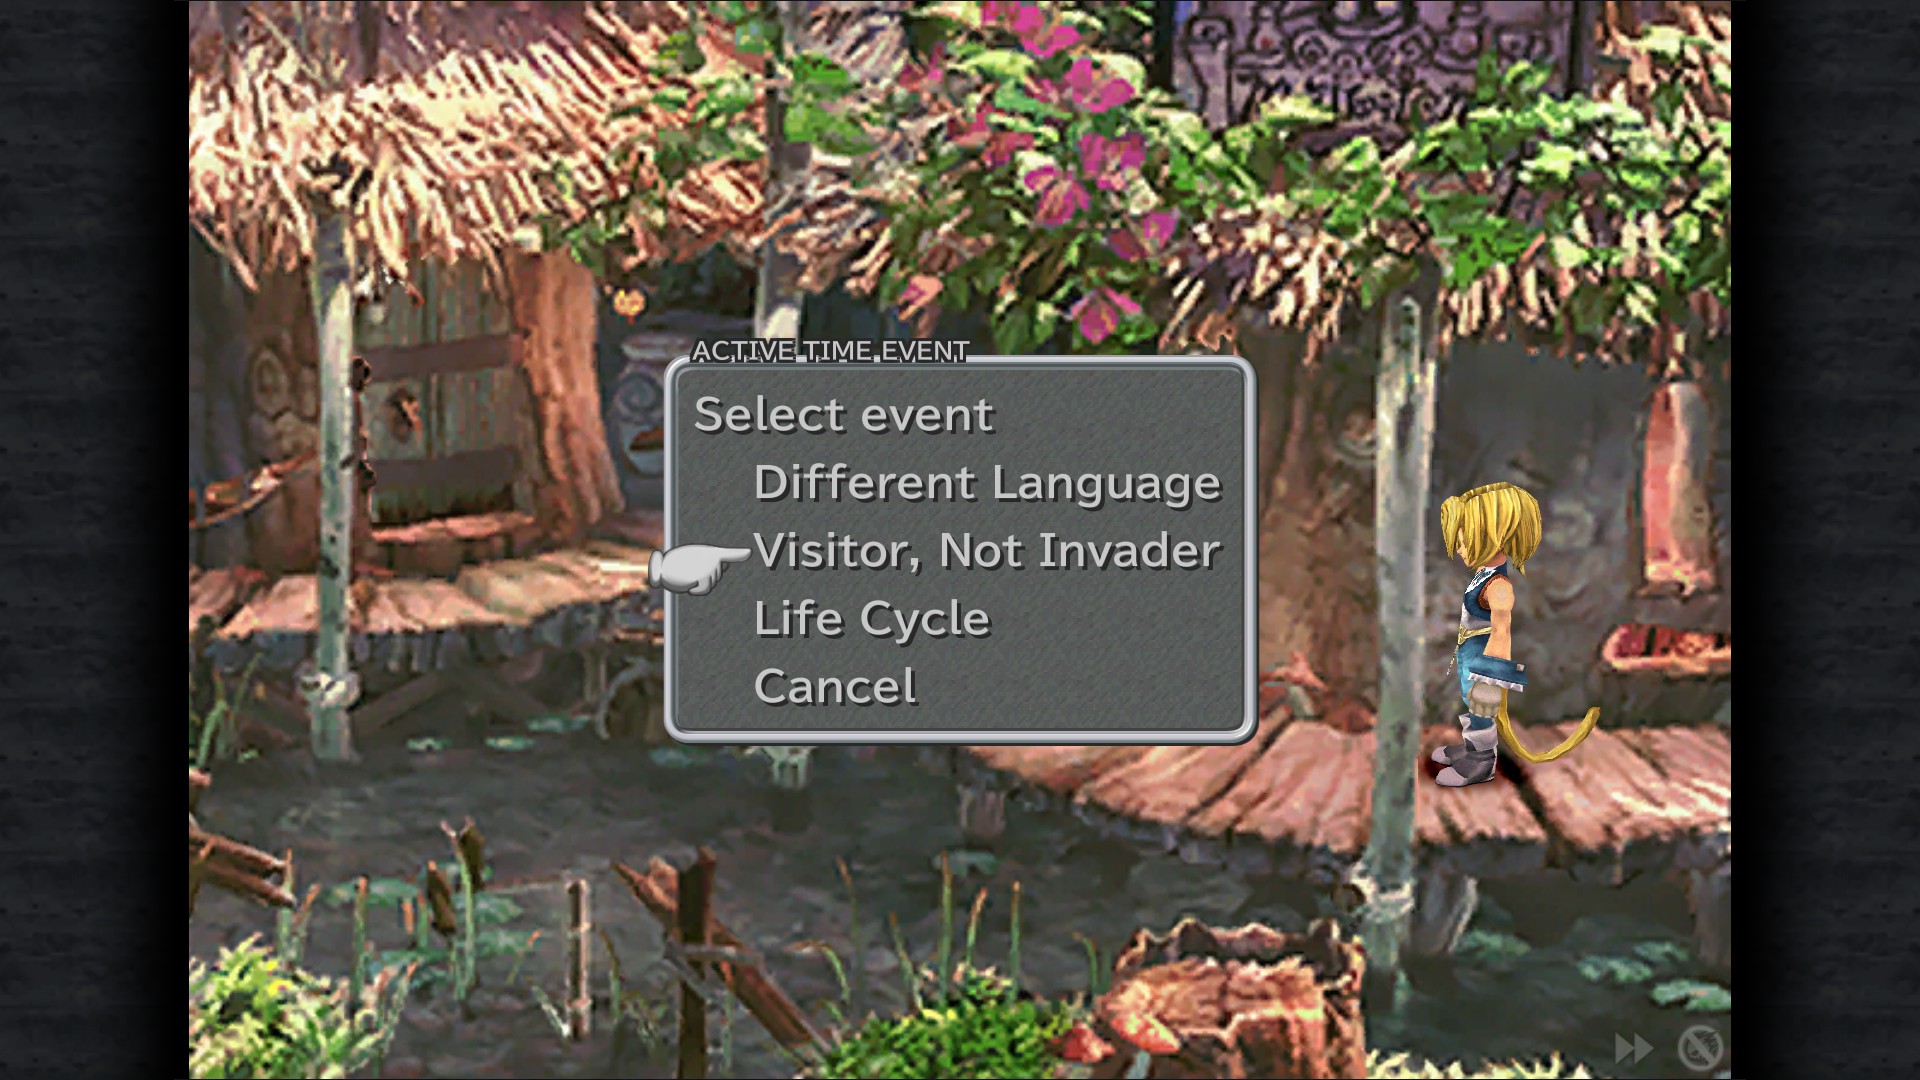
Visitor, Not Invader ATE - Pond
Different Language ATE - Walk to the Cemetery (don't watch it by yourself)(Forced)
Life Cycle ATE - Cemetery
2000 Gil - Synthesist
843 Gil - Rooftop
Gysahl Greens - Chocobo Stable
Virgo* - Inn
Mognet: "To Conde Petie" - Water Mill (Only available after the scene with Vivi at the Inn)
Sidenote: The weapon store here is one of the few places where you can buy Bandana, Chain Plate, Leather Plate, and Mythril Vest, and they become unobtainable later in the game.
A synthesis recipe requires Bandana.
A synthesis recipe requires Mythril Vest.
Conde Petie
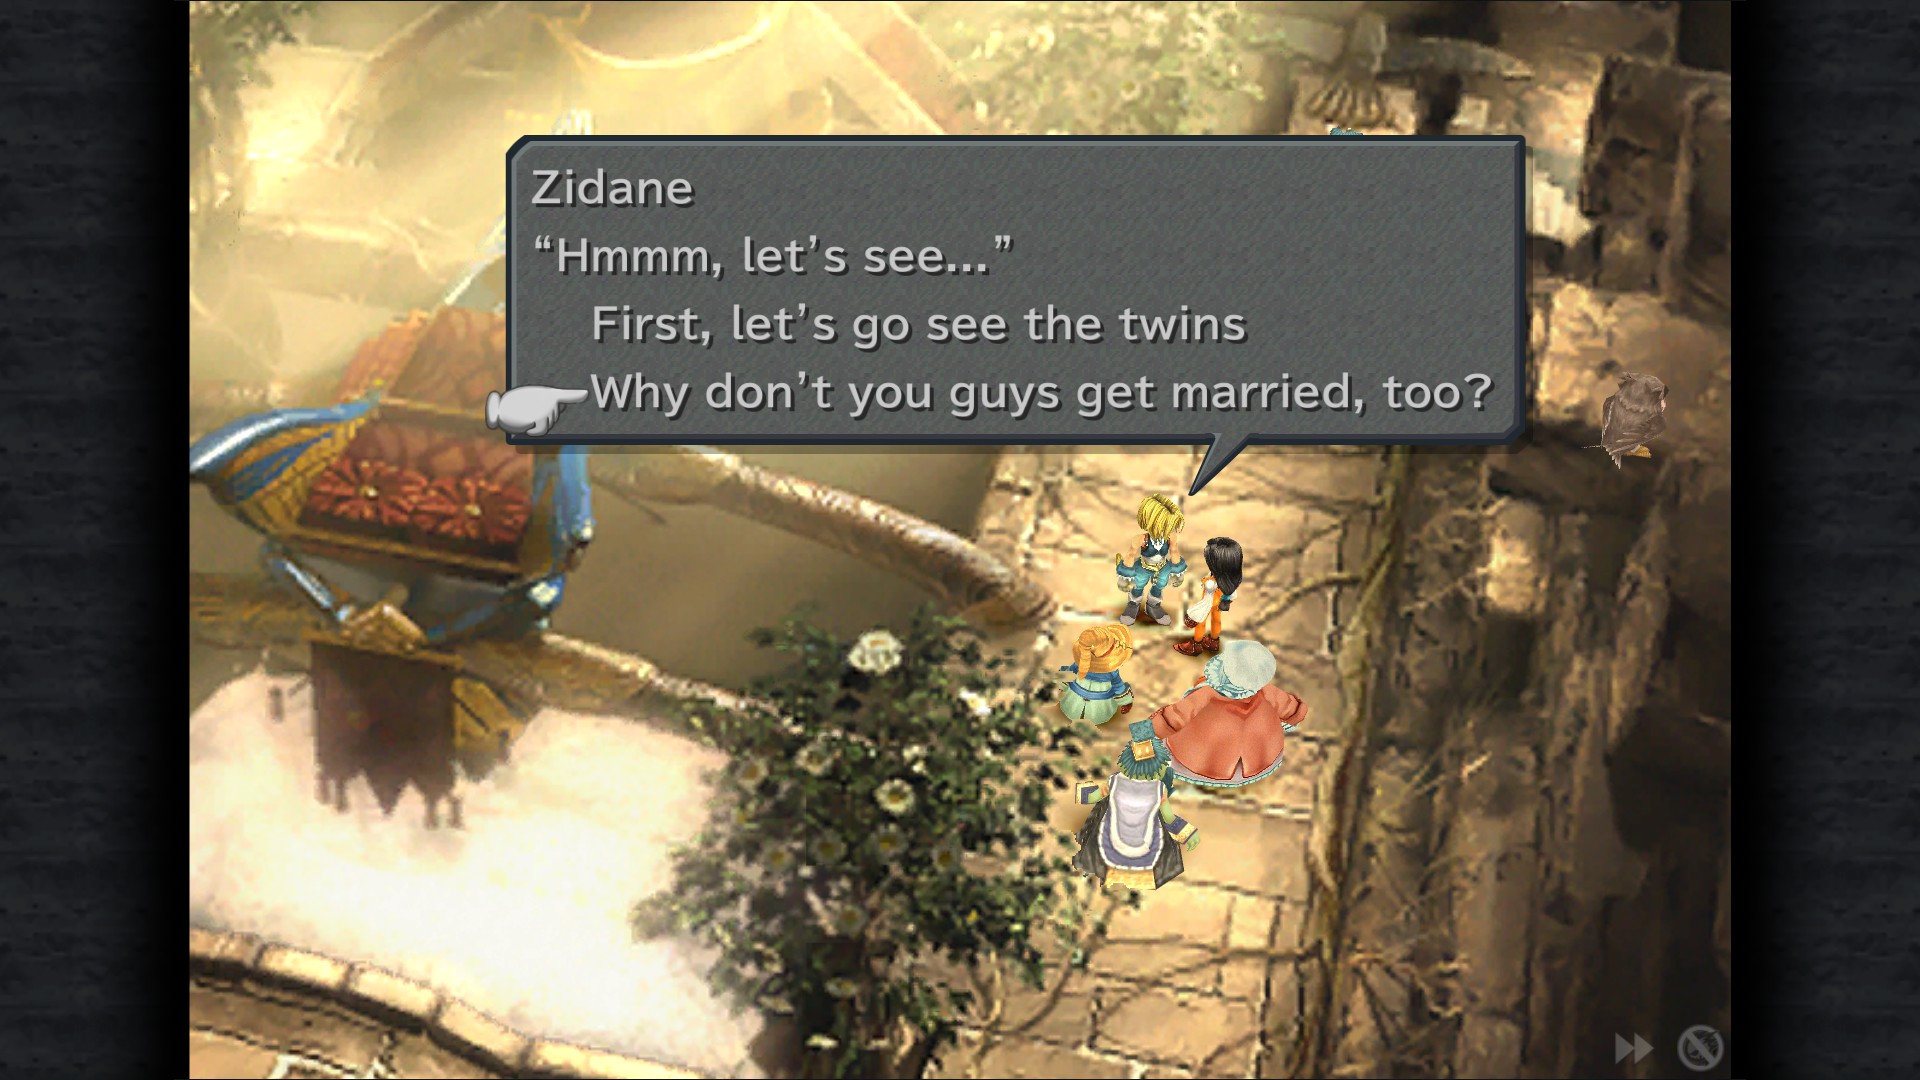
Choose "Why don't you guys get married, too?" after marriage ceremony.
Nuptial Joy ATE - Forced if you choose the option from above
Conde Petie Mountain Path
Remedy - On the upper ledge , first area
Tent - Right ledge of first area
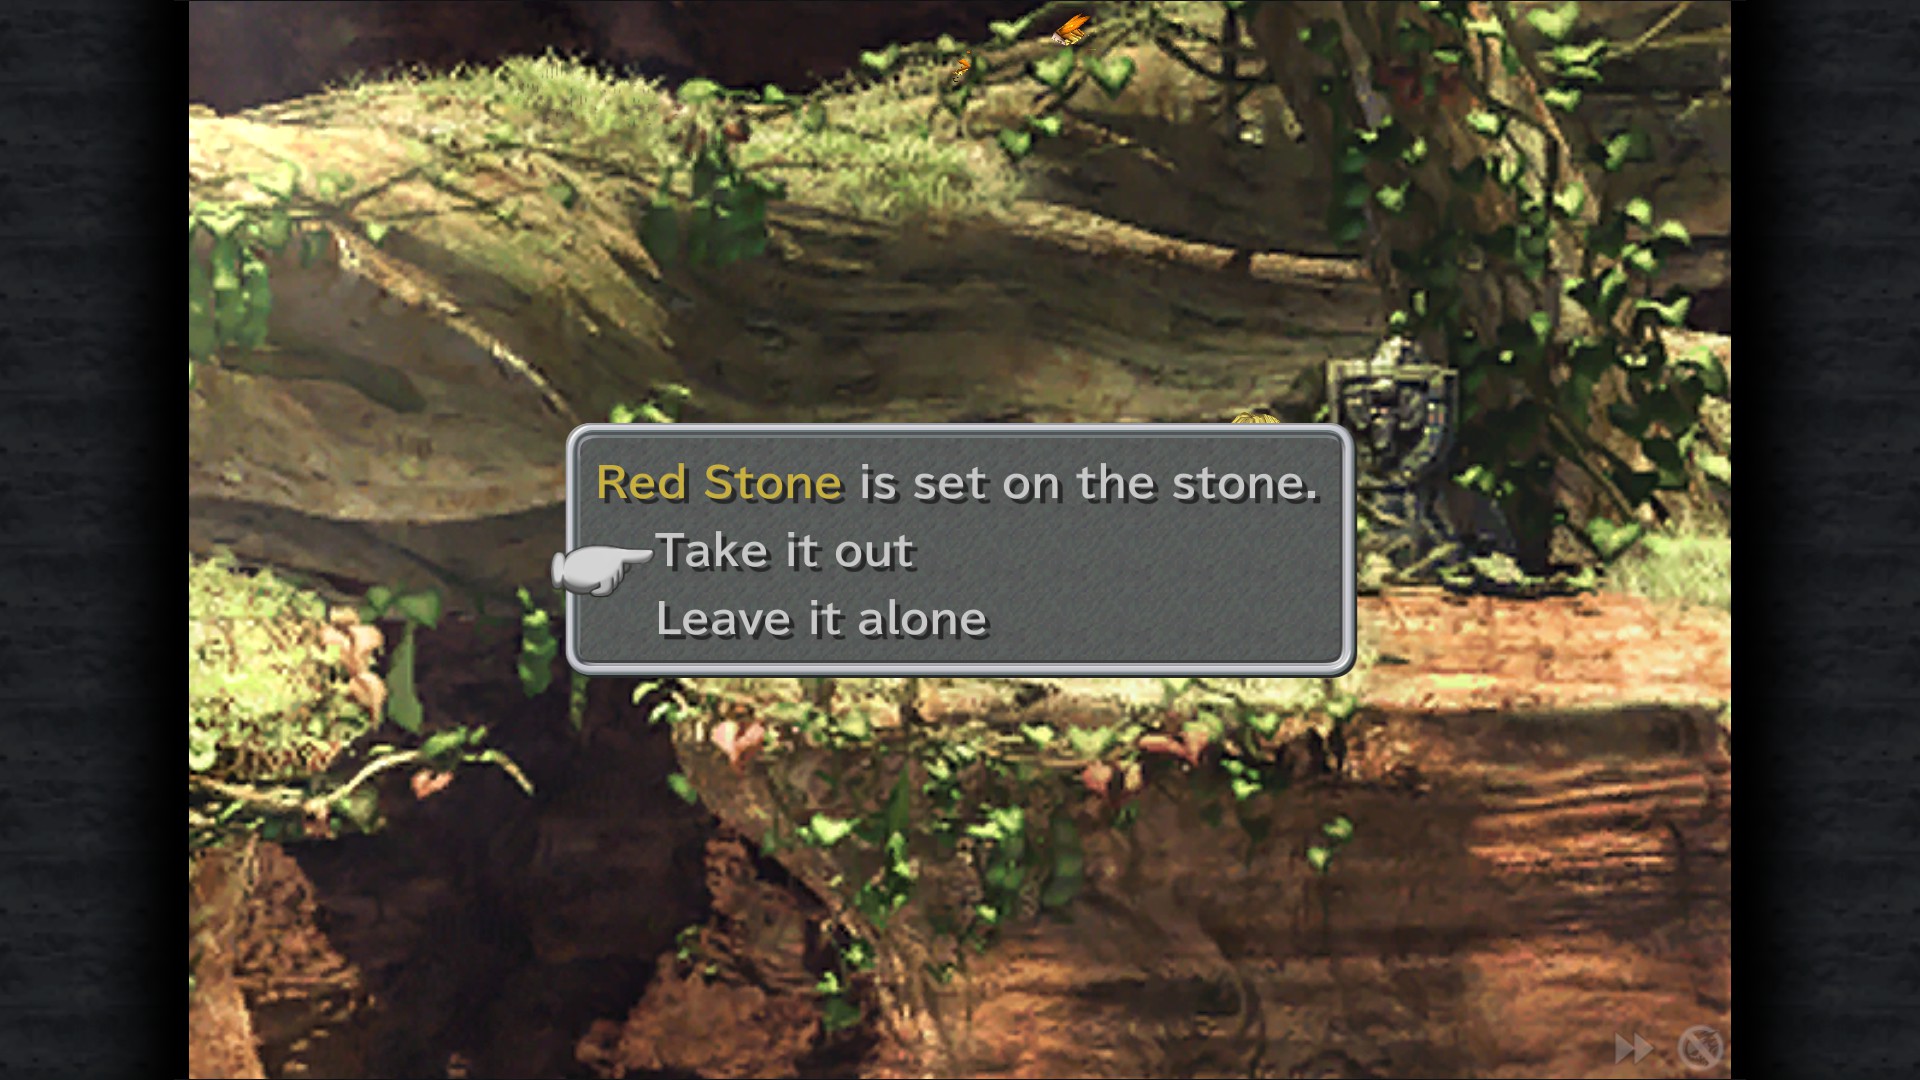
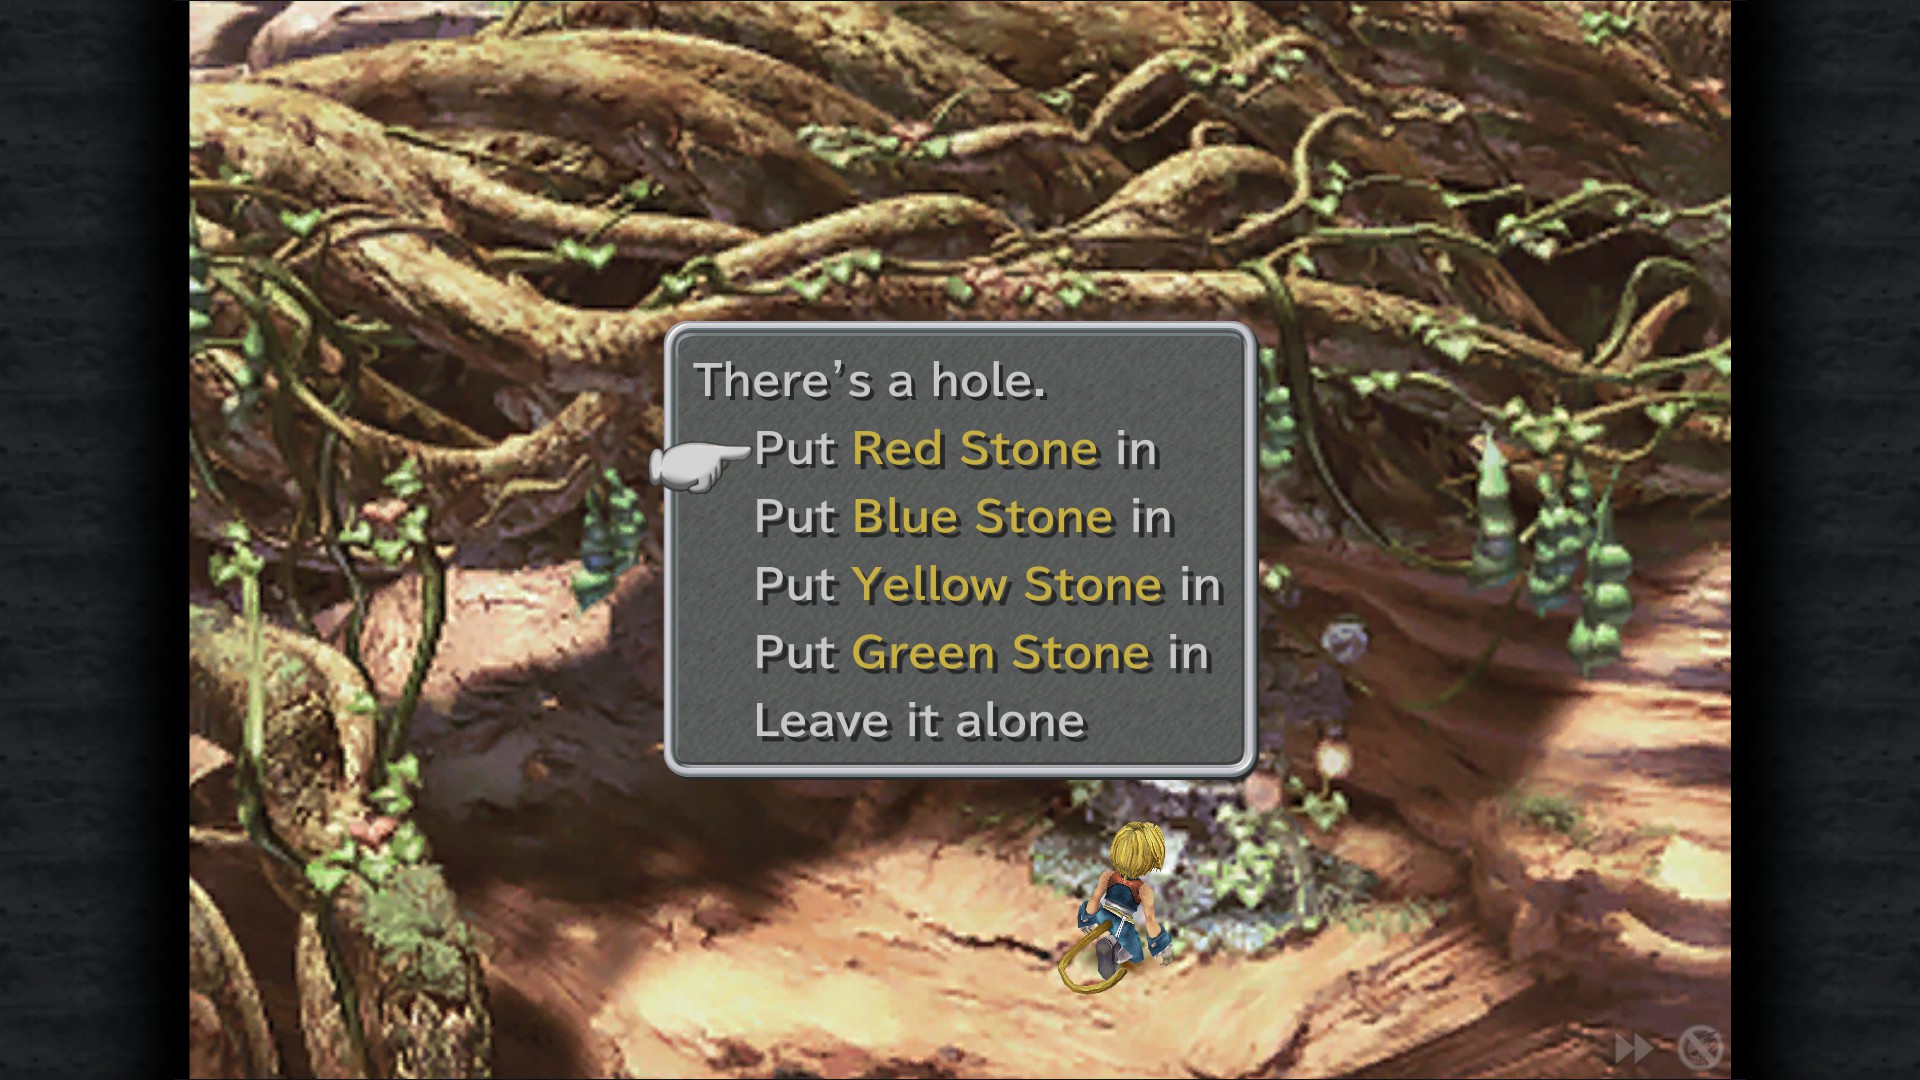
Red Stone - Statue, right ledge of the first area
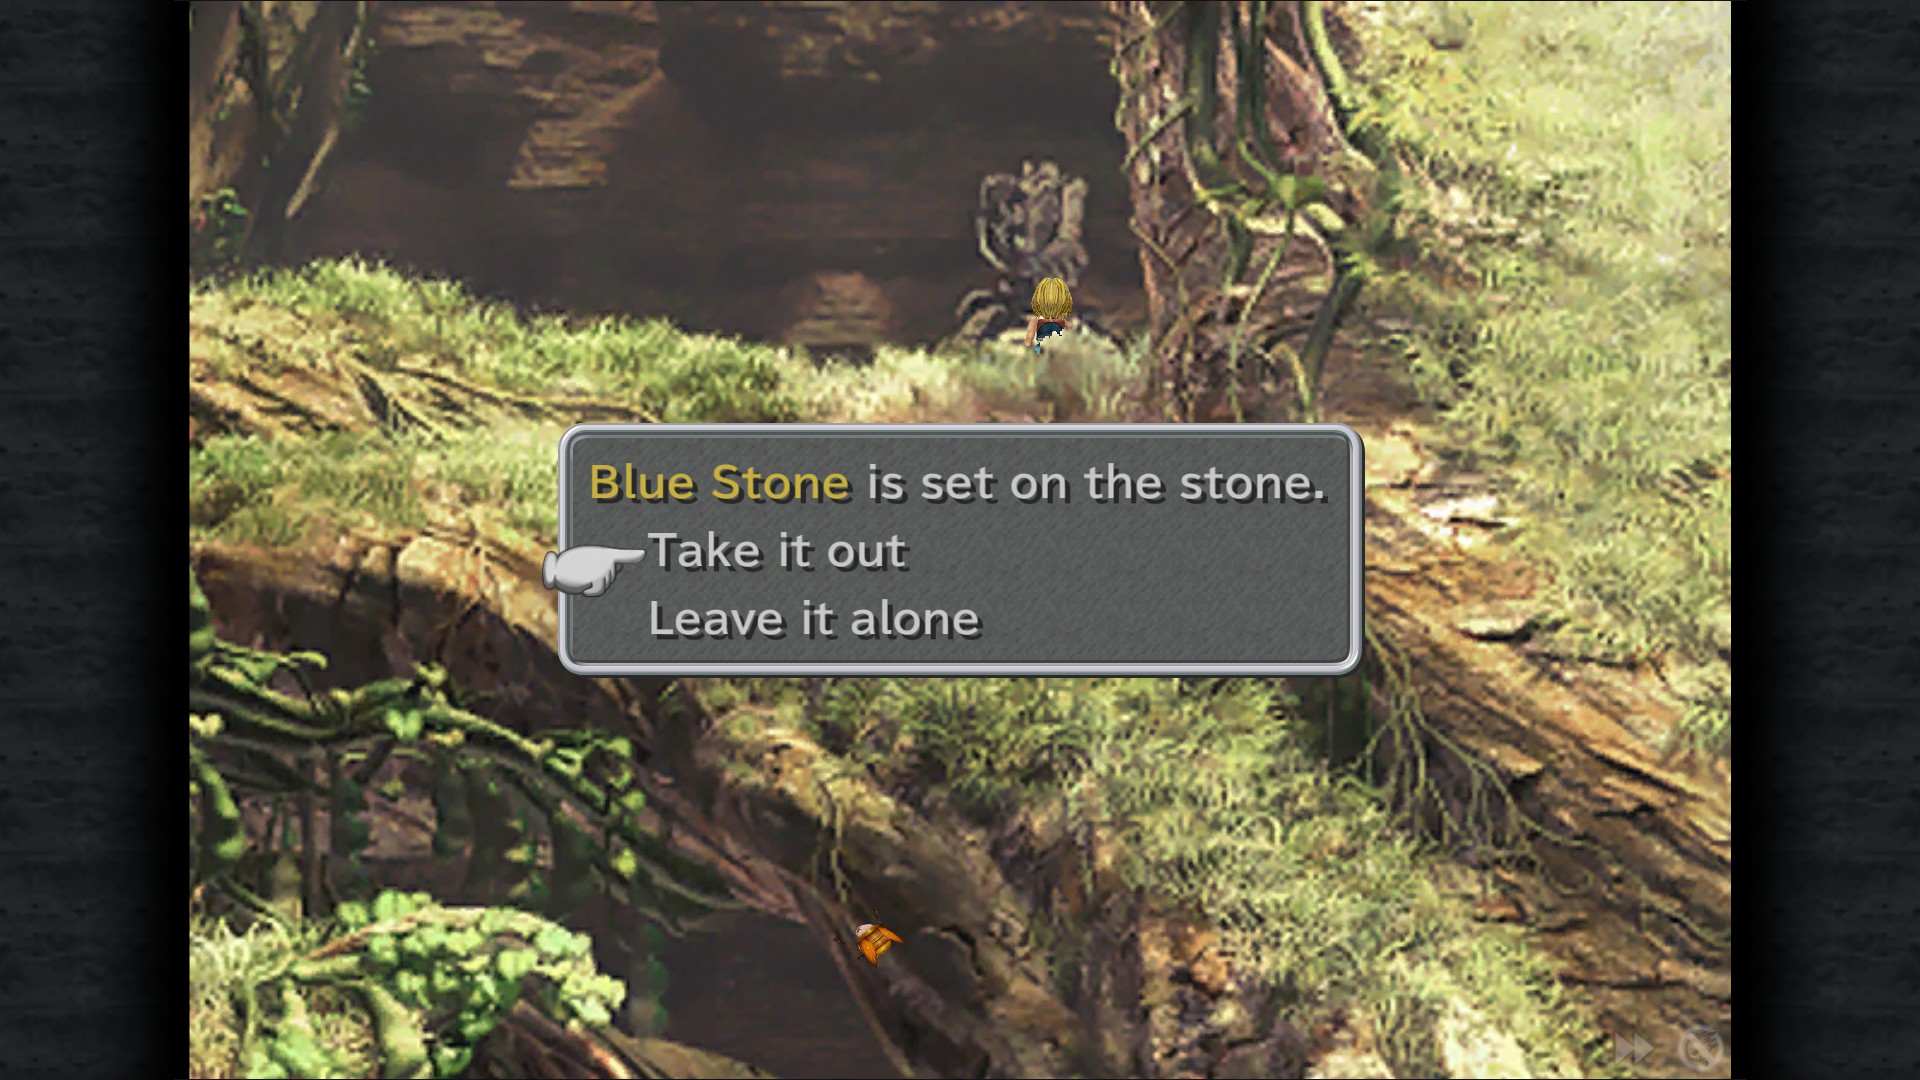
Blue Stone - Statue on upper ledge
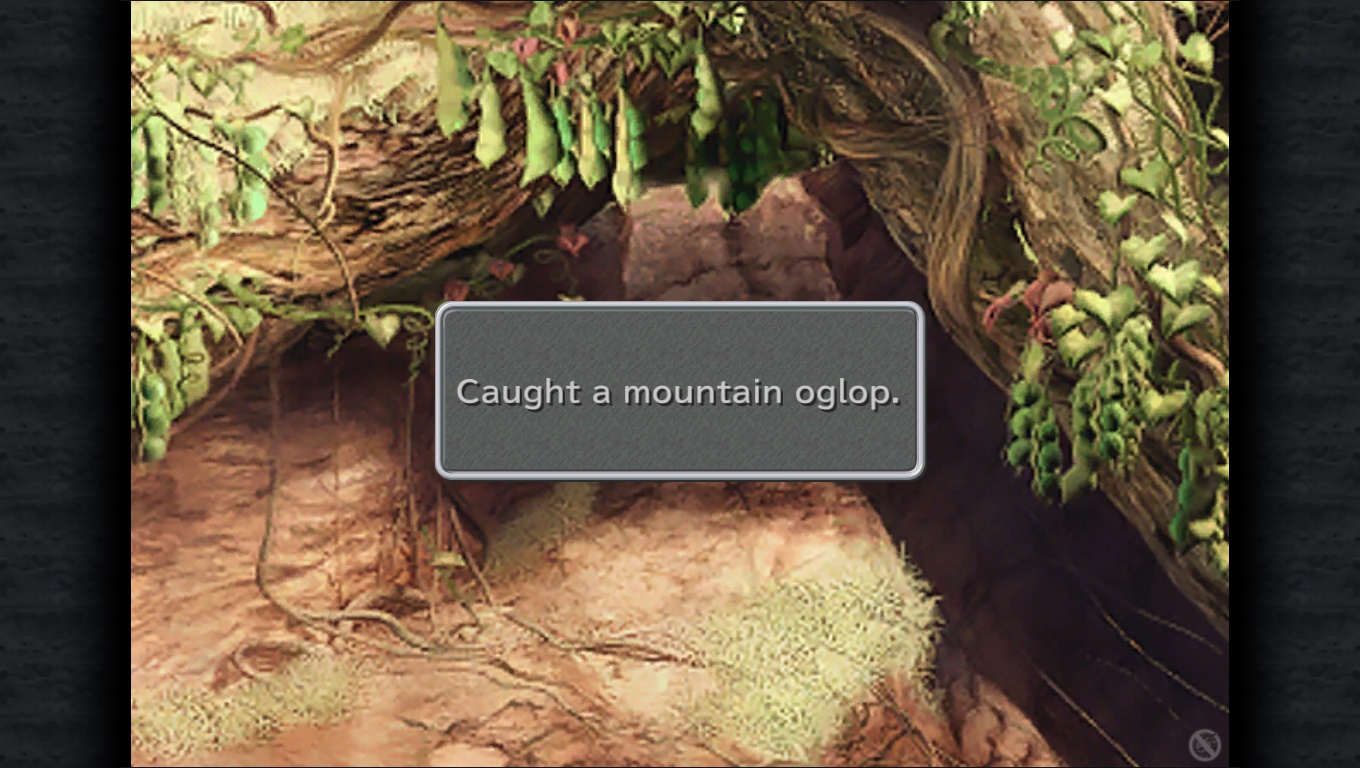
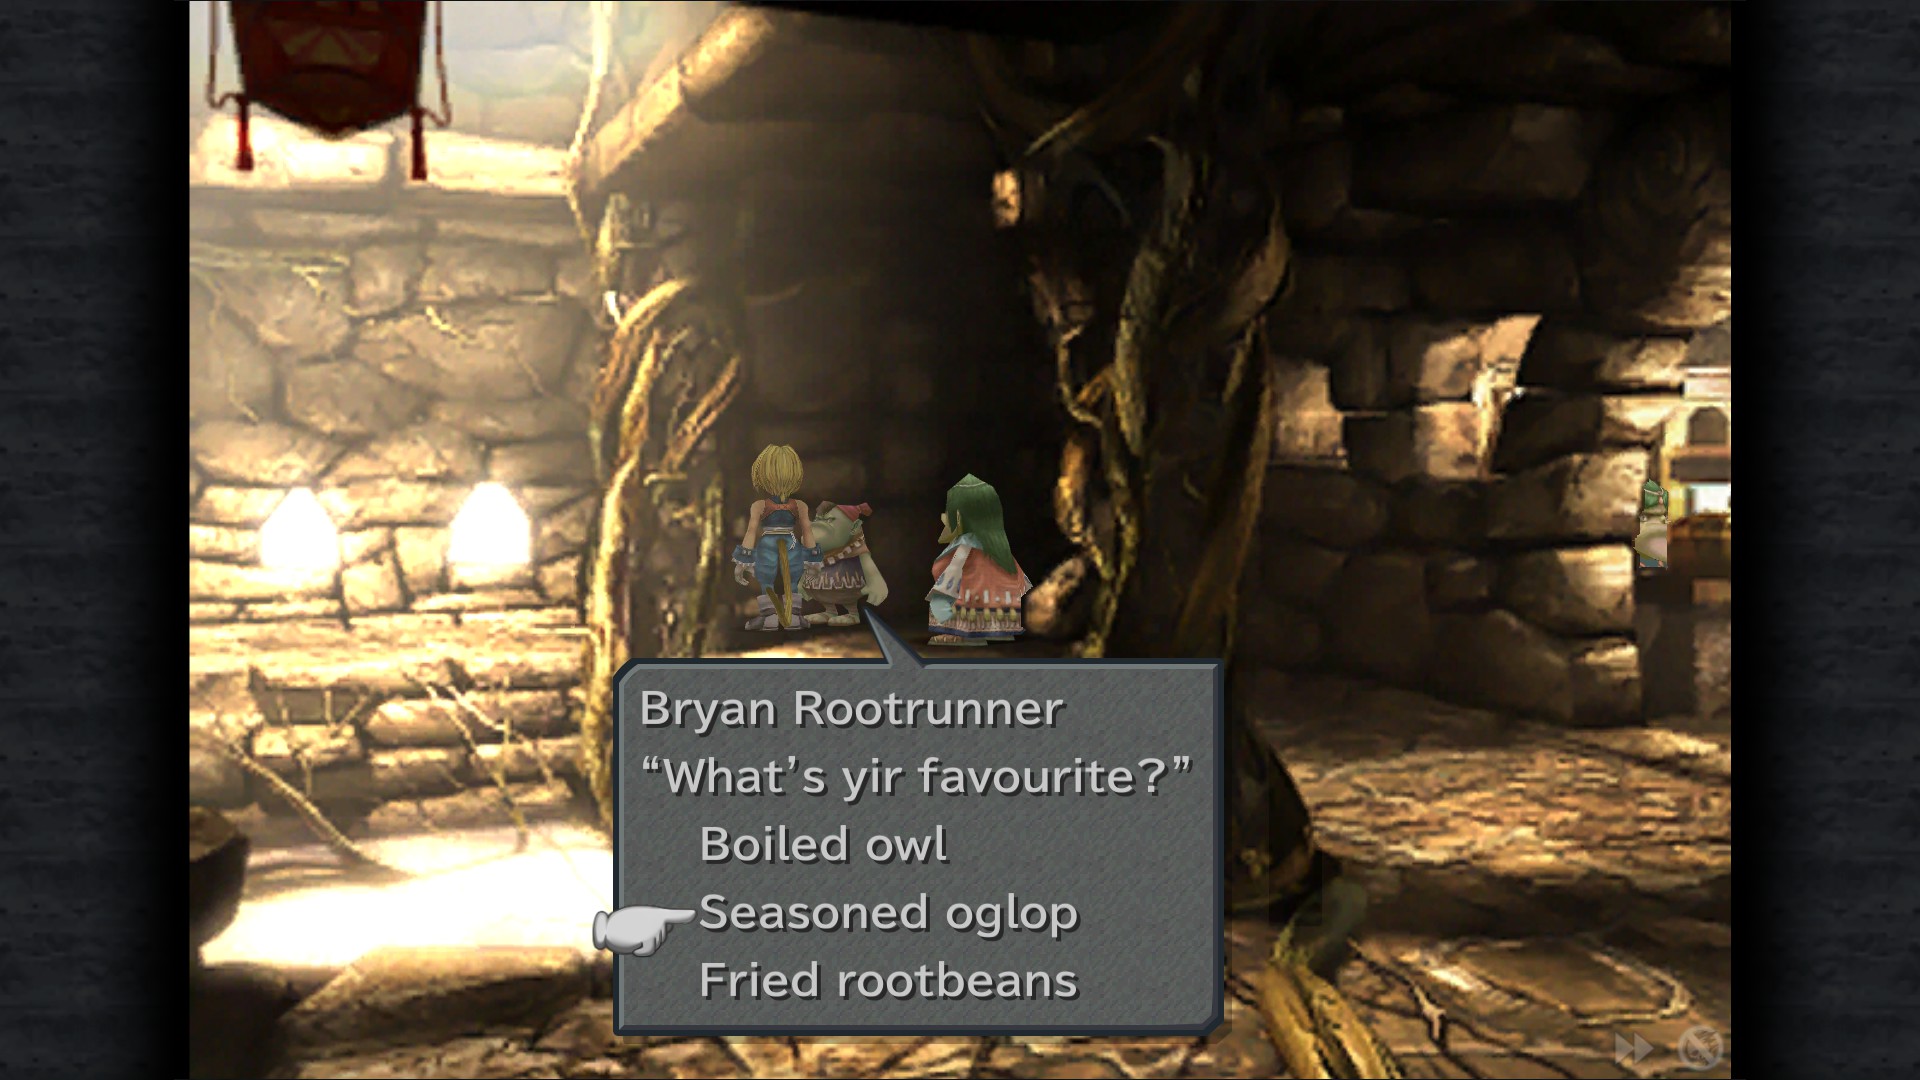
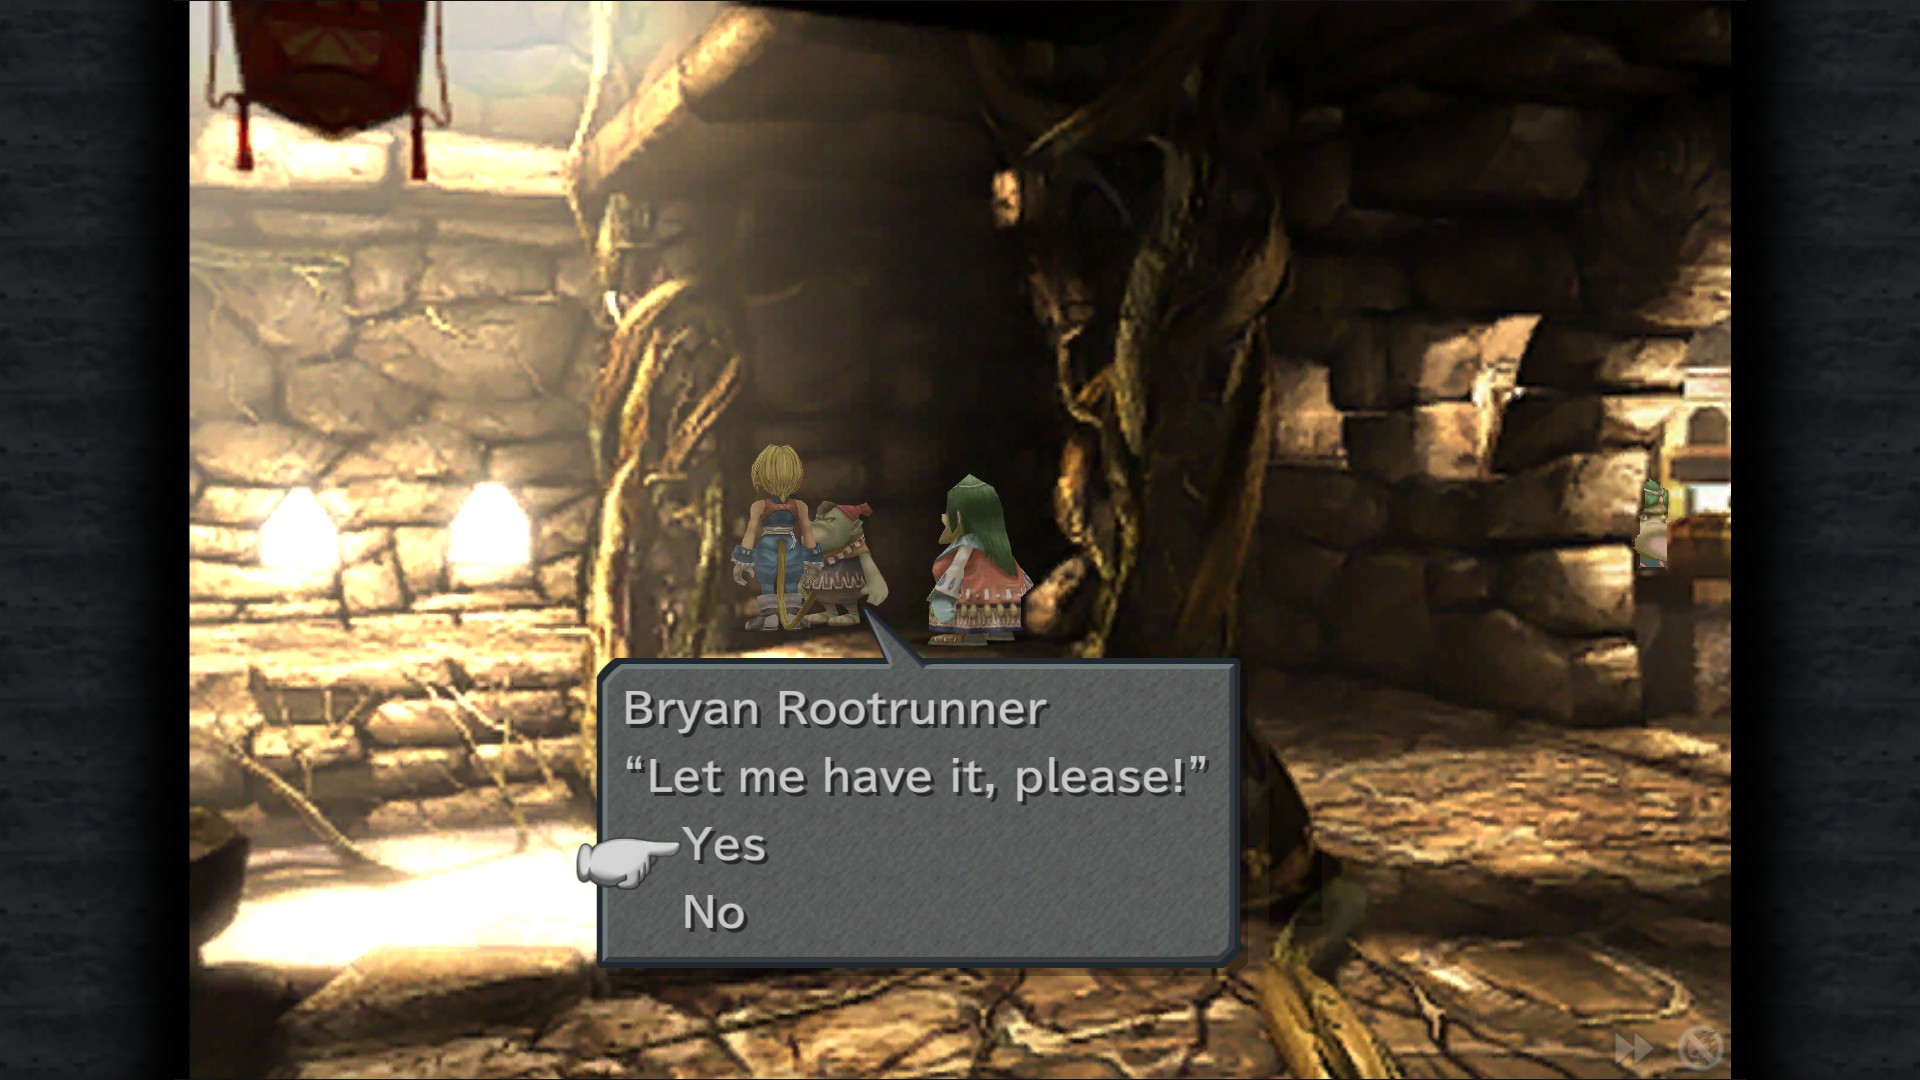
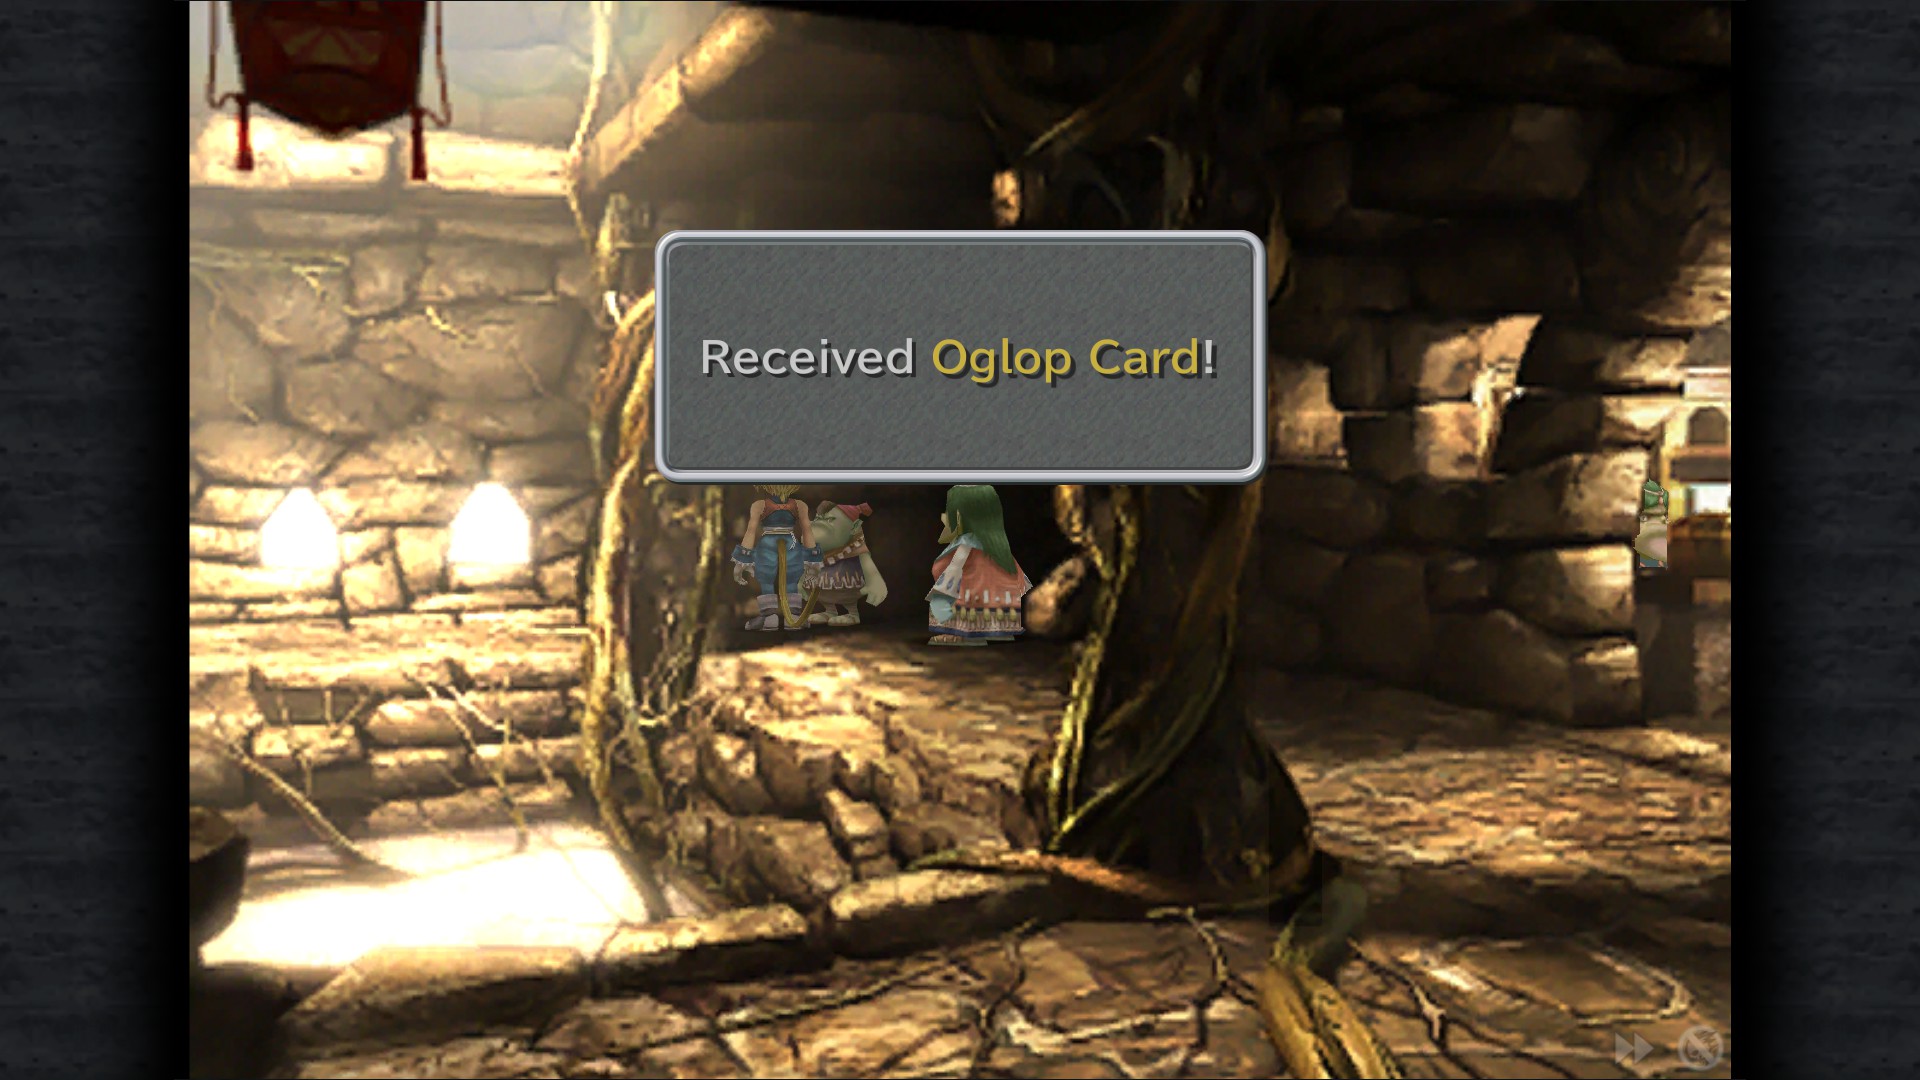
Oglop Card - Capture an Oglop at the trail, then give it to the boy behind the grocery shop
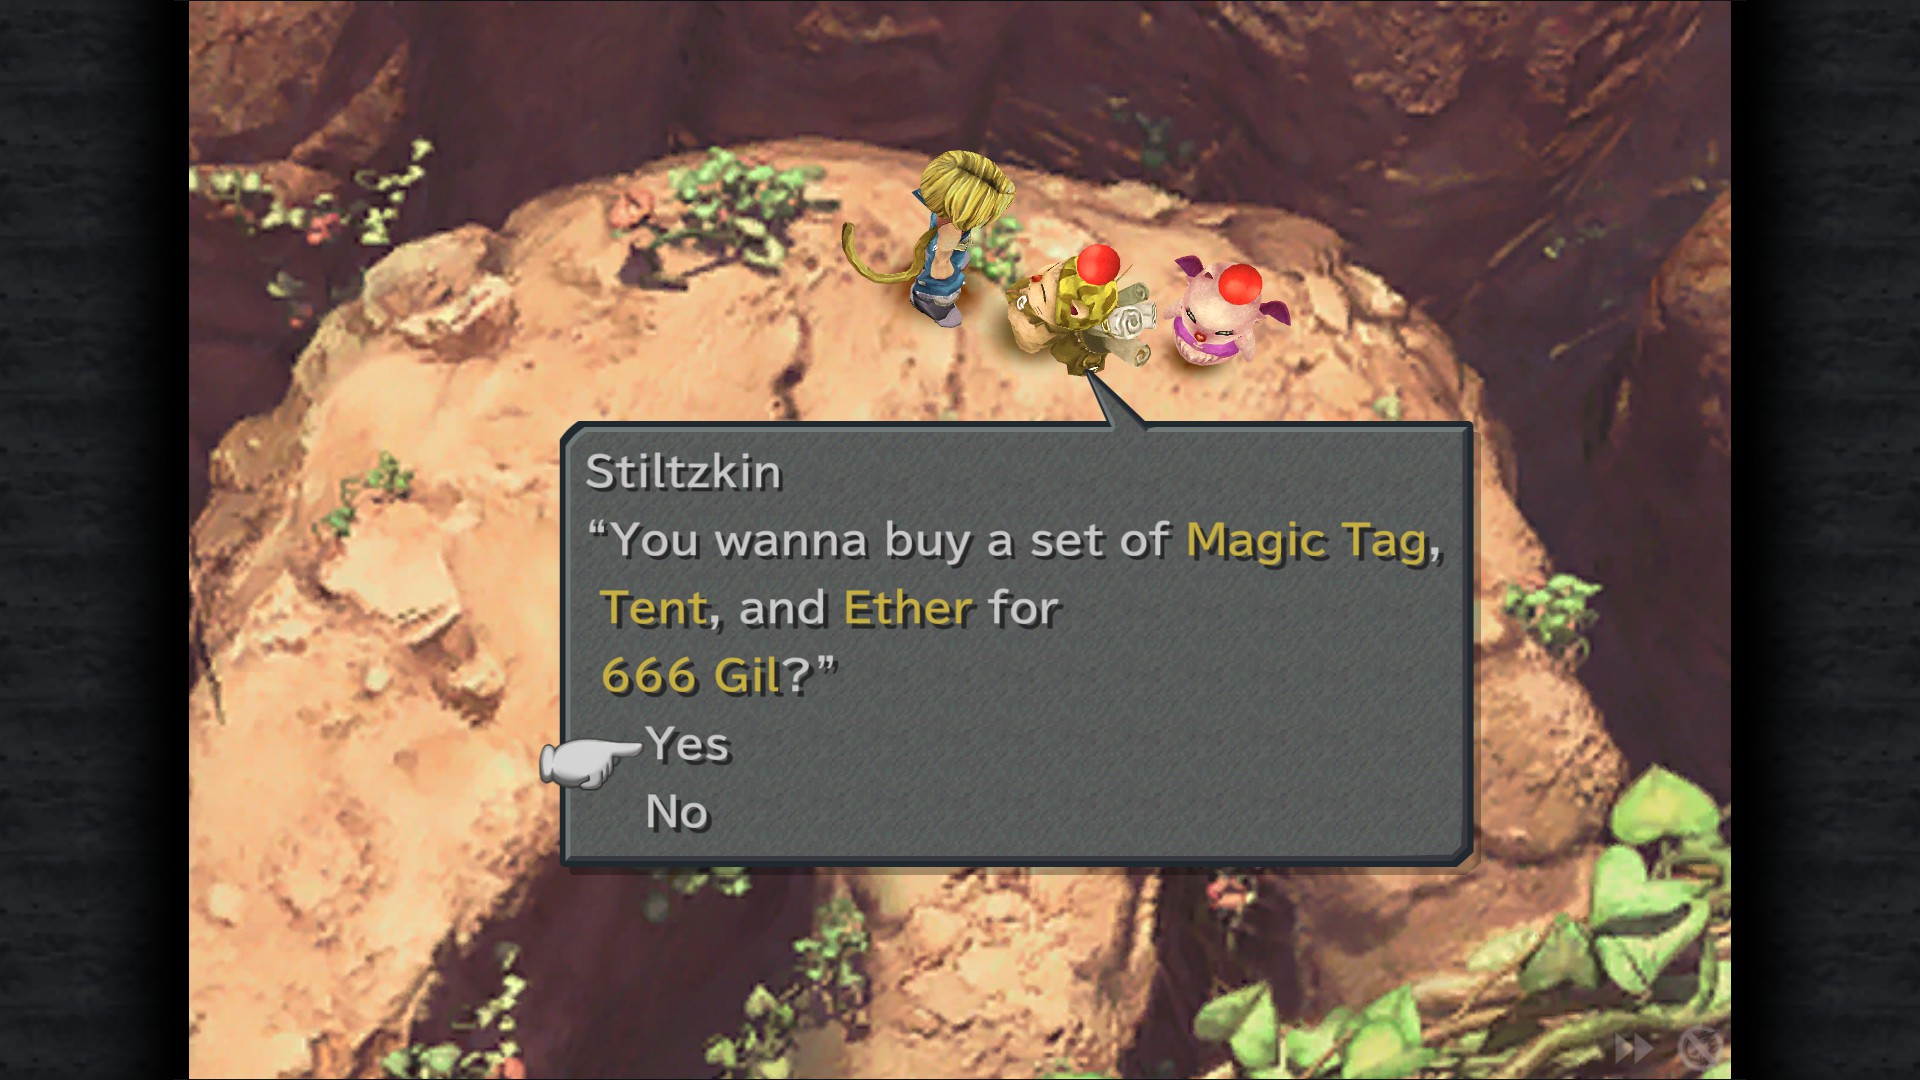
Stiltzkin: Pack available for 666 Gil (Magic Tag, Tent, Ether) - Roots
Mognet: Give Suzuna a letter "Rally-Kupo!"
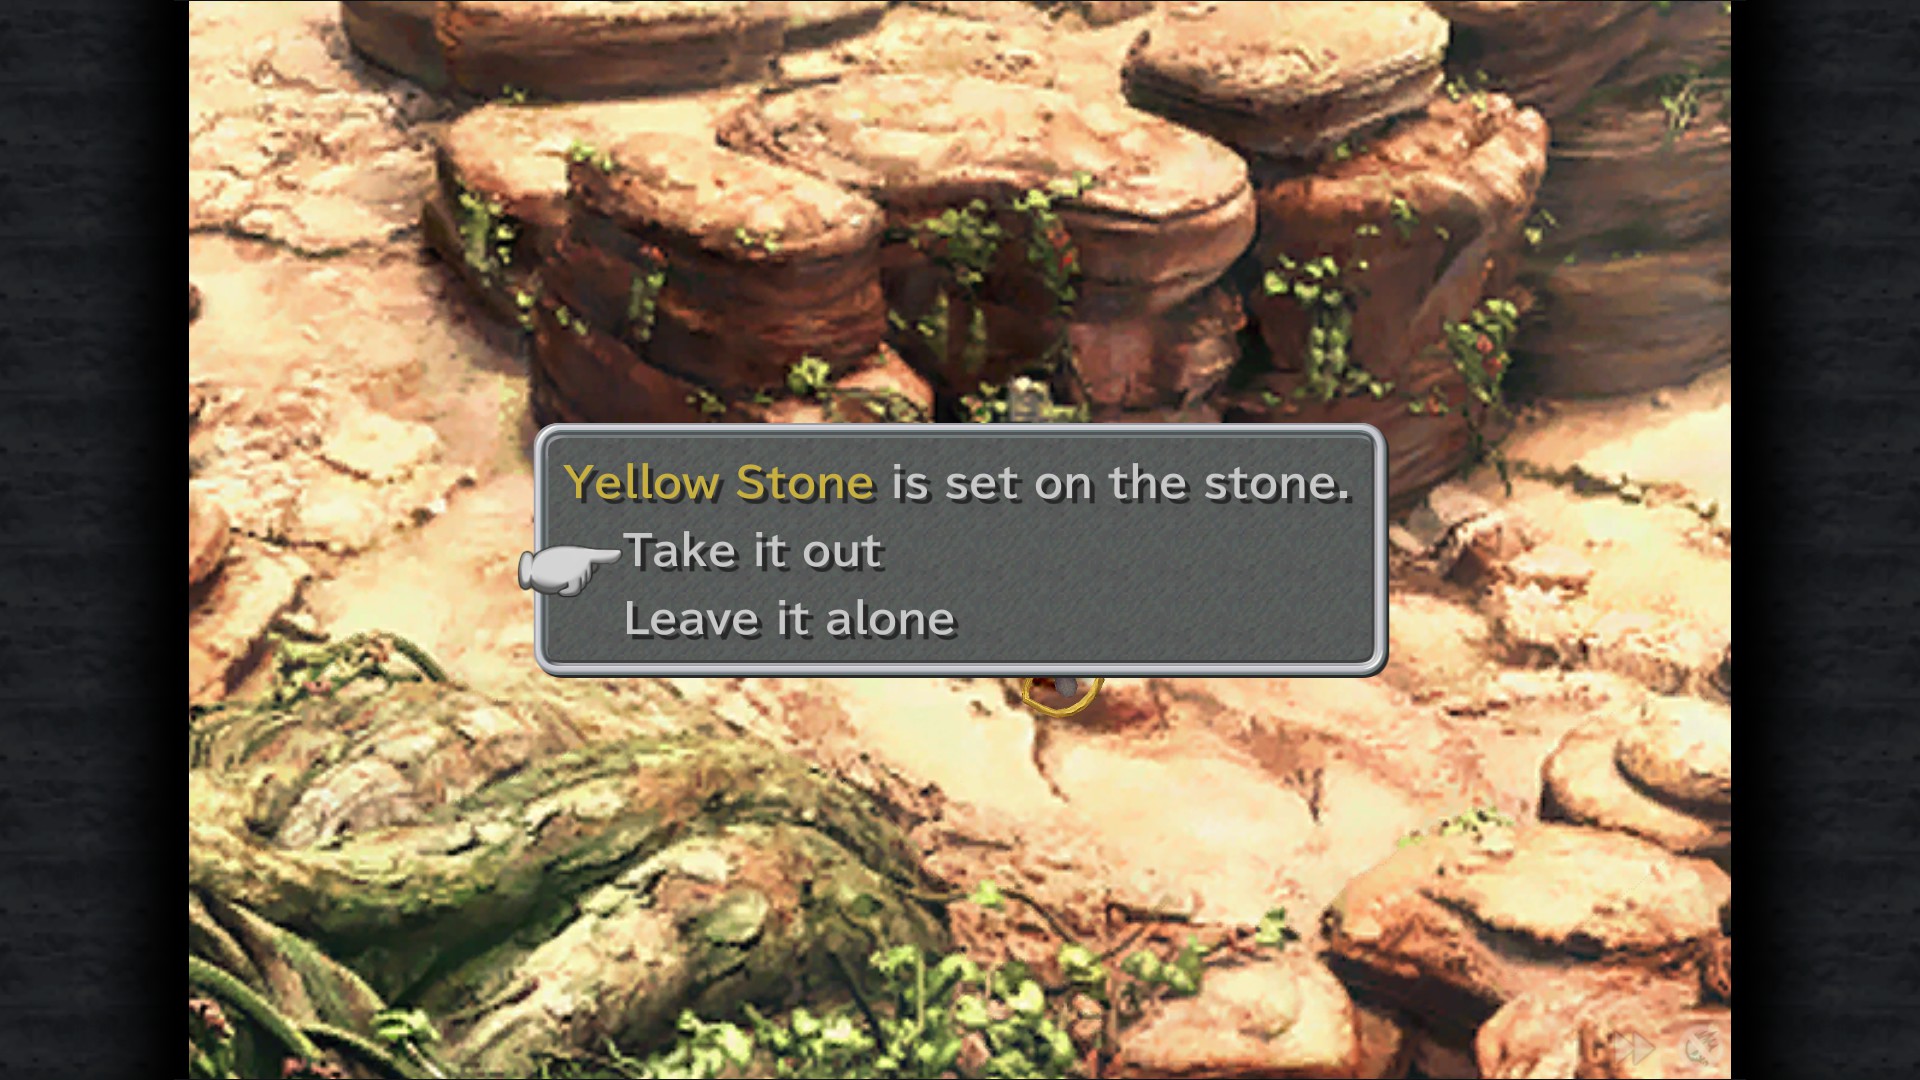
Yellow Stone - Statue after Hilgigars battle
Ether - On the lower path , near the exit
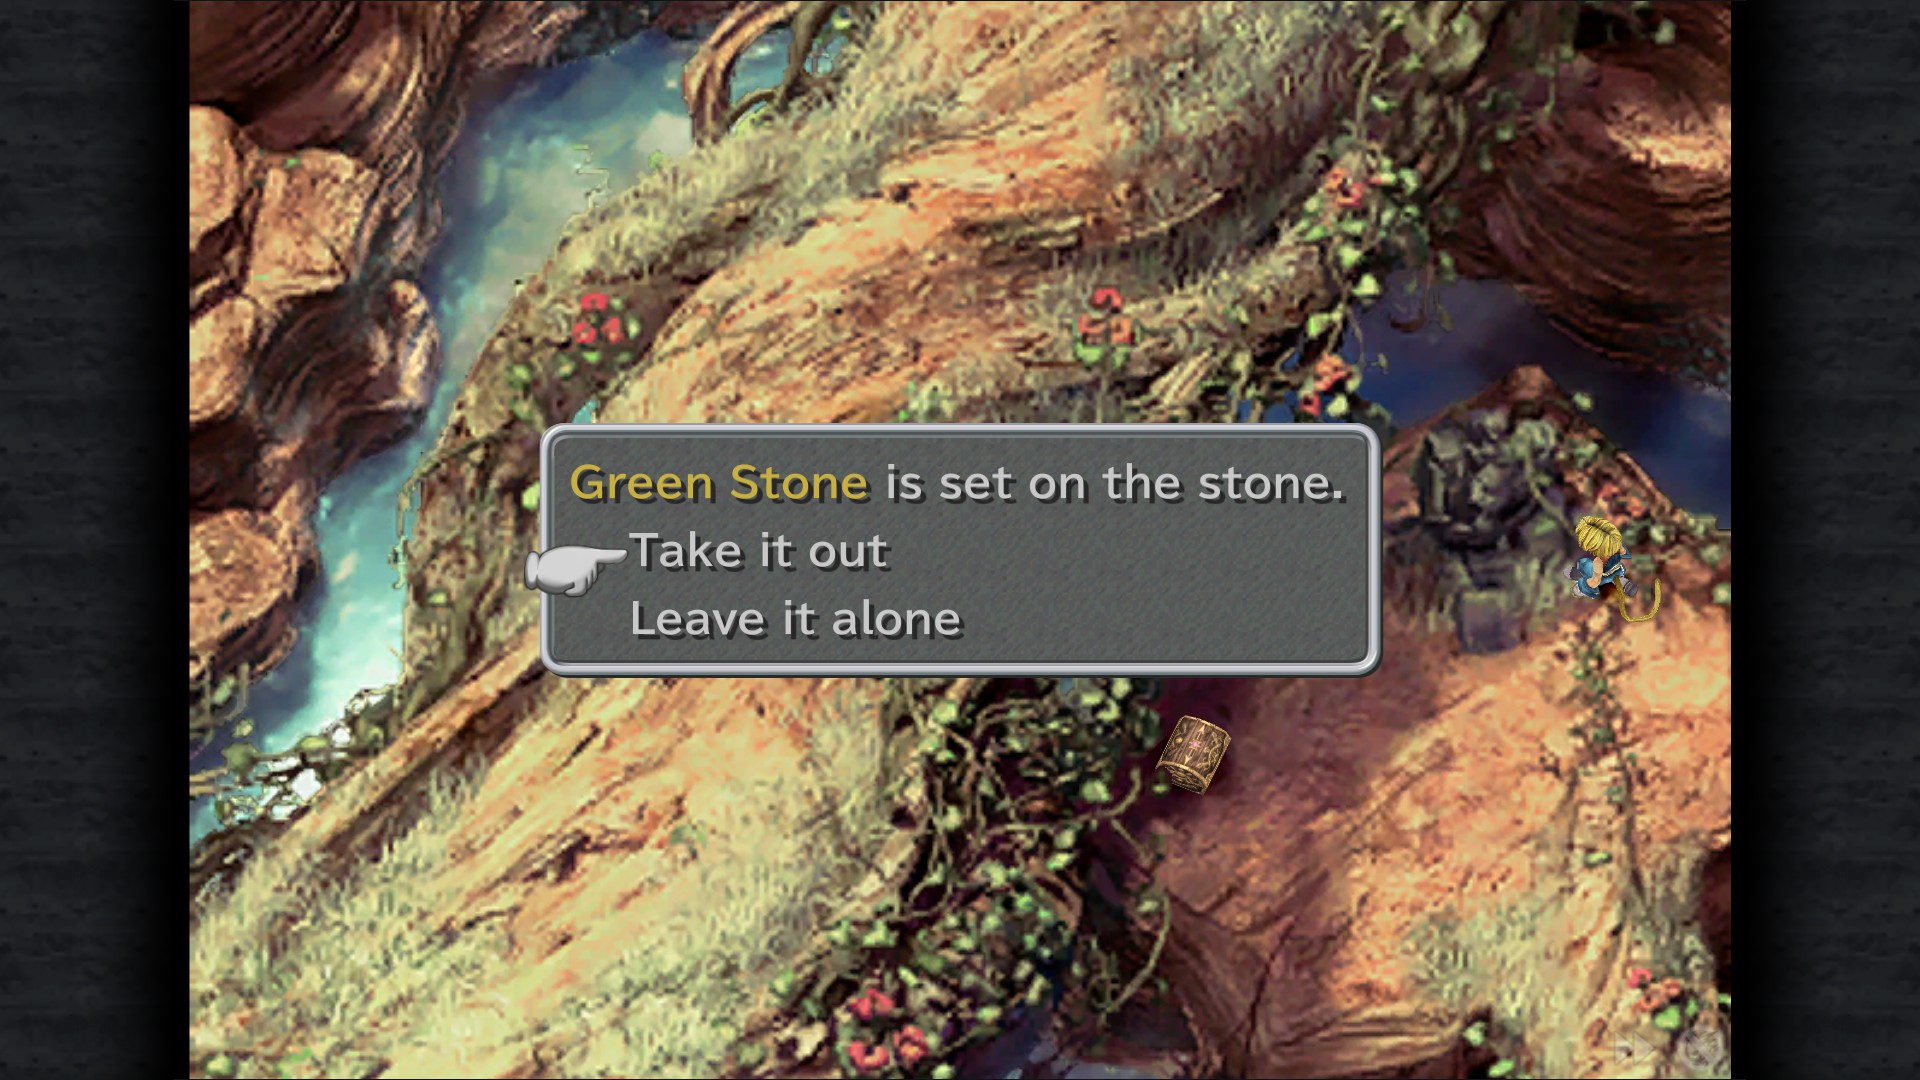
Green Stone - Statue , same as above
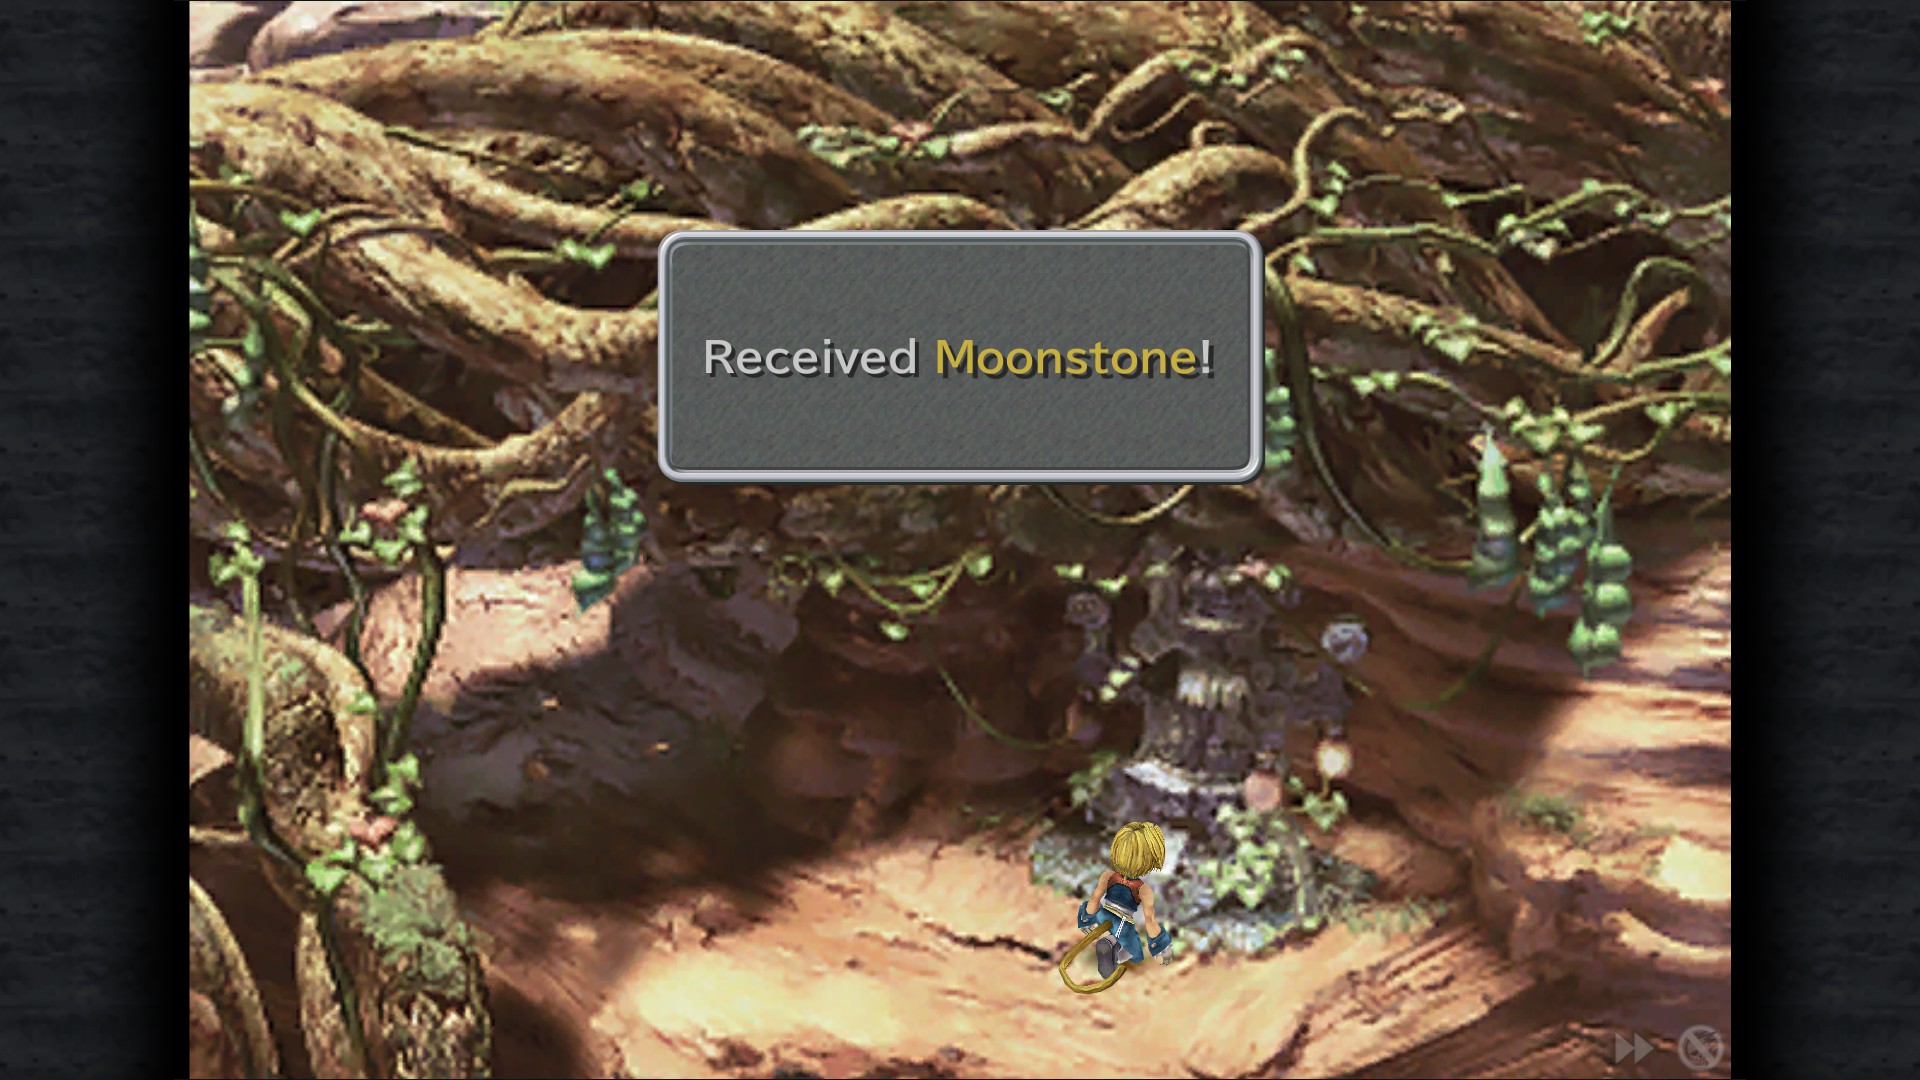
After getting all the colored stones, make your way back to where the Moogle was and take the right path. Place all the colored stones in the altar to receive a Moonstone 2/4.
Madain Sari
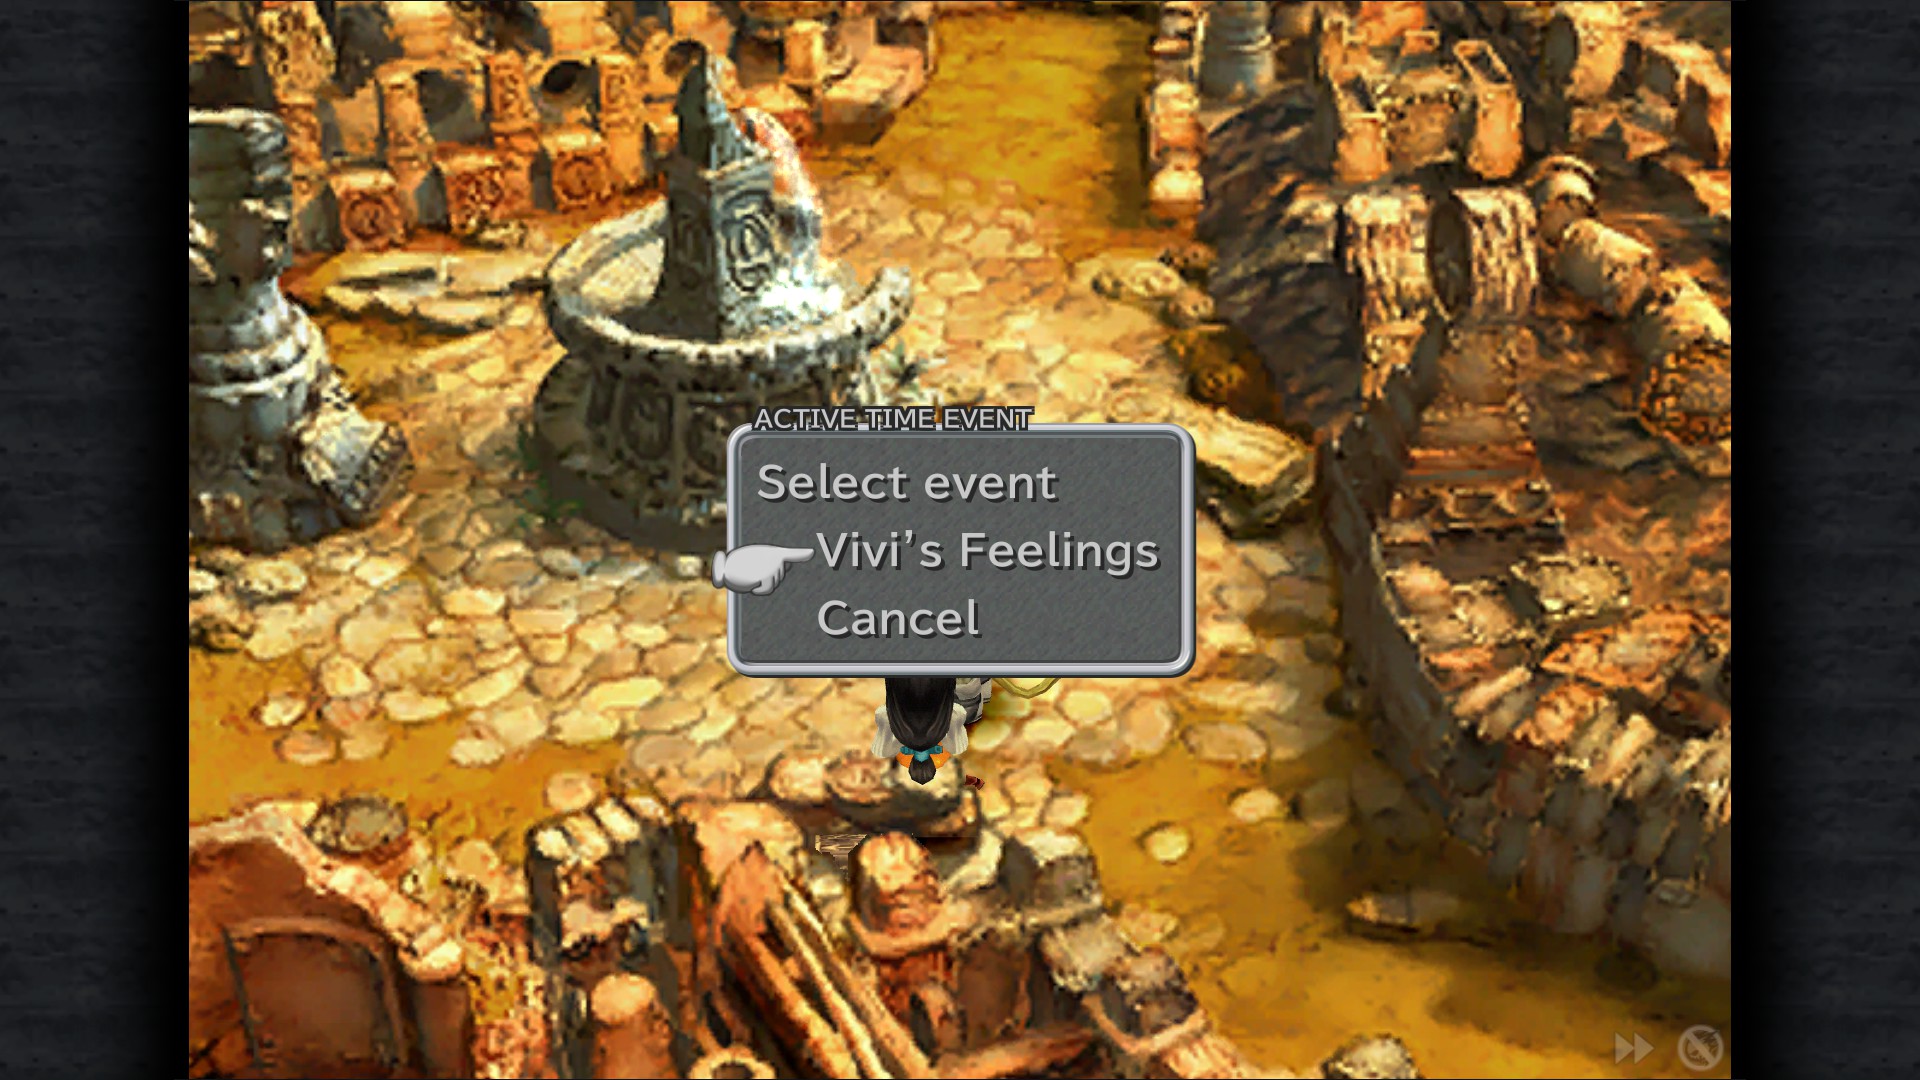


Vivi's Feelings ATE - Open Area
Tent - Open Area
Libra* - Open Area (behind the fountain)
Dagger's Feelings ATE - Path
Eiko's Feelings ATE (Forced)
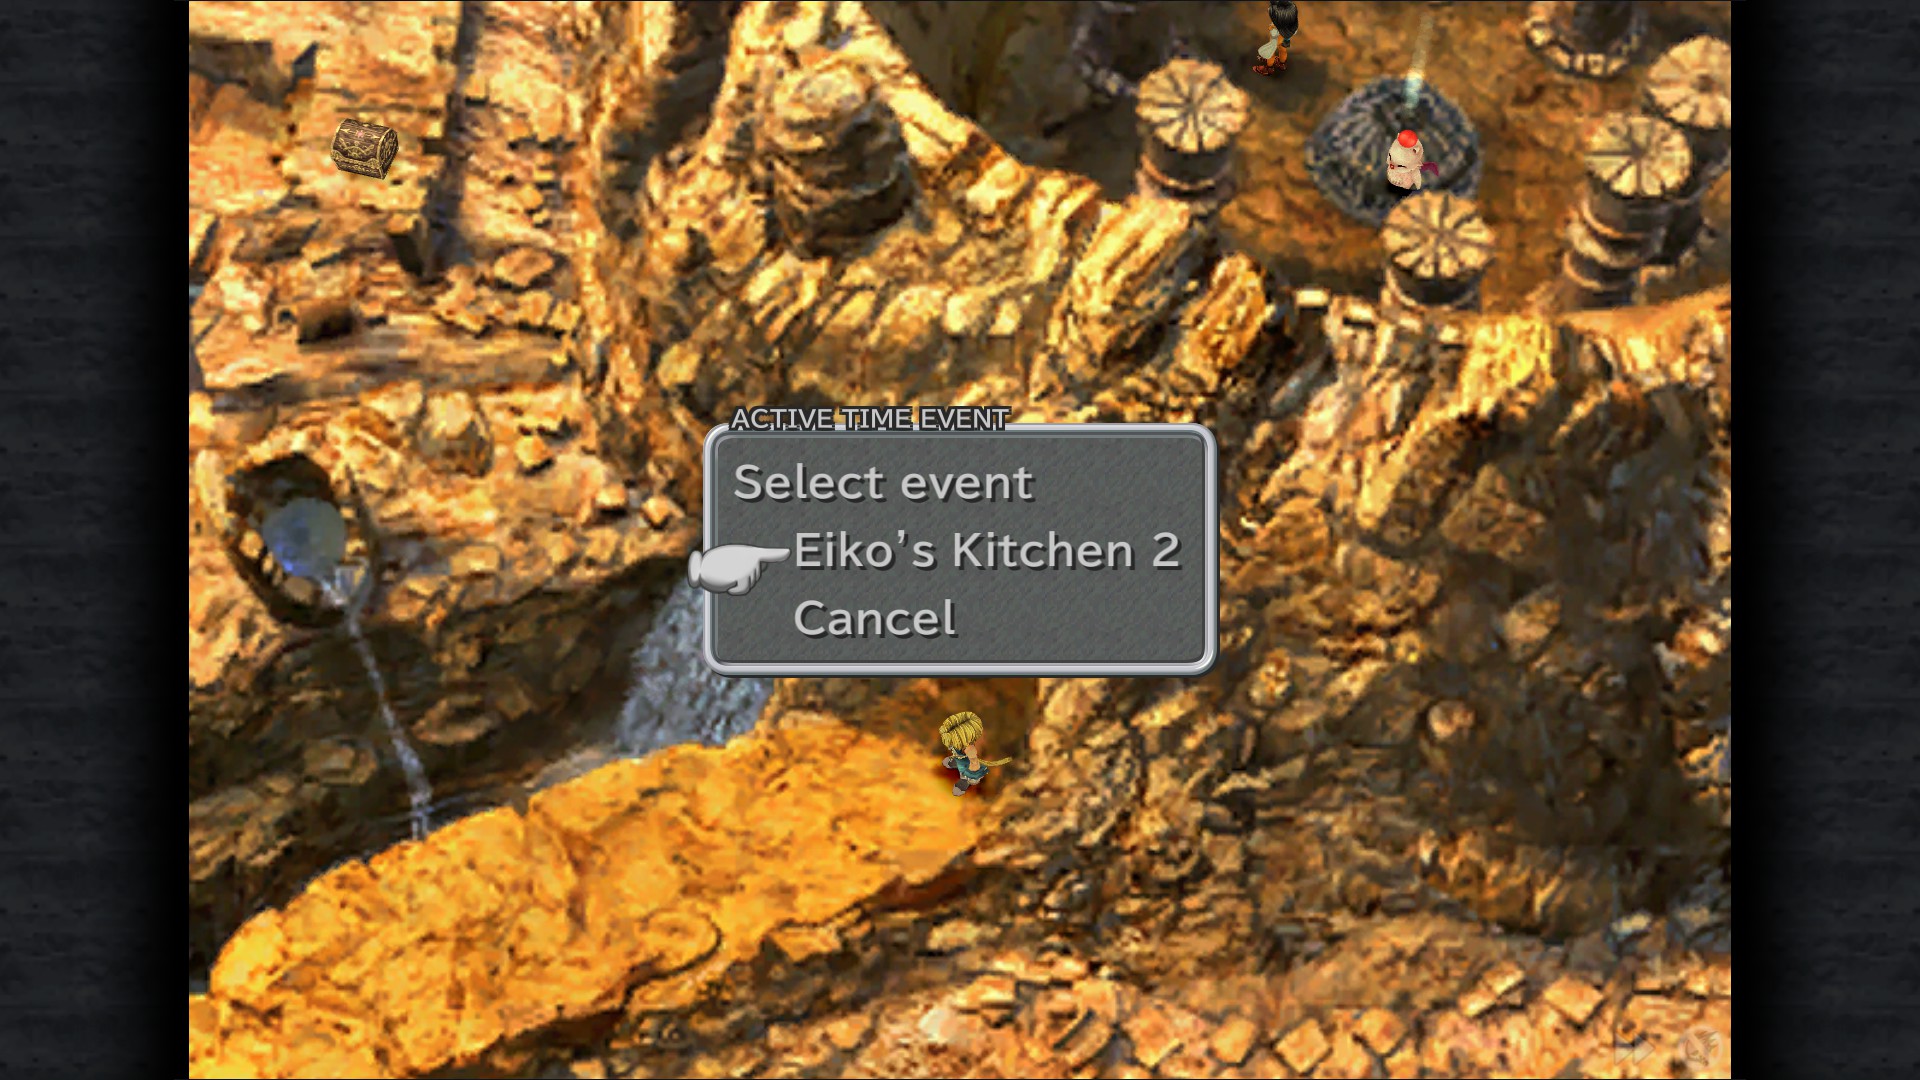
Eiko's Kitchen ATE - Open Area (after trying to enter the kitchen)
Eiko's Kitchen 2 ATE - Path (after leaving Eidolon wall)
Ore - Resting Room
Phoenix Pinion - Resting Room
Kirman Coffee (Sidequest item) - Kitchen (available after bringing the pot to Eiko)
Iifa Tree
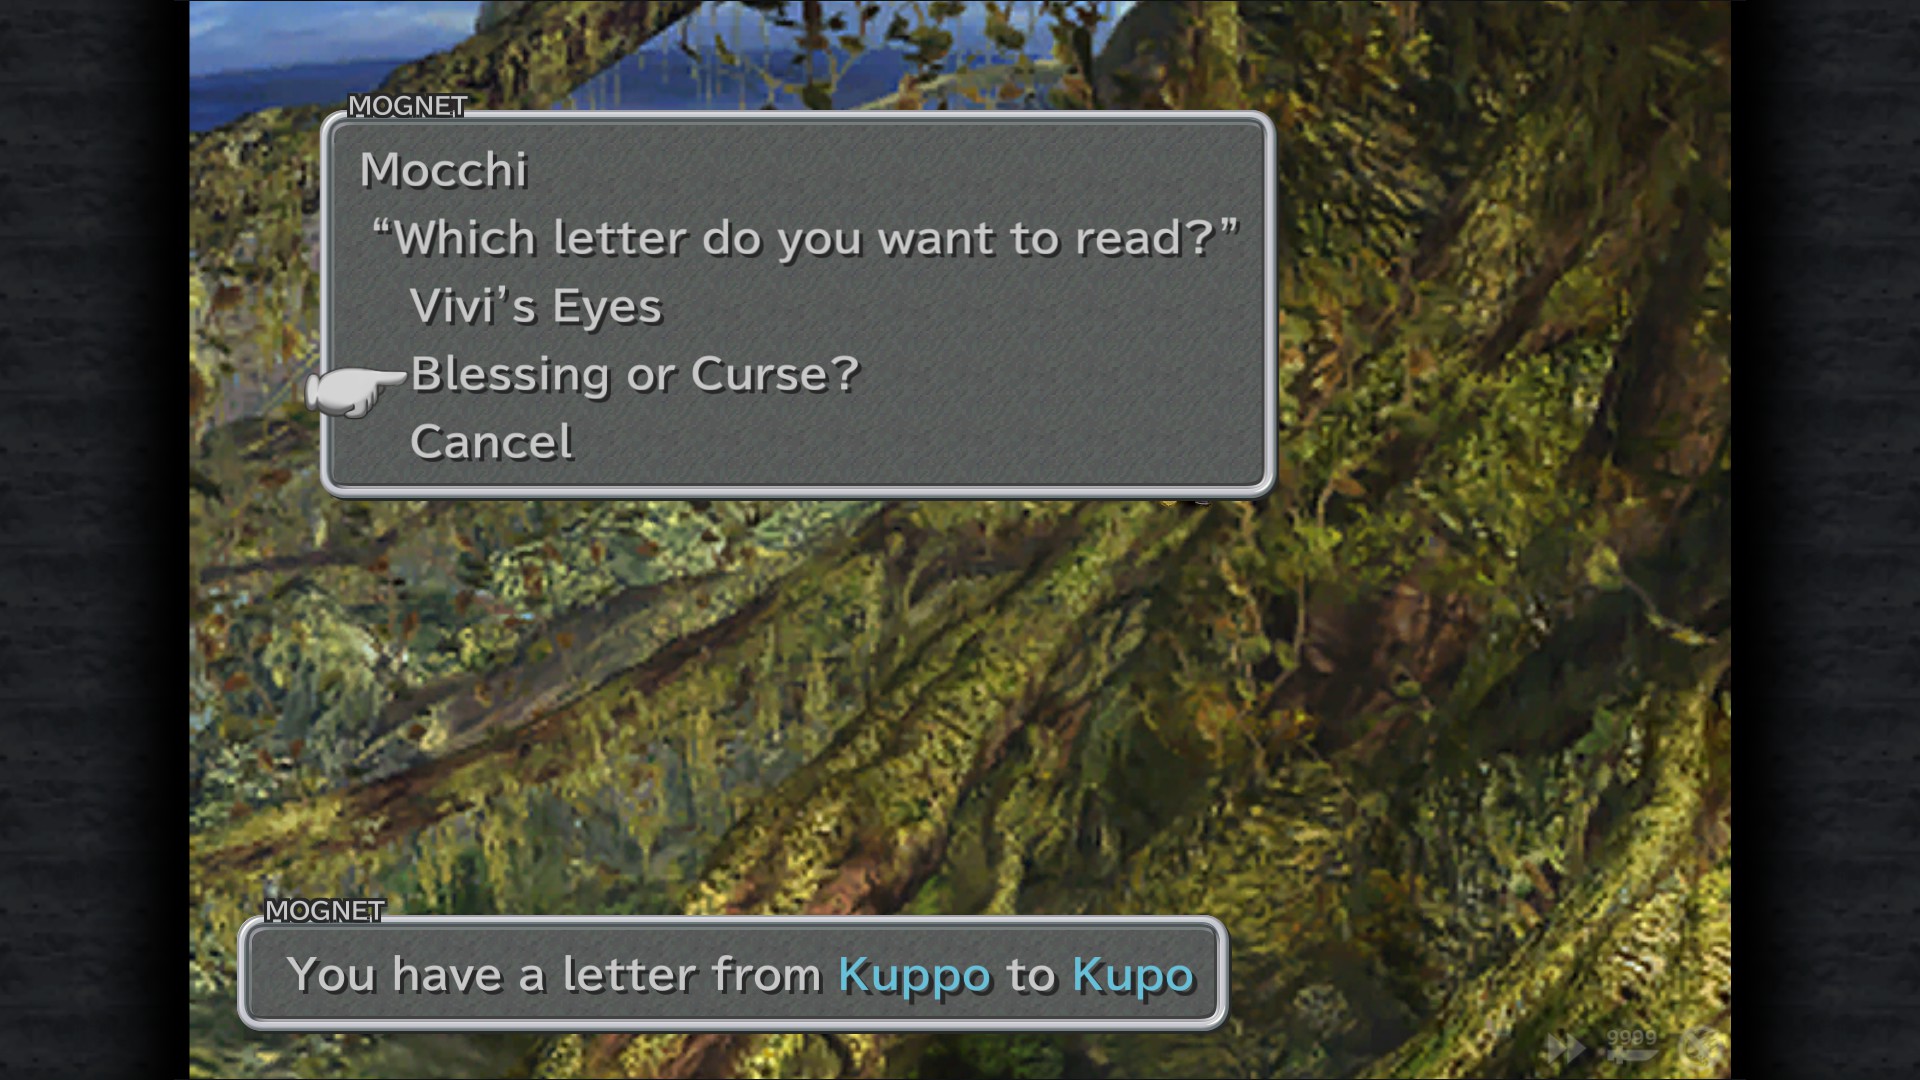
Mognet: Give Moochi a letter "Vivi's Eyes" - Roots
Inner Roots
Phoenix Down - 2nd screen after pressing the nearby switch
Hi-Potion - 2nd screen , bottom
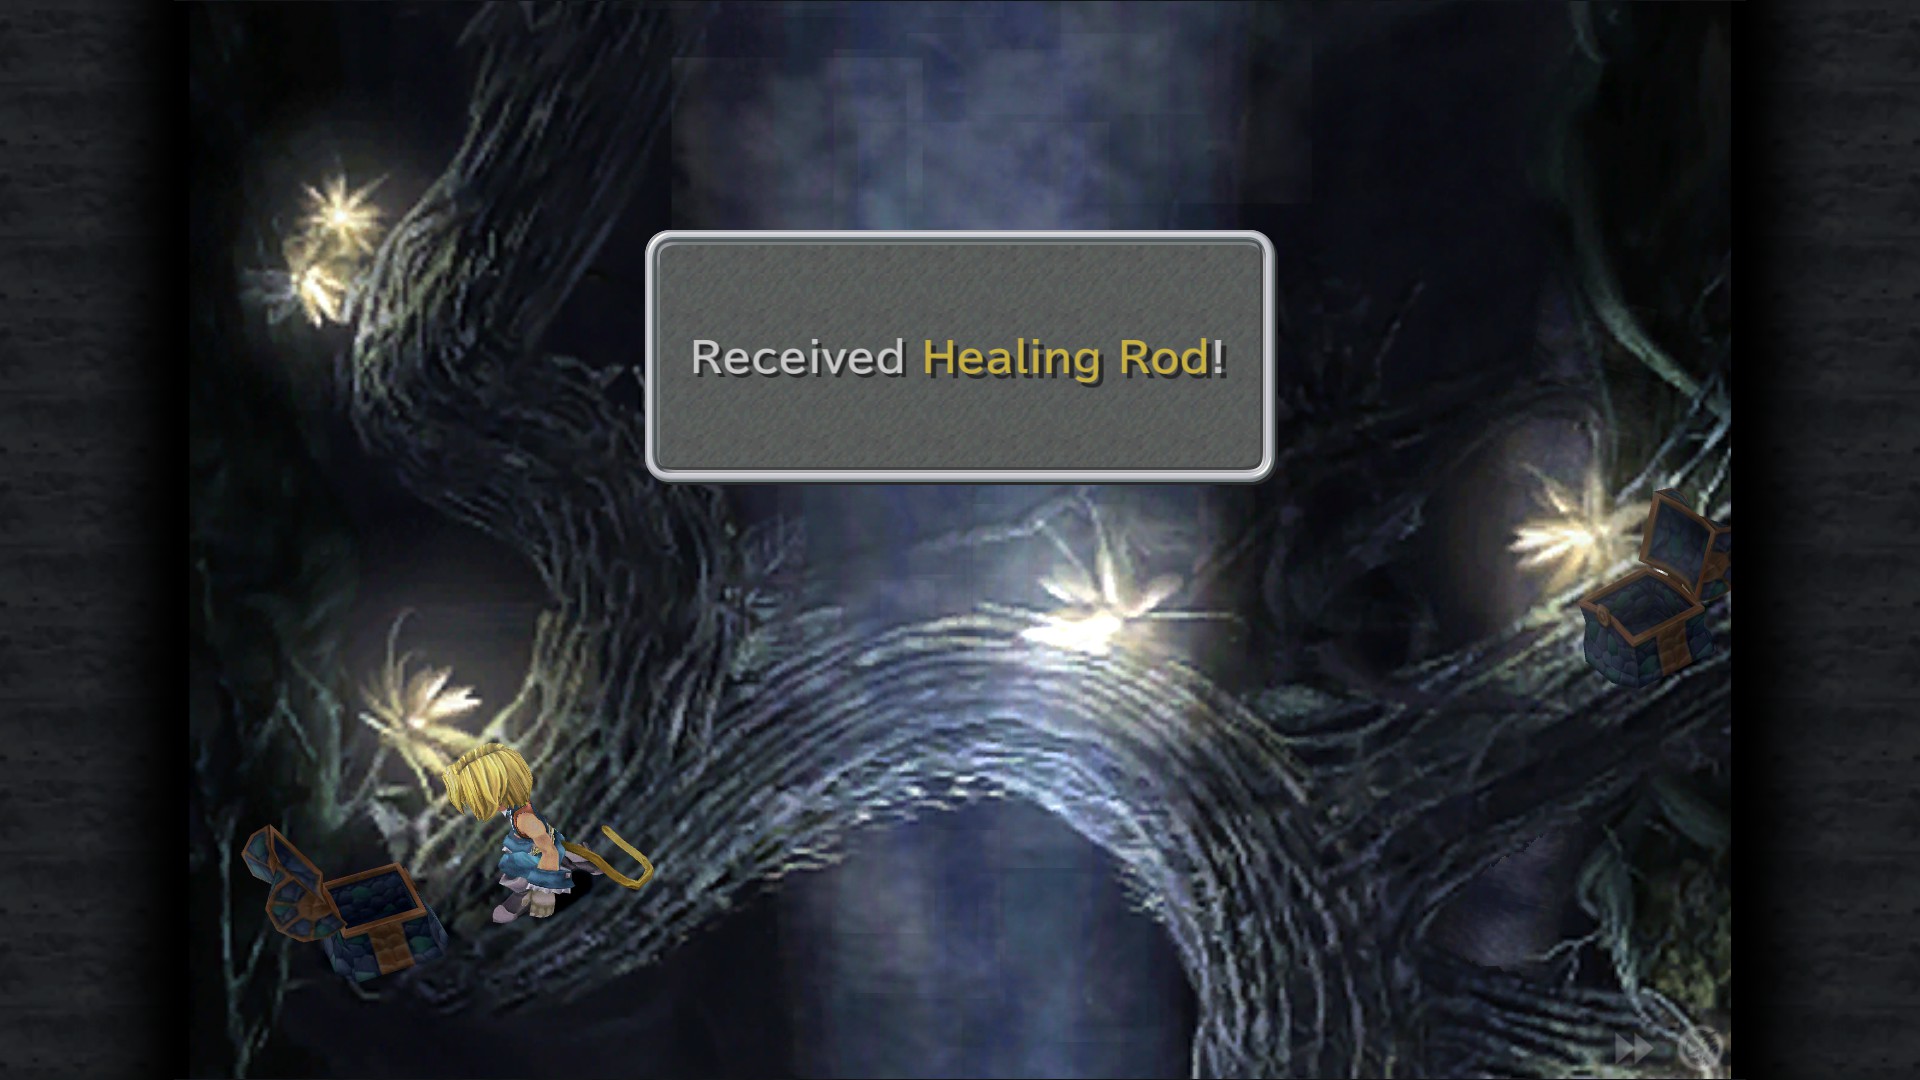
Healing Rod - go back to the 2nd screen after triggering the switch at the 3rd screen
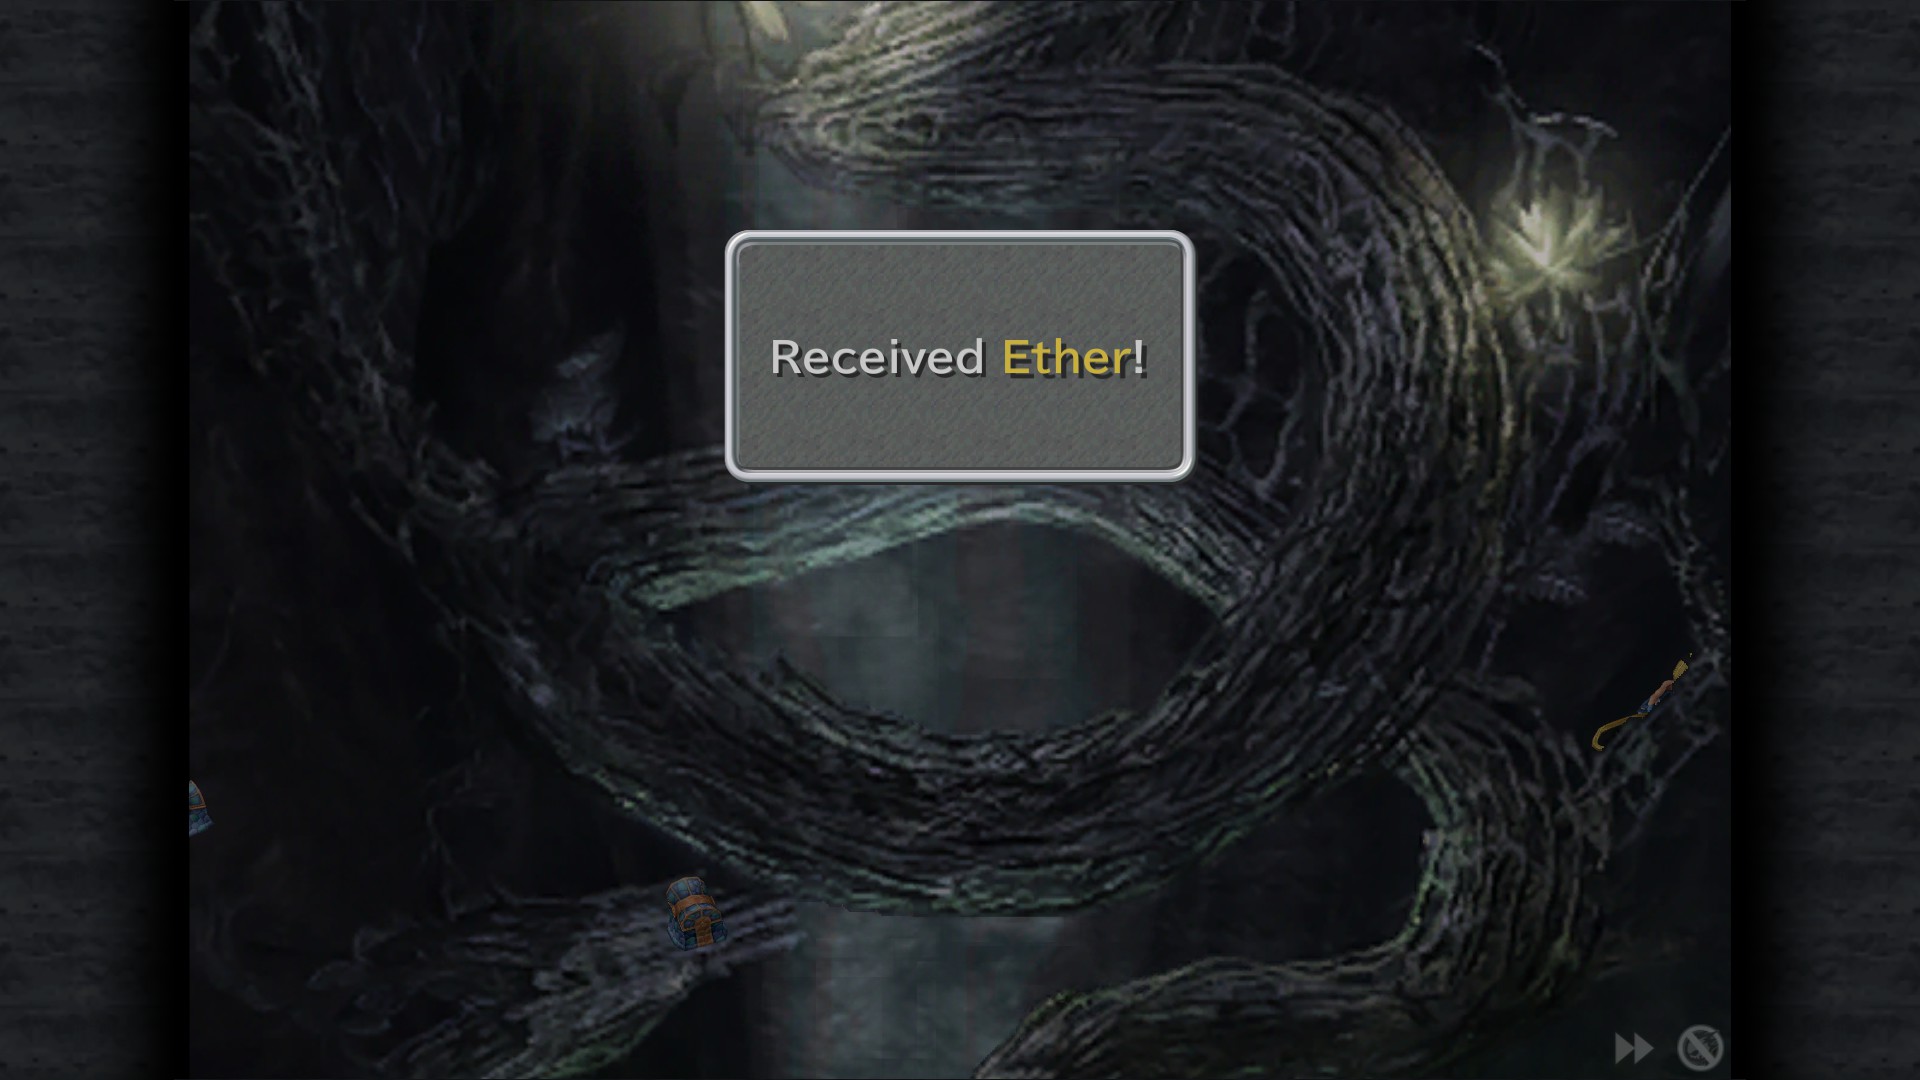
Ether - 3rd screen , right side
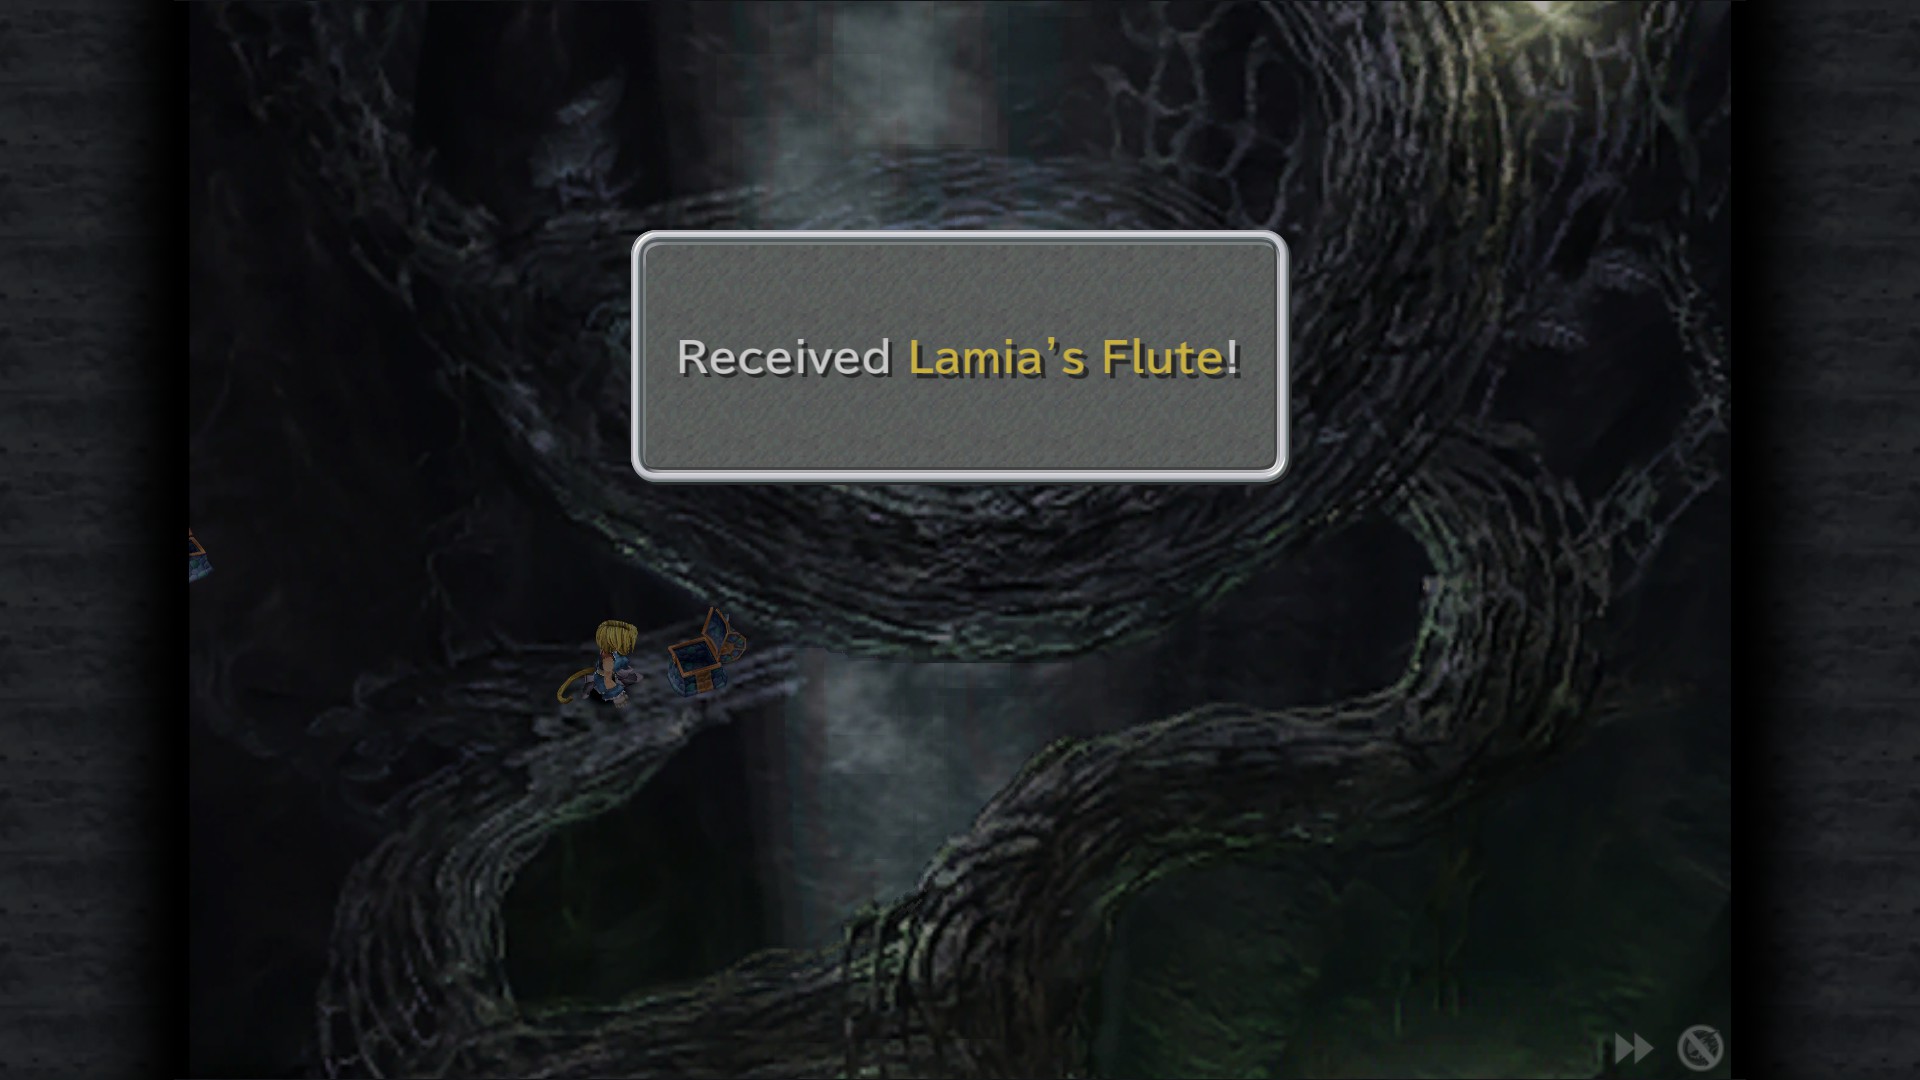
Lamia's Flute - 3rd screen , left side
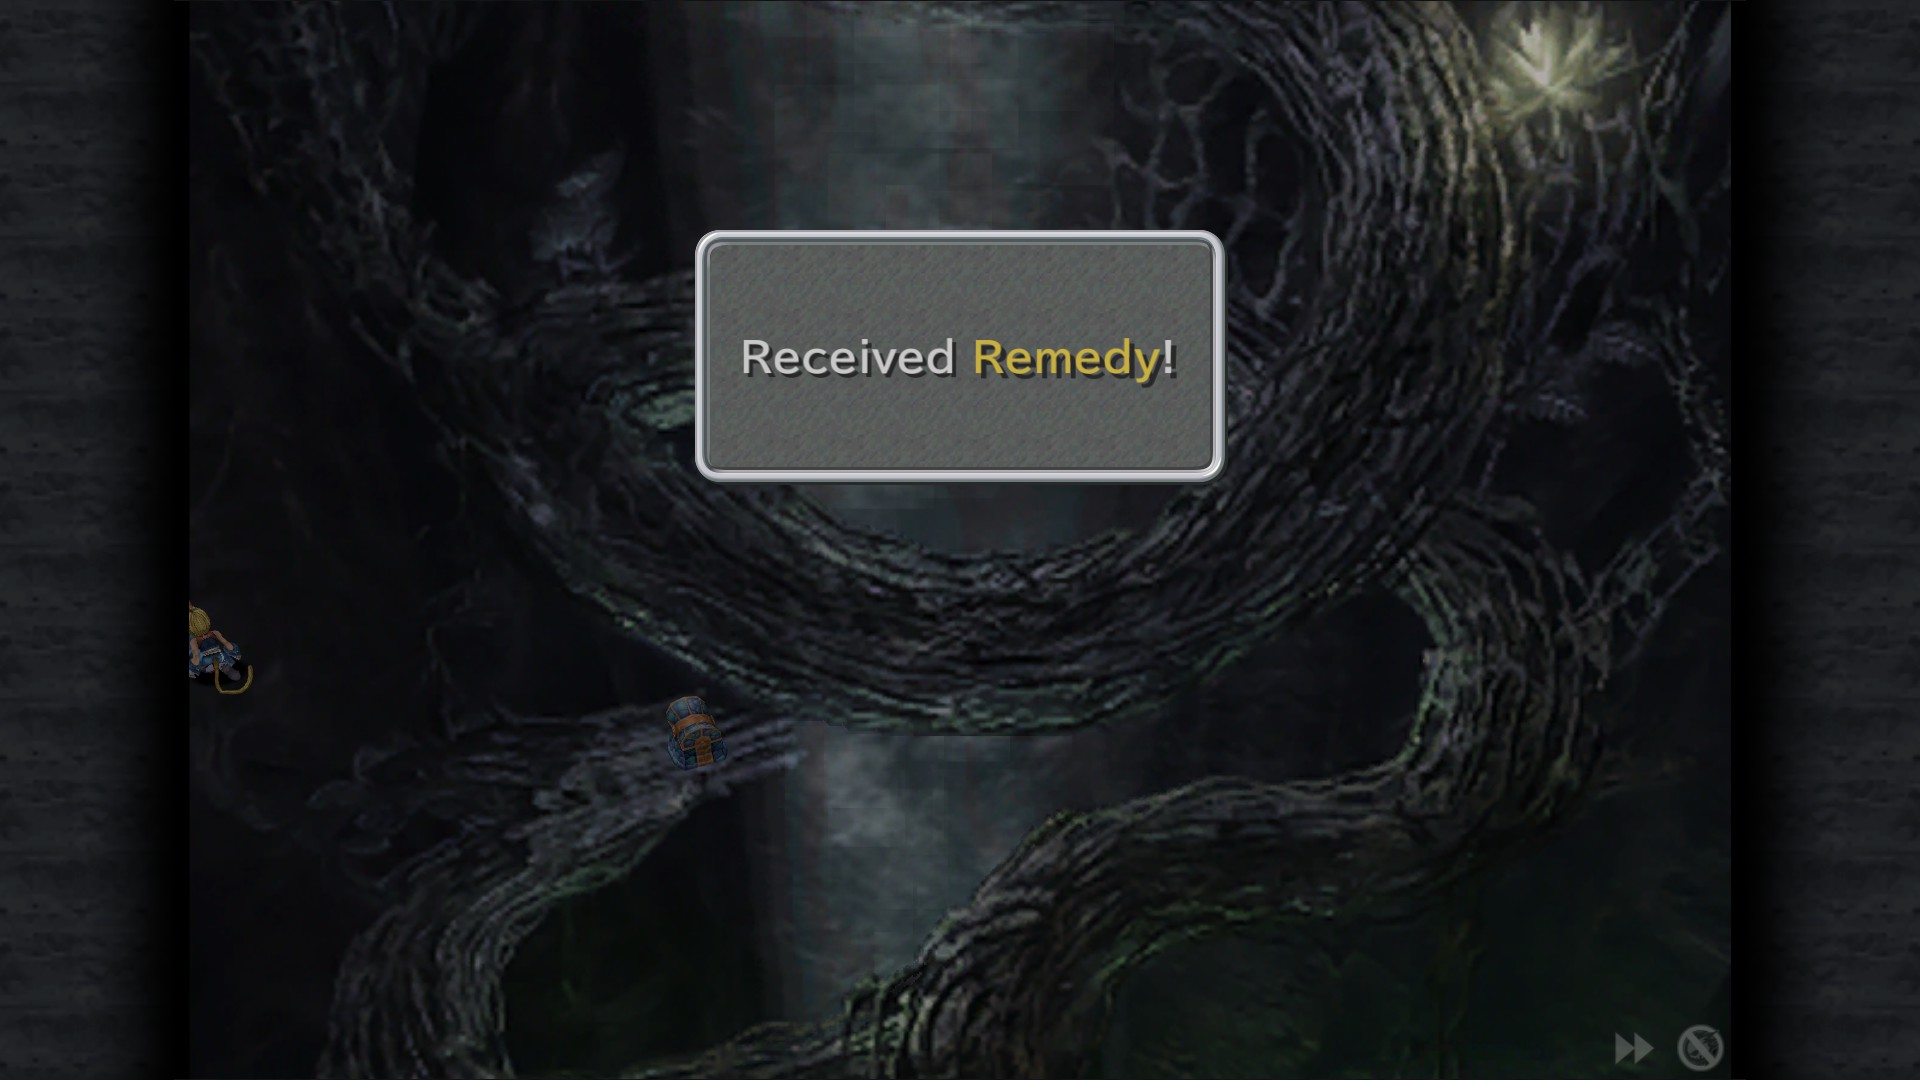
Remedy - 3rd screen , left side
Elixir - Bottom
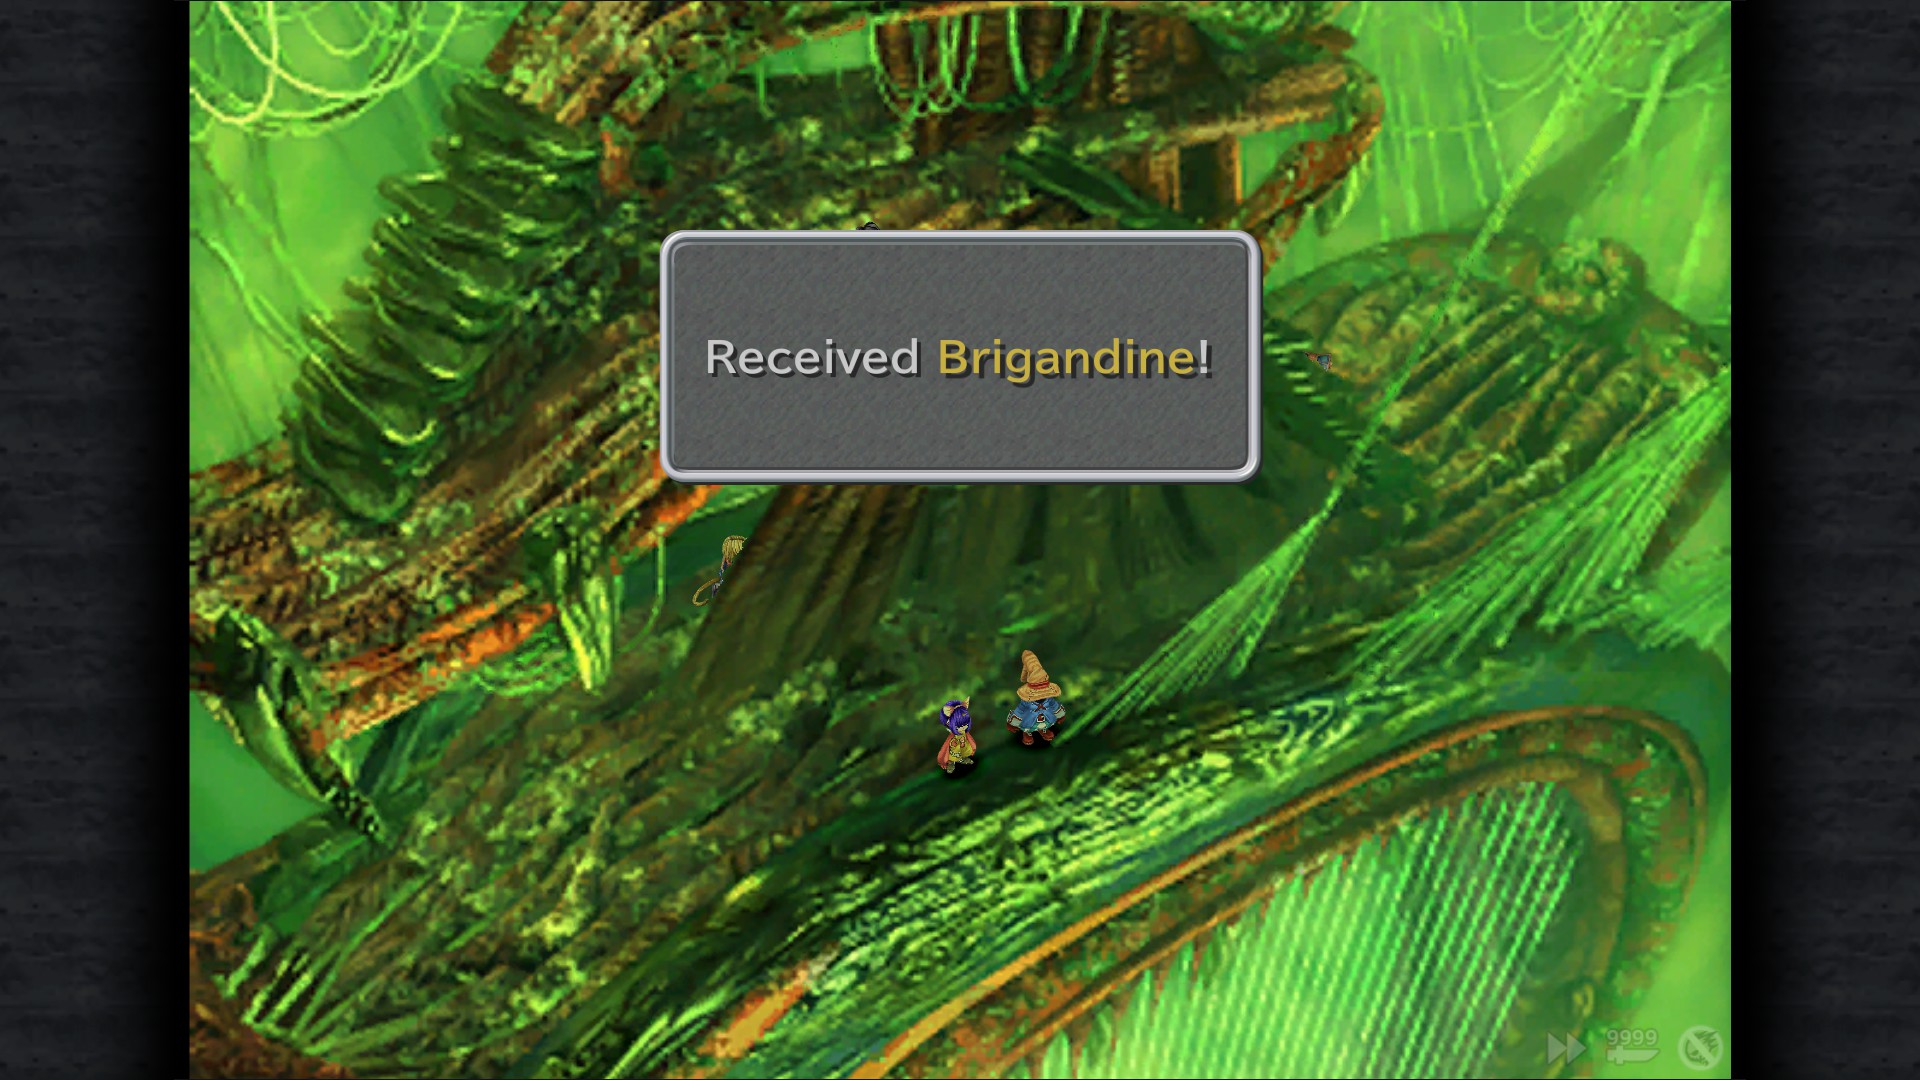
Brigandine - Bottom (Left side, hidden)
Madain Sari
Survival Vest - Secret Room
Phoenix Down - Secret Room
Iifa Tree Revisited
Mognet: "Blessing or Curse?" - Tree Trunk
Return To Alexandria
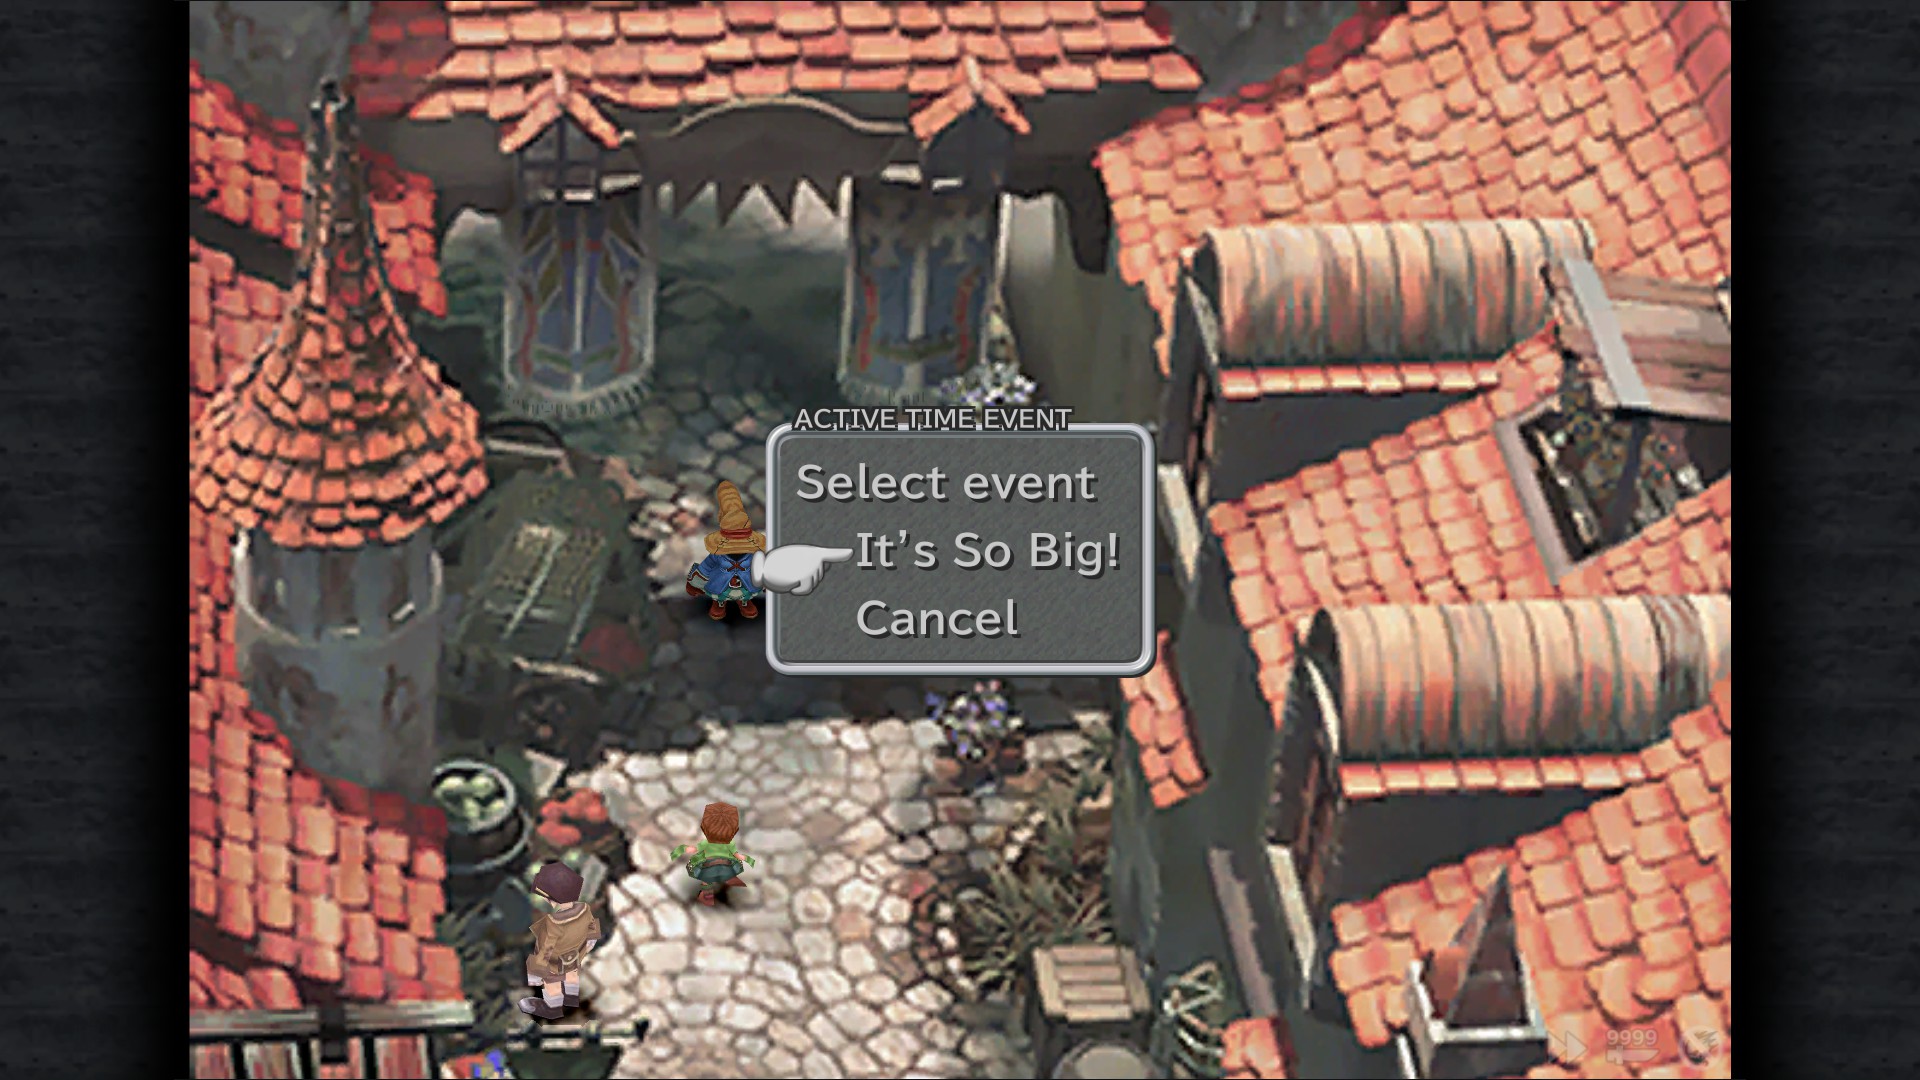
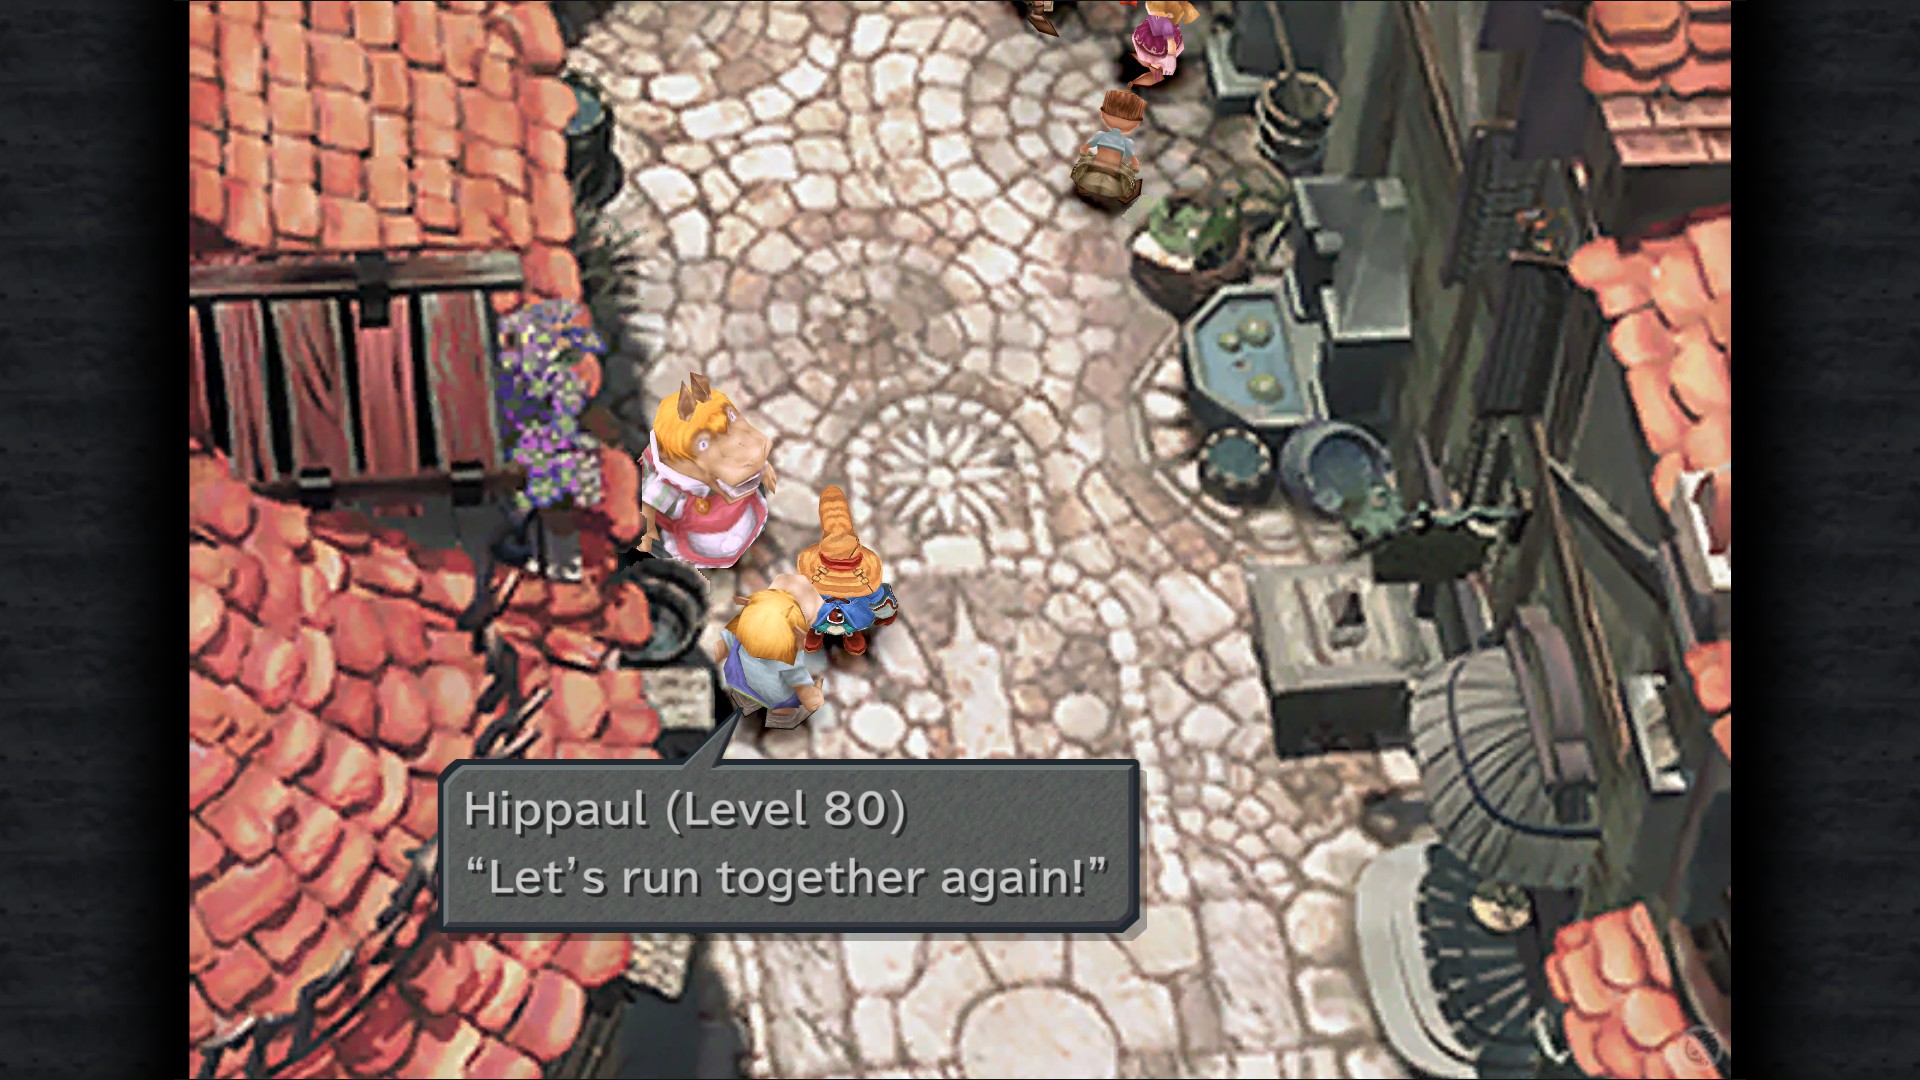


It's So Big! ATE - Main Street
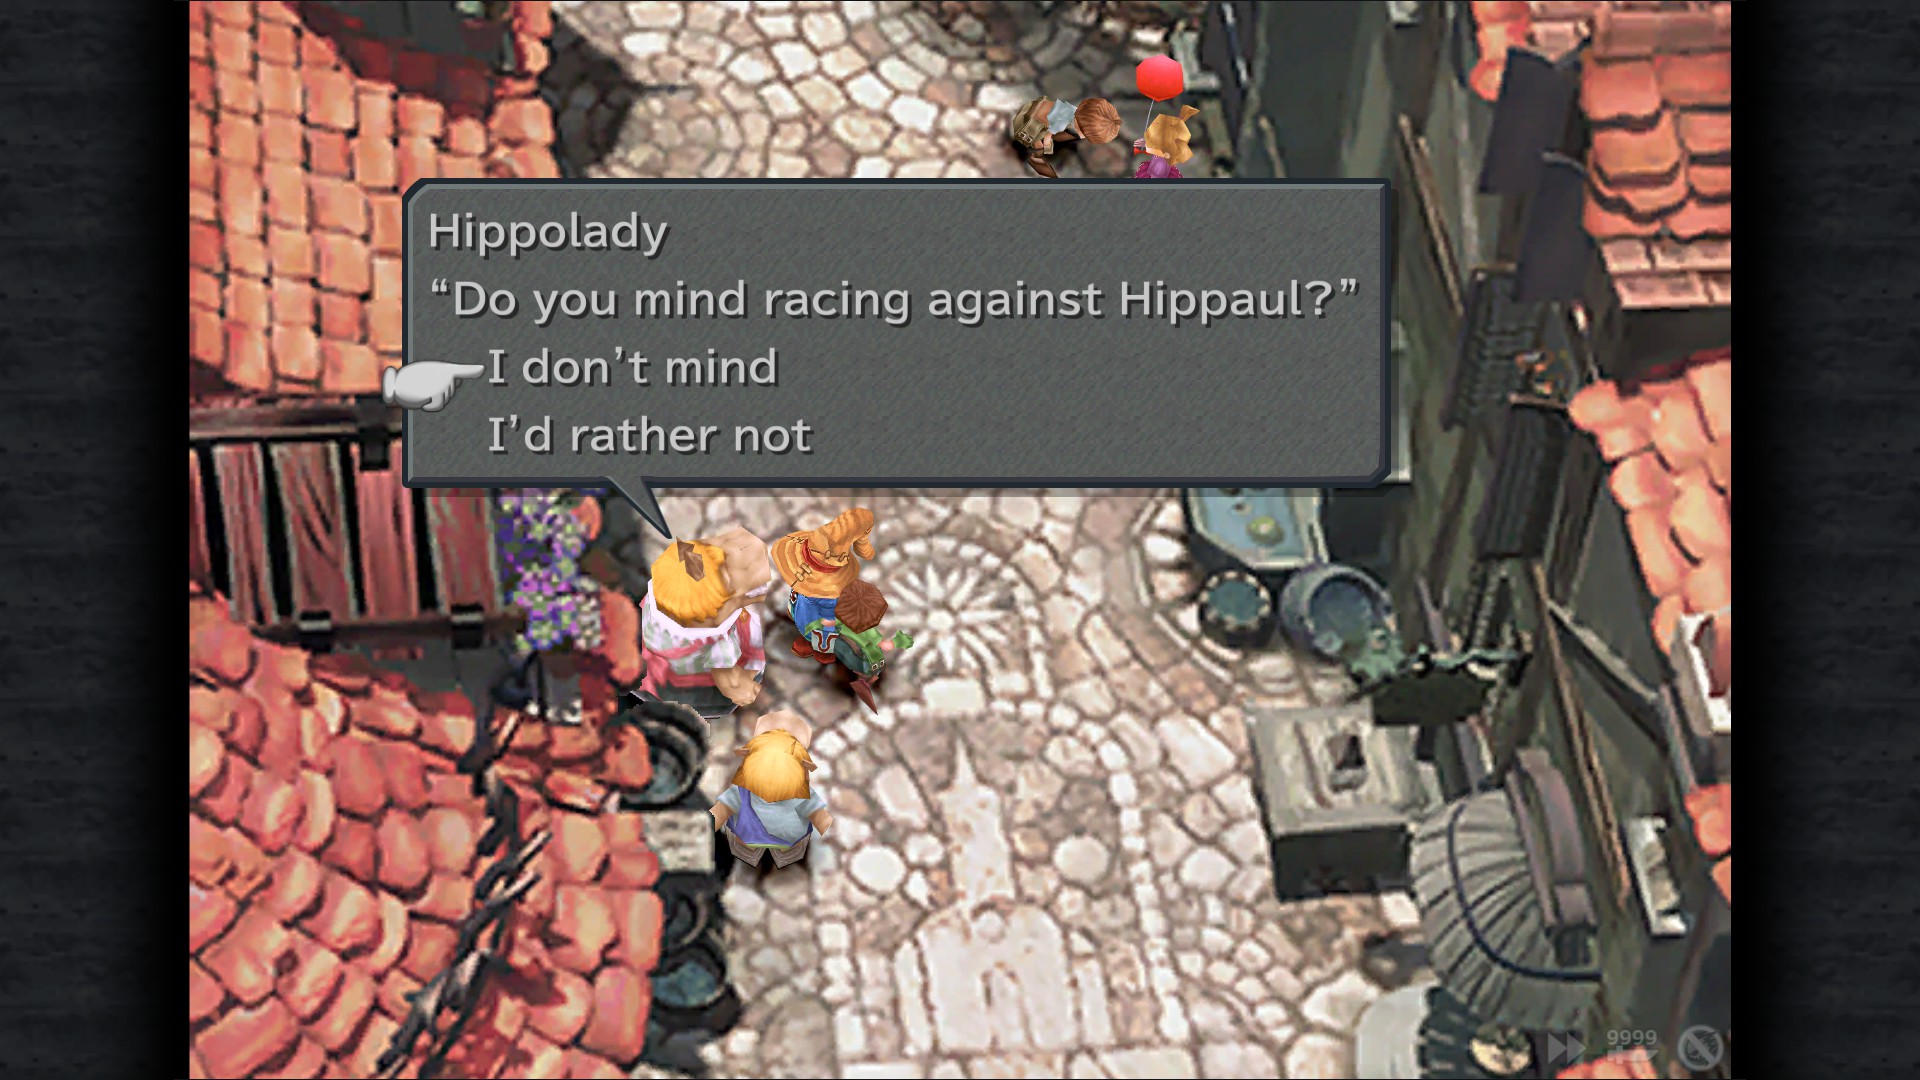
Racing Hippaul mini-game
Rules: Hippaul will get 5 levels if you beat him for a big distance and only 1 if not. losing against him doesn't grant any levels.
Hippaul LV10: Wyerd Card
Hippaul LV20: Carrion Worm Card
Hippaul LV30: Tantarian Card
Hippaul LV40: Armstrong Card
Hippaul LV50: Ribbon Card
Hippaul LV60: Nova Dragon Card
Hippaul LV70: Genji Card
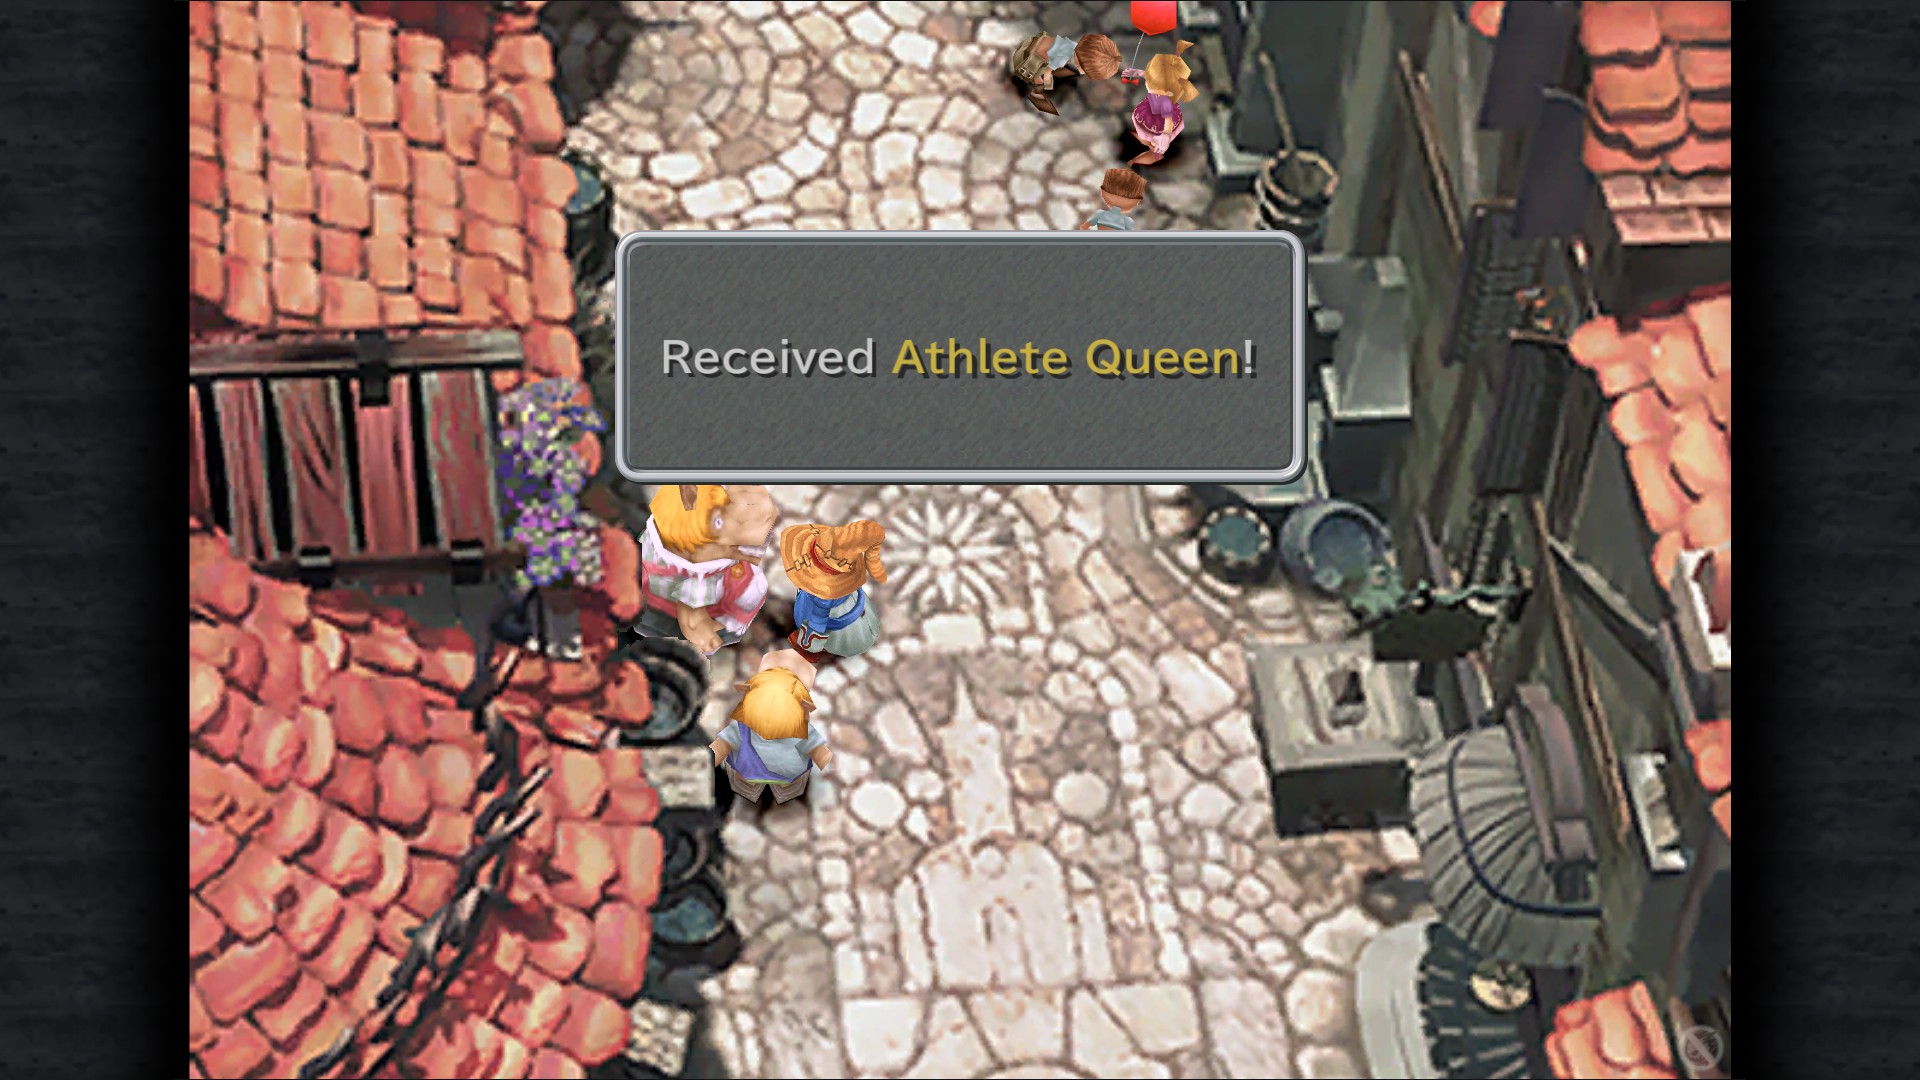
Hippaul LV80: Athlete Queen
The following achievement should unlock after you get Hippaul to level 80:
Track Star
Obtain Athlete Queen
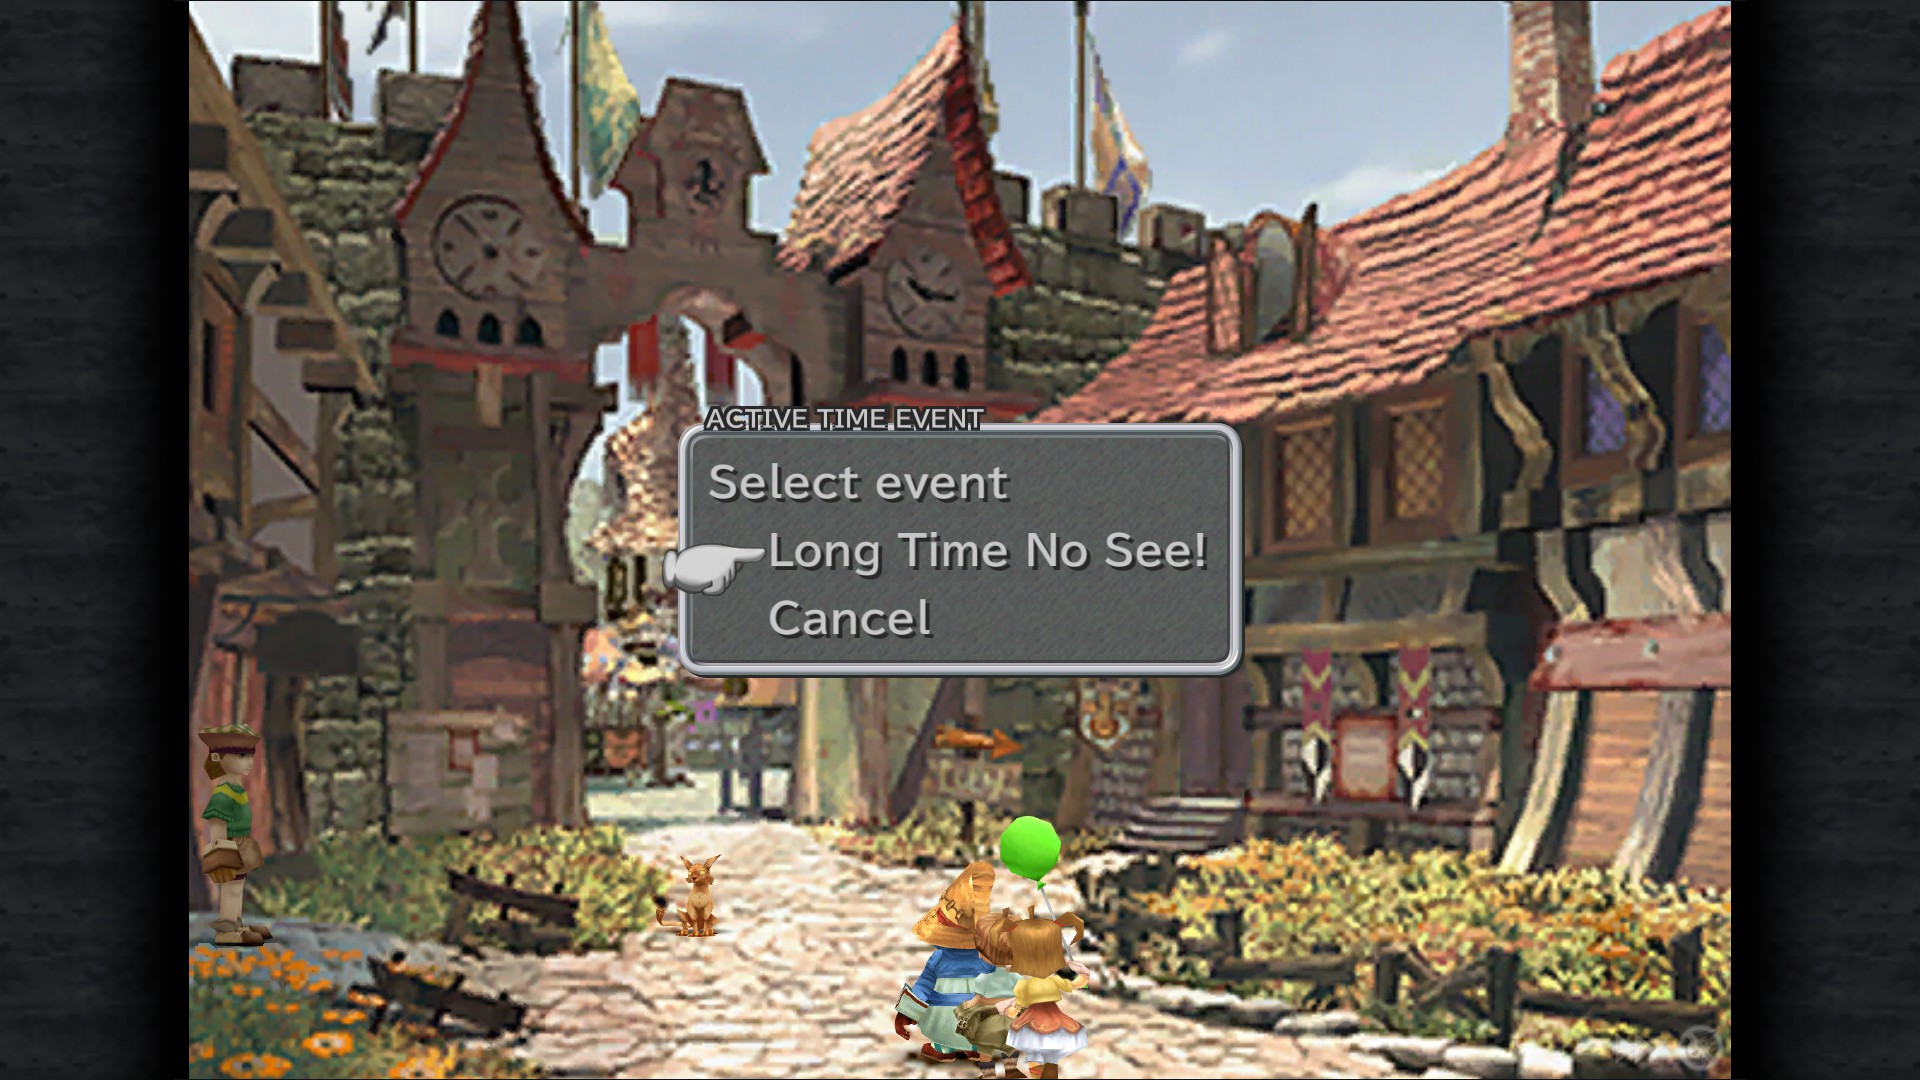
Long Time No See! ATE - Main Street (north)
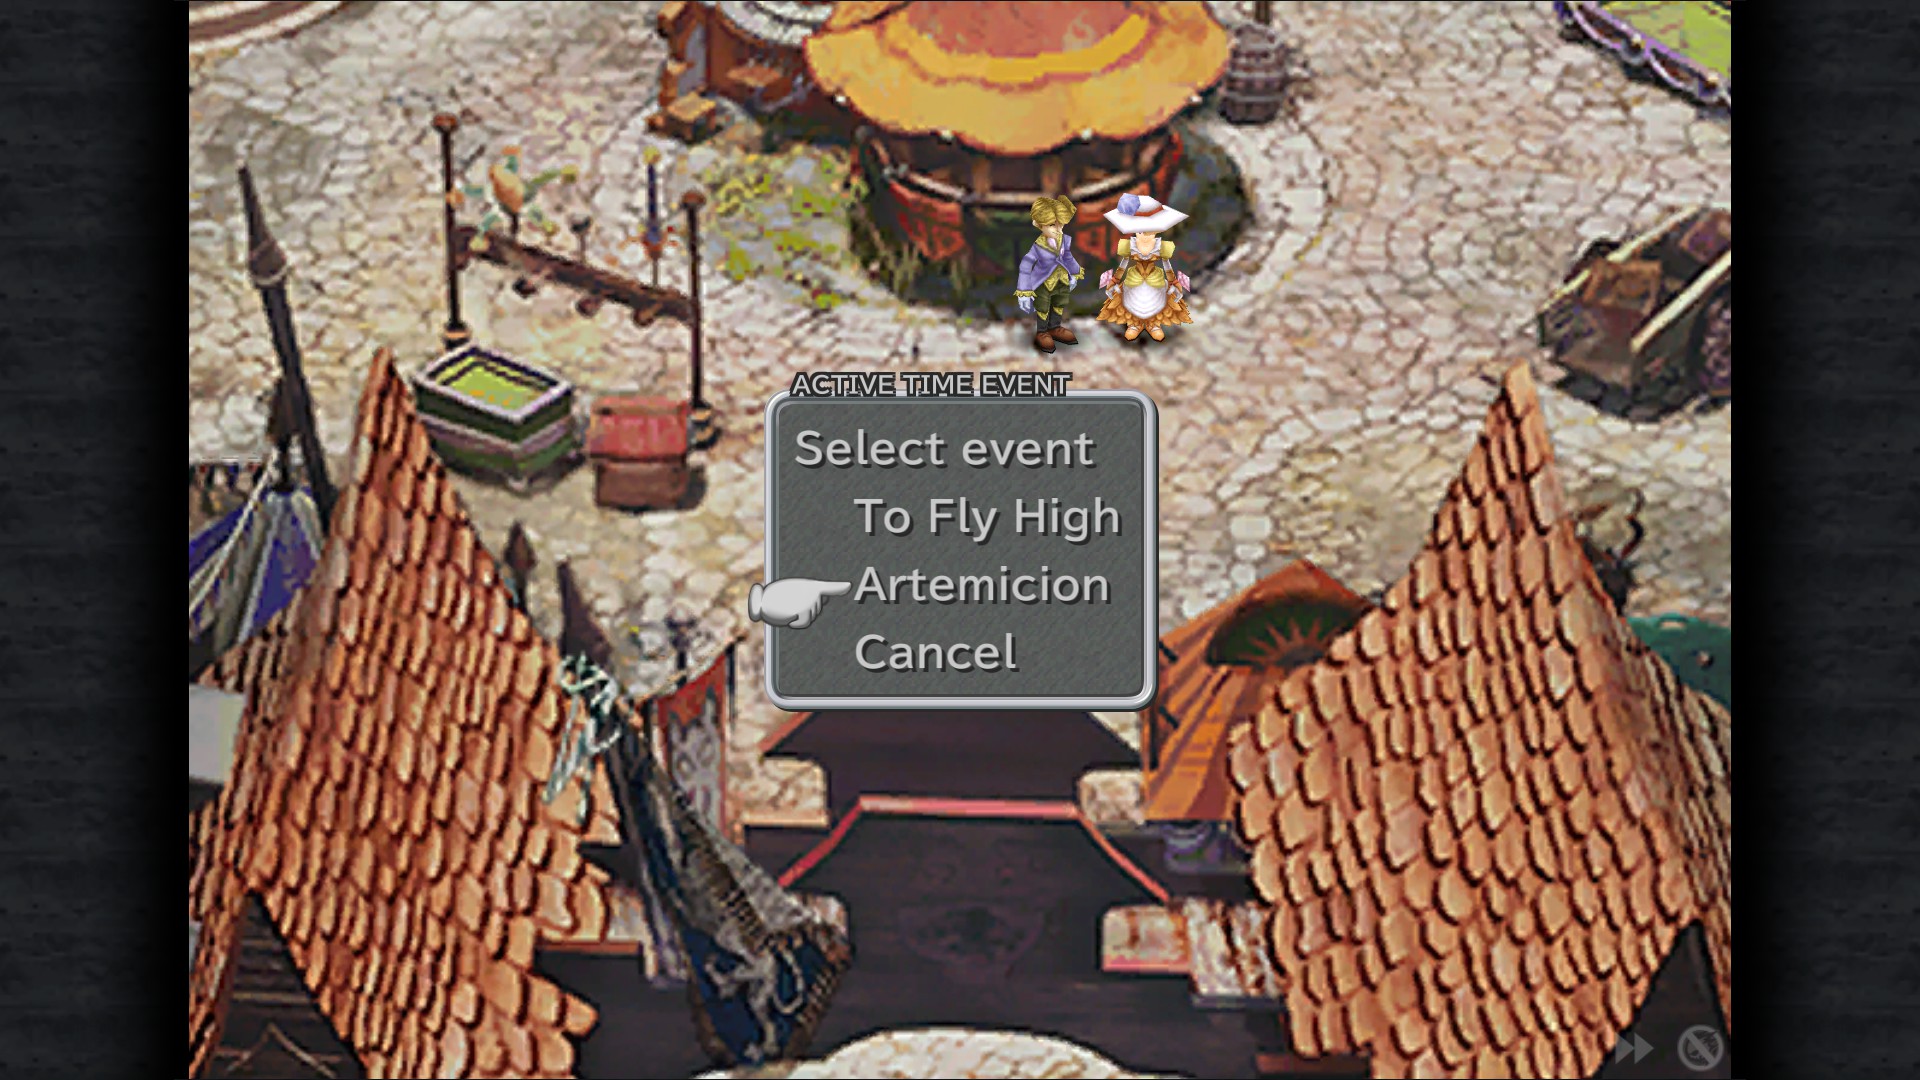
Artemicion ATE - Square
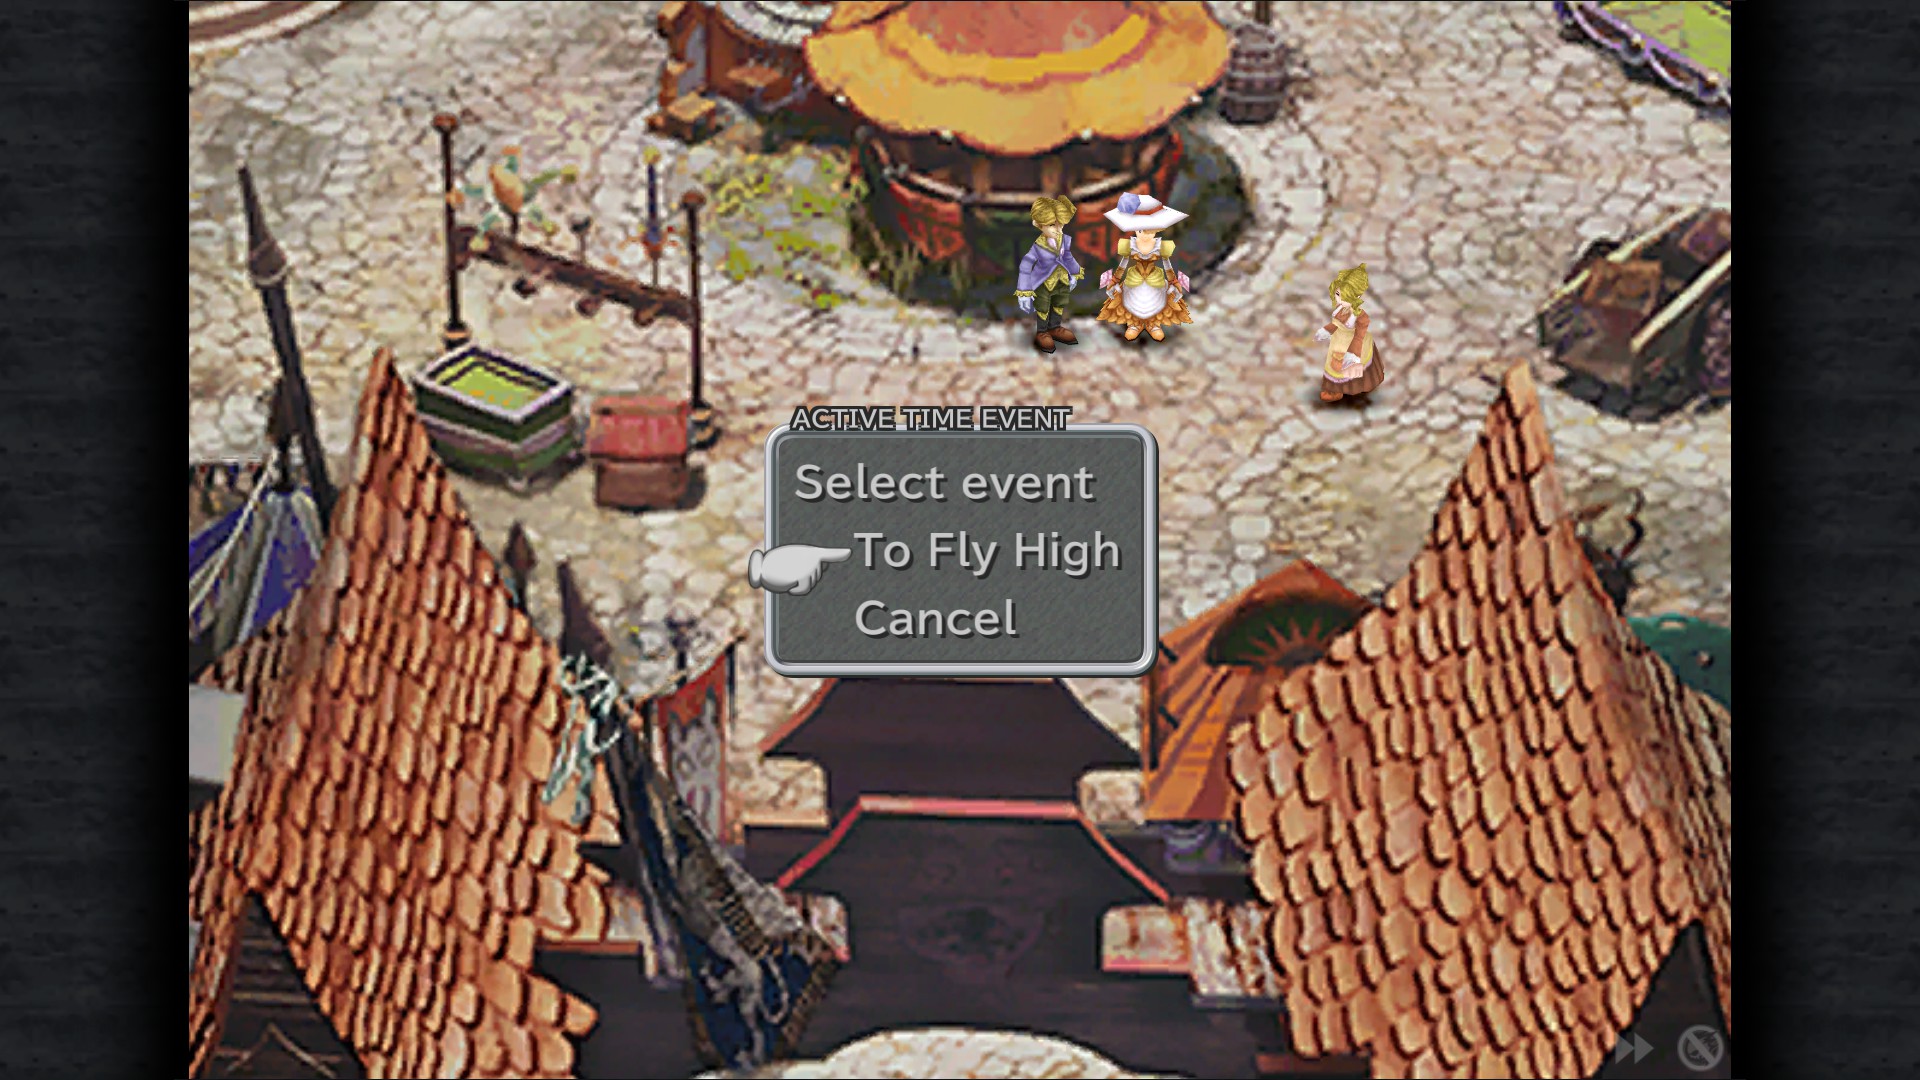
To Fly High ATE - Square
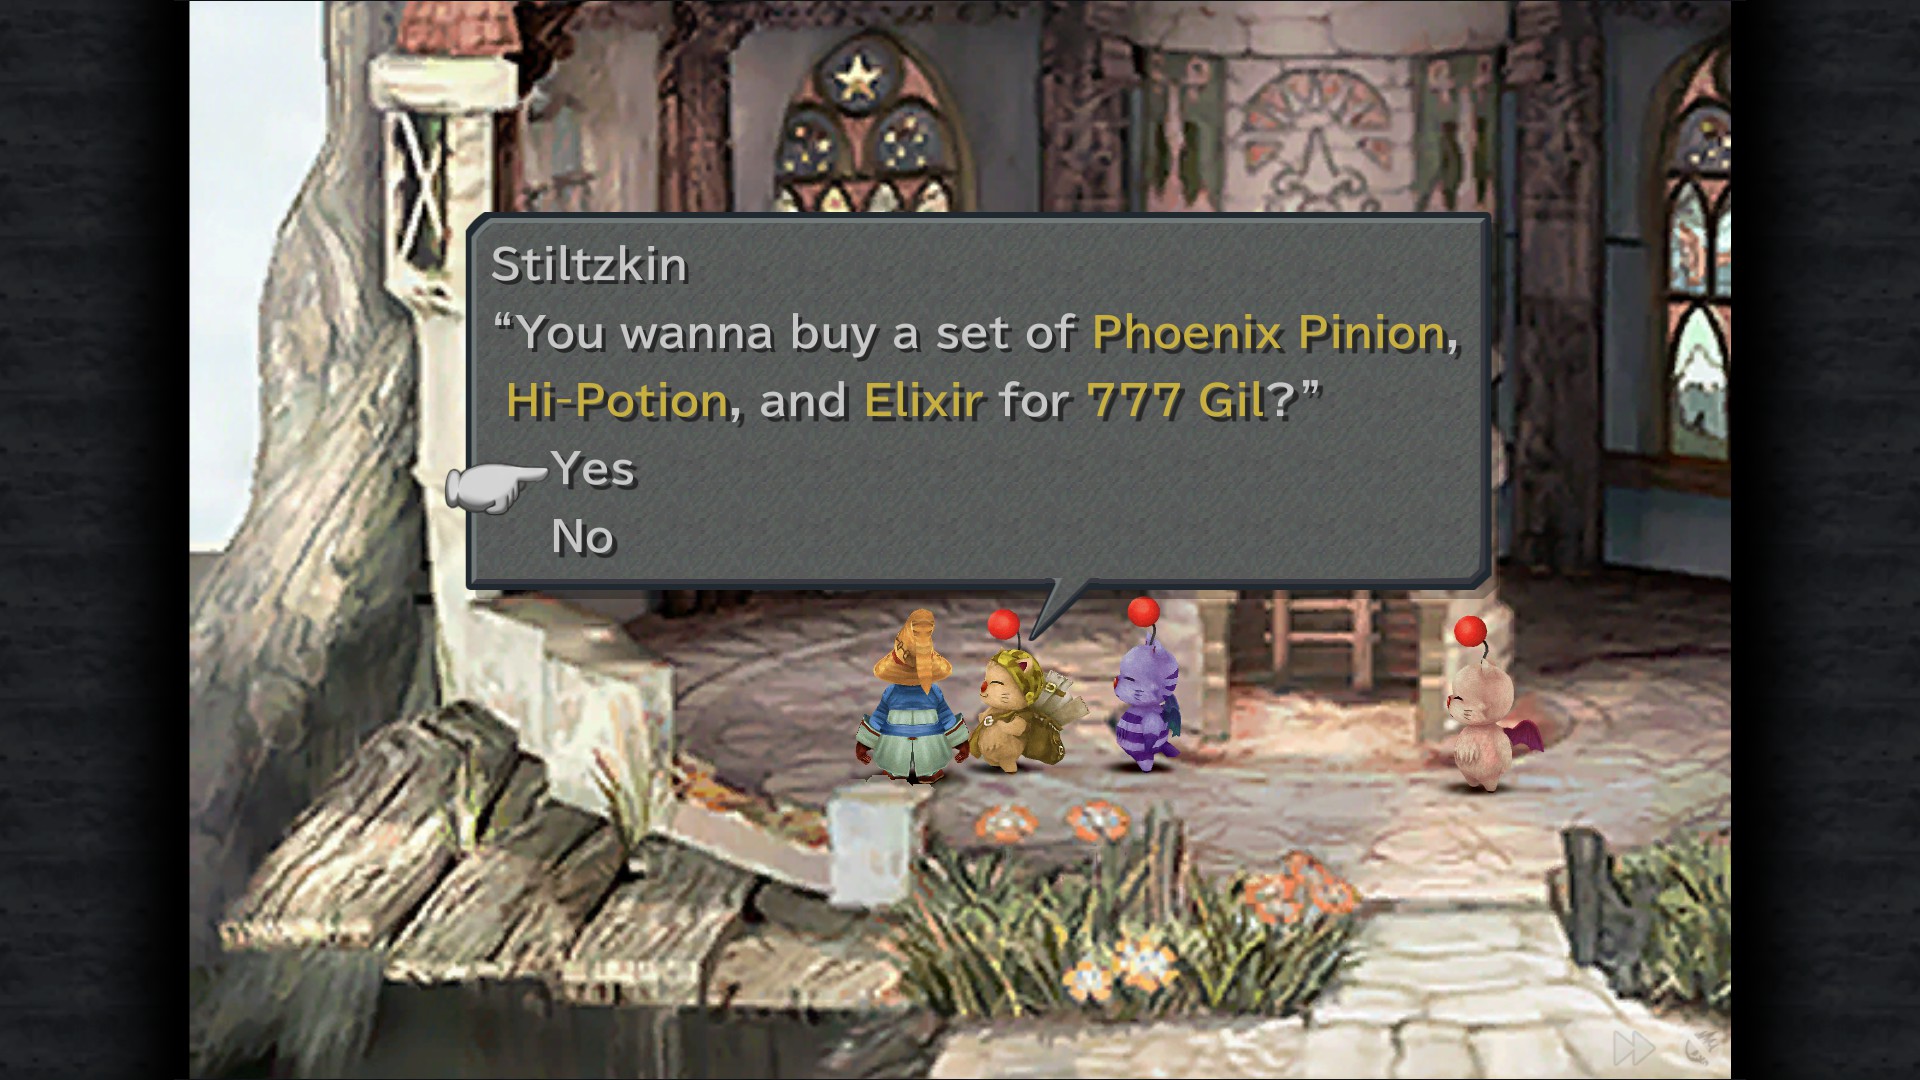
Stiltzkin: Pack available for 777 Gil (Phoenix Pinion, Hi-Potion, Elixir)
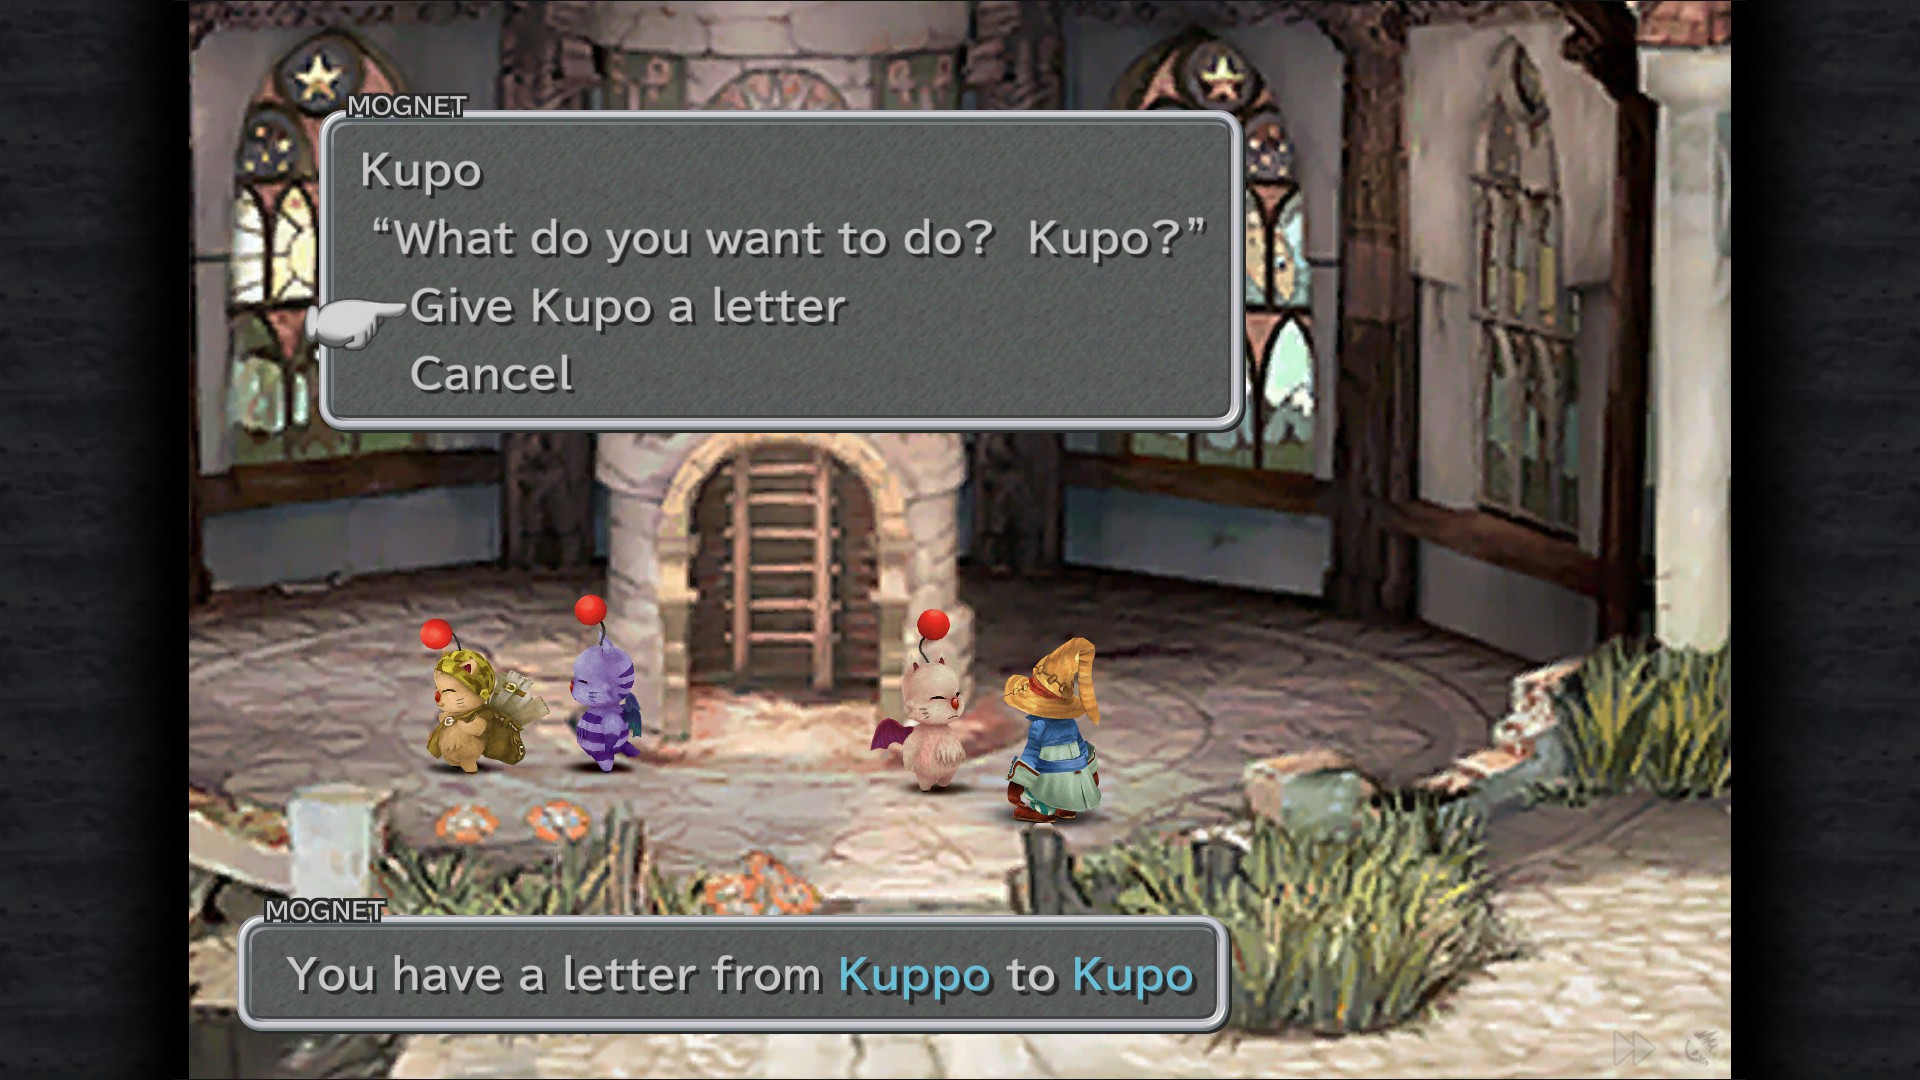
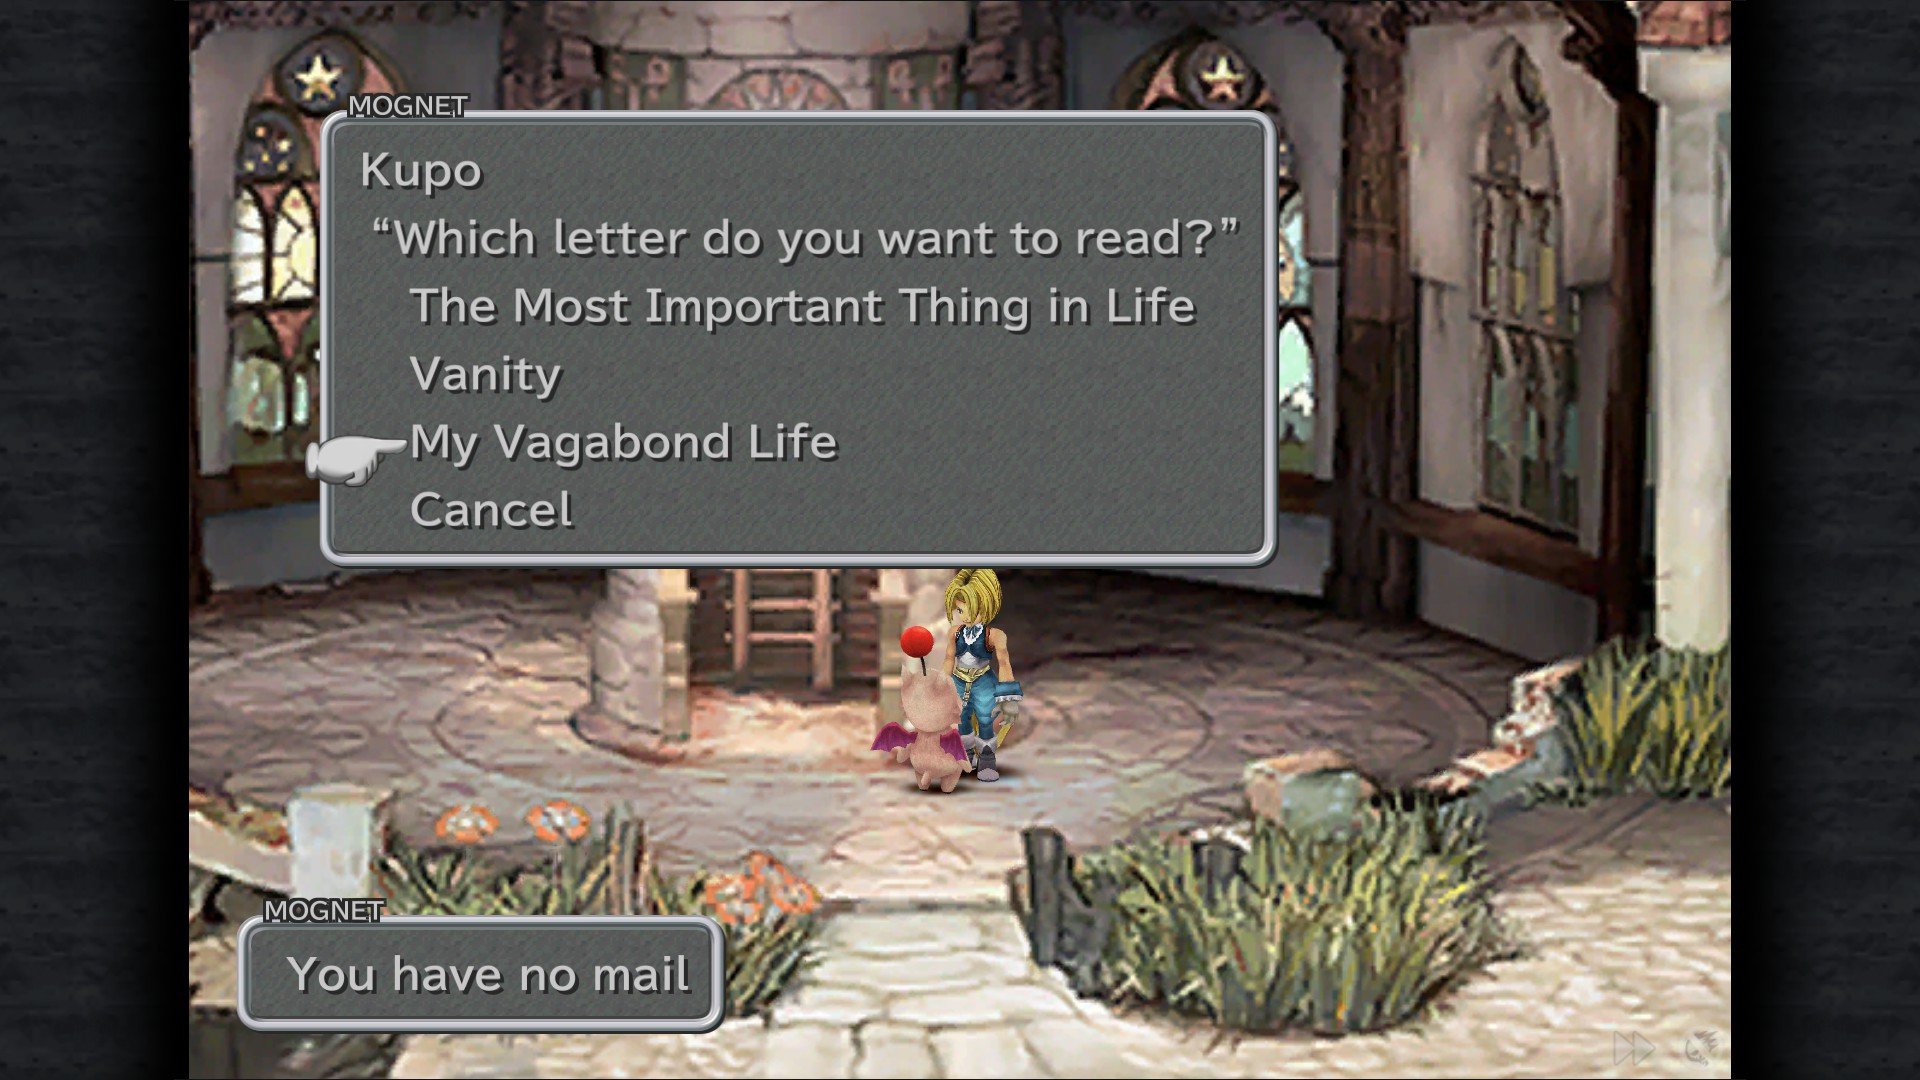
Mognet: Give Kupo a letter "The Most Important Thing in Life" - Steeple
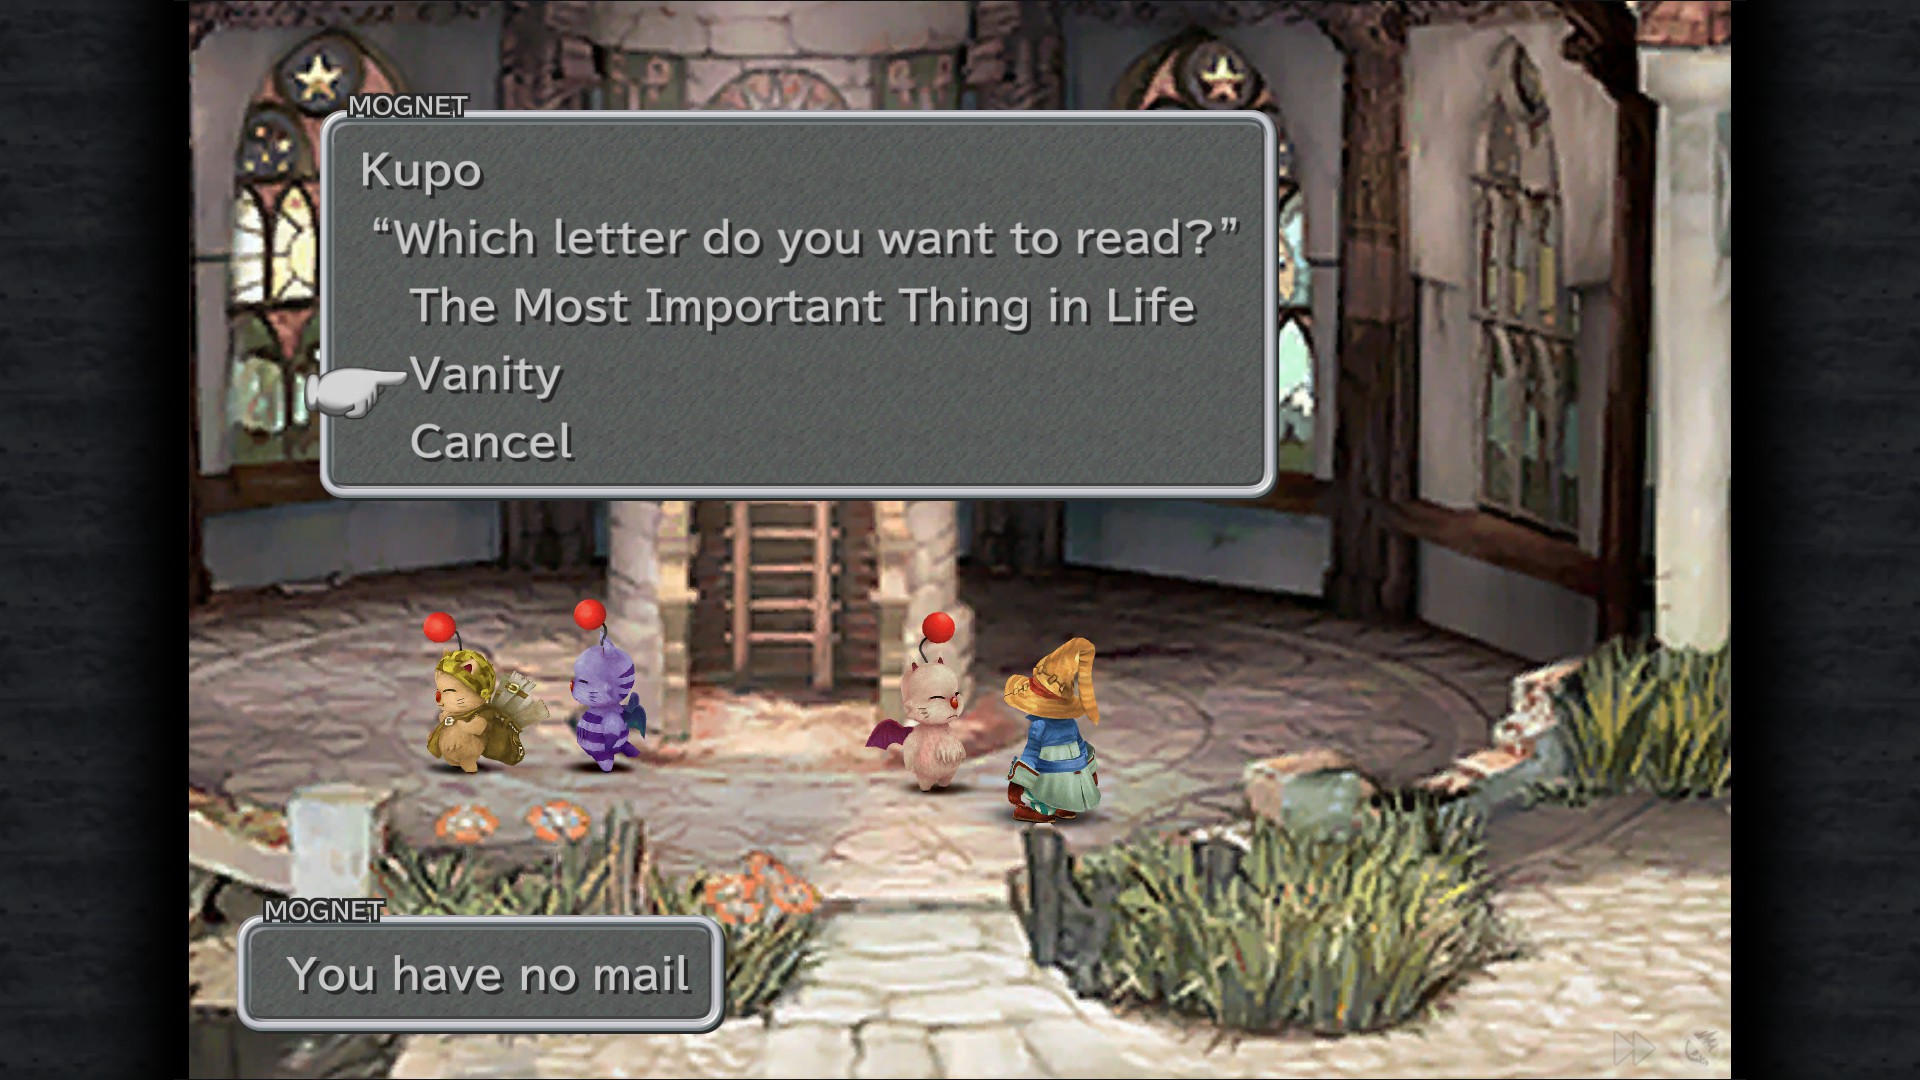
Mognet: "Vanity" (only available if you watch Artemicion ATE) - Steeple
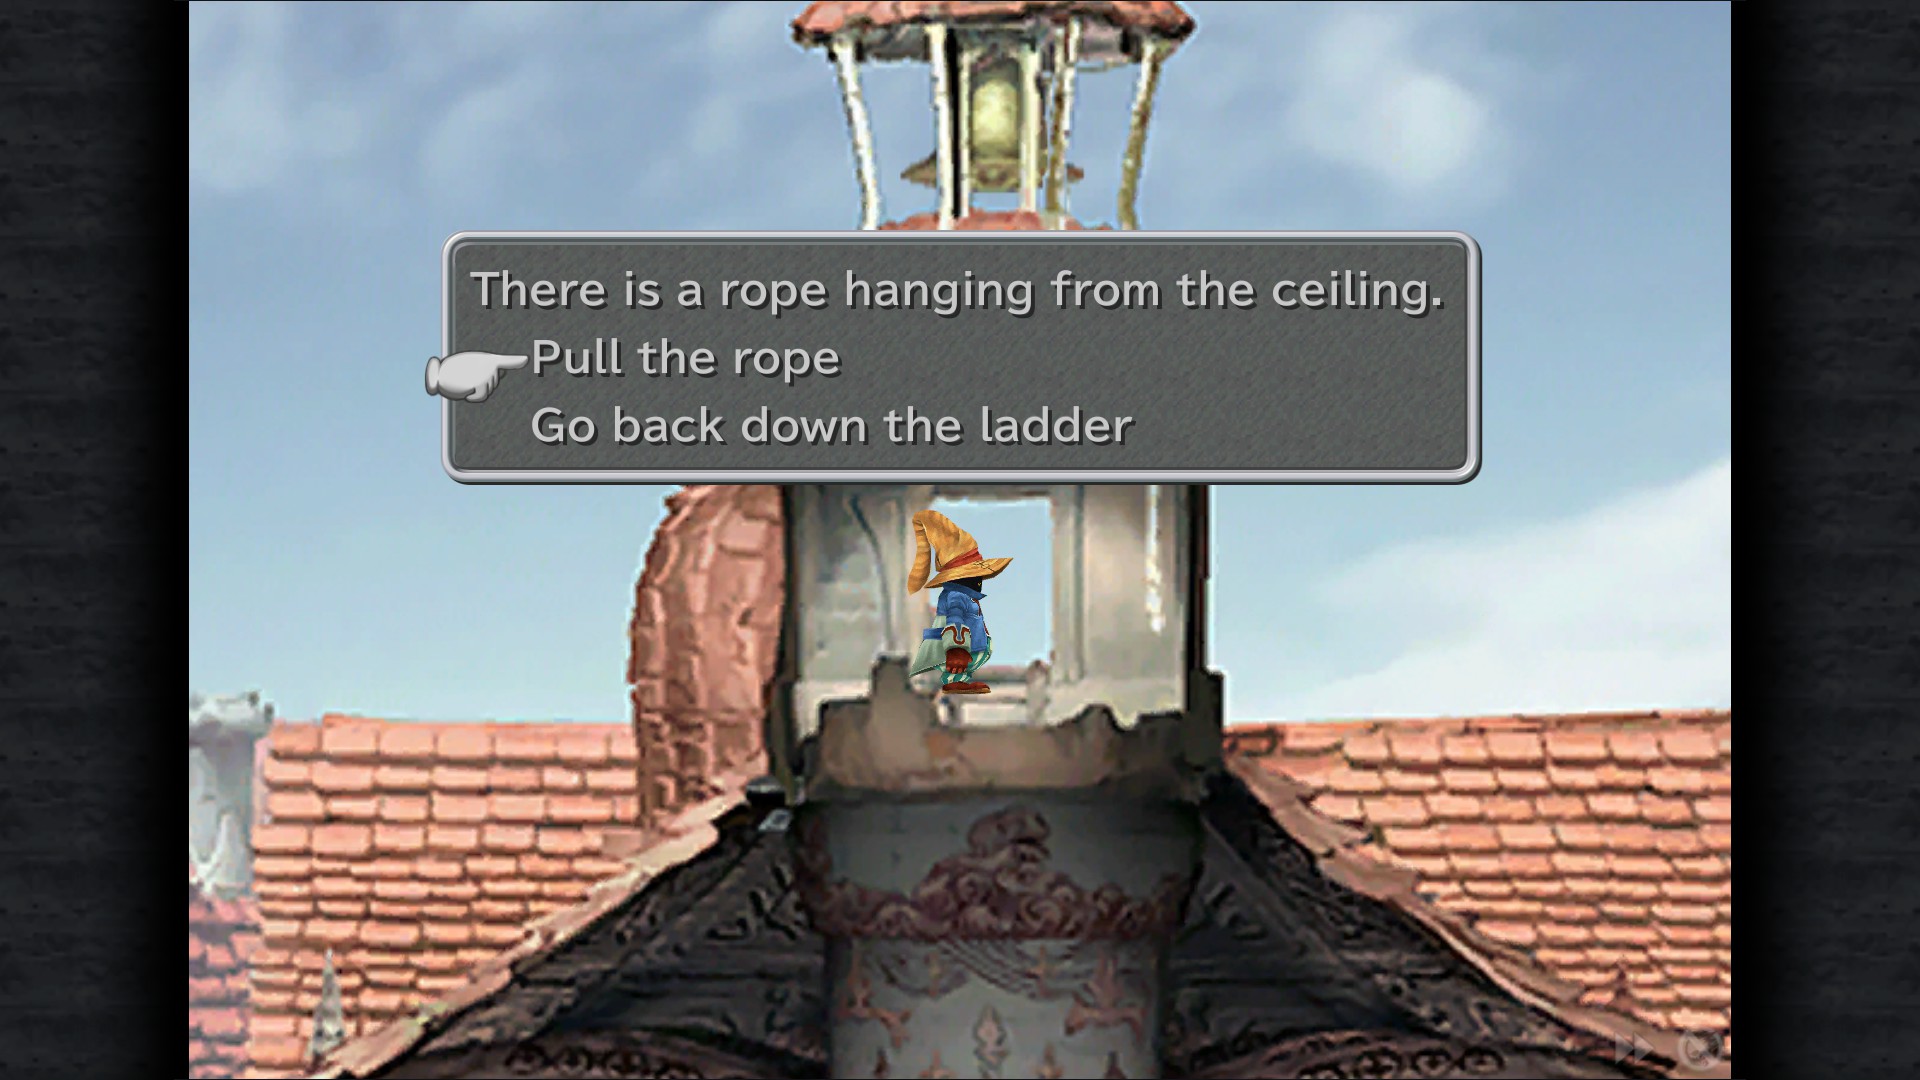
Pull the rope to receive: Goblin Card , Fang Card , Ironite Card , Shiva Card and Ramuh Card.
As Zidane
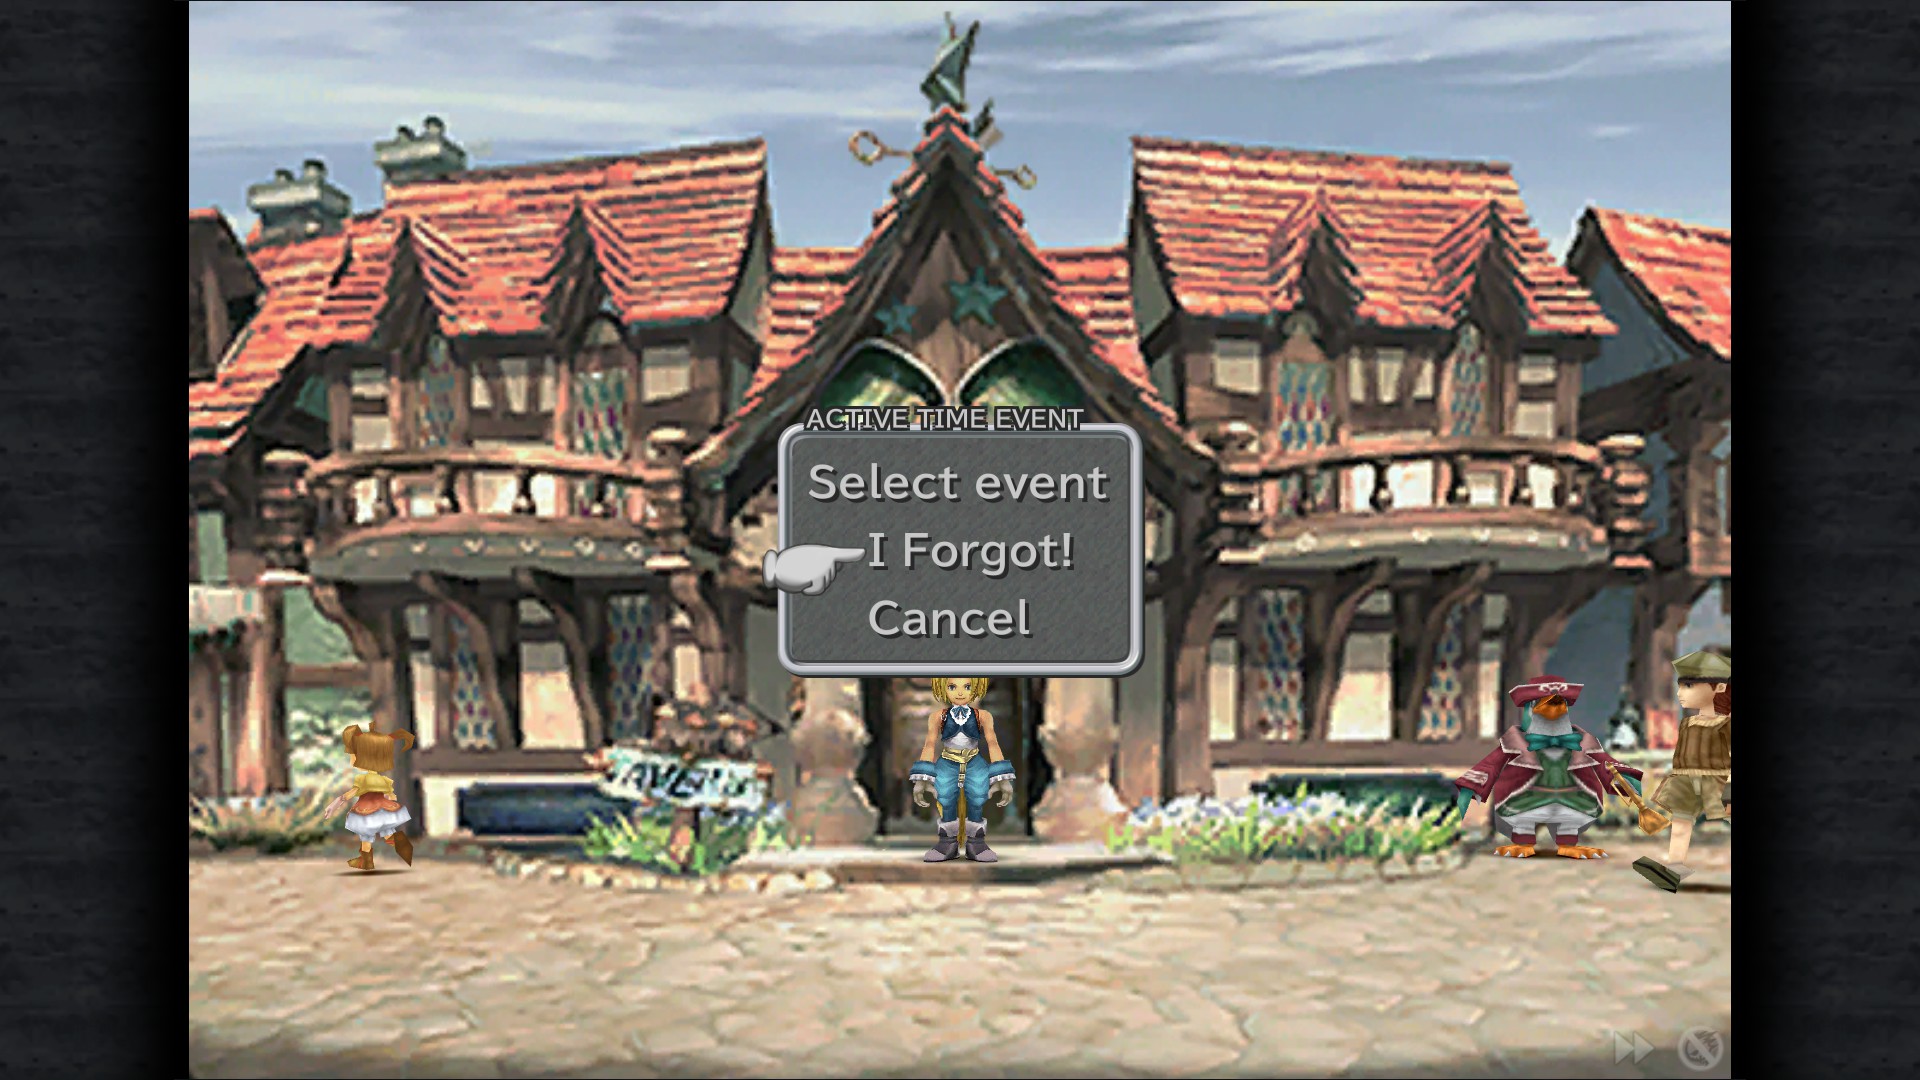
I Forgot! ATE - Intersection
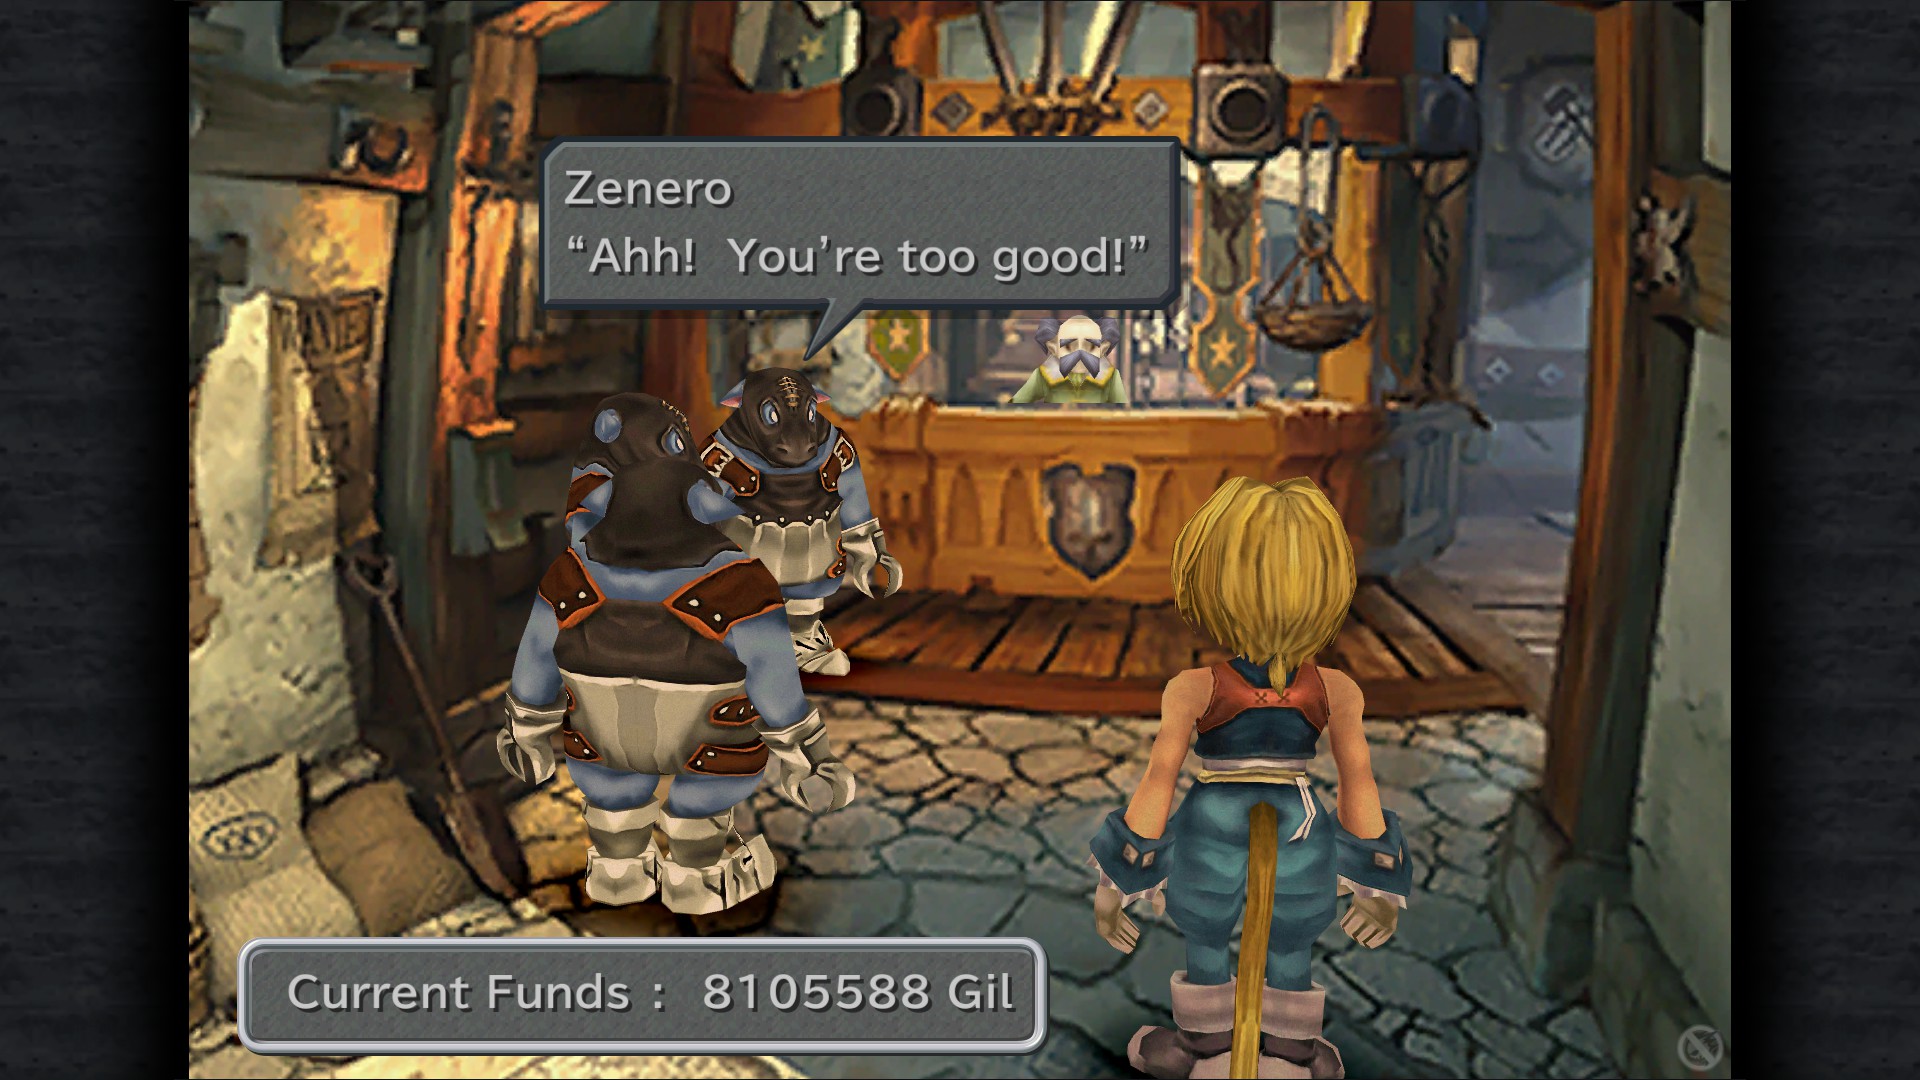
Found in the Shuffle
Beat the Nero Brothers' shuffling game nine times in a row
Head to the Weapon Shop and talk to Benero , Zenero o Genero to start this minigame.
Your objetive is to win 9 times in a row , this will net you 25600 Gil and this achievement.
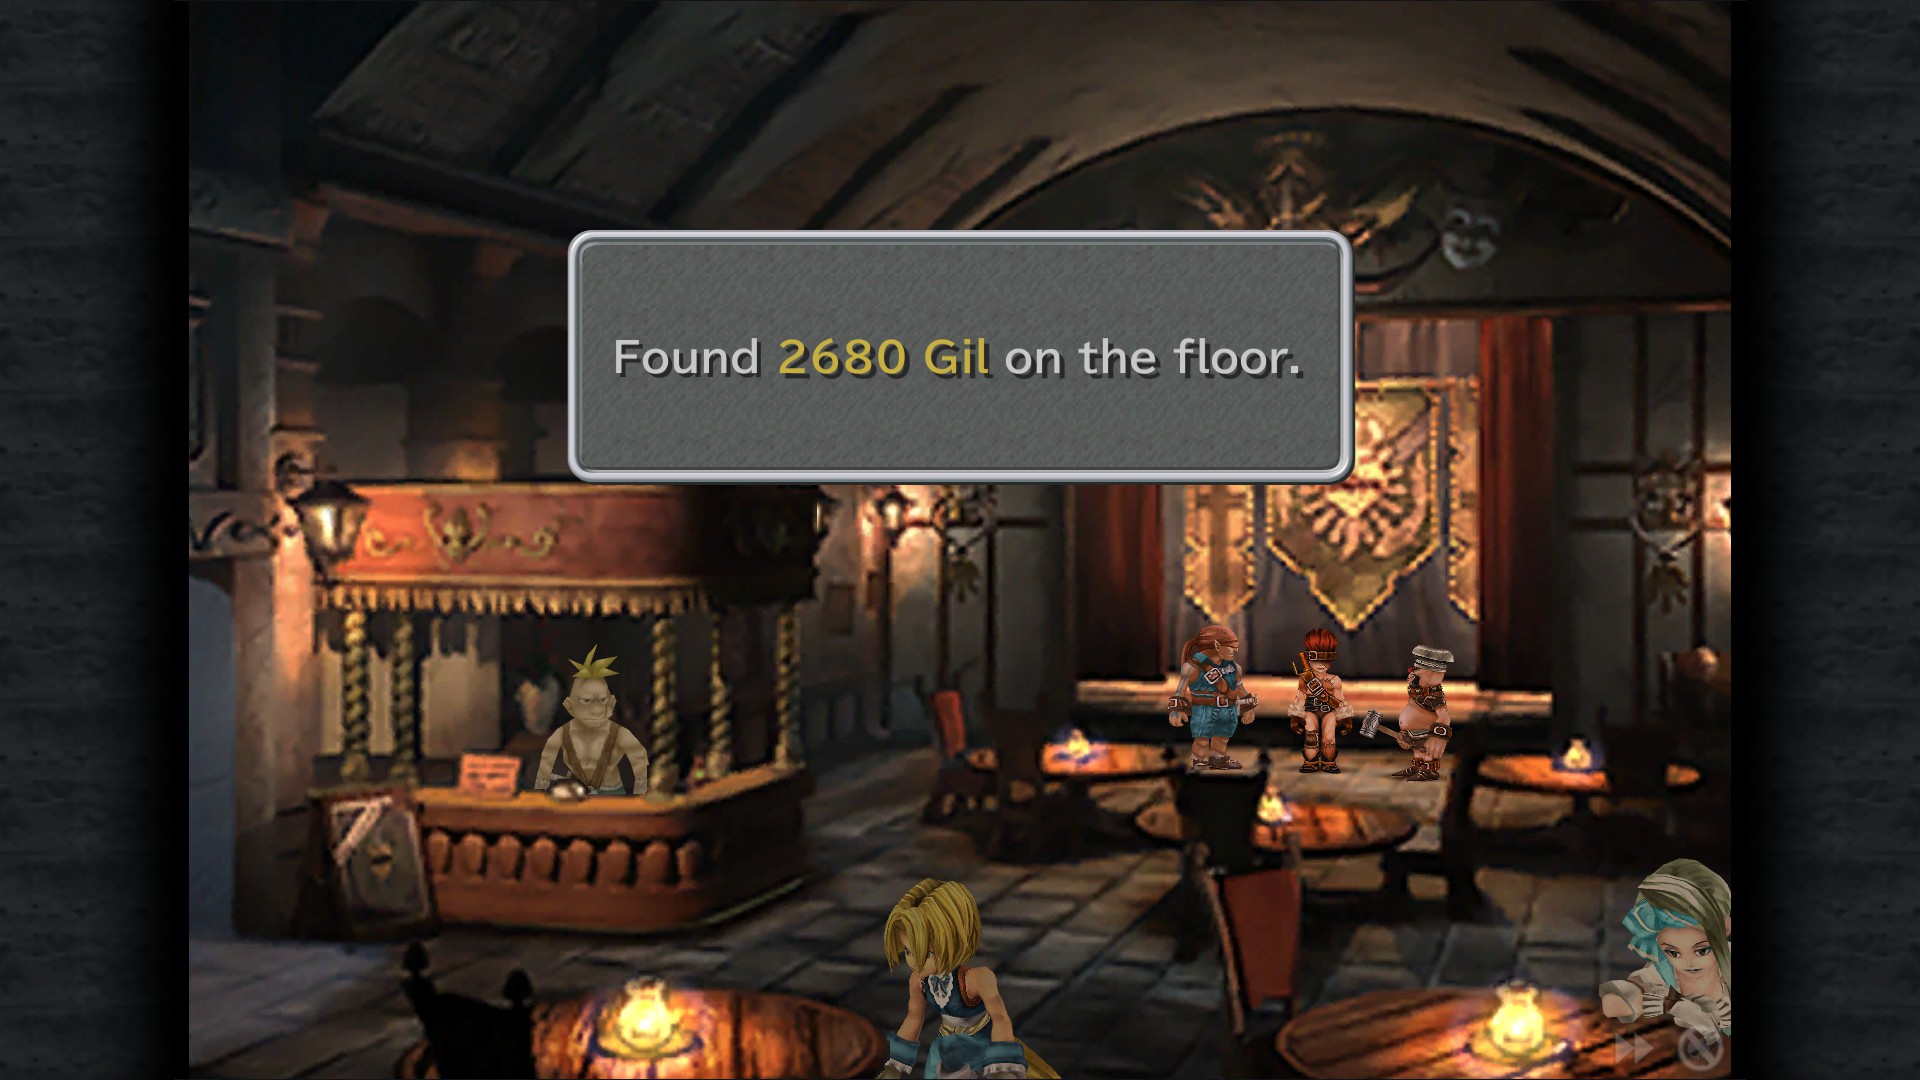
2680 Gil - Mini Theater
Mognet: "My Vagabond Life" - Stepple
Phoenix Pinion - Dock
3927 GIl - Dock
Alexandria Castle
Ether - Courtyard
Phoenix Pinion - Courtyard
Lapis Lazuli - Courtyard
Phoenix Pinion - West Tower
Leo* - Neptune (to the right of the statue)
Clowns On A Dark Night ATE (Forced)
Return To Treno


Treno
Eiko Talks Life ATE - Tot Residence , top floor
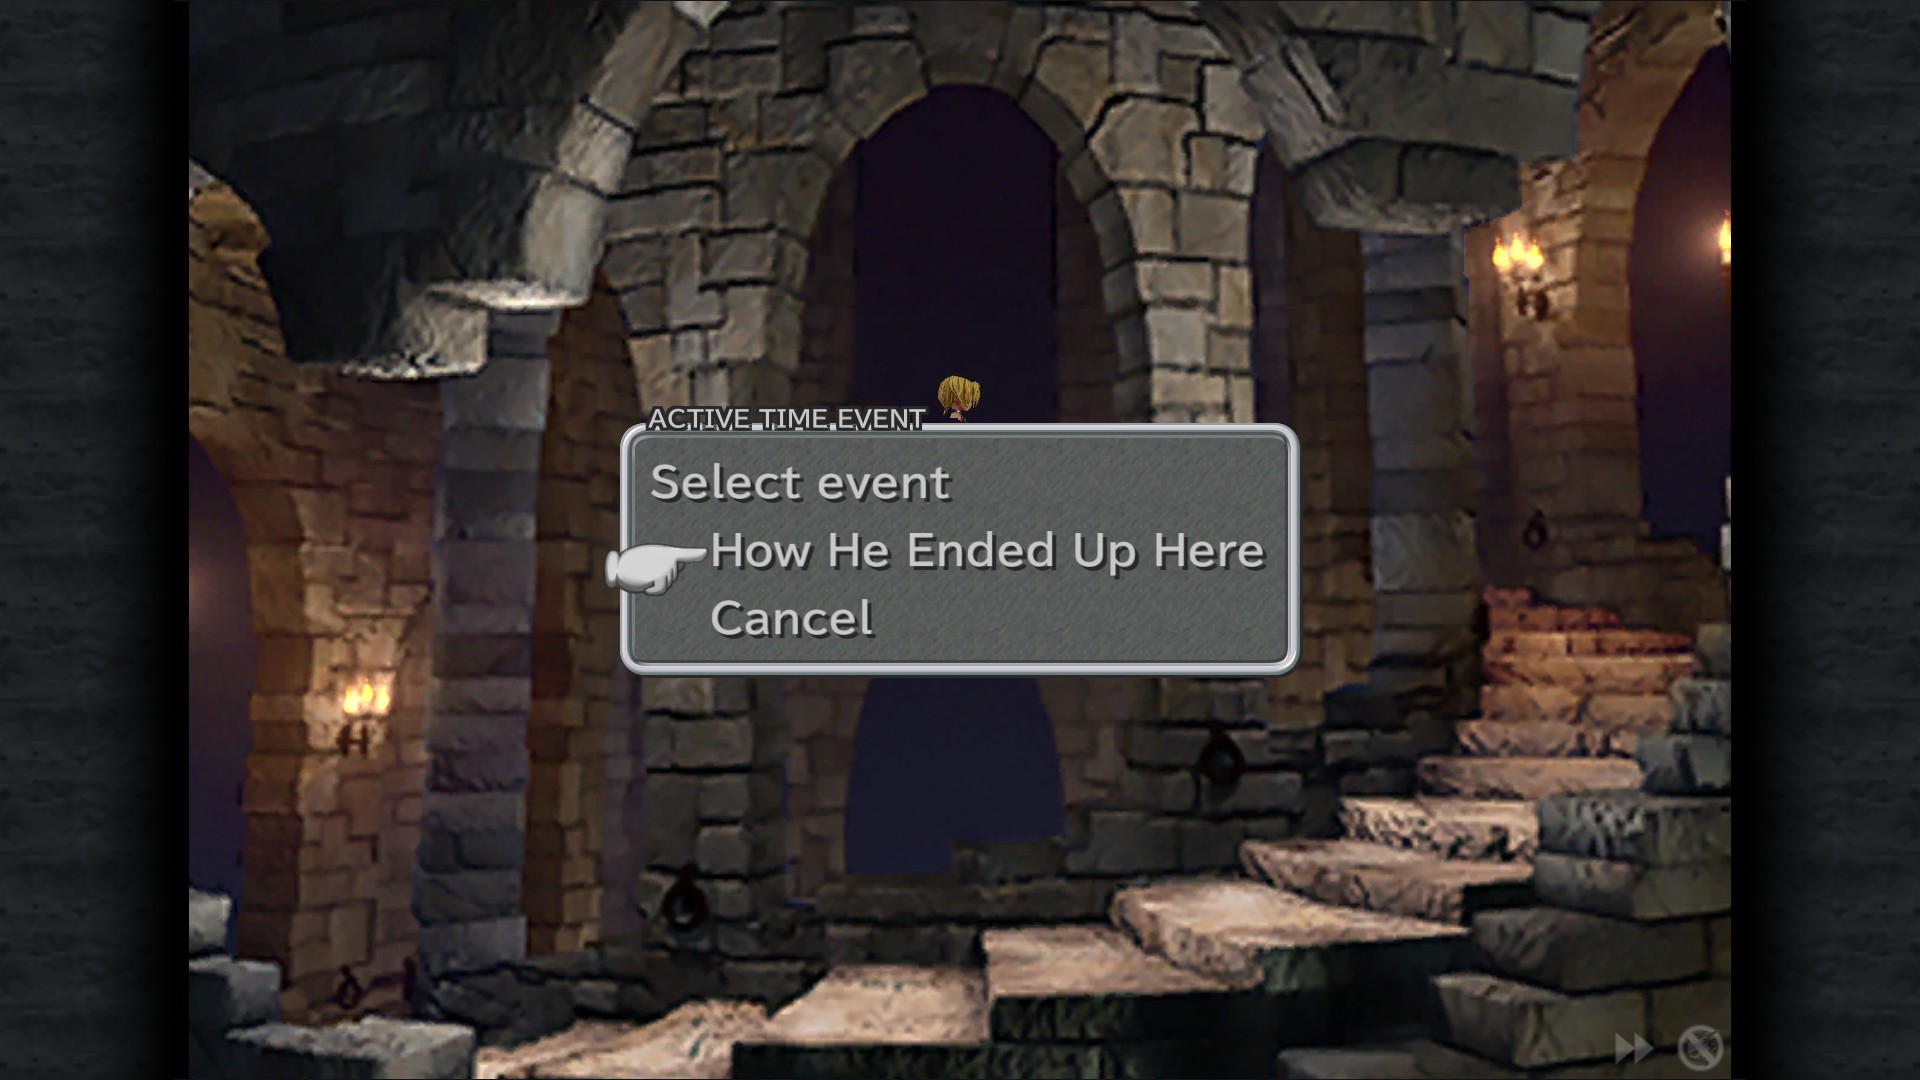
How He Ended Up Here ATE - Tot Residence
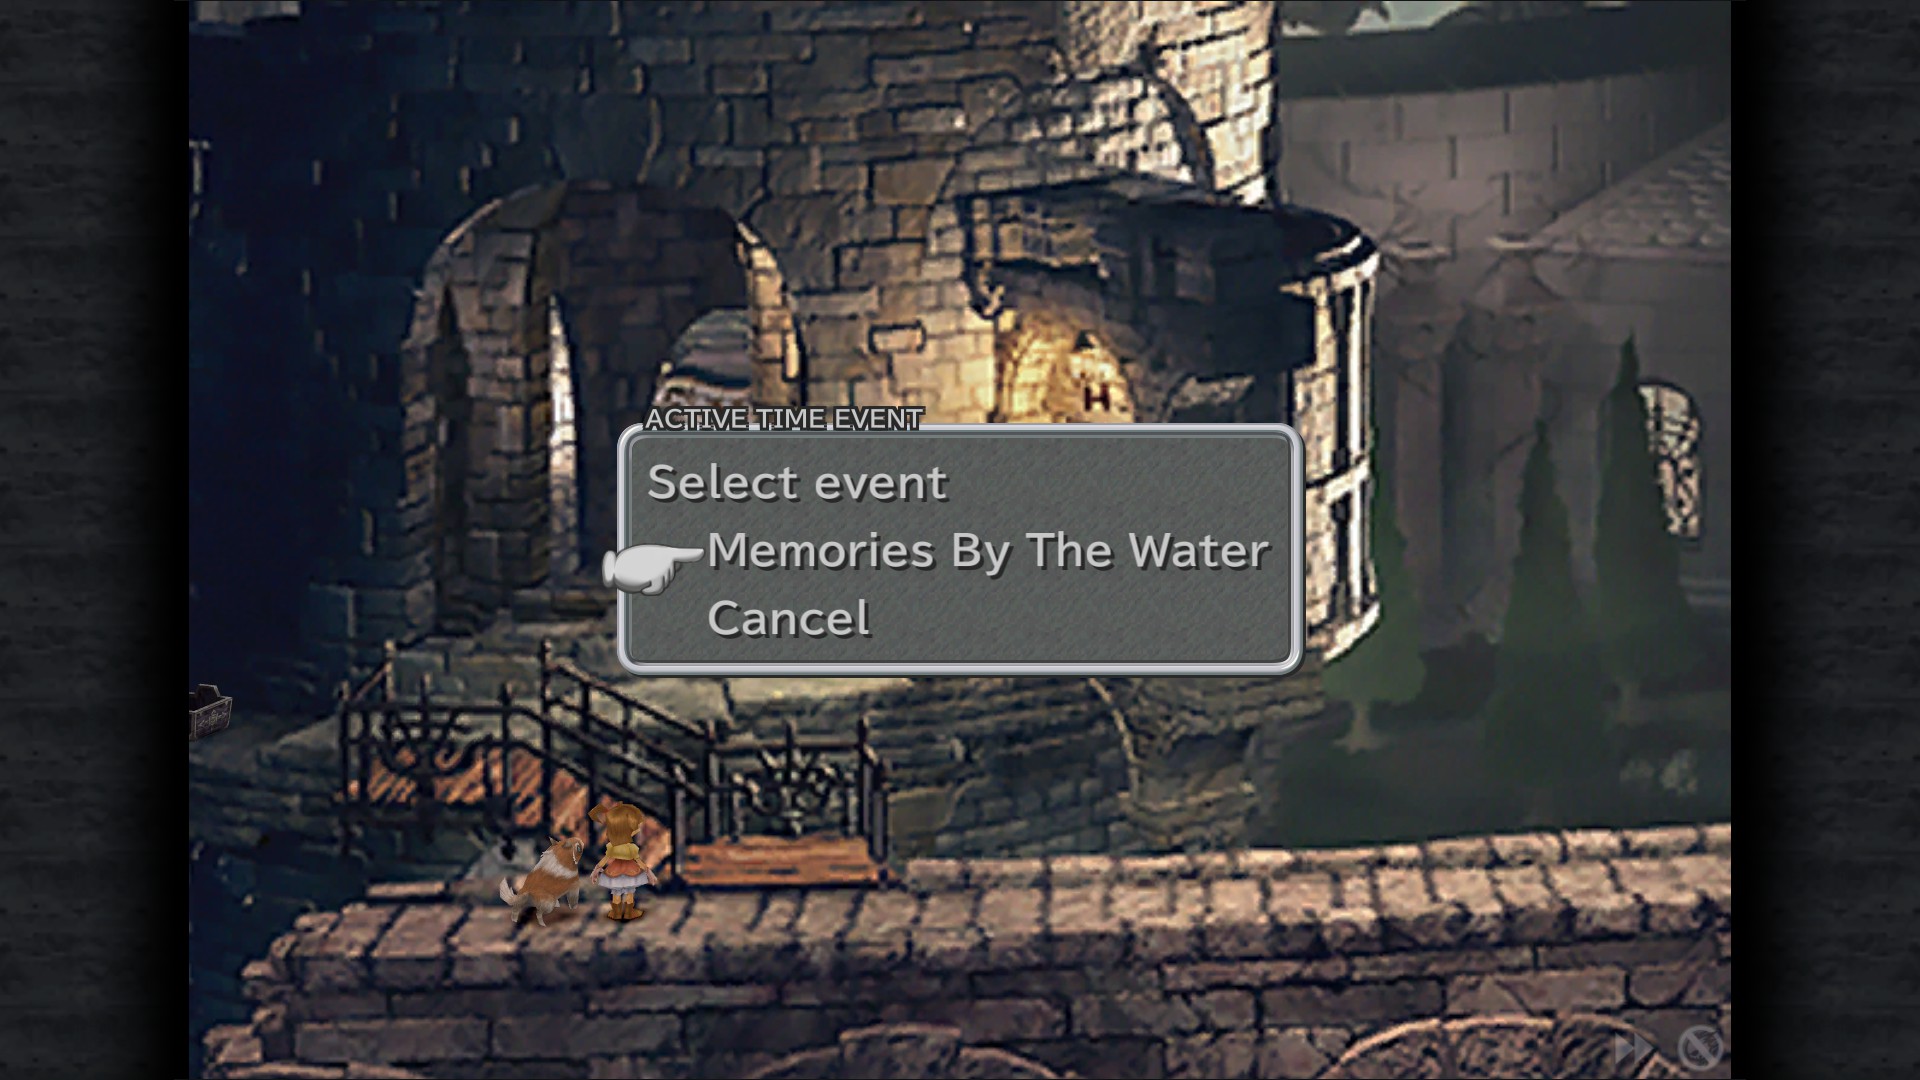
Memories By The Water ATE - Walkway
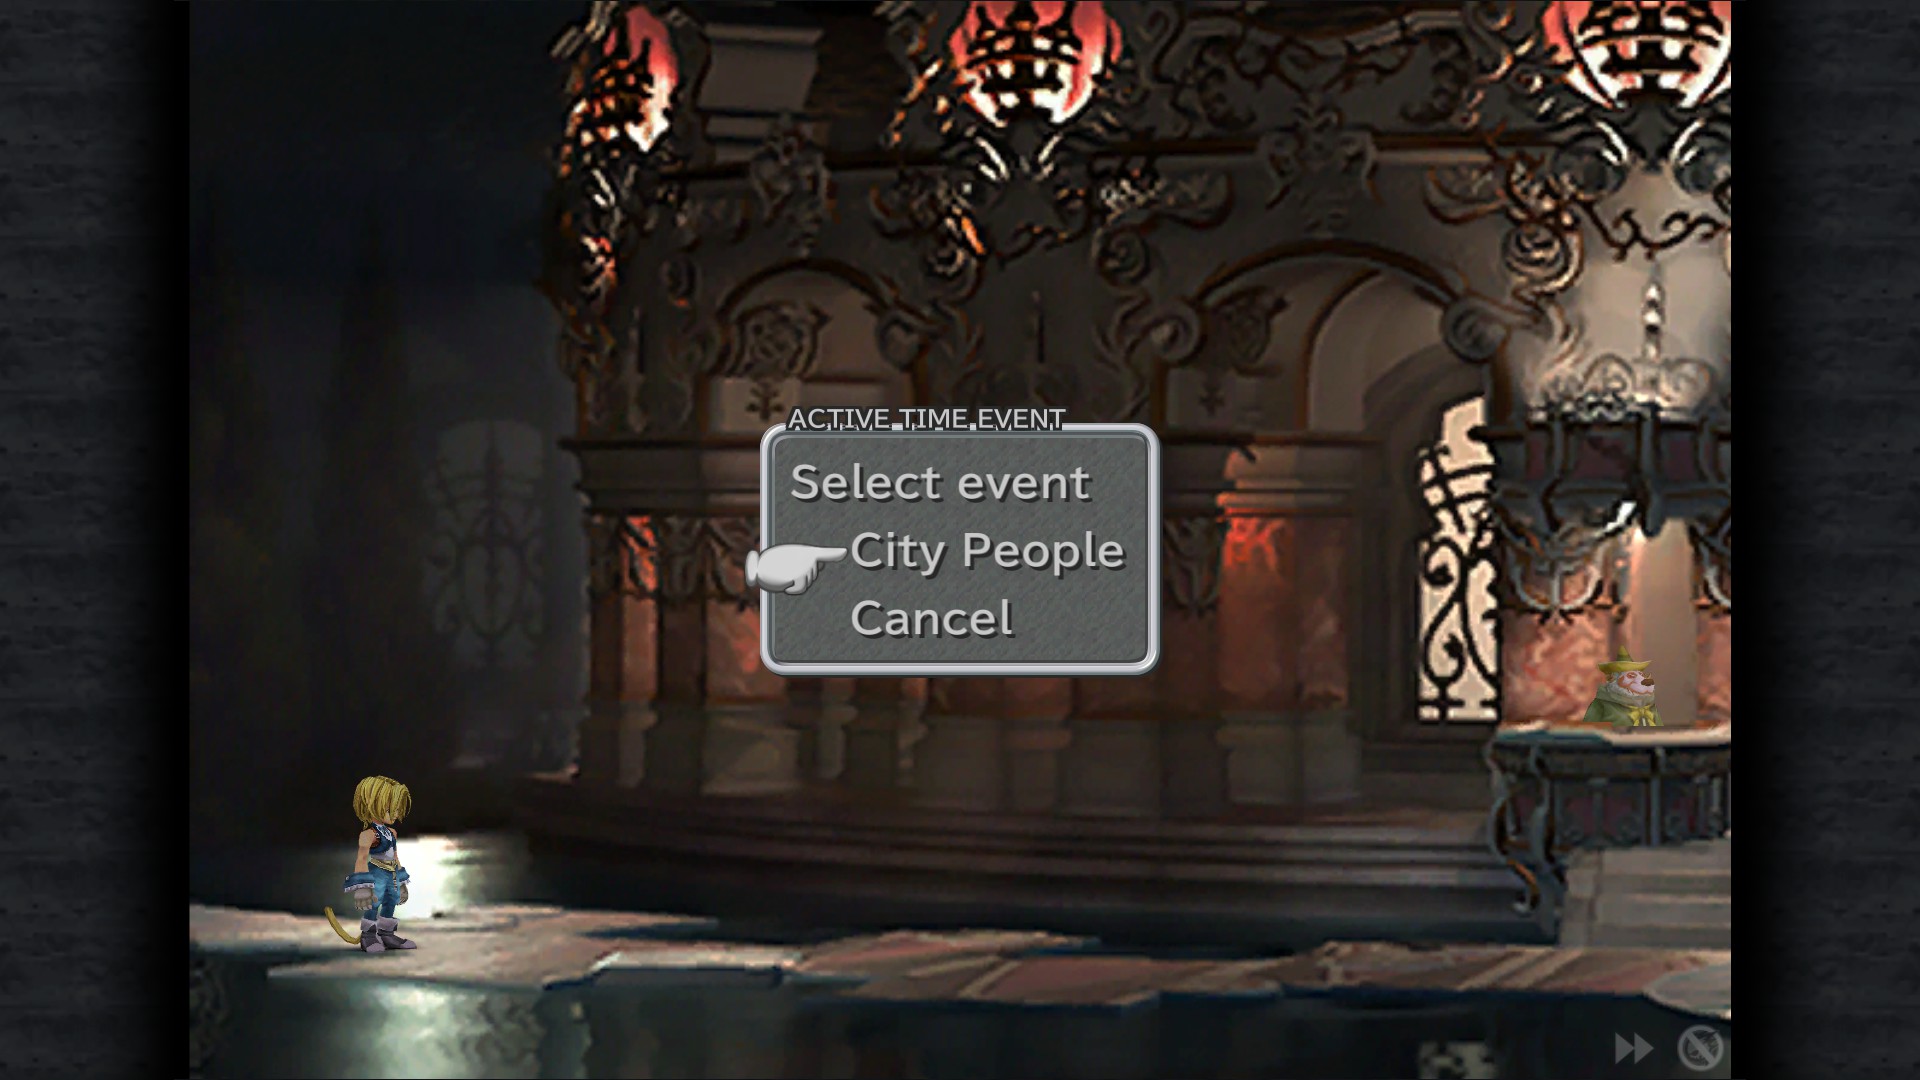
City People ATE - Card Stadium
Mognet: "New Champion" - Knight's House
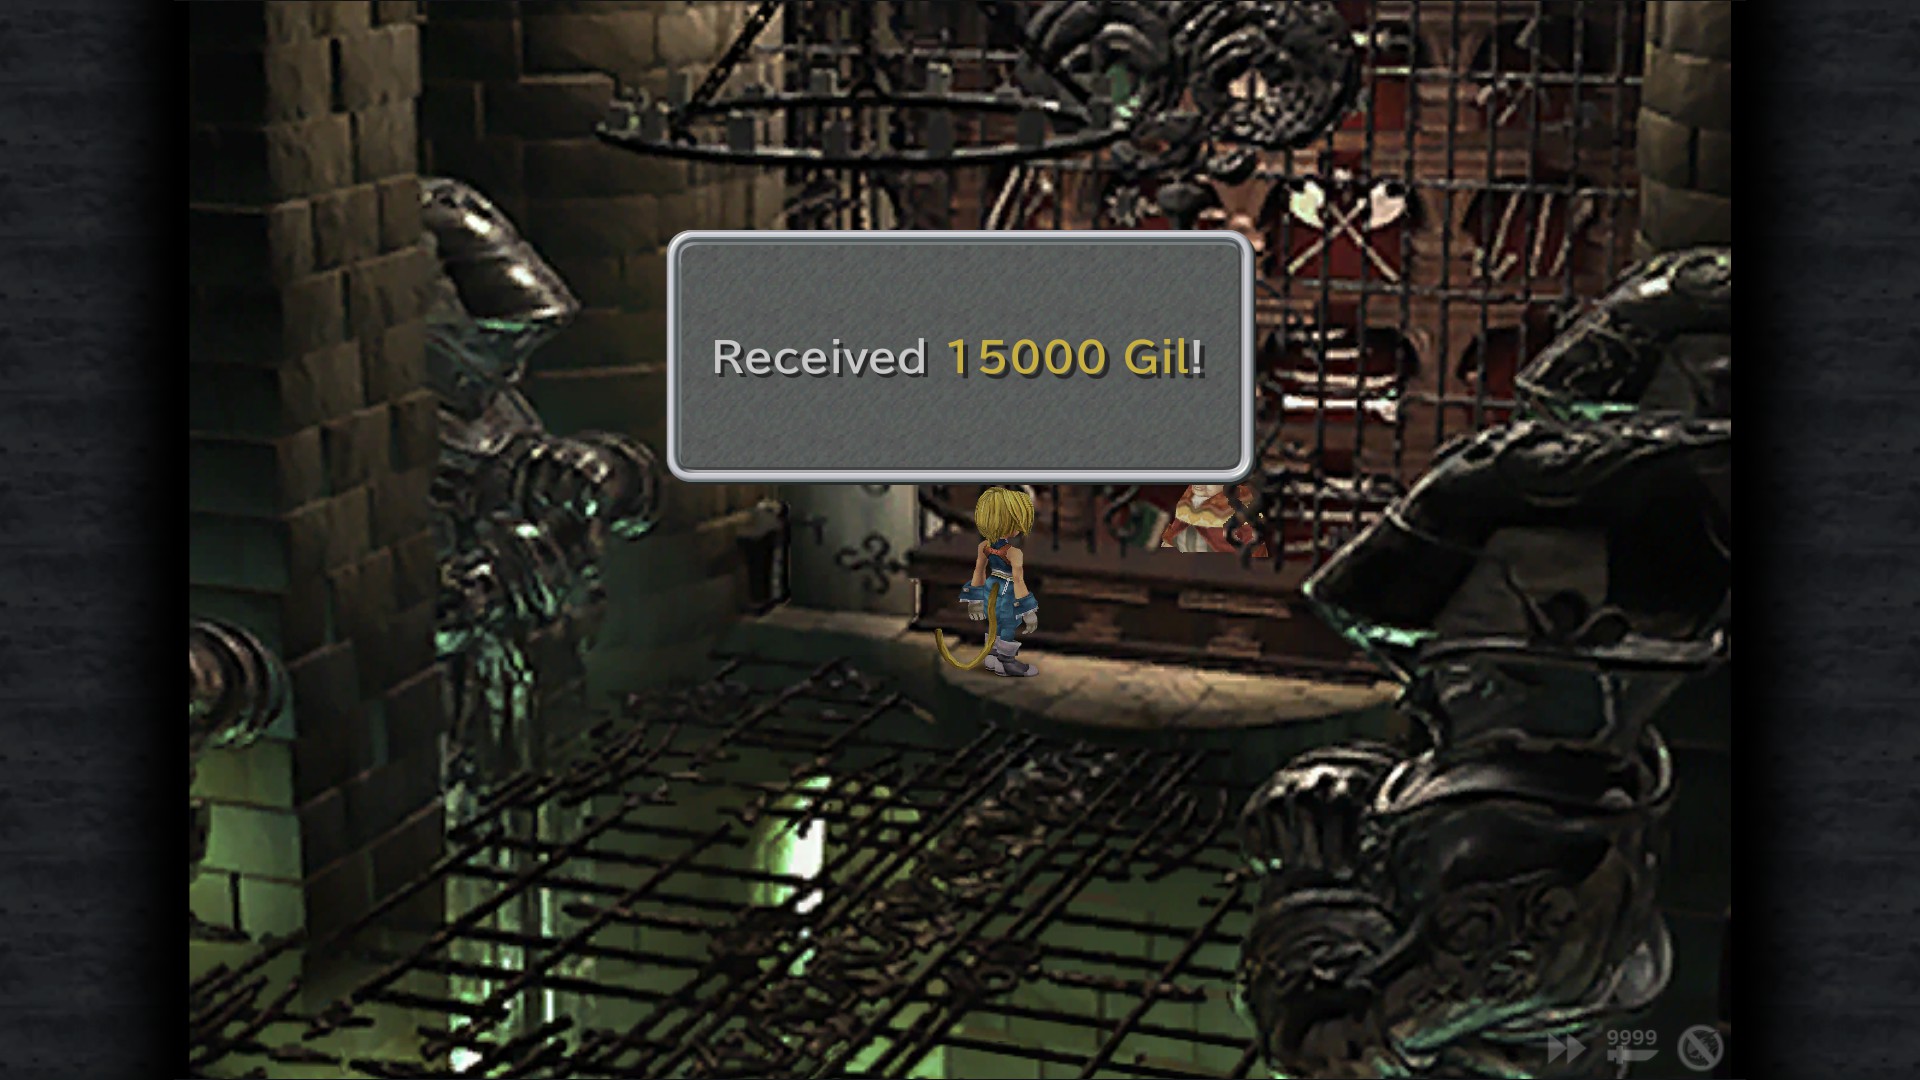
15,000 Gil - Defeat Catoblepas on Knights House
It's All in the Cards I
Win a Tetra Master match.
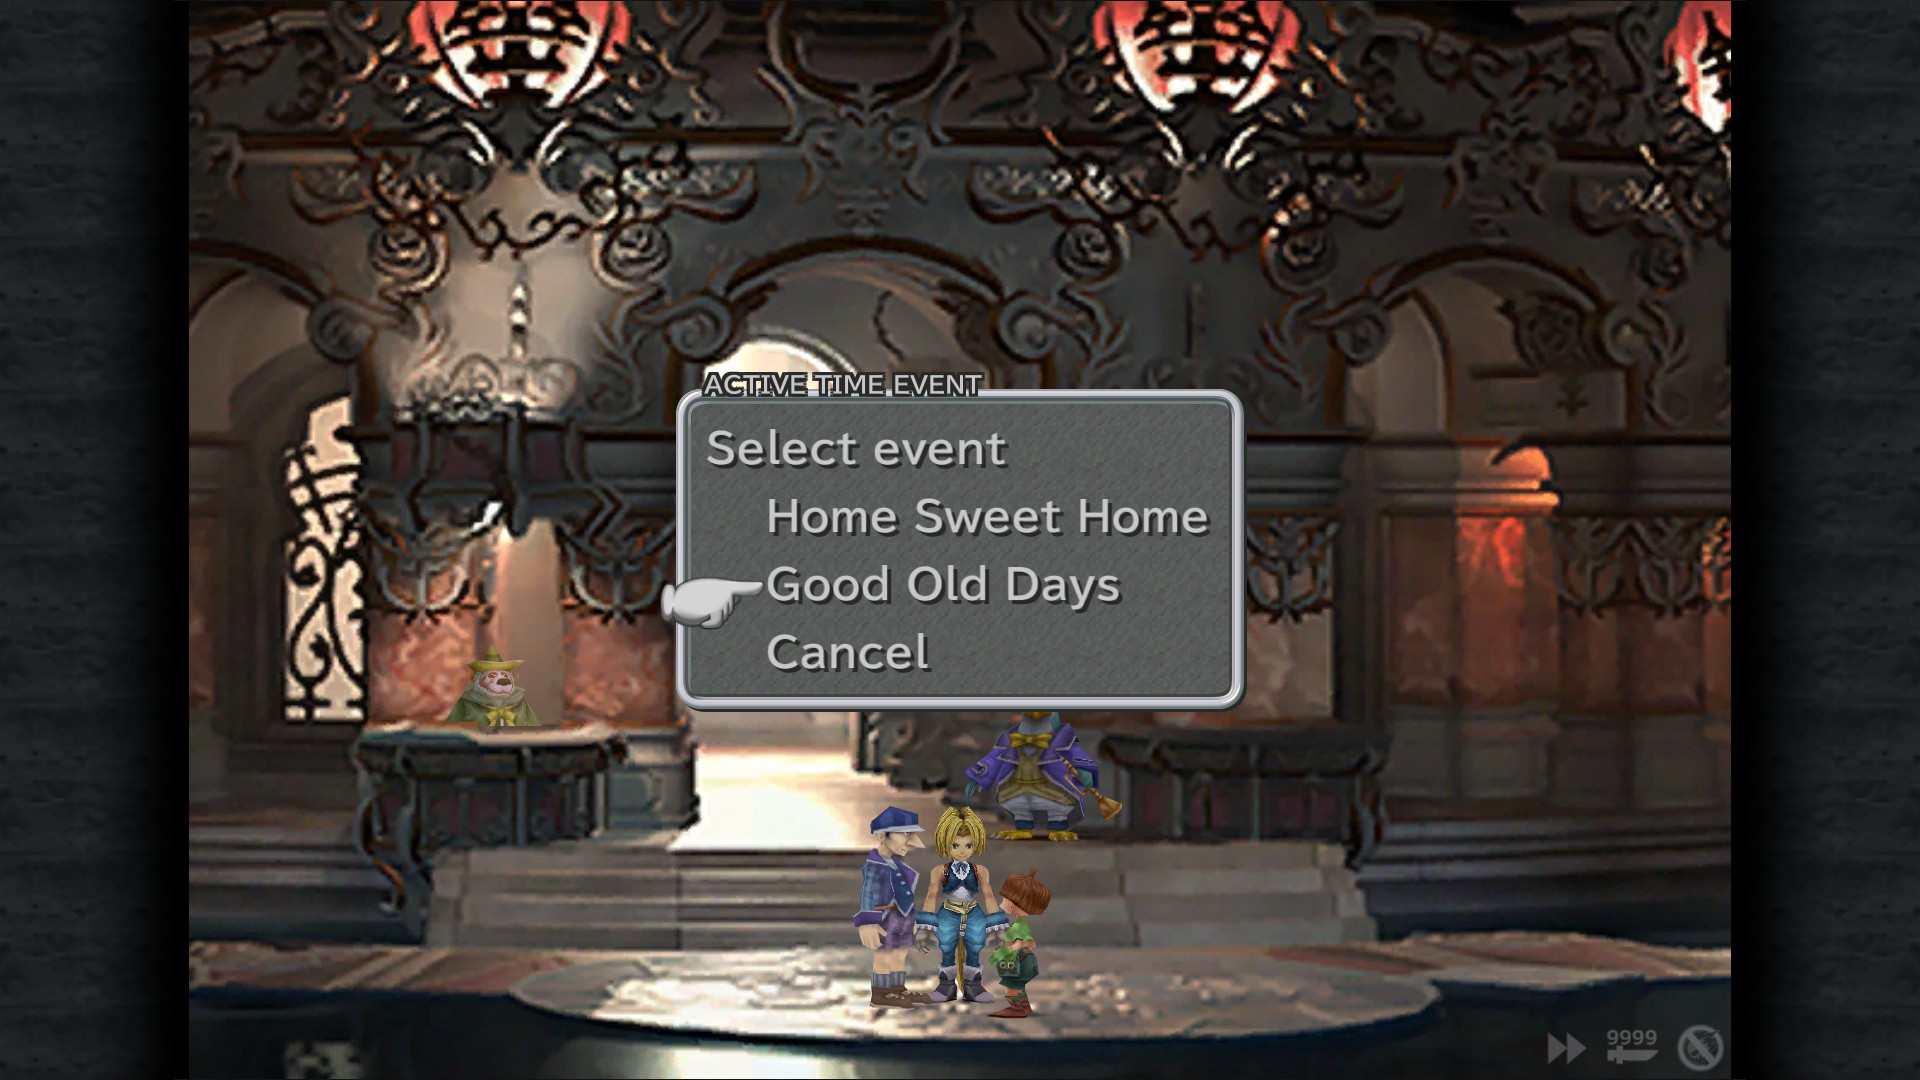
Good Old Days ATE - Card Stadium (after winning once during the tournament)
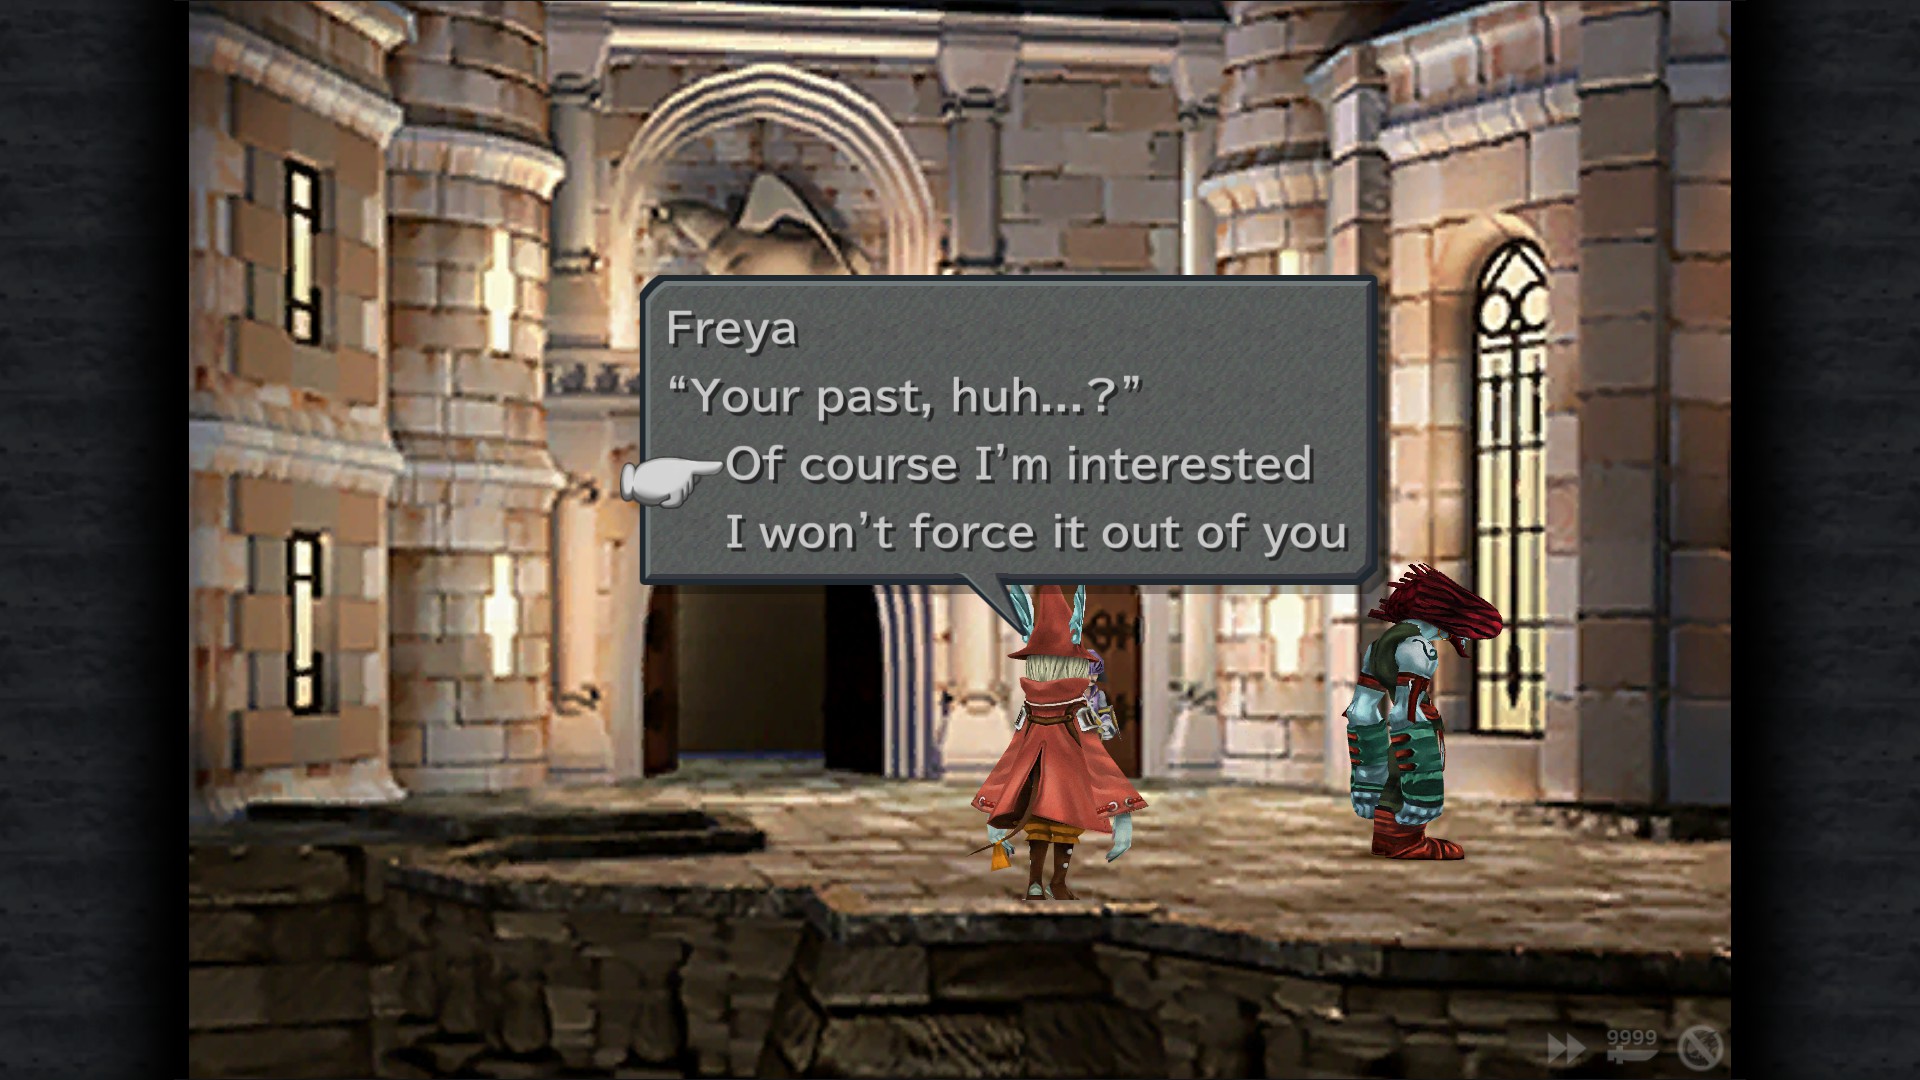
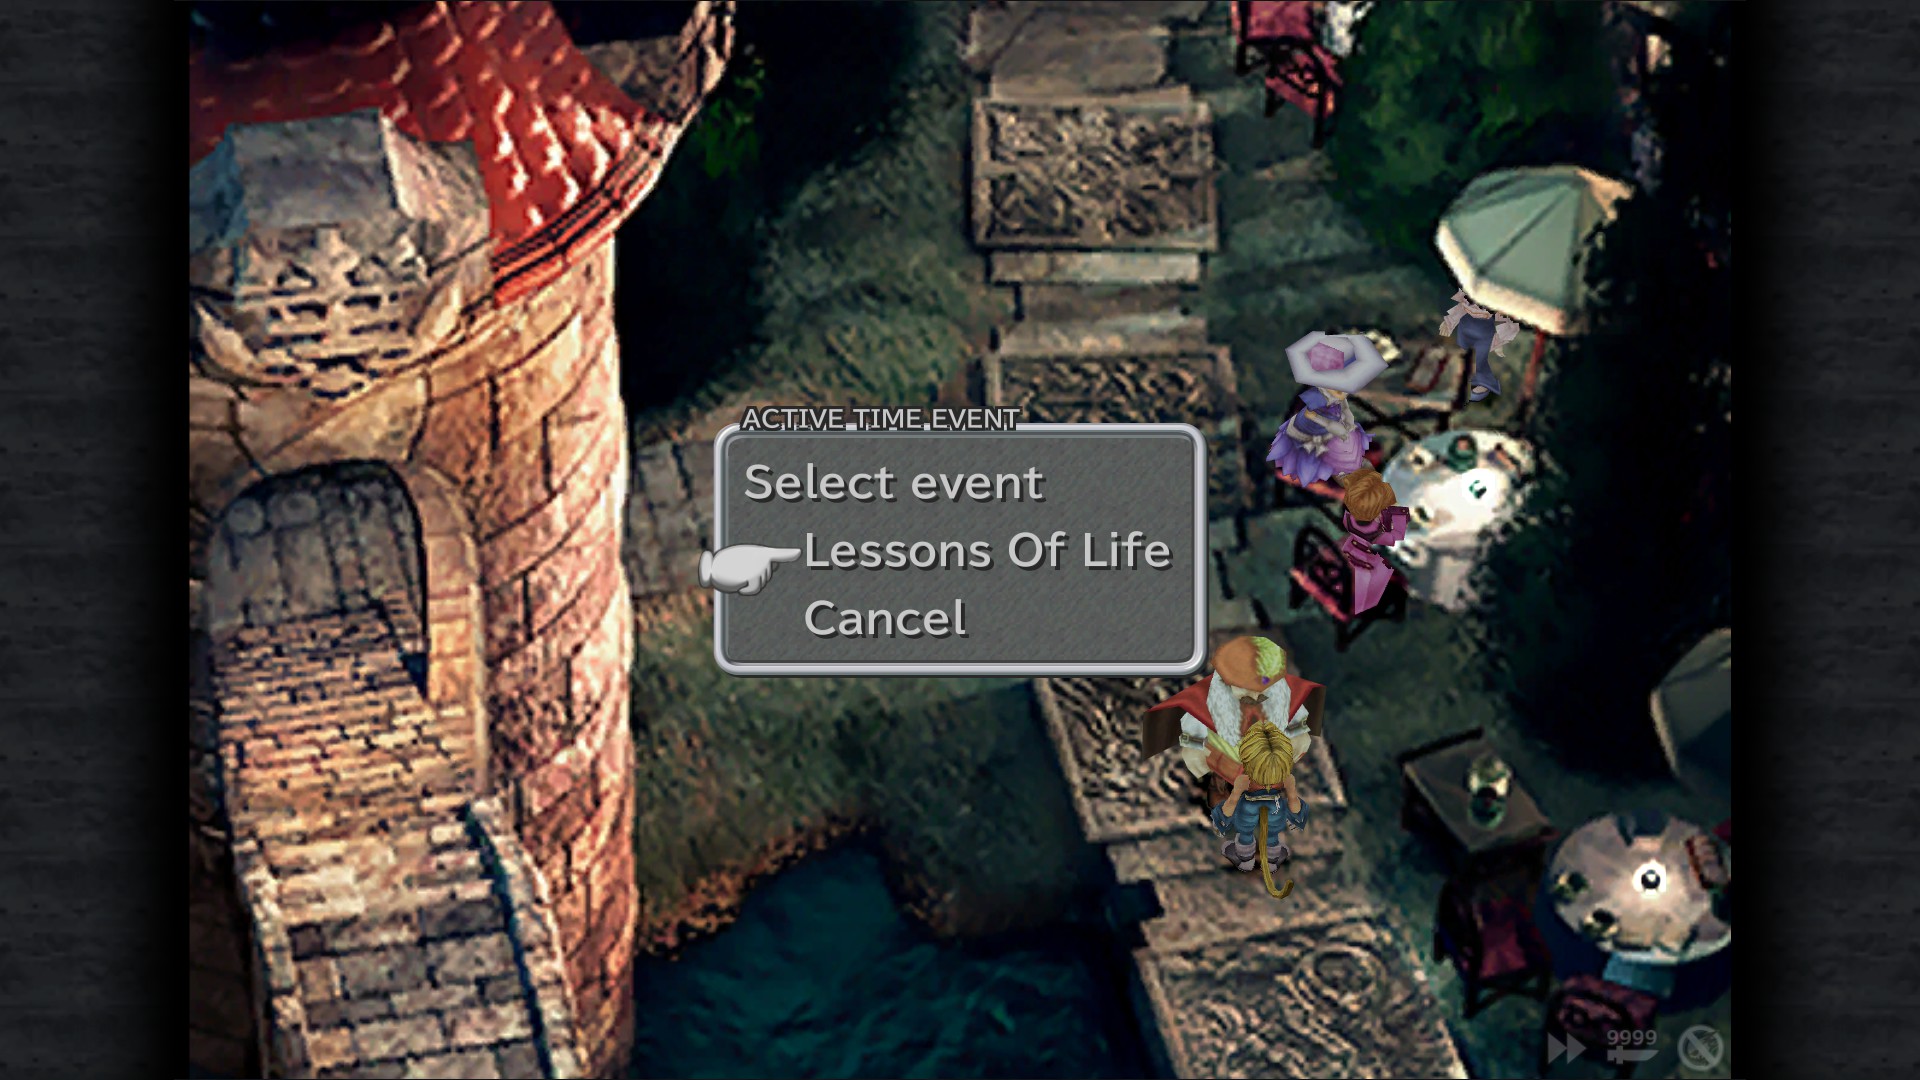
Note: Make sure to ask about Amarant's past , this will unlock Lessons Of Life ATE.
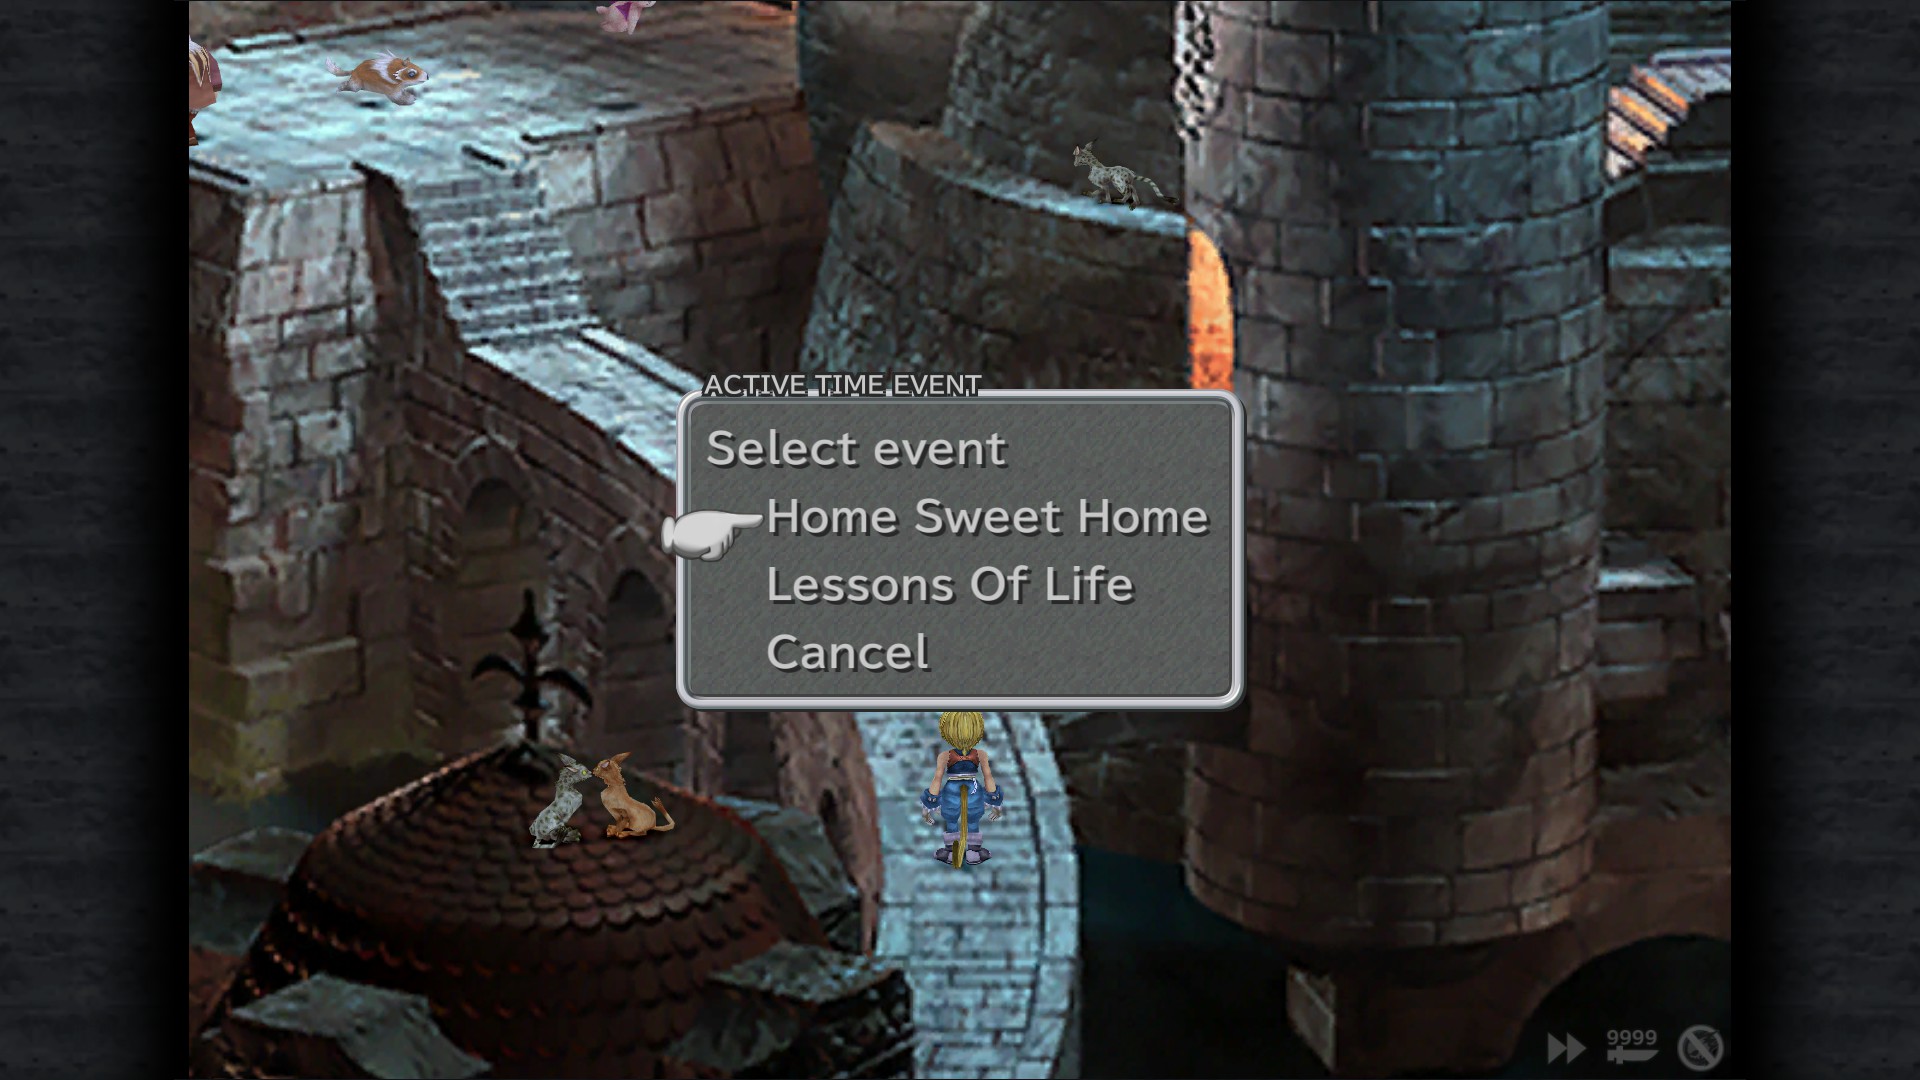
Home Sweet Home ATE - Knights House (Only available if you choose visiting Quan's Dwelling during "How He Ended Up Here ATE)
OR
Hippo's Prize ATE - Knights House (Only available if you choose to stay in treno during "How He Ended Up Here ATE)
Lessons Of Life ATE - Bishop's House (This ATE only appears if the player chose to ask Amarant about his past during "Good Old Days")
Before proceeding with the tournament, pay a visit to Dali to complete a missable sidequest
Village of Dali
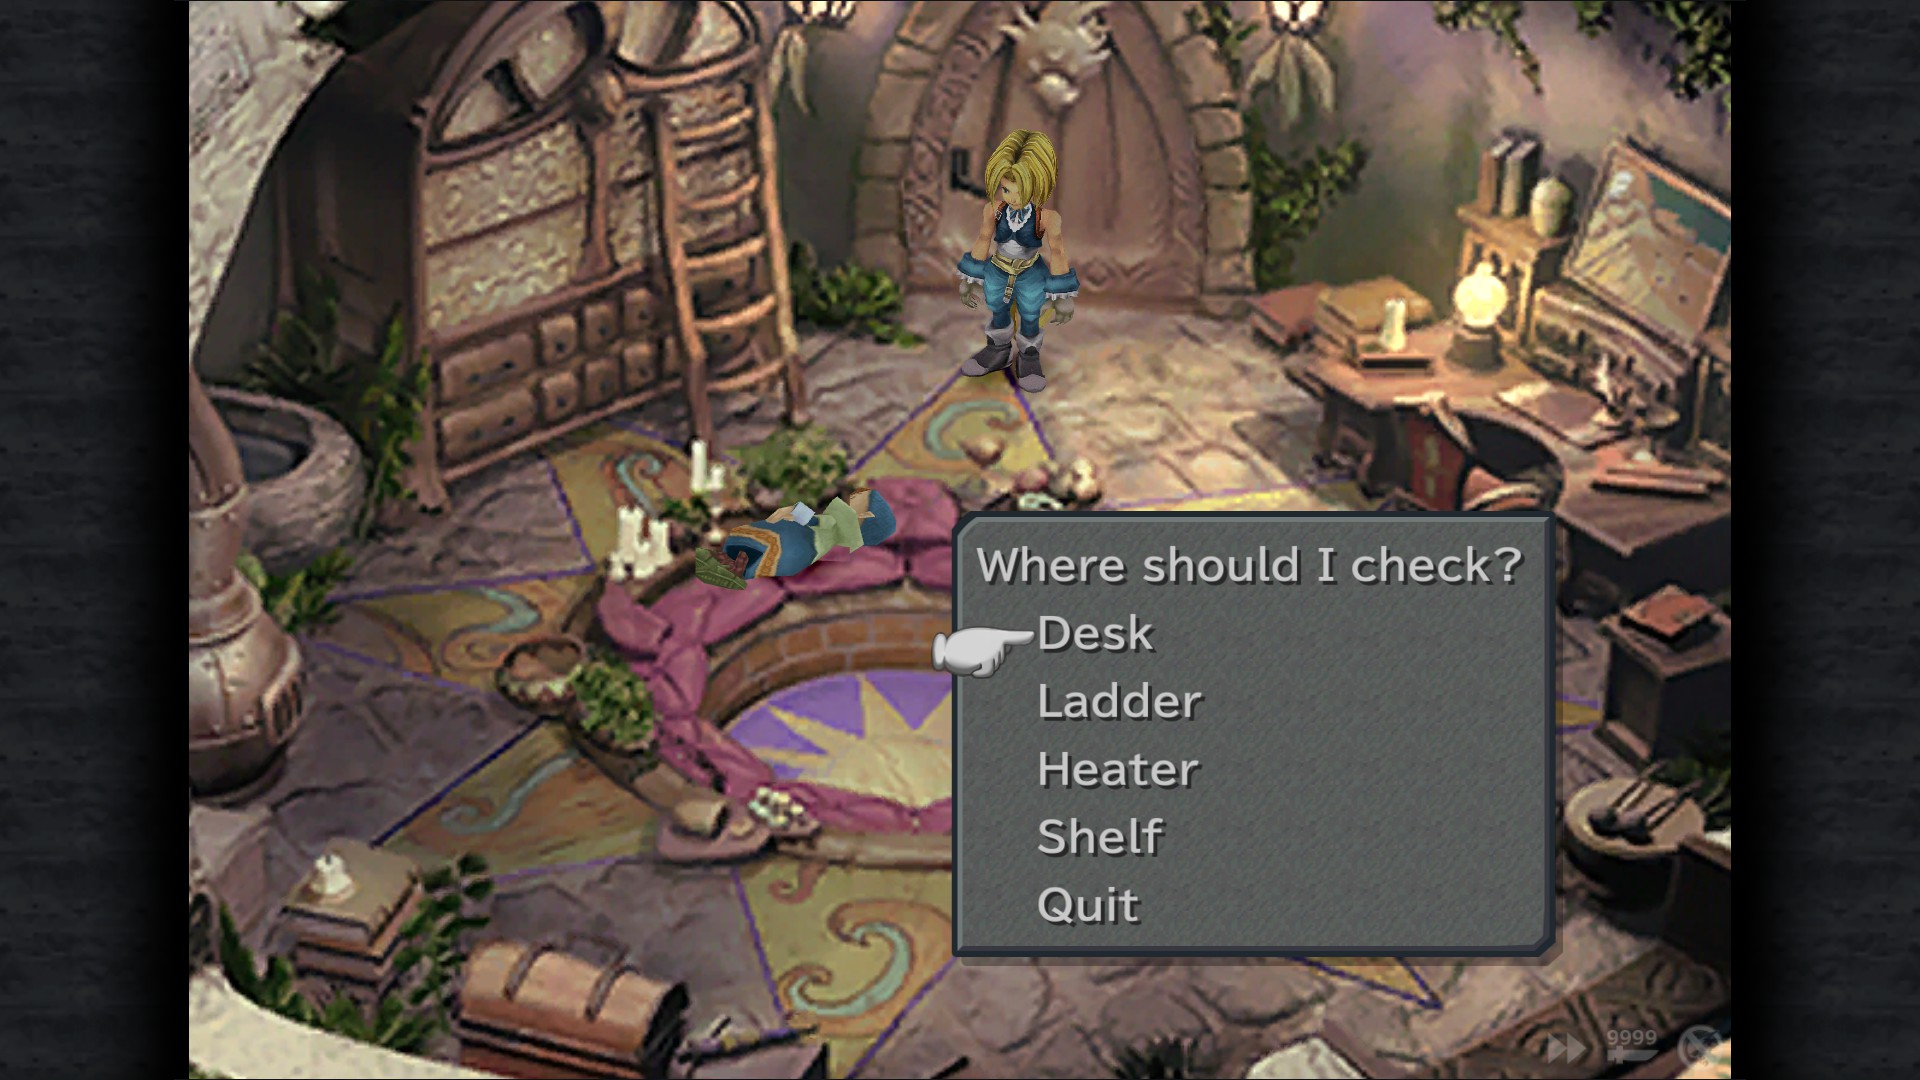
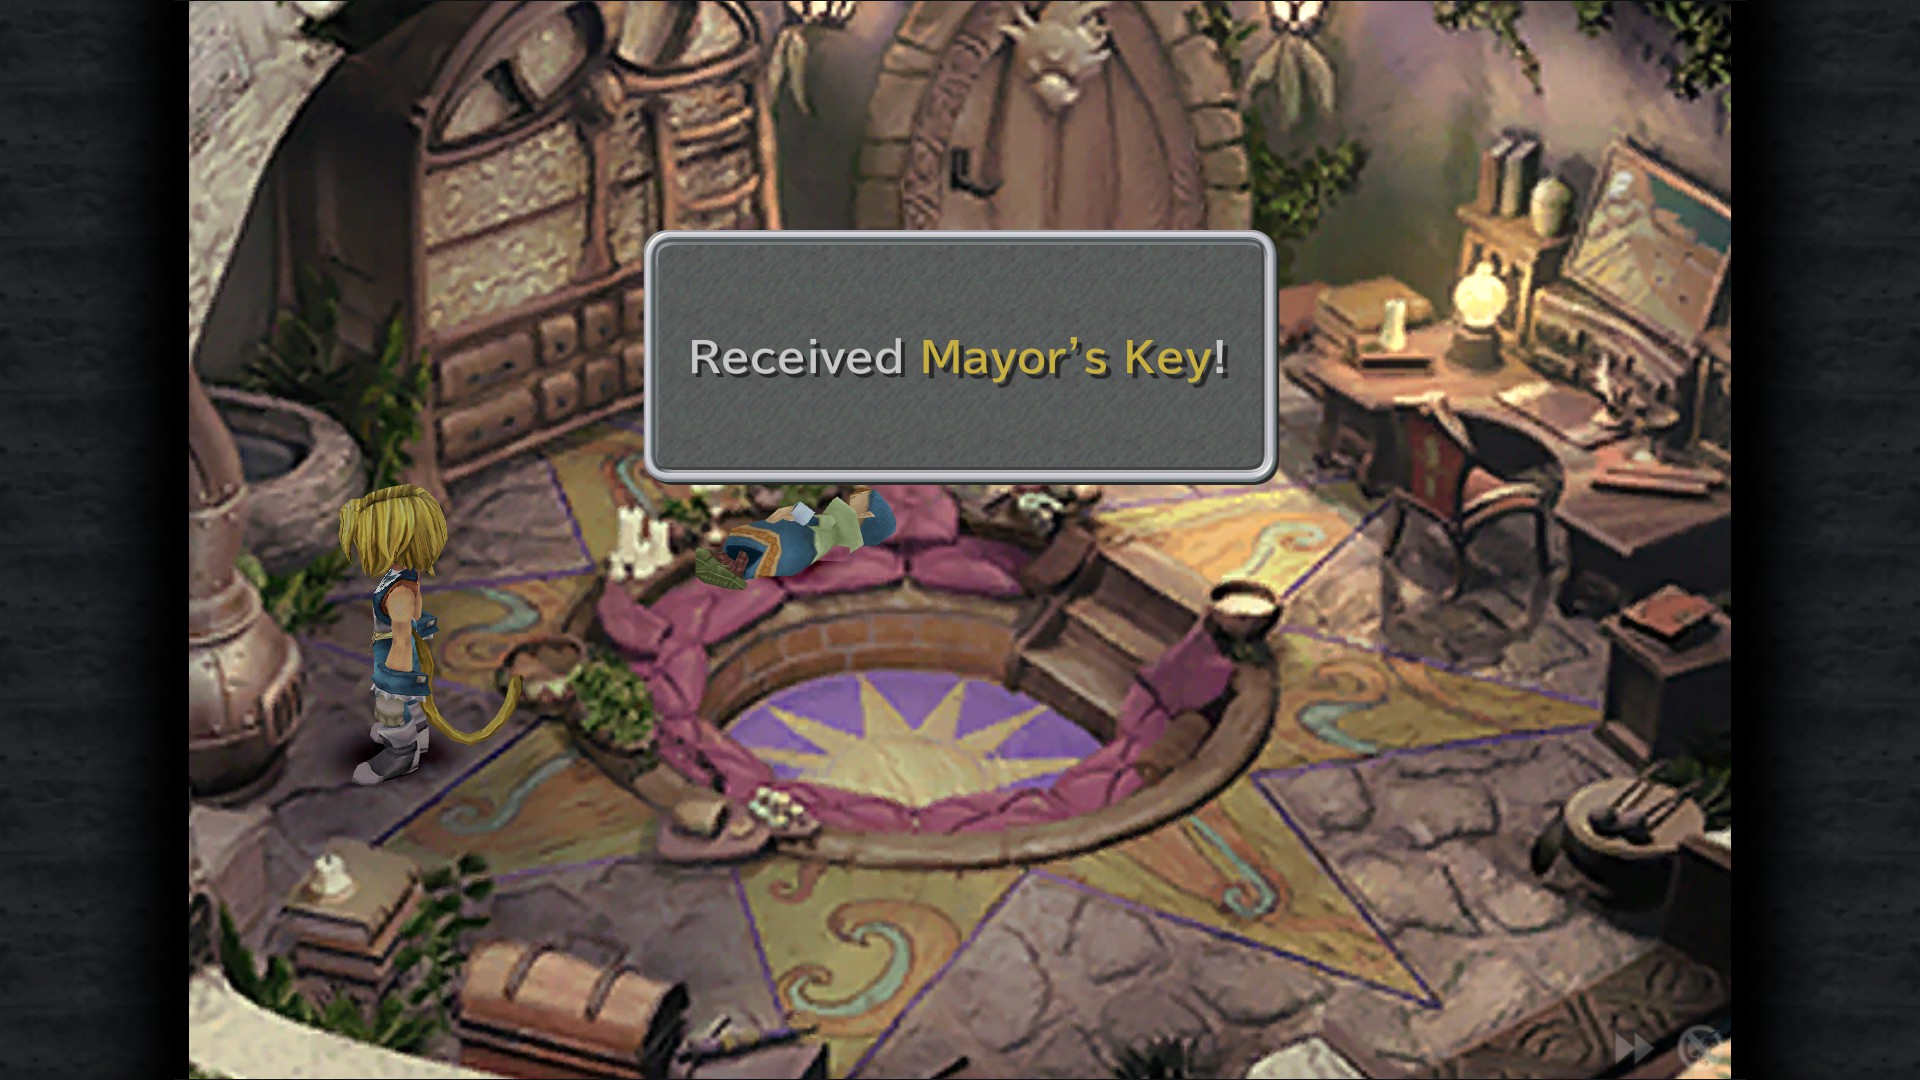
Mini-Brahne: Inspect the desk once - Windmill 1F Room
Mayor's Key: Inspect the desk 3 times then the heater - Windmill 1F Room
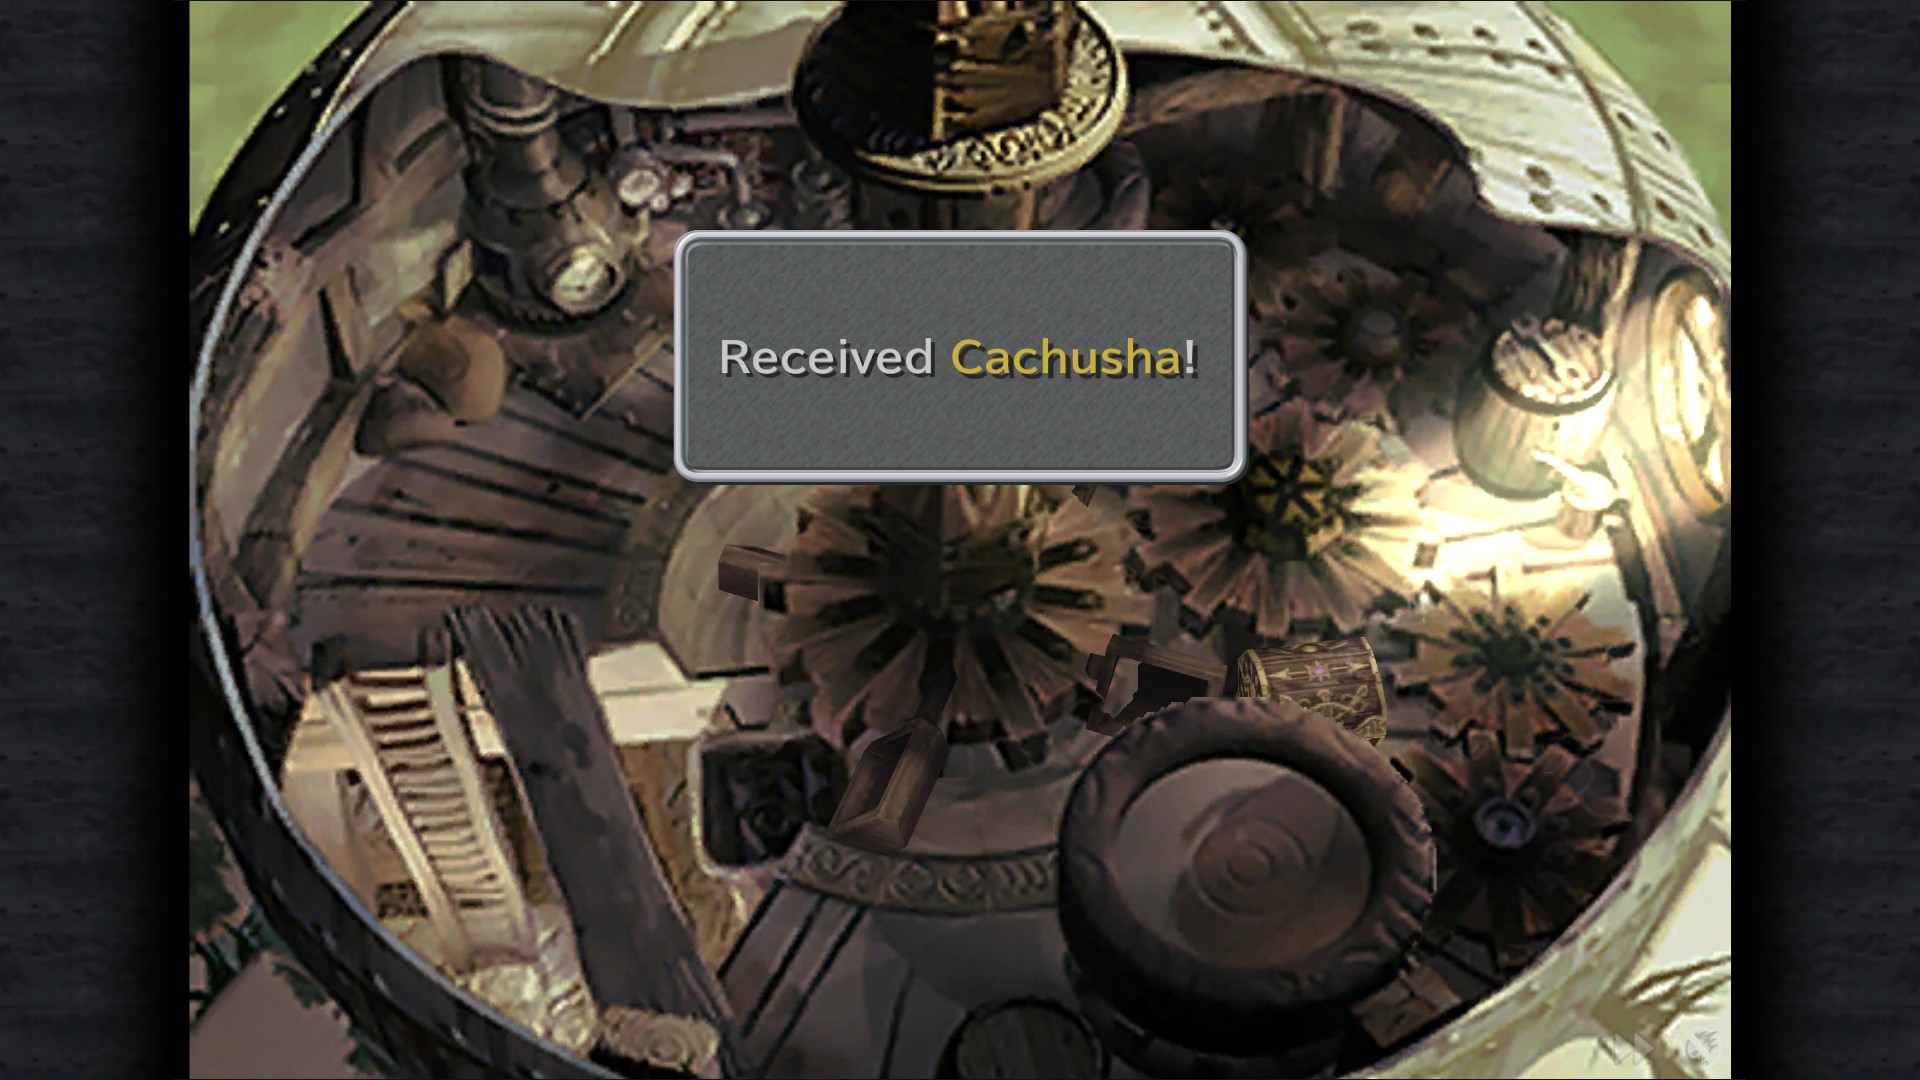
Cachusha - Windmill 2F
Elixir - Windmill 2F
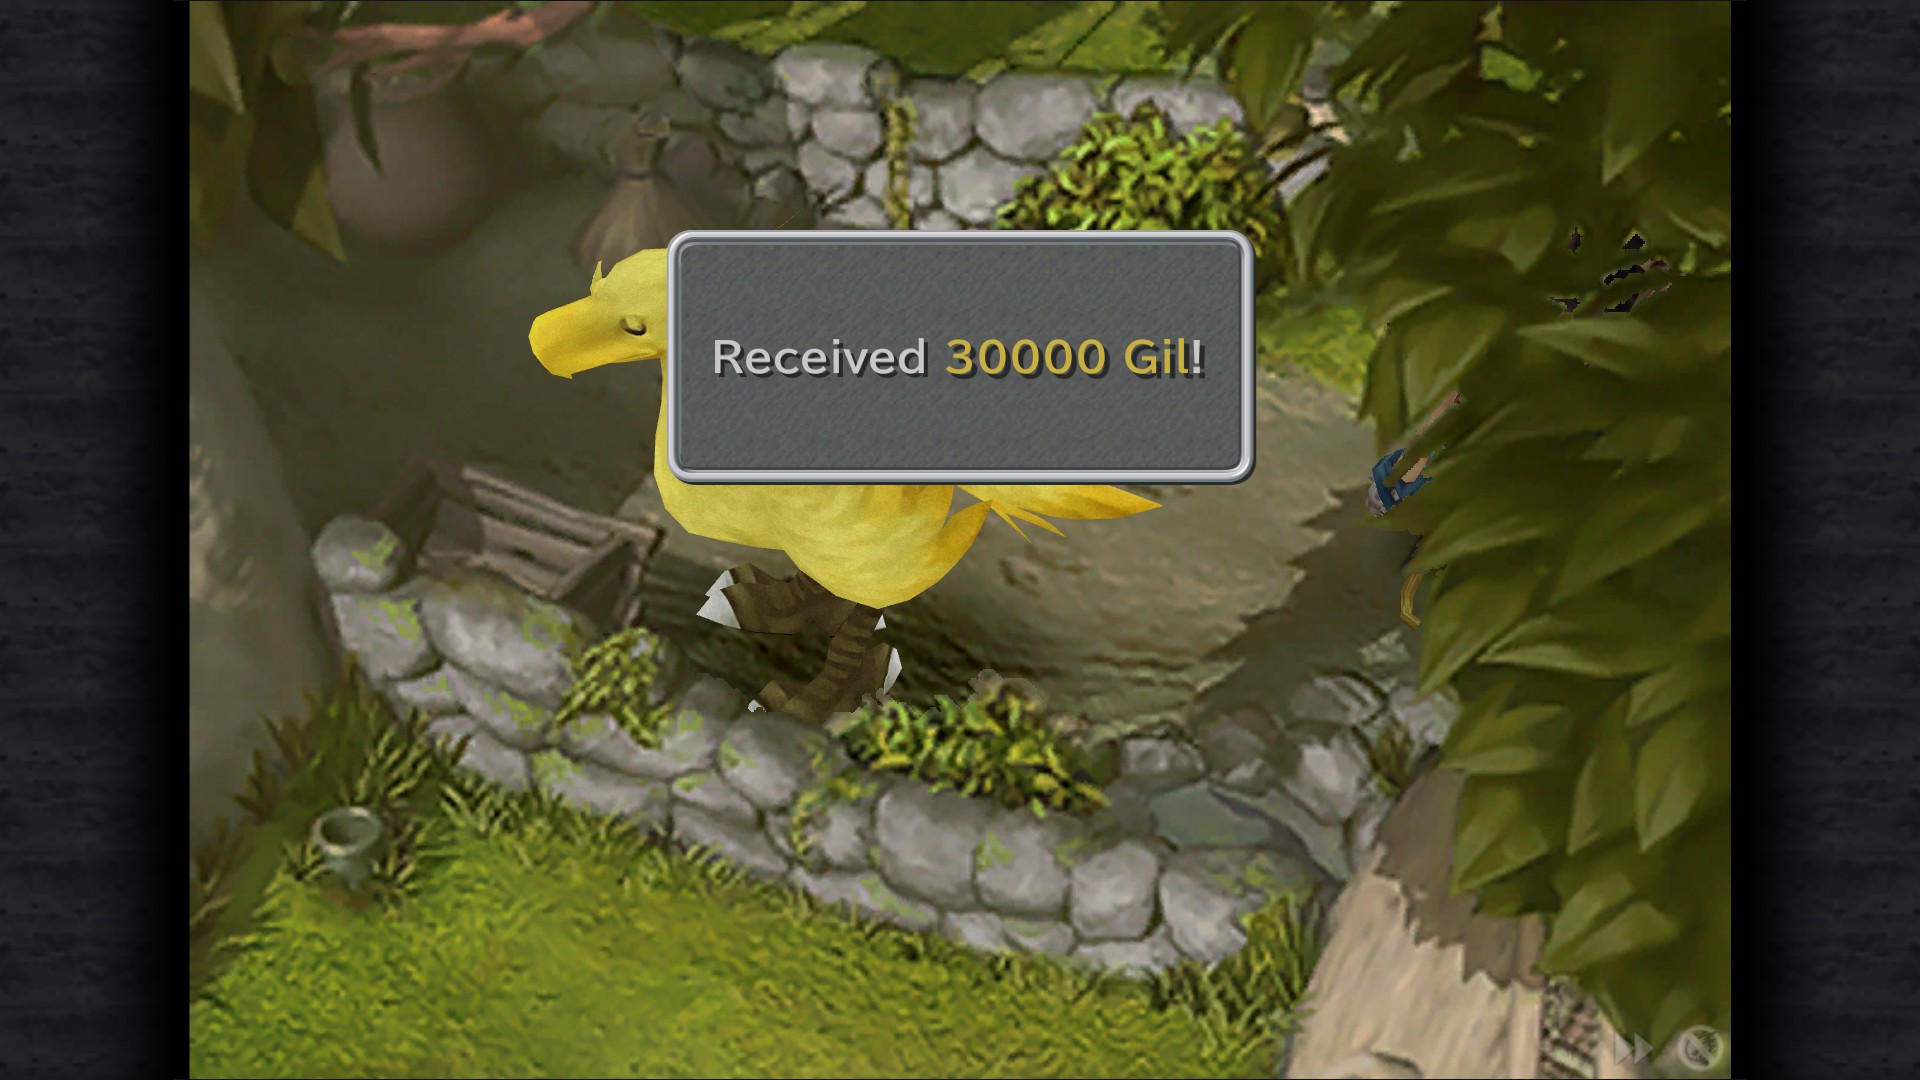
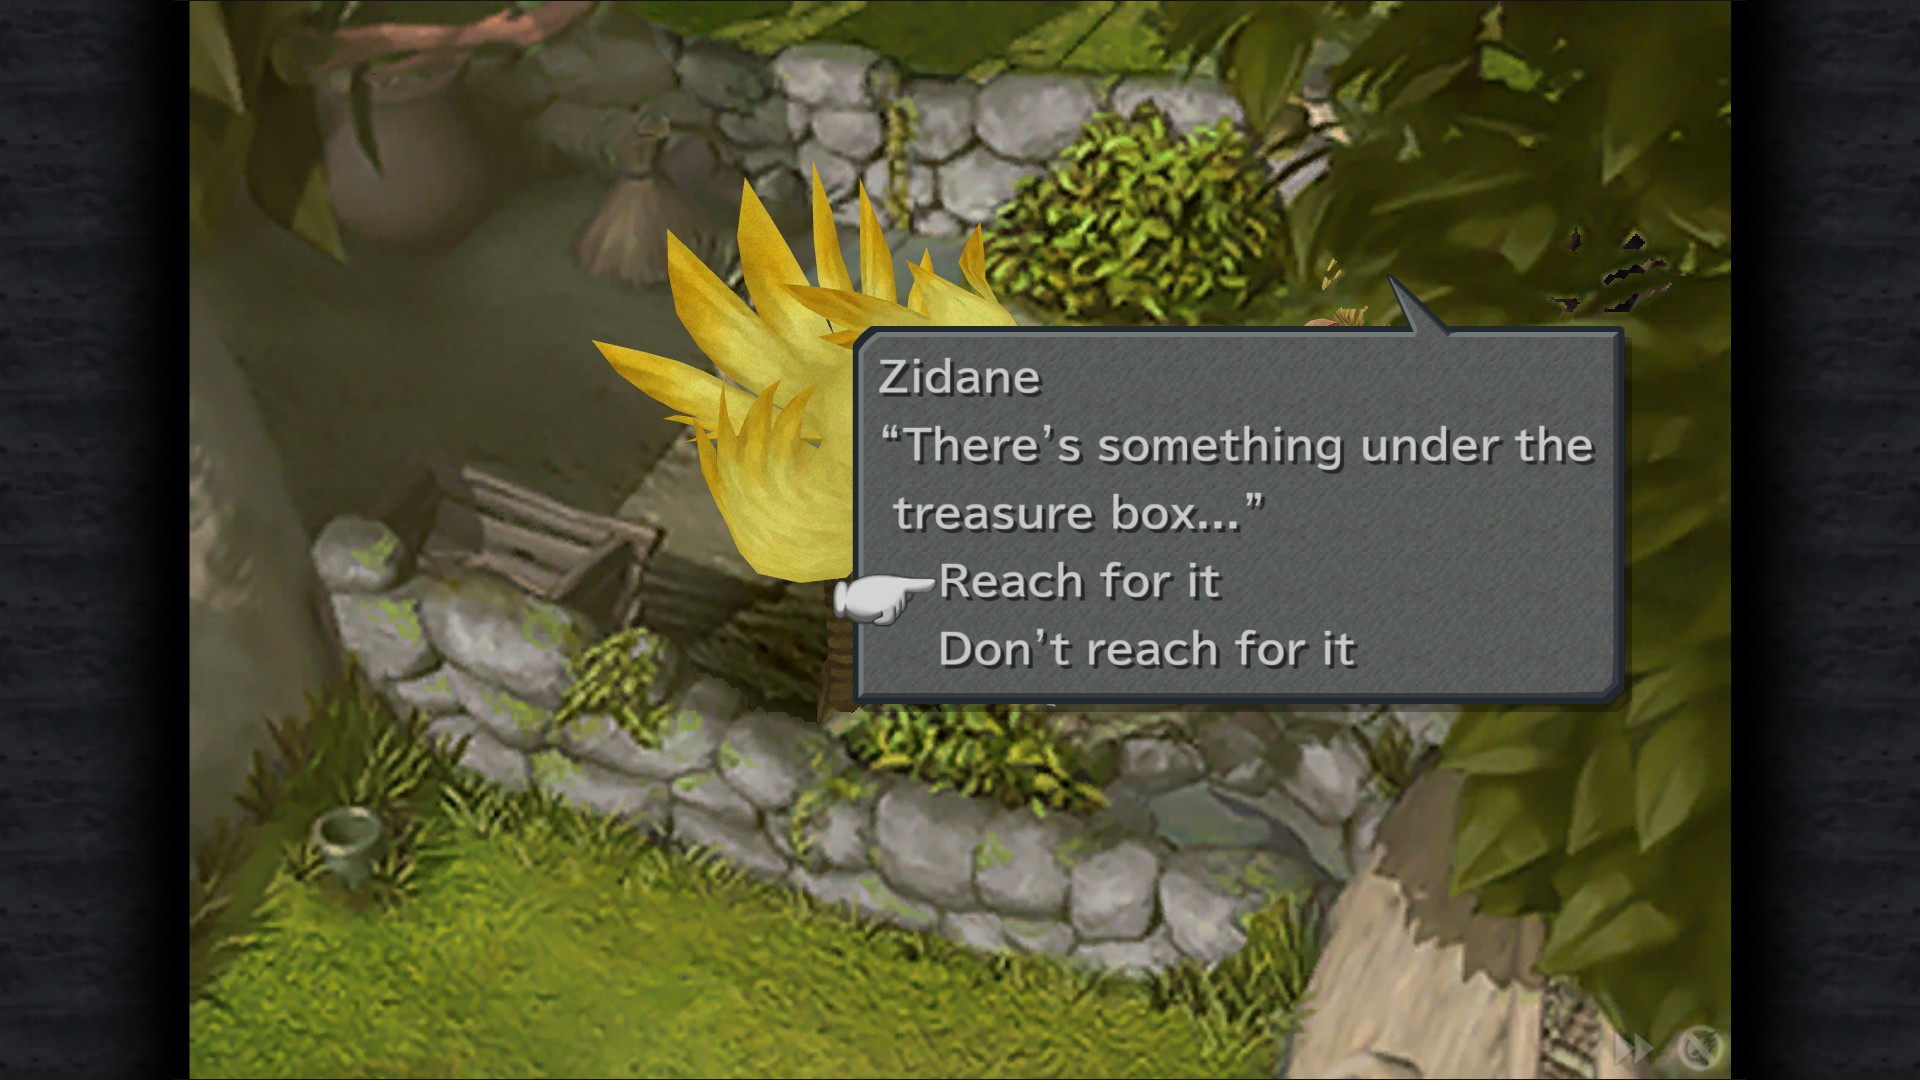
30000 Gil - Chocobo Pen
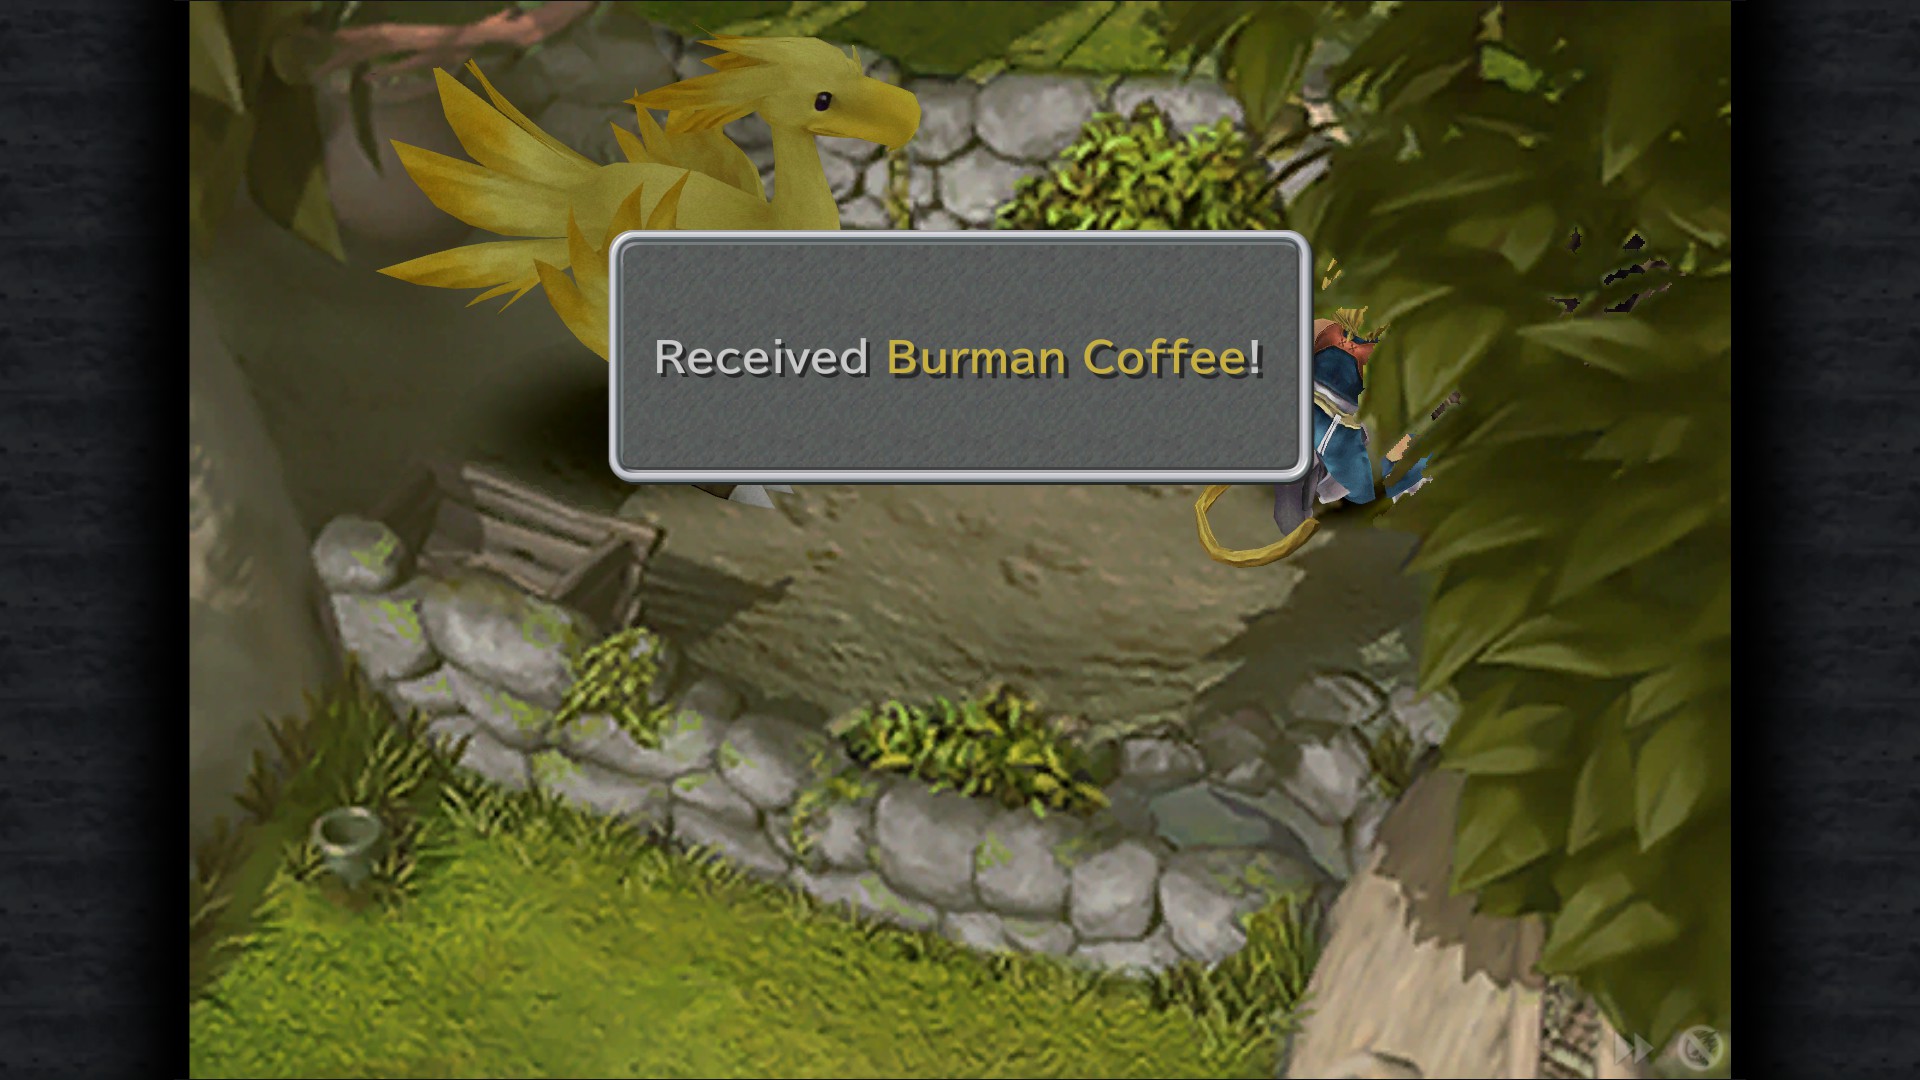
Burman Coffee - Chocobo Pen (Inspect the chest twice)(Sidequest item)
Morrid's Coffee Sidequest
Now that you have all 3 coffees , head to the Mountain near Dali Village. Once here, talk with Morrid to give him the coffees.
He'll mail you the Mini-Prima VIsta (Available later in Lindblum).
This will unlock:
My Little Airship
Obtain a miniature copy of the Prima Vista.
Treno
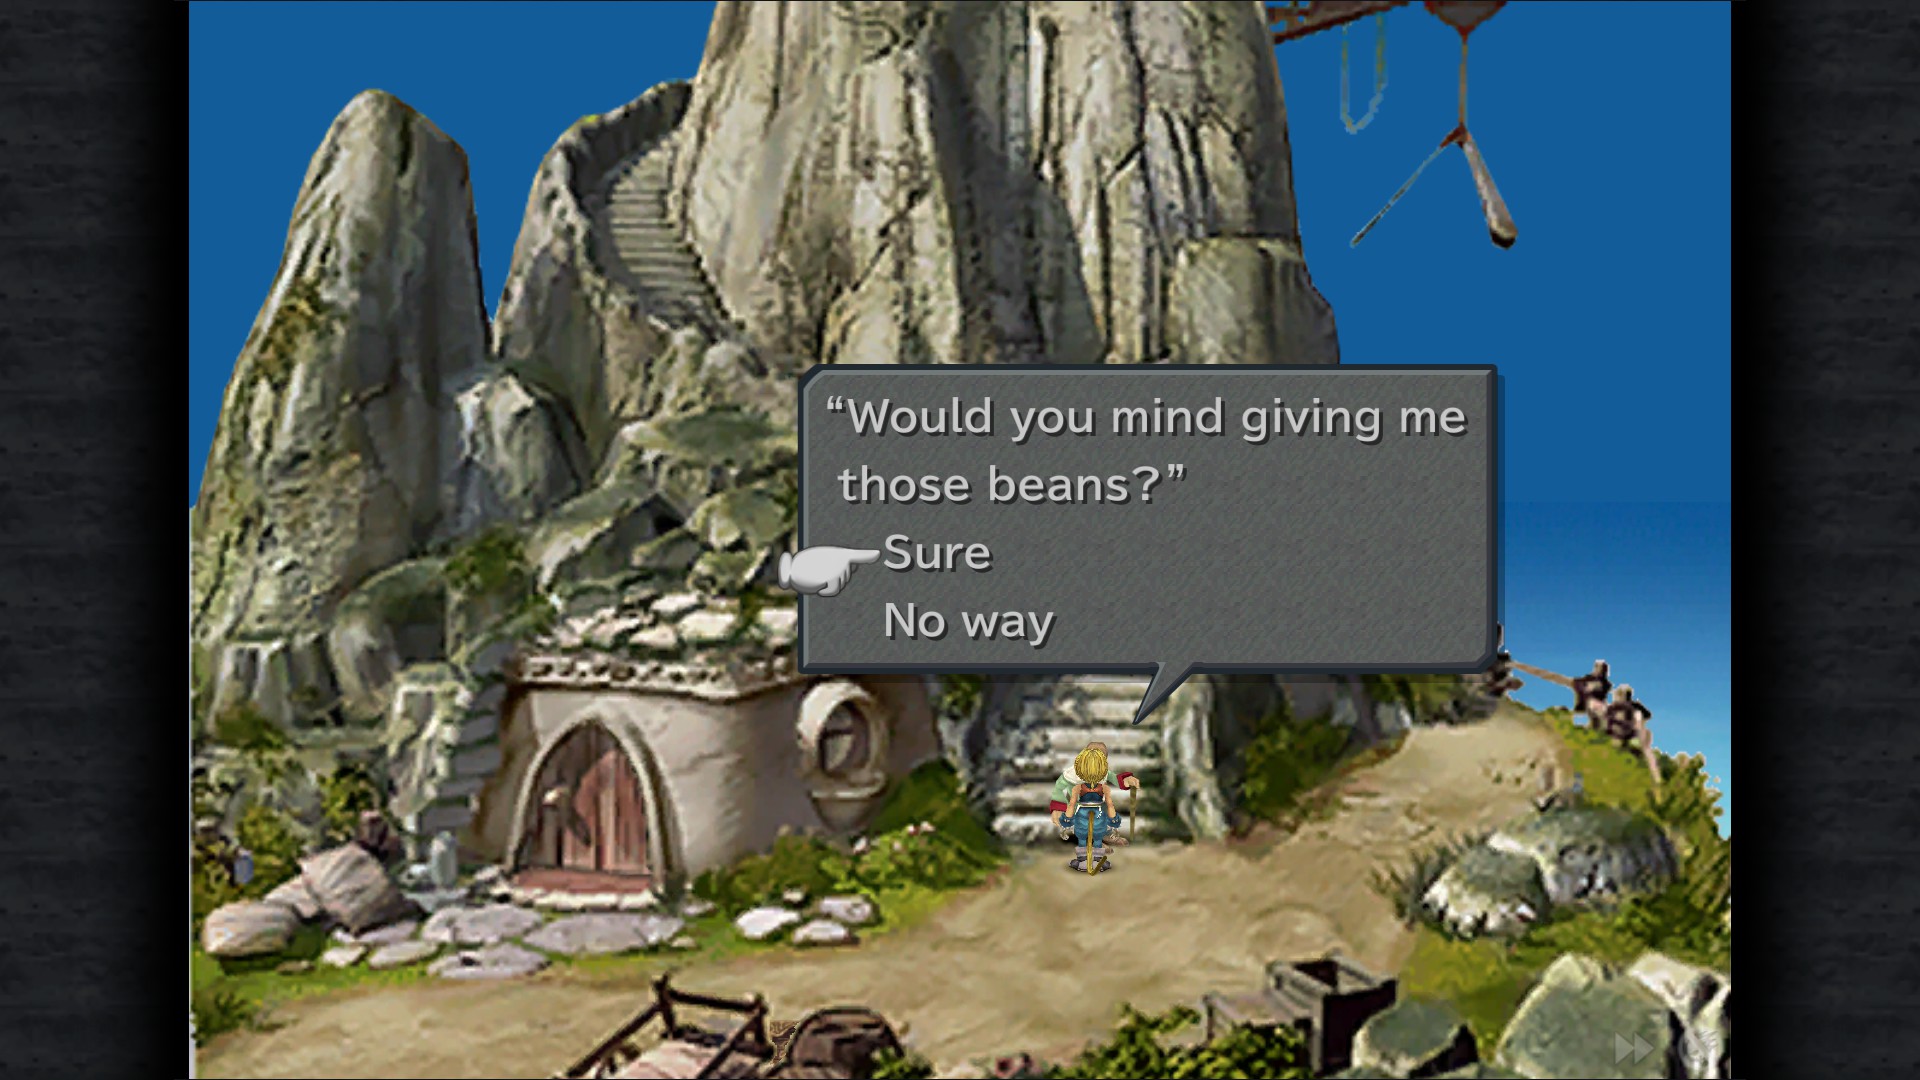
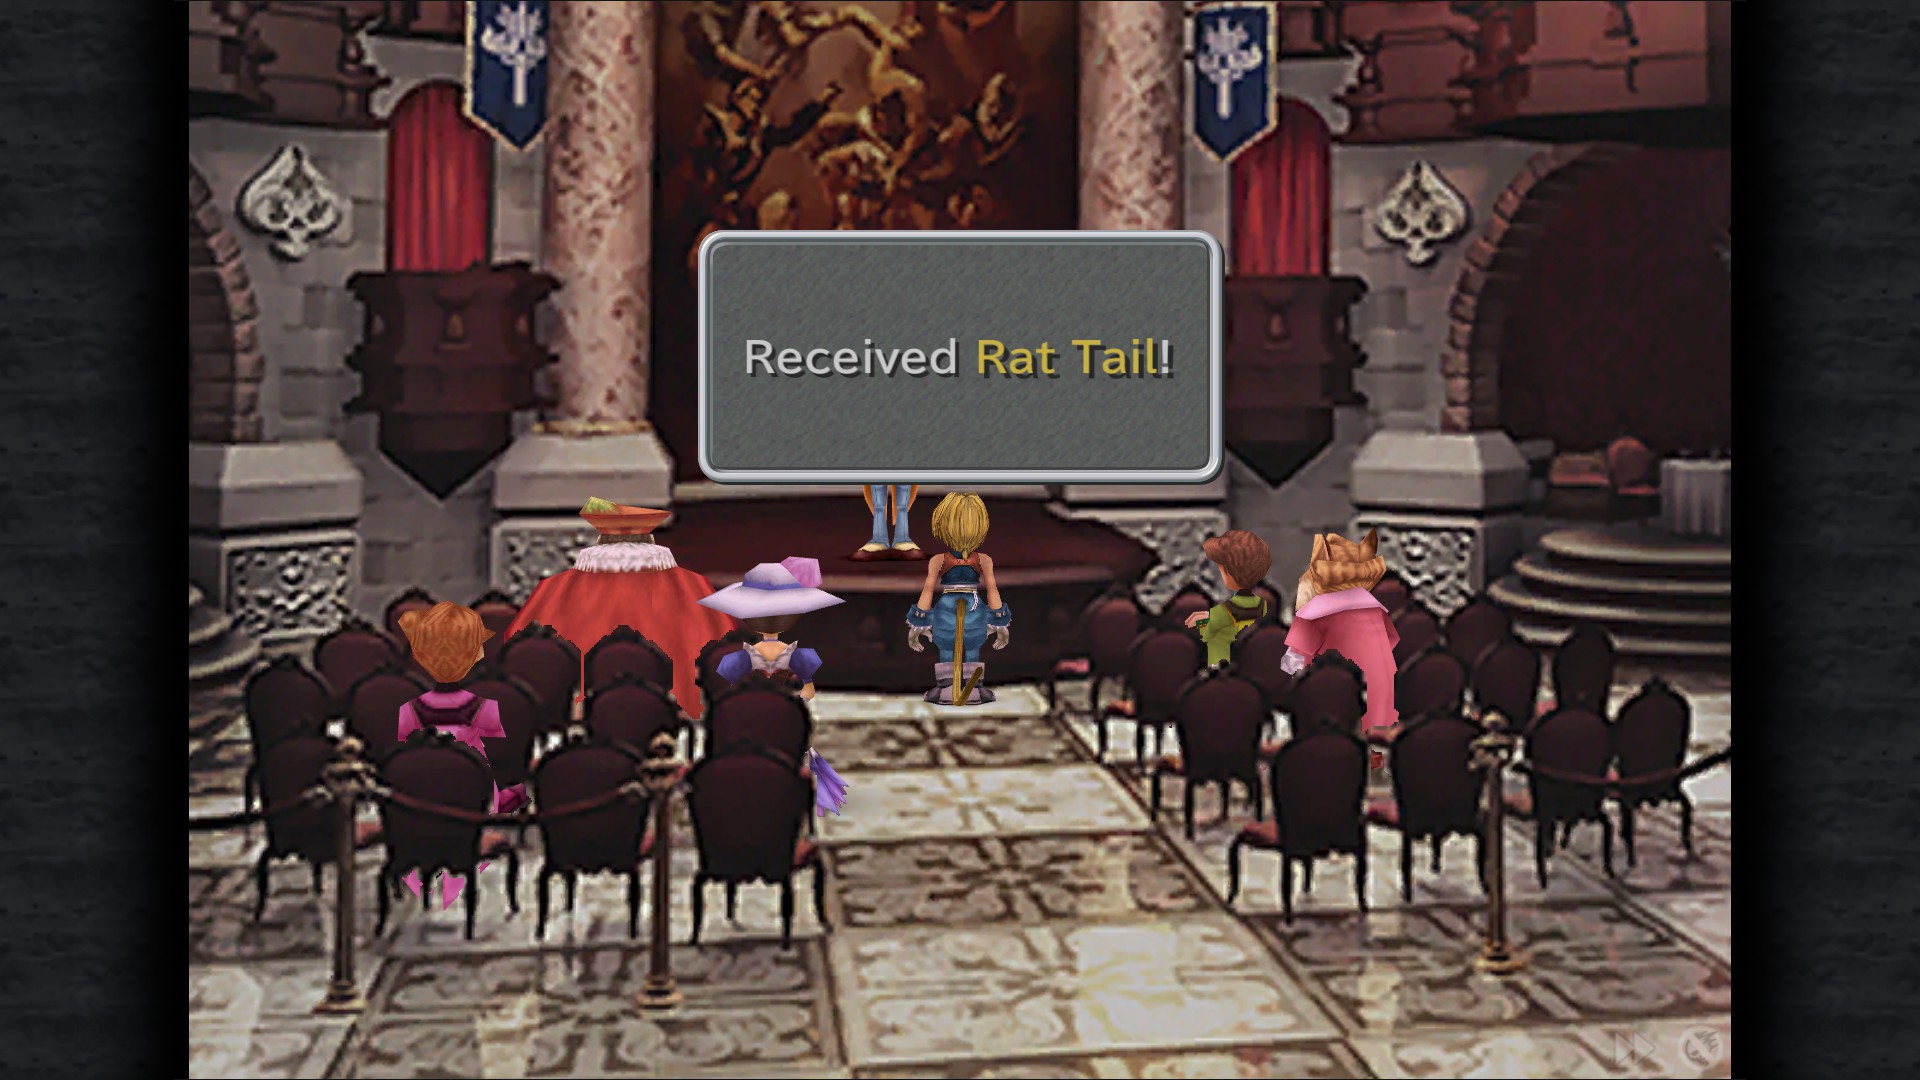
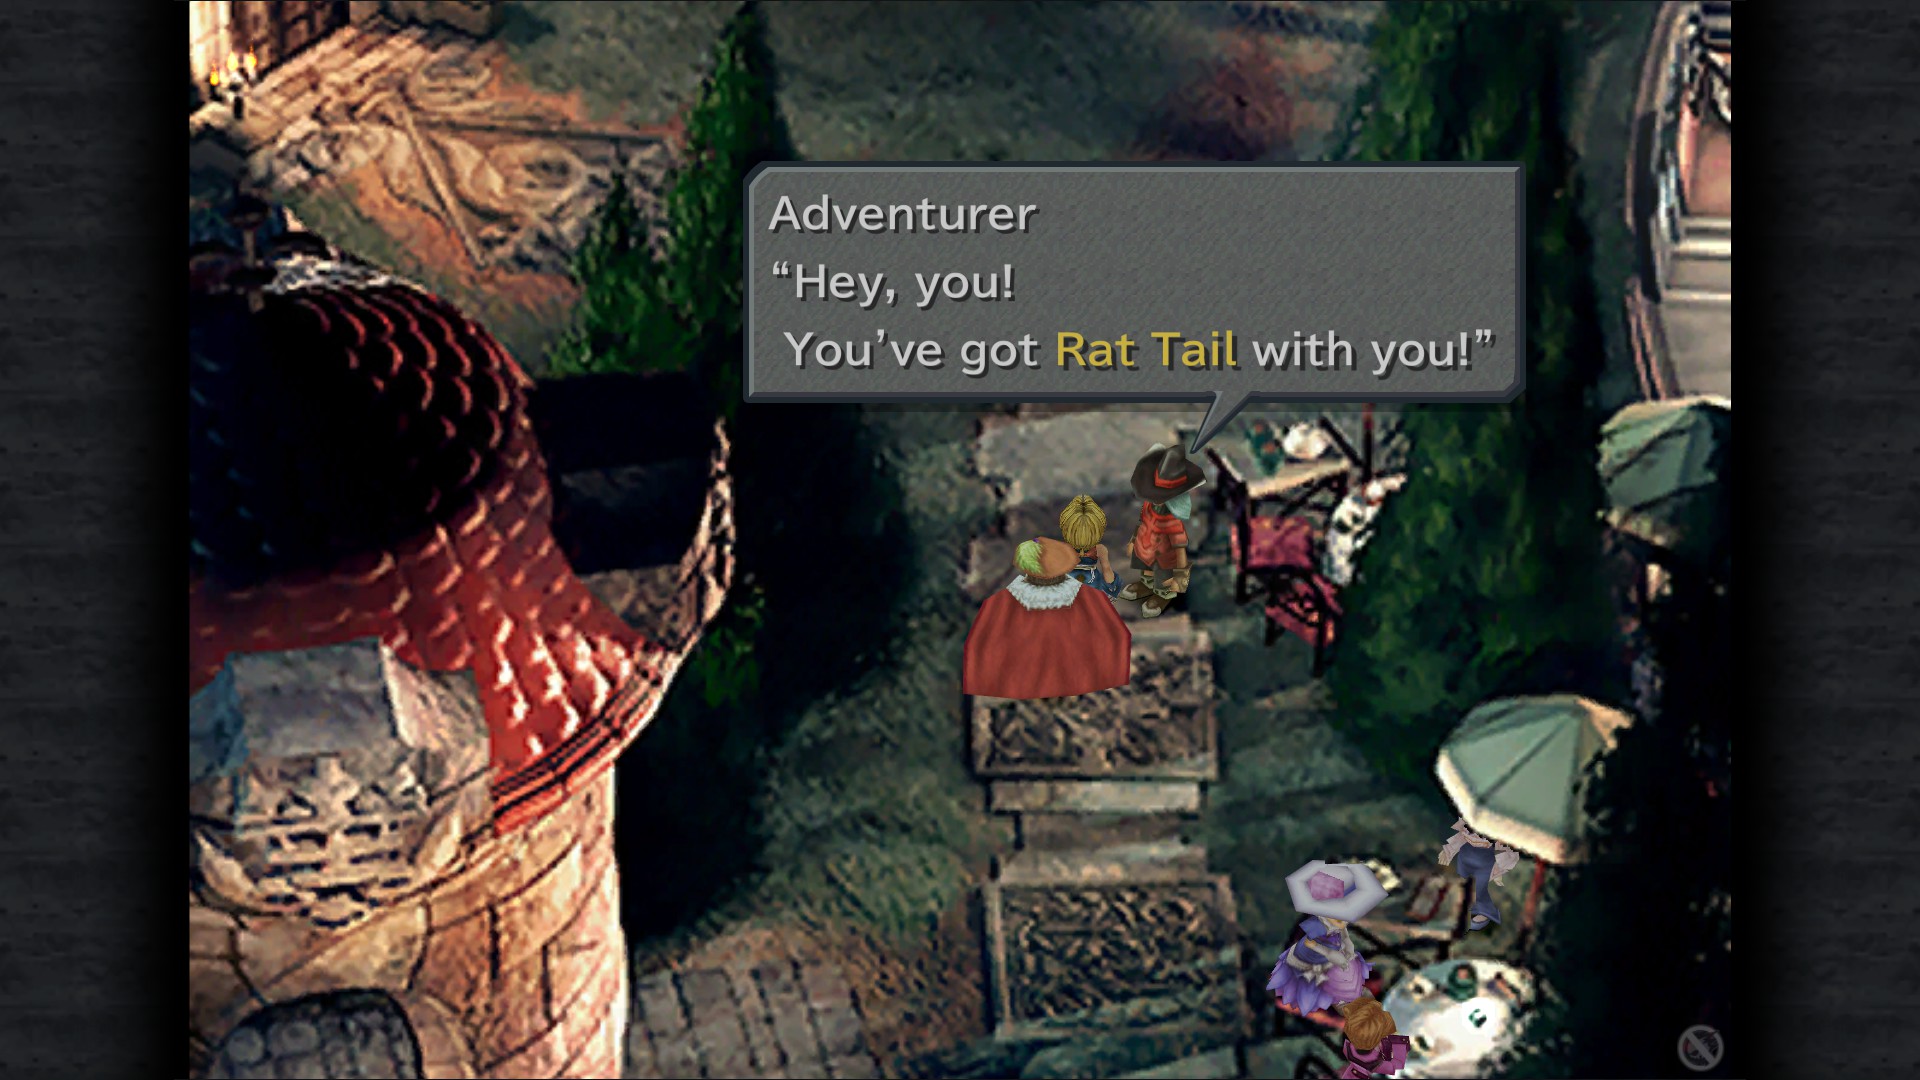
Win Rat Tail in the Auction House, then sell it to the Adventures at Bishop's House
Hallucination ATE - Card Stadium (after winning your second match)
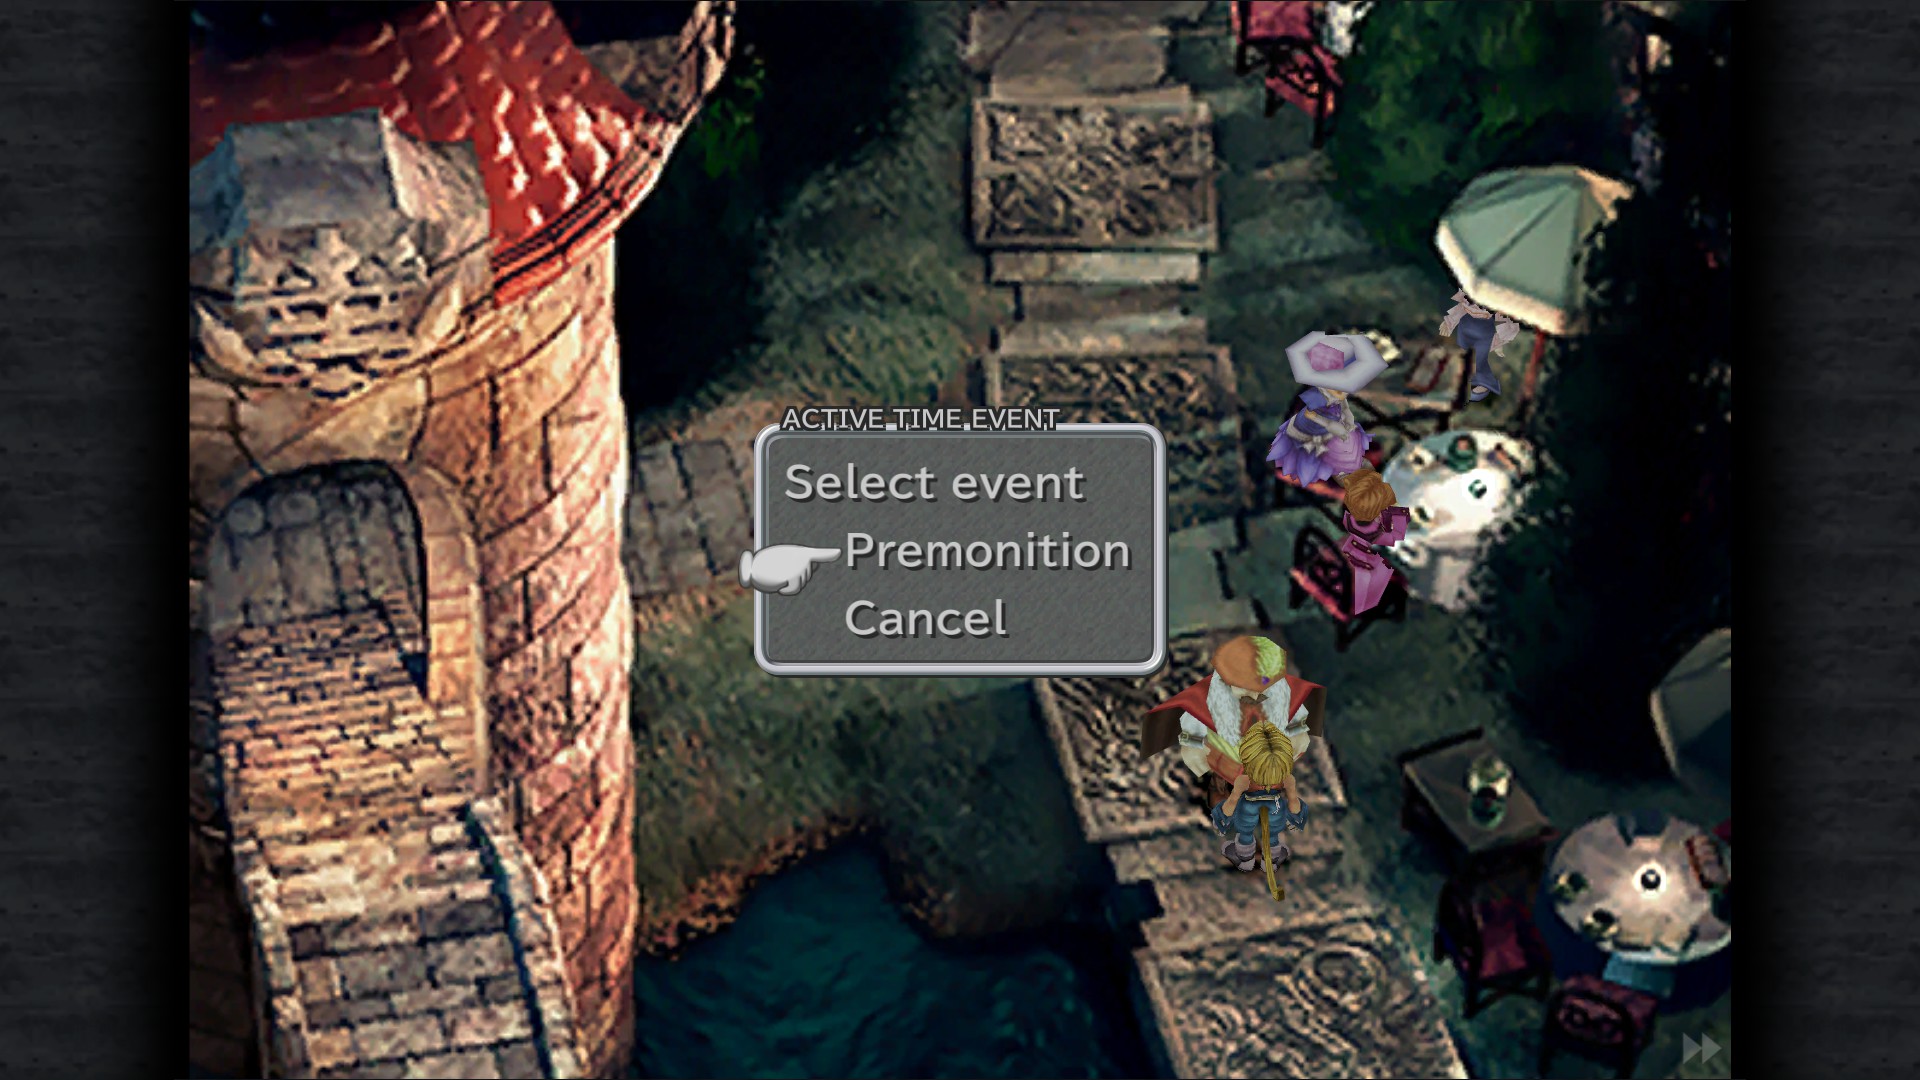
Premonition ATE - Bishop's House (after winning your second match)
Return To Lindblum


Alexandria Castle
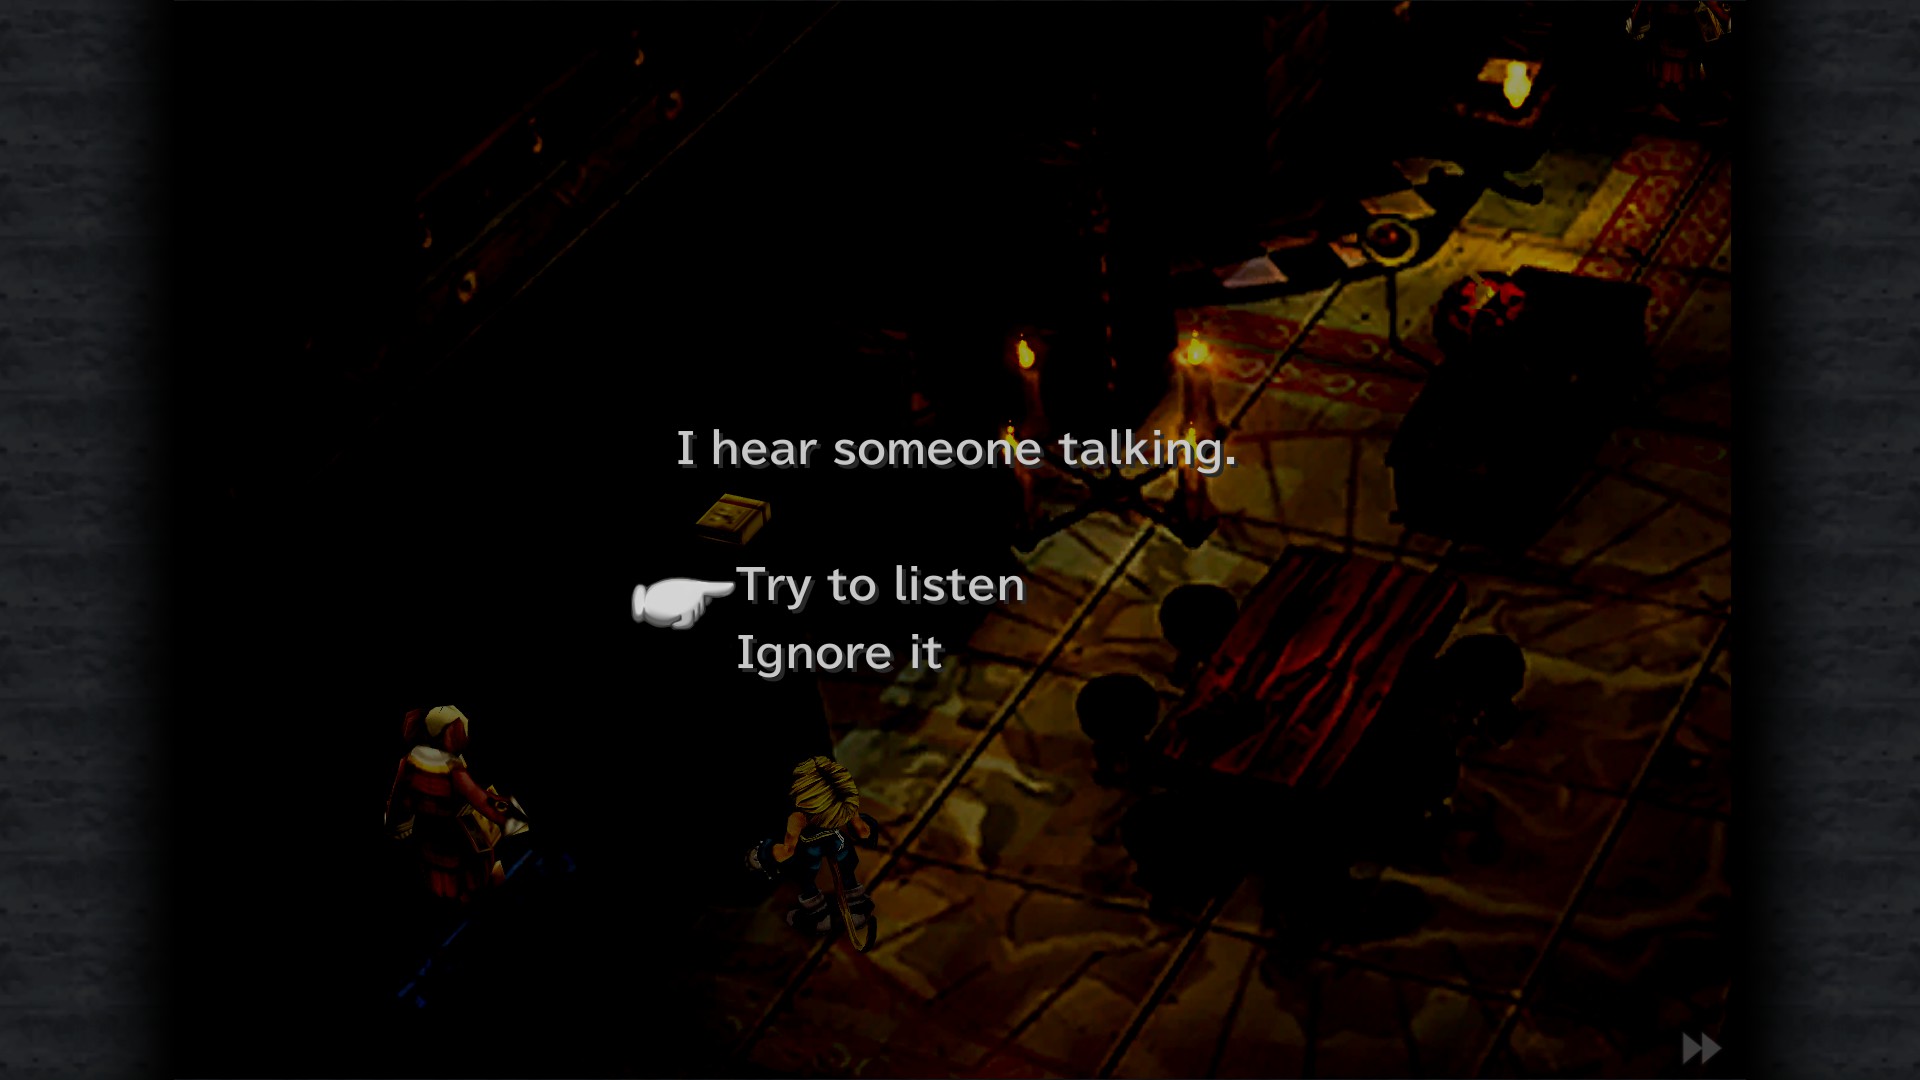
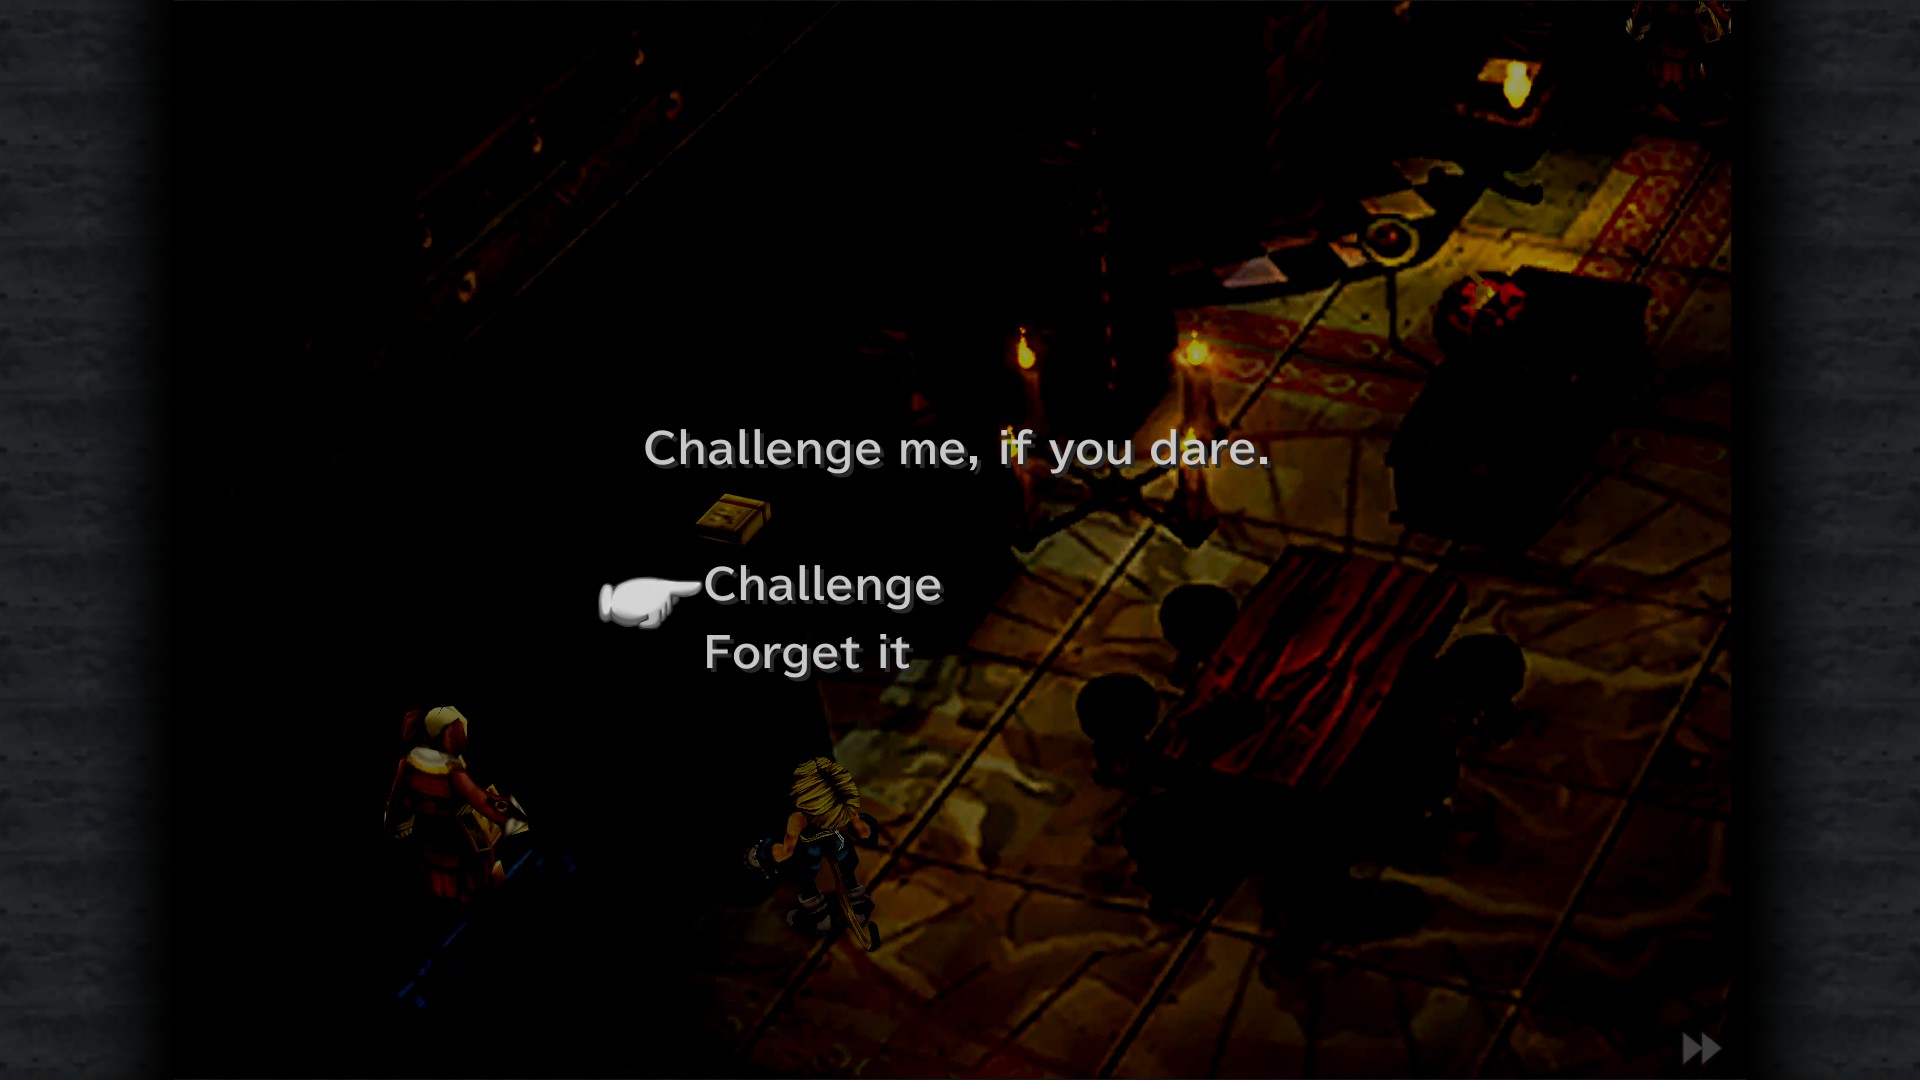
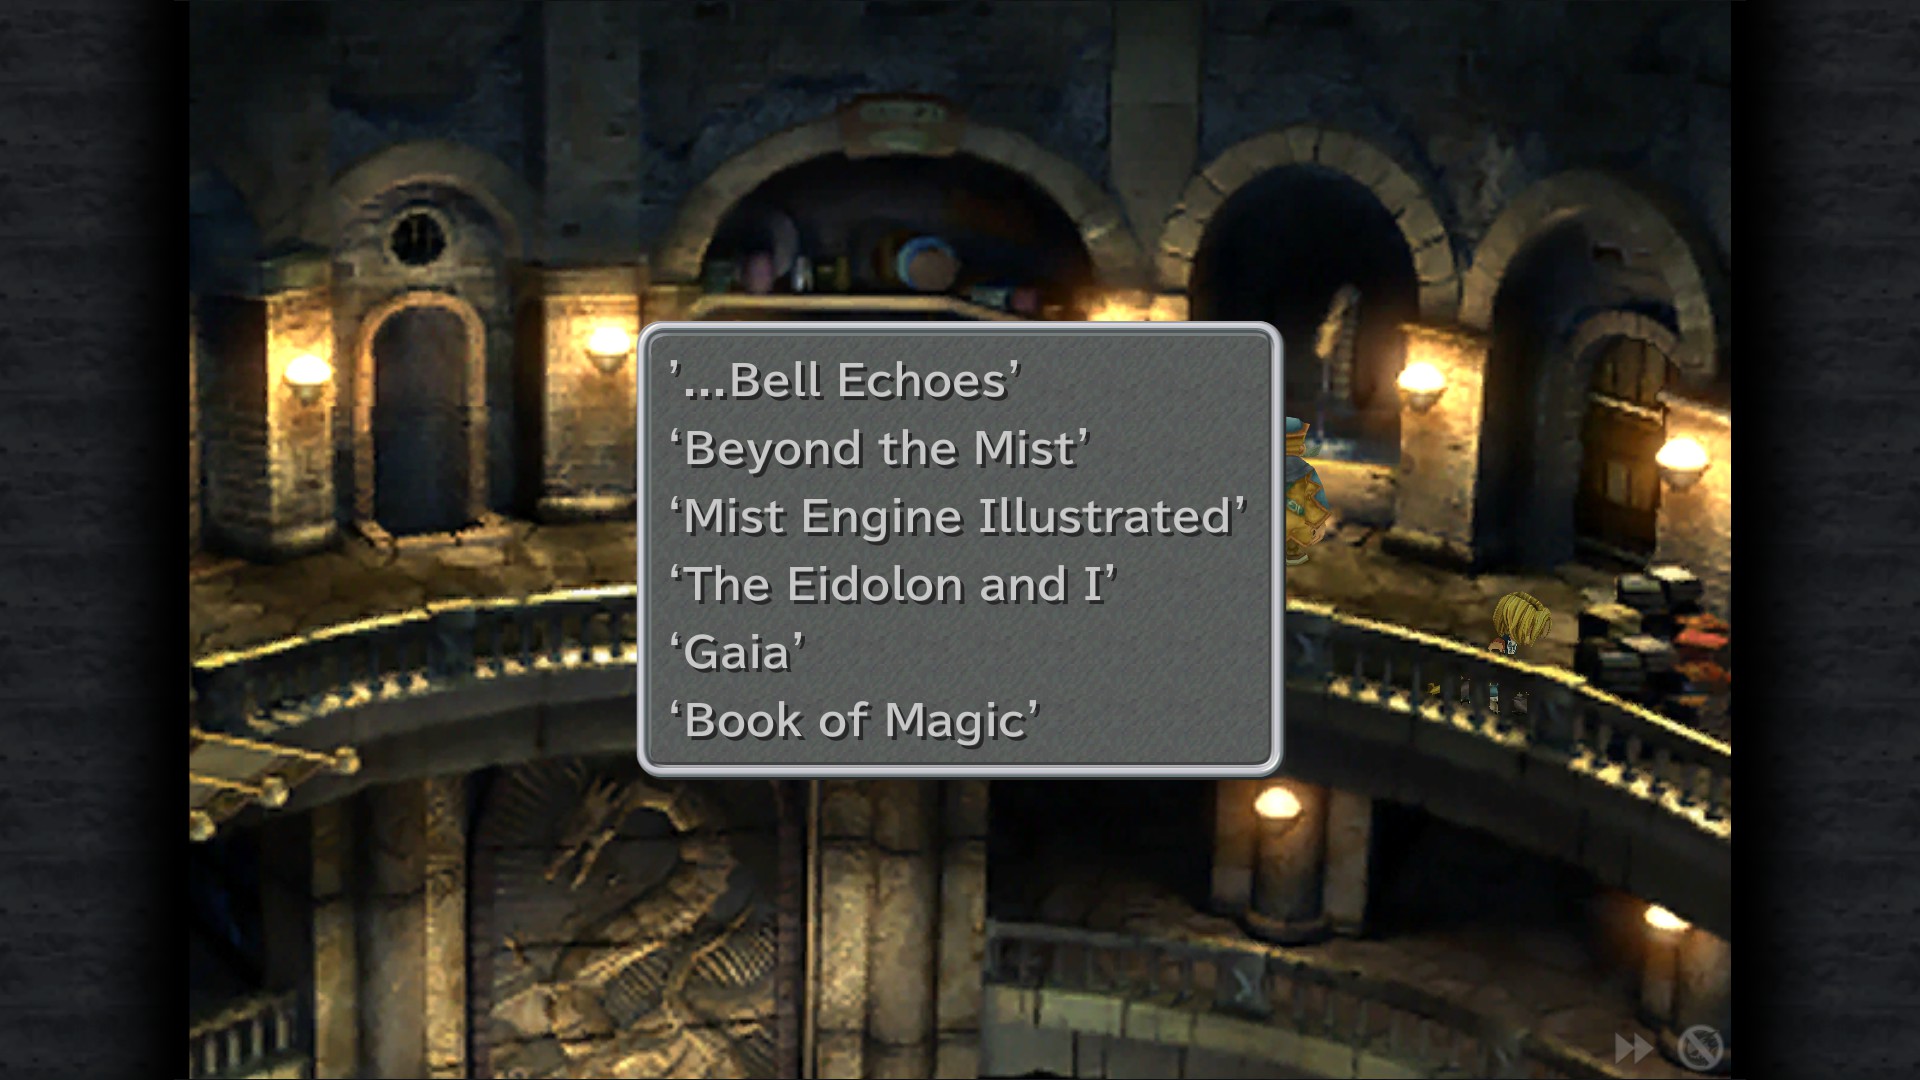
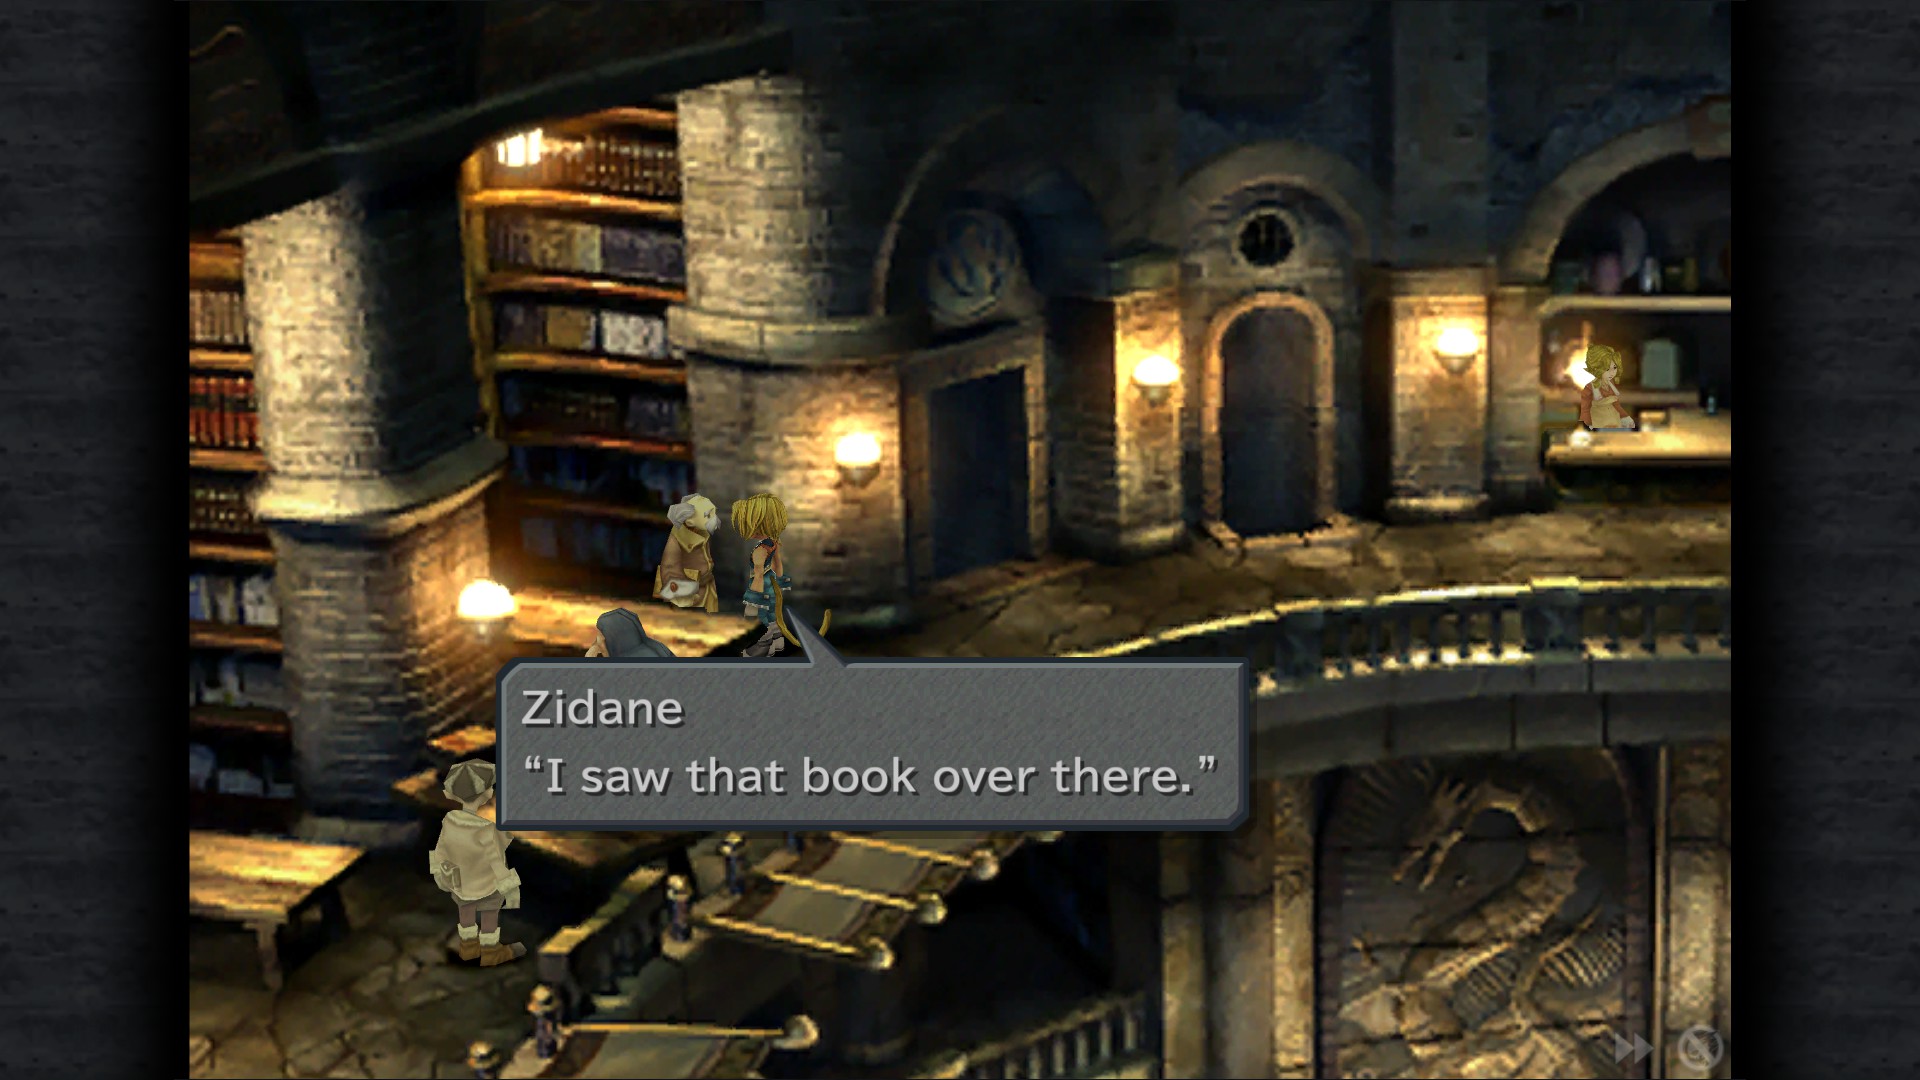
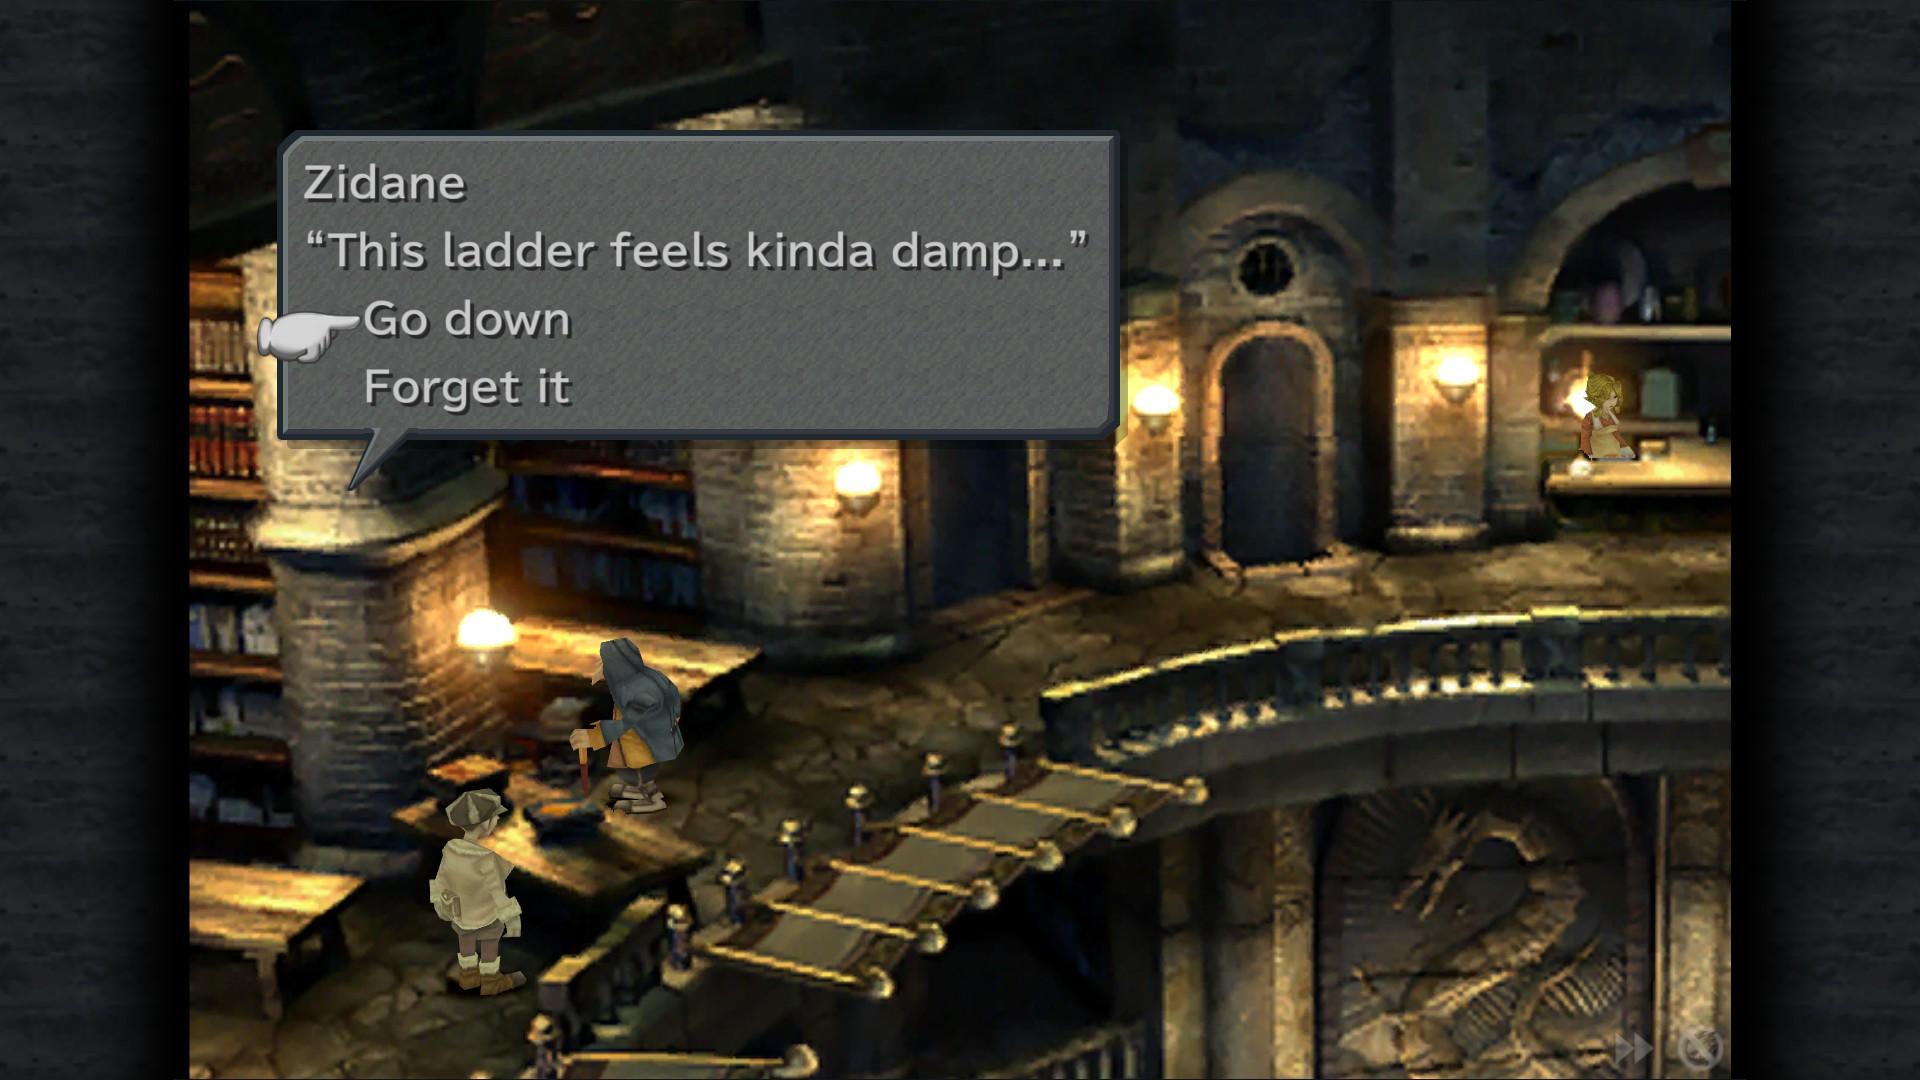
Tantarian optional boss: head to the library and interact with the book that is over the bookcase.
choose "Try to listen" and "Challenge" to start the fight.
Lindblum Castle
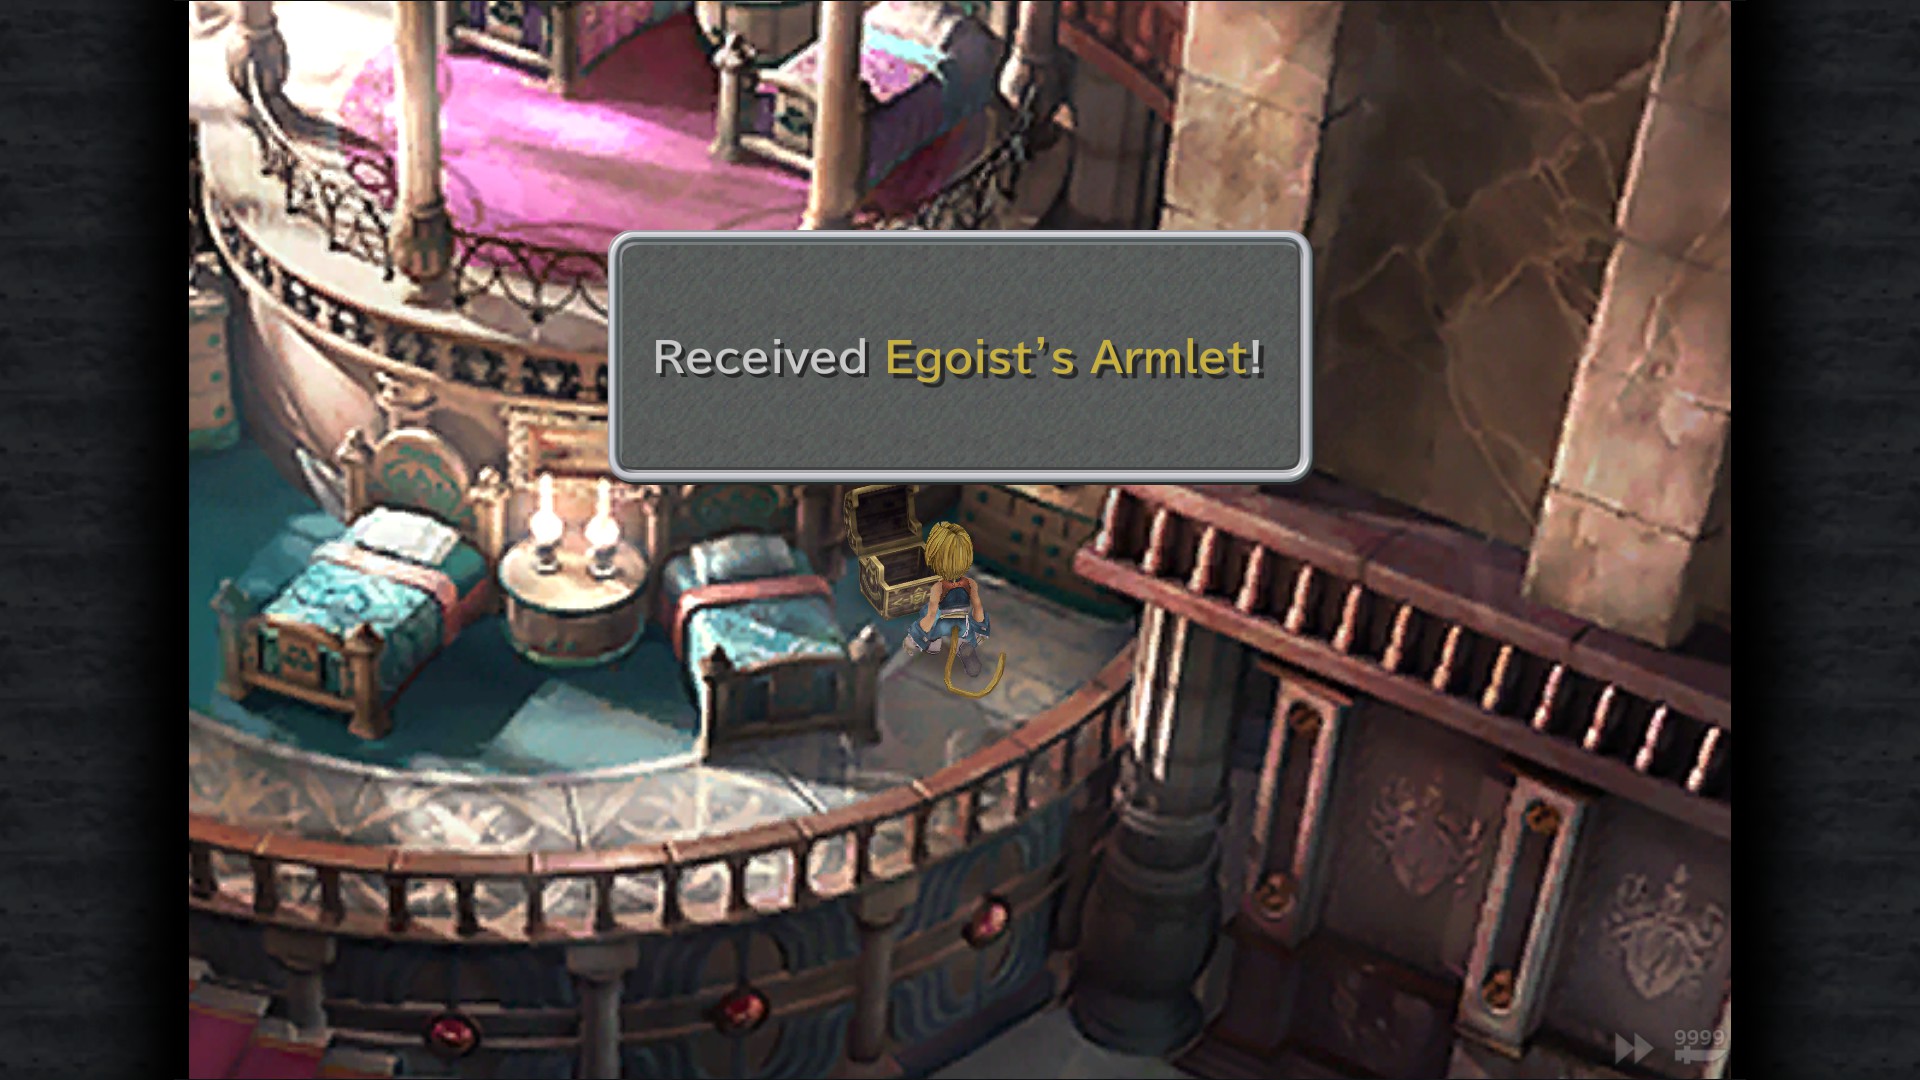
Egoist's Armlet - Guest Room
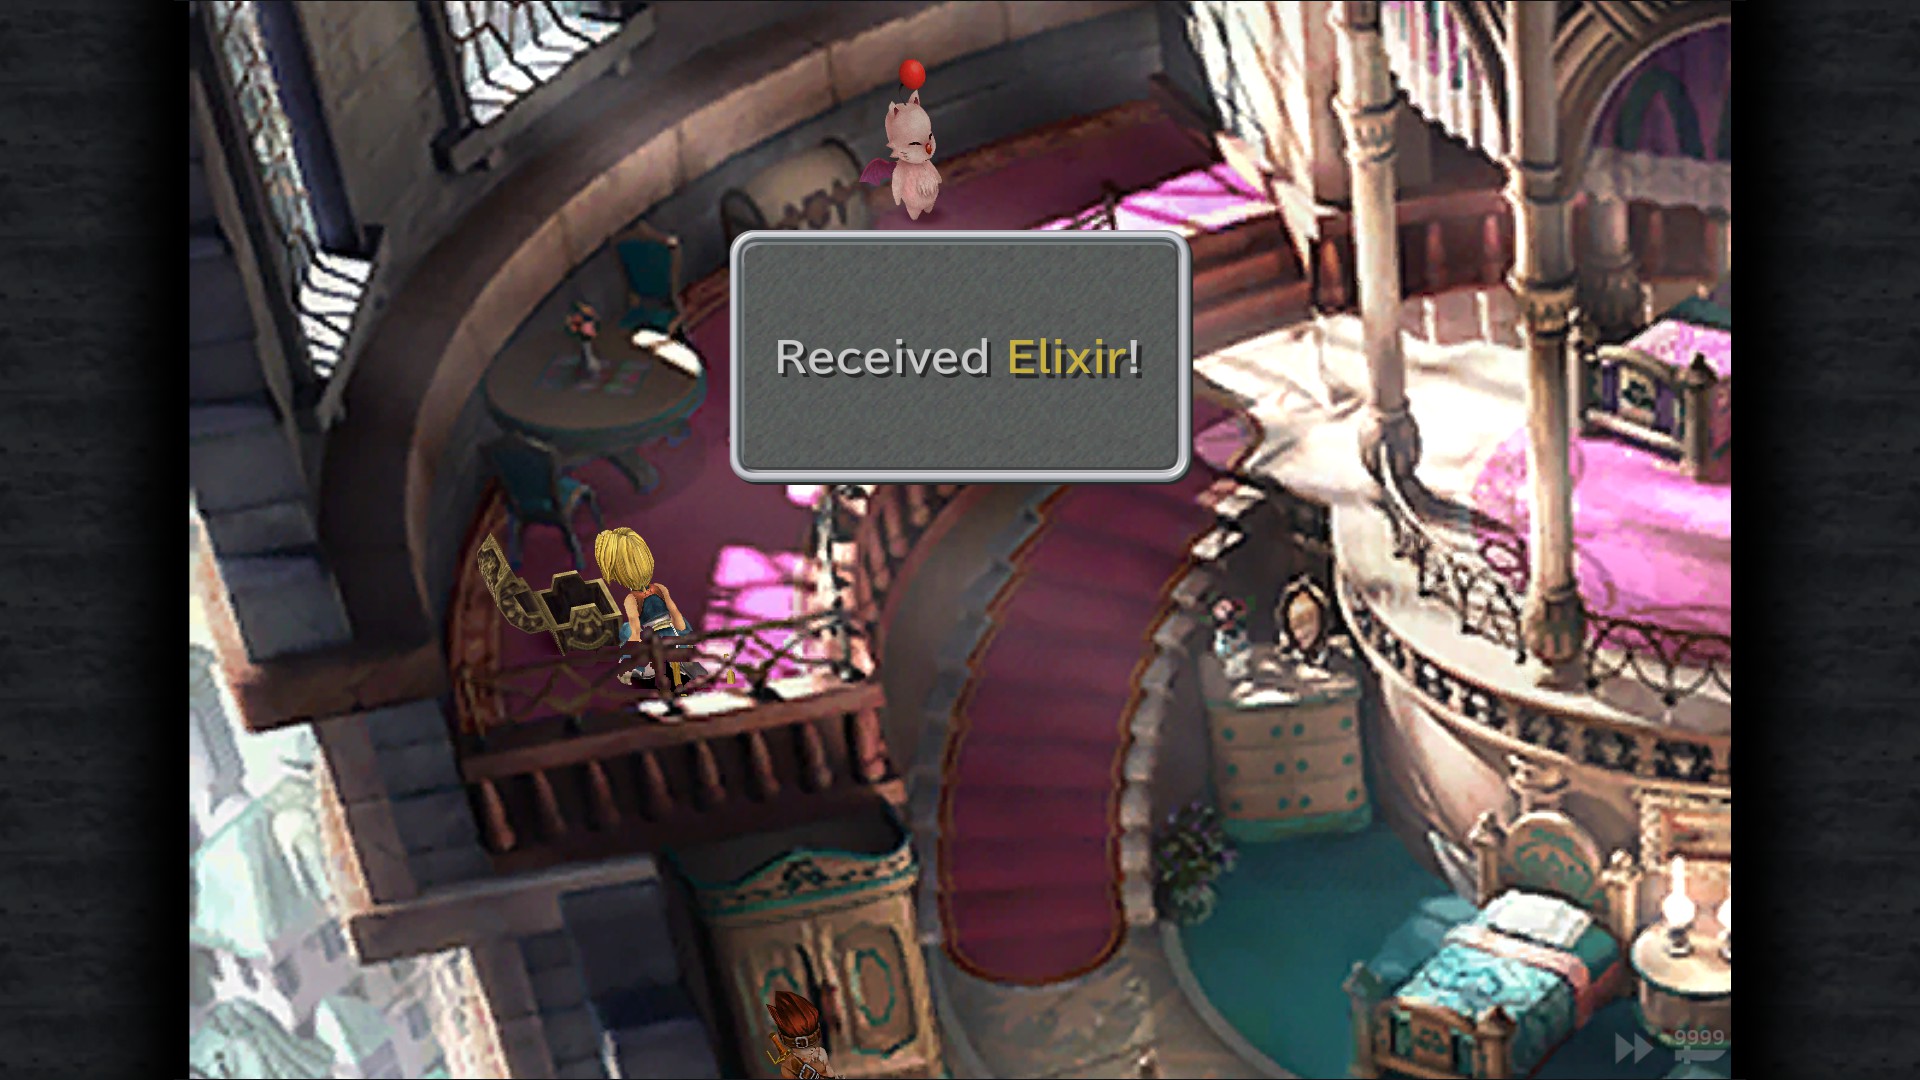
Elixir - Guest Room
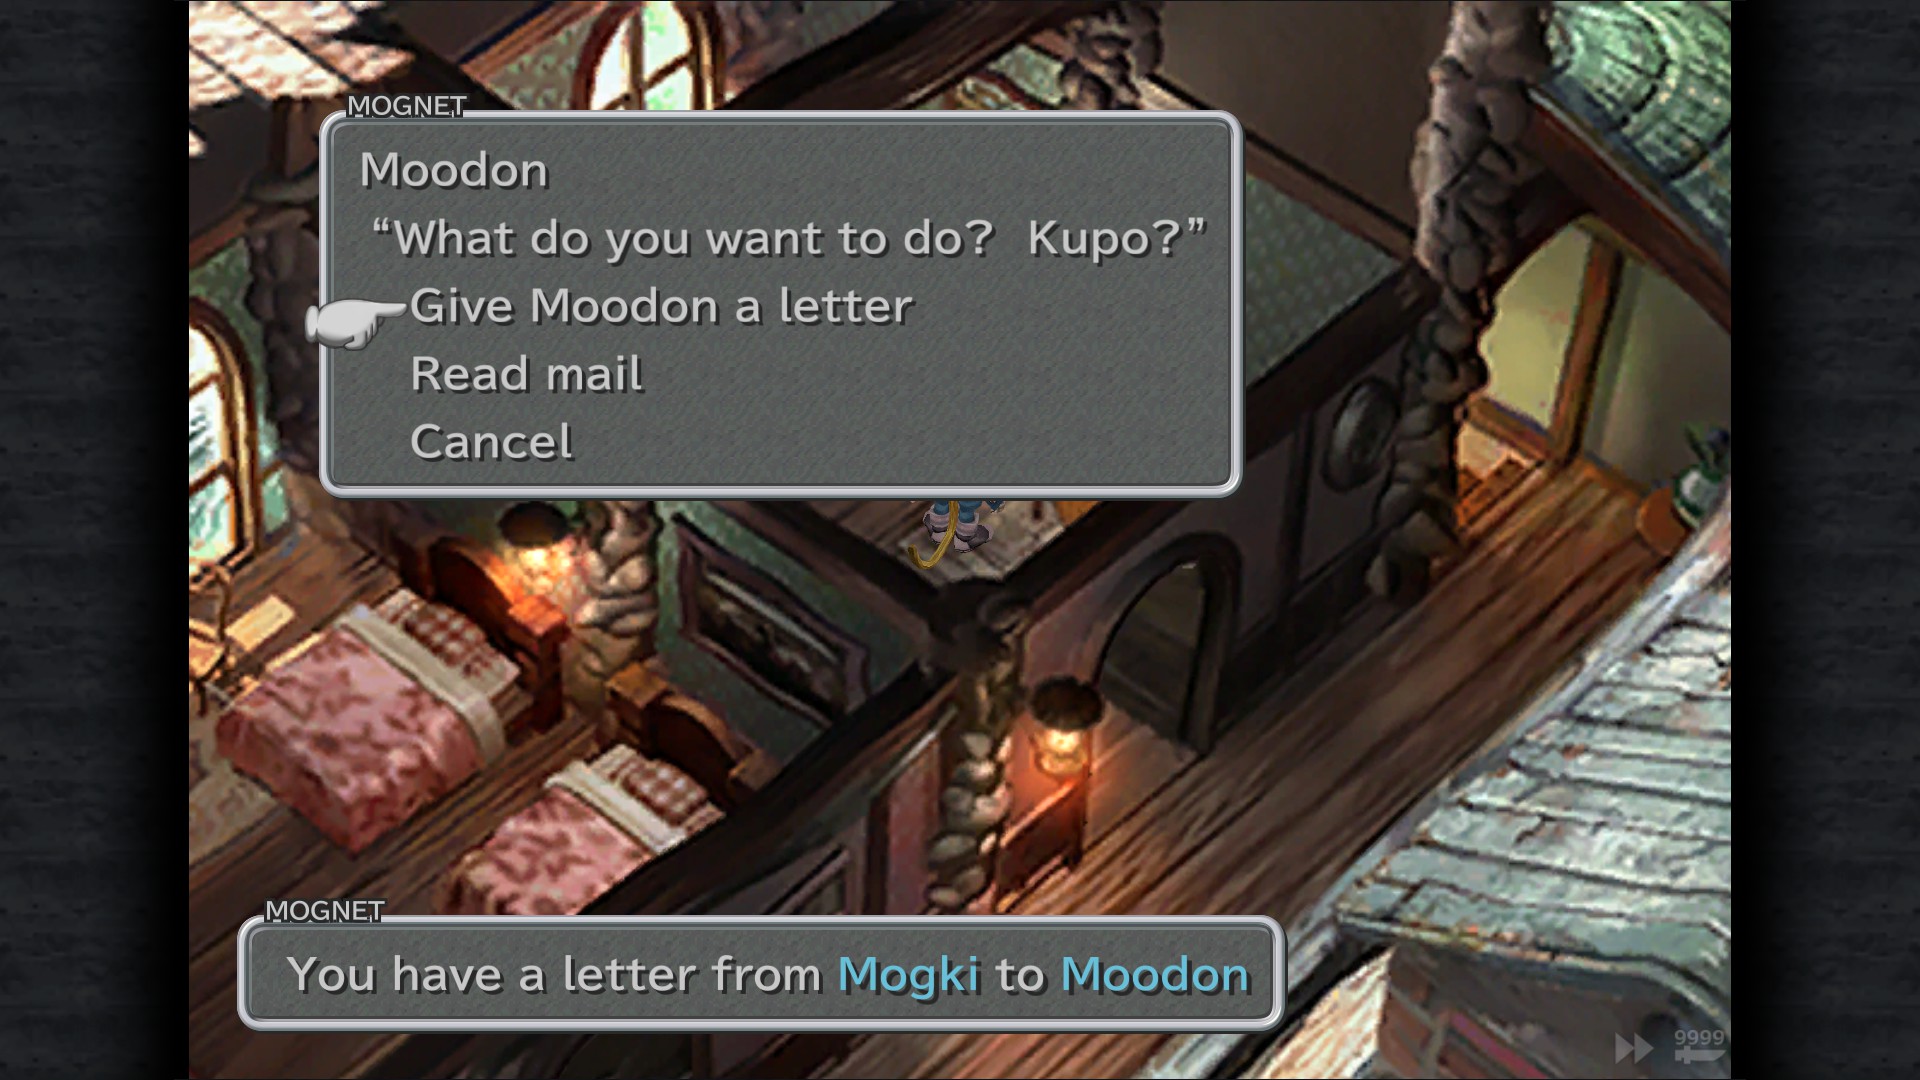
Mognet: Pickup the letter for delivery (Mogki to Moodon) - Guest Room
Note: When talking with Blank , make sure to ask where's Dagger. then head to the telescope area and talk with her, this will unlock an ATE later. DO NOT WALK BACK TO TALK TO BLANK. This will null the ATE.
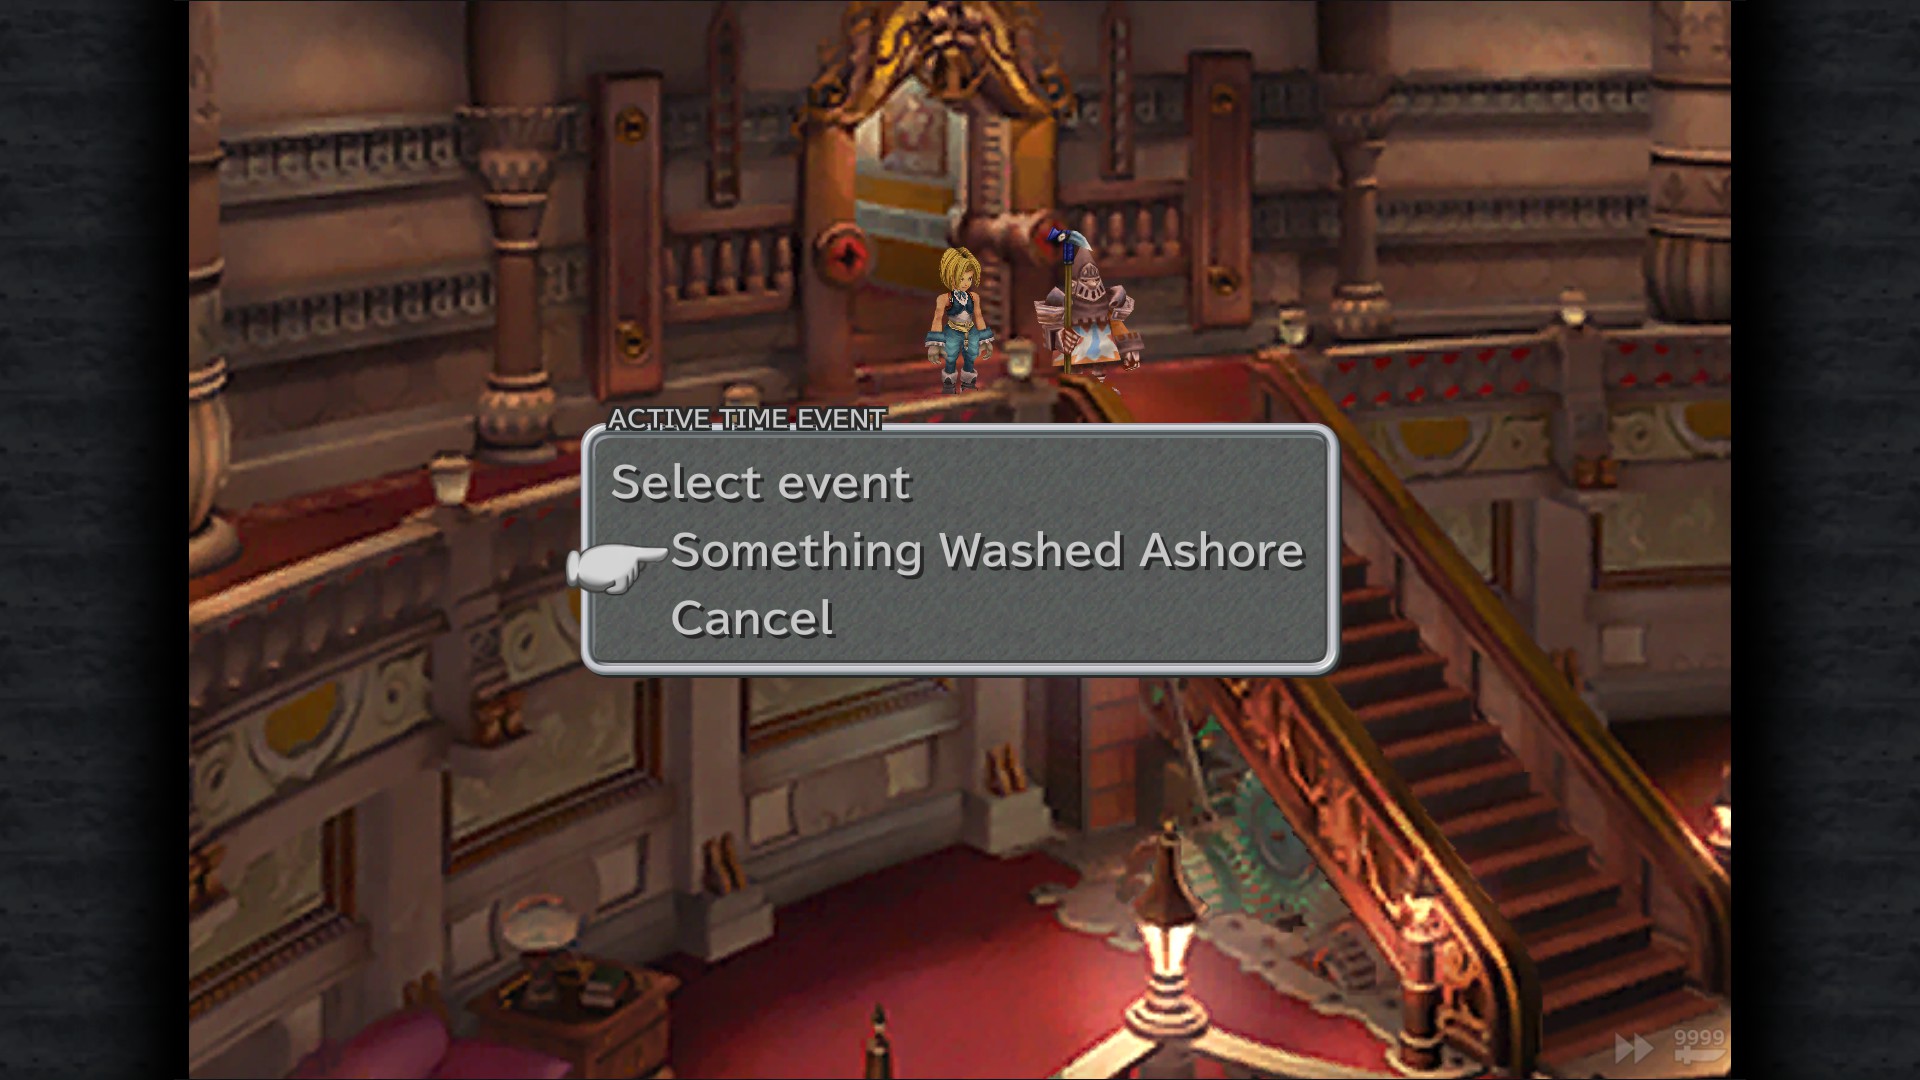
Something Washed Ashore ATE - Hallway
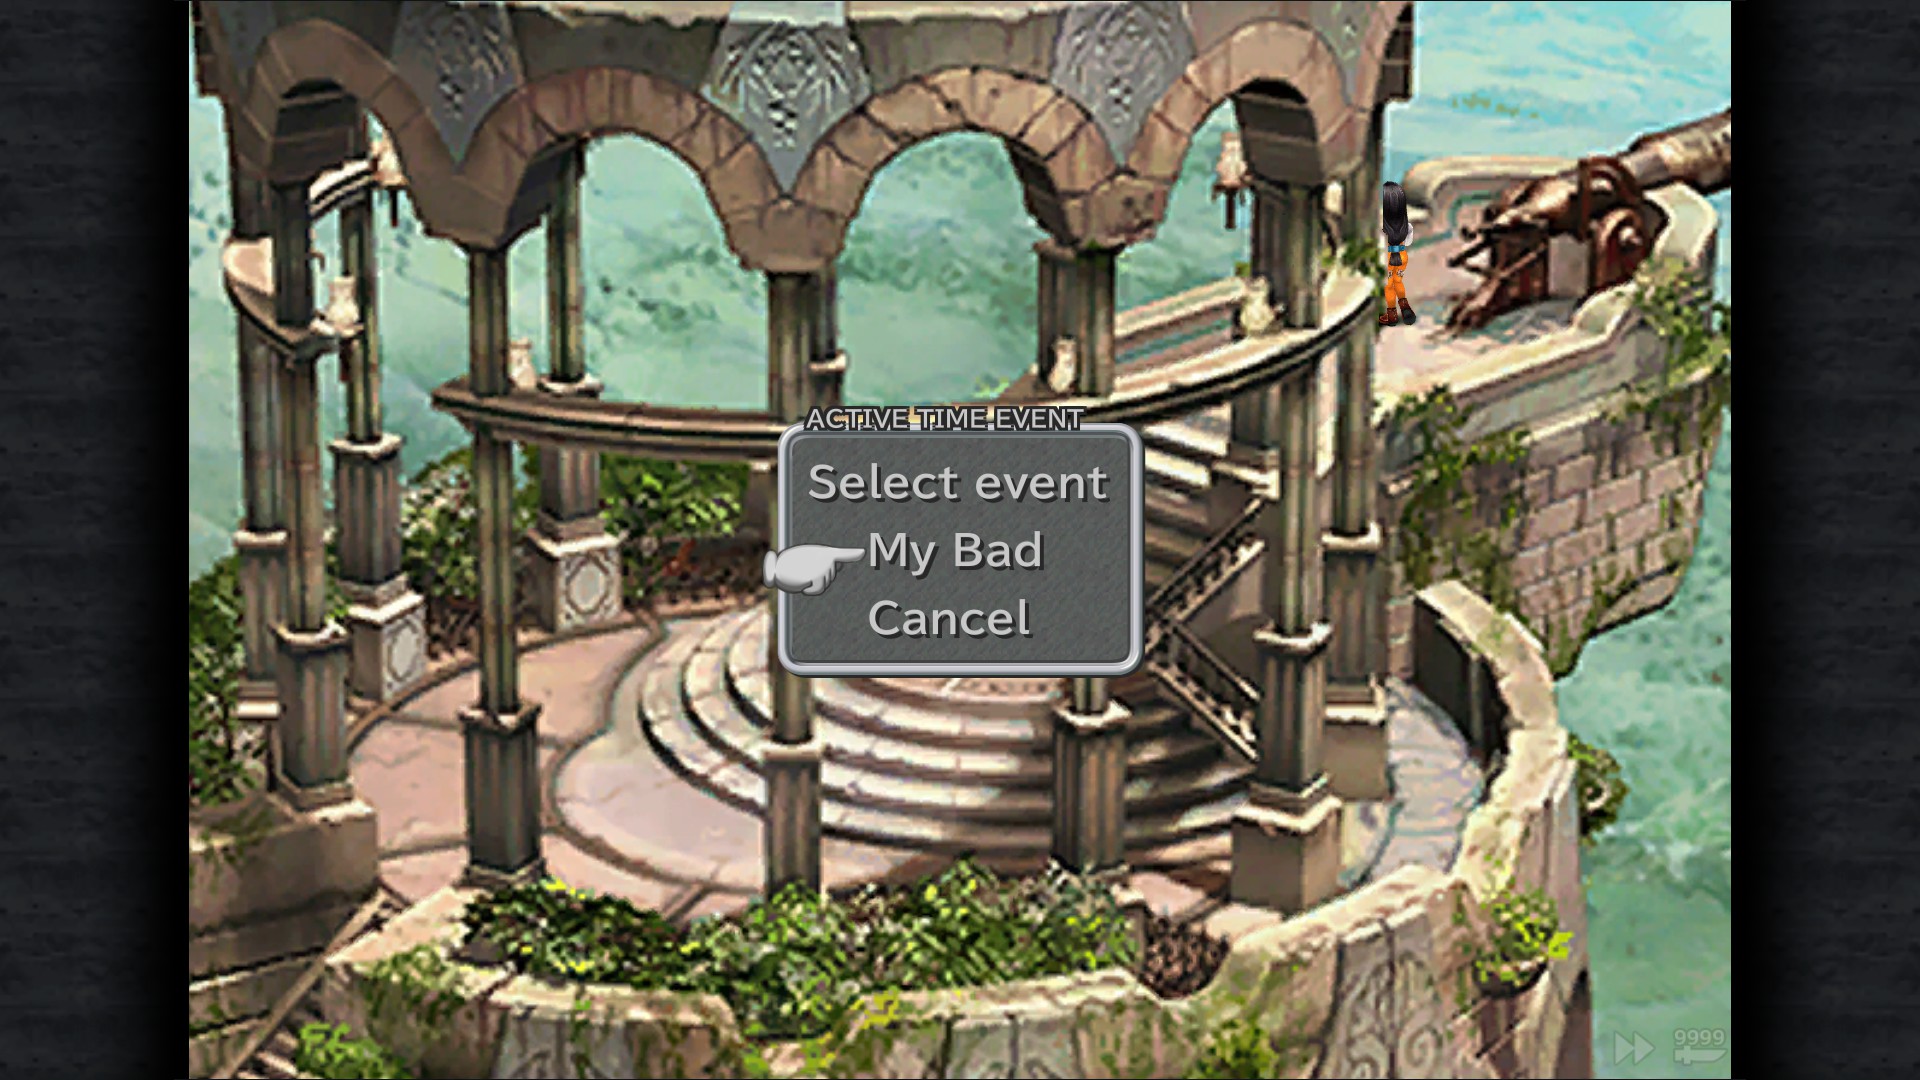
'My Bad'/'My Fault' ATE - Telescope (Only available if you went with Dagger before going to Throne Room) The name depends what region you're in. 'My Bad' is for NTSC. 'My Fault' is for PAL (Europe/Australia/New Zealand).
Self-reproach ATE (Forced)
Deep Anger ATE (Forced)
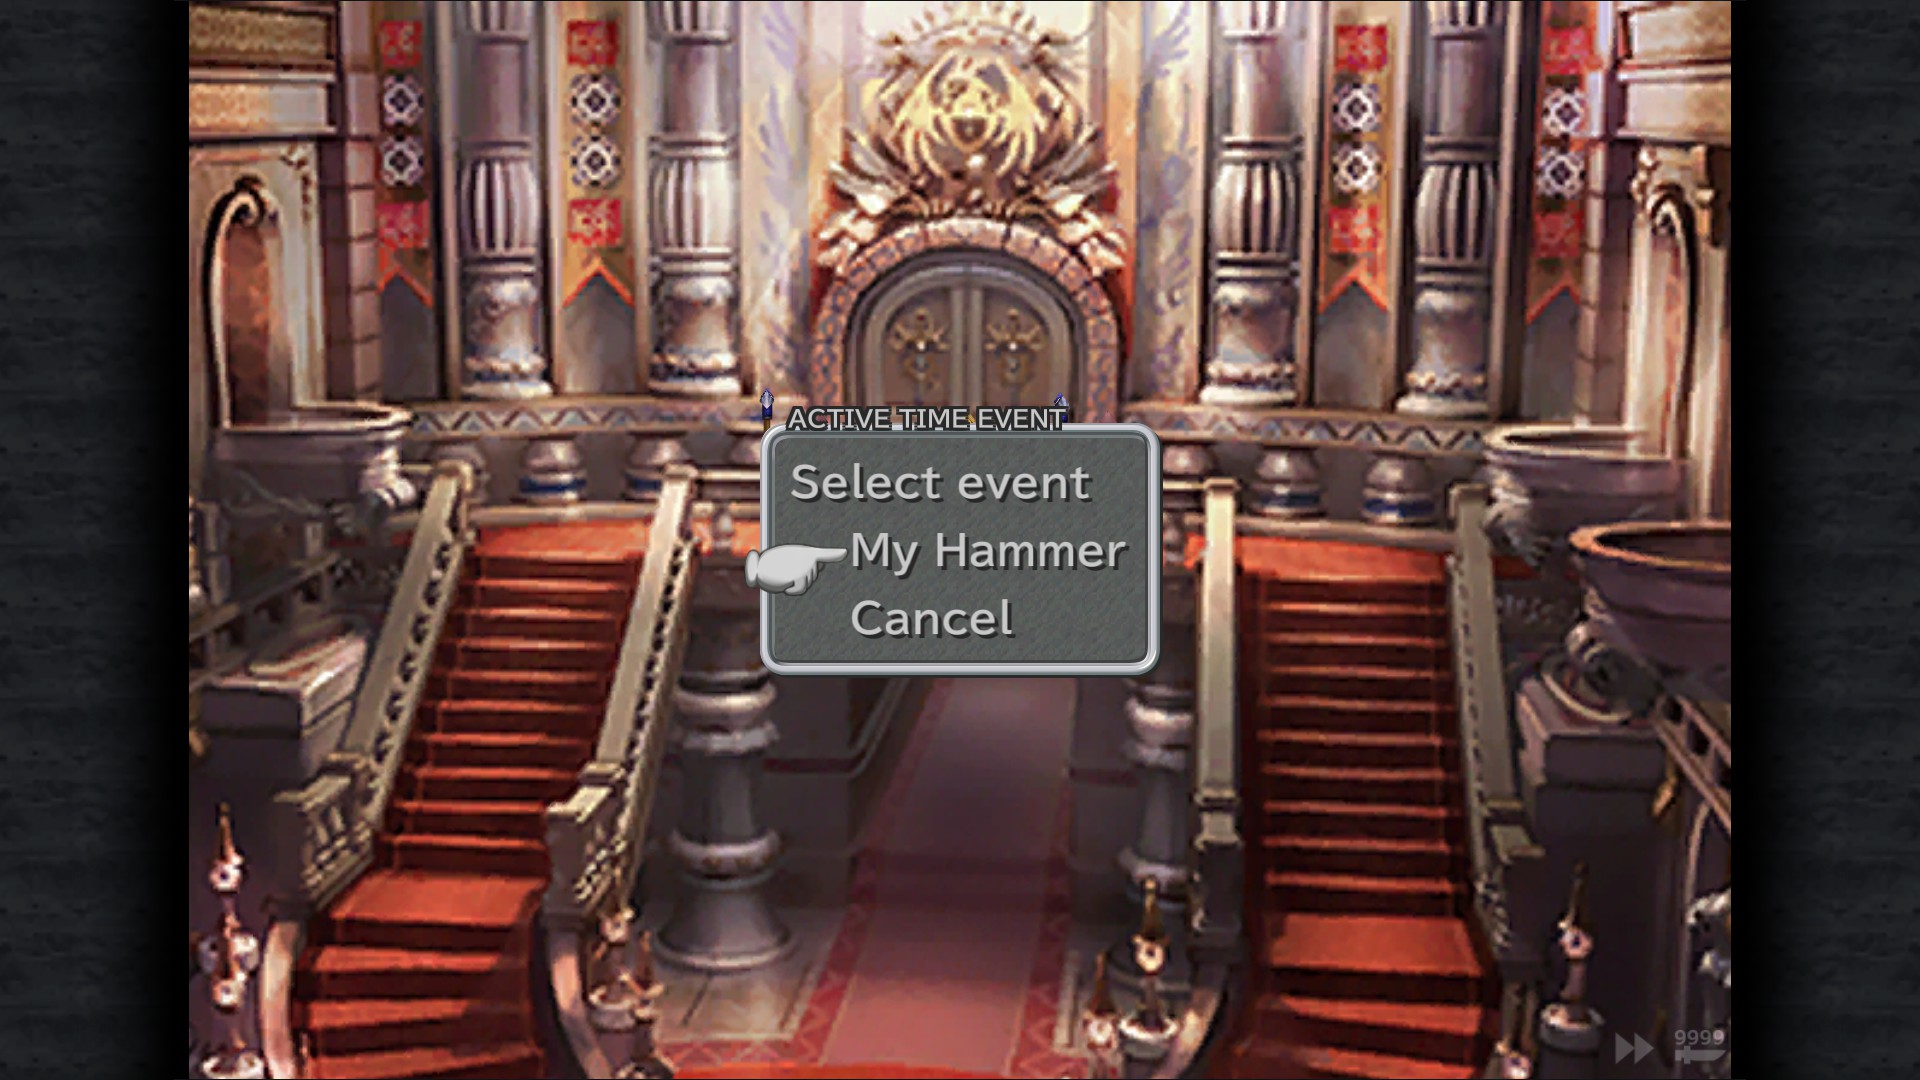
My Hammer ATE - Hall
Theater District
The Rally (Forced)
Lapis Lazuli - Studio
970 Gil - Hideout
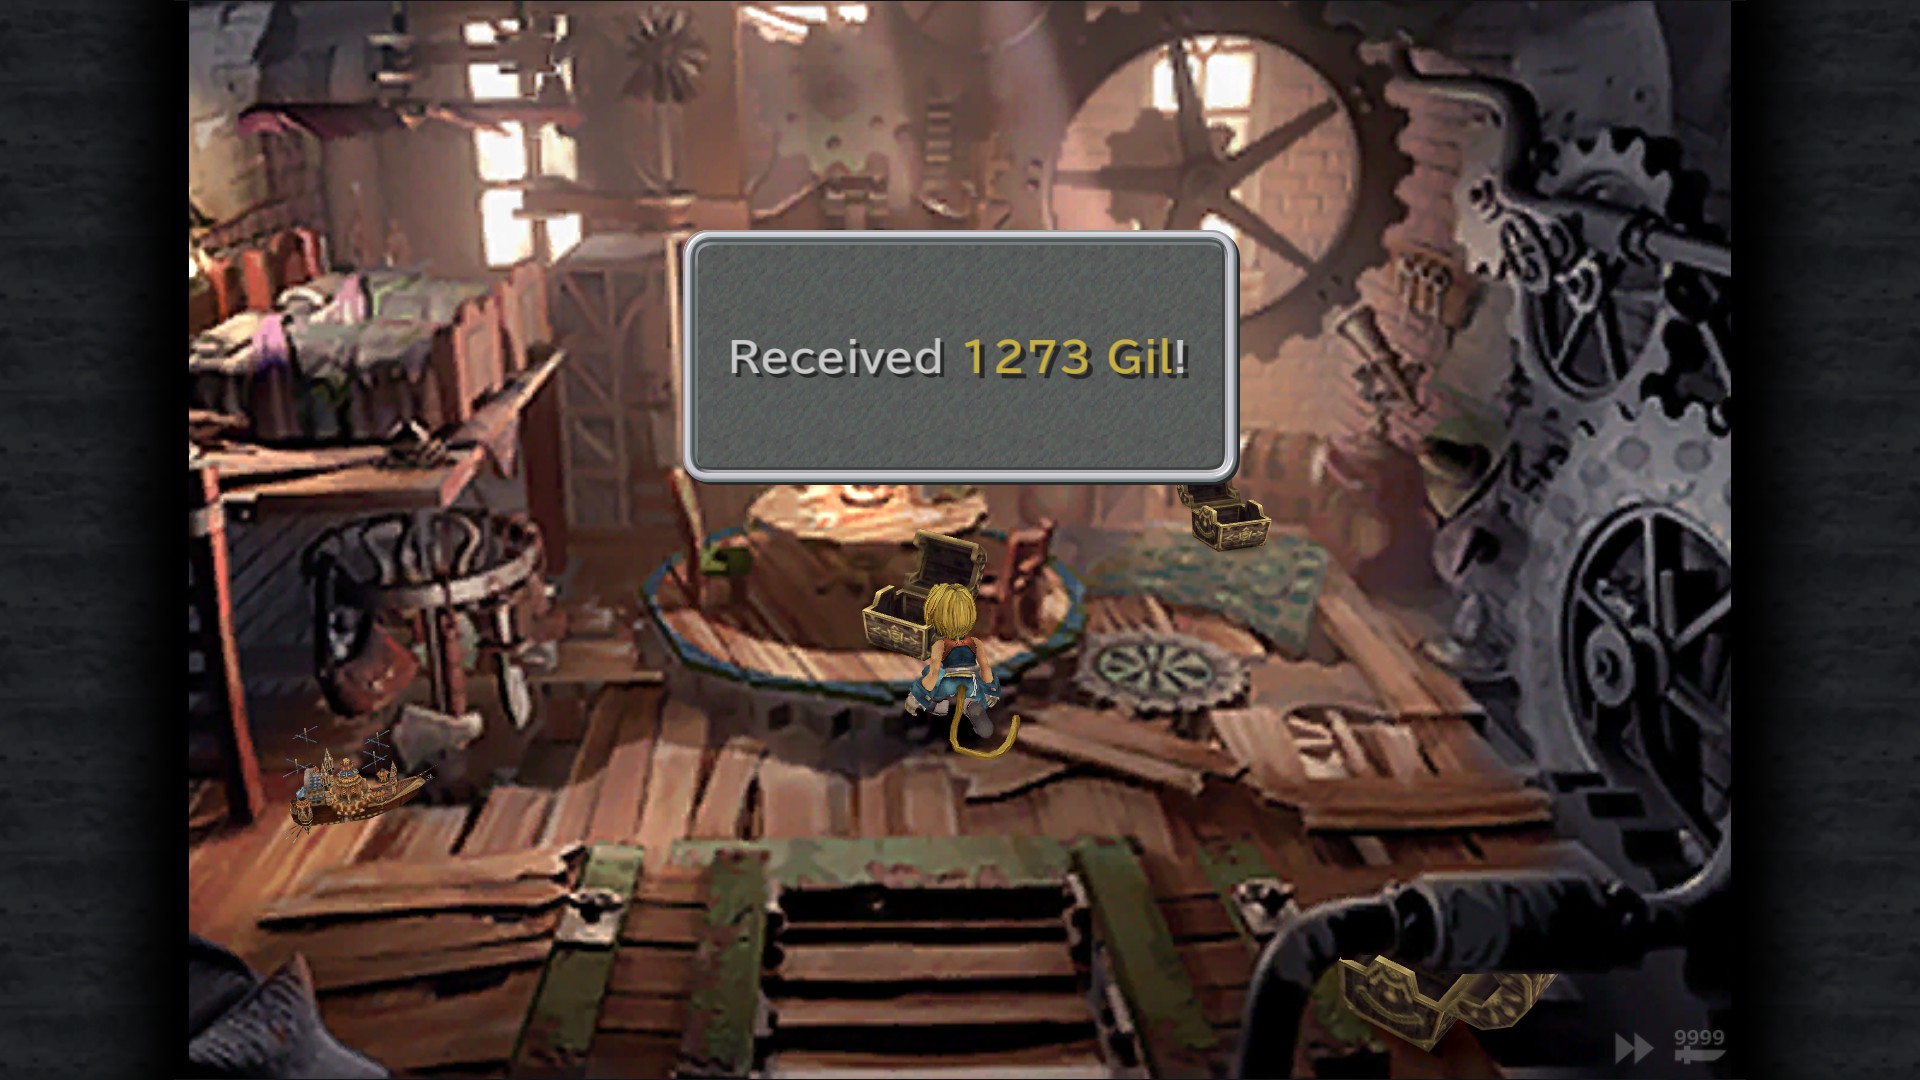
1273 Gil - Hideout
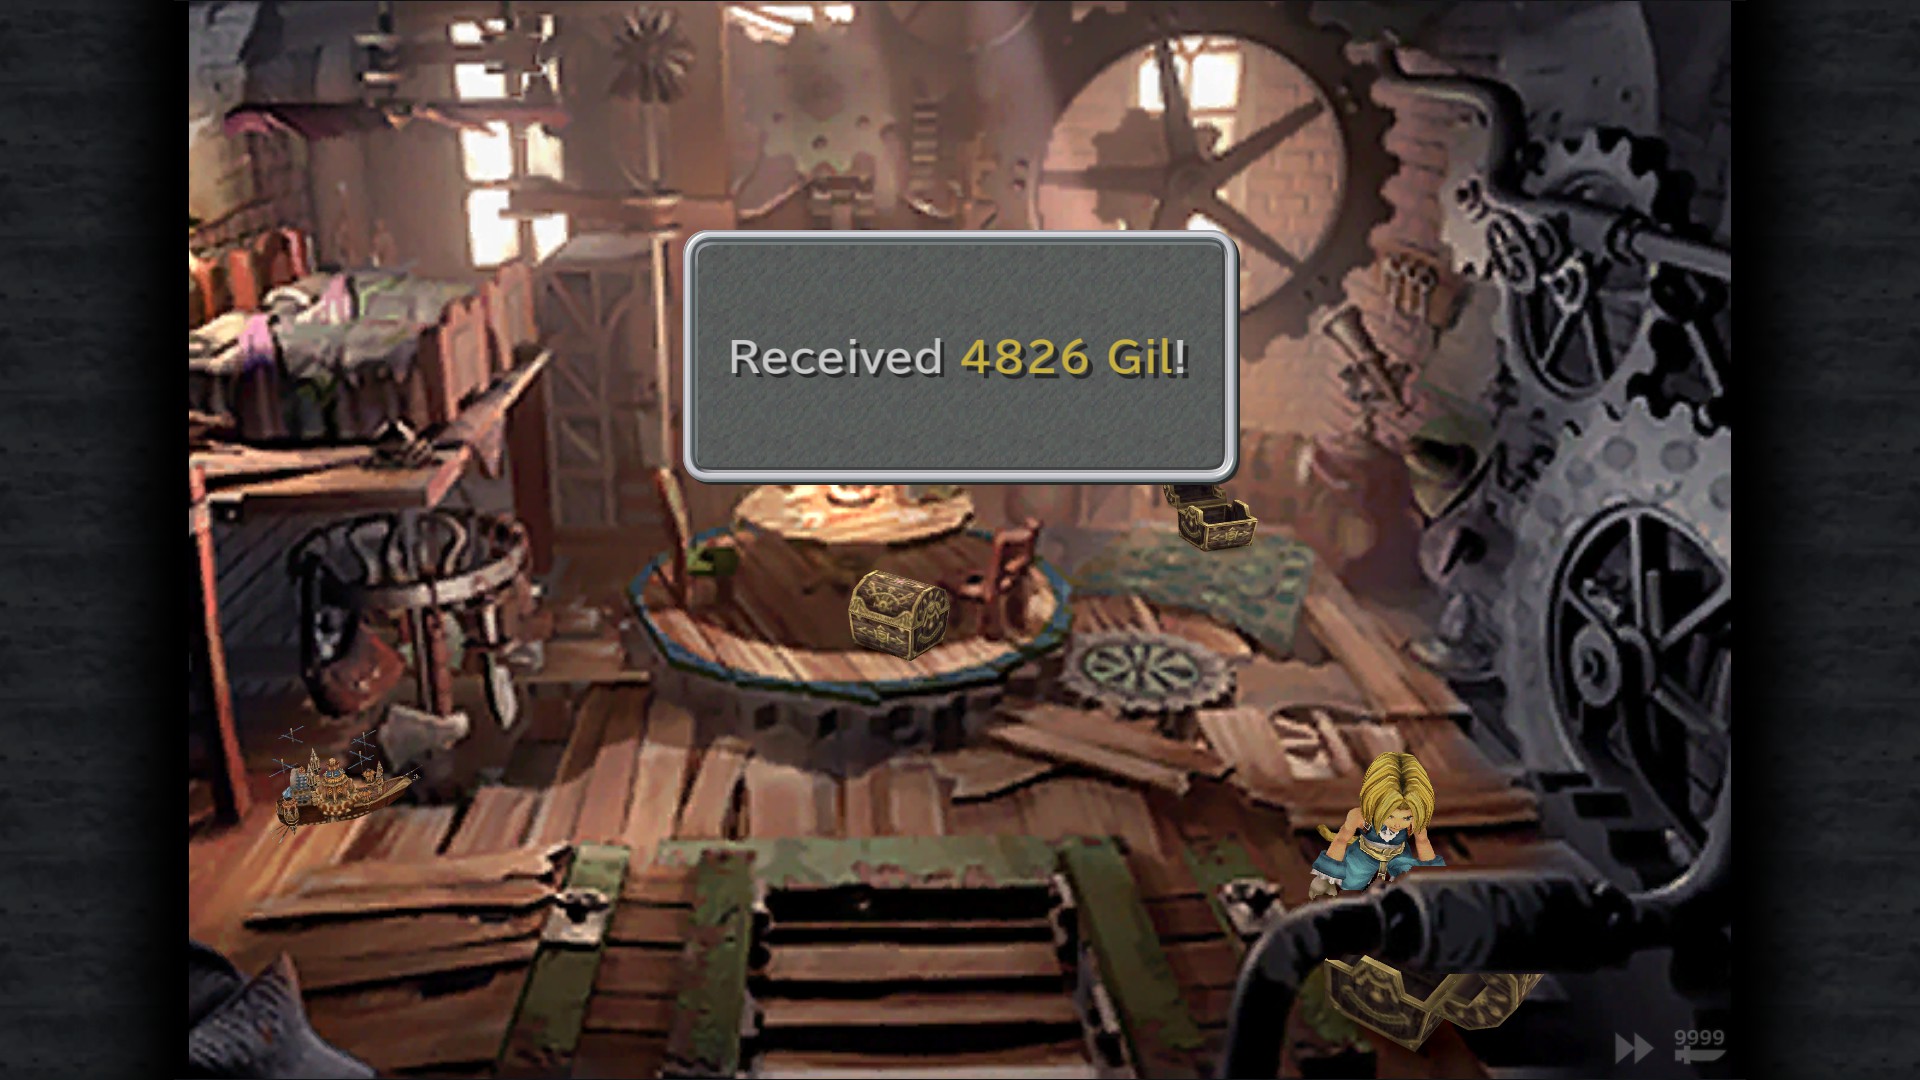
4826 Gil - Hideout
Business District
Mognet: Give Moodon a letter "Alexandria Destroyed"
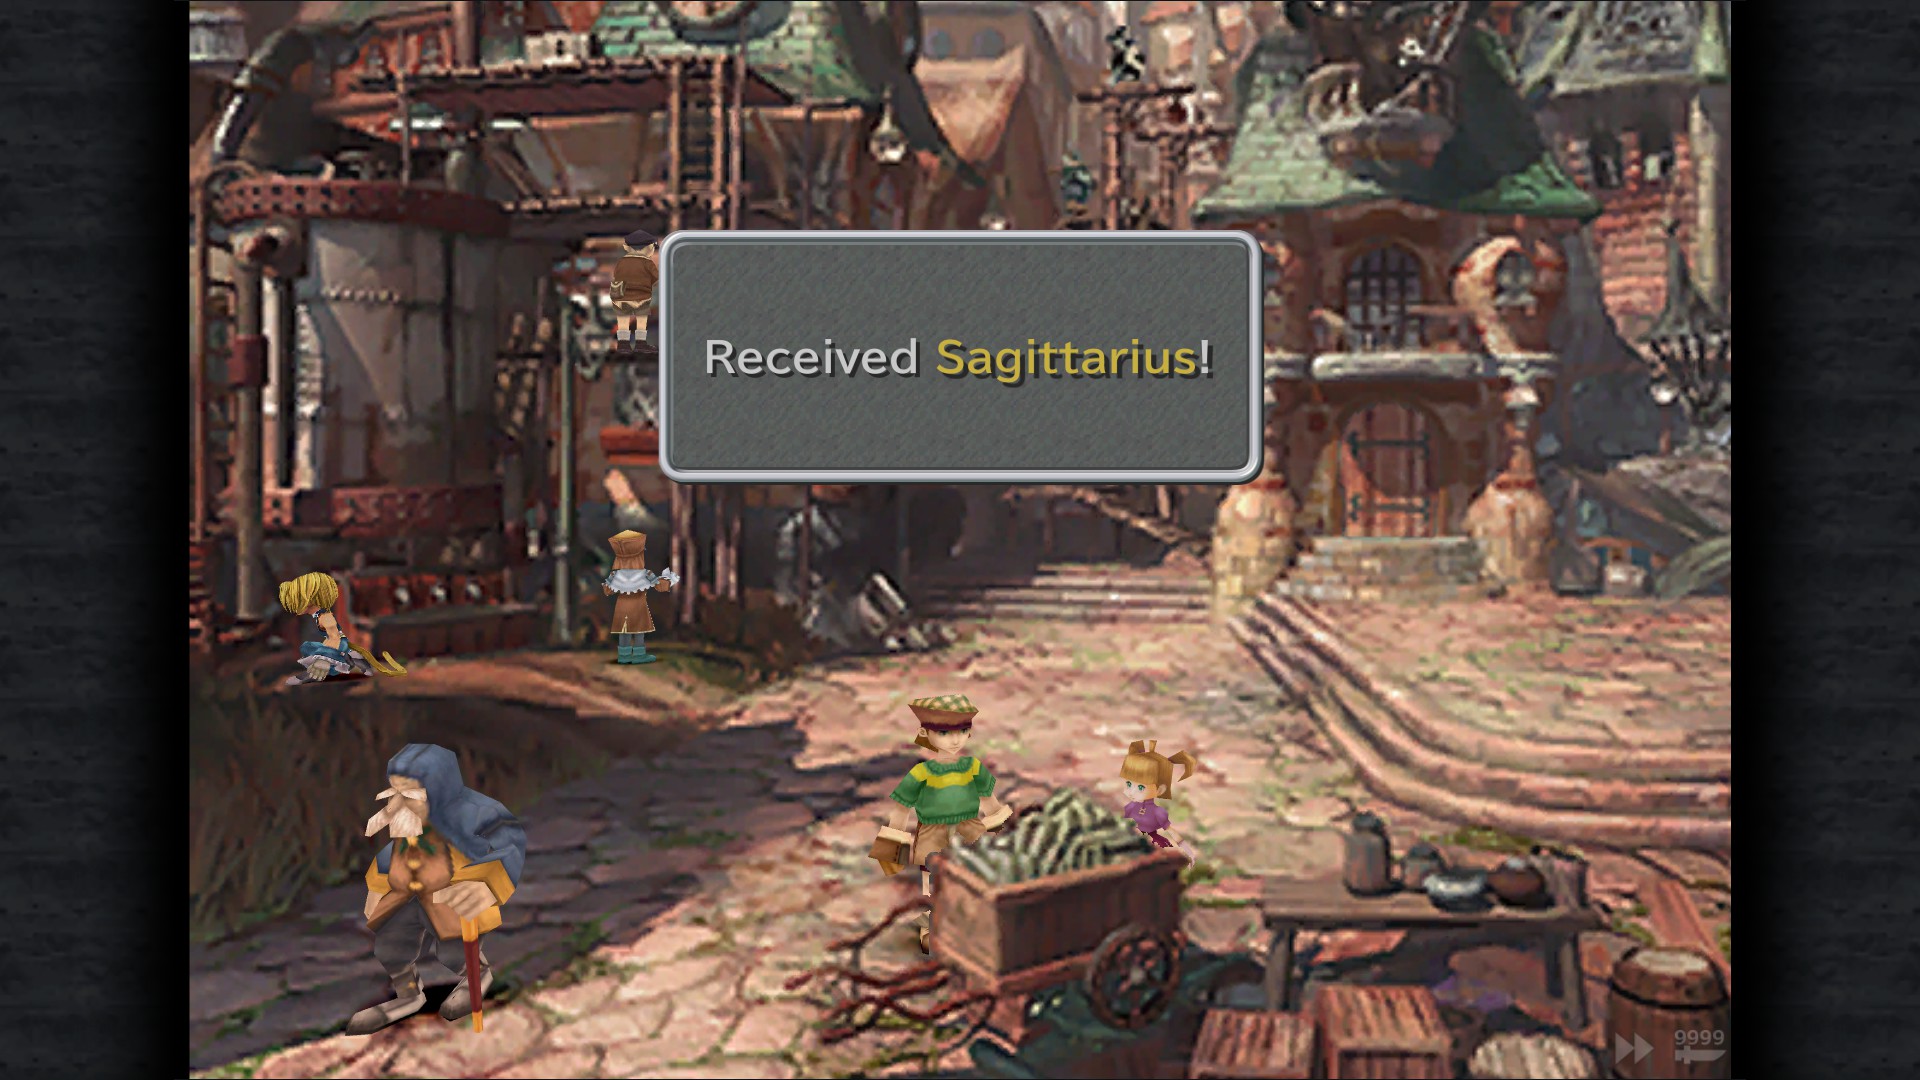
Sagittarius* - Shopping Area
Elixir - Shopping Area Residence
Remedy - Shopping Area Residence
Note: Make sure to have less than 50 Gil before going to the Castle or you'll miss an ATE later.
Lindblum Castle
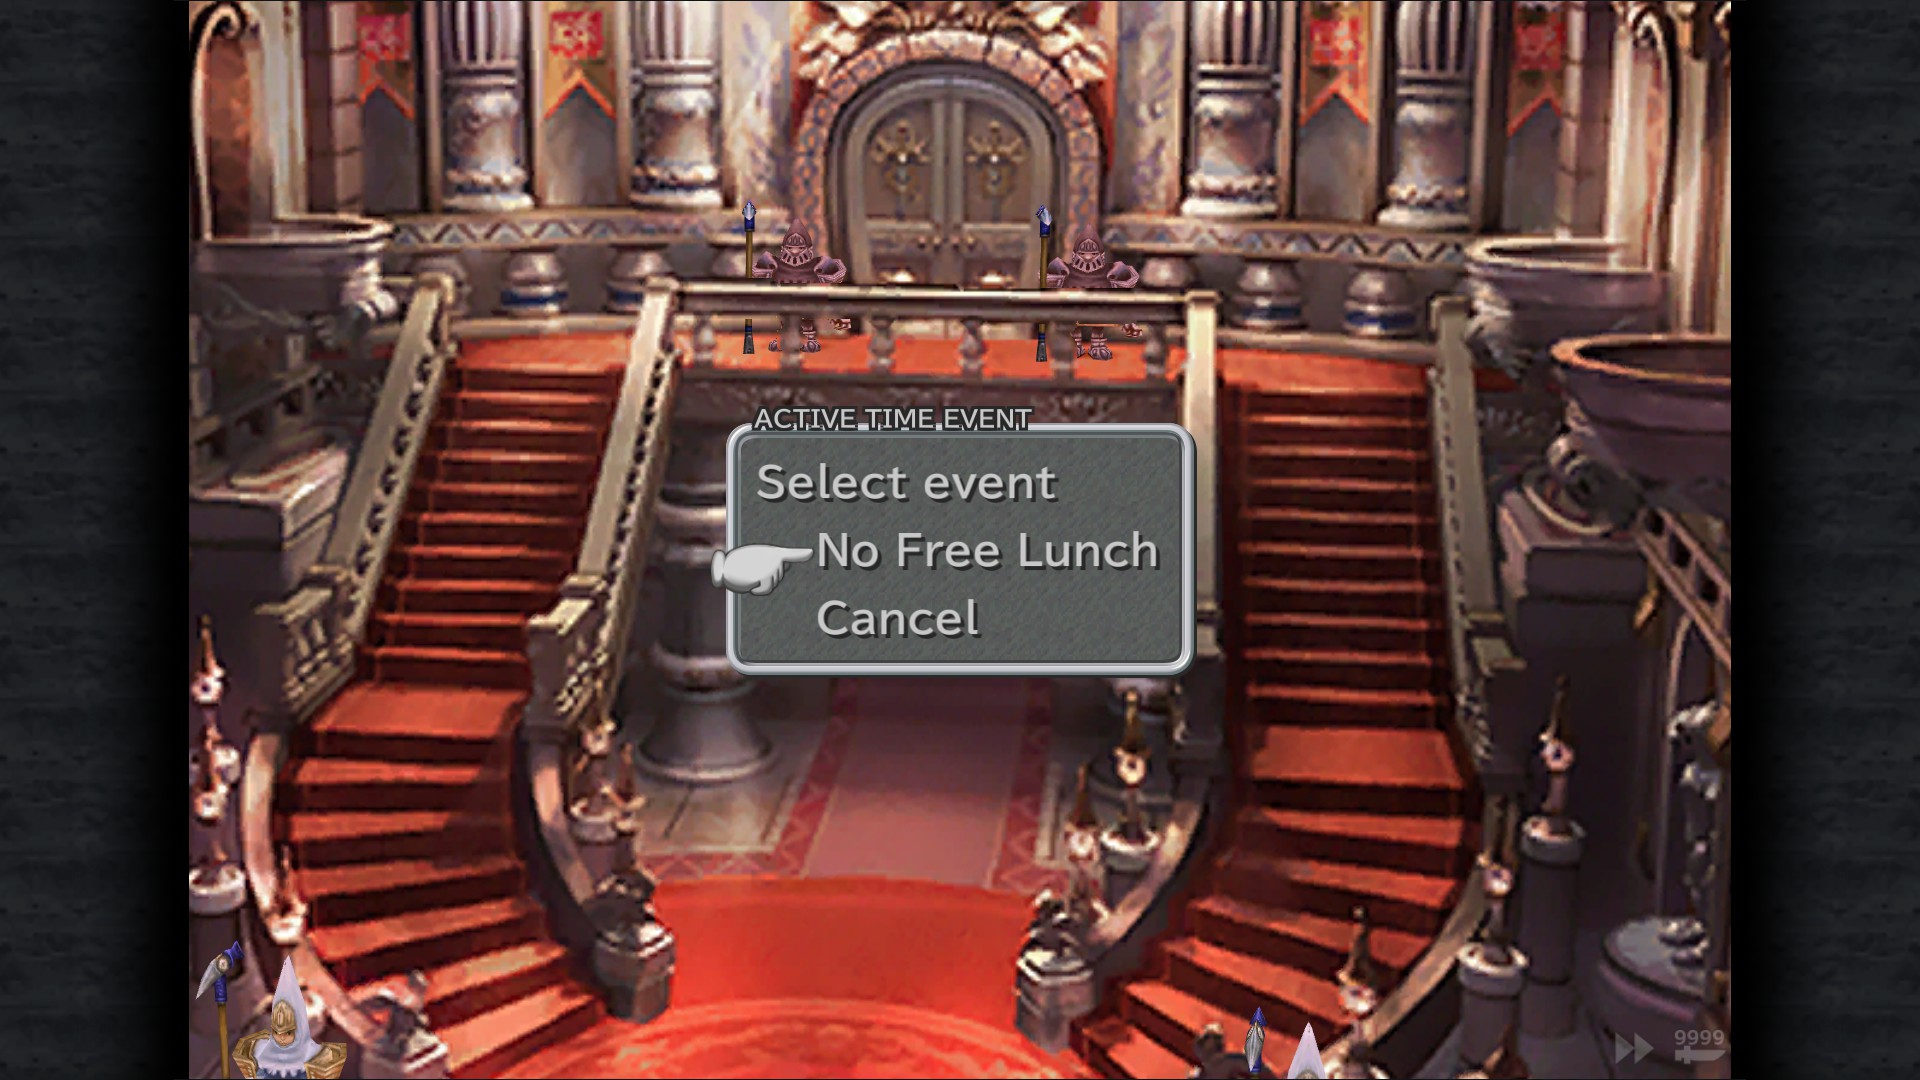
No Free Lunch ATE - Hall (after this ATE , go to the Business District - Shopping Area to pay Quina's debt , but first make sure to have less than 50 Gil to enable another ATE)
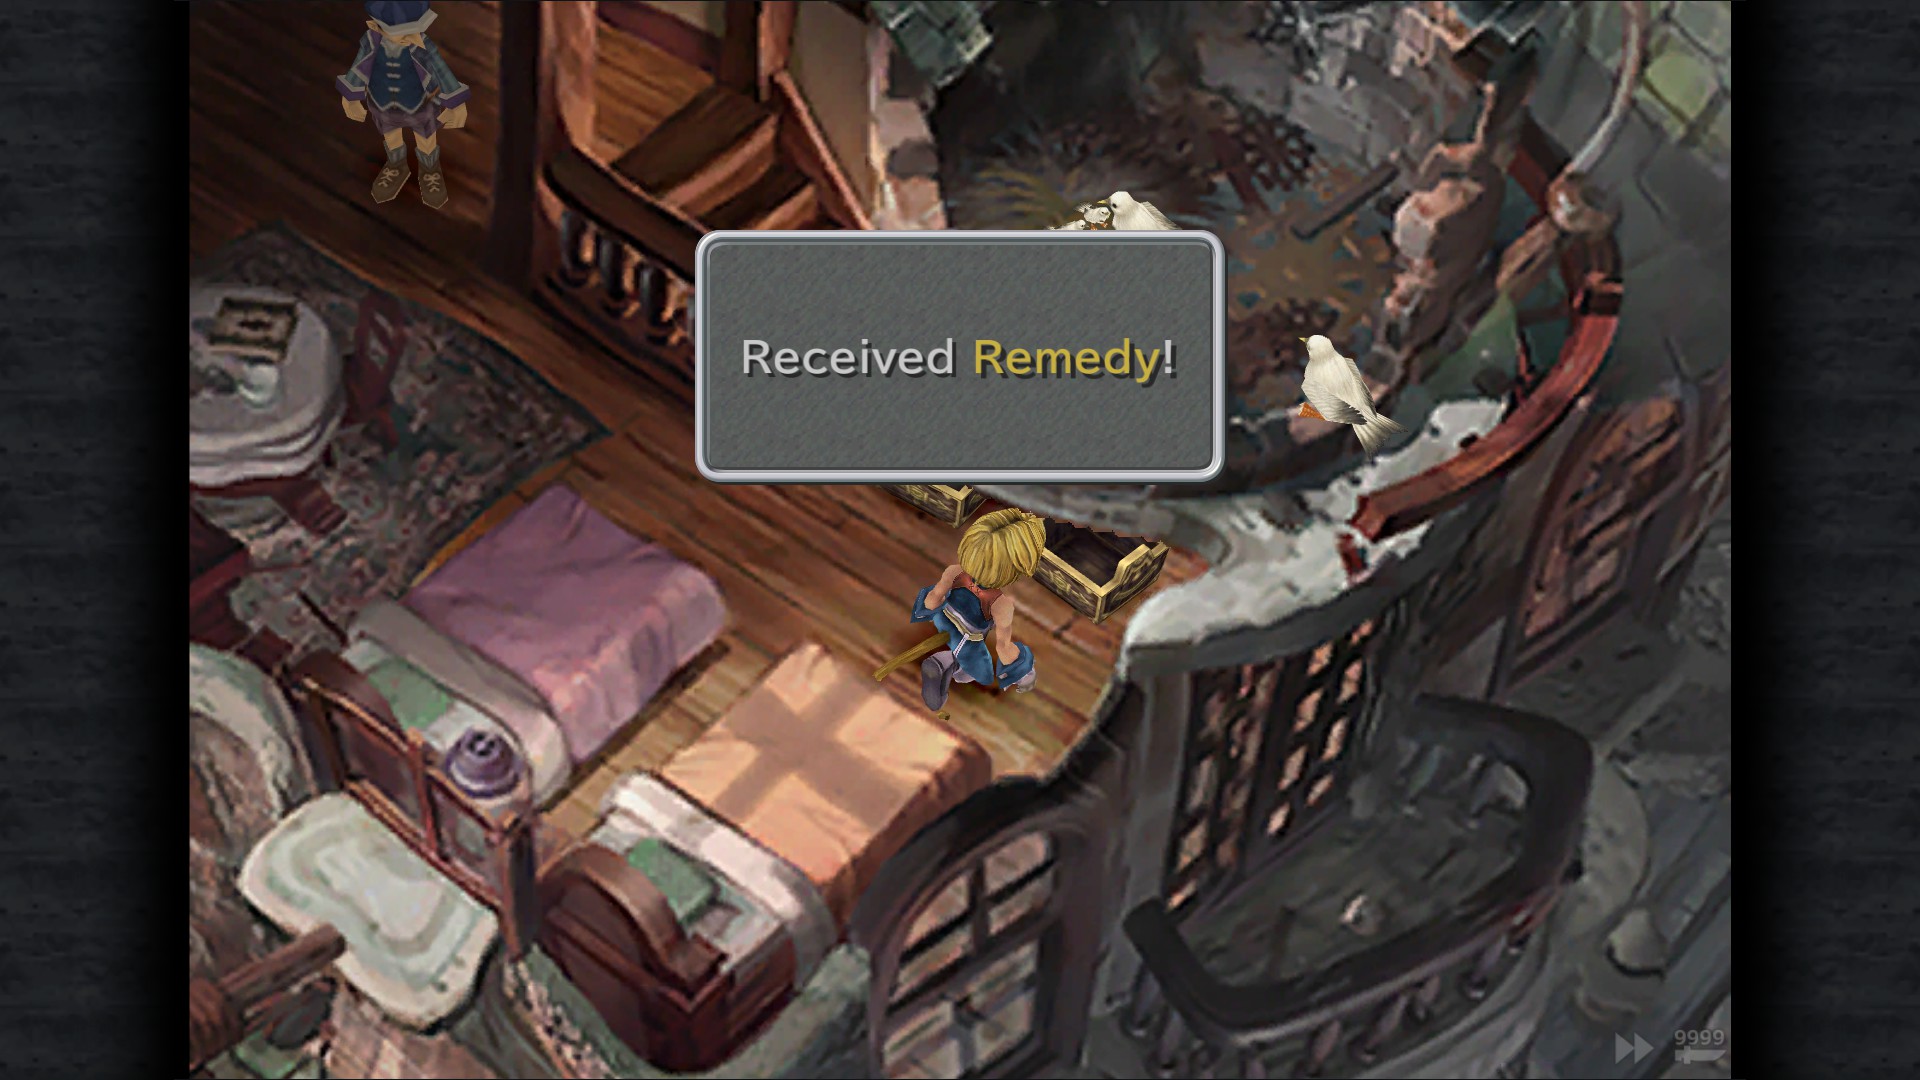
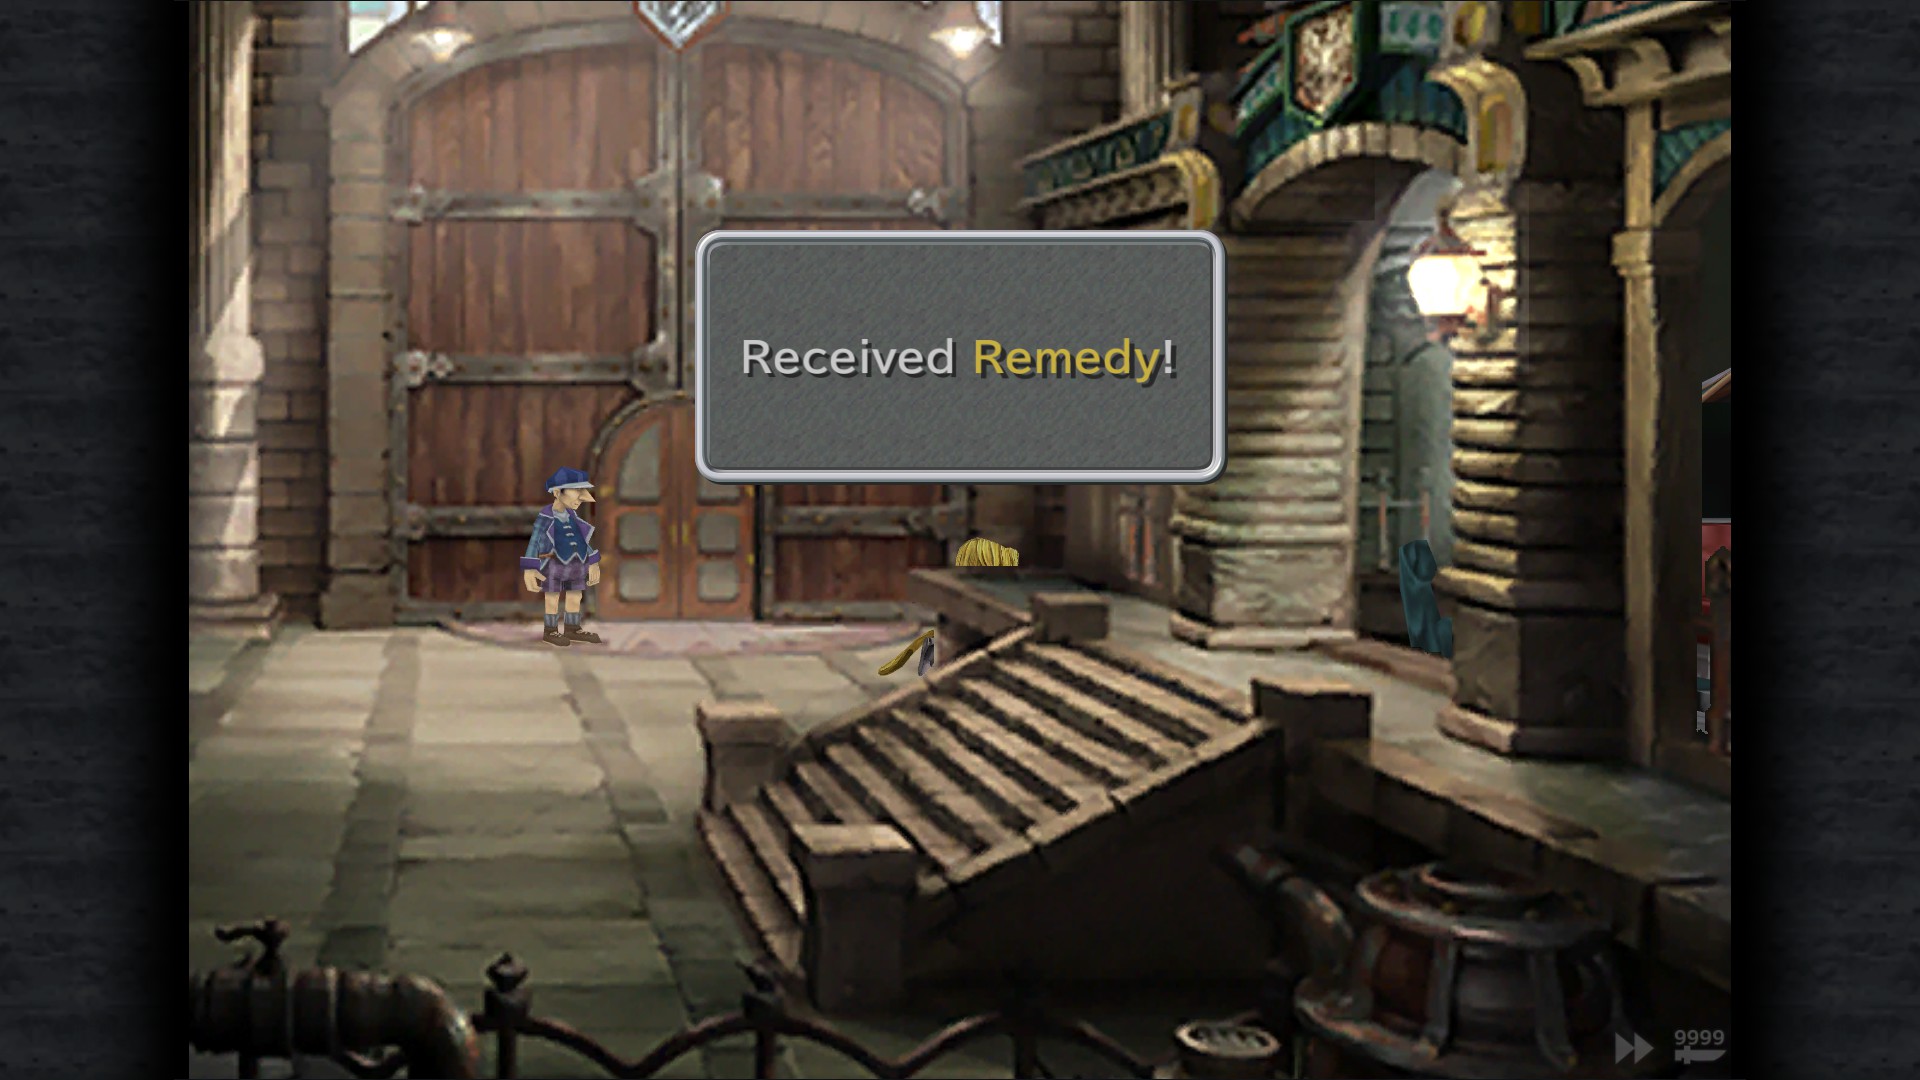
Remedy - Dragon's Gate
Chimera Armlet - Serpent's Gate
Give Me My Money ATE (Forced only if you didn't have enough money to pay for Quina's debt for the pickles)
Oeilvert & Desert Palace
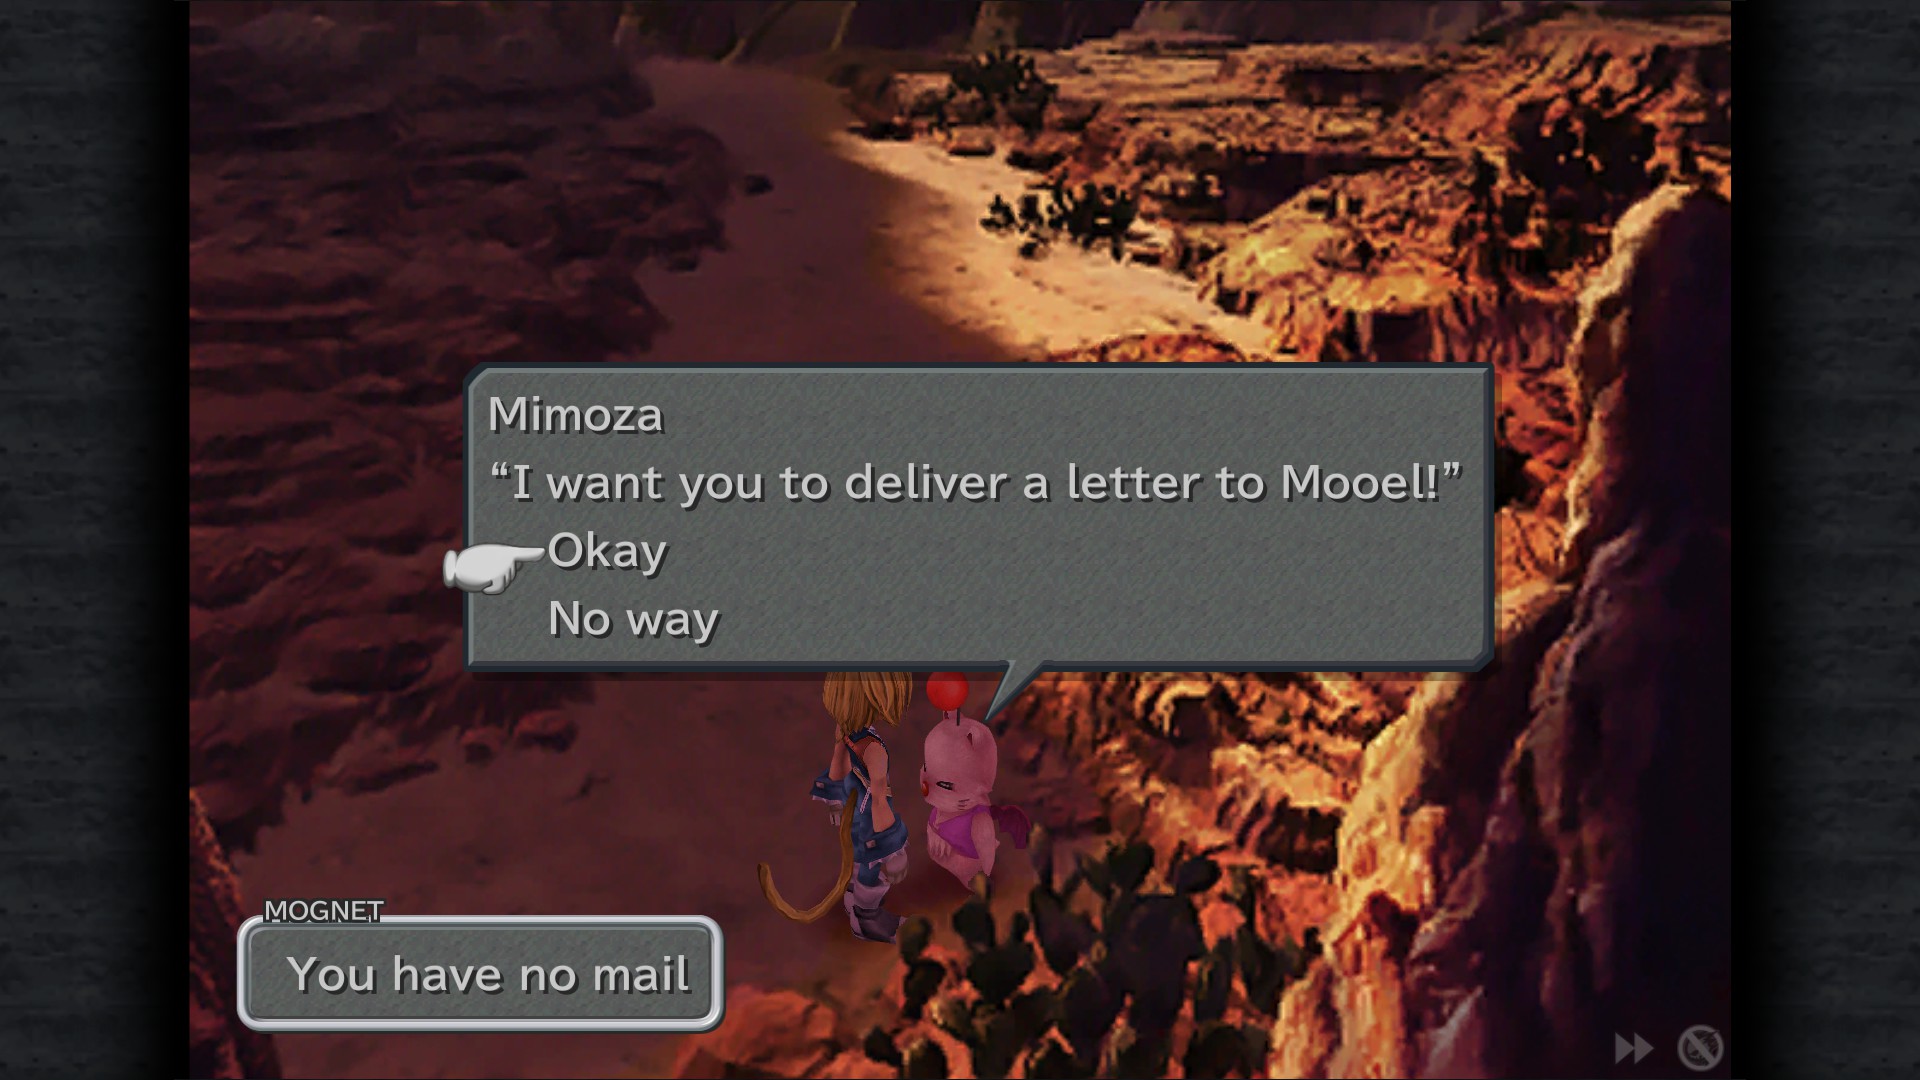
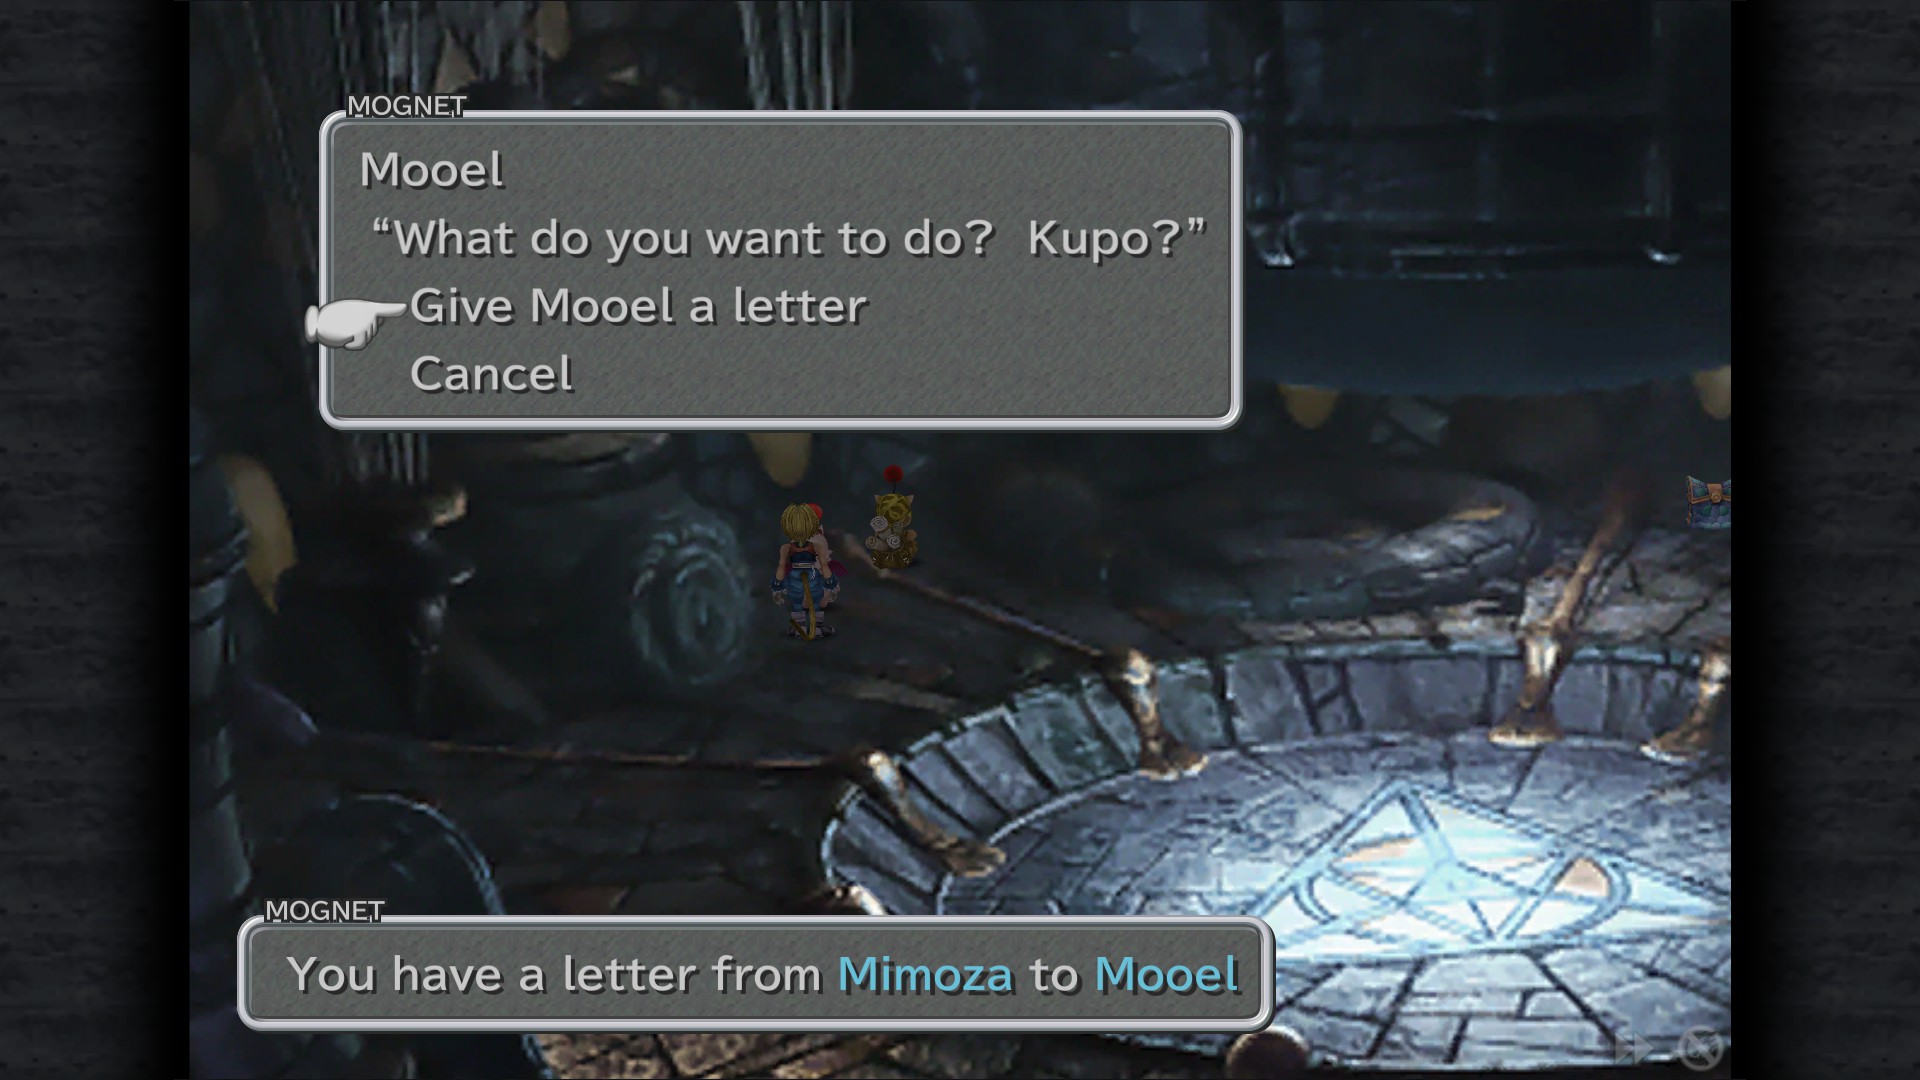


Mognet: Pickup the letter for delivery (Mimoza to Mooel)
Remedy - Hall
Rising Sun - Hall
Elixir - Planetarium (Upper level)
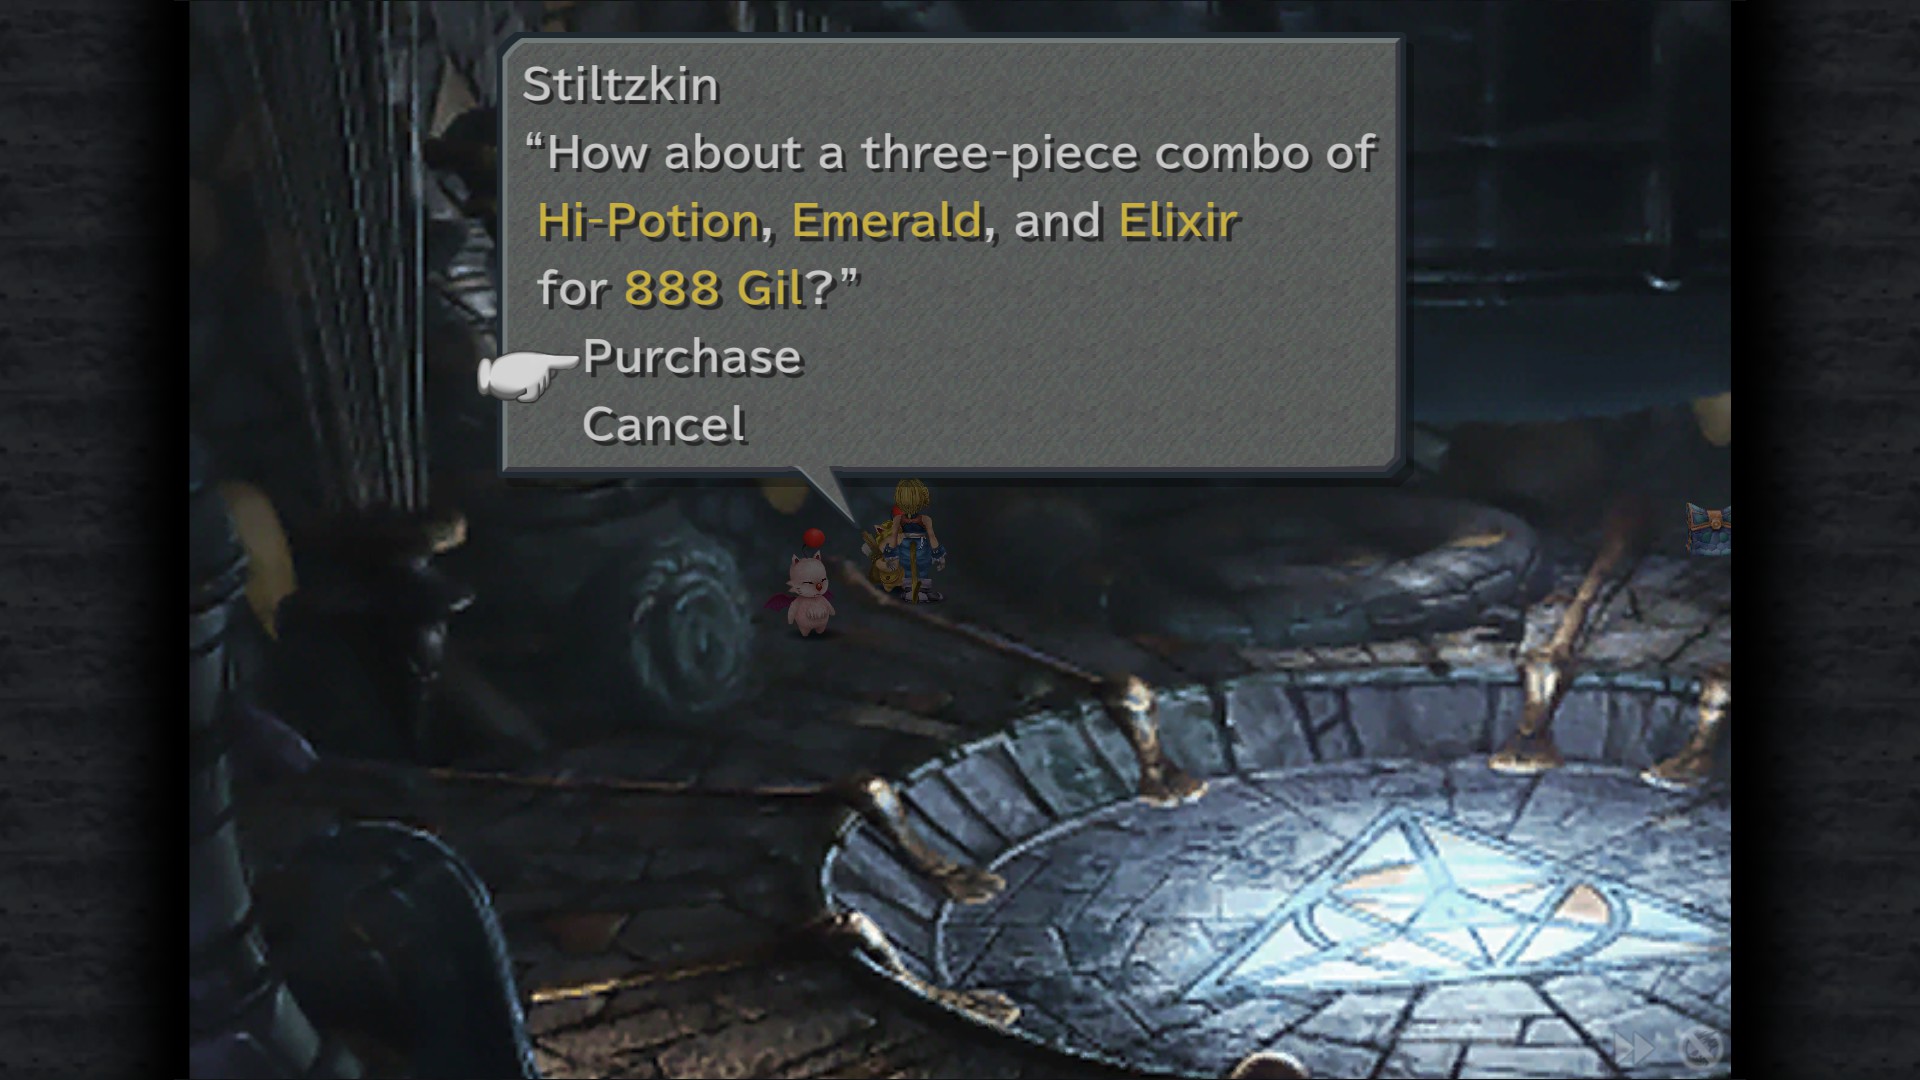
Stiltzkin: Pack available for 888 Gil (Hi-Potion, Emerald, Elixir) - Star Display
Mognet: Give Mooel a letter "Very Mad! Kupo!" - Star Display
Gaia Gear - Star Display
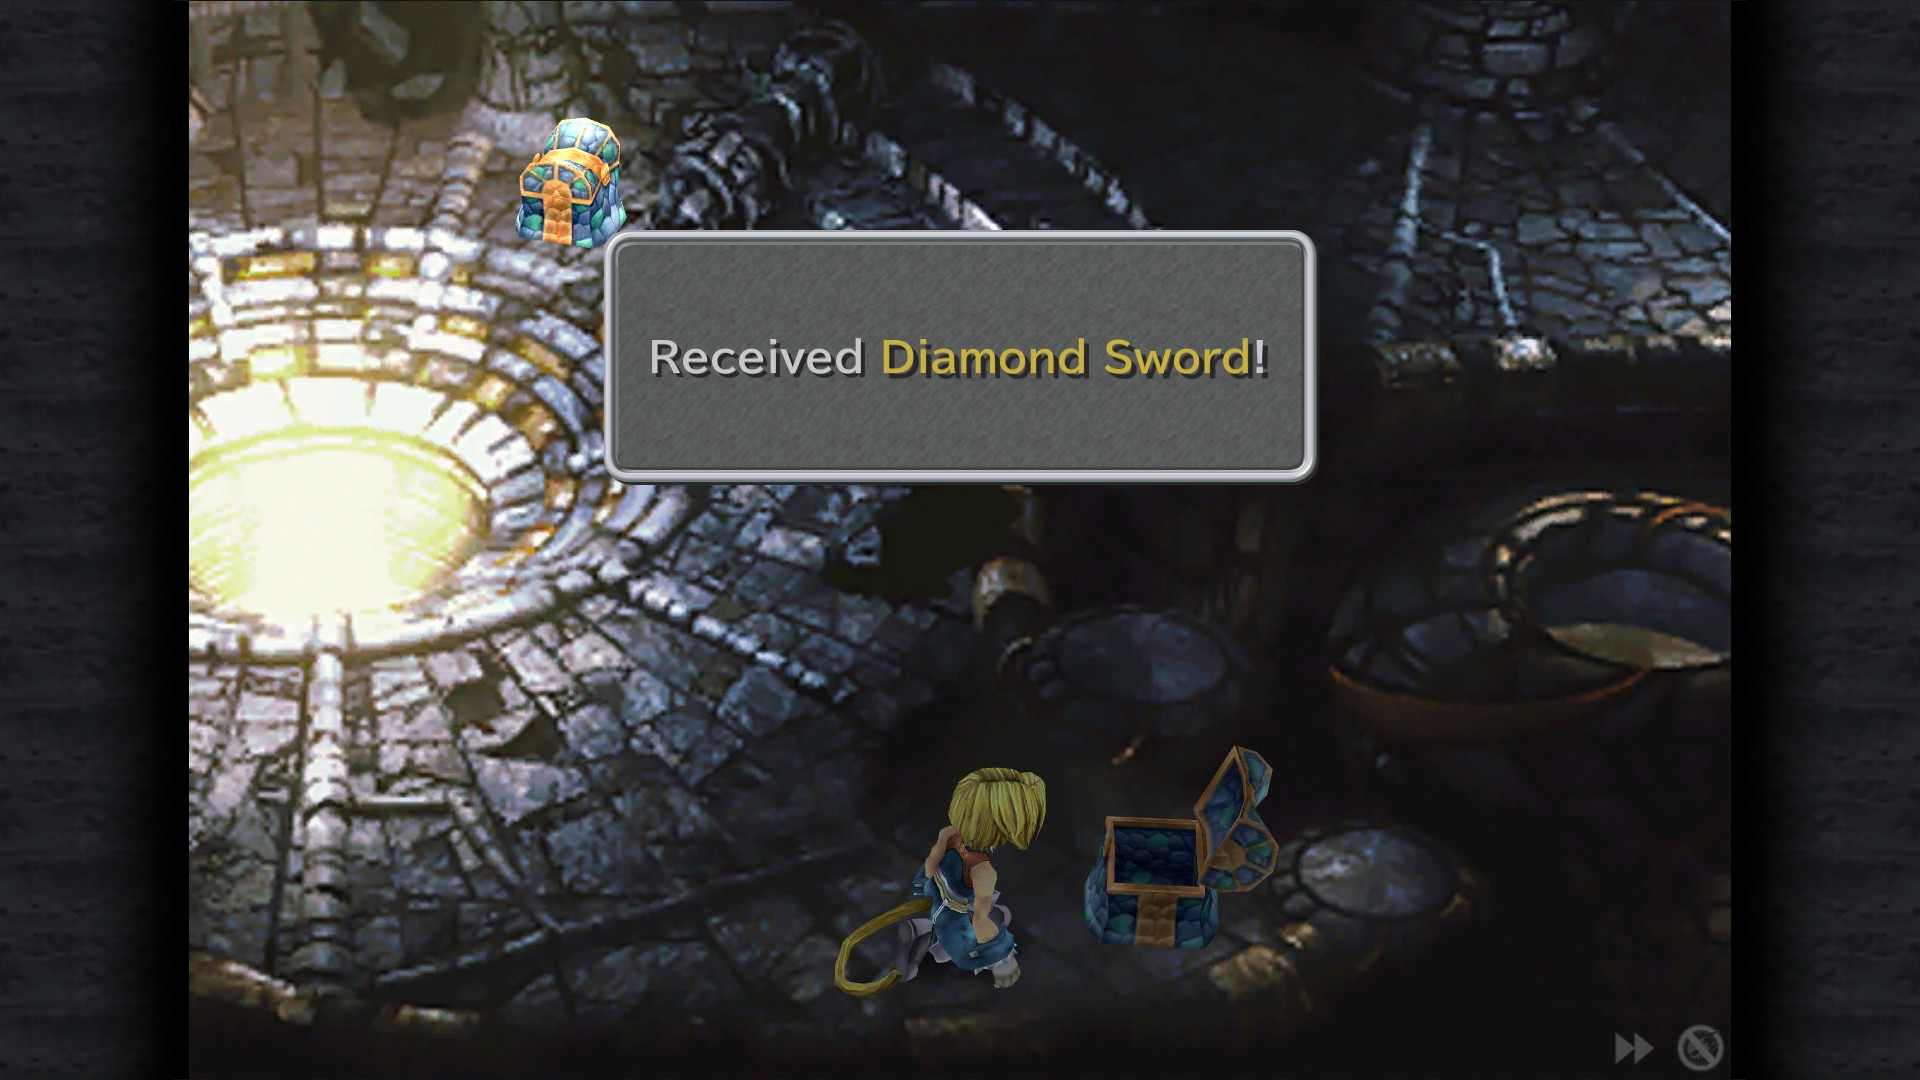
Diamond Sword - Planetarium
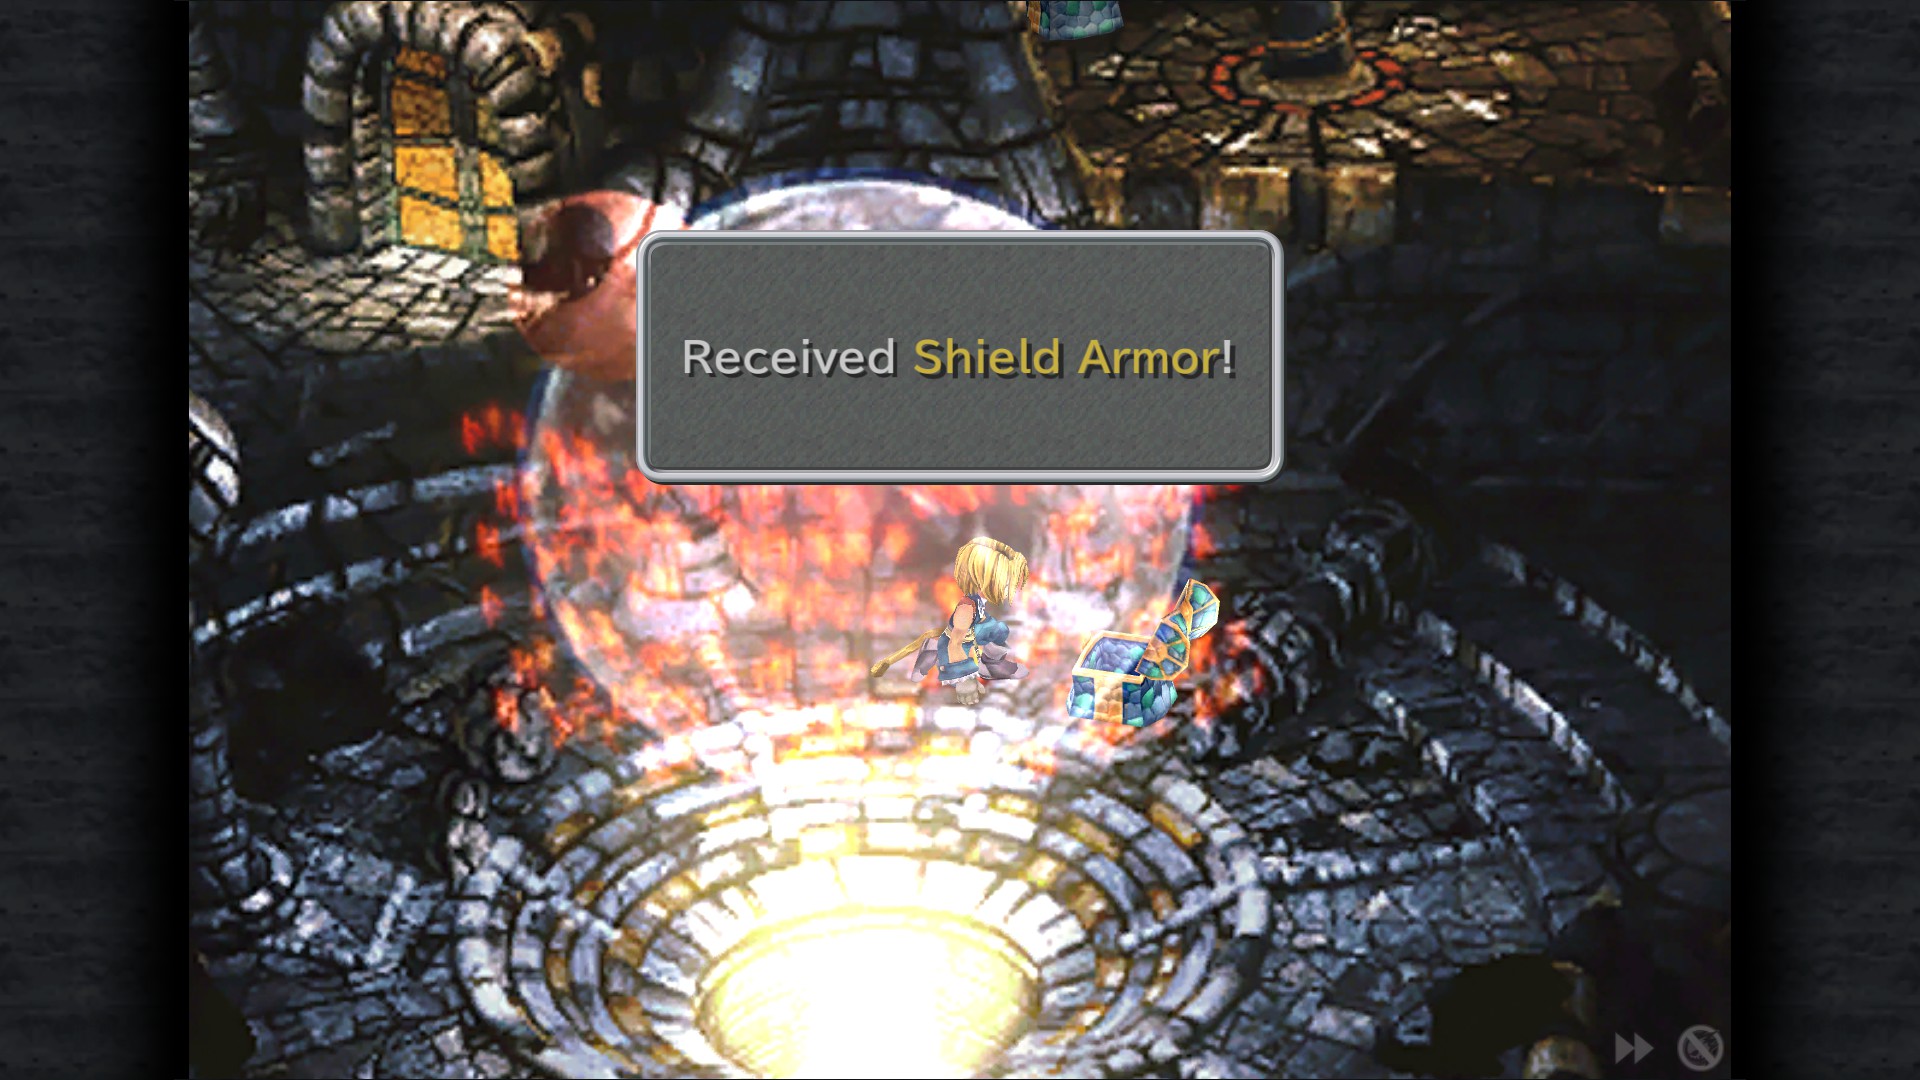
Shield Armor - Planetarium
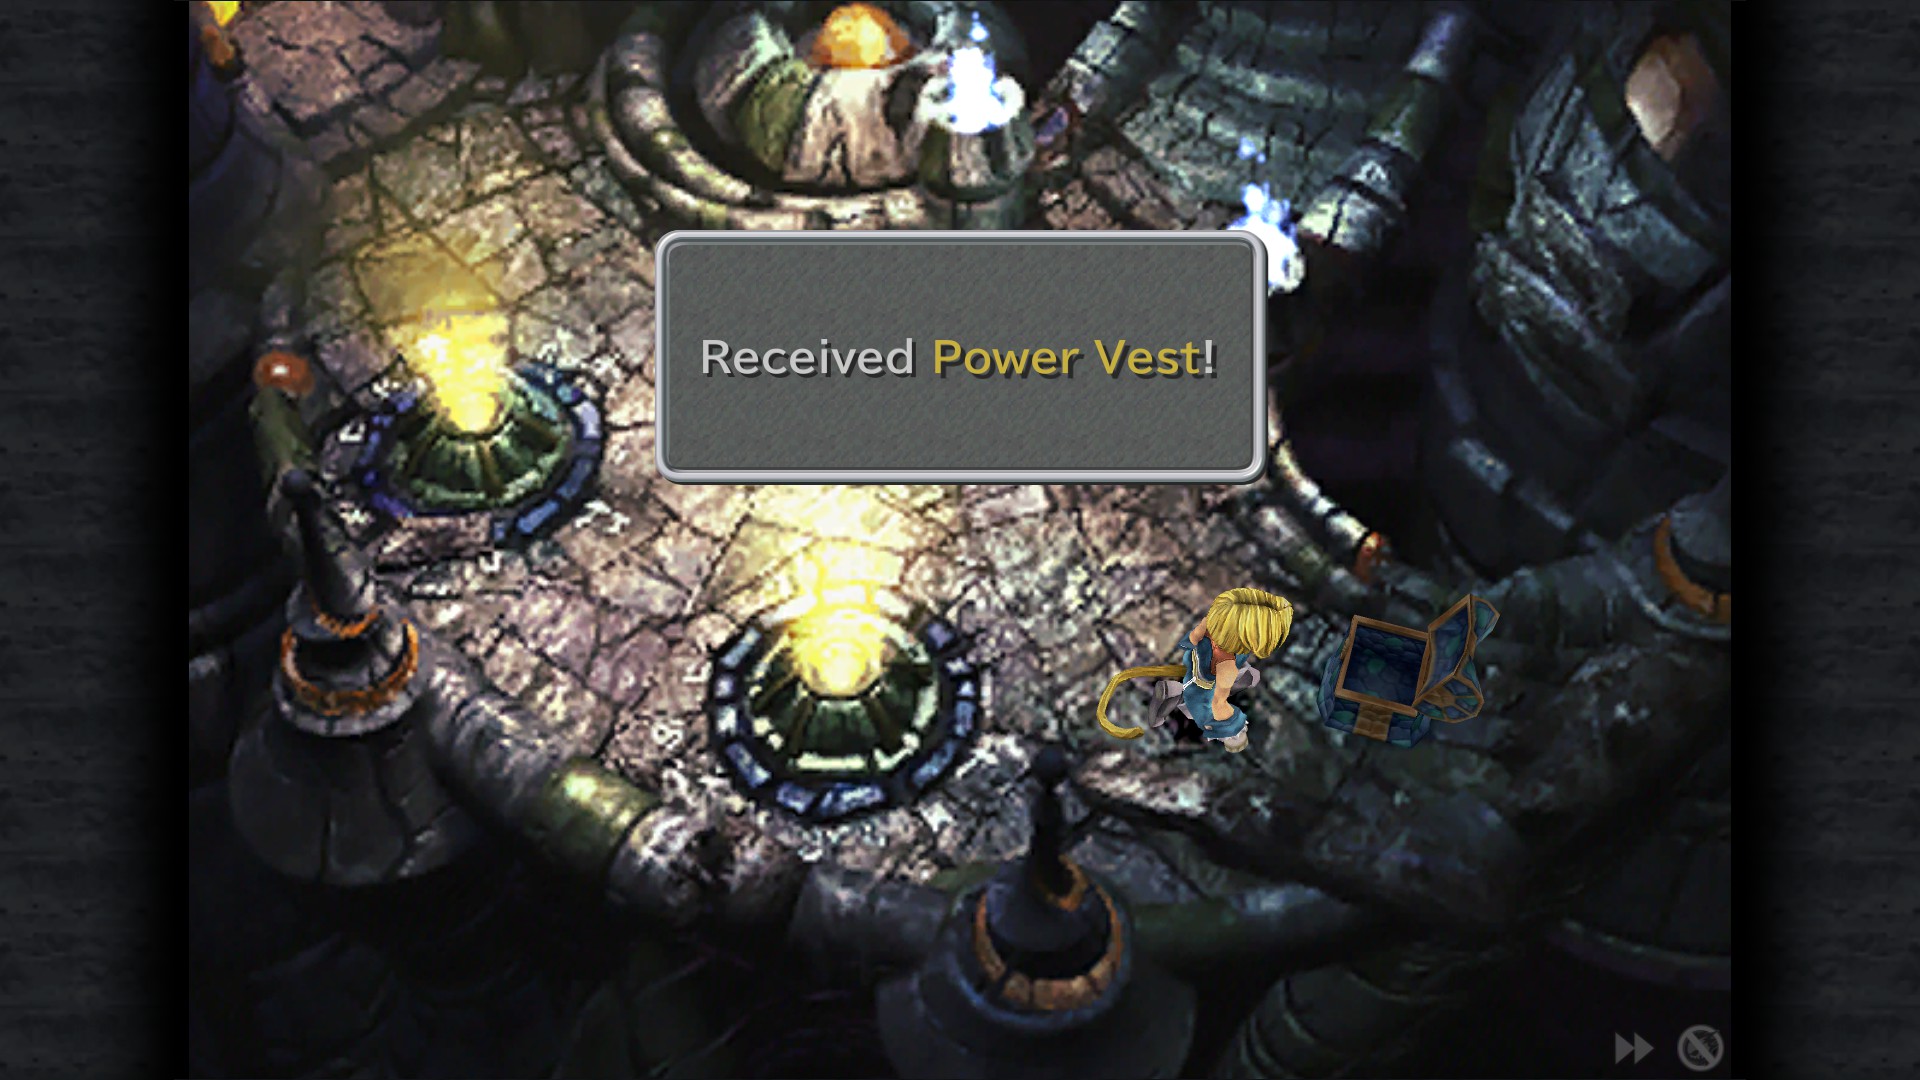
Power Vest - Ship Display
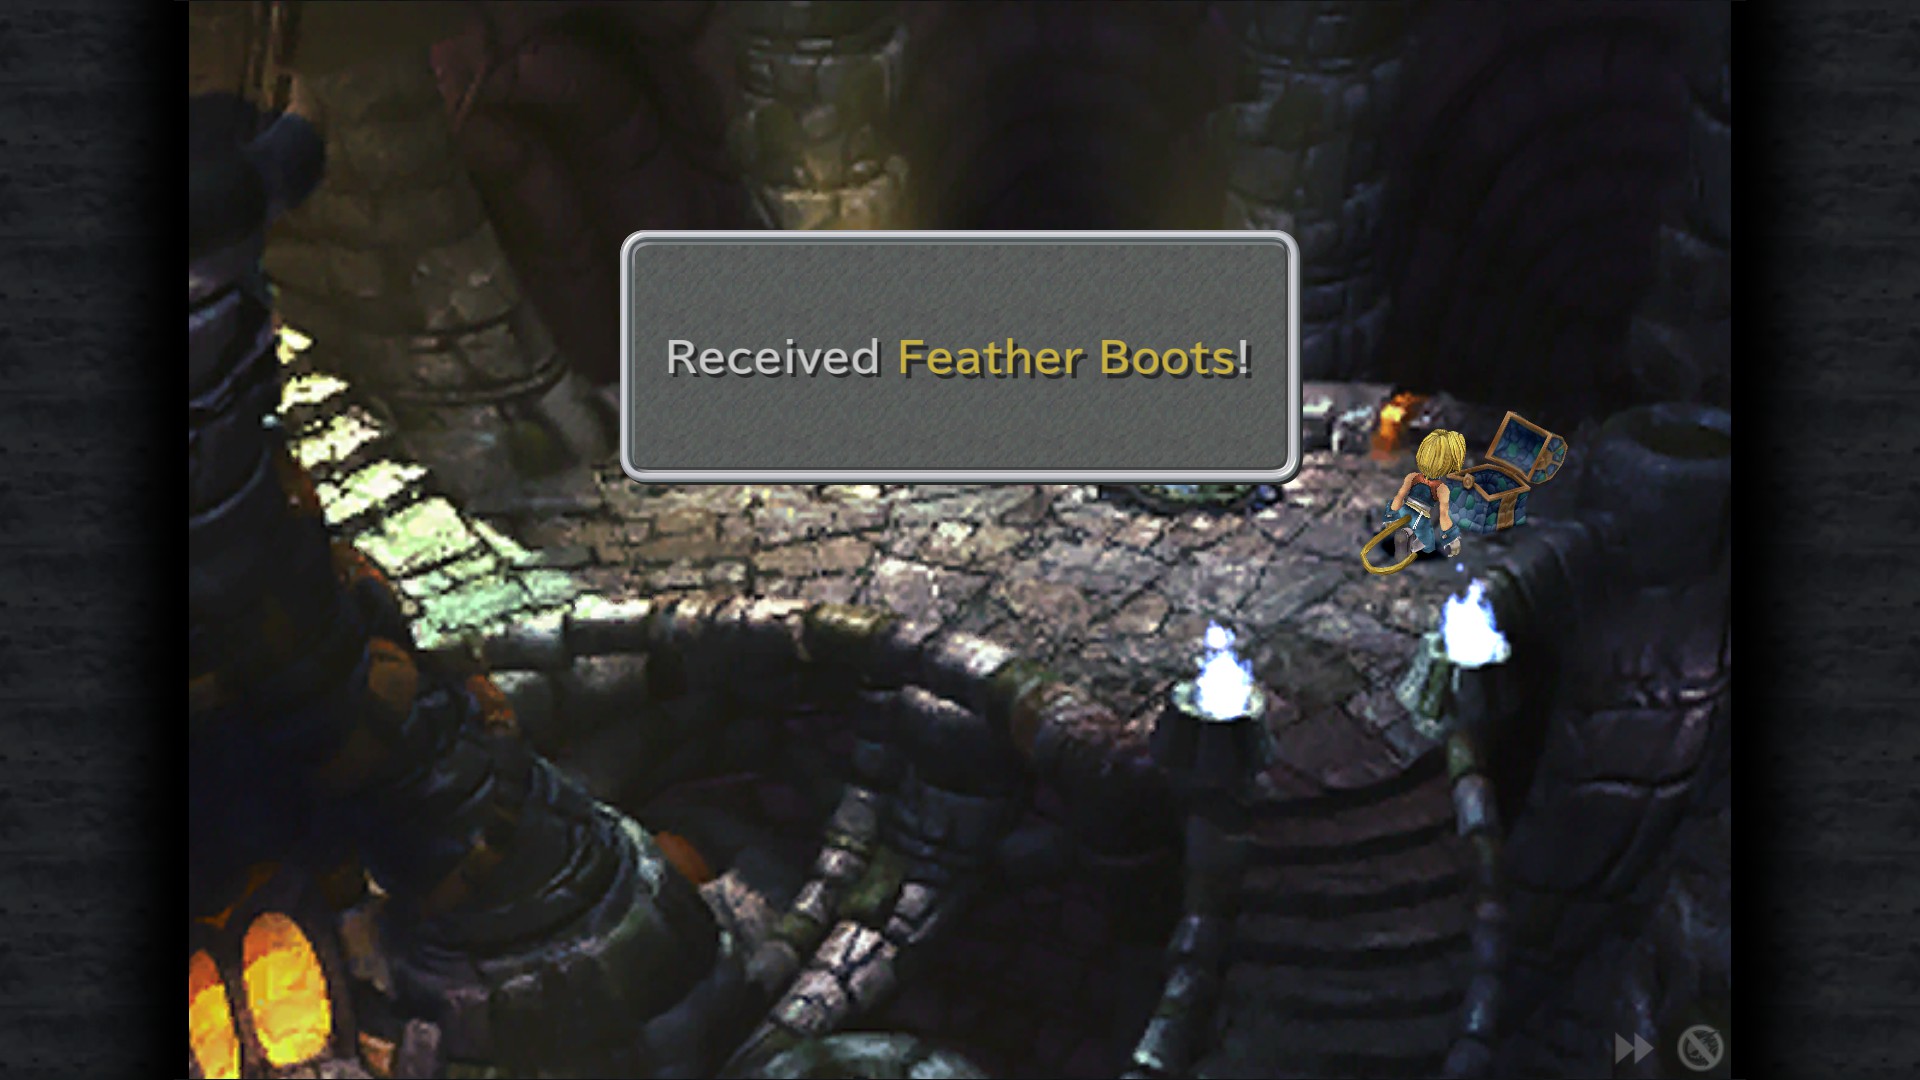
Feather Boots - Ship Display
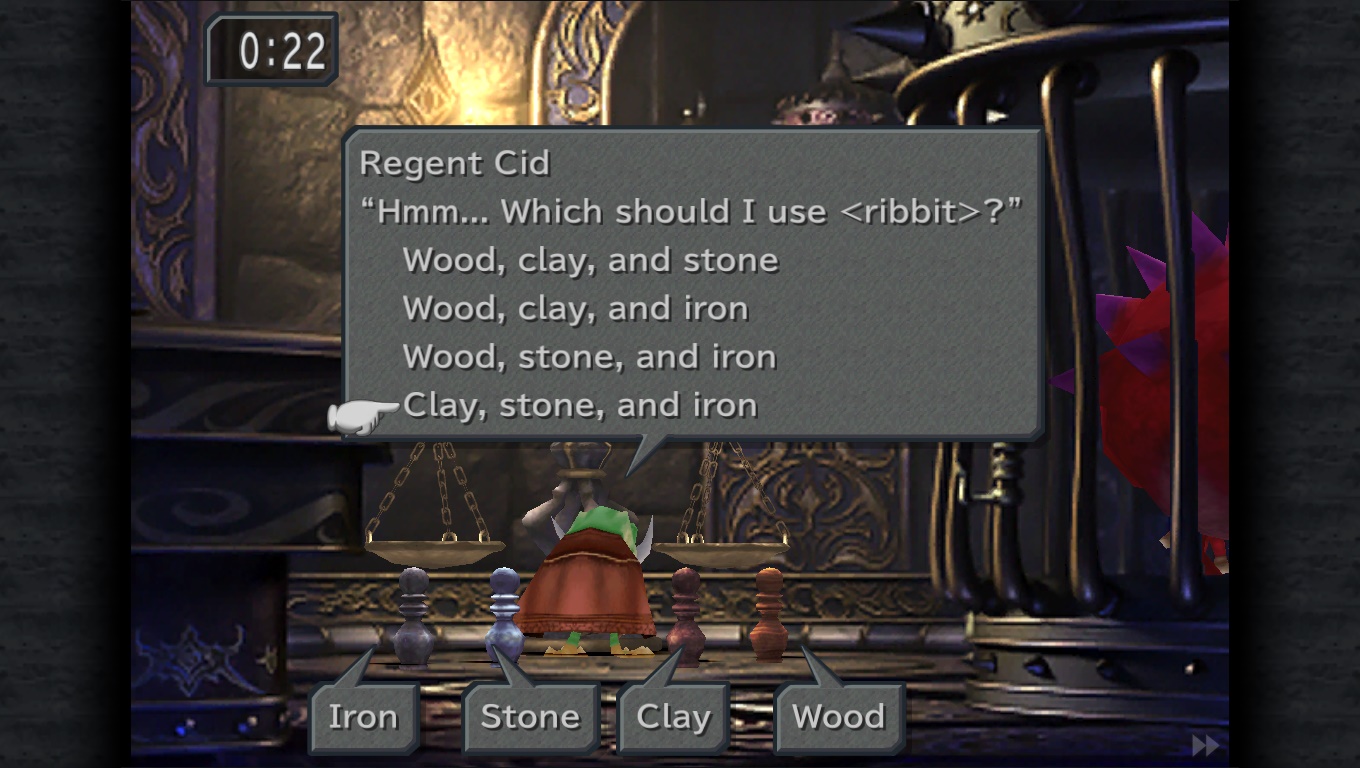
Desert Palace
Scale puzzle solution: Clay, Stone and Iron.
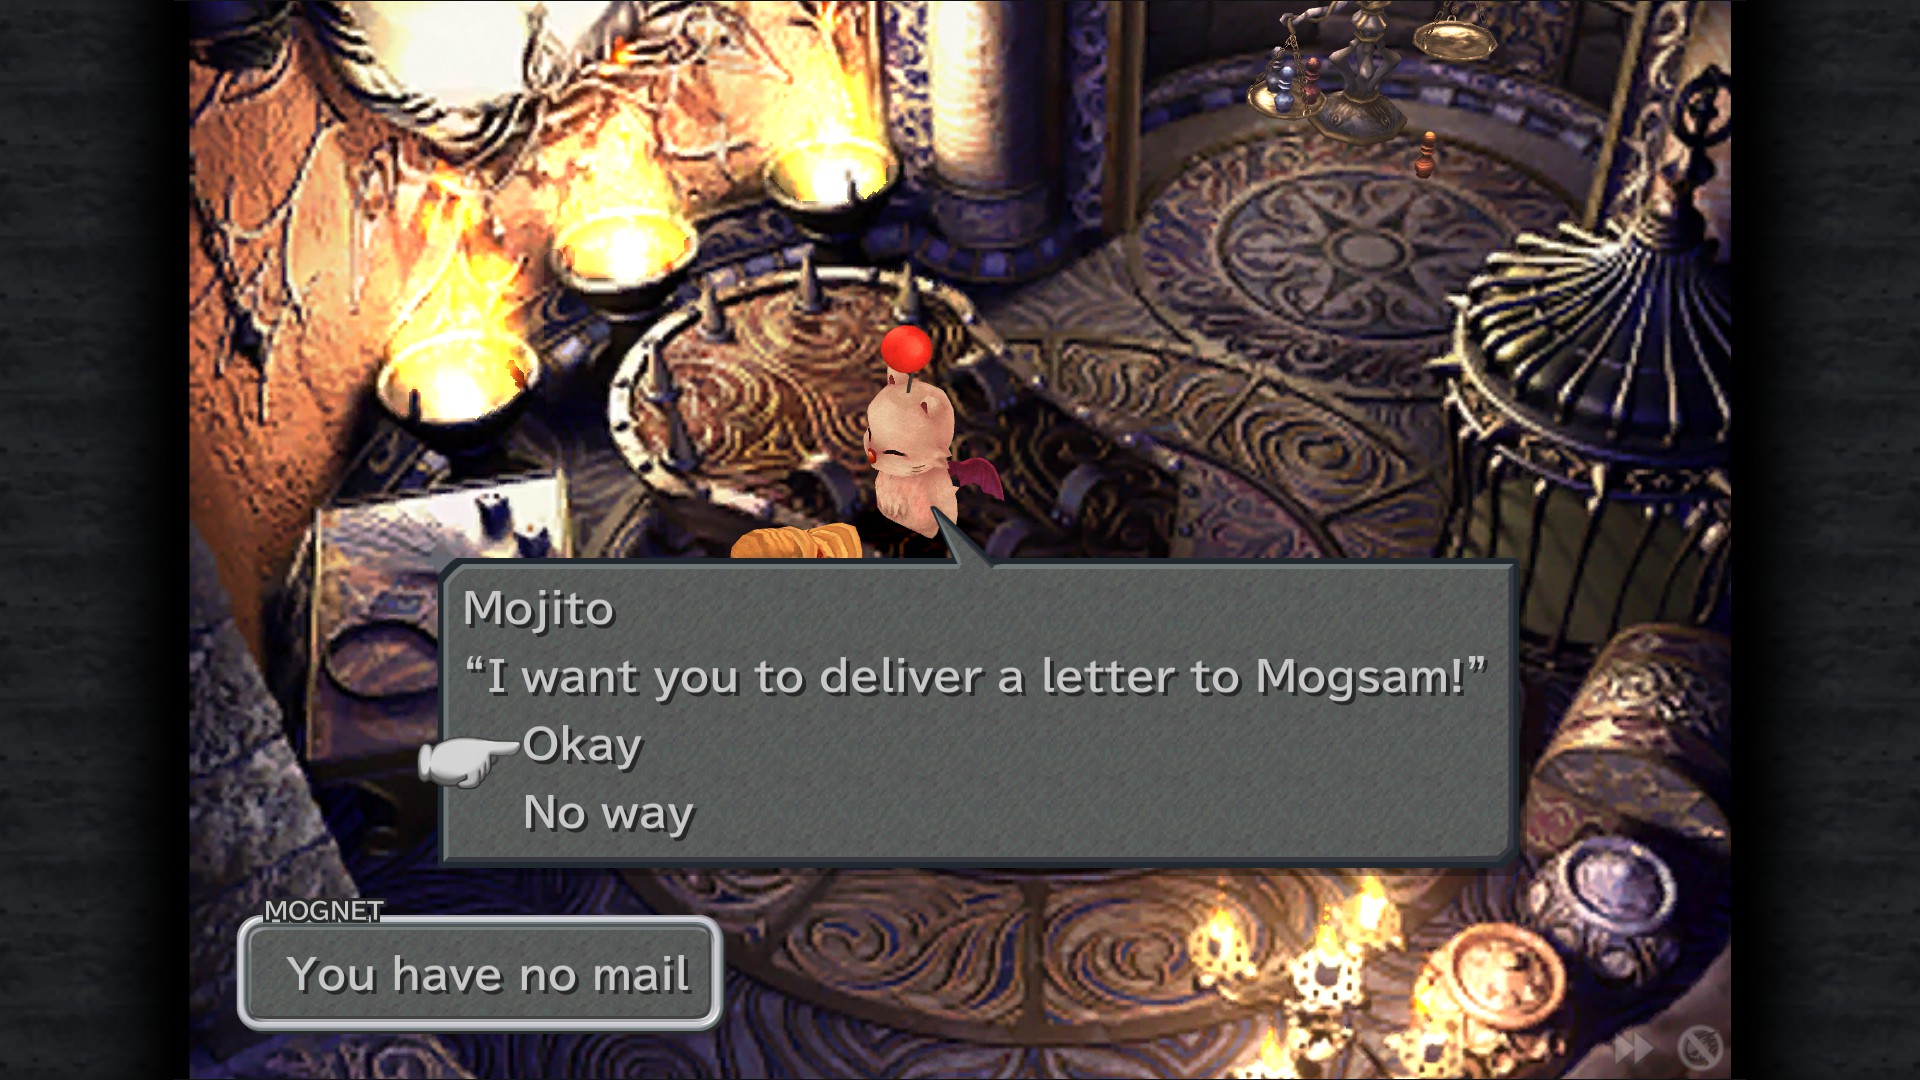
Mognet: Pickup the letter for delivery (Mojito to Mogsam) - Rack
Sidenote: The Mogshop here is one of the last chances to get the Fairy Flute, Mythril Claws, Trident and Green Beret, as they become unobtainable later in the game.
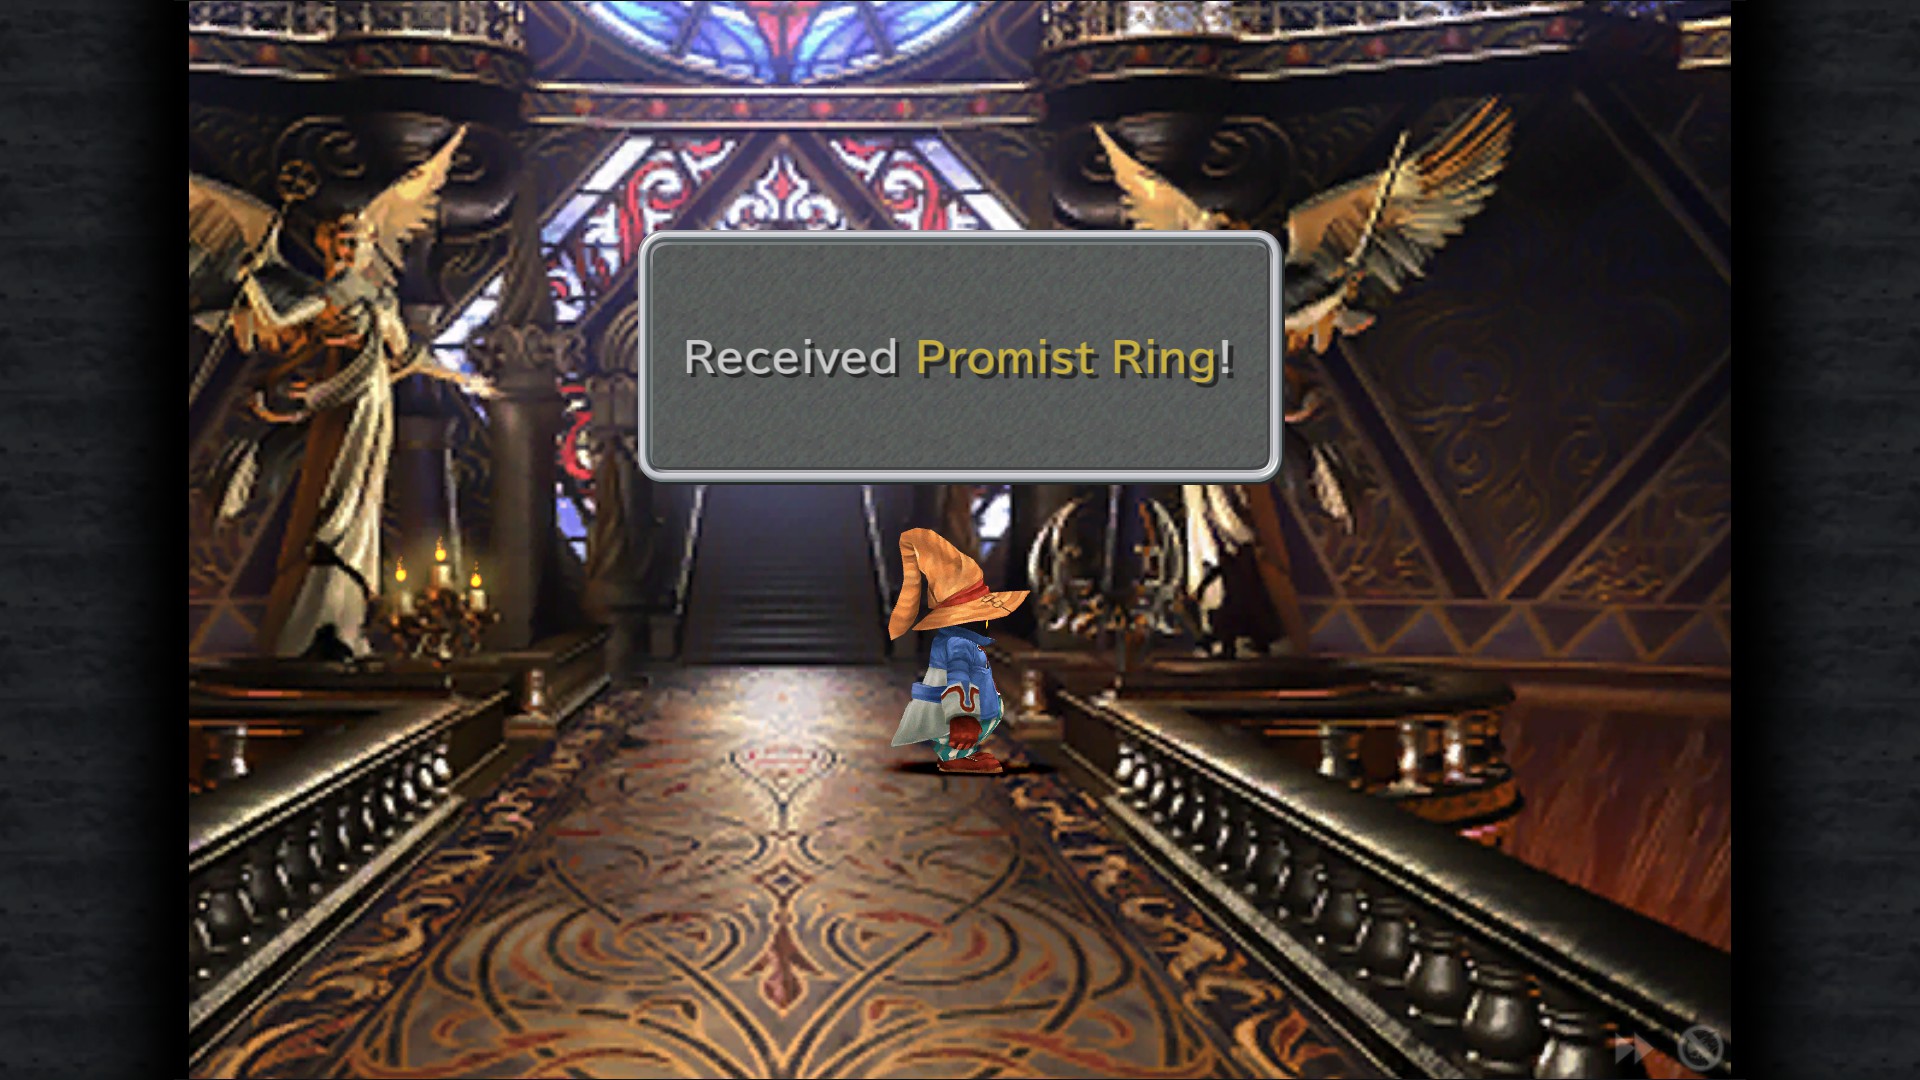
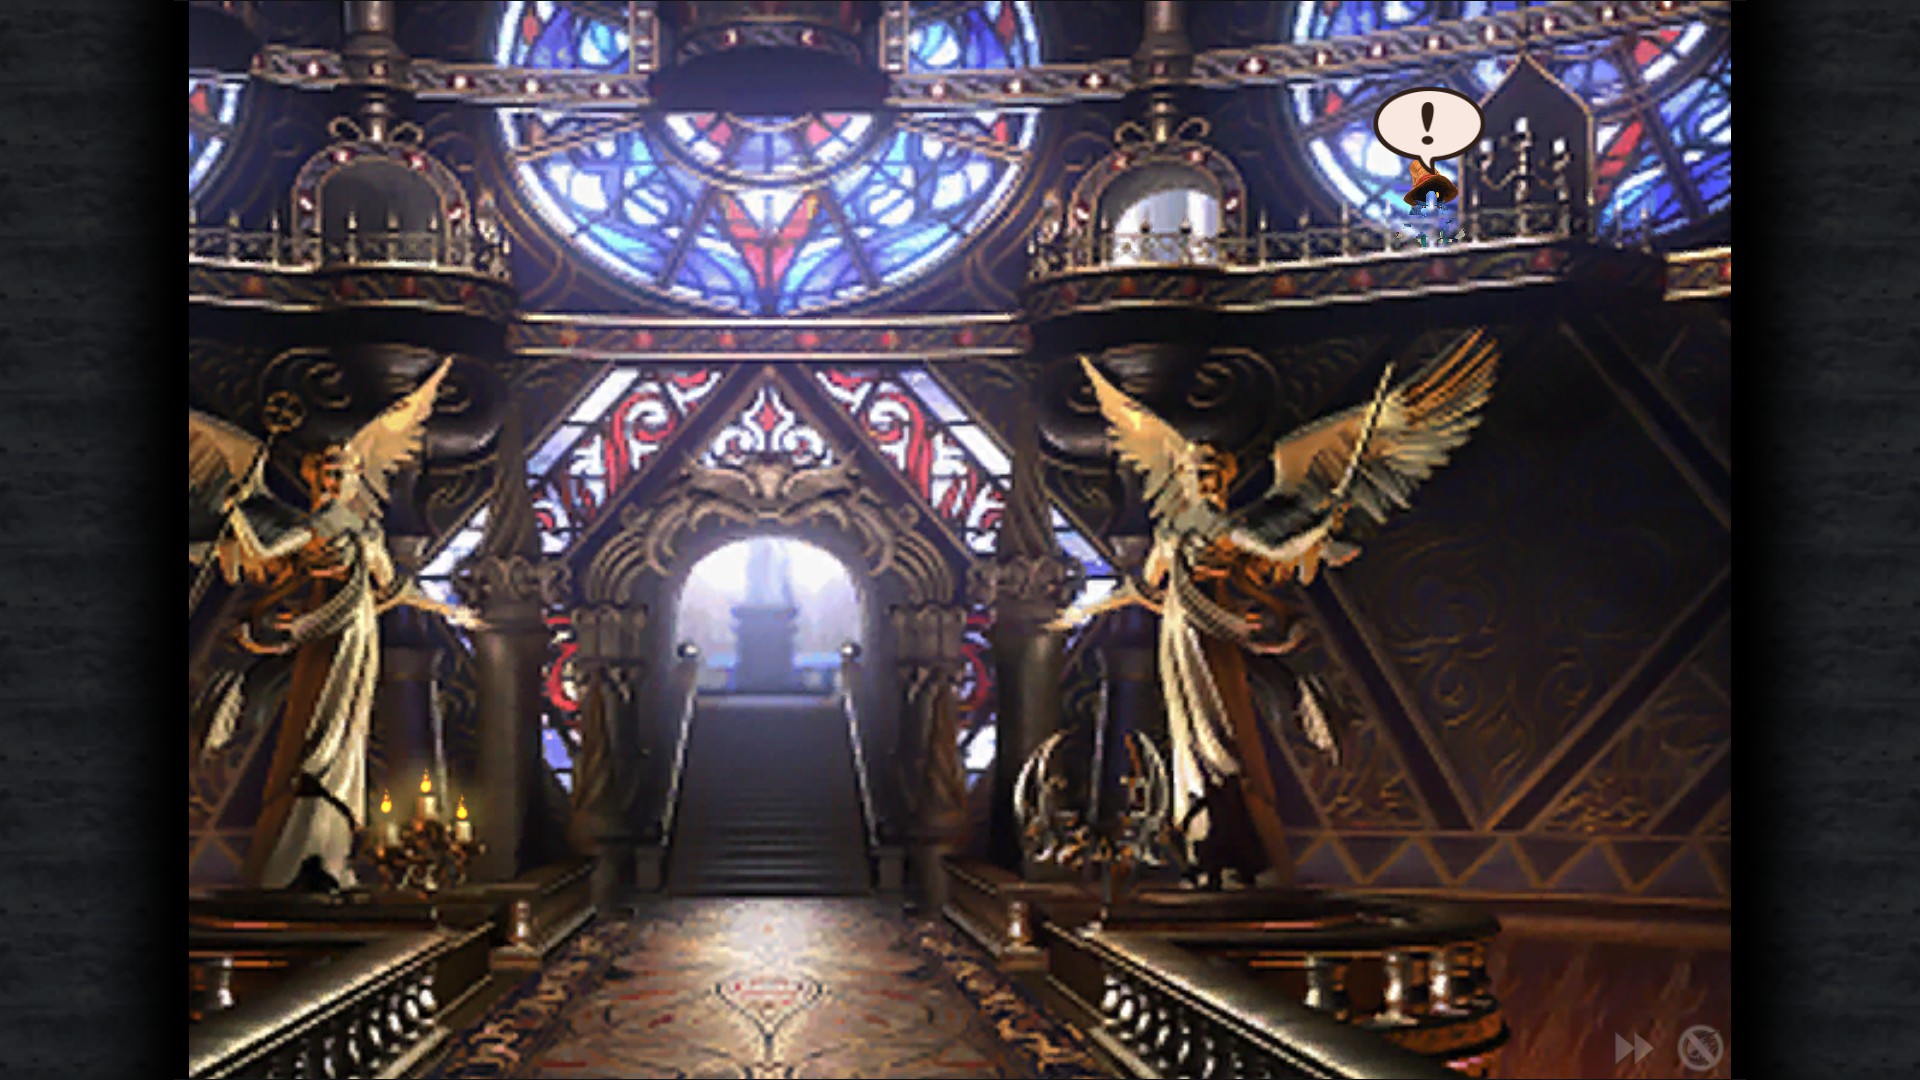
Promist Ring - Lobby (Light the candle by your left, then inspect the Bloodstone by the right)
Fairy Earrings - Light Chamber (Light the candle on Upper-right room in Lobby)
Anklet - Fire Chamber (Bloodstone after completing the puzzle)
Shield Armor - Hallway (Light the candle here, then inspect the bloodstone)
N-Kai Armlet - Stairwell (Light the top candle on library)
Mognet: Give Mogsam a letter "Stiltzkin, On the Move" - Library
Black Hood - Shadow Chamber (Bloodstone by the right after lightning both candles)
Venetia Shield - Shadow Chamber (Bloodstone by the left after lightning all 3 candles)
Namingway Card - Sanctum
Sidenote: Do not discard your Namingway Card as it cannot be obtained anywhere else.
Esto Gaza - Hilda Garde 3


Esto Gaza
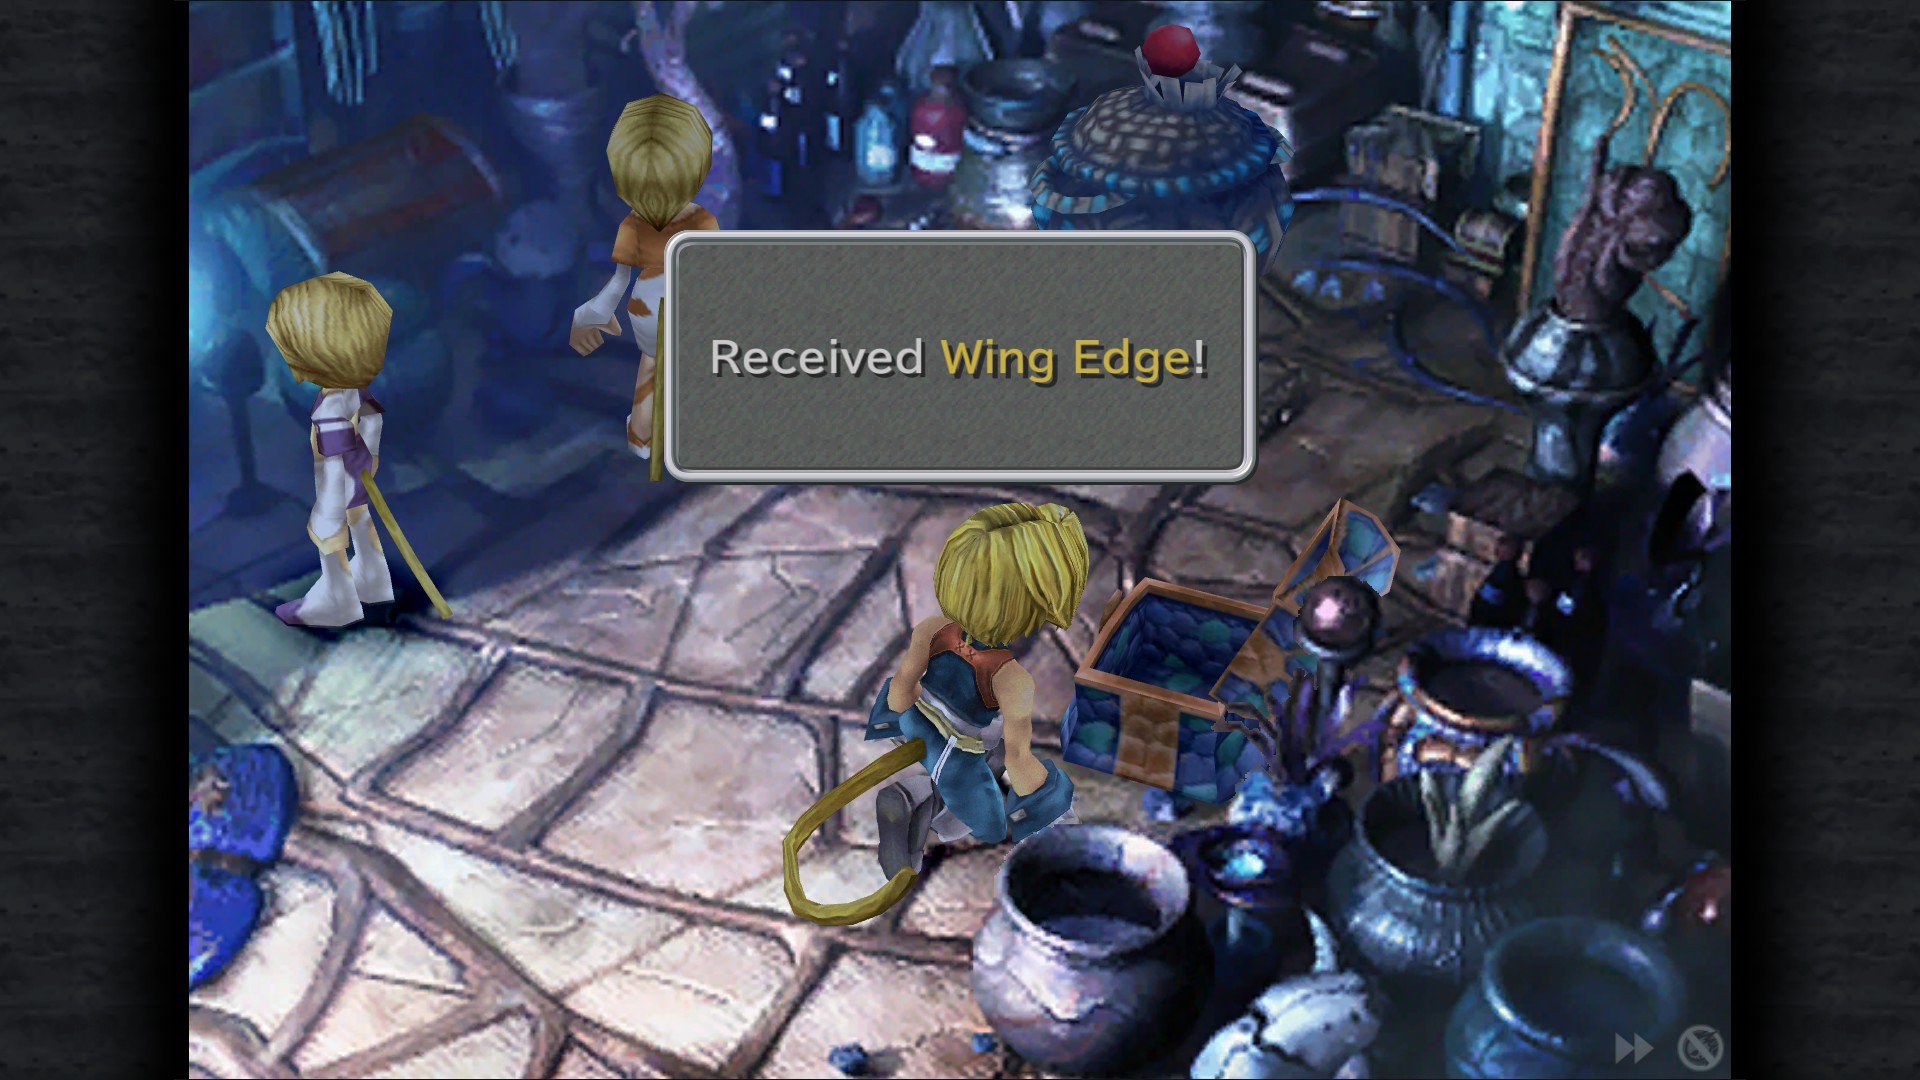
Wind Edge - Shop
Sidenote: The weapon store here is the last chance to obtain the Diamond Sword, Flame Sabre, Heavy Lance, Black Hood, Silver Fork, Scissor Fangs, Diamond Gloves, Gold Armour and Judo Uniform, as these will not be available anywhere later in the game.
Diamond Sword is the only equipment that teaches Steiner Power Break.
Flame Sabfe is the only equipment that teaches Steiner Magic Break.
Heavy Lance is the only equipment that teaches Freya Six Dragons.
Black Hood is the only equipment that teaches Vivi Death.
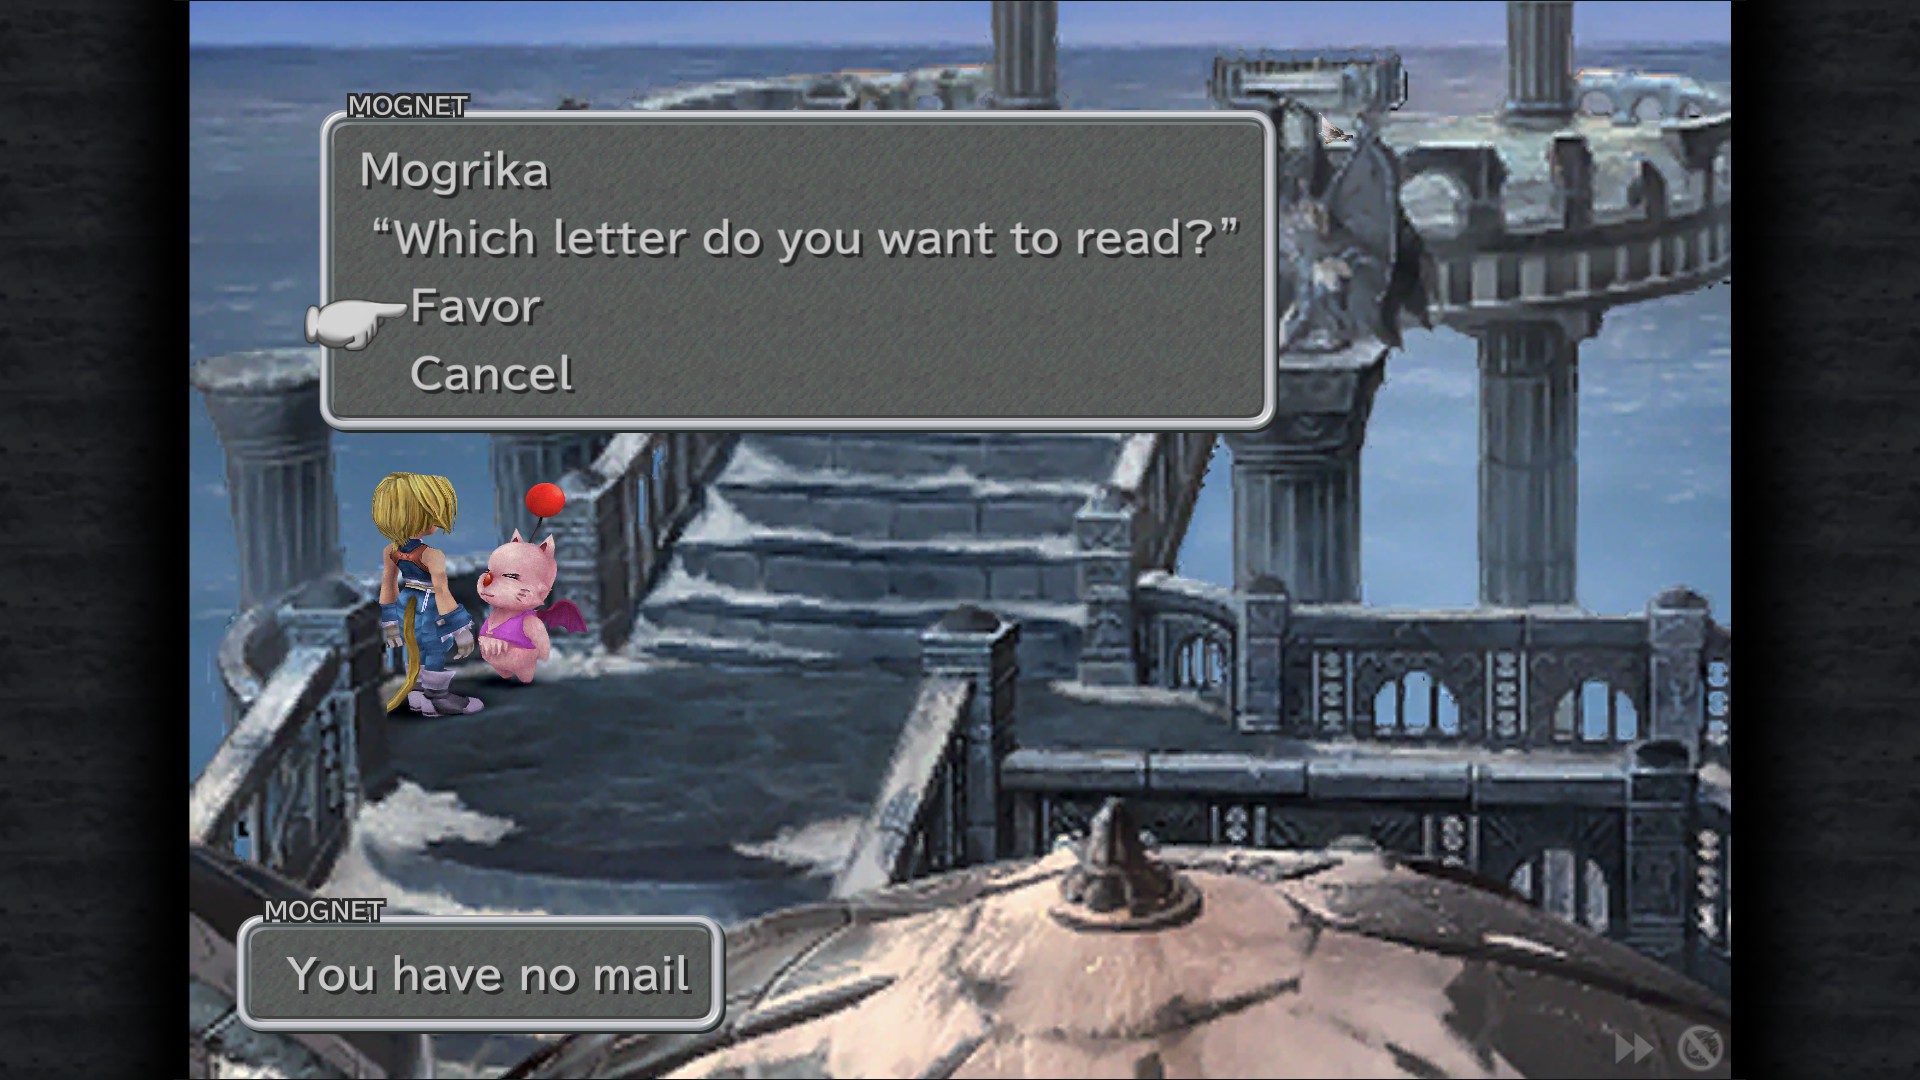
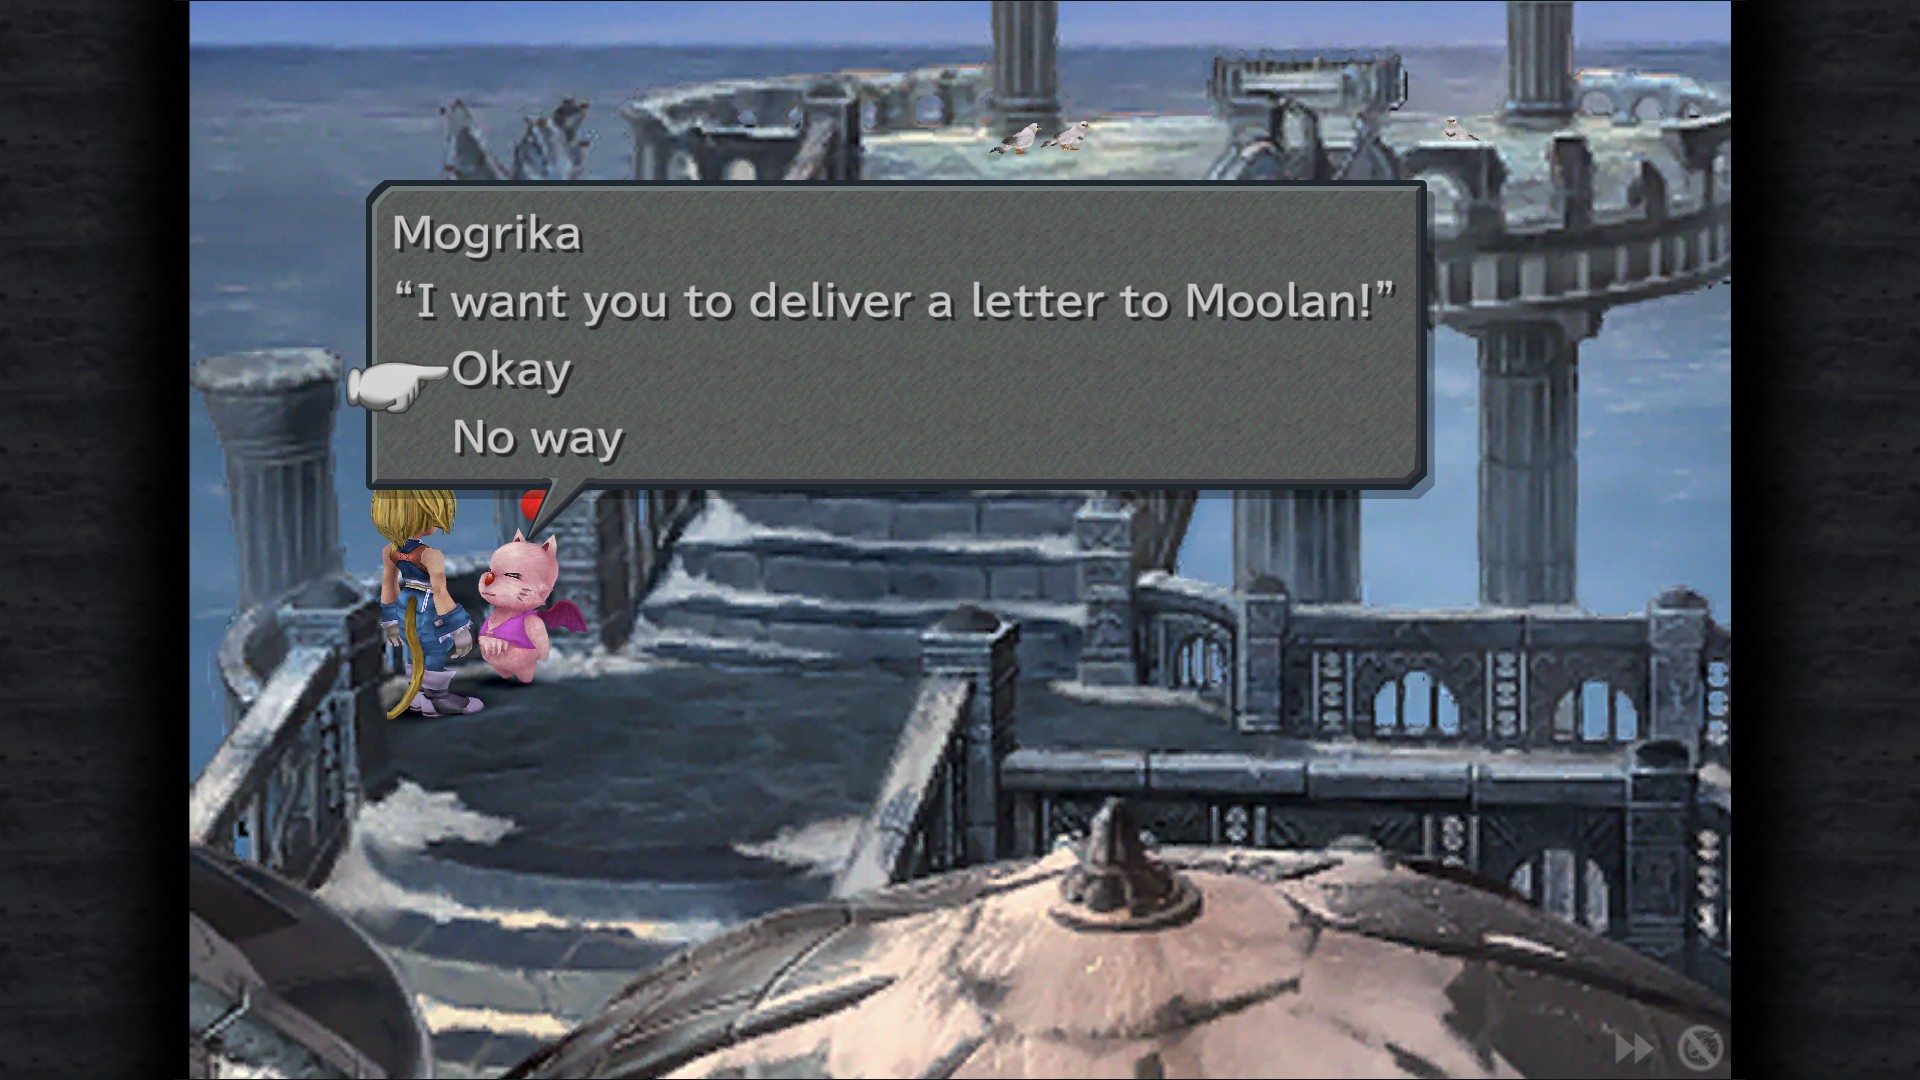
Mognet: "Favor" - Terrace
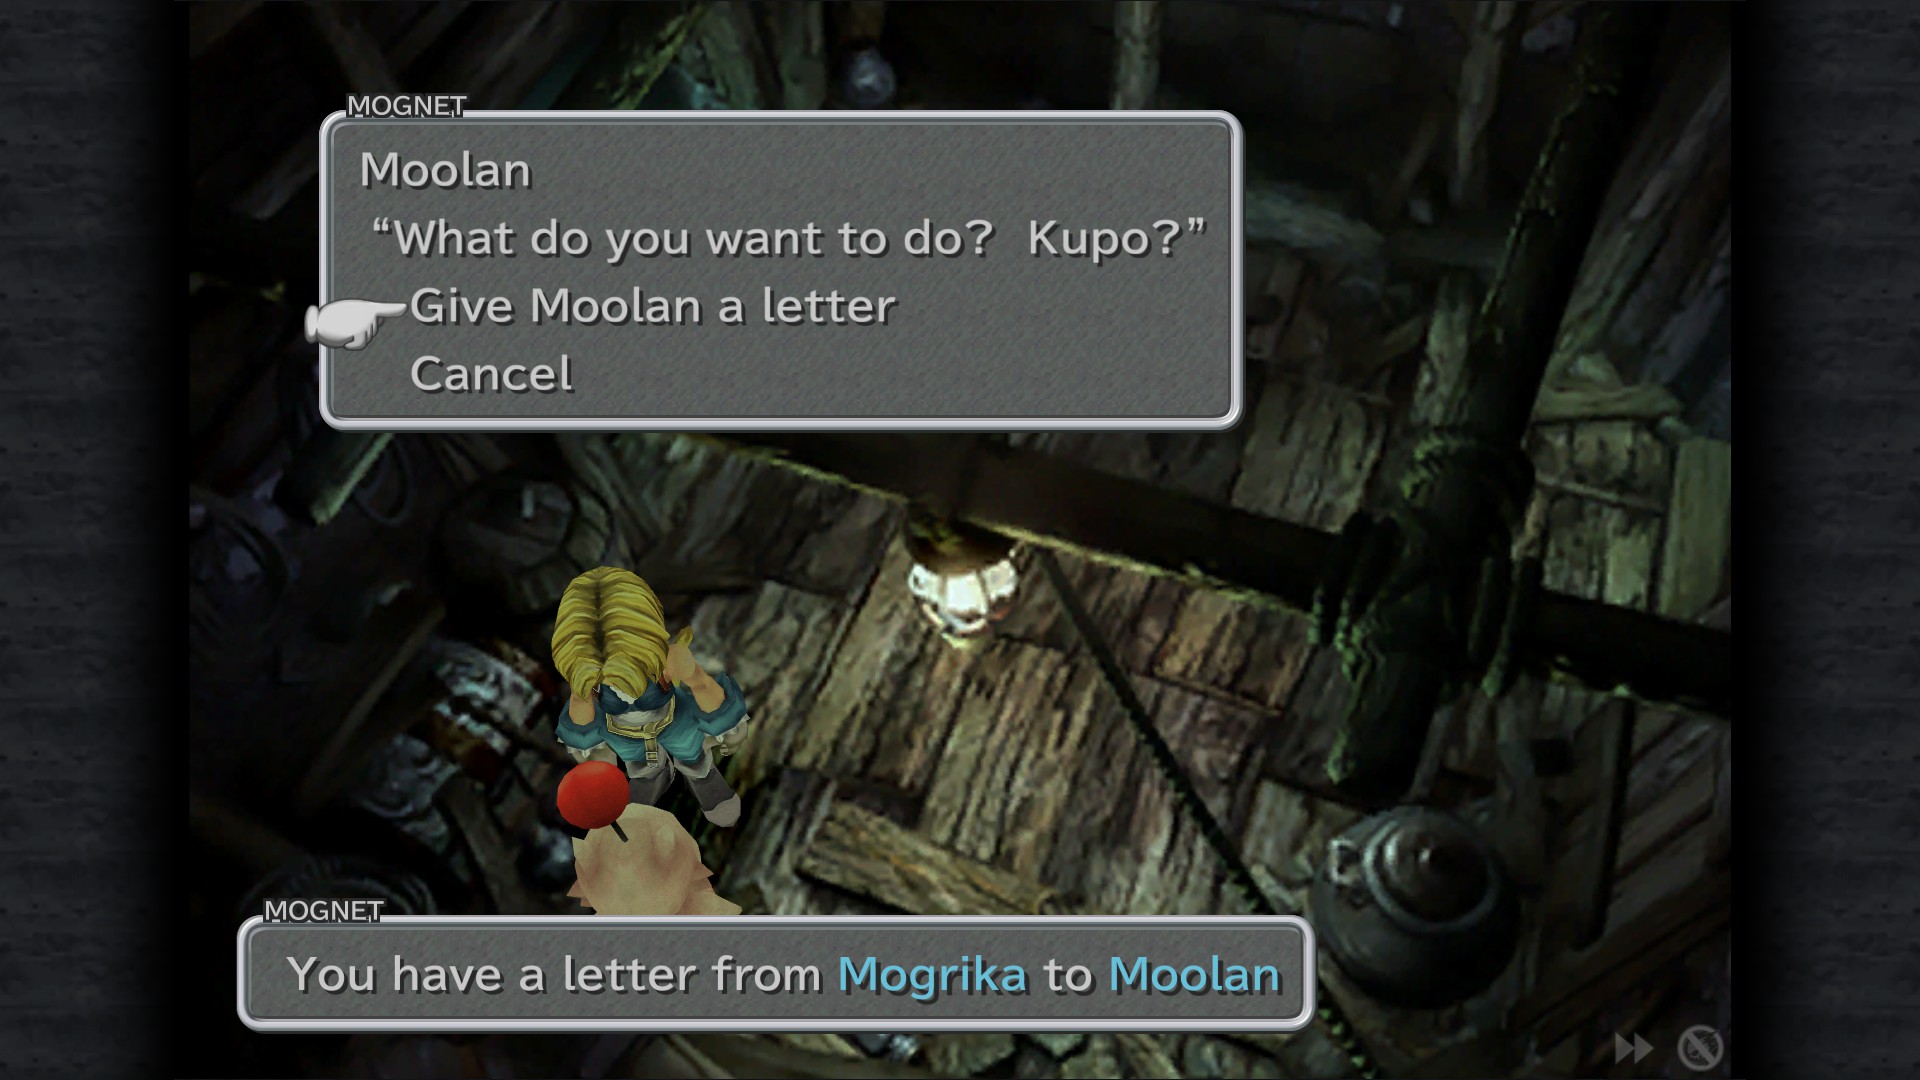
Mognet: Pickup the letter for delivery (Mogrika to Moolan) - Terrace
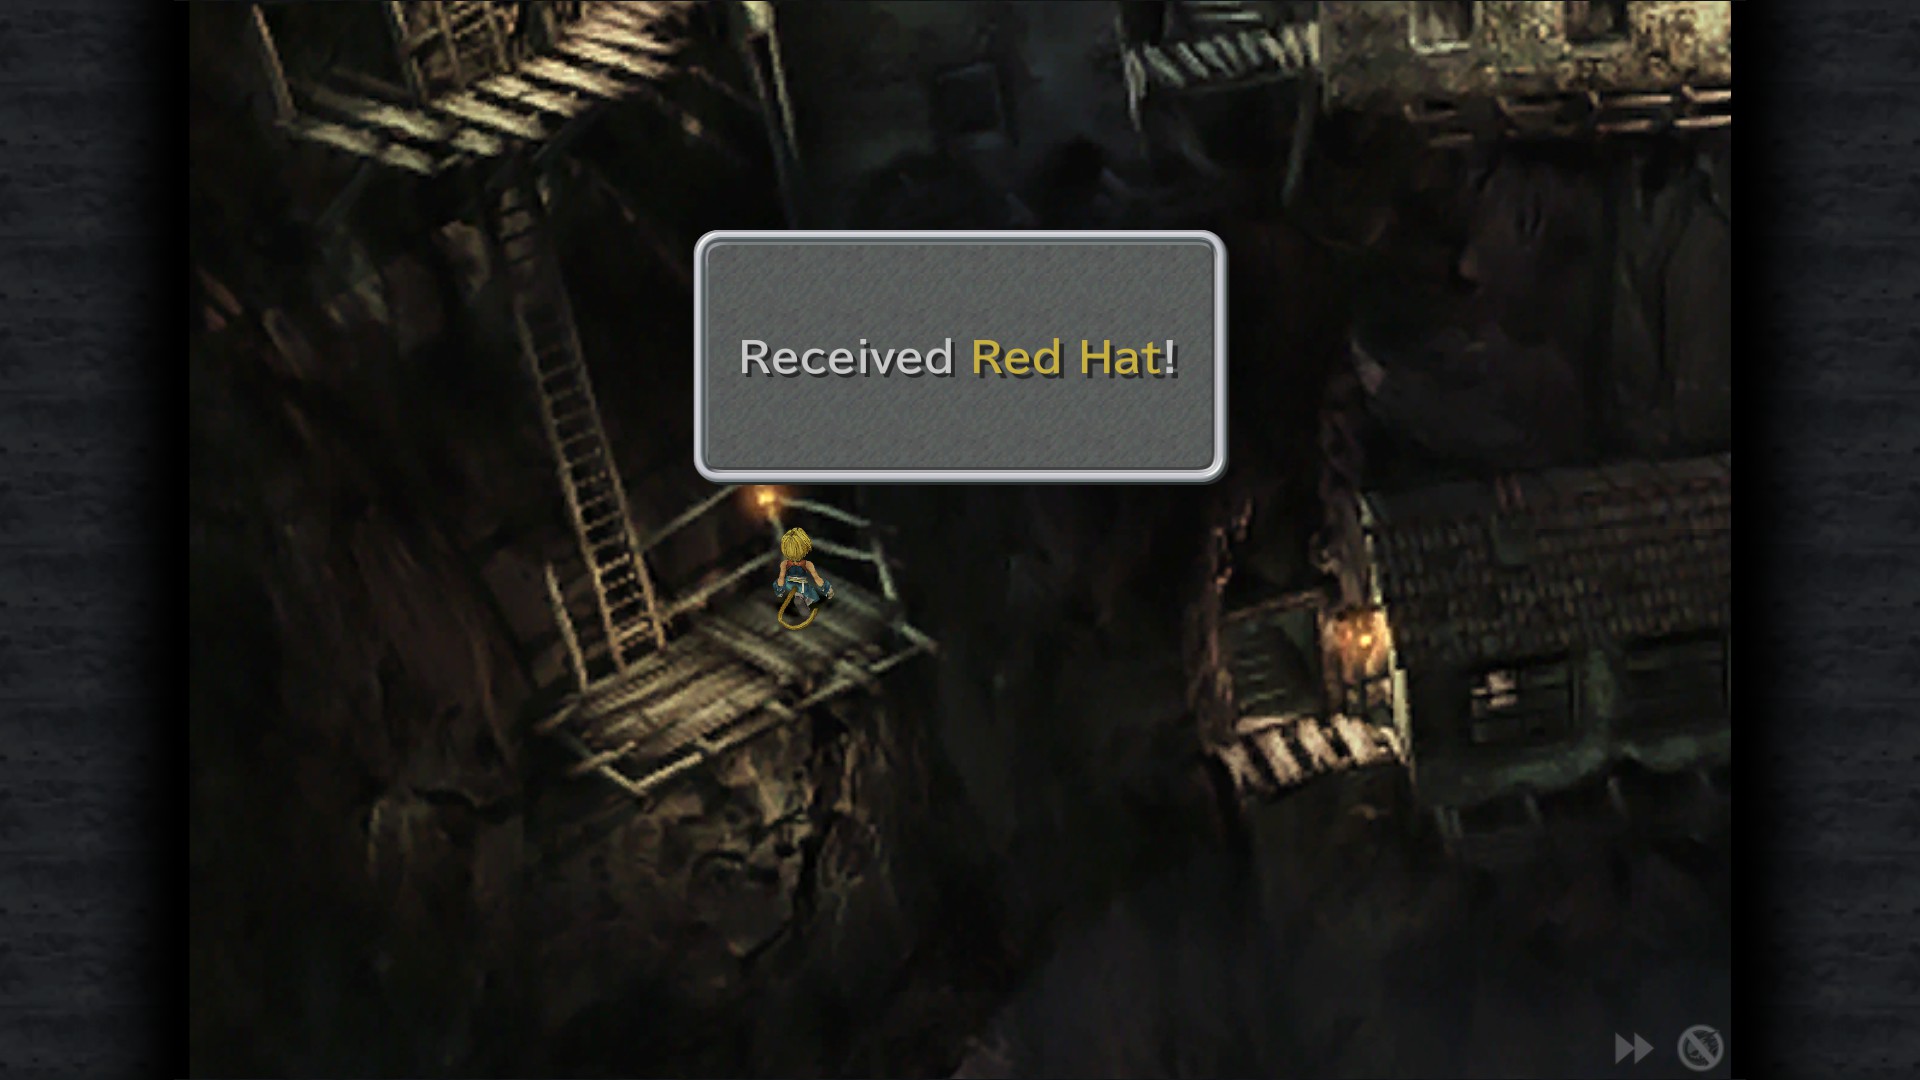
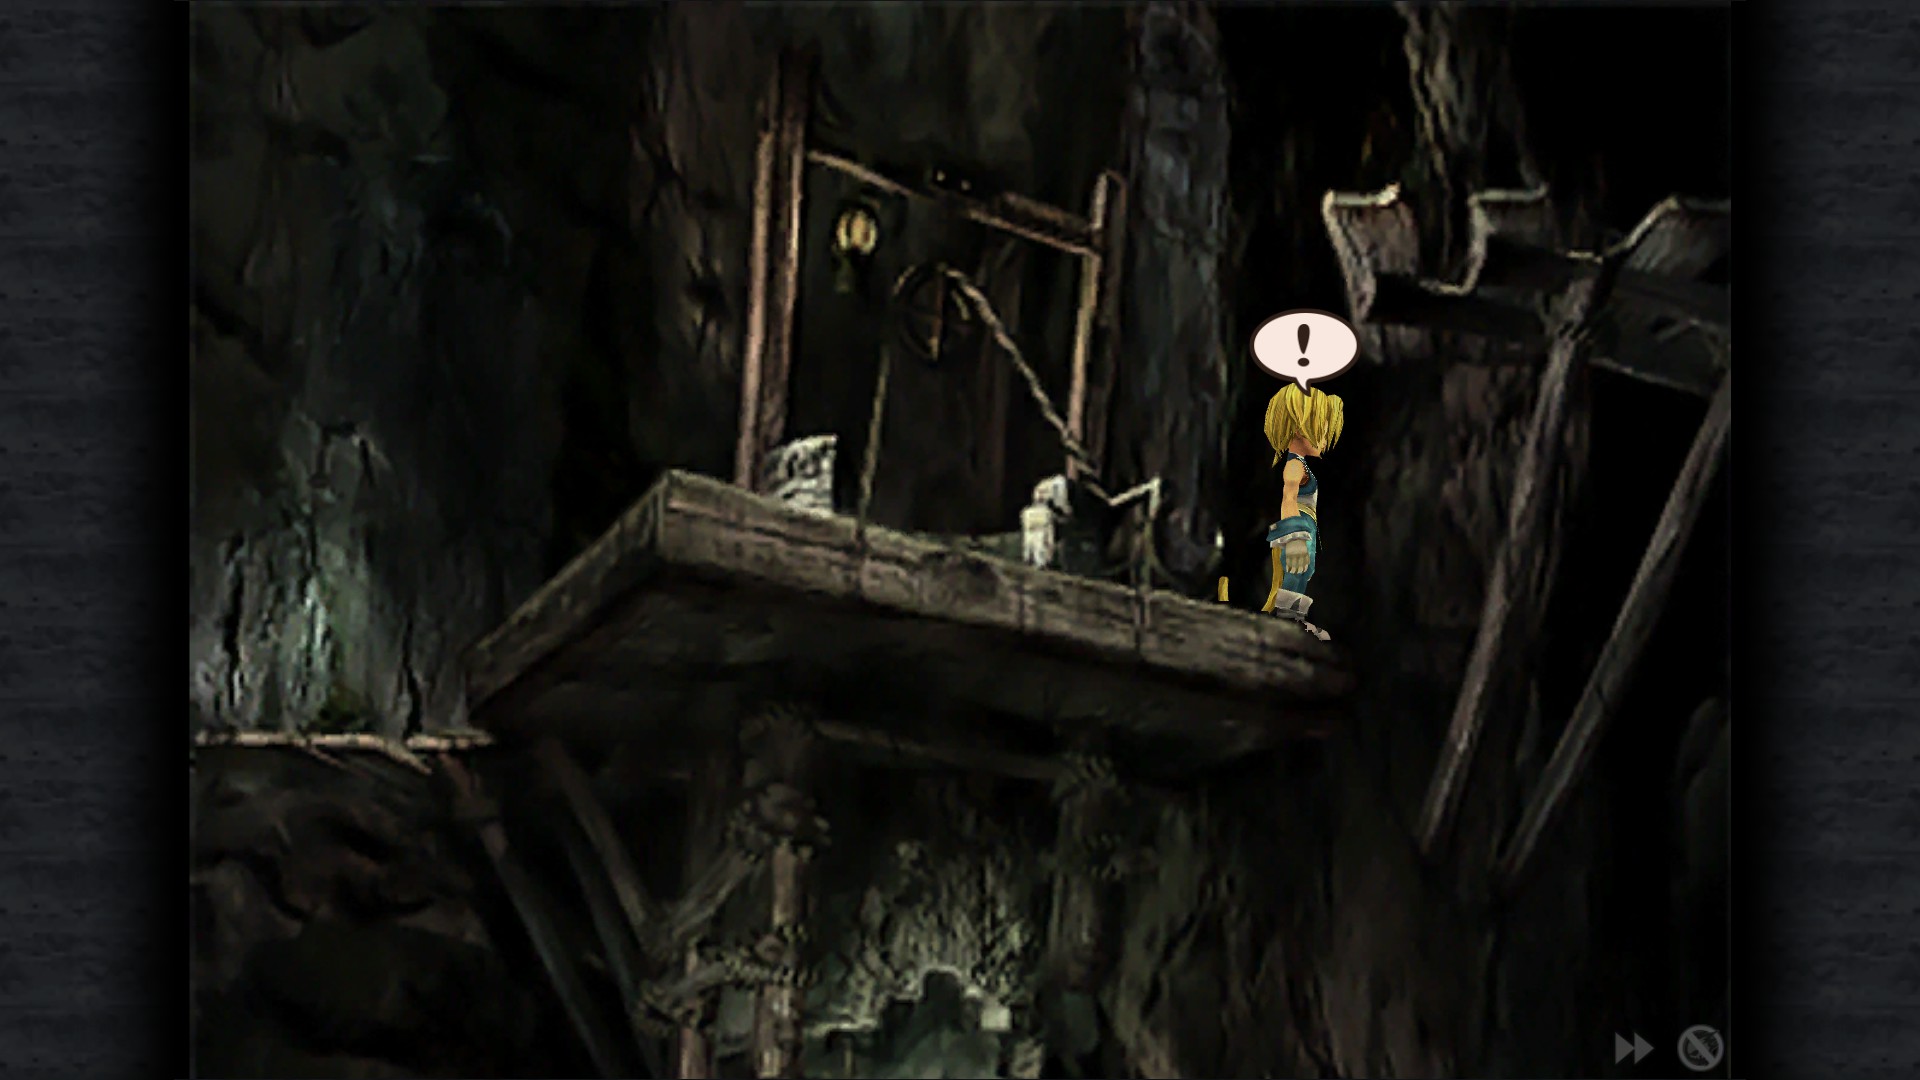
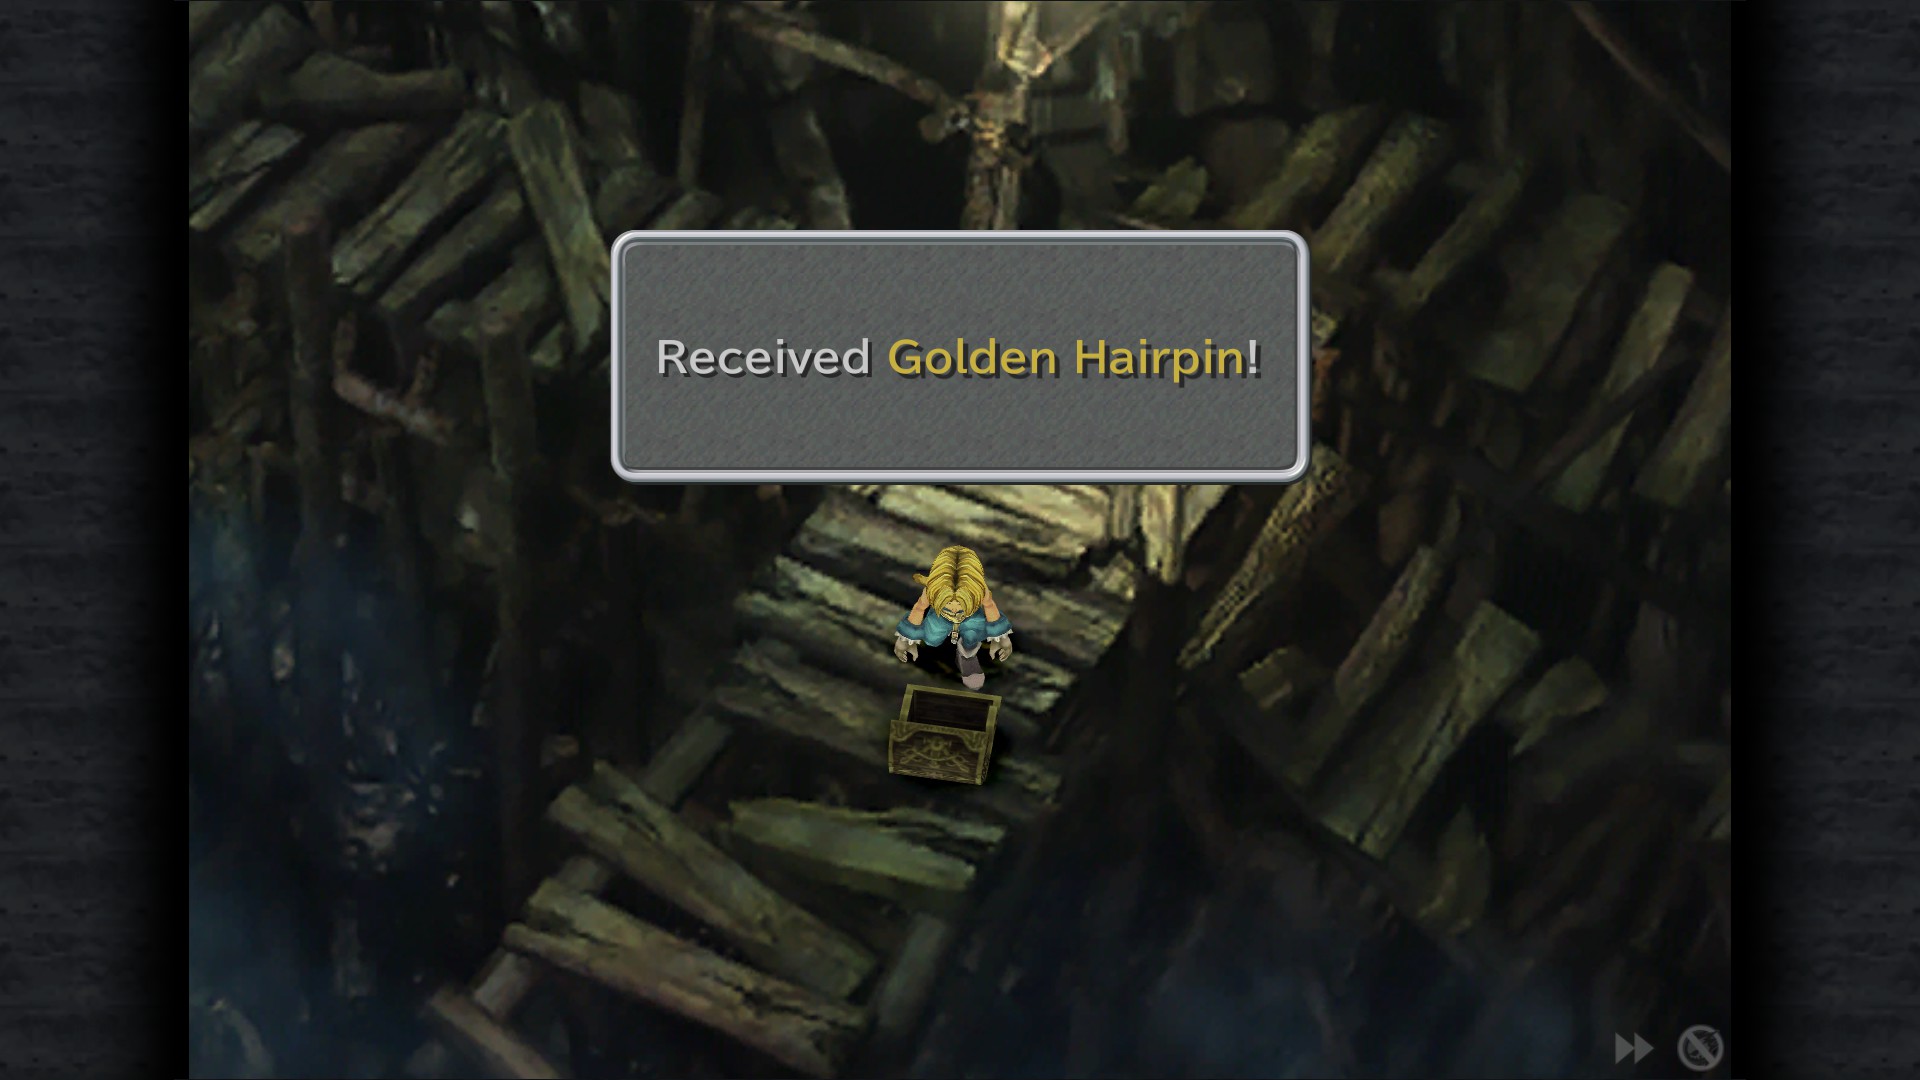
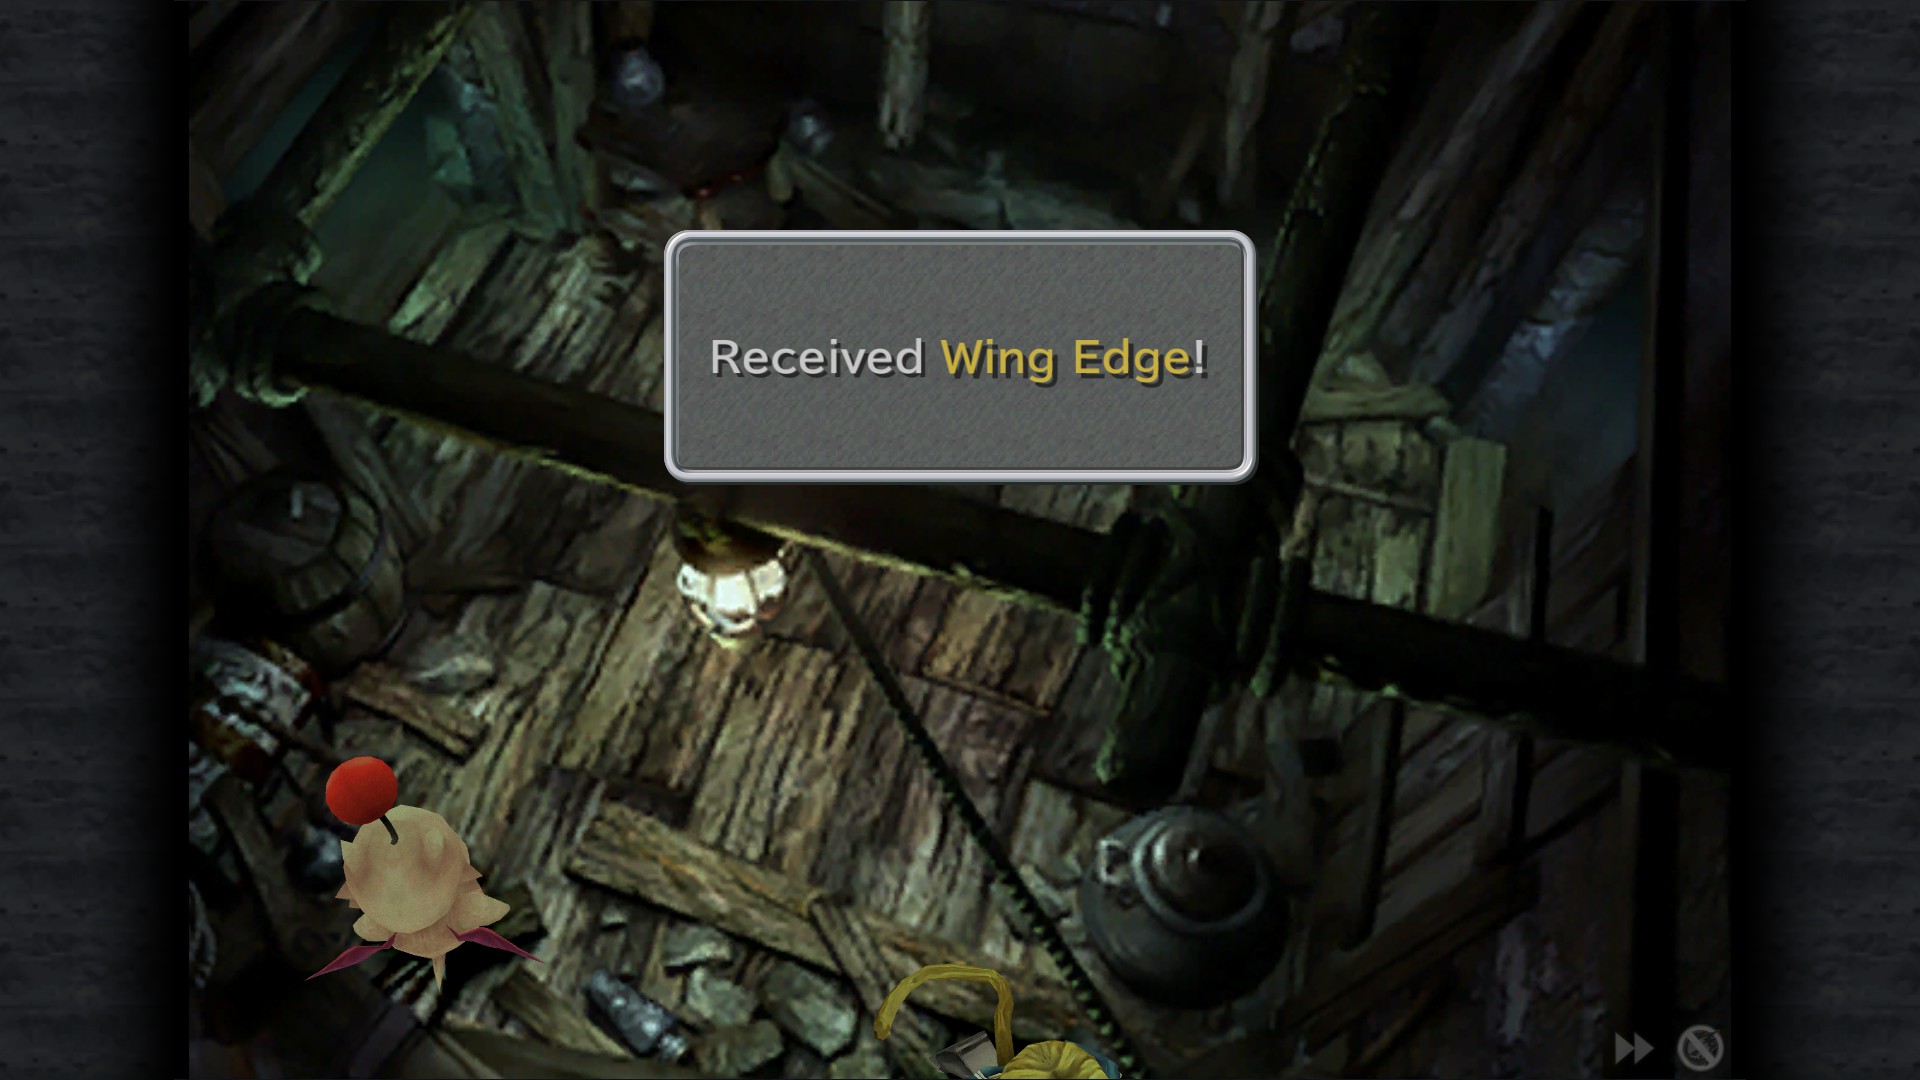
Mount Gulug
Ether - House to the left of the entrance
9693 Gil - House to the left of the entrance
Red Hat - Interior (Far left platform)
Golden Hairpin - Right from the well, at the end of the path
Wing Edge - to the right of Moolan the moogle (Lower right house)
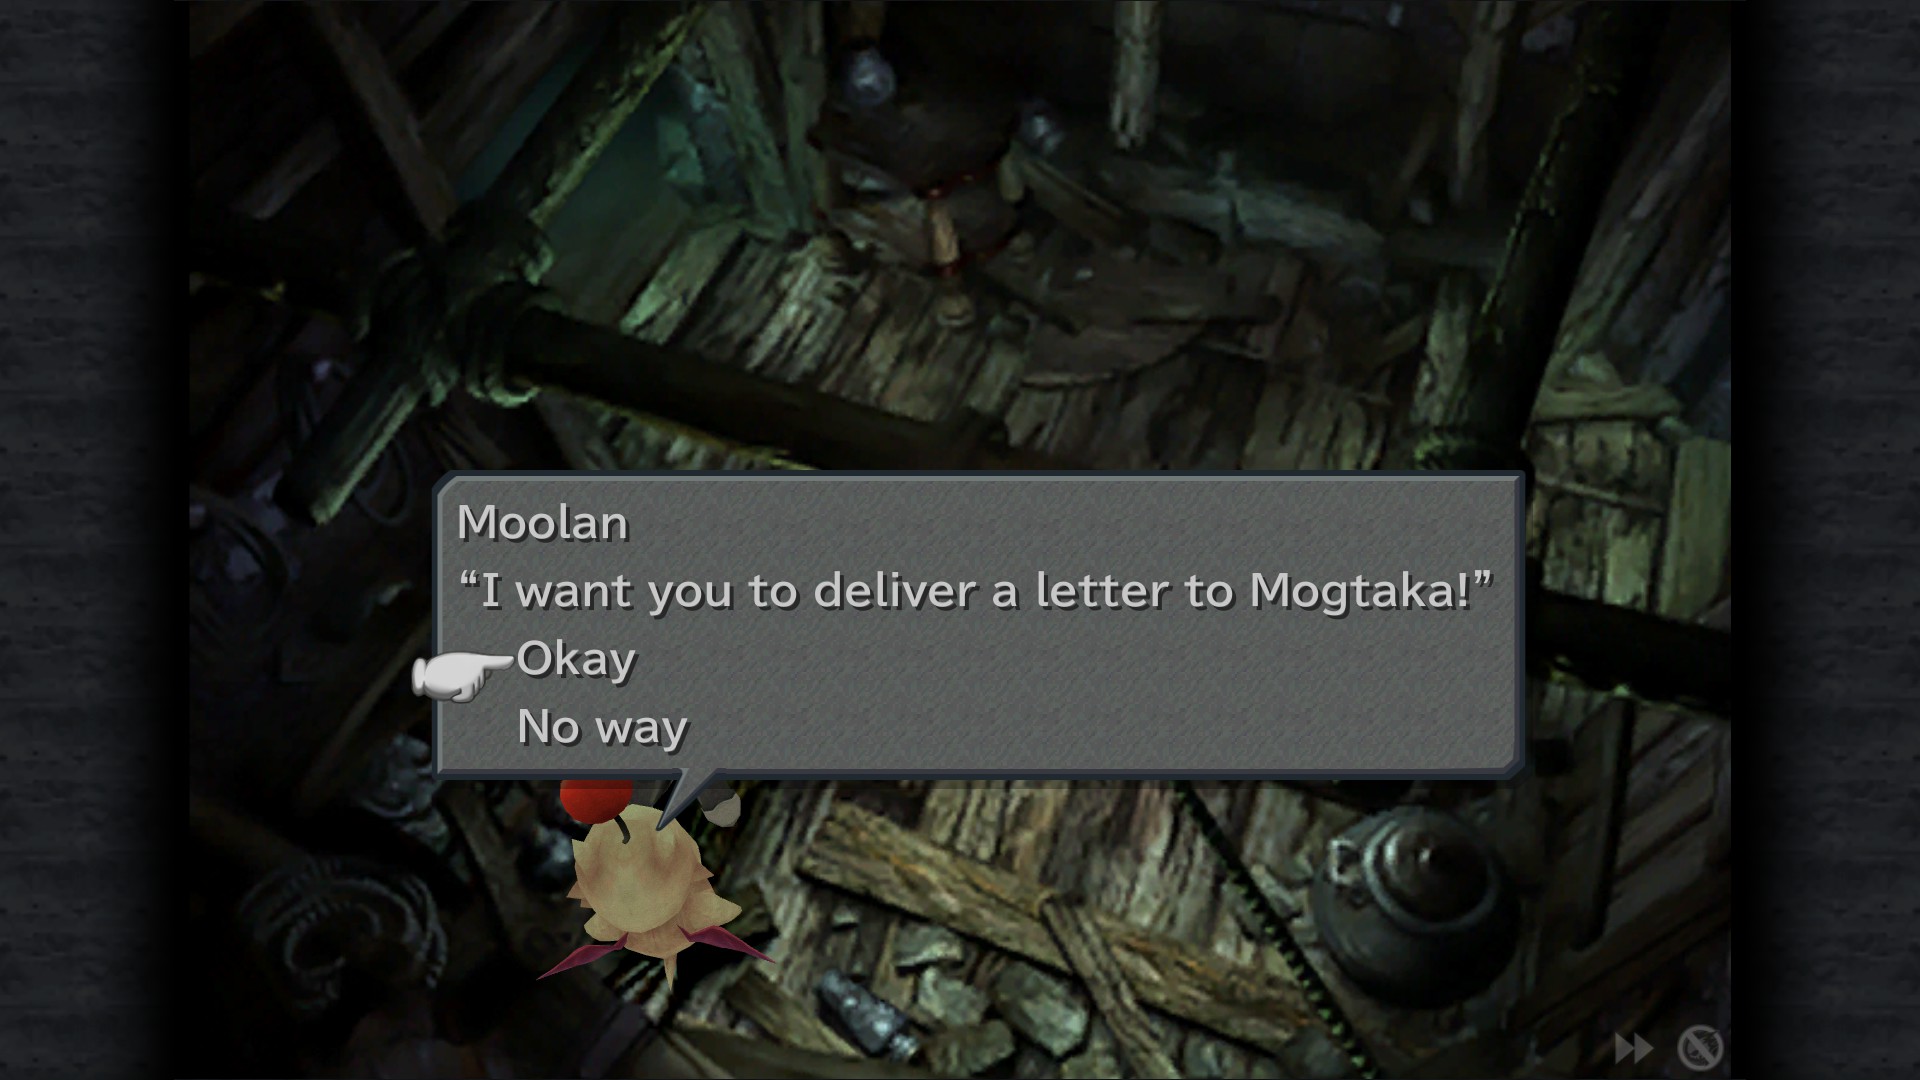
Mognet: Give Moolan a letter "Problem" - Room
Mognet: Pickup the letter for delivery (Moolan to Mogtaka) - Room
Gaia Gear - Right from the well (bottom one), at the end of the path
Demon's Mail - Lower left house, interior
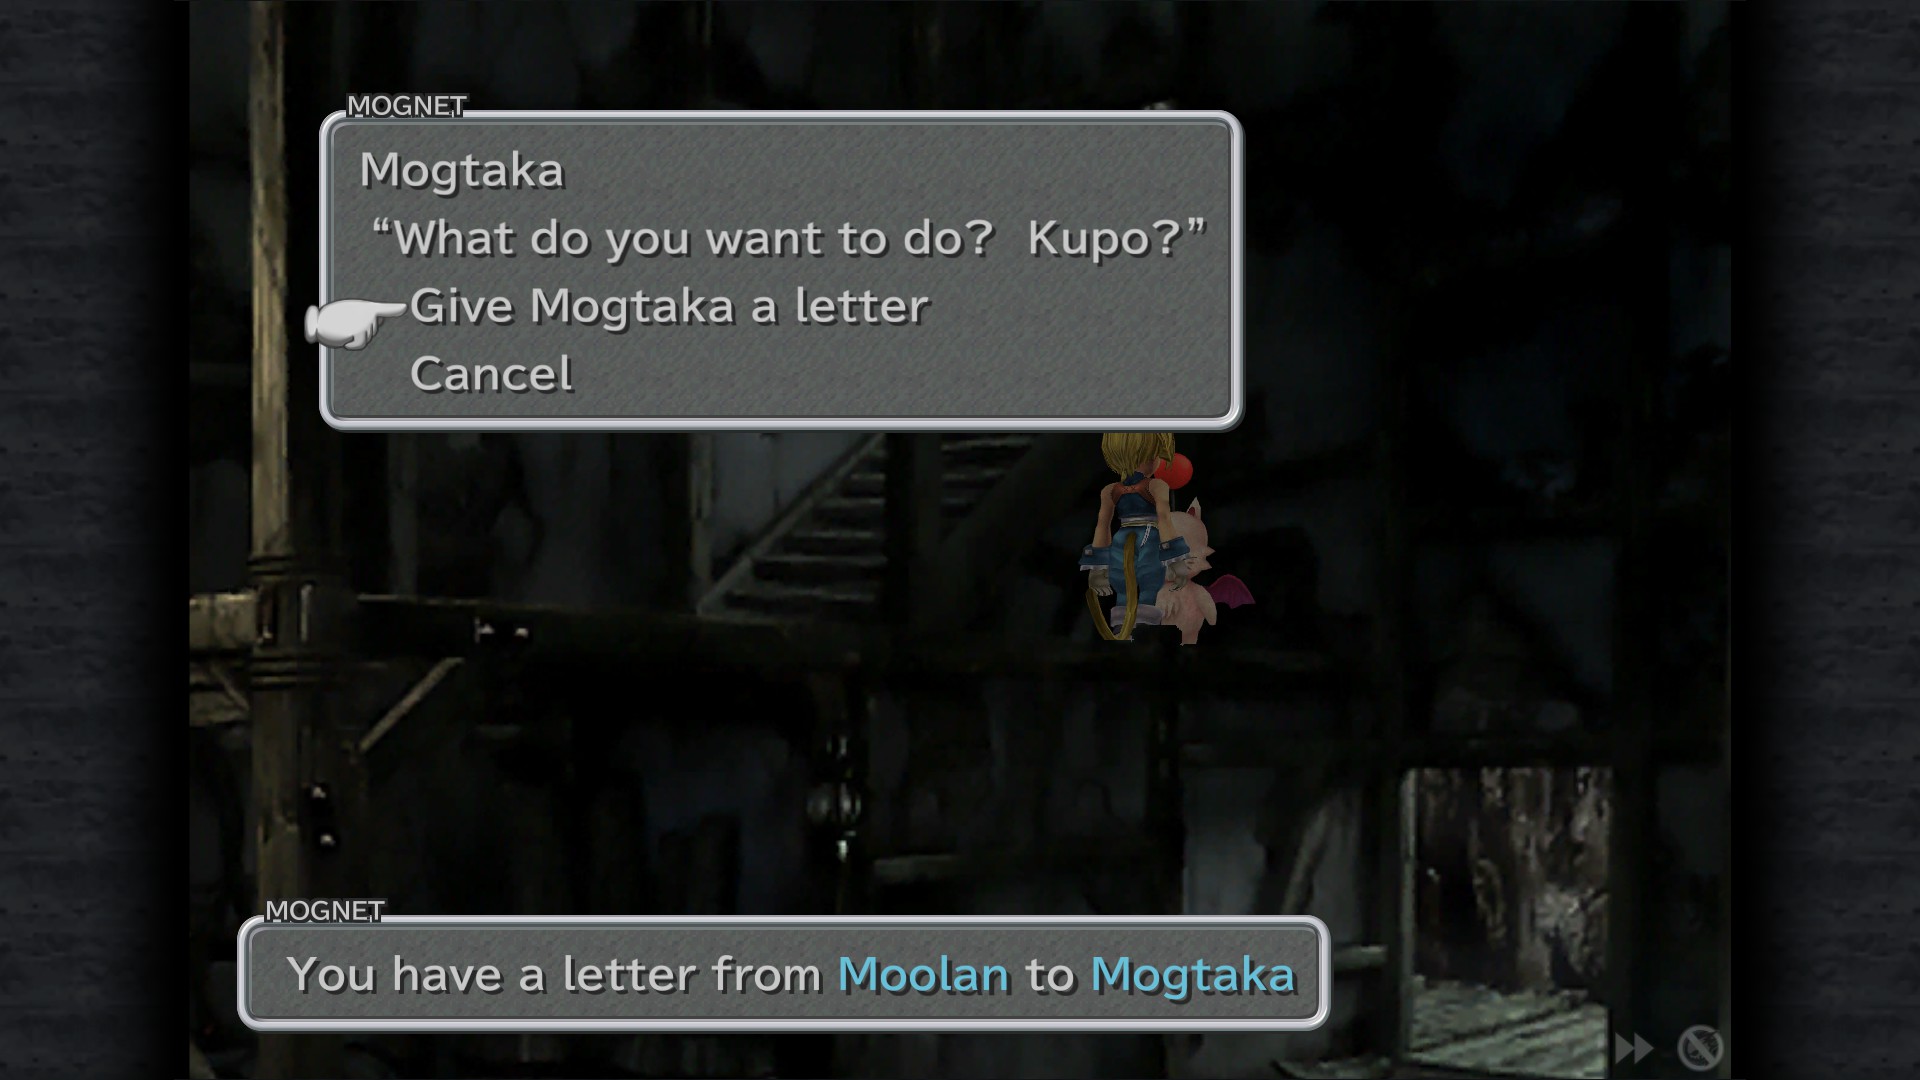
Mognet: Give Mogtaka a letter "Where Is Mognet Central?" - Lower left house
Elixir - House above Mogtaka
Lindblum
Mognet: Pickup the letter for delivery (Mogki to Kumool)
Team ATE (Forced)
Recovery ATE (Forced)
Take to the Skies
Obtain an airship.
Hilda Garde 3 Enter Lindblum from Hilda Garde 3, choose "Board, then go to the bridge"
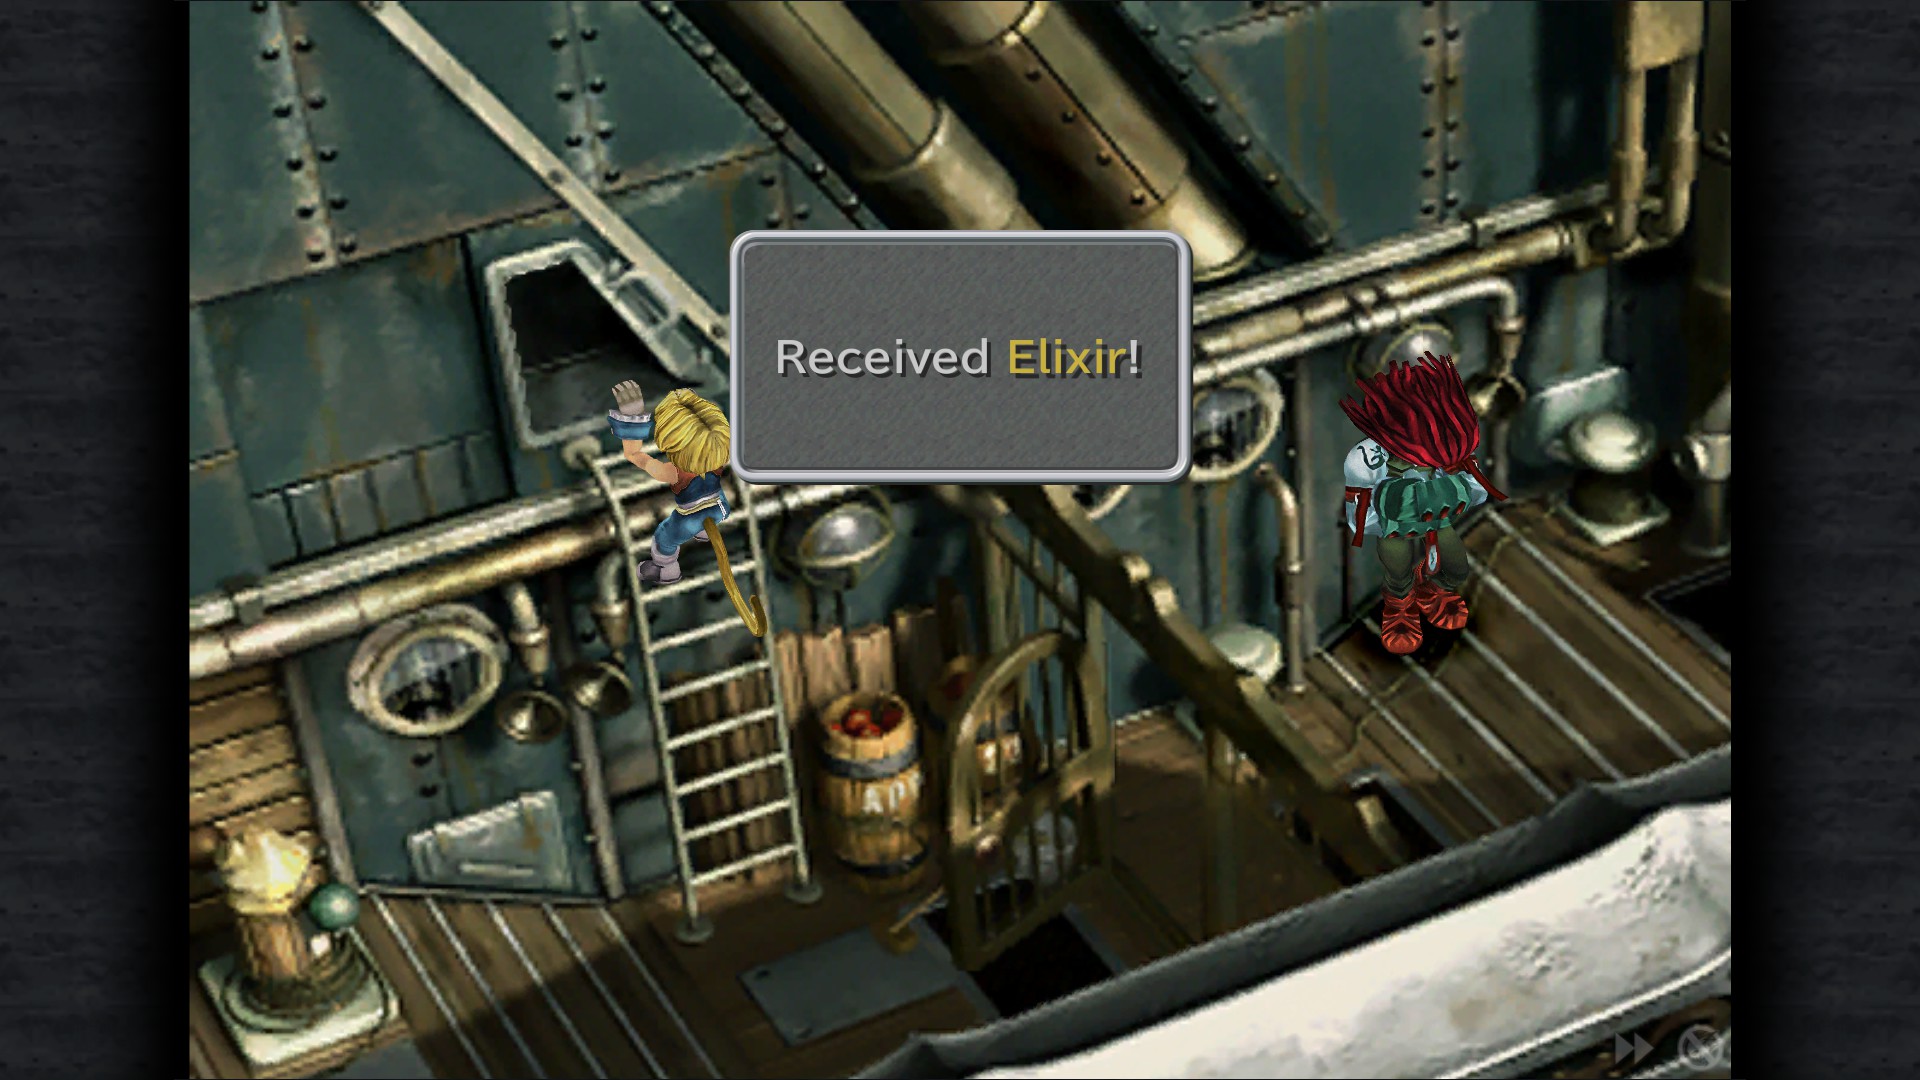
Elixir - Deck (Hatch top of the ladder)
Tent - Deck (Hatch on the wall)
Gate Cleanup


Melda Arch
Location: (Dali area)
Eye Drops - Fence by the right
Potion - Fence by the right
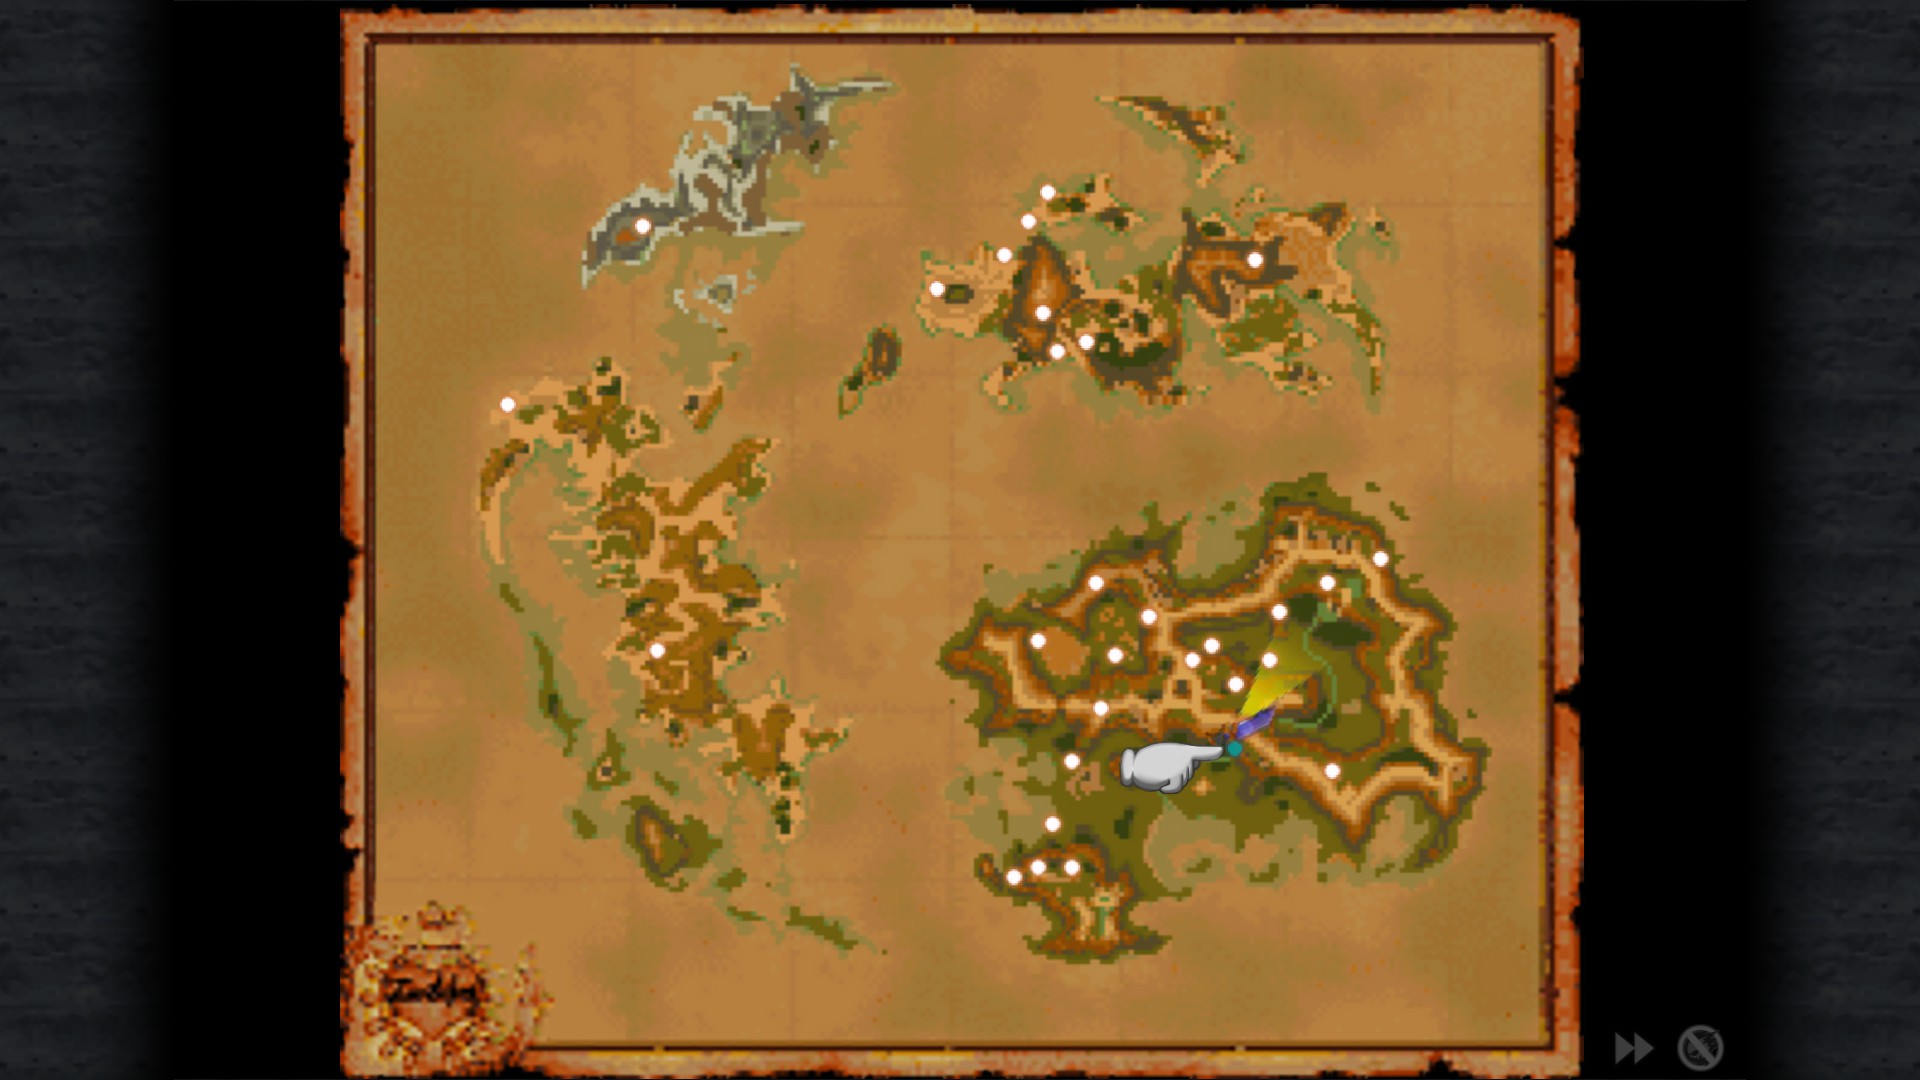
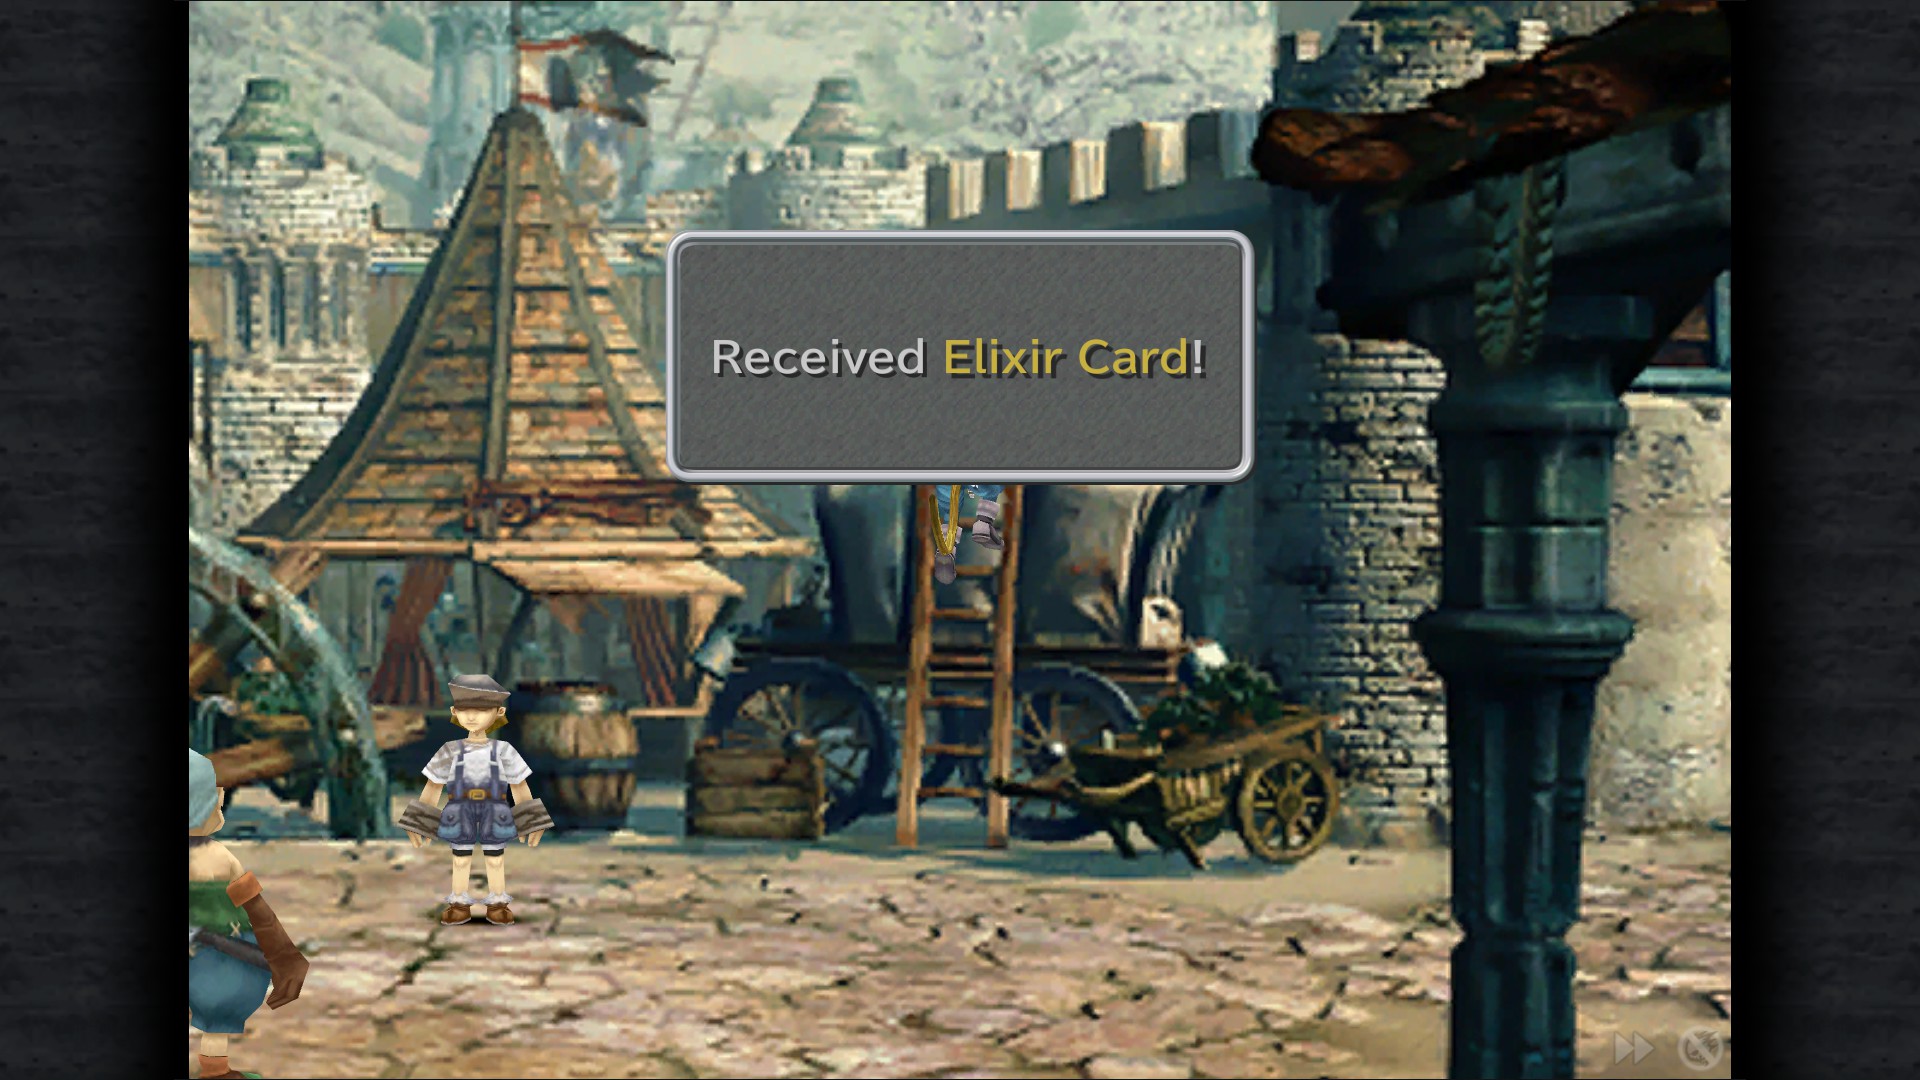
Bohden Gate
Location:
Elixir Card
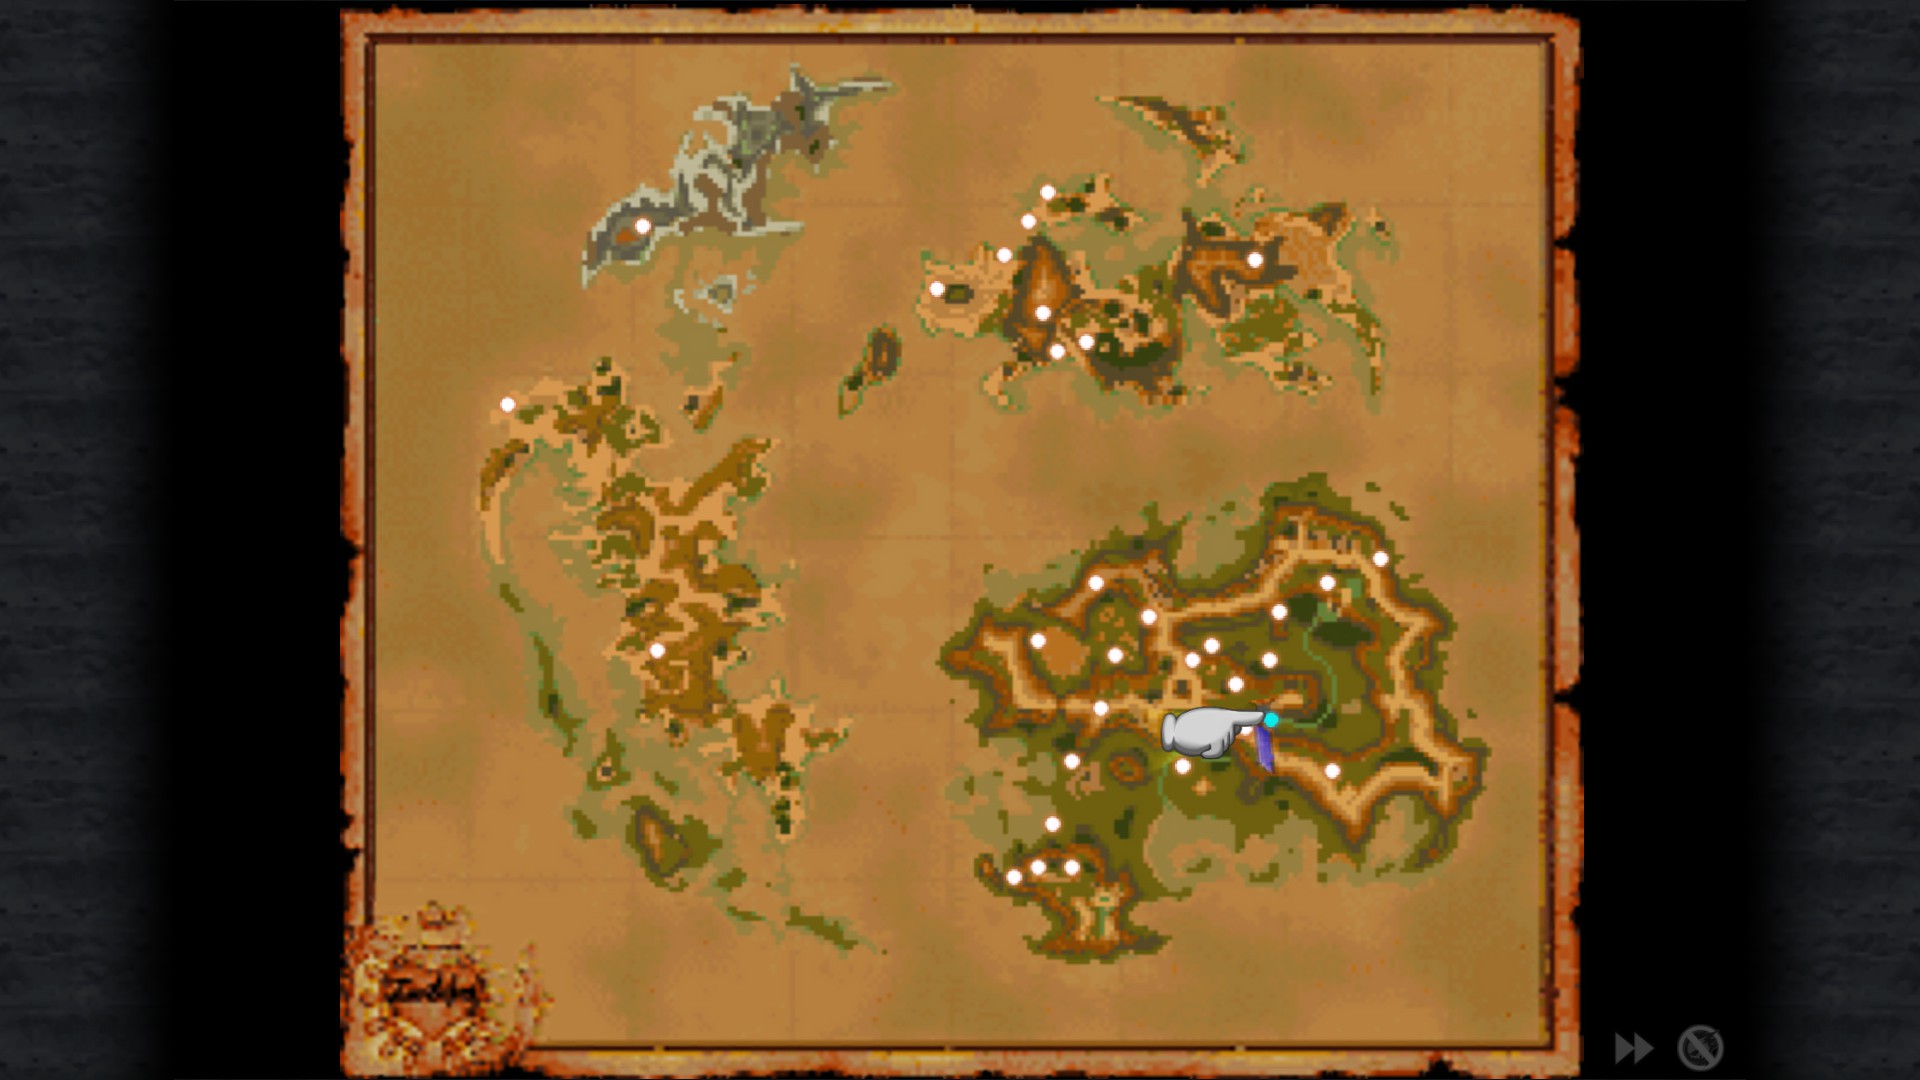
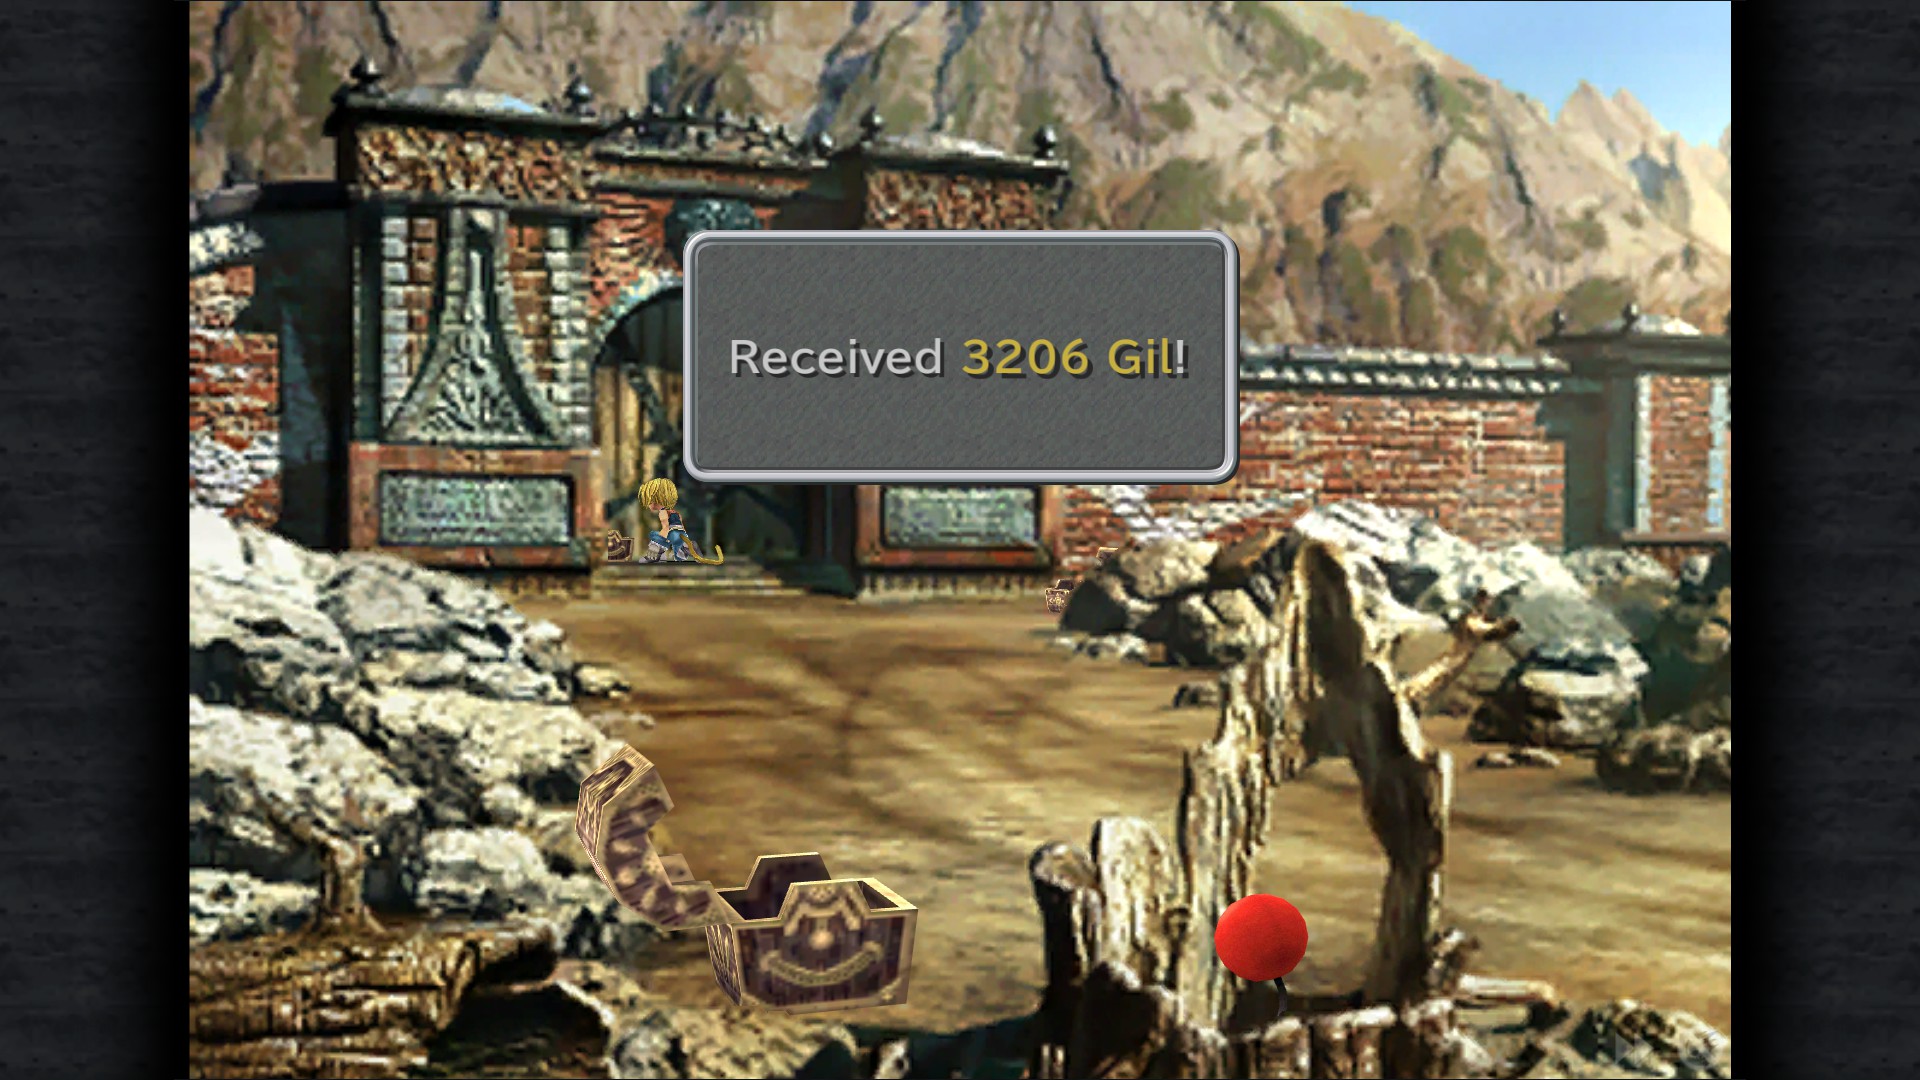
Treno Arch
Location: (Alexandria area)
Elixir
Elixir
3206 GIl
Daguerreo - Ipsen's Castle


Daguerreo
Location:
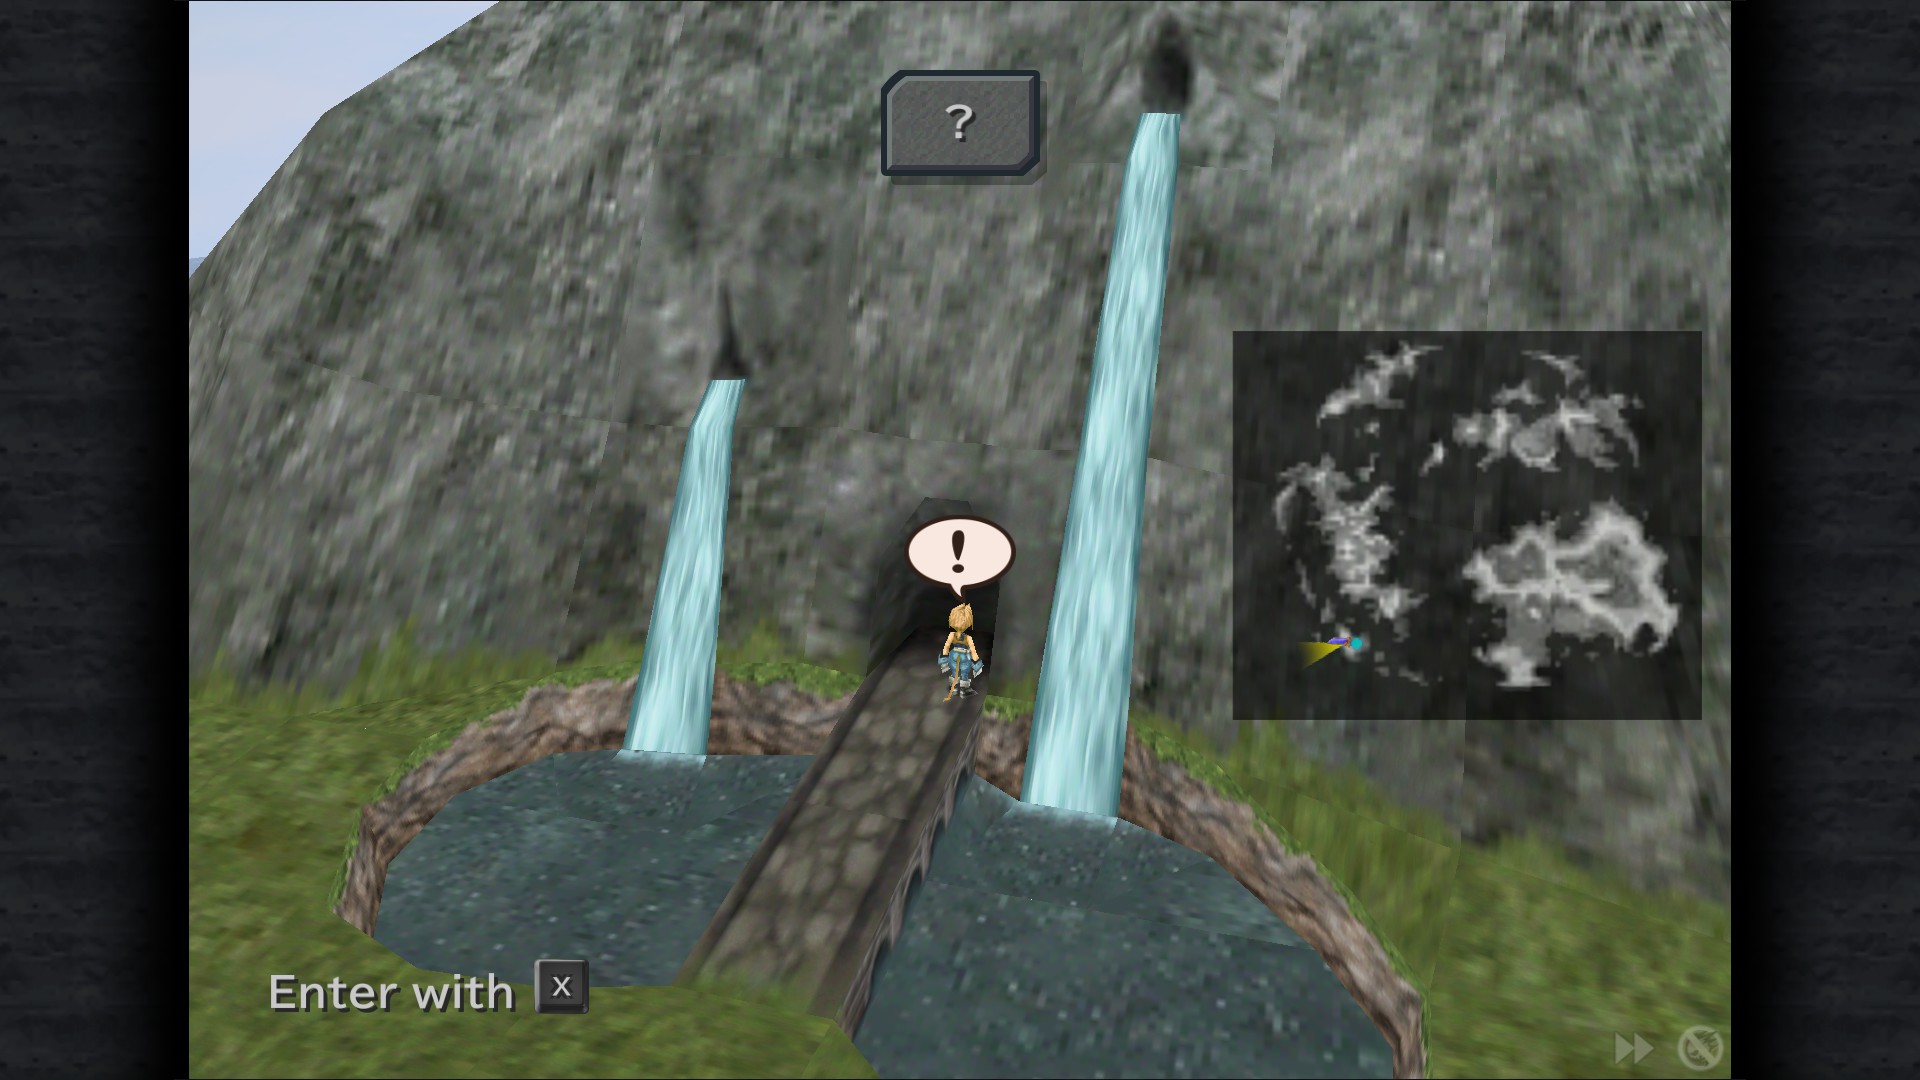
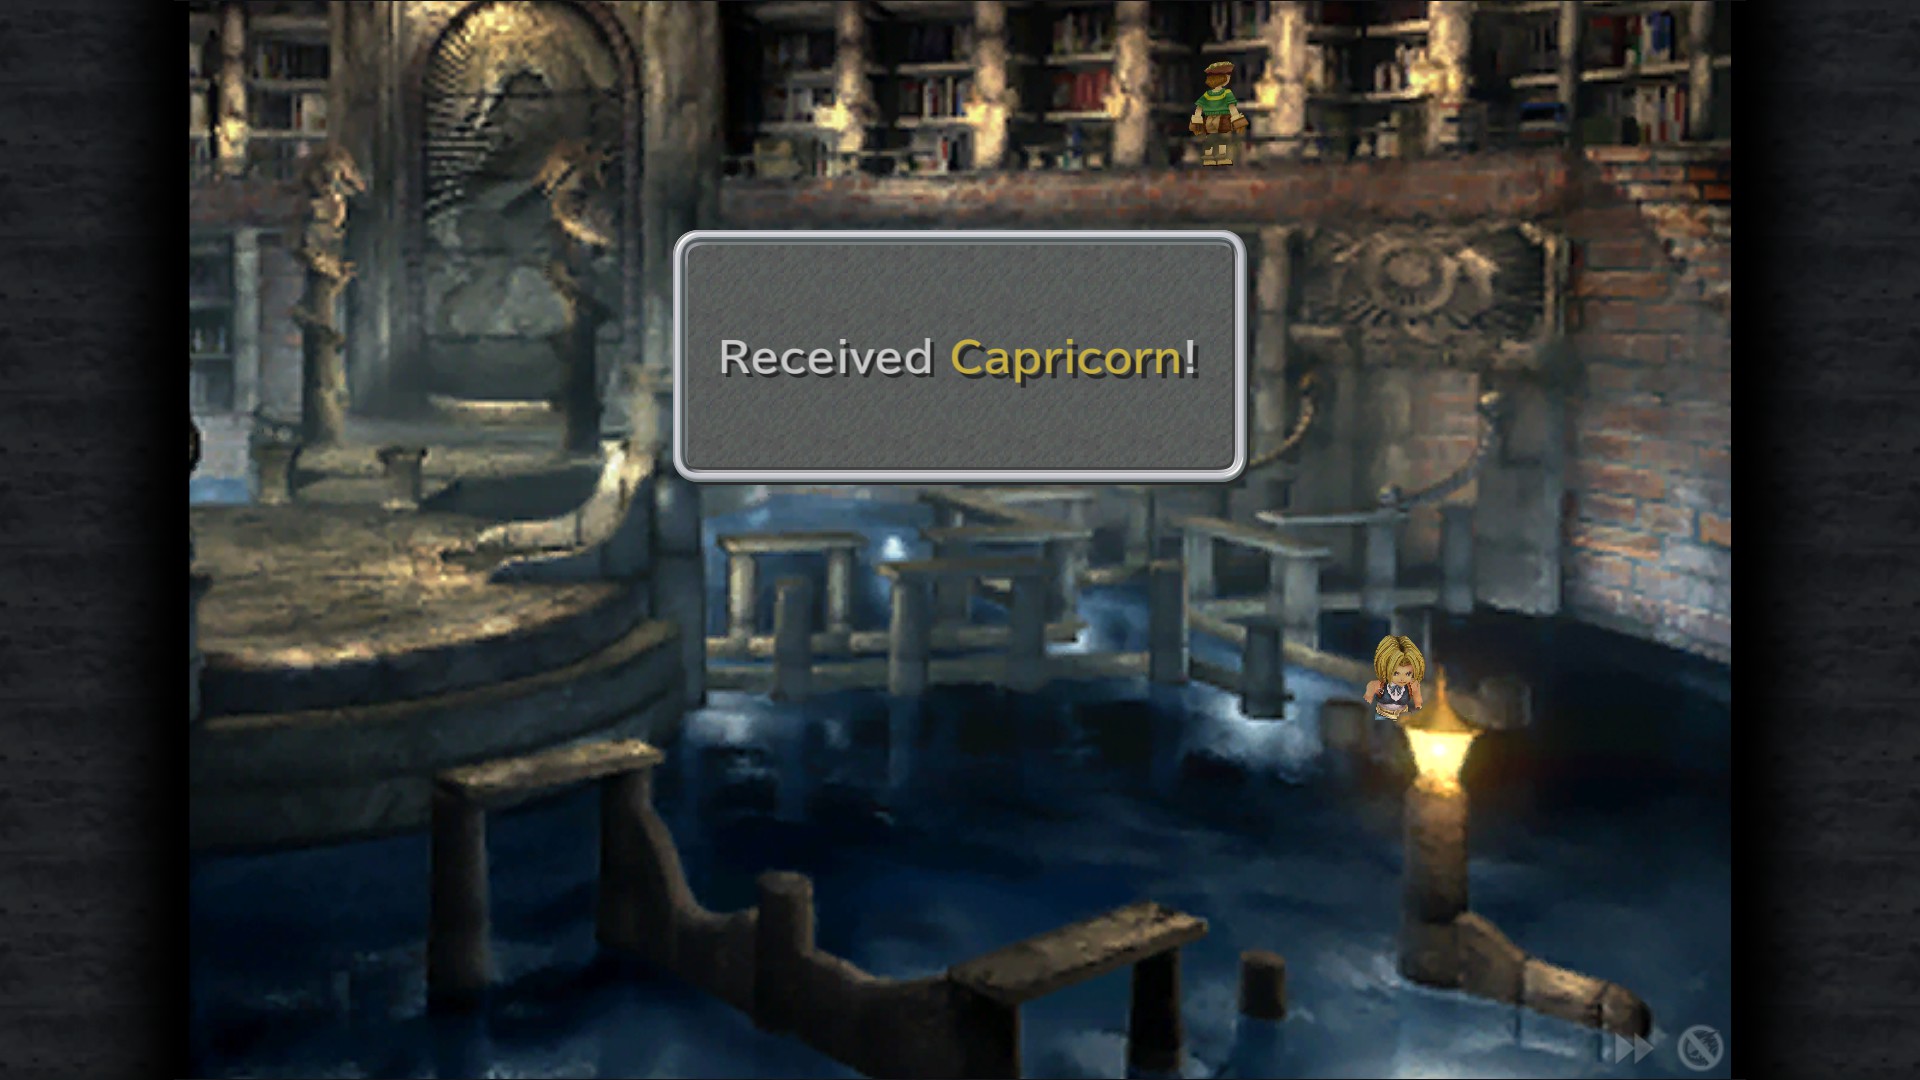
Capricorn* - Entrance (in the water to the right)
Access to the upper level: head to the left Hall. once here push the left lever twice , inspect the hole then insert the pole in there. now push the right lever twice and stand on the platform to go up.
Sidenote: The weapon store here is the last chance to obtain the Octagon Rod, Rune Blade, Hamelin, Zorlin Shape, Tiger Fangs, Asura's Rod, Obelisk, Diamond Armour.
Octogon Rod is the only equipment that teaches Vivi Firaga, Blizzaga and Thundaga.
Rune Blade is the only equipment that teaches Steiner Iai Strike.
Hamelin is the only equipment that teaches Eiko Jewel.
Two synthesis recipes require Zorlin Shape.
One synthesis recipe requires Tiger Fangs.
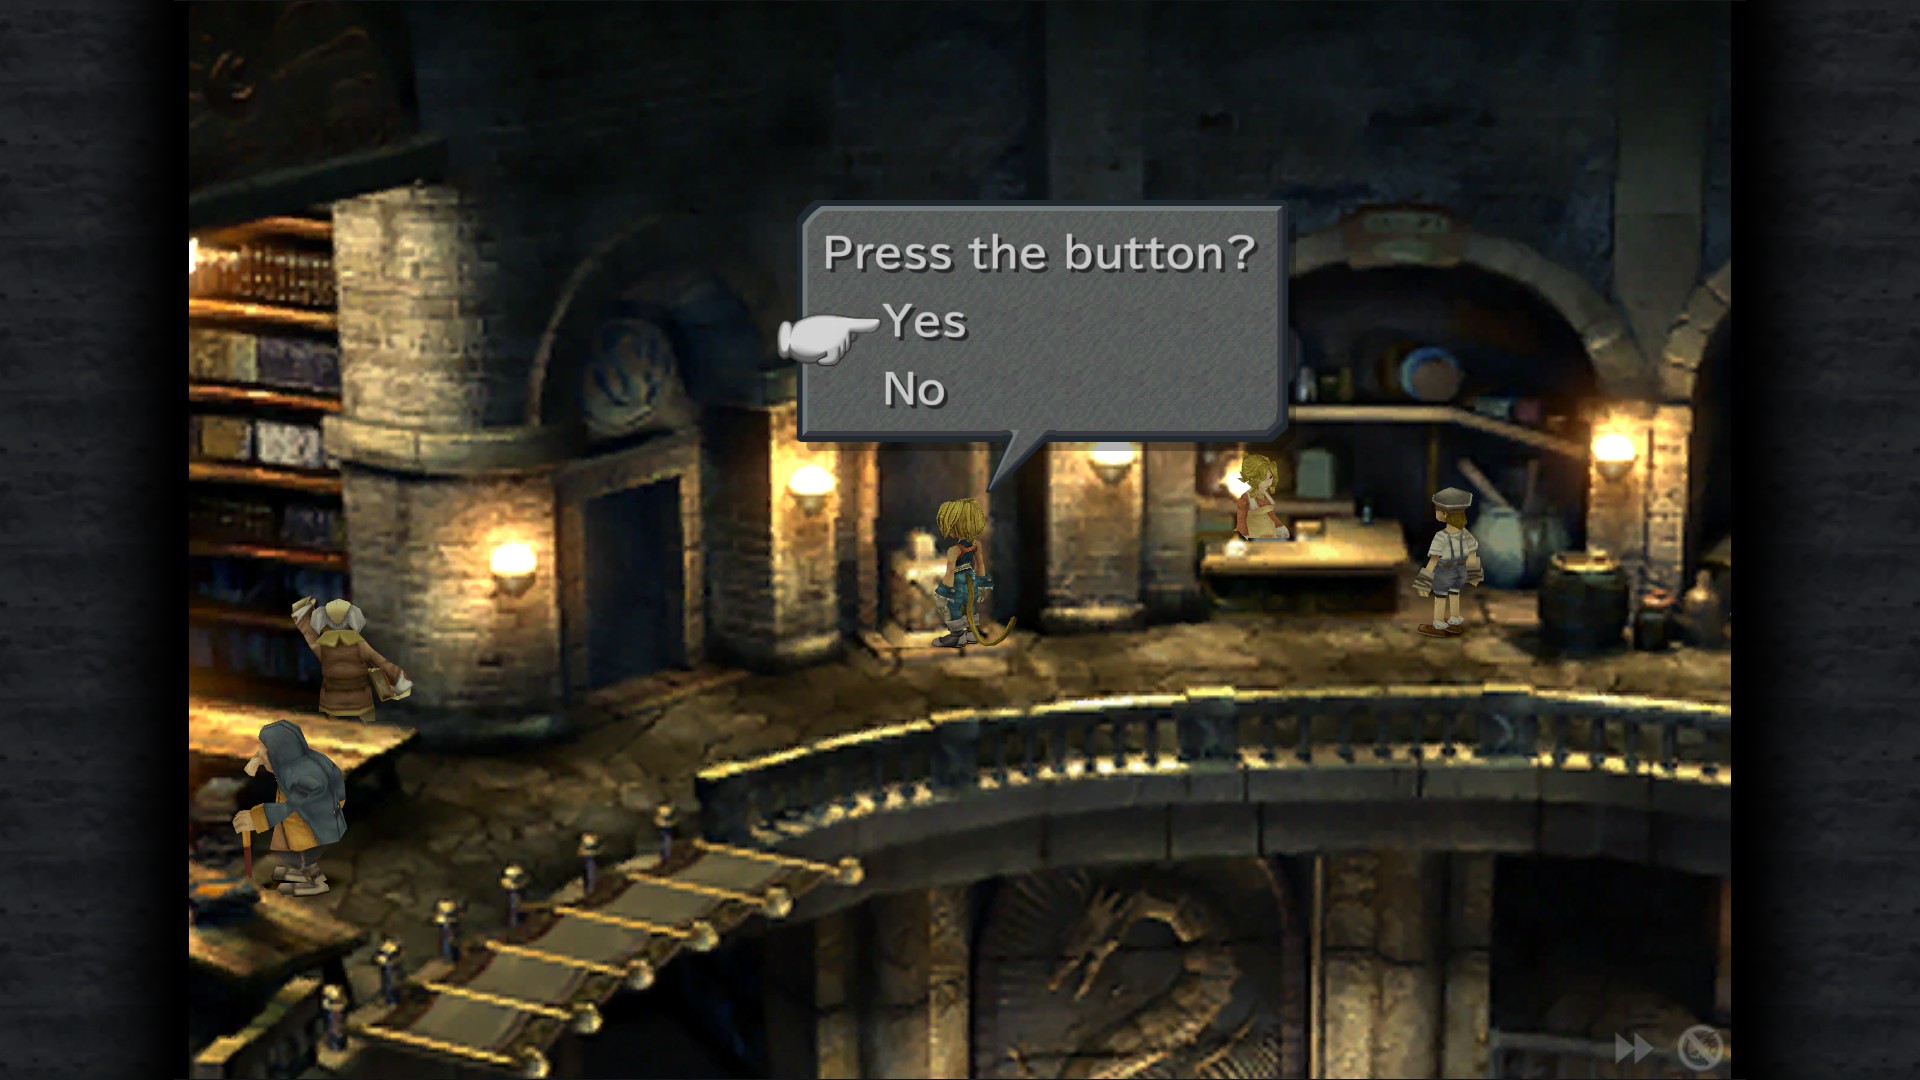
Flare Card/Meteor Card - Agree with the Young Man or Sales Clerk (doesn't really matter since you can get more of these later)
Middle level is behind a scholar looking for a book (High level), you must interact with the block next to the item shop.
Elixir - Middle level (left end)
Elixir - Middle level (right end)
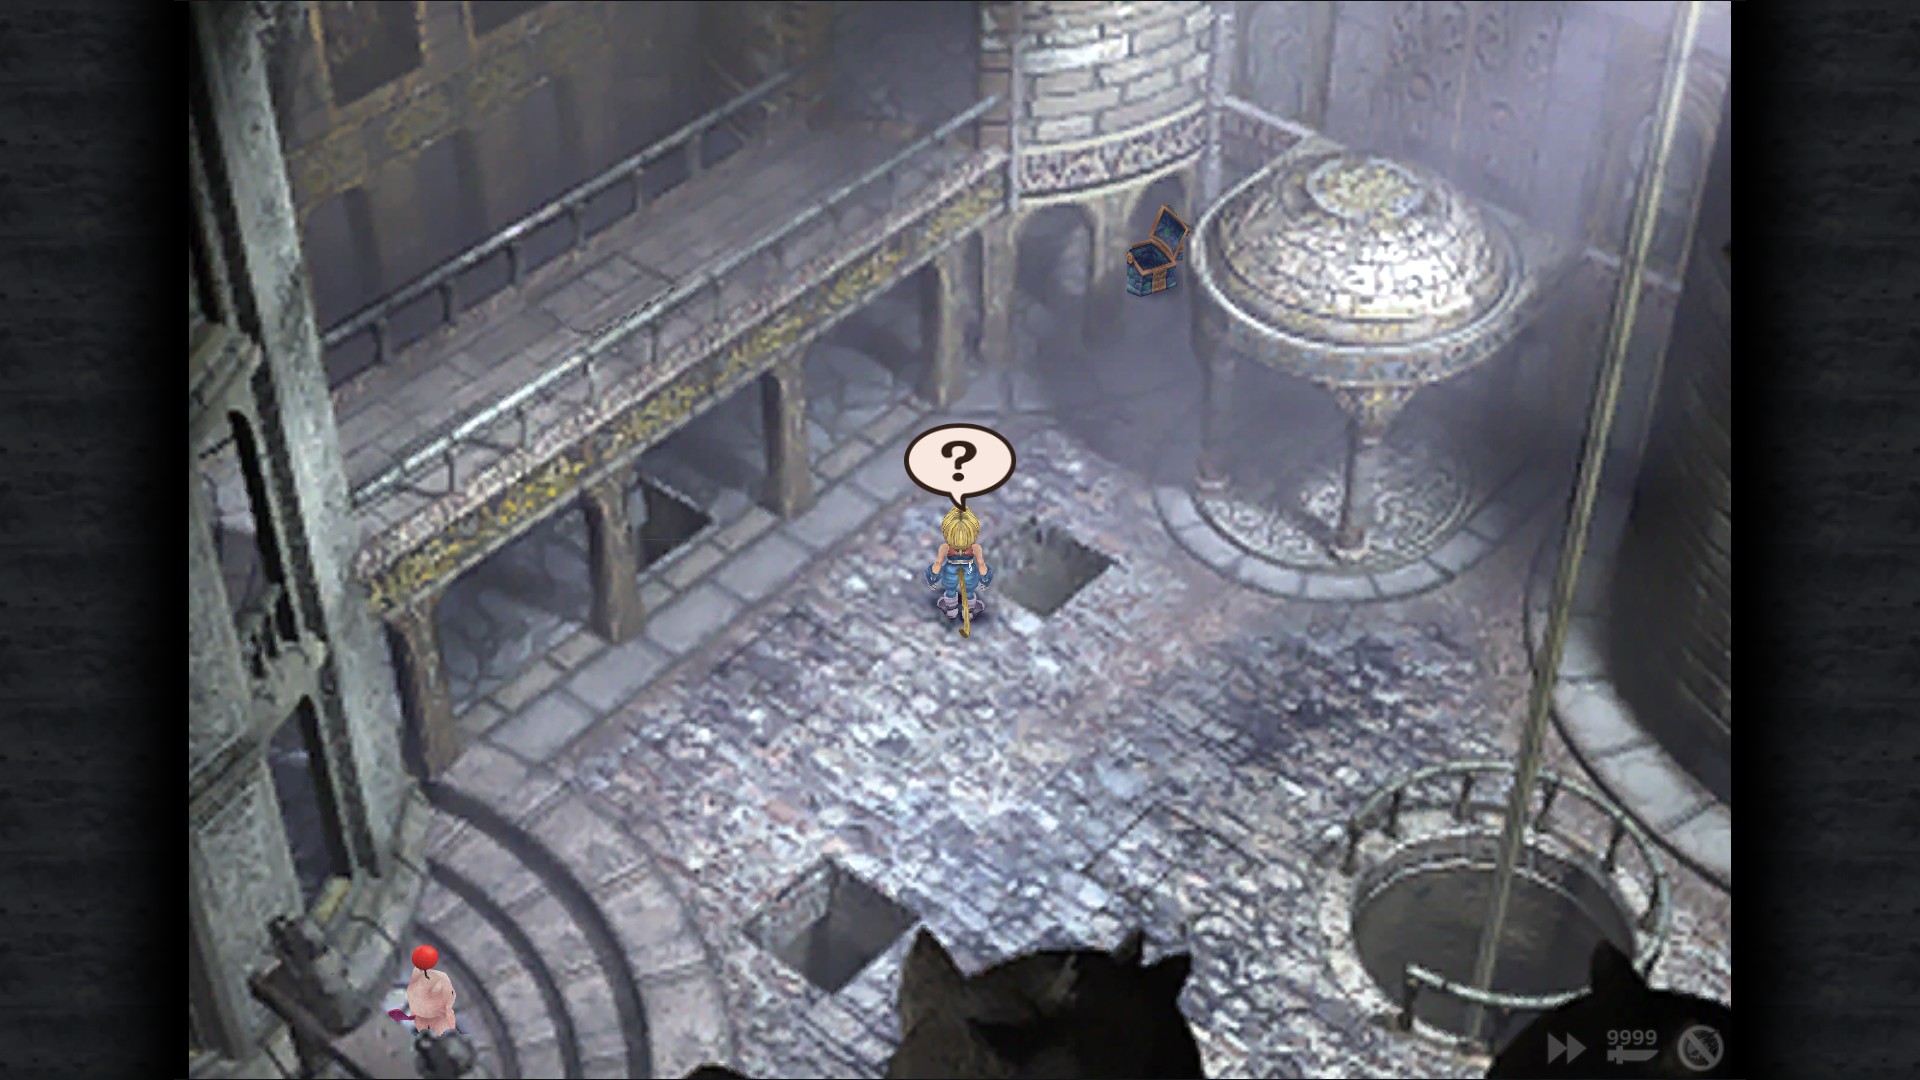
Ipsen's Castle
Dagger - Entrance
Aquarius* - Entrance
Mognet: Give Kumool a letter "Where is Mognet Central" - Small Room
Cat's Claws - Small Room
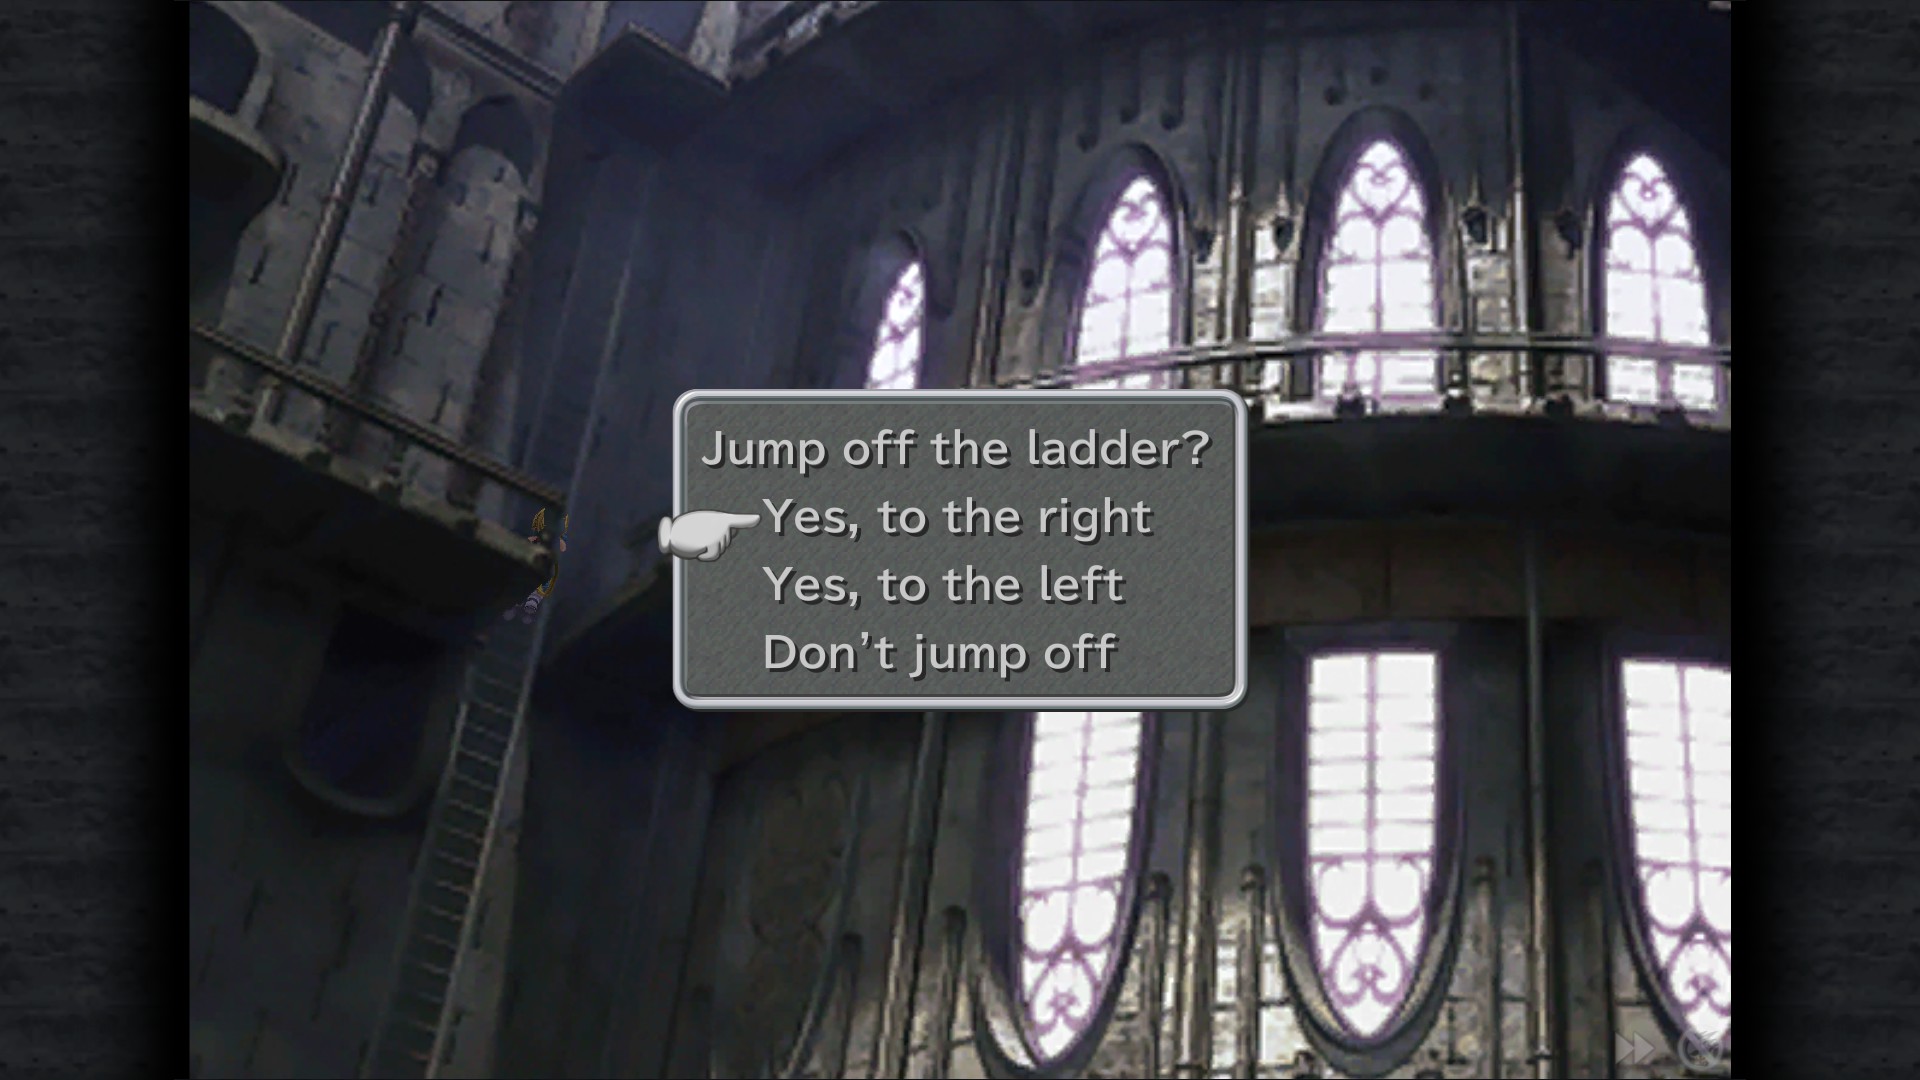
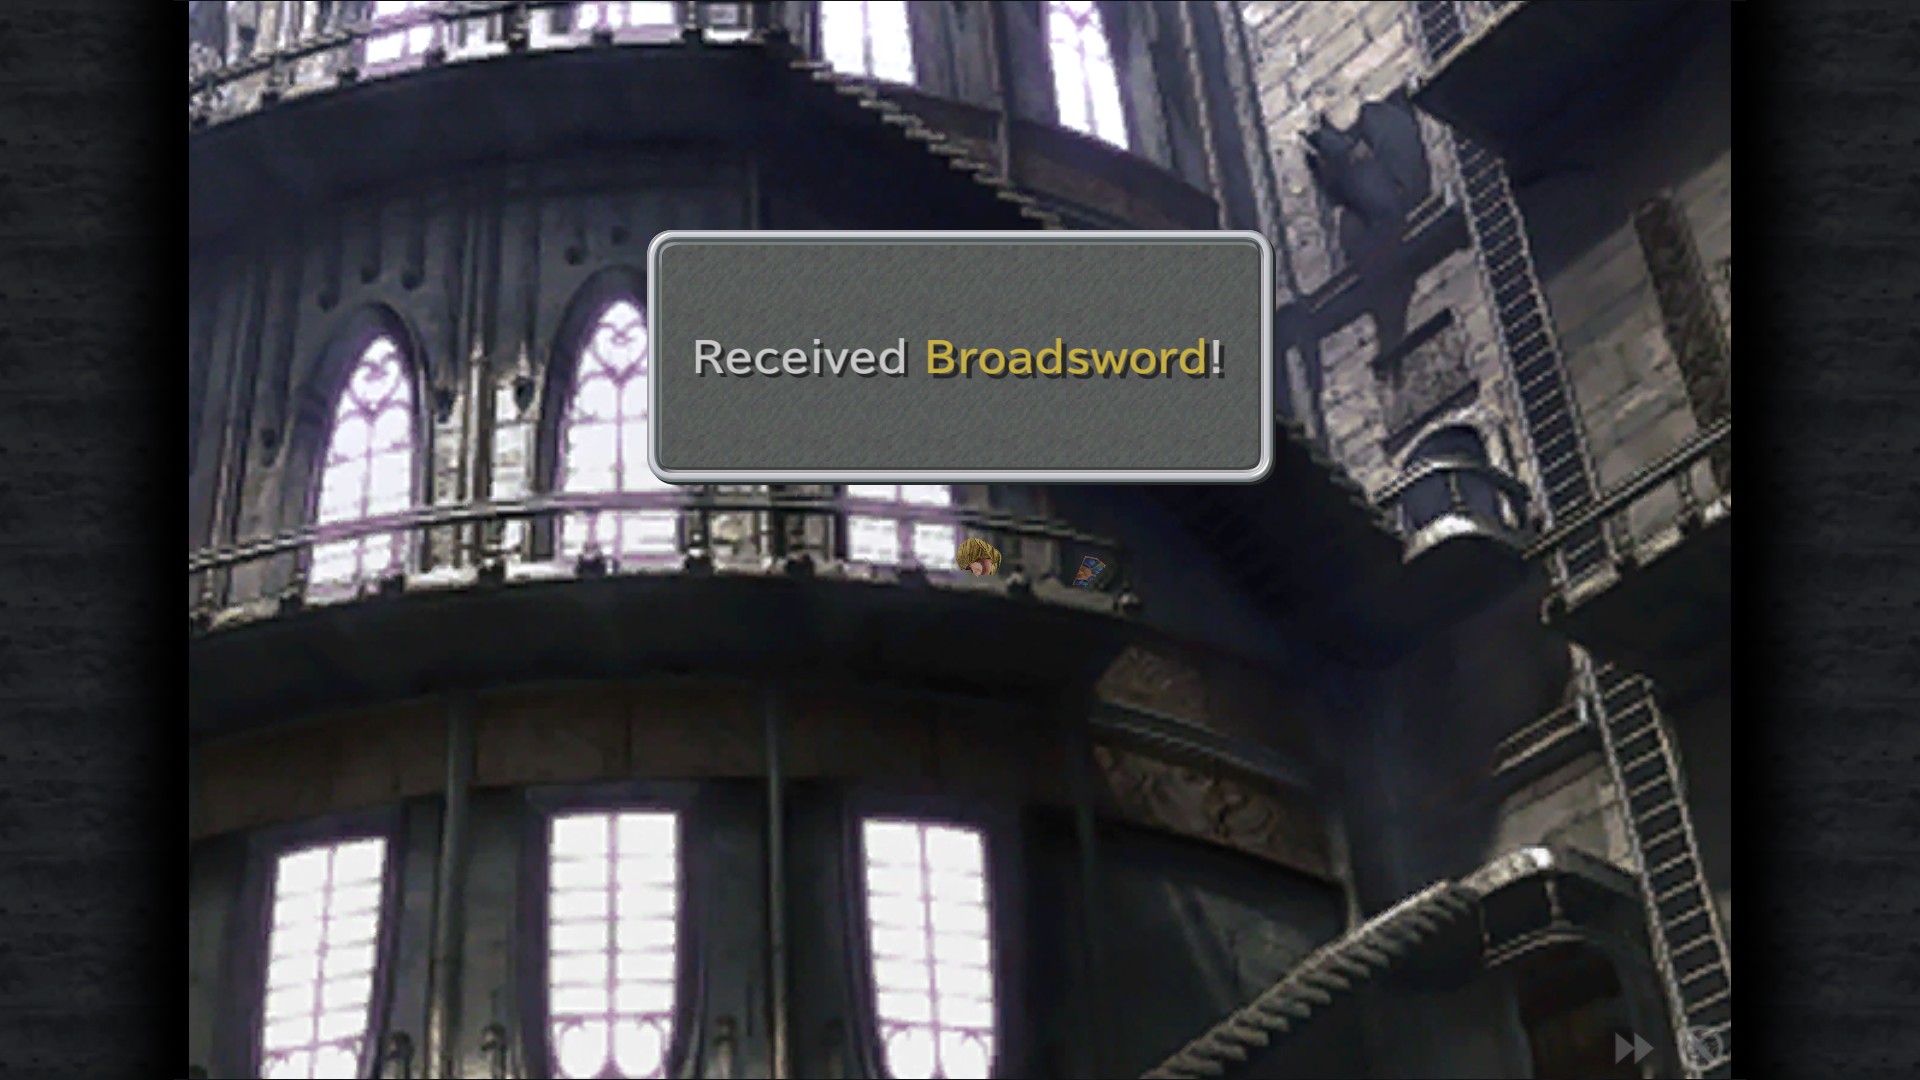
Broadsword - Stairwell (jump right from ladder)
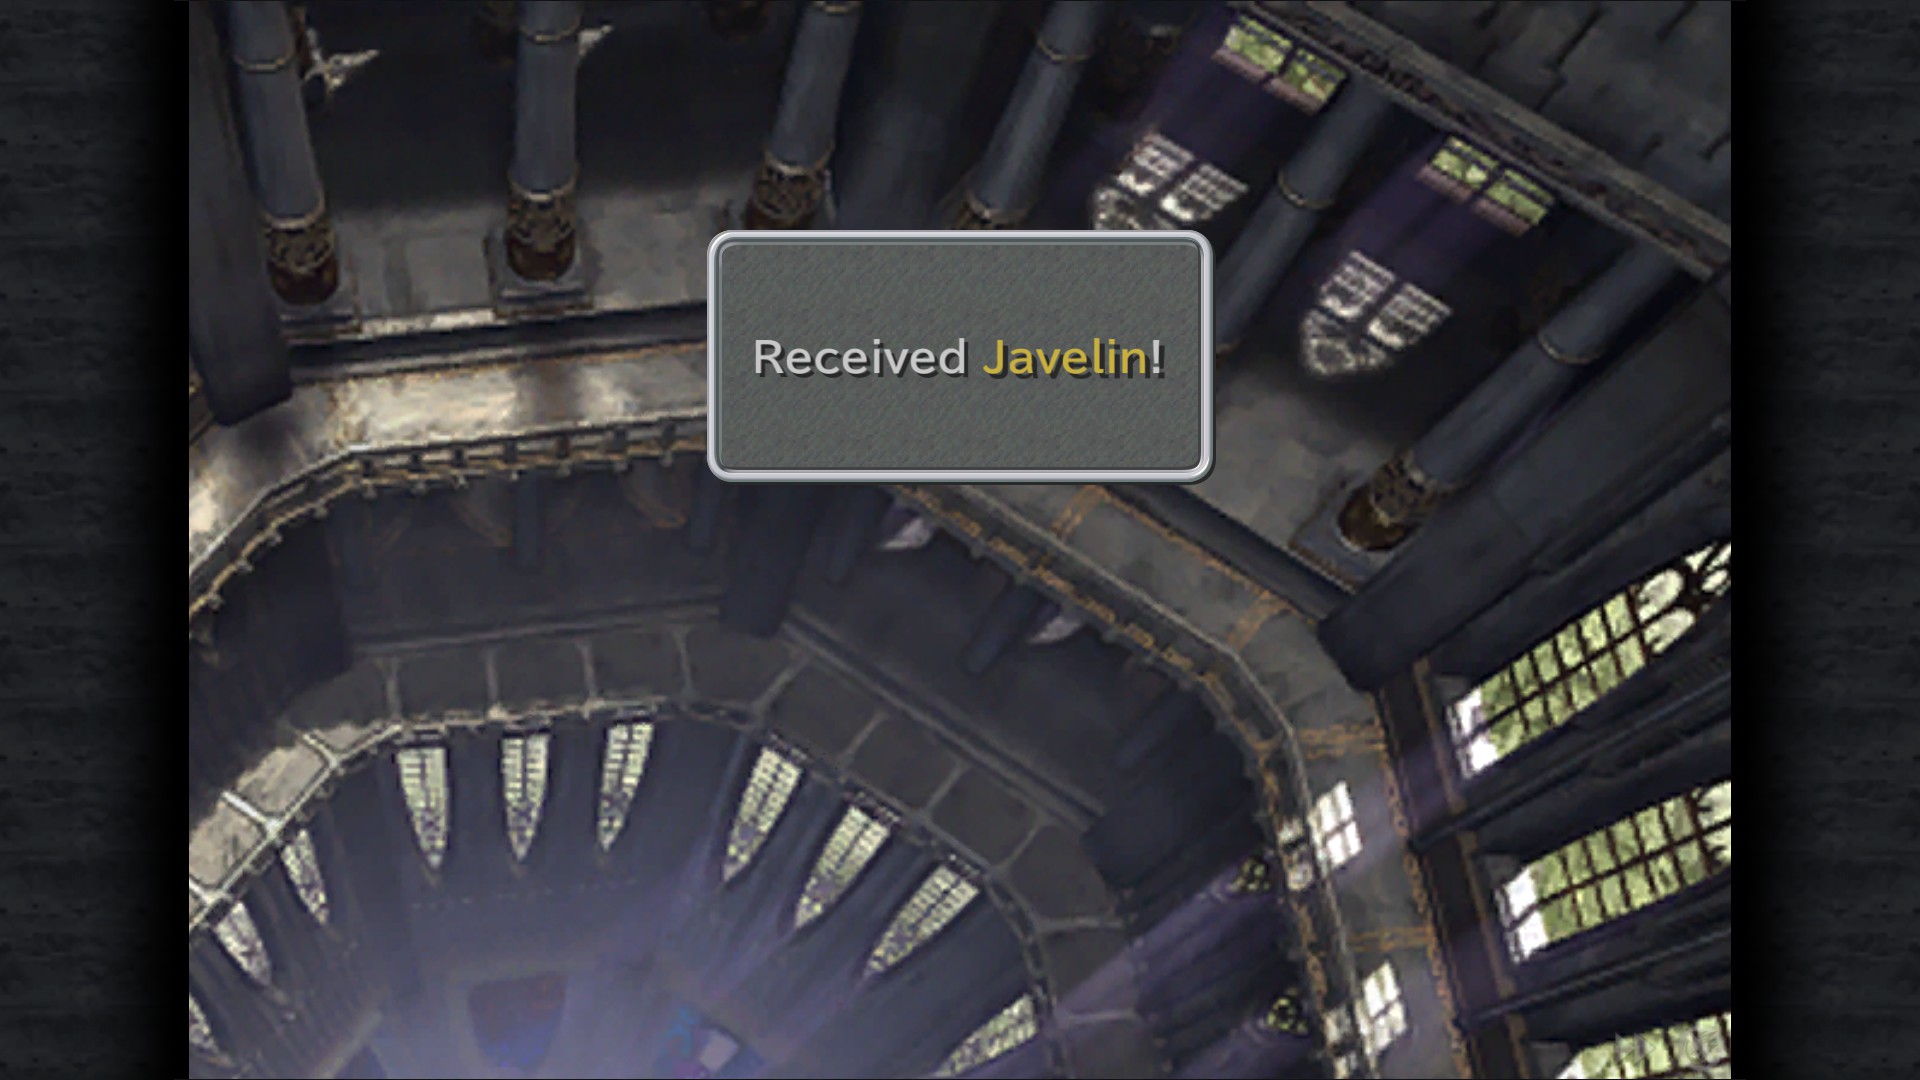
Javelin - Stairwell (jump left from ladder)
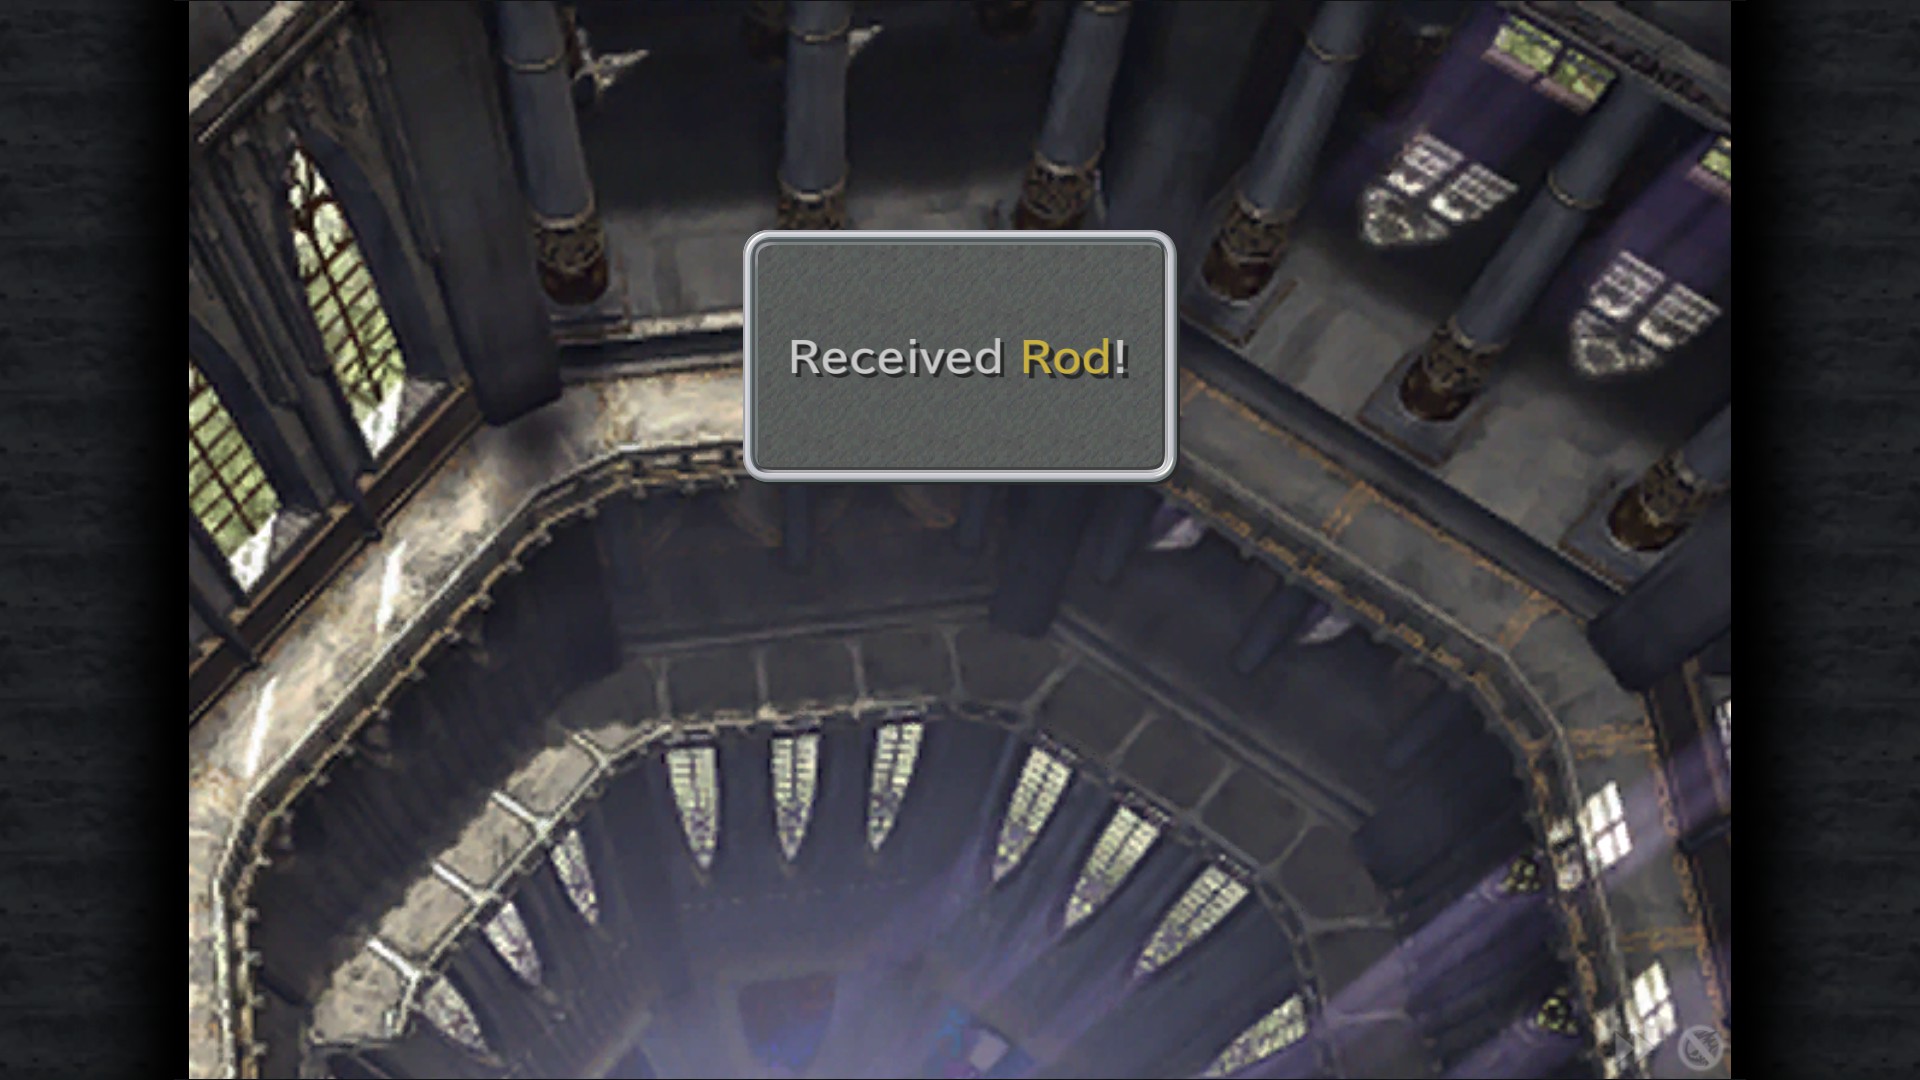
Rod - Stairwell (next room)
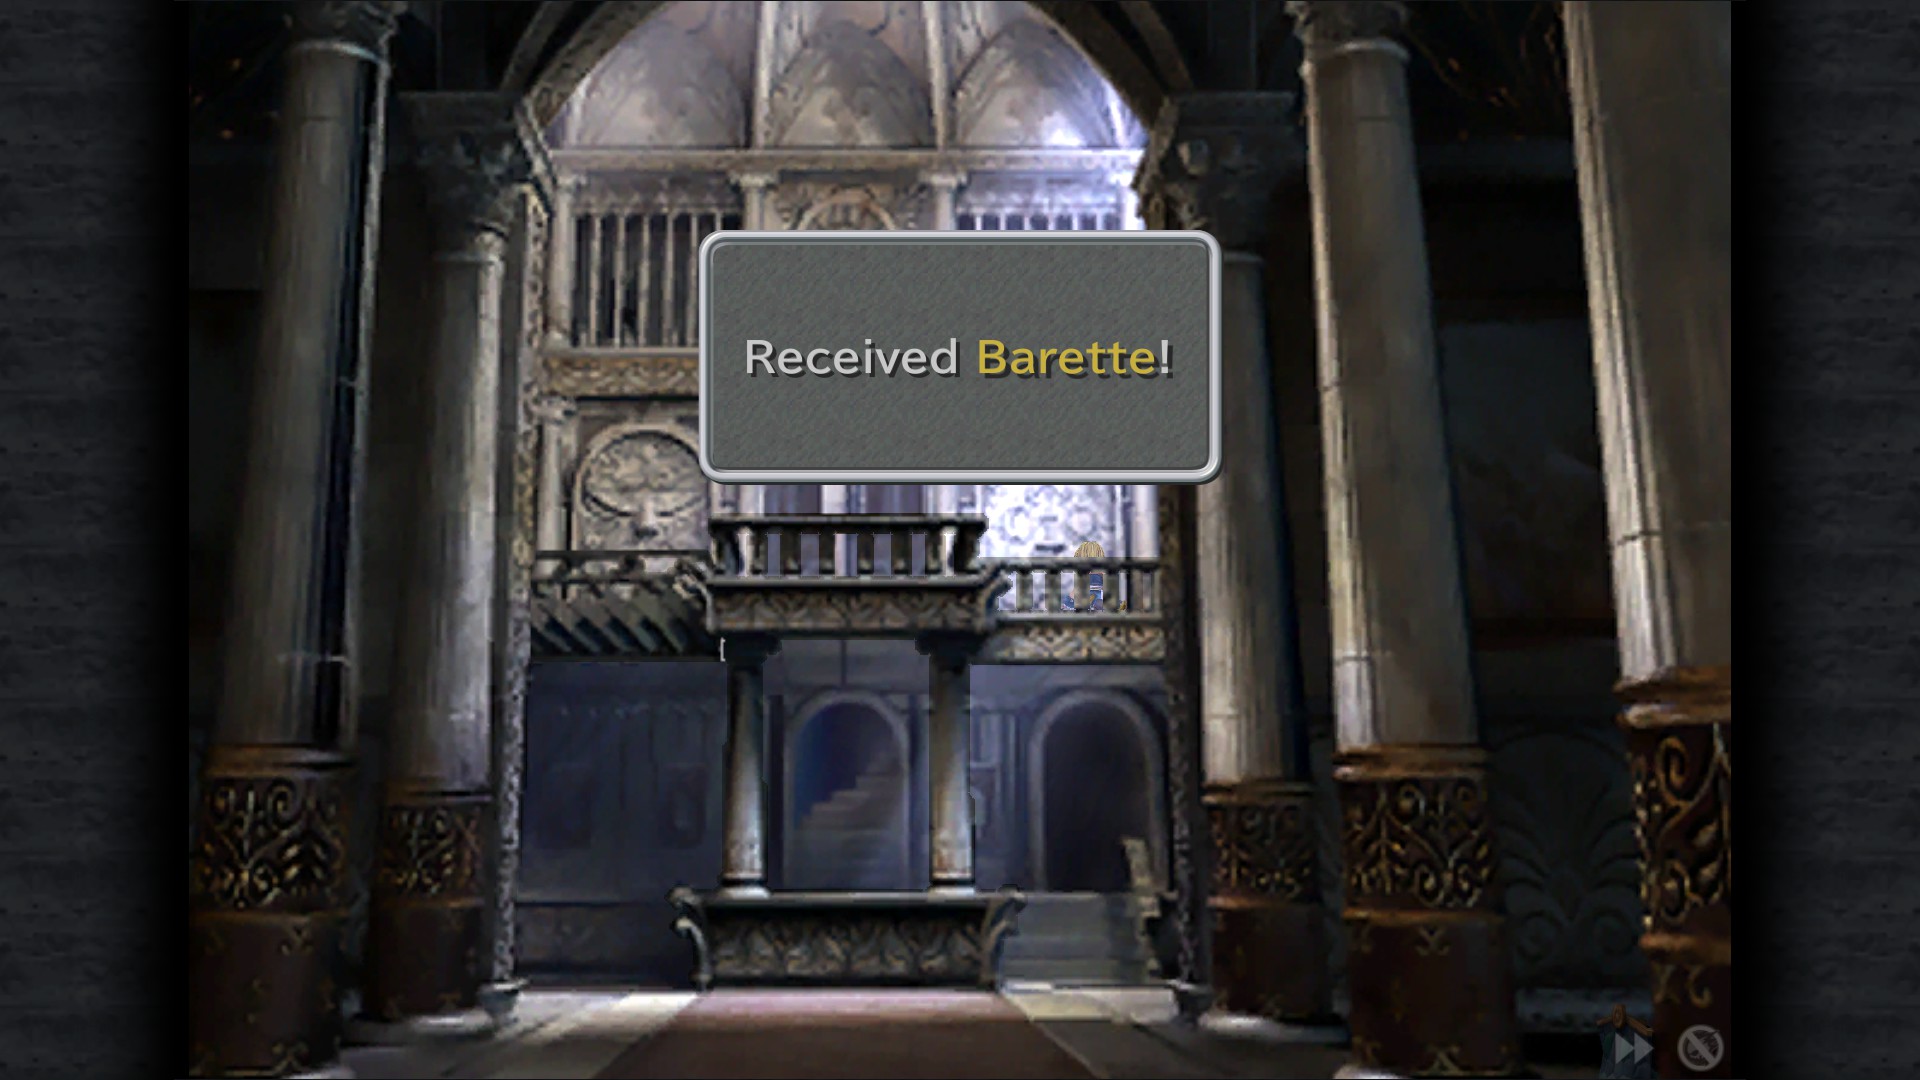
Barette - Entrance terrace, after solving the door puzzle (from lift room)
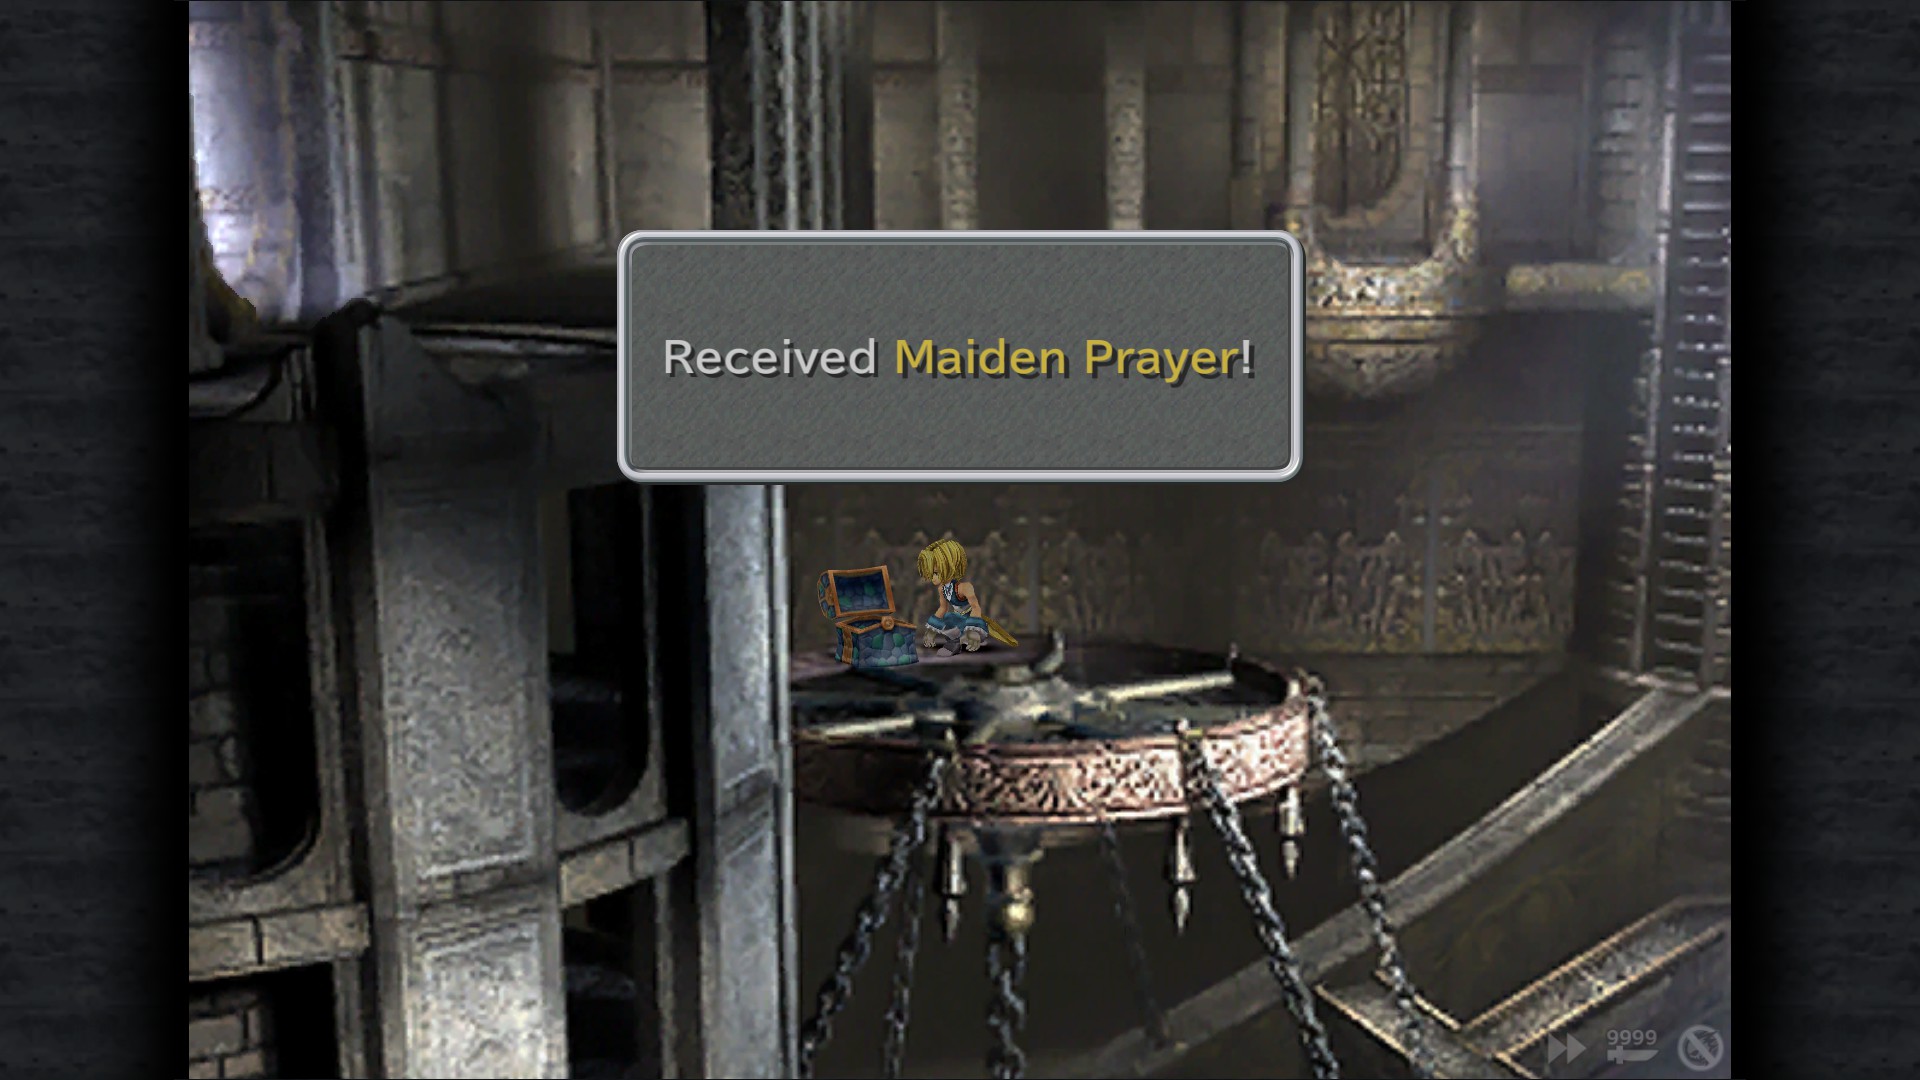
Maiden Prayer - Inverted Room (fall down using the trap which is in the Small Room)
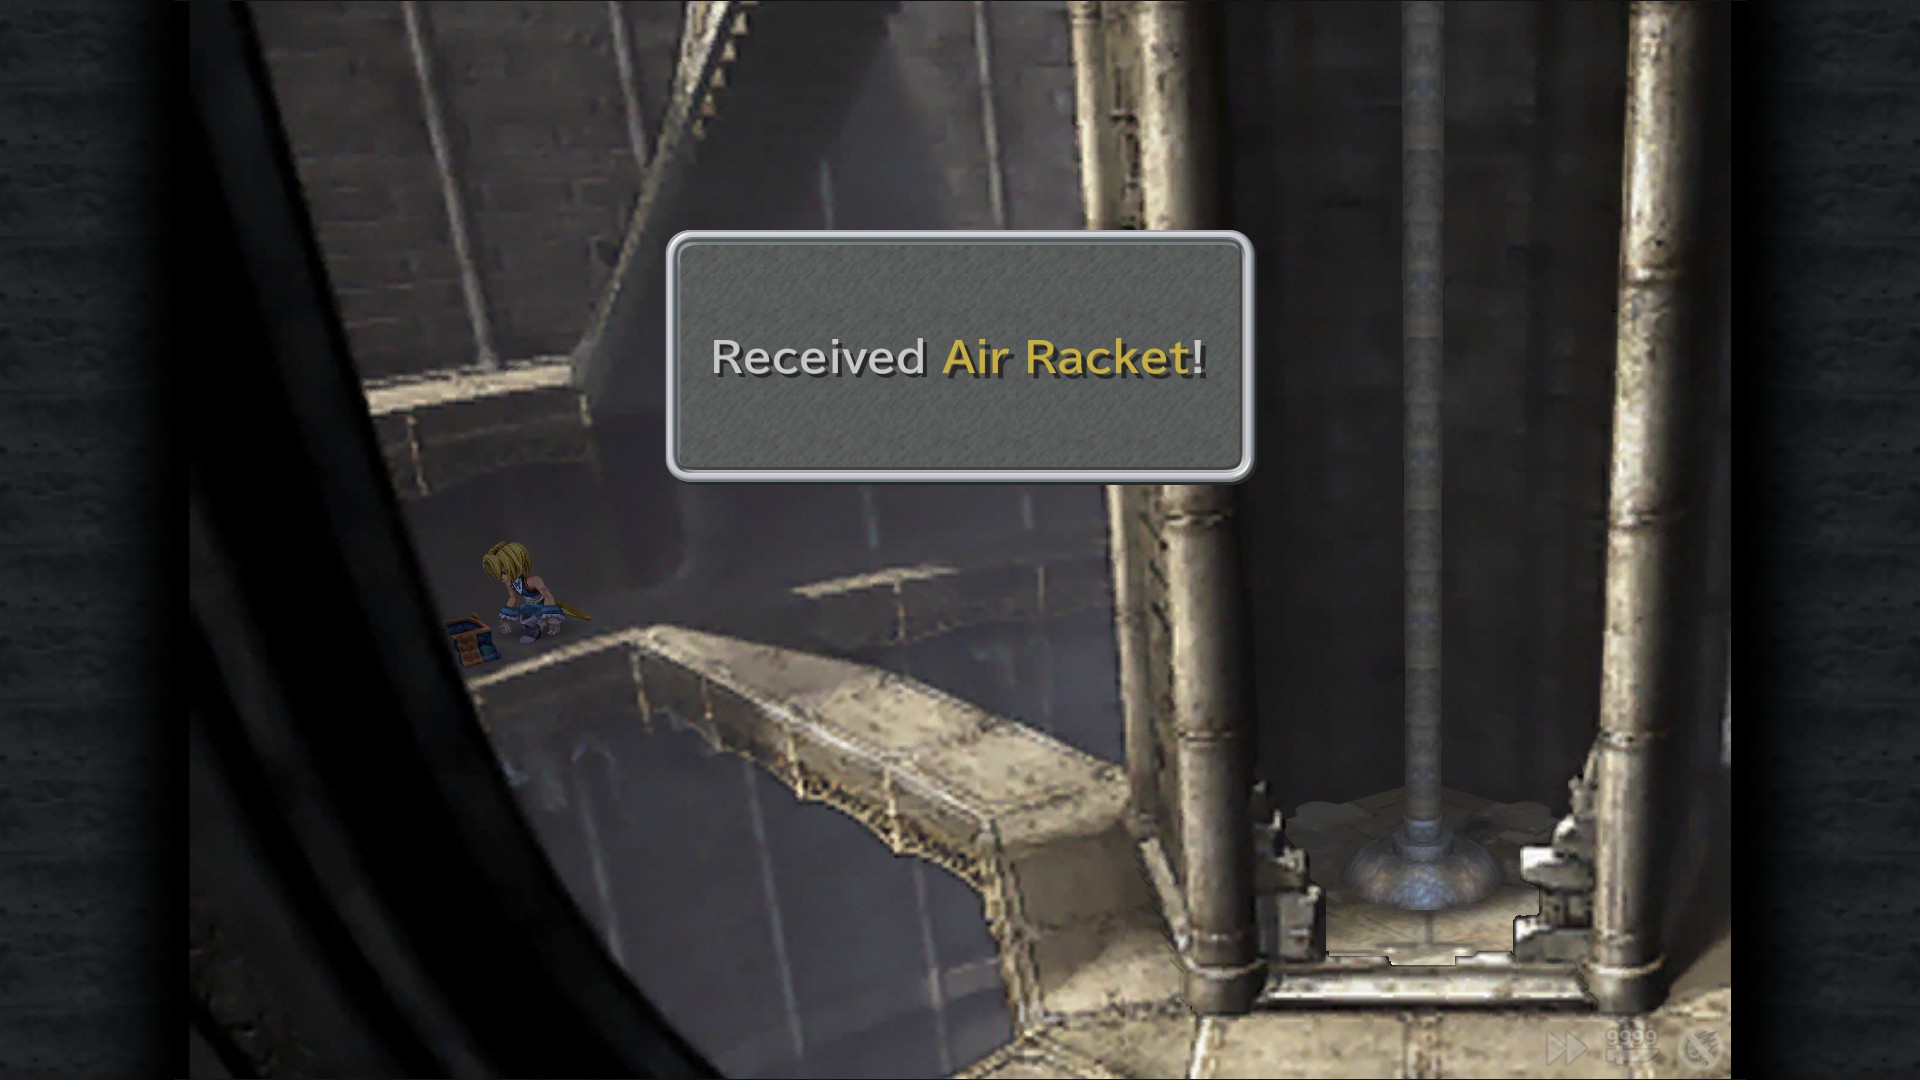
Air Racket - Walkway to the left of Sword-Room Lift (accessible from entrance after solving door puzzle)
Golem's Flute - Sword Room
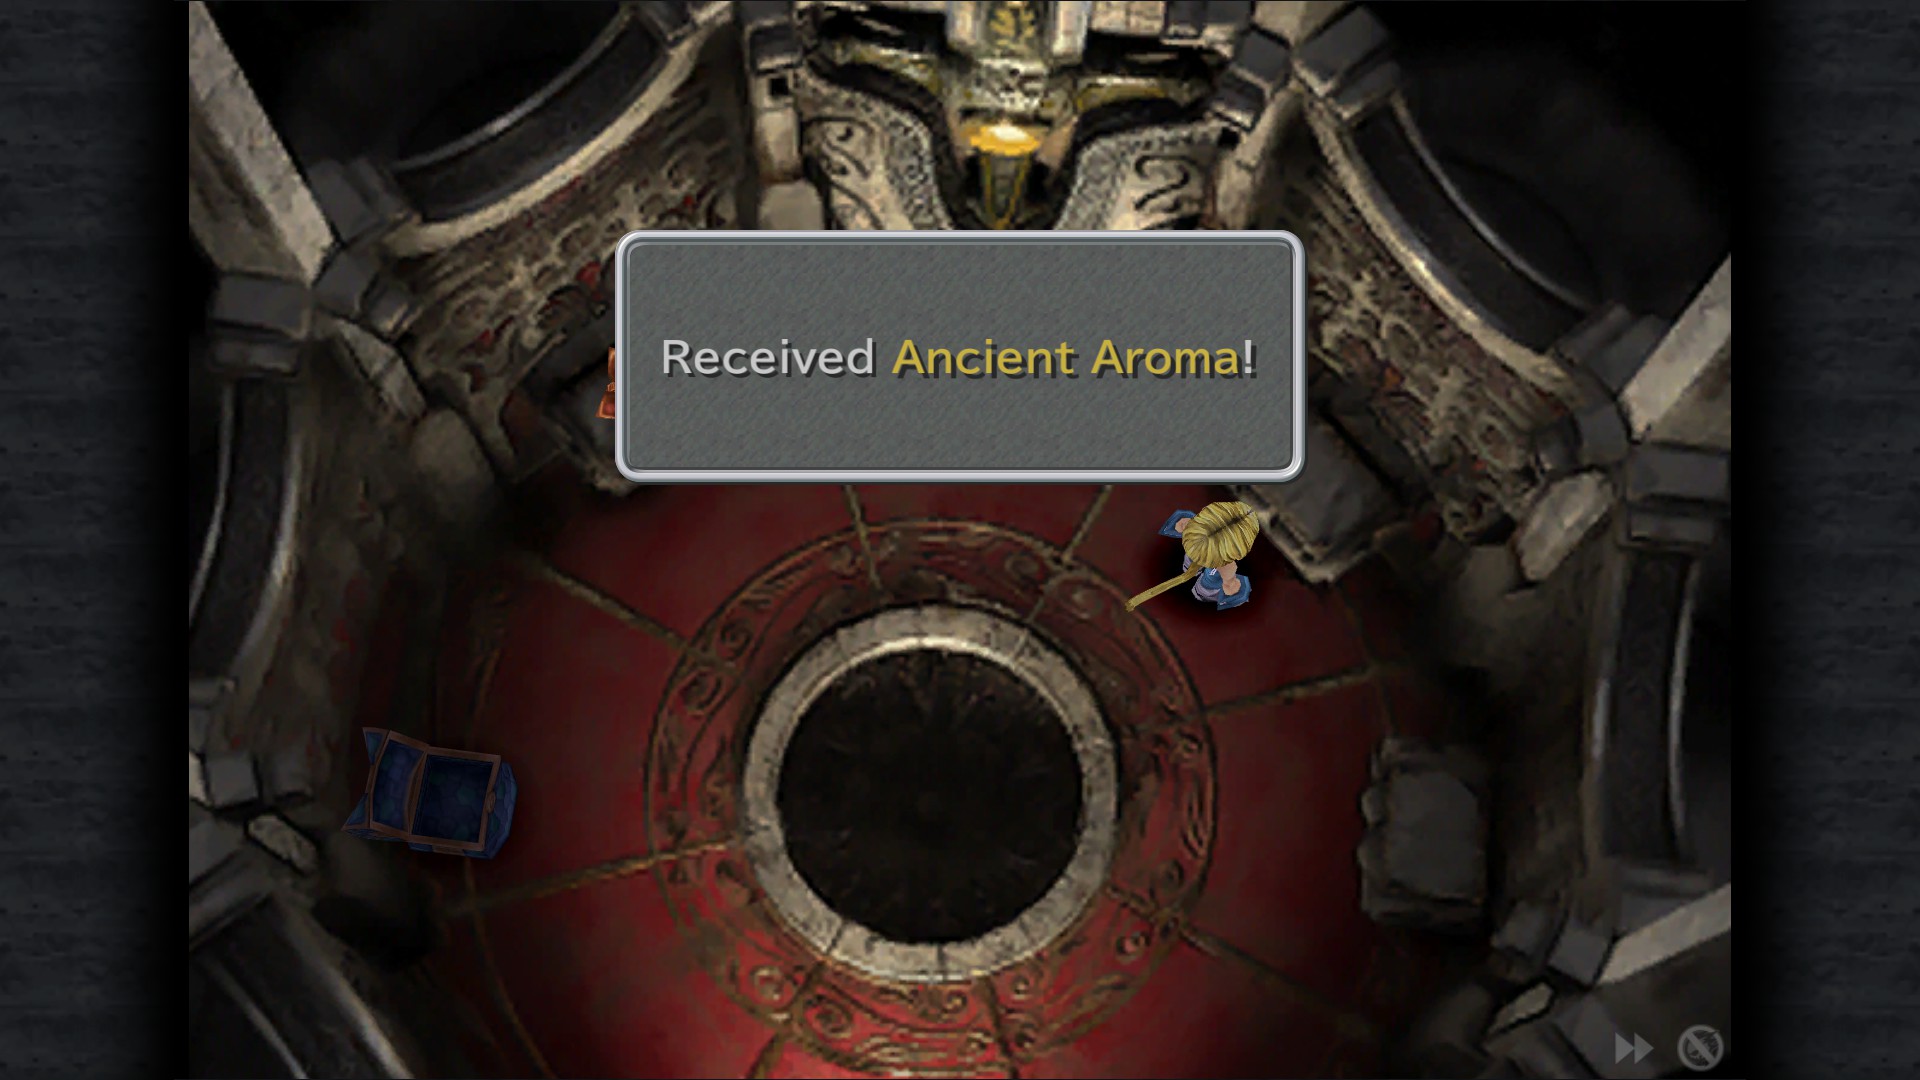
Ancient Aroma - Sword Room (after solving vase puzzle)(Hint: move the vases counter-clockwise for a while)
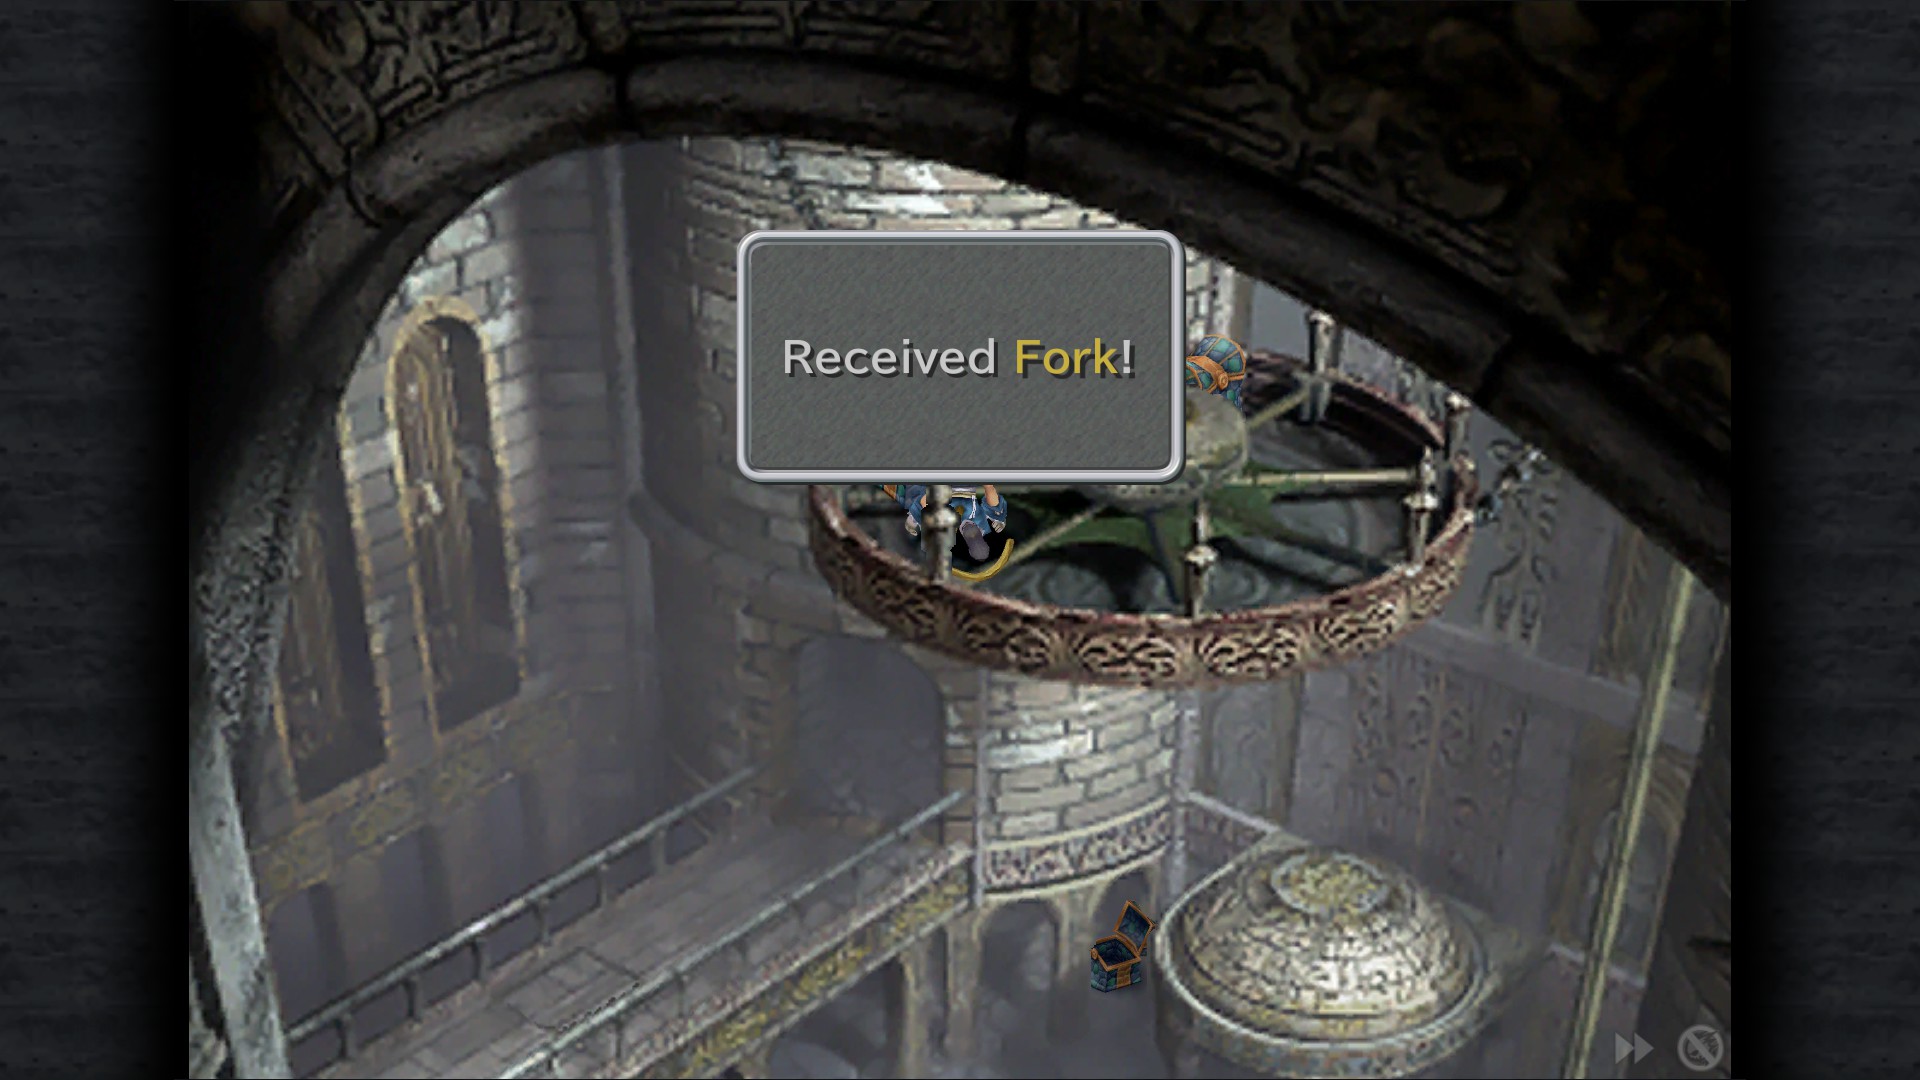
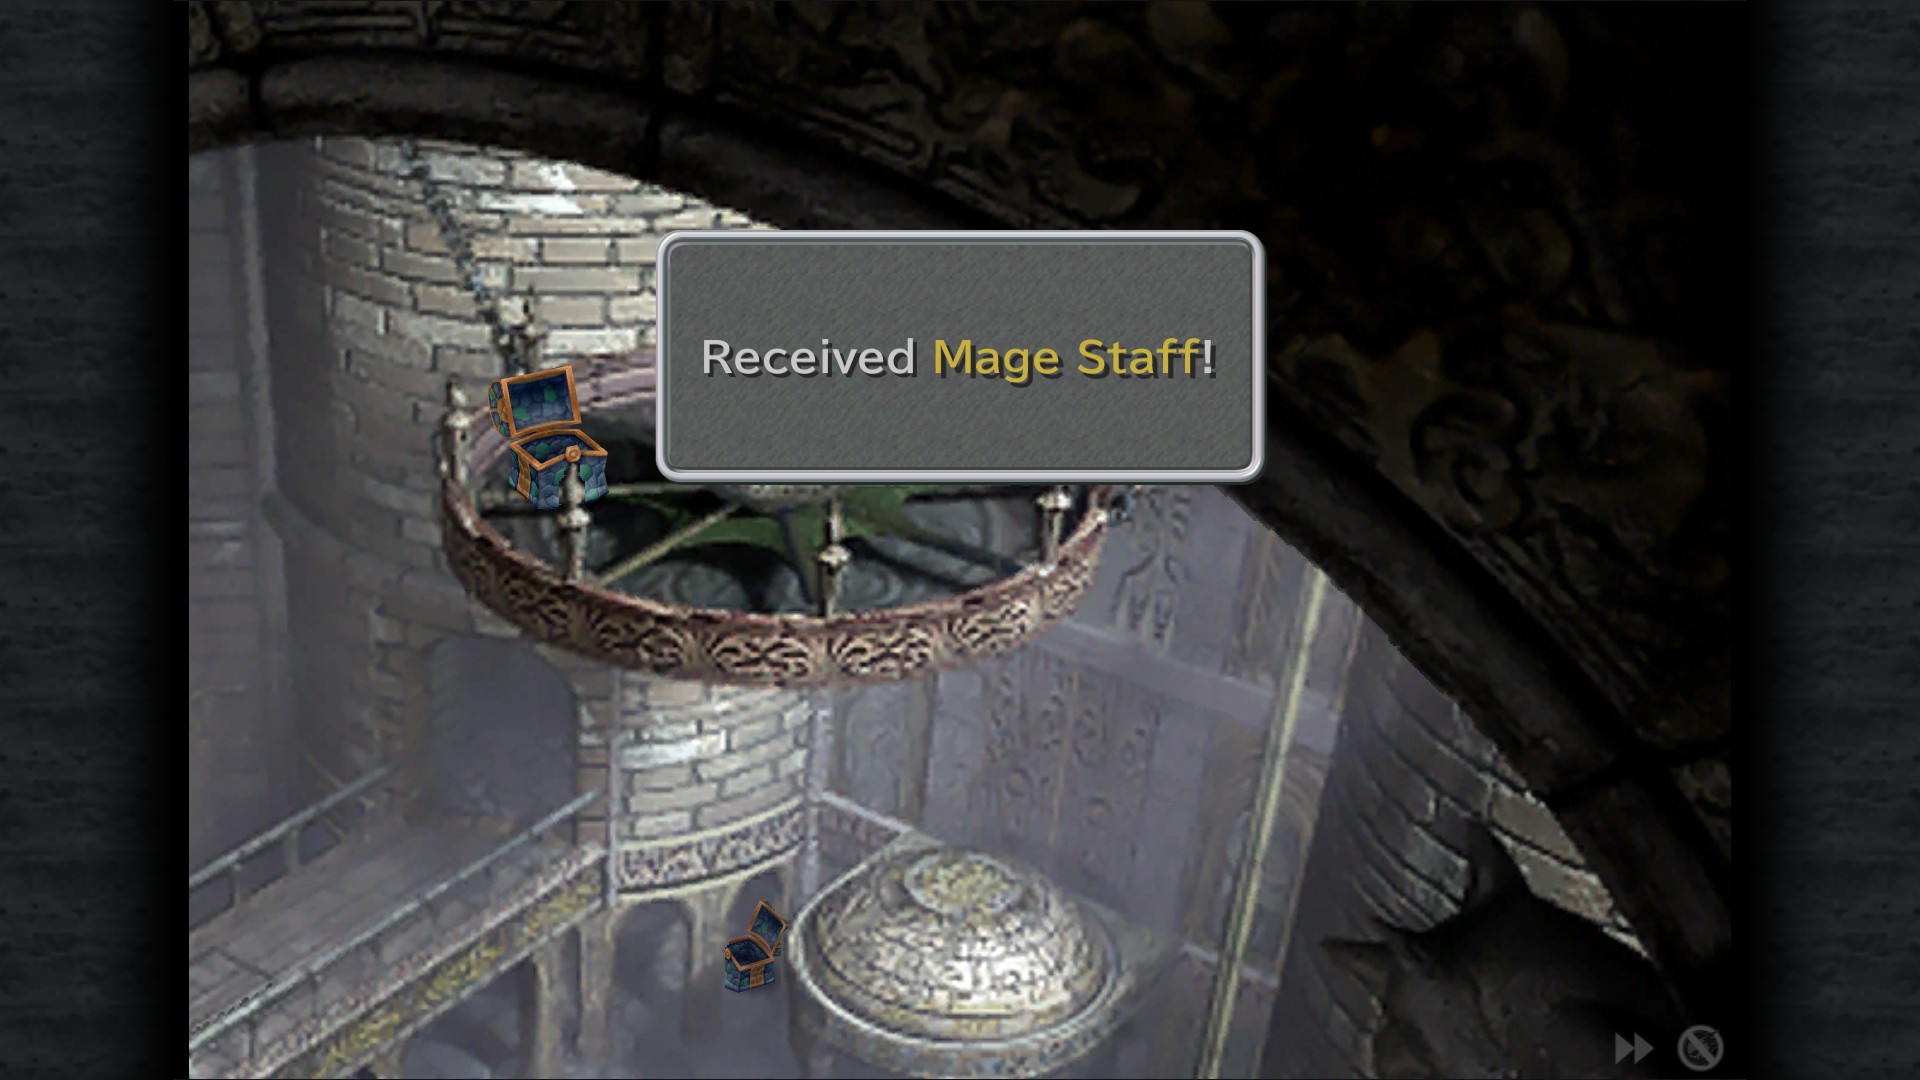
Only available when you have to rescue Amarant.
Mage Staff - Small Room (Chandelier)
Fork - Small Room (Chandelier)
Terra
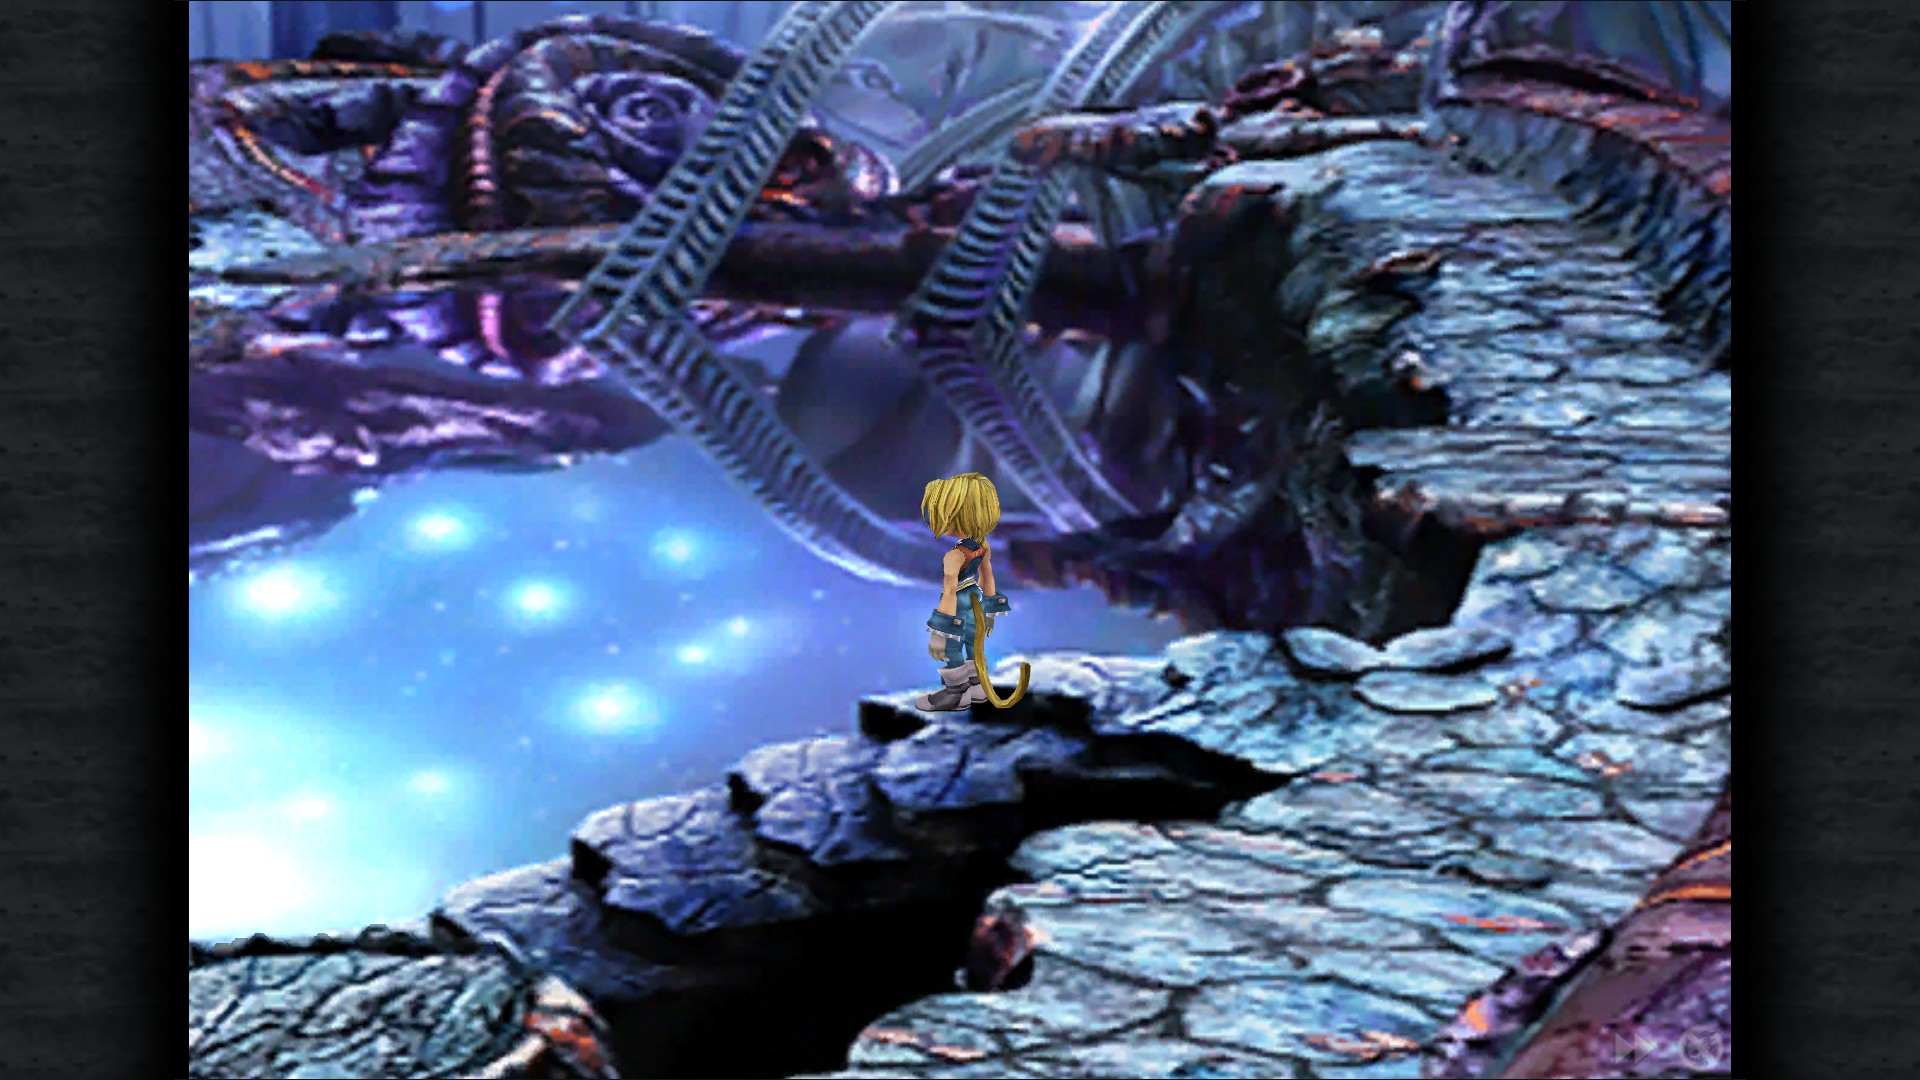
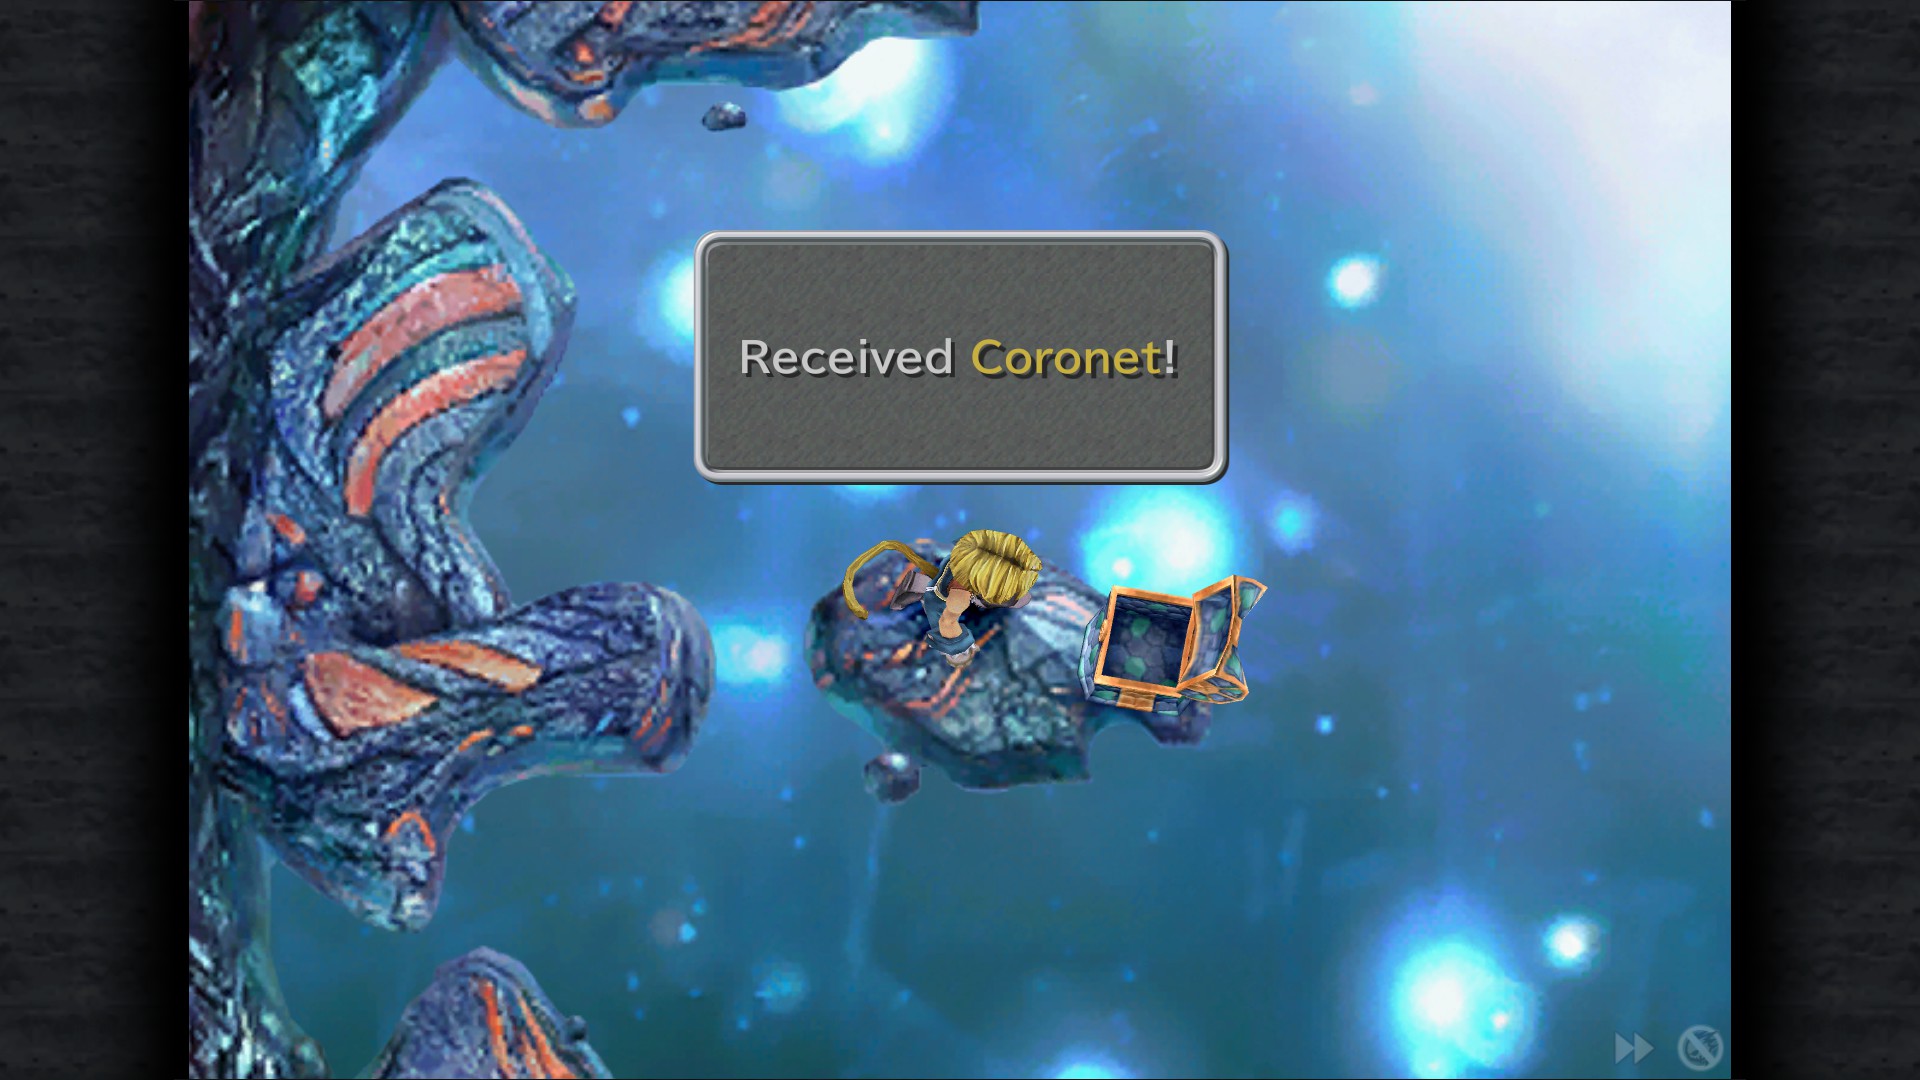

Terra
Coronet - Stepping Stones
Dragon Wrist - Path by the Pond (from Stepping Stones)
Elixir - Path by the Pond
Remedy - Treetop
Mythril Racket - Treetop
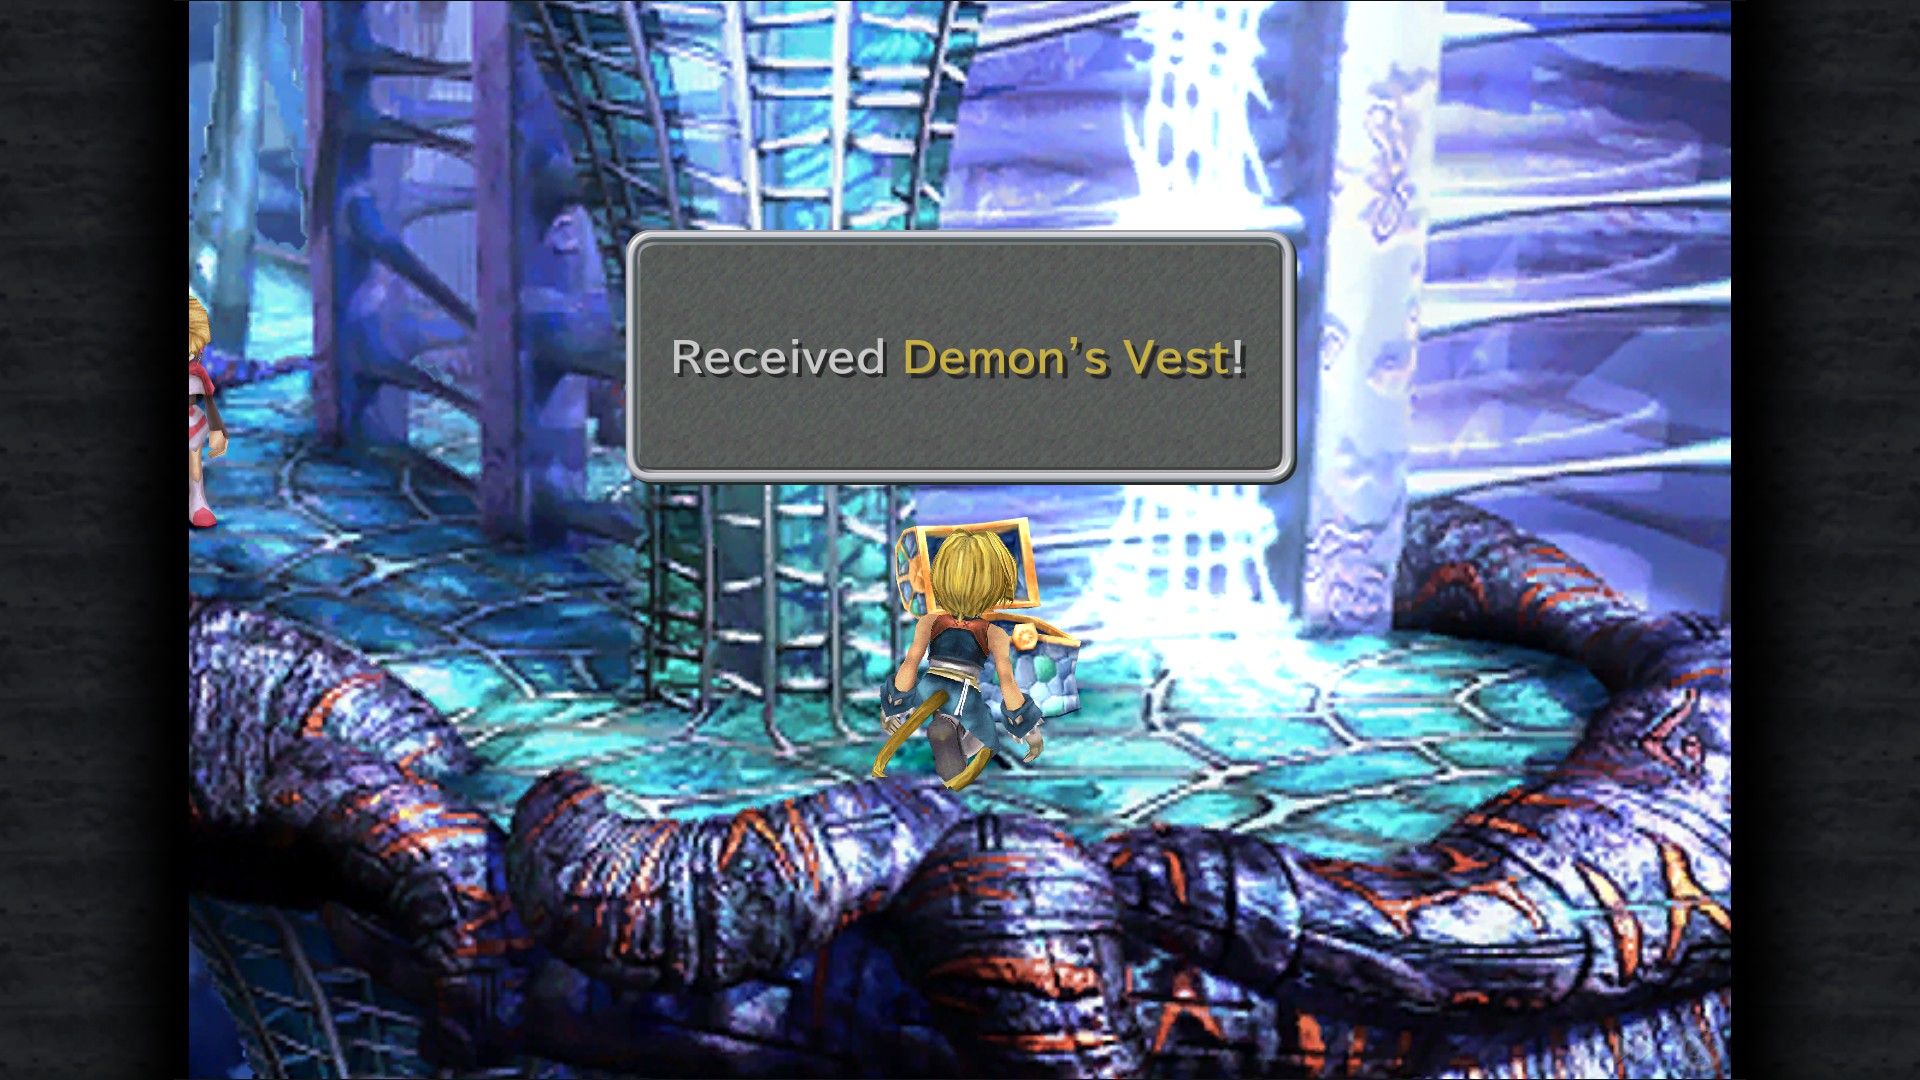
Demon's Vest - Tree Base
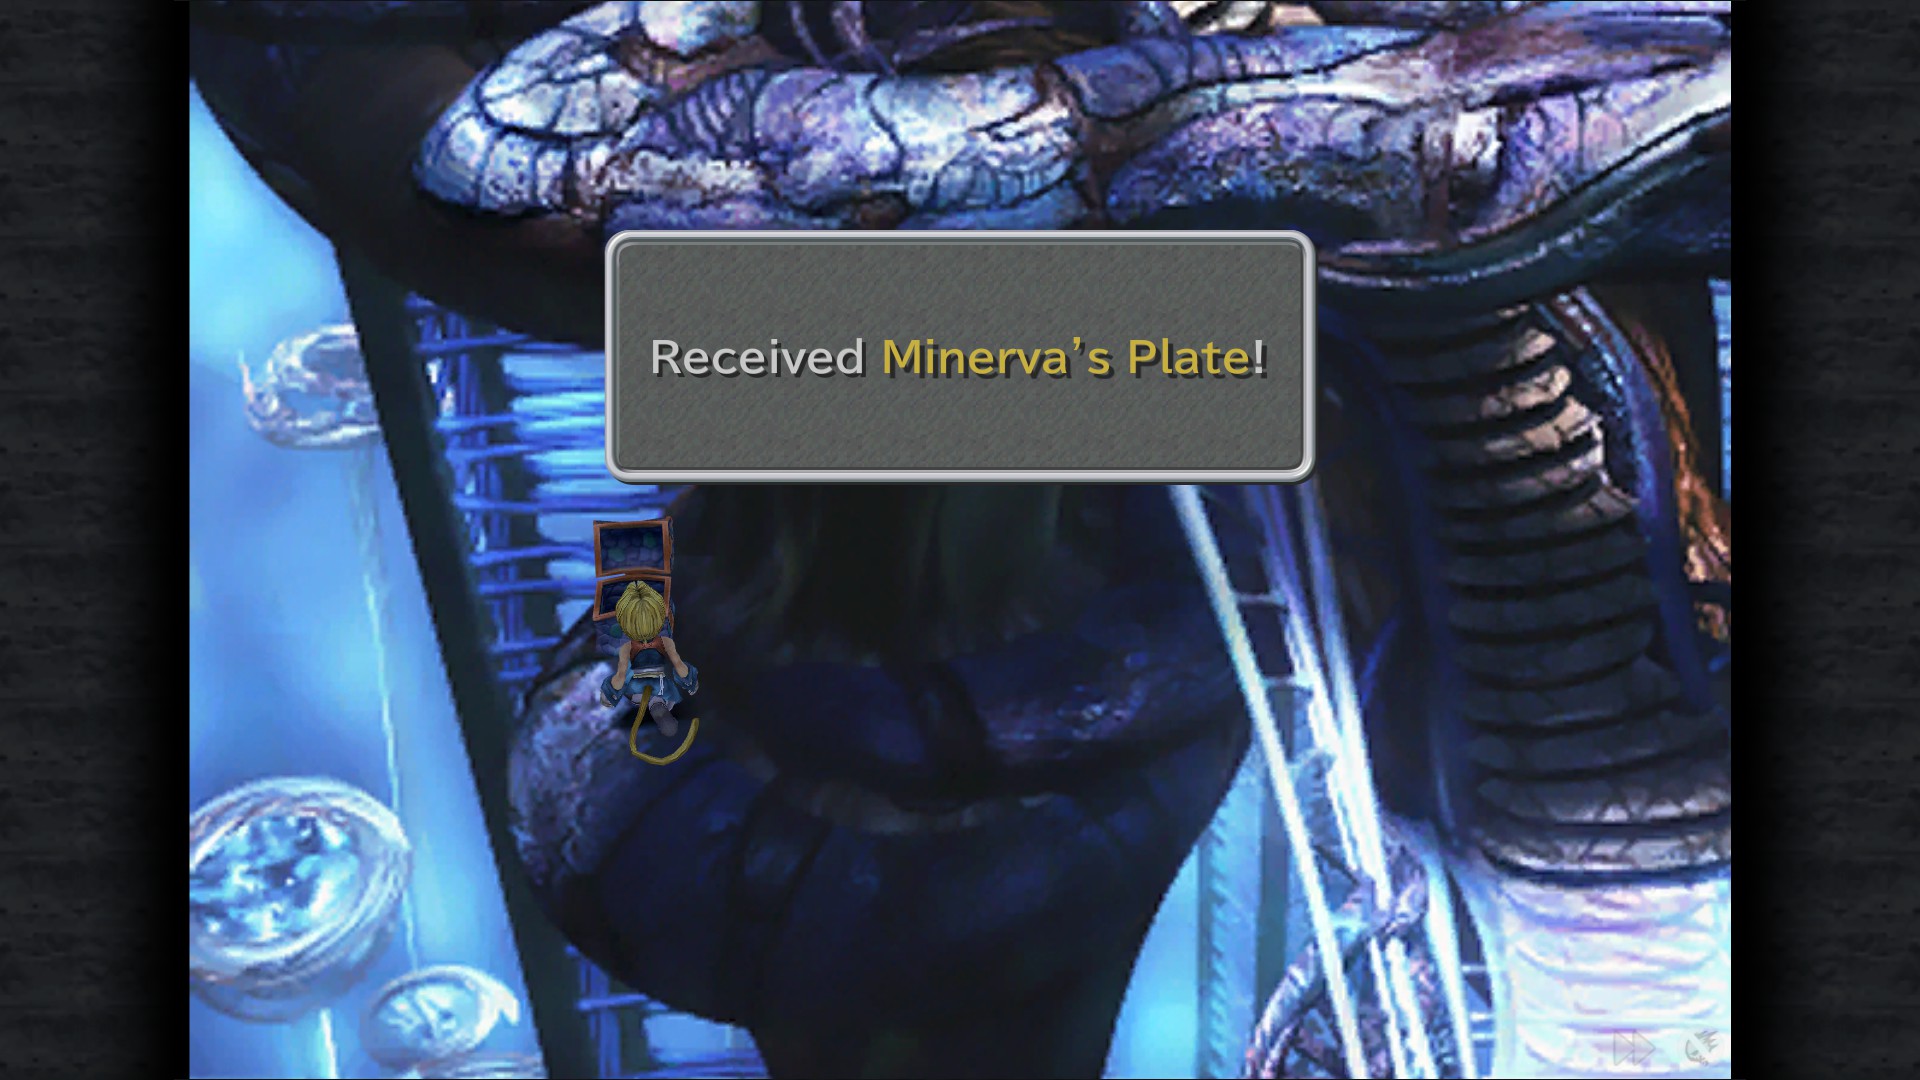
Minerva's Plate - ??? (One screen after bridge)
Bran Bal
Wing Edge - Storage
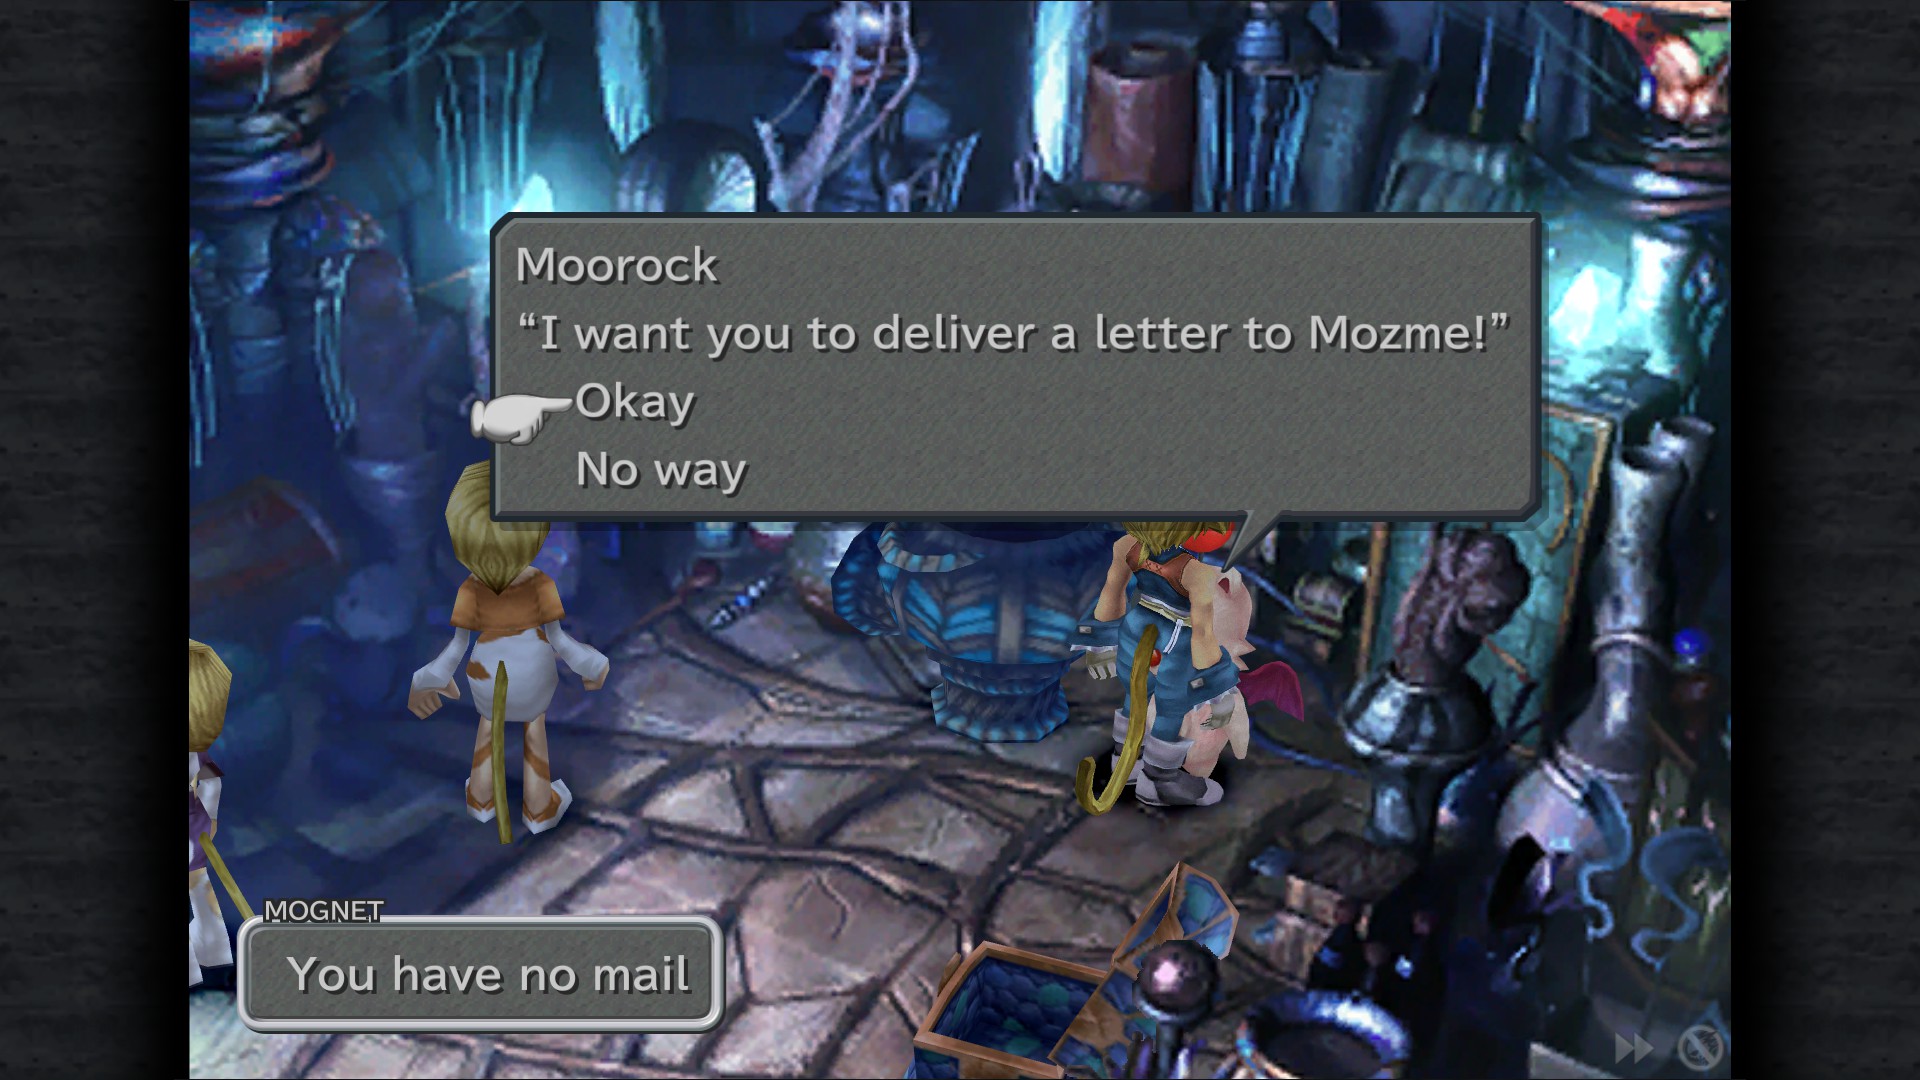
Mognet: Pickup the letter for delivery (Moorock to Mozne) - Storage
Sidenote: The Mogshop here is the last chance to obtain the Zorlin Shape, as these will not be available anywhere later in the game. Two synthesis recipes require this weapon.
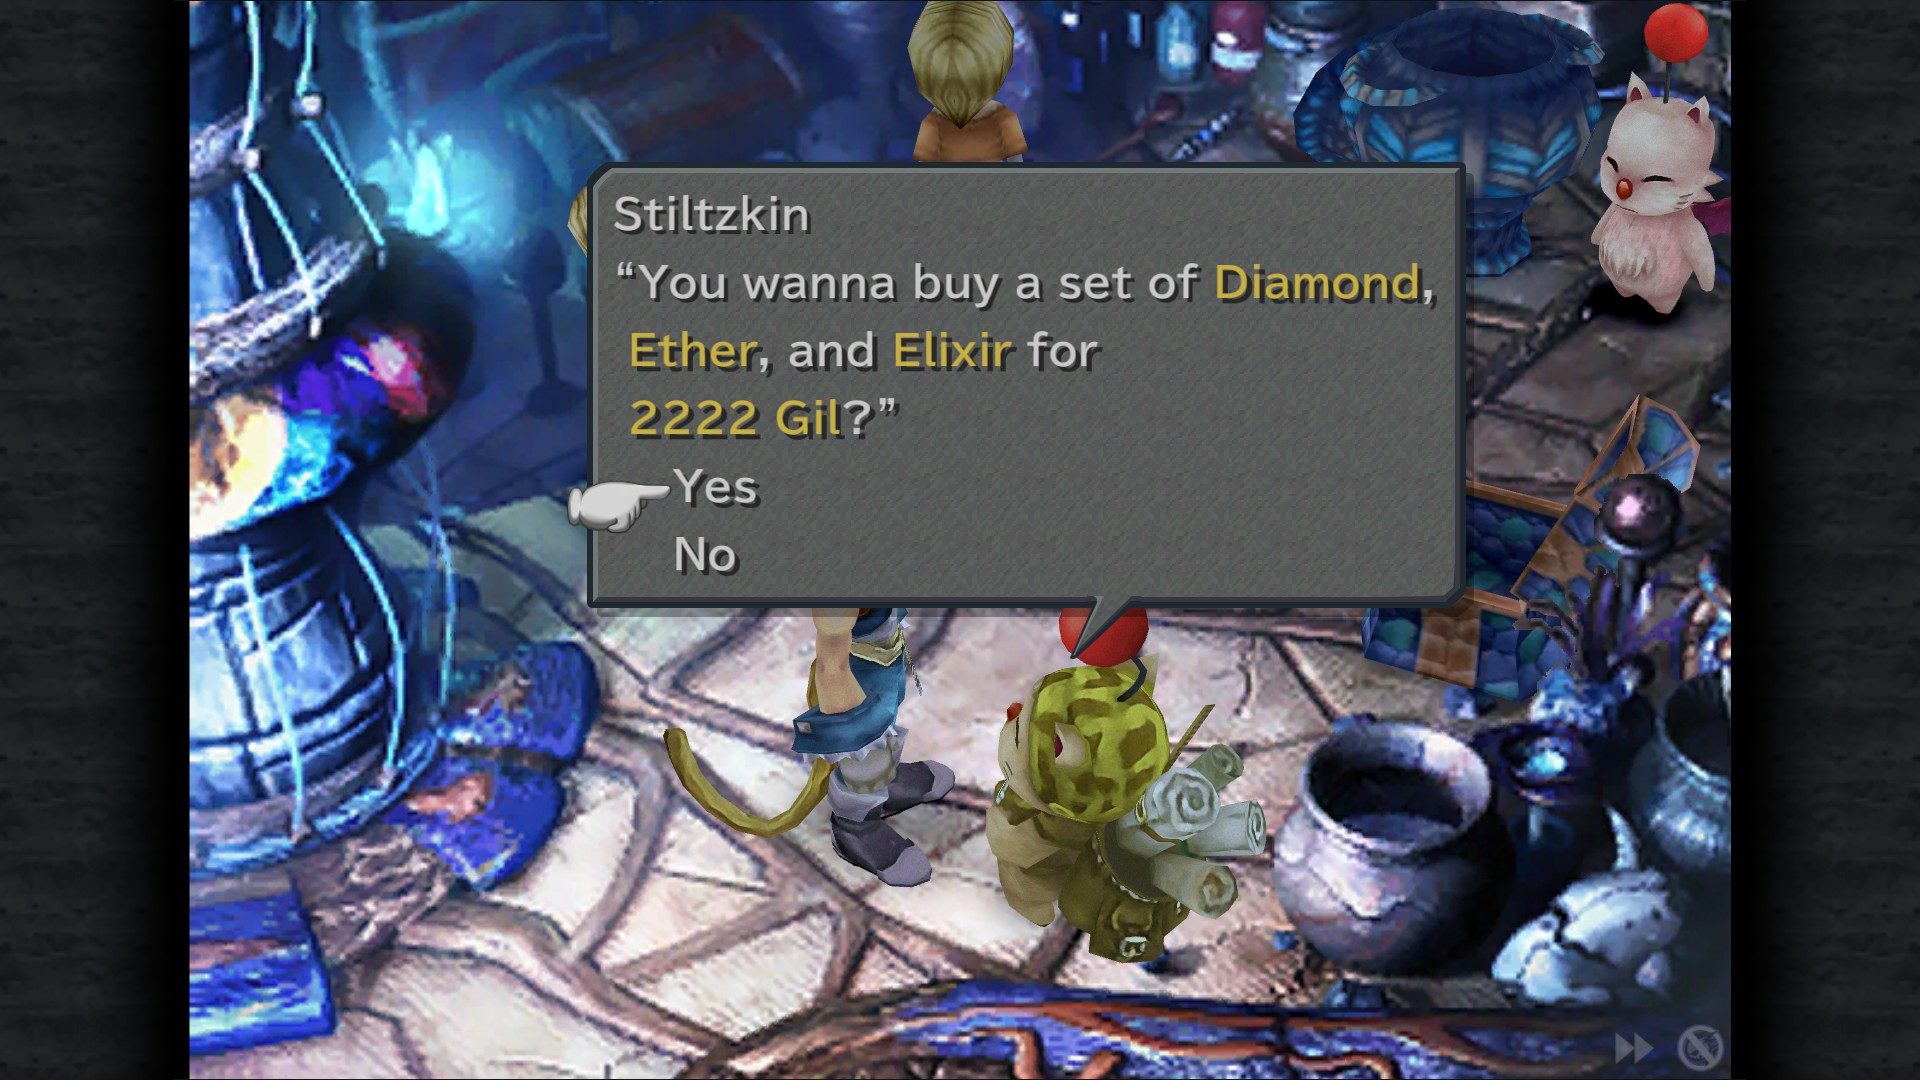
Stiltzkin: Pack available for 2222 Gil (Diamond, Ether, Elixir) - Storage (Exit and re-enter to make him appear)
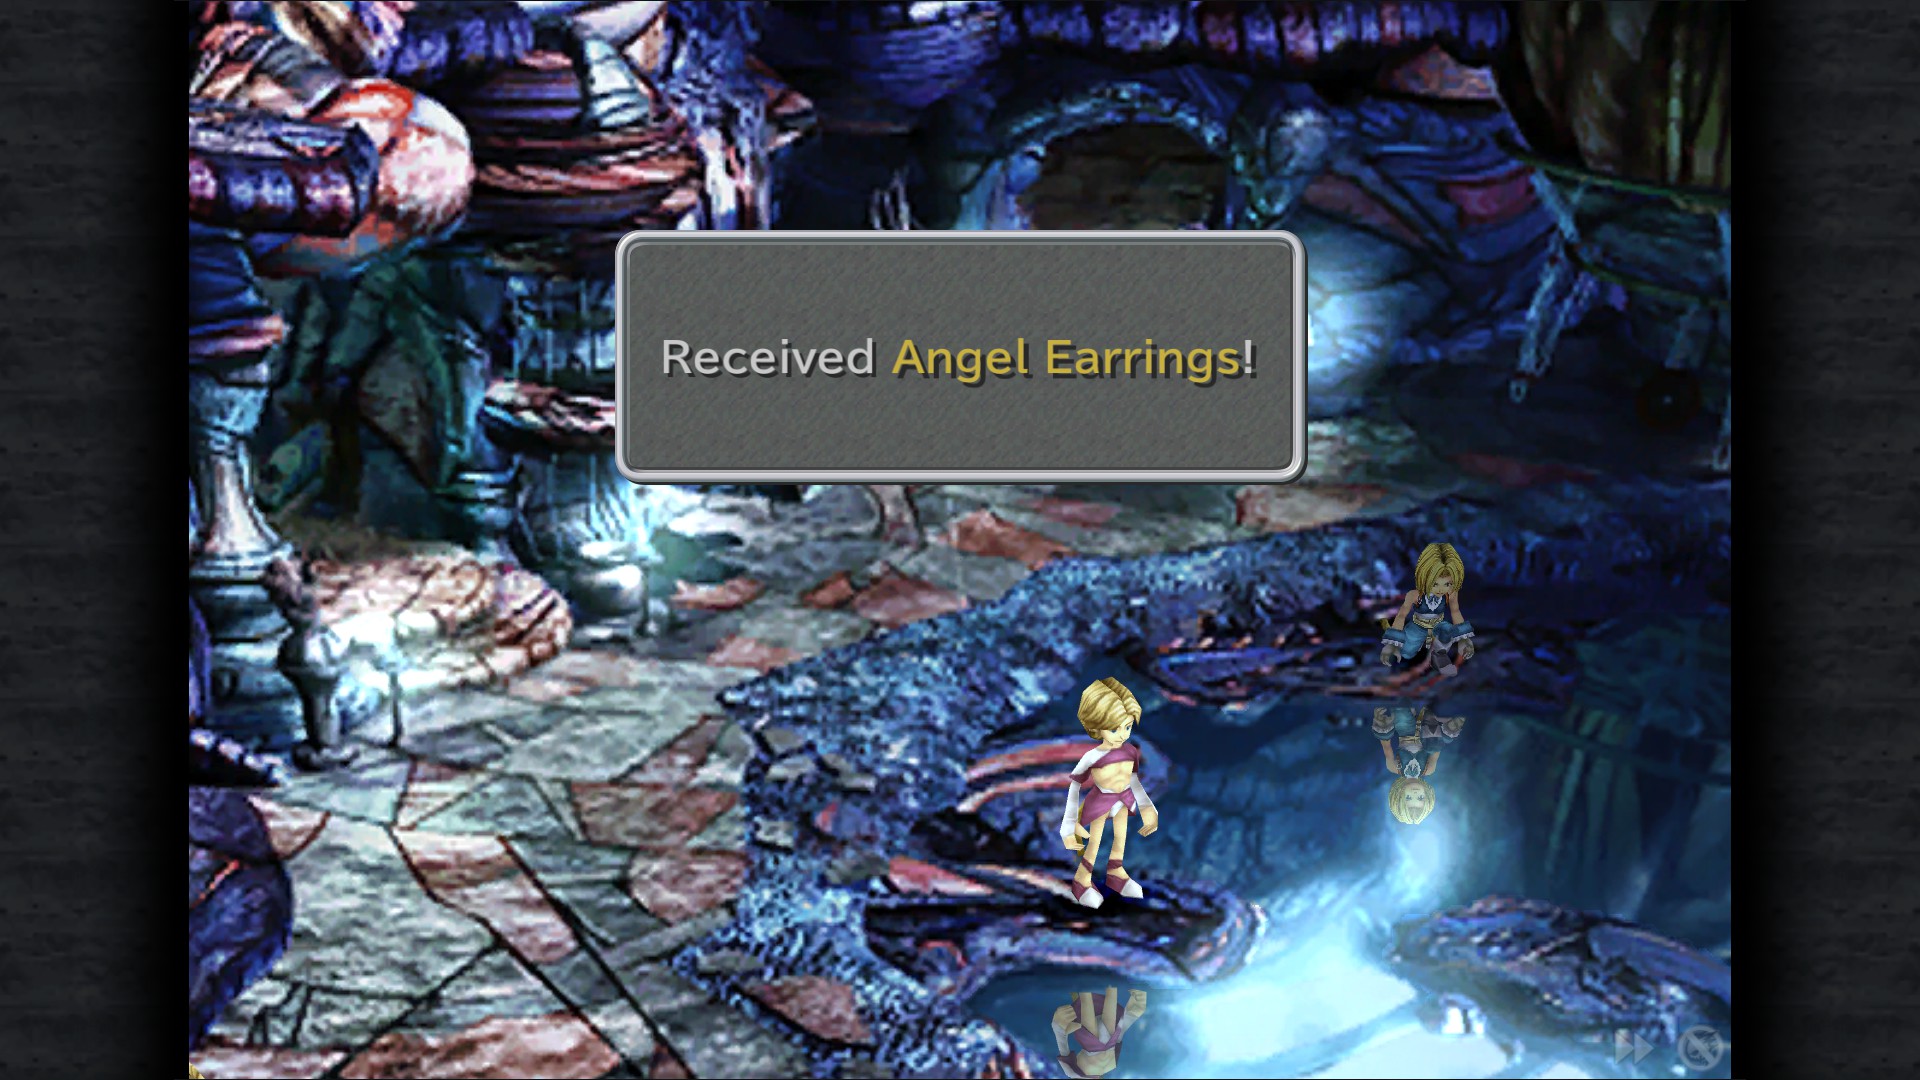
Angel Earring - Pond (West side)
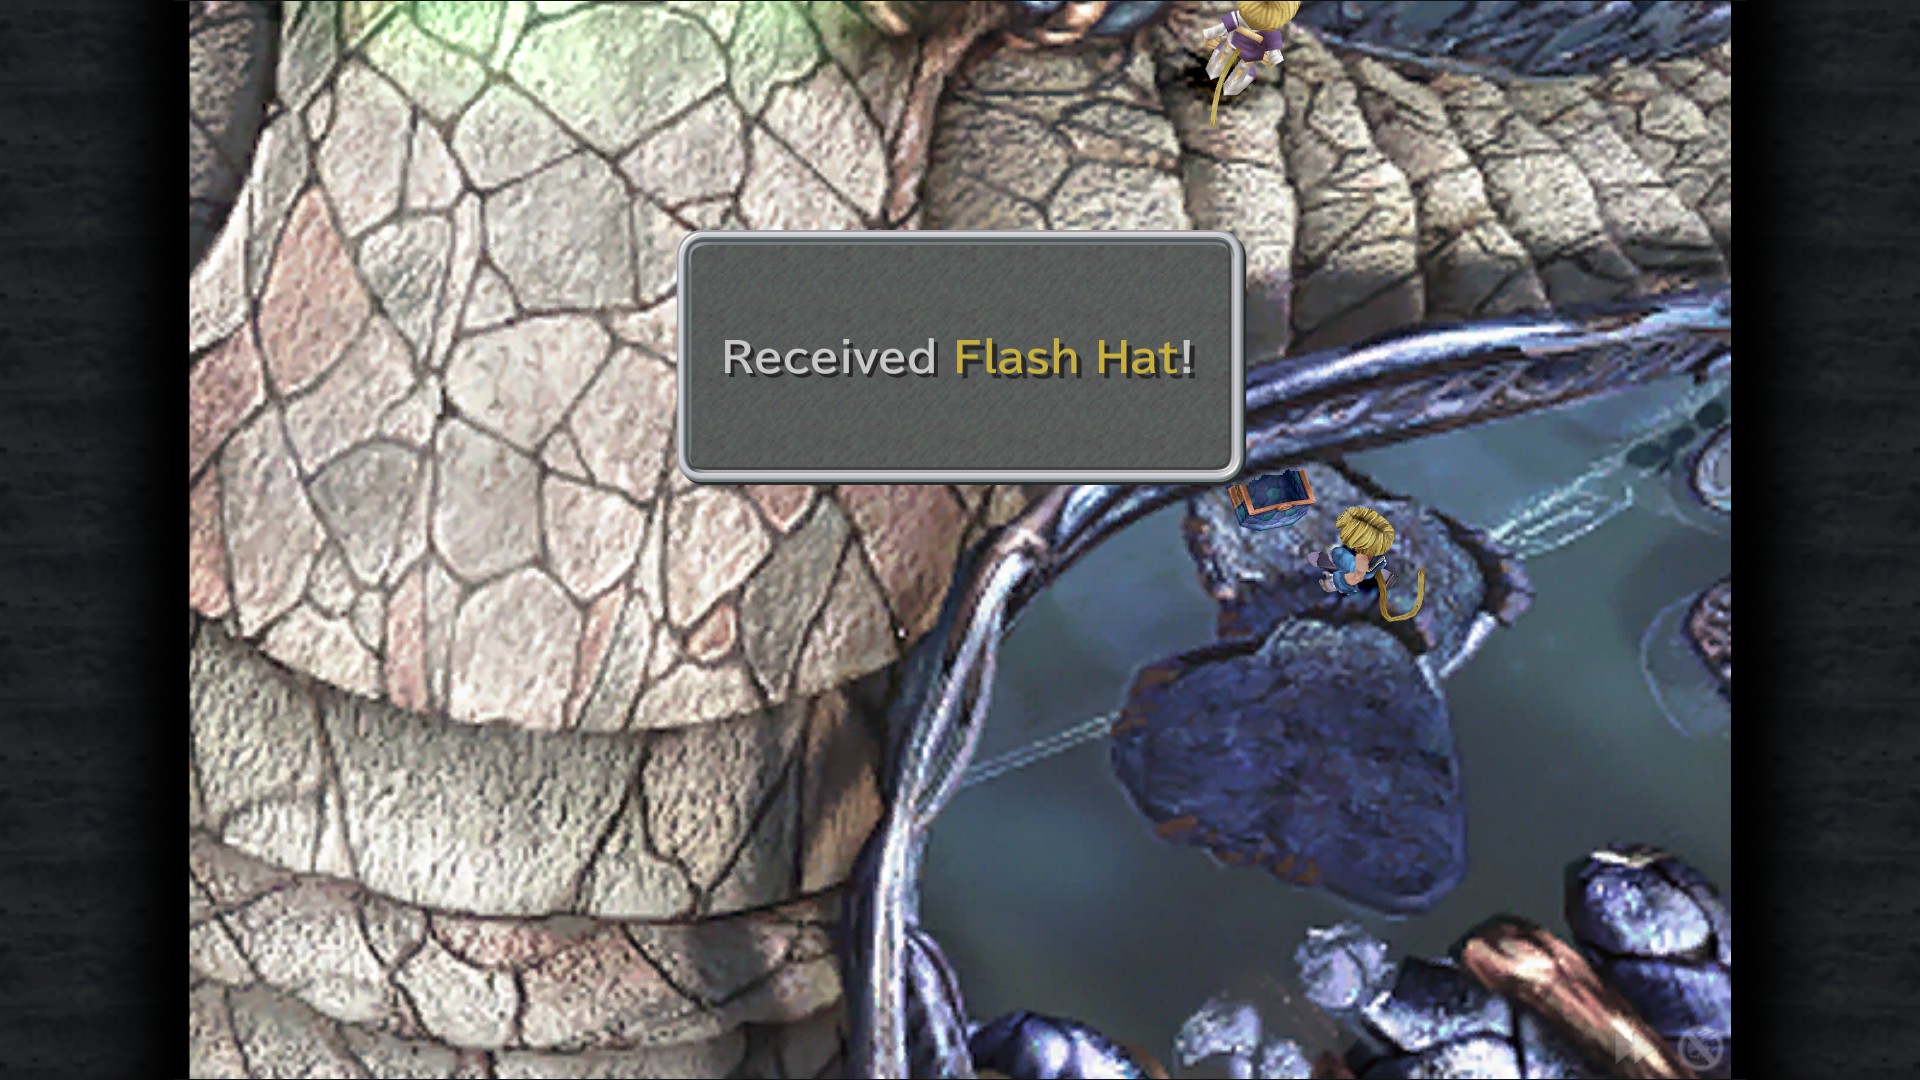
Flash Hat - Gate (Below, enter from west side)
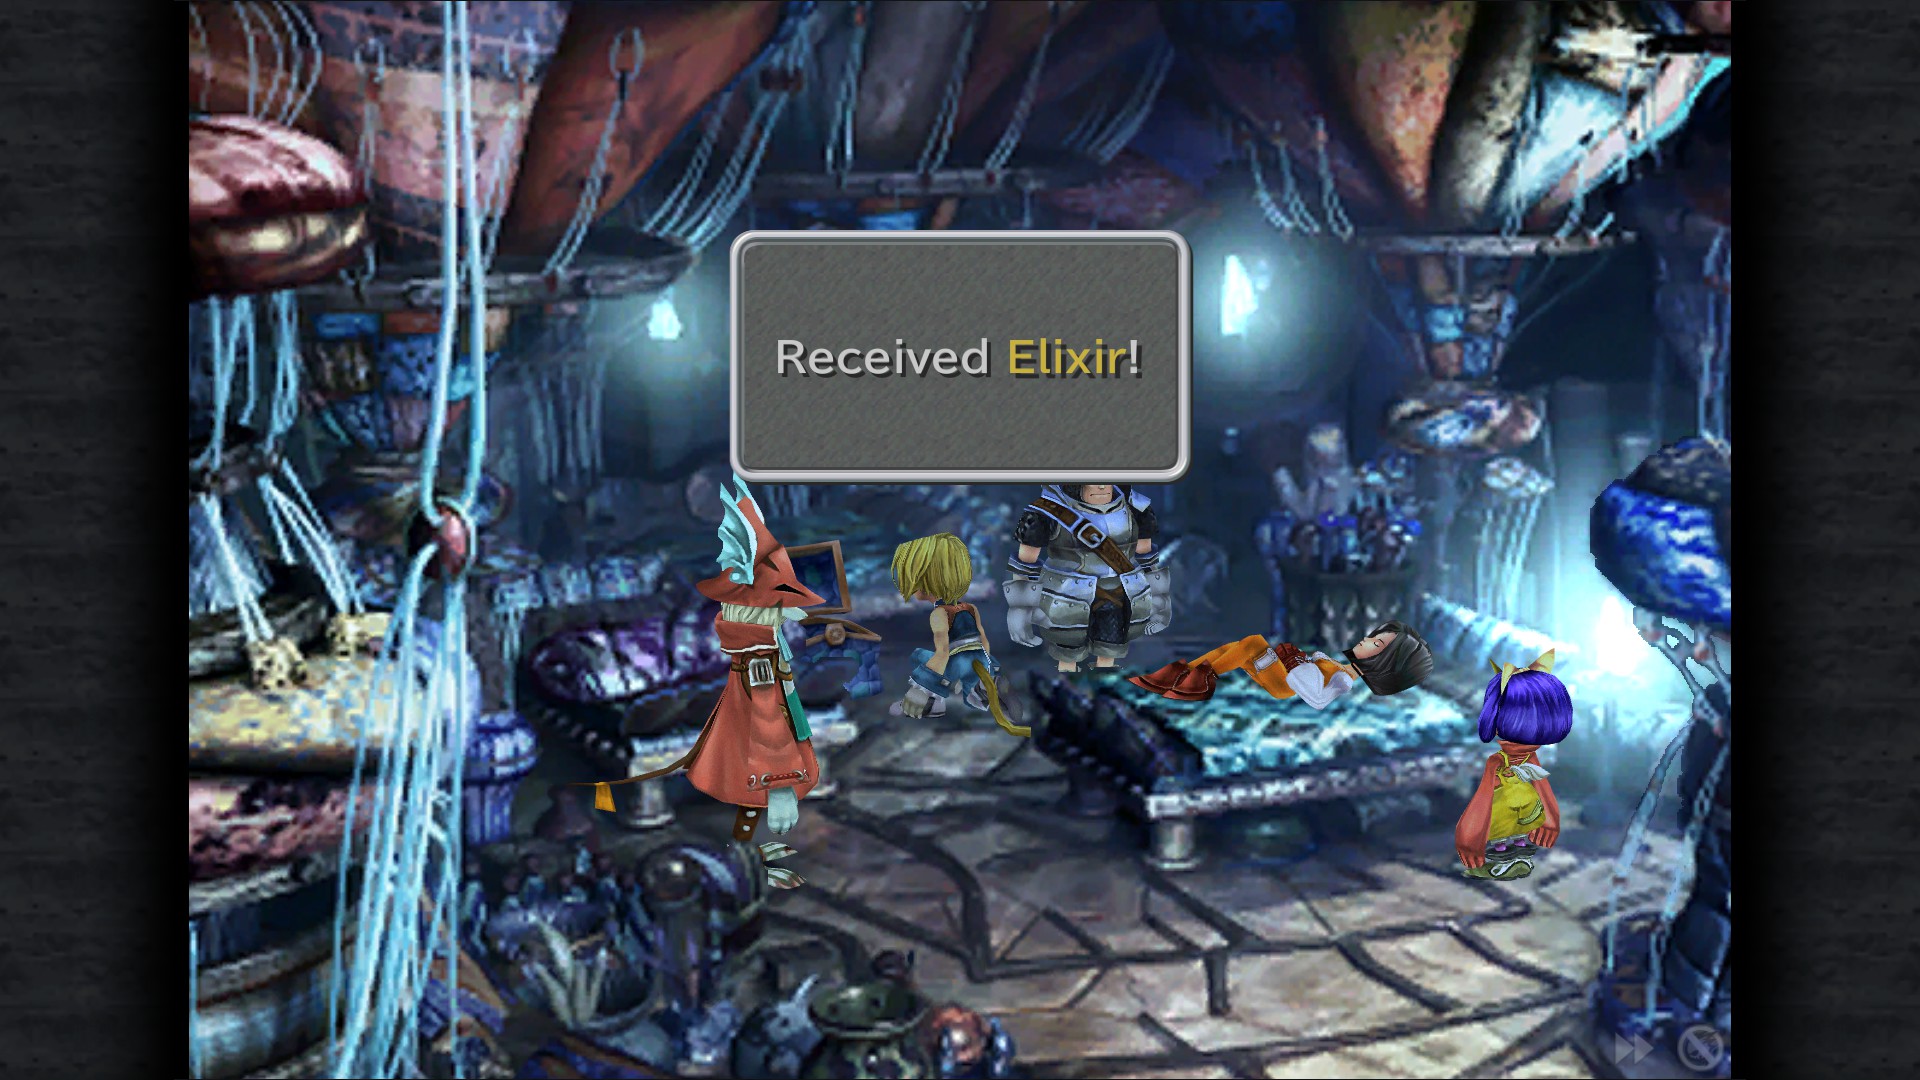
Elixir - Inn
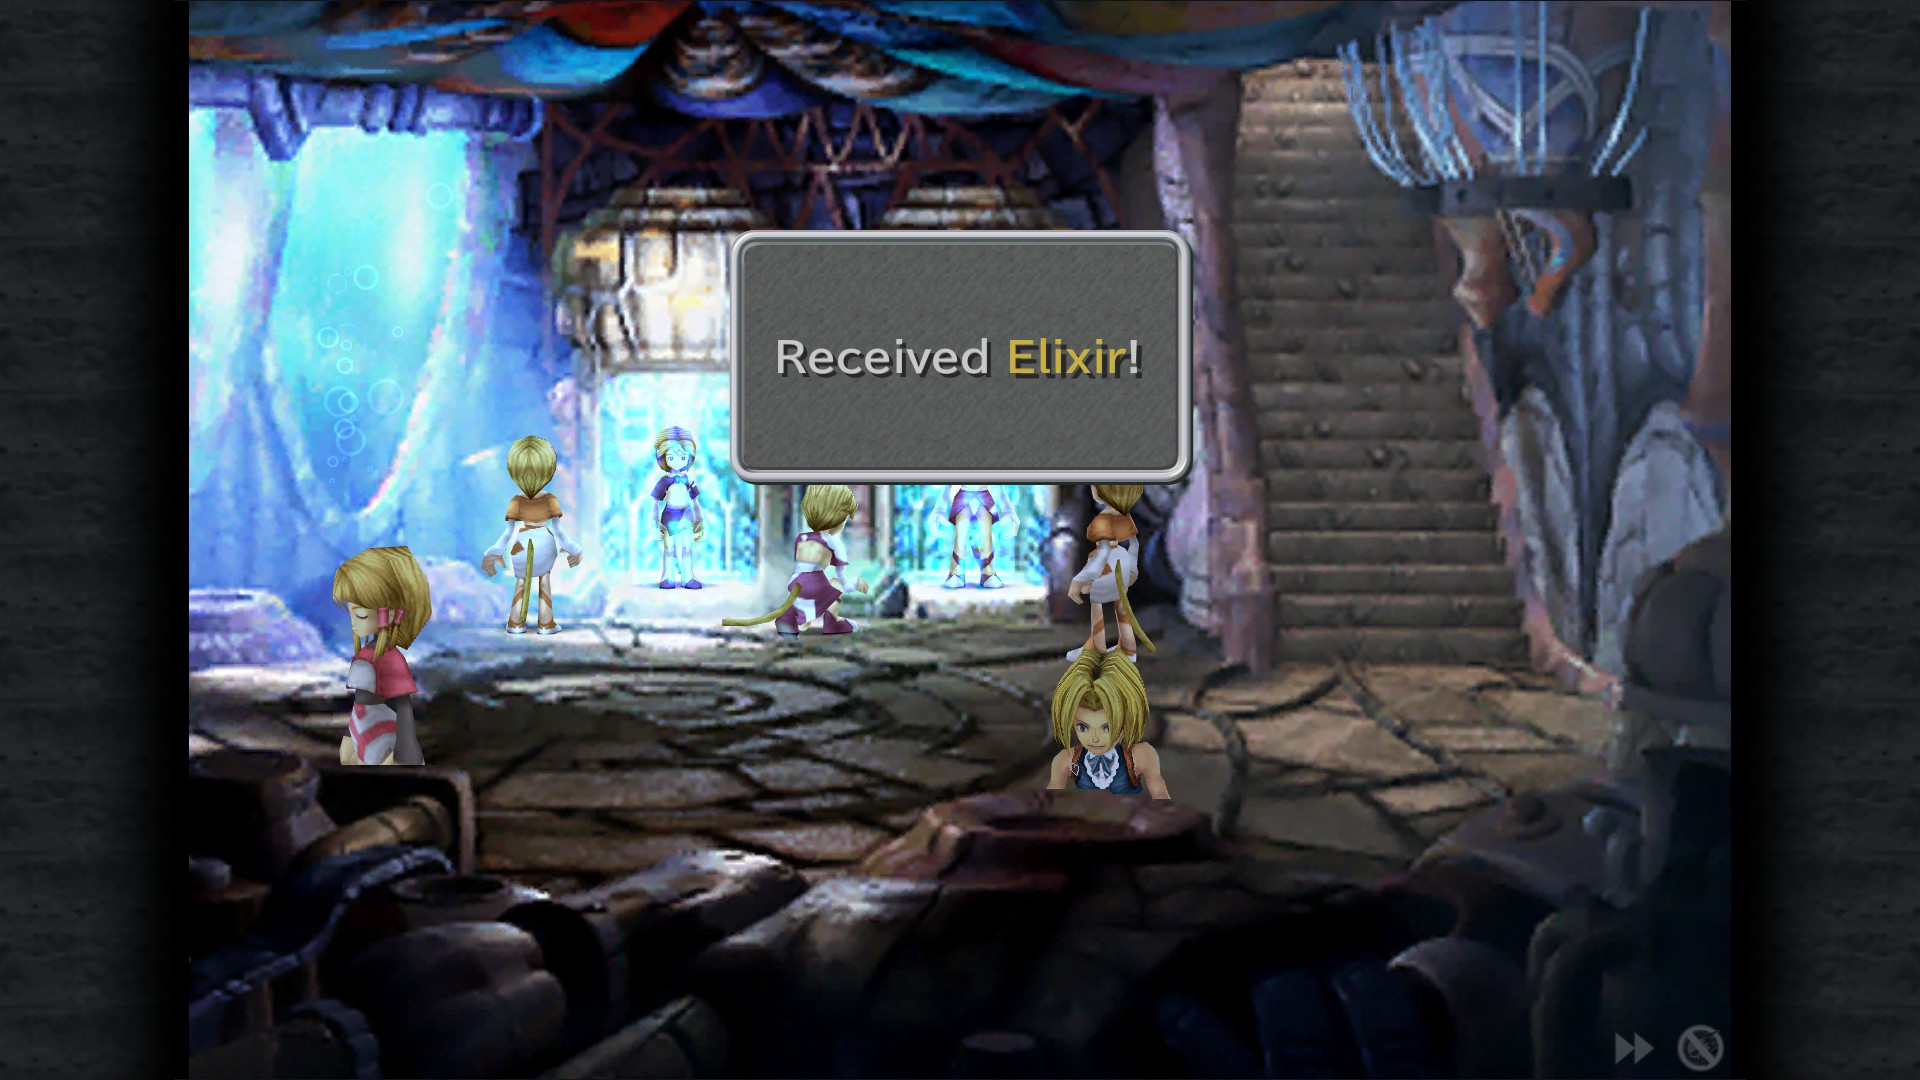
Elixir - Laboratory
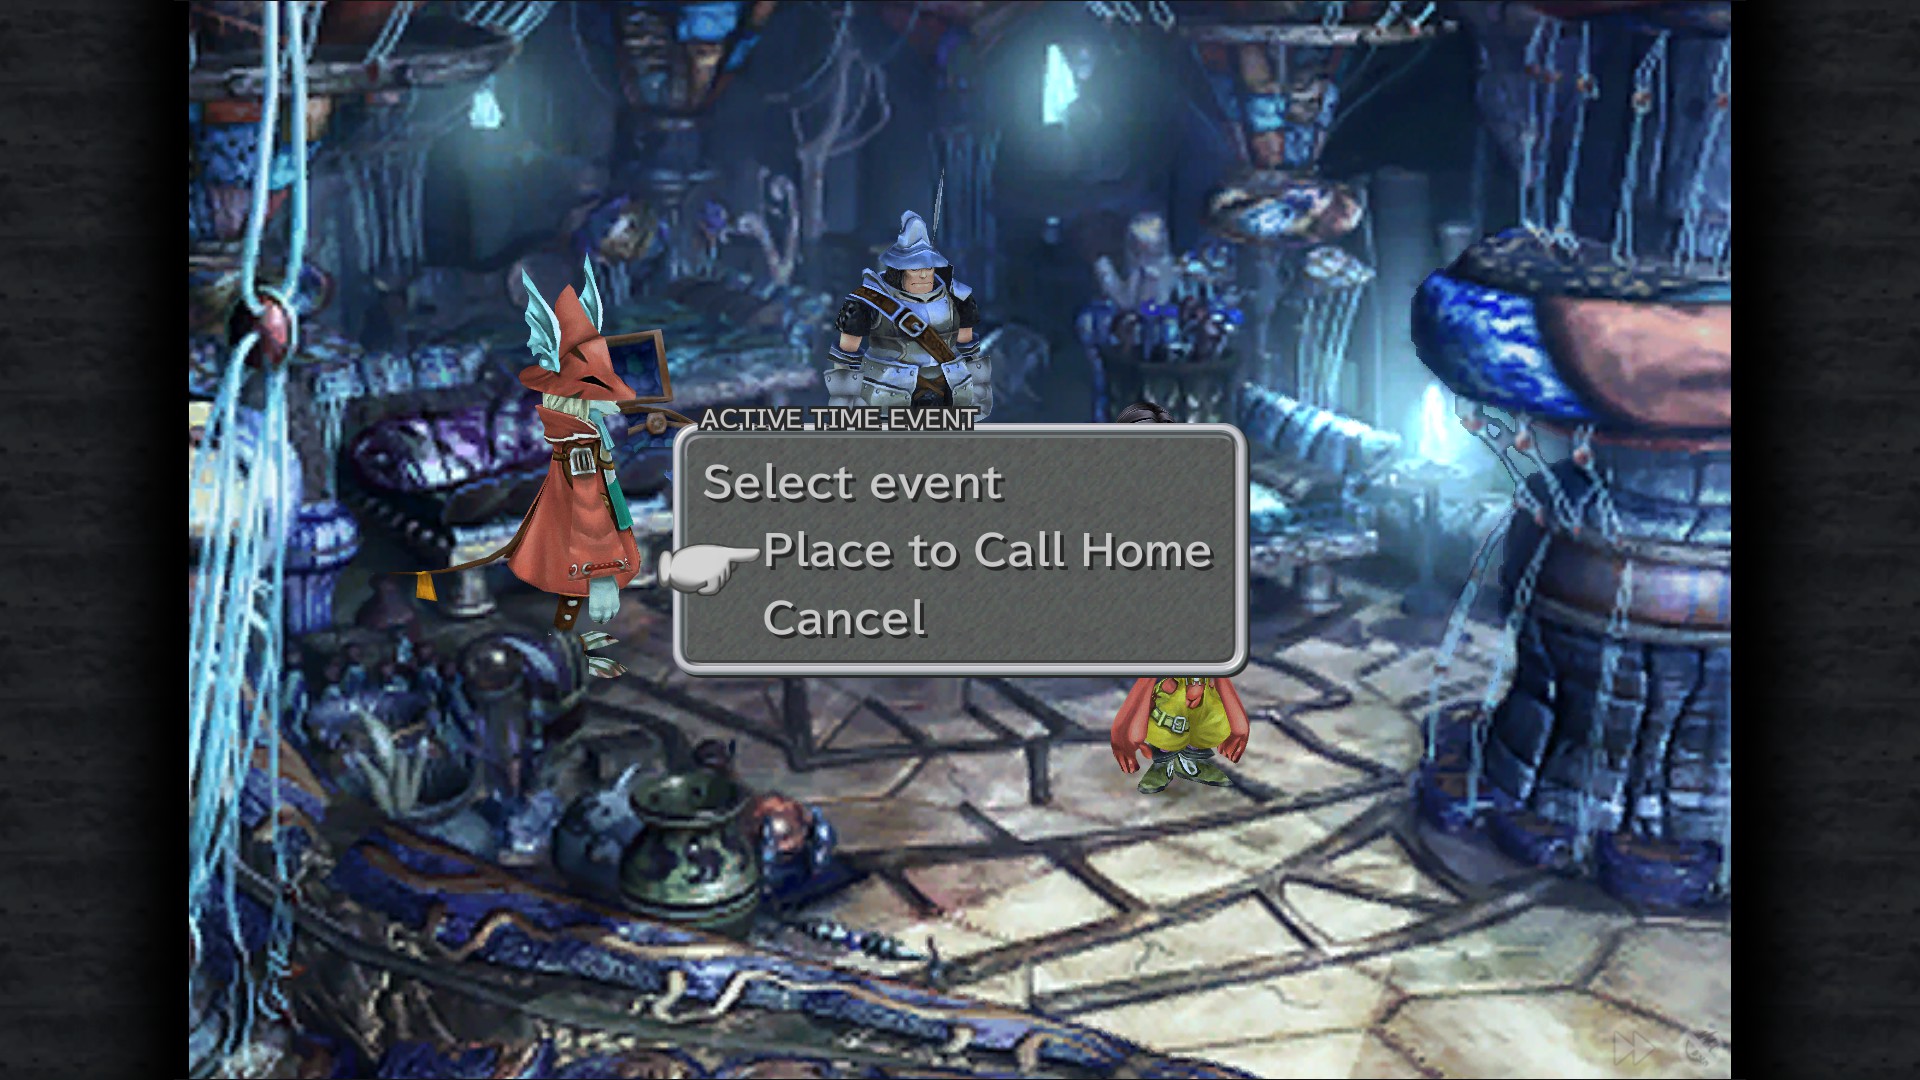
As Eiko:
Place To Call Home ATE - Inn
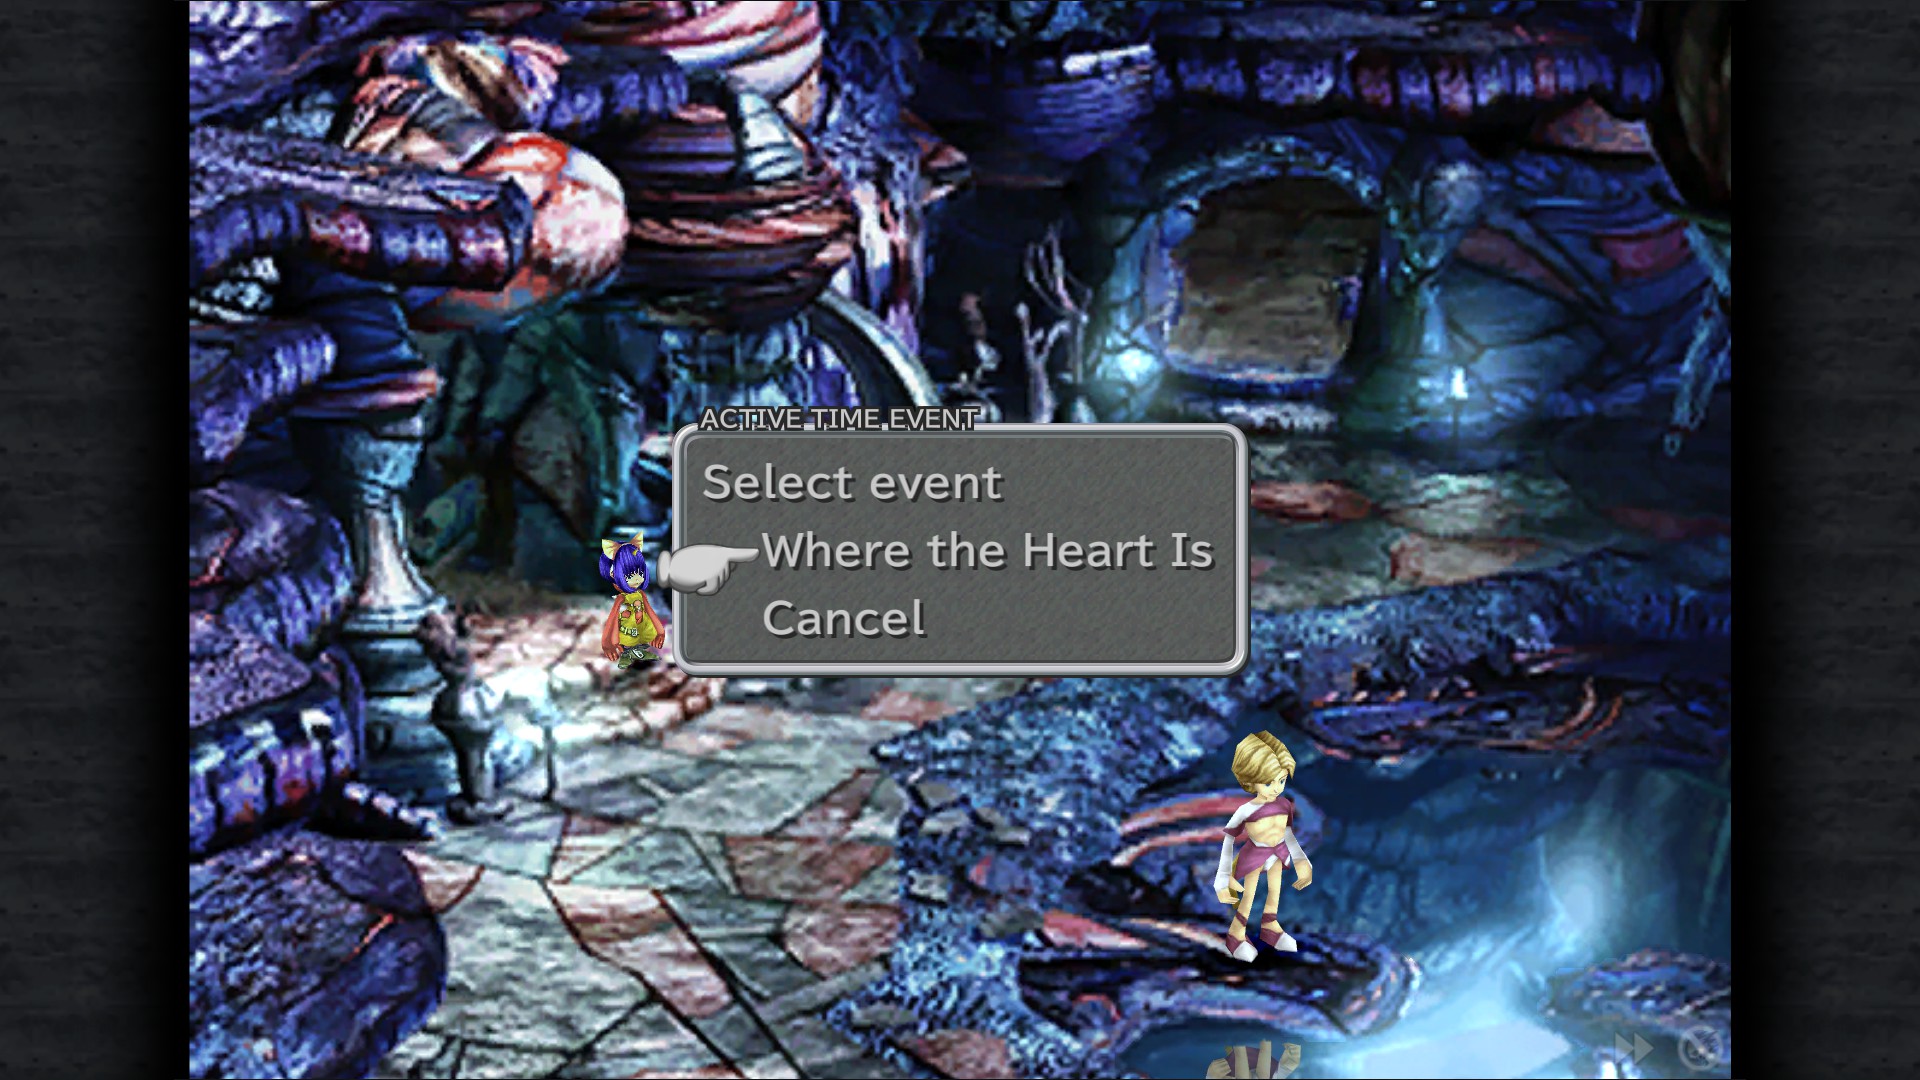
Where The Heart Is ATE - Pond (West side)
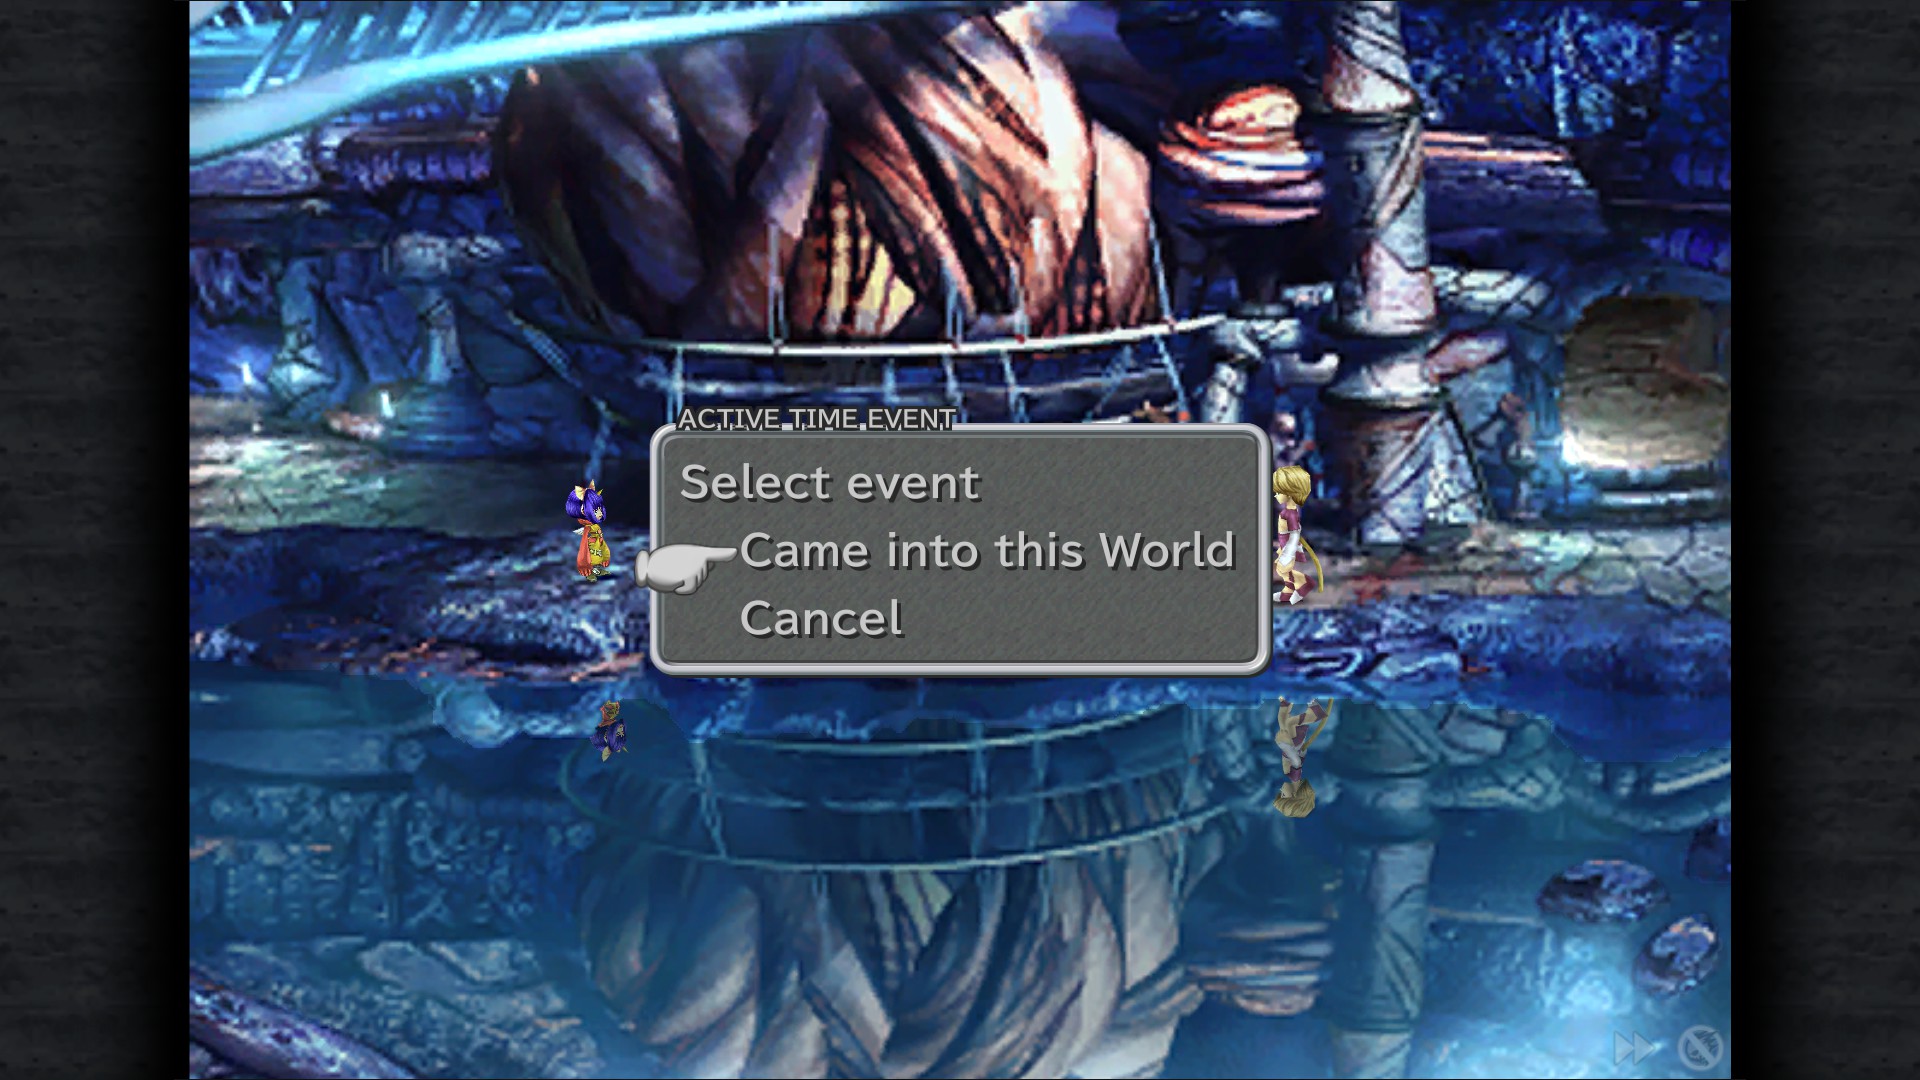
Came Into This World ATE - Pond (East side)
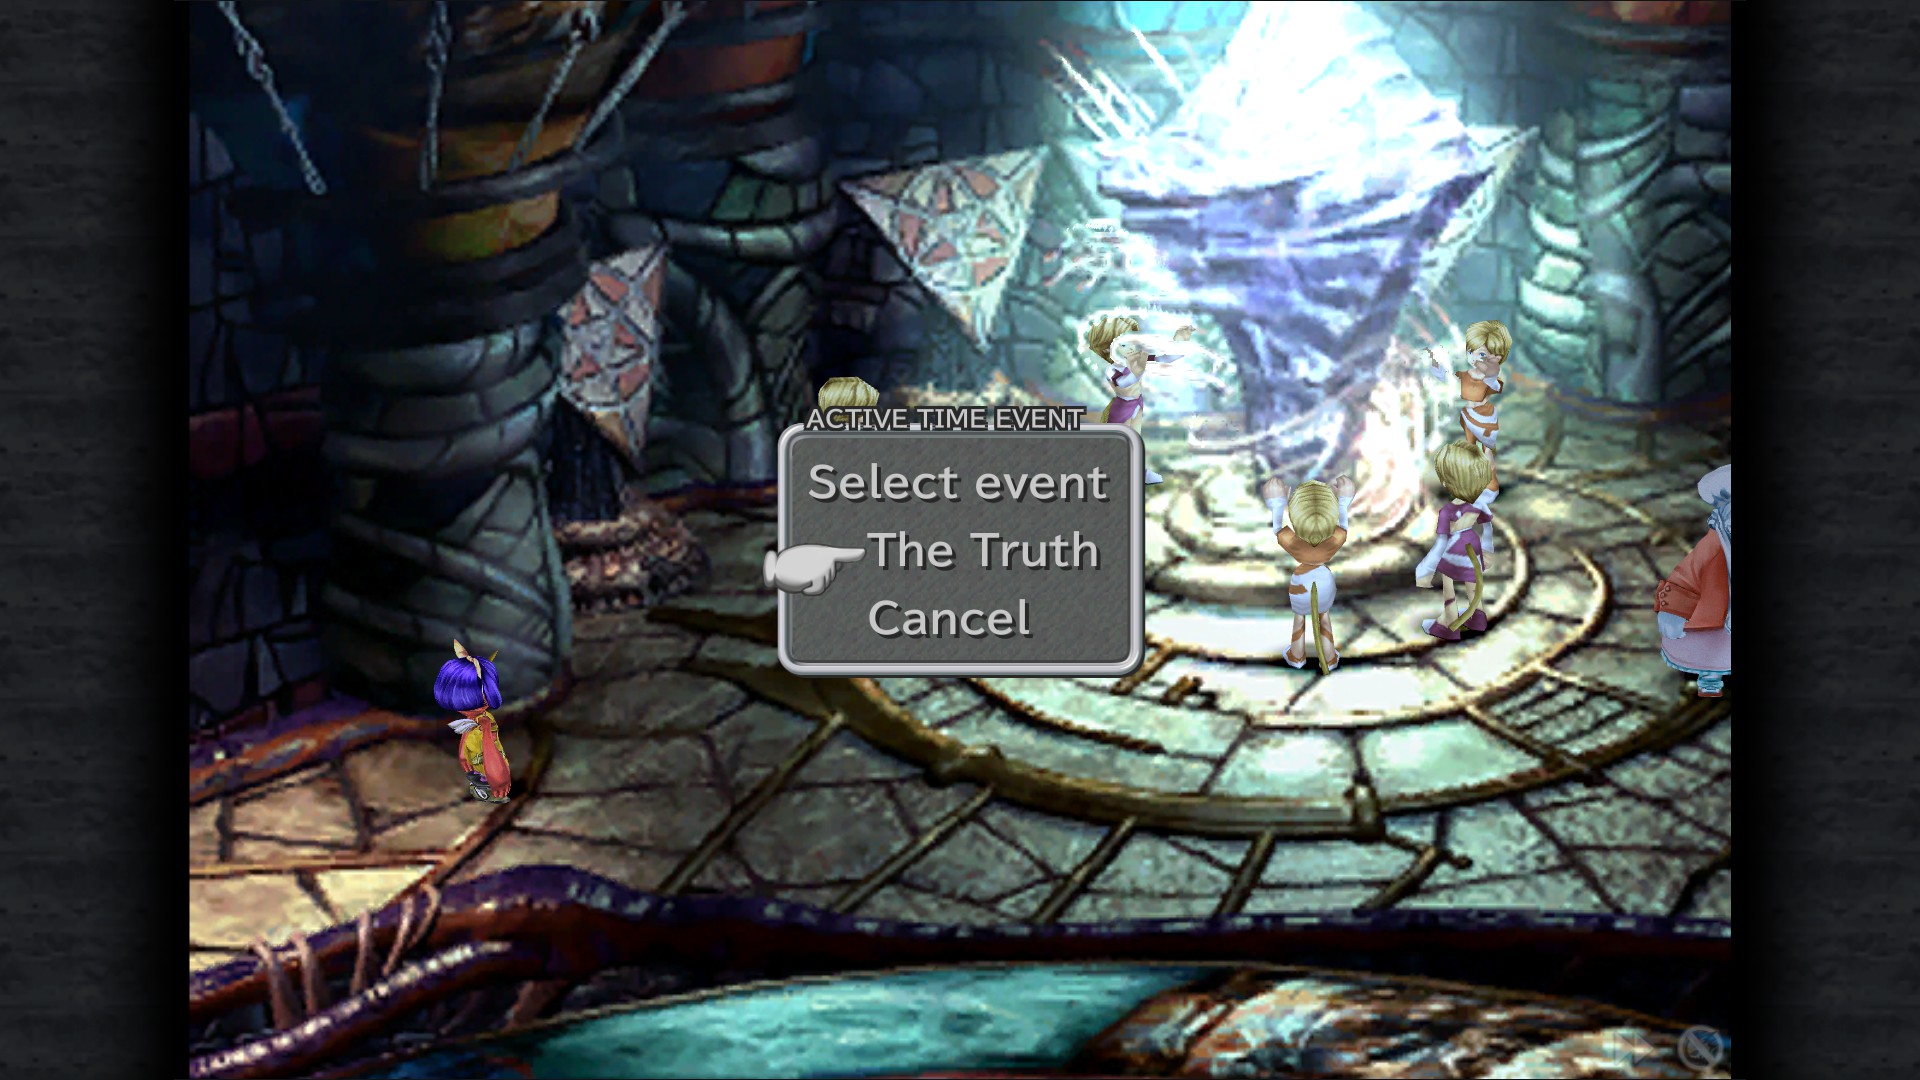
The Truth ATE - Meeting Hall
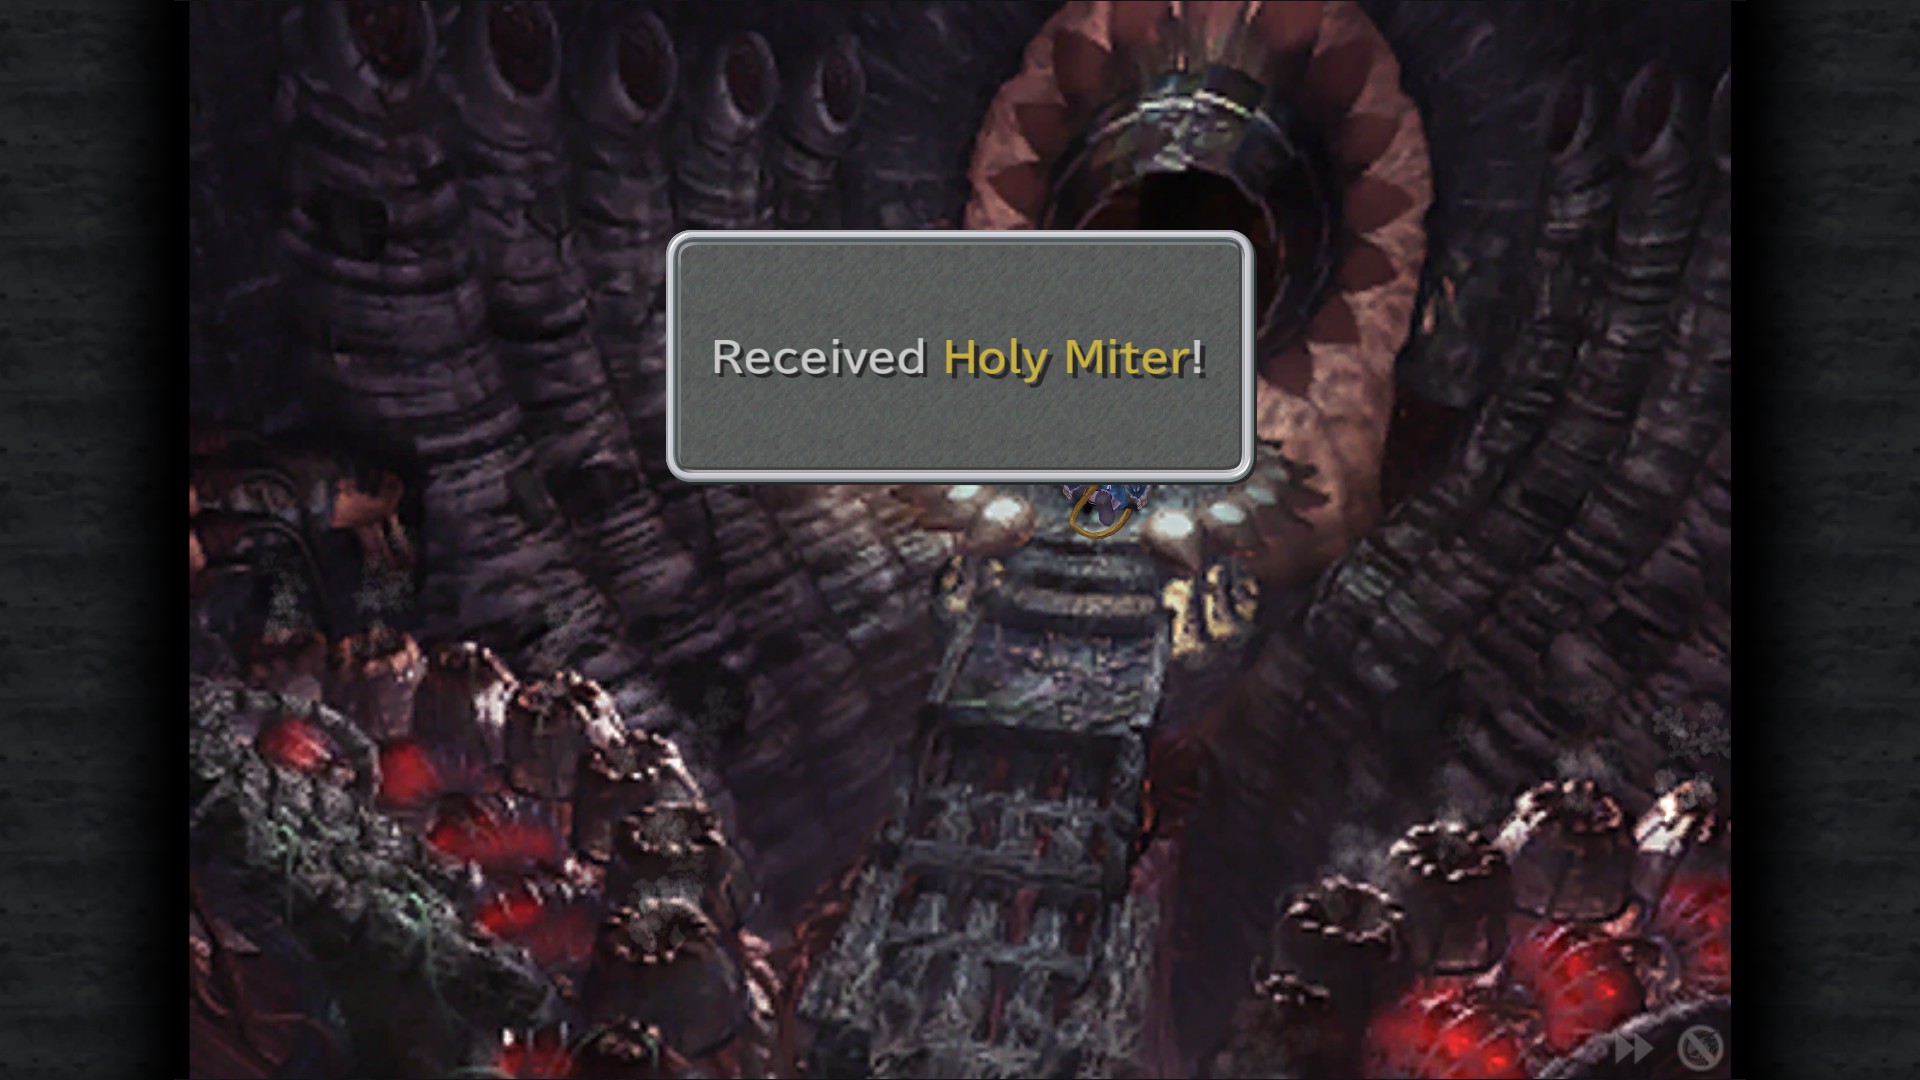
Pandemonium
Holy Miter - Mind Control
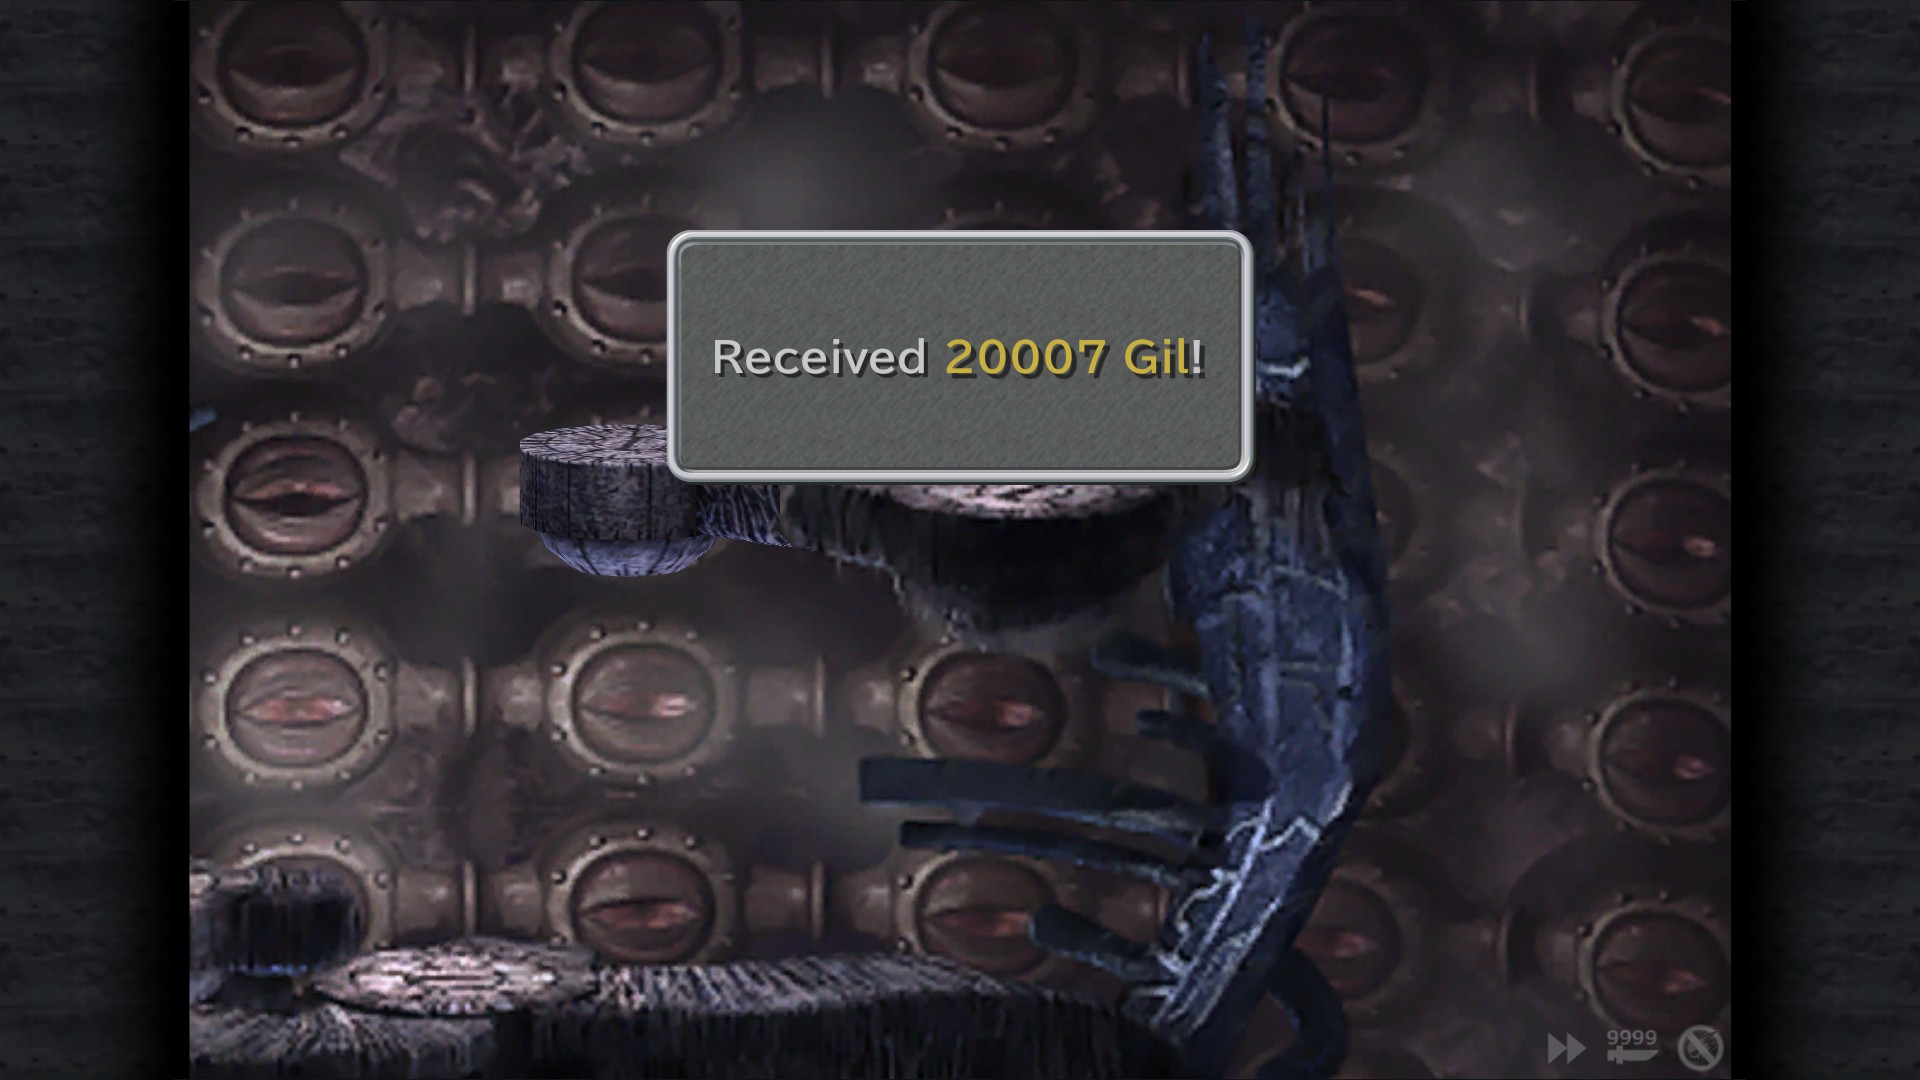
20007 Gil - Elevator Room (Select height 3 and take the lift to the top)
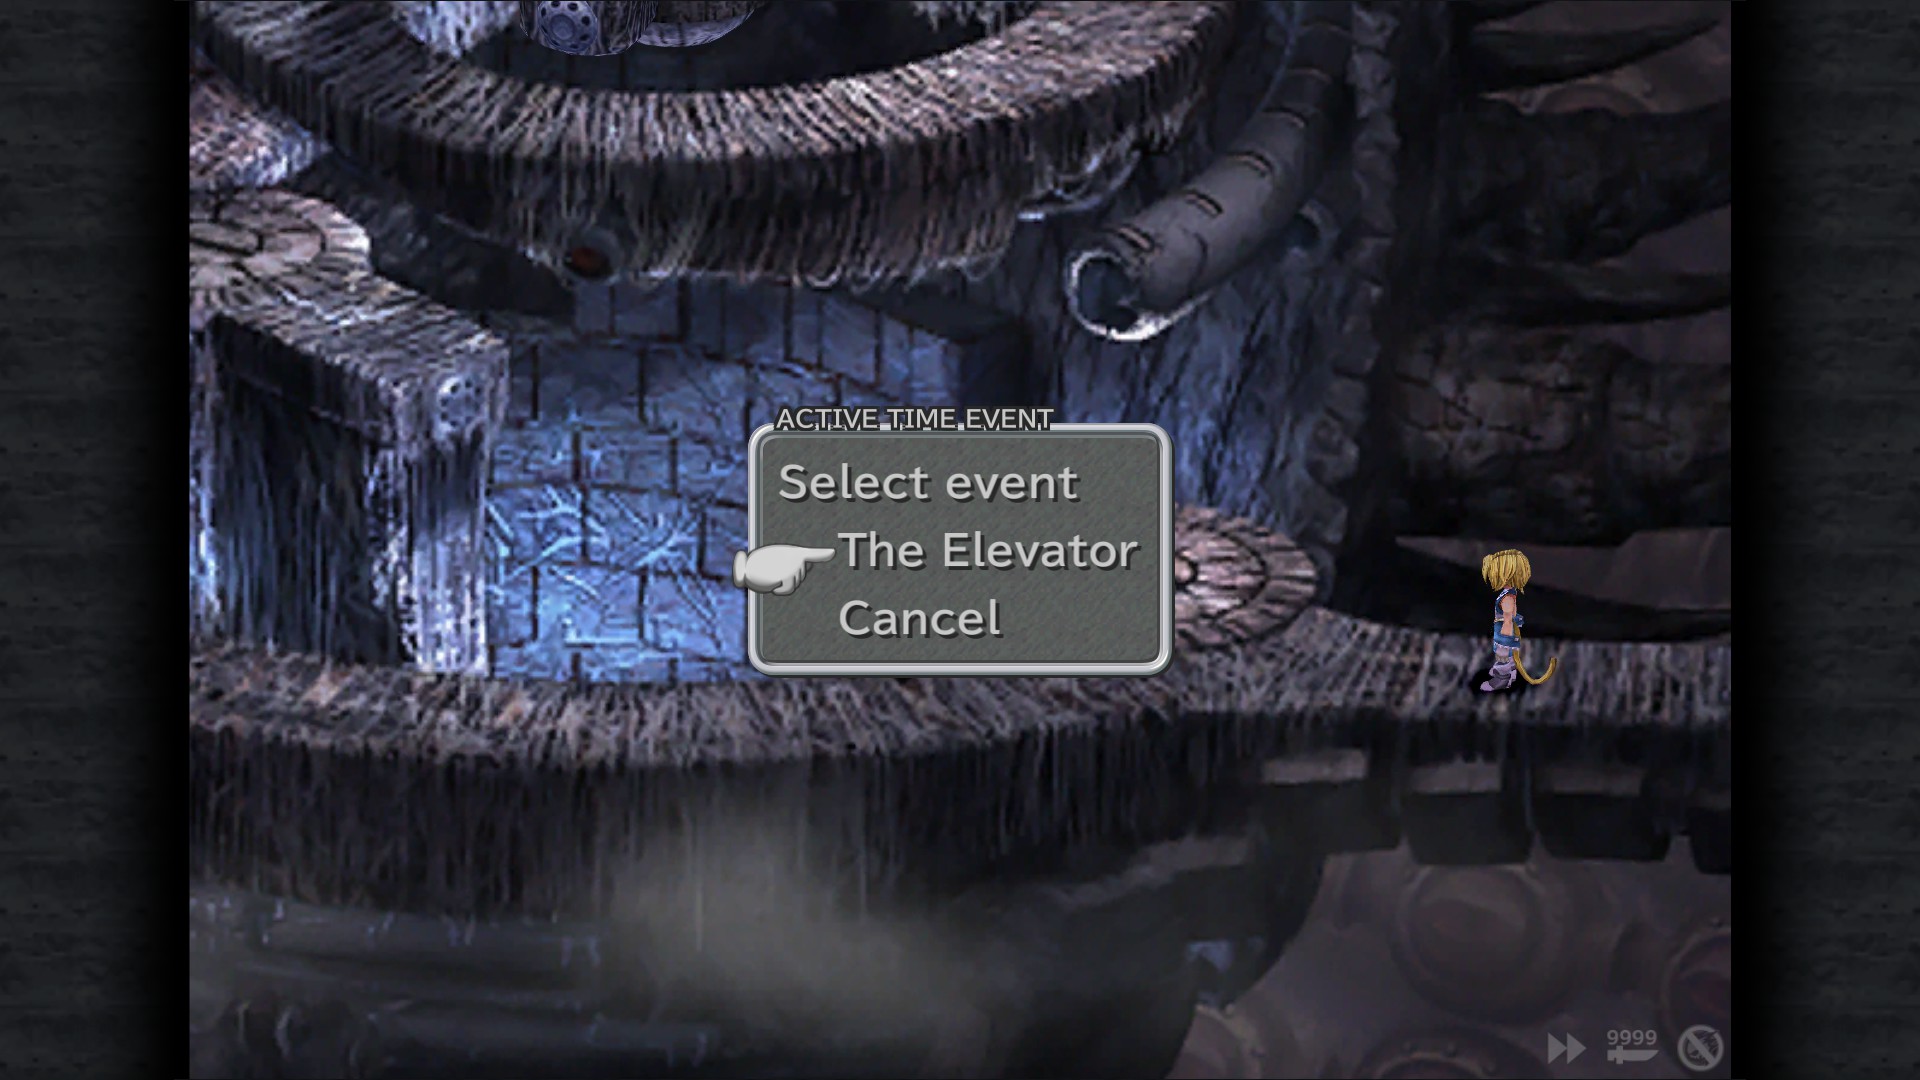
The Elevator ATE - Control Room/Elevator Room
Change the height to 0 and check all three possibly entrances to the elevator (you'll get knocked back by a forced field)
Now return to the control room and exit to the elevator room , this ATE will be activated
Movie Critic
View 79 Active Time Events.
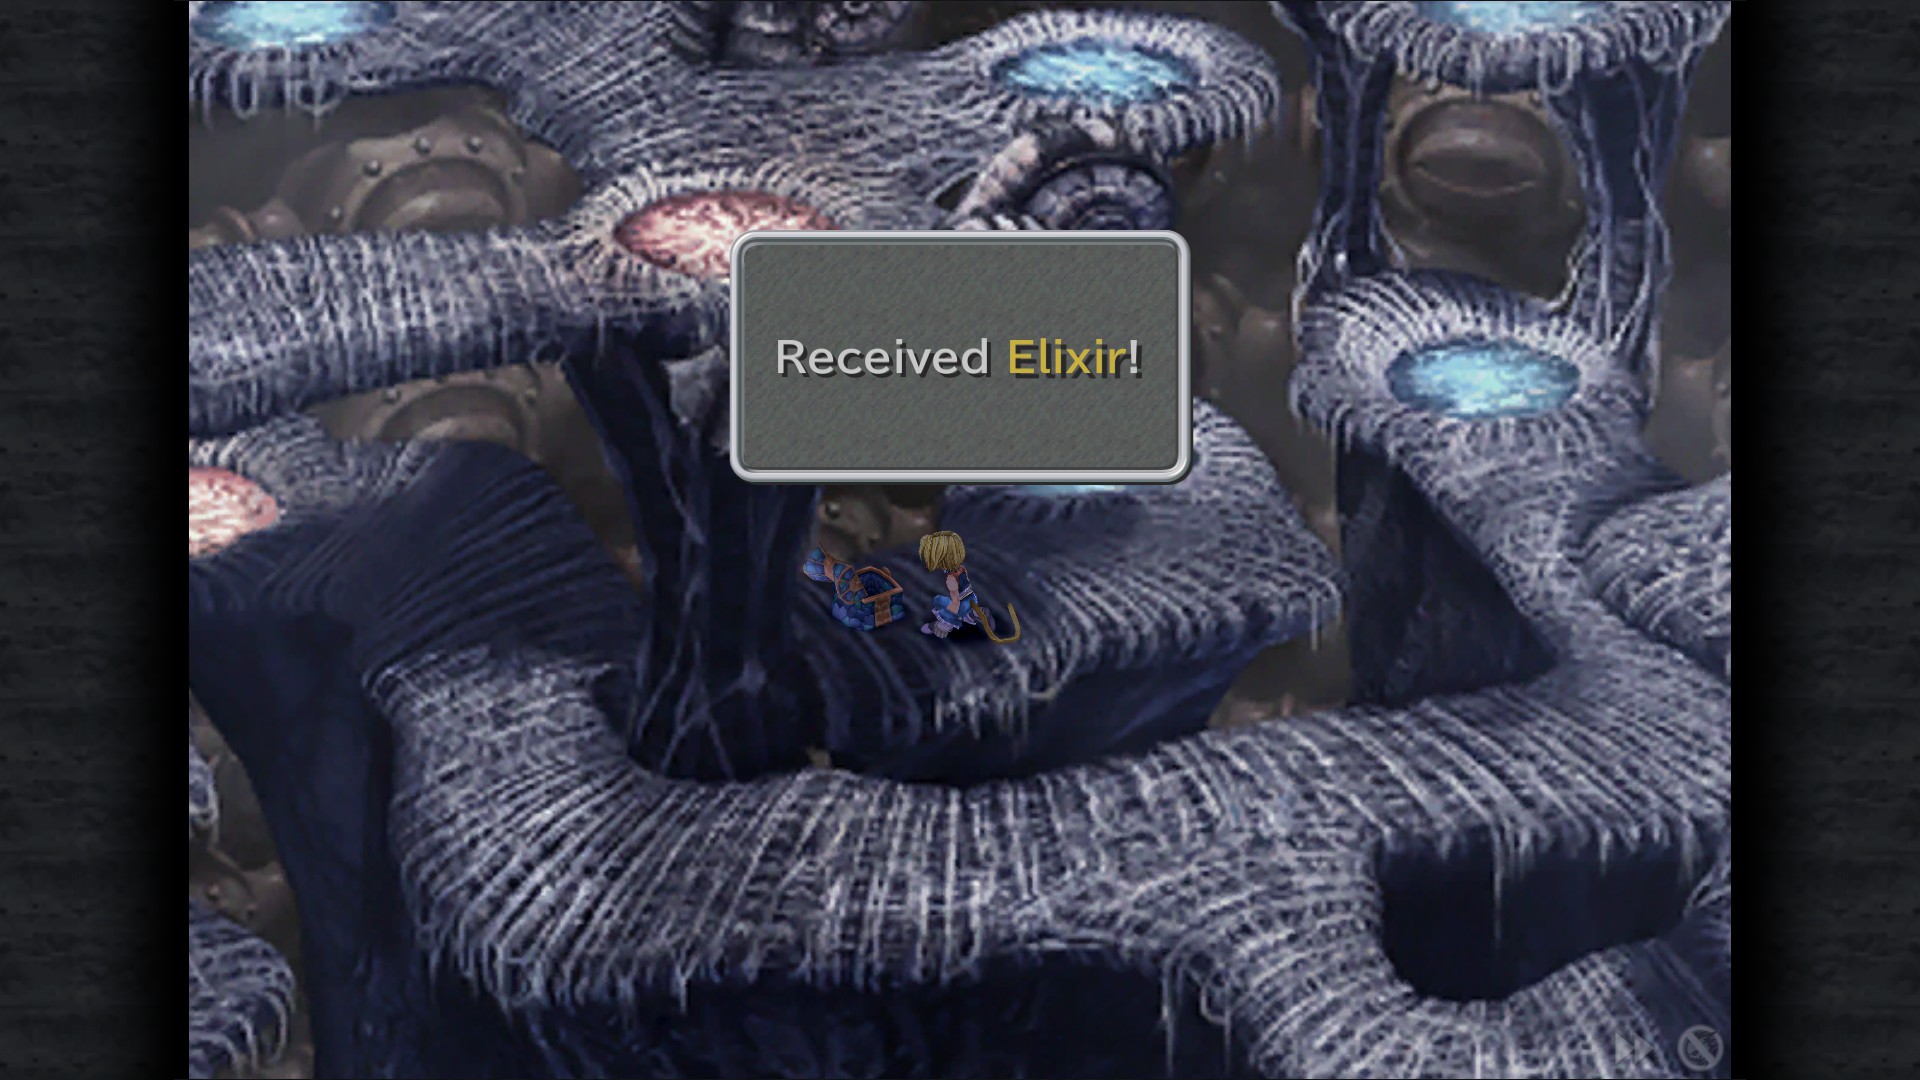
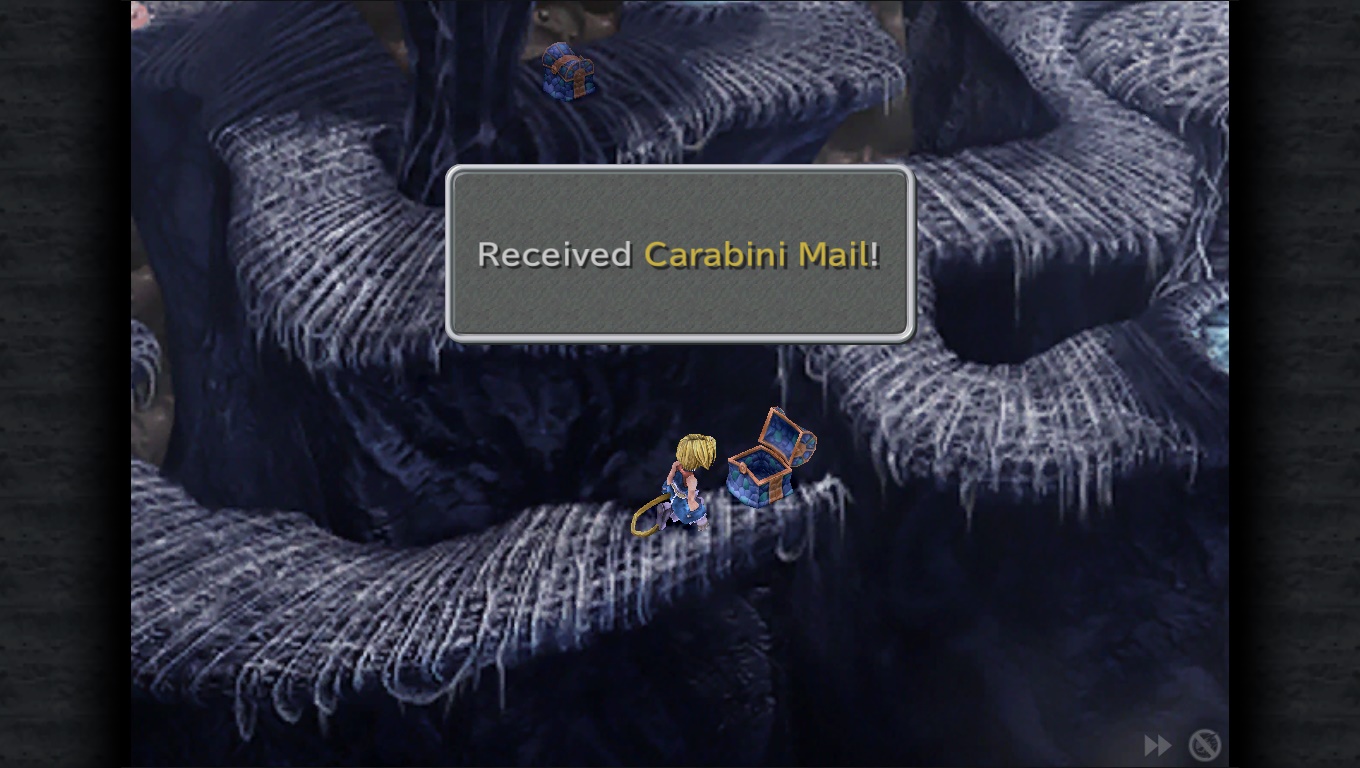
East side teleport:
Elixir - Maze (Right teleport)
Carabini Mail - Maze (Left teleport)
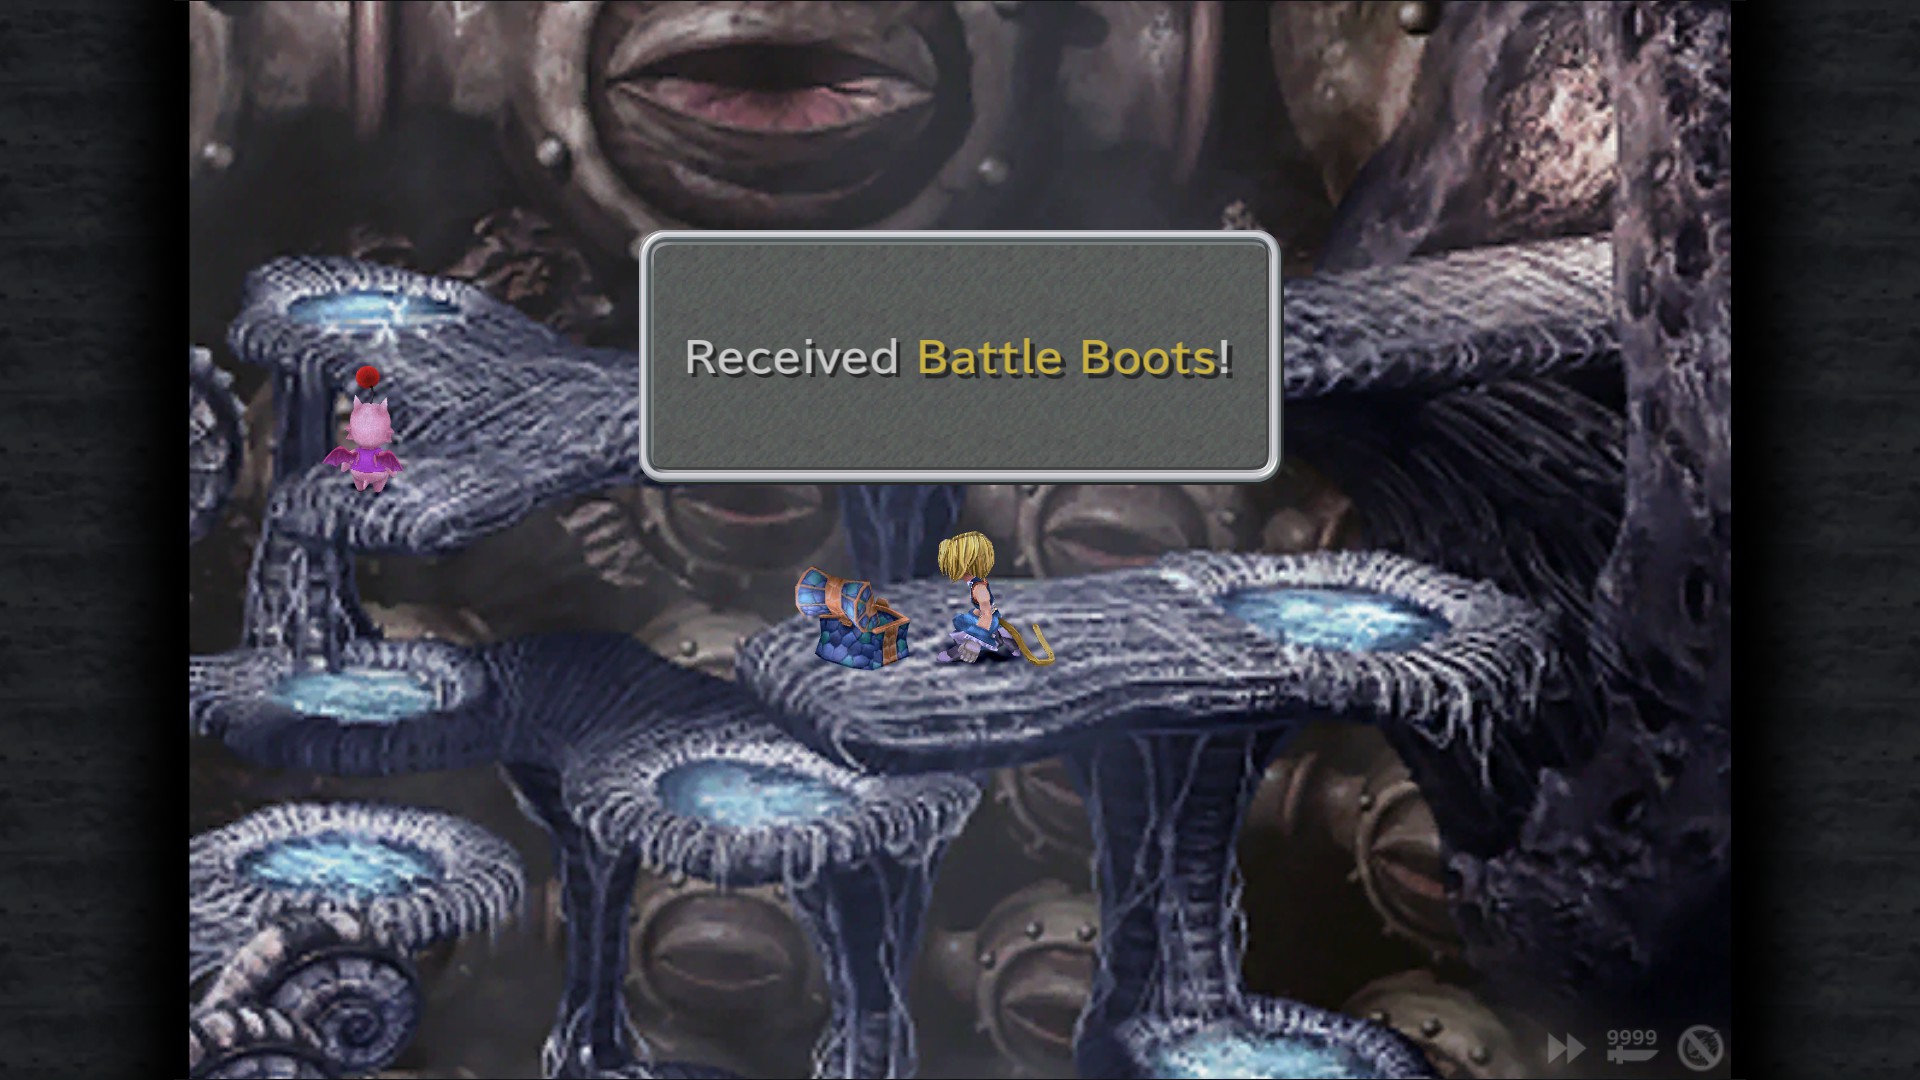
West side teleport:
Battle Boots - Maze (Bottom teleport)
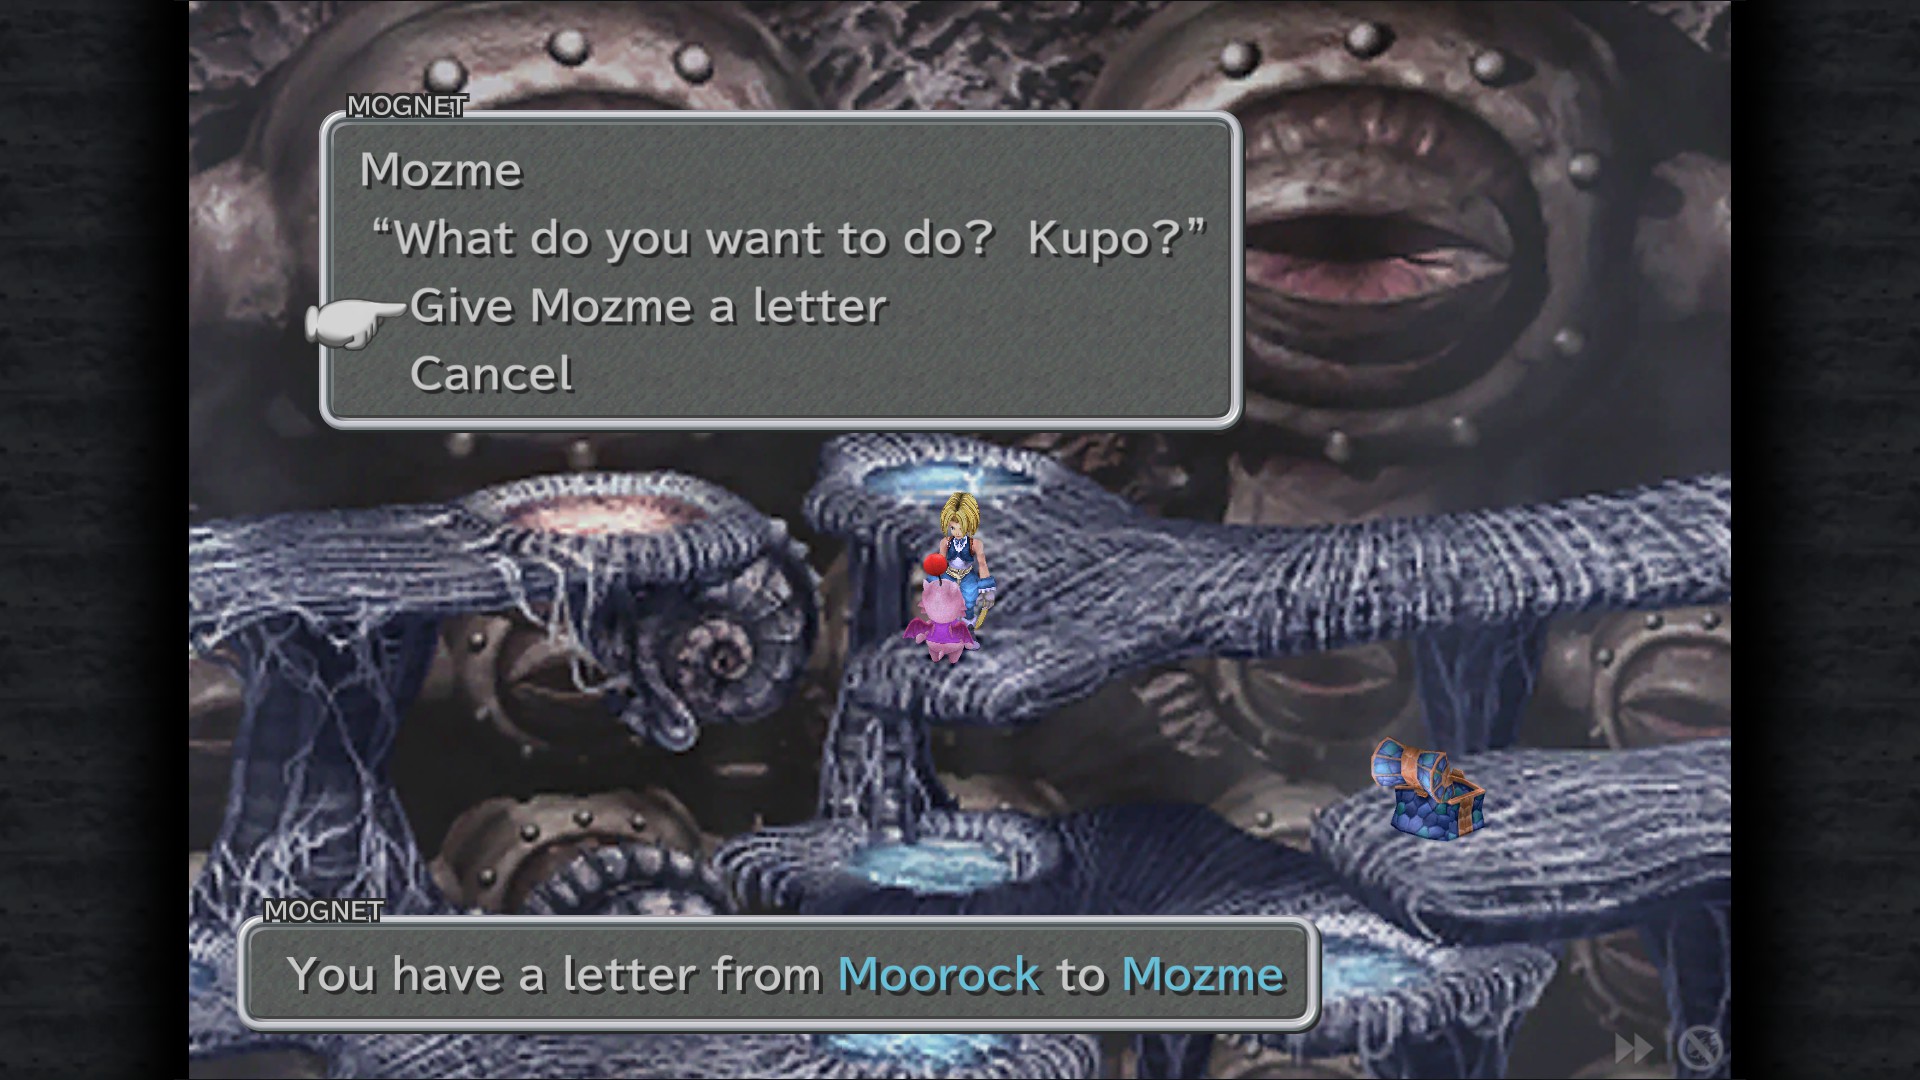
Mognet: Give Mozme a letter "My First Mognet" - Maze
Memoria
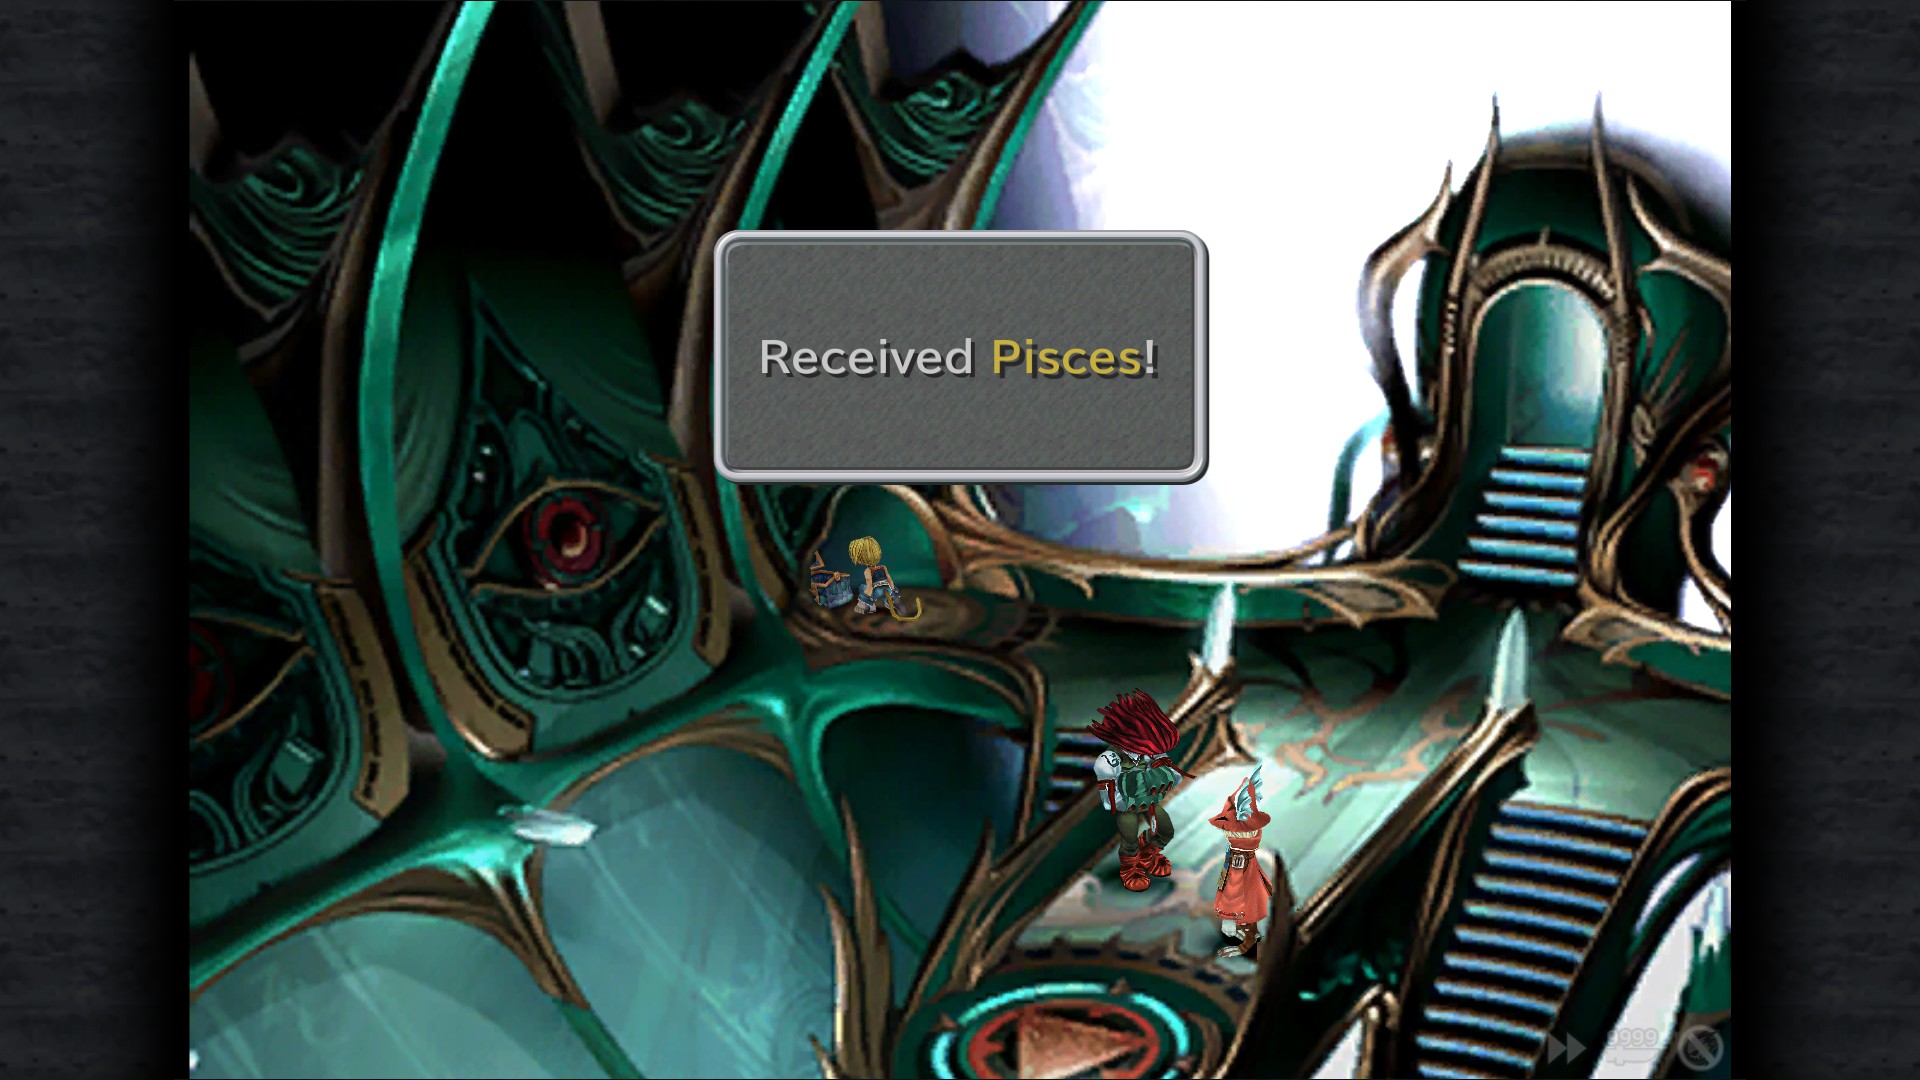


Invincible
Pisces* - Core
Note: This is a good place to start hunting frogs with Quina, just make sure to do it every now and then to save some time grinding/waiting later.
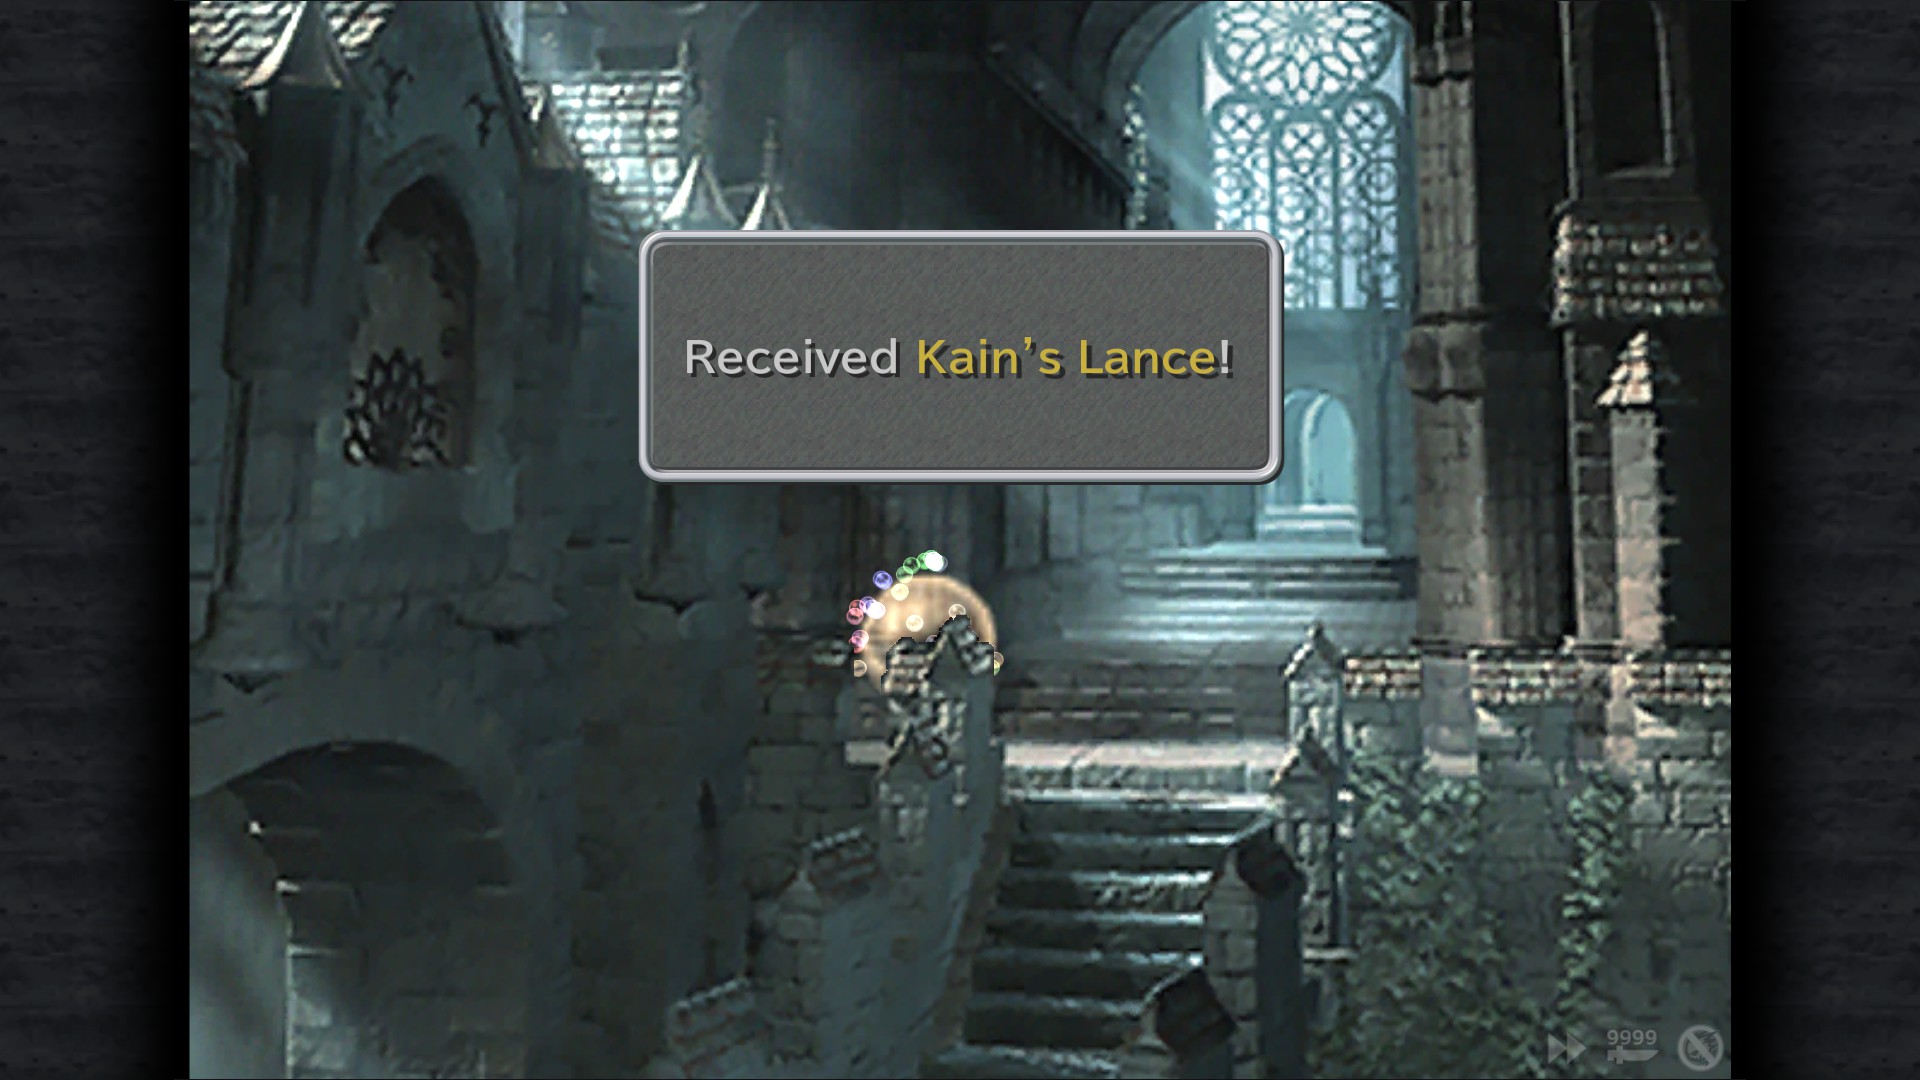
Memoria
Kain's Legacy
Obtain Kain's Lance.
Kain's Lance - Entrance (Right wall, hidden)
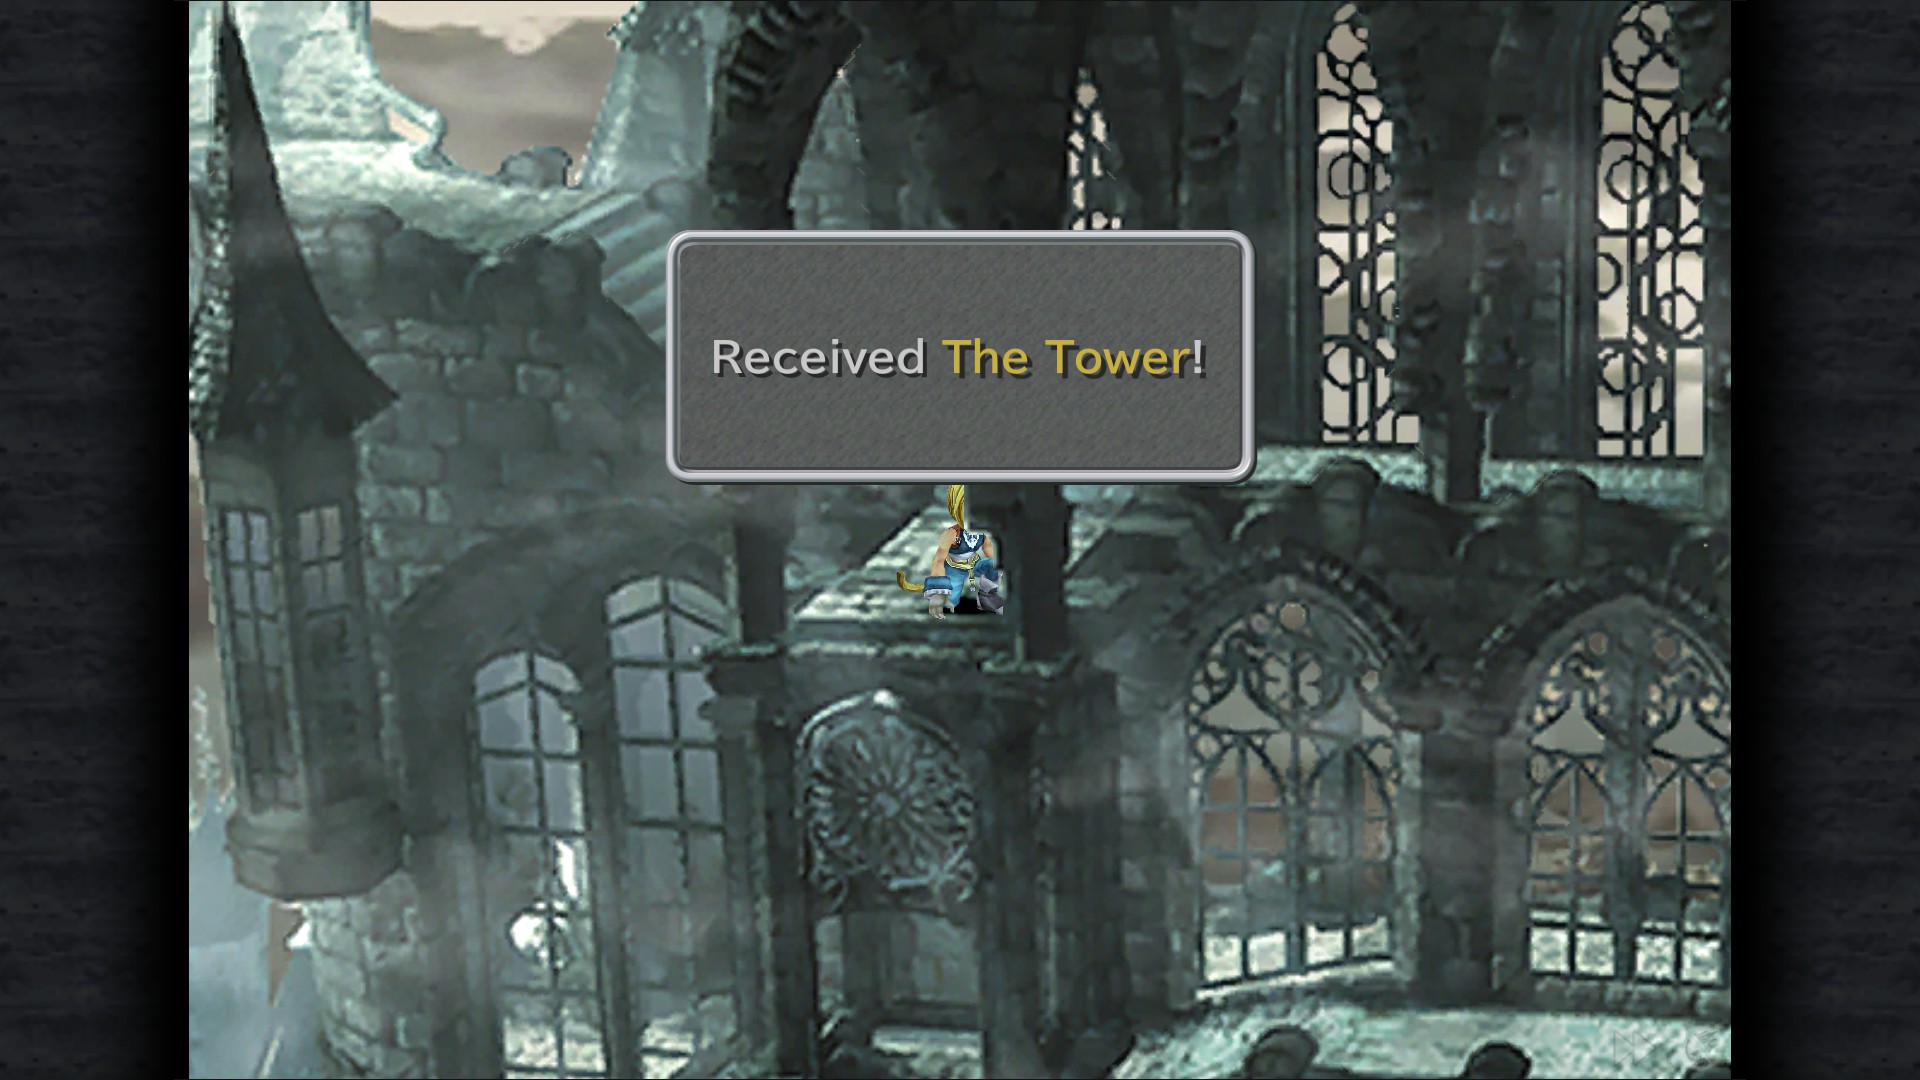
Close But No Cigar
Obtain the Tower.
The Tower - Recollection (Balcony)
Putting Out the Fire
Defeat Maliris, the Guardian of Fire.
Maliris Boss (Steal: Genji Armor) - Outer Path
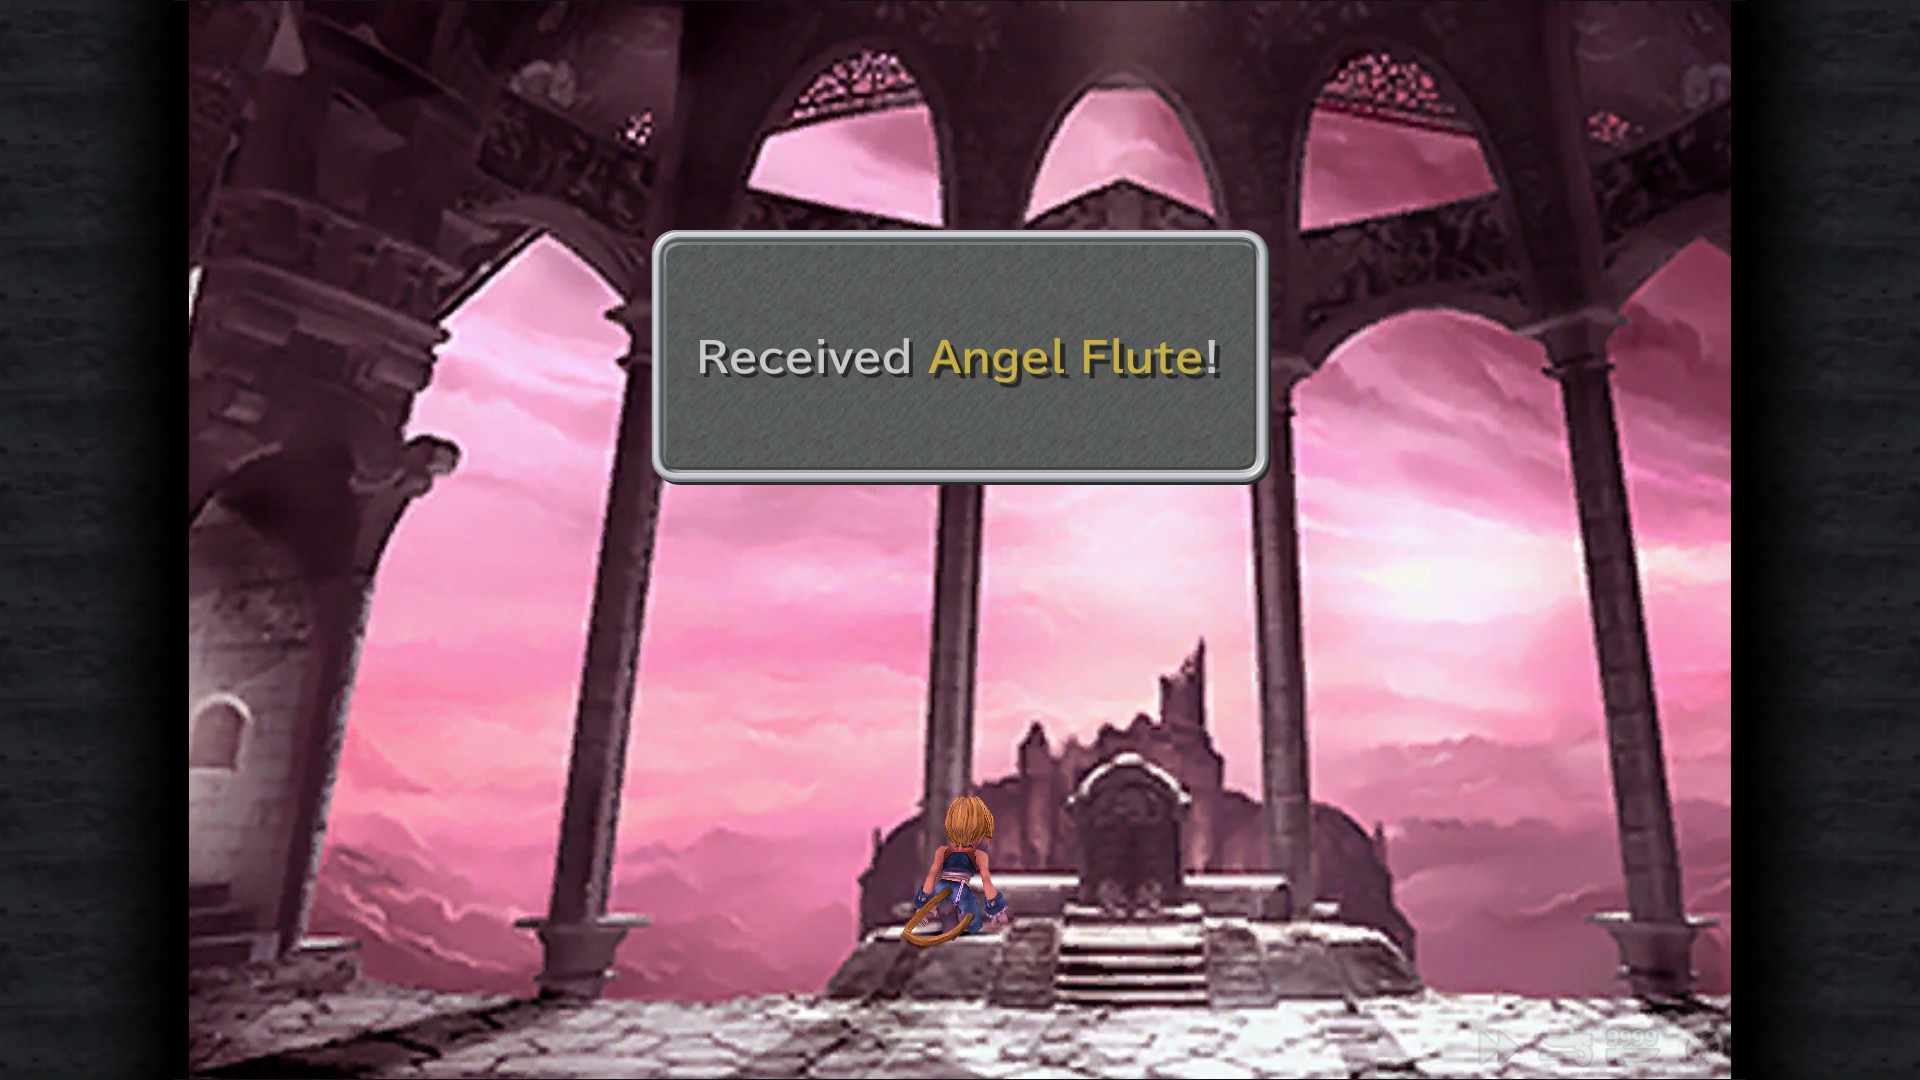
The Ultimate Flute
Obtain the Angel Flute.
Angel Flute - The Past (left side of the terrace)
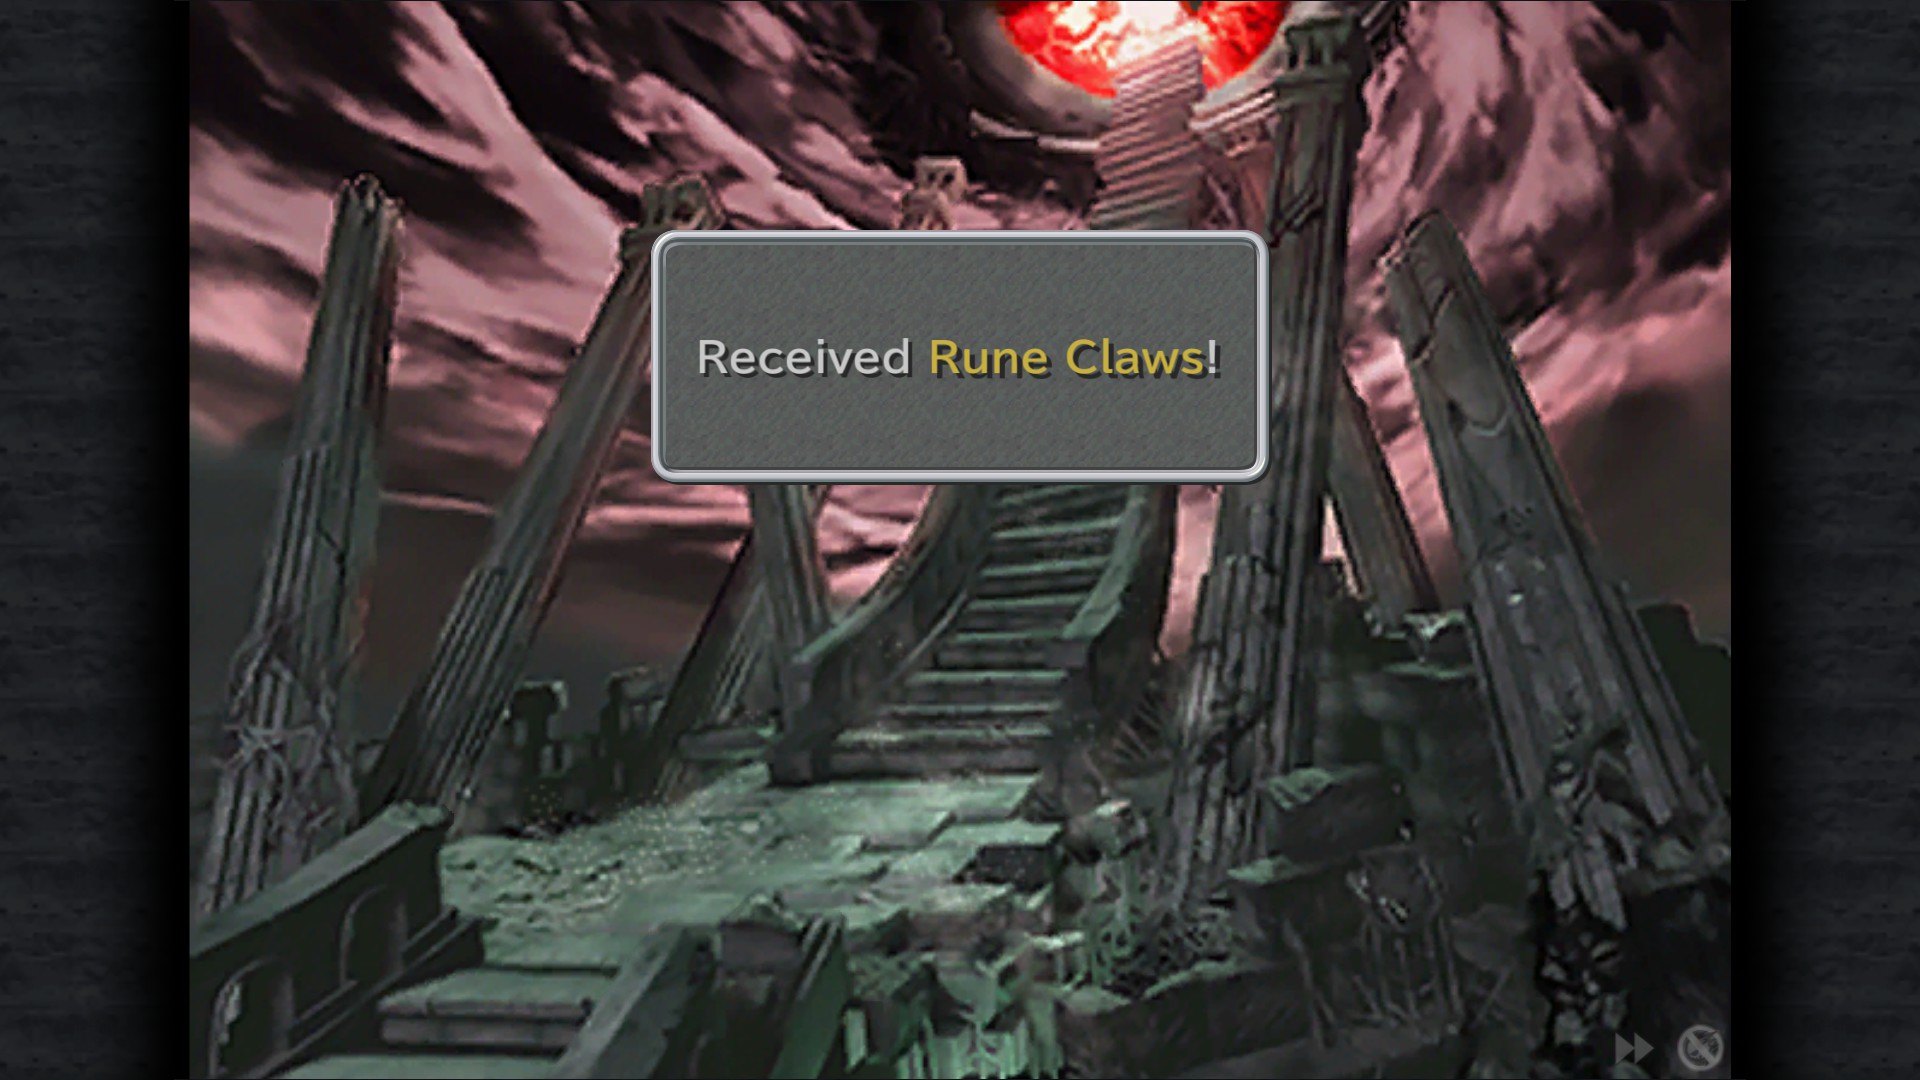
The Ultimate Claws
Obtain the Rune Claws.
Rune Claws - Time Interval (left side)
Gone with the Winds
Defeat Tiamat, the Guardian of Wind.
Tiamat Boss - Time Interval
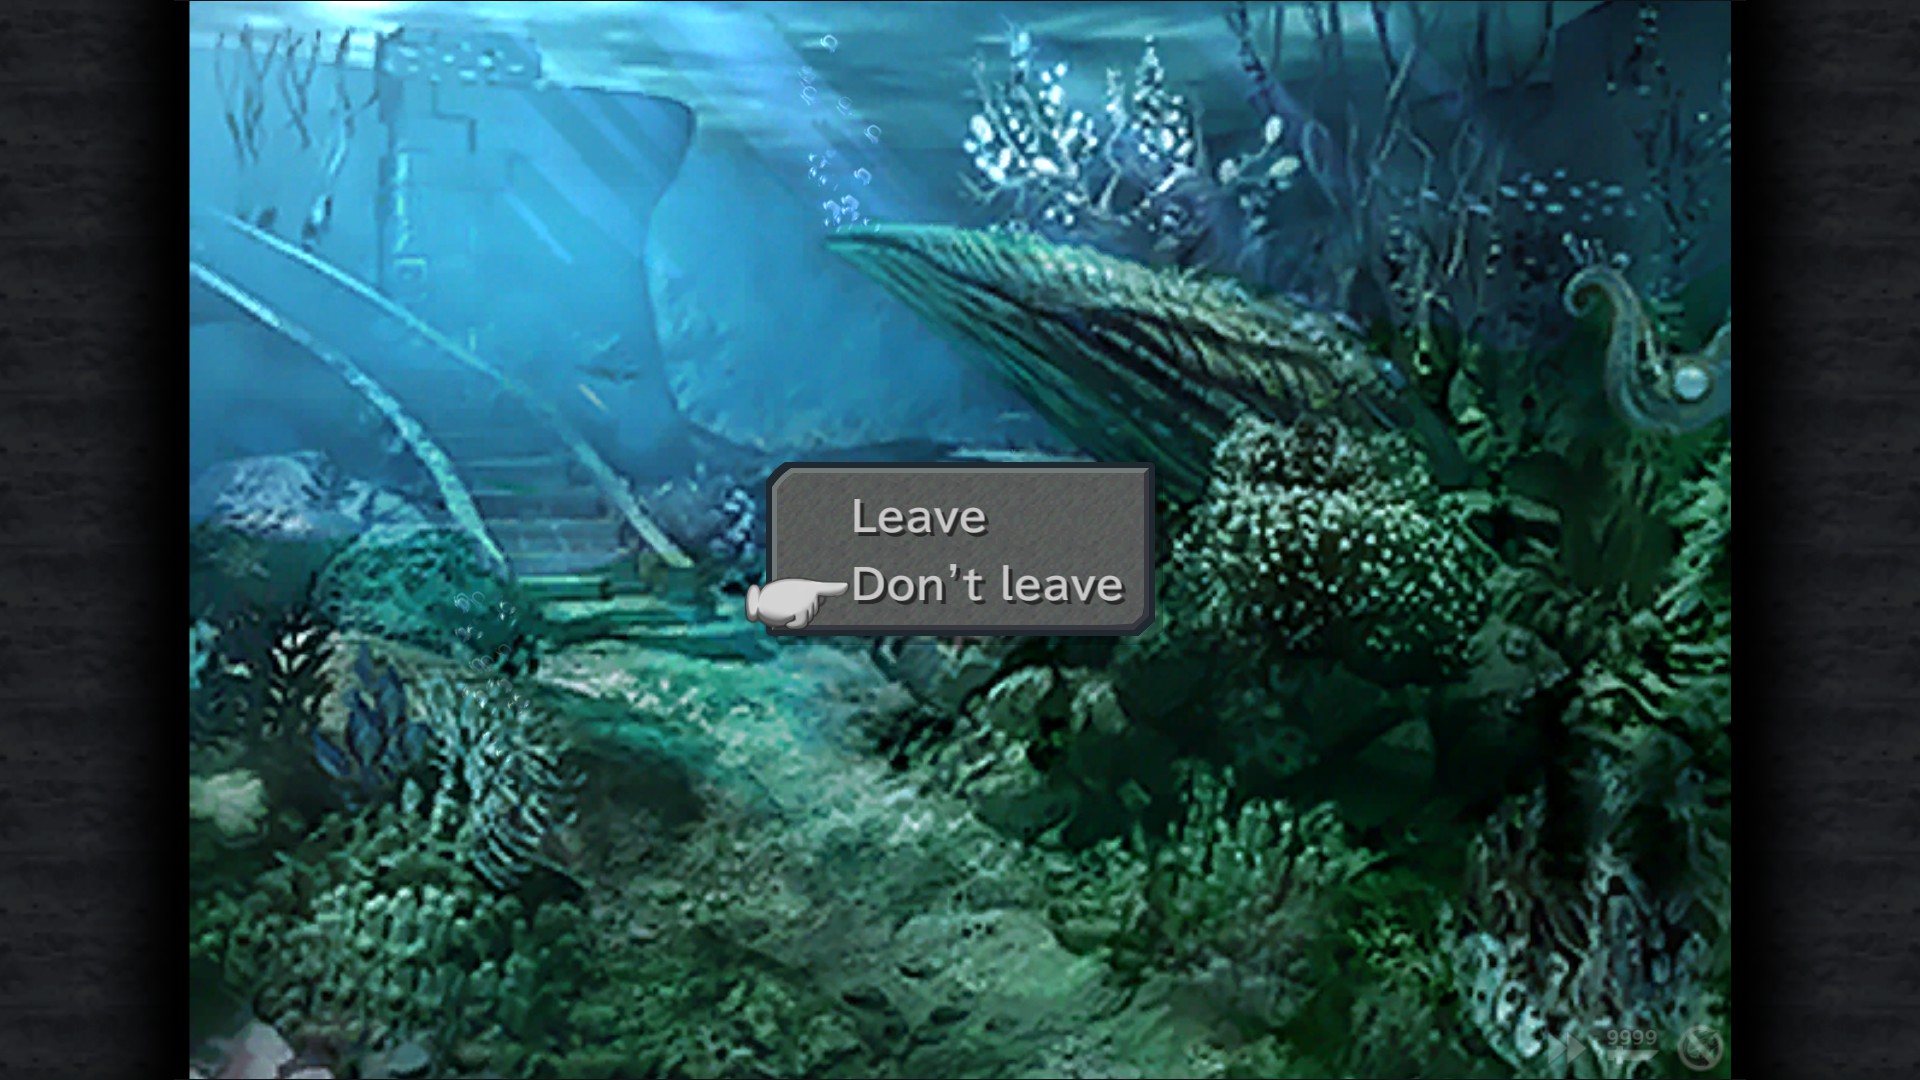
Hades Superboss - Birth (hidden behind the large rock, you must choose not to leave when asked) Defeating him will unlock a Synthesis Shop which you'll need to get Ark Eidolon (2 Pumice pieces required) and some other stuff.
All Washed Up
Defeat Kraken, the Guardian of Water.
Kraken Boss (Steal: Genji Helmet) - Ocean
The Ultimate Mace
Obtain the Mace of Zeus.
Mace of Zeus - Stairs (Left side of the platform)(Achievement: The Ultimate Mace)
Hitting Rock Bottom
Defeat Lich, the Guardian of Earth.
Lich Boss (Steal: Genji Gloves) - Gate to Space
Also if you stole all 3 Genji Parts...
Path of the Samurai
Obtain the complete set of Genji armor.
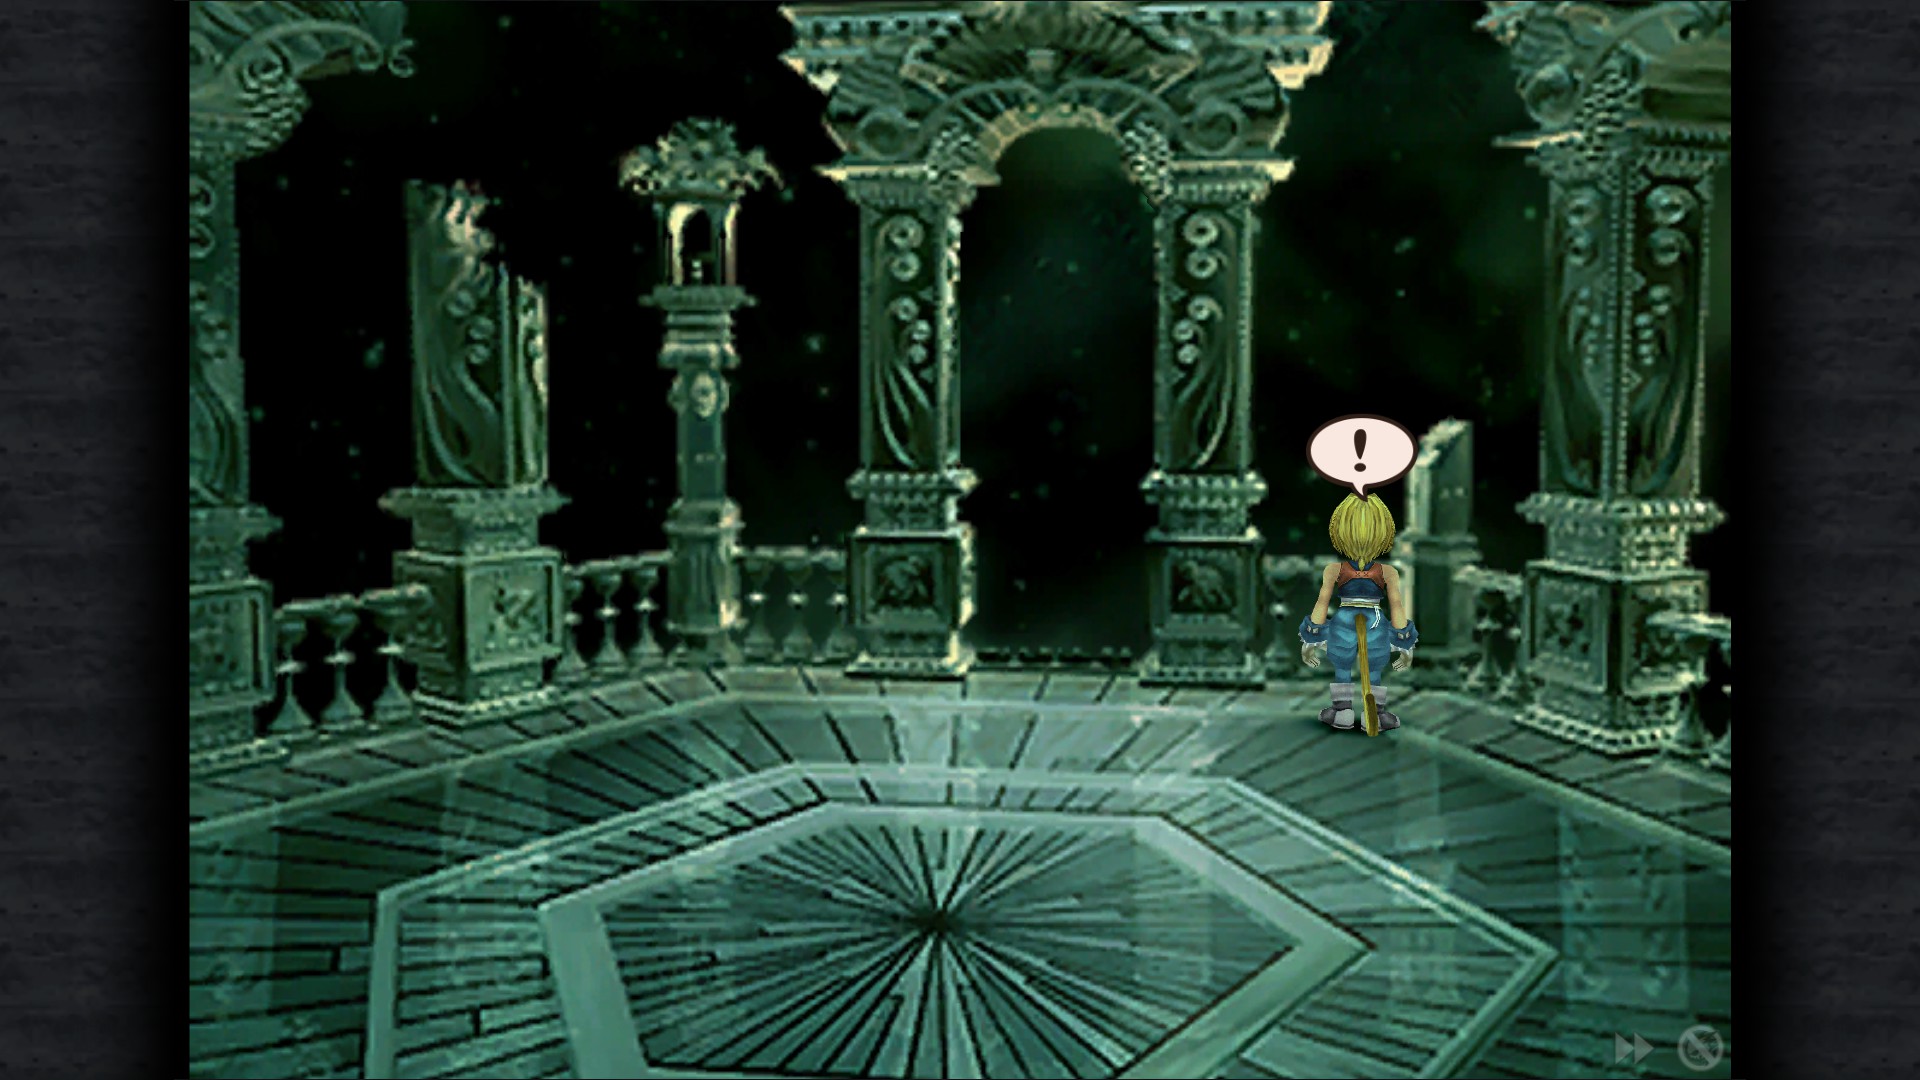
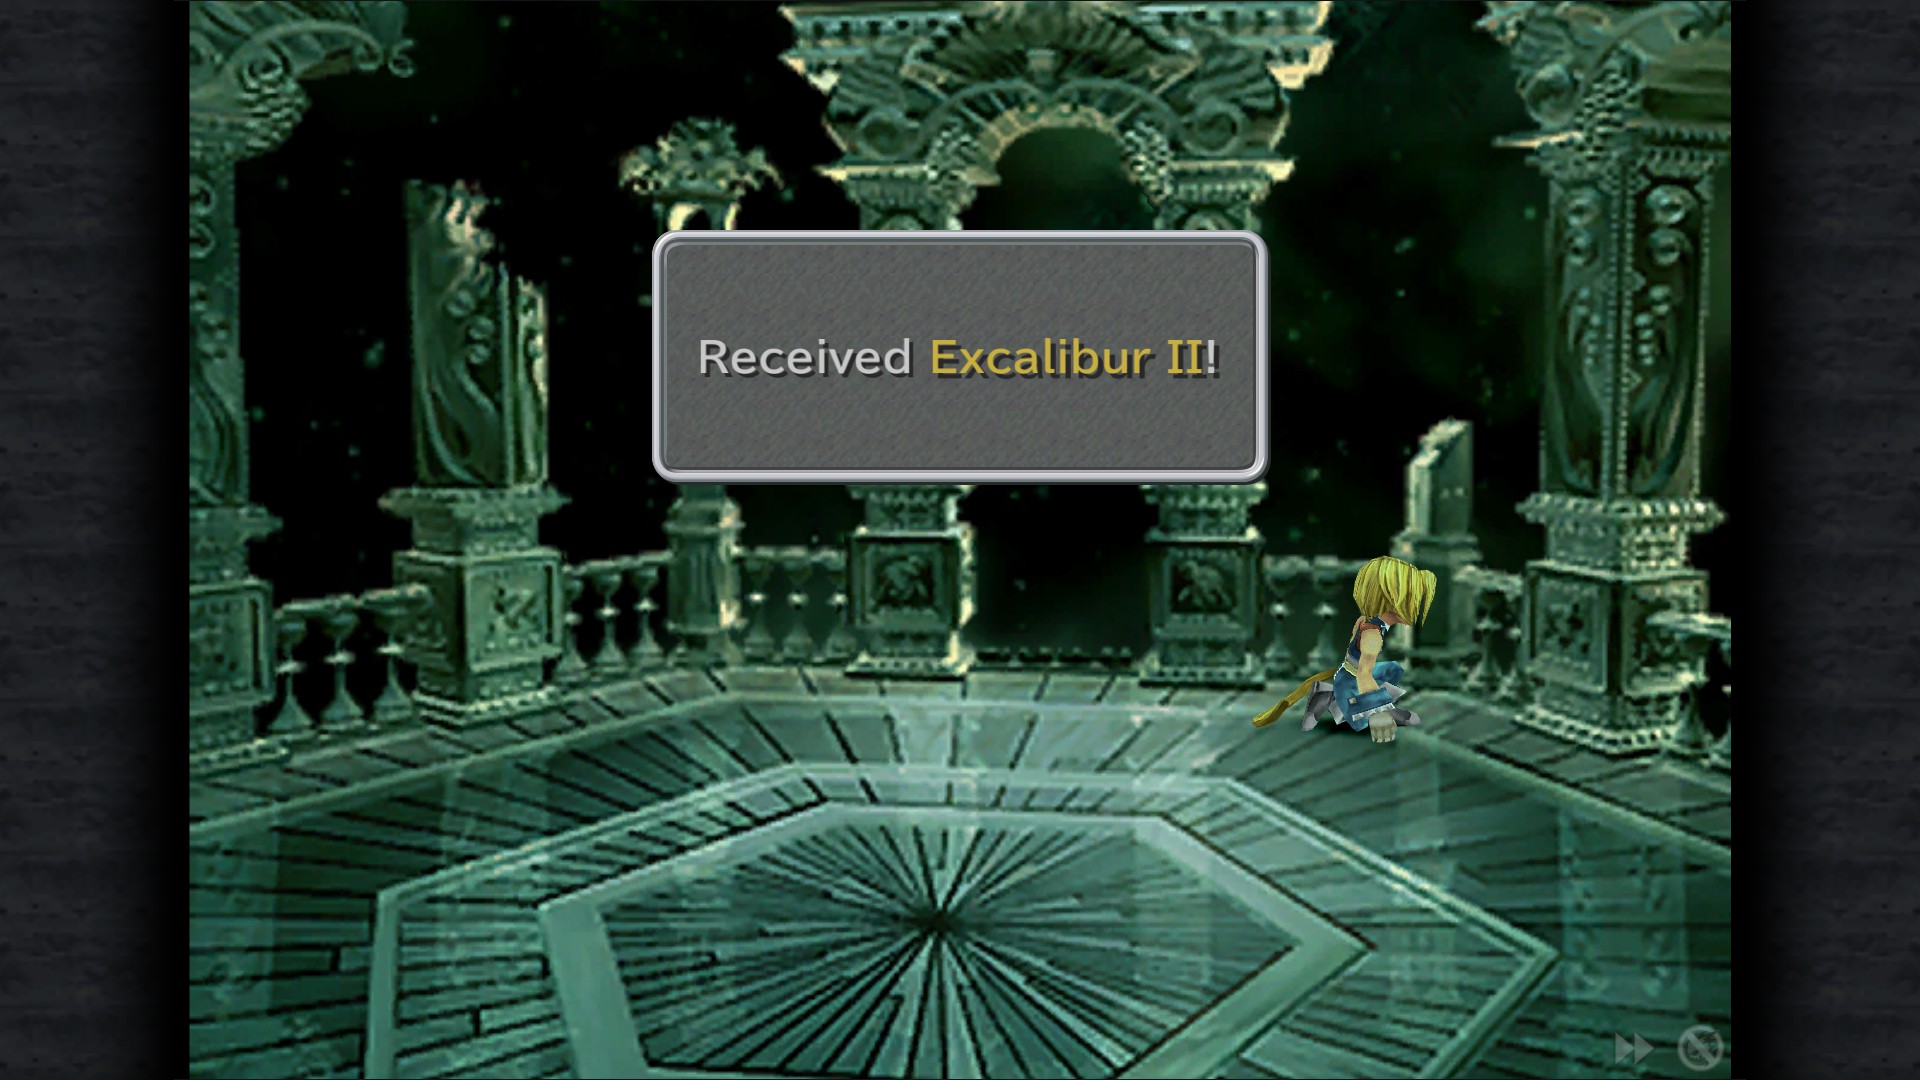
The Ultimate Sword
Obtain Excalibur II.
Excalibur II - Gate to Space (Right side)(Only available if you got here within 12 hours)
Note: you can also wait 2 years and 98 days for the internal clock to reset ,though I don't recommend doing this.
All's Well That Ends Well
Complete FINAL FANTASY IX.
Alexandria & Quan's Dwelling Cleanup
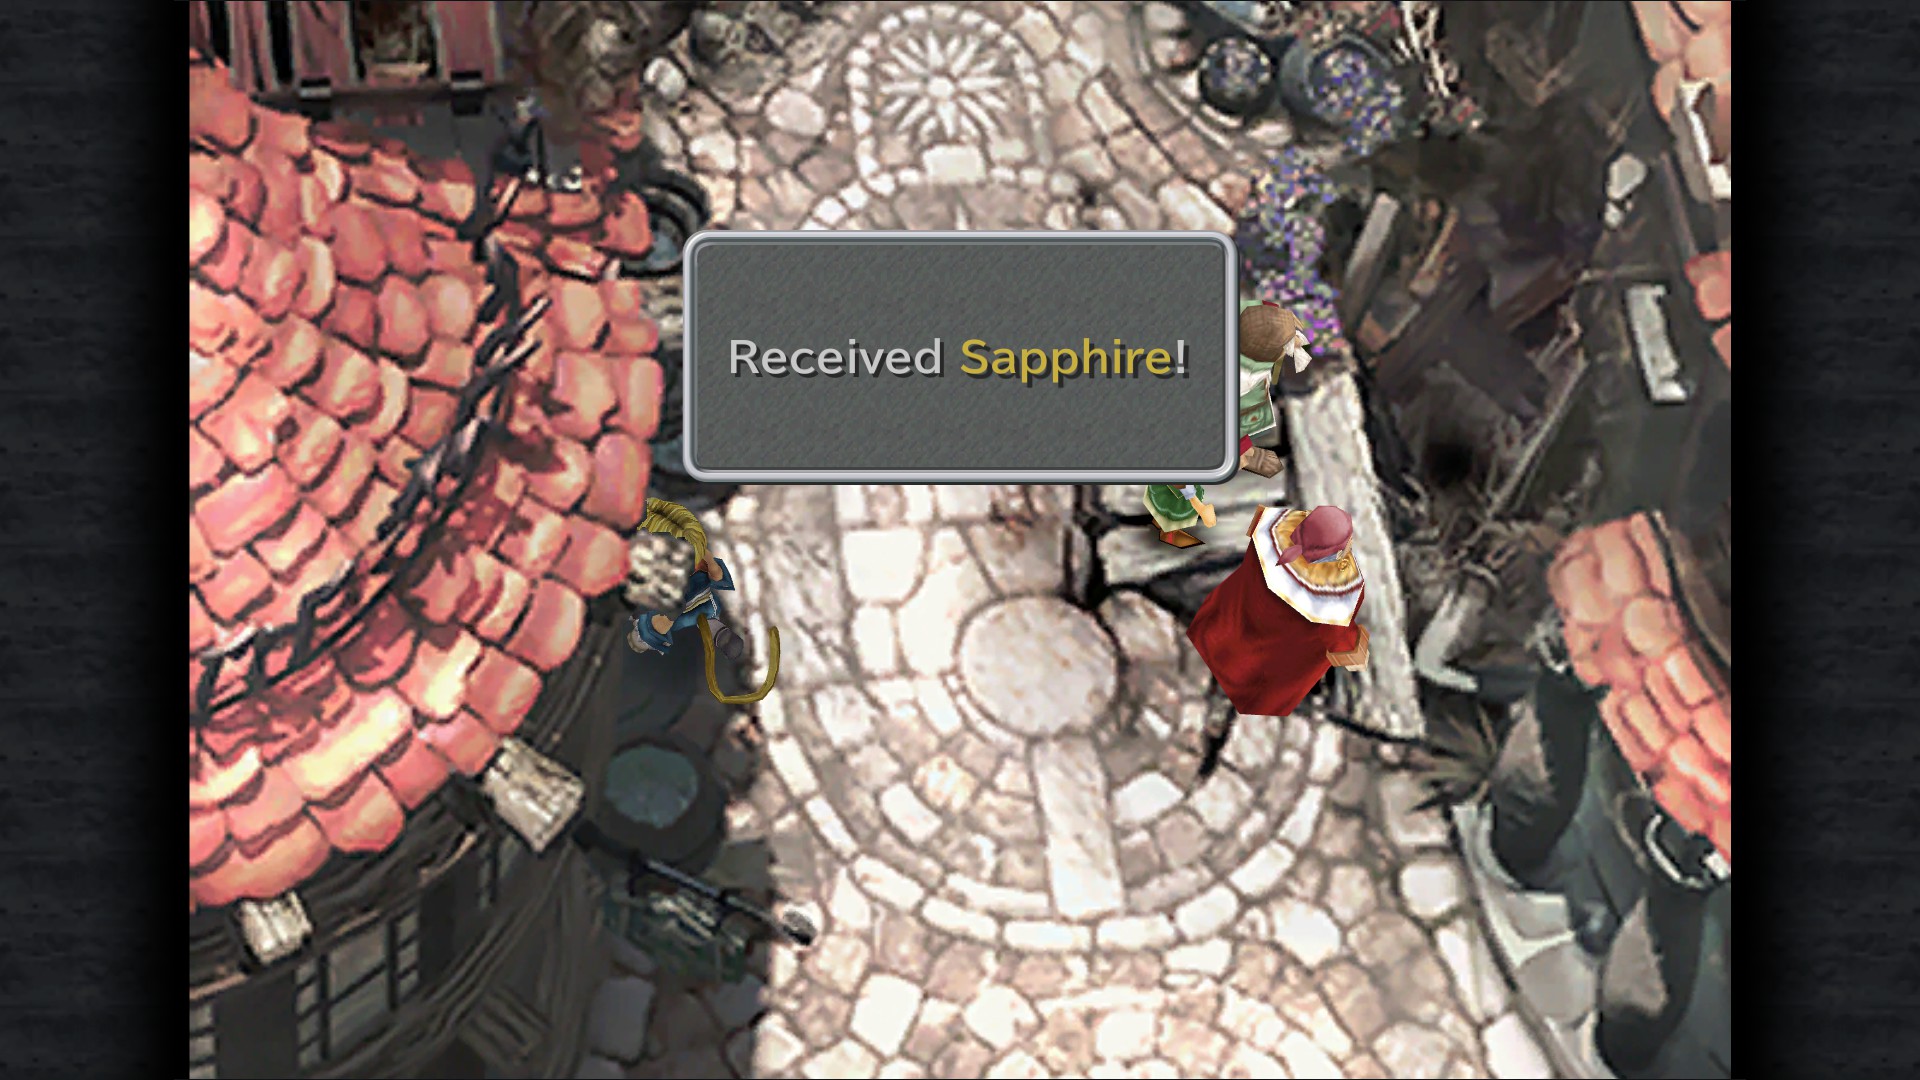


Alexandria
Sapphire - Main Street (1st screen)
Ether - Main Street (2nd screen)
Remedy - Square (Bottom right corner)
Amethyst - Square (Bottom left corner)
Alexandria Card - Square (Given by a girl running around)
365 Gil - Square (Entrance of the weapon shop)
Tent - By the Stepple
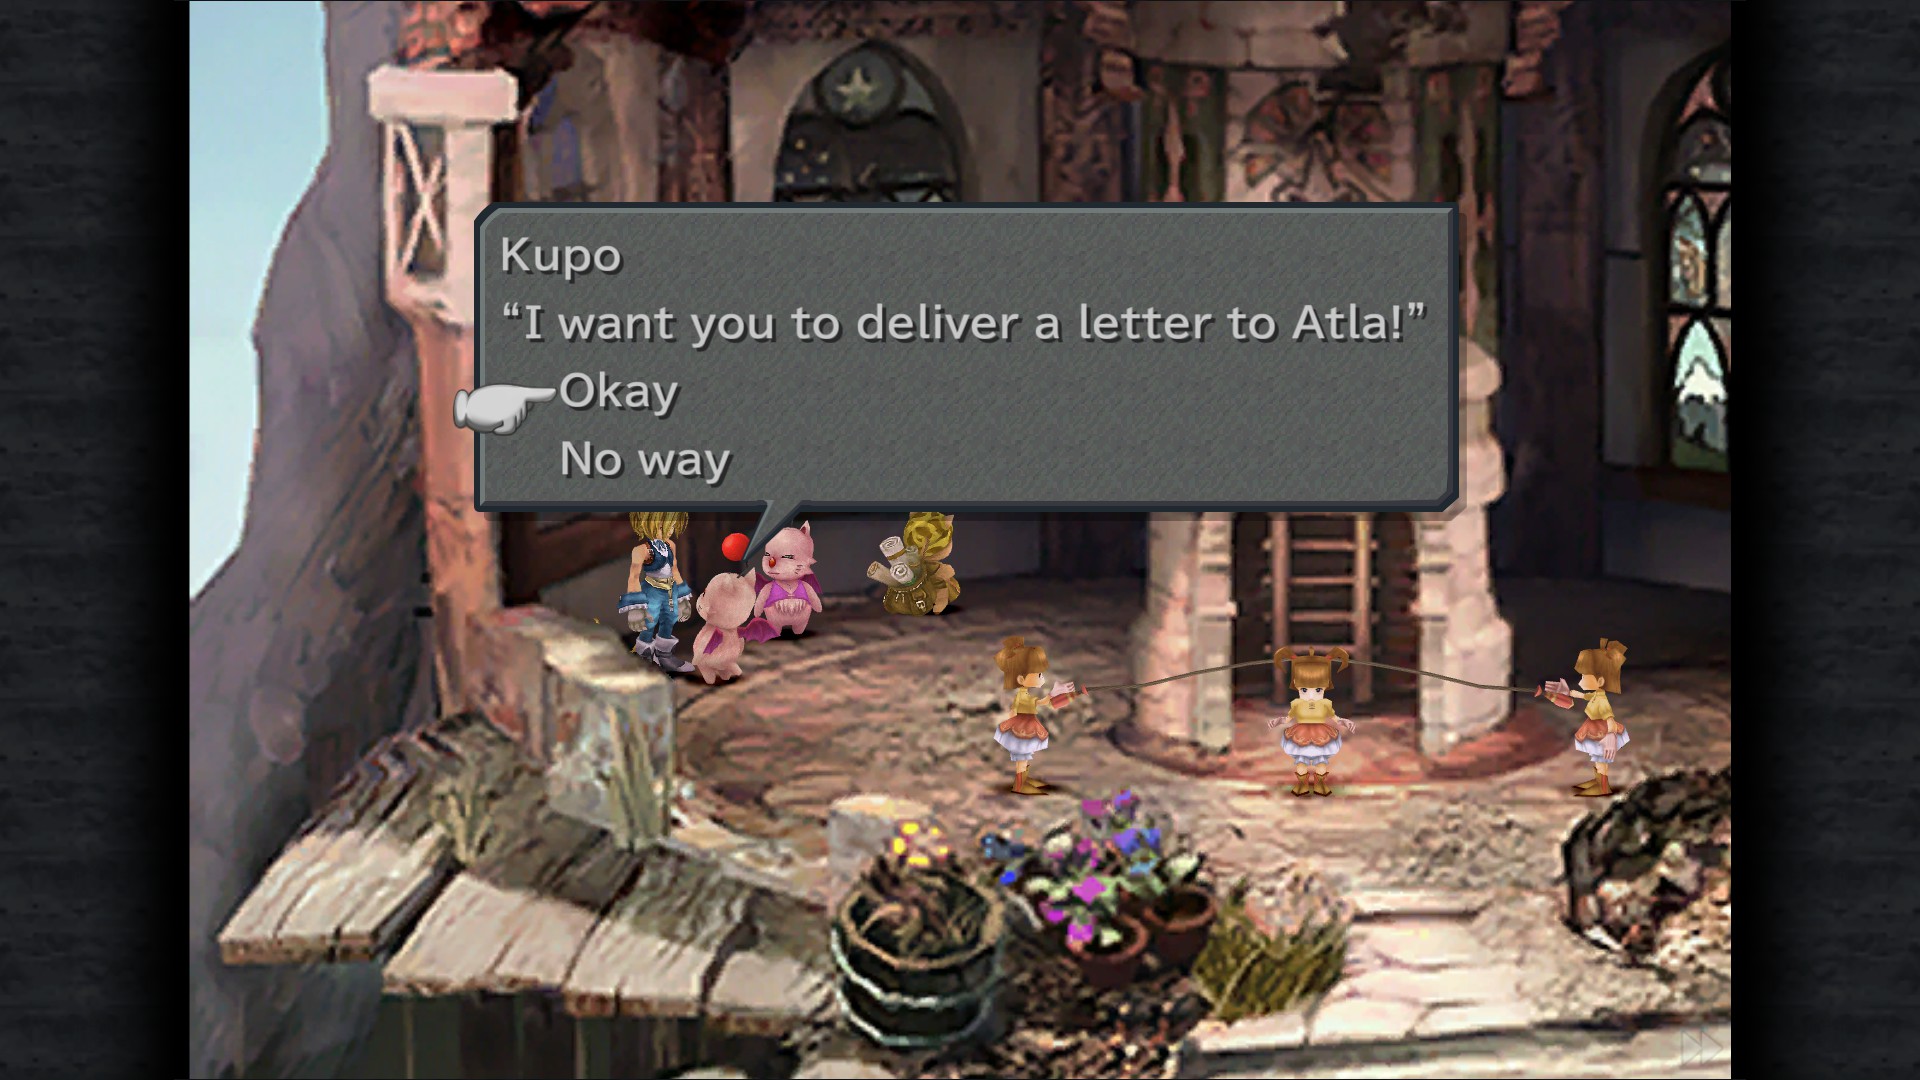
Mognet: Pickup the letter for delivery (Kupo to Atla) - Steeple
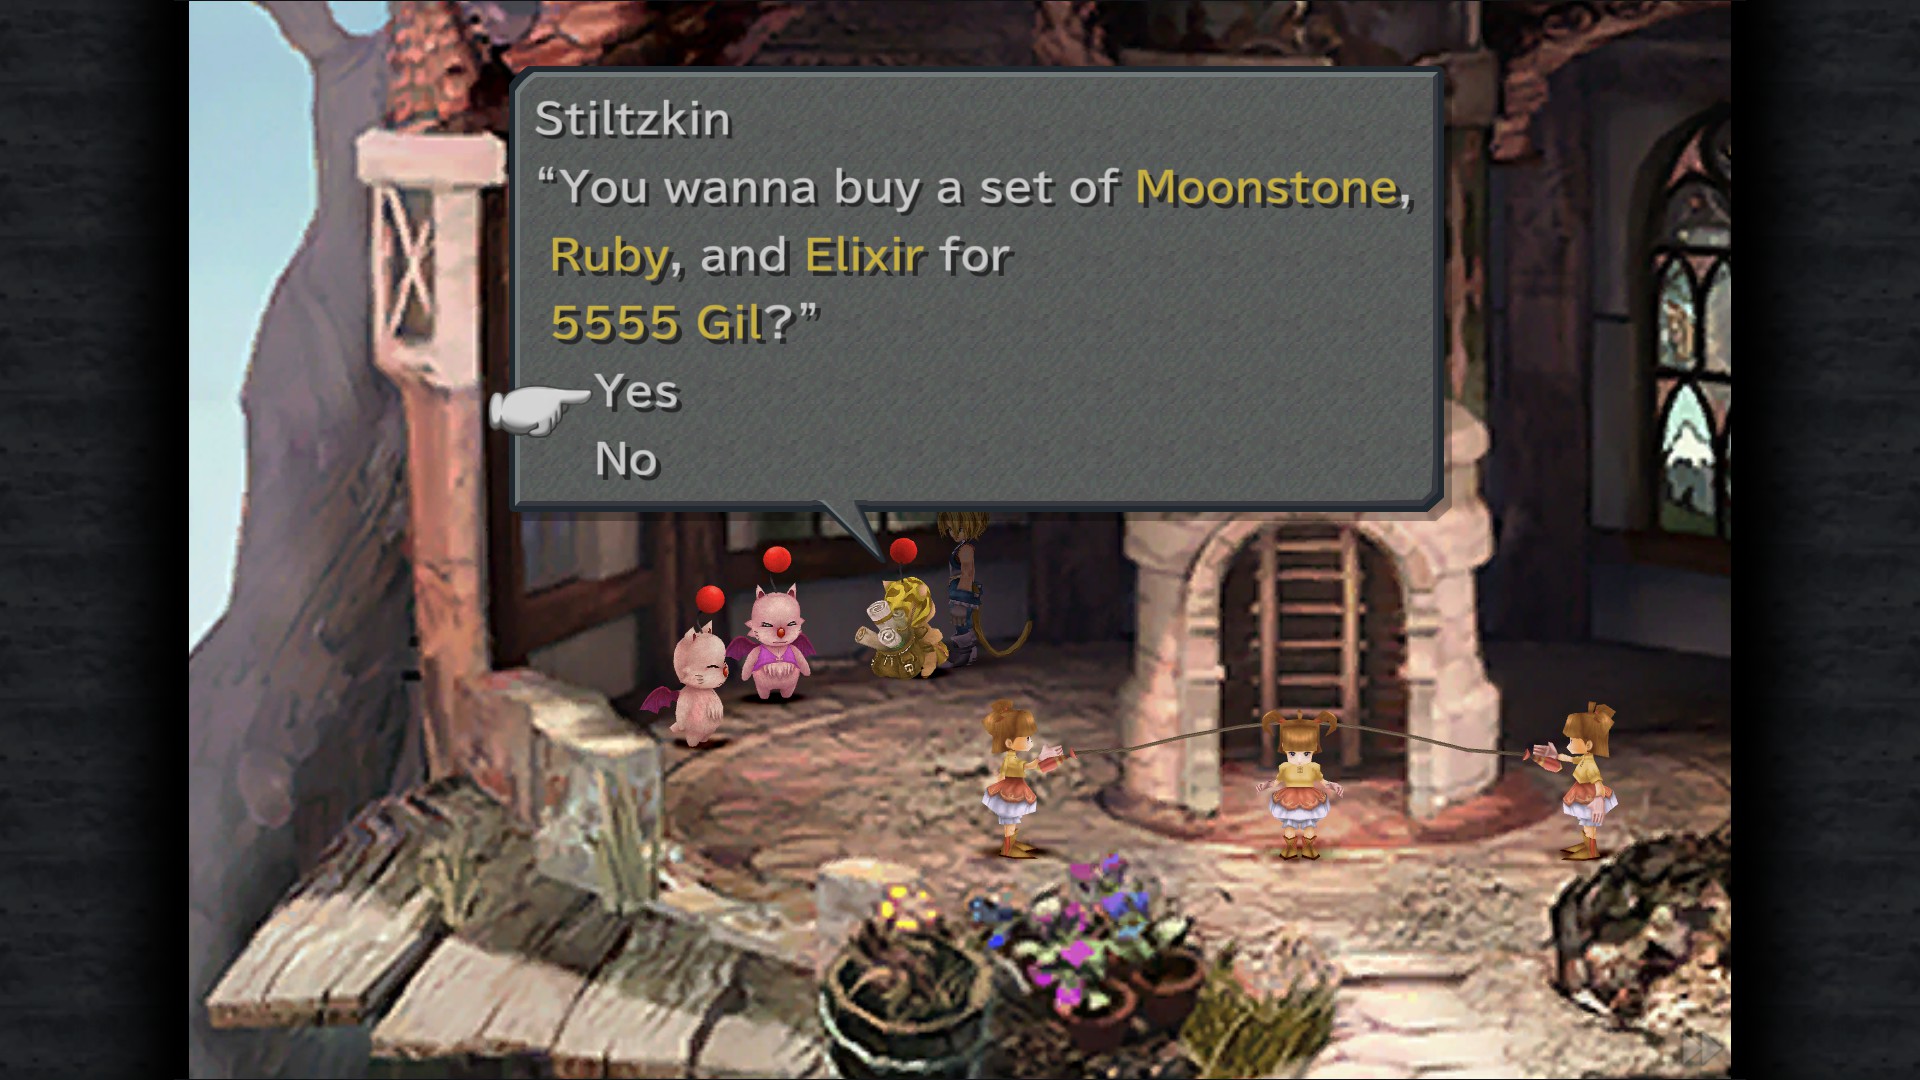
Stiltzkin: Pack available for 5555 GIl (Moonstone 3/4, Ruby, Elixir)(you'll also get a Ribbon if you talk with him again after buying his last offer)
Driving the Hard Bargain
Purchase all items available from Stiltzkin.
Topaz - Dock
4832 Gil - Dock
Peridot - Courtyard
Sapphire - Courtyard
Opal - Courtyard
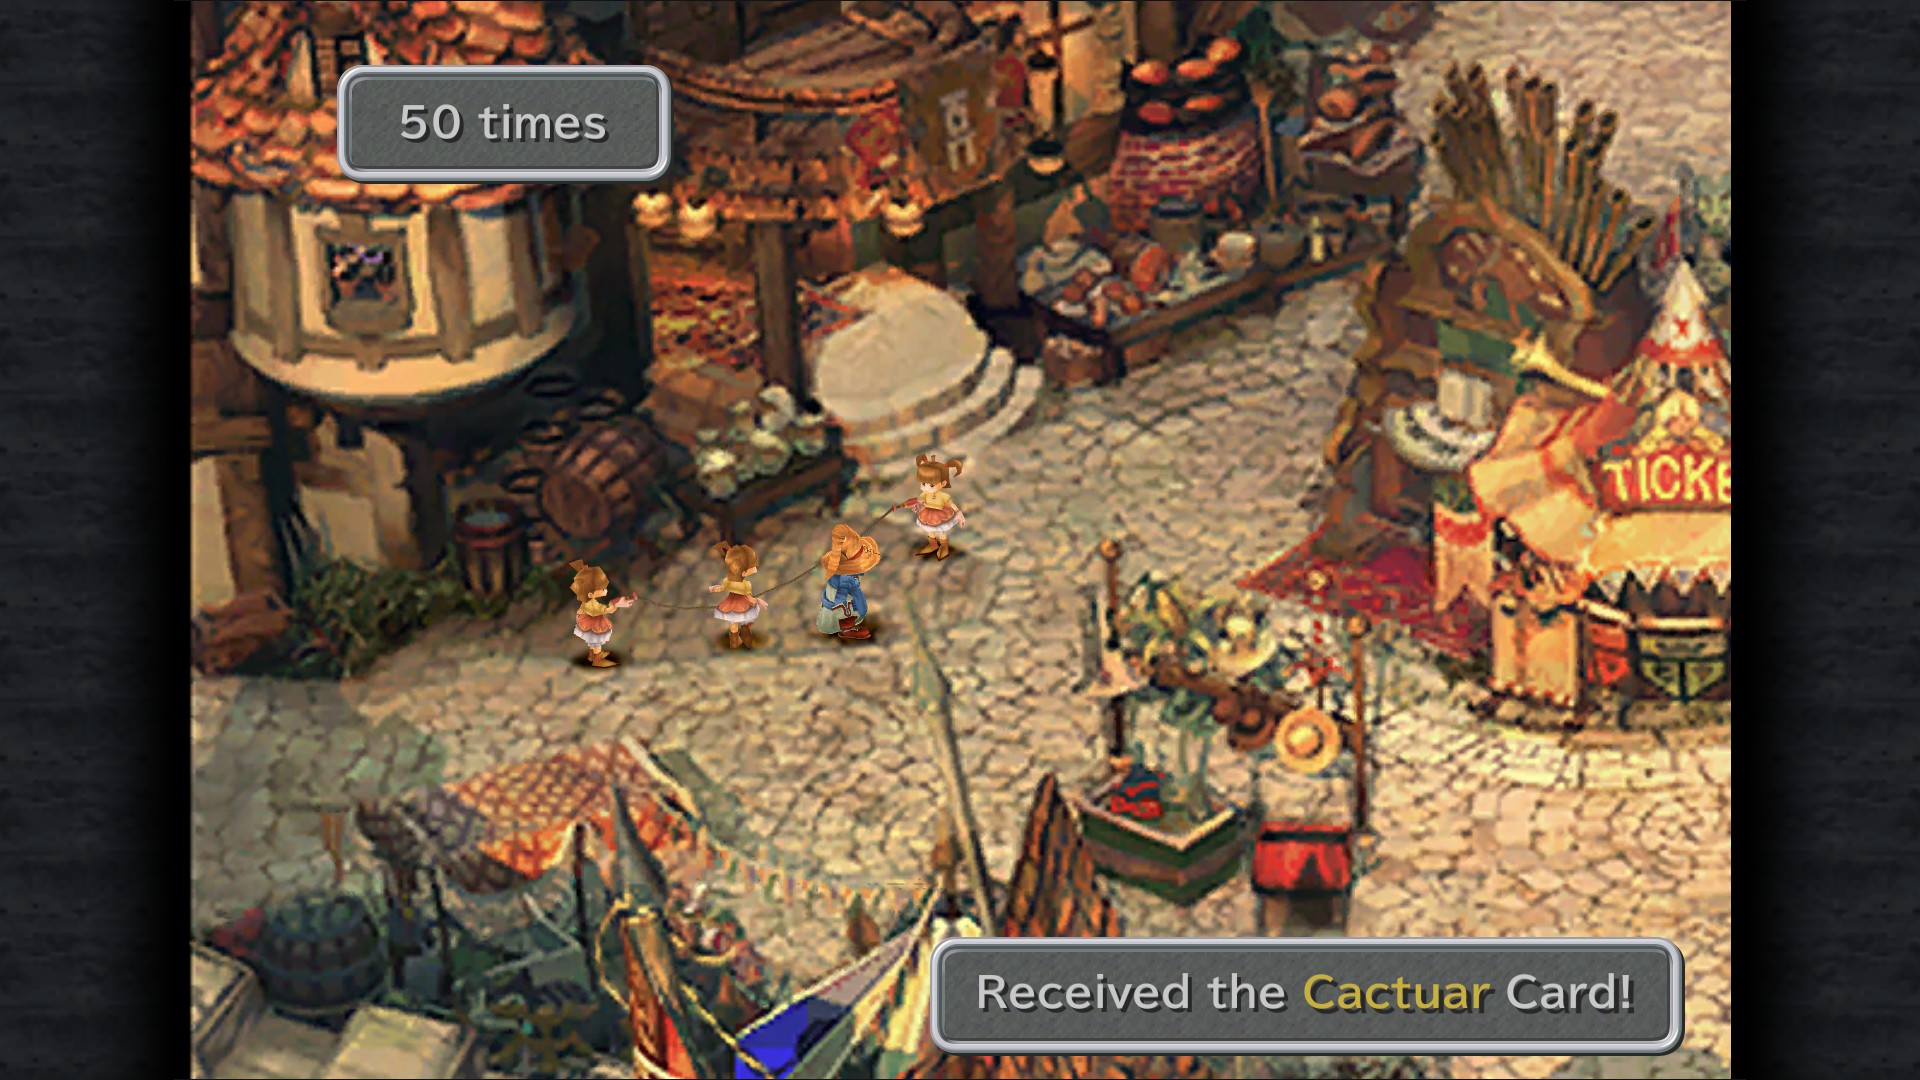
Jump the rope mini-game is also available in the Stepple (Vivi or Eiko have to be in your party)
10 Gil - Skip 20 consecutive times
Cactuar Card - Skip 50 consecutive times
Genji Card - Skip 100 consecutive times
Alexandria Card - Skip 200 consecutive times
Tiger Racket Card - Skip 300 consecutive times
King of Jump Rope - Skip 1000 consecutive times
Skip to My Lou
Jump rope 100 times without tripping.
Hail to the King
Jump rope 1000 times without tripping and obtain King of Jump Rope.
Tip:If you're still having troubles with this after multiple tries, there's a good way to cheese it. Since they added mouse support, it looks like they forgot to fix the timing while using it, so you can click as fast as you can and get to 1000 pretty easily this way (or use an autoclicker if you're lazy).
Quan's Dwelling
Note:bring Vivi and Quina in your party.
Ether - On the ledge
Ether - On the shore
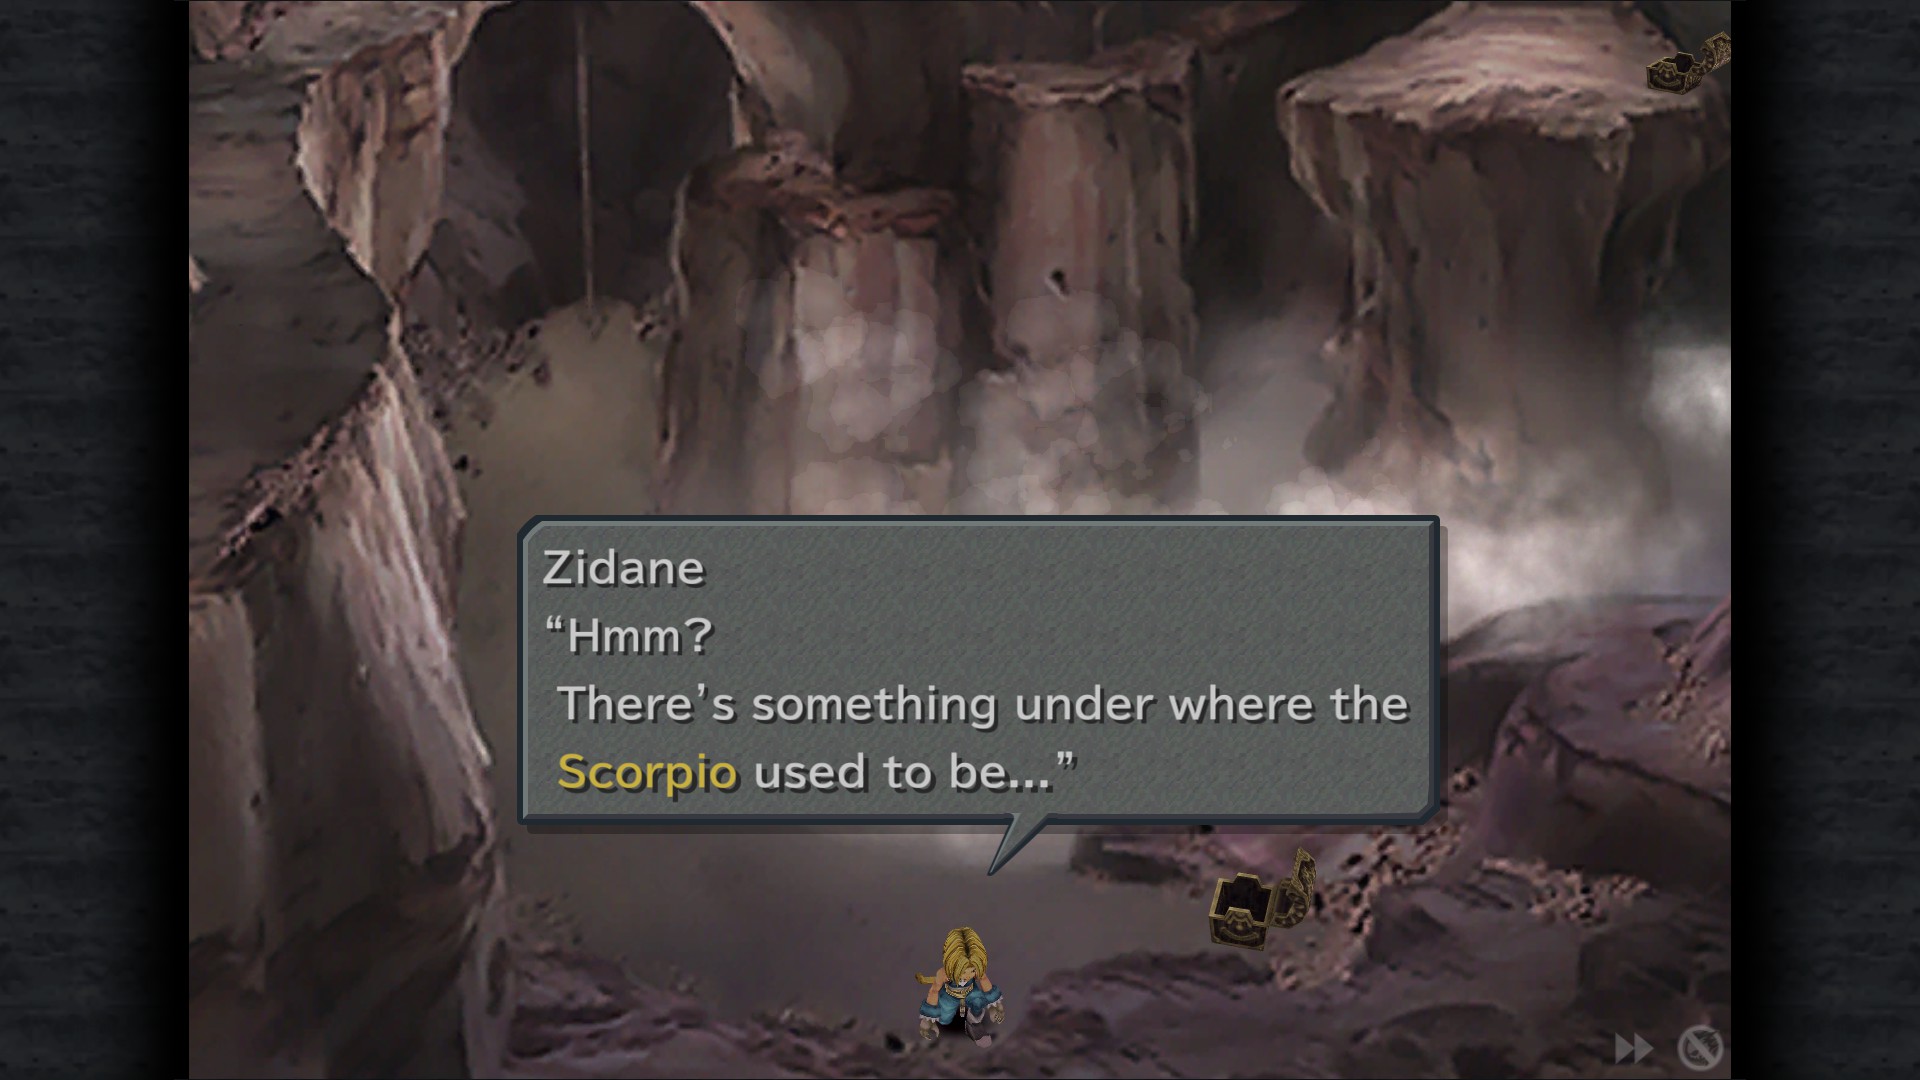
Scorpio* - On the shore , near the chest
Ether - Ladder in the living room
Running Shoes - Inspect the clock on the terrace (Vivi and Quina required)
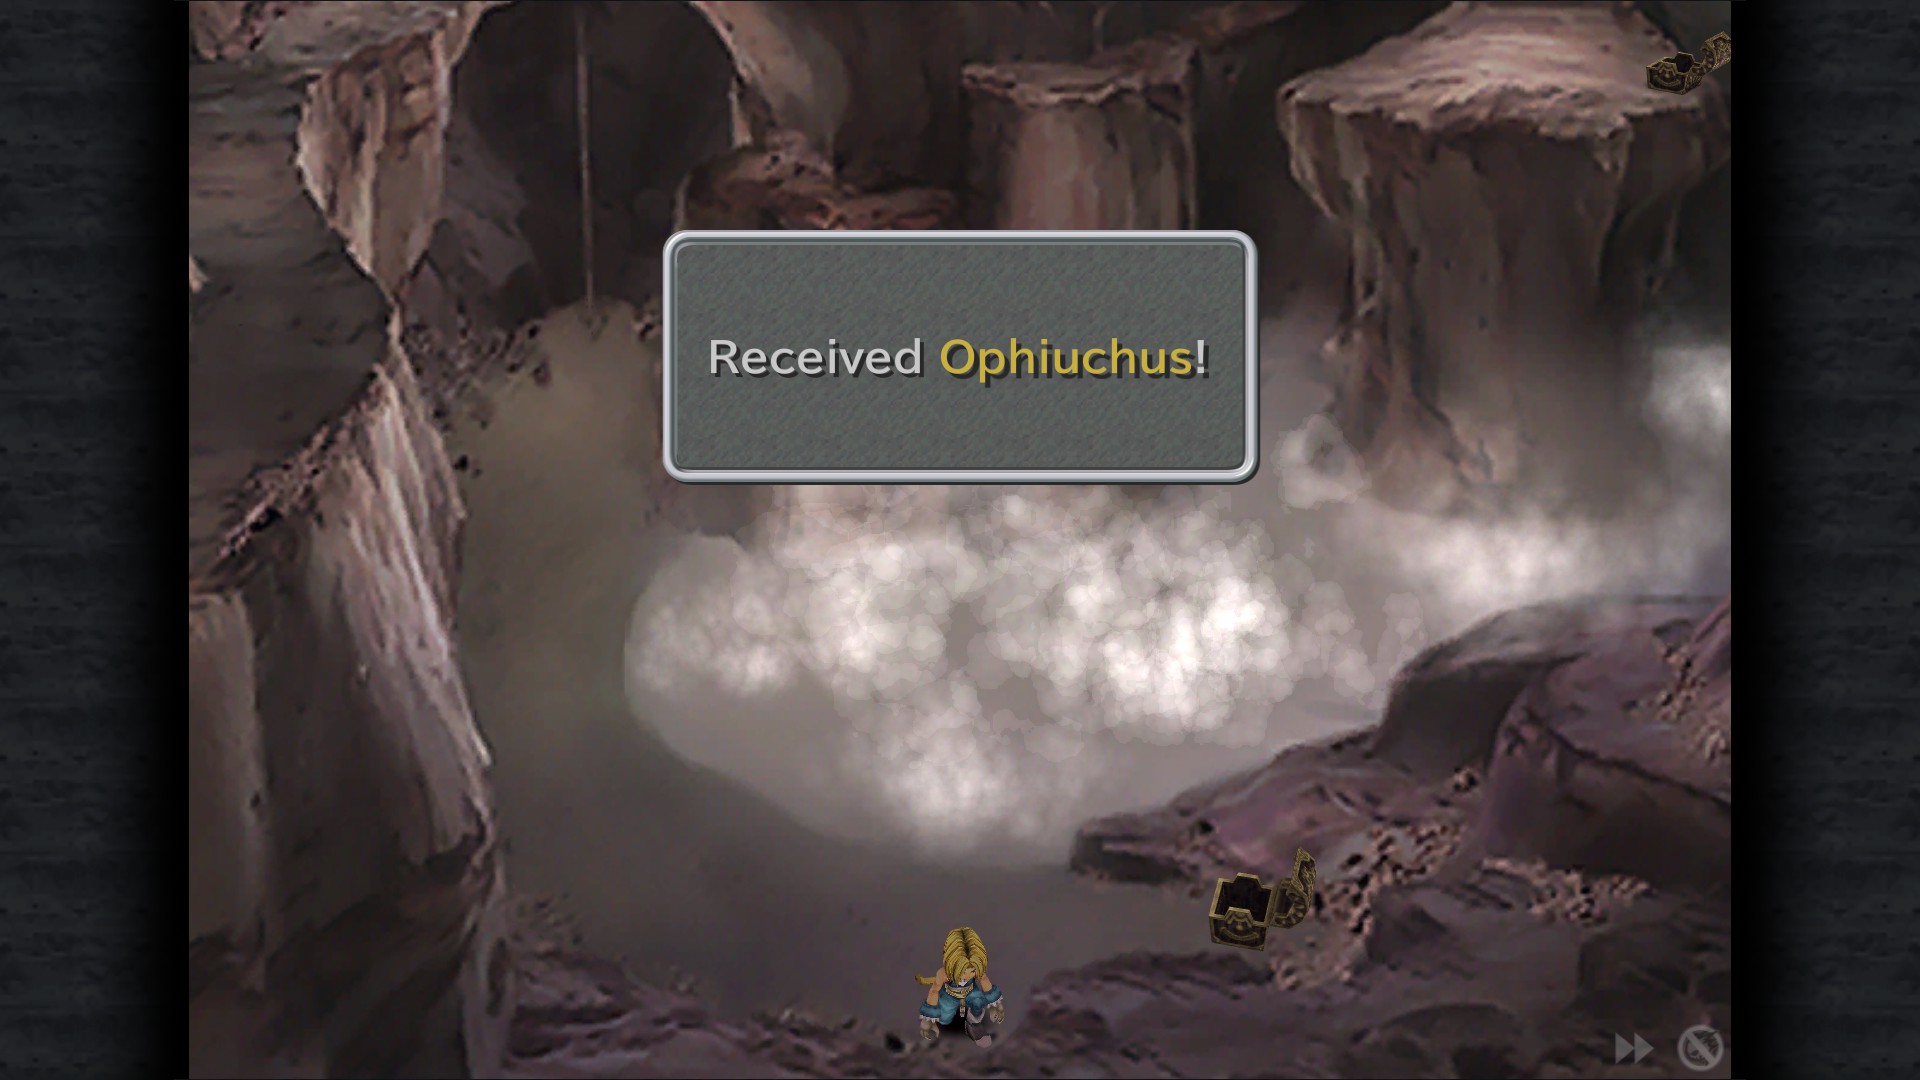
Opiuchius - Same location as Scorpio but only available after completing Stellazio sidequest
Stellazio Sidequest, Excalibur And Treasure Hunter Rank S


Treno
Queen's House (Stellazio sidequest)
1 Token - 1000 GIl
2 Tokens - Phoenix Pinion
3 Tokens - 2000 GIl
4 Tokens - Blood Sword
5 Tokens - 5000 Gil
6 Tokens - Elixir
7 Tokens - 10000 GIl
8 Tokens - Black Belt
9 Tokens - 20000 Gil
10 Tokens - Rosetta Ring
11 Tokens - 30000 Gil
12 Tokens - Robe of Lords
After giving her all 12 tokens she will tell you that something is missing...
head to Quan's Dwelling and inspect the location where Scorpio was.
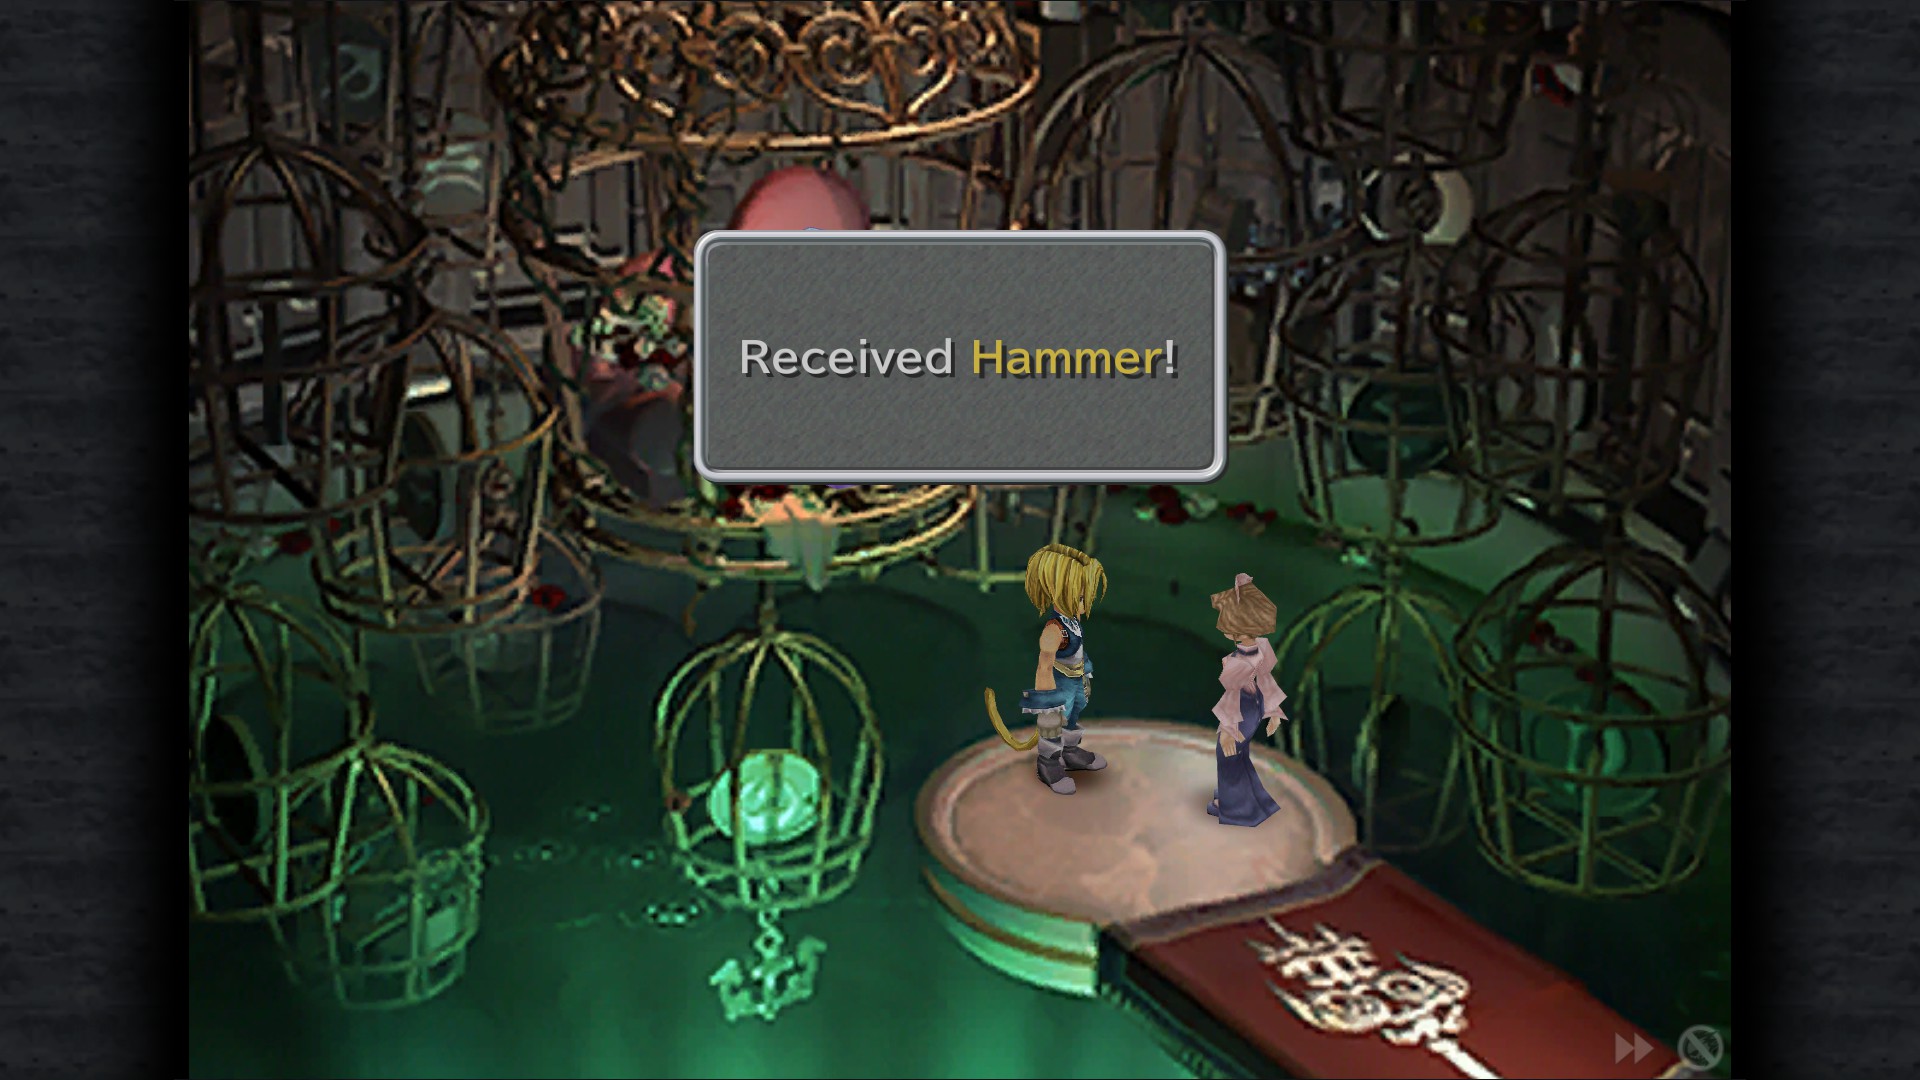
13 Tokens - Hammer
Earning the Queen's Favor
Receive 10 rewards from Queen Stella
What's Your Sign
Obtain the Hammer
Now head to Knight's House with Dagger in your party:
Not much to say, equip her with your best stuff or use the 9999 dmg booster, It's up to you.
Dragon Lady
Defeat Behemoth in the Treno weapon shop using Dagger
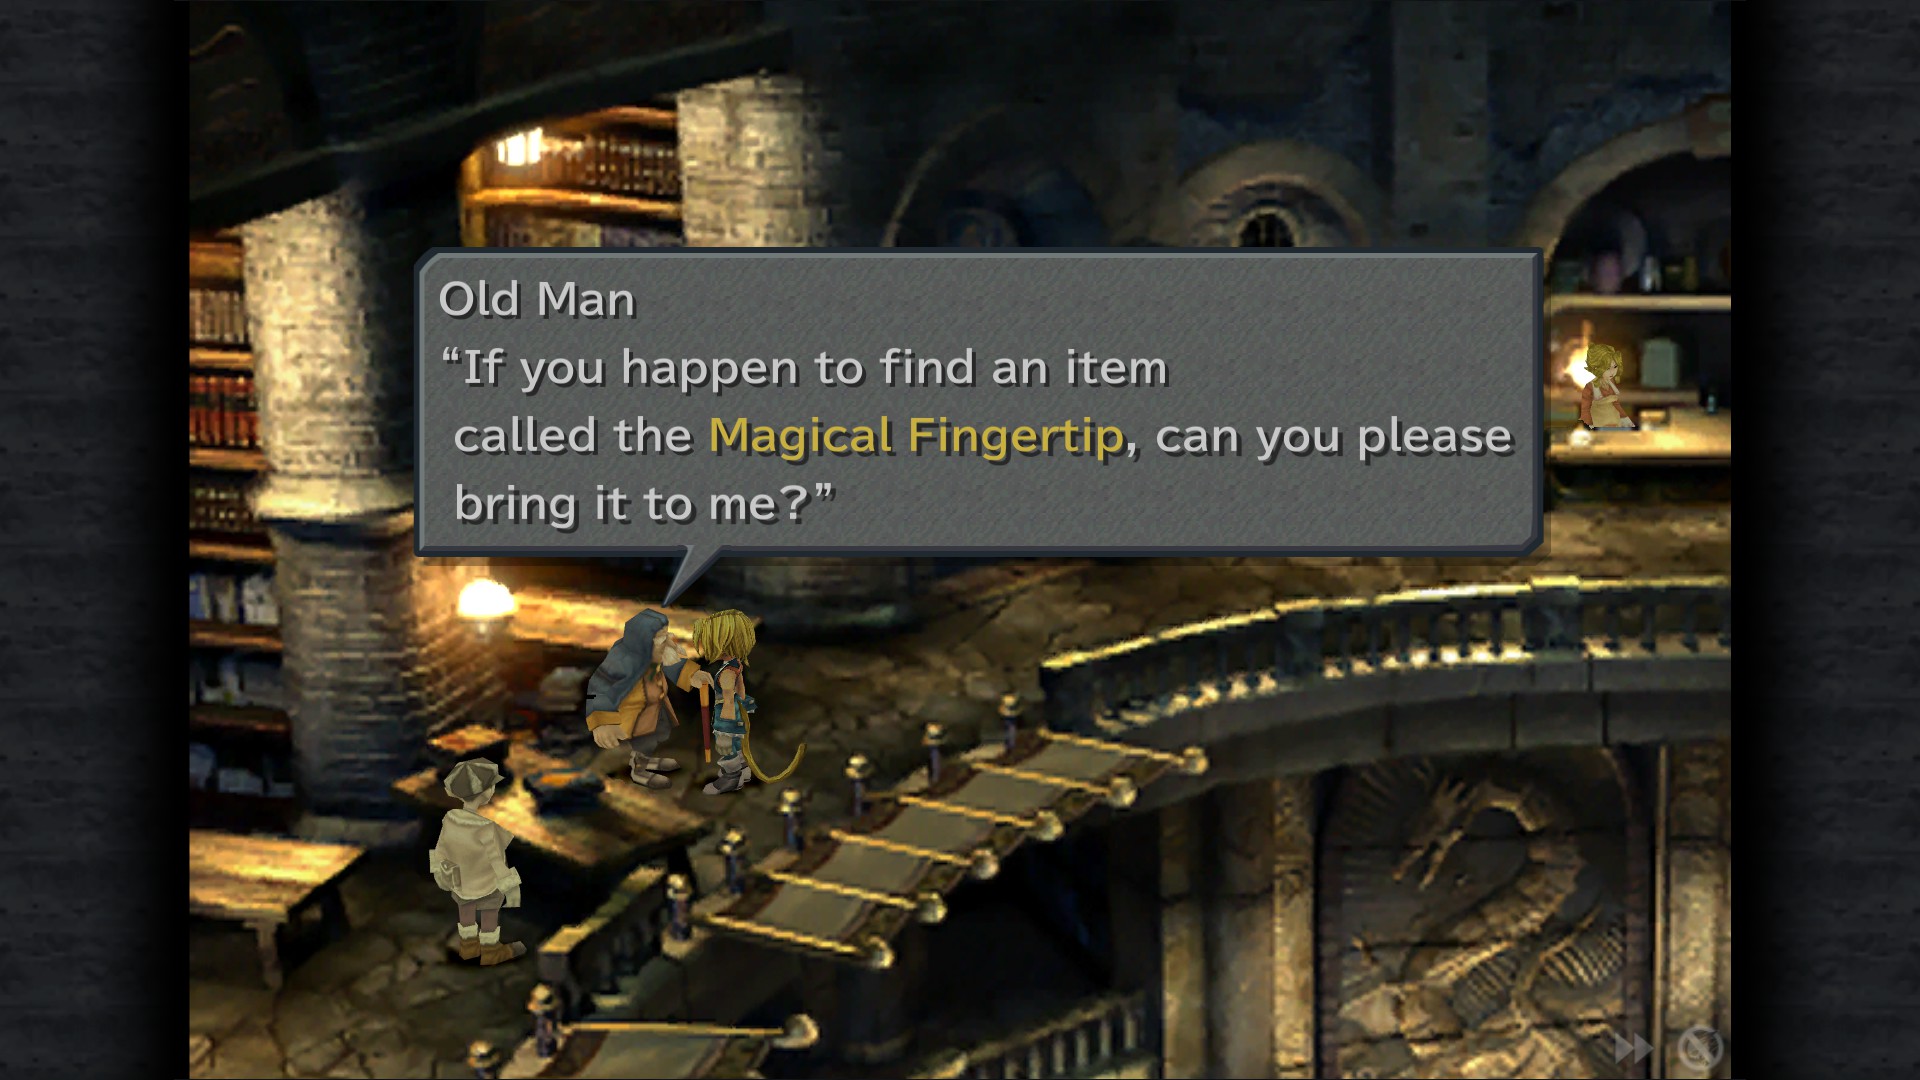
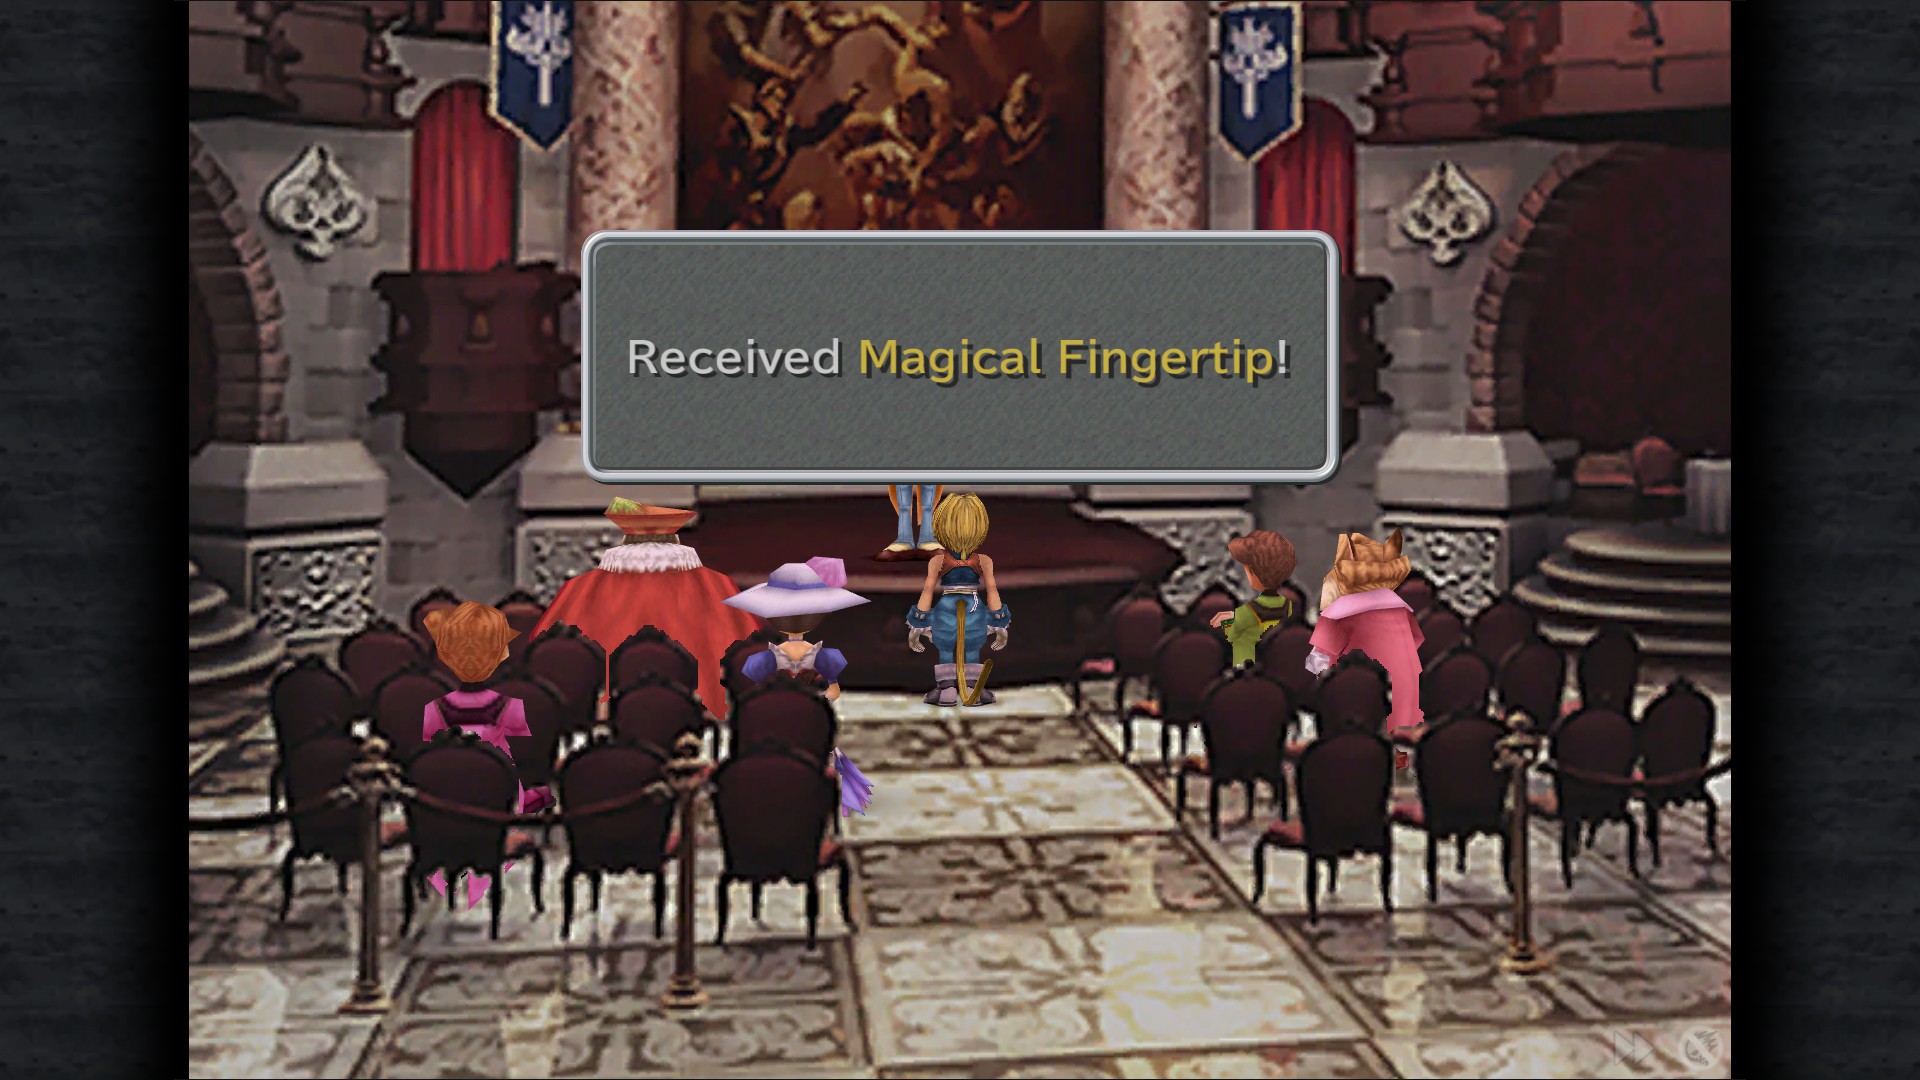
Also win the Magical Fingertip at Auction's House (only available after buying and selling Doga's Artifact, Une's Mirror, Rat Tail, and Griffin's Heart to citizens and speaking to the old man in Daguerreo)
Daguerreo
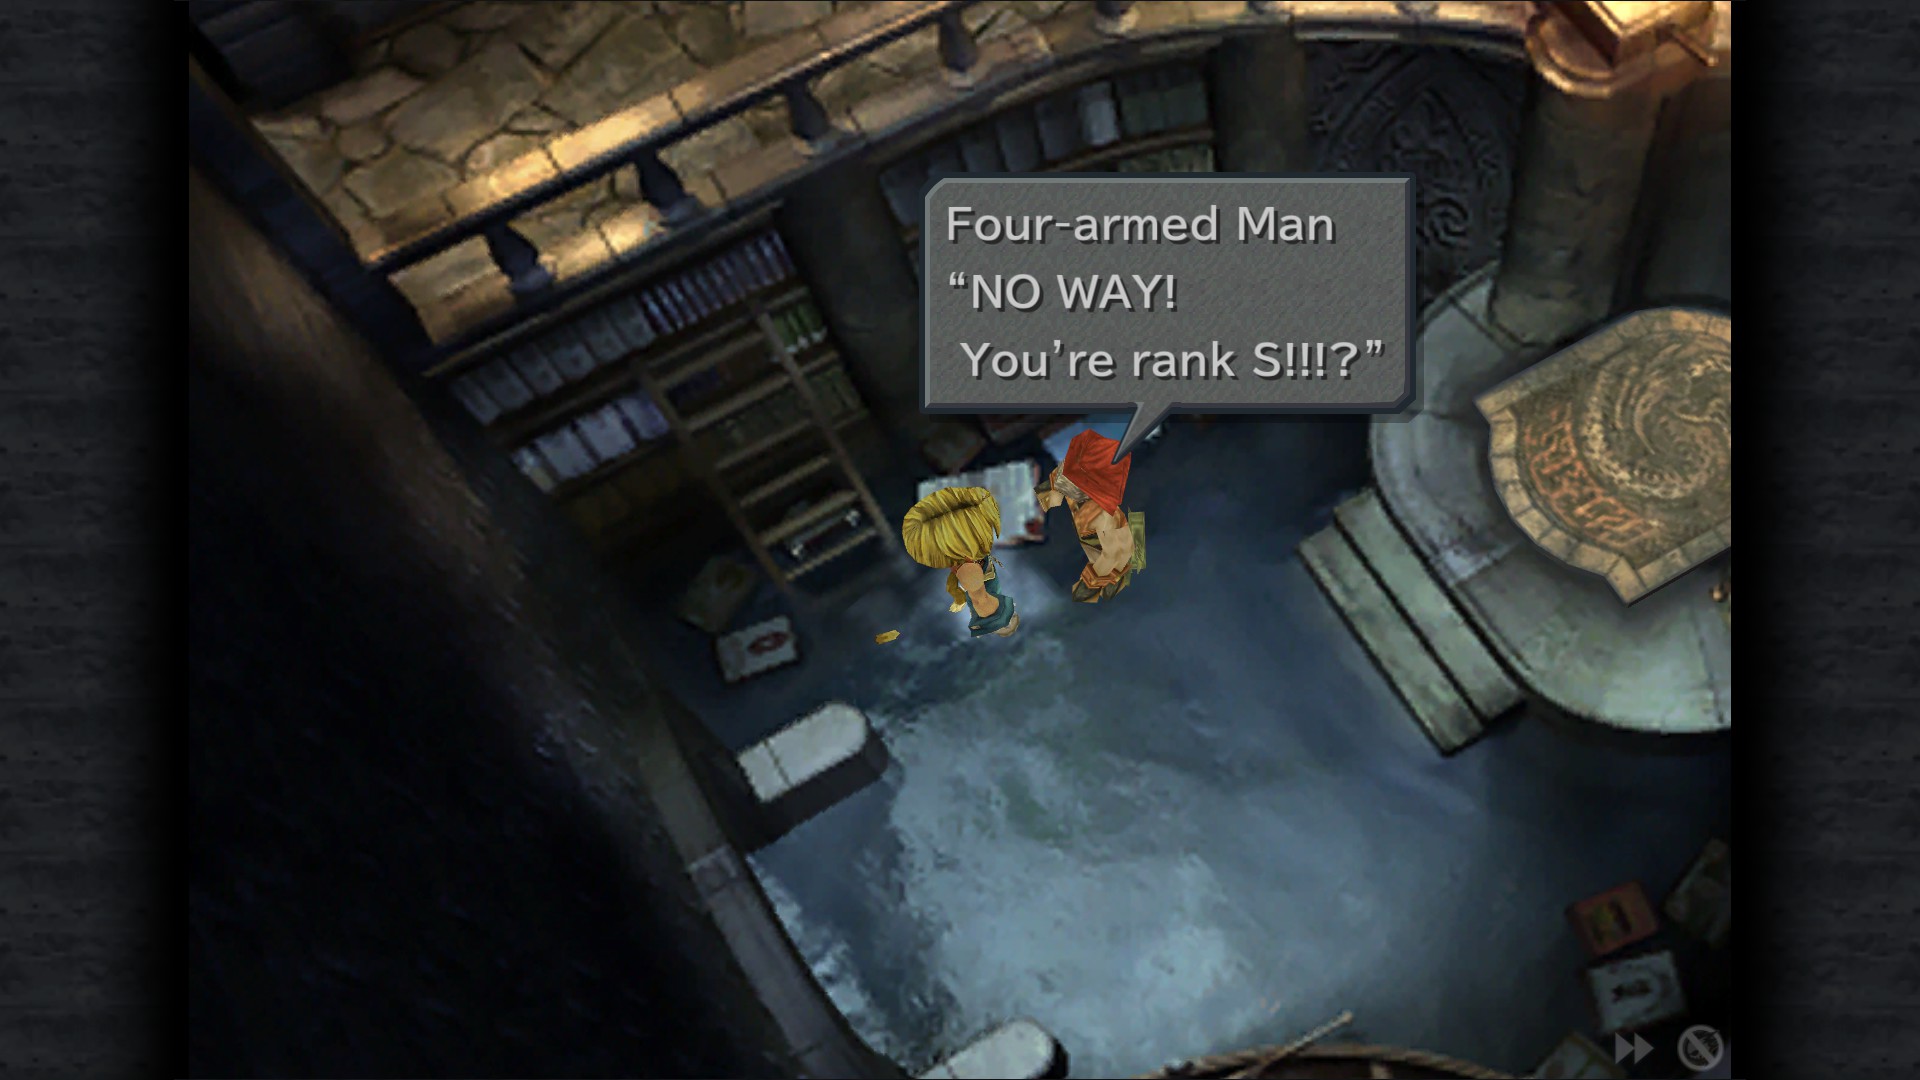
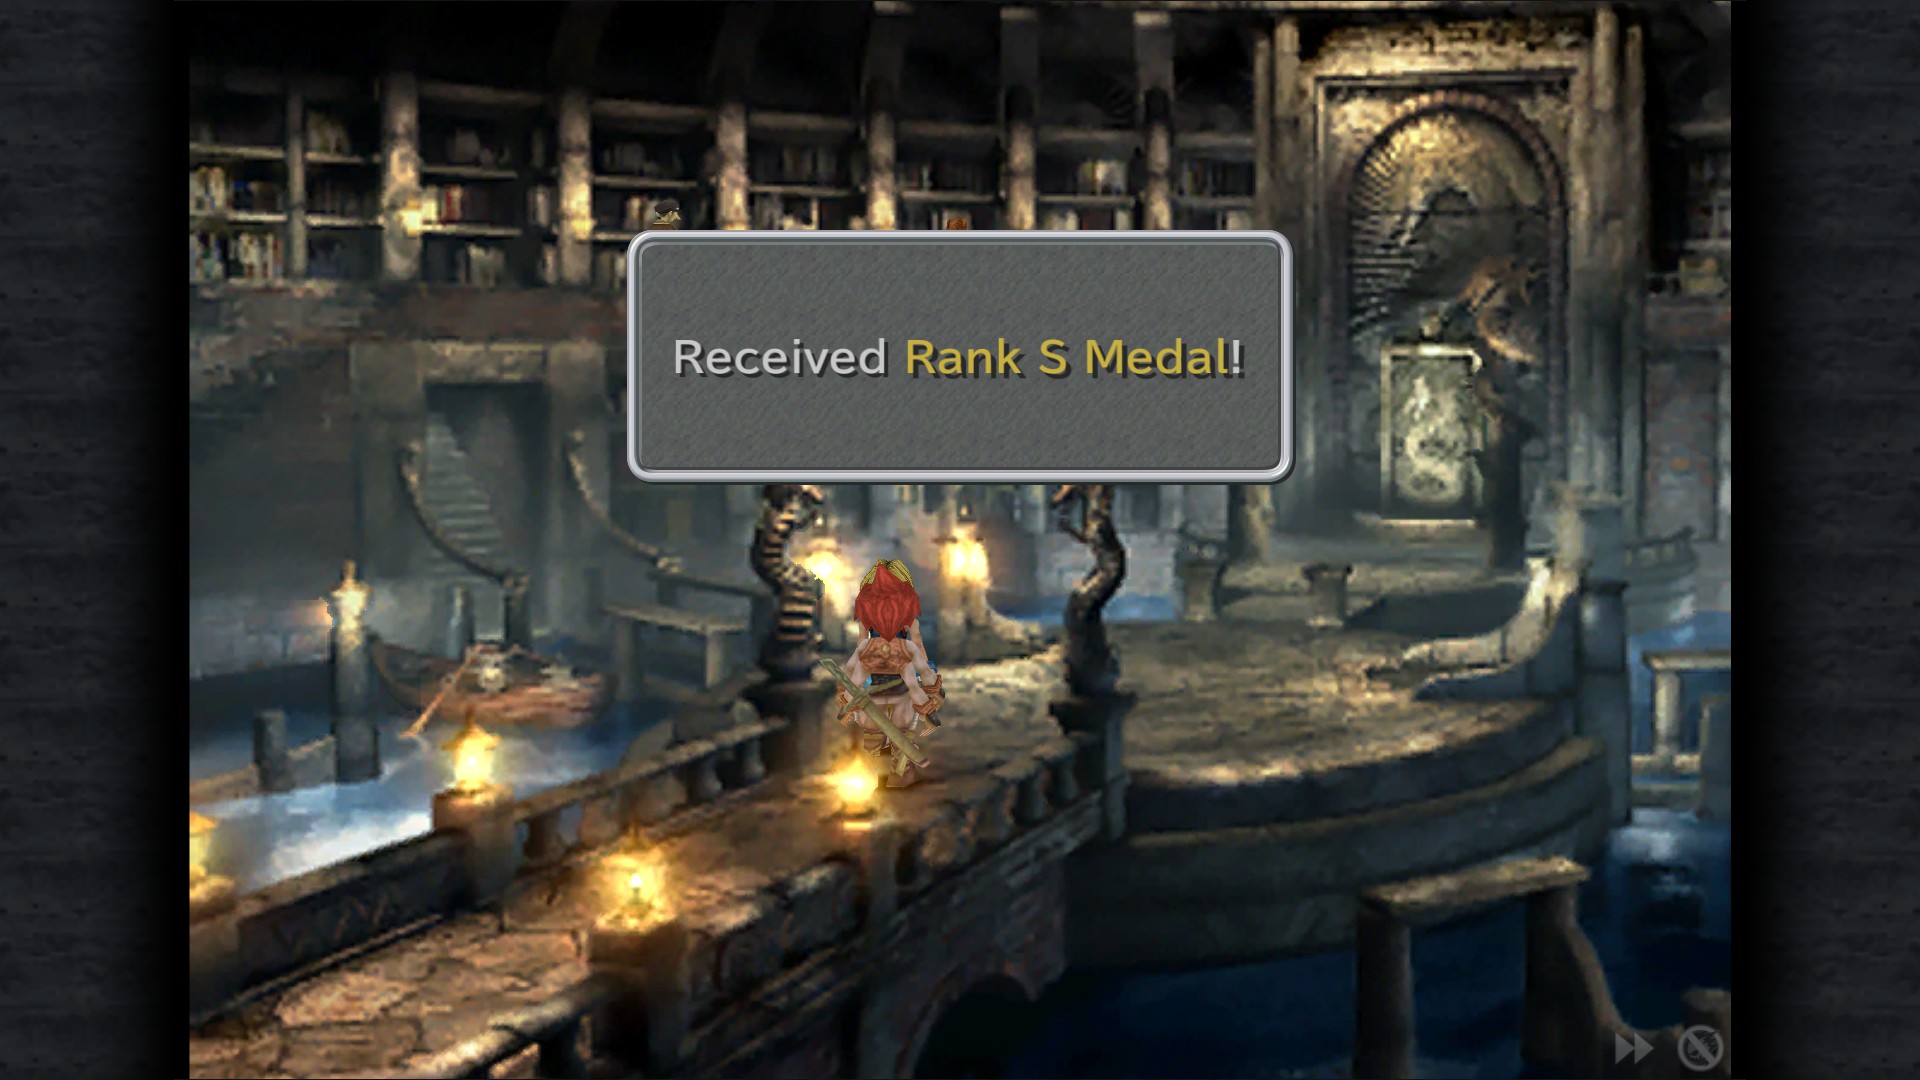
Treasure Hunter Rank S Medal
You should get this by now, go talk with Gilgamesh (Four-armed man, he's on the right hall) then speak to him again near the entrance to receive this medal and the following achievement:
Another Man's Treasure
Receive certification as a Rank S Treasure Hunter
Note: You can also speak with the waitress at the pub in Treno to trigger this achievement (this way you keep Gilgamesh in the game)
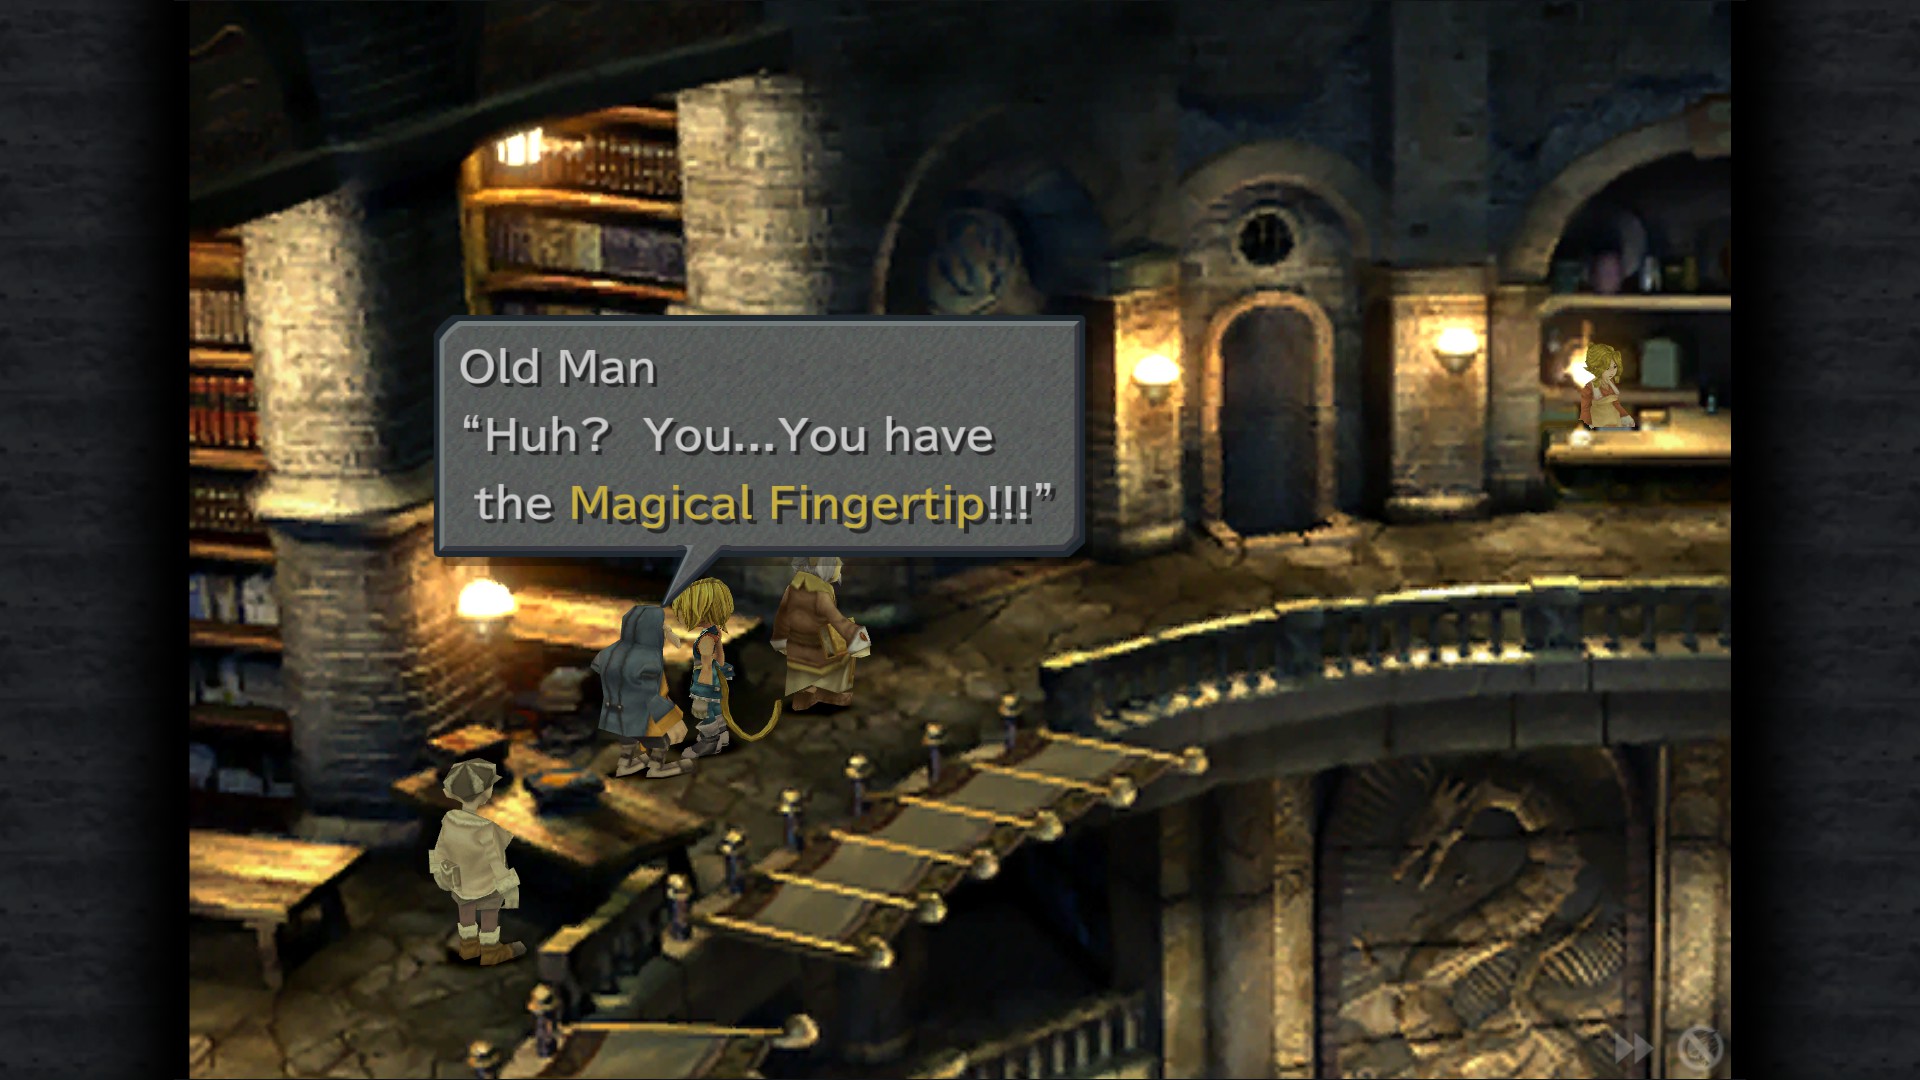
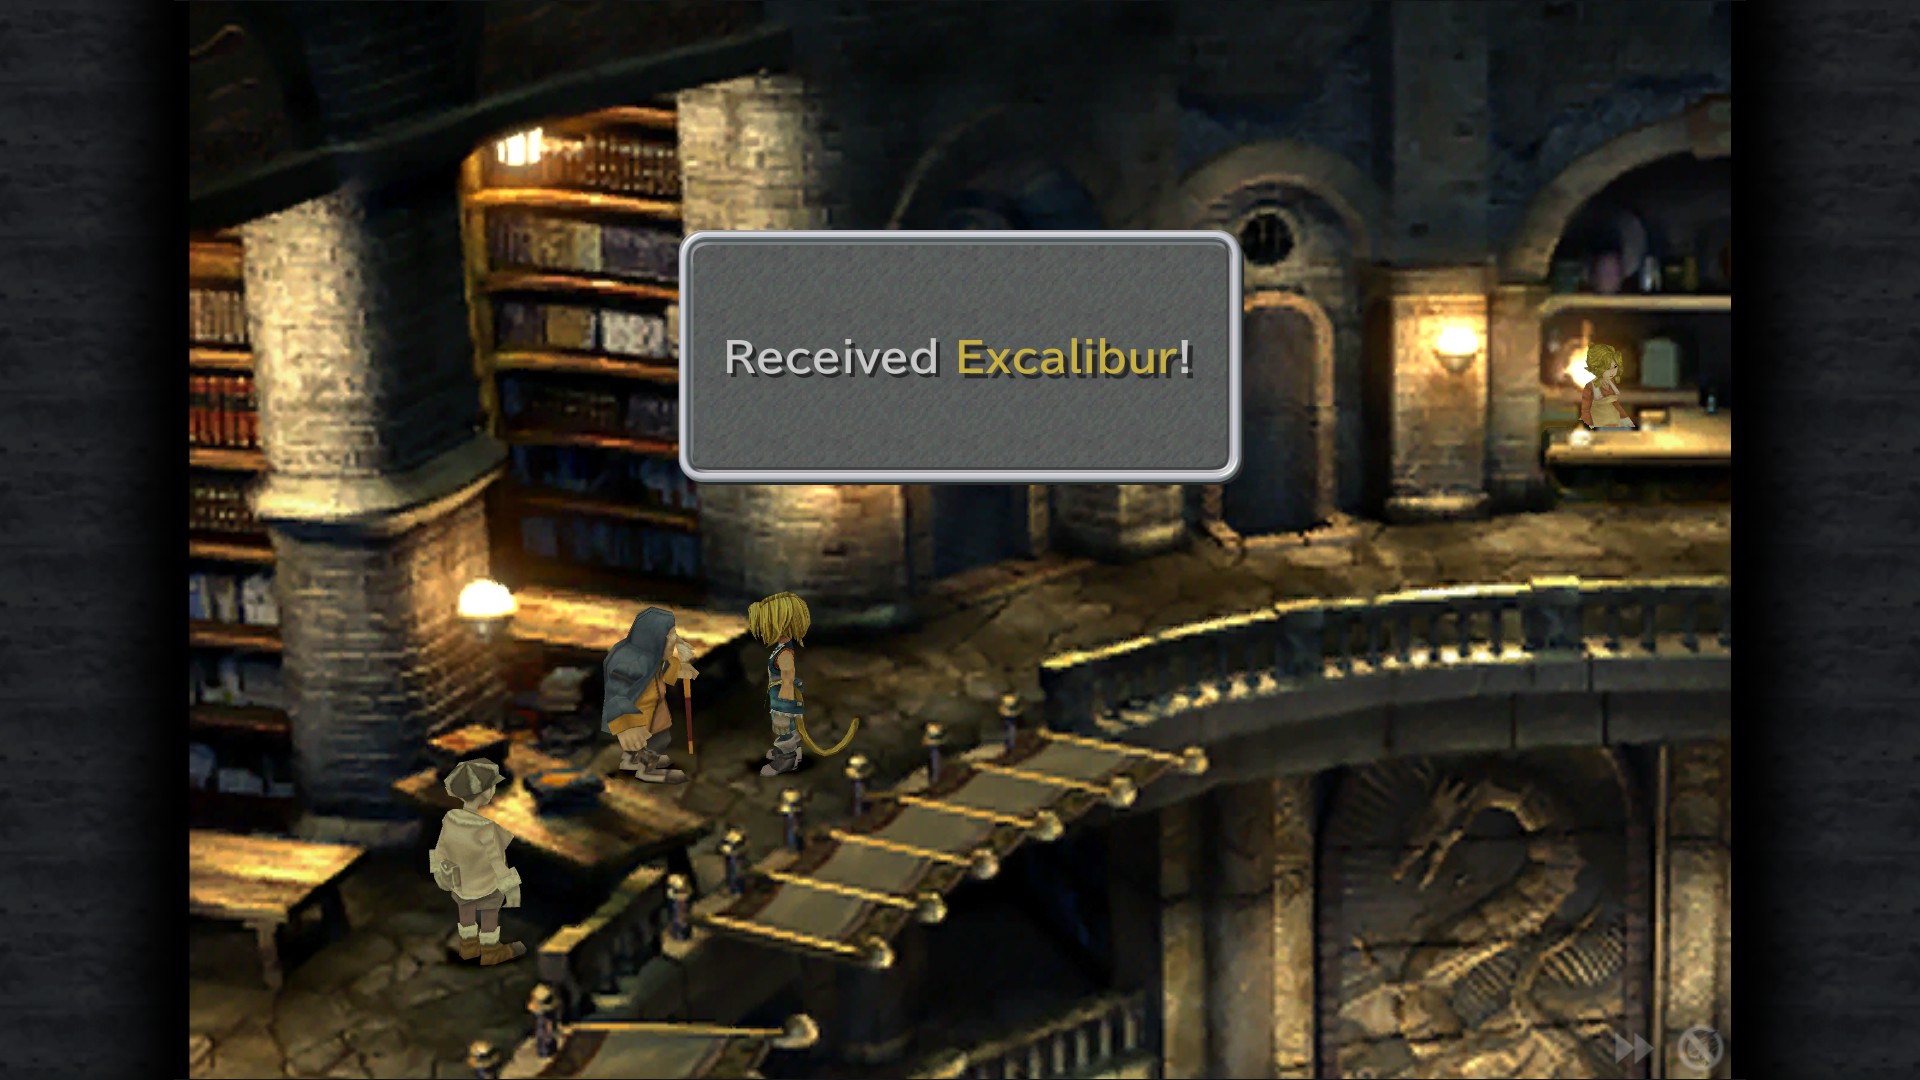
Excalibur
Now that you have the Magical Fingertip speak to the old man on Top level (near library) to receive this weapon and the achievement linked to it.
Sword of Kings
Obtain the sacred blade Excalibur.
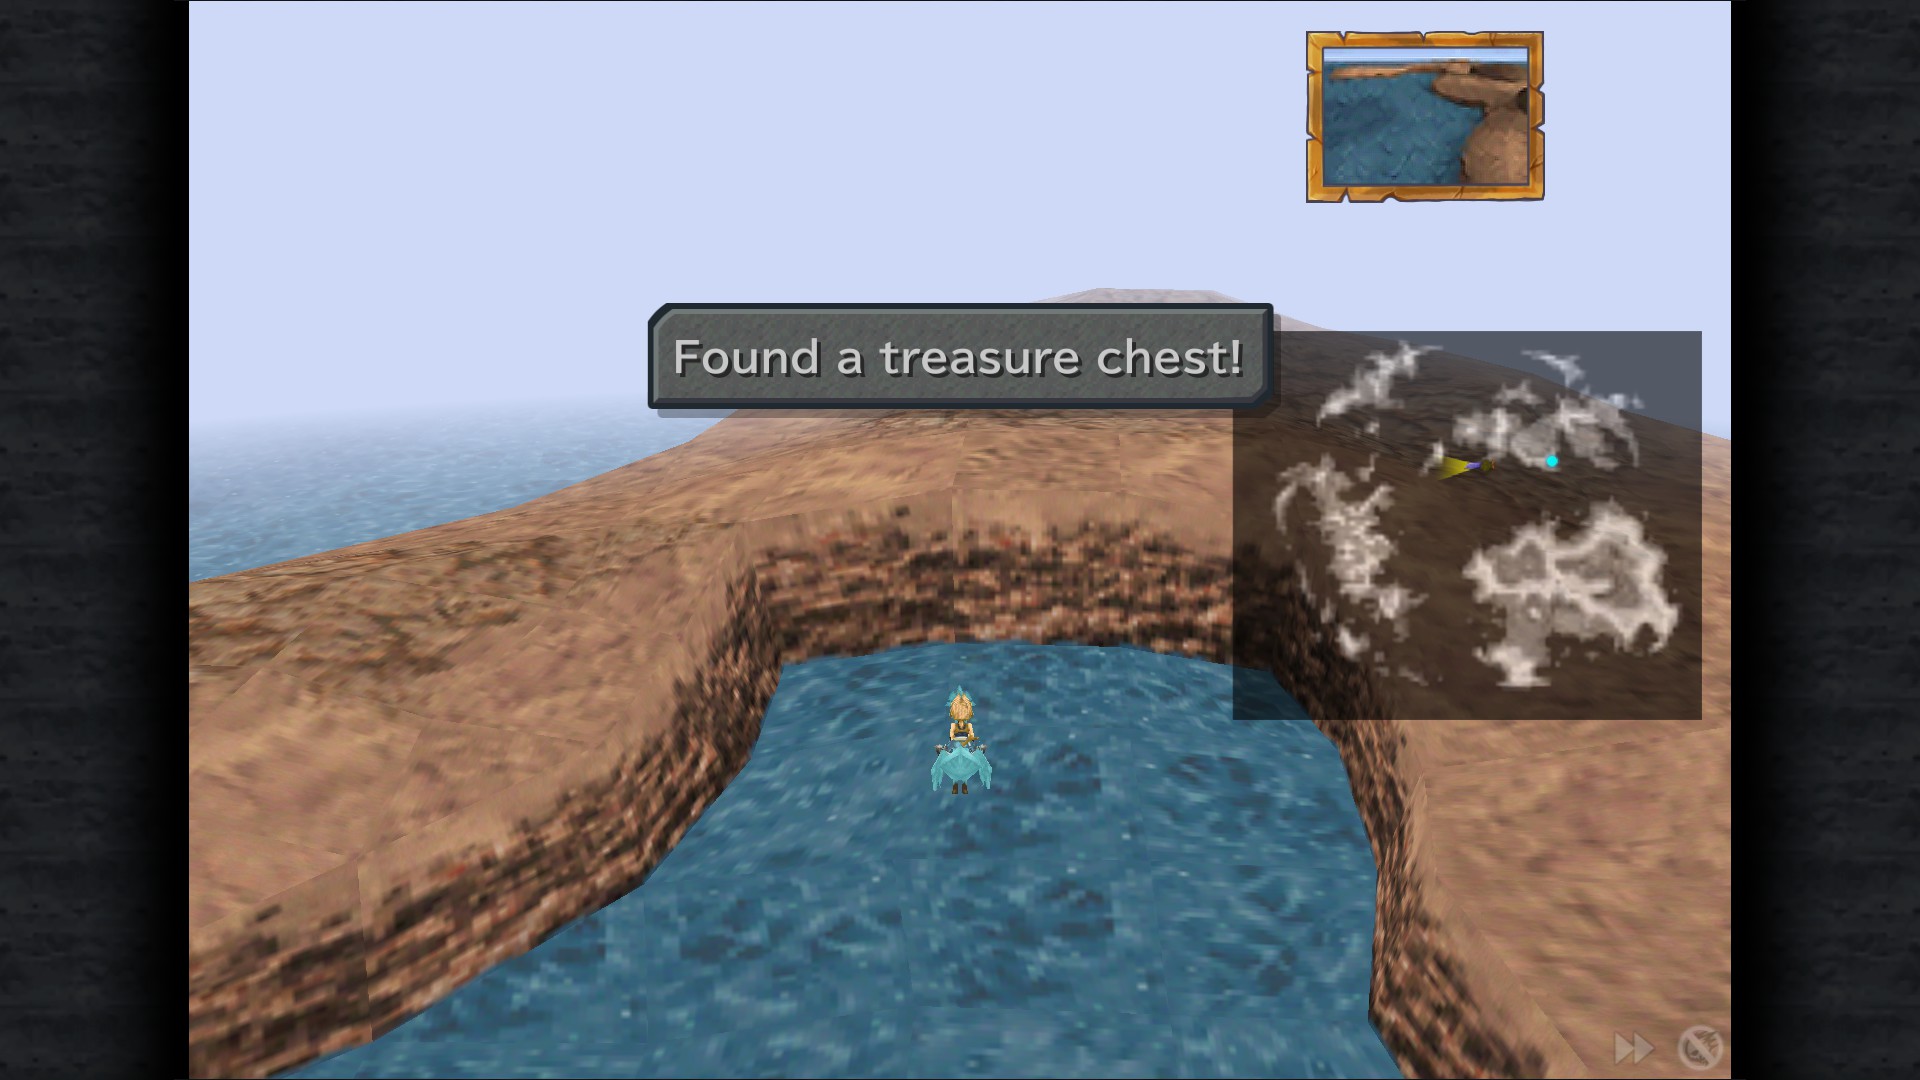
Chocographs And World Map Treasures
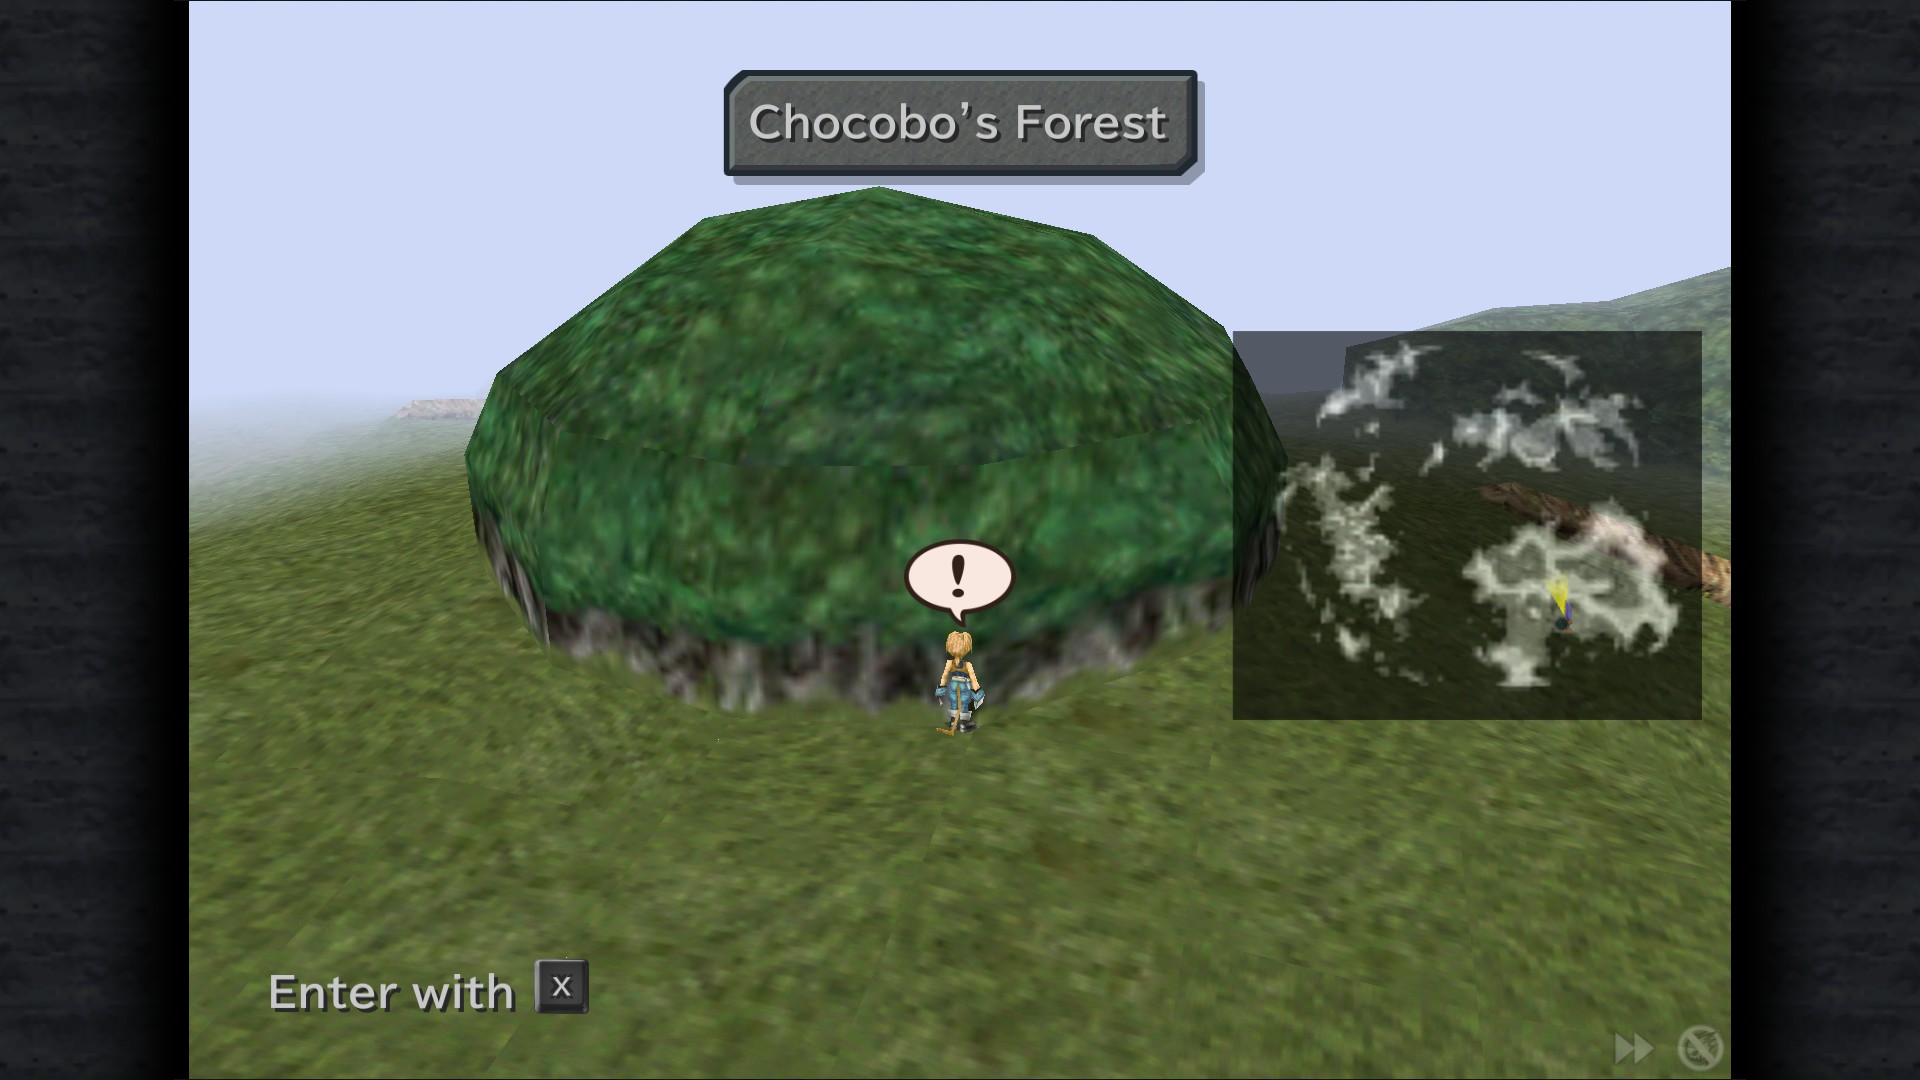
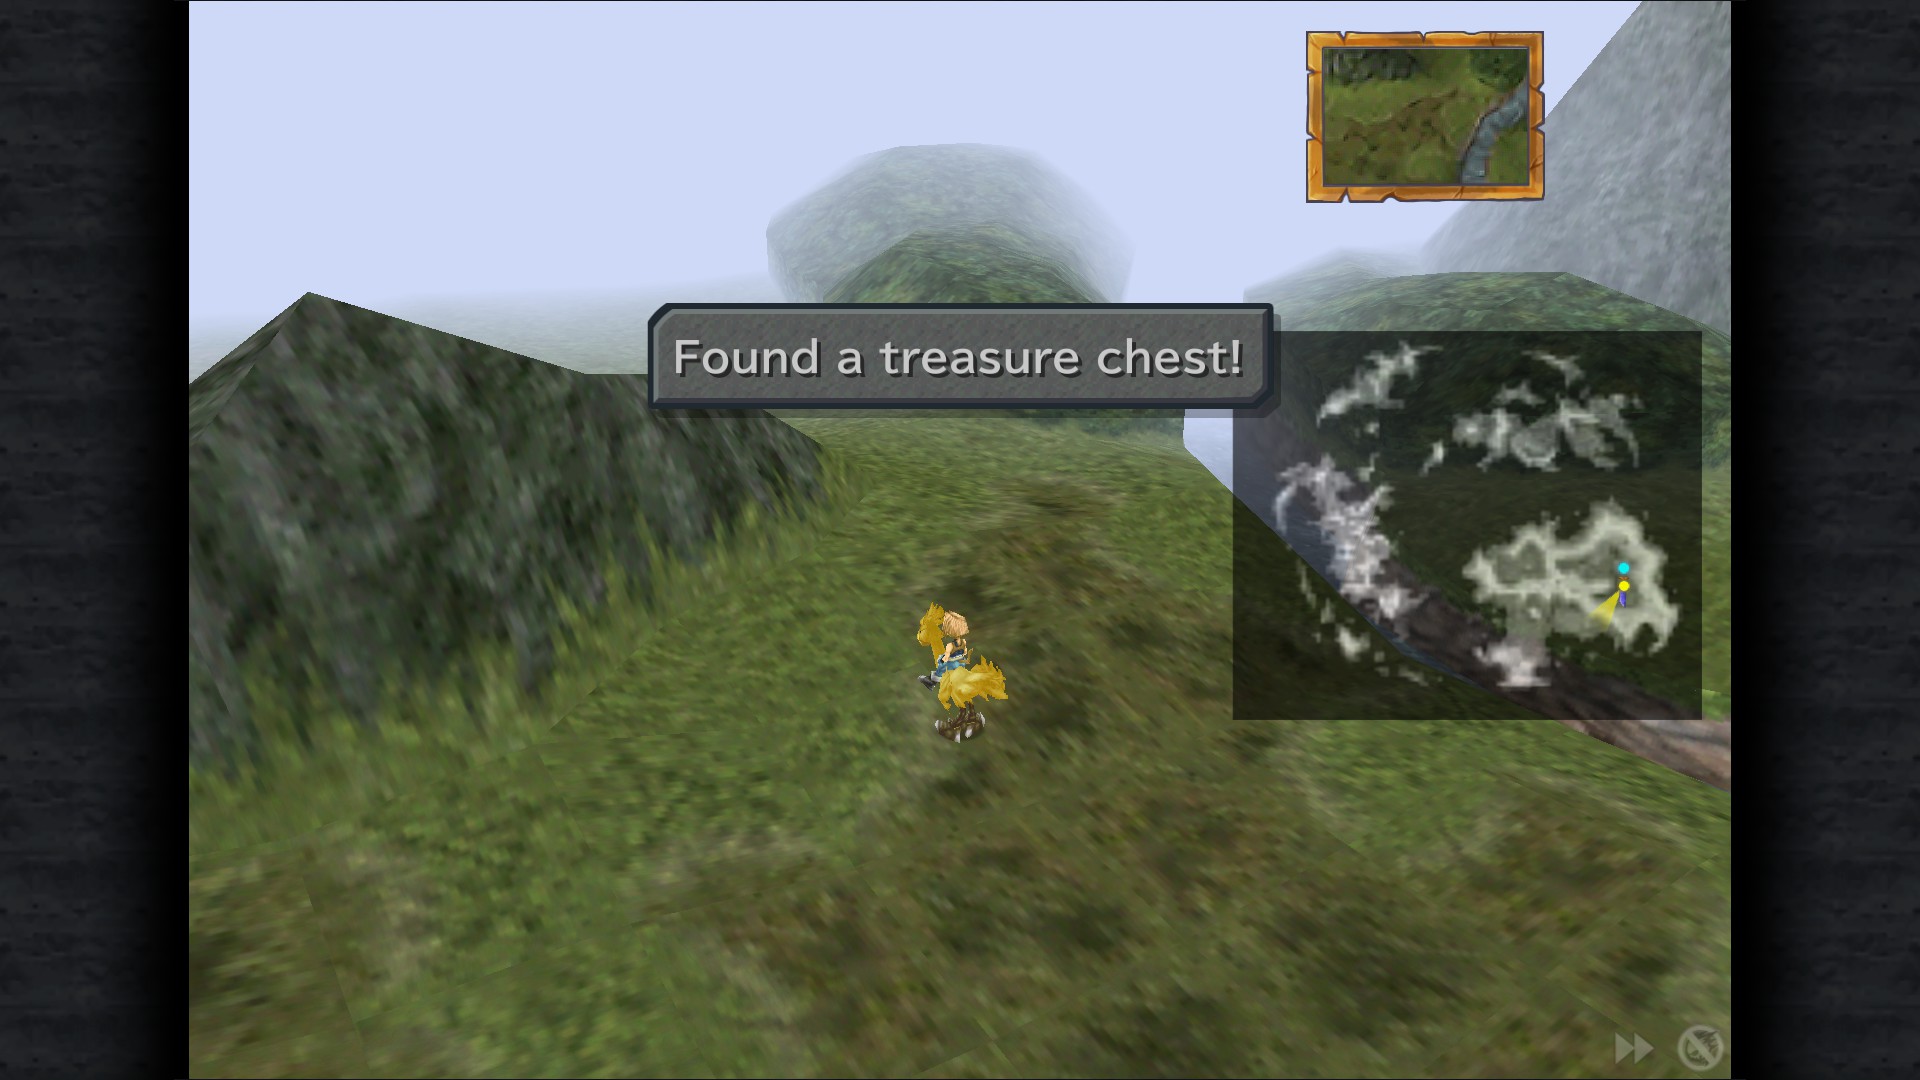
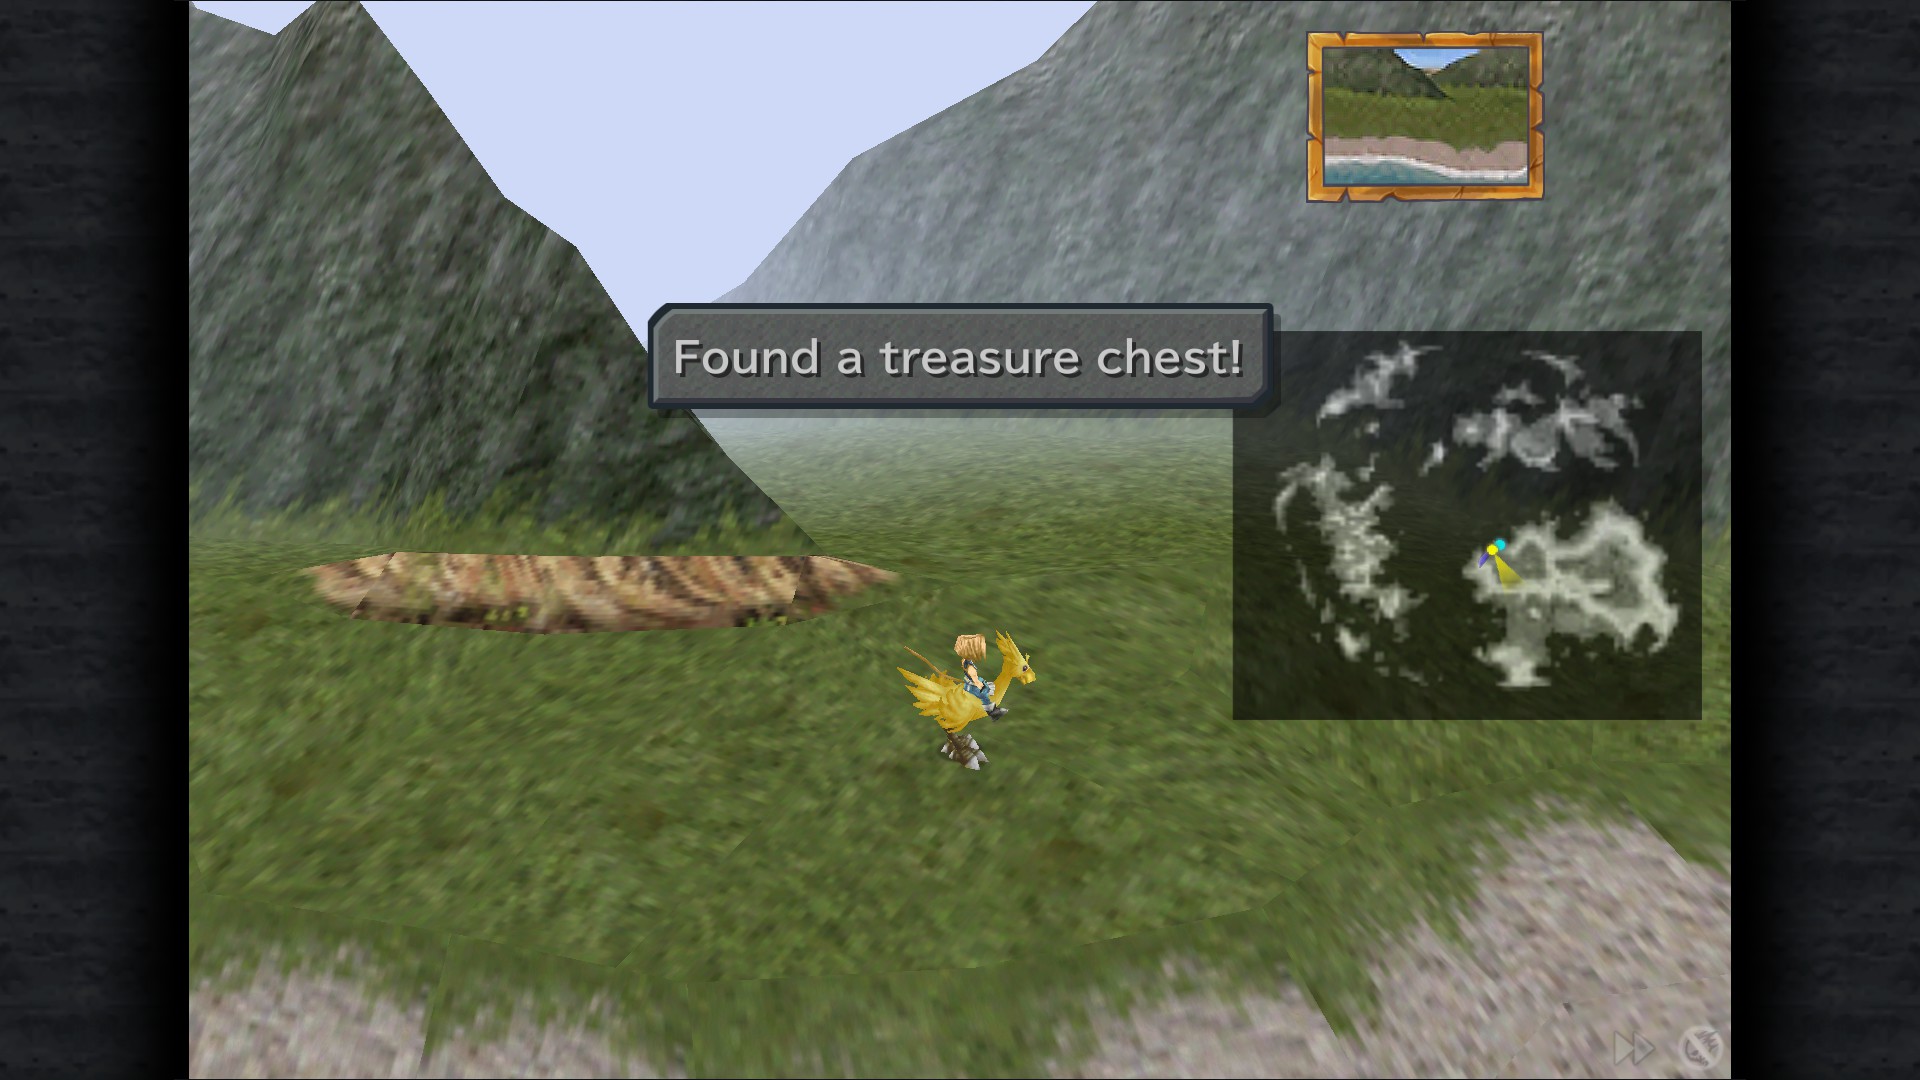

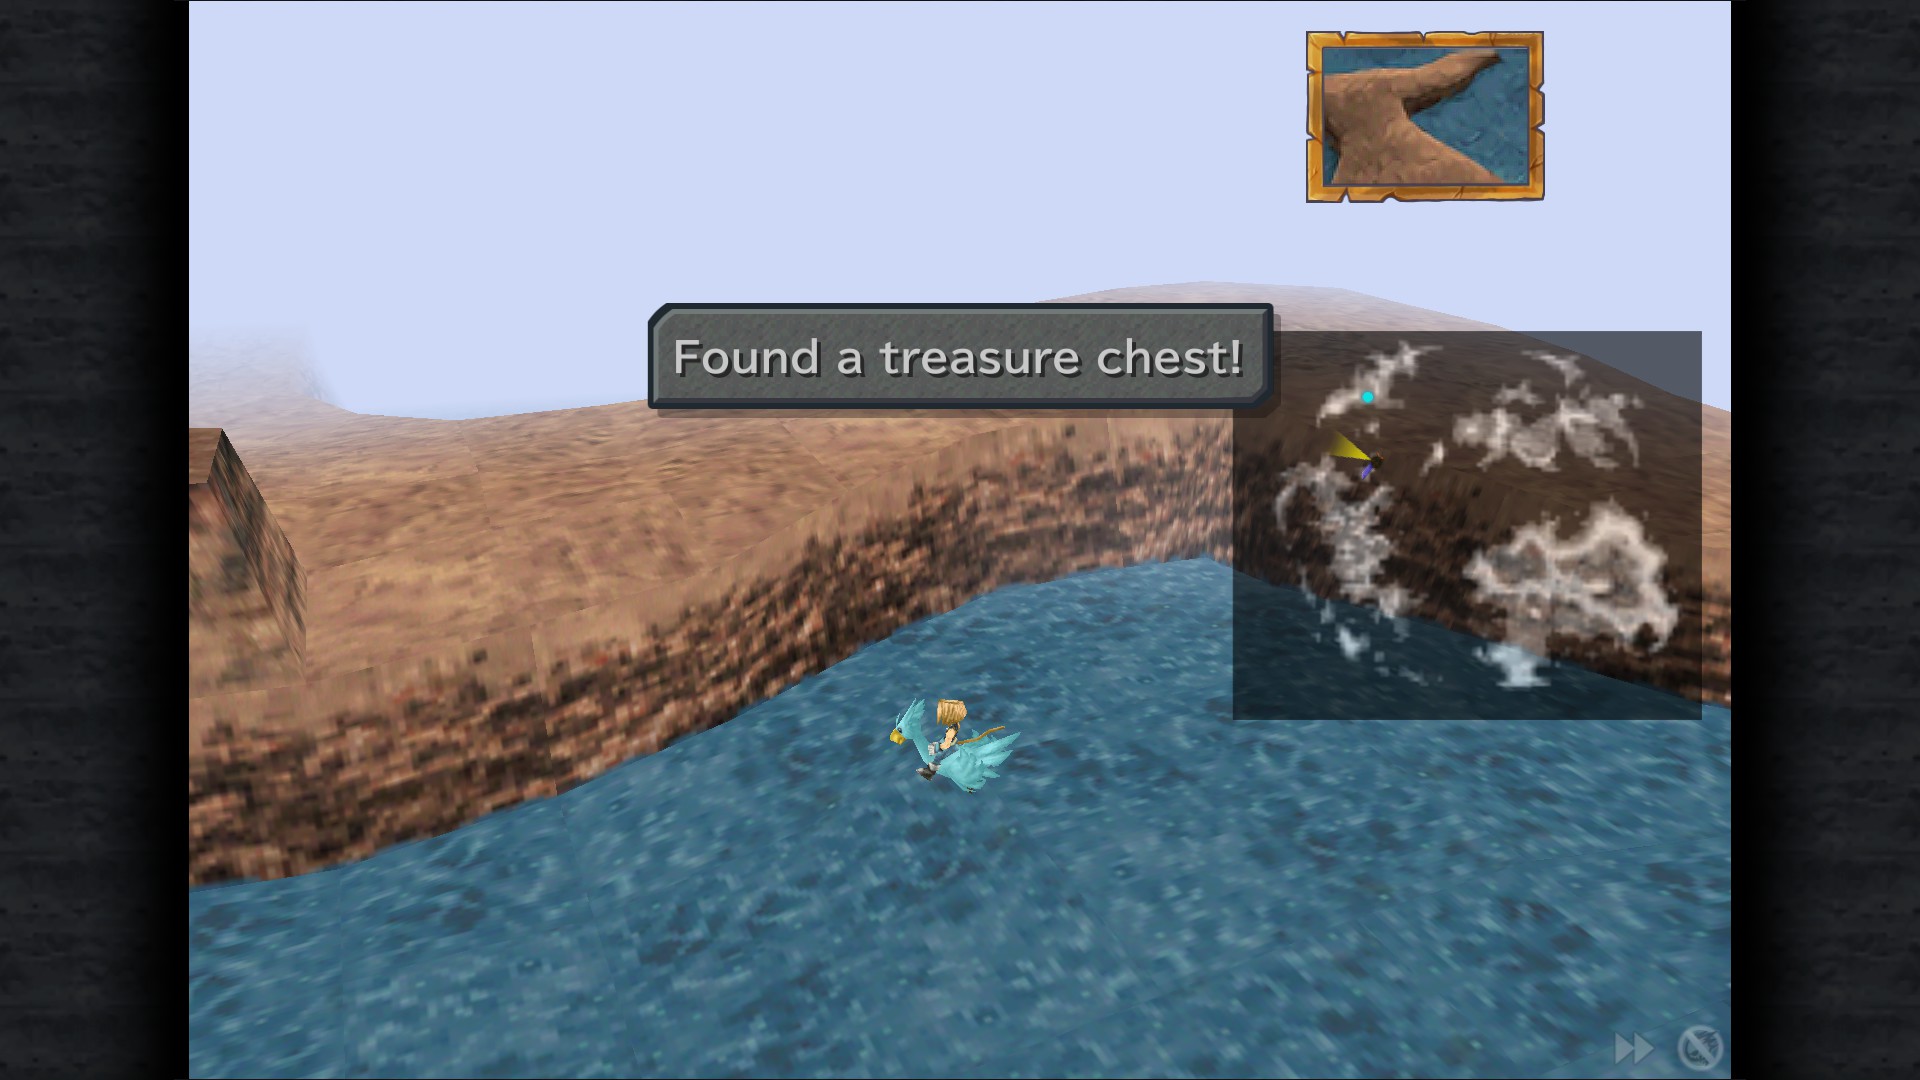

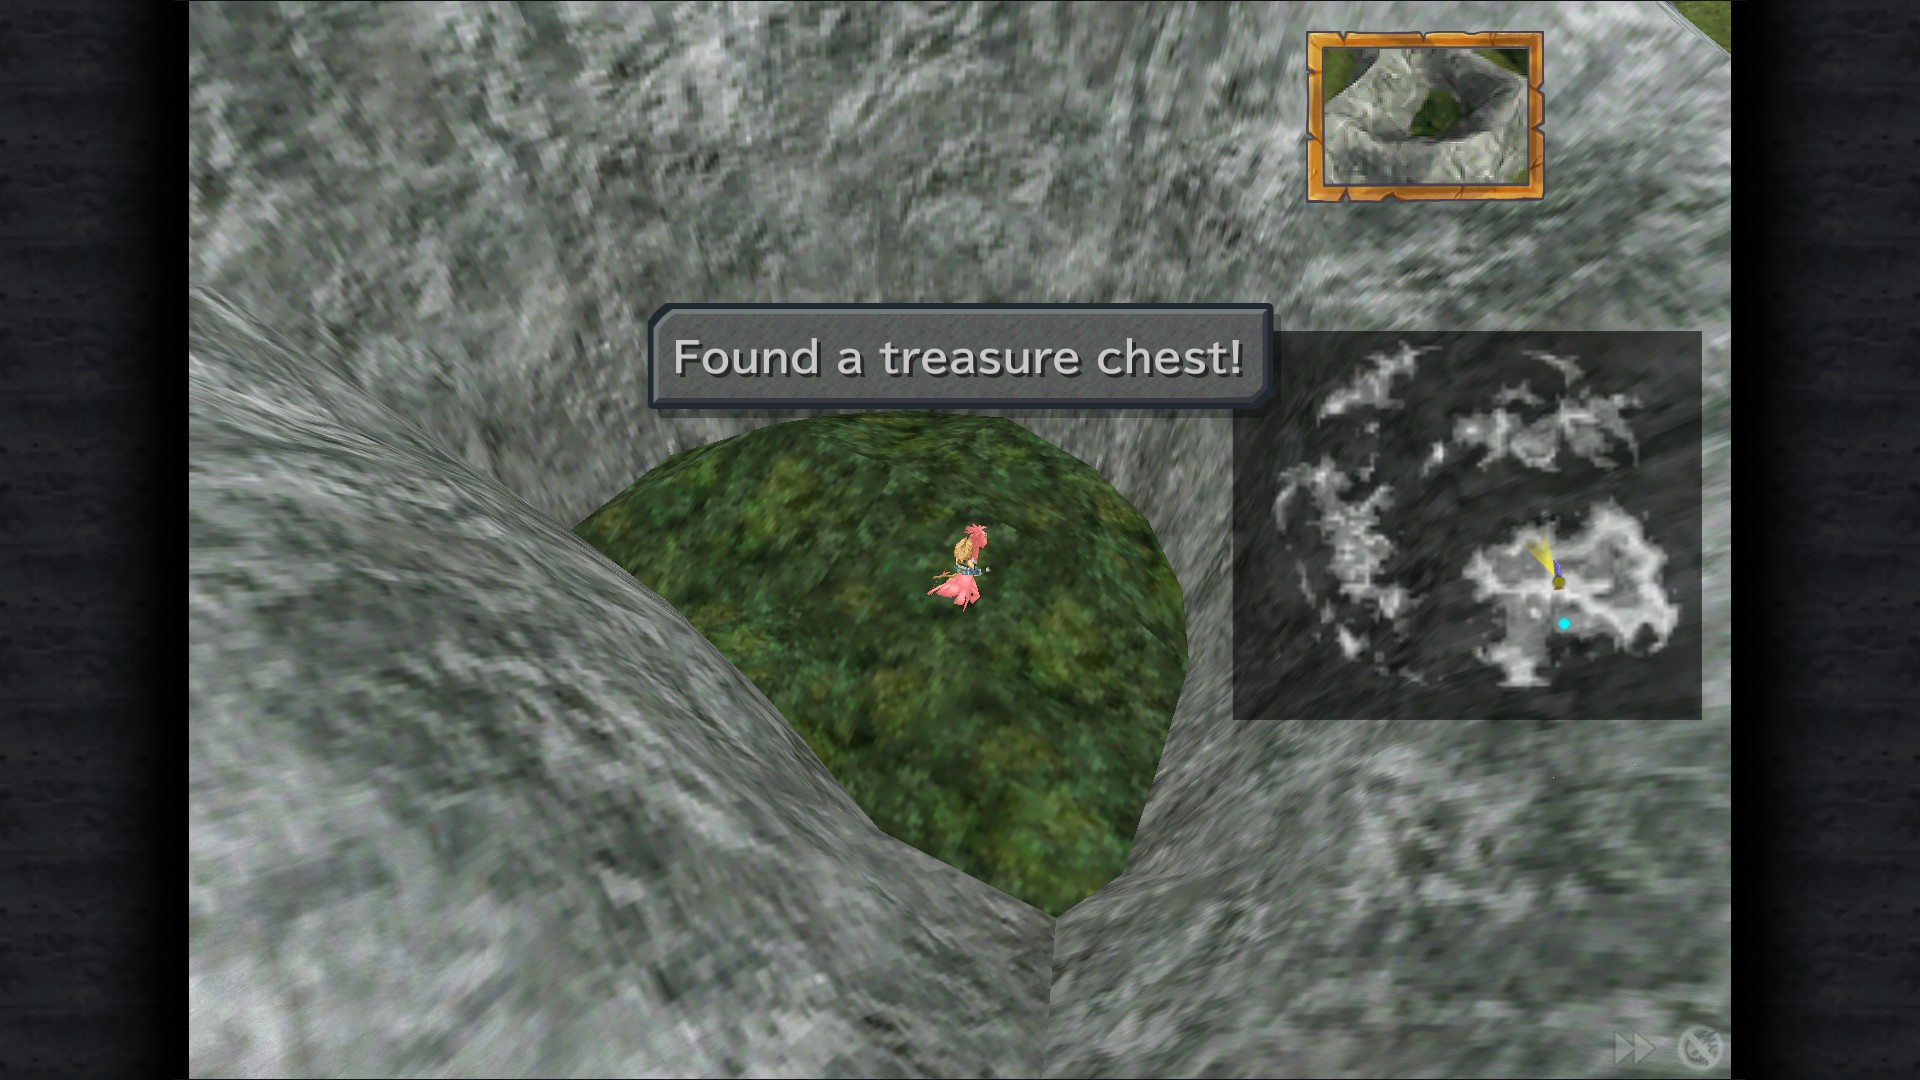
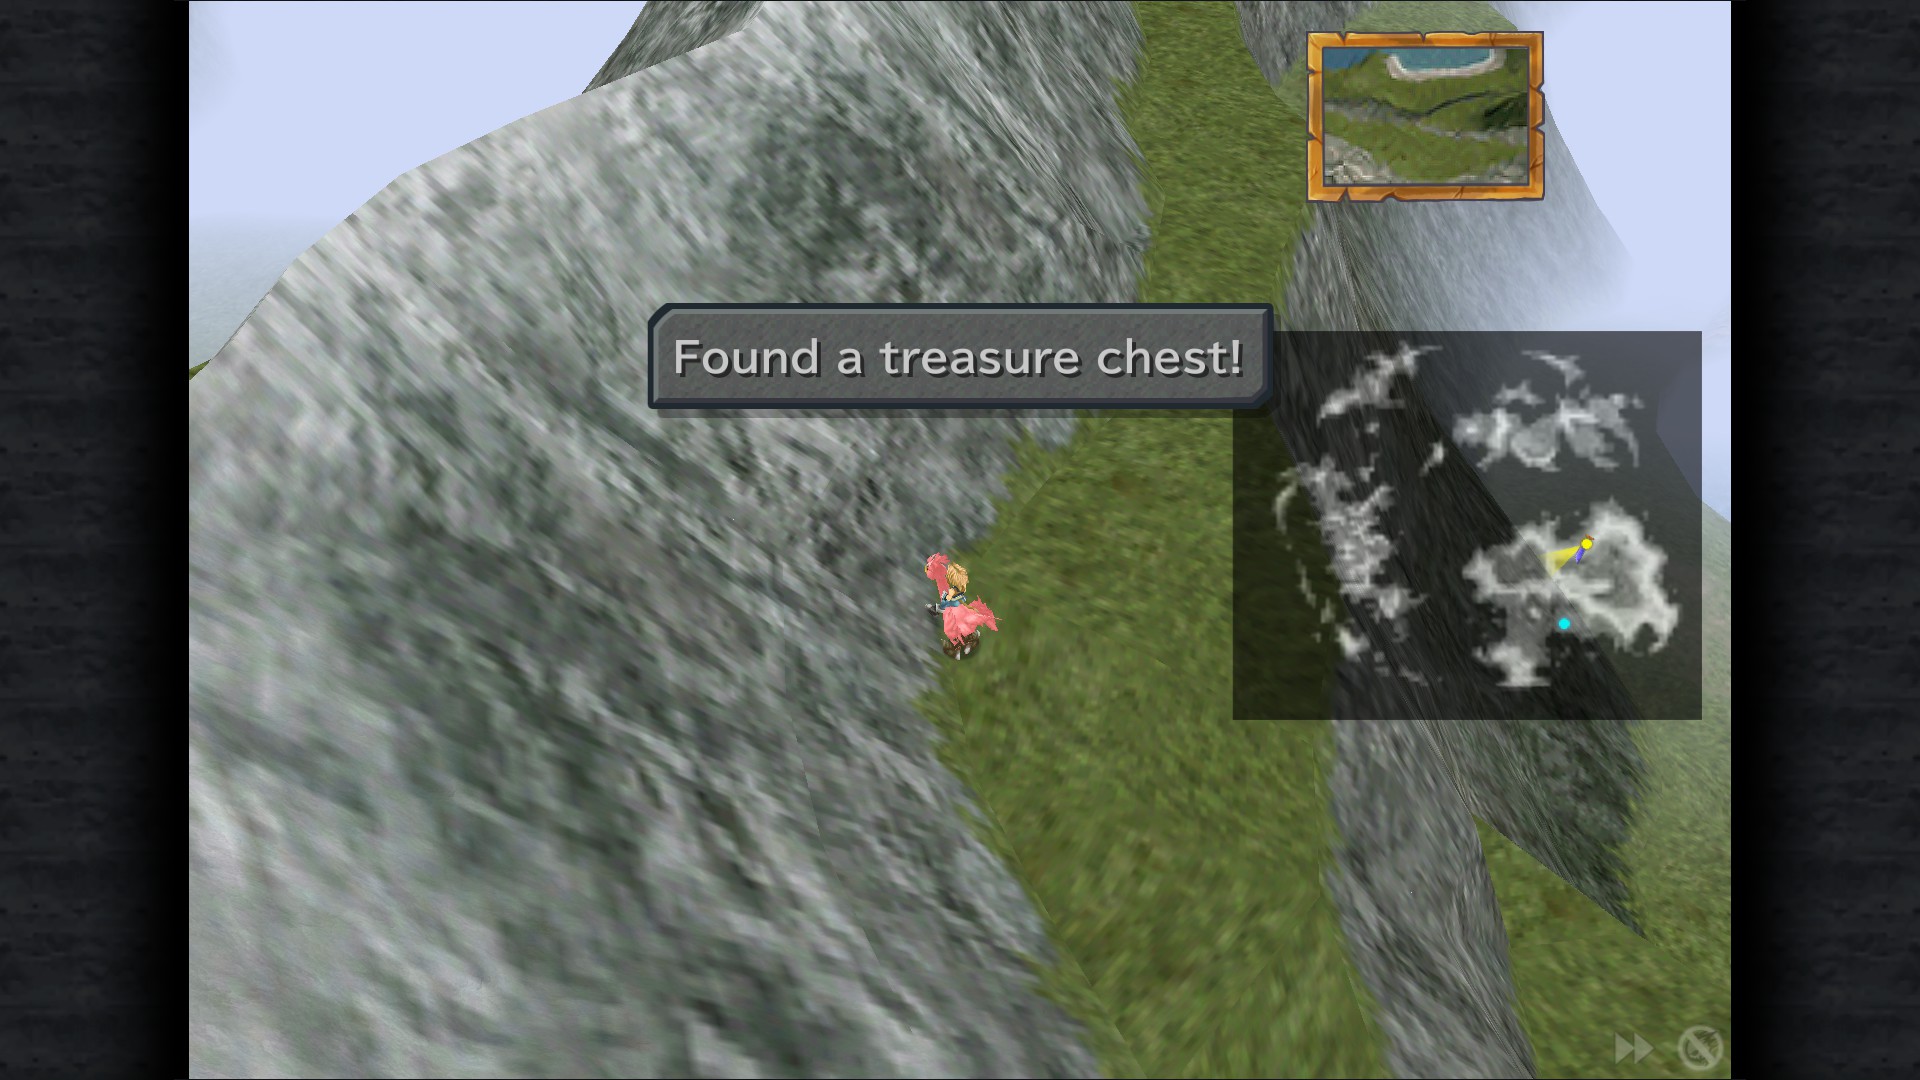


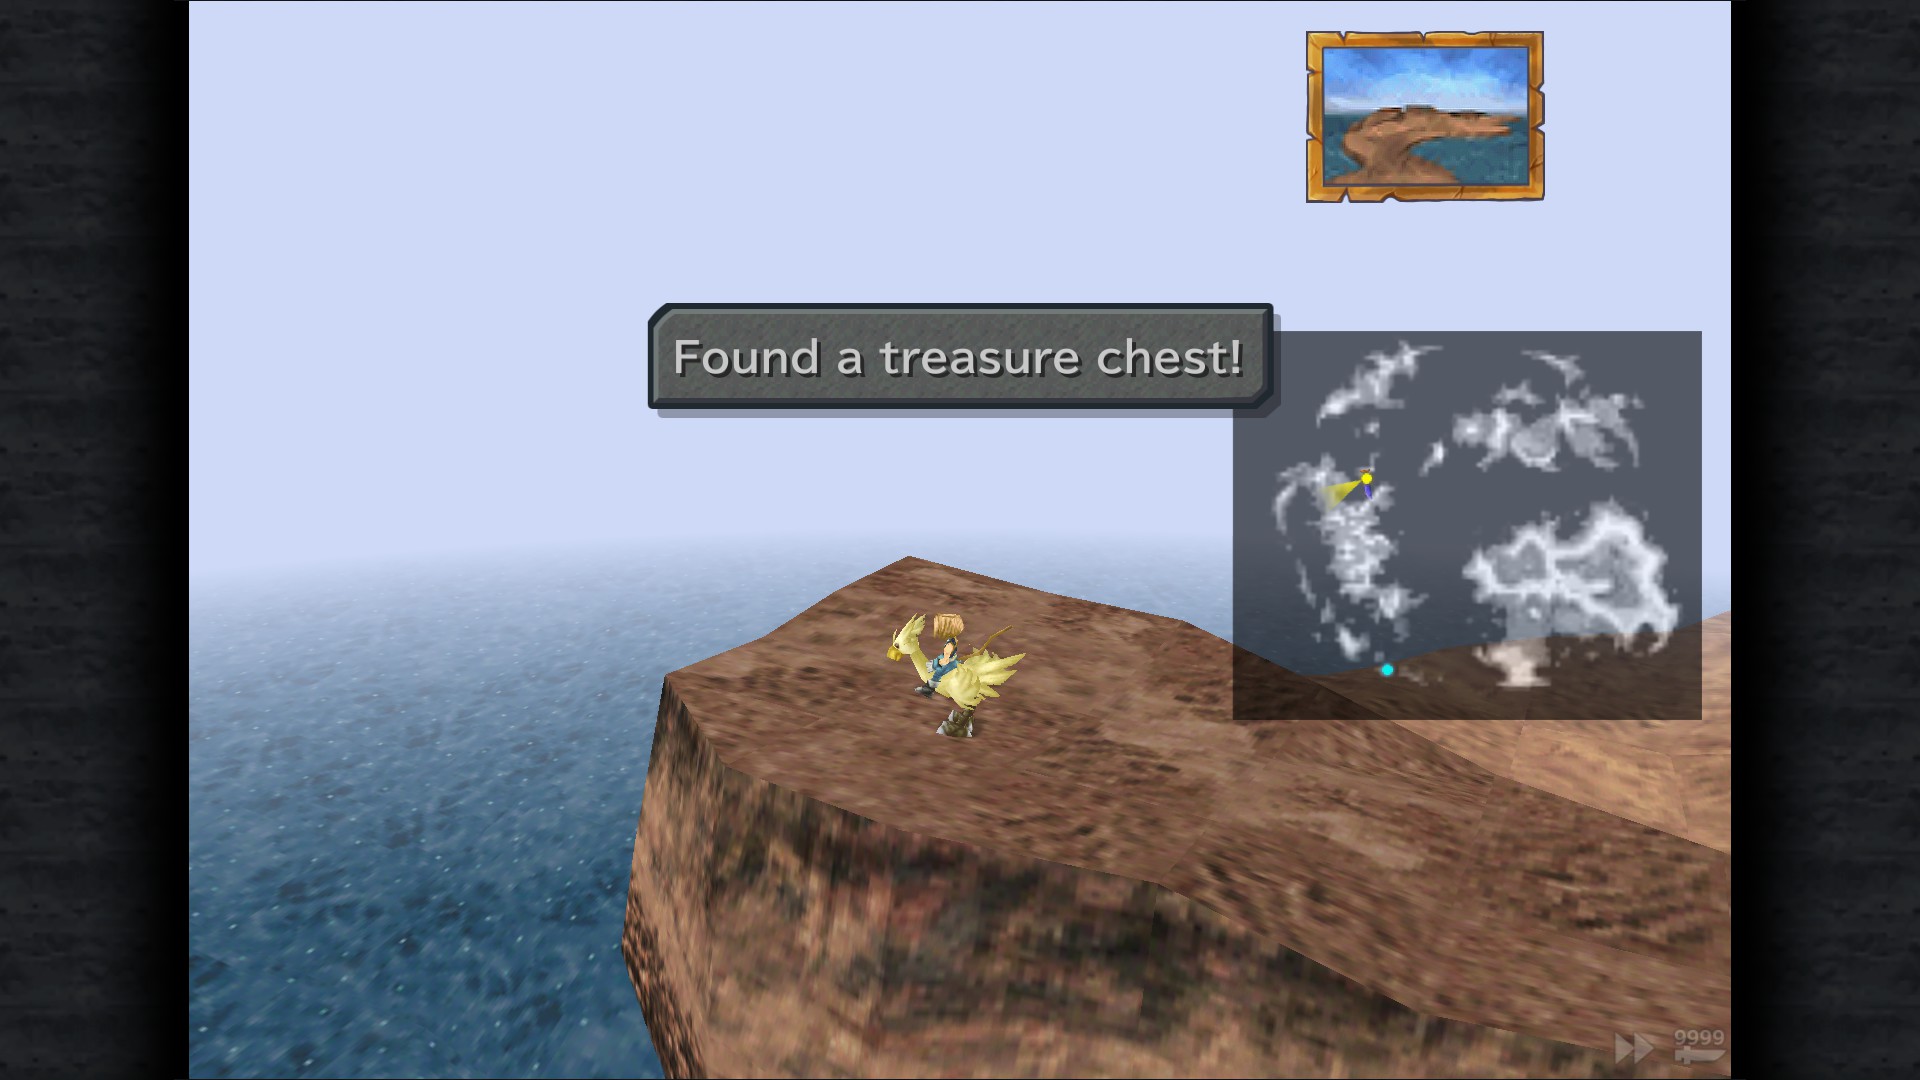

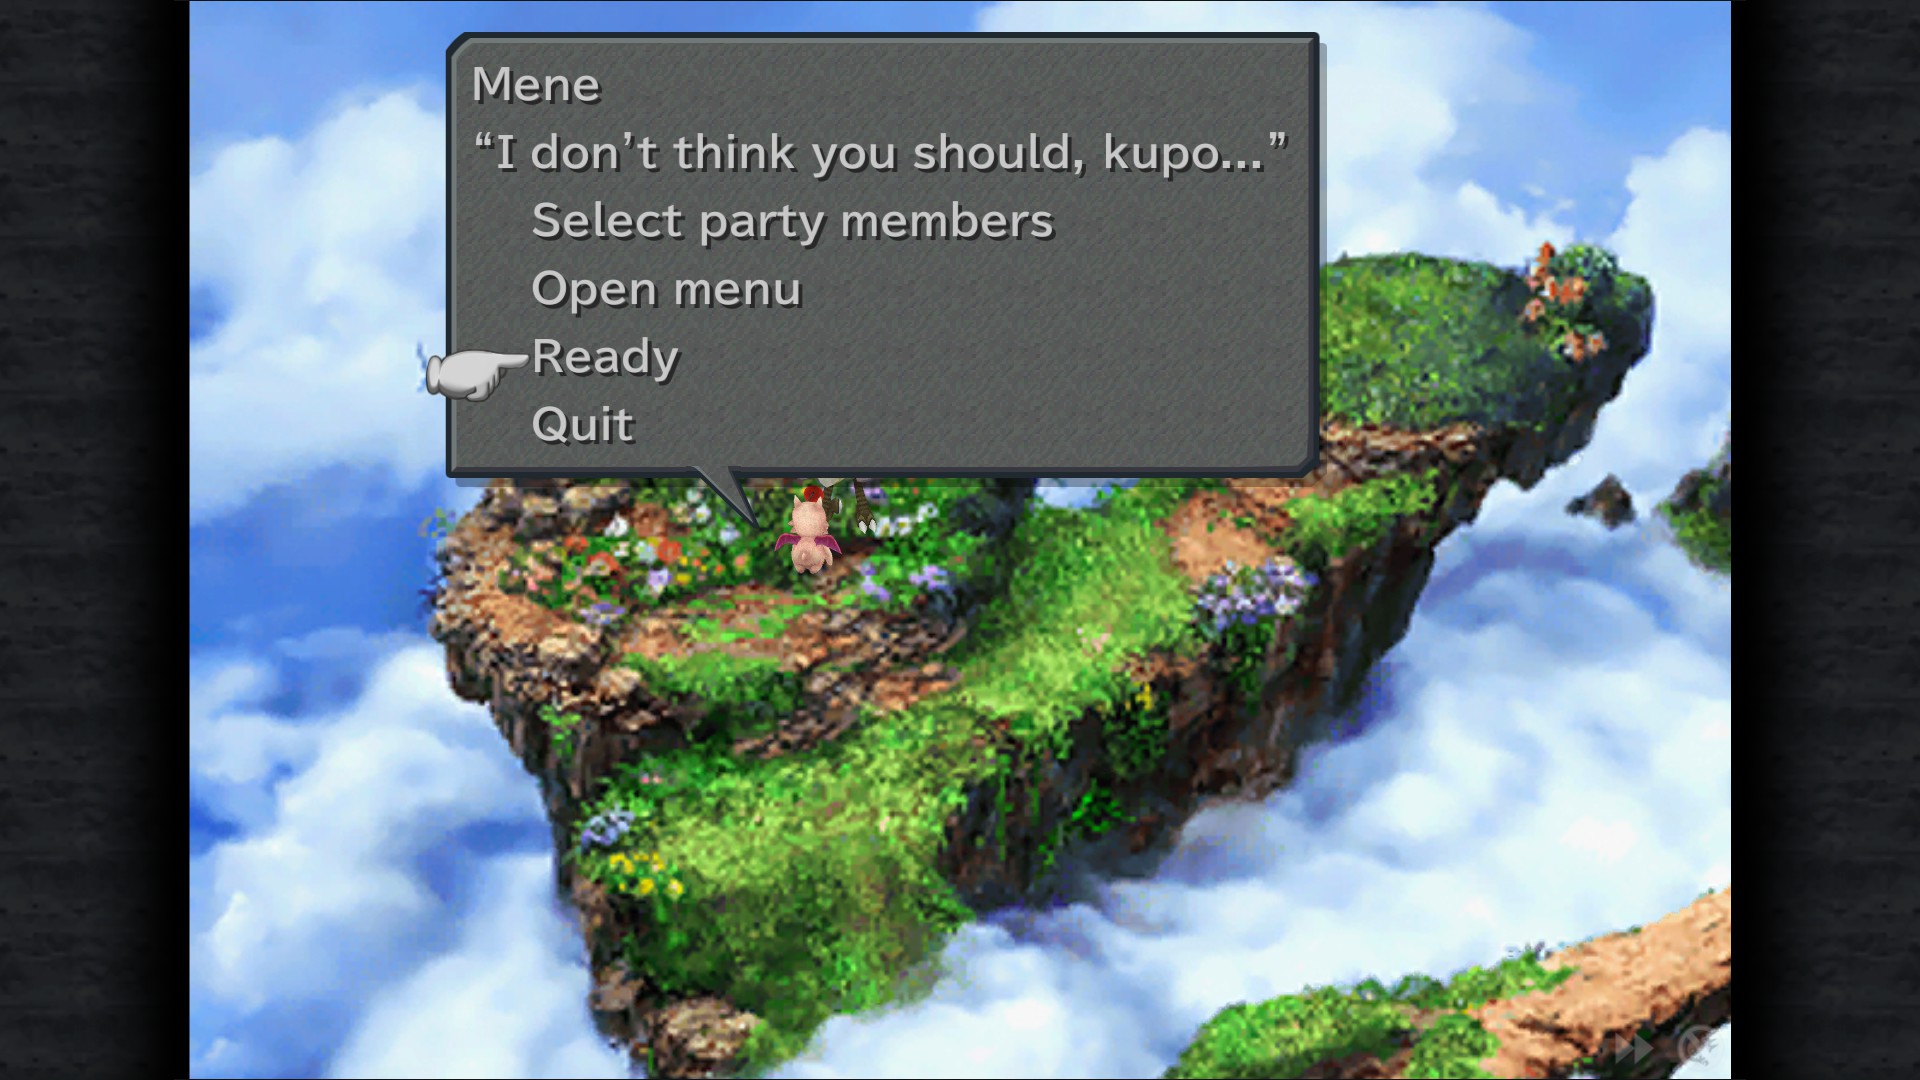


Chocobo's Forest
Location:
Play Hot&Cold until you find a Stone with Patterns , it will be "Streamside", your first Chocograph.
Keep digging until Mene says "Choco says he can't dig up any more chocographs for now" before moving on.
Chocographs available here:
Streamside
Between Mountains
Uncultivated Land
Healing Shore (Grants Reef Chocobo)
Abandoned Beach
Cold Field
Faraway Lagoon (Reef)
Bird's-eye Lagoon (Reef)
Small Beach (Reef)
Chocograph Piece (Upper left)
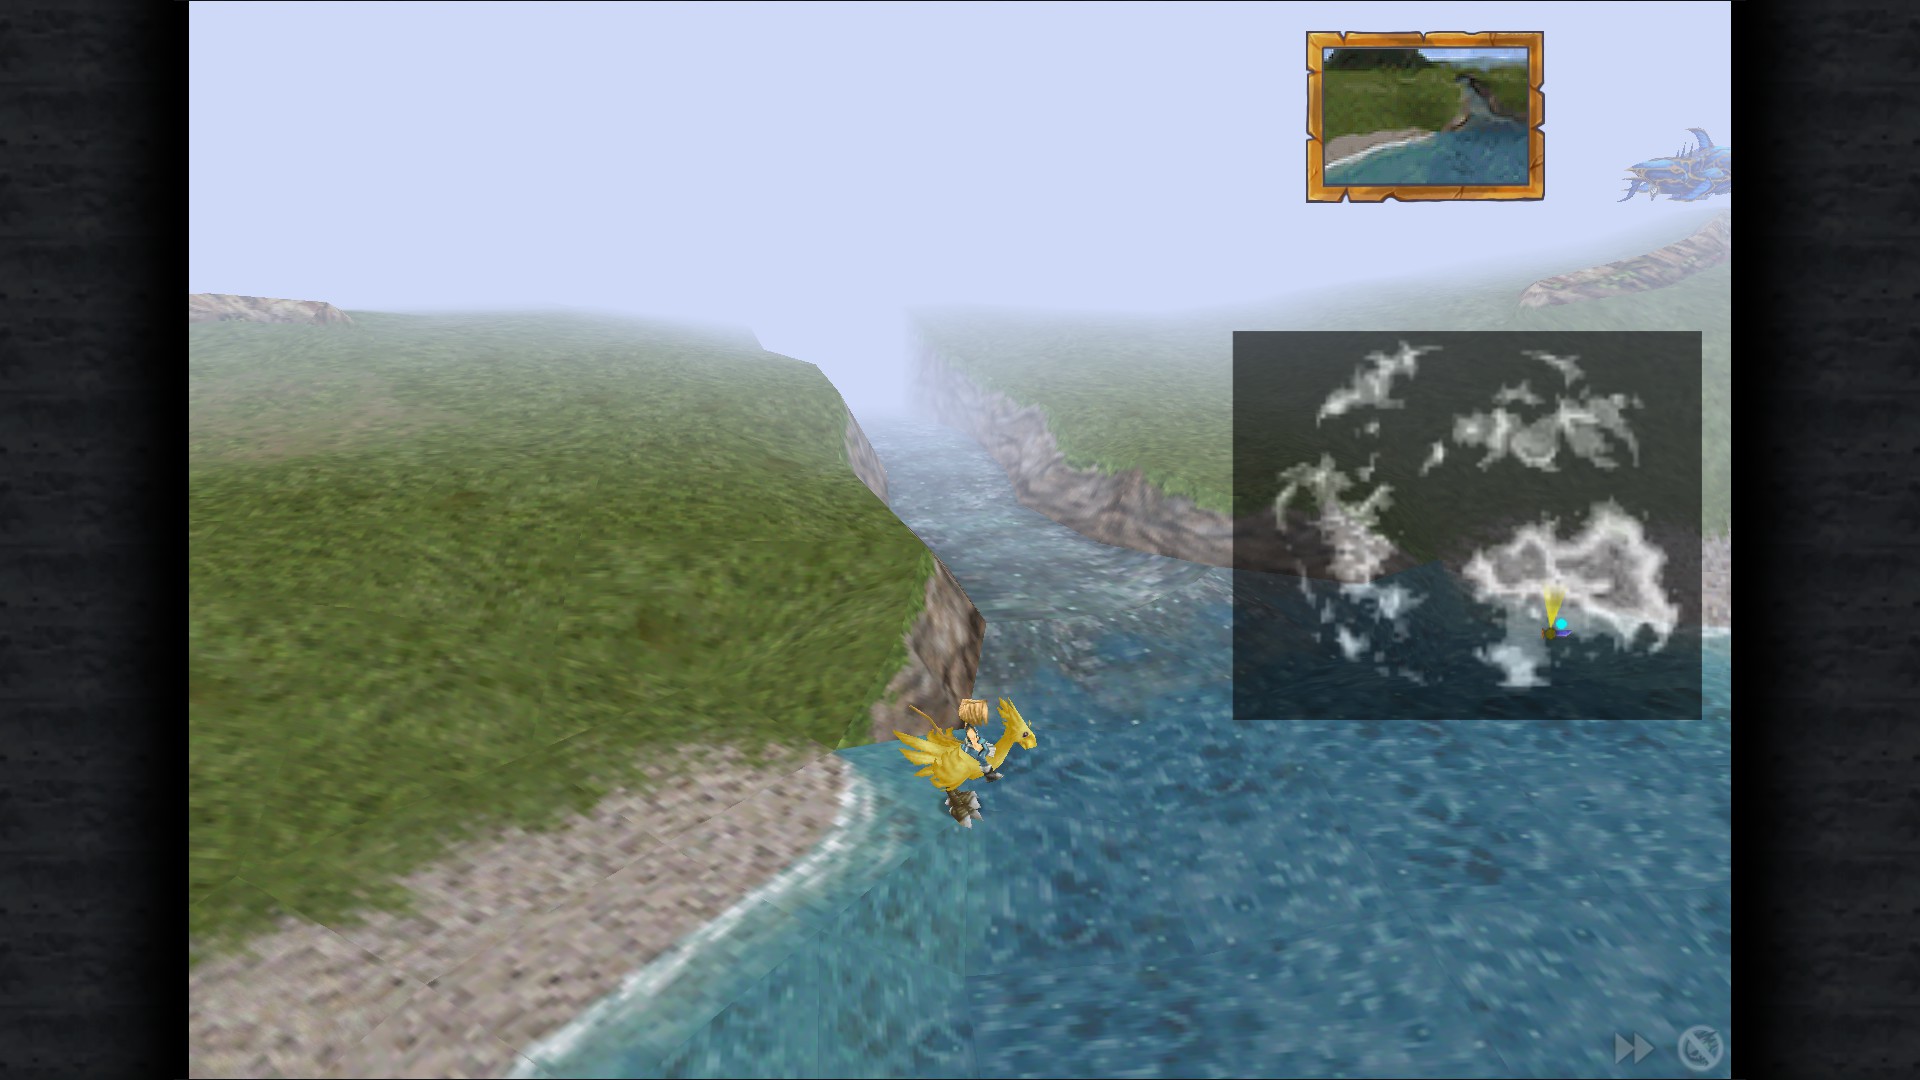
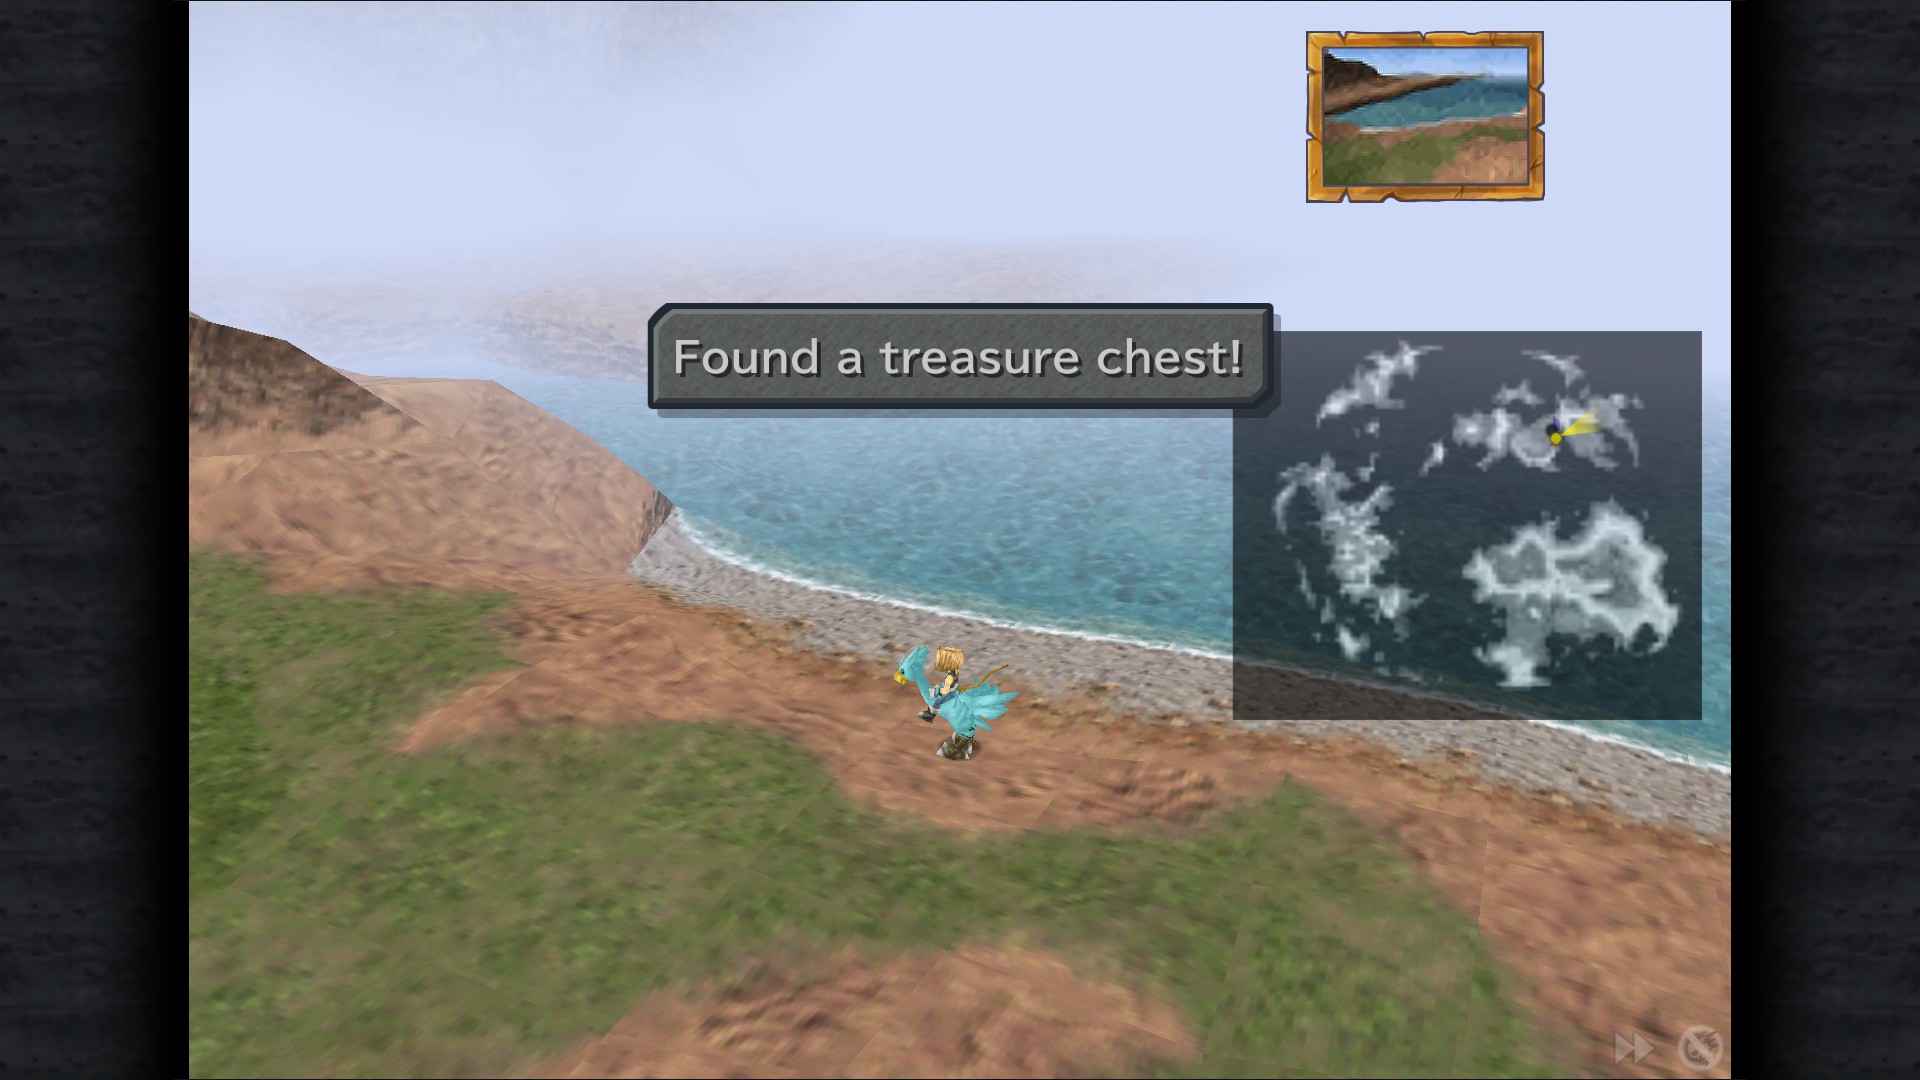
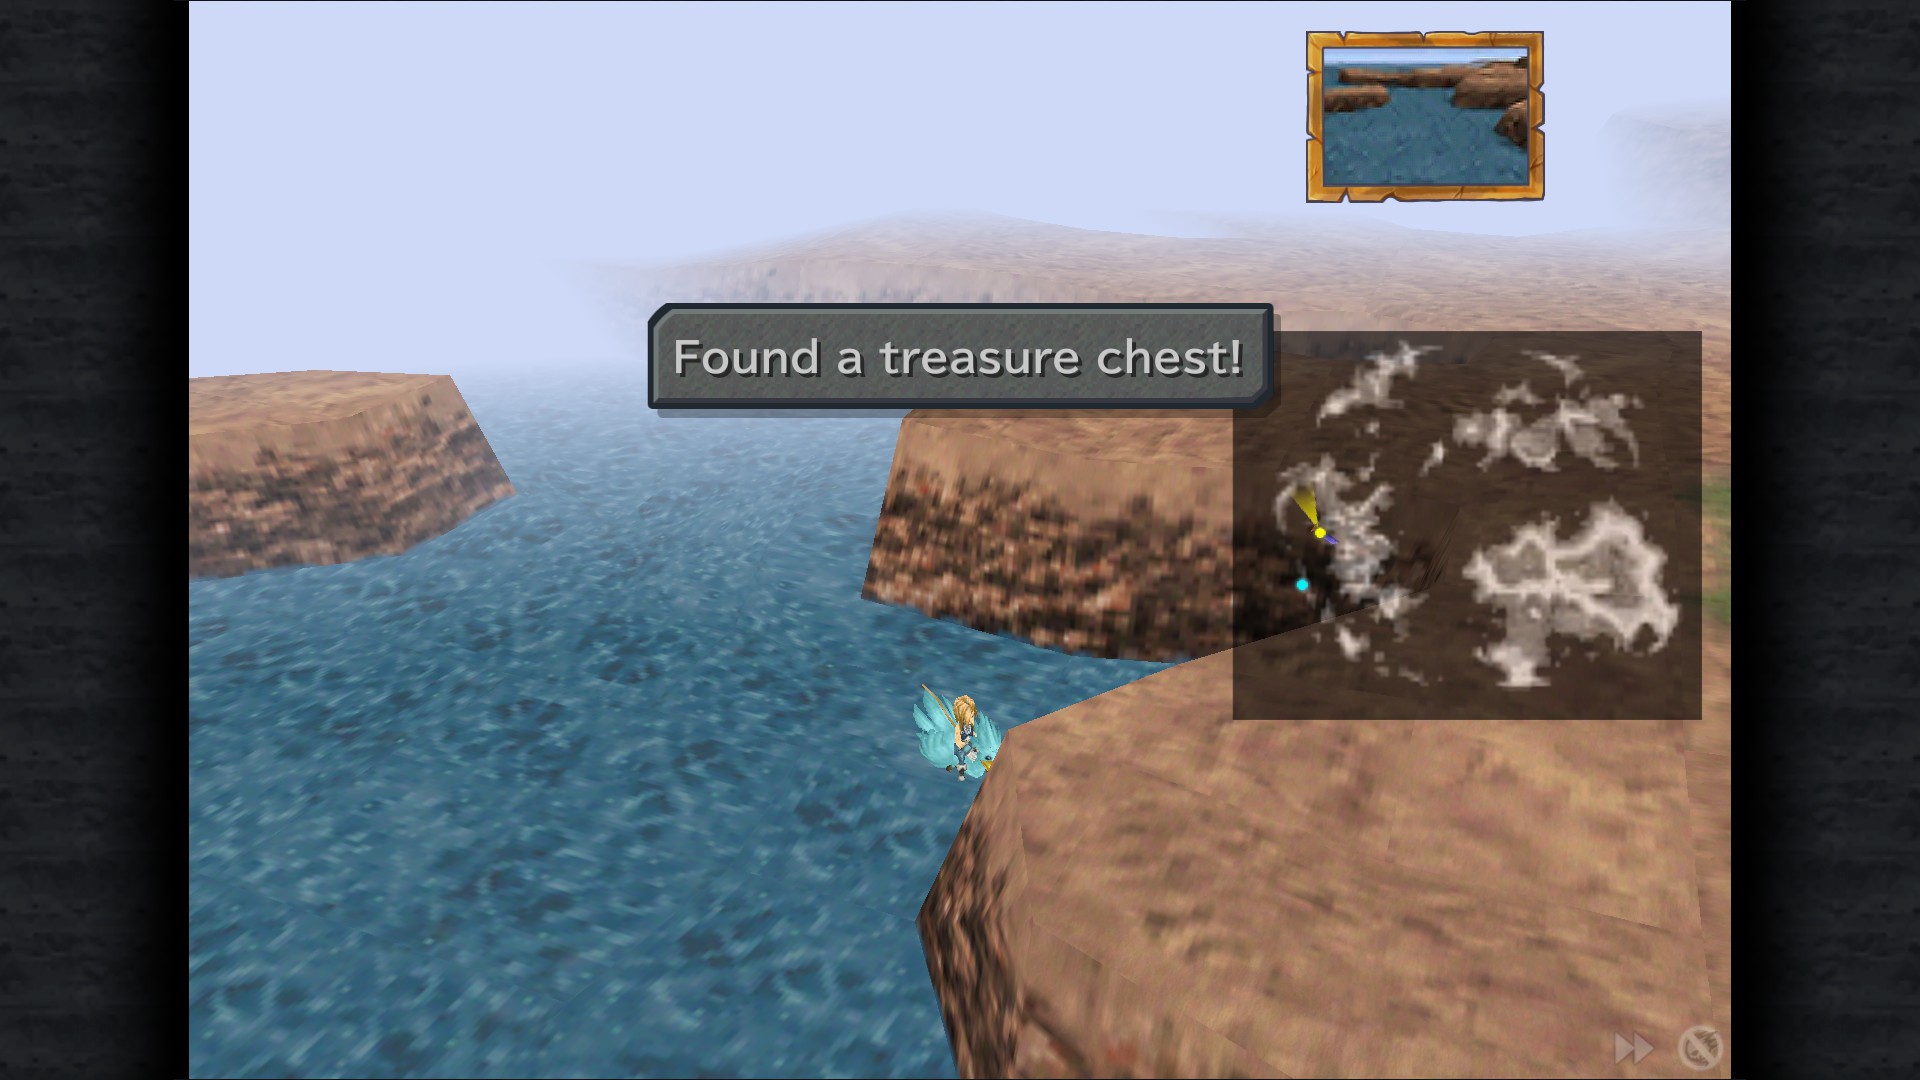
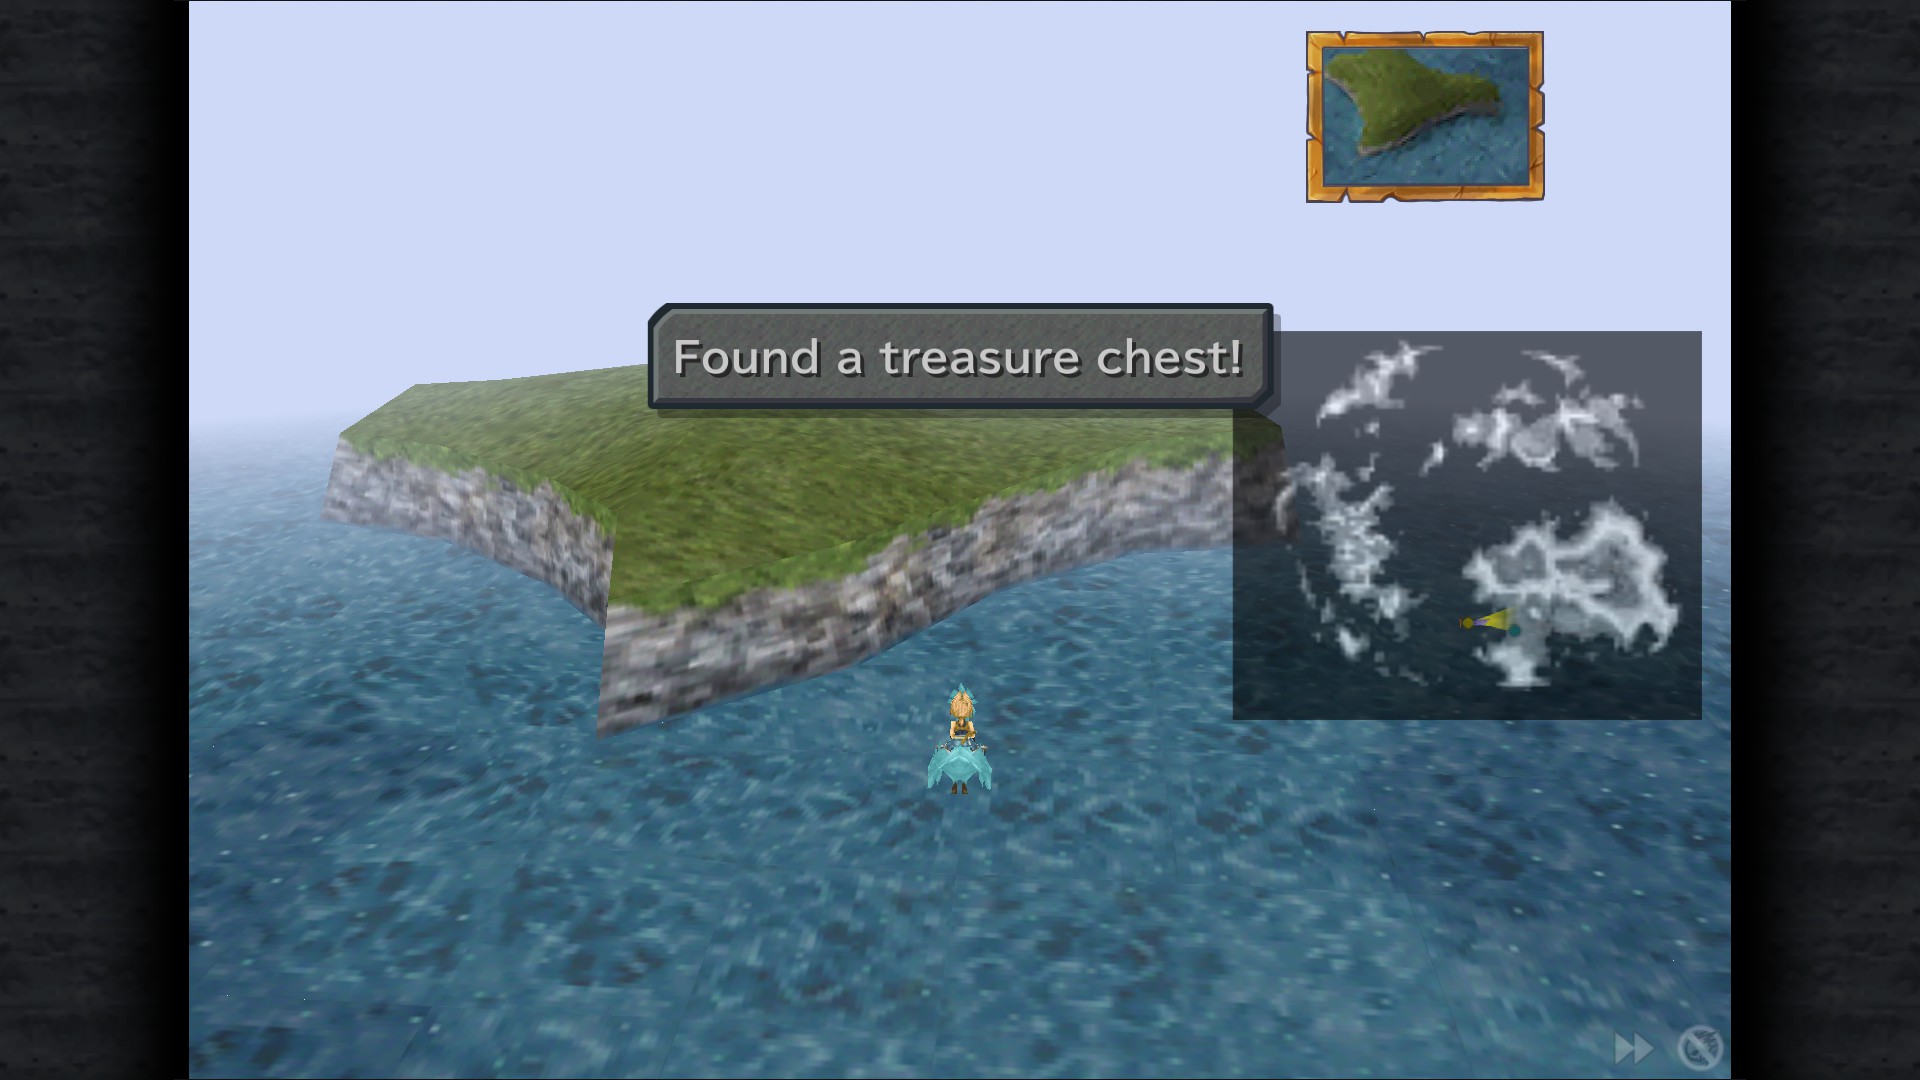
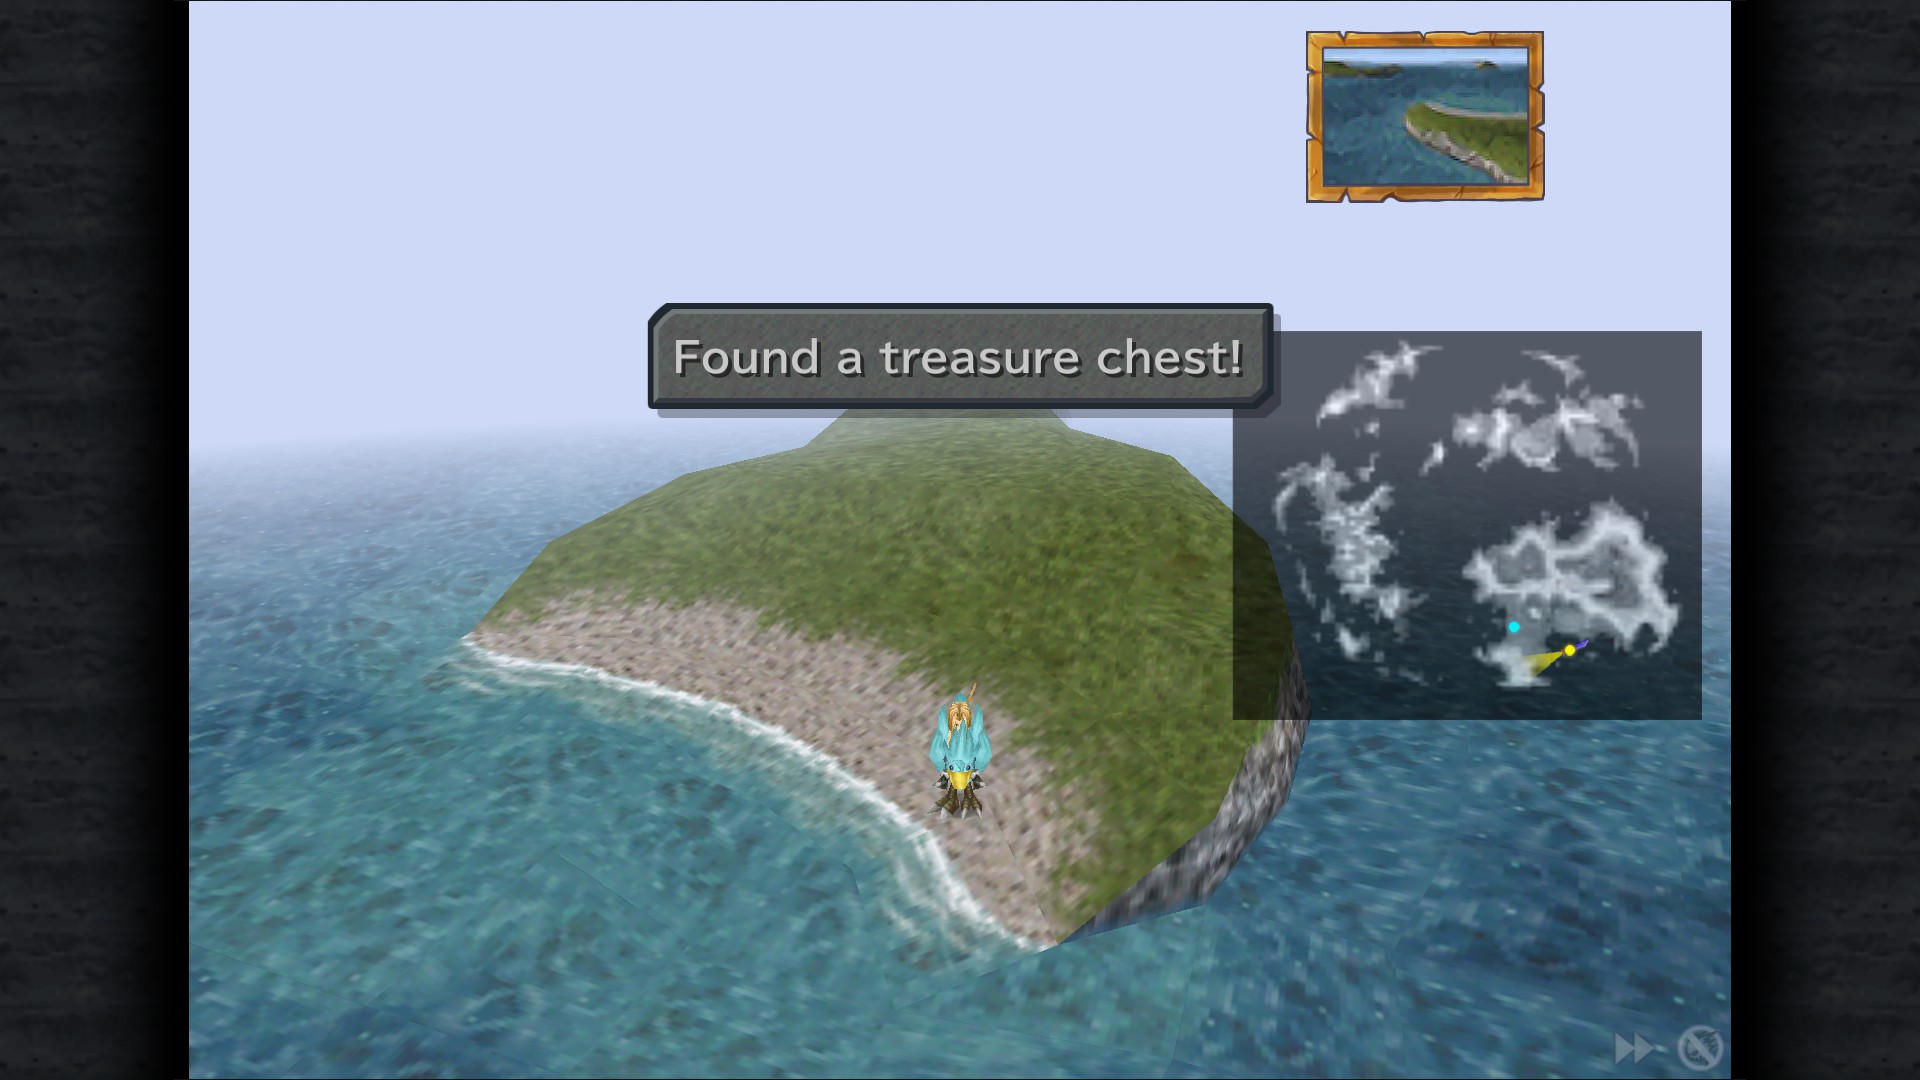
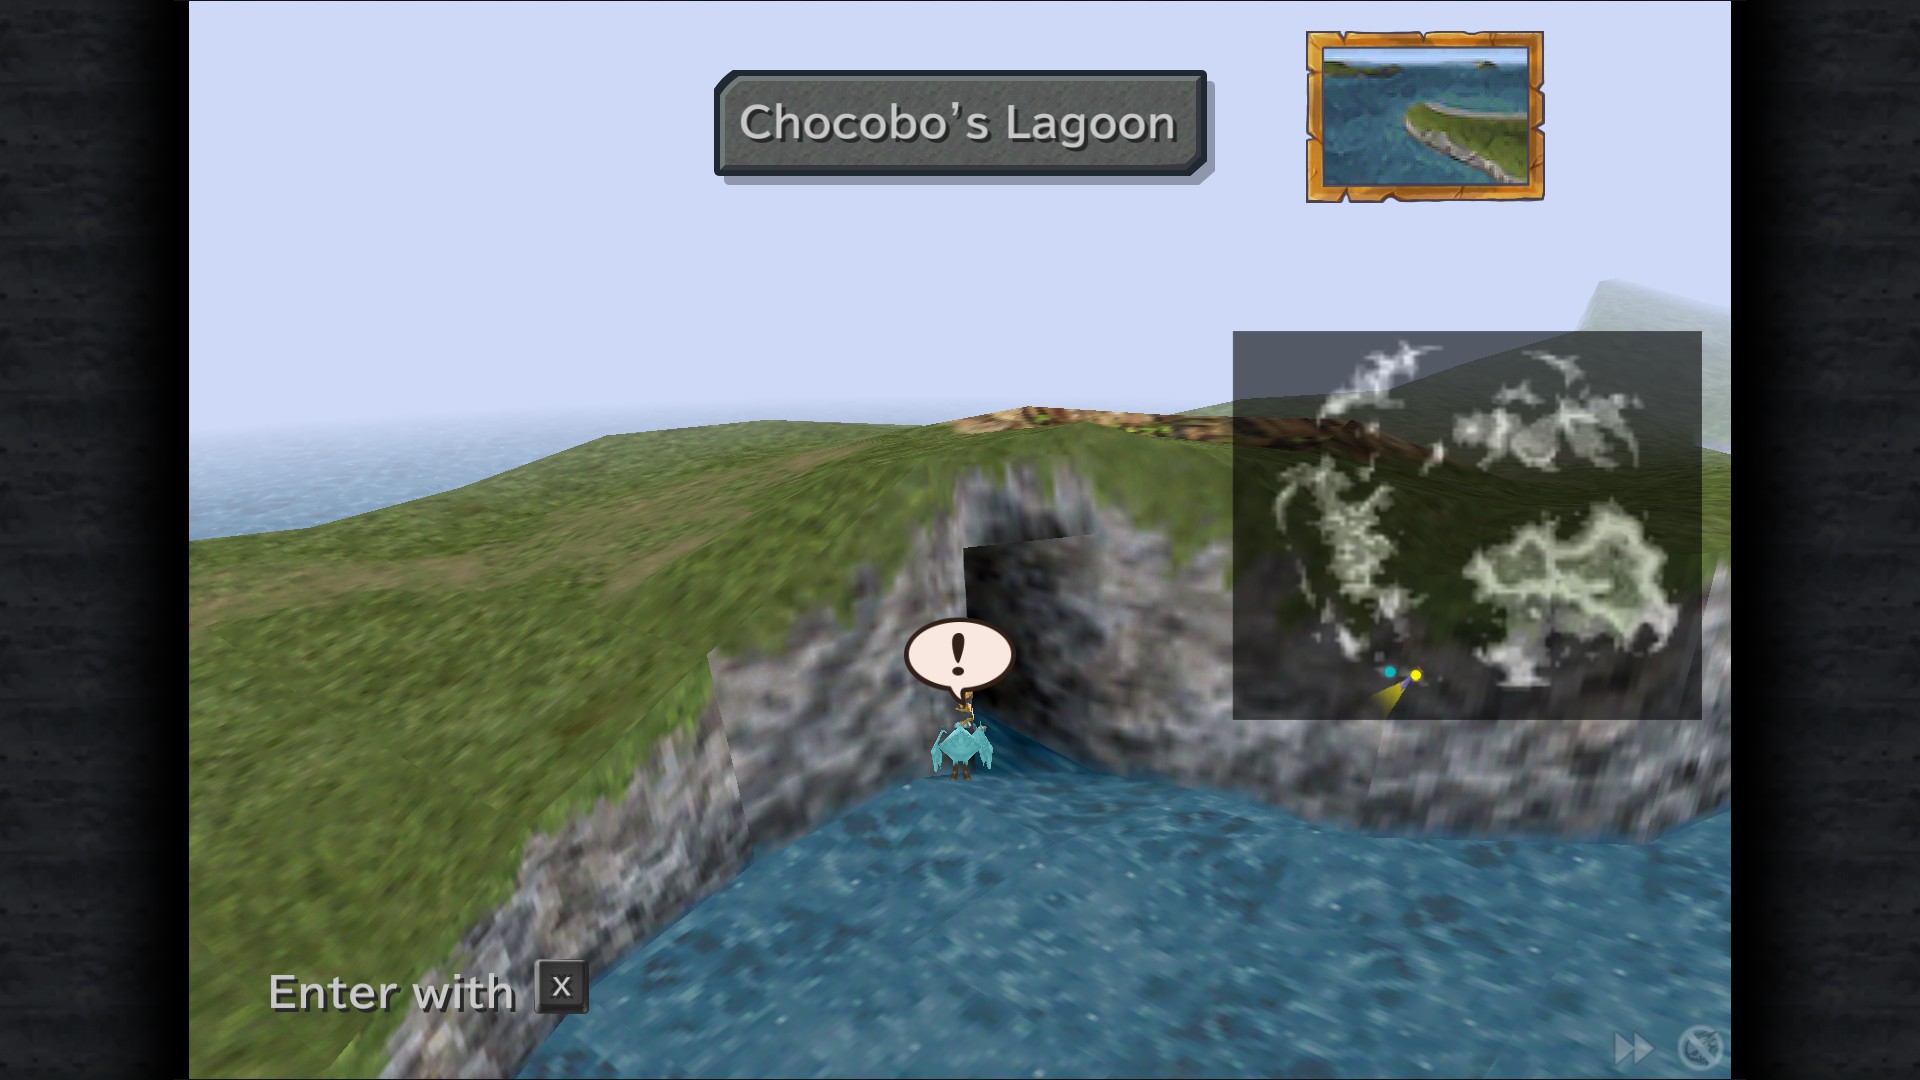
Chocobo's Lagoon
Location:
Forgotten Lagoon (Reef)
Abdandoned Lagoon
Dawn Lagoon (Grants Mountain Chocobo)
Dusk Plains (Mountain)
Chocograph Piece (Upper middle)
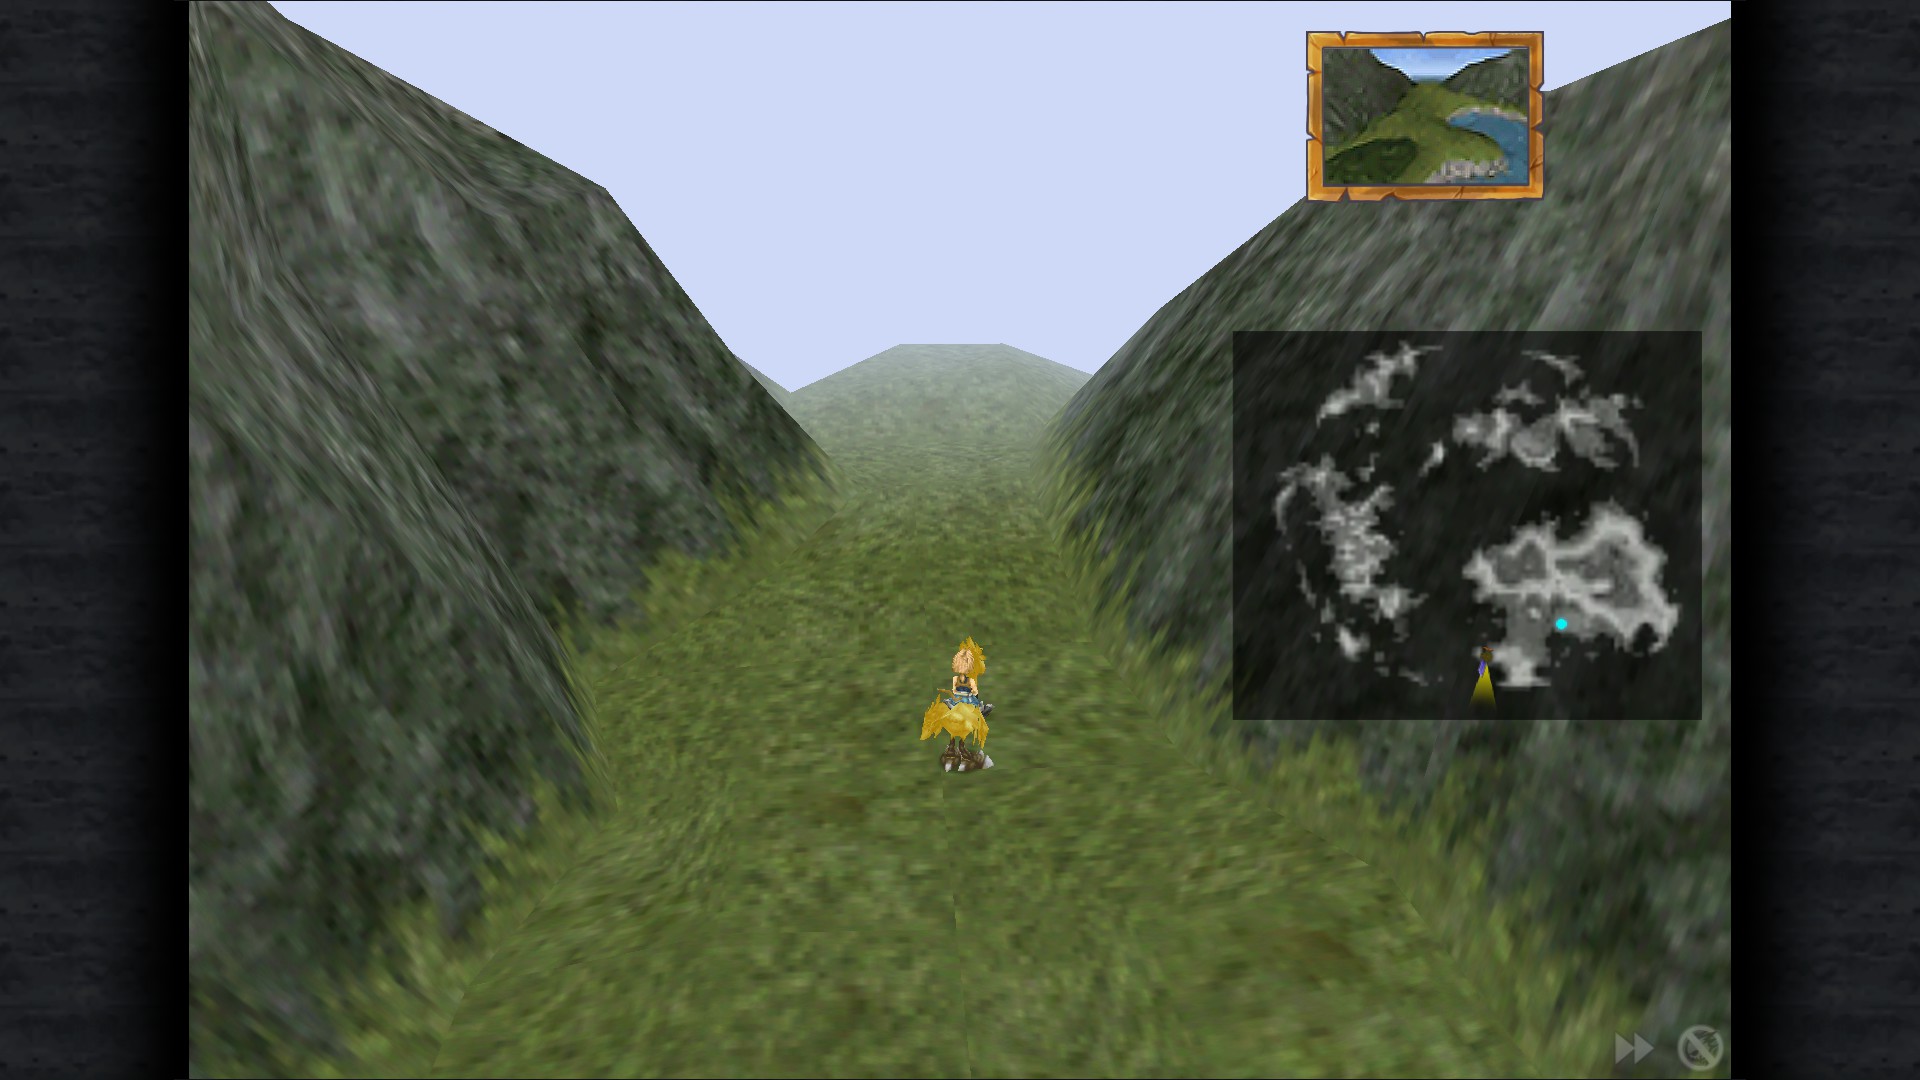
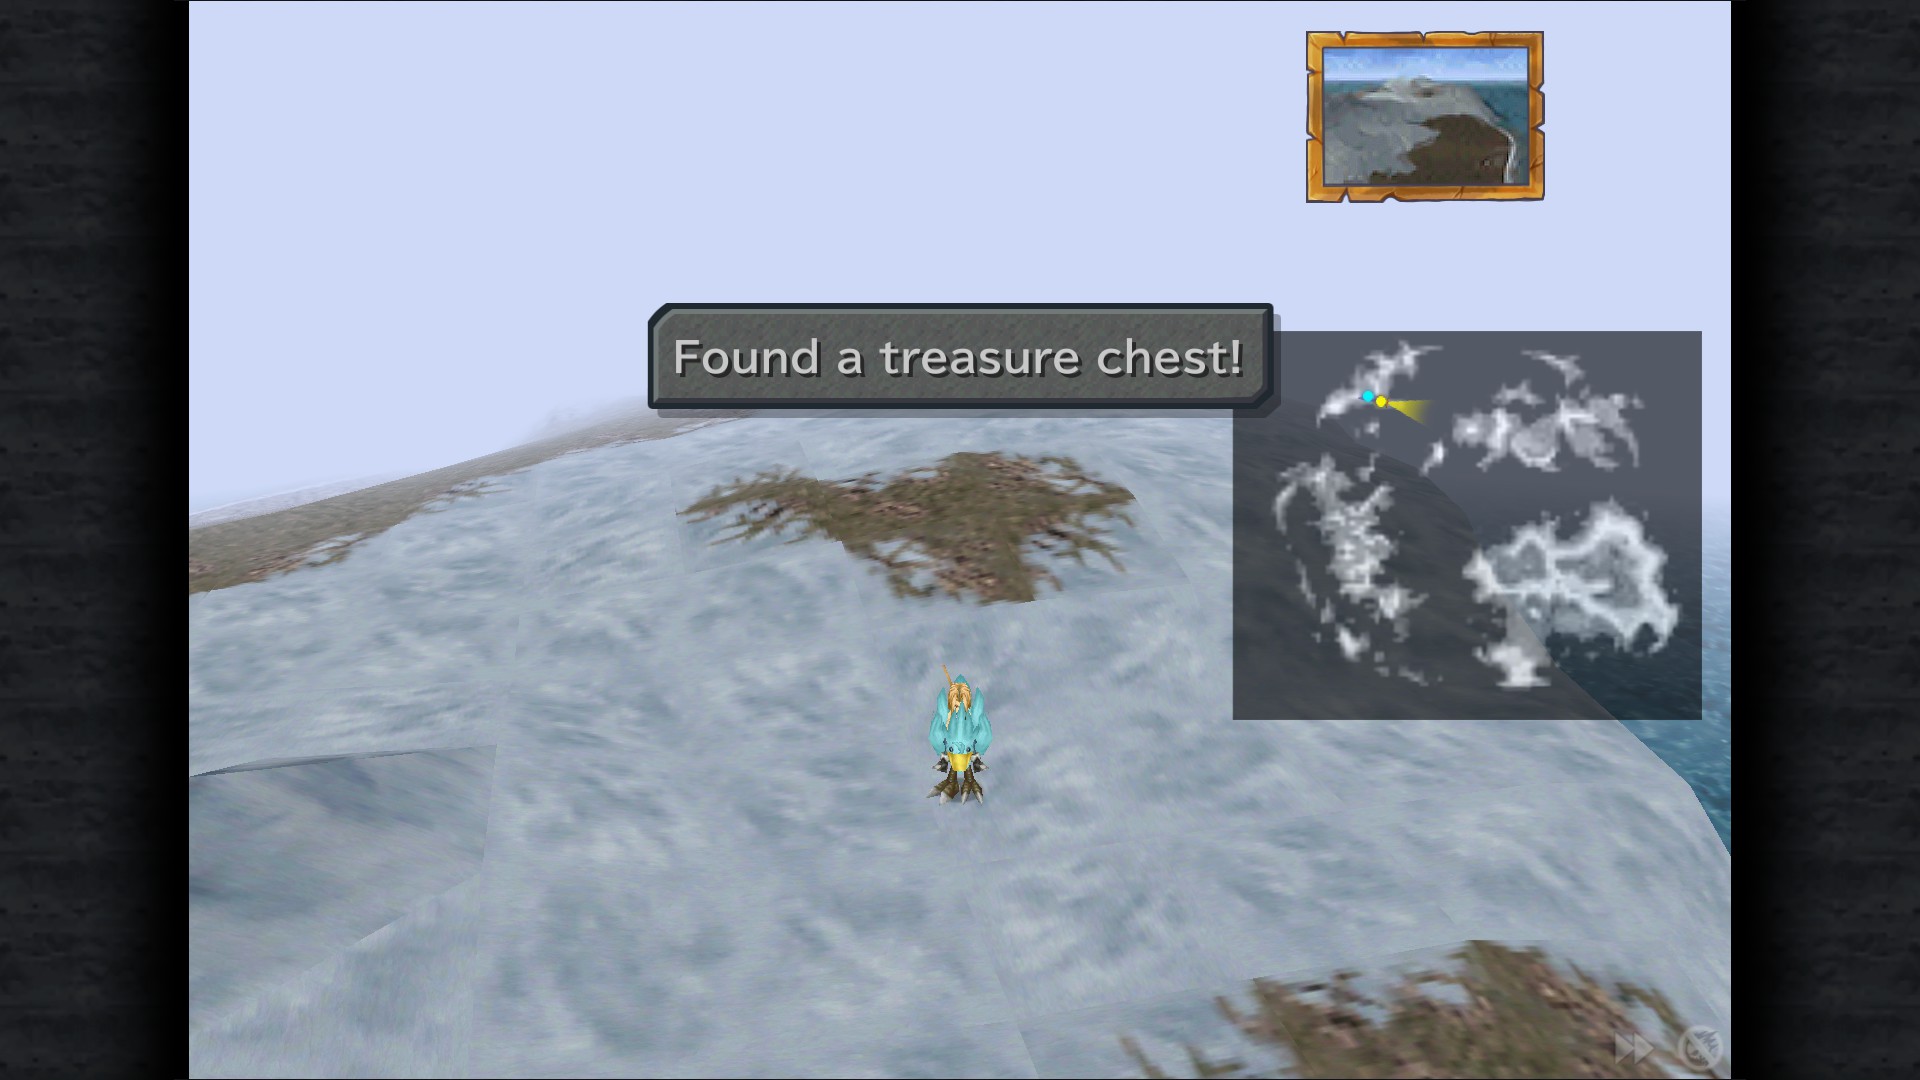
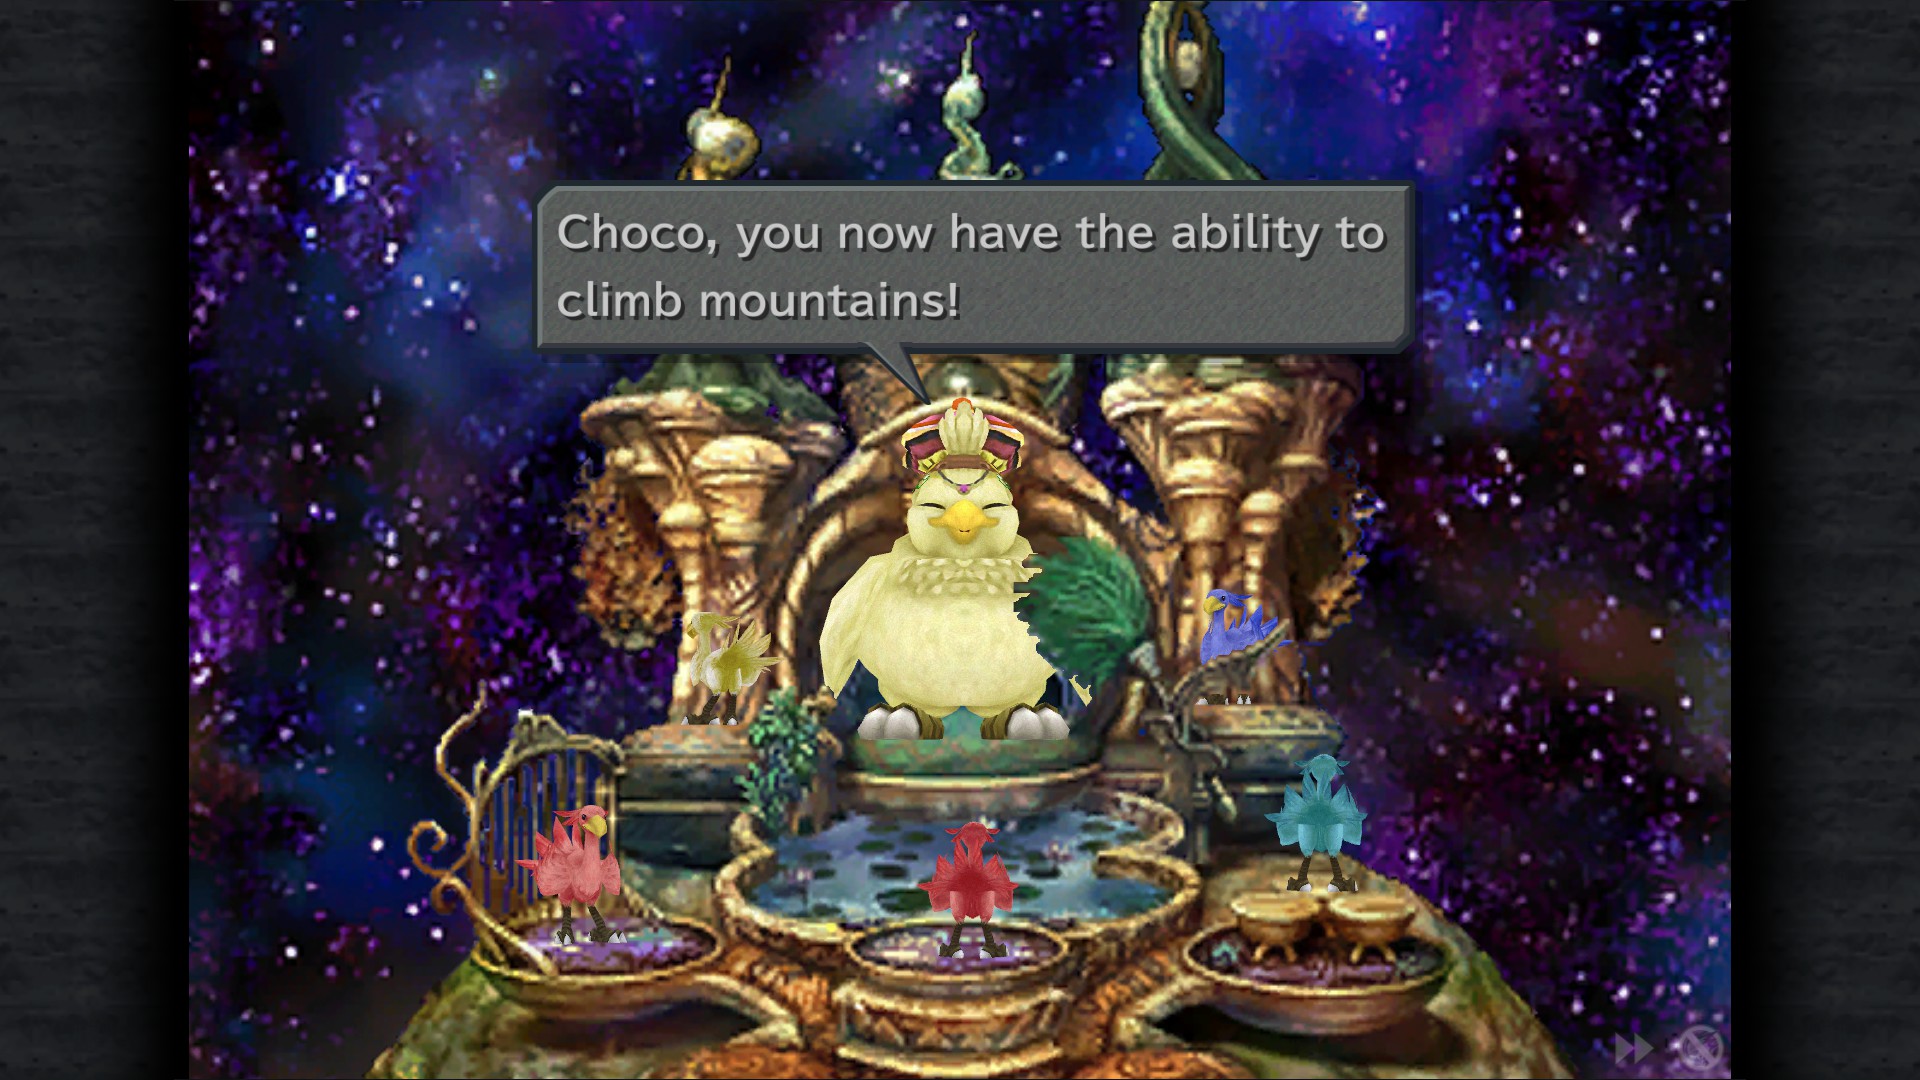
Chocobo's Forest Revisted (after getting Mountain Chocobo)
Forbidden Forest (Mountain)
Green Plains (Mountain)(Grants Ocean Chocobo)
Forgotten Plains (Mountain)
Cold Lagoon (Ocean)
Chocograph Piece (Upper right)
Chocograph Piece (Bottom left)
Chocobo's Lagoon Revisited
Sea at Dusk
The Ultimate Rod
Obtain the Whale Whisker.
Ocean (Whale Whiskers)
Mist Ocean (Unlocked after finding all 6 Chocograph pieces)(Grants Sky Chocobo)
Outer Island 2 (Sky)
Chocograph Piece (Bottom middle)(Only available after getting the Hilda Garde 3)
Chocograph Piece (Bottom right)(Only available after getting the Hilda Garde 3)
Chocobo's Air Garden
Locations:
Outer Island (Sky)
Fairy Island (Sky)
Forgotten Island (Sky)
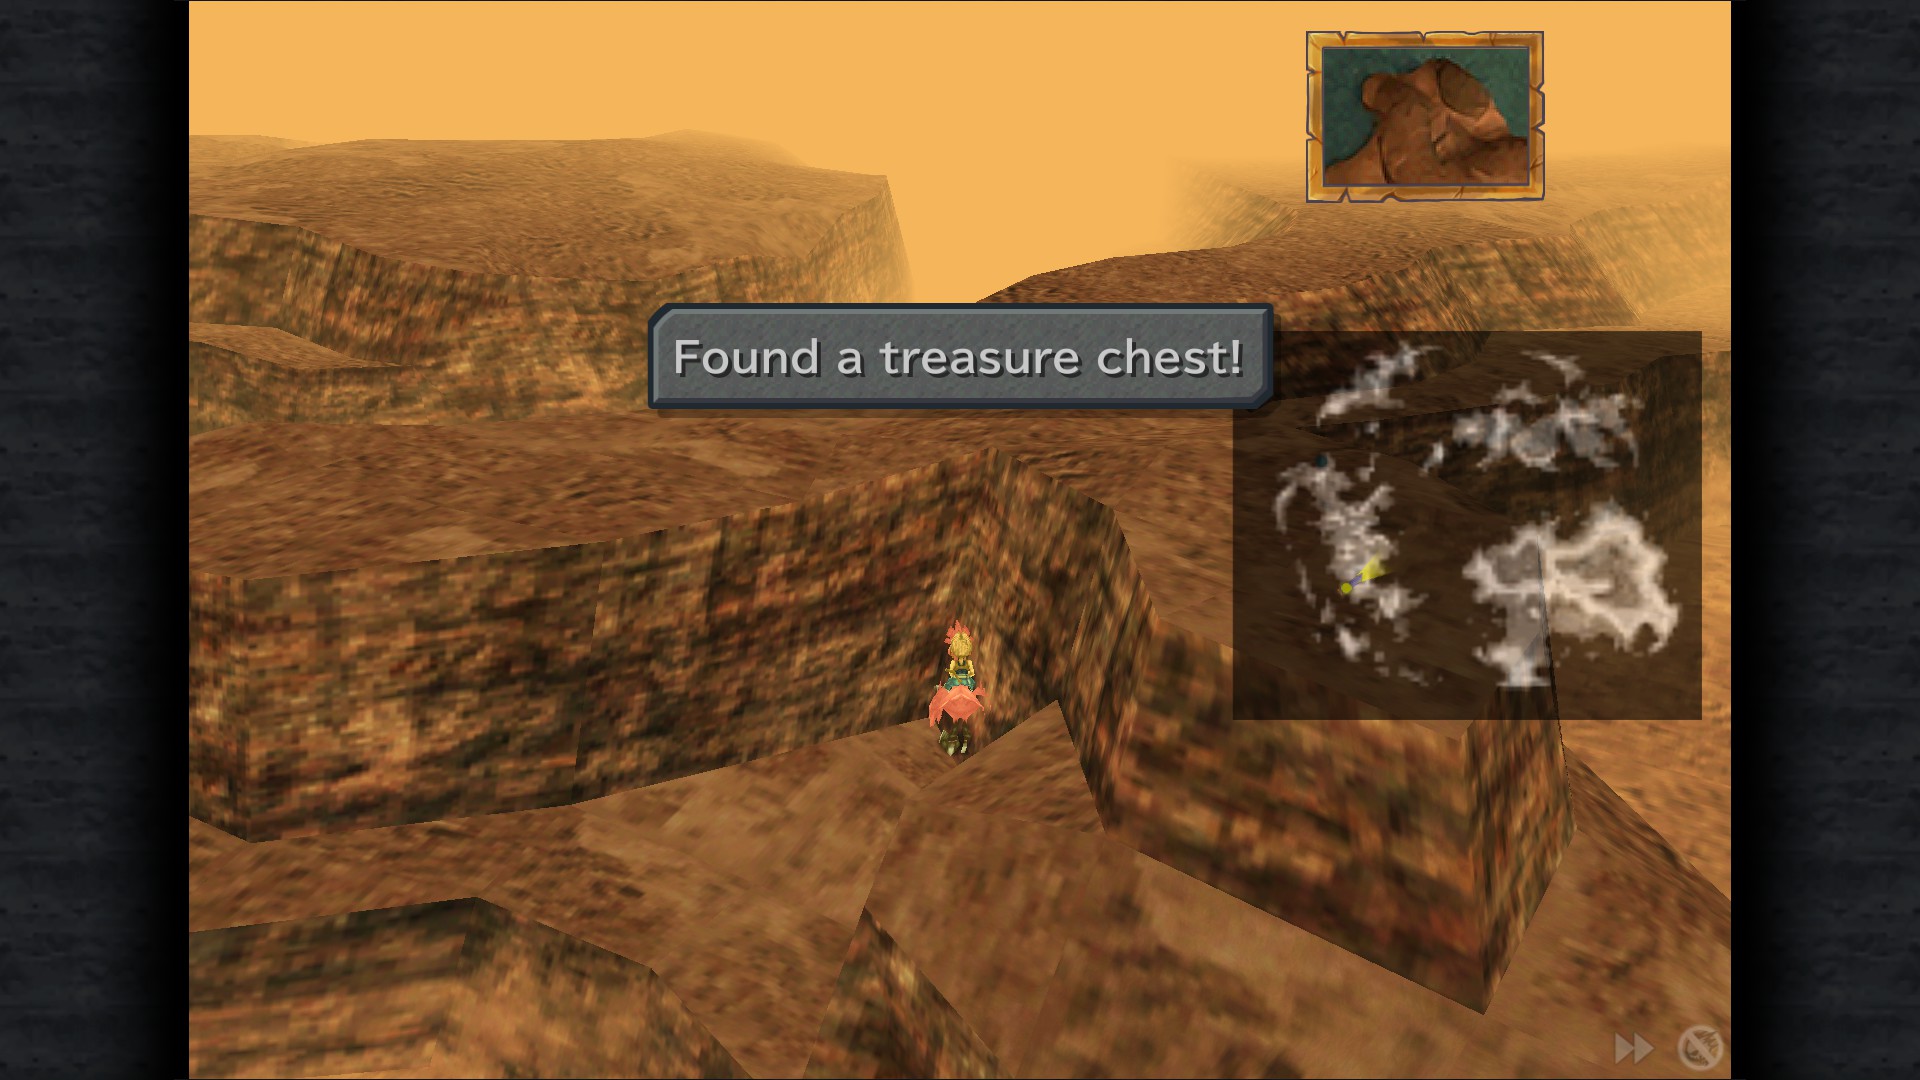
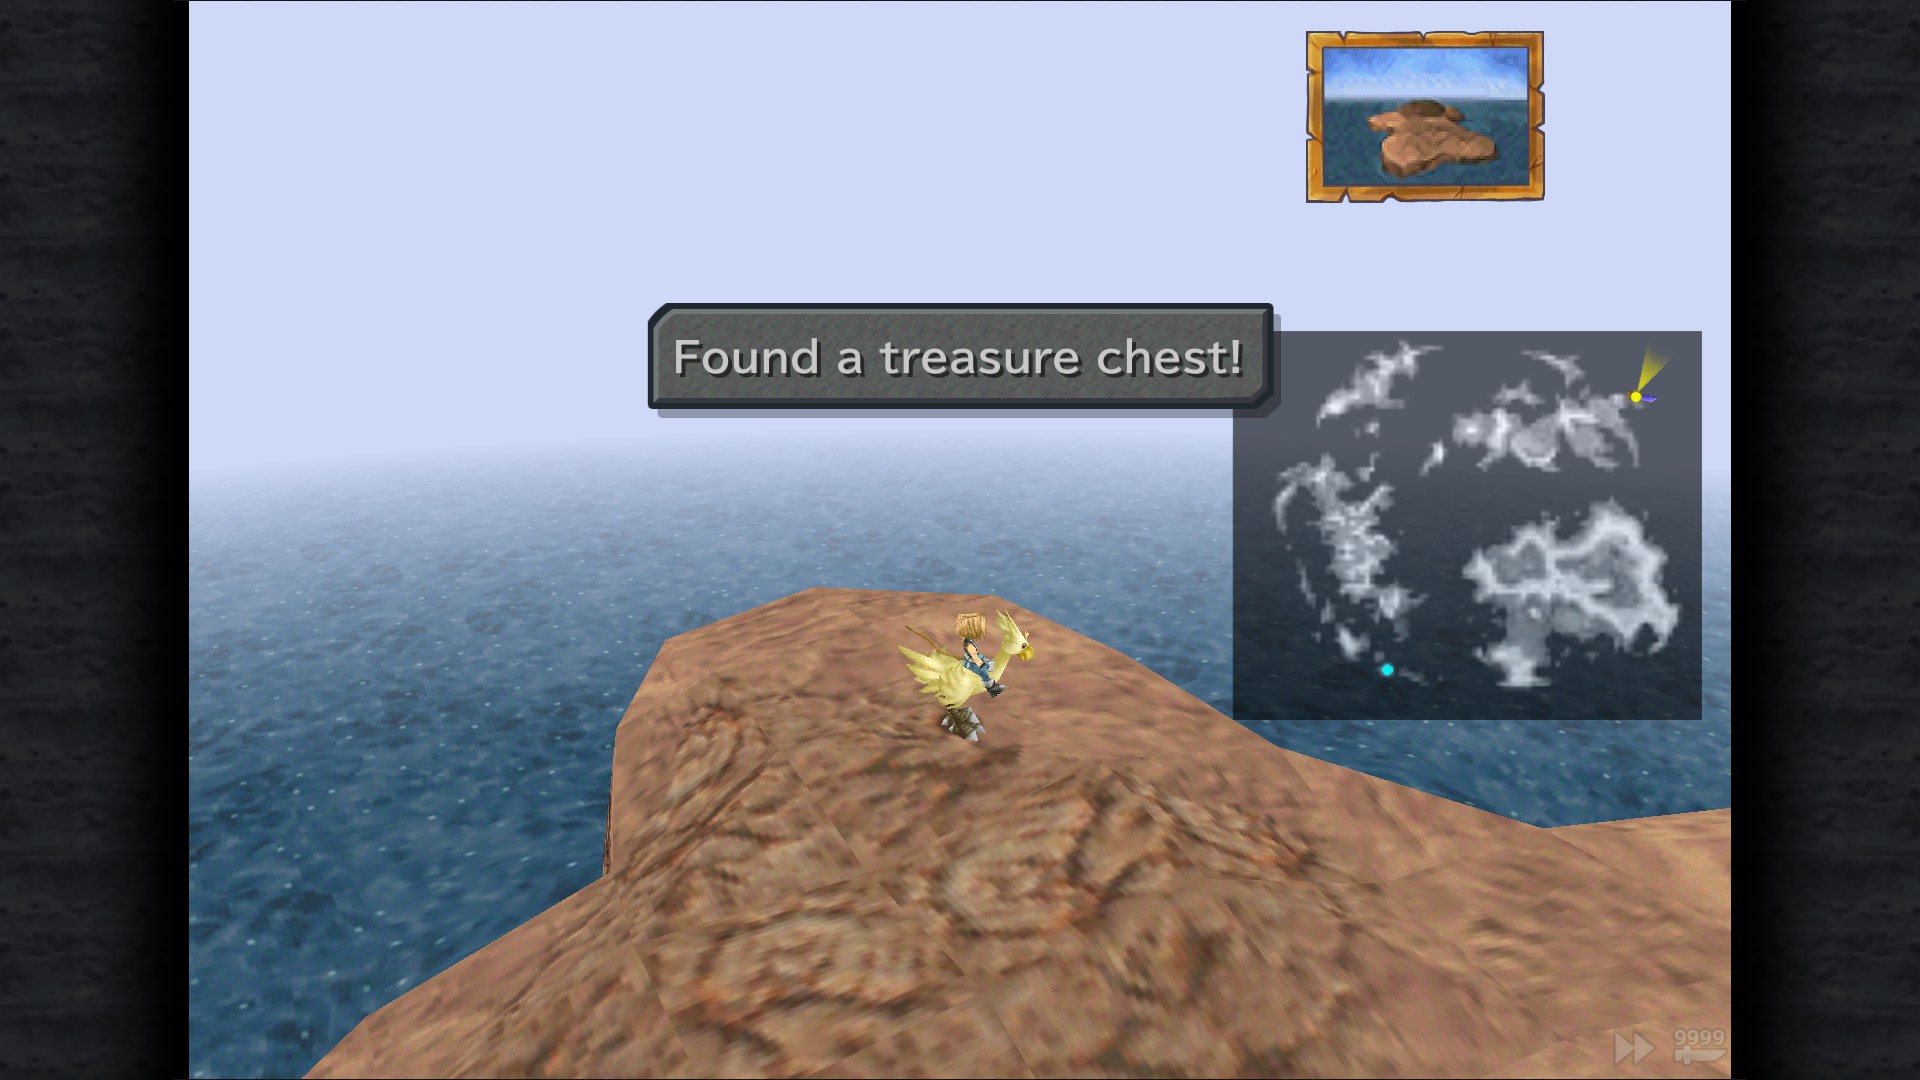
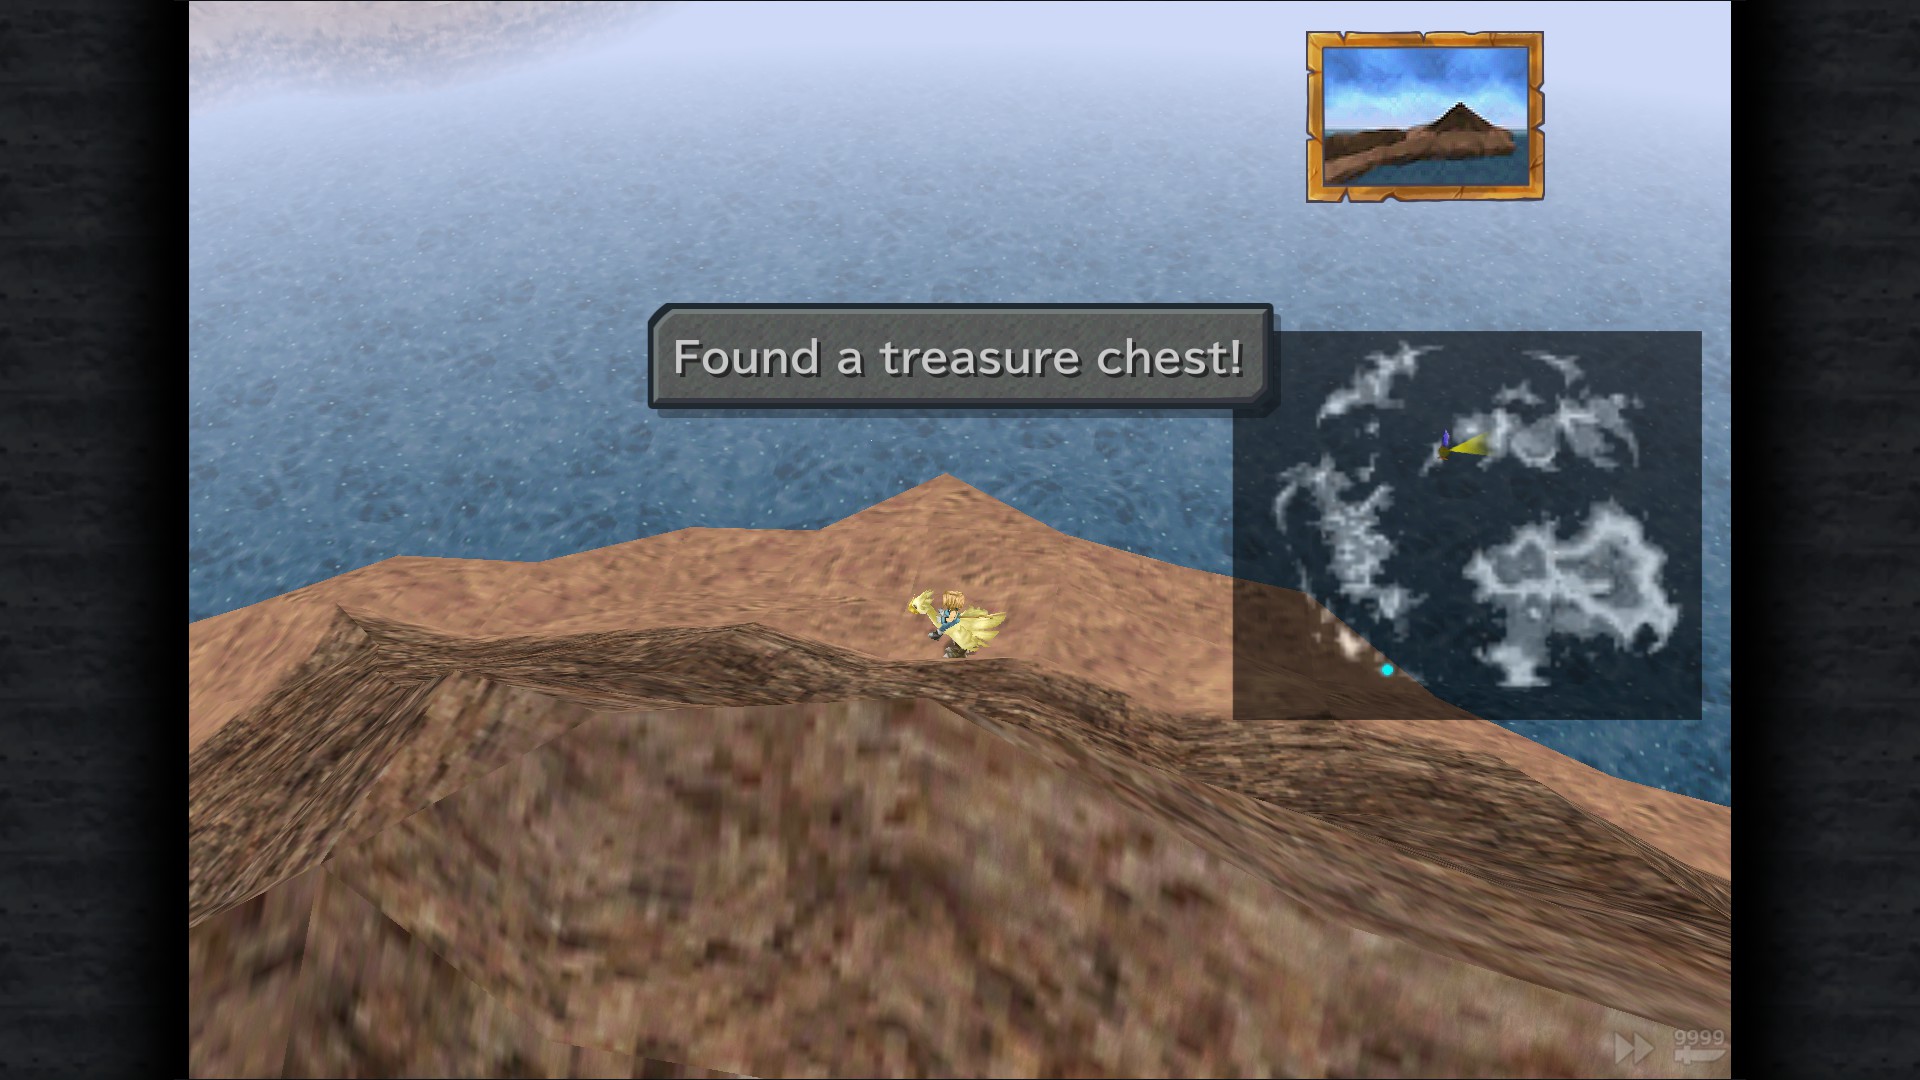
Diggin' It
Locate all hidden treasures on the world map.
Ozma Superboss* - Examine the rock at north section (It's probably the hardest enemy in the game,you can weaken it if you complete the friendly monsters sidequest first)
If you manage to defeat him
To Ozma and Back
Defeat Ozma.
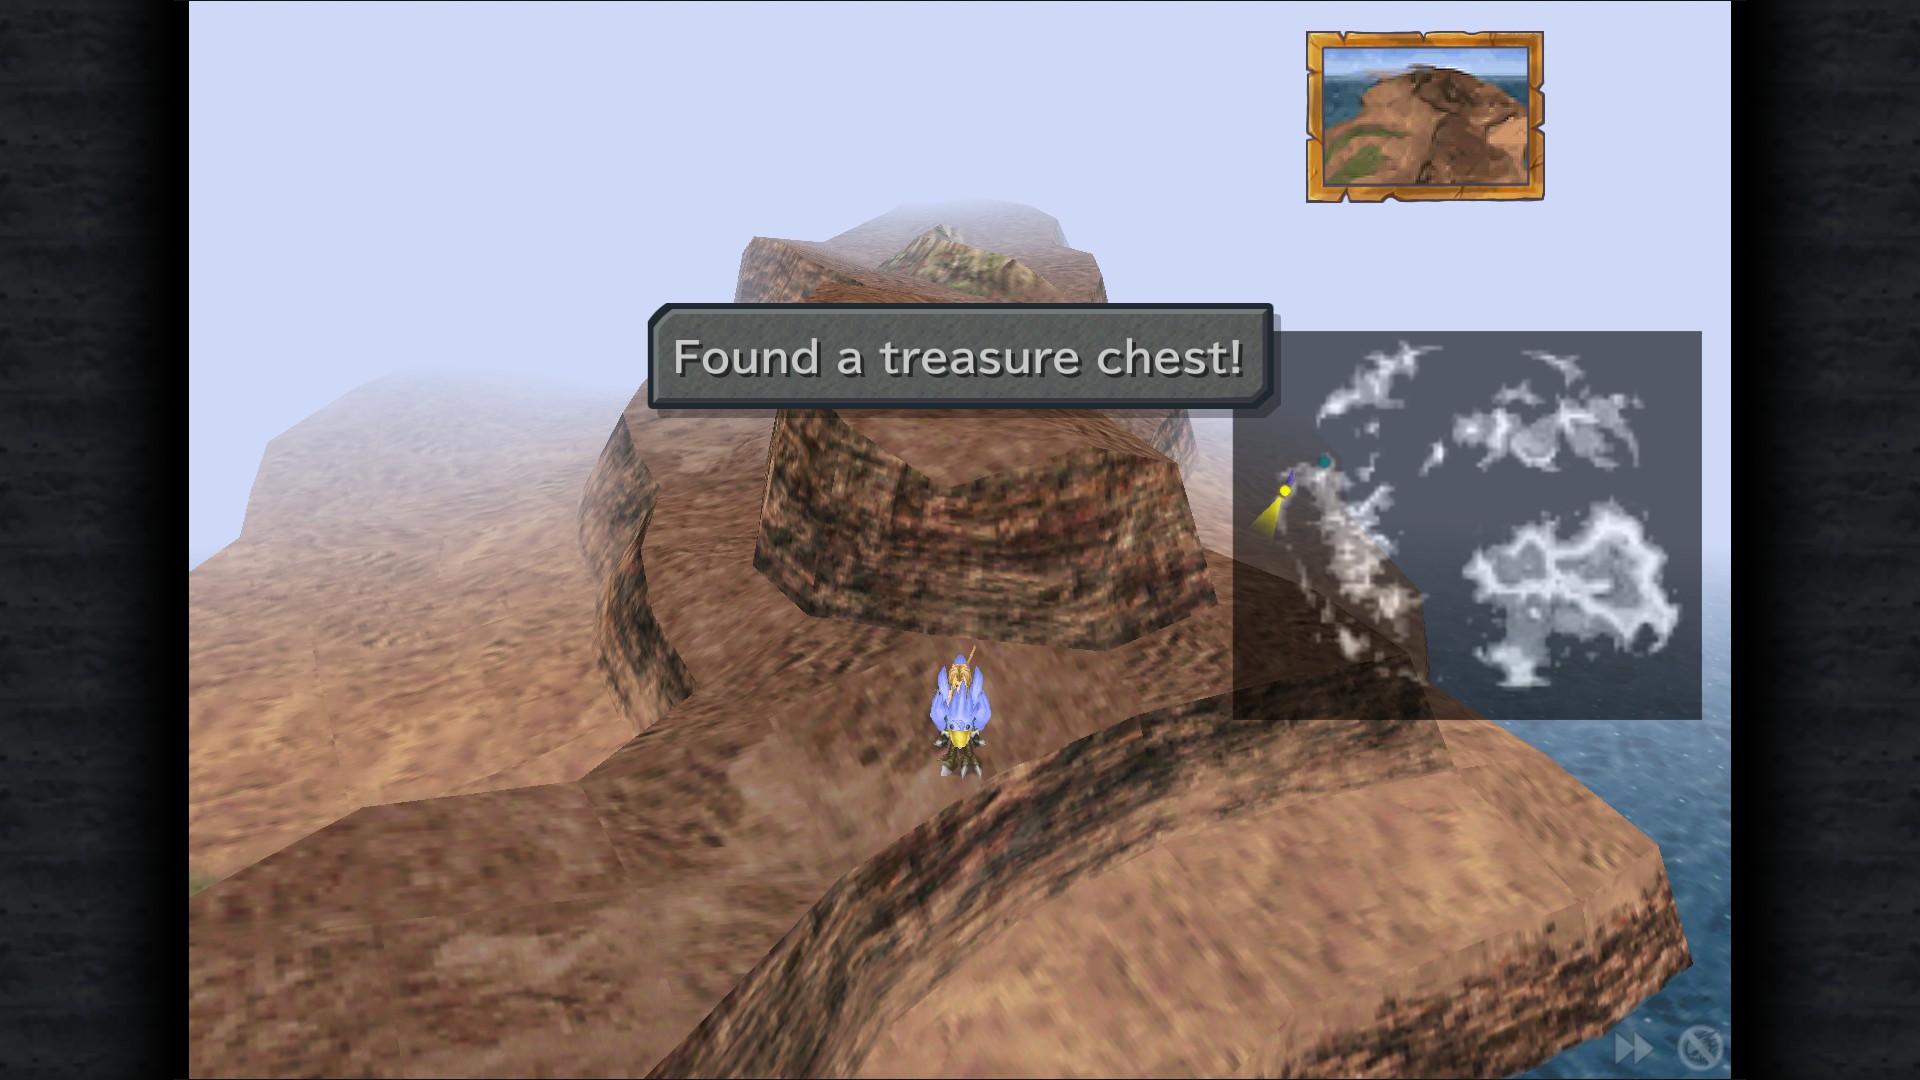
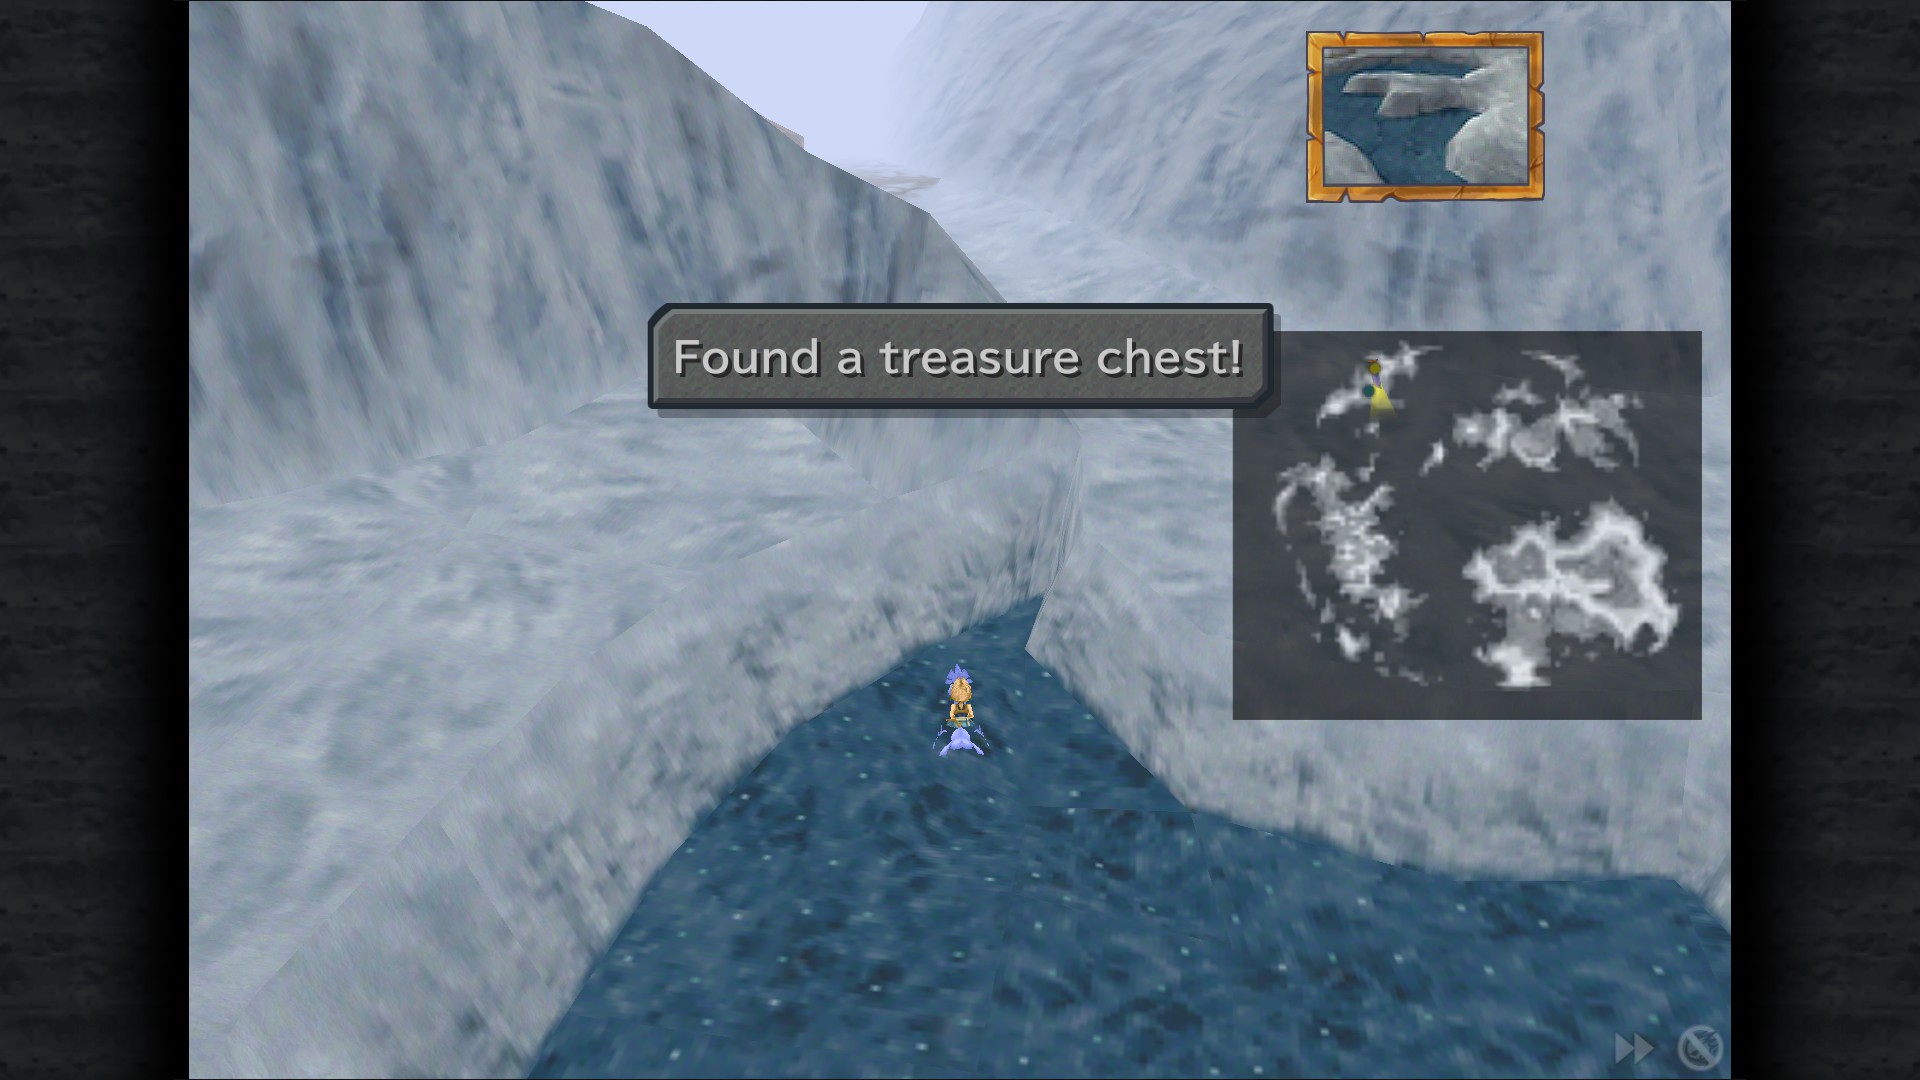
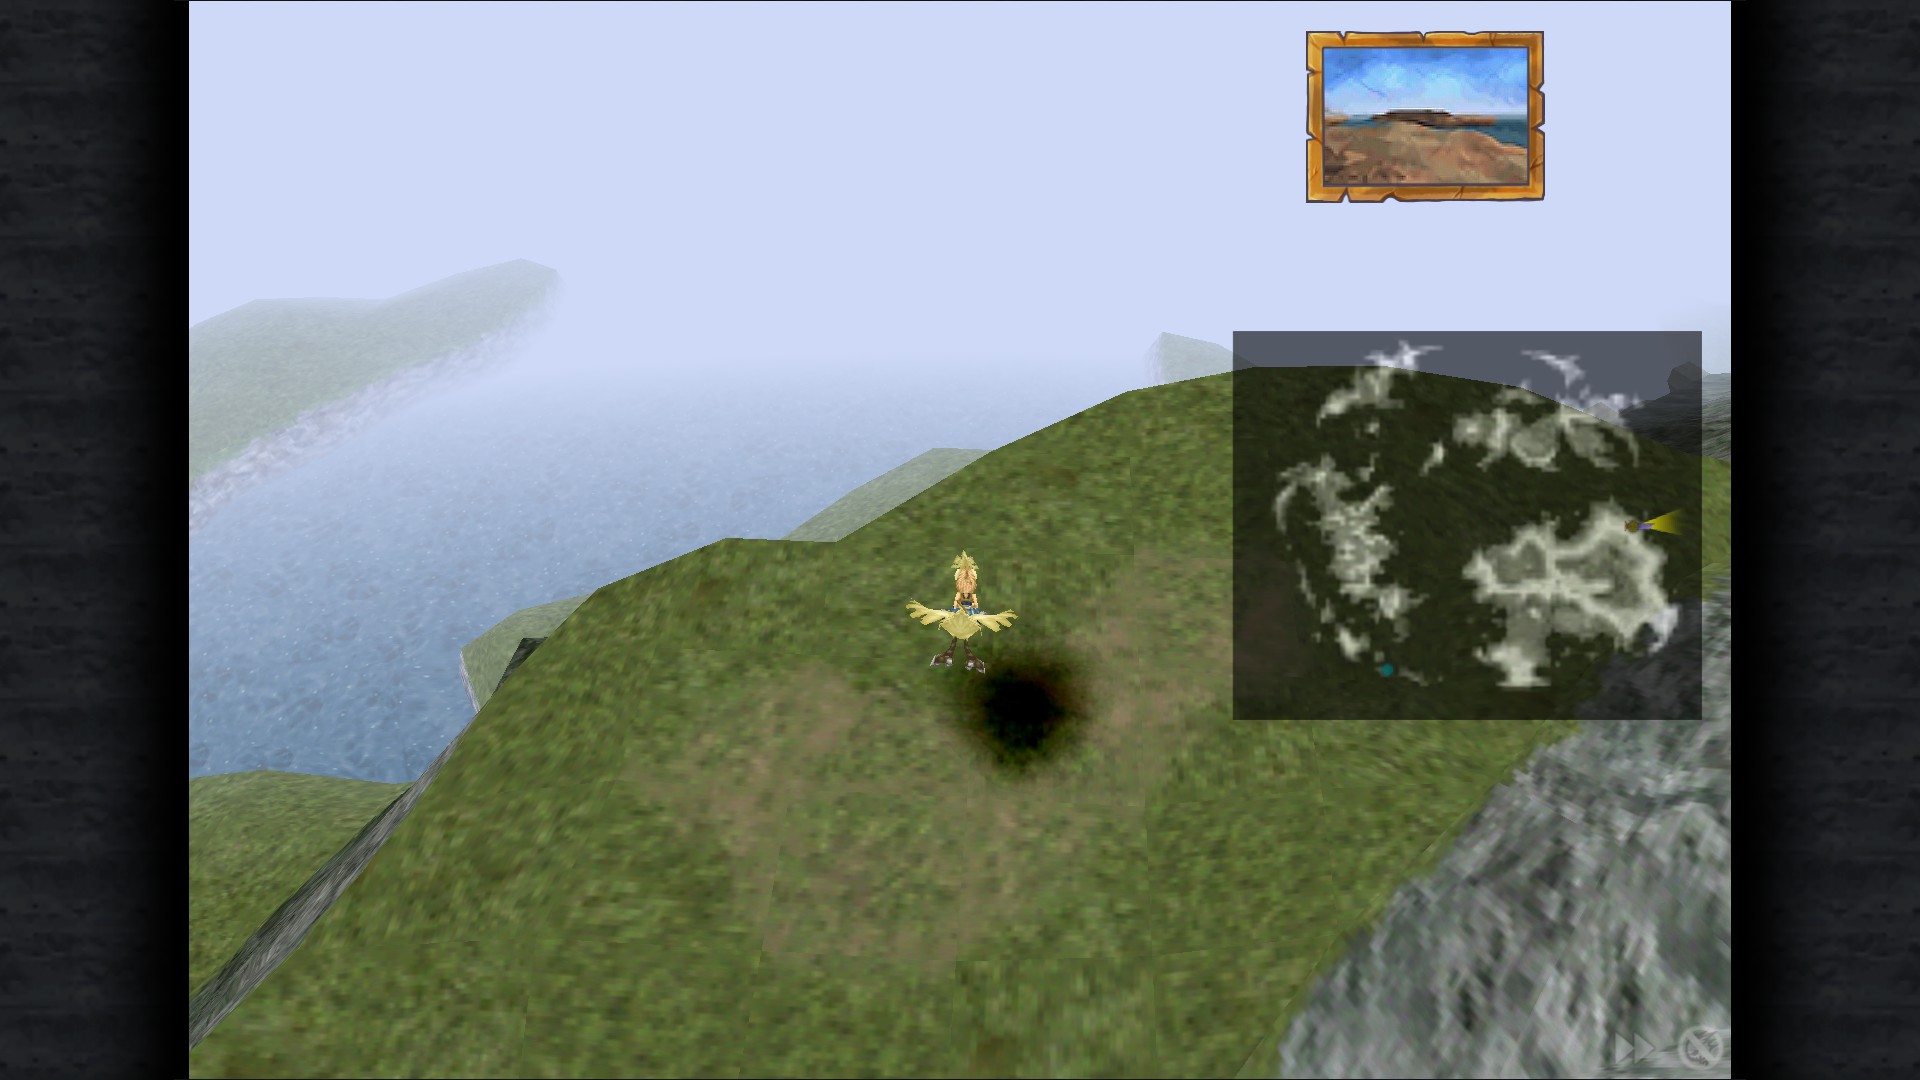
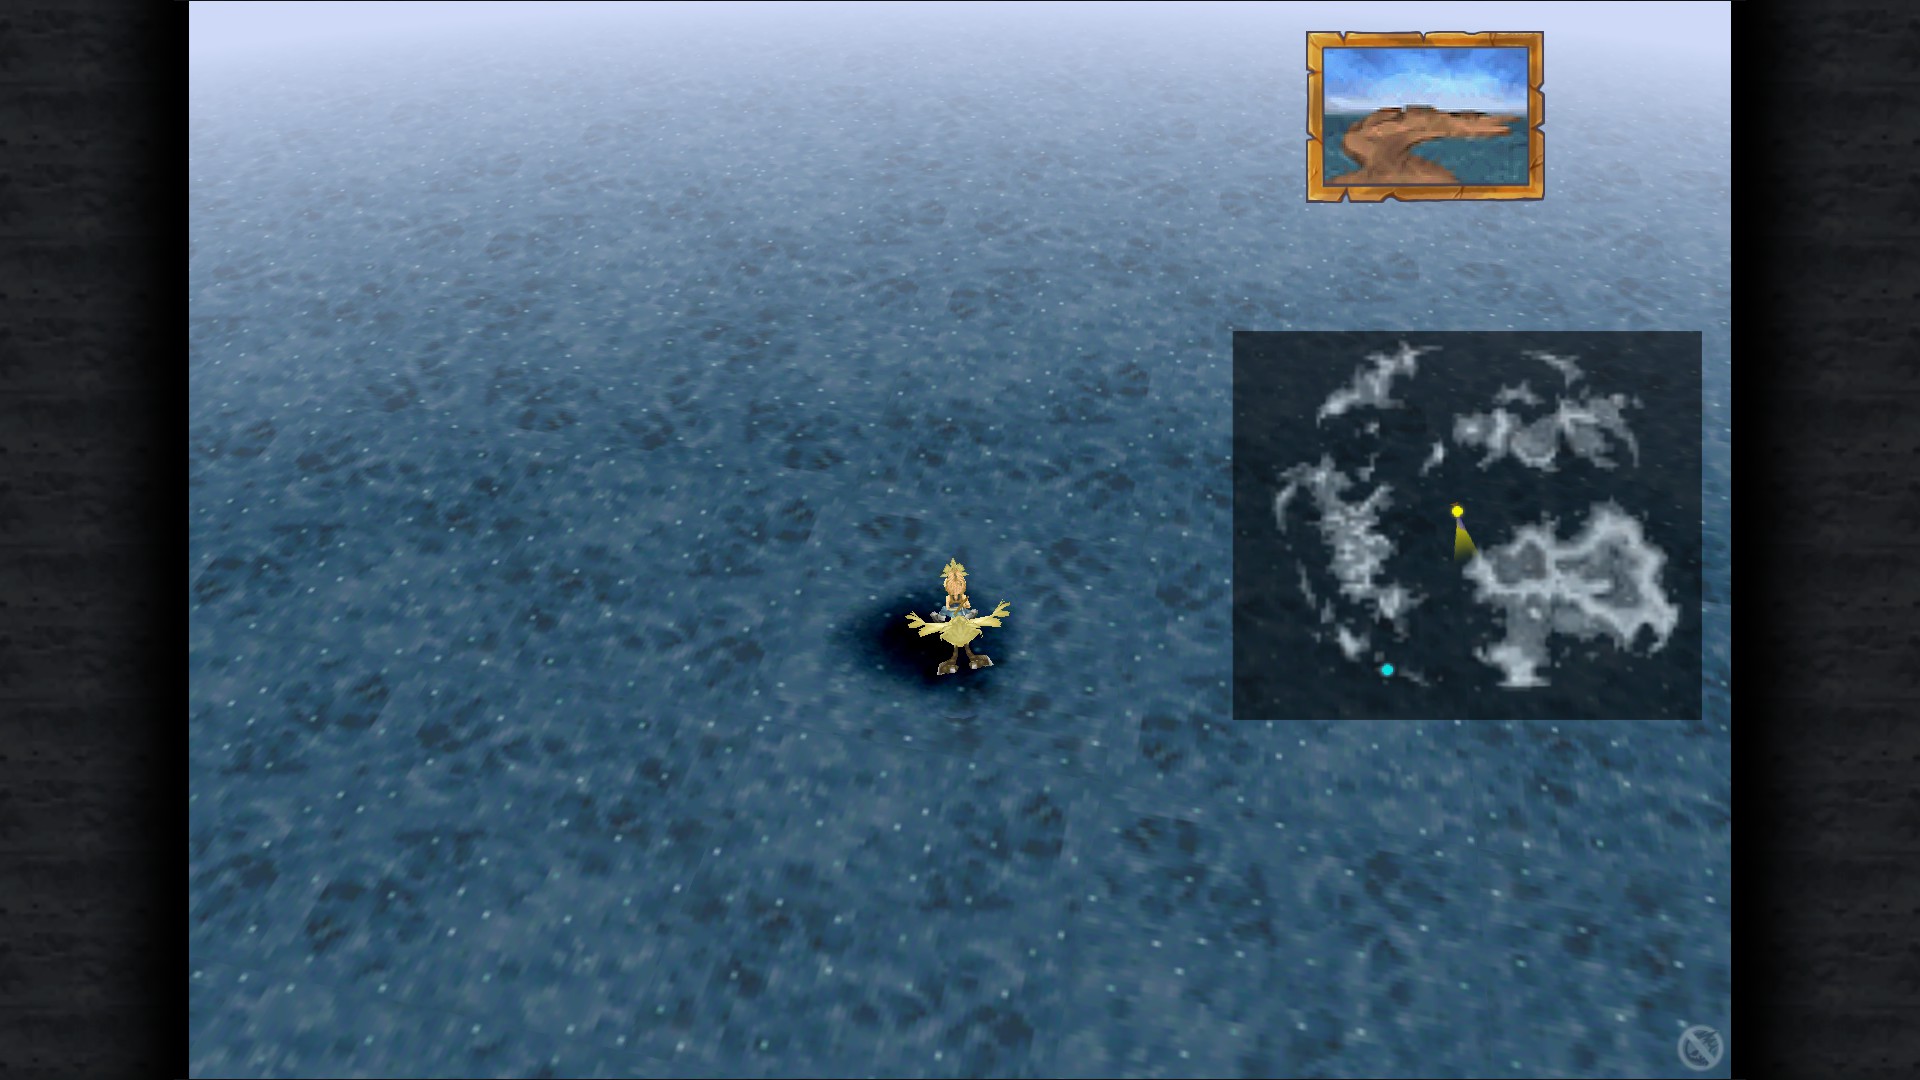
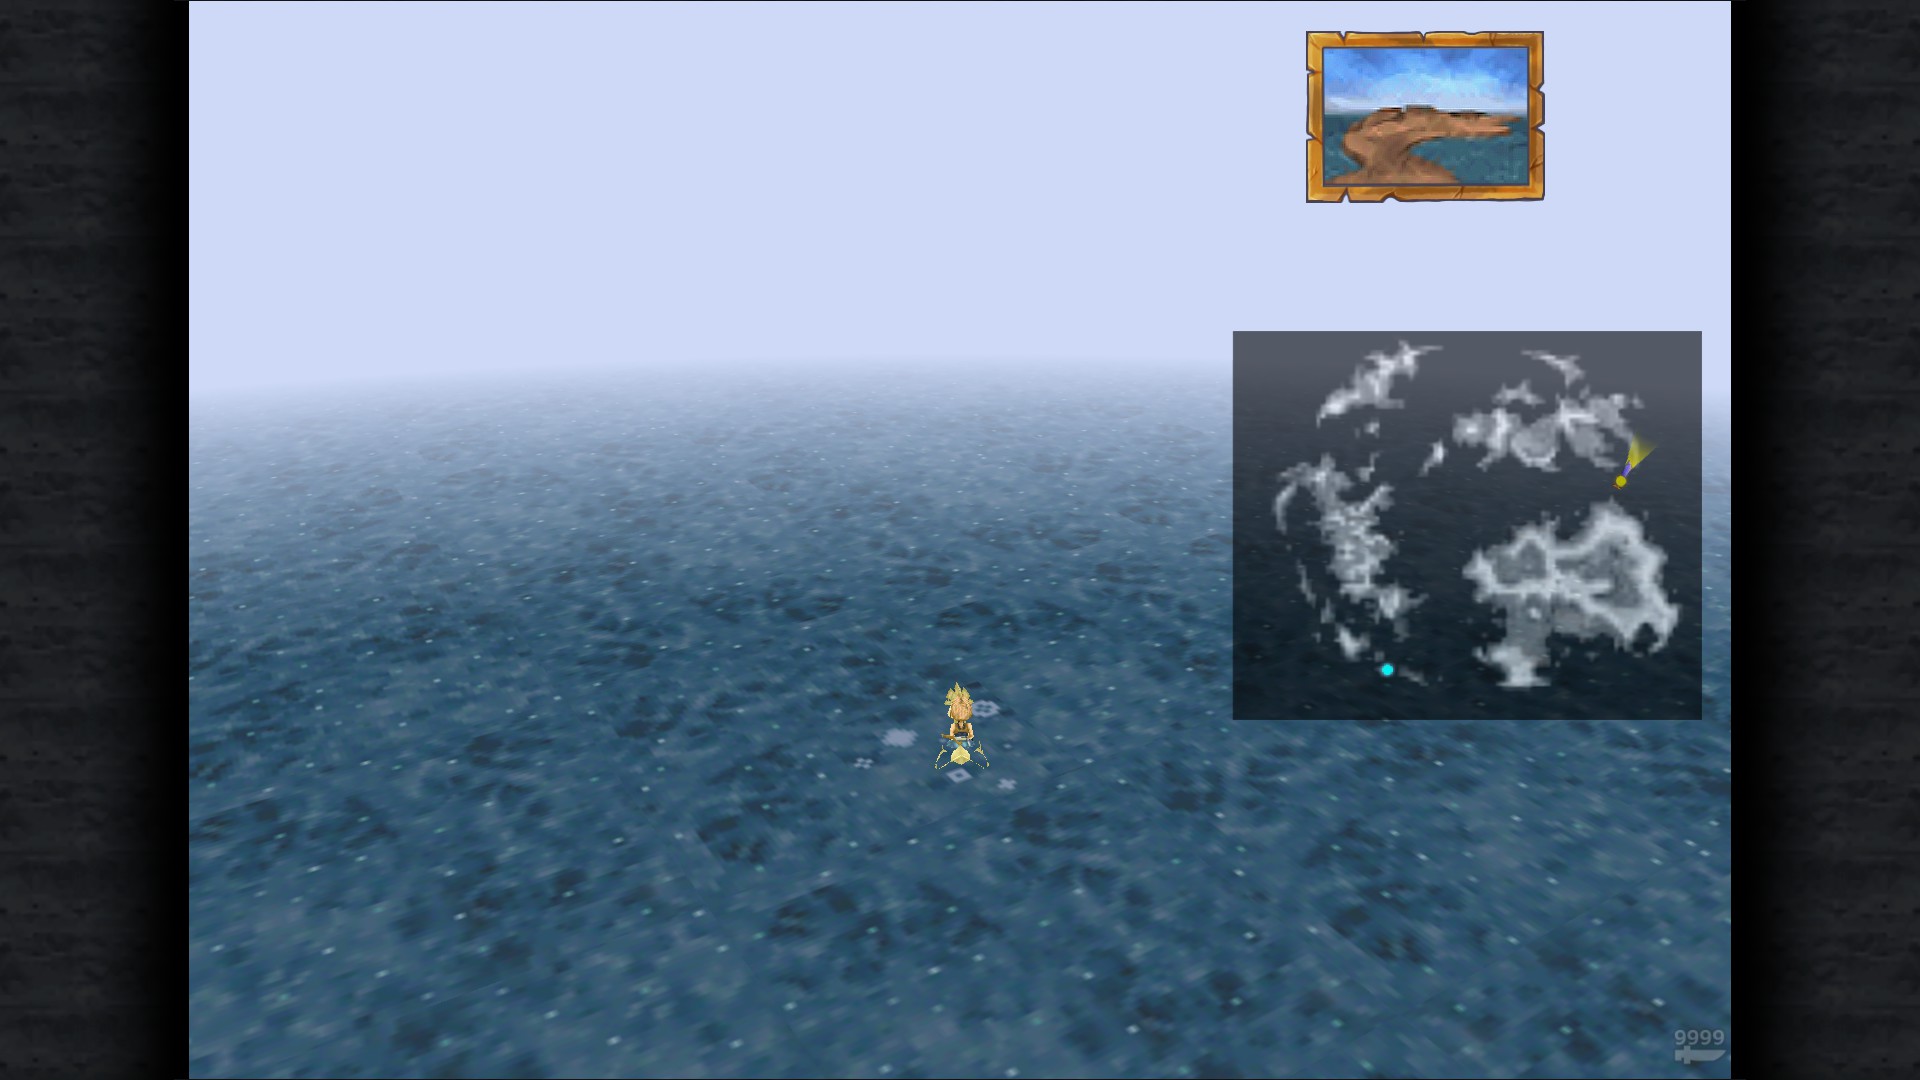
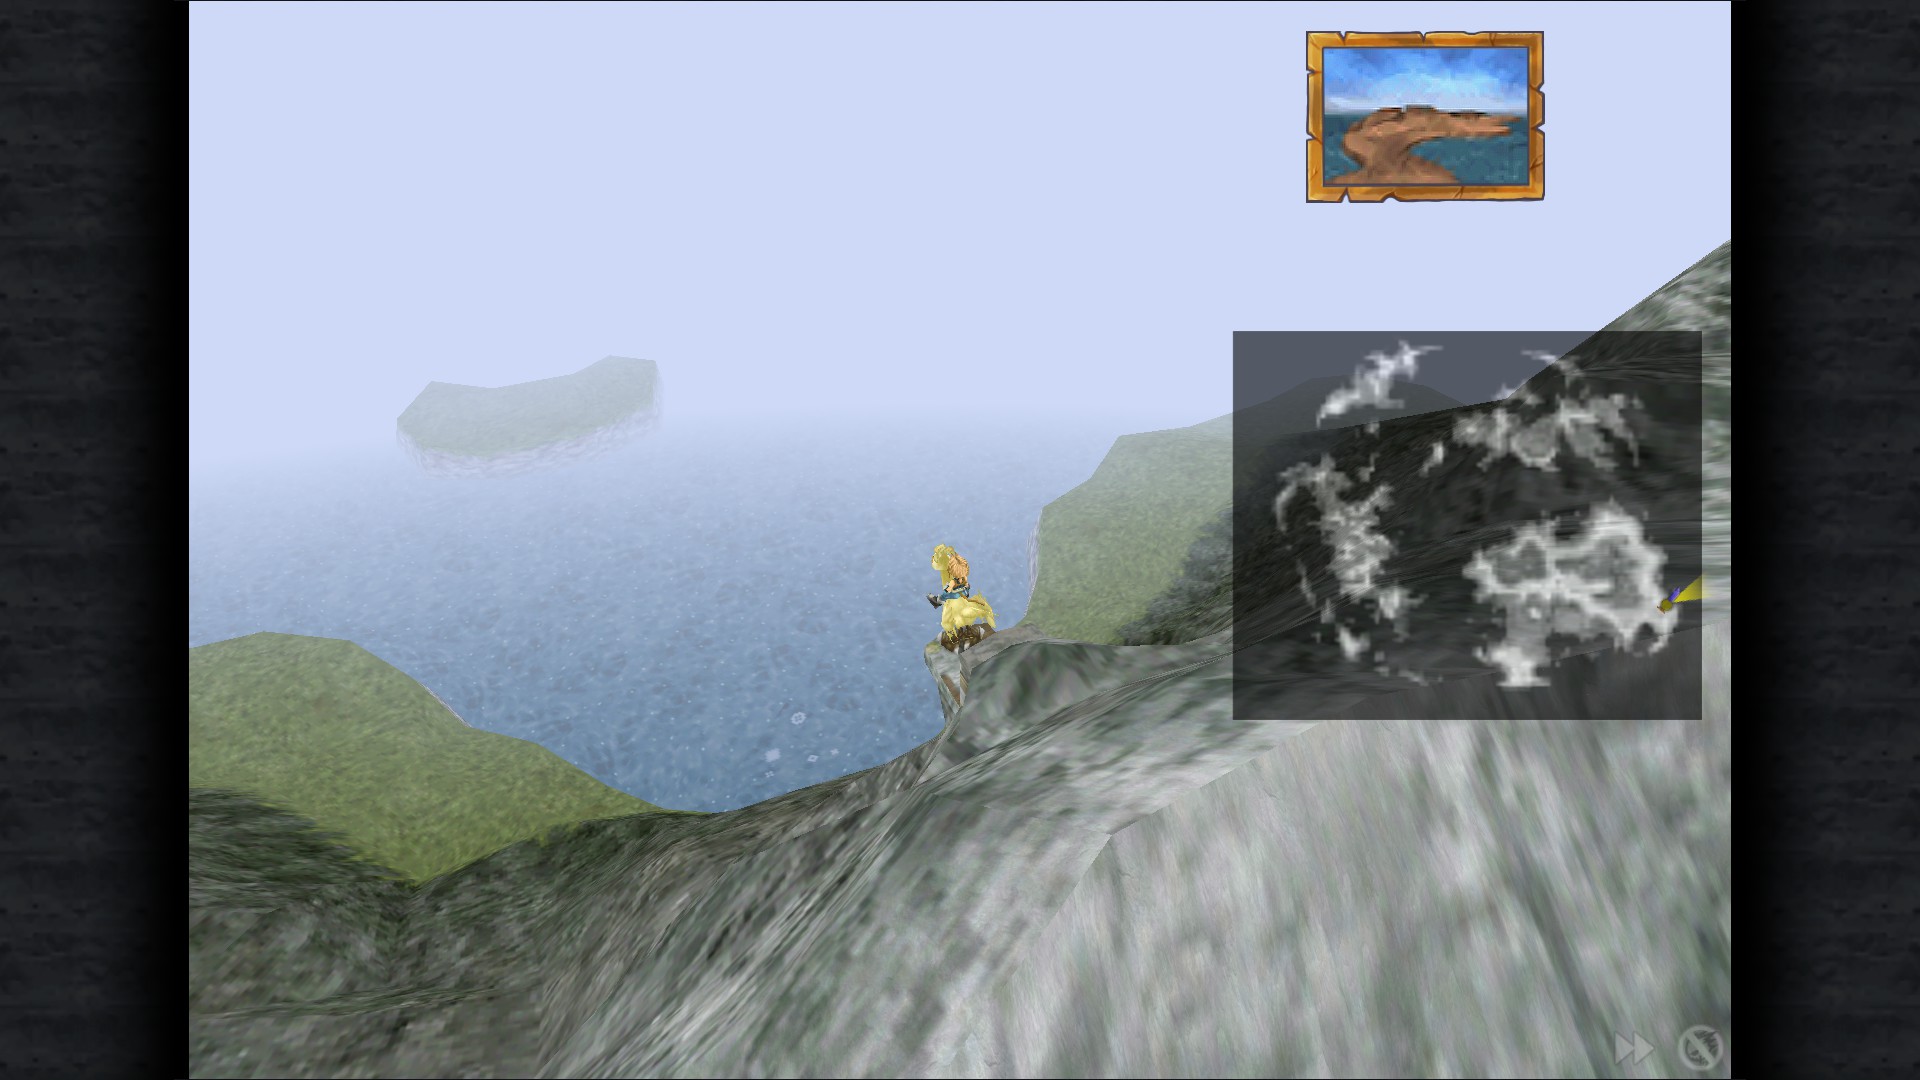
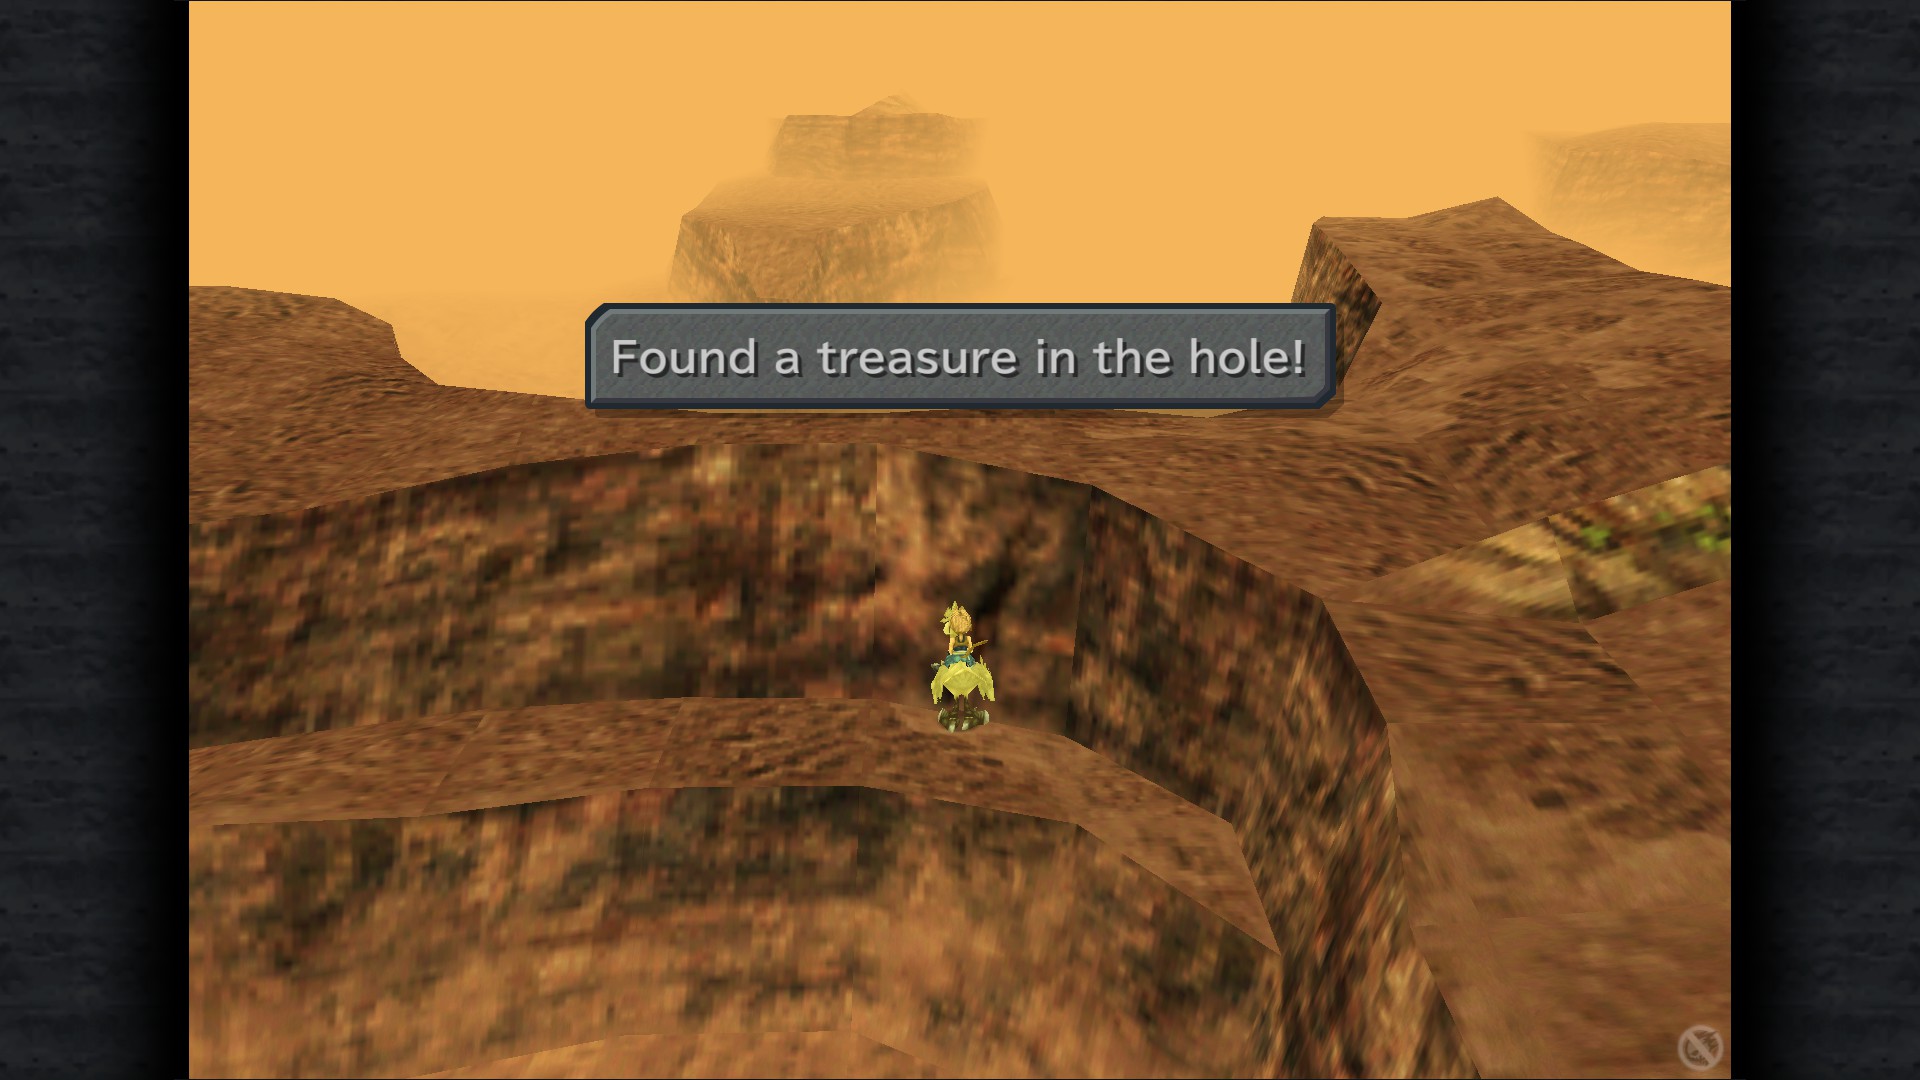
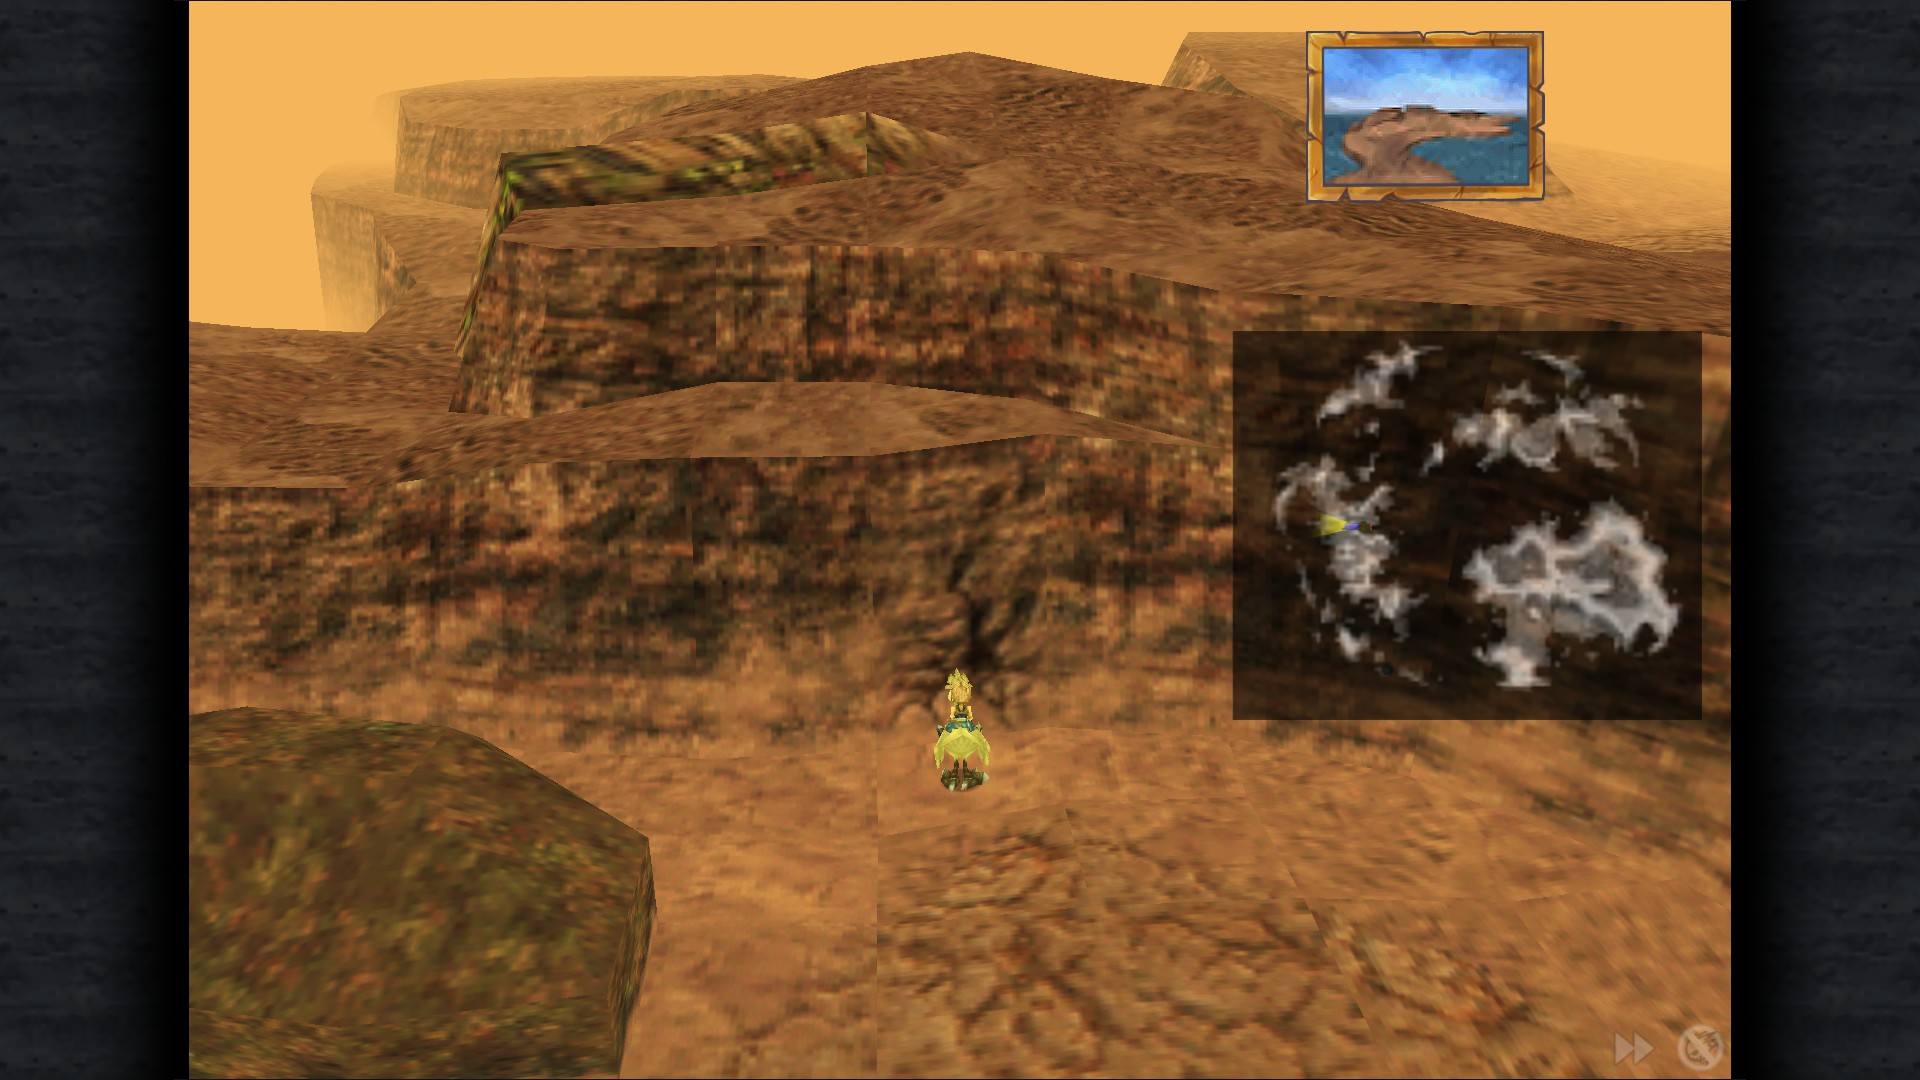
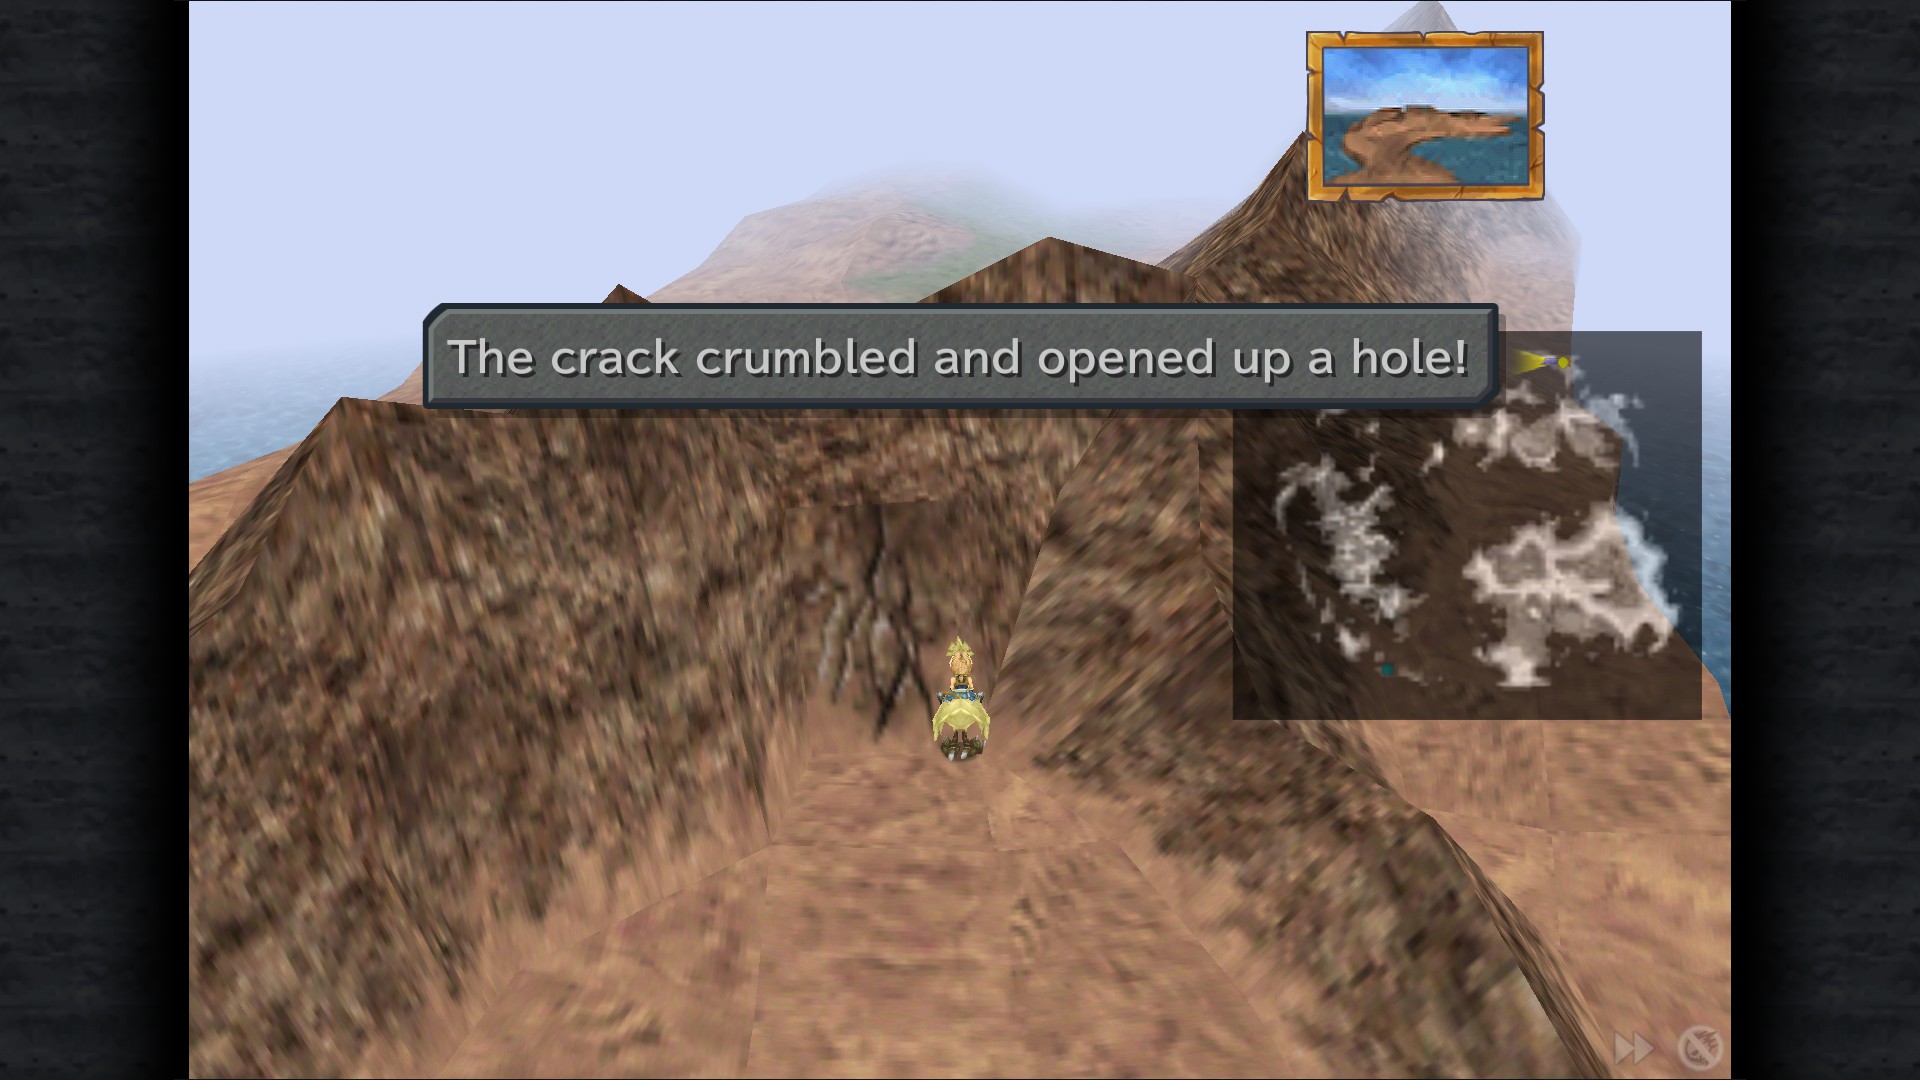
Dive Spots and Mountain Cracks
Dive Spot 1 - North of Alexandria
The Ultimate Racket
Obtain the Tiger Racket.
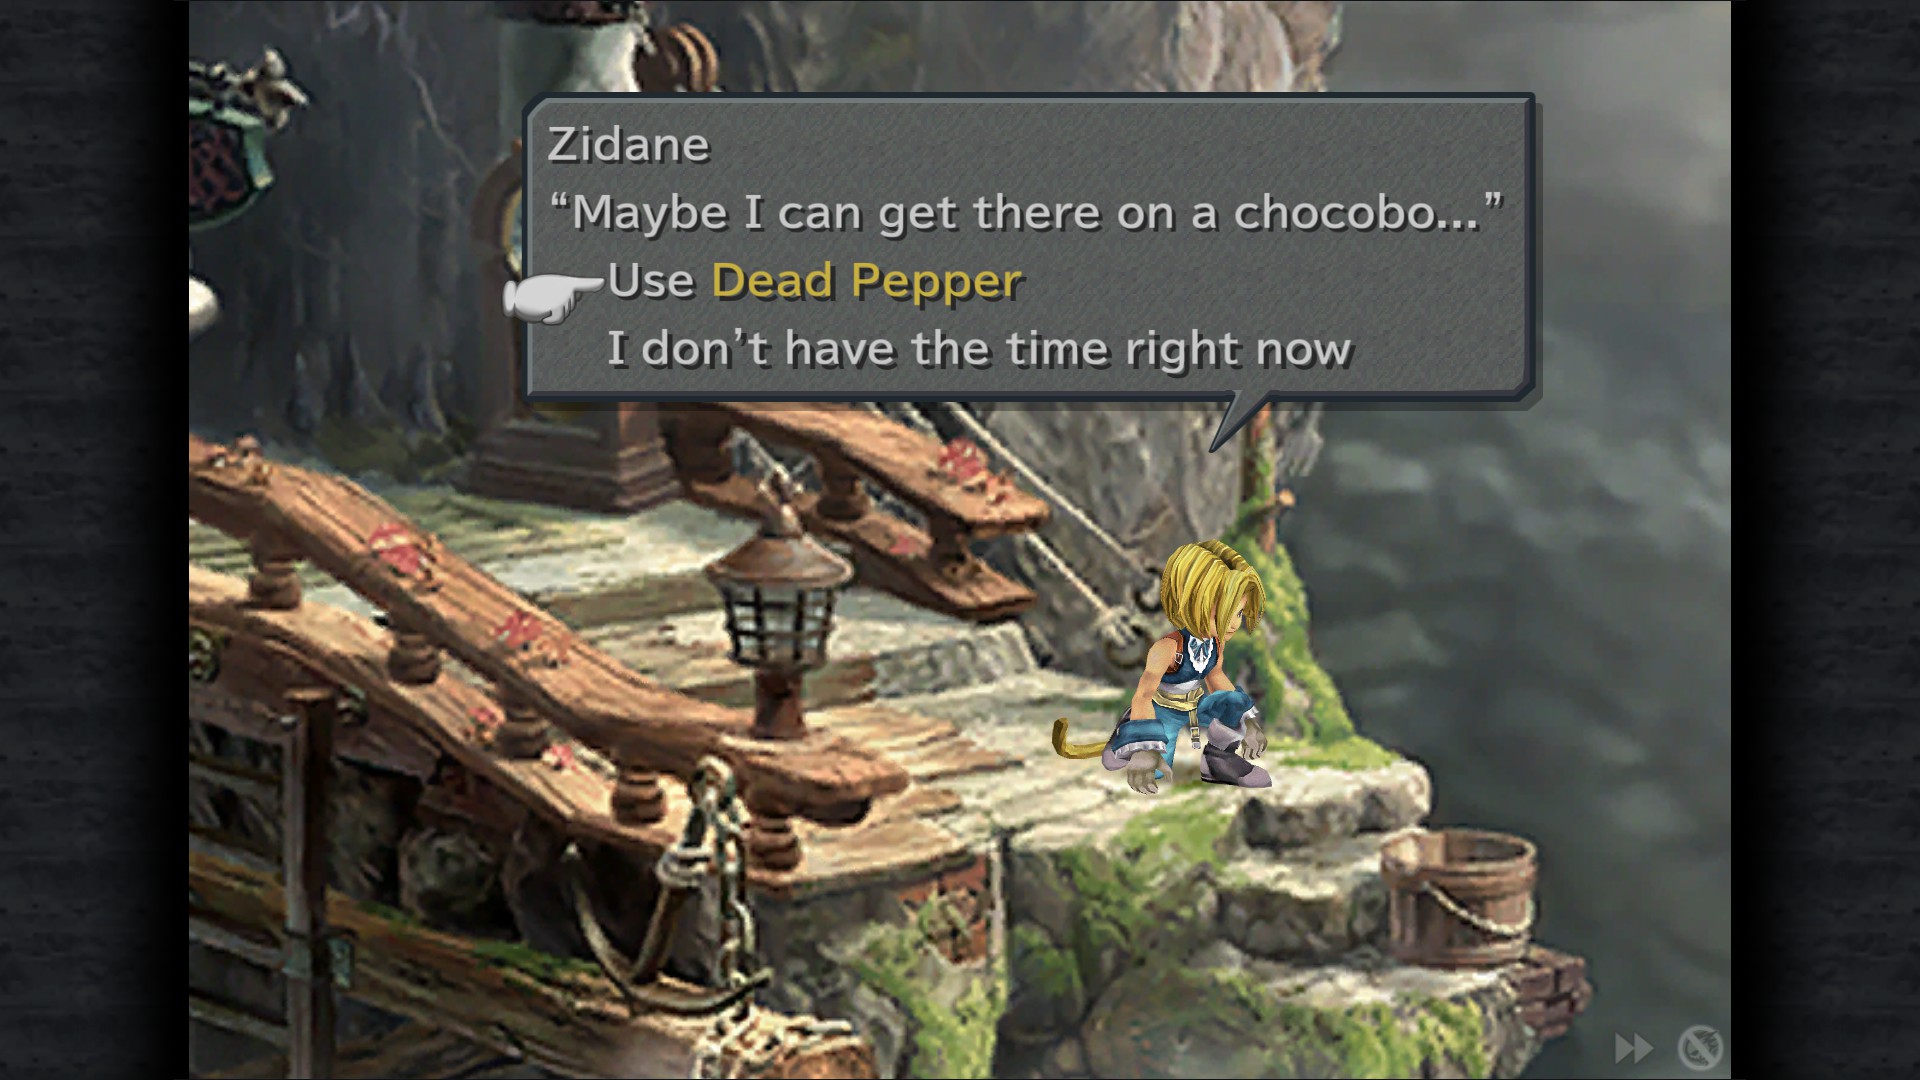
Dive Spot 2 - Quan's Dwelling (you must jump from Quan's Dwelling Fishing Area using a Dead Pepper)
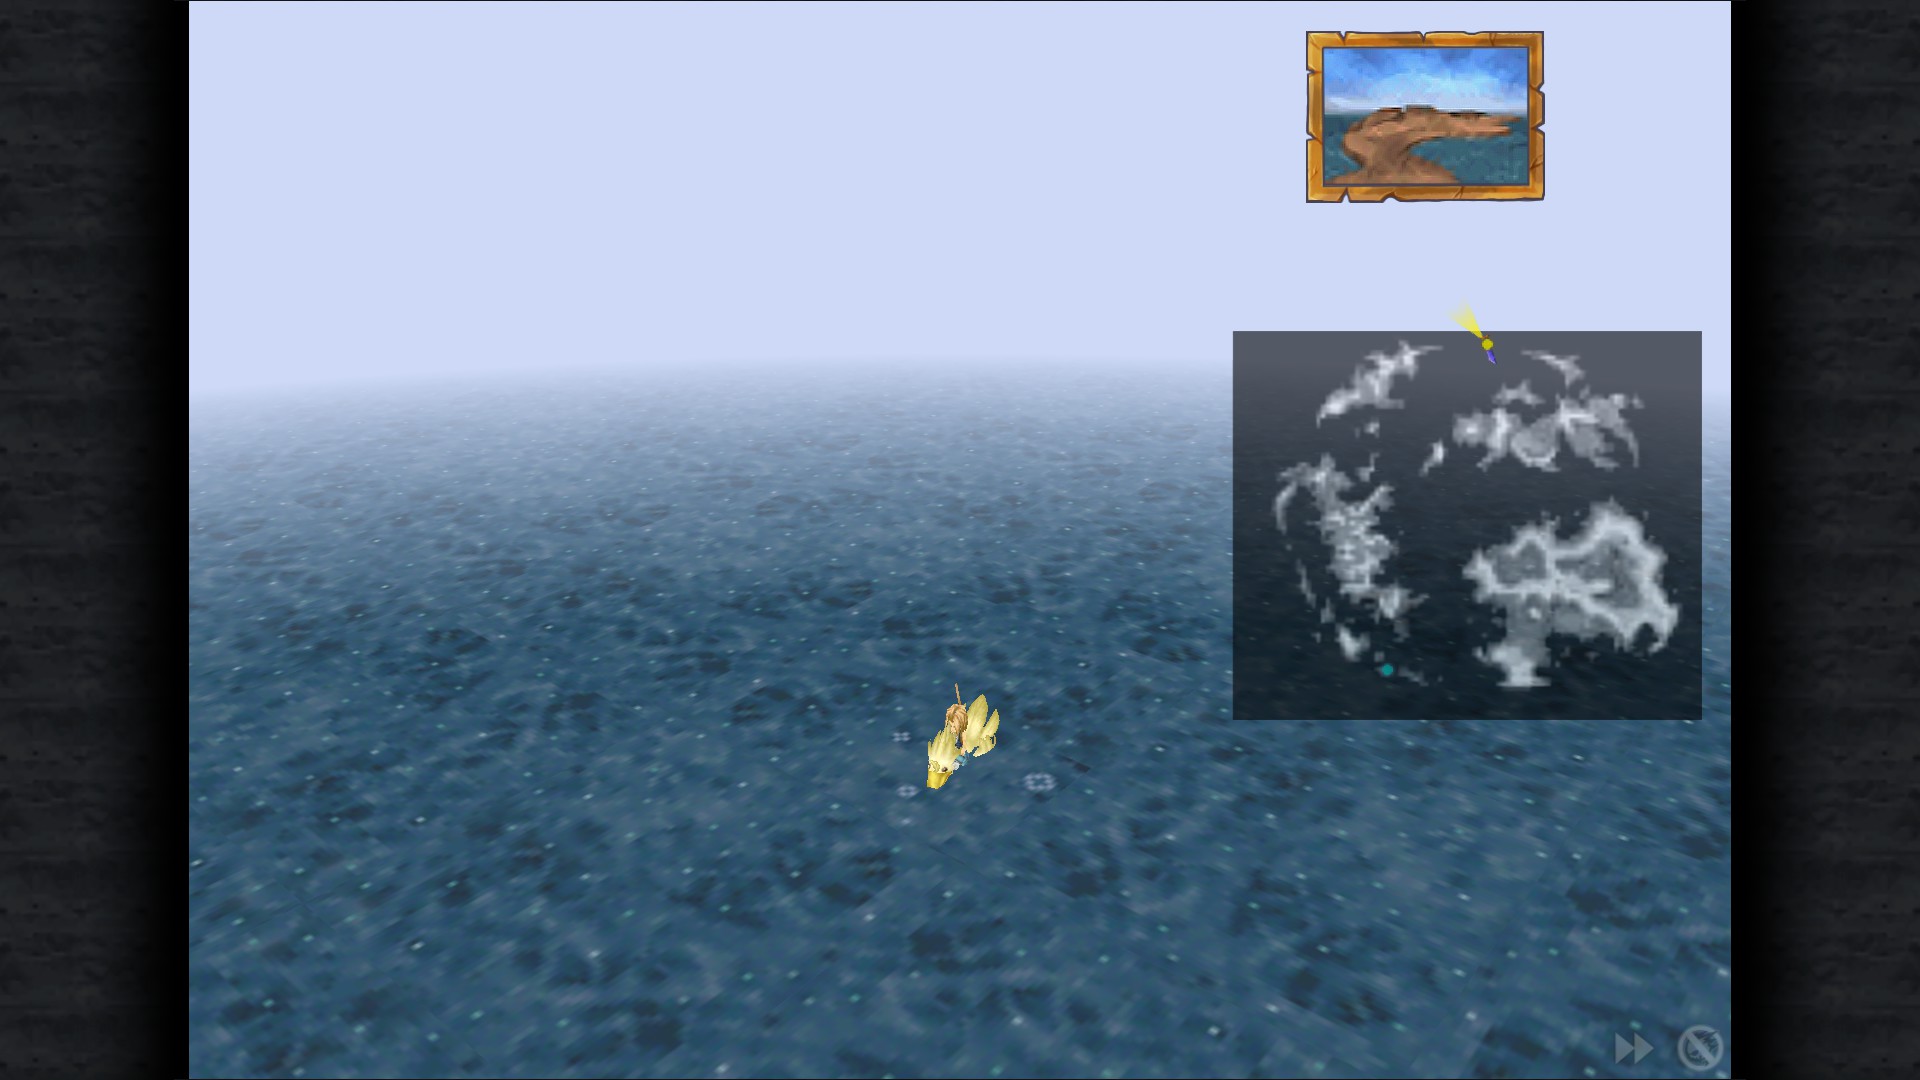
Dive Spot 3 - Between Continents (North-most part of the map)
Dive Spot 4 - North of Chocobo's Lagoon
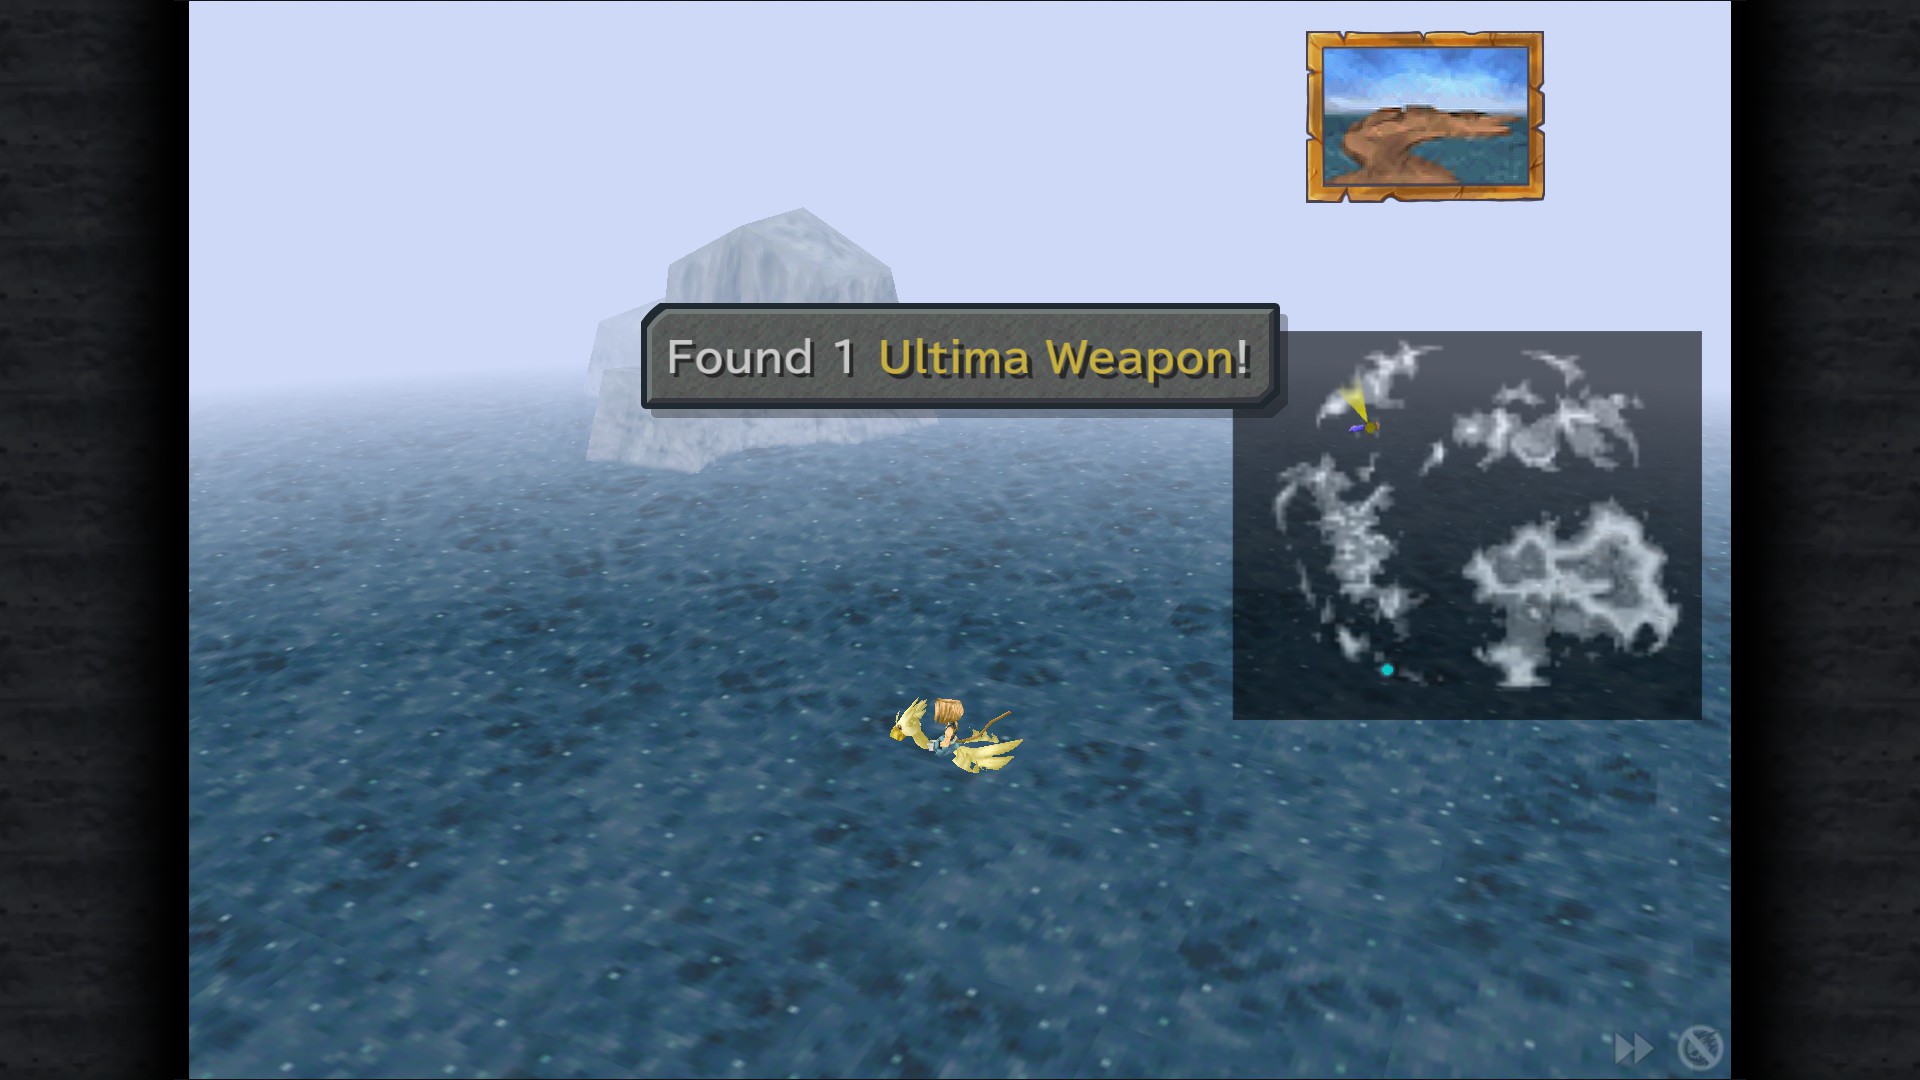
The Ultimate Dual Blade
Obtain the Ultima Weapon.
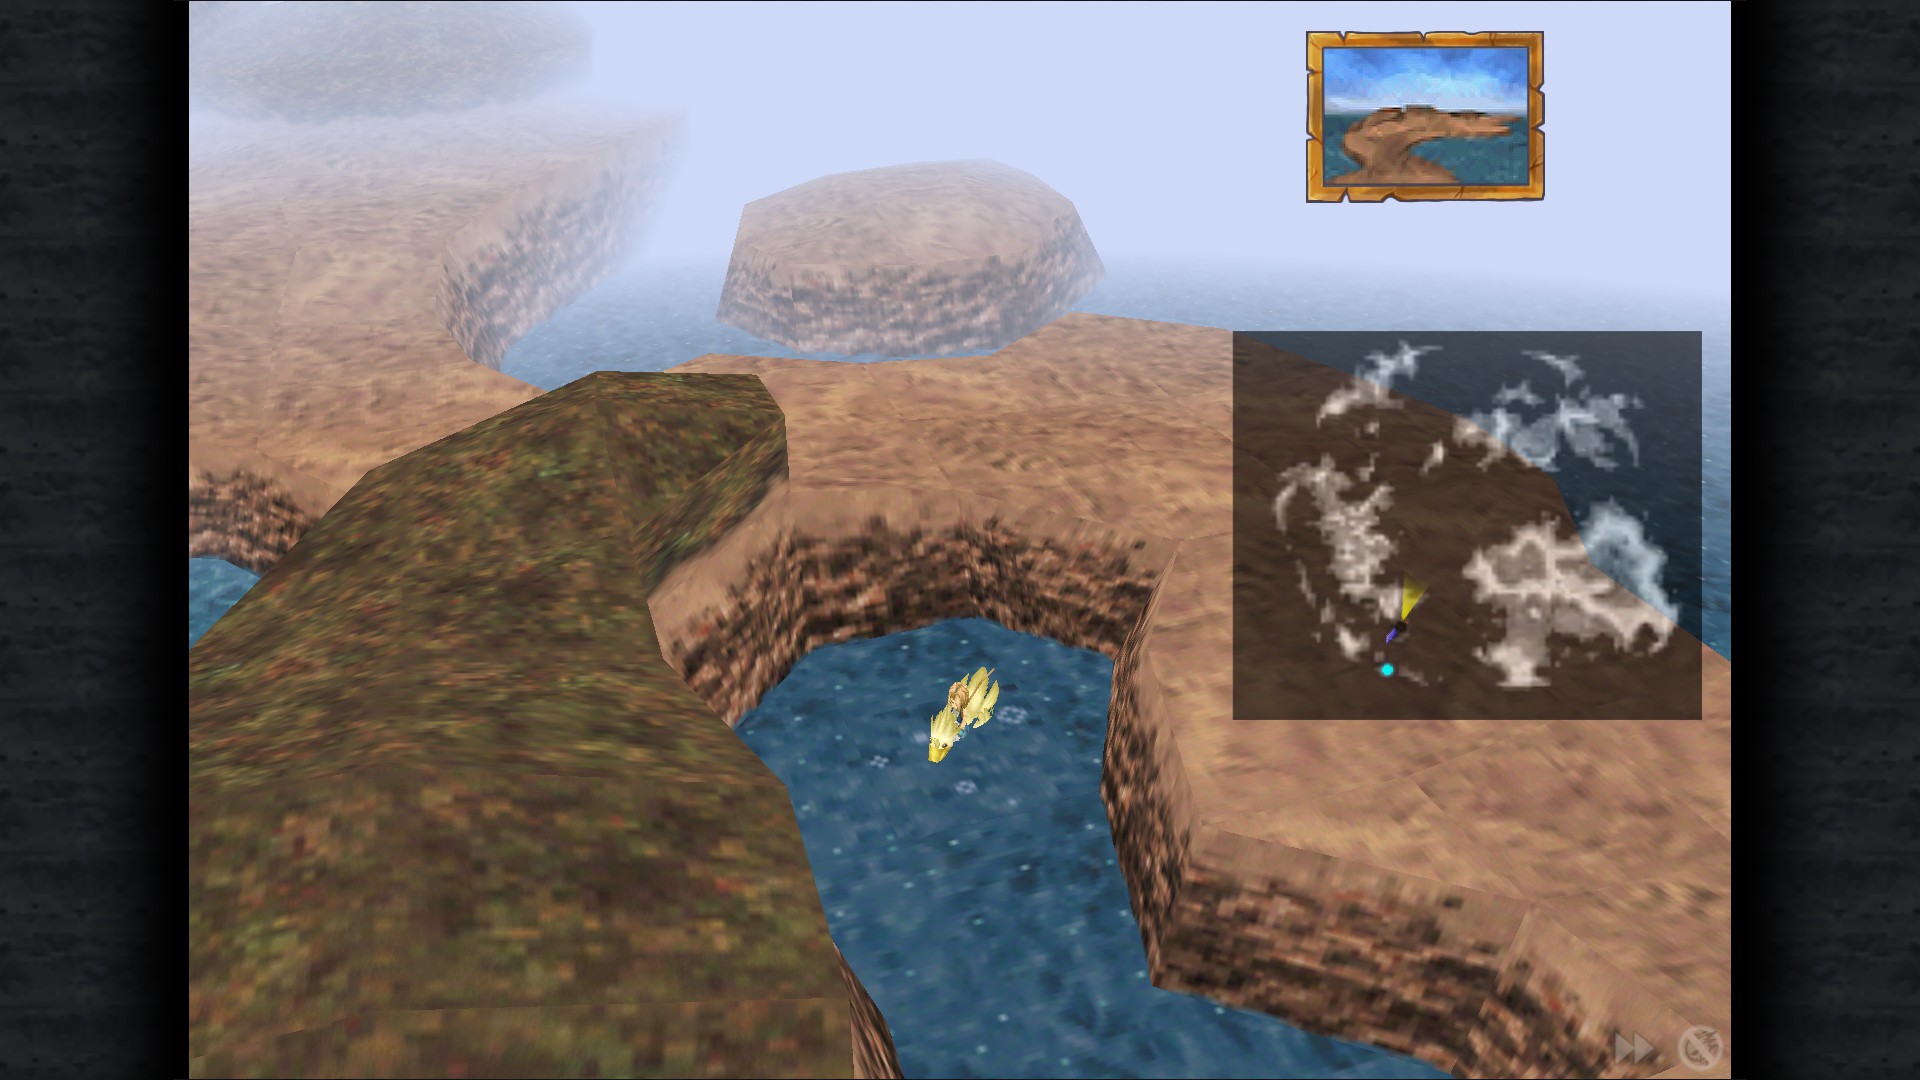
Dive Spot 5 - Middle of Shimmering Island (No bubbles)
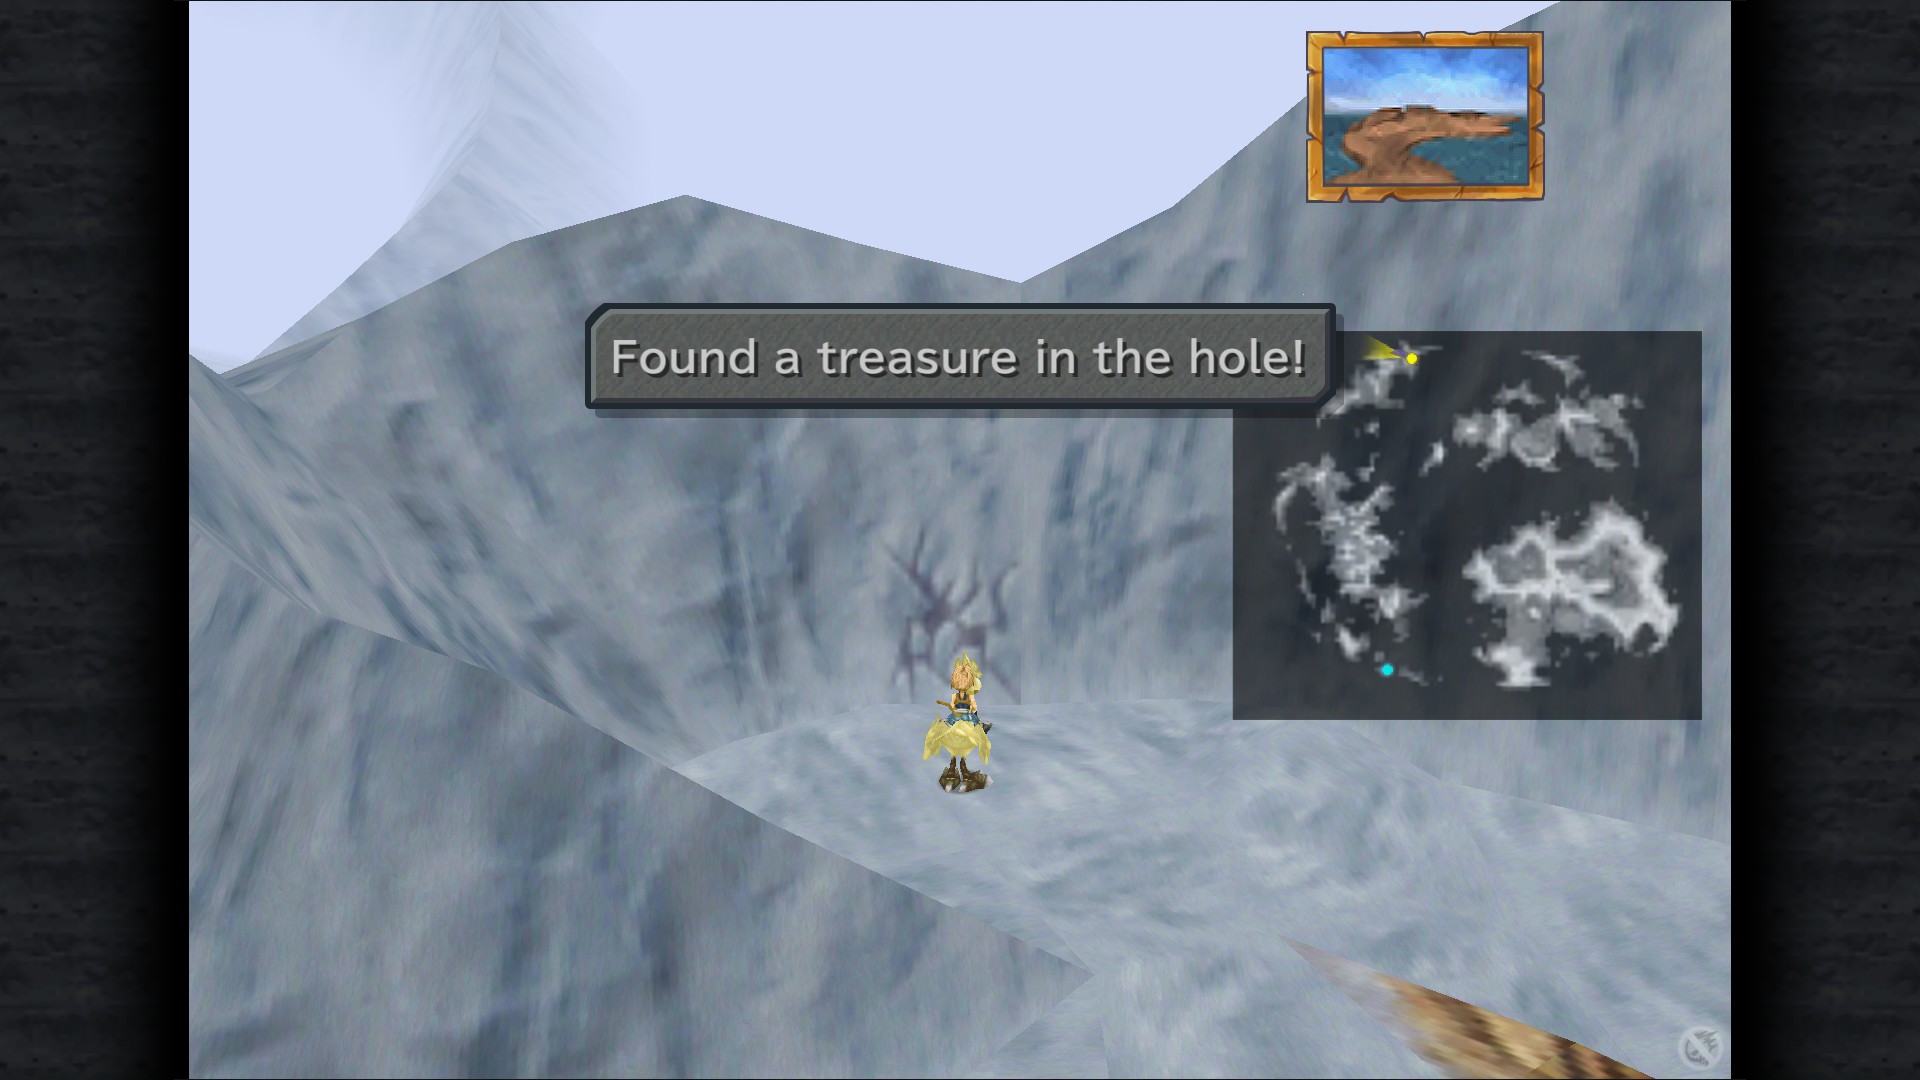
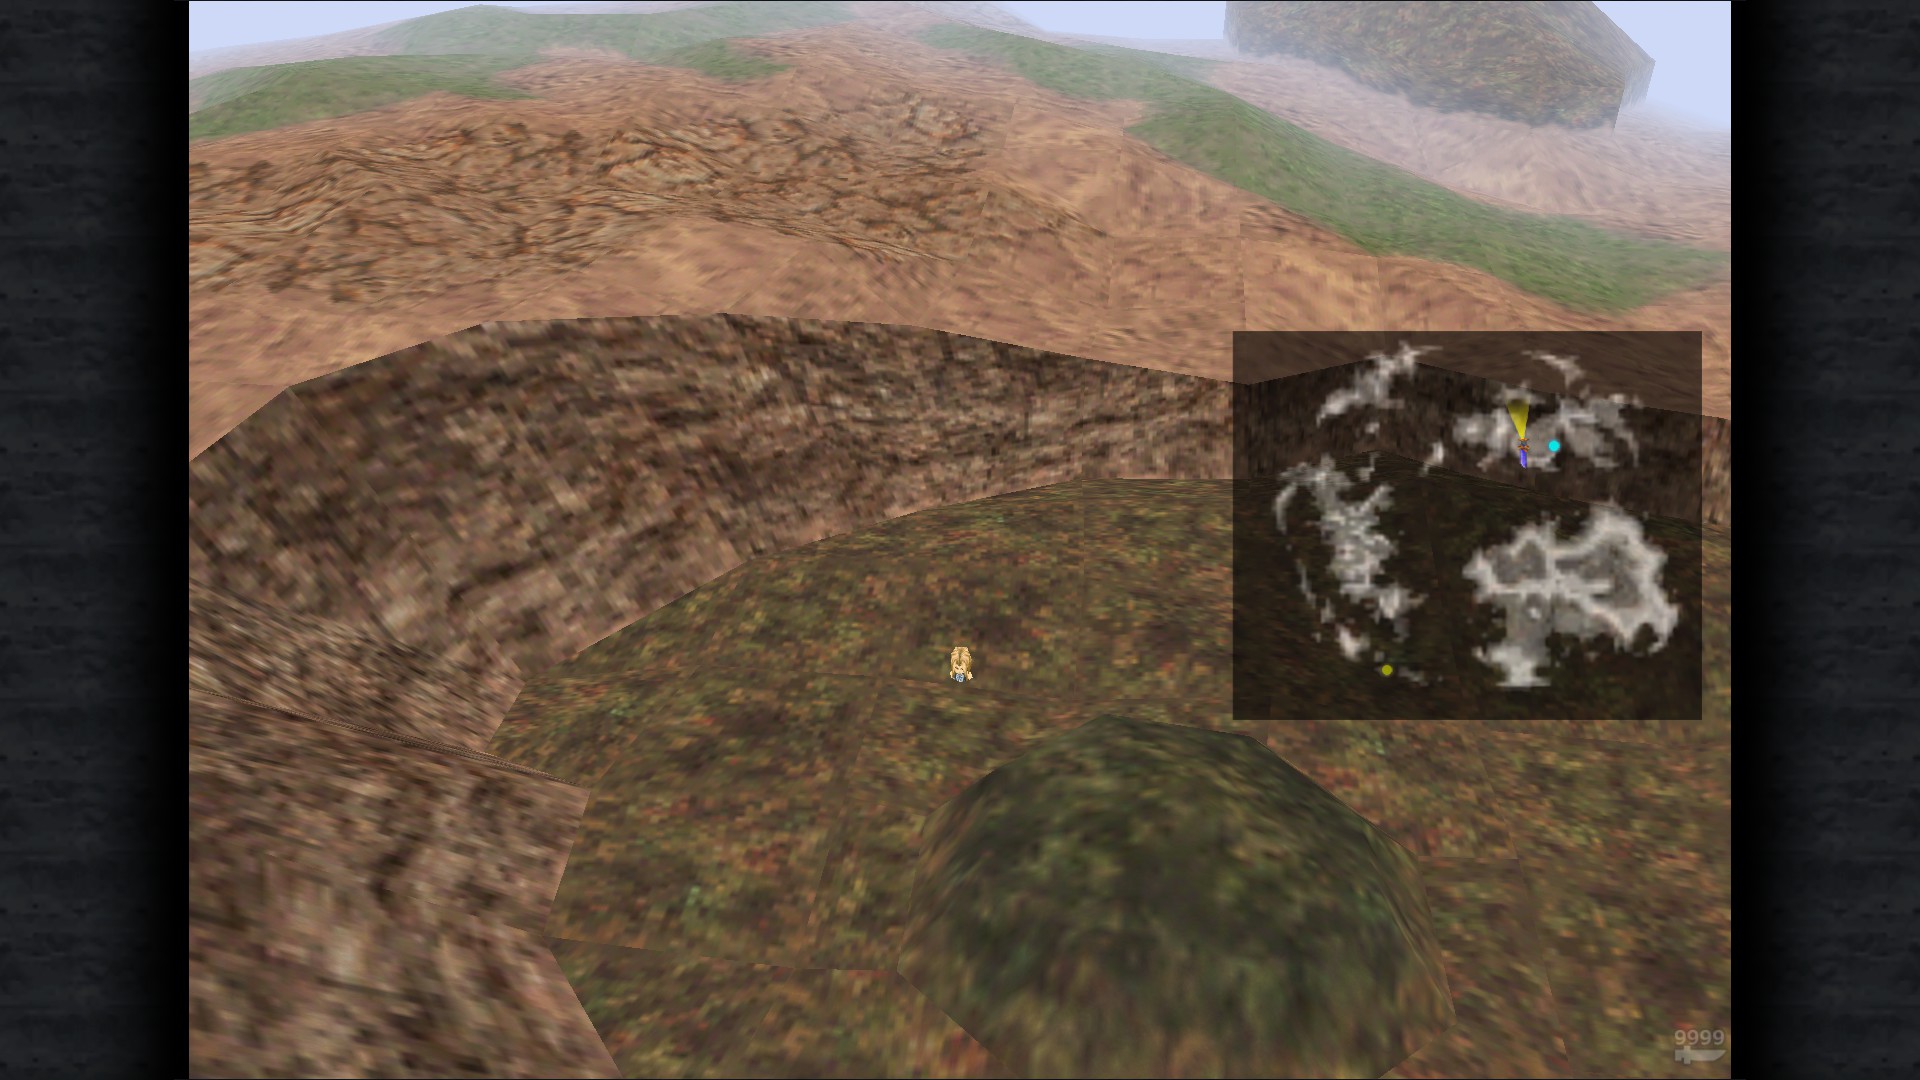
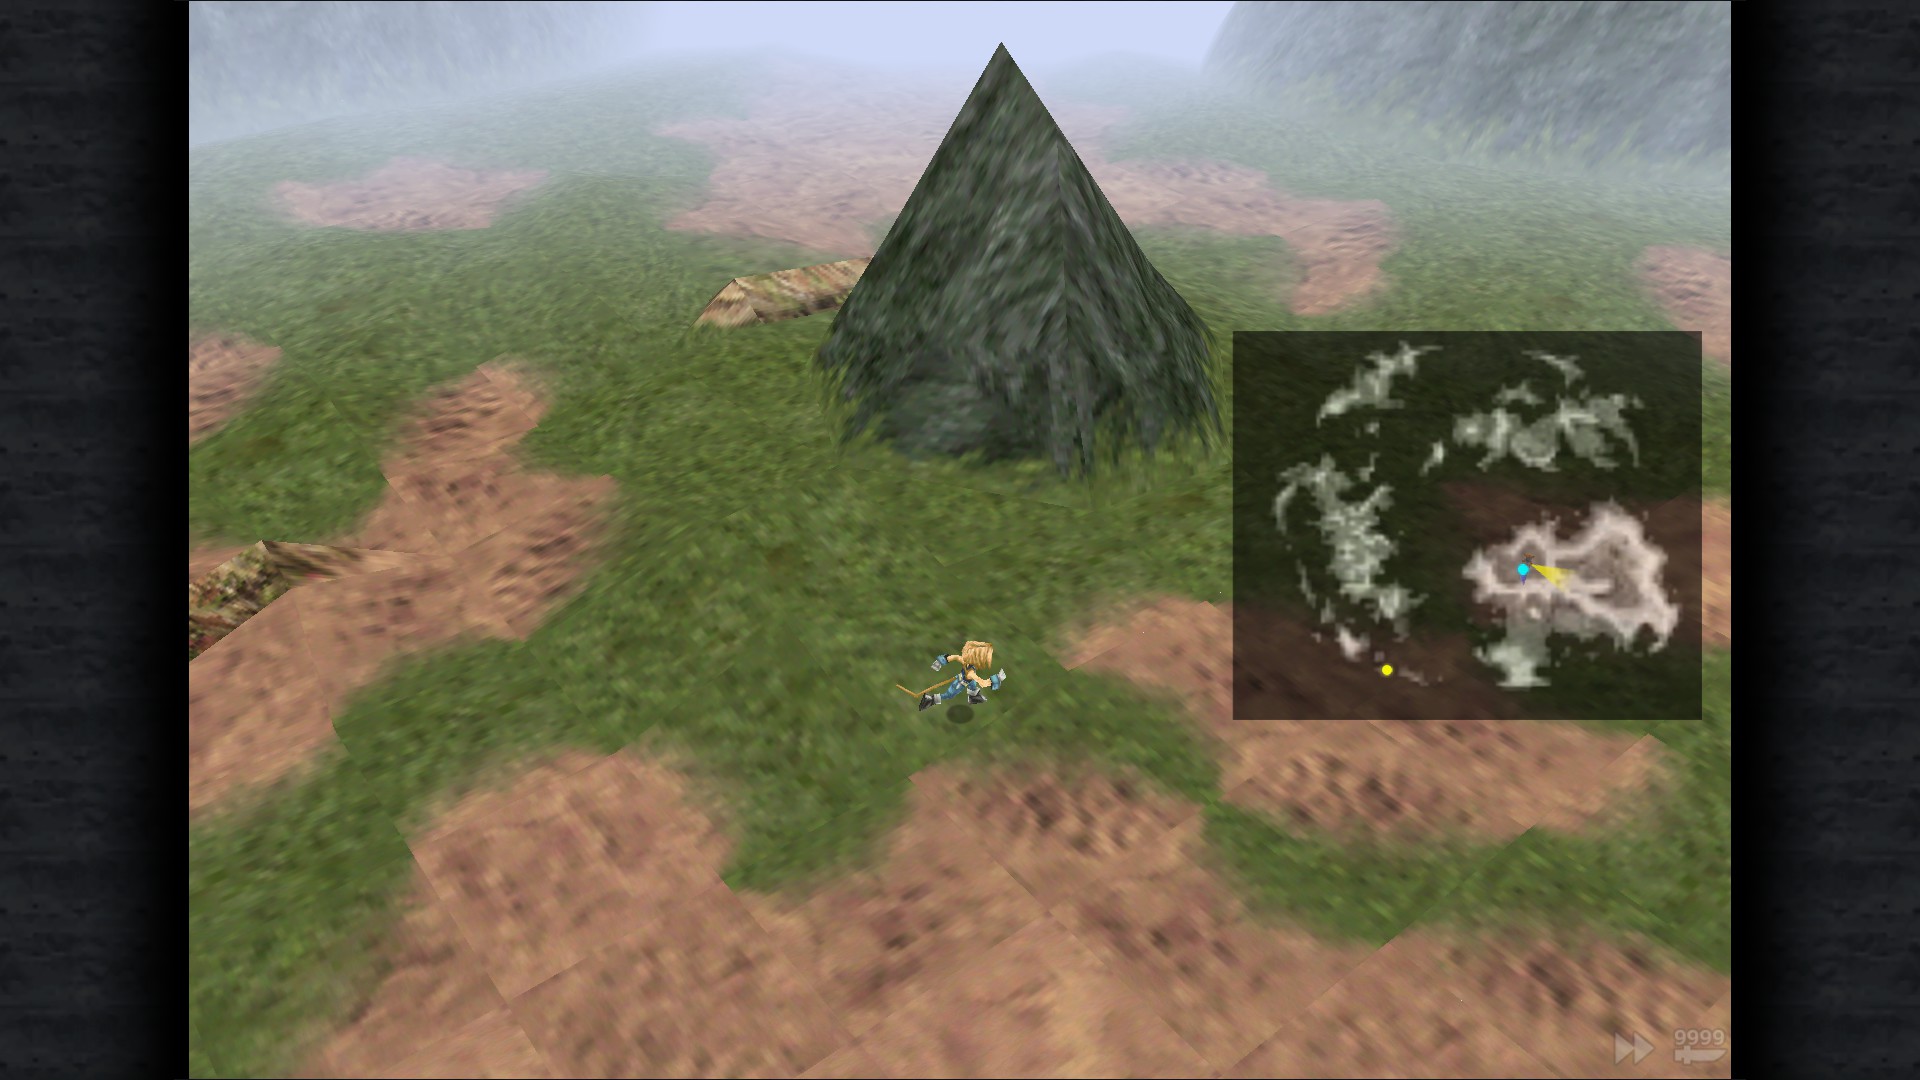
Mountain Crack 1 - Near Oeilvert
Mountain Crack 2 - East from Water Shrine
Mountain Crack 3 - East from Fire Shrine
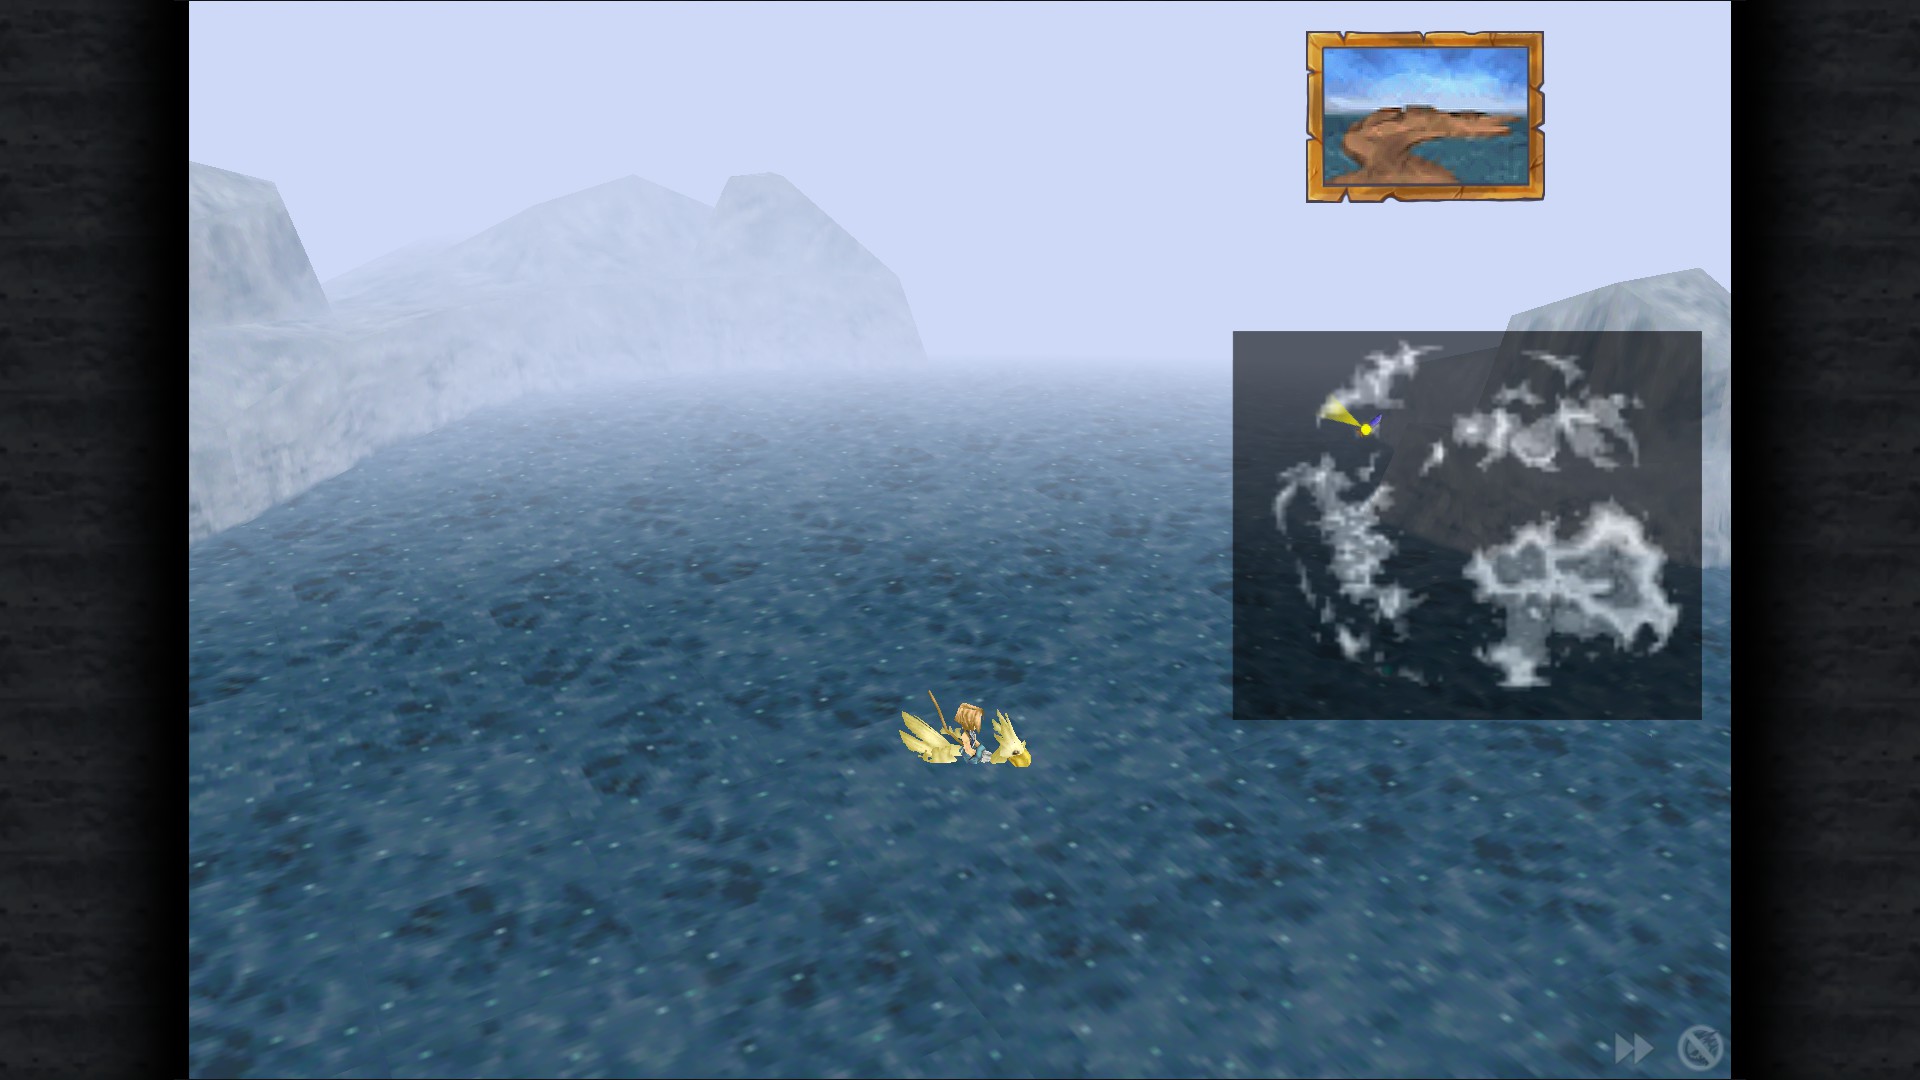
Mountain Crack 4 - Mognet Central (North from Desert Palace)
Refer to Mognet Central Sidequest section for more info
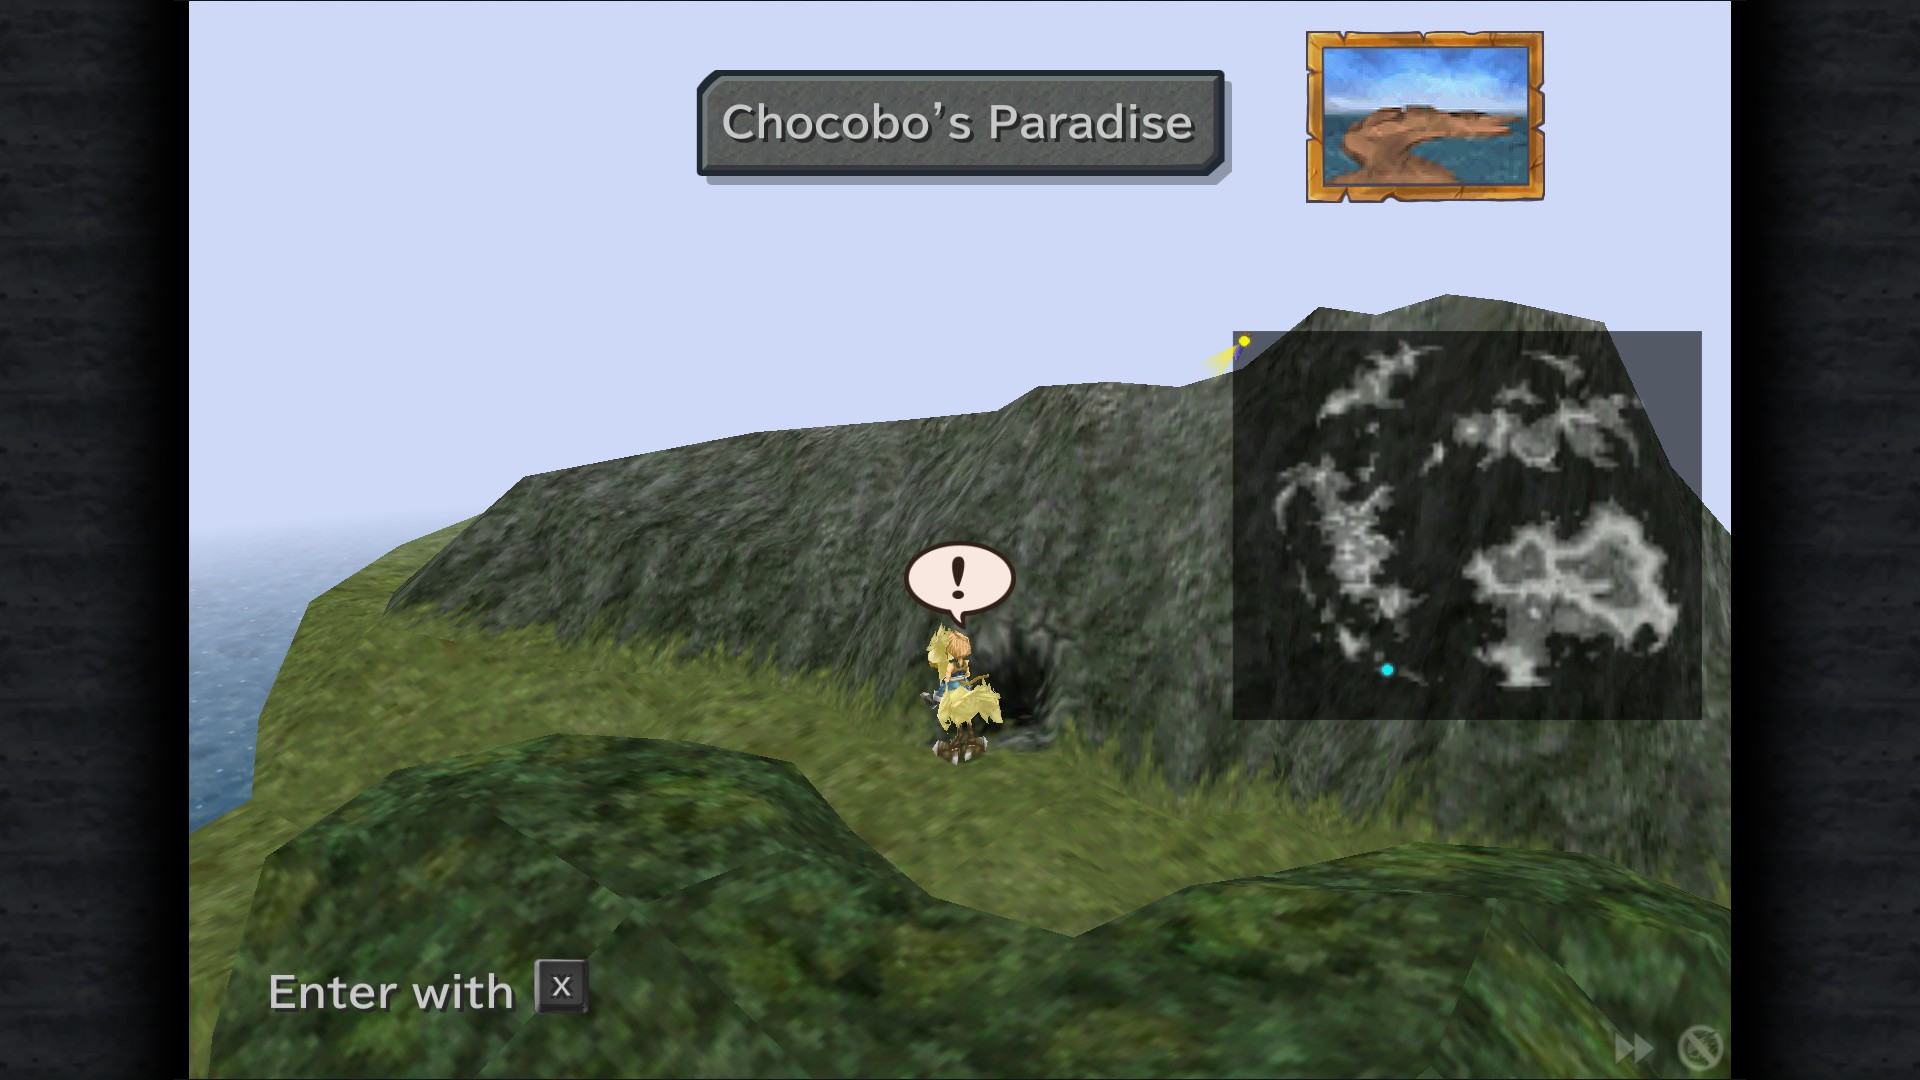
Mountain Crack 5 - Chocobo's Paradise (Corner of the map)
After finding all Chocograph treasures, hidden bubbles and mountain cracks, challenge Fat Chocobo to play cards (He's inside Chocobo's Paradise), you'll get the following text:
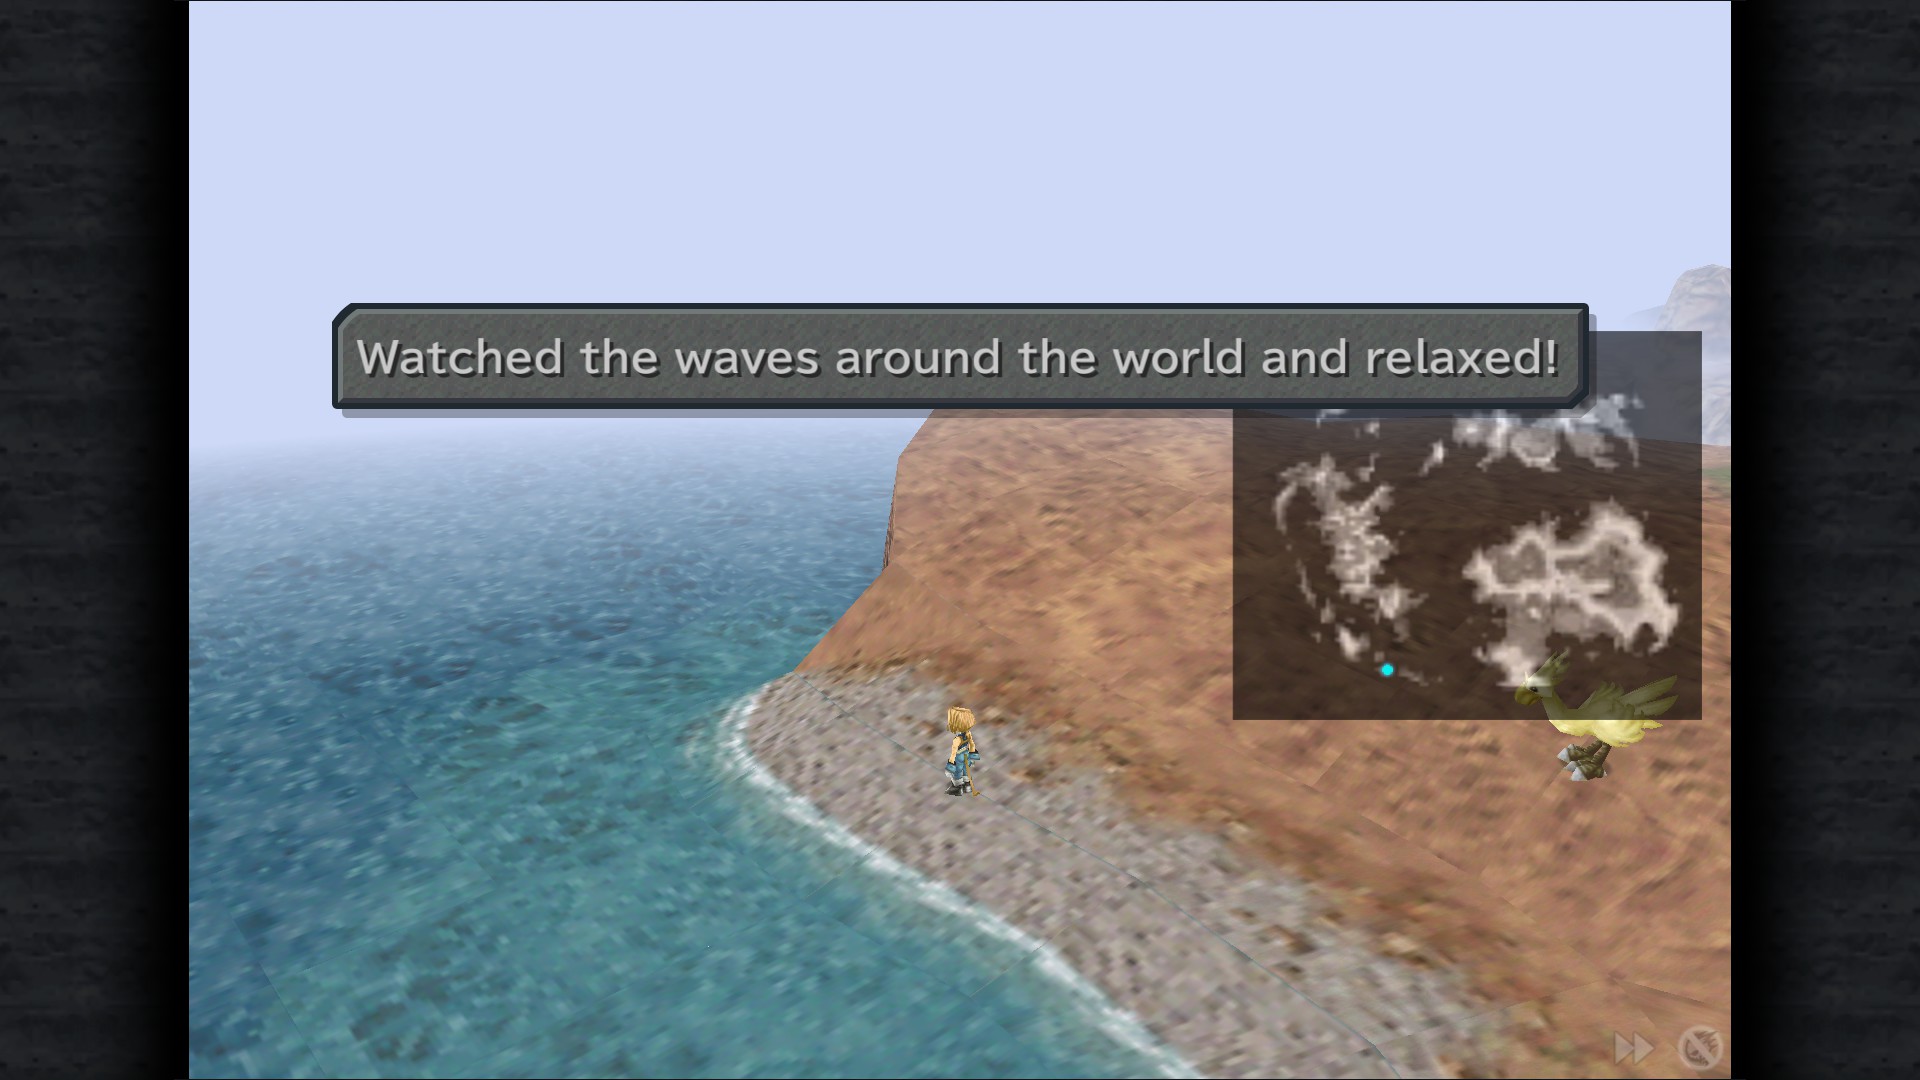
"When you leave, try visiting all the world's beaches by yourself. Do not fear the monsters."
"I'll grant you peace and restore you once you've visited them all."
Now you have visit every beach and press cancel button to confirm that you've visited.
After visiting them all, your HP and MP will be fully restored if you press cancel at any beach.
You'll also get the following achievement:
Beach Bum
Visit every beach in Gaia
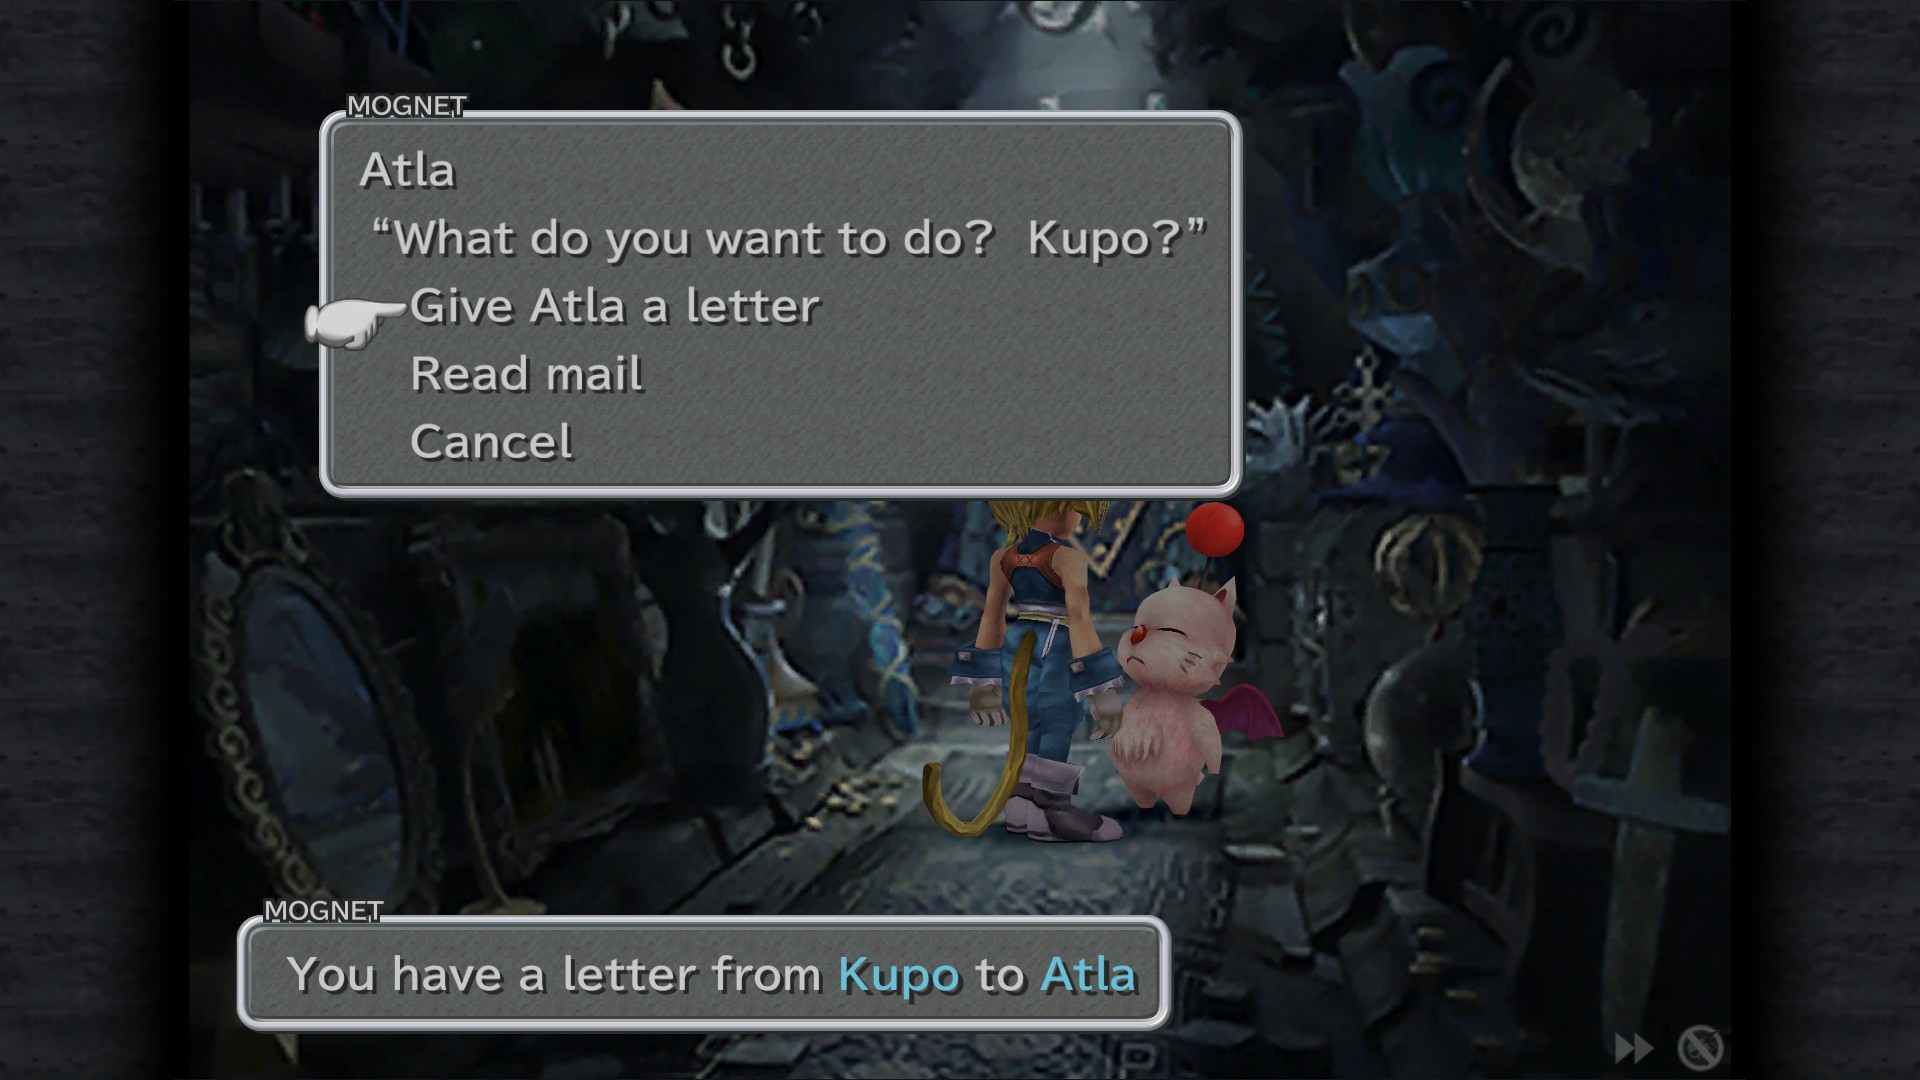
Mognet Central Sidequest


Burmecia
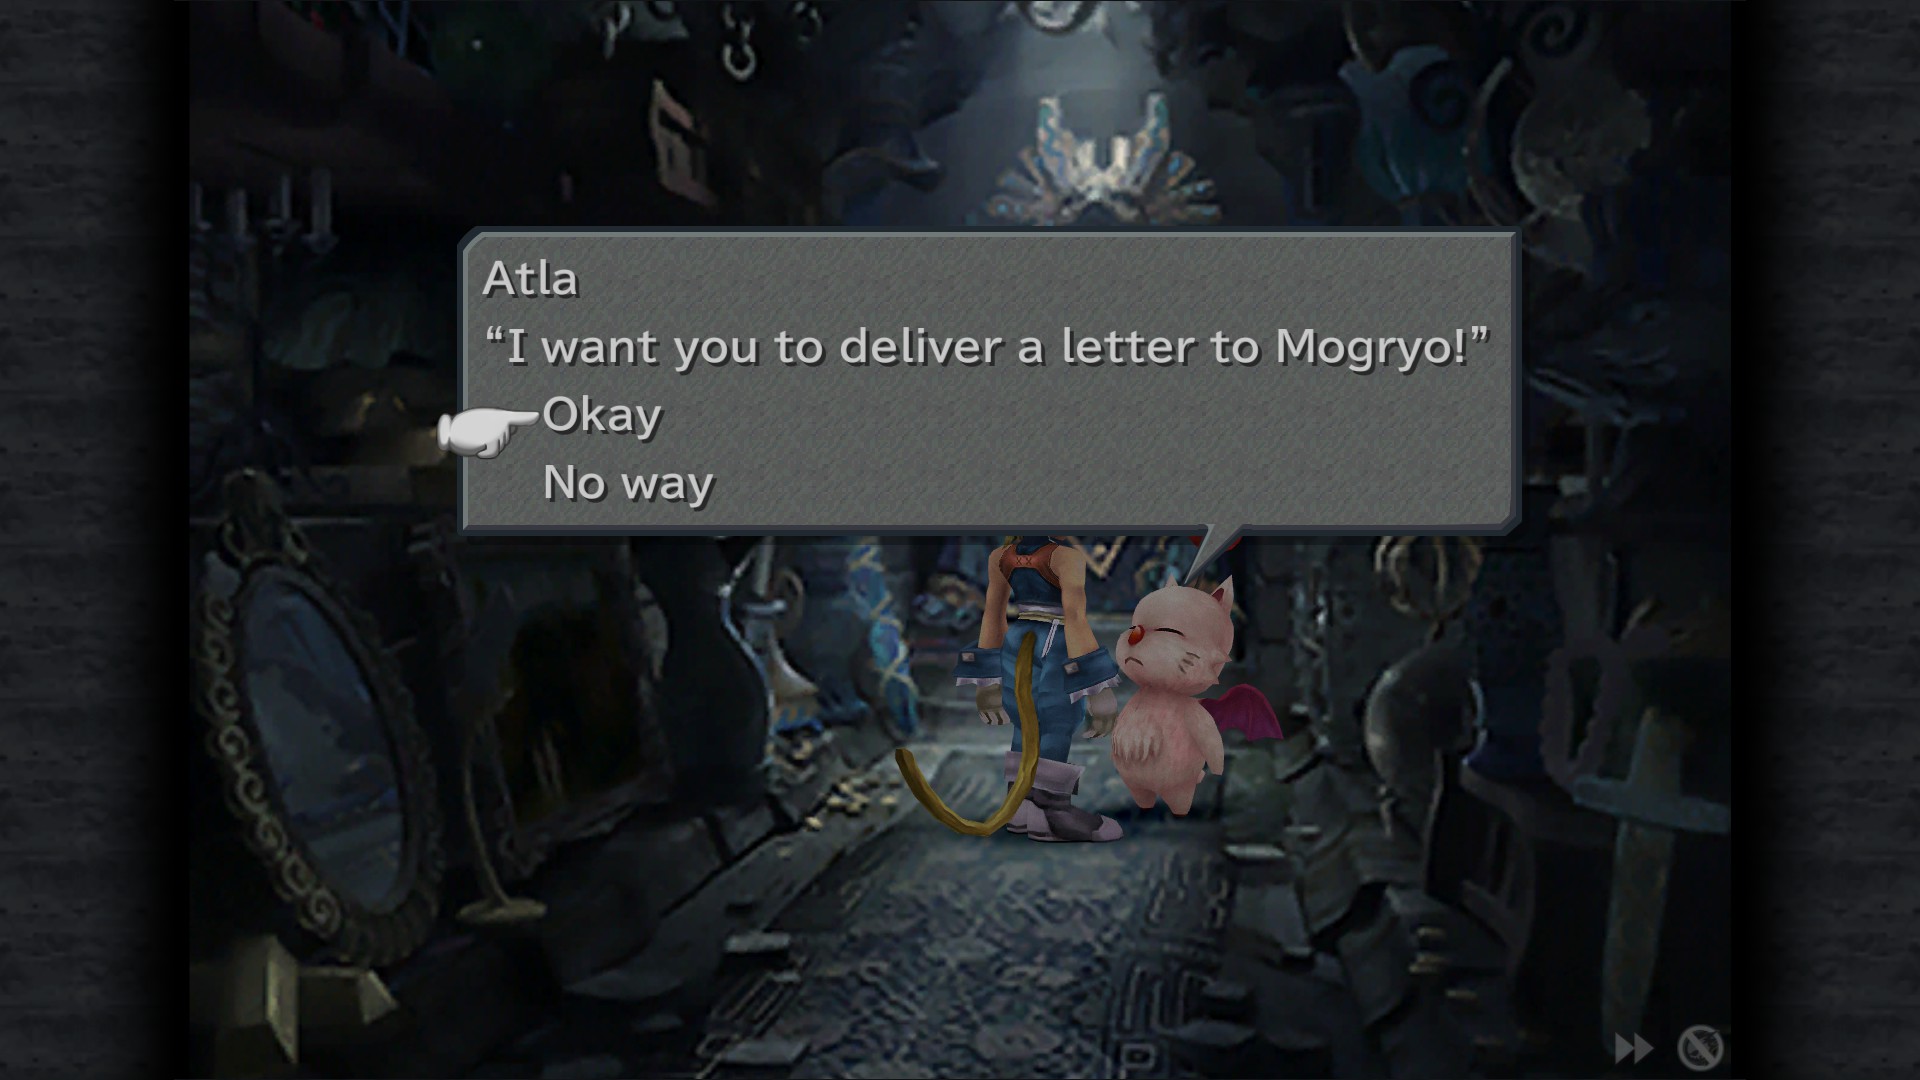
Mognet: Give Atla a letter "Something Missing" - Vault
Mognet: Pickup the letter for delivery (Atla to Mogryo) - Vault
Black Mage Village
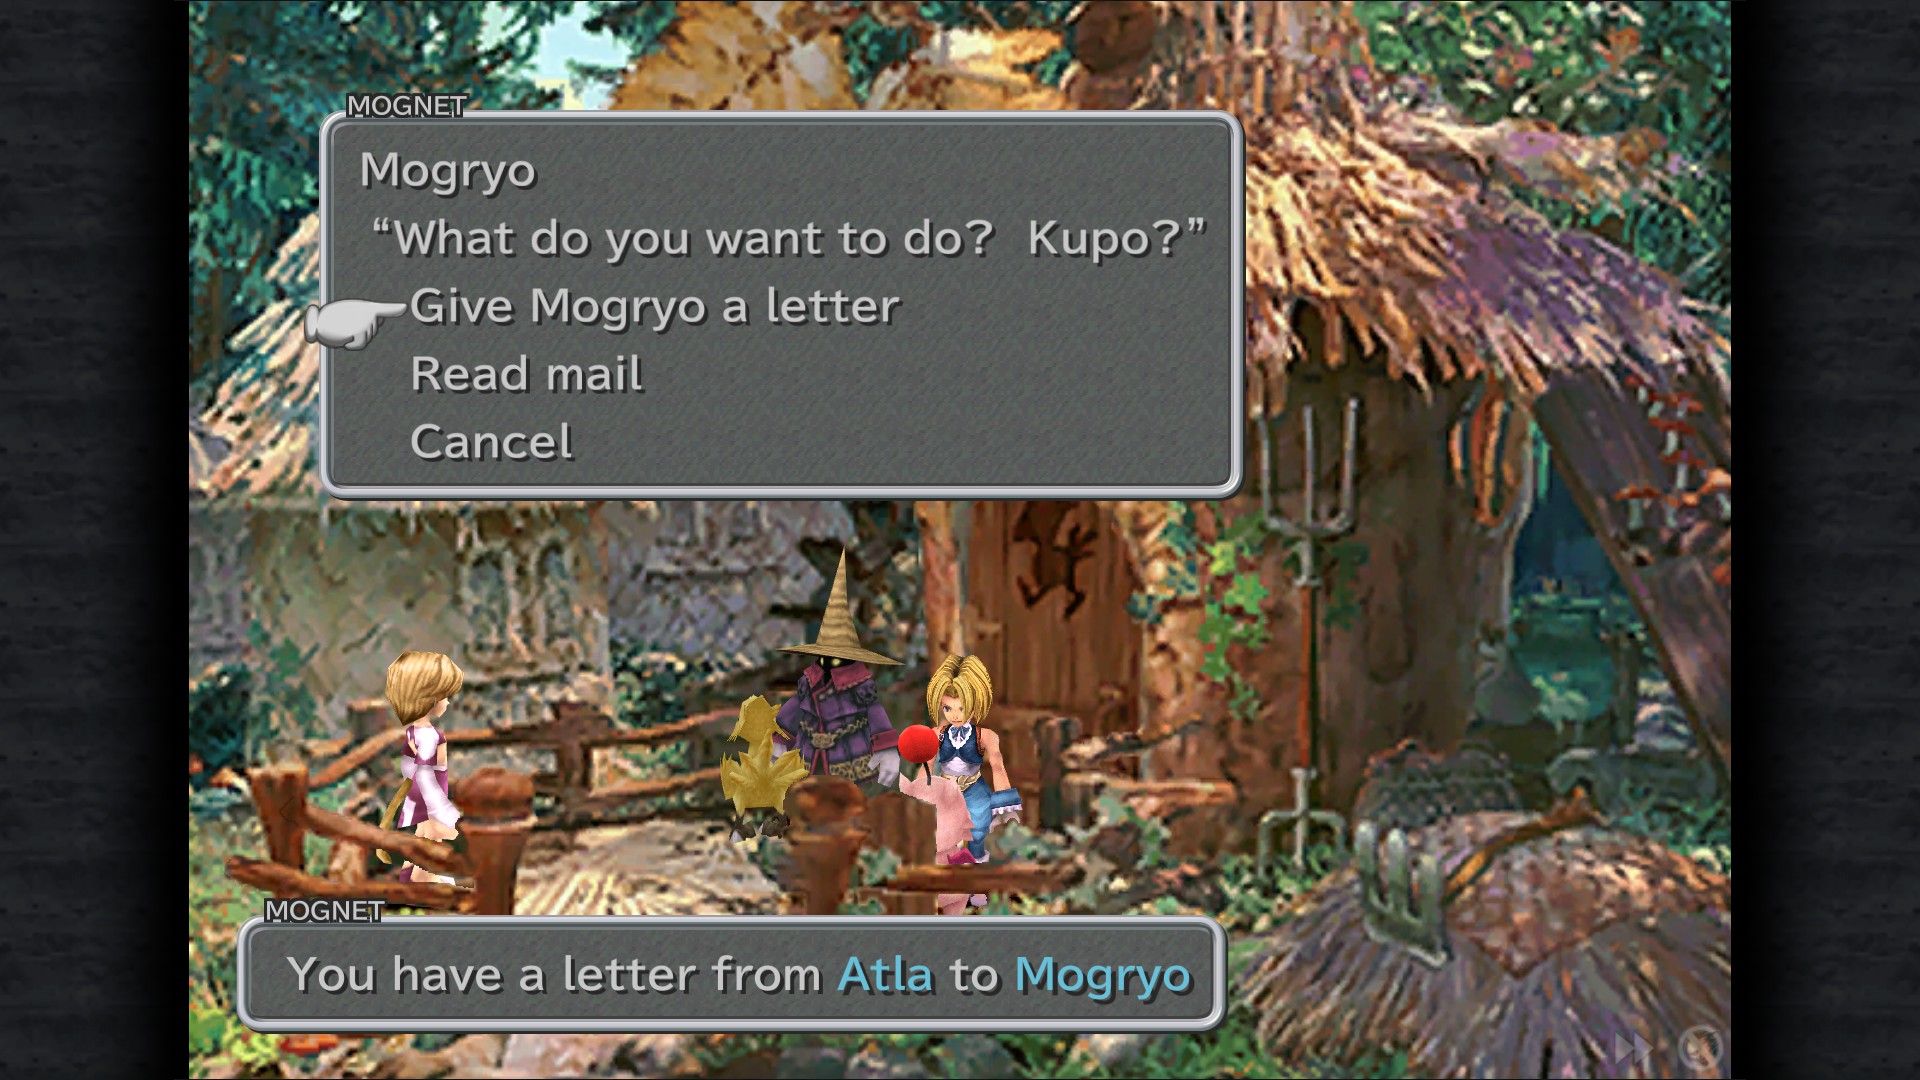
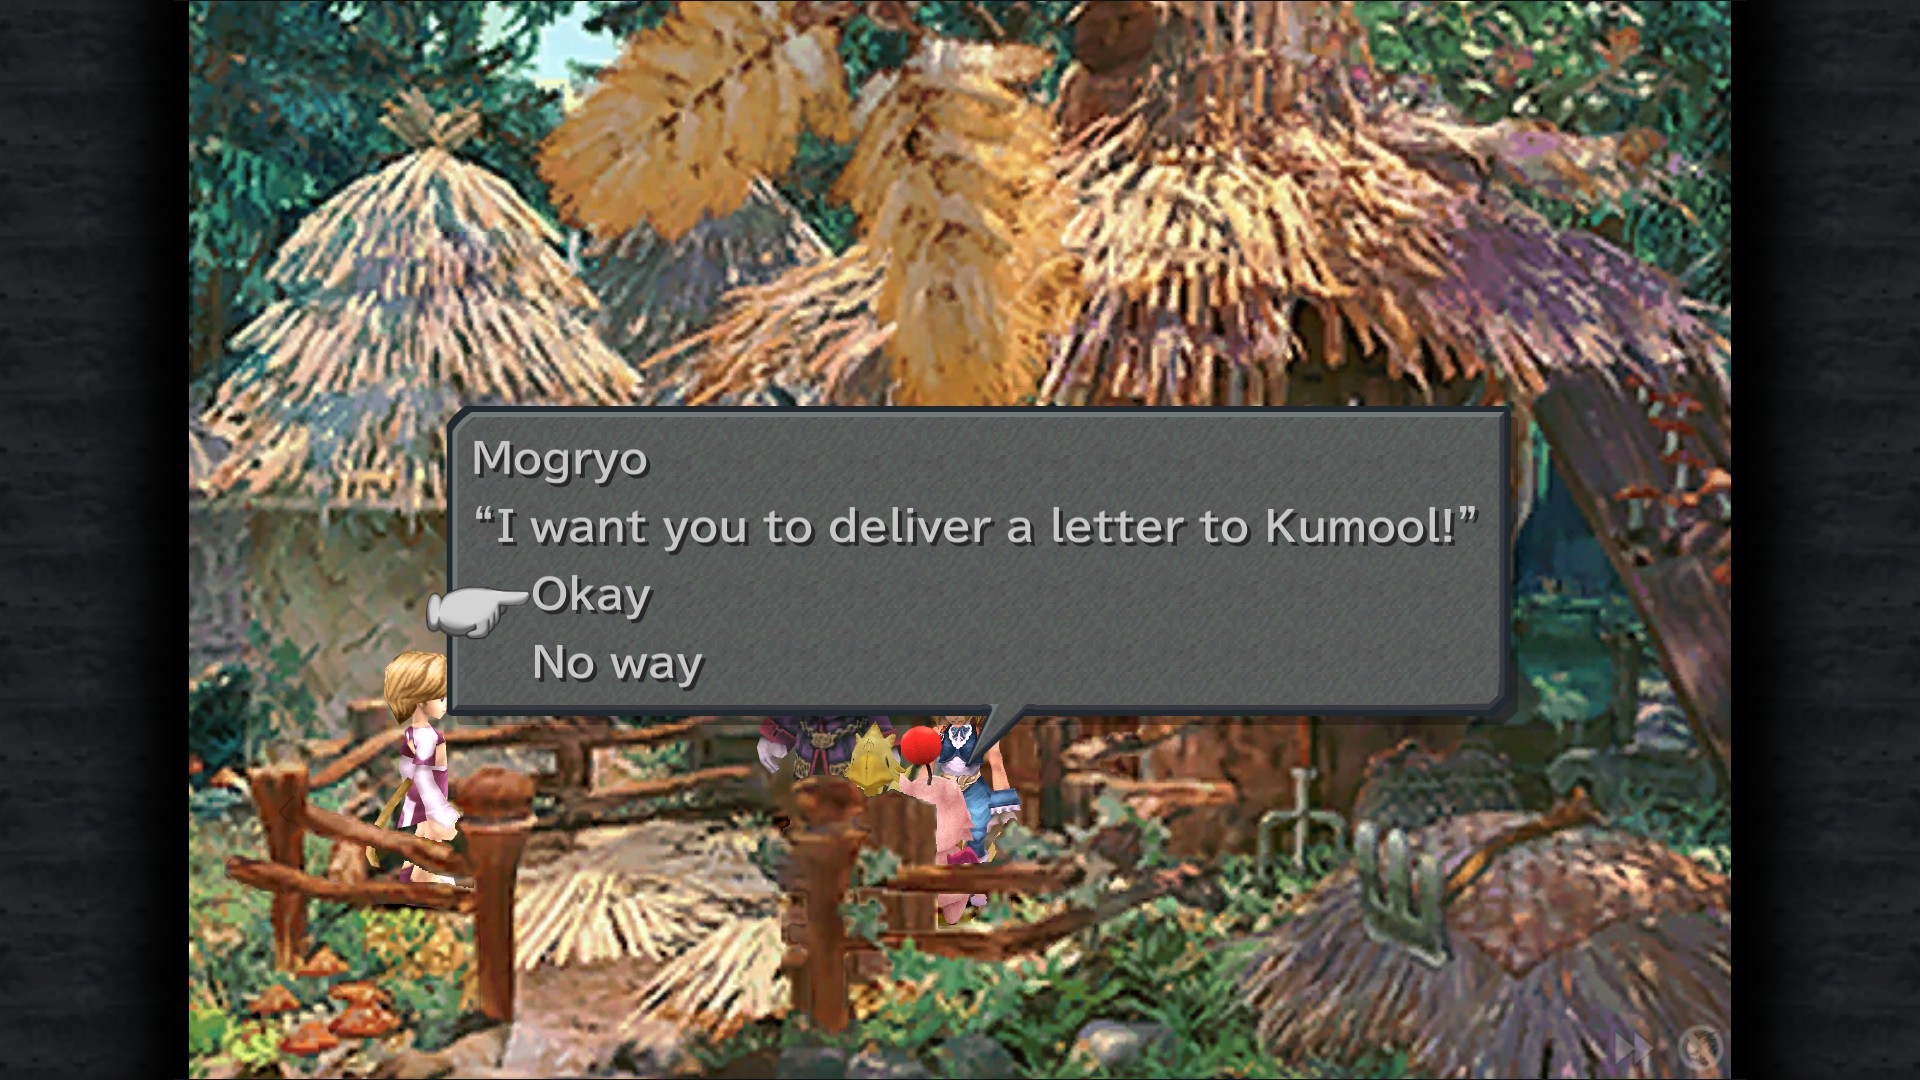
Mognet: Give Mogryo a letter "That Special Something" - Water Mill
Mognet: Pickup the letter for delivery (Mogryo to Kumool)
Ipsen's Castle
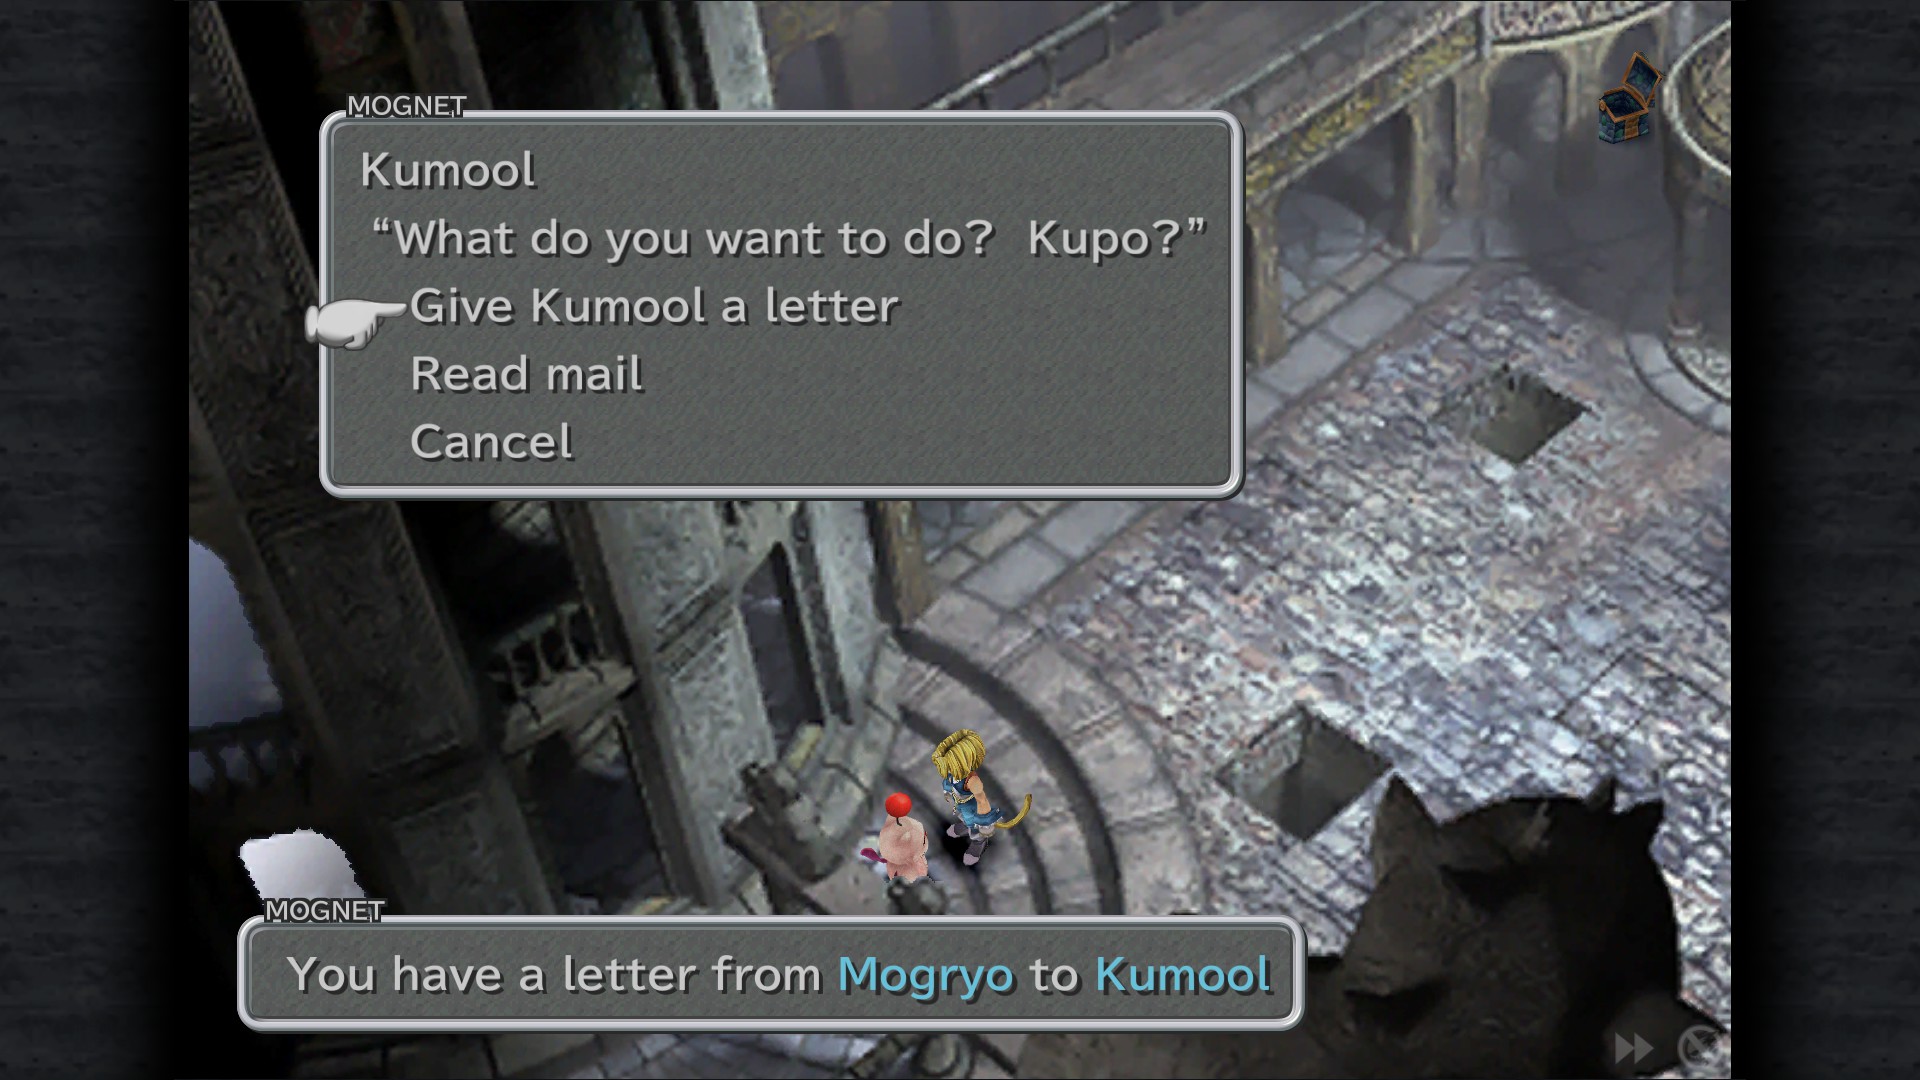
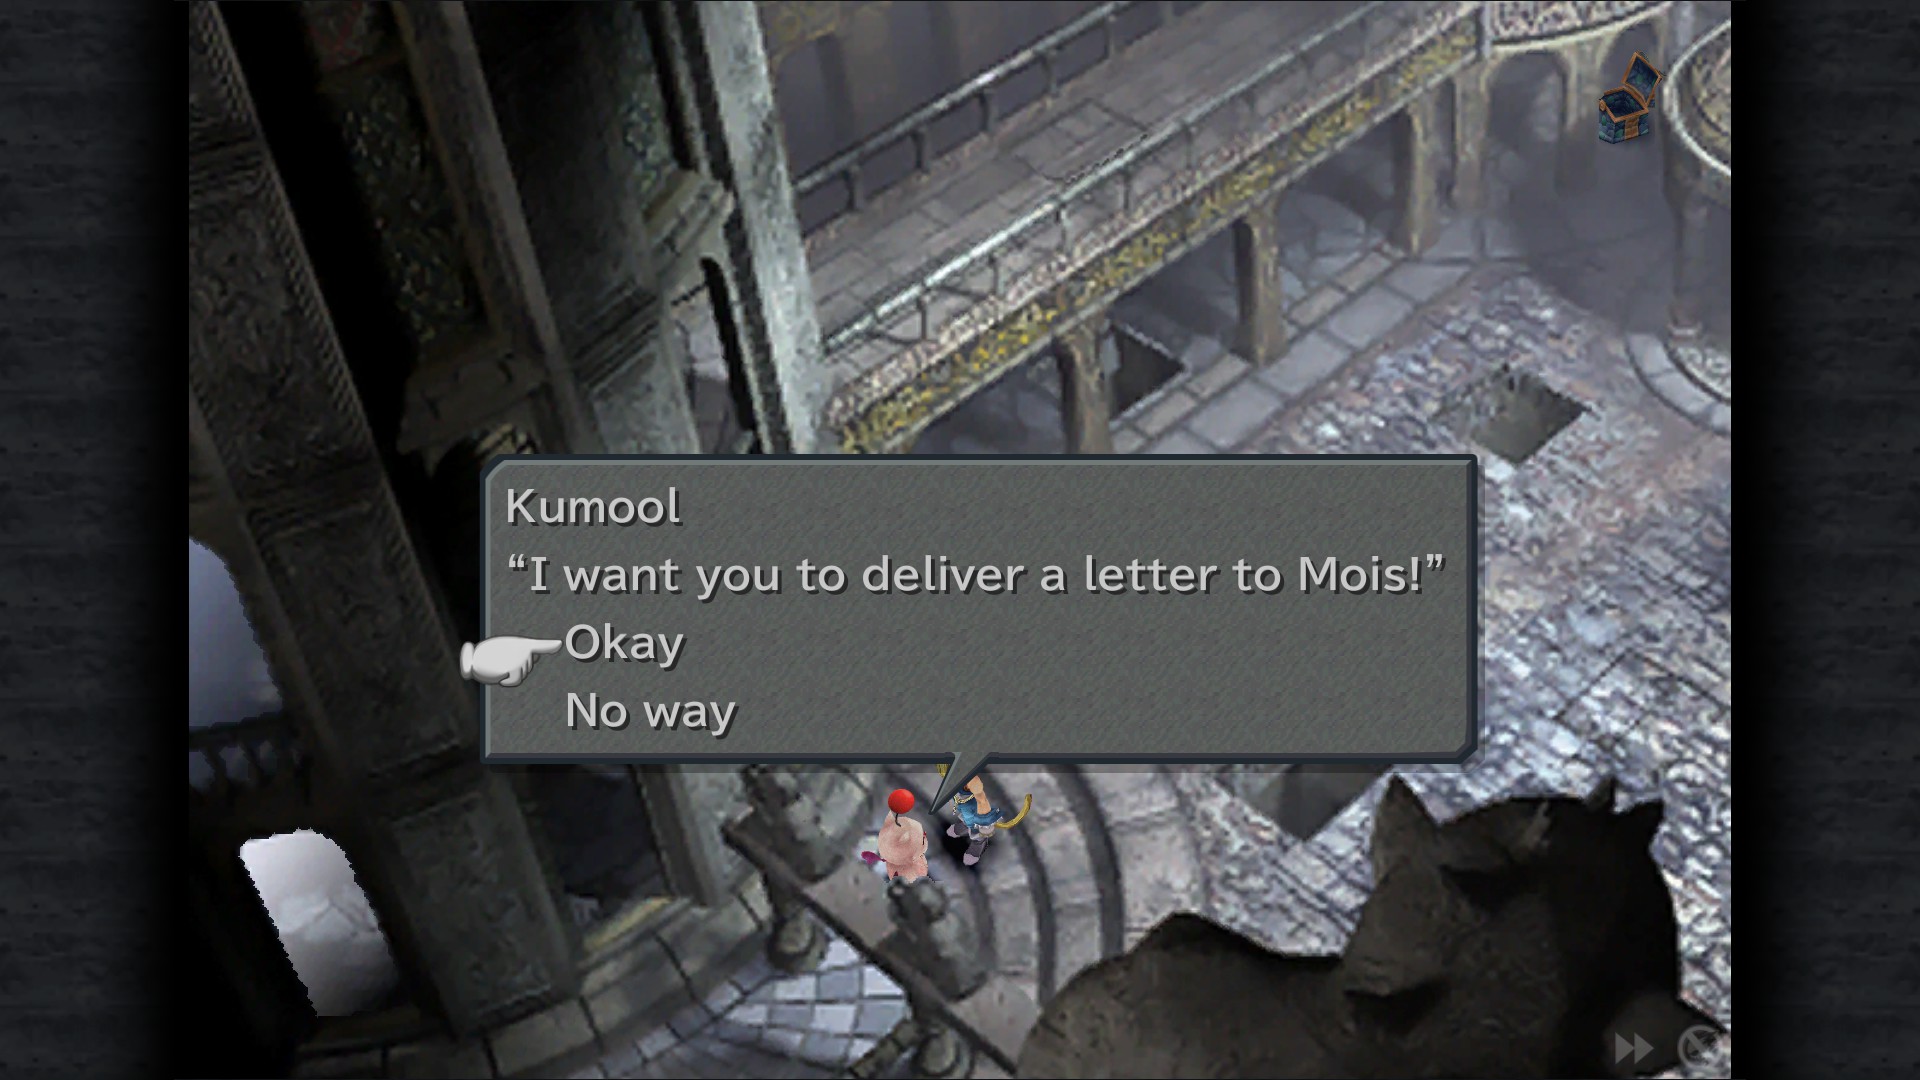
Mognet: Give Kumool a letter "Rare Item" - Small Room
Mognet: Pickup the letter for delivery (Kumool to Mois)
Qu's Marsh
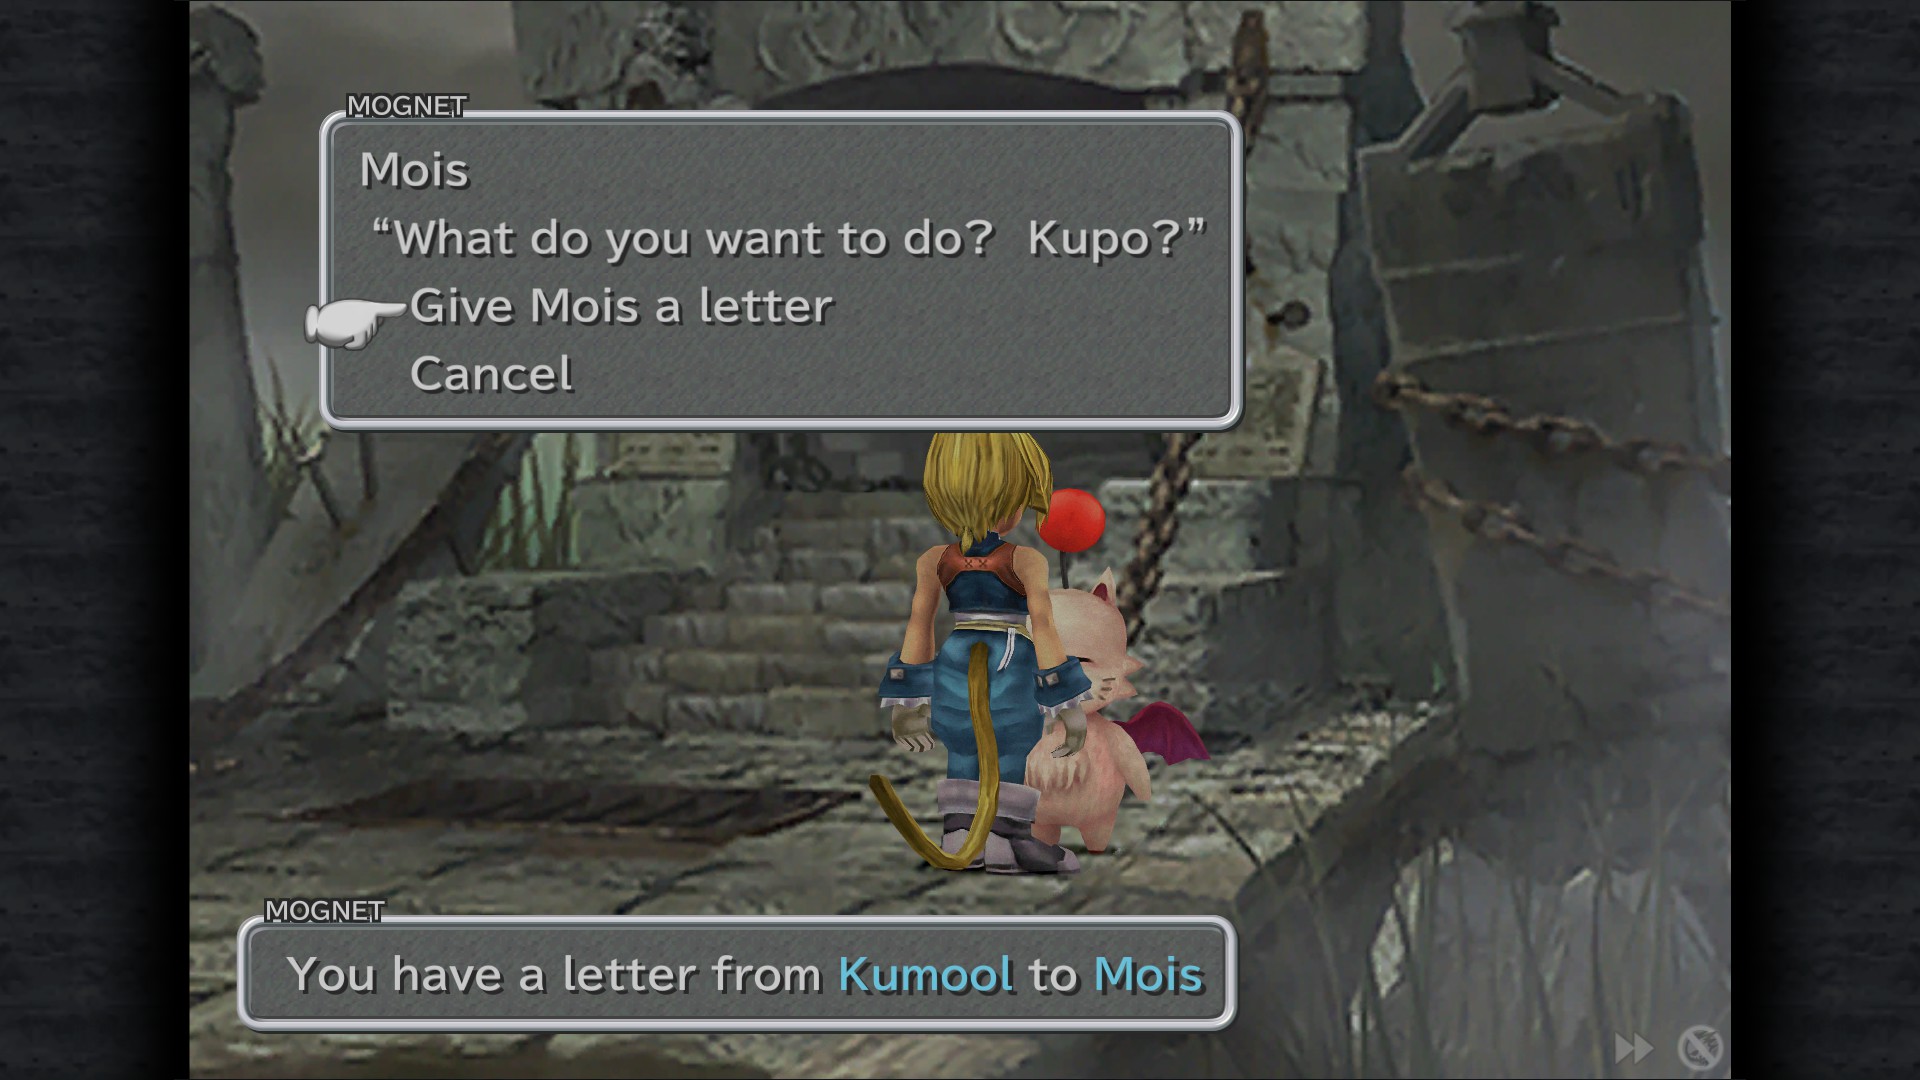
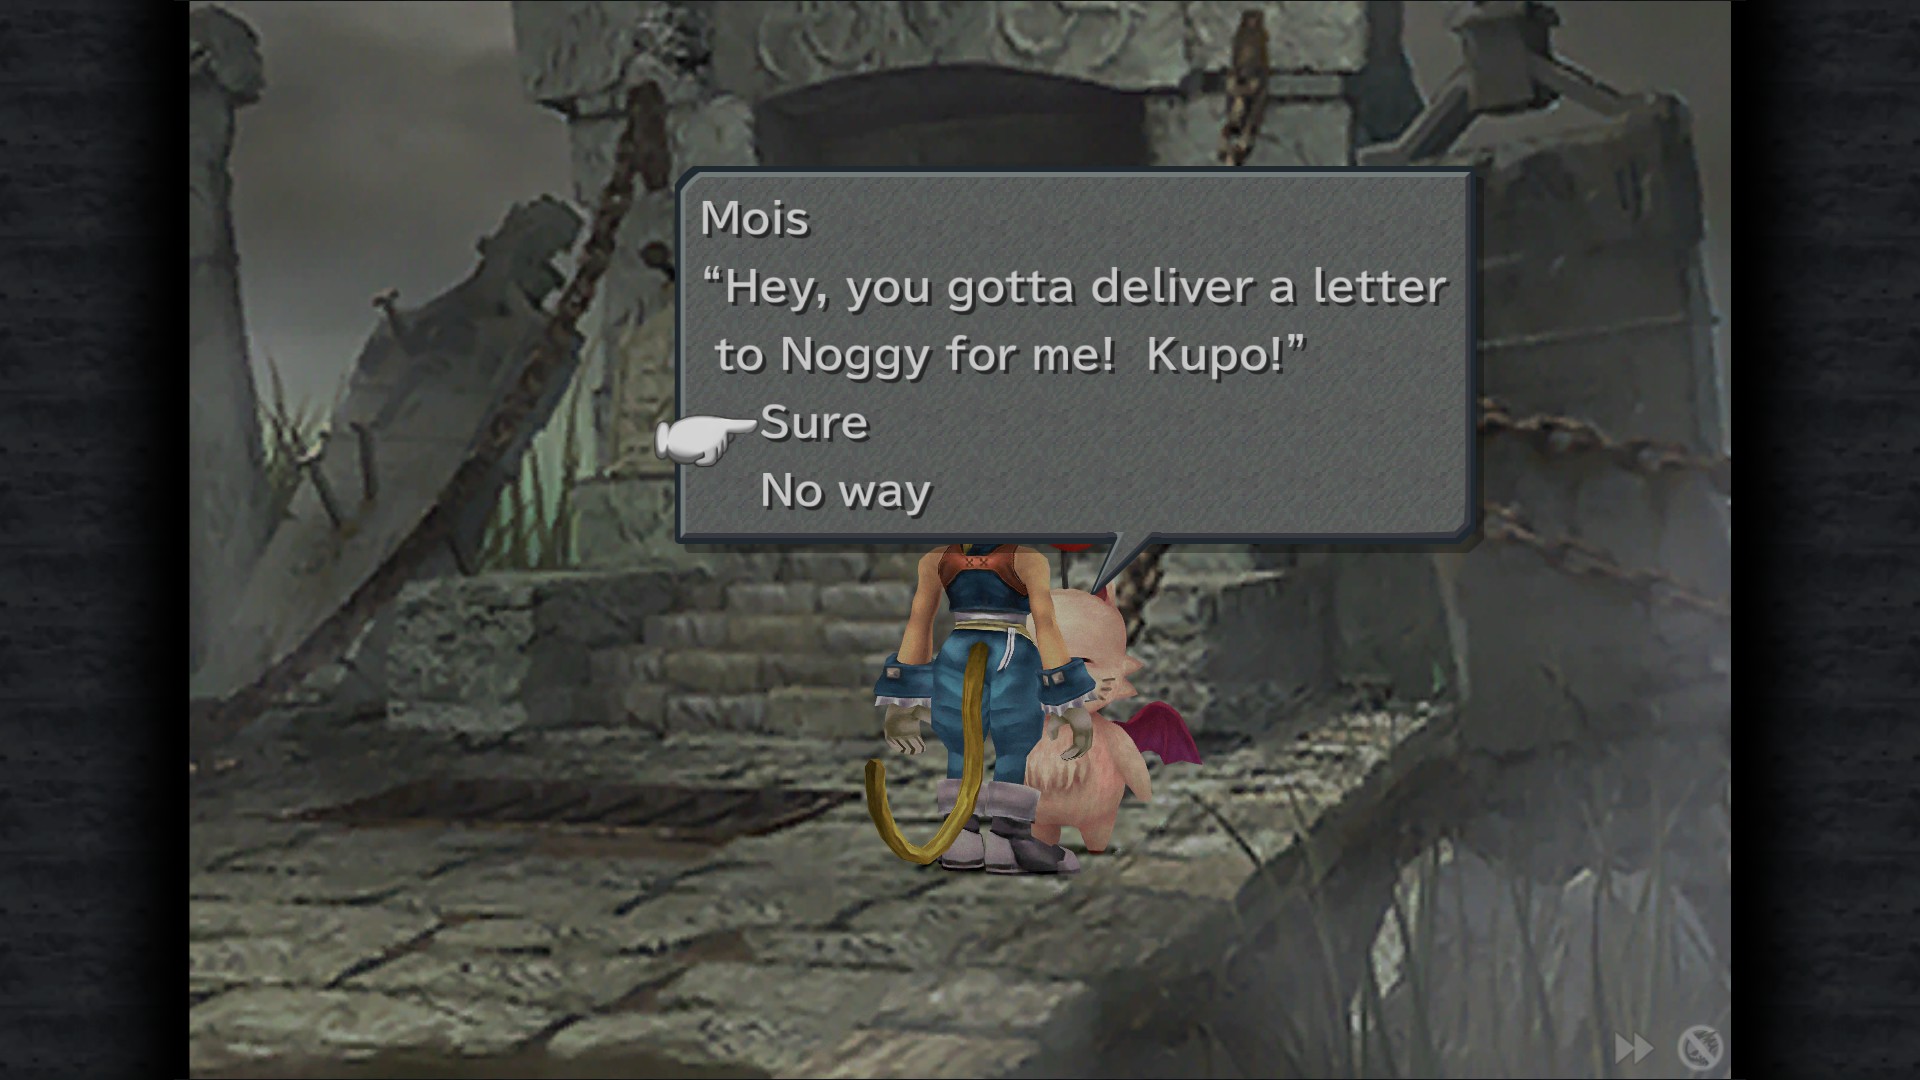
Mognet: Give Mois a letter "Where's Is That Item!?" - Thicket (Fossil Roo entrance, Quina must be in your party)
Mognet: Pickup the letter for delivery (Mois to Noggy)
Daguerreo
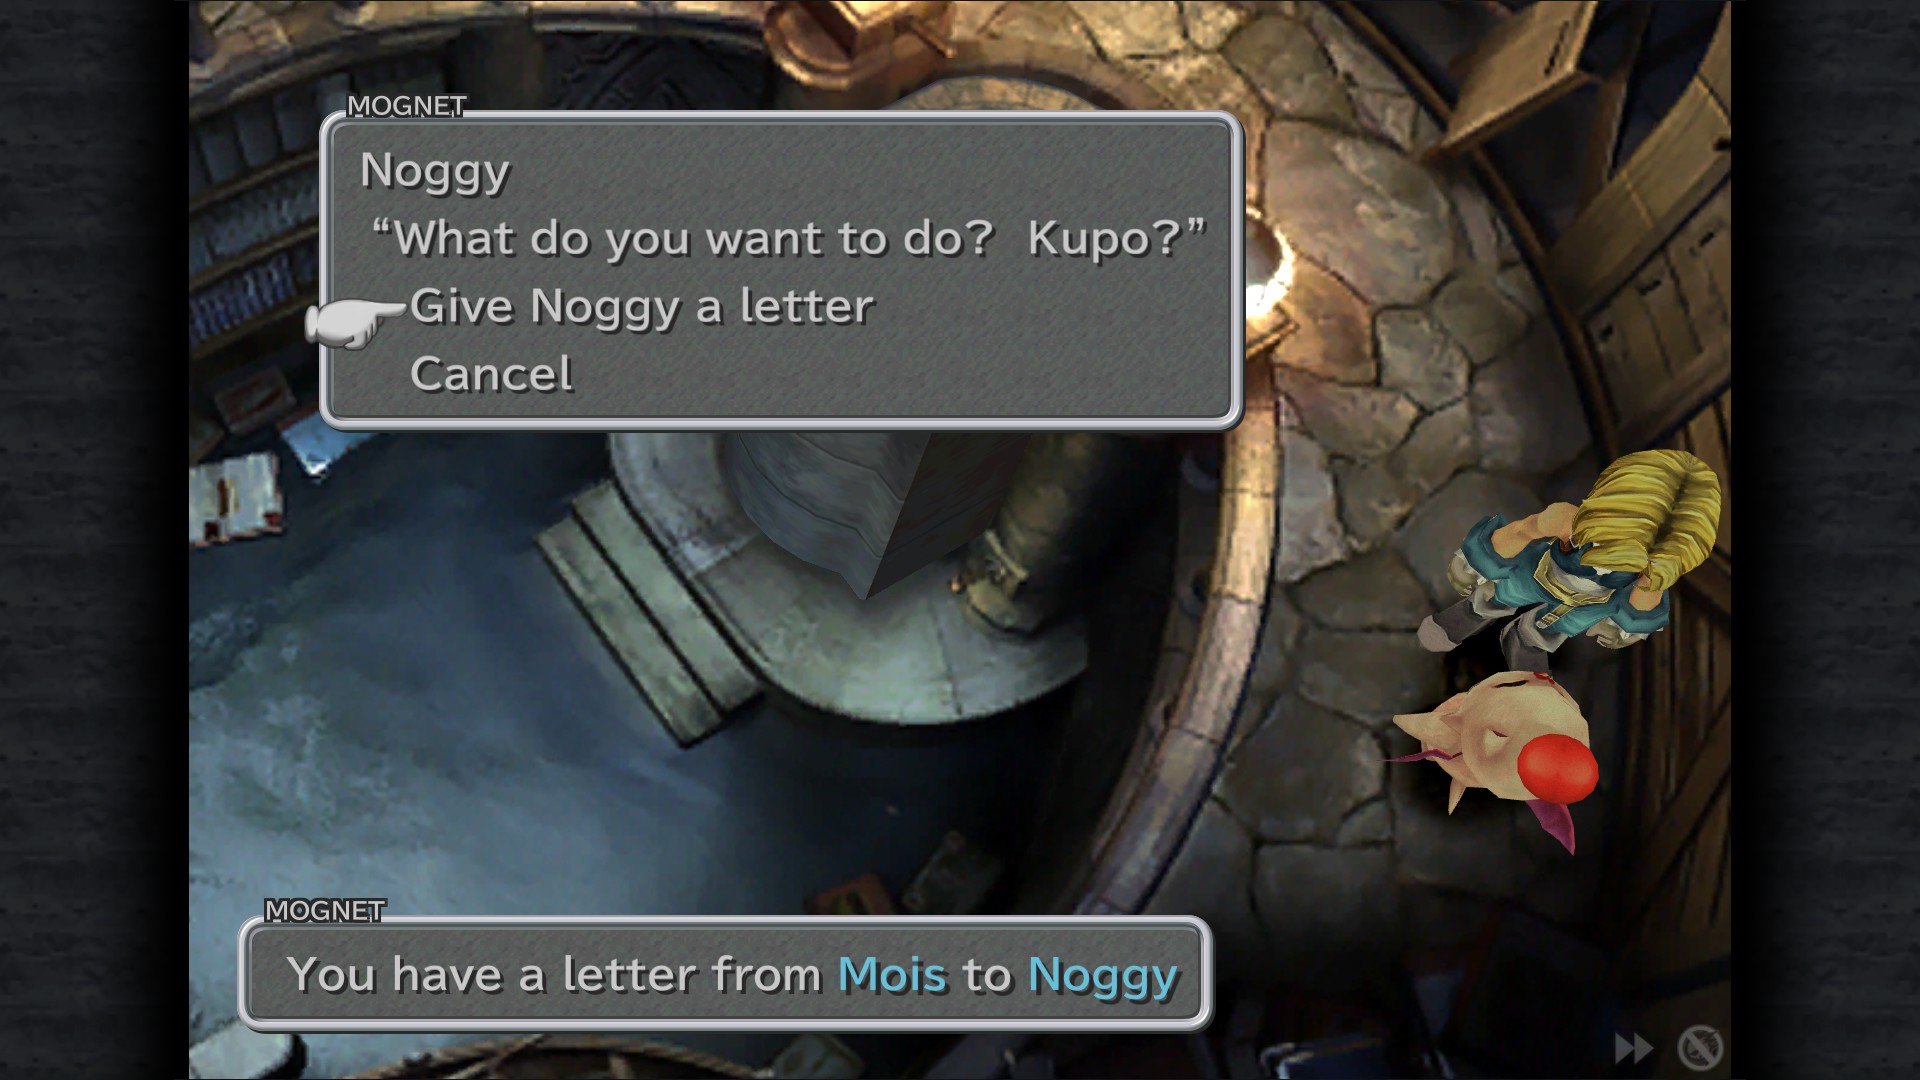
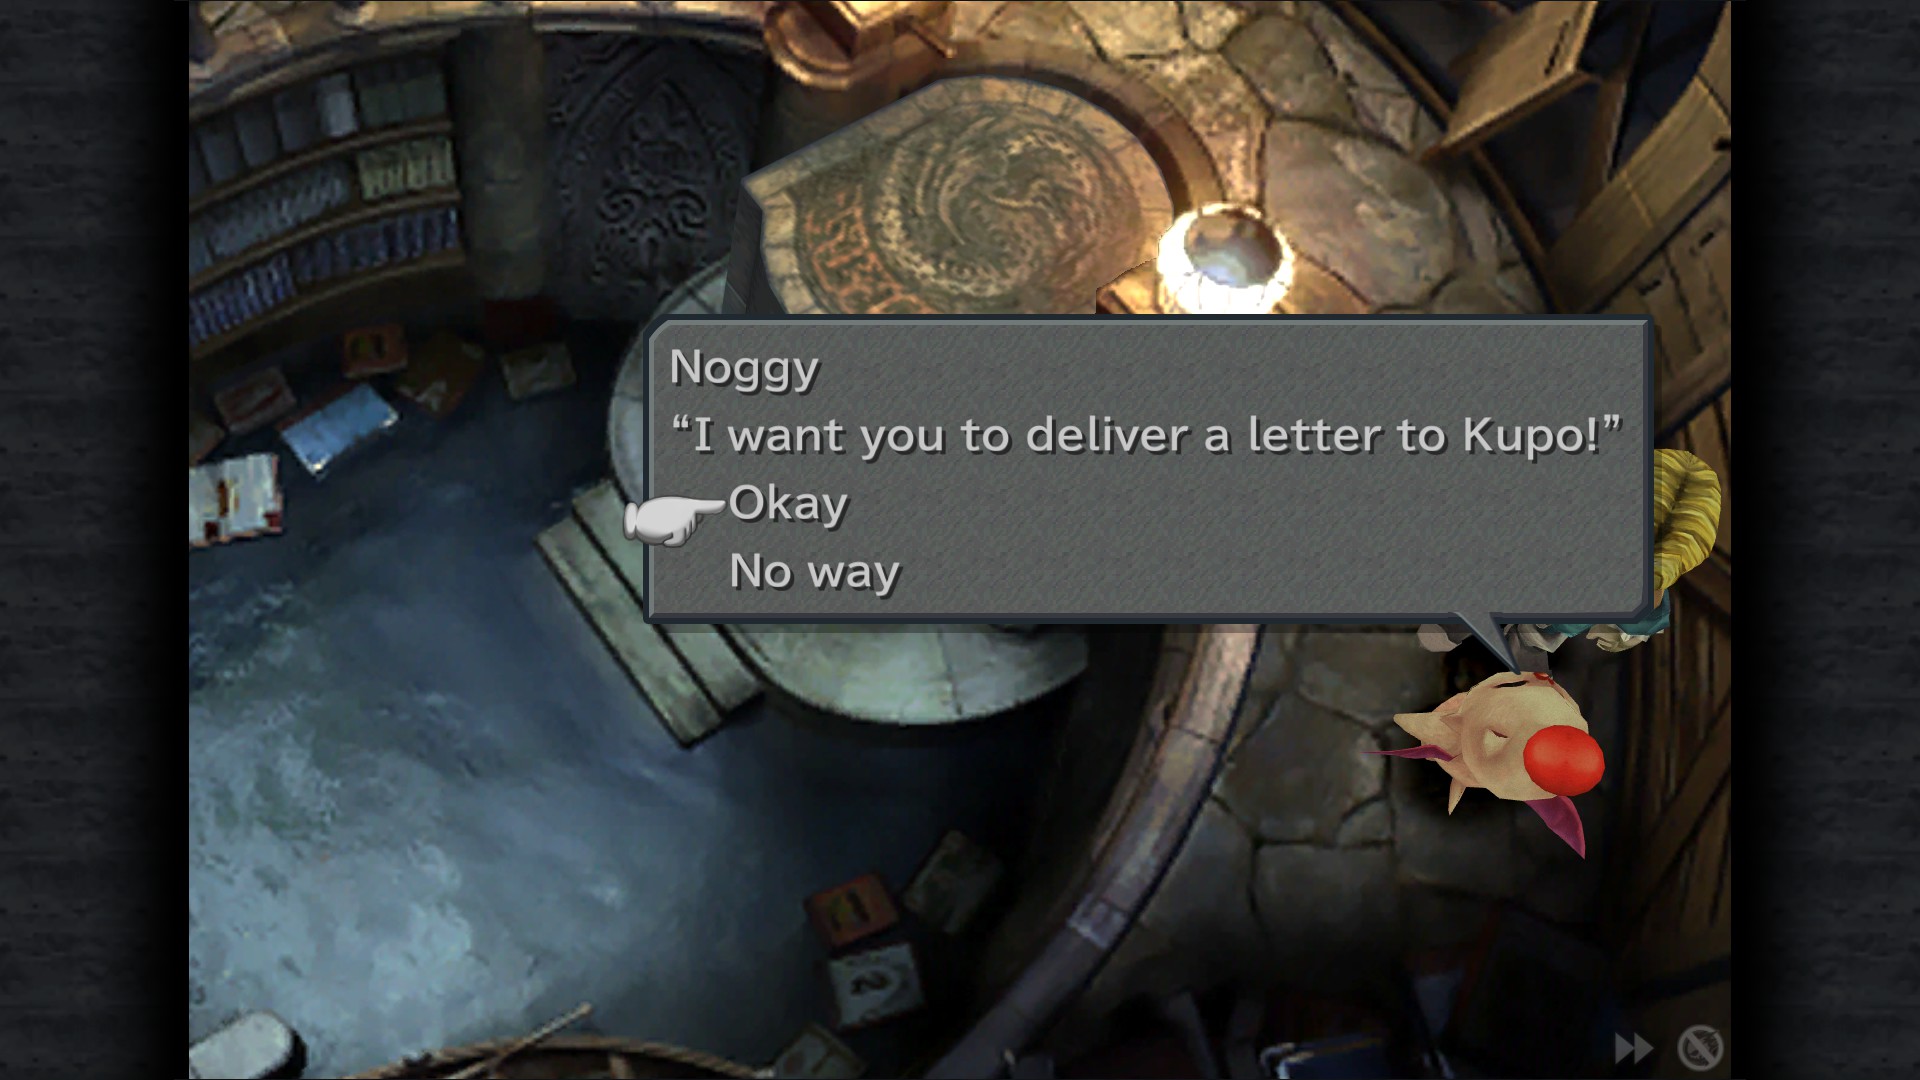
Mognet: Give Noggy a letter "It's That Thing" - Right Hall
Mognet: Pickup the letter for delivery (Noggy to Kupo)
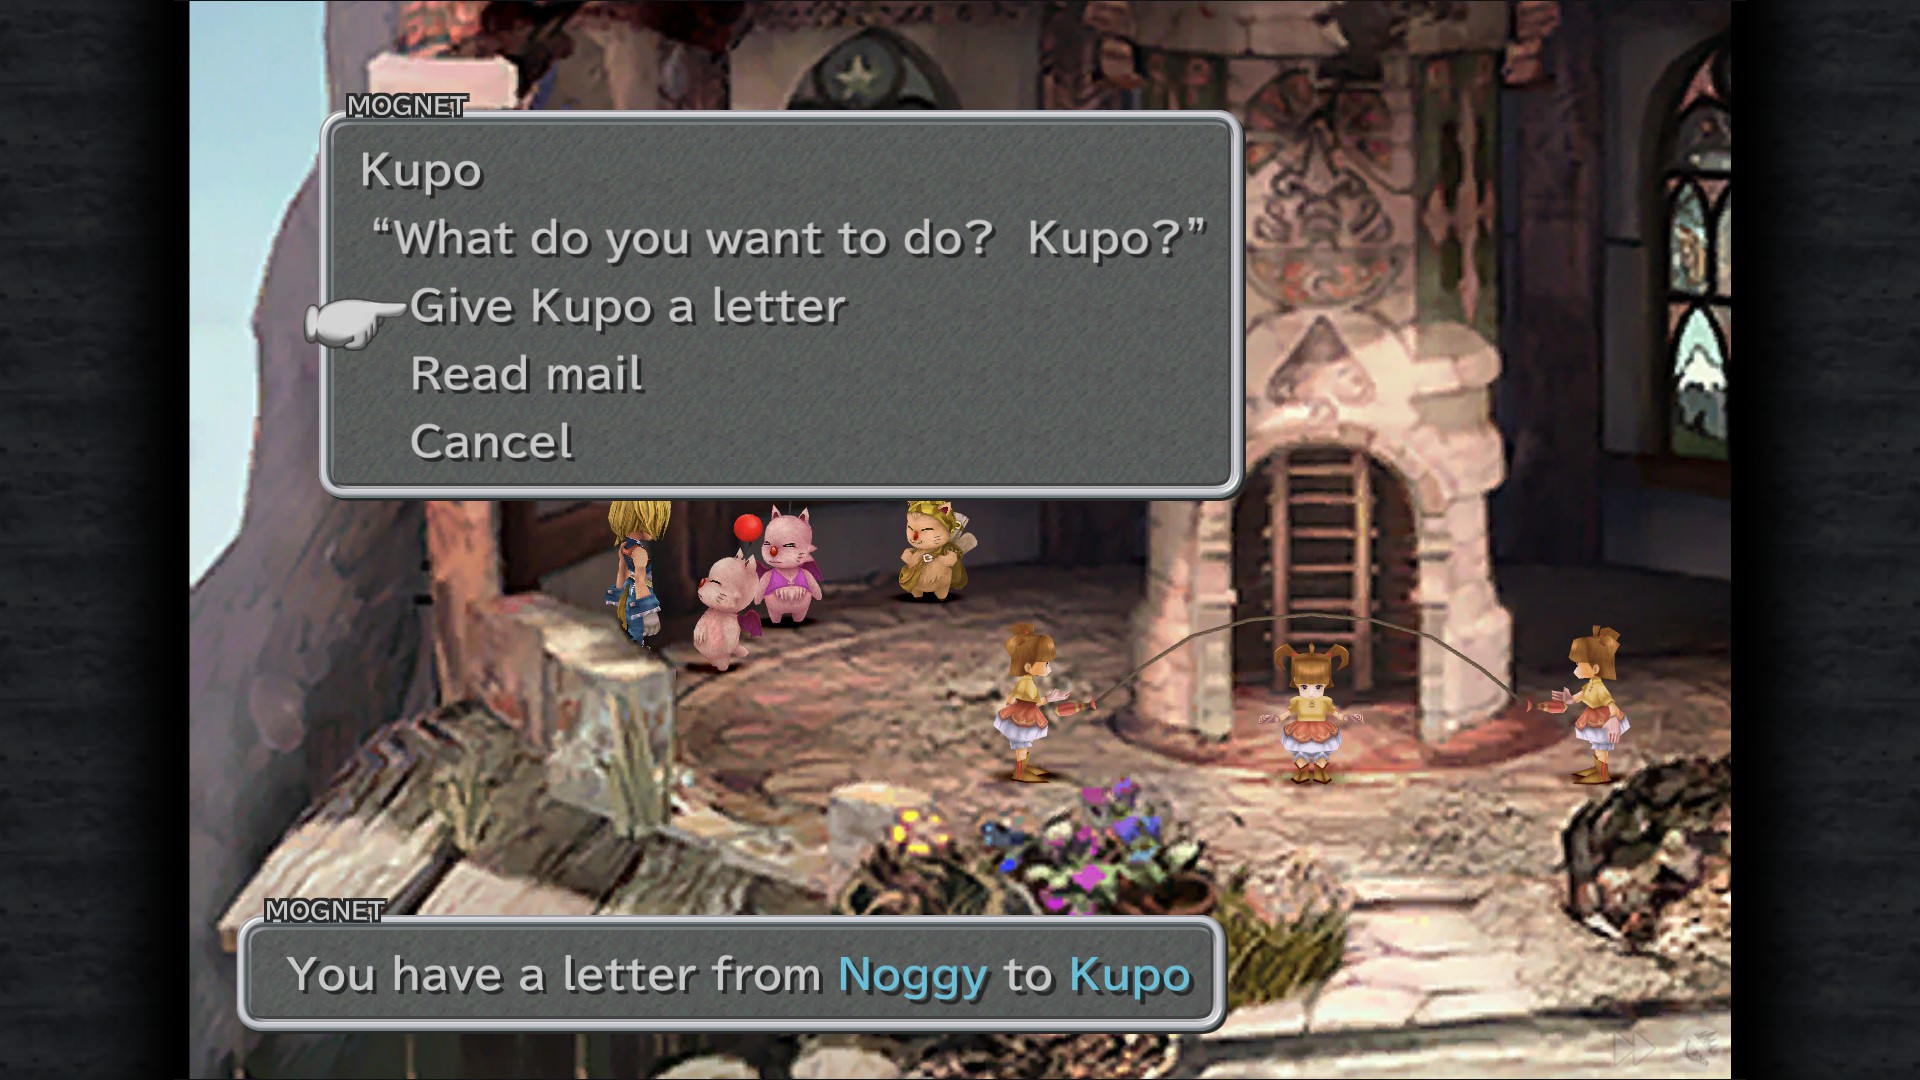
Alexandria
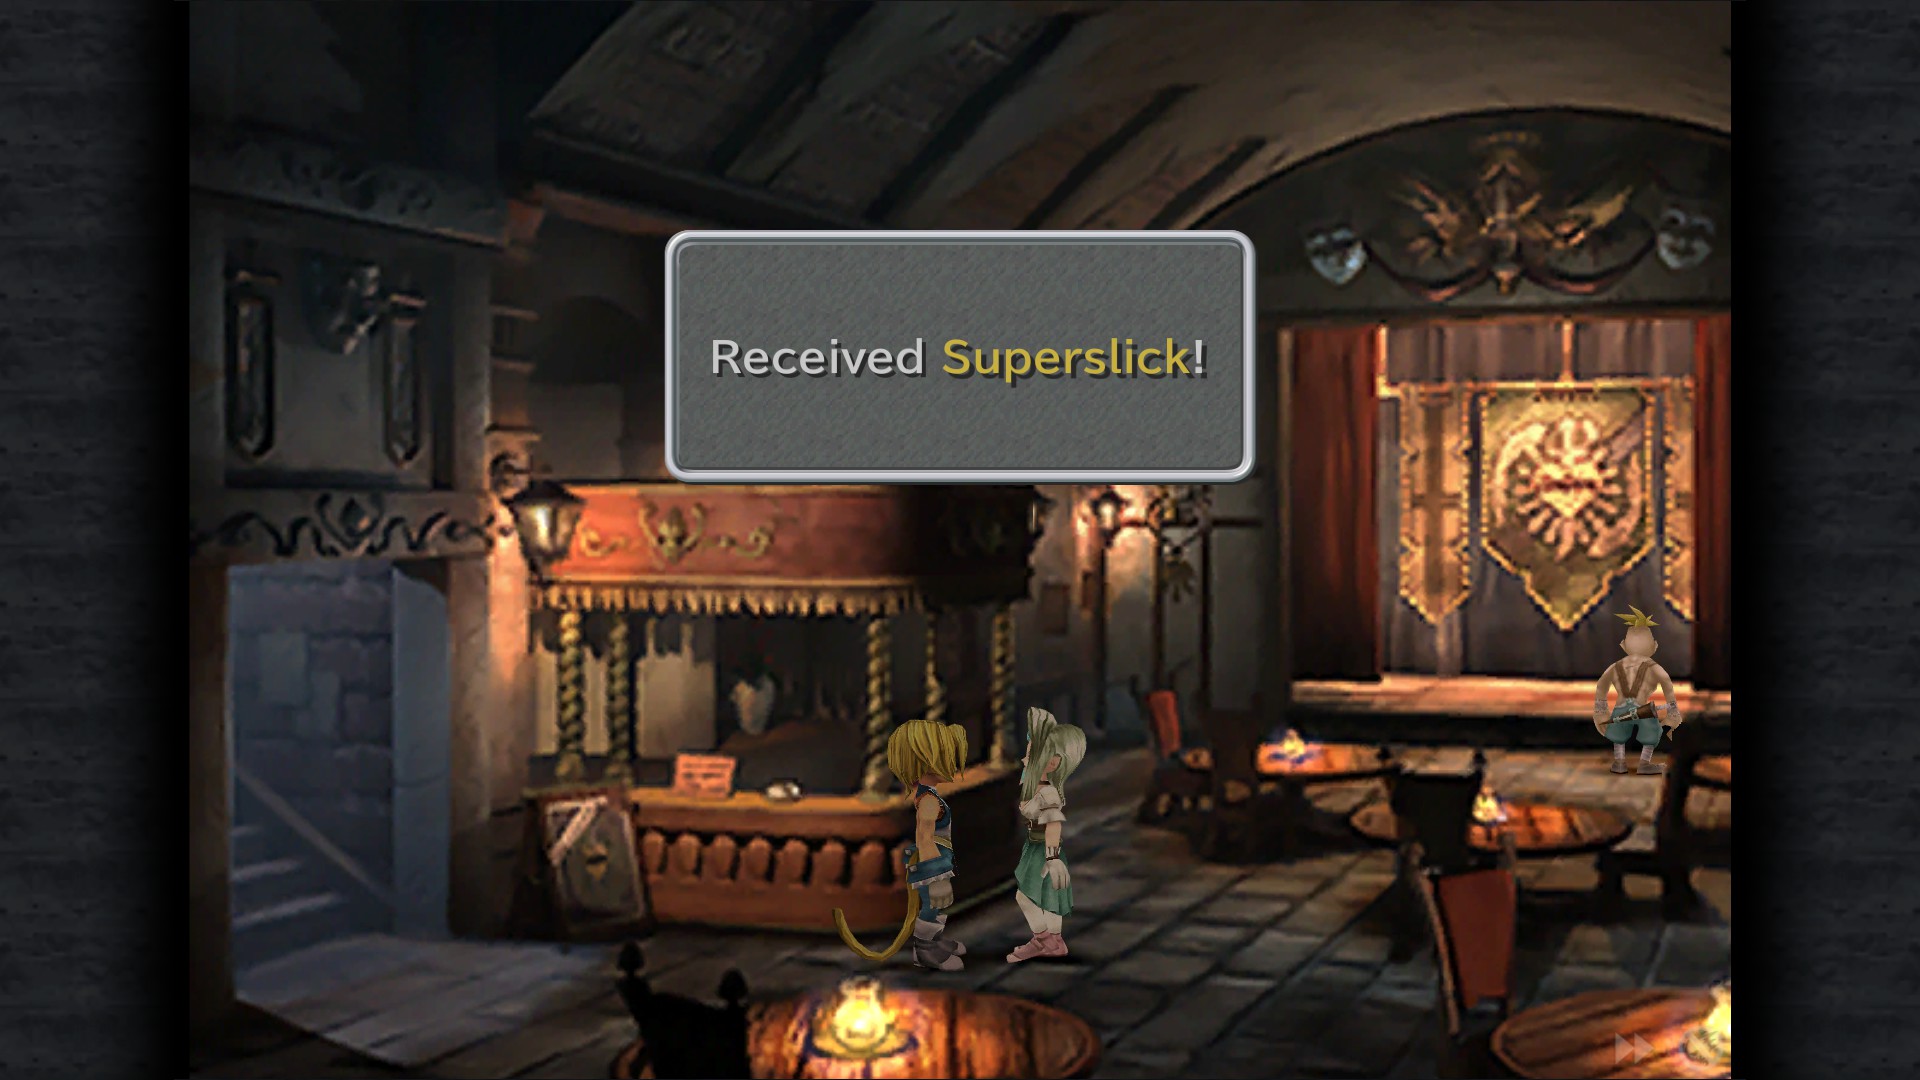
Mognet: Give Kupo a letter "Superslick" - Stepple
After delivering the last letter to Kupo , head to the Mini-Theater and speak to Ruby to receive the Superslick.
Well Lubricated
Obtain a bottle of Superslick
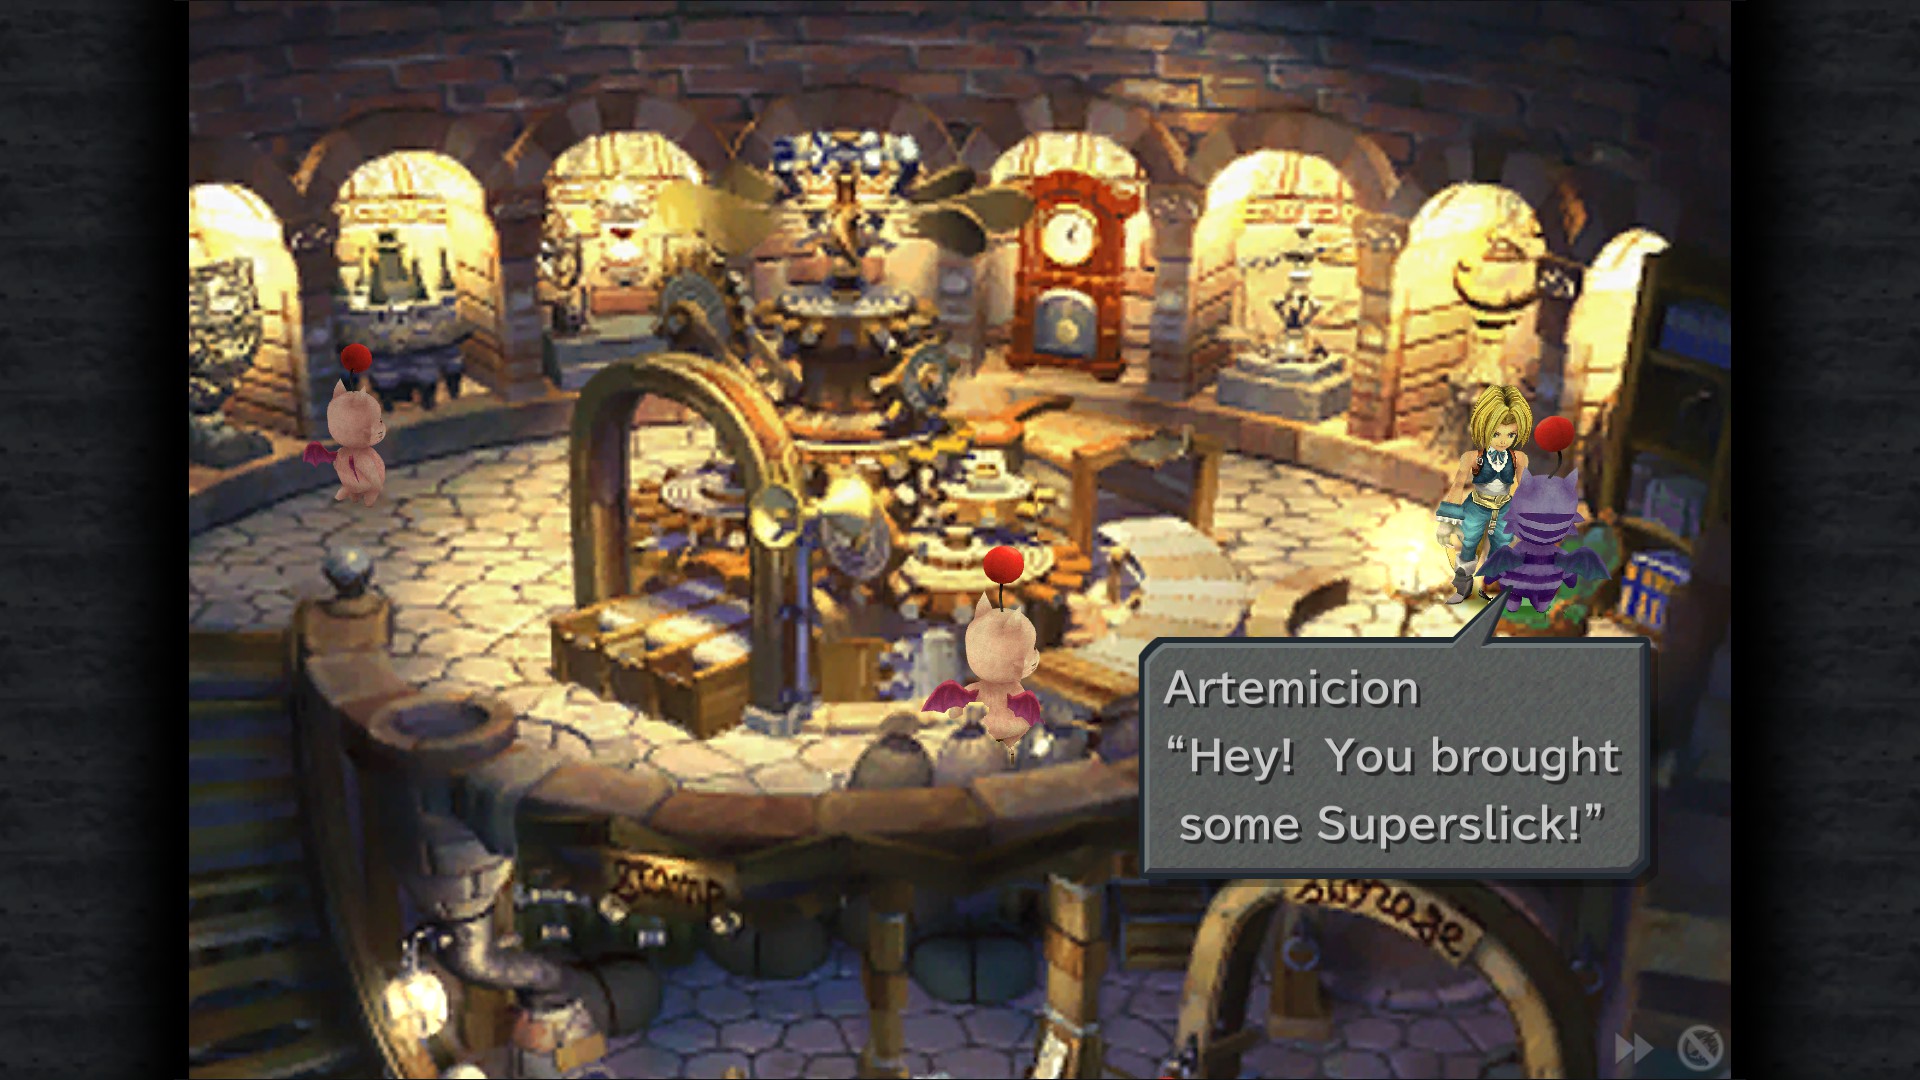
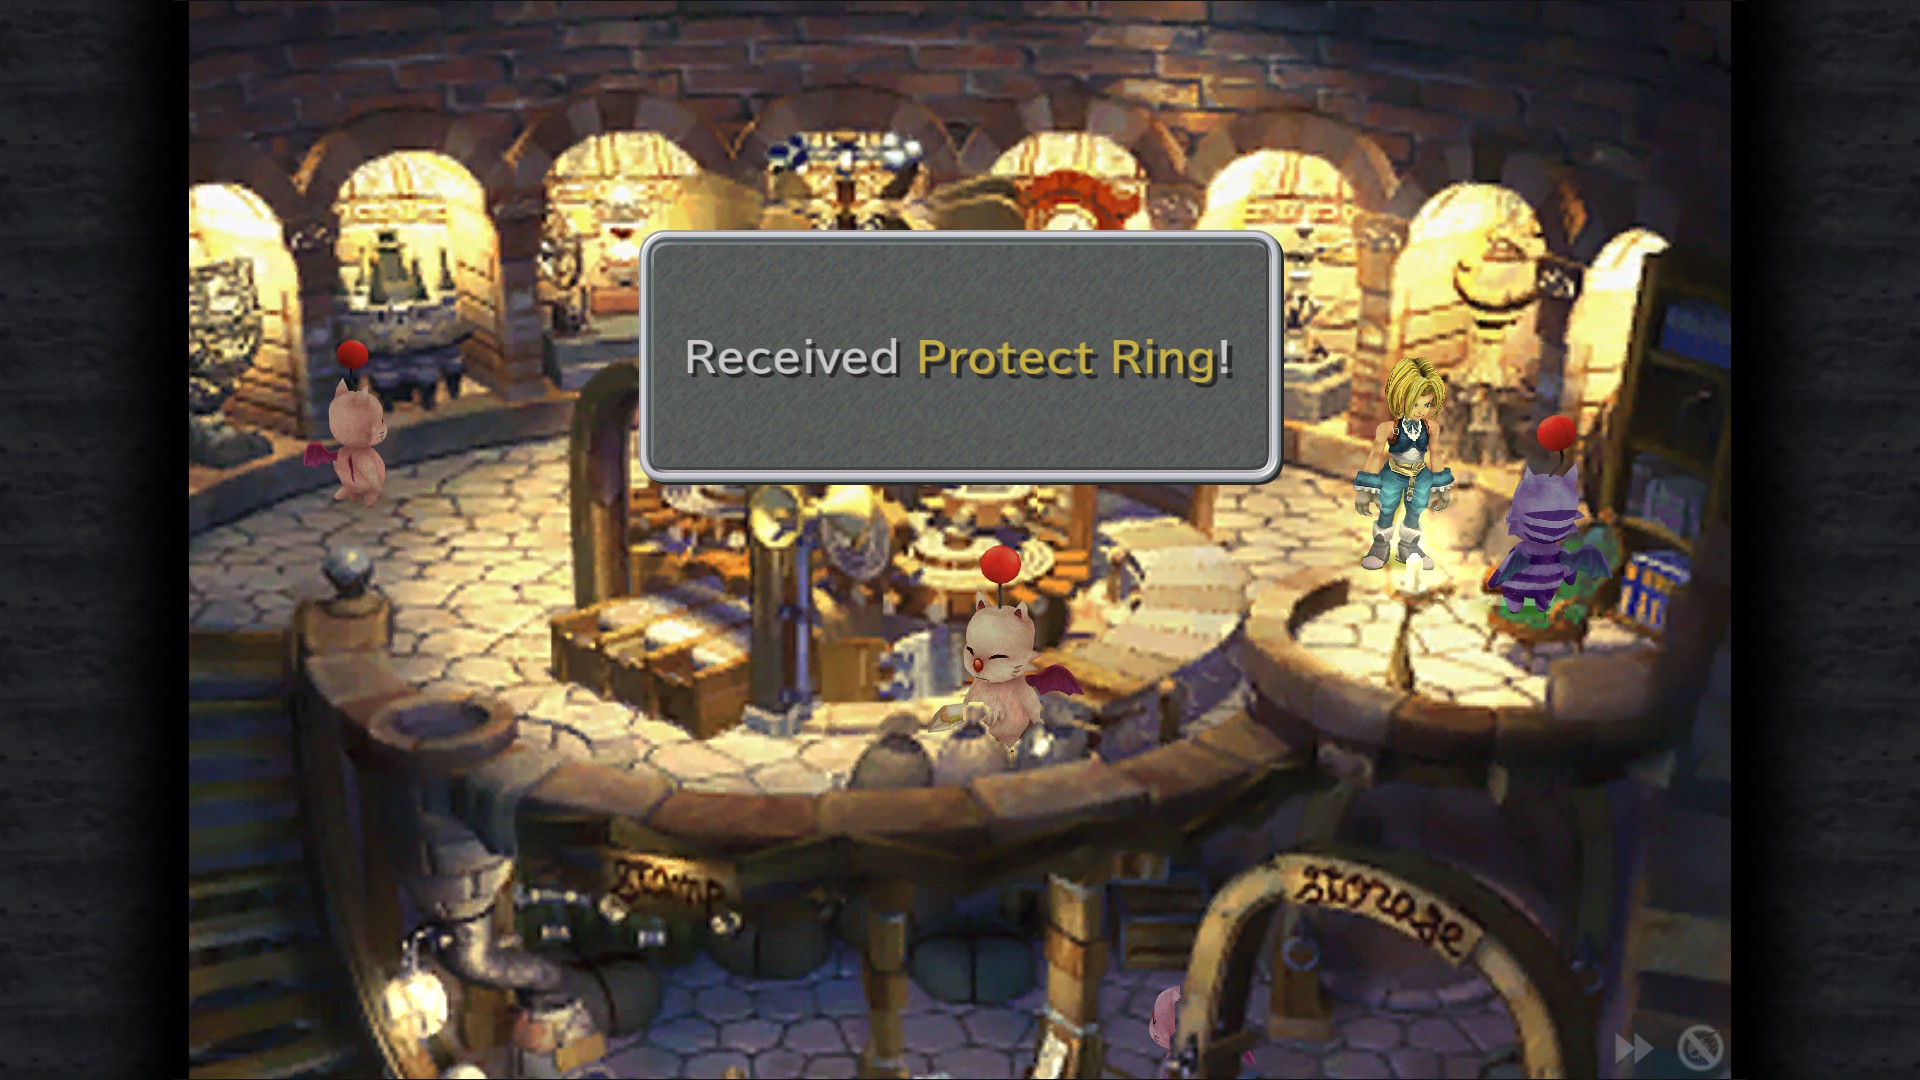
then return to Mognet Central and speak to Artemicion to receive a Protect Ring and the next achievement:
Back Online
Repair the machine at Mognet Central
Friendly Monsters And Ragtime Blues Sidequest
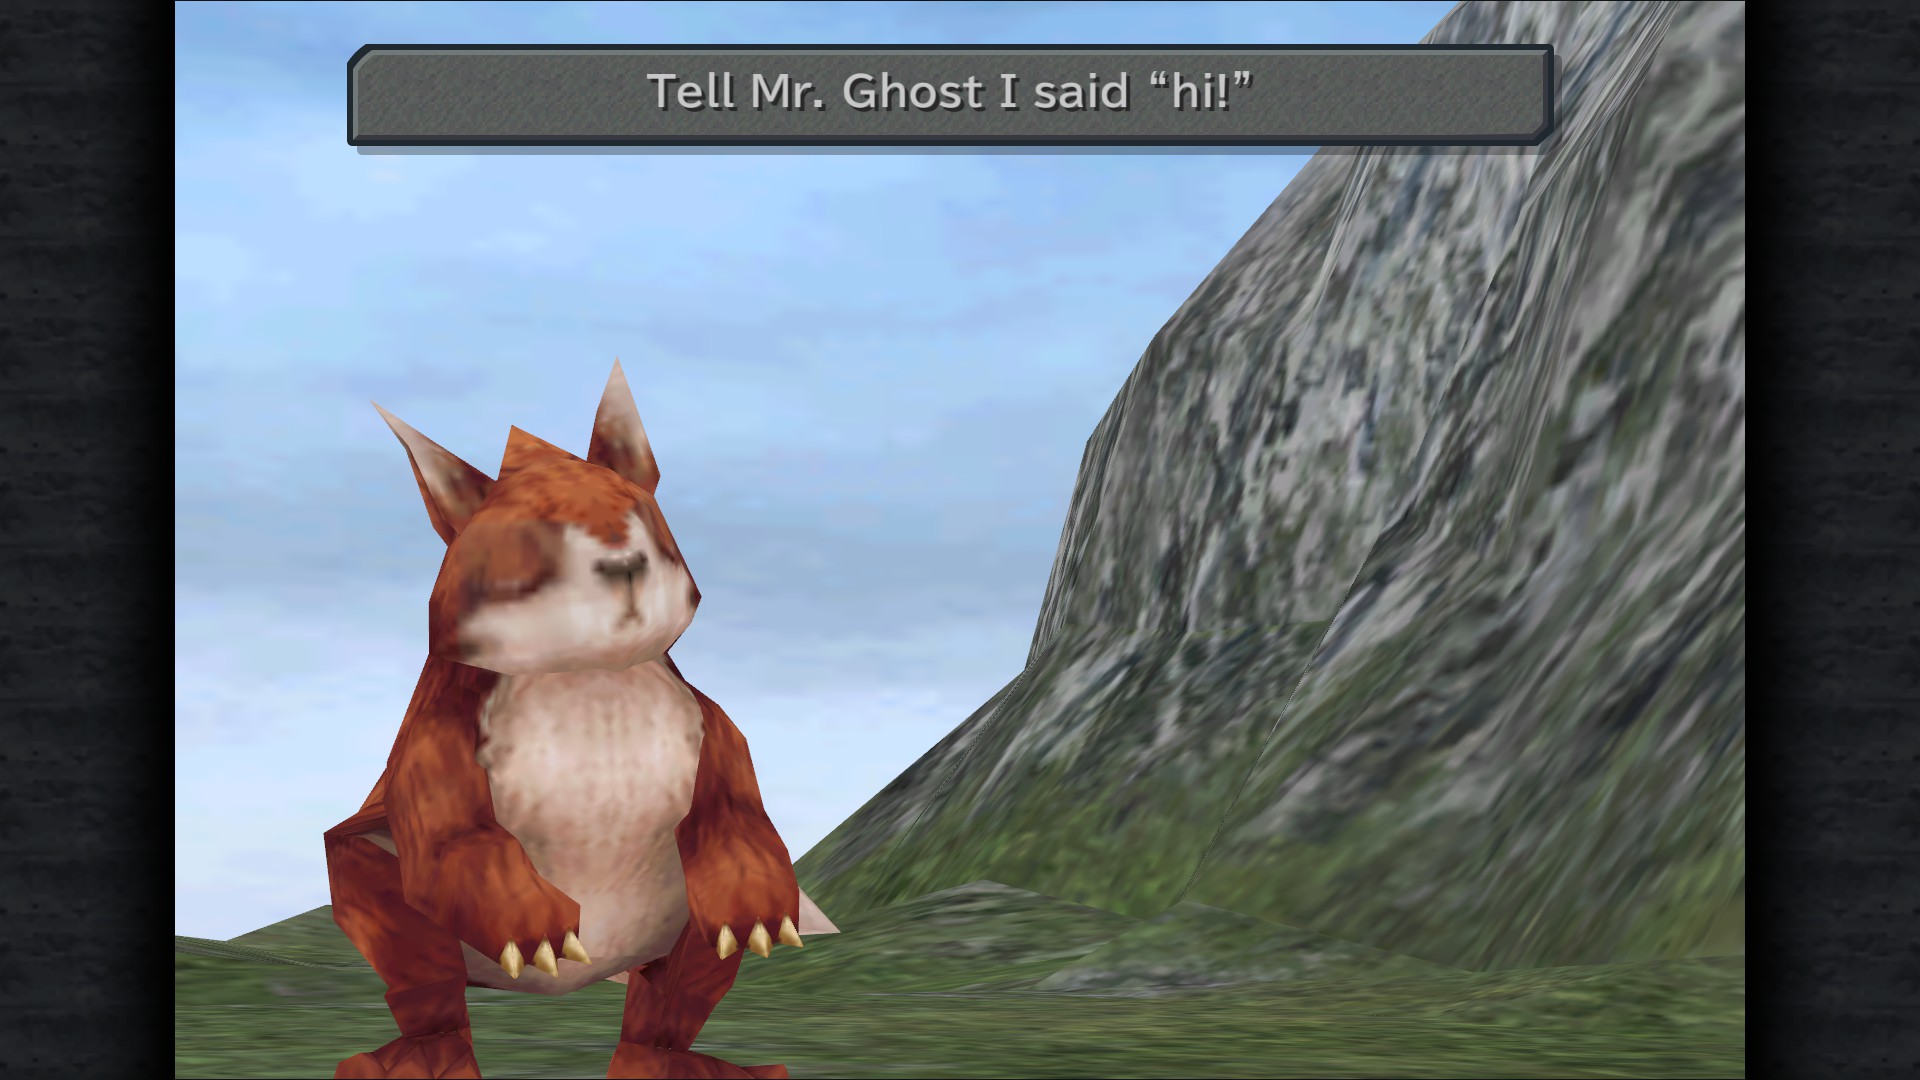


Friendly Monsters Sidequest
Friendly Mu
Location:Nolrich Heights, between Ice Cavern and Dali
Request:Ore / Reward:10 AP, Potion
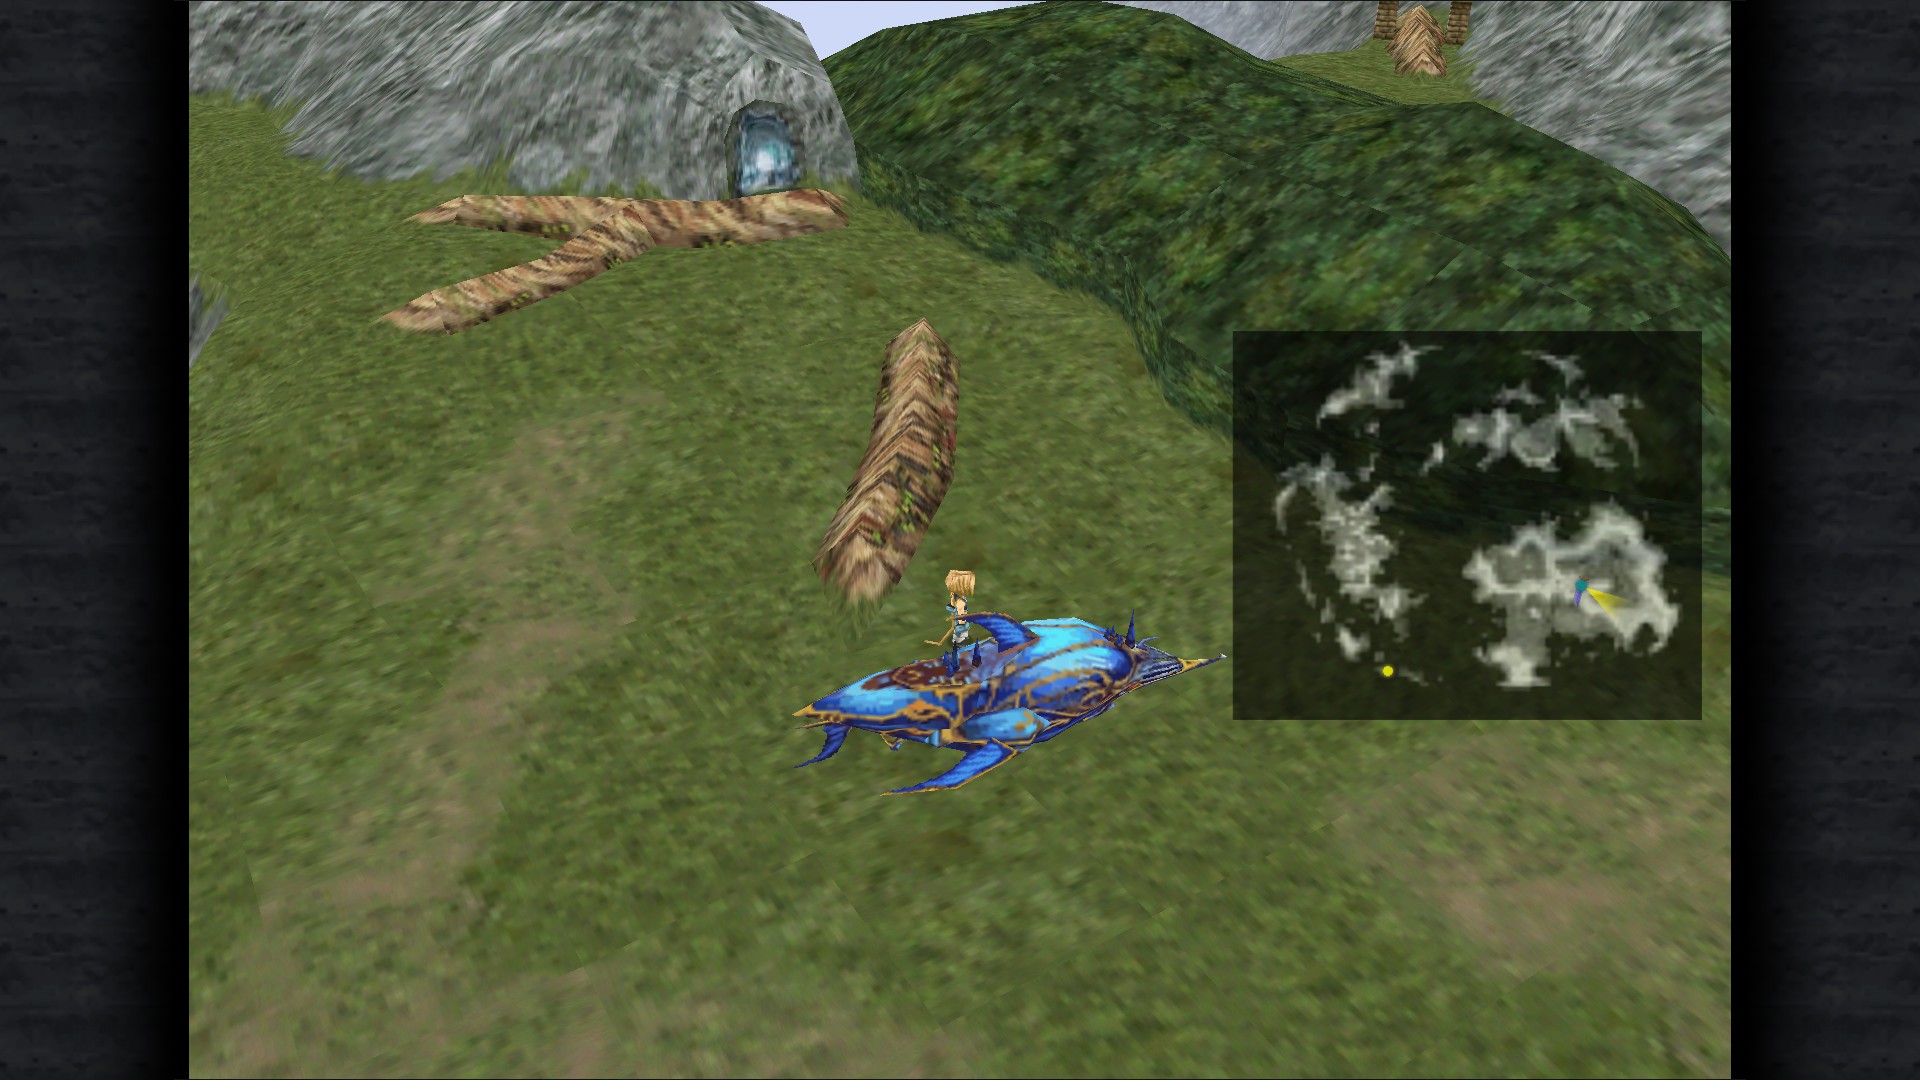
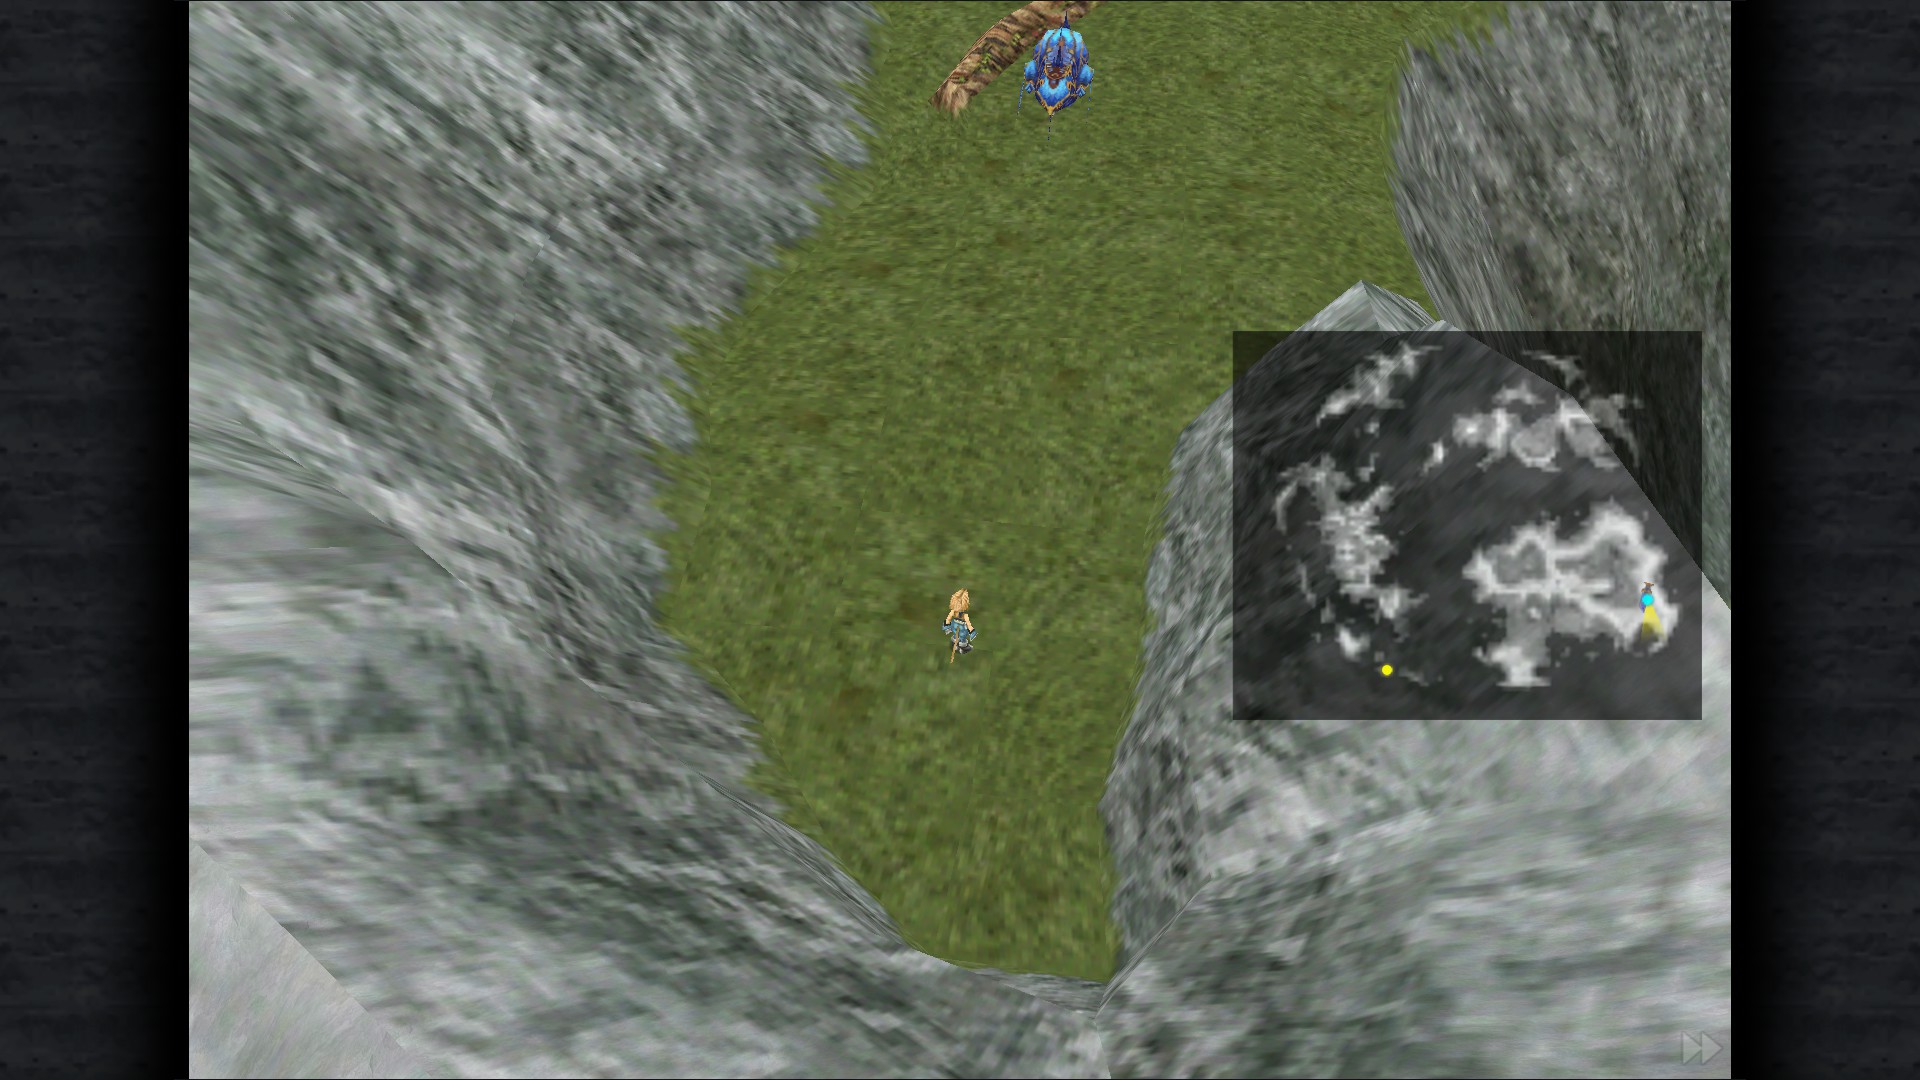
Friendly Ghost
Location:Bentini Heights, outside Treno
Request:Ore / Reward:10 AP, Hi-Potion
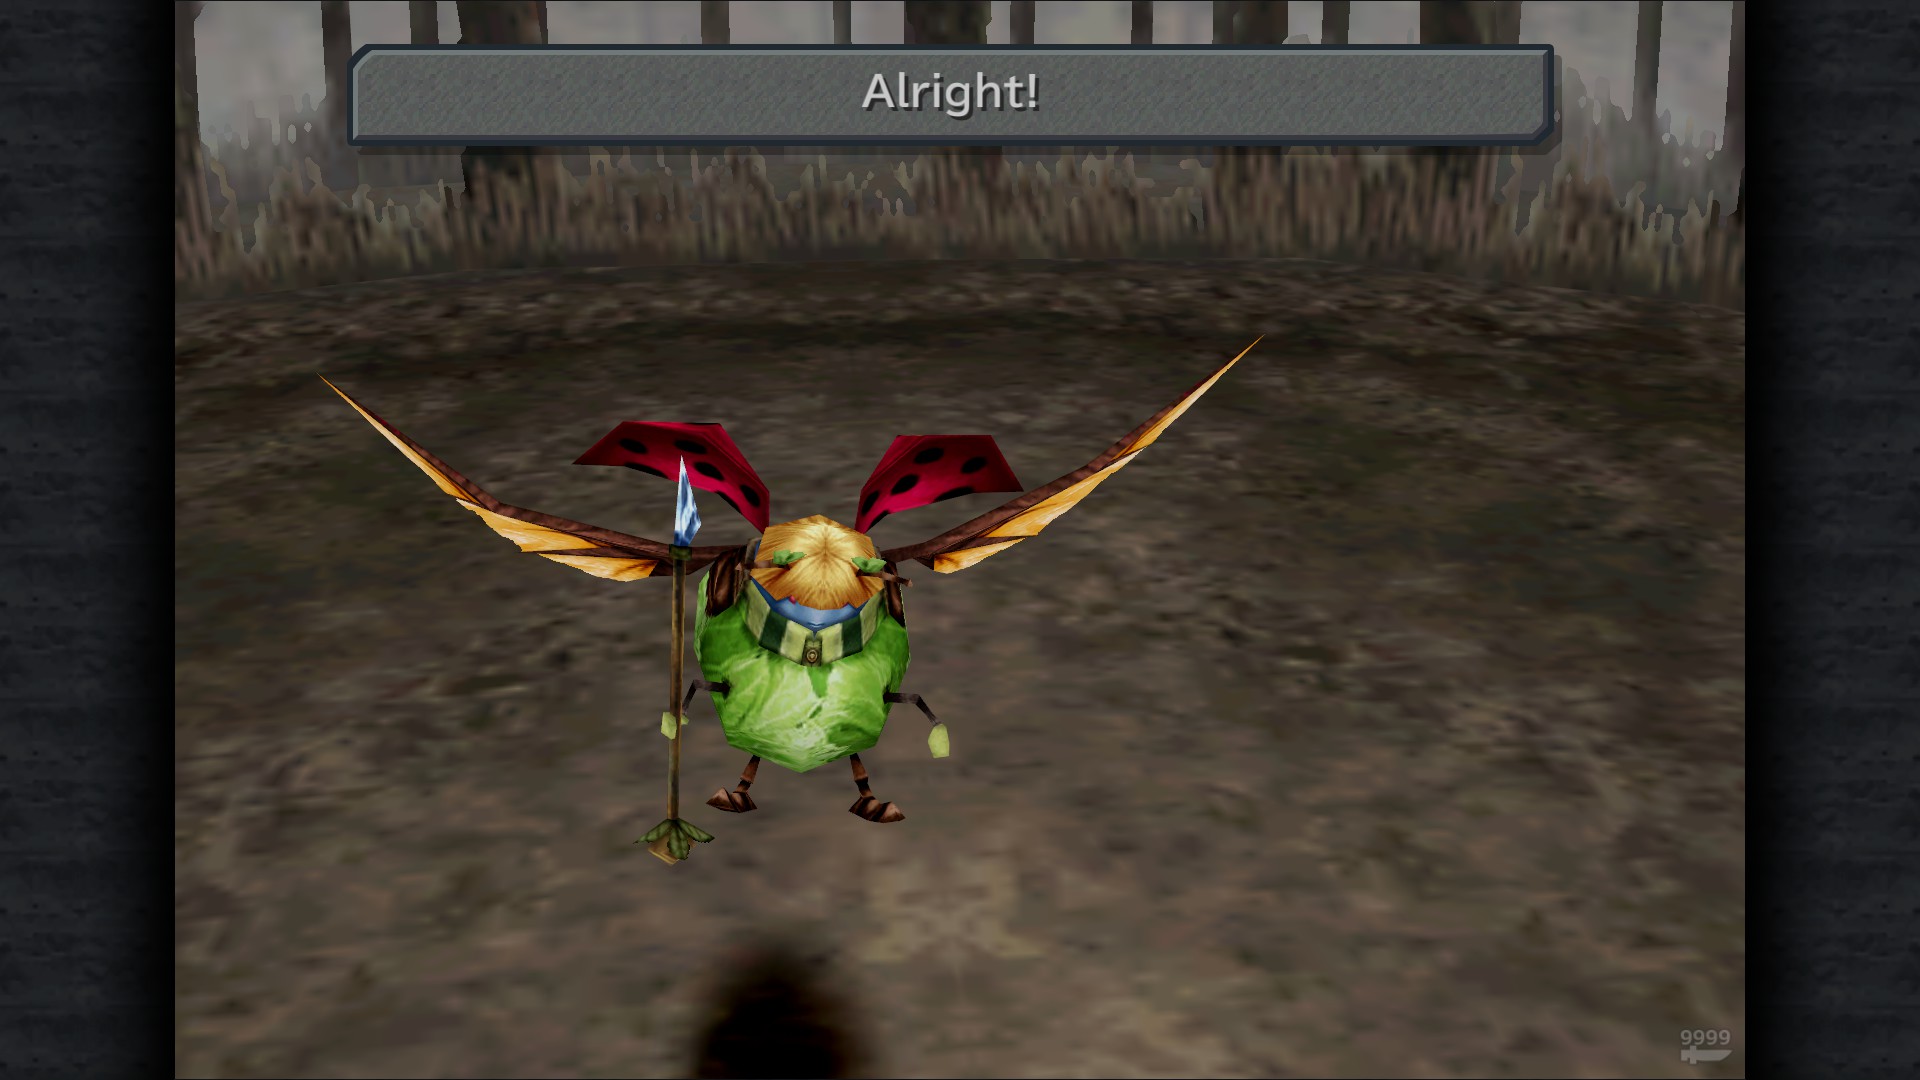
Friendly Ladybug
Location:Magdalene Forest, outside Black Mage Village
Request:2 Ores / Reward:20 AP, Ether
Friendly Yeti
Location:Daines-horse Basin, near Cleyra area
Request:2 Ores / Reward:20 AP, Elixir
Friendly Nymph
Location:Forest in Pualei Plains, close to Iifa Tree
Request:3 Ores / Reward:30 AP, Emerald
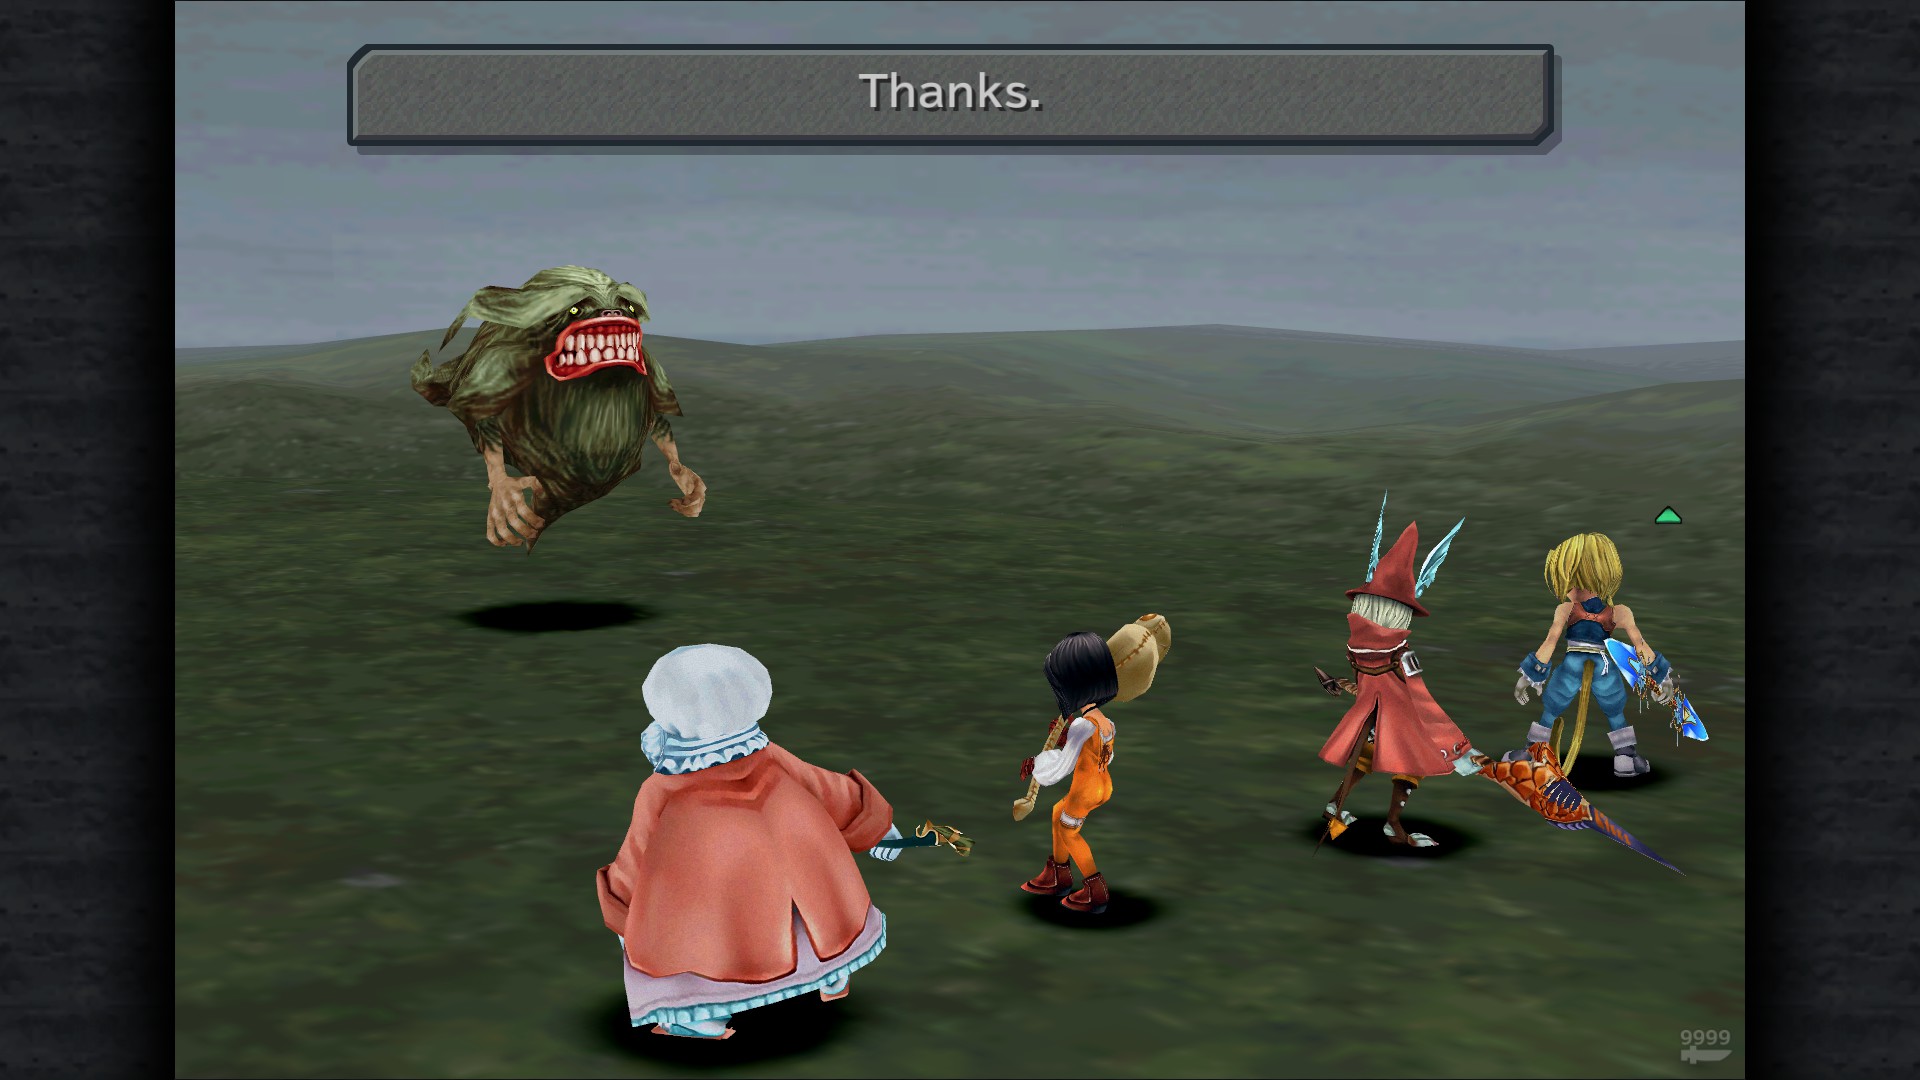
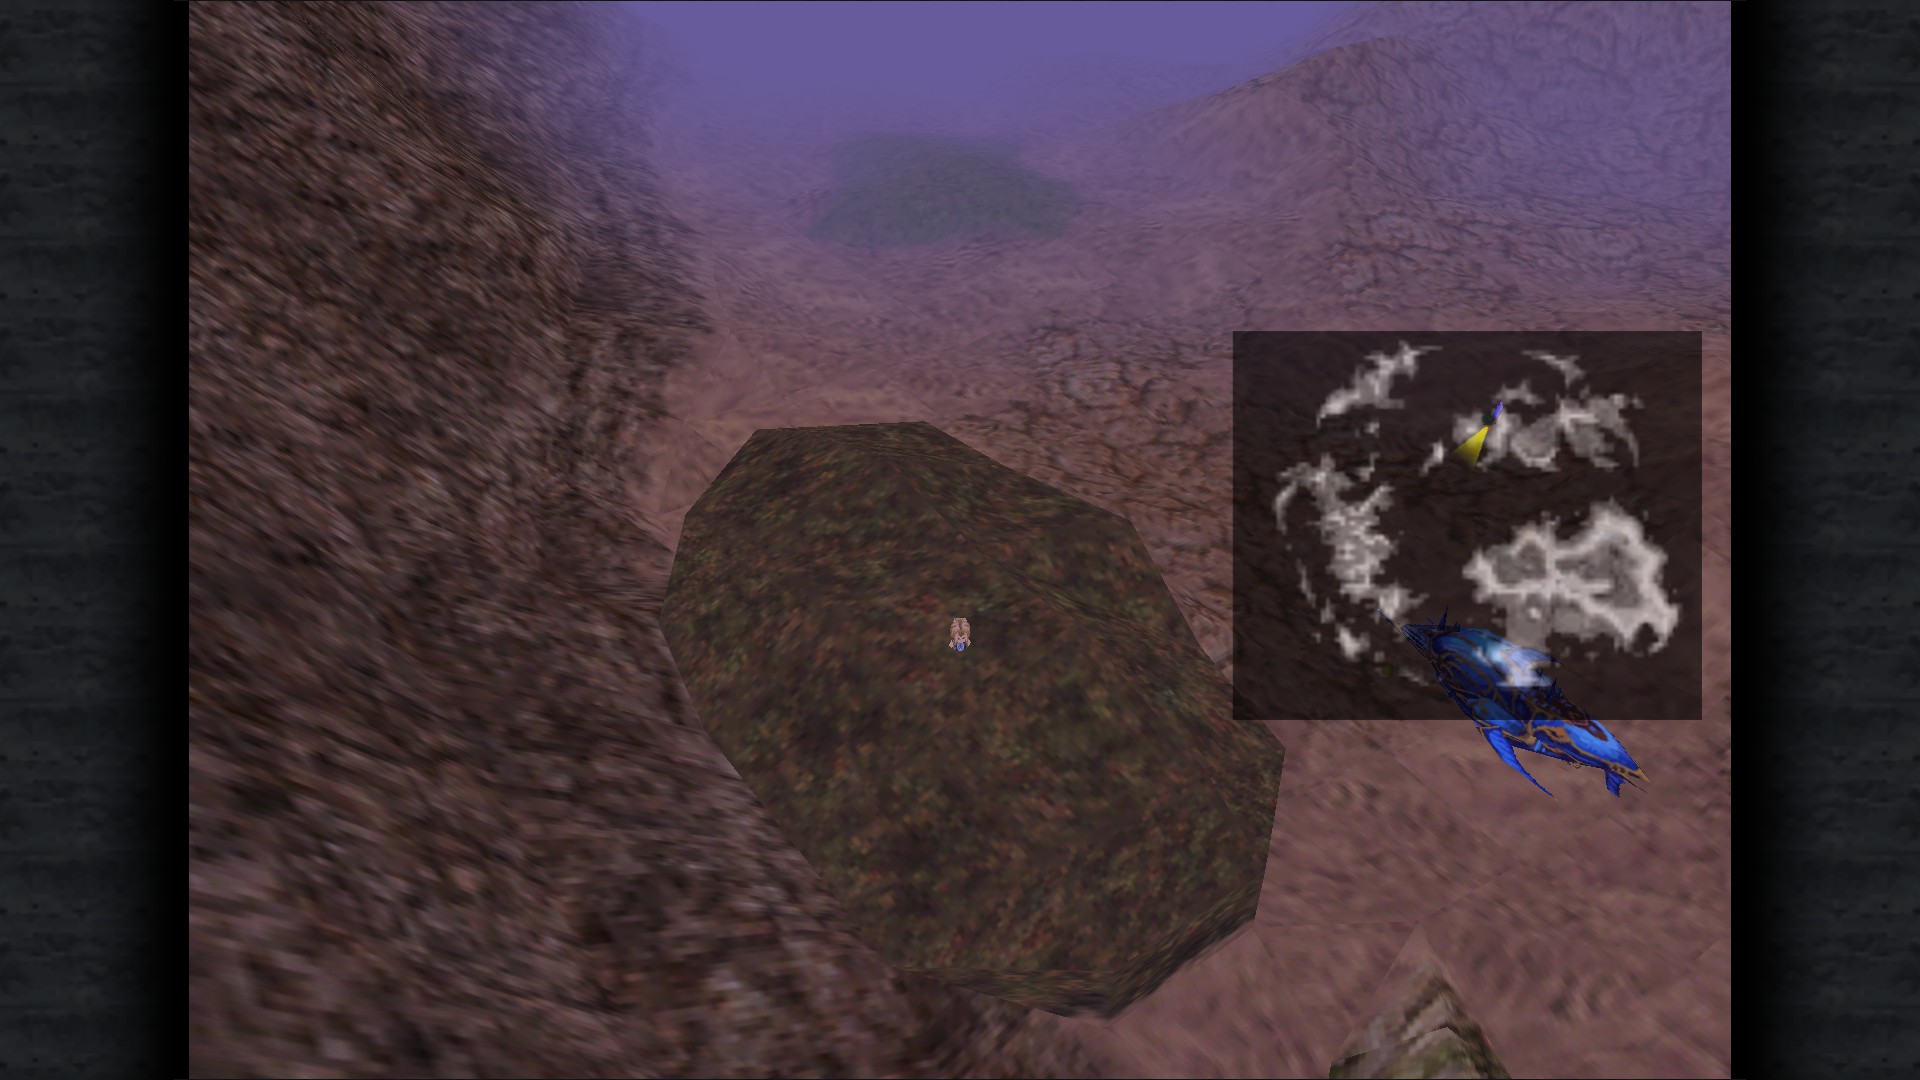
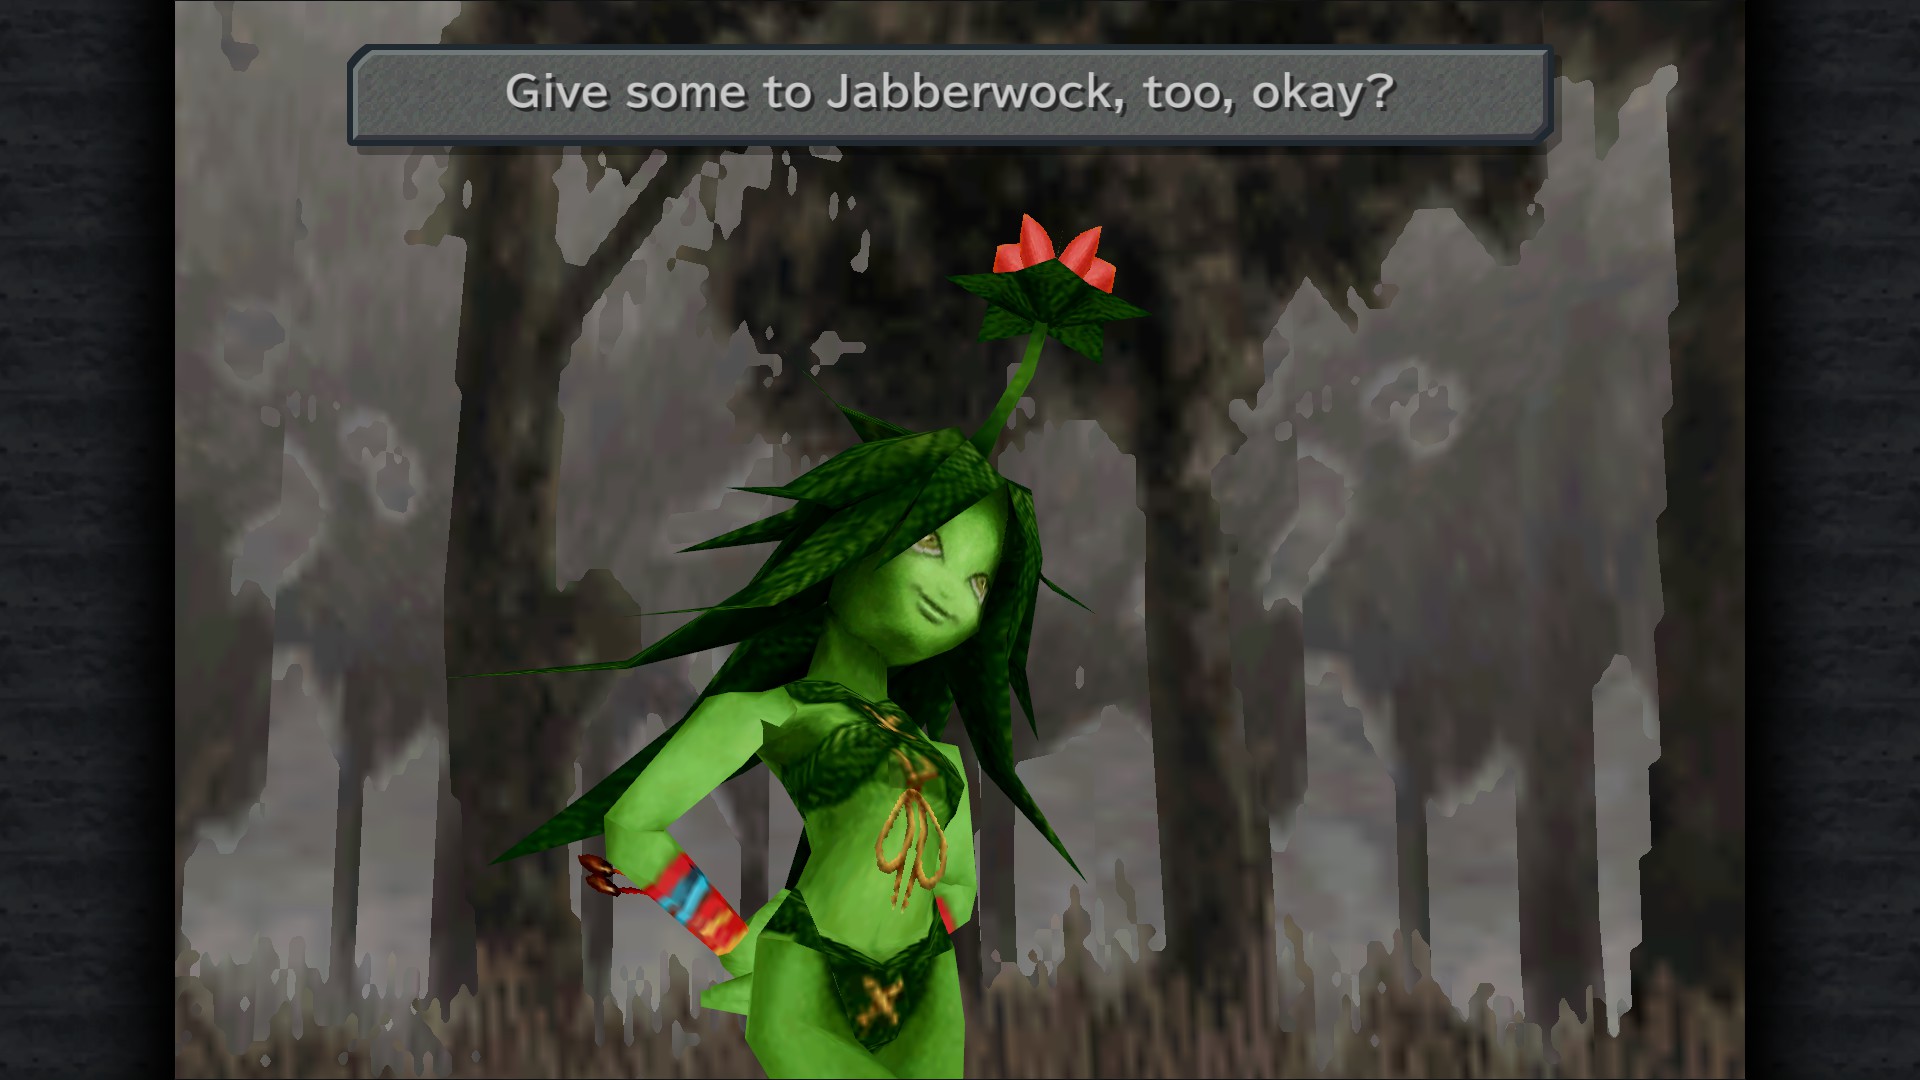
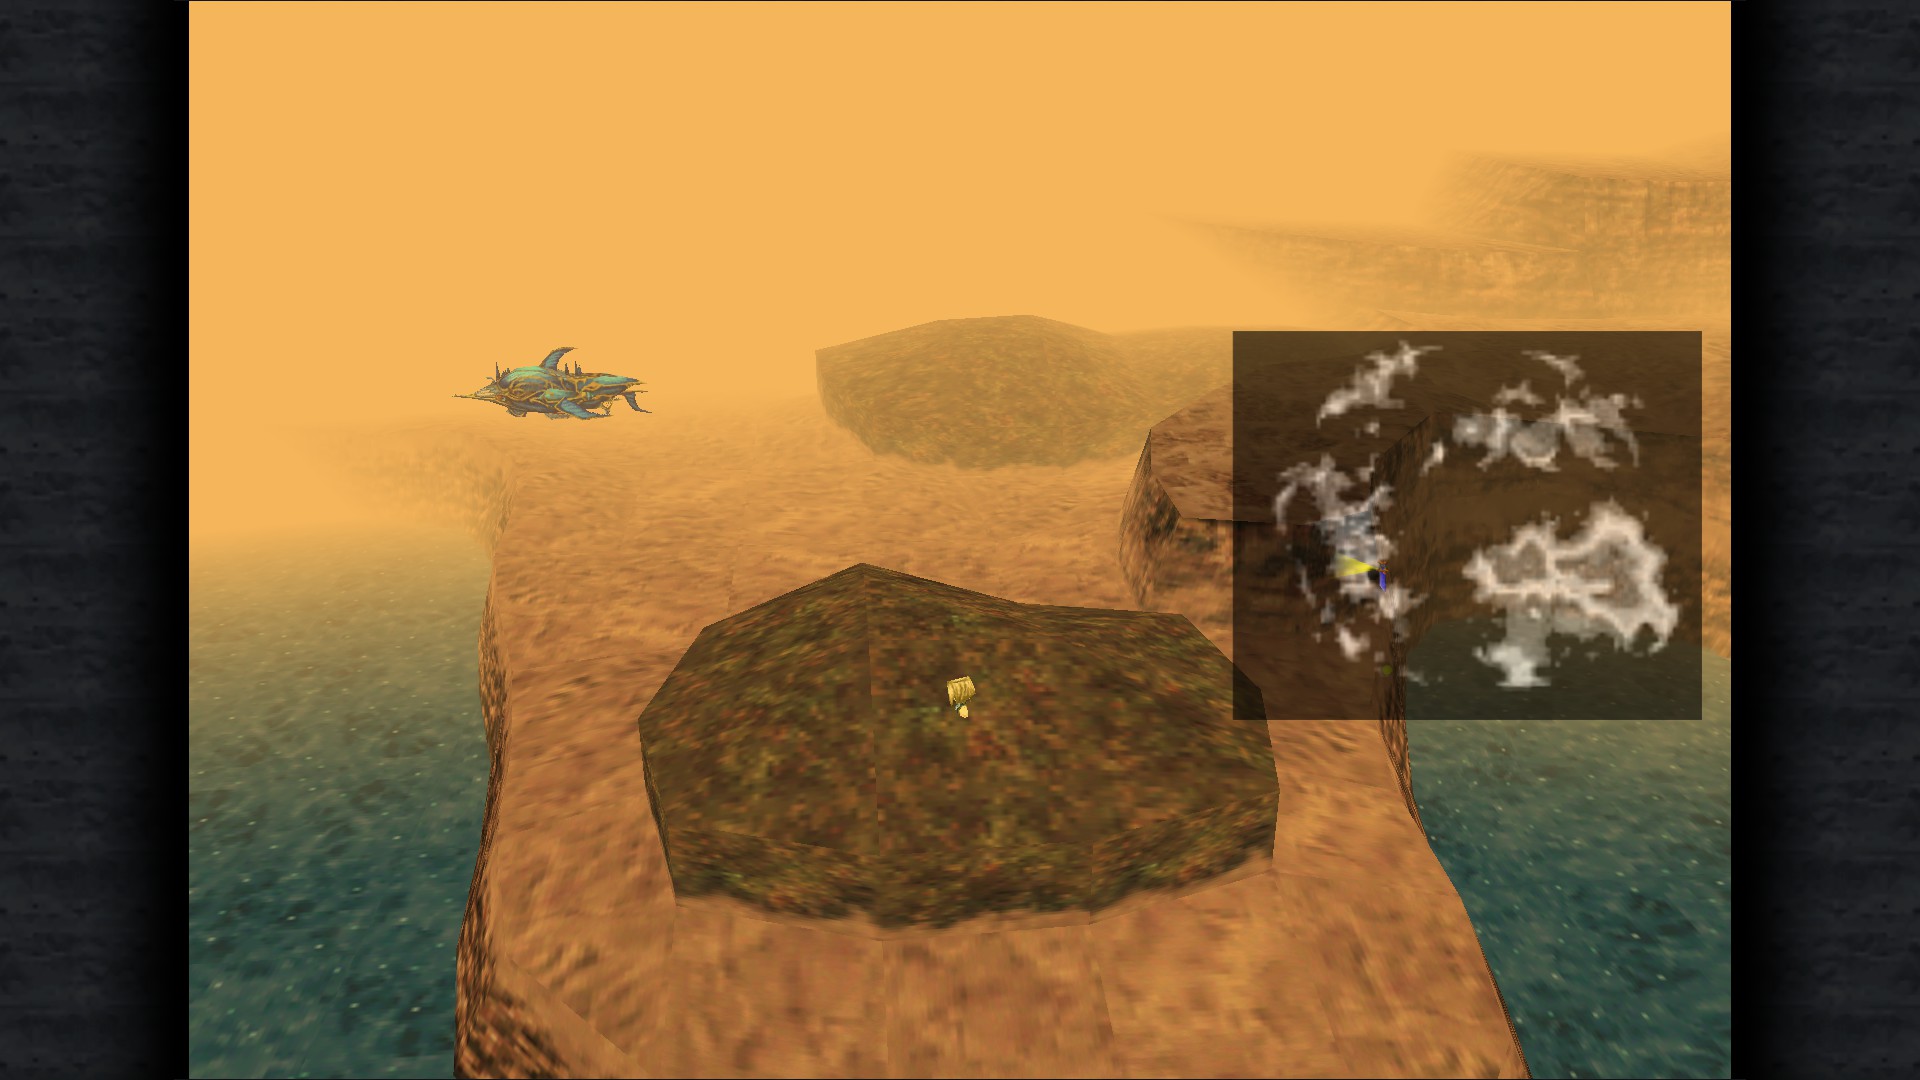
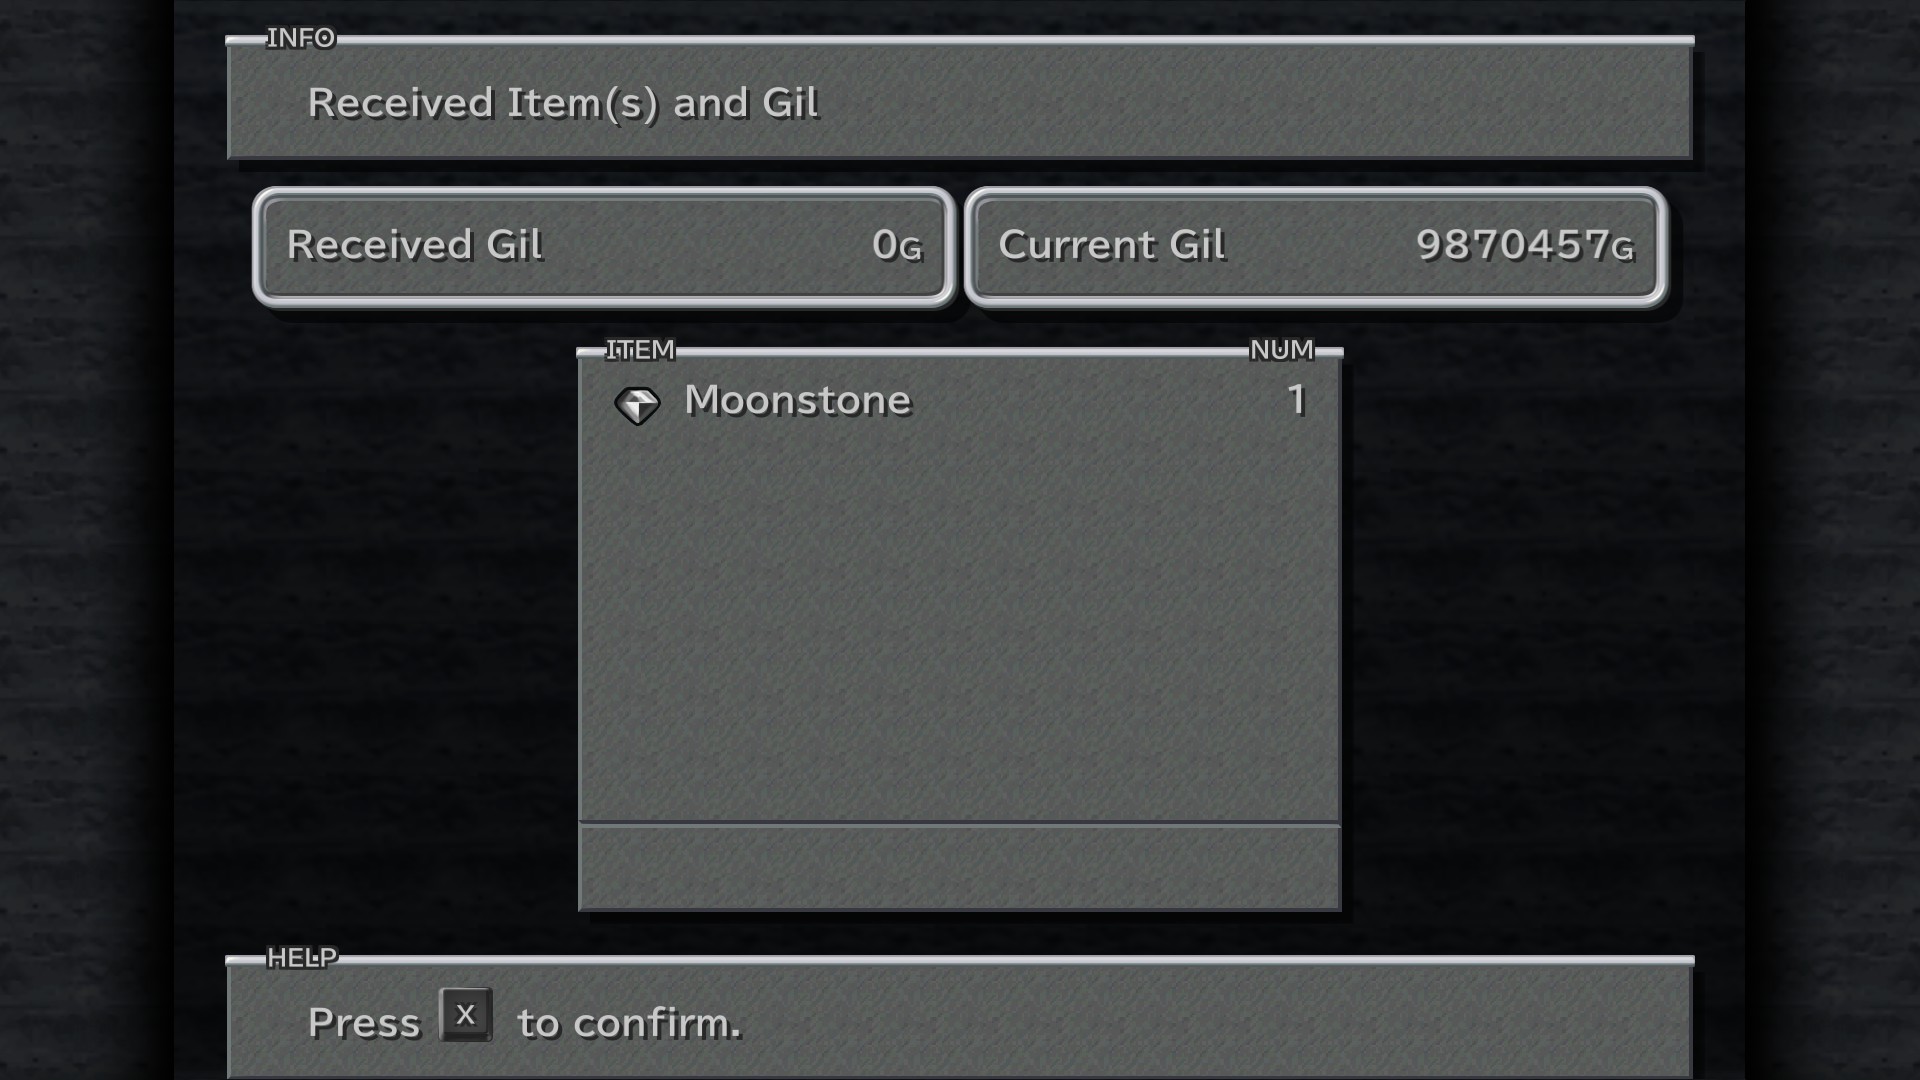
Friendly Jabberwock
Location:Small forest in Seaways Canyon (east of Oeilvert)
Request:Emerald / Reward:40 AP, Moonstone 4/4
Over the Moon
Obtain 4 moonstones.
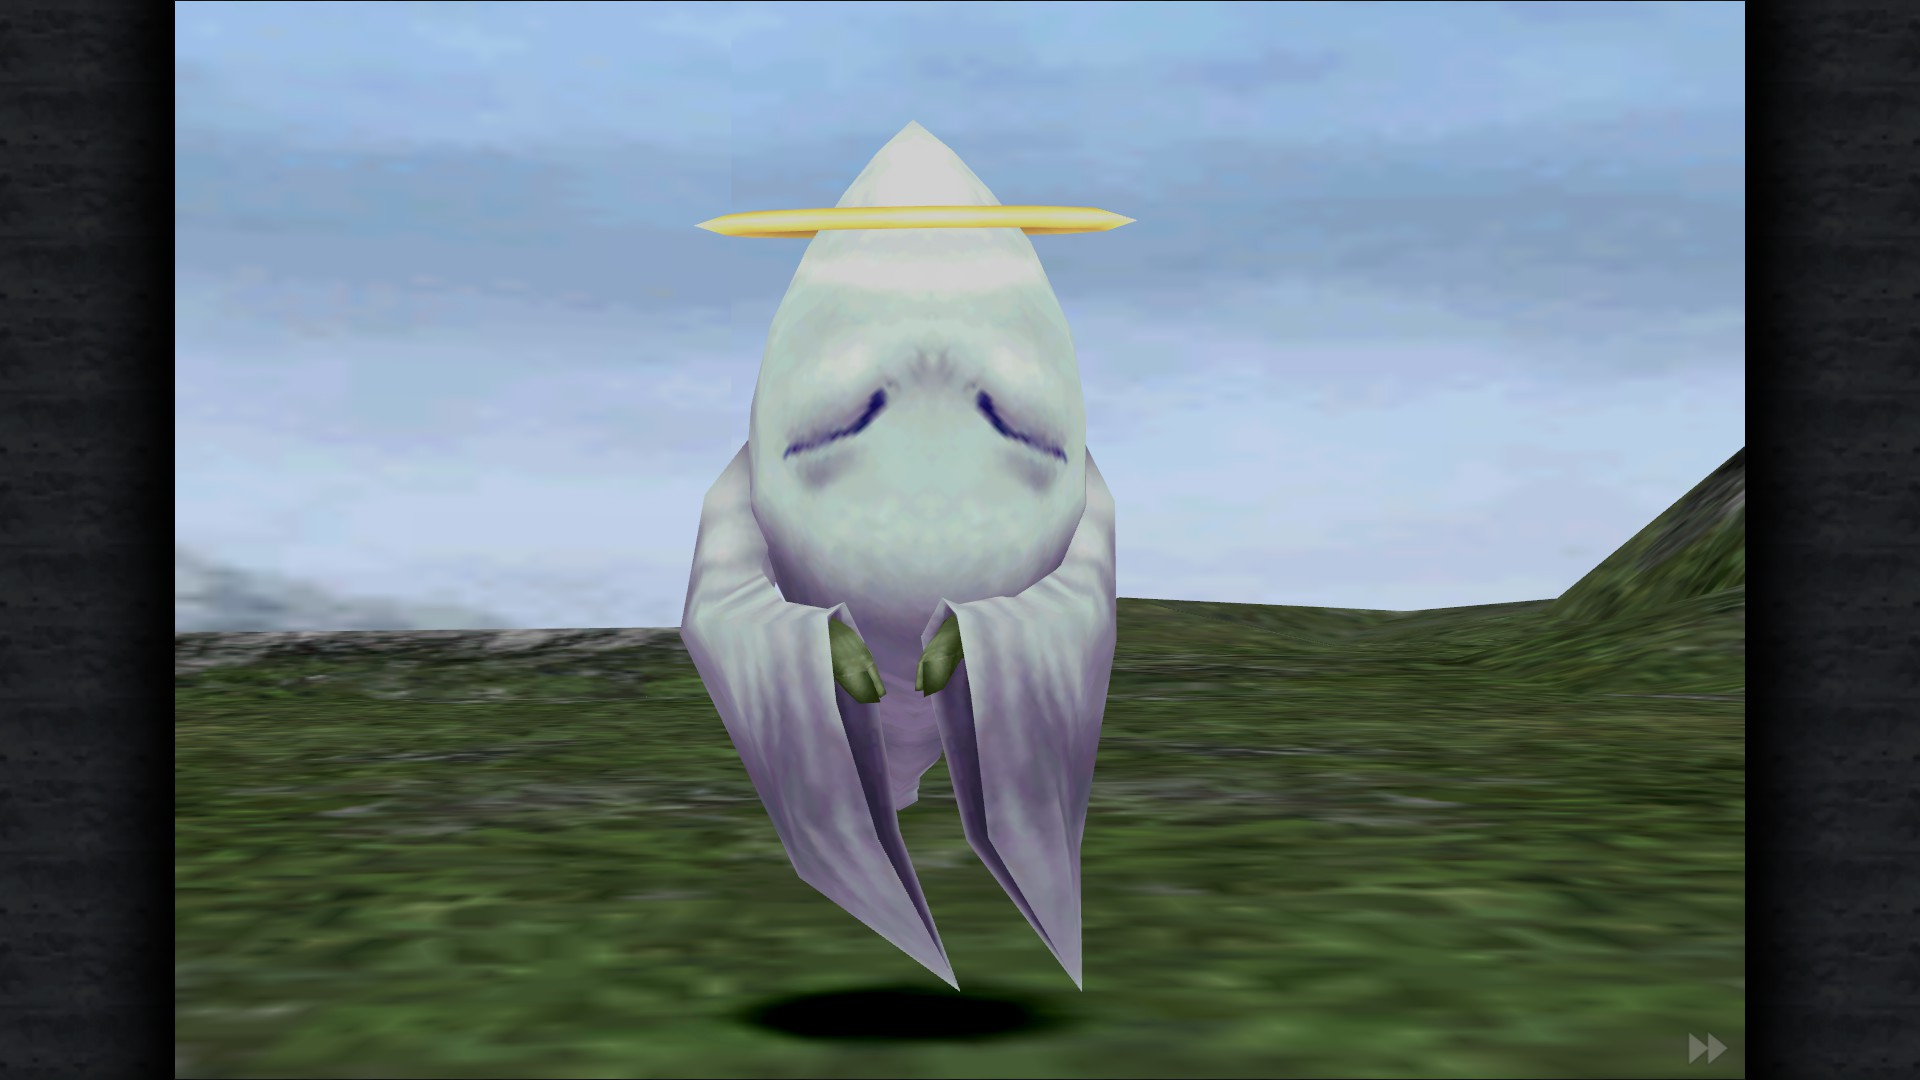
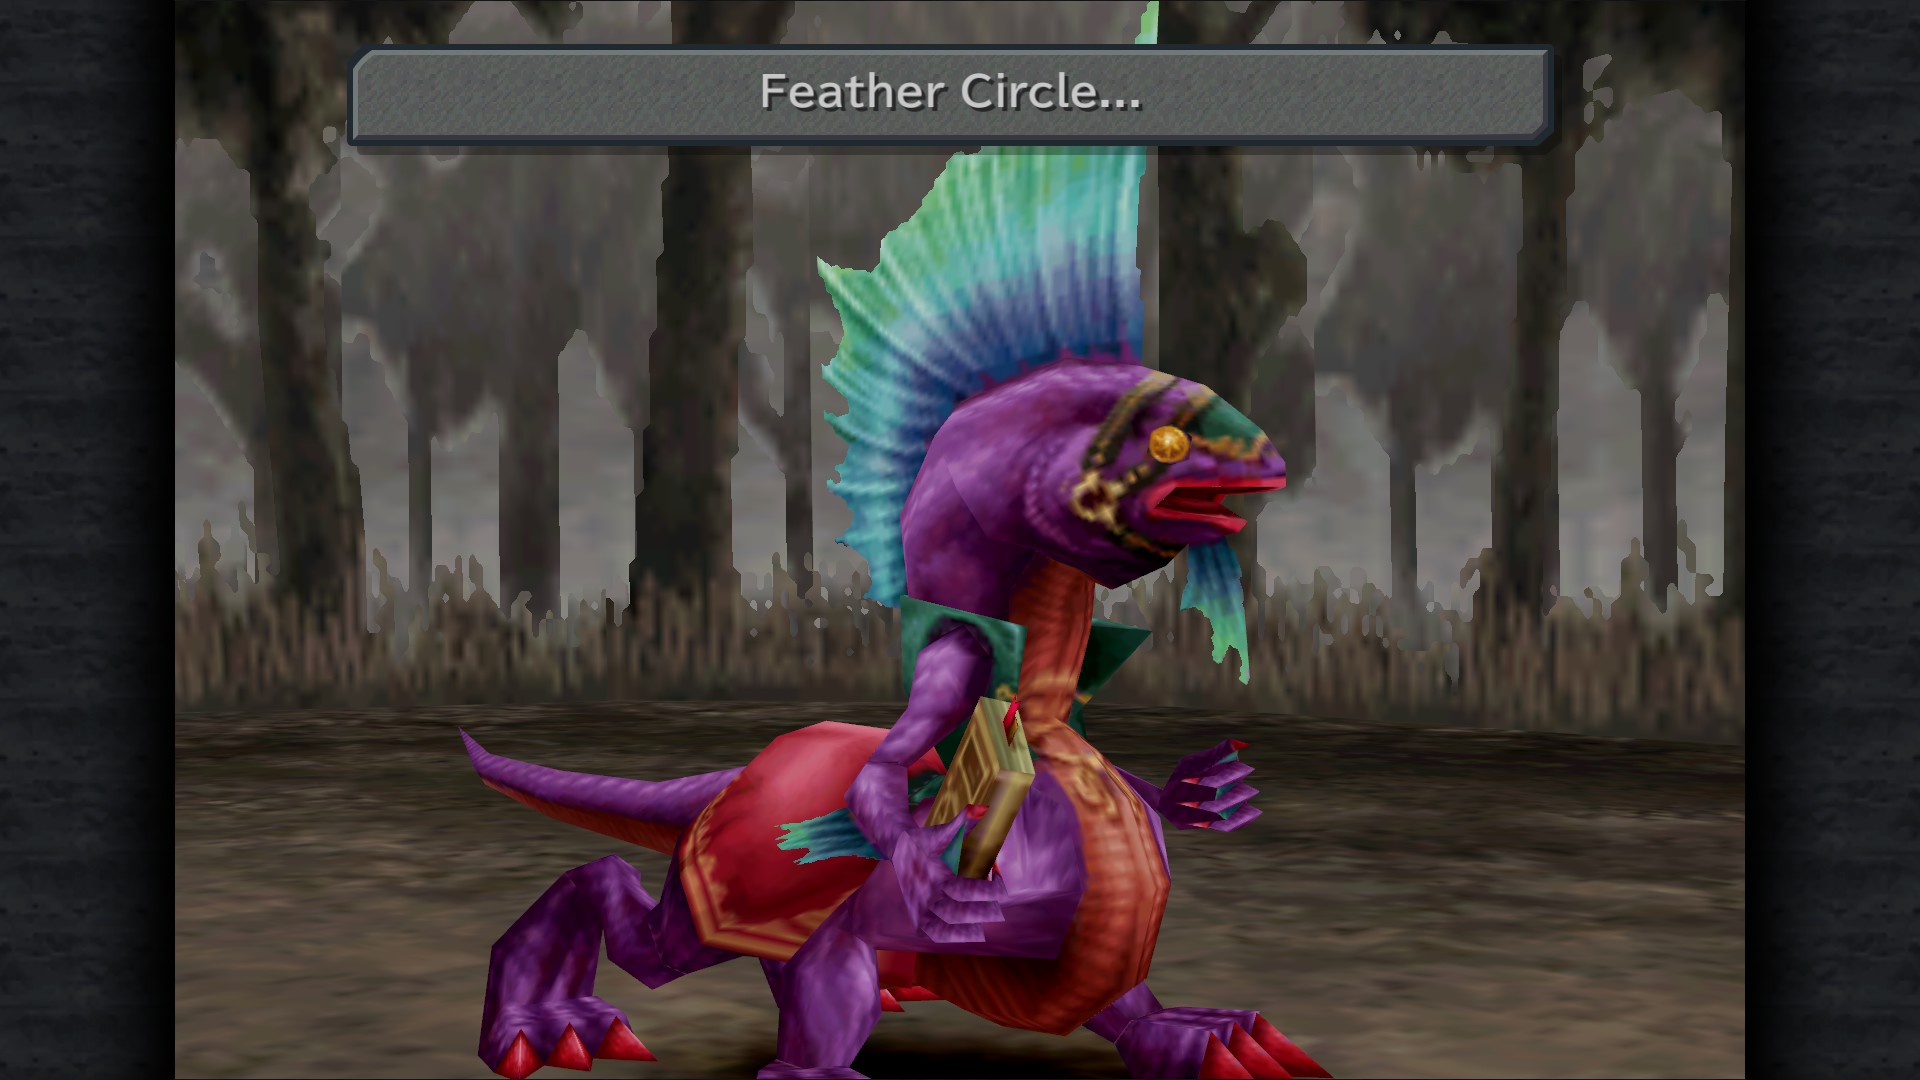
Friendly Feather Circle
Location:Mitmakis Ice Field on Lost Continent (Non forest area)
Request:Moonstone / Reward:30 AP, Lapis Lazuli
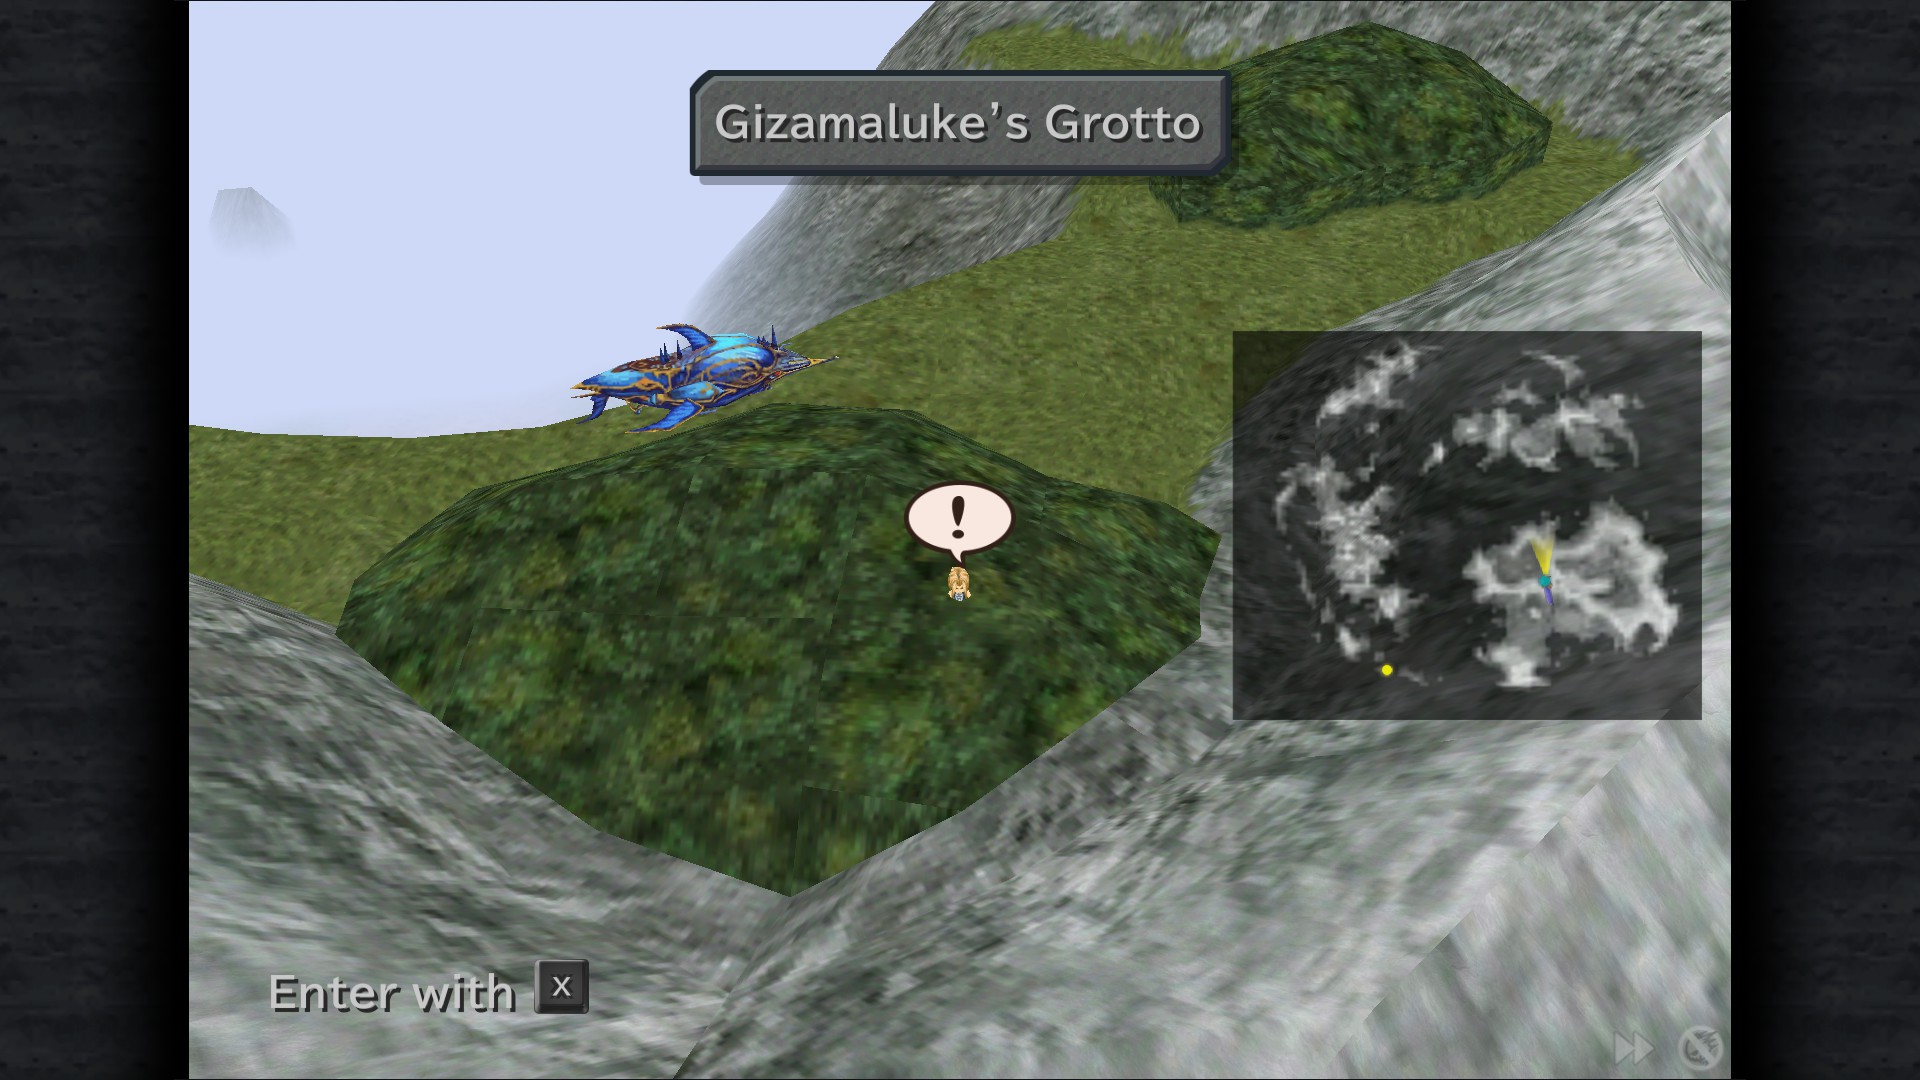
Friendly Garuda
Location:Forest in Popos Heights above Gizamaluke's Grotto
Request Lapis Lazuli / Reward:40 AP, Diamond
Friendly Yan
Location:Forest on Vile Island, southwest of Iifa Tree
Request:Diamond / Reward:50 AP, Rosetta Ring, also Ozma can now be attacked physically.
Mister Nice Guy
Gain the favor of all friendly enemies
Ragtime Mouse Sidequest
Ragtime Mouse can be found at any forest in the game.
The following includes the Ragtime Mouse's questions, including the correct answer. The questions will be asked randomly except for Question 16, which is always the last.
The 15th Lindblum War started in 1600. - False
Chocobo Forest is located between Lindblum and South Gate. - True
The Theater Ship Prima Vista was built in Artania Shipyards. - False
"I Want To Be Your Canary" was written by Lord Afon. - False
Lindblum Castle is larger than Alexandria Castle. - True
Some Mus are friendly and don't attack. - True
Fossil Roo is a tunnel that connects Treno and Alexandria. - False
Theater Ship Prima Vista uses Mist as its source of energy. - True
Berkmea cable cars have been running for eight years. - True
Lindblum's air cabs operate around the clock. - True
Only one desert exists in the entire world. - False
Conde Petie is a village of Goblins. - False
Prima Vista means love at first sight. - False
Treno's cafe, Card Carta, is members only. - True
Bobo bird is a bird that brings you fortune. - False
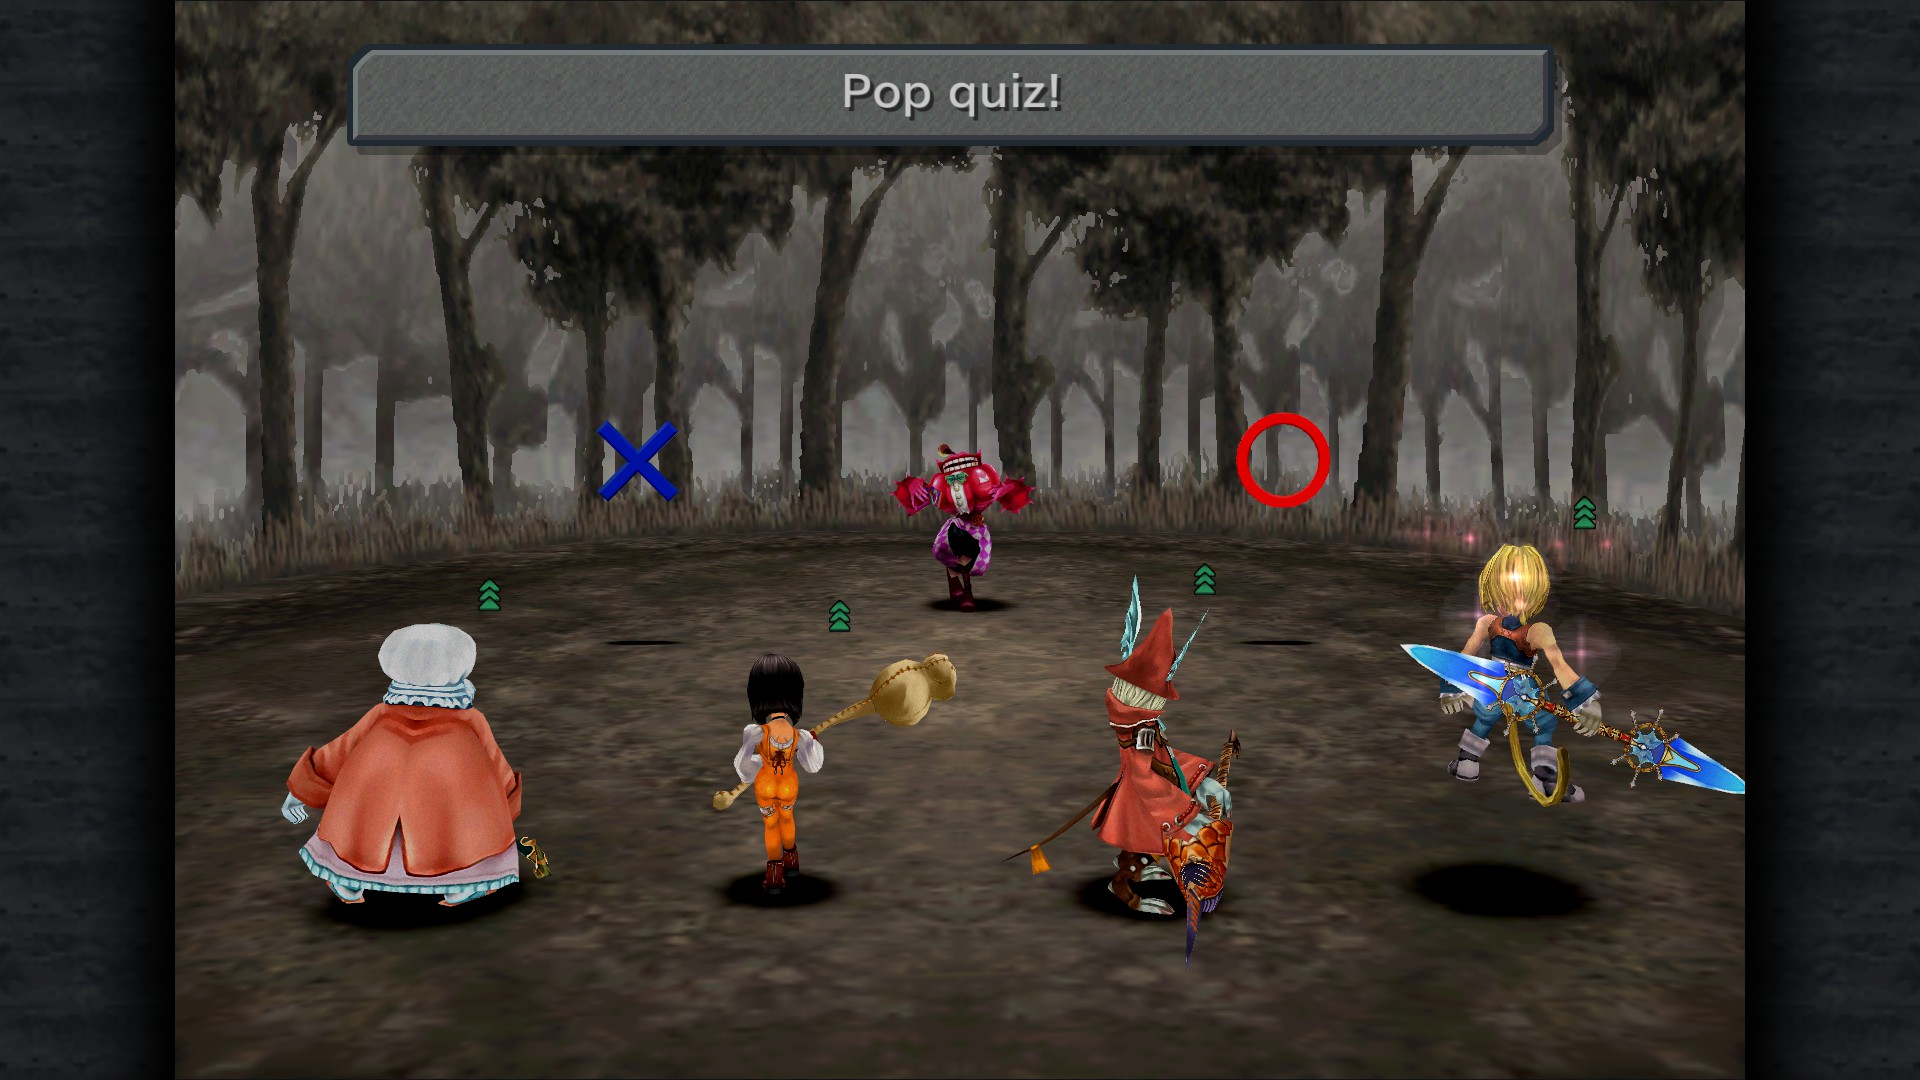
Last question:
You can defeat Ragtime Mouse. - True
After you answer his last question, you have to find him again in order to receive the achievement
Beating the Ragtime Blues
Correctly answer all the questions in Ragtime Mouse’s pop quiz.
A Pillar Of Support Checklist

A Pillar of Support
Acquire all available support abilities.
NameZidaneViviDaggerSteinerFreyaQuinaEikoArmarantAuto-Reflect✓✓✓✓✓✓✓✓Auto-Float✓✓✓✓✓✓✓✓Auto-Haste✓✓✓✓✓✓✓✓Auto-Regen✓✓✓✓✓✓✓✓Auto-Life✓✓✓✓✓✓✓✓HP+10%✓✓✓HP+20%✓✓✓✓MP+10%✓✓✓MP+20%✓✓✓Accuracy+✓✓✓✓Distract✓✓✓Long Reach✓✓✓✓MP Attack✓✓✓✓Bird Killer✓✓✓✓Bug Killer✓✓✓✓Stone Killer✓✓✓✓Undead Killer✓✓✓✓Dragon Killer✓Devil Killer✓✓✓✓Beast Killer✓✓✓✓Man Eater✓✓✓✓High Jump✓Master Thief✓Steal Gil✓Healer✓✓✓✓✓Add Status✓✓✓✓✓✓Gamble Defense✓✓✓✓Chemist✓✓✓Power Throw✓Power Up✓Reflect-Null✓✓✓Reflectx2✓Mag Elem Null✓Concentrate✓✓Half MP✓✓✓✓High Tide✓✓✓✓✓✓✓✓Counter✓✓✓✓✓Cover✓✓✓Protect Girls✓Eye 4 Eye✓✓✓✓Body Temp✓✓✓✓✓✓✓✓Alert✓✓✓Initiative✓Level Up✓✓✓✓✓✓✓✓Ability Up✓✓✓✓✓✓✓✓Millionaire✓Flee-Gil✓✓Guardian Mog✓Insomniac✓✓✓✓✓✓✓✓Antibody✓✓✓✓✓✓✓✓Bright Eyes✓✓✓✓Loudmouth✓✓✓✓Restore HP✓✓✓✓Jelly✓✓✓✓✓✓✓✓Return Magic✓✓Absorb MP✓Auto-Potion✓✓✓✓✓✓✓✓Locomotion✓✓✓✓✓✓✓✓Clear Headed✓✓✓✓✓✓✓✓Boost✓✓Odin's Sword✓Mug✓Bandit✓
A Pillar Of Support Pt. 2
I will list the most uncommon ones:
Note: Everything listed below is available at disc 4.
SkillEquipmentLocationDragon KillerJavelinFreya's initial weaponHigh JumpDragon MailDaguerreo Weapon ShopMaster ThiefThief GlovesSynthesize at DaguerreoSteal GilYellow ScarfSynthesize at Lindblum, Treno, Black Mage Village, or AlexandriaMillionaireYellow ScarfSynthesize at Lindblum, Treno, Black Mage Village, or AlexandriaPower ThrowBracerSynthesize at Black Mage VillagePower UpGolden SkullcapSynthesize at Black Mage VillageReflectx2Rosetta RingPrize for 10 Stellazzio coinsConcentrateRosetta RingPrize for 10 Stellazzio coinsMag Elem NullProtect RingAfter fixing Mognet CentralInitiativeBattle BootsCatch 45 frogs as Quina or Synthesize at DaguerreoProtect GirlsLeather ShirtDali Weapon ShopFlee-GilWristDali Weapon ShopGuardian MogRibbonMount Gulug after defeating Meltigemini (Storyline)Return MagicCoronetDaguerreo Weapon ShopAbsorb MPPromist RingSynthesize at DaguerreoBoostPumice PieceOeilvert after defeating Ark (Storyline)Odin's SwordAncient AromaIpsen's Castle treasureMugThief HatBlack Mage Village Weapon ShopBanditN-Kai ArmletIpsen's Castle treasure
Achievement Cleanup

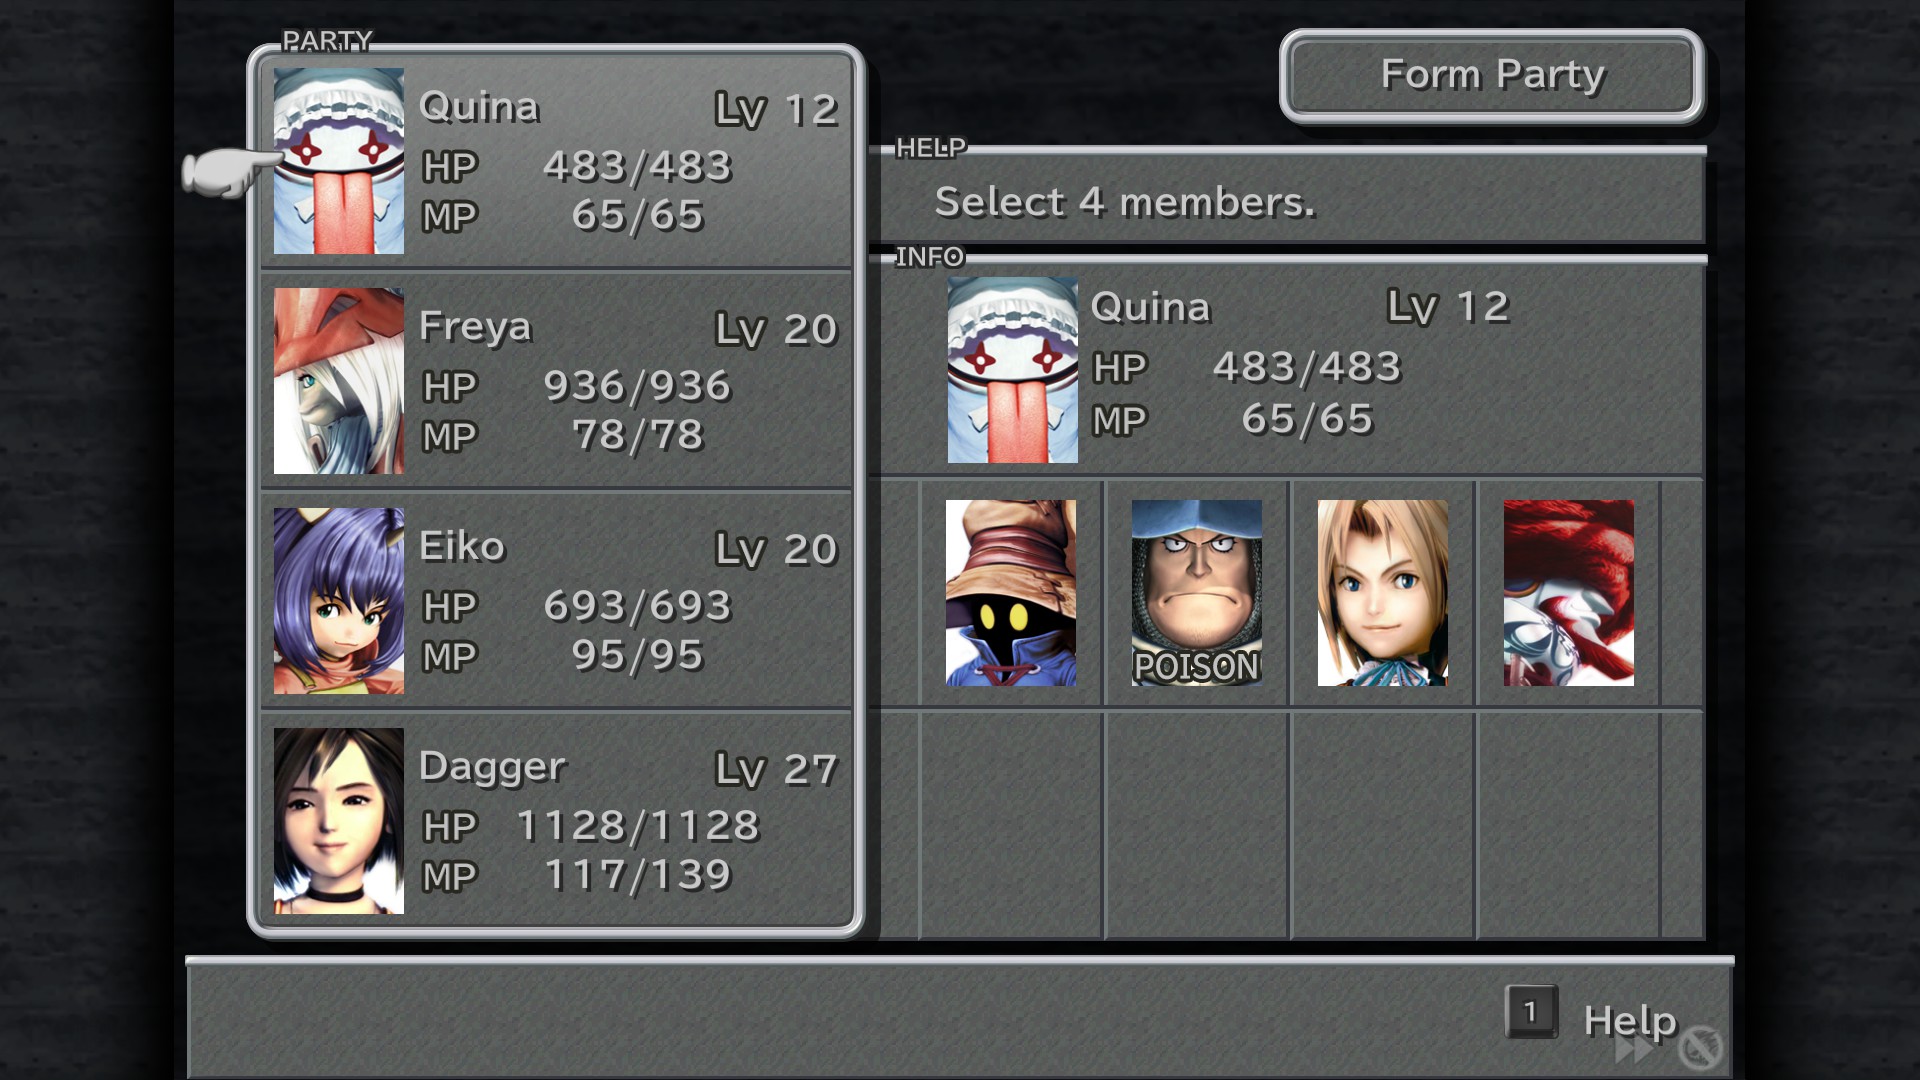


Femme Fatales?
Form a party with Quina Quen and three female characters
As the description says you must form a party with Quina , Eiko , Dagger and Freya. This can be done at any save point in Memoria since It's the only place where you can replace Zidane.
It can also be done as early as Desert Palace & Oeilvert, but it is not recommended.
The B-Team
Form a party with four male characters.
Same as above but male this time, your team should be: Zidane, Steiner, Amarant and Vivi.
It's All in the Cards II and III
Win 100 Tetra Master matches. (Certain NPCs can be re-challenged to increase your win count after progressing through the game.)
This achievement requires you to beat 100 different people...don't worry , there are enough people at the end of the game (102 including Card Stadium and Memoria ghosts)
Memoria Ghosts
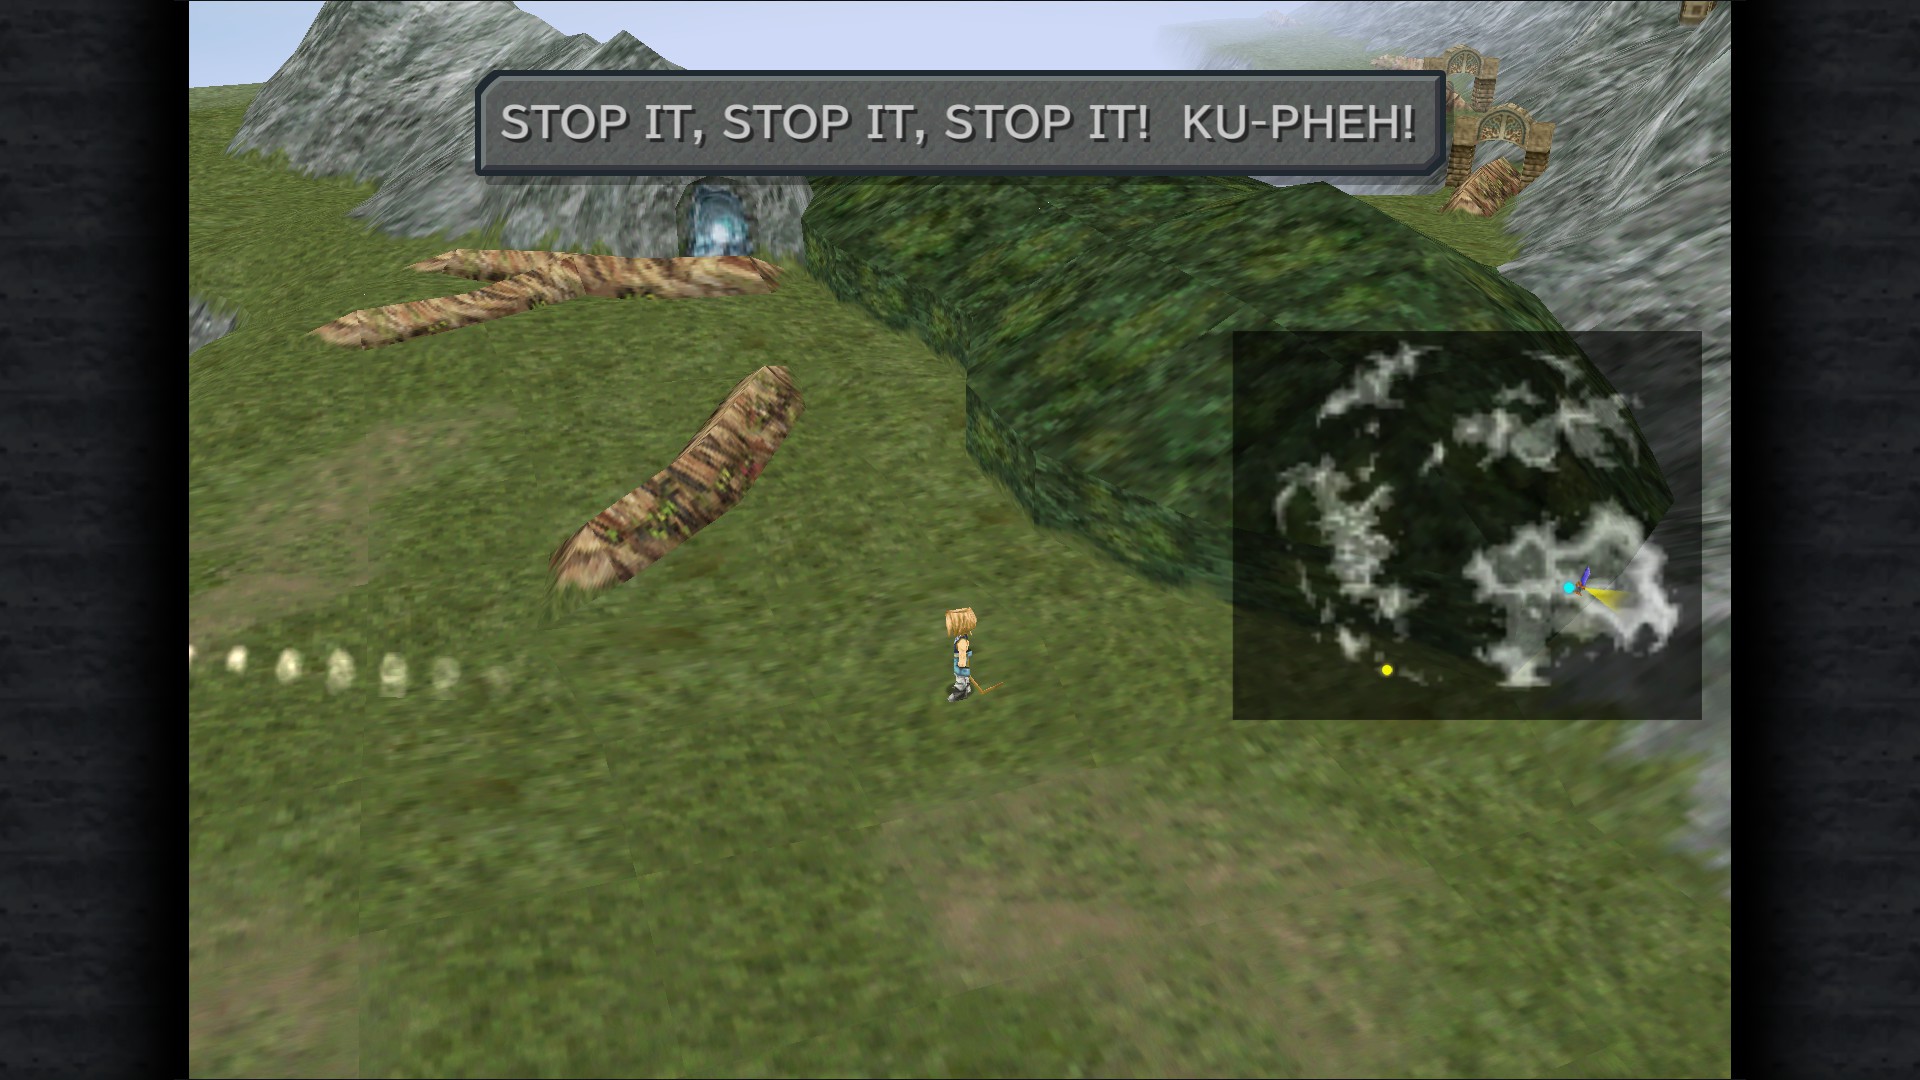
One Nag Too Many
Cause Moguo to have a tantrum.
Easy one, call Moguo (World map Moogle) a grand total of 17 times.
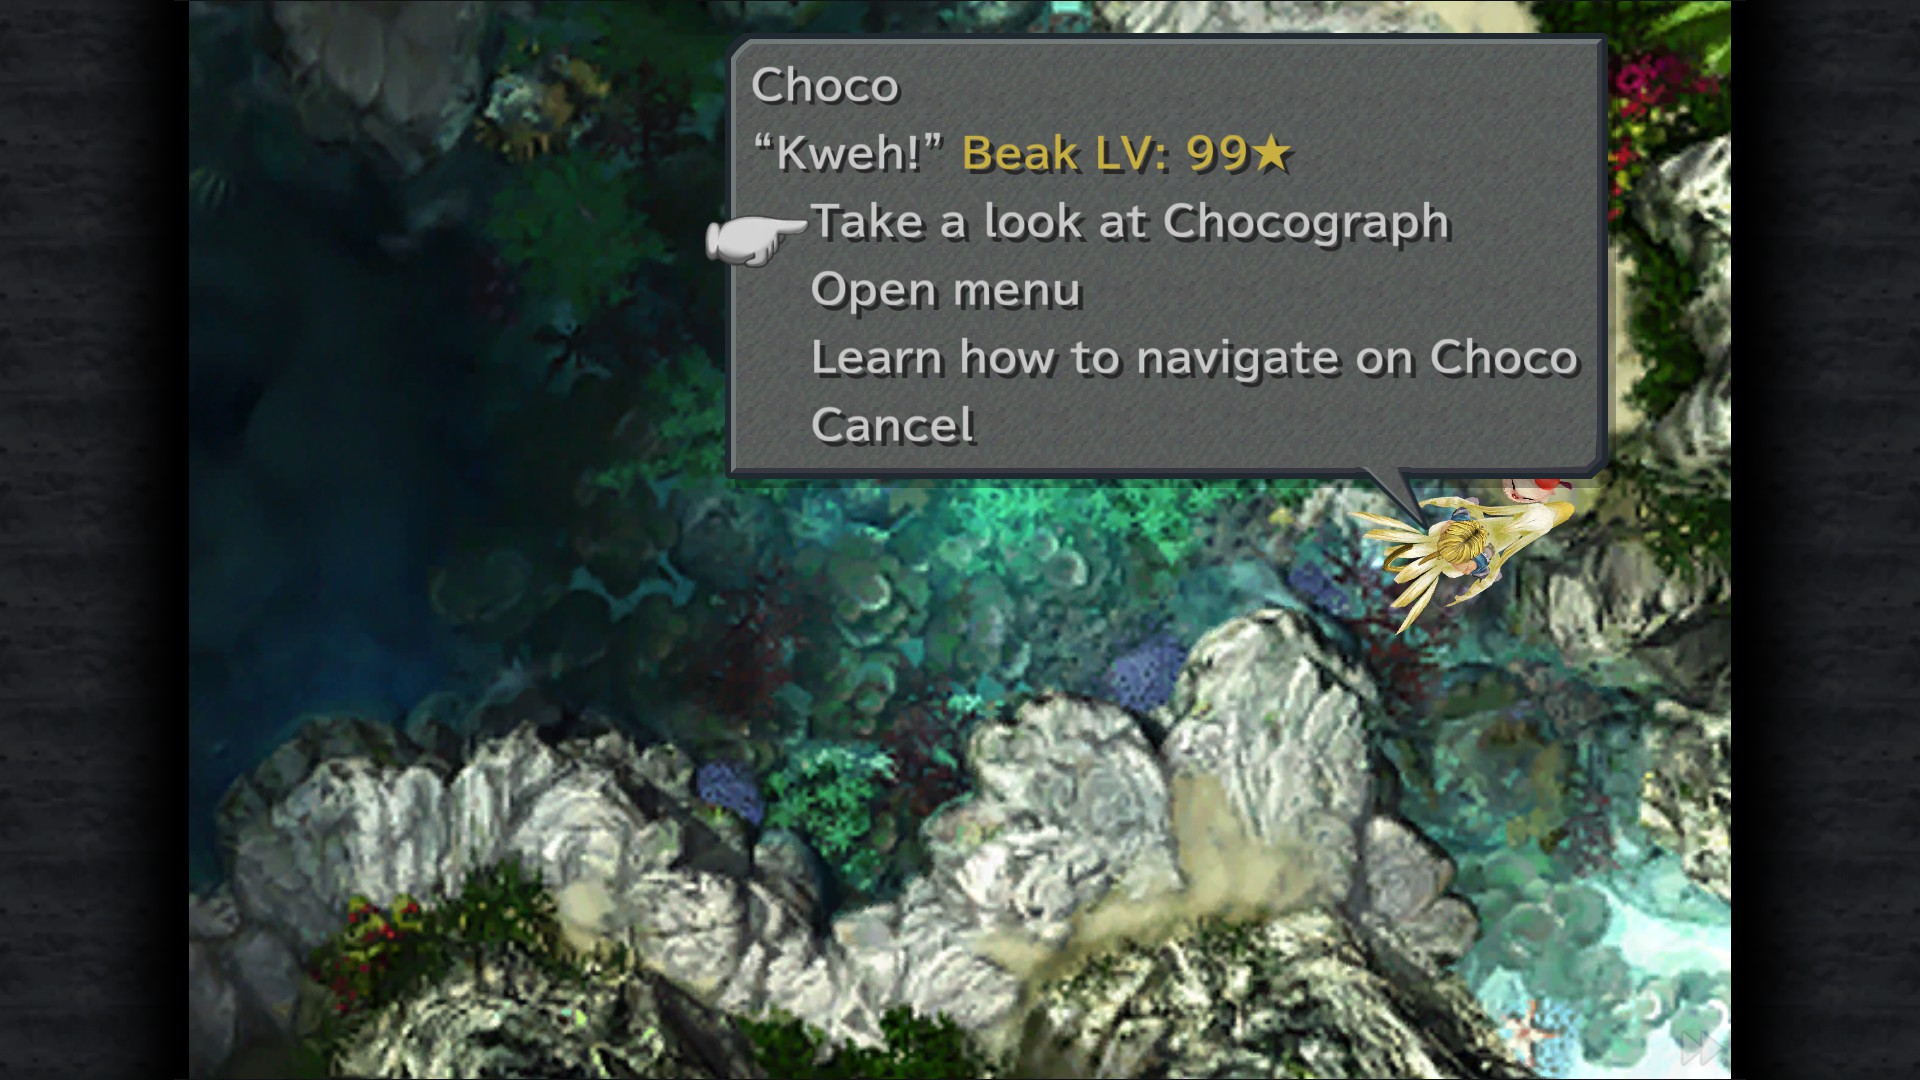
Follow Your Nose
Raise your chocobo's beak level to 99.
If you don't have this one by now, just go to the Chocobo Lagoon and play Hot and Cold until you hit beak level 99, I recommend getting 8 per run for the bonus exp and using fast forward to make itless tedious.
Qu's Marsh
Locations:
Ore - given to you by Quale for catching 2 frogs
Ether - given to you by Quale for catching 5 frogs
Silk Robe - given to you by Quale for catching 9 frogs
Elixir - given to you by Quale for catching 15 frogs
Silver Fork - given to you by Quale for catching 23 frogs
Bistro Fork - given to you by Quale for catching 33 frogs
Battle Boots - given to you by Quale for catching 45 frogs
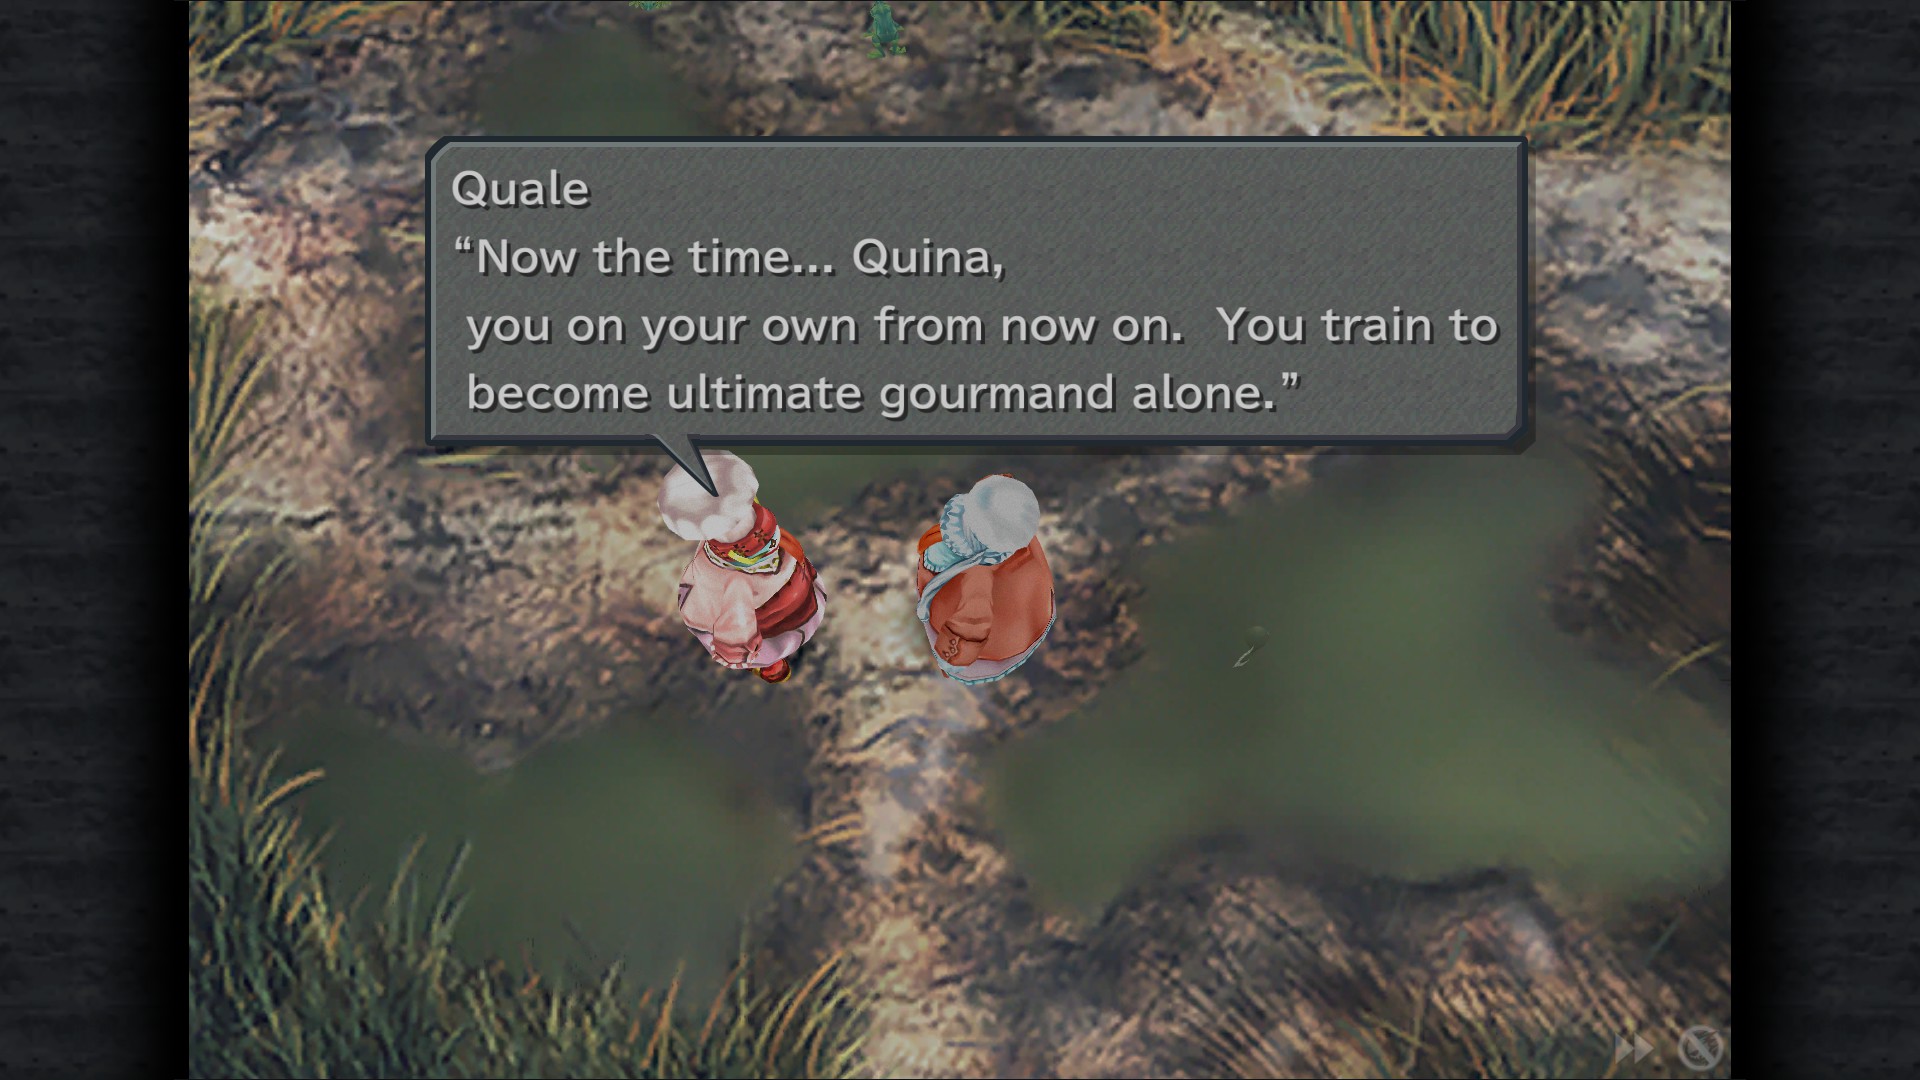
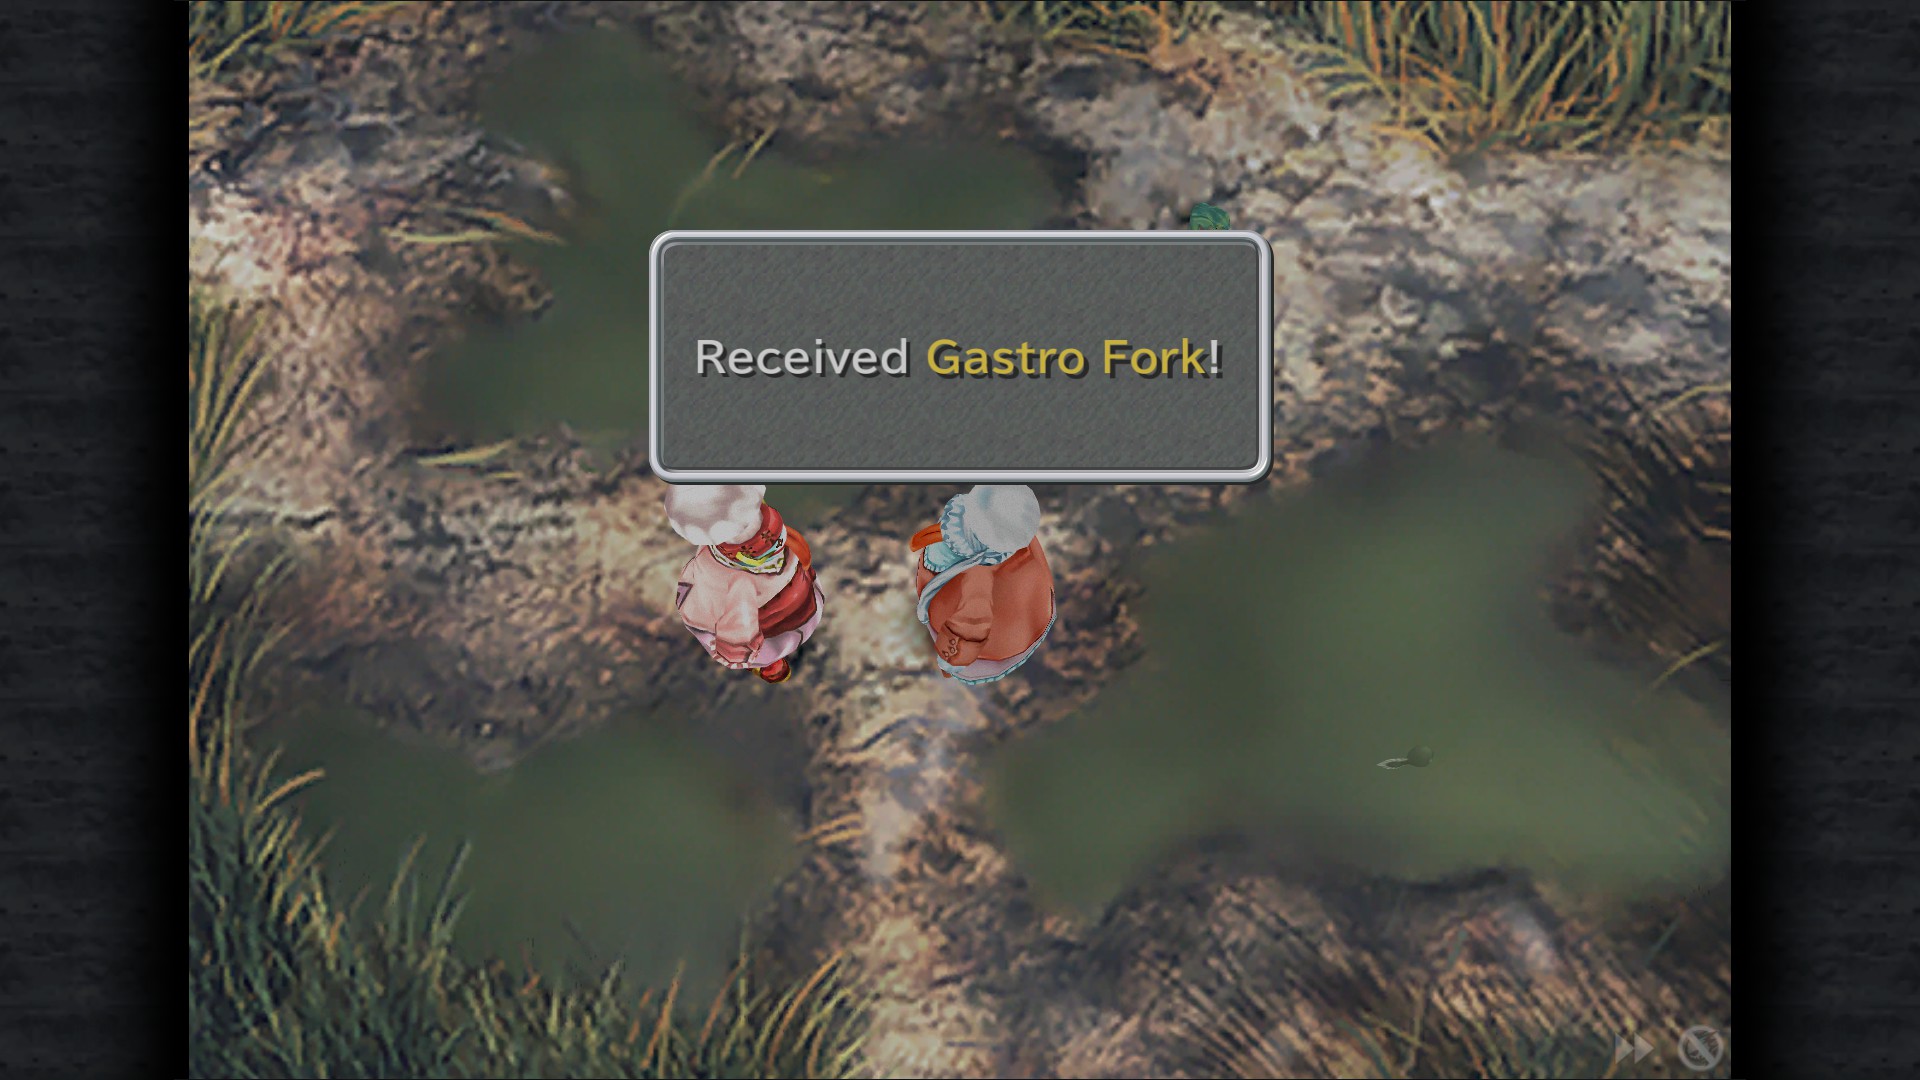
Gastro Fork - given to you by Quale for catching 99 frogs
Frog Wrangler
Successfully catch 99 frogs
Going for the Gold
Successfully catch a golden frog
The Ultimate Fork
Obtain the Gastro Fork
Catching frogs is a very simple task, your objetive is to catch the frogs when they're close enough but watch out, they'll run away if you're too close. After you have caught them all in a marsh,head to another one and repeat. If all the marsh run out of frogs return at another time to find more.
When you hit 99 frogs, Quale is going to challenge you, defeat S/he to receive the Gastro Fork.
Still I rise
Activate the Rebirth Flame ability when all party members are incapacitated
There's a chance of casting Rebirth Flame when Eiko is in your party and if all your team gets incapacitated, the chance of this happening is equal to
[(# of Phoenix Pinions / 256) * 100]
38% being the max if you have 99 Phoenix Pinions in your inventory.
Other Summon related achievements:
Mastering them is not required, just equip the jewel in question and use the summon in a battle.
Most of them are Story related but some are not, I'll list the ones that are harder to find.
Dagger
Shiva - Opal
Ifrit - Topaz
Ramuh - Peridot
Atomos - Amethyst
Odin - Dark Matter (Buyable on Treno's Auction House)
Leviathan - Aquamarine (Tradeable for 4 Ores on Daguerreo)
Bahamut - Garnet
Ark - Pumice (There are 2 ways to obtain a Pumice, defeating Ozma or crafting one with 2 Pumice pieces with Hades [Check Memoria section for its location])
Eiko
Carbuncle - Ruby
Fenrir - Sapphire
Phoenix - Phoenix Pinion
Madeen - Ribbon (You get a Ribbon as part of the Storyline)
Achievements gained with this:
You're Cold as Ice
Summon the eidolon Shiva.
Heat of the Moment
Summon the eidolon Ifrit.
Bring on the Thunder
Summon the eidolon Ramuh.
Bringing Down the House
Summon the eidolon Atomos.
The Dim Mak
Summon the eidolon Odin.
Surf's Up
Summon the eidolon Leviathan.
King of Dragons
Summon the eidolon Bahamut.
Firin' Mah Lazer
Summon the eidolon Ark.
Here to Help
Summon the eidolon Carbuncle.
Wolf Insanity
Summon the eidolon Fenrir.
Rise from the Ashes
Summon the eidolon Phoenix.
Wolf in Mog's Clothing
Summon the eidolon Madeen.
Blackjack Minigame
Taking the Black
Play the blackjack minigame.
Unlike the Playstion version, you don't have to type a code to unlock this minigame at the end screen, instead, Blackjack minigame will be available in the main menu after you have finished the game at least once, play a round and the achievement will be yours.
Achievement Cleanup Pt. 2


Other grindy stuff:
Most of this doesn't require an explanation, just get into a battle and use the commands as much as you can.
That Old Black Magic
Use Black Magic spells 100 times.
A Healing Touch
Use White Magic spells 200 times.
I'm So Blue
Use Blue Magic spells 100 times.
You Called?
Summon Eidolons 50 times.
Sticky Fingers
Use the Steal command 50 times.
The Best Offense
Use the Defend command 50 times.
Overly Emotional
Enter trance 50 times.
Coming Together I & II
Synthesize 30 items.
There's a Synthesis shop in almost every town. You can also craft the most cheap equipment 30 times to get this achievement, just make sure to don't craft them all at once or it will only count as one.
Auctioneer
Win 10 items at the Treno Auction House.
You should probably have this one by now, if not, head to the Auction house and bet for the cheapest stuff.
A Clean Bill of Health
Have a single character affected by all status ailments. (both beneficial and detrimental).
You have to manually inflict the status for this one, magic stones won't work
Checklist
Heat: Steiner's Flame Saber with Add Status
Mini: Eiko's or Dagger's WHM
Slow: Vivi's BLM
Stop: Vivi's BLM
Sleep: Vivi's BLM
Virus: Yan at Vile Island (the one with the great pyramid)(Virus Powder)
Venom: Whale Zombie enemy at almost any beach on disc 3/4 (Venom Breath)
Freeze: Steiner's Ice Brand with Add Status
Poison: Vivi's BLM (Bio)
Zombie: Whale Zombie enemy at almost any beach on disc 3/4 (Zombie Powder)
Berserk: Dagger's WHM
Confuse: Dagger's WHM
Petrify: Vivi's BLM
Silence: Eiko's or Dagger's WHM
Trouble: Zidane's Annoy skill
Darkness: Dagger's WHM
Doom: Ash enemy in Memoria - Familiar Past (Doom)
Gradual Petrify: Basilisk in Burmecia (Gradual Petrify)
Haste: Eiko's WHM
Regen: Eiko's WHM
Float: Eiko's or Dagger WHM
Shell: Eiko's or Dagger's WHM
Vanish: Quina's BLM (Learned from Hornet on Gizamaluke's Grotto)
Protect: Eiko's or Dagger's WHM
Reflect: Eiko's or Dagger's WHM
Auto-Life: Quina's BLU (Learned from Gimme Cat on Palmnell Island, next to Chocobo Lagoon)
Cracking the Code
Uncover the secret of the Eidolon Wall.
Form a party with Dagger and visit Madain Sari, go to the back porch where you will find Lani, she will run away. Now reenter Madain Sari with anyone except Dagger or Amarant and talk to Lani twice.
Read the message in the secret room and head to the Eidolon Wall. Once here, walk clockwise from the entrance (heading to the right) until you return to the entrance and move past the "!", you should hear a chime. Now walk counterclockwise back to the entrance and move past the "!" again, repeat this 9 times going back and forth (make sure you hear a chime each time). if done correctly your HP/Mp will be recovered and all status abnormalities removed.
Now read all the paintings in any order, as long as you read them all.
New messages will appear this time, after you read them return to the Ifrit drawing and look for an extra message, revealing Dagger's true name and unlocking this achievement.
Let the Bodies Hit the Floor I
Defeat 100 enemies.
Let the Bodies Hit the Floor II
Defeat 1000 enemies.
Let the Bodies Hit the Floor III
Defeat 10000 enemies.
Self explanatory. Use fast forward,auto battle, auto-regen, auto-haste and auto-life if possible, 9999 dmg boost is optional.
I used the area near Dali Village (there are 2 encounters with 3 enemies).
Grind method: I rubber-banded my controller sticks to run in circles and pressed accept after each battle,easy as that. watch out with the Dracozombie.
Backstabber
Receive 30 back attacks.
You'll get this one during the 10000 kills grind if not before, just make sure to don't have the support ability "Alert: prevents back attacks" enabled.
End of the Road
Attain level 99 with at least one character.
Same as above.
Source: https://steamcommunity.com/sharedfiles/filedetails/?id=665159772
More FINAL FANTASY IX guilds
- All Guilds
- FINAL FANTASY IX Guide 10
- Tetra Master for scrubs
- Finding All Stellazio
- EASY JUMP ROPE MINIGAME [not hax] | *2020 Updated*
- Final Fantasy IX Walkthrough
- - Steam
- All Achievements Guide
- Final Fantasy IX: Blue Magic (Quina) Guide
- Final Fantasy IX - Achievement Walkthrough