
Our Weapons.
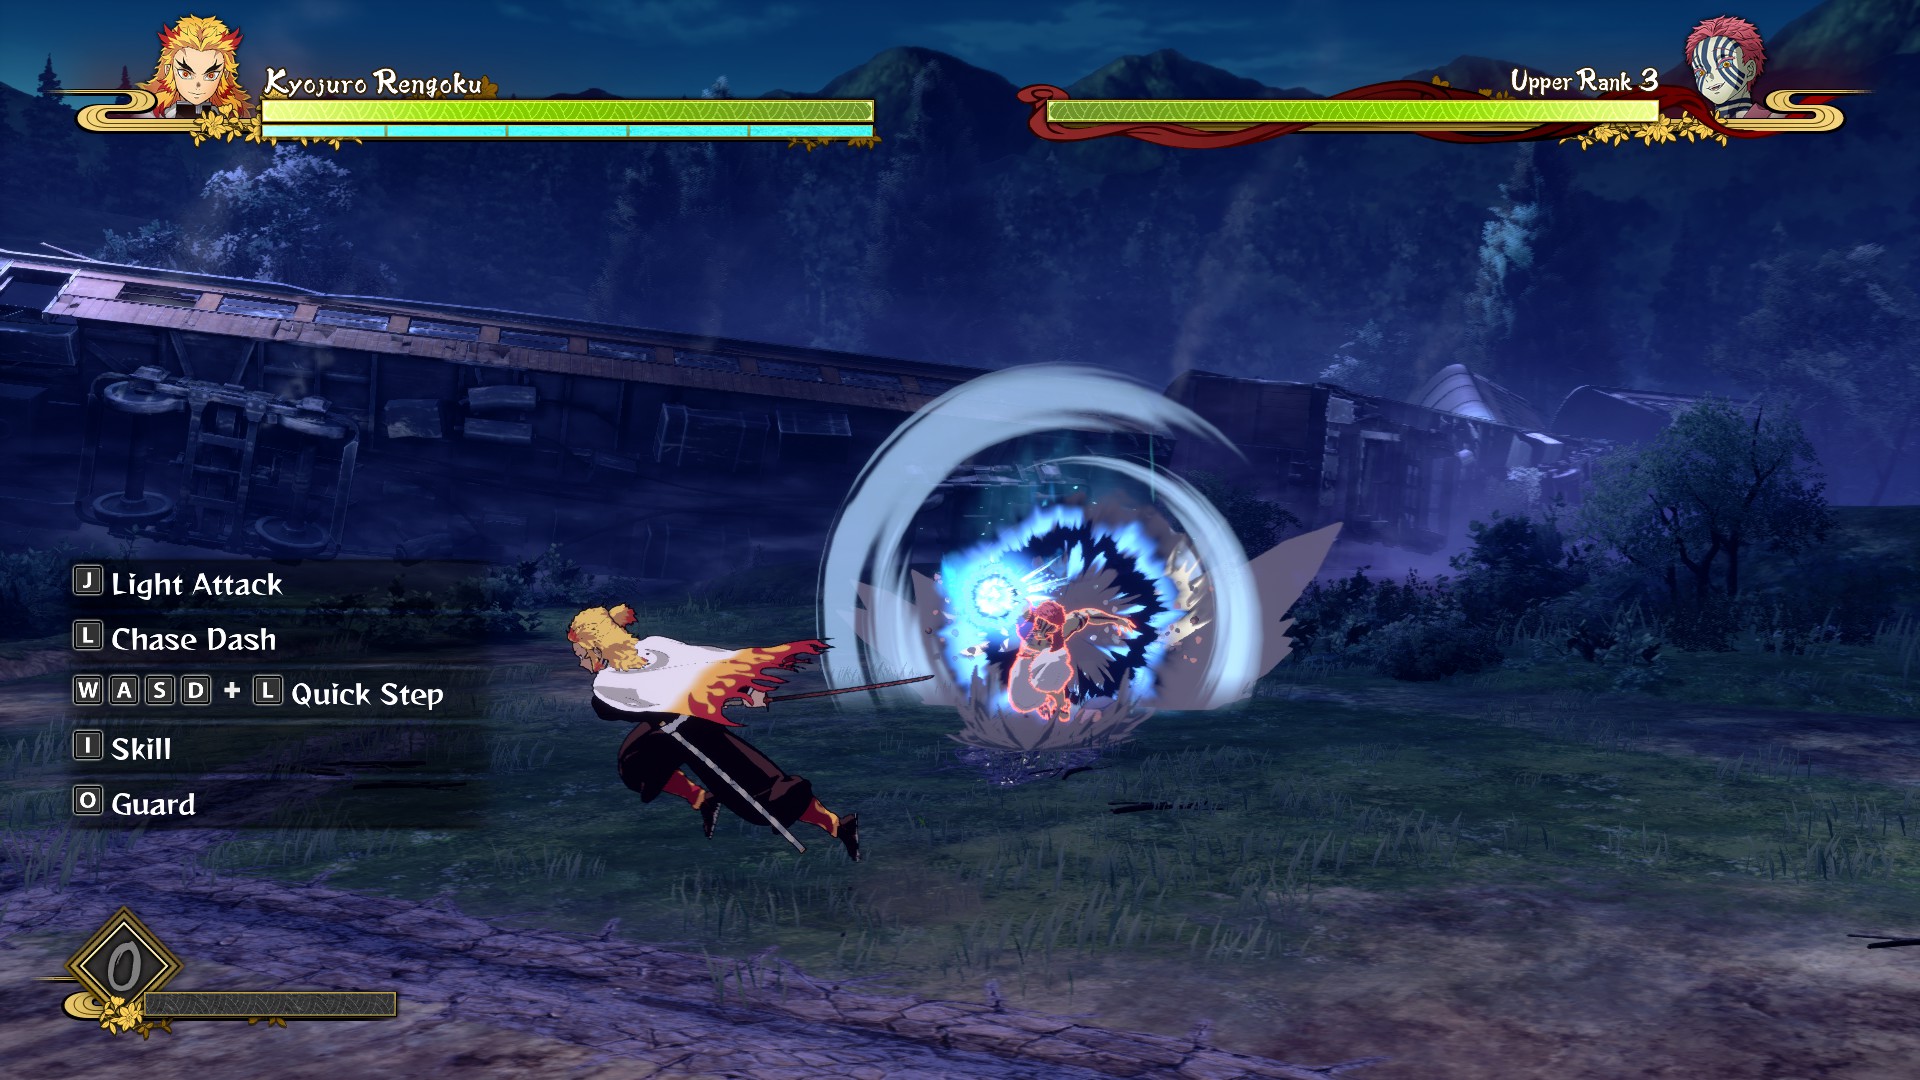
Our attack to "approuch" is Third Form: Blazing Universe (forward+Y), this skill is medium range and will let us continue a combo.
Main Combo:
Third Form Blazing Universe (forward+Y), then Third Form: Flame Tiger (Y). You can repeat secuence for a 24hit Combo (when having full Skill gauge).
Note: This will empty your Skill gauge, limiting your next attack sequence to just one skill. Since it takes time to replenish gauge. So use "alternative combo", when running low Skill gauge. Listed below.
Note: This will guarantee 240 points for Rank Score. Anyway the more important thing for Ranking S is having much HP left.
Alternative combo:
We start with Third Form: Blazing Universe (forward+Y)
If hit, we'll continue with Light Attacks auto combo, the last hit will raise Akaza to the air.
Note: You can mash buttons (Inputs are weird). Just stop after the last hit.
Press B (dash) to continue combo. if you dont, combo ends.
In Middle Air, we'll continue with Light Attacks auto combo, the last hit will knock down Akaza.
Optional: Inmediatly, you need to be fast, because the frame window is small. Press Y (skill) again to finish off with Third Form: Flame Tiger (Y)
Recap:
Main combo:
Forward+Y, Y, Forward+Y, Y, Forward+Y
Alternative combo
Forward+Y, X, X, X, X, B, X, X, (Y)
Alternative combo video:
https://youtu.be/M8MQYoR6Kk4
First Fight.


This fight has 2 parts.
The first part (more than 50%HP) Akaza runs, dodge and only Dash (from now called "Simple Dash".
Try to keep distance. If Akaza "Simple Dash", then dodge, start with the "Main Combo". Use "Alternative Combo" when running low Skill Gauge. You can also try to launch combo while Akaza is just running around, if you miss, dash out his range to avoid being damaged.
Note: just remember your Skill gauge is limited, it replenish over time slowly. Is safest to wait Akaza uses "Simple Dash".
Once you take away around 50% of his HP. The second part of fight with Akaza starts. Now he has more attacks:
- "Simple Dash"
- "Combo Dash", it shows a Red Circle in the floor before he tries to Kick Combo.
- "Projectiles"
- "Fake Dash", similar to "simple" but it stops to Punch you (Ora Ora Ora).
Note: Is a good idea to use Boost in this moment, but try to do it when Full Skill gauge. It will increase your damage and speed, helping you to dodge better projectiles and "Fake Dash".
You can only attack AFTER you dodge "Simple Dash" and "Combo Dash", because the others have instant recovery and them will interrupt you, if you try to "approuch".
"Simple Dash"
"Combo Dash"
"Fake Dash"
This is a very easy fight, but learning how to attack will help us with the Next Battle.
Second Fight


In this Fight Akaza has 2 Health Bars. Dont worry we already know the majory of his attack pattern. Is similar to the last part of the first fight, but with a Twist: Akaza can activate "Rage Mode".
In the first HP bar (the hardest). Akaza has the follow attacks:
- "Combo Dash", it shows a Red Circle in the floor before he tries to Kick Combo.
- "Aerial Fall", Big Red Circle moving to you. Akaza falls from Sky.
- "Projectiles".
- "Projectiles in Mid Air".
- "Fake Dash", similar to "Simple Dash" but it stops to Punch you (Ora Ora Ora).
- "Rage Mode". When Akaza enters Rage Mode his attacks change a little: has more projectiles, more range and attacks cant be interrupted (Dont attack him), This attack has a variant later in the fight: 1 second last attack after mass projectiles from air, "Aerial Fall". So stay alert after you take away the 40-50% of the First HP Bar,
Note: Try to keep distance. Dodge all you can, but if you think you late to dodge, then block. In this fight we dont need much HP left, around 40% is enough.
Note: Like the First Fight, we need to land the "Main Combo" at least 1 time with 5 Skill bars, for Combo Bonus (240 points).
The first HP bar is the hardest. Akaza is fierce and will trick you with "Fake Dash", while spamming "projectiles". We only have 2 chances to hit (safest). When Akaza is doing "Combo Dash" and after "Rage Mode" ends (finish with mass projectiles when Akaza has more than 70% HP and later in the fight has 1 more attack, the "Aerial Fall" when has less than 70% HP). When Akaza exhaust after "Rage Mode" he becomes vulnerable, but you need to be fast. Akaza recover is short and will punish with "Fake Dash", if you late.
Note: You can activate "Boost" to increase Attack and speed. Having Full Skill gauge is recommended.
"Combo Dash"
"Rage Mode"
"Vulnerable point of Rage Mode"
Once you take away his first HP bar. Akaza regenerate his HP and will "Fake Dash" you (Ora Ora Ora). Starting the Second Part of the fight.
Fortunately this part is easier. Akaza attack pattern consist mainly in "Combo Dash", so we free to Attack frequently. After some combos, activate "Boost" to increase Attack to finish him off fast. Even if Akaza enters "Rage Mode", you already know the attack pattern, just watch out with Akaza's extra attack during "Rage Mode" ("Aerial Fall").
Once Akaza reach the mark. You are asked to do Quick Time Event. You need to success every input for max bonus (getting 8 flames for max Rank Score).
Y, B, Rapidly X and X (press when in middle blue circle).
For Rank S you dont need much HP, as long you do "Main Combo" with Full Skill gauge (24hits), activate "Boost" and try to finish quickly.
Source: https://steamcommunity.com/sharedfiles/filedetails/?id=2629901680
More Demon Slayer -Kimetsu no Yaiba- The Hinokami Chronicles guilds
- All Guilds
- demon slayer -kimetsu no yaiba- the hinokami chronicles
- [FR] Guide succs 100% (Demon Slayer)
- Kyjur Rengoku
- Tutorial Completo de Demon Slayer Hinokami Chronicles PT / BR
- 144 FPS, 60 FPS Mod | Guide To Restoring 60 FPS Mod Patch
- Giyu Tomioka
- How to play with mods (easier way)
- Demon Slayer -Kimetsu no Yaiba- The Hinokami Chronicles Guide 161
- Trke Yama-Demon Slayer -Kimetsu no Yaiba
- Demon Slayer: The Hinokami Combat Book