Some Notes To Consider
This tutorial assumes that you have played through Patron's tutorial, which is turned on by default and can otherwise be accessed through the game's Options > General > Gameplay > Show tutorial.
This tutorial is for players having trouble getting a strong foothold in the game. It takes place on the Mediterranean map with normal settings. That being said, I do suggest that you change "demolition refund" to full. This allows you to play the game without the anxiety of perfectionism: take your time making a nice town! It also makes neighborhood development less of a headache down the line.
Because Patron's events are chance based, I do not include in this tutorial my inevitable choices made regarding e.g. royal and religious favor; when these moments occur, I select the most advantageous choice available (highest reward, least severe penalties); in the early years, this is often taking punishment rather than giving away vital materials. I do not encourage accepting any immigration waves before year 5.
Year 1


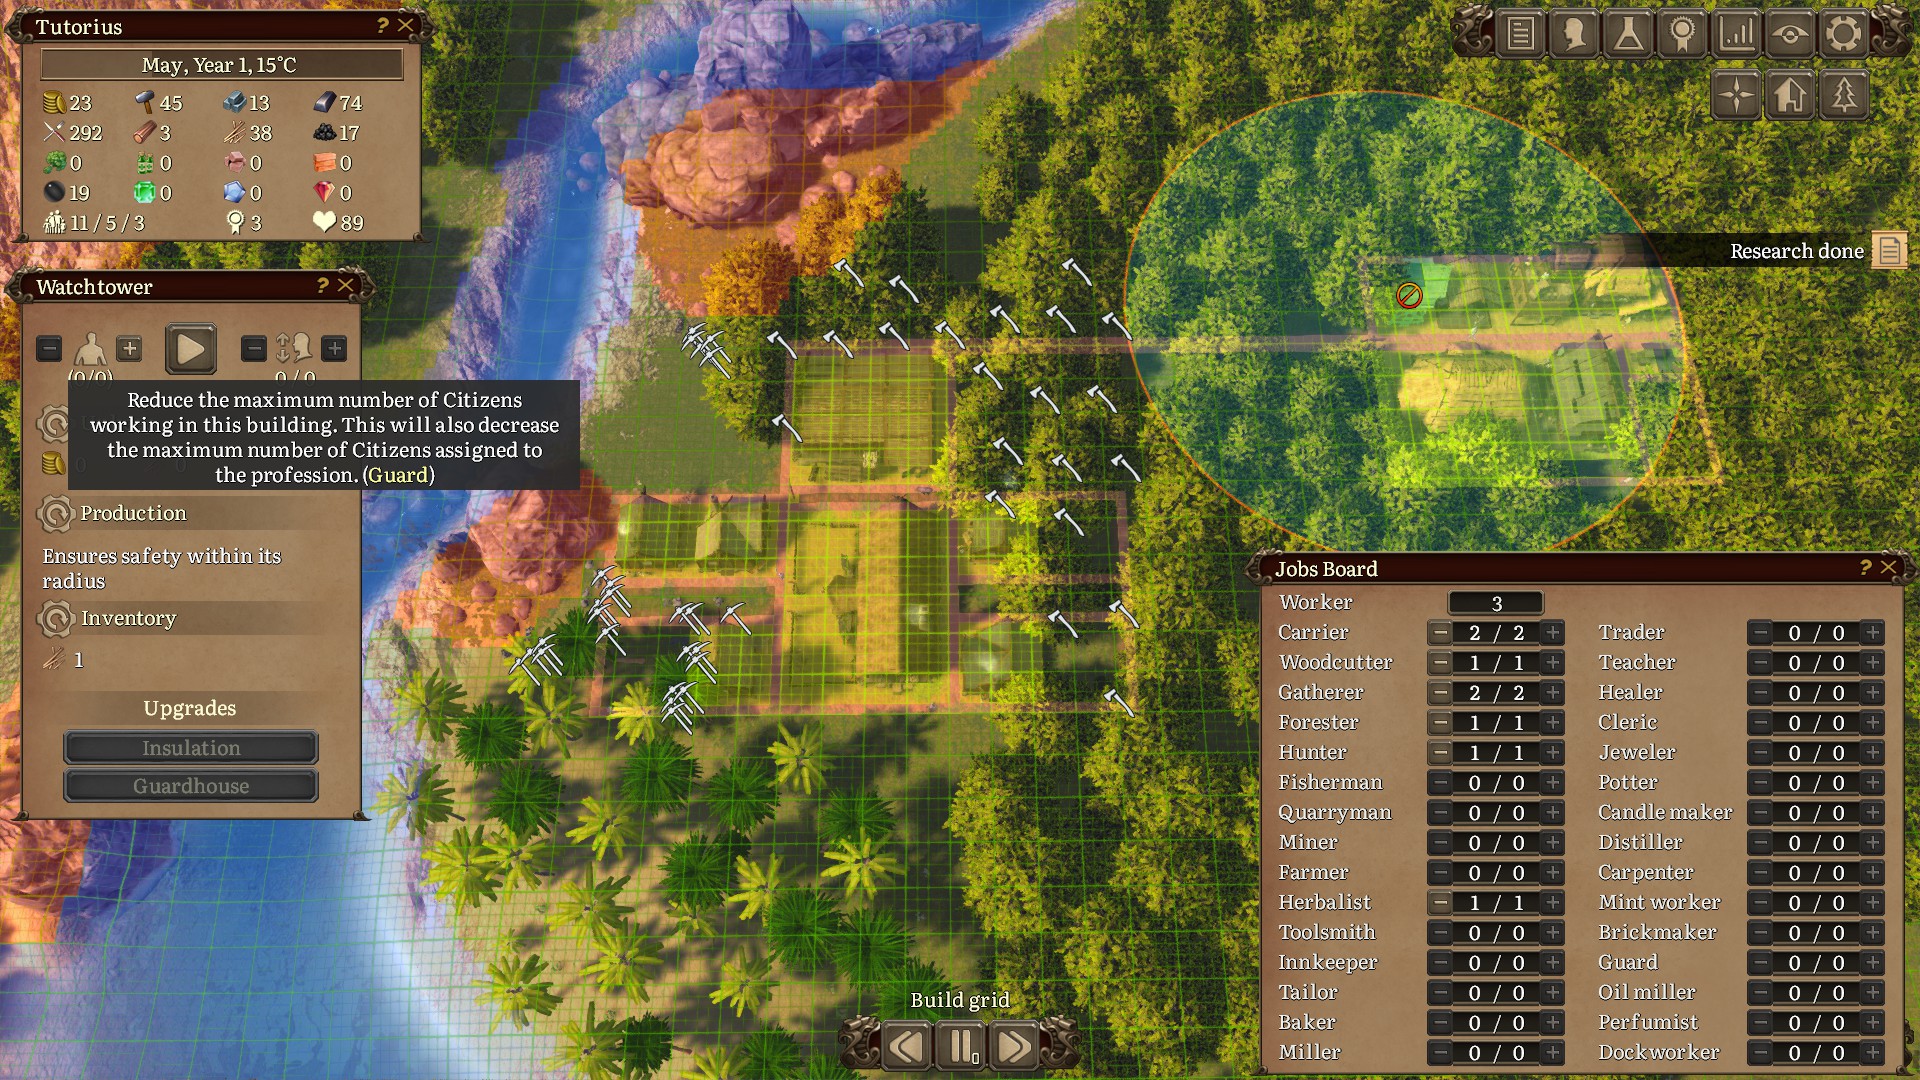
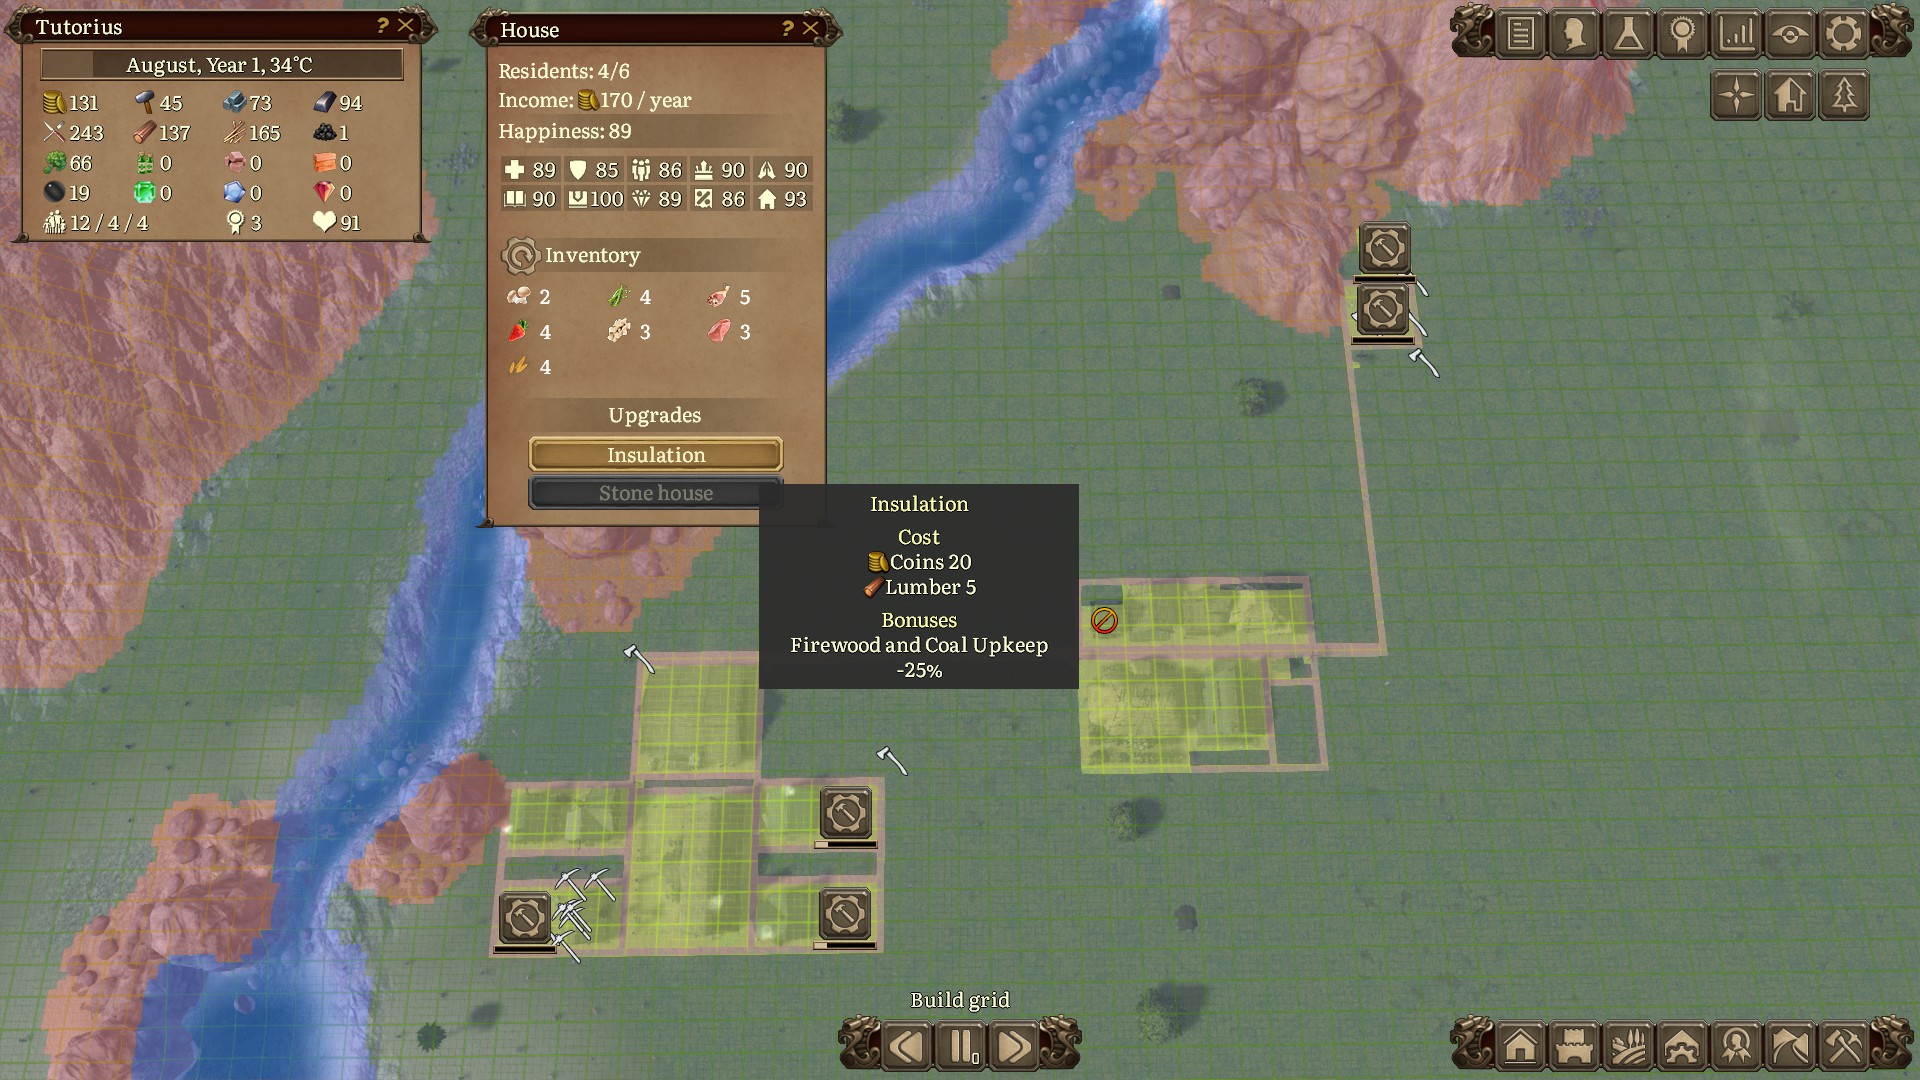
Laying It OutPause the game immediately upon start.
First, we will establish a production base of operations. Prepare a Gatherer's Shelter and look for an area near to your townhouse where work efficiency is highest, ideally >100%. Place the building when you are satisfied and construct the following buildings around it, taking into account work efficiency when applicable:
Hunting Lodge
Forester's Hut
Herbalist's Hut
Depot
Well (OPTIONAL)
Watchtower (OPTIONAL)Lastly, build a road linking your Townhouse with this new hub of production. Add some road markers to ensure your residents have swift travel.
Most importantly, pause all construction except for the Gatherer's Shelter and Depot. I allow for green space to occur so that I can fill with beautification later.
Like above, make a neighborhood that can fit 5 houses near the Townhouse. Add a sawmill, too. For the houses, I set their status to construction priority so that they will be built first.
Thus, you have in total:
house (5)
Well (PAUSED; optional)
Watchtower (PAUSED; optional)
Depot
Gatherer’s Shelter
Hunting Lodge (PAUSED)
Forester’s Hut (PAUSED)
Sawmill (PAUSED)
Herbalist’s hut (PAUSED)
Road signs (PAUSED)
The Great Unpause March, April
Unpause when you're ready. I usually set the game speed to 10x until my 5 houses, gatherer’s shelter, and depot are constructed. Only after these buildings are built that I allow all the other buildings to be built.
Once the Gatherer’s Shelter is built, go to the Jobs menu and ensure you have some workers are given jobs (Carrier and Gatherer).
Once I have 30 coins, I begin to research Quarry with the goal of collecting Mine and Construction Goods by Year 2.
May
As your buildings are constructed, linger in the Jobs menu and enlist residents as a Woodcutter, Forester, Hunter and Herbalist when you can. We don’t need a guard for now, so go into the guardhouse menu and disable residents from occupying this job.
At this time, use the Gather Stone and Gather Metal directives to clean up the coast. If you are running low on lumber, feel free to use Gather Trees directive, too.
June through September
By early June, you should have enough coins and lumber to research mine. All subsequent coins will be used to upgrade the Gatherer's Shelter's large baskets until it is completely maxed out.
Now we’ll be saving 105 coins for a coal mine and depot. You’ll receive some one-time assistance amounting to 250 coins from the King when you construct these buildings. Nice!
With this money, provide insulation for your 5 houses and build 3 more.
Once your coal mine is built, enlist 2 residents to work it as miners.
With the coins leftover, provide your Hunting Lodge’s with upgrades to trapper training and expert butcher. By the end of September, the Hunting Lodge upgrades should have Expansion II, Trapper Training III, Expert Skinning I, Expert Butcher III.
October through February, Year 2
When you hit September/October, you’ll get 150 food (corn), firewood, and lumber from the king. Nice!
Provide your newly built houses with insulation and research Construction Goods. Once it is finished, add it as a Decree through the Townhouse (K).
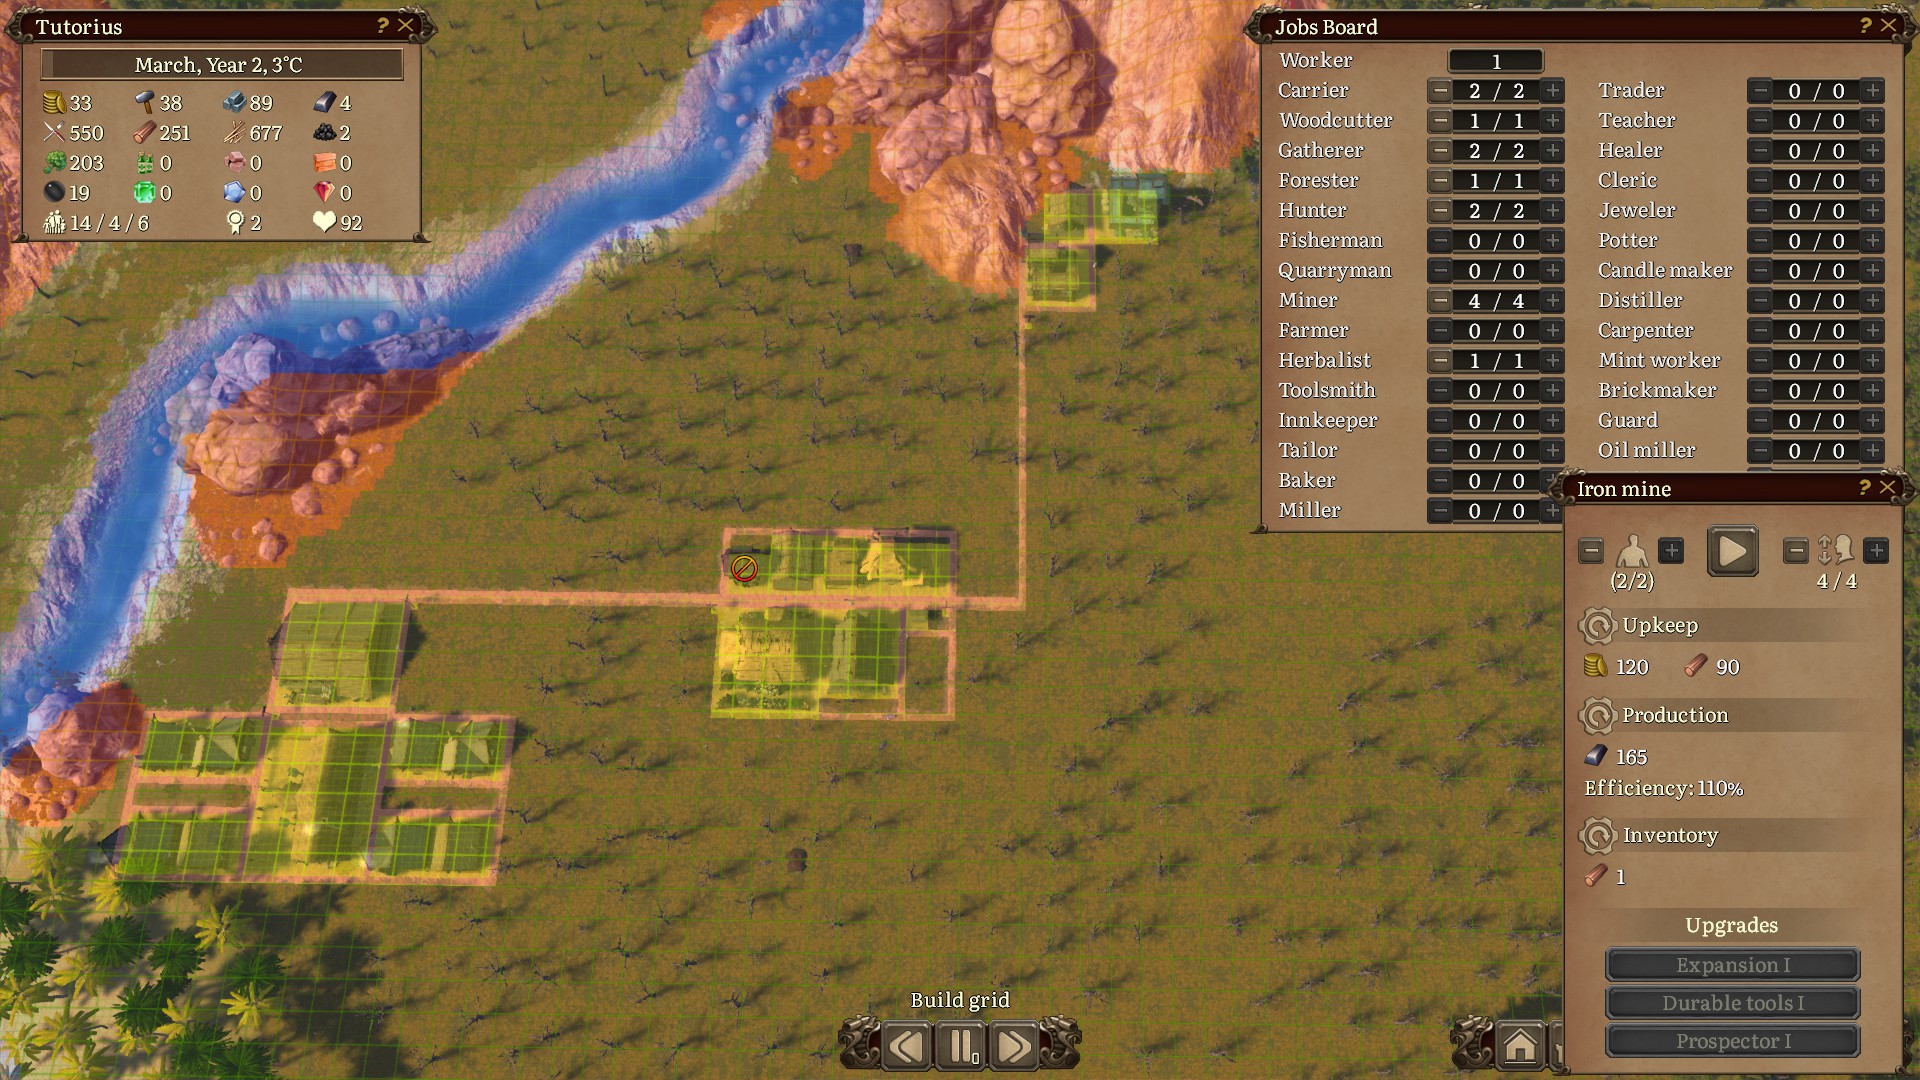
When you can, build an Iron Mine; you should receive two workers in February. Be sure your iron mine and coal mine are within the radius of each other for an eventual production bonus through researching Quarry Pool later. When it is finished being built, enlist two workers as miners.
Year 2
Whereas Year One focused on construction, Year Two will focus on research. By March, we can see where to improve: mining, tools, and food.
Research and build the Fisherman's Hut when you can. If you're low on workforce, it is appropriate to switch the Herbalist for the role of Fisherman, as you'll have enough Herbs for the year.
Until the snow thaws at the end of February Year 3, complete the following:
Research Toolsmith, Tracking Prey, Ice Fishing and Food Production; add the decree as soon as you can
Upgrade sturdy nets for the Fisherman's Hut
Build 1 Quarry; set workers to 1
Build 1 ToolsmithIn February, you'll receive two workers; enlist them as an Herbalist and Toolsmith.
Year 3
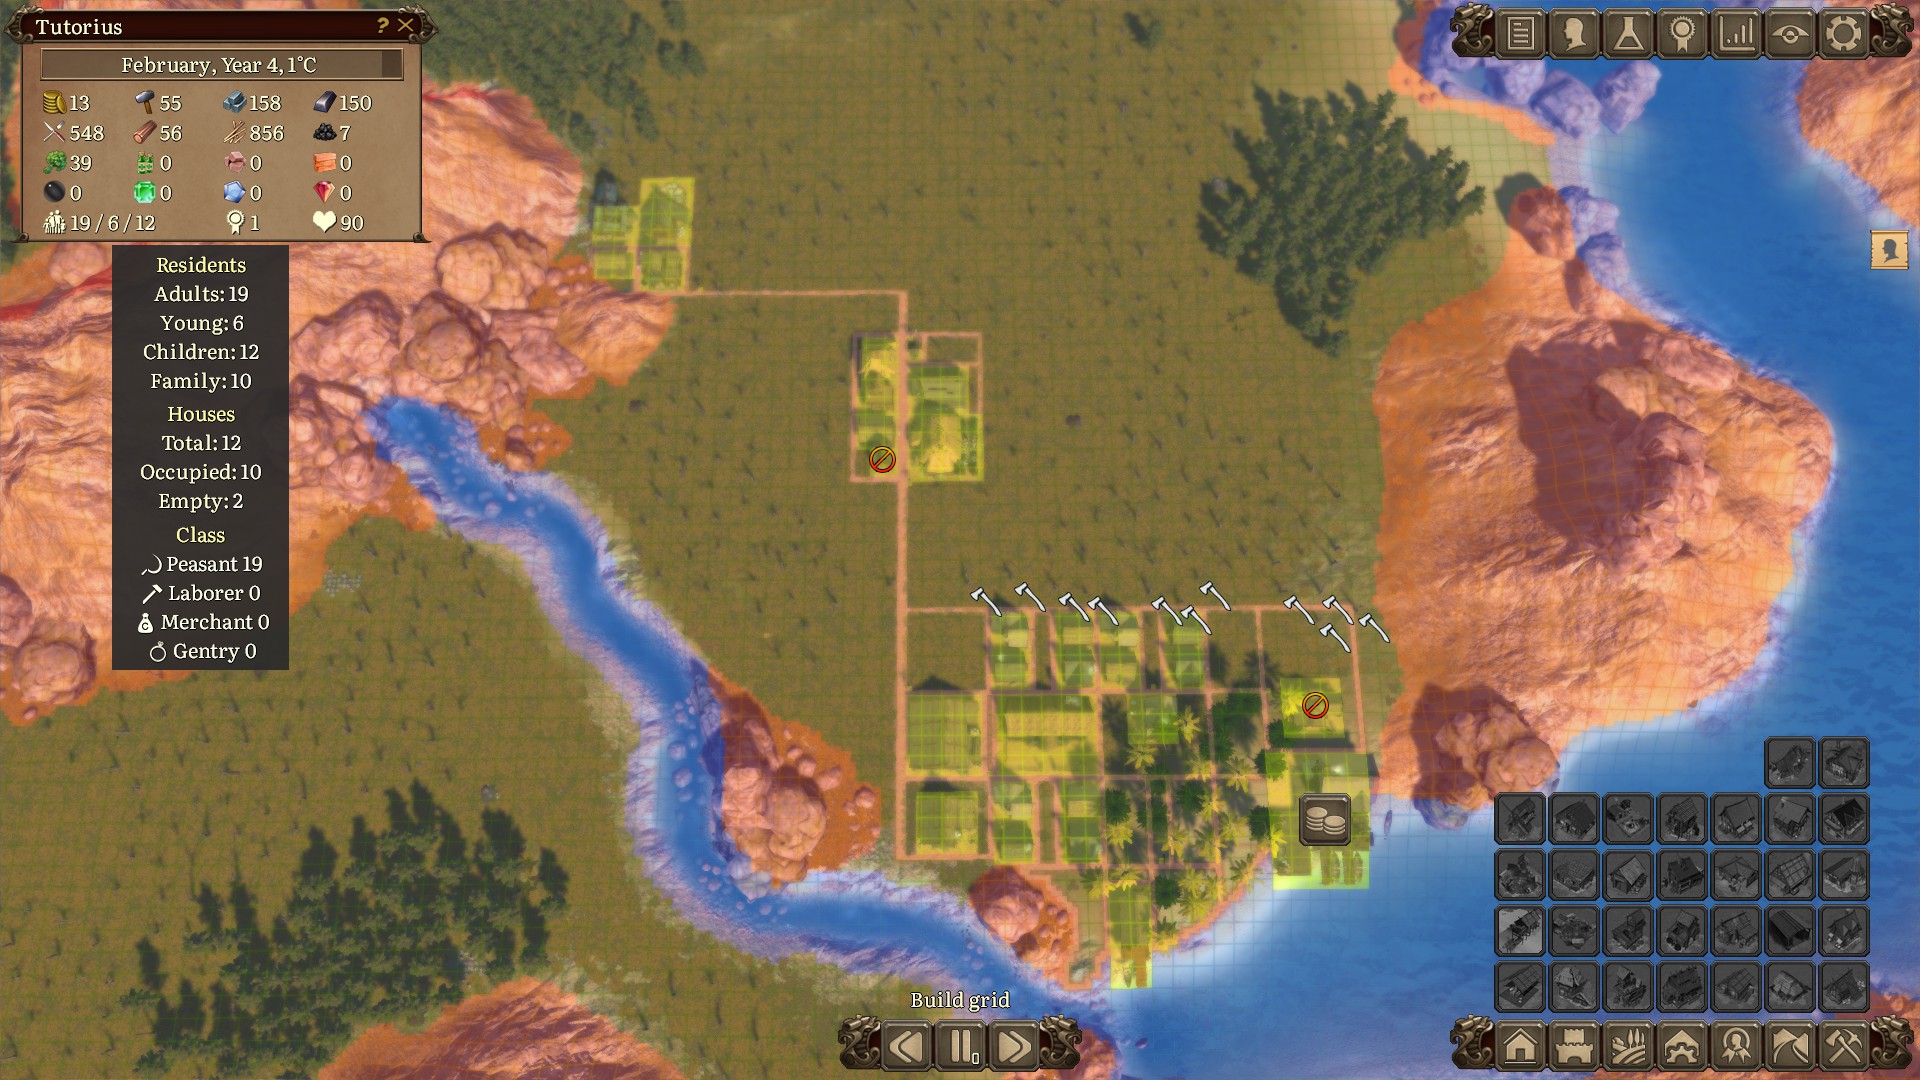
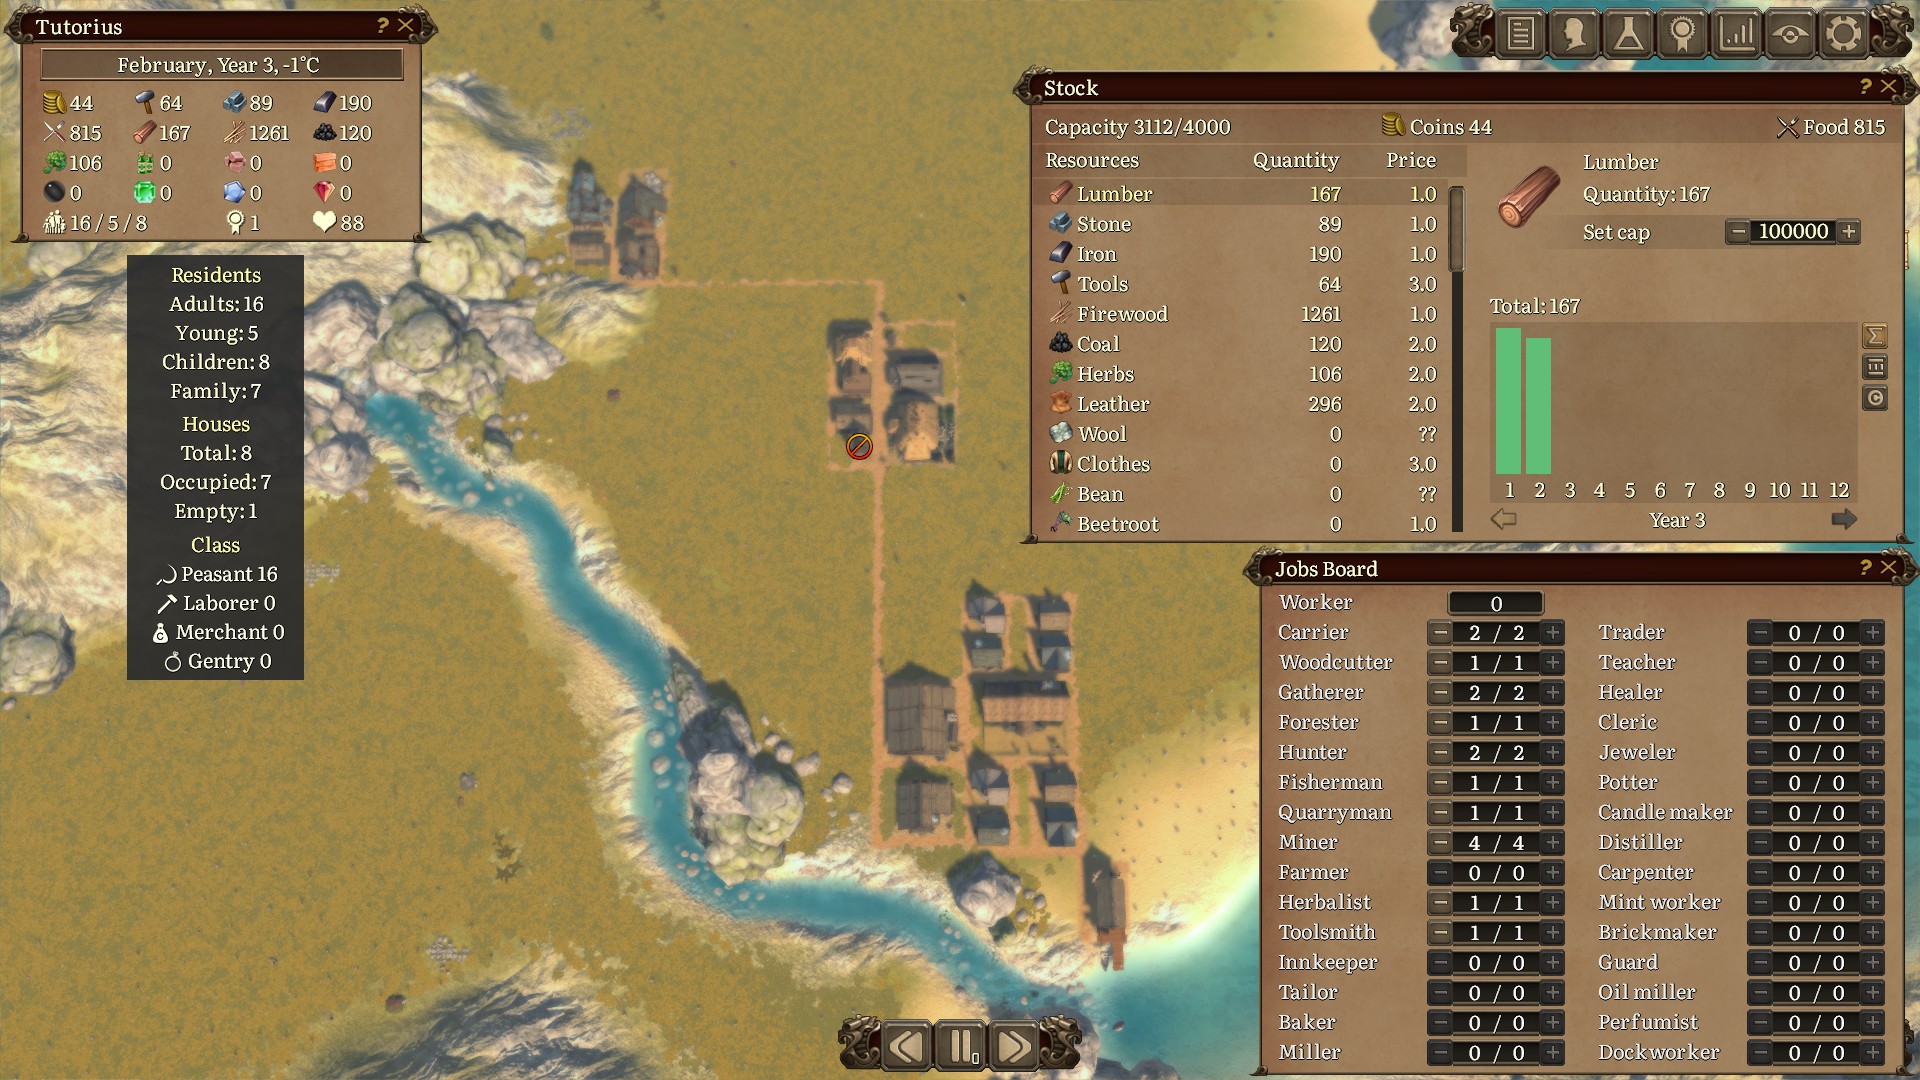
At this point, you're nearly through the tough bit; even better, you are rather well equipped to survive without doing much more than upgrading and expanding your current areas of production.
Alas, three areas remain to be developed:
Research
Clothes Shop; The Little things
Carpenter's Hut I
Small Park, Statue, Pond, and Fountain
Gathering Hall; Essential BudgetingProduction
Clothes Shop
Carpenter's hut
Houses (4)
DockUpgrades
Sturdy Nets II, III (Fisherman's Hut)
Improved Axes I, (Forester's Hut)
Fertilizer I, (Forester's Hut)
Trapper Training III (Hunting Lodge)
Expert Butcher III (Hunting Lodge)
Insulation (House x4)
Prospector I, II, III (Coal Mine)
Expansion I (Coal Mine, Forester's Hut, Fisherman's Hut, Gatherer's Shelter)
Expansion II (Fisherman's Hut)
Herbalism Training I (Herbalist's Hut)You will be able to achieve all this by March, Year 5. Be punctual about purchases and keep an eye on your inventory: if food drops, upgrade as you see fit; likewise with coal. When your inventory seems stable, work on research. What makes this happen is aggressive use of the Dock.
The DockAs soon as you can, build a dock and get a resident working as a dockworker. So long as you have over 800 firewood in your inventory, sell off 200 bundles at a time for 180 coins. While the dock works most effectively with upgrades, it is not yet necessary to upgrade it.
Additionally, I start to build out a grid. Within this grid, you'll want to build 4 houses, a Clothes Shop, and Carpenter's Hut (having first researched them, of course). With respect to the Carpenter's Hut, make sure it is build somewhere that a second Hut can be later built next to it for increased productivity (No-waste Approach).
Between years 3 and 4, I did the following:
Build Dock (April comes w/ 2 new workers)
Build 4 Houses (May w/ 1 new worker), Upgrade with Insulation
Sell 200 firewood; Research Clothes Shop; Purchase Clothes Shop
Sell 200 firewood; Upgrade Forester's Hut with Improved Axes and Fertilizer
Upgrade Hunting Lodge with Trapper Training and Expert Butcher
Sell 200 firewood; Upgrade Fisherman's Hut with Sturdy Nets
Research Carpenter’s Hut
Sell 200 firewood; Purchase Carpenter’s Hut
Research The Little Things
Year 4 And Beyond
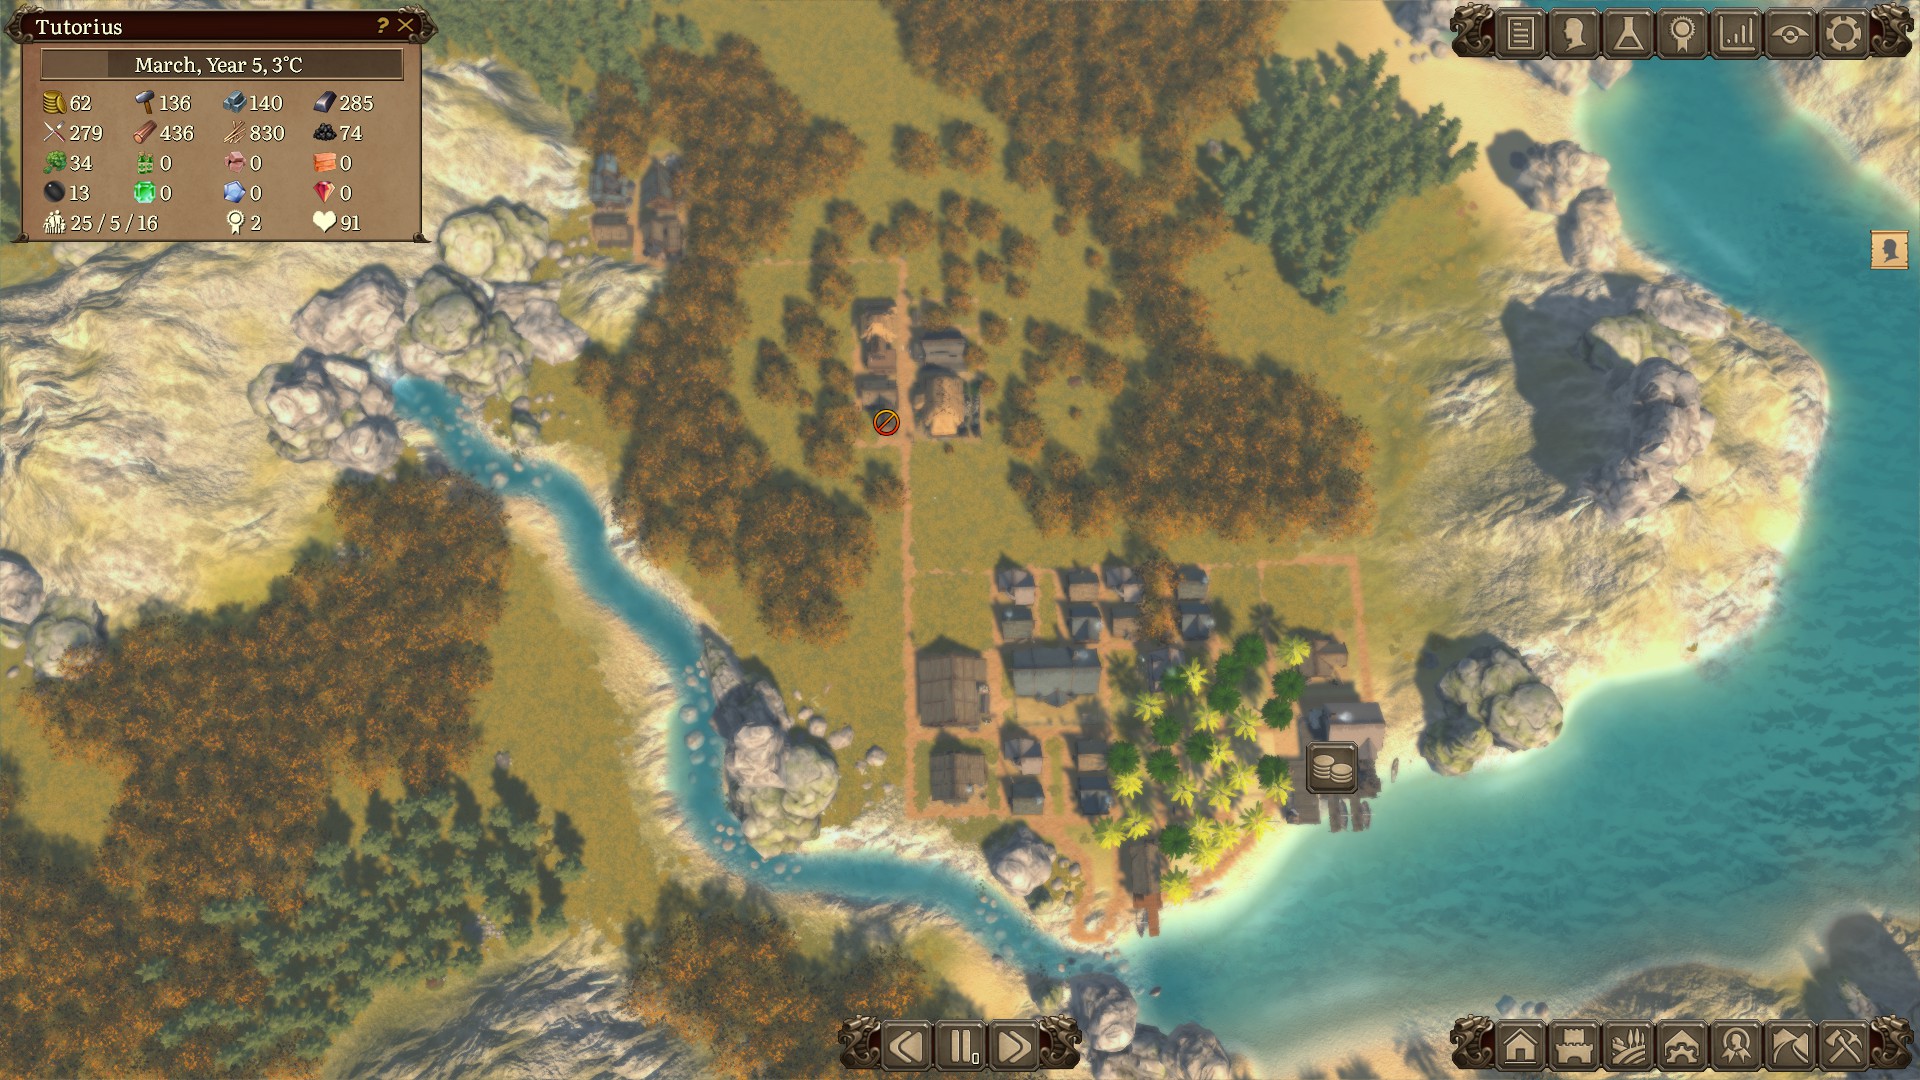
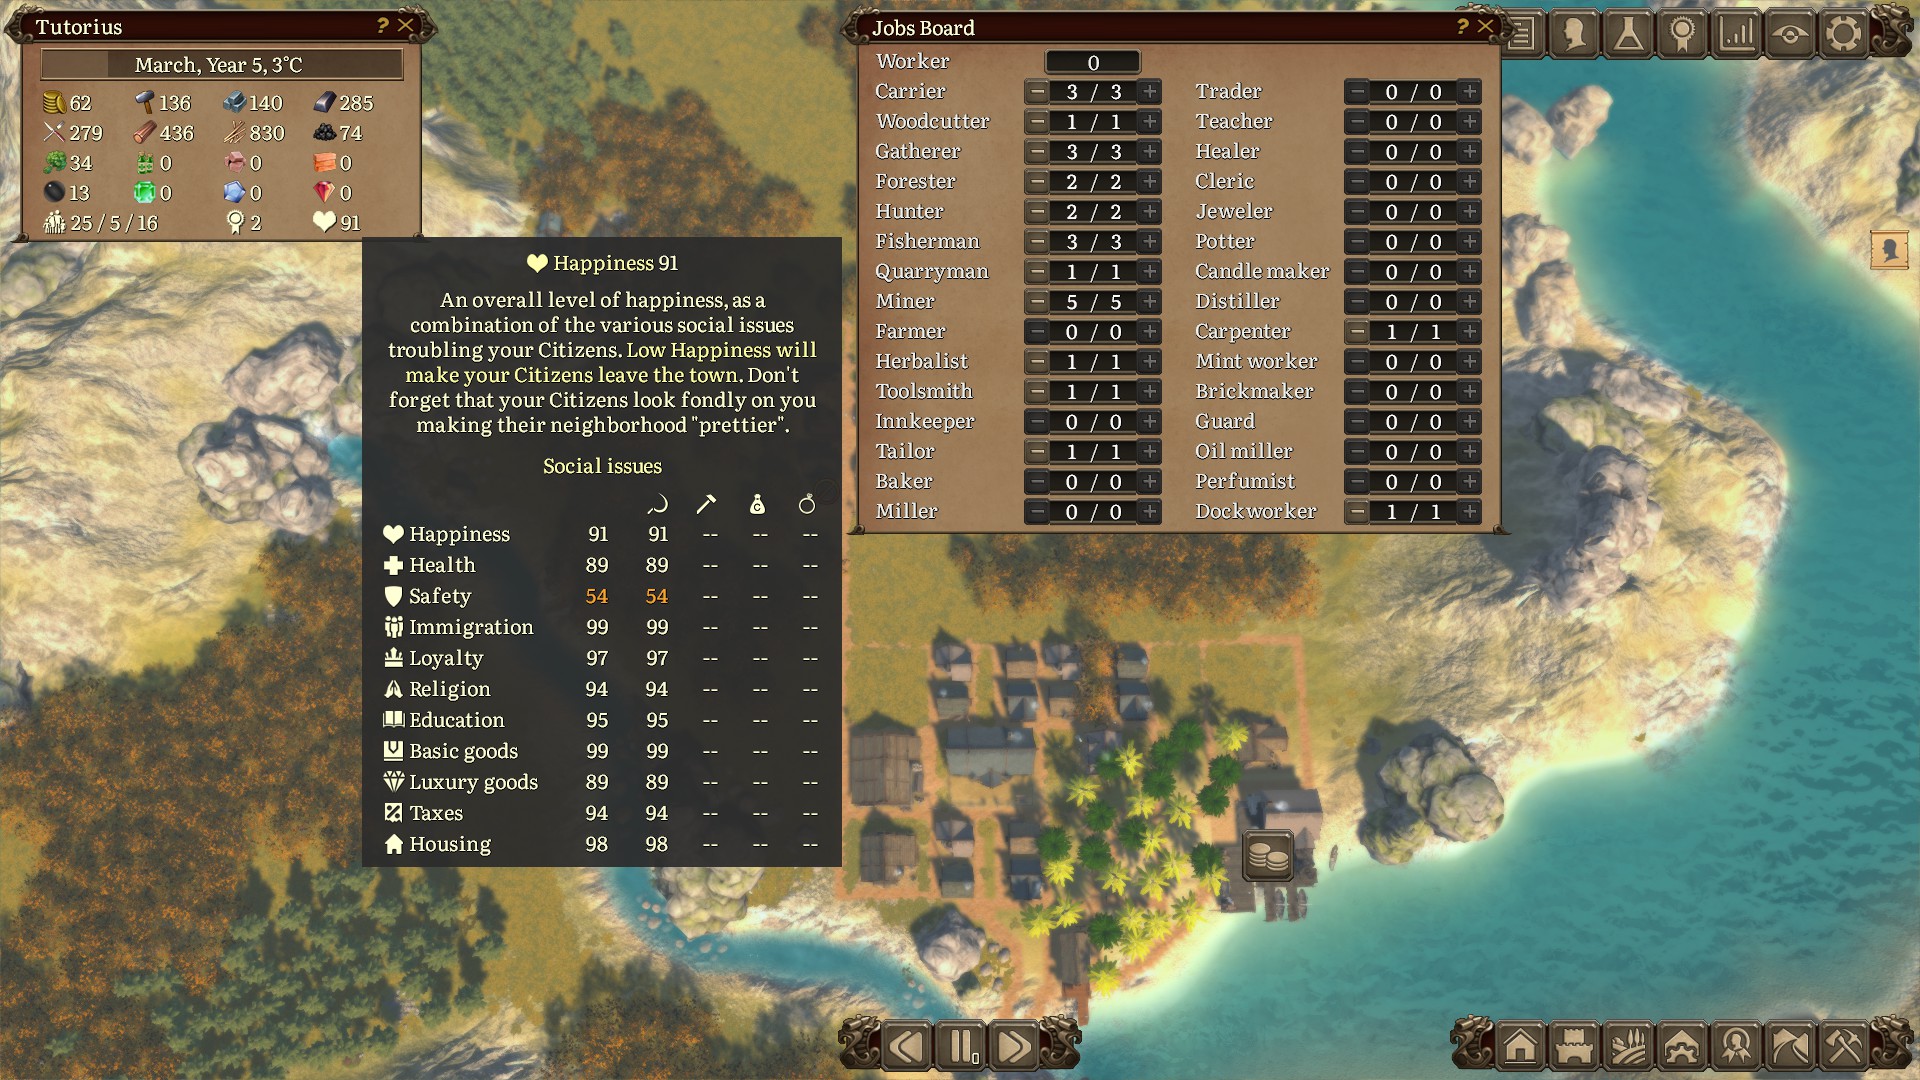
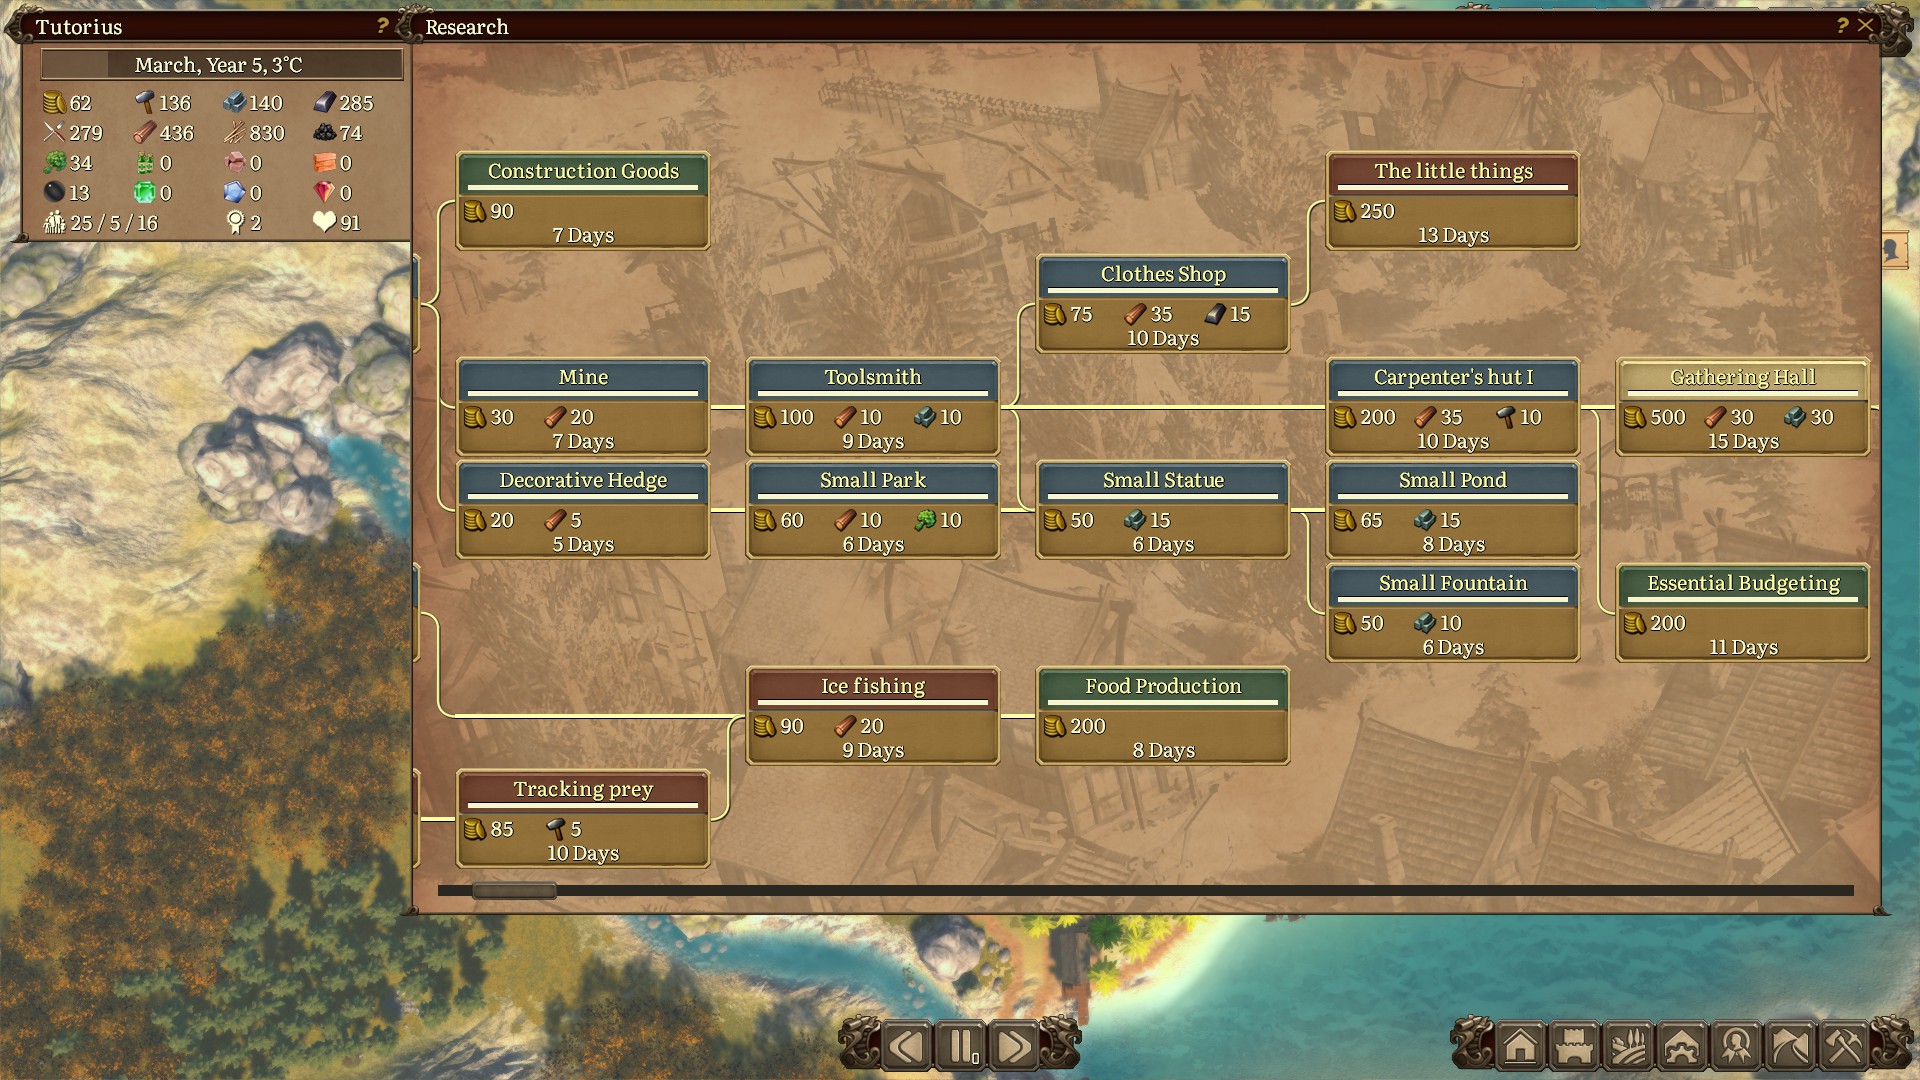
At last, we finish production upgrades and research, upgrade our Townhouse into a Gathering Hall, and add a new decree: Essential Budgeting.
Keep your eye on resources. Any time you notice one item starting to dip in number, upgrade that building. I did the following:
Sell 200 fire wood; Upgrade Coal Mine with Prospector I, II, III
Upgrade Coal Mine, Forester’s Hut, Fisherman’s Hut, and Gatherer’s Shelter with Expansion I
Sell 200 firewood; Research Gathering Hall
Upgrade Herbalist's Hut with Herbalism Training I
Switch Quarry Worker to Gatherer, Dockworker to Fisherman
Research Essential Budgeting; Add decree as soon as possible
Upgrade Fisherman's Hut with Expansion II
Research Small Park, Statue, Pond, and Fountain
Fill Jobs with new workers
Coming out of Year 4's winter, we have now everything at our fingertips to thrive in an early-game environment. At this point, your goal is to keep upgrading and expanding this current production operation. So long as you aren't building, you don't need workers: as you receive larger population (you can take on immigration waves now), utilize the workforce to build up your reserves.
Beyond this, work through the research materials and learn how to integrate the new buildings you inevitably accrue. You can now build fields, orchards, and ranches, which greatly expand your food arsenal. I personally recommend rushing for the warehouse, as its capacity far exceeds the depot and it will be beneficial to incorporate warehouses into your new production centers.
Lastly, I recommend also taking the time to decorate your town. I personally love the palm trees and try to keep them integrated with that portion of the town. Additionally, we can now craft hedges, fountains, and parks and place them around town. Not only to the residents enjoy this, but it's makes that town your own creation. In addition, Wells stave off fires and Watchtowers increase sense of safety.
That's all I have. Enjoy!
Source: https://steamcommunity.com/sharedfiles/filedetails/?id=2575714698
More Patron guilds
- All Guilds
- Patron Guide 42
- Most Important Policies List
- Worker and Class Designation
- Patron
- Game menus, options and features
- 6 Best and Worst Goods to produce for Trading
- Using mods from Steam Workshop
- How to start a proper settlement
- What is Social Class and how does it work?
- How to launch Patron with Windows 7 using Play button
