Comprehensive guide provides details on how to solve the strange conundrums found within each level selected in Horde Mode.
Other Strange Brigade Guides:- All Collectible Locations Guide (Jars, Letters, Relics and Cats).
- Amulets and Special Weapons.
- Guide to Unlockable Weapons.
- Guide to Starter Weapons.
- Guide to Score Attack.
- Horde Mode Guide.
- Gameplay Tips.
- Enemy Guide.
Horde Mode Description
Horde mode is an extra content to test and see how long one can survive waves that increases in difficult. There are 15 waves in each round, the last wave containing a boss enemy that will always be the same in the next rounds to come, sadly. The rounds will go on endlessly until you die. Each time you load a map, you'll start with some basic gear. Every gun and grenade one has unlocked in Campaign doesn't get carried over to Horde mode, but the Amulet powers do. Killing enemies grants you gold for you to buy weapons at the Workbench between waves. If one has a game over, all their gear will be lost and they start again with the basic gear if a map is loaded, needing to find gems and blueprints again. One can start from a checkpoint to continue from there, but they still start with the basic gear.
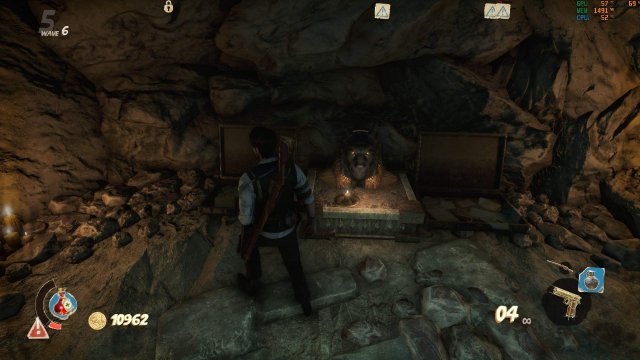
The Workbench gives you full ammo upon activating it and it changes location after a few waves every time, so it's crucial to know where it will open next as the order is always the same. Finding blueprints unlocks new weapons and grenades for you to buy, and finding gems is also important to upgrade your guns. The gems differ everytime you load the map, while the blueprints do not. You might get duplicates and miss the gems you want in one playthrough or are lucky and find all the gems you need in the next.
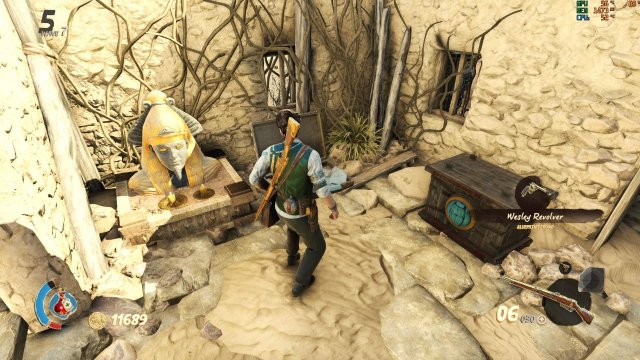
This mode also has a puzzle that can be solved in each stage - It's not necessary to solve them, but if you want to have access to an unique and powerful weapon- you need to do the puzzle in your selected stage. The weapon costs 2500 gold at the start and after it's used up, or the one who carried it died, it will respawn back at the location where it was found.
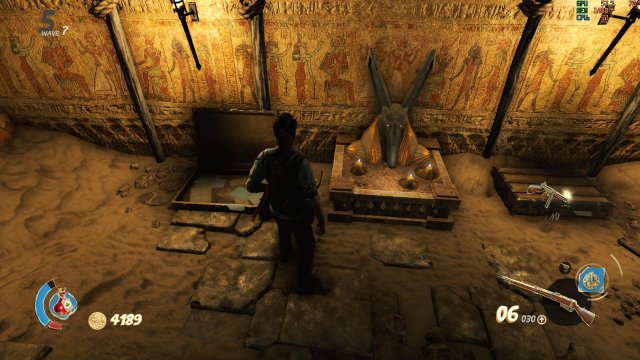
However, the weapon's cost will increase double the amount of gold, each time you pick it up. So it goes from 2500 to 5000, then 10000 and so on. While some puzzles will be familiar from Campaign, each stage with its puzzle will be listed in the sections below.
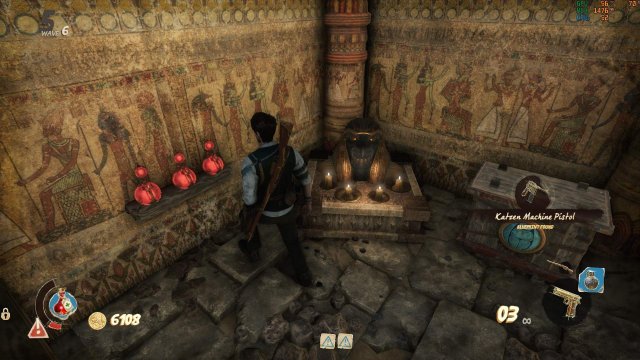
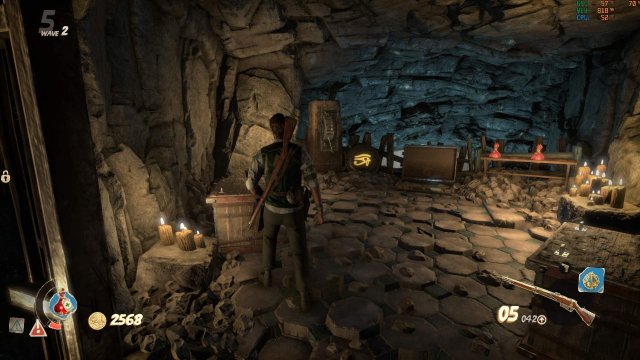
Excavation
This remote dig site has a puzzle you need to solve by opening at least 3 of the Golden Doors to know the solution (with 3 you can already figure out the last statue). If you have the solution, you need to open the most expensive door at the cost of 10000 gold. Statues with levers will be in the newly revealed room. Now, to get the solution, you need to pay close attention to each statue and the amount of its candles behind the other Golden Doors. Start with the statue who has one candle and work your way up to the fourth. That same order must be applied to the statues in the puzzle room.
The solution to my situation is:
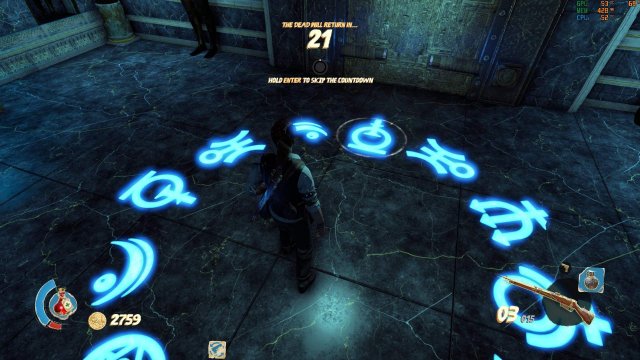
- Bast: 1 candle
- Set: 2 candles
- Anubis: 3 candles
- Horus: 4 candles
In short: Bast, Set, Anubis, Horus.
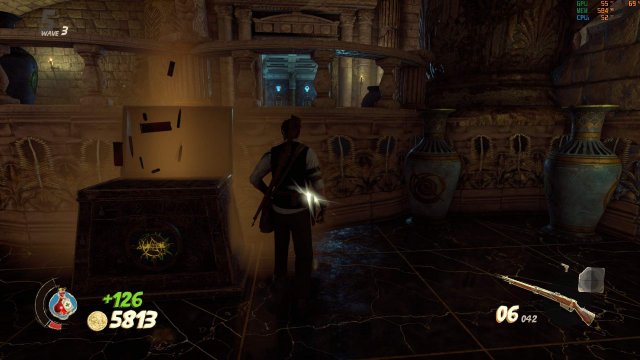
After the levers are pulled in the correct order, your reward will be revealed.
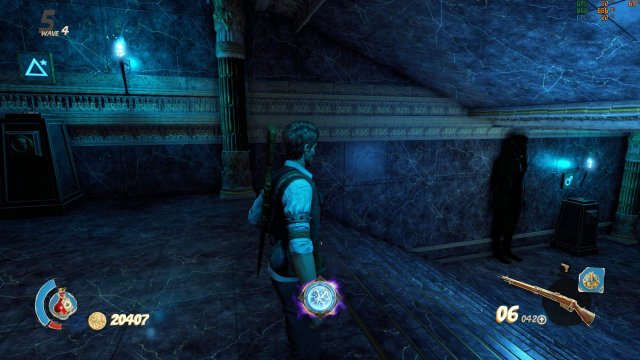
Note: The puzzle has a different order each time you start the map.
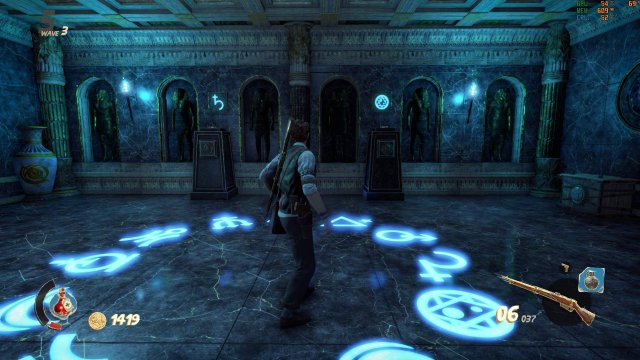
Chamber
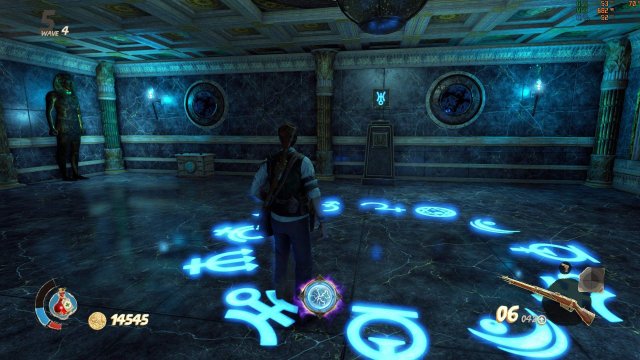
This marvellous chamber contains a puzzle that contains alchemical symbols for you to solve. Each Golden Door reveals levers with a symbol on top of them. The room that costs 10000 gold on top of the long stairs on the left of your starting position in the middle of the chamber, shows you the solution. A circle is drawn around a symbol. You need to activate the button that shows the corresponding symbol in one of the rooms. When that is done, the circle will jump to another symbol for you (back in the 10000 room) to activate the button in any room it's located.
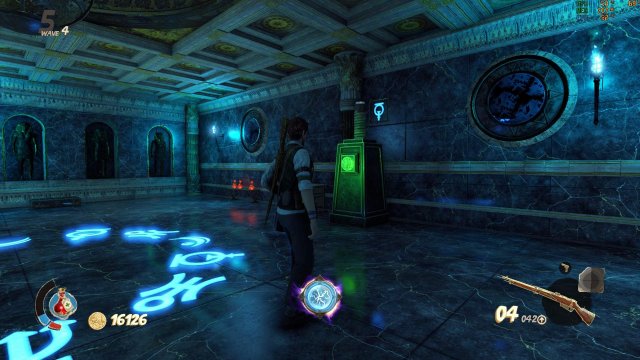
This step repeats 3 times before the stone door will open and reveal your reward.
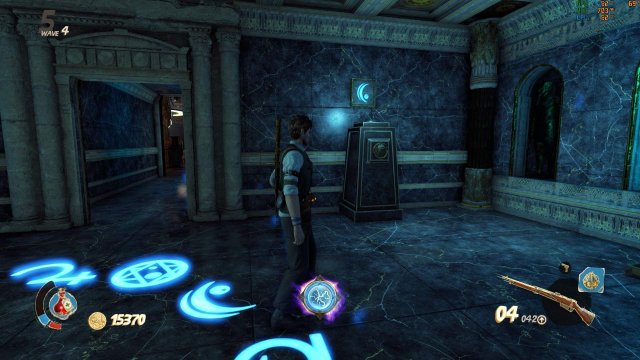 Symbols Locations:
The Golden door that costs 2500, behind the ammo box contains these symbols: (click the images to zoom in.)
The Golden Door that costs 5000, on the opposite side of the workbench on the second floor, contains these symbols:
The Golden Door that costs 5000 on the first floor, opposite the 2500 doors, contains these symbols:
The Golden Door that costs 7500 on the top floor, opposite the 10000 door, contains these symbols:
The 10000 Golden Door contains this symbol:
Not hard to miss this one though.
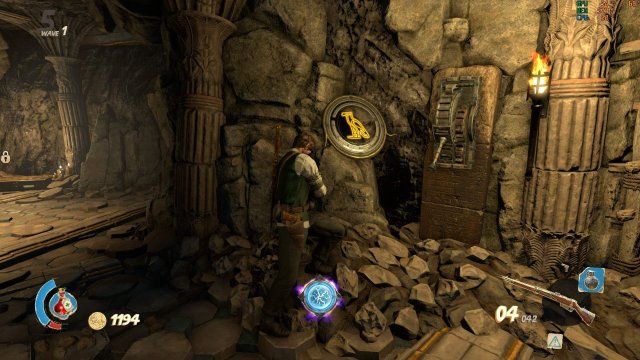
Note: This puzzle changes order every time upon starting the map, but the symbol locations stay the same.
Caverns
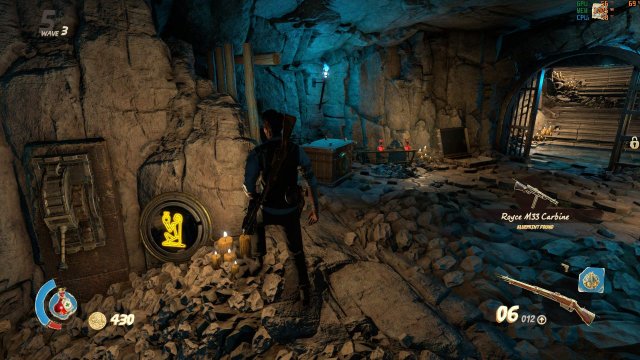
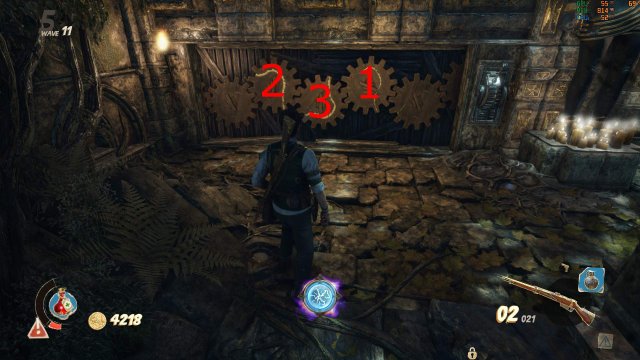
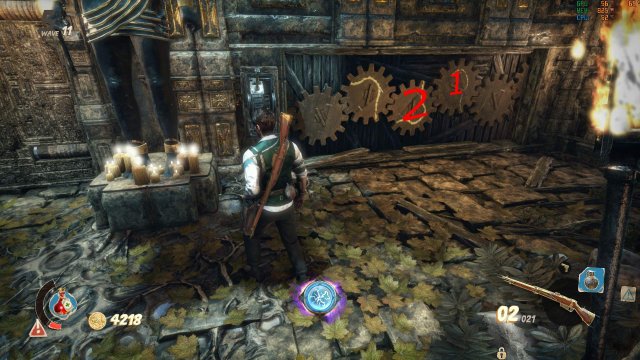
This may be a tricky puzzle. The 10000 room at the end of the bridge shows a giant stone door with wooden gears on both of its sides. All of the gears are pulled to the front and to solve it, they all need to be in pushed back into place. However, some are connected to each other, meaning, if you push one back into place, another may jump forwards, or into place as well. Here is the solution.
 Left Side:Right Side:
Tunnels
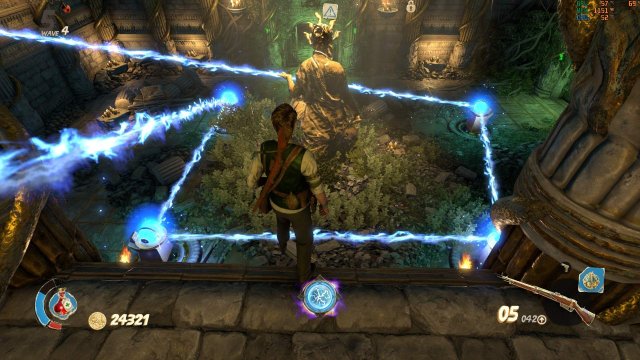
This puzzle needs all Golden doors to be opened to find levers that activates the pedestals to guide a laser to its destination, much like in campaign. The puzzle is located behind the 10000 gold door. One lever is at the end of the 2500 Golden Door room located at the back of the starting area. When pulled, the engraving on a mirror, next to the levers will glow.
Another lever can be found behind the 5000 Golden door, down the stairs, opposite the golden door with the blue torches.
The blue torches door that costs also 5000 gold must be opened as well to gain access to more parts of the tunnels. Follow this corridor and to the left down the stairs to bump into another 5000 golden door. Open it to find the final lever.
Gain access to the 10000 room where you can bounce the beams to each pedestal, forming this pattern and reveal your reward.
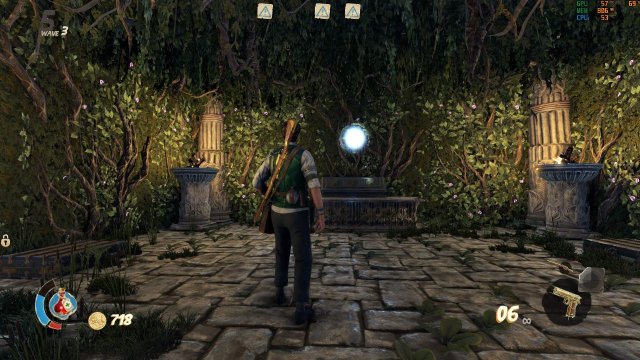
Garden
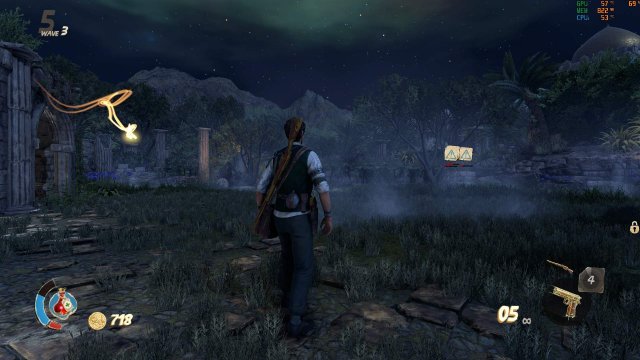
This beautiful garden holds a strange puzzle where you have to guide a Whisp to its destination. After opening the door that costs 7500, allowing access to more parts of the garden and then following the path down the stairs towards an open area. A 10000 golden door is there, open it and you can shoot the familiar glowing object on the wall that releases a Whisp.
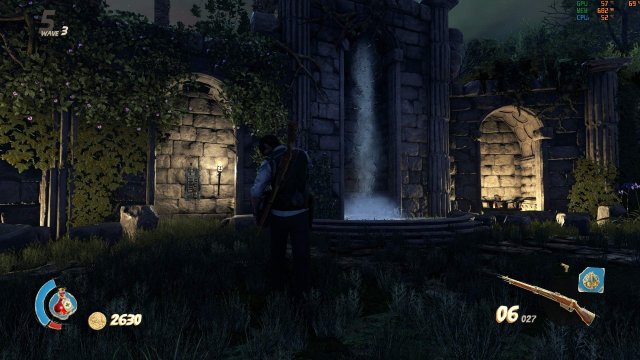
It then travels out of the room and turns clockwise through the garden's starting area and travels through the door that did cost you 7500 and then back to the open area where you opened the 10000 door. You can simply wait near the waterfall and let the Whisp run its course. If the waterfall is still flowing, the Whisp will fail to activate the lion object behind the waterfall as it will dissolve and you have to redo the puzzle. To prevent this, you have to pull the lever so the waterfall stops and the Whisp can travel to its destination, undisturbed. The lever won't stay in its place and will enable the waterfall again after a few seconds, so pull it when the Whisp starts to travel towards the waterfall.
When done correctly, the 10000 room will reveal your reward.
Village
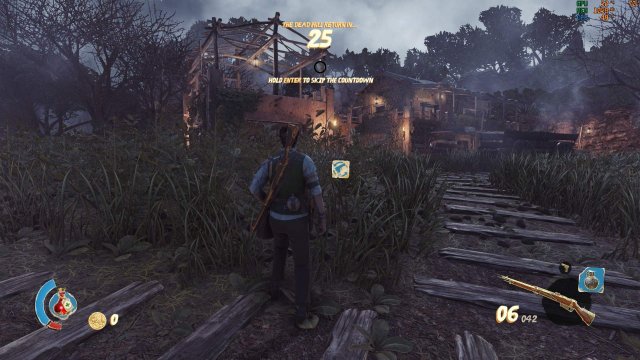
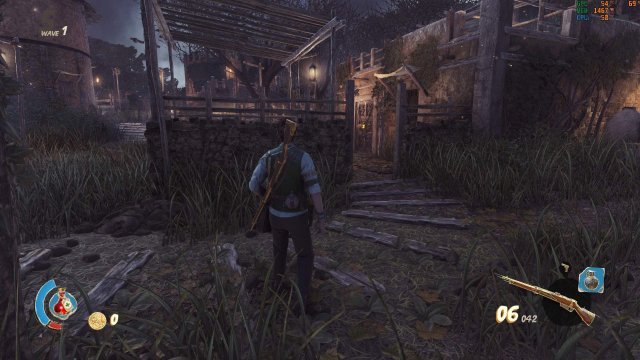
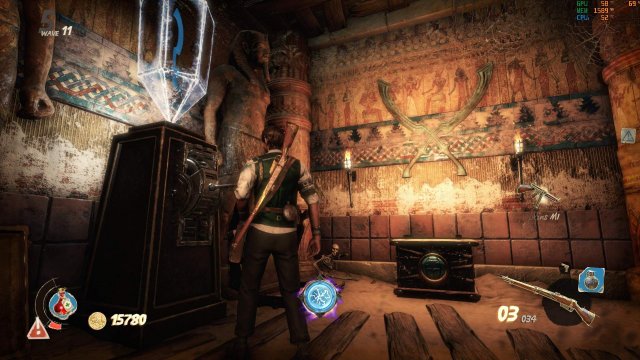
The village contains a time based puzzle that needs to be solved to collect your reward. The golden door that costs 2500, inside of the house at your starting point, has the first button.
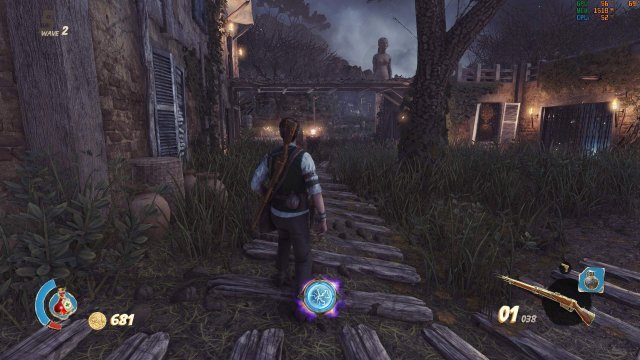
Don't activate it yet until you have opened the other 3 golden doors. Through the broken wall and down the path (next to the ammo box) has a house where you pay 5000 and when inside, go left where you'll find a button and a lever in the next room.
Go through the opened spike gate when you have pulled the lever and go towards the house you face next. This door will cost you 7500 and the button will be just inside.
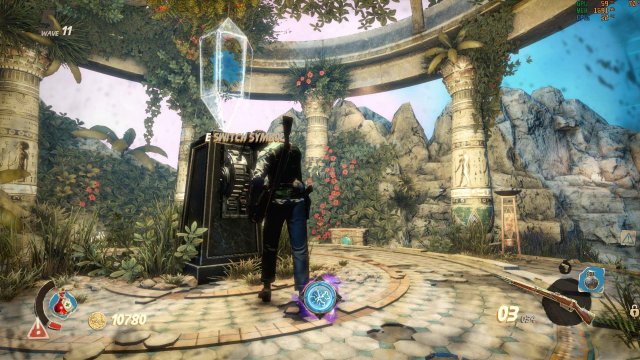
Cross the bridge next to the tower, go around the building, turn left and go up the stairs on the left of the rotary blade trap.
The door here costs 5000. Go down the stairs on your left, where you'll find the last button. Be sure to open the backdoors by pulling the levers inside the buildings for easier access to solve the puzzle Now that all doors are opened you can begin the marathon. (My advice is to leave only one mummy standing so they won't get in your way.)
 My Personal Route:
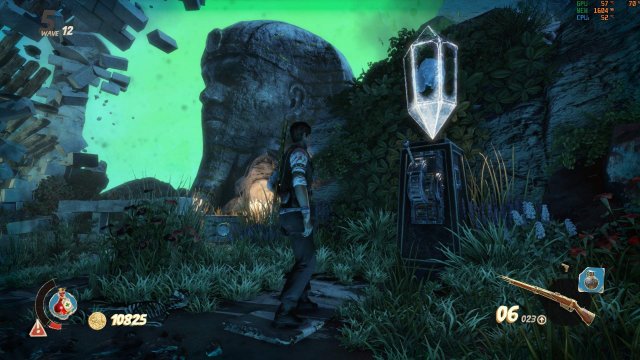
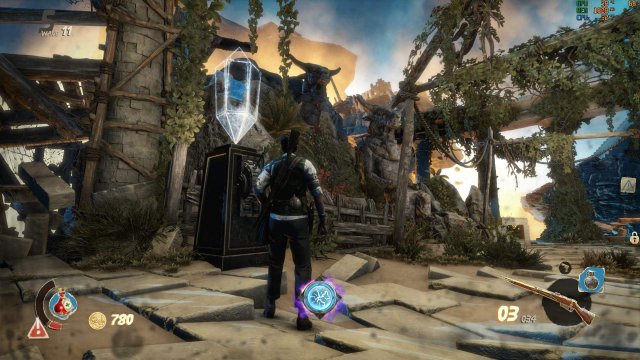
What route you take is of course your decision but I found this the most easiest way. I always activate the button at the starting point, before running down the path to the house with the 5000 door just up ahead, activate the button there, run to the next house and then lastly the house across the river. The 10000 gold door (also across the river) opens the path to your reward if the puzzle has been solved. Otherwise a stone gate blocks the way to your reward.
Palace
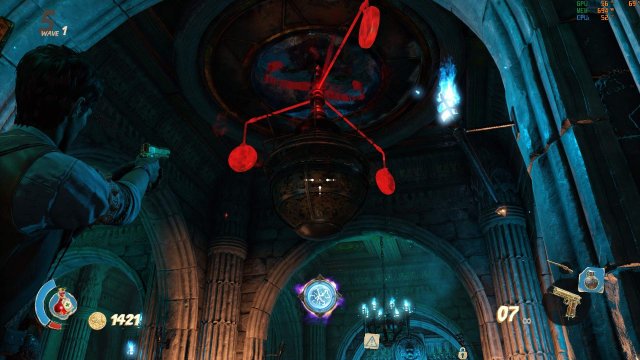
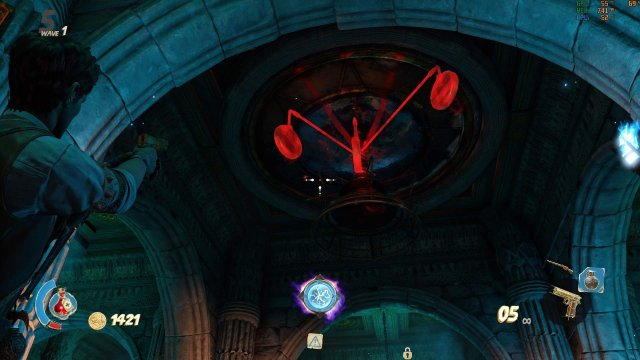
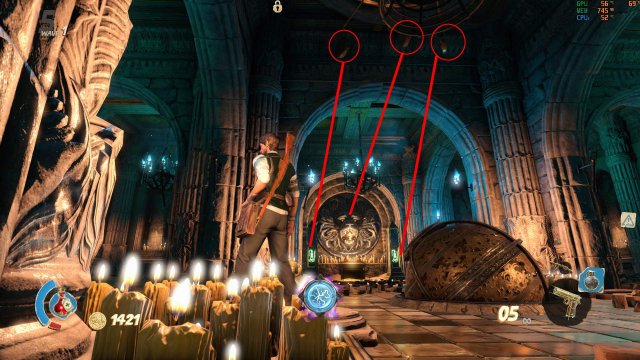
This map contains 3 of these curious conundrums where you have to solve the puzzle by shooting the 3 objects that are hanging above the orb, they'll glow red when you aim at them.
One such contraption is behind the 2500 door with the blue torches in the starting area. There are 2 long objects and 1 short one. Shoot the long objects so they point towards the pillars on both sides of the lion head on the wall. Shoot the short one towards the head itself, so the short will be in the middle of the long objects.
Be careful as the orb will drop down onto the pressure pad below if it's solved.
Another one is behind the 5000 Golden Door on the second floor, up the stairs in the starting area towards the bridge, overlooking the other parts of the palace, the door will be on your left. Just repeat the solution on every orb. The last one is up the flooding stairs in the starting area and on the left, through the 2500 door. You'll see 4 Bast statues in a round room up the stairs and then turn left, down another stairs towards a spike gate, on your right will be the 7500 door where the last puzzle piece is located. The 10000 room that contains your prize is in the room behind the 7500 door on the second floor.
Void
The last puzzle may be the most elusive of them all. The Great Pyramid holds your reward but your way is blocked. The puzzle here is solved by pulling the levers that changes the symbols behind each Golden Door, that matches their surroundings. On the first floor where you start has the 2500 door. The room has Egyptian swords on the walls. The solution is to pull the lever several times to get that same symbol.
On the second floor you'll find a door that costs you 5000 gold. When paid, it will reveal stairs going up to an overgrown arbor. The solution is to pull the lever several times to get the flower symbol.
The 7500 door also located on the second floor reveals stairs going down where you'll see a giant statue of the pharaoh, Tutankhamun. Solution is to pull the lever until you'll get the same symbol, Tut's head.
The 10000 door also on the second floor will reveal another staircase going up, where you'll see Minotaur statues further up. The solution is to pull the lever enough times to get the Minotaur head symbol.
You'll hear a sound that you've succeeded and then you can head towards the pyramid to claim your prize.
Source: https://gameplay.tips/guides/4707-strange-brigade.html
More Strange Brigade guilds
- All Guilds
- Strange Brigade - Hidden Valley (Level Guide)
- Strange Brigade - Enemy Guide
- Strange Brigade - Gameplay Tips
- Strange Brigade - All Collectible Locations Guide (Jars, Letters, Relics and Cats)
- Strange Brigade - Guide to Unlockable Weapons
- Strange Brigade - Horde Mode Guide
- Strange Brigade - Harbin's Dig Site (Level Guide)
- Strange Brigade - Guide to Score Attack
- Strange Brigade - Amulets and Special Weapons
- Strange Brigade - Characters: Passives and Amulets
