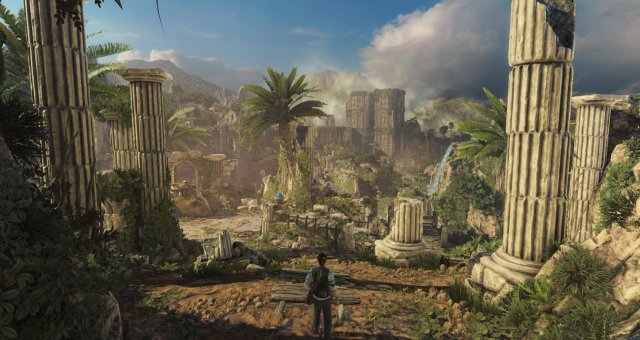
A comprehensive guide to the Hidden Valley level in Strange Brigade.
Other Strange Brigade Guides:- All Collectible Locations Guide (Jars, Letters, Relics and Cats).
- Gameplay Tips.
- Enemy Guide.
- Guide to Score Attack.
Hidden Valley
The mission begins with one objective:
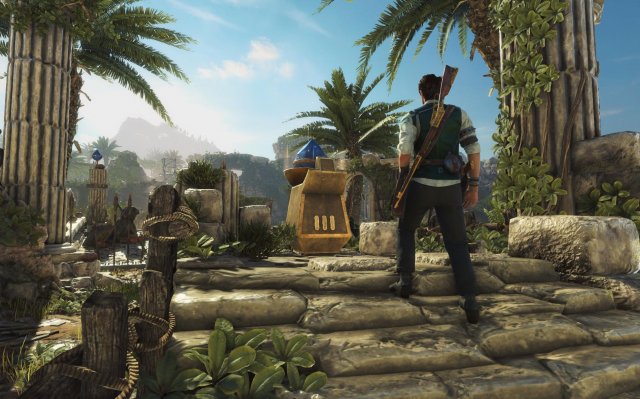
- Reach the lost temple.
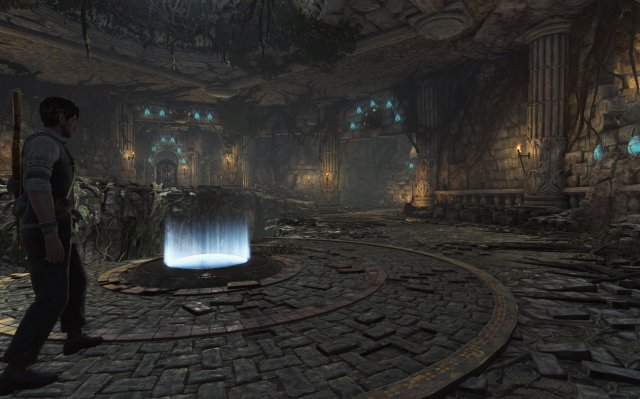
The Lost Valley.
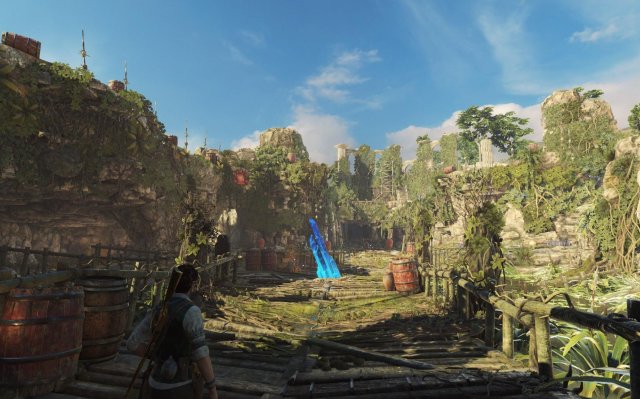
Exit the cave into the lost valley. Explore the immediate are for any hidden treasure and head over to the blue gem turret to your left. Activate it to power the mechanism with your amulet and aim it at another turret situated just beyond the gateway.

Reach the mountain camp…
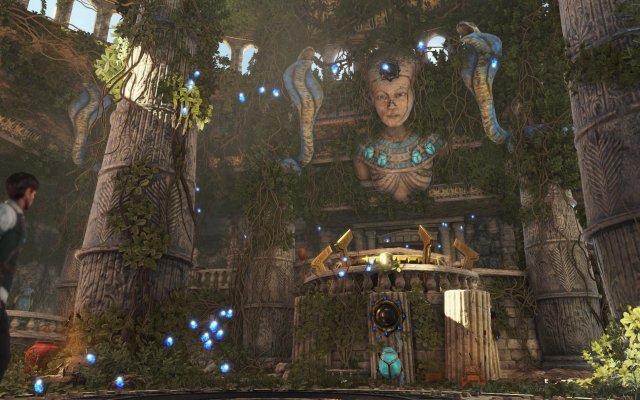
Head over the bridge having dispatched the undead horde. There are numerous pathways at this point so choose wisely. An array of traps and secret entrances are there to be discovered so keep an eye out for the unexpected. A blue crystal shard will mark your first major checkpoint. At this point make sure to replenish any ammo or rearrange your inventory to suit your playing style. Active the shard and head on down the pathway ahead.
Investigate the impasse…
Make your way down to the Sinister Canyon where you will discover another large blue shard. Before activating it, have a good explore around the immediate vicinity and collect as much hidden treasure as possible. Try to clear as many undead as possible also! Once you are satisfied with your perusing activate the shard.
Survive the clash in the canyons…
The canyon will become infested with undead at this point so use your wits to escape their evil grasps. Traps and special abilities will come in handy in thinning their numbers. Once they are all dispatched Seteki’s spell with be broken and allow you to press onwards.
Light the way.
Head up to the blue gem turret that sits on the walk way above the newly opened entrance. Look for a non active blue gem turret and drag the blue laser like emission toward it. This will allow you to progress onwards and lead you to your next checkpoint.
Enter the scarab’s eye tomb…
Activate the blue shard and head on into the tomb.
Complete a trial of tally…
Once inside have a good look around the tomb in order to work out the puzzle before you. Pay close attention to the number of scarabs by each blue eye target! Having eventually acquired the scarab key, reunite it with the scarab plinth and allow for the doors before you to open. Once outside bear right and head through the arched doorway.
Solve the timely trial…
You will see a pillar before you with three timed blue eye targets. You will need to shoot each in quick succession in order to progress onto the next stage.
Picturesque Pond.
Head down to Picturesque Pond where another blue shard will appear, marking another undead encounter. Take out all the spawned undead foes and the spirit gates will be free to pass through.
Enter the lost temple…
Make your way over the draw bridge having activated the blue shard. Defeat the enemies that are guarding the entrance of the temple and head up towards the entrance. Once inside activate the 3 blue eye targets to allow for the soul cage to appear.
Destroy Seteki’s Soul Cage…
This final encounter is spread out through 3 stages. At the end of each undead onslaught you will need to shoot at the soul cage to decrease its power. Once you have whittled the soul cage down, use your amulet to absorb the souls within. This will mark the end of the Hidden Temple part of the campaign.
Source: https://gameplay.tips/guides/2919-strange-brigade.html
More Strange Brigade guilds
- All Guilds
- Strange Brigade - Enemy Guide
- Strange Brigade - Gameplay Tips
- Strange Brigade - All Collectible Locations Guide (Jars, Letters, Relics and Cats)
- Strange Brigade - Guide to Unlockable Weapons
- Strange Brigade - Horde Mode Guide
- Strange Brigade - Harbin's Dig Site (Level Guide)
- Strange Brigade - Guide to Score Attack
- Strange Brigade - Amulets and Special Weapons
- Strange Brigade - Characters: Passives and Amulets
