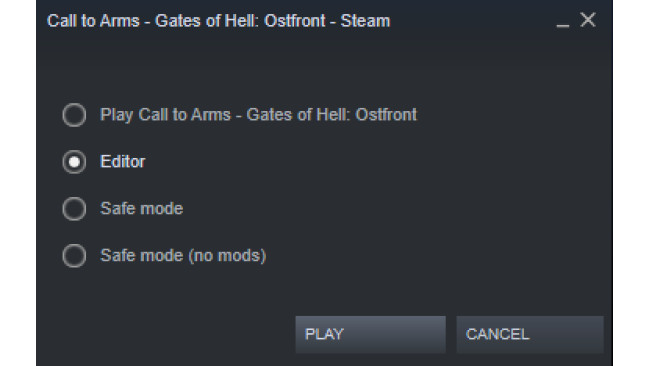
How To Start

Choose Editor at launch.
Map Loading
There are two methods how to load maps. One is simpler and the other one si a little bit harder. Don't worry it is nothing complicated. Let's take a look at the first method which is simpler but it has one disadvantage.
Method #1

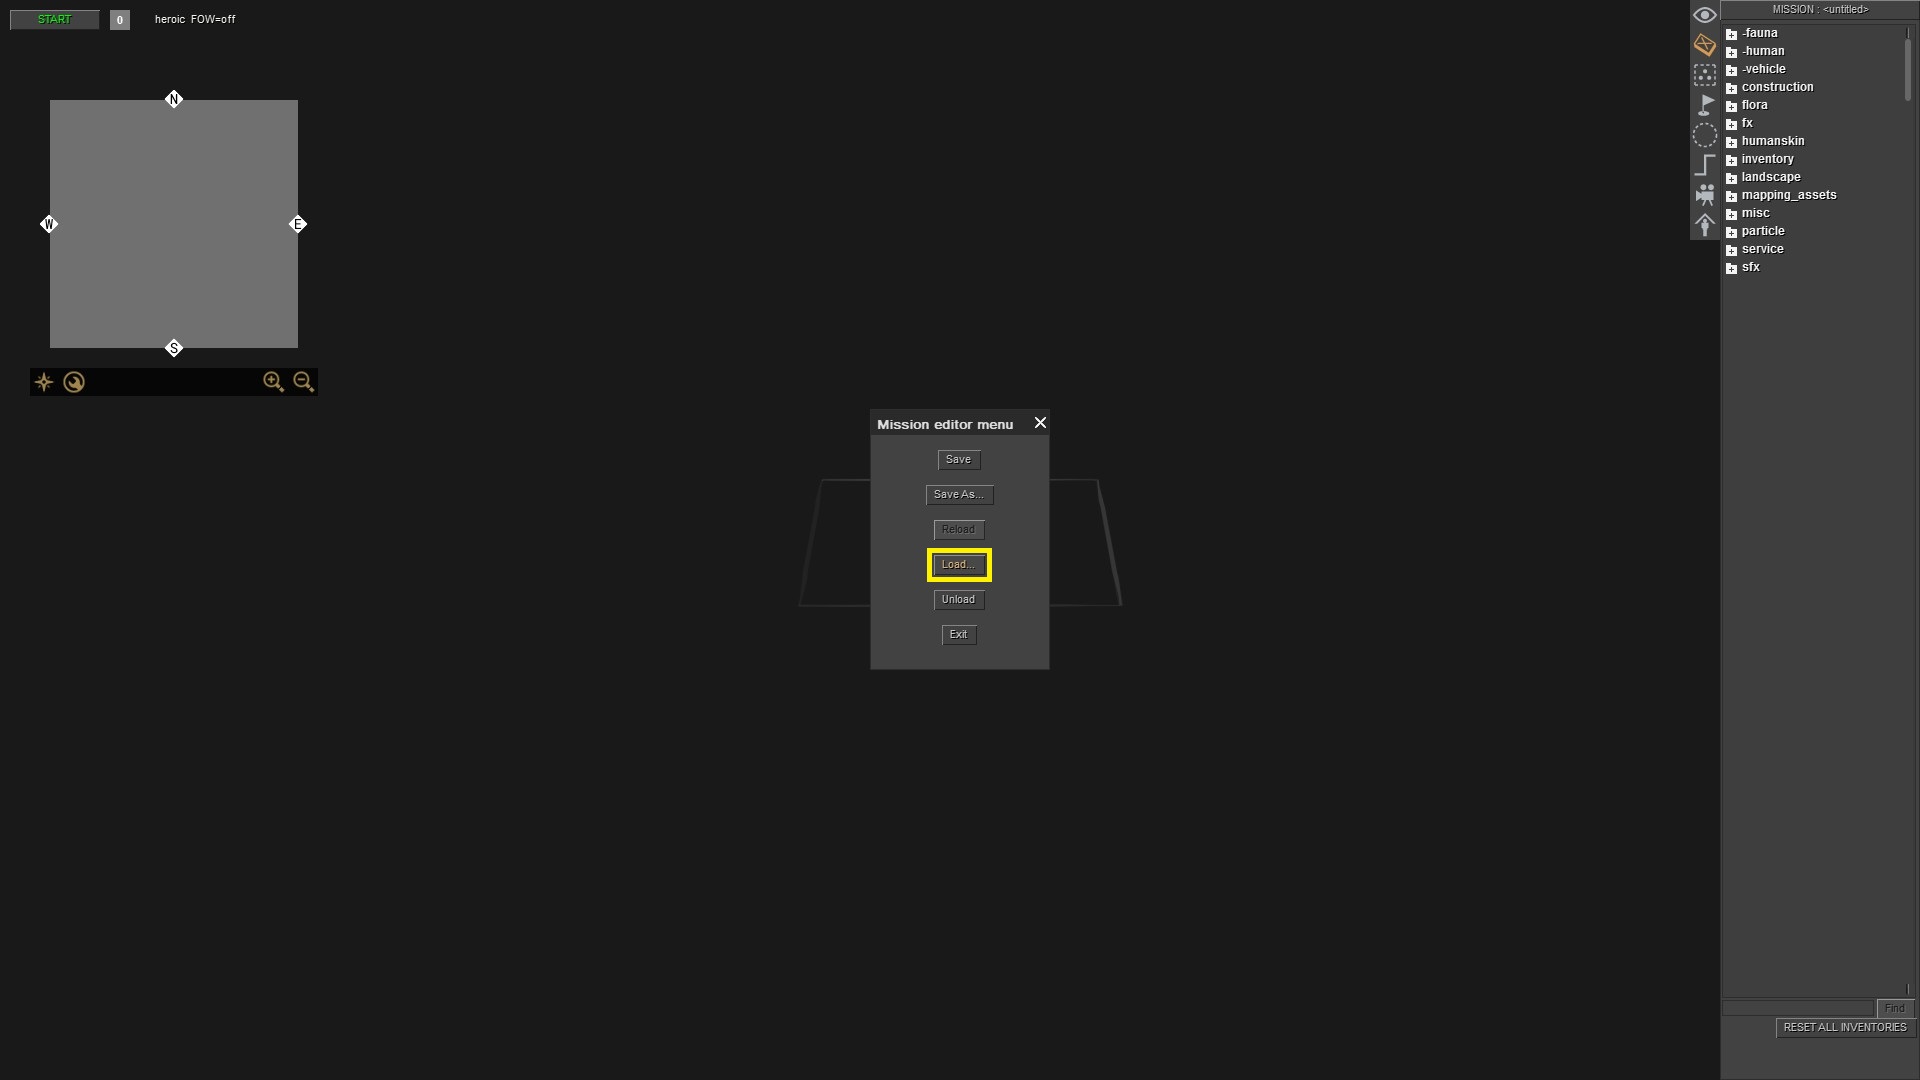

Press F3 for mission editor.
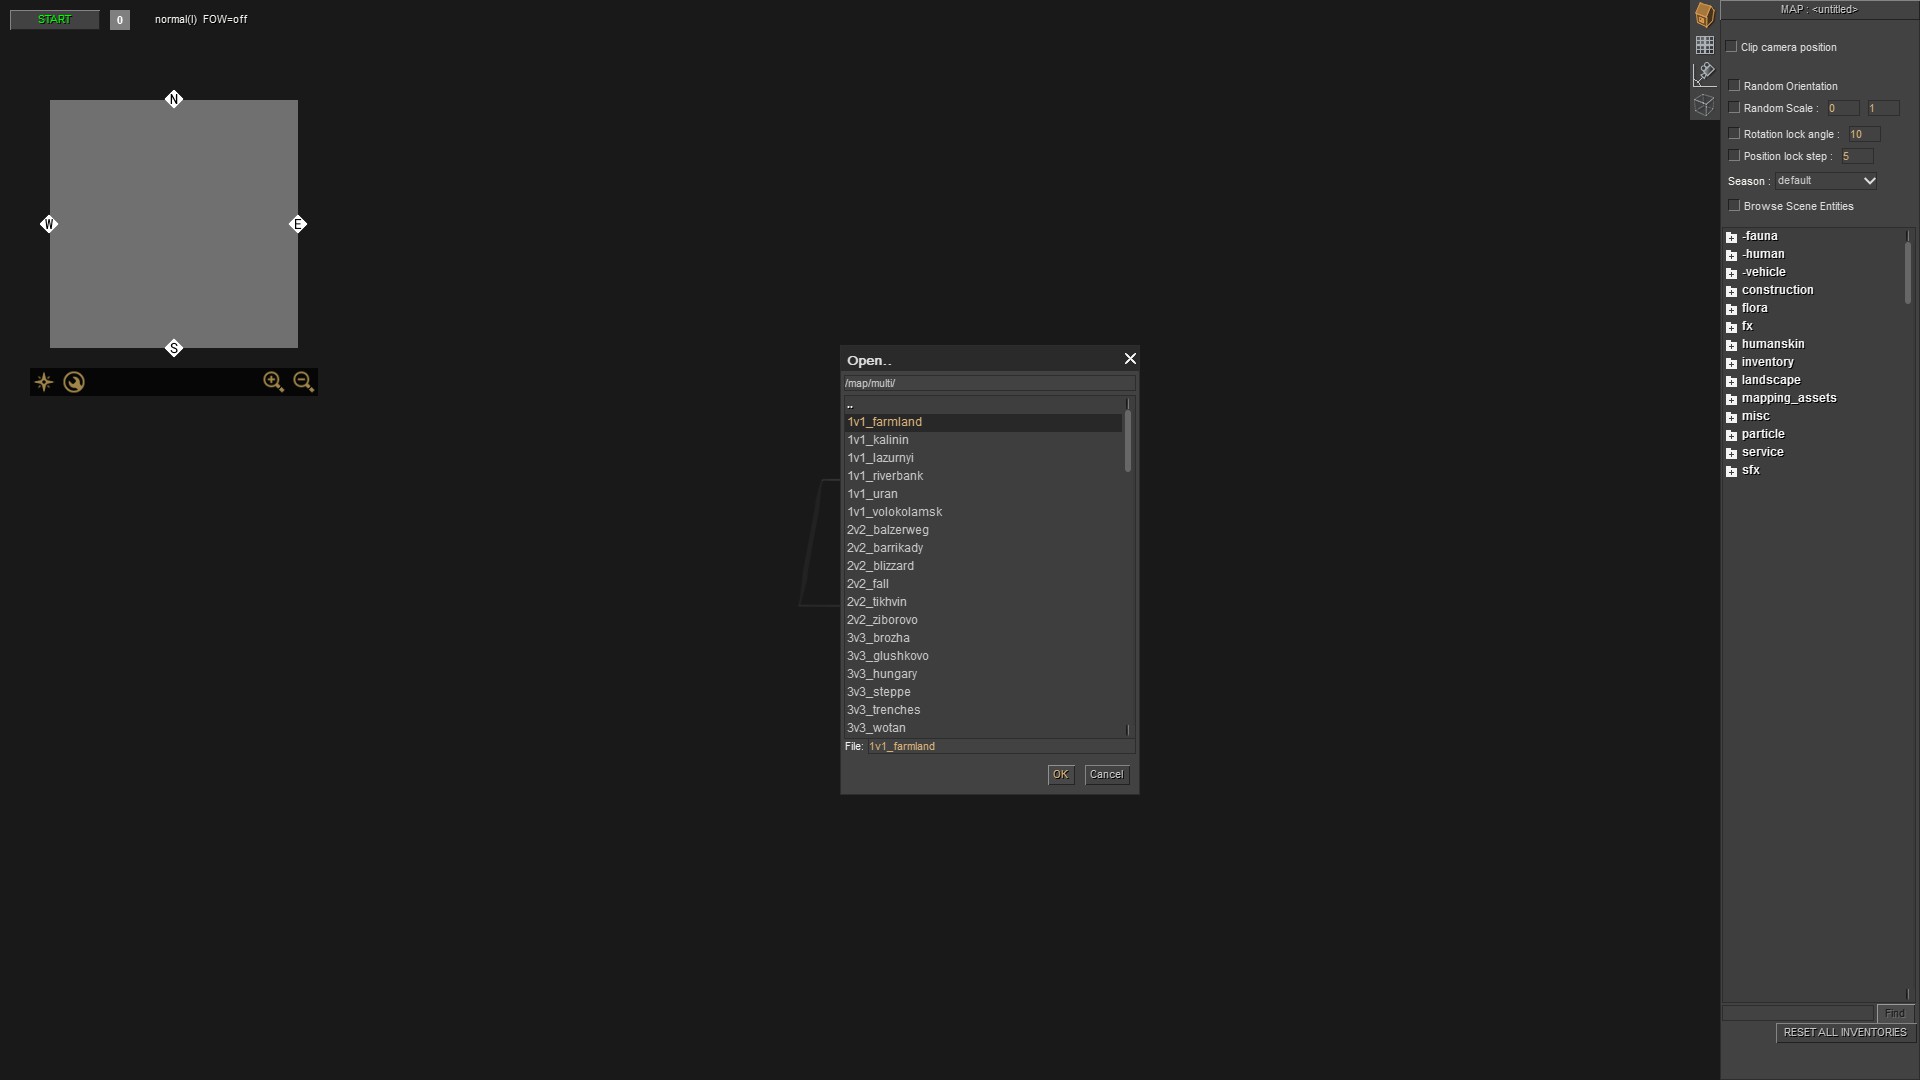
Load map which you want.
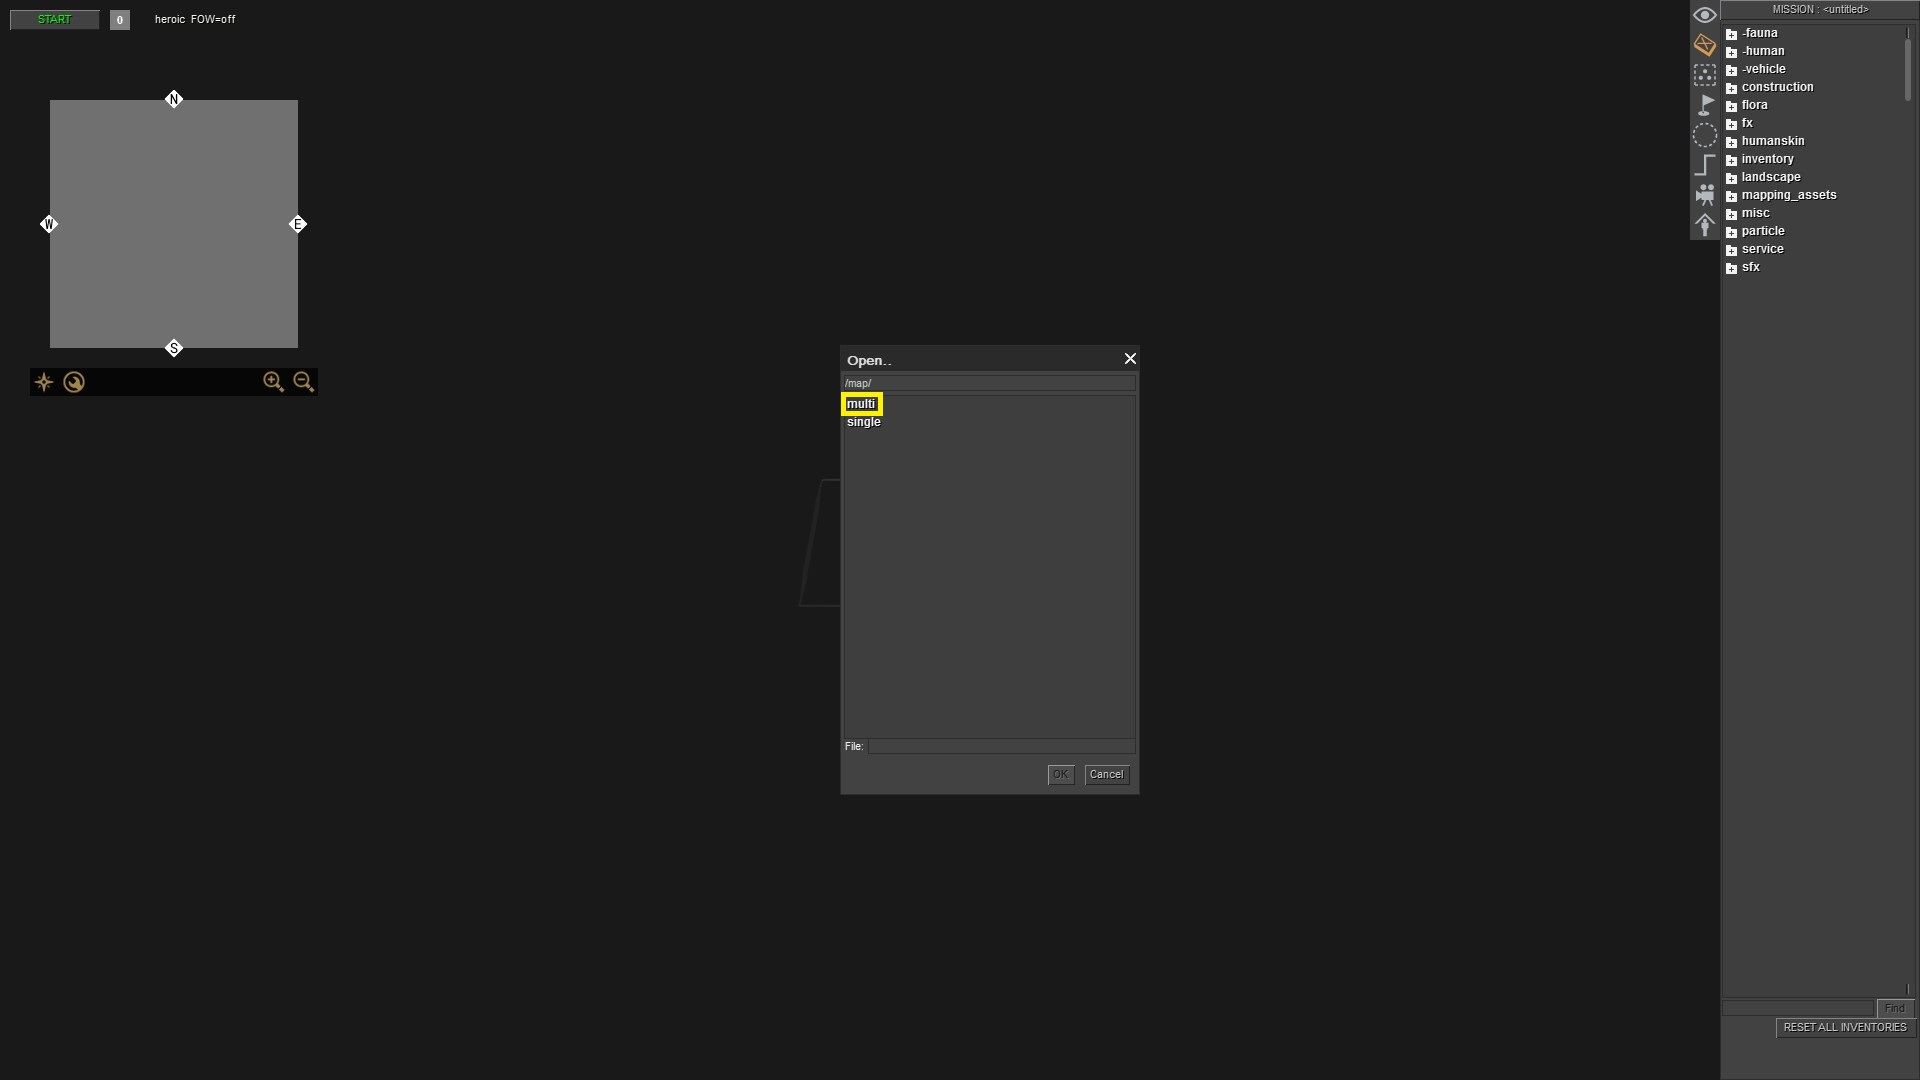
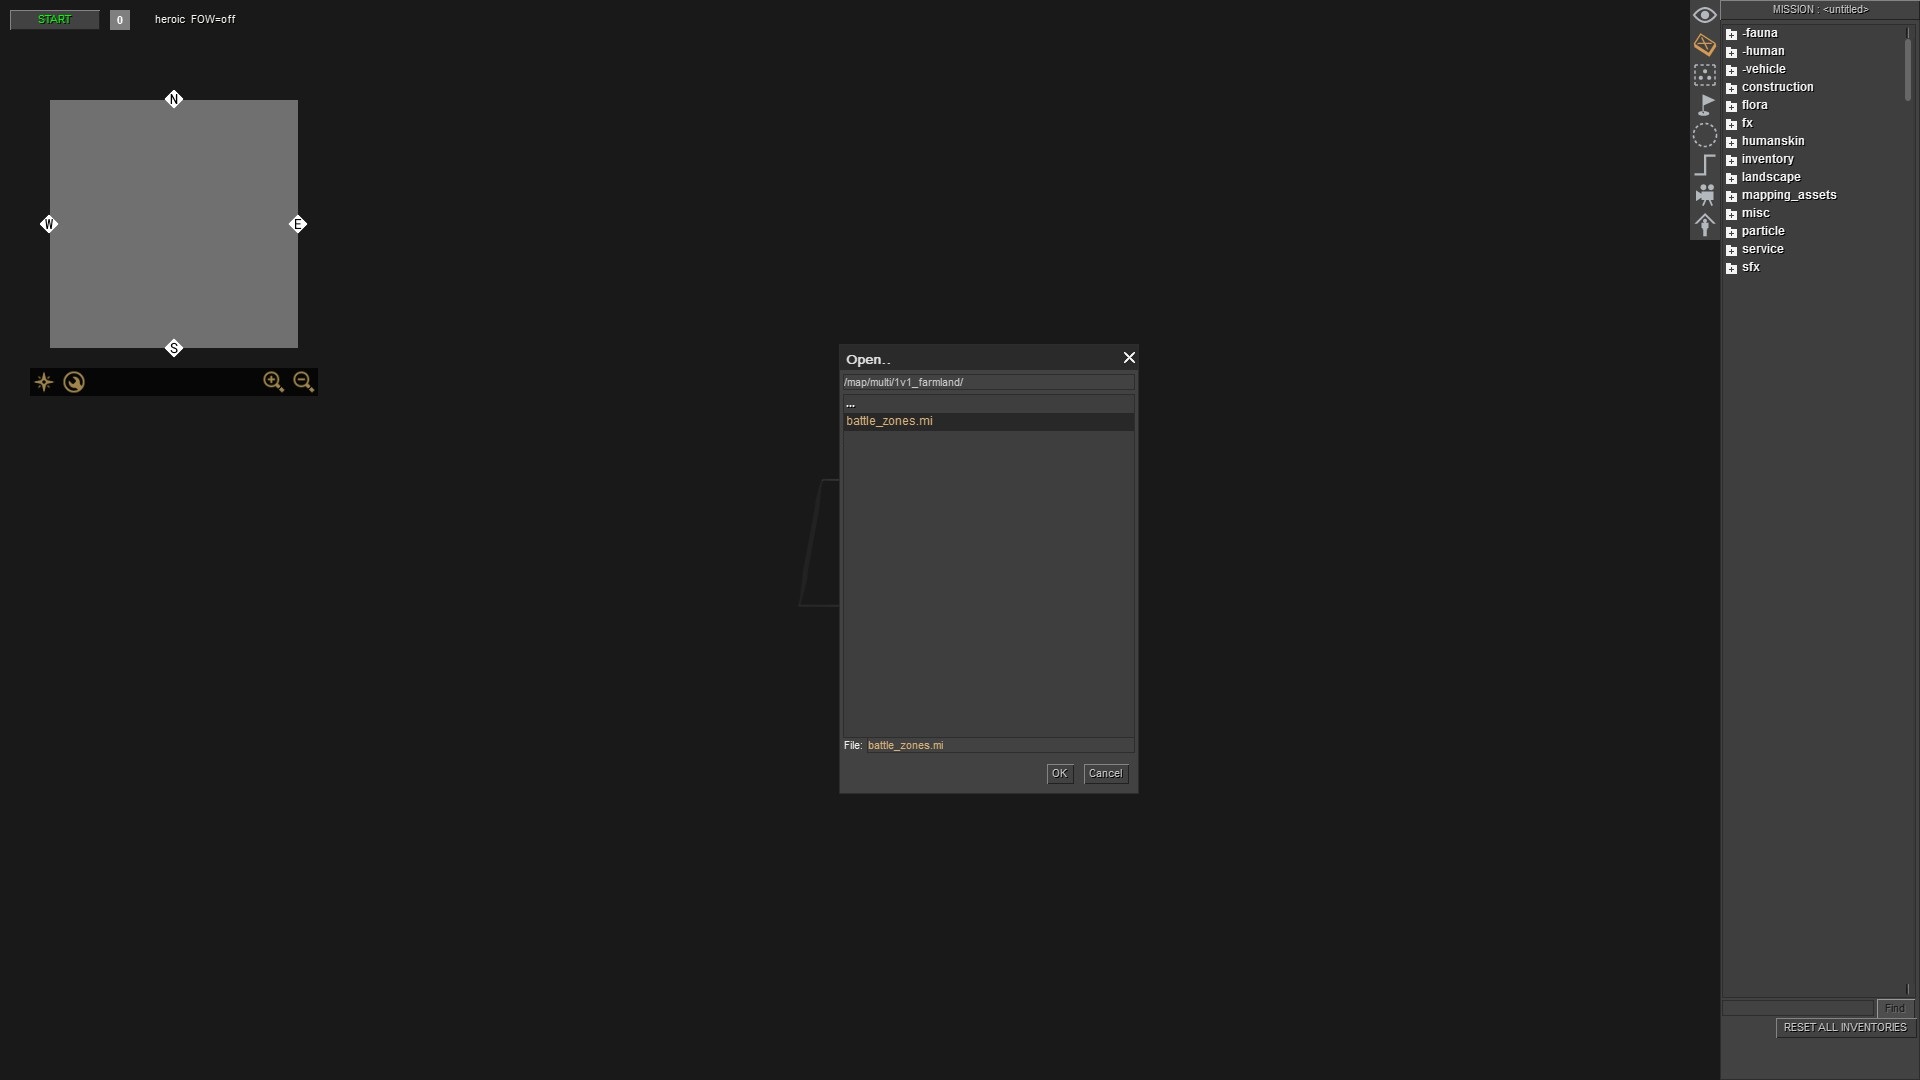
Now, choose "mission". This is a multiplayer map, so choose battle_zones.mi.
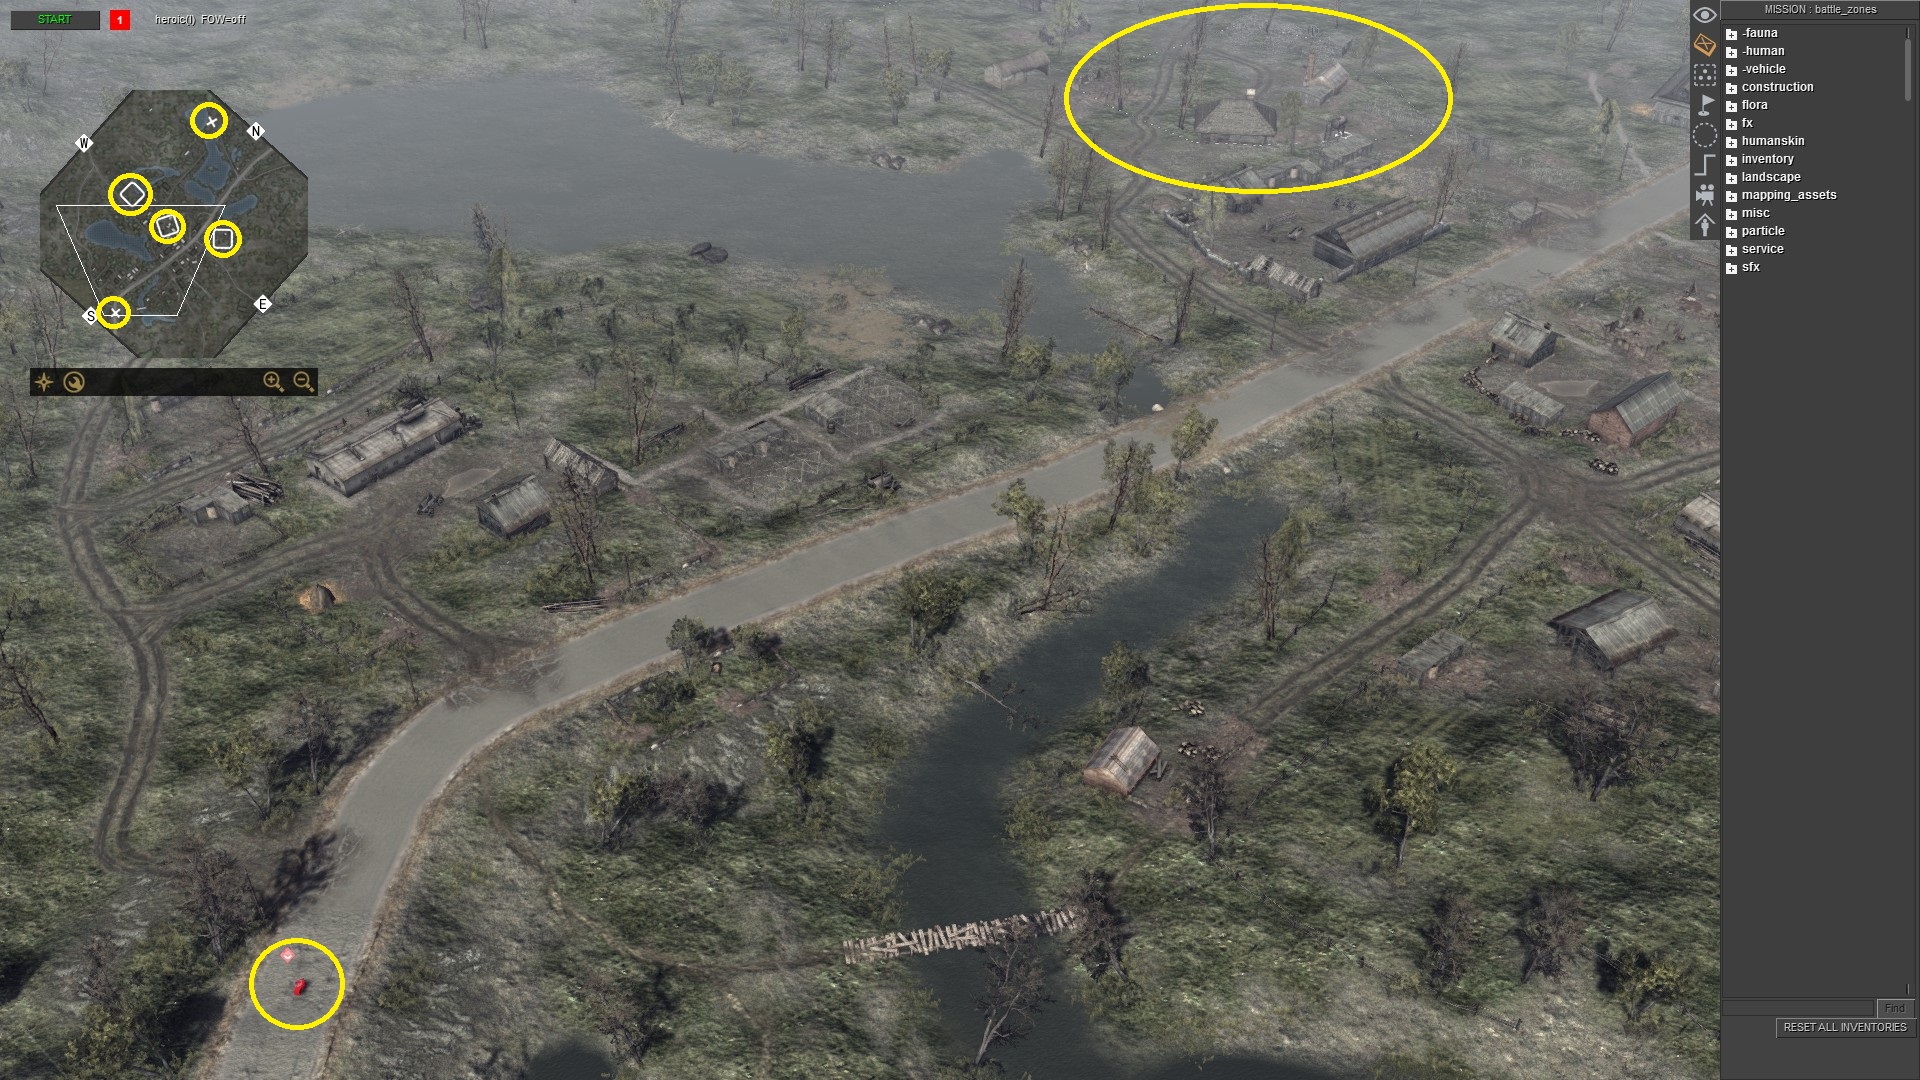
The map is loaded but can see some objects are specific for Battle Zones mode. You can continue to the Unit Spawning section. Or check Method #2 how to load a map without these objects. It is not a problem or disturbing during making a simple battle in Editor, but if you want to load a map from Conquest it can be annoying.
Like here. There many useless things for a simple battle in Editor. You can simply select them in Mission Editor - F3, and delete them, but there is another method how to do it without risking damage to the multiplayer map or any other map.
Remember, when you will exiting the game NEVER save and overwrite original files of the game.
Method #2
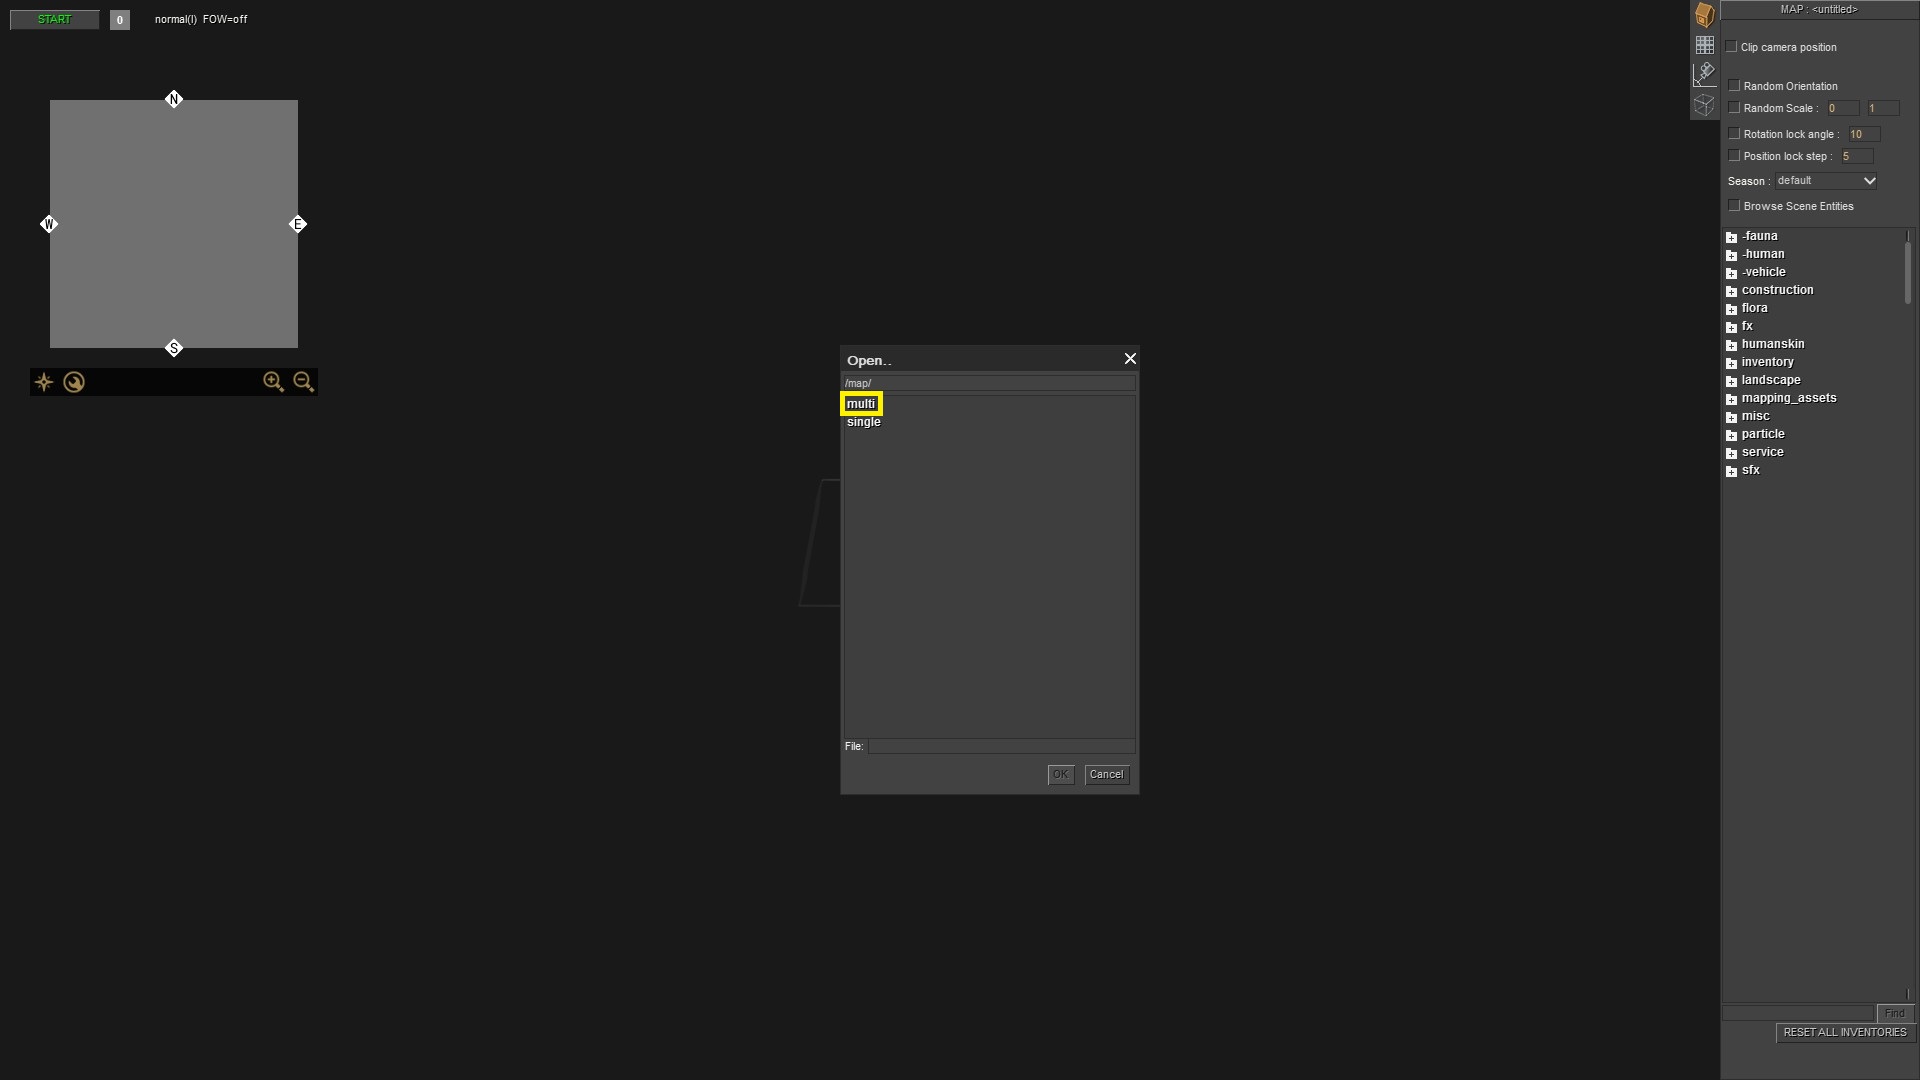

Load any multiplayer map.
Double click on the map that you have chosen or click on "ok".
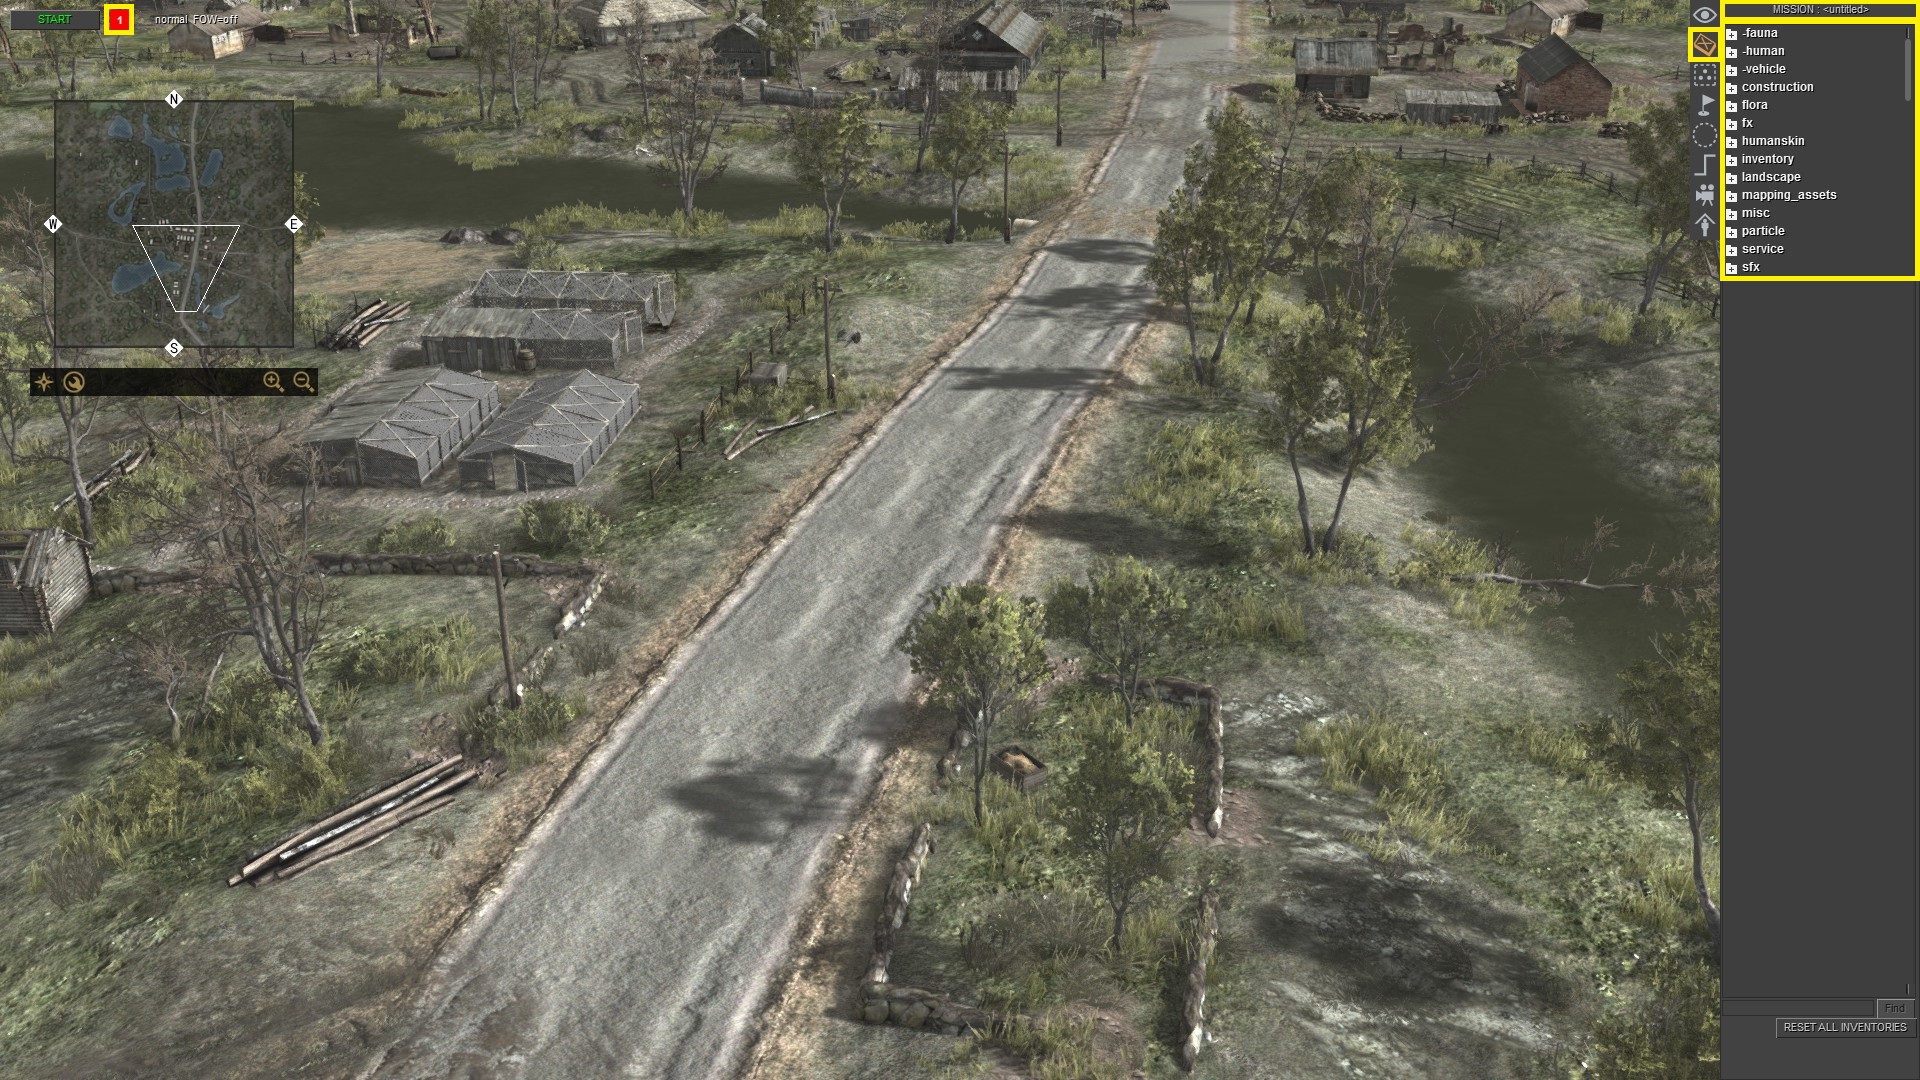
Map is loaded. Press F3 for mission editor, and press 1 on Numpad to choose player 1.
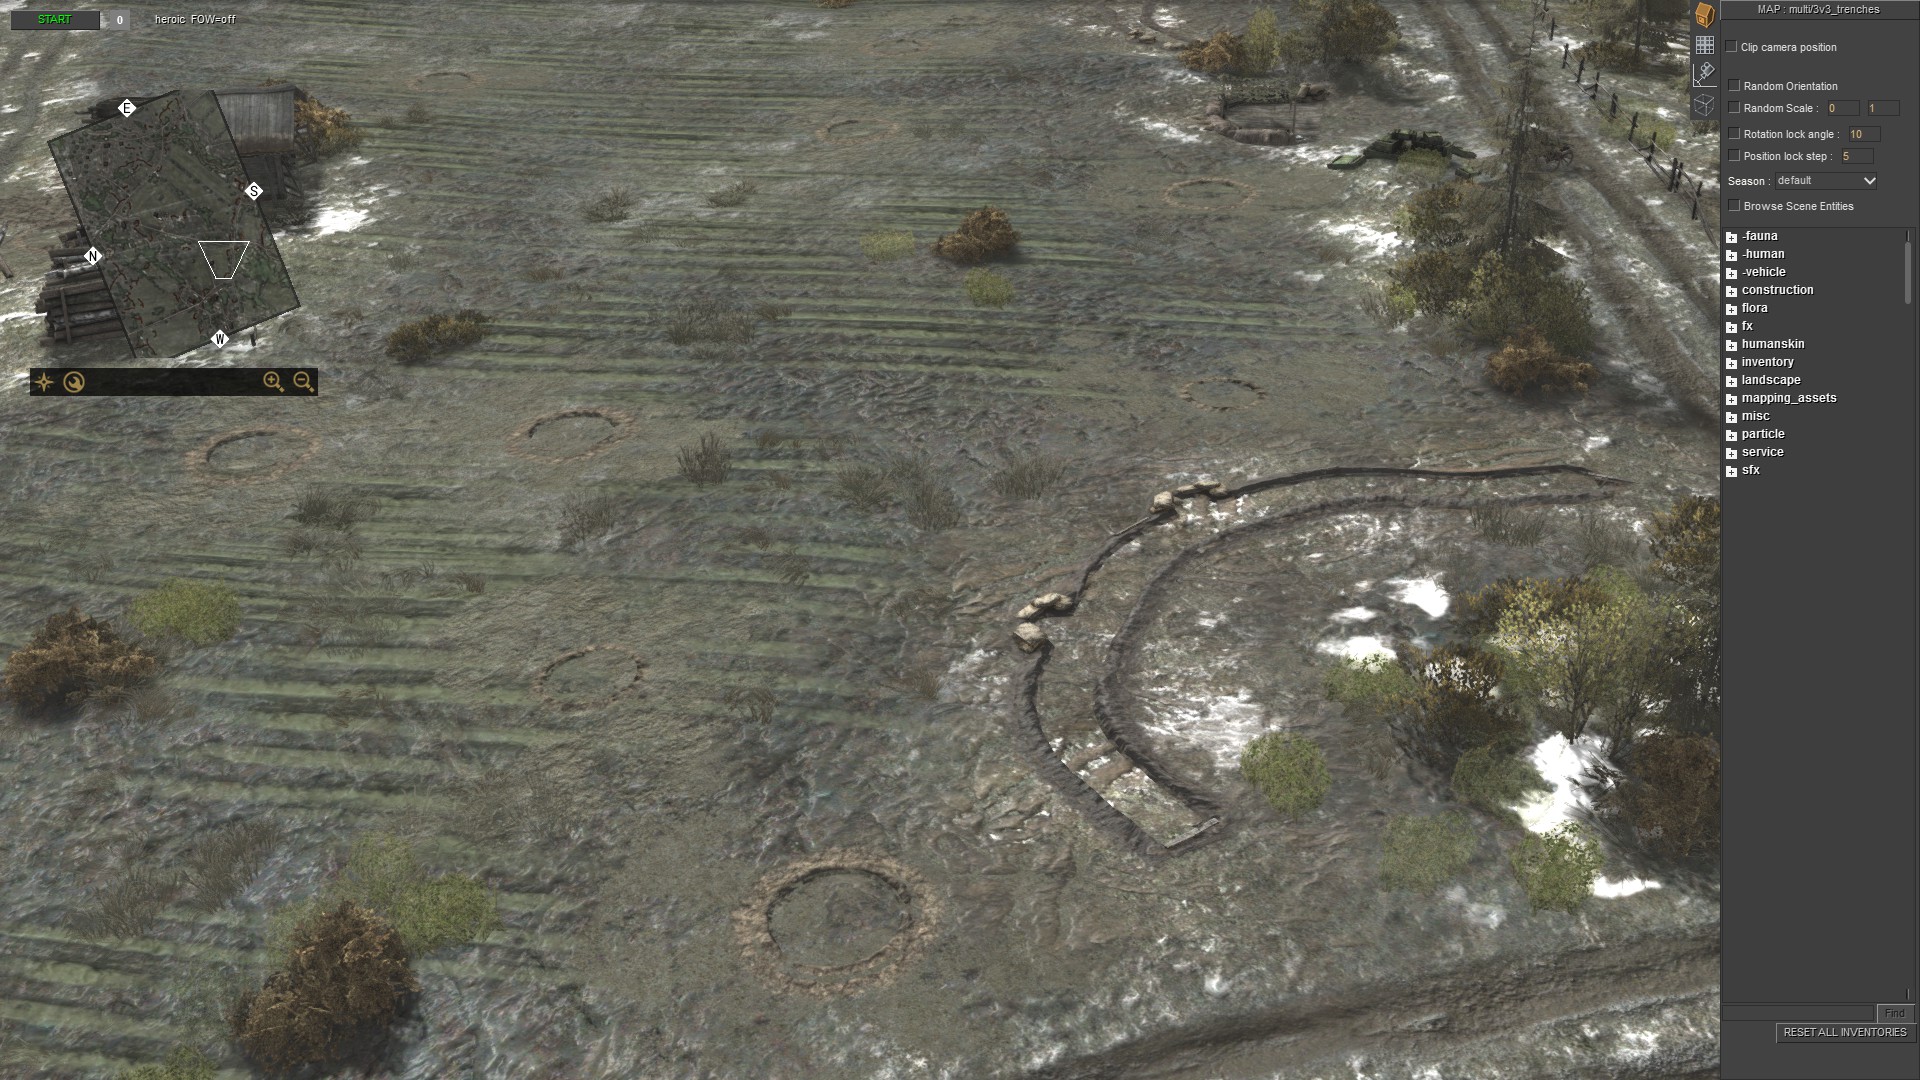
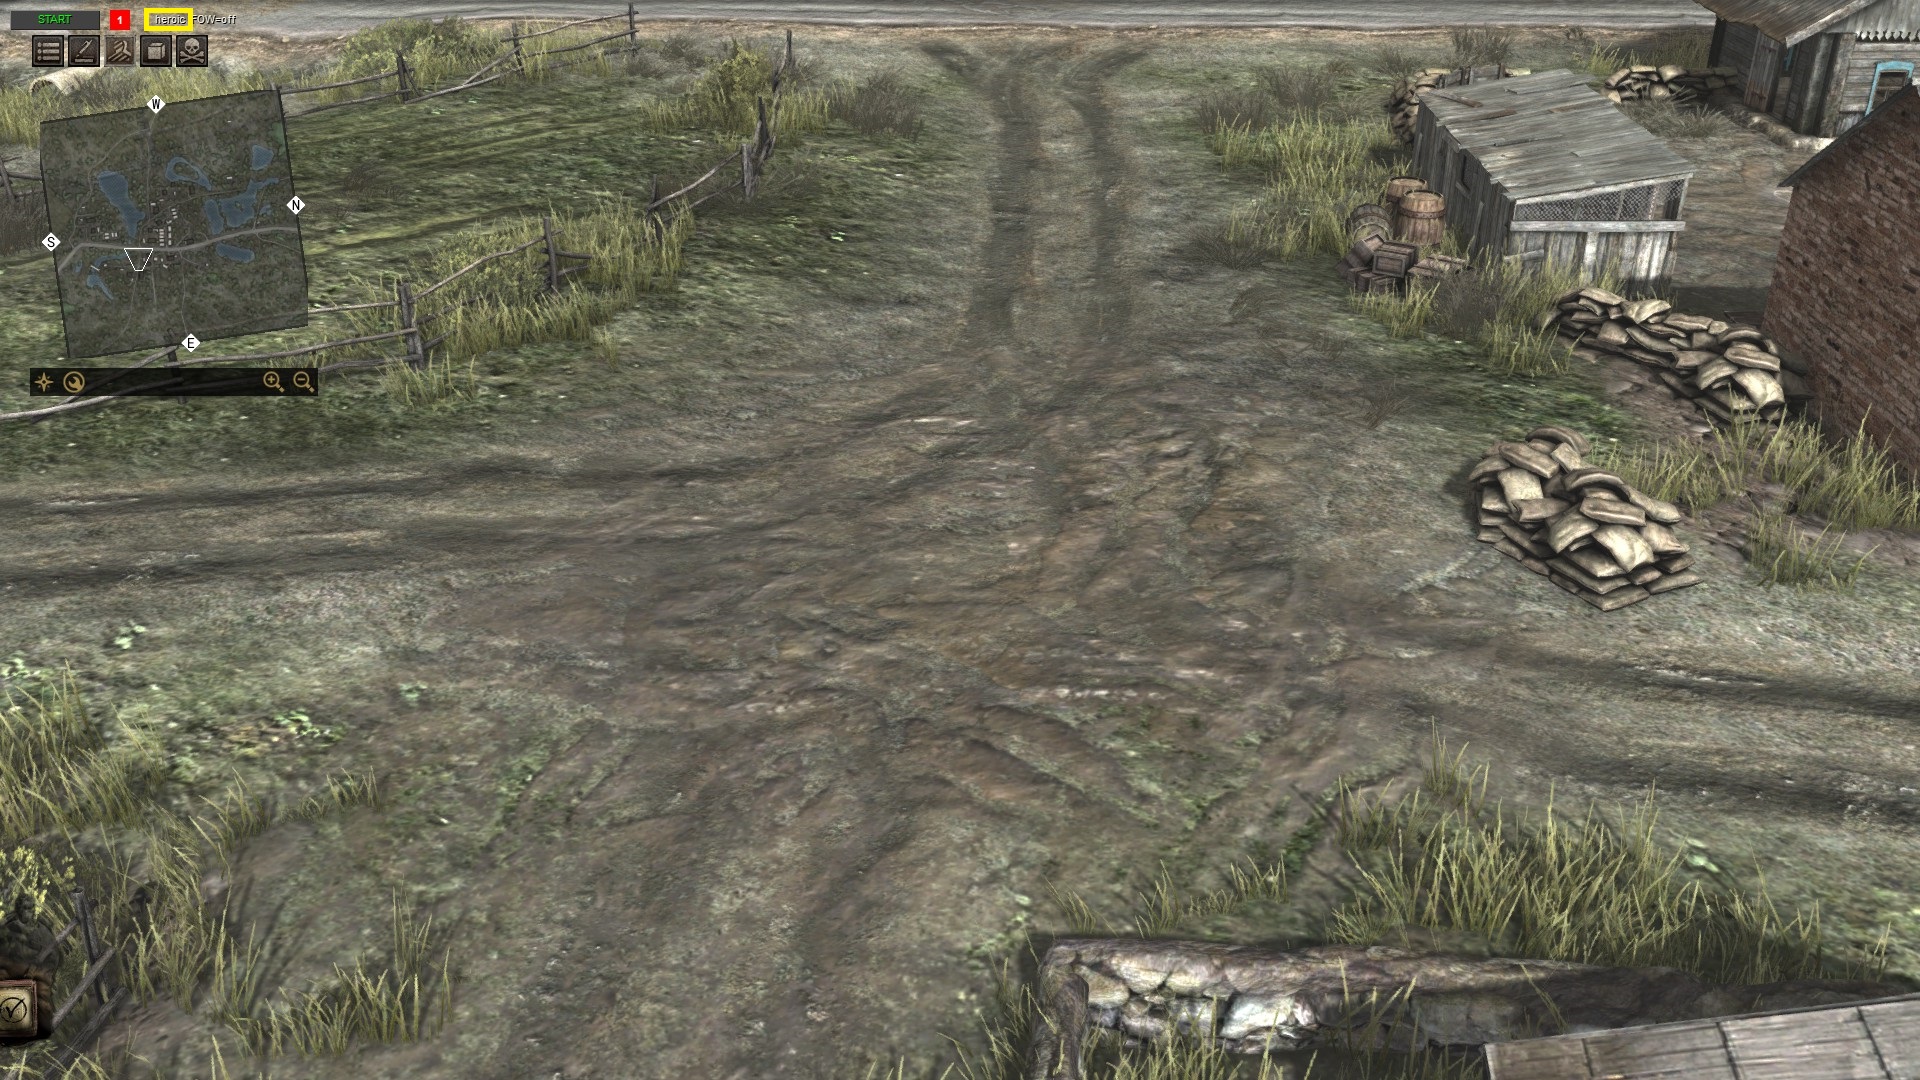
The problem with this method is when loading a map with many trenches or craters, they will not render properly. As well, if you hit the ground by HE shell a crater will not be rendered.
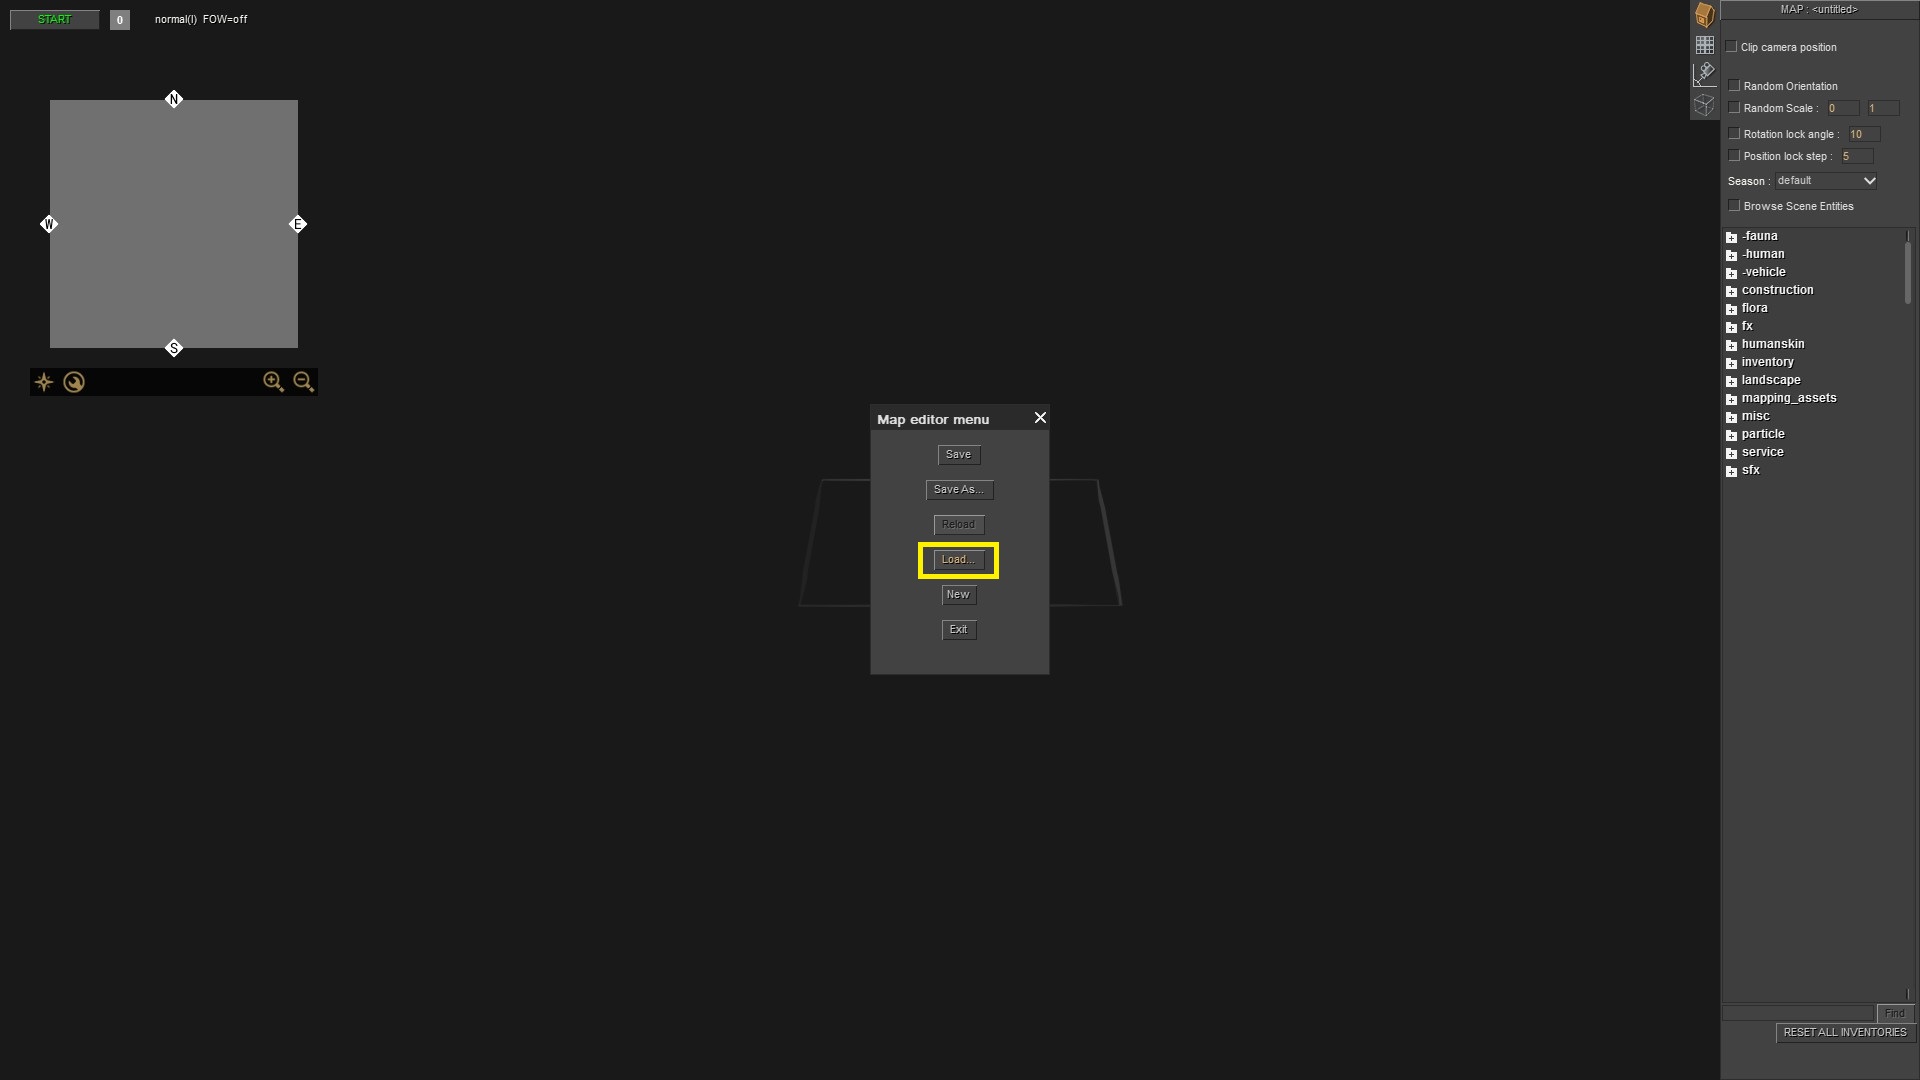
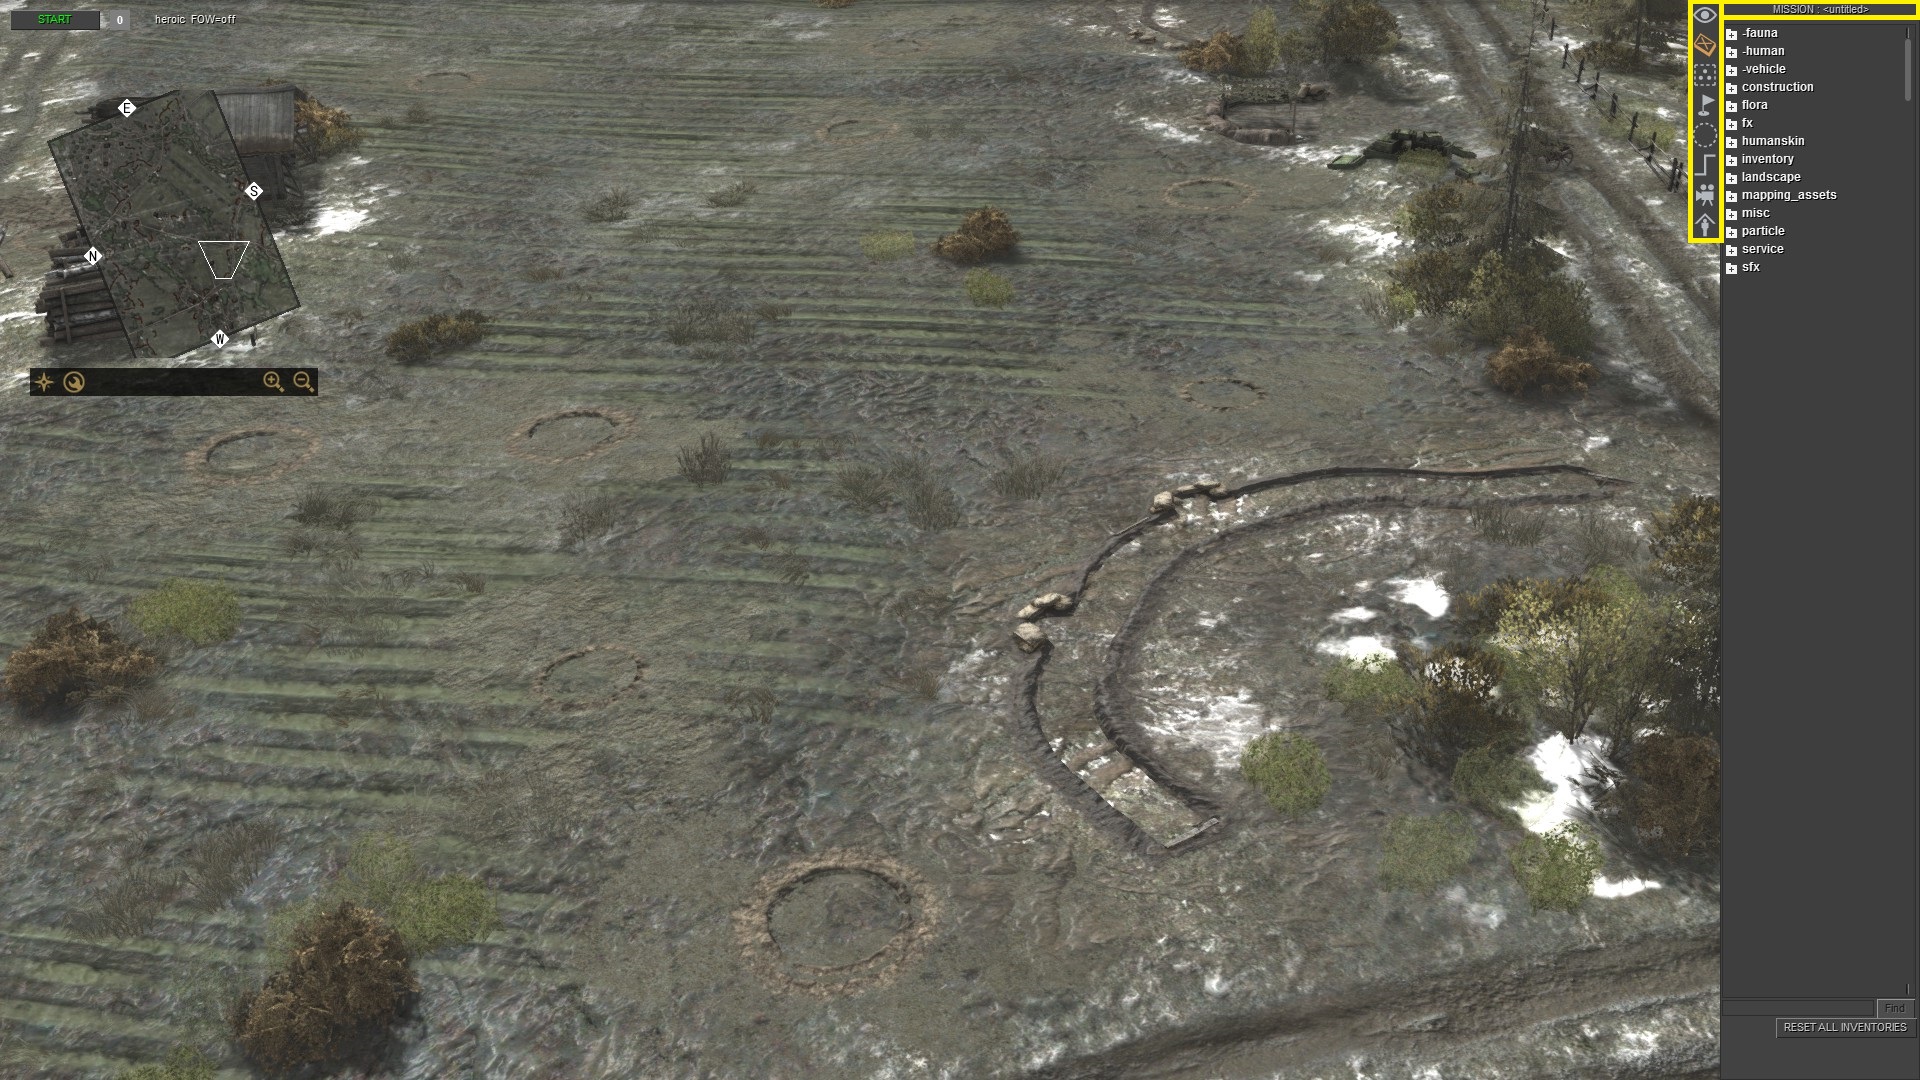
So here is the solution. After loading the map, jump to the mission editor by pressing F3.
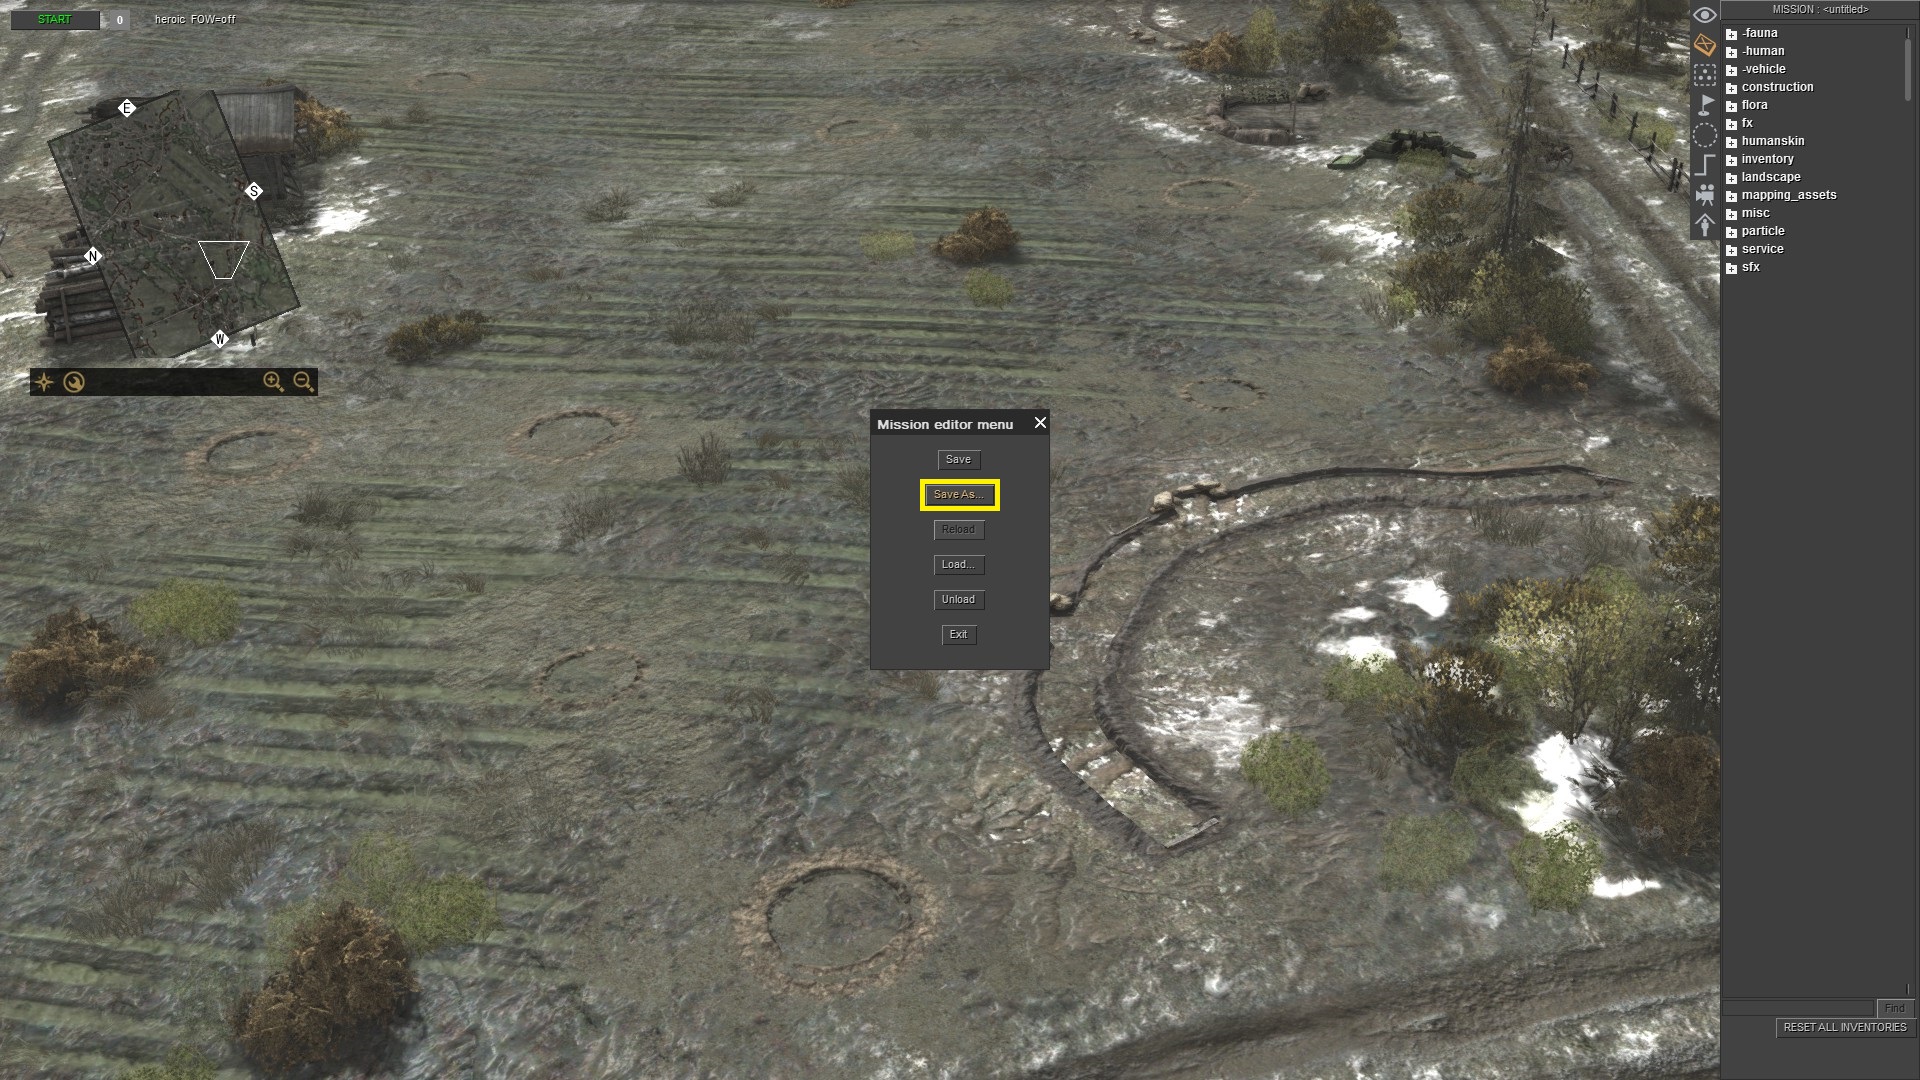
Then, hit the ESC key, and save as.
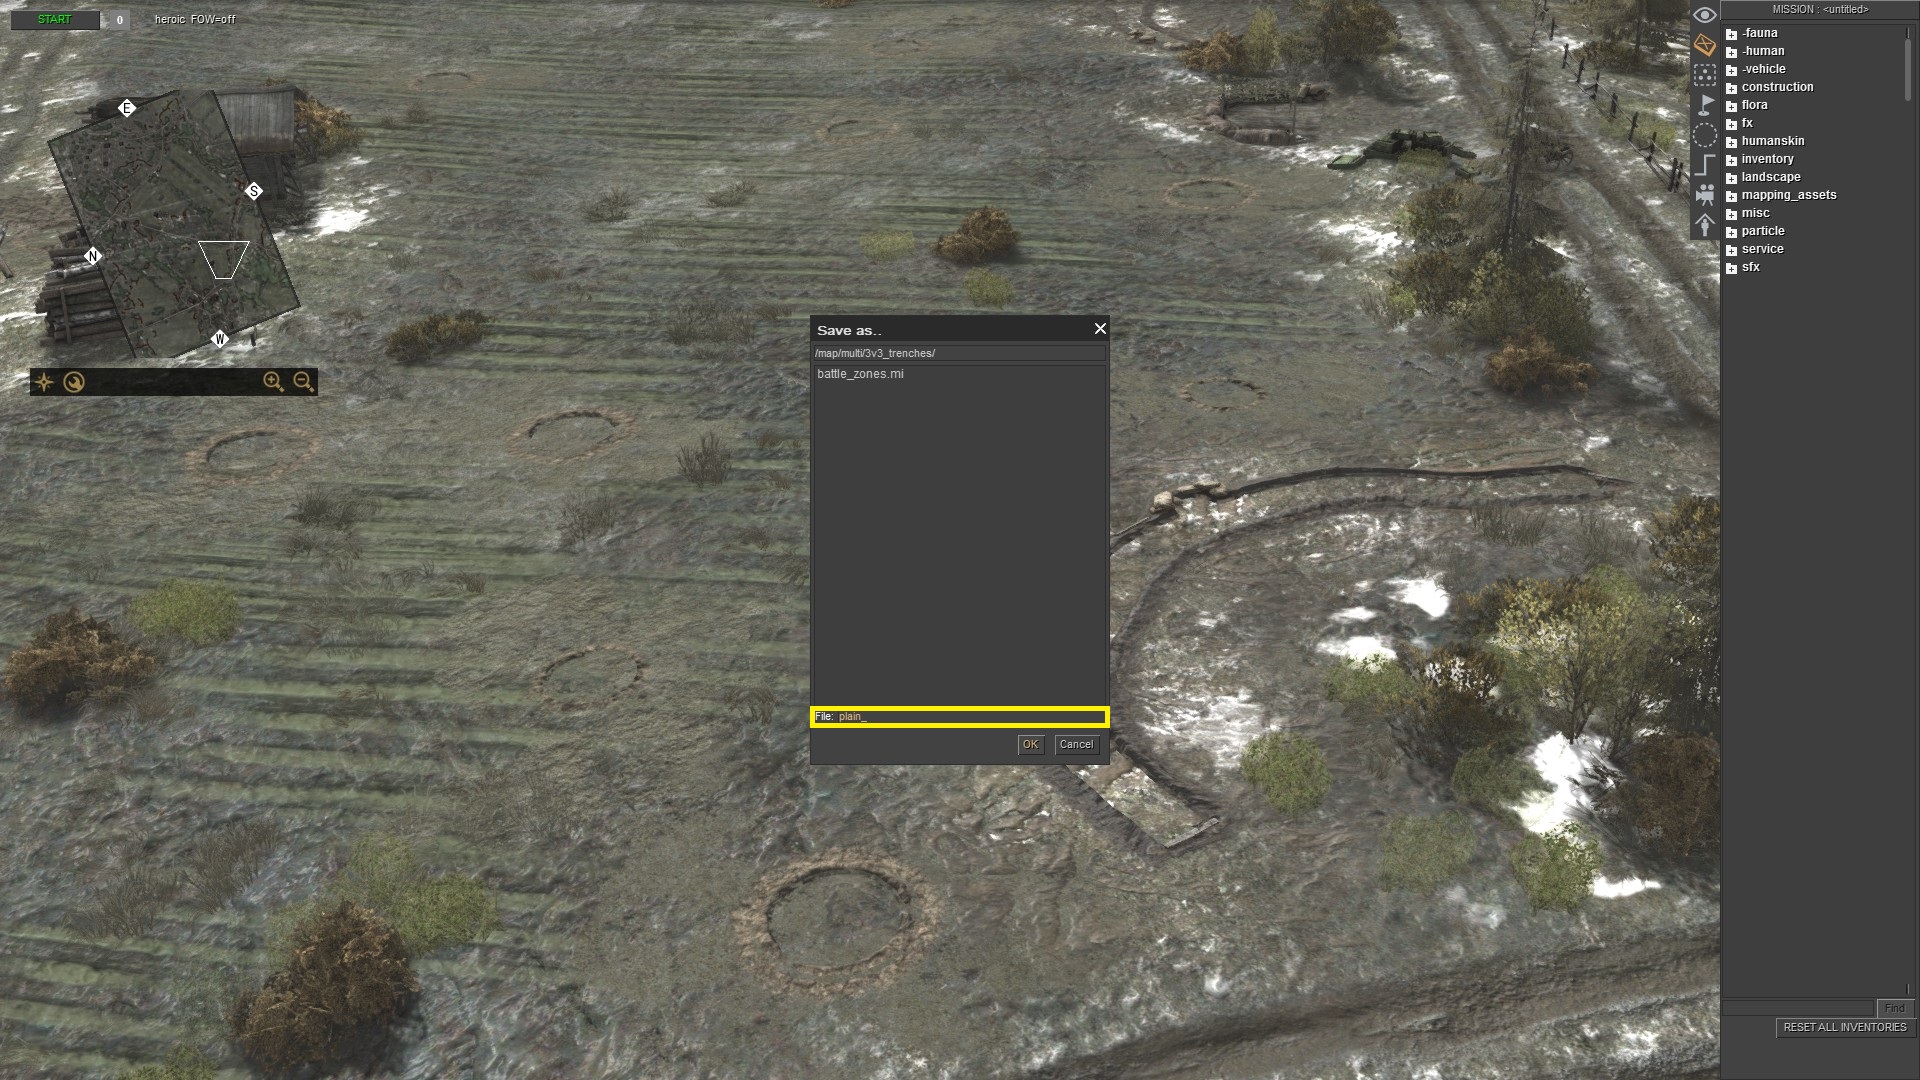
You can put here any name you want, but DO NOT overwrite existing mission.
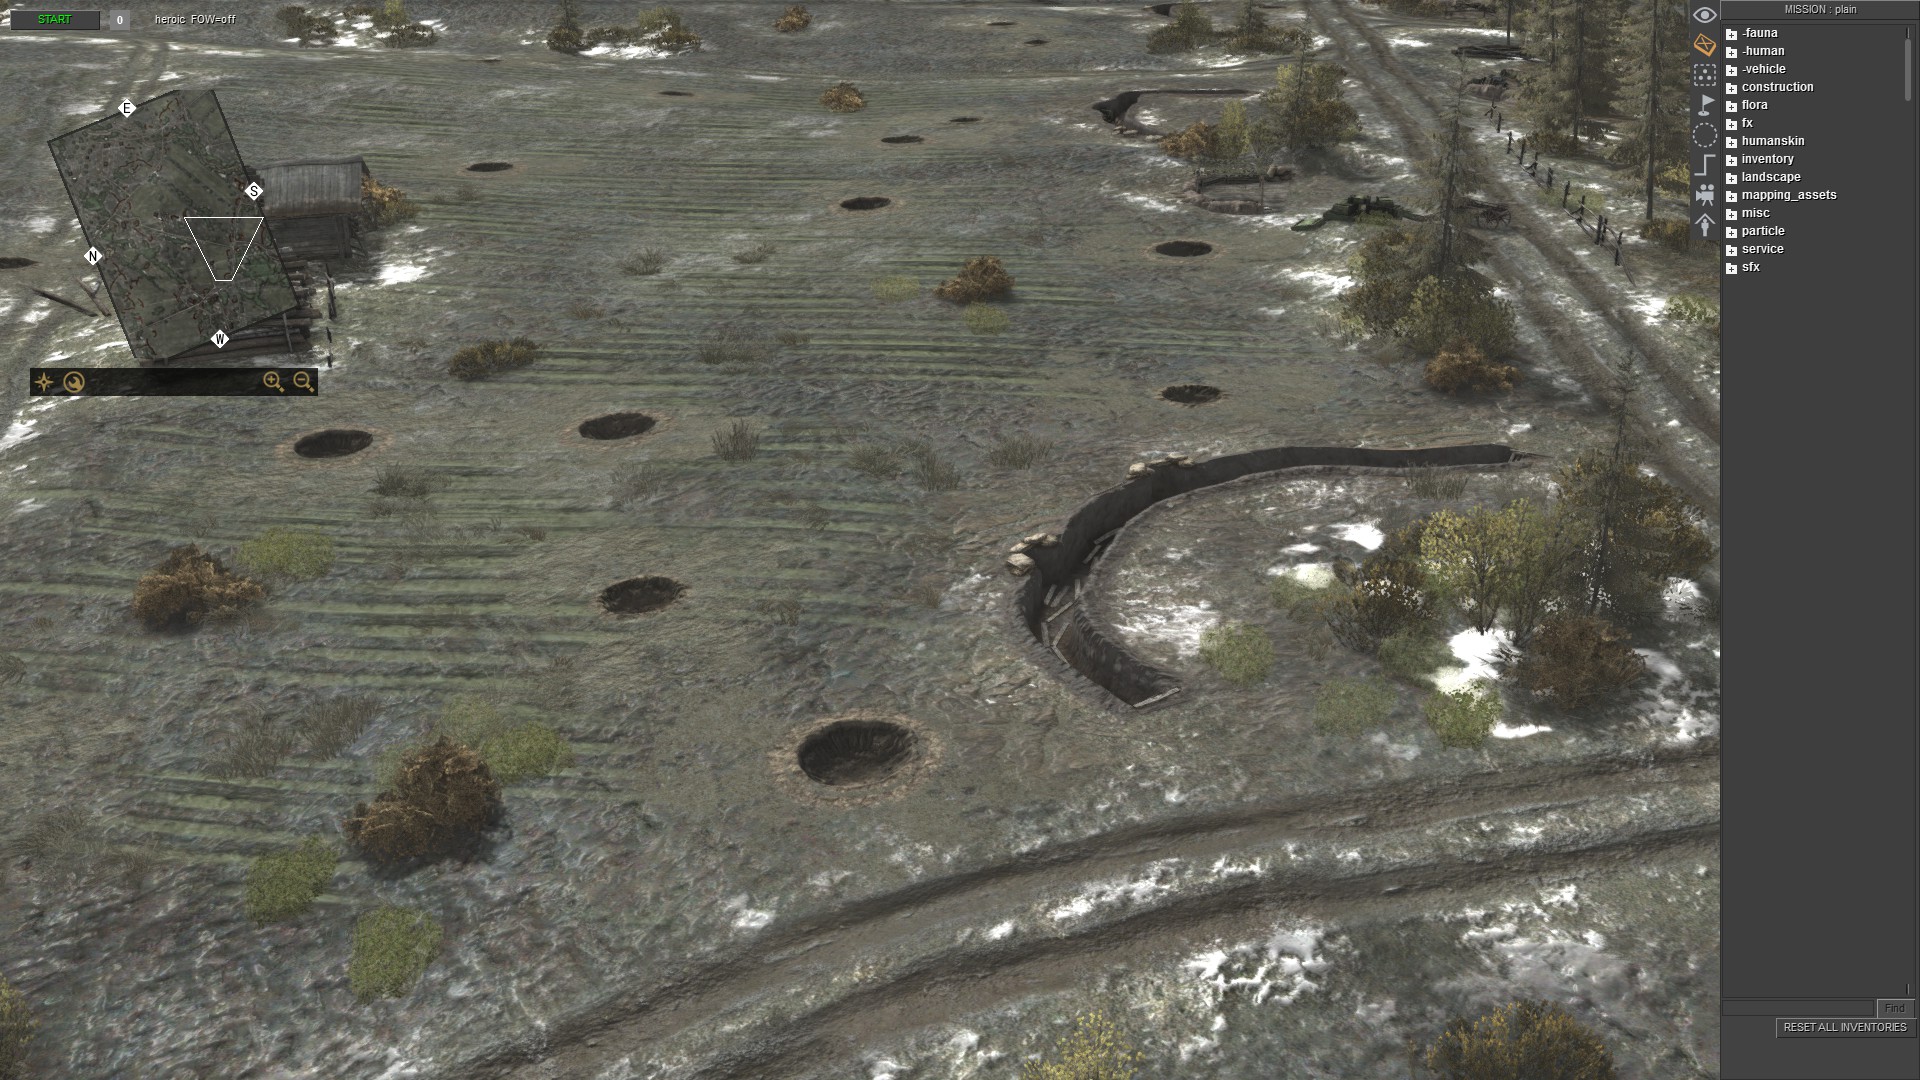
Now, again open the menu by pressing ESC or clicking on the mission in the upper left corner. Click on reload.
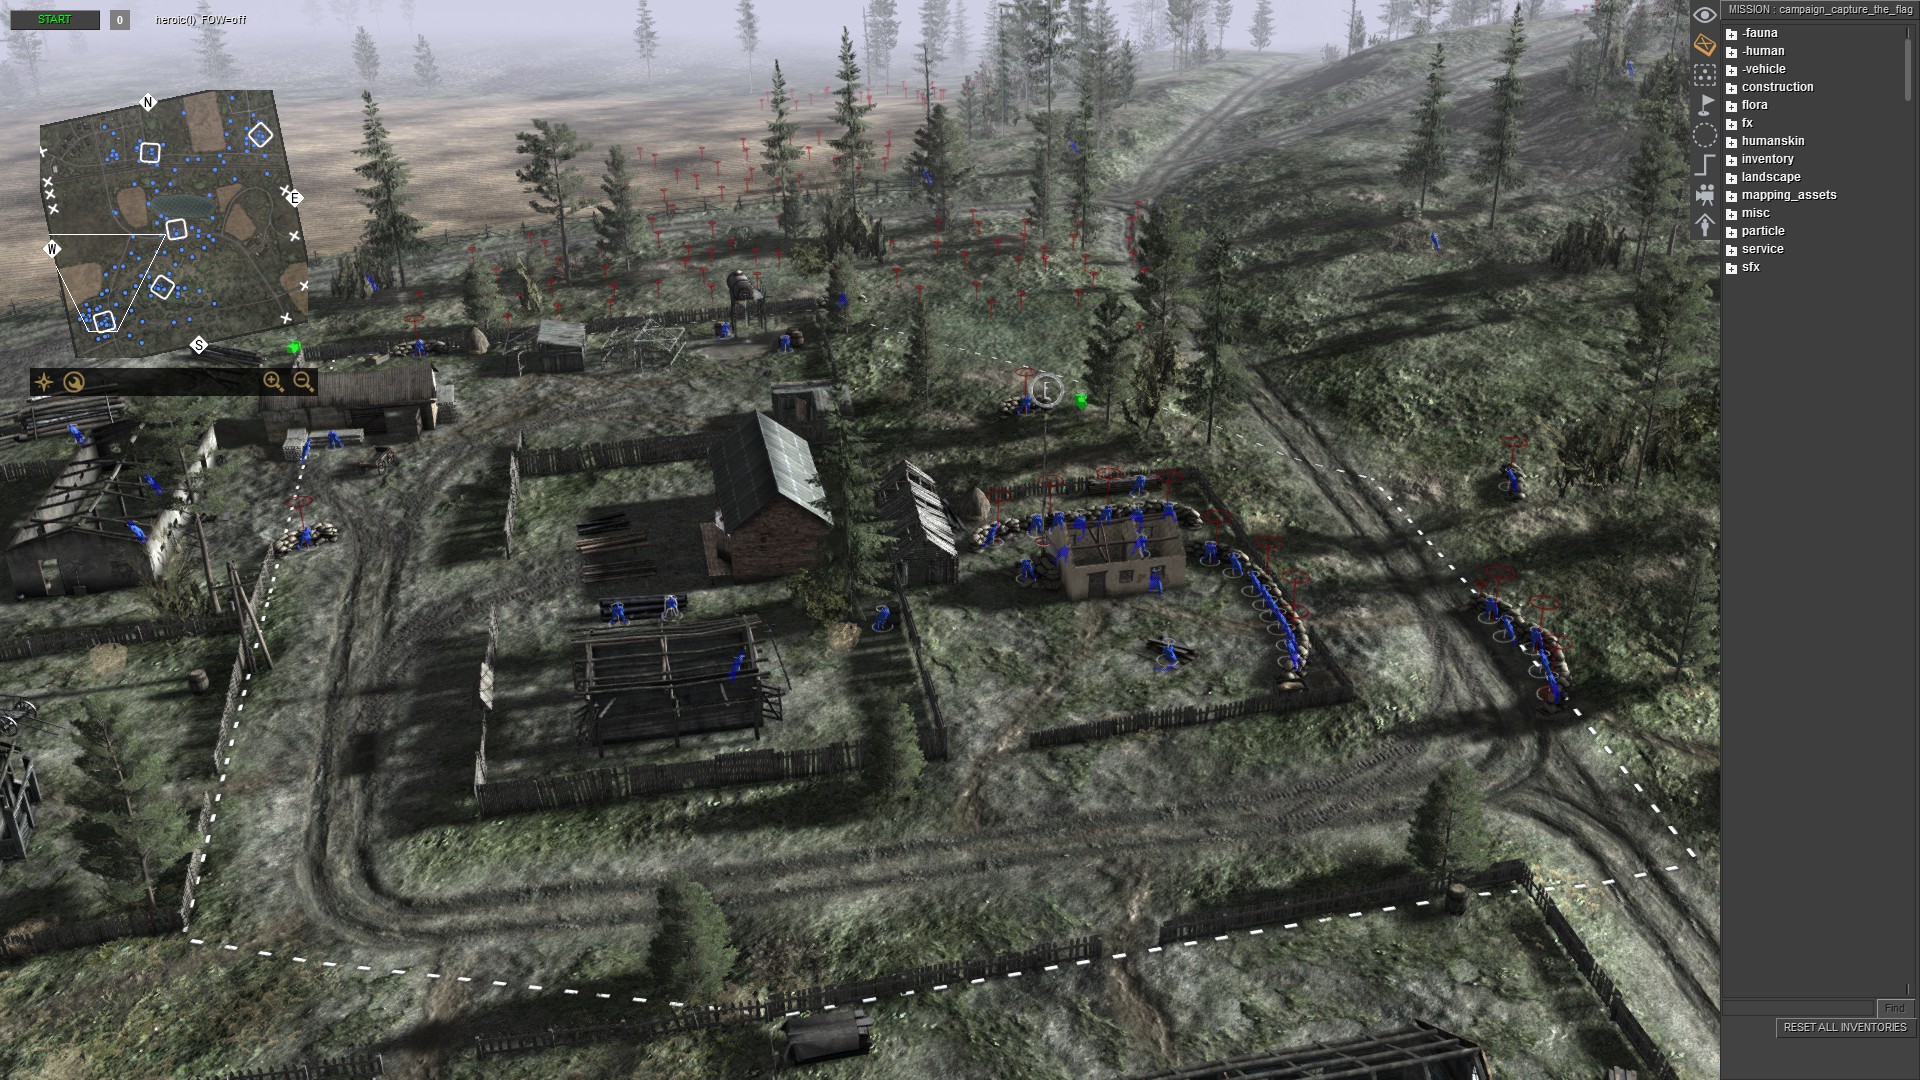
The map - mission will be loaded again. All craters, trenches and other cut entities are rendered properly, and you are ready to have fun with units.
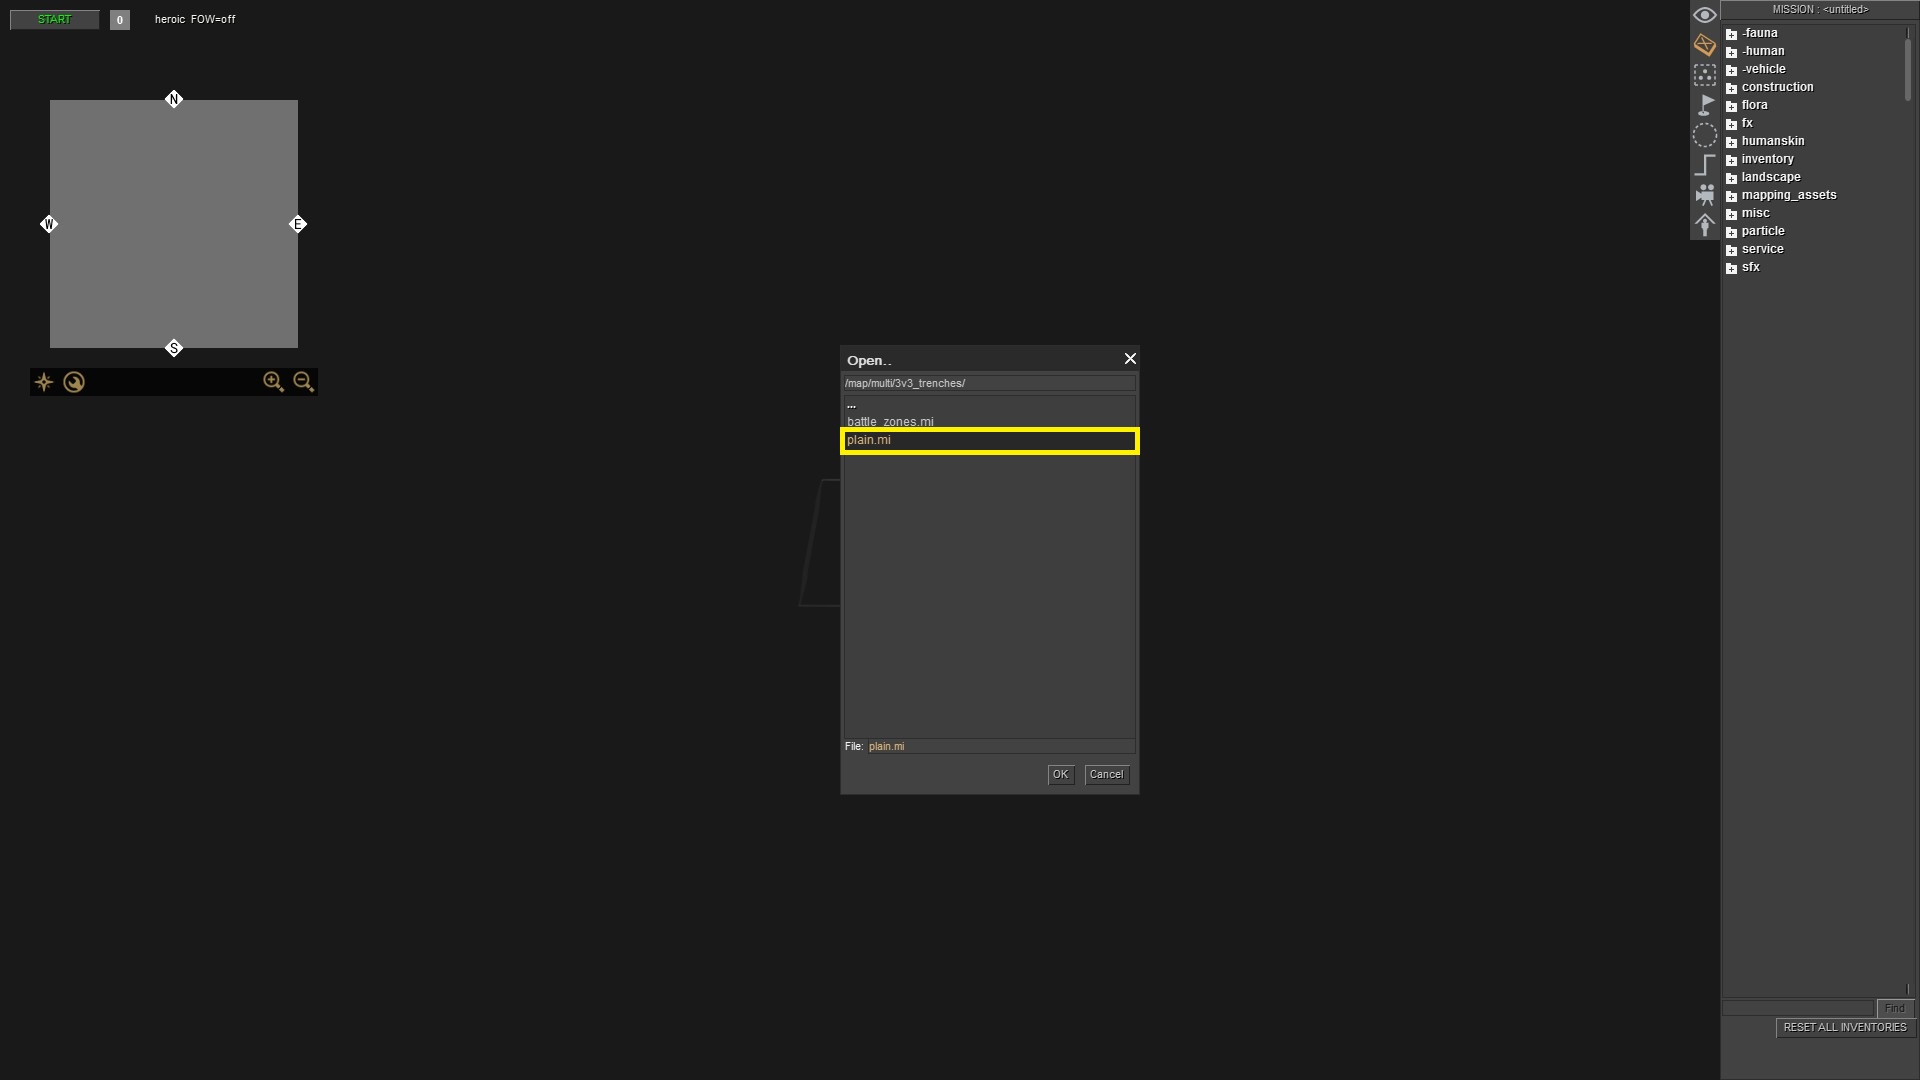
Next time if choose again the same map, you can load it in the mission editor and choose it.
For the first, it can look complicated maybe, but if you will repeat it a few times you will be doing it automatically. You can still use Method #1 for maps which doesn't have many objects, scripts etc connected to the map. For example battle_zones.mi.
Bonus
I made pack of empty maps. You can use it instead method #1 and #2 of loading map. Subscribe it, open Editor, press F1, click on Mods and activate map pack. Then press F3 for the mission editor, choose any map and load "_empty.mi" file.
https://steamcommunity.com/sharedfiles/filedetails/?id=2534643526
Units Spawning
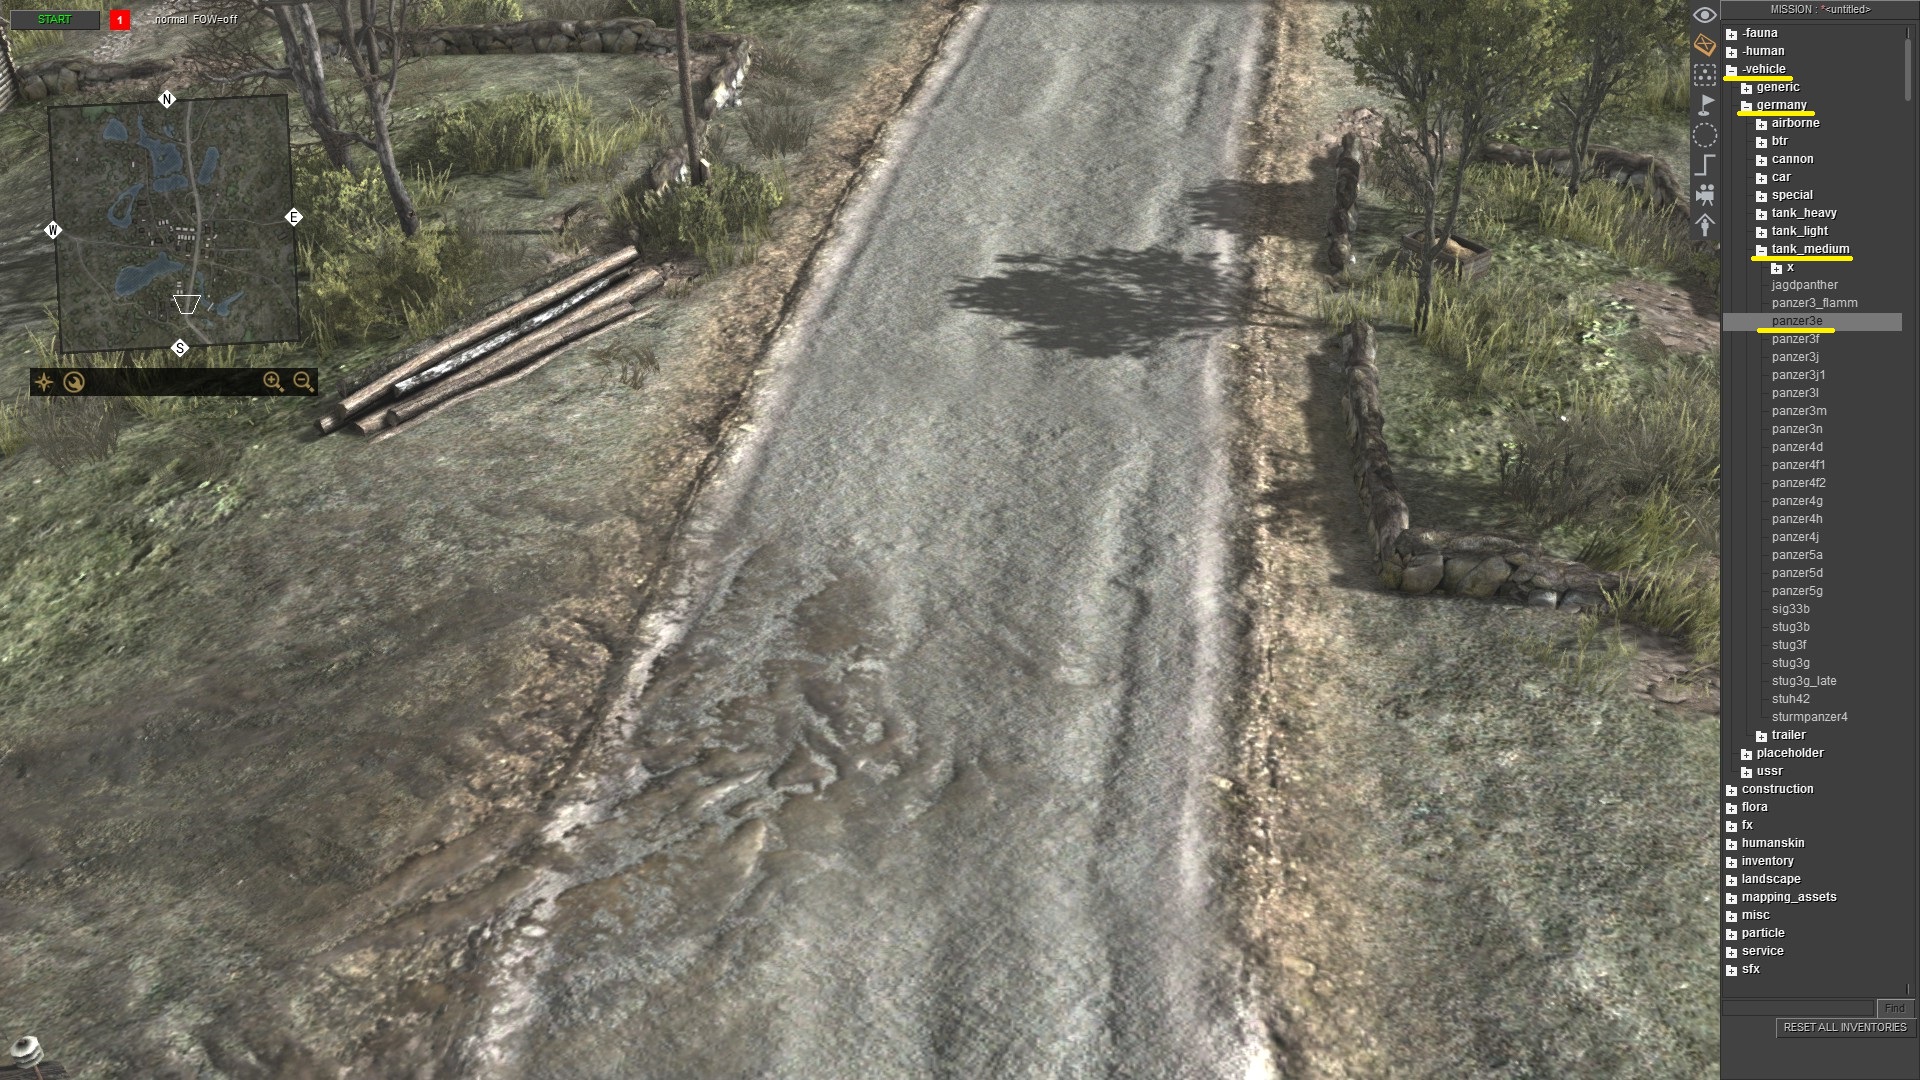
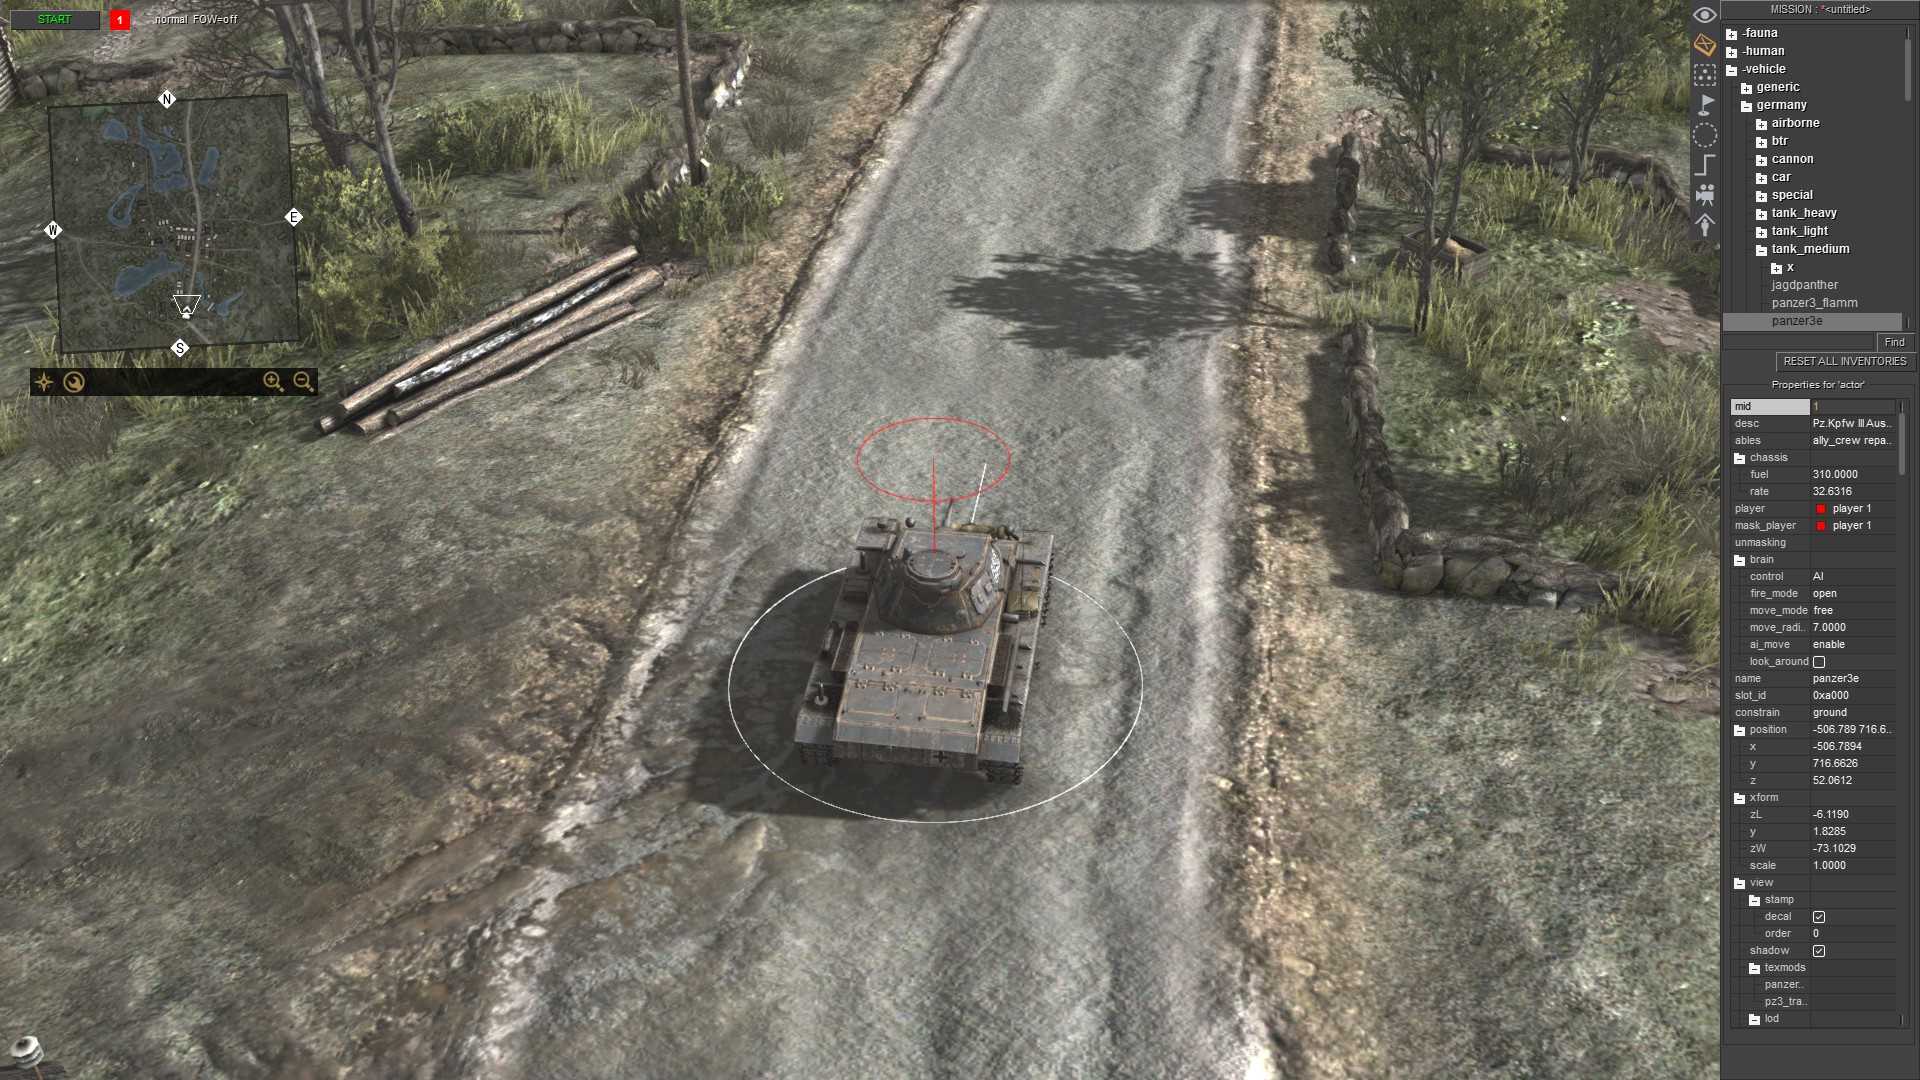
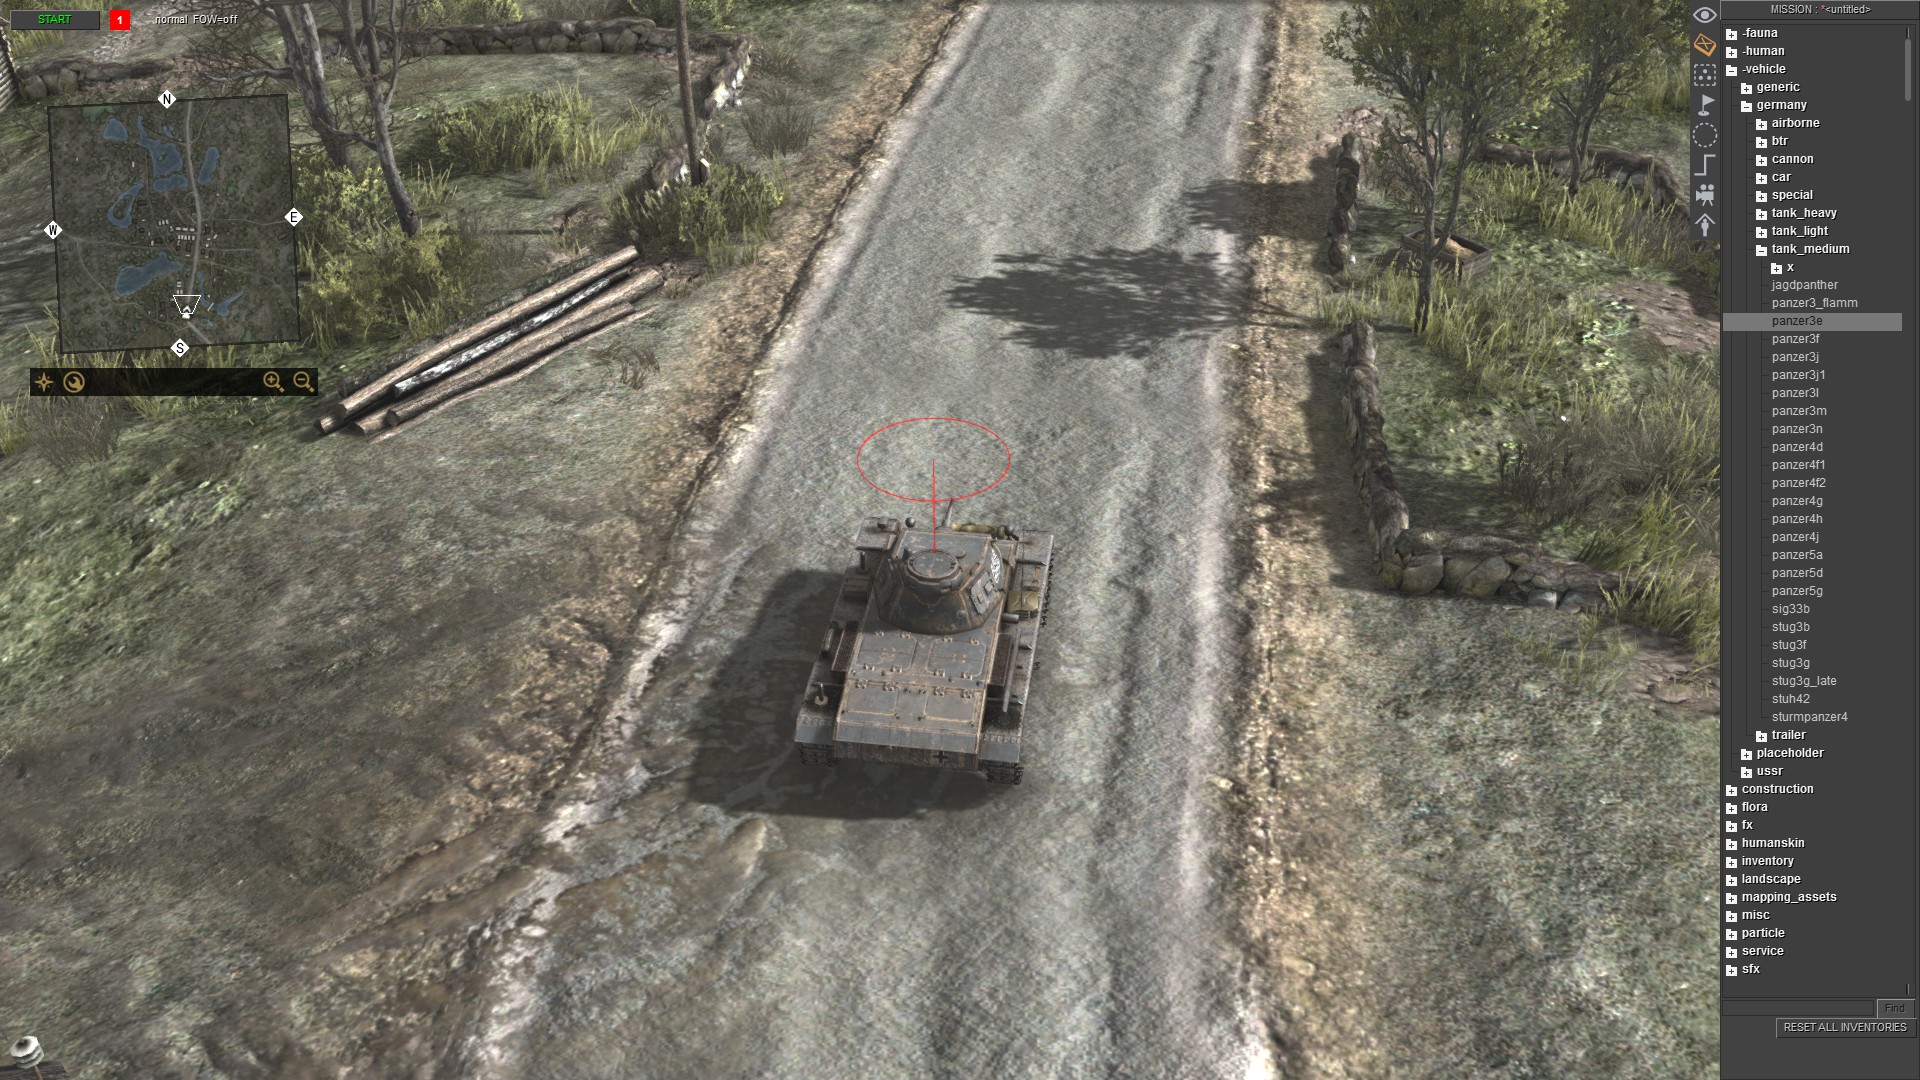

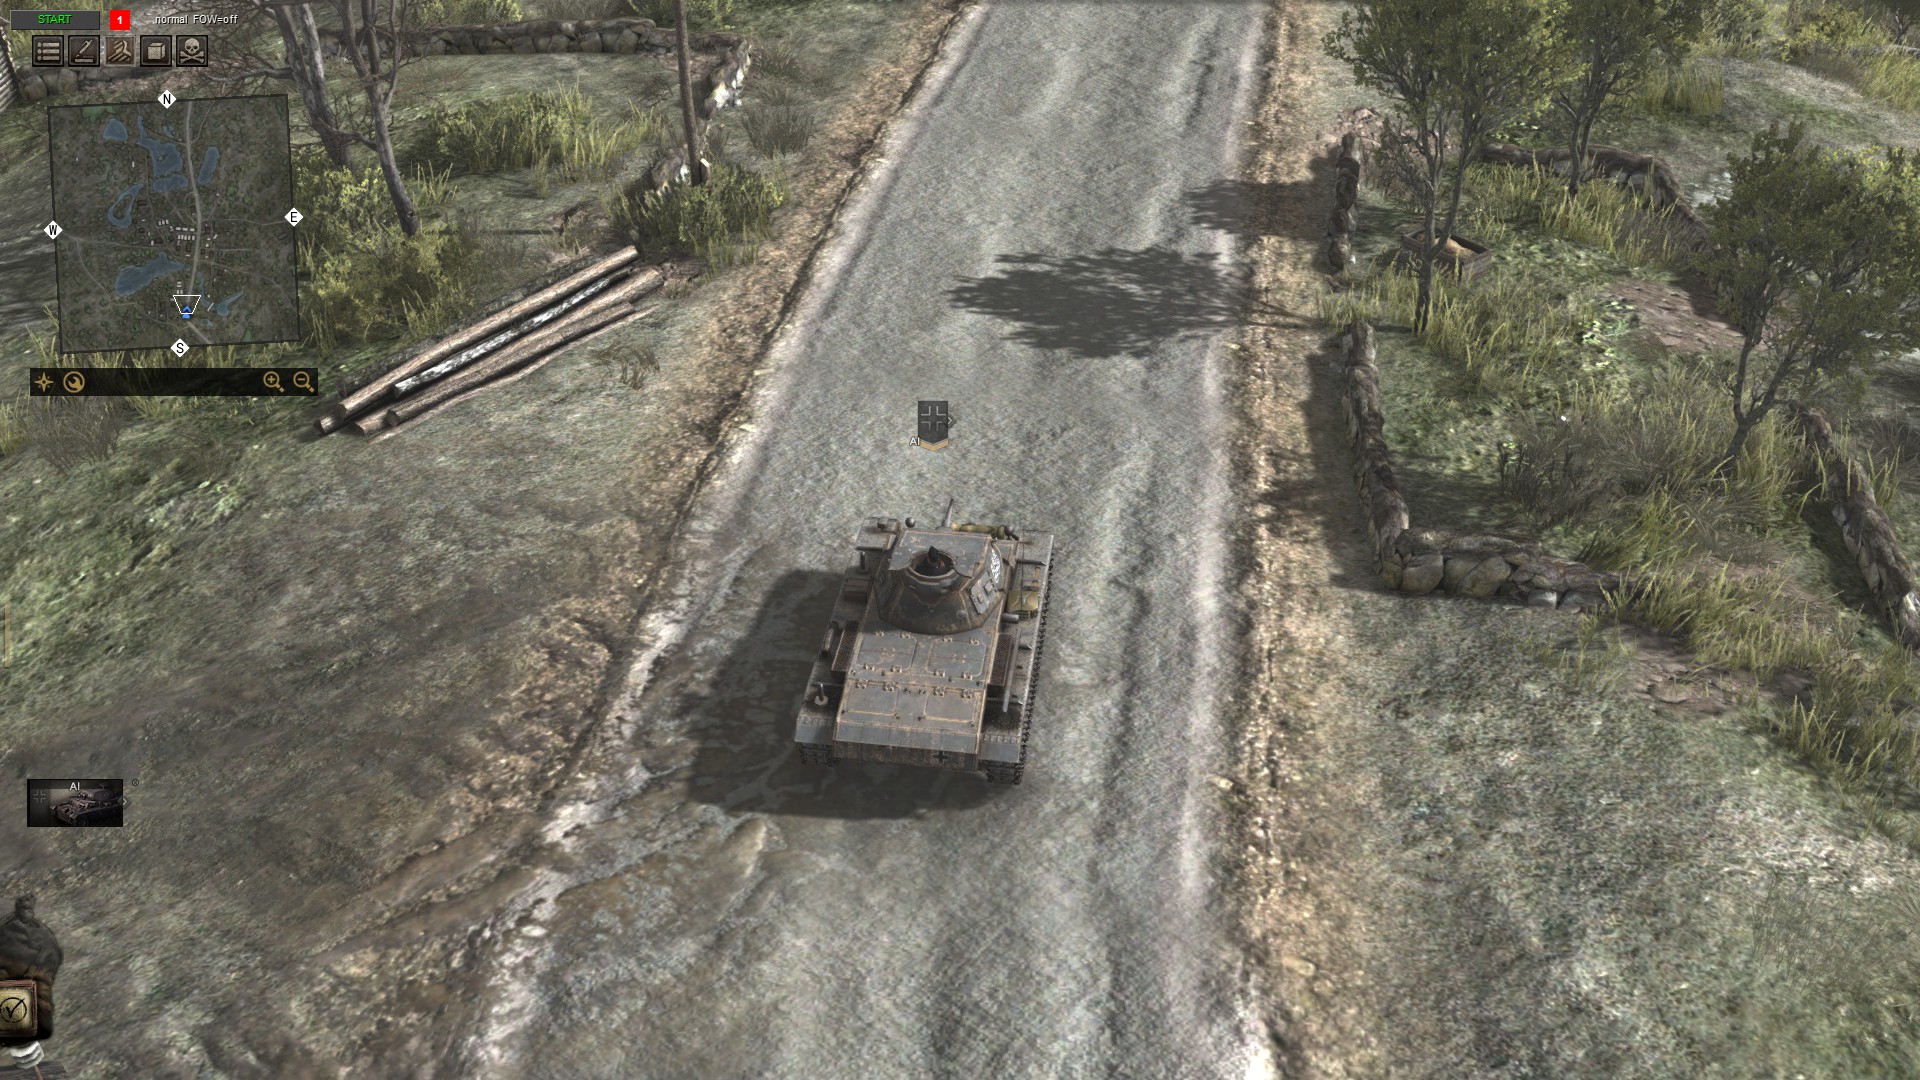
For spawning units use the mission editor - F3. Now, spawn any unit that you want. I chosen Panzer III Ausf.E.
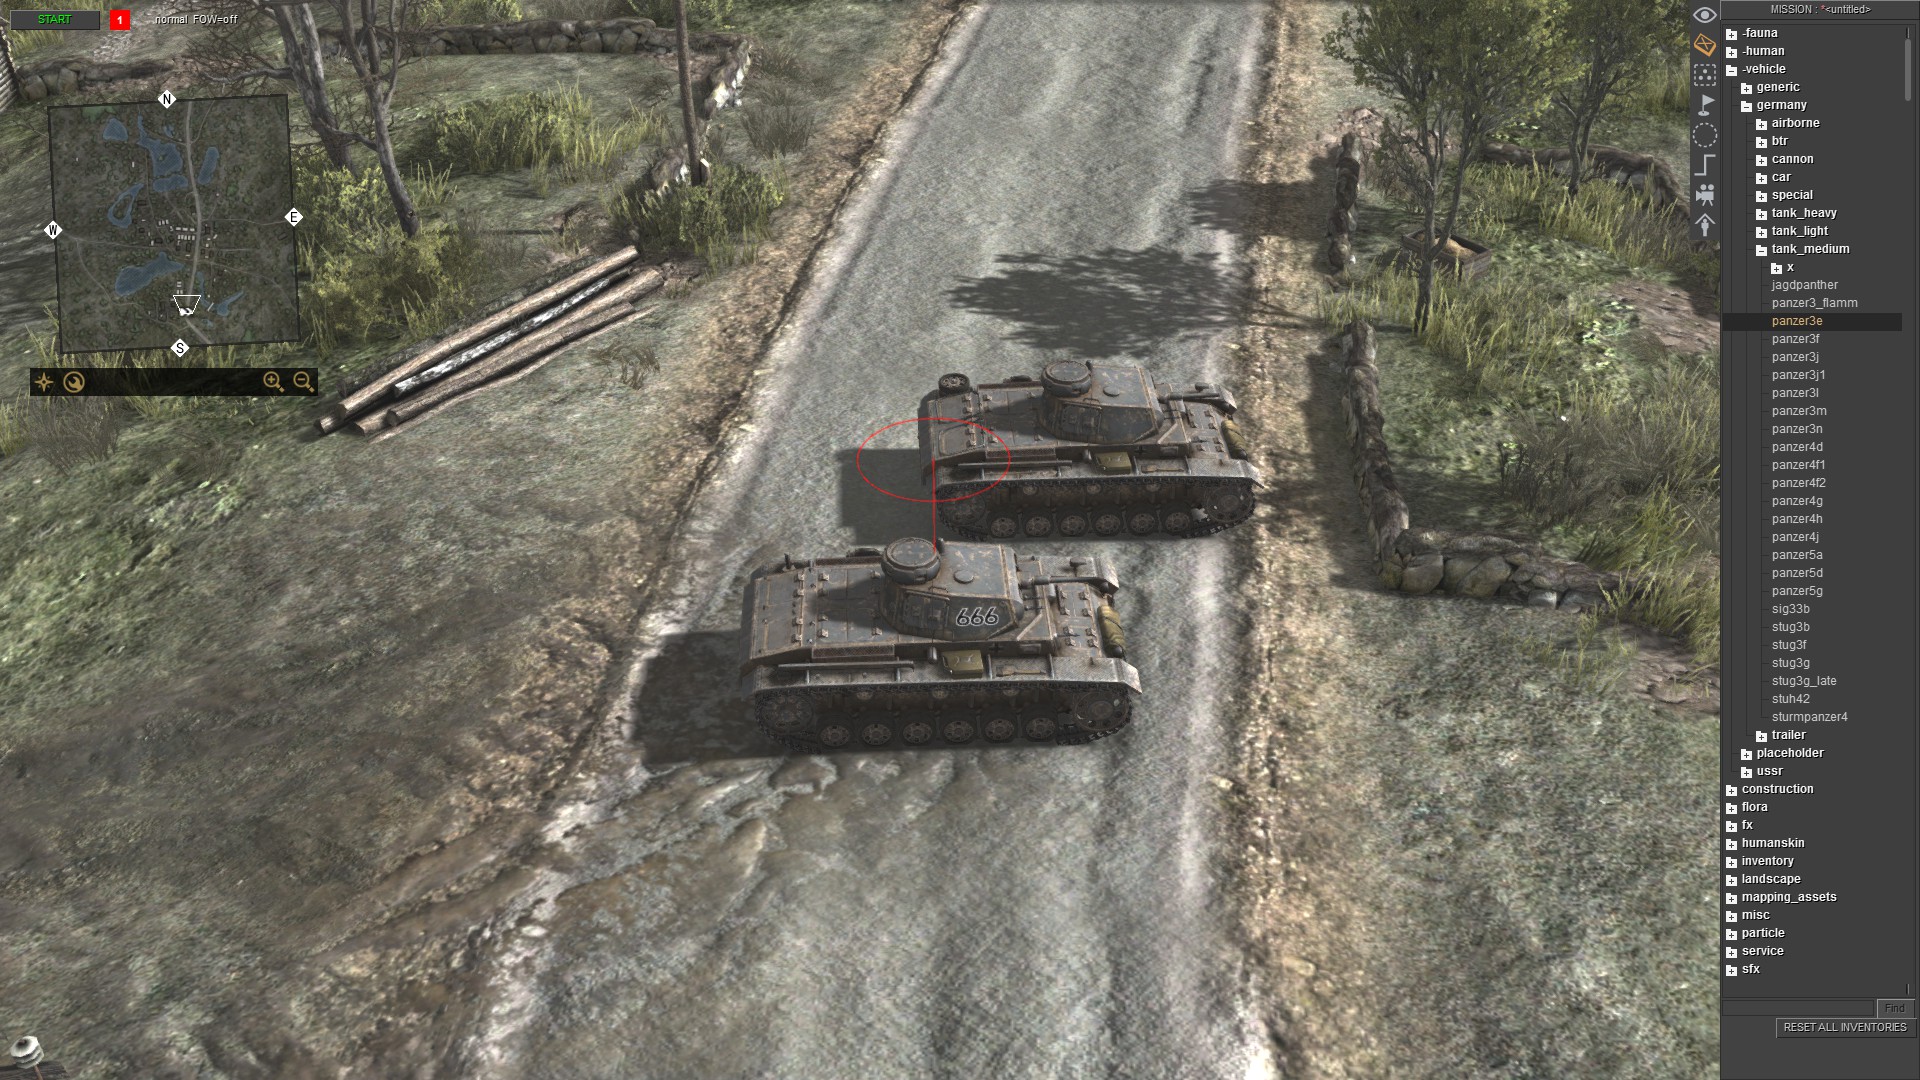
Now click anywhere on the map and you will able to spawn it. As you can see on the screenshot there are two tanks. That is because you must press the right mouse button to stop the spawning of the unit.
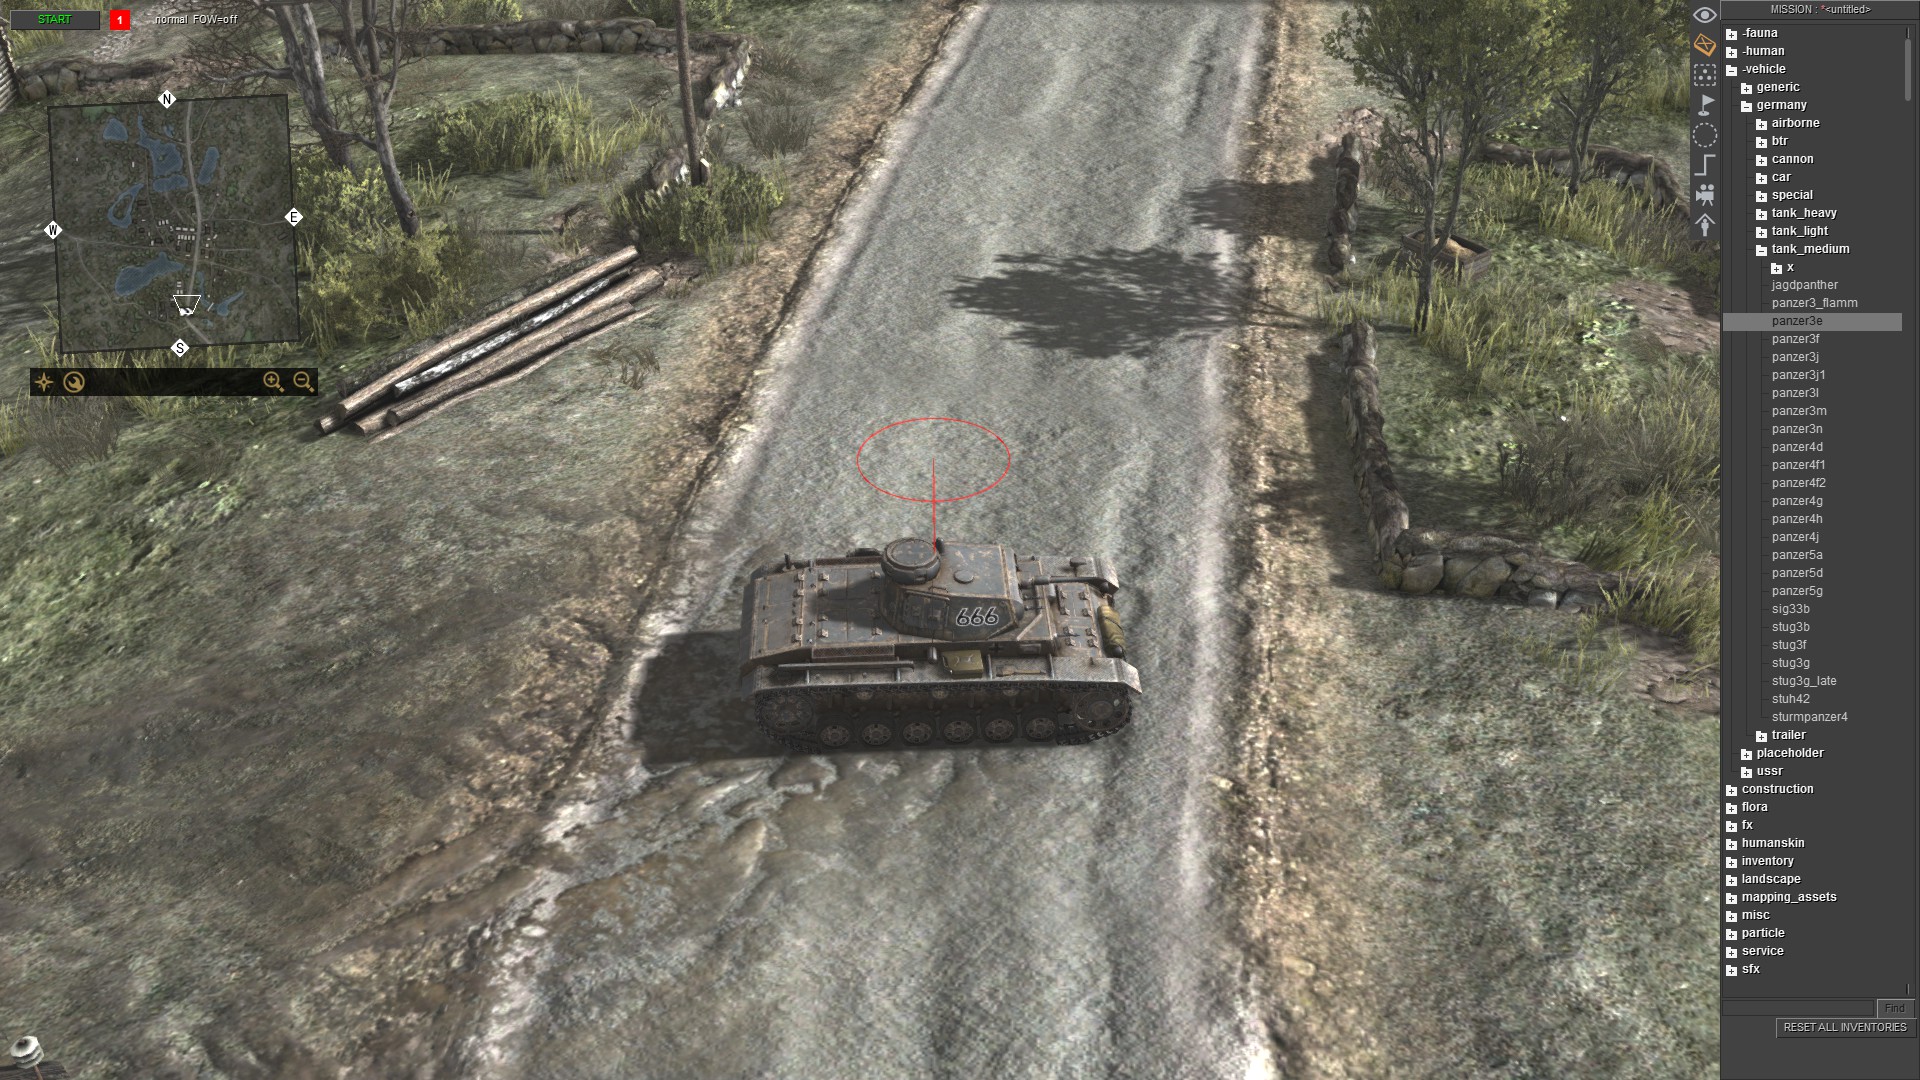
See? Now there is only one tank that I actually spawned.
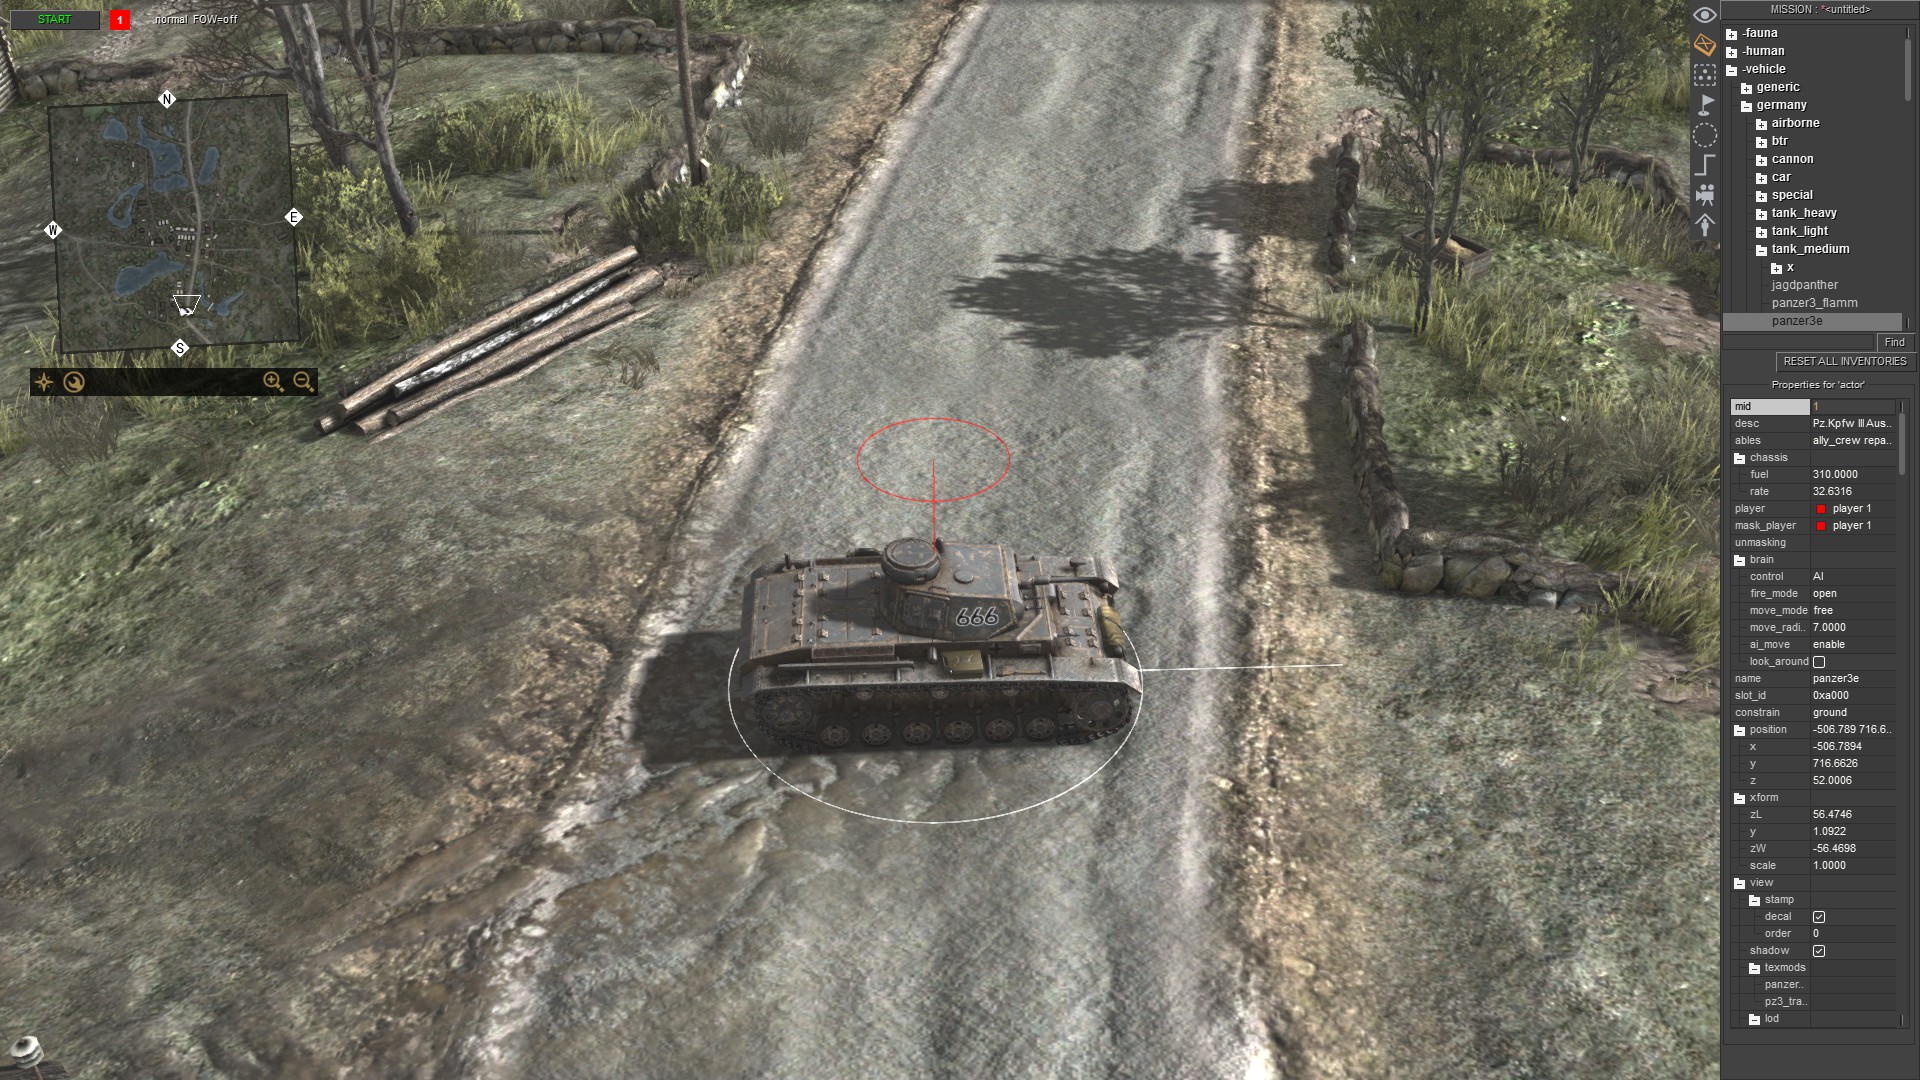
Let's rotate the tank to the proper position. Select it by clicking on it by the left mouse button. You can see there is a thin circle around the tank and one thin line which shows where is the tank rotated.
Hold C and move your mouse. Now, the tank is in the proper position.
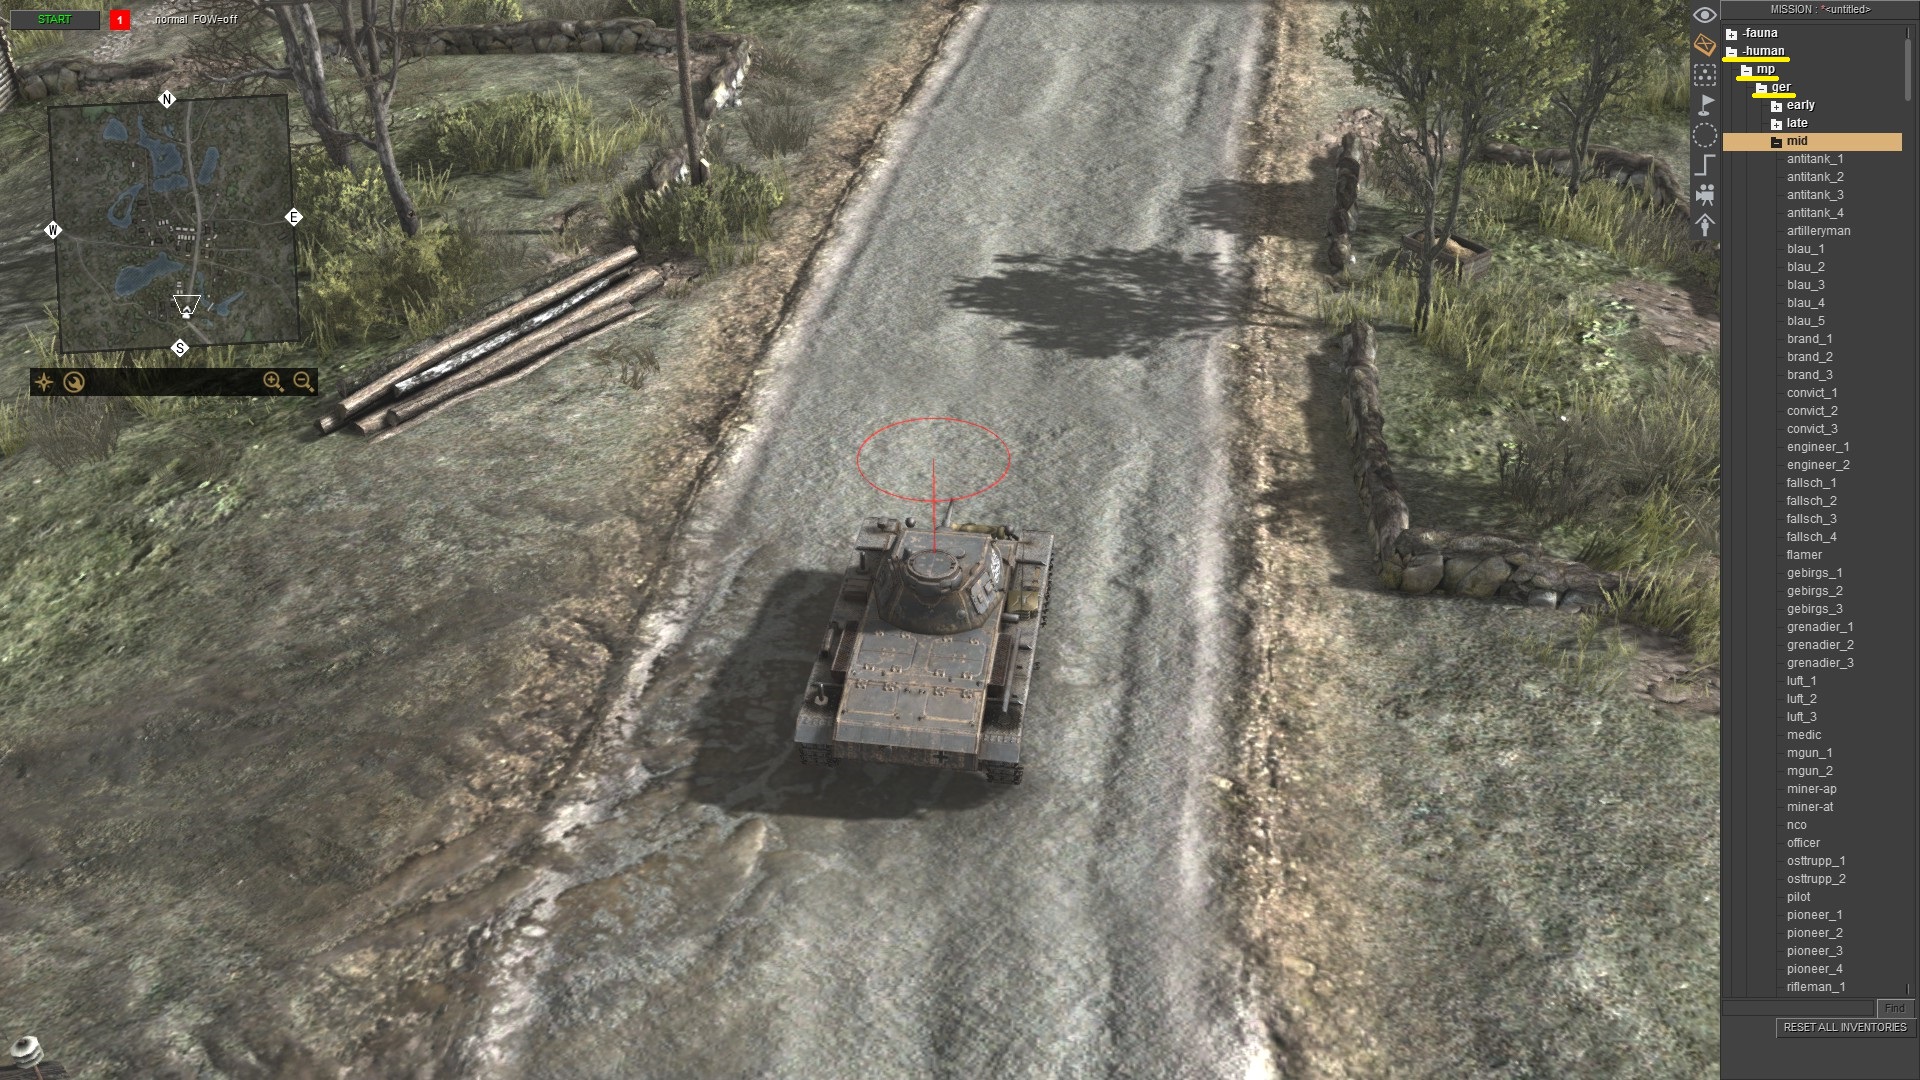
The tank needs a crew. So deselect the tank.
Spawn some tankmen. Choose human->mp->ger->mid.
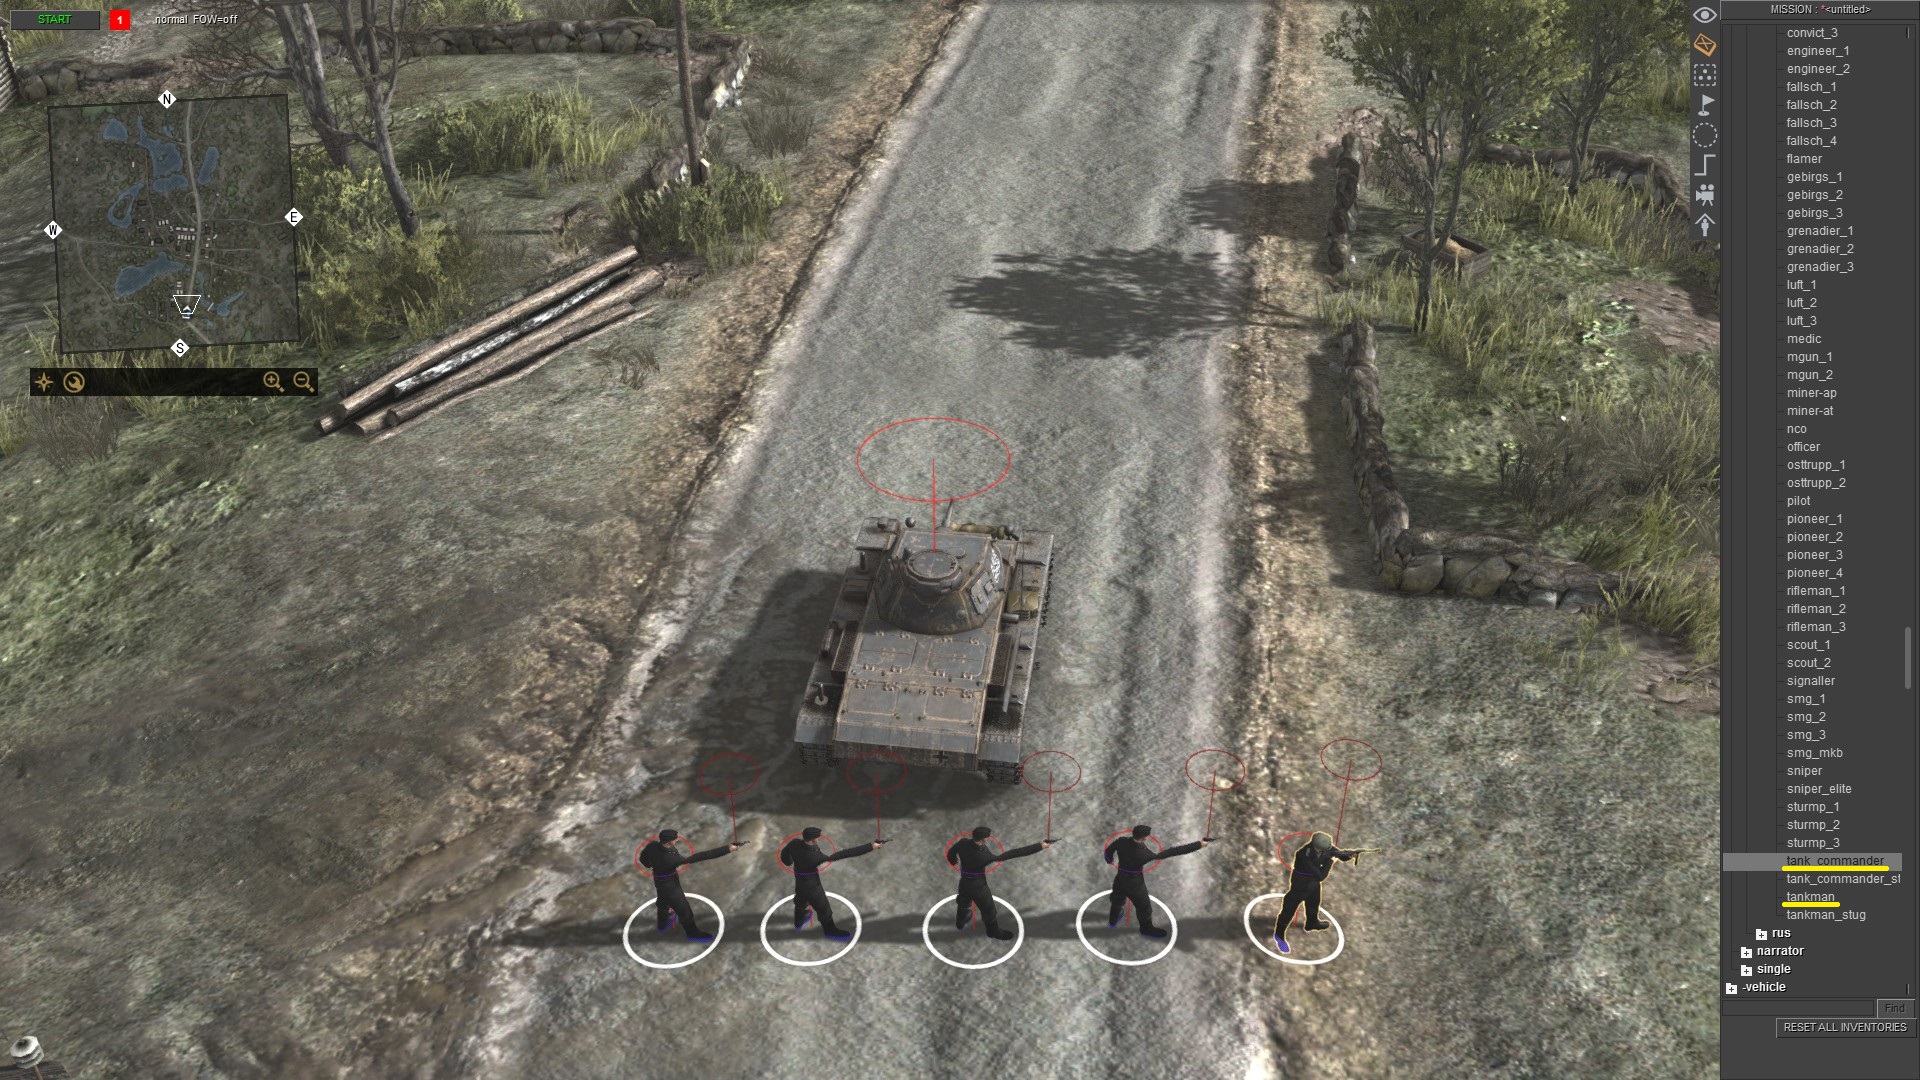
Scroll down and click on tankman. Put 4 tankman on the map, and one tank_commander. Alternate, you can spawn any human and put them inside the tank, but tankman is born to be in a tank :).
Press F1, select crew for the tank and put it inside.
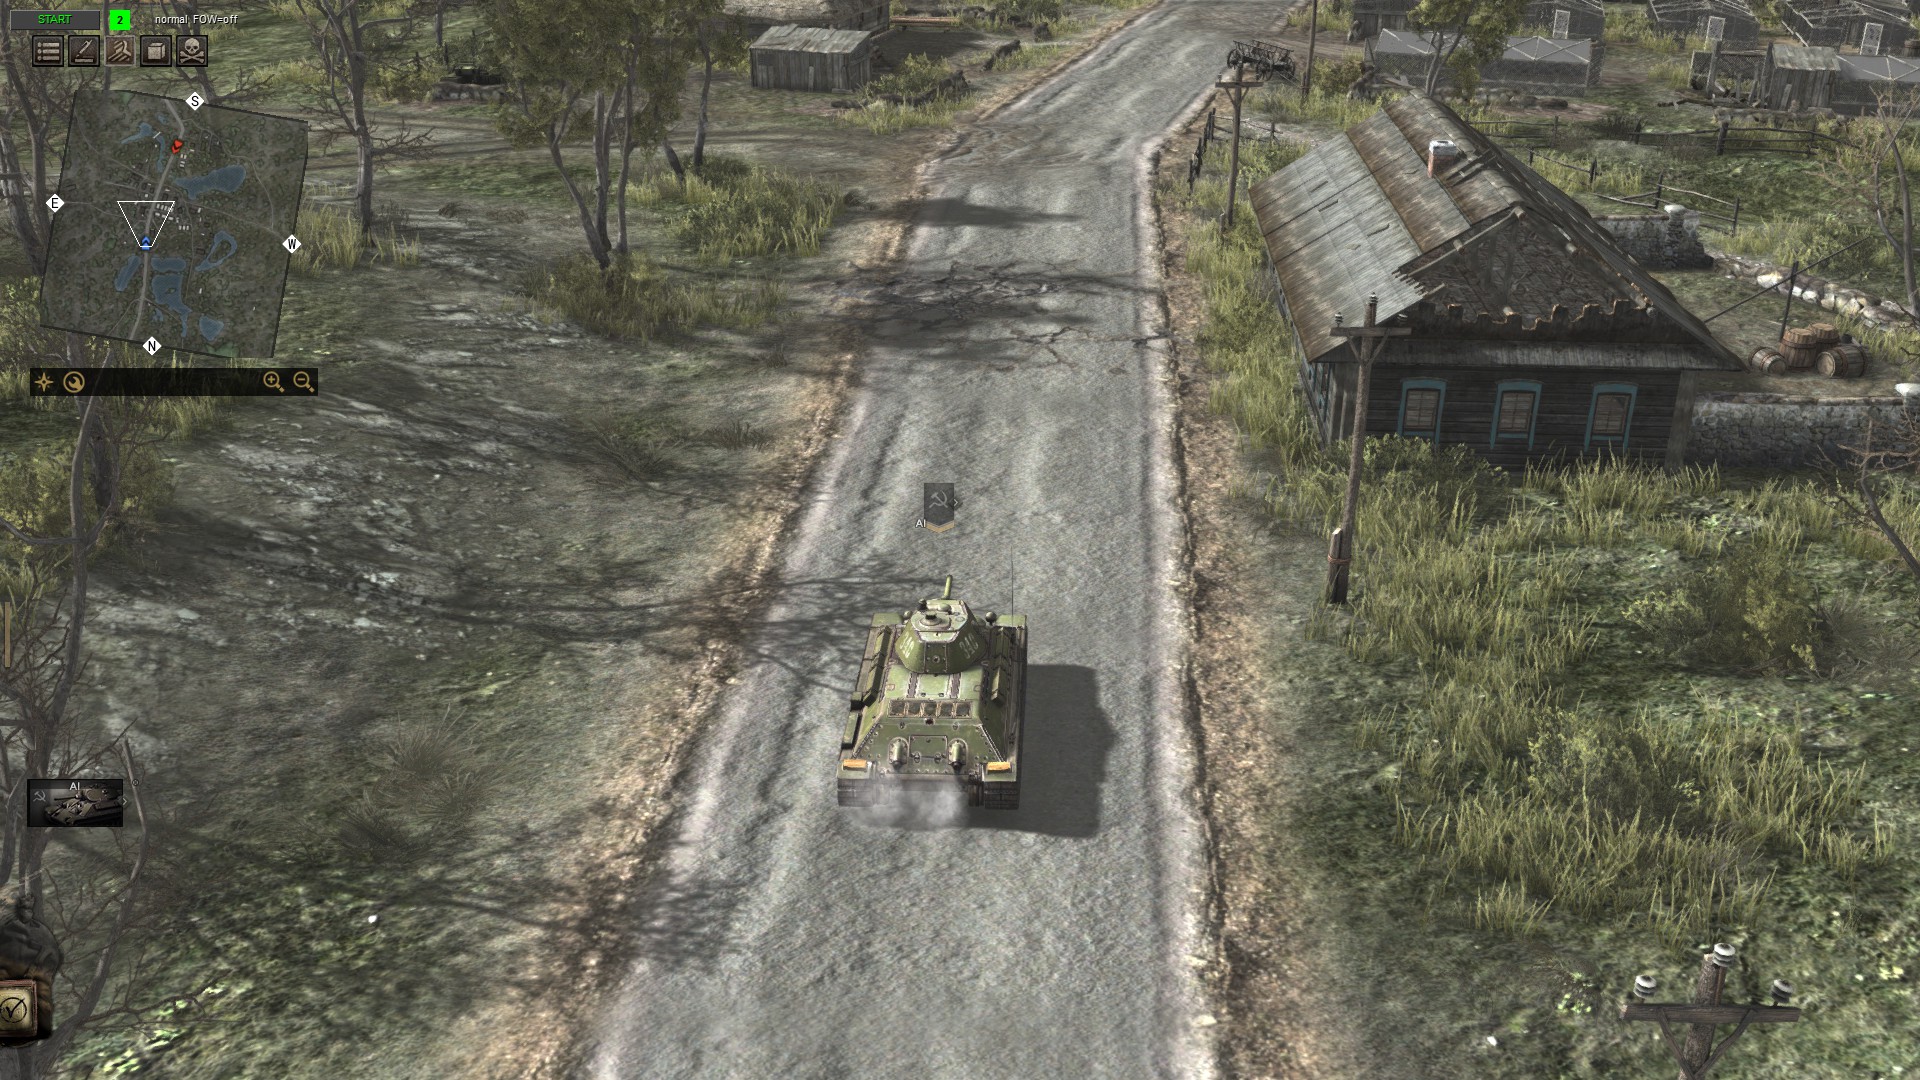
Go back to mission editor by pressing F3. Don't forget to deselect all units in F1 before you jump back to F3. Now, Press 2 on Numpad to select player 2, and repeat spawning for T-34.
Action
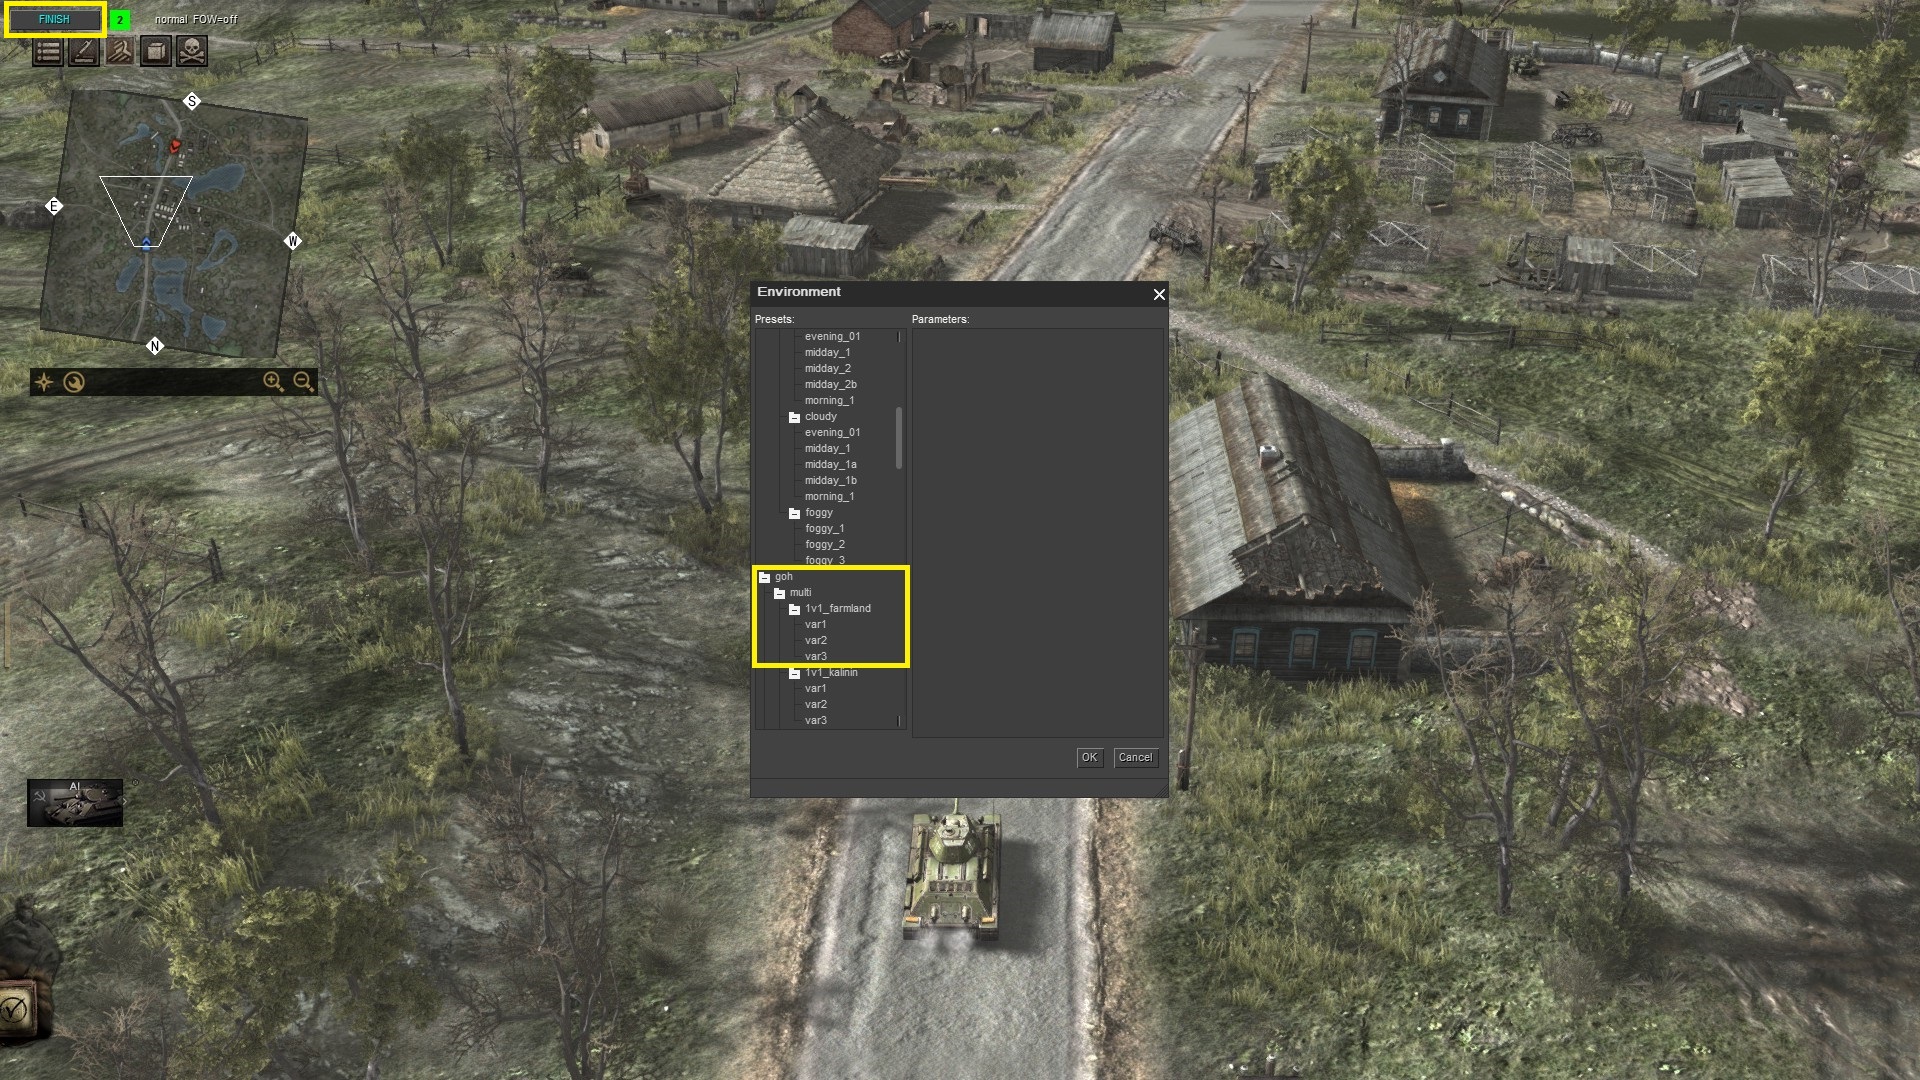
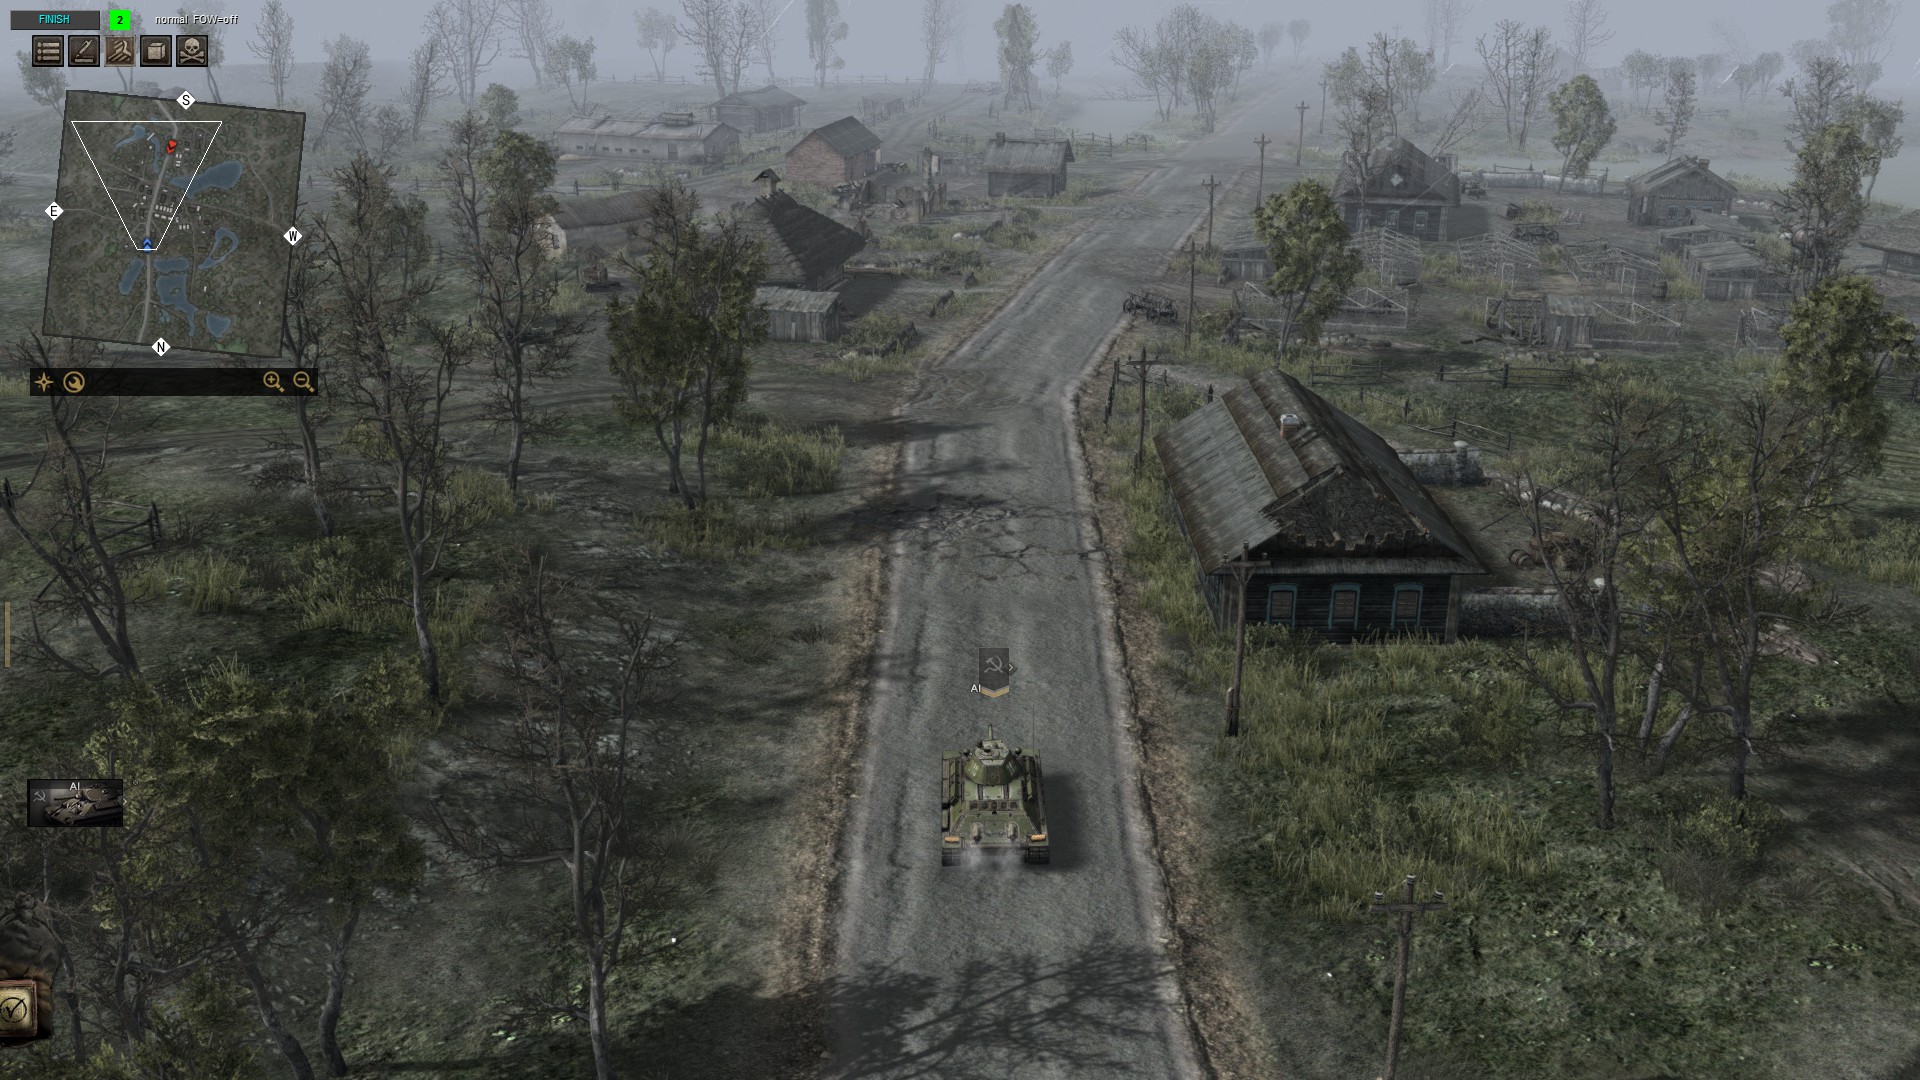
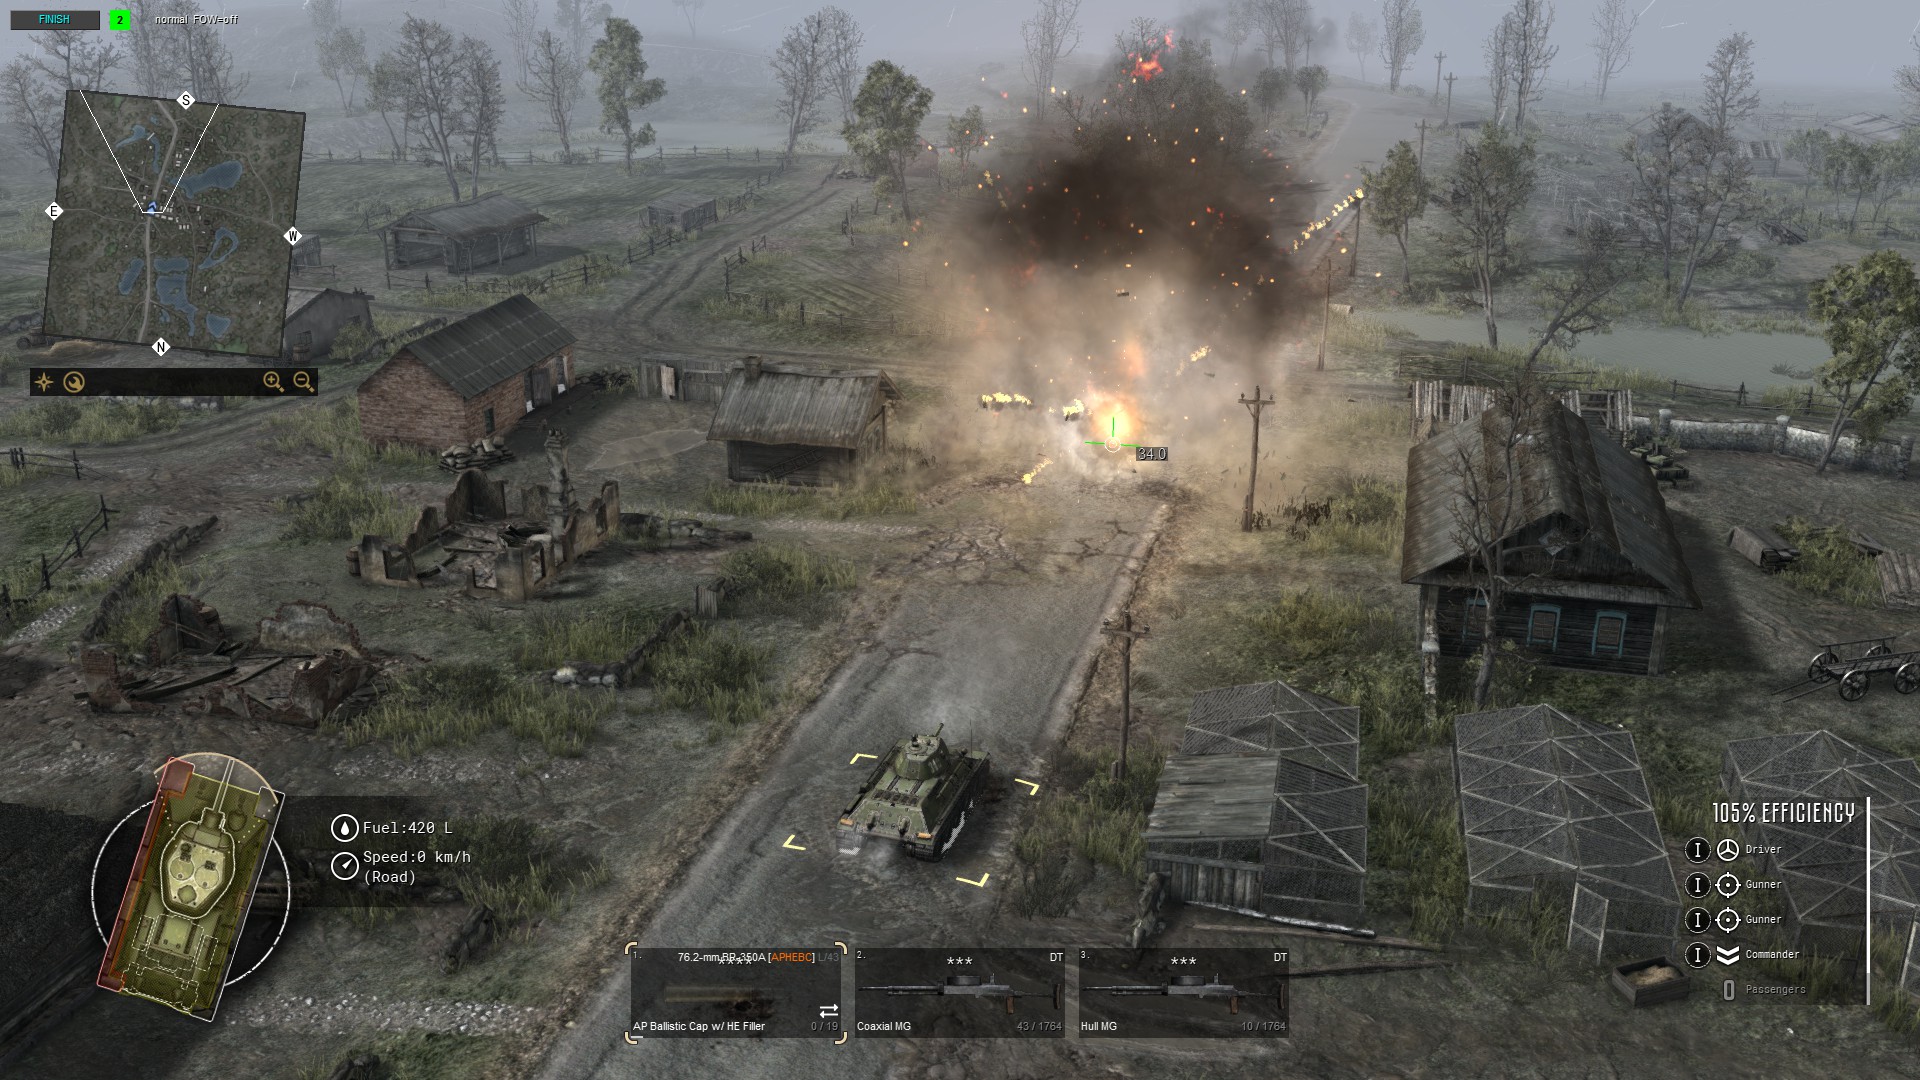
Time to fight. Press START in the left upper corner. Press F6 and choose any environment that you want. Keep in the mind, if you spawned T-34 too close to Panzer III, they will start fighting each other right after you press START.
You can control T-34 because you pressed 2 on Numpad before. If you want to control units of player 1 press 1 on Numpad.
Jobs done!
Useful Features
In the next sections, you can learn more basic features for simple battles which will make your playing in Editor easier.
Copy And Paste
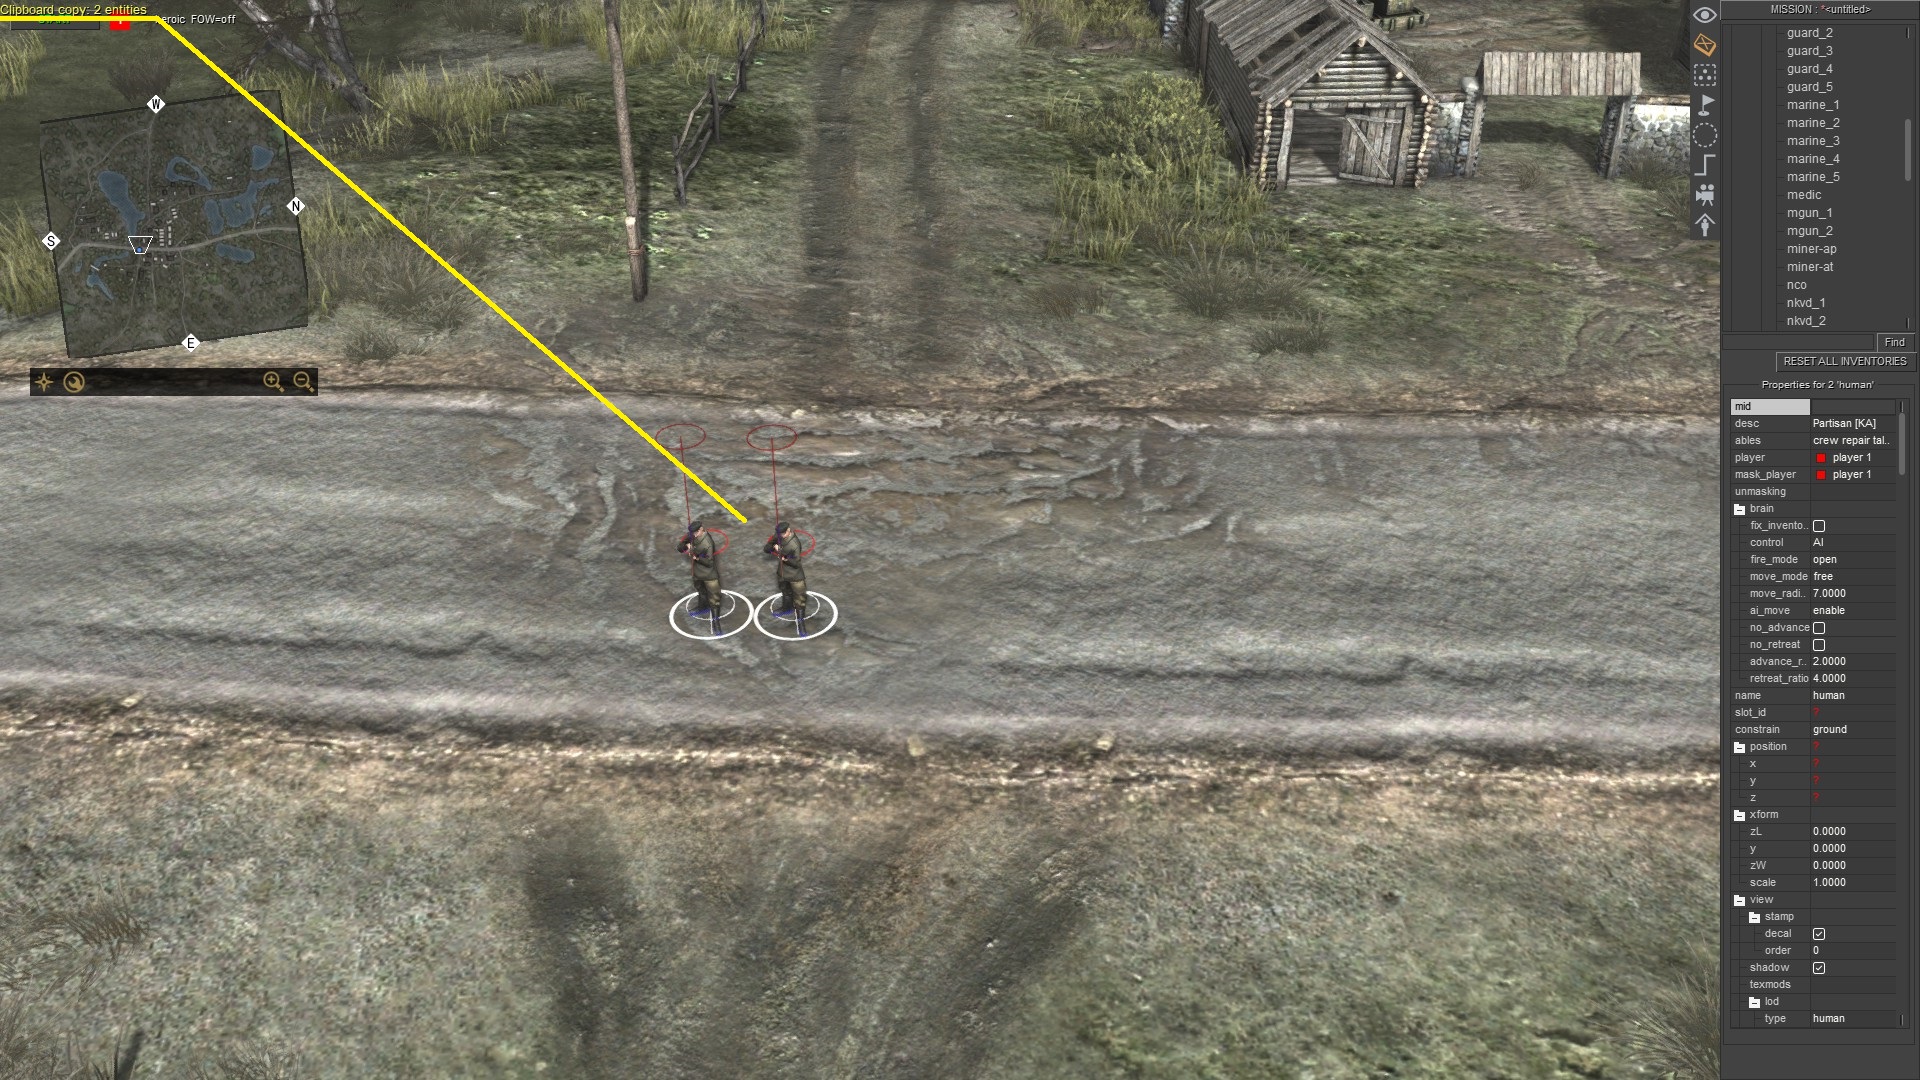
You can use Left CTRL + C to copy units.
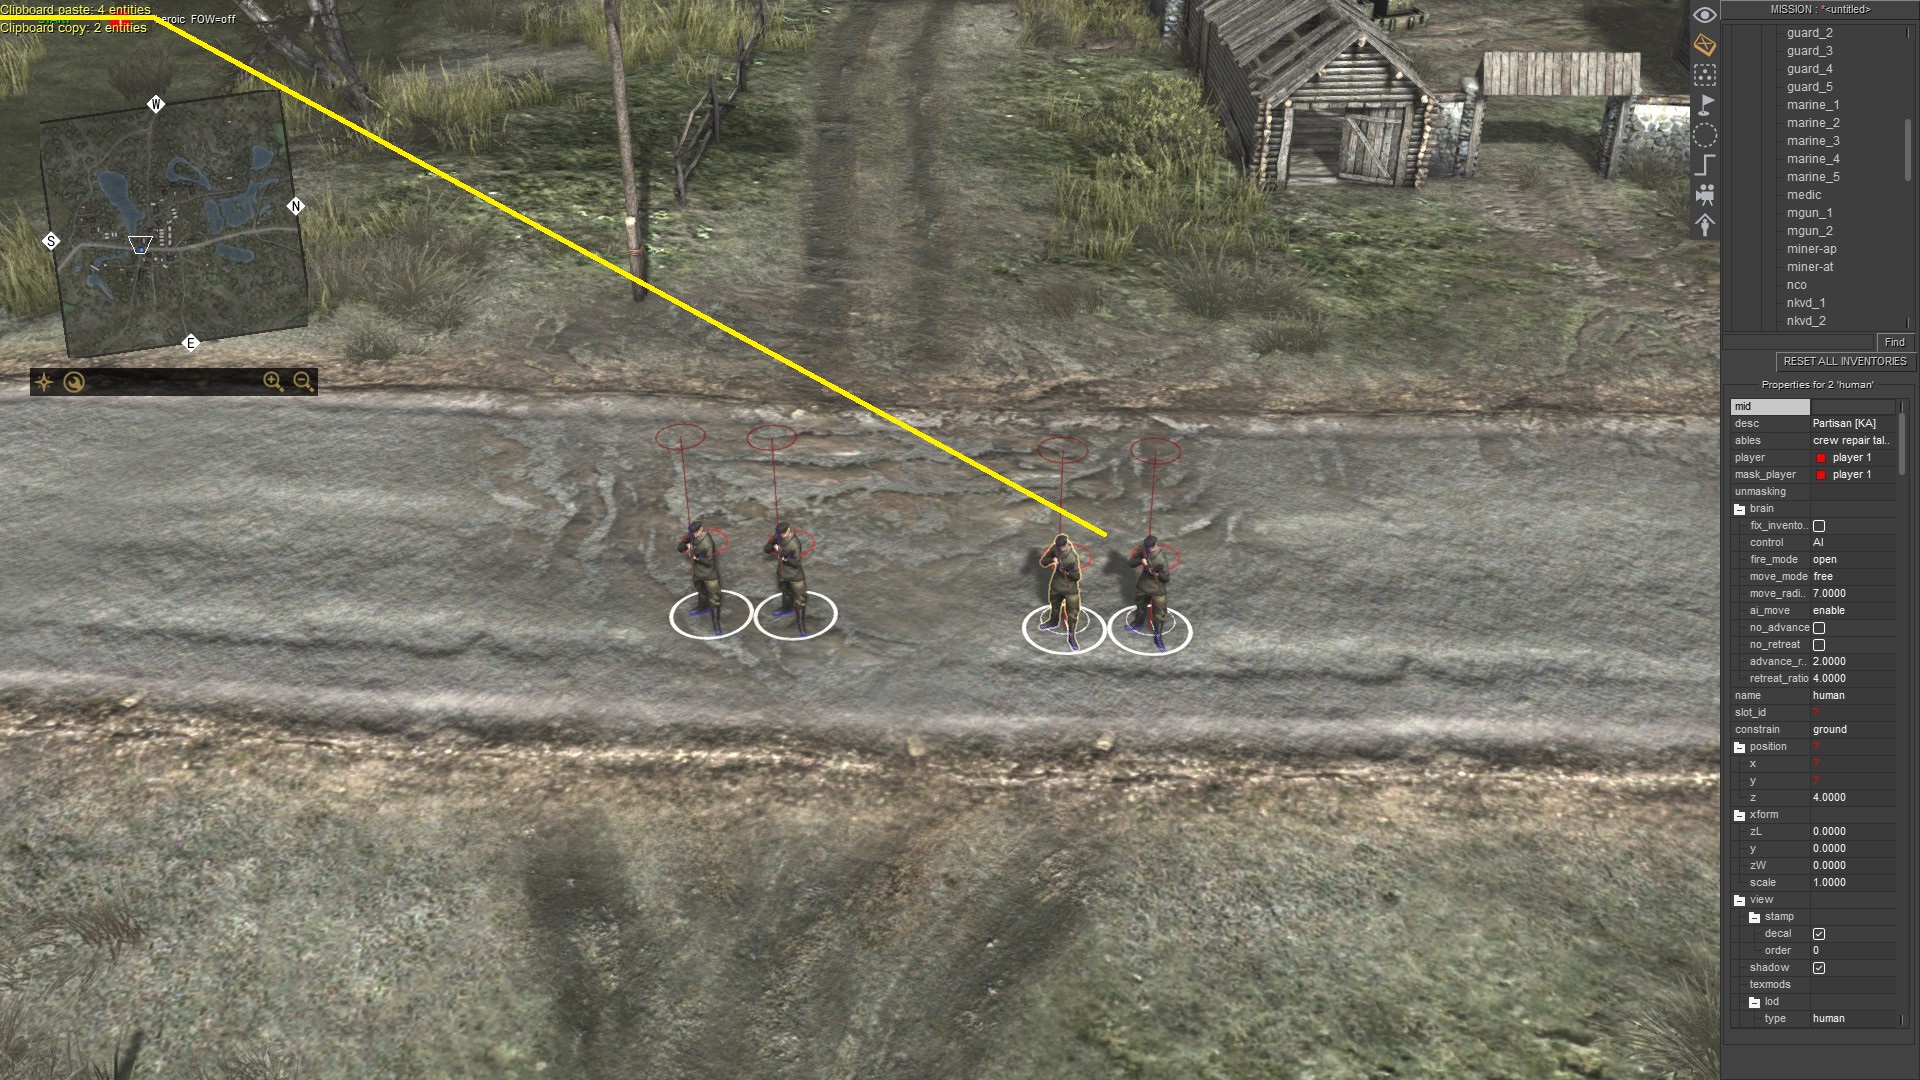
And Left CTRL + V to paste units. If you want to paste a vehicle with a crew, copy it after you placed the crew inside.
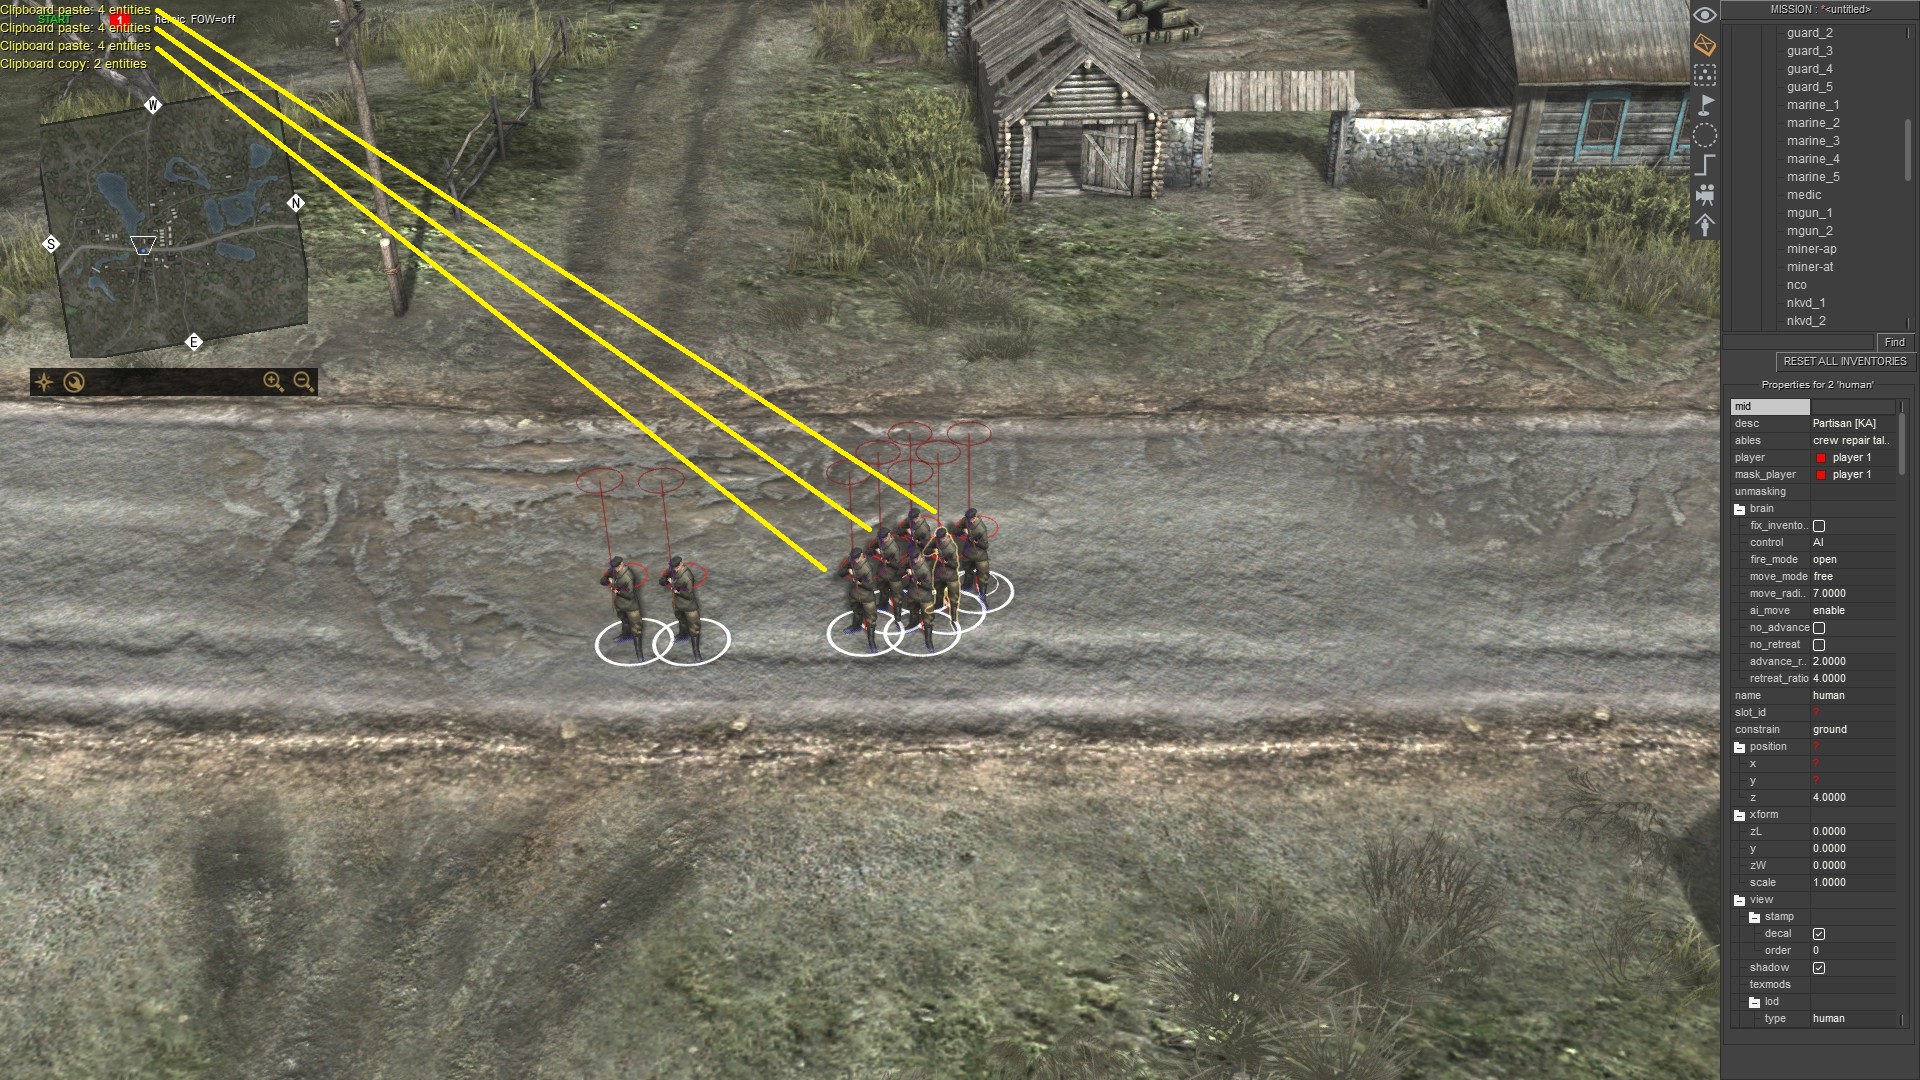
Press Left CTRL + V multiple time to past more copied units.
Units Brain
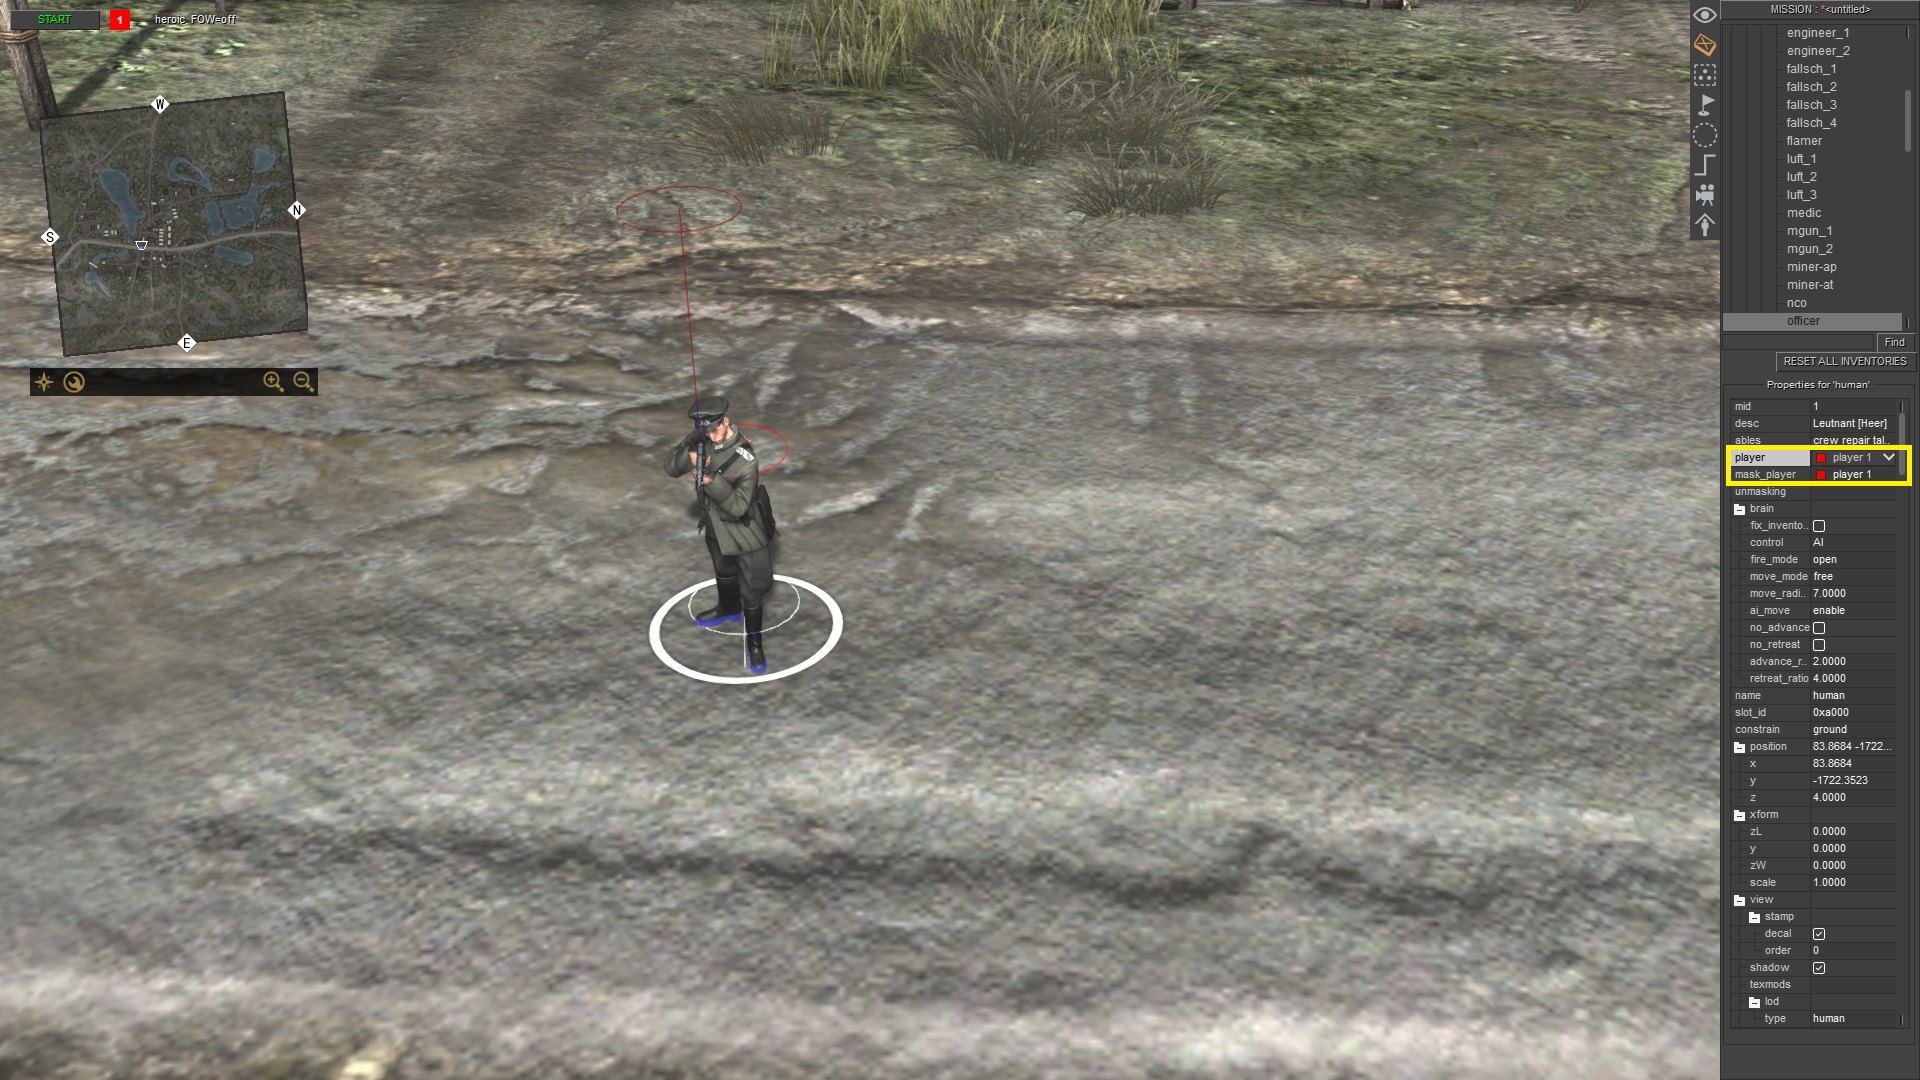
In this part, you can set which player will control the selected unit in mission editor - F3. If you change "player", it will automatically change "mask_player". If you change only "mask_player" it will NOT change "player". So, if "player = player 2" and "mask_player = player 1", you will able to control player 2 units by pressing Numpad 2, but you will not able to attack player 1 units because they are friendly. They have the same "mask_player".
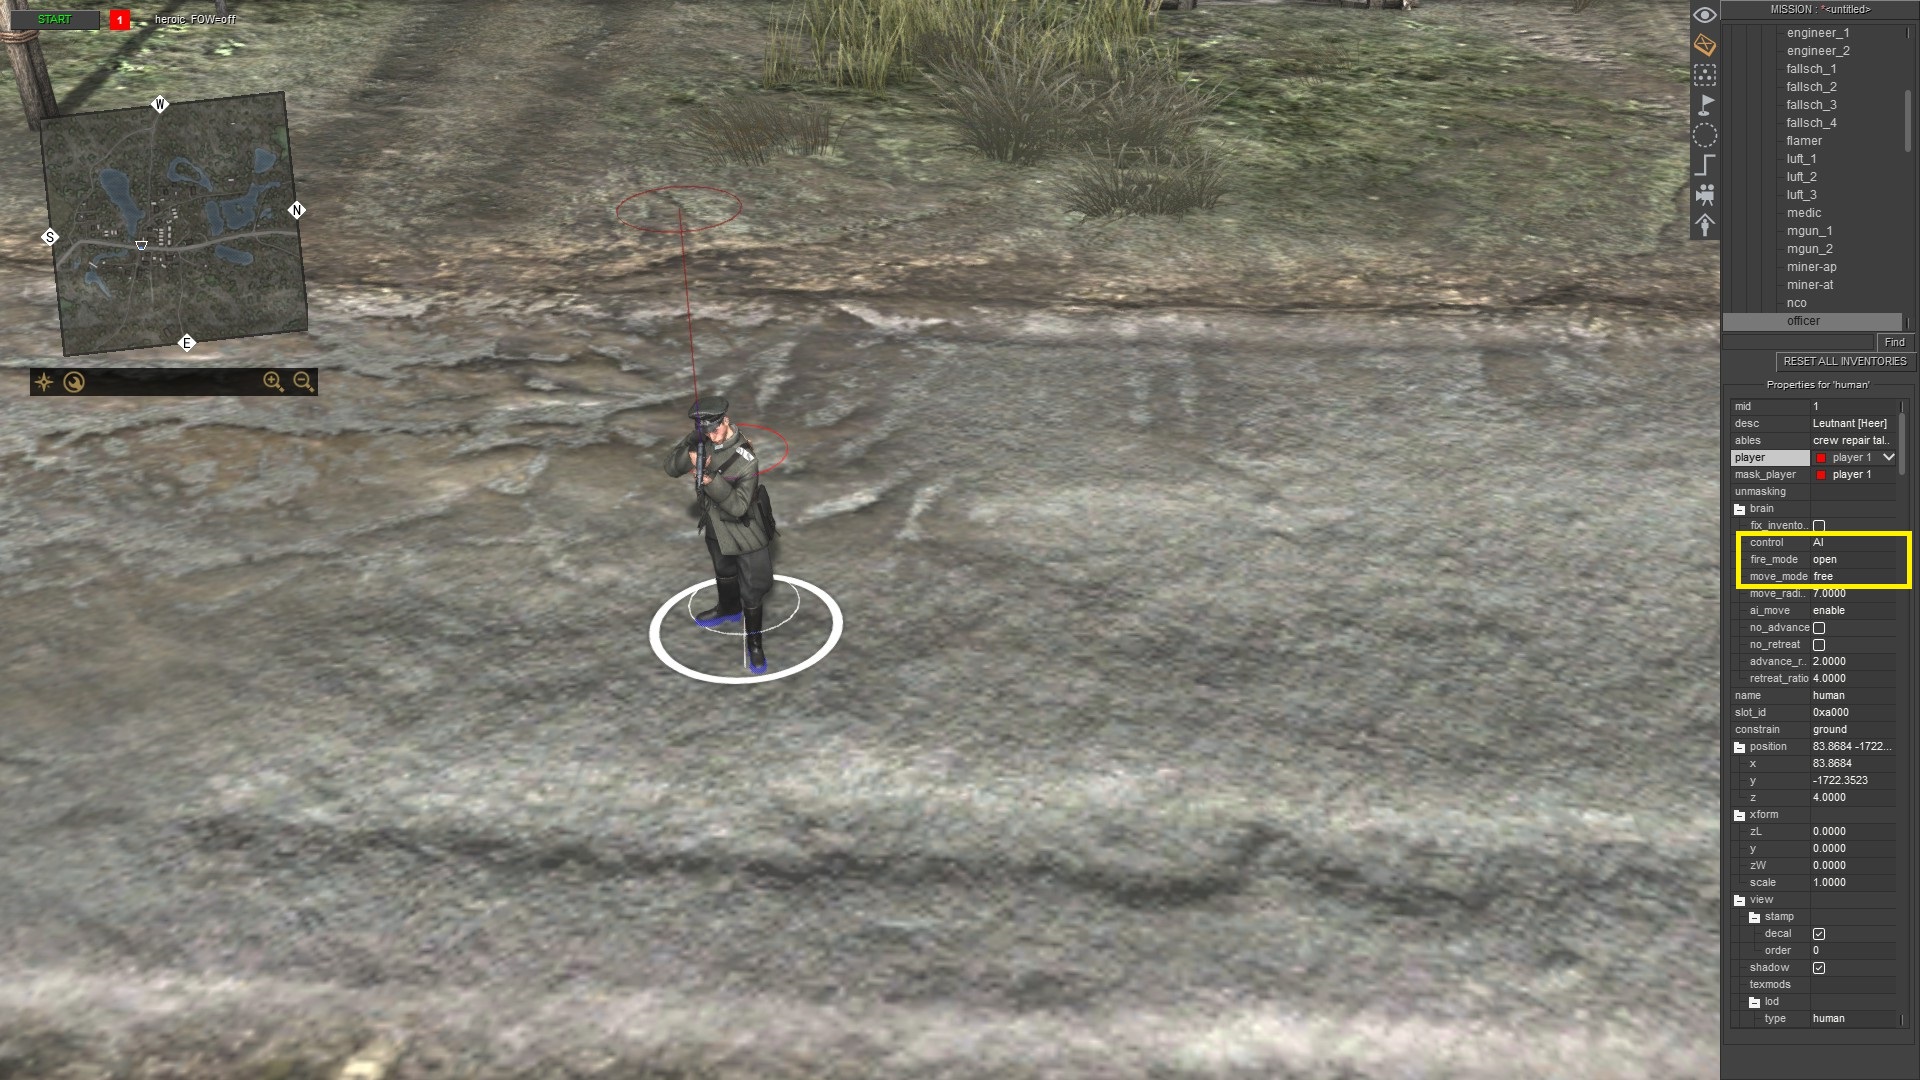
Here you can set control mode (AI, user), movement mode (free, hold, zone), and fire mode (free, hold, return). If a unit has AI control it will have unlimited ammo and fuel. You can change these settings for multiple units at once as well. Just select them (make sure you didn't select anything else than units) and you can set for example movement mode for them.
Vehicle Textures And Details
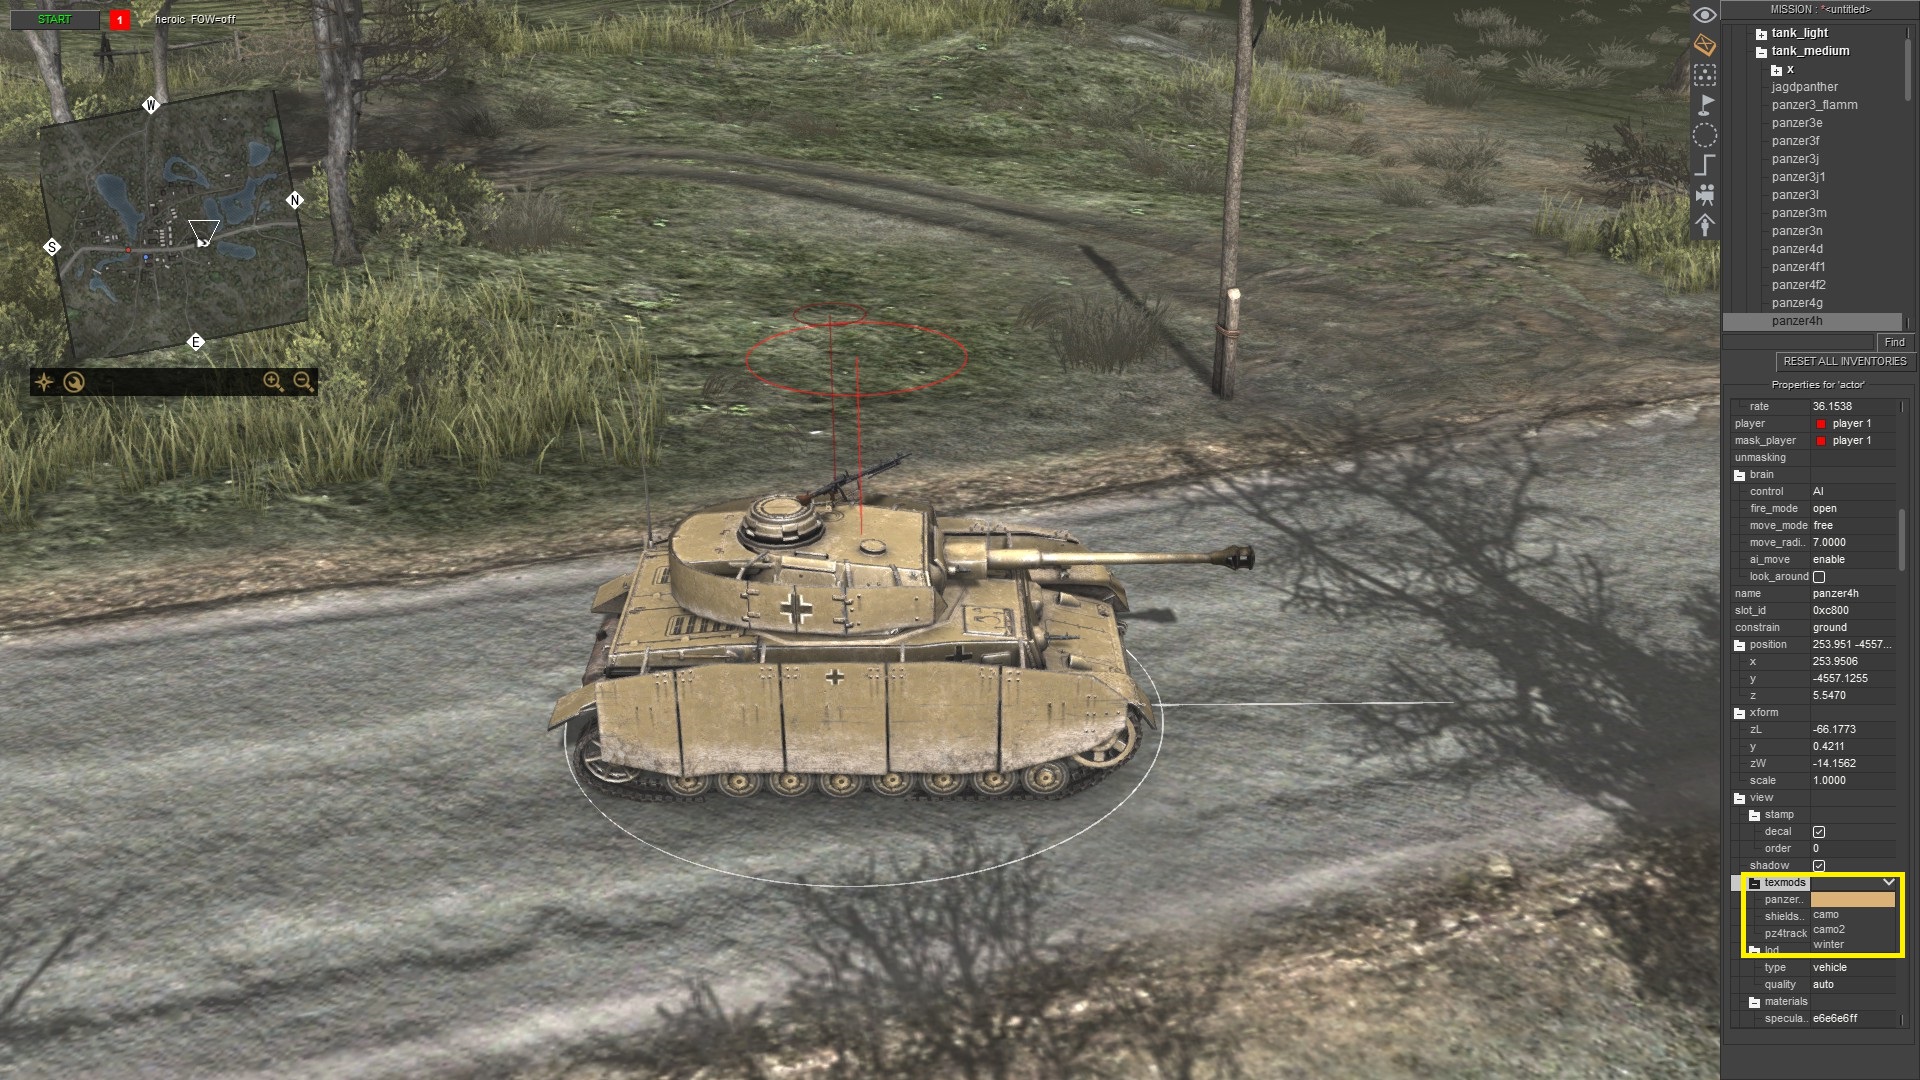
You can change the textures of vehicles by selecting it in mission editor - F3, and then you choose a texture that you like.
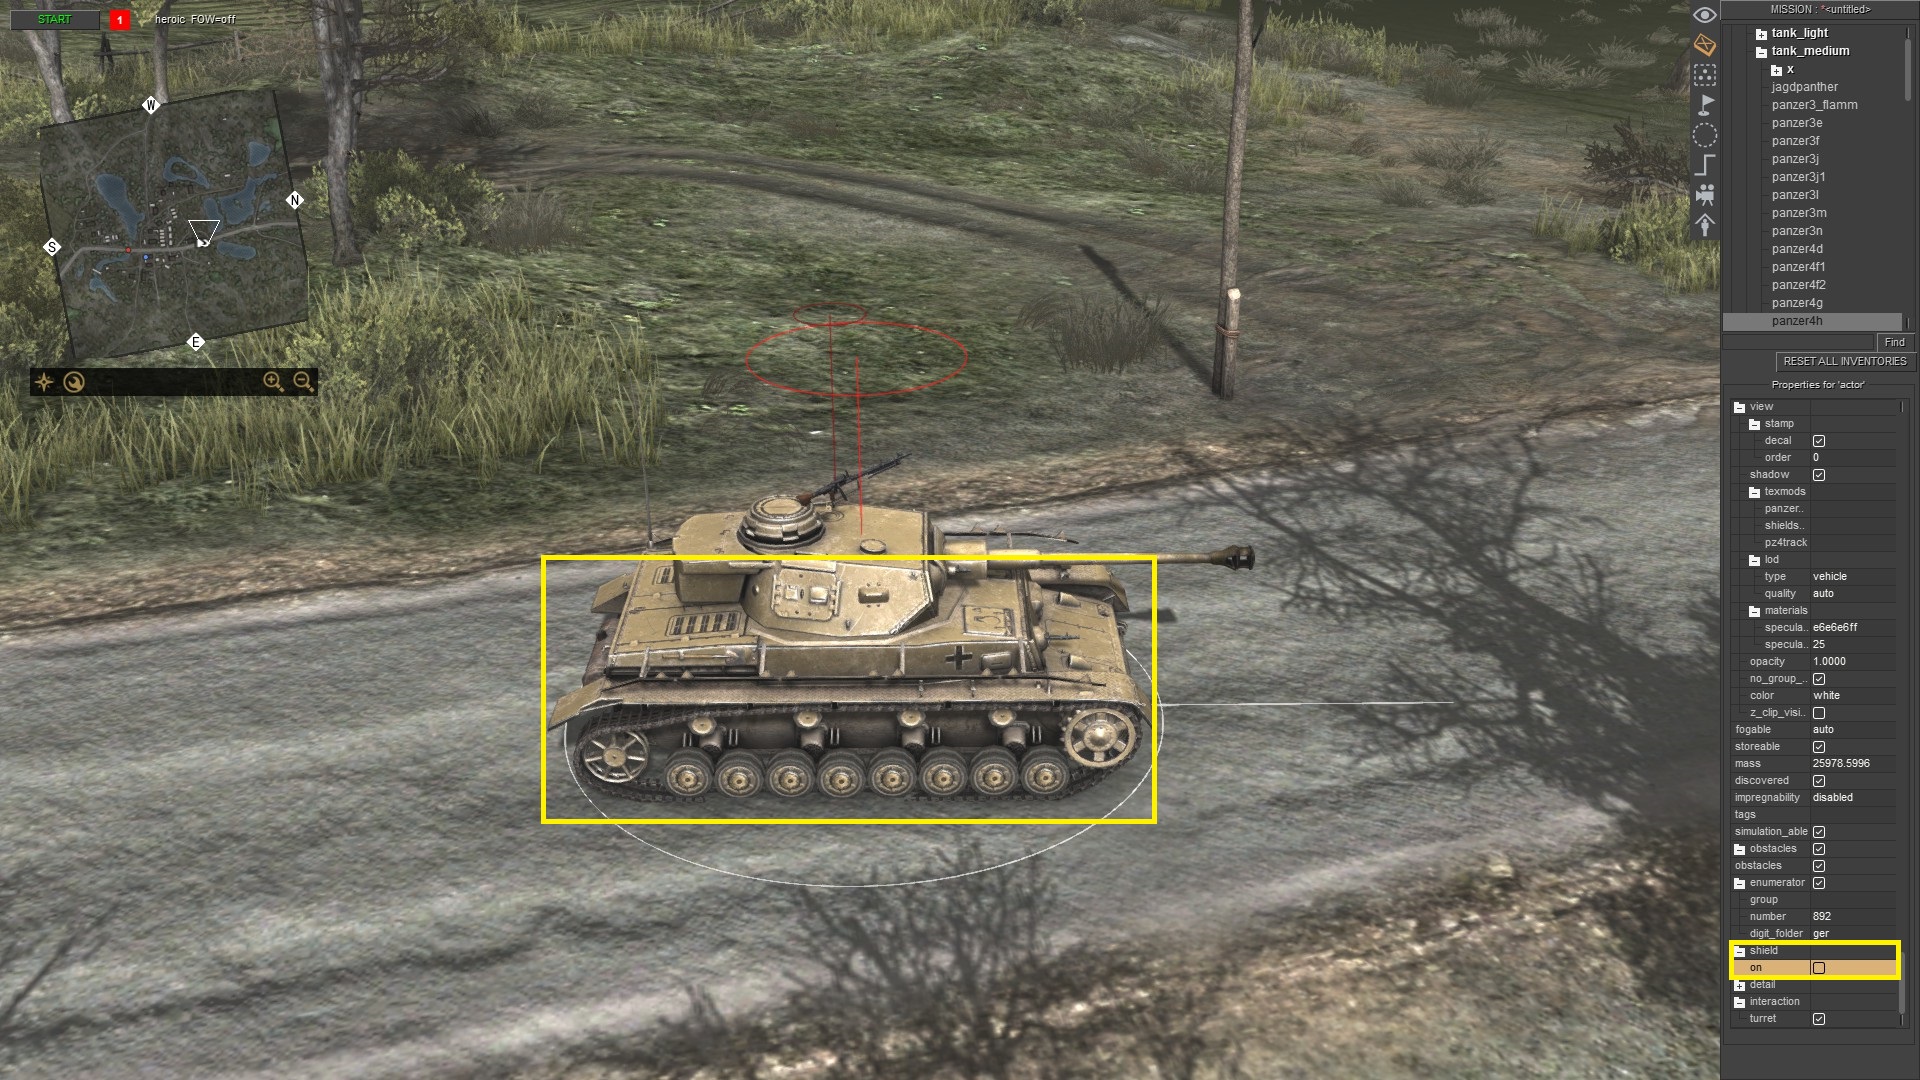
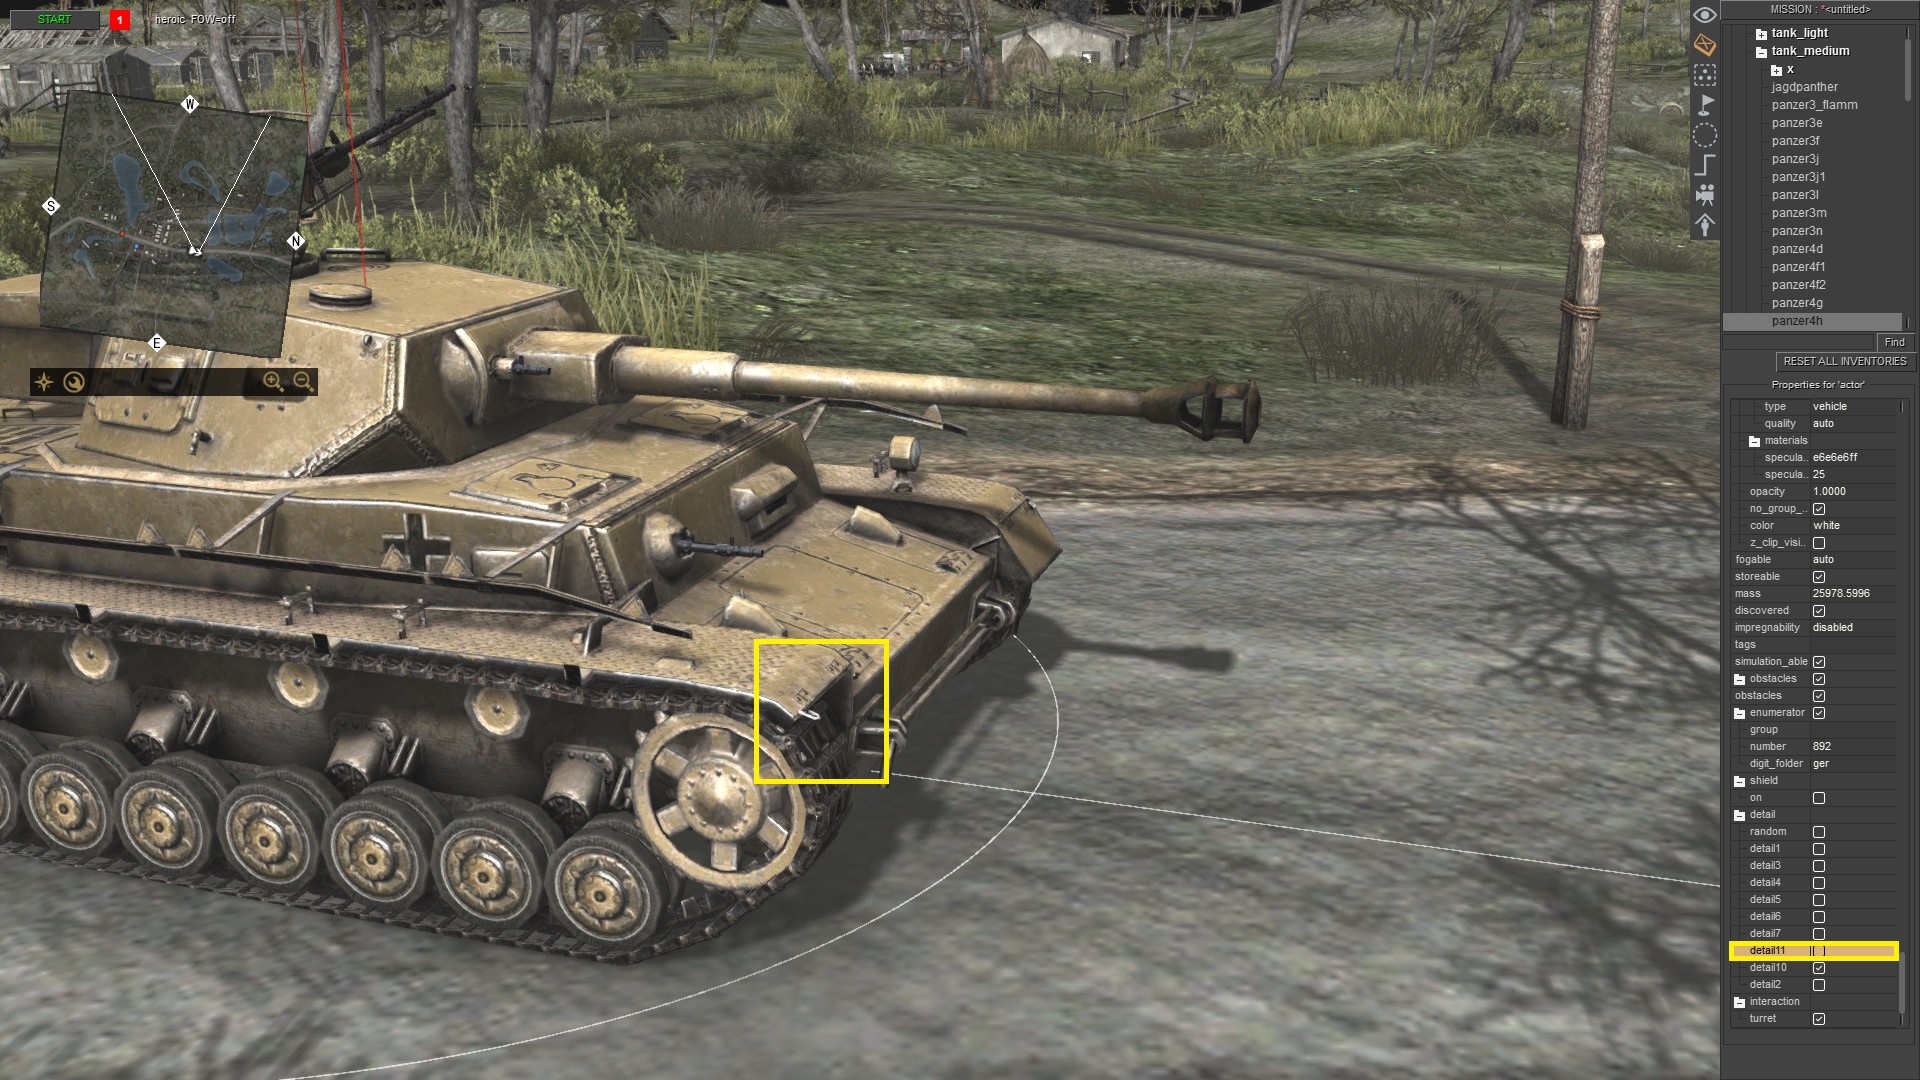
Some vehicles have a shield, like this Panzer IV Ausf.H. You can remove it if you untick it. The shield is not only armour. It's tarpaulin on trucks.
In the game, vehicles have many details. They are random, but if you untick this feature, you can enable or disable details on any vehicle.
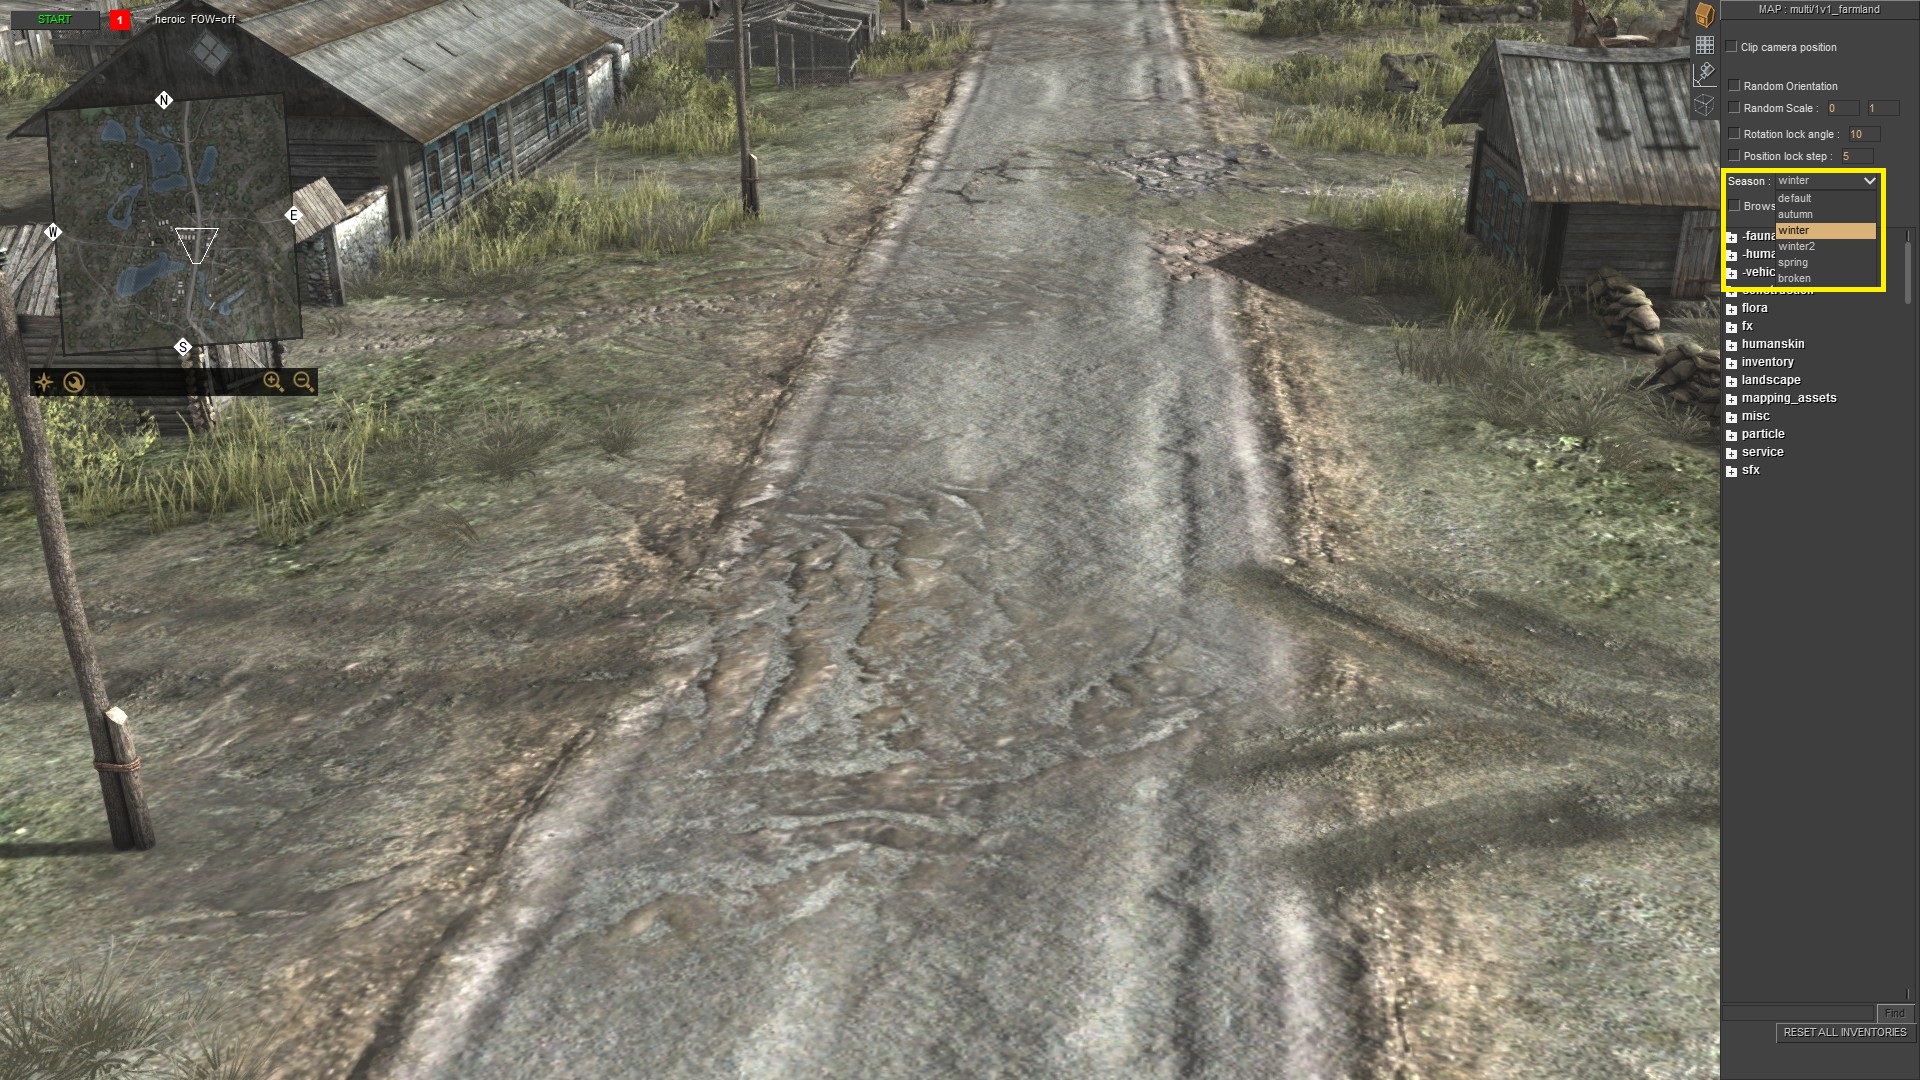
You can easily set default textures for vehicles. Press F2 for map editor, and change season.
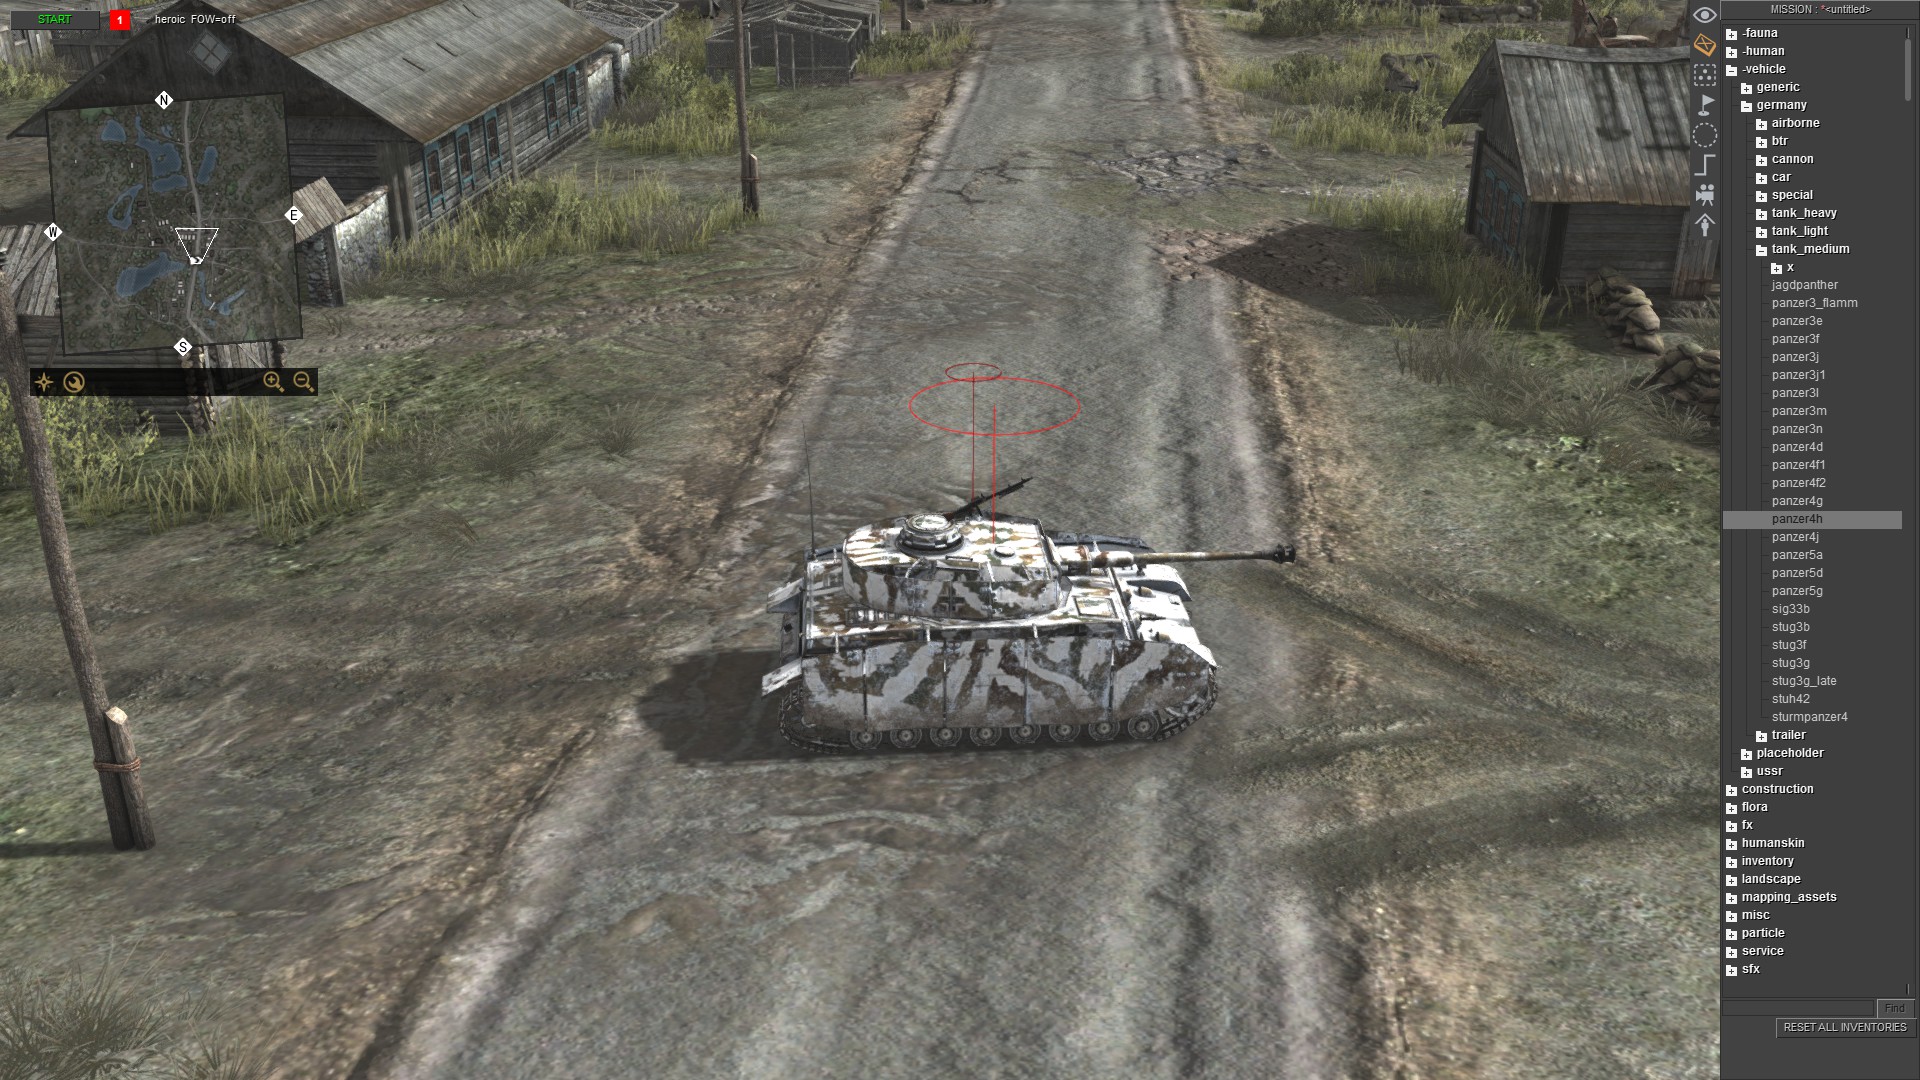
Now, if you place a vehicle, it will get winter texture.
Fog Of War
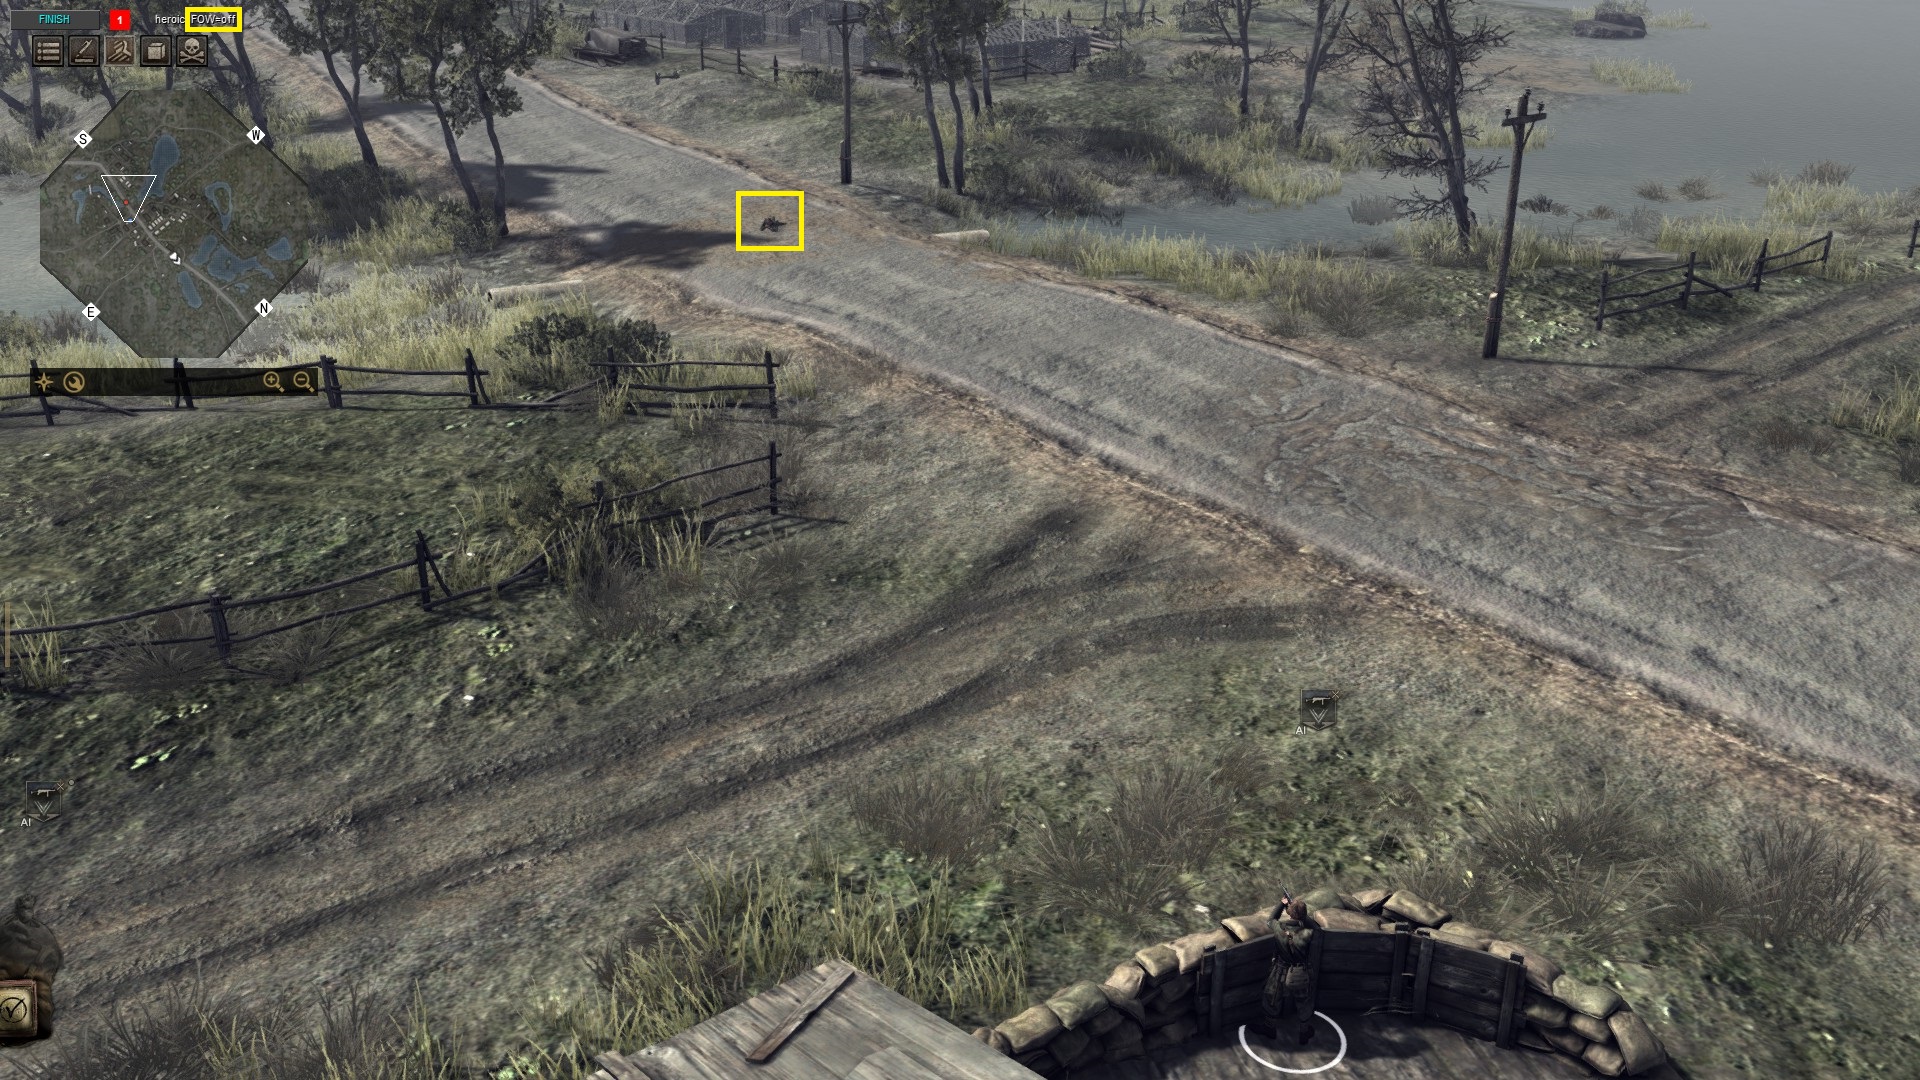
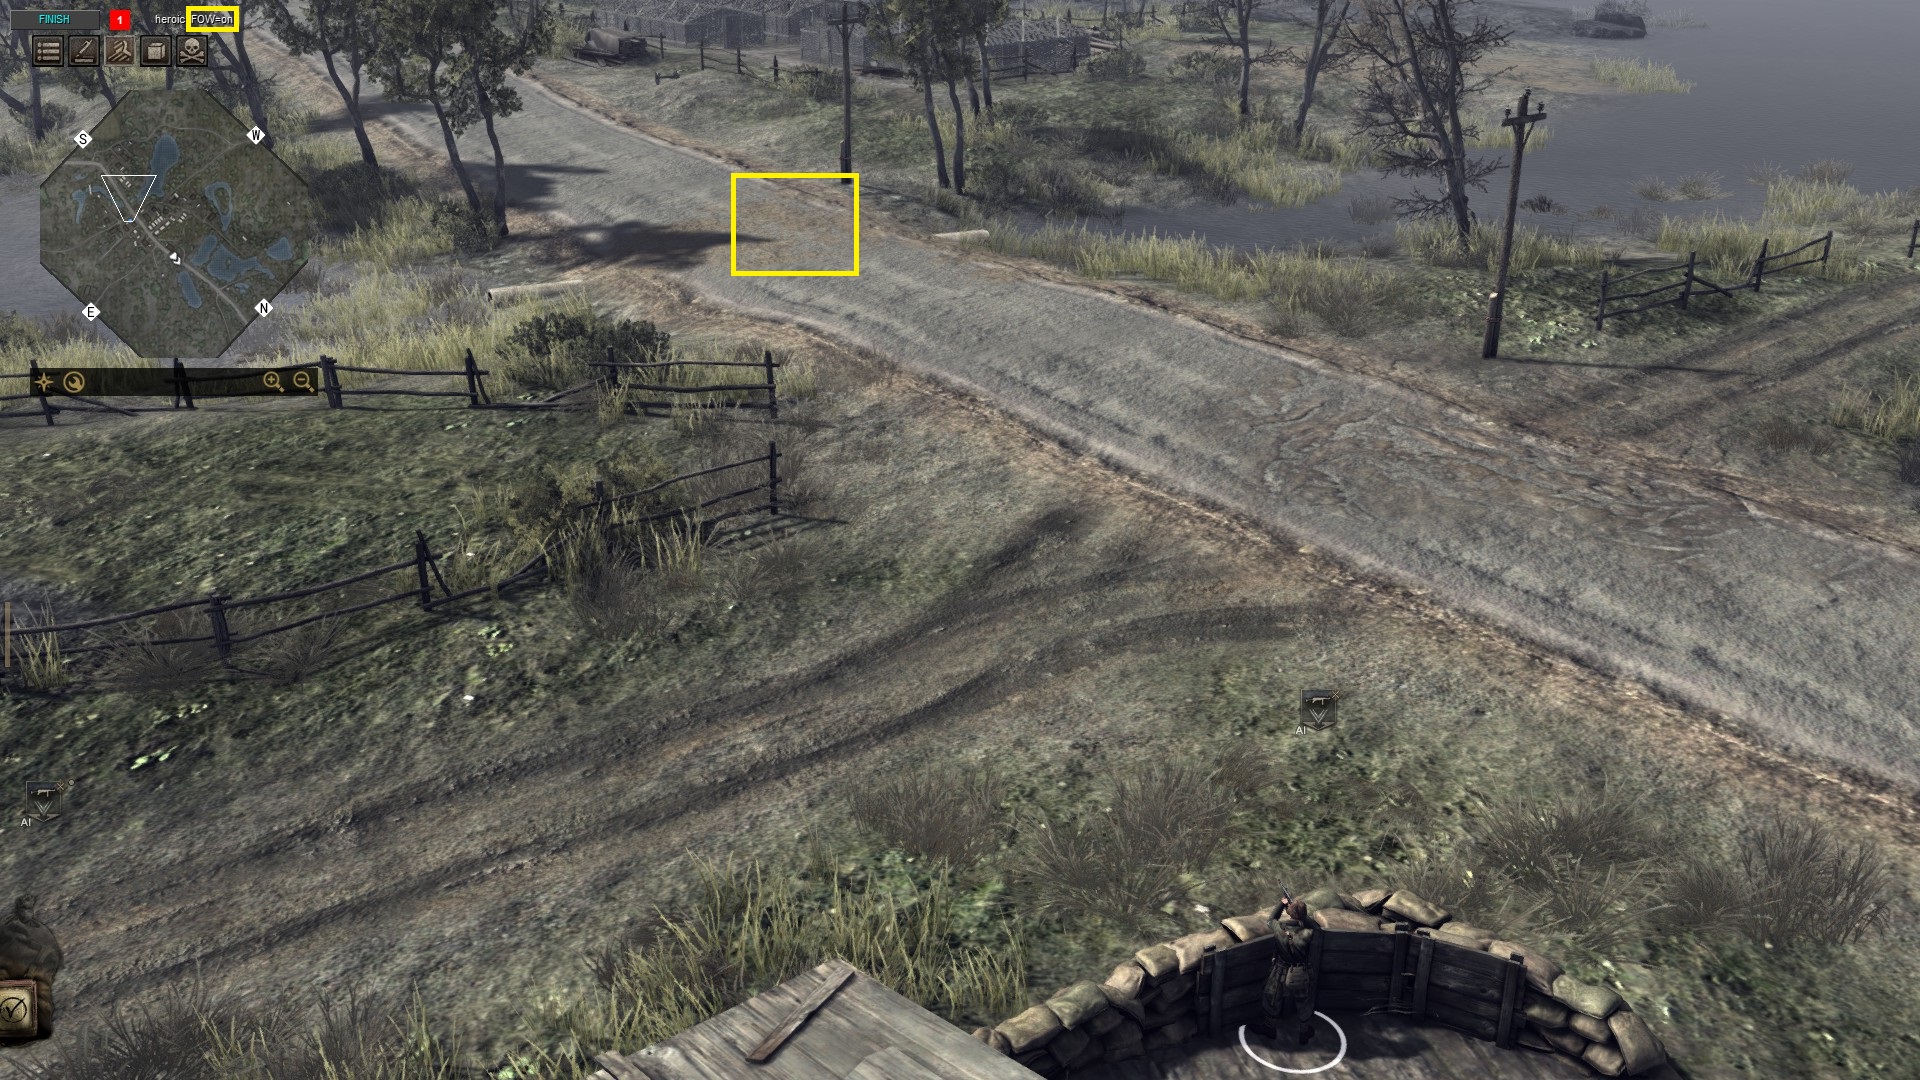
You can enable For of War when you press F1, and then Left ALT + F.
Difficulty
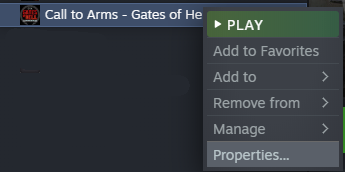

If you want to change difficulty in the editor, you do it by changing launch options for the game.
Difficulties are easy, normal (default), hard, and heroic.
The End
Now, you know how to make a simple battle in Editor. Have fun, and thanks for visiting my guide.
Source: https://steamcommunity.com/sharedfiles/filedetails/?id=2522001504
More Call to Arms - Gates of Hell: Ostfront guilds
- All Guilds
- Call to Arms - Gates of Hell: Ostfront Guide 1122
- A guide on stealth
- Germany Unit Guide and Recommendations
- Coop resource desynchronization even with same mods
- How to Play Campaign Missions in Chronological Order
- Call to Arms - Gates of Hell: Ostfront Guide 1076
- Horten`s Frontline: Doctrines
- Call to Arms - Gates of Hell: Ostfront Guide 1063
- / TOP SECRET. DLC: AIRBONE.
- . ""