
Introduction

Do you suck at Joustus like most of us? Are you frustrated because you can't get that one singular achievement that symbolizes the example of Royal Excelence, of Undeniable Chivalry, and of Outstanding Prestige? ....you want that one little image of Chester inside the chest in your steam profile you say?
Then this guide might help you get the Fearless Champ achievement!
Rules are simple:
DO NOT TALK TO CHESTER OR BUY CARDS FROM HIM. AT ALL.
Not. Even. Cheat. Cards.
Also, ignore any Light Blue Chests. I know it's tempting, but don't do it. Just don't.
One more thing: THIS GUIDE CONTAINS SPOILERS. SO GO BEAT KING OF CARDS RIGHT NOW, IS A GOOD GAME. I RECOMMEND IT. IS GOOD, TRUST ME. NO, I'M SERIOUS. DUDE! C'MON, IS GOOD! GO PLAY IT. BE THERE OR BE SQUARE...
With that out of the way, let's begin!
House Of Joustus

If you ignored the Rookie at the beginning of the House of Joustus, then you might want to go practice first how to Joustus properly, or else you might have no idea what you are doing!
You finished the tutorial? Good, then let's continue.
First of all, you might want to get some help before playing your first real Joustus match.
Climb up the ladder and talk to the NPC on the roof, he will give you your very first three-way Single Arrow Card.
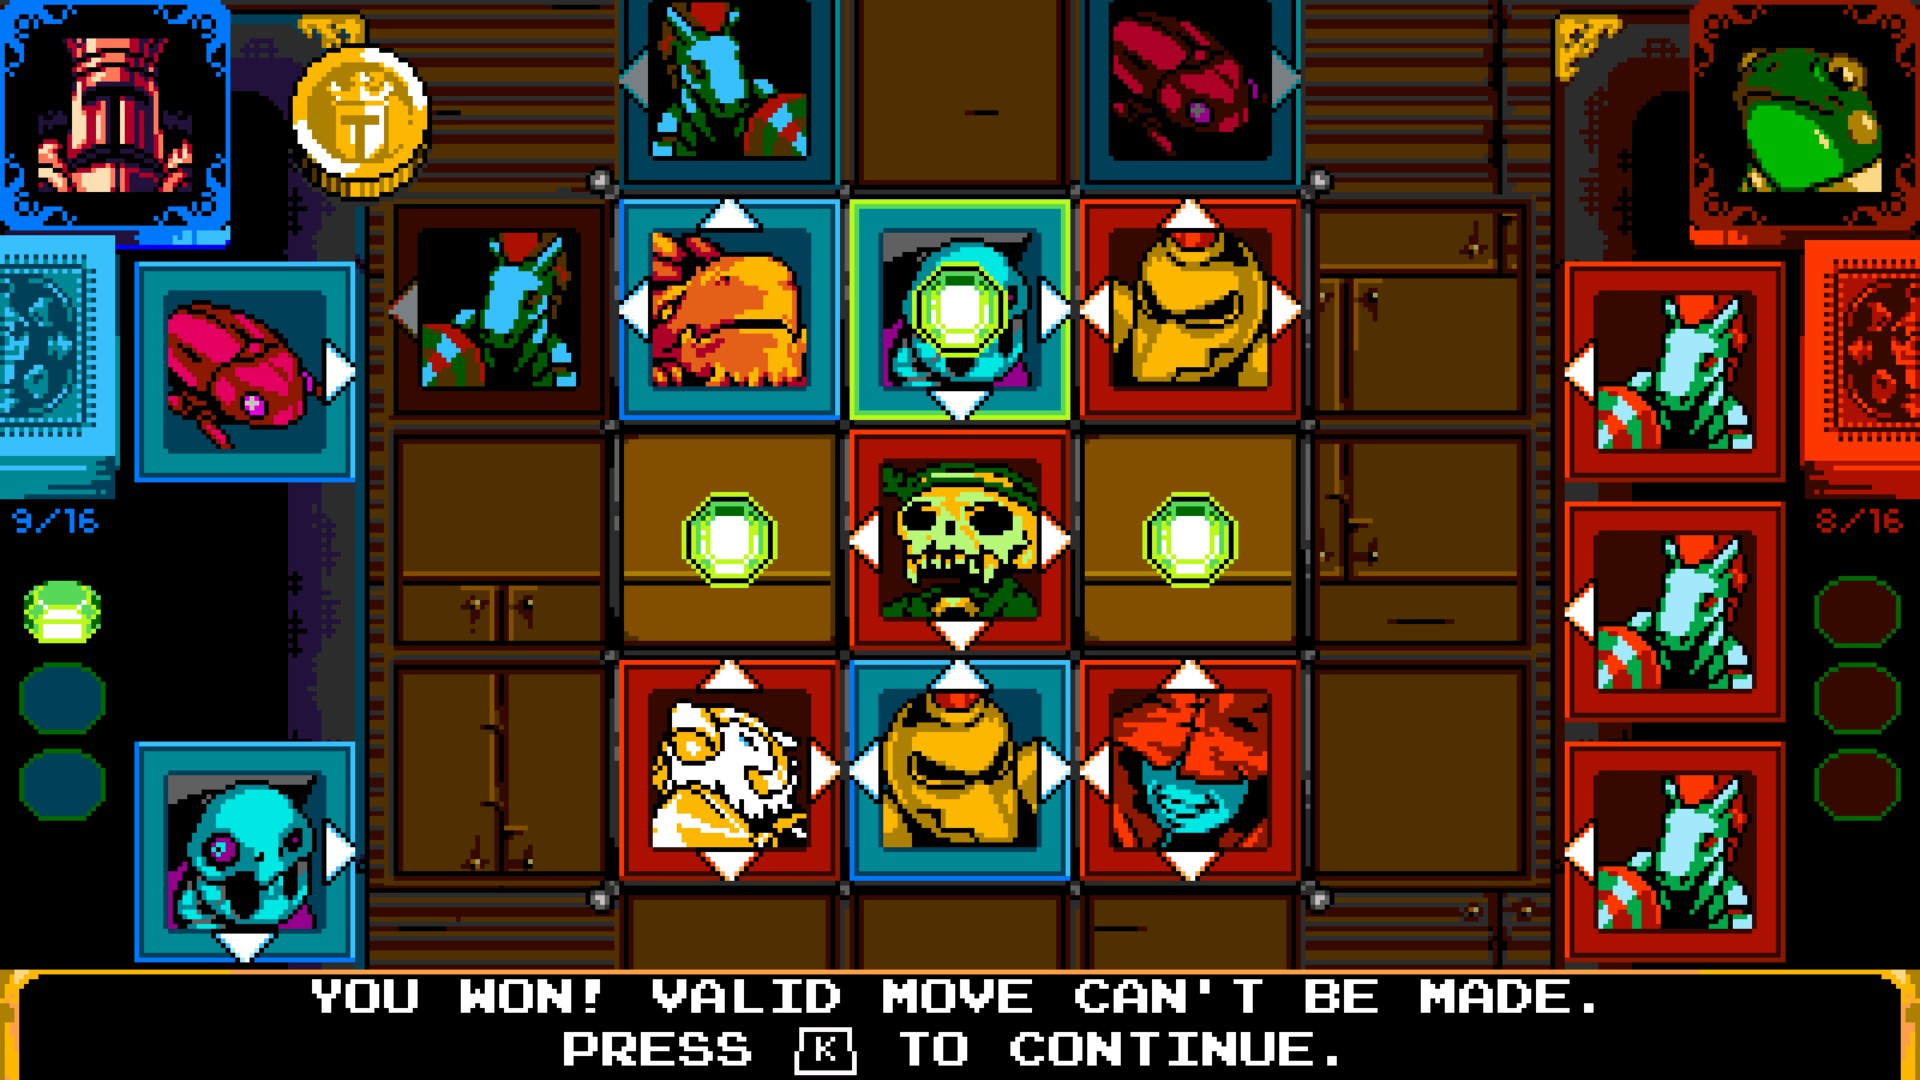
Something worth mentioning, when you play Joustus, outside of tutorials and Puzzles, you play for keeps.
Meaning that you will have to win, or else you will lose one card that it's on the table.
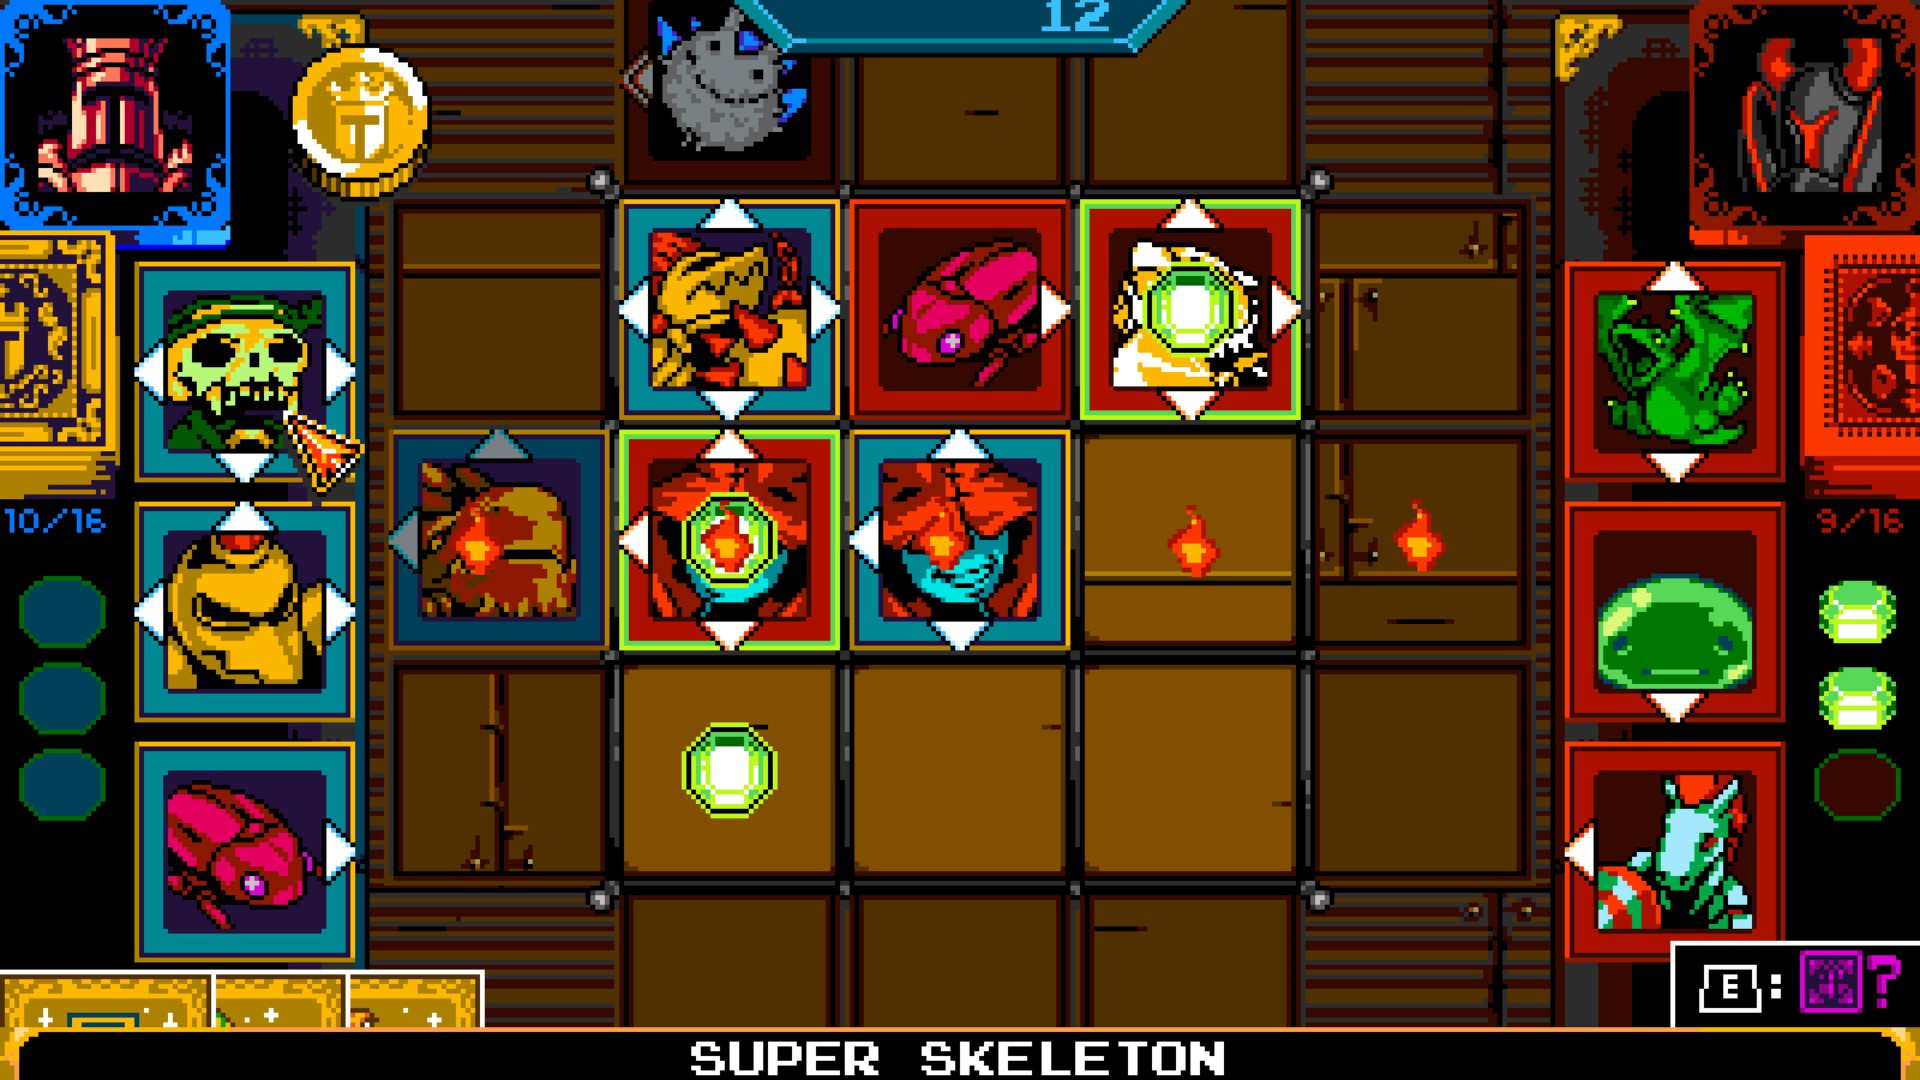
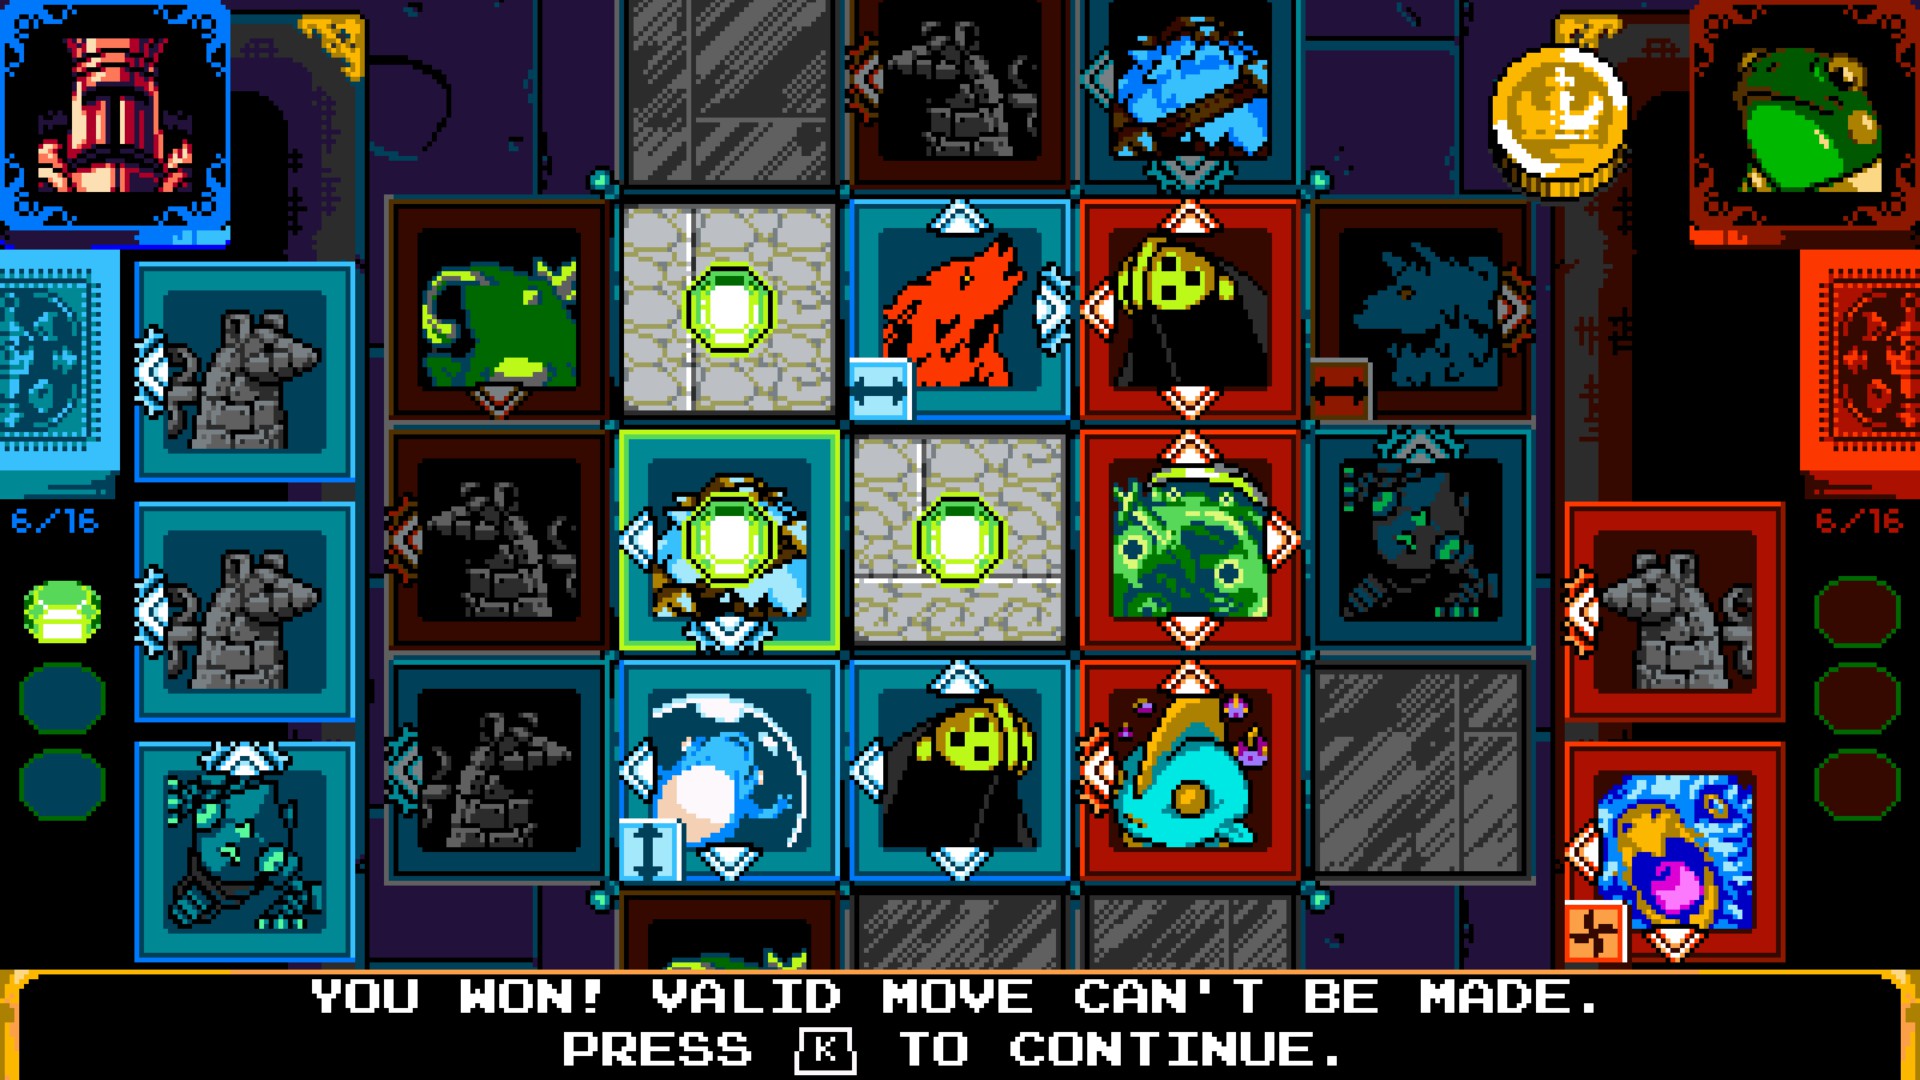
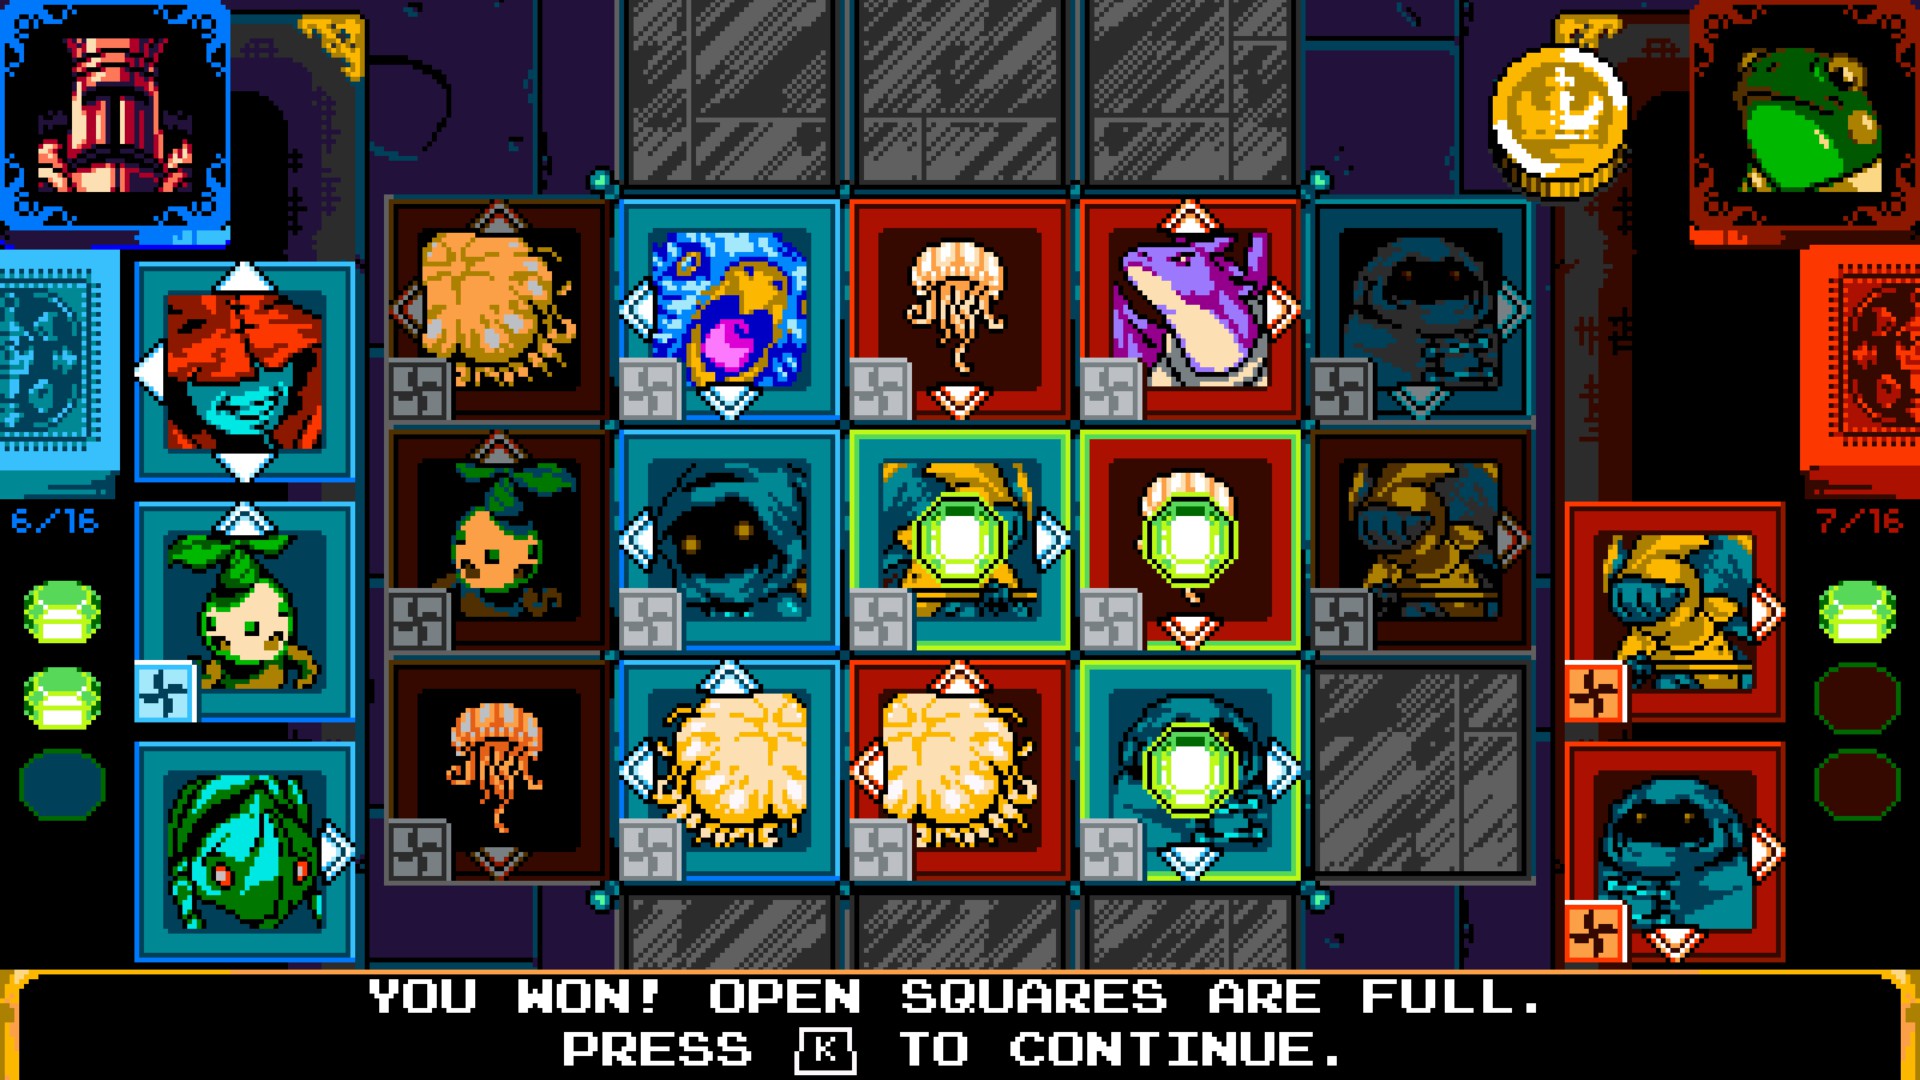
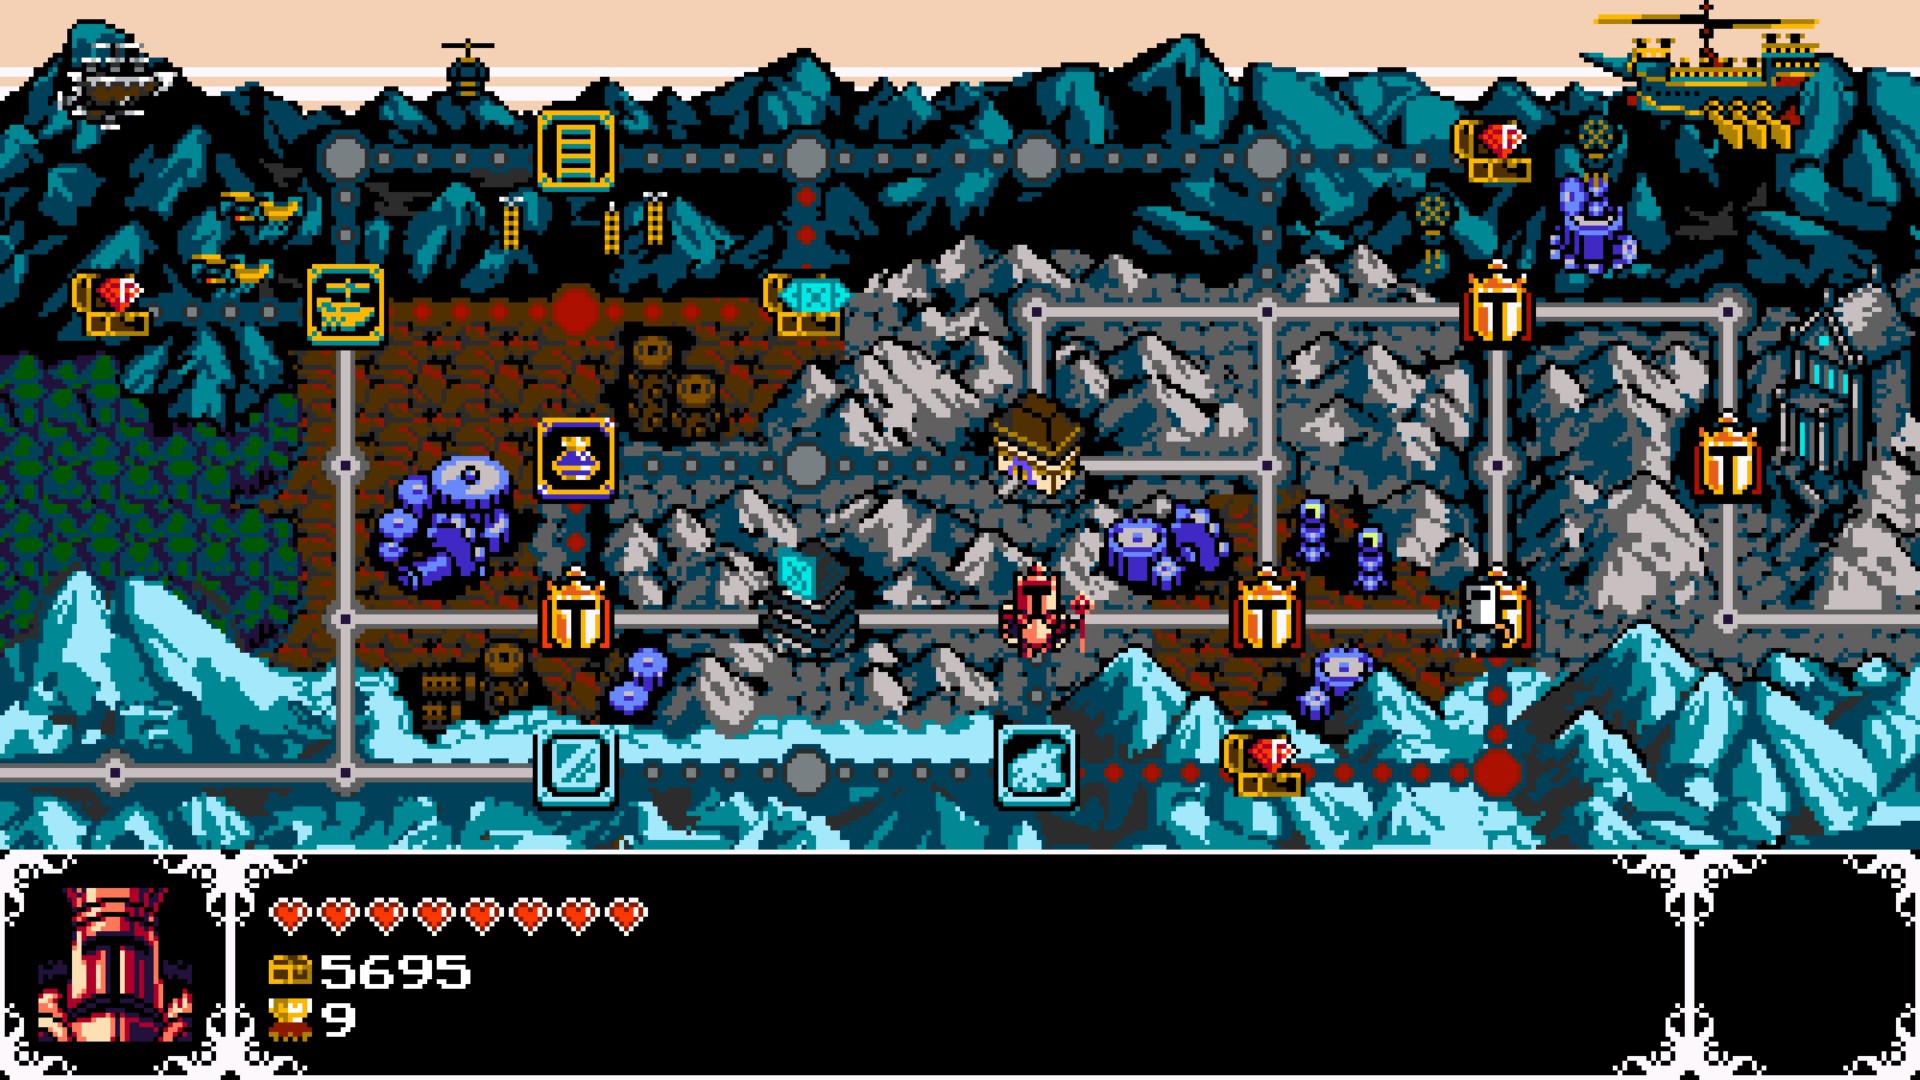
Another thing, Tables will vary, some Tables will be of 2x2, others 3x3, others even going 4x4 or even bigger. Some Tables will also lack Grave Zones. And be aware that Tables will also contain gimmicks. More on those later.
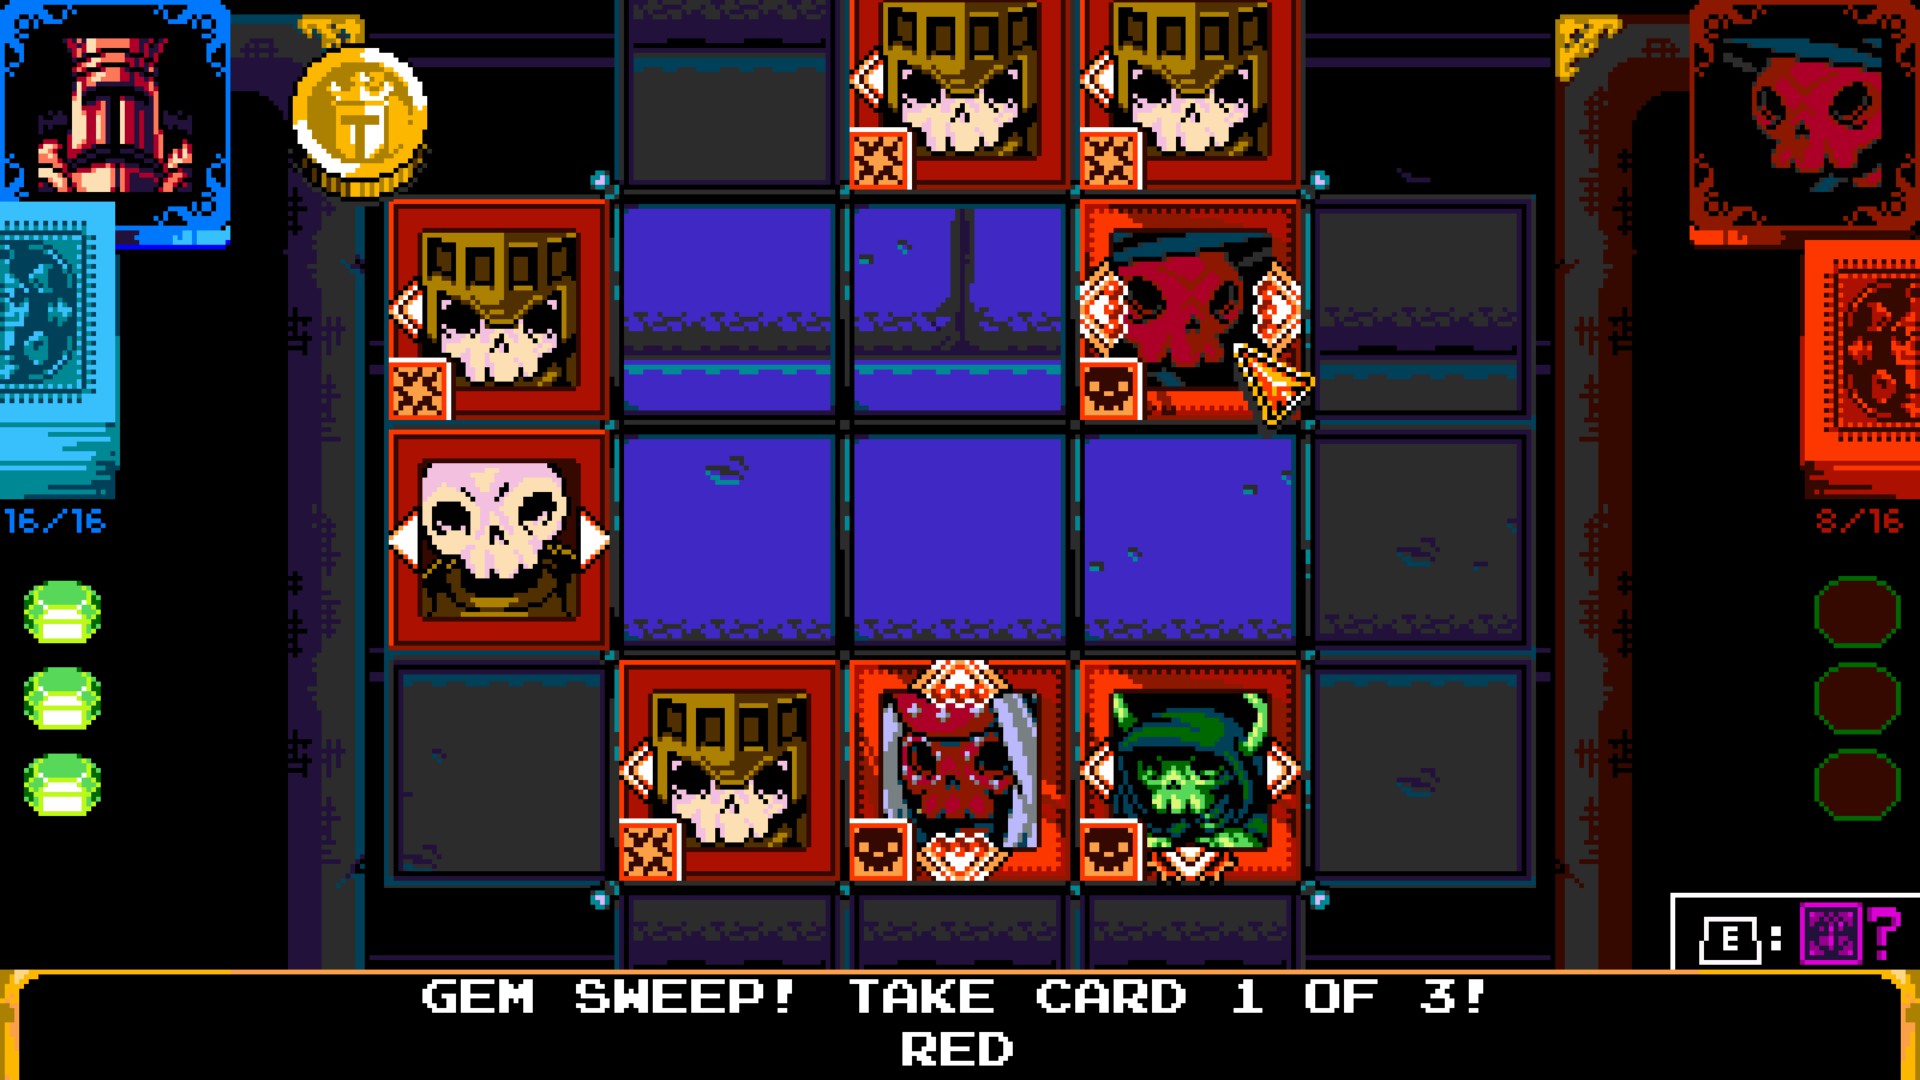
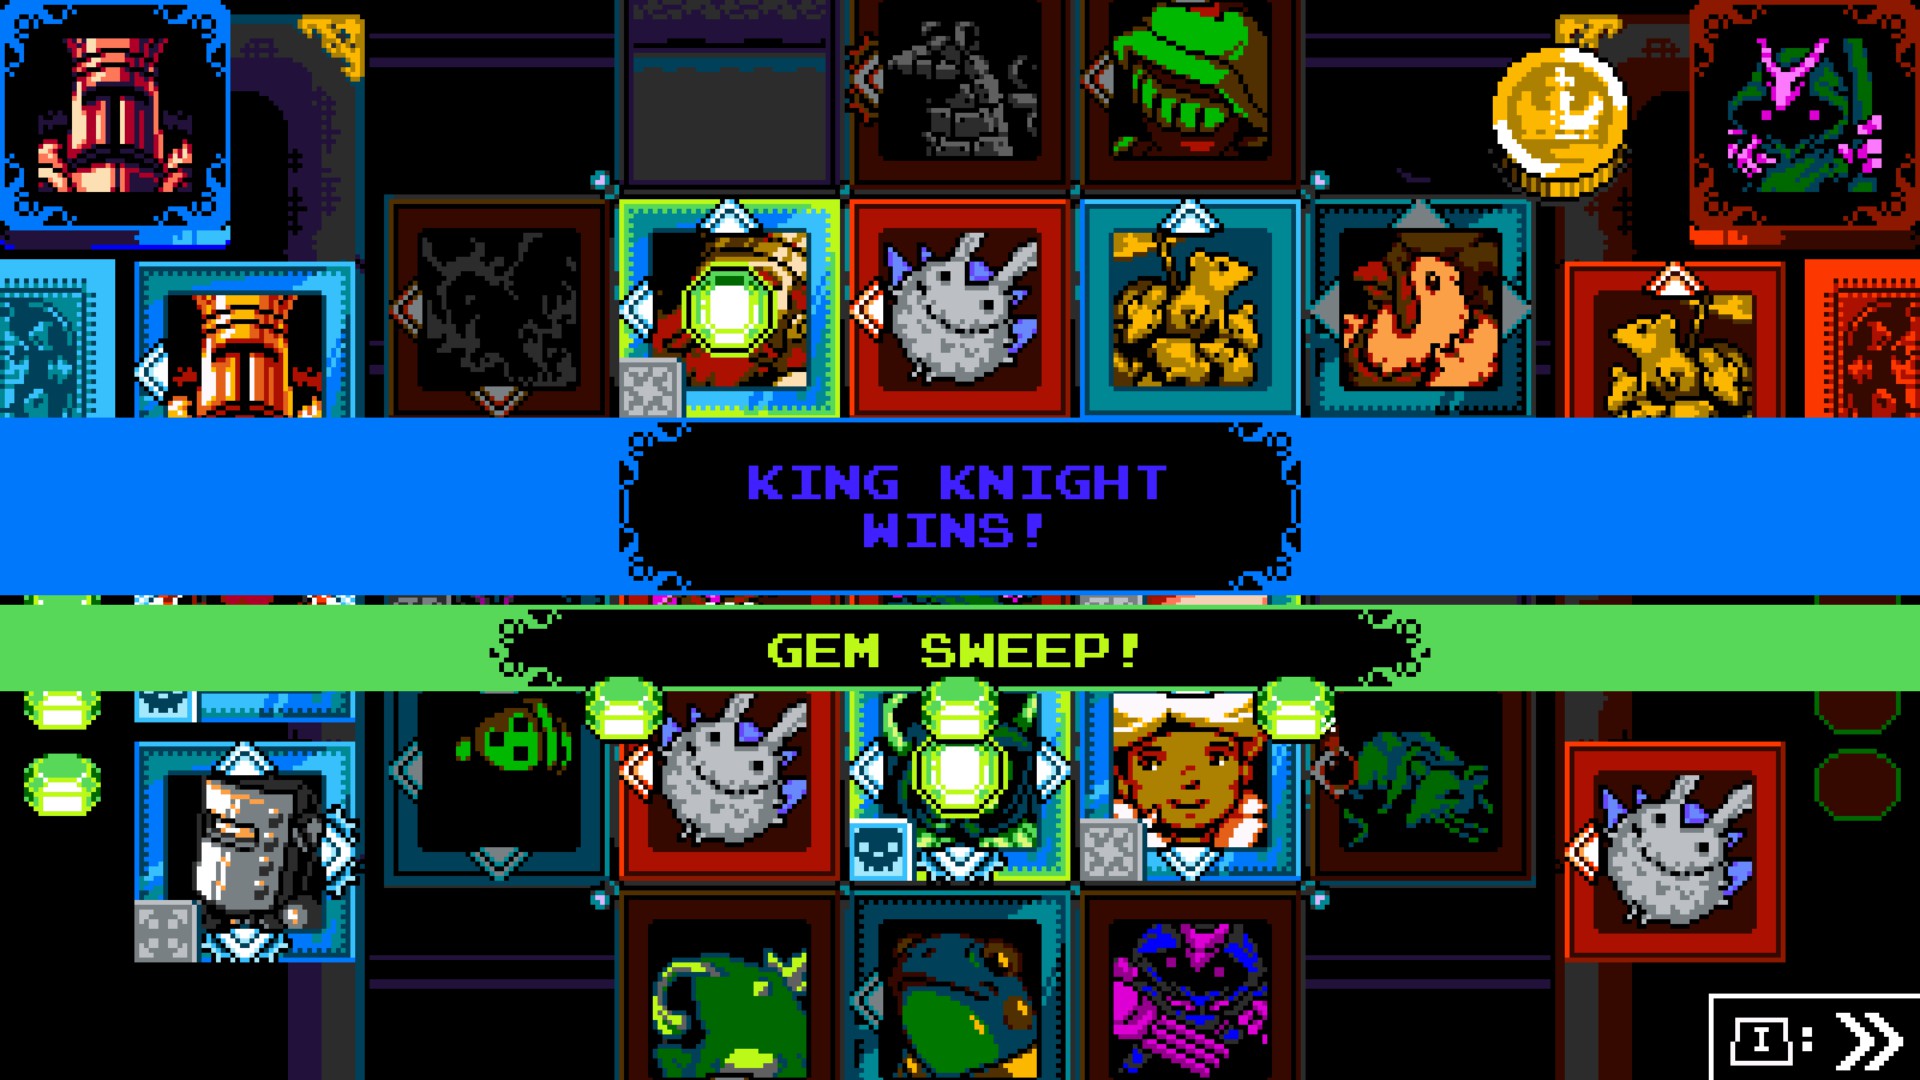
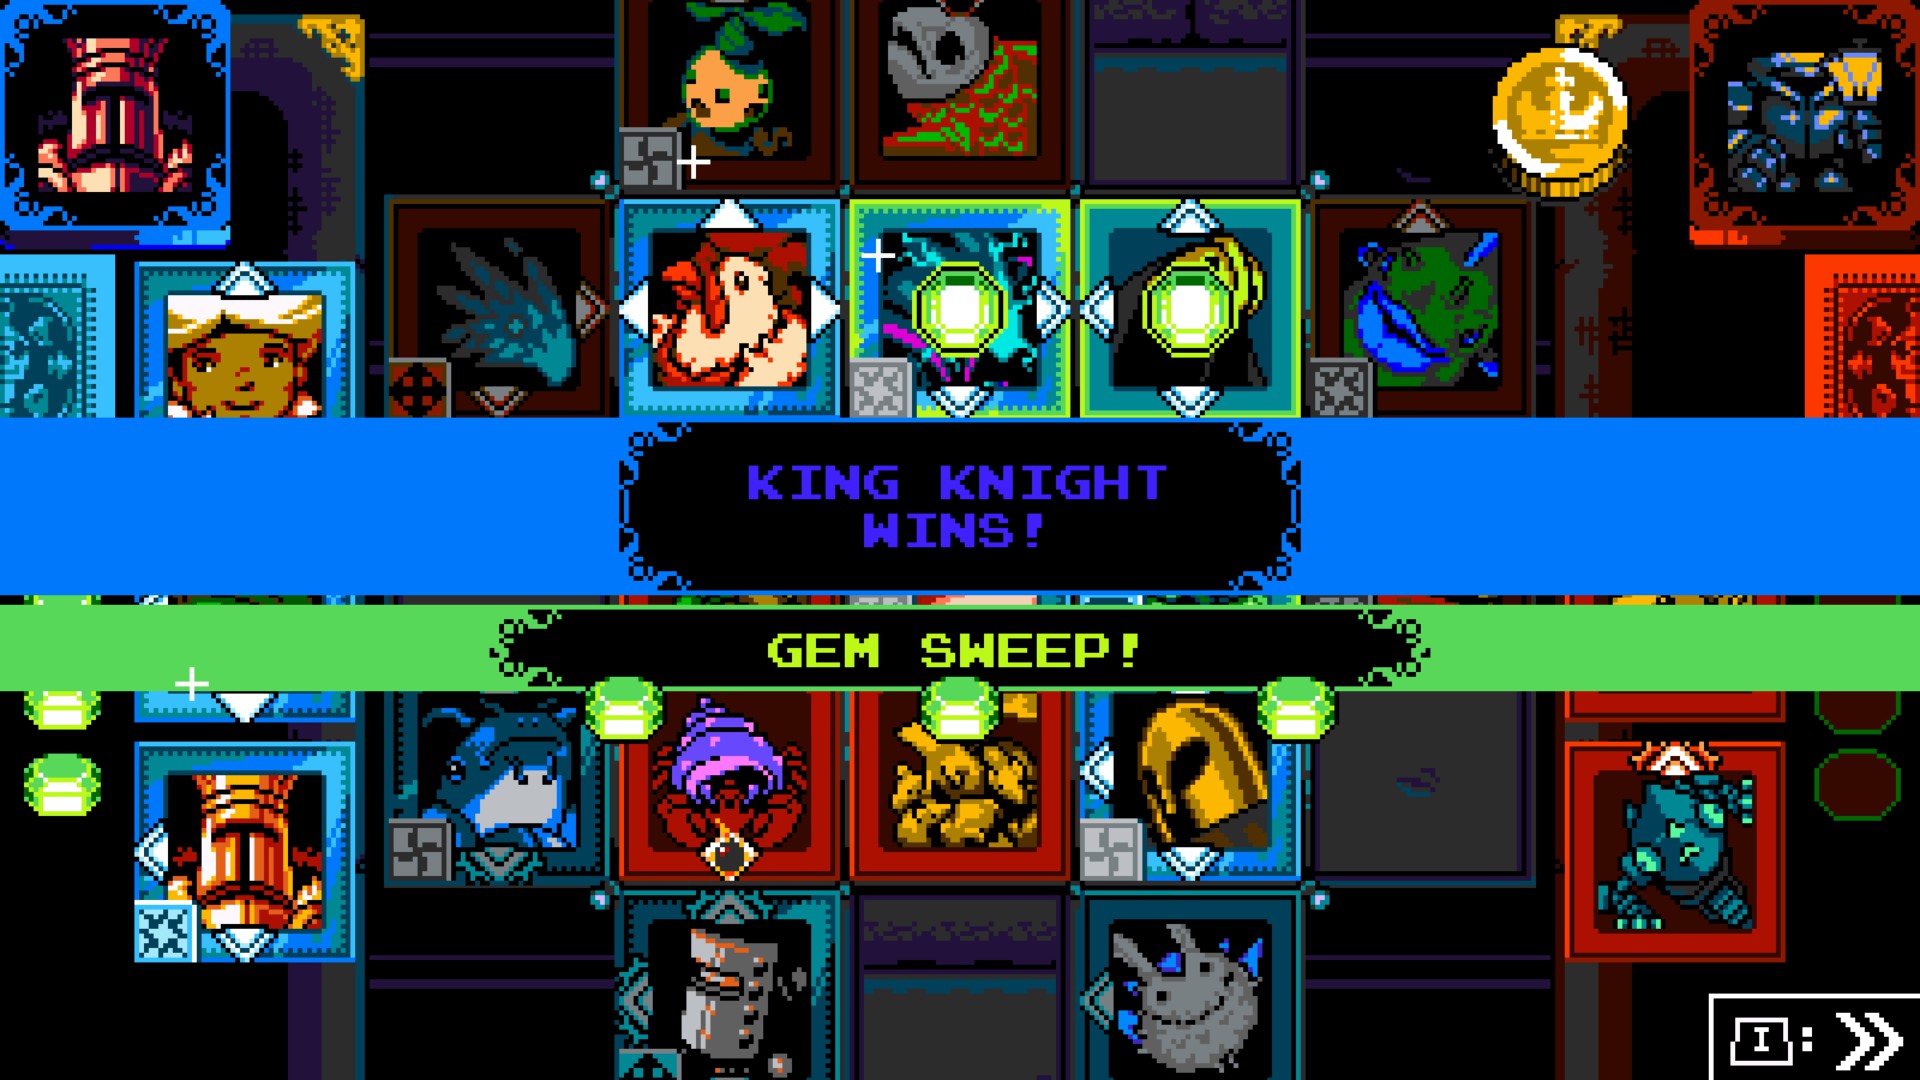
One last thing, after winning or losing a game, if all the cards that are under all of the gems on the table are of the same color, a Gem Sweep will occur, meaning that the player who wins, gets to keep 3 or 4 cards, depending of the ammount of gems on the table.
However, Gem Sweeps are only possible when there's 3 or more gems on the table.
In the case you ever lose your precious card, remember that Alt+F4 is your friend. If you lose a match, restart as soon as you see the red message pop up on the screen, if you keep pressing confirm, the game will Save and you will lose that card permanently (well, not really, but rather restart than having to play the same NPC to reclaim the card you just lost).
Also, you can pause the match before you lose, go back to the title screen and retry the match as many times as you want.
Take down the kid and the Goatician. Those are pretty easy to tackle down, so no need to explain how to beat them.
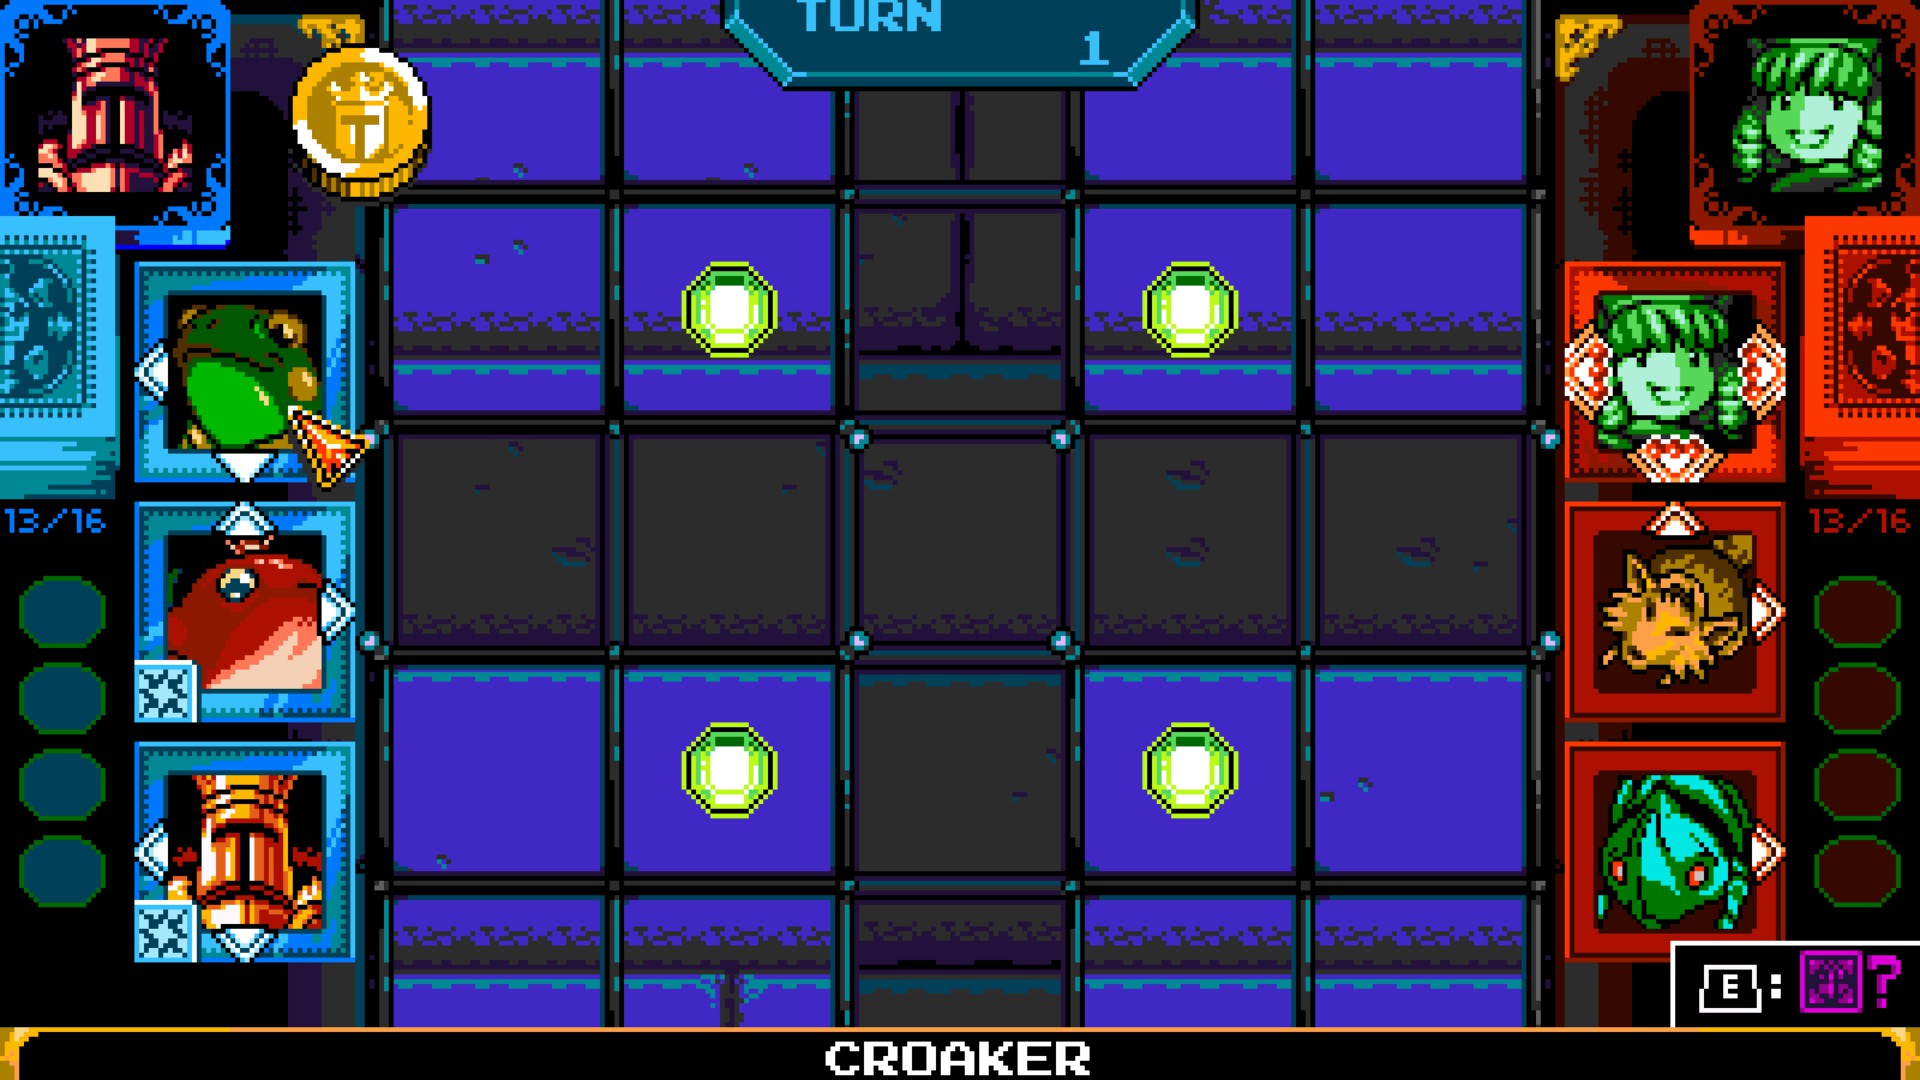
Now, you might want to solve the Croaker puzzles.
And by you might, i mean that you SHOULD, as he gives up your very first Double Arrow card. And it will help you out immensely.
Double Arrow cards can ignore Single Arrows that point to the opposite direction of your card. Obvious thing, but worth mentioning.
Here is the solution of all three puzzles, in case you lack the patience to figure it out on your own.
----------------------------------------------------------------------------------------------------------------------------------------
IF YOU ARE GOING FOR THE NAKED KING ACHIEVEMENT AS WELL, DO NOT DO THIS NEXT PART. ALL OPTIONAL PARTS WILL BE SEPARATED WITH LINES.
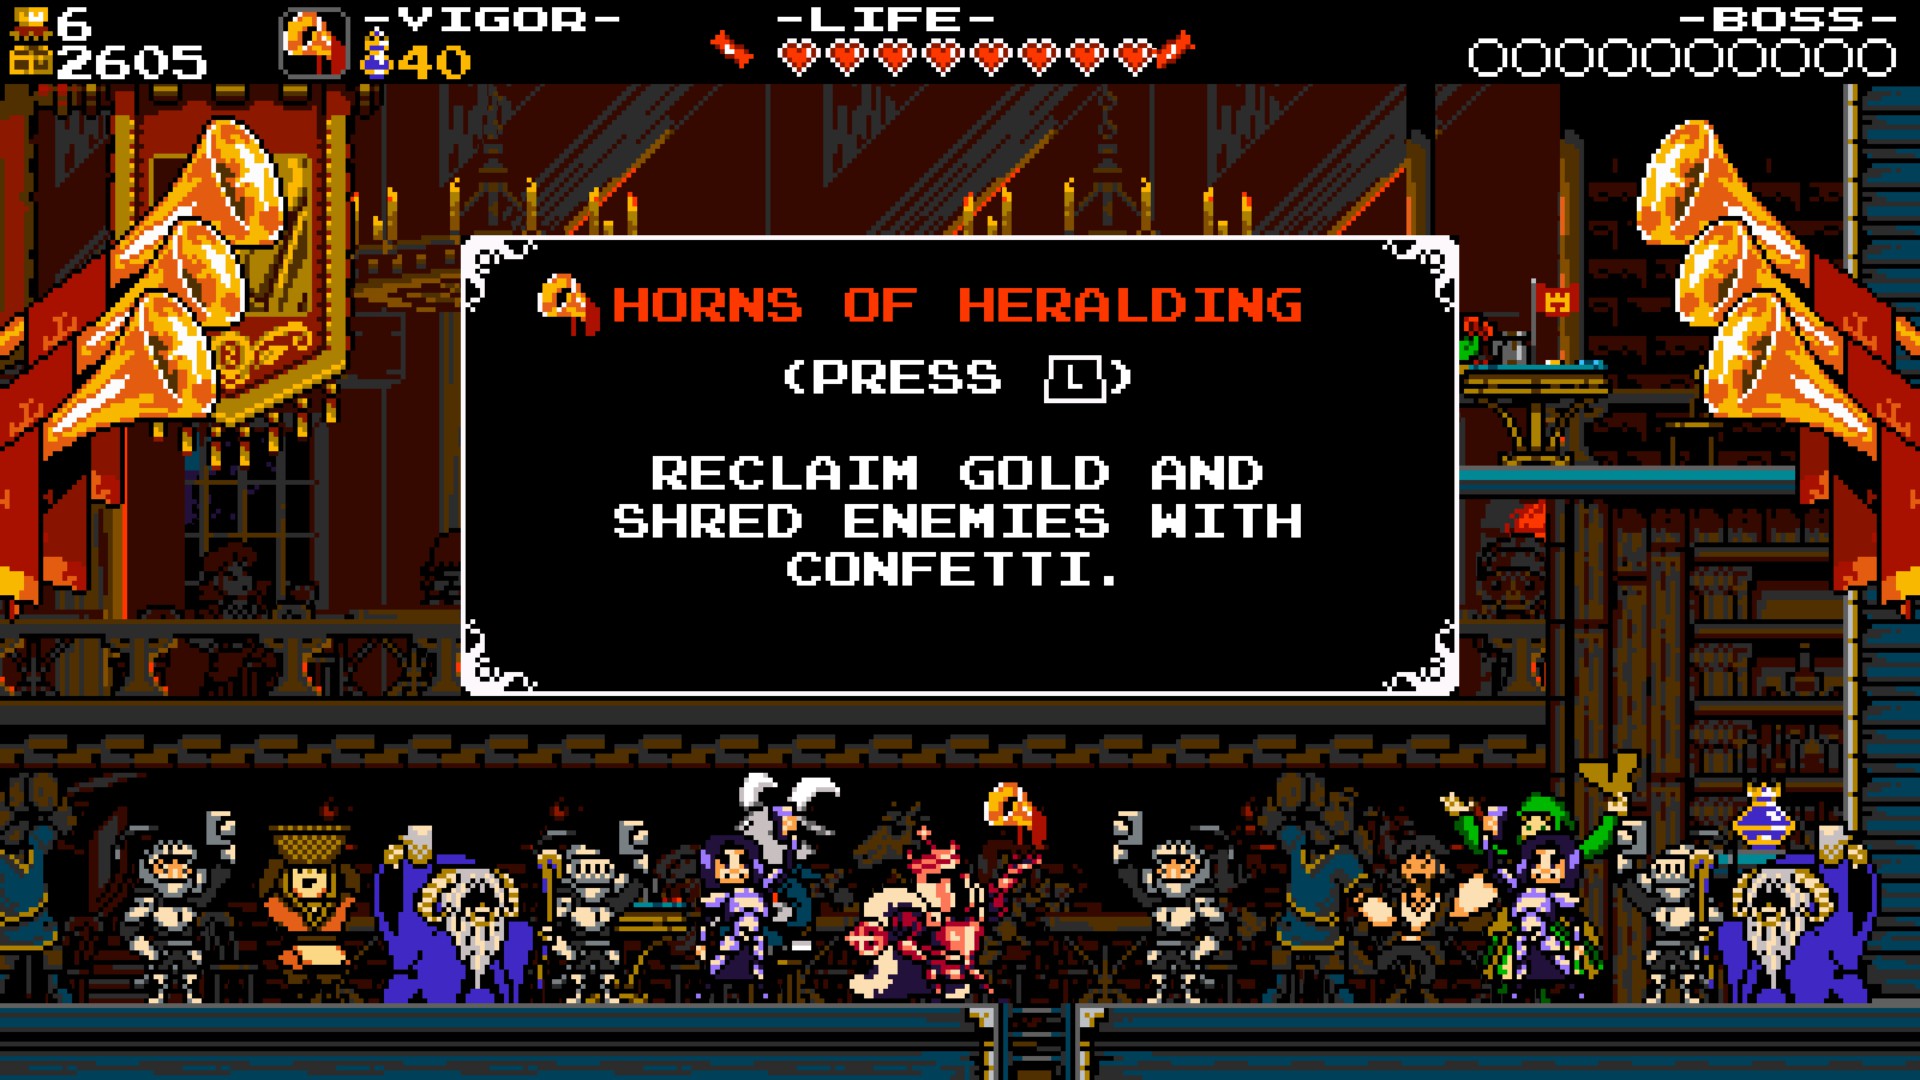
Before going down the stairs, i suggest you to save up at least 5,000 Gold, as you might need it to BUY SOME DRINKS.
YEEEEEEEEAH! LET'S GET DRUNK UP IN THIS!! YeaehJHodhaf... Hmmp.
Ok, so, doing that will grant you the Horns of Heralding. Why you need this Heirloom, you might ask? More on that later.
----------------------------------------------------------------------------------------------------------------------------------------
Now you want to play a bunch of matches with Ruffian, as he has lots of three-way Single Arrow cards, and you might want to stack up on those before taking down Black Knight. Just saying.
Nice Table, bro.
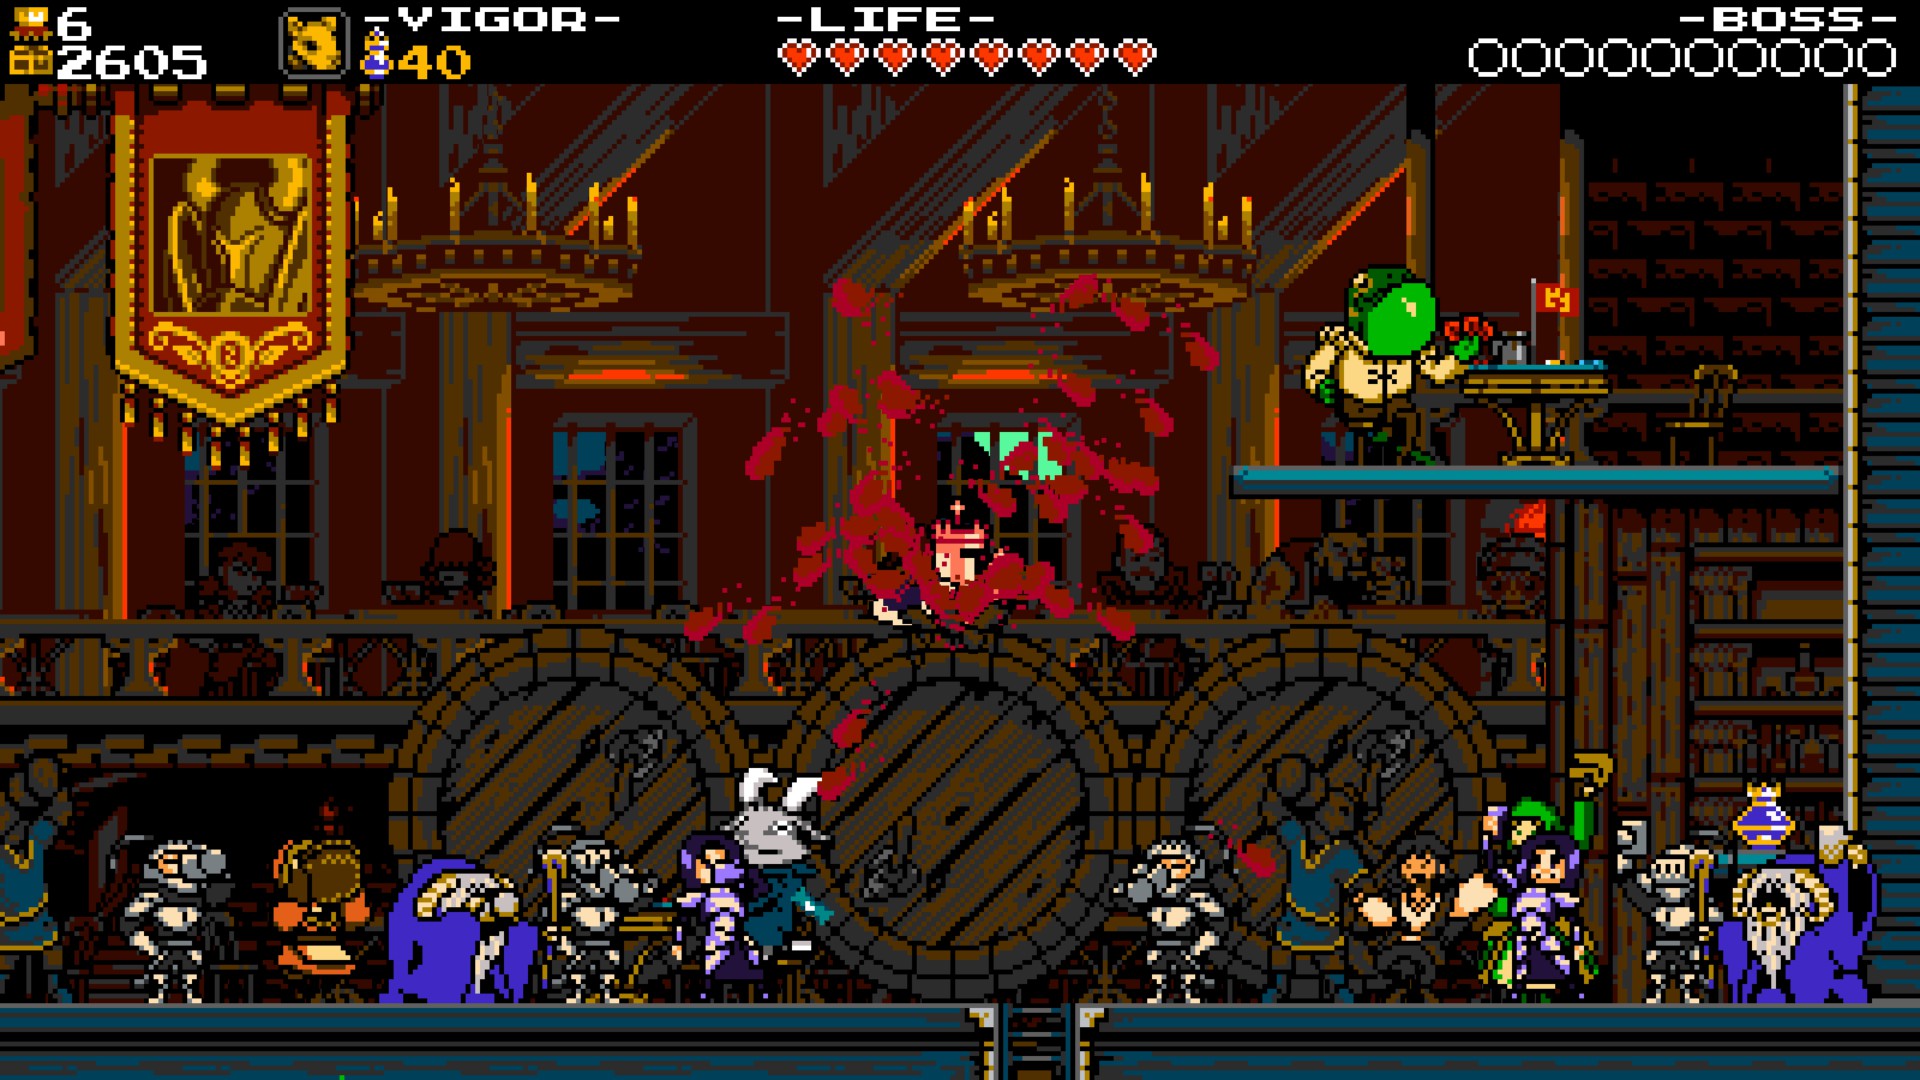
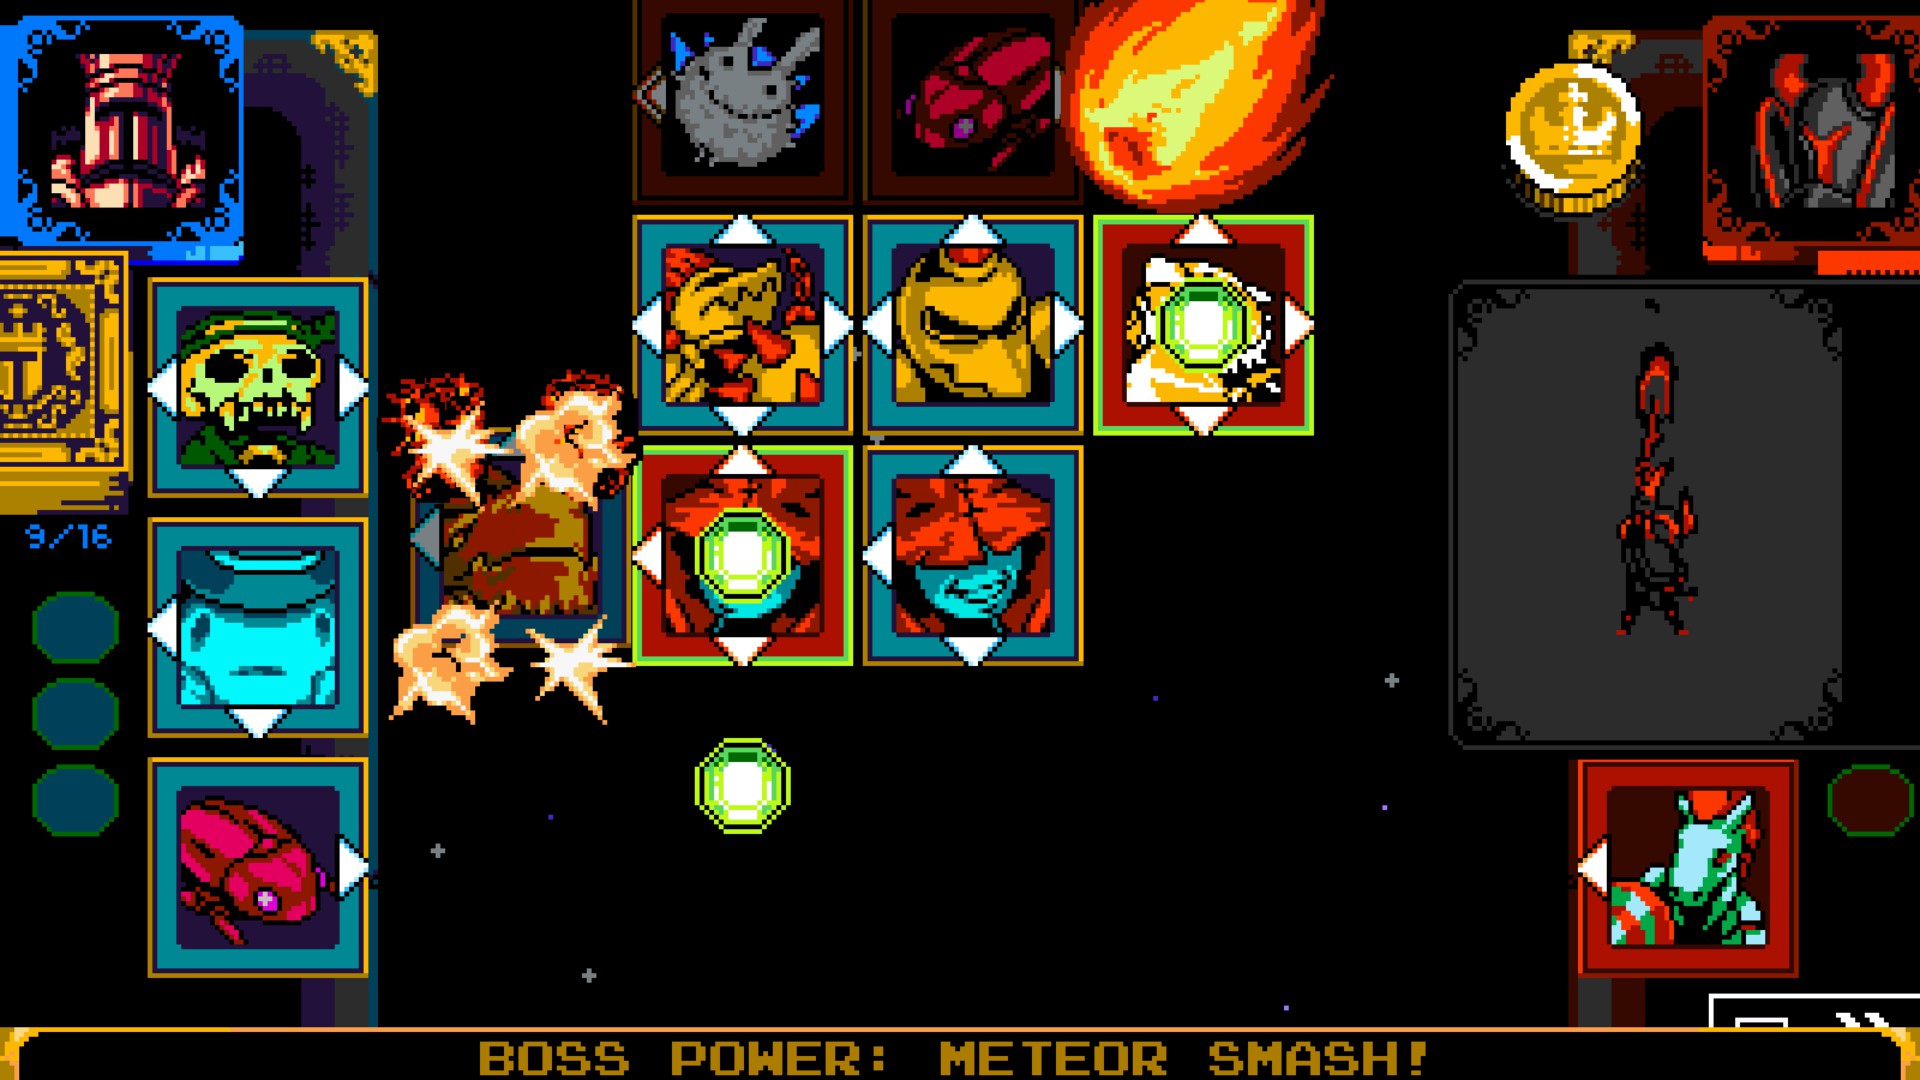
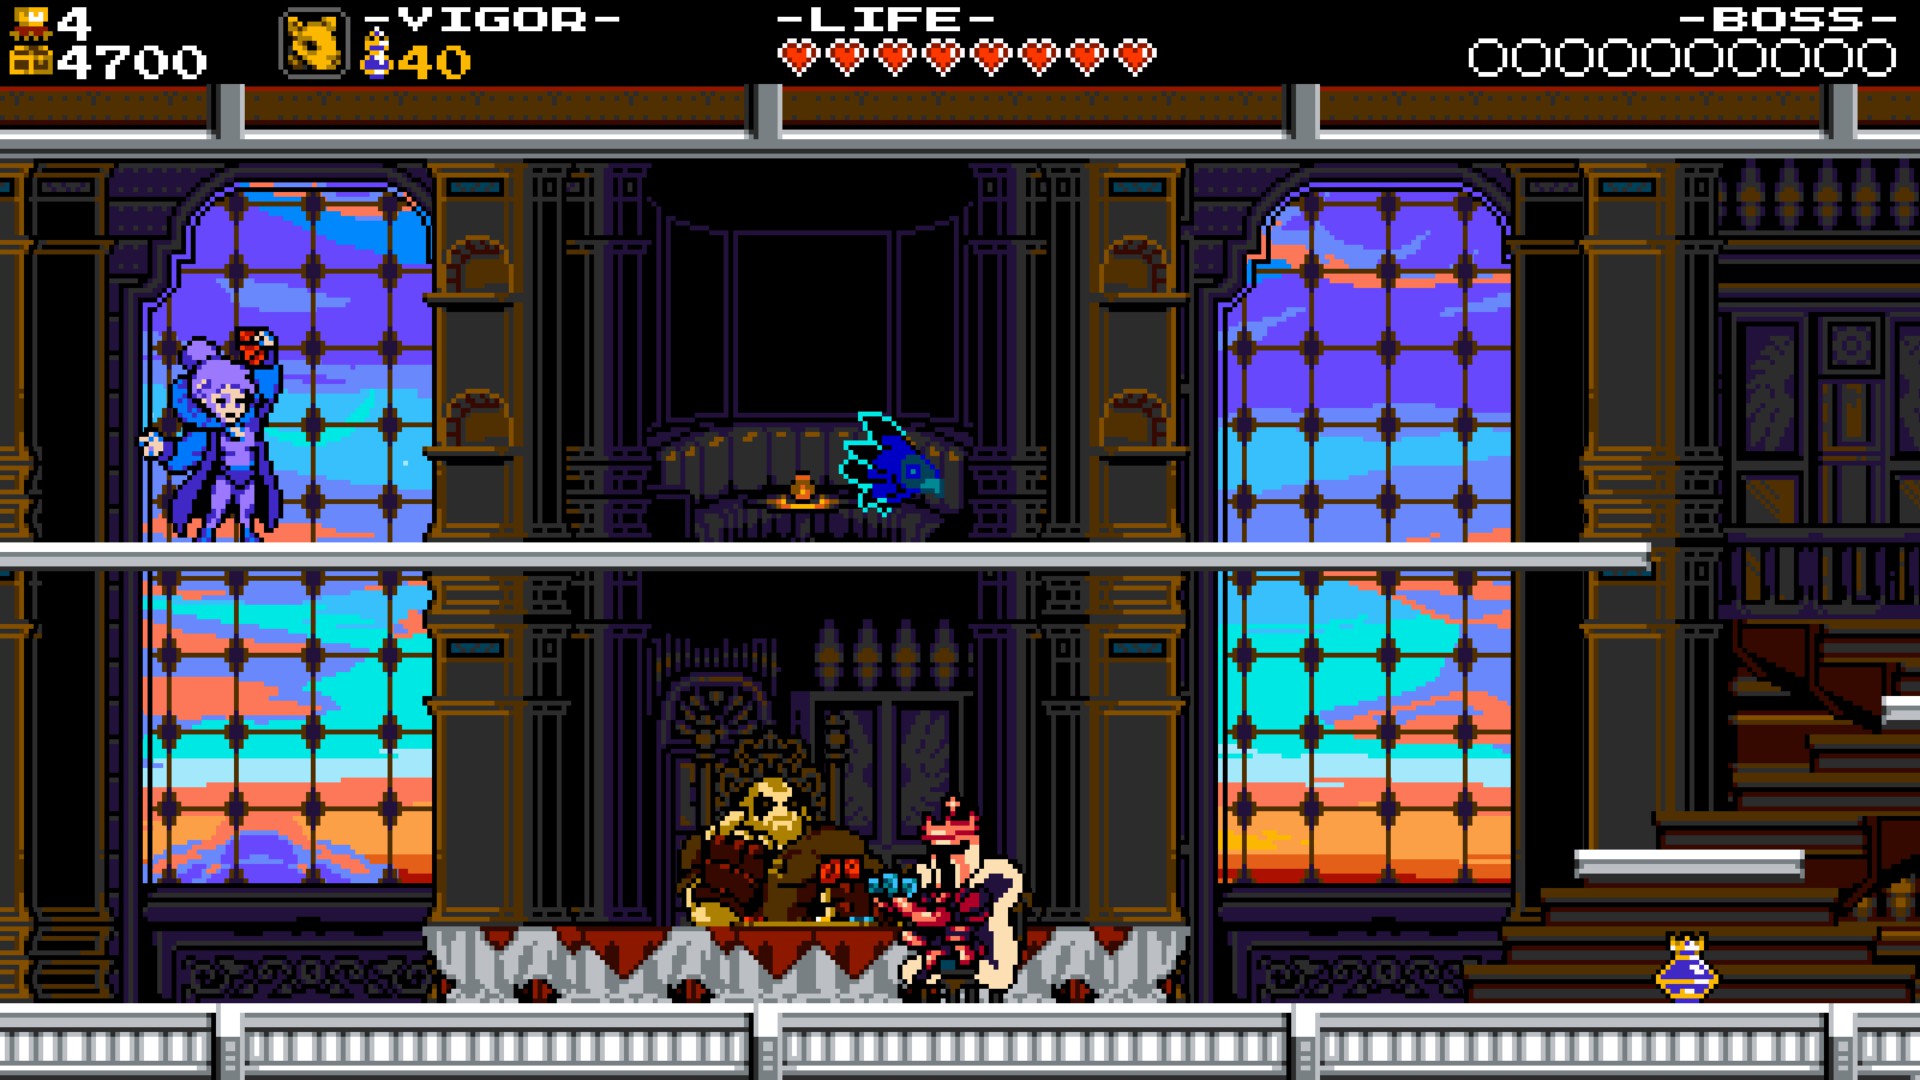
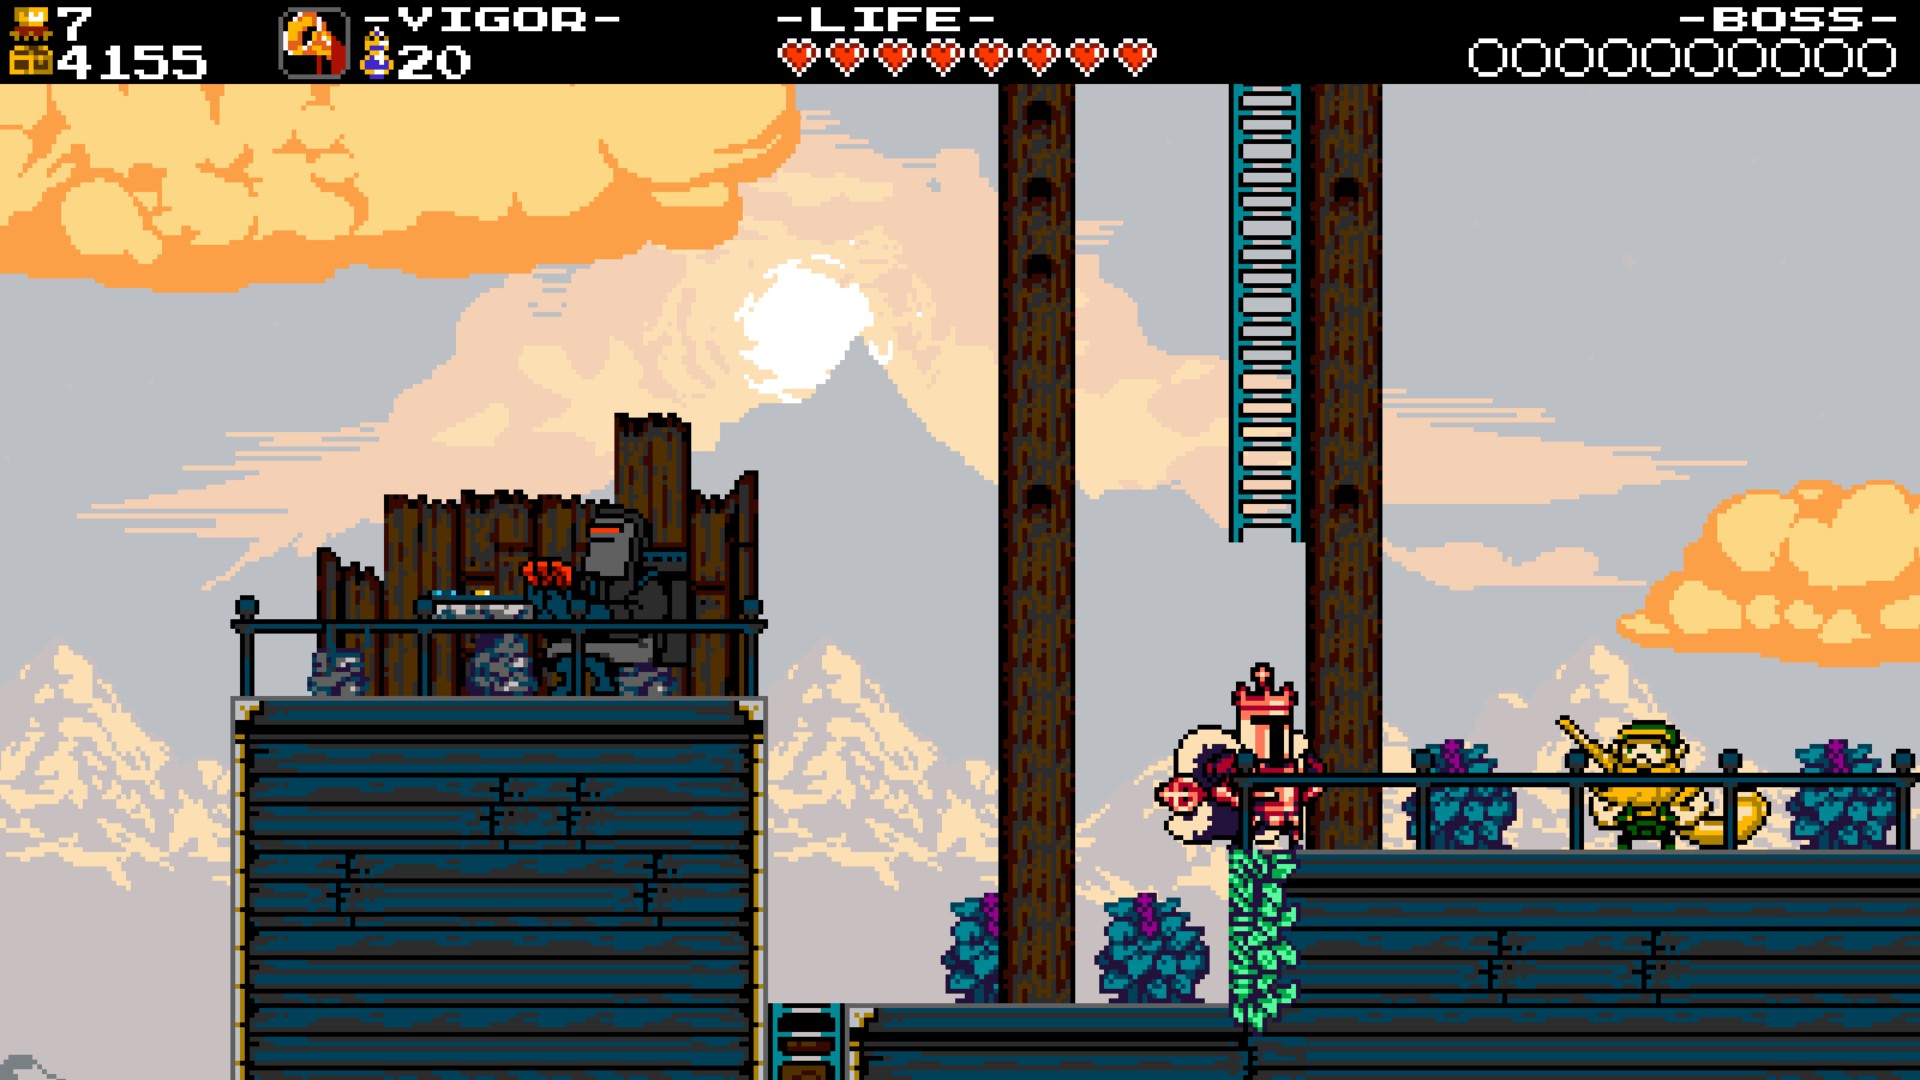
Black Knight has a special Boss Power: Meteor Smash!
This will take down a row of cards, including cards on the Grave Zones. This is both harmful and beneficial.
The harmful part comes in that it might take down the cards you have on gems, although this also applies to Black Knight's cards as well. Another thing that's really annoying, is that, if you want Black Knight's card, and trust me, you definitely should, the card NEEDS to be on the table in order to take it once beated. It is highly adviced to send Black Knight to the Grave Zone on the bottom.
As the Meteor Smash will not go to those rows, ever. If the card is not hit by the Meteor Smash, the card will not leave the table and you will be able to claim it. Simple.
The beneficial part about Meteor Smash is that, he will also clean up the Grave Zones and those cards will come back to your deck. Also, you can push an enemy card on the zone where the Meteor Smash will occur on the next turn. Also, when a Boss uses its Boss Power, it will skip their turn, with a few exceptions that I will cover soon enough.
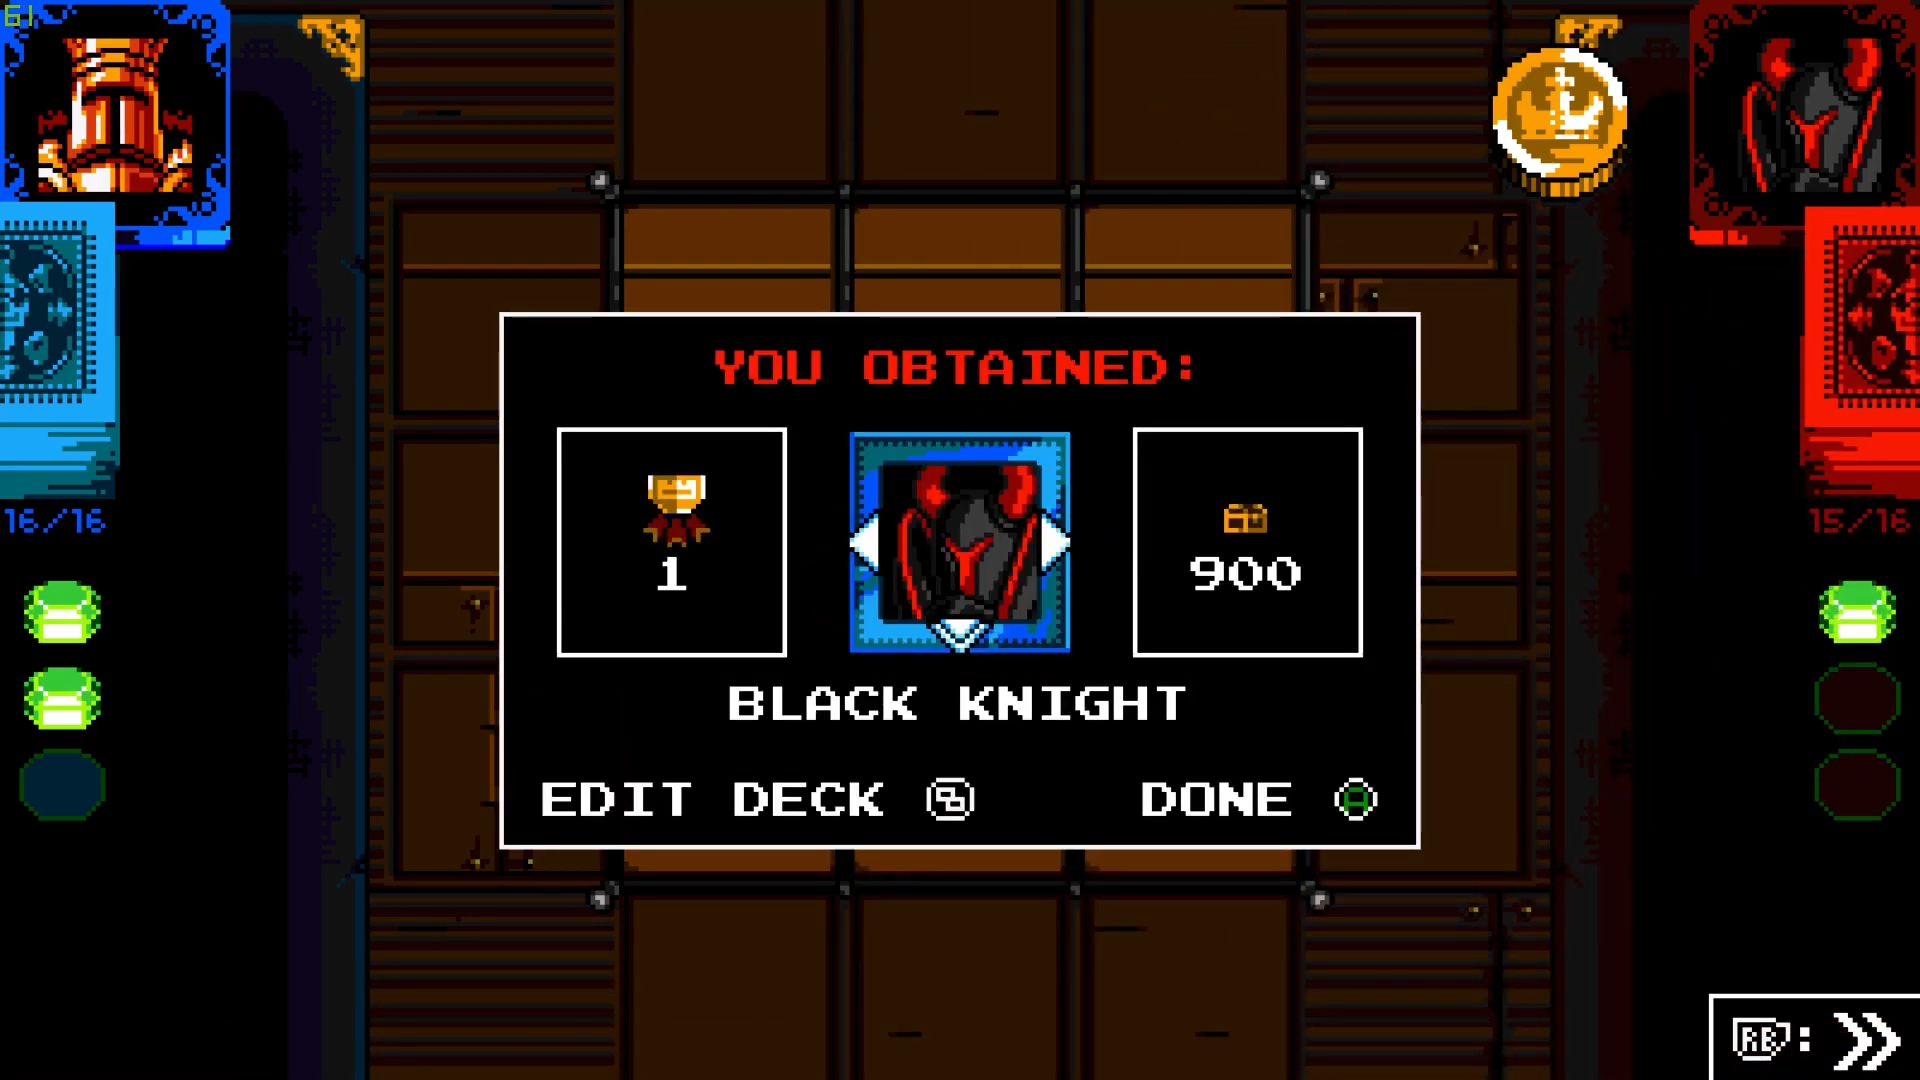
So after a painstaikingly match with Black Knight (and lots and lots of restarts), you will finally beat the first Joustus House!
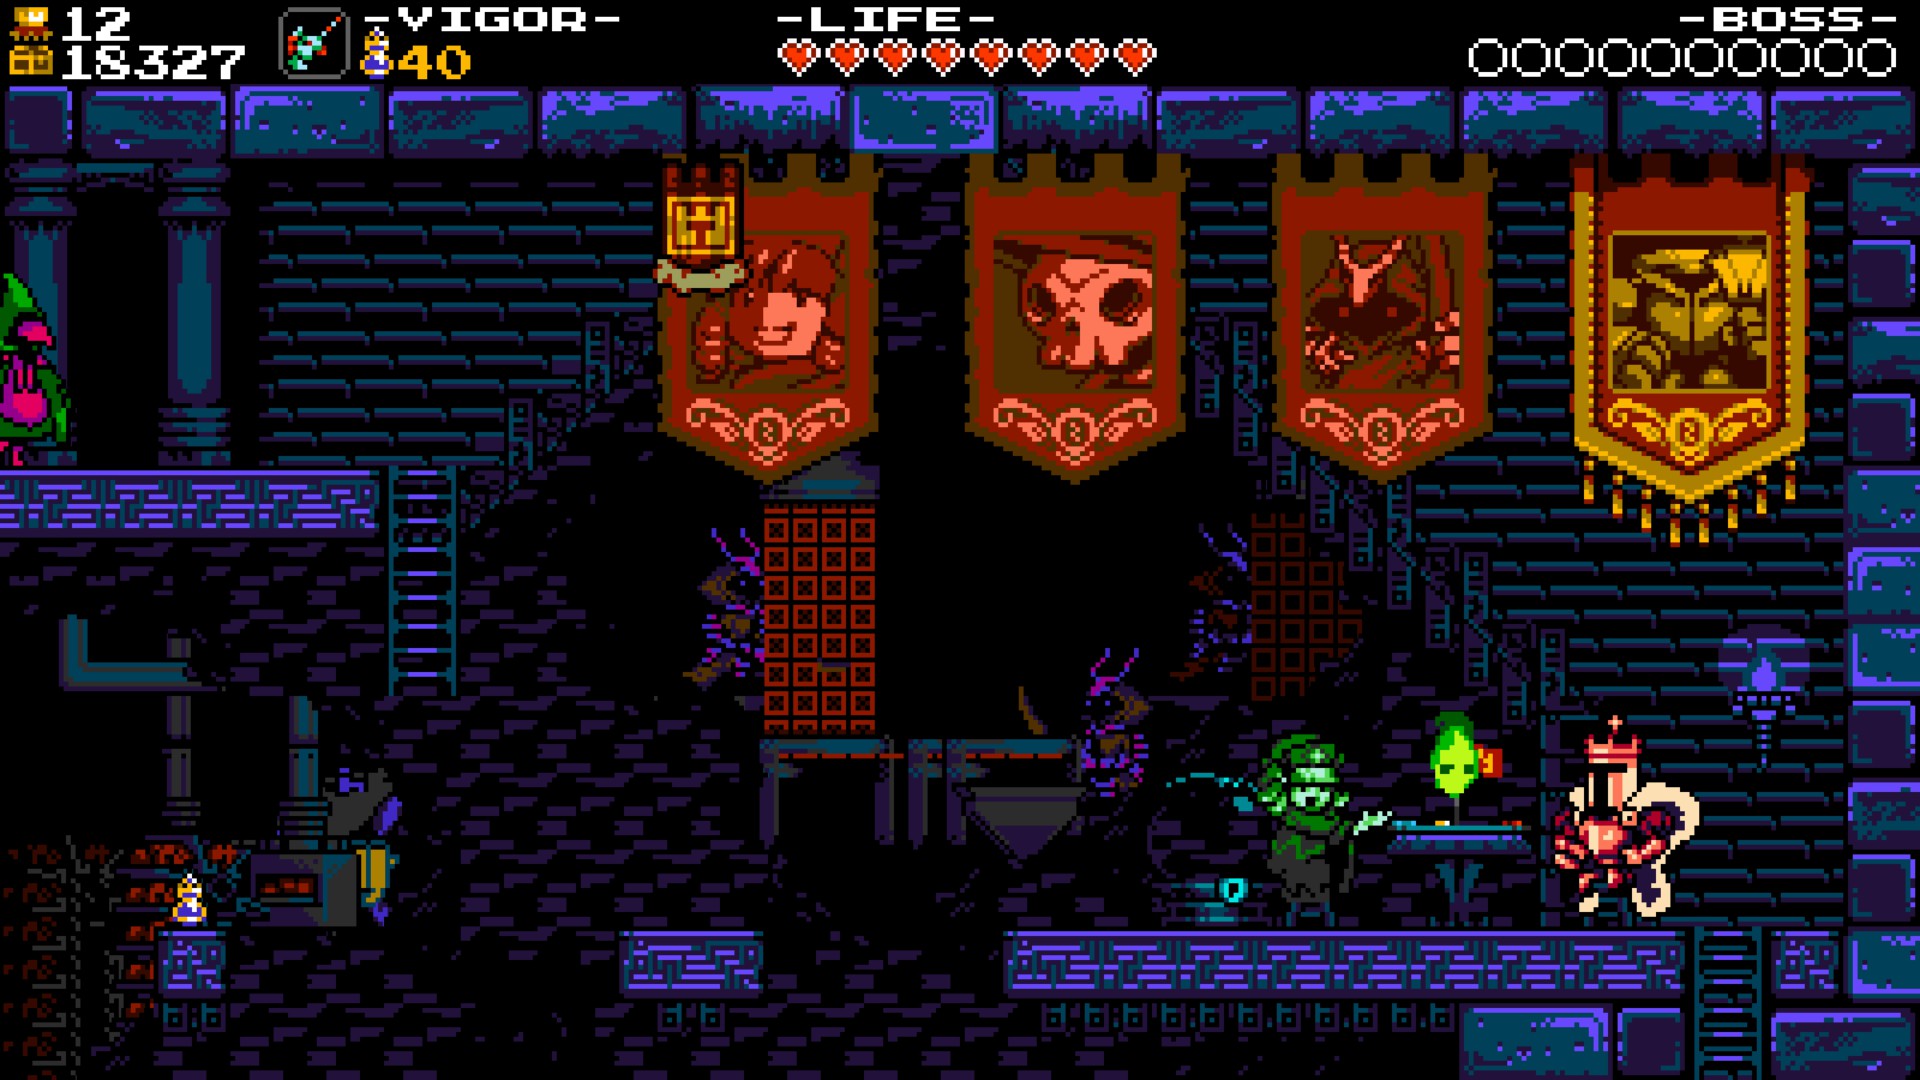
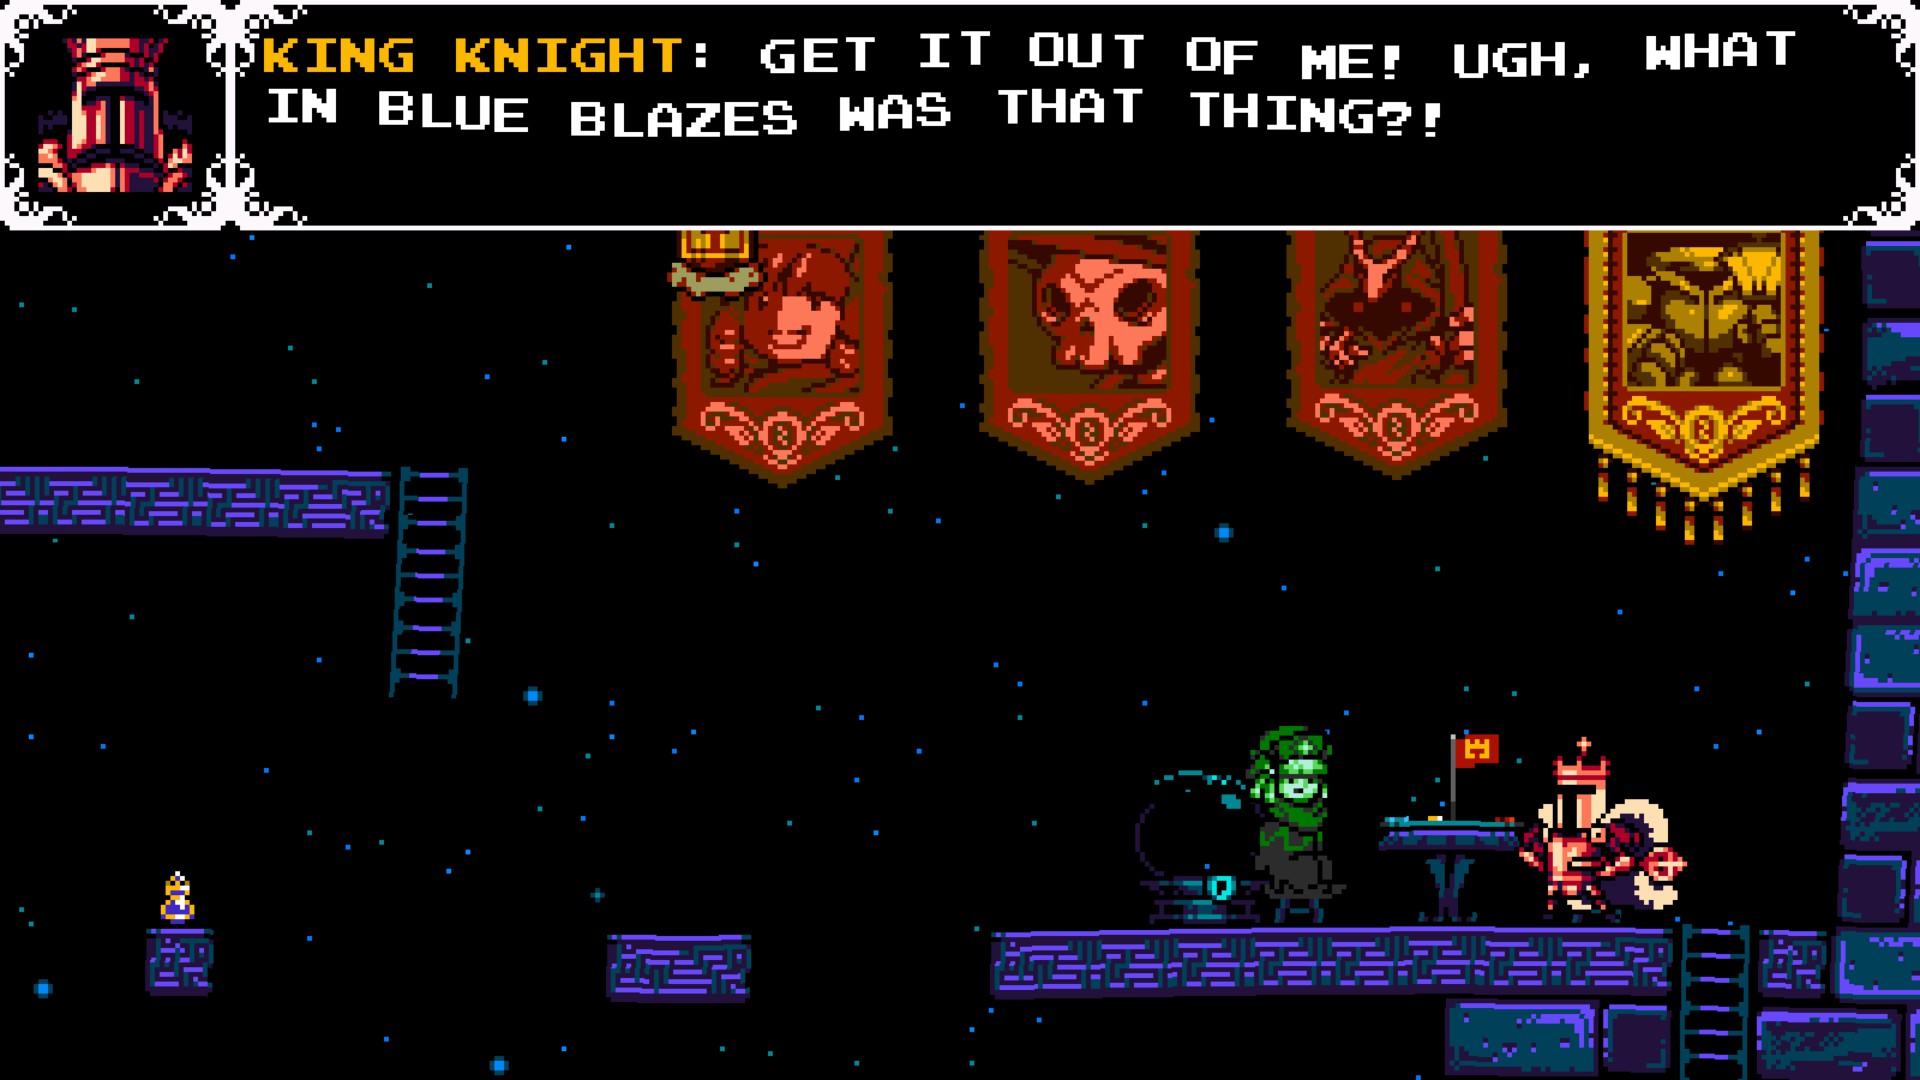
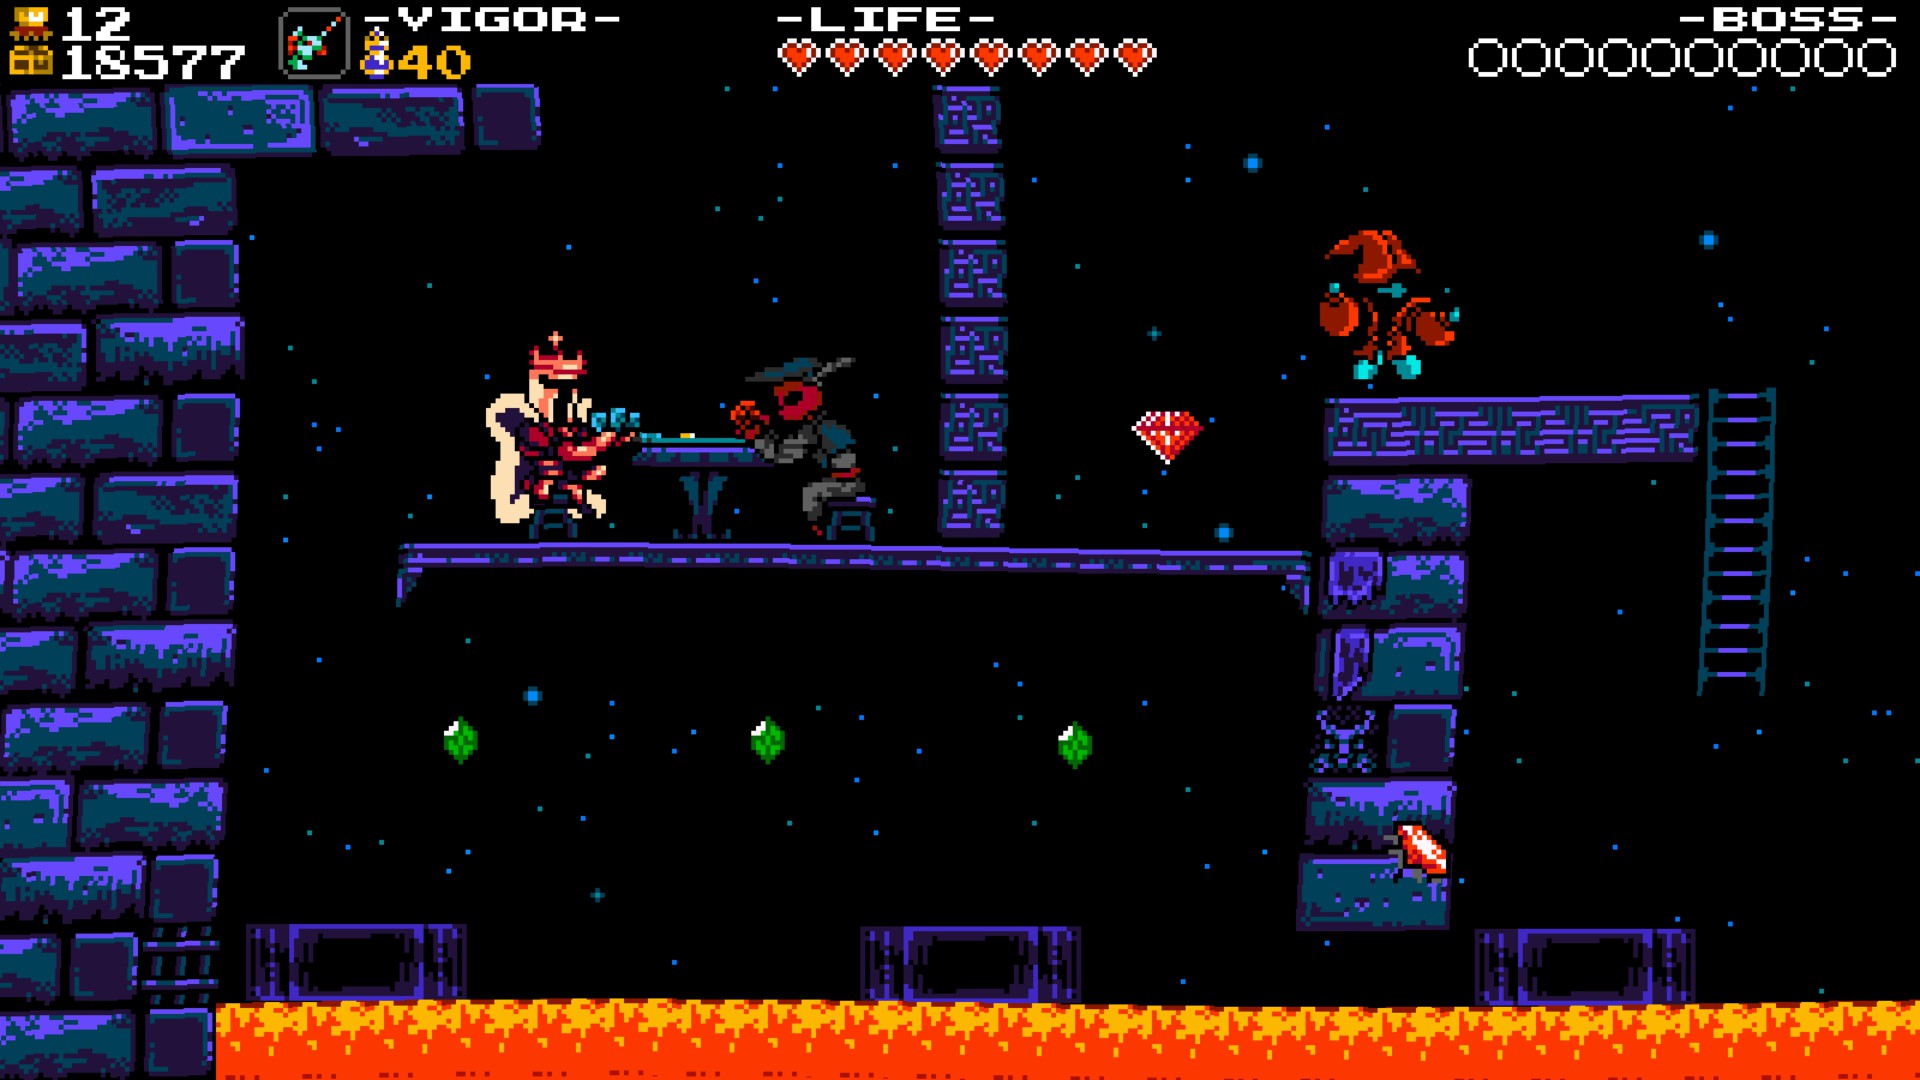
Baz + King Pridemoor


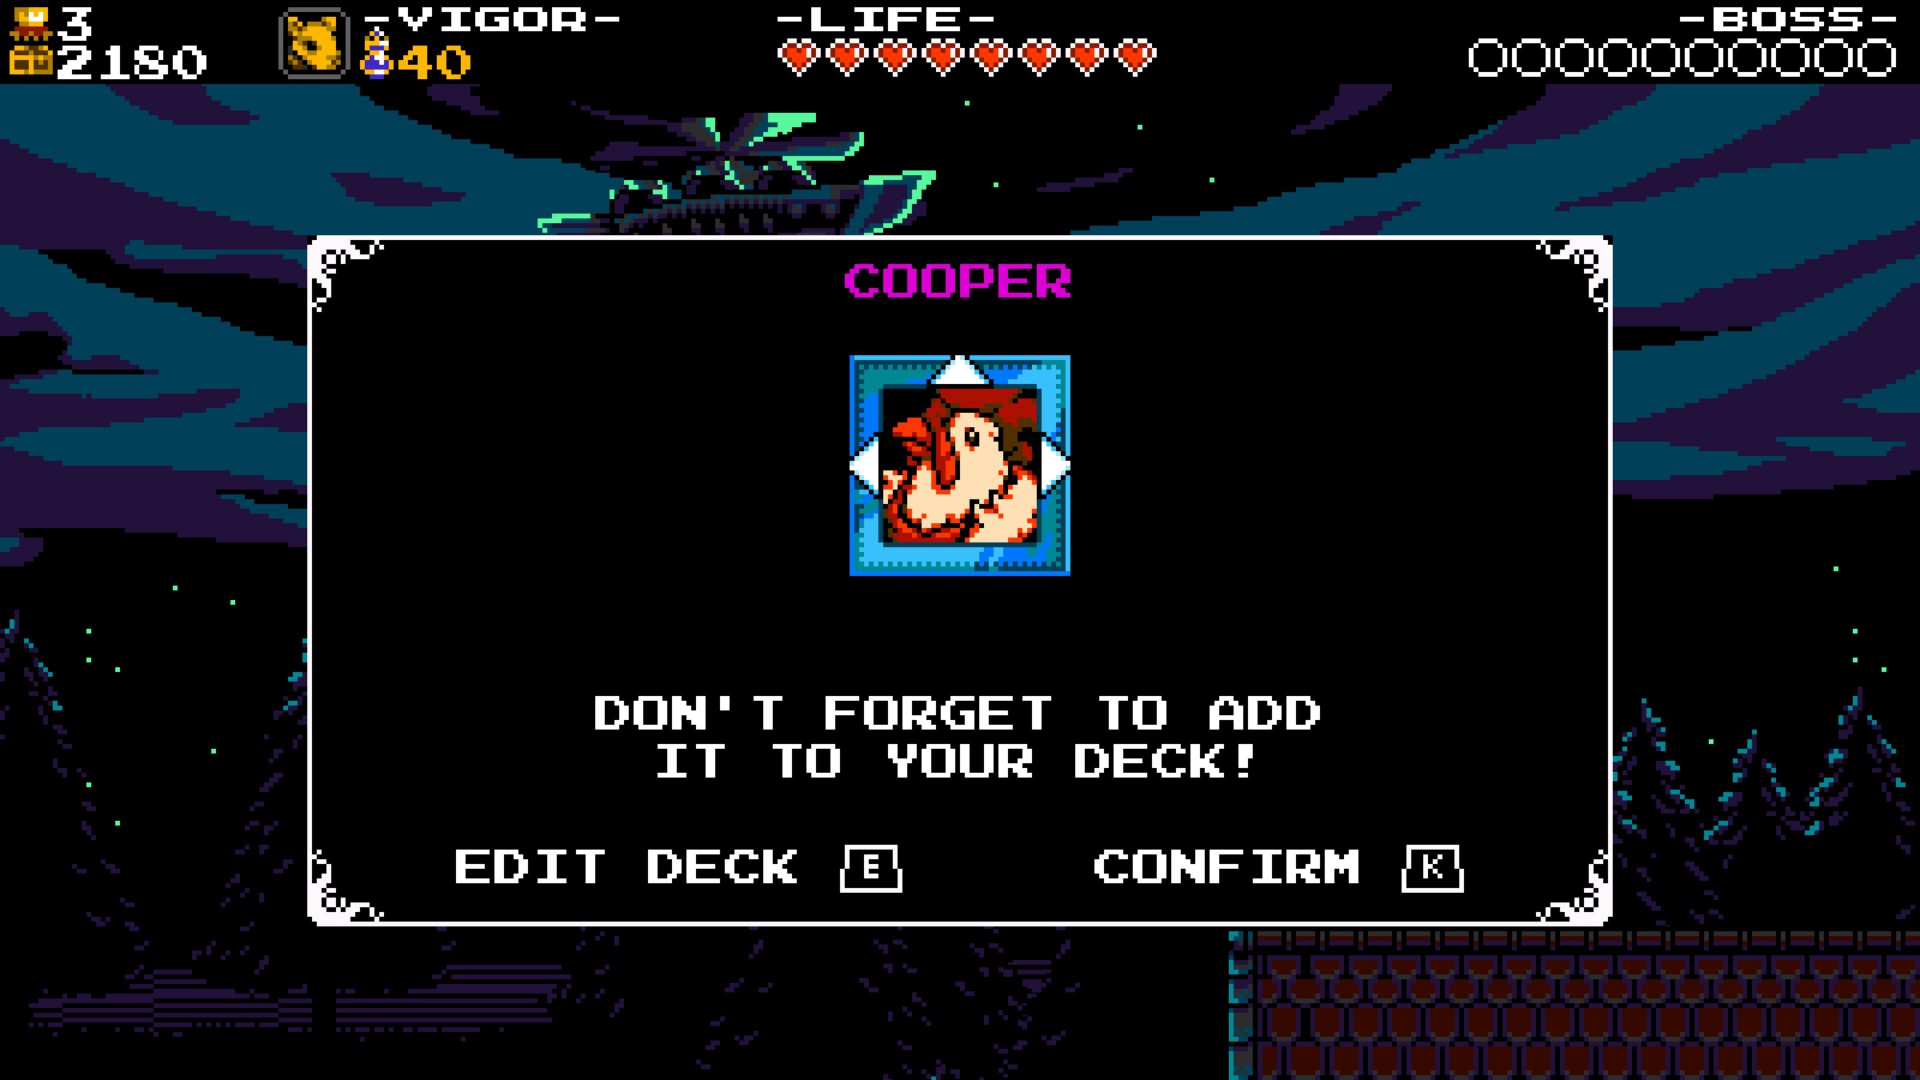
Now that you are done with that place, you should definitely fight Baz.
After defeating him, you will be able to play Joustus with him, and you should, as he has the almighty Baz card. A four-way Single Arrow card with the Slam ability.
That ability is a blessing when trying to get rid of multiple cards at once. Basically, it will push back by two spaces any cards that surround the card. Careful though, as this also applies to your own cards as well. So make sure to play the card when you know is going to be turning in your favor.
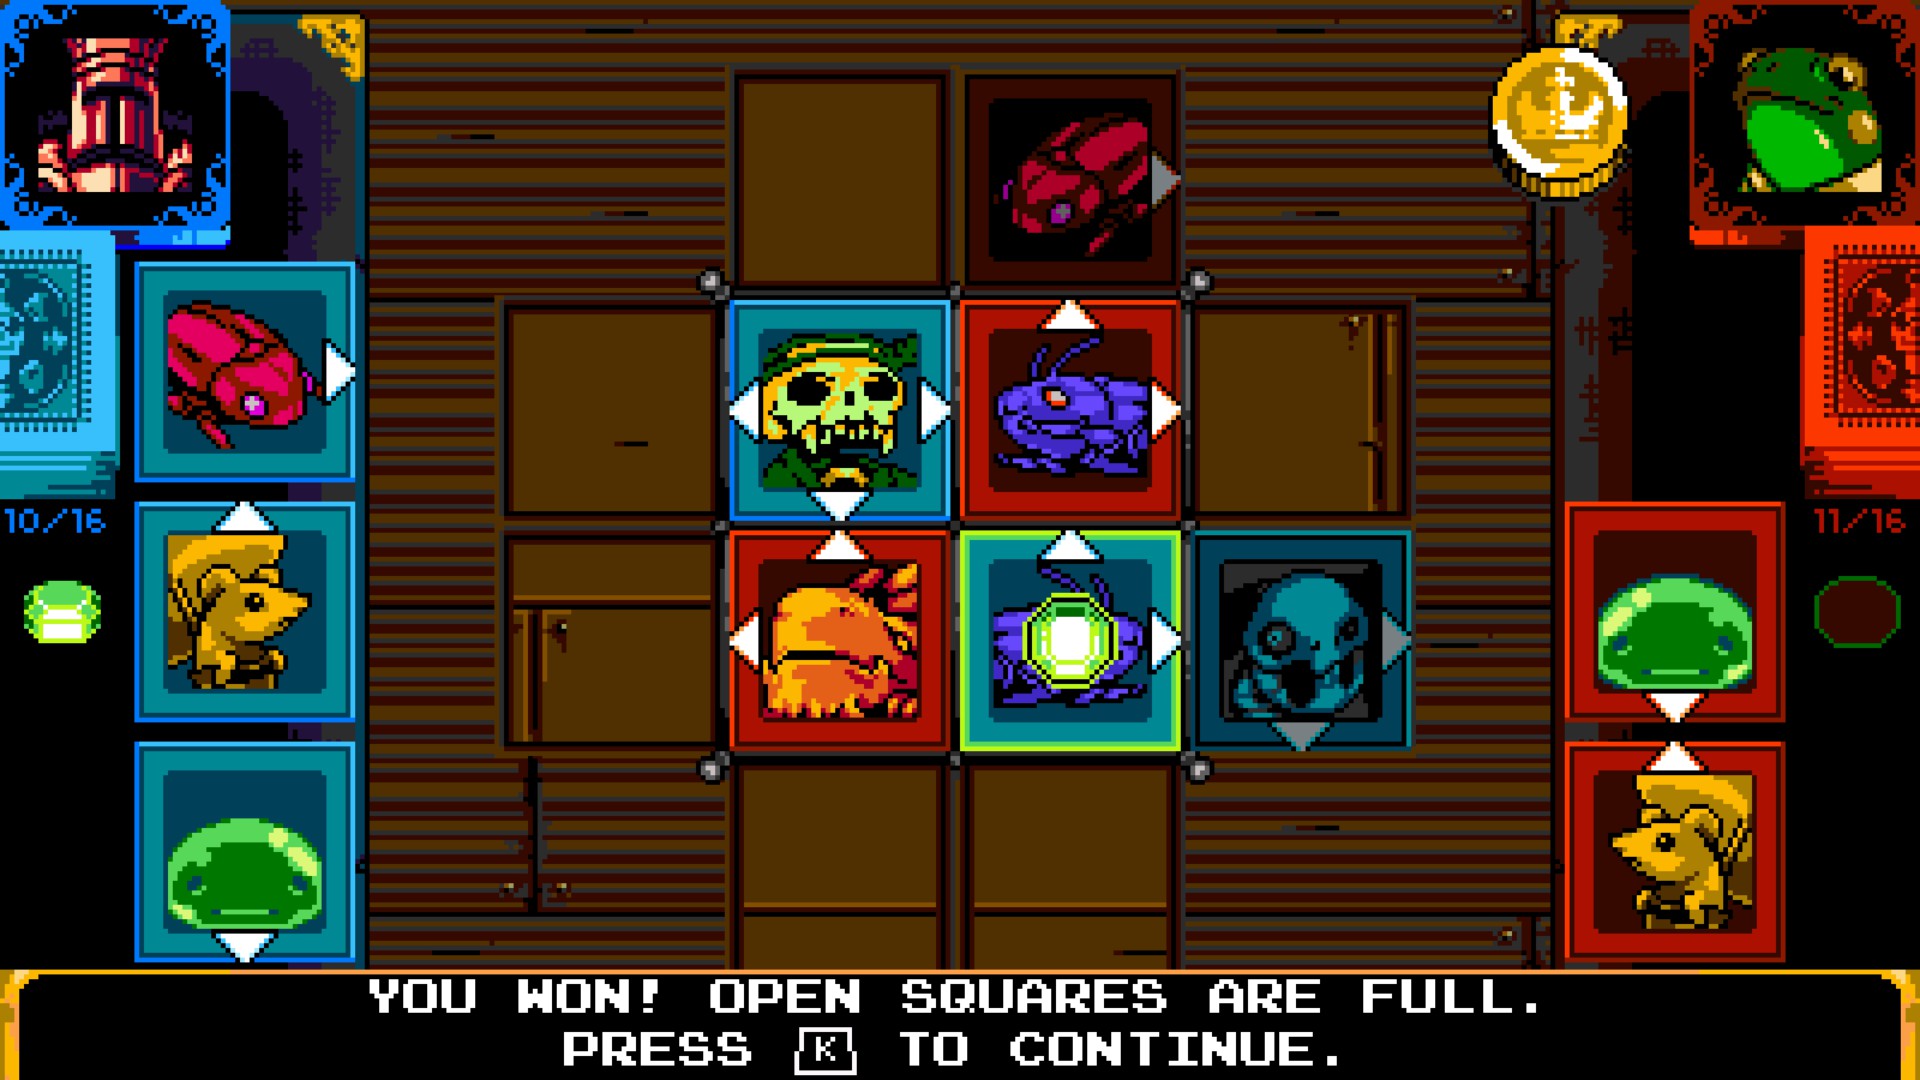
Go to the Card Chest Seer's Study.
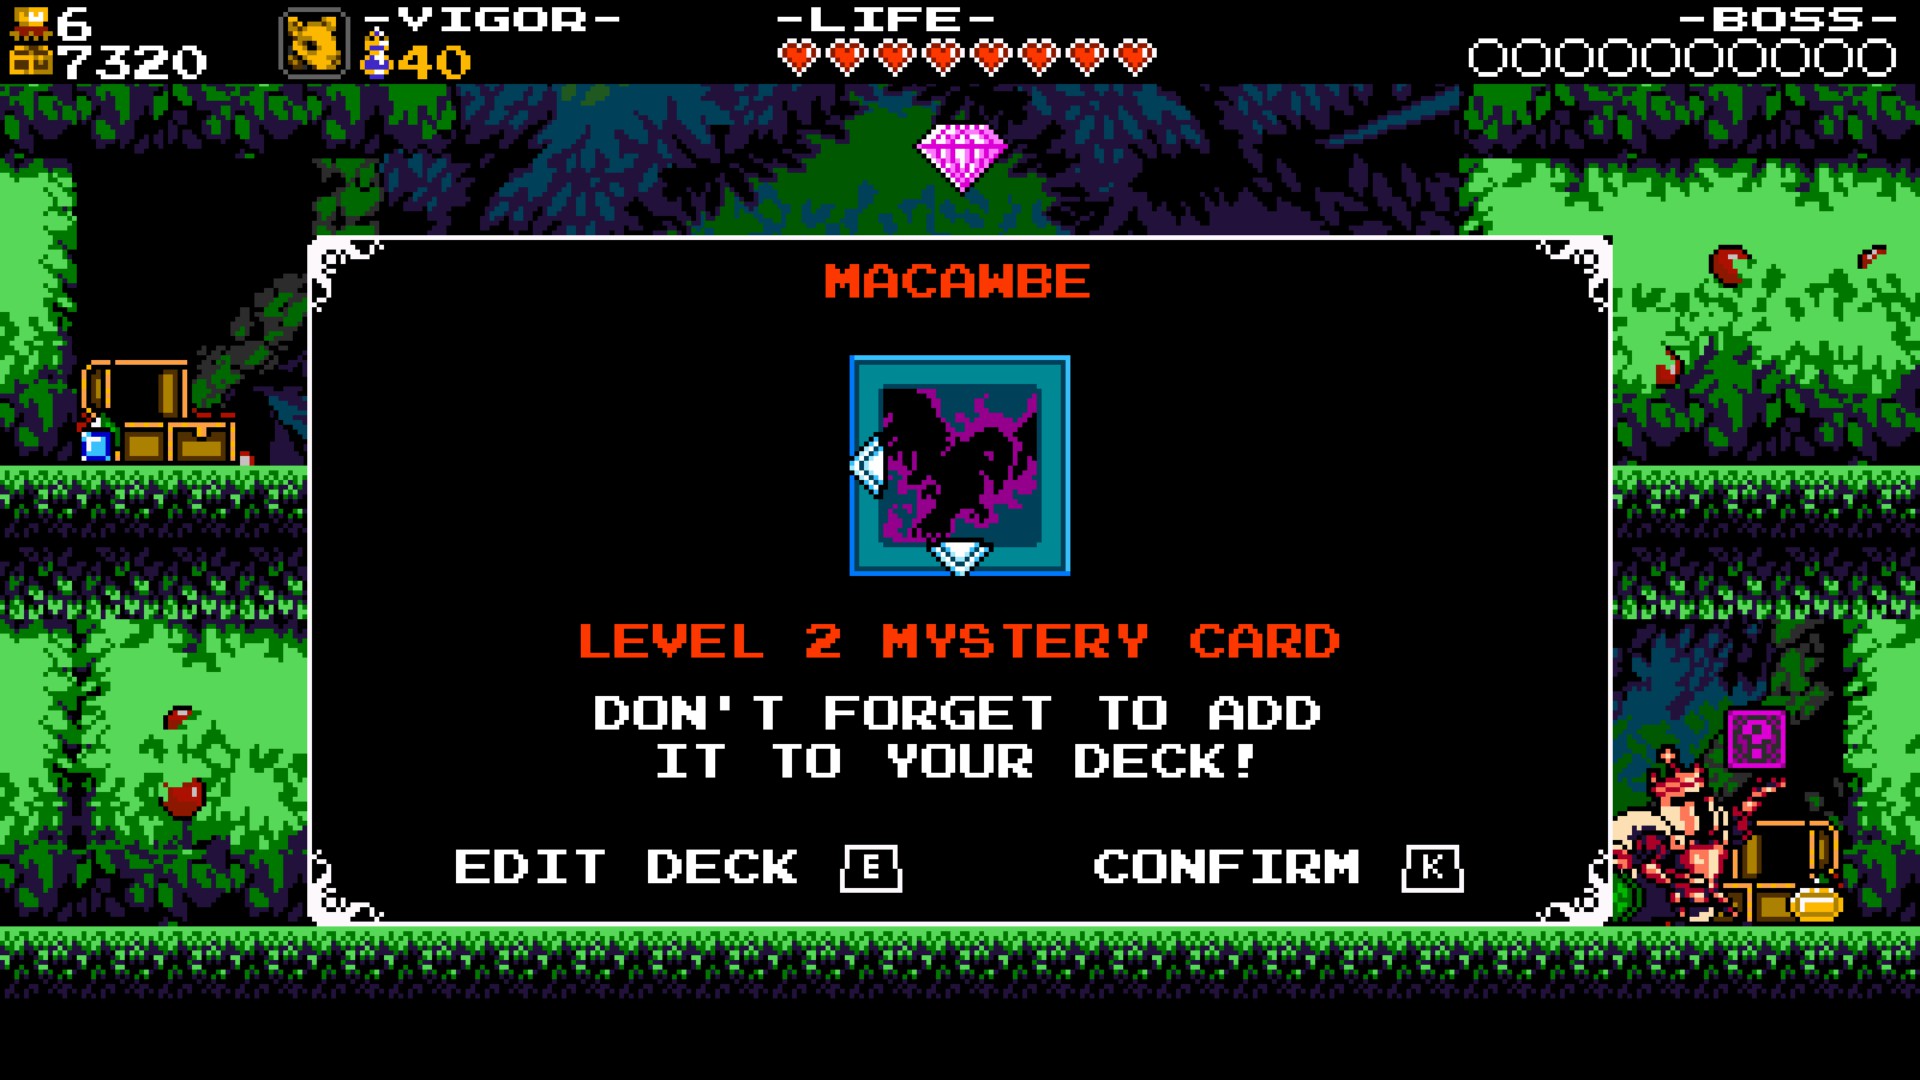
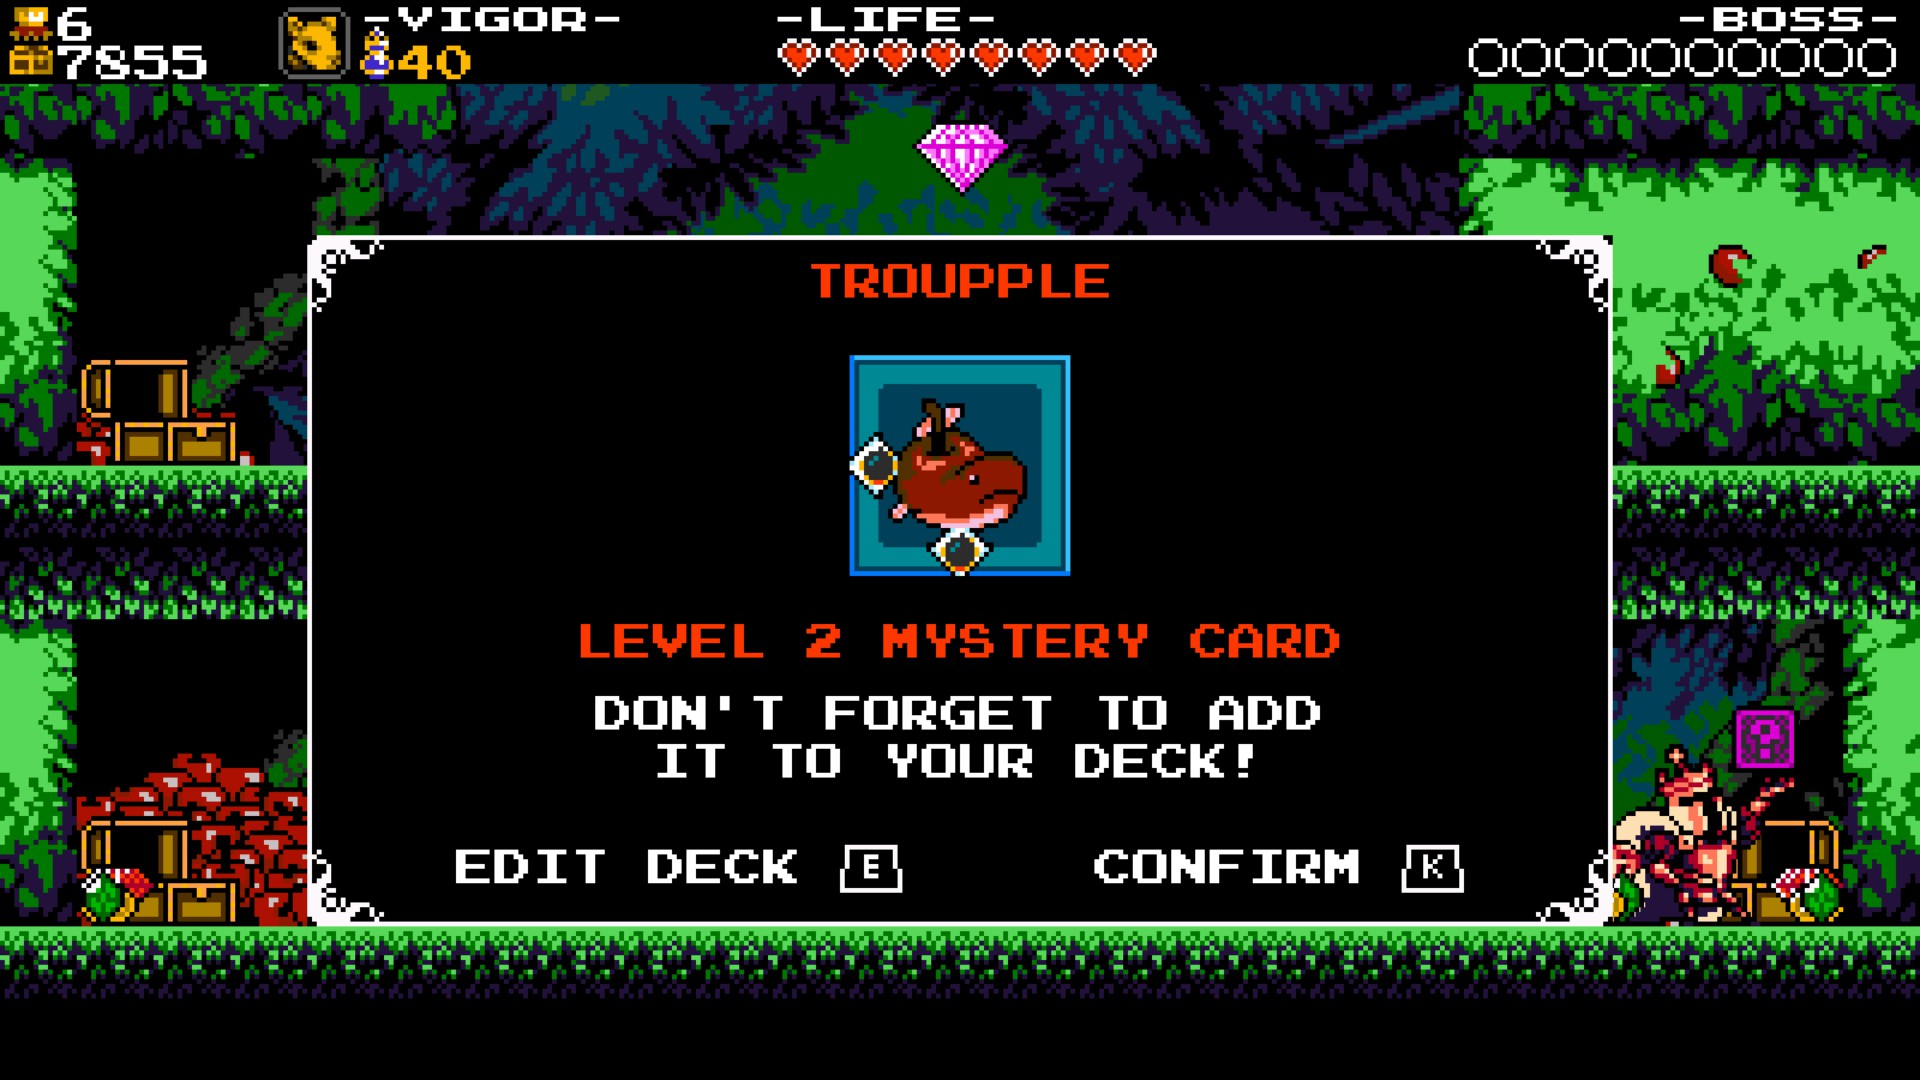
Open the chests and receive 2 random cards. Now, one tip that you should consider, is that if you get a card you might not find useful, DO NOT LEAVE THE STAGE. Just reload the save, enter the stage again, and test your luck once more. You might find way more useful cards this way.
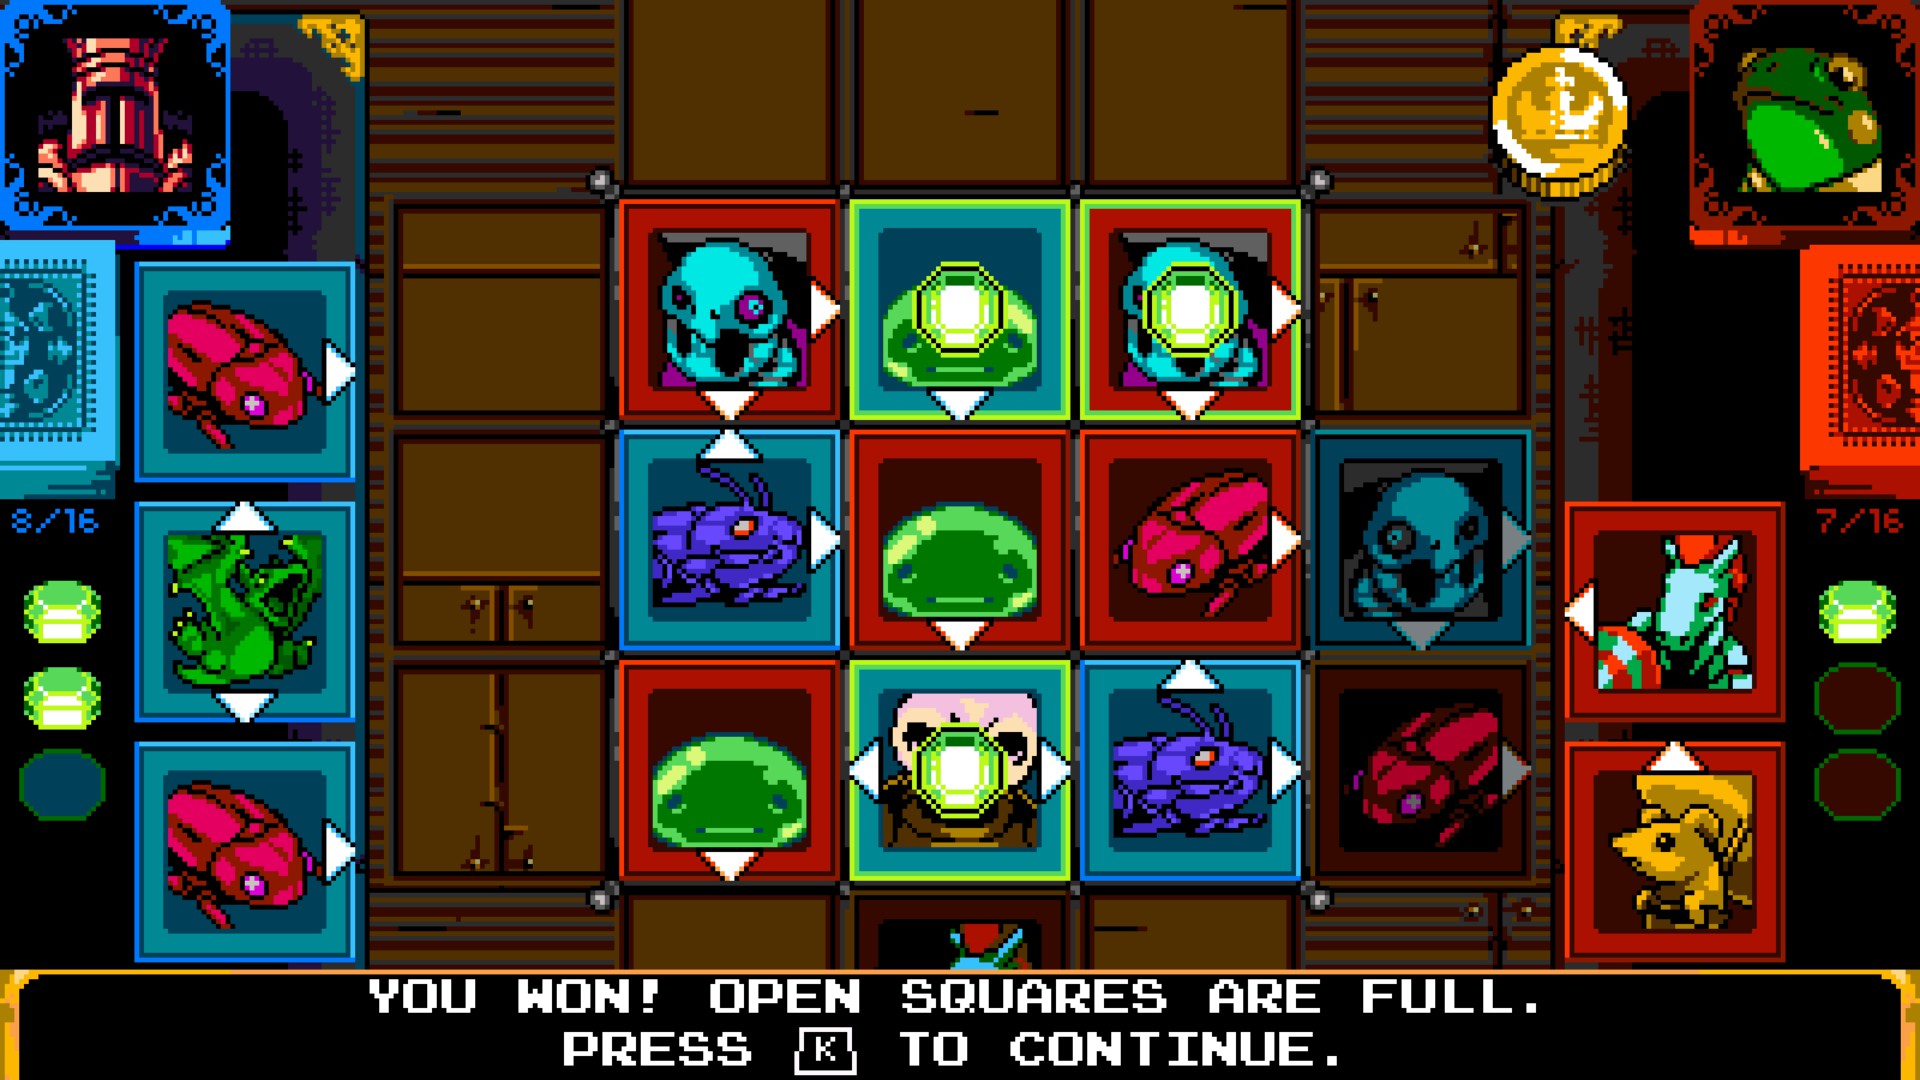
Take a look at this, for example.
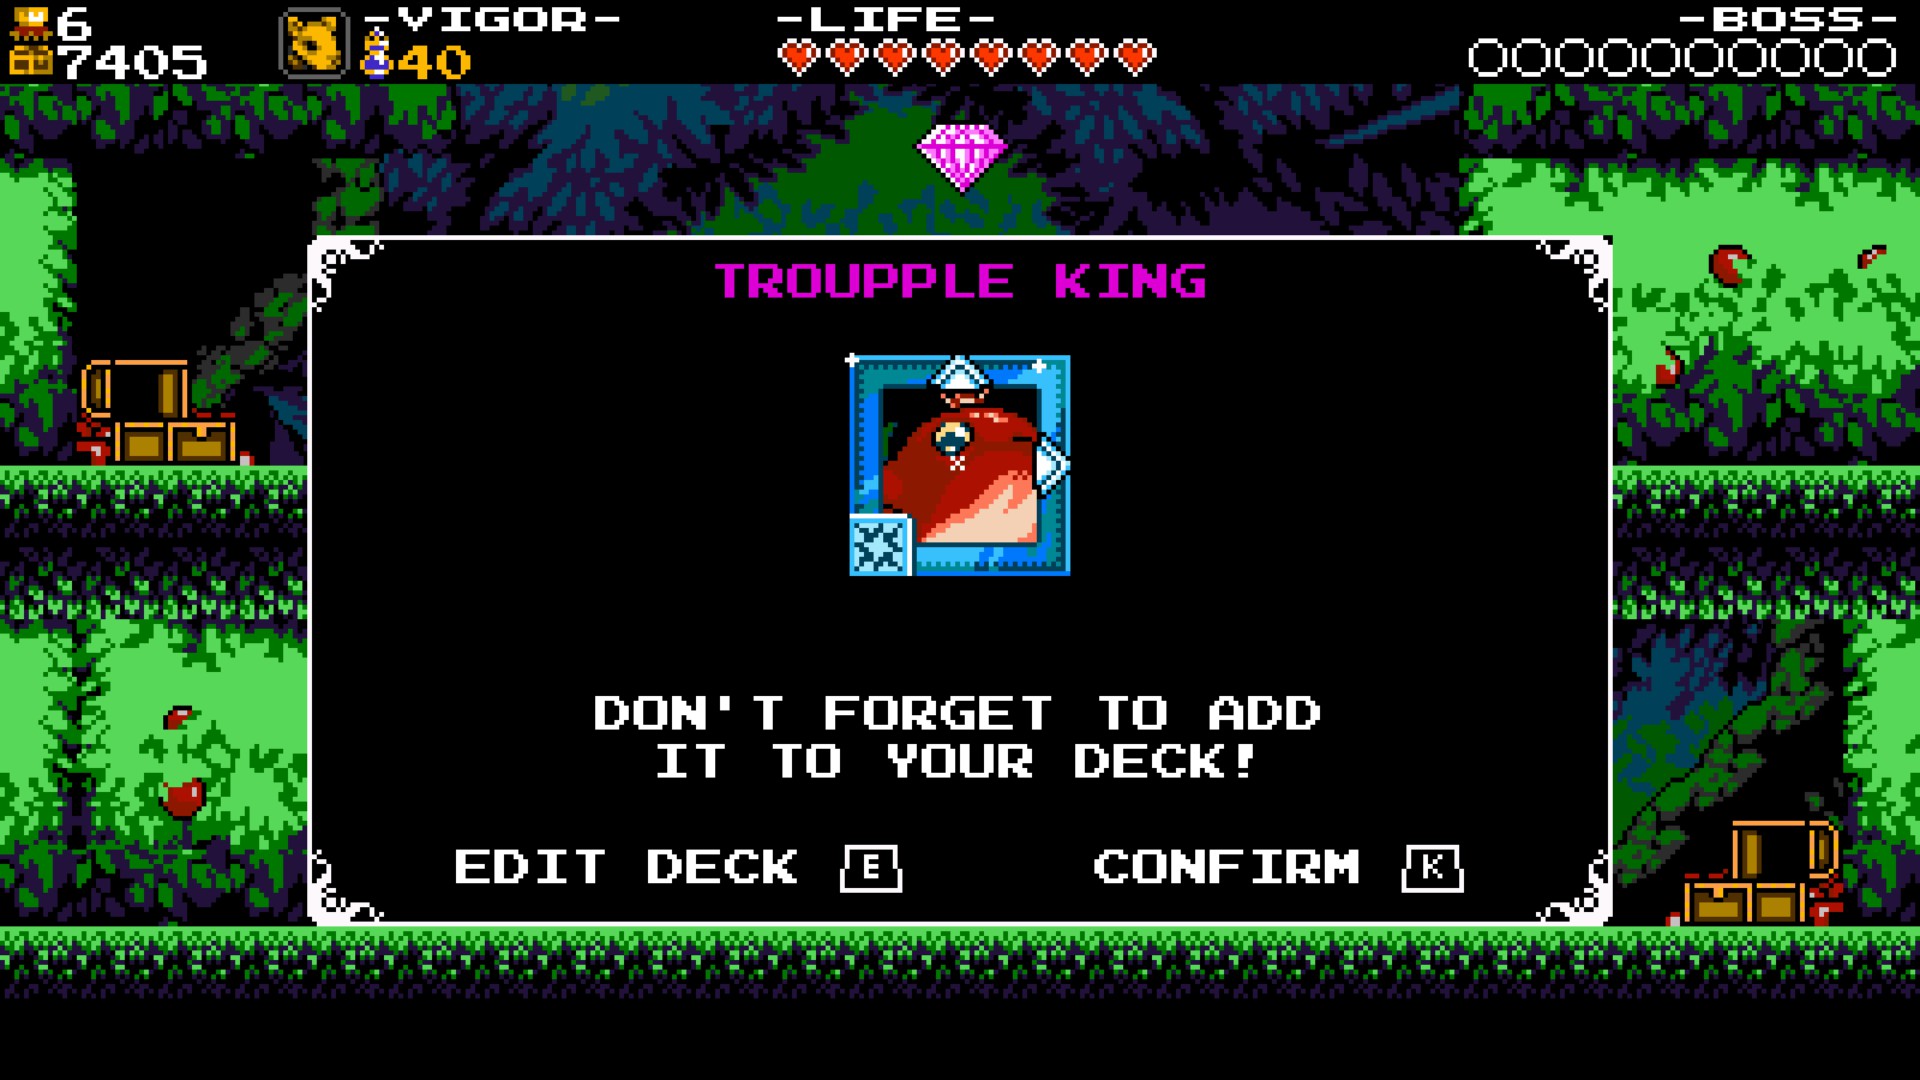
Lame card, is it? But now that i reload the save...
♥♥♥♥... Well, you get the idea!
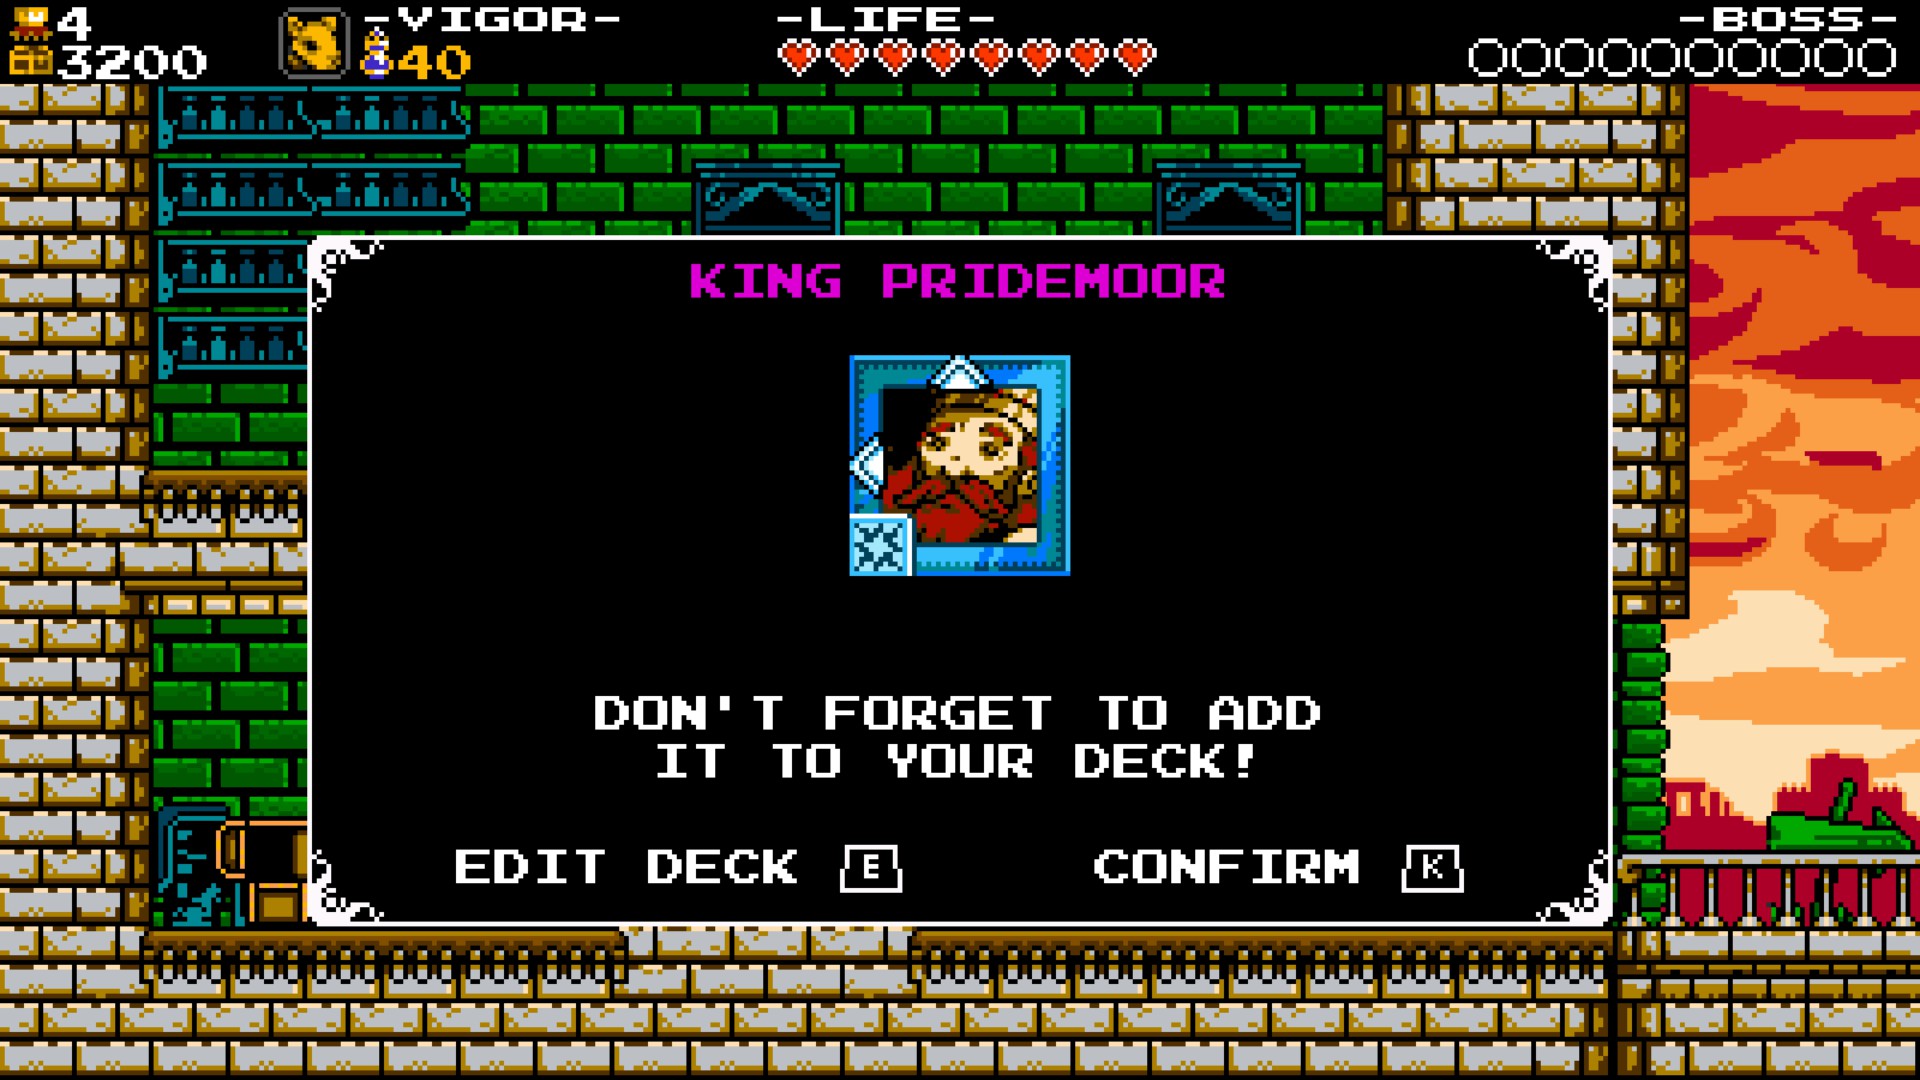
Now talk to the Seer, and get the King Pridemoor card.
A two-way Double Arrow card with Slam.
Progress with the story as normal and head to the Cave of Joustus.
Cave Of Joustus
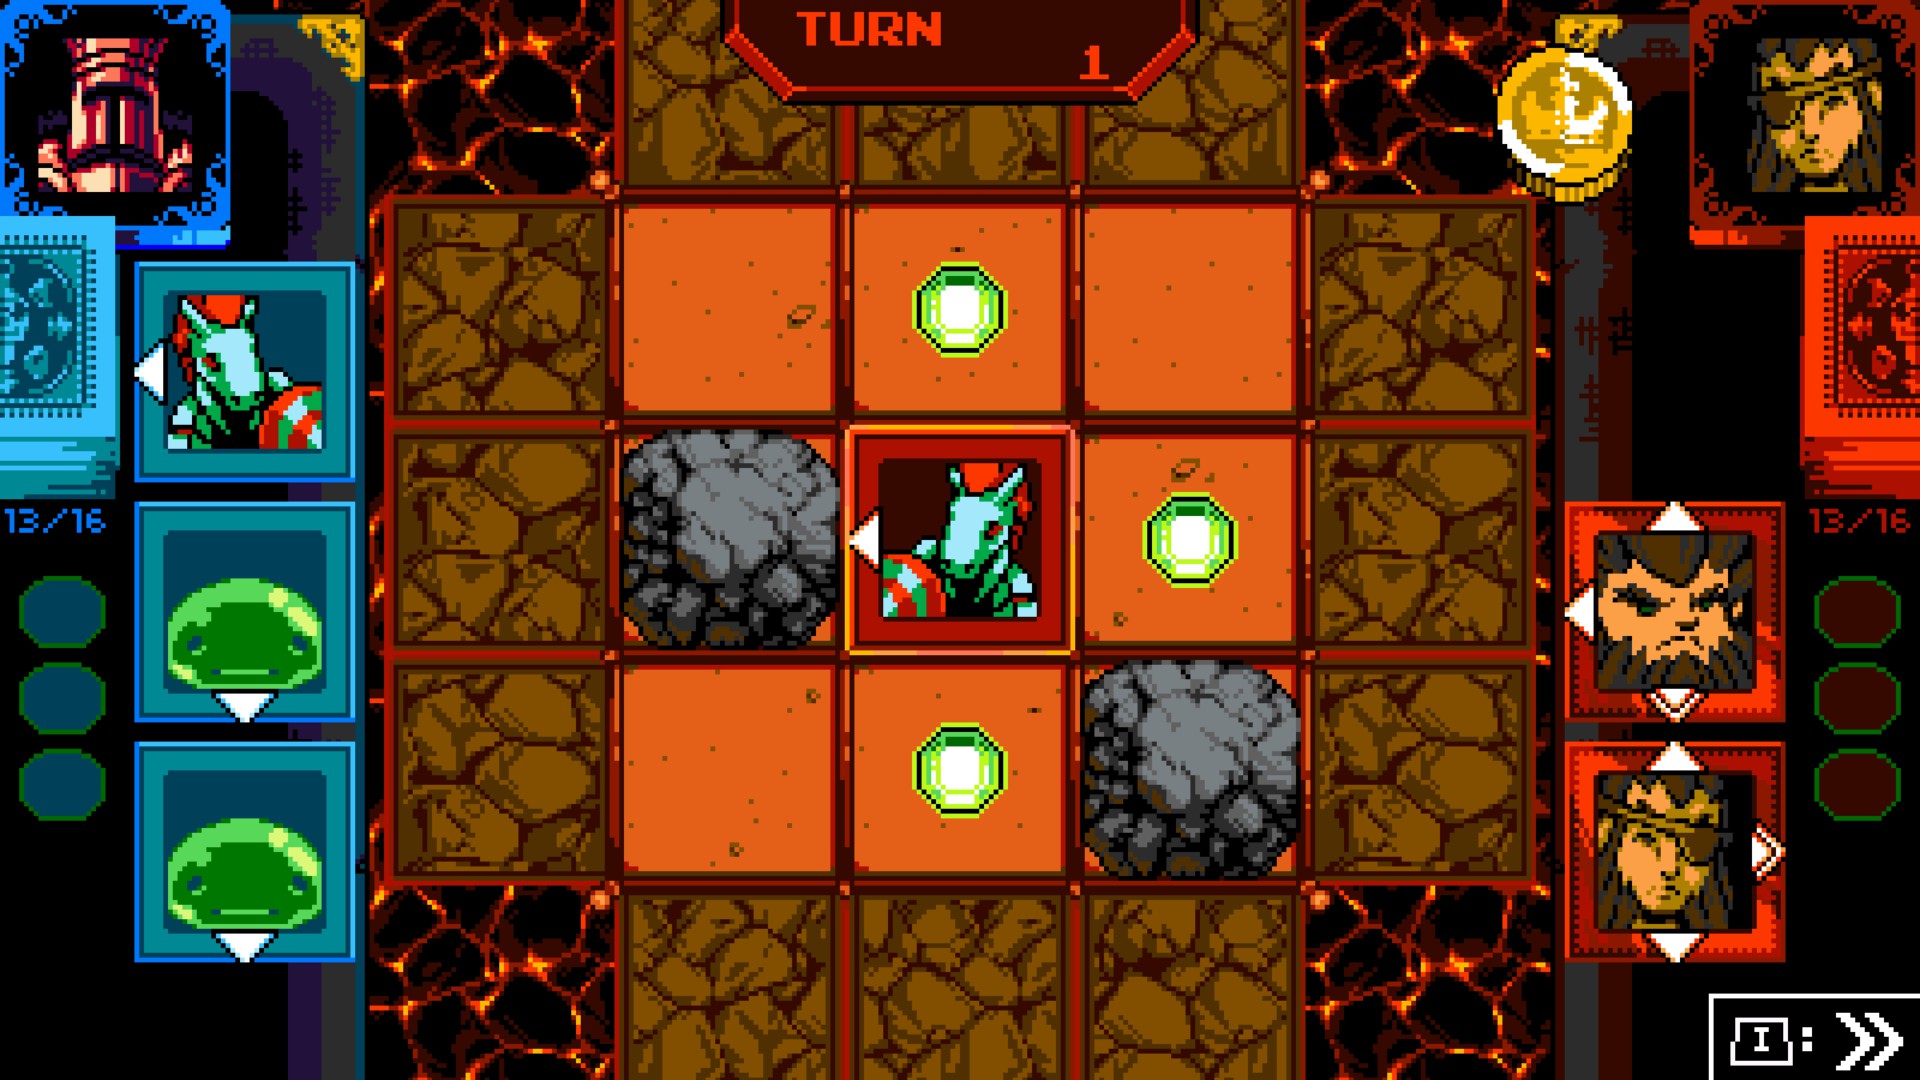
Play against the Blacksmiths. Here we will get introduced to a new Table Gimmick.
These rocks will block the path of any Arrow, they ocassionally have Gems inside, and the only way to get rid of these, is by pushing a card with a Bomb Arrow to the rocks. More on those cards later.
Sometimes you don't want to get rid of these rocks, as they will also fill Card spots. This might play in your favor if your opponent is using really strong cards and you have no way of counter them.
Now, when you beat the Blacksmiths, make sure you get both of their cards. As both of them are extremely useful.
Break the wall and play against the Blazorb.
This guy has tons of Bomb Arrow Cards. And he is pretty easy, so you can farm Bomb Arrow Cards if you want to. Bomb Arrow Cards not only blow up rocks, but they also blow up cards, meaning you can get rid of cards from the table and make way for your own cards. I don't recommend getting many of these, as they turn obsolete when reaching the next Joustus hut, but you do you. The fun part about Joustus is that you can play with any strategy you want.
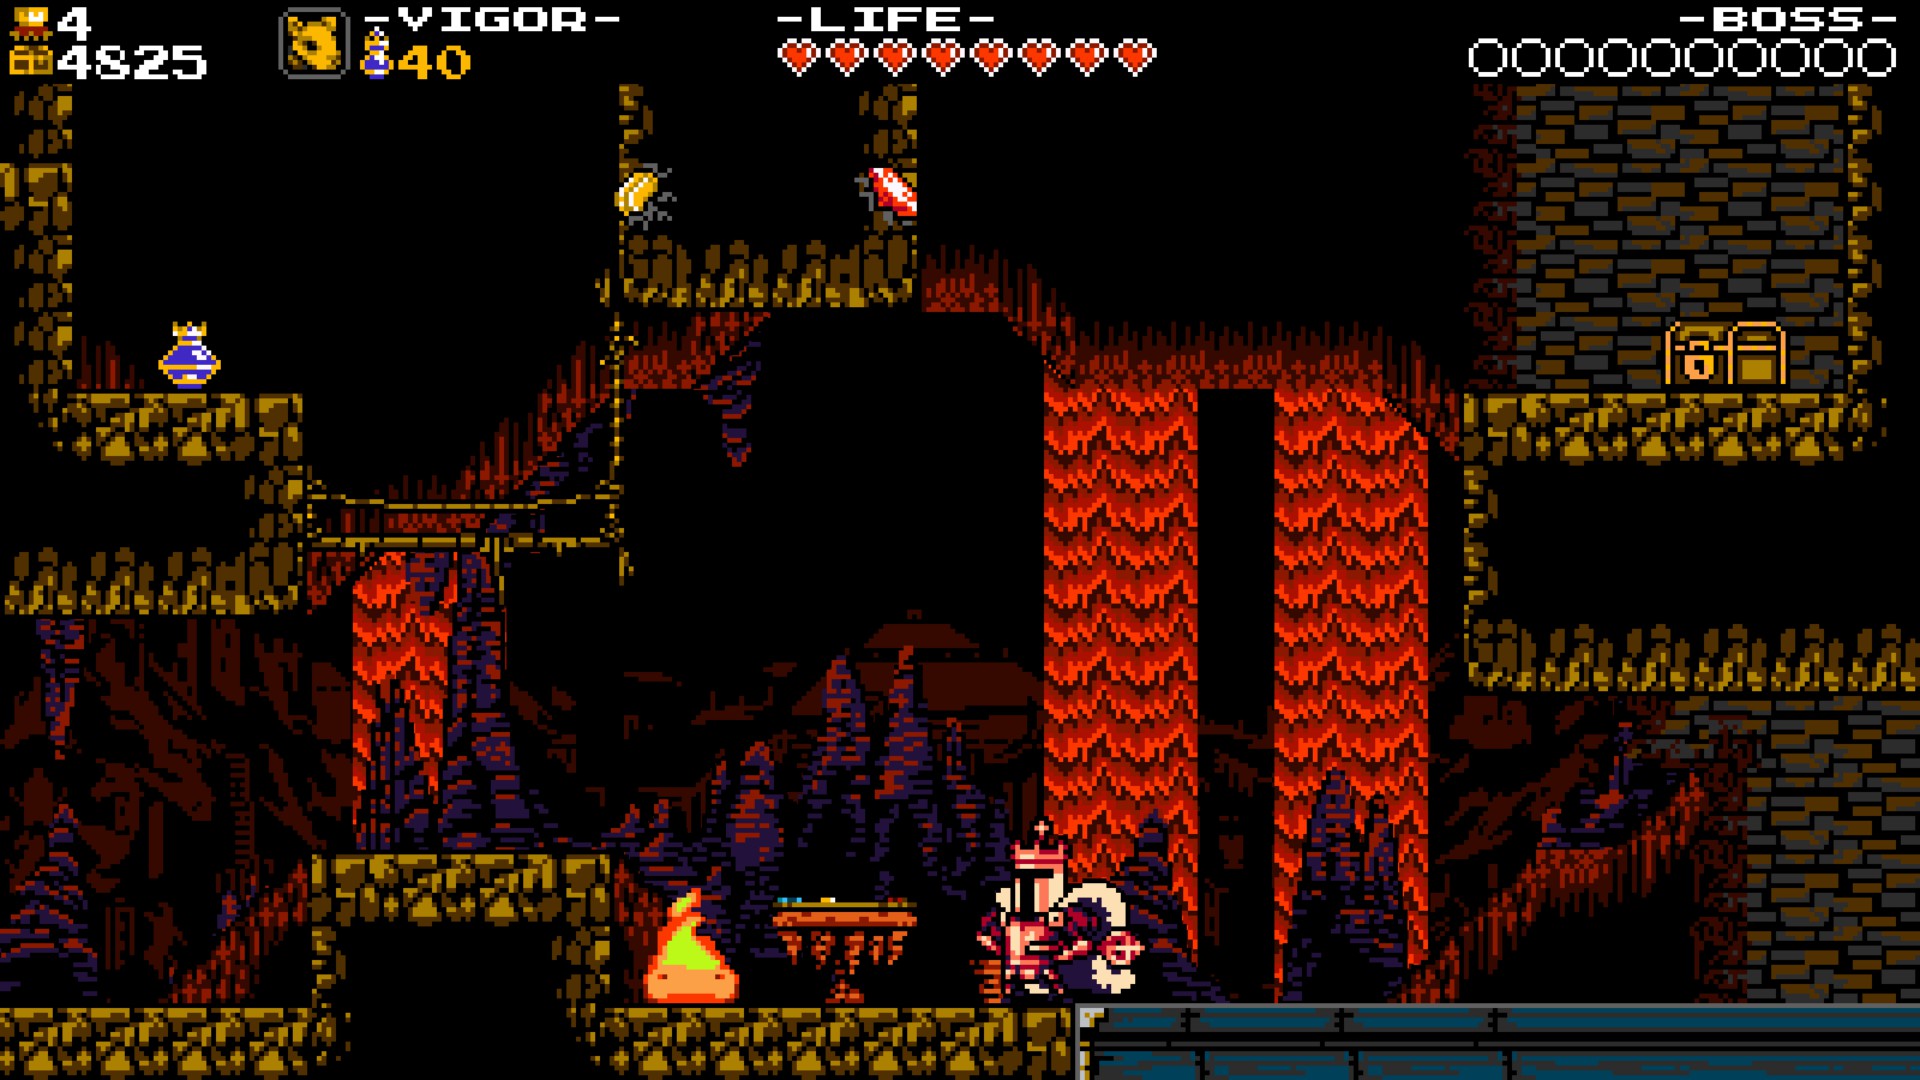
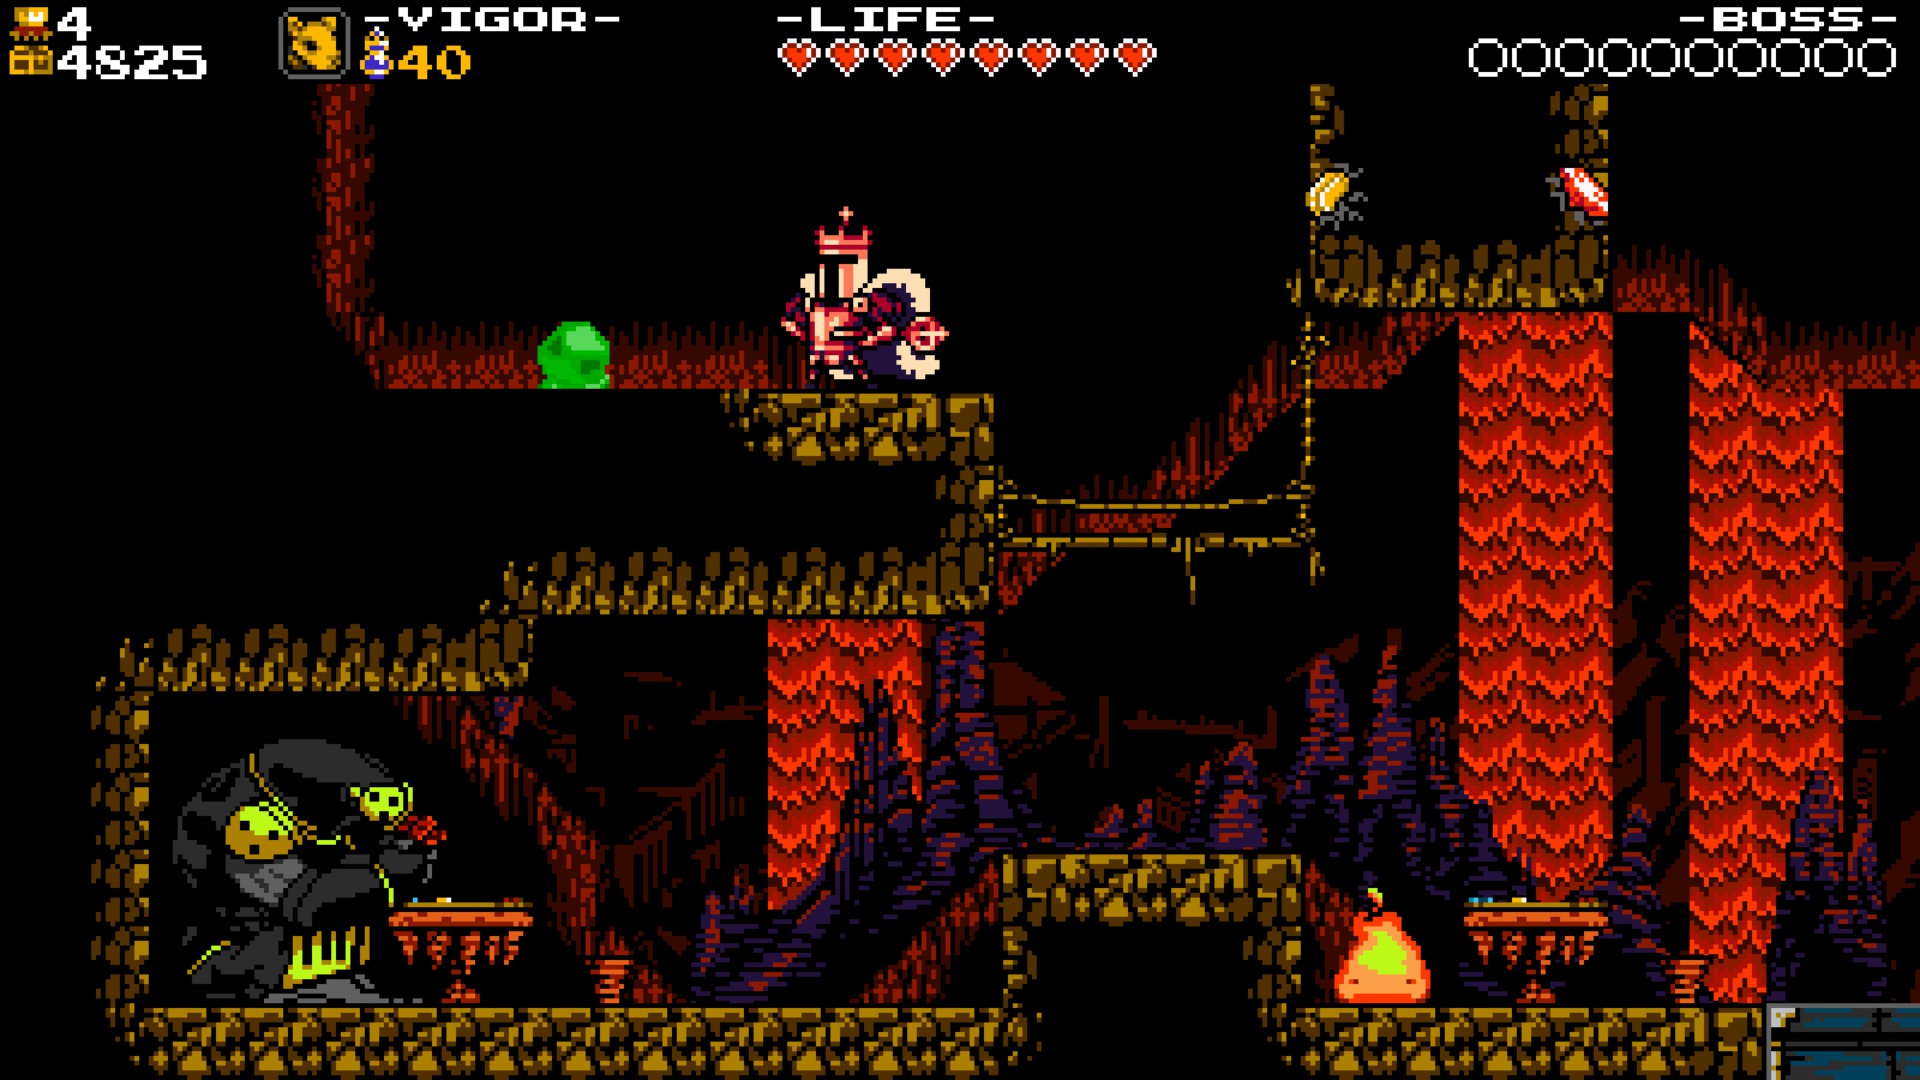
Anyways, after beating the Blazeorb, climb up the small platform on top and break the wall. A green blob will be there.
Push it against the Blazeorb, you will transform it into a regular Blorb.
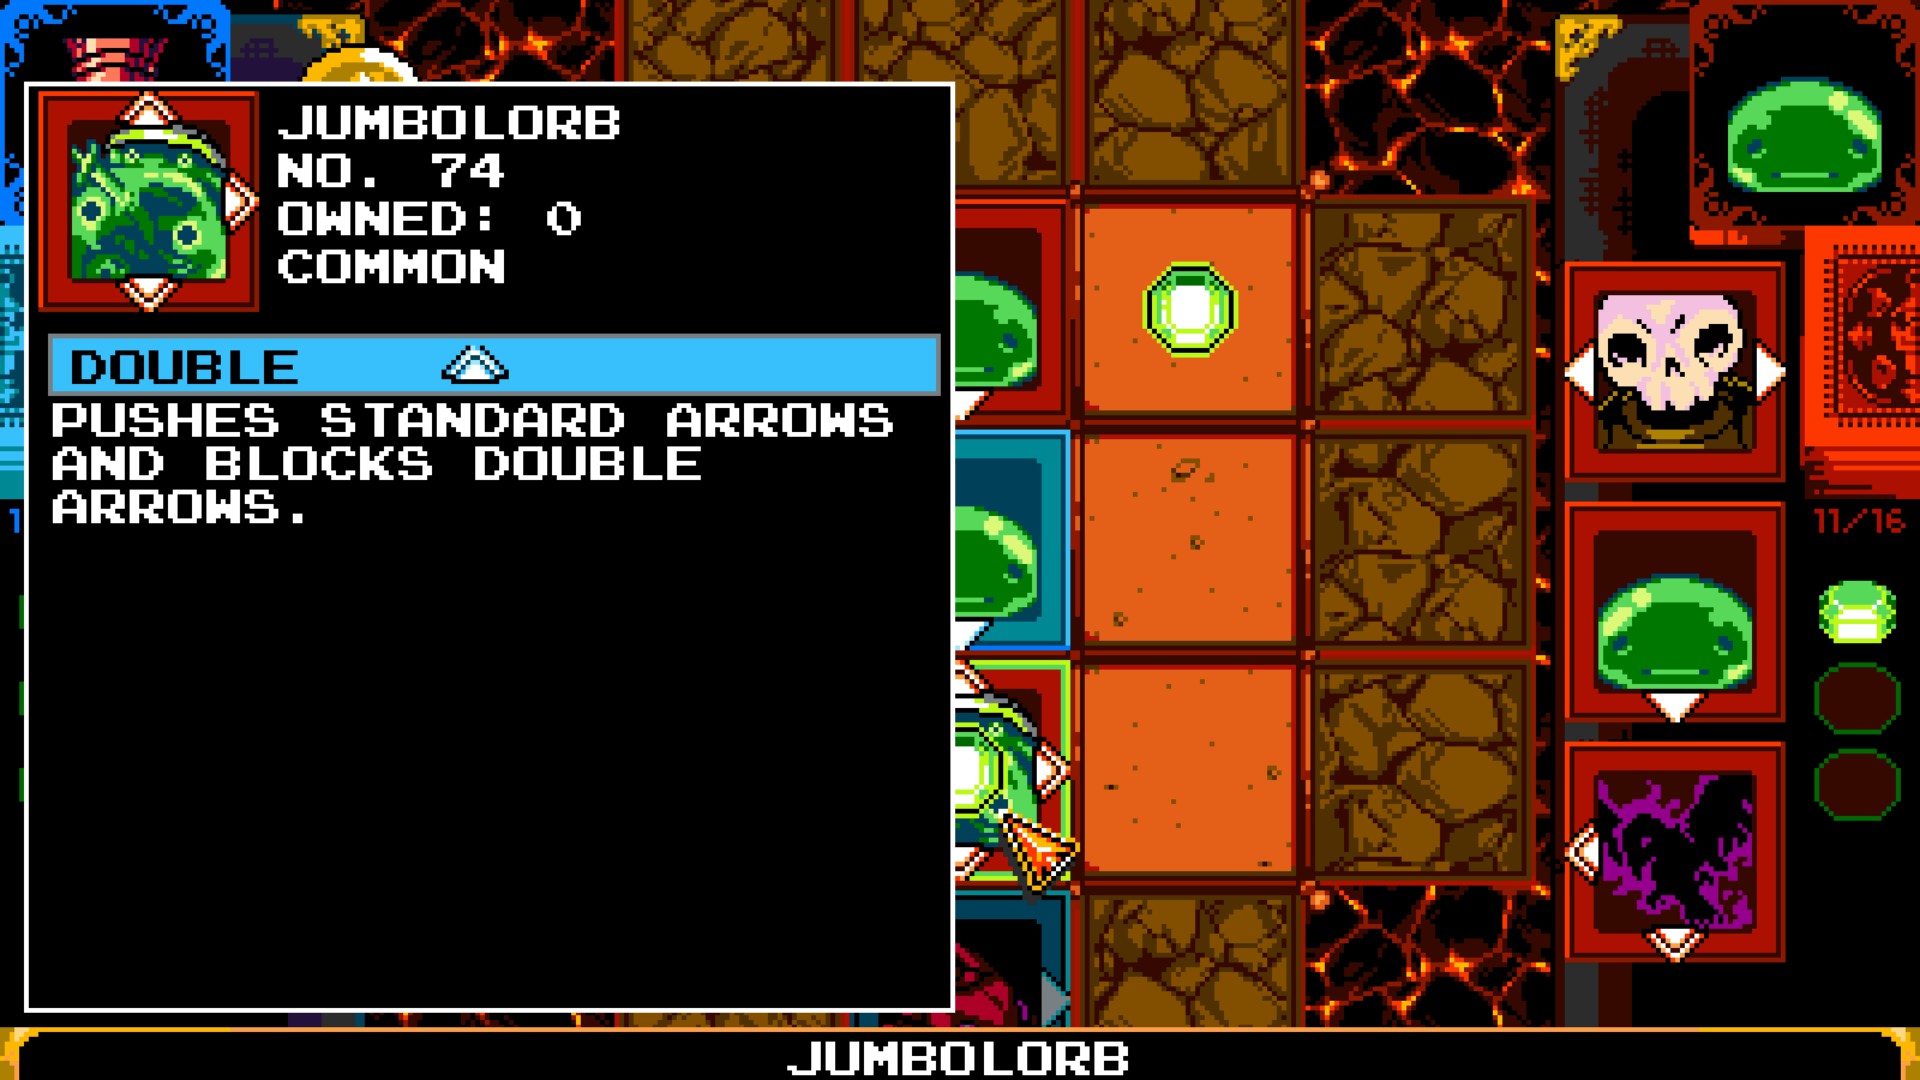
I highly recommend getting the Jumbolorb Card from him, if possible. As that is a three-way Double Arrow Card.
Next, the Mole Minion.
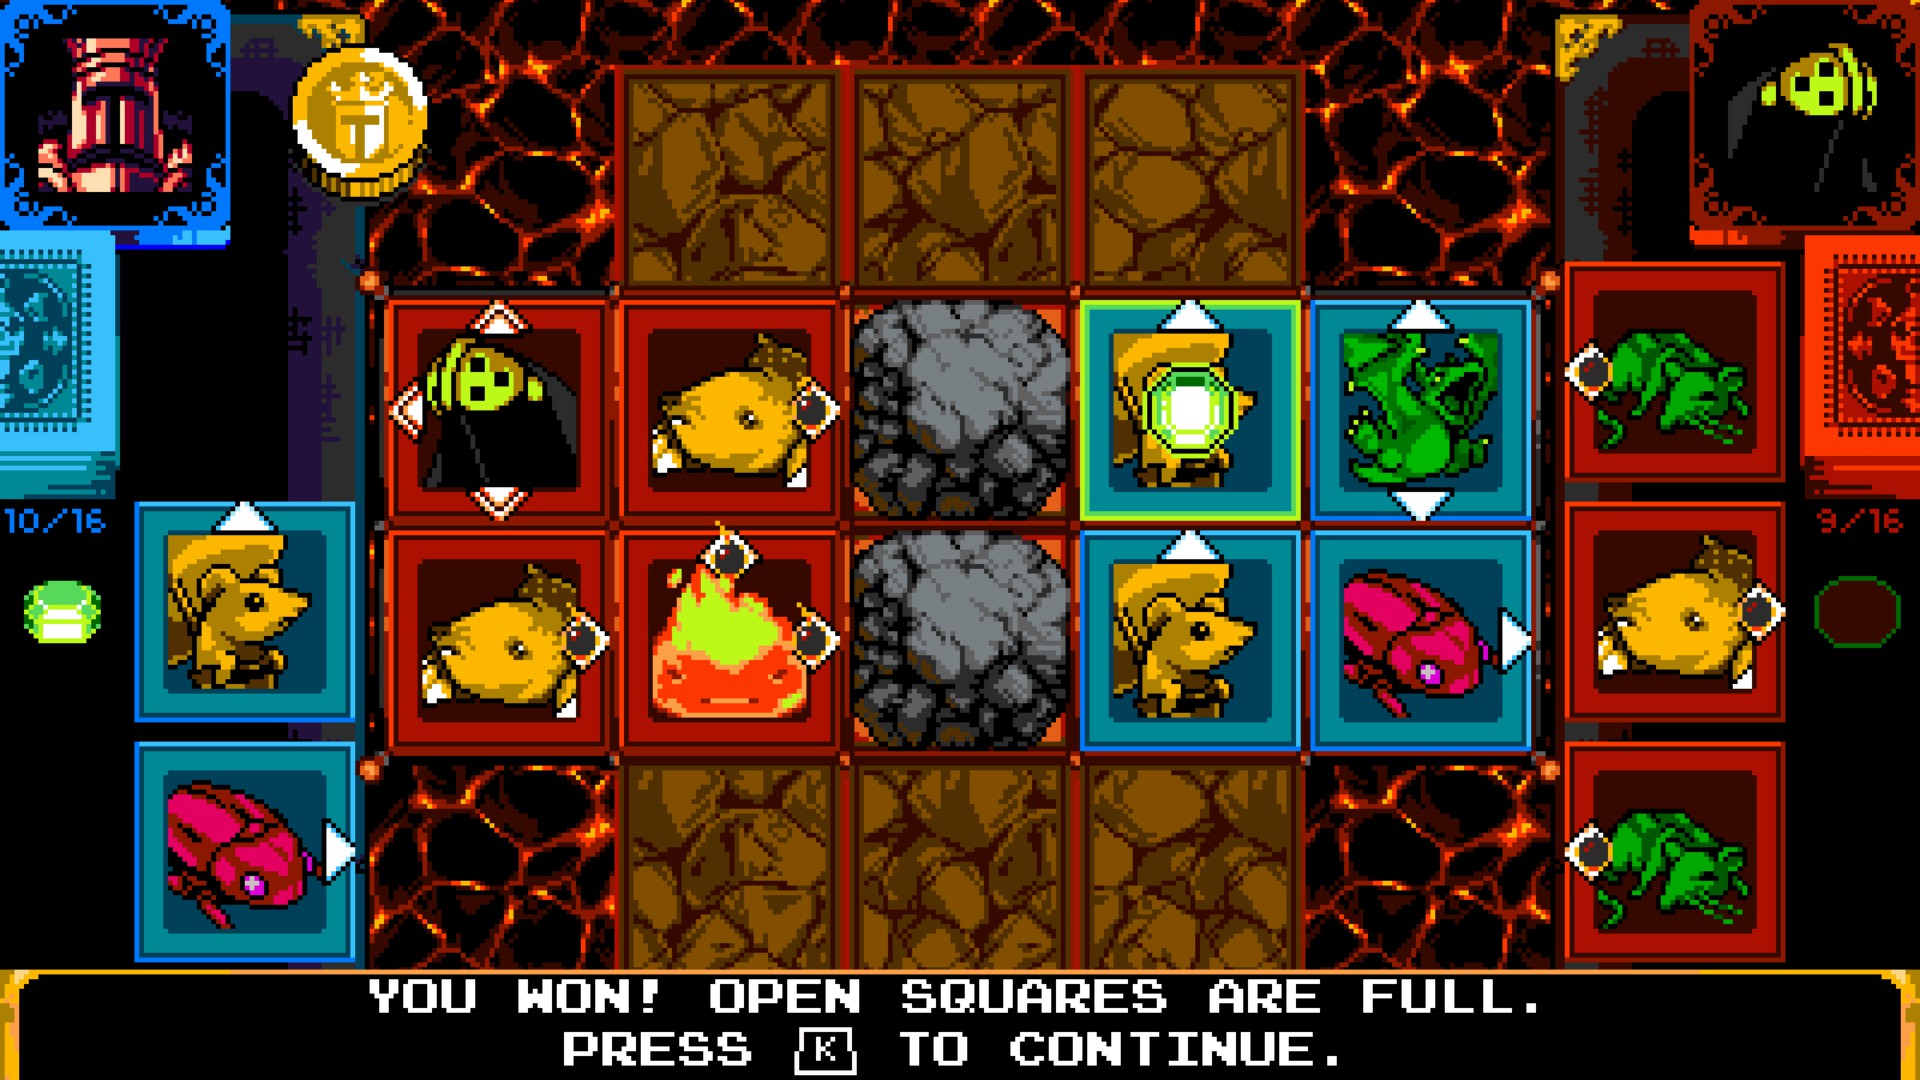
This guy is a joke, as all he ever does is focus on blowing up rocks. Just fill up the spaces, and you win. He was so easy in fact, that i beated him with the generic deck. And you can obtain his Mole Minion card, which is also another three-way Double Arrow card!
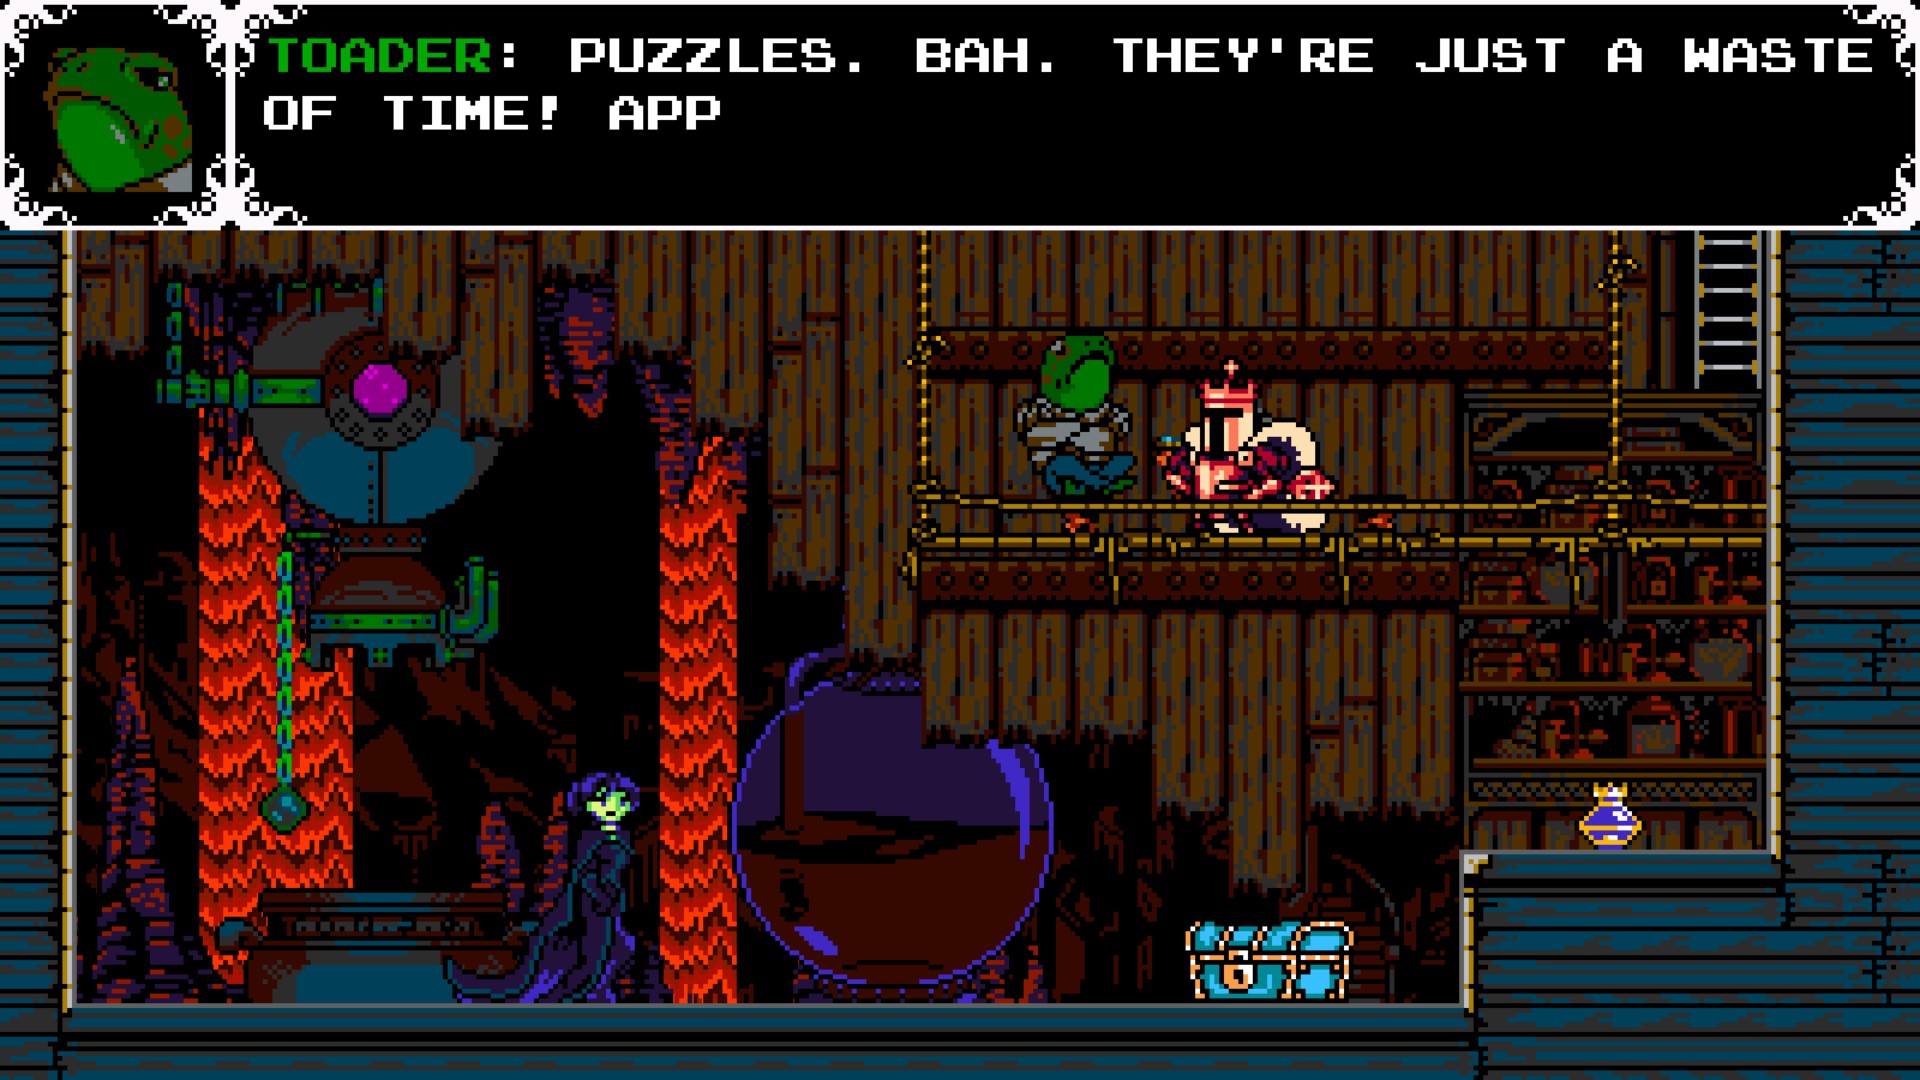
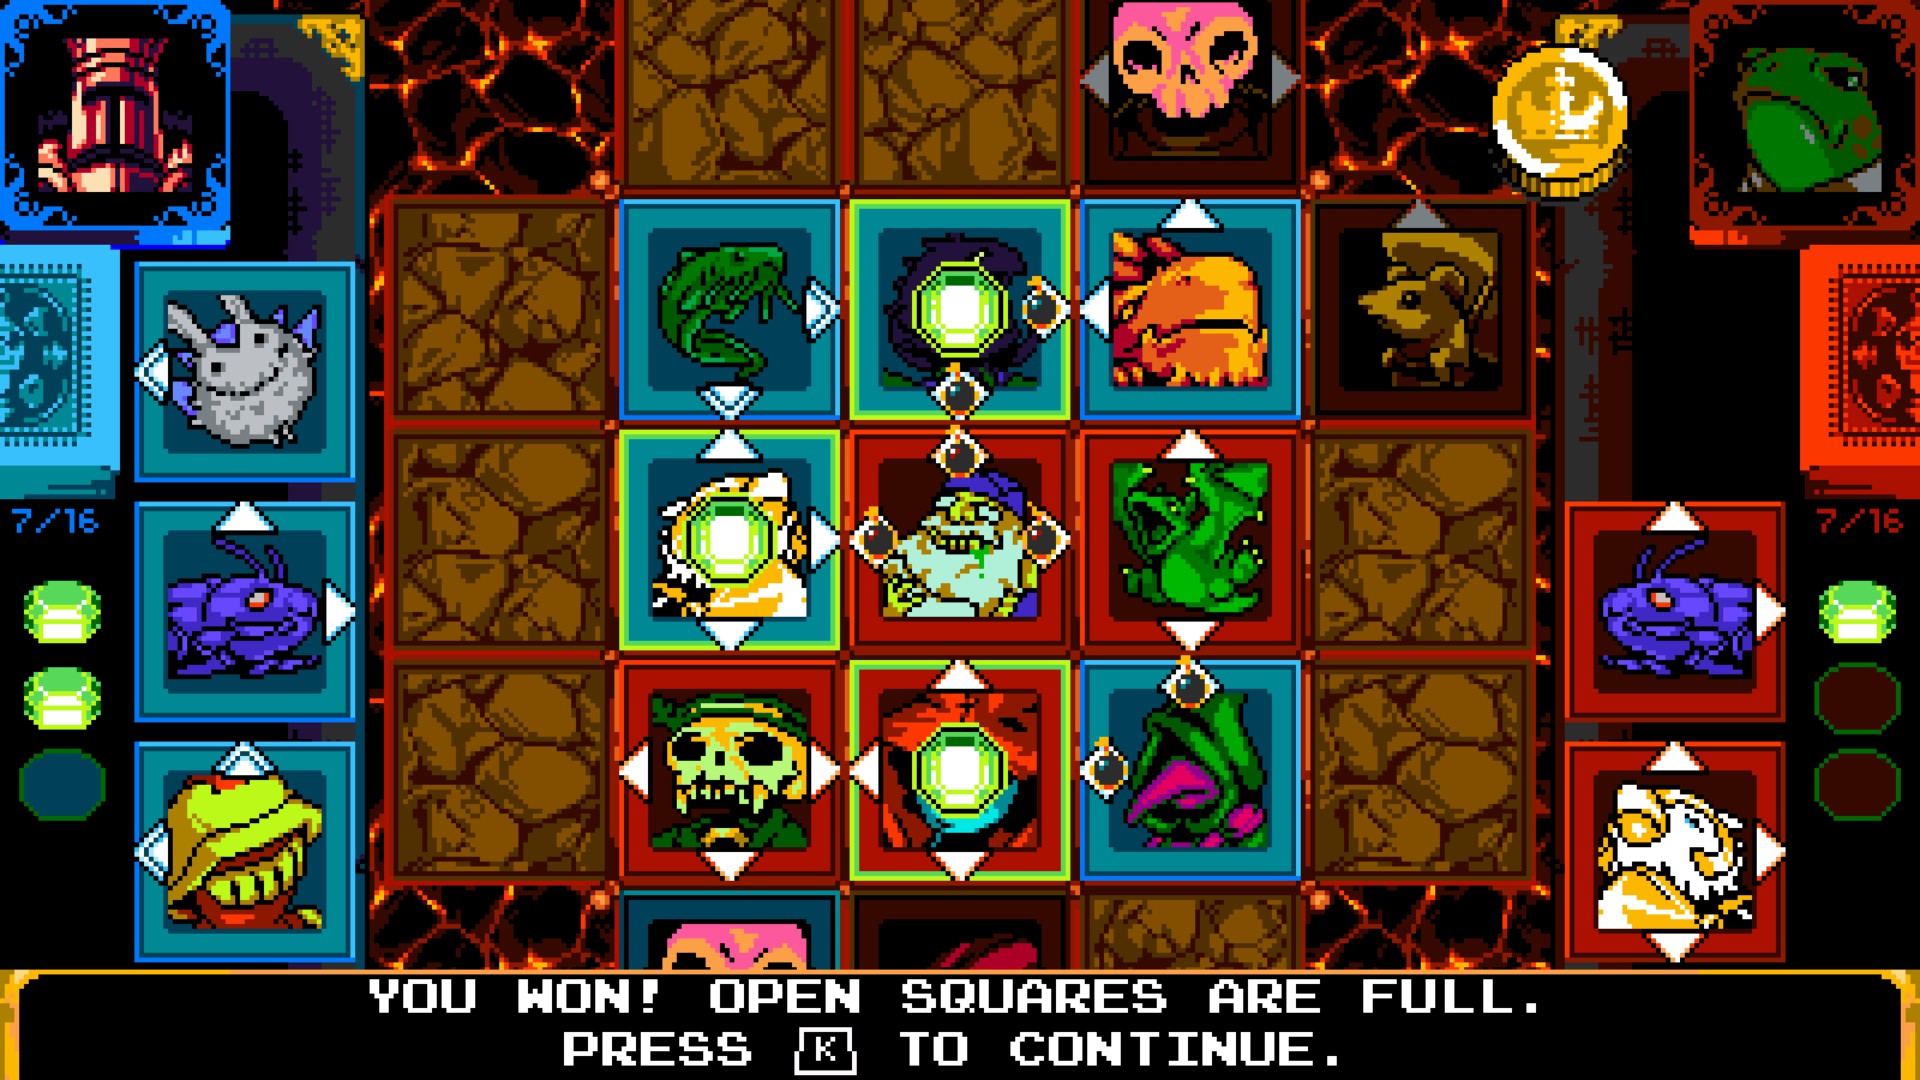
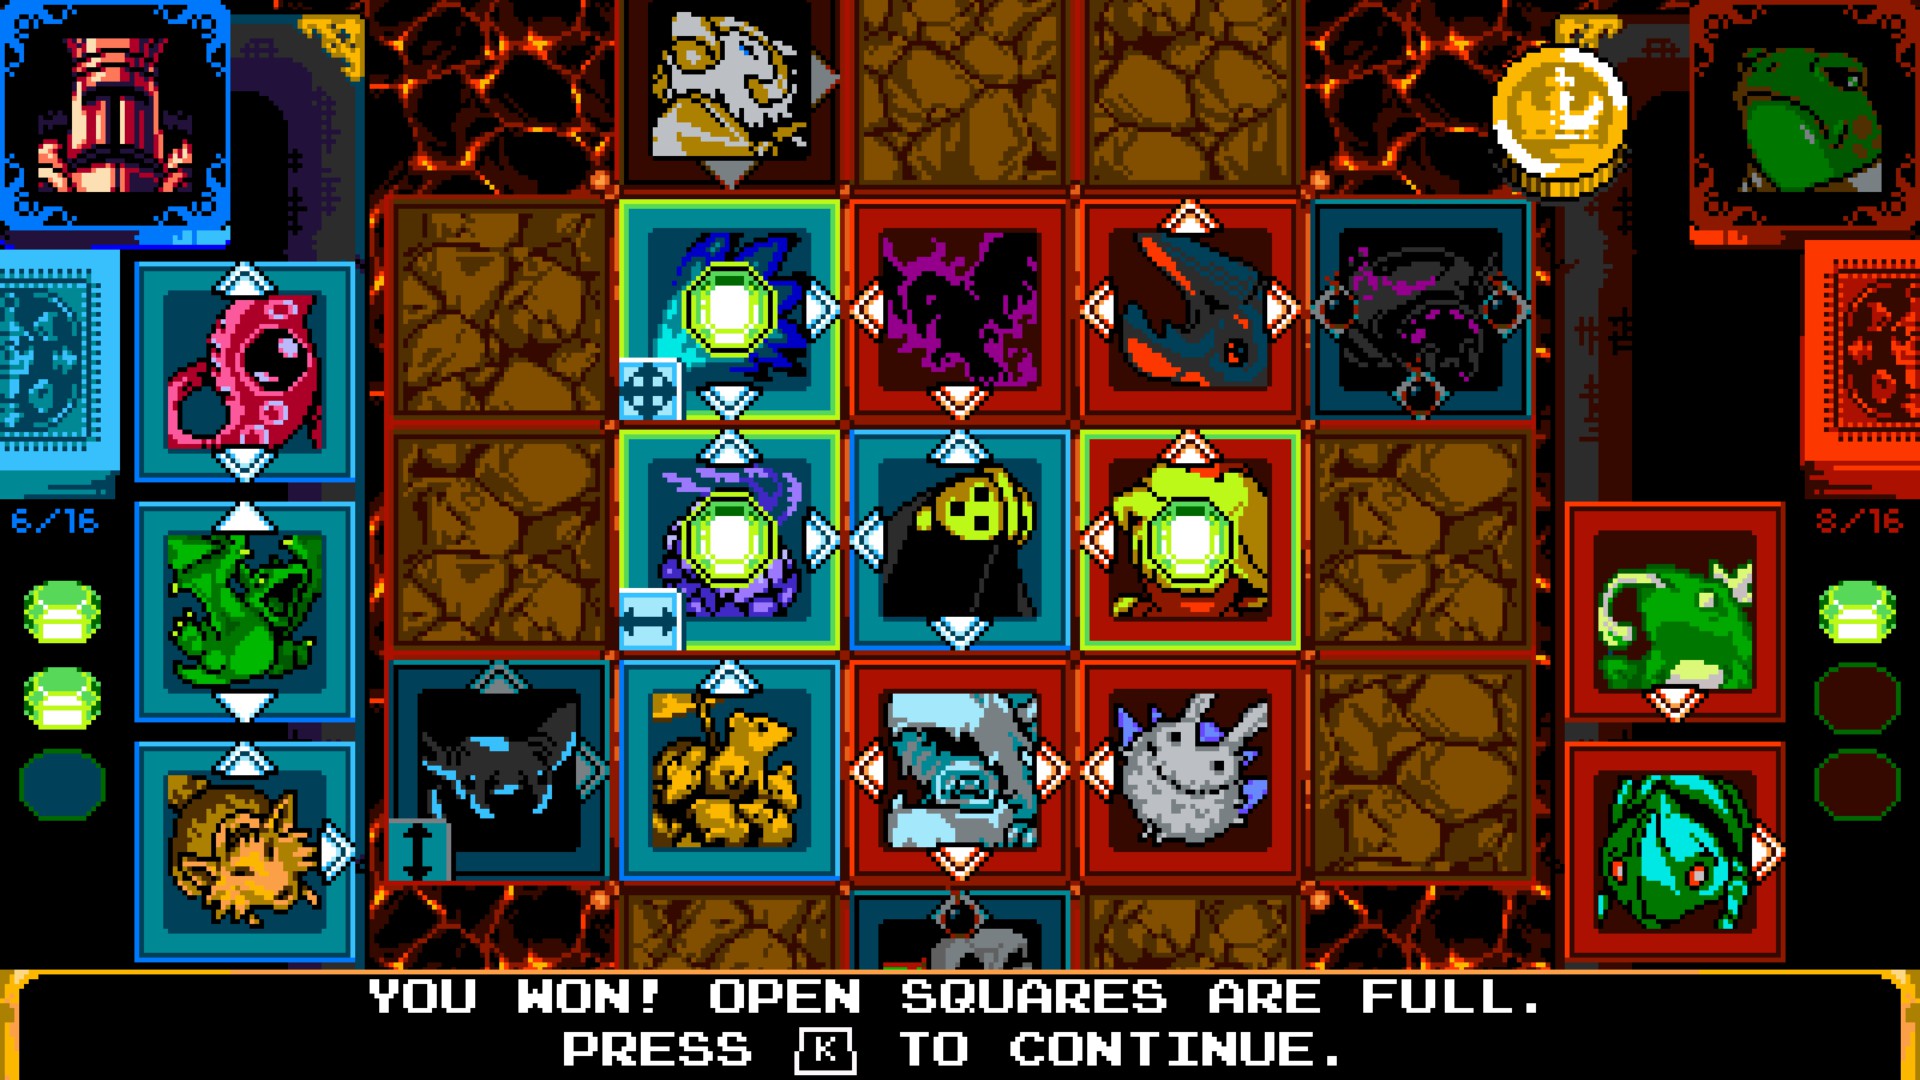
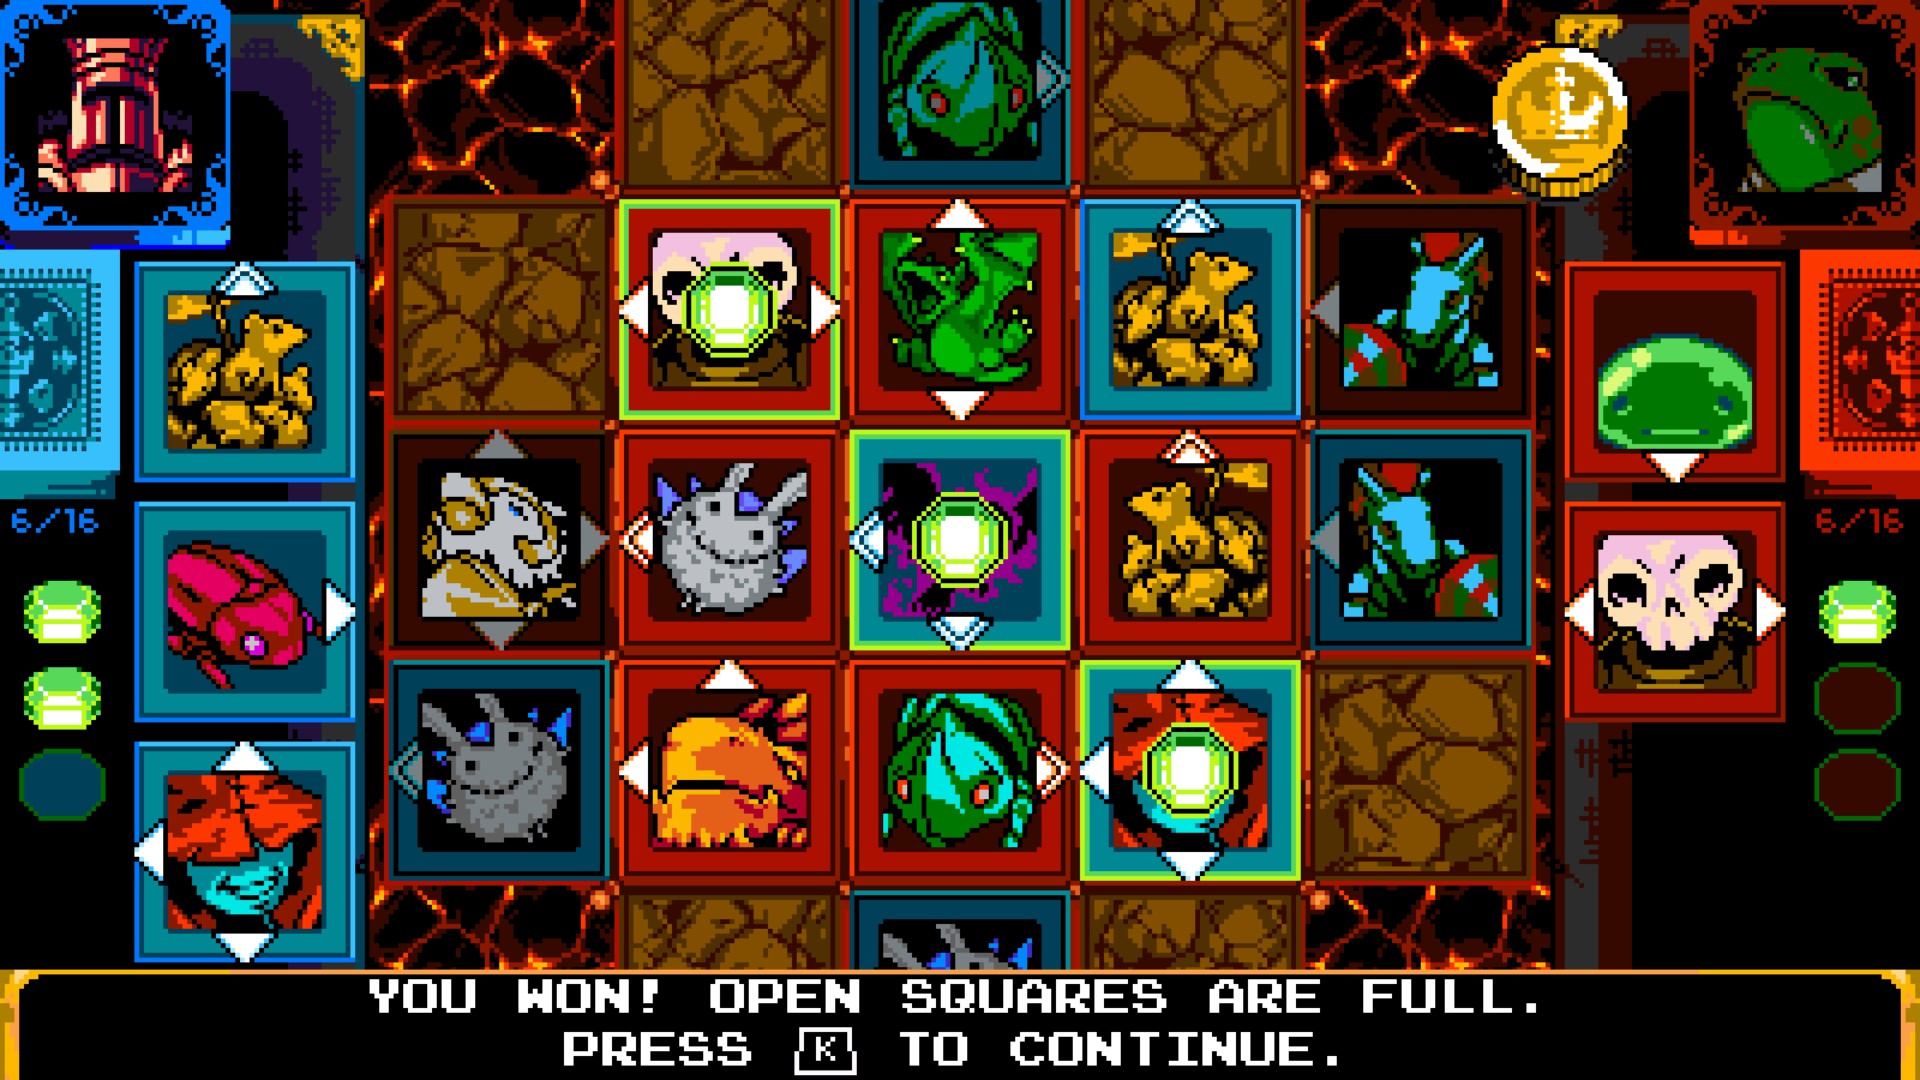
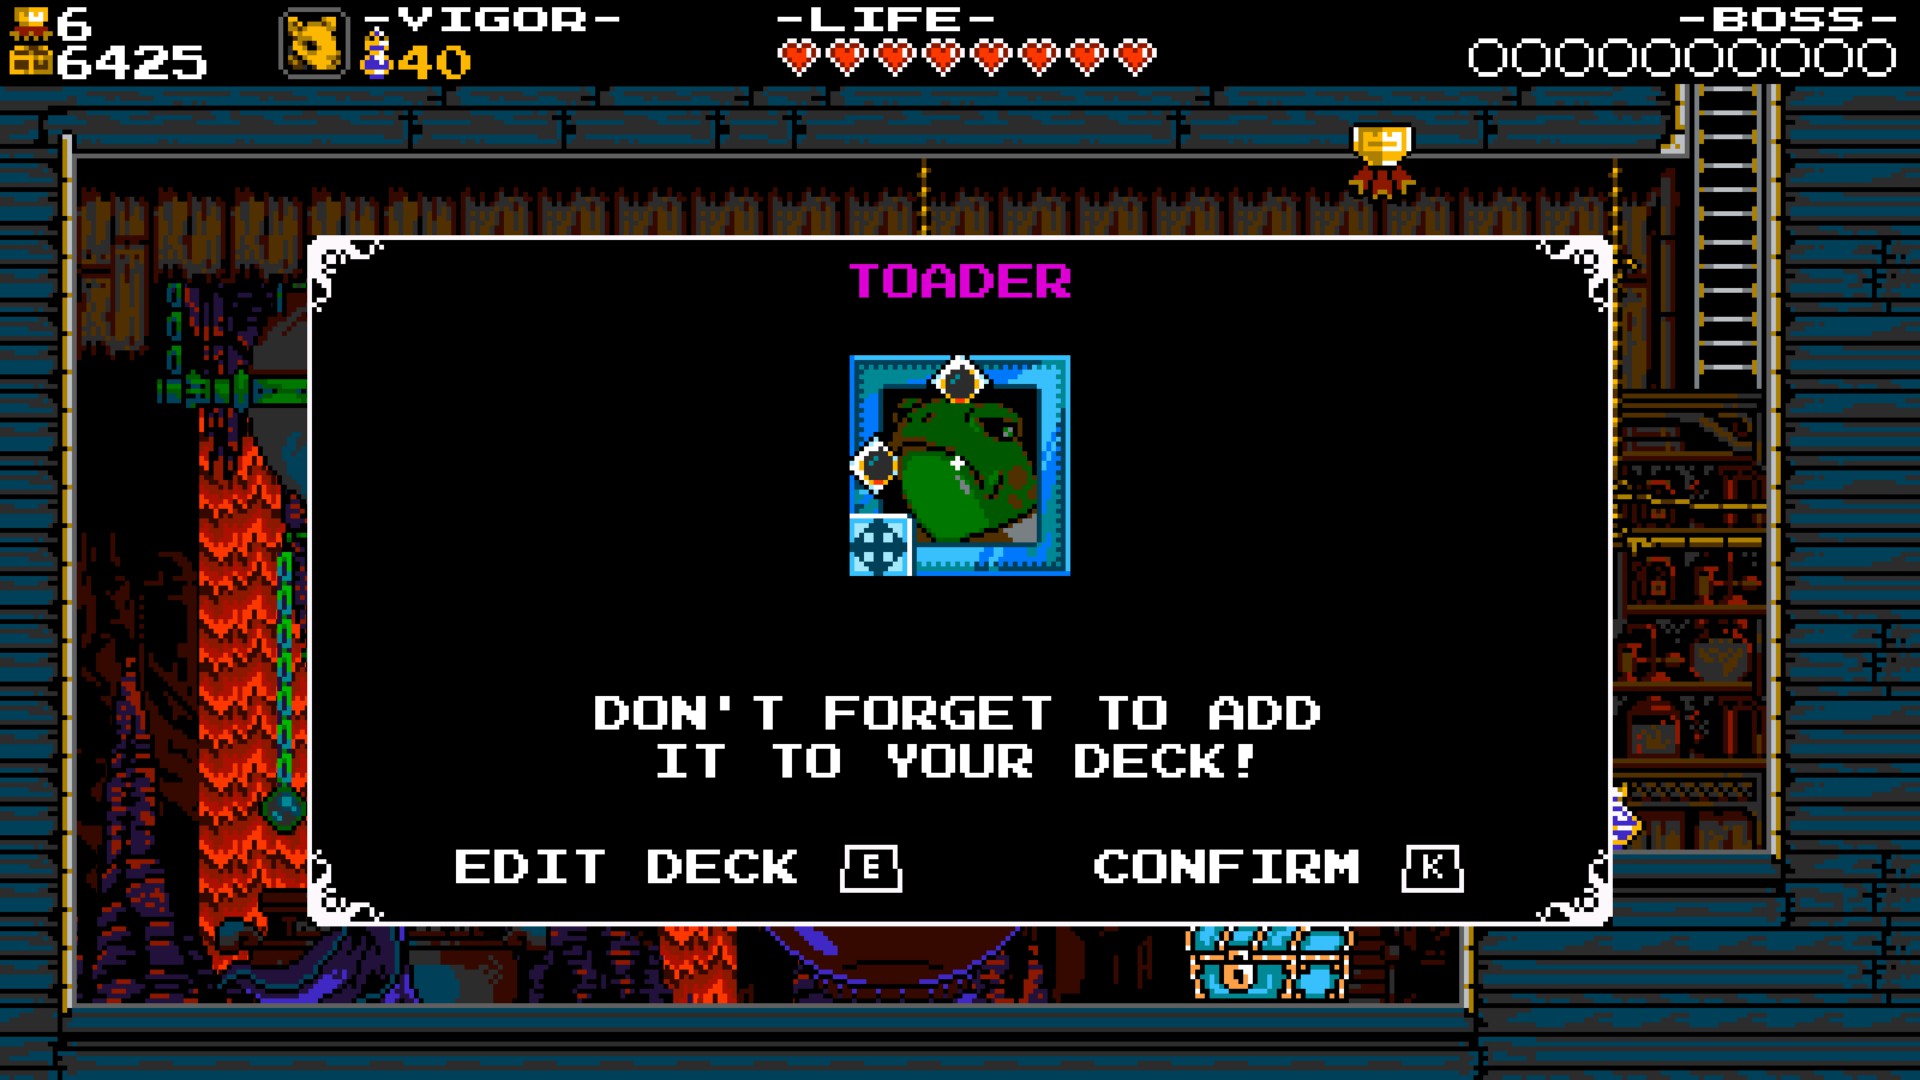
Now go downstairs, and if you want, you can beat Toader's puzzles.
Here are the puzzle solutions, you lazy simpleton!
He gives you a two-way Bomb Arrow card with the Switch Ability.
The Switch Ability as the name implies, switches the direction of the arrows each time is pushed from its initial position. There's three variants of the Switch Ability, this one has the Complete Switch ability, it switches all of its arrows directions when pushed.
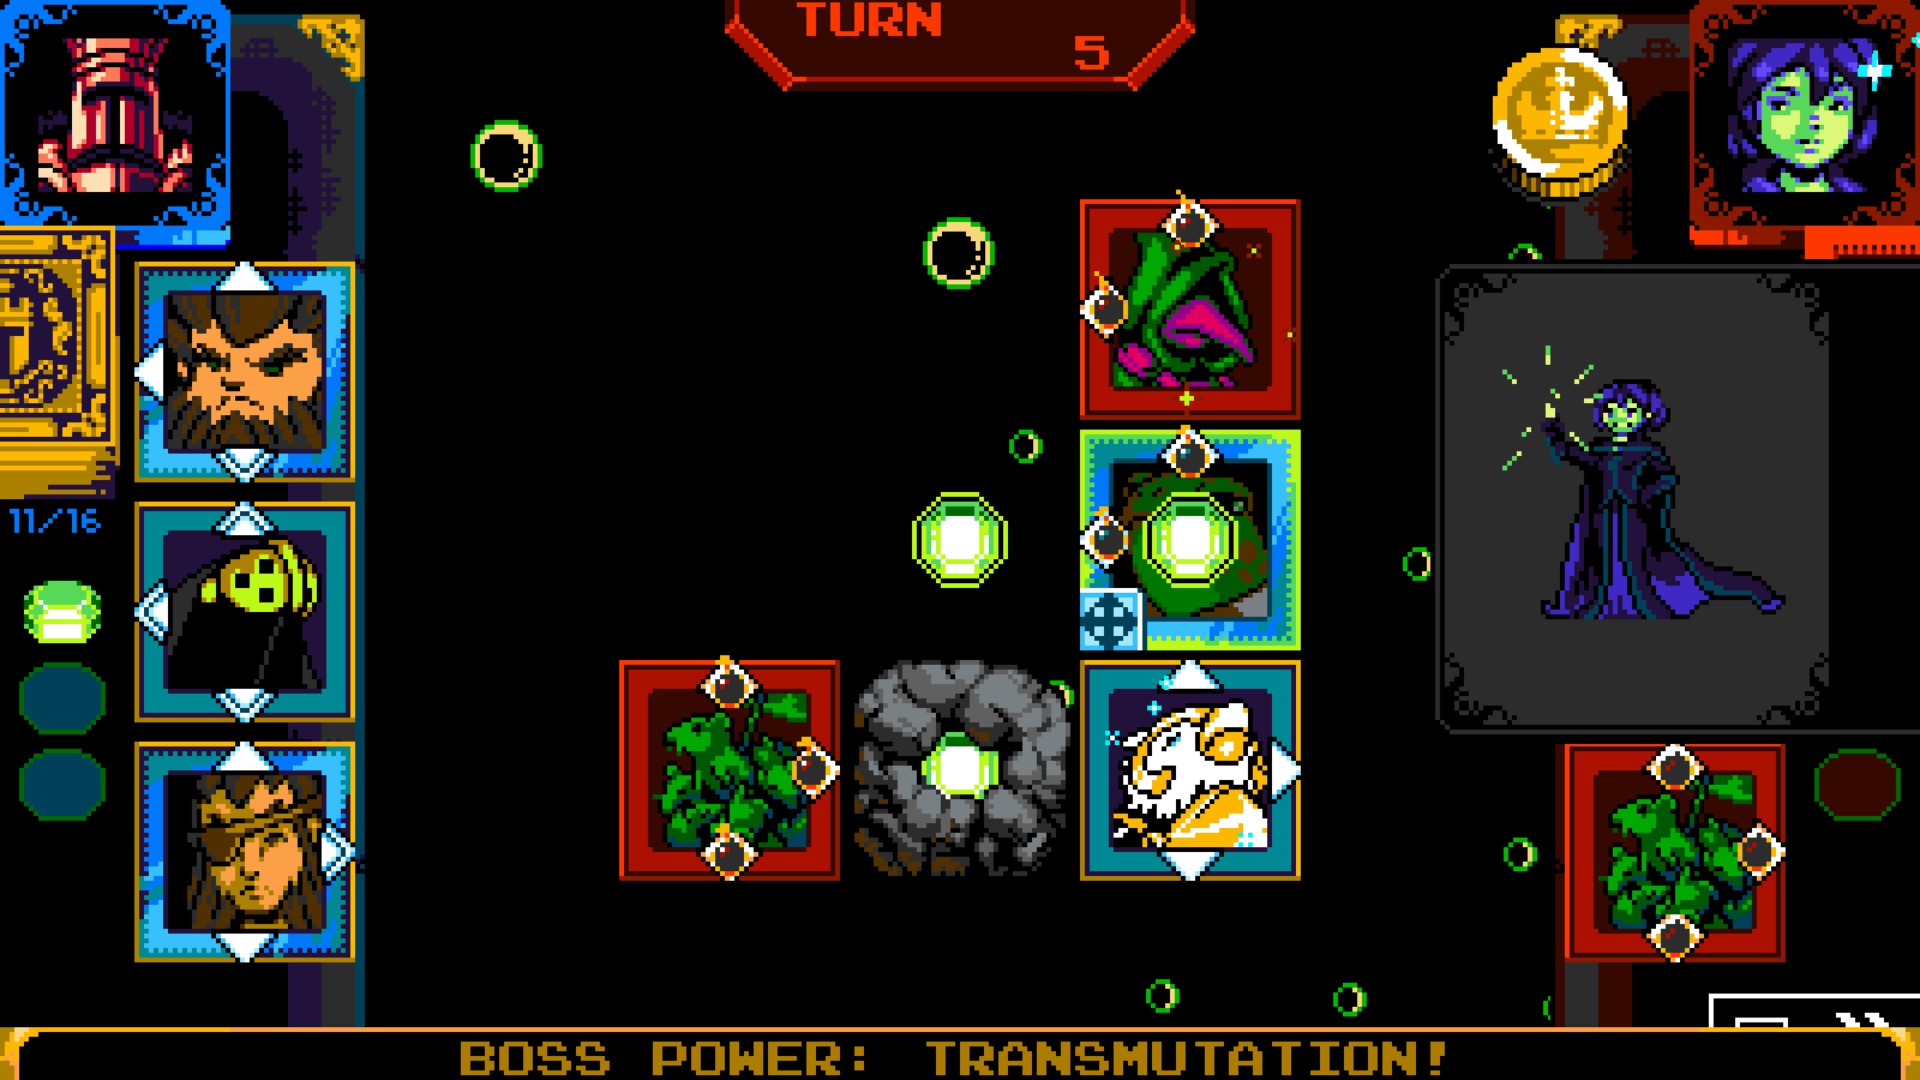
Now for the main event, Mona.
She's the backbone of this challenge. Pretty as a postcard, too. Sorry, fellas. She's married. To alchemy!
Her deck has plenty of Double Arrow and Bomb Arrow cards.
She also has a Boss Power: Transmutation! Which turns any of her cards into copies of your own cards. She can also transform any of your own cards to her own. Basically, if you play a three-way Double Arrow card, she can transform one of her cards into that one. In order to avoid this, if you see a card with red sparks, push it to Grave Zones, even if it's your own cards. As cards with blue sparks will be the cards that are going to be copied.
A good strategy to beat Mona is just to wait for her to blow up the rocks in the table and use her own Bomb Arrow Cards against her.
You really should get Mona's or Plague Knight's card. Mona is a three-way Double Arrow/Bomb Arrow card with the Vertical Switch ability, and Plague Knight is a three-way Double Arrow/Bomb Arrow card with the Horizontal Switch ability. And while i personally don't find Bomb Arrow cards useful, is good to have some in your deck in some way, and they are the best options at the moment.
Two down, two more to go!
Troupple King Card + King Birder Card
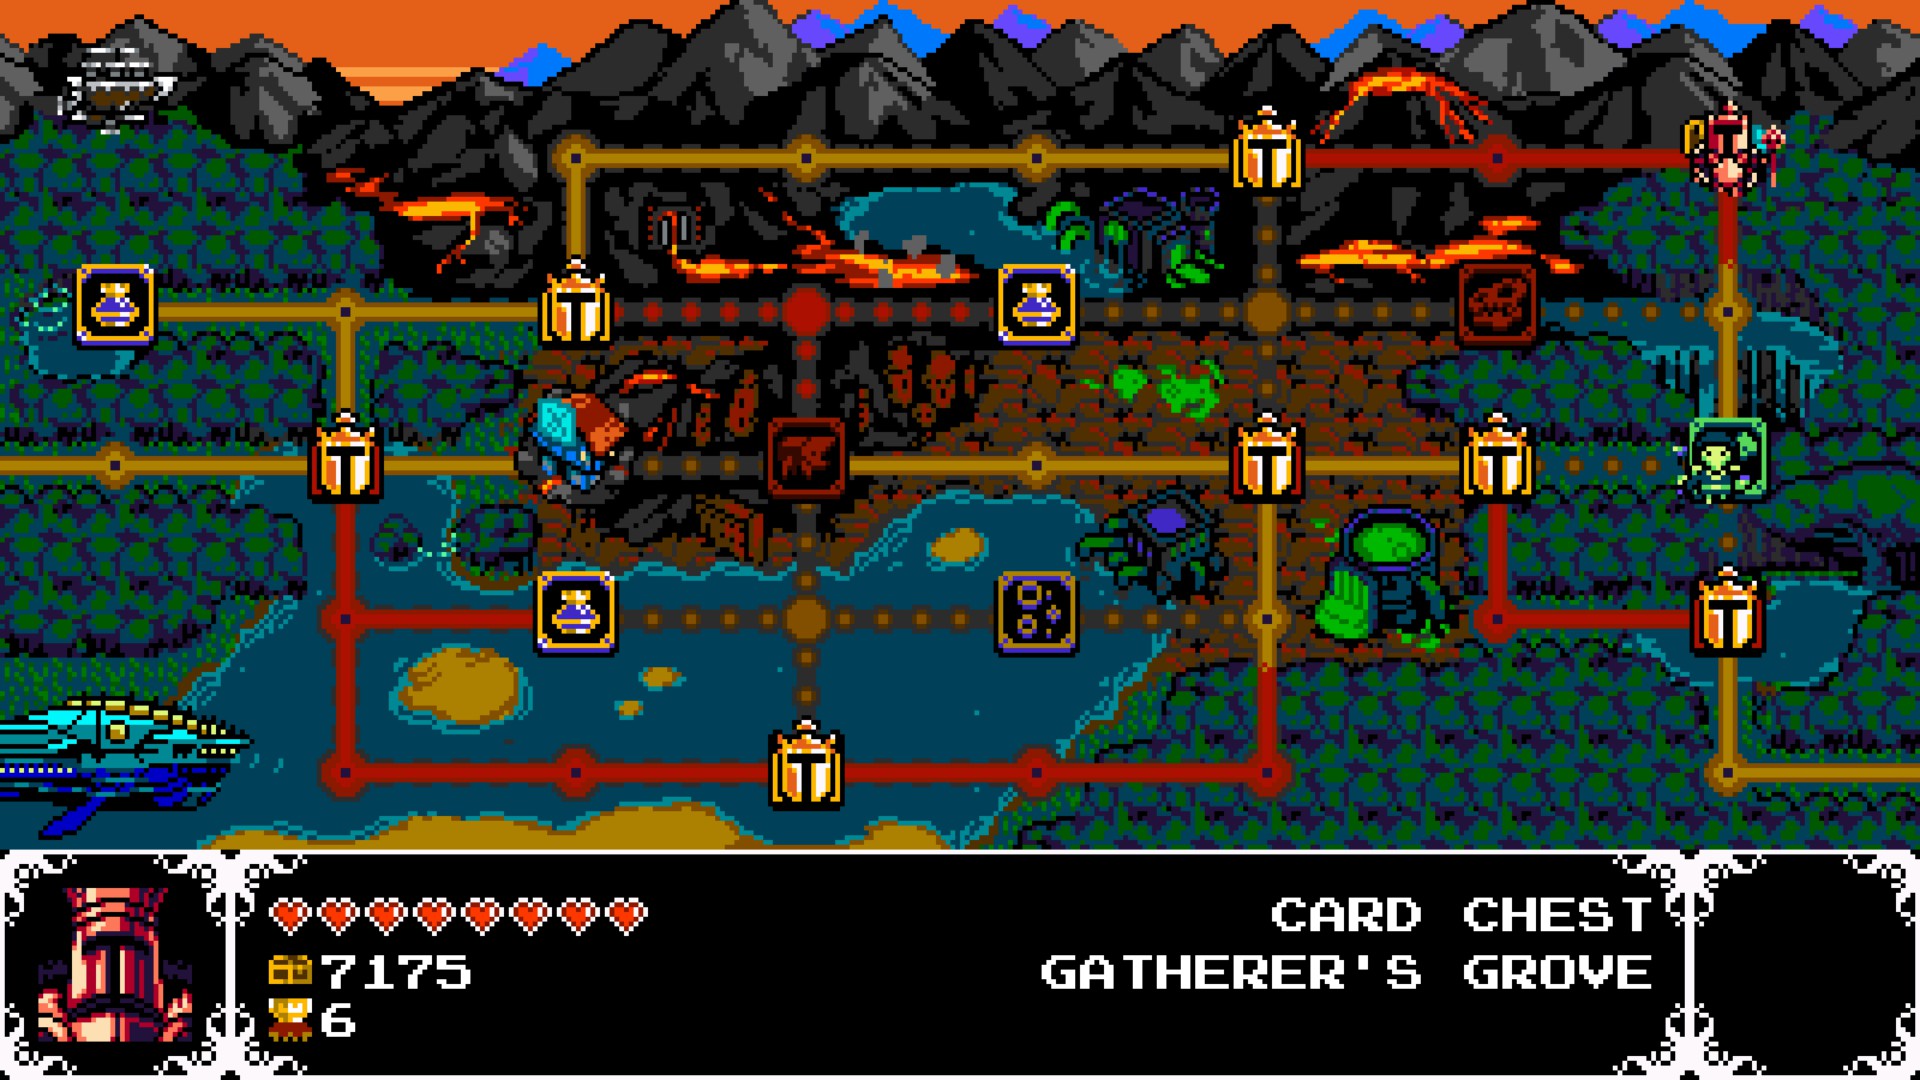
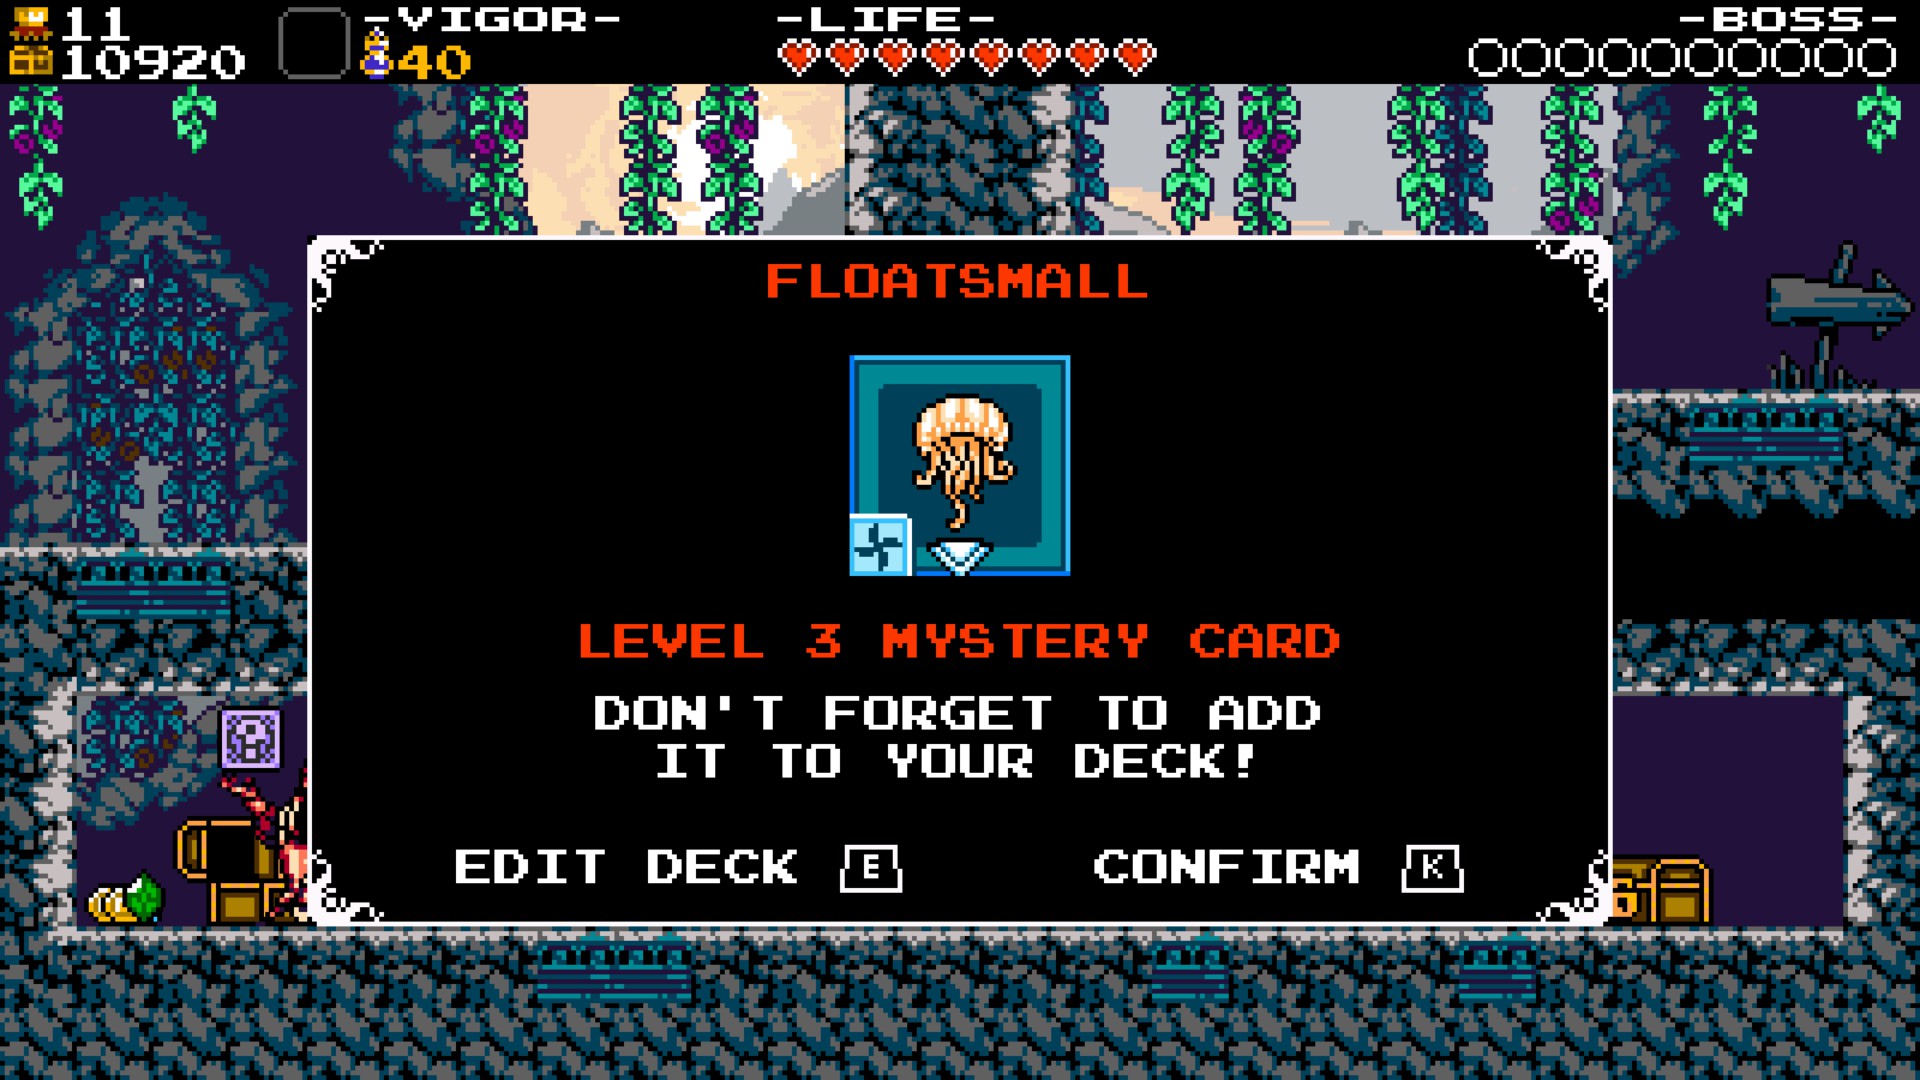
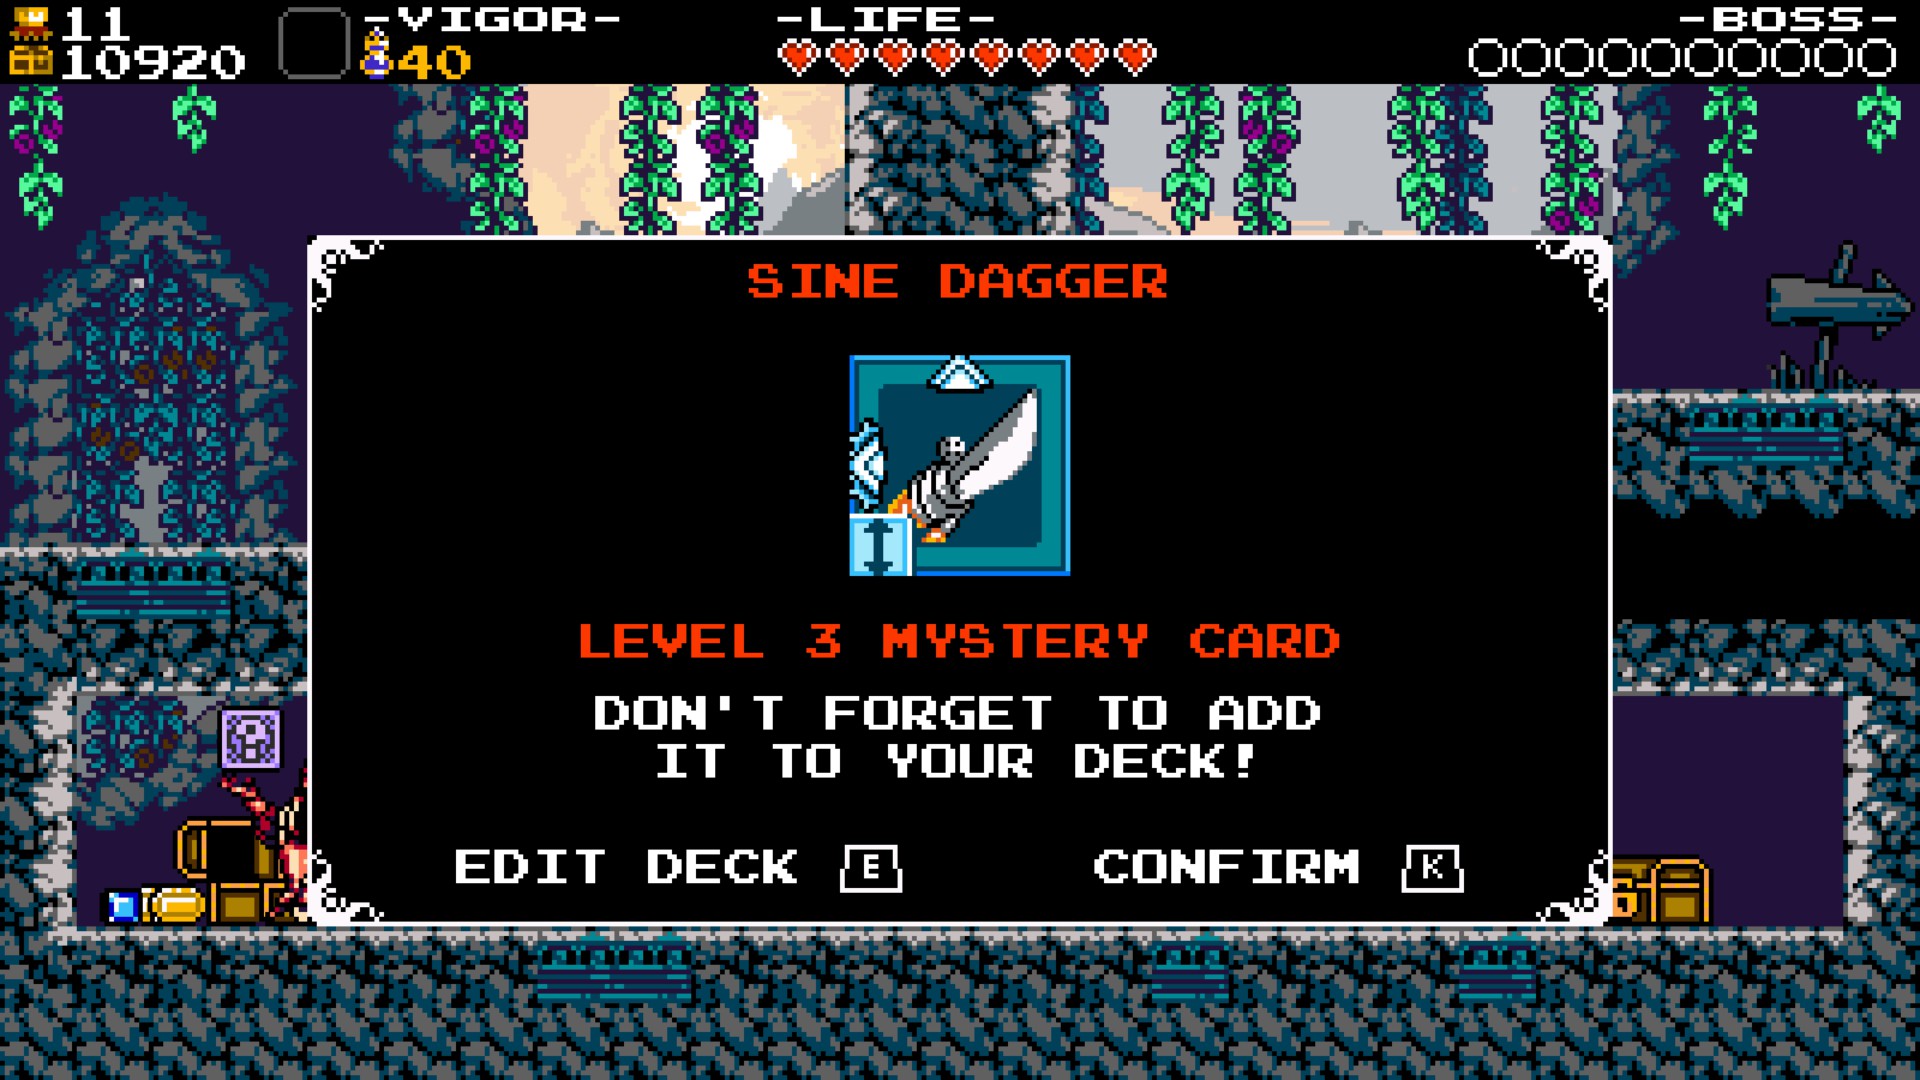

Head to Card Chest Gatherer's Grove.
I can get a better card than th-
AH COME ON!
Talk to the guy and he will give you the Troupple King's card. At this point, you can choose if you want to use it or not. As now you must have a good set of powerful cards.
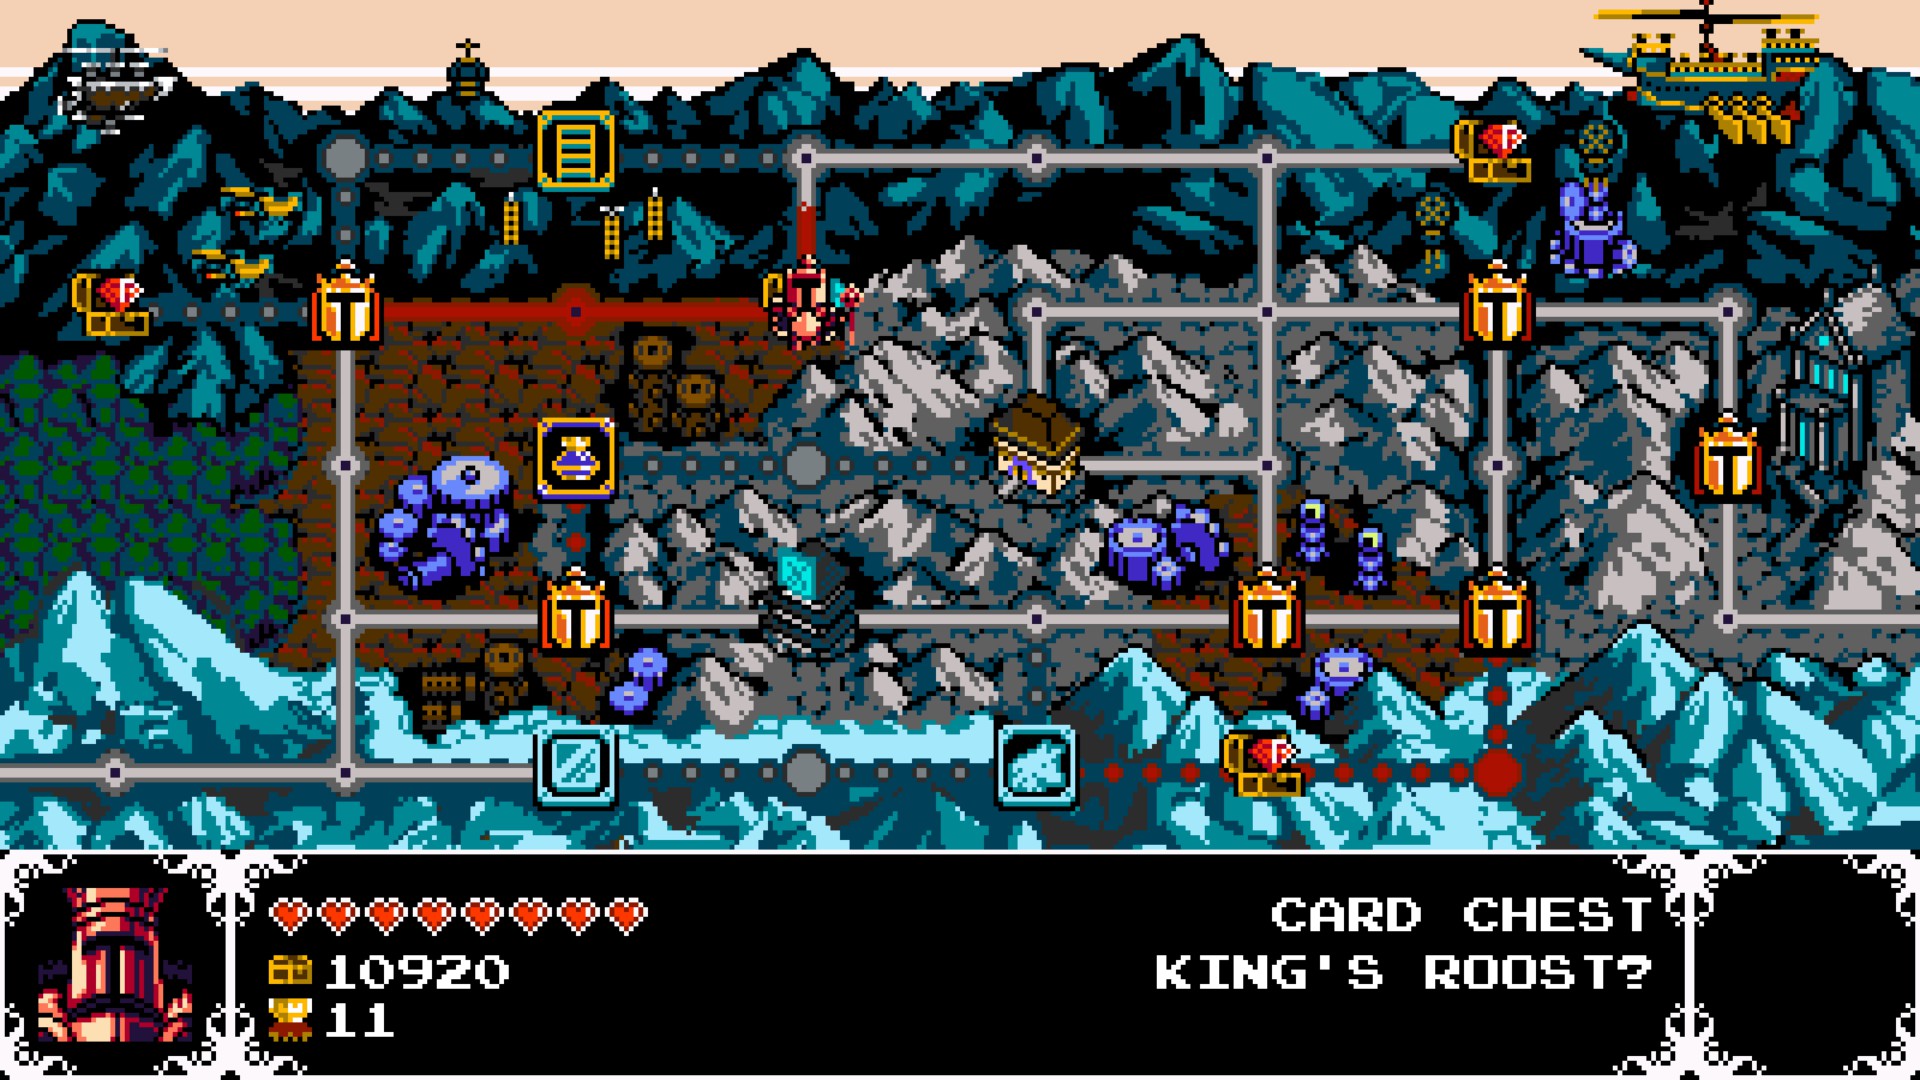
I recommend going for the secret exit in Flying Machine - Aerial Brigade and go to Card Chest King's Roost? before going to Crag of Joustus.
Meh.
Ok, now we are talking!
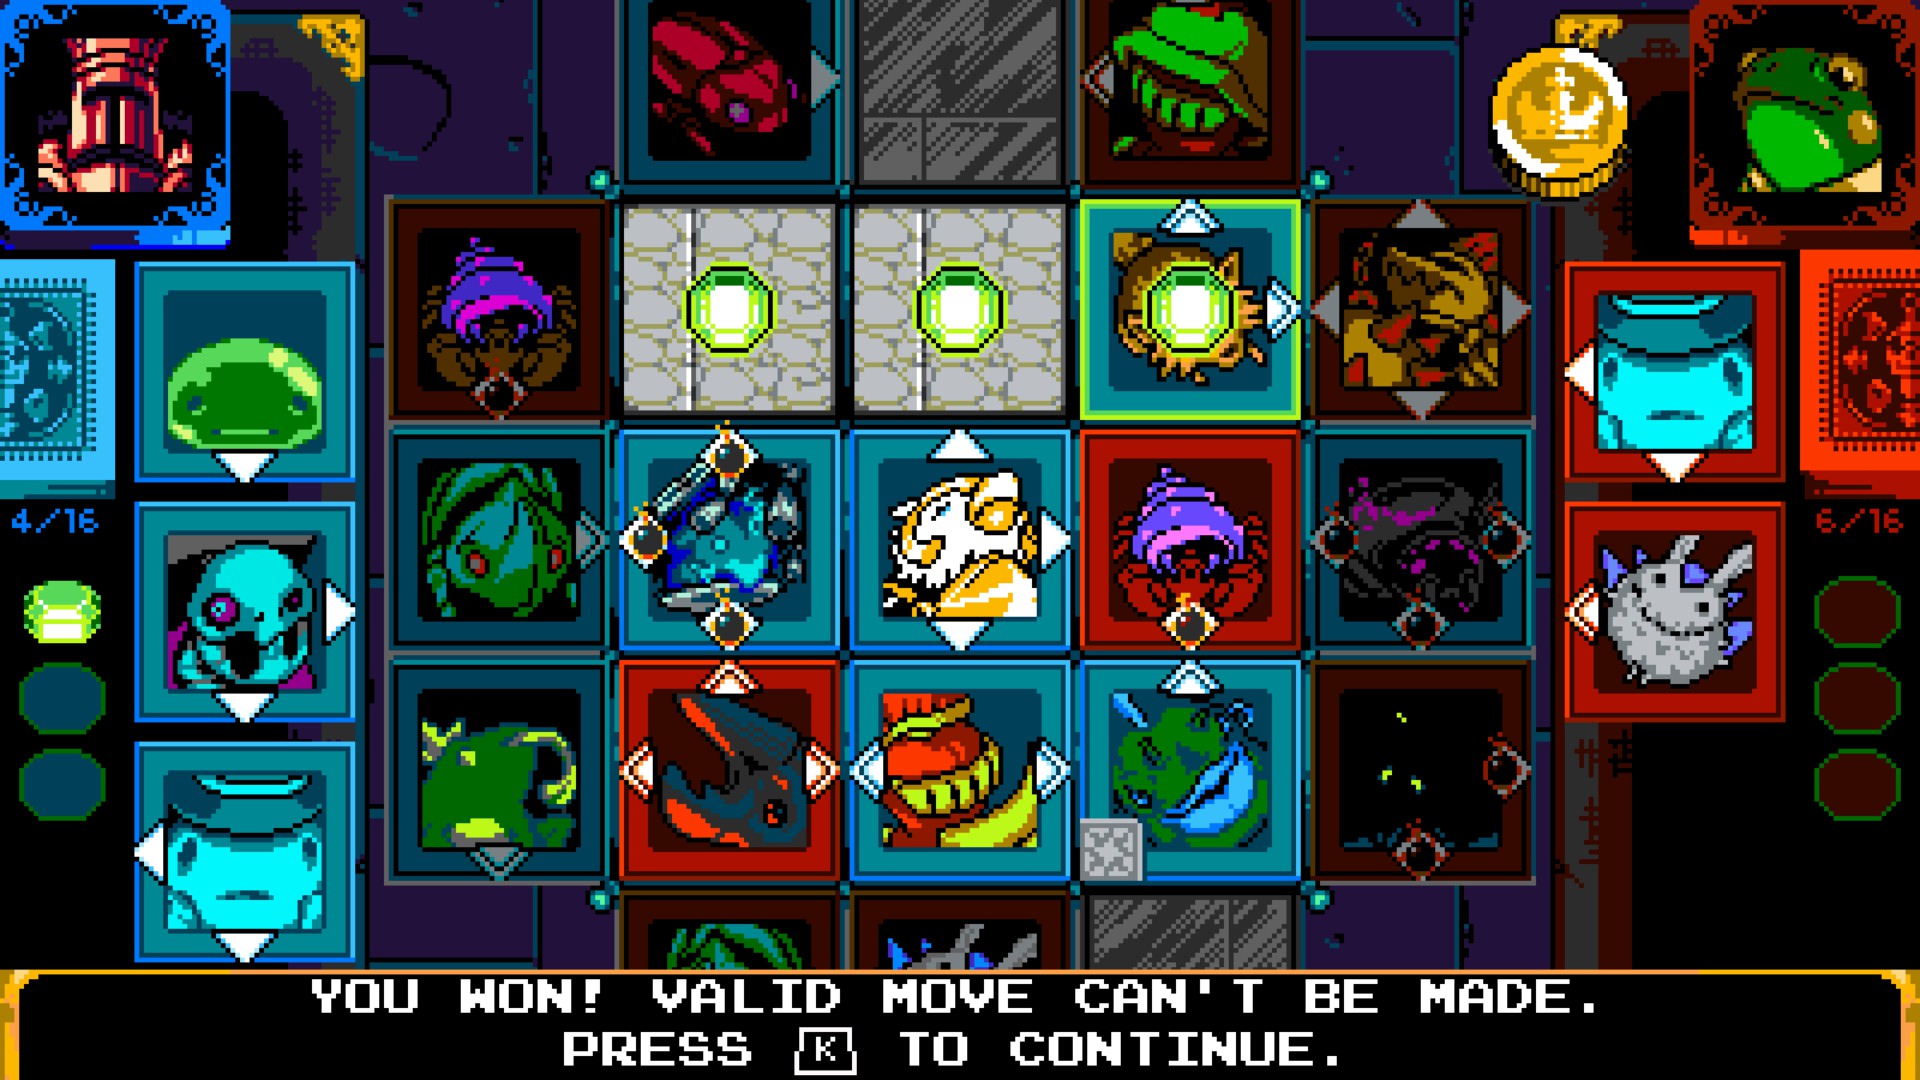
If you are wondering what these arrows are, I will explain what they do soon enough.
Talk to the Bag Fellow and he will give you King Birder's Card.
Head to Crag of Joustus.
Crag Of Joustus
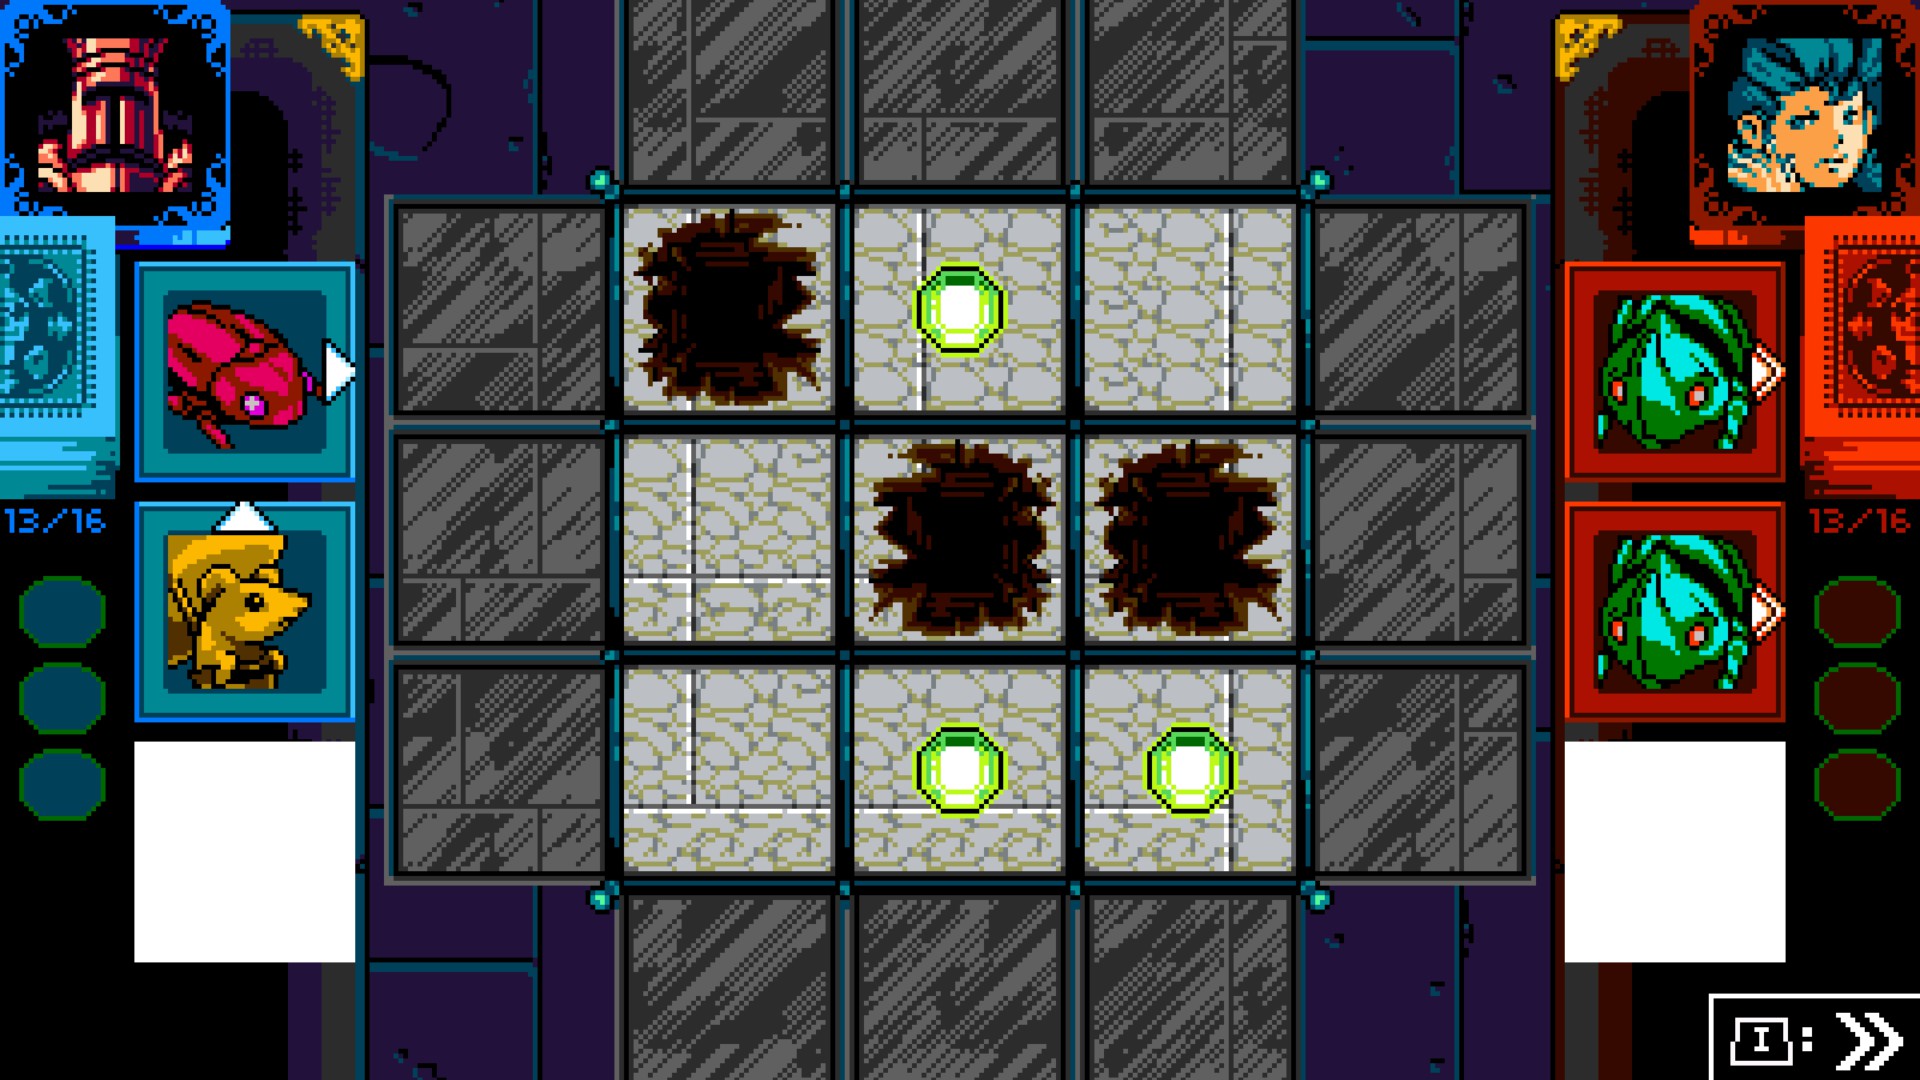
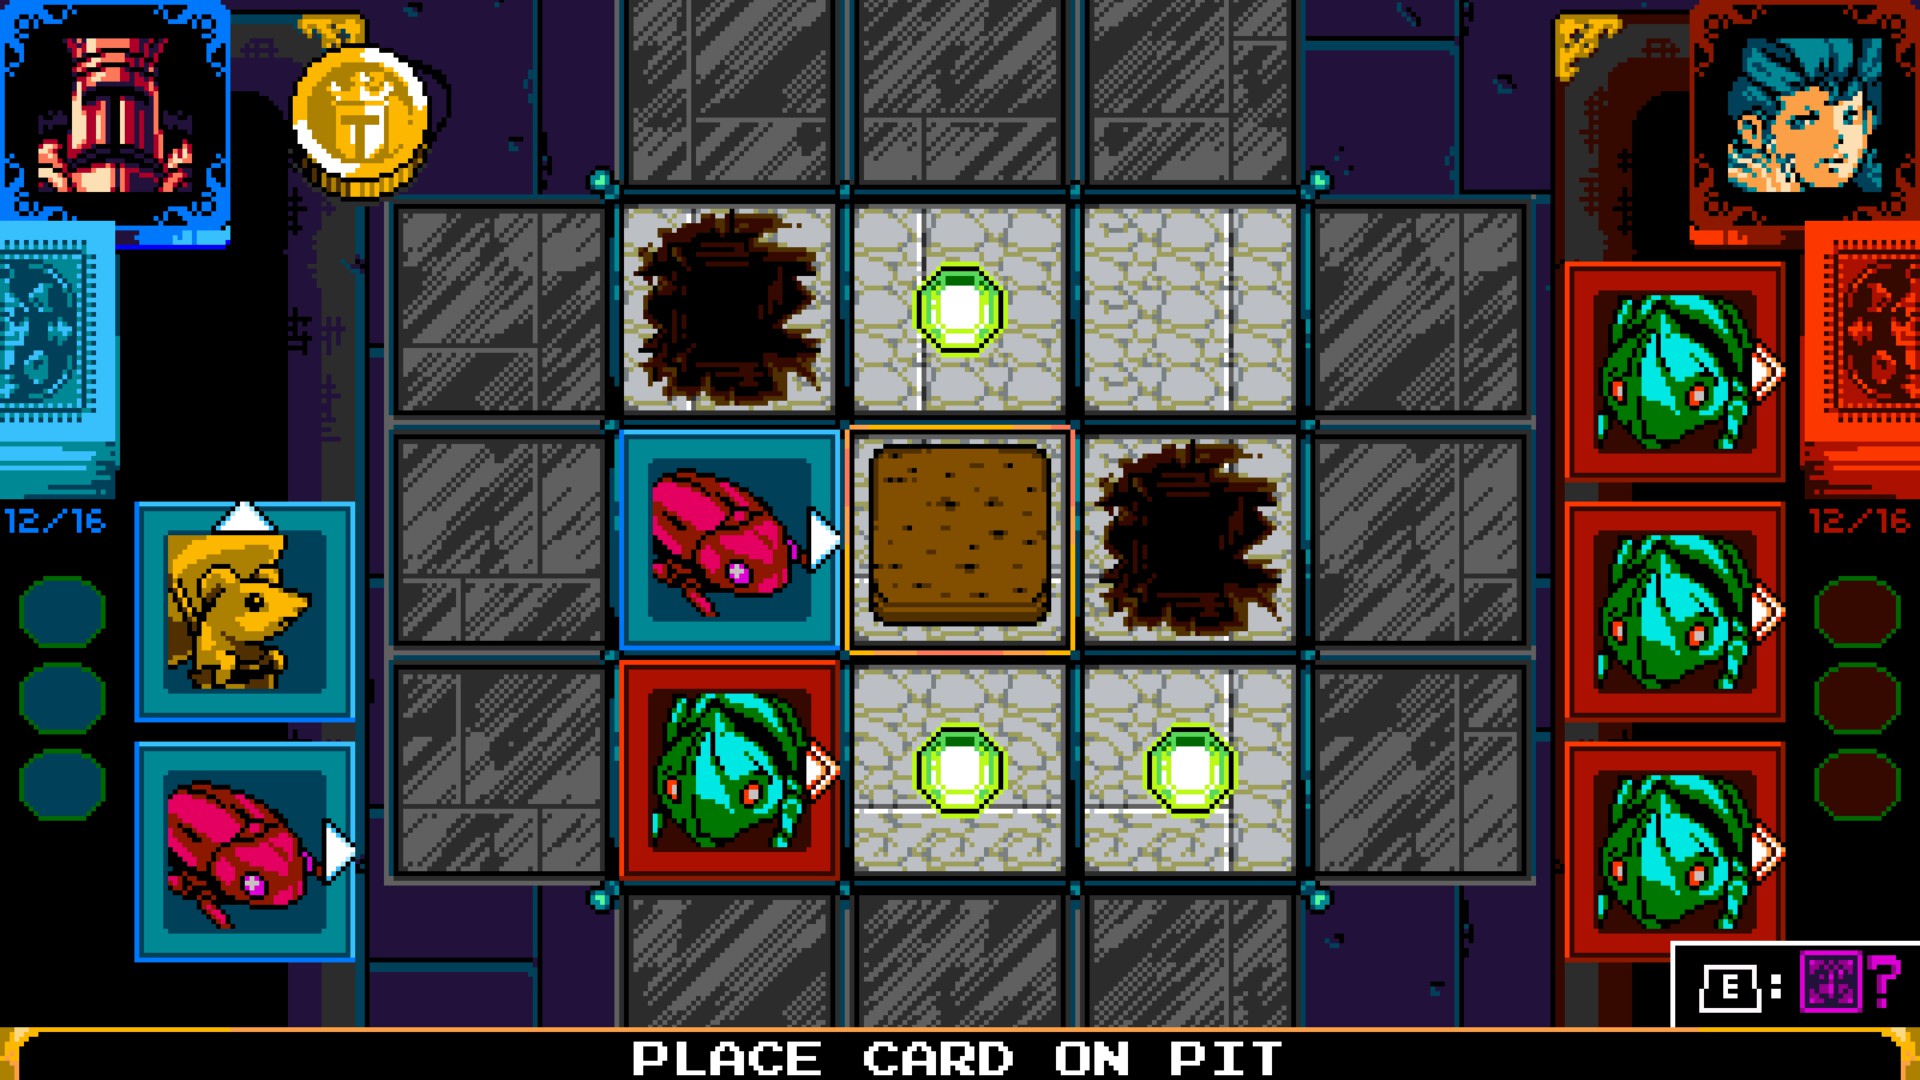

When you challenge Leo, you will be introduced to yet another Table Gimmick. Pitfalls.
Basically, you push a card down a pit, that card goes back to the deck.
Then the hole gets covered up and acts as a regular Card spot.
You can also place cards in Pitfalls like you could on any regular Card spot to purposedly cover up the Pitfall.
Now go up the stairs and...
You see those three good bois on the floor? Don't pay attention to them just yet. You can't pet them, sadly. (Please YCG, let us pet the speen doggos.)
Toader and Croaker teamed up to bring you three final puzzles.
These puzzles introduce two new card mechanics. Conveyor Arrows and Cascade Cards.
Conveyor Arrows work exactly like Double Arrows, with the added effect of moving on its own to the direction of that arrow every turn. So you might want to be careful when playing those, as they might push your cards out of gems or push themselves into Grave Zones without even realizing it.
Cascade Cards basically flip cards to your side, or your opponent's side. So if you can't get rid of a card that is in straight course to a gem without a way to send it to another direction, use a Cascade Card and flip it. It's basically a nerfed Gem Thief cheat. Again, this could play against you if an opponent decides to push your Cascade Card towards another card of yours, flipping it into an opponent card.
Here is the solutions, you... unroyal cheater!!
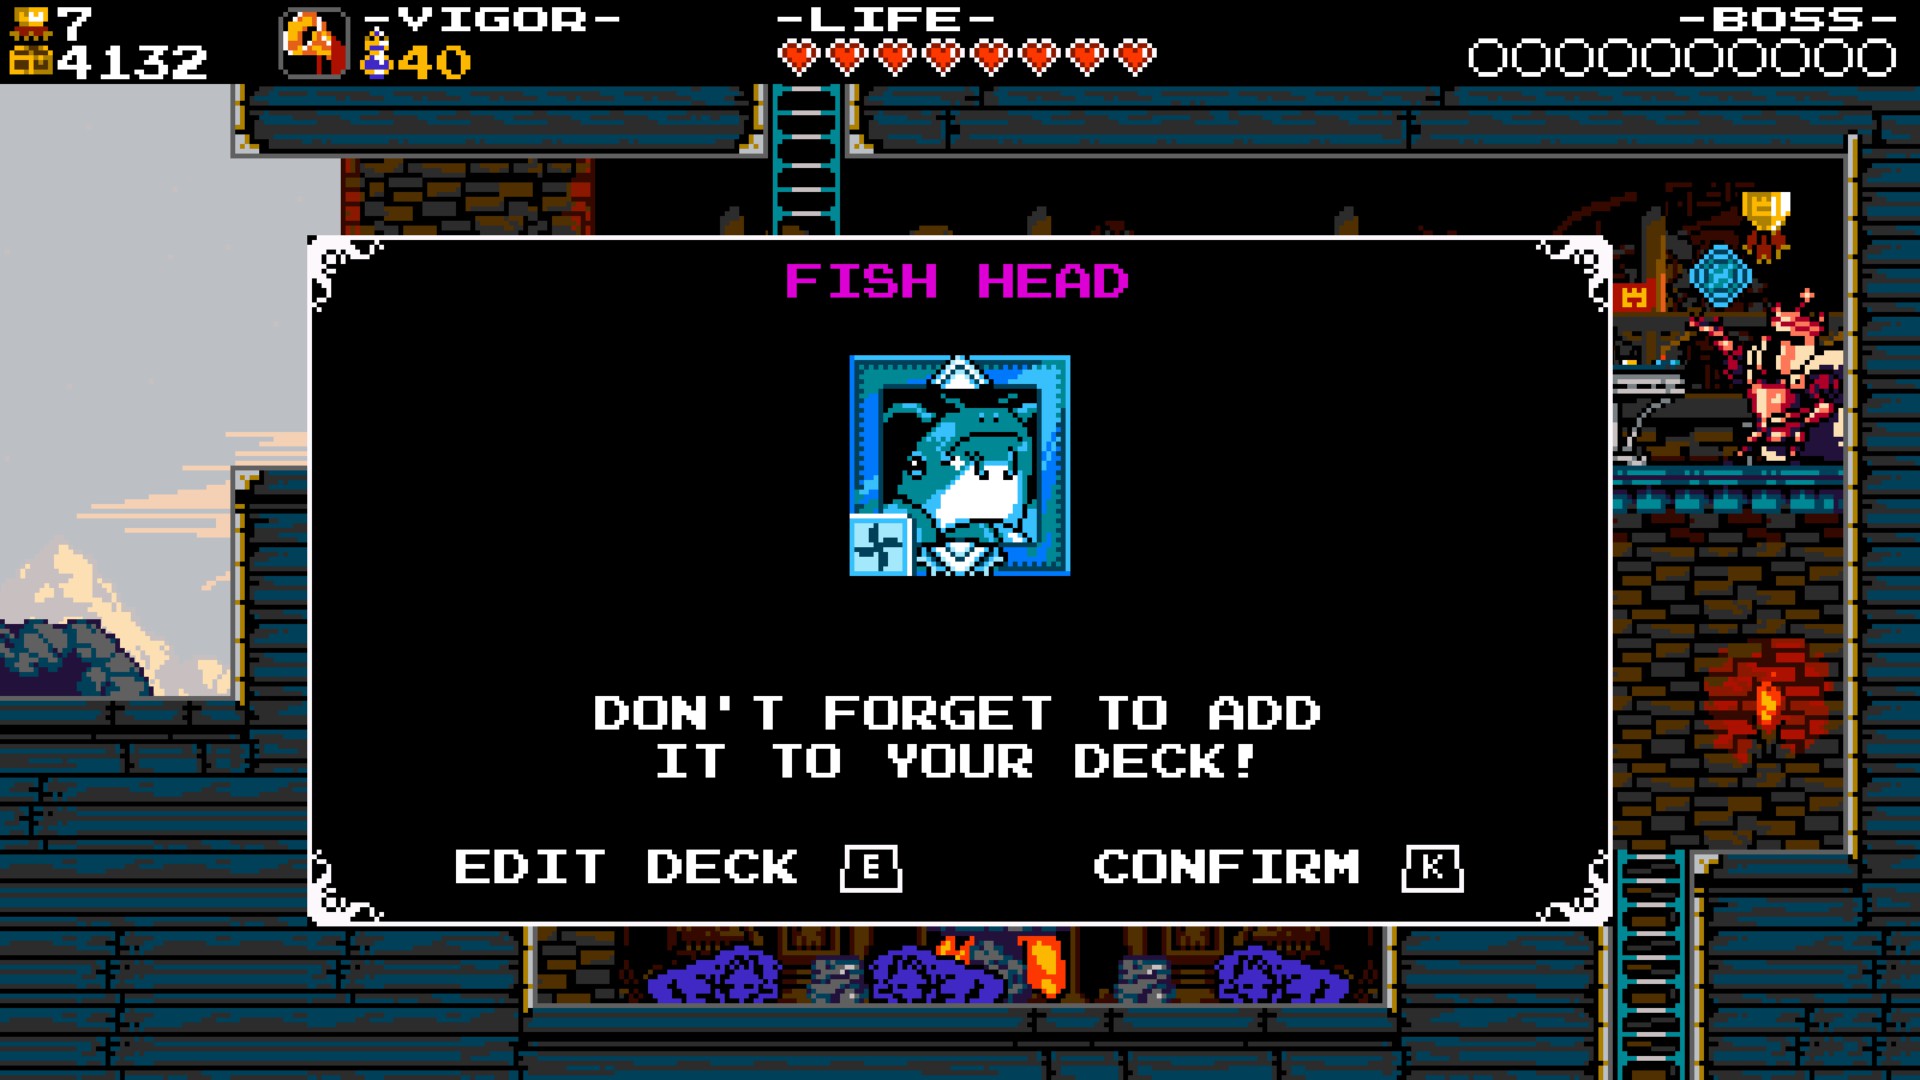
You will be given ????'s Card, a two-way Double Arrow/Conveyor Arrow Cascade Card.
(Please YCG, give us the Dragonarmor Card too, and with better Arrows, pls!)
Go up the stairs.
----------------------------------------------------------------------------------------------------------------------------------------
THIS IS OPTIONAL, IF YOU ARE GOING FOR THE NAKED KING ACHIEVEMENT, IGNORE THIS PART
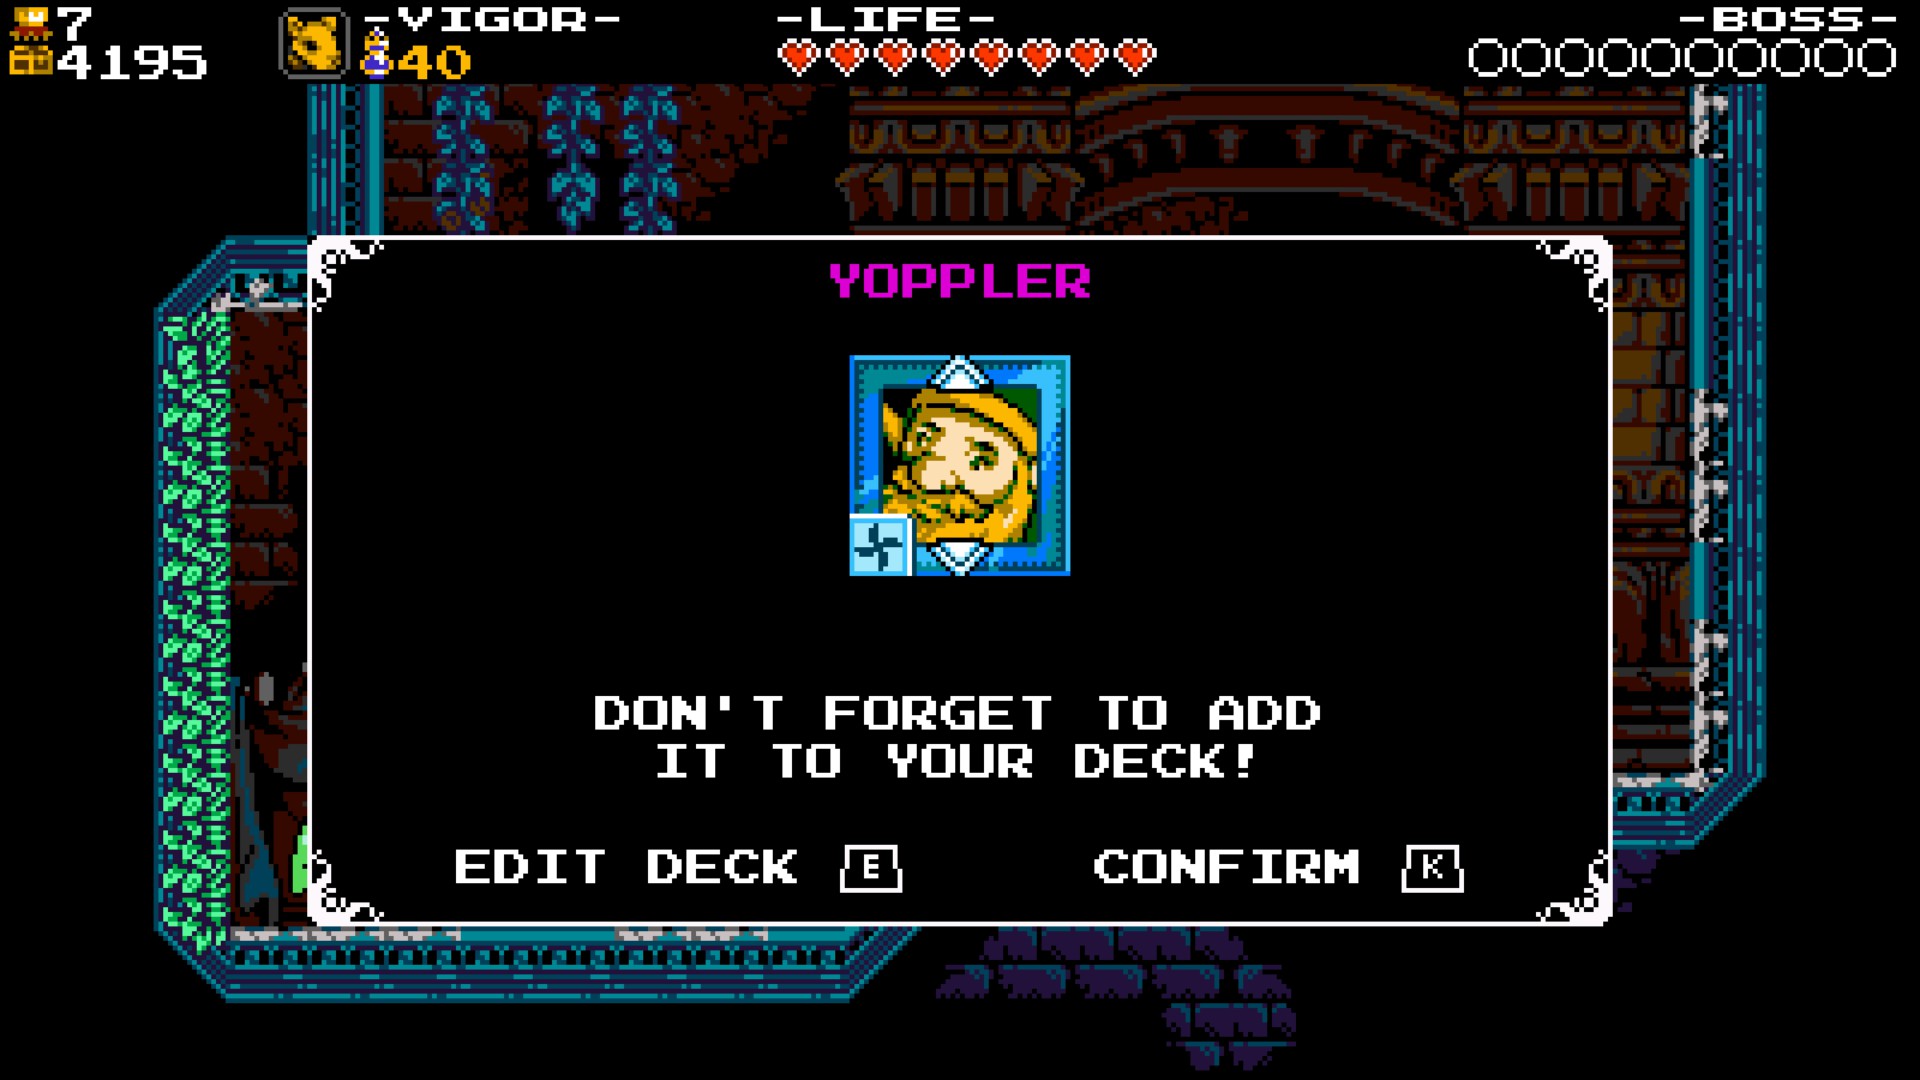
Remember the Horns of Heralding from earlier? Well, this guy wants to have a Duet. So why not help him with that?
Oh look! A tornado just formed into Yoppler's horn. Let's spin jump inside of it and go into his-
Oh... That's just nasty...
Anyways, open the chest and you will get Yoppler's Cascade Card. Yes, 5,000 Gold to get drunk for a two-way Double Arrow Cascade Card and a King Knight covered in monster snot. Worth it.
Words to live by.
Play the Horns again and go back.
----------------------------------------------------------------------------------------------------------------------------------------
Play against the Cogslotter and the Hover Meanie. They have ok cards. So i recommend getting them if you can.
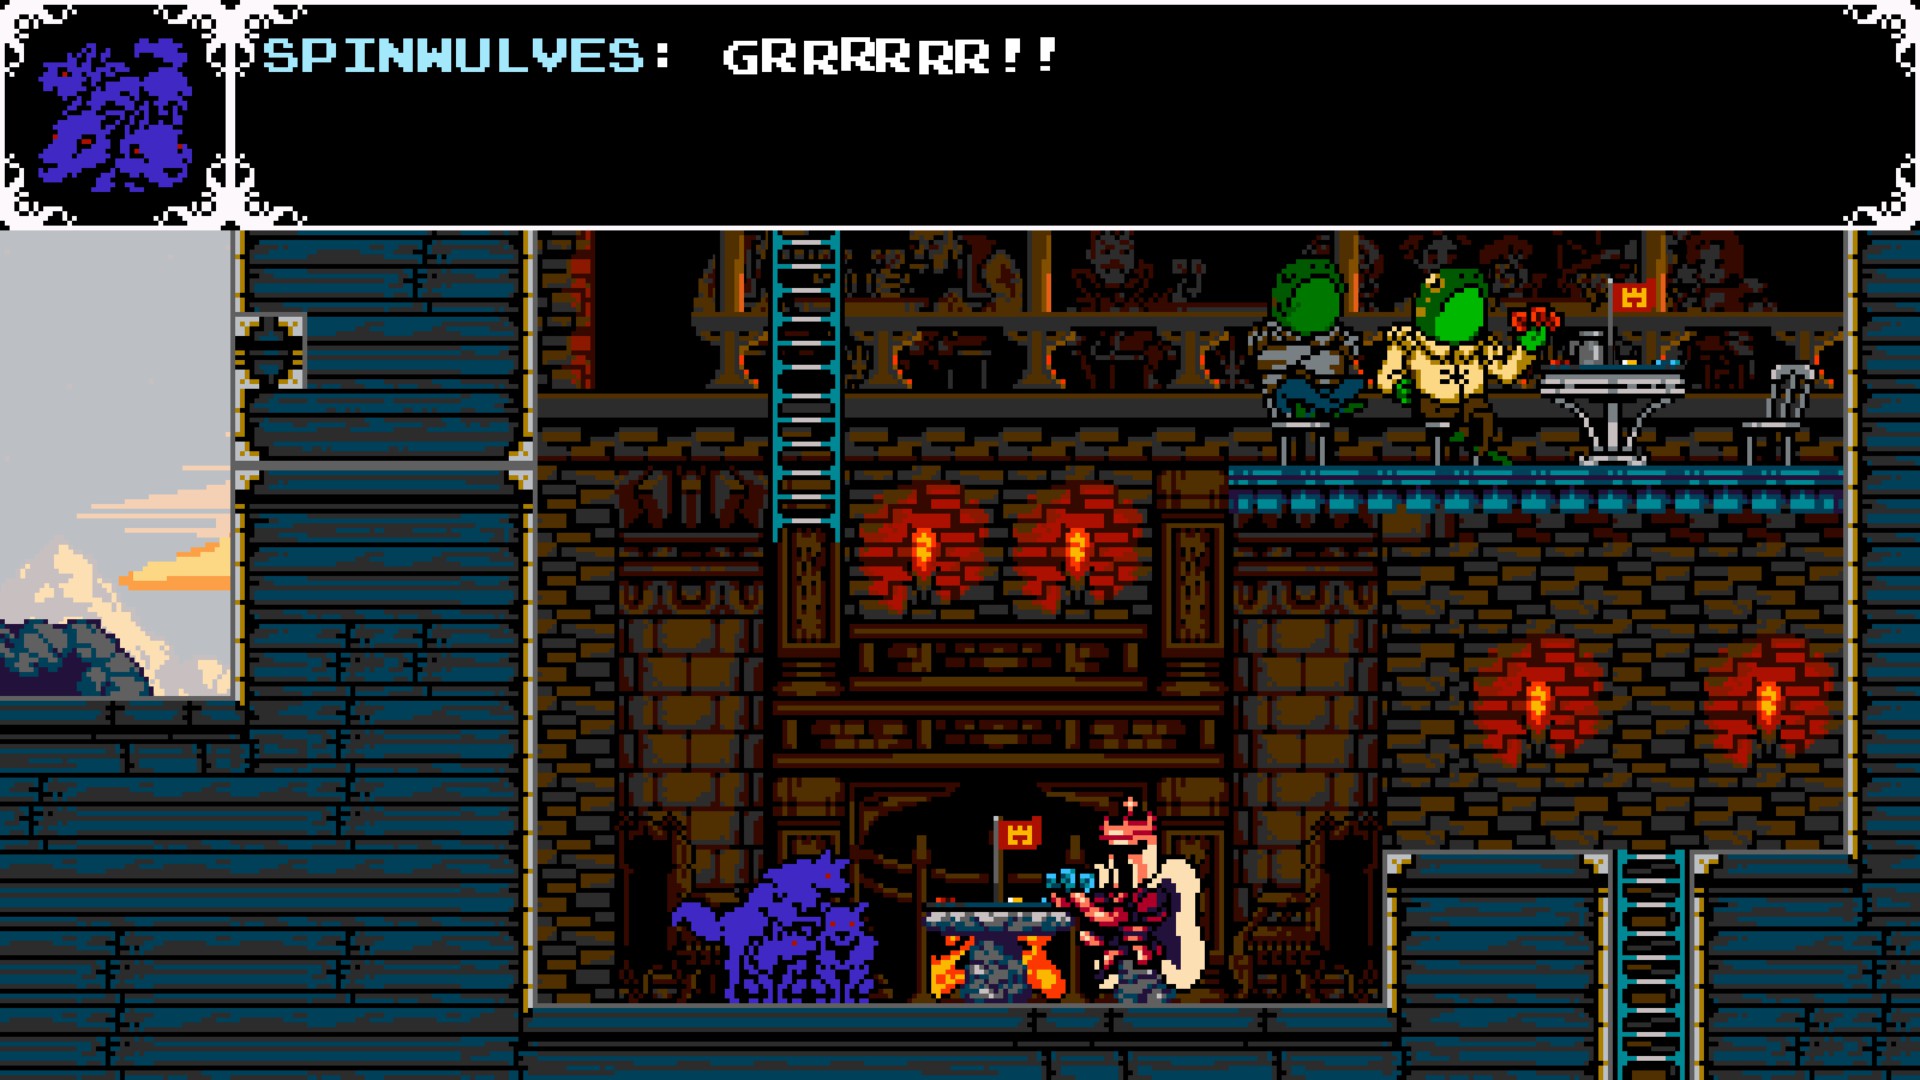
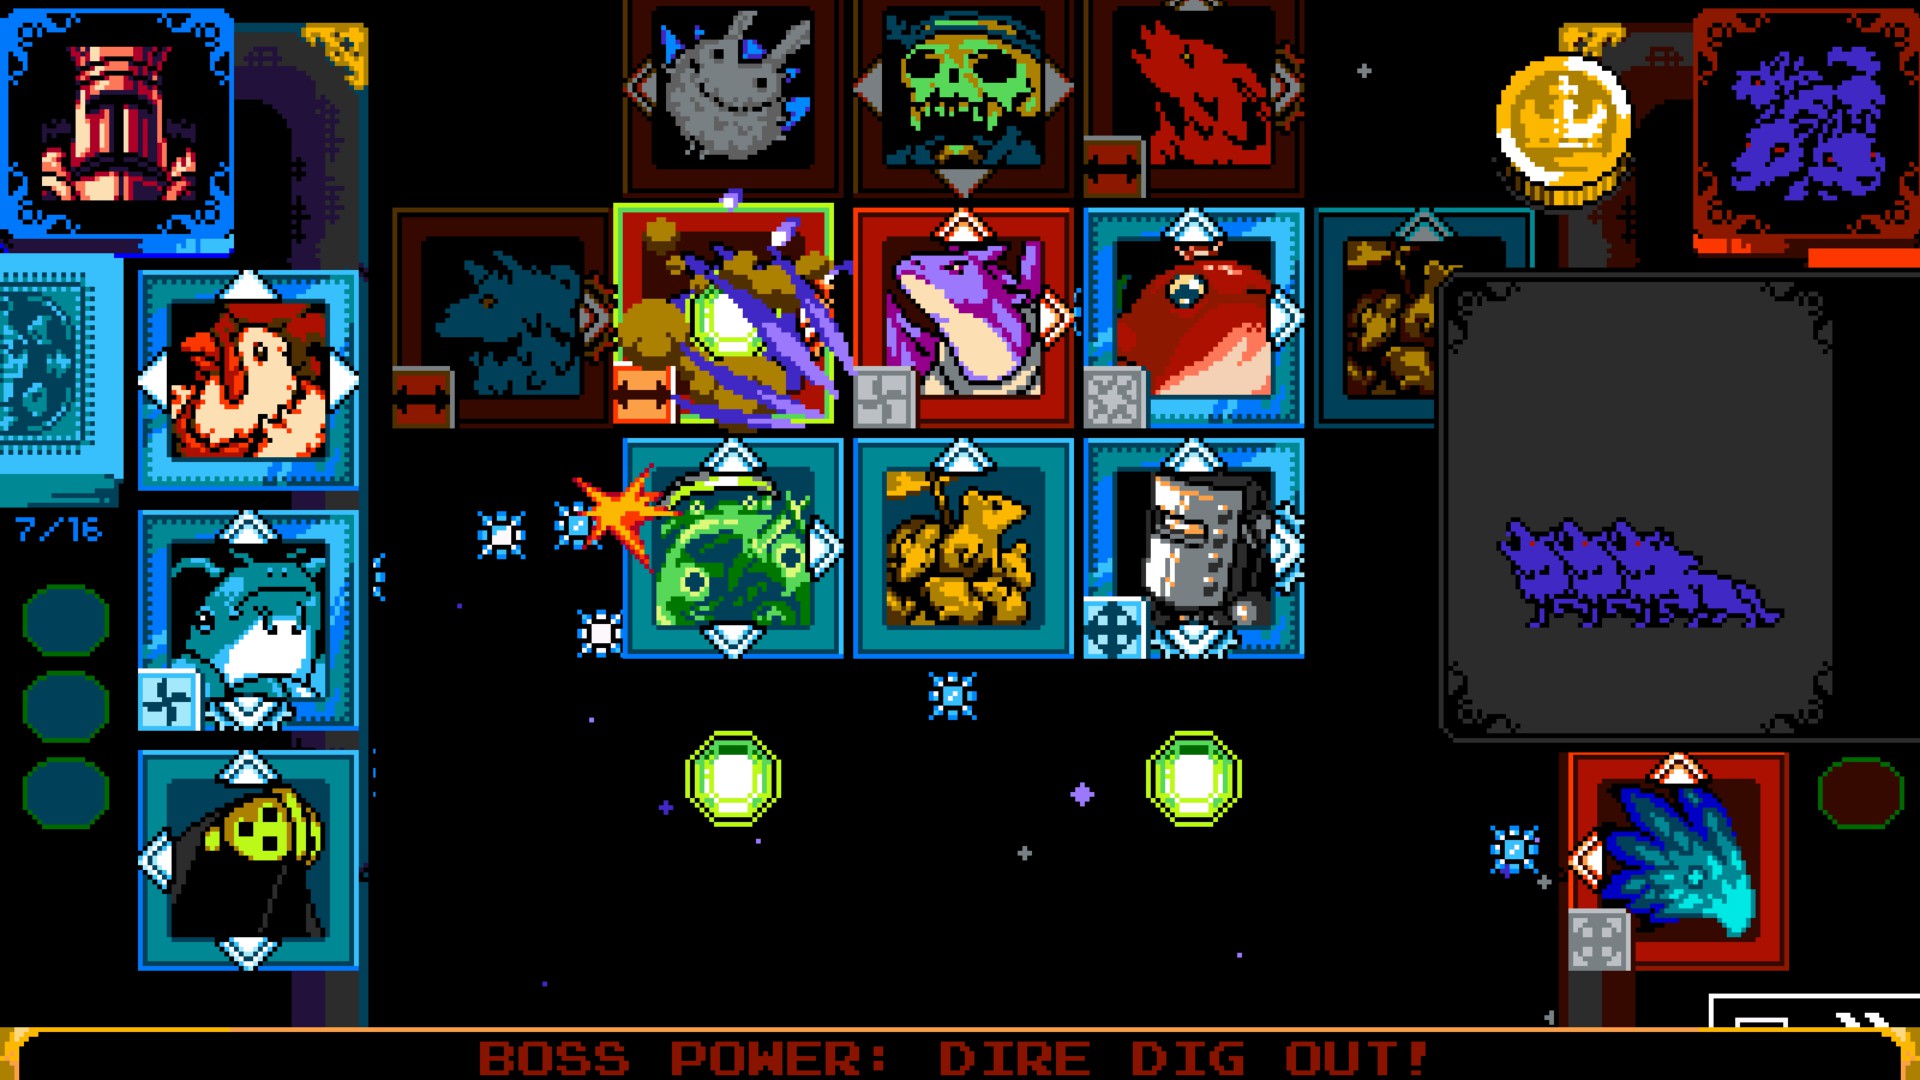
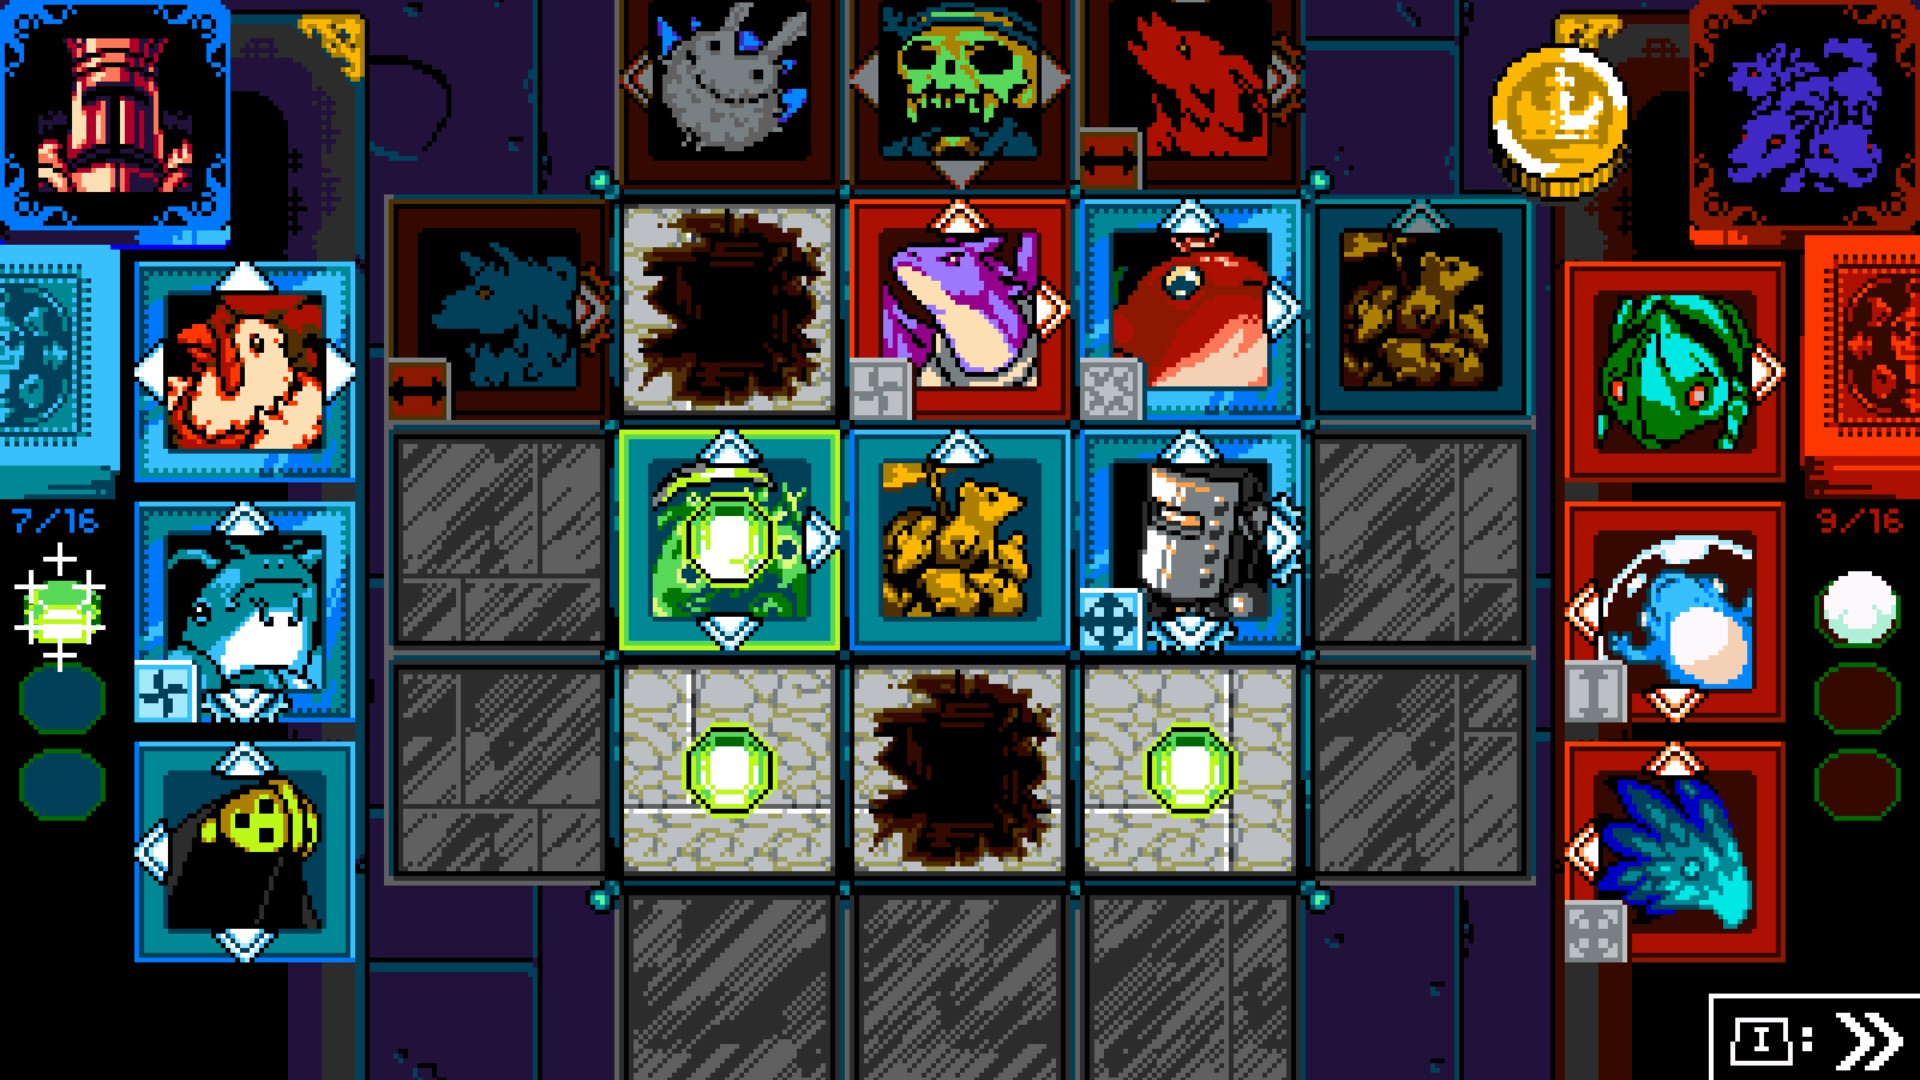
Now challenge the good bois.
The Spinwulves have the Boss Power: Dire Dig Out! Basically digs out any card spot where a gem is and the gem lands somewhere else, even on top of other cards. Also, the spot that is dug becomes a Pitfall.
A strategy is to just push enemy cards into Gems once you see puffs of dust on a Gem Spot, and place your cards into puffs of dust without Gems, so when the Boss Power takes effect, the gems will land on top of your cards.
Other than that, the Spinwulves are pretty easy to deal with.
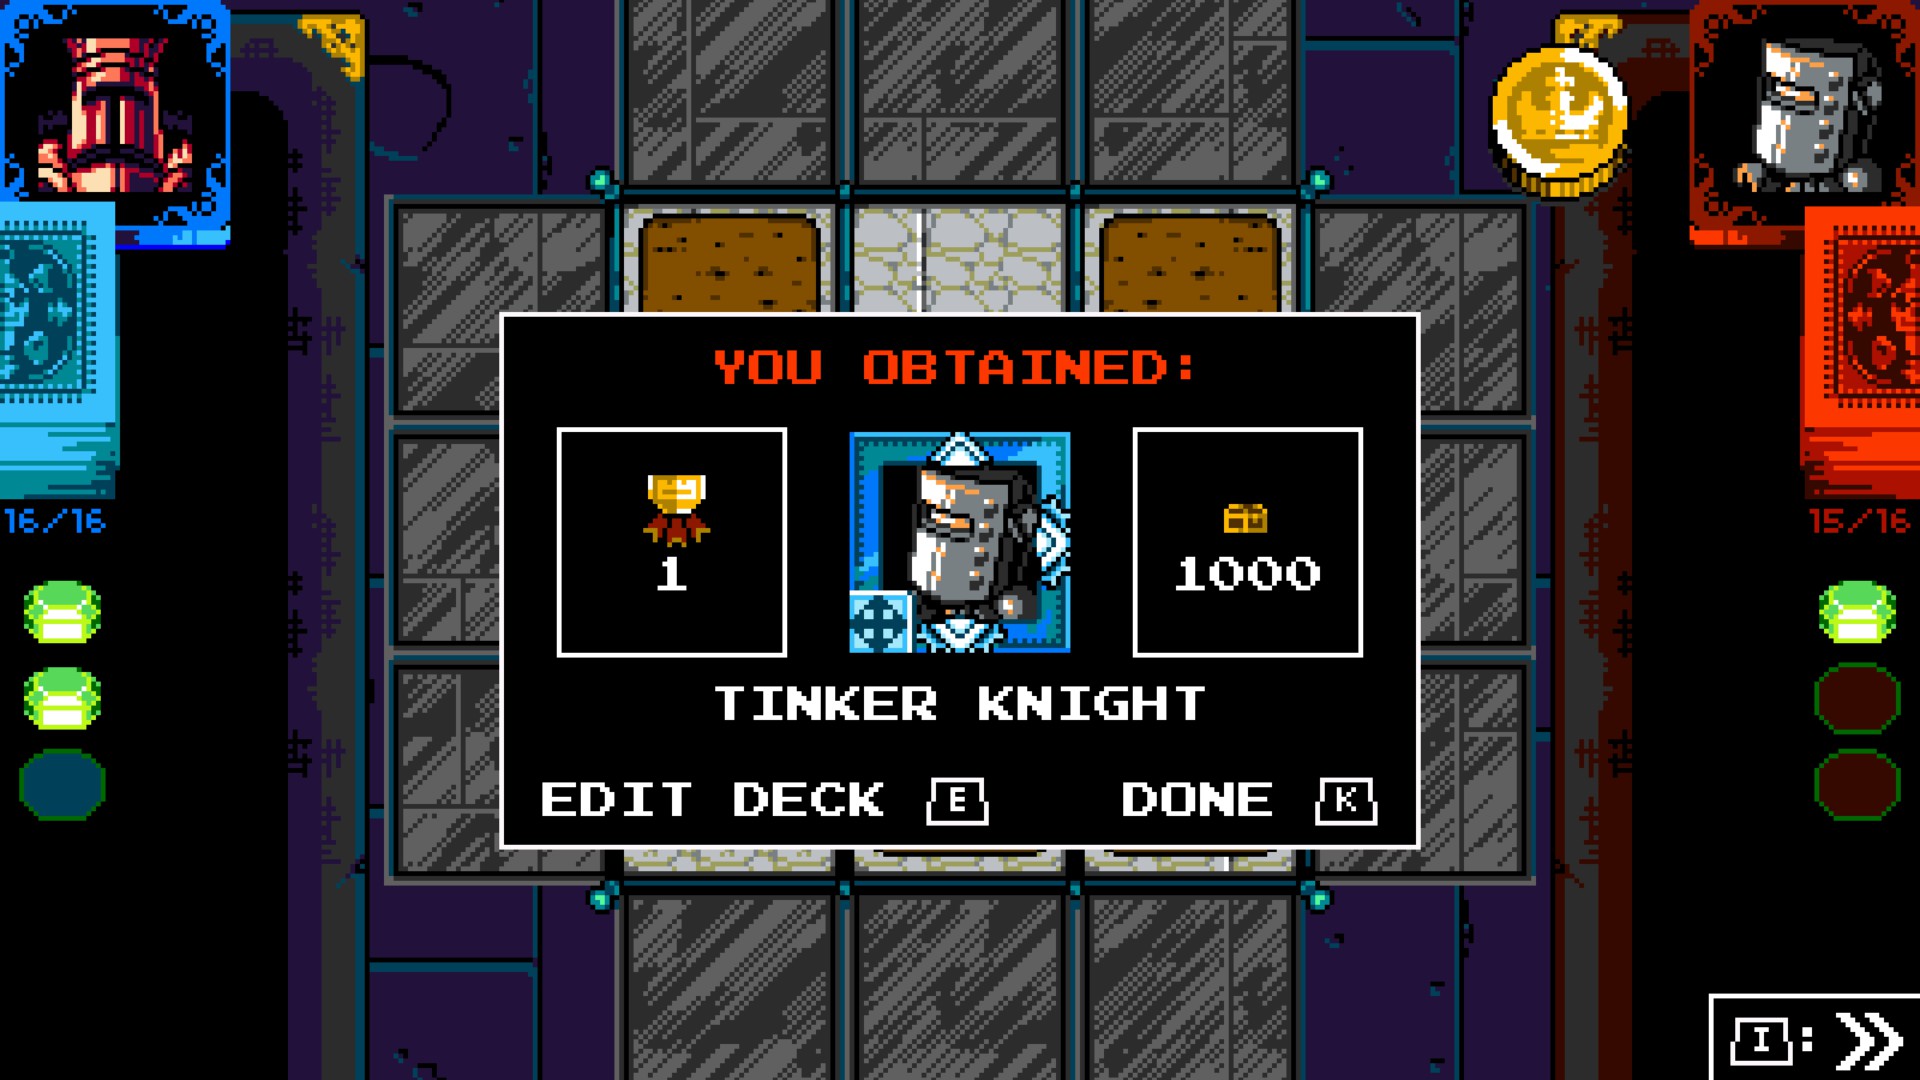
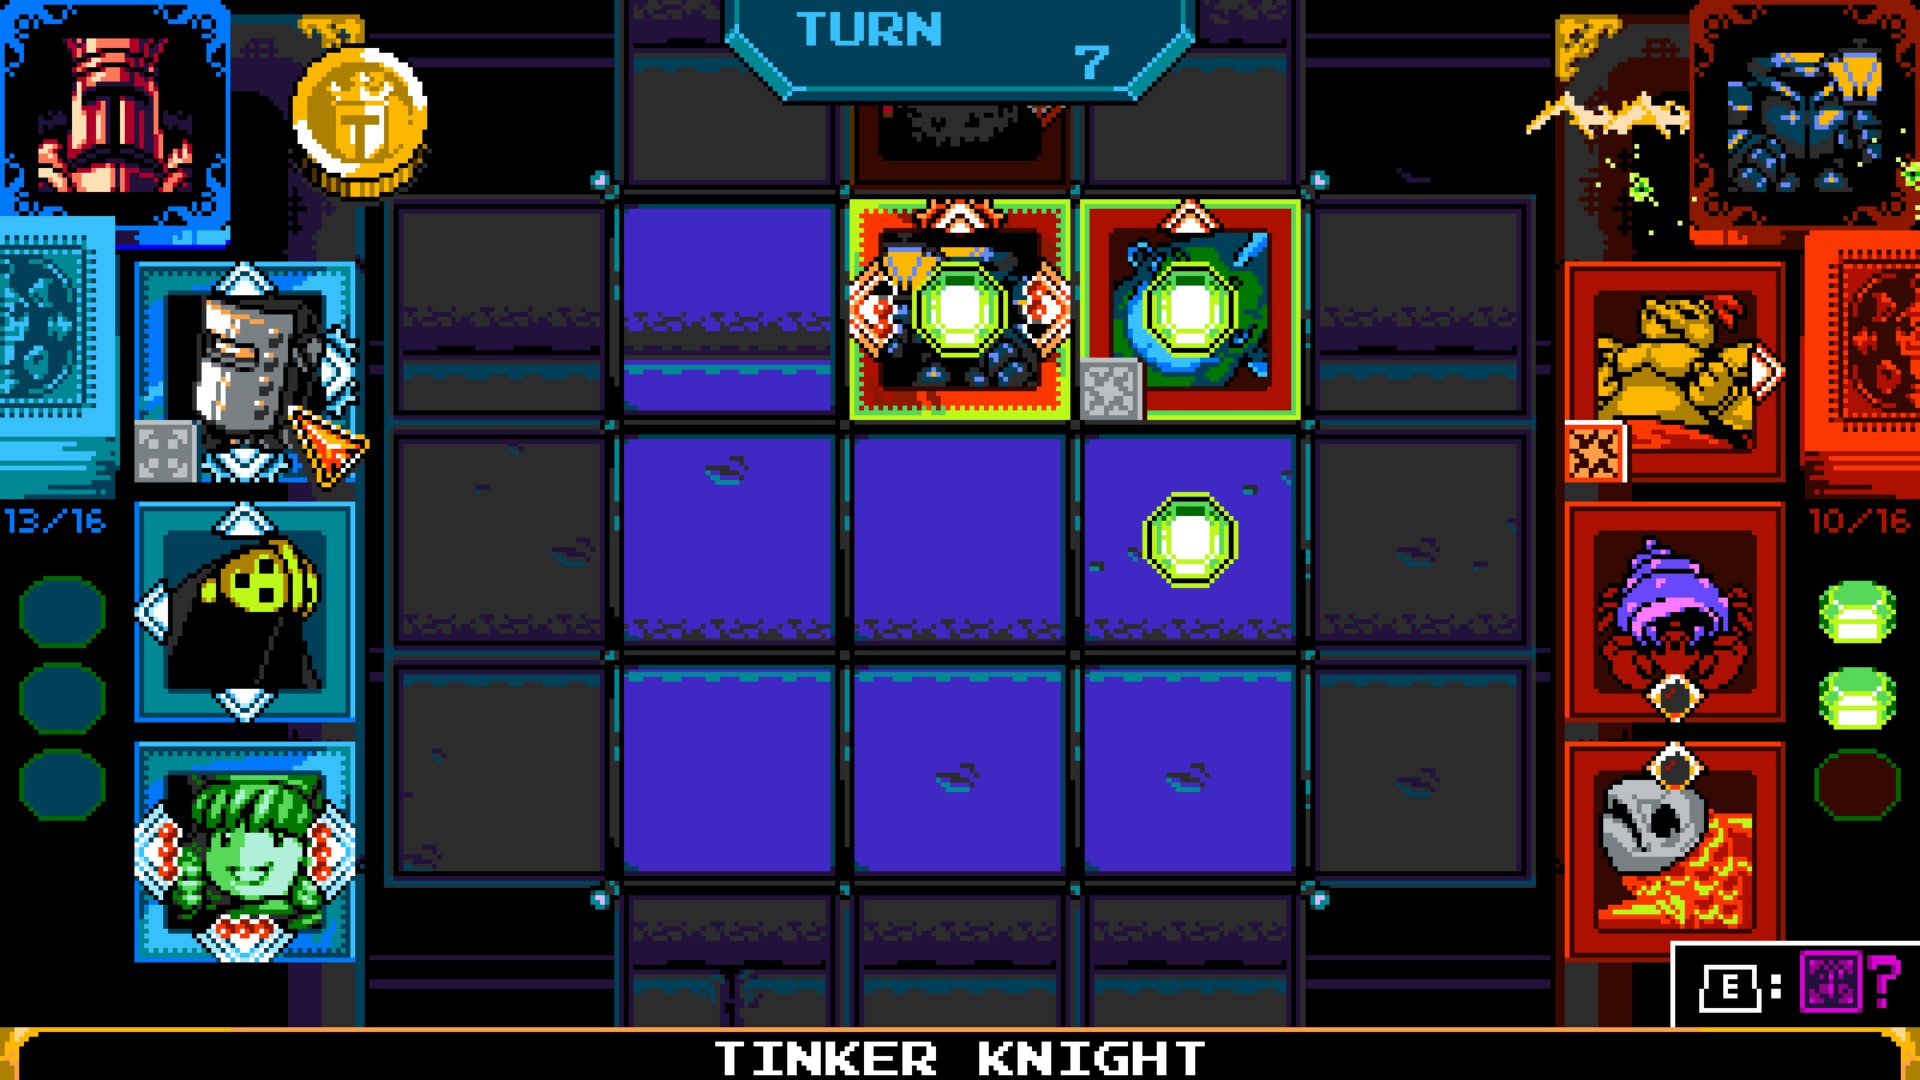
You might have noticed that i have Tinker Knight's Card.
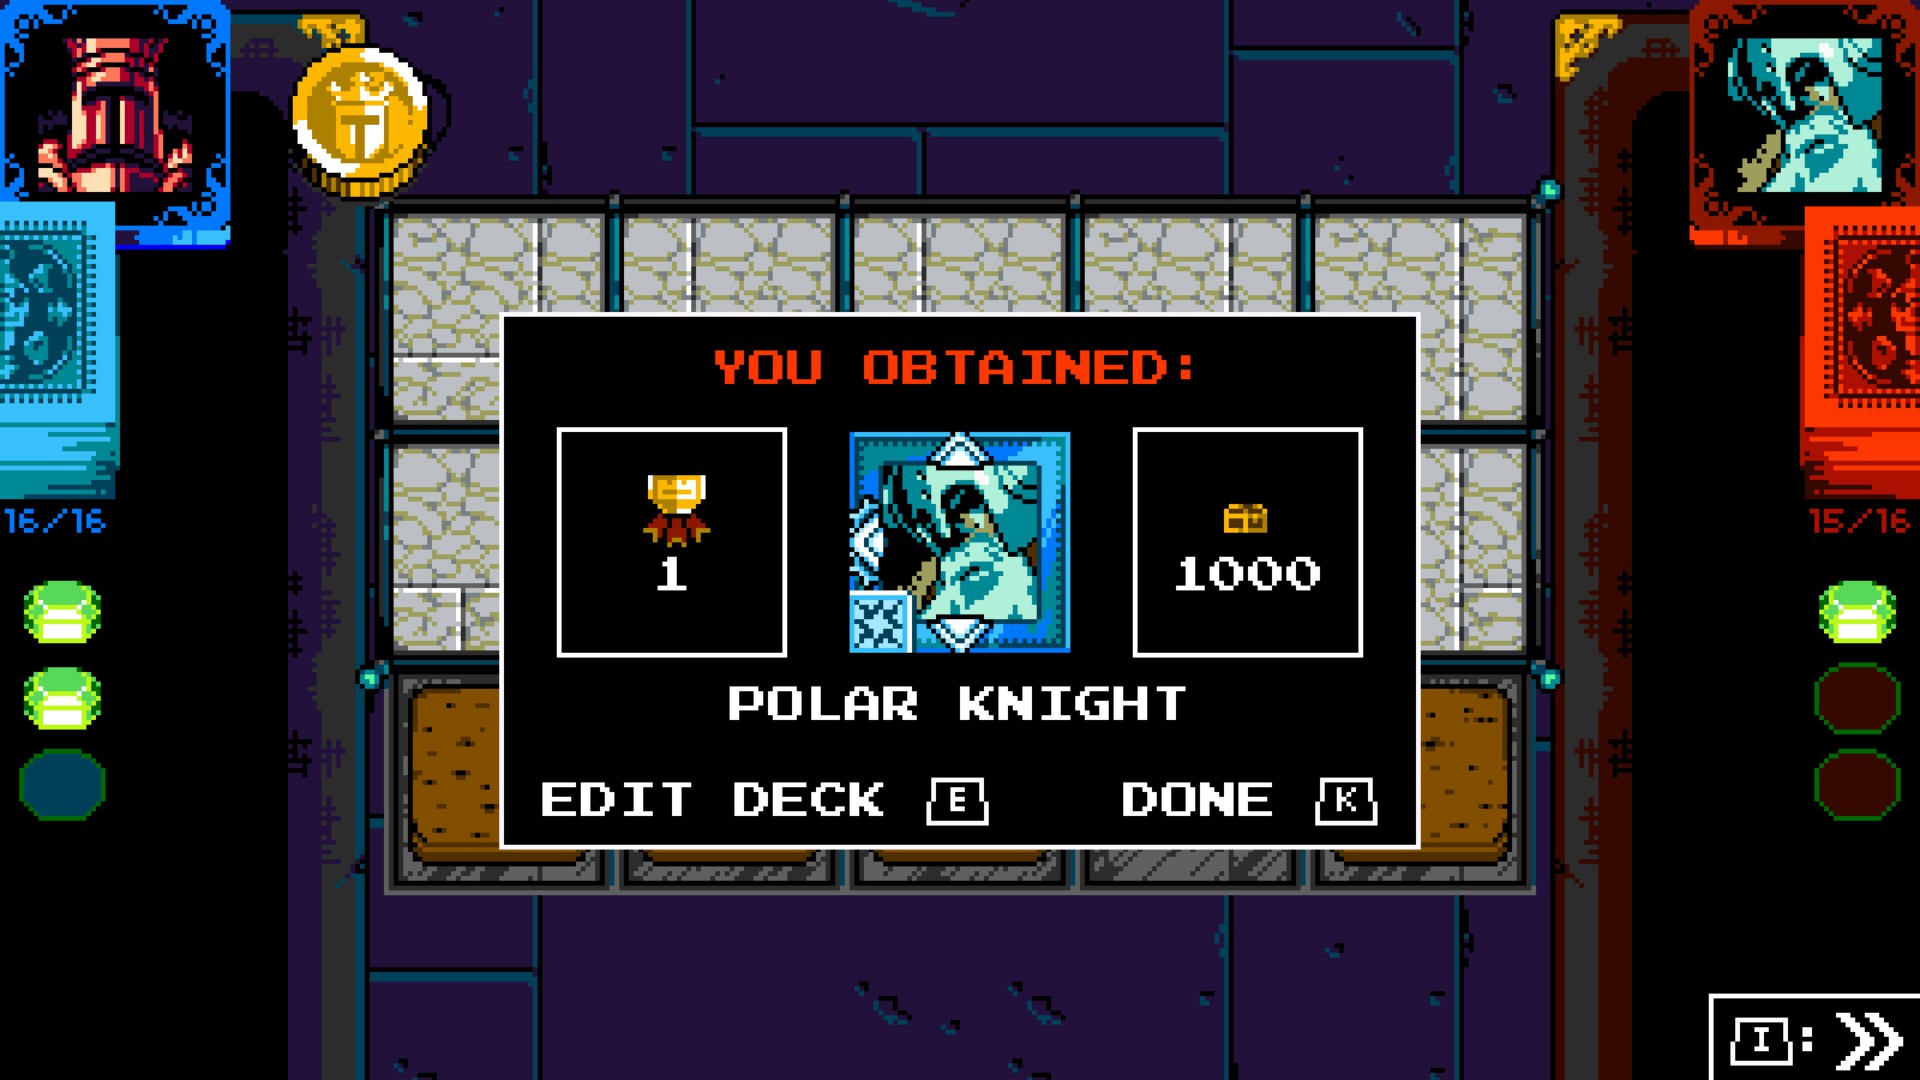
You can fight him and play Joustus with him to get his card. In order to get a card from a specific boss Knight, you have to beat every level related to that boss. Then, that knight will show up in the map, and you can just fight them and then play Joustus to get their cards. My personal recommendations are Tinker Knight and Polar Knight cards.
Sidenote: Despite being bosses in the other campaigns, they are not considered Bosses in this campaign, but rather Wanderers. So if you are attempting to get the Heirlooms Only! achievement, you have to beat one of the Joustus Kings with Heirlooms.
One more Joustus hut left!
Mr Hat, Mom And King Knight Cards
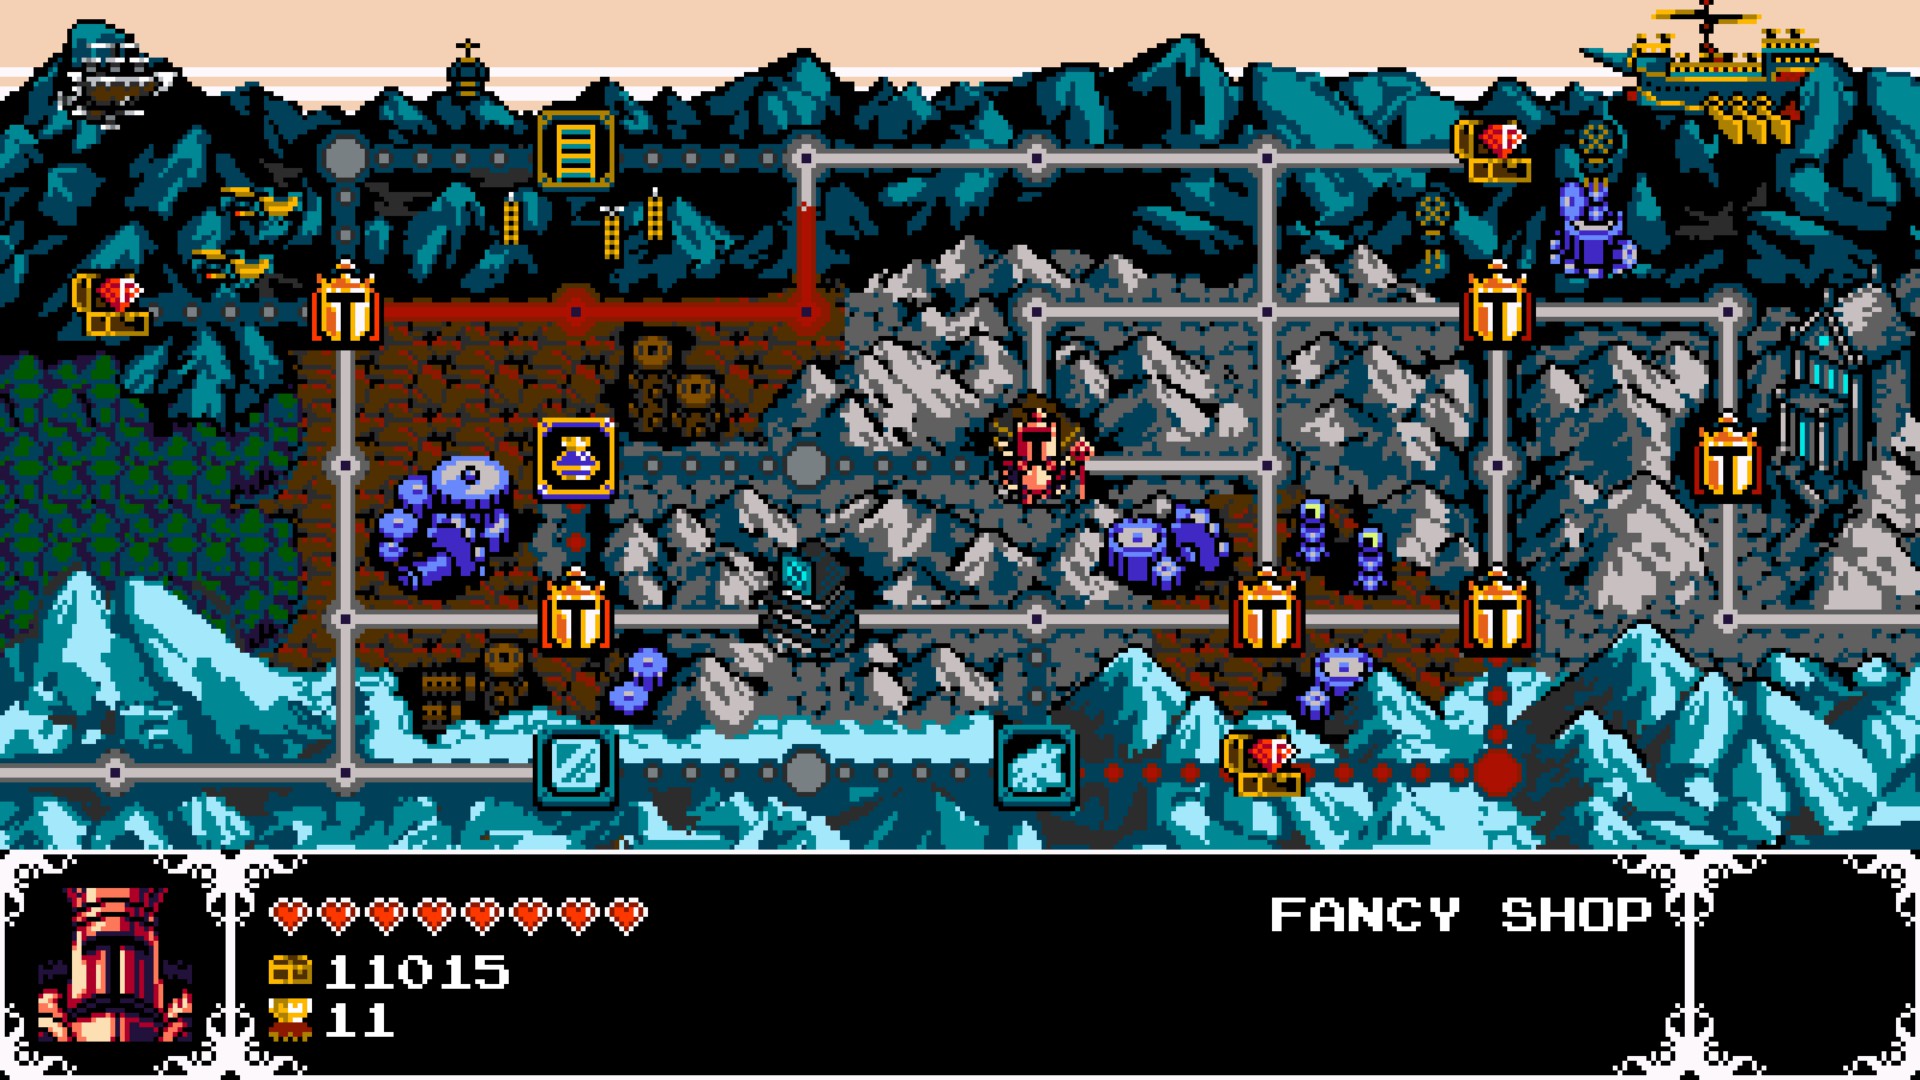
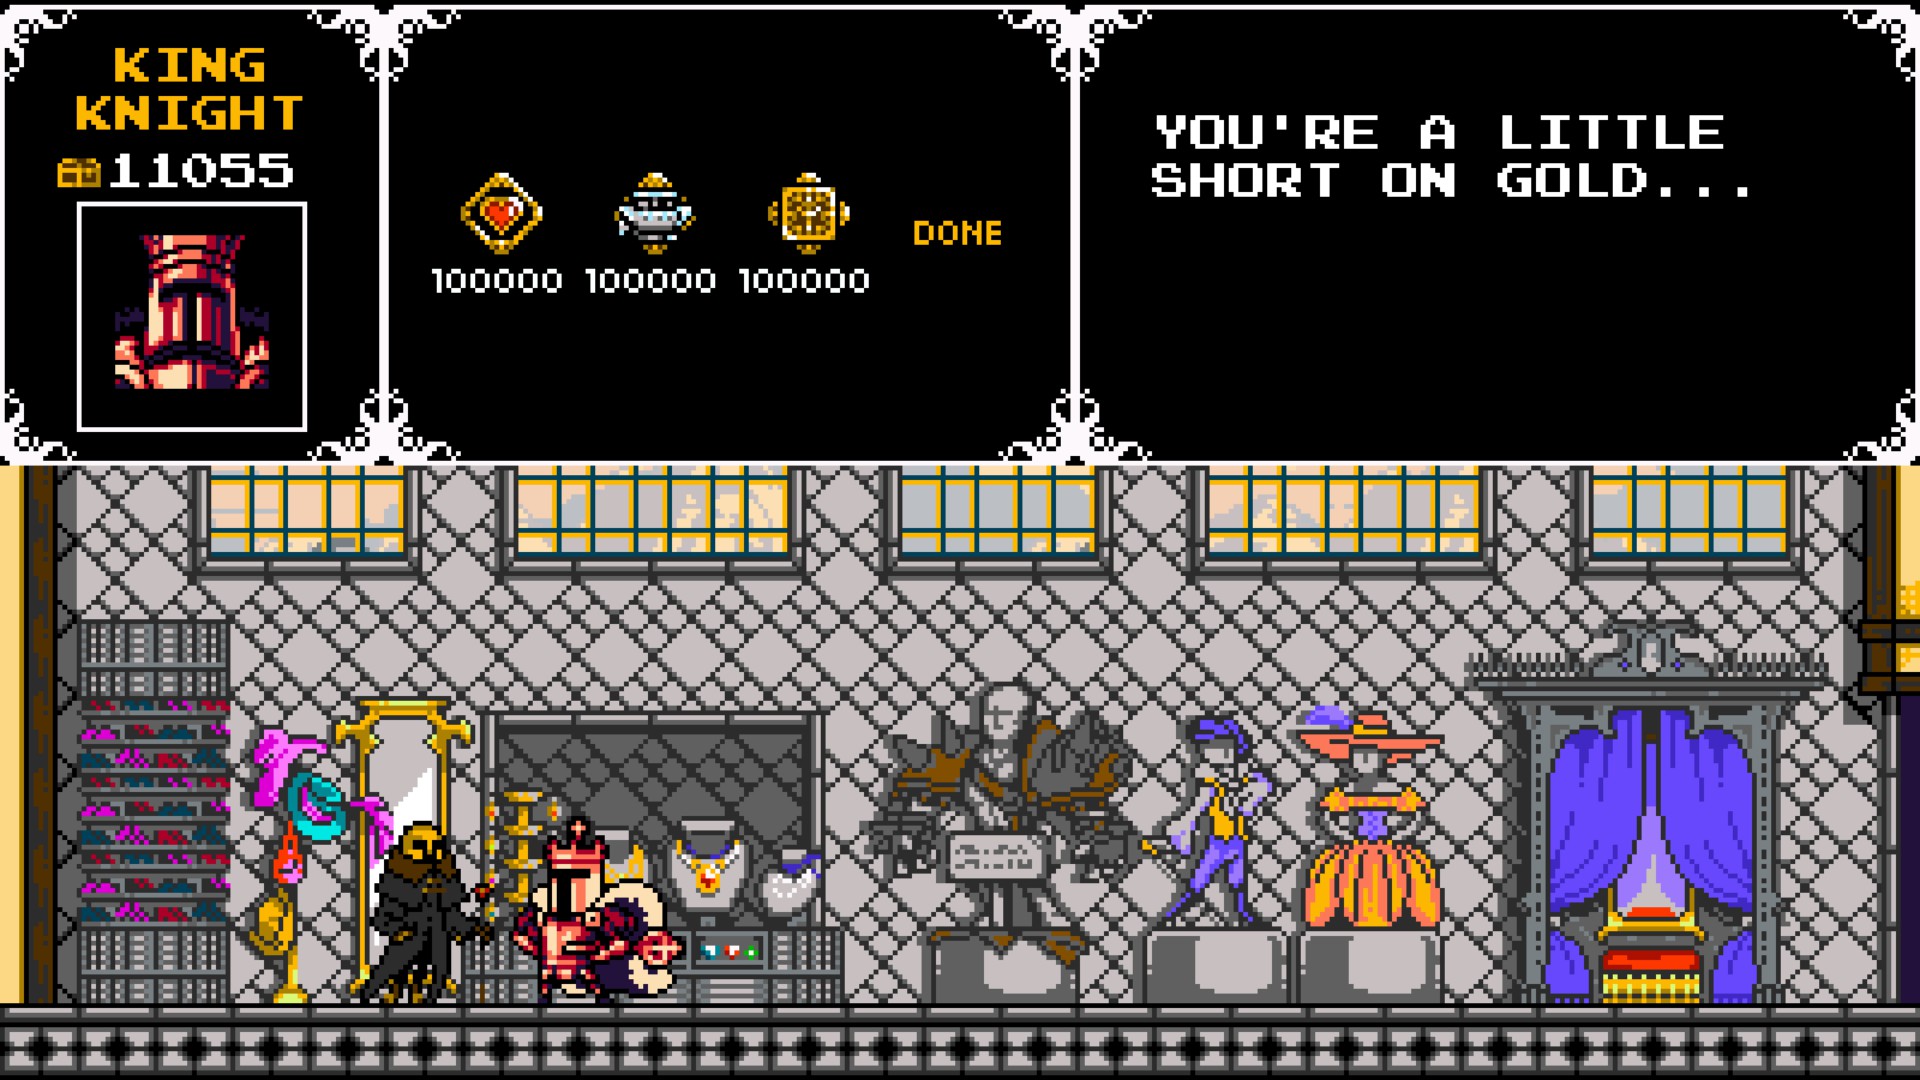


Head to the Fancy Shop and let's buy some sweet...
Yeah, no kidding... Let's just leave...
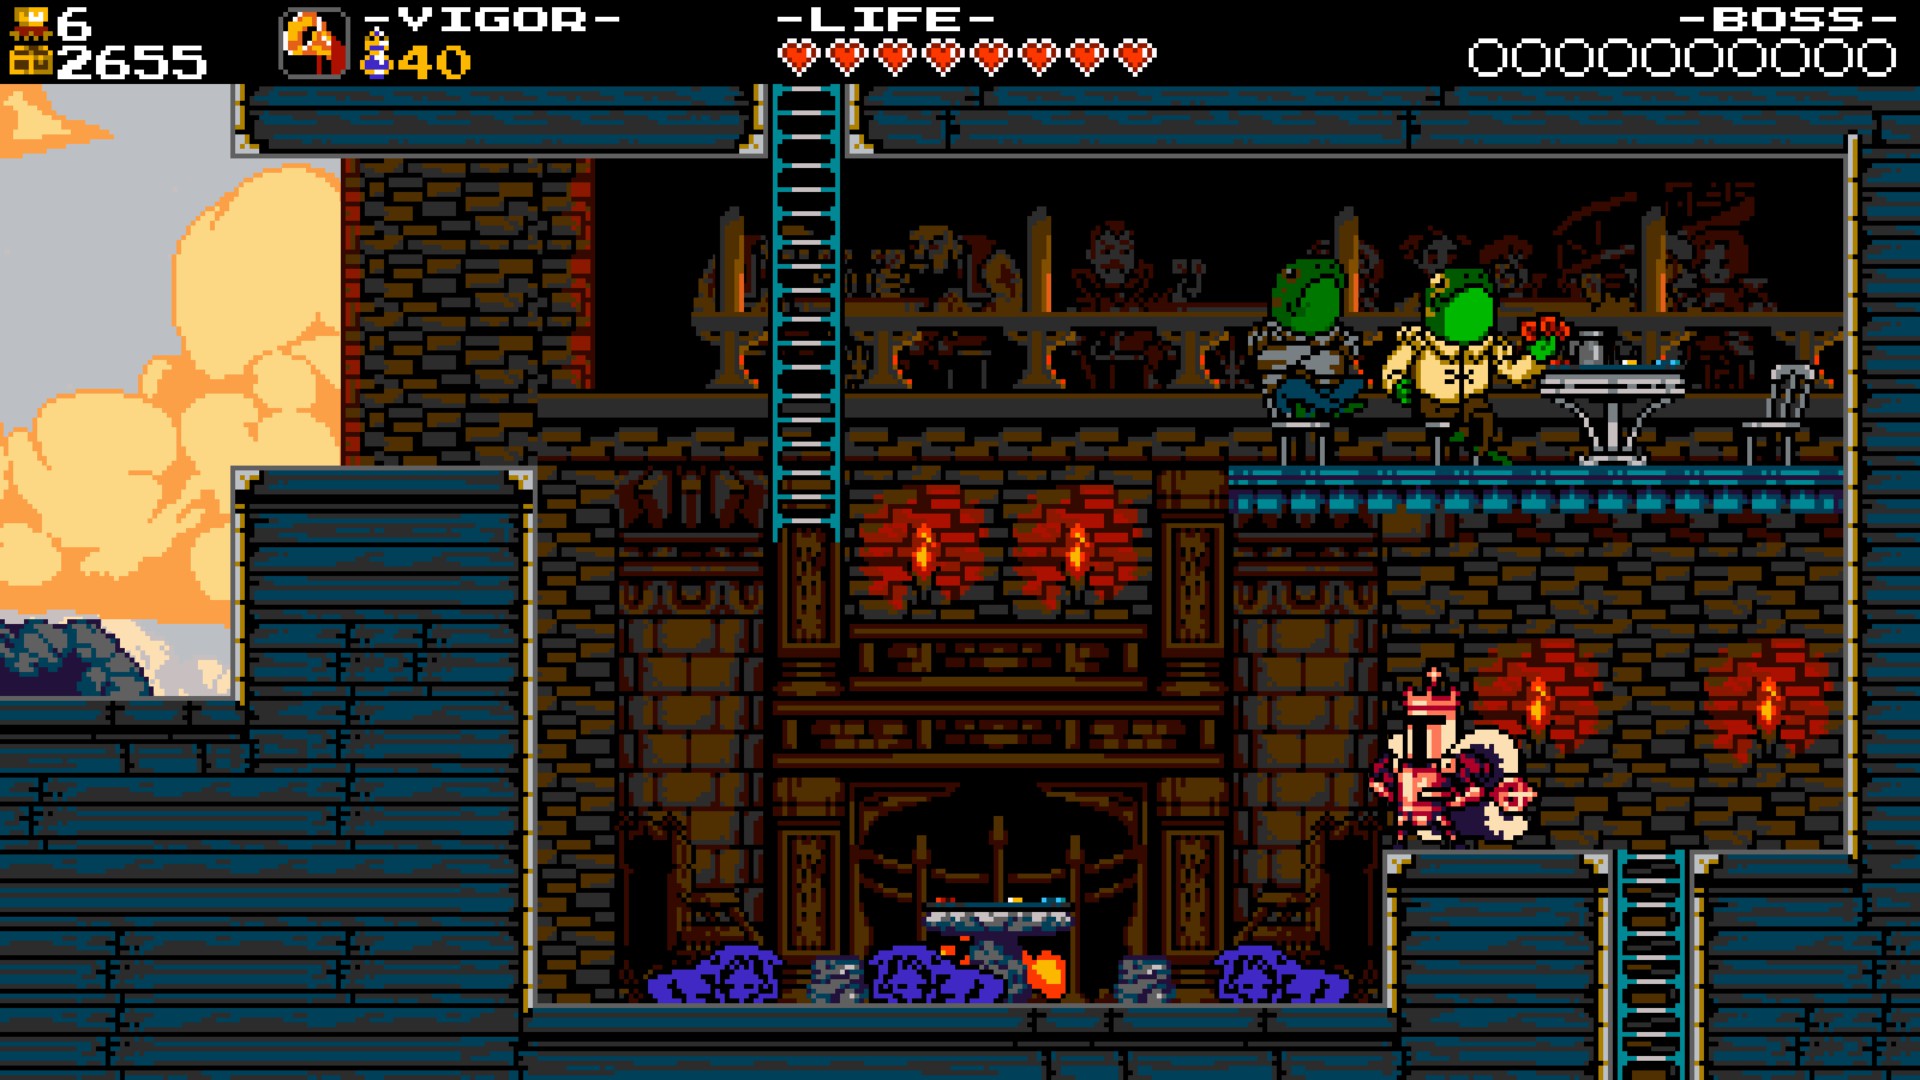
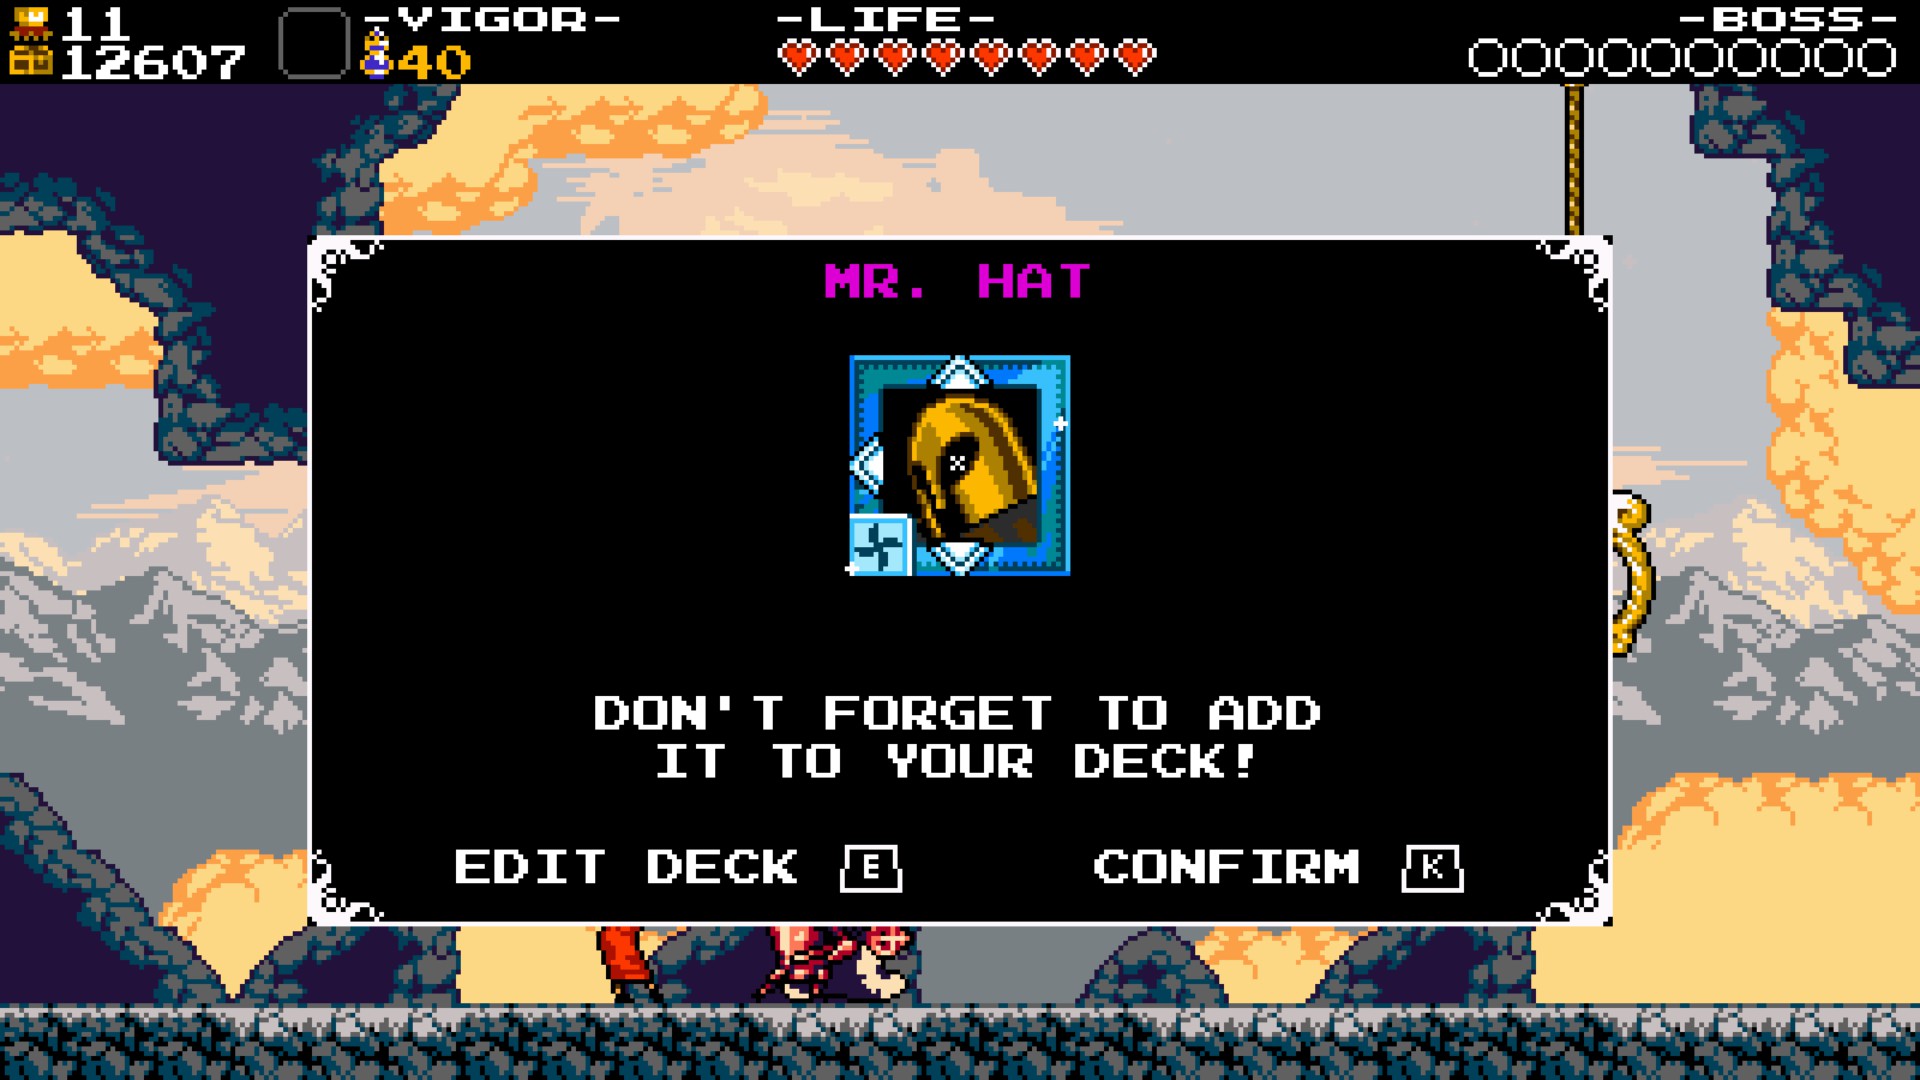
Well... crap, looks like we get to fight Mr. Hat.
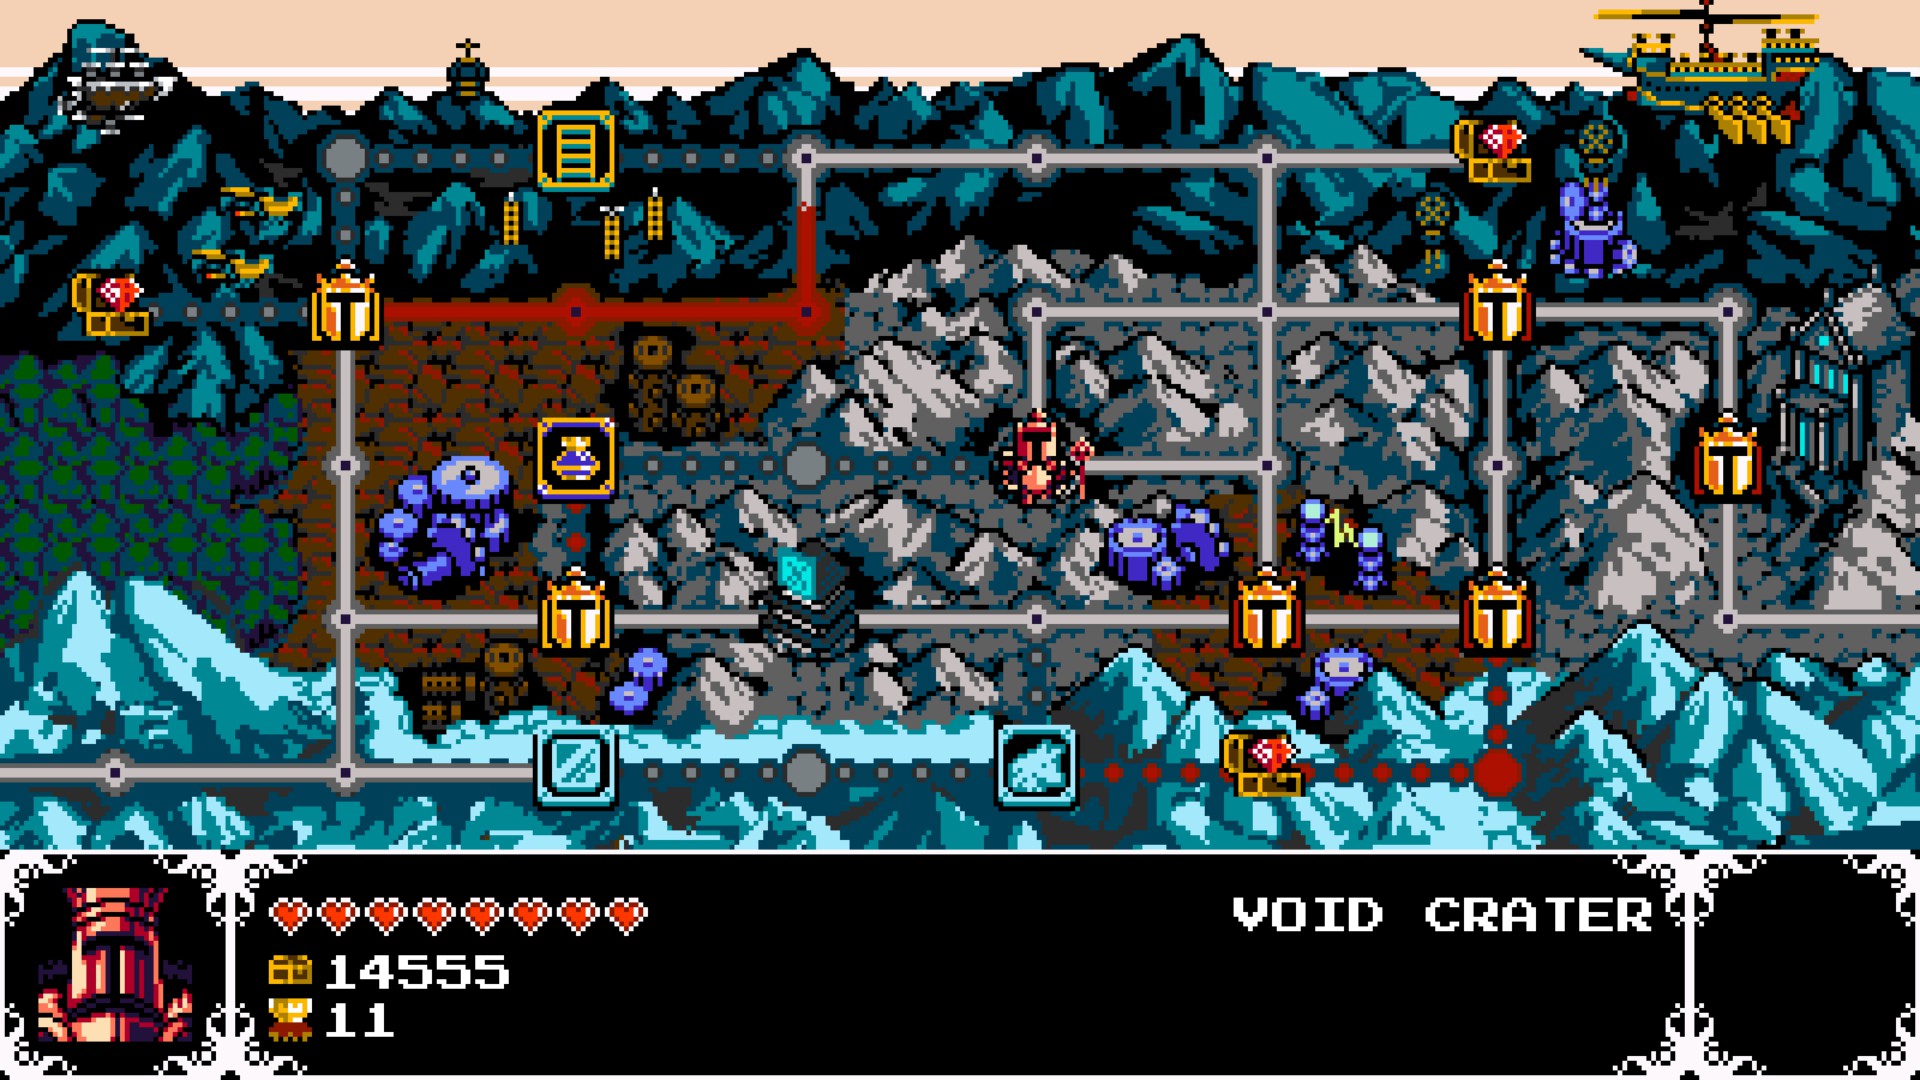
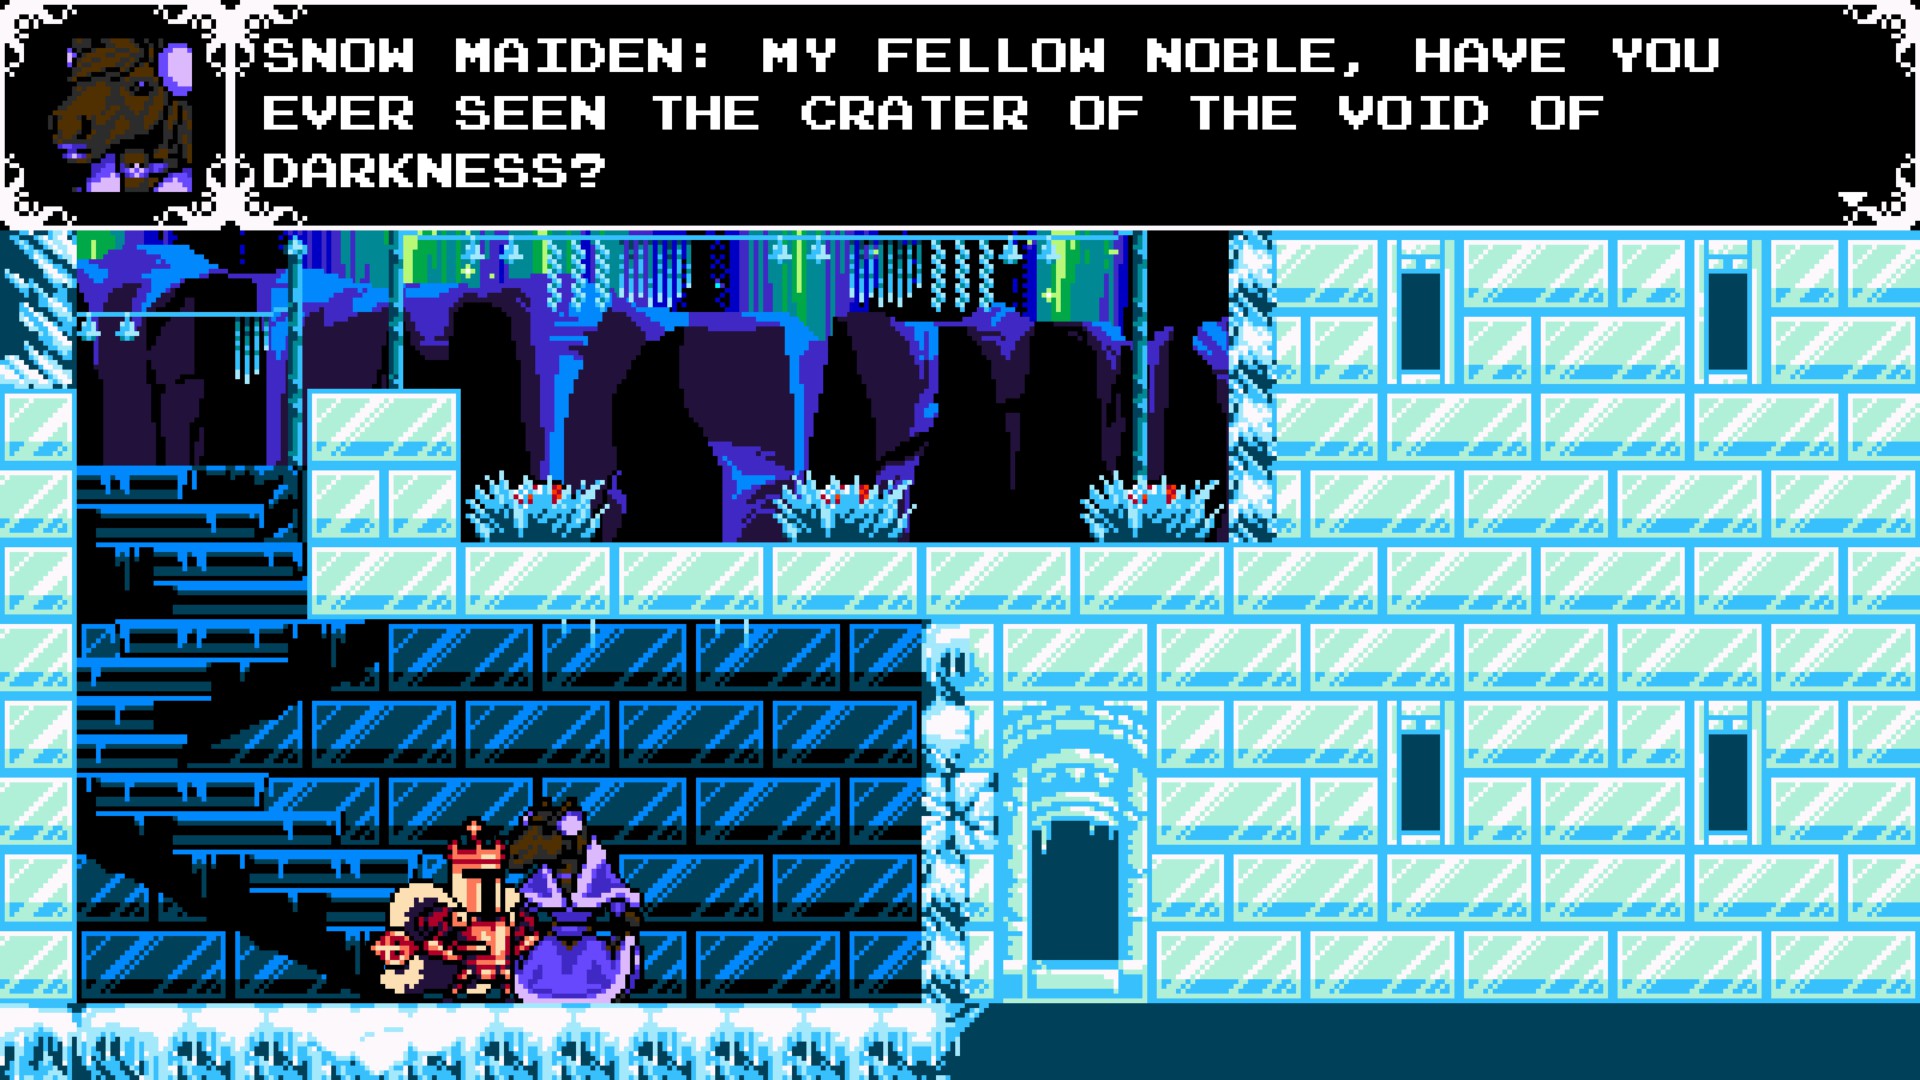
Once you beat him. A new place will show up. The Void Crater.
Once you enter, talk to the lady and she will give you Mr. Hat's card.
----------------------------------------------------------------------------------------------------------------------------------------
THIS PART IS COMPLETELY OPTIONAL. HOWEVER, YOU CAN GET TWO MORE CARDS WITHOUT USING HEIRLOOMS IF YOU ARE ATTEMPTING TO DO THE NAKED KING ACHIEVEMENT
Keep going until...
Um...
So yeah, that's a... thing.
Let's just beat the rest of the levels... Go to Stranded Ship - Spinwulf Santuary and take the secret exit.
Go to Gold Chest Ice House.
Hmm... Interesting...
How convenient!
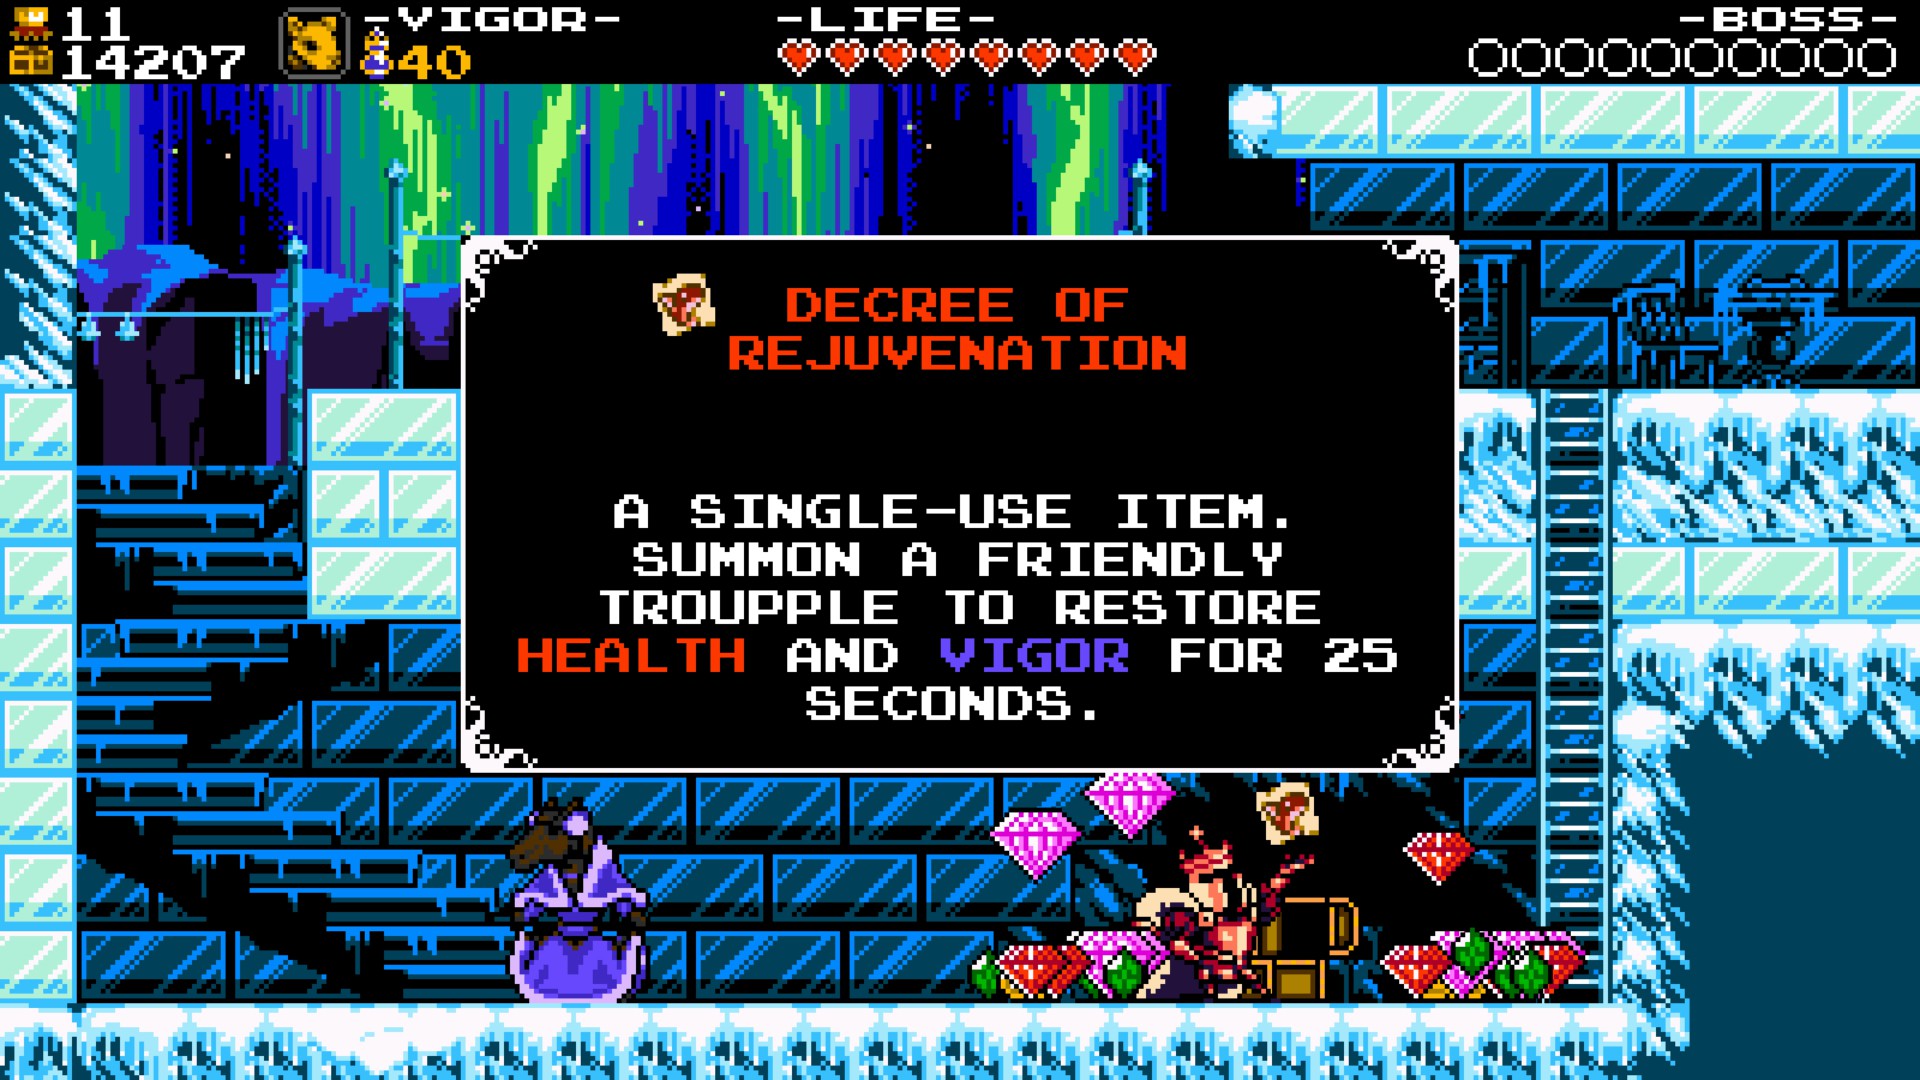
Sidenote: Decrees DO NOT COUNT as Heirlooms if you are doing the Naked King achievement!
So yeah, if the hint wasn't obvious enough. Use the Decree of Rejuvenation and talk to the Horse-man.
Woooooah... Duuuude...
Man, that was trippy...
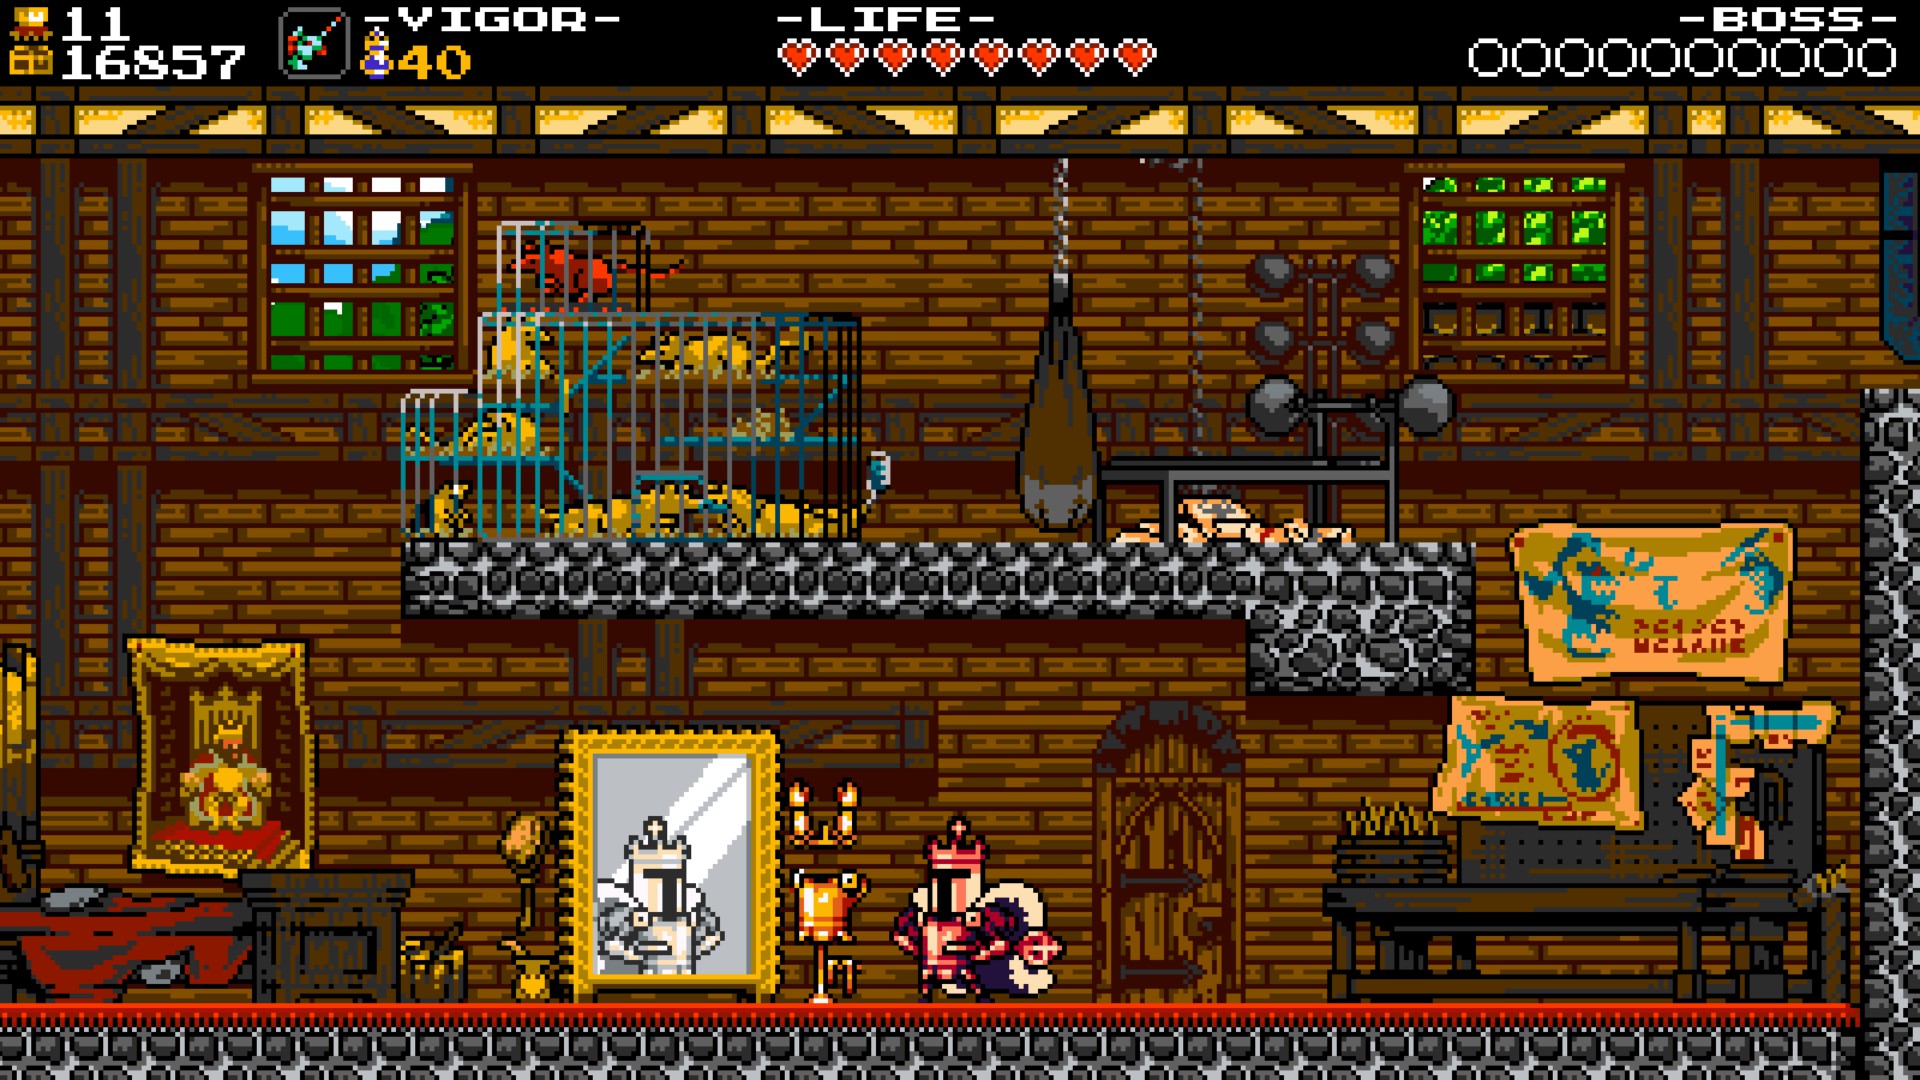
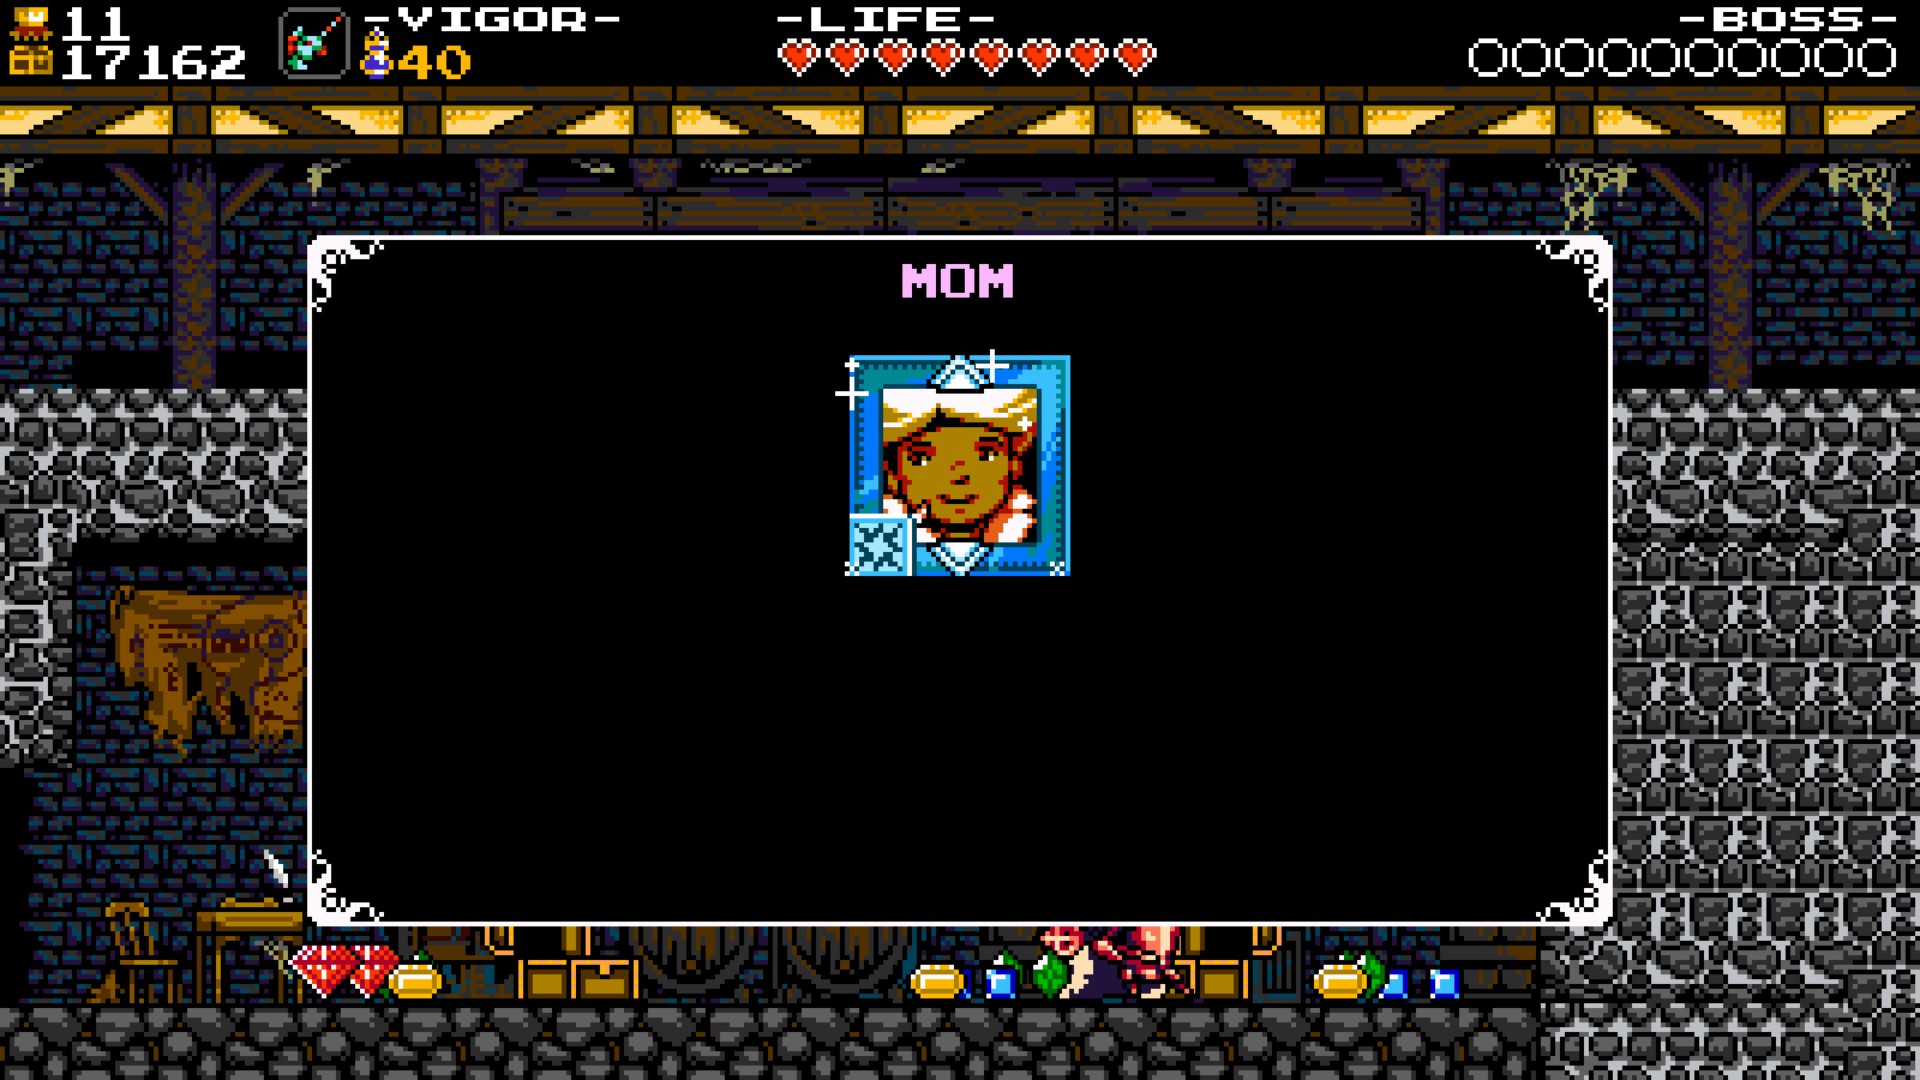
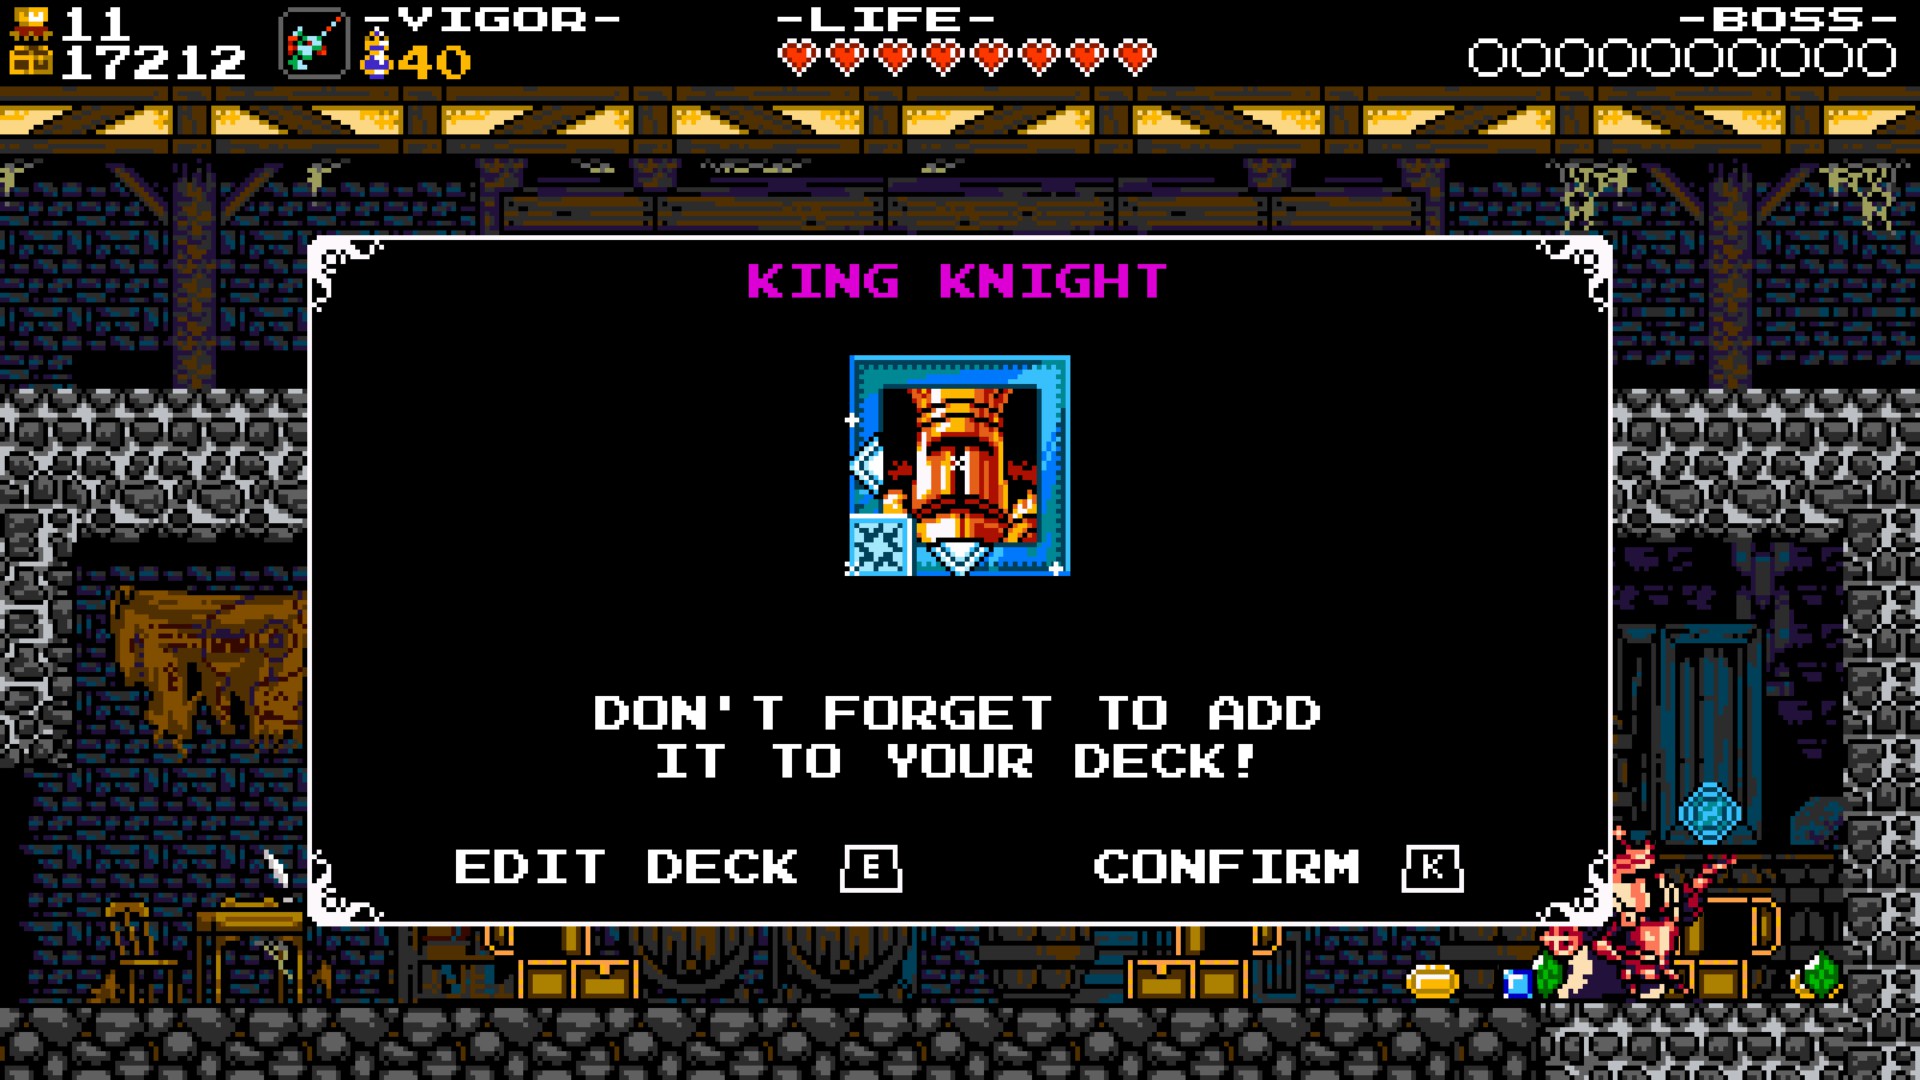
...Anyways, go to the next room and you will find Mom's Card and if you break the wall, you will also get King Knight's Card!
You are probably wondering why the extra effort of going through unnecesary levels just for some cards... and my answer to that is... Why not? If you are challenging yourself, why not have a little fun while at it? (Also, this whole part is optional, so, you kno')
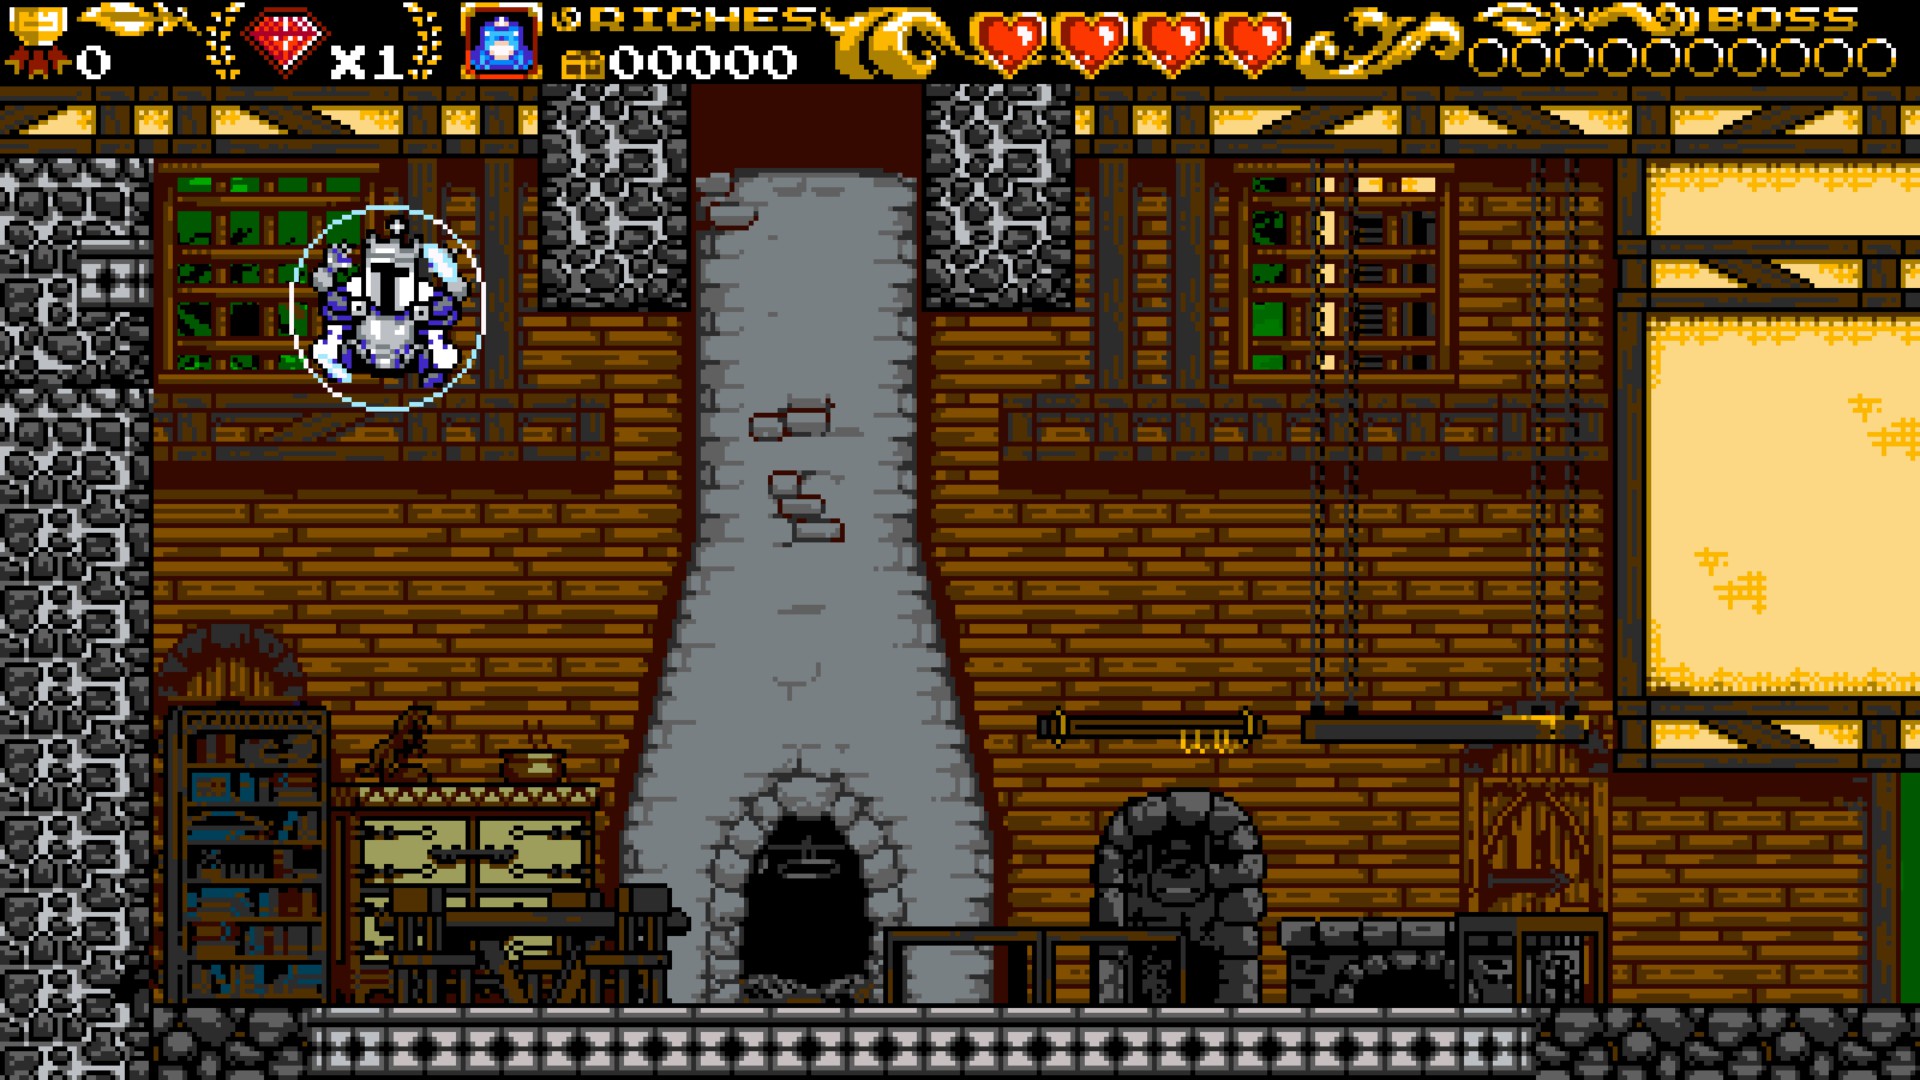
Sidenote: You can also obtain Mom's and King Knight's Cards by entering on The Homestead normally and use the Bubble Frog Heirloom obtained in Bubbling Bayou to reach the breakable wall as shown in the screenshot. OBTAINING THIS HEIRLOOM WILL RUIN YOUR NAKED KING ACHIEVEMENT RUN, SO BE AWARE OF THAT.
----------------------------------------------------------------------------------------------------------------------------------------
Tower Of Joustus

To enter the Tower of Joustus, you need to find the secret exi-
There it is!
So, once you enter the Tower of Joustus. Go up the stairs and play against Middy.
And BOY THAT STAGE BIG!
Ehem... So. Middy has cards with Count Arrows. Which are even stronger than Double Arrows!! But, they only last three turns. So after that, the Count Arrows will dissapear from the card (Leaving Arrowless the cards with only Count Arrows on them). But by the time they dissapear, you already won. So add them to your deck without fear. Missy has two cards with Count Arrows, so get both of them ASAP. She is pretty easy.
Once you won she will give you a Wisp.
WOOOOOOOAH.
Jump on the platforms and reach Red.
He has Grave Cards. These are awesome. You can use them on Grave Zones where regular cards can't. These can save your life more times than you might think.
So once you beat Red. Go up the stairs.
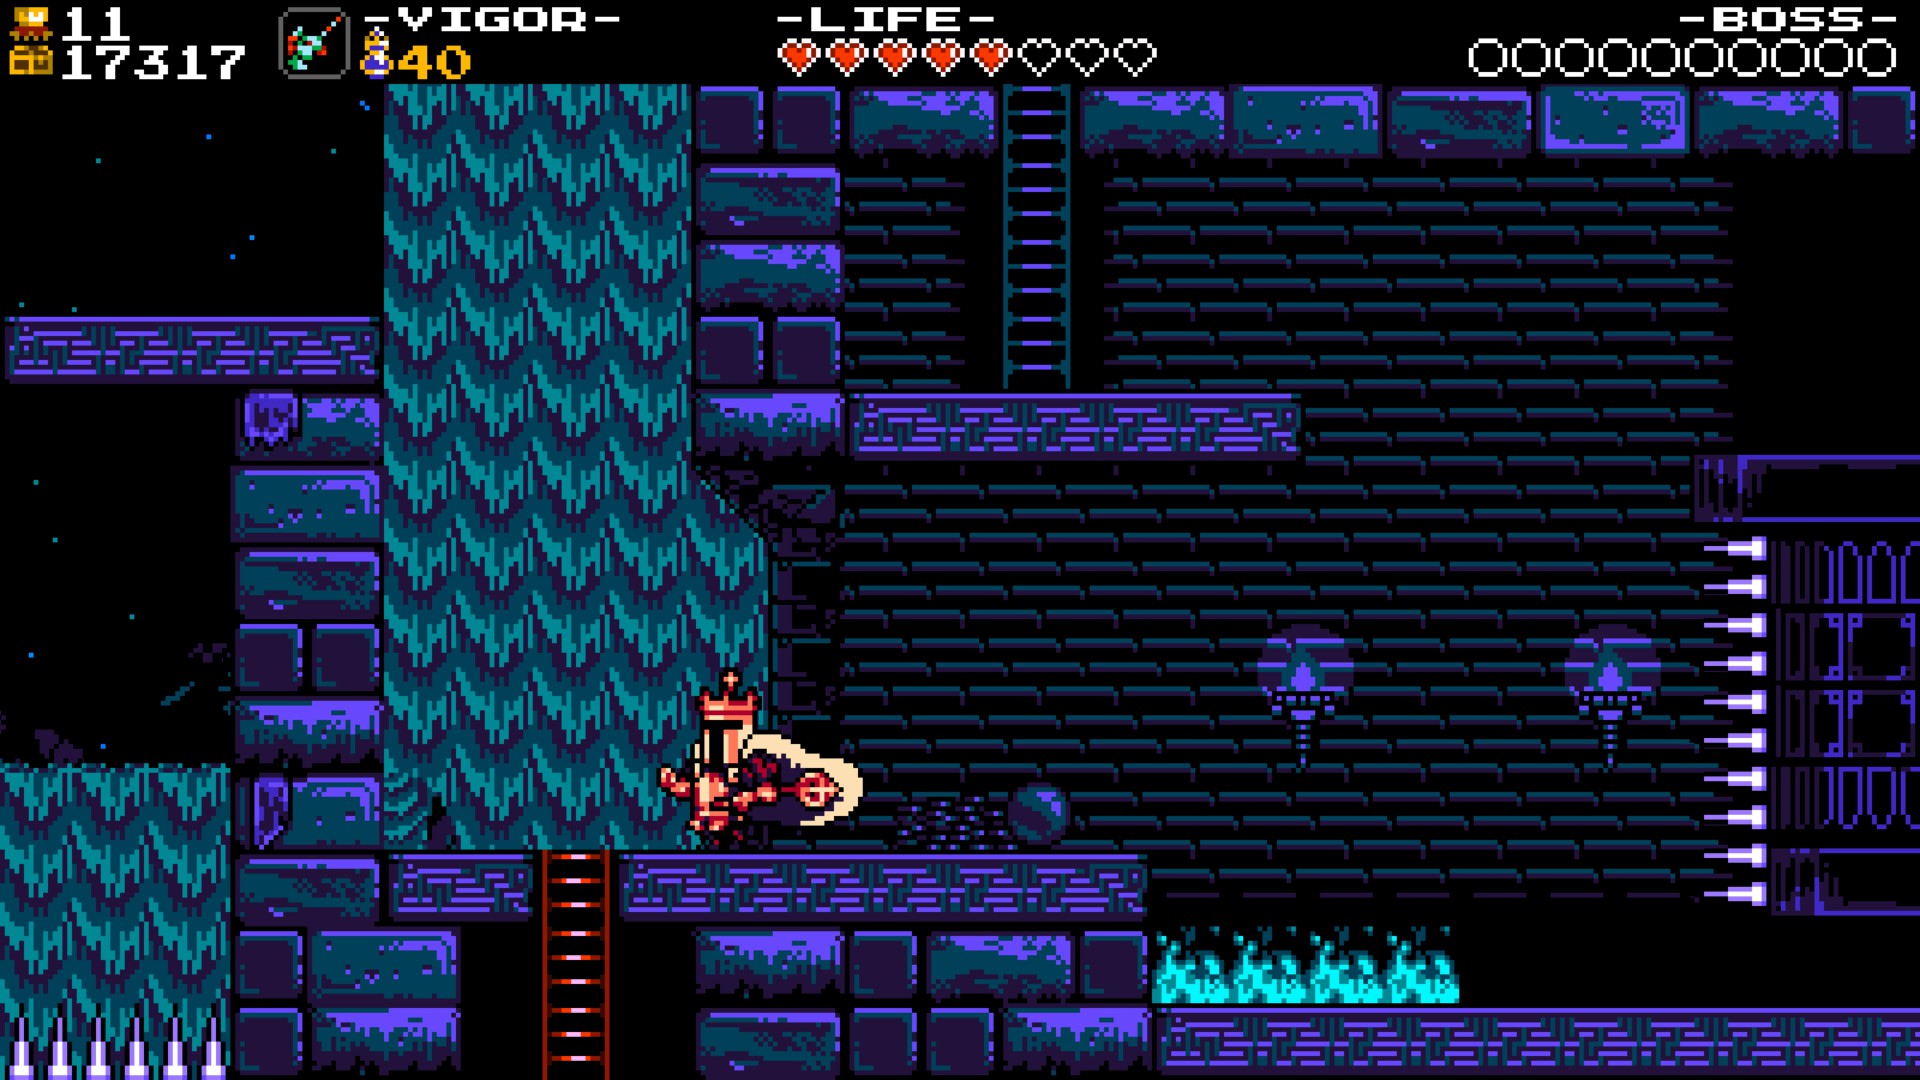
Go up the platforms and play against the Liquid Samurai. (He will drop down if he sees you, so hide until the Liquid Samurai is near the platform as shown in the screenshot... Or just go right to the next screen and go left again...)
ez pz
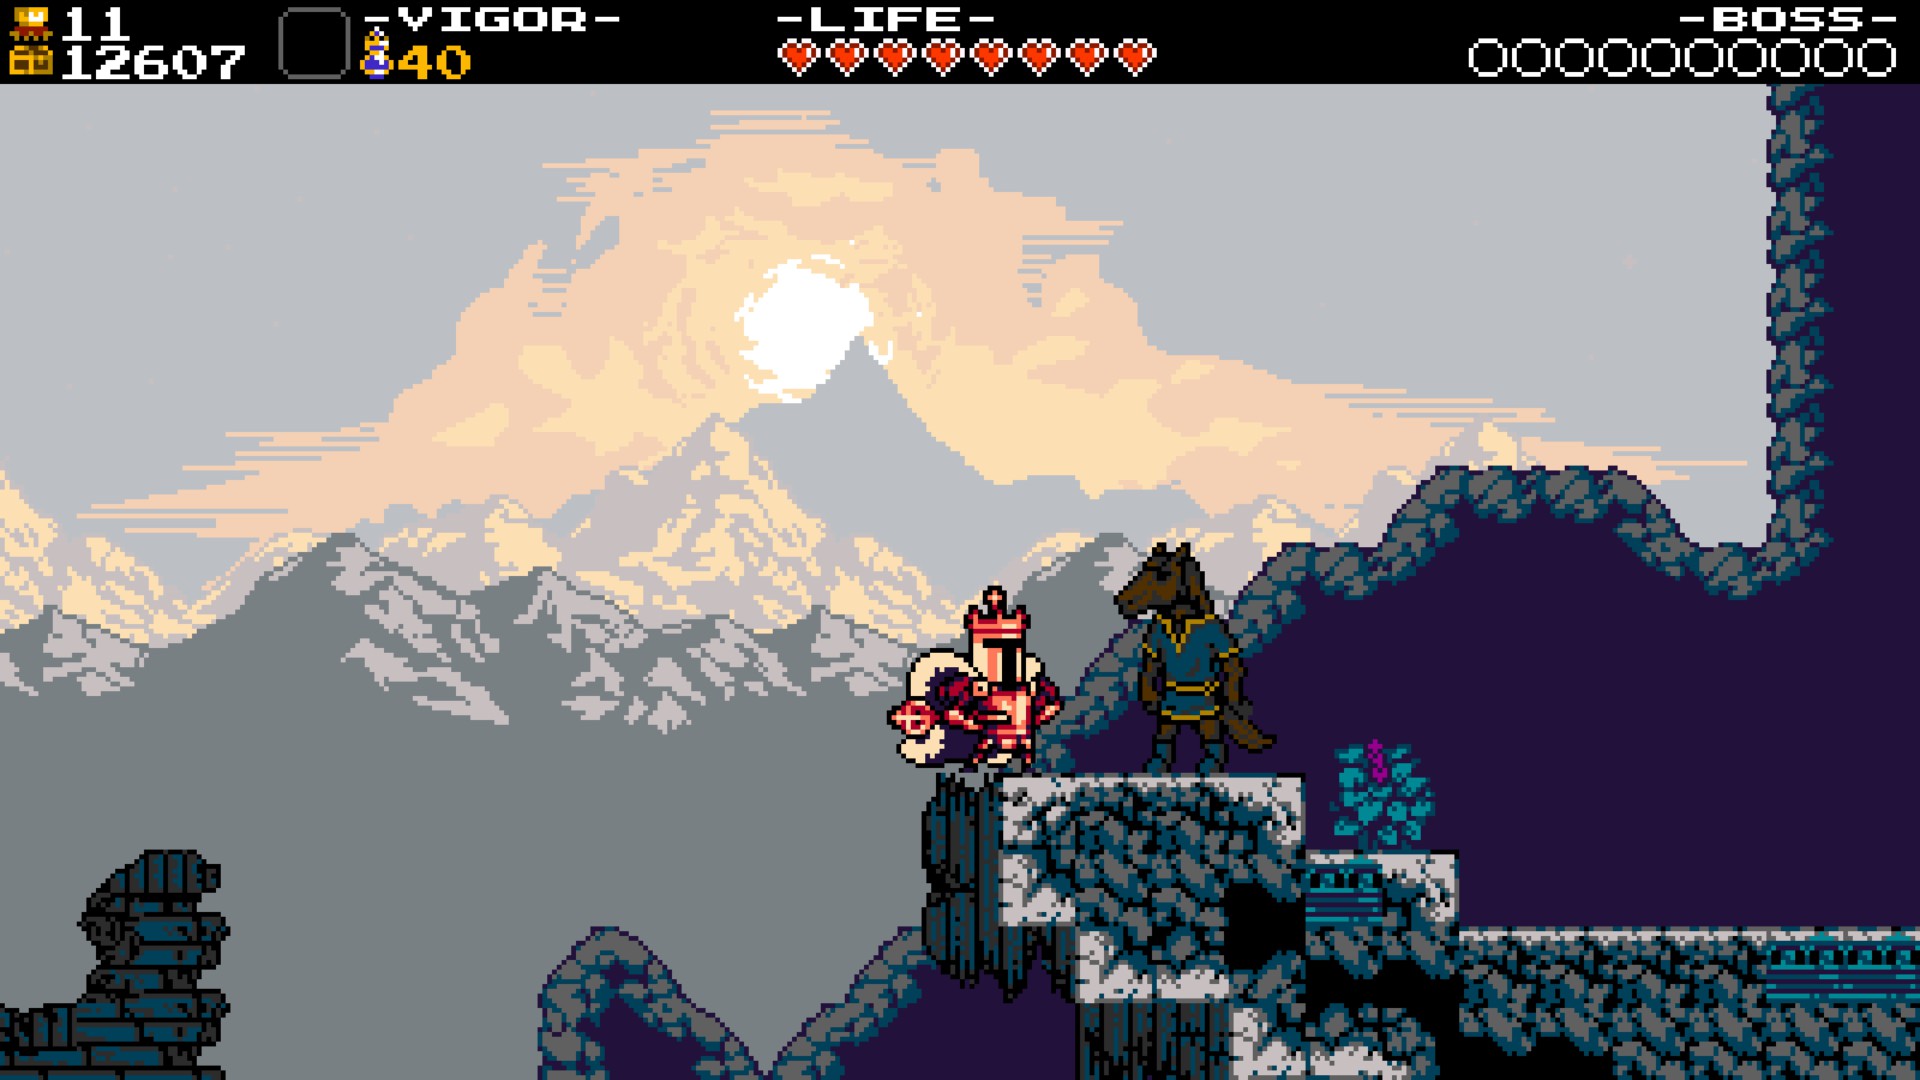
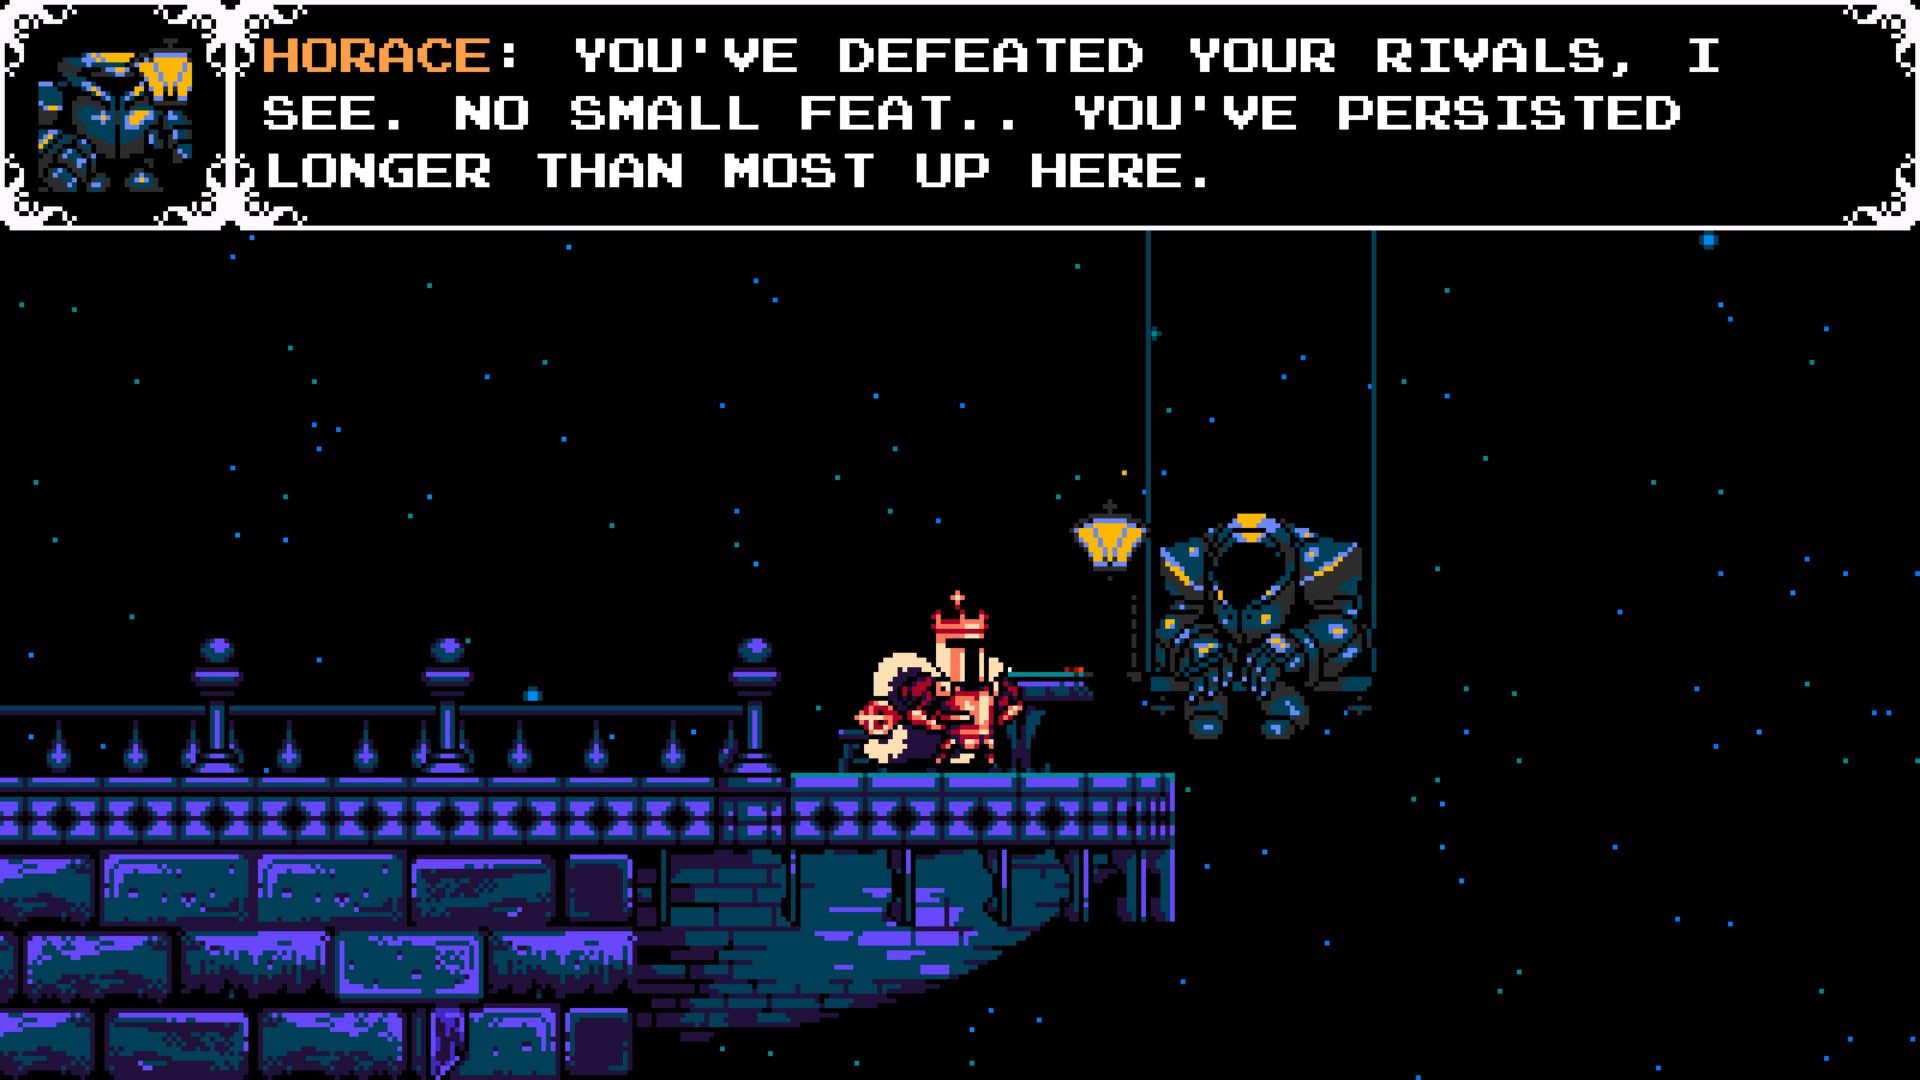
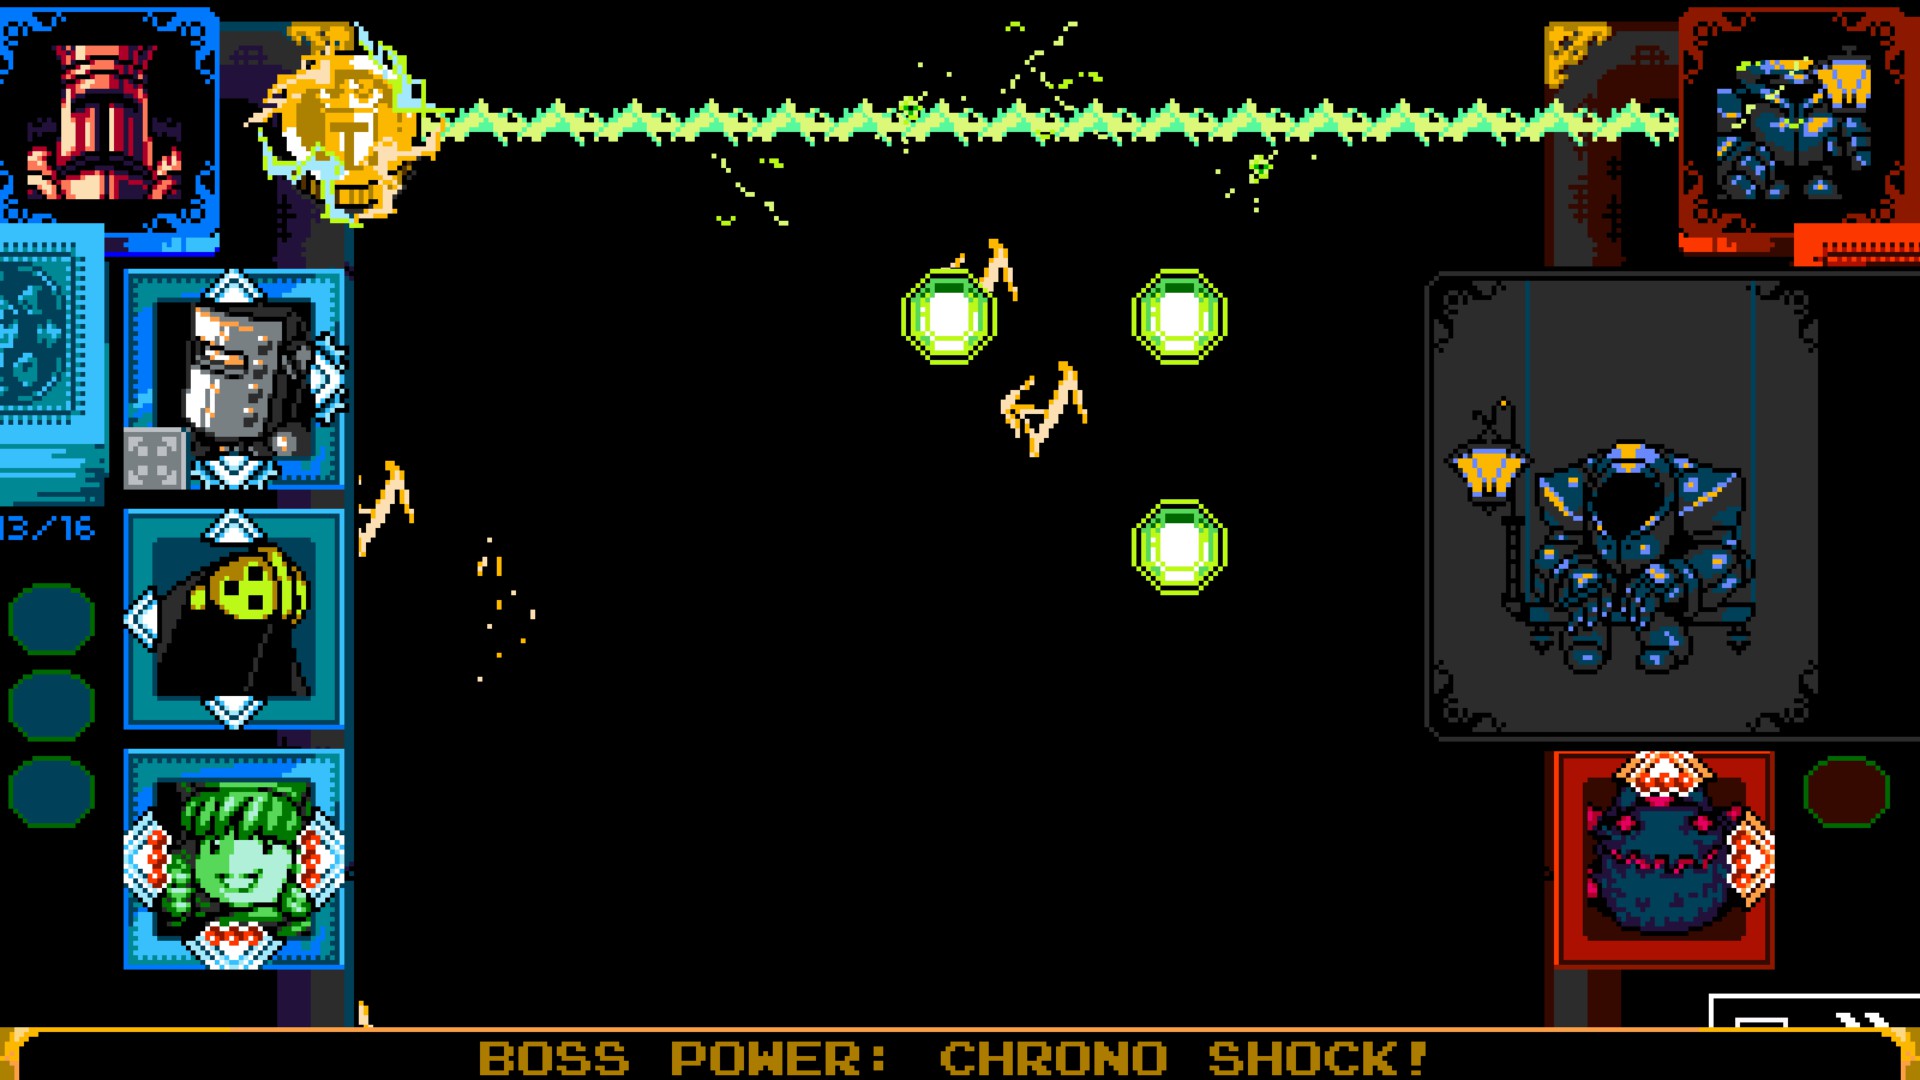
Now go and play Horace.
He has a Boss Power: Chrono Shock! He will always use this power on the first turn. So now you have to make your move under a time limit!
So my strategy is something groundbreaking, something mindblowing... just wait.
And wait...
And wait again.
And there you go, you win!
Yeah... Sucks i didn't get his card on this try, though. Oh well, it doesn't matter anyways, because you did it!
You got the Fearless Champ achievement! Congrats!
Improvements + Additions?
So, you reached the final part of the guide. You are now a proud owner of your very own Fearless Champ Achivement Badge!
Any improvements you want to see? Should i cover Cardia or any alternative routes?
Do you have some discoveries about Decrees counting or not as Heirlooms?
Please give your thoughts in the comments.
And thank you so much for taking your time on reading my guide.
I had alot of fun making it. Wish you had fun reading it! : )
Until next time, fellow knights!
Source: https://steamcommunity.com/sharedfiles/filedetails/?id=1939081344
More Shovel Knight: Treasure Trove guilds
- All Guilds
- I have created shovel knight inspirated level in geometry dash
- Logro "En pleno vuelo" de la manera mas fcil
- Cheat Codes for Replayability!!!
- Alchemist's Handbook
- Make a Killing achievement
- how to win mom joustus chalenge mod e
- [Spoilers] How to Unlock Every Special Character in Shovel Knight Showdown
- How to change your save file name!!
- From Shadow!