
Ⅰ. Create MyMODs Folder
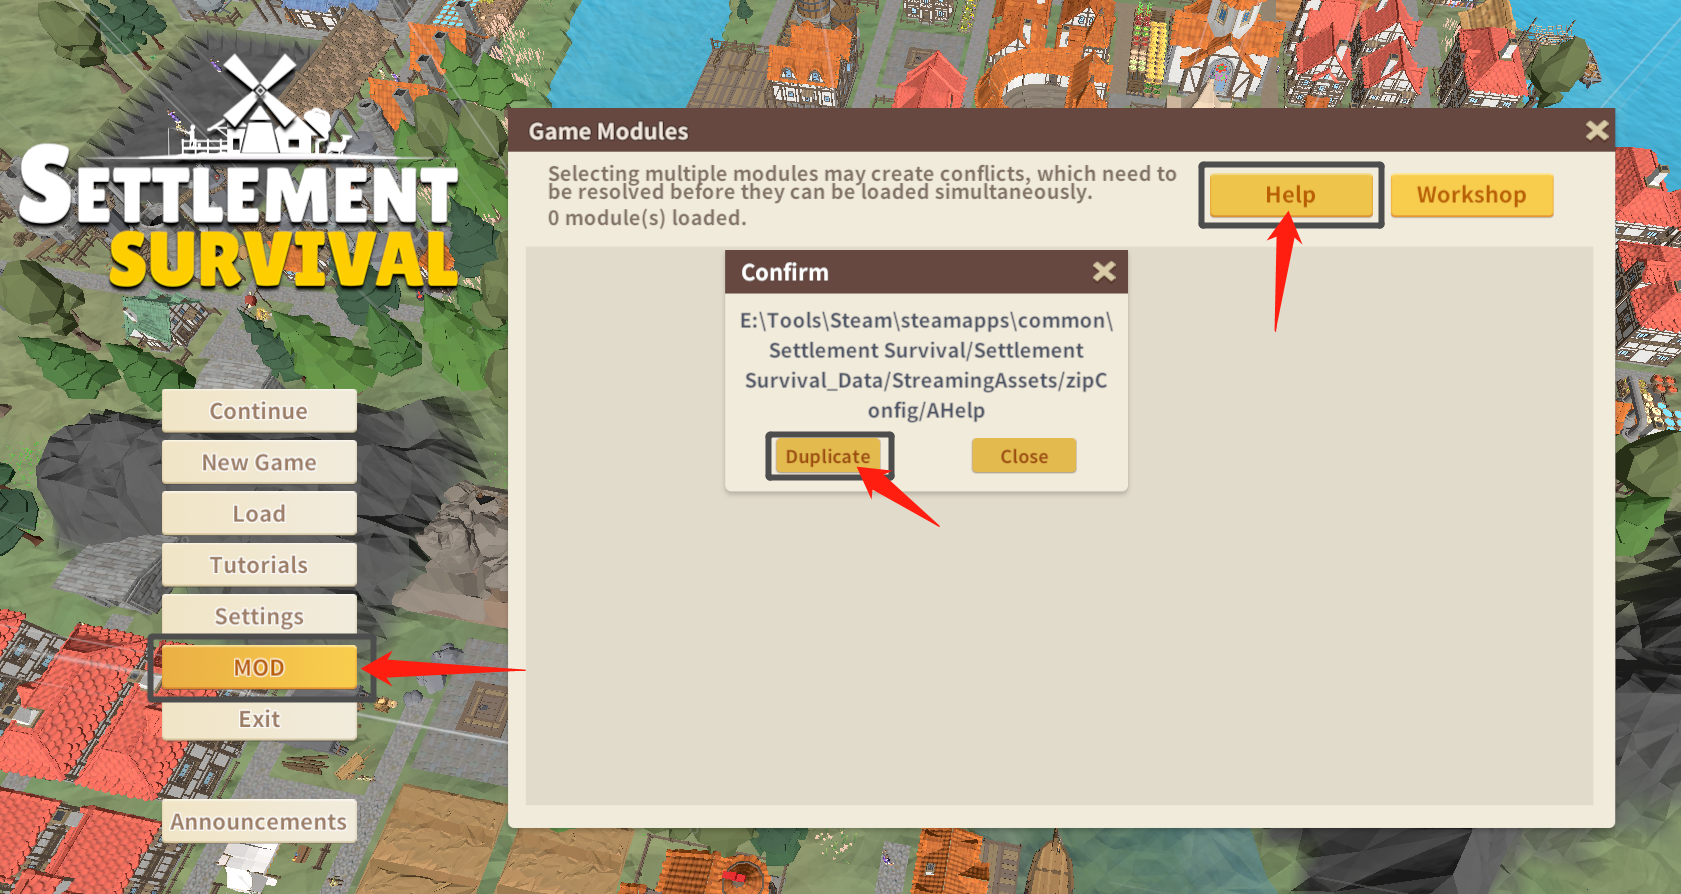
1.Locate your game directory, in "...\steam\steamapps\common\Settlement Survival"
(You can also launch the game and click MOD -> Help -> Duplicate(Copy) to quickly copy the path.)
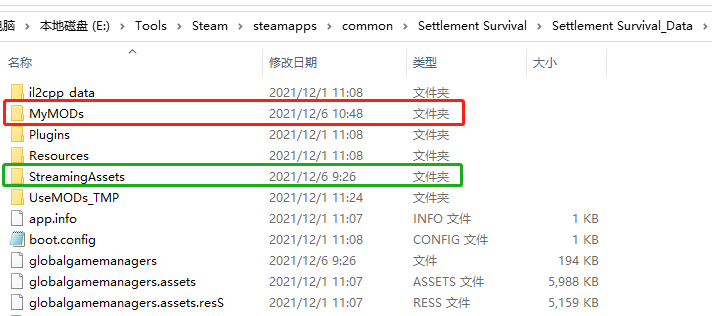
2.Enter Settlement Survival_Data folder. (Note: original files and folders under this folder cannot be renamed. Original folders include: StreamingAssets, Resources, Plugins, il2cpp_data.)
3.Create MyMODs folder(folder name cannot be modified.):
Note: All game resources like models, music and configuration files (zipConfig) are in StreamingAssets.
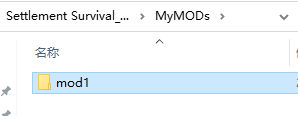
4.Enter MyMODs, create a folder as your Mod folder, named it to whatever you want (I named it mod1, you can name it freely but in English and with no special character). You should put everything related to your mod inside this folder.
Ⅱ. Add AMODConfig File
 Content Don't Need To Be Changed:
1.Create a .txt file and rename it into "AMODConfig.xml" in your mod folder(mod1).
2.Copy the following text and paste inside AMODConfig.xml.
<?xml version="1.0"?>
<UGCItemInfo xmlns:xsd="http://www.w3.org/2001/XMLSchema" xmlns:xsi="http://www.w3.org/2001/XMLSchema-instance">
<Title>xxx</Title>
<Des>xxxxxxx</Des>
<Auther>xxxx</Auther>
<Lang>schinese</Lang>
<ChangeNote>xxxxxxxxxx</ChangeNote>
<SteamKey_Str></SteamKey_Str>
</UGCItemInfo>
3.Change the content in red to whatever you want.
Content needed to be changed:
the name of your mod<Title>, the description of your mod<Des>, your name<Auther> , the changelogs of your mod<ChangeNote> (will display on steam).
language<Lang> (currently unimplemented), <SteamKey_Str>will be automatically created when upload your mod
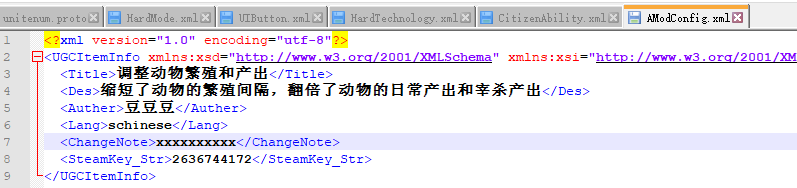
4.Below is an example AMODconfig.xml that has been modified and uploaded successfully.
Ⅲ. Create A Preview Icon
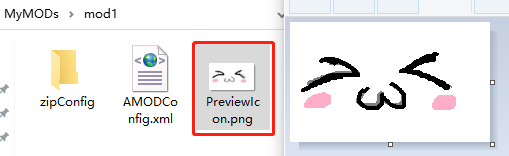
Create an image file named PreviewIcon.png for displaying your mod in Steam Workshop and game. The size of the icon has to be 200*120. (Note: Neither the file name nor the icon size can be changed!)
Ⅳ. Configuration File
Appendix: Possible Errors When Publishing Your Mod.1.Create a folder named "zipConfig" in your mod folder (You will put your modified configuration file inside this folder).
2.Modify the xml file of game and put it inside this folder.
game configuration files are in:"...\Steam\steamapps\common\Settlement Survival\Settlement Survival_Data\StreamingAssets\zipConfig"
Format explanation (you can skip this if your modification doesn't involve the following mentioned tag):
If the configuration (.xml) file starts with ArrayOfBuildingConfig tag, then each element of configs can be modified alone. For example, there are a lot of BuildingConfig tags in Building.xml, you can delete items you don't need and just leave the buildings you want to modify or append there.
If the configuration file doesn't starts with ArrayOfBuildingConfig tag, then you can't modify partially but have to duplicate it and make changes there as a whole.
3.All done? Then go to main menu of the game.
4.Click MOD and tick your created mod.
5.Close the mod screen and the game will automatically load your mod. (Note: the loading time may be longer depend on the size of your mod, and it's normal your PC get hung for a while. Please wait patiently.)
6.Start your game and test your mod. If all modified functions work normally, then you can go back to main menu and publish your mod. If your mod published successfully, then others can also subscribe to and use your mod in Steam workshop.
Message Meaning //k_EResultOK Upload Successfully //k_EResultFail Upload Failed //k_EResultInvalidParam App ID provided invalid or unmatched, or haven't activated SteamUGC in Steam Workshop Preview Icon file smaller than 16 bytes. //k_EResultAccessDenied User haven't provided License for app ID //k_EResultFileNotFound Unable to obtain relevant info in Steam workshop, or unable to read icon file. //k_EResultLockingFailed Unable to obtain UGC. //k_EResultFileNotFound Invalid content folder. //k_EResultLimitExceeded Preview Icon file too large. Must less than 1 MB or else user does not enough storage in Steam Cloud. //m_bUserNeedsToAcceptWorkshopLegalAgreement bool Acceptance of Steam Creative Workshop Legal Agreement needed. Refer to Steam Creative Workshop Legal Agreement for more info.
Ⅴ. Resources Modification (Optional)


Resources modification refers to modifying art resources such as models, icons and music in the game.
Special note: even if the configuration file is not modified, the zipConfig folder still needs to exist, even if there are no files in it.
1.Installation of Unity
To modify the art resources, you have to install Unity of the corresponding version.
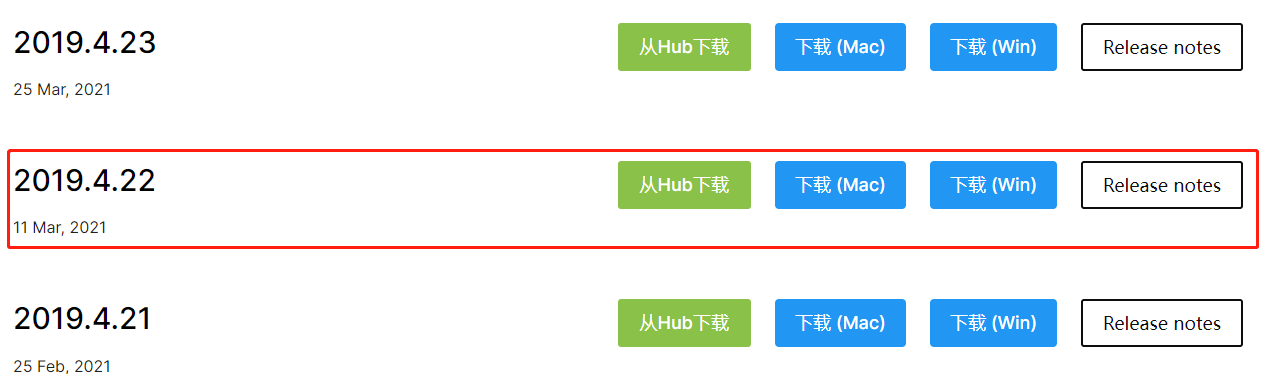
(1)Go to the official website of unity (https://unity.cn/releases/full/2019) and download version unity2019.4.22. (Install From Hub is recommended.)
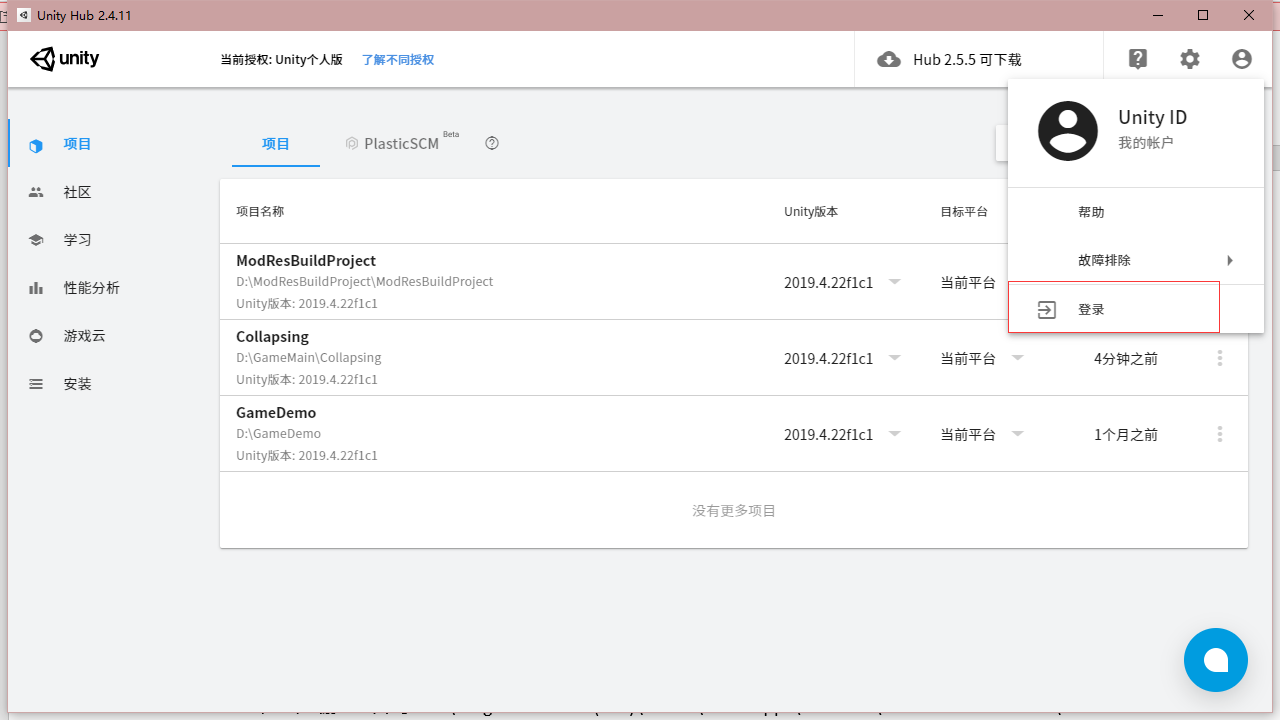
(2)After installation, register as a personal user and log in.
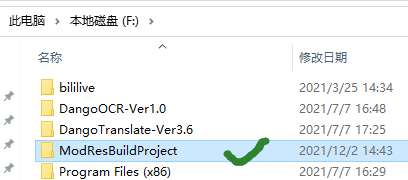
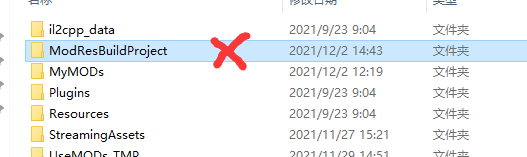
(3)Locate the Resources Pack in game directory (...\Steam\steamapps\common\Settlement Survival\Settlement Survival_Data).
(4)Unzip the Resources Pack in any folder other than Steam folder (Note: Due to the protection mechanism of Steam, unzipping into Steam folder and copying to other places is not recommended).
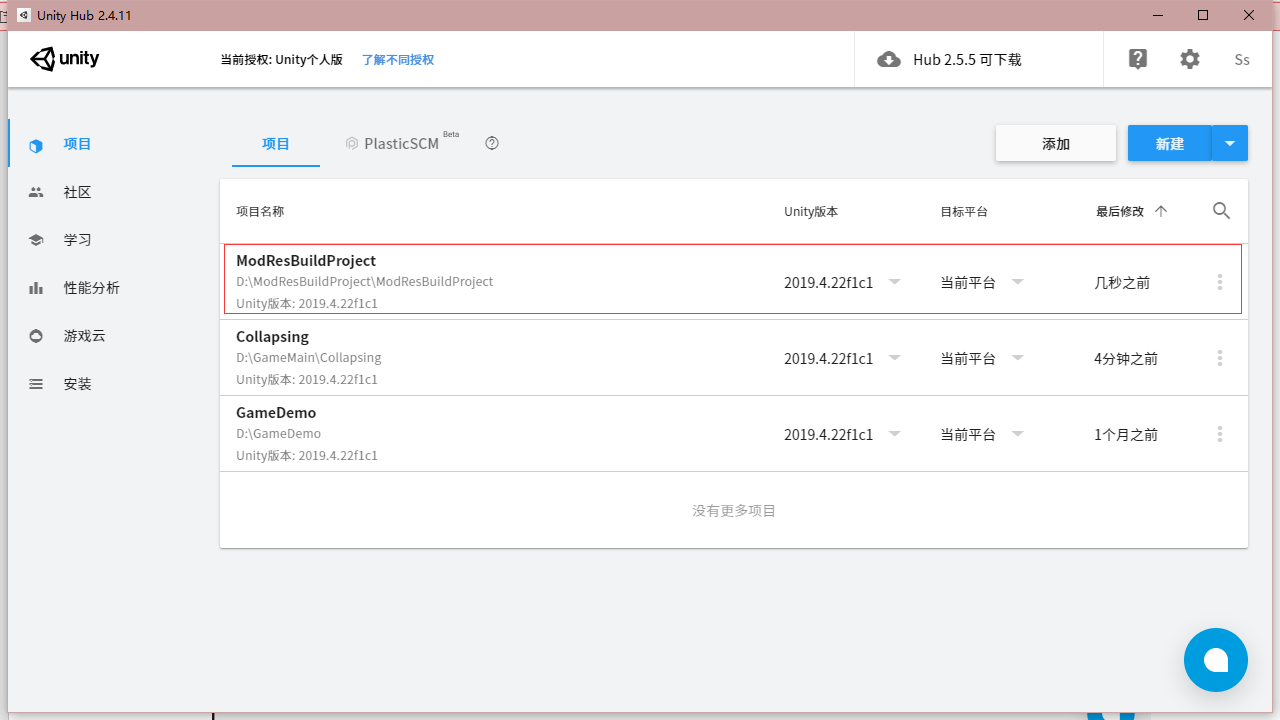
(5)In Unity Hub -> Click Open -> Choose Project File to add it to your project
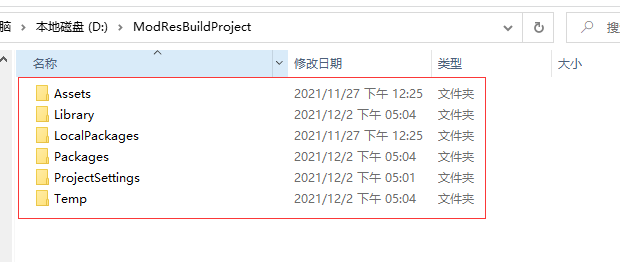
(6)If Error: invalid project path shows up, then correct path needed to be chosen. A correct path must contain following folders.
(7)Click the project just created and enter this project.
(8)Search TestScene in the searching bar under Project Panel, and double click it to enter Test Scene.
Ⅵ. Environment Set-ups
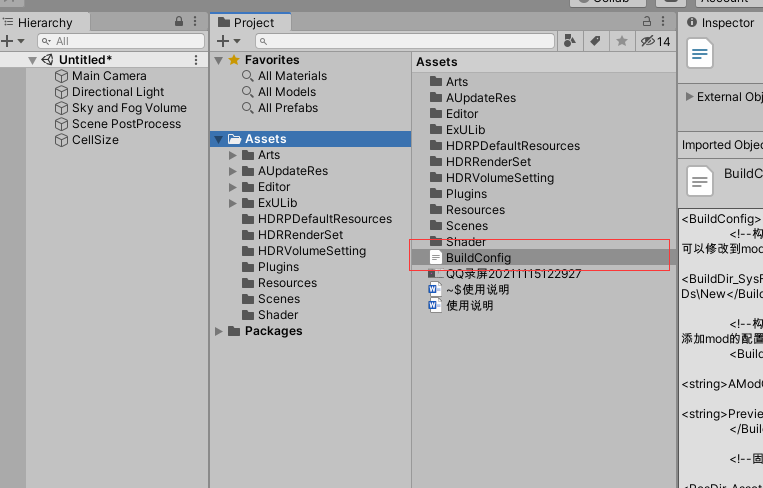
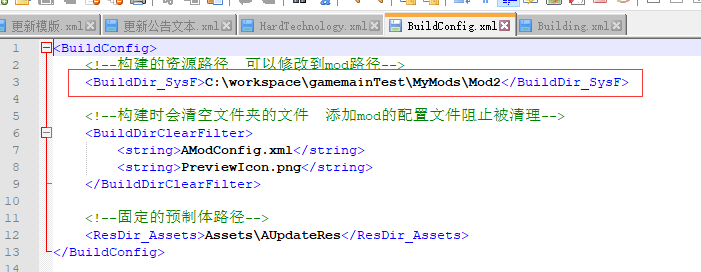
1.(In Unity) Project Panel -> Assets -> BuildConfig -> Right Click -> Show In Explorer
2.Open BuildConfig file and edit the directory in red rectangle into your mod directory.
Ⅶ. Resources Modification(A)

A.Simplified Version
(no effect under URP mode, no effect of selection, no construction stage, no wearing out effect.)
We strongly recommend to skip the simplified version and dive into standard version to start your resources modding journey. [Jump to B]
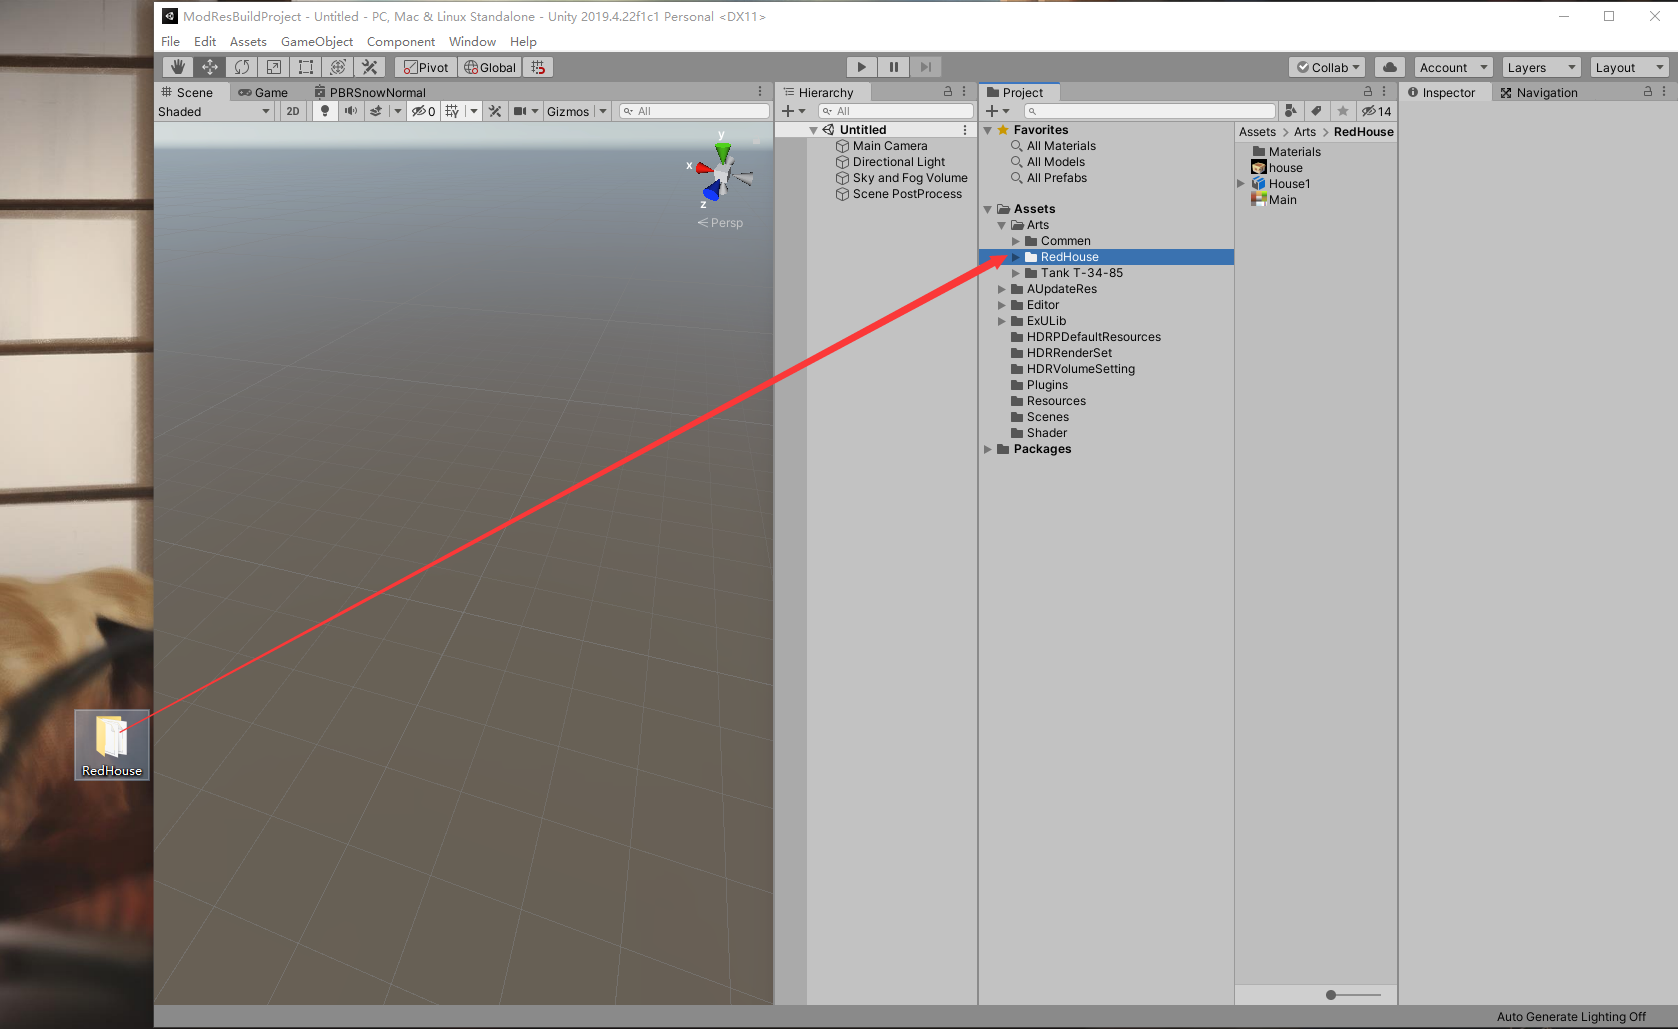
1.Put all prepared resources files [(model file(.fbx), picture file(.png), music file(.wav)] into Arts directory. (Dragging them into Arts folder under Project panel would do the job.) All folders and files must be named in English.
2.Make the model as a prefab
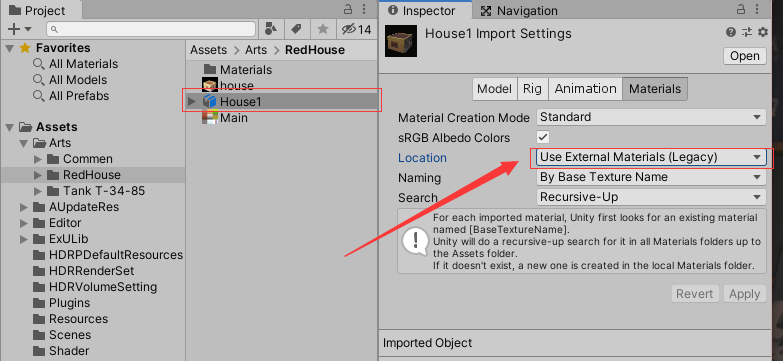
(1)After importing the model file into untiy, select the imported model for the following settings.
In the Material option under the Inspector panel, adjust the location to: Use Extemal Materials. (Legacy)
As shown below:
(2)Click theapply button in the lower right corner, Unity will automatically generate a Material folder, and the material of the model will be placed in it. (The model file should have materials and textures with it, if not, please find other models again or check some related tutorials by yourself)
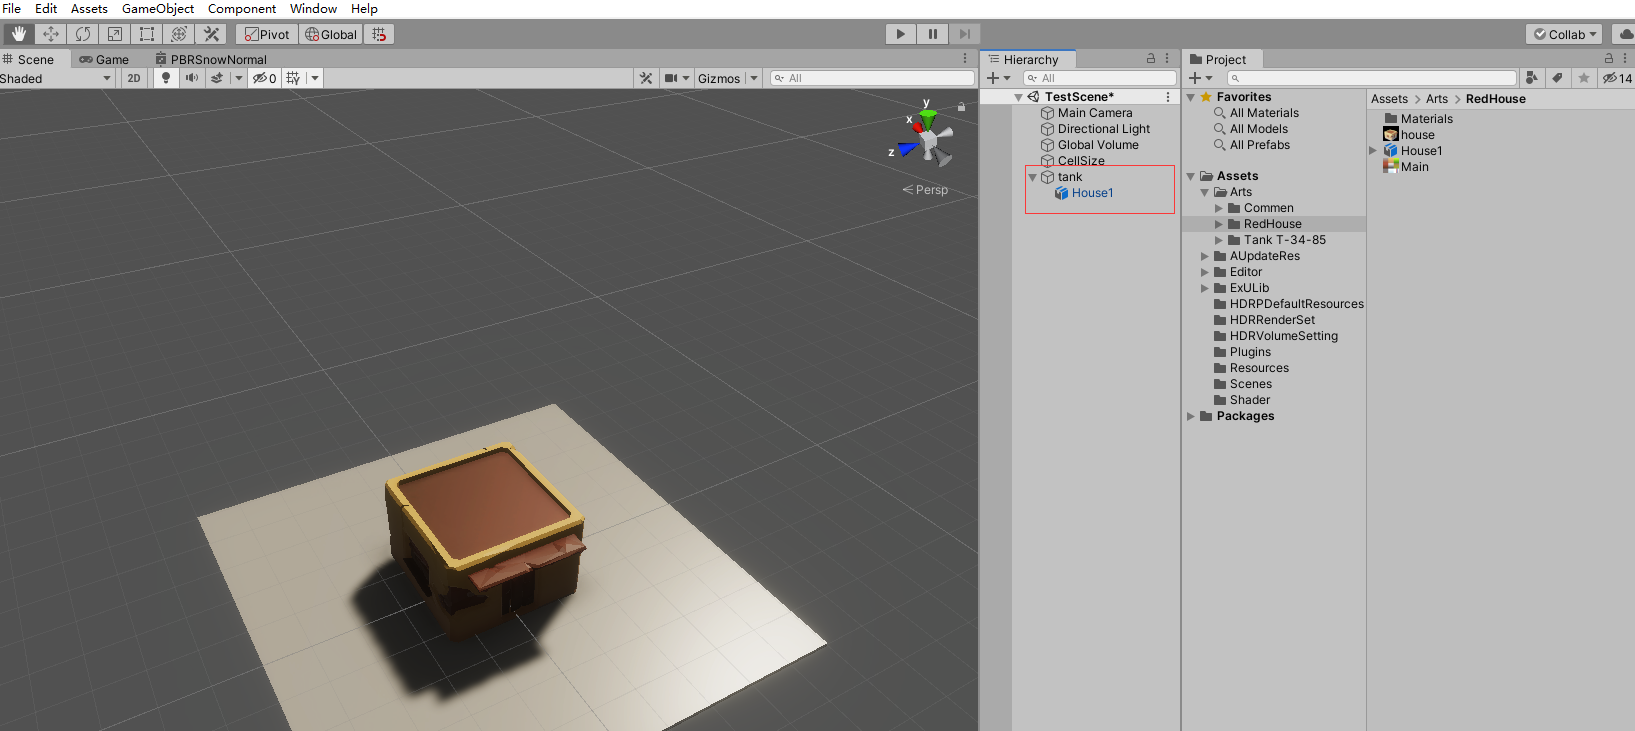
(3)Drag the model file under Project into the tank node under the Hierarchy panel. The model file will appear in the Scene window and will be automatically centered.
(If there is no such window, you need to select the Menu -> Window -> General -> Scene to open the window.
Tank is the model in the preset scene. If you can't see it, you need to double-click TestScene to enter the preset test scene.)
(4)Delete the model of Prefab_housing under the tank, and only keep the new model dragged in, as shown below.
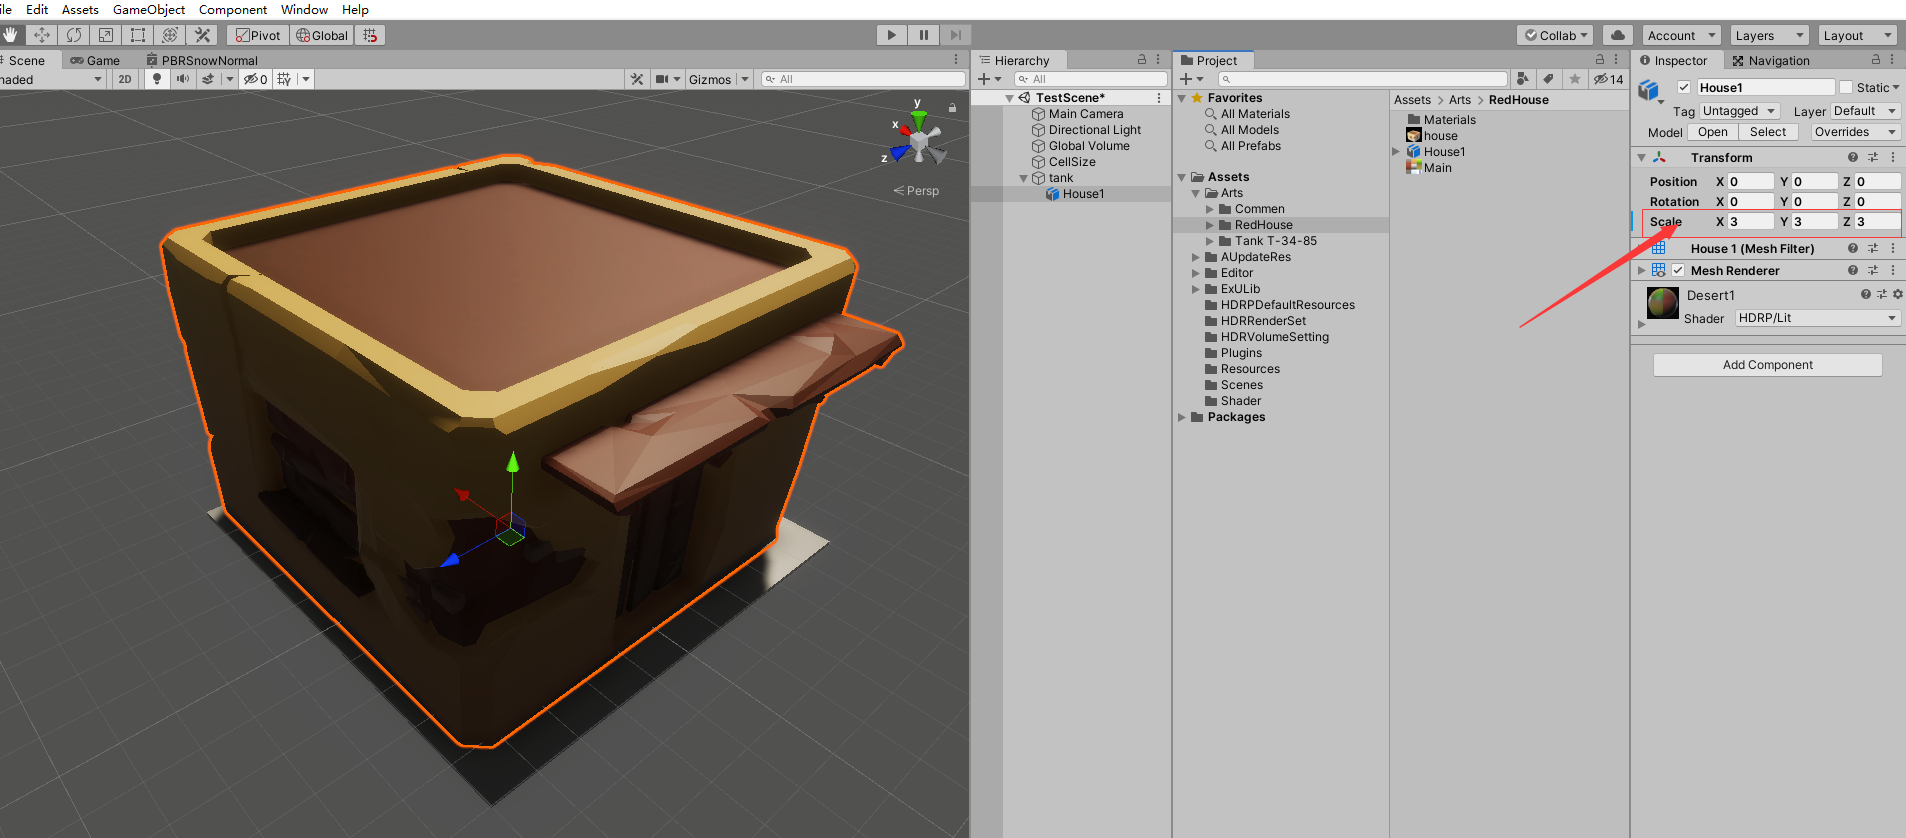
(5) (Optional) In the Hierarchy panel, there is CellSize above the tank. The CellSize is the size of a house (4*4 cells), which can be used as a reference to compare the size of the building.
Select newly dragged model, according to CellSize, adjust the size in Inspector -> Transform -> Scale. Every 2.5m in the game is a grid, and all sizes of models in Unity are in meters.
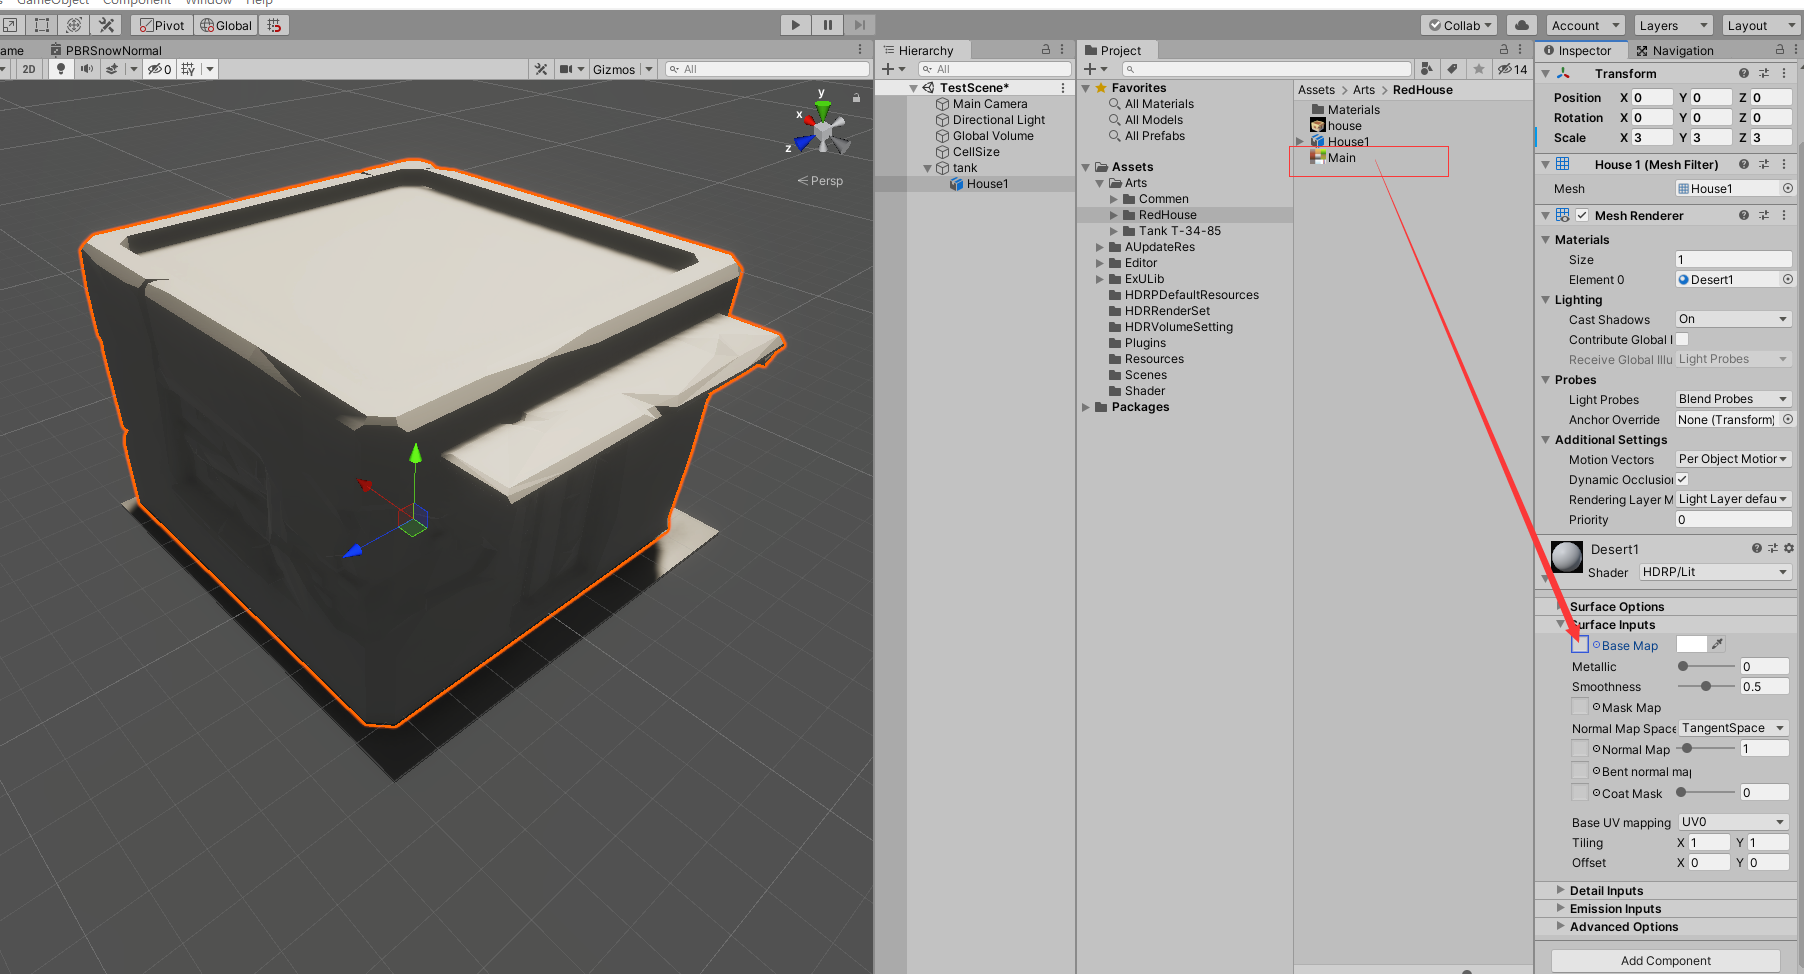
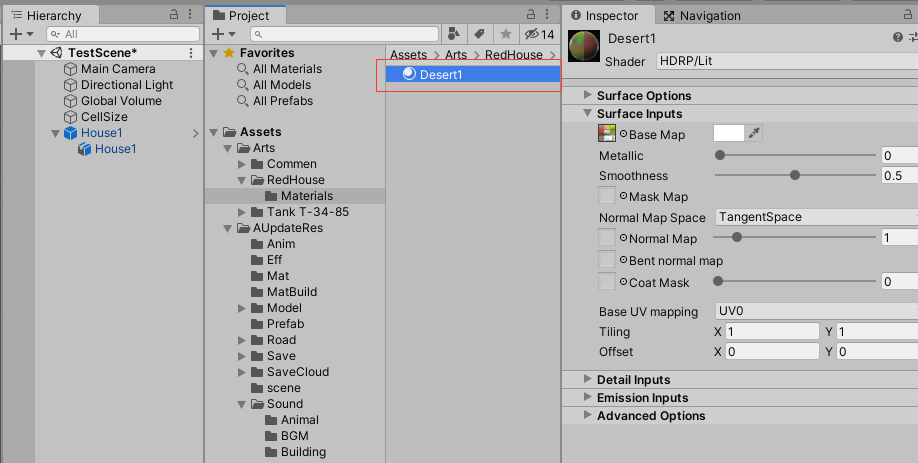
(6)If there is a model without a map during dragging into the scene, click the model under the Hierarchy panel, and find the corresponding material under the inspector panel and drag it to the corresponding Base Map or Normal Map.
As shown below:
After finding the material, click the drop-down arrow in the lower left corner of the material to open the texture interface, and then drag the Main texture in Project Panel to the box in front of the Base Map under Surface Inputs.
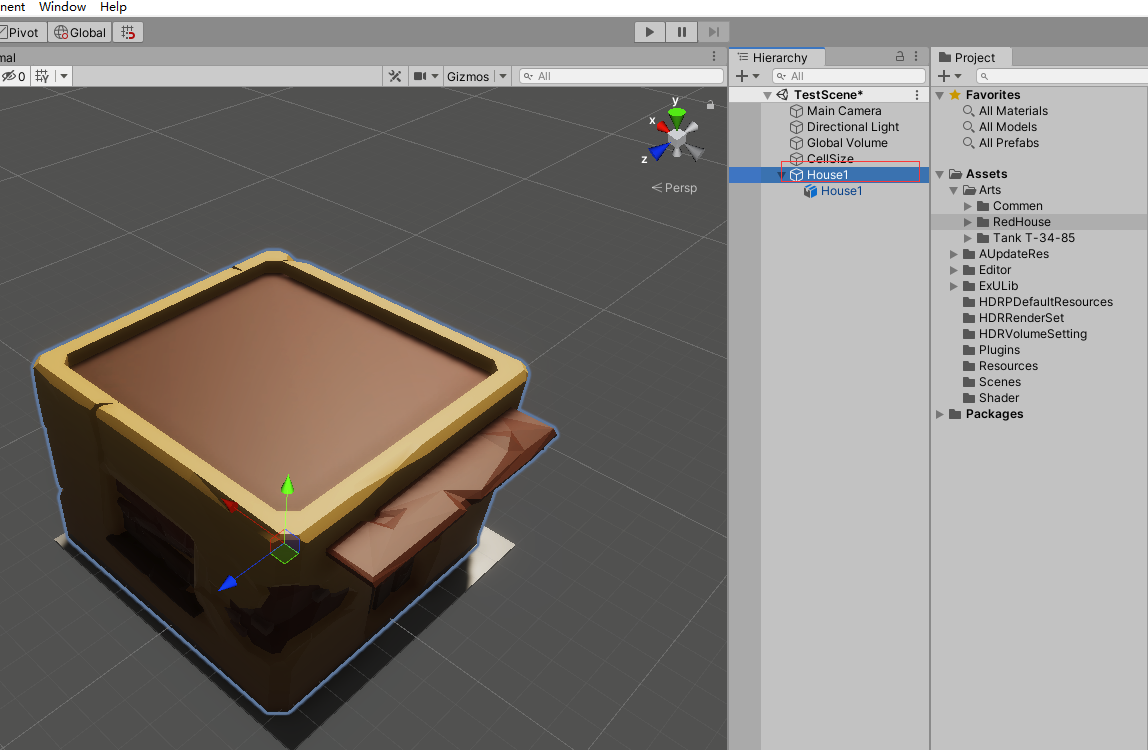
(7)After the adjustment is completed, modify the name of the tank according to your needs.
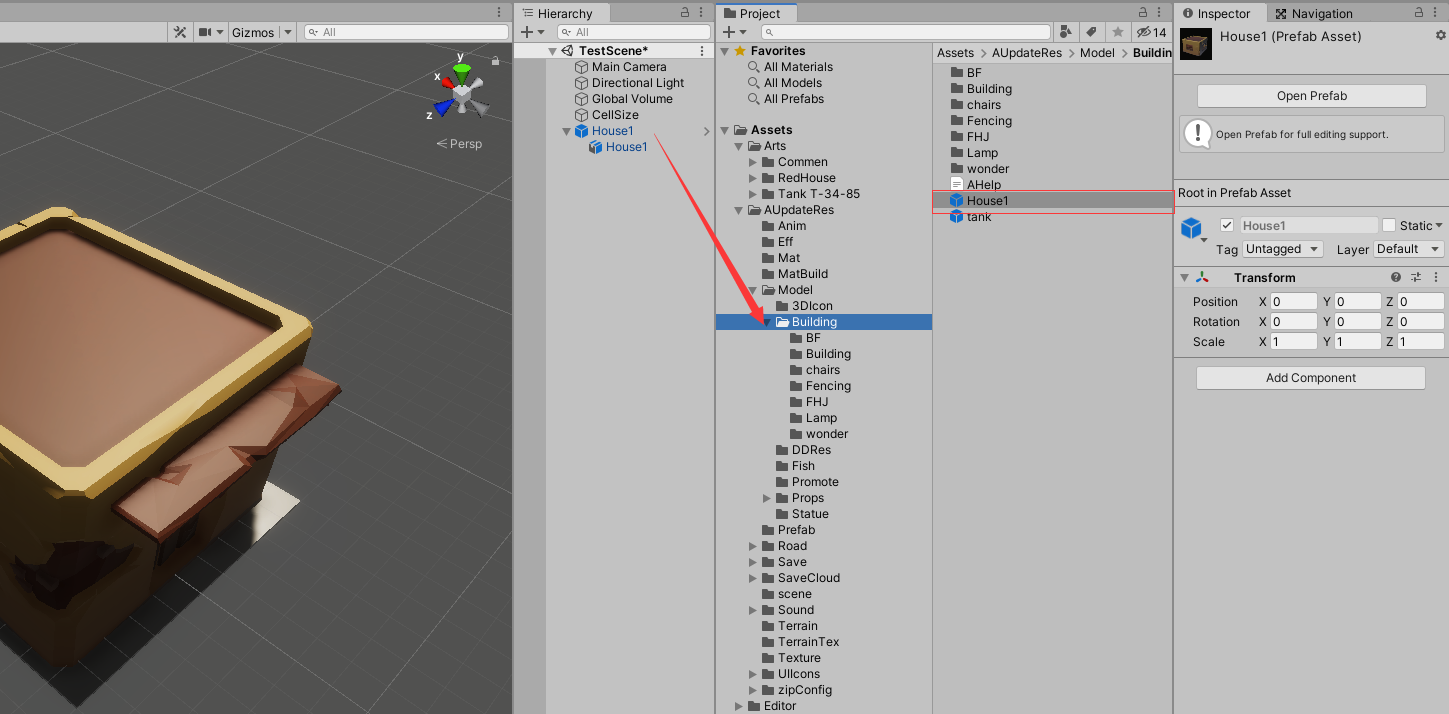
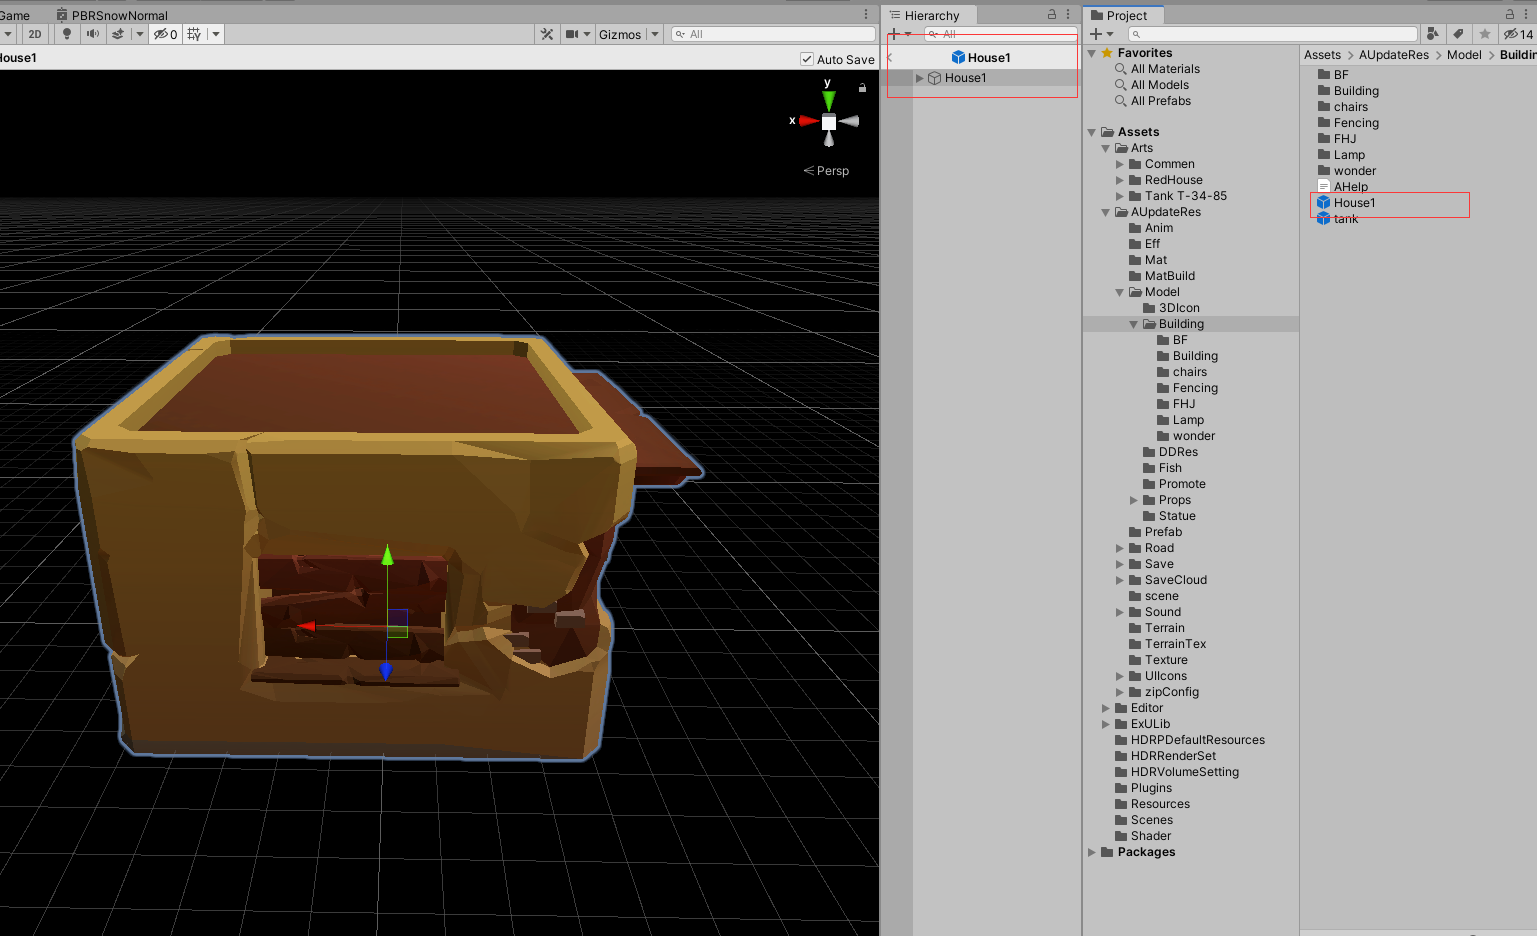
(8)Drag the model file in Hierarchy Panel into any folder under Assets/AUpdateRes/Model/Building
(you need to remember the path and use it when you modify the configuration file).
(9)After placing it in the Building directory, there will be a corresponding prefab file in the corresponding file. To confirm whether the model will be generated normally, simply double-click it in Project panel. If it is displayed in Scene panel, then no error occurs.
(10)Packaging resources:
After editing all resources, right-click any blank area in the AUpdateRes directory under the Project panel in Unity, and you can see Settlement Survival BuildCMD/BuildAllRes at the bottom of the pop-up menu. Select it and start building resources.
Pack all resources inside the mod. Please wait for the completion of progress bar. The larger the resource, the longer it will take.
You can view it in the MOD directory after finishing packaging.
Adjust the configuration file according to the model you want to modify (add or replace content under zipConfig)
Example: Copy the Building.xml file to your mod folder -> zipConfig. Modify the model path under the of the building in the Building file. The first word "Building" remains unchanged, and the latter are adjusted according to the path of your model. If models are called greenhouse, then your model path should be right after Building. Finally, enter the game to check whether the resources are modified successfully, if not, check again whether the configuration file is set up correctly.
Ⅶ. Resources Modification(B)
B.Standard version
1.Put all prepared resources files [(model file(.fbx), picture file(.png), music file(.wav)] into Arts directory. (Dragging them into Arts folder under Project panel would do the job.)
2.Make the model as a prefab
(1)After importing the model file into untiy, select the imported model for the following settings.
In the Material option under the Inspector panel, adjust the location to: Use Extemal Materials. (Legacy)
As shown below:
(2)Click theapply button in the lower right corner, Unity will automatically generate a Material folder, and the material of the model will be placed in it. (The model file should have materials and textures with it, if not, please find other models again or check some related tutorials by yourself)
3.Generate advanced material
(1)As shown in the figure below, Project panel -> Assets -> Materials, select all materials in the folder, right-click and select Settlement Survival BuildCMD/CastHDRToBuild_Mat at the bottom of the menu to quickly convert the materials into all the materials needed in the game. The original texture will disappear.
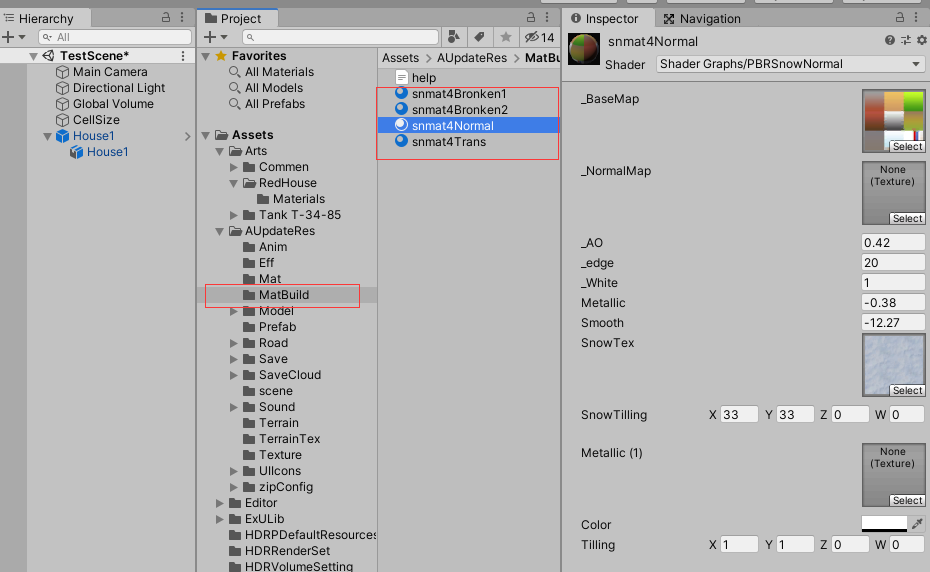
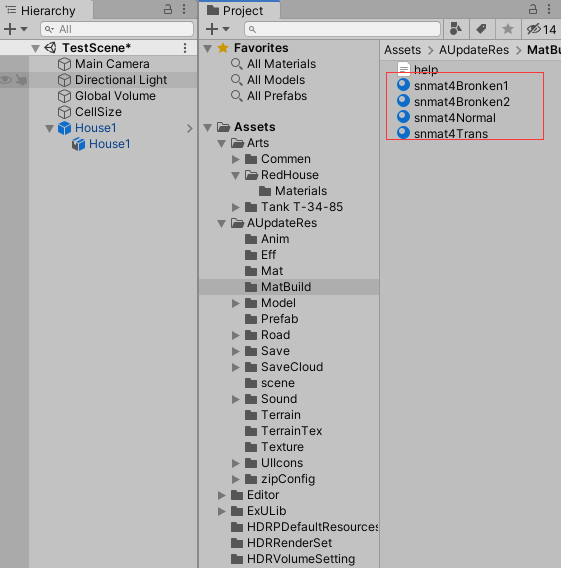
(2)For the newly generated material, it's in Assets -> AUpdateRes -> MatBuild as shown in the figure below.
(3)As shown below, the generated building materials start from 4 (snmat4) , and each new generation will increase the number by one. The same number is the same building material (It is recommended to use the same material for multiple buildings as as to reduce performance consumption).
Snmat4Normal Normal Texture of the Building Snmat4Trans Texture of Semi-transparent Stage(Under Construction) Snmat4Bronken1 Texture of Damaged Building Snmat4Bronken2 Texture of Destroyed Building
(4)After generation, no other process needed to be done to the material.
Return to the model under the Project Panel. Just like the simplified version, drag the model to the Hierarchy tank to generate a prefab.
(5)Change the tank name to the something you want for your new model.
(6)Then drag the model folder (which is the parent node) under the Hierarchy panel to the AUpdateRes/Model/Building directory under the Project
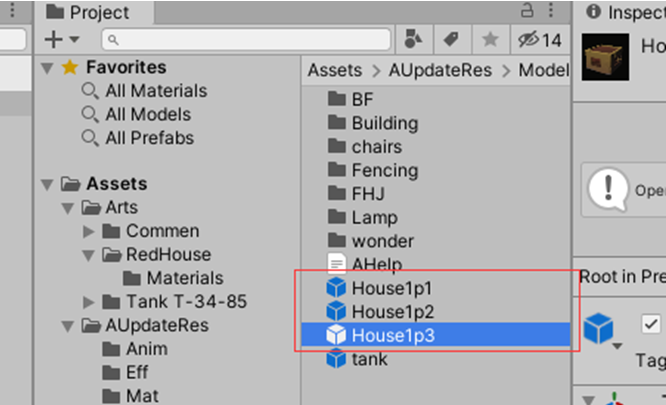
(7)And you still need other 3 prefabs. If you don't have a 3-stage model, you can duplicate 2 more by pressing Ctrl+D. You need to add p1,p2,p3 after the model name, corresponding to the three stages of the building in game.(missing one of them will cause error)
Note: The suffix of p1,p2,p3 is not required in zipConfig -> configuration file.
Ⅷ. Selection Effect (Optional)
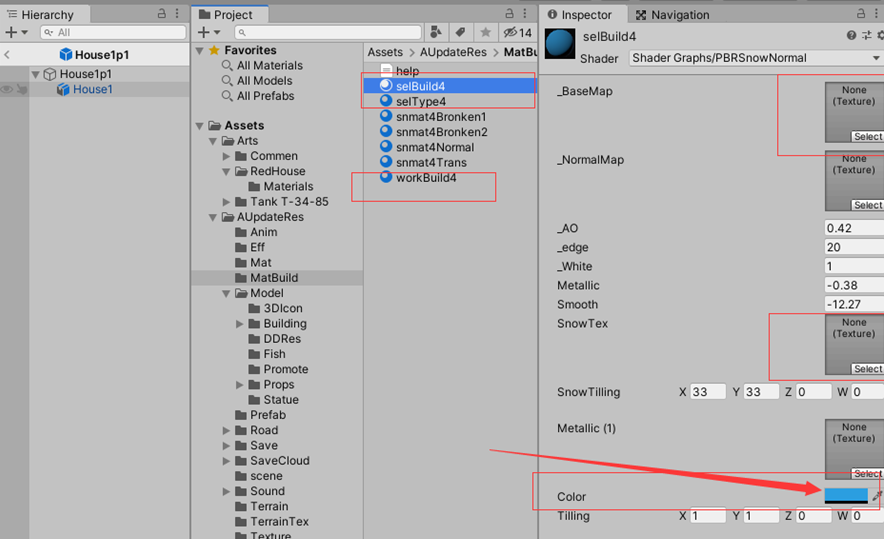

1.You need to add 3 files in the Assets/AUpdateRes/ MatBuild directory under the Project panel:
selBuild4, selType4, workBuild4
2.As shown in the figure below, select snmat4Normal automatically generated above in the Assets/AUpdateRes/ MatBuild directory under the Project panel.
3.Press Crtl+D to quickly duplicate a shader, and change the name of the material to selBuild4.
4.Select the texture area (_BaseMap, SnowTex) as shown below in the red frame and press the delete button to delete the texture, and modify the Color below to: 53EDF8 (typing in Hexadecimal).
5.Finally, the selected effect corresponding to the snmat4Normal building material is generated.
6.Repeat the above operations to complete the shader selection effect settings of selType4 and workBuild4.
The default color of selType4: 94CBEC;
The default color of workBuild4: 3EE08D;
File Notes: •selBuild4 is the selected effect corresponding to snmat4Normal building material. •selType4 is the selection effect of the same type of building, different from the color of selBuild. • workBuild4 is the effect of placing a building, different from the color of selBuild.
Ⅸ. Custom Material (Optional)

 Appendix:
Description Of Resource Processing Commands
Appendix:
Description Of Resource Processing CommandsOriginal Materials are in: Project/Assets/AUpdateRes/Mat.
You can also modify other material as long as their names are still consistent as before, so you can replace them to make your game have other custom effects.
1.Packaging resources:
(1)After editing all resources, right-click any blank area in the AUpdateRes directory under the Project panel in Unity, and you can see Settlement Survival BuildCMD/BuildAllRes at the bottom of the pop-up menu. Select it and start building resources.
(2)Pack all resources inside the mod. Please wait for the completion of progress bar. The larger the resource, the longer it will take.
(3)You can view it in the MOD directory after finishing packaging.
(4)Adjust the configuration file according to the model you want to modify (add or replace content under zipConfig)
Example: Copy the Building.xml file to your mod folder -> zipConfig. Modify the model path under the of the building in the Building file. The first word "Building" remains unchanged, and the latter are adjusted according to the path of your model.If models are called greenhouse, then your model path should be right after Building.
(5)Finally, enter the game to check whether the resources are modified successfully, if not, check again whether the configuration file is set up correctly.
Command Explanation BuildAllRes Package all resources (must use this build version number for the first time). BuildSelectRes Package selected resources. ShowResVerson Displays the current version number. (for comparison and update) CastHDRToBuild_mat Converts the selected hdl/lit-type material to the 4-state materials of the building. Settlement Survival Test/ SwitchToNormal
Settlement Survival Test/ SwitchToTrans
Settlement Survival Test/ SwitchToBronken1
Settlement Survival Test/ SwitchToBronken2 Scene object command: switch to the 4 state display of the building.(used to check the effect of each state in advance)
2.File Name After Package:
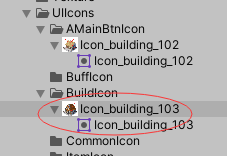
The packaged resource is located in the written path that filled in Project -> Aupdateres -> BuildConfig. The name will automatically omit the slash ("/"), convert to lowercase, and automatically omit the extension name.For example, after packaging, "UIIcons/BuildIcon/Icon_building_103.png" will be converted to "uiiconsbuildiconicon_building_103".
Therefore, resources with the same name but different extension cannot be recognized.
Ⅹ. Picture & Music Resources Modification
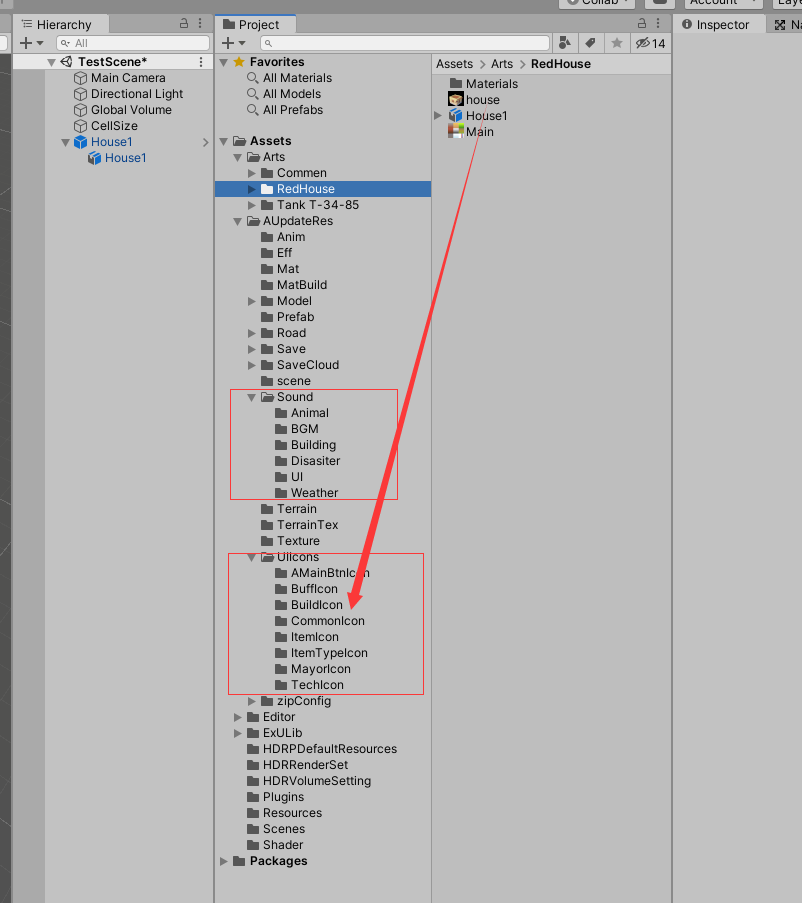


1.Copy the pictures or music in Arts directly to the corresponding directory as shown in the figure below, and then modify the corresponding configuration.(append or replace content under zipConfig)
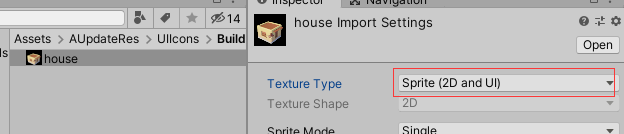
2.If it is a picture with an alpha channel (transparency ), you need to adjust the Texture Type to Sprite (2D and UI) as shown in the figure below, and click apply.
3.Replace resource: Put the MOD icon, sound effect and other resources into the corresponding directory in the configuration, and change the resource name to the same name as the original configuration to replace the original icon. If you add a new configuration or modify the configuration, an icon will be added.
4.Packaging resources:
(1)After editing all resources, right-click any blank area in the AUpdateRes directory under the Project panel in Unity, and you can see Settlement Survival BuildCMD/BuildAllRes at the bottom of the pop-up menu. Select it and start building resources.
(2)Pack all resources inside the mod. Please wait for the completion of progress bar. The larger the resource, the longer it will take.
(3)You can view it in the MOD directory after finishing packaging.
(4)Adjust the configuration file according to the model you want to modify (add or replace content under zipConfig)
Example: Copy the Building.xml file to your mod folder -> zipConfig.Modify the model path under the of the building in the Building file. The first word "Building" remains unchanged, and the latter are adjusted according to the path of your model.
If models are called greenhouse, then your model path should be right after Building.
(5)Finally, enter the game to check whether the resources are modified successfully, if not, check again whether the configuration file is set up correctly.
Source: https://steamcommunity.com/sharedfiles/filedetails/?id=2683561140
More Settlement Survival guilds
- All Guilds
- Settlement Survival Guide
- (Console) V4
- Settlement Survival
- (Console) V2 (Commands List)
- Settlement Survival | lk Trke Rehber
- Supply Chain Guide
- How Many Workers Do You Need?
- Easter Island Perfect/Imperfect statues
- Guide & Tips for Easter Island
- How to Keep Citizens Warm in Settlement Survival