Introduction
Robocraft is a very addictive and fun game where you can build anything you can possibly imagine, add some movement items and weapons and battle other players online.
In this guide I will explain everything about Robocraft starting from the very basic things you need to know to the most advanced things you can do.
If you are a beginner you might be overwhelmed from all this information so make sure to try a few things at a time.
About me
I started playing Robocraft around the July of 2014 and quickly got addicted to it. Since then, I have spent over 2100 hours in the game and I spent most of this time experimenting and learning new things about it.
The past few months I realized that many players needed tutorials and guides to help them since they didn’t understand even some basic things in the game and since many players found my last two guides really helpful (The Ultimate Rail guide, The Ultimate Building guide) I decided to create a long guide which will include all the things that could be helpful to players of any level.
This guide includes all the knowledge I acquired over the past 6 months and I hope it can help you discover new things about the game!
+++You can find some of my bots on the shop, just type "Kostas91" on the search engine+++
You can follow me on the robocraft garage:
robocraftgarage.com/u/kostas_rc/builds
Or on my new youtube channel:
www.youtube.com/channel/UCgpFpzy-bnEcK8aTsEqkx1w/featured
P.S. Some of the information on this guide is outdated. I might create a new guide at some point since many things have changed but you can still use most of the tips and tricks I mention here.
14.10.2016 My first video tutorial is online (updated the "advanced building" section)
18.11.2016 New "Gamemodes" section added with a brand new video tutorial on Battle Arena
Playing Robocraft For The First Time (Beginner Section)
To be able to play this game you will need to create an account. To do that, start the game and when you see the login screen click the “REGISTER” button to create a new account.
Once your account is ready write your Username and Password in the login page and you are ready to go!
“BE AWARE, your username will be the name you will have in the game as well and once you register with it you won’t be able to change it”
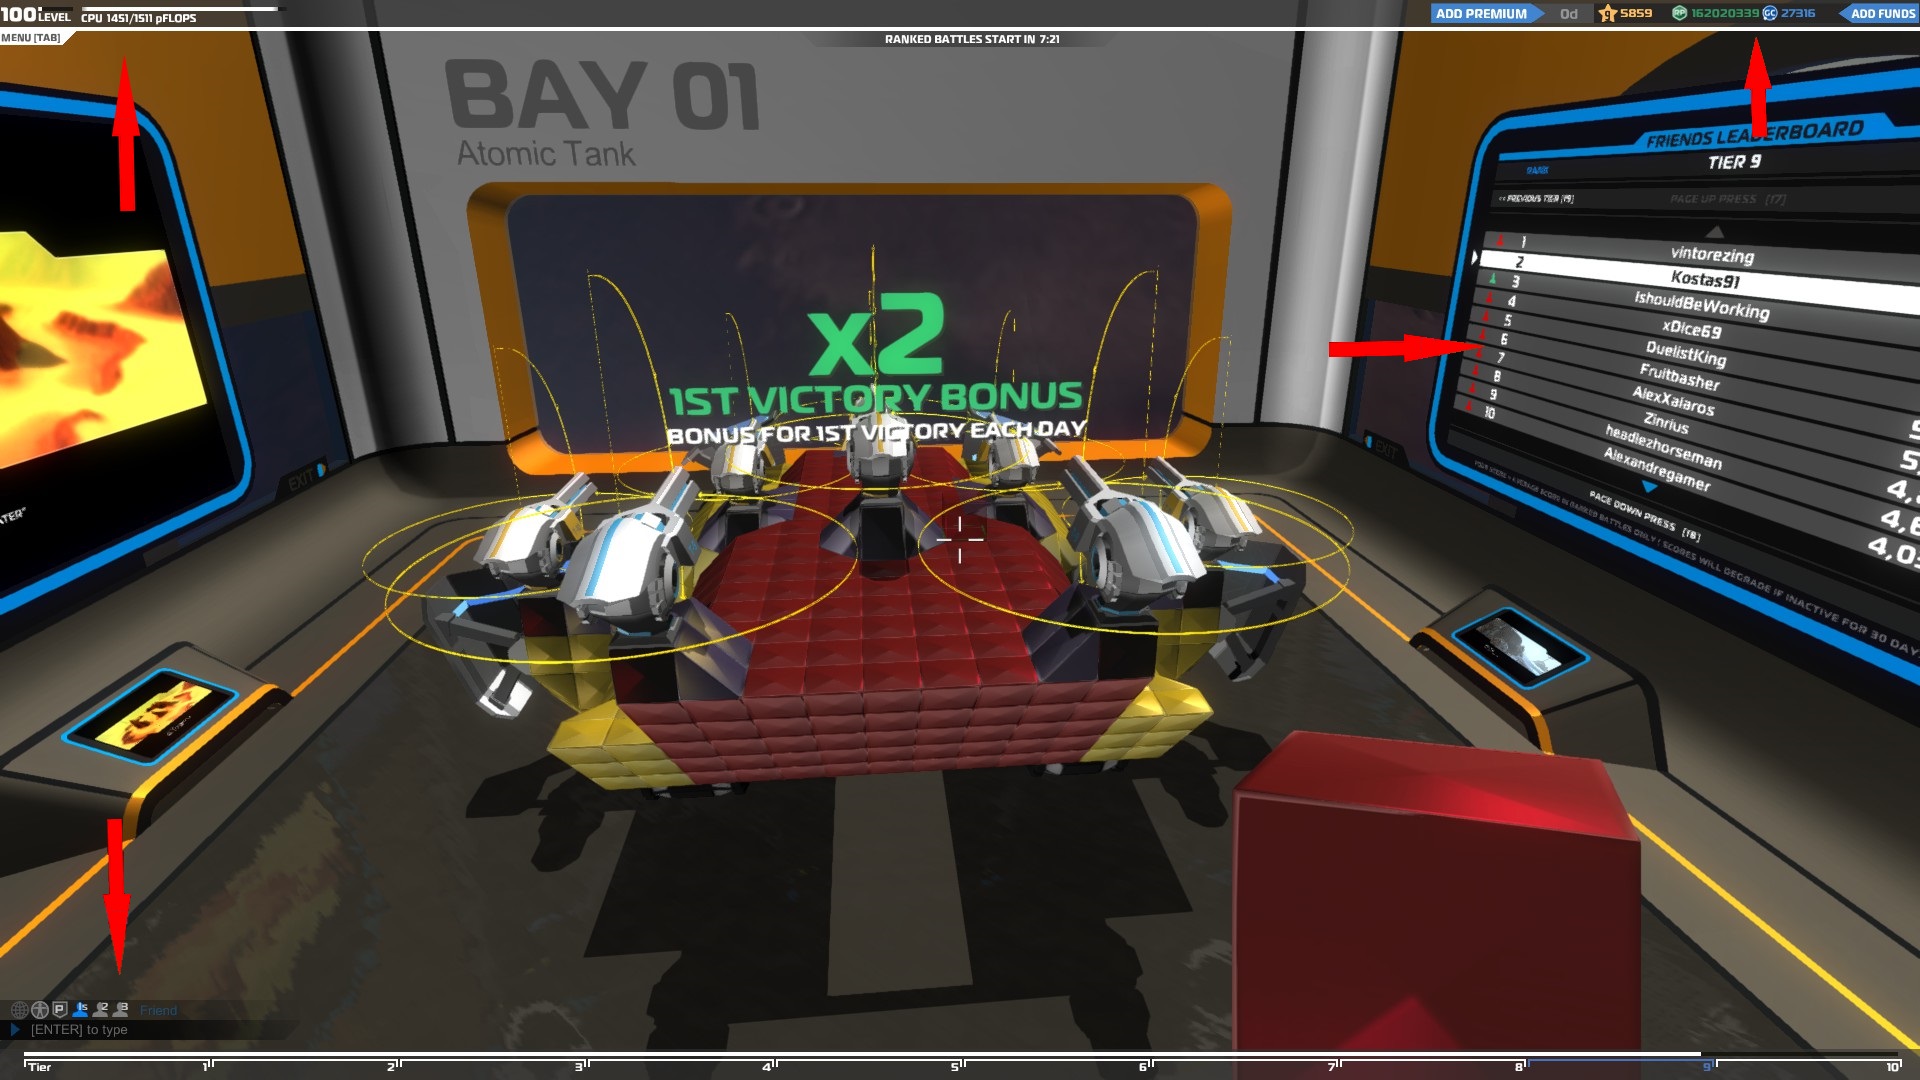
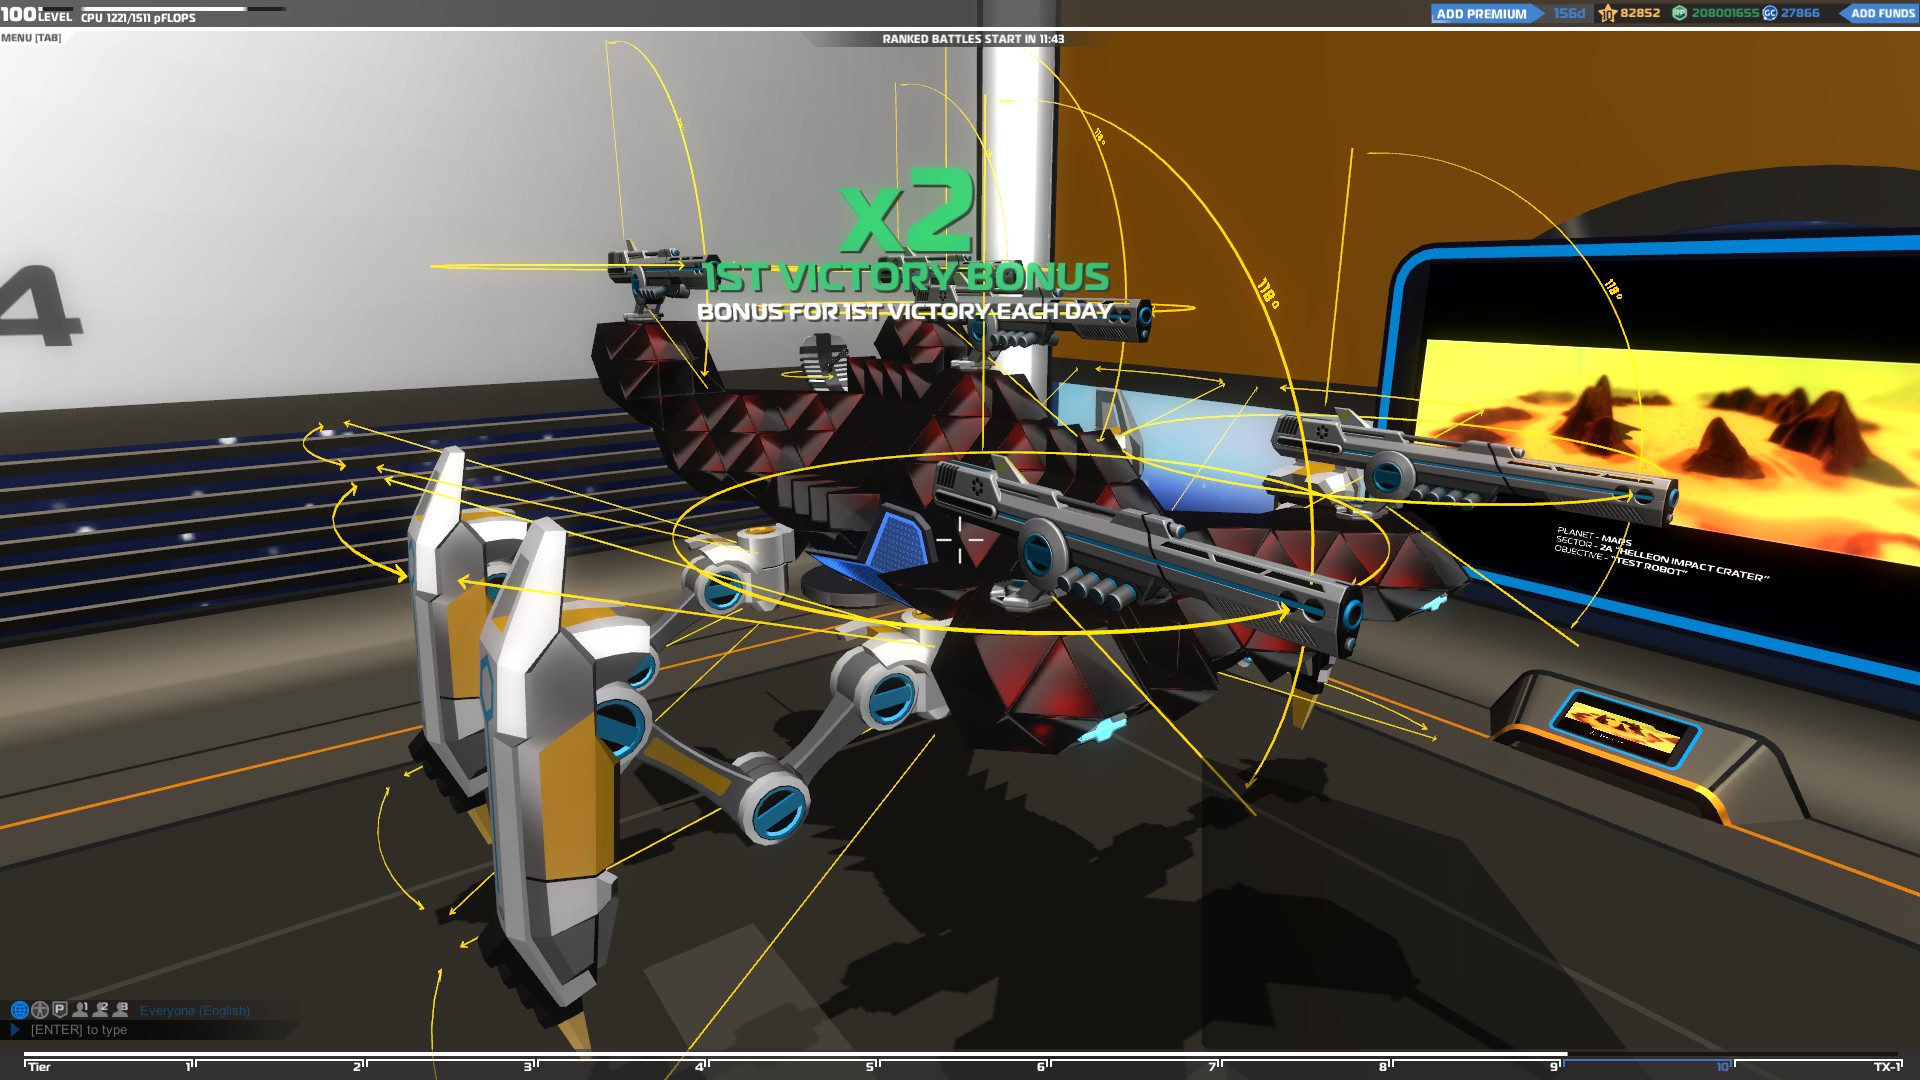
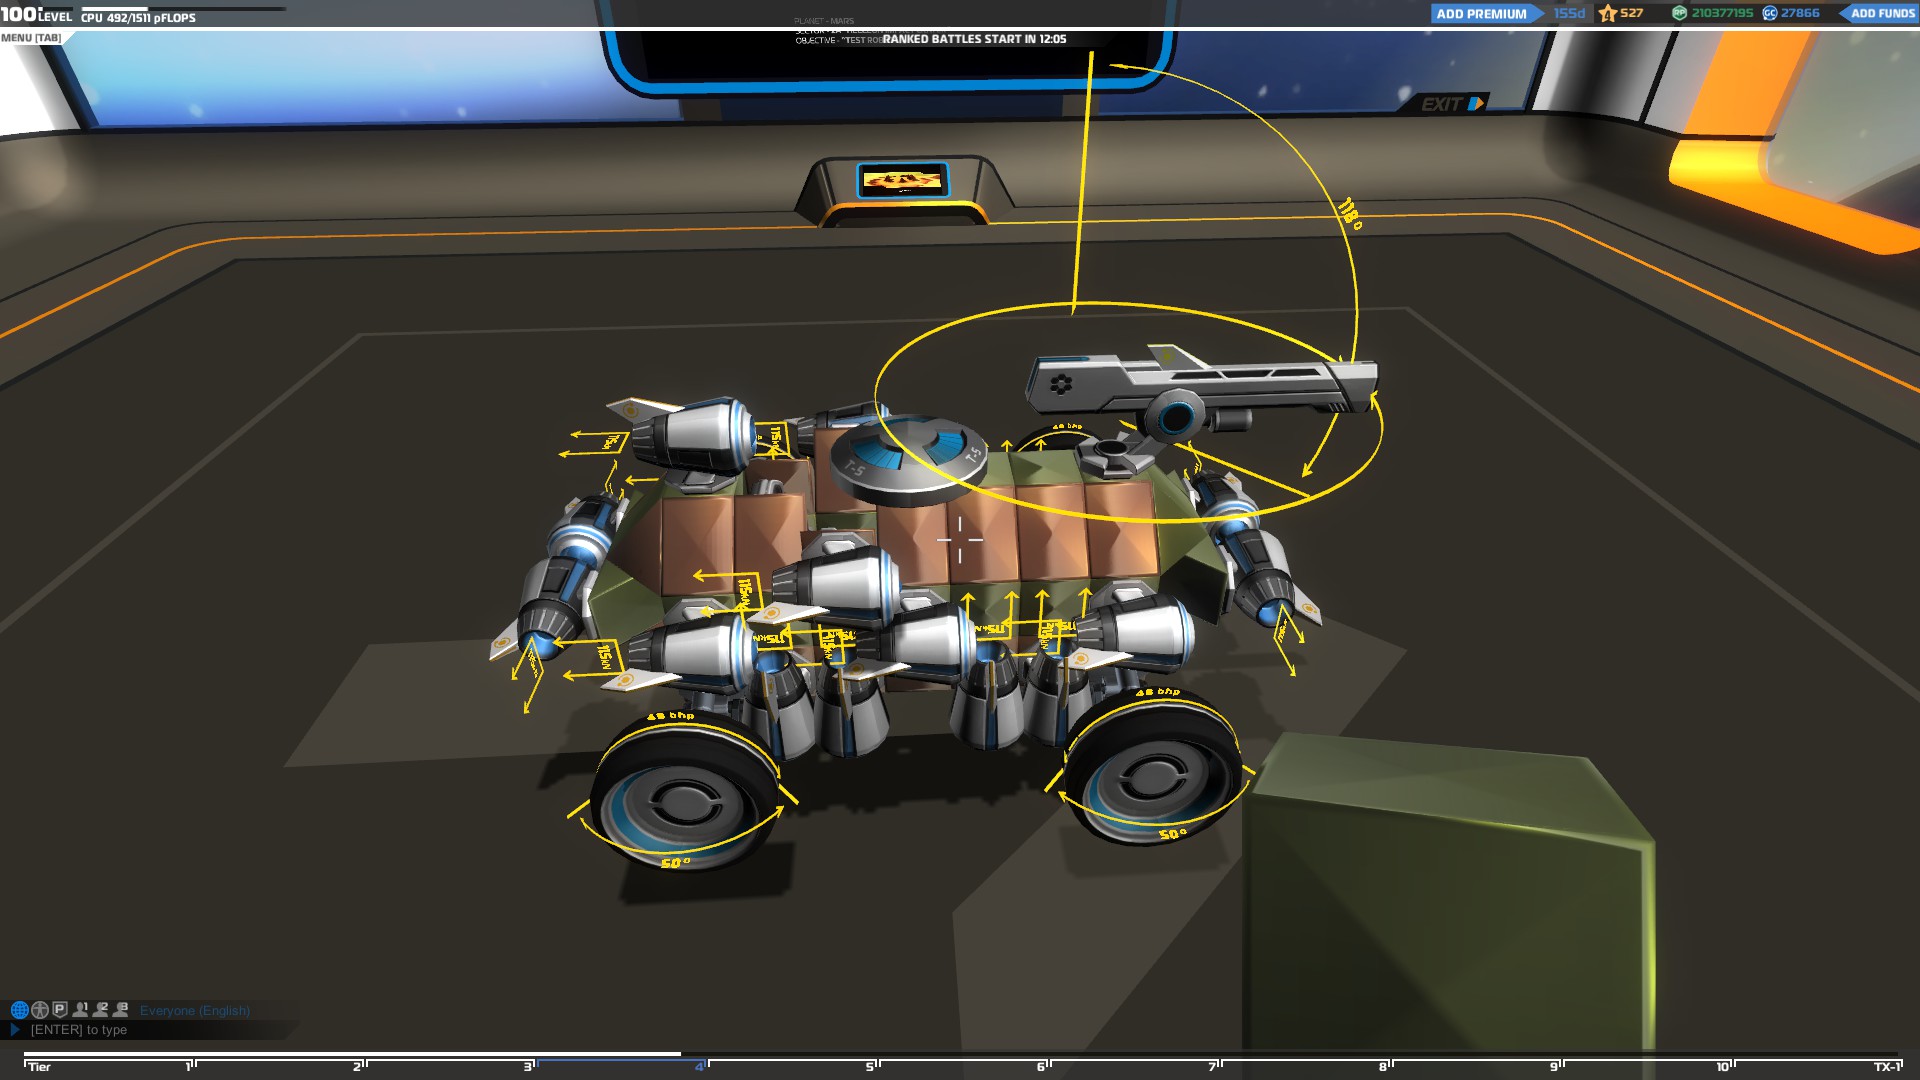
Bay screen
Once you login you will appear inside your bay and you will see the starter vehicle which is the default vehicle every new player gets to start battling other players.
At the top and bottom of the screen you will see some information.
Top Left
Level – You level up in battles when you deal damage to enemy units or heal your teammates (destroy/heal CPU). Every time you level up you get 11 extra CPU points and the maximum level you can reach is 100.
CPU – Every block or item you use to build a vehicle needs CPU. Once you use all you CPU points you won’t be able to add any more components on your vehicle. The maximum CPU points you can reach is 1511.
Top Right
RP (RoboPoints) – This is the basic currency of the game. You can get RP from battles by dealing damage, getting kills/assists, spotting enemies or capturing the enemy base and you can use them to buy blocks and items to upgrade your vehicles.
GC (Galaxy Cash) – This is the paid currency of the game. You can only buy GC with real money and you can use them to buy premium time, cosmetics, garages or the ready-made vehicles in the Roboshop.
TP (Tech Points) – With TP you can unlock new blocks and items in the tech tree. You get 1 TP for each kill/assist or base segment you captured in battles and also 5 TP for every victory.
Add Funds – From this menu you can buy GC. Once you click it a new window will pop up with 6 GC deals you can choose from. You can change the currency at the top right of this window.
Add Premium – With a premium account you will get double RP, TP and experience per battle. You will also be able to add 4 of your friends in your platoon instead of 3. Also each premium player adds an extra 5% RP to all the players in every battle including themselves. The more premium players in a battle the more RP all players get.
Bottom Left
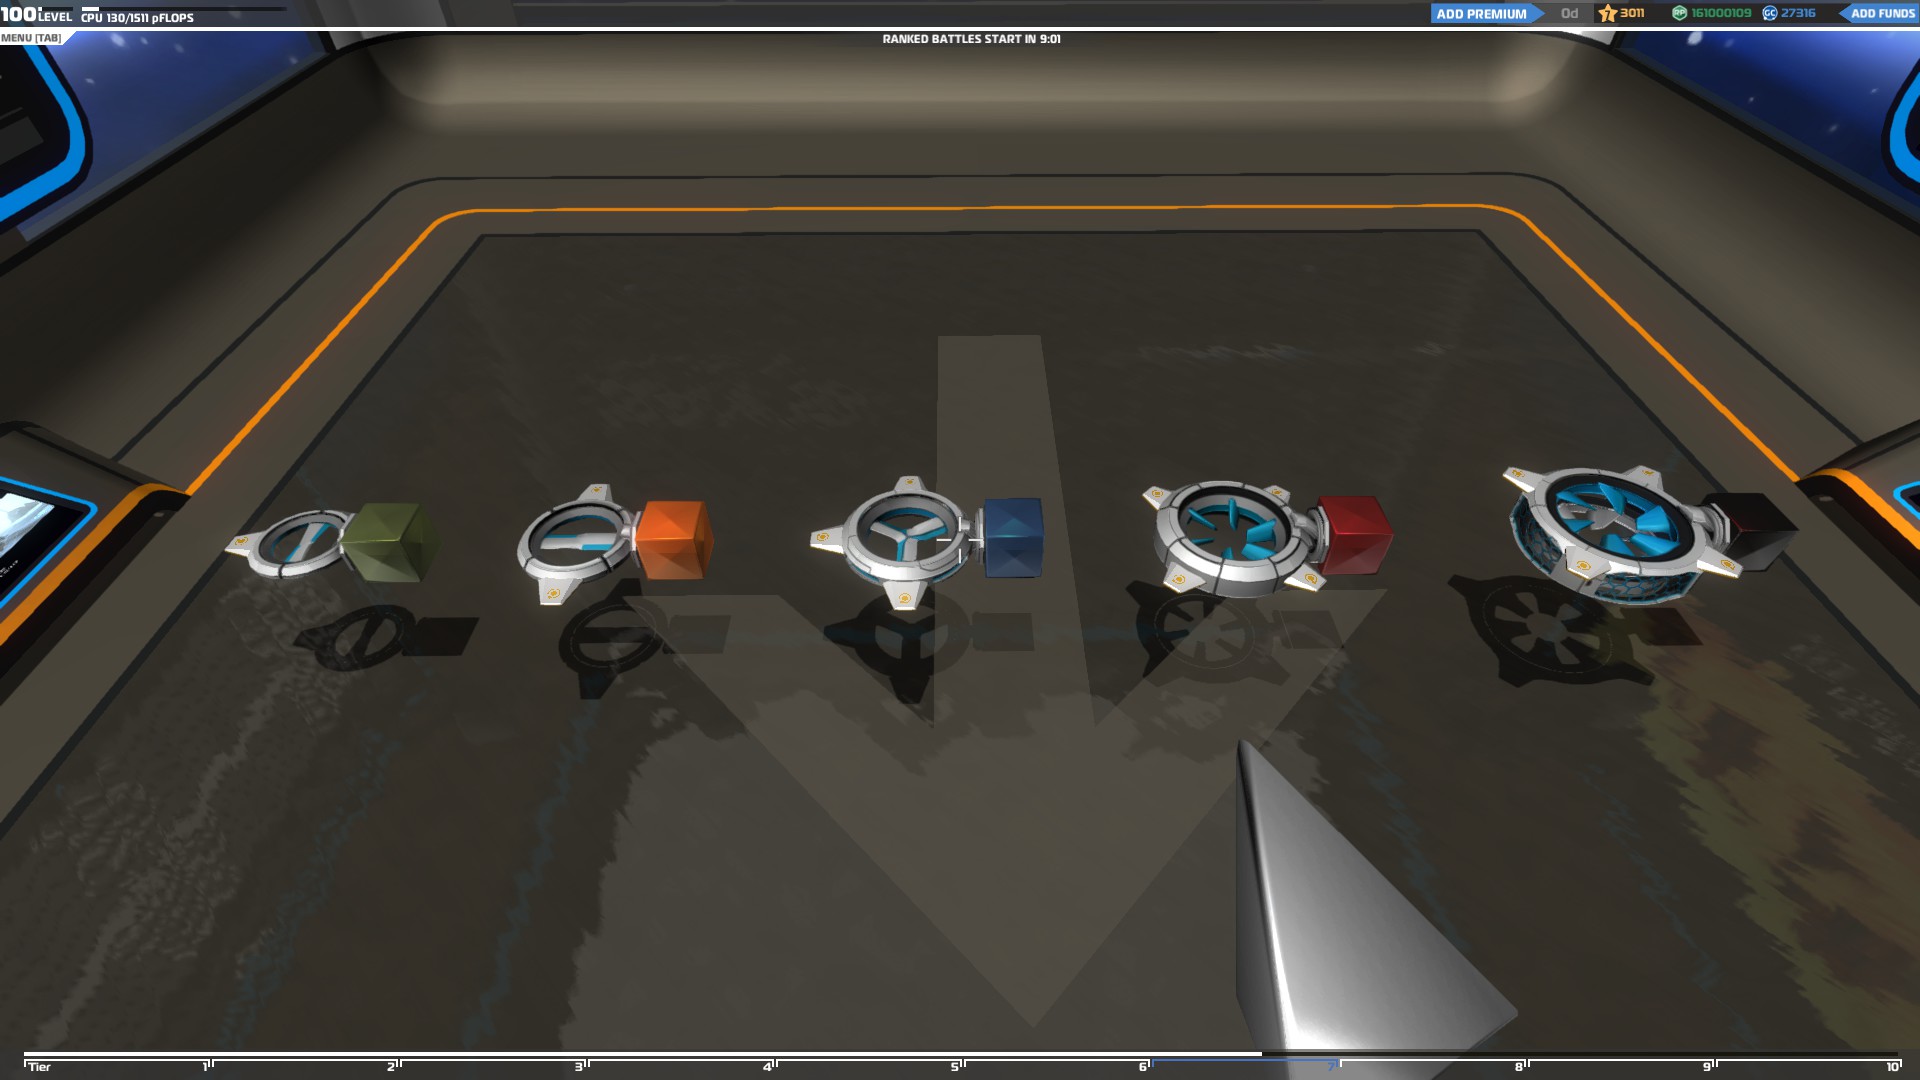
Tier level – This is the robot ranking system. The higher the tier level of your bot is the higher tier battles you will be able to join. There are 10 tier levels and you can level up your bot by adding more/higher tier items or blocks.
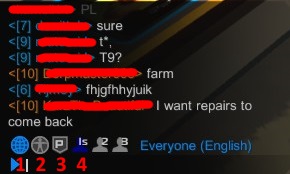
Chat – You can use the chat to talk to the Robocraft community and your friends. By default the chat is set to the community chat which will enable you to talk with other Robocraft players. To use the chat you simply press ENTER, write your message and then ENTER again to send it.
“Spamming in the chat is not allowed and anyone caught spamming, will be silenced (won’t be able to use the chat feature for 24 hours)”
Once you add friends, join a platoon or a clan you will be able to set the chat to one of the following:
1) Global chat
2) Clan chat
3) Platoon chat
4) Friend 1,2,3 chat
You can do that by pressing ENTER to use the chat and then TAB to move between each chat tab.
By Typing /w “player username” before your message you can ‘whisper’ directly to a specific player.
You can change the chat language from the game settings by pressing ESC – Settings – Chat Language. You can also disable/enable the chat by clicking the Chat Enabled box or use the Filter Profanity option to remove any kind of cursing in the chat.
Finally you can add color or change the emphasis of your messages by adding color and text codes.
To add emphasis to your messages simply add:
• Text – to make your message bold
• Text – to underline your message
• Text – to make your message italic
"Do not leave space between the b,u,i letters and the right bracket otherwise the emphasis will not work. I had to leave space between them cause they were changing the empasis of the words in my guide"
Example: How are you today? = How are you today?
To add color to your messages you need to add a color code before your text. To find the code for the color you want simply go to: html-color-codes.info
(Or any other website about color codes)
Choose the color you want, copy the code (next to the #), add square brackets at the front and back of the code and put it at the start of your message.
Example: [F80707]Red color
You can use both emphasis and color codes at the same time but DO NOT LEAVE SPACE BETWEEN THE CODES otherwise they not work.
“The profanity filter is not there for you to excessively curse. If you use profanity or insult other players in the chat you will most likely be silenced and receive a warning from a Moderator”
(For more information about the game rules visit the following link: robocraftgame.com/game/fair-play-expectations)
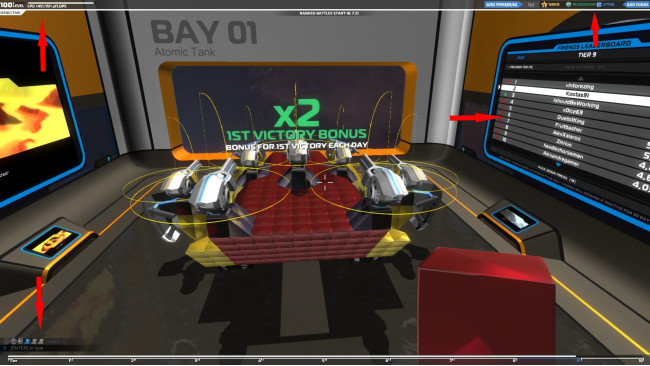
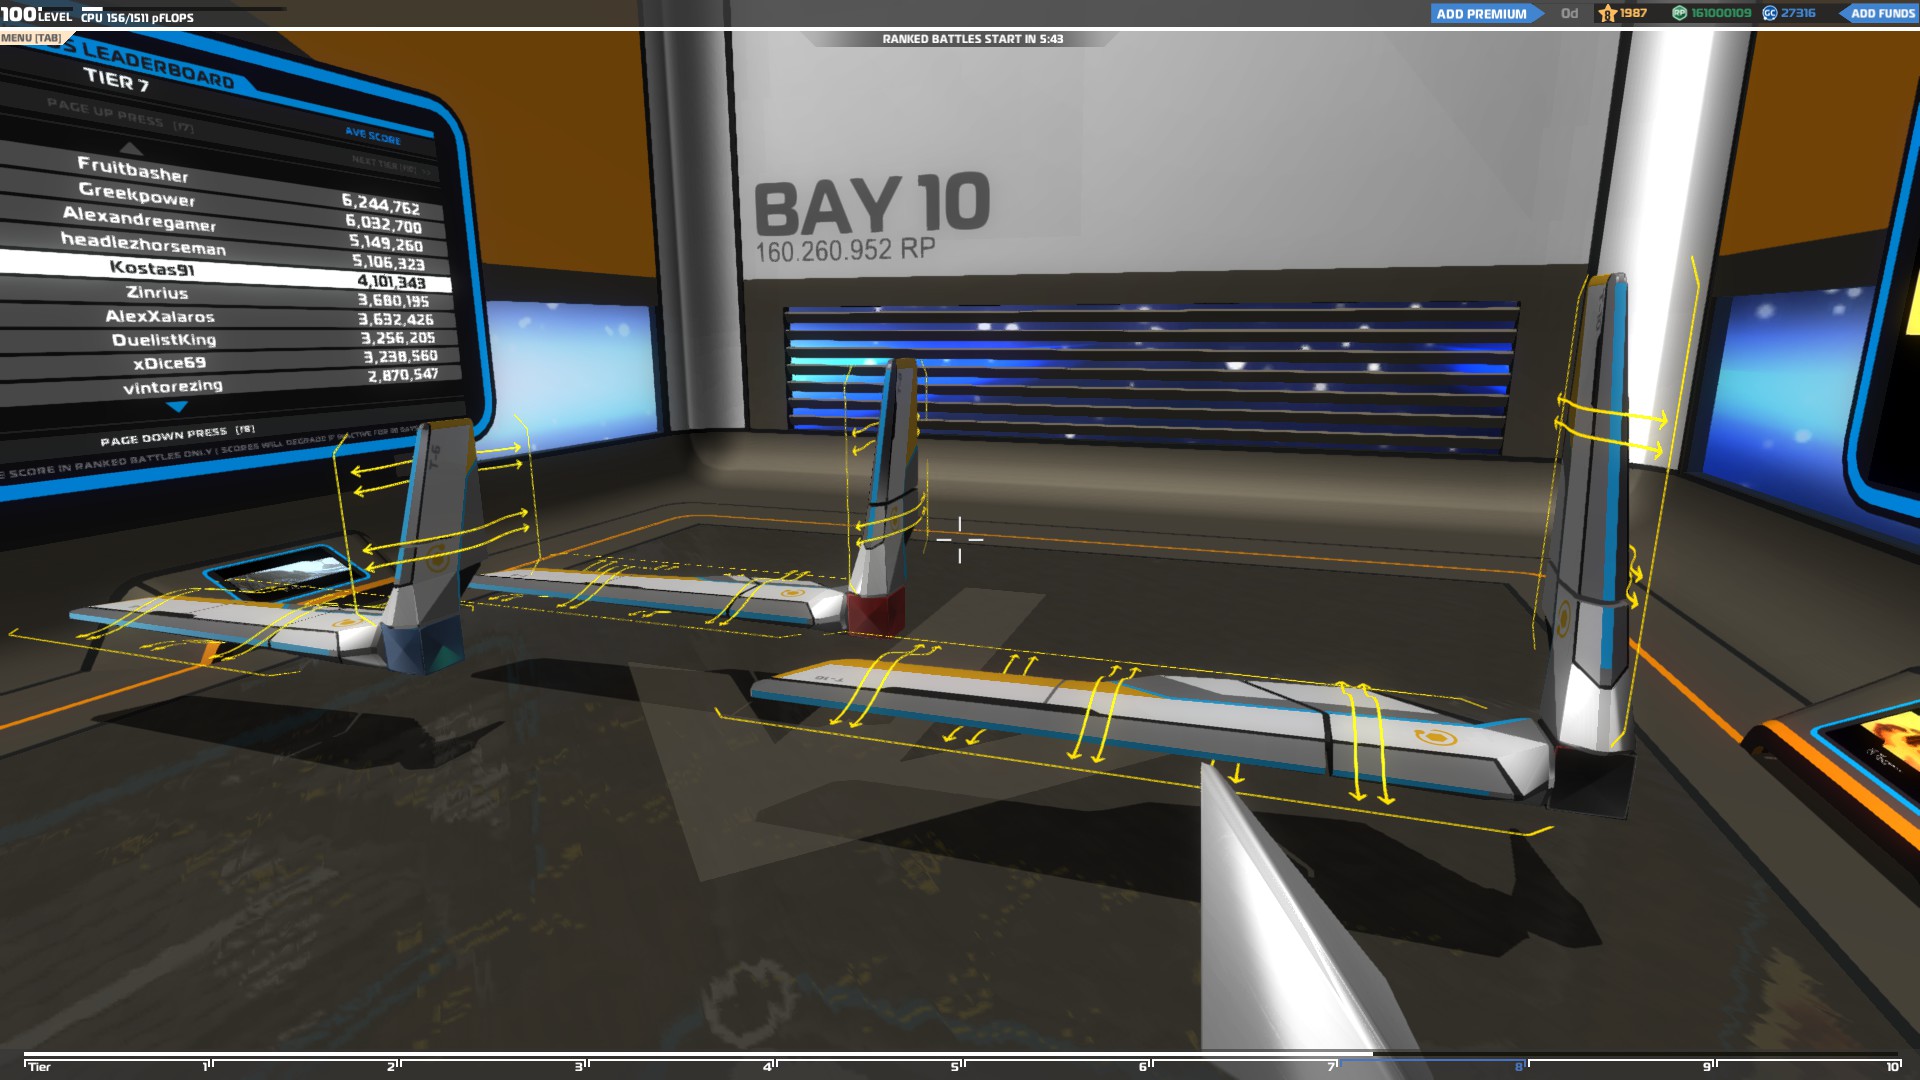
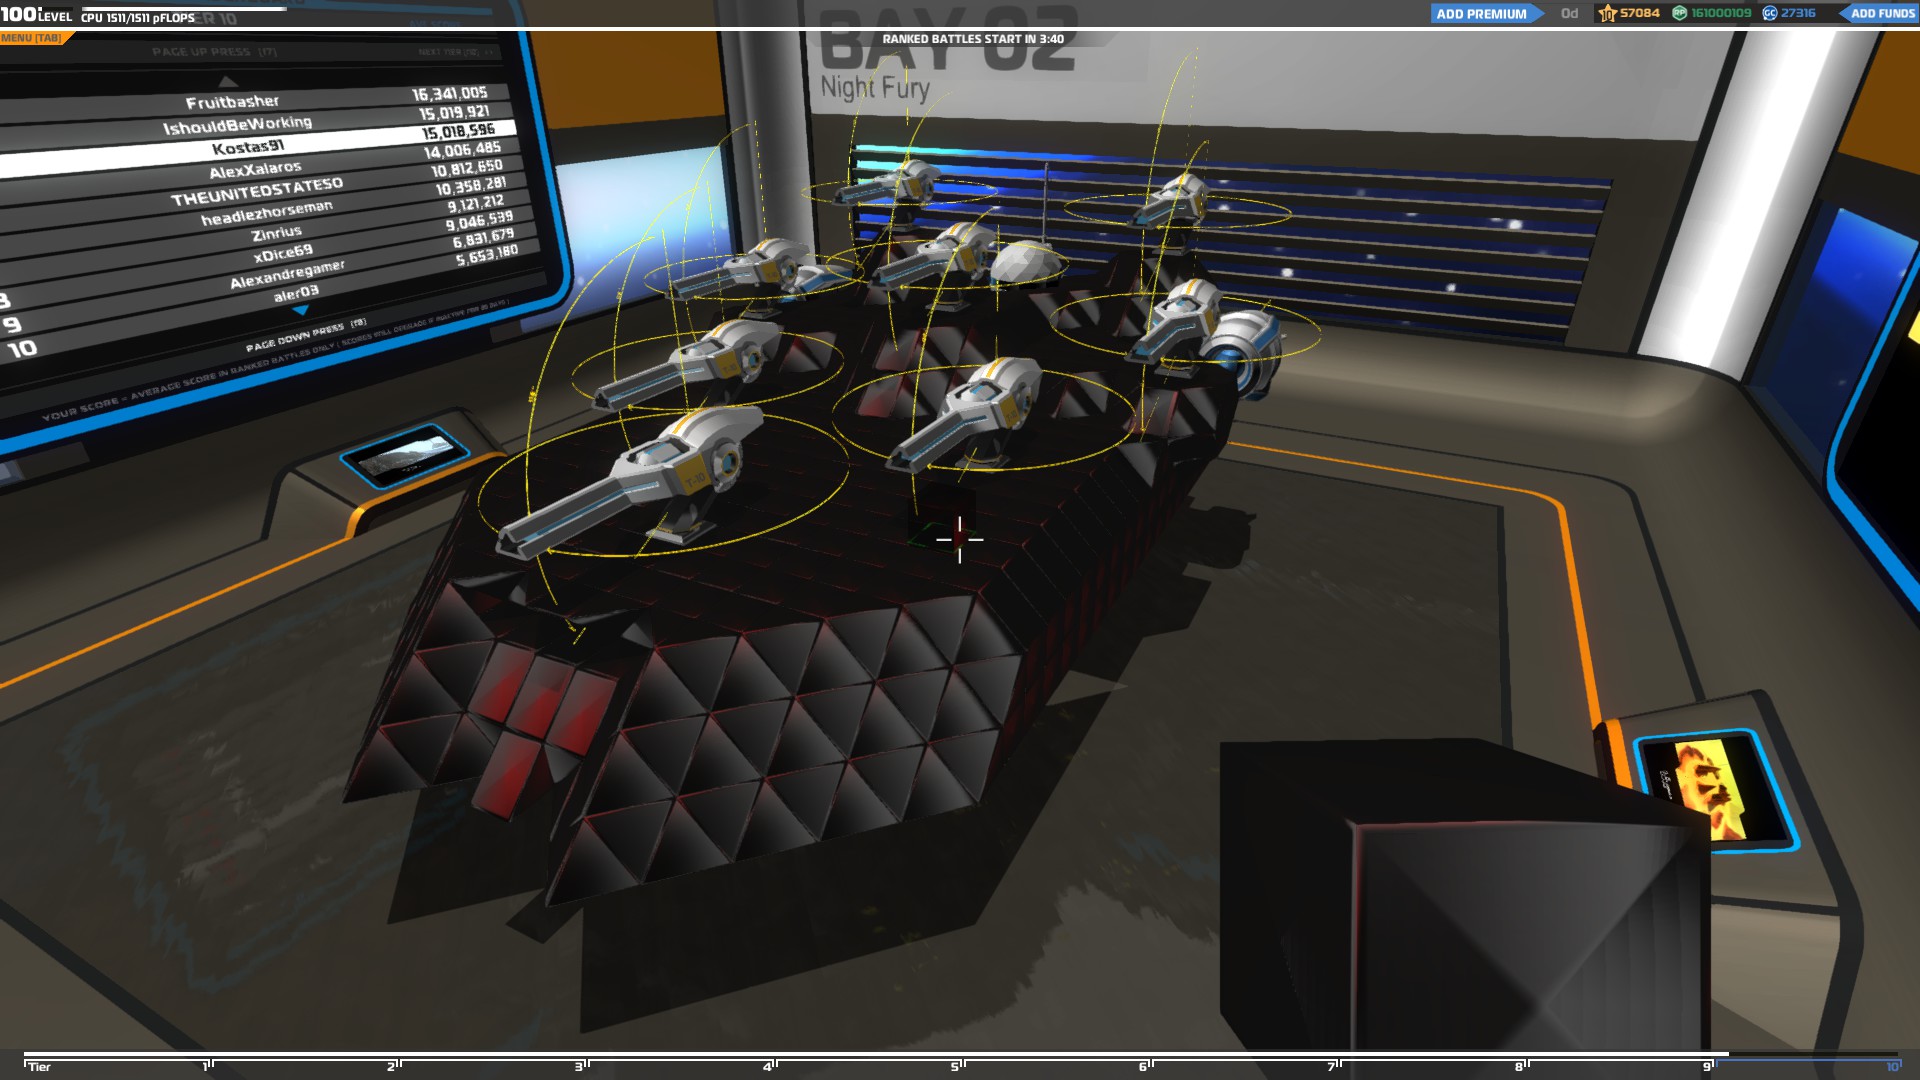
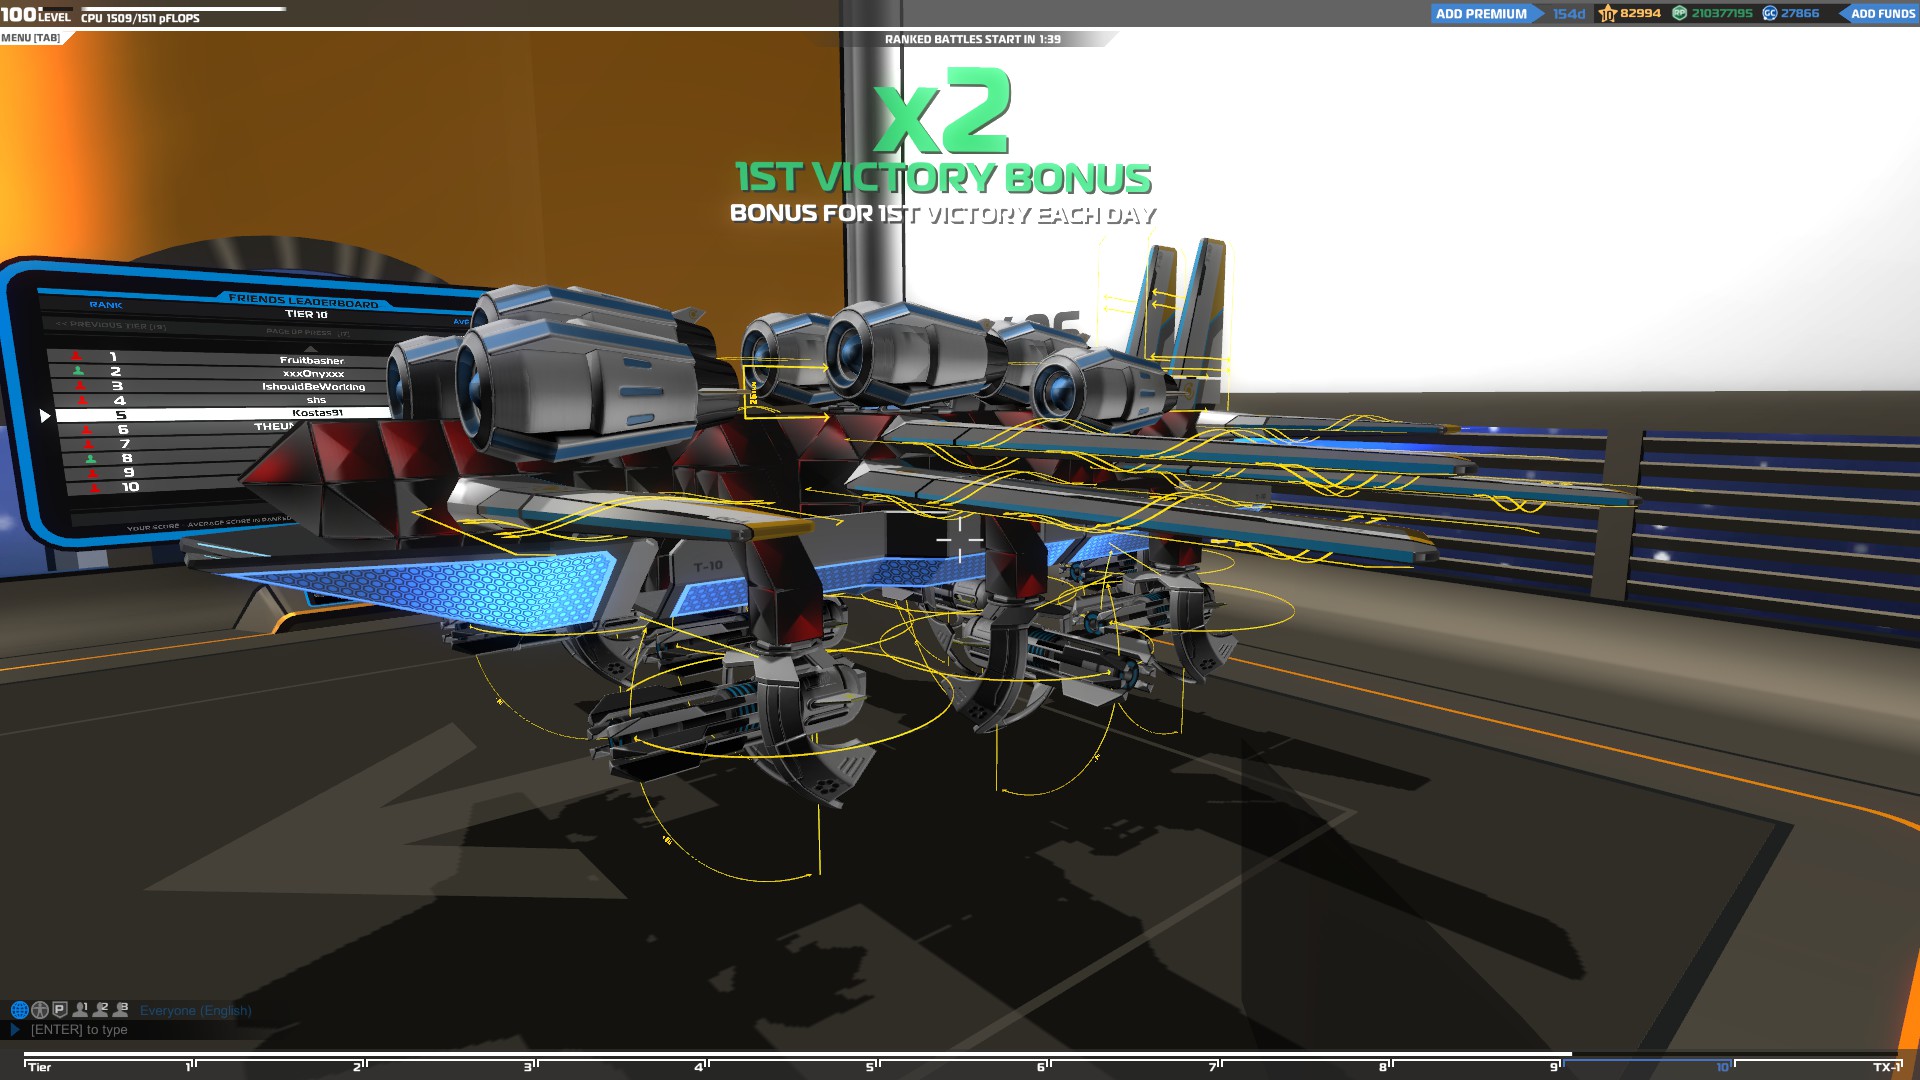
Leaderboard
At the right wall you will notice a board labeled Friends Leaderboard. On this board you will be able to see yours and your friends’ ranked score.
If you have too many friends, you can “scroll” down and up with the [F7], [F8] keys and If you want to check your score in a different tier you can move to the next or previous tier with the [F9], [F10] keys.
Pause Menu
Settings
Before you start playing the game you should adjust the settings and controls of the game. To do that press ESC and enter the settings menu to adjust your Graphics, audio and mouse speed.
You will also see the toggle zoom option. If you enable it you will switch from having to hold the right click to scope to just clicking to enter or exit the scope mode.
Controls
When you enter the control menu you can just click the boxes next to the actions to assign keys to them. You can assign keys to either your keyboard, mouse or joystick.
If you mess up the controls you can click RESET TO DEFAULTS to return everything back to normal.
Once you are done with the controls click OK to save your changes
Enter Code
From time to time FreeJam (the developer company of Robocraft) gives out promo codes with either free premium time or cosmetics. Enter the codes here and click confirm to use them.
Finally you can either click Quit Game to leave Robocraft or Resume to return to your Bay screen.
Playing Robocraft For The First Time Part 2
Game menu
To enter the game menu press TAB.
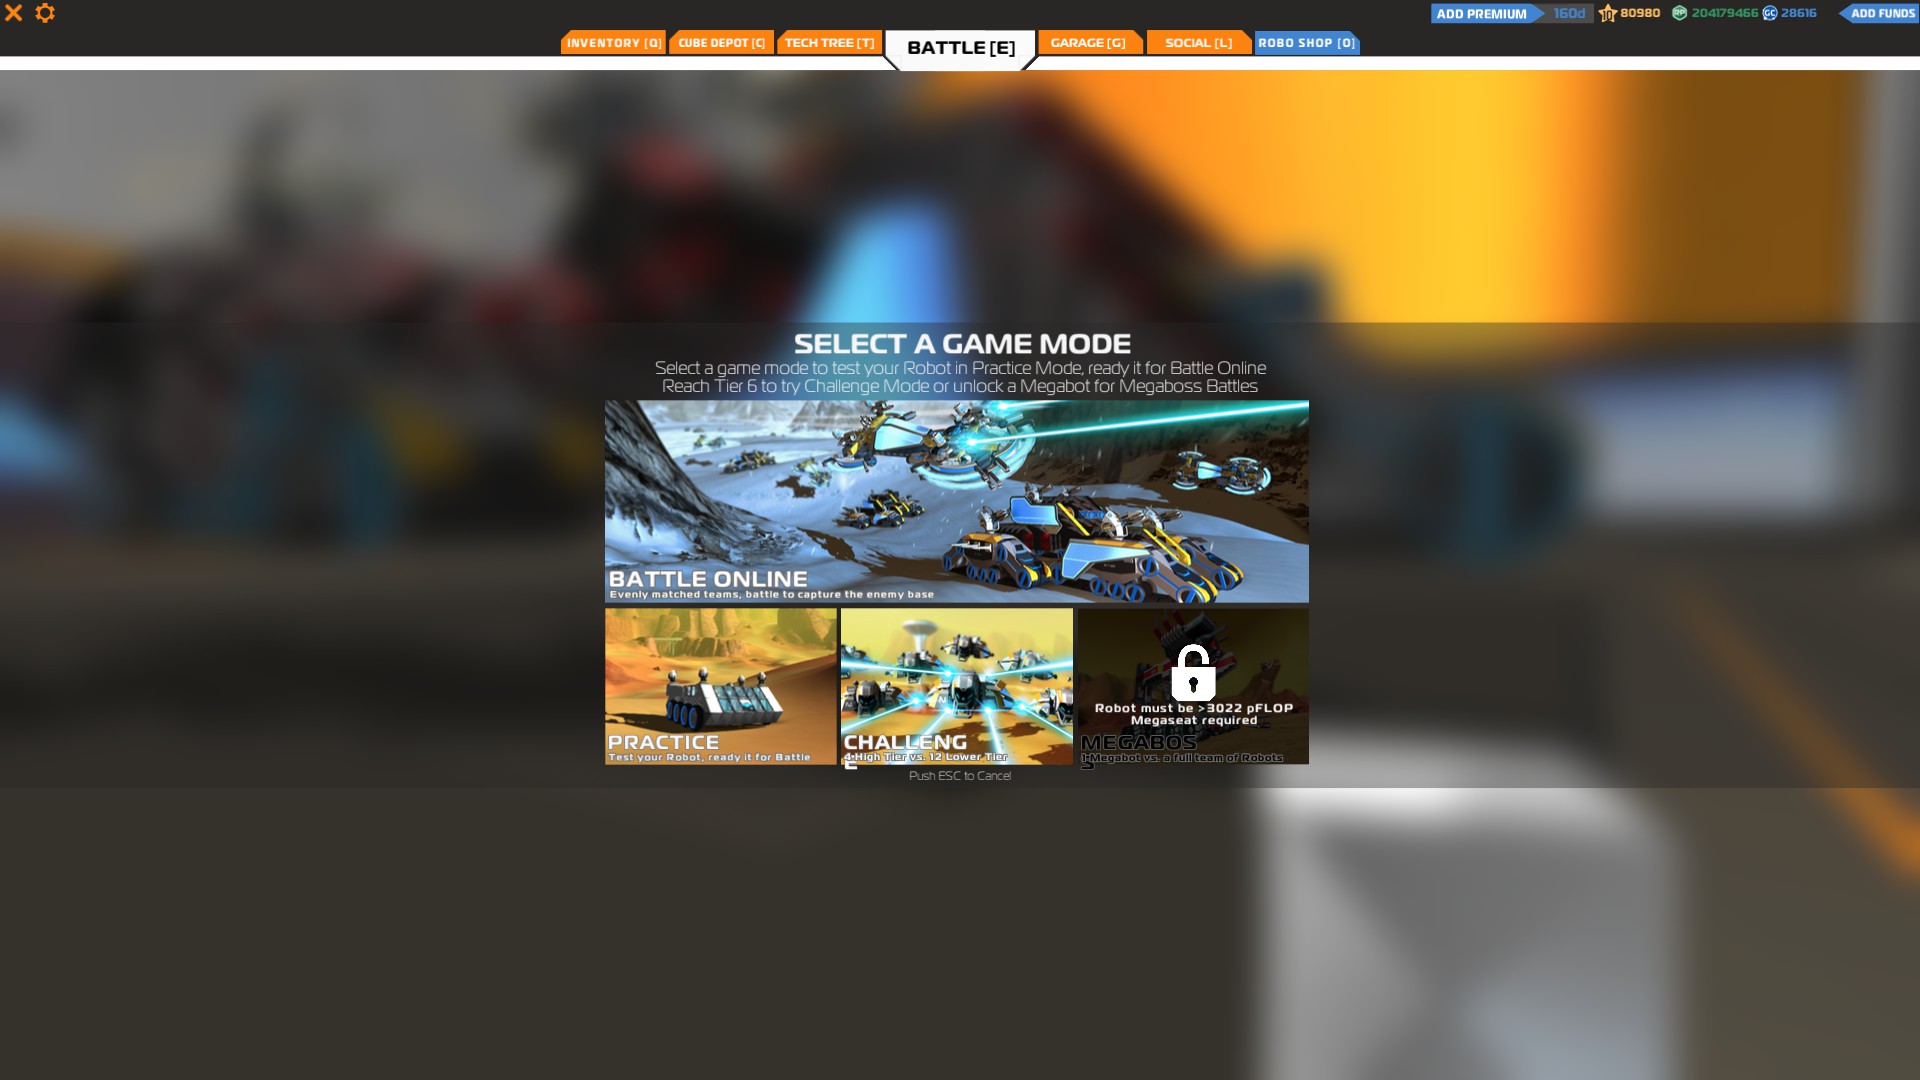
Enter Battle screen
Once you press TAB the Enter battle screen will appear. Here you can choose the battle modes you want to enter.
You have 4 options:
Practice – In this mode you can test your vehicles before the actual battles and fight against A.I. enemies. Every few bots you destroy, more powerful ones will spawn with stronger weapons and blocks. You can use the hotkey [P] while you are at the battle screen to quickly enter in a practice match or use [E]+[P] to enter from your bay.
Enter Battle Online – This is where you play against other players and bosses. The matchmaking system will put you in a team according to your tier level and vehicle class to battle in a randomly chosen map. You can use the hotkey while you are at the battle screen to quickly enter the online battle or use [E]+ to enter from your bay.
Challenge Battle – This battle mode is only available for 6-10 tier players. Once you reach that level you will be able to join a challenge battle where you and three more players will have to destroy many low tier enemies.
Players with T2-T7 tier vehicles have a chance to randomly join challenge battles when they enter a normal battle.
Megaboss – Only Megabots, which are robots above the T10 tier, can enter a Megaboss battle and one Megabot will have to face many low tier enemies.
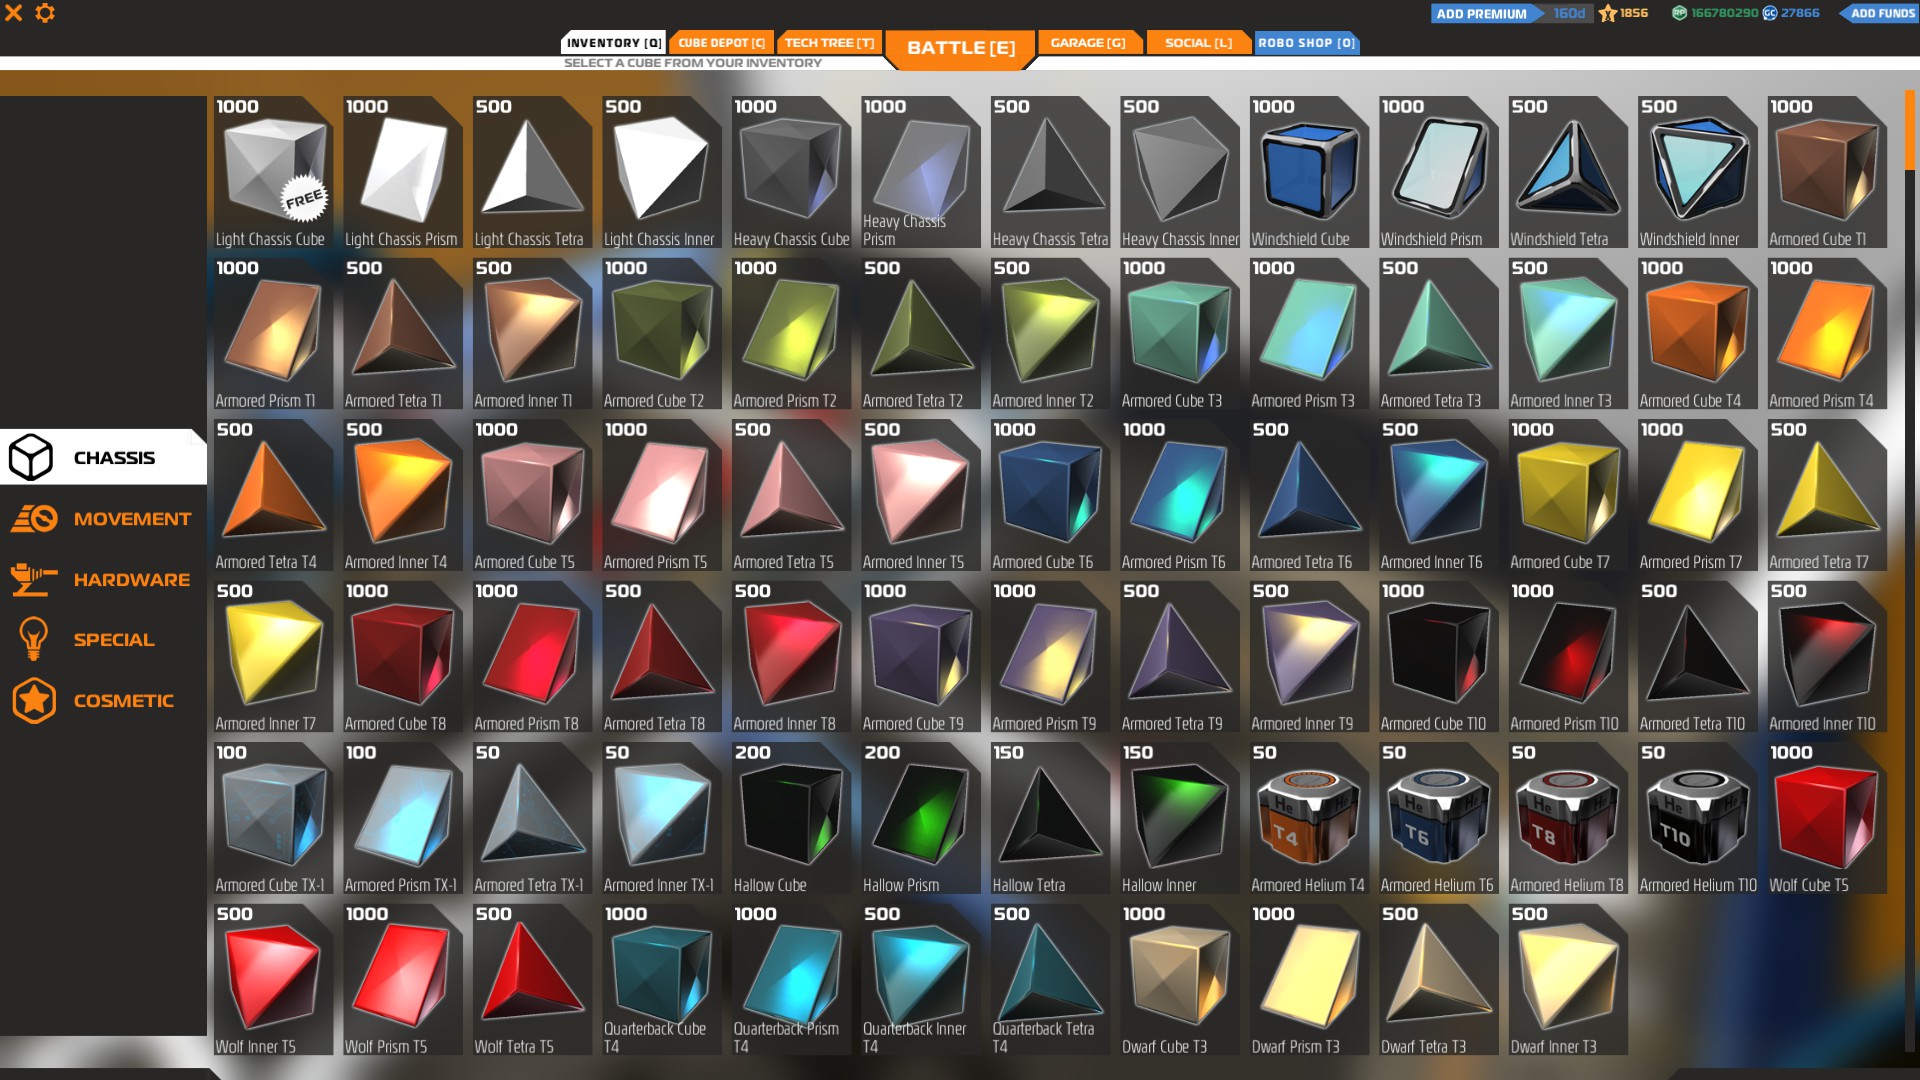
Inventory
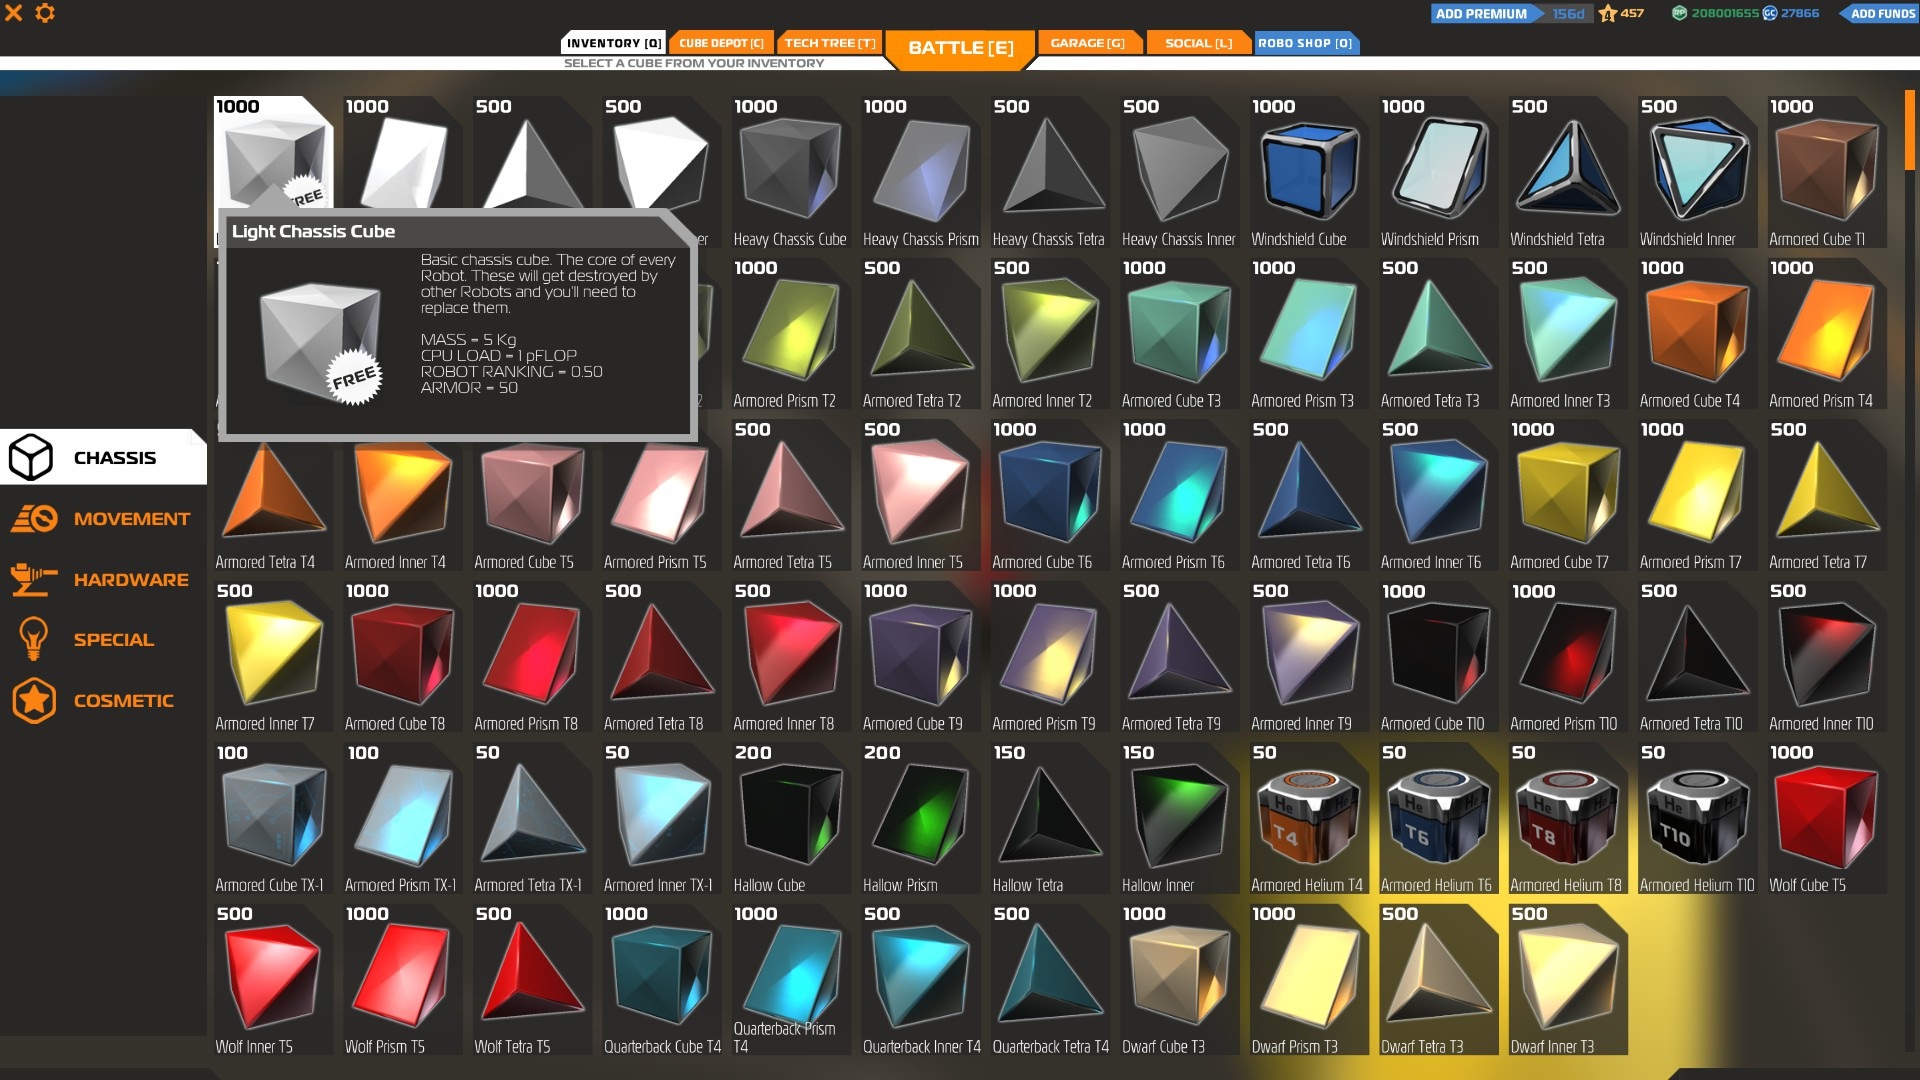
This is where all your blocks and items are stored. If you want to build a new vehicle you will have to access your inventory, click at the item you want to use and place it in your bay.
The inventory has 5 different sections:
Chassis – This is where all the blocks are located. You can use the different types of blocks to give a shape to your vehicle.
Movement – Here you can find all the items that will make your robot move.
Hardware - This is where all the weapons and shields/electroplates are stored.
Special - In this section you can find miscellaneous items that will give you some tactical advantages in a battle
Also this is where the seat is stored. The seat is your core item and your vehicle will be destroyed if the blocks supporting it are destroyed.
Cosmetic – This is the cosmetic section where items that change the aesthetic of your robots are stored.
You can quickly access your inventory using the hotkey [Q].
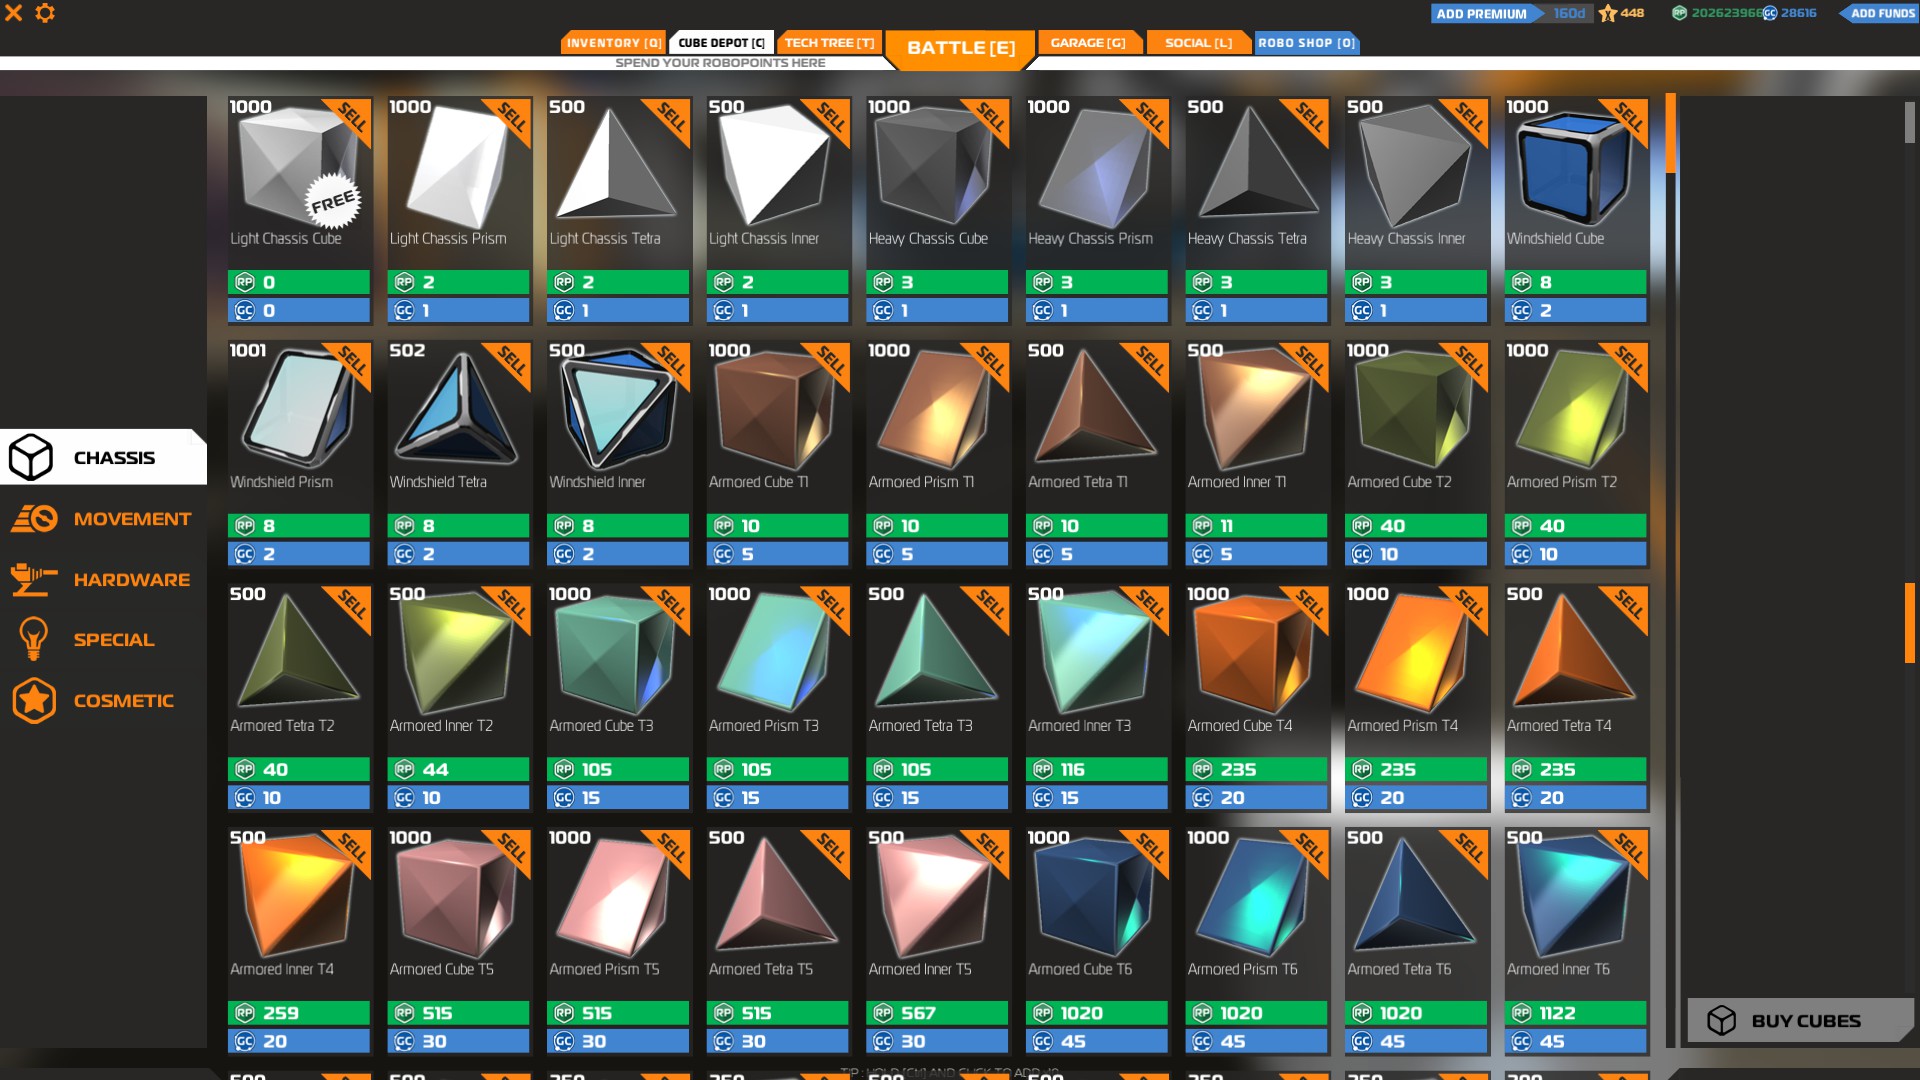
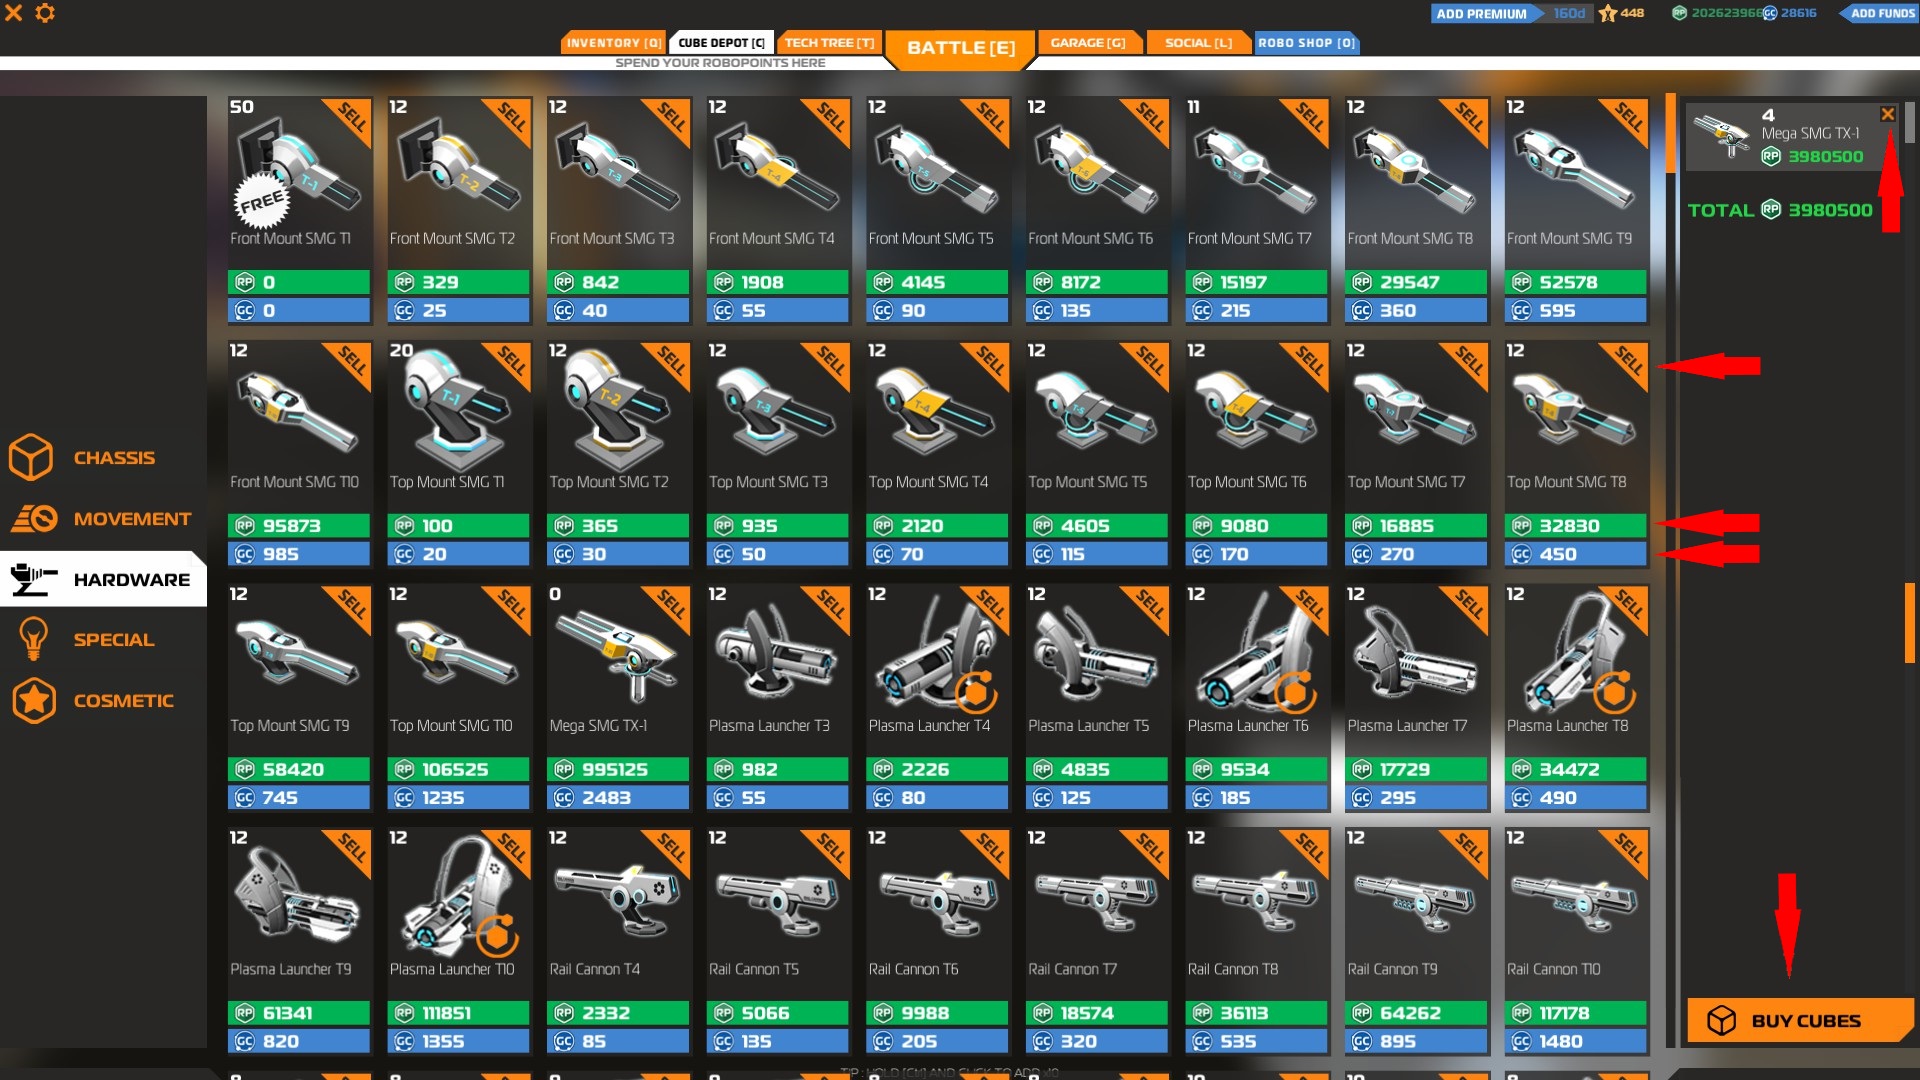
Cube Deposit
The deposit is the “market” of this game where you can buy all the blocks and items you need by spending RP or GC. You can click the green RP button below the item you want to buy or the blue one, if you want to use GC, to add it to your basket. To remove a specific item from your basket just click the X button at the top-right of the item icon.
In case you want to add many items of the same type in your basket, you can hold the CTRL button to add 10 blocks/items every time you click instead of 1. That can be really useful especially if you want to buy hundreds of blocks. You can do the same if you want to remove multiple items from your basket by holding CTRL and clicking the X button.
“You can only buy cosmetic items with GC”
The amount of RP/GC each item costs is written below them, inside the green and blue buttons. Once you add everything you want to your basket click the Buy Cubes button at the bottom right of the screen to complete the transaction.
You can also sell any blocks or items you want by clicking the SELL button located at the top of every item icon. Holding the CTRL button while clicking will help you sell more items faster.
“Selling items is not a wise thing to do since you will only get half their value back. The best thing to do is to be patient and wait until you earn the amount of RP you need in order to buy what you want”
You can quickly access your cube deposit using the hotkey [C].
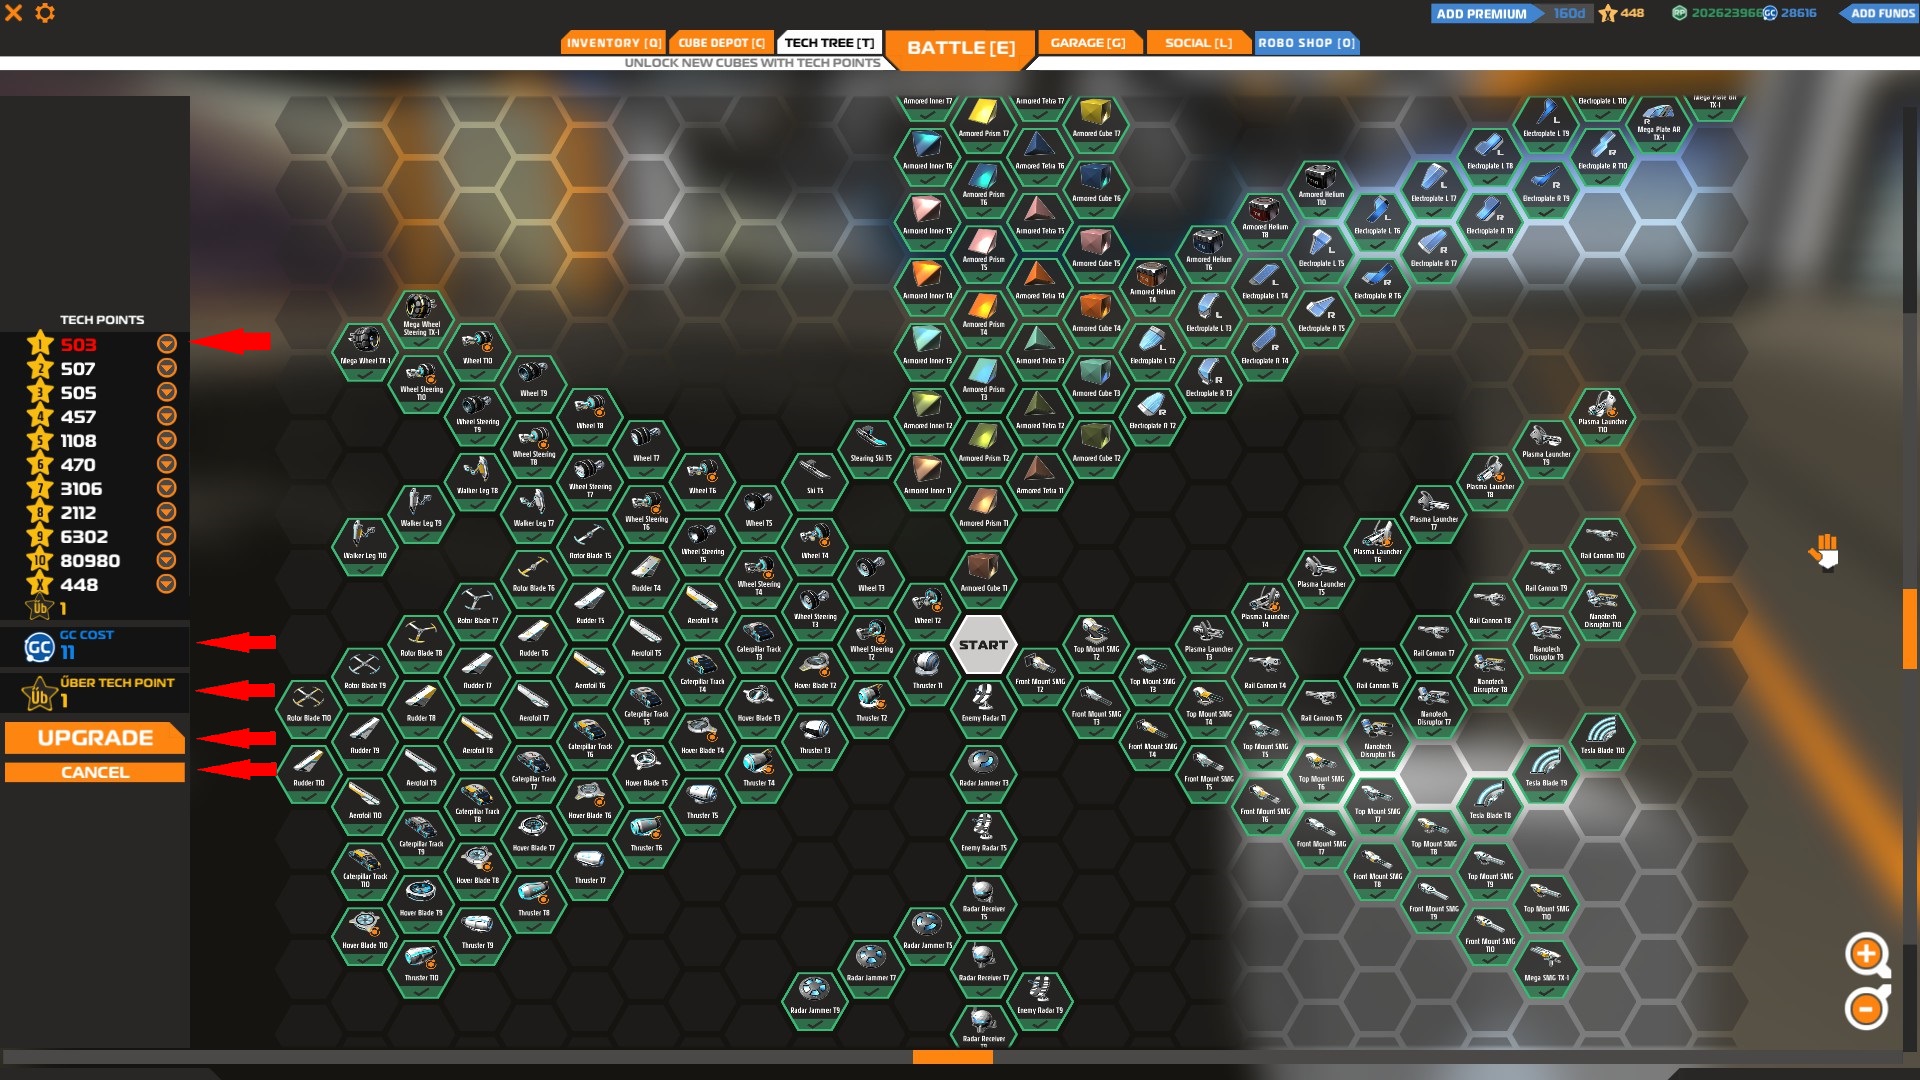
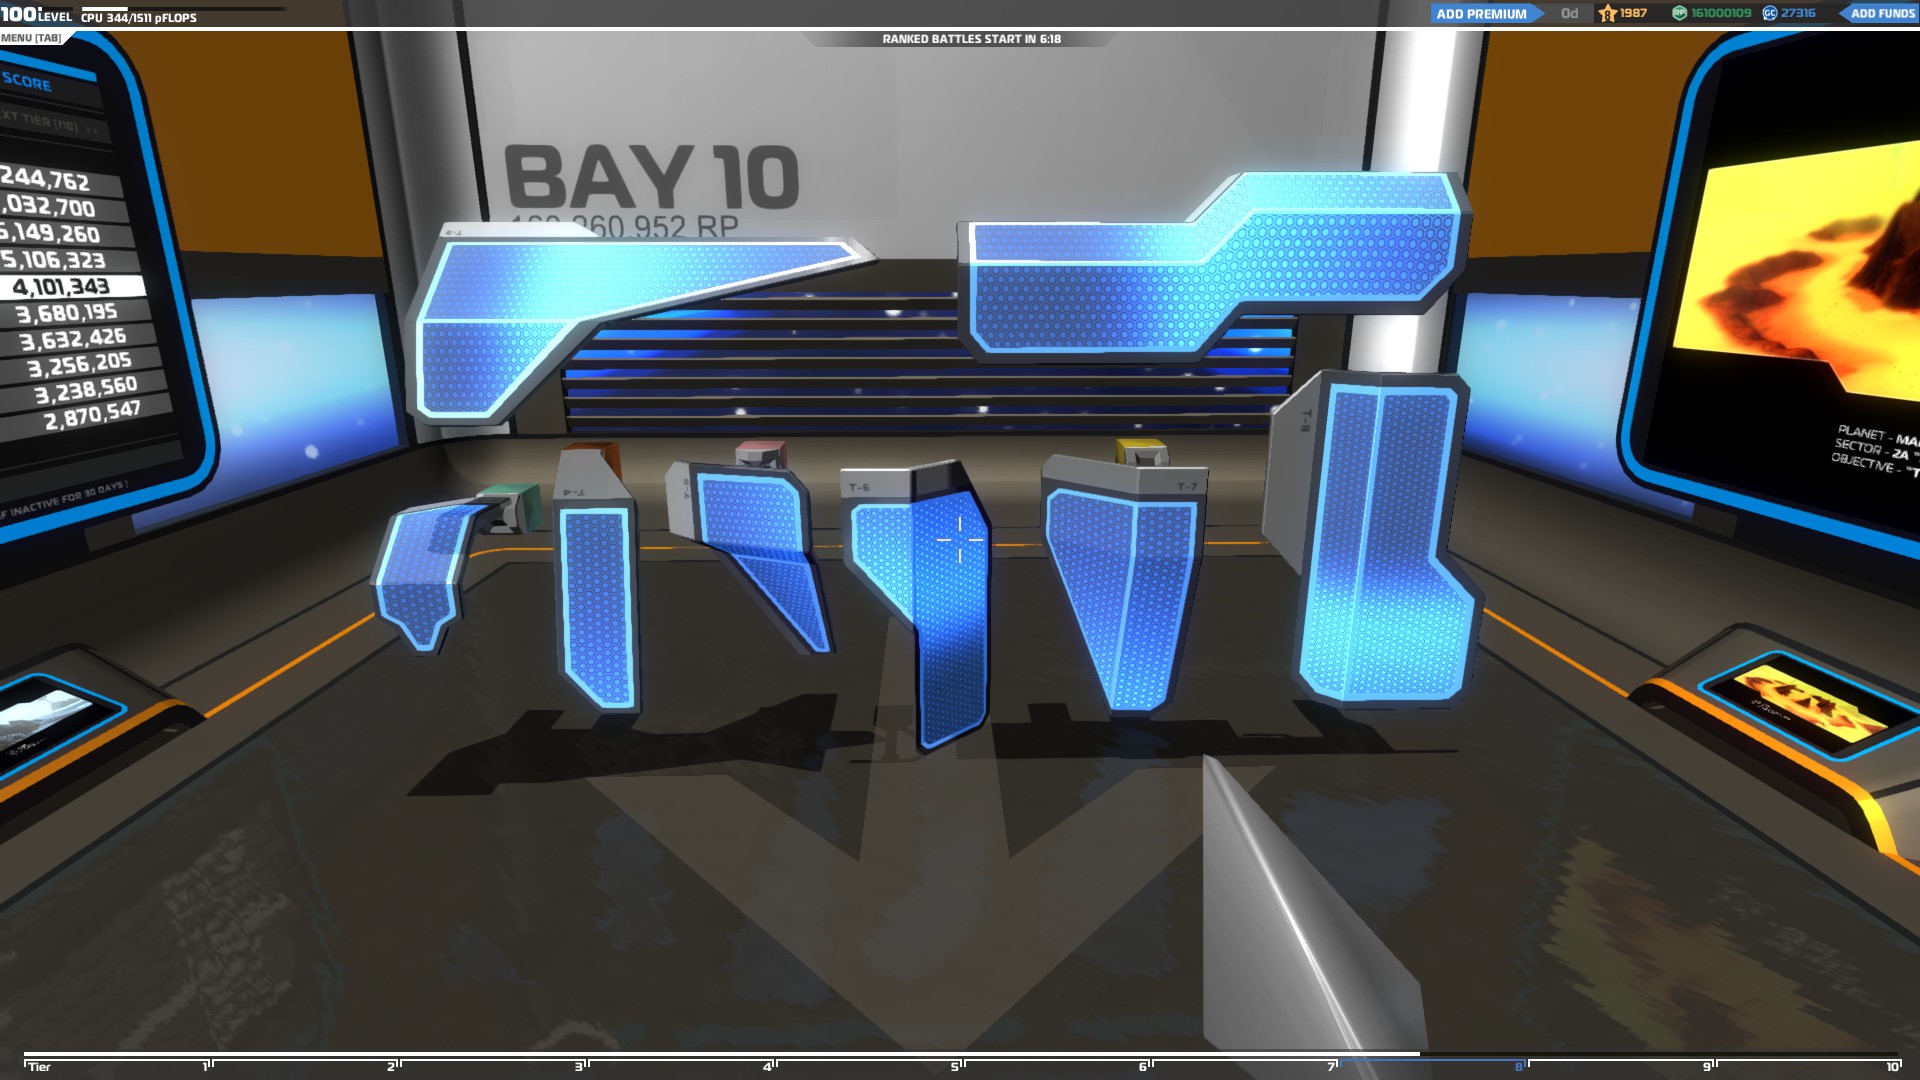
Tech Tree
This is the research section of the game where you can unlock new blocks or items by spending Tech Points (TP).
You can see how many TP for each tier you have at the left side of this screen. In the beginning you will get tier 1 (T1) TP from your battles, but as you climb to higher tiers you will get higher tier TP and you will be able to unlock more advanced items.
The more advanced is an item, the higher tier TP will require to be unlocked but If you upgrade your tech points to UBER tech points you will be able to unlock any upgradable items, no matter what tier level TP they need. To upgrade your TP you have to spend GC and TP. Click at the little arrow next to your available TP at the left side of the screen to add them in your “basket”. Once you add the amount of UBER TP you want click the UPGRADE button to convert them. Each UBER TP will cost you 11 GC.
“Make sure to spend your Uber TP wisely. Unless you can buy a lot of GC regularly don’t use them to unlock low tier items.”
You can quickly access the tech tree using the hotkey [T].
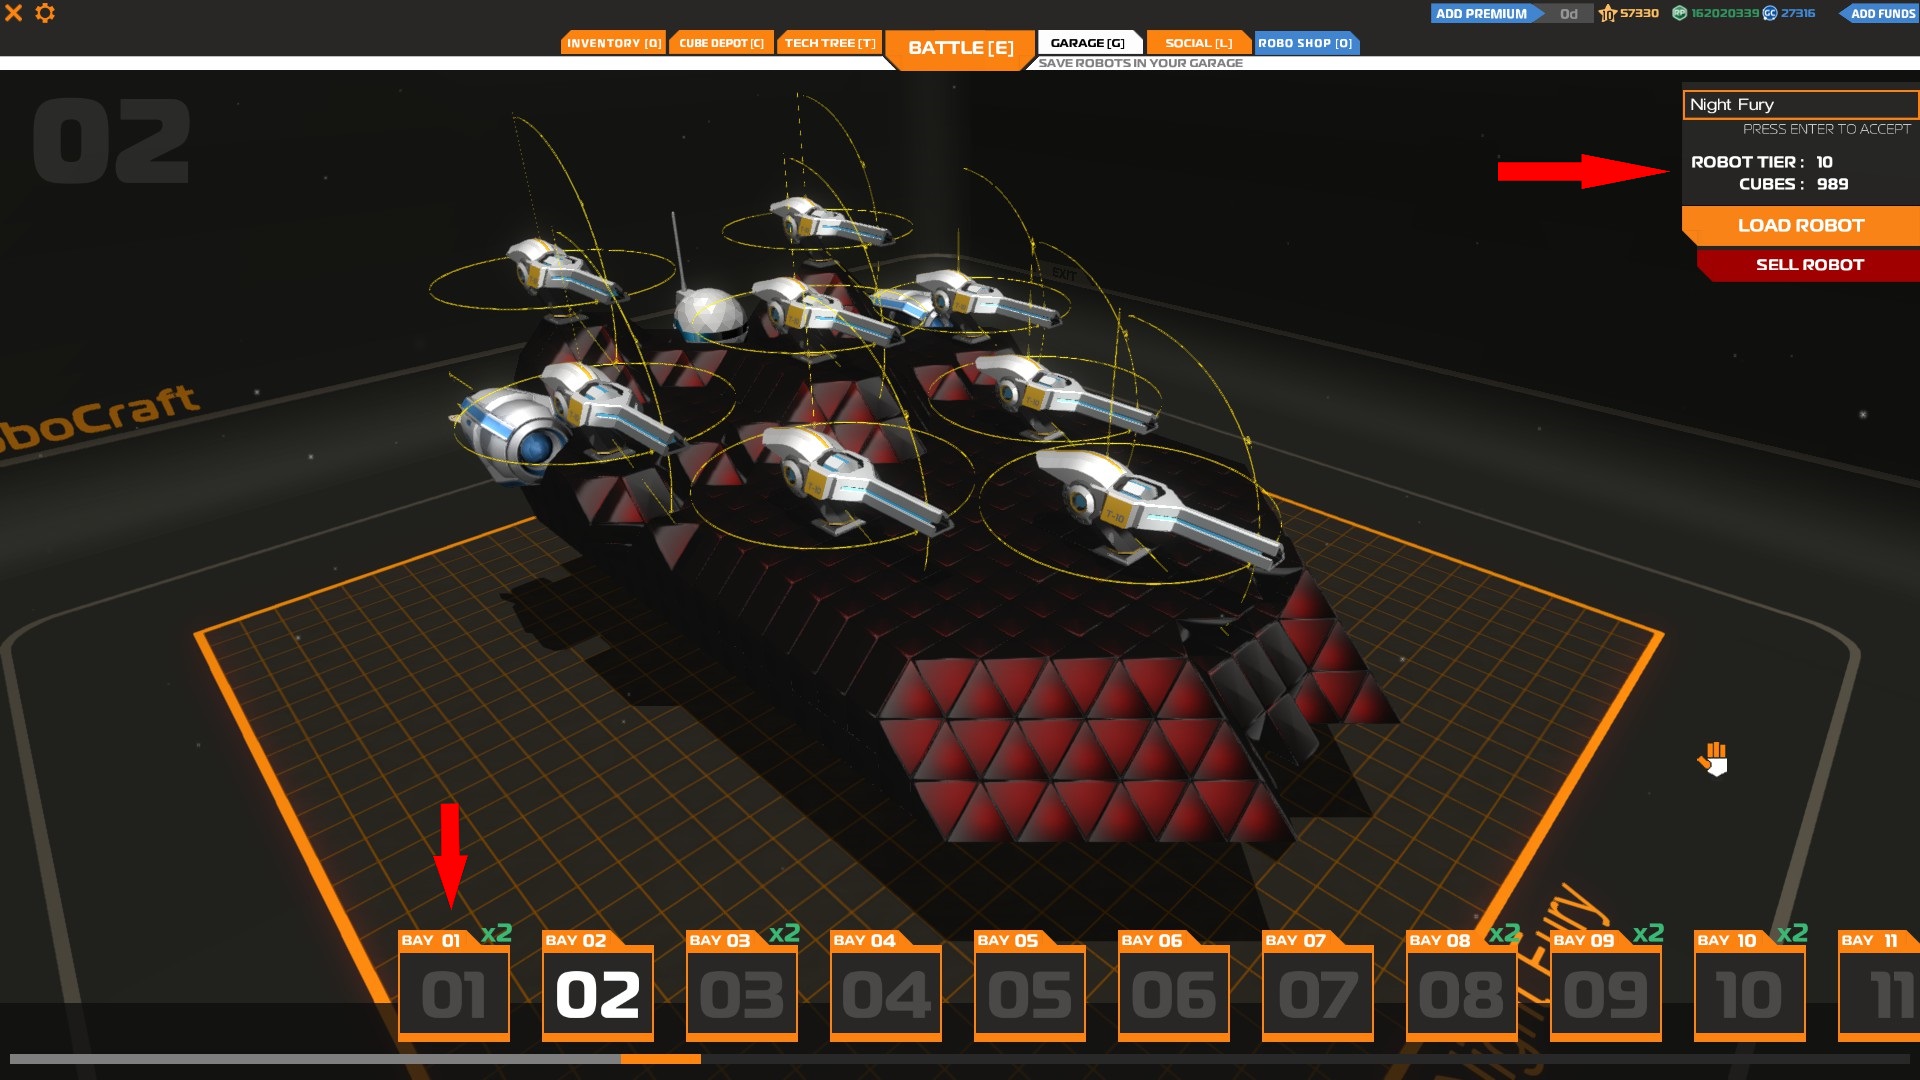
Garage
The garage is the place where all your bays are stored and as a new player you will only have 3 bay slots to store 3 different vehicles. To switch between them, just click the one you want and then click Load Robot to enter in the specific bay. To buy a new one, click at the bay slot with the GC tab on it (it’s the last bay to the right) and at the window that will pop up confirm your purchase to add it in your garage.
You can also change the name of your robots and see important information about them. To change the name, click at the box located at the top-right (You will see the default name: Robo 1,2,3,4….), delete the default name, write the one you want and press ENTER.
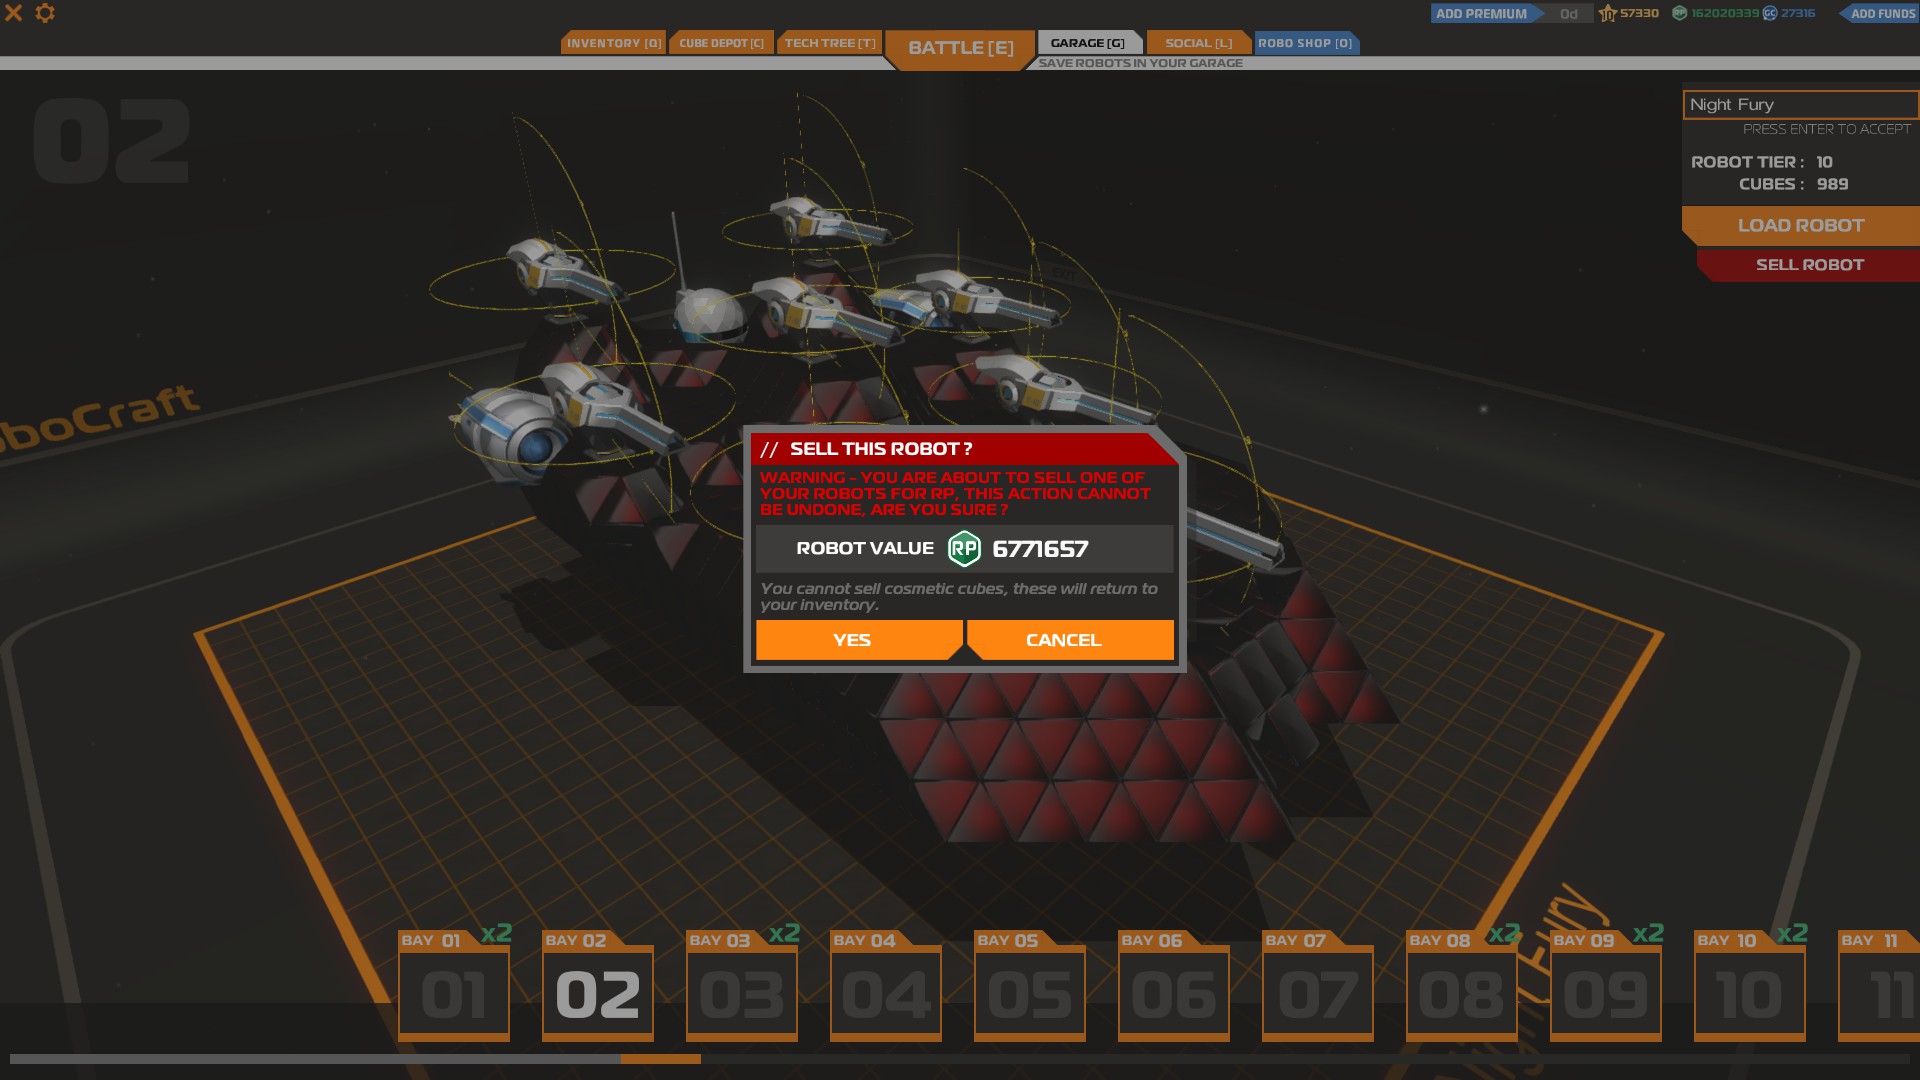
Below the name of your robot you can see its tier level and how many cubes you are using (each block or item counts as 1 cube). You can also sell your robot by clicking the SELL ROBOT button (there will be a confirmation message afterwards) but you should avoid doing that because you will only get half its value back.
You can quickly access your garage using the hotkey [G].
Playing Robocraft For The First Time Part 3
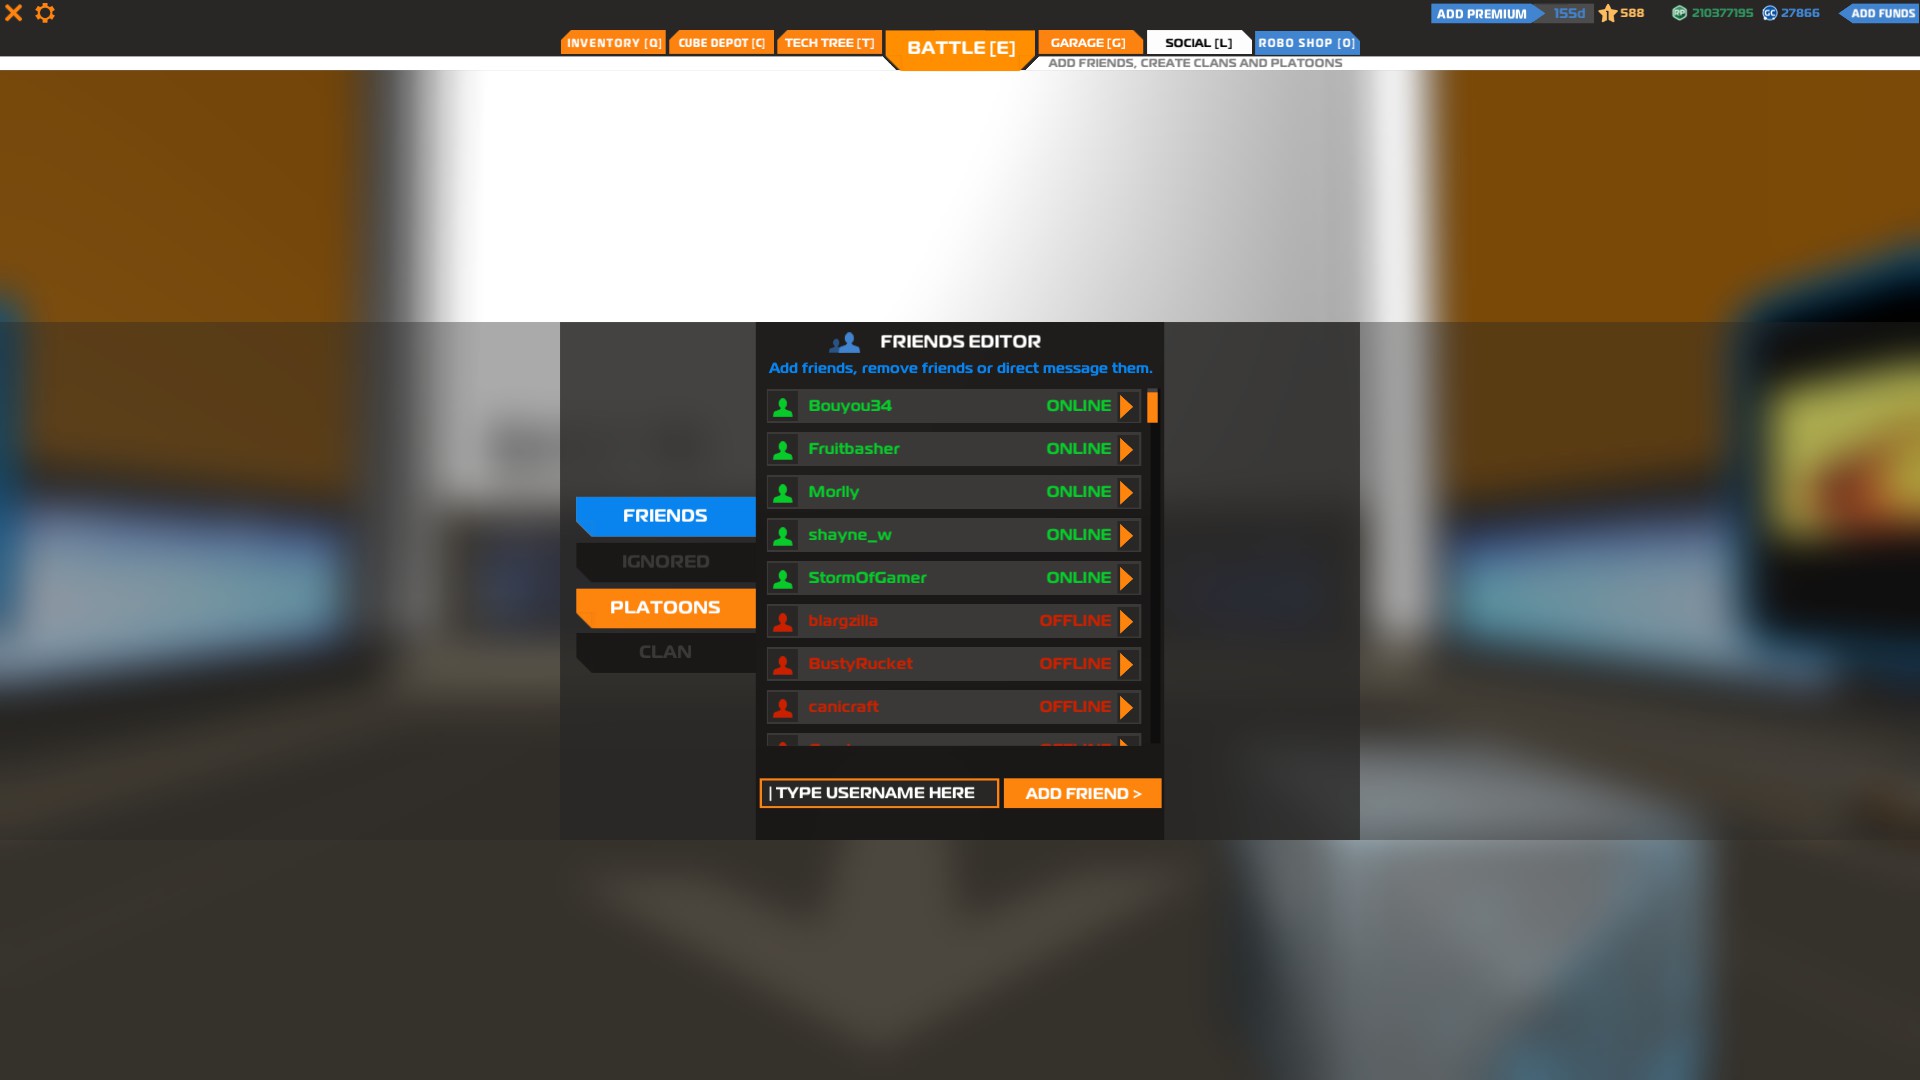

Social
In the social tab you can manage your friends, your clan (upcoming feature) or your platoon.
Friends Editor – This is your friend list where you can add anyone you enjoy playing with by typing their name at the box below and clicking add friend. Once they accept your invitation you will be able to see their online status.
By clicking at the arrow icon next to their status you can either start a private chat with them, invite them to your platoon or remove them from your friend list.
If someone else sends you an invitation you will hear a sound notification so just go in the social tab and click accept/decline at the window that will pop up.
You can disable the option to receive friend invitations from other players by clicking the Block friend invites from the settings menu.
Ignored – The Ignored interface is not working yet but you can still use /ignore "playername" in the chat to block or /unignore "playername" to unblock a player
Platoons – A platoon is basically a team of 2-4 players. You can invite another player in your platoon by typing their name at the box below. If that player is already in your friend list click the arrow next to their status and then click invite to platoon.
Players with a standard account can create a platoon of 3 but premium players can create a platoon of 4 people. Only the platoon leader has to be a premium user to create a platoon of 4, the rest can be players with standard account.
If another player sends you a platoon invitation you can accept/decline it from the platoon editor or use the Decline All option to auto decline any platoon invitations.
If you don’t want to receive any platoon invitations from players that are not in your friend list enable the option Accept Platoon invites from friends only in the settings menu.
Clan – Clans are not working right now. They will be introduced in a future update
You can quickly access the social tab using the hotkey [L].
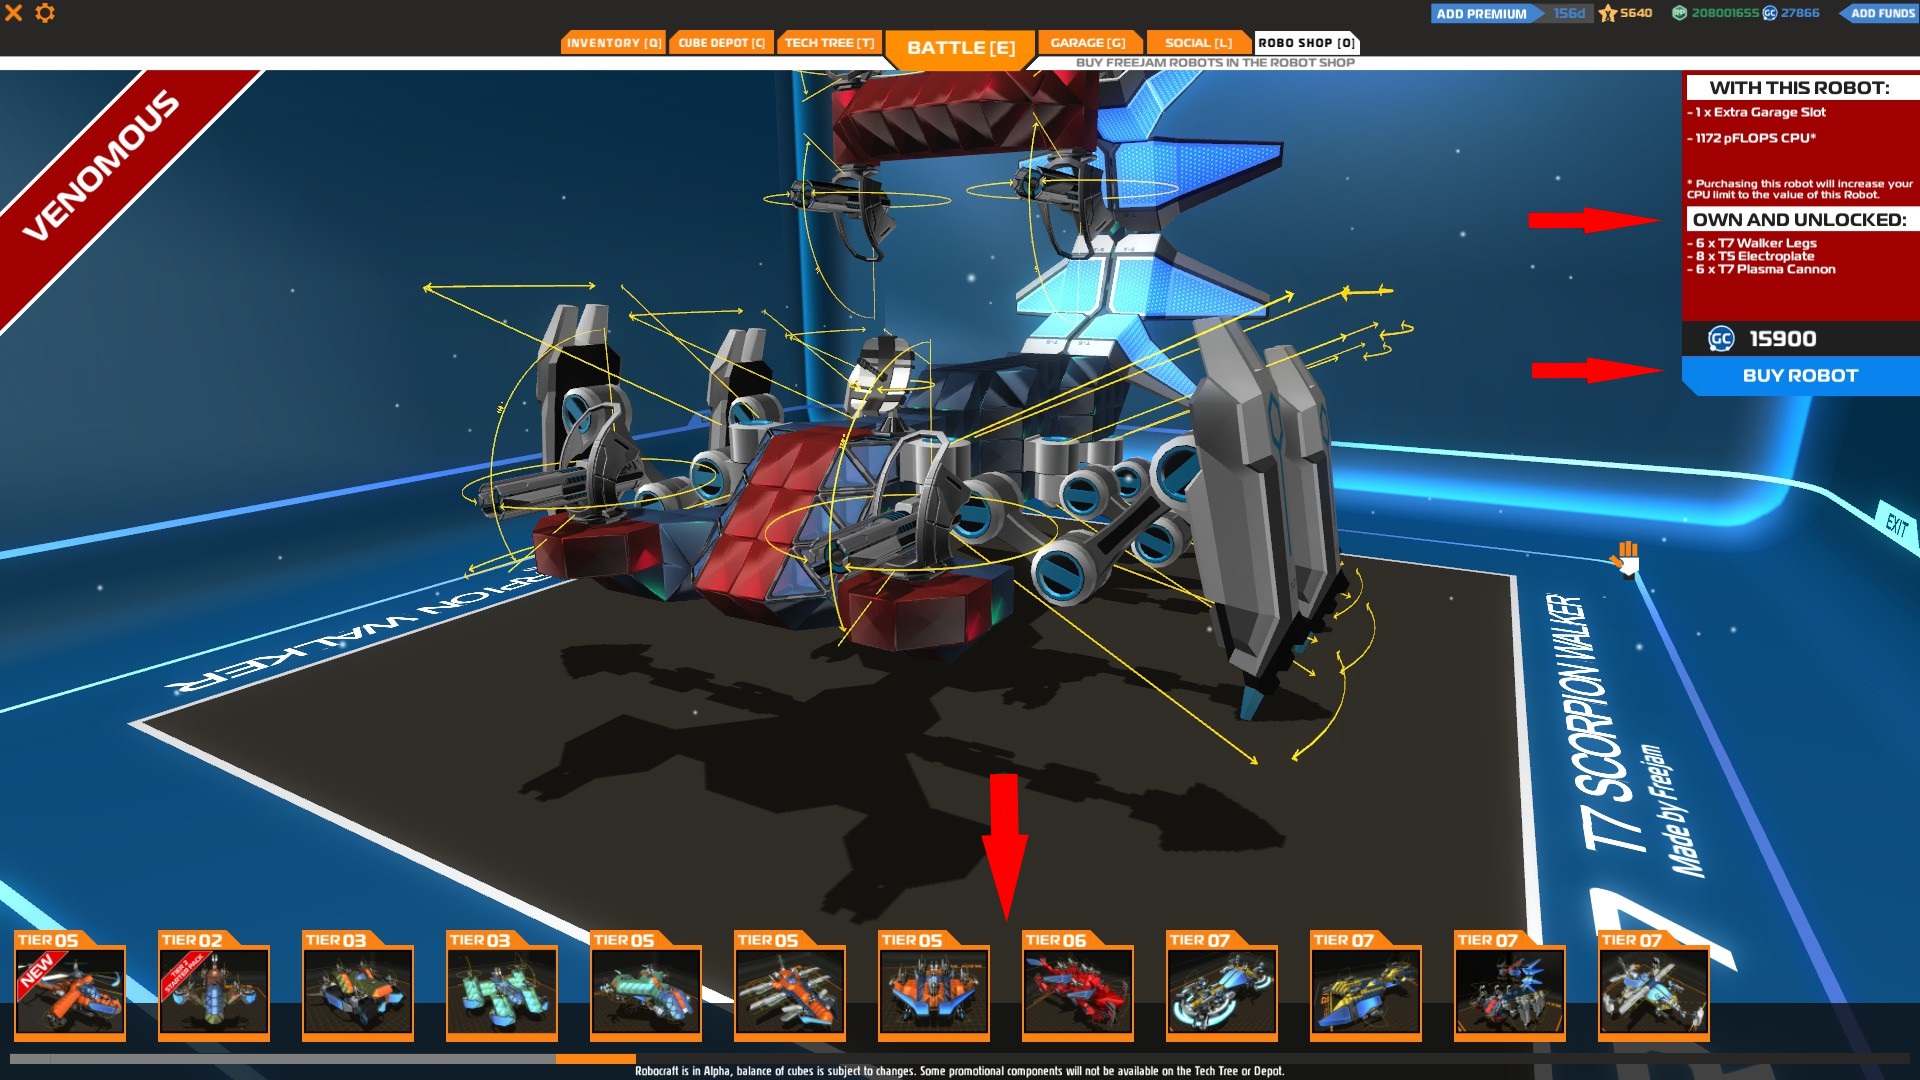
Roboshop
Roboshop is the place where you can buy premade robots using GC. Scroll between the bay tabs until you find the vehicle you like, click on the tab load it and then click on the Buy Robot button to buy it.
You can get a massive head start when you buy vehicles from the Roboshop early in the game, especially the high tier vehicles, since when you buy one your CPU will increase to the value mentioned in the vehicle information board (top-right), the items used in the vehicle will be unlocked and you will also get an extra garage bay to store it.
For example, if you buy the T7 Scorpion, your CPU will increase to 1186 and the legs, weapons, shields/Electroplates and blocks used on the vehicle will be unlocked.
“Your CPU will keep increasing every time you level up but it will stop once you reach the maximum CPU possible (1511).”
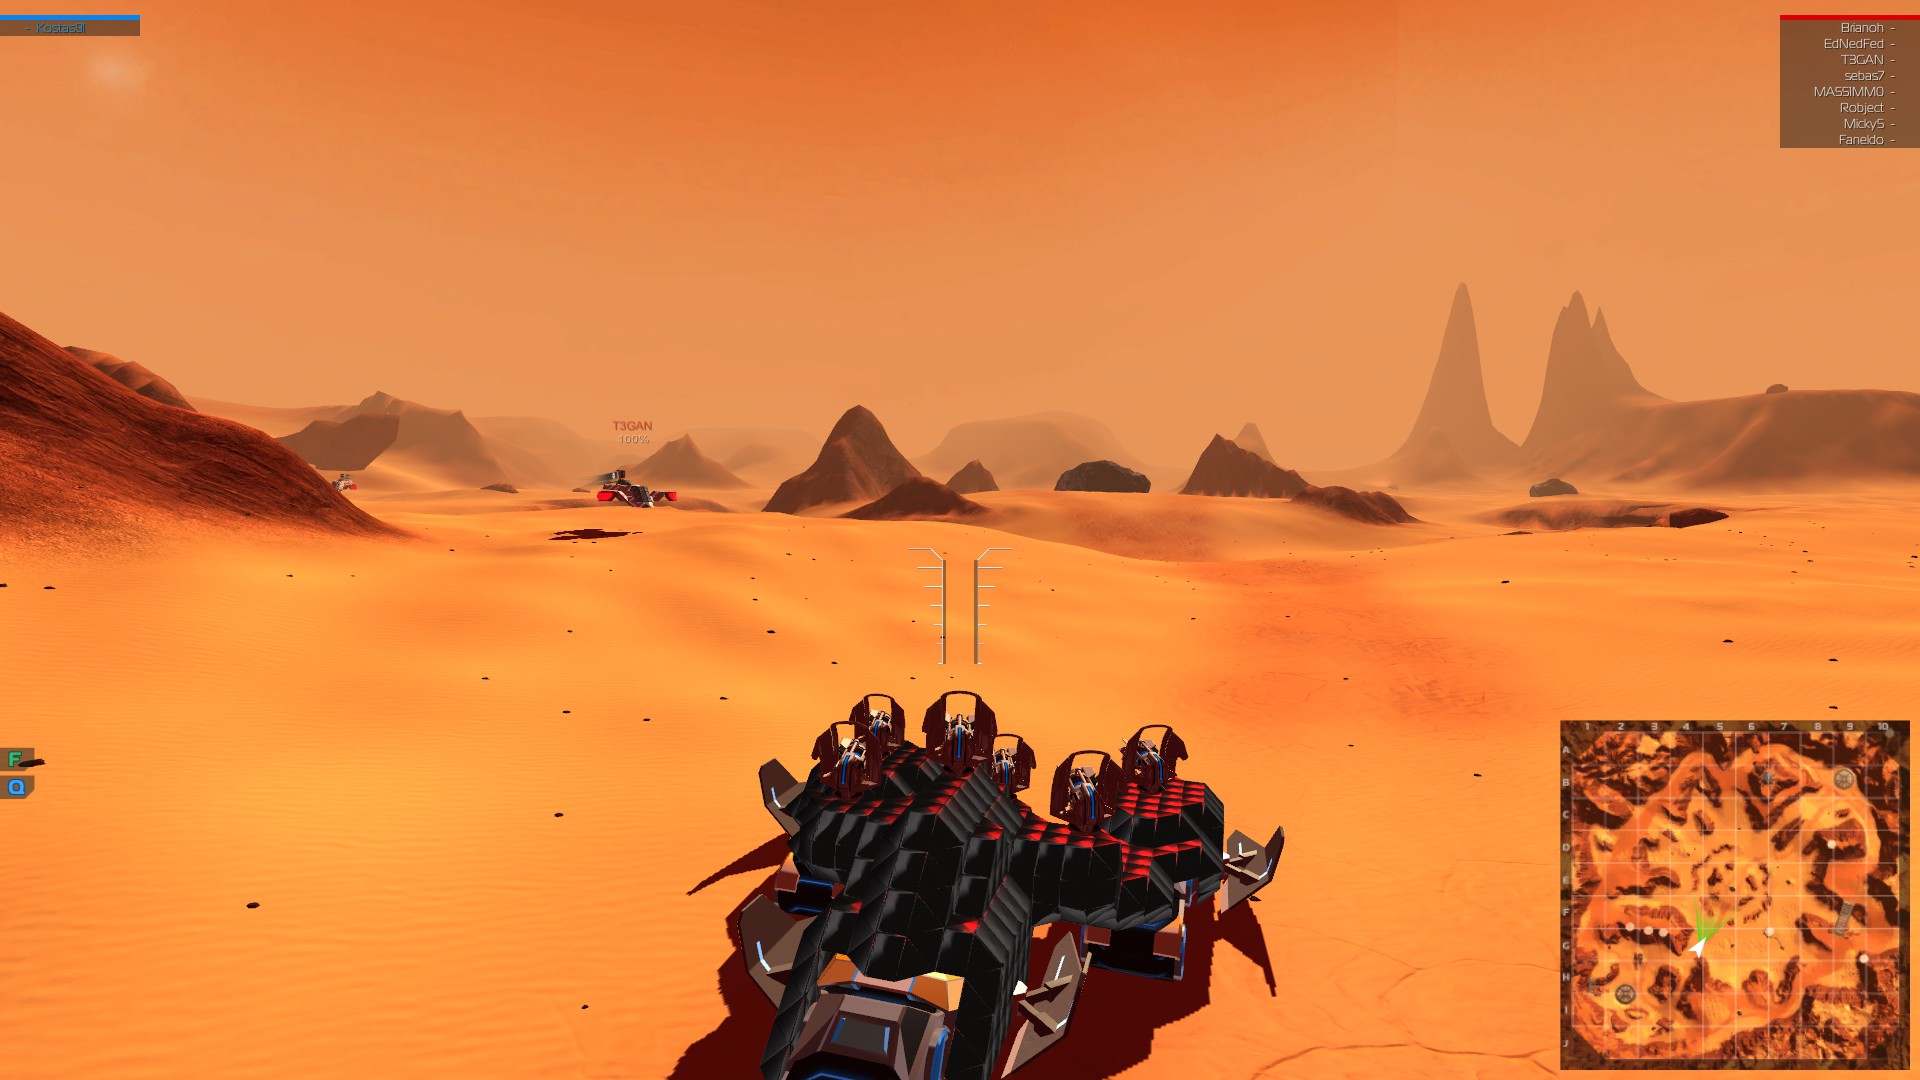
Entering battles
Before you enter an online battle, enter a practice round to test your vehicle and learn the basic controls.
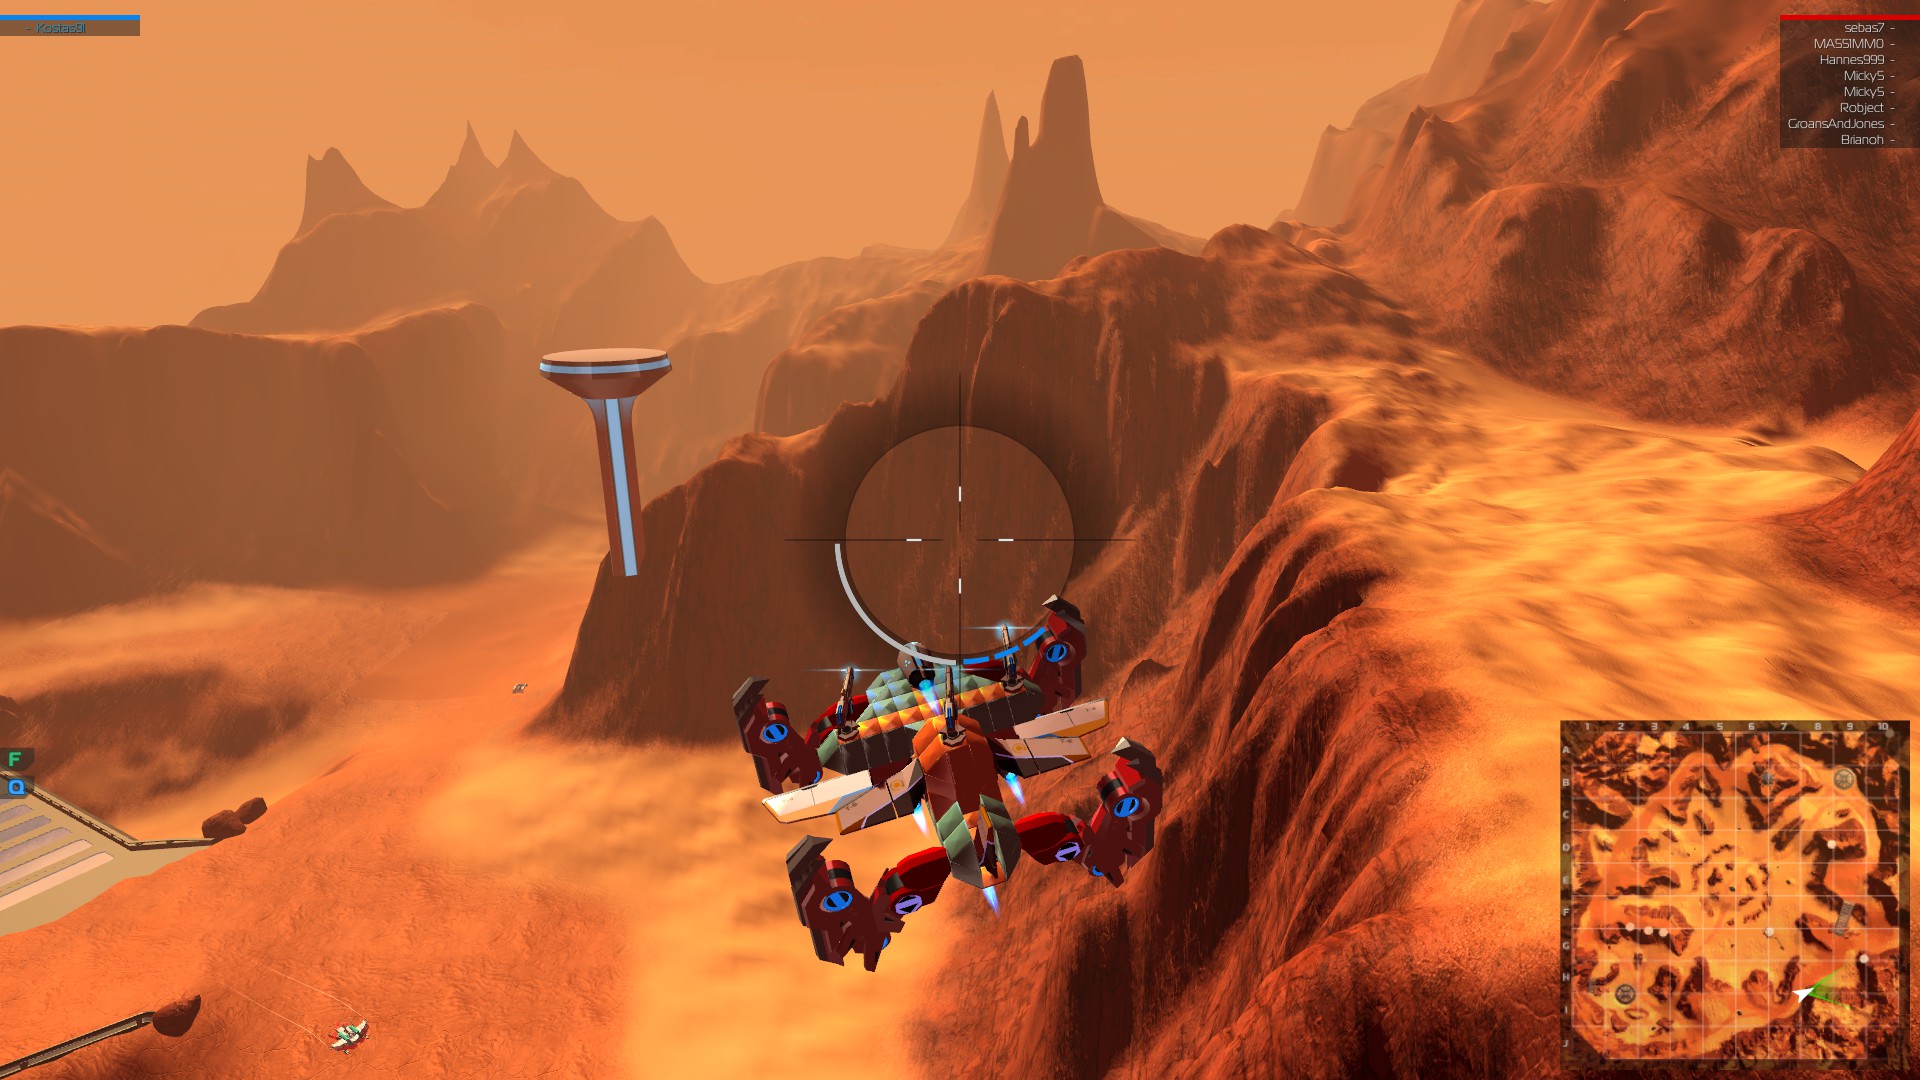
Once you spawn in the map, try to move around using the default keys [W] – [S] – [A] – [D] and use the mouse to look around.
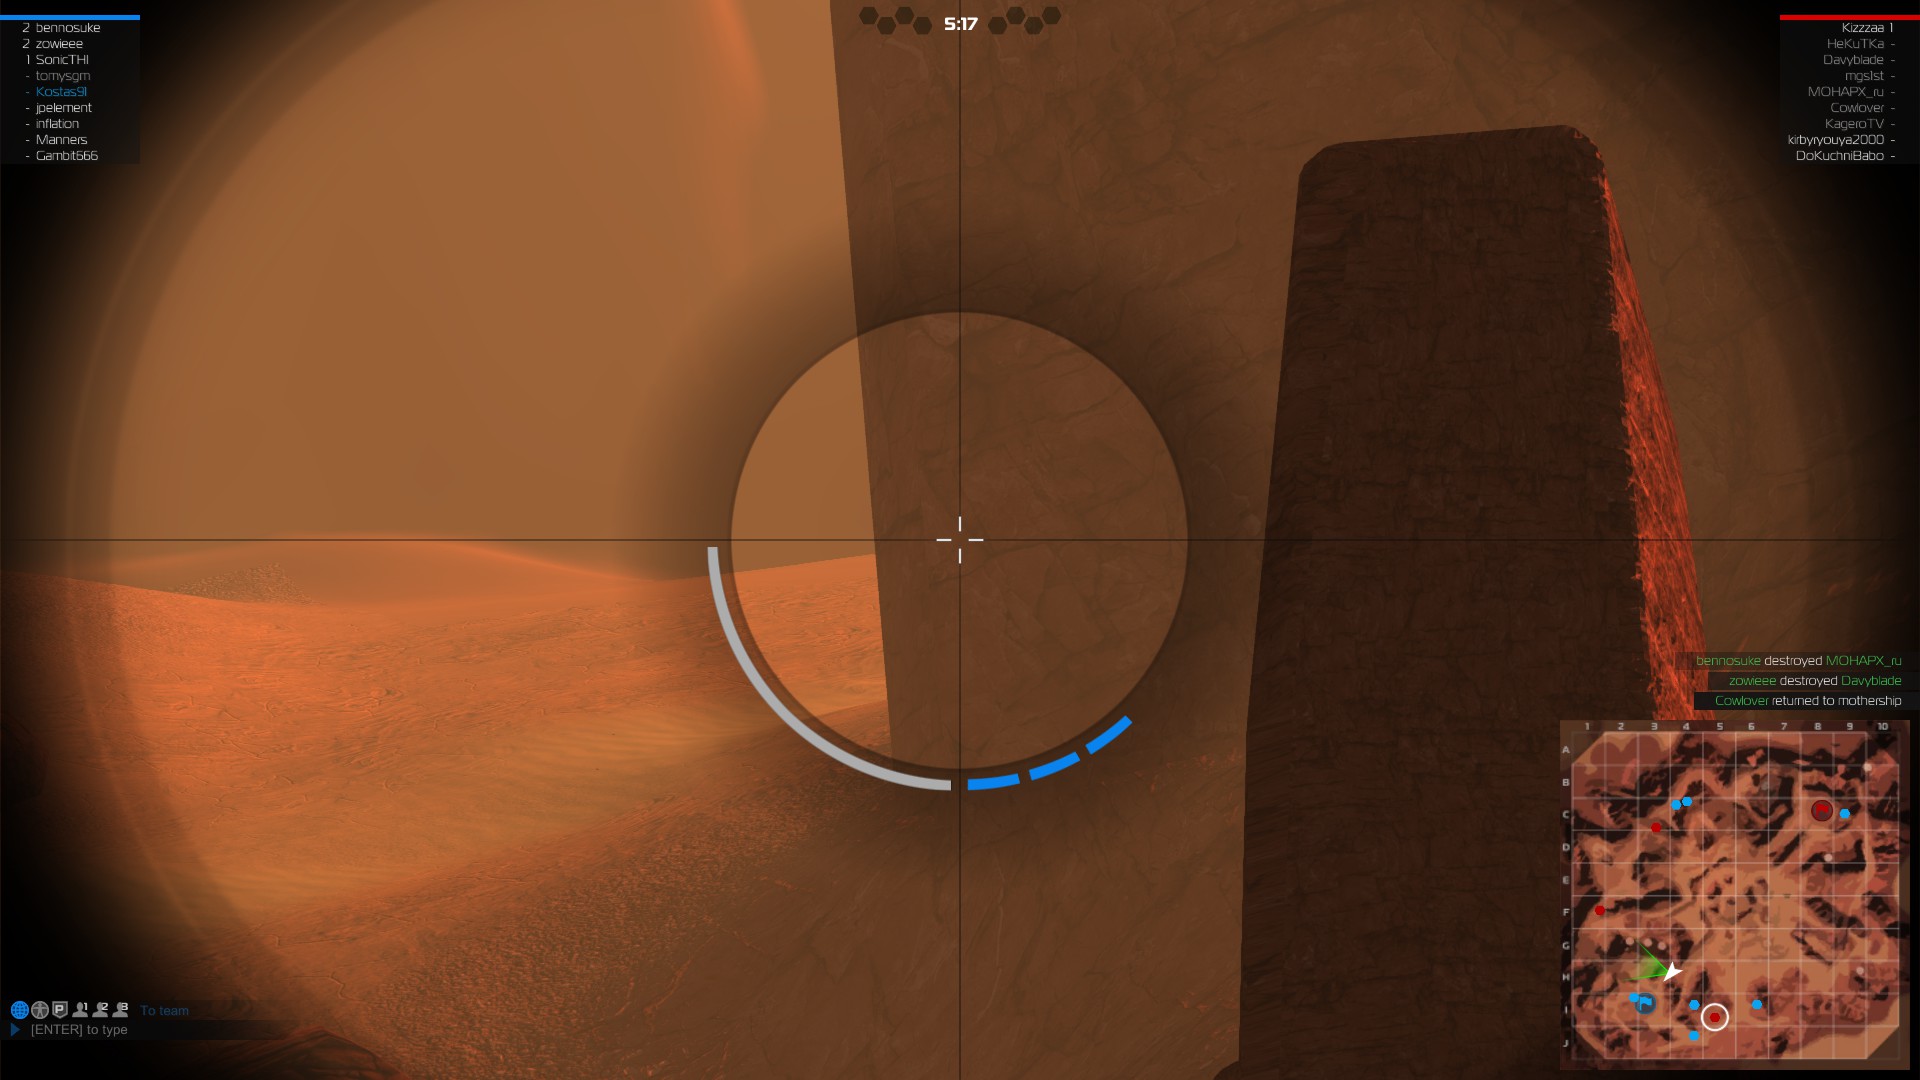
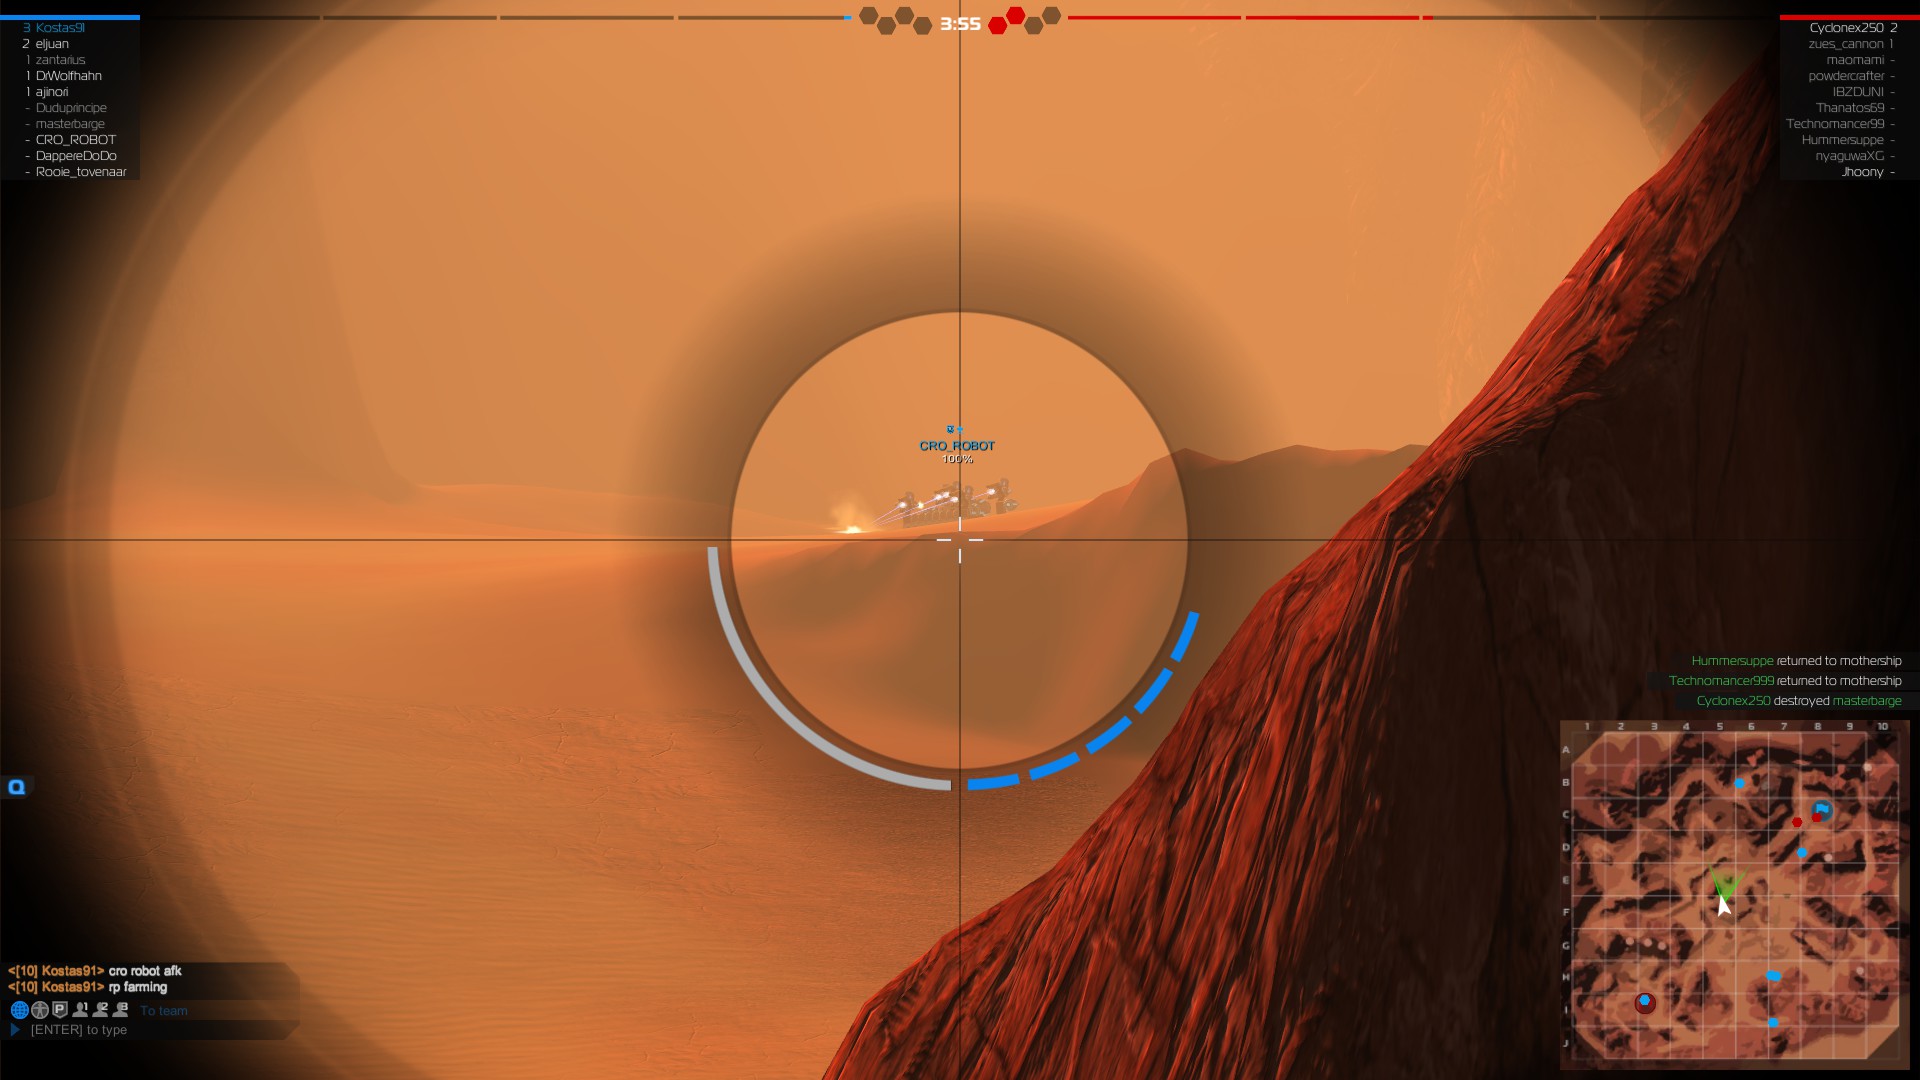
When you start feeling more comfortable with the movement controls you can start using your scope and weapons. You will encounter A.I. bots but they do not have weapons so take your time, use the right click to enter the scope mode, aim at your target and use the left click to shoot. You can still shoot your enemies without using the scope but it will be more difficult to aim at them, especially if they are too far away.
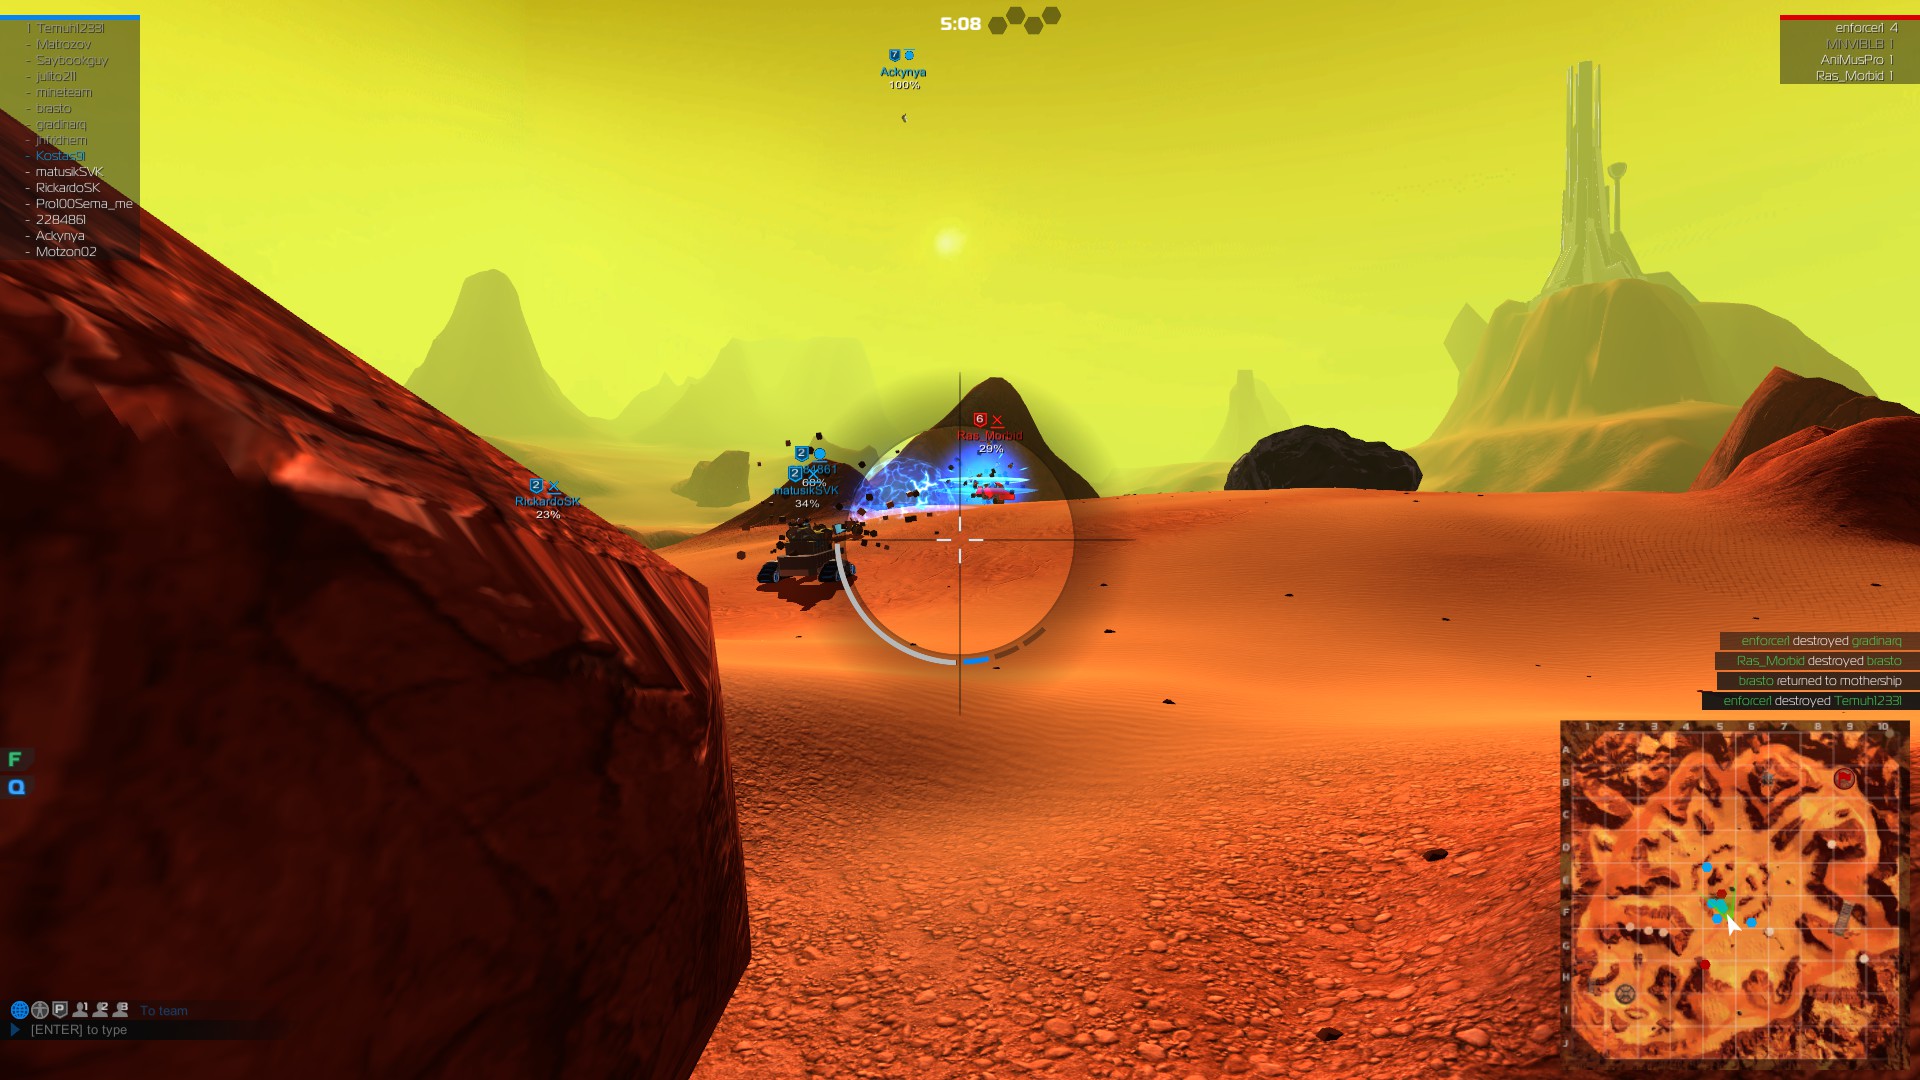
Keep shooting the enemy bot until it explodes. After you destroy it you will notice at the top-left board that the number 1 appeared in front of your name which means you got 1 kill.
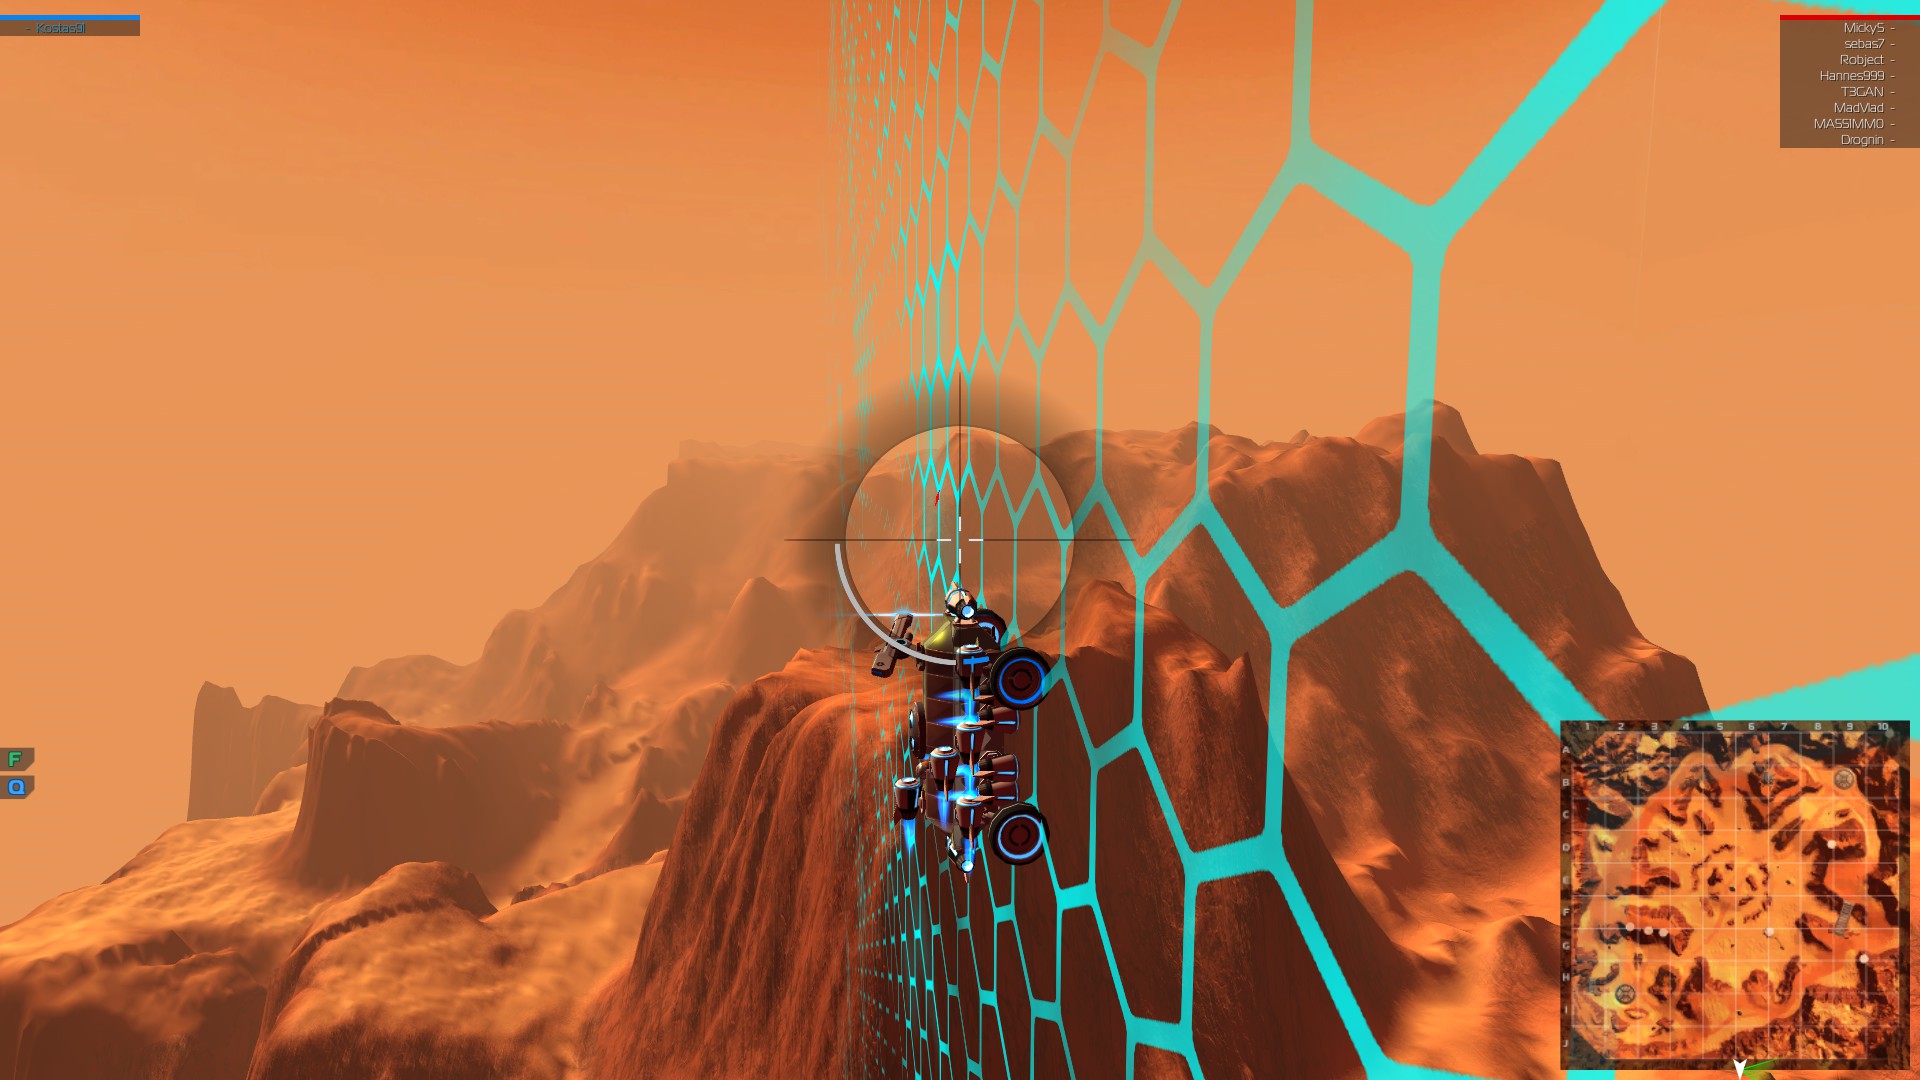
One more thing you can try is spotting an enemy robot. To do that, aim at the enemy unit and press the [Q] key to spot him. Once you do, you will hear a notification and you will be able to see the enemy on the map (bottom right) but if you miss your target this ability will go on a 5 second cool-down. You will be able to see the countdown at the center-left of your screen.
At the bottom right of your screen is the map where you will be able to see enemy units that have been found by radars or have been spotted. You can enlarge your map with the [M] key.
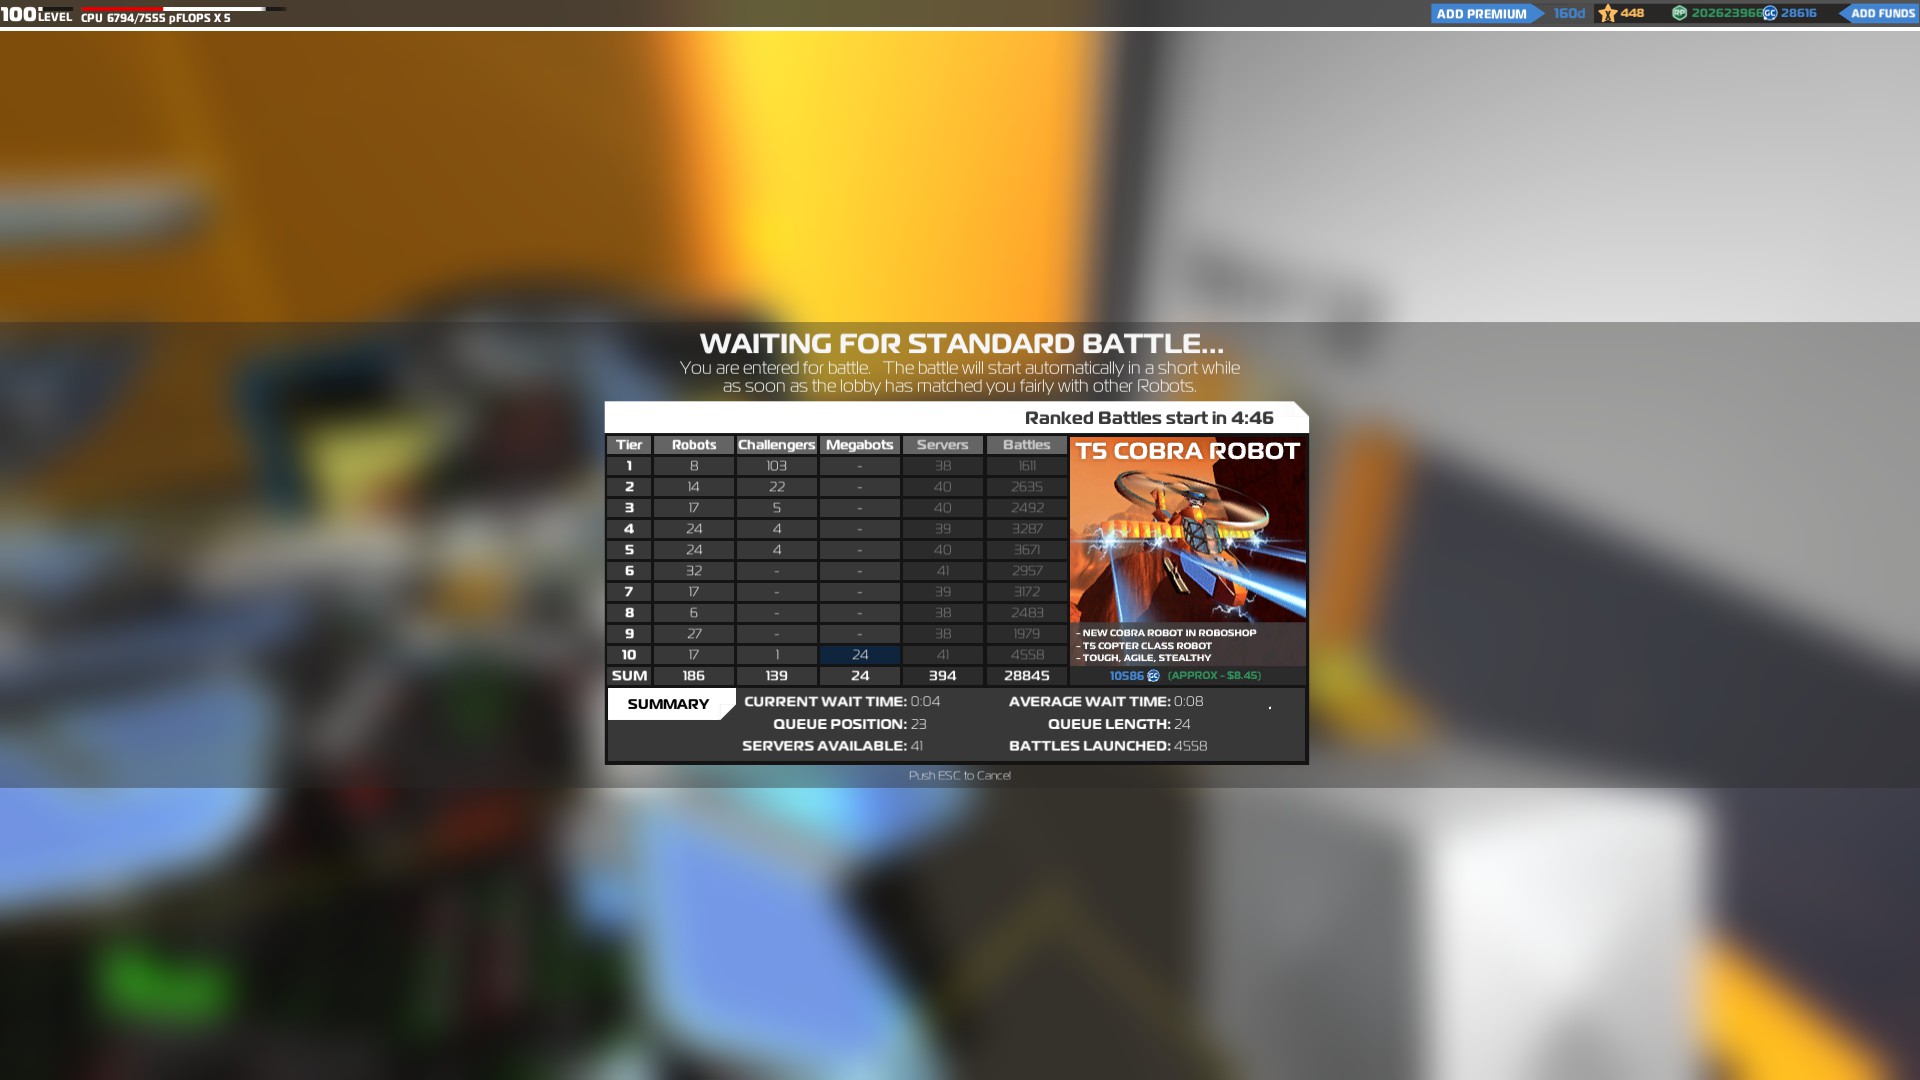
When you feel comfortable with the controls you can join an online battle. Once you enter an online battle you will have to wait until the matchmaking system puts you in a game. While you wait, you will see the game lobby where you can find information about the available servers, the average time you will have to wait and the player traffic and servers in each tier.
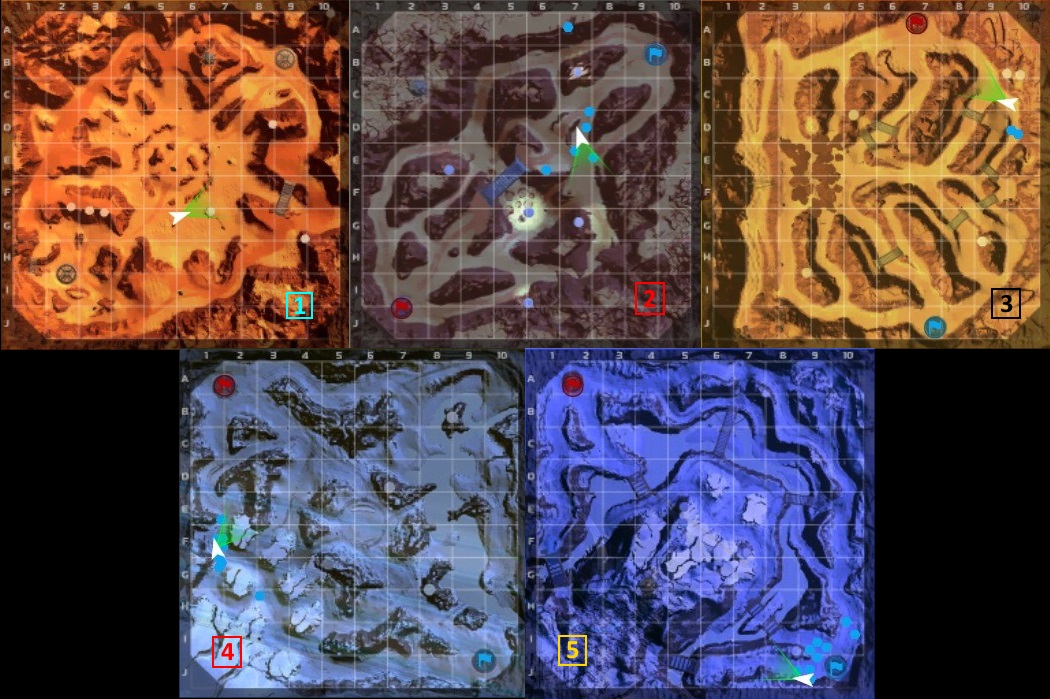
When you join a game you will spawn in one of the following maps:
1) Hellion Impact Crater 2) Tithonium Canyon 3) Tharsis Rift 4) Ice Lake 5) S-02
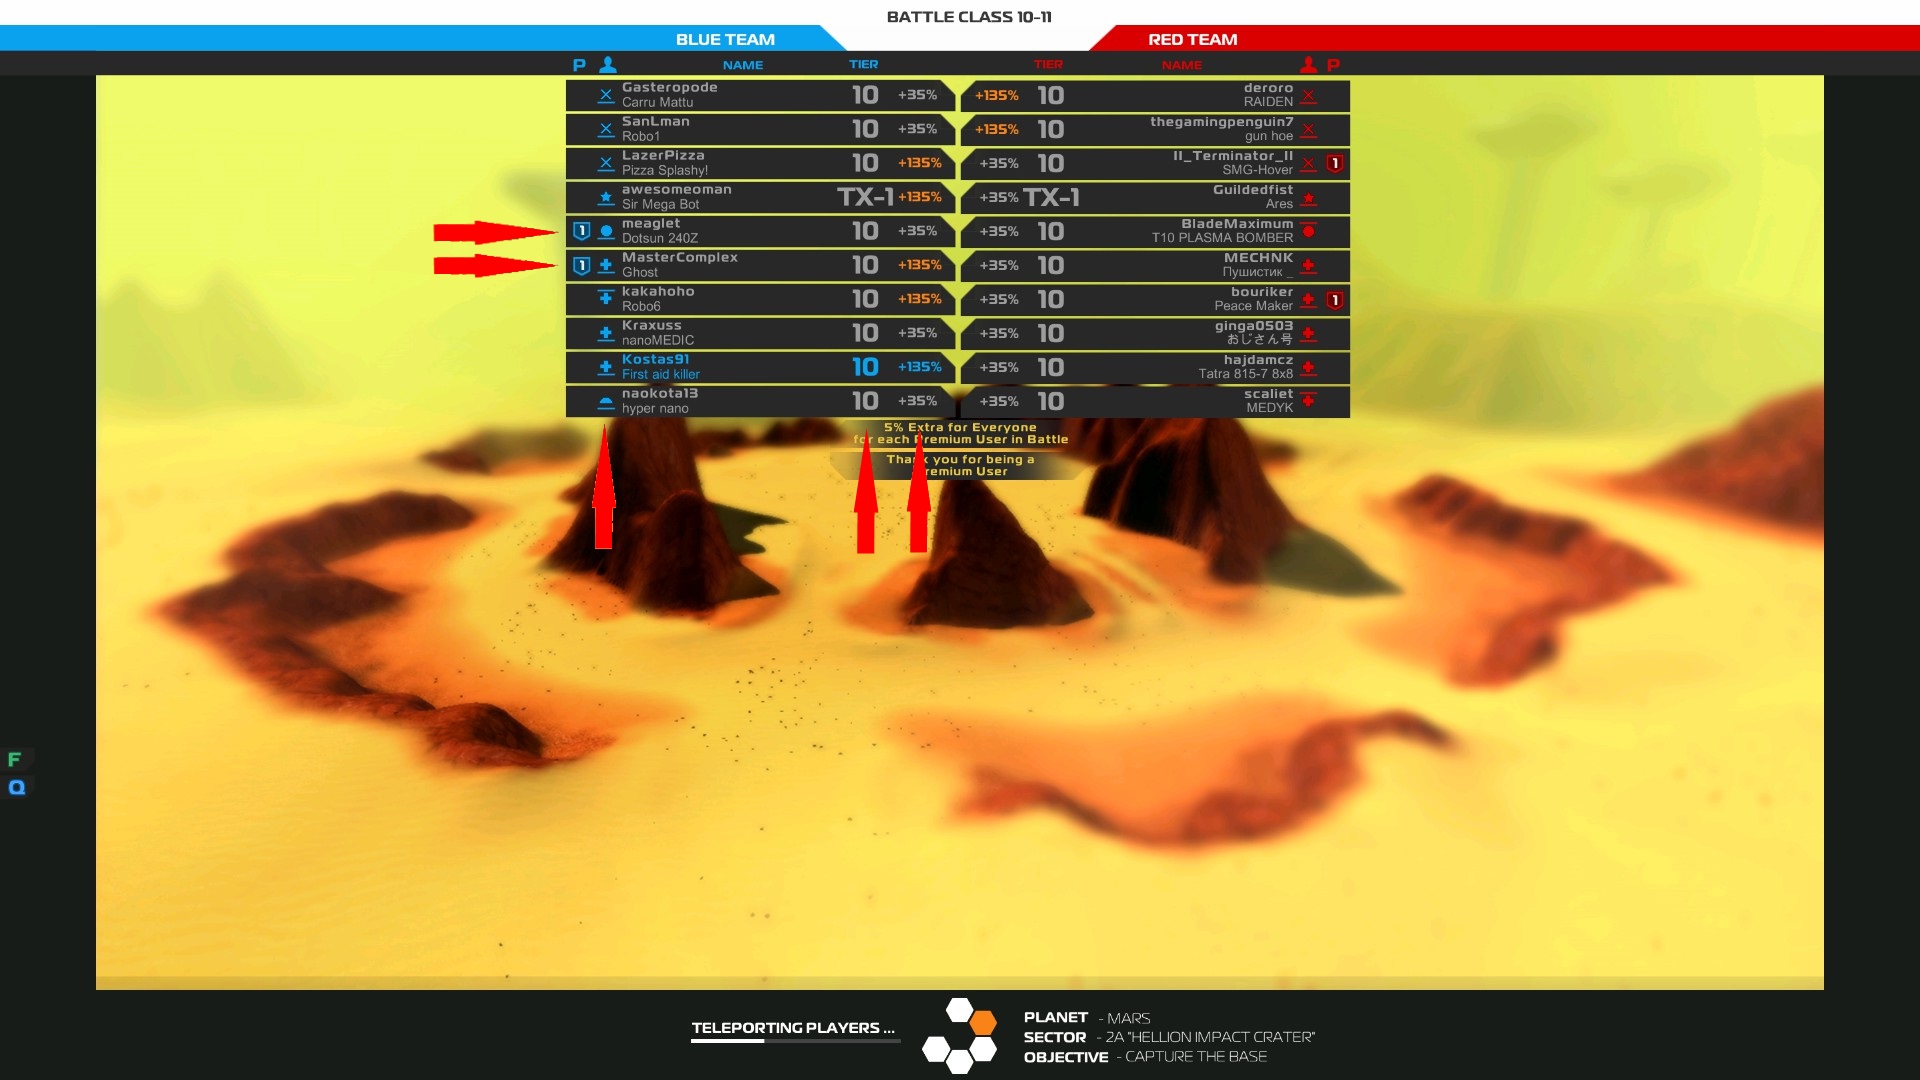
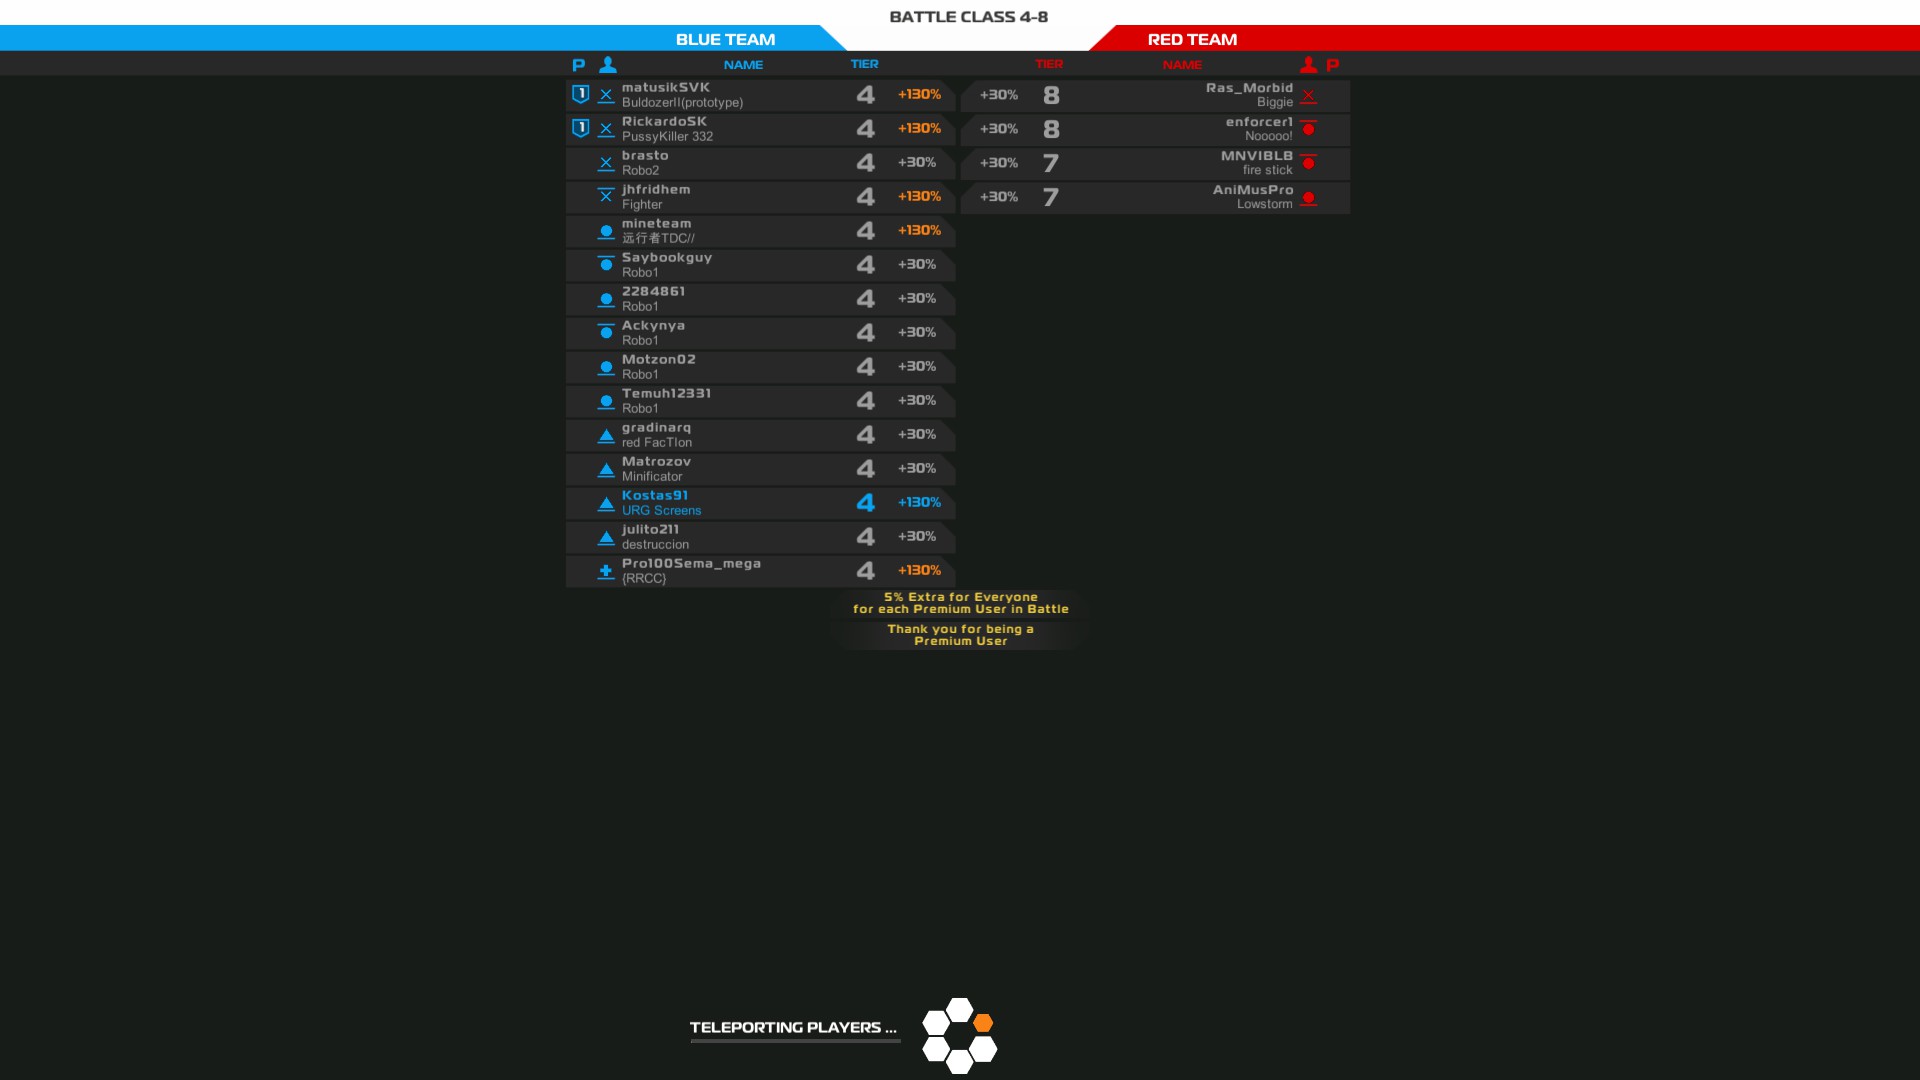
While the battle is loading, you will notice two boards with the names of the players in your team (Blue team - left board) and the names of the enemy team (Red team – right board).
Below each player name is the name of their robot. At the right side of each name you will see a number and a percentage. The number represents the Tier level of each player and the percentage is the amount of bonus RP you will get after the battle. Premium users always have +100% and for each premium user, the rest of the players get an extra 5% bonus. Also, at the left side of each name you will see a symbol which represents the vehicle class each player uses.
Finally, in some games you will notice an icon with a number on it at the left of some players’ names. This is the platoon icon and when 2 or more players have the same number it means they are in platoon.
Playing Robocraft For The First Time Part 4

The first thing you should always do is to FOLLOW YOUR TEAM. Following the rest of your team will give you a much higher chance to stay alive and win the game. Driving around alone will most likely end with you being ambushed by enemies and be destroyed.
You can leave your team later in the game when there are not enough enemies left so you can find and destroy them.
Make sure to always spot the enemy to give away their location and improve the map awareness for your team. That way you will not only avoid enemy ambushes but also help your team ambush them.
Spotting an enemy will also give away their weapon class, vehicle type and the tier level blocks they are using. You can see this information above their name tag which is the icon with a number in it and the little symbol next to it.
The number inside the icon represents the tier level of blocks the enemy is using. If they use different level blocks it will only show the tier level of the ones they have in greater number.
The symbol next to the shield represents the weapon class the enemy is using. There are 6 different symbols:
X – Subatomic Machine gun (SMG)
Circle – Plasma cannon
Triangle – Rail cannon
Cross – Nano Disruptor
Semicircle – Tesla
Rhomb – No weapon (scout)
Also, ground type vehicles have a line below their symbol and air units have one above them.
When you spot an enemy a voice notification will notify you about their vehicle type. The current vehicle classes are the following:
SMG – Cruiser (wheels), Hover (Hover blades), Tank (Caterpillar Tracks), Walker (Legs), Interceptor (Aerofoils/Rudders), Drone (thrusters), Copter (Rotor blades)
Plasma (Plasma Launcher) – Cruiser (wheels), Hover (Hover blades), Tank (Caterpillar Tracks), Walker (Legs), Bomber (Aerofoils/Rudders), Drone (thrusters), Copter (Rotor blades)
Rail (Rail Cannon) – Cruiser (wheels), Hover (Hover blades), Tank (Caterpillar Tracks), Walker (Legs), Flyer (Aerofoils/Rudders), Drone (thrusters), Copter (Rotor blades)
Medic (Nano Disruptor) – Cruiser (wheels), Hover (Hover blades), Tank (Caterpillar Tracks), Walker (Legs), Flyer (Aerofoils/Rudders), Drone (thrusters), Copter (Rotor blades)
Tesla - Cruiser (wheels), Hover (Hover blades), Tank (Caterpillar Tracks), Walker (Legs), Flyer (Aerofoils/Rudders), Drone (thrusters), Copter (Rotor blades)
No weapon - Scout
If an enemy spots you, you will hear a notification and you will see an exclamation mark above your vehicle. After the mark fades away, you will slowly disappear from the enemy map.
“Spotting an enemy first will earn you some extra RP at the end of the match”
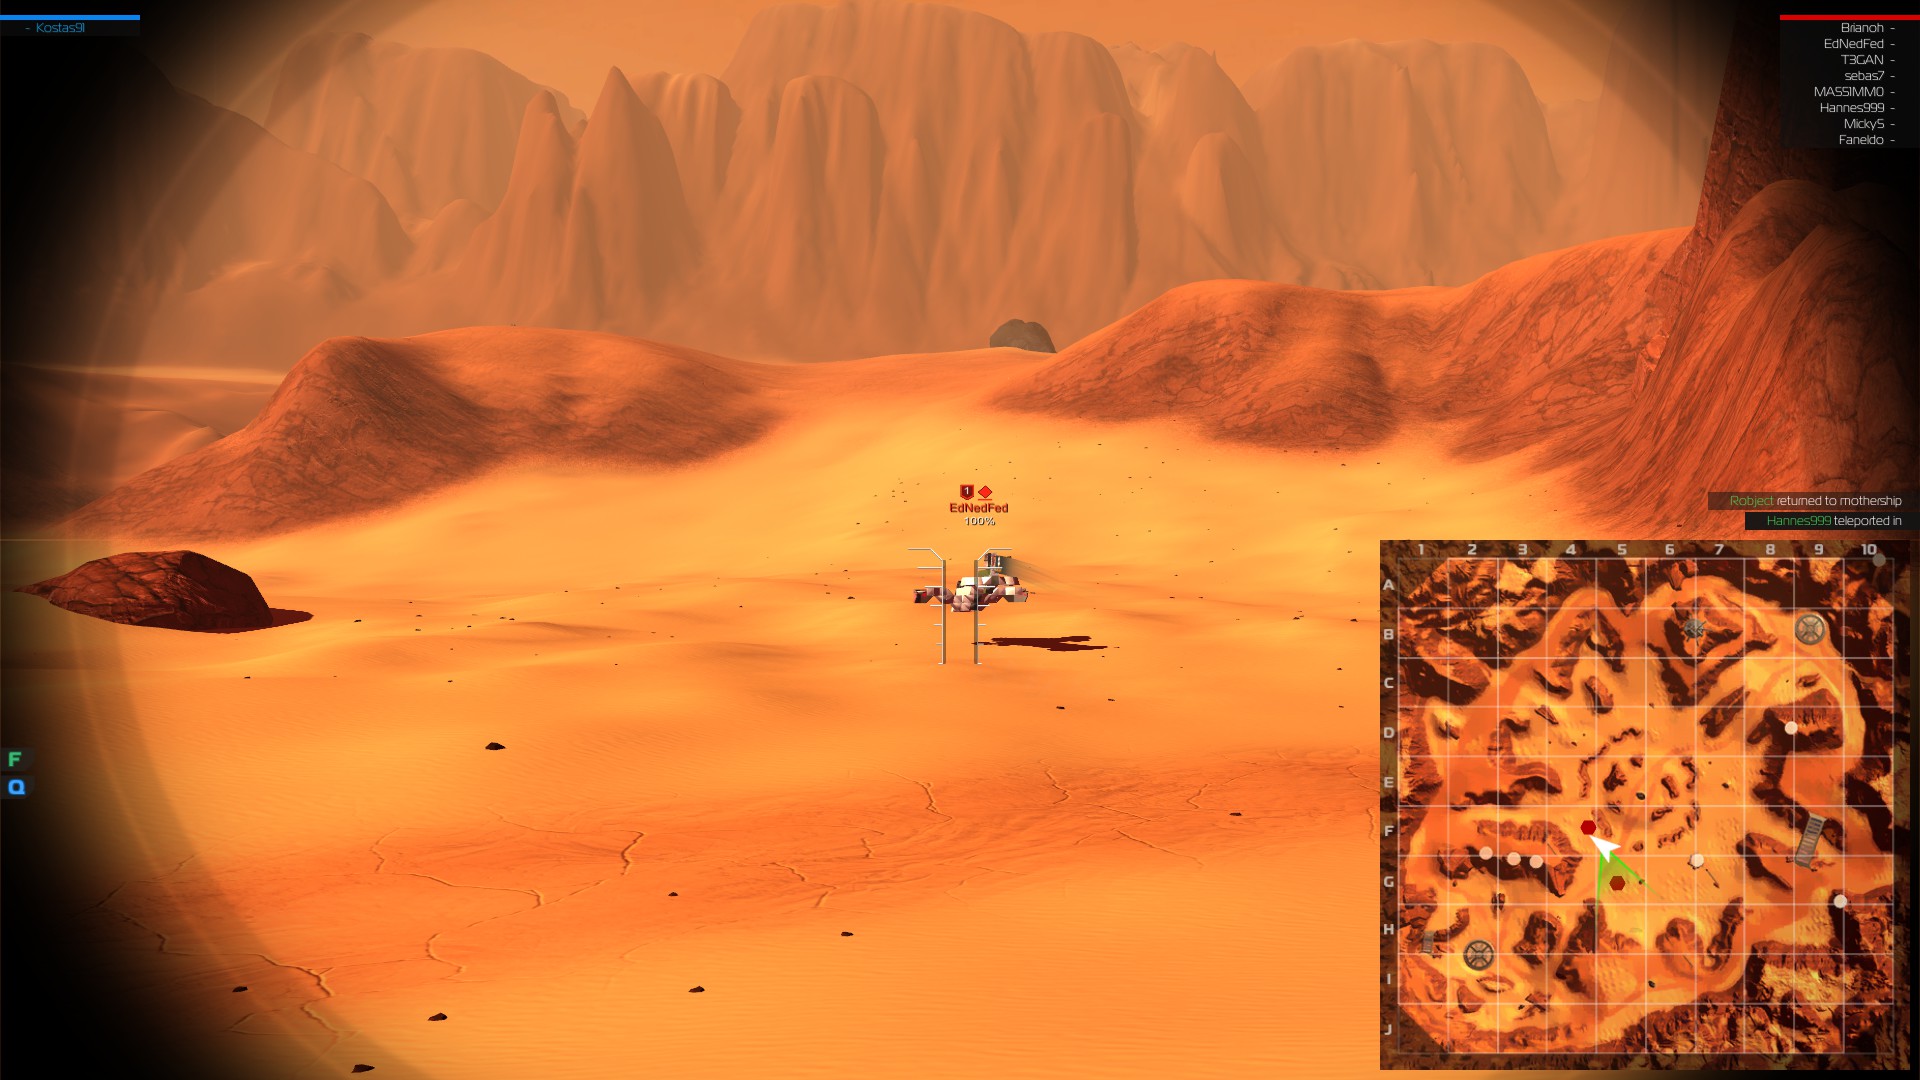
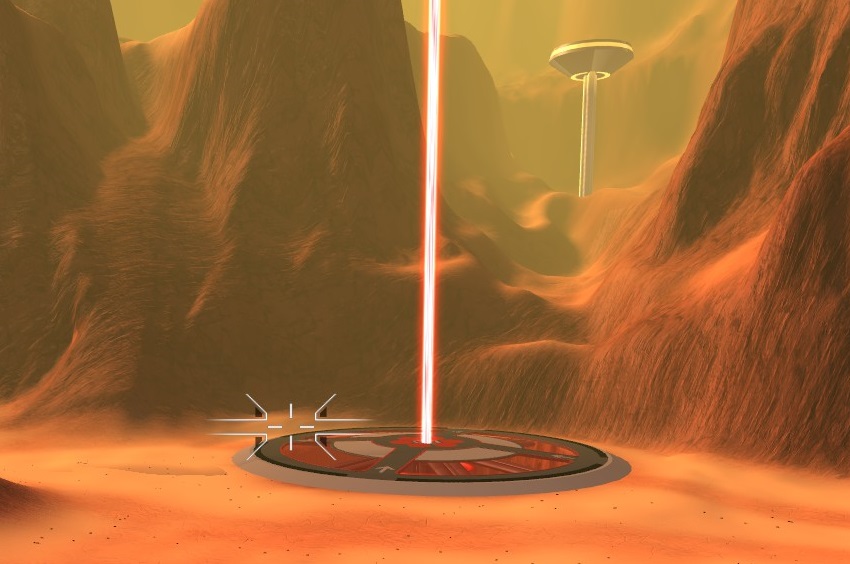
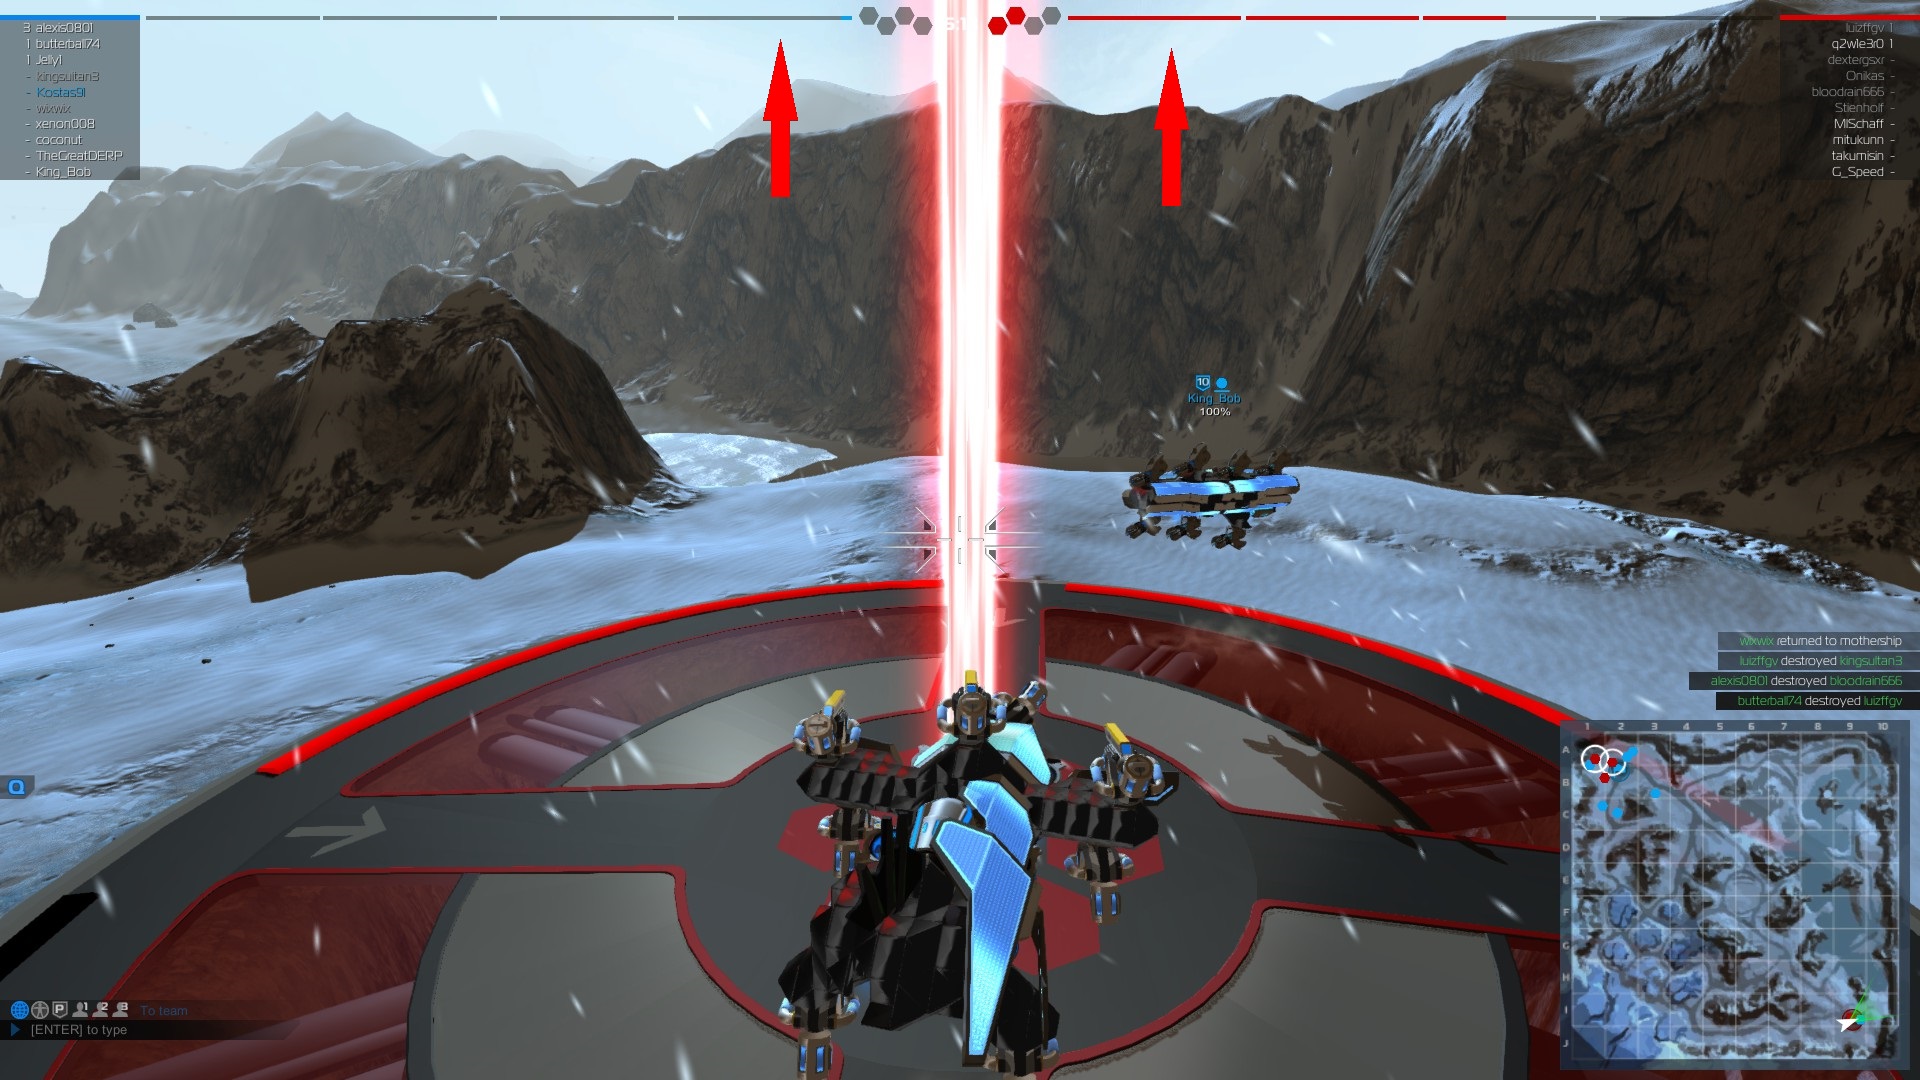
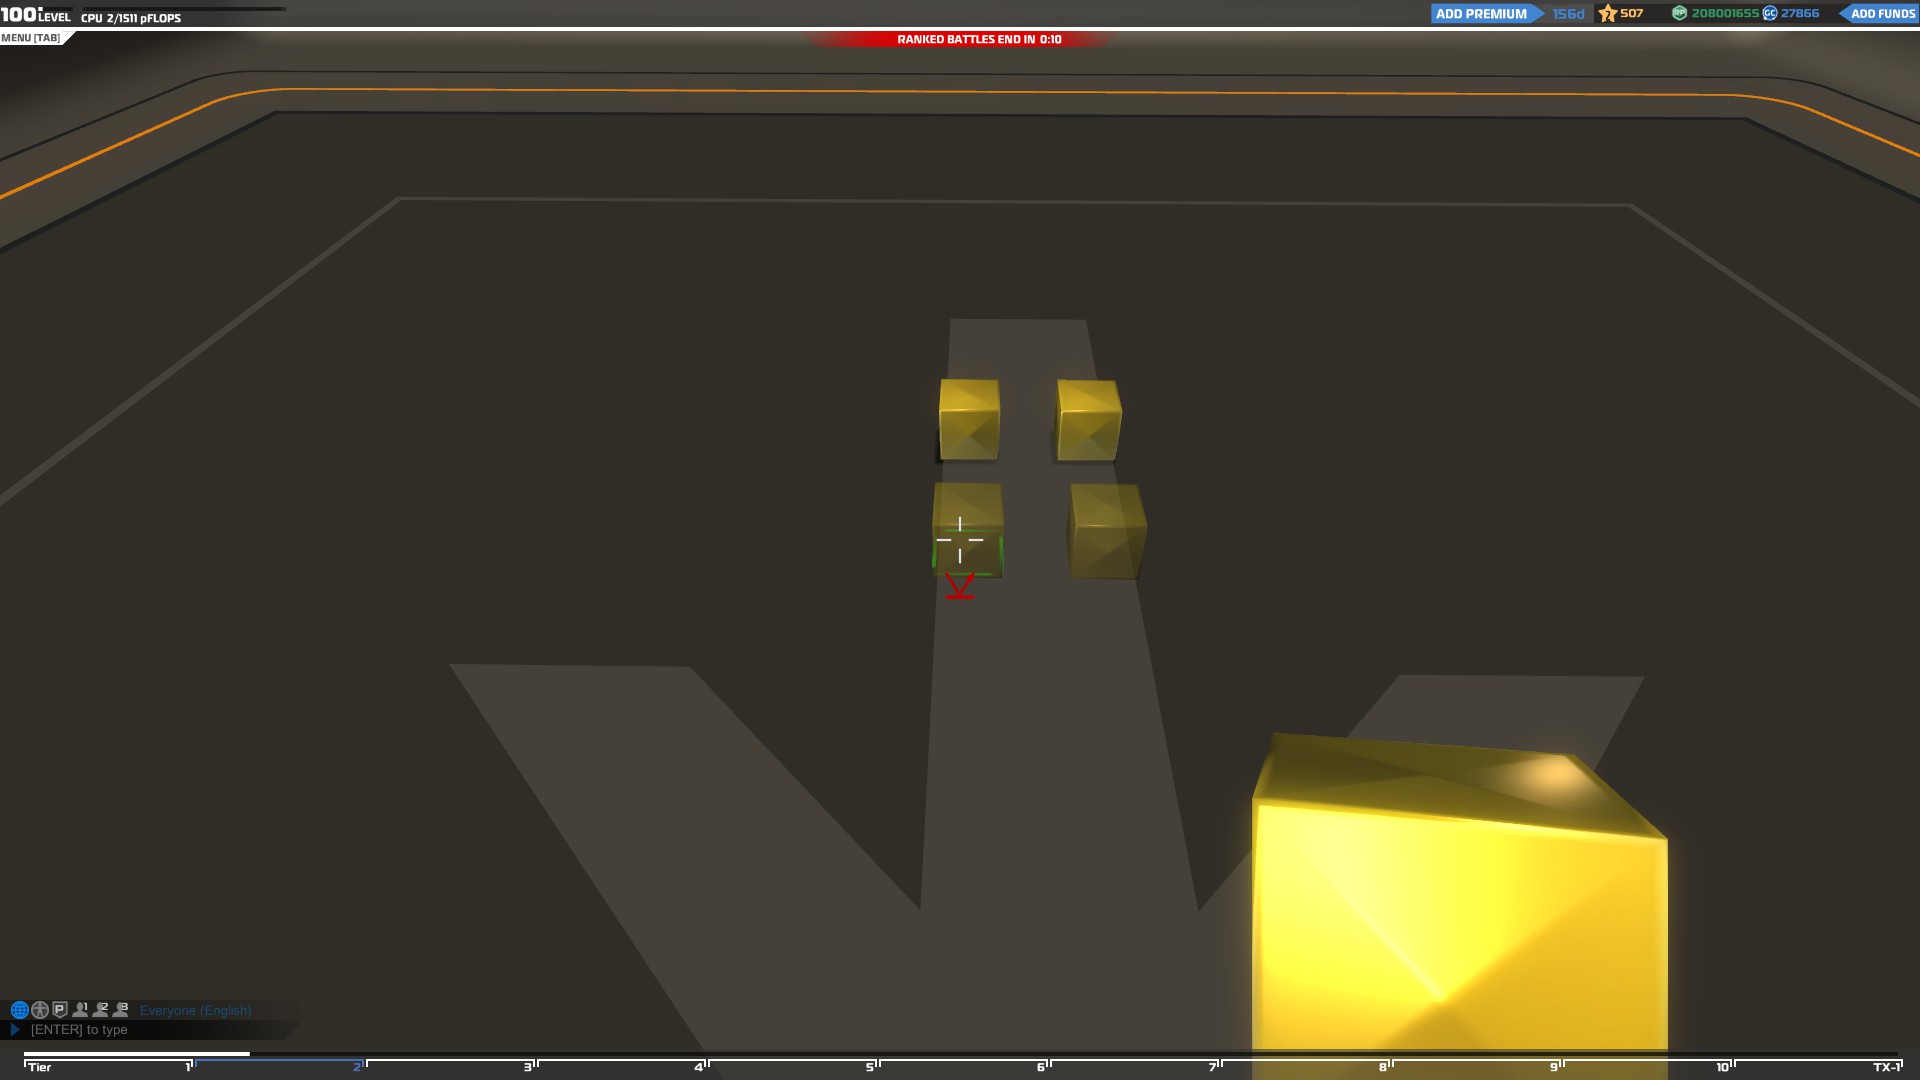
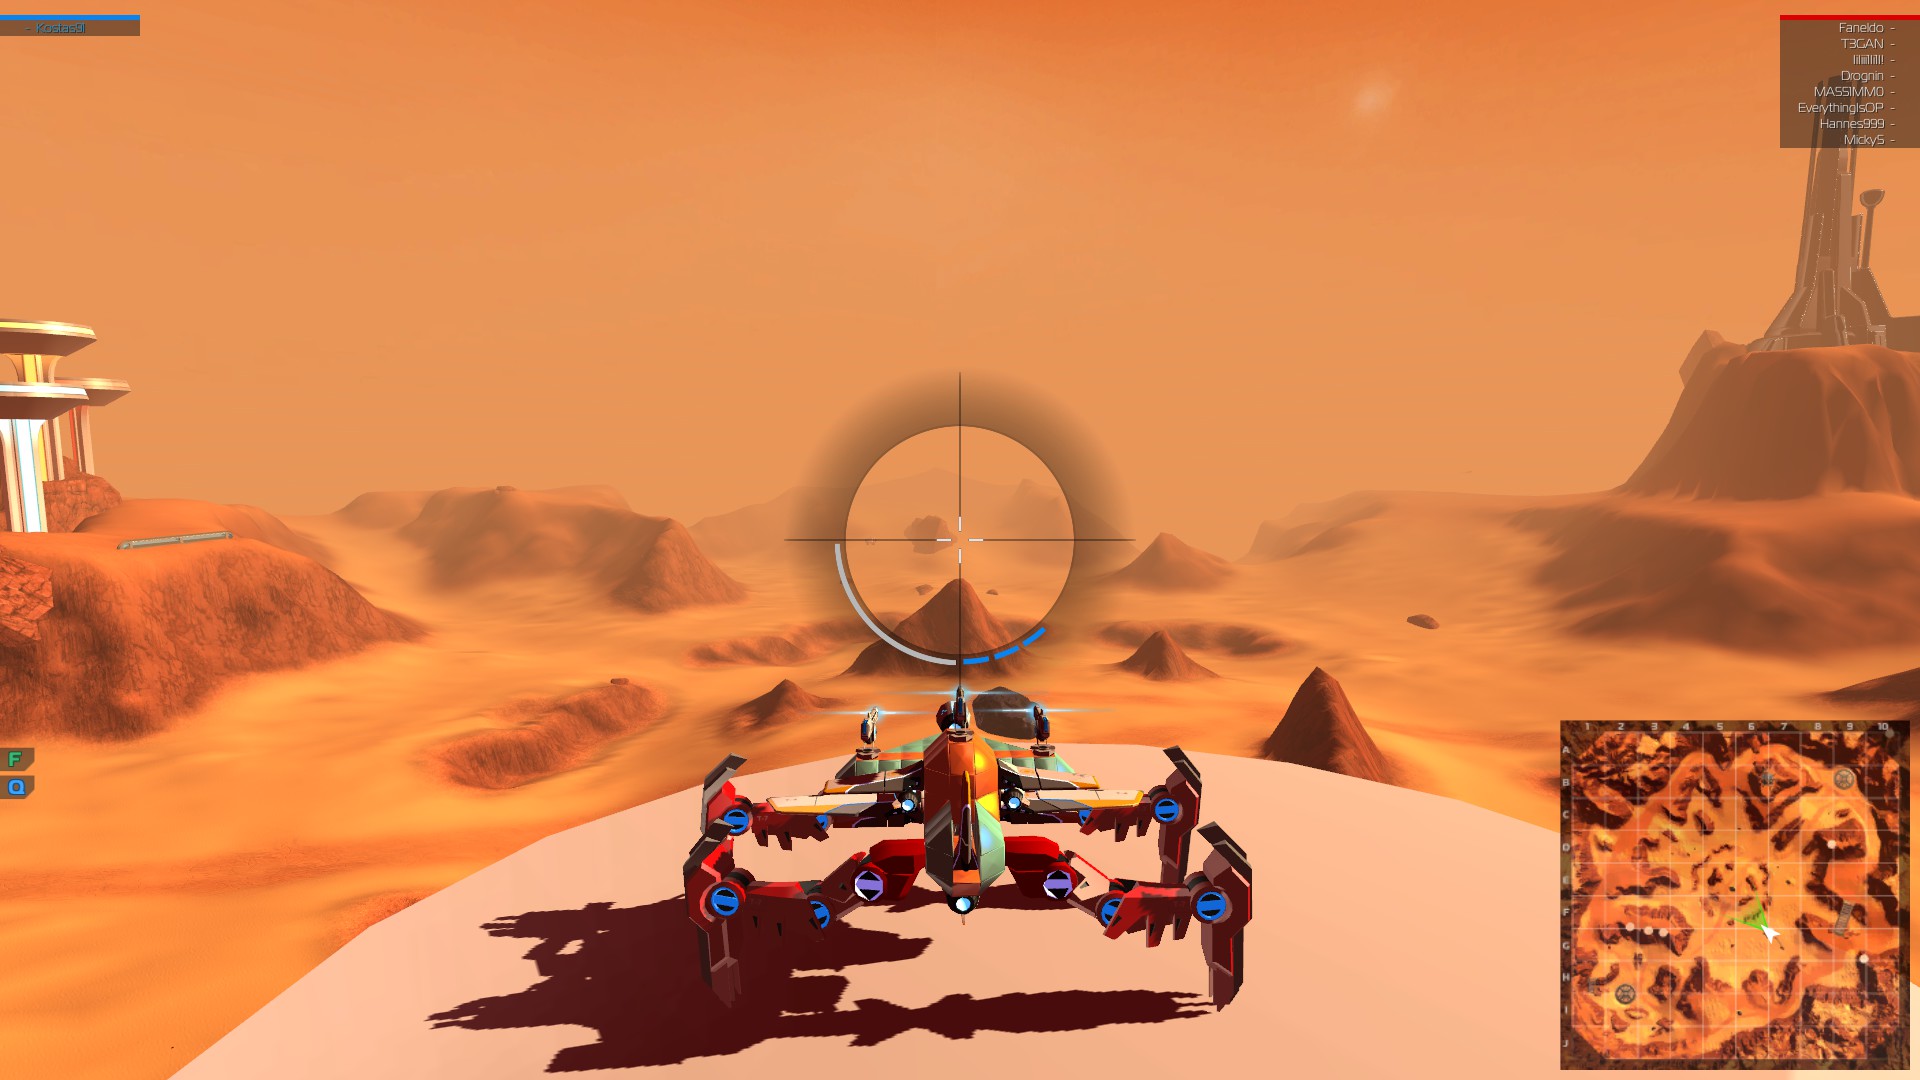
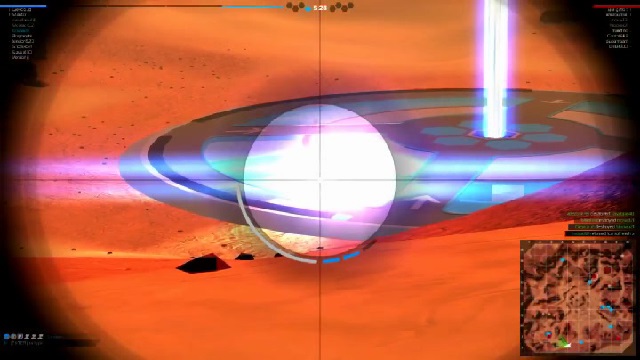
There are two ways to win a match, one is to destroy all the enemy robots and the other is to capture the enemy base. The enemy base is colored red and looks like this:
To capture the enemy base you simply have to stand on top of it until you fill all four of the capture segments.
The enemies can stop you from capturing their base by either standing on top of it, which will pause the capture or damage you, which will reset the segment you were capturing. Once you capture a segment it will lock and you will not lose it even if an enemy damages you or if you leave.
In every battle try to learn more about the maps so explore them as much as possible and learn all the places you can use for cover, to ambush players or hide.
Knowing as much as possible for each map will give you a huge tactical advantage in every battle.
“Some maps have ice which is really slippery and will make your wheeled vehicles really difficult to control.”
Sometimes your vehicle might flip over during a battle, to flip back to normal you have to use the “F” key and wait 10 seconds for the alignment tool to lift your vehicle and rotate it. During this process you will be unable to use your weapons so make sure to use it at the right time.
"You can slightly move your vehicle during the reallignment process"
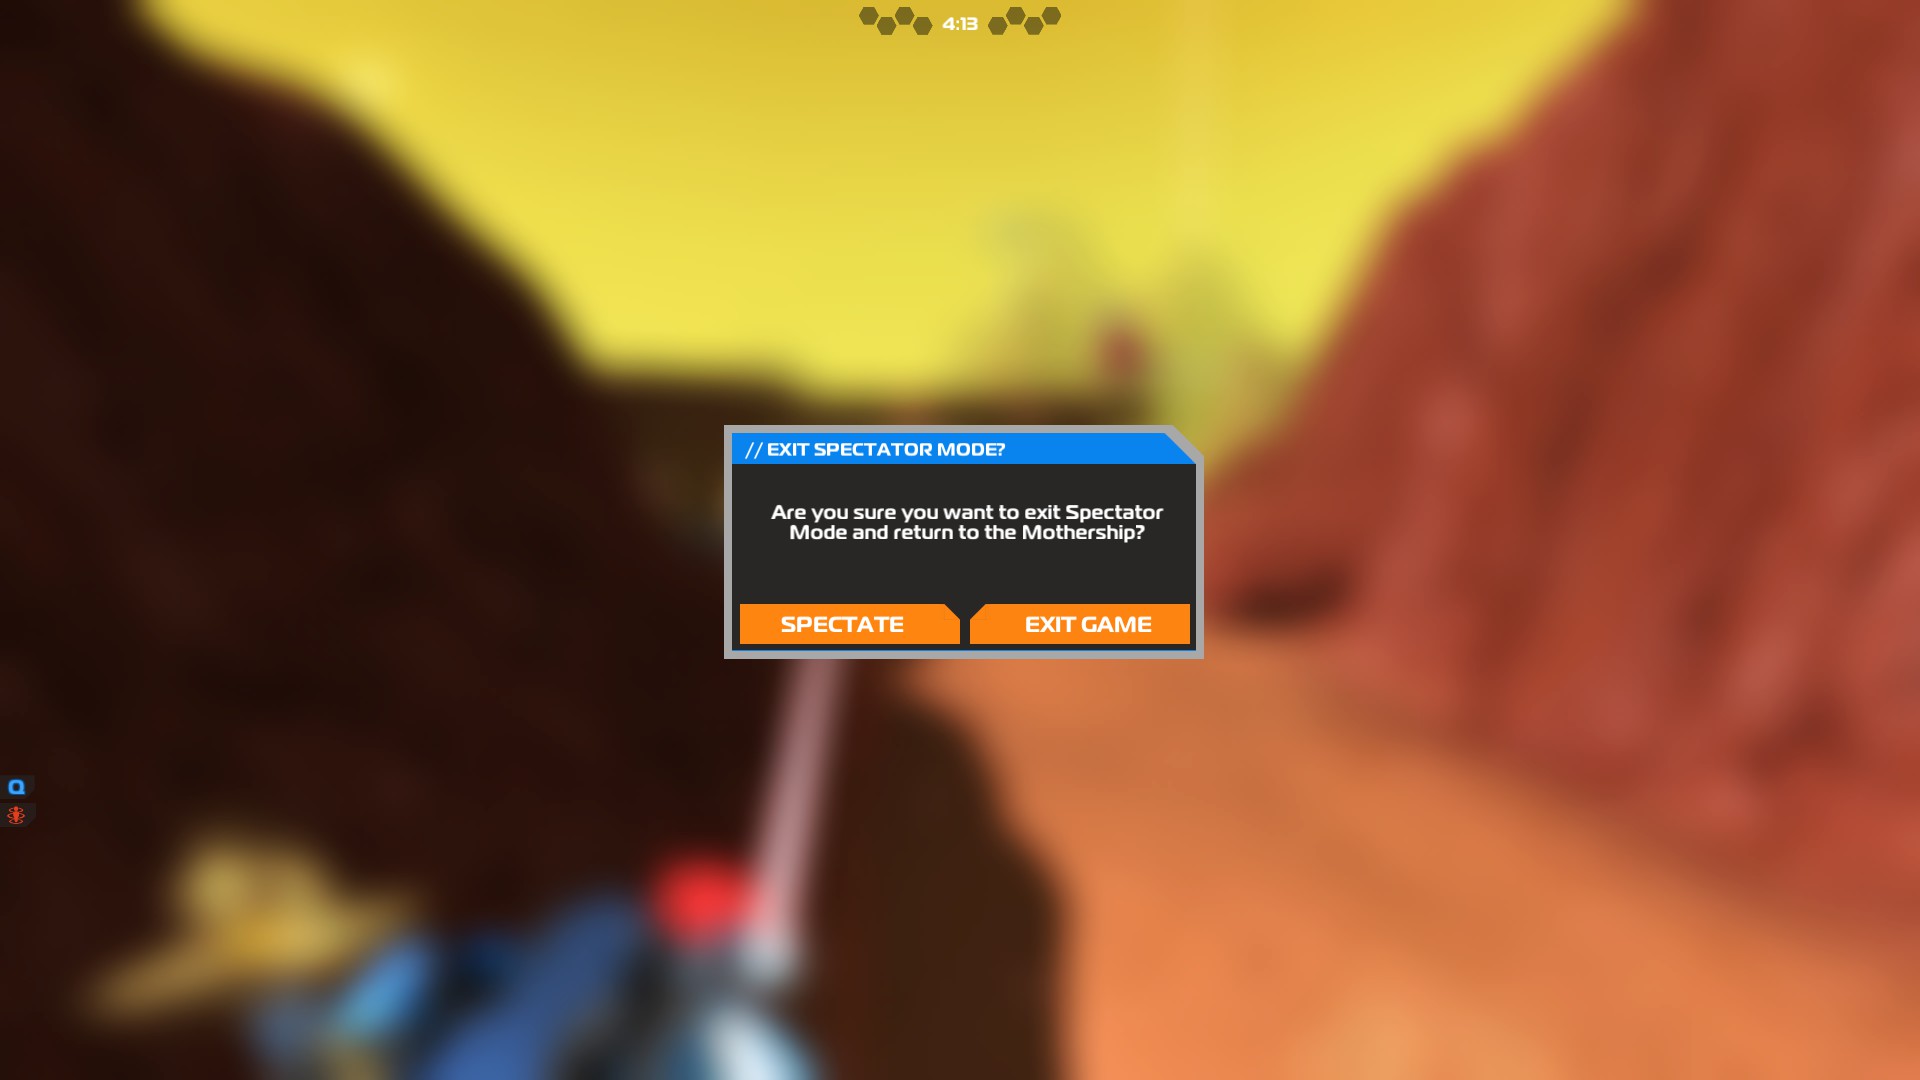
If your vehicle is destroyed during the battle you will automatically enter the spectate mode where you can watch your teammates play and switch between them with the right or left mouse click. If you don’t want to do that you can always exit the game by pressing escape and then EXIT GAME
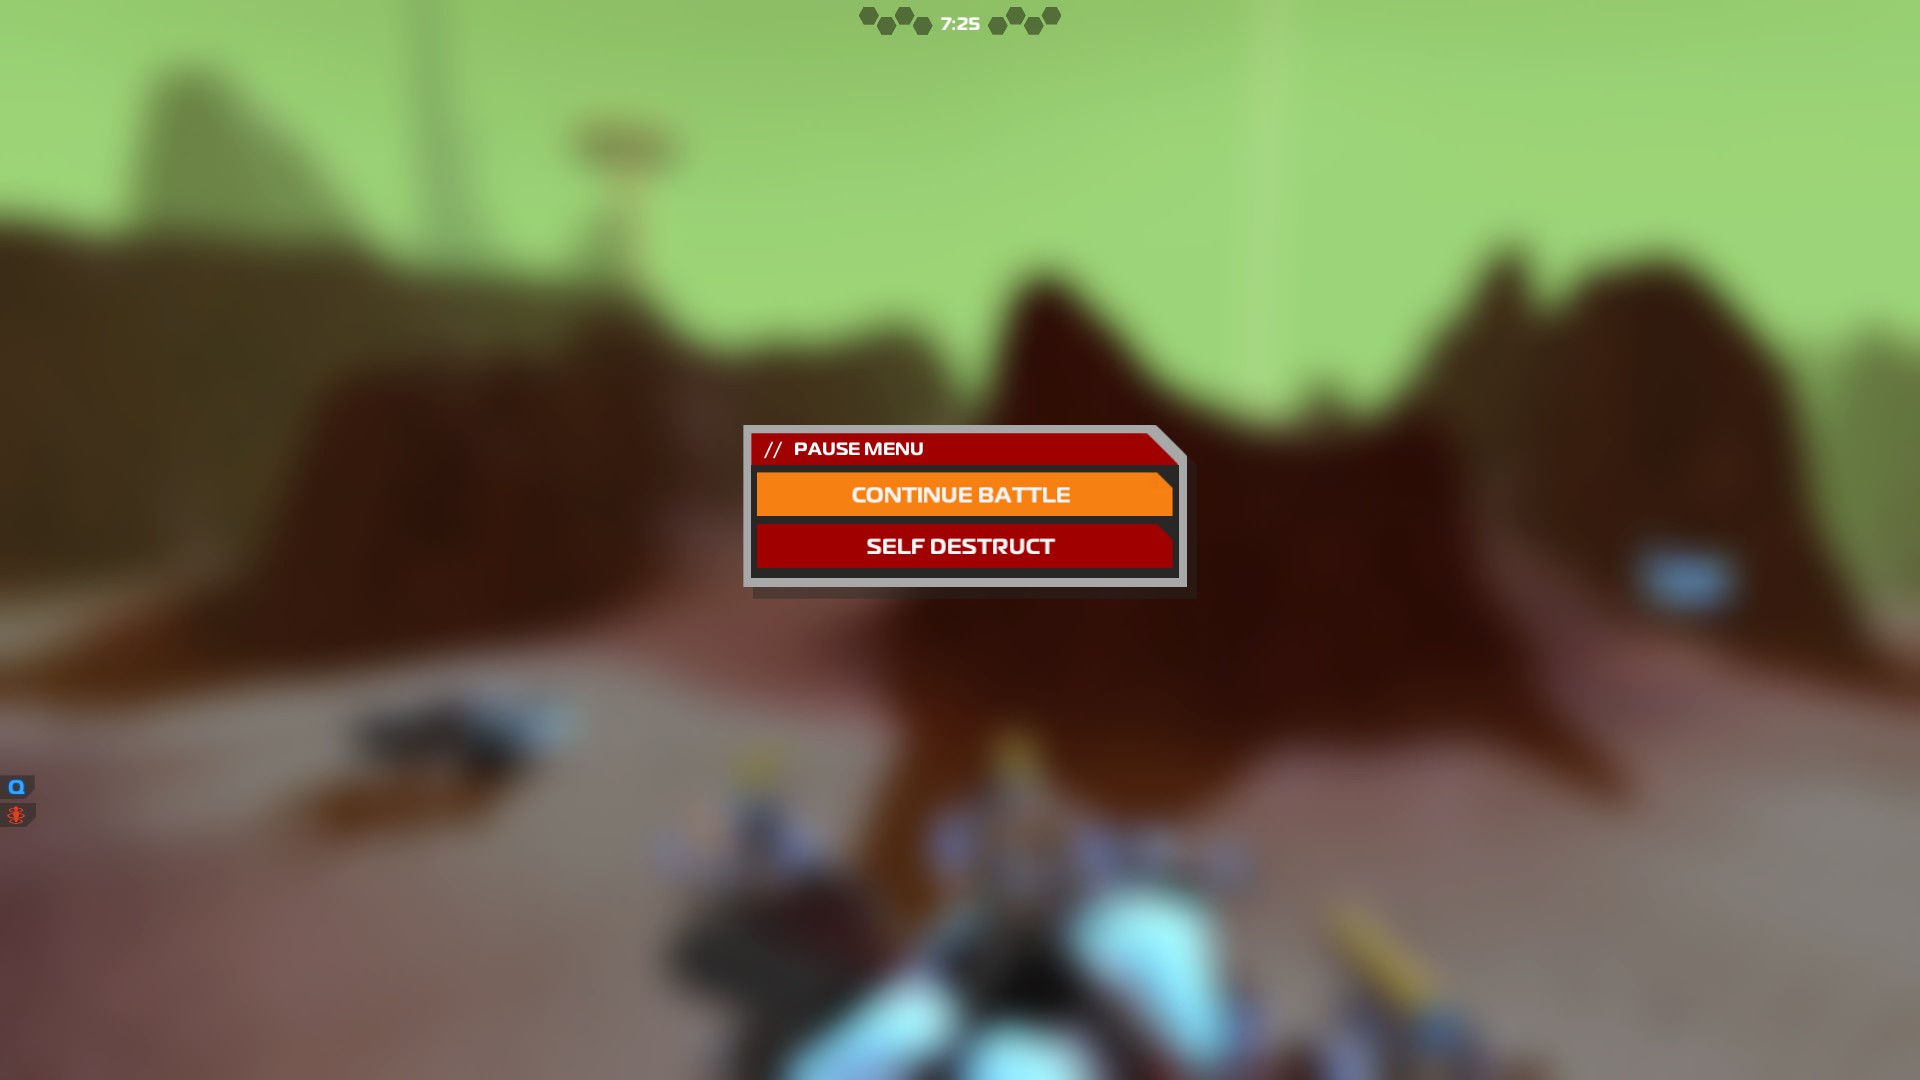
If you want to exit the battle while you are still alive you can press ESC and then SELFDESTRUCT to go back to your bay. If an enemy shoots at you though, the ability to self-destruct goes on a 10 second cool-down so you will have to find cover and wait until you are able to use it. You can see the count-down at the left-center of your screen.
Challenge battle
Sometimes when you enter a battle there is a possibility that you will face a challenge or a Megaboss battle which means that you and your team will have to destroy 4 high tier enemy vehicles or 1 Megabot.
The best tactic to win against them is to destroy their weapons first. Once you do that, you can take your time and destroy the rest of their vehicle since you will not be in danger anymore.
Avoid close fights with them since they will destroy you really fast, just shoot them from a distance or behind cover and try to escape if they start chasing you.
Make sure to destroy the enemy medics first so they do not repair the rest of the enemy vehicles.
“These battles can be really difficult but you will get a high reward if you win”
Finally, at the end of a battle you will be moved back to your bay and a window with your battle result will appear. In this window you will be able to see how much damage you did and how much reward you got.
Playing Robocraft For The First Time Part 5
Reward screen explained
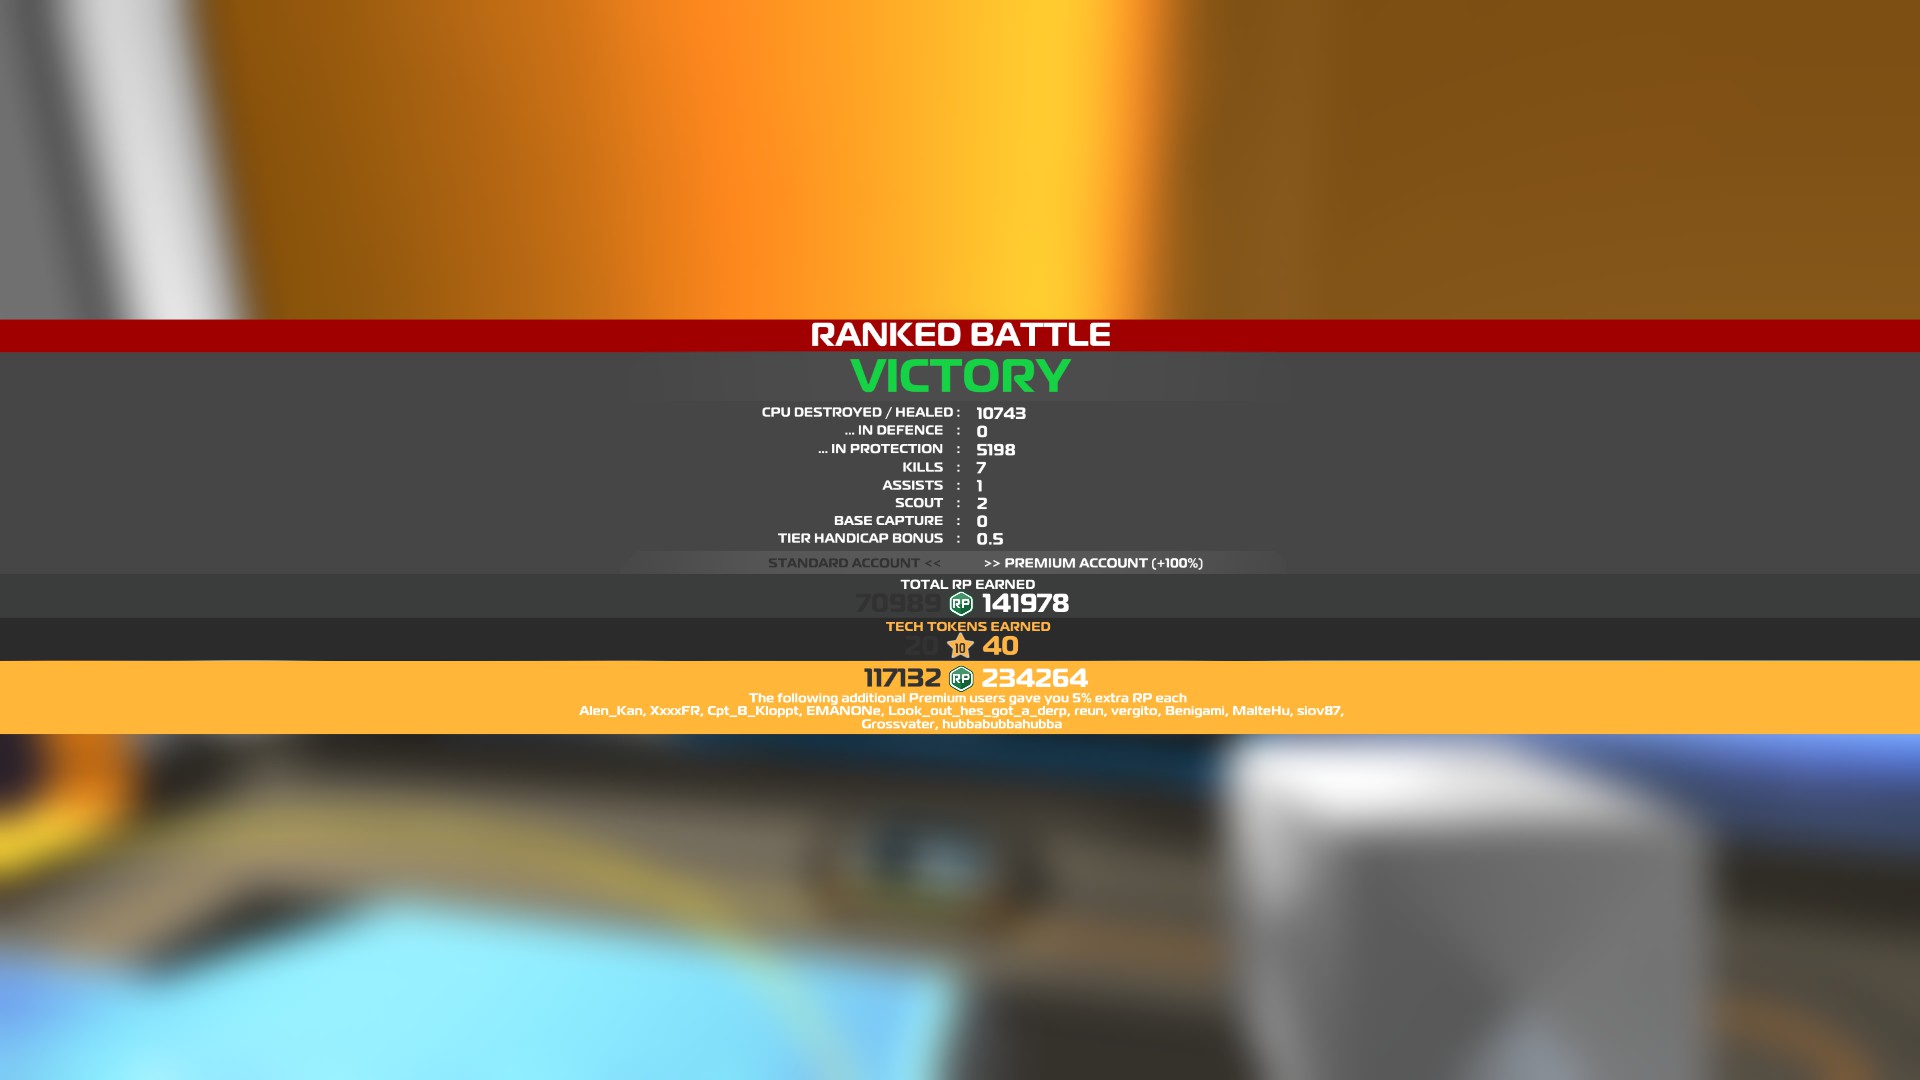
CPU Destroyed/healed – The amount of enemy CPU you destroyed. The more CPU you destroy the more bonus RP you get.
… In defense – The amount of enemy CPU you destroyed close to your base.
… In protection – The amount of enemy CPU you destroyed while attacking an enemy who was shooting one of your allies.
Kills – How many enemies you destroyed. You will get a good RP bonus for every kill and also one TP.
Assists – How many enemies you helped your team to destroy. You get an assist if you deal up to 25% damage to an enemy. One assist will give you the same RP and TP bonus as one kill.
Scout – You get one scout point for every enemy you spotted or scanned with your radar first which will give you a small RP bonus.
Base Capture – You get one point for every segment you captured which will give you a small RP bonus and one TP per captured segment.
Tier Handicap Bonus – You will get this bonus which will give you a lot of extra RP if you join higher tier matches. That can happen in T10 if there is a Megabot in each team or if you fight against higher tier vehicle in challenge battles.
Below all this information you will see how much RP and TP you earned from the match. There are 4 different rewards so it might be confusing.
The first two are the rewards for a standard account (The left one) and a premium account (the right one). It’s easy to tell which reward you got since the numbers of the one you didn’t get are faded.
Below that you will see the TP reward you got for either a standard or premium account and at the bottom you will see the total amount of RP you got after adding the 5% bonus you got from each premium player in the game.
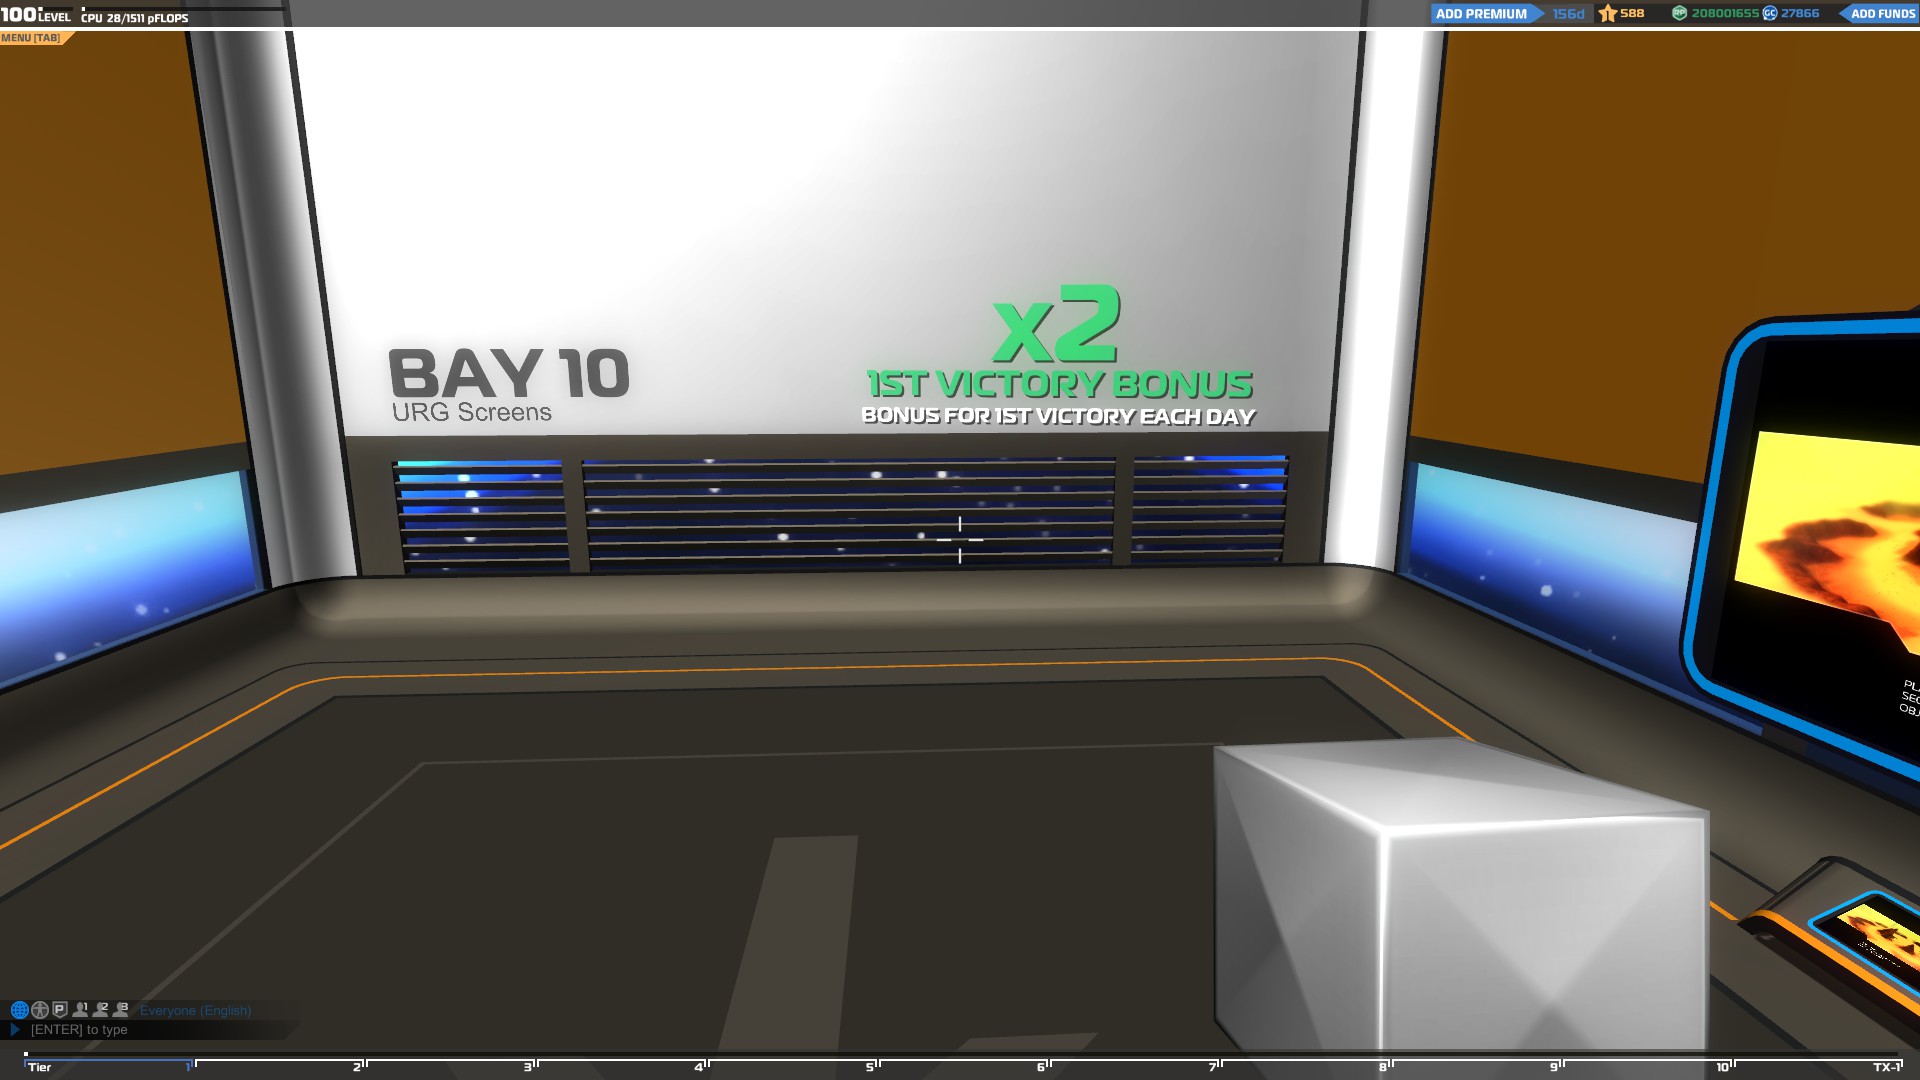
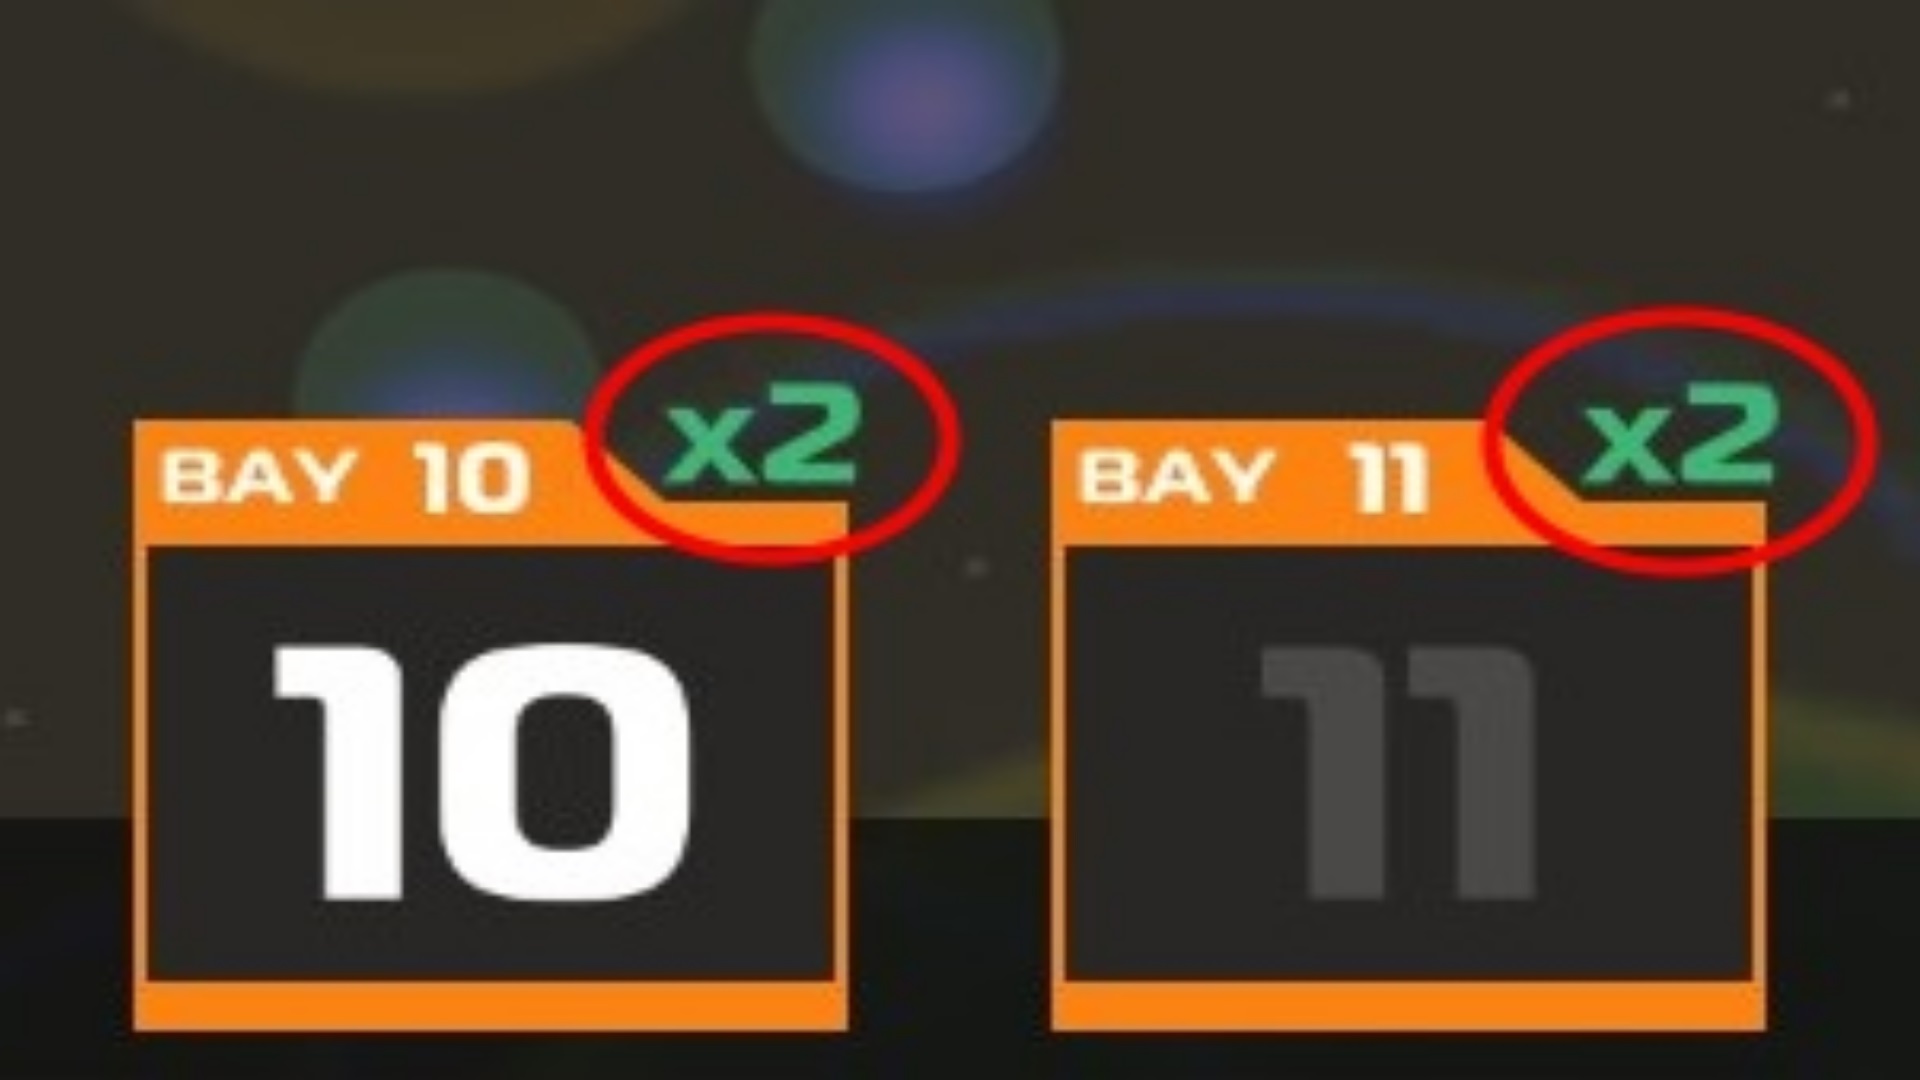
In case you have x2 bonus available, you will get double the RP/TP. You can use this bonus once per day and it will be available again after 24 hours. You can see which of your bays have a double bonus available both in your bay and on the top-right of your bay slots in the garage.
Building For Beginnners
Entering battles with the default vehicle and fighting other robots is fun but it’s essential to learn how to build your own vehicles and understand the building mechanics of the game if you want to make any progress.
As a beginner you need to learn the basics of robo-building and all about the building materials you are using.
Your most basic building materials are:
- Cubes
- Prisms
- Tetras
- Inners
You can use these blocks to build a core and a body for your vehicle.
Each of these blocks has its own stats which are different for each shape.
If you move your cursor over each block in your inventory, you will be able to see more information about them.
For example, each white cube has
- Mass = 5 kg
- CPU Load = 1 pFLOP
- Robot ranking = 0.50
- Armor = 50
The mass of each block represent the weight of that block so if you add too many blocks on your vehicle and the overall weight is high, it will be slower.
If you look at the Prisms, Tetras and inners you will notice that they are lighter, but they still have the same amount of armor, so, you can use them wherever you can instead of cubes to make your vehicle as light as possible.
The CPU Load represents how much CPU your item requires. You can see how much CPU you have left at the top, left corner of your screen, next to your level.
The robot ranking system places your vehicle at the right tier level, according to the building material and items you used. The white blocks have low robot ranking so your vehicle will be placed in Tier 1 but if you use blocks/items of a higher tier or many blocks/items of your current tier, your vehicle ranking will rise to the next tier.
The armor represents the toughness of the block. The more armor the block has, the more damage it can withstand.
How damage works
When you get hit by an enemy weapon your blocks and items will be destroyed. How many you will lose depends on their armor.
For example, If you receive 300 damage from an enemy weapon, it will spread to the surrounding blocks and you will lose 6 white blocks
(300 dmg / 50 armor per block = 6 white blocks)
Building your first vehicle
Since you are new to the game you can only build a SMG cruiser (Vehicle with wheels and SMG weapons).
To start building your vehicle, first you have to select the building material you need and place it using the left click. You can hold the left click to place more cubes faster.
In case you want to delete an item or a block you just have to aim your cursor at it and use the right click. To delete more blocks or items faster just press and hold the right click.
Finally, you can use the middle click of the mouse to select a block or an item you have already placed in your bay. For example, if you want to quickly select a prism, aim your cursor at a prism you have already placed on your vehicle and use the middle click to select it.
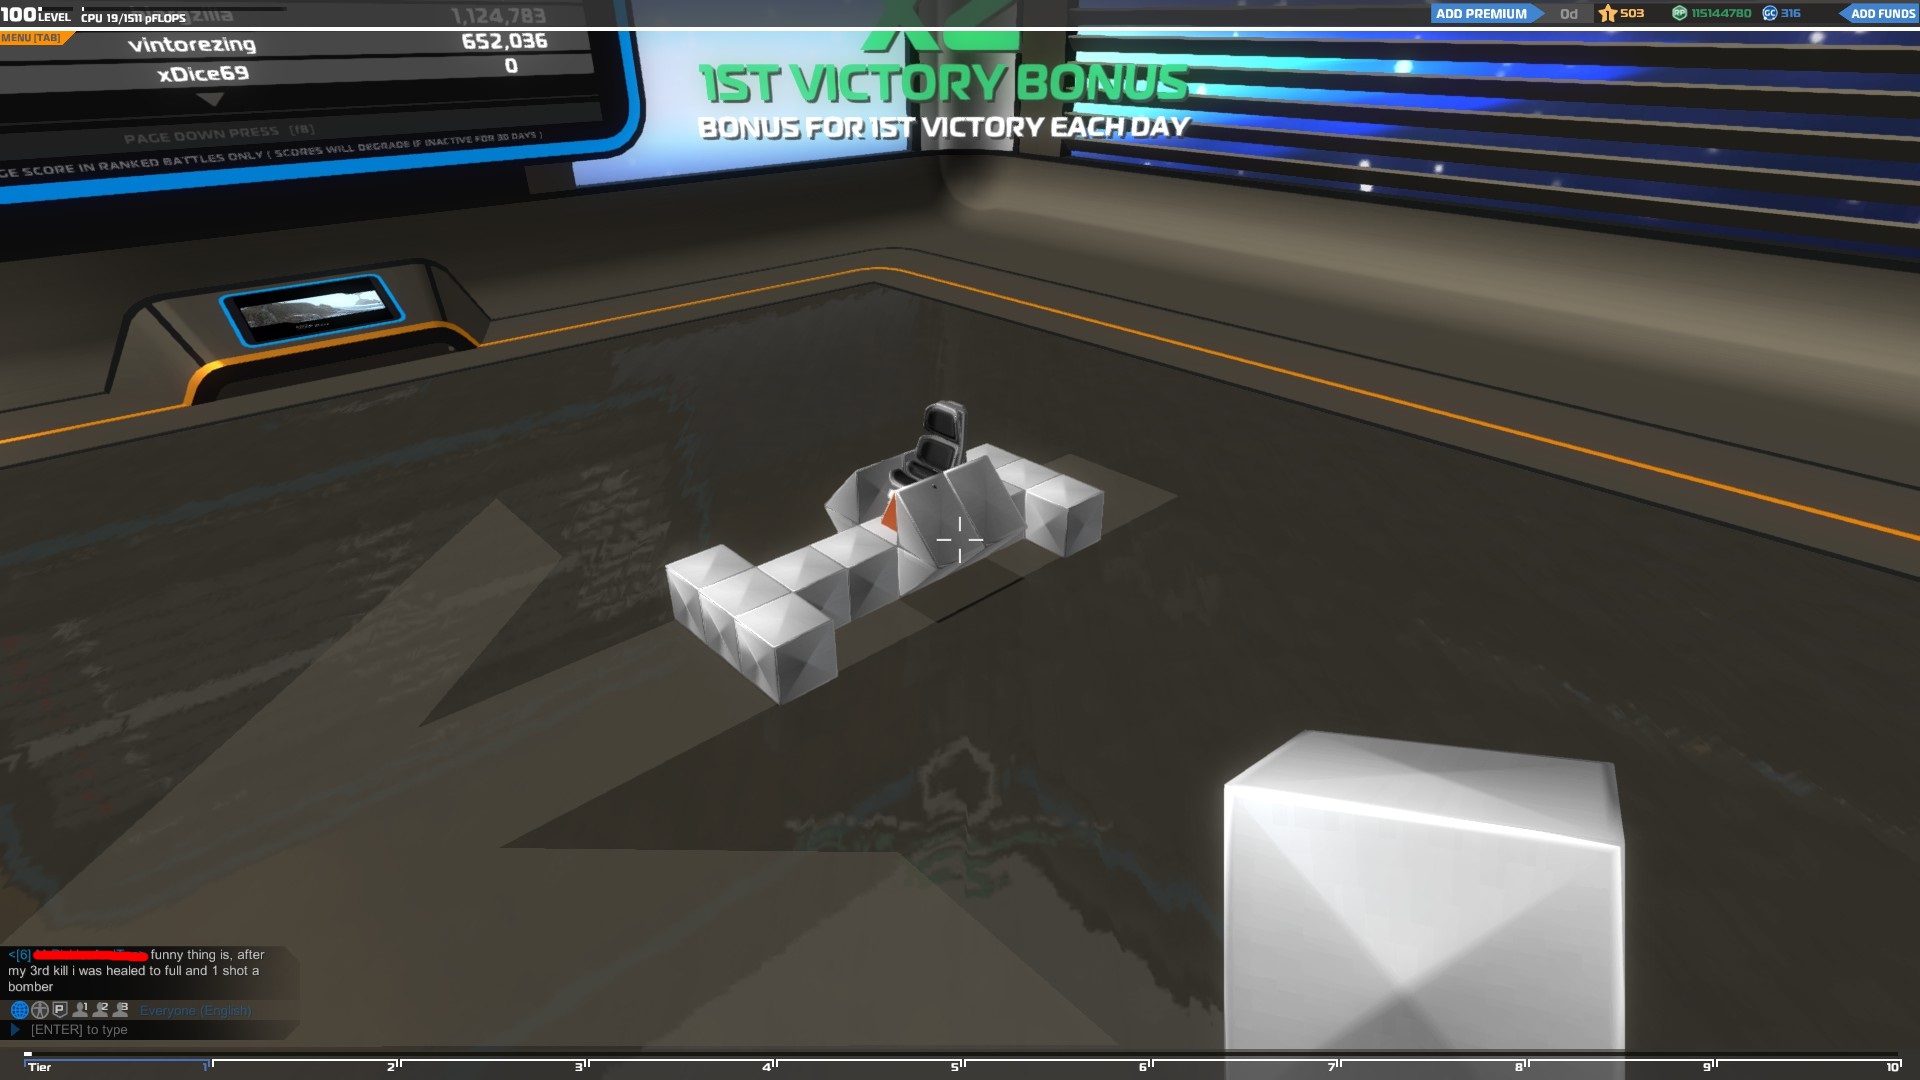
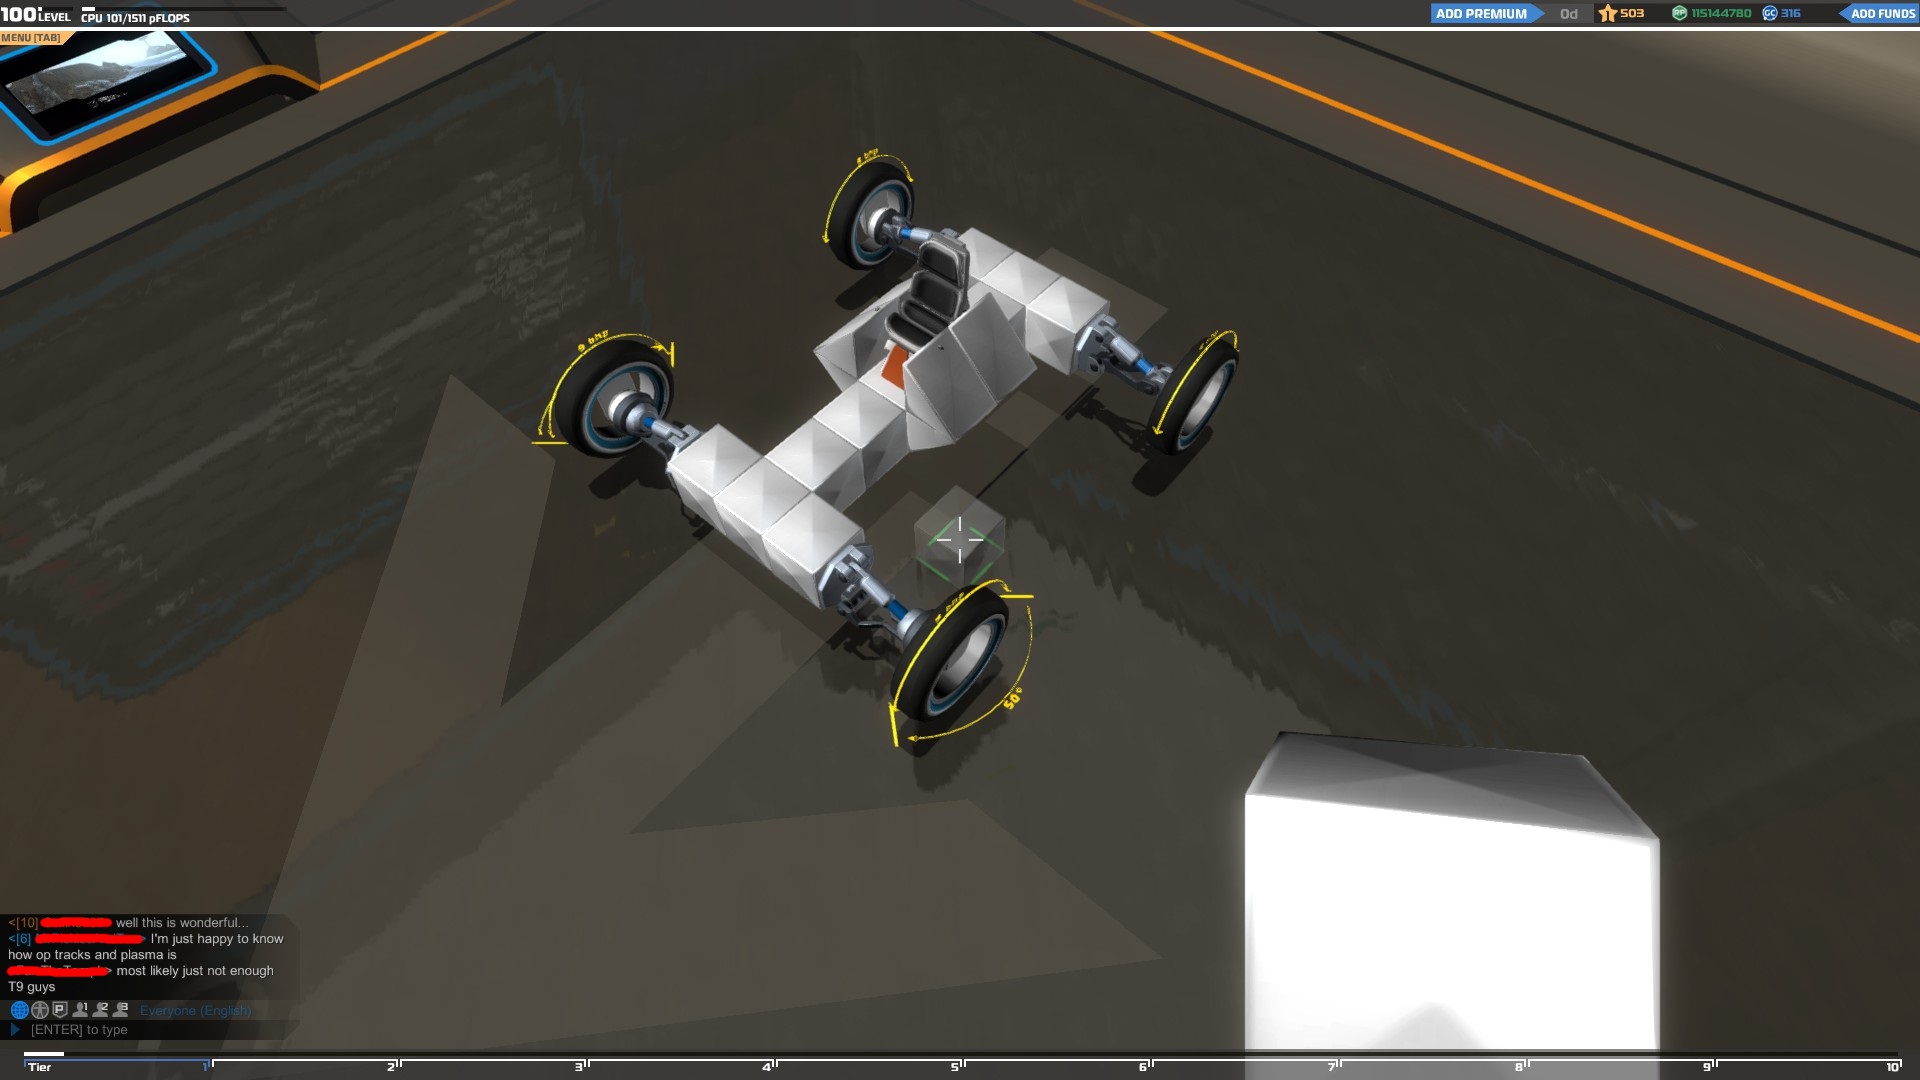
The first thing you need to build is the core of your vehicle which will support your seat, wheels and body of your vehicle.
"The seat itself is indestructible but if the blocks supporting it are destroyed, your vehicle will be destroyed as well, so make sure you protect them well."
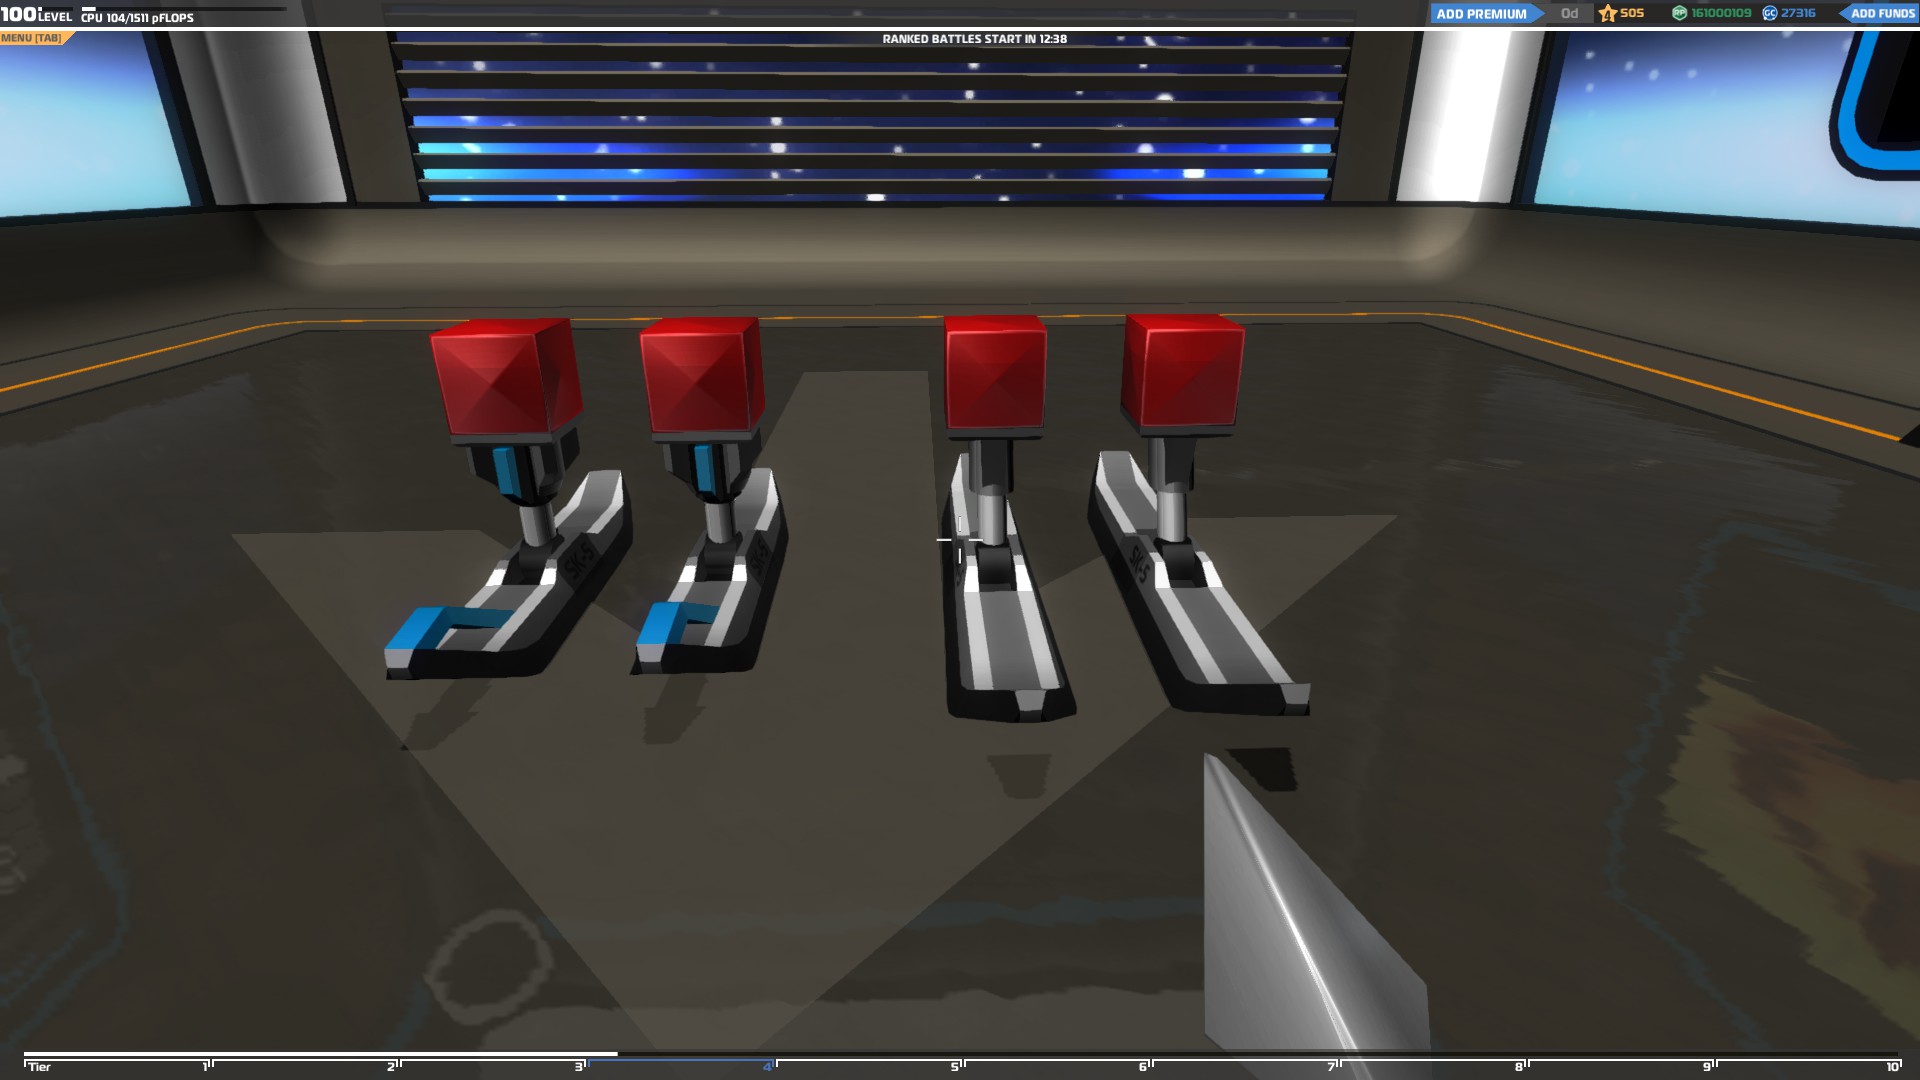
There are two types of wheels, the normal wheels and the steering wheels. The normal wheels can only move forwards and backwards but the steering wheels will give you the ability to turn right and left. Adding only normal wheels on your vehicle will make it impossible to control but you can use only steering wheels on your vehicle without a problem.
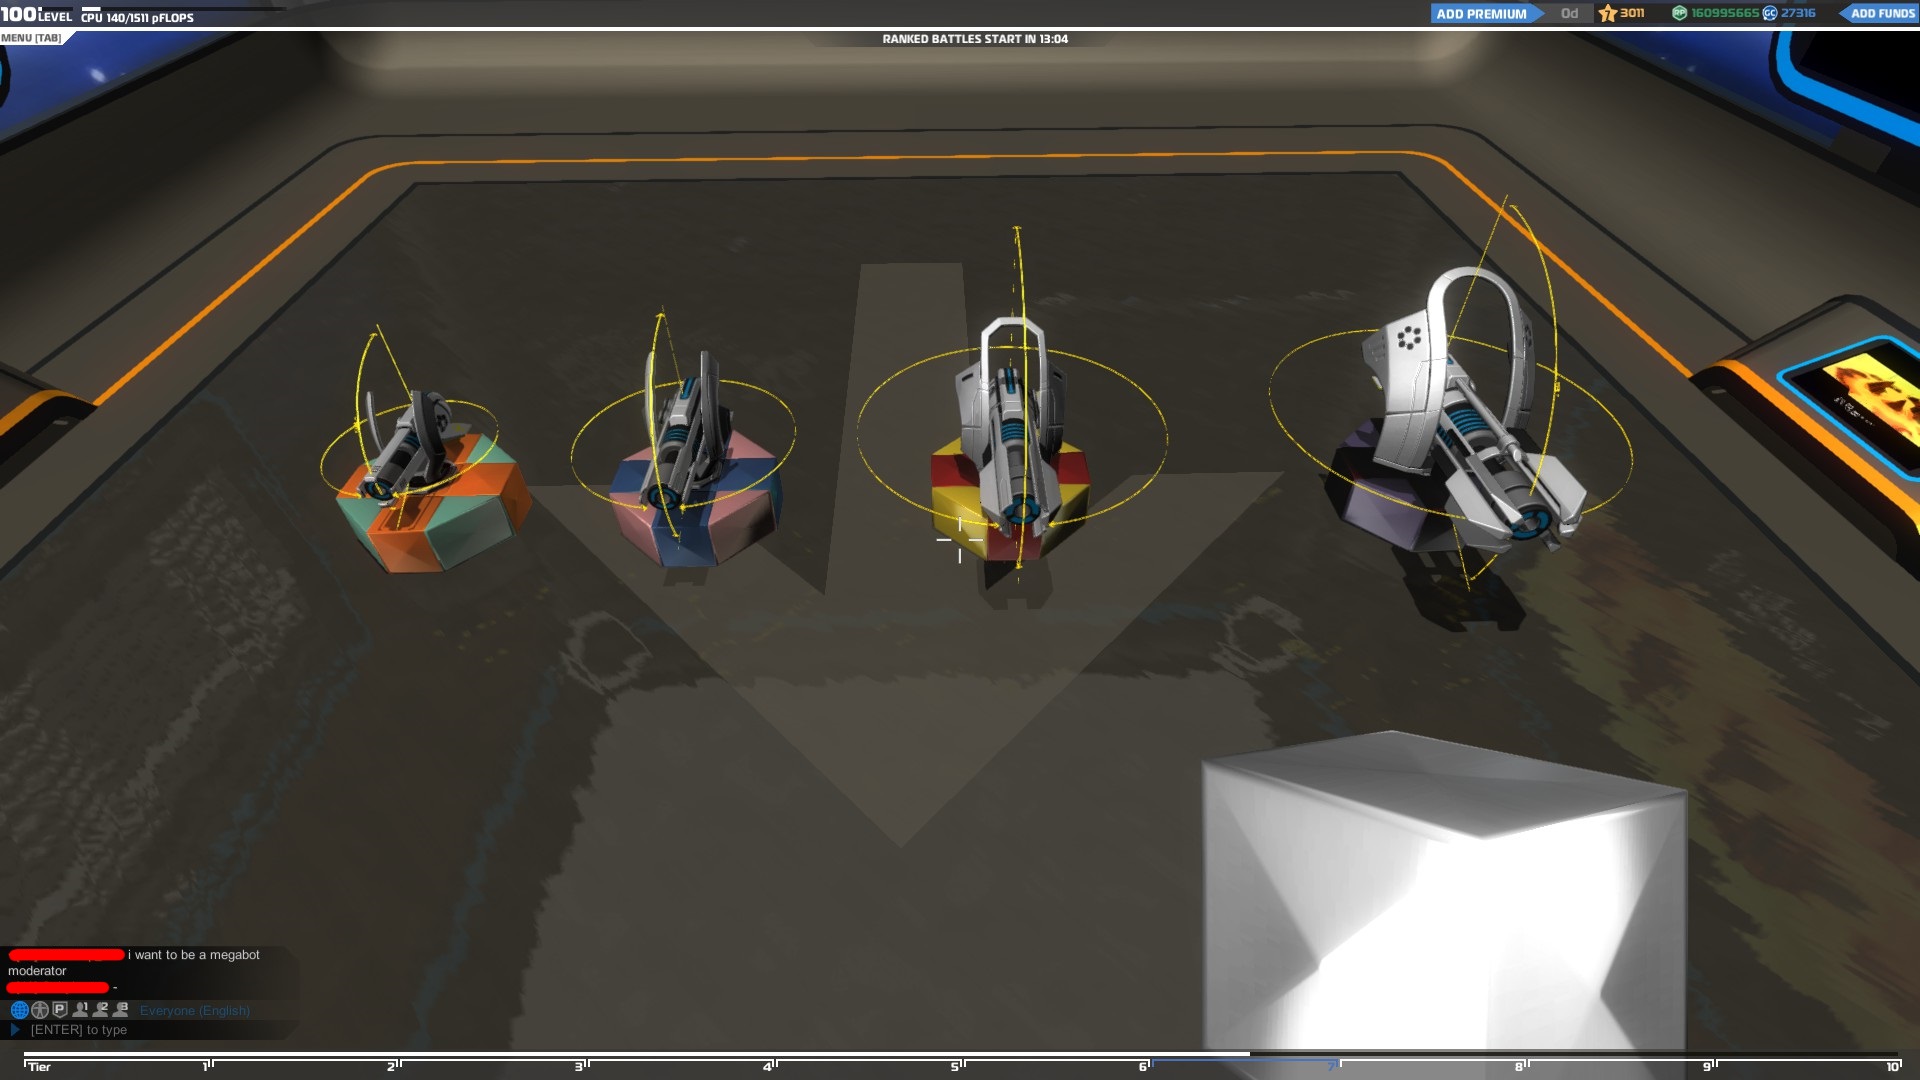
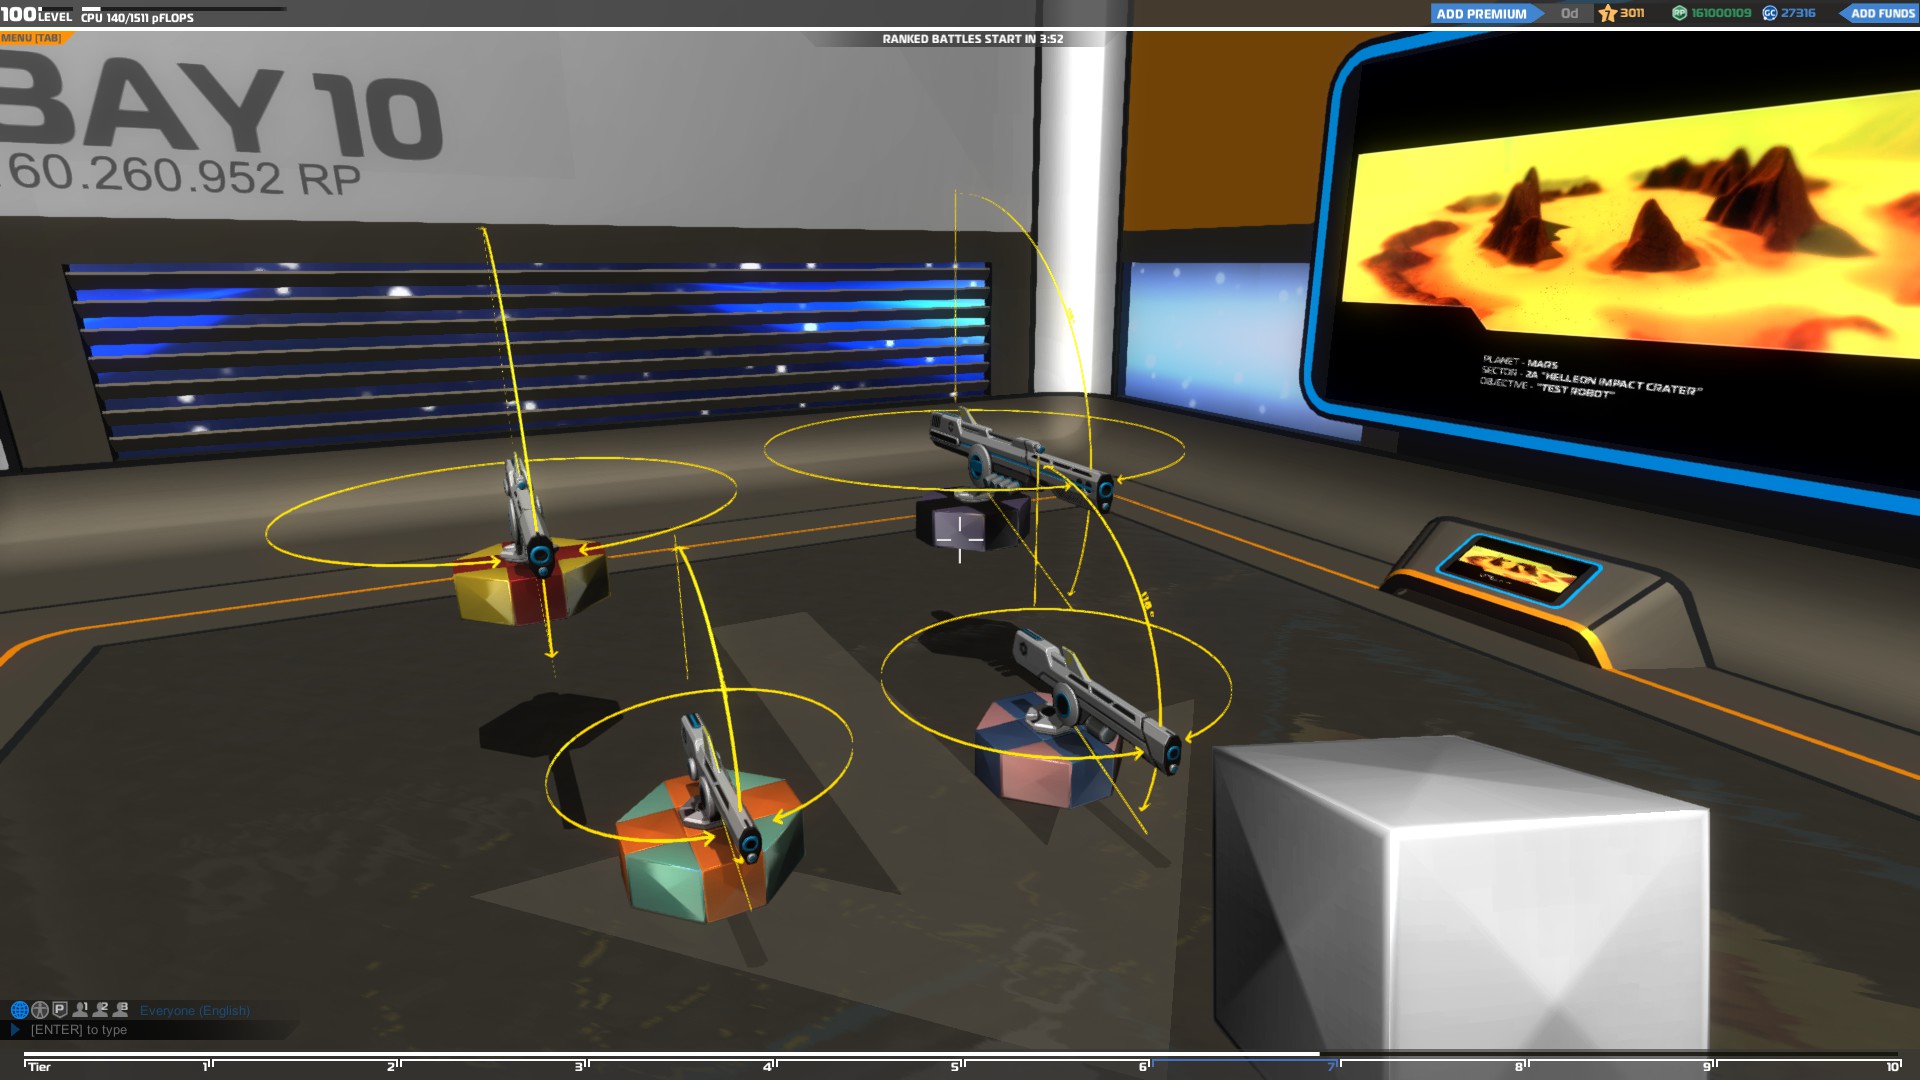
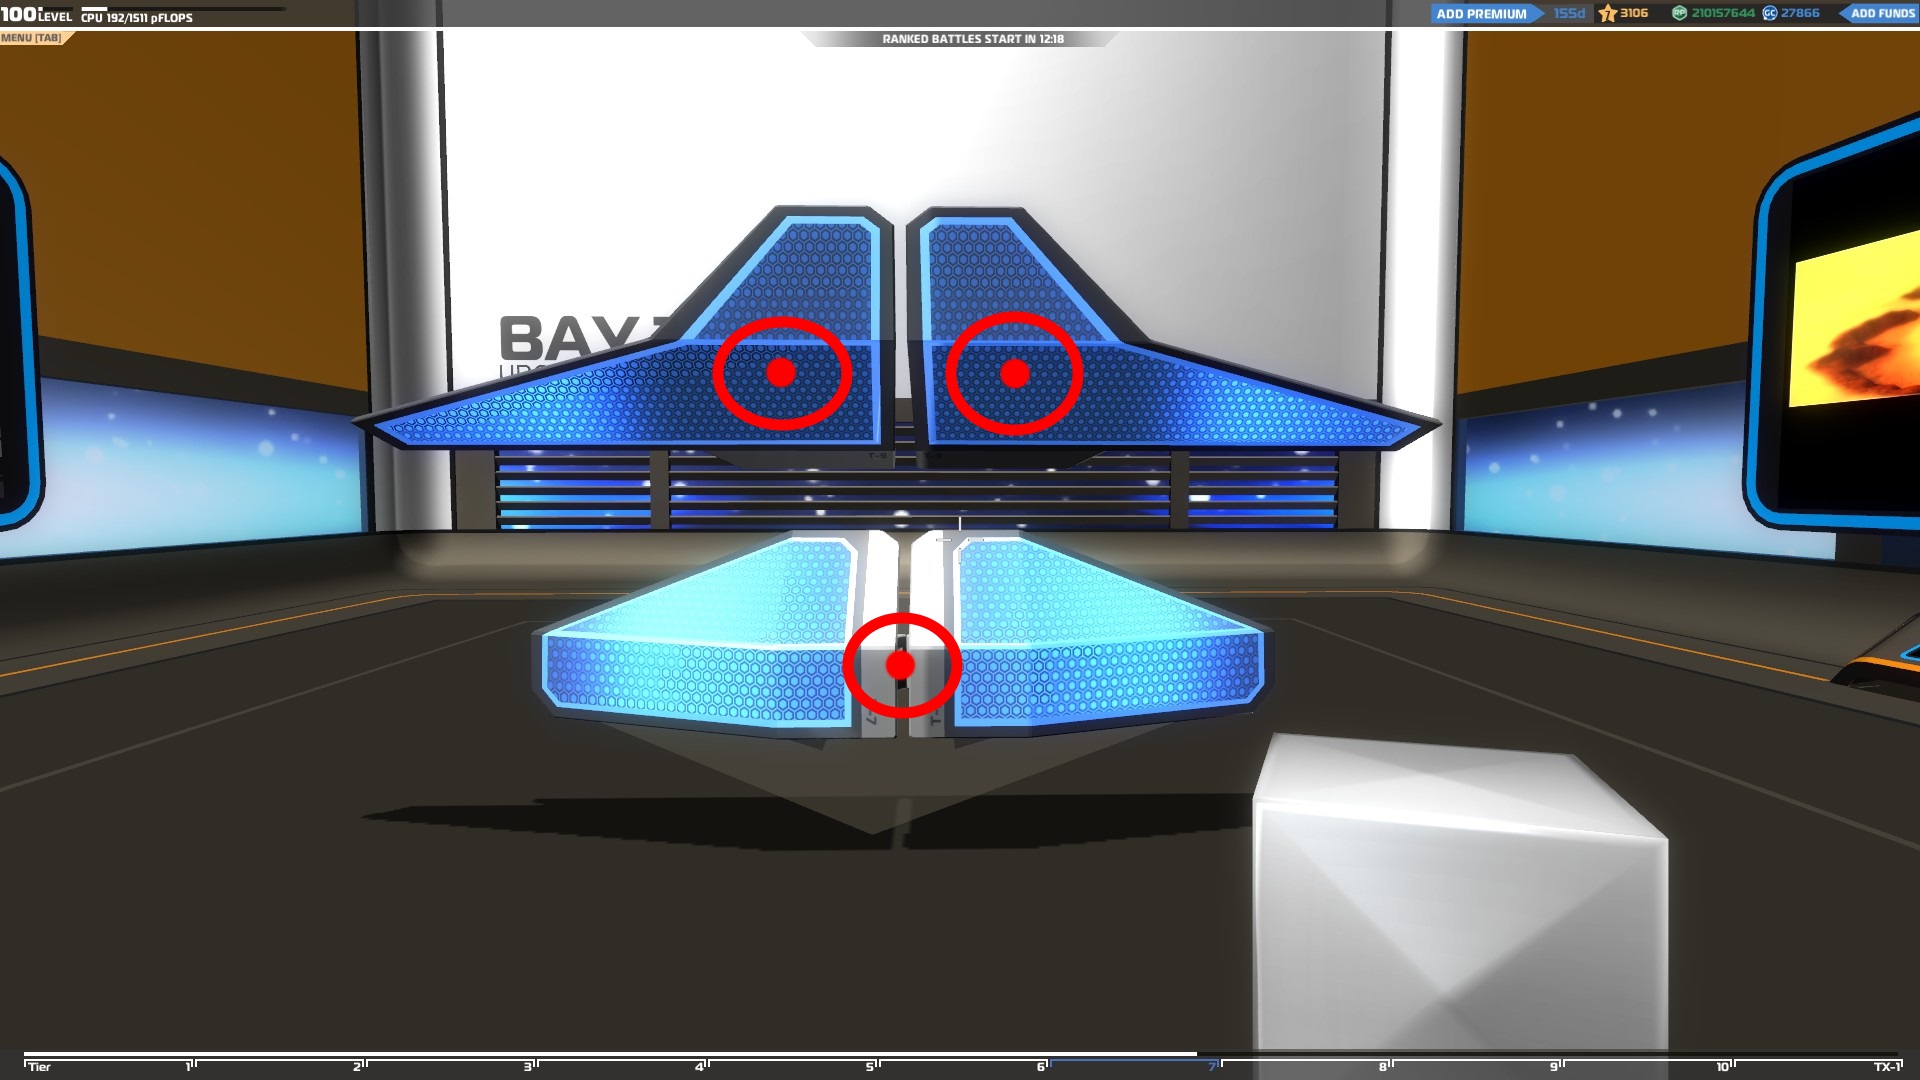
The next thing you should do is to build bases for your weapons and add them on your vehicle.
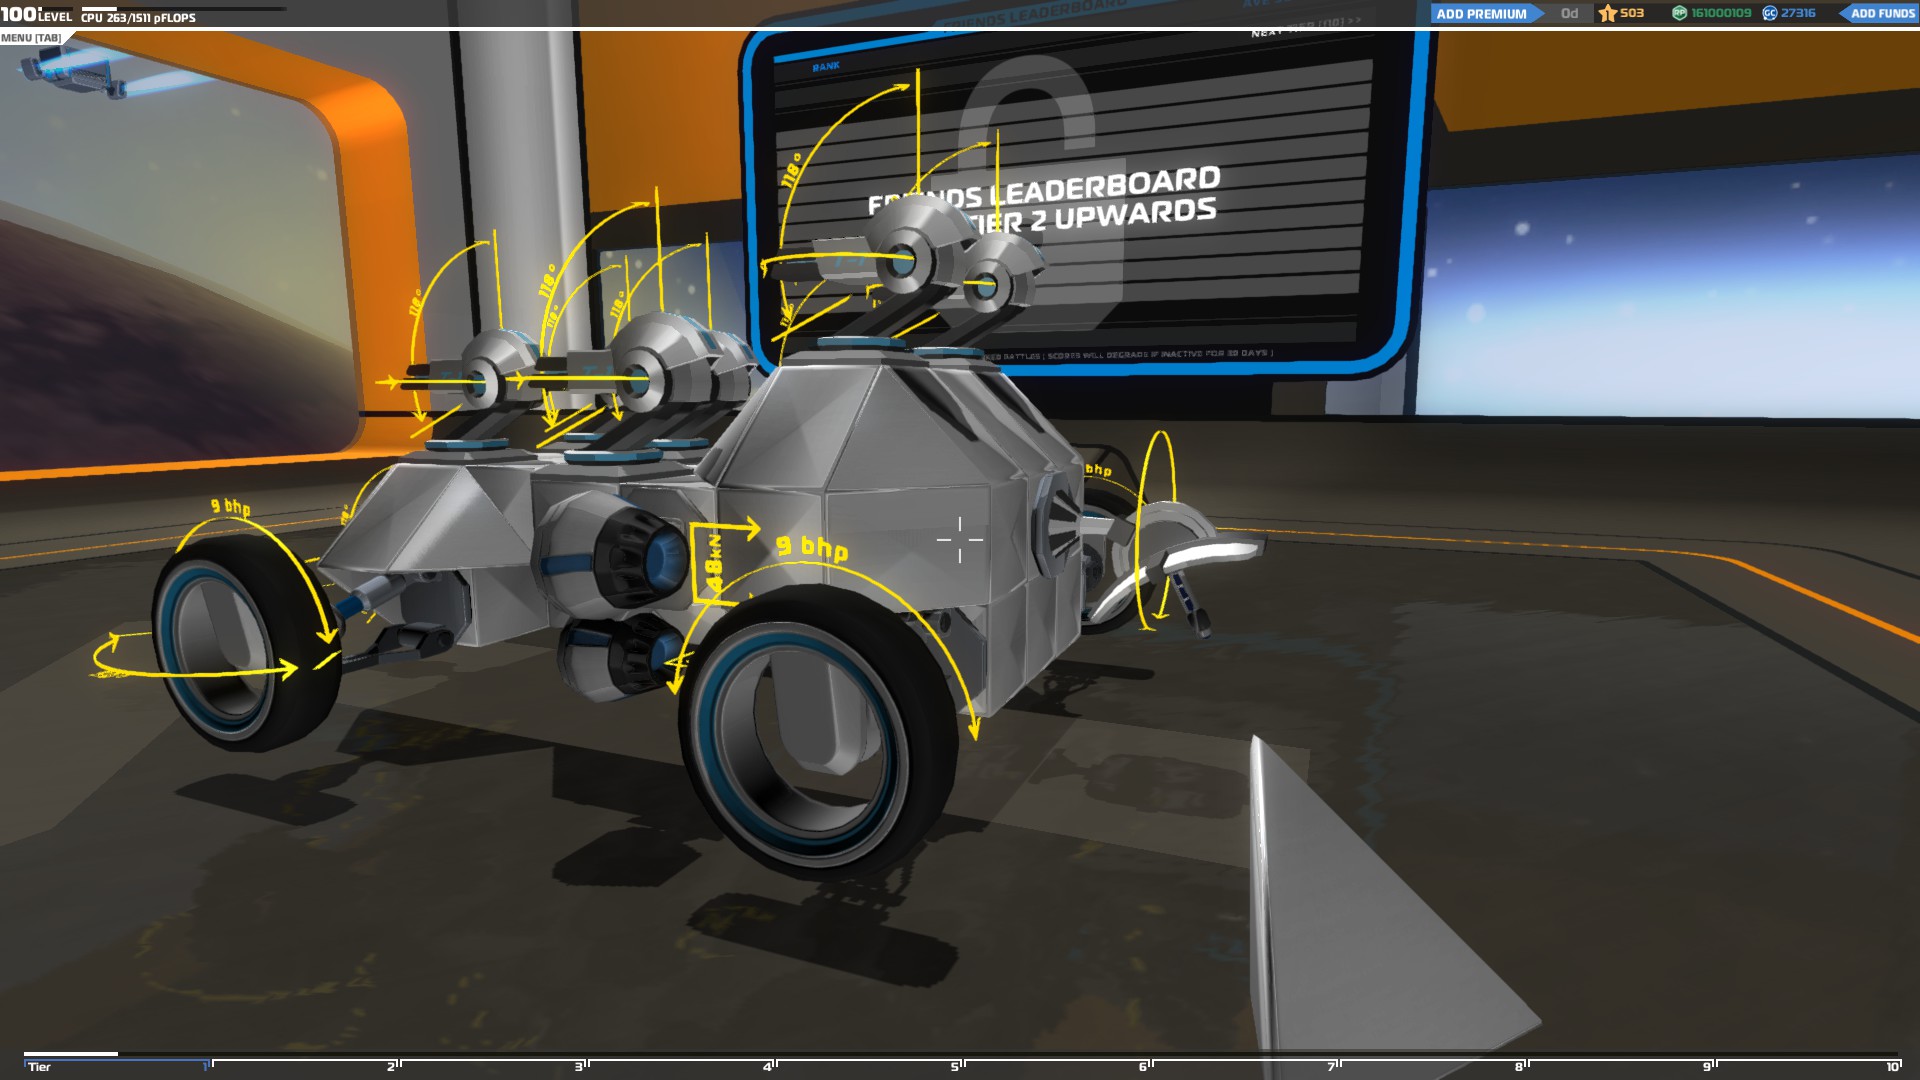
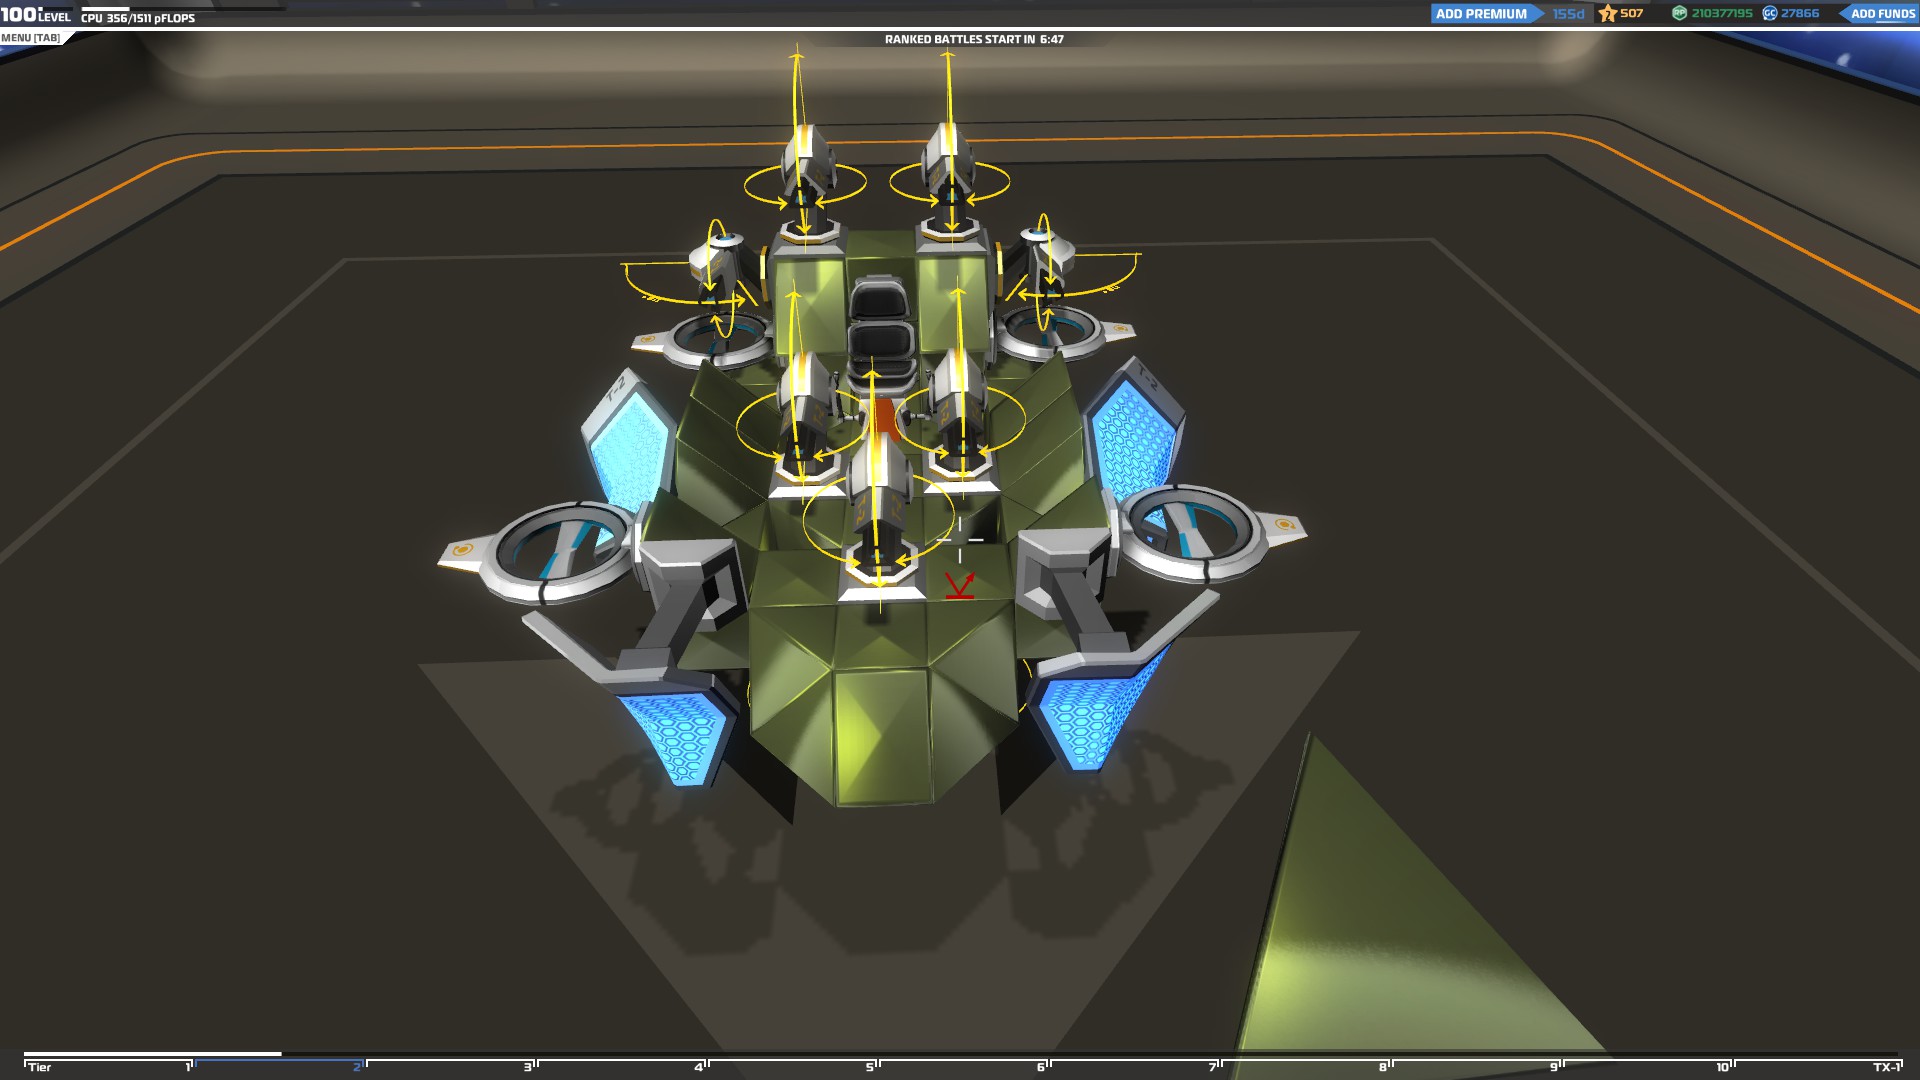
The yellow lines surrounding the weapons and wheels represent the space they need to move around which means you cannot put your weapons or wheels right next to each other.
“You can only use one type of weapon on each vehicle so it will have to be either a Top and front mount SMG, a plasma launcher, a rail cannon or a Nano-disruptor”
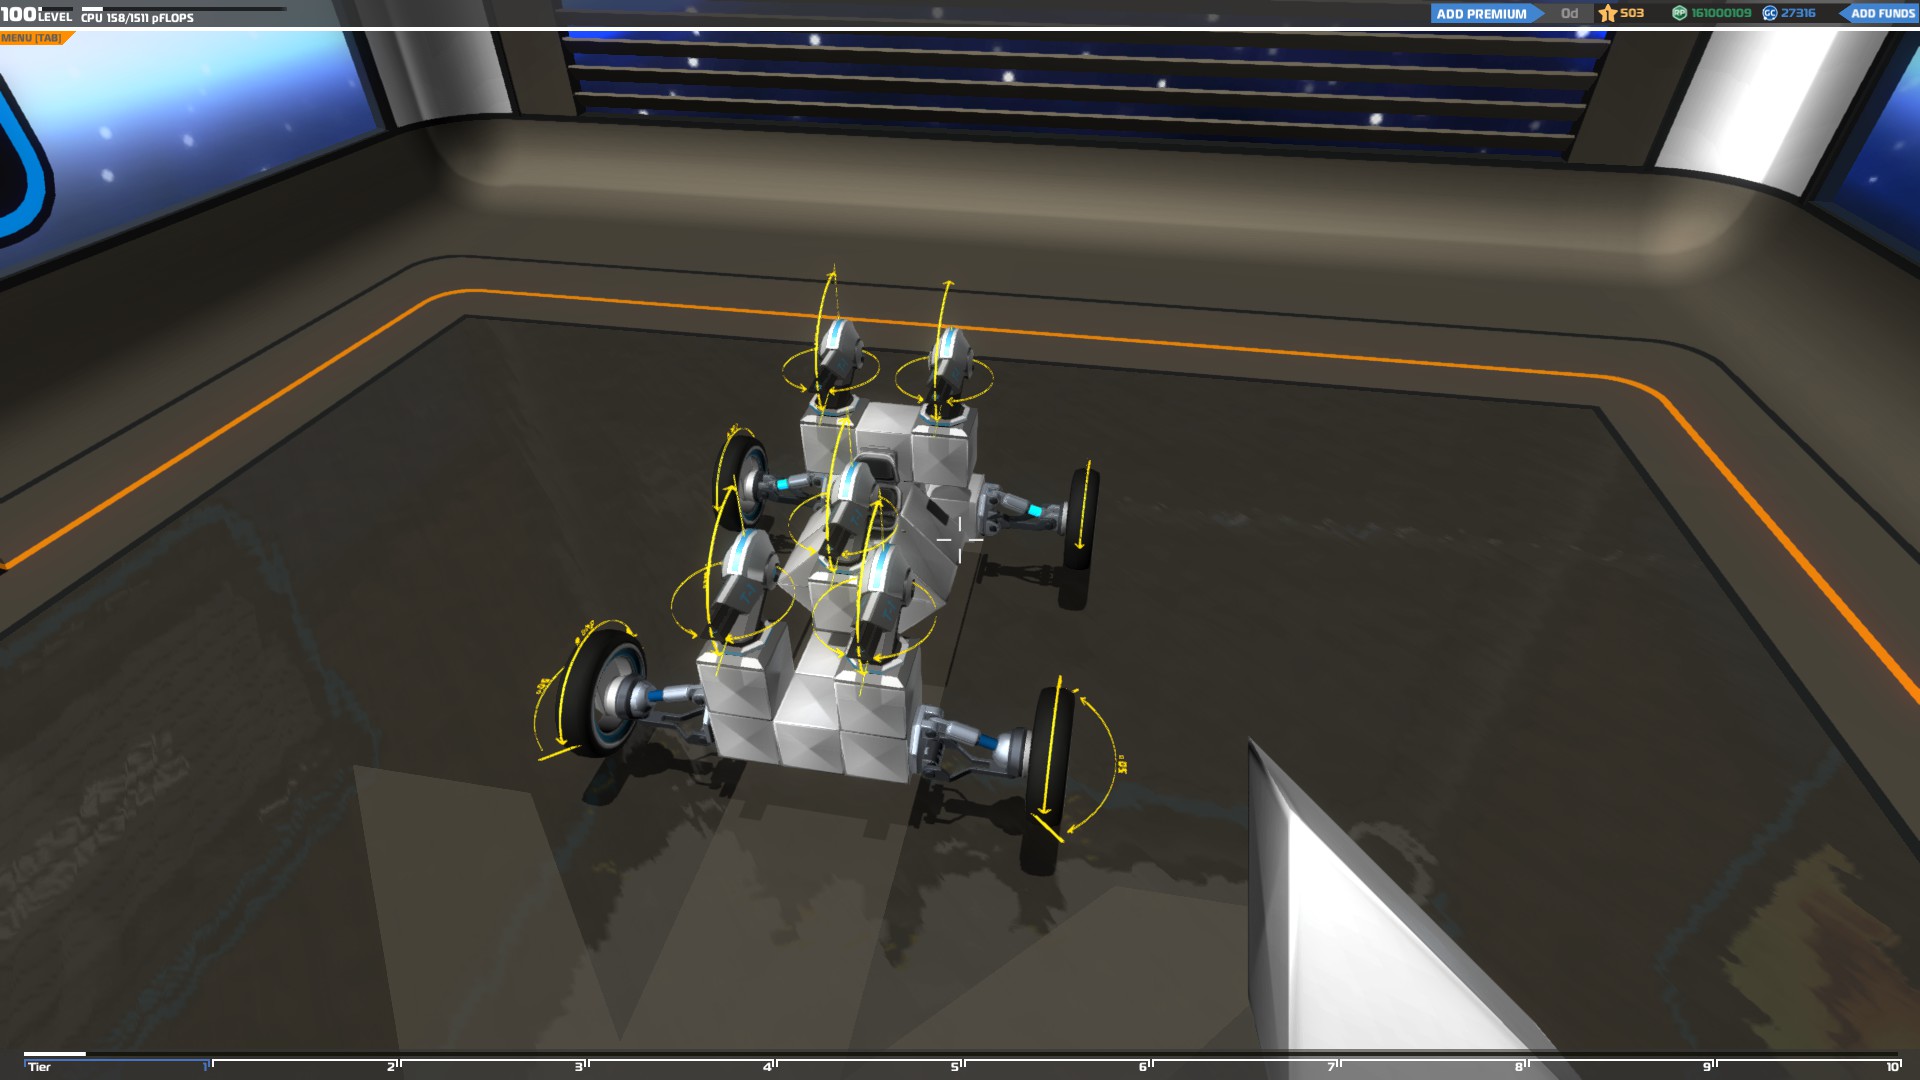
The more weapons you add the higher the firing rate will be. You can add as many weapons as you want but only six of them will work at a time, adding any more than that will not increase your firing rate anymore. The extra weapons will be useful thought since your fire rate will not drop if you lose any weapons in a fight.
Make sure you do not block the weapons’ sight by putting blocks in front of them or other weapons, otherwise your shots will be blocked before they reach the enemy.
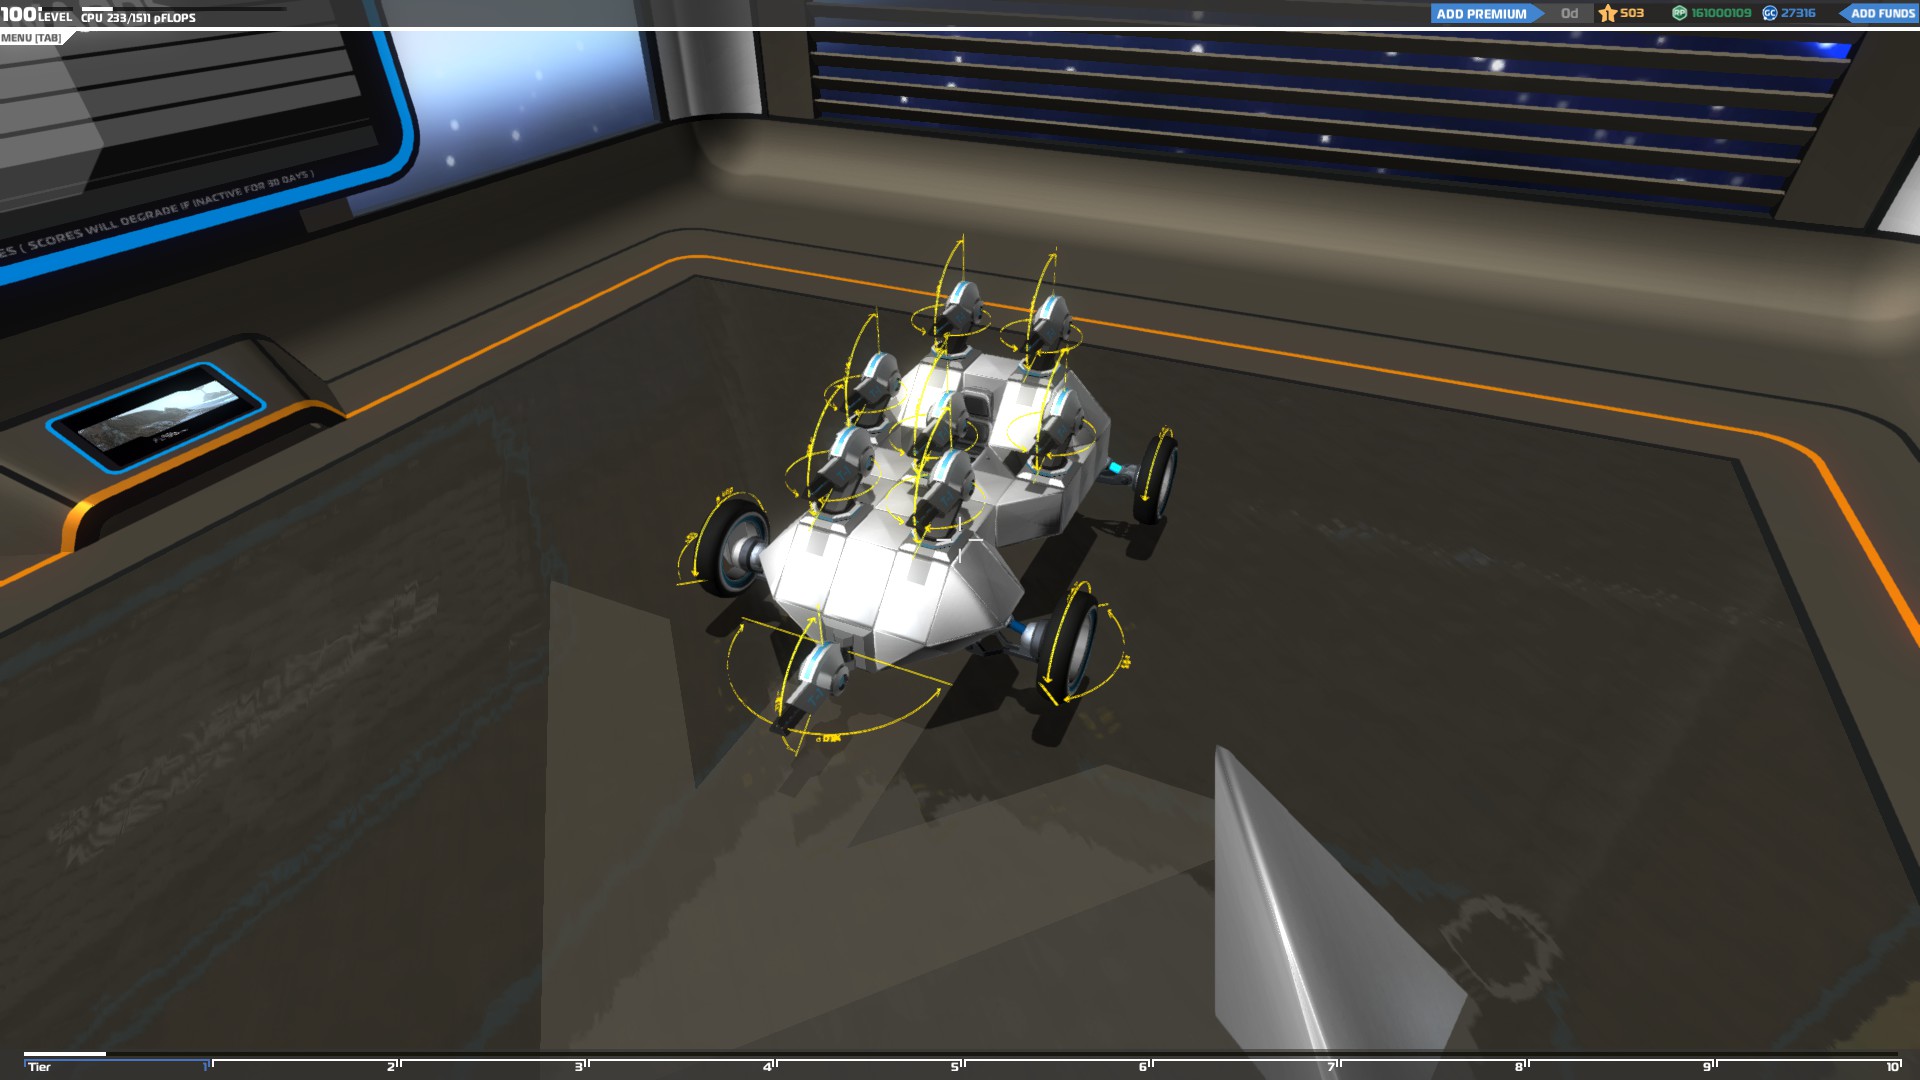
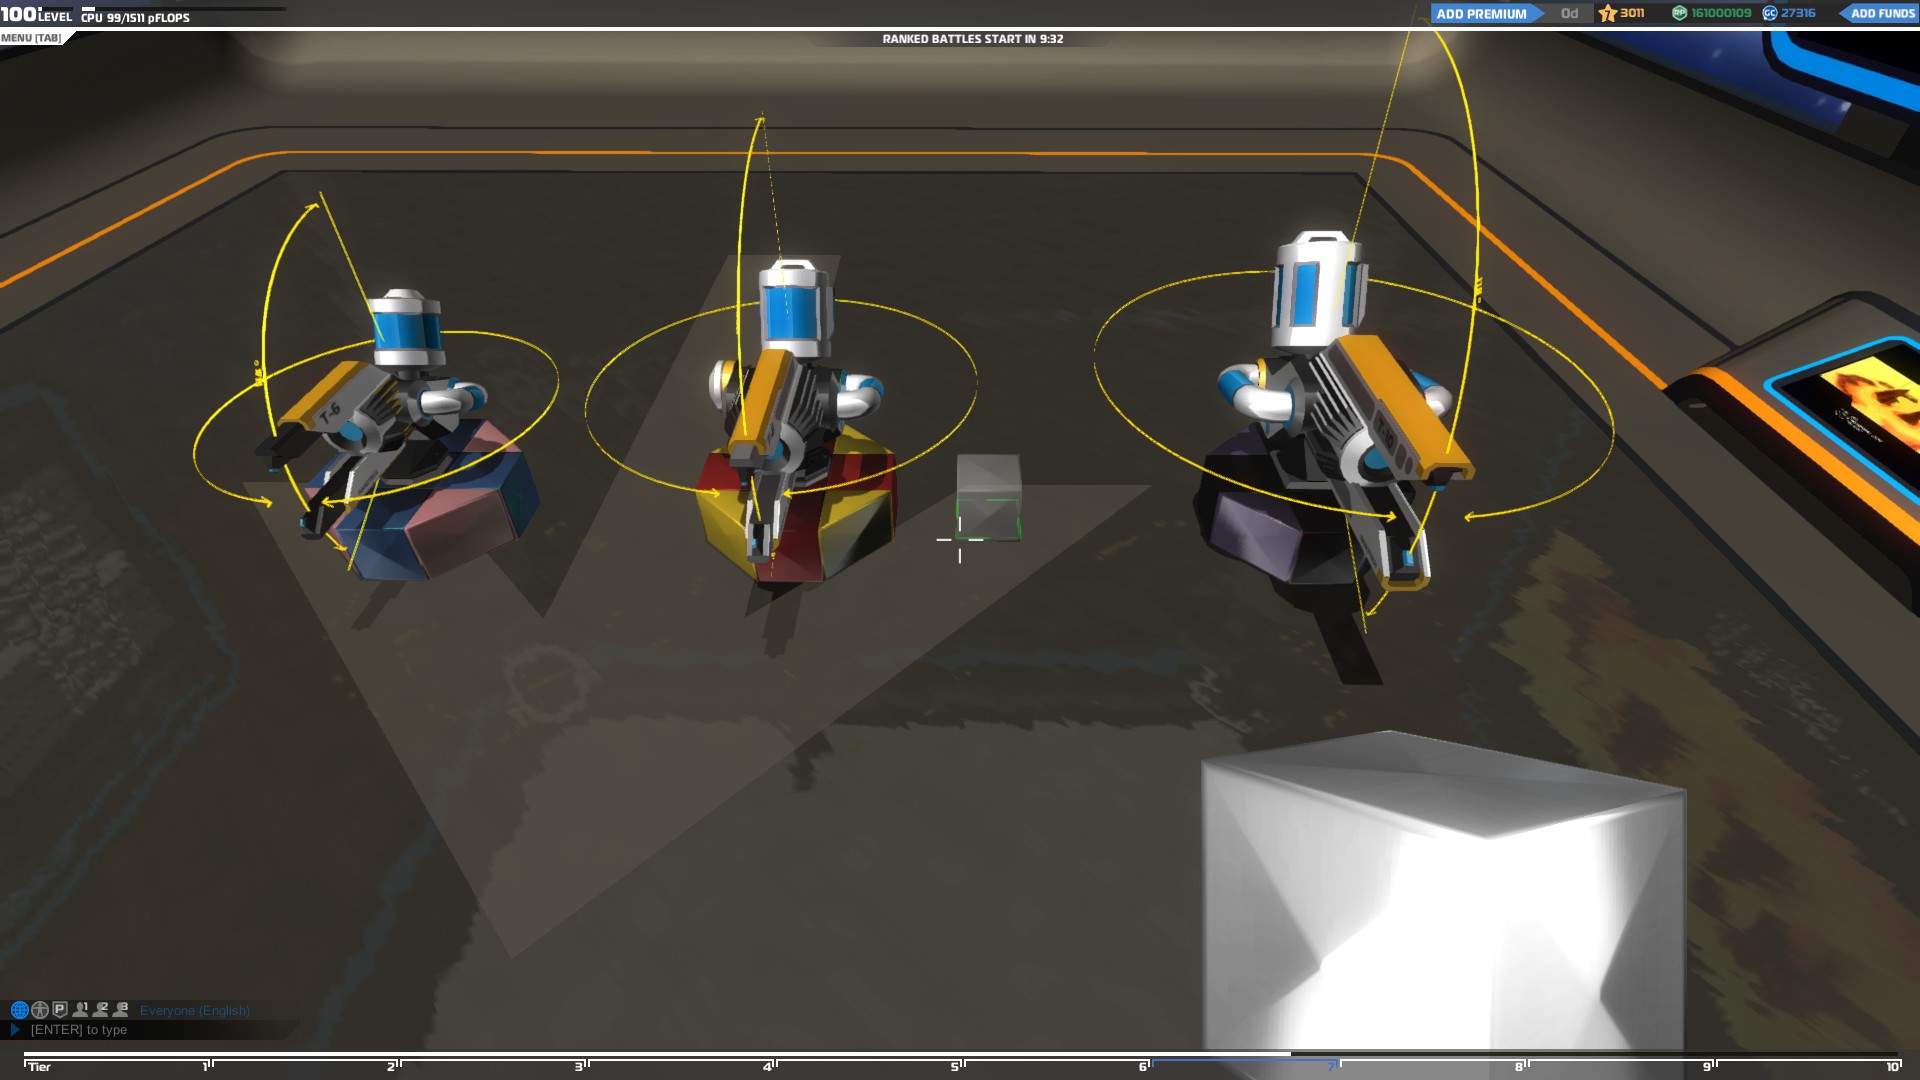
The last thing you should do, is to add a body to your vehicle and cover its weak points. You can add thrusters as well to give your vehicle a speed boost and a radar to scan for enemy vehicles.
The stronger the body of your vehicle is, the more damage it can absorb. Also the thrusters will make your vehicle faster which is really useful especially if it's really heavy and slow.
Tier 2 Hover
After you unlock the hover blades you will be able to build another type of vehicle which is the Hover. Hovers are more difficult to build than the cruisers because if they are not built right they will be really difficult to control.
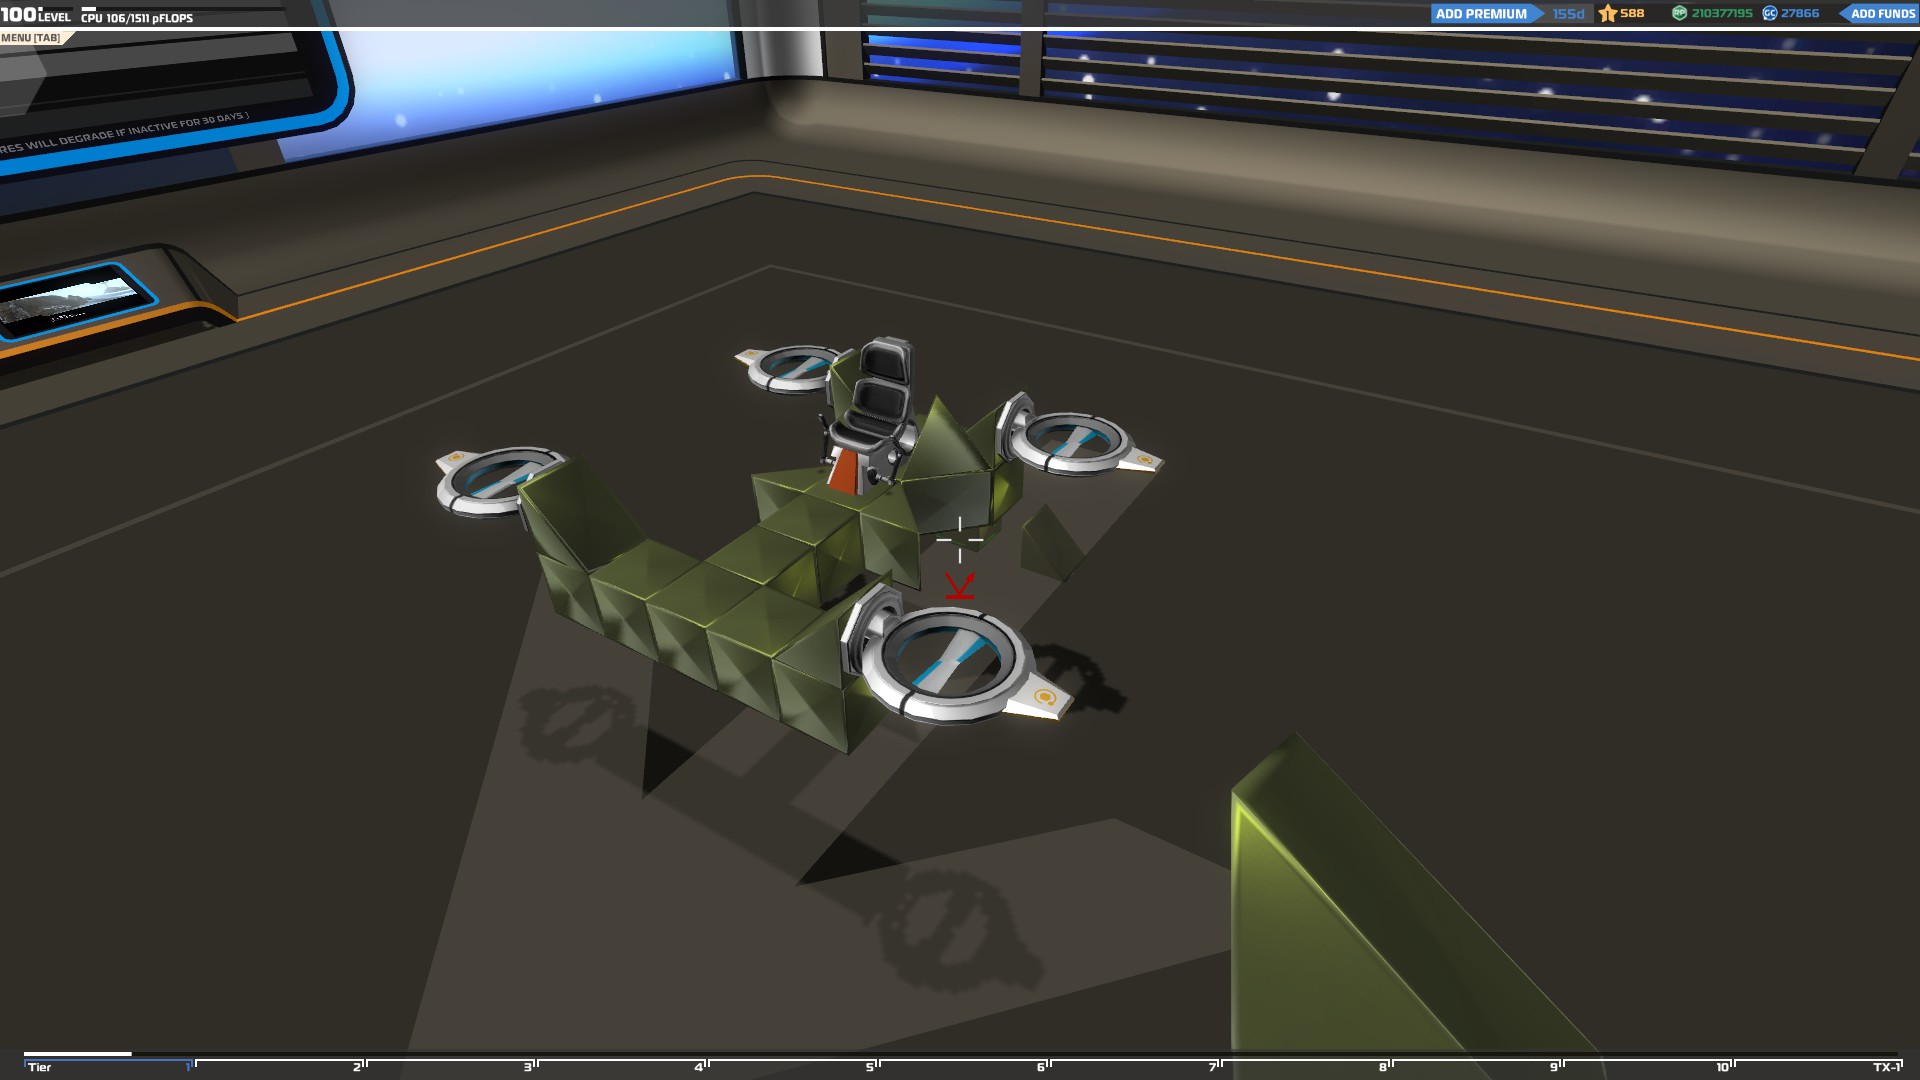
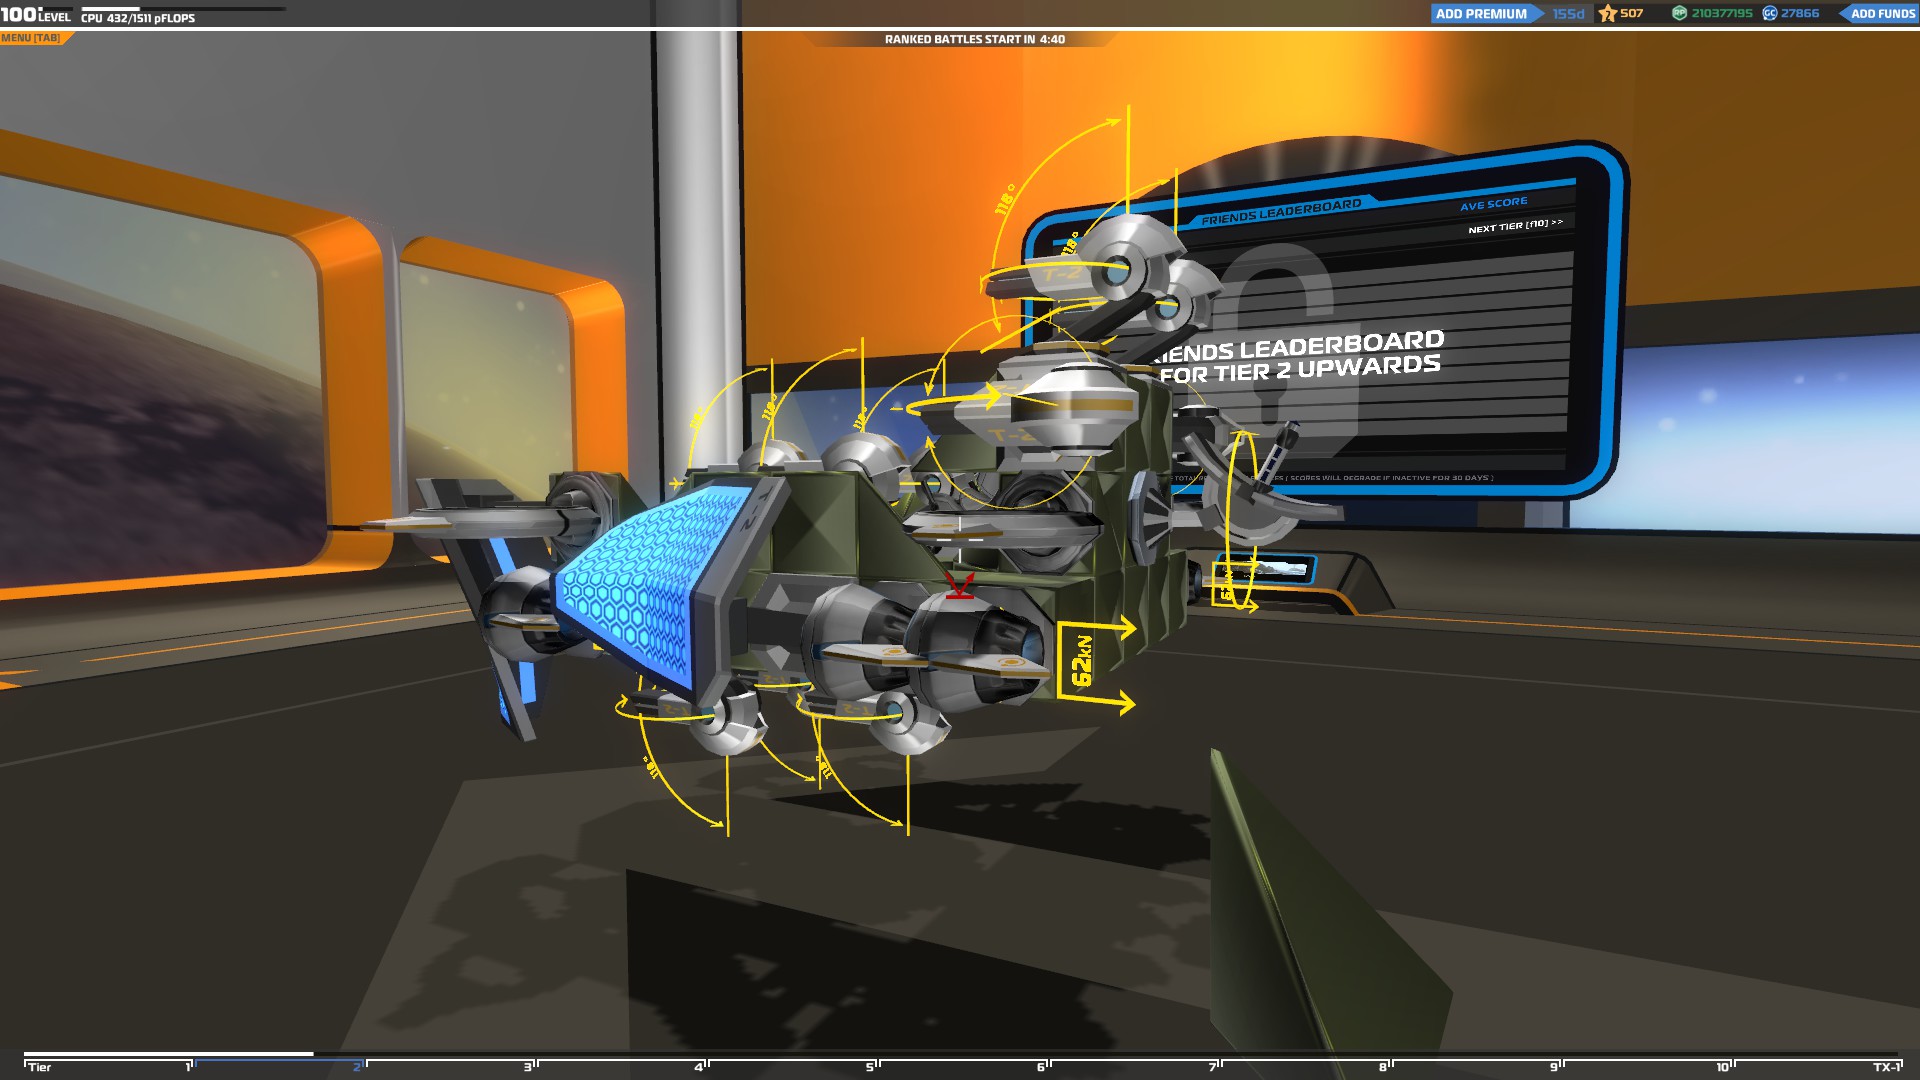
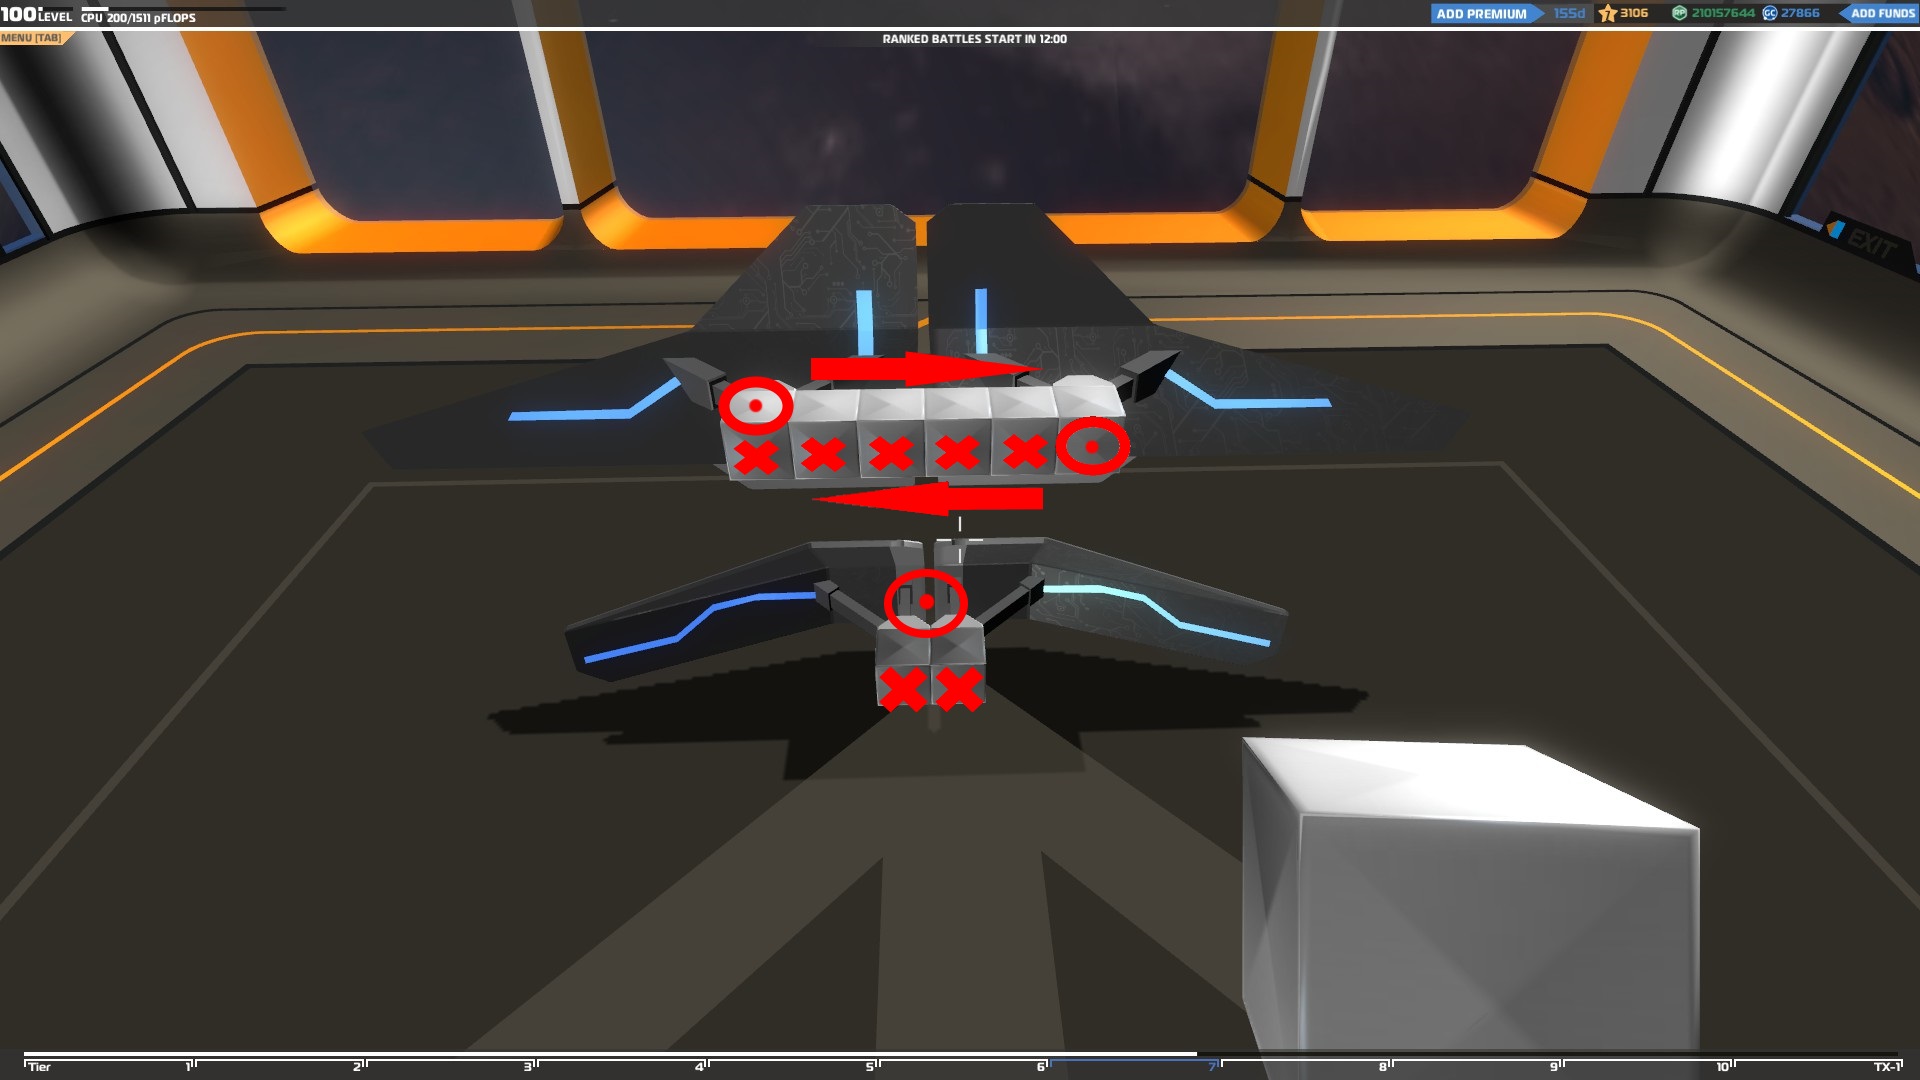
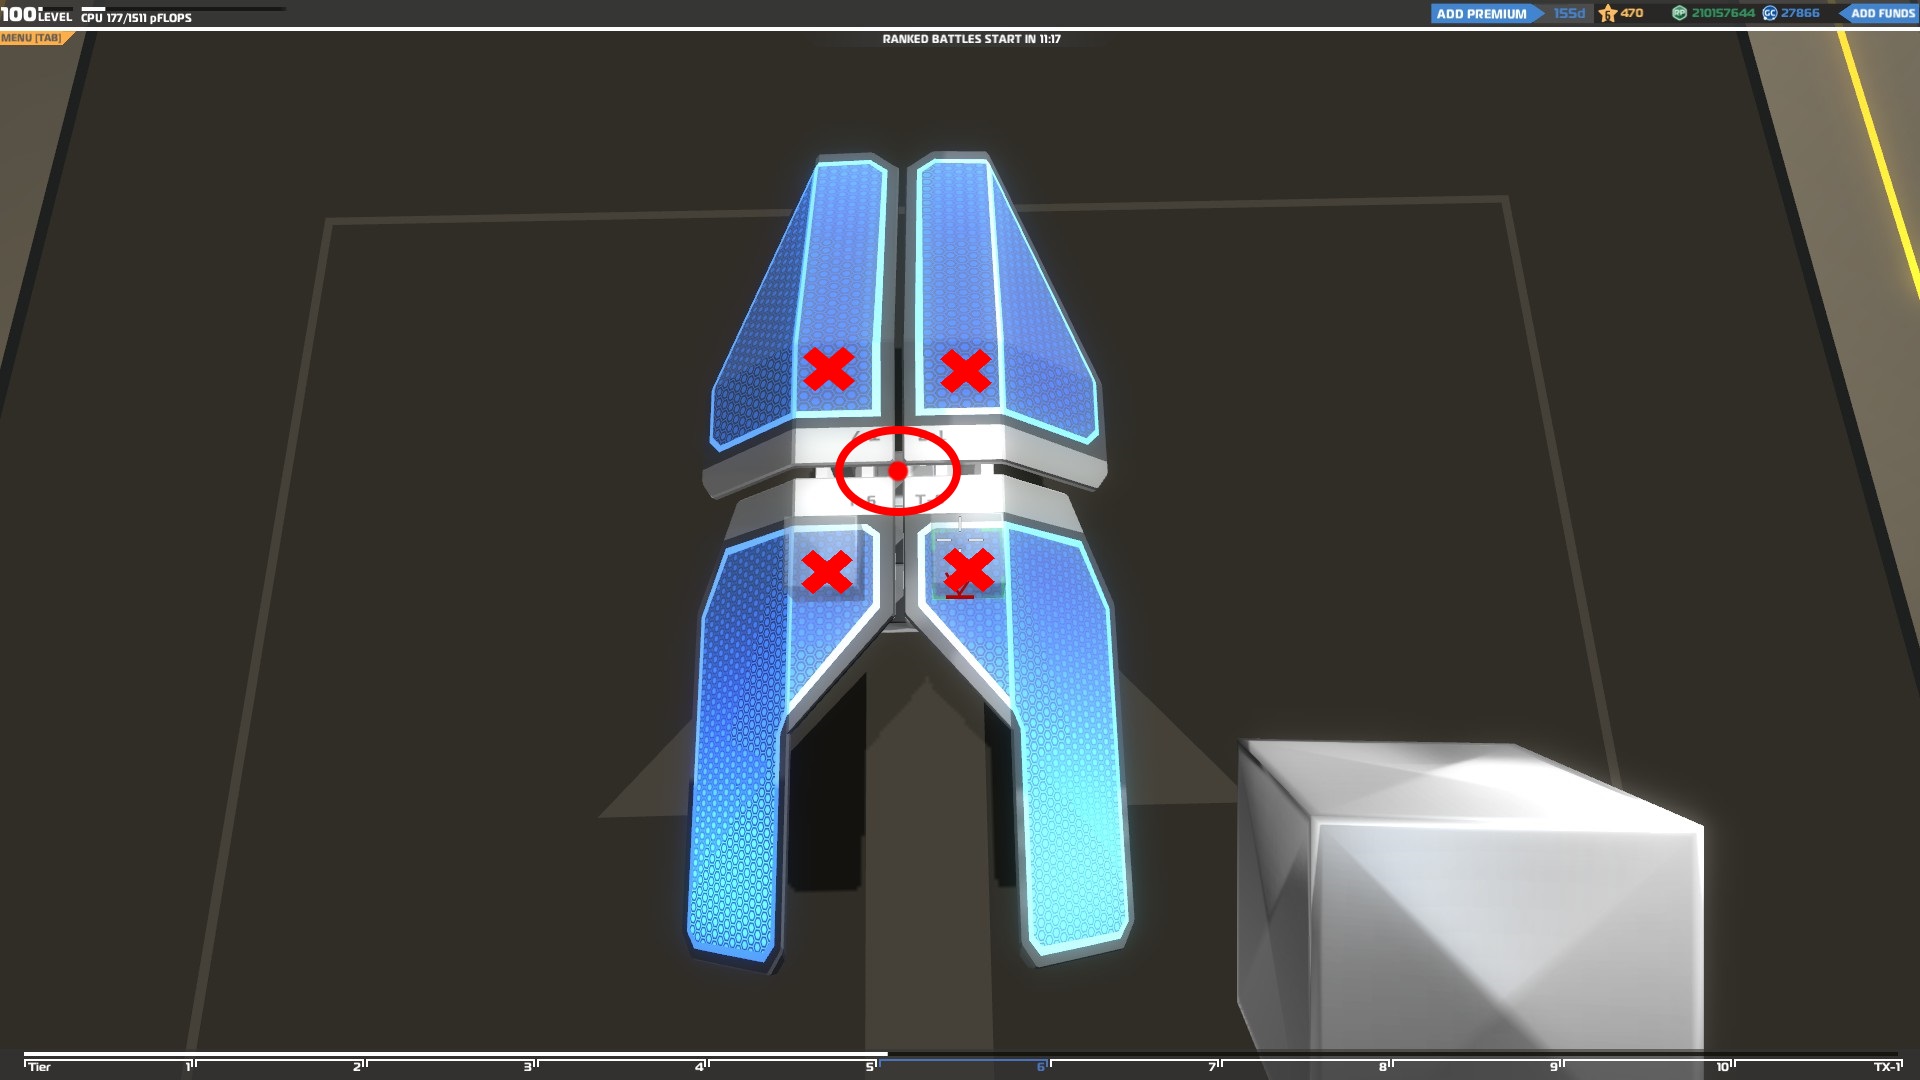
You start the same way you did with the cruiser, by building a core for your vehicle, but in this case the supporting blocks of your hover blades should be placed higher in relation to your core. Also make sure to leave enough space between the left and the right blade to make your hover more stable.
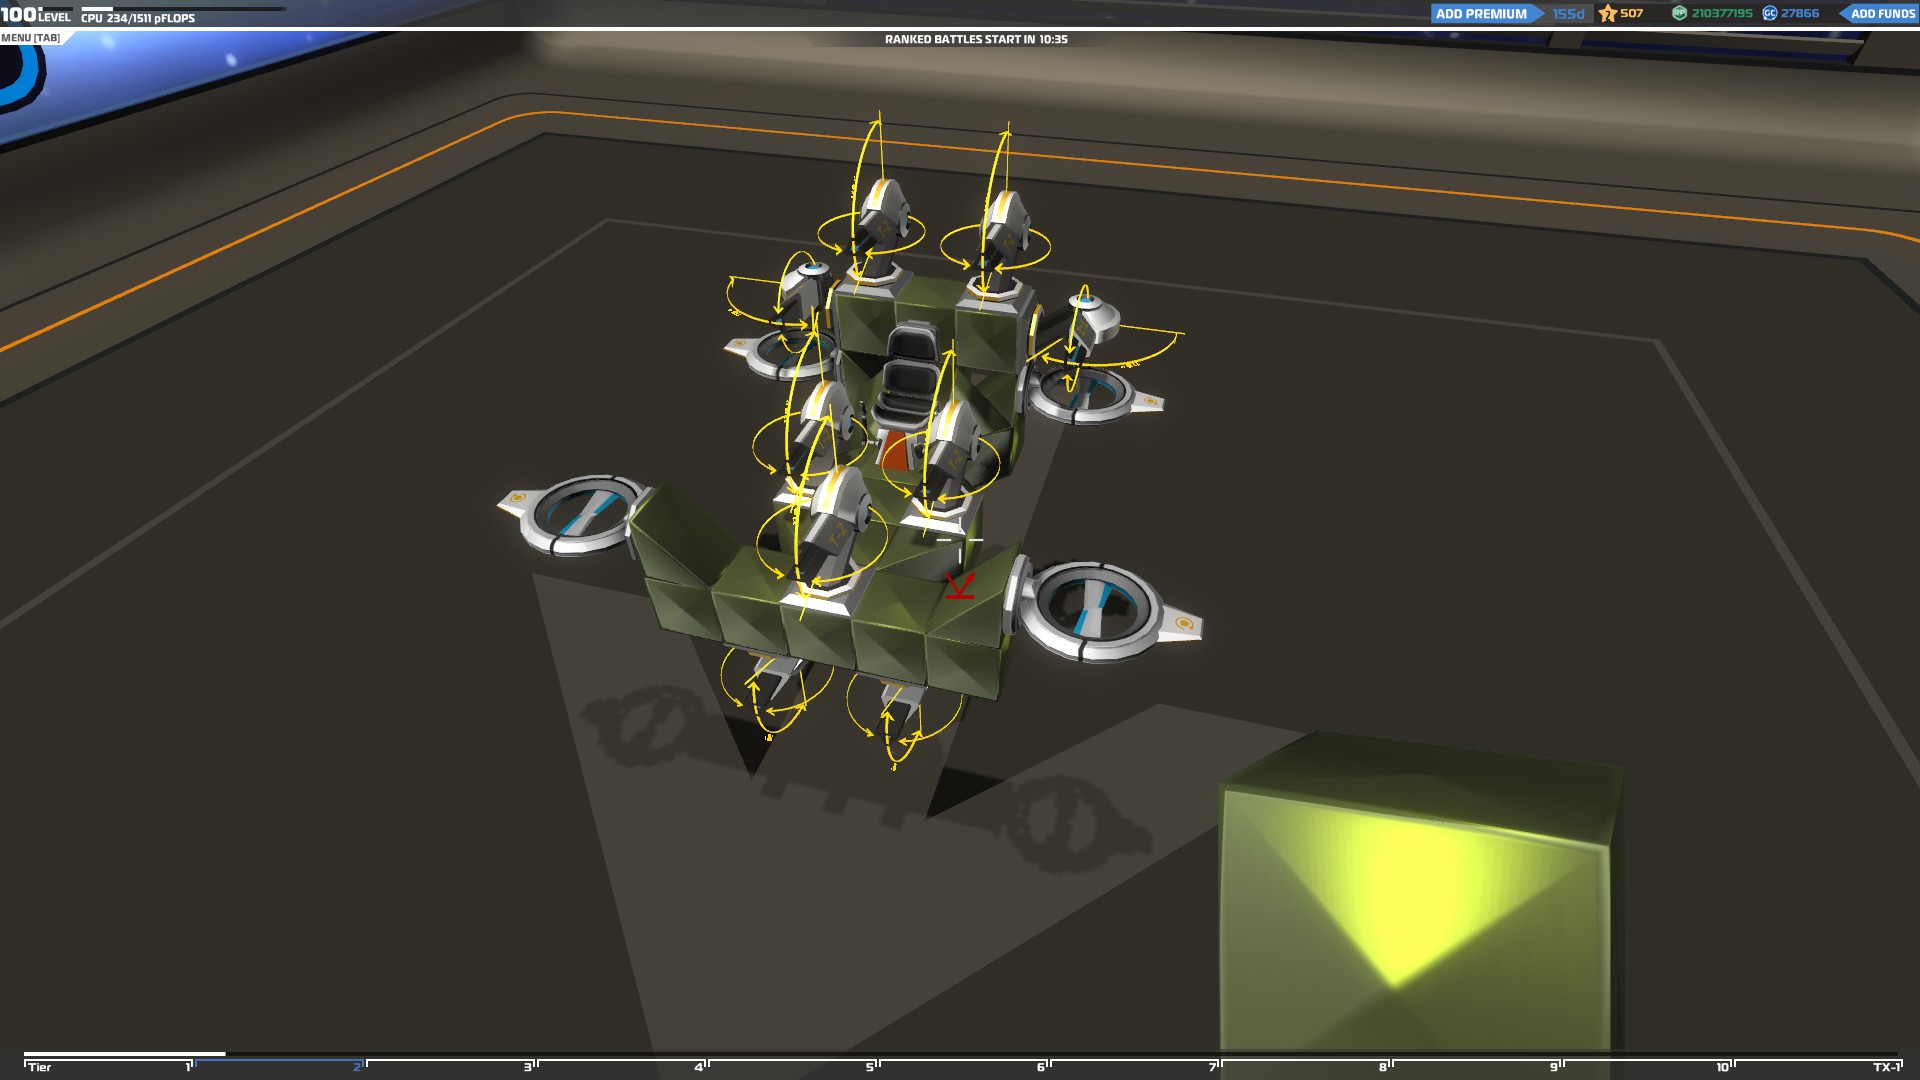
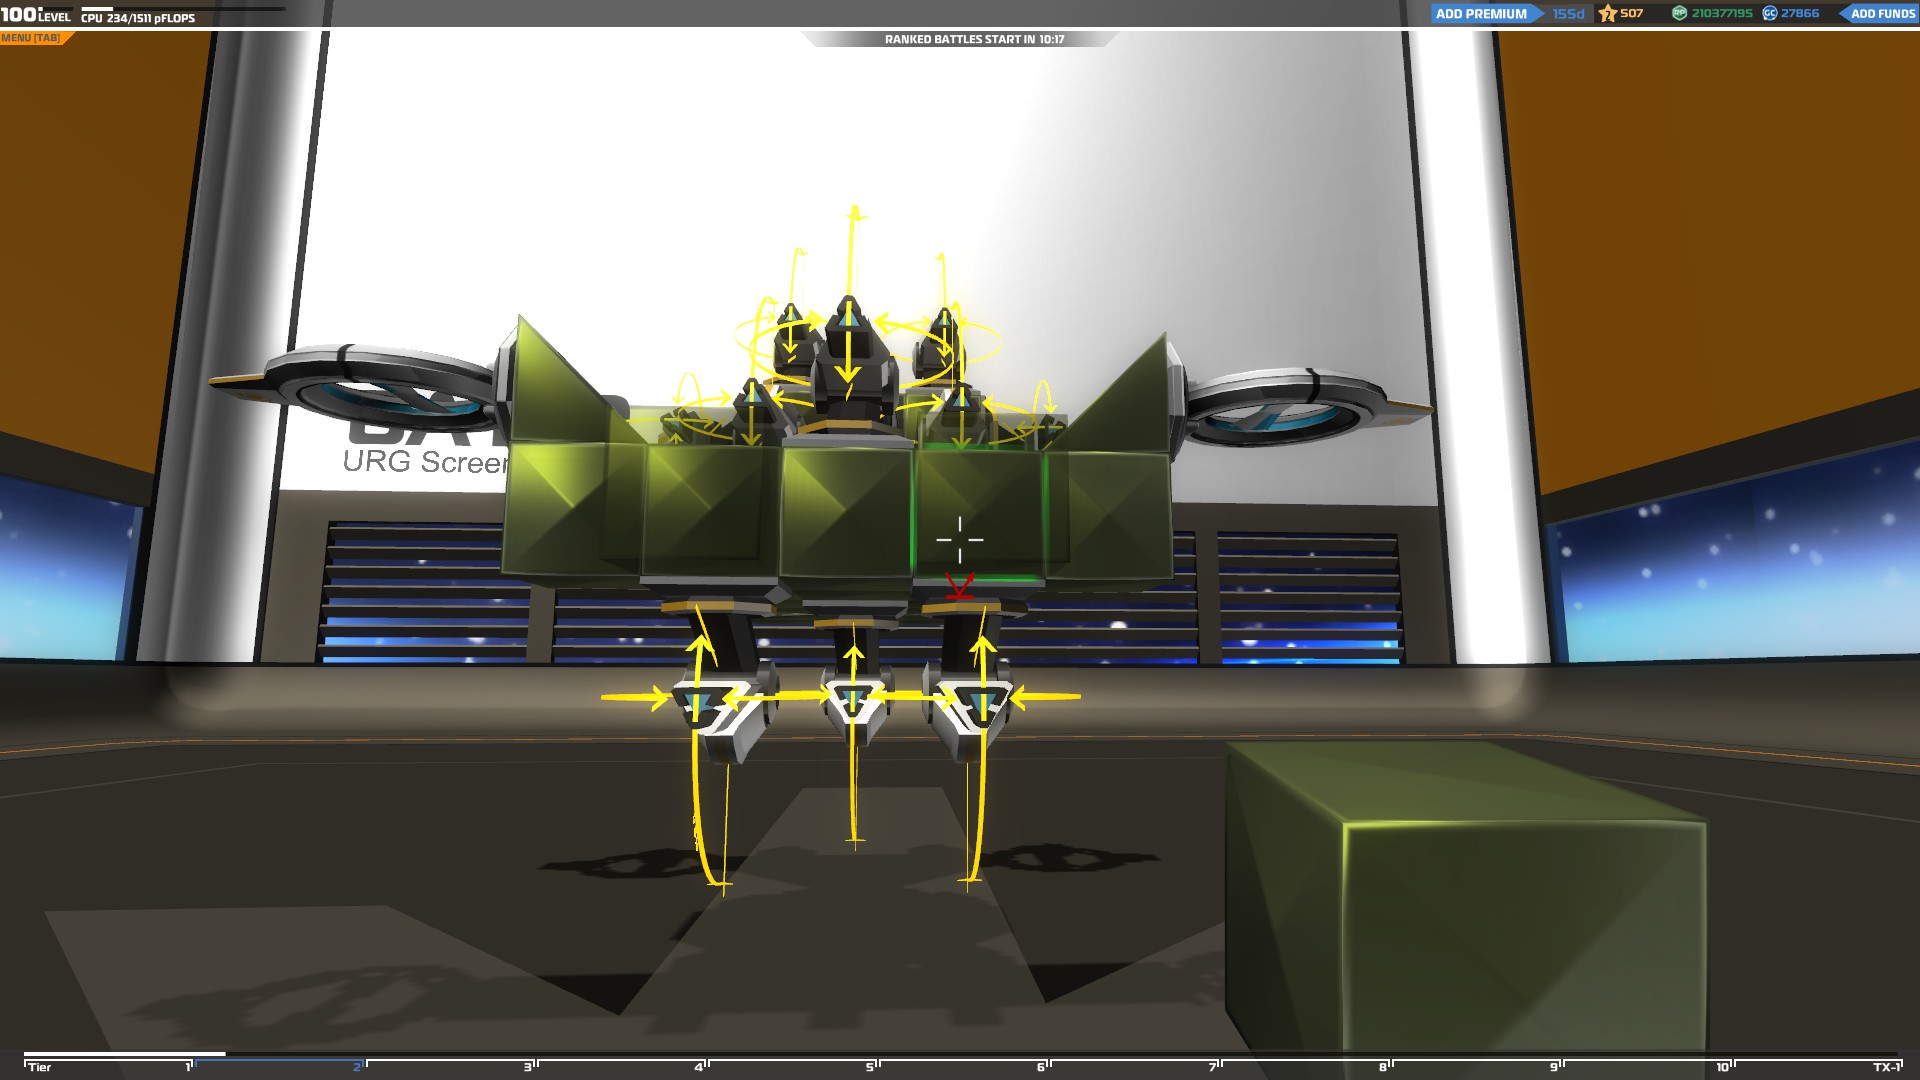
Next, add your weapon of choice. Since the hover blades make your vehicle hover above ground you can add weapons below it as well.
Finally, add a body to your vehicle, some thrusters to make it faster and a radar.
“Use the nudge tool to elevate your vehicle in your bay and free enough space below it to add weapons”
You can speed up the building process by using the built mirror tool. This tool will copy everything you place at one side of your vehicle to the other which will halve the overall building time.
You can assign a key to toggle it on and off from the control menu and once the tool is active you will see an underlined arrow icon below your cursor.
Always test your vehicles in the practice mode before you join a match to make sure that everything works fine.
Climbing Up The Tiers (Intermediate/Advanced Section)
As you reach higher tiers, you will unlock many new weapons, movement items and electroplates.
There are 5 different type of weapons in the game:
SMGs – The subatomic machine guns are rapid fire type weapons with very low cool-down time (1 second). They are the easiest weapons to use and are best suited for close and medium range combat but you can still accurately hit long range targets though by tap firing.
Pros:
They have high firing rate
They can shoot both ground and flying units
They deal instant damage (no travel time/hitscan)
Cons:
They can easily be destroyed
They have too much spread which doesn’t make them a very accurate weapon
Damage
The SMG applies normal damage which mean that the shots hit the vehicle and the damage spreads until it is absorbed from blocks or any other items.
The farther away an enemy unit is, the less damage they deal. More specifically, they deal full damage to close range and 80% of the full damage to long range targets
Aiming
SMGs are really easy to aim, just target the enemy and fire. As a weapon is accurate in close and medium range but not so good in long range. There is a way around that though which is called tap-fire. As you continuously shoot an enemy the reticle will become bigger which means the spread of your shots will increase reducing your overall accuracy. With tap-fire you fire 2-3 accurate shots every time with a small pause in-between (less than a second) to give your reticle enough time to reset and gain 100% accuracy for your next shots. This skill requires practice so spend some time targeting long range enemies to improve as much as possible. Moving while shooting an enemy will also reduce your accuracy so make sure to stand still when your targets are in mid/long range.
Vehicle types
SMGs are really effective with all types of vehicles but the most preferable ones for SMGs are: Hovers, cruisers, Interceptors/drones (anti-air). You can use them on Tanks and Walkers but they are really slow and speed is important with this type of weapon.
Plasma launcher – It’s an artillery type of weapon with a long cool down time (3-5 seconds). It’s one of the difficult weapons to use and they are good for any range combat and they also have a different firing mode since all of them fire at once (Max 6)
Pros:
They have high damage
They are very effective against ground units
They can easily destroy enemy weapons (check after the megabot update)
They deal blast damage which can damage a group of enemies
Cons:
They have 3-5 seconds cool-down
Their damage is low at close range
They are really bad against air units
It is difficult to aim with them
Their shots have long travel time
They cannot be placed at the sides of a vehicle
“Fewer plasma launchers on your vehicle will have shorter cool-down time”
Damage
The Plasma launcher applies blast damage which means that the damage will be applied at the around area damaging everything caught up in the explosion, but the farther away an enemy unit is from the explosion the less damage it will receive. All 6 of the plasma shots can deal damage as long as they hit different cubes but the damage won’t stack if they all hit at the same place on an enemy bot. They also apply damage in a different way to items. For example if a shot hits a weapon 70% of the damage will be transferred to its supporting block. That means that with every shot the enemy will lose weapons or items. This is known as the antigunbrella effect.
Aiming
They are the hardest weapons to aim since they turn slowly and their shots have an inclined trajectory which means you will have to aim higher or lower in relation to the center of the scope. With a lot of practice though you can increase your targeting skill and reduce the amount of missed shots. Used by a skillful player, plasma launchers can be really accurate since nothing can ruin their accuracy, not even shooting while driving.
Vehicle types
Plasma launchers are really effective with all vehicle types. Preferable your vehicle should be either fast enough to easily escape from enemies and hide or tanky enough to withstand more damage and make up for the long cool down time.
Rail Cannons – They are the sniper type weapons in this game with really long range and high damage. It is a difficult weapon to use since the cool-down time is really high (12 seconds for 6 weapons) and also loses accuracy every time you shoot. Rails also have a unique feature which is the ability to reload the already used guns and the fewer guns you have to reload the shorter the cool down becomes to a minimum of about 7 seconds and then 1 extra second for every extra weapon reloading.
Pros:
They have high damage
They are very effective against air units
They can easily destroy enemy weapons
They have the longest range
They deal instant damage (no travel time)
Cons:
They have 12 second cool-down
They take up a lot of space on a vehicle
They are really bad in close combat
Landing an accurate shot is difficult, especially when you aim a moving target (recoil or even the slightest movement will ruin your accuracy)
They have 1 second cool-down between shots
They have slow rotational speed
Damage
The Rail cannon applies normal damage and every rail shot is powerful enough to completely destroy one weapon.
The only difference is that if your shot hits an item 50% of the damage will be transferred to the supporting block.
Aiming
Aiming with rail cannons can be tricky since they do not only rotate really slow but every kind of movement, no matter how small it is it will have a bad effect on your accuracy. Before every shot you need to stay still for about 1-2 seconds until the reticle resets to maximize your accuracy. Also the rails have a laser targeting system to show you where your next shot will hit.
Vehicle types
The aiming mechanics of rail cannons make them almost unusable with some type of vehicles. The most preferable vehicle types for Rail cannons are: Walkers and Cruisers. You can use them on a tank as well but its slow speed will get you killed many times since it will be difficult to escape from enemy units. Hovers and flyers are not recommended to use with Rails since they cannot stand still for an accurate shot.
Nano-Disruptors – Those are close range damaging/healing weapons. They do not have cool-down time, they deal continuous damage and they are very accurate and easy to use.
Pros:
They can heal friendly units
They are very accurate
They have no cool-down time
They have auto healing mode
They deal instant damage (no travel time)
Cons:
They cannot hit targets at medium and long range
They do not have a scope
Damage
The Nano-Disruptor applies normal, continuous damage to the enemy with the difference that it can also be used to heal your teammates.
Aiming
It is really easy to aim with the Disruptors since they can move really fast and they have pinpoint accuracy. They also have an auto-healing ability which will automatically target any of your teammates’ vehicles around you and repair them.
Vehicle types
The Disruptors are really effective with all vehicle types but speed is really important because you will need to reach your damaged teammates fast so try to avoid using them on tanks.
Climbing Up The Tiers Part 2

Tesla blades – Melee weapons with very high damage and no cool-down. They are secondary weapons which means they can be used with any other type of weapon on the same vehicle. Every time you ram an enemy you lose one charge which can be repaired by a medic.
Pros:
They have the highest damage in the game
They can be used with other weapon types
They deal instant damage
Cons:
They can be easily destroyed
They only have 1-3 charges
They are expensive and cpu demanding
Damage
The tesla blades apply normal damage.
Aiming
You cannot aim with Tesla blades the same way you do with the other weapons. You have to point them towards enemy robots and ram them.
Vehicle types
Tesla Blades are more effective with speed type vehicles so avoid using them on walkers or tanks. They also pair well with medic type vehicles.
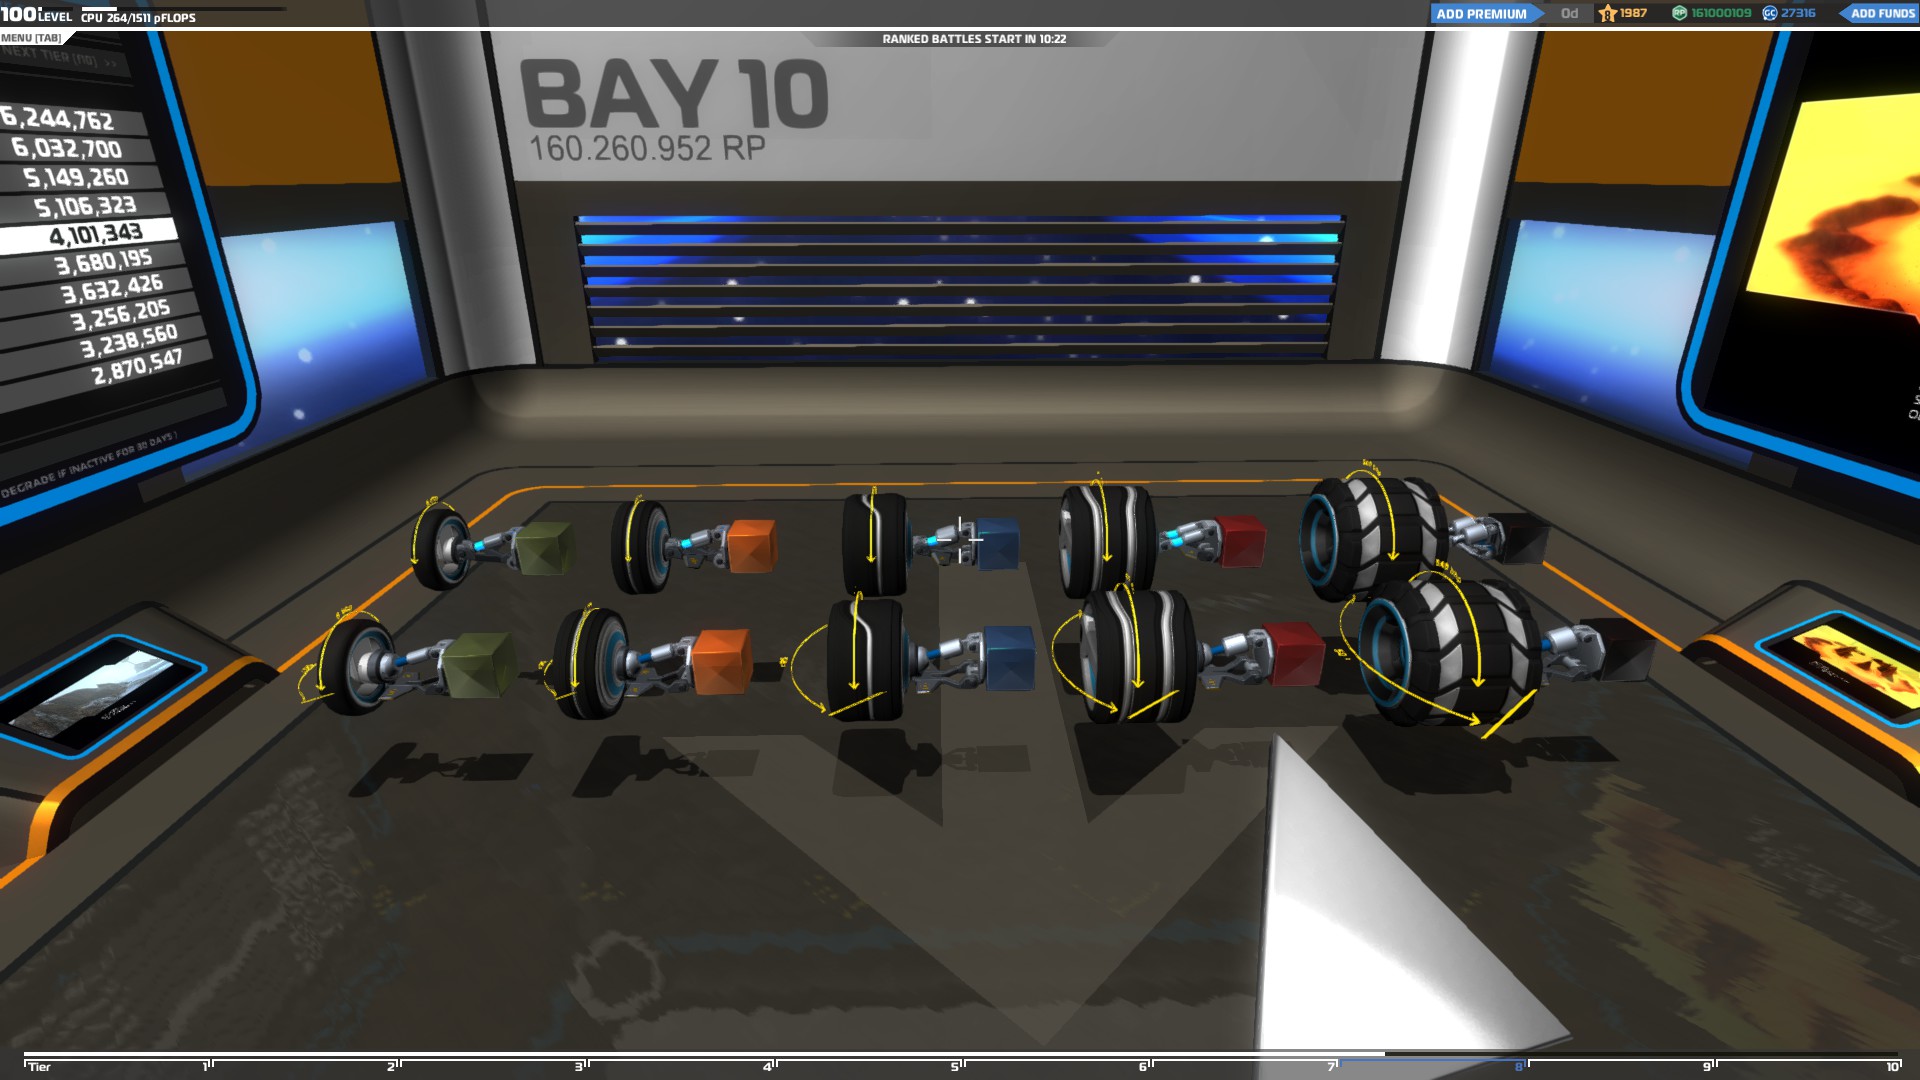
There are 6 movement items you can unlock that can make your vehicle move:
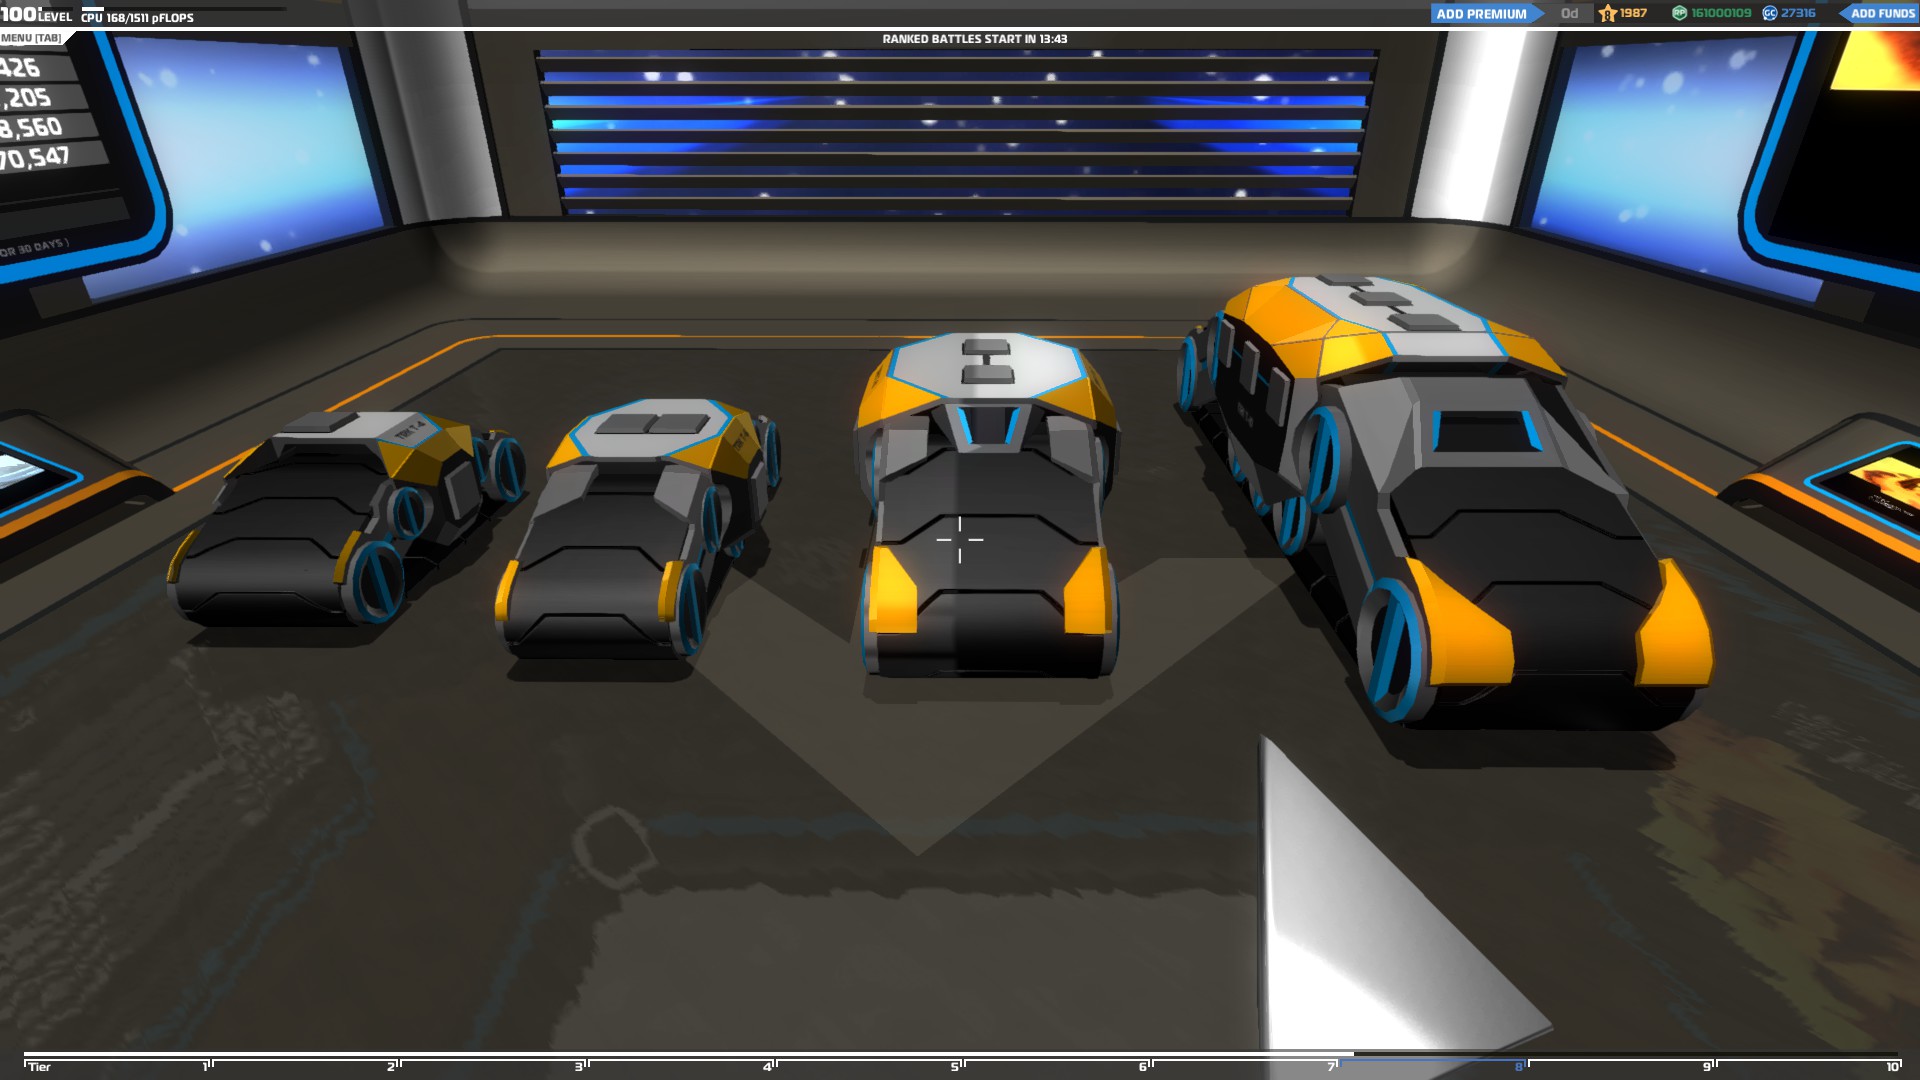
Wheels – They are used on ground type vehicles called cruisers.
Pros:
They are fast
The more thrusters you add the faster they become
They are easy to use
Cons:
They are really slow on heavy vehicles
They have Low armor
They slide on ice
“You can see how much slower the wheels will become if they are overloaded by moving your cursor over the wheel you want to use in your inventory and check the encumbered speed value.”
Hover Blades – They are used on small and medium ground type vehicles called hovers and they can elevate your vehicle.
Pros:
They are really fast
The more thrusters you add the faster they become
They elevate the vehicle from the ground which makes it more difficult for bombers to damage it.
They can lift a good amount of weight
They can drive well on all type of surfaces
They can climb even on cliffs
You can place weapons at the bottom of your hover
Cons:
They are difficult to steer
They are really slow on heavy vehicles
Losing even a few of them can greatly affect the steering and balance of the vehicle
Aerofoils/Rudders – They are used on air type vehicles called bombers/interceptors.
Pros:
The more thrusters you add the faster they become
They can make a flying vehicle really stable and easy to maneuver
Cons:
Losing even one of them can greatly affect the steering and balance of the vehicle
They cannot lift too much weight
They are difficult to use and require good building skills to know where to place them.
They can be easily destroyed by enemies due to their big size
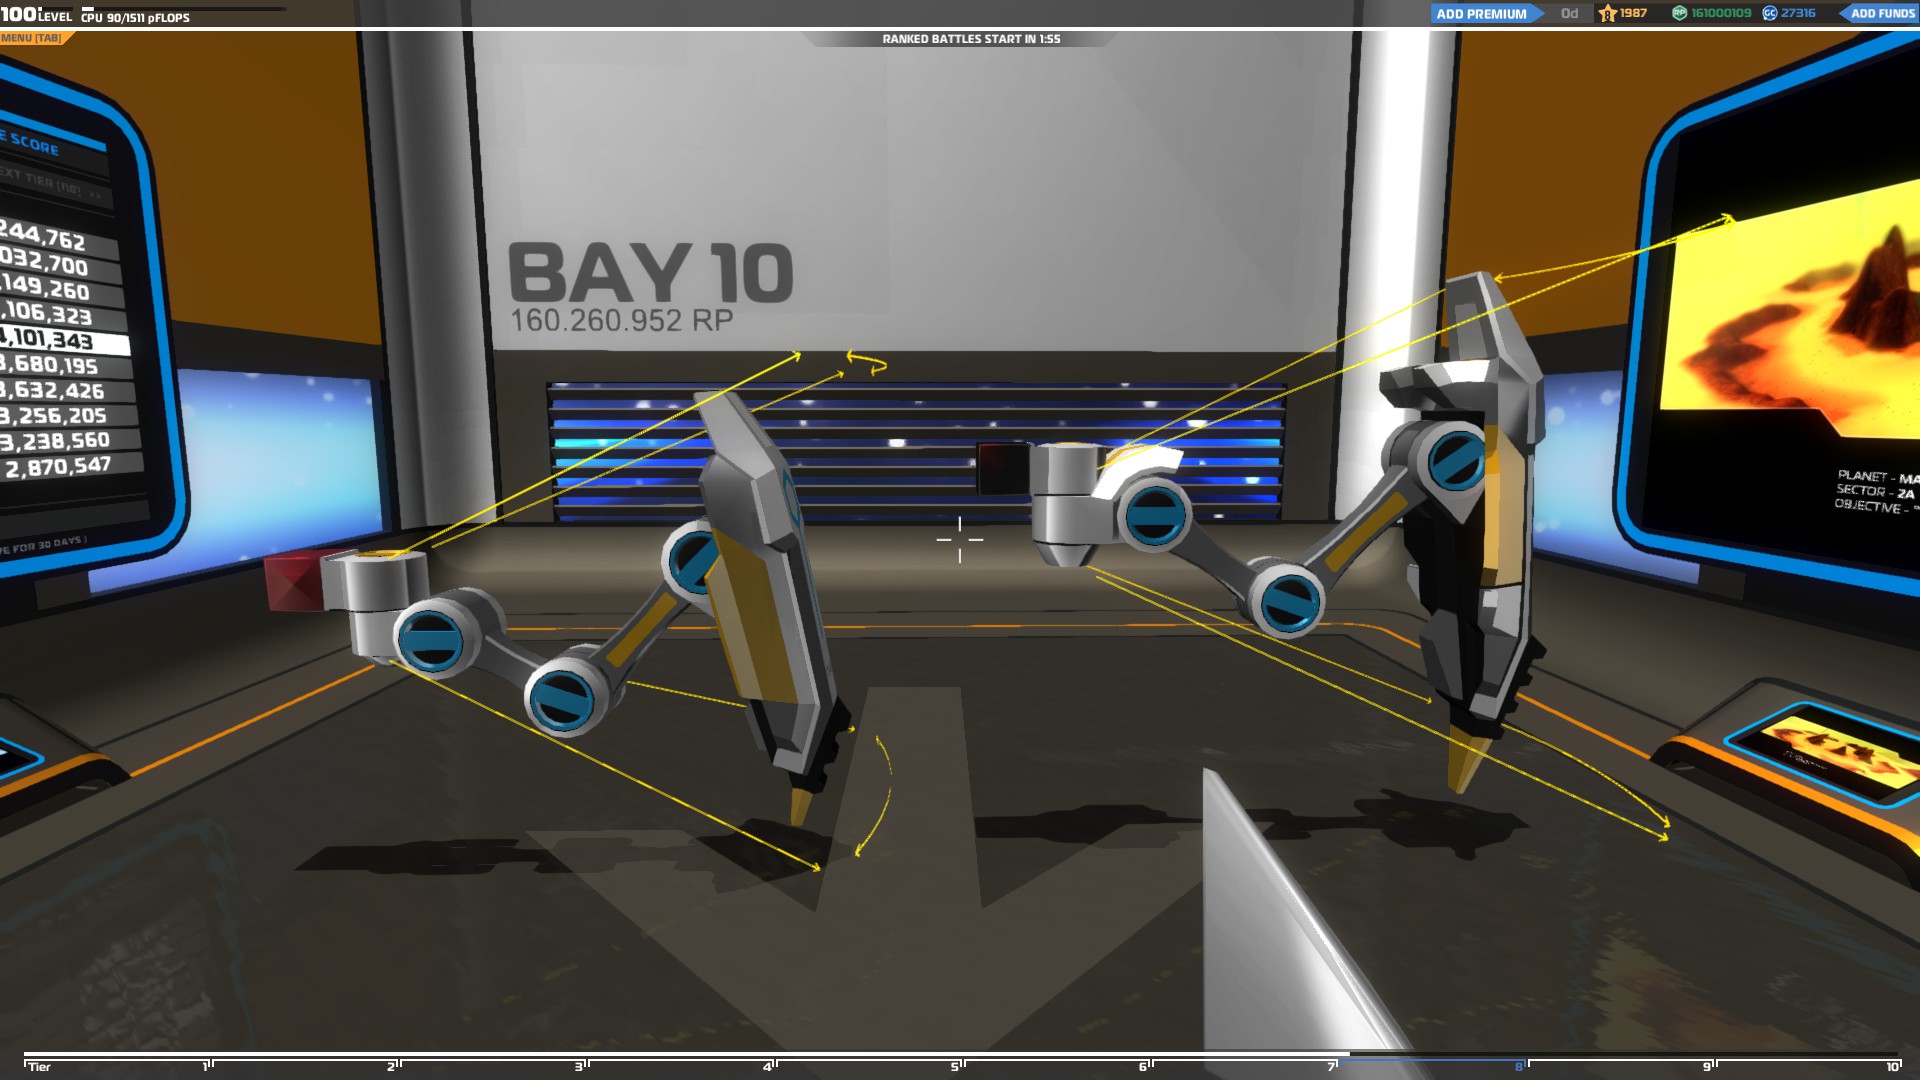
Legs – They are used on ground type vehicles called walkers.
Pros:
They can climb everywhere
They stake into the ground so they can even hold you upside down
They do not slide on ice
They can crouch (Ctrl) and jump (Space)
Cons:
They shake too much which makes it difficult to have good accuracy, especially with rail cannons
They can be easily destroyed by enemies due to their big size
Caterpillar Tracks – They are used on ground type vehicles called tanks.
Pros:
They can lift a huge amount of weight
They have really high armor
You can attach items on them
They can climb hills with ease
Cons:
They are really slow
They slide on ice
Skis– They are used on small ground type vehicles called cruisers
Pros:
They are really fast
The more thrusters you add the faster they become
Cons:
They have Low armor
They cannot move without thrusters
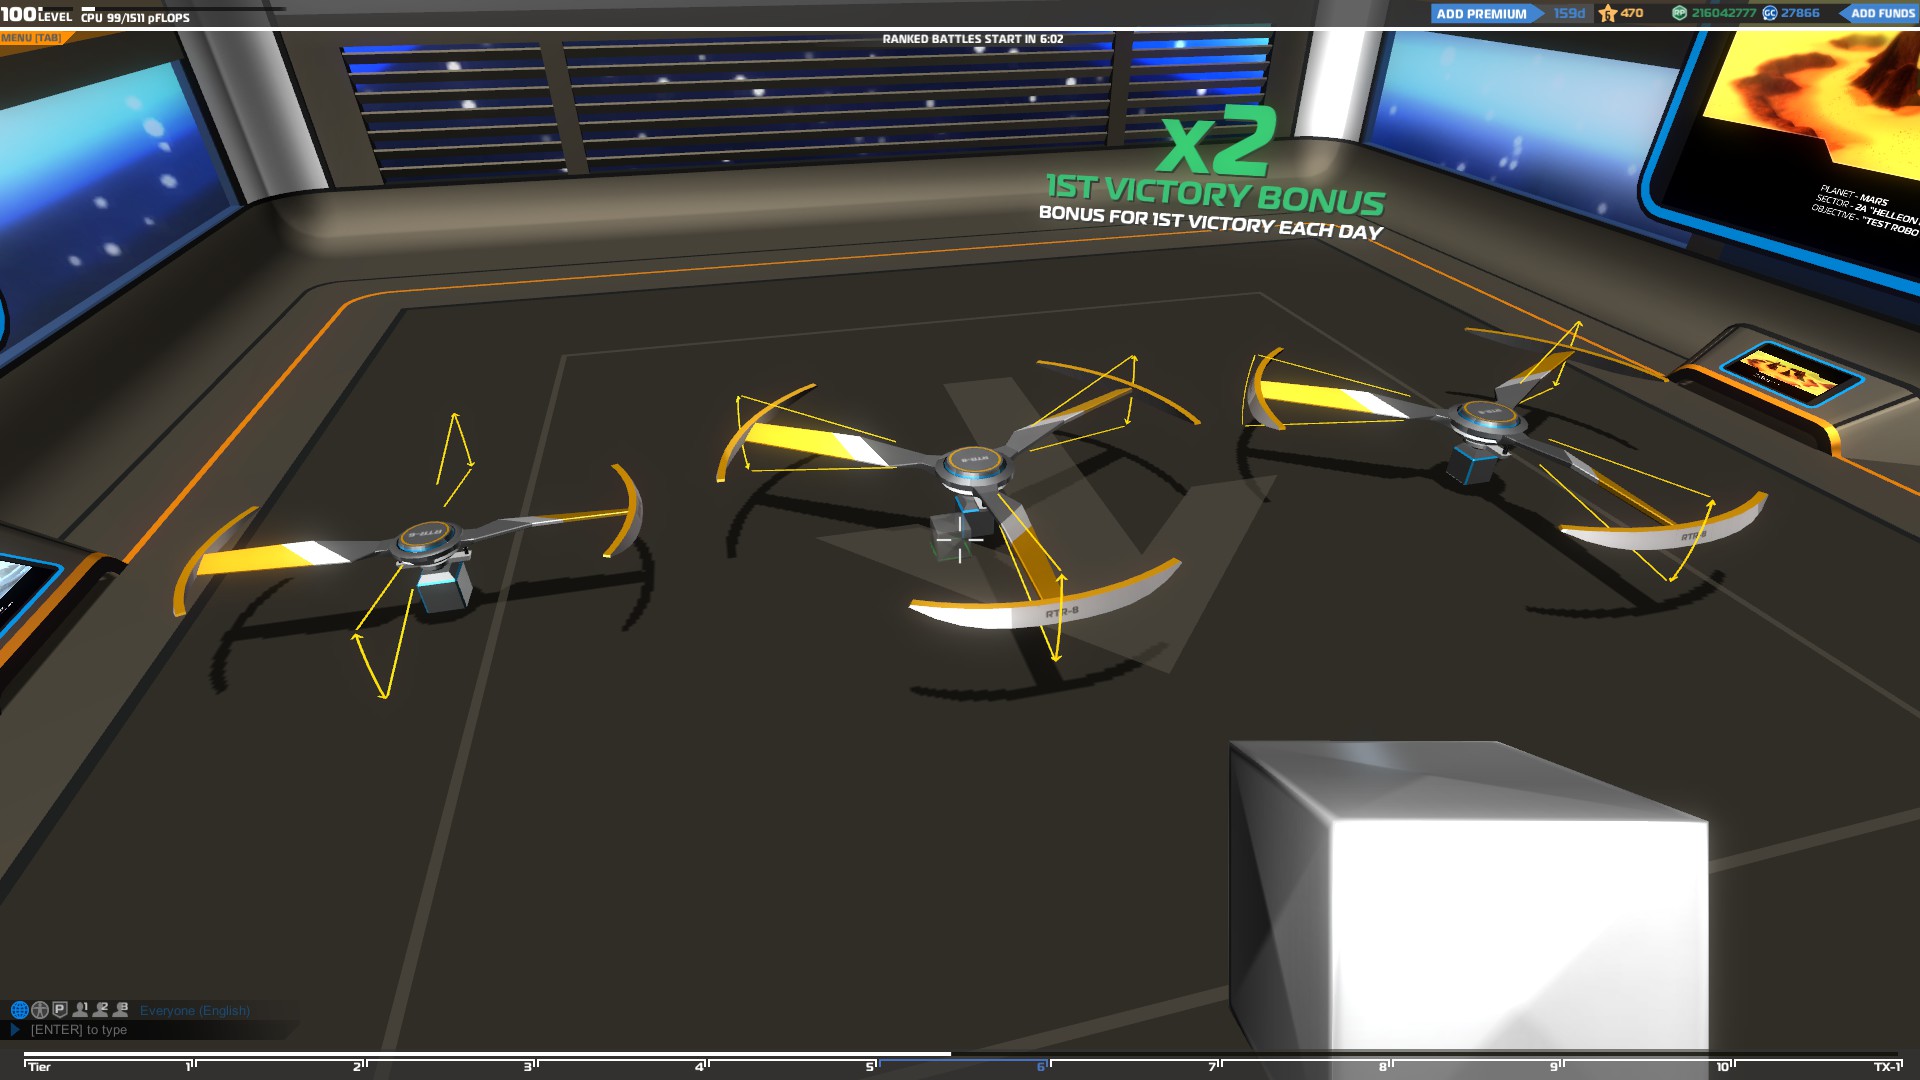
Rotor blades – They are used on air type vehicles called Copters
Pros:
They can hover at any height
They are really stable
They have high armor value
They have 5 connection points which makes them really durable
The more thrusters you add the faster they become
Cons:
They are really big and difficult to protect
They are slow without thrusters
Losing even one of them can greatly affect the steering and balance of the vehicle
They are difficult to steer
Electroplates – A defensive item which has the same function as a shield. More specifically, an electroplate has 2 health bars, one is the shield value which is the damage that can absorb and the other is the armor of the item which is the damage it can withstand once the shield health reaches 0. If it survives after a fight, the shield health will recharge after 15 seconds as long as the electroplate does not receive any damage.
“An electroplate can easily block 1 rail gun shot, 1-2 plasma shots and several smg shots from weapons of the same tier before it needs to be recharged.”
Pros:
They can absorb high amounts of damage, even shots from plasma and rail cannons
They increase the overall defense of a vehicle and can shield the most important parts of it without taking too much space.
They are easy to repair since only their armor value has to be repaired.
They are really light
Cons:
They are very CPU demanding
They are expensive
They come in limited shapes
They can cover a big part of your vehicle and can absorb damage equal to many blocks of the same tier but unlike blocks, they can be repaired really fast since only the armor value has to be repaired which is the same as one block of the same tier.
“All parts of the electroplate can absorb damage, even the back of the EP”
Climbing Up The Tiers - Gameplay
Playing with SMGs
Building the right vehicle
The really low cool down and high burst damage puts the smg type vehicles at the front line. This is mostly because they can deal continuous damage to enemy units preventing them from gaining ground.
That means your vehicle should be tough enough to withstand as much damage as possible. Tanks, hovers or cruisers are really good choices for this occasion and you can choose between them depending on how fast you want your vehicle to be.
Tanks are really slow but really durable since you can add as many layers of defense as you want due to the really high weight capacity of the caterpillar tracks. The ability to attach weapons on them is also important because they can protect them much better from plasma’s antigunbrella effect than a regular block base.
On the other hand, hovers and cruisers with the proper build can be really difficult to destroy and are fast enough to go to their teammates’ aid faster, hunt down enemies or even escape easier from bad situations in the battlefield.
Deciding between a SMG cruiser and a hover is difficult but at the end of the day it comes down to your preferences.
Cruisers
They are easy to build and control and losing wheels won’t affect your driving too much (unless you are left with only steering or normal wheels). Though since they are touching the ground you will have to deal with bad surfaces, like ice, and map obstacles which can slow you down or block you which might cost you a kill or if you are trying to escape cost you the battle.
Hovers
They are ideal for chasing enemies or escaping from them since they hover over the ground which makes it easy to avoid any map obstacles or even plasma shots from bombers and they can easily climb most of the map’s surfaces. Also the ability to attach weapons below your vehicle is really useful since you won’t have to build a huge vehicle to fit many of them.
Hovering over the ground is not always a good thing though since your seat is more exposed. Also losing hover blades will greatly affect your balance and steering which could end up with you being destroyed.
Walkers
Legs are easy to destroy and you will end up losing all of them many times which is really bad especially for a front line vehicle so avoid using them with smgs.
SMGs can be used on fliers as well mainly to build anti-air vehicles. You can either build an interceptor or a drone with them.
Interceptors
They are fliers with aerofoils or rudders which will give you good movement control and stability and as a result you will have better accuracy since it will be easier to aim at the enemy units. They are good against other flyers but not so good against ground vehicles since it will be dangerous for them to go too close to the enemy and can only do damage over time from a long distance using tap-fire.
Drones
They are vehicles that use helium and thrusters to fly. There are 2 categories of drones, the thruster drones and the normal helium drones.
Thruster drones use mainly thrusters to fly and only a few helium blocks. That makes them really fast but also more difficult to control. They can take a lot of damage and unlike Interceptors they can sneak-attack ground units and escape quickly due to their high speed and maneuverability. It can be difficult to aim well and be accurate from a distance though because you always have to do small adjustments in order to keep flying.
The normal drones use mainly helium blocks to lift them up and a few thrusters to move and steer. They can stay still on the sky which will improve your accuracy since you will not be moving all the time unlike the other fliers. The high CPU required for the helium blocks will prevent you from reinforcing your drone too much though so it will be easier to destroy.
Copters
They are really stable vehicles so they can be a good choice for air type smgs since it will be much easier to aim.
Smgs deal damage over time though and you will be exposed every time you try to damage enemy units.
Weapons
Do more weapons mean a better chance to win a fight? Not necessarily. That is because stuffing too many weapons on a vehicle means sacrificing its defense since the vehicle will be too wide/long and exposed making it an easy target for the enemies and difficult to drive. Also you will be spending too much CPU just for the weapons which will force you to reduce its defense since you will not have enough left to build a proper body for it.
A good amount of SMGs on a vehicle is 8-10. Any less than that and your fire rate will start dropping for every weapon you lose. This is a good number of weapons because you can fit them on a medium sized vehicle and you will have 2-4 backup weapons in case you lose some of them in a fight. You can push this limit a bit more with a hover and add even 12 weapons on it since you can place some of them below your vehicle which is very space efficient but do that ONLY if you have enough CPU to spare.
Do not put your weapons too close to each other because it will be easier for the enemy to destroy them and make sure to protect them well with good bases and electroplates. A well-built SMG vehicle can easily defeat an enemy robot with more weapons.
Interaction with the team
Ground vehicles
Make sure to always provide cover for your teammates with higher cool-down weapons. You might risk losing some extra blocks or weapons but the plasmas can do some serious crowd control and counter the enemy medics since they deal a good amount of damage to many enemies at once and the snipers will guard the skies and keep the fliers away from you which will help you to hold your ground.
It is also very important to protect your medics in the team since they can turn a bad game into victory with their healing ability so focus your fire at the enemies who attack them and force them to fire at you.
Aerial units
Use your interceptor/smg drone to help your snipers bring down all the enemy bombers. Once you destroy them all, assist your team to take down the rest of the enemies by destroying key vehicles first, like medics and snipers and then slowly take down the rest of the enemy team.
Facing other enemies
When you are up against other players in close range take full advantage of your high rate of fire to take their weapons out first and then destroy the rest of their vehicle. Especially when you face an enemy with SMGs the one who takes out the enemy’s weapons first is the winner. Never try to destroy the body of the vehicle first since if the enemy is an experienced player he will destroy all of your weapons before you have time to deal any serious damage.
Hovers
If you are up against a hover that is elevated high above the ground try to quickly go below it and shoot upwards at the place you believe the seat is located. If you succeed you will quickly eliminate the enemy without receiving any serious damage because you will have to destroy only a couple layers of blocks to reach the seat instead of the many block layers you would have to destroy otherwise. Also if you are directly below it, the enemy will only be able to hit you with their bottom weapons which will greatly reduce the incoming damage.
If you use a hover try to not elevate too high from the ground for the reason I mentioned above and if you see an enemy rushing to you they will probably try to go below you so check how high you hover and adjust the height accordingly.
Climbing Up The Tiers - Gameplay Part 2
Bombers/Drones
Fliers are usually flying at a medium/long range which will make them almost impossible to hit with your high spread, burst fire. In that case use tap fire to slowly damage them over time. Both bombers and drones can be greatly affected even from a small amount of damage so tap-firing might seem a slow way to destroy an enemy but it’s very effective against them.
Tap-fire is also effective on ground type vehicles at a medium/long range as well. They will not go down as easy as the fliers but you will still reduce their health and gain an advantage when you attack them at close range.
Copters
The first thing you should do when you see a copter is to shoot at their rotor blades. Once they lose all of them they will fall and then, since they will lose their flying advantage, they will be easy to destroy.
Battlefield tactics
Ground SMG
Follow your team and slowly advance to the enemy base until you encounter the enemy team. Make sure to check both the ground and sky while you are moving in case there are any fliers. Spot as many enemies as you can, find a good cover and start shooting using tap-fire to slowly damage them. If you spot any medics, make sure to focus and damage them as much as possible to reduce their healing rate. If the enemy team loses their medics early you will gain a huge advantage.
If you spot any enemy fliers and there are no snipers or flier smgs in your team, make sure to prioritize your fire at them and push them back. Do not ignore them because they can be really dangerous in late game, especially when most of your team will be damaged.
Flier SMG
Fly towards the enemy base and quickly spot as many enemies as you can. That way your team will know the enemies’ position and choose the right path to ambush them. Once you spot them, quickly go back and stay behind your team until they encounter the enemies.
Your main targets are bomber or enemy SMG fliers. If there are any of them in the enemy team, ignore the ground units and focus on them until they are all destroyed or heavily damaged. That will cripple the enemies’ offense since aerial support is very important.
Once there are no enemy fliers start supporting your team and sneak attack the enemy ground vehicles from behind. In general attacking the enemies from behind with a flier will give you a good advantage since you will be out of their field of vision and it will take more time for them to spot and shoot you.
Make sure to be careful and move away from the enemies if they spot or start shooting you to avoid taking any damage since fliers are a lot more fragile and losing a couple of wings or thrusters might ruin your game.
Playing with Plasma launchers
Building the right vehicle
Vehicles with plasma launchers are also in the front line because their damage is ideal for crowd control but they are more like the shoot-and-hide type of weapons due to their 5 second cool-down.
These vehicles need to be able to take some damage but also must be fast enough to quickly hide after they shoot the enemy.
Hovers
Hovers are the best choice for this tactic because they are not only fast but you can easily shoot targets behind cover since they cannot only move forwards and backwards but also upwards and downwards. That way you can hide behind map obstacles, ascent until you can see your target, shoot and then descent back to cover again.
Tank
Like I mentioned above, tanks are really slow but really durable and their ability to easily climb hills and move on almost every surface without a problem is really useful. The slow speed though can be a problem especially if an enemy chases you or you want to destroy an enemy who tries to escape.
Cruiser
They are a lot faster than tanks so the shoot-and-hide tactic could easily work with them but they have difficulty driving on more rough surfaces which can cause you many problems in a match.
Walkers
Walkers are always a risk for the front line vehicles but they do have good compatibility with plasmas because of their ability to jump, so you can hide behind cover (a rock, a hill etc), jump and shoot and then fall back to cover. Since it’s really easy to lose legs, make sure to add 6-8 of them on your vehicle.
As for the aerial vehicles you can build with plasma launchers, you have two choices, Bombers and Drones.
Bombers
They are the very opposite of interceptors since they are very effective against ground units but not so good against enemy fliers. Like interceptors, a bomber is more stable and you will have better accuracy.
Drones
Again, you have two drone categories the thruster drones and the normal drones. The main difference between those two types of drones is their speed. Thruster drones are too fast and they move around all the time which is not always a good thing since plasma launchers rotate slowly and you might end up missing shots because your weapons didn’t have enough time to rotate to the right position.
Also, since they need to continuously make adjustments in order to fly, it’s difficult to aim but the good thing about plasmas is that you can still damage your targets even if you don’t land a direct hit on them due to their explosive damage.
Copters
Their ability to hover at any height and their stability make them a really good choice for air plasma vehicles since it’s much easier to aim.
Like hovers, they can move upwards and downwards which makes it possible to shoot from behind cover.
Weapons
Adding many plasma launchers on your vehicle might not increase your rate of fire but it will increase the overall damage you can deal to an enemy unit. Also, with more weapons you will able to fire more shots which means you will have a better chance to hit an enemy unit since plasmas have very high spread.
A good amount of weapons is 6-8 for a land vehicle but on fliers you can add even more to take advantage of the plasmas’ high armor to add an extra layer of protection to your flier.
Interaction with the team
Ground vehicles & Aerial units
It is essential for plasma vehicles to stay close to the rest of the team because they will need their cover every time they wait for their weapons to charge. Their job is to keep the enemies back and their healers busy because their high and explosive damage will stop them from advancing and their medics will not be able to keep up since they can deal damage to many enemies at once. As a result, your teammates at the front will take reduced damage and will have a better chance of advancing.
As the battle progresses your teammates will start engaging in 1vs1/2vs2 fights to destroy the enemies and reduce their number so pay attention to all the fights and assist any of your teammates that need help.
Climbing Up The Tiers - Gameplay Part 3
Facing other enemies
Ground vehicles
Make sure to never have to face another enemy alone by always staying in a group but If you cannot avoid a 1vs1 fight though you need to play smart in order to win. Your main goal is to destroy all the enemy’s weapons which is not difficult to do with plasma launchers because of their antigunbrella effect. If the enemy is using plasma launchers as well, try to avoid the incoming plasma shots and shoot right after.
SMGs/Medics
Things work differently when you are up against enemies with high DPS (damage per second) since they will continuously deal damage to your vehicle while you wait for your guns to reload and you will end up destroyed or heavily damaged after the fight.
The way to deal with them is to drive away and let them chase you and every time your weapons are ready, shoot at them until they end up losing most of their weapons and then, finish them off. While you are running away from the enemies make sure to choose the route with the most map obstacles so there are many things blocking their way, preventing them from shooting or following you. That’s where a fast and agile vehicle can make a difference.
Rails
The good thing about facing a sniper is that once they fire all their weapons they will have to wait enough time for you to shoot them twice before they can shoot you again. Try to avoid as many shoots as you can and then go closer to finish them off.
“The sides of a vehicle are usually weaker than the front and back so make sure to aim there if you want to destroy an enemy faster.”
Enemy Fliers
Do not try to fight fliers since they are too fast and far away to hit them with the plasma launchers. First thing you should do after seeing one is to spot it and go close to an SMG player or a sniper to protect you.
It’s not impossible to hit one though but it requires a lot of practice and you should only do it if there are no ground enemies to target or if they are close enough for you to make an accurate shot. Still it’s nearly impossible to hit really fast drones no matter how much you practice.
Aerial units
As a flier you need to prioritize your targets according to which one is easier for you to destroy. Medics and ground plasmas are easy target for you because of their limited range and low accuracy. Also, hovers are more difficult to hit and require you to fly closer to them in order to do so which can put you in danger so make sure to target cruisers, walkers and tanks first.
Snipers and SMG players are a big threat to you so you need to approach them with caution and sneak attack them from behind and hide again while you reload so you don’t give them enough time to shoot you.
Make sure to target the enemy smgs who are already fighting with your teammates first because they will keep them occupied and together you will easily destroy them without receiving too much damage.
The high cool-down of snipers makes them easy targets but they should be approached with caution. Their high damage and accuracy can cripple your flier easily so once an enemy sniper is spotted, make sure to watch them and wait for them to fire all their shots and attack them while they reload.
Enemy Fliers
Your biggest enemies are interceptors and SMG drones. Once you see one, spot it and go close to your team. You cannot win against them so do not try to attack them alone.
Enemy bombers and plasma drones are still not your responsibility and you should spot them and let your team deal with them. Fighting in the air is difficult and will take a lot of time to bring an enemy down. You should use that time to assist your team and destroy as many enemy ground units you can and then together with them take any enemy fliers left down.
Make sure to study your enemies though so if they are using light/small plasma fliers you can attack them since one shot will be enough to take them down. Still hitting an enemy in the air with plasmas is difficult and requires a lot of practice.
“A good way to practice your targeting is to find any hover/fliers in your team at the beginning of a match and try to shoot them while they are moving.”
Battlefield tactics
Ground Plasma
Follow your team towards the enemy base and when you see any enemy units, shoot and spot them and while you reload check for the best cover and wait for your team to take position. During the battle use the shoot-and-hide tactic to slowly damage the enemies and keep them back.
While you reload try to locate the enemy medics and once you do, focus your fire around that area to damage them and the vehicles they are repairing to keep them from restoring their teammates’ vehicles.
When your teammates start isolating the enemies to take them down one by one, find which ones need your help and assist them by destroying the enemy’s weapons first and then the rest of the vehicle.
Plasma Flier
Bomber
Do not rush and leave your base once the match begins but fly close to your base until your team starts spotting enemy units. Once you know the enemies’ position and the types of vehicles they are using, start moving towards them but make sure to stay out of sight. You should attack them from the sides or the back since it will be easy for them to spot and shoot you if you attack them head on.
If there are enemy snipers make sure to take them out first and in case there are SMG drones in the enemy team try to not wander off too far away from your team.
Find where the medics are and shoot at them and the enemy units they are repairing to keep their health low.
Once the battle progresses move closer to the enemy and assist your team by destroying the enemies one by one.
Drone
If you are using a fast drone, quickly fly to the enemy team and spot as many of them as you can before they see you and then go back to your team.
That will give your team a huge advantage since they will know what route the enemies will pick and prepare an ambush.
After that follow the same steps as the bomber.
“Make sure all your guns are pointing to the right place before you shoot. Fliers move fast and do quick maneuvers which makes it hard for the plasma launchers to keep up since they have slow rotational speed.”
Advanced Plasma gameplay
Ground plasmas
As a plasma player, you will need to be able to quickly aim, shoot and go back to cover so make sure to practice a lot and memorize how high or low you will have to aim to hit enemy units at different ranges.
To begin with, start by memorizing how high or low you will have to aim to hit targets in close (top hash mark) medium (middle hash mark) and long range (bottom hash mark) and use them as references to calculate where to aim when you are targeting enemies at any other range.
You should also practice targeting players without using the scope which can be really useful when you are behind hills or obstacles that block your view when you use your scope.
Finally, shooting down fliers is tricky but it can be done with practice. The trick is to predict their position after 1-2 seconds (depending on the distance your shots will have to travel) and shoot there.
Climbing Up The Tiers - Gameplay Part 4
Bombers
As a bomber, stealth is really important so make sure to fly as high as possible and around the range limit of your weapons so even if the enemies spot you and start shooting at you, you can quickly fly out of their sight and attack them from another side.
The best tactic to use especially in the beginning of a battle, is to shoot the enemy and quickly fly out of their sight before your shots land and stay there while you reload. That will make it really difficult for them to spot you or damage you since when your shots hit them you will be already out of their sight
To be able to fly out of the enemies’ sight in time you will have to turn really fast but bombers and interceptors need some time to turn. You can increase the forces turning your bomber though by pressing the ascend key (Default: space) while you steer to the left or right. That way your bomber will perform a U turn and quickly fly out of the enemies’ vision.
Take advantage of your surroundings and use any cliffs or other obstacles for cover while you reload. This is really useful especially in small maps where you will not be able to fly high enough or out of the enemies’ sight.
Finally, if you drop and there is an obstacle in front of you preventing you from taking off again, you can use the recoil of your plasma launchers to move back little by little by shooting straight ahead or diagonally.
“Take advantage of the plasma’s explosive damage to destroy enemy units that are difficult to hit directly, like hovers or vehicles with 1% health. Aim at obstacles, hills/cliffs or even any of your teammates that are really close to them so they get caught in the explosion and get damaged”
General advice
Plasma damage is greatly reduced when shooting at a close range target so make sure to leave enough distance between you and your targets. Also the plasma damage stacks if each of the shots hits different cubes so take advantage of that in order to maximize your damage.
Snipers
Building the right vehicle
Vehicles equipped with rail cannons have to stay behind their team and as far away as possible from the battle. They will have to be light and fast since as snipers they will have to do a lot of running and hiding which is mostly because of their 12 second cool down which makes them easy targets while they are reloading.
That’s why tanks are not suitable for snipers since they are really slow and also hovers and fliers since they cannot stand still for an accurate shot.
Walkers
They are an excellent choice for a sniper since they can climb any surface which will give you access to many new spots to hide and snipe. They do have their downsides though, like shaking before they come to a full stop which will mess with your accuracy and they are a bit slow
You can solve the speed problem though by creating a hybrid walker flier which is considerably faster and will give you access to even more sniping spots.
Cruisers
They have a good compatibility with rails since they are very stable vehicles which will make sniping easier. They are fast but they cannot climb so you have limited sniping spots.
You can use the same thinking like above to solve this problem by creating either a hybrid cruiser flier vehicle or adding enough thrusters pointing both forwards and downwards to give your cruiser the ability to climb.
Weapons
There is no right amount of weapons for a rail vehicle since you have to move quite often and most of the times you will not shoot all of your weapons and end up reloading the ones you already used while you are moving to the next spot.
The minimum amount of rail cannons you should use is 2. A second rail cannon will give you the option to reload with every shot and it will reduce your overall cool down since the reload time for one weapon is 7 seconds, if you use only one weapon you will have to wait for 12 seconds between shots.
A good amount of weapons is 4-6 and how many you use depends on how fast, agile and stealthy you want your vehicle to be because too many rail canons will require a bigger vehicle due to their huge size which will reduce both your speed and stealth.
Interaction with the team
Snipers are very vulnerable alone so they should always stay close to the team in case they need protection. Their job is to attack key targets which are essential for the enemy team, such as medics and fliers.
By pushing back fliers they greatly reduce the incoming damage to the front lines and for every medic they take out, the durability of the enemy team decreases drastically.
When the battle progresses your teammates will try to destroy the enemies one by one. Pay attention to all the fights and start assisting your teammates by destroying the enemy’s weapons which will reduce their DPS. That will give a huge advantage to your teammates and help them destroy the enemy. Also if there are any remaining fliers or medics make sure to take them down so they cannot support their team.
Facing other enemies
Make sure you never have to engage in 1vs1 fights with other enemy units because you will most likely end up losing the fight. The way to deal with enemies is to be as far away from them as possible and use your sniping ability to weaken them little by little.
Rail cannons use a laser pointer so you can see where your weapons are aiming but the enemy can see that laser too which will not only give away your position but it will also alert the enemies and they will either hide or shoot you. One way to deal with it is to aim at the left or right, not directly at them. That way you will hide your laser pointer and you will only have to move your reticle a little bit to shoot them which will not ruin your accuracy.
Also, if the enemies don’t know you are aiming at them, you will have time to study their vehicle and find possible weaknesses, so unless you are ready to attack do not alert the enemy of your presence.
"Make sure to always shoot first and then spot the enemy so they do not realize they are in danger until it’s too late”
Climbing Up The Tiers - Gameplay Part 5
Ground units
Shoot their weapons first to reduce the incoming damage. If an enemy sees you and rushes towards you in order to destroy you, spot them first and then shoot their movement parts in order to slow them down and escape.
Cruisers
One good way to destroy enemy cruisers is to shoot their exposed wheels. If the vehicle is not built right, the wheels will be connected to the main core of the vehicle and the damage will be transferred to the seat directly. If that doesn’t work, just try to weaken the rest of the vehicle as much as possible.
In case the enemy cruiser comes too close to you, quickly fire all your weapons aiming for the center or sides of their vehicle and try to escape.
Hovers
In case an enemy hover sneaks close to you, they will most likely destroy you but there is one thing that might save you.
Quickly aim at the bottom and center of the hover and fire all of your shots. Since the target will be really close, you will not miss even If your shots spread which can either destroy the enemy or cripple the vehicle enough to escape safely.
Tanks / Walkers
Since caterpillar tracks/Walkers are huge targets, aim for them and destroy either the ones at the right or the ones at the left side of the vehicle which will make it impossible for the enemy to steer and they will be an easy target for your team.
Aerial units
Hitting a flier is much more difficult since they move around all the time. The trick is to predict your enemy’s position after 2 seconds, aim there and simply wait for them to go to the center of your reticle and shoot. That way, when they are at the center of your scope, the reticle will have time to reset and your shot will be accurate.
You can still follow your enemy’s movements without ruining your accuracy as long as you don’t move your cursor too fast, that way when you are about to shoot you will need less than a second to maximize your accuracy.
Aim for the vital parts of their vehicles like their aerofoils, thrusters or rotor blades so you can bring them down as fast as possible before they have enough time to target and shoot you.
In case an enemy flier sneaks behind you and starts shooting at you, quickly shoot them with all your guns, spot them and try to get close to your teammates, if you can reach them in time they can protect you.
Enemy sniper
First thing you should do when you see an enemy sniper is to spot them and reveal their position to the rest of your team.
Trying to destroy another sniper is very similar to a fight between smgs since the one who destroys the enemy’s weapons first wins the fight. Unlike other weapon classes, rails need a lot more space, so, snipers with more than 5-6 weapons are very rare making it possible for you to incapacitate them just by destroying them one by one.
Lights
If the enemy uses lights and you cannot see them clearly aim at the center of the light beam and shoot, you might hit an electroplate but you also might hit some vital parts (or the lights).
Battlefield tactics
Once the match starts, follow your team and recall all the sniping spots on the route you are using. When your team starts spotting enemy units, pick the spot which will give you the best view of the battlefield and move there fast.
“Make sure to spend some time in normal battles to explore all the different maps and try to discover new sniping spots. You might have to leave your team but map awareness is really important for a sniper”
Once you are there pick your targets. First, push back any enemy fliers by aiming at their wings or thrusters and once there are no fliers around aim for the medics, the faster you destroy them the faster your team will advance. Always prioritize your targets according to the “quality” of their vehicles, so aim for the ones with lower tier armor or lightly reinforced vehicles.
“Spend time studying your enemies and find weak points on their vehicles. In time you will be able to tell which vehicles are easier to destroy and pick the best targets quicker.”
To aim at your enemy, simply move your cursor on them, wait for about 1-2 seconds to maximize your accuracy, shoot once and wait for another 1 seconds to be able to land another accurate shot.
Make sure you do not move your weapons too fast or too much because it will ruin your accuracy so in the beginning try to aim at vehicles that are not moving and practice until you feel comfortable enough with them.
Once you push back the enemy fliers and destroy the enemy medics, assist your team to take down the remaining enemies by destroying vital parts of their vehicles, like weapons and movement items. Always remember to study your enemies and prioritize the weakest looking vehicles.
Never stay in the same place for too long though especially if you get spotted because it will be very likely to get ambushed by enemies.
“Always keep your distance from the fight but make sure you are not too far away in case you need your team's help.”
Reloading
You should not waste the 12 seconds you have while reloading. In those 12 seconds you can do the following things:
• Change your sniping spot and go to a better one.
• Spot enemies which will give you some extra cash and inform your allies about the enemies' whereabouts.
• Study your enemies and find your best next target which will be the easiest to cripple/destroy
Advanced Snipers
Electroplates
Some electroplates can withstand even the damage of a rail cannot so avoid aiming at them. In case you encounter an enemy well protected by electroplates and you don’t have a choice there is a way to still deal a lot of damage by aiming at the right place like in the examples below
If you shoot at electroplate designs like the ones above, you will have the chance to destroy both of them with one shot if the vehicle is not well built. That’s because if your shot destroys one of them, the remaining damage will be transferred to its supporting block and the blocks around it, and since both their attachment points are really close to each other there is a possibility to destroy the second electroplate as well if the damage is transferred to its supporting block.
The same thing can work even with designs like the following one
“look if there are any weakened electroplates and if you see any, shoot them first.”
Rail-gun fliers
Rail cannons do not work well with fliers or any vehicles that cannot stand still for an accurate shot. There is a way to use them on such vehicles though and still be able to shoot enemy units accurately.
While you move, the reticle will be as big as possible which means you will miss any enemy targets no matter how well you aim but you can take advantage of the laser pointer to see where your next shot will land. As long as you point the laser on the enemy vehicle you will not miss your next shot.
Climbing Up The Tiers - Gameplay Part 6
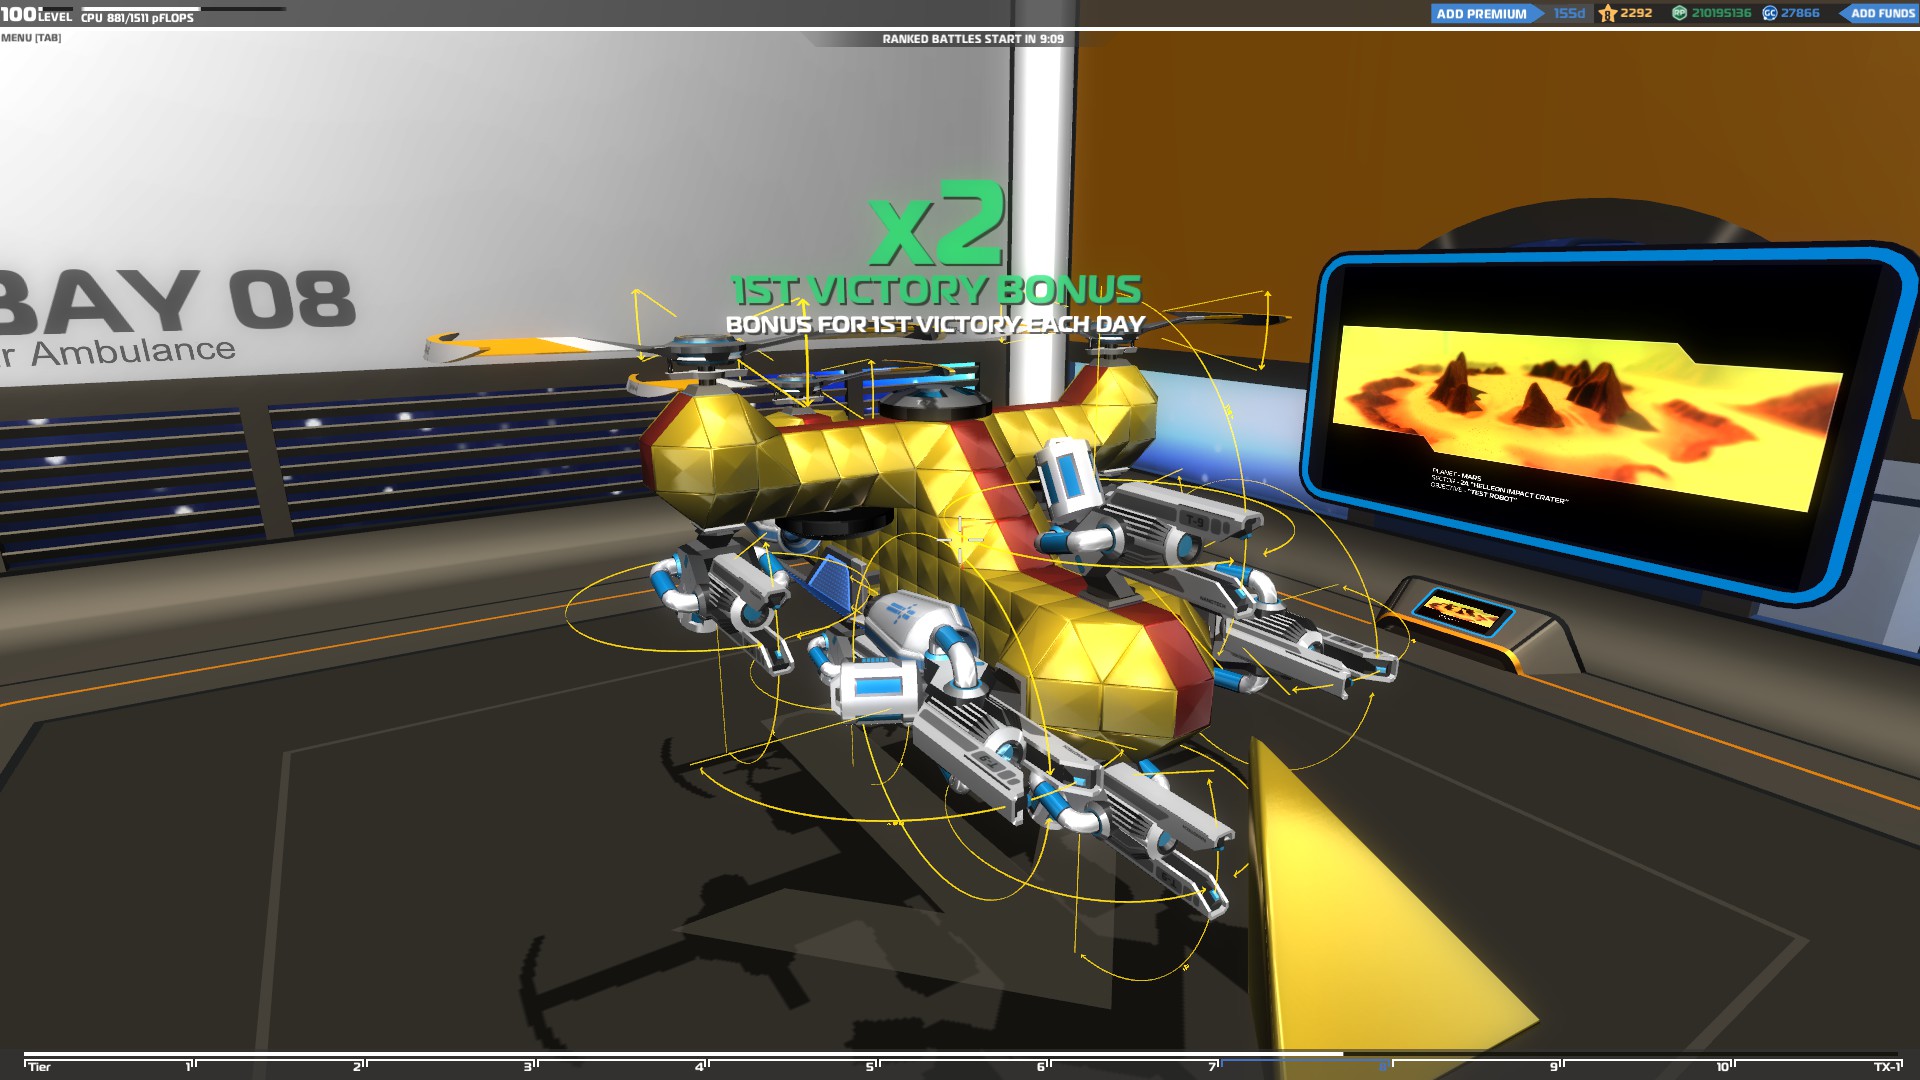
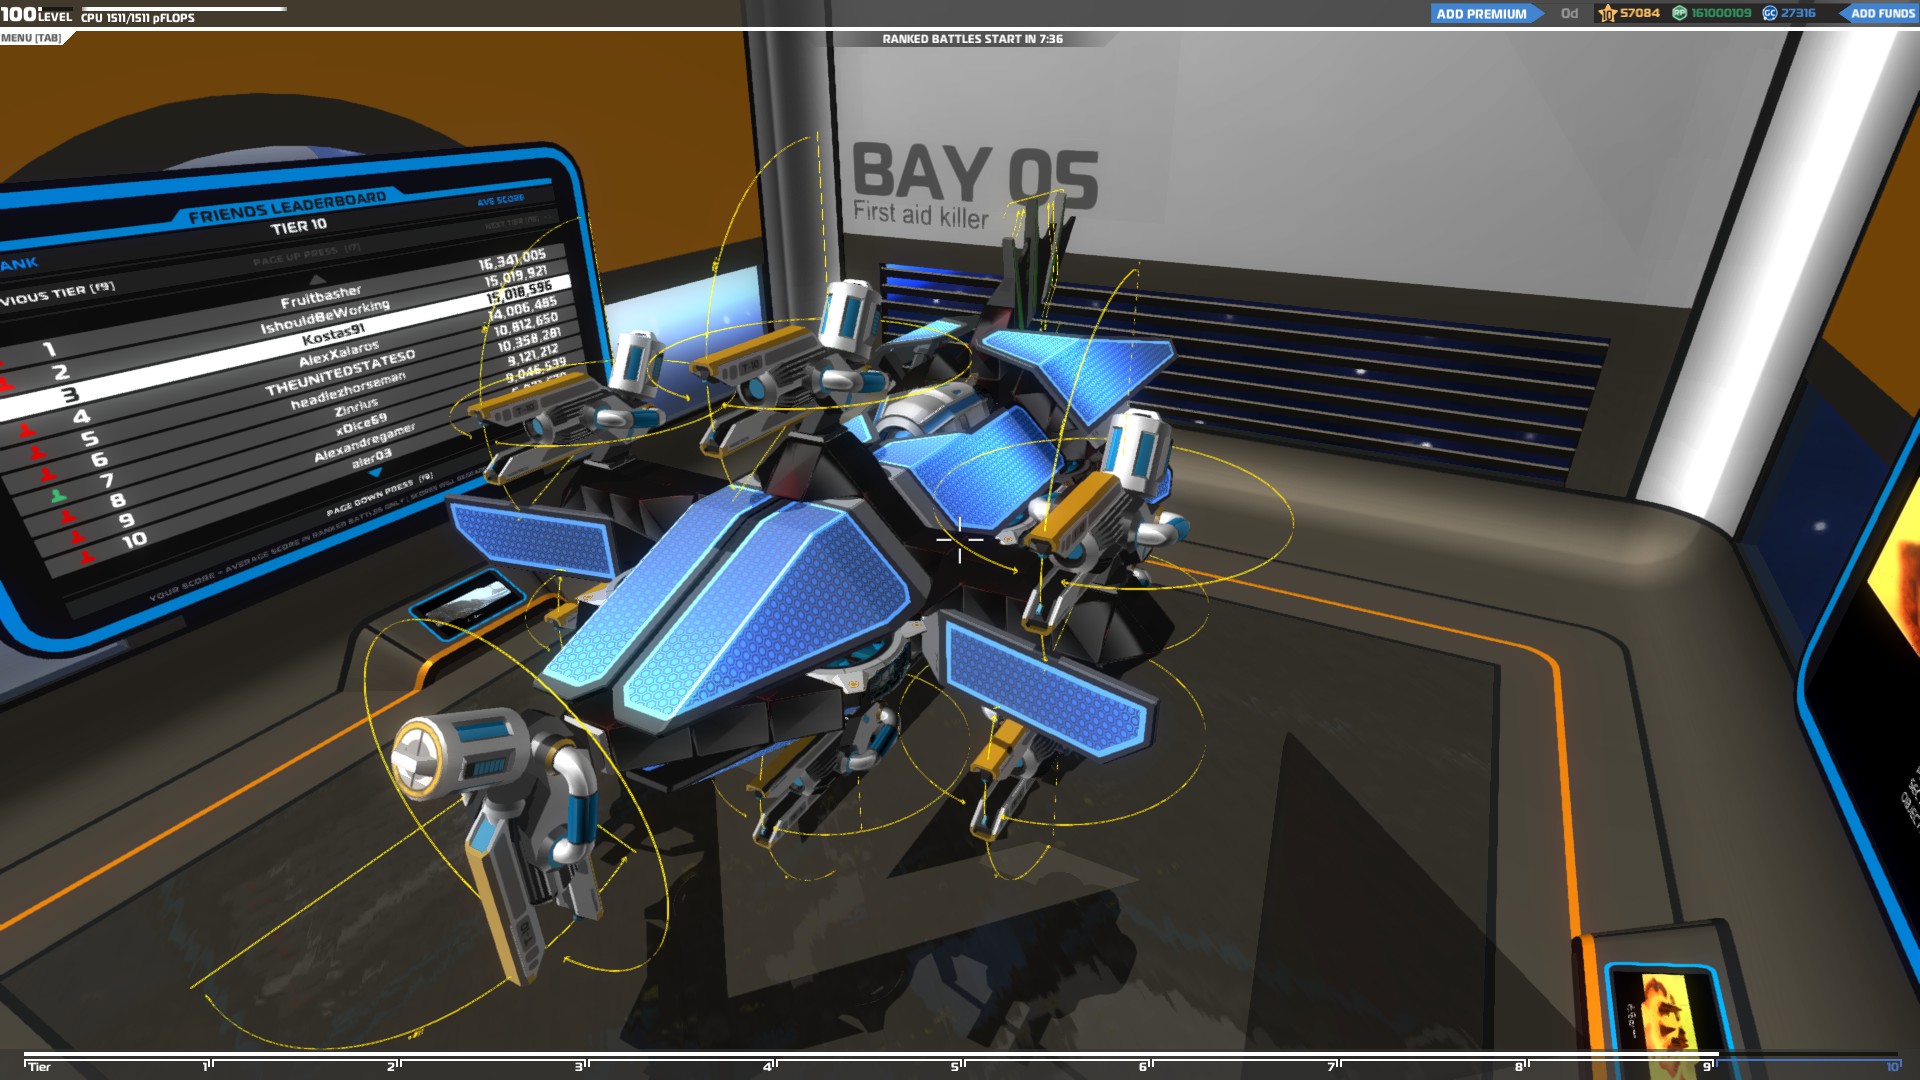

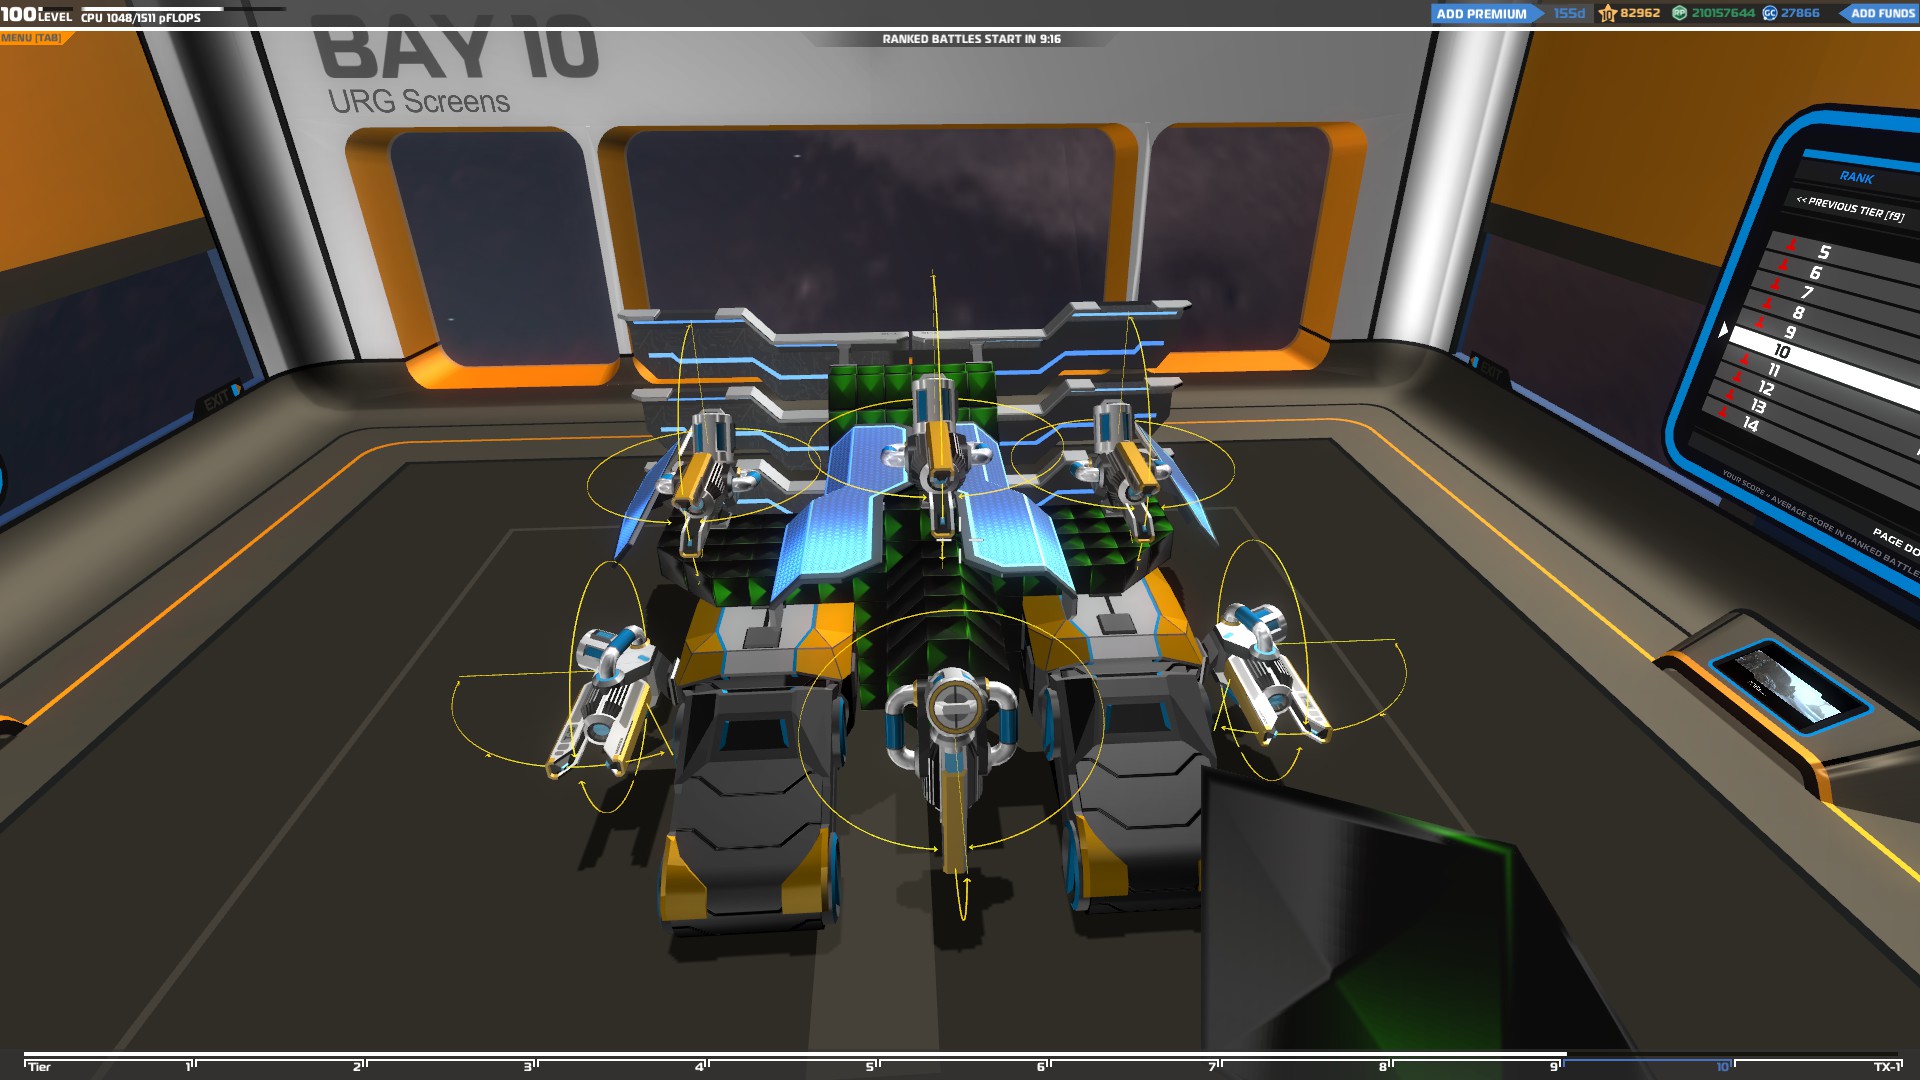
Medics
Building the right vehicle
They are the most important support units in the team since they can repair their teammates. There are three types of medics, the laid-back, the battle and the “stretcher-bearer” medics.
Laid-back medics
They are the kind of medics that will stay behind cover most of the time and repair their allies without being exposed to enemy fire. With their defensive gameplay they will stay alive much longer and support their team until the end of the battle.
The downside of this gameplay is that they will not be close to the fight so their allies will have to go back to them to be repaired which will be dangerous since they might encounter enemy units on their way back and be destroyed.
Battle medics
They are the type of medics that will support their teammates in more dangerous situations, with no cover and enemies all around them. They will also attack enemies that are fighting with your teammates and destroy their weapons to make it easier to destroy them.
Those kind of medics have to be well-armored with blocks and high tier electroplates to shield them from the enemy damage and prolong their life on the battlefield.
“Stretcher-bearer” medics
These are heavily armored medics who will go in front of badly injured allies that can’t move and provide cover for them while they heal them, until they can move to a safe place.
Hovers
They are an excellent choice for medics since they are fast and can be really tanky so they can be either laid-back, battle or Stretcher-bearer medics.
Fliers
Their ability to reach any ally on the map no matter where they are makes them a really good choice for medics. The have to be light though so they can fly so they are unsuitable for battle and Stretcher-bearer medics.
It would be a good idea to add some landing gear on them (legs, wheels etc) and turn them into hybrid vehicles to have better control over the vehicle when you land.
Copters are a great choice for medics because they do not need landing gear since their ability to hover over the ground will make it really easy to heal your allies.
Cruisers
They are a good choice for a medic since they can be really fast but their limited mobility might cost your teammates their lives since they have difficulty climbing hills or moving on rough terrain. You can use them to build laid-back medics.
Walkers
They are quite slow for medics but they can climb everywhere which will be really useful if you want to heal an ally on a cliff or any other place with limited access. You can always solve the speed problem though by converting your walker to a hybrid flier walker. Since it’s easy to lose legs, walkers should be used for laid-back medics
Hovers and hybrid fliers are the best choices for medics since they can easily move around the map and they are fast enough to reach any teammates in need. For that reason tanks are not suitable for medics since they are too slow to reach any of your injured allies in time.
Weapons
You should always be able to heal your allies at full power so make sure to add many Nano-disruptors on your vehicle so you can still have 6 operational weapons even If you lose a few of them.
You can add 8-14 weapons depending on your available CPU (better armored medics will leave you with less CPU available for weapons).
When you place your weapons make sure to leave enough space around them so the beams are not blocked by blocks, or any other items. That way you will be able to heal your teammates with 100% of their power.
Interaction with the team
Medics greatly increase the durability of their team with their healing ability and for that reason they need to stay behind their teammates at all times since the enemy will most likely prioritize them if they do not have a good cover.
When the first fights begin, move around your team and heal any injured teammates. Make sure to prioritize the vehicles at the front so their health doesn’t drop too much because they are the ones keeping the enemies back.
It is important to know where to aim when you are healing an ally. If you aim your healing beams towards your allies’ weapons the blue beam effect will blind them and it will make it impossible for them to aim. Always aim at the back of their weapons/vehicle when healing, that way they won’t be blinded.
While you heal them make sure to leave some space between you and them in case they want to quickly back off. Staying right behind them will most likely get them killed if they are in danger and can’t move back.
Later in the battle, when your teammates charge the enemy, check which of your allies need your immediate help and quickly go to their aid. Once they have the upper hand in their fight move to the next ally. Use this tactic to help as many of your teammates as possible. Speed is essential to ensure you will help as many of them as possible so once you know your allies can win their fights don’t wait until their health reaches 100%, just move quickly to the next one.
Facing other enemies
Medics should avoid going up against enemy units alone since they are really important for their team and losing their weapons or being destroyed might cost their team the game. In case you encounter an enemy and you are alone, it would be smarter to try to escape and go close to your teammates.
If you can’t avoid attacking an enemy unit, go for their weapons first to reduce the incoming damage. Their pinpoint accuracy and high damage makes it really easy to concentrate all the disruptors’ fire power on a single target so they can destroy weapons fast.
Once all the enemy’s weapons are gone, aim at the center of their vehicle and try to uncover their seat and then aim for it and finish the enemy off.
Fliers
The really short range of the disruptors makes it impossible to hit flying targets, so just spot them and make a run for it, if you reach your allies in time, you will survive.
Battlefield tactics
Once the game begins, follow your teammates and make sure to always stay behind them and once your team engages the enemy, find a cover and heal any injured teammates.
When the enemies get closer and try to destroy your teammate’s one by one, assist them and prioritize the ones who seem to lose their fight.
While you are healing your ally, you can attack the enemy if you see your teammate losing the fight and try to destroy as many of the enemy’s weapons as possible. Once you cripple them go back to healing your ally until the enemy unit is destroyed. When your teammate wins, quickly move to the next fight and assist another ally the same way.
Climbing Up The Tiers - Gameplay Part 7
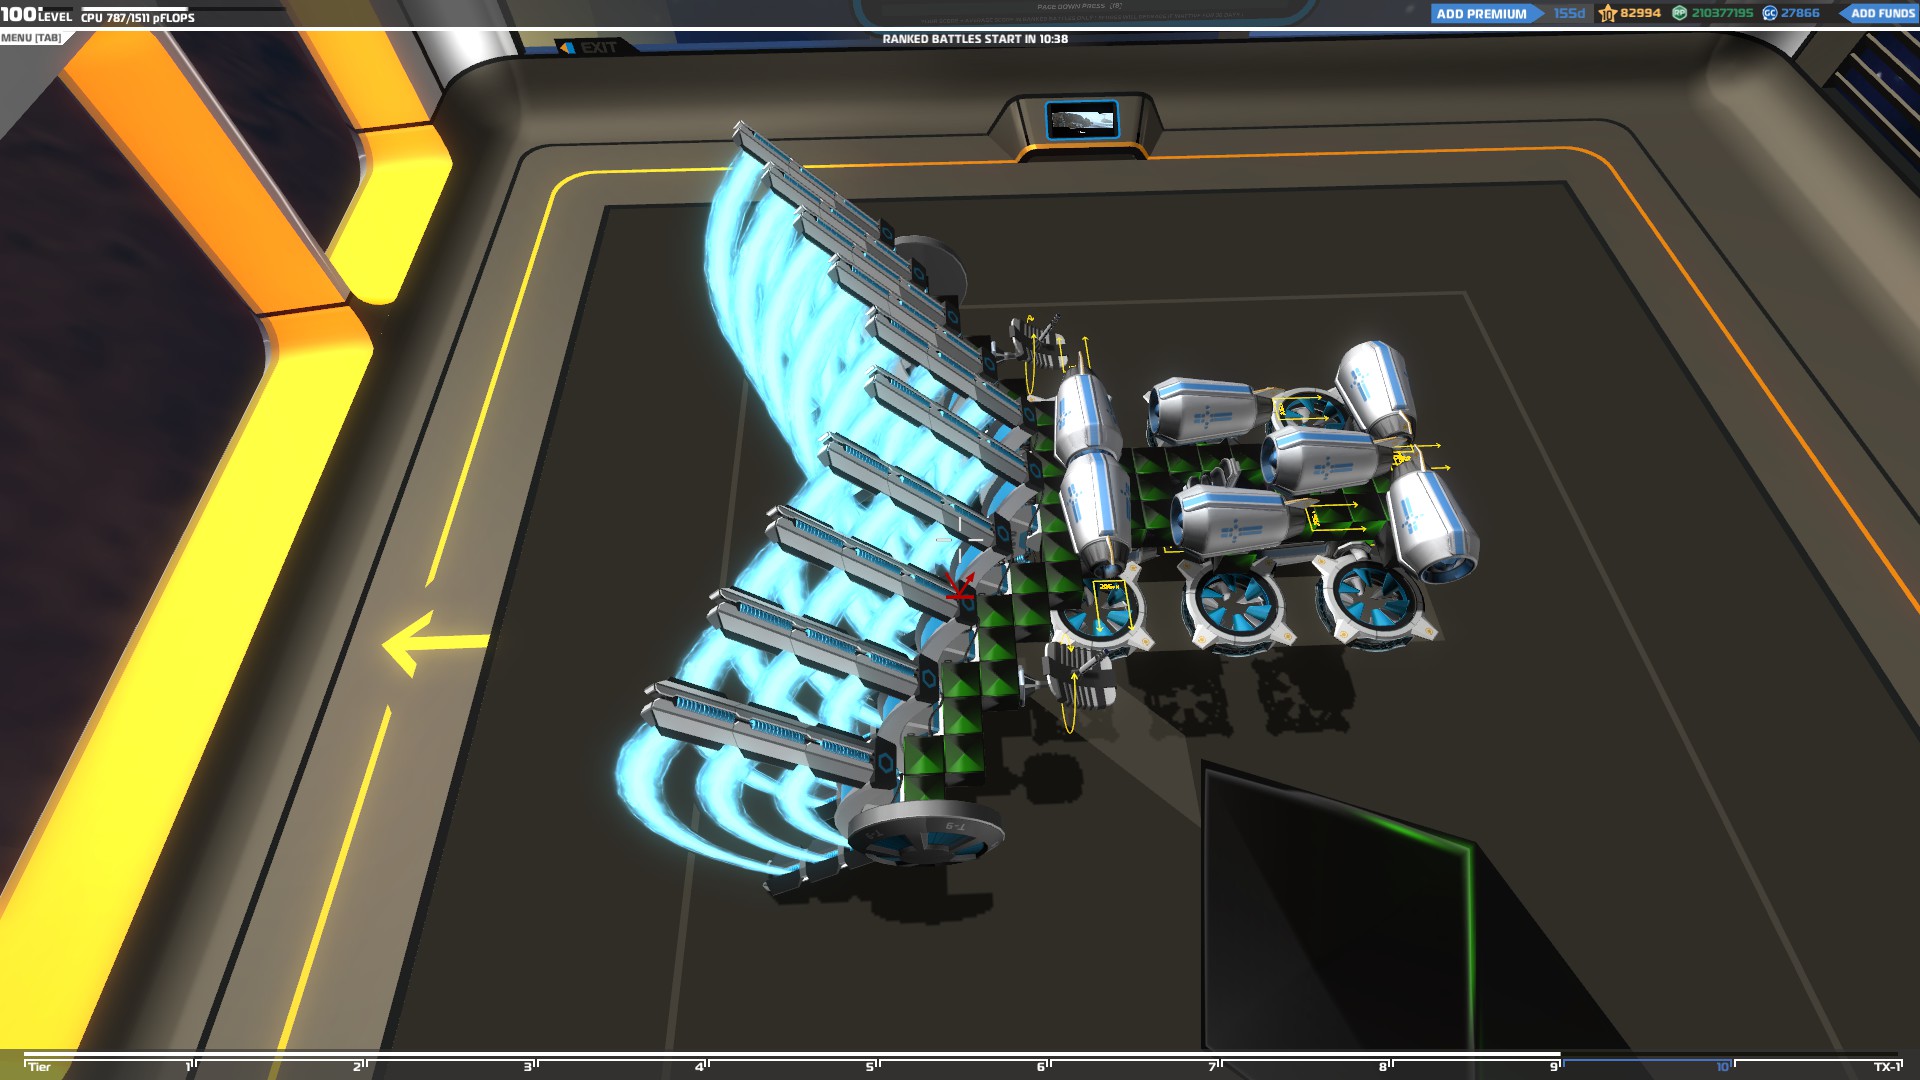
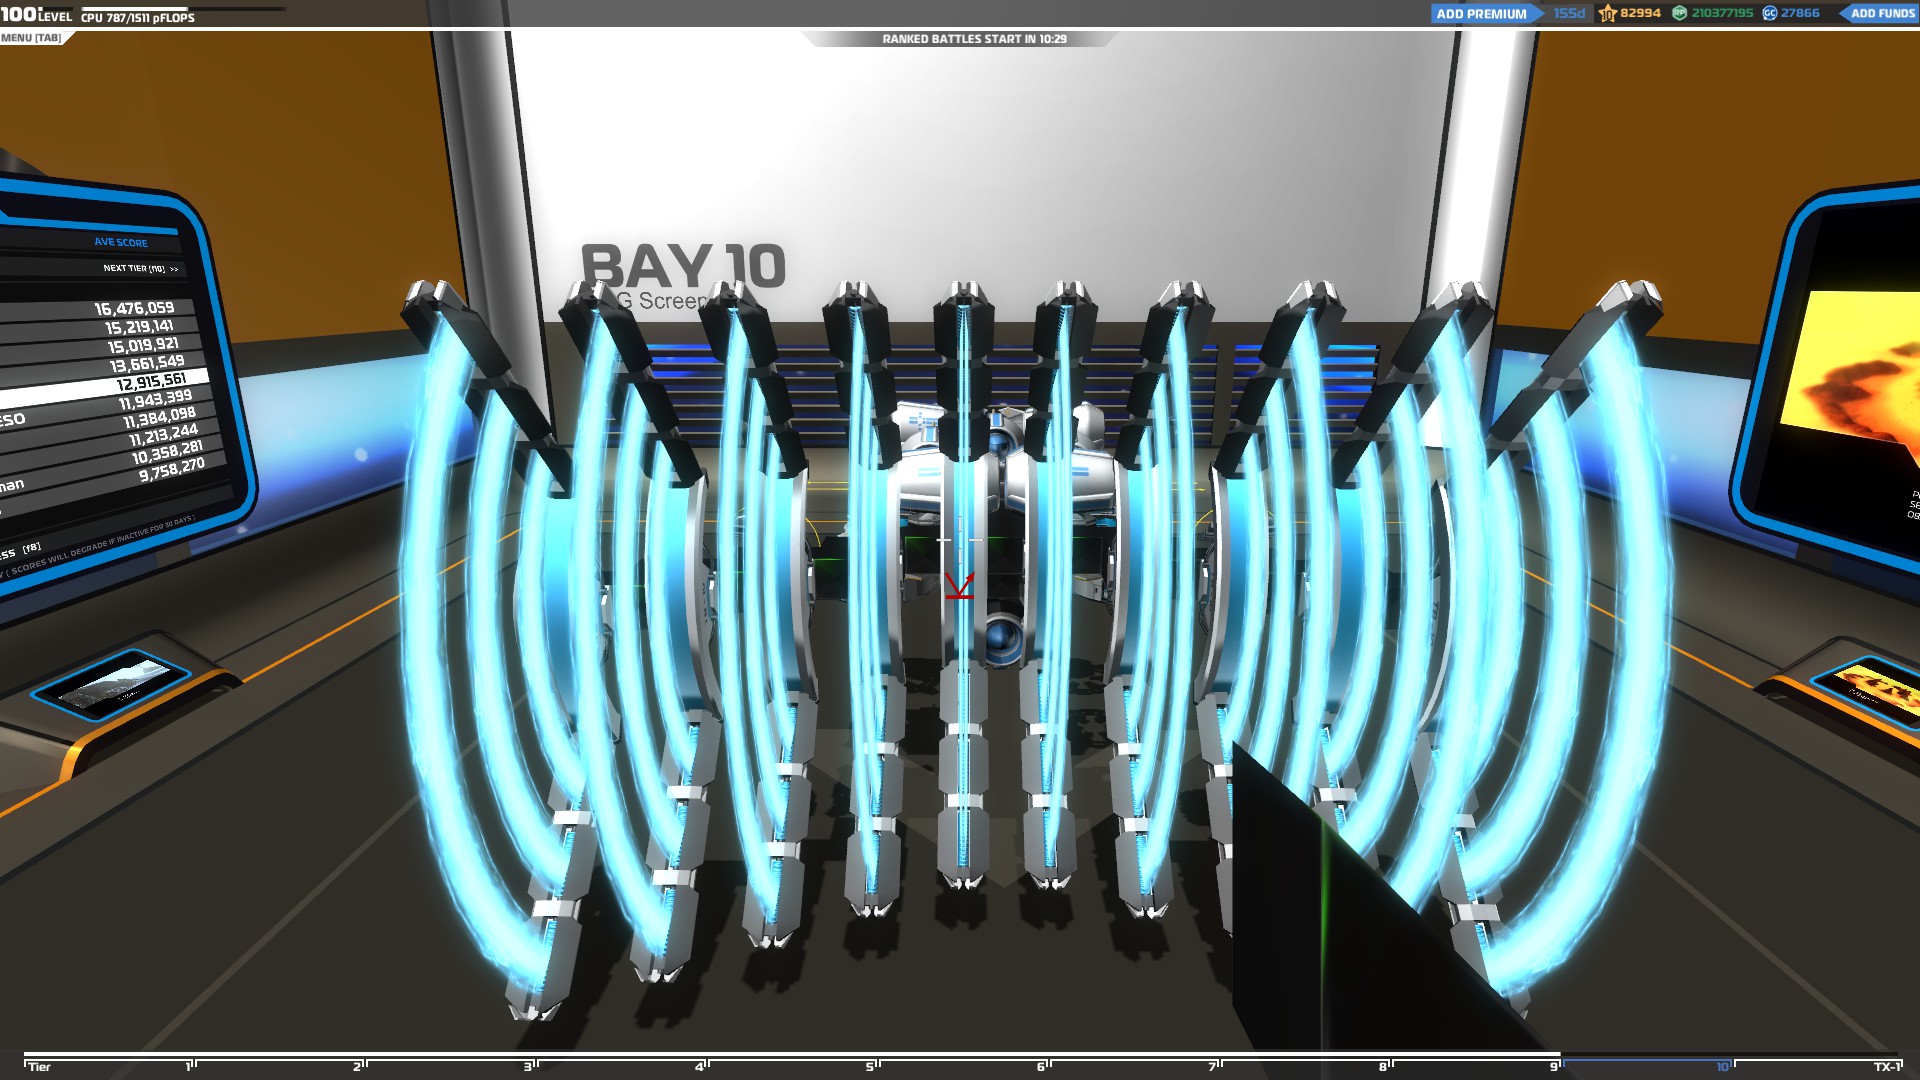
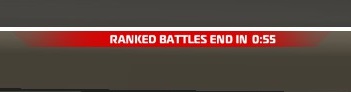
Advanced Medic
To become the most efficient medic possible you need to start doing more than just healing random teammates with low health. When you are in a battle it’s really important to know which of your allies to heal first and you can do that by being aware of how many of each vehicle classes are left on the battlefield.
This information is really important since by repairing the vehicle types in lower numbers you will keep your team balanced.
Being aware of the remaining vehicle types left in the enemy team is equally important since you will be able to heal vehicles in your team that can counter them (Enemy bomber – Ally sniper/smg etc.)
Healing your fellow medics is also important but make sure to do so when it’s necessary. As long as they have 6+ weapons and are not in danger prioritize the rest of your team.
Also, repair players with bad vehicles or low tier armor for the battle you are playing last since they will end up being destroyed fast and you will have wasted valuable time.
No matter what happens though, always prioritize the fliers since they will be very vulnerable once they land and the air support they provide will be much more useful than any other ground vehicle.
Manual VS Auto healing
The ability to auto-repair is really convenient but sometimes it can be troublesome during a fight. That’s because if there are many injured allies around you, your weapons will heal many of your allies at once. There are sometimes though when some of your allies need to be repaired fast either because the enemy focuses on them and will die without your immediate help or their health is really low compared to the rest of the team and they need to be repaired before vehicles with over 85% health. When your weapons target 2+ different allies, your healing power is greatly reduced so in this case, use your manual repairing (Left click) to target one ally at a time and repair them faster.
“Switch between auto and manual repair depending on which of your allies needs your immediate help.”
Tesla
Building the right vehicle
This is a secondary type weapon so it can be used along with any other weapon. It deals damage on hit so it works better with fast vehicles like hovers, fliers and cruisers.
Facing other enemies
Teslas work great with medics since they give them a massive damage boost. They can use them to assist any of their teammates in danger by ramming the enemy and forcing them to back off.
You can also use them with other types of weapons and ram your enemies while shooting at them. That way you will quickly destroy big amounts of their vehicles and take them down a lot faster without losing important parts of your vehicle.
Advanced Tesla
You can use teslas as main weapons and build vehicles covered with them but for such a vehicle only hovers and fliers can work since it will have to be as fast and agile as possible.
The gameplay of this type of vehicle is based on stealth and sneak attacks so make sure to add many jammers to block the enemy radars from detecting you.
Tesla-only vehicles are not team friendly since they have to leave the team, go around the enemy and sneak attack from behind. Their life spam is usually very short especially if they meet any enemies on their way or if the enemies spot them while they try to sneak behind them.
There are two ways to sneak attack the enemy, one is to choose a route that the enemies are less likely to use, quickly circle around the map when the battle begins and go behind them. This is a risky one since there is a possibility that you will encounter enemy units on your way and without your team close to you, you will quickly be destroyed, but if there are no enemies around, you will move behind the enemy lines fast enough to ambush them and give an advantage to your team.
The other way is to wait for your teammates to start spotting the enemies and then choose the fastest route to sneak behind them. That way you will reduce the chances to encounter an enemy unit on your way there and move behind them safely.
Once you ambush the enemy and lose most of your teslas, try to reach your team, go behind them and if there is a medic, repain them so you can ambush the enemy again.
To cap or not to cap this is the question
Capping the enemy base will win you the game but you need to know when you should cap.
You should never capture the enemy base if…
…The enemies have already started capping your base and have a head start. There is no way you will out-cap them so you would have a far better chance to win if you rush back to your base and defend it.
…The enemies start capturing your base and there are no allies around to stop them. You should rush to your base and stop them yourself since even If you have a head start it will mean nothing if an enemy damages you and keeps resetting the capture segment.
…There is already one of your allies capturing the enemy base. There is no need for too many players to cap the base since the rest of the team will start losing ground in their fights if there are too few of them to keep the enemy units back.
… You are the medic of the team. As a medic your support is essential to ensure your teammates will last longer so don’t stay behind to capture the base.
You should capture the base if…
…Your team loses the battle and your allies start being destroyed one after another. That way there might be a chance to win the game if the enemies don’t rush back to defend their base.
…Your teammates are close enough to your base to defend it in case an enemy starts capturing.
...The enemies are gaining ground which will force some of them to go back to their base to defend. Once the enemies are close enough, make a run for it and escape since you would have successfully split and weaken the enemy team which might give a game changing advantage to your team.
“Flier units can make a big difference when both teams start capturing the bases because they can move around the map really fast and they can hit and run and keep resetting the capture segments.”
In general, don’t risk your whole game on a cap contest. You will get a lot more points if you attack the enemy and there will be a far better chance to win the game if the whole team fights together.
Ranked games
At the top center of your bay screen you will notice that there is a countdown timer with the tag “RANKED BATTLES START IN --:--“. Once it reaches 00:00 and the ranked countdown begins, for the next minute you will be able to enter ranked battles.
Anyone from Tier 2+ can join ranked battles and get ranked points afterwards. The rank points will determine your position on the leaderboard and the better score you have after a battle the more points you will get.
The ranked countdown timer lasts for only one minute so you can only play one ranked battle every 14 minutes.
“Avoid a fast victory by capping the enemy base because you will get very few ranked points if you don’t get enough RP afterwards, even if you win the game.”
Gamemodes (New 18/11/16)
Battle Arena
Advanced Building (1/2 Updated 14.10.2016)
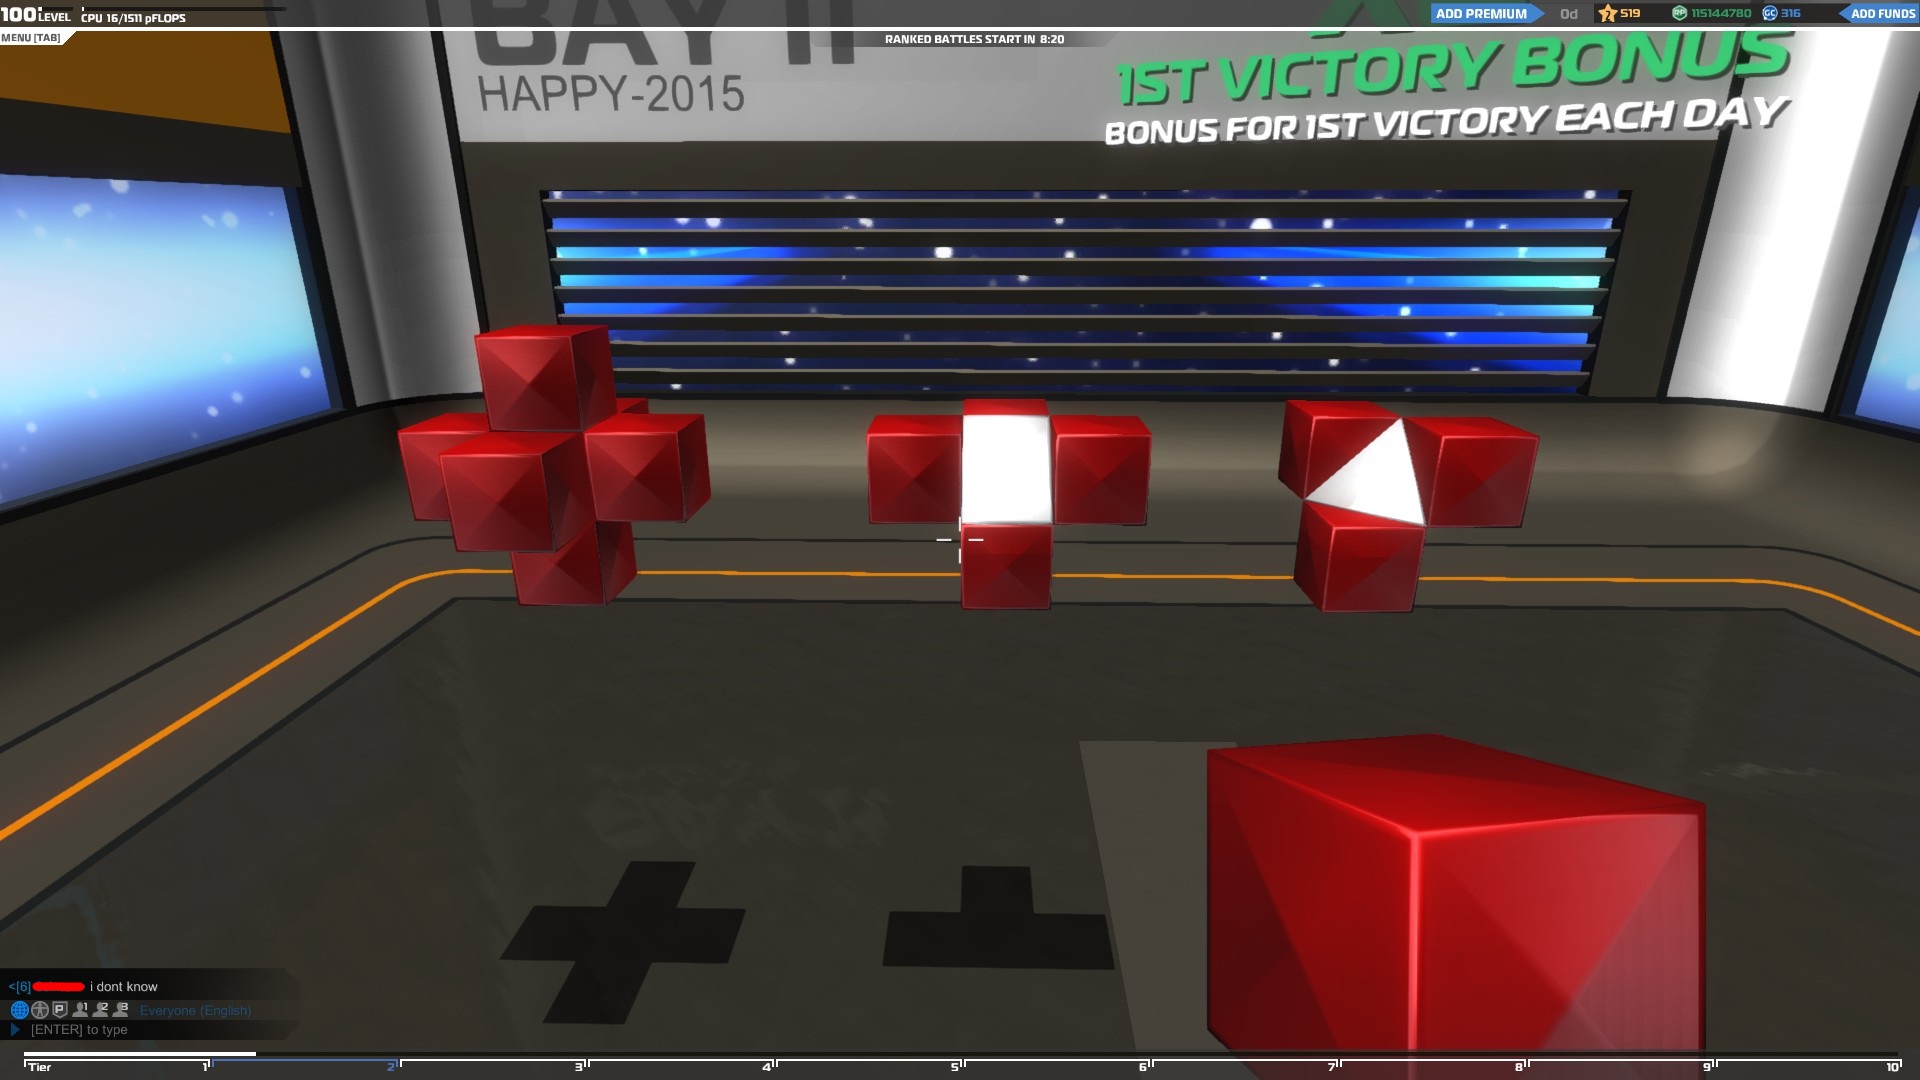
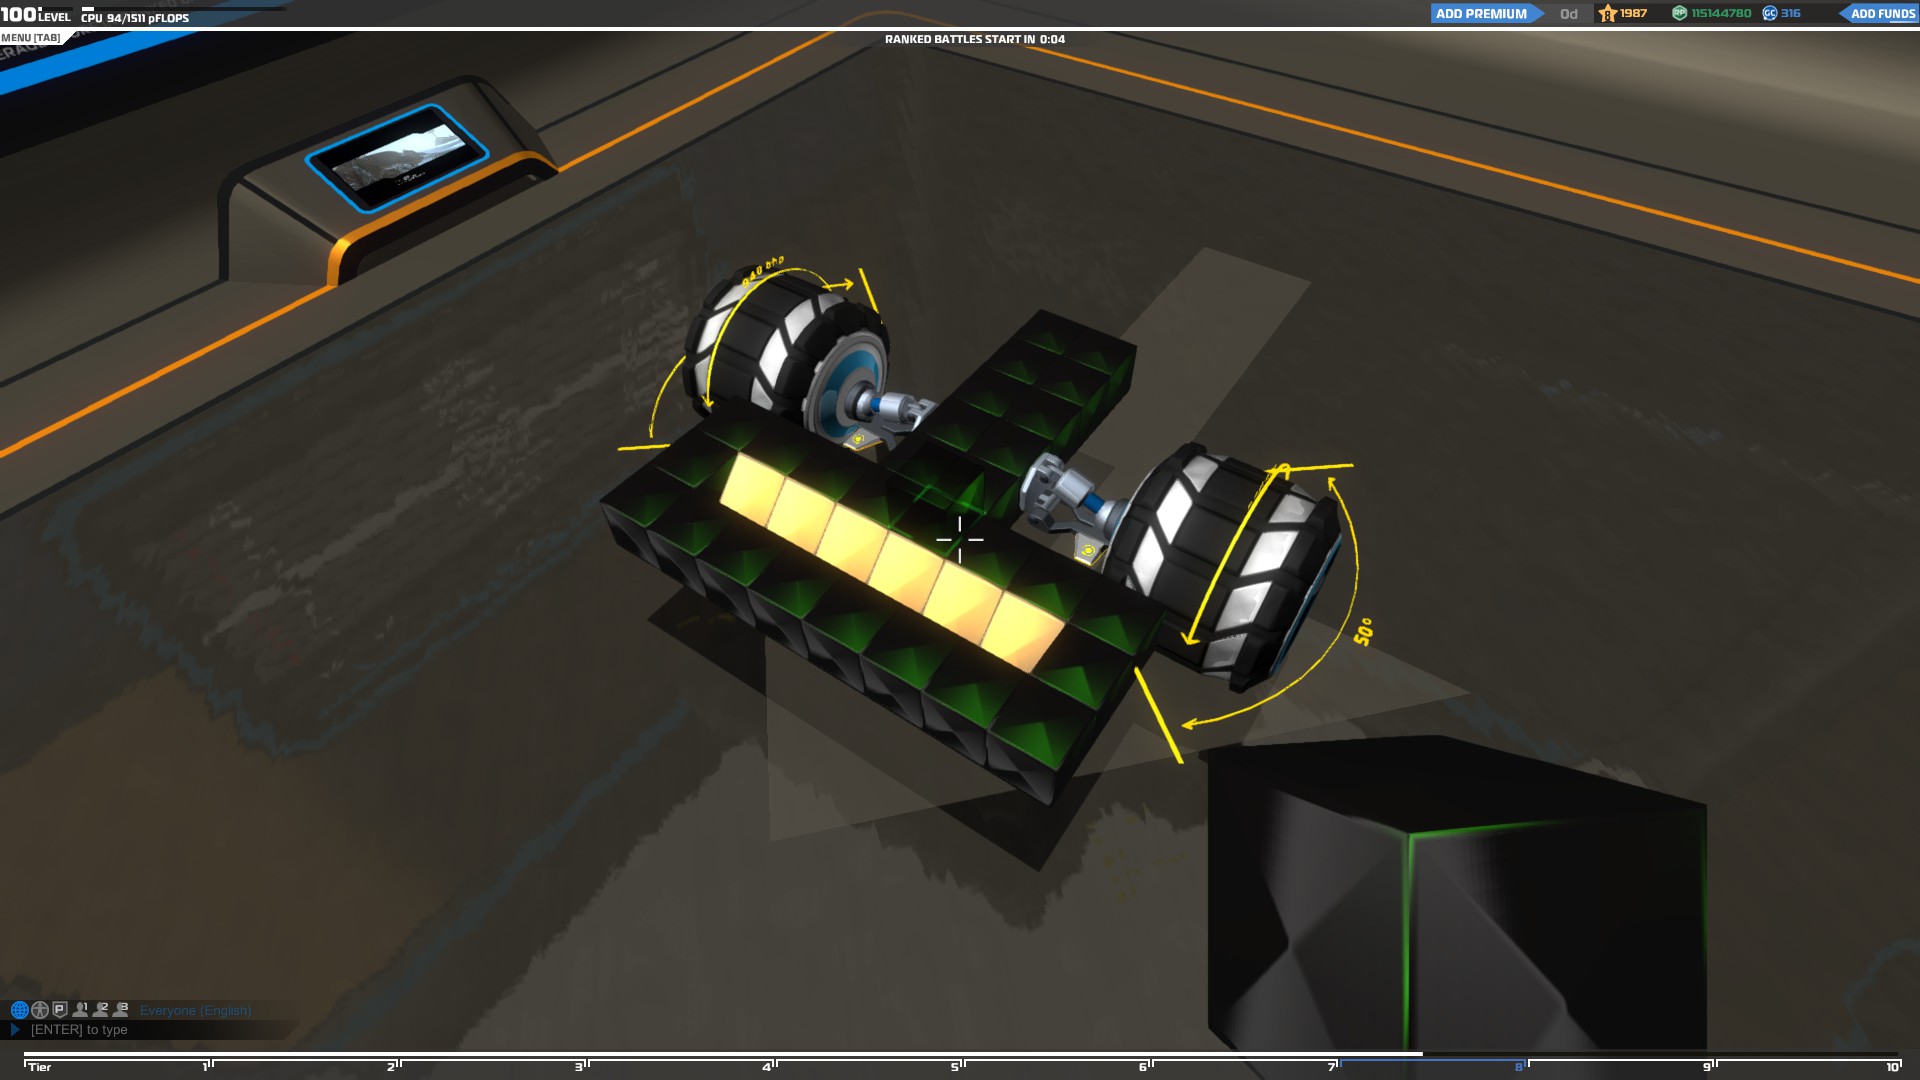
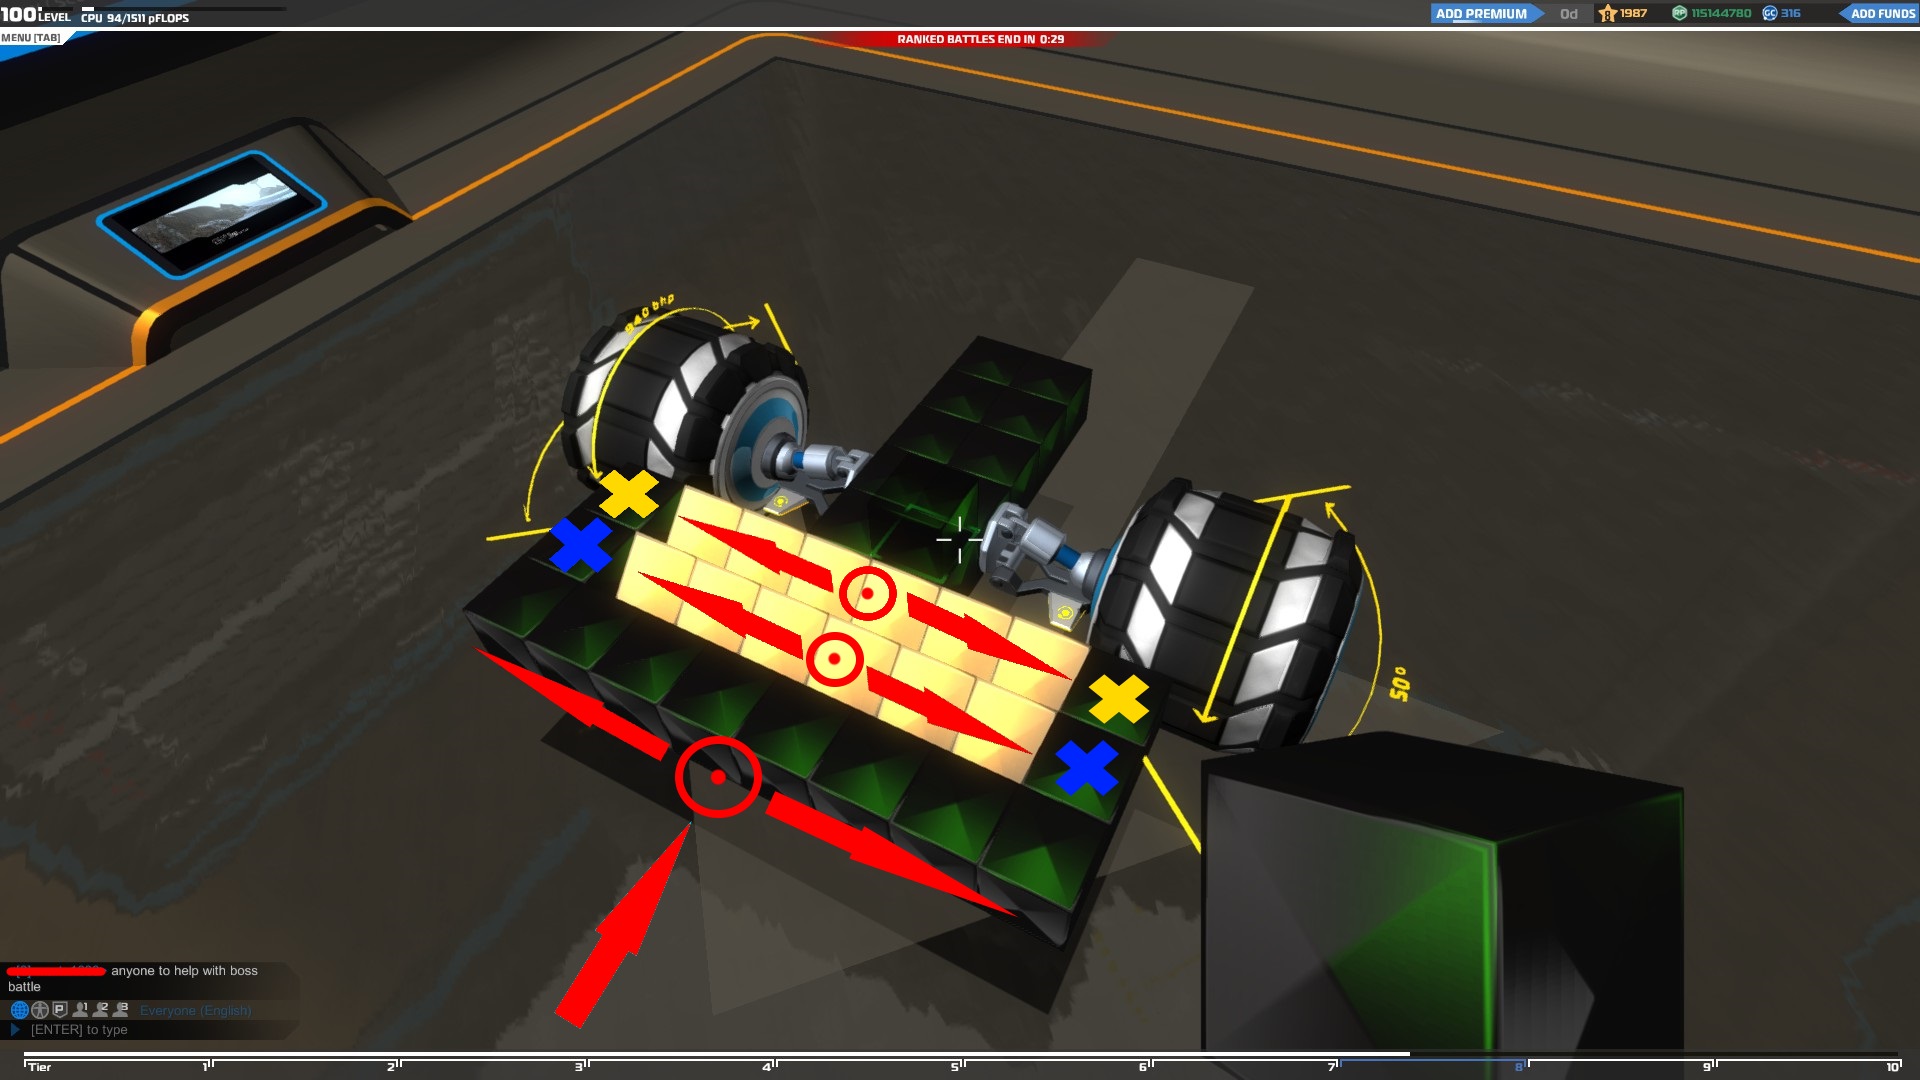
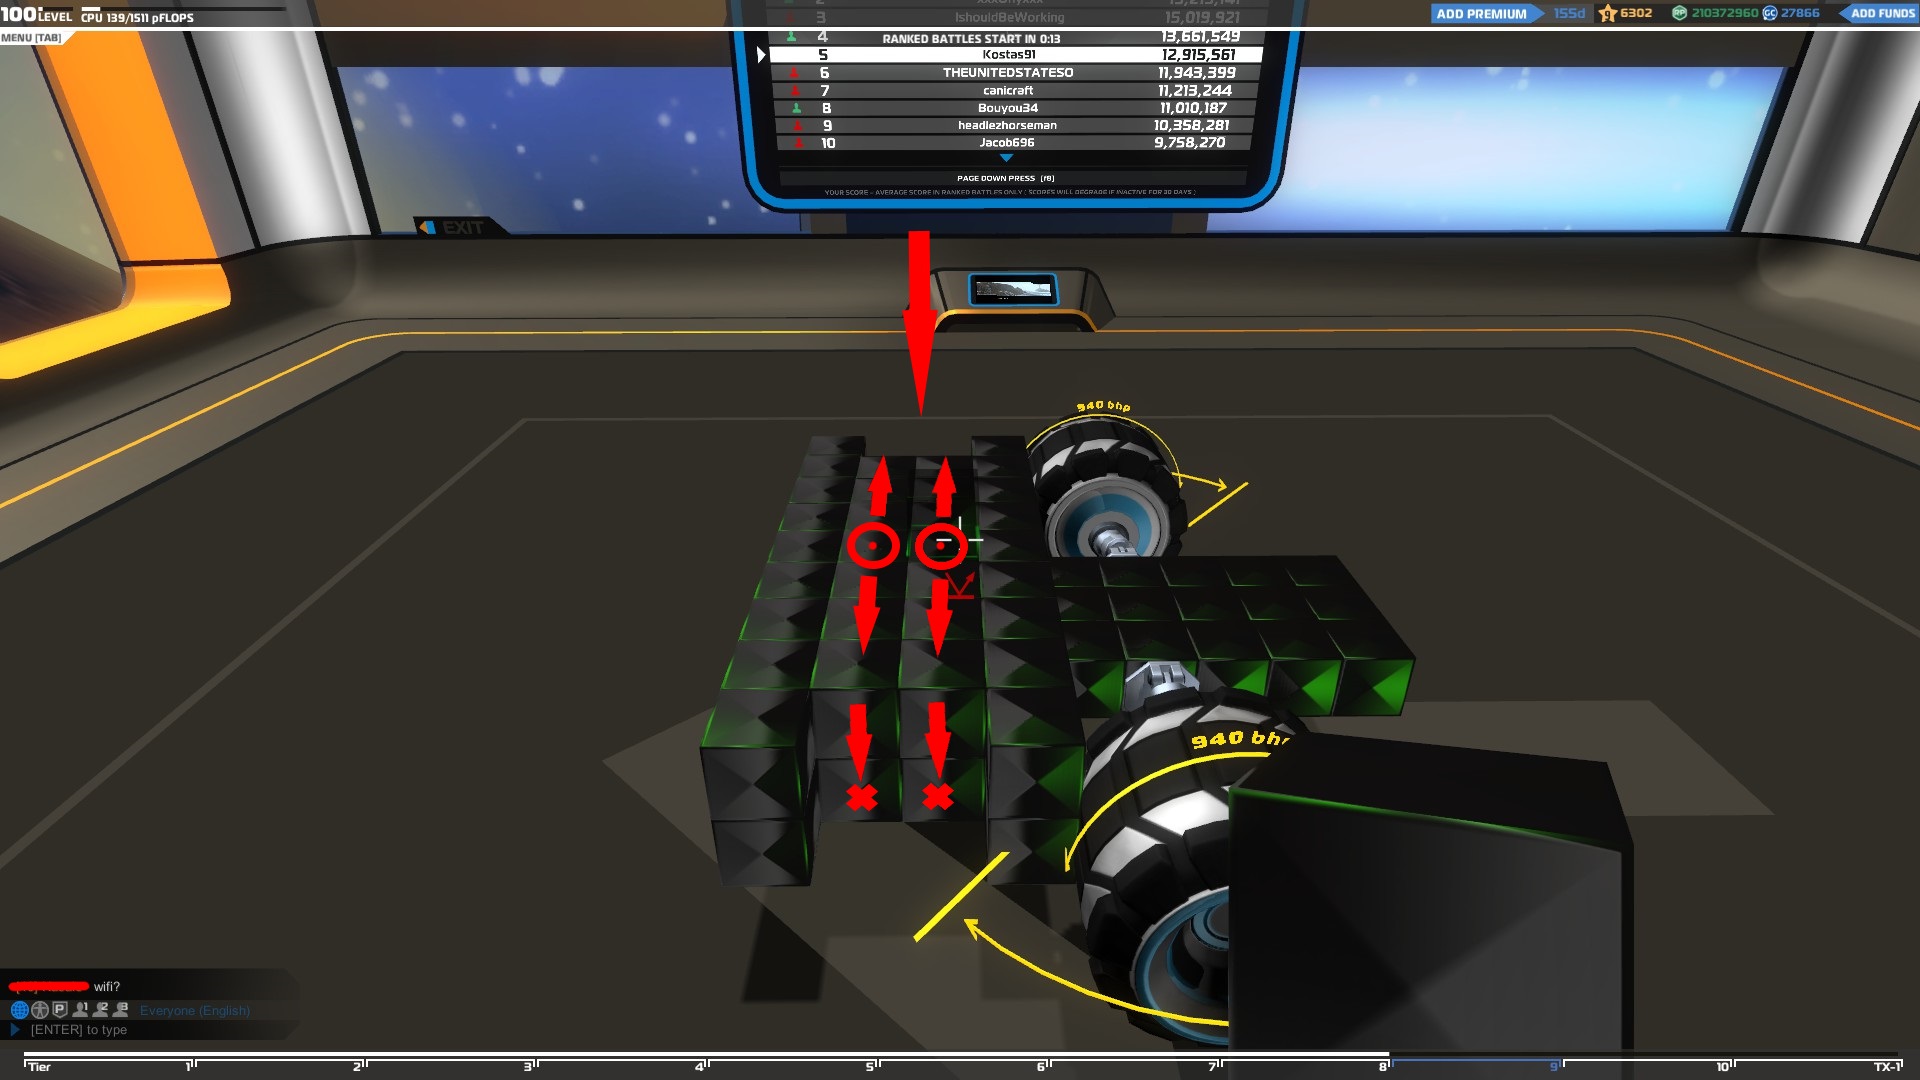
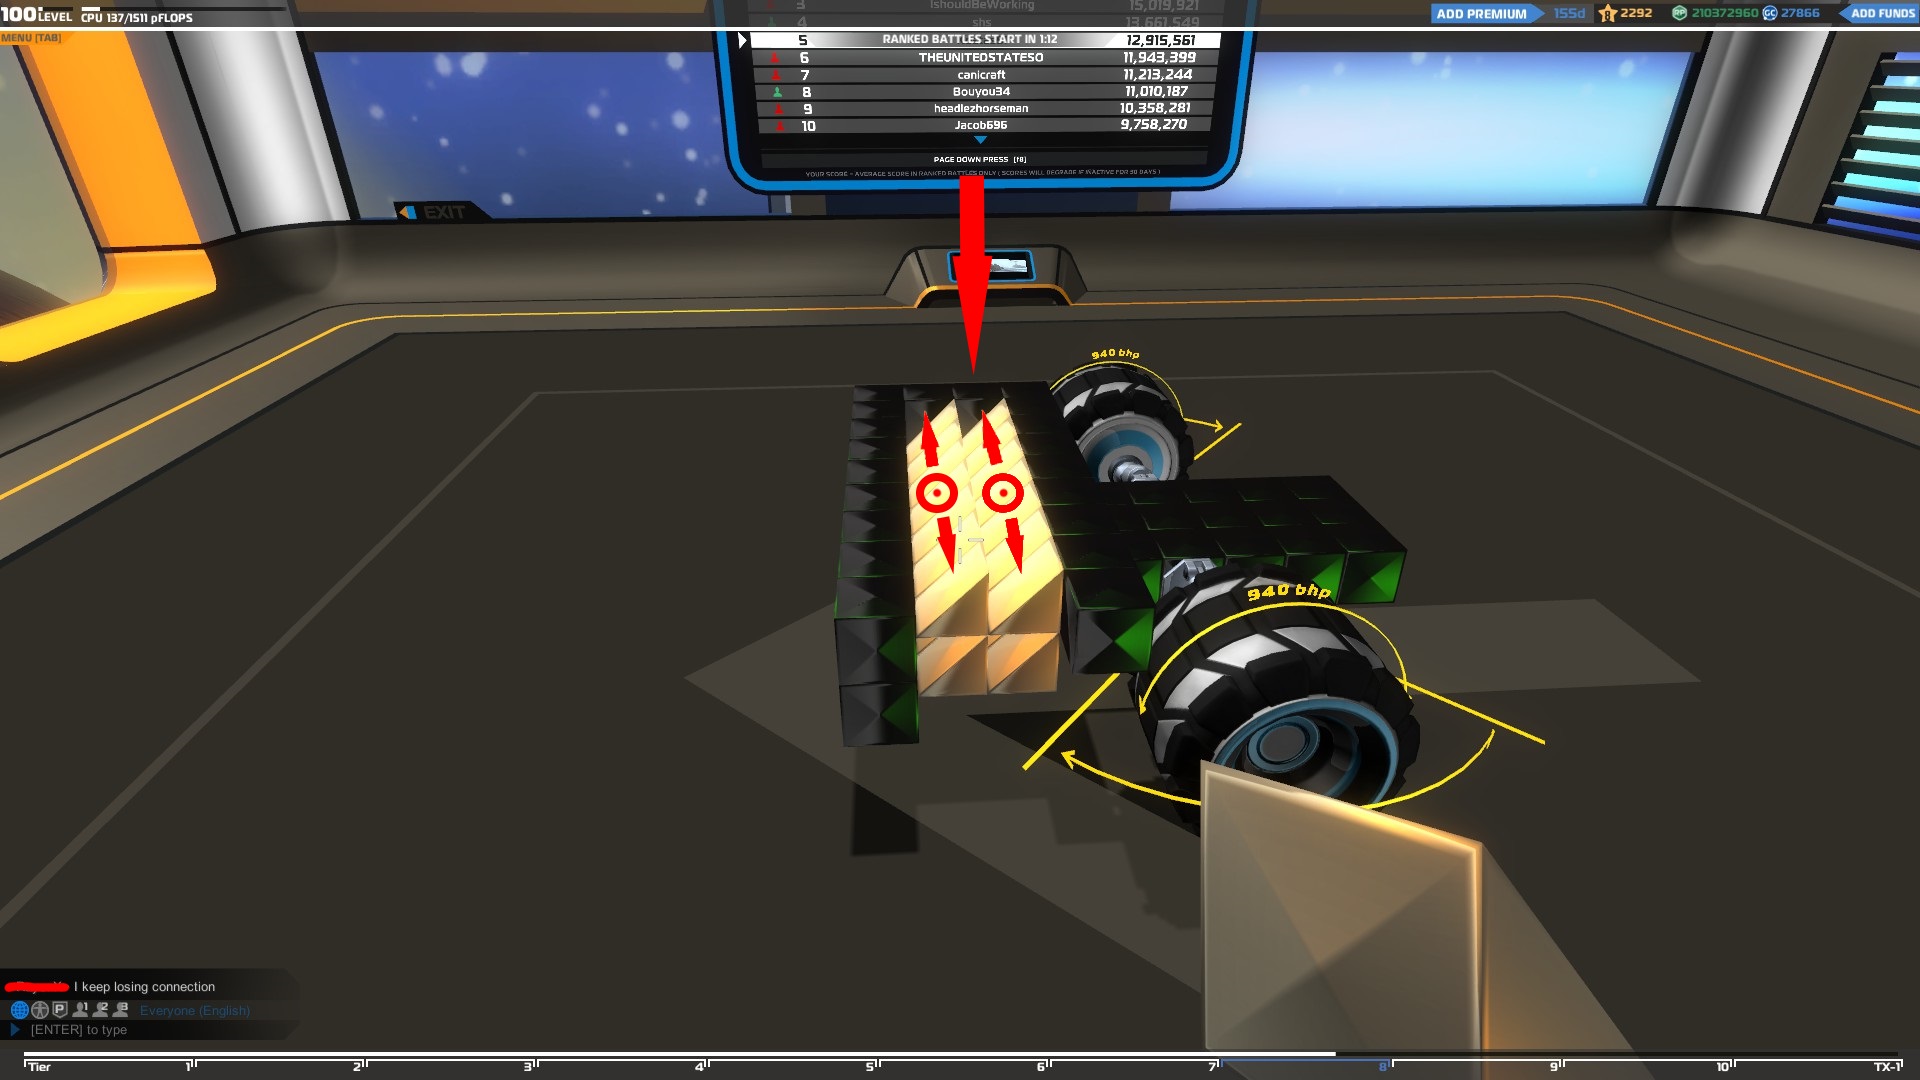
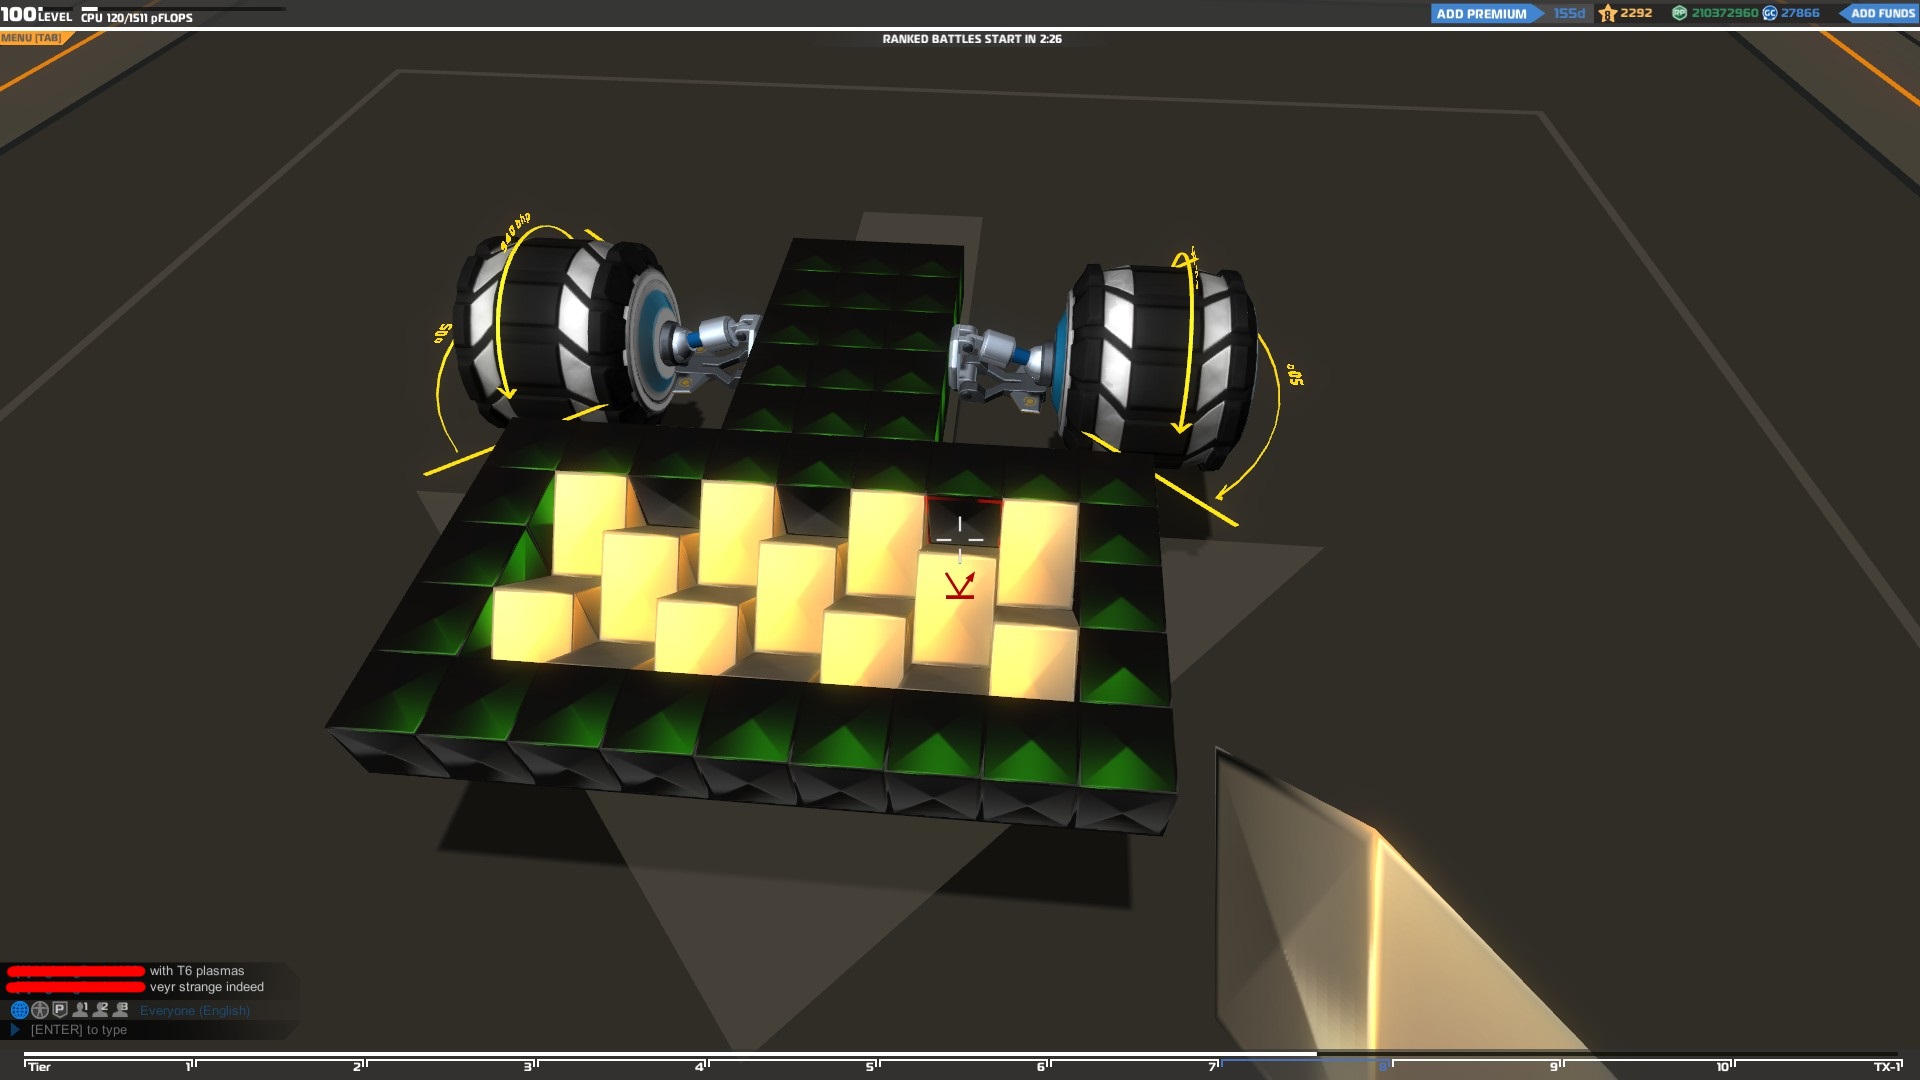
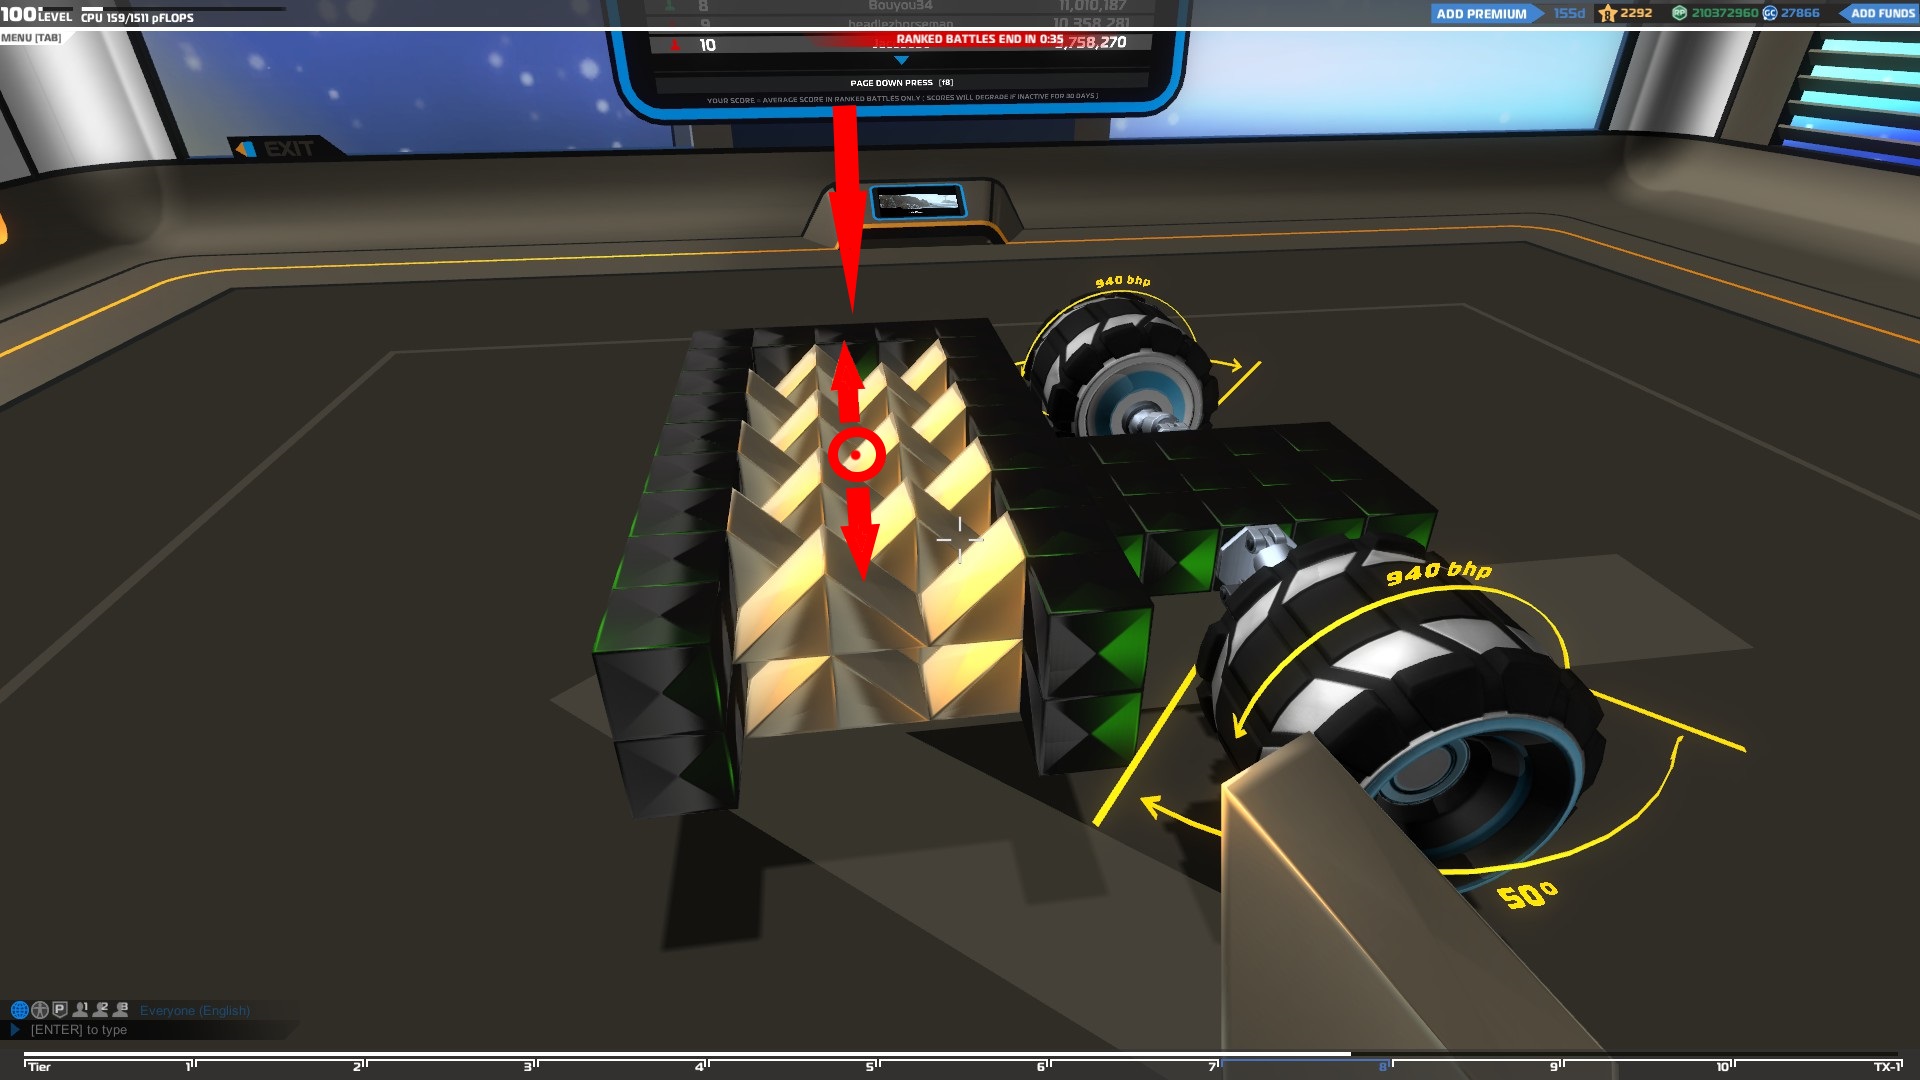
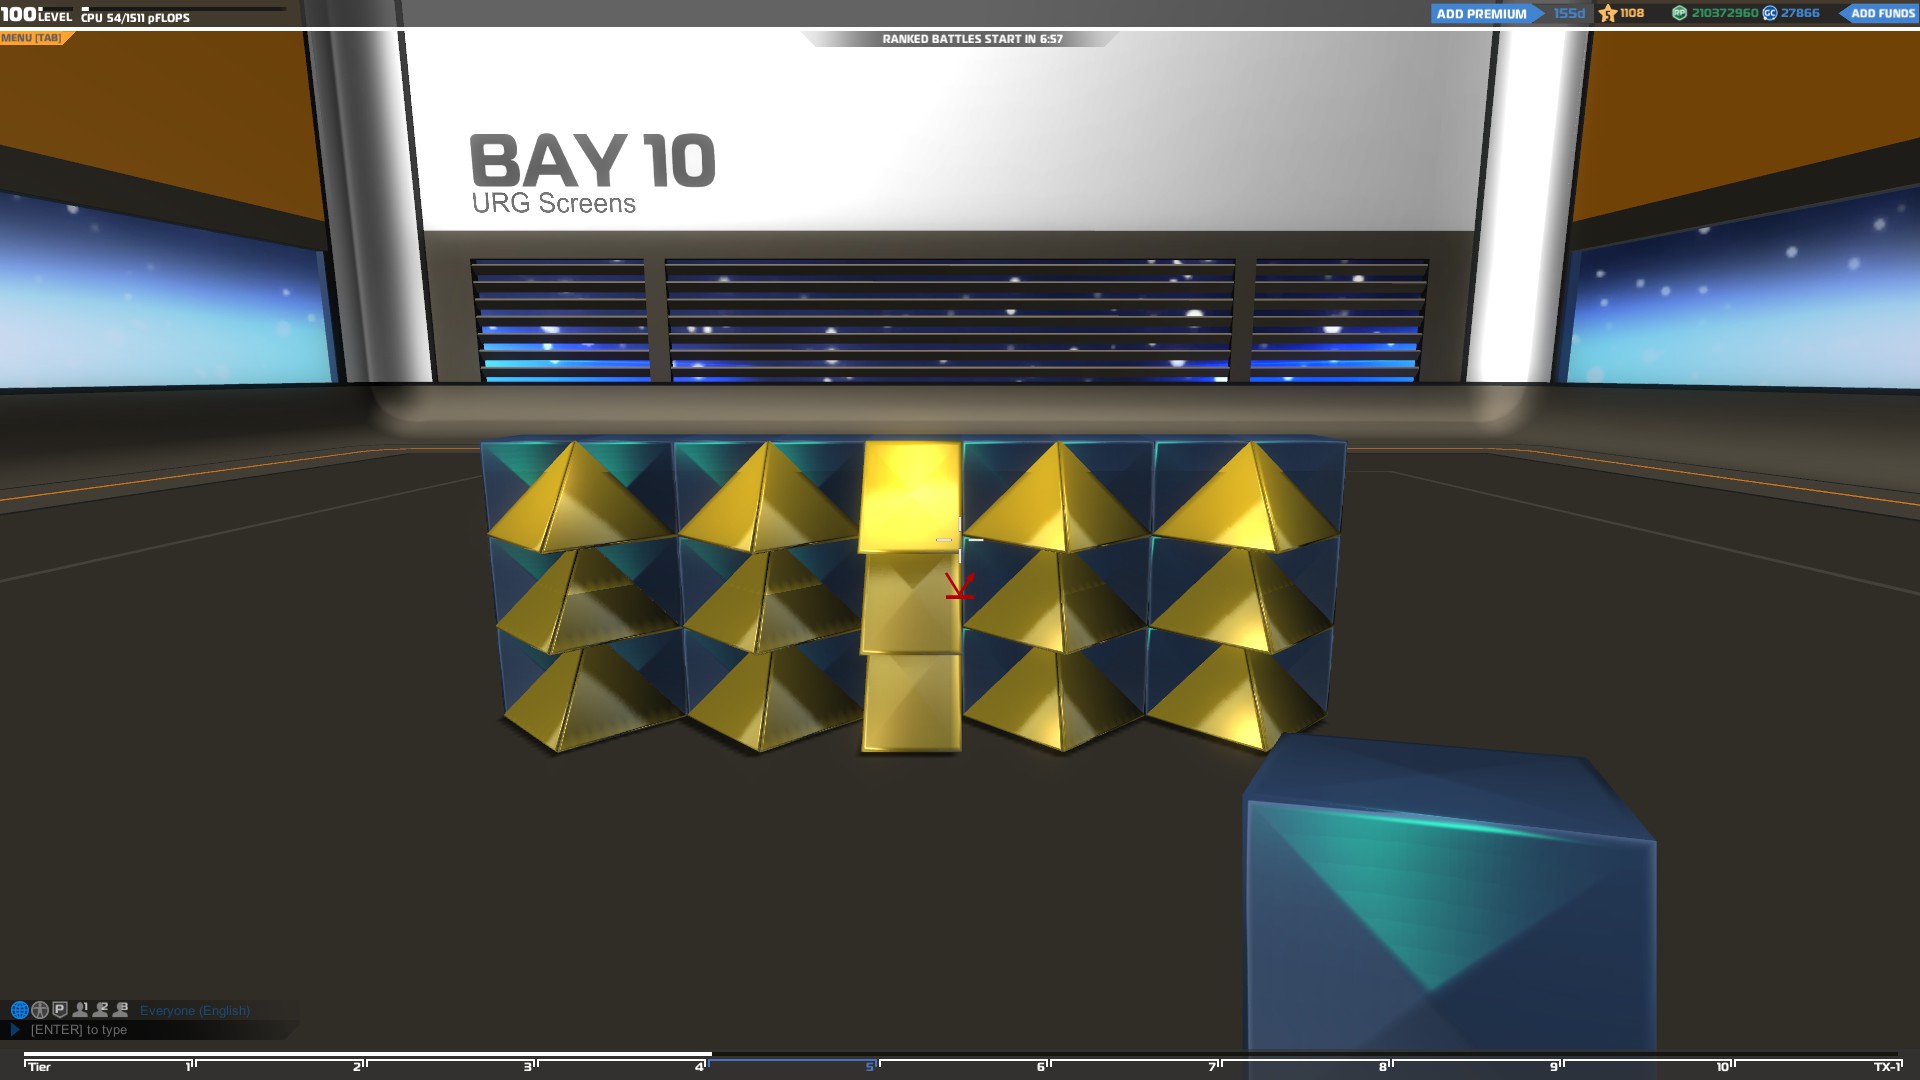
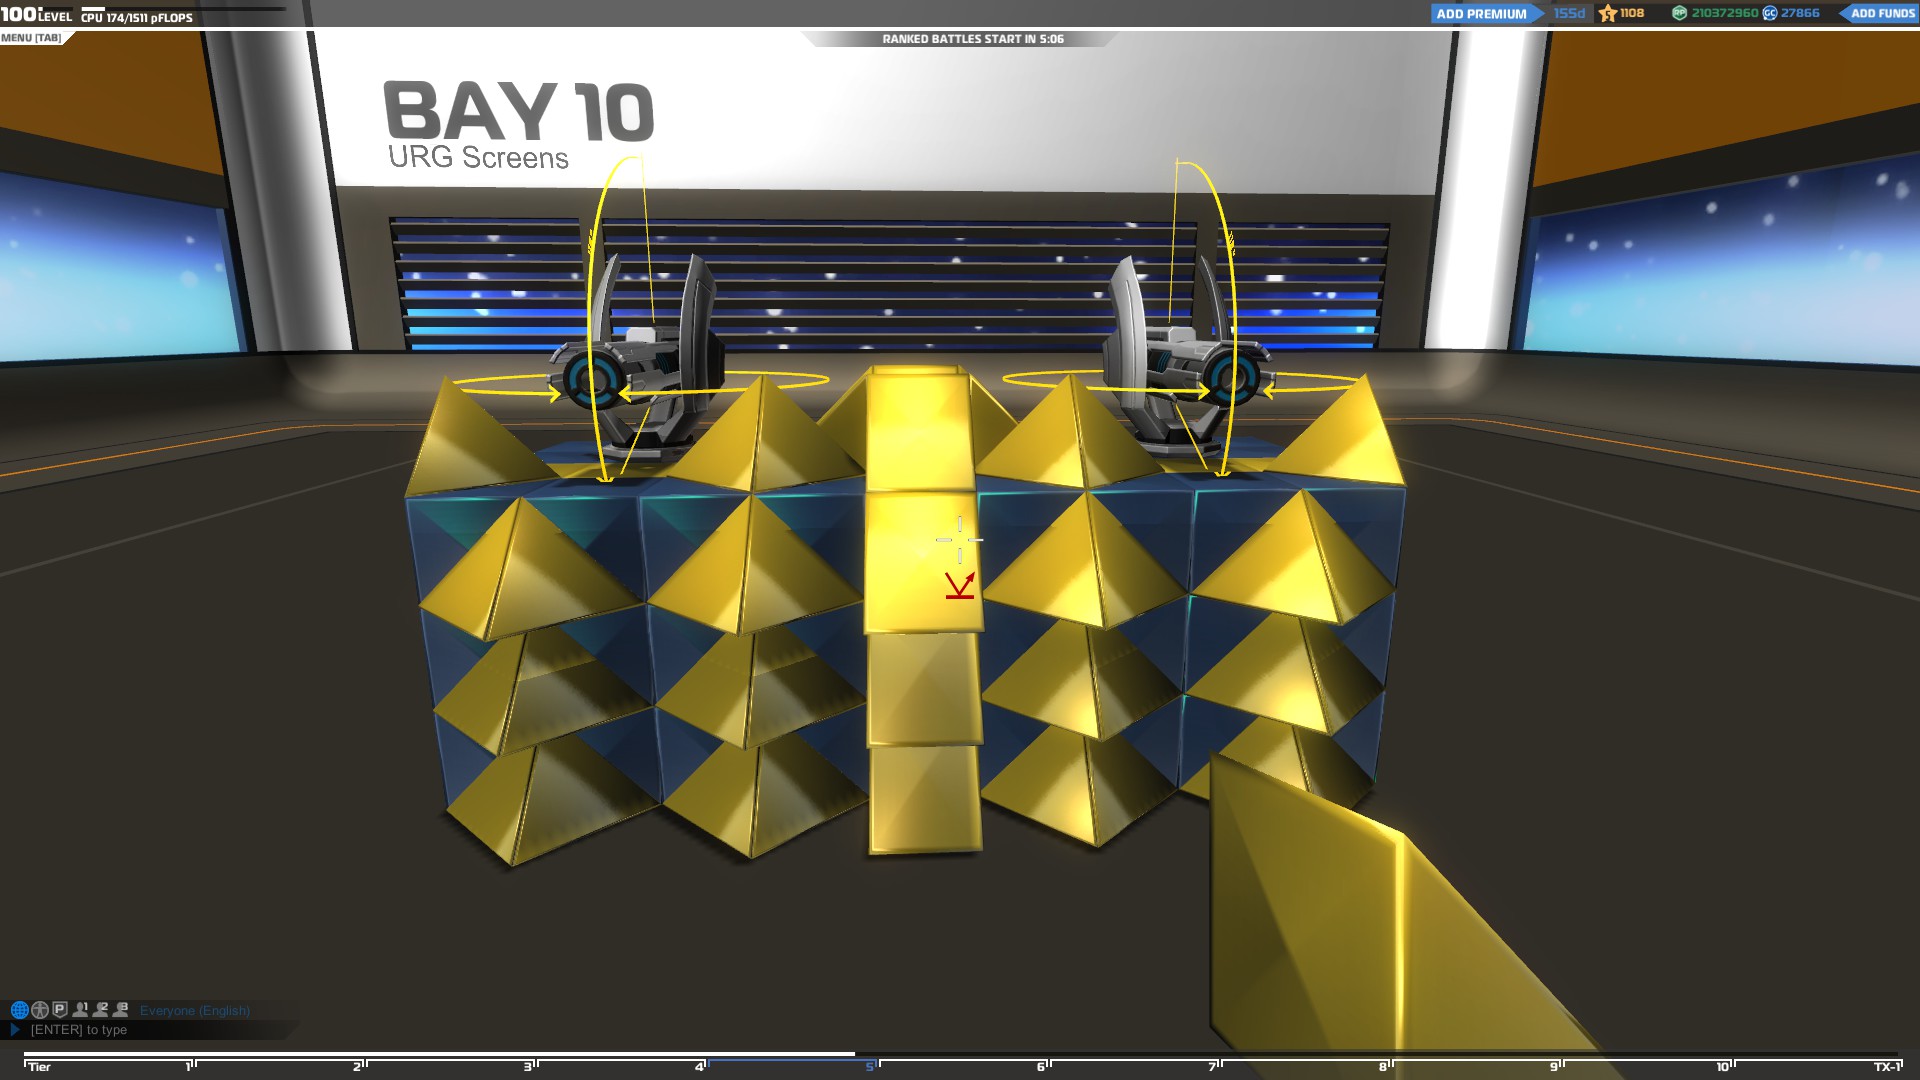
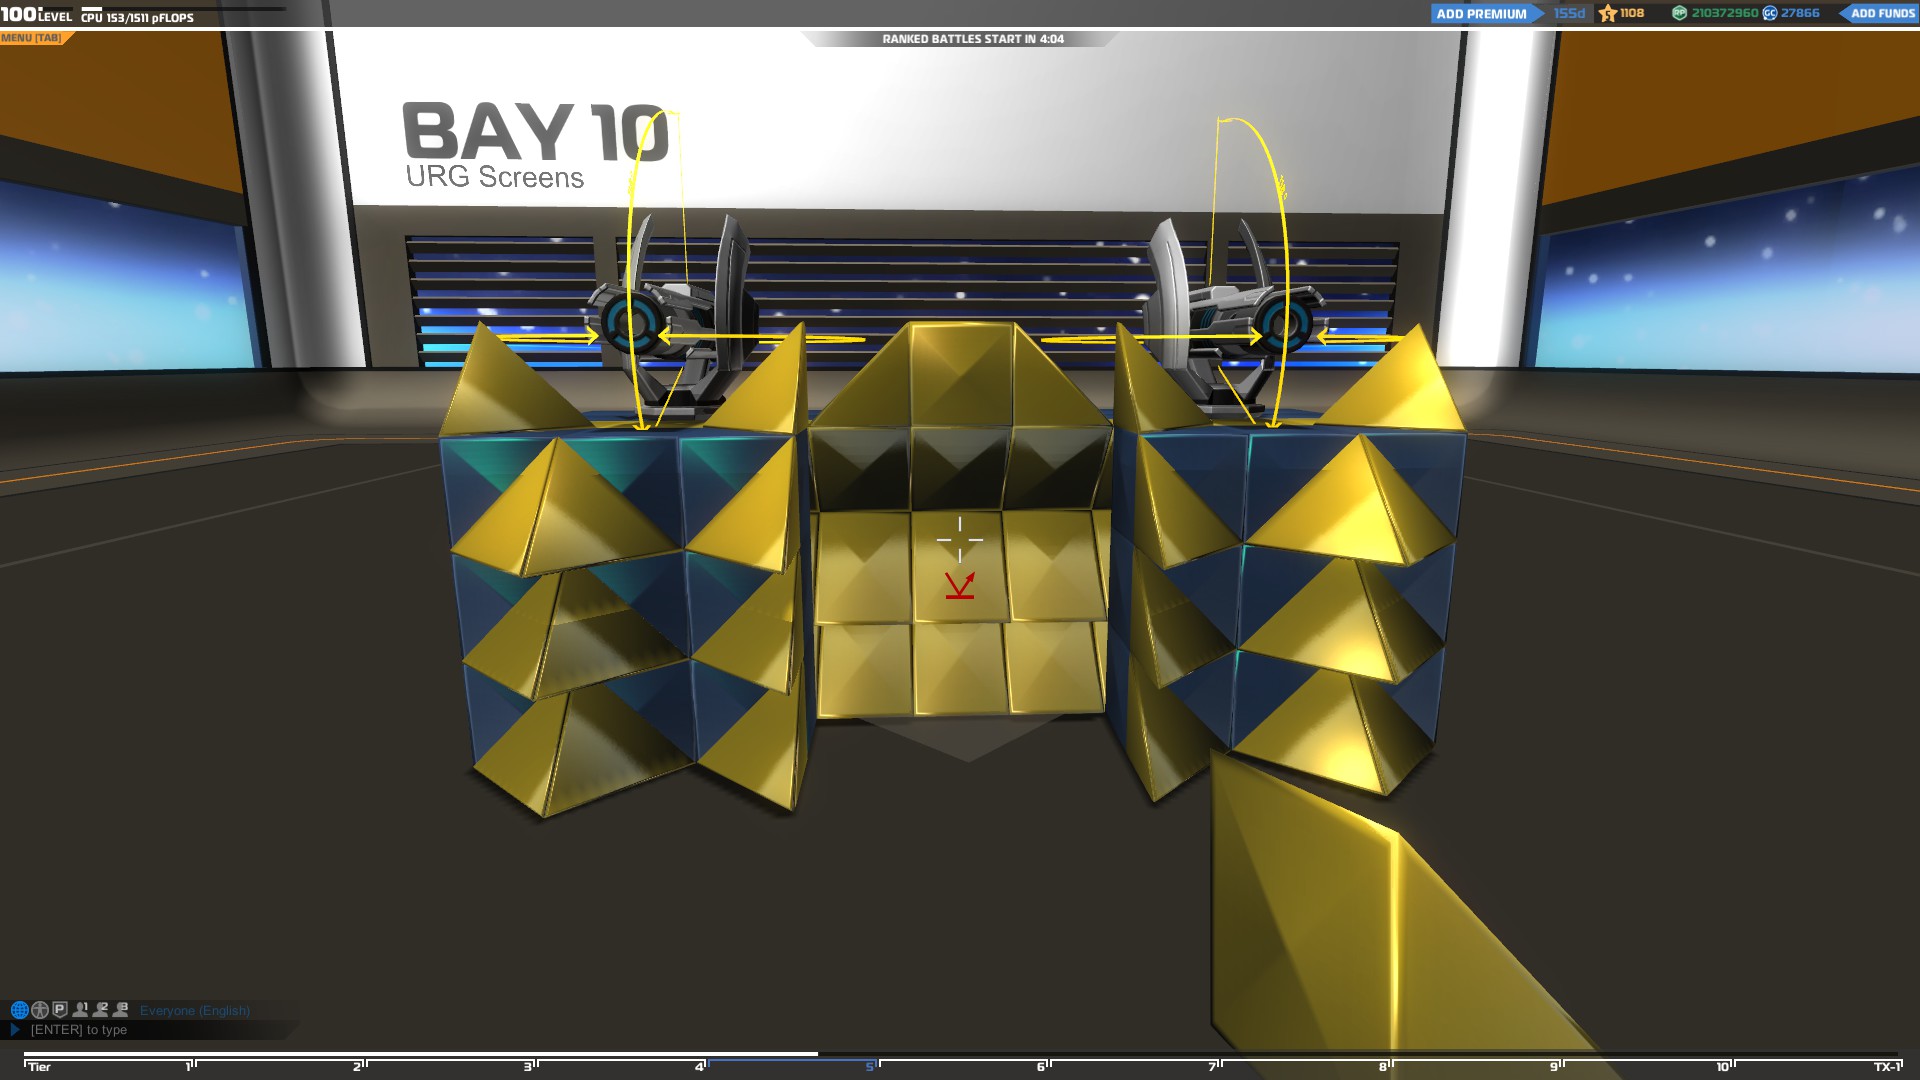
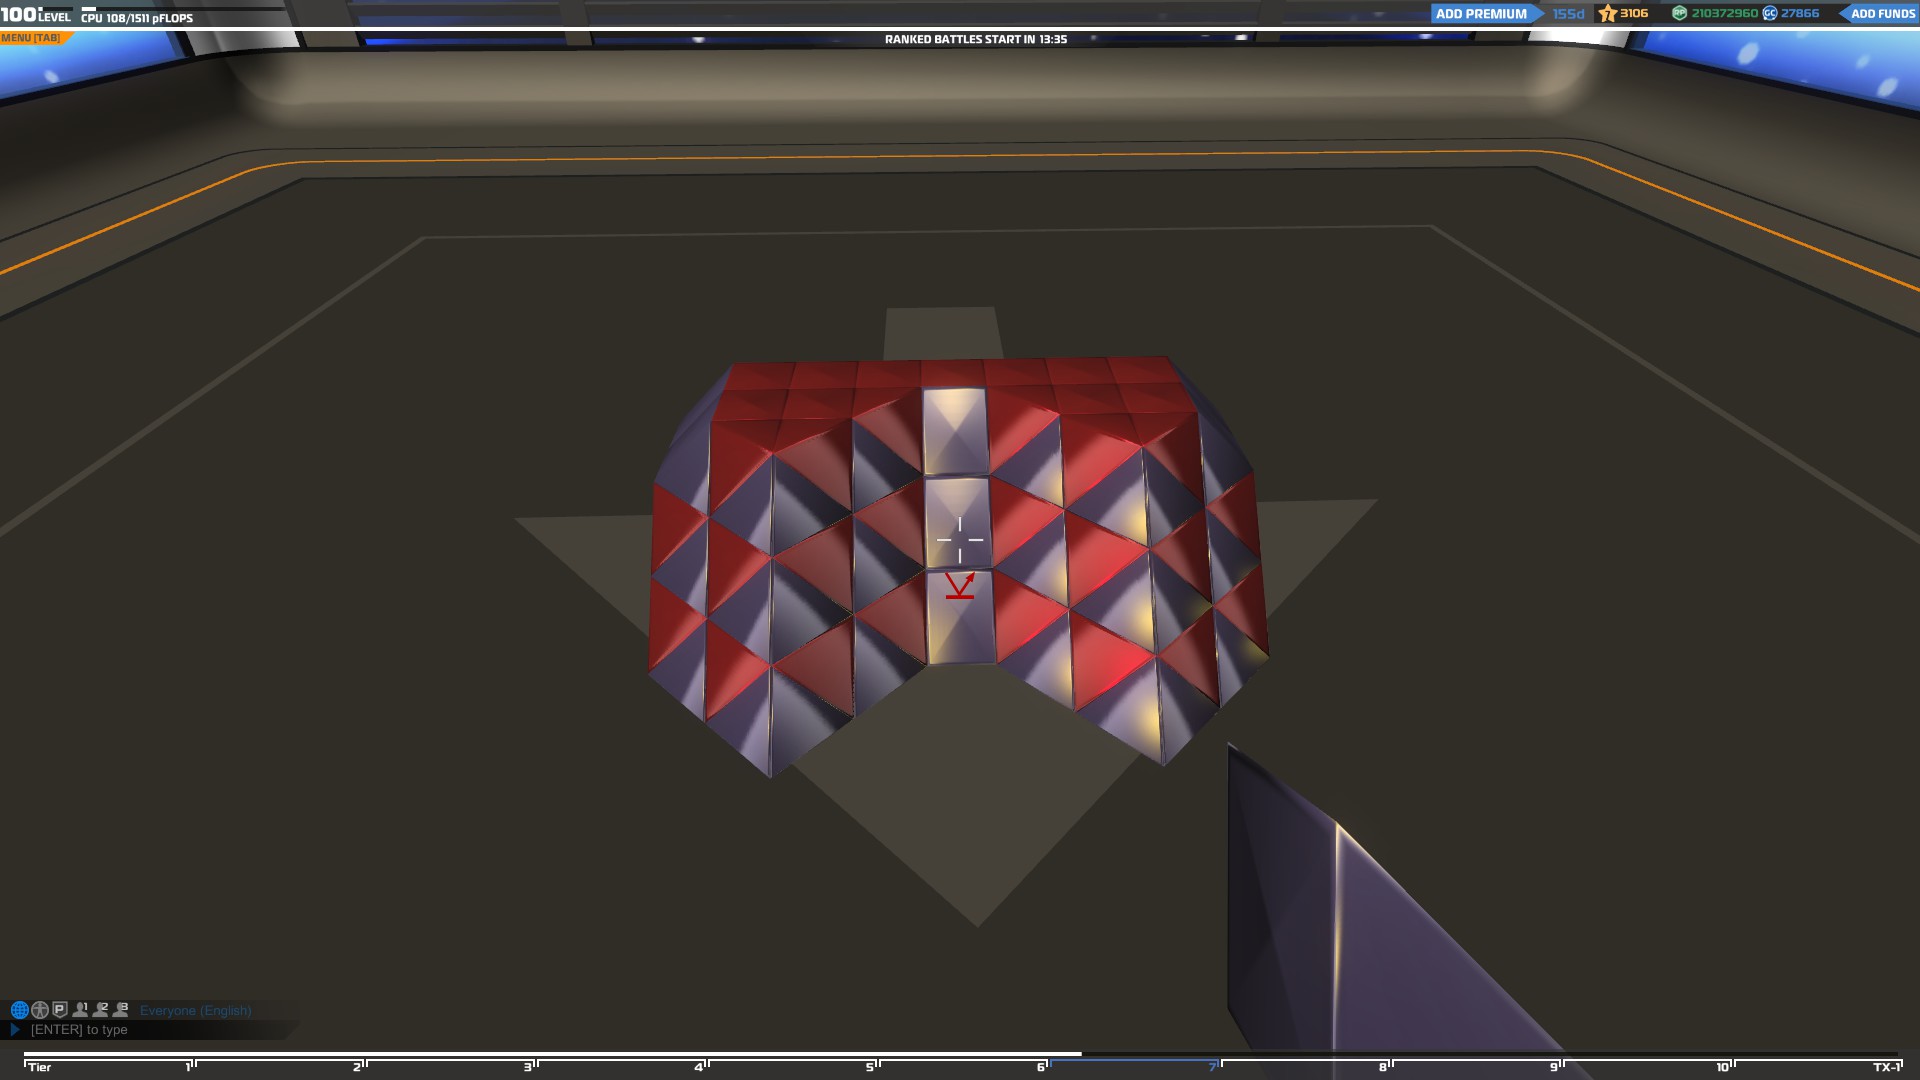
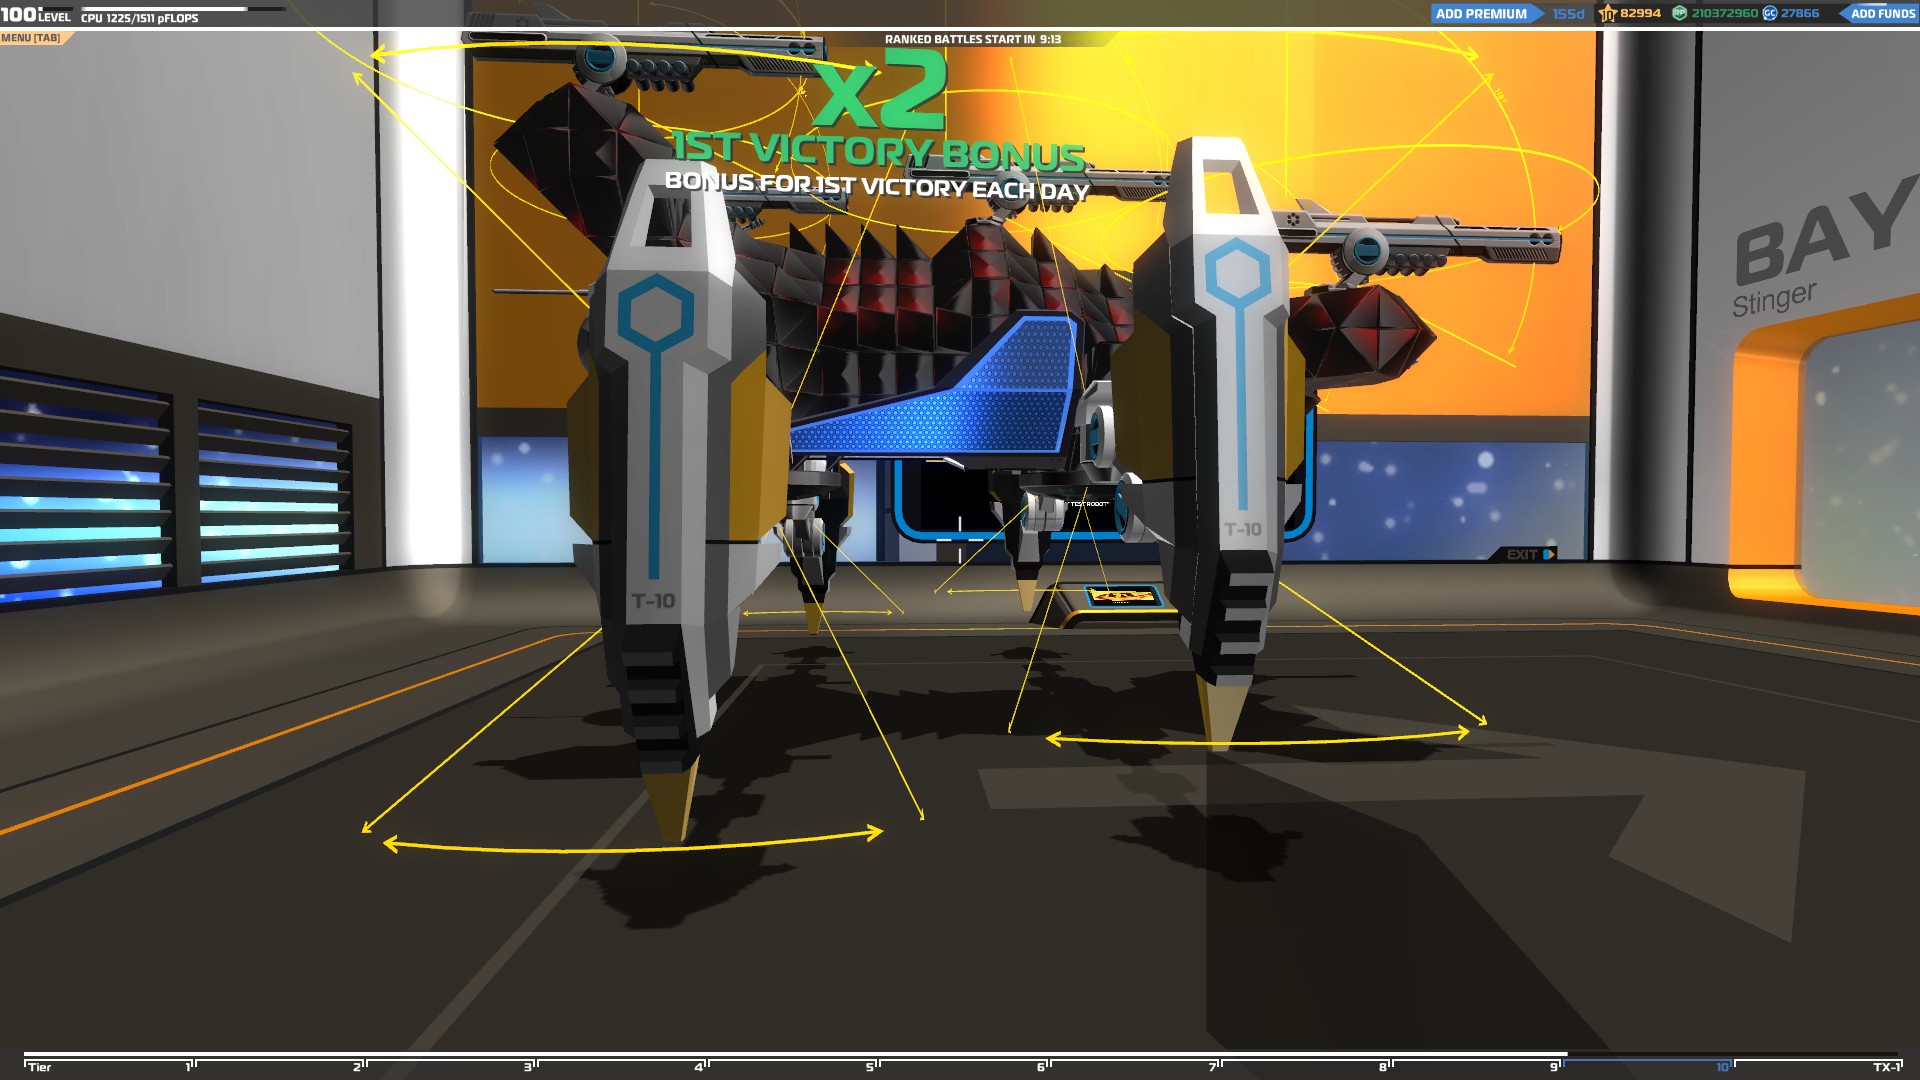
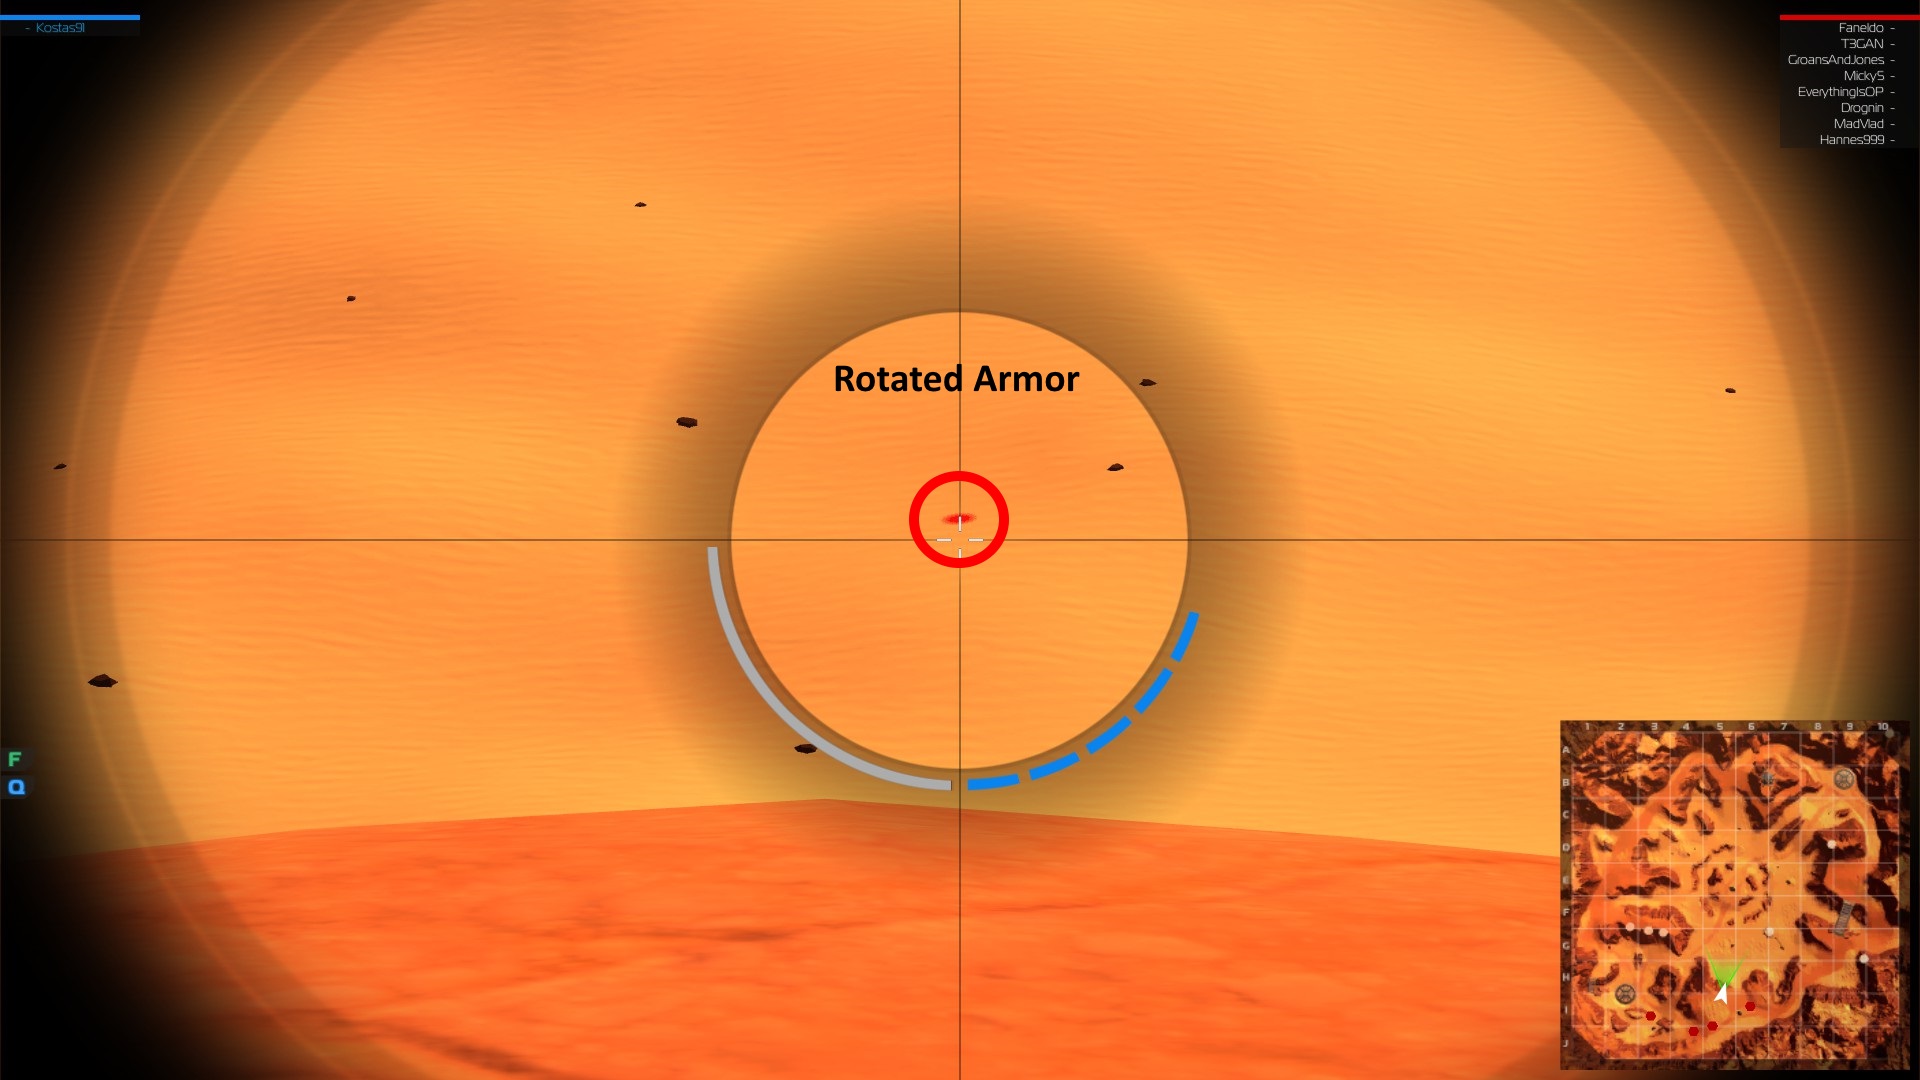
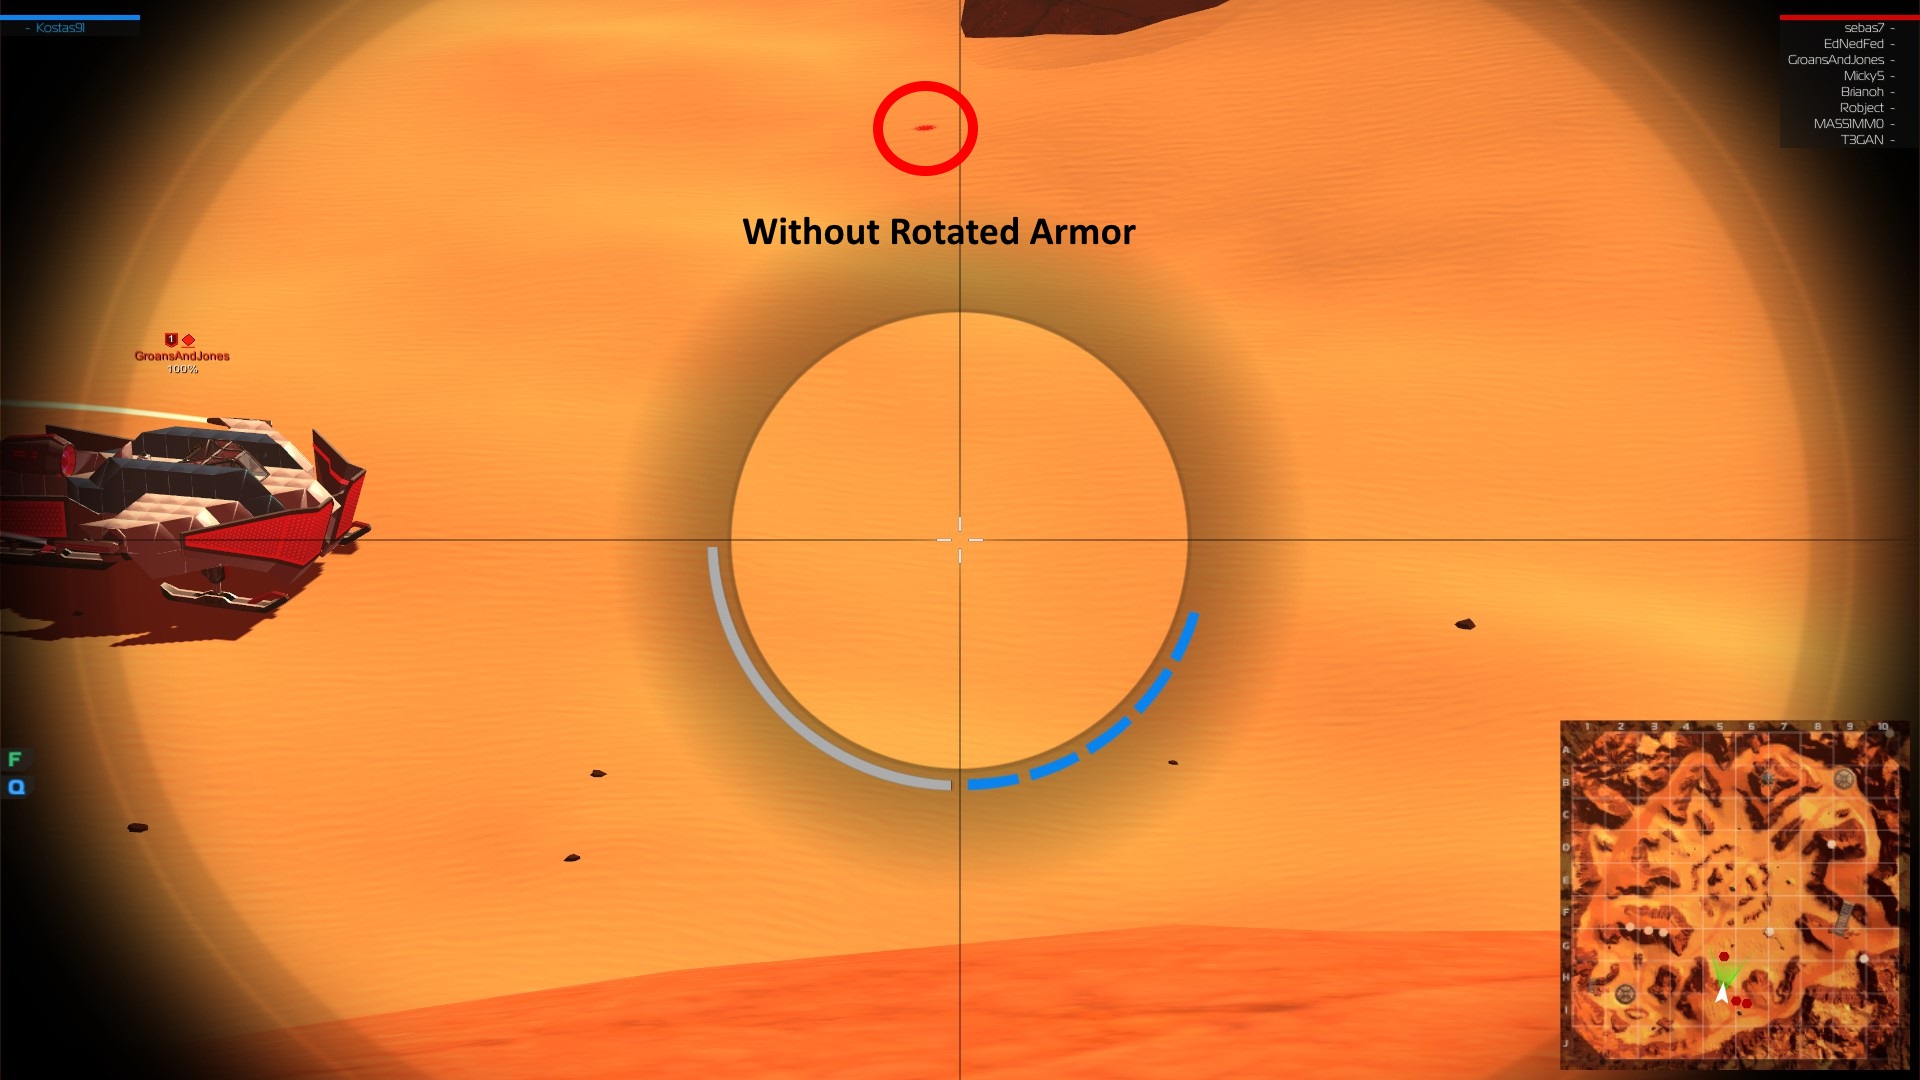
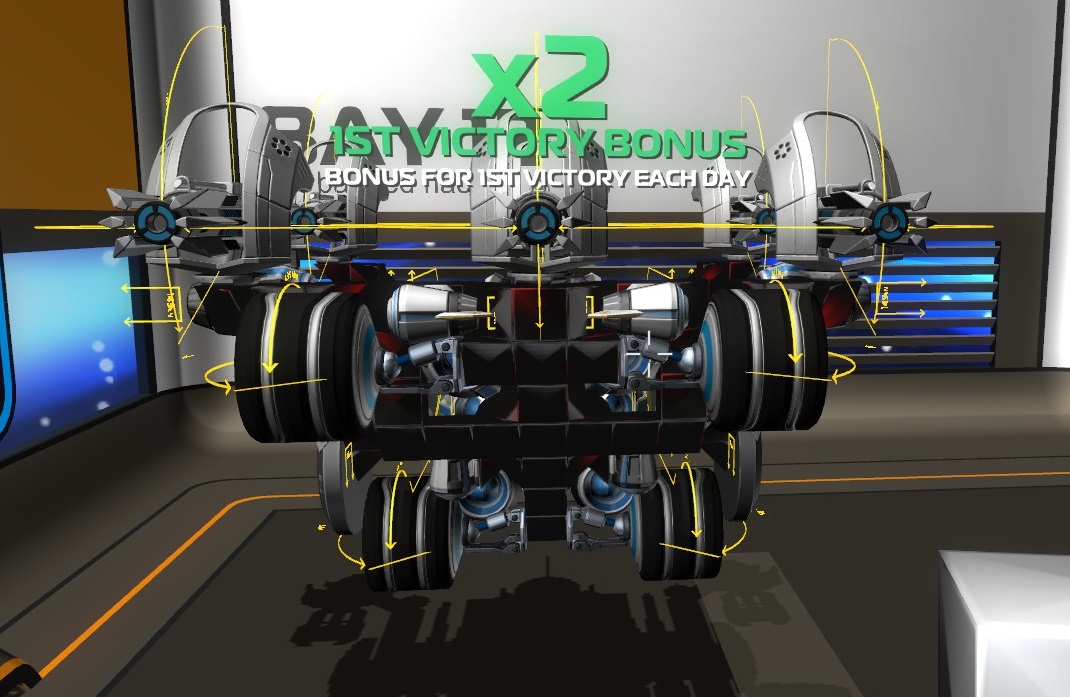
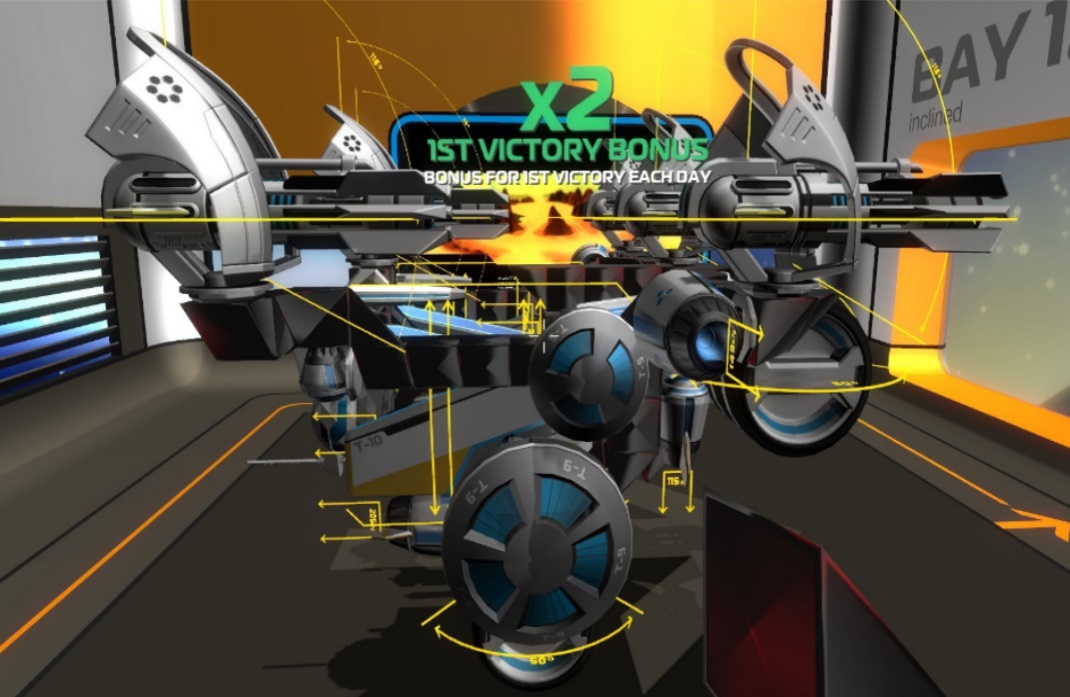
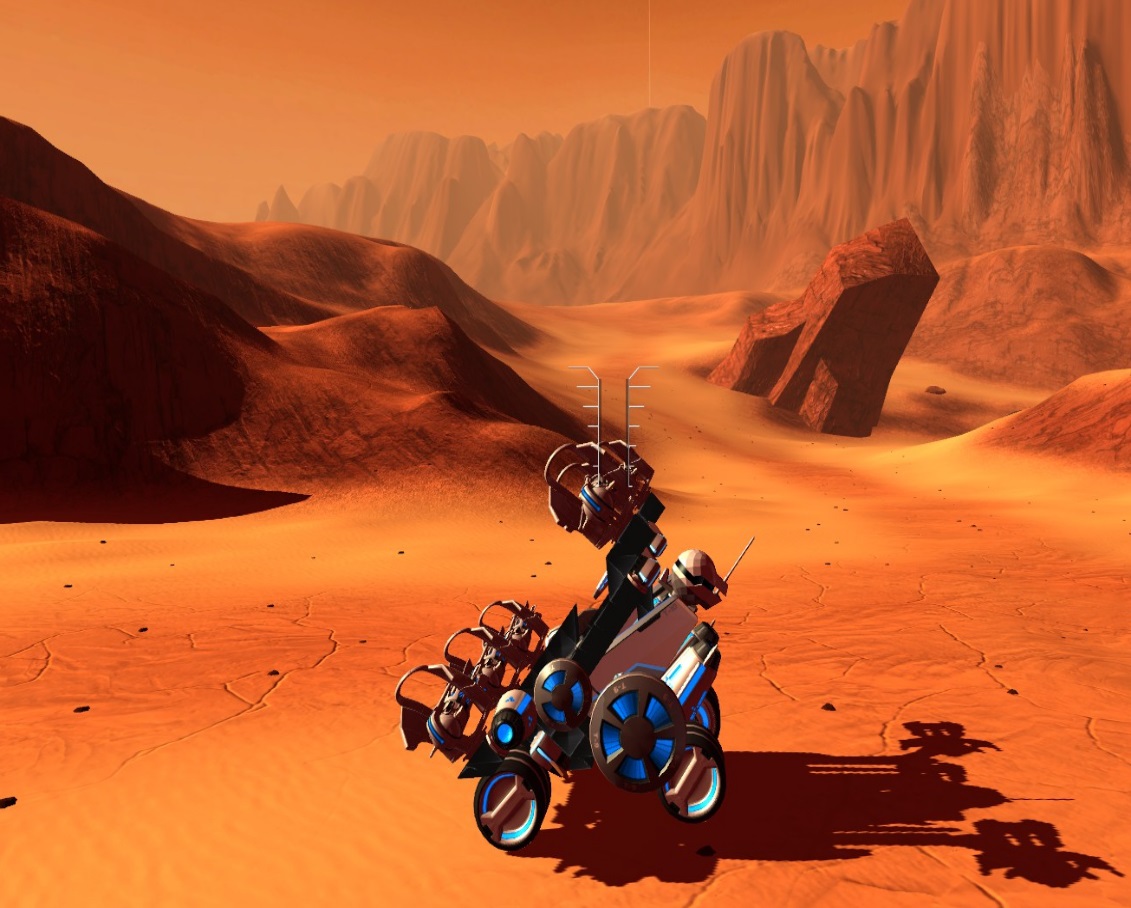
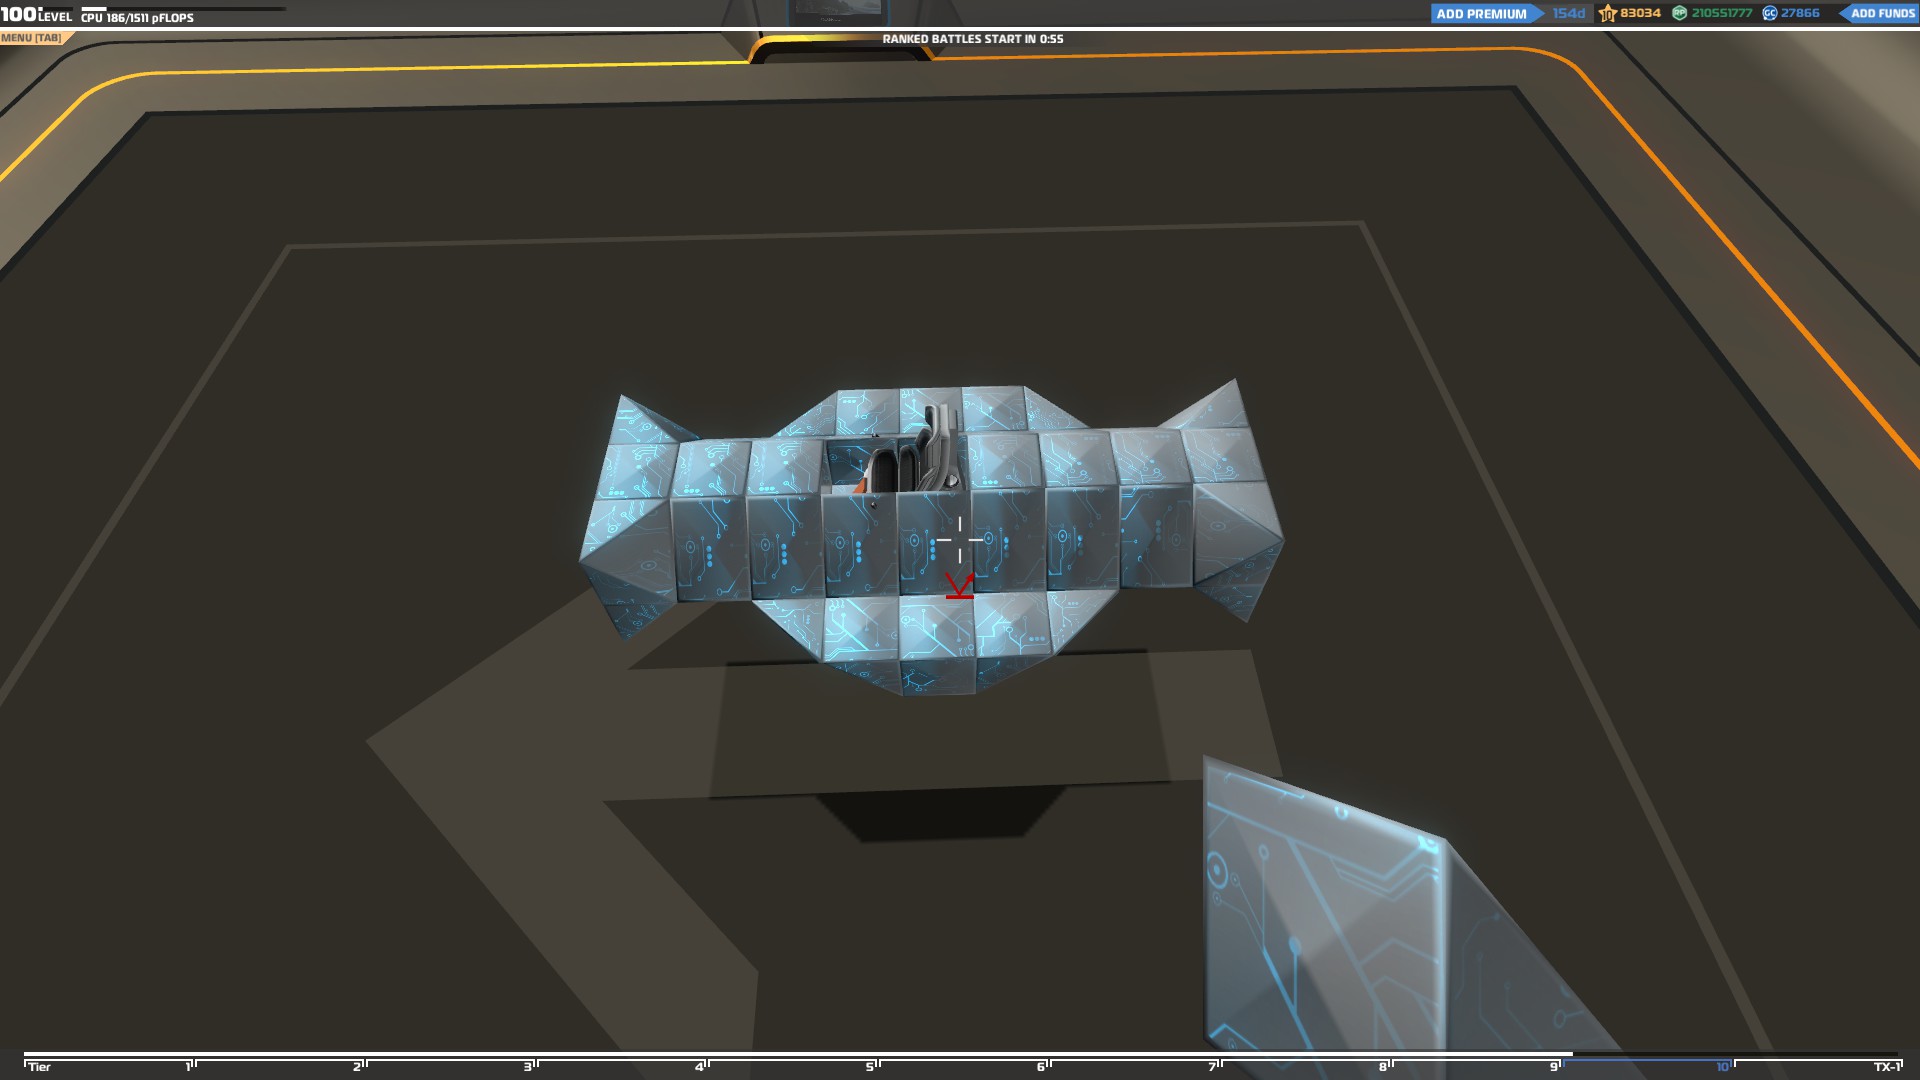
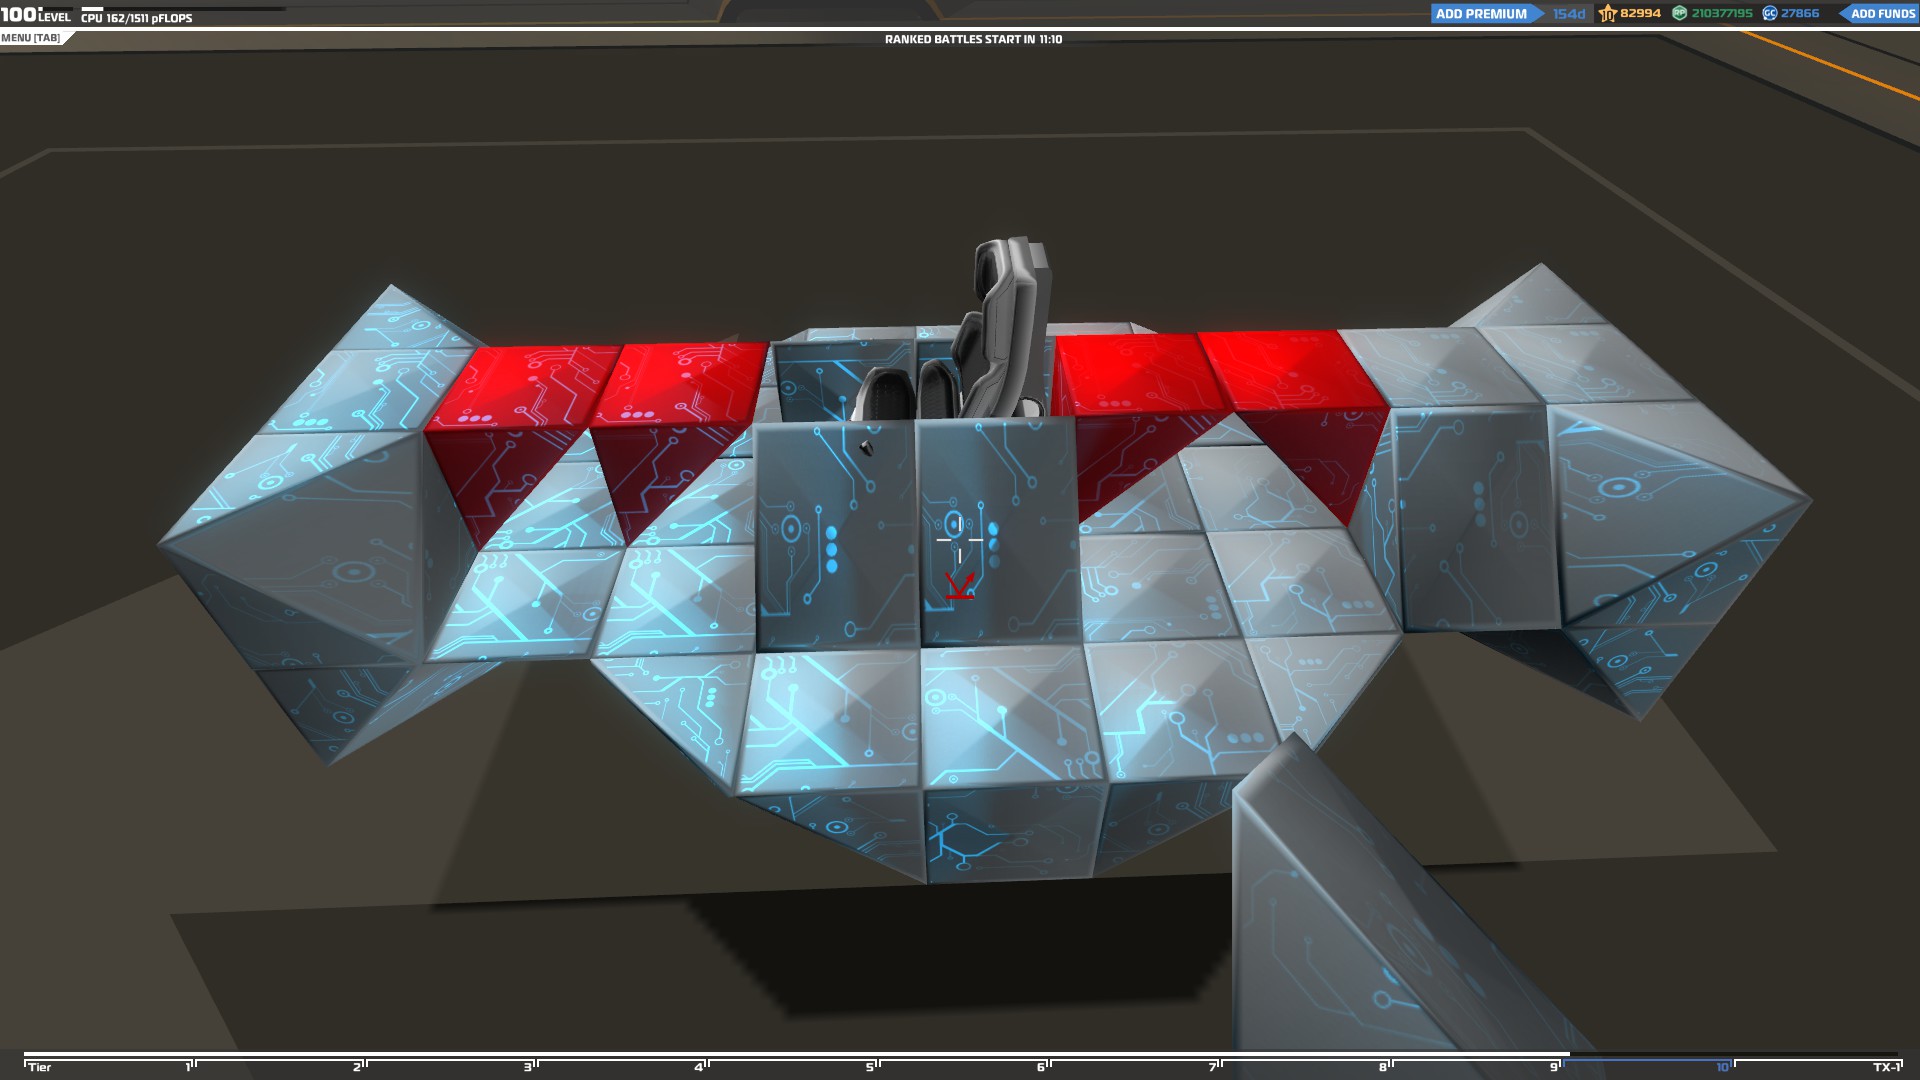
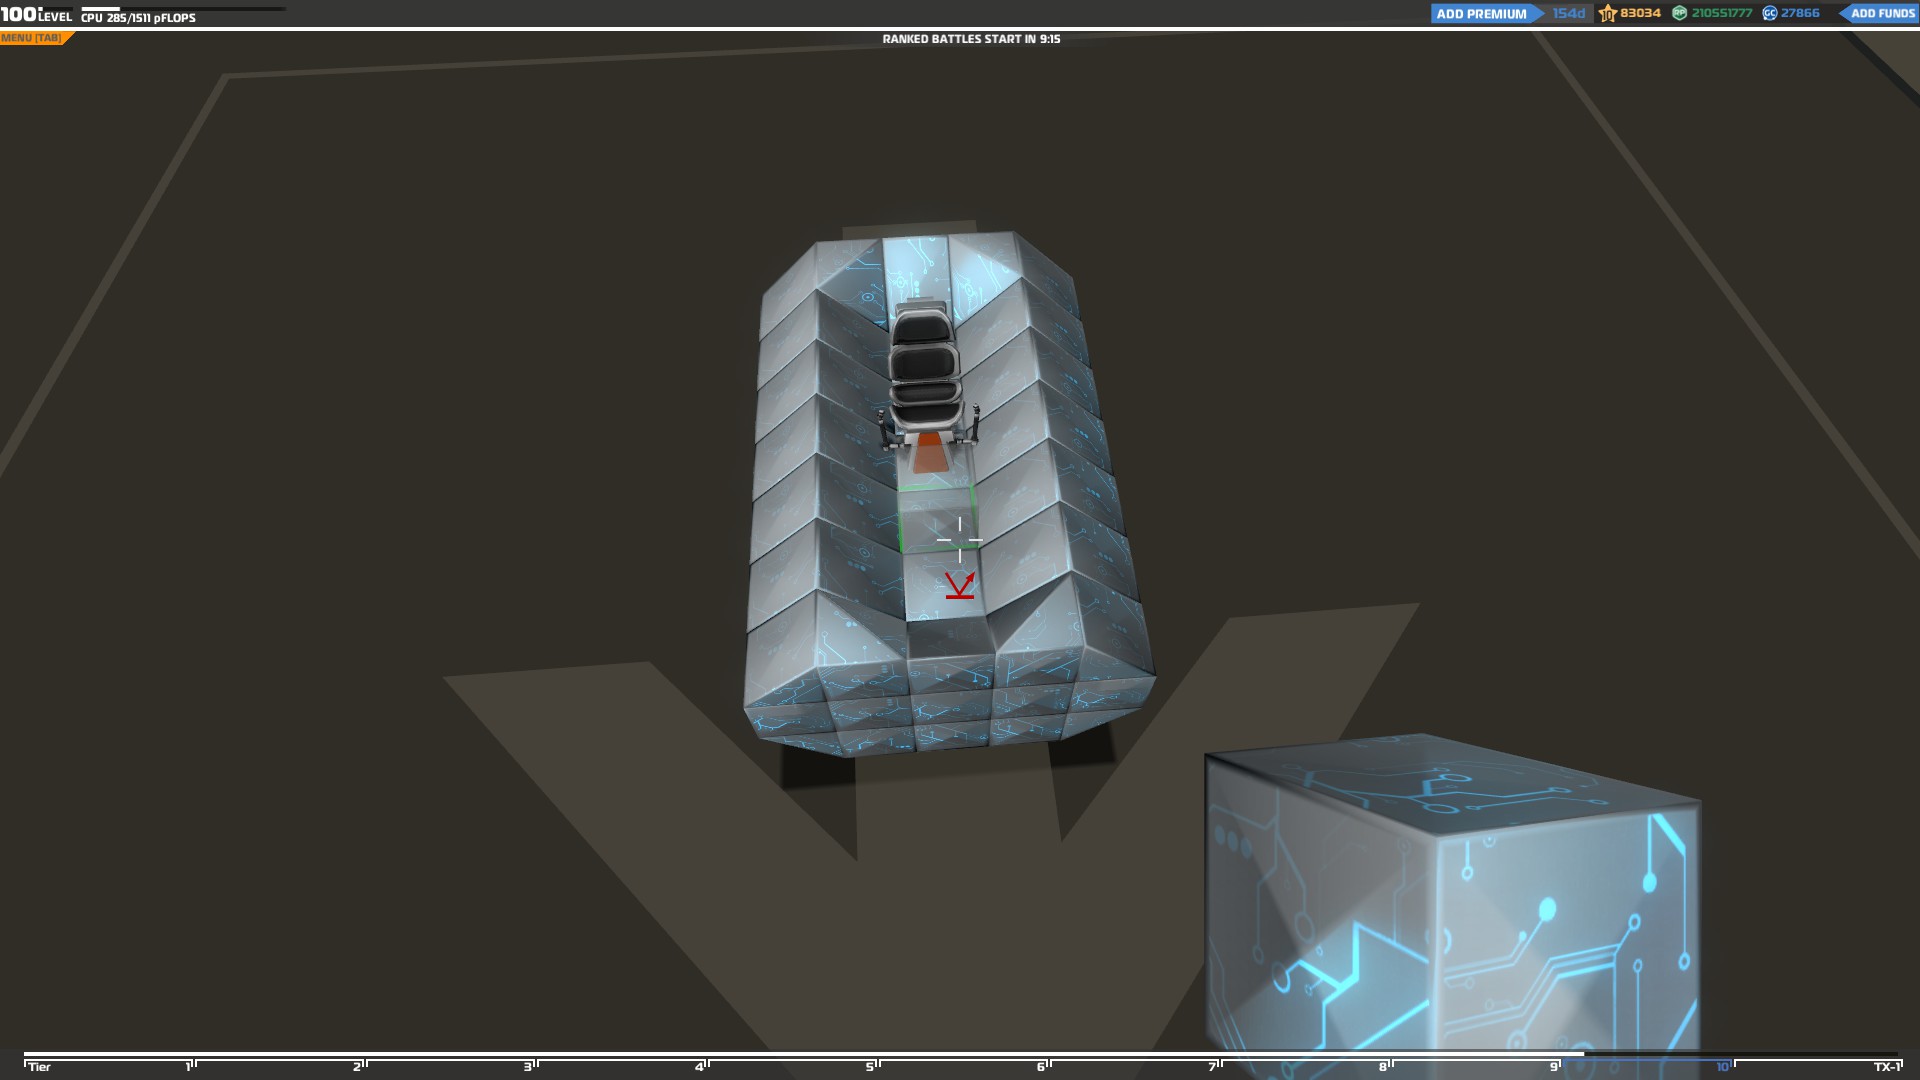
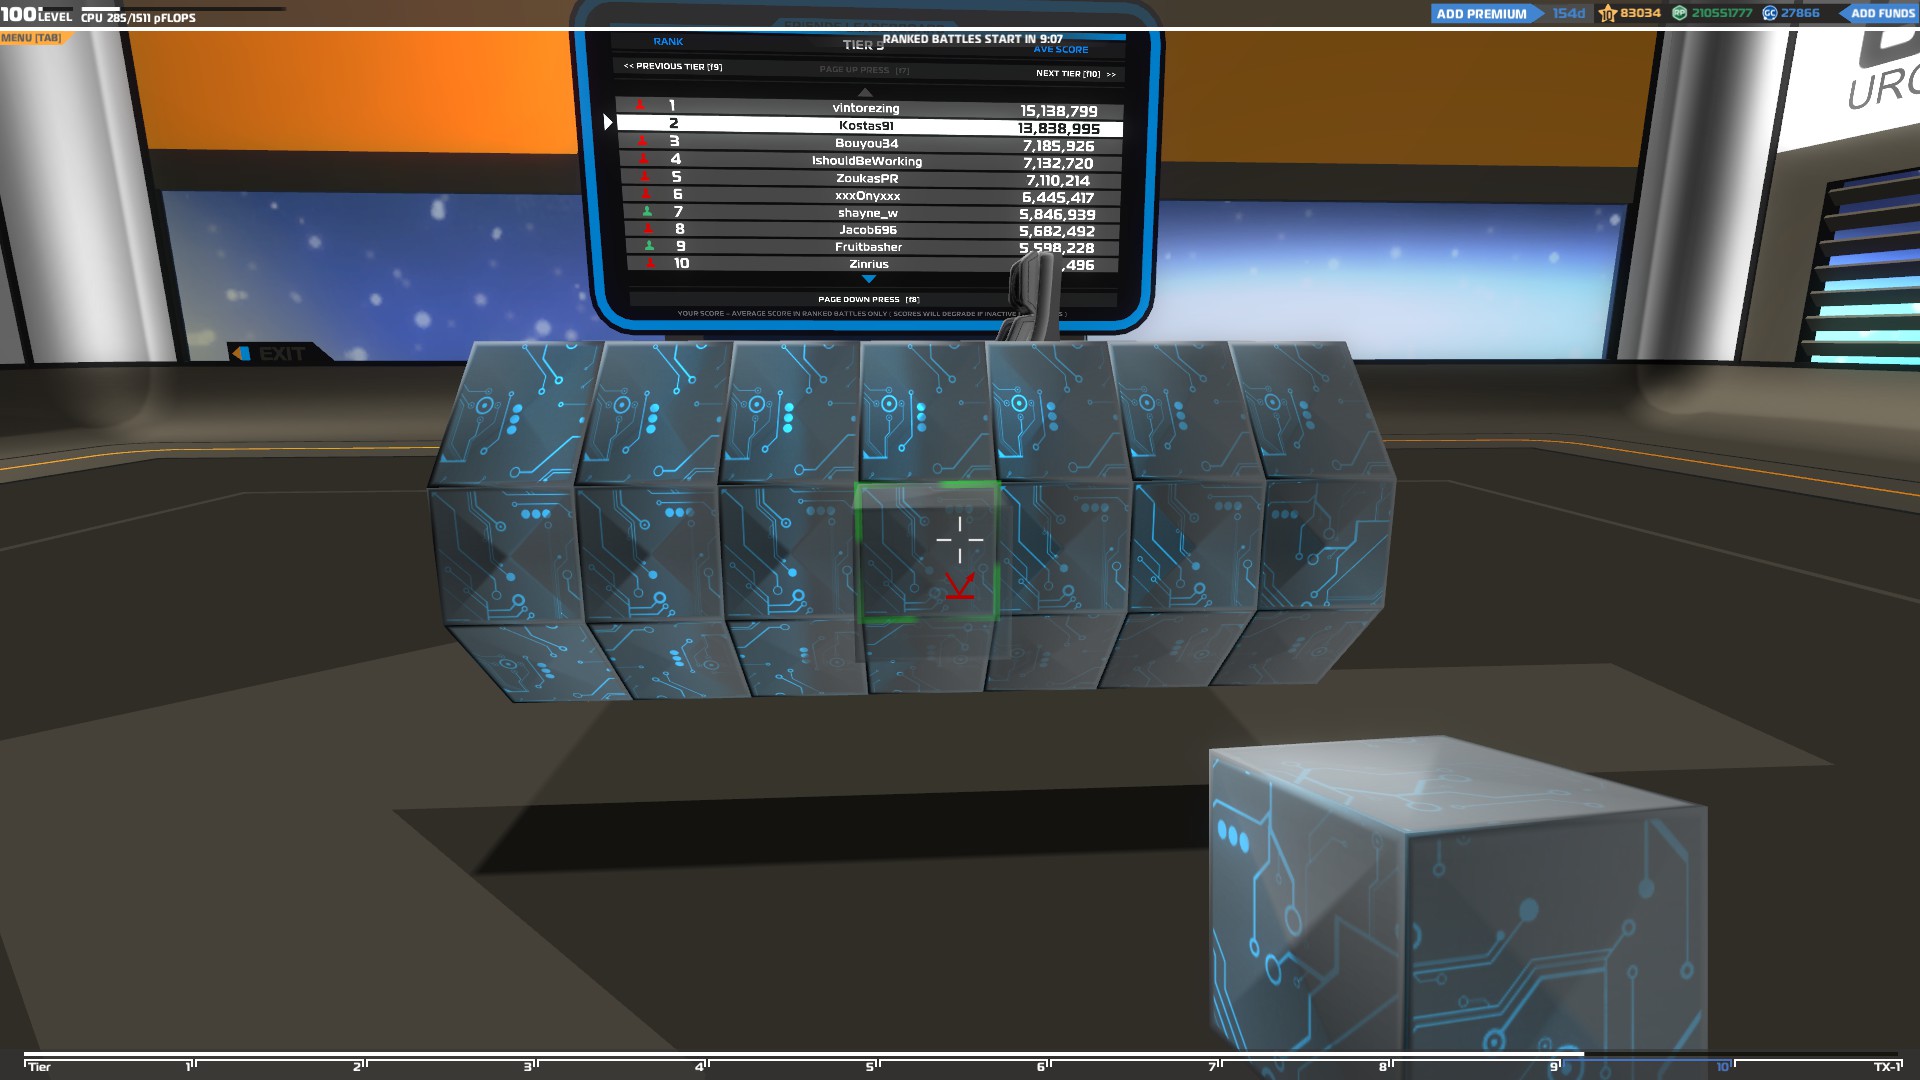
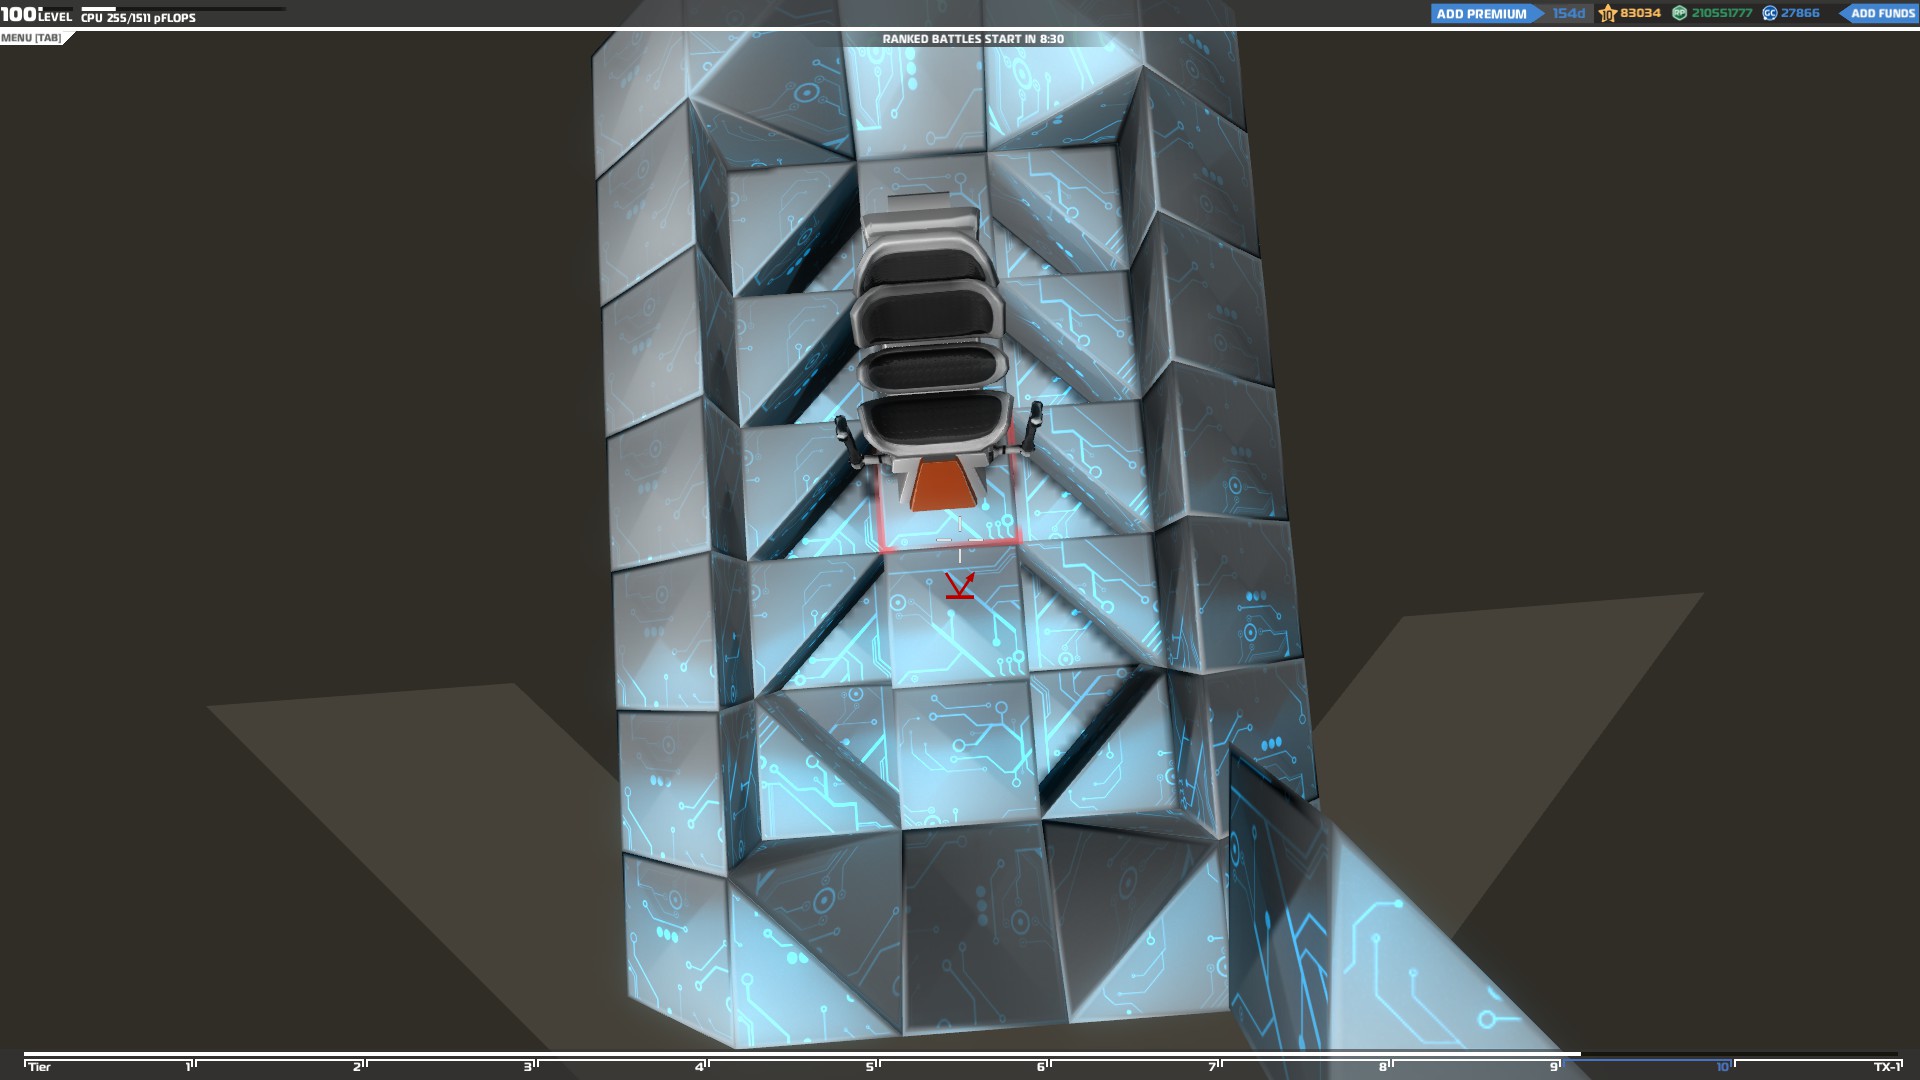
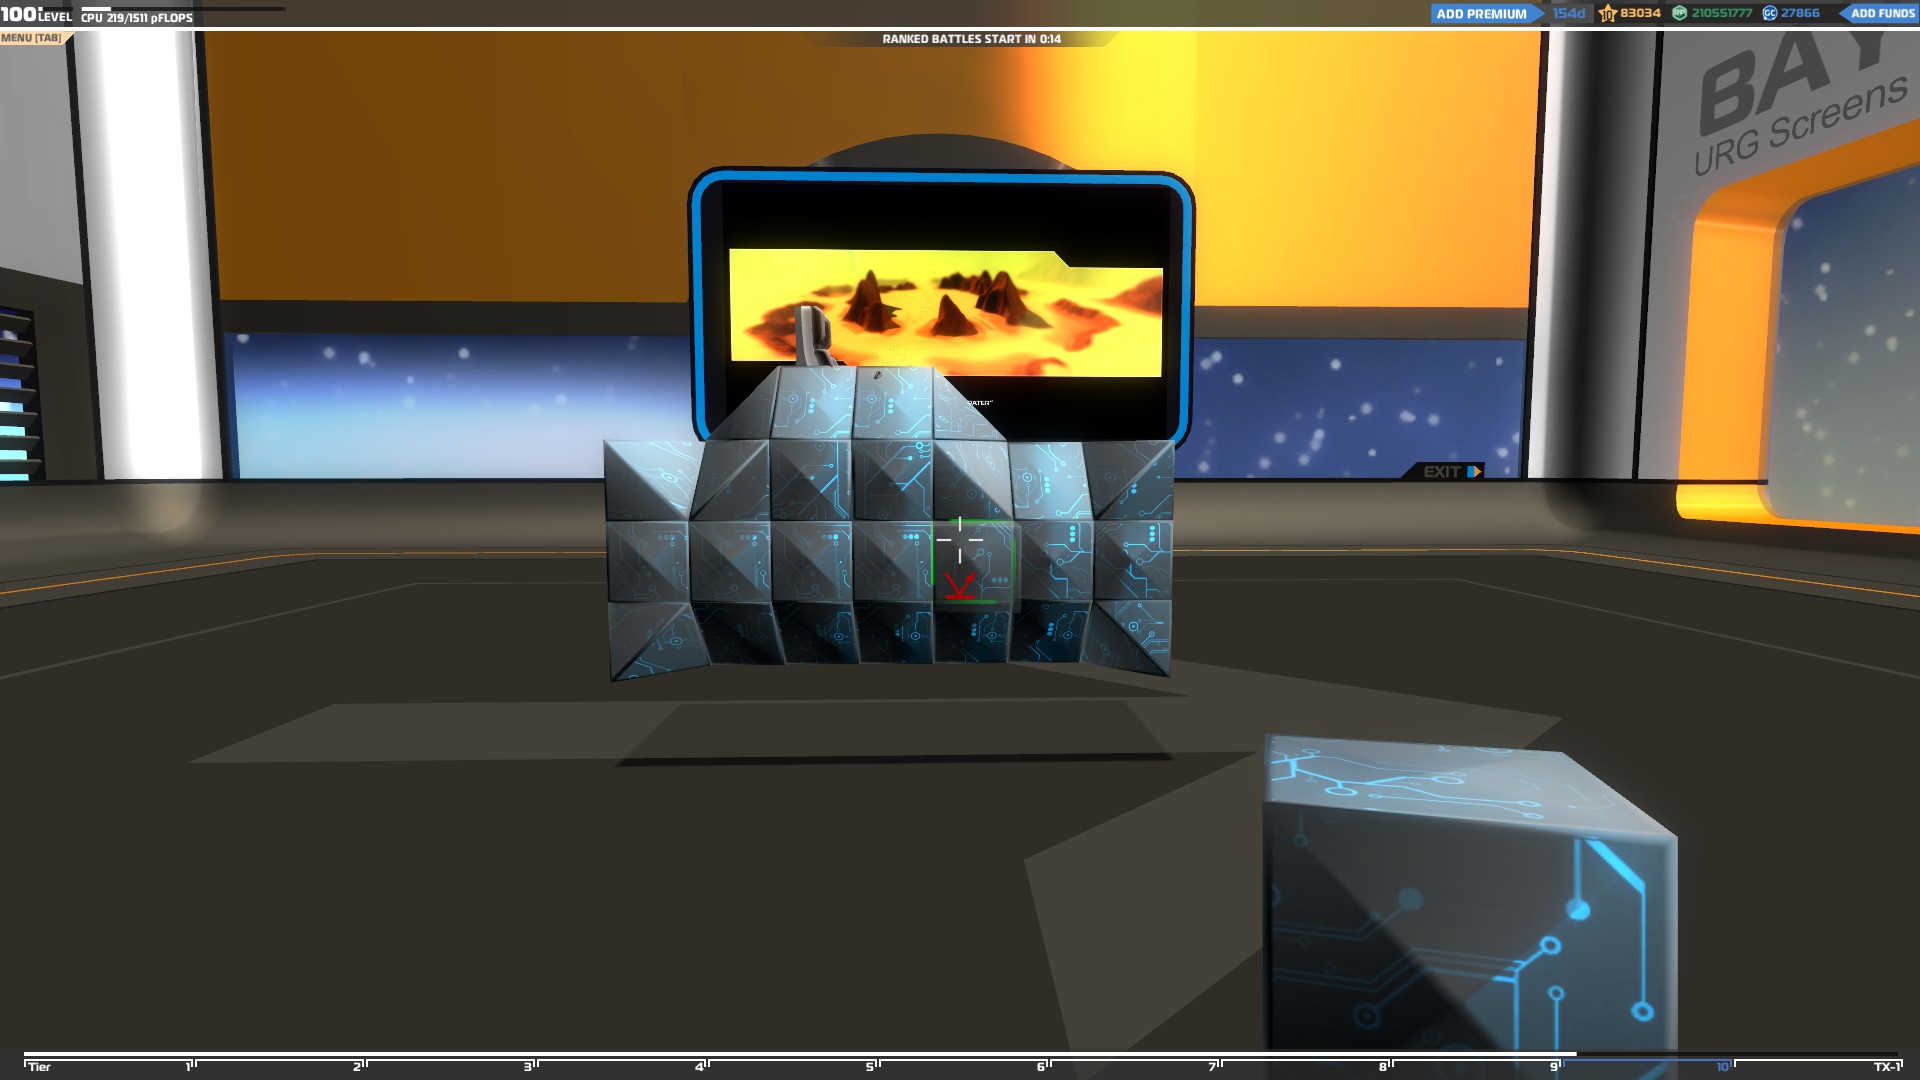
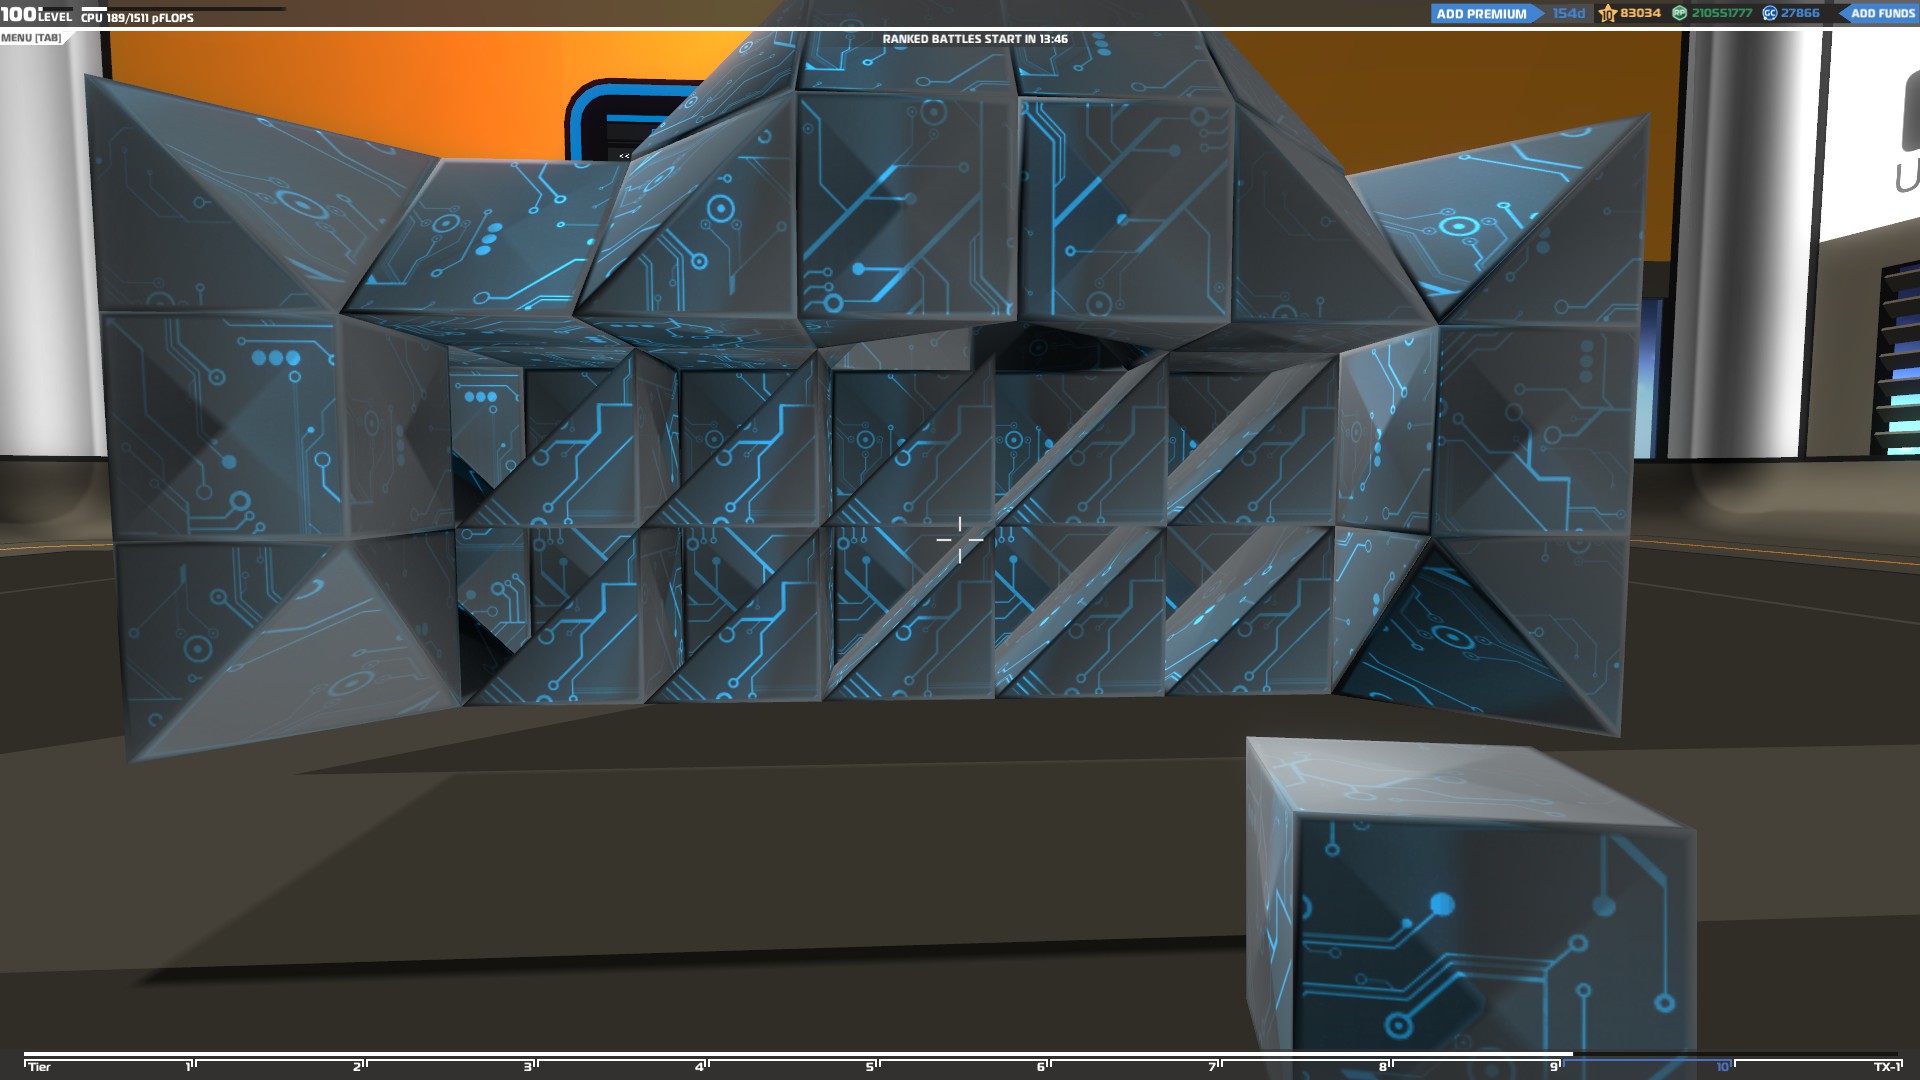
Triforce building technique
Update 14.10.2016 New Triforce video
https://youtu.be/GGFc5JW5LC4
If you check the block stats you will notice that the prisms, tetras and inners have the same armor with cubes but are a lot lighter and smaller in size.
Triforce takes advantages of the triangular blocks' high armor, light weight and small size combination to build more durable vehicles without sacrificing speed or space.
But that's not only it, since the damage from every enemy shot spreads to the nearby blocks, you can take advantage of the triangular blocks which have only 4 connection points to redirect the incoming damage to other less important parts of your vehicle.
Before the triforce technique players were using a technique called spaced armor to redirect the incoming damage, where they left the space between two armor layers empty so the damage wouldn’t spread to the inner parts of their vehicle.
This technique requires a lot of space though making it really difficult to build an efficient vehicle. That is where the triforce technique makes a real difference.
With triforce, you can take the concept of spaced armor and by using prisms make it one of the most efficient ways to protect your vehicle.
In the example above, Instead of leaving the space between the armor layers empty I added prisms, but since prisms can only connect four of their sides, the damage will still spread the same way it would if you had used spaced armor, keeping the blocks behind them safe and reducing the overall weight of the vehicle.
That's not the only advantage though since the empty space is now filled with blocks which means the enemy will have to go through three layers of blocks to reach the core of your vehicle instead of just two.
This technique does not only protect you from horizontal damage but also from vertical since the prisms are not connected to the upper blocks either and the damage will not be transferred to them. The more prism layers you add the more damage your vehicle will be able to withstand.
The only drawback of this technique, is that the only blocks supporting the prisms are the cubes marked with an X. If both the marked cubes are destroyed then the whole prism layer will be destroyed as well. Still something like that is not easy to happen and you can always use electroplates to reinforce the weak points.
Prism Knitting
Another technique you can use with Triforce is the prism knitting. Unlike the triforce/spaced armor technique above, this one can only protect you from vertical damage but it’s a lot sturdier since every prism layer supports the other.
The next thing you can do to protect the outer armor layers of your vehicle is to add tetras, which have almost half of the prism's weight, in order to absorb the incoming damage like in the example below.
Combine that with triforce reinforced armor and the enemies will have to go through 3-4 layers of armor to start doing serious damage to the more important parts of your vehicle.
Finally you can built a little less complex but still durable armor by using inner and tetra blocks like in the examples below
Triforce building technique is the best way to build a really strong vehicle without sacrificing speed or creativity since you will not have to build huge cube shaped vehicles in order to survive.
Rotated armor
To build a vehicle using this technique, you have to place your movement items at the right place so when you spawn on the map your vehicle will have a forward inclination. To do that, place your movement items at the back lower than the ones at the front. The lower you put them, the bigger the inclination will be
Once you spawn, the forward inclination will make your blocks look rotated and that’s why it’s called that way. This technique will not increase your defense but it is really useful in a battle since the forward inclination will make it possible to shoot enemies below you (when standing on a cliff or if the enemy is too close to you), something that would be impossible otherwise since the weapons can’t aim low enough.
Another way to create a vehicle with rotated armor is to build a rotated vehicle in your bay with an angle of 45 degrees using prisms but this design can only work with wheels and thrusters.
The main difference between those two ways of building is that with this one you can give your vehicle a really big inclination angle, but there is a huge drawback.
Since Robocraft is not designed for these kind of rotated vehicles they “confuse” the system and they are impossible to control with just the wheels. For that reason it’s essential to add thrusters to be able to drive around and a back wing to stabilize it. Depending on how many thrusters you place, you can easily turn this vehicle into a climber and attack enemies from above cliffs.
Protecting your seat
The seat is the most important item and can only be destroyed if the 2 blocks supporting it are destroyed, so you need to protect these blocks as much as possible.
To do so, you need to build a strong core around the seat which will absorb any incoming damage before it reaches its target. Different types of vehicles require different core designs depending on the direction of the incoming damage, so a flier will need a core better reinforced at the bottom since the incoming damage will hit it from below but a tank will need the exact opposite core design since the incoming damage will be mainly in front of the vehicle and the sides etc.
Since the seat has two connection points you should use prisms to connect it to the rest of the vehicle so in case one of them is destroyed the damage won’t be transferred to the other one and your seat will be safe.
Once you have a strong core which will protect your seat you can start building the rest of your vehicle.
Advanced Building Part 2
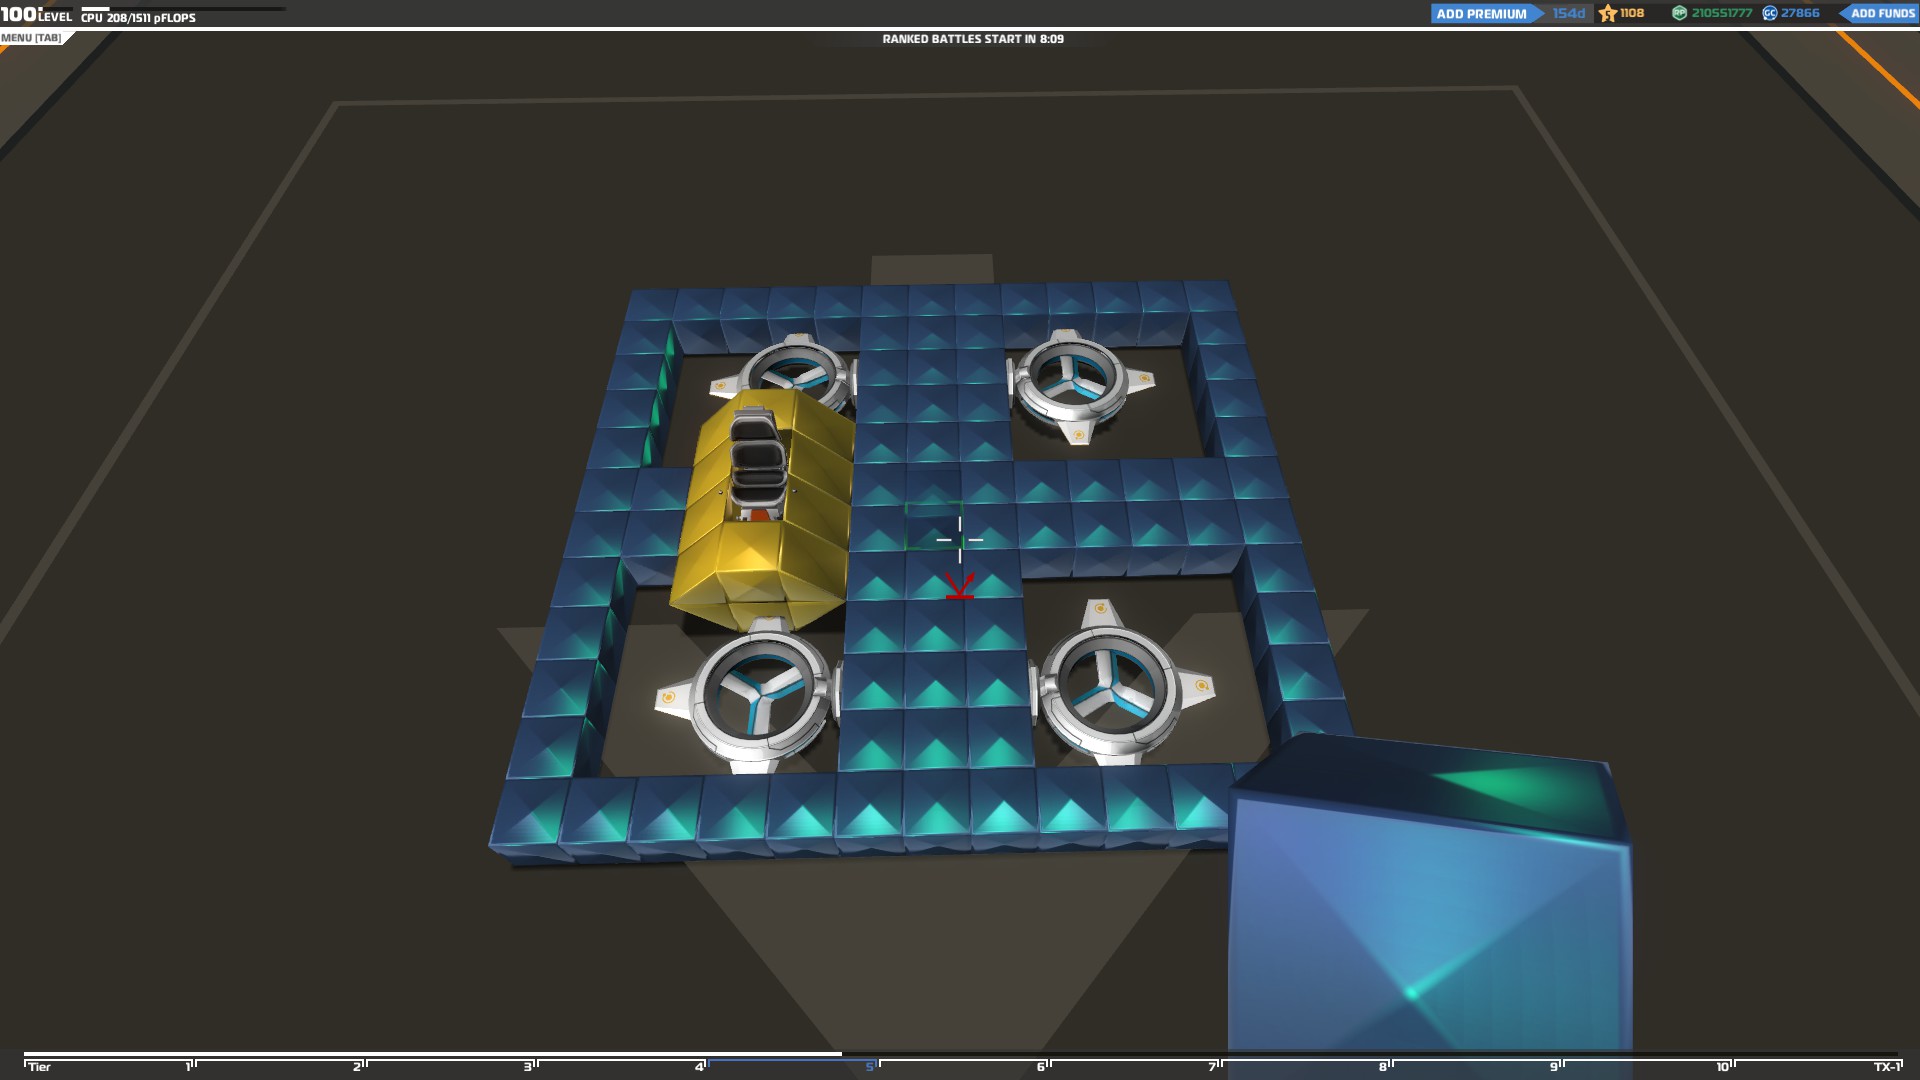
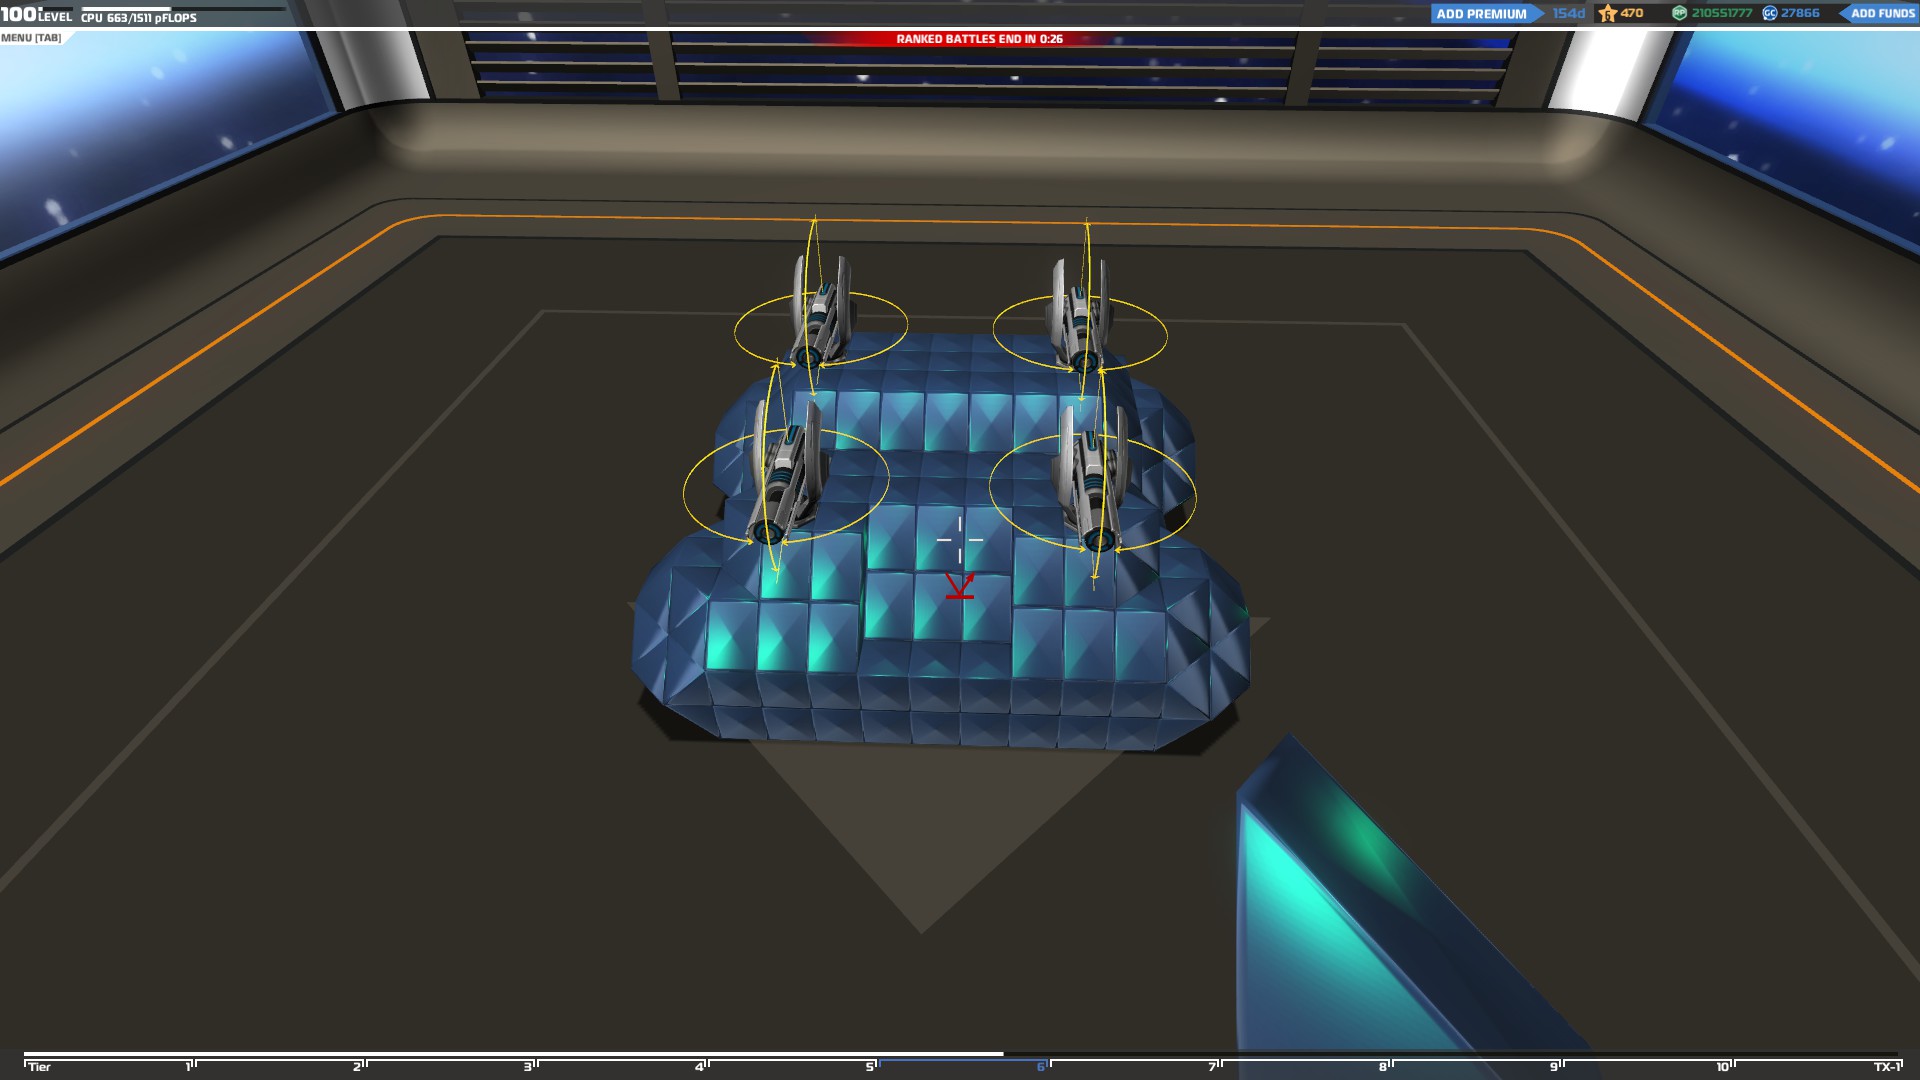
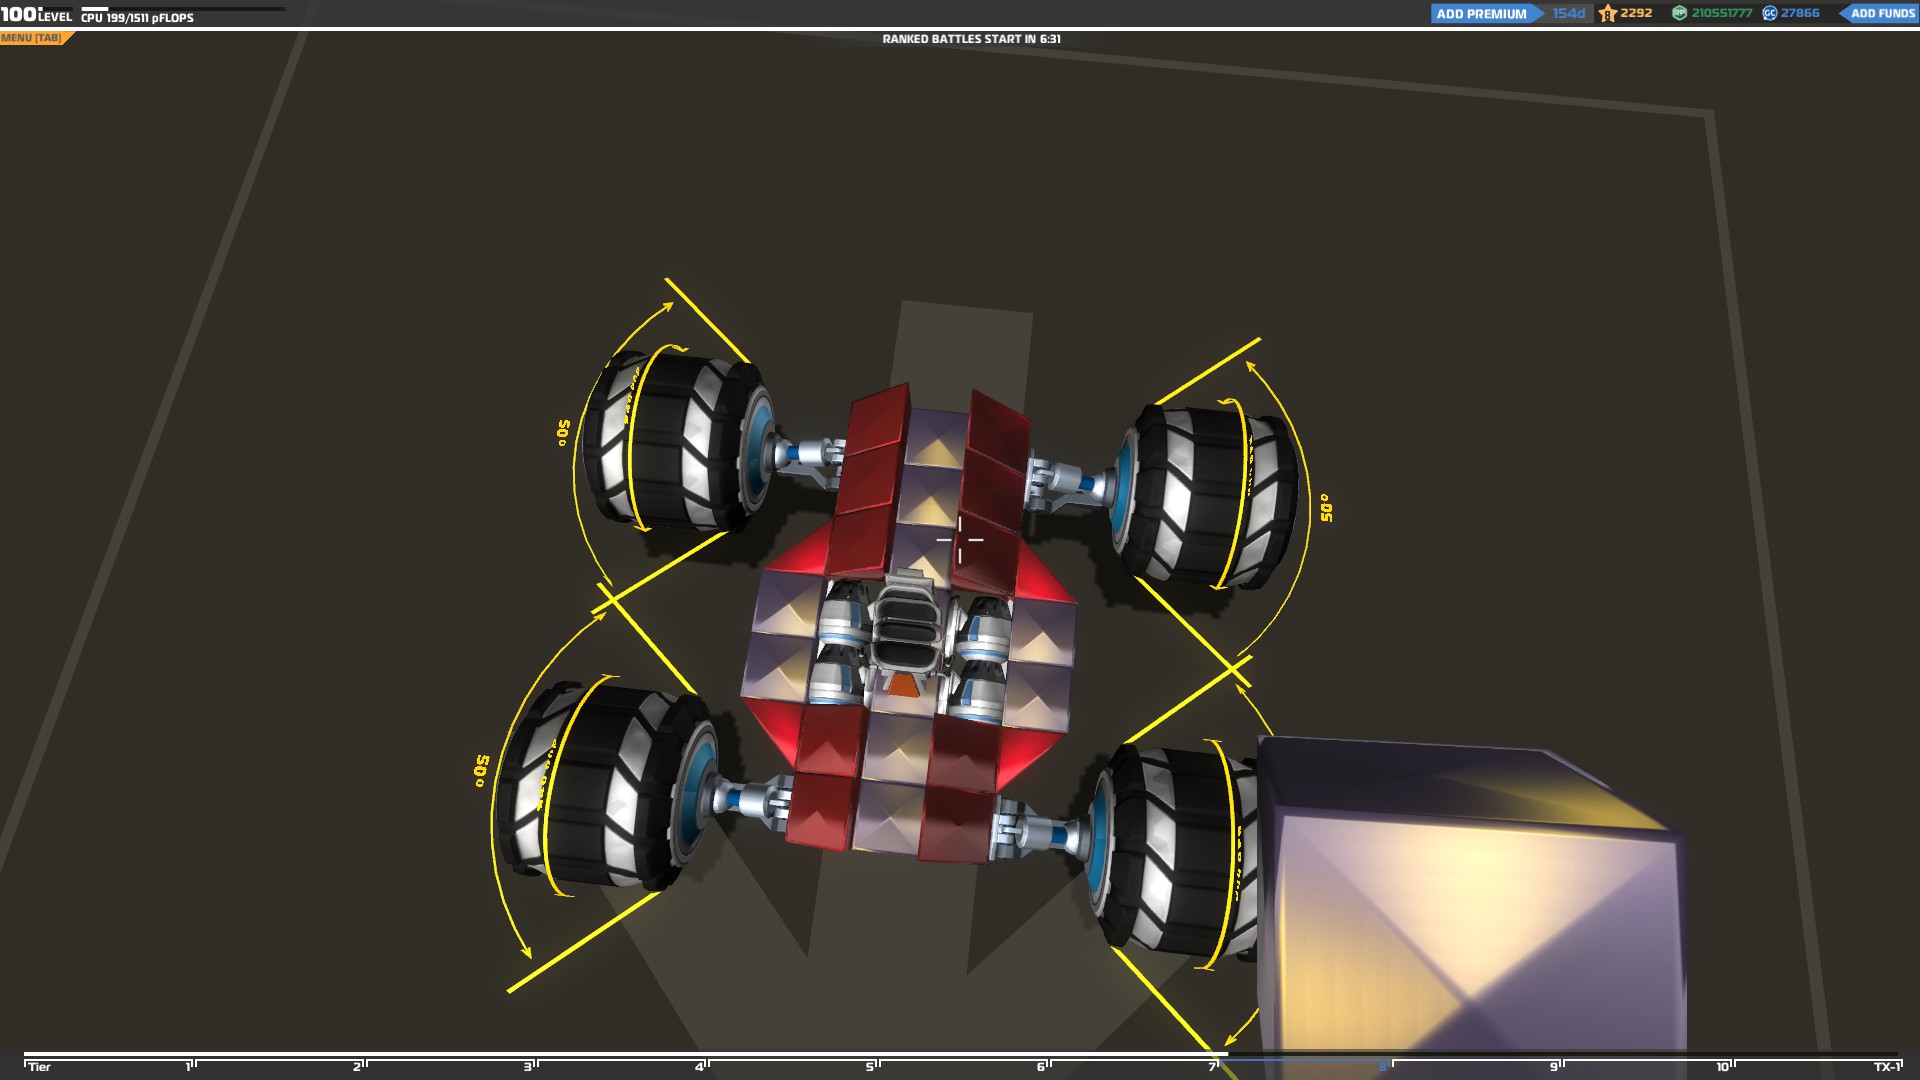
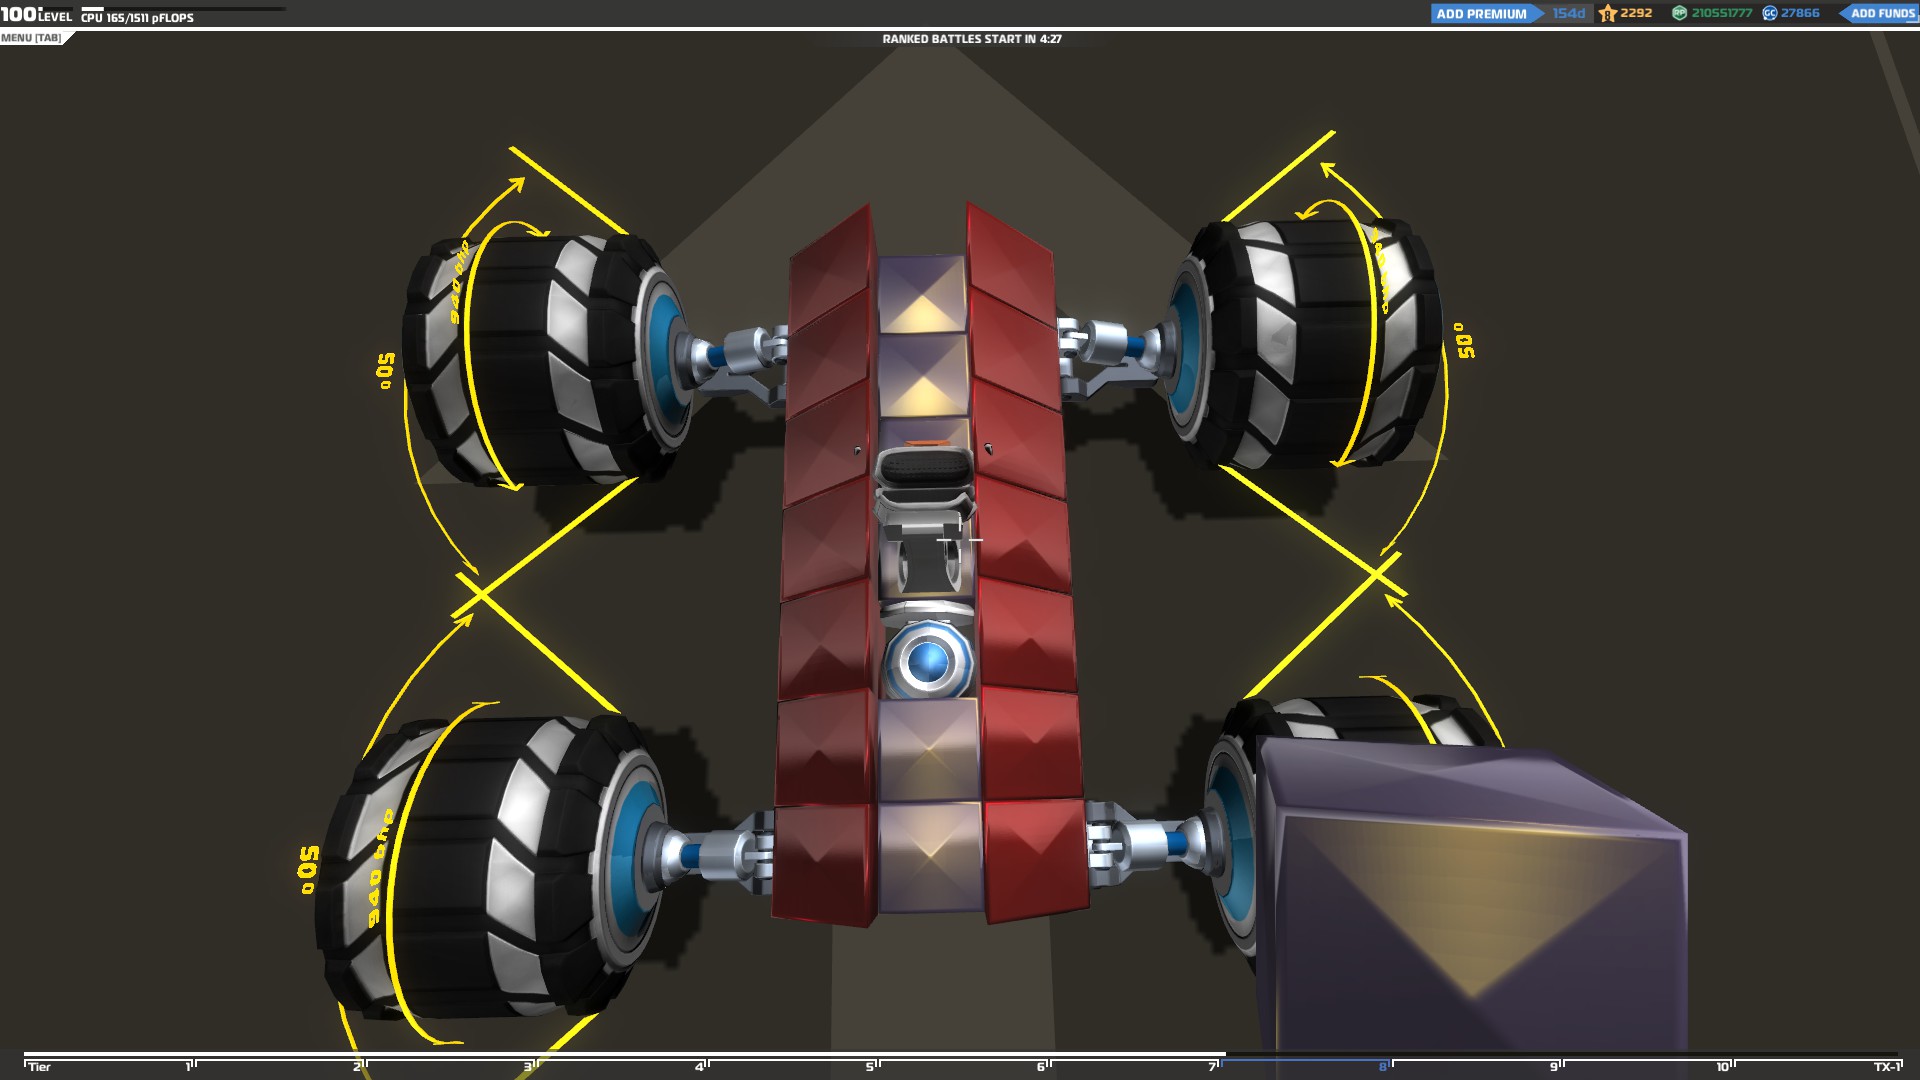
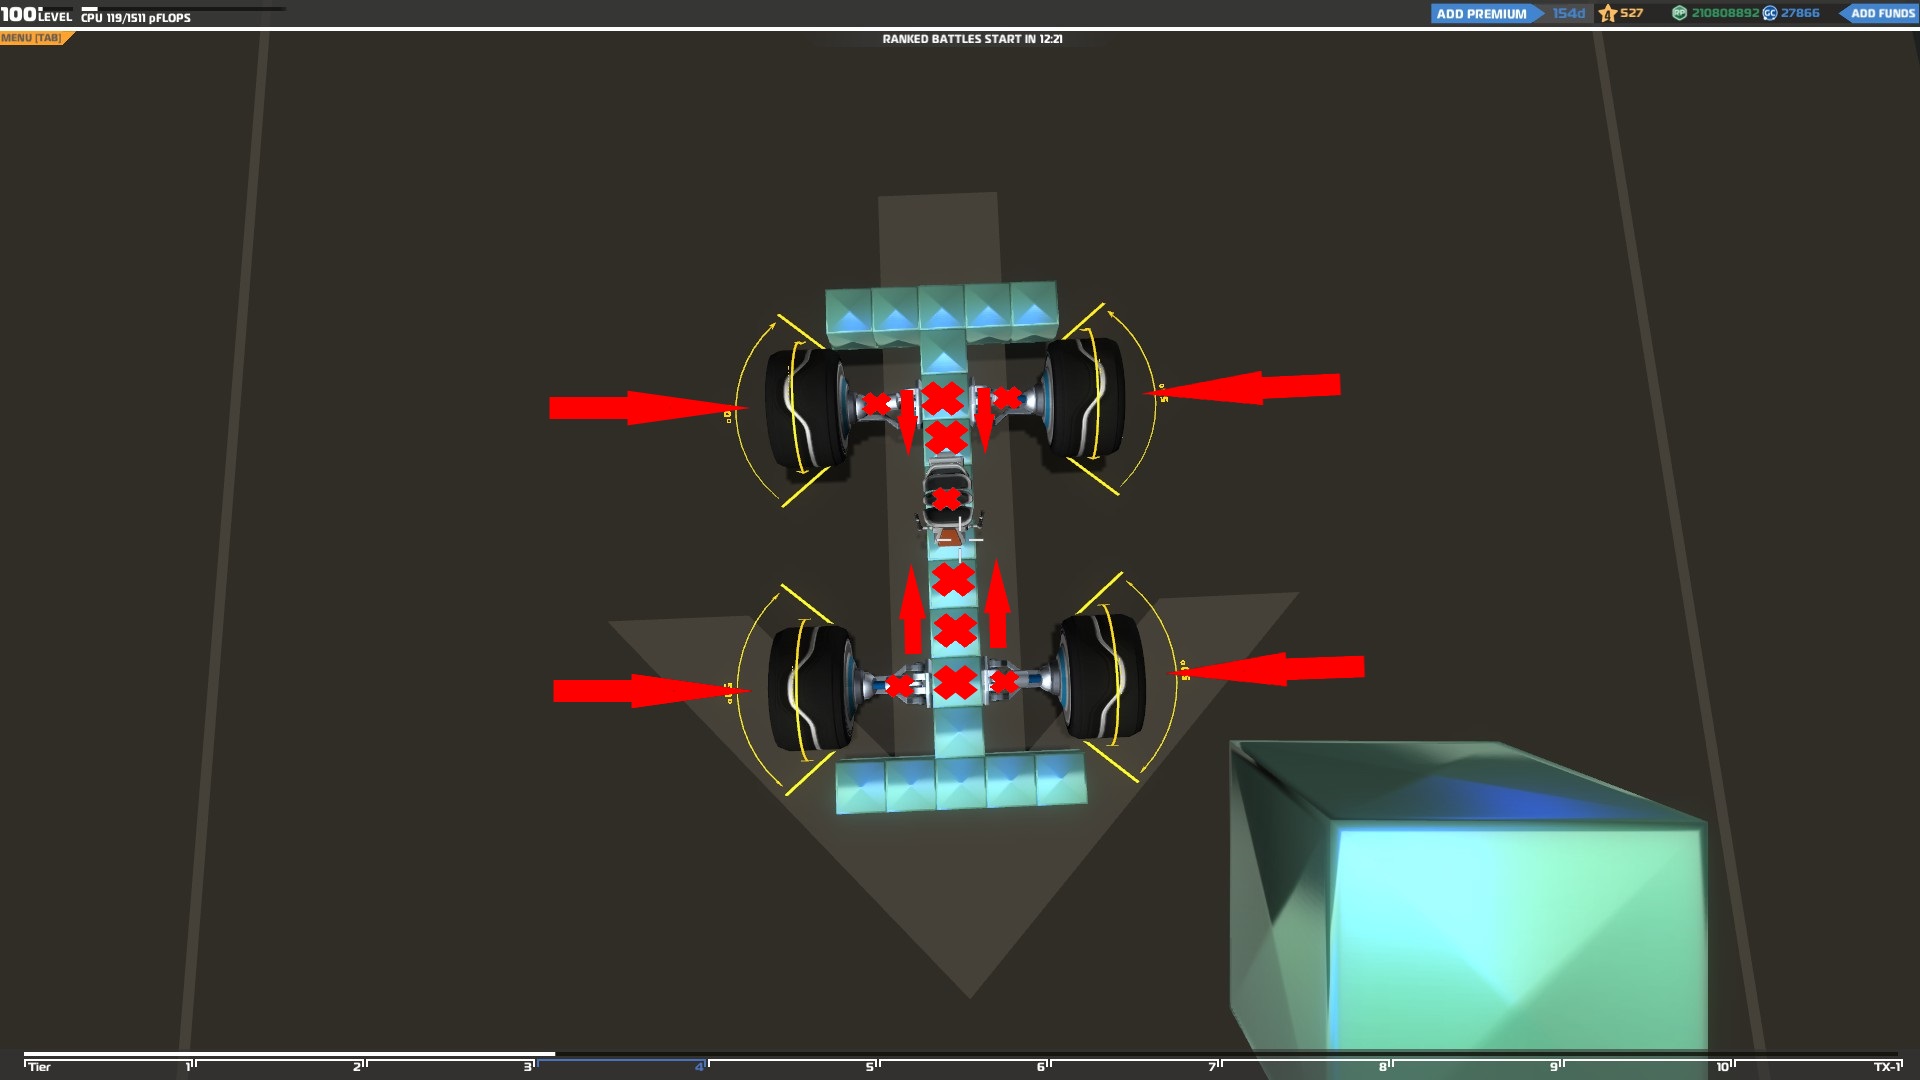
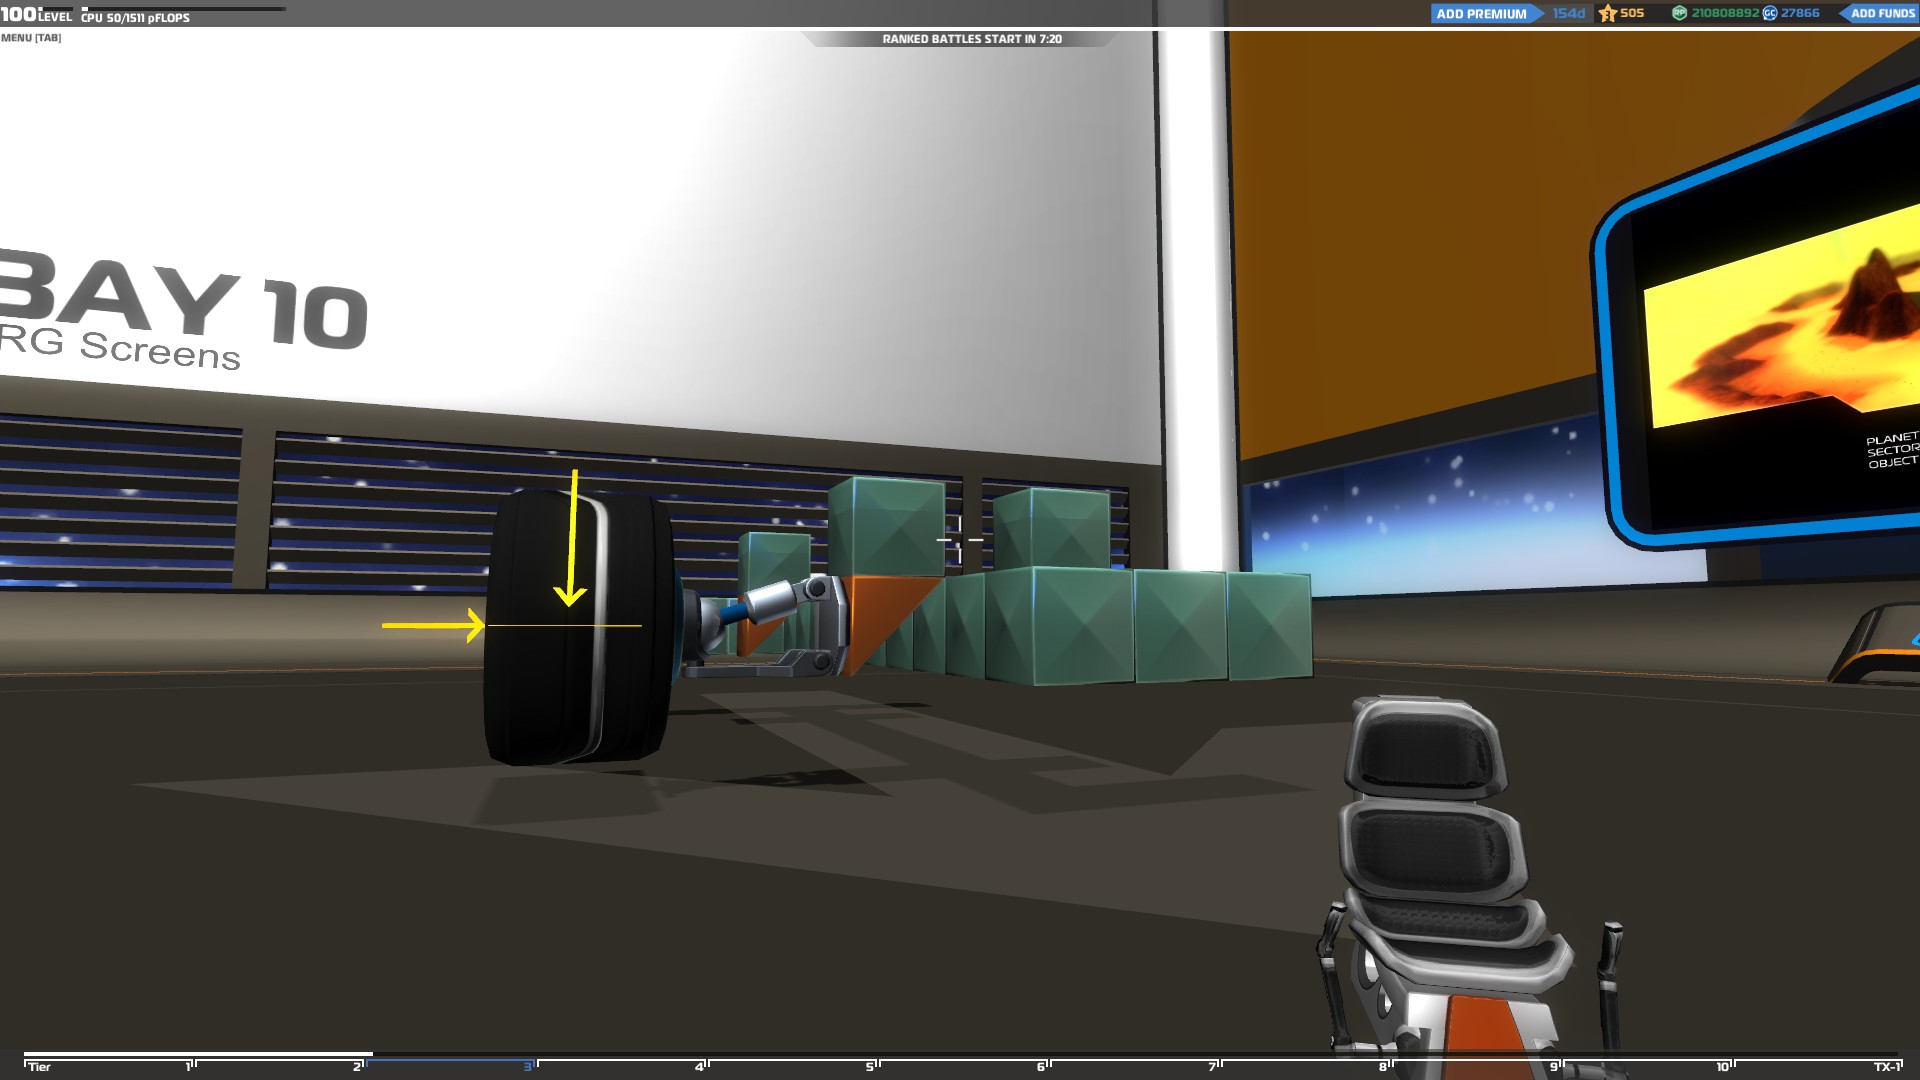
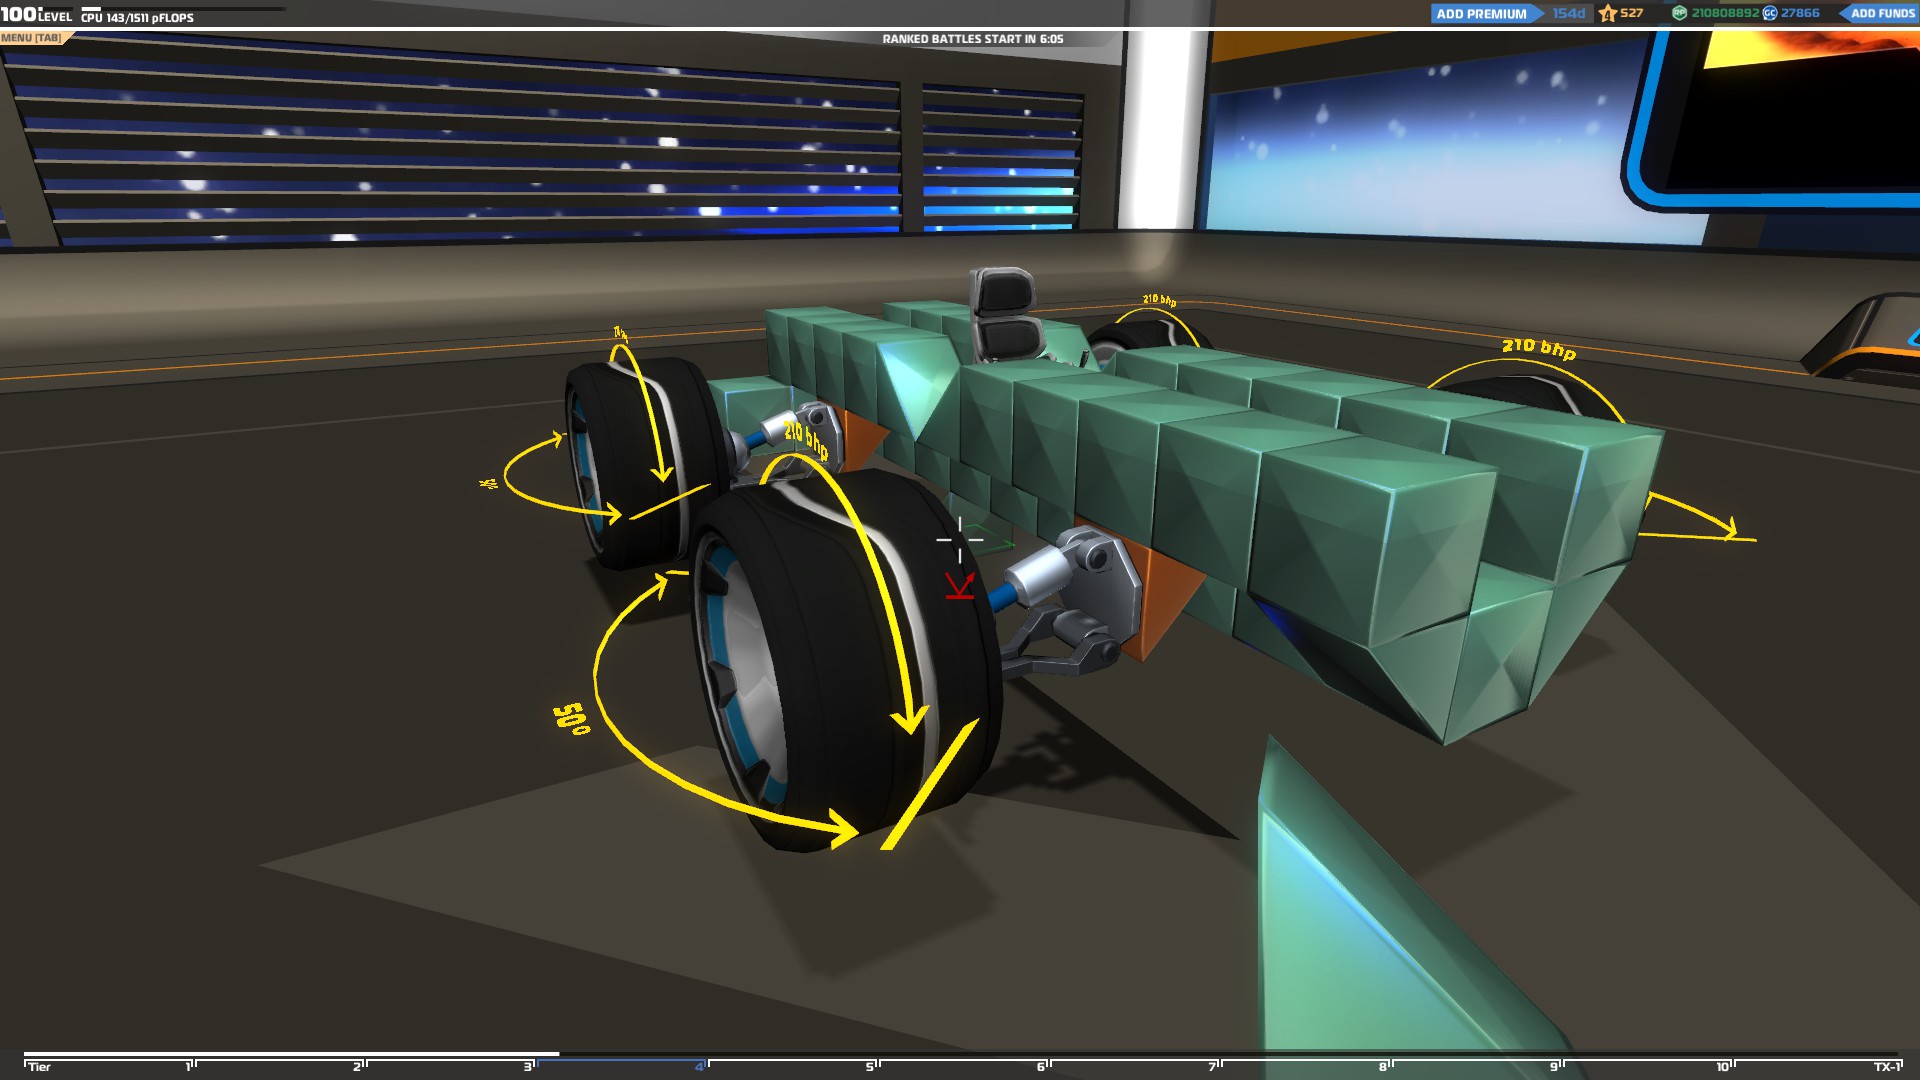
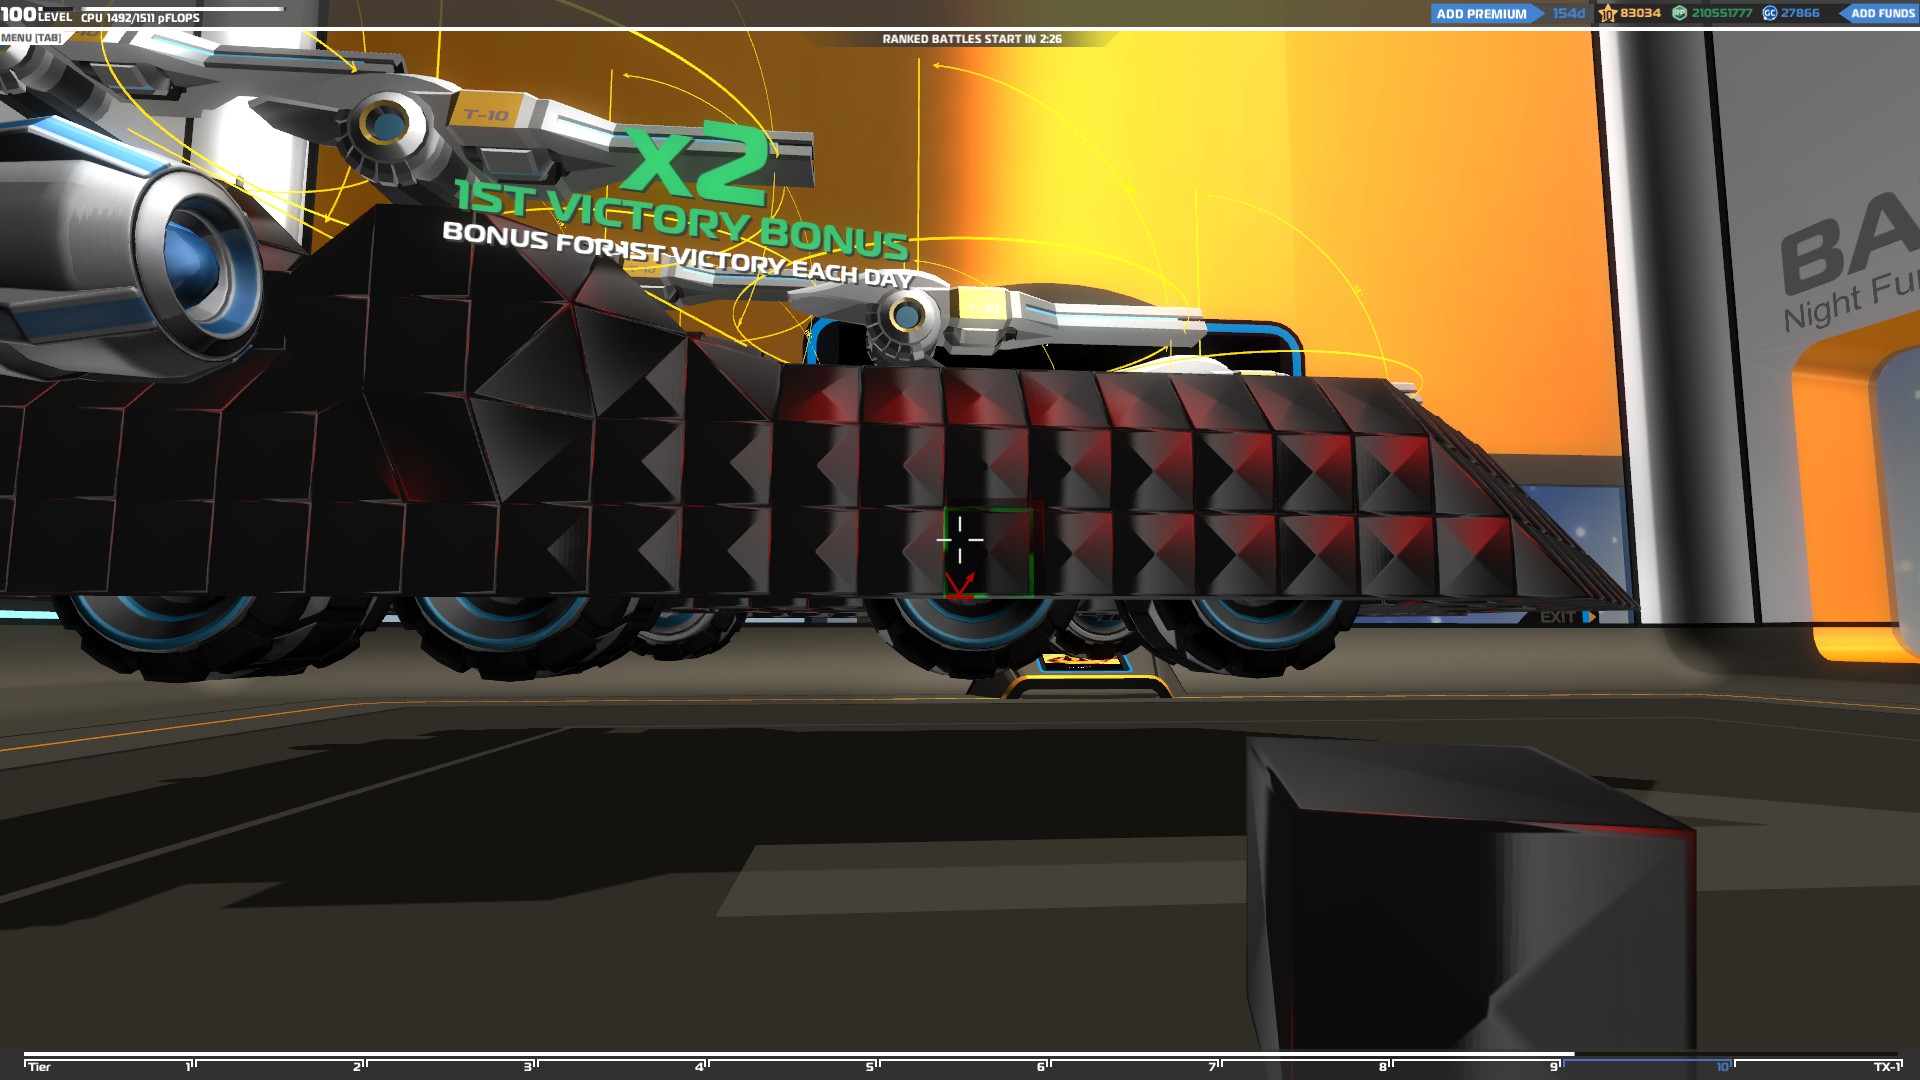
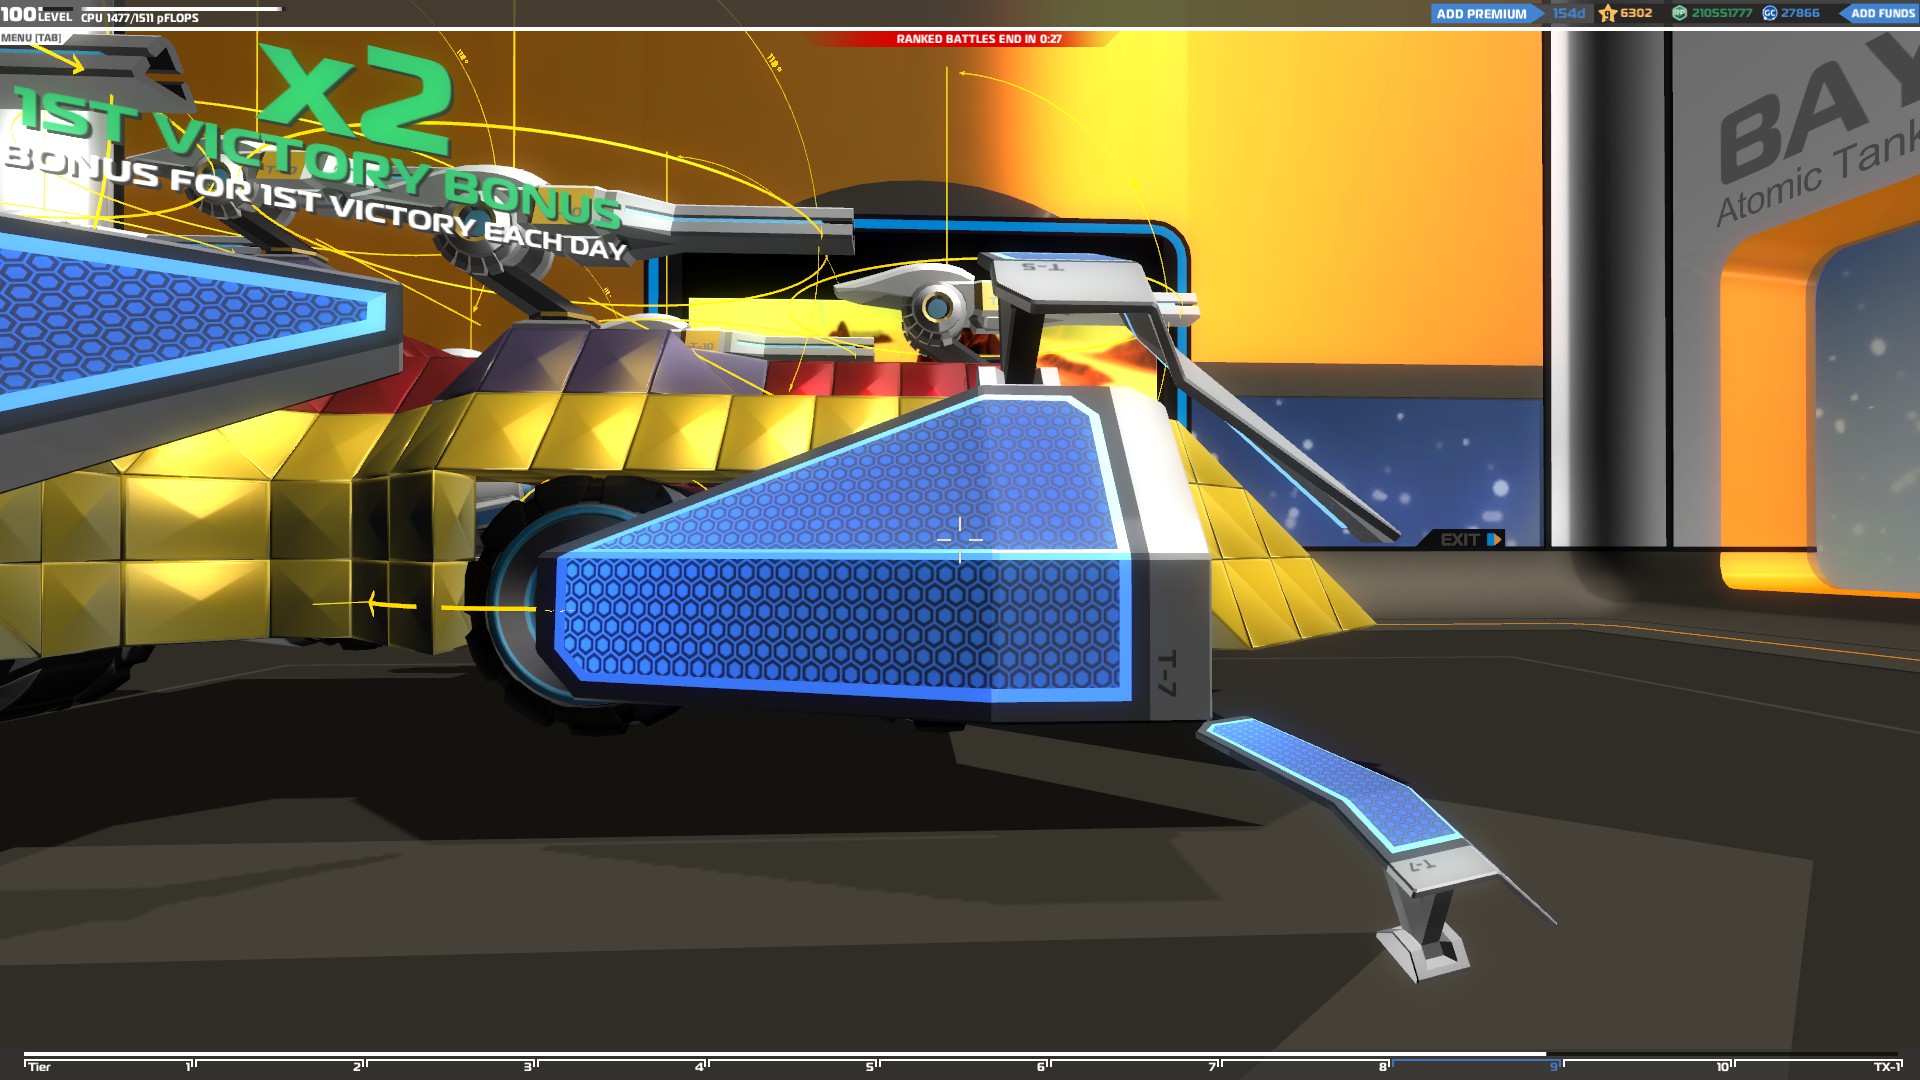
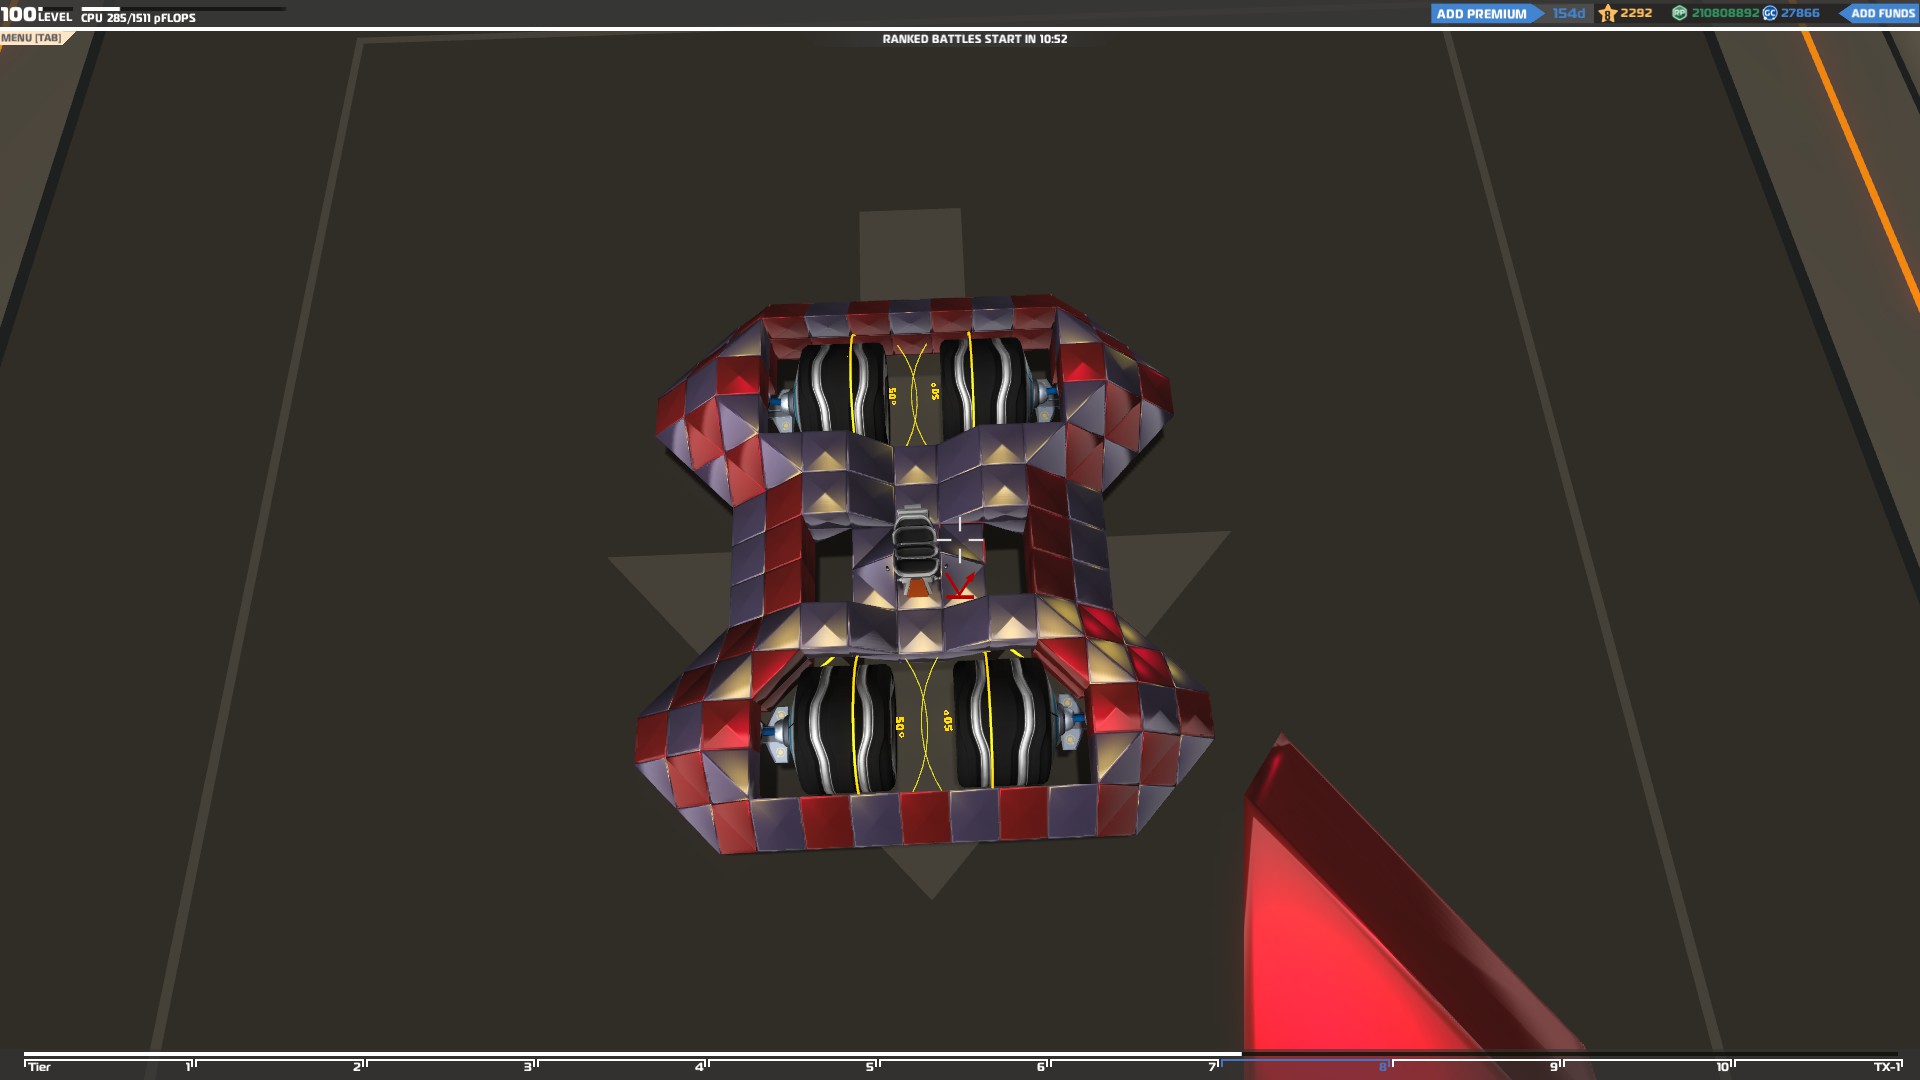

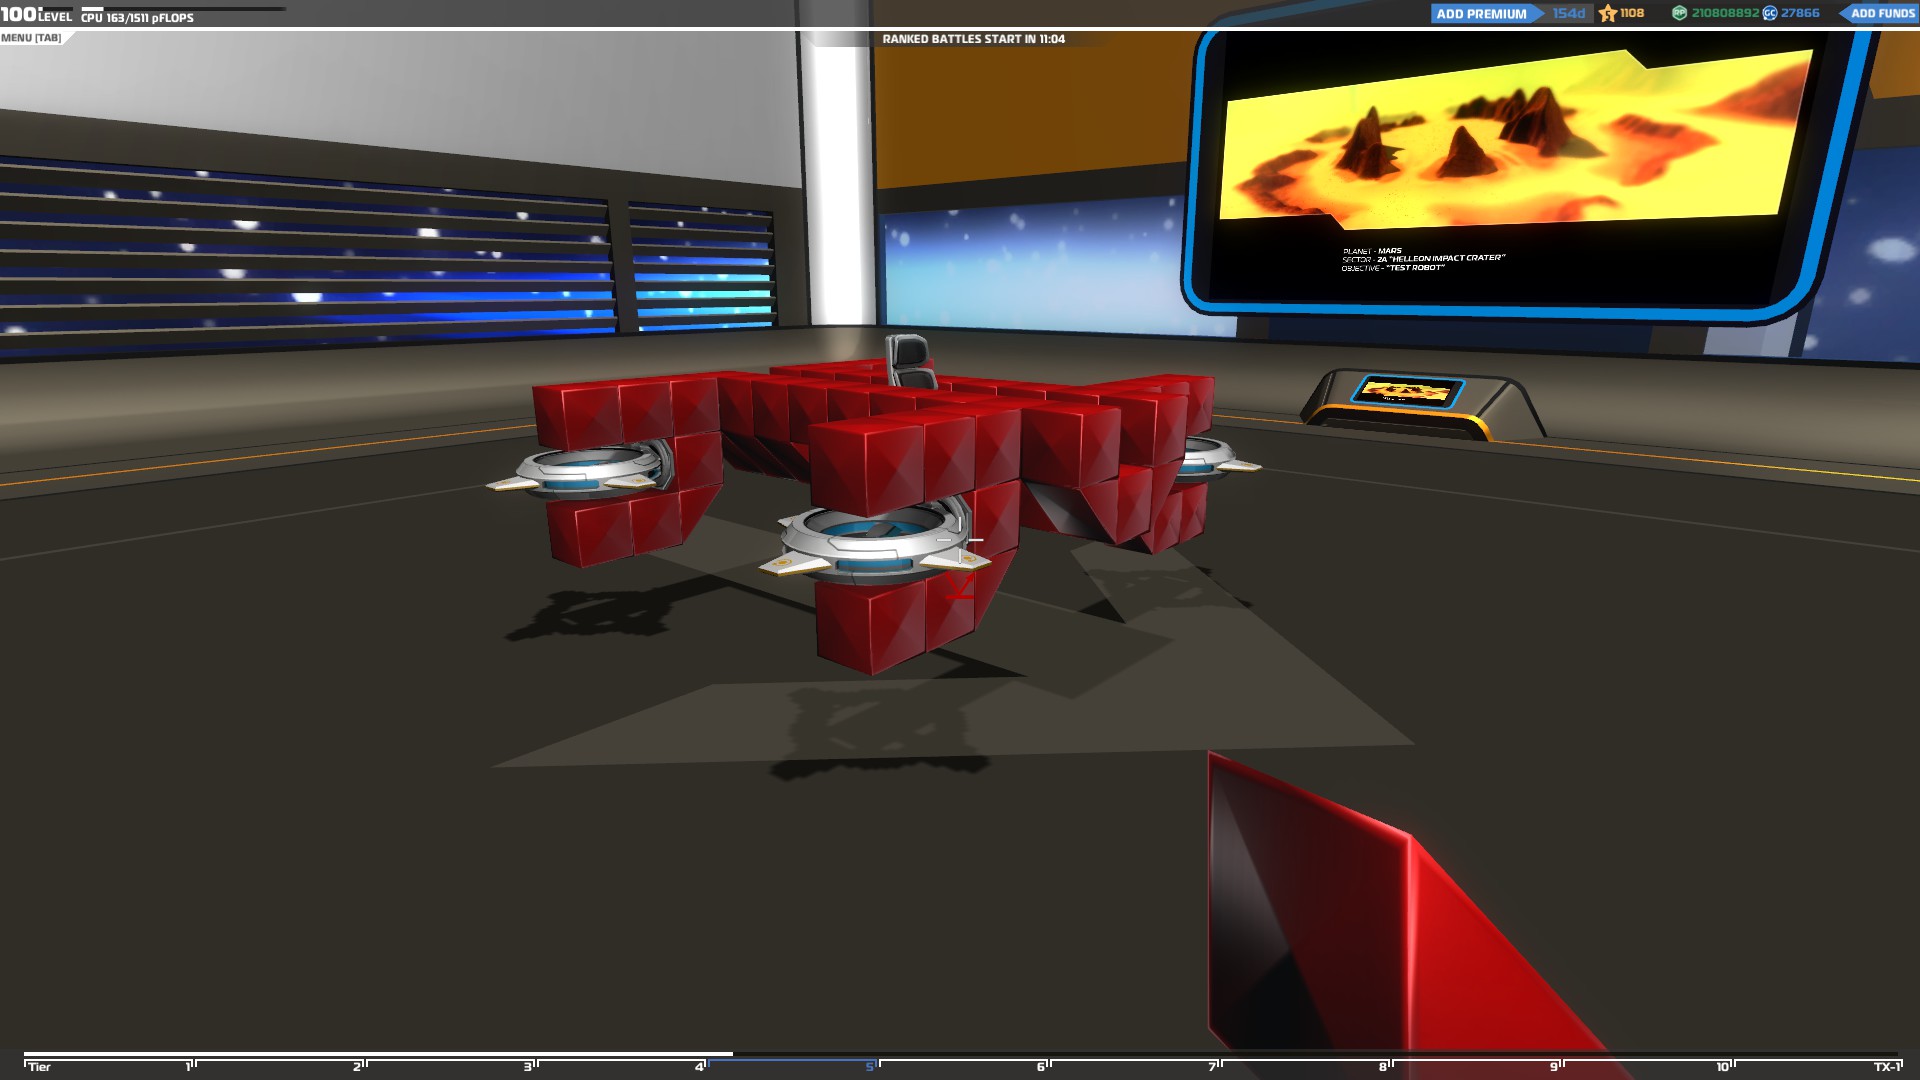
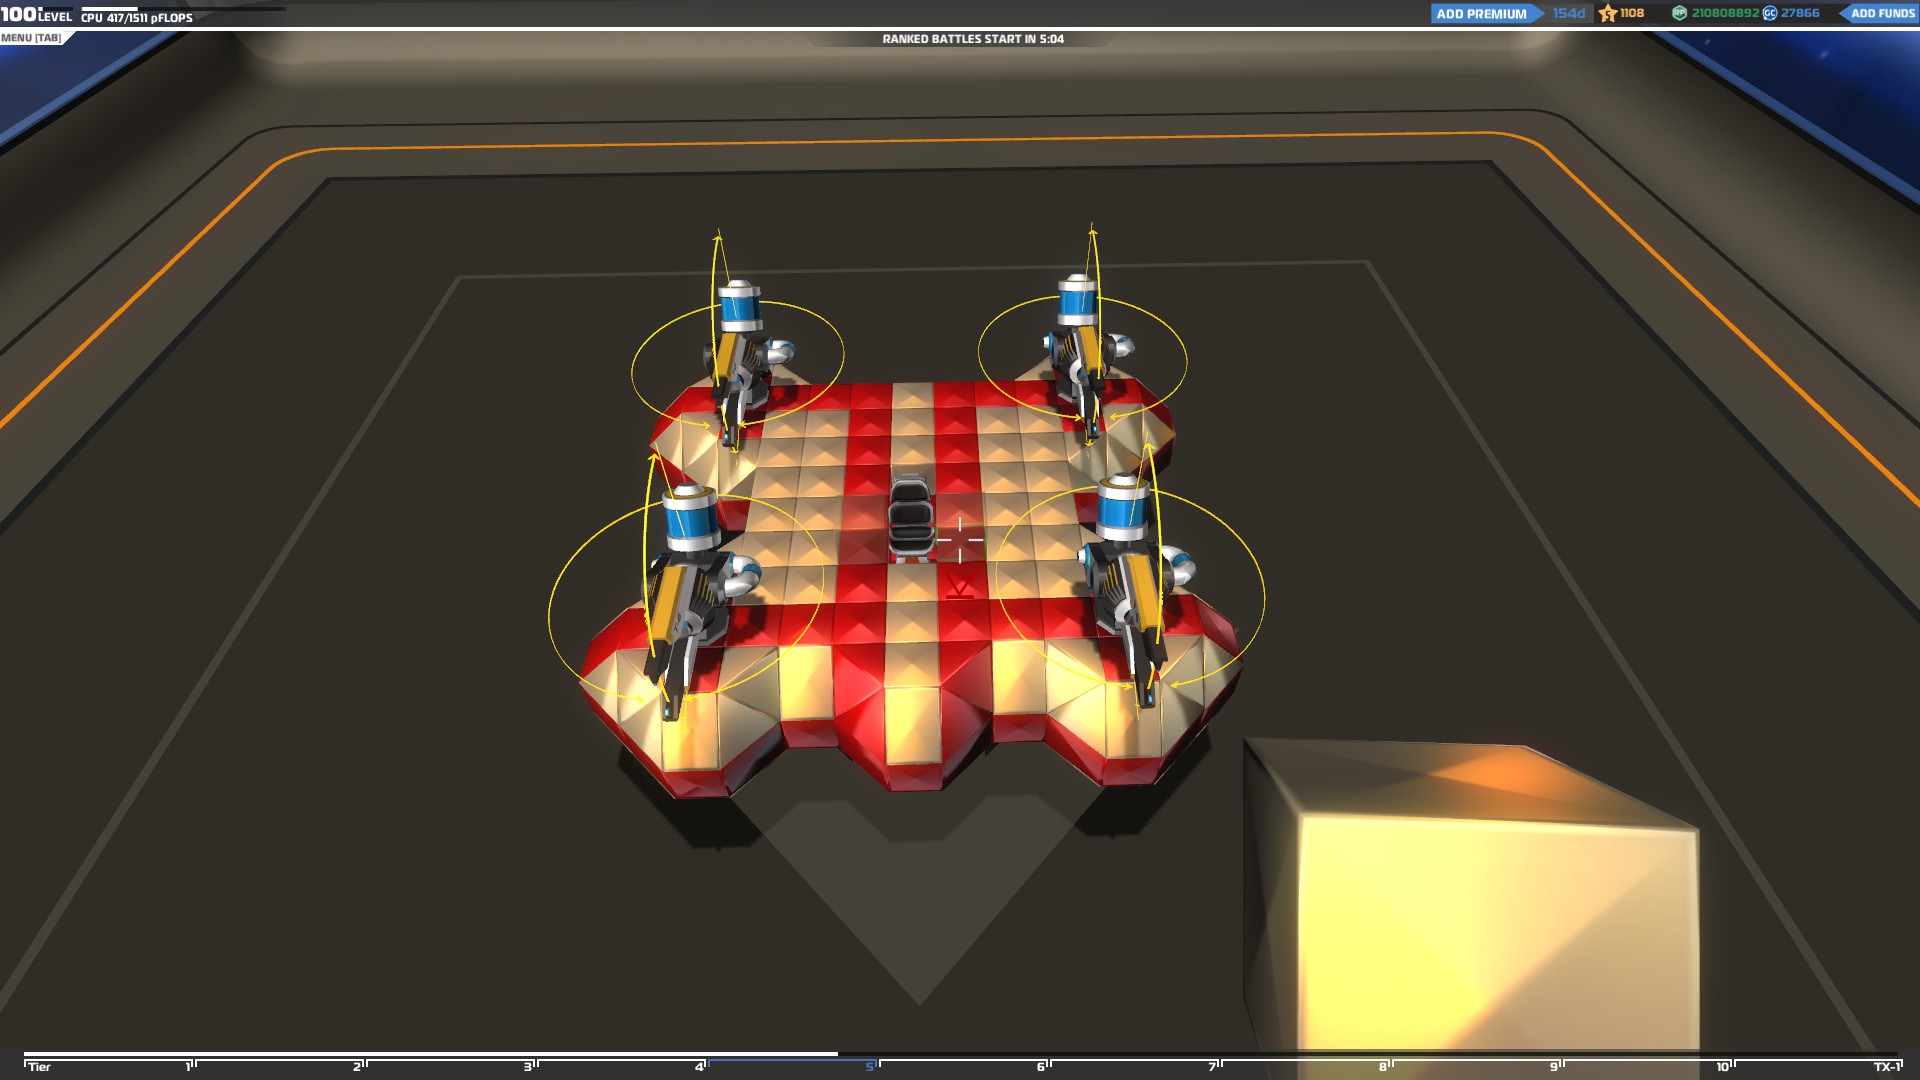
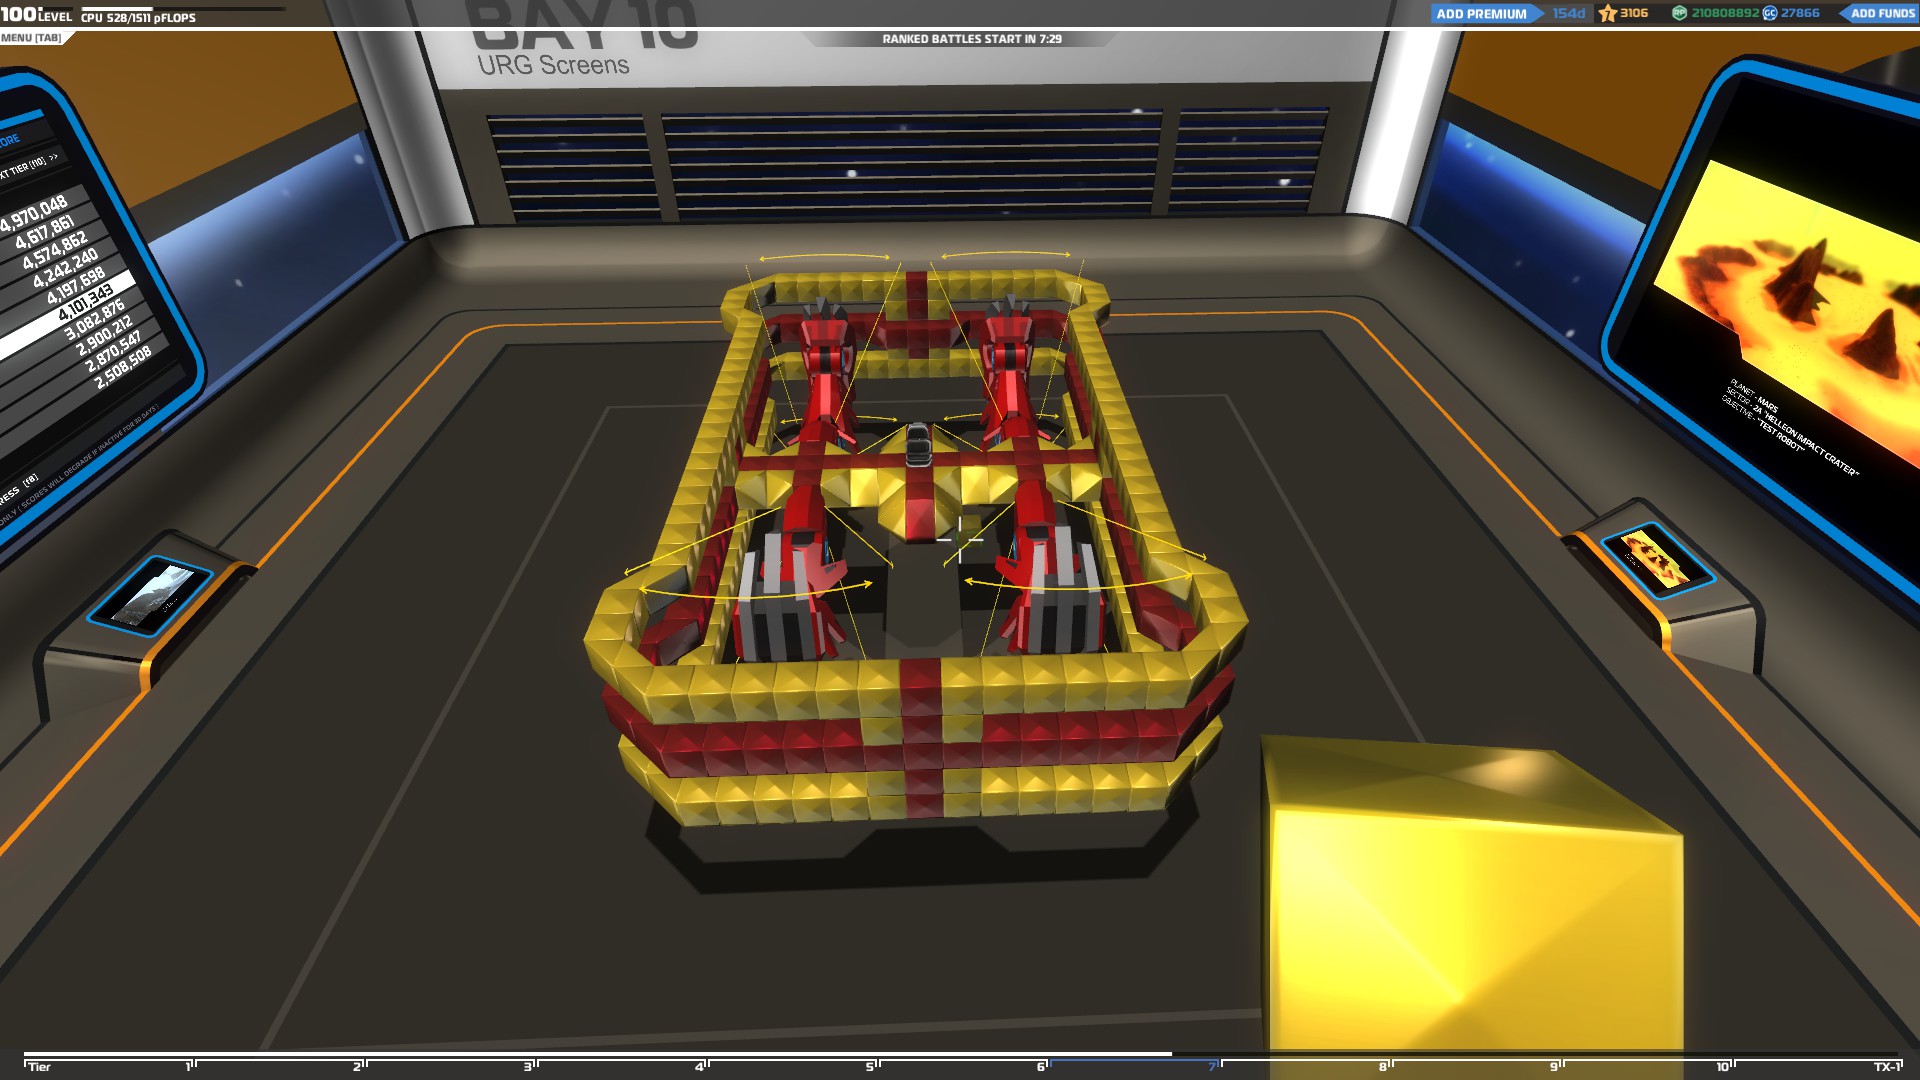
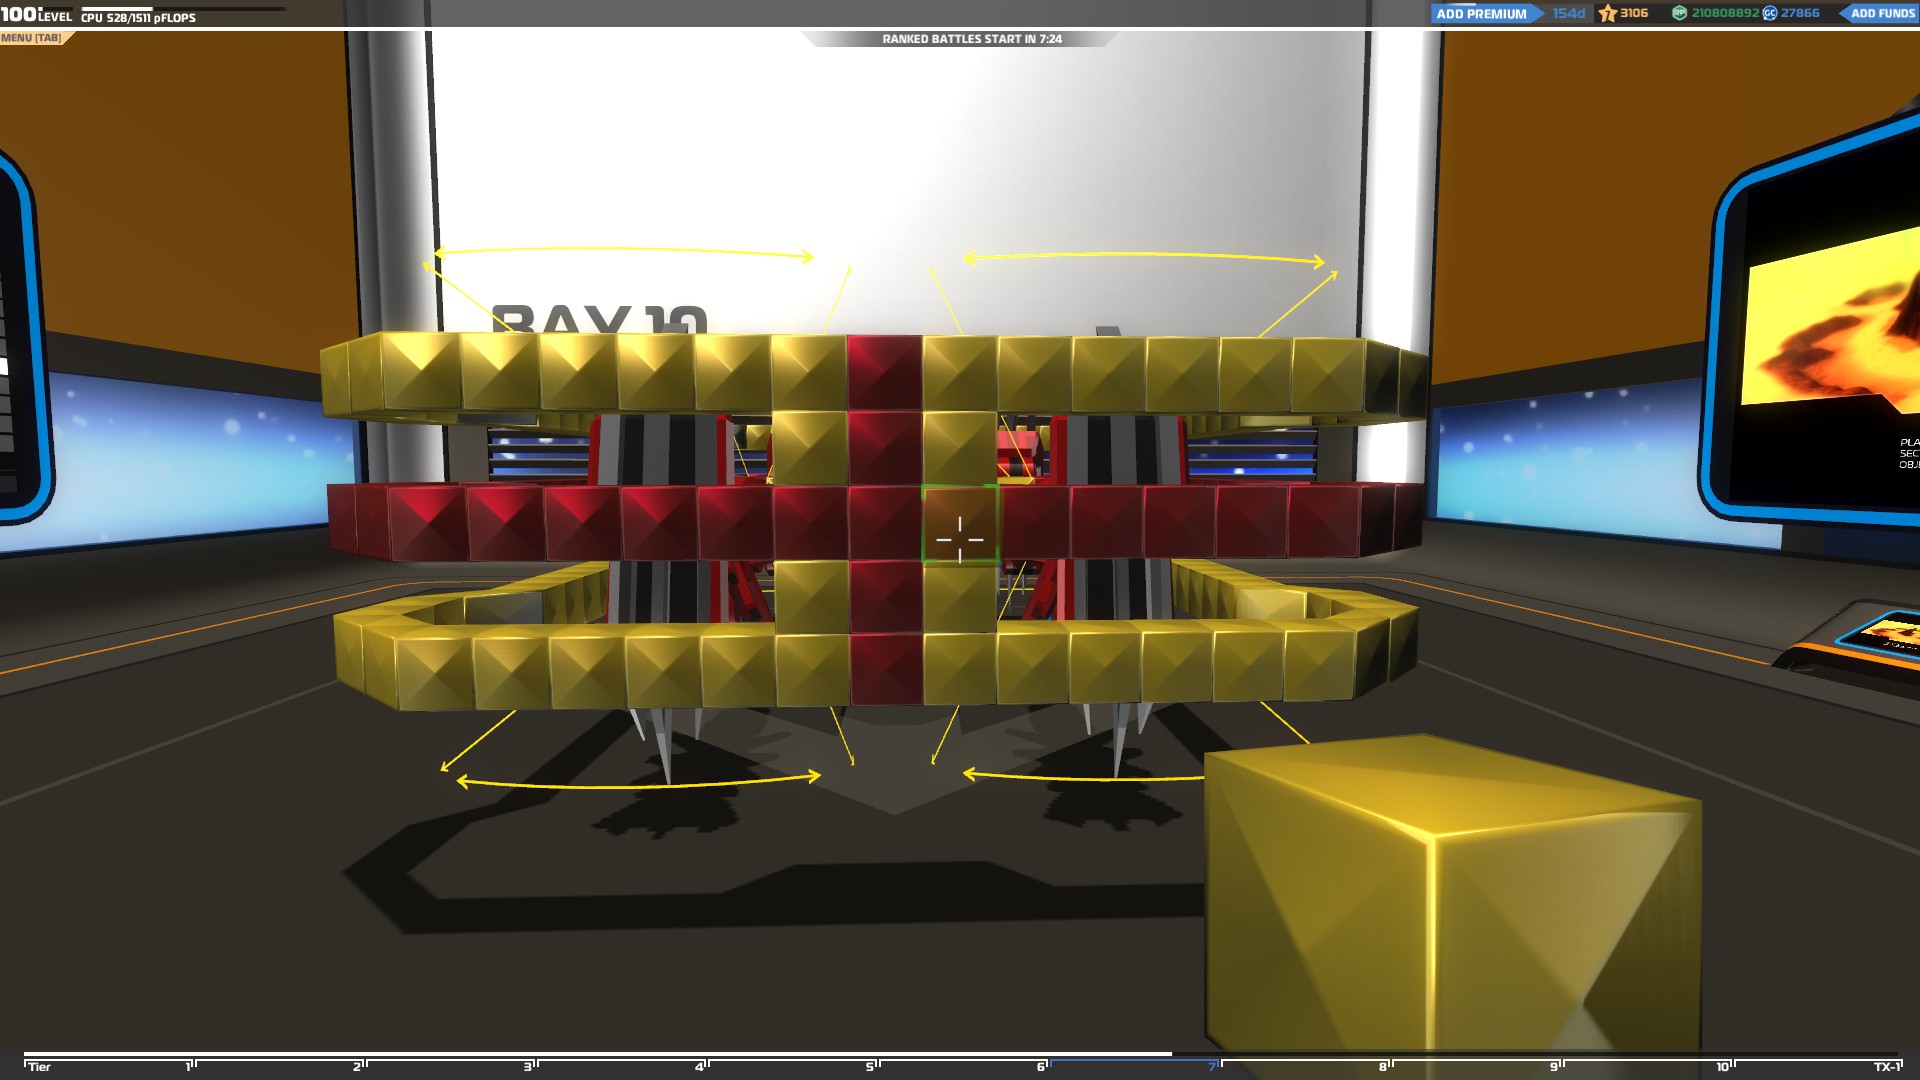
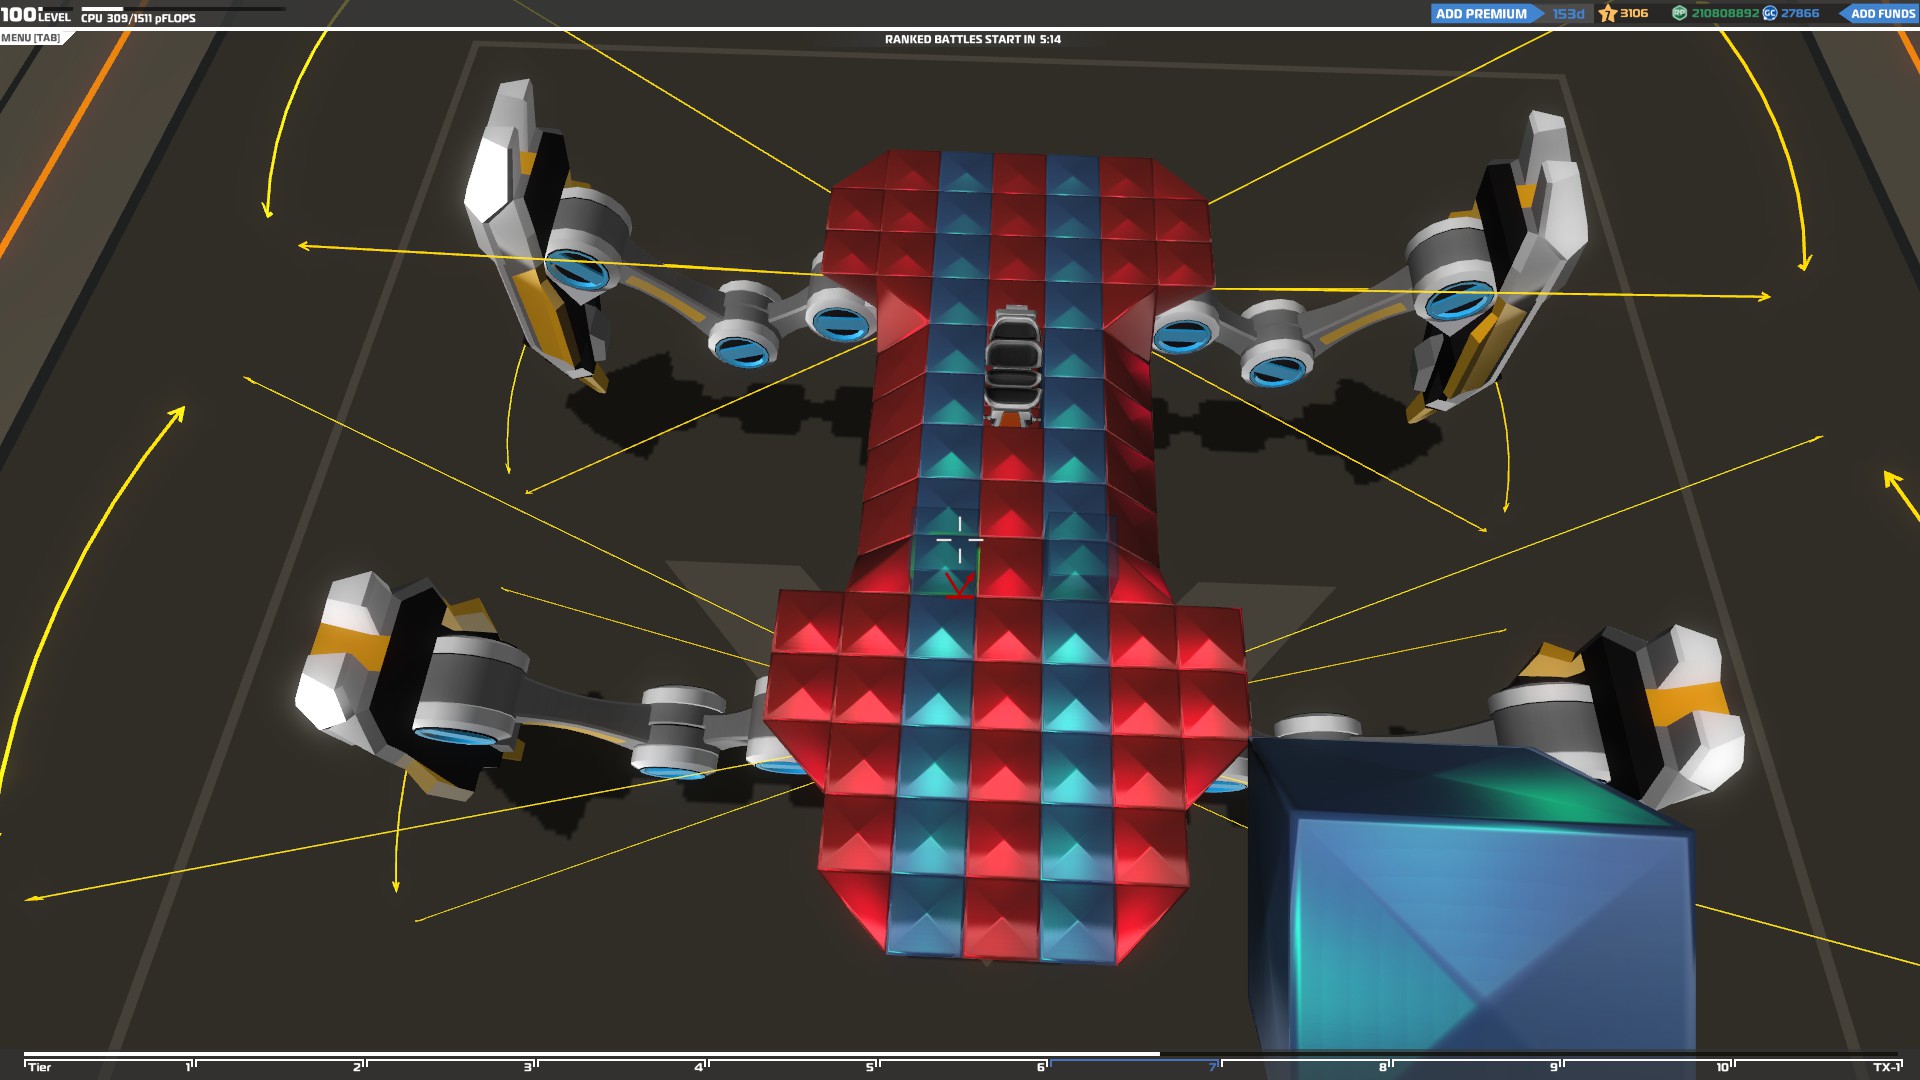
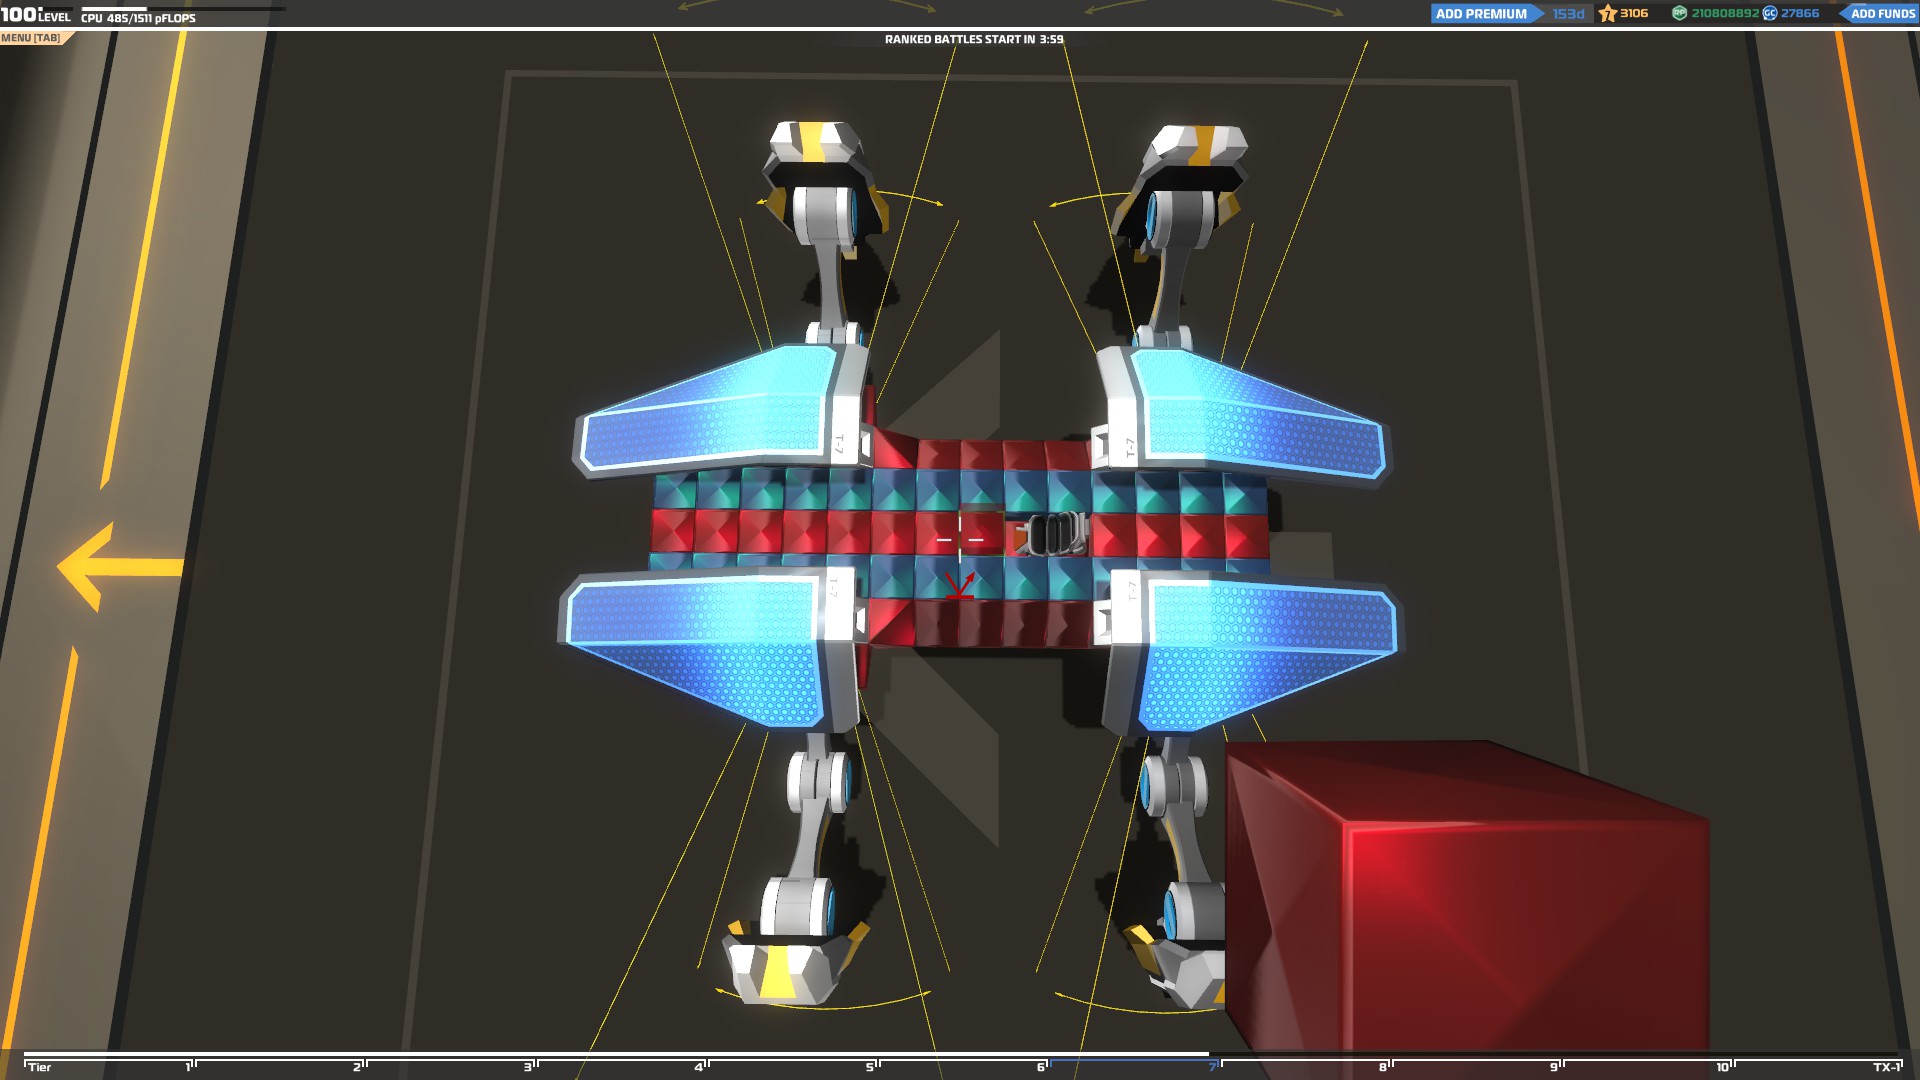
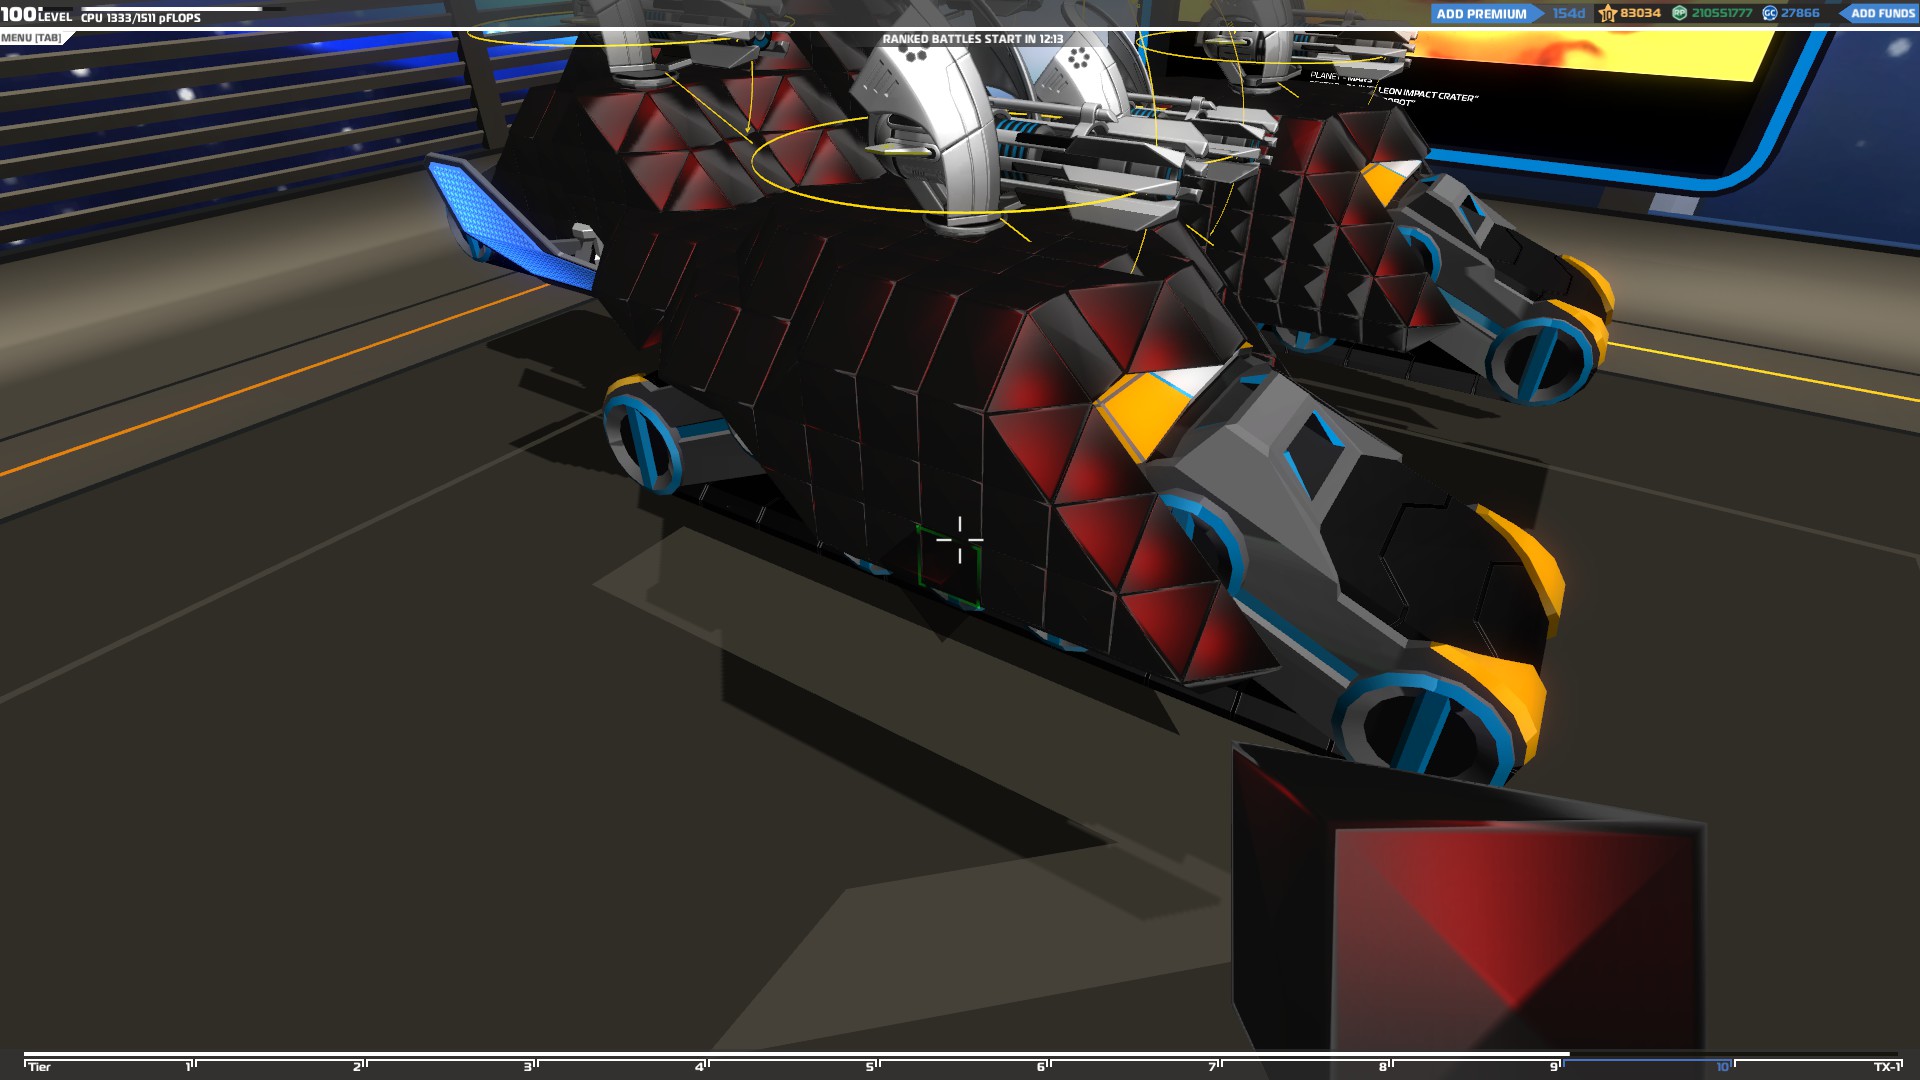
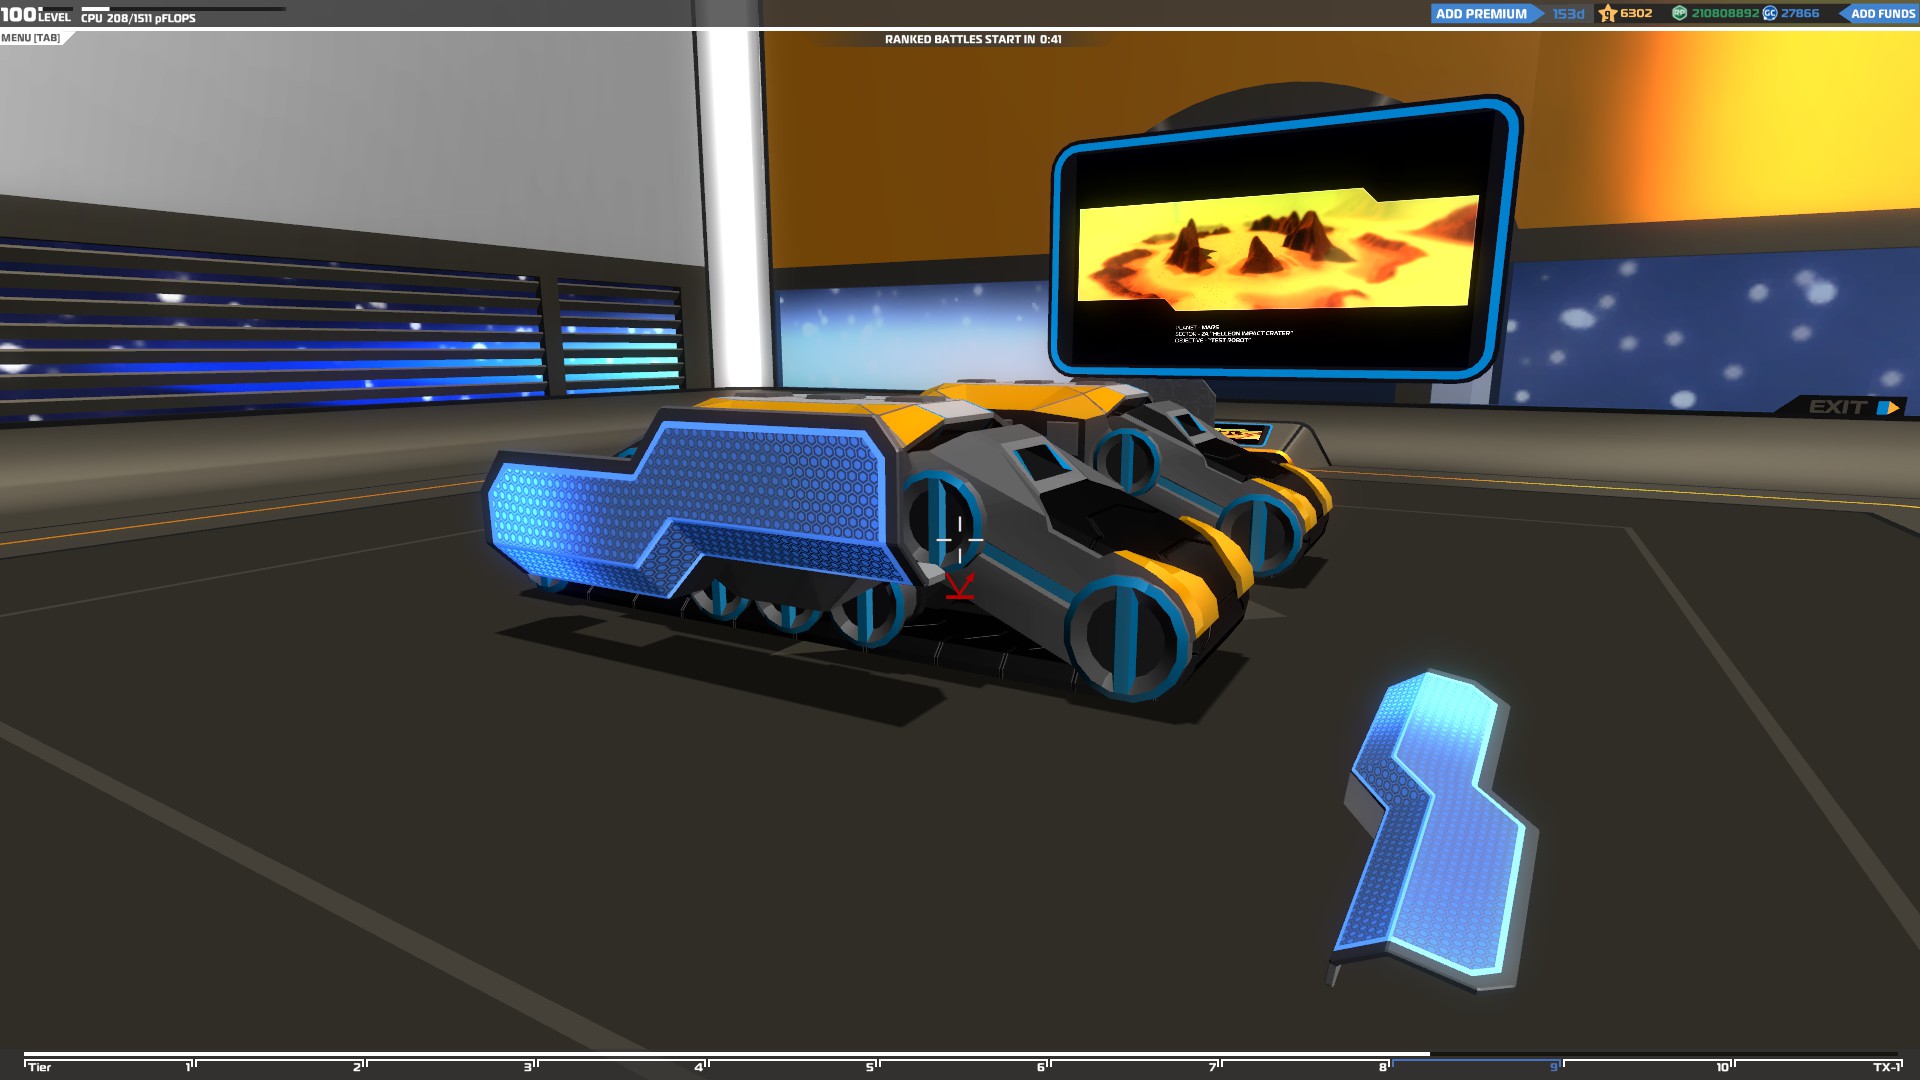
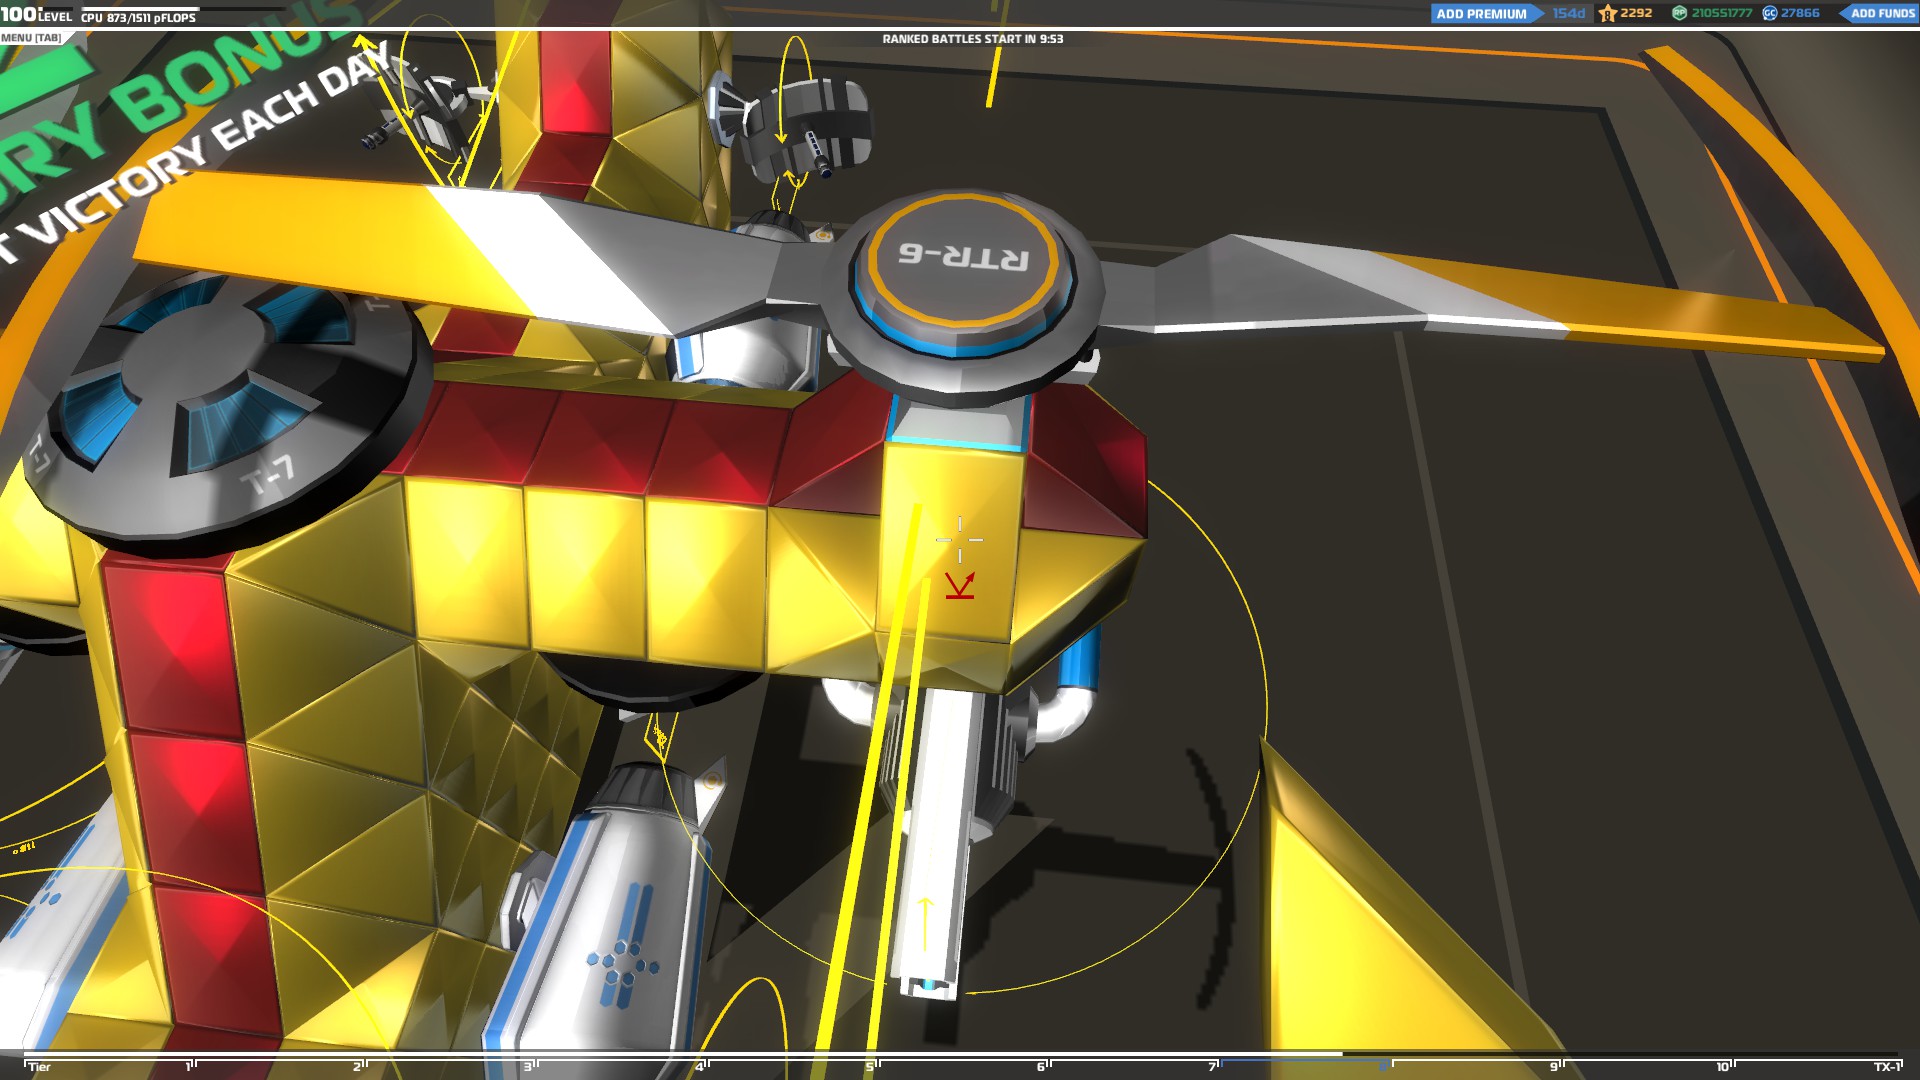
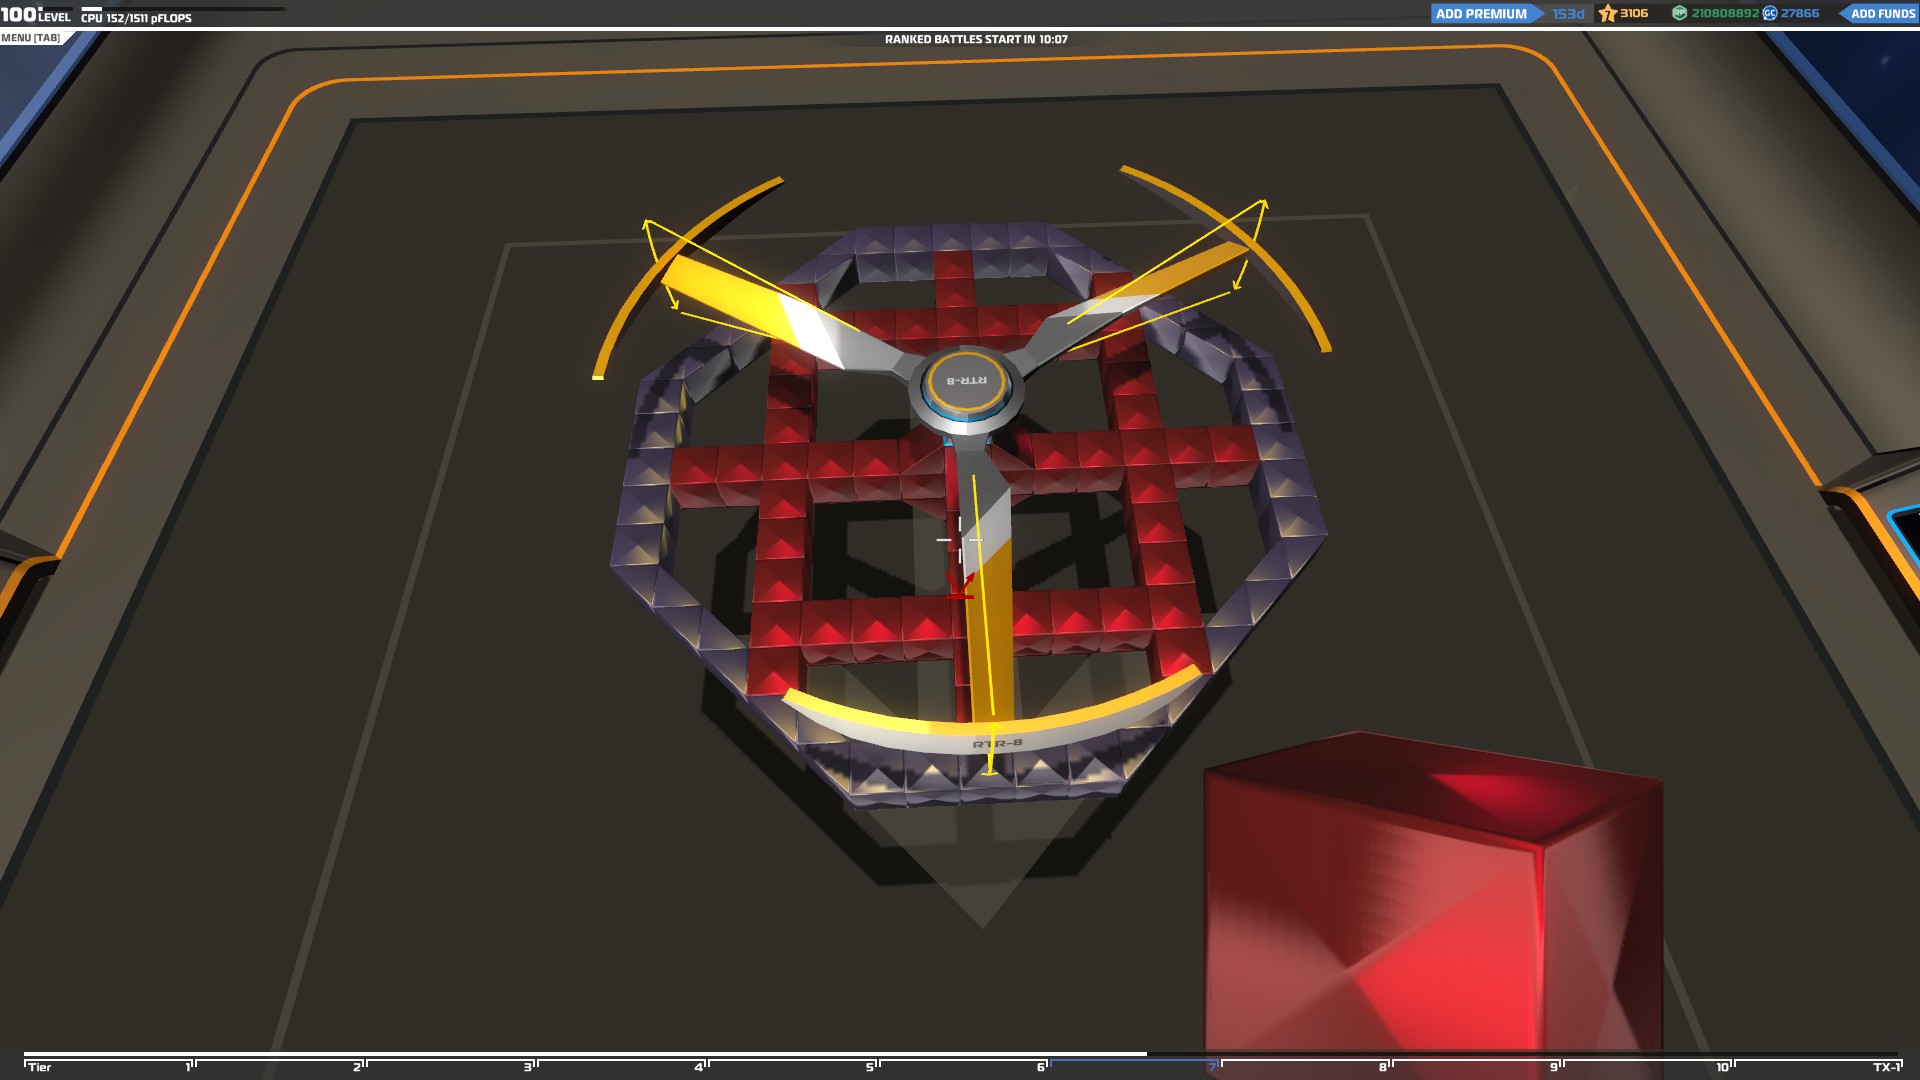
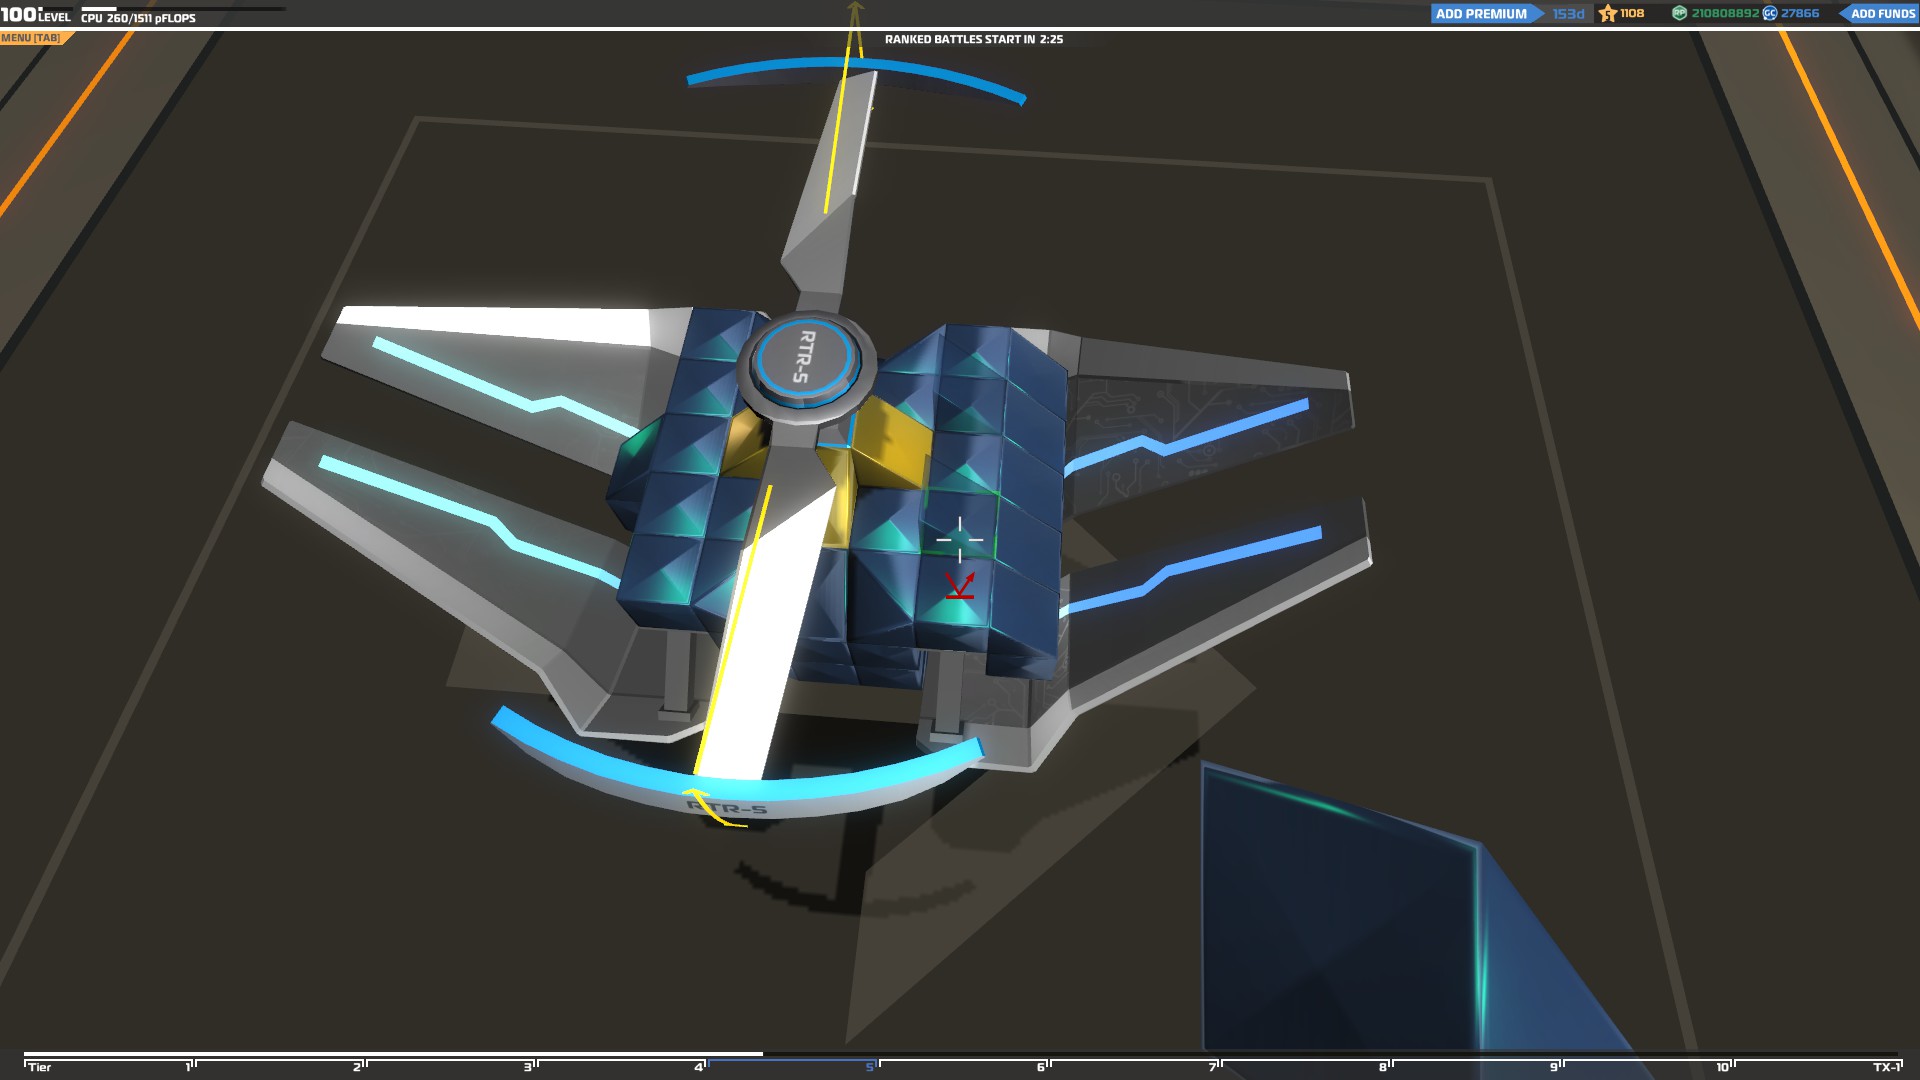
Hiding your seat
You can also hide your seat without using the vertical building technique by placing it at a different place than the usual one. In the following example the seat is placed at the left part of the vehicle so it will be safe if the enemy focuses at the middle of the vehicle thinking that the seat might be there.
Ejection seat
Finally you can create an ejection seat which will help you escape from your enemies if you reach 1% health. That can be really helpful especially in a ranked game where surviving is all that matters.
To create an ejection seat you need to place thrusters at your seat's supporting blocks. How many thrusters you use is up to you. I created two examples below with the most common ejection seat designs.
Protecting your movement items
Apart from your seat, the next most important parts on your vehicle are your movement items. The seat is usually placed at the safest part of the vehicle which is usually the center/back of your core, but your movement items should not be placed on your main core.
Wheels
It’s crucial to never connect your wheels to your core especially in high tiers since if you are up against skilled enemies, connecting them to the same core you put your seat on, will probably get you killed with one shot no matter the amount of outer armor you use. You can see why in the next example.
Since the wheels are visible and easy to target, one hit (from plasma or rail) will not only destroy one wheel but also the surrounding blocks until the damage is absorbed. If your wheels are connected to your main core you will either be destroyed with one shot or lose the majority of your vehicle.
The best way to protect your wheels without endangering your seat is to create a second core just for them. That way if you get hit you will lose only one of them without your seat or the main core of your vehicle being in danger.
These are some really basic designs but using this concept you can do much more complex structures which can withstand a lot more damage.
You can also cover your wheels completely with blocks or electroplates for extra protection.
Finally, you can place your wheels so they face each other which will save you a lot of space and you won’t endanger your core. The only drawback is that the wheels will be a bit more vulnerable since their support blocks will be located at the outer armor of your vehicle, but you can always add electroplates or extra layers of blocks to protect them.
Hover blades
The good thing about hover blades is that they are really small so you can easily protect them by placing them inside your vehicle. Like with the wheels, do not attach them directly to your core but build a secondary core for them. Also, make sure to completely cover them to protect them from any incoming damage since losing even a couple of them can affect the overall stability of your hover.
Legs
They are really difficult to protect due to their shape and massive size. You can try to cover the smaller legs but it’s impossible to cover the high tier ones.
The only thing you can do is to protect their supporting blocks as good as possible and add electroplates around them to absorb any incoming damage.
Caterpillar tracks
Like the legs, caterpillar tracks are difficult to cover due to their size but their really high armor makes them really durable so it’s more difficult to lose one.
Still there are a few ways to add some extra layers of protection and increase their durability like covering them with blocks or attaching electroplates on them. You can either cover them completely with blocks for maximum protection or just a part of them if you want to increase their defense a bit without spending too much CPU.
The ability to attach items at the sides of them makes it really easy to add electroplates which might be a simple but really effective way to protect them.
Rotor blades
Their size makes them difficult to protect but their extra connection points can make them really durable.
Start by building a good base for them which will take full advantage of all of the connection points.
Make sure the blocks surrounding the connection points are not connected to each other so the damage cannot be transferred from one to another.
Finally, you can build a block layer below them or add electroplates to absorb any incoming damage before it reaches the blades.
Advanced Building Part 3
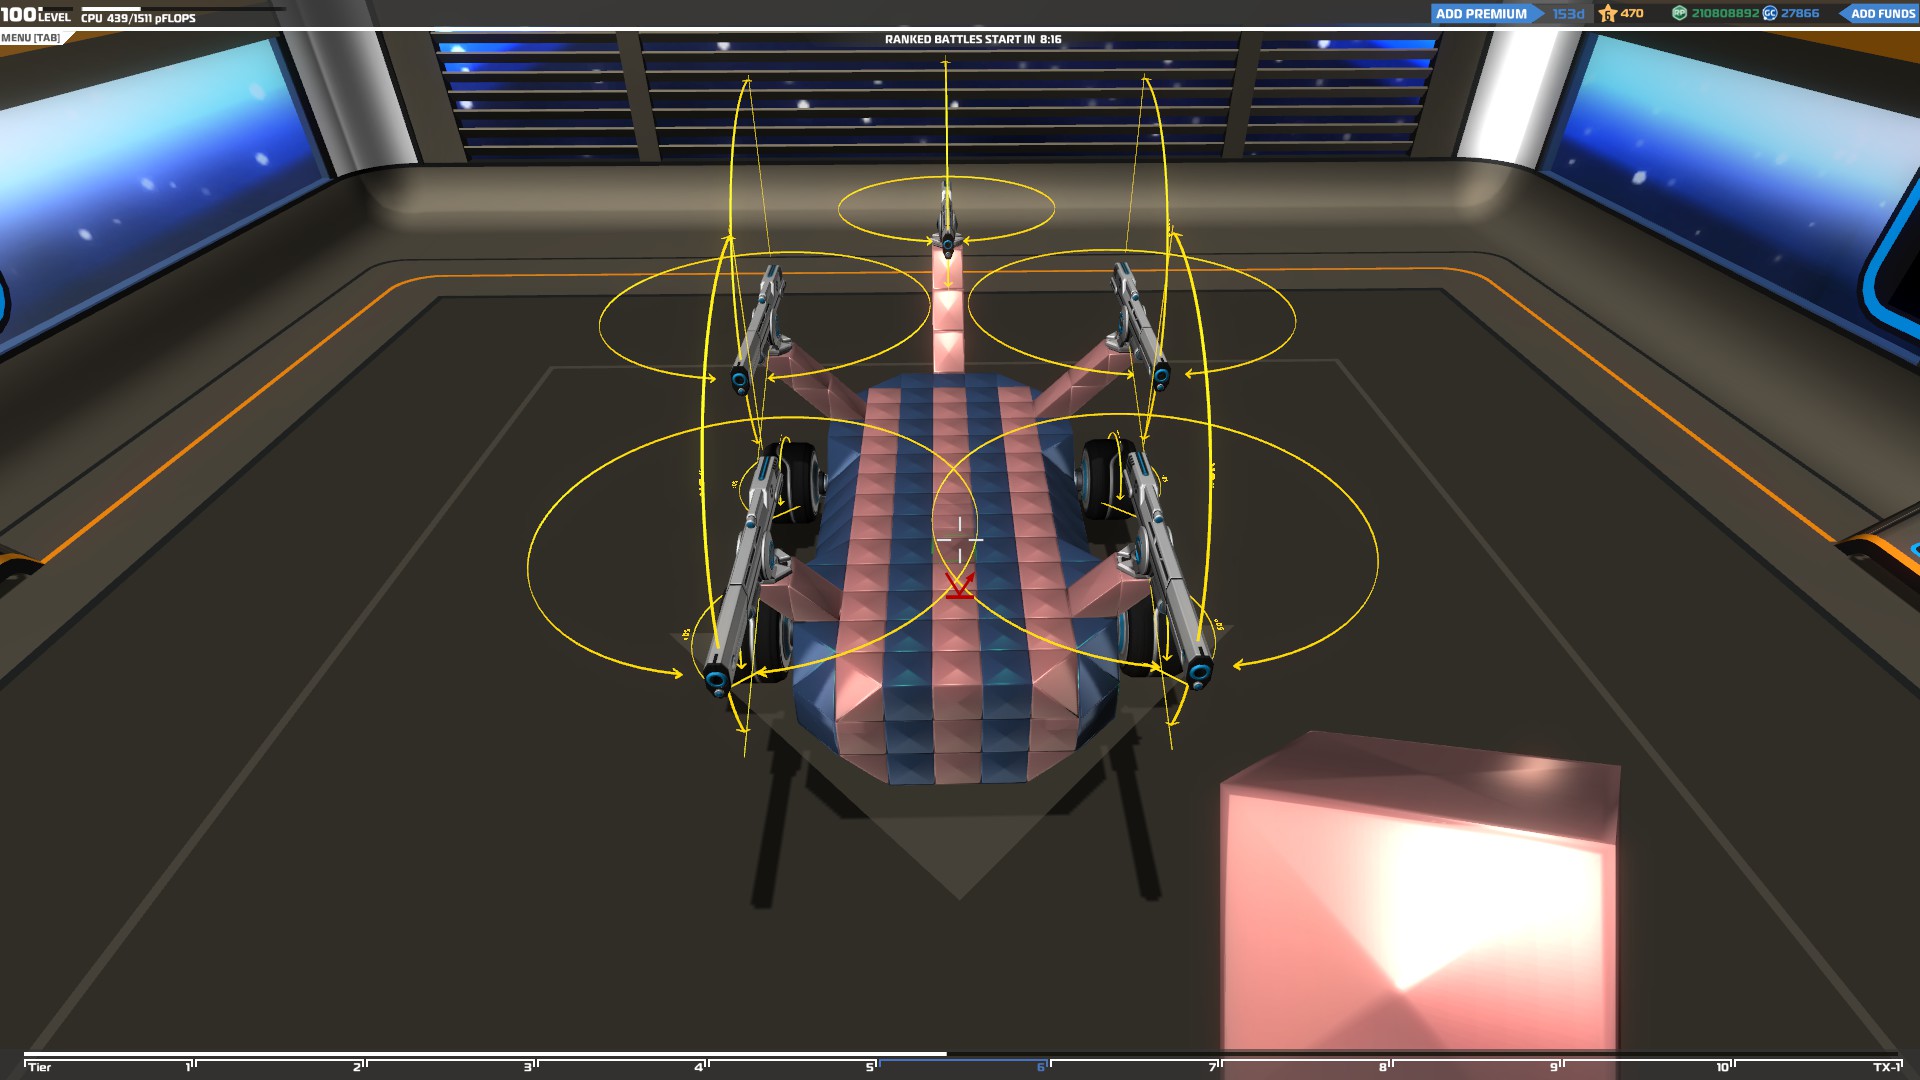
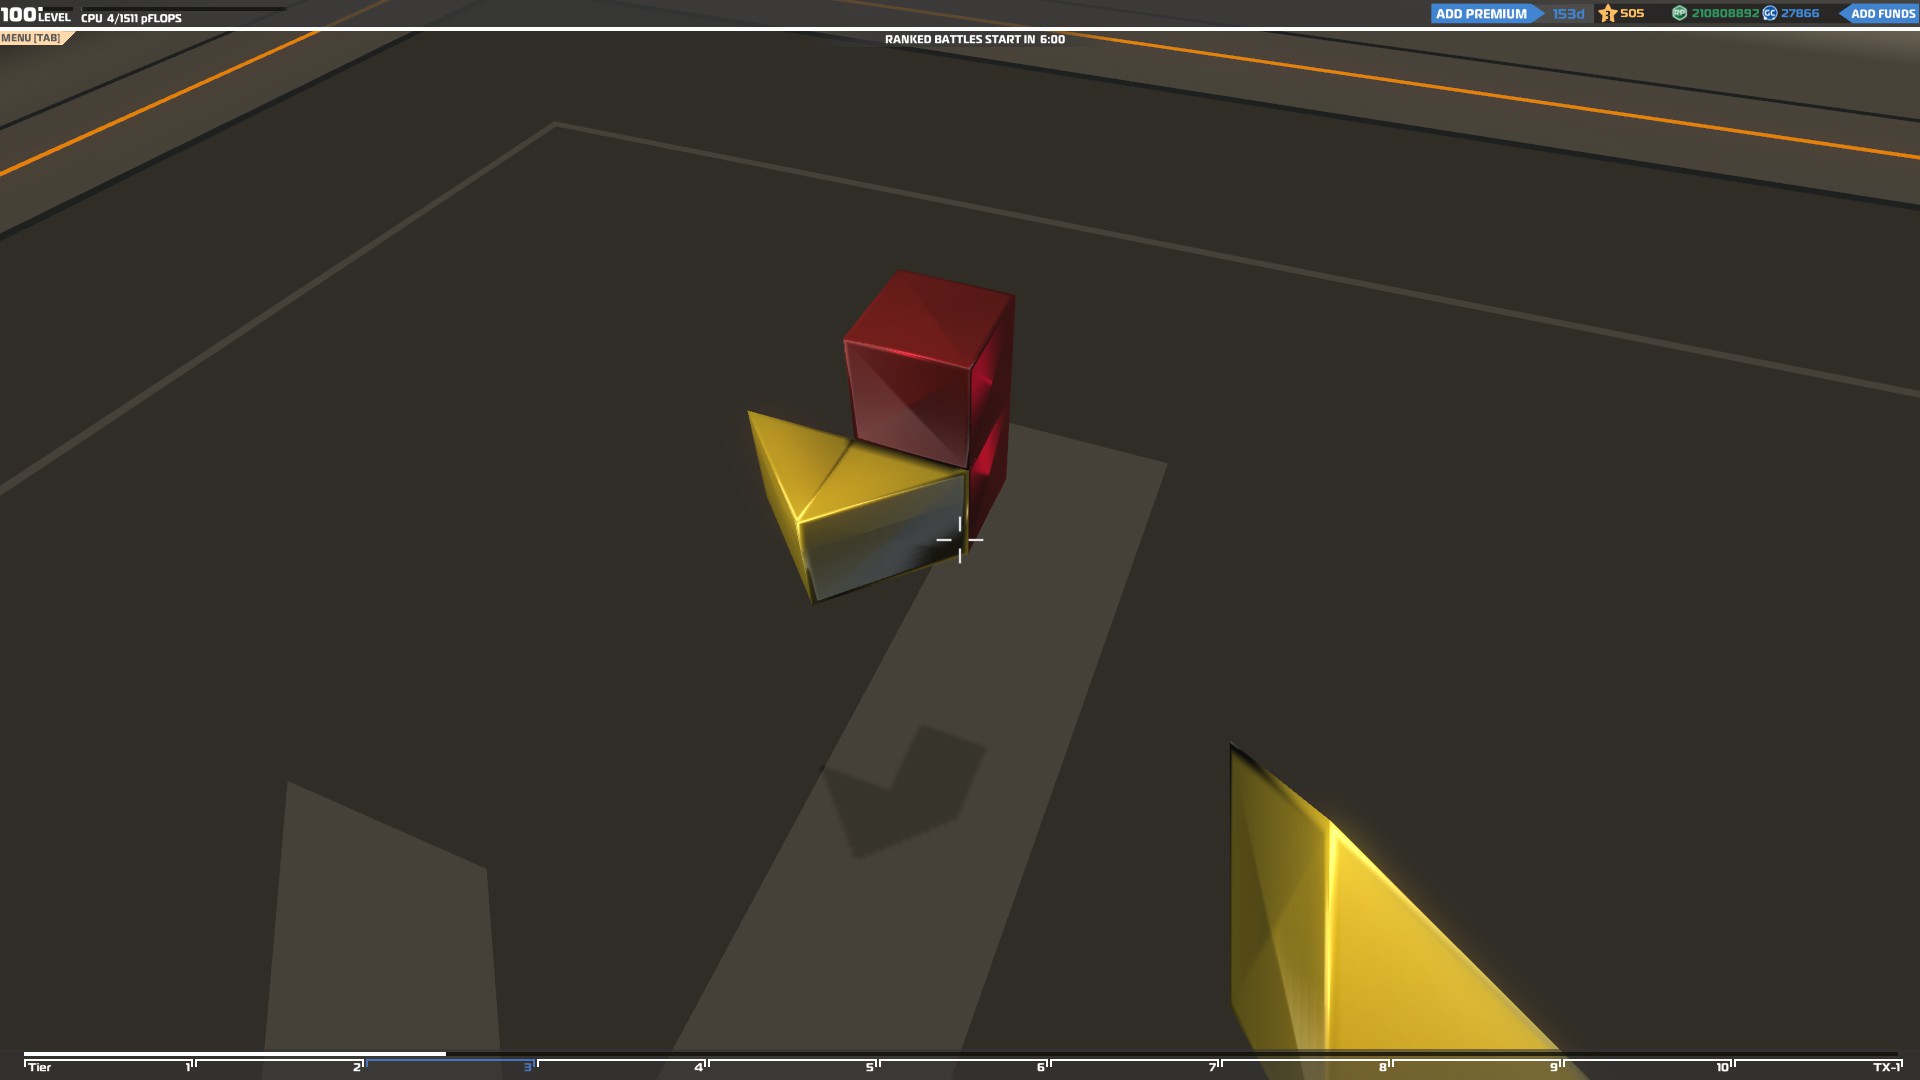
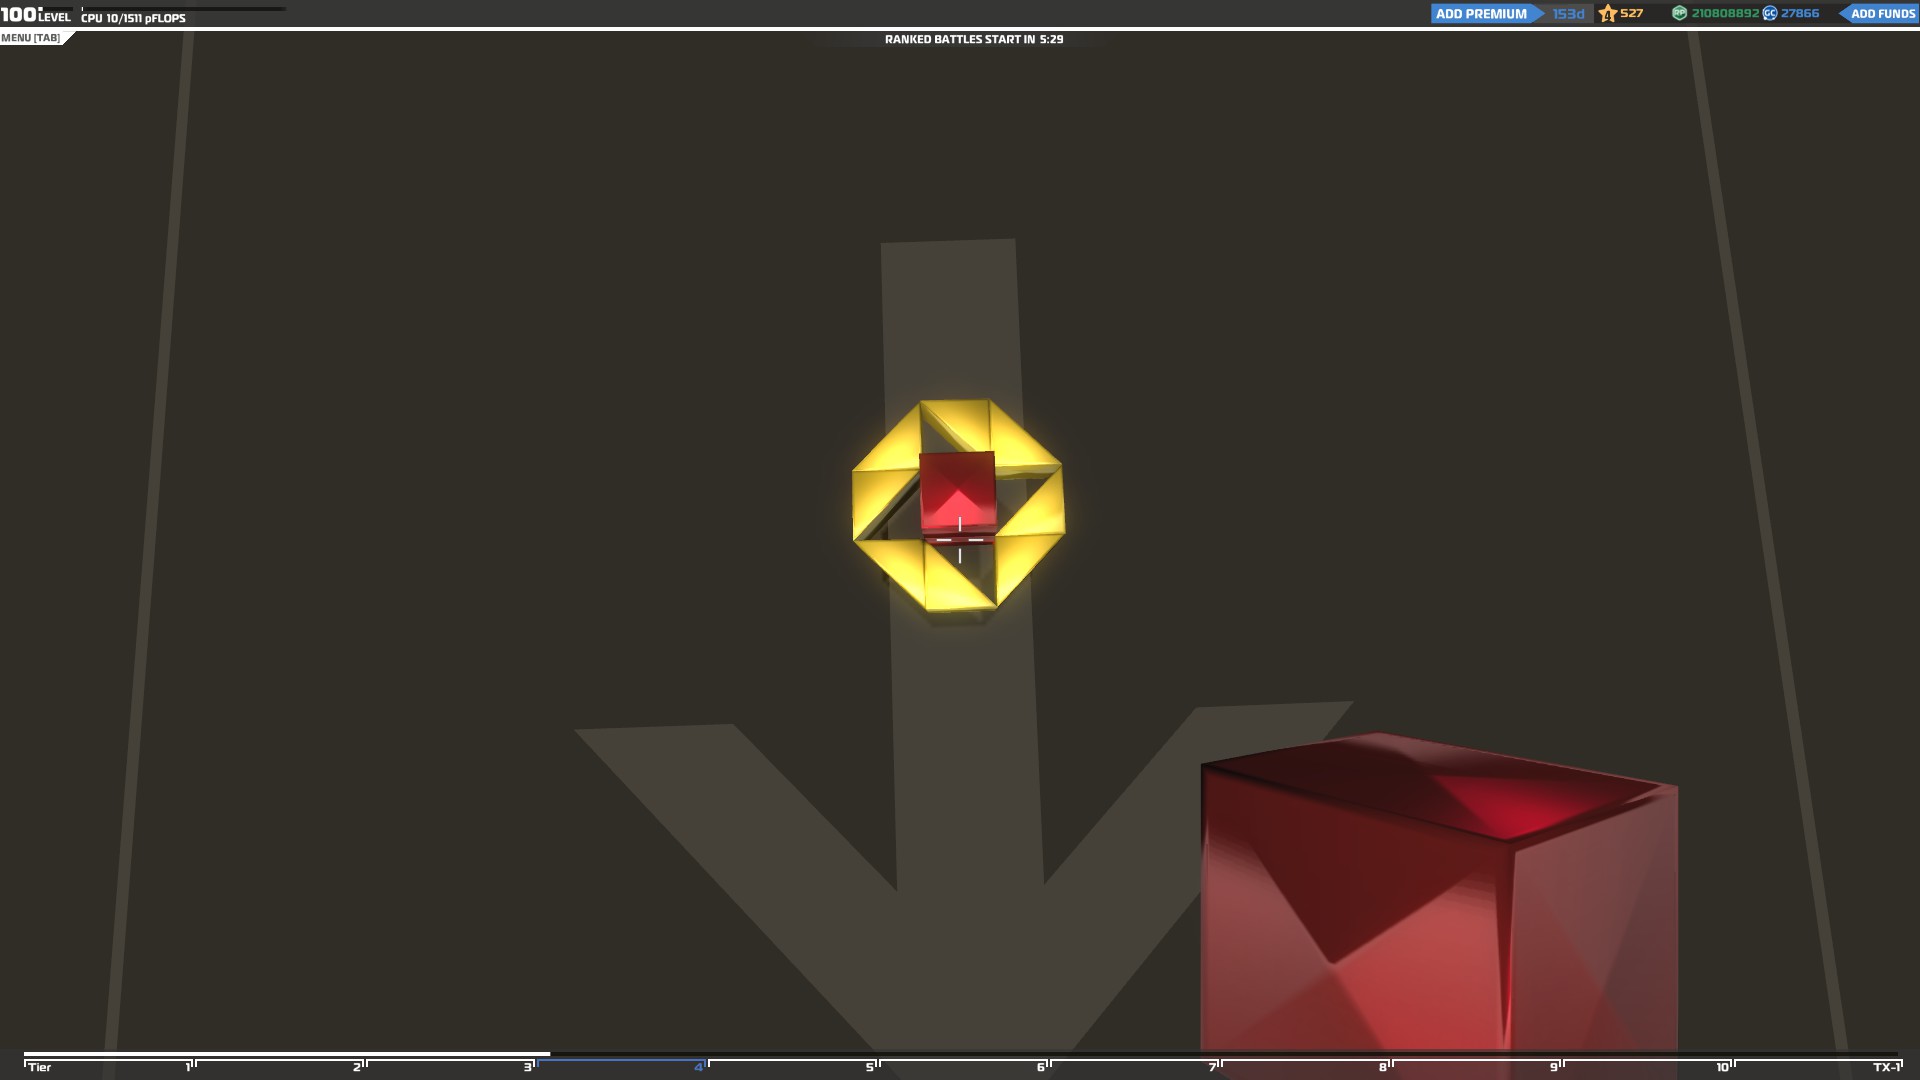
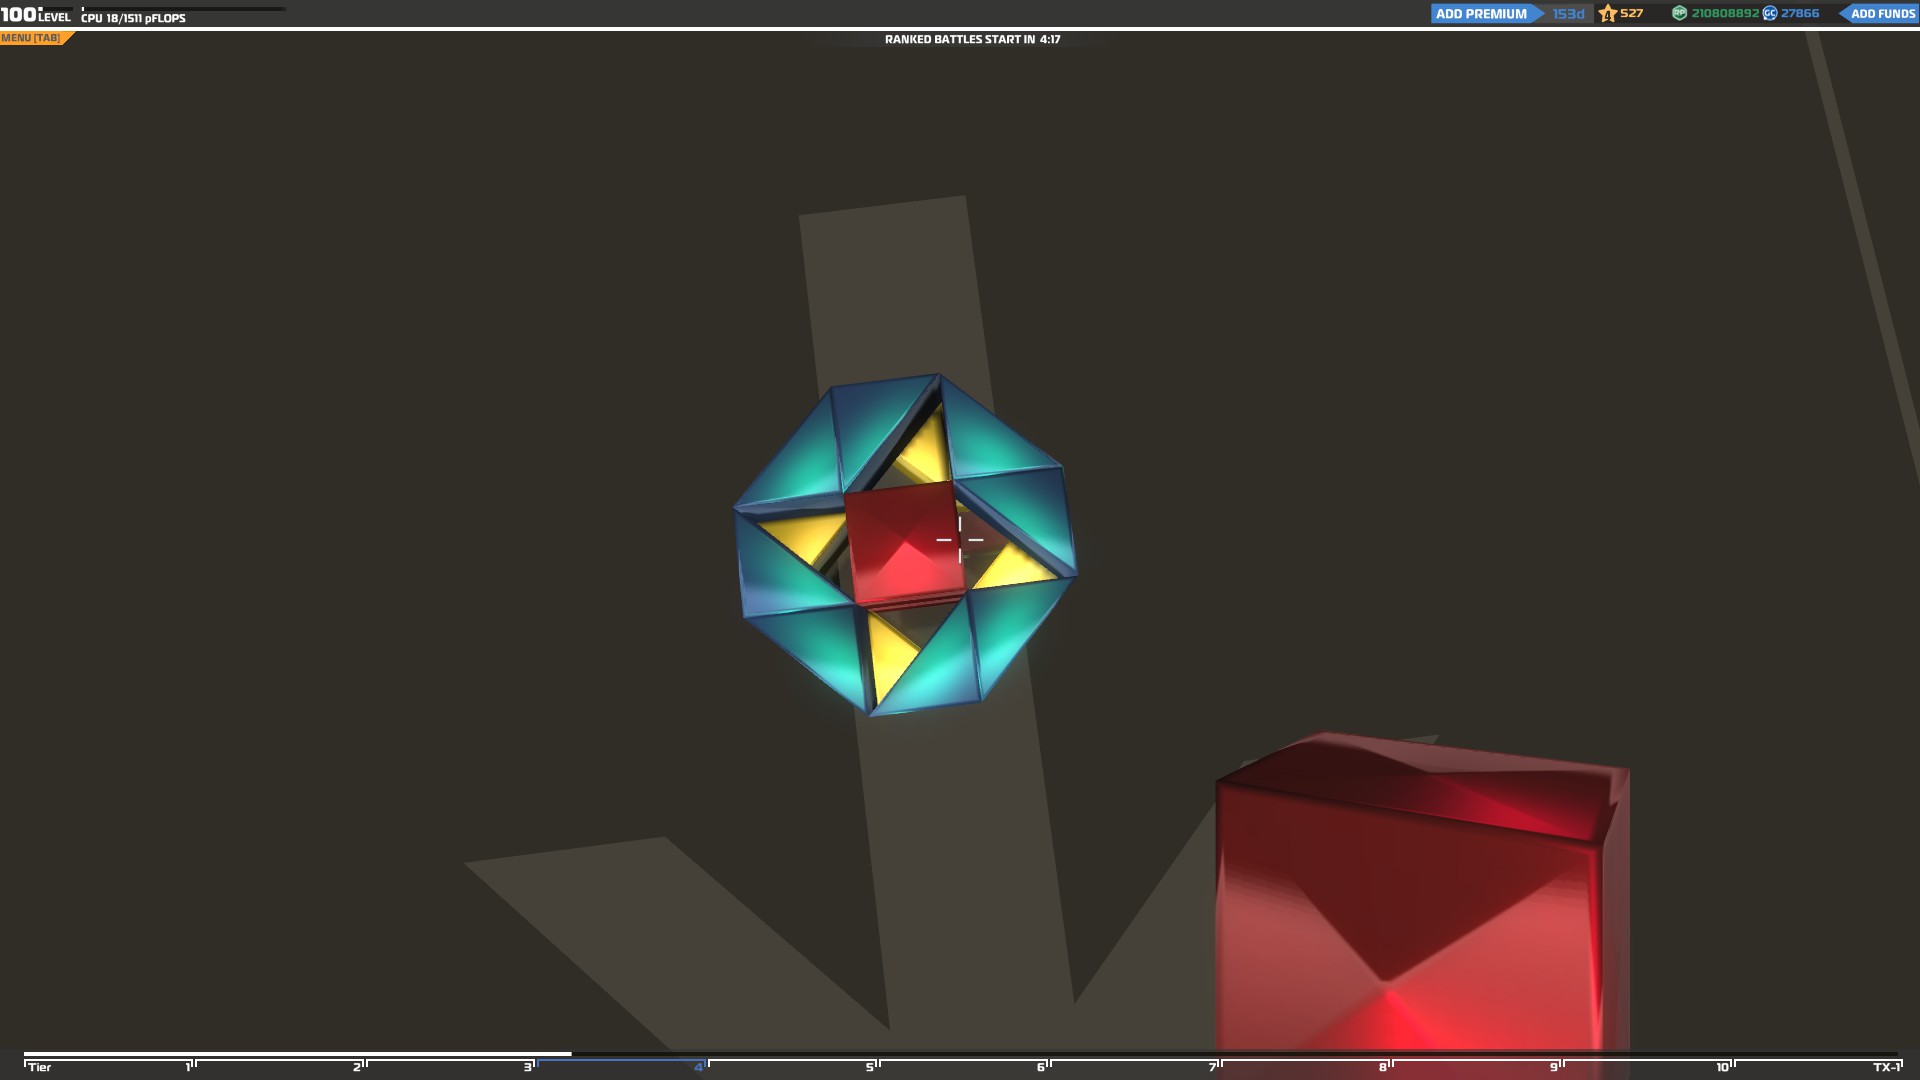
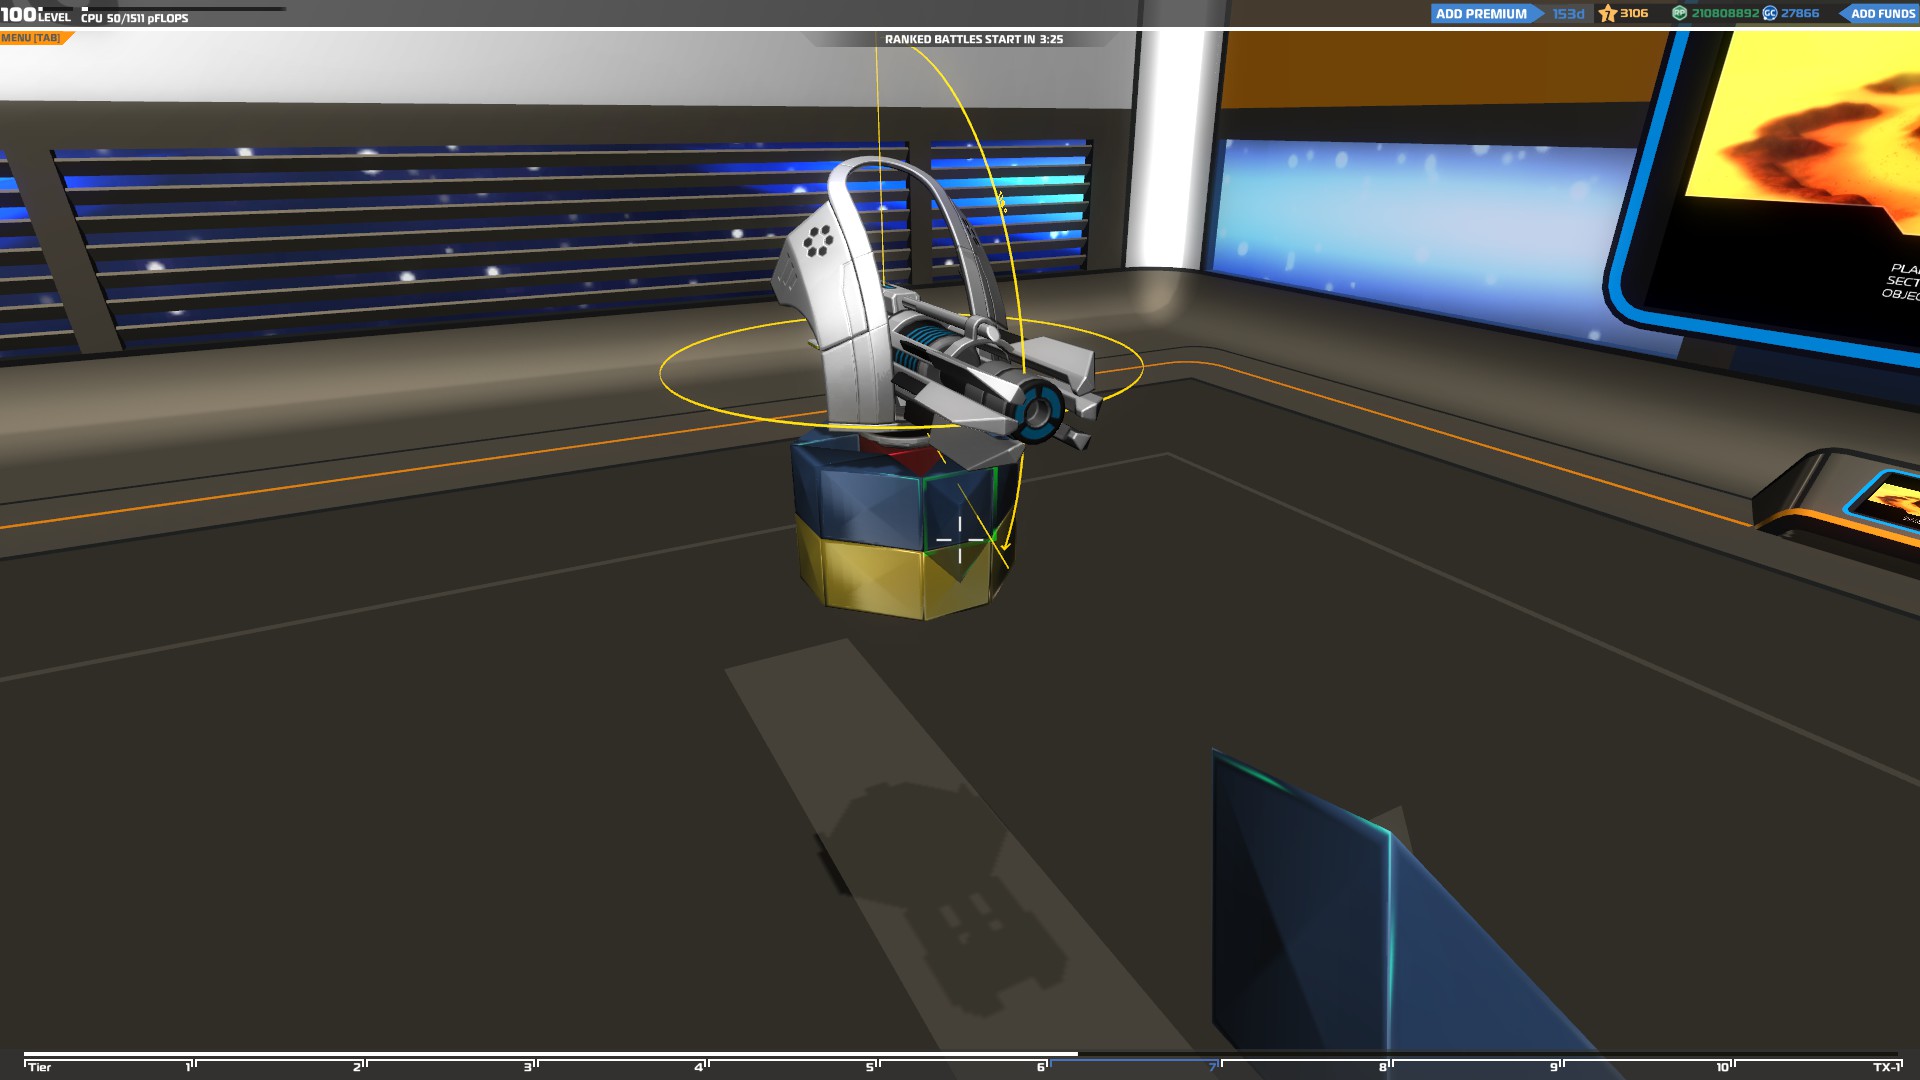
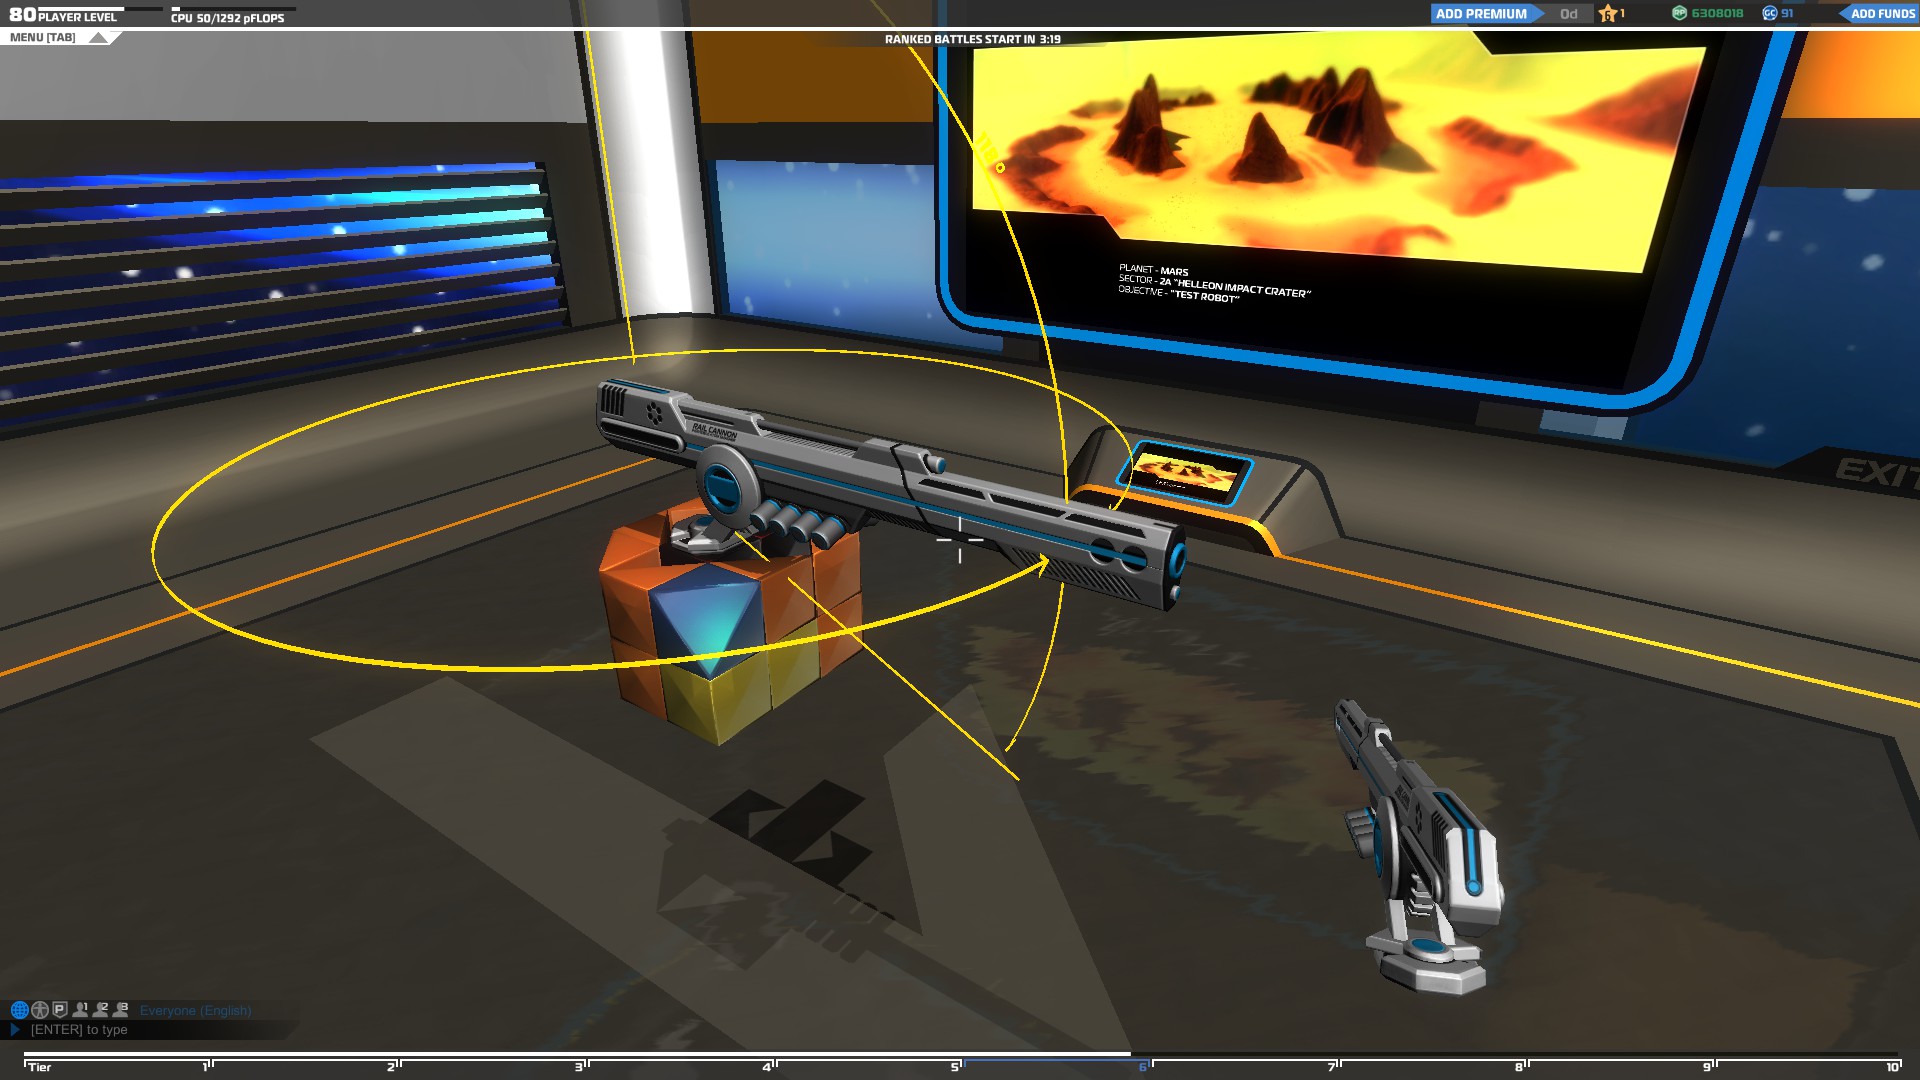
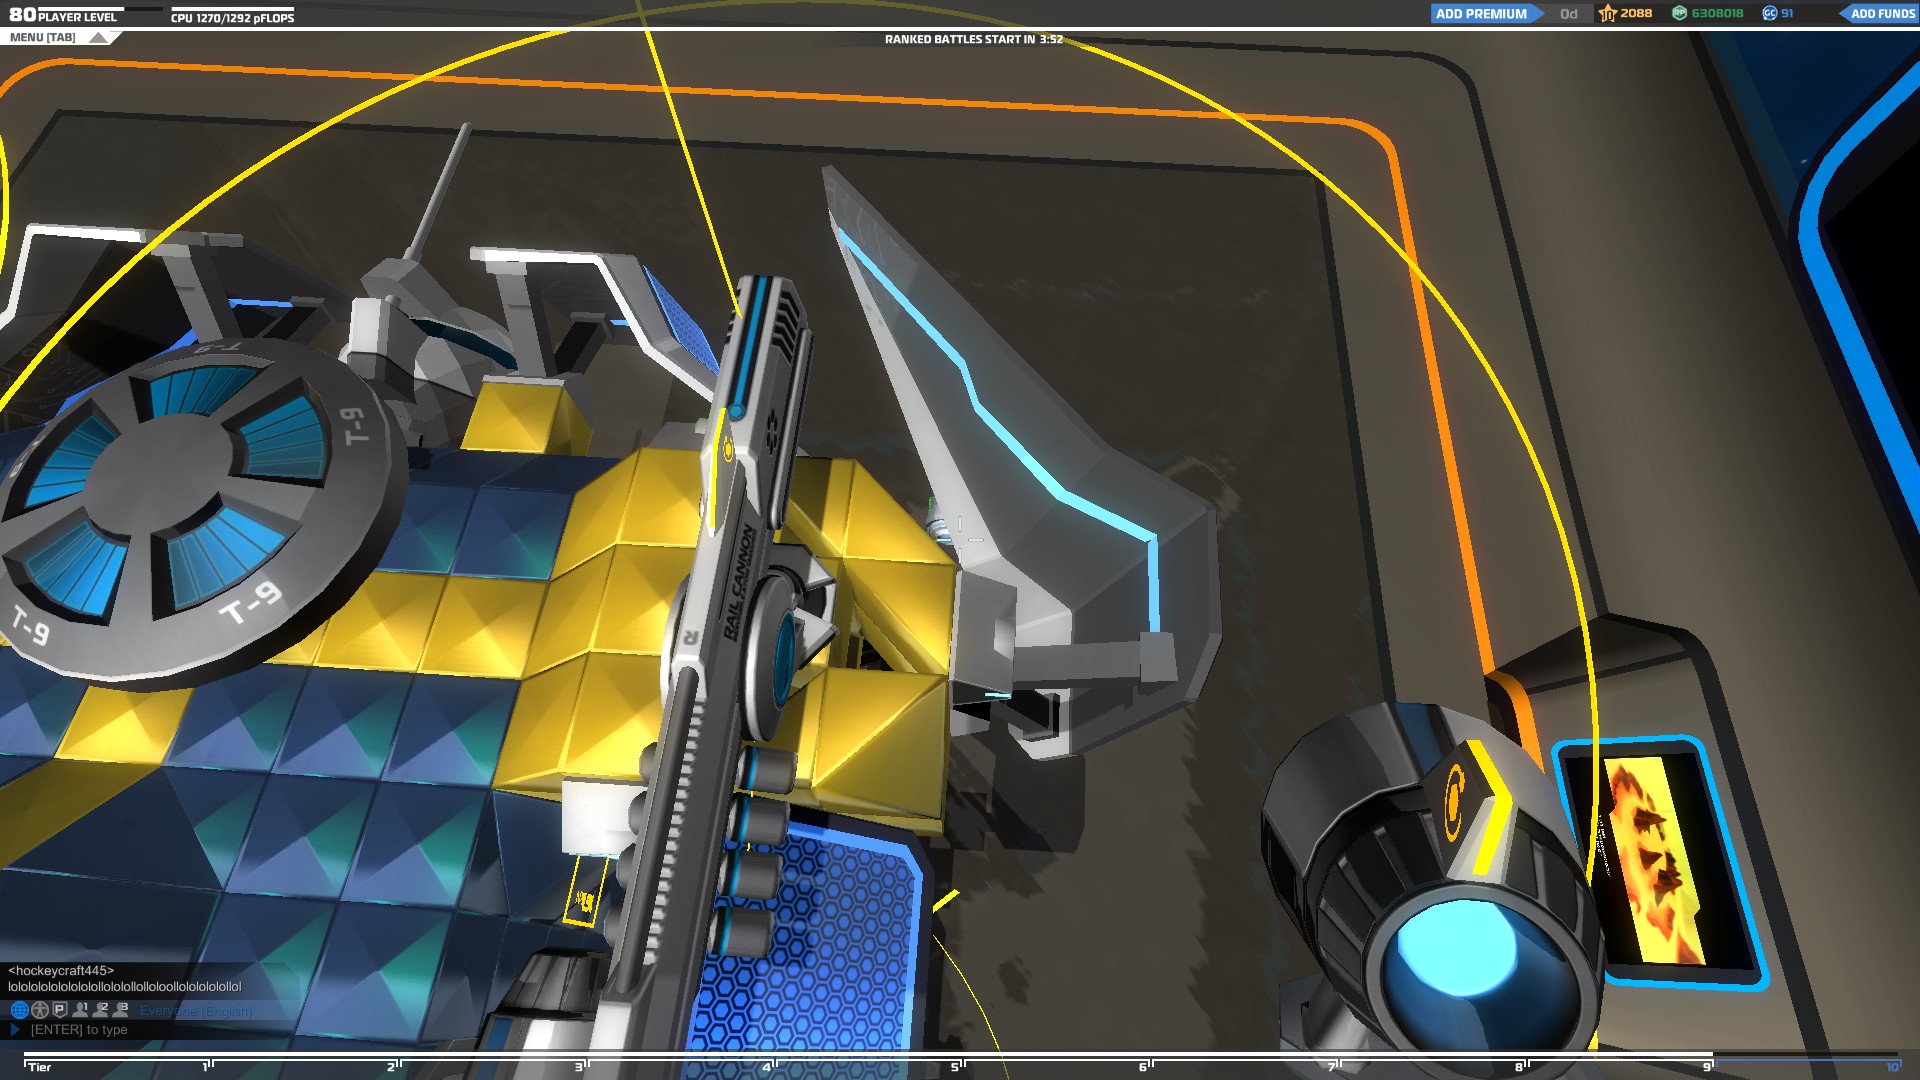
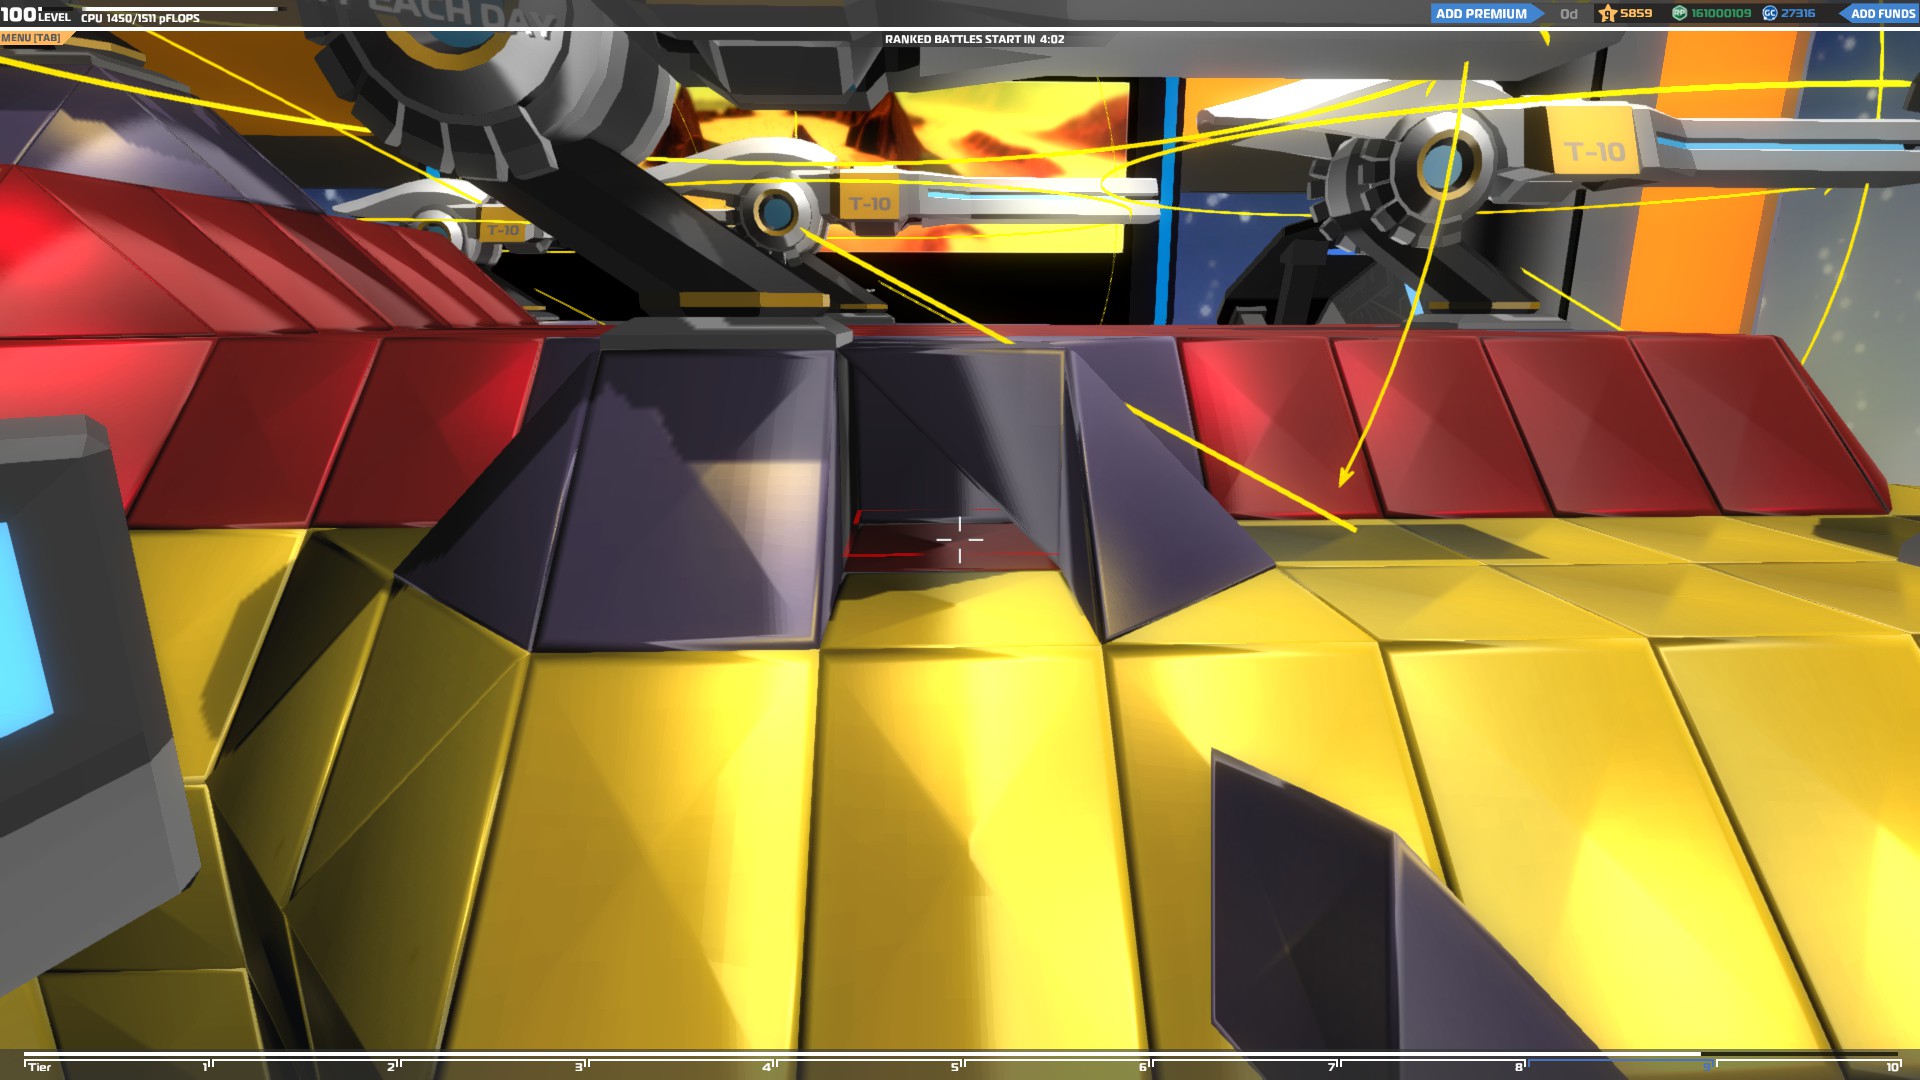
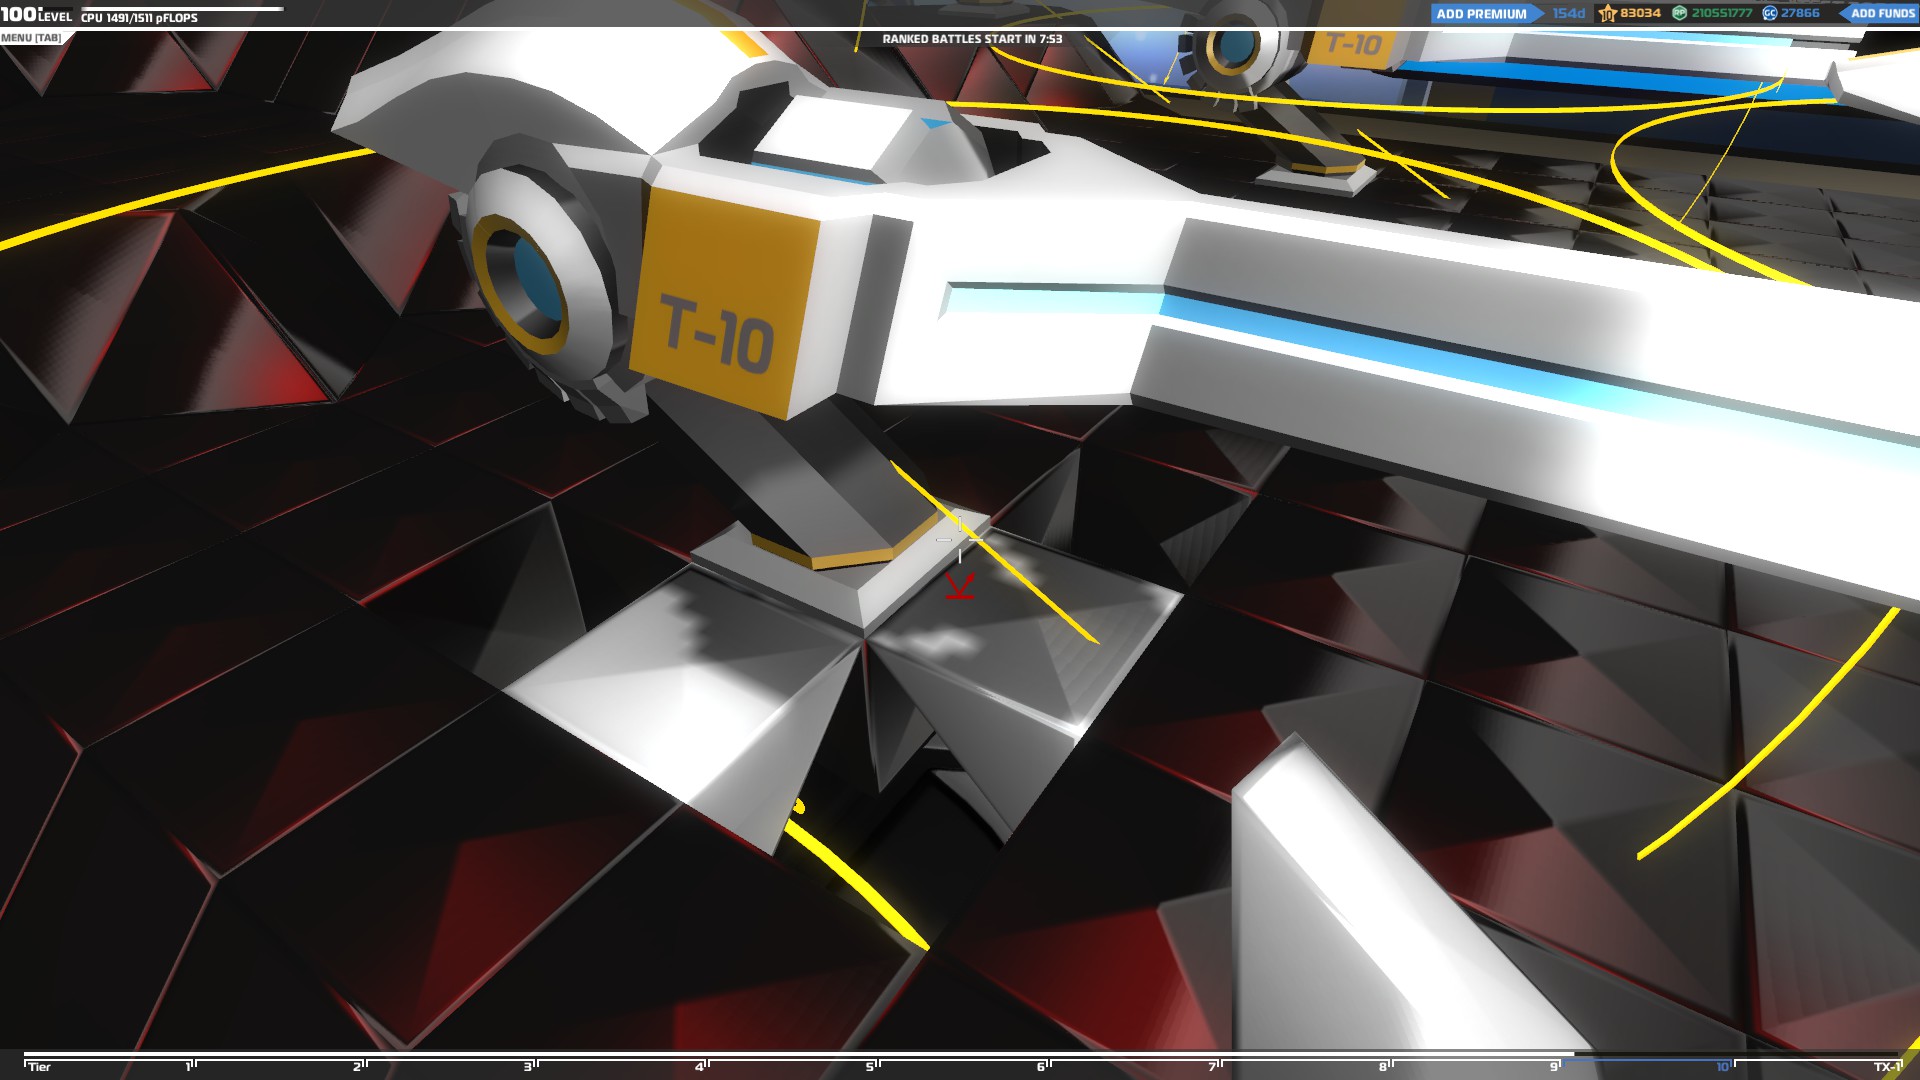
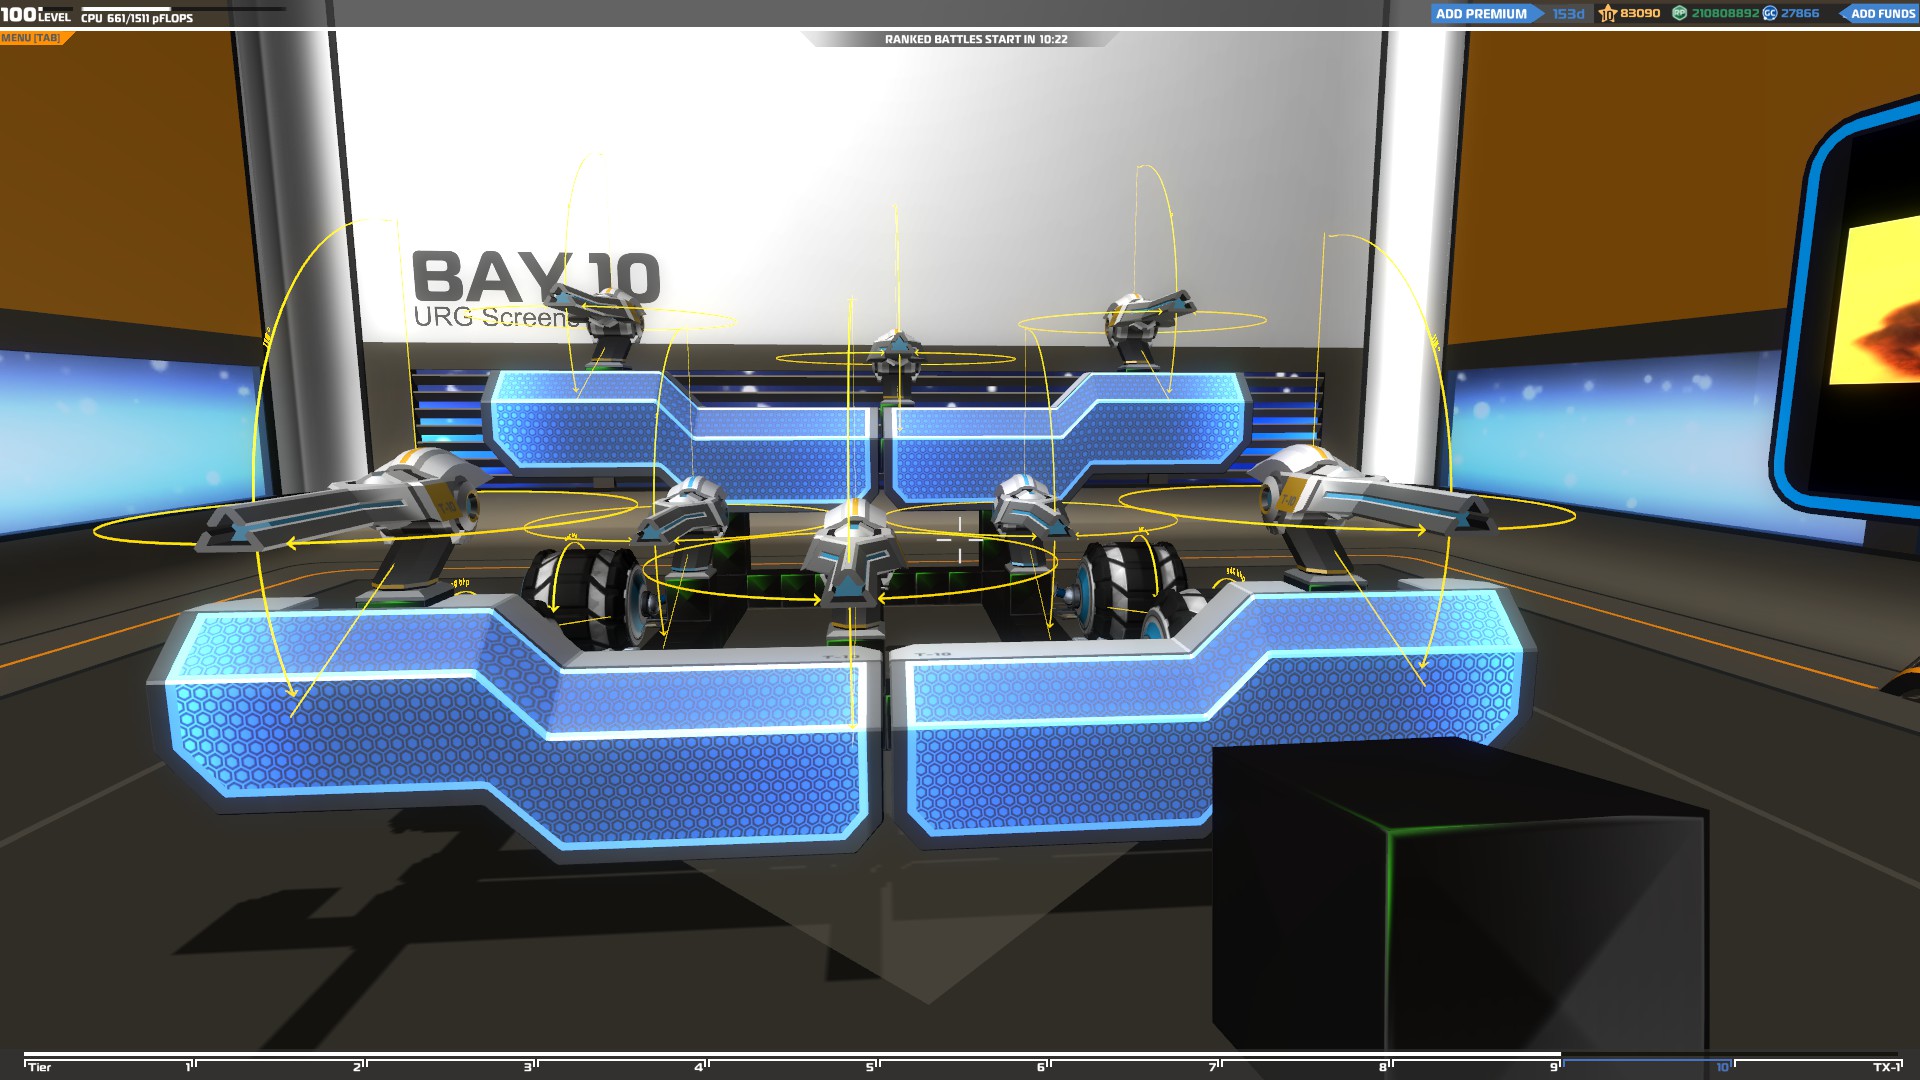
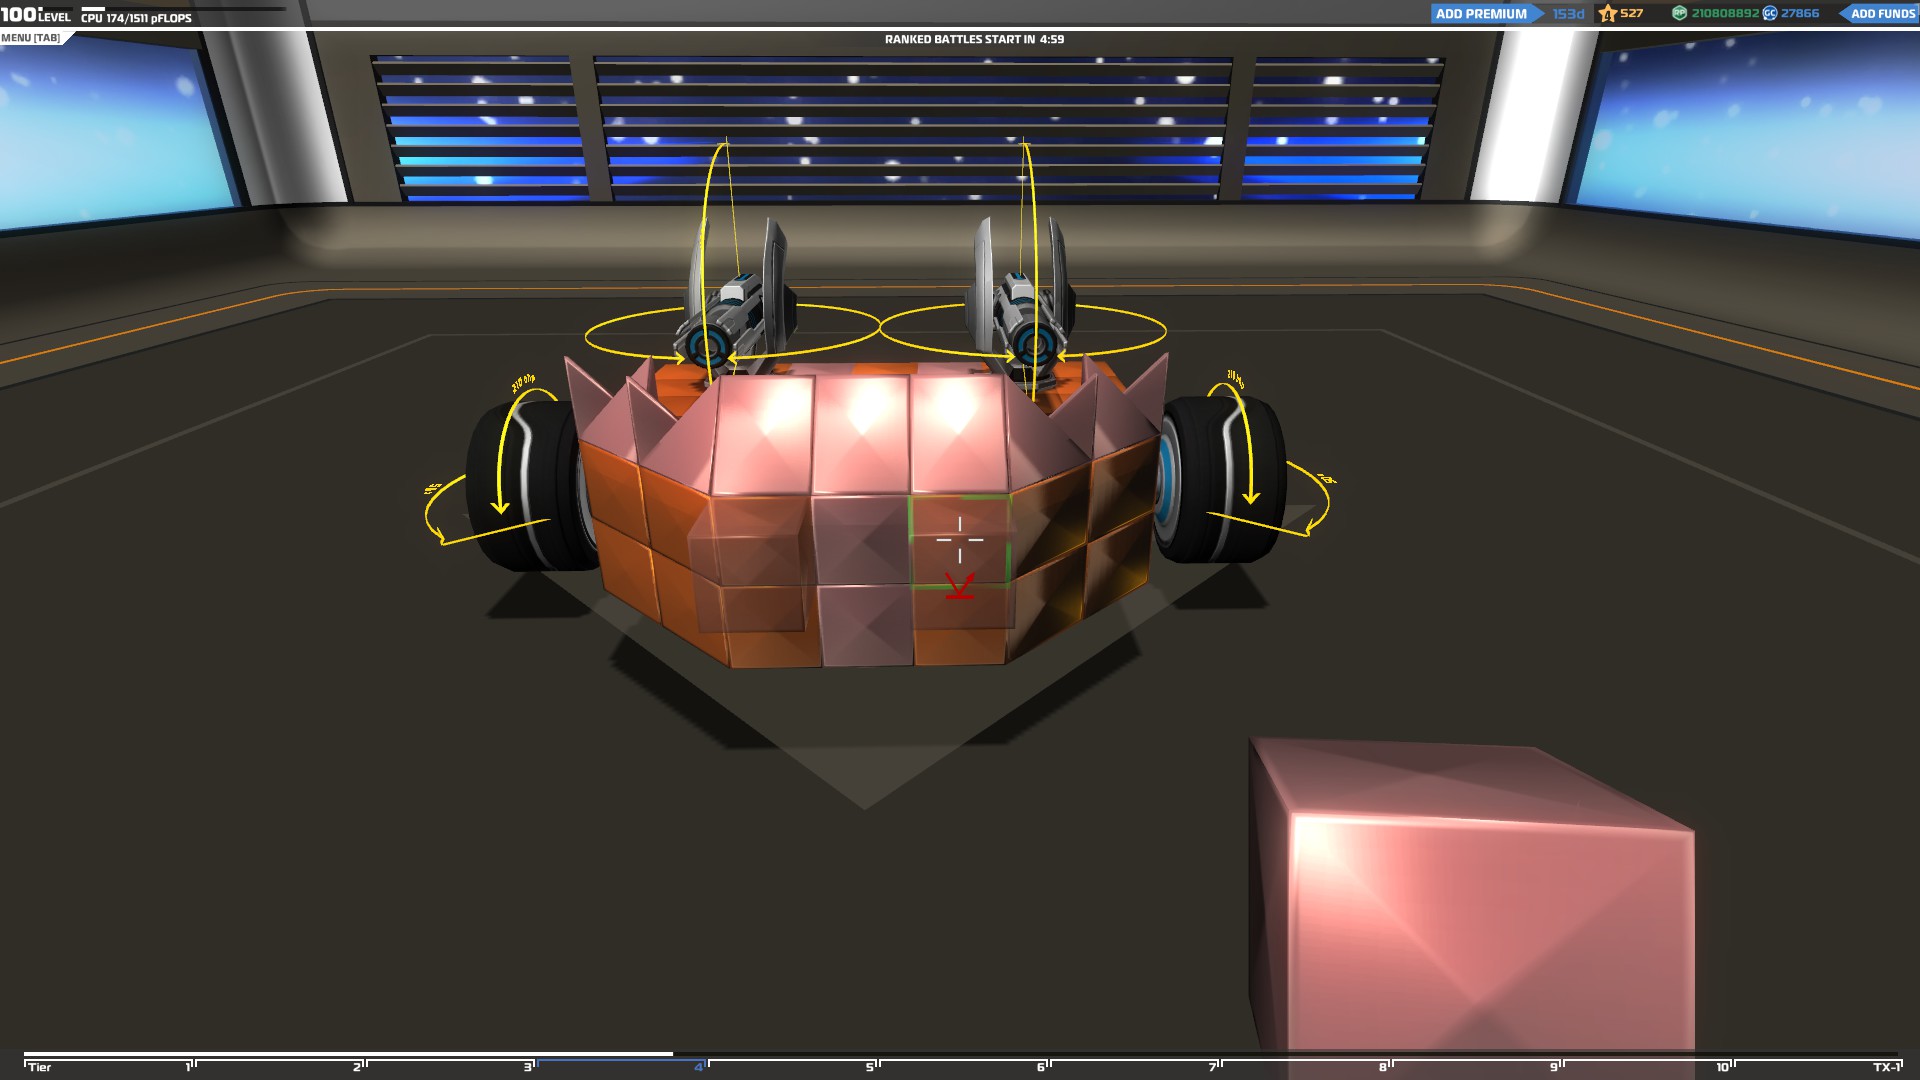
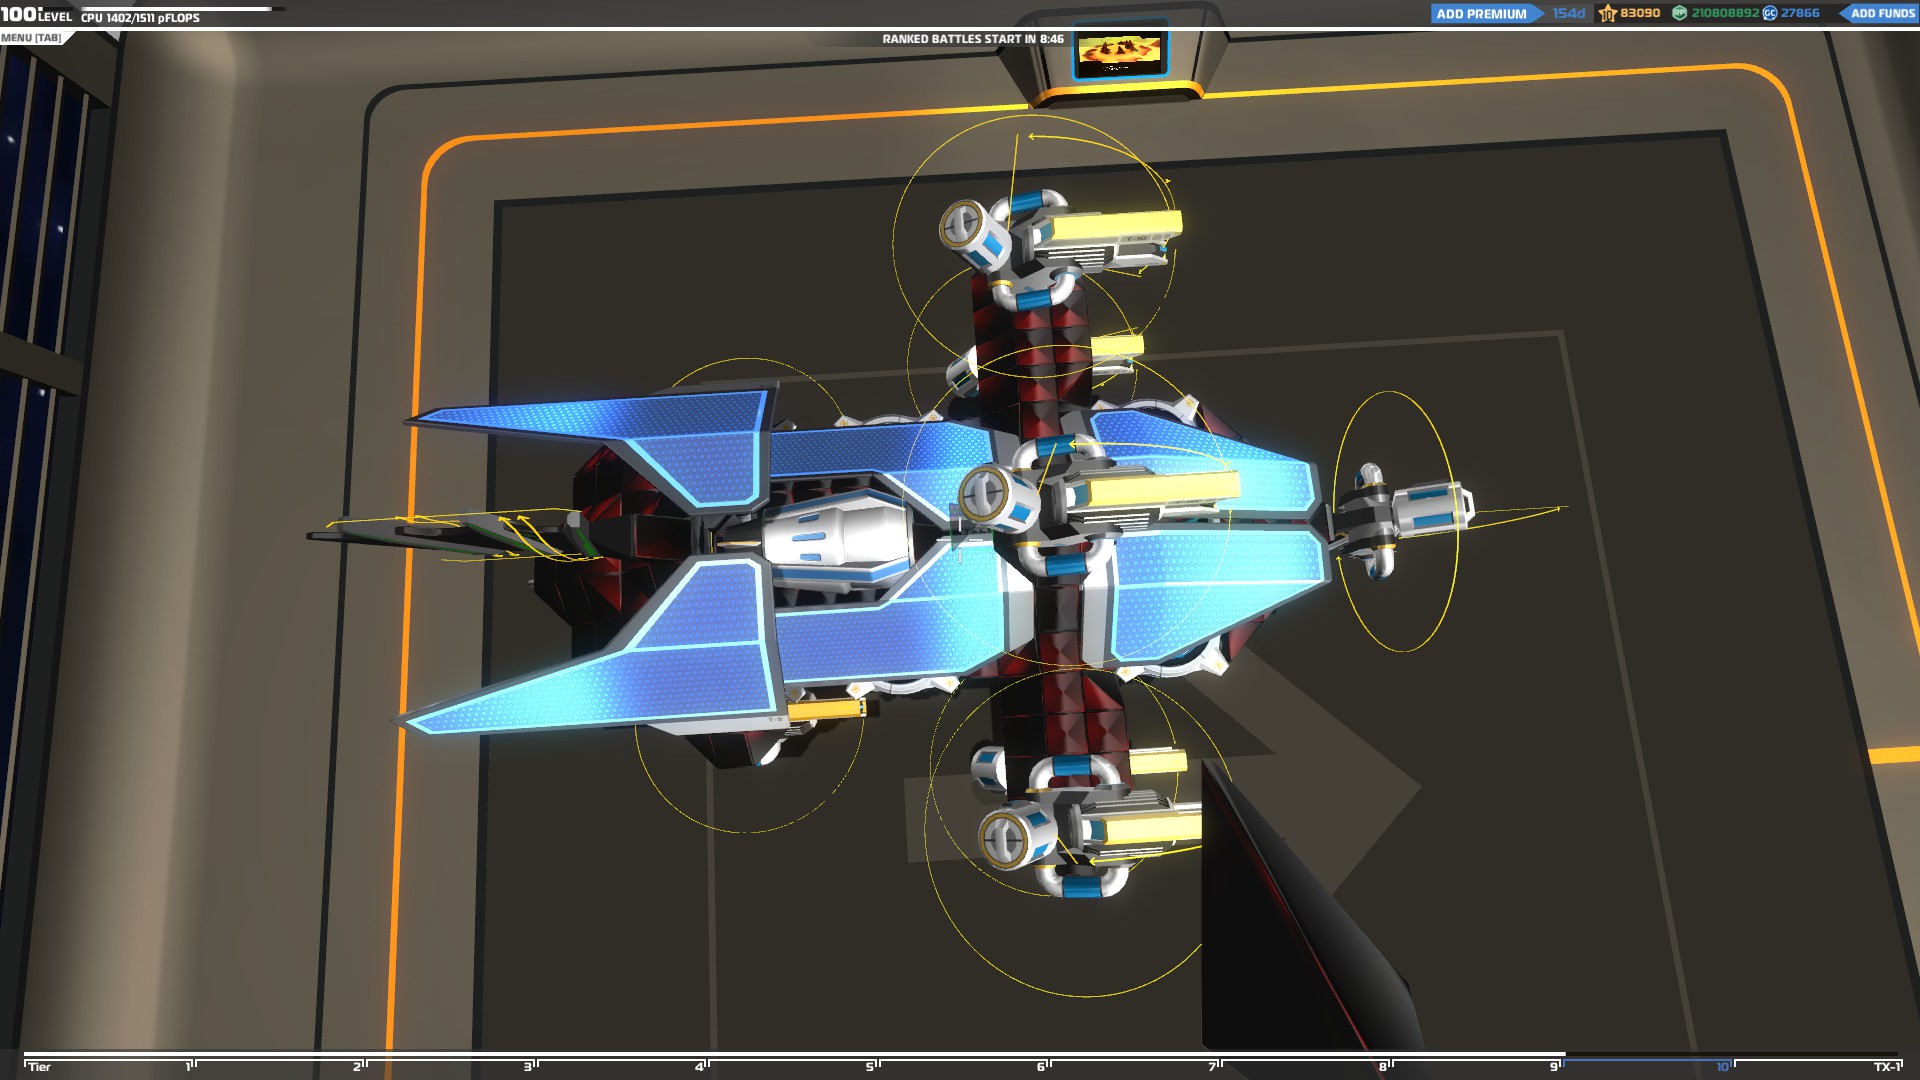
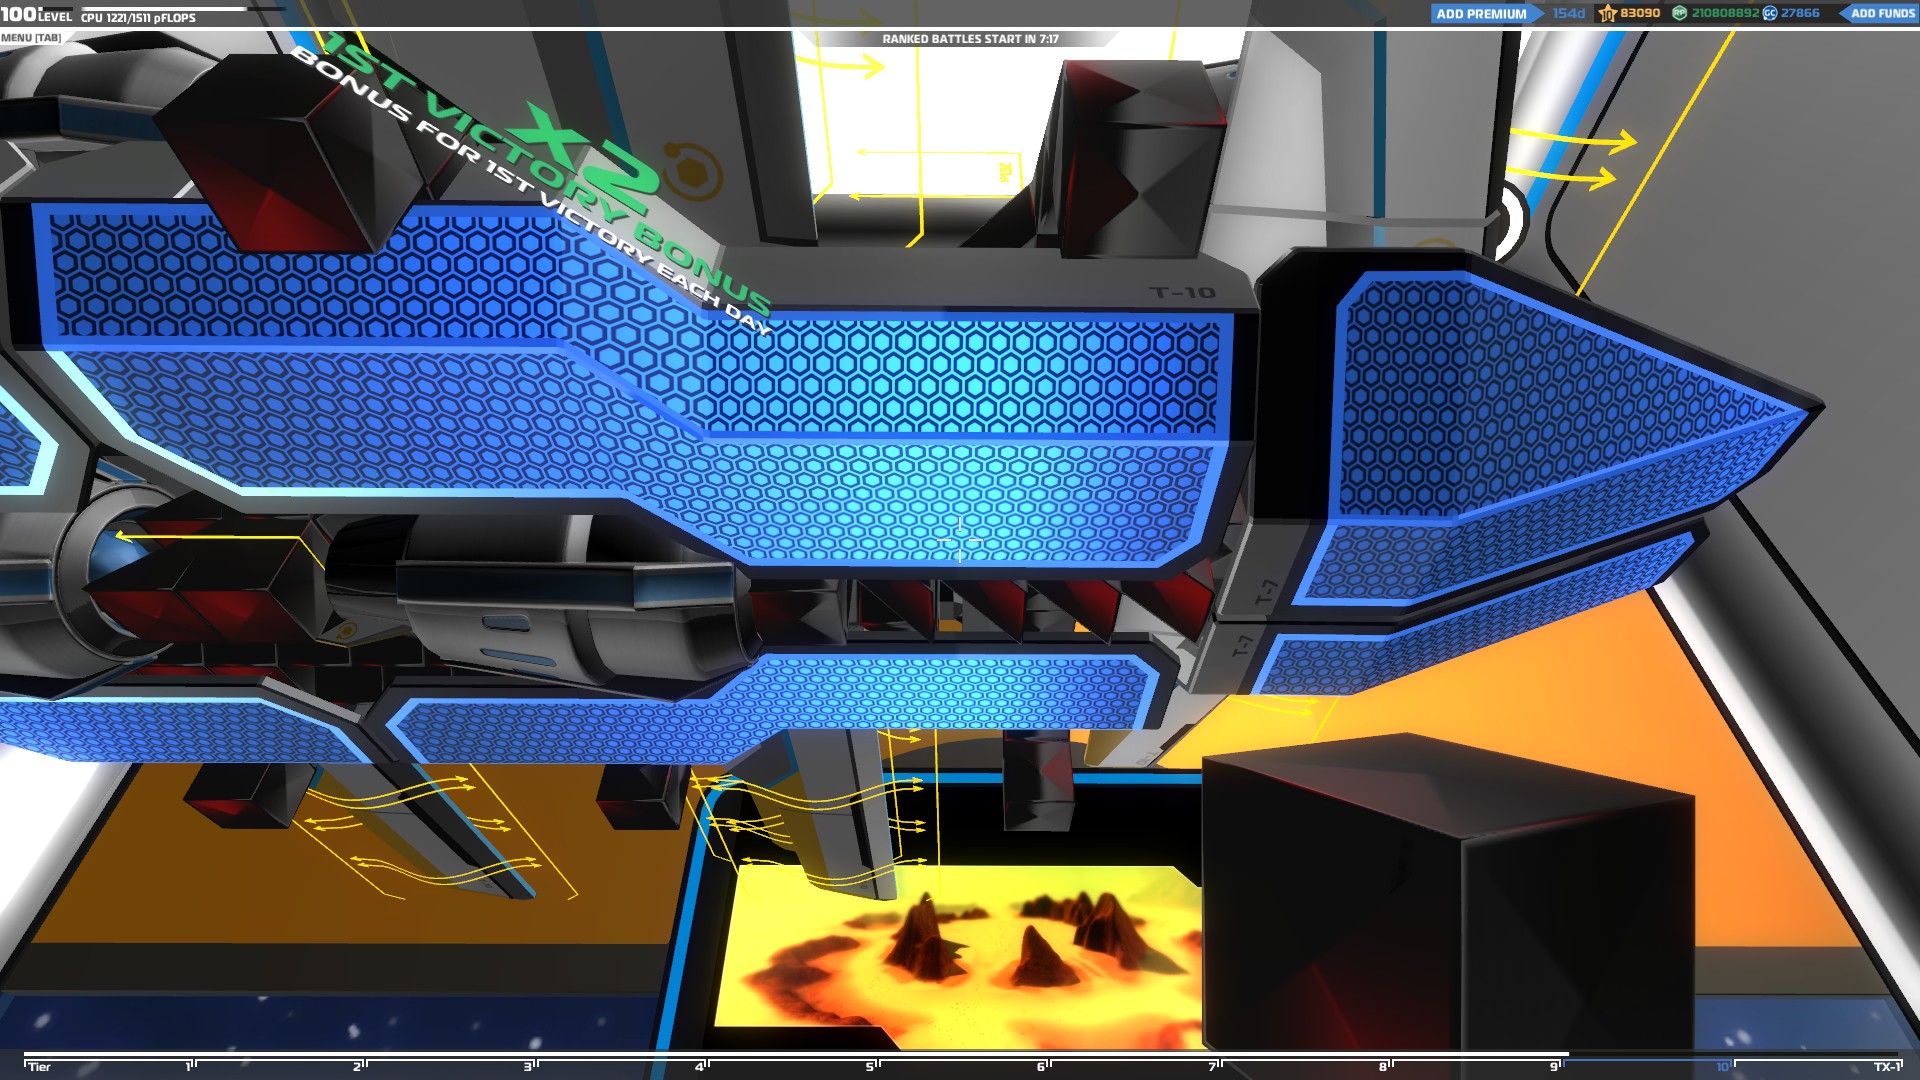
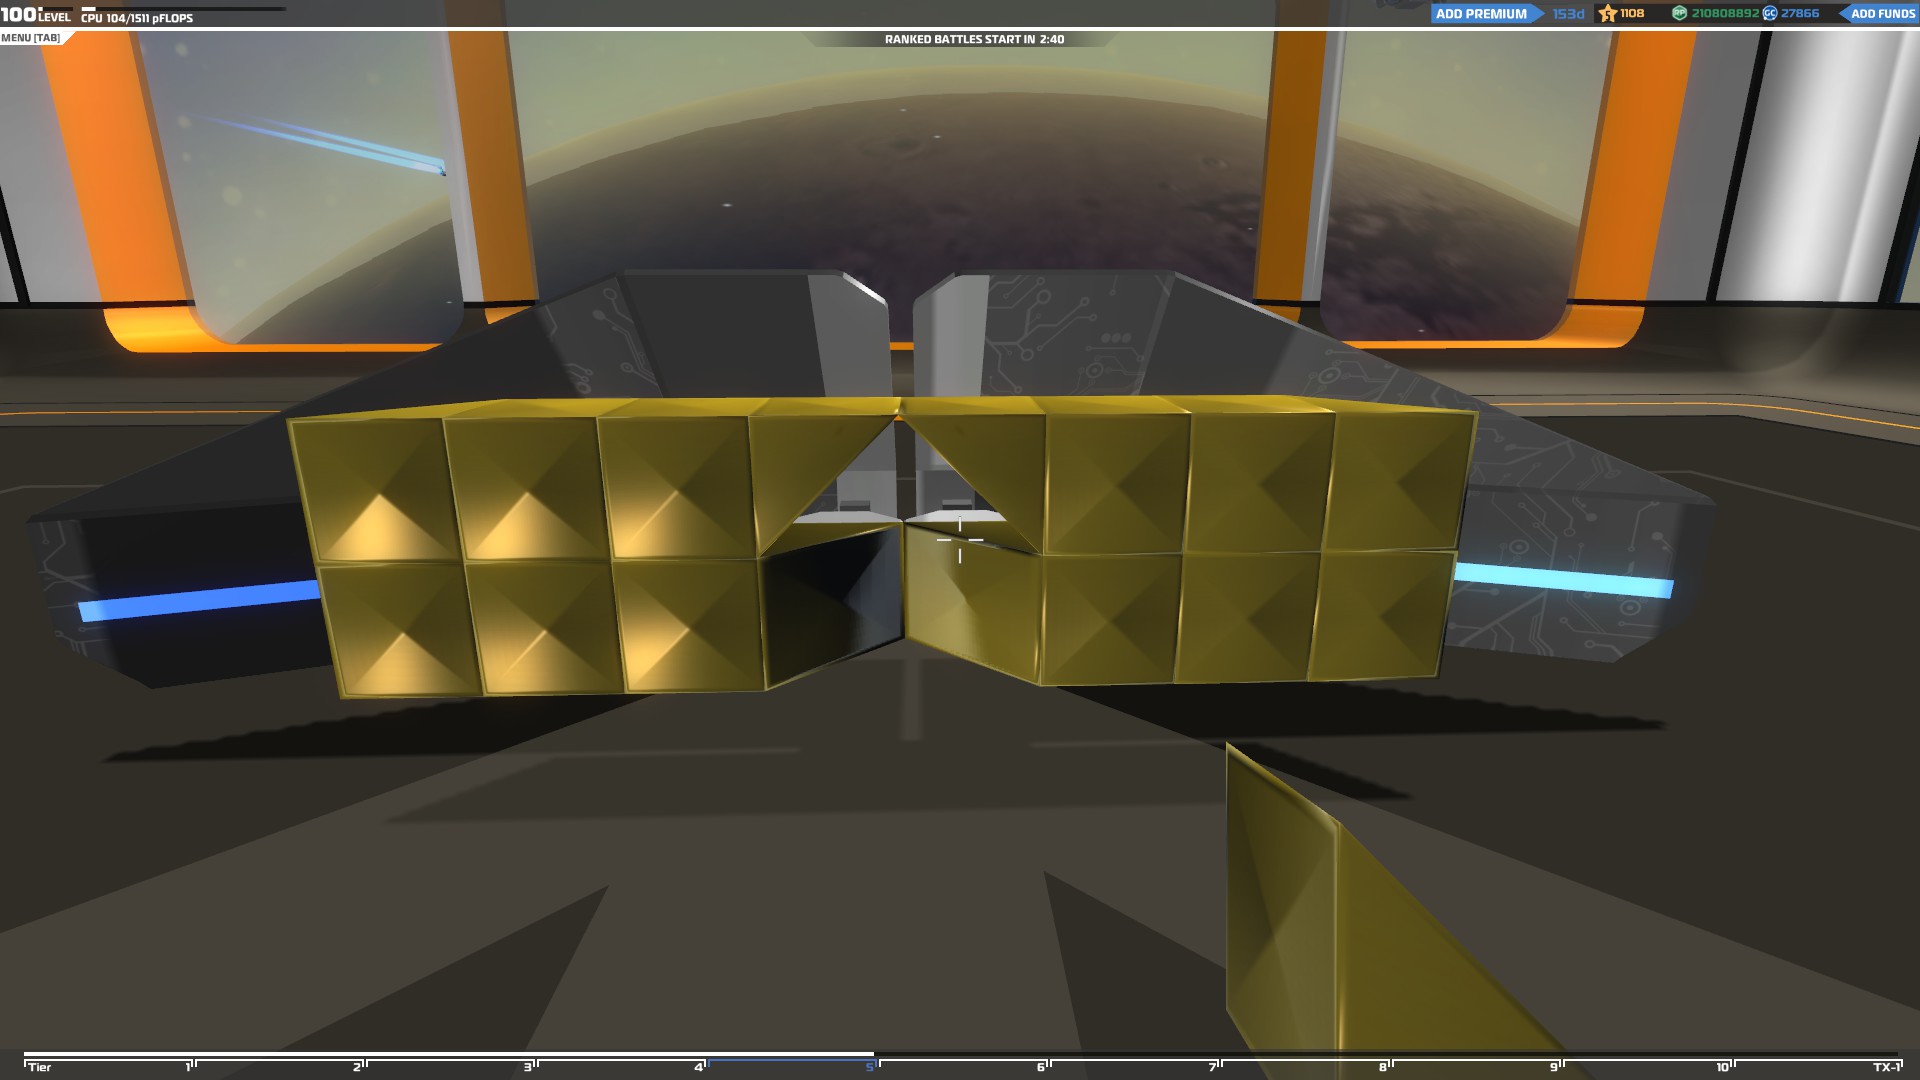
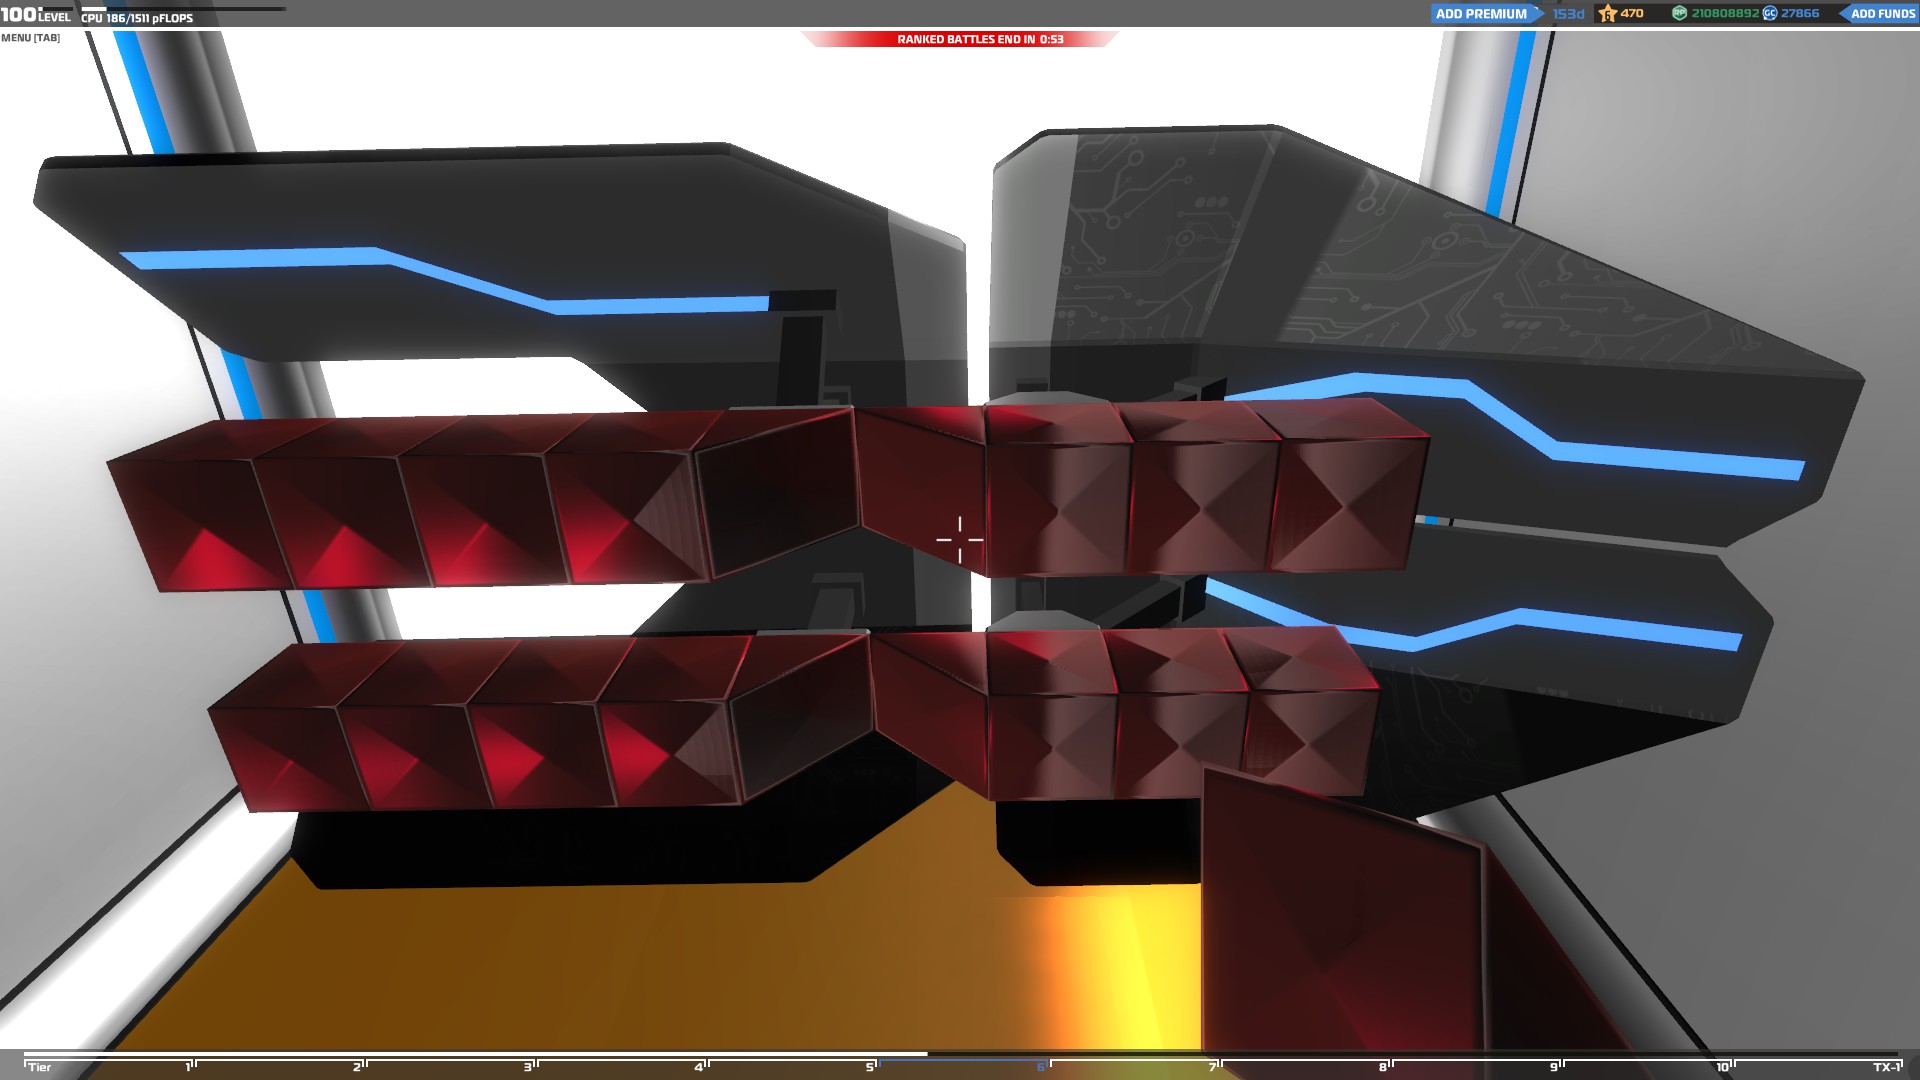
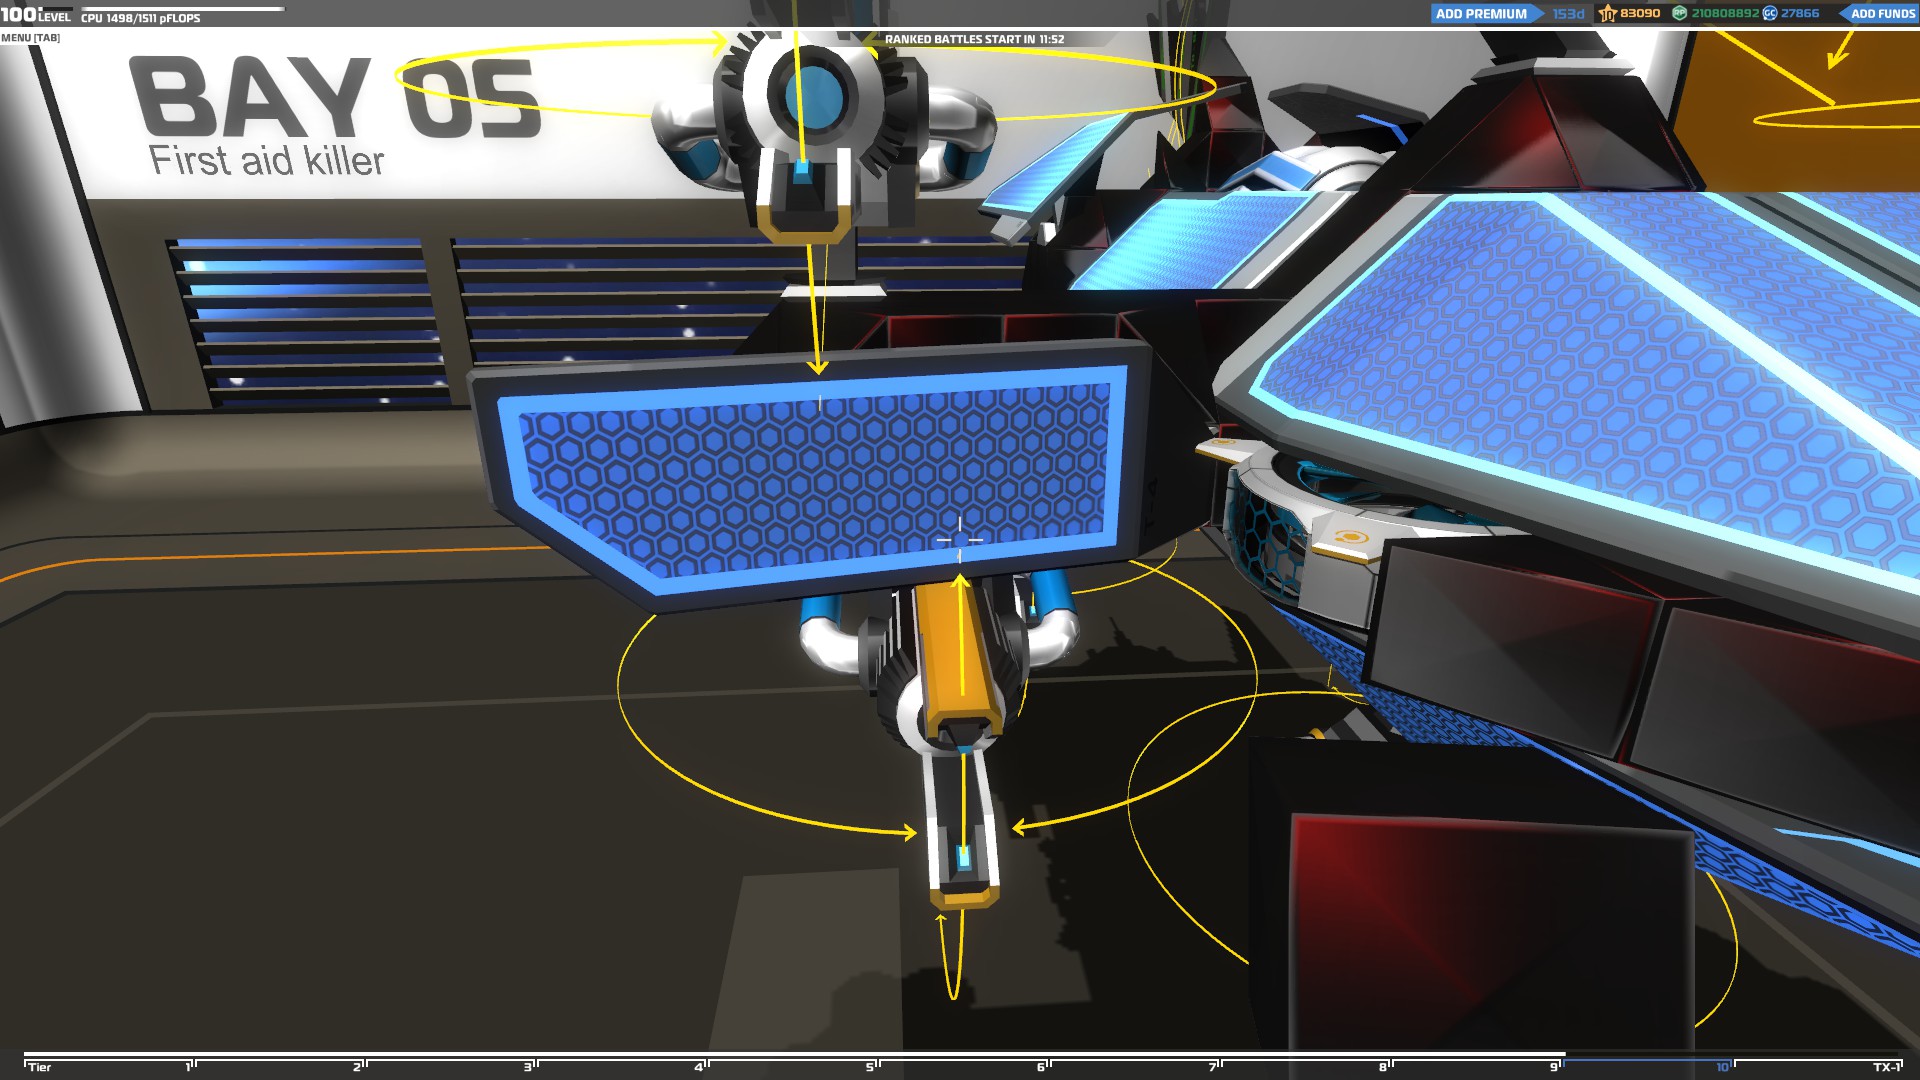
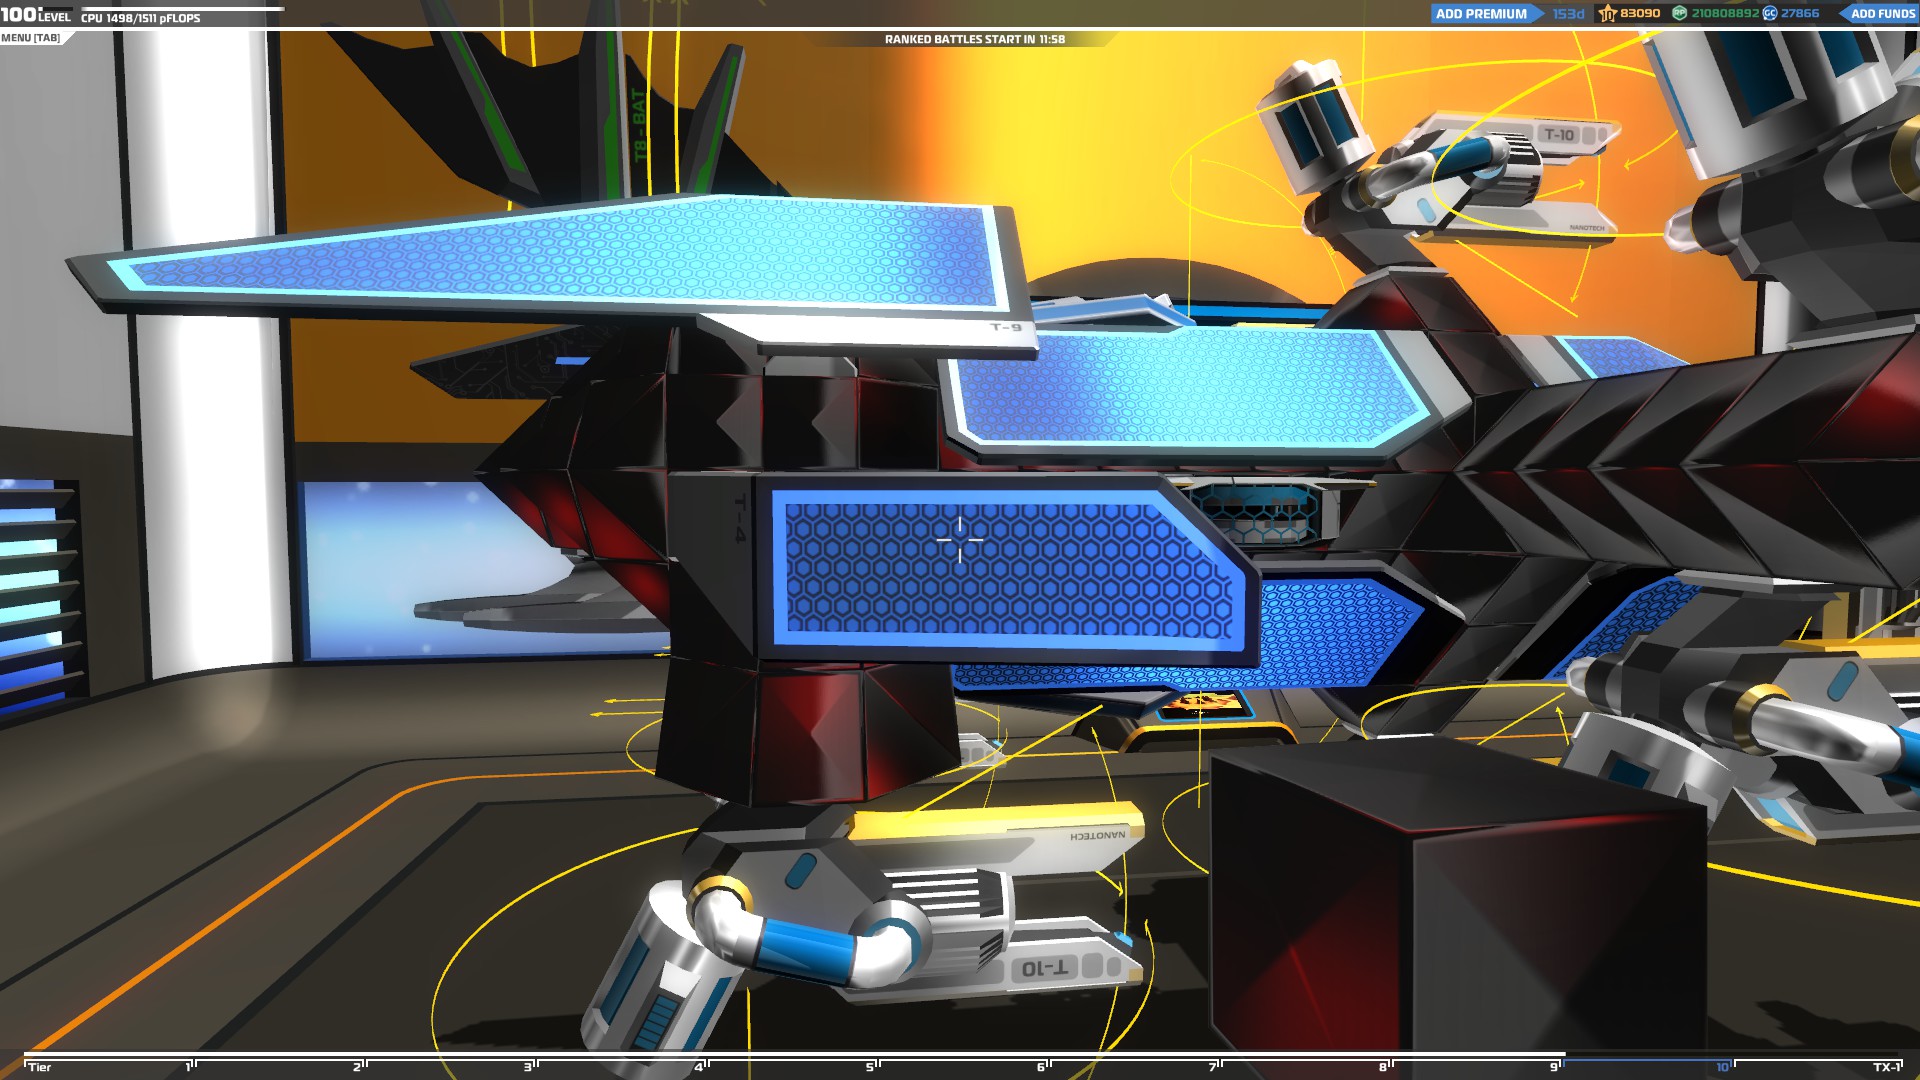

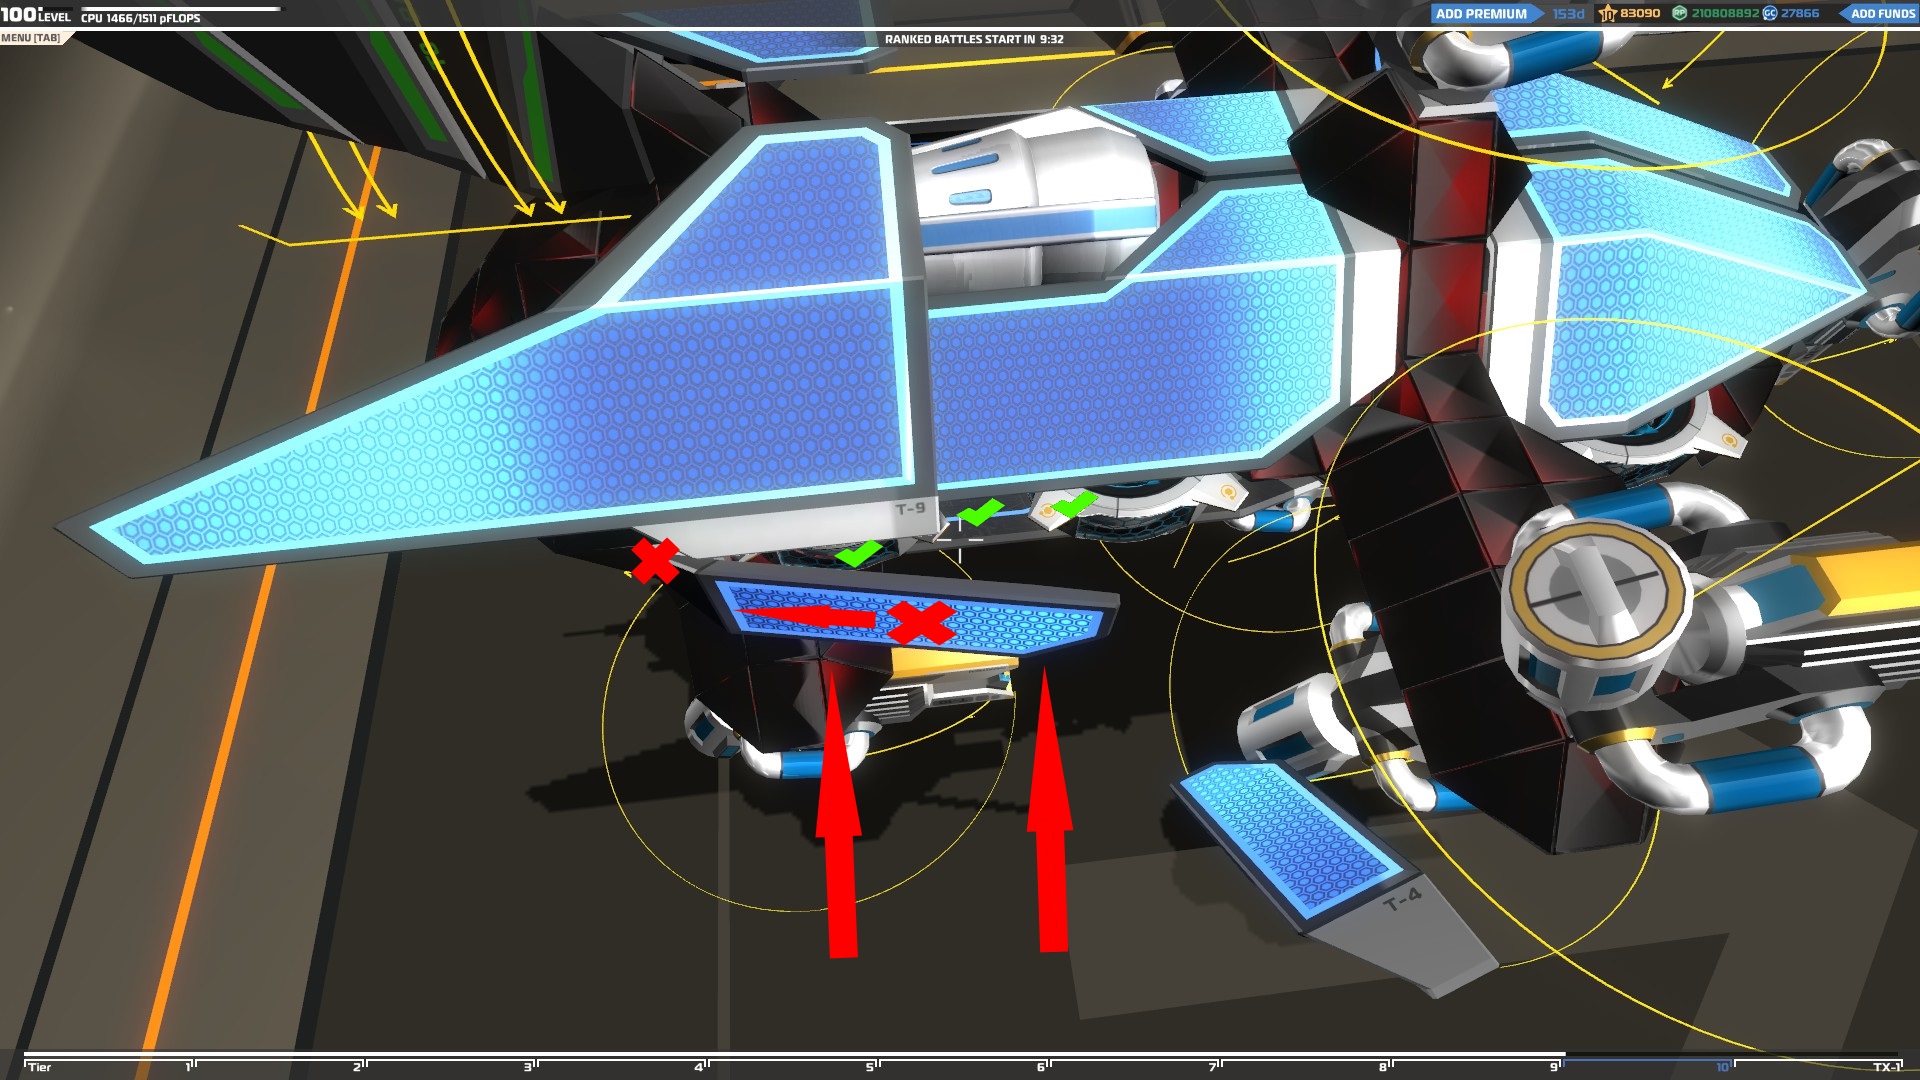
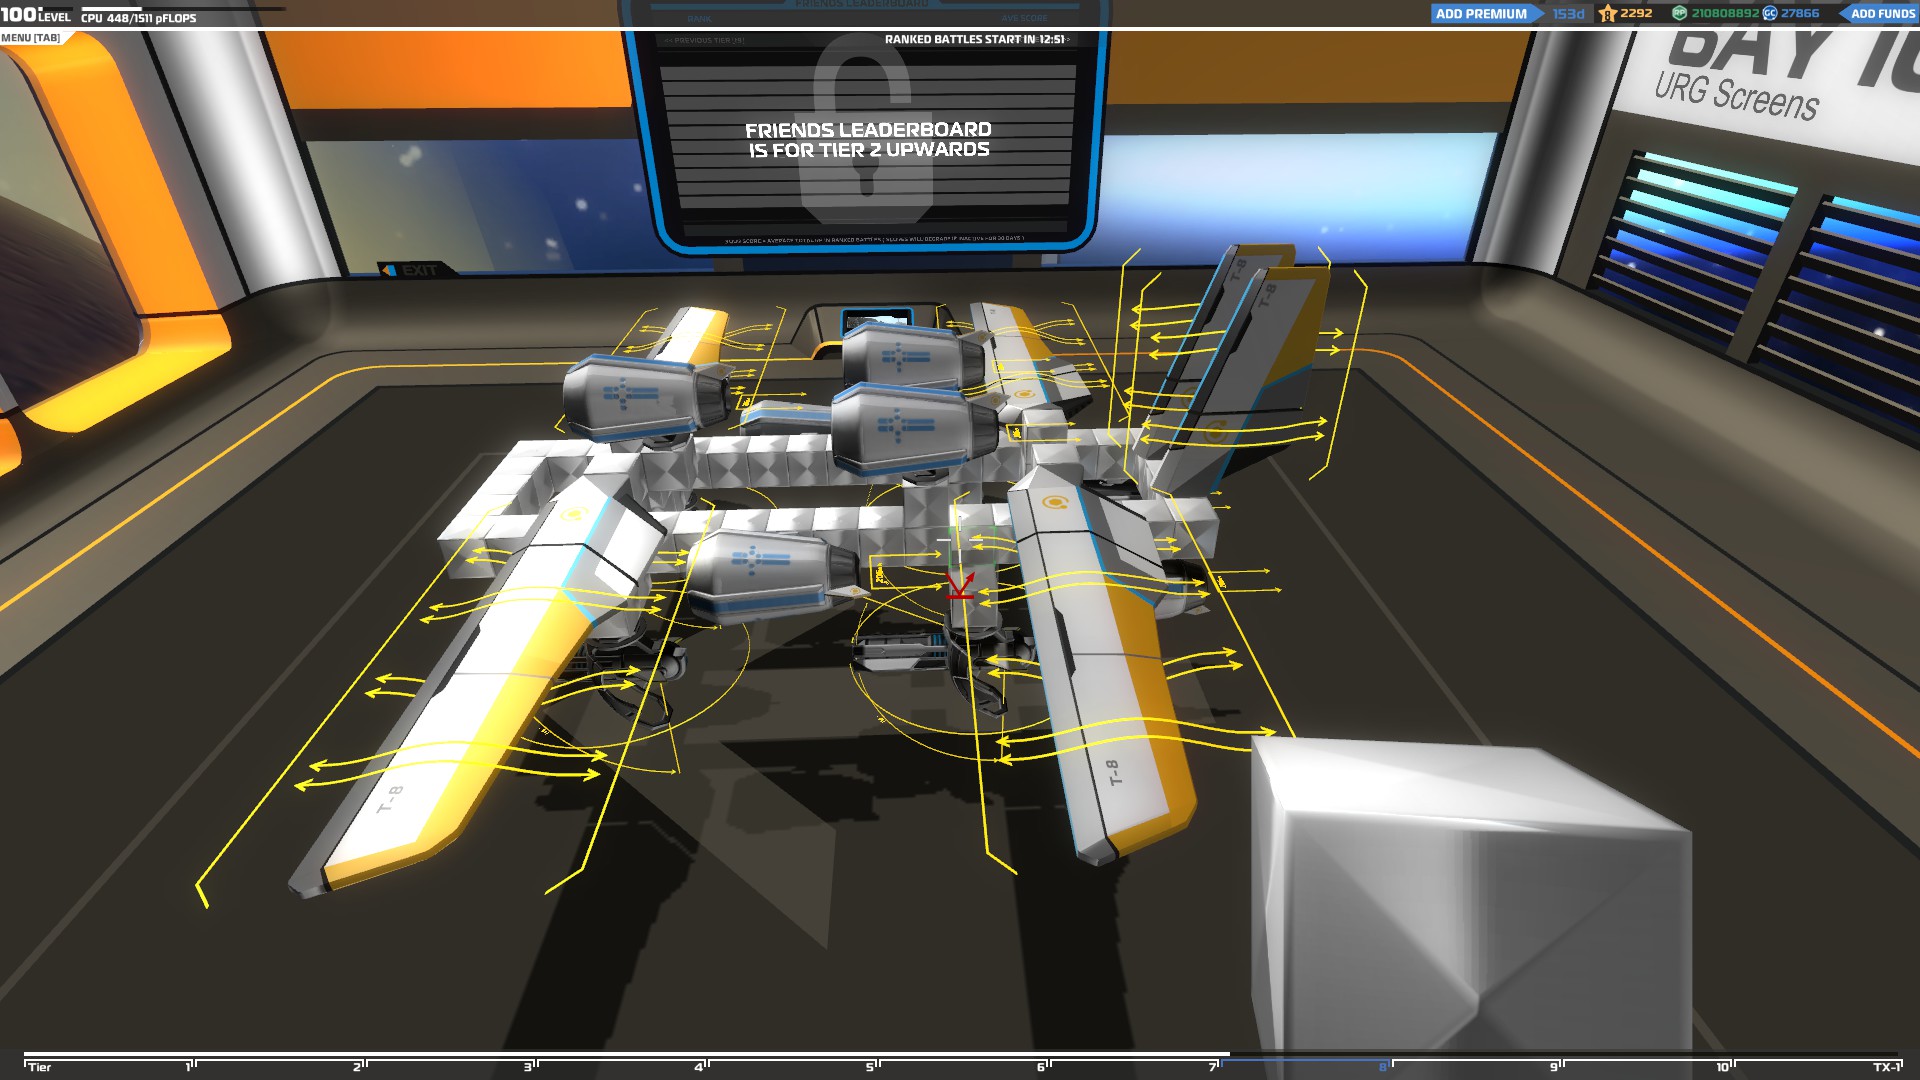
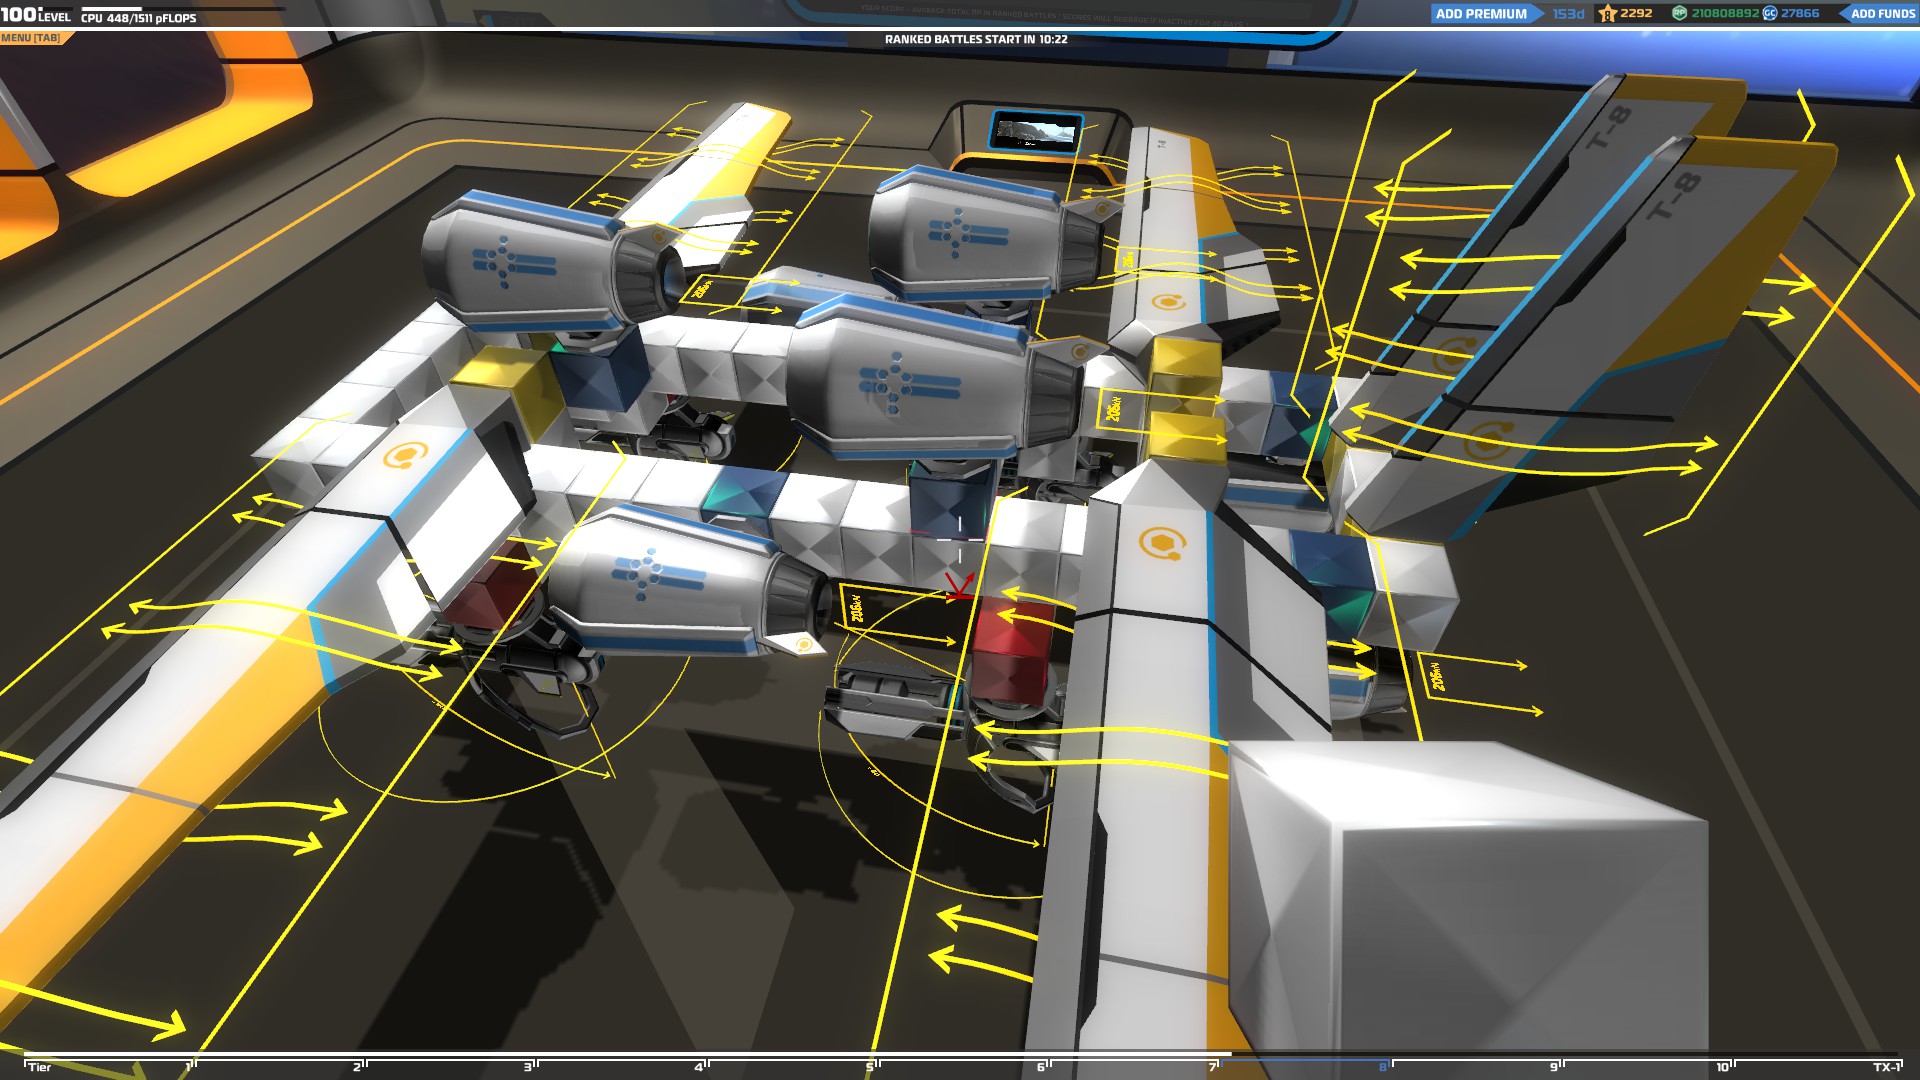
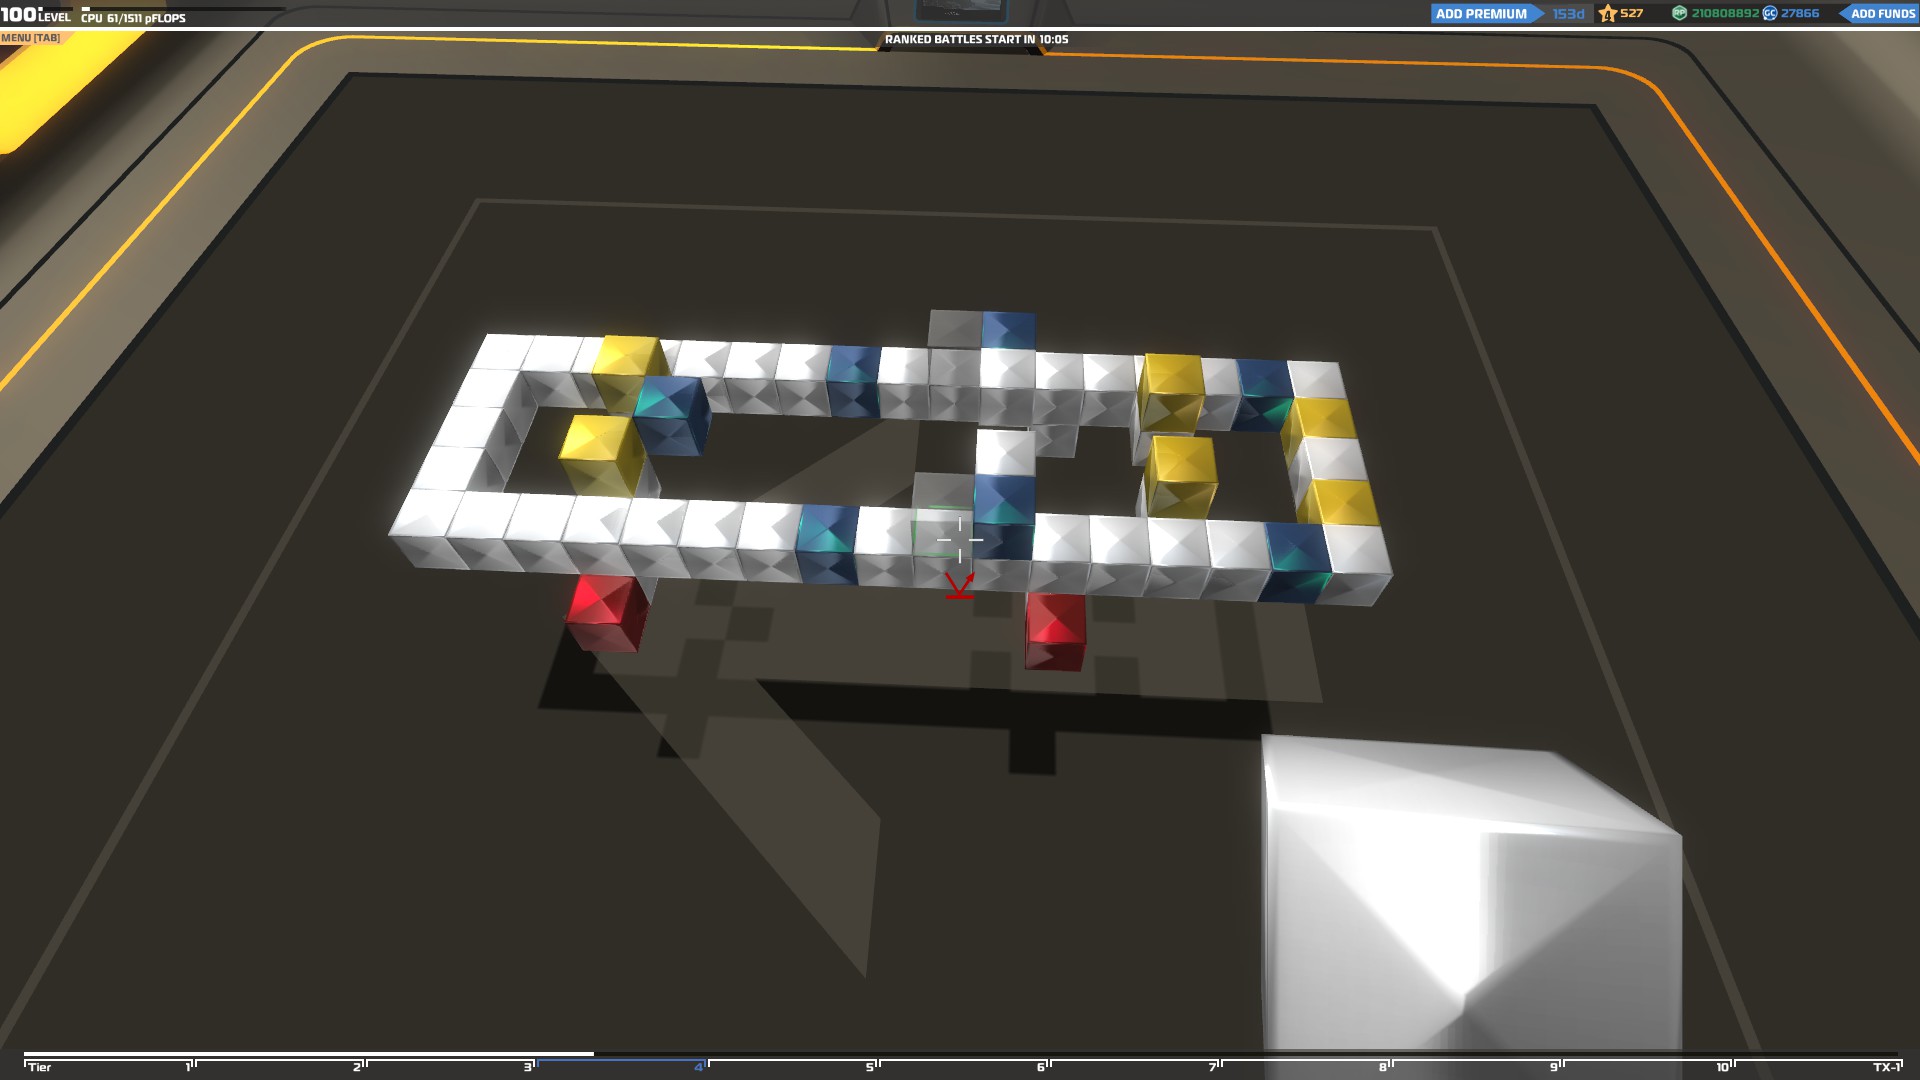
Protecting your weapons
Making sure that your weapons will last as long as possible in a battle is crucial since if you lose them you will be defenseless so you have to build strong bases for each of your weapons to increase their survivability.
Many players use really thin bases for their weapons so they can fit more of them on their vehicle but this is not a wise strategy since your weapons will be destroyed a lot faster like this.
These bases might be space efficient, especially when they are used for rail cannons, but they can easily be destroyed and they can affect the overall balance of the vehicle.
You need to build strong weapon bases that will absorb a lot of damage before they are destroyed by surrounding the core base with more blocks
If you have enough space on your vehicle, you can use the triforce technique to build an even stronger base for your weapons by “knitting” prisms around it.
That way if an enemy shoots at your weapon’s base, the frontal prisms will absorb the incoming damage and keep the supporting block of your weapon safe since they are not connected to it.
That's how you build it step by step.
Depending on the shape of your vehicle you might need to change the design a little bit, but the concept is still the same.
If you prefer to place your weapons on a flat surface instead of a base you can still protect them using triforce to redirect the damage away from the supporting block of your weapon.
You can also add electroplates to absorb the enemy damage which is a really good way to protect your weapons but they are very CPU demanding and using too many of them will limit the size of your vehicle and the number of your weapons.
Finally, you can use prisms or tetras to build a protective "wall" in front of your weapons to block some of the enemy fire before it reaches your weapons.
Electroplate reinforcement
Using electroplates is one of the best ways to protect your vehicle because they do not only provide you with some extra armor but they can also absorb enemy fire. Make sure to cover as much of your vehicle's body as possible with them since they can protect you much better than blocks can and they will greatly increase the durability of your vehicles in battles.
The different electroplate shapes can be used to build creative designs which will protect the majority of your vehicle. Take a look at the following examples.
Like everything else in this game, electroplates have their own drawbacks since each one of them requires a huge amount of CPU so you can’t use too many of them on one vehicle.
Make sure to protect the supporting blocks of your electroplates as well and never connect them together to avoid losing both of them (Check Playing with rail cannons for more info).
If their supporting blocks are not connected you will only lose one electroplate if an enemy sniper or plasma destroys one of them since the damage won’t be able to move to the supporting block of the other.
Since they can be easily repaired, use them on your vehicle instead of many layers of blocks to reduce the amount of time you need to heal.
“ Avoid using low tier electroplates high tier vehicles since their shield value is way too low and they will be easily destroyed.”
Finally, even though low tier electroplates are useless on high tier vehicles, you can use them to redirect damage from important parts of your vehicle like in the example below:
I' call this technique electroforce and the way it works is that when the electroplate gets hit by a high tier weapon it will be destroyed but the rest of the damage will not be transferred to the blocks behind it but to its supporting block and then the blocks around it until the damage is absorbed.
With this technique you can protect small parts of your vehicle where a high tier electroplate can’t fit using a small electroplate to redirect the damage to less important parts of your vehicle.
Organized building
When you start building a new vehicle you should split the building process into 5 steps:
1) Design – Choose the type of vehicle you want to build, how many weapons/movement items it will have and visualize how you want it to look.
2) Core – Build the core of the vehicle where the seat and movement items will be located.
3) Weapons – Choose where you want your weapons to be and add single blocks to mark their position on your vehicle.
4) Movement items – Add your movement items
5) Outer armor – Build the body of your vehicle
That way you will reduce the time you need to build each vehicle and you will be able to focus on each part separately and improve it as much as possible.
You shouldn’t add your weapons or movement items after you build the body of your vehicle but before. That way you will know exactly how much space they will need and create the right vehicle to fit them.
A really good way to mark the position of your items before you add their bases or the body of the vehicle is to use different color blocks for each item. For example, if you want to build a bomber, you can use yellow cubes to mark the position of your wings, red for your weapons, and blue for your thrusters. Once you mark their position, you will be able to remove them and built the rest of the vehicle without them being in the way.
A good trick to avoid spending more RP than you need for your vehicle, is to use white cubes to finish the design and then once the vehicle is ready, replace them with the cubes of the appropriate tier. That way you will buy as many blocks as you need since you will know exactly how many you used for your design but it will be more time consuming.
“You should always use the higher tier blocks possible for your seat, weapons and movement items since they will be tougher to destroy and make your items last longer”
Advanced Building Part 4
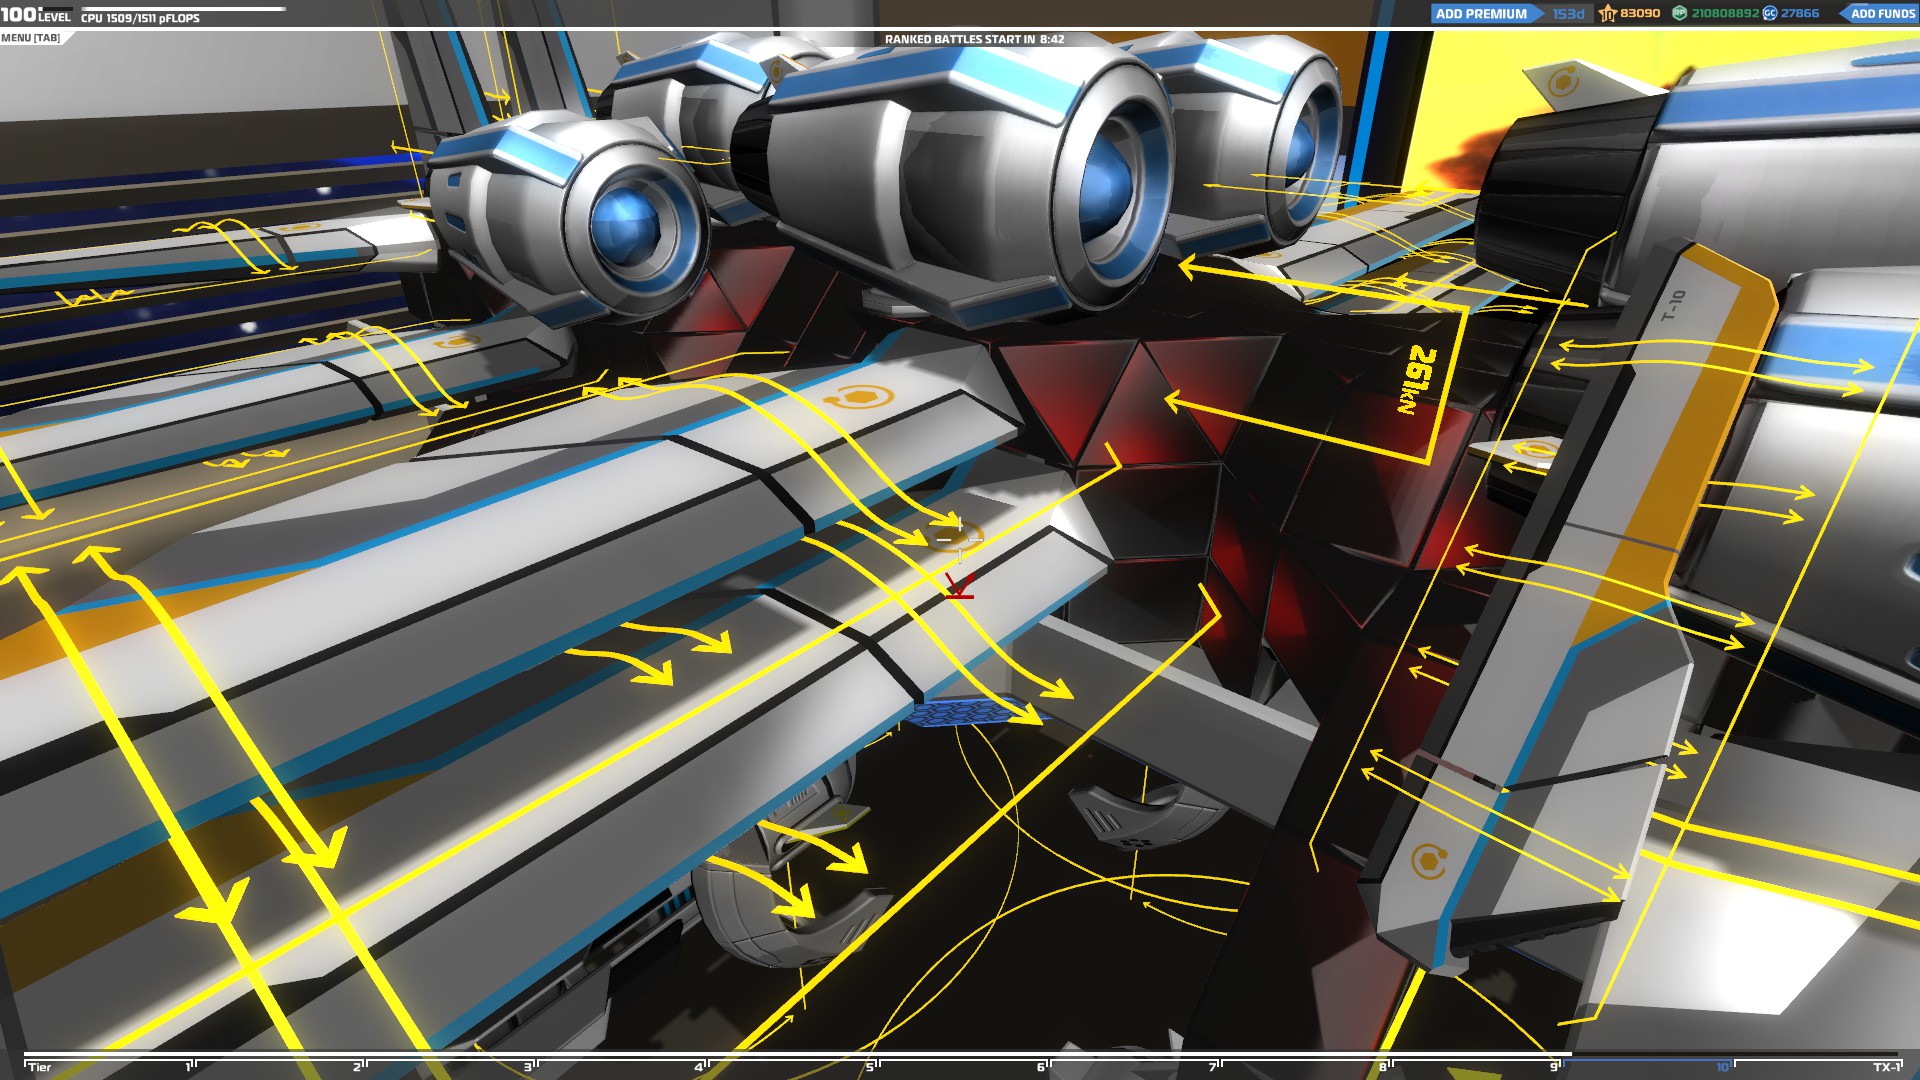
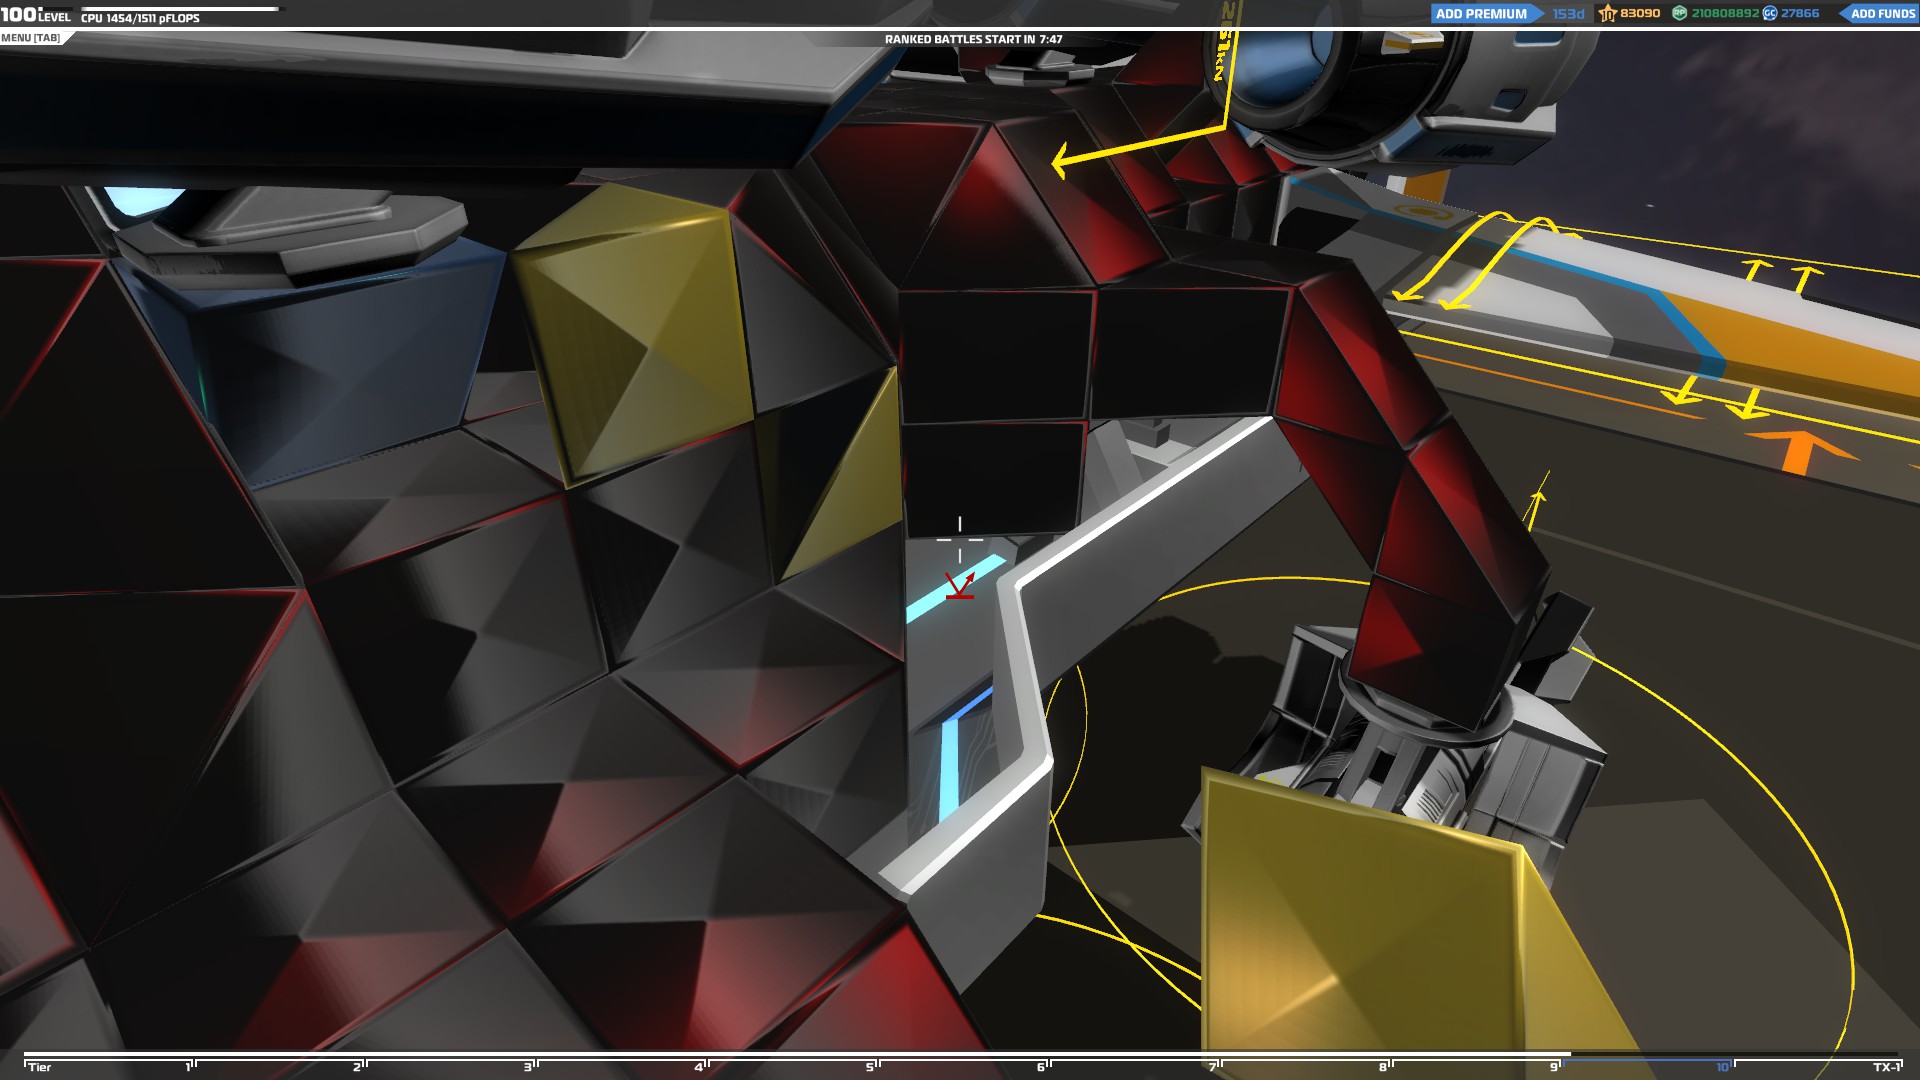
Testing and upgrading
After finishing your vehicle it’s time to test it and see how it works in a battle. Pay attention to how well it functions after receiving damage, which parts are easily destroyed and how durable it is in general.
It’s impossible to one shot a well-built vehicle so if that happens to you try to figure out where the weak point that caused that to happen is by following all the block connections that lead to your seat or reinforcing the space around it better.
If you lose more than one movement item from 1 enemy shot, change the way they are connected so there are more blocks between them to prevent that from happening again.
Use this tactic to fix all the weak points of your vehicle and maximize its durability in battle, remember, there are no overpowered weapons, just badly built vehicles.
Advanced Building - Vehicles
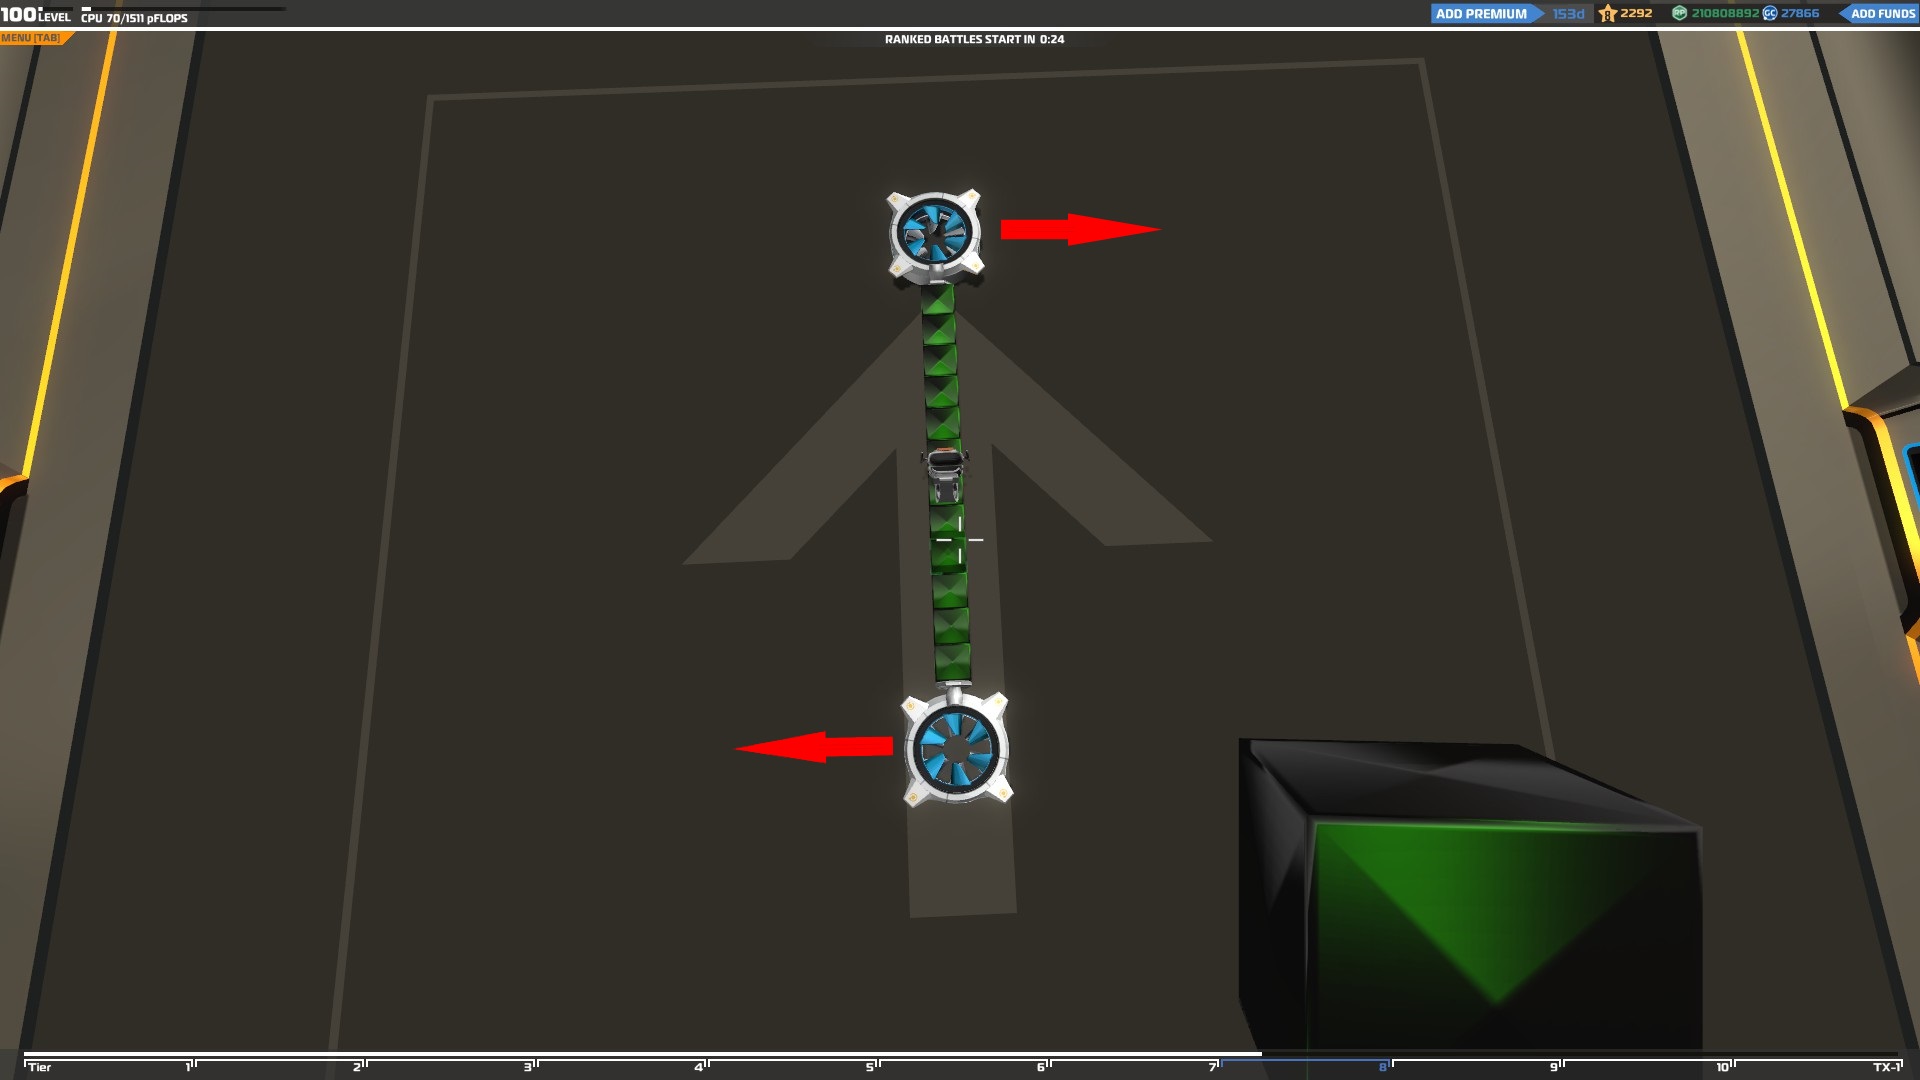
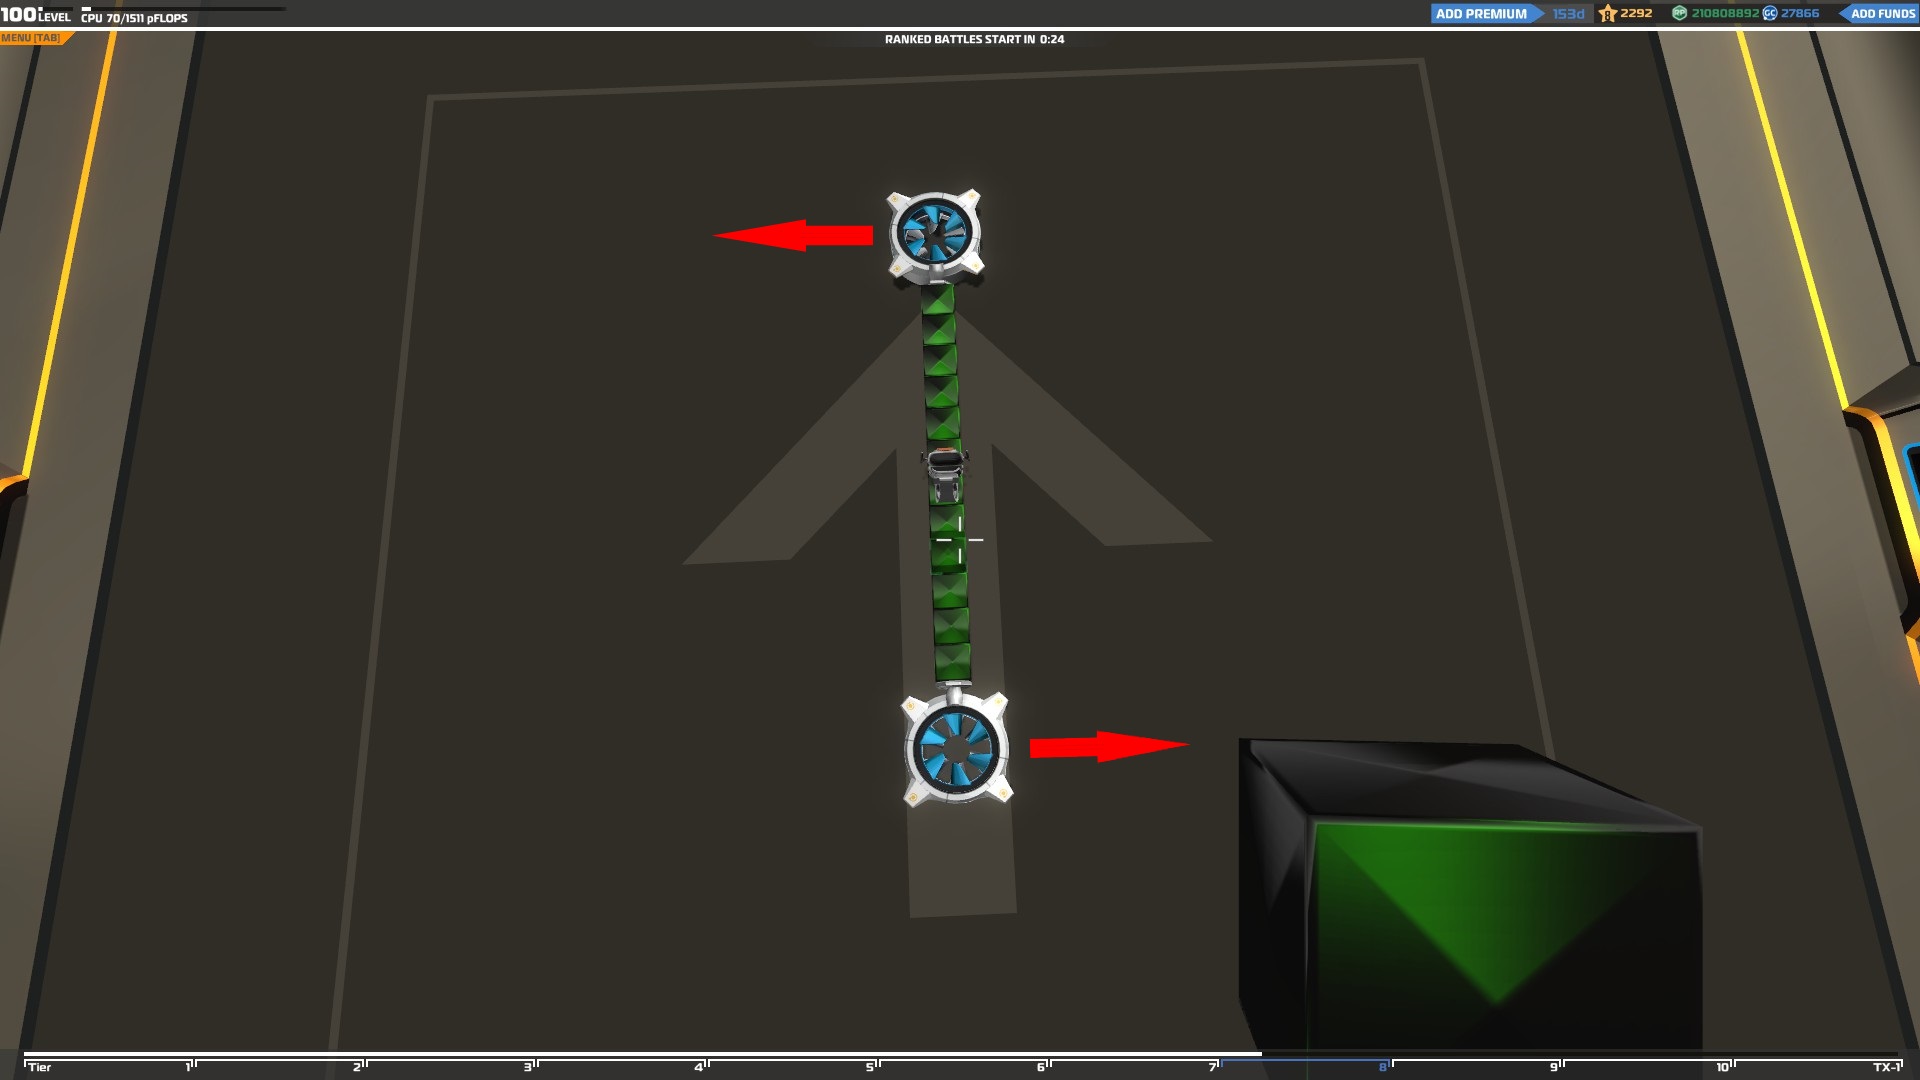
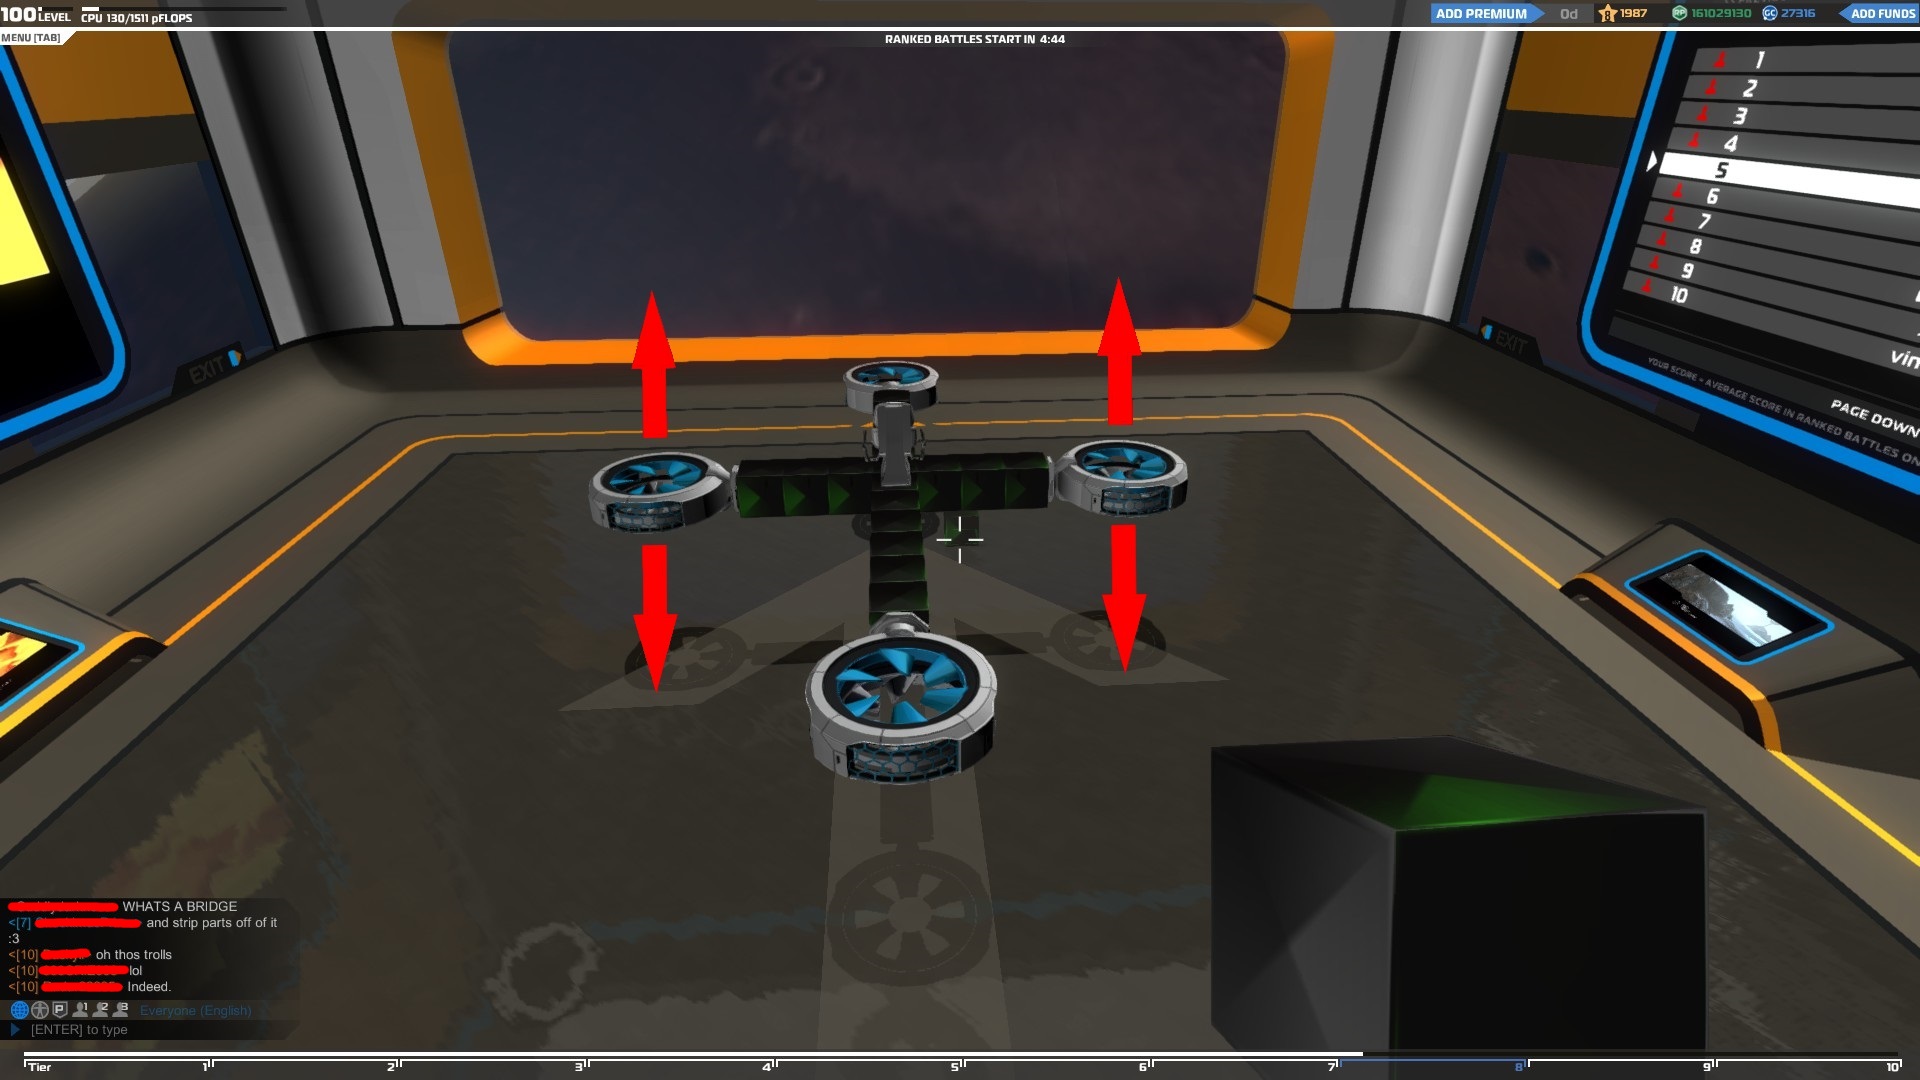
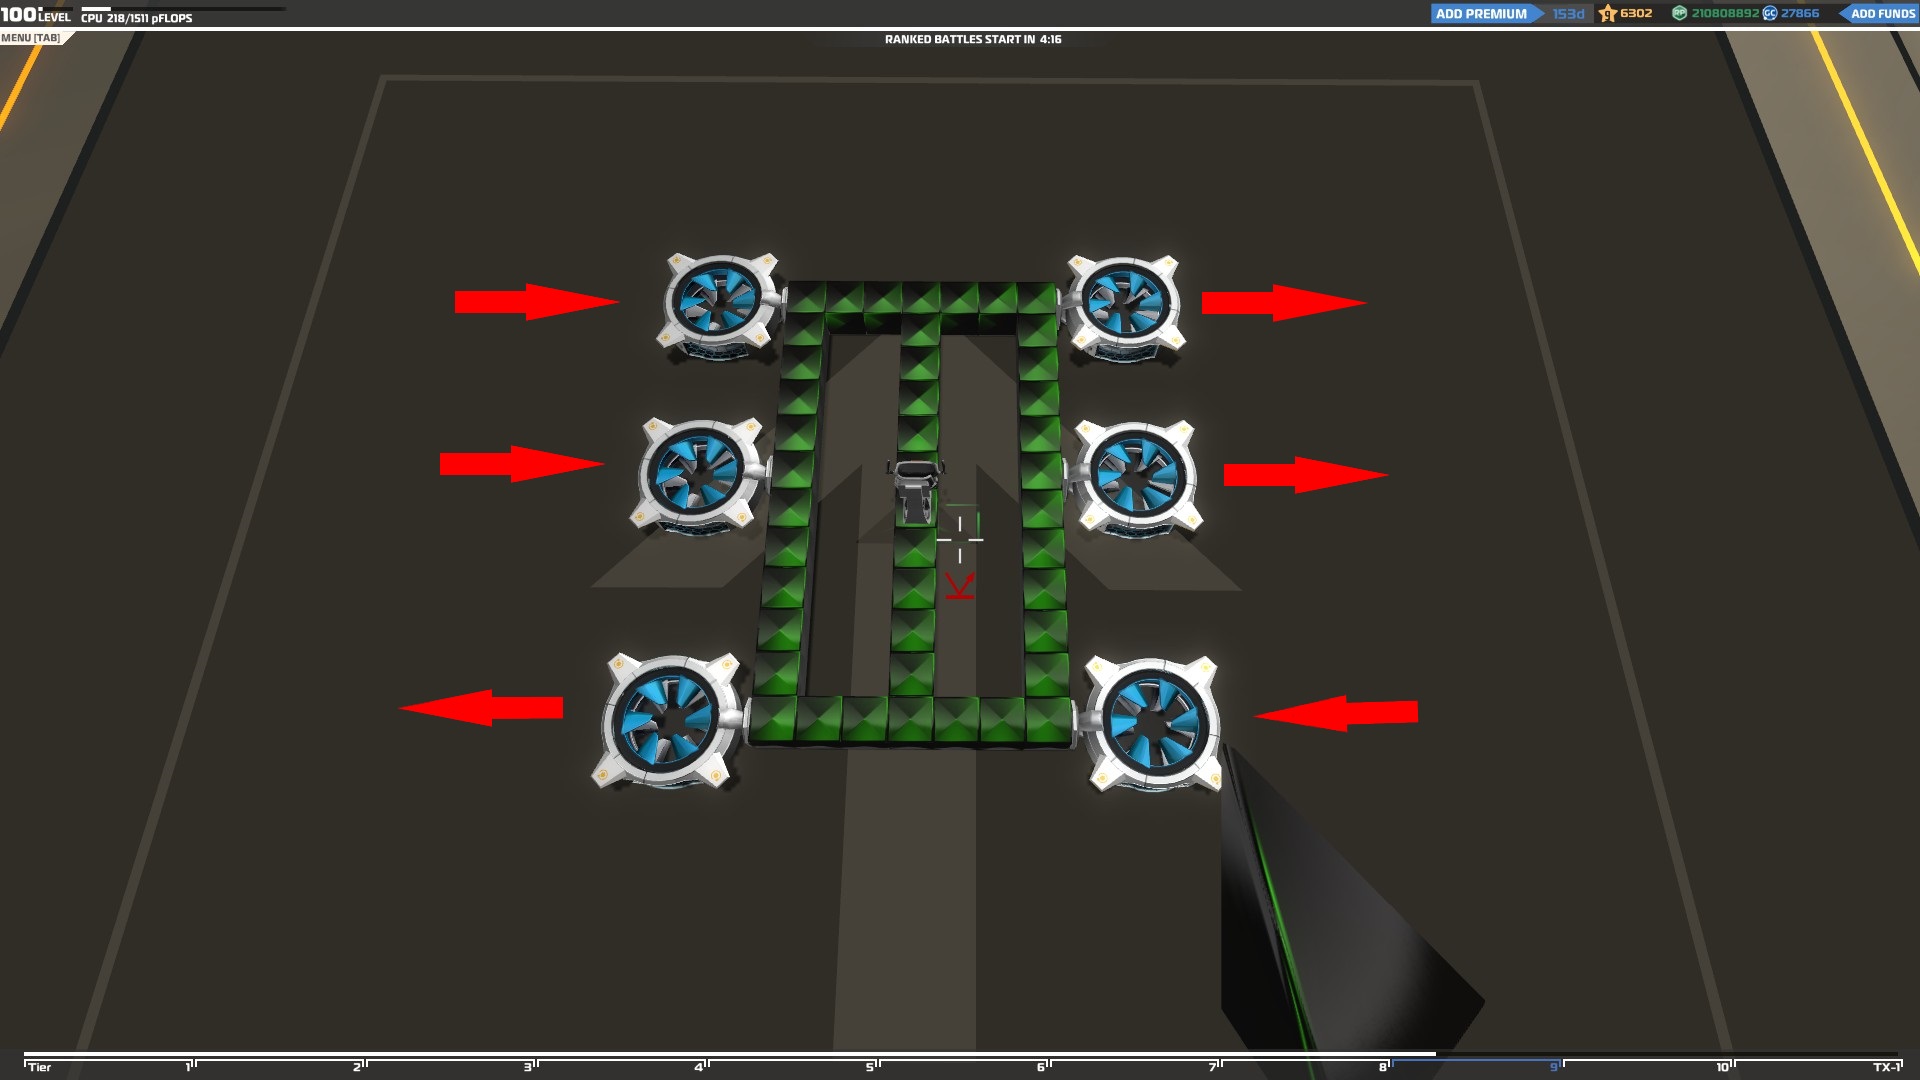
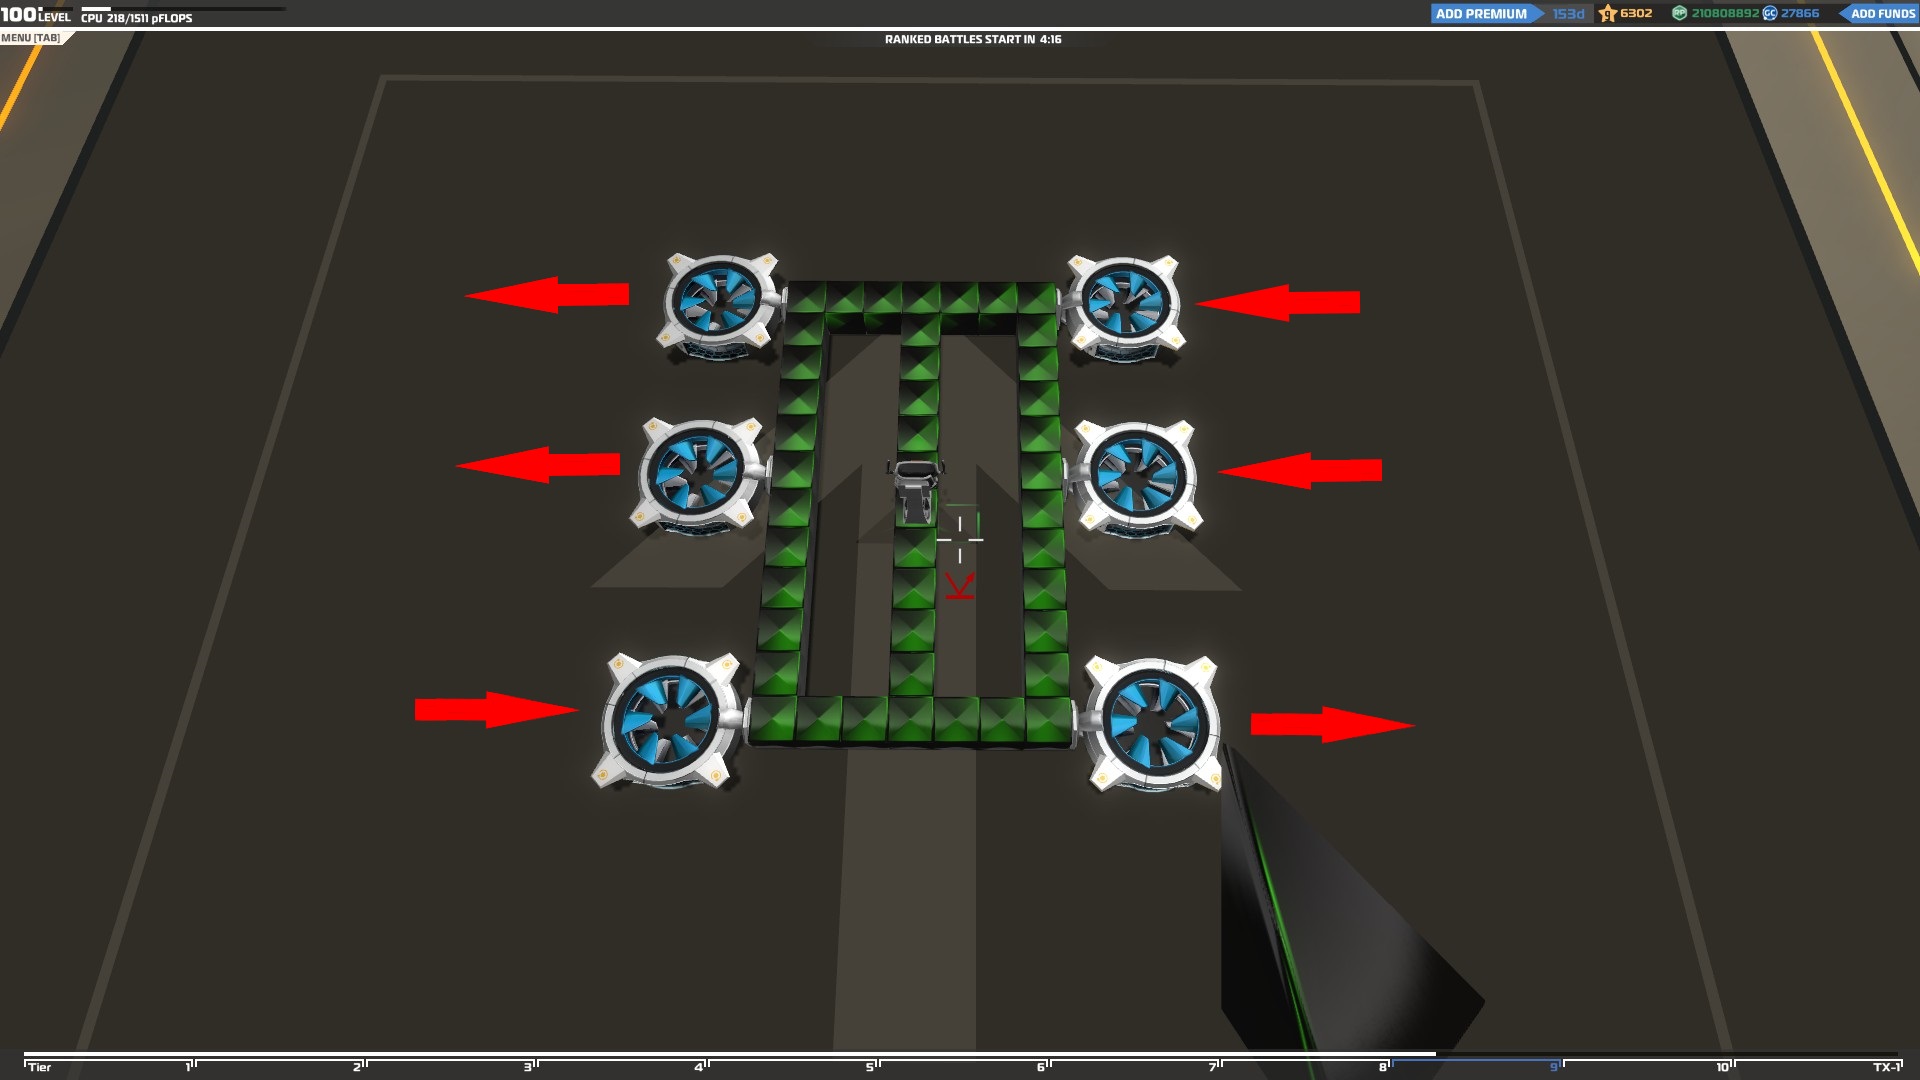
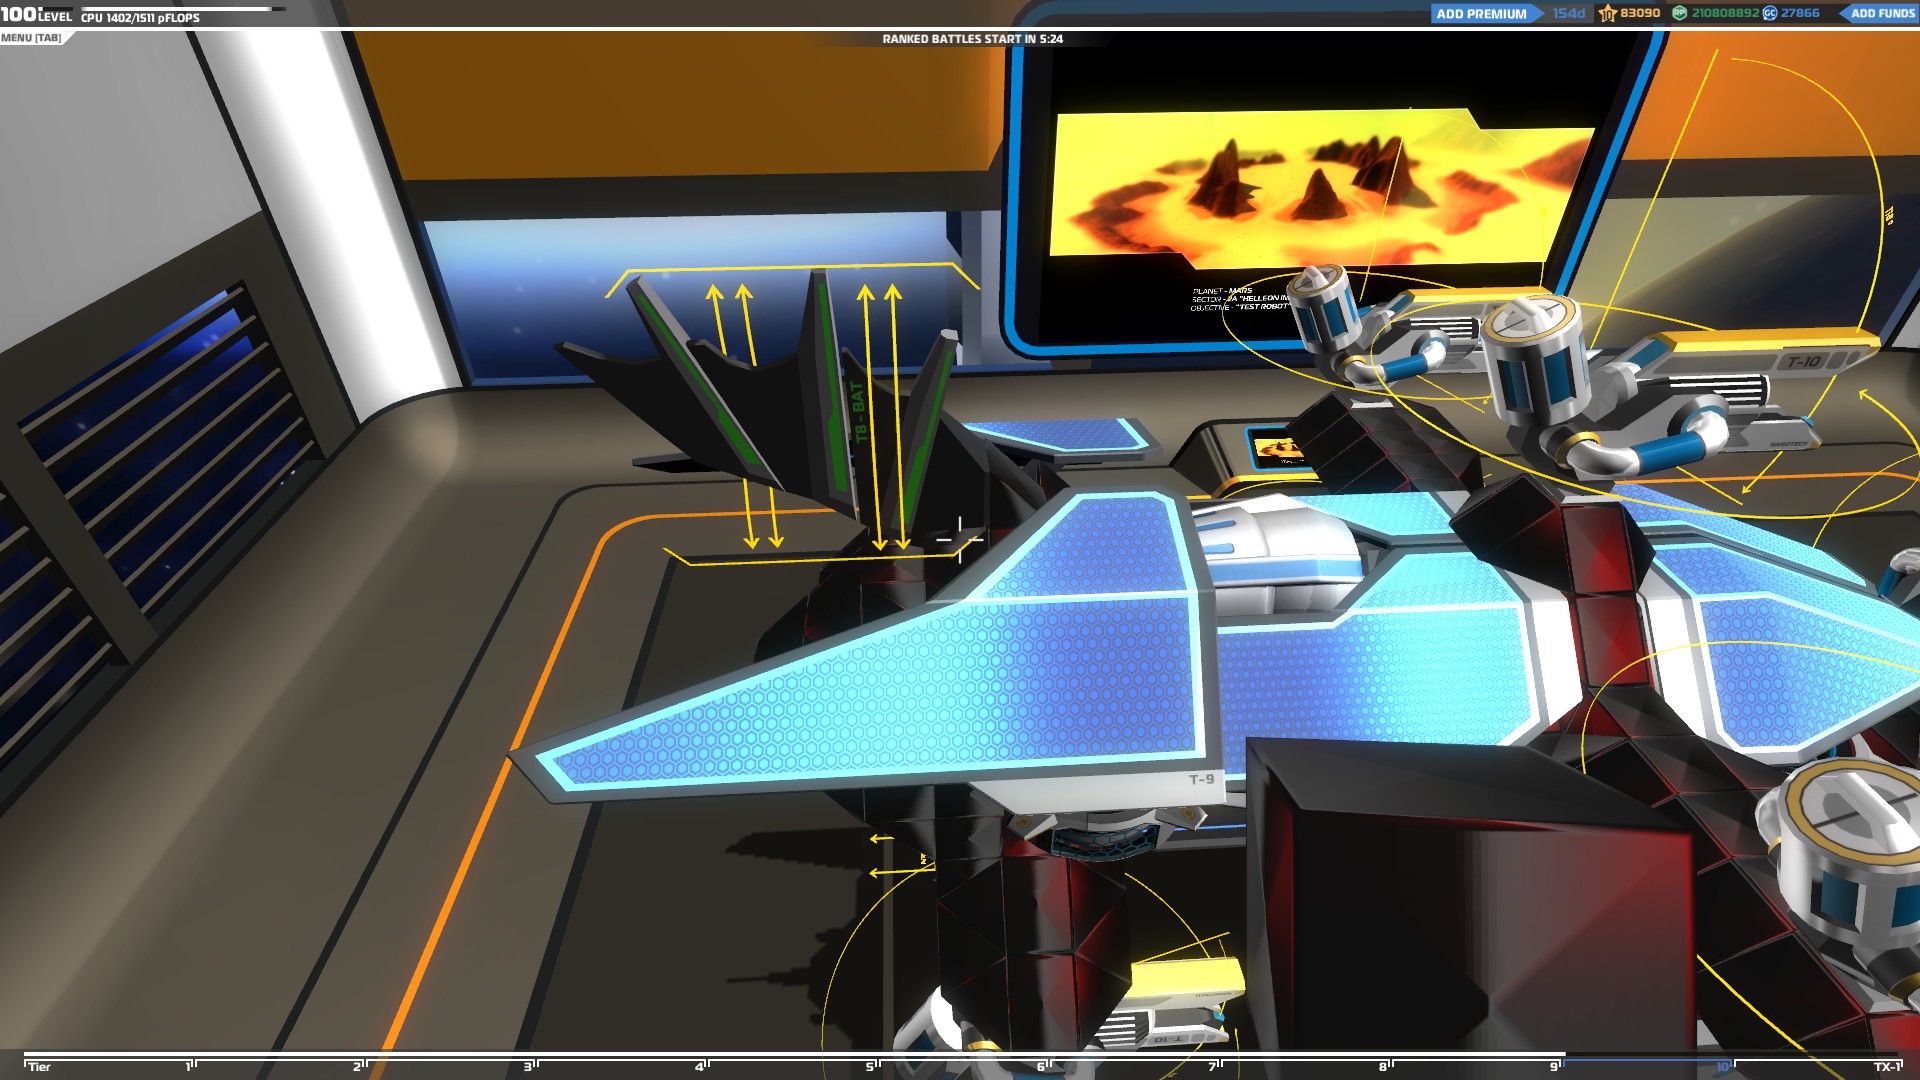
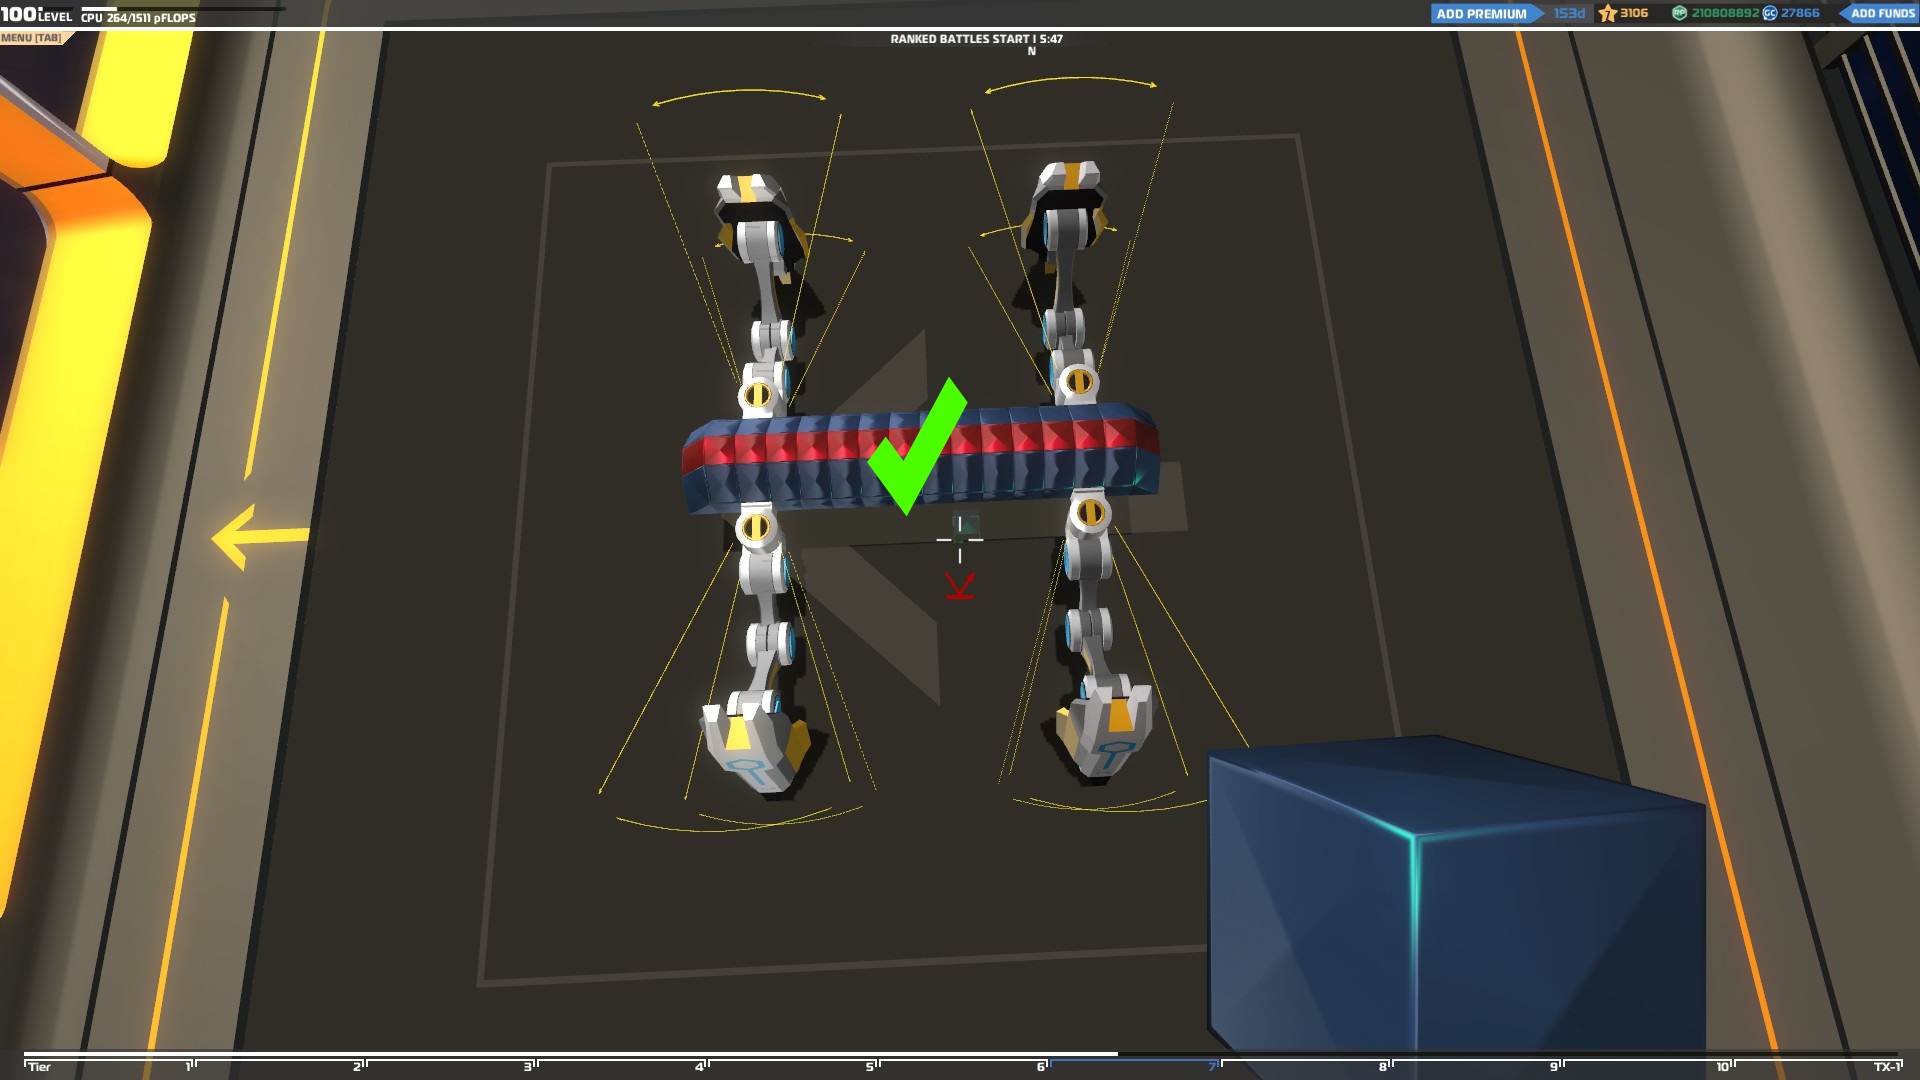
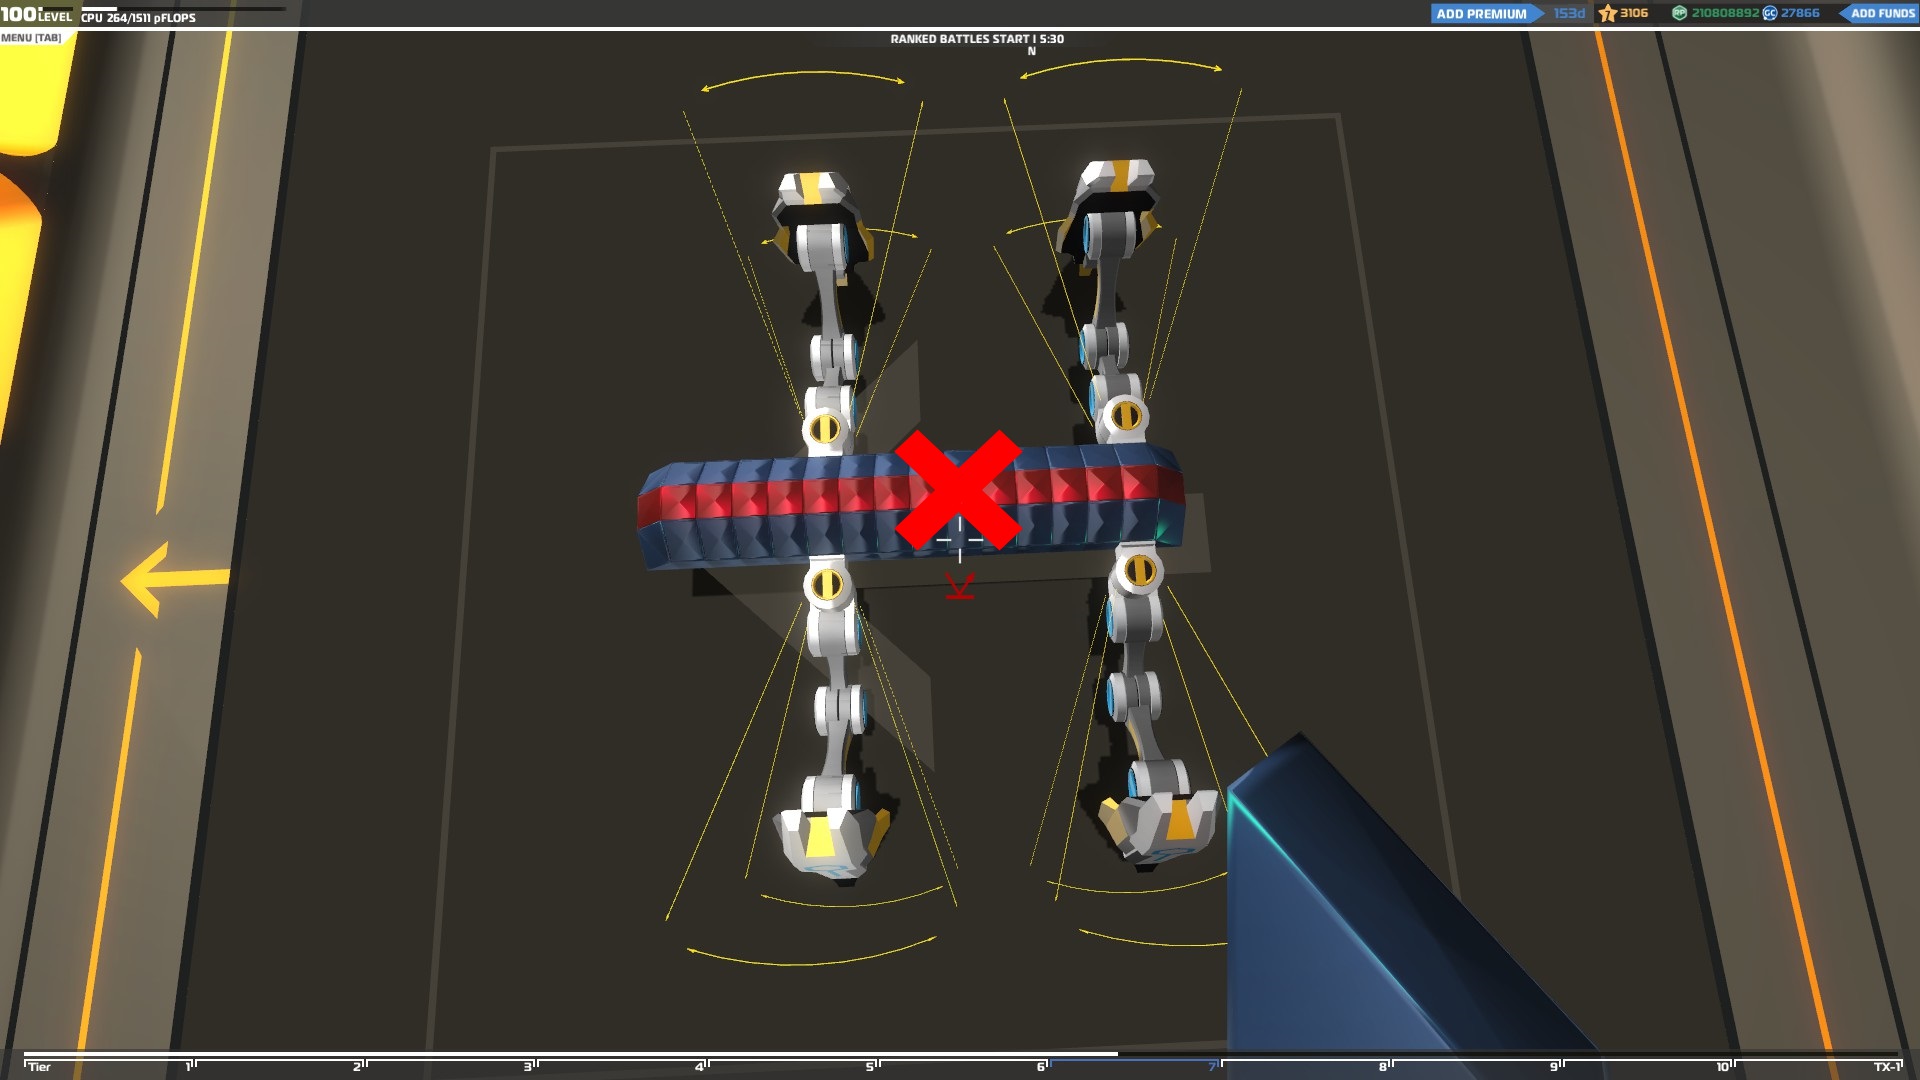
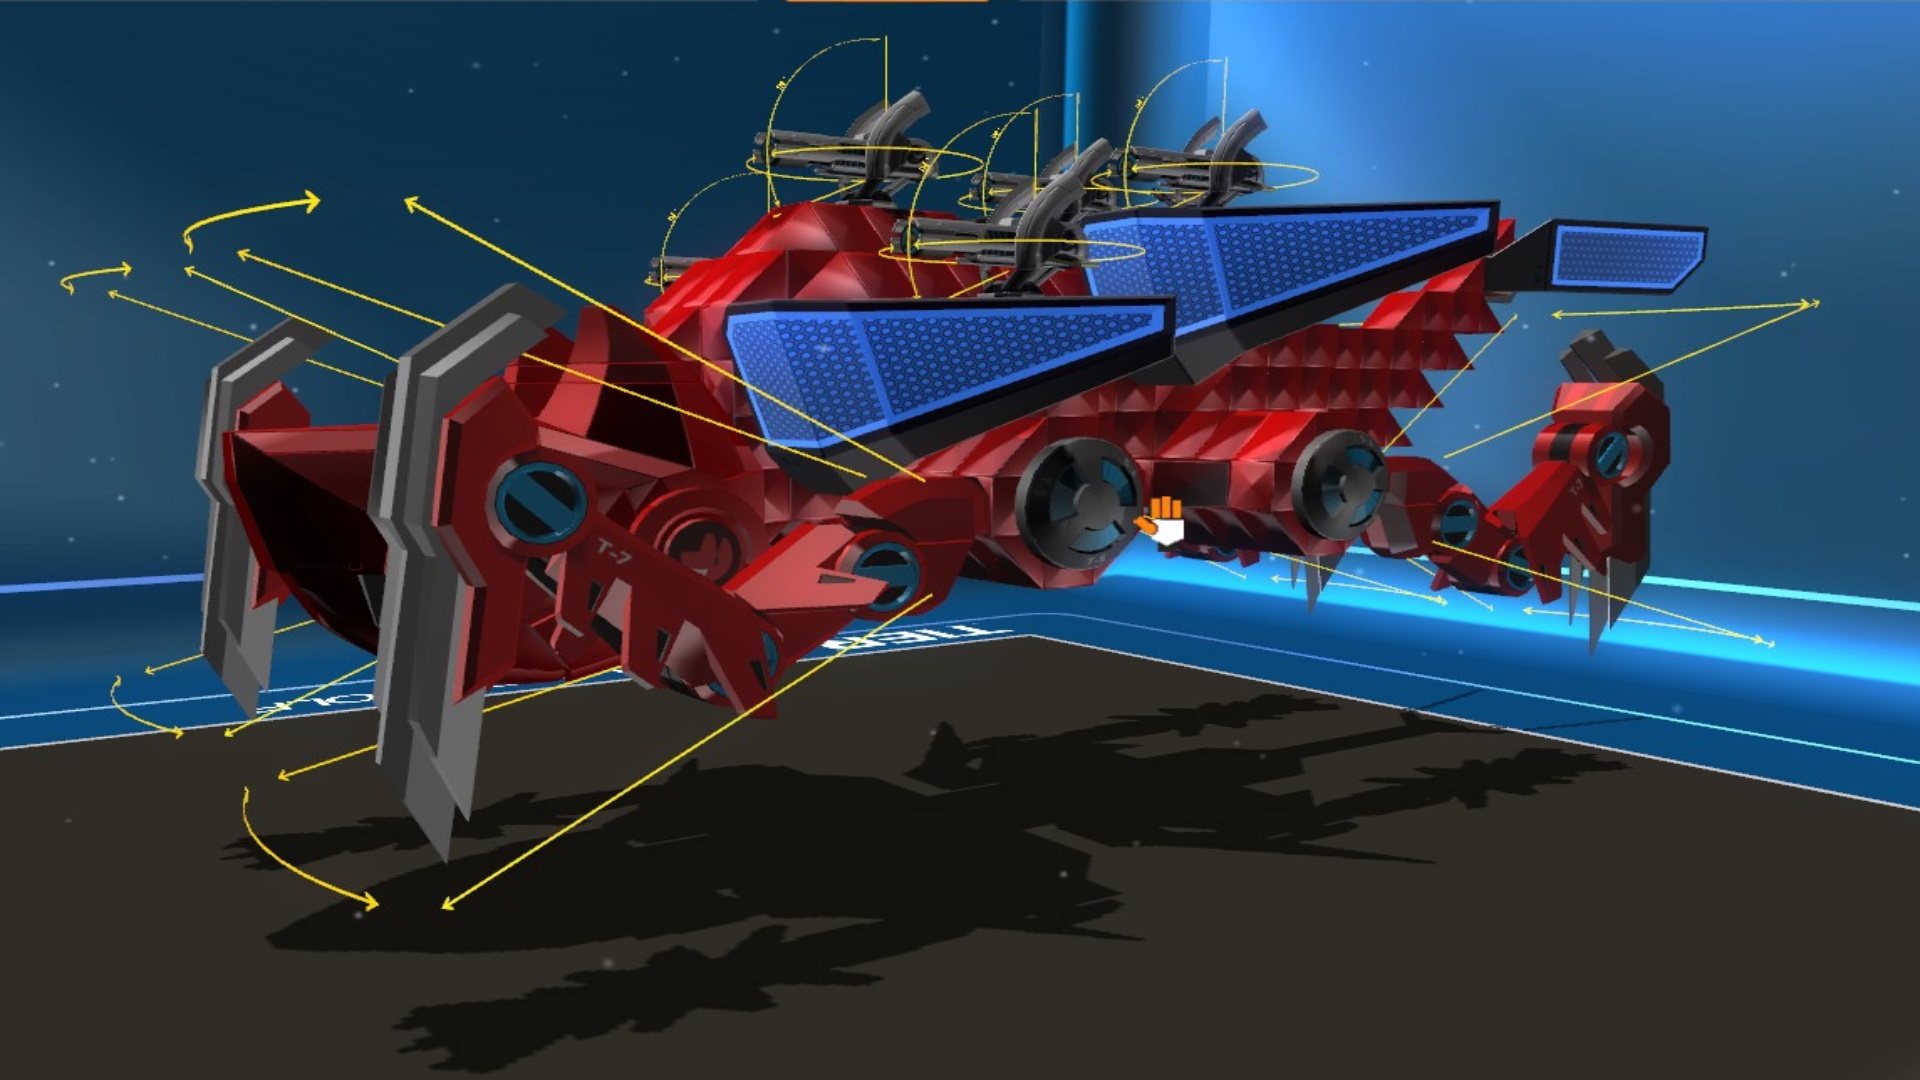
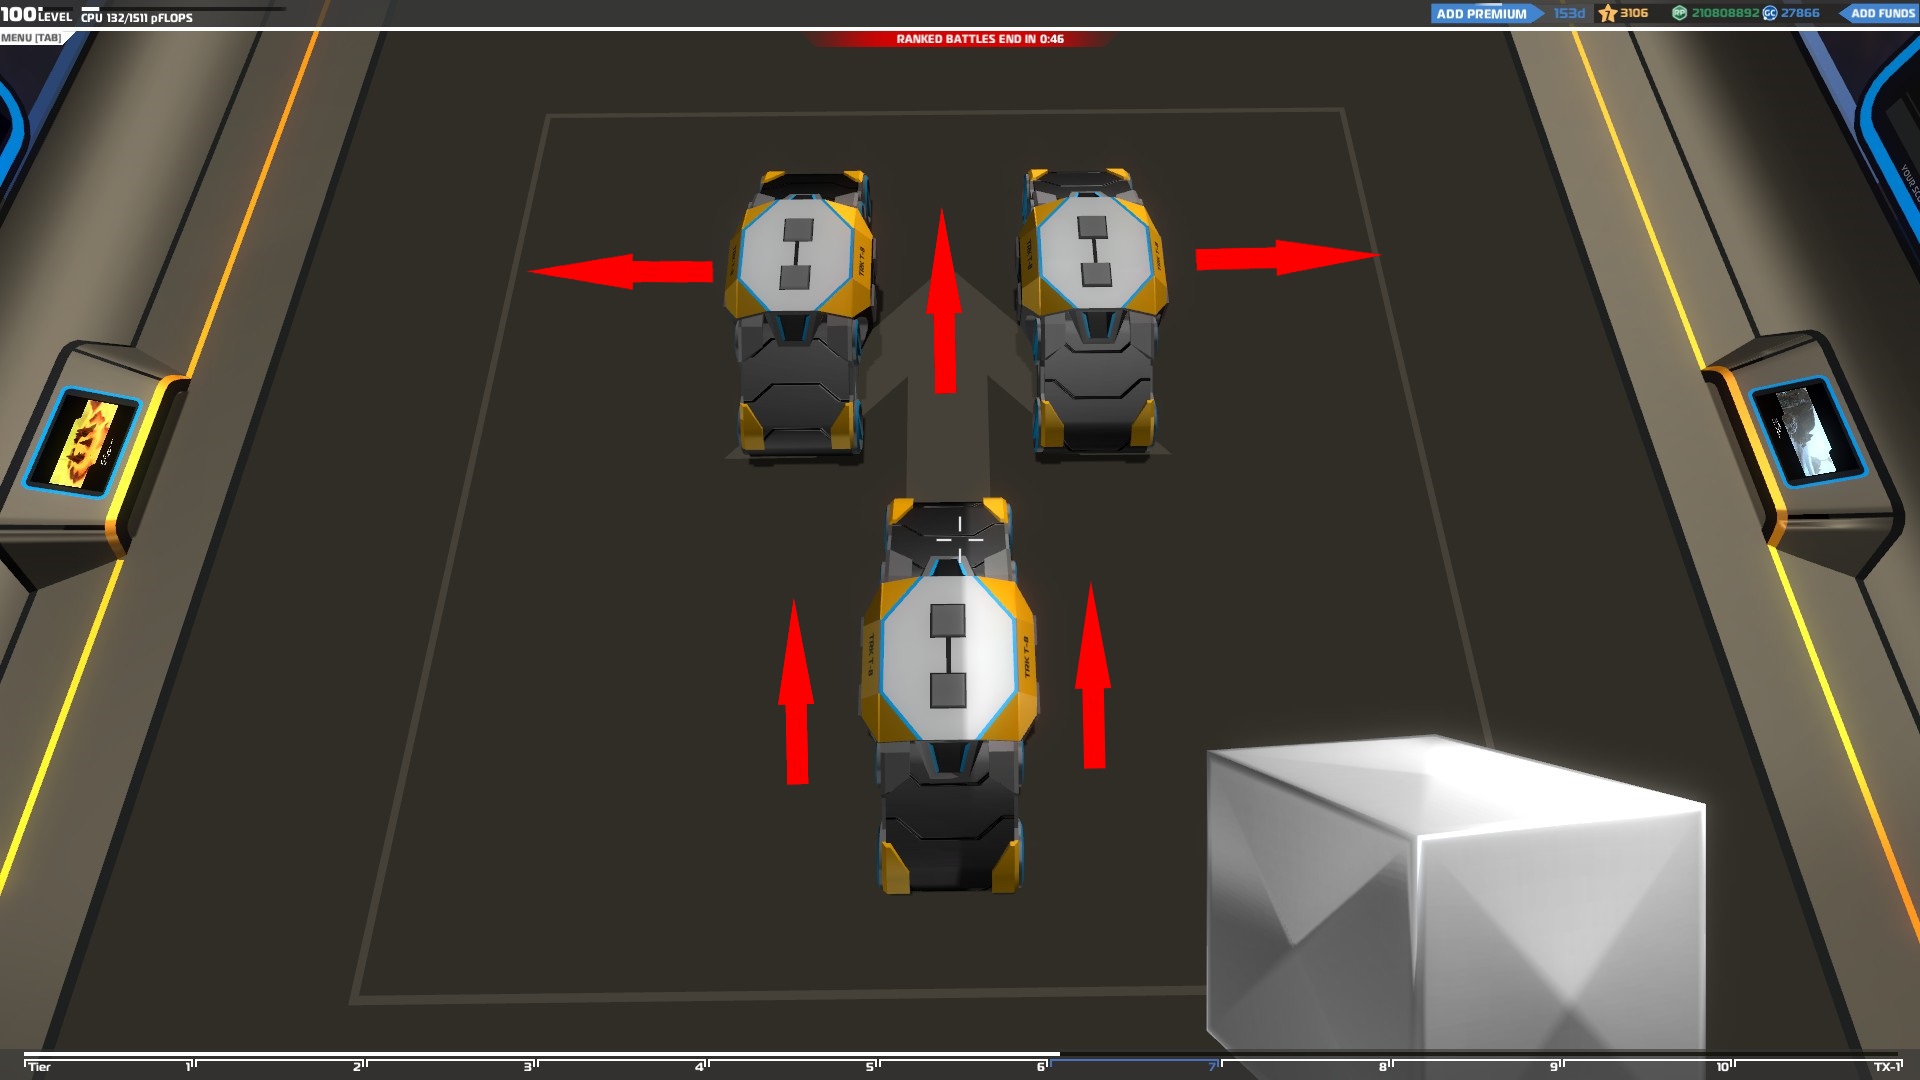
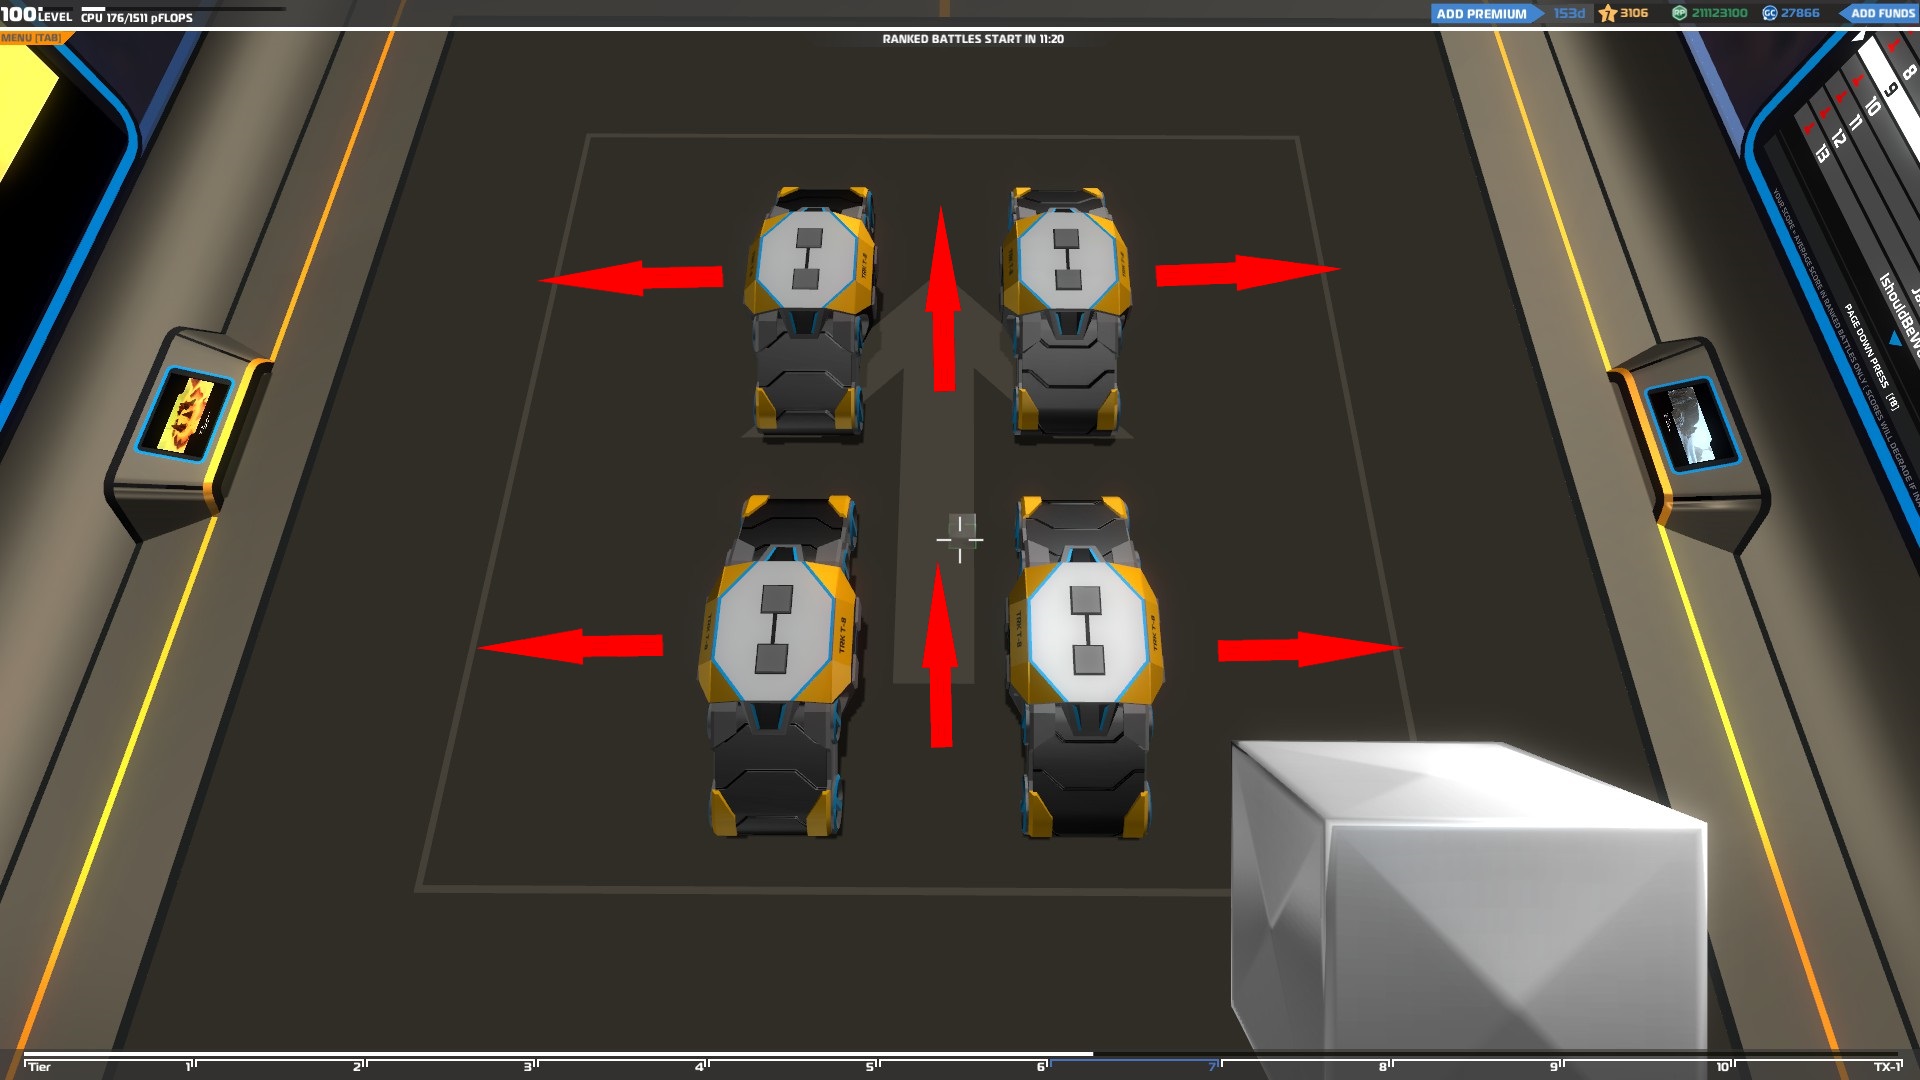
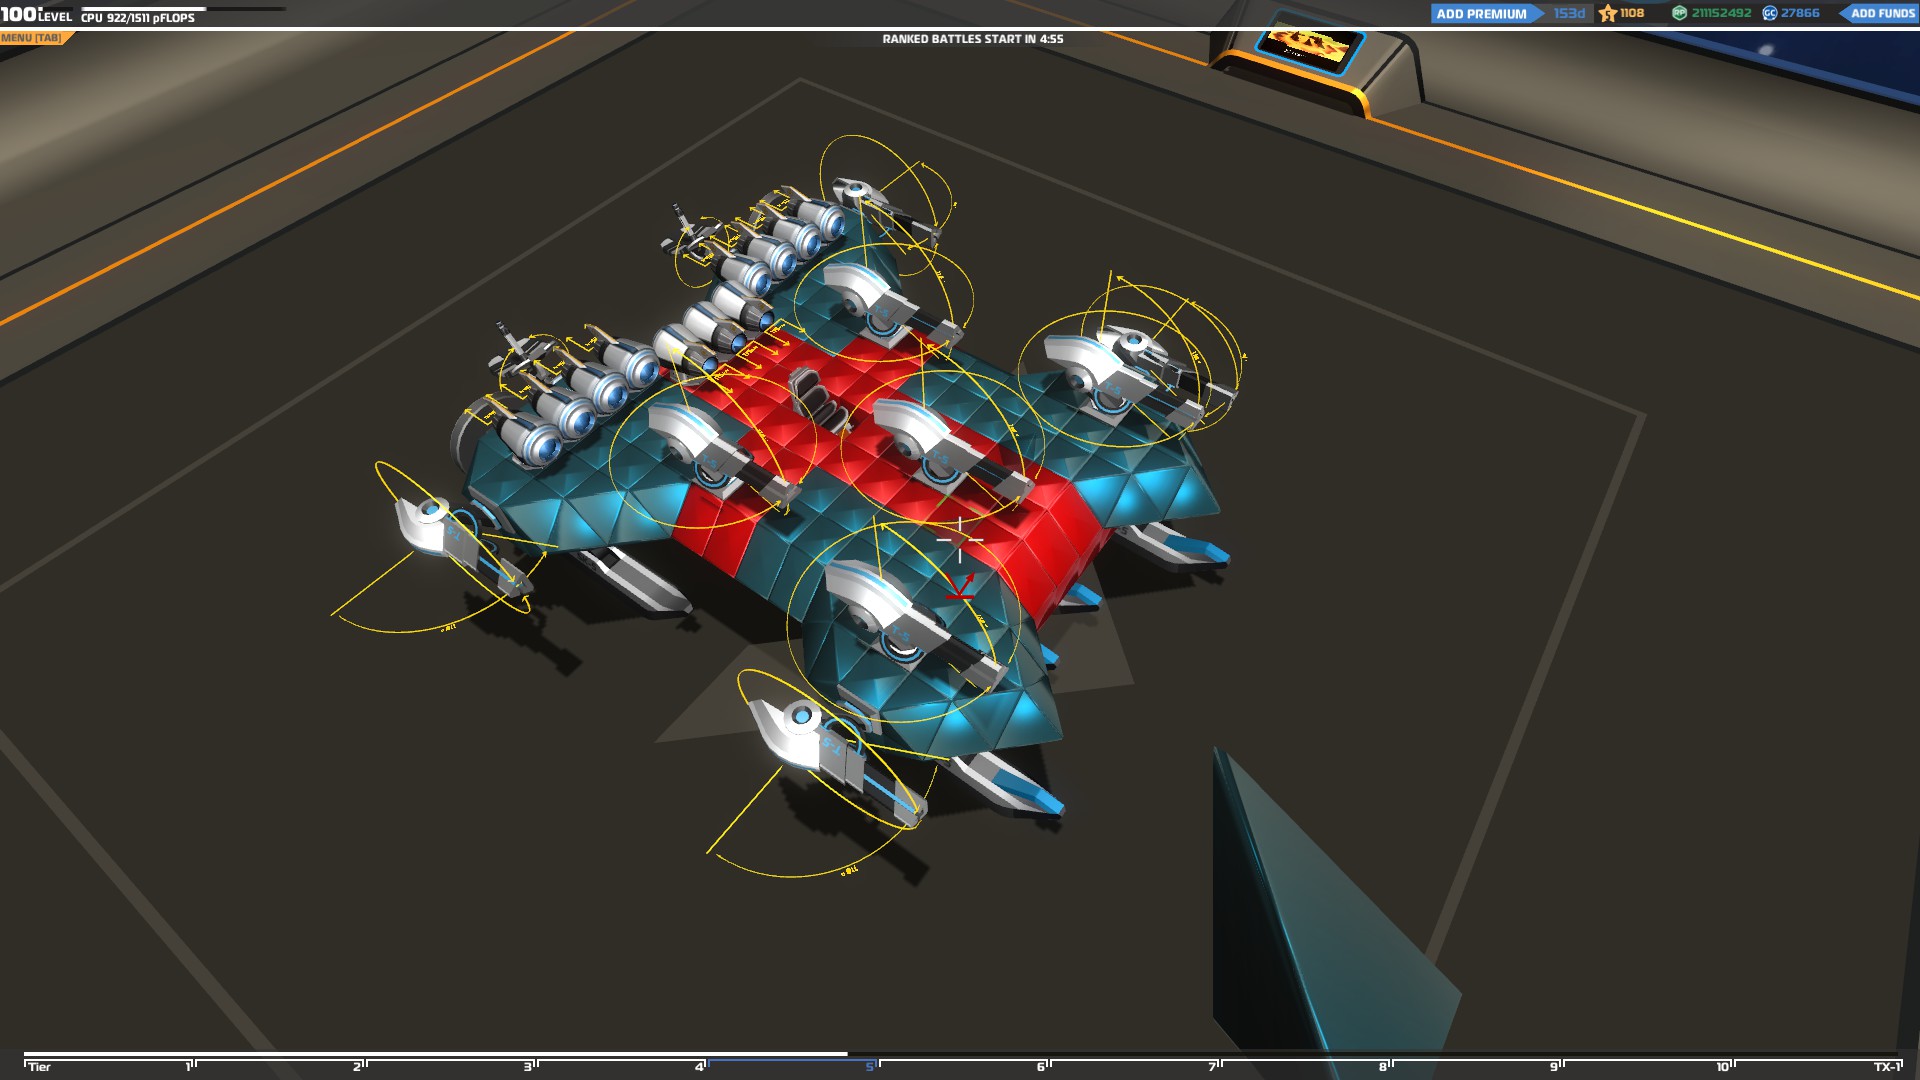
Building a hover
Building a hover is much trickier than building a regular vehicle with wheels since hovers are really difficult to drive if they are not built right.
First, you need to understand how the hover blade mechanics work
The blades at the front and back will help you steer your vehicle by applying forces to the right or left. If you have difficulty steering your hover it means that you either haven’t placed the blades at the right place or you haven’t left enough space between them.
The ones at the sides of the hover will stabilize it by applying forces downwards, preventing it from tilting to the right or left and keeping it stable. If your vehicle is not very stable it means you either haven’t placed blades at the sides or you haven’t left enough space between them.
“The further away the blades are from each other the better your stability and steering will become”
There is not only one way to place them though, as long as you can understand the hover mechanics you can build many different designs that will work fine.
Start by building the core for your hover and the secondary core for the hover blades.
How many and what tier blades you add on your hover depends on the size and overall weight of it and also your available CPU.
The minimum blades you should use is 4 for optimal stability and control. You could use less than 4 but you hover will become very unstable. If you can, add more hover blades than you need so if an enemy destroys some of them your overall stability won’t be affected too much.
If you find hovers difficult to control you can add a rudder at the back, like in the example below, which will reduce the turning speed and give you better control of the vehicle.
Finally, you can use thrusters to make your hover faster and the more you use, the faster it will become.
Building a walker
There are a few things to consider when you are building a walker in order to maximize their climbing ability since if they are not build right, you will have trouble climbing on cliffs.
To be able to climb, the legs have to stake on the base of the cliff and change the inclination of your vehicle so it can climb upwards at the top of the cliff. To ensure that will happen you should place a pair of legs at the very front of your walker or place them facing forwards.
Since walkers do a lot of shooting from above cliffs and have to target enemies below them, you should use the rotated armor technique (place the back legs lower than the ones at the front) to give a downward inclination to your vehicle so you can aim low enough to target enemies below you.
Finally, make sure to leave a lot of space between each pair of legs to better protect them from plasma shots since if they are too close you could lose both of them with one shot.
Building a tank
The huge amount of armor caterpillar tracks have can be used as an extra layer of protection for your seat, so once you finish building the core of your tank make sure to place a pair of them at the sides.
Since they have connection points all around them, it’s easier to build a secondary core to support them.
The minimum amount of tracks you can use is 2 but always use more since you won’t be able to steer your vehicle if you lose one of them.
A Robocraft tank works exactly like a real life tank since the caterpillar tracks use the same movement mechanics. While moving, the right track will slow down/come to a full stop if you want to turn right and the left one will slow down/ come to a full stop if you want to turn left. If you try to turn while you are standing still, the left track will move forwards and the right one backwards if you want to turn right and the other way around if you want to turn left.
With that in mind, you can figure out how each extra track will affect your vehicle, which ones will steer it and where is the best place to put them.
Finally, make sure to use the extra connection points of the tracks to place some of your weapons since their high armor will protect them from the antigunbrella effect.
“You can add a leg at the front of your tank to give it the ability to climb cliffs”
Building a sled
Sleds are easy to build in general but there are a few things to consider one of which is the position of the skis. Placing the skis too close to each other will make your vehicle too unstable and it will flip often so make sure to leave a lot of space between them to increase their stability as much as possible.
Even though Skis can steer, they can only move with thrusters so it’s important to add a lot of them facing both forwards and backwards to be able to move in reverse as well.
Advanced Building - Vehicles Part 2
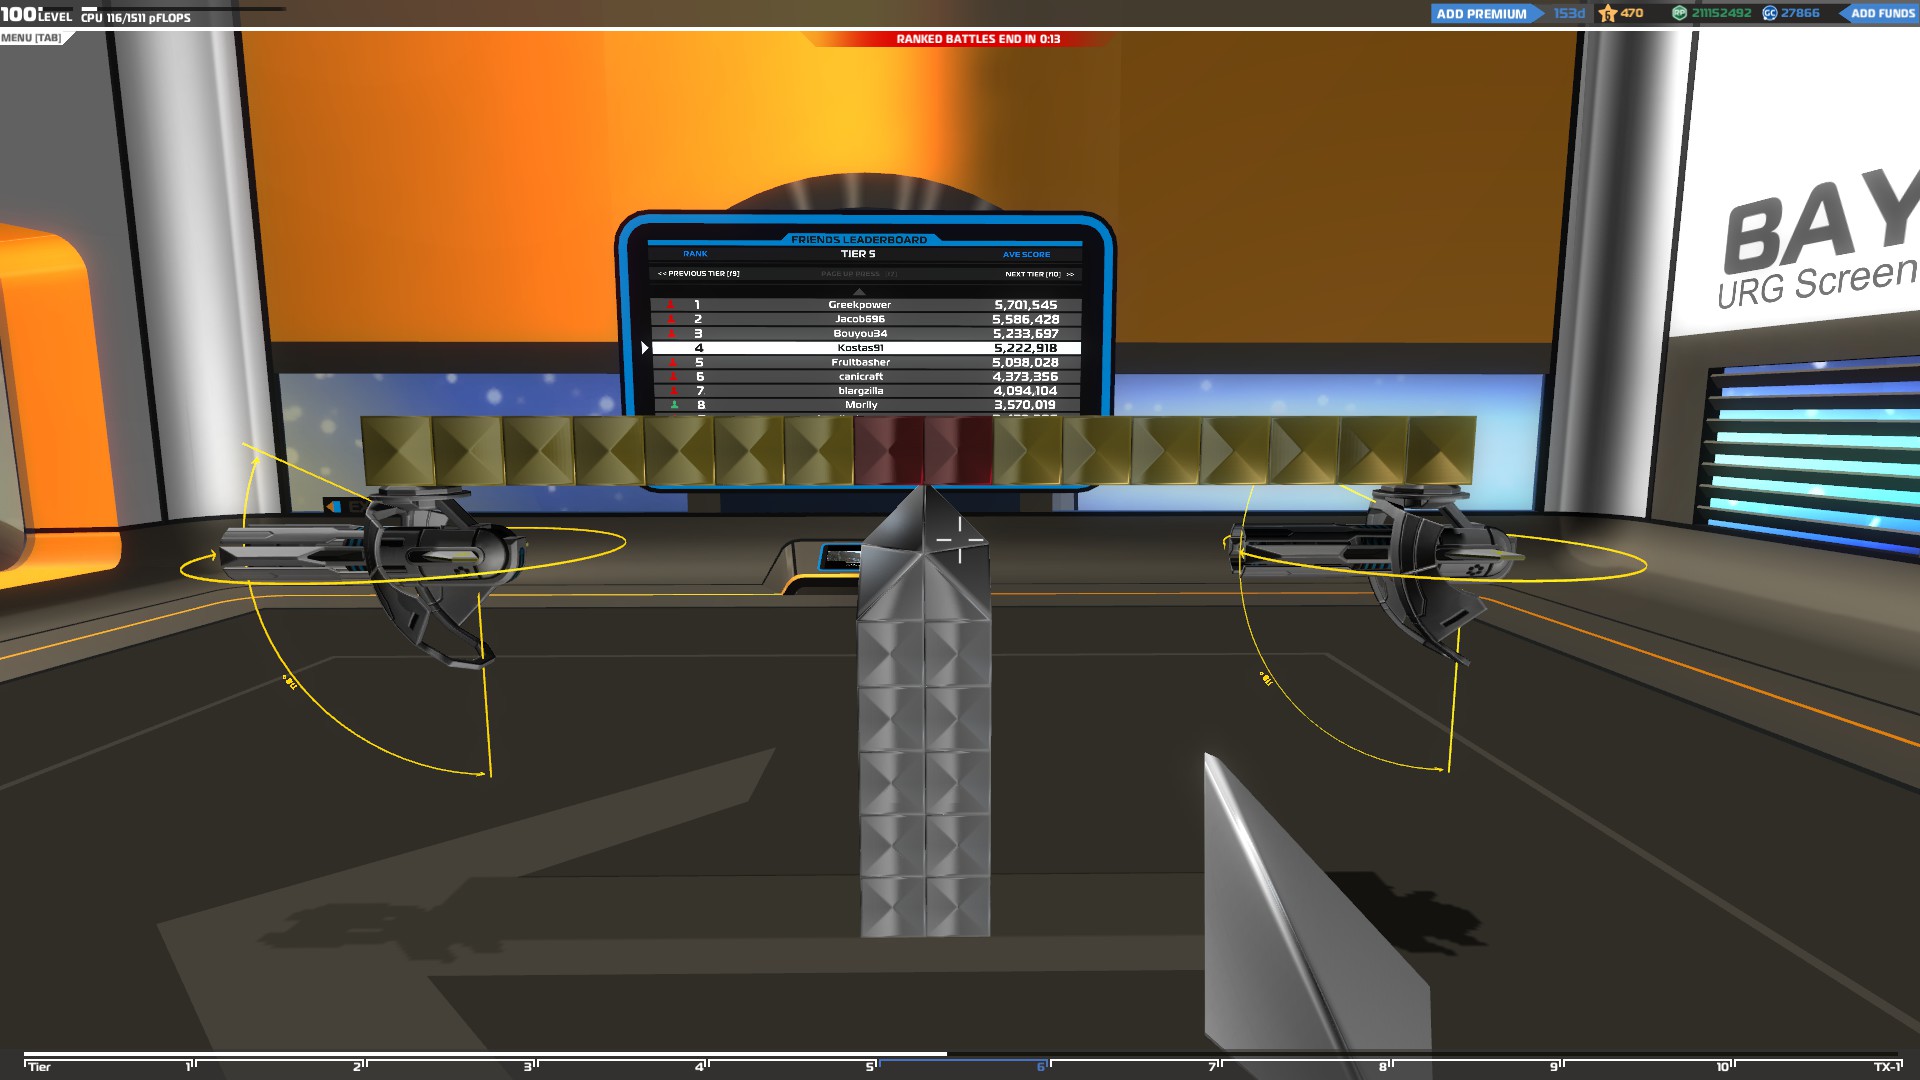
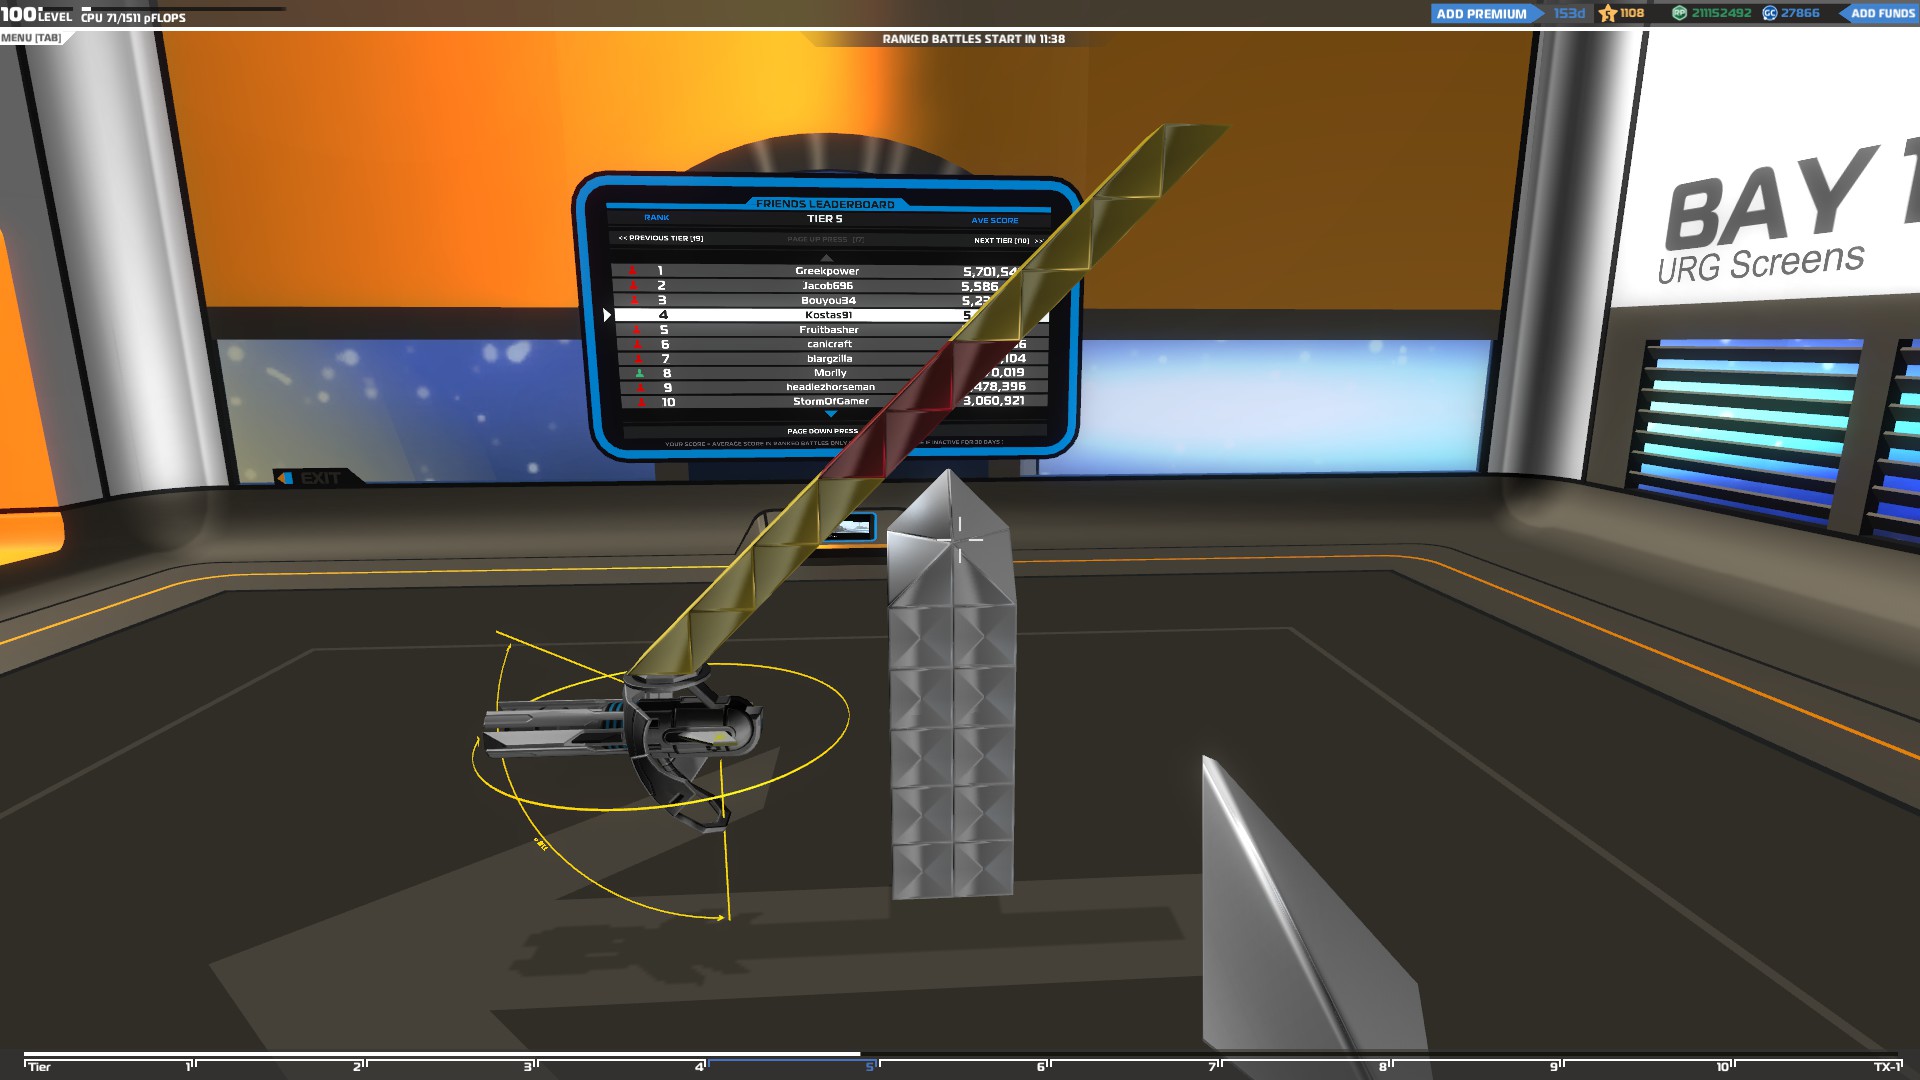
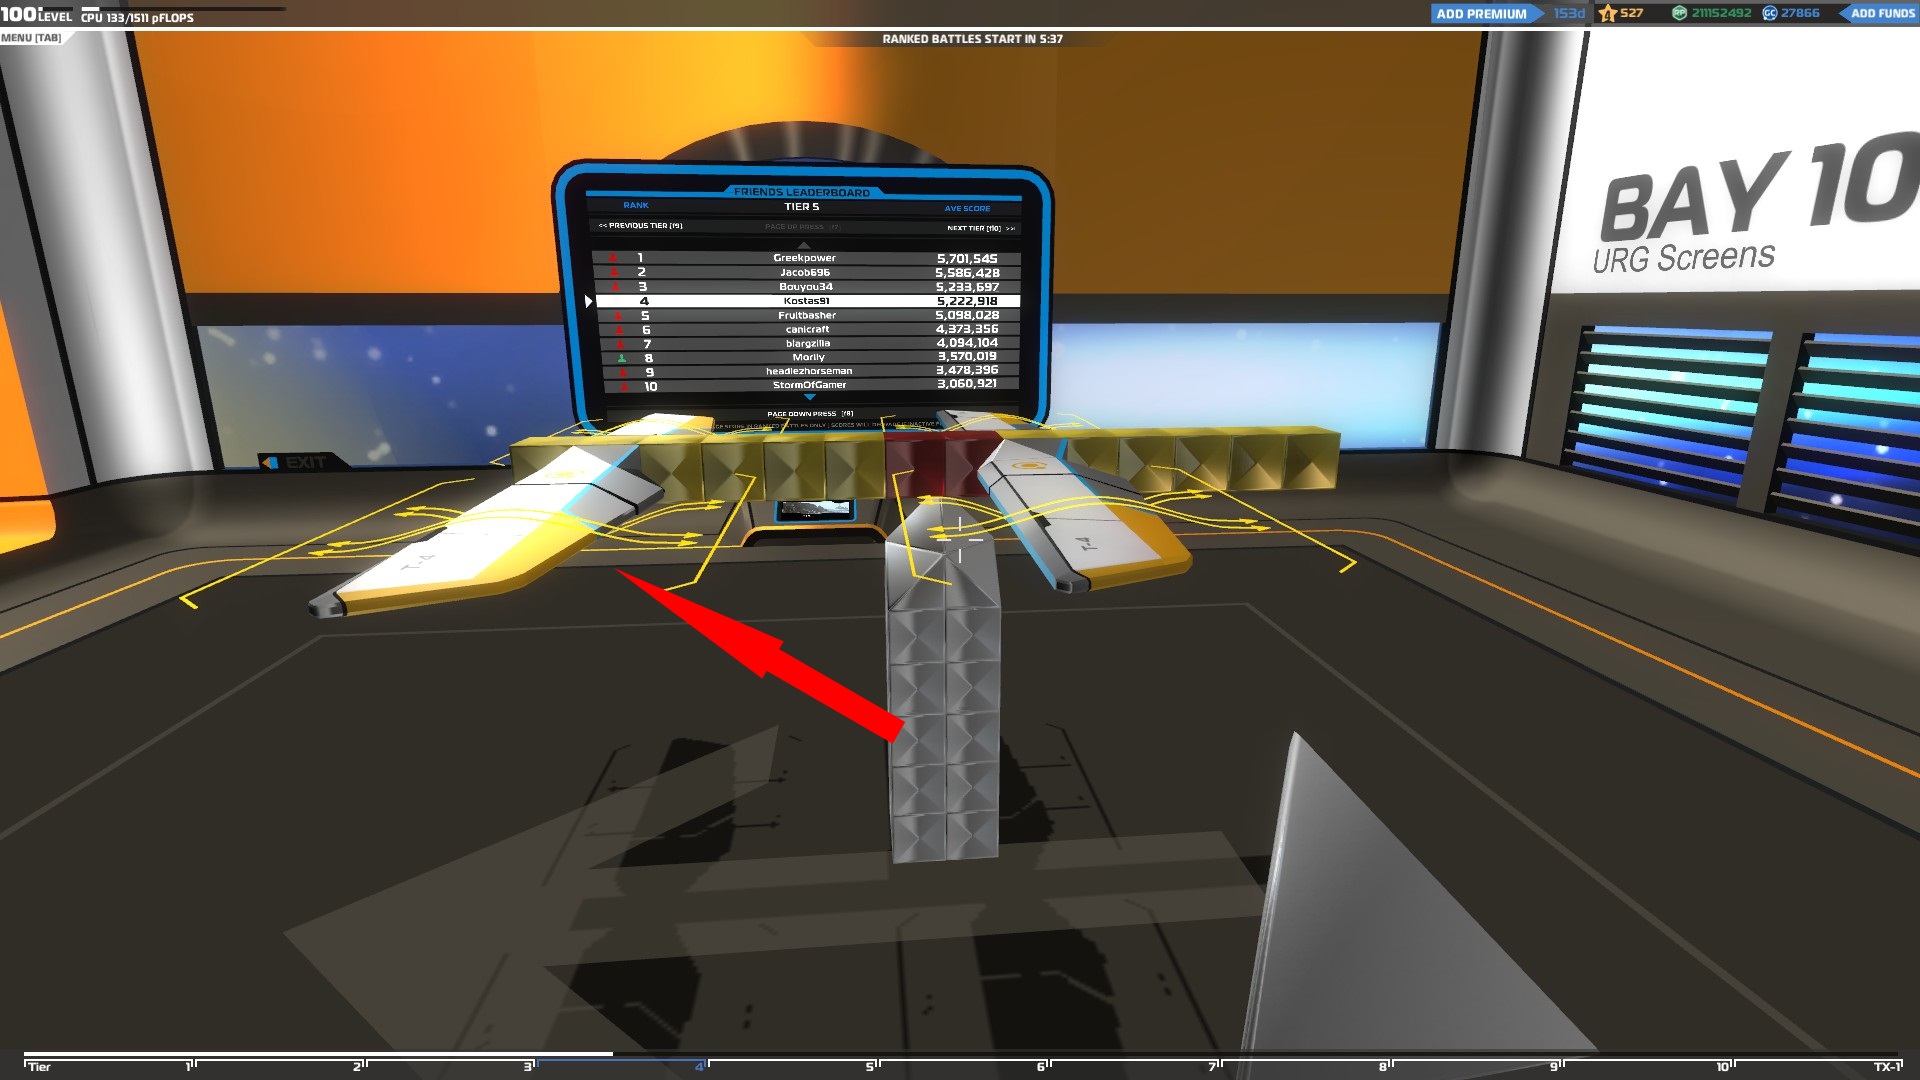
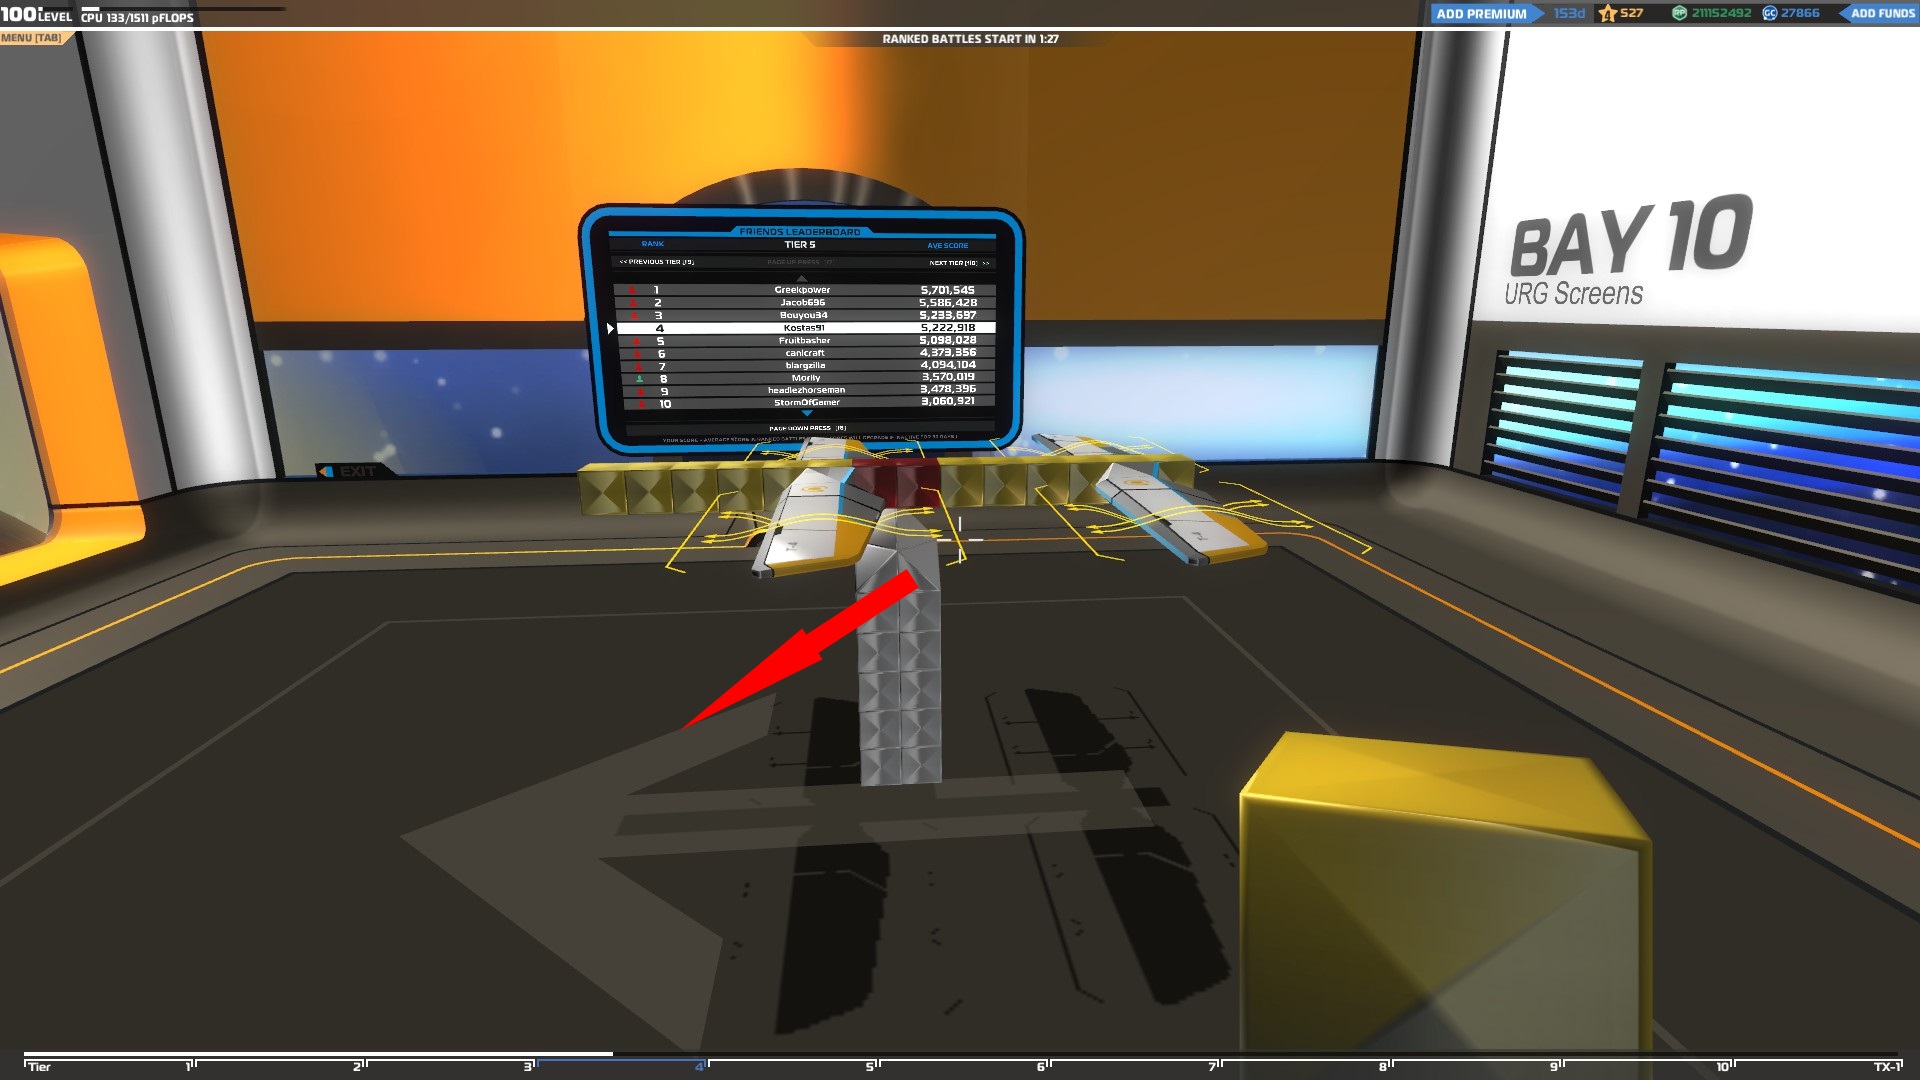
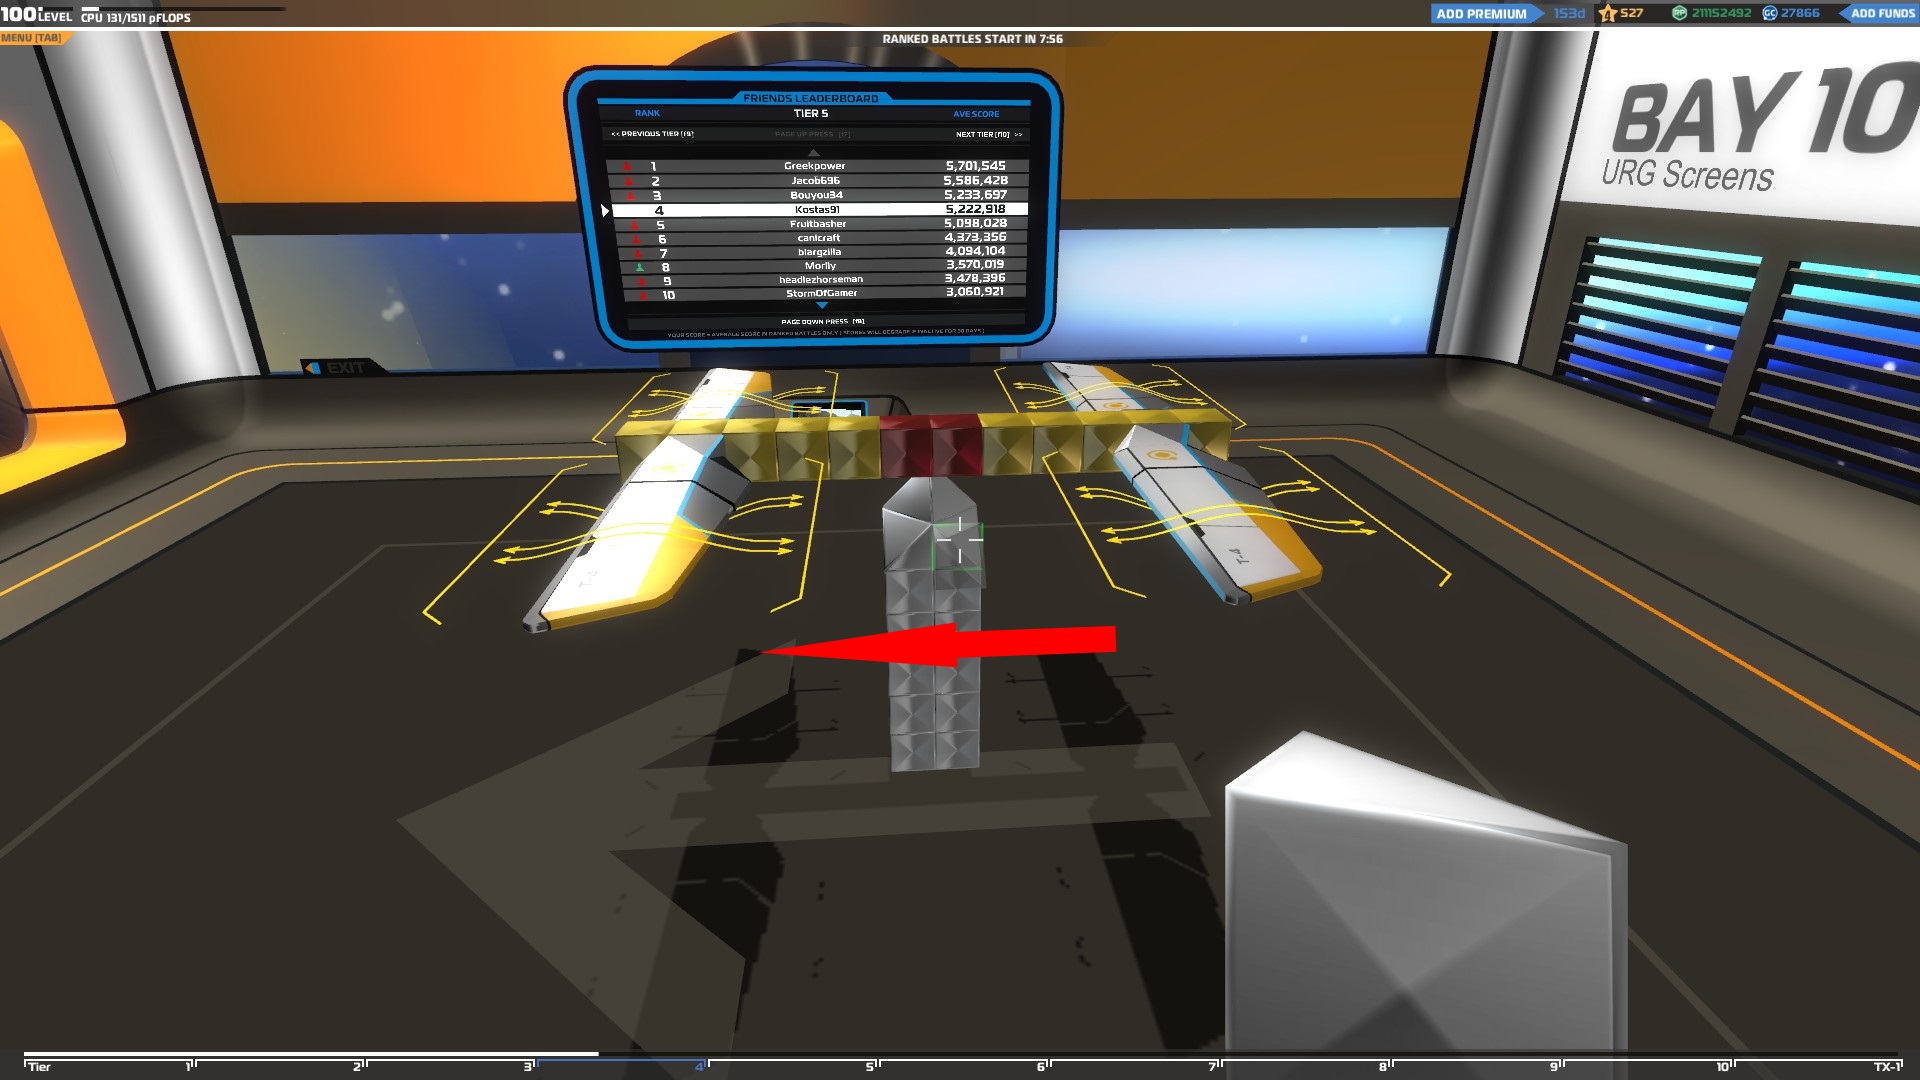
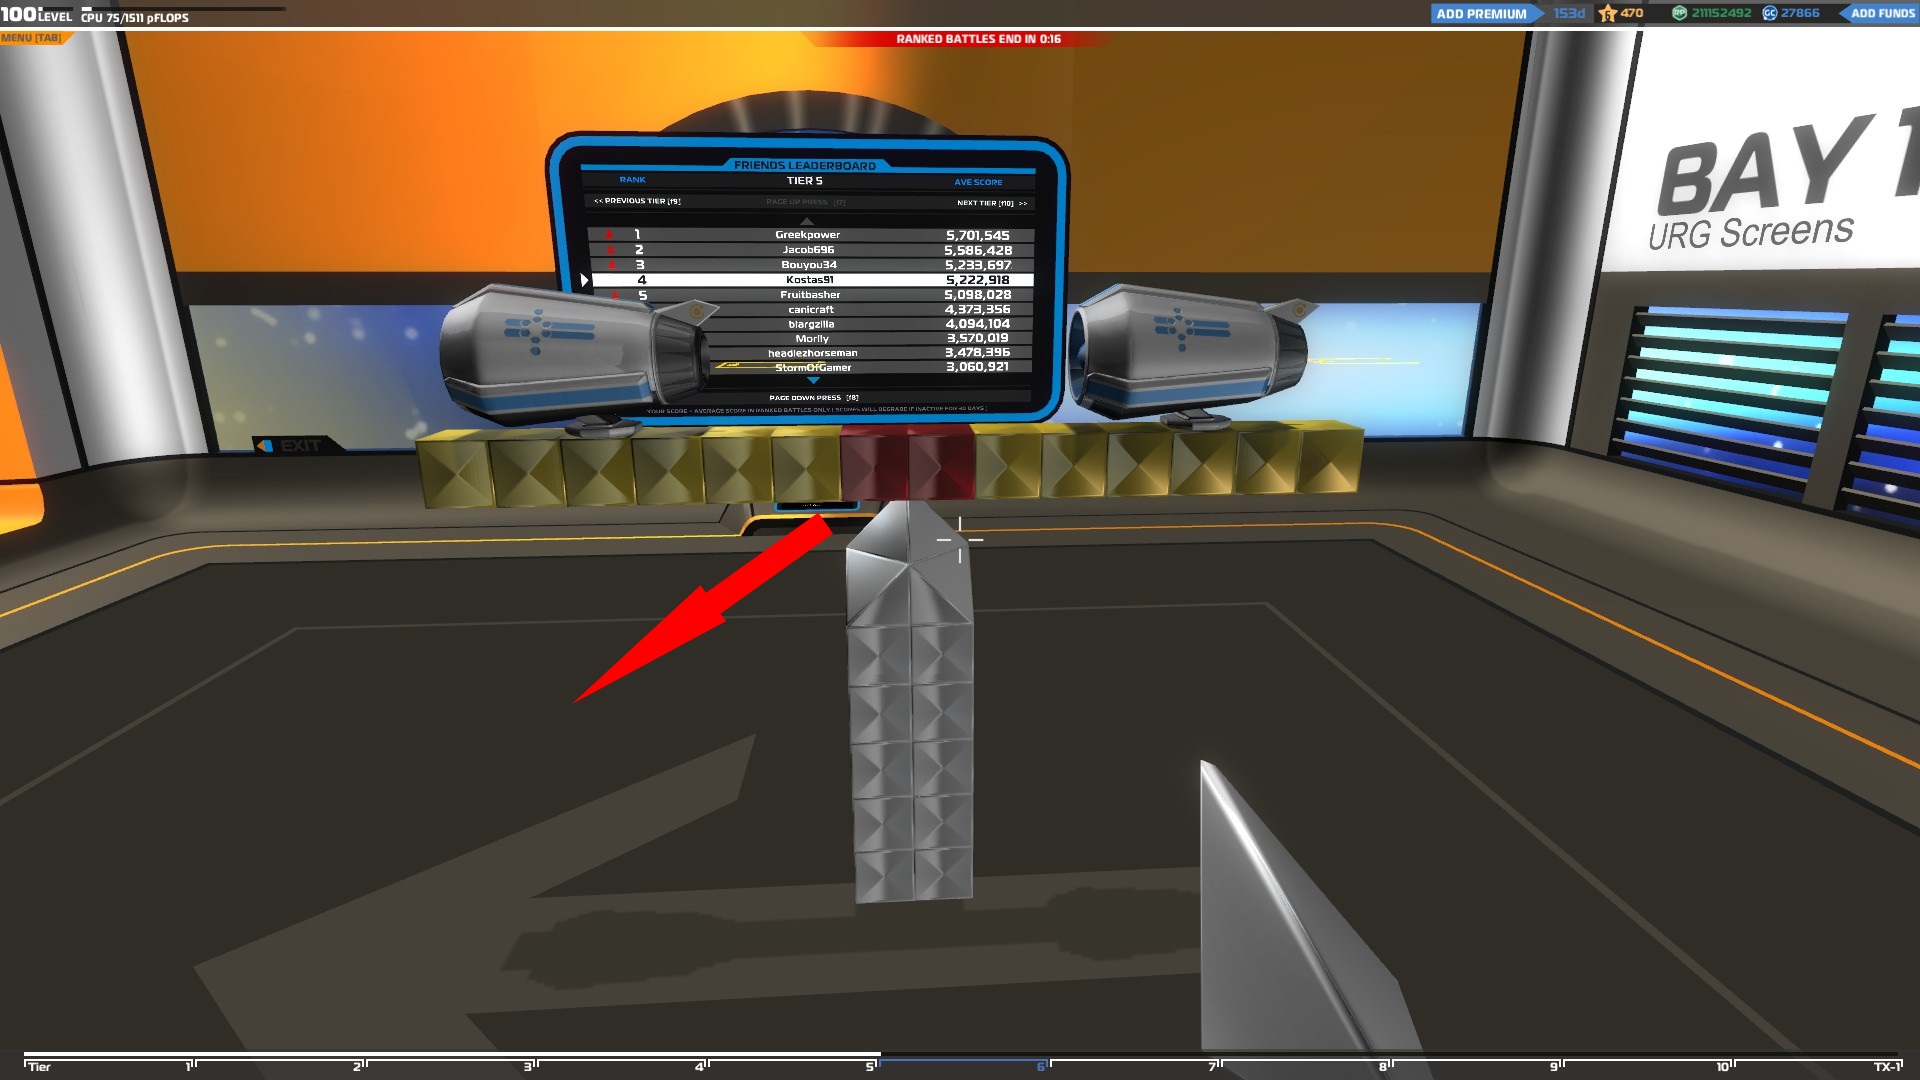
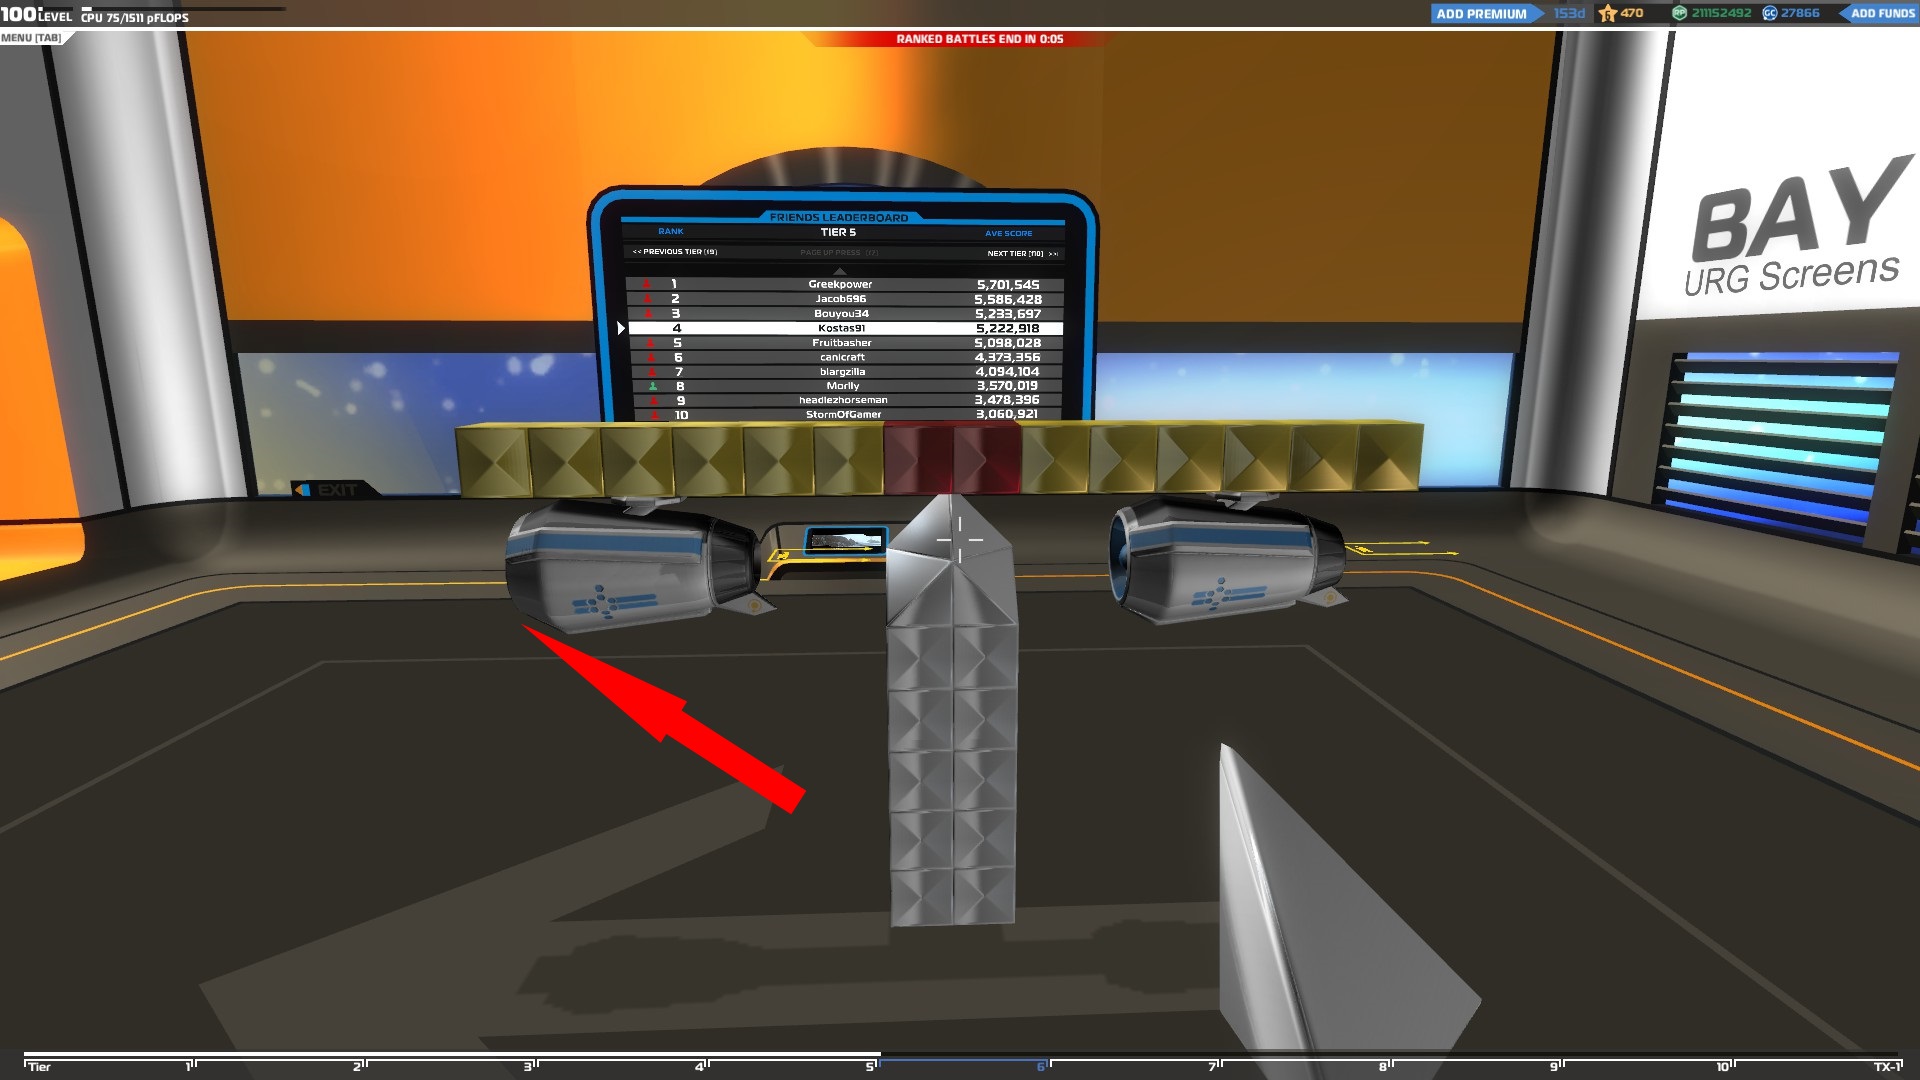
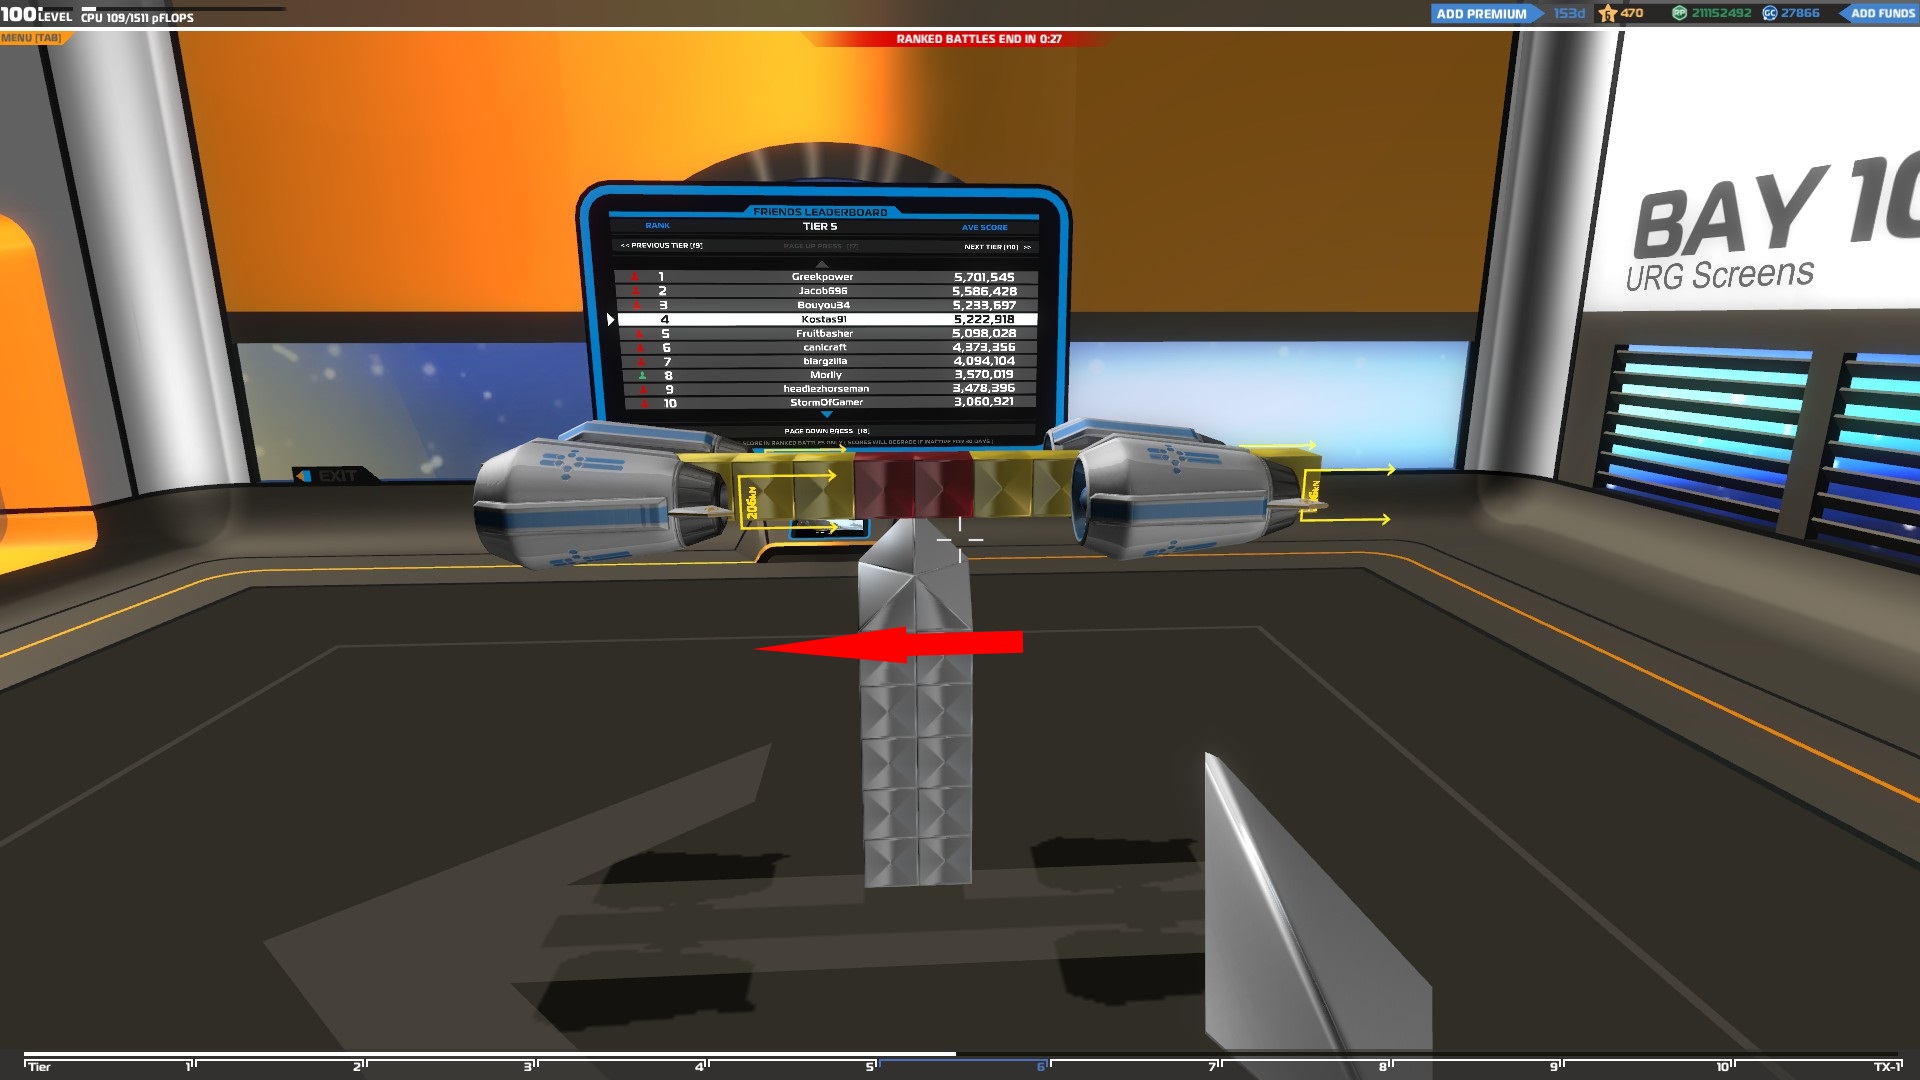
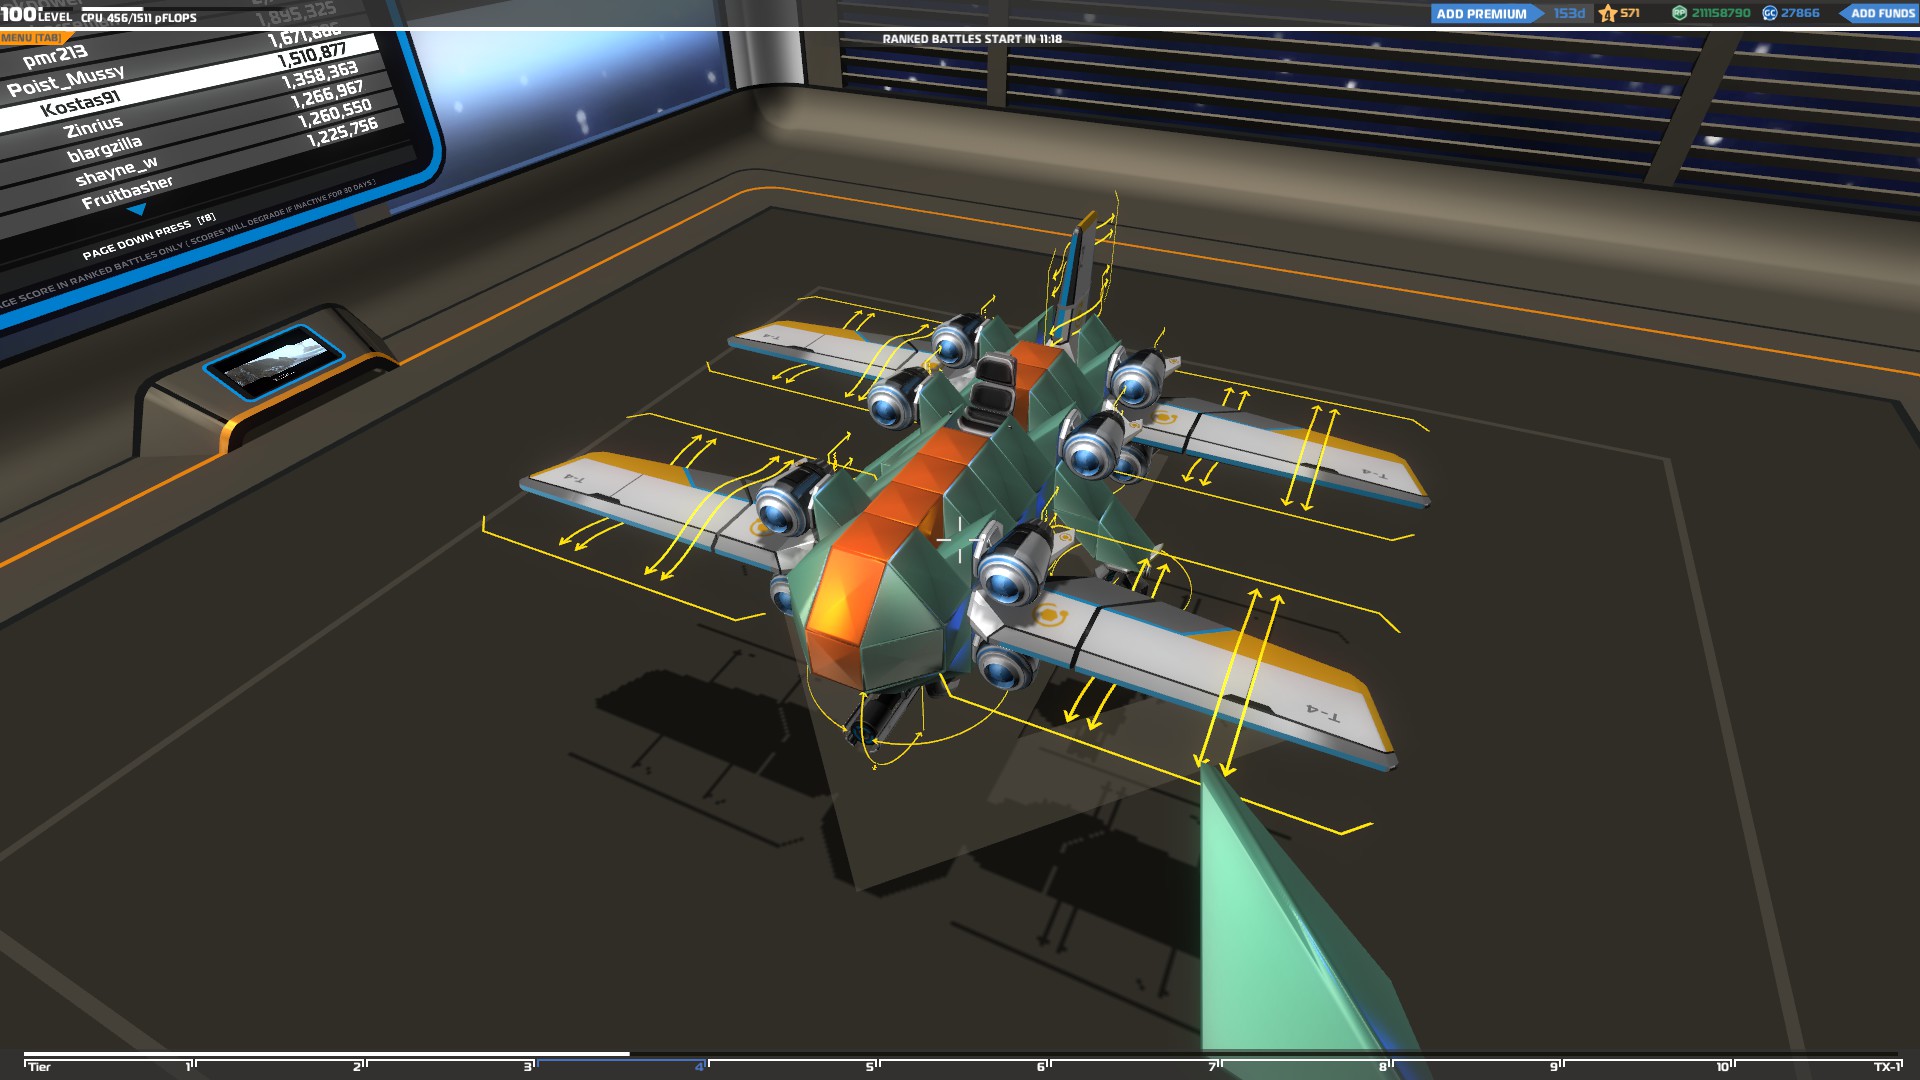
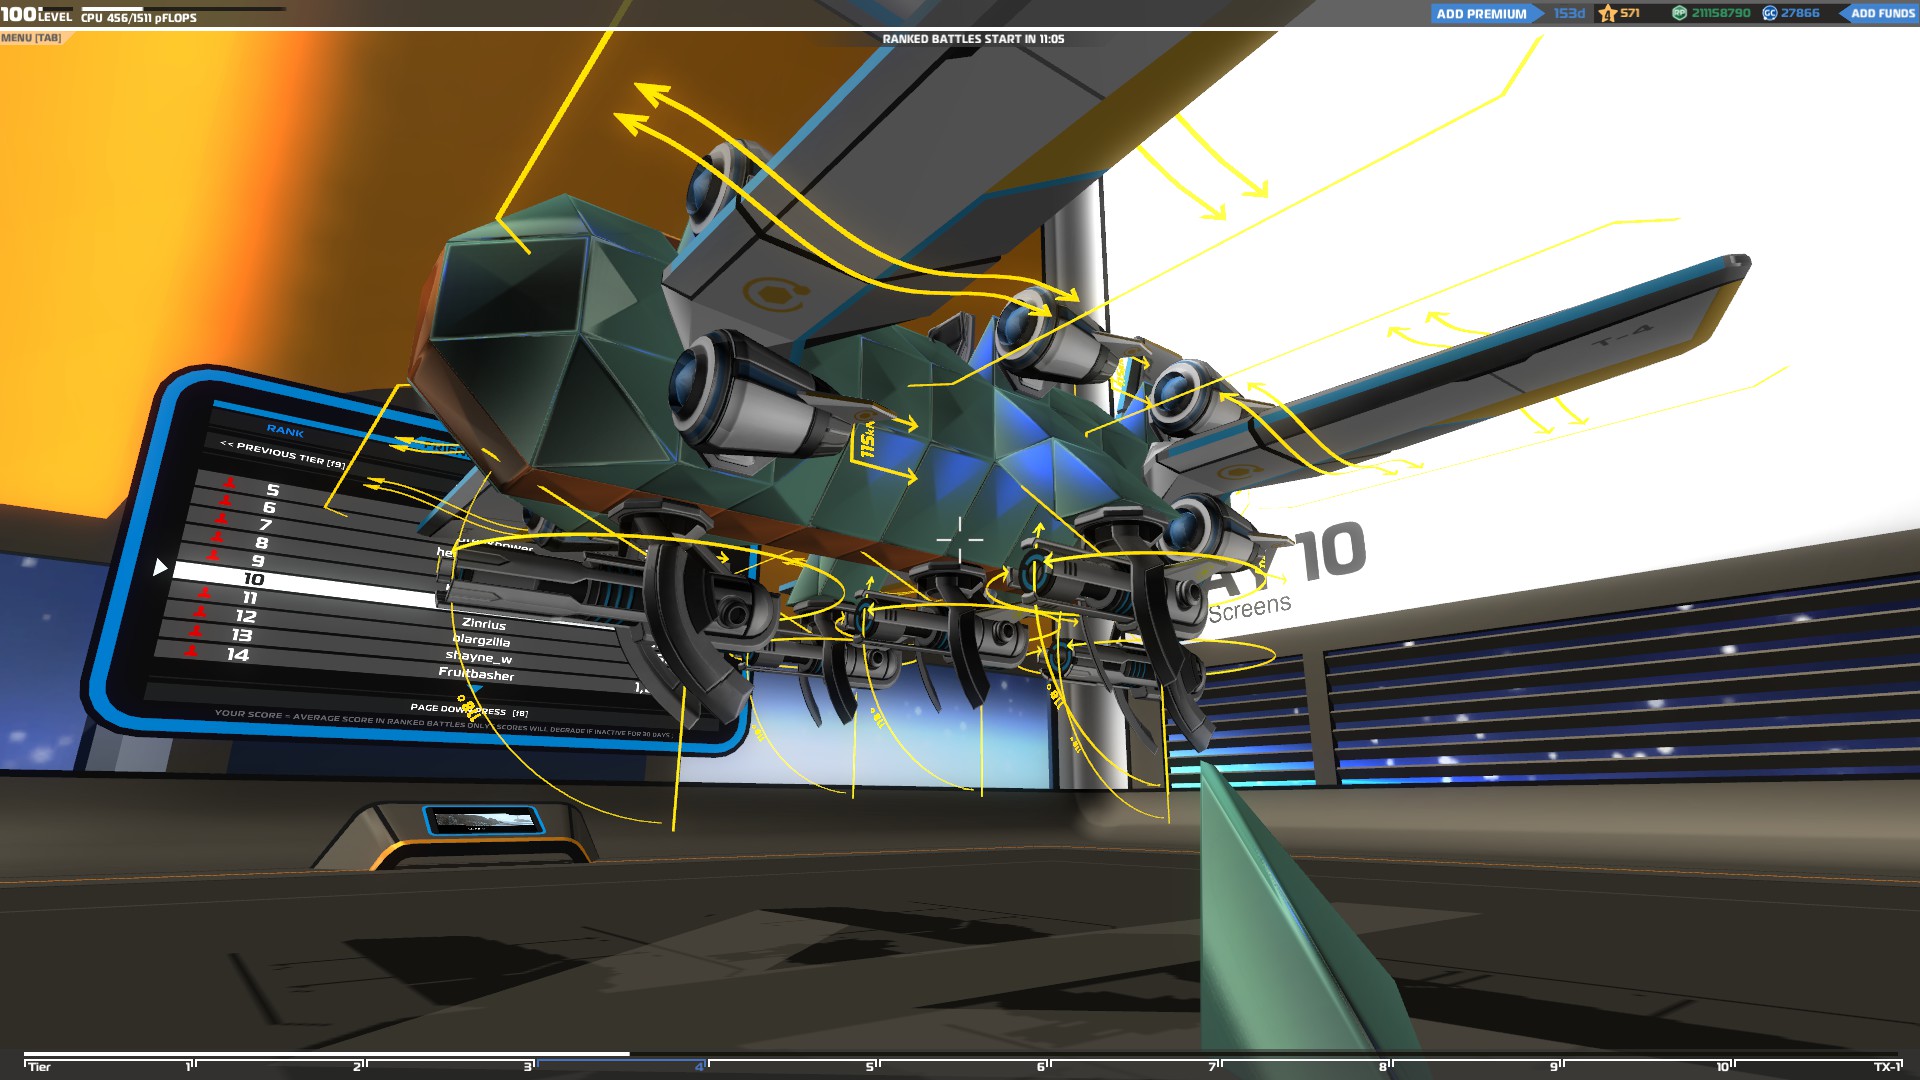
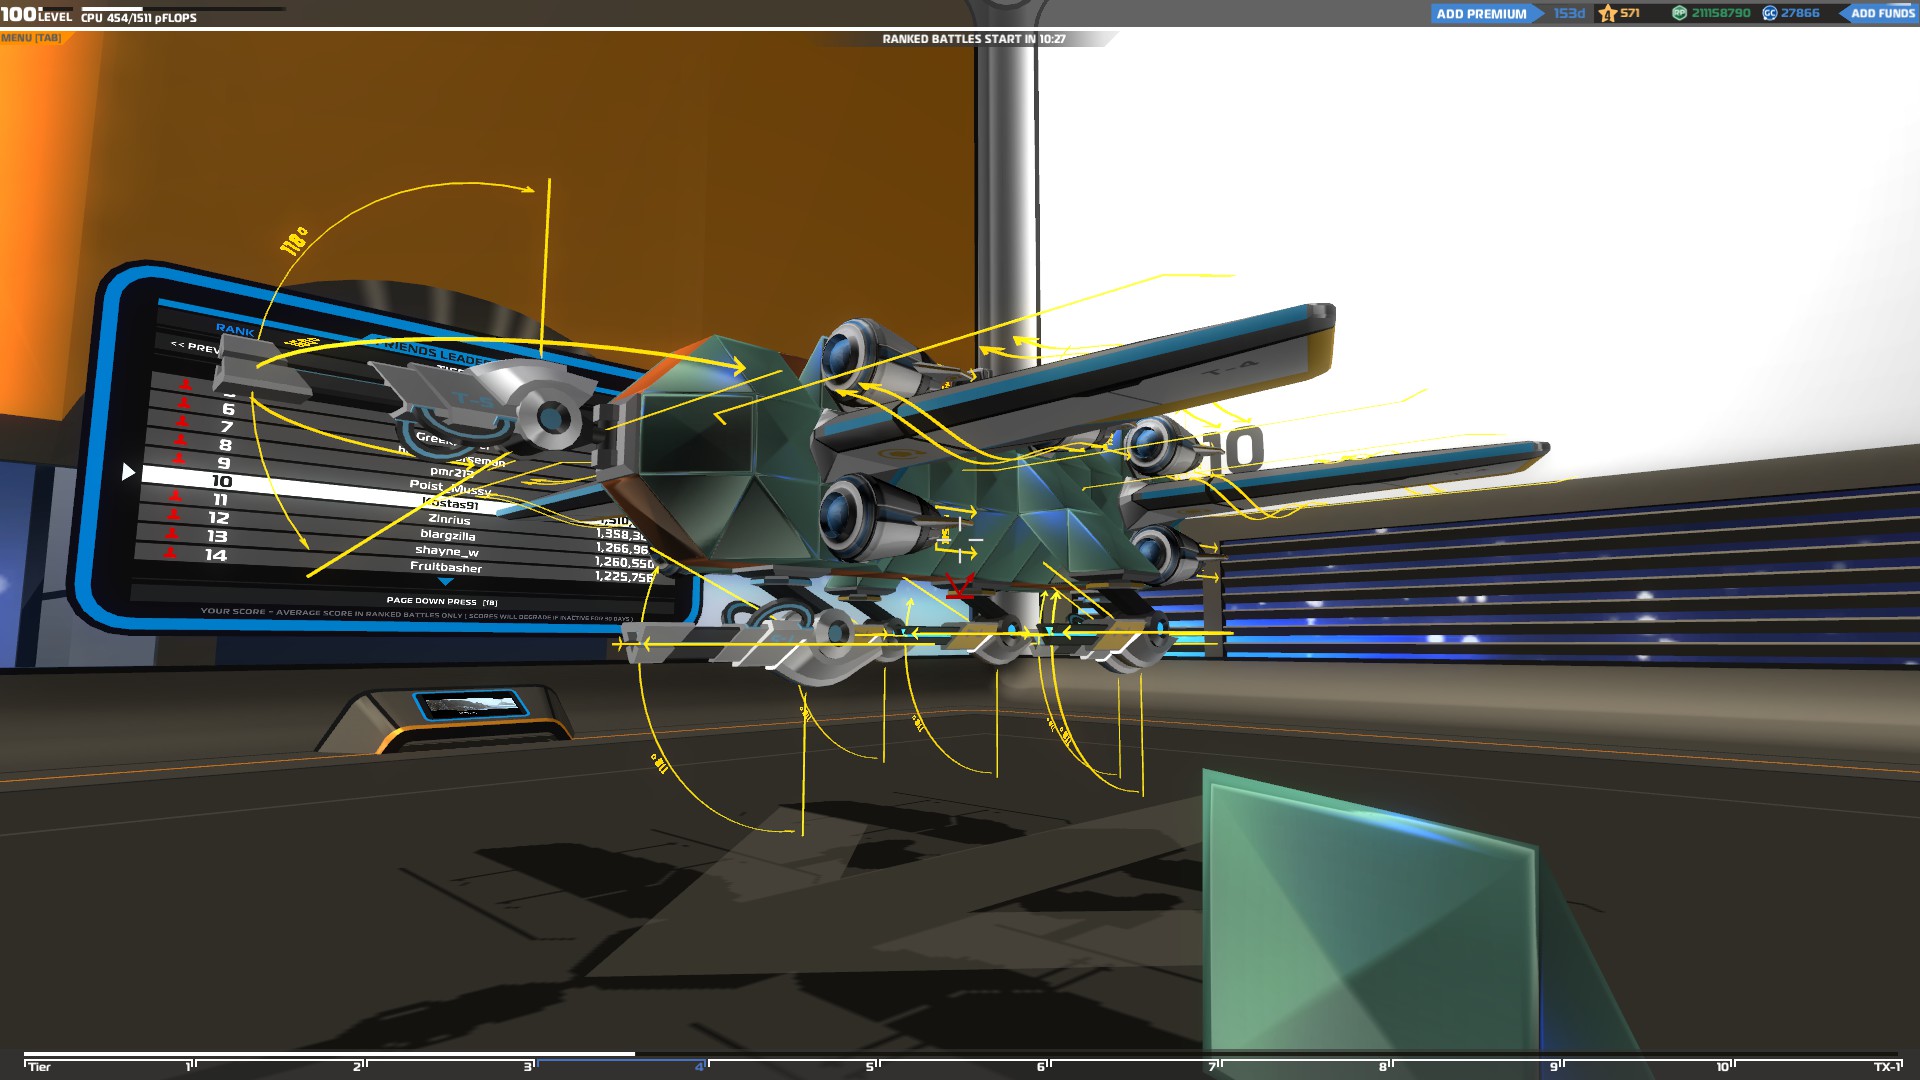
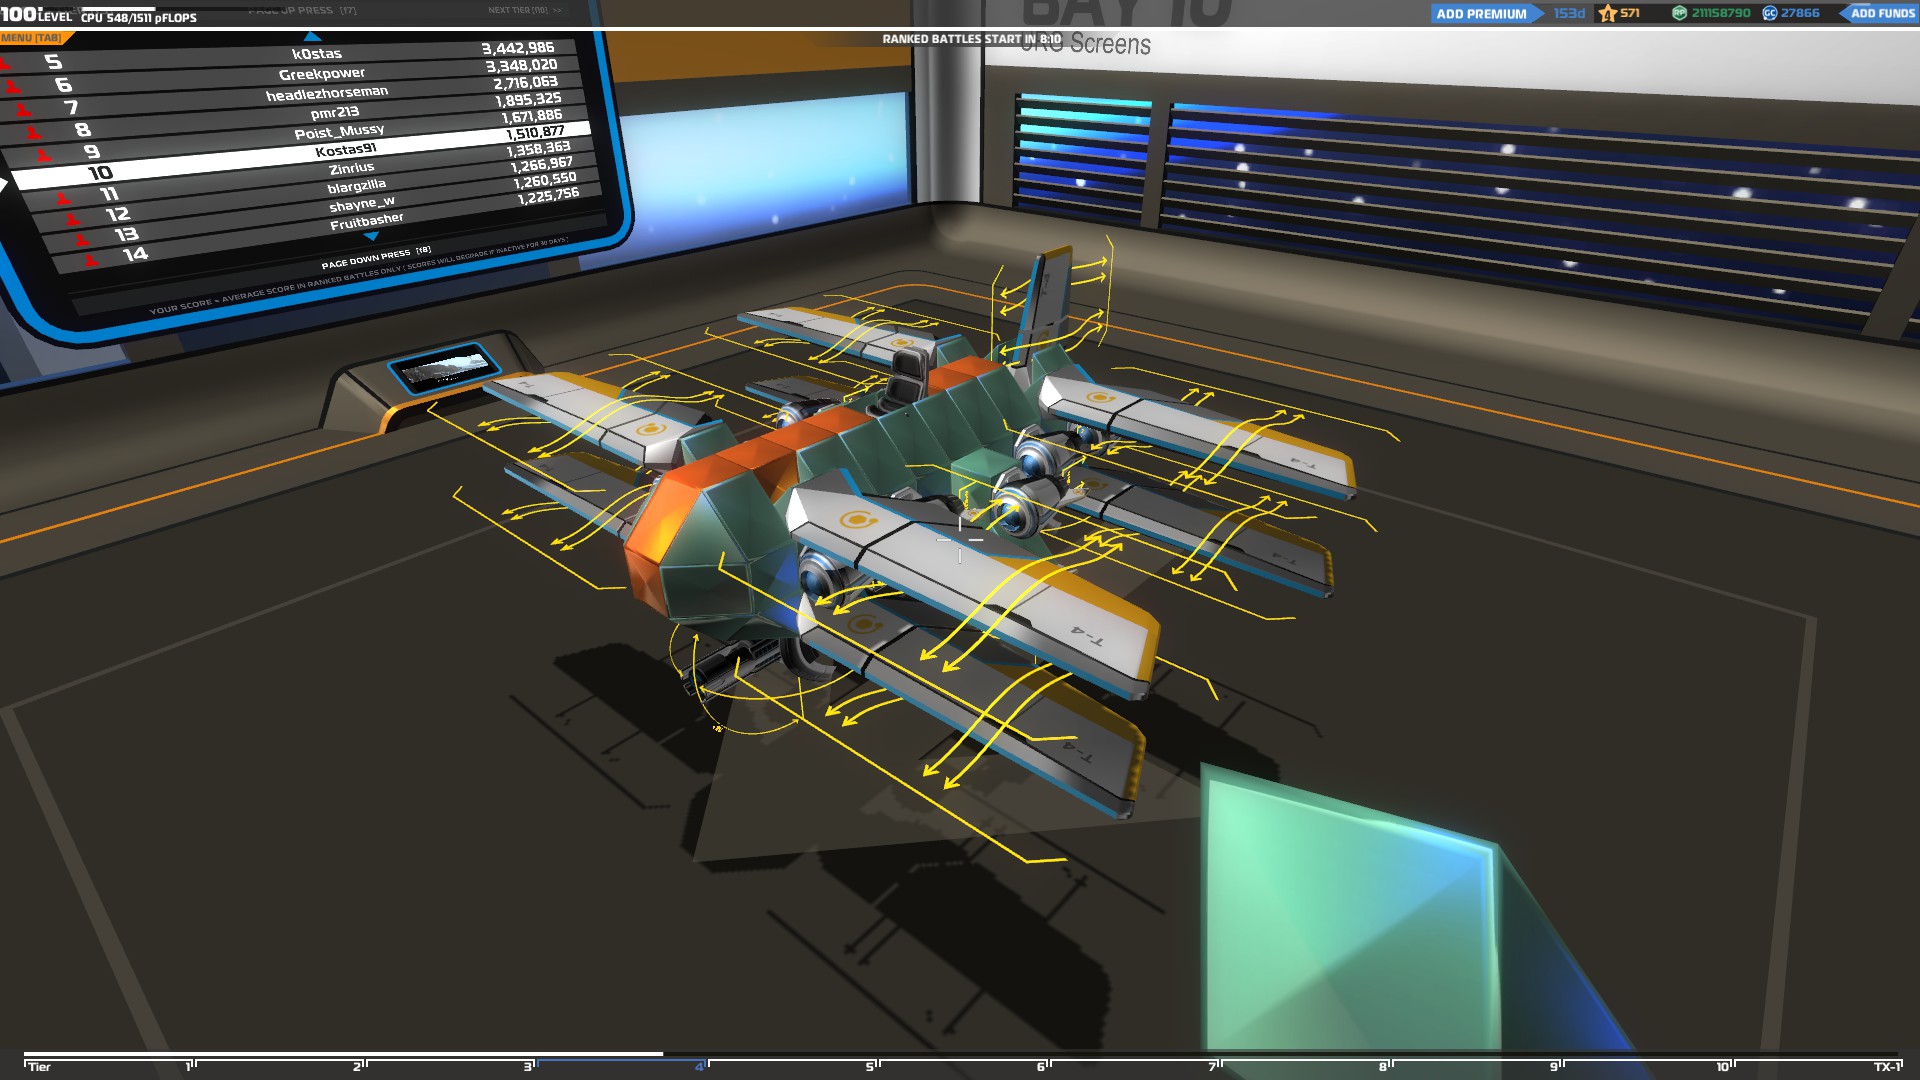
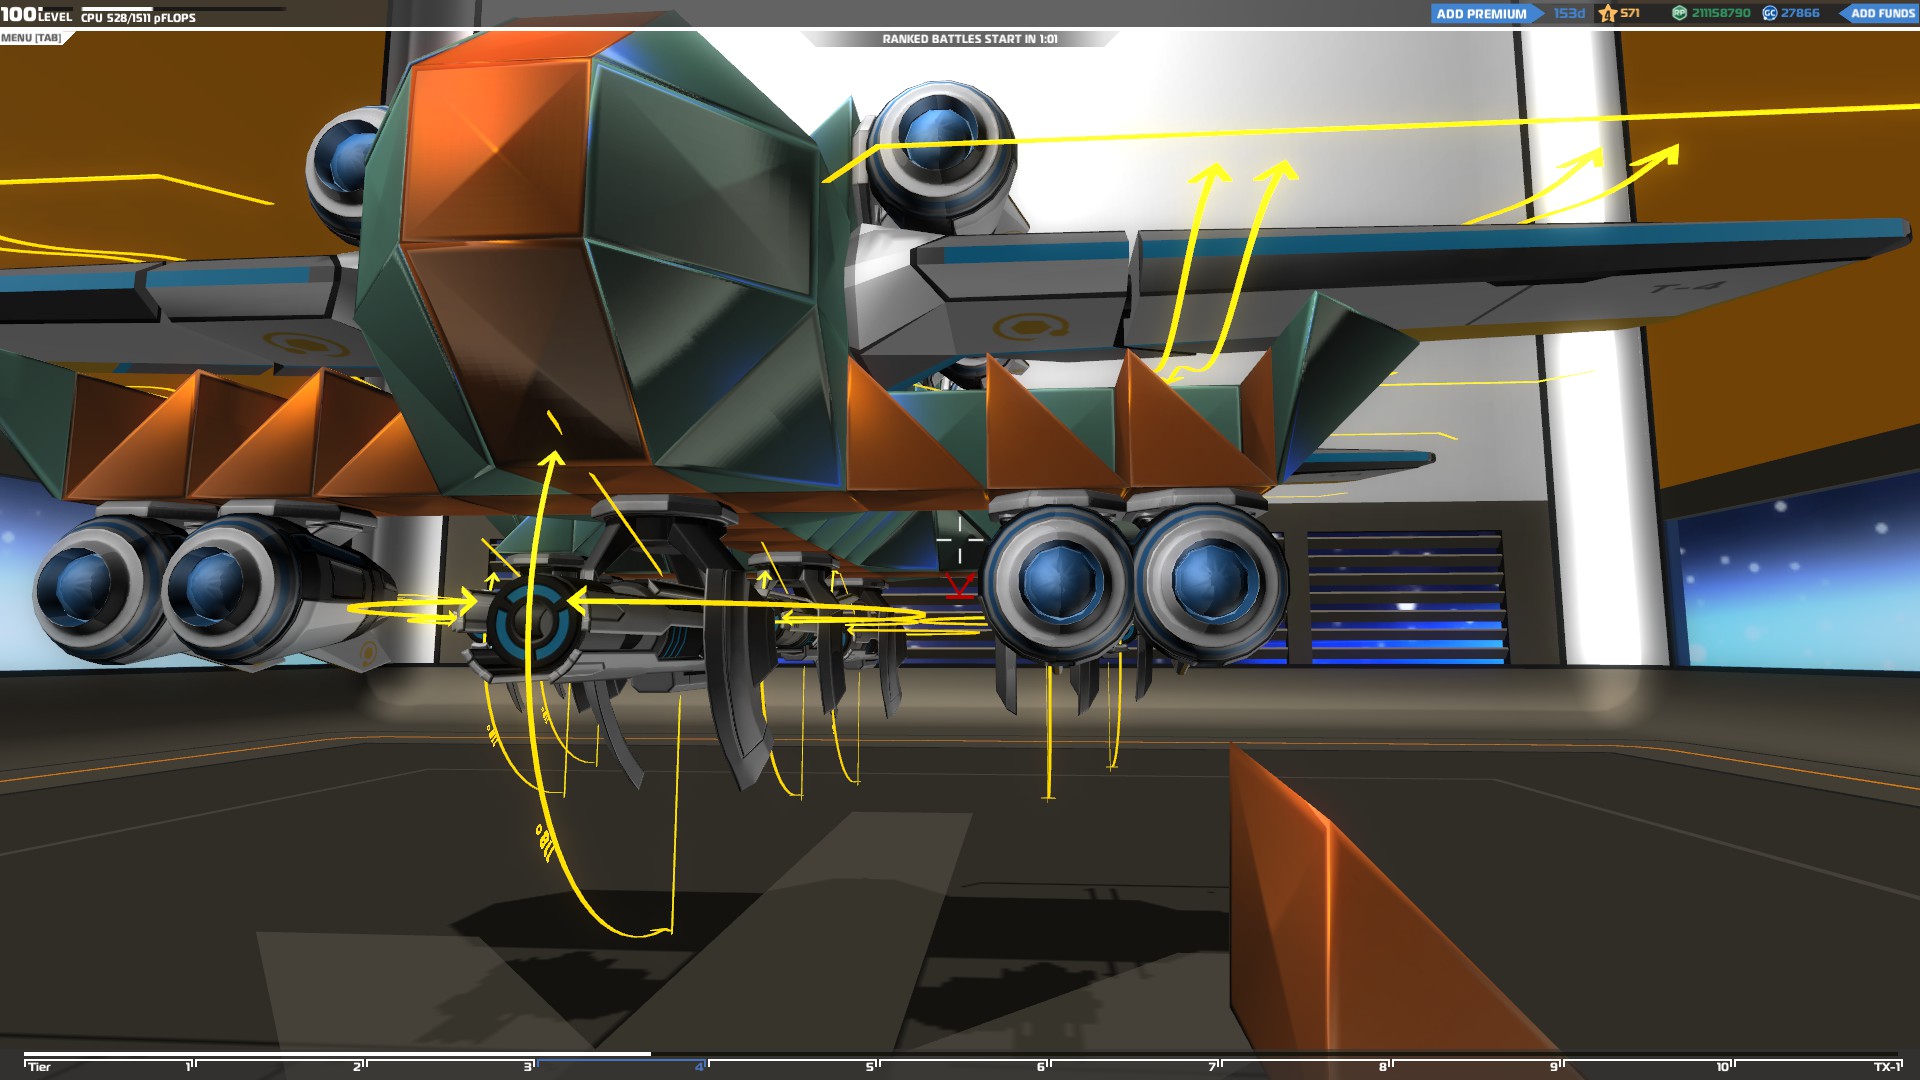
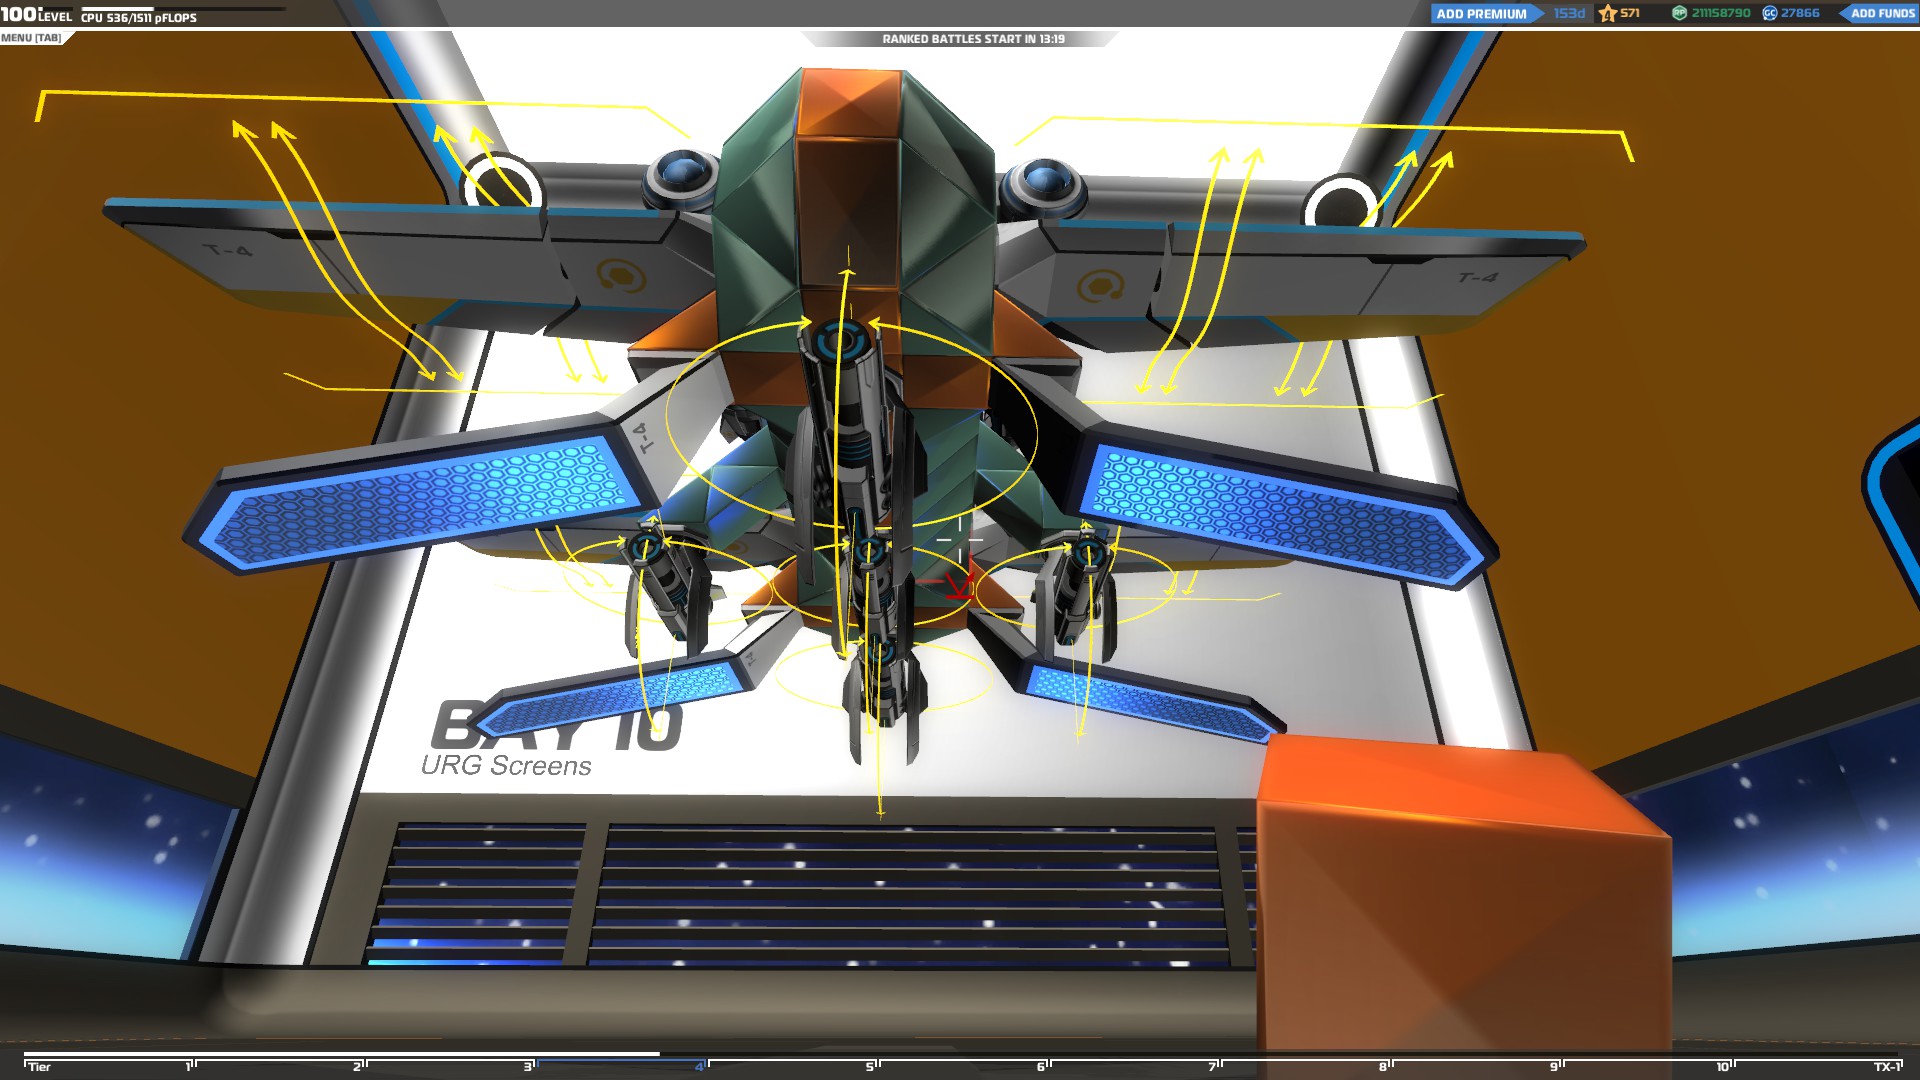

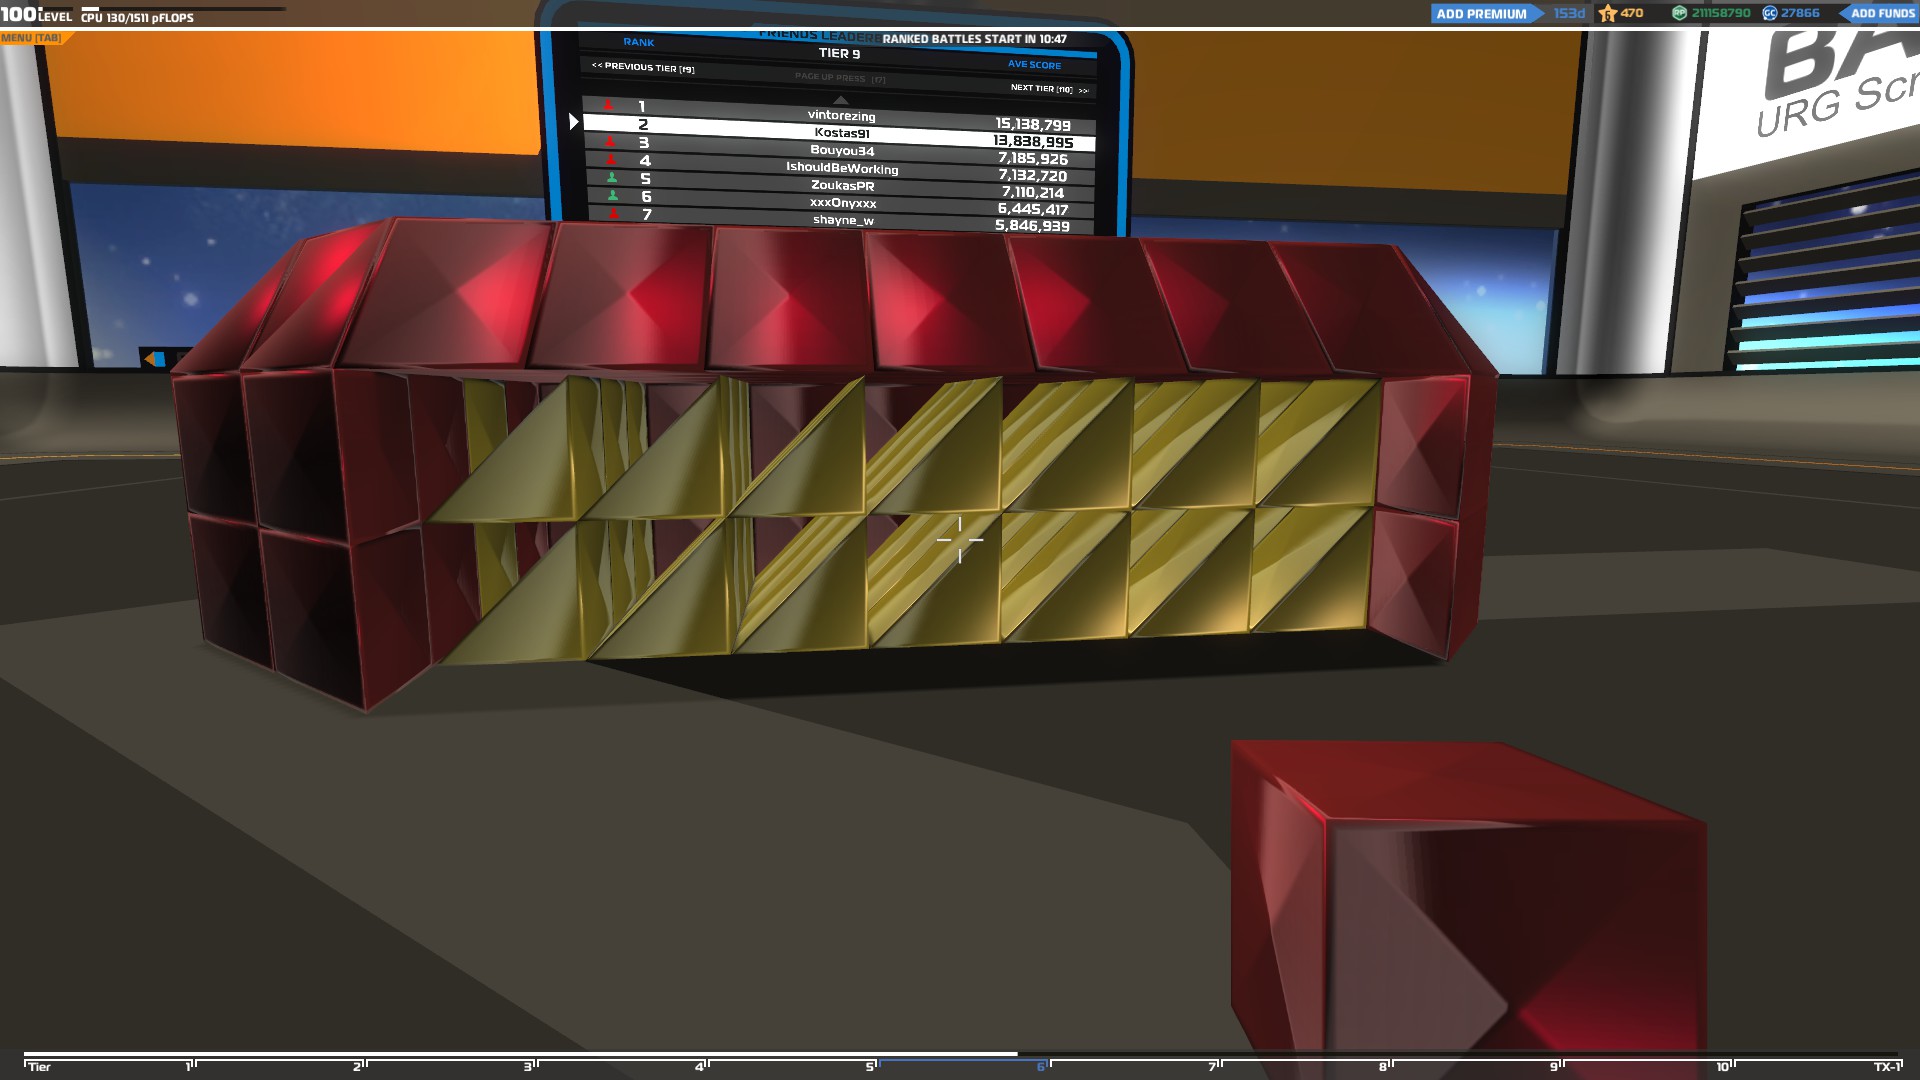
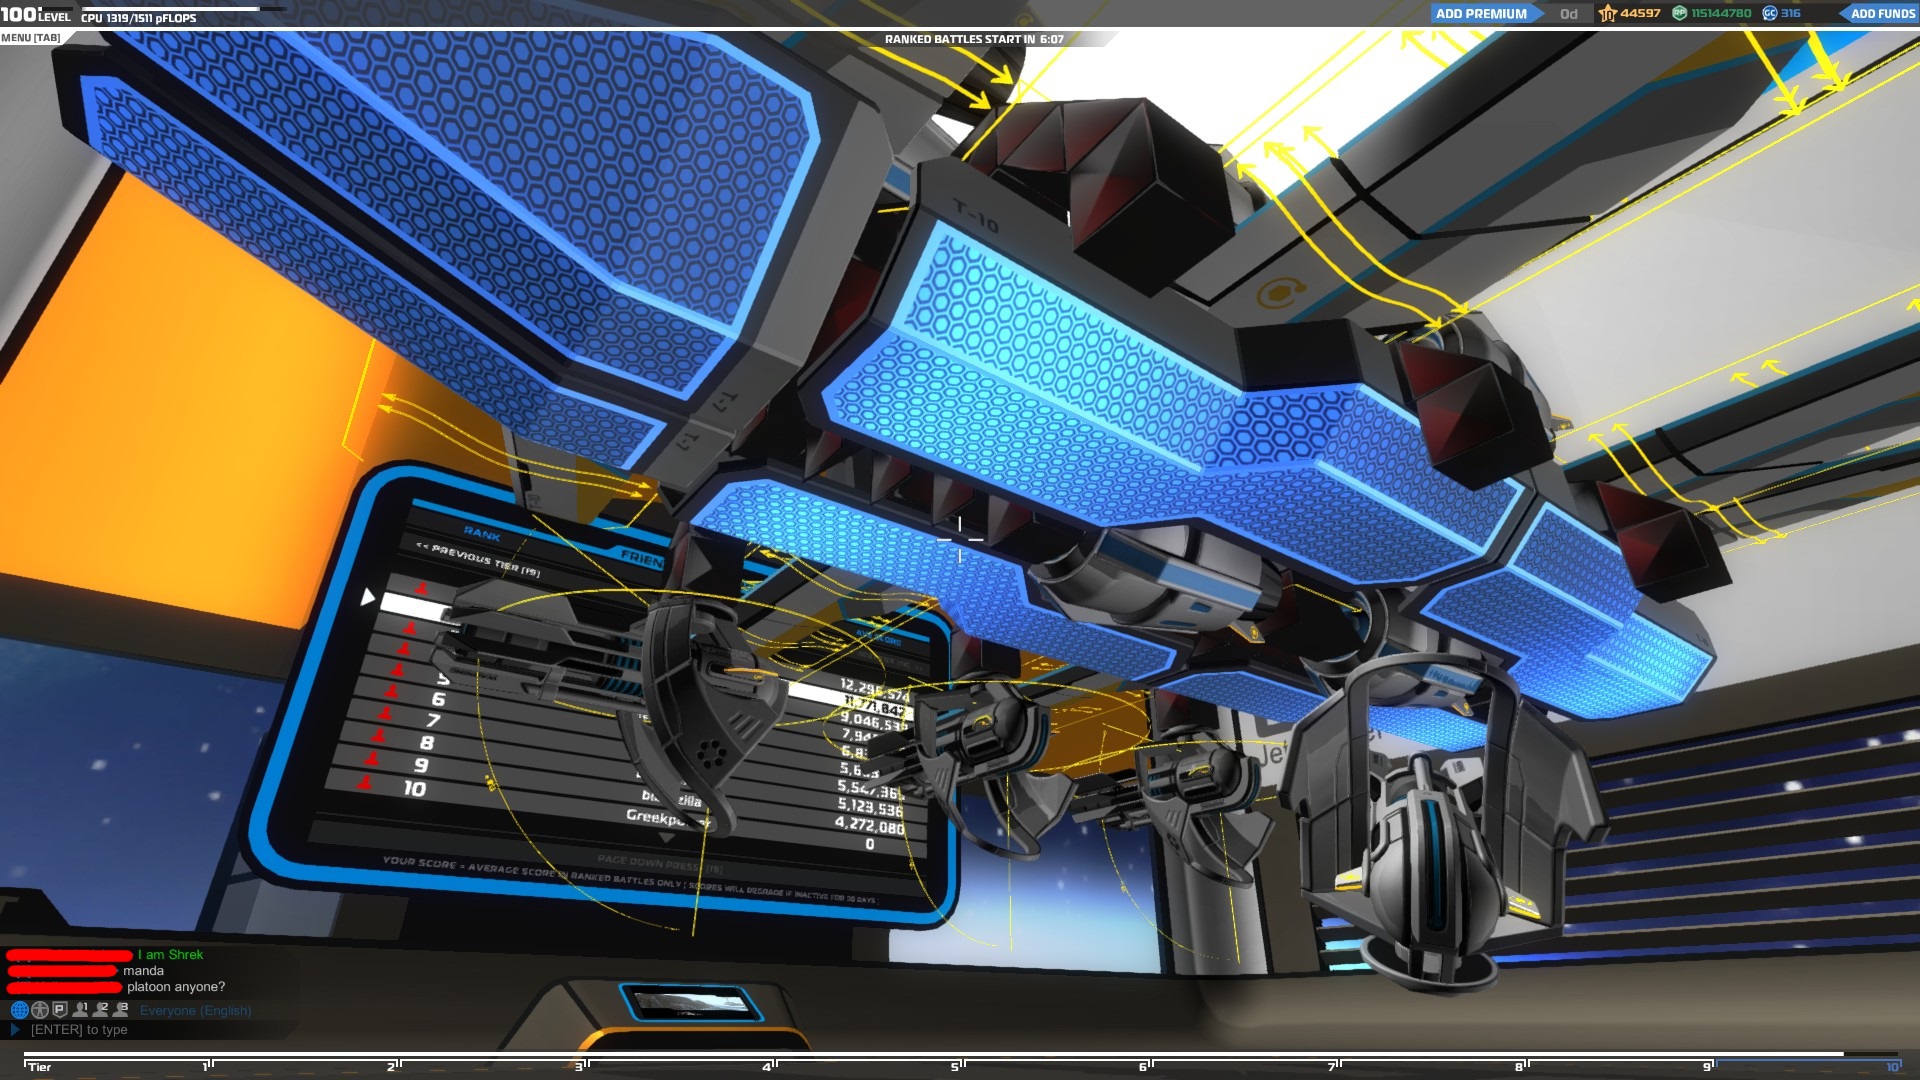
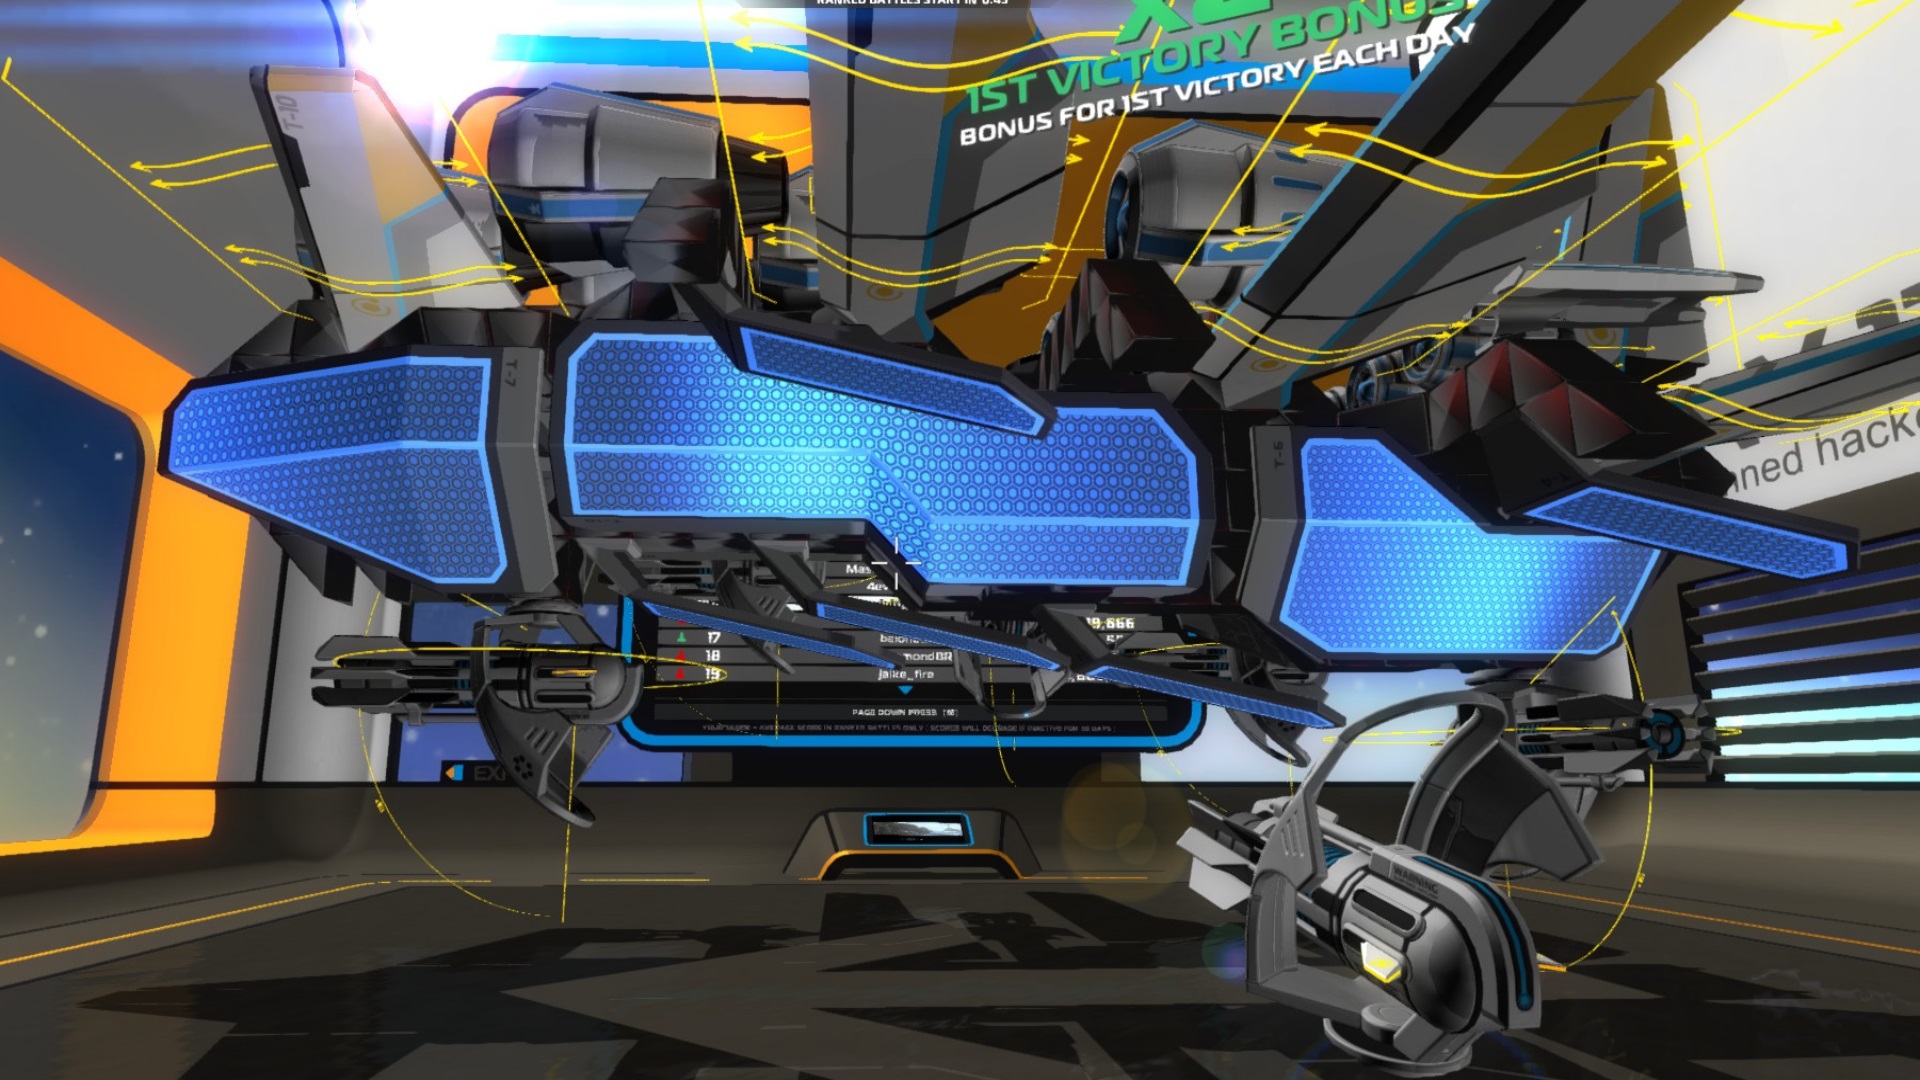
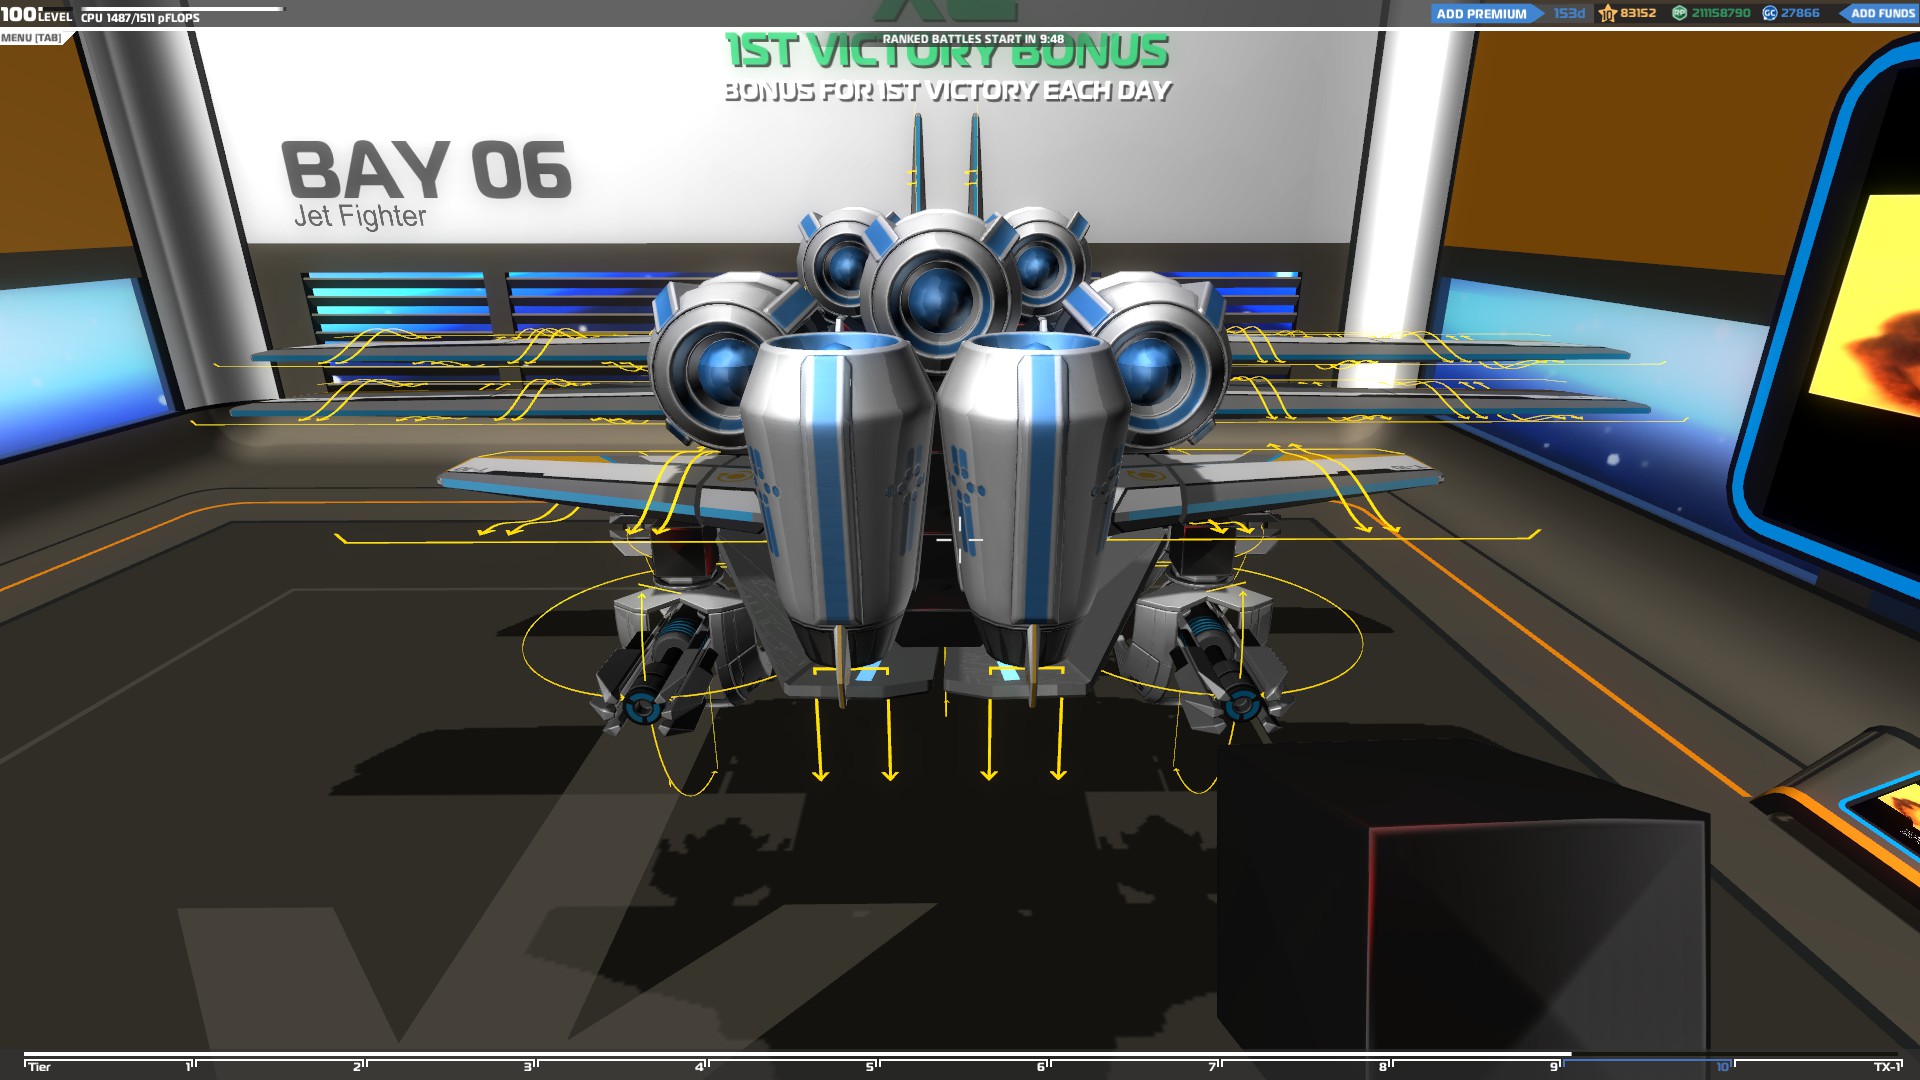
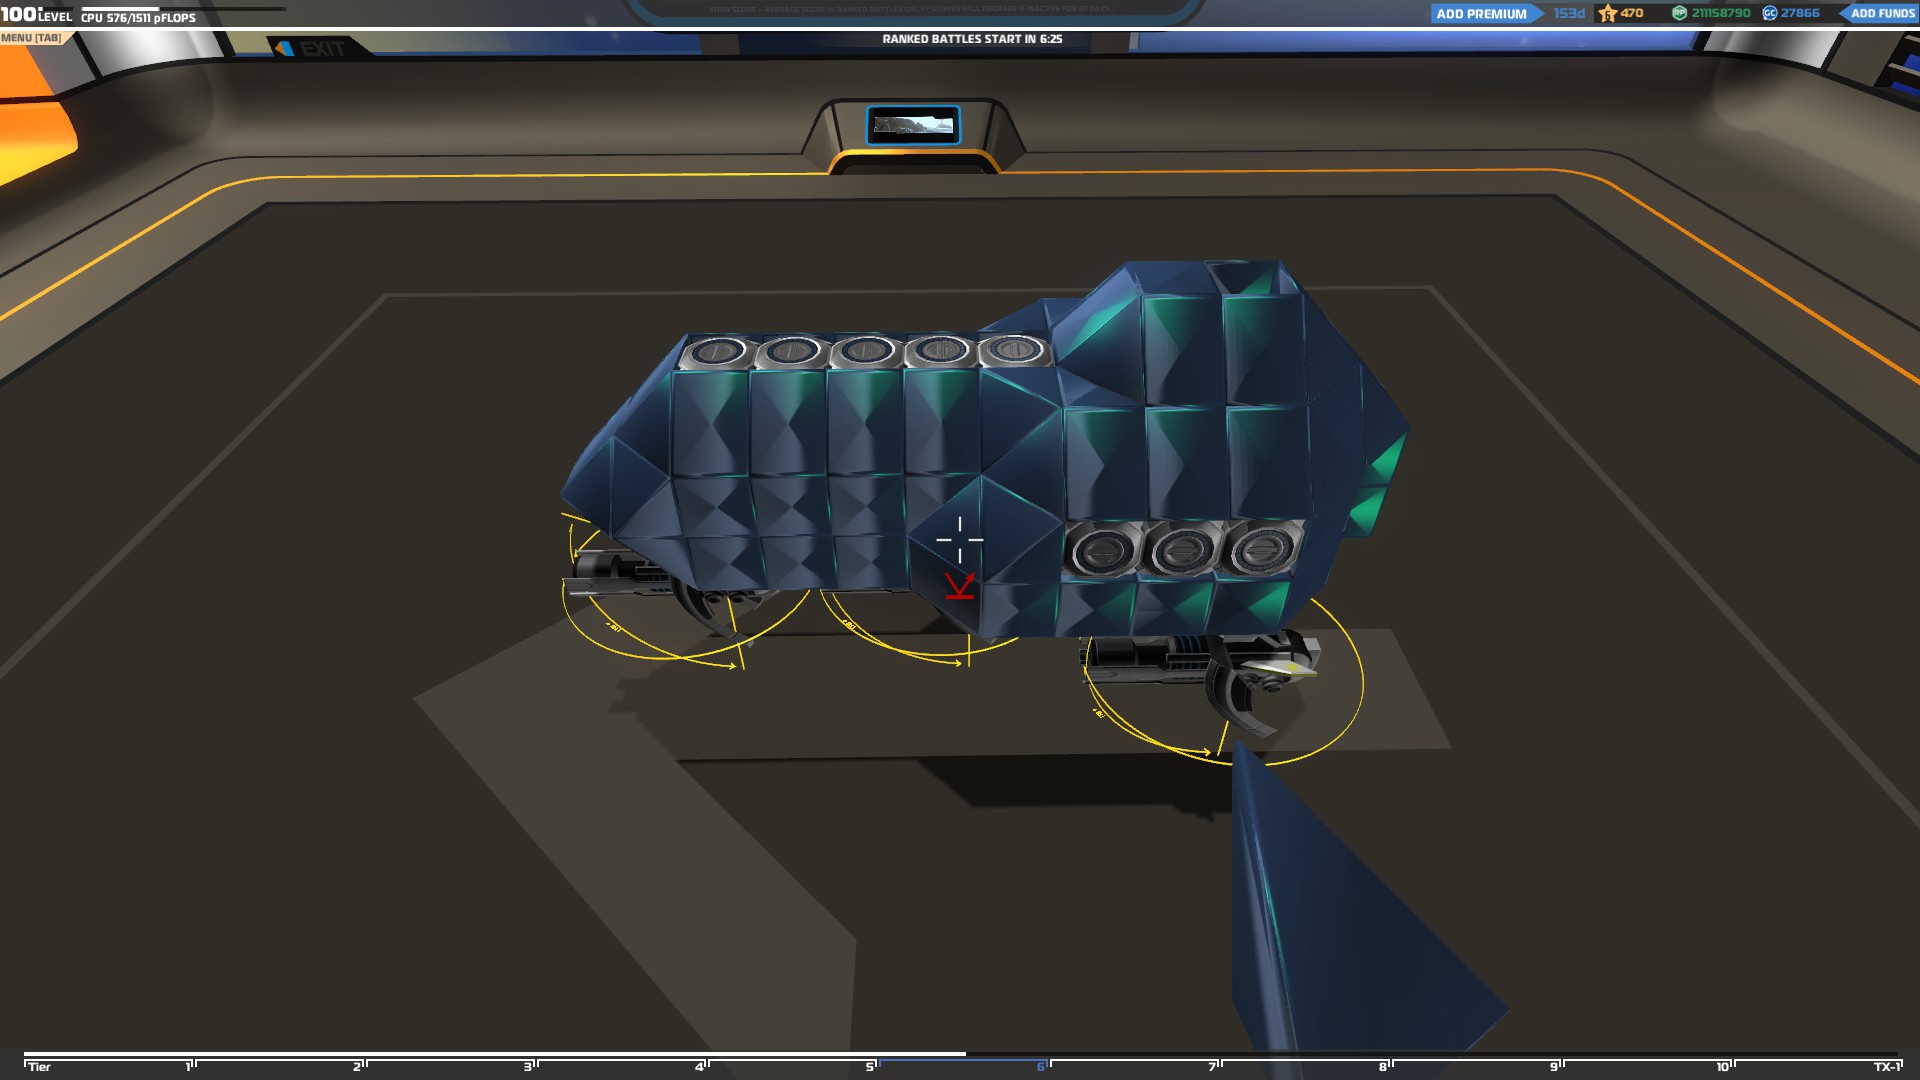
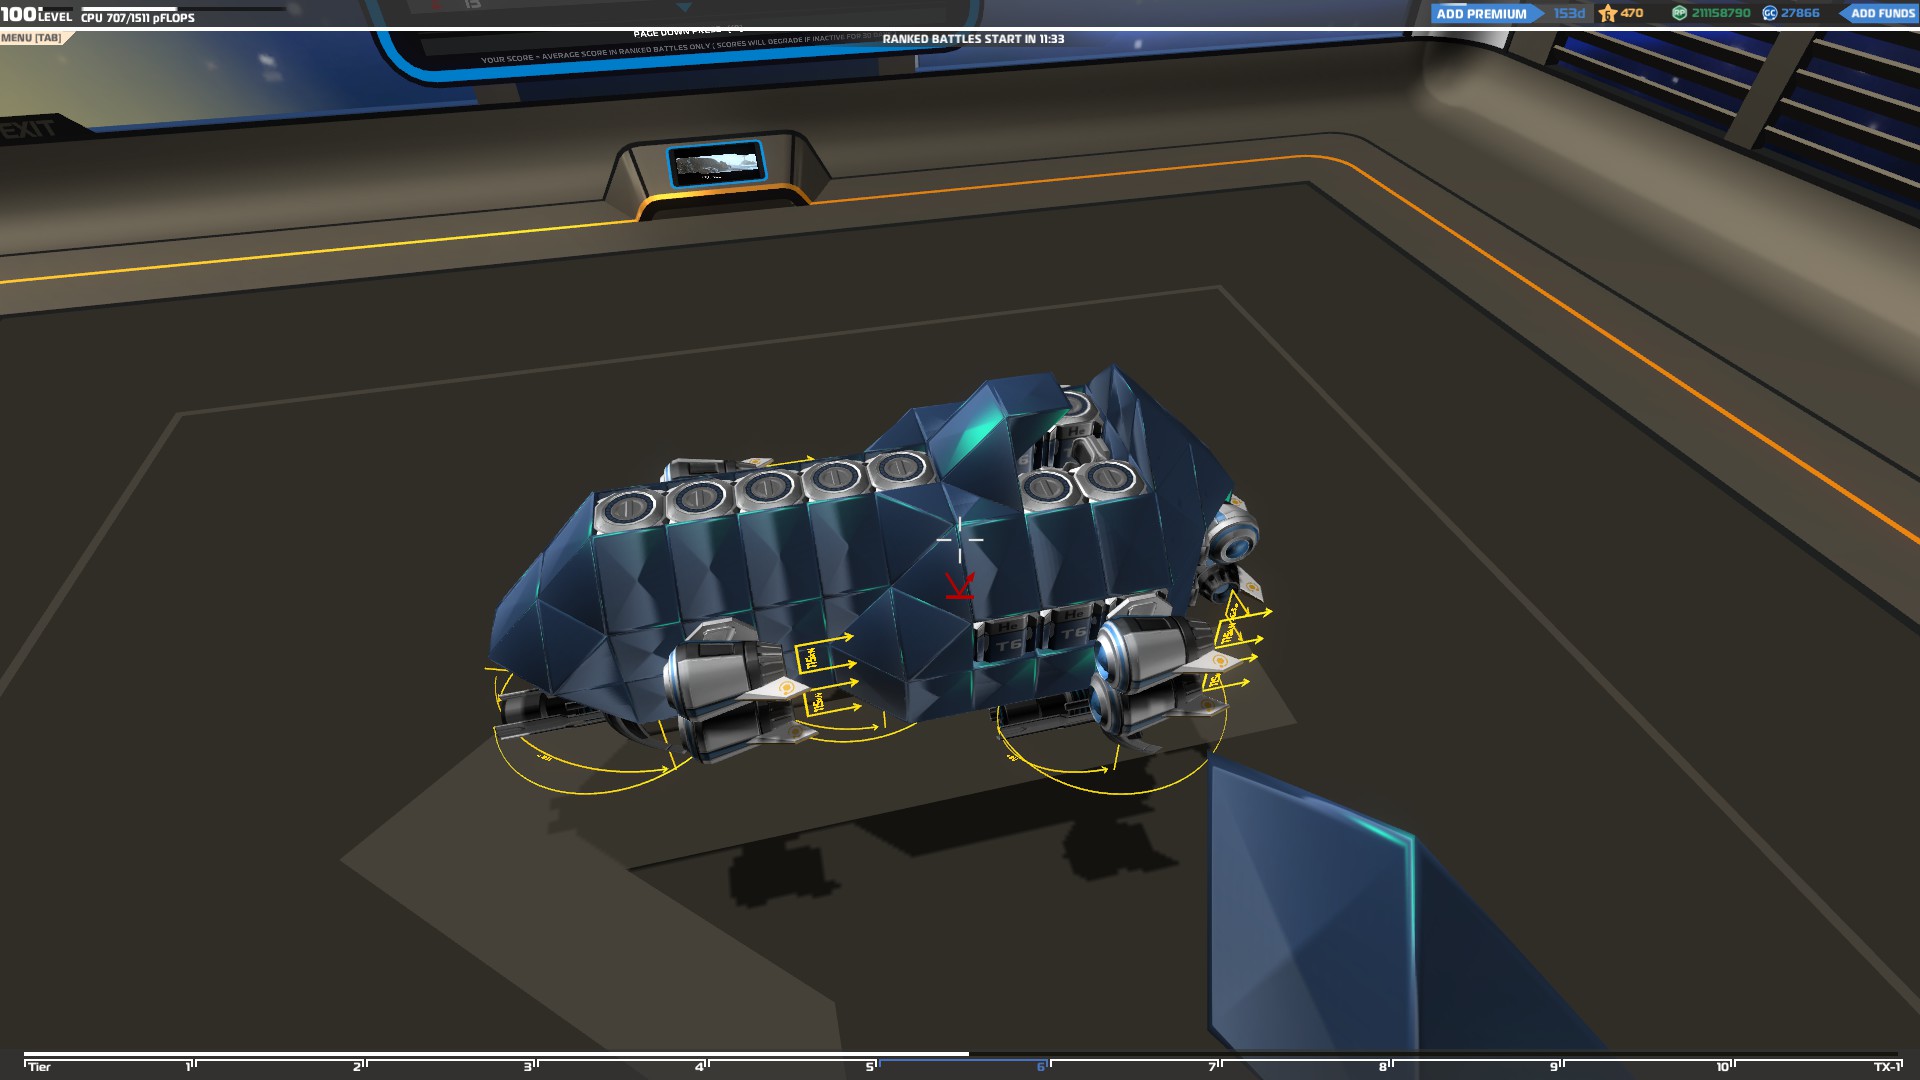

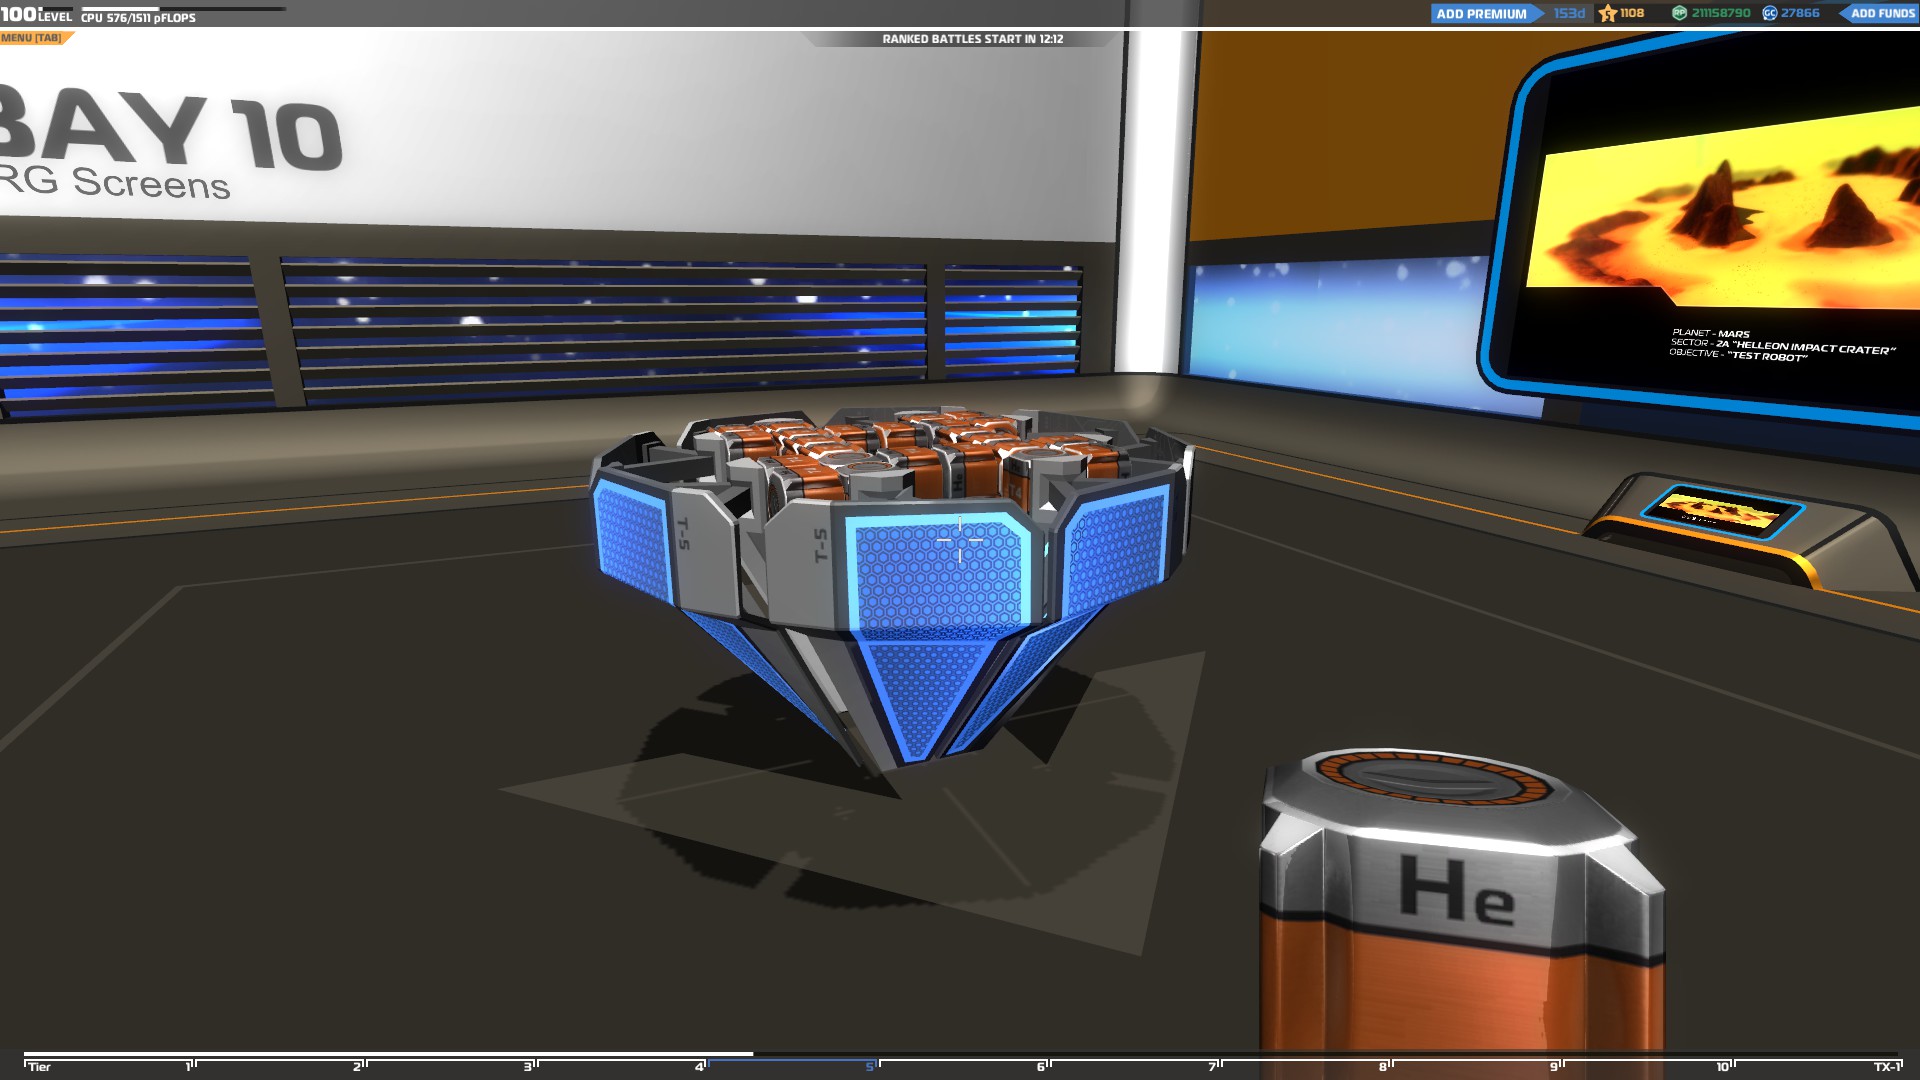
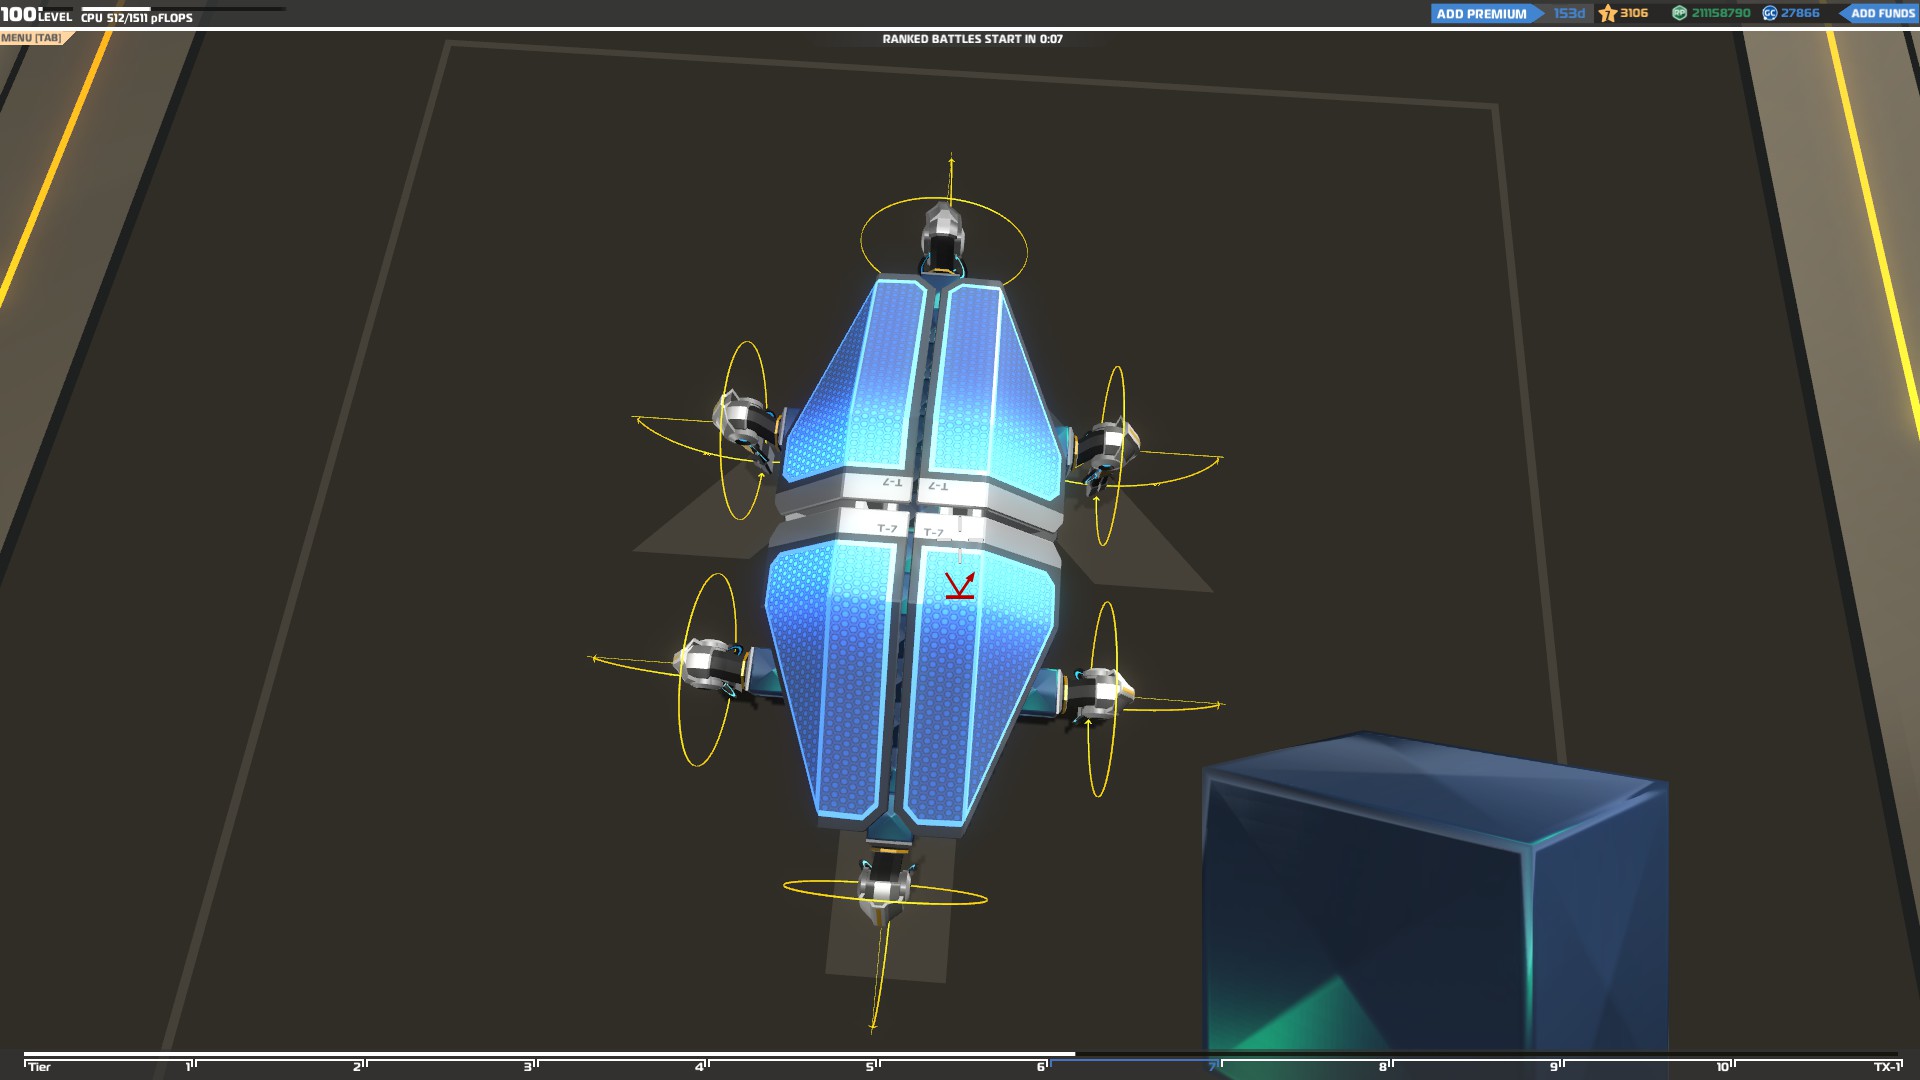
Building a Flier
BOMBERS / INTERCEPTORS
Fliers are the most difficult vehicles to build since there are many things to consider in order for them to fly and be stable.
A Flyer requires two things in order to fly, wings and thrusters. The wings will lift it but you need to have the necessary amount of them to be able to do so since each wing can only lift a specific amount of weight so if your vehicle is too heavy for a pair of them, it won't fly.
The same goes for the thrusters since if you don't have enough your flier will either be really slow, becoming an easy target, or it will not be able to fly because it will not have the necessary boost to do so.
There are 3 things to consider when building a flier:
Center of mass
Imagine trying to balance your vehicle on the tip of a huge nail. Once you balance it, the part of your vehicle that rests on the tip of the nail is where the center of mass is located.
Expanding or adding weight at the front or the back of your vehicle will move the center of mass forwards or backwards respectively making it lean towards the front or back.
Center of lift
The center of lift is located between your wings. If the center of lift is located in front of the center of mass your flier will have a tendency to fly upwards and the opposite thing will happen if it’s located behind it.
The closer to the center of mass the center of lift is, the better your vehicle will fly.
Center of thrust
The center of thrust is the direction in which the thrust is acting and on which point the thrust is acting so, depending on where and how you place them on your flier, they will either push it upwards, downwards or tilt it to the right, left.
Usually the center of thrust is located at the middle of your vehicle so if you place your thrusters at the top they will push your flier downwards and the opposite if you place them at the bottom. Also, if you place more of them at the right, your flier will tilt to the left and the opposite if you place more of them at the left.
Once you add your wings and thrusters, make sure to add at least one vertical rudder at the back of your flier to improve your steering. You can still steer without one but you will not turn fast which is crucial in a fight.
A basic flier looks like this:
Since you will be flying all the time, your targets will be below you, therefore your weapons should be at the bottom of your vehicle in order to shoot them.
Flying has its benefits but also many drawback one of them being easily spotted. Once the enemy starts shooting at you they will eventually destroy some of your thrusters and wings which will make your flier drop or difficult to control. To avoid that, the first thing to do is add more thrusters and wings than you need so your flier can still fly even If you lose some of them. If you don’t have enough space for any extra wings or you don’t want to mess with the center of lift you can put a second pair of wings on top of the other.
Make sure to protect your wings with either extra layers of blocks or electroplates to make it more difficult for the enemies to destroy them.
You can go one step further and completely cover your wings by putting them inside your vehicle like in the example below.
Another thing you could do is to reinforce the main body of your plane to make sure your enemy will not destroy it easily.
You can use the same way you protected your wings for the body as well and add electroplates or triforce protection.
There are two ways to protect your vehicle with electroplates, one is to place them at the sides of your vehicle and the other is to put them at the bottom of it.
The ones below your flier will protect you from enemy fire coming from below but the sides will be exposed and putting them at the sides will protect you from enemy fire coming from the left or right but the bottom of your flier will be exposed. Choose how you want to place them according to your game style
Finally, sometimes you might drop at a really bad place with an obstacle in front of you which will make it impossible to take off but there is a way to solve this problem. You can add a few thrusters facing upwards at the front of your flier which will help you take off faster and escape from bad situations like this.
Building a drone
Normal drone
Drones are small vehicles which use helium blocks to ascent until they reach their maximum height limit and they cannot descent afterward. Unlike other fliers, drones cannot move fast and are really lightly build which makes them easy targets.
The most basic items you need on your drones are helium blocks. Like wings, each helium block can only lift a specific amount of weight so the heavier your vehicle is, the more helium blocks you will need.
You still need to consider the Center of Mass, Center of Lift and Center of Thrust when you are building one to make it as stable as possible.
Make sure to add most of the helium blocks at the center and top of your vehicle to prevent it from flipping.
The next thing you should do is to add some thrusters to be able to steer it and move around the map. Make sure to pay attention to the center of thrust when adding the thrusters otherwise you won’t be able to control it. To be able to turn left and right place one thruster at the front or back facing to the right and one to the left. Finally you can put some thrusters facing upwards to help your drone ascent faster.
You can build a drone as big as you want as long as you use the necessary amount of helium blocks but since they are the easy vehicles to destroy you should keep it small and well protected to make it more difficult for your enemies to spot and target you.
The worst enemy of a drone is a sniper so in order to protect your vehicle from them you should use their worst enemy, electroplates. By adding electroplates on your satellite you reduce the chances of being destroyed with one shot and you will survive much longer in the battle.
Advanced Building - Vehicles Part 3

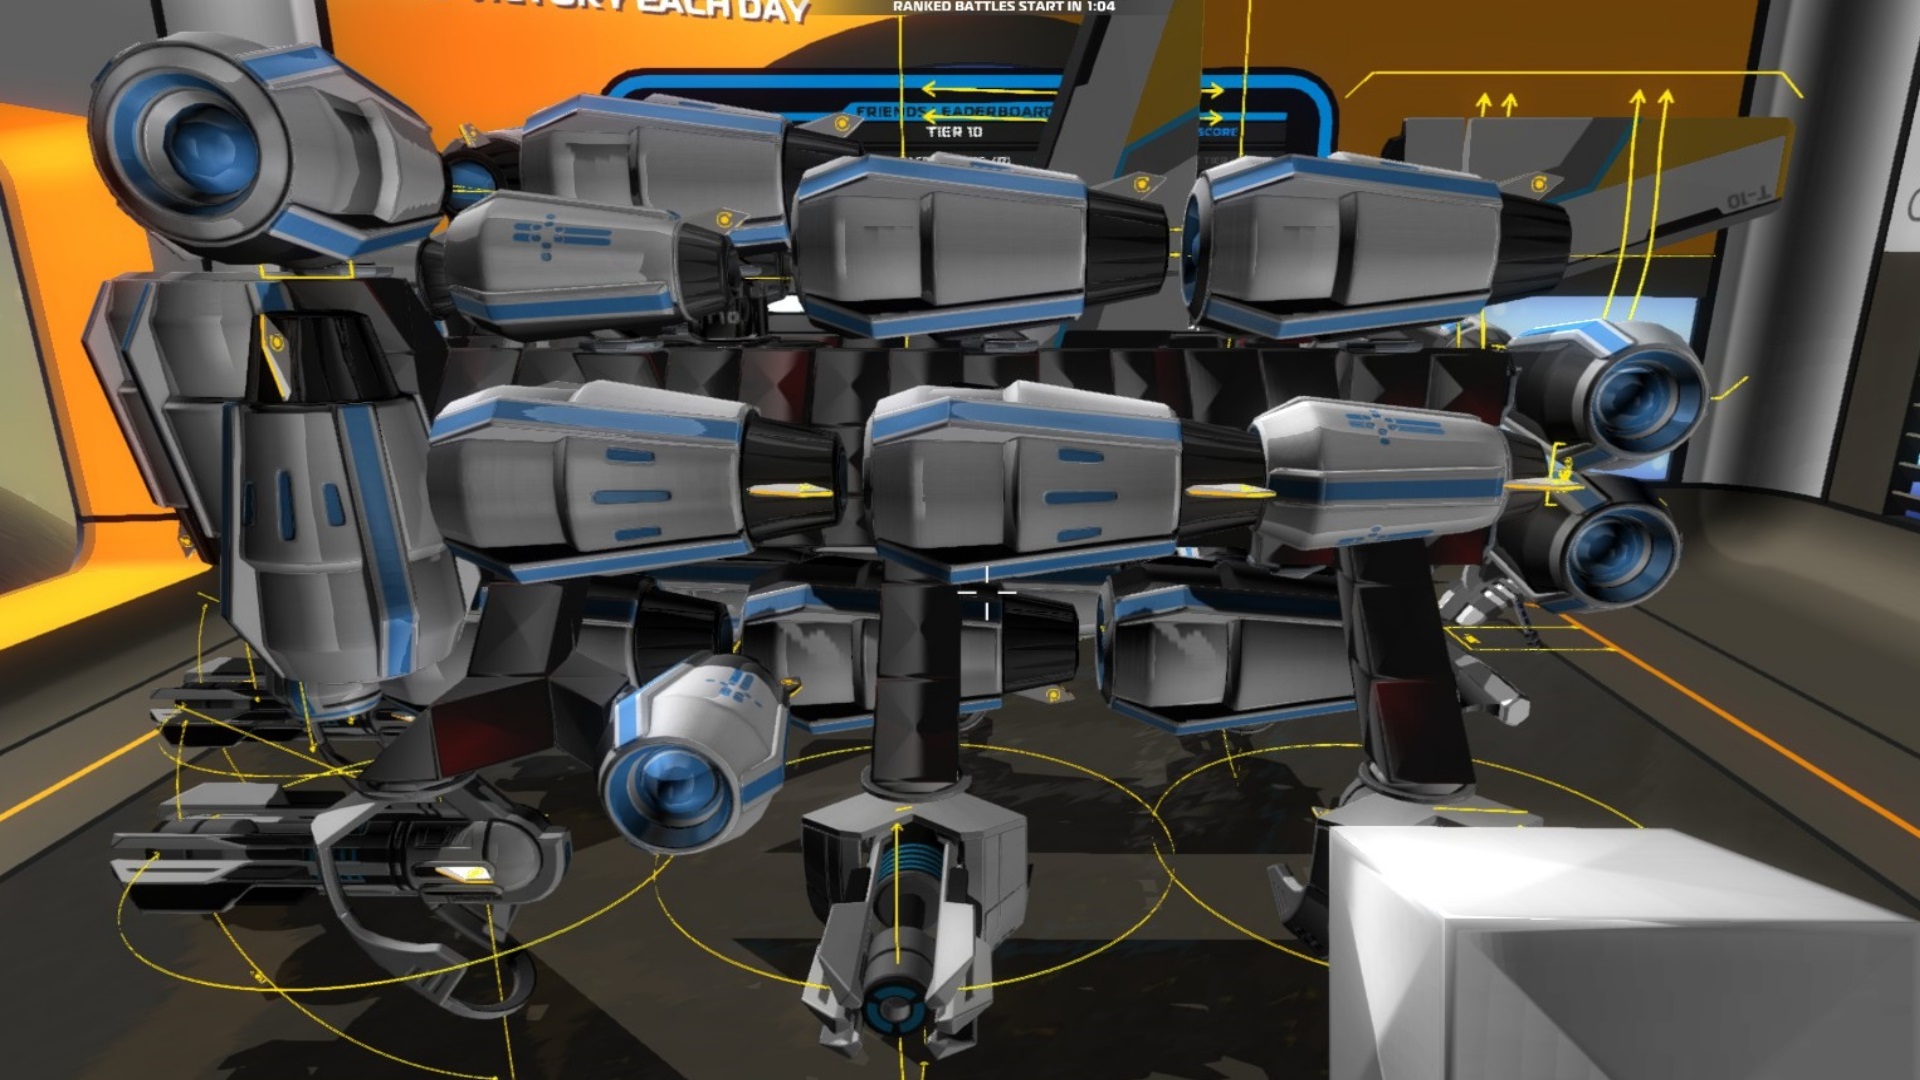
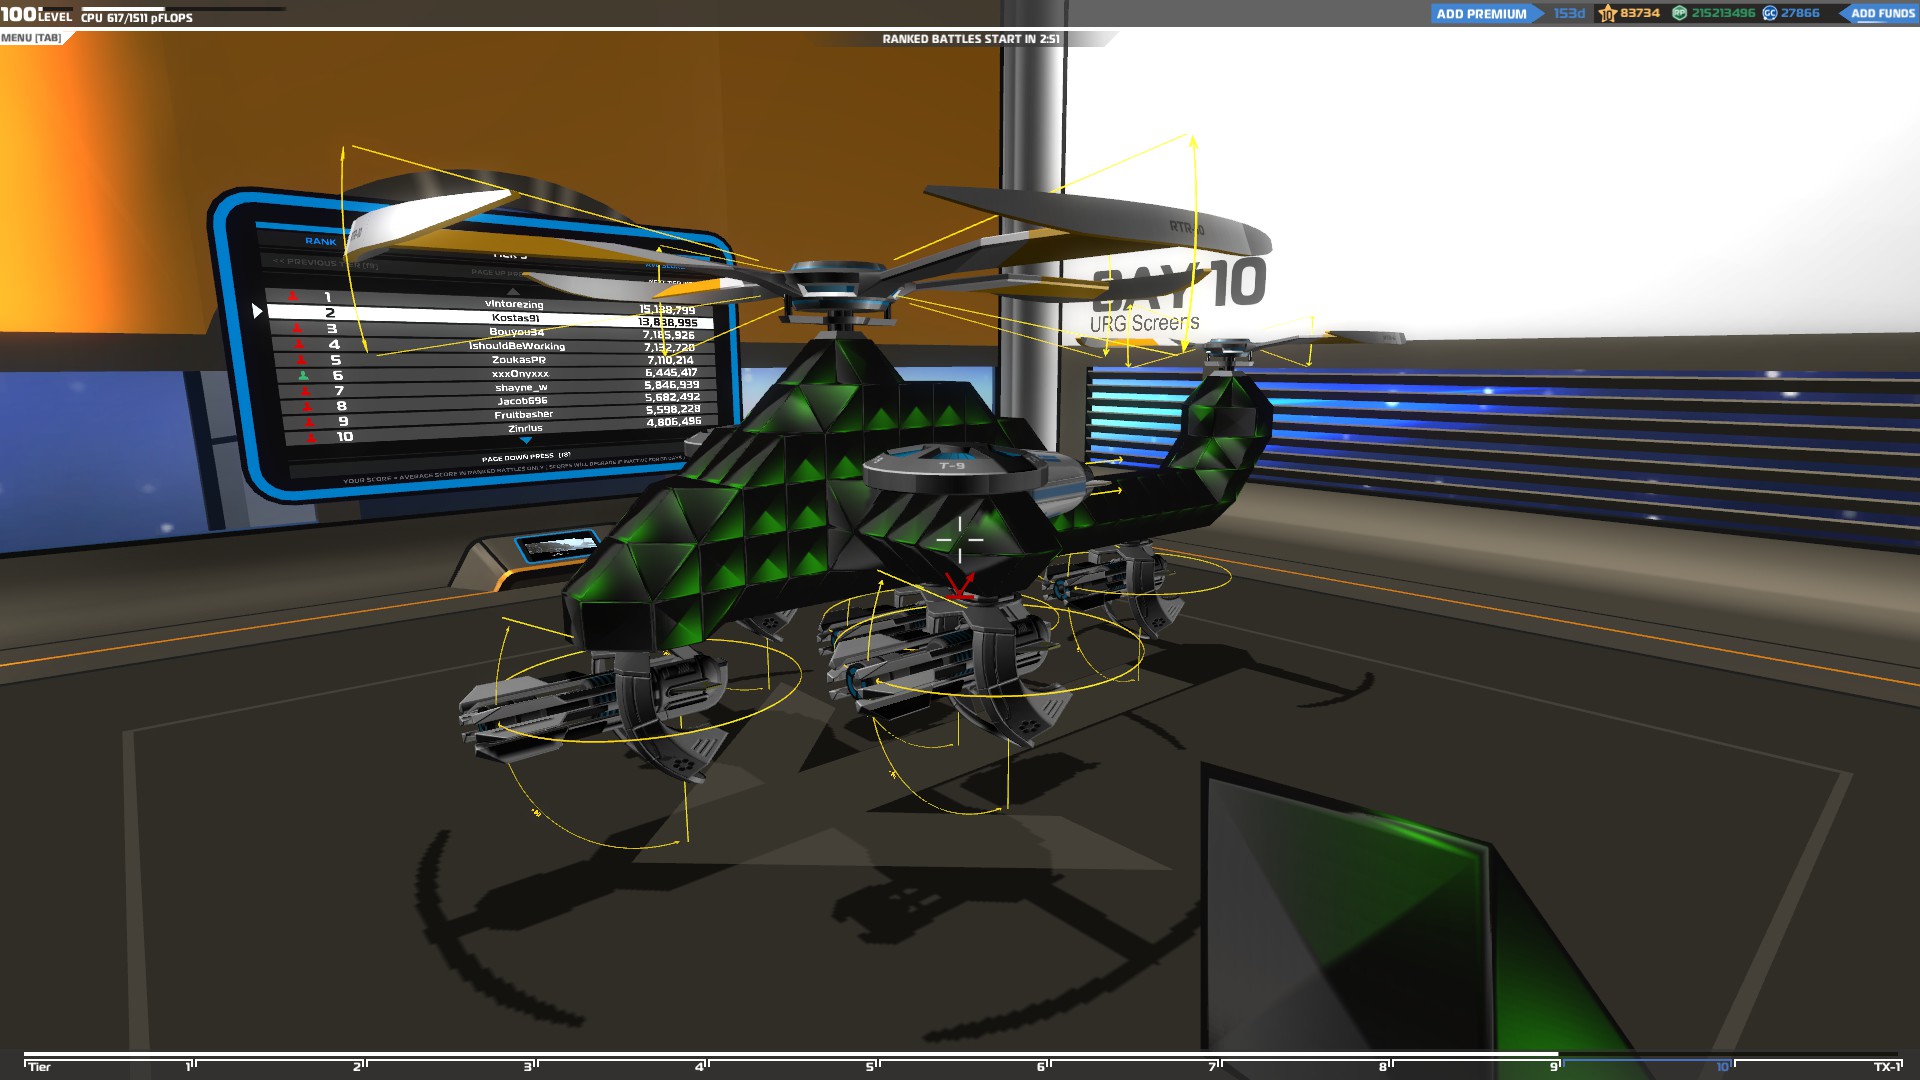
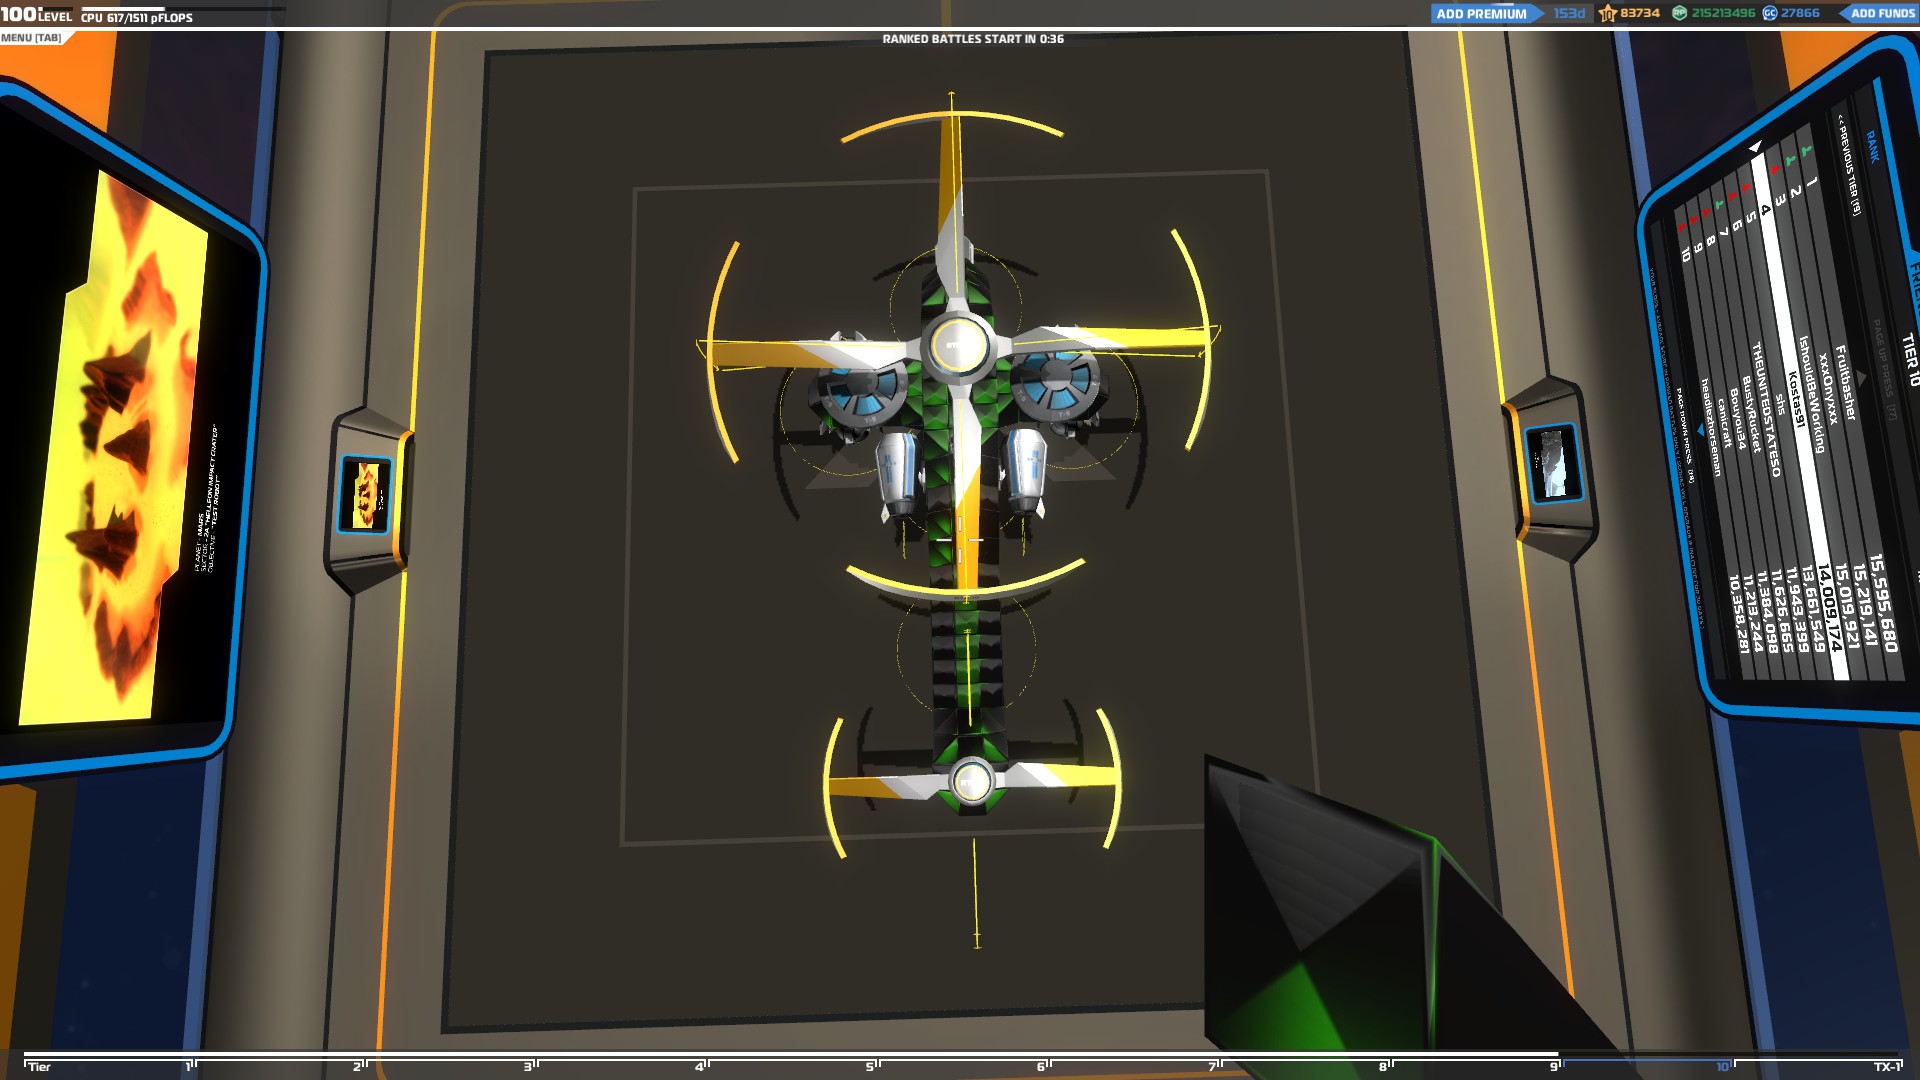
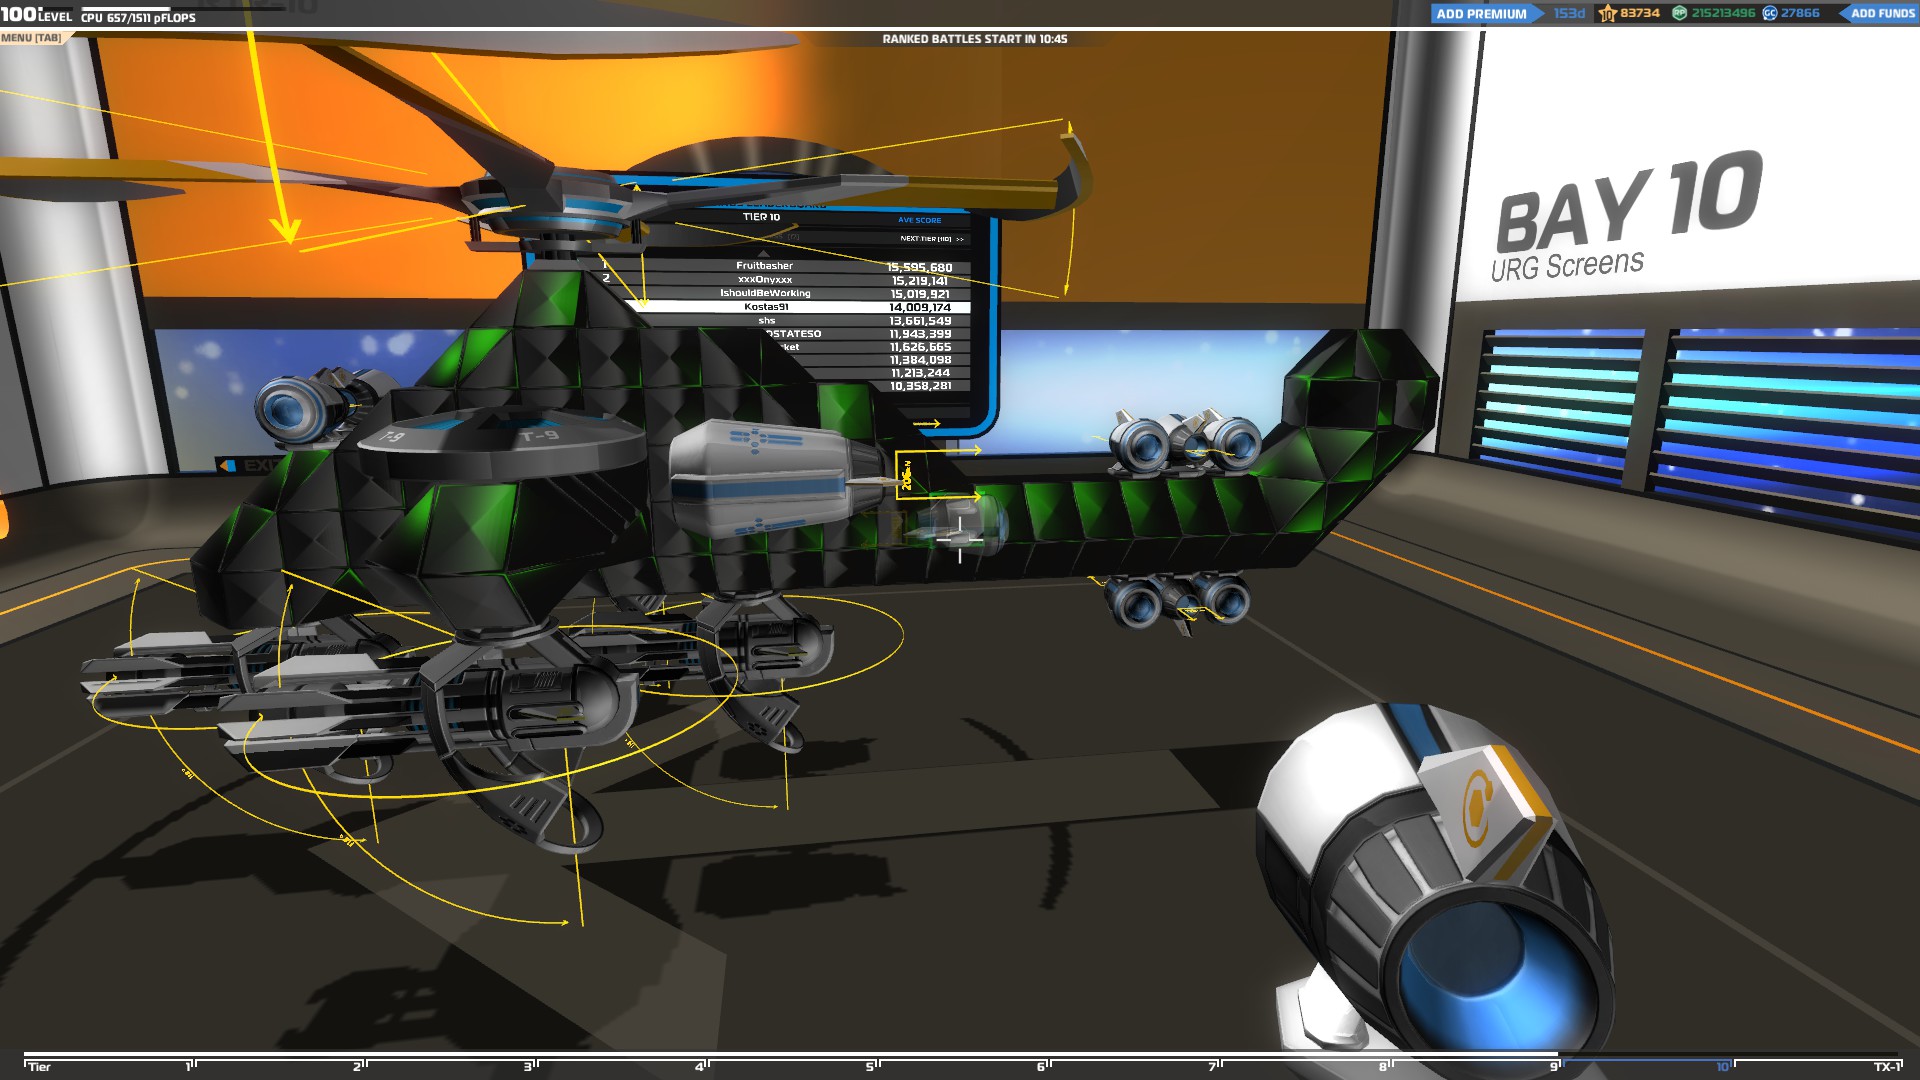
Thruster drones
They belong in the drone category but their structure is completely different and are a lot faster than normal drones since they mainly use thrusters and only a few helium blocks to fly.
They have to be really light in order for the thrusters to be able to lift them so make sure to use as much triforce protection for the body of your drone as possible. Use only as many blocks as you need when building the body of the drone since any unnecessary blocks will increase the overall weight.
Since you will be lightly armored, make sure to add high tier electroplates to make your drone more durable because they are really light and can absorb a lot more damage than blocks.
Once the body of your vehicle is ready, use your remaining CPU to add as many thrusters as you can since they will be too exposed and you need to make sure that you will still be able to fly even if you lose many of them. In order to steer, you will need to add enough thrusters facing upwards, downwards, left and right at the front of your drone. You can add left and right facing thruster to the back as well to make it turn even faster.
“The thrusters will add an extra layer of armor which will protect the main body of your drone.”
You need to calculate the right amount of helium blocks you should use since too many of them will affect your speed and movement and too few of them will not give you the necessary lift to fly. You need only a few of them (usually 5-10 depending on the weight of the drone) at the front of your drone to make it a bit lighter and easier for the upward facing thrusters to lift it.
Finally, adding a wing at the back like in the example below will stabilize your drone and make it much easier to control.
Copters
Copters are the easiest fliers to build since you don’t have to worry too much about their stability while flying.
The movement mechanics of the rotor blades are the same as hovers which means you have to add the blades at the right place so you can balance and steer your copter. Unlike the hovers though, you don’t need to add too many of them to make your copter work since even with two of them you can build a really good and stable vehicle.
It’s important to add rotor blades both at the back and front of your vehicle otherwise you will not be able to steer it.
If you don’t want to use too many rotor blades you can use one or two of them to lift your copter and add extra thrusters at the front and back of your vehicle facing at the right and left so you can steer it.
Rotor blades are big though and can easily be targeted by enemies so make sure to always add more than you need so your copter doesn’t drop if you lose one or two of them.
Megabots
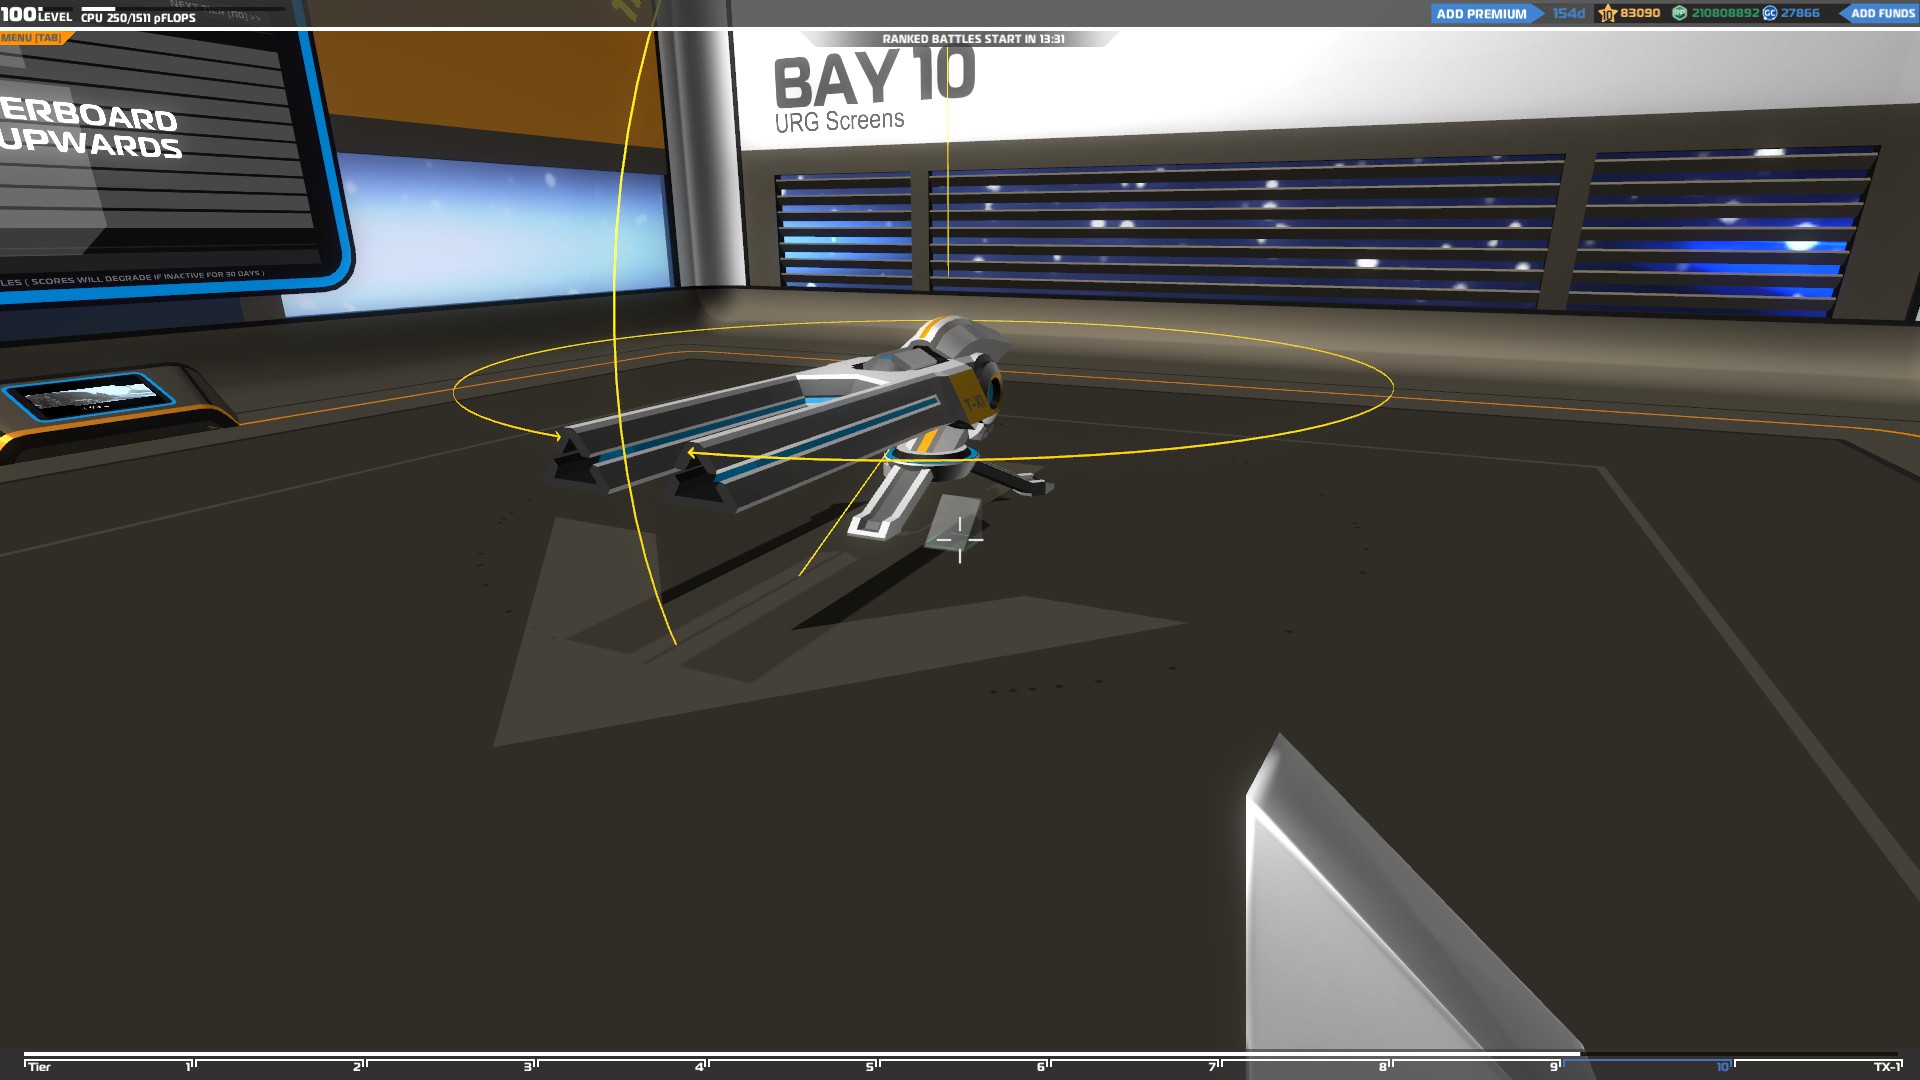
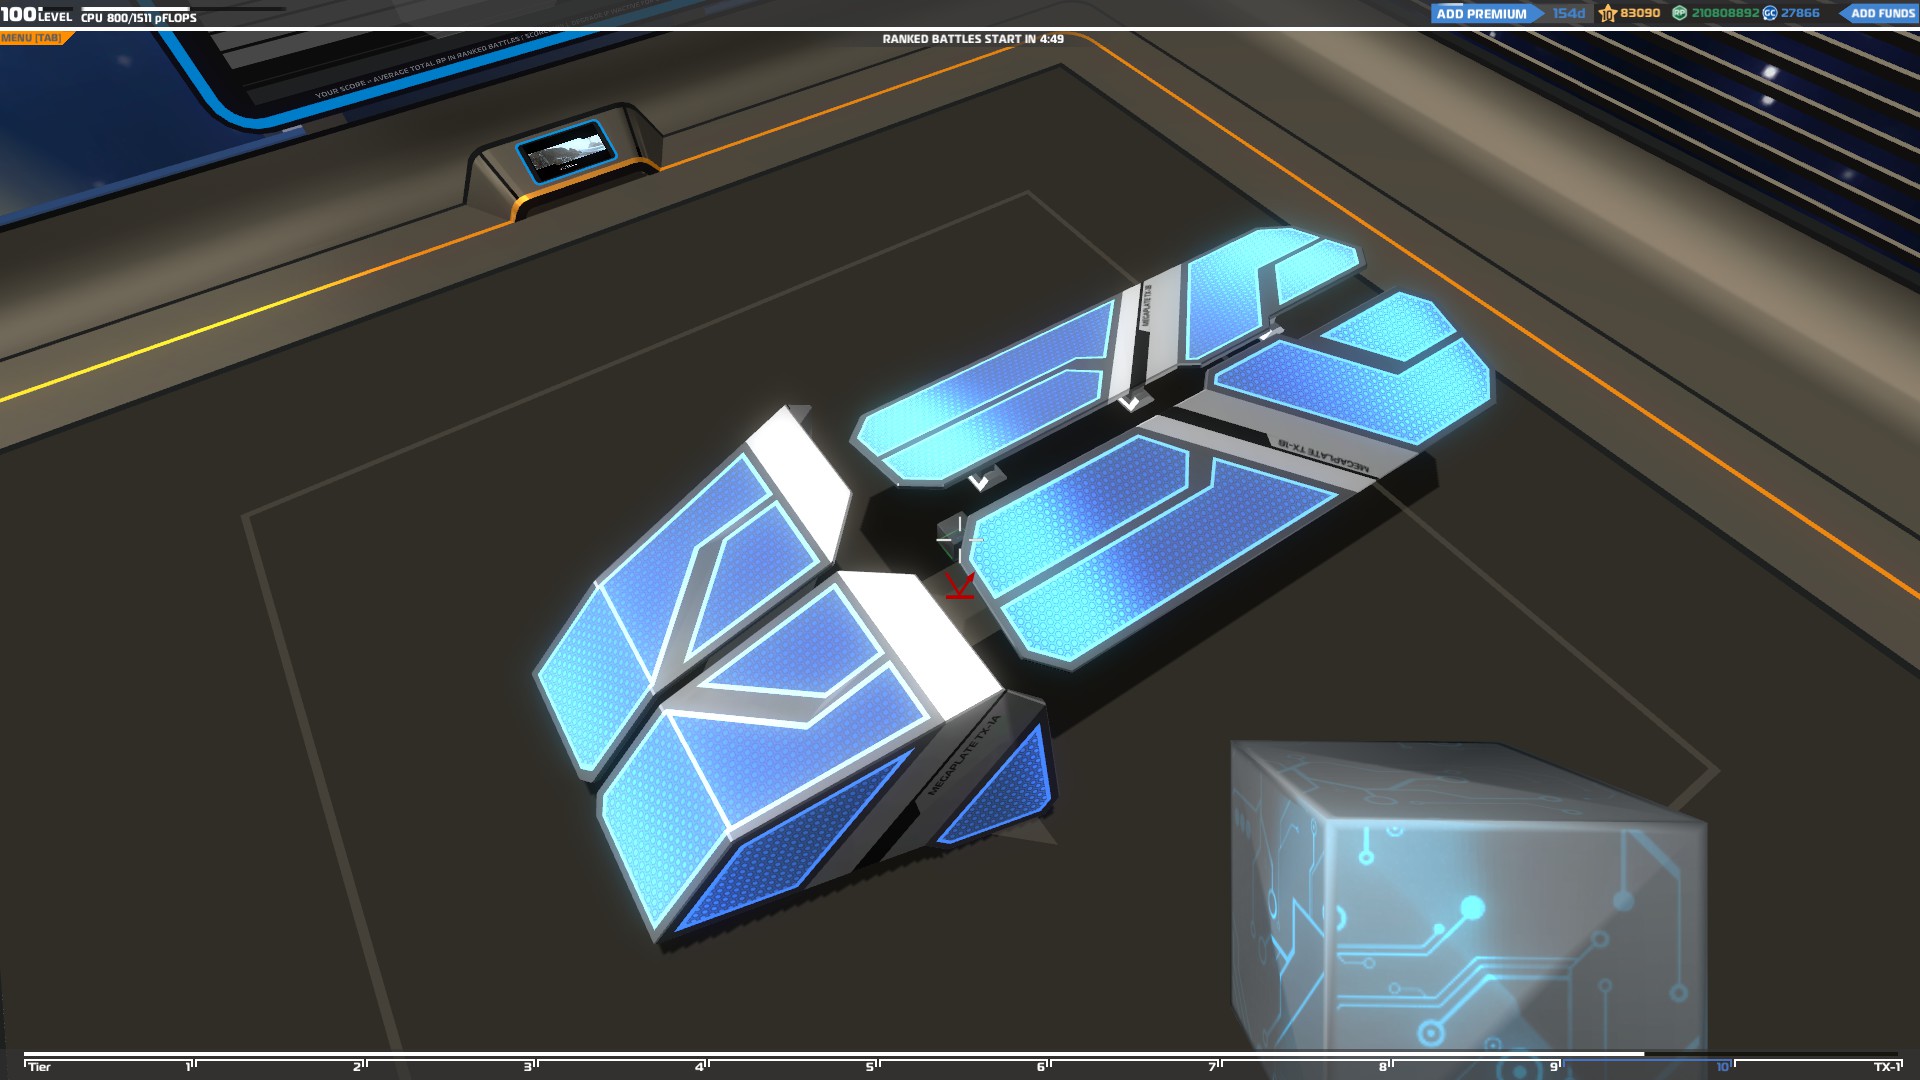
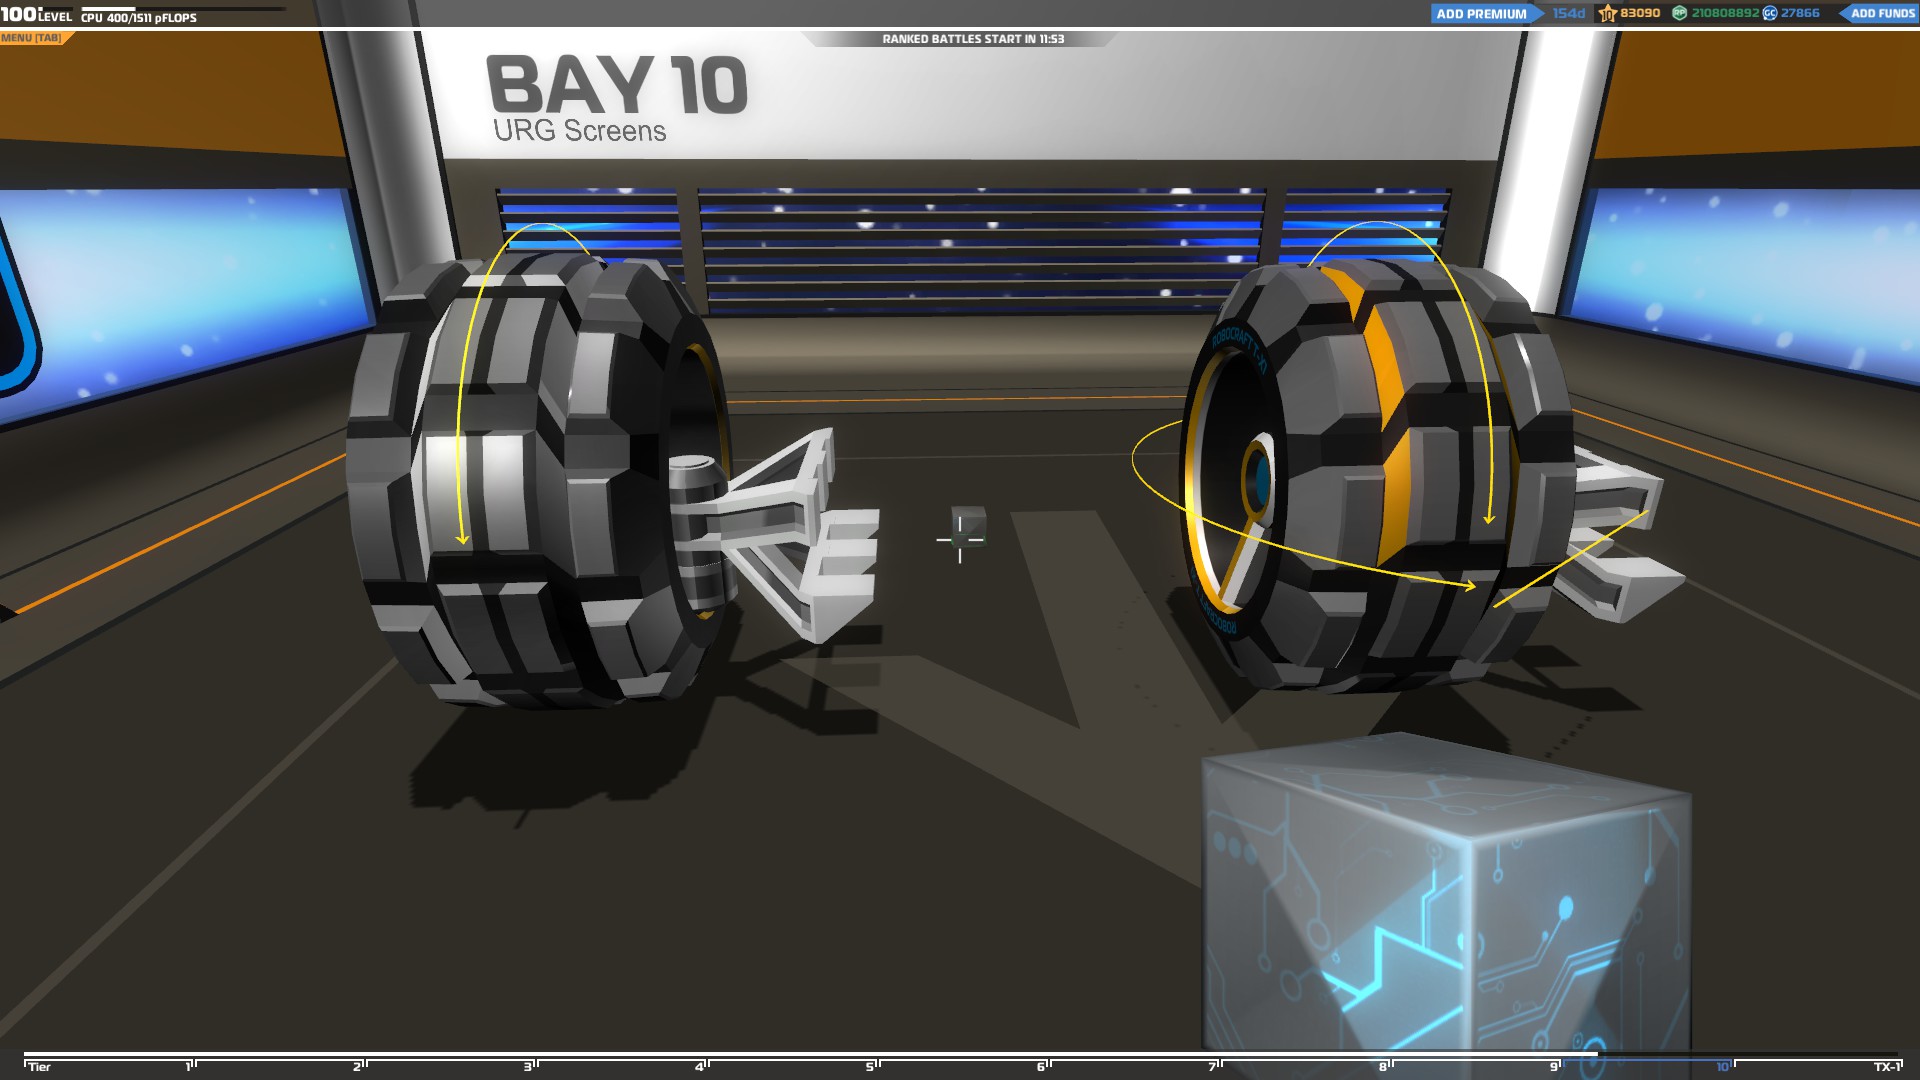
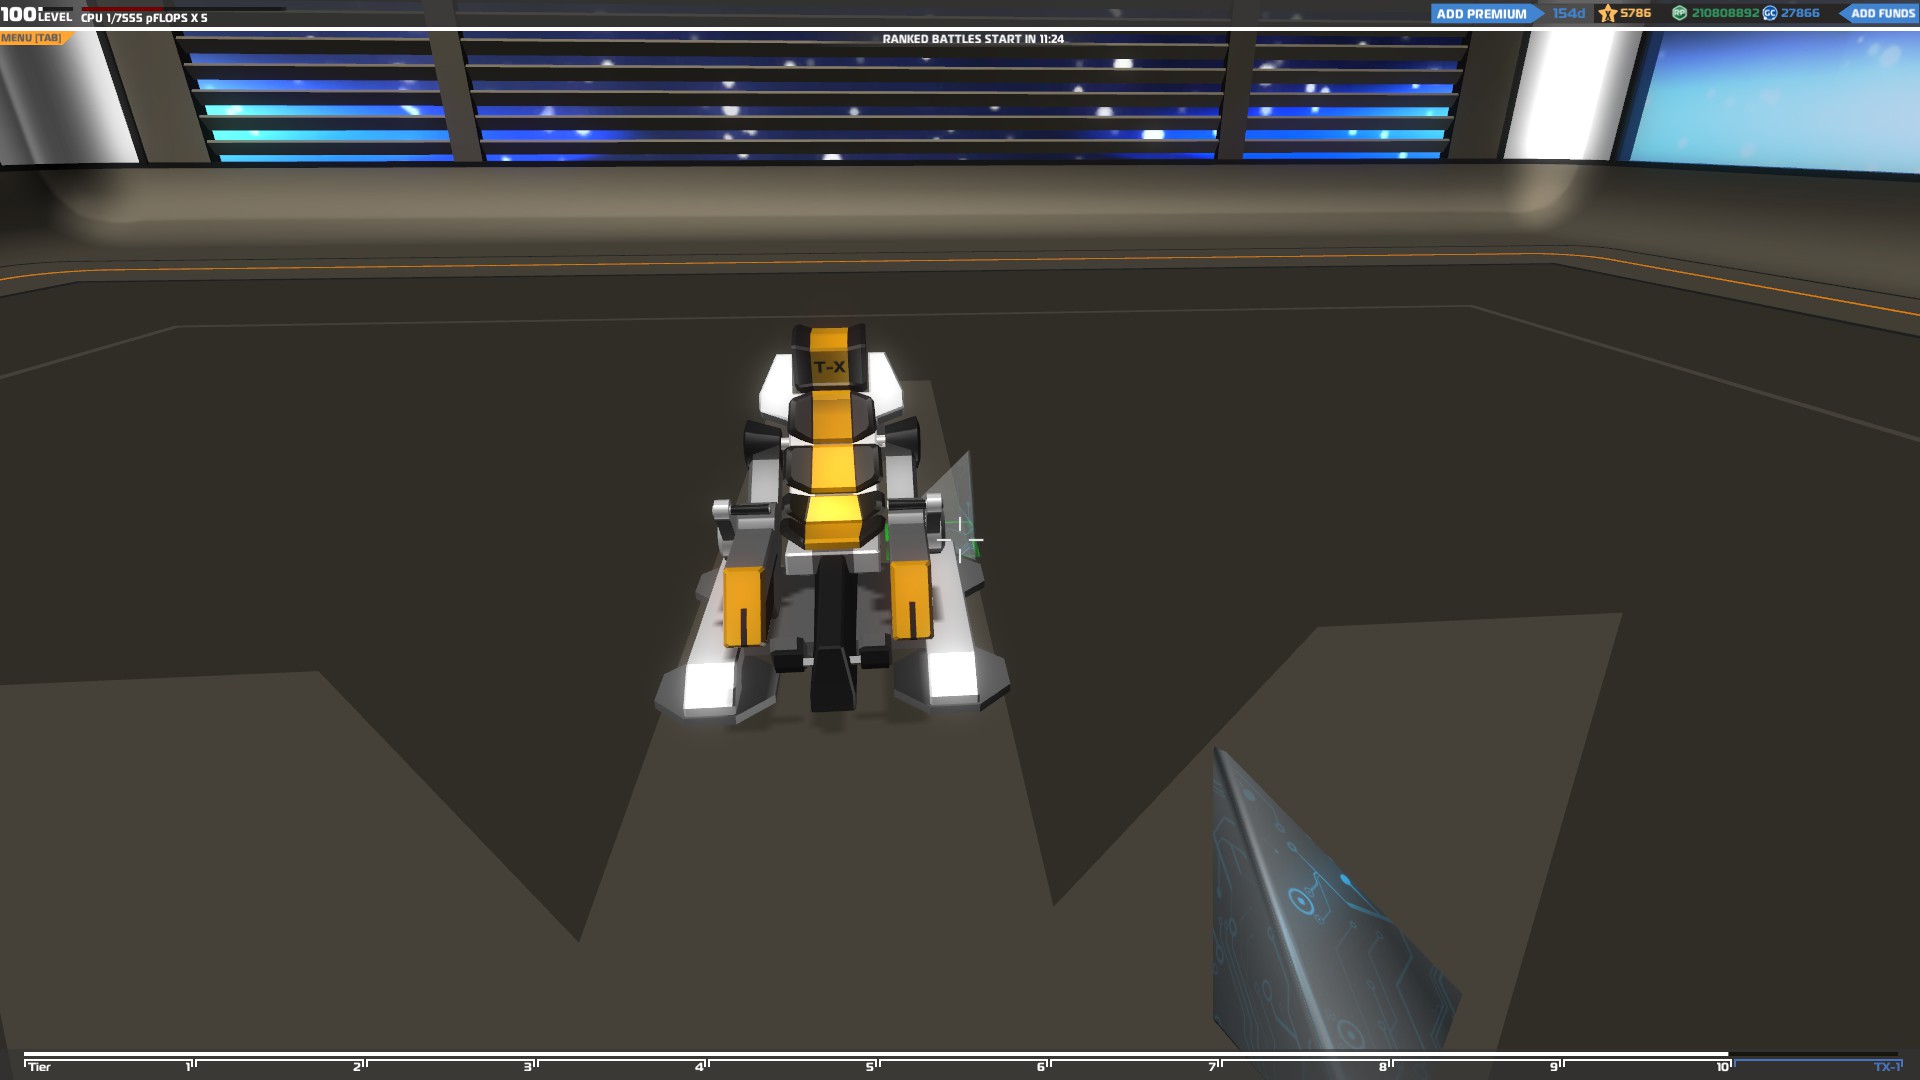
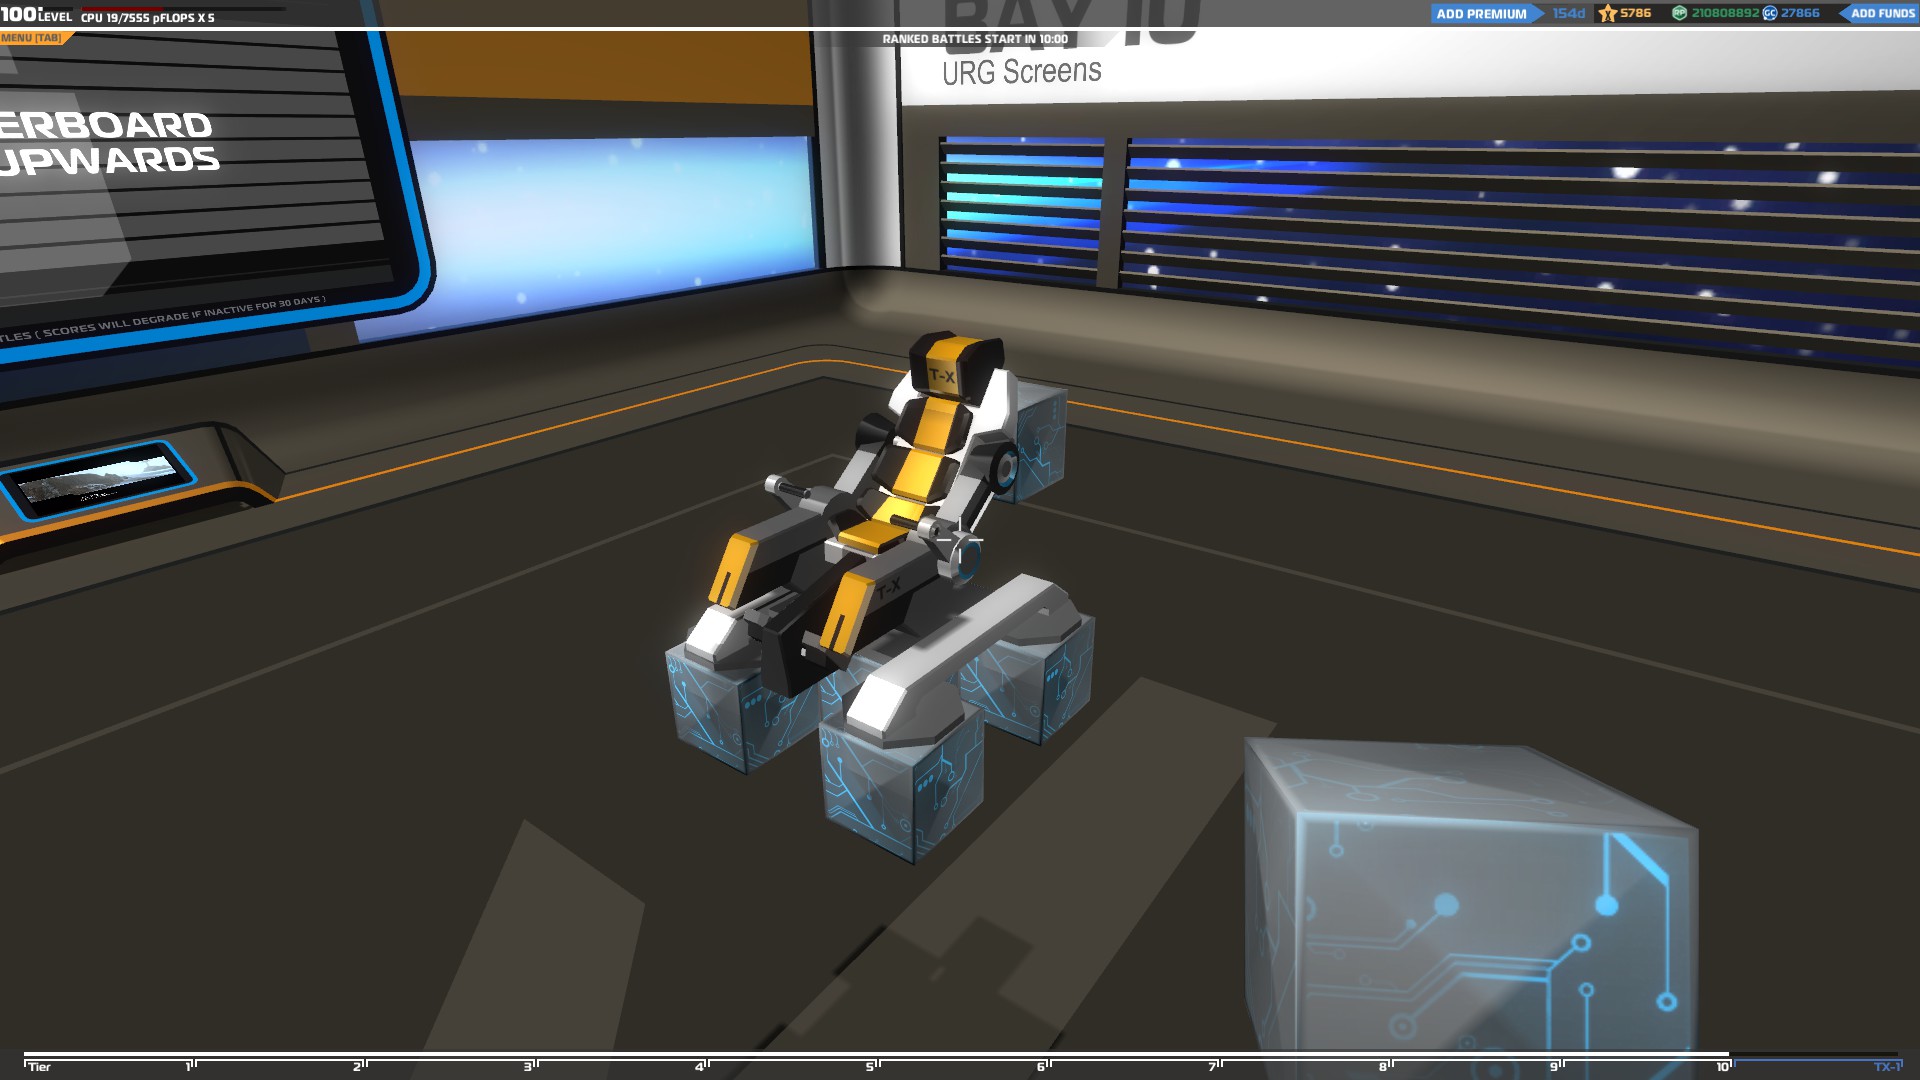
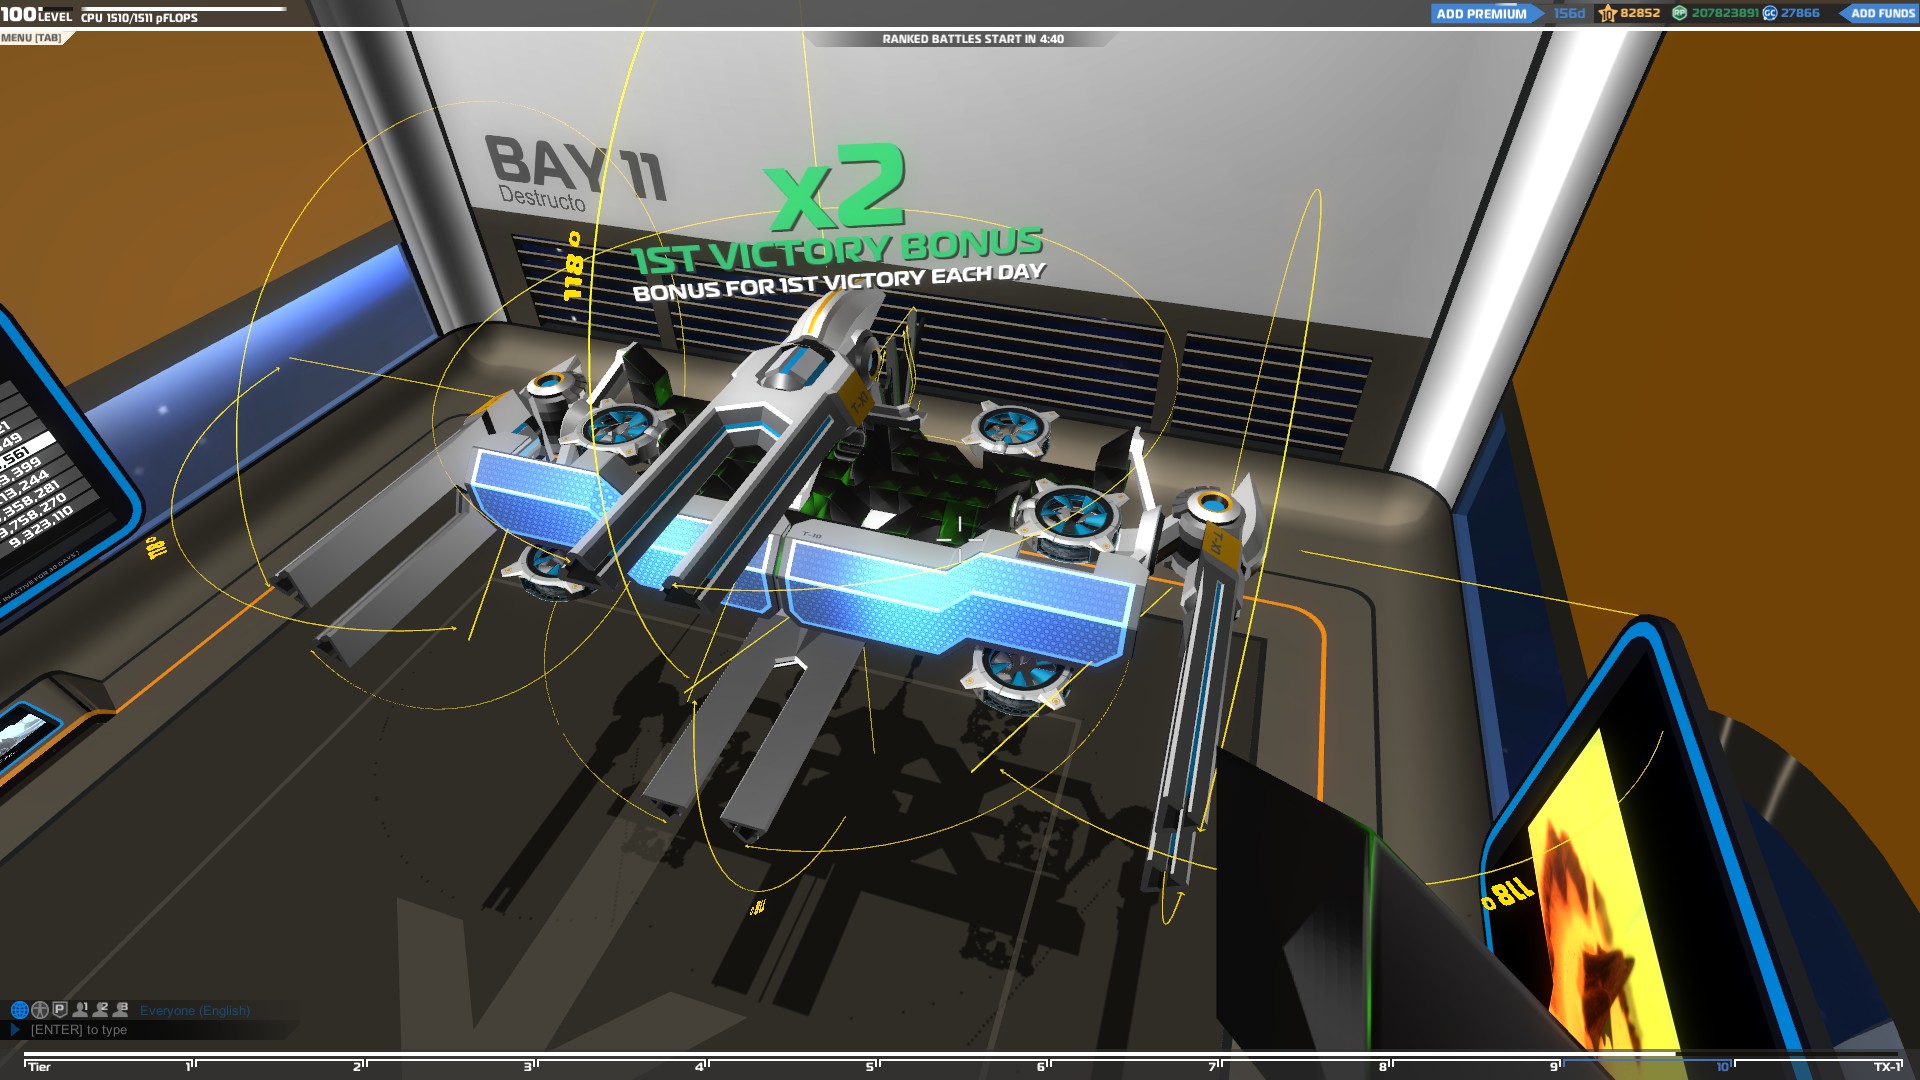
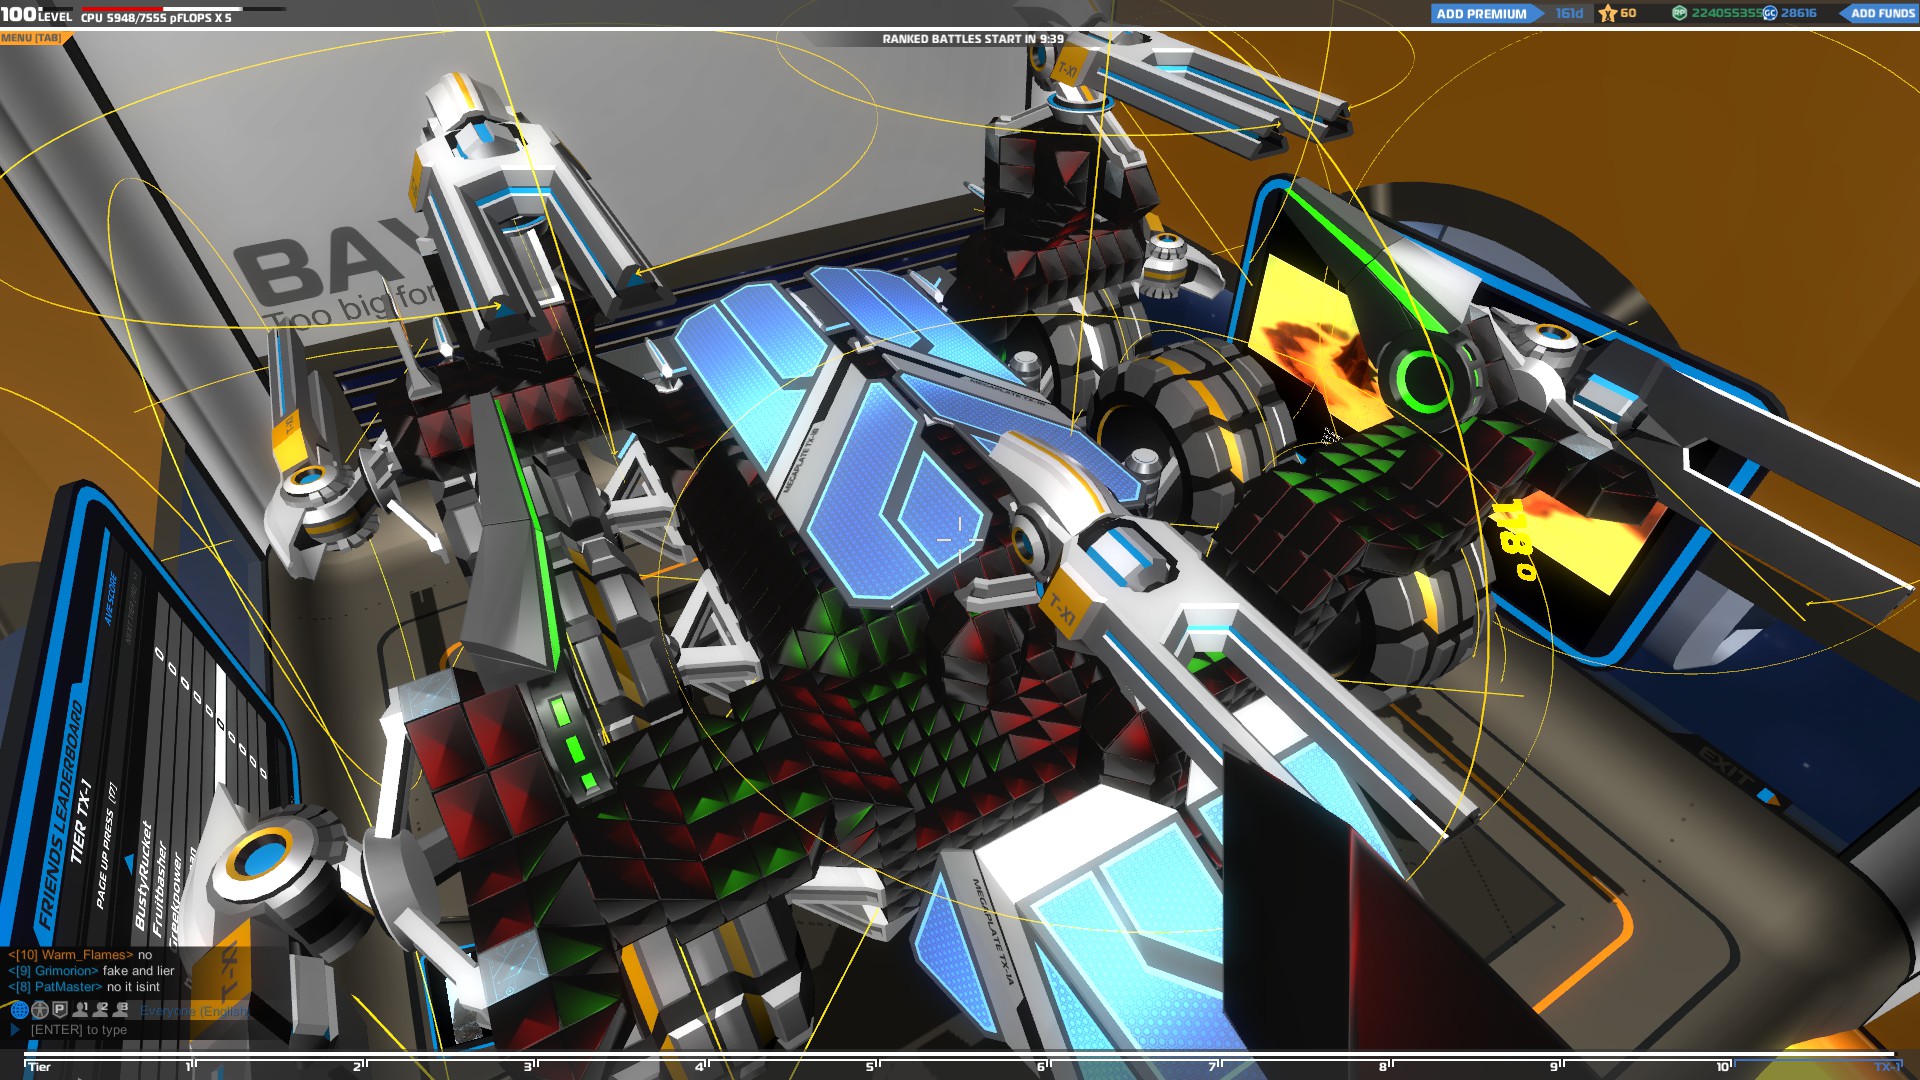
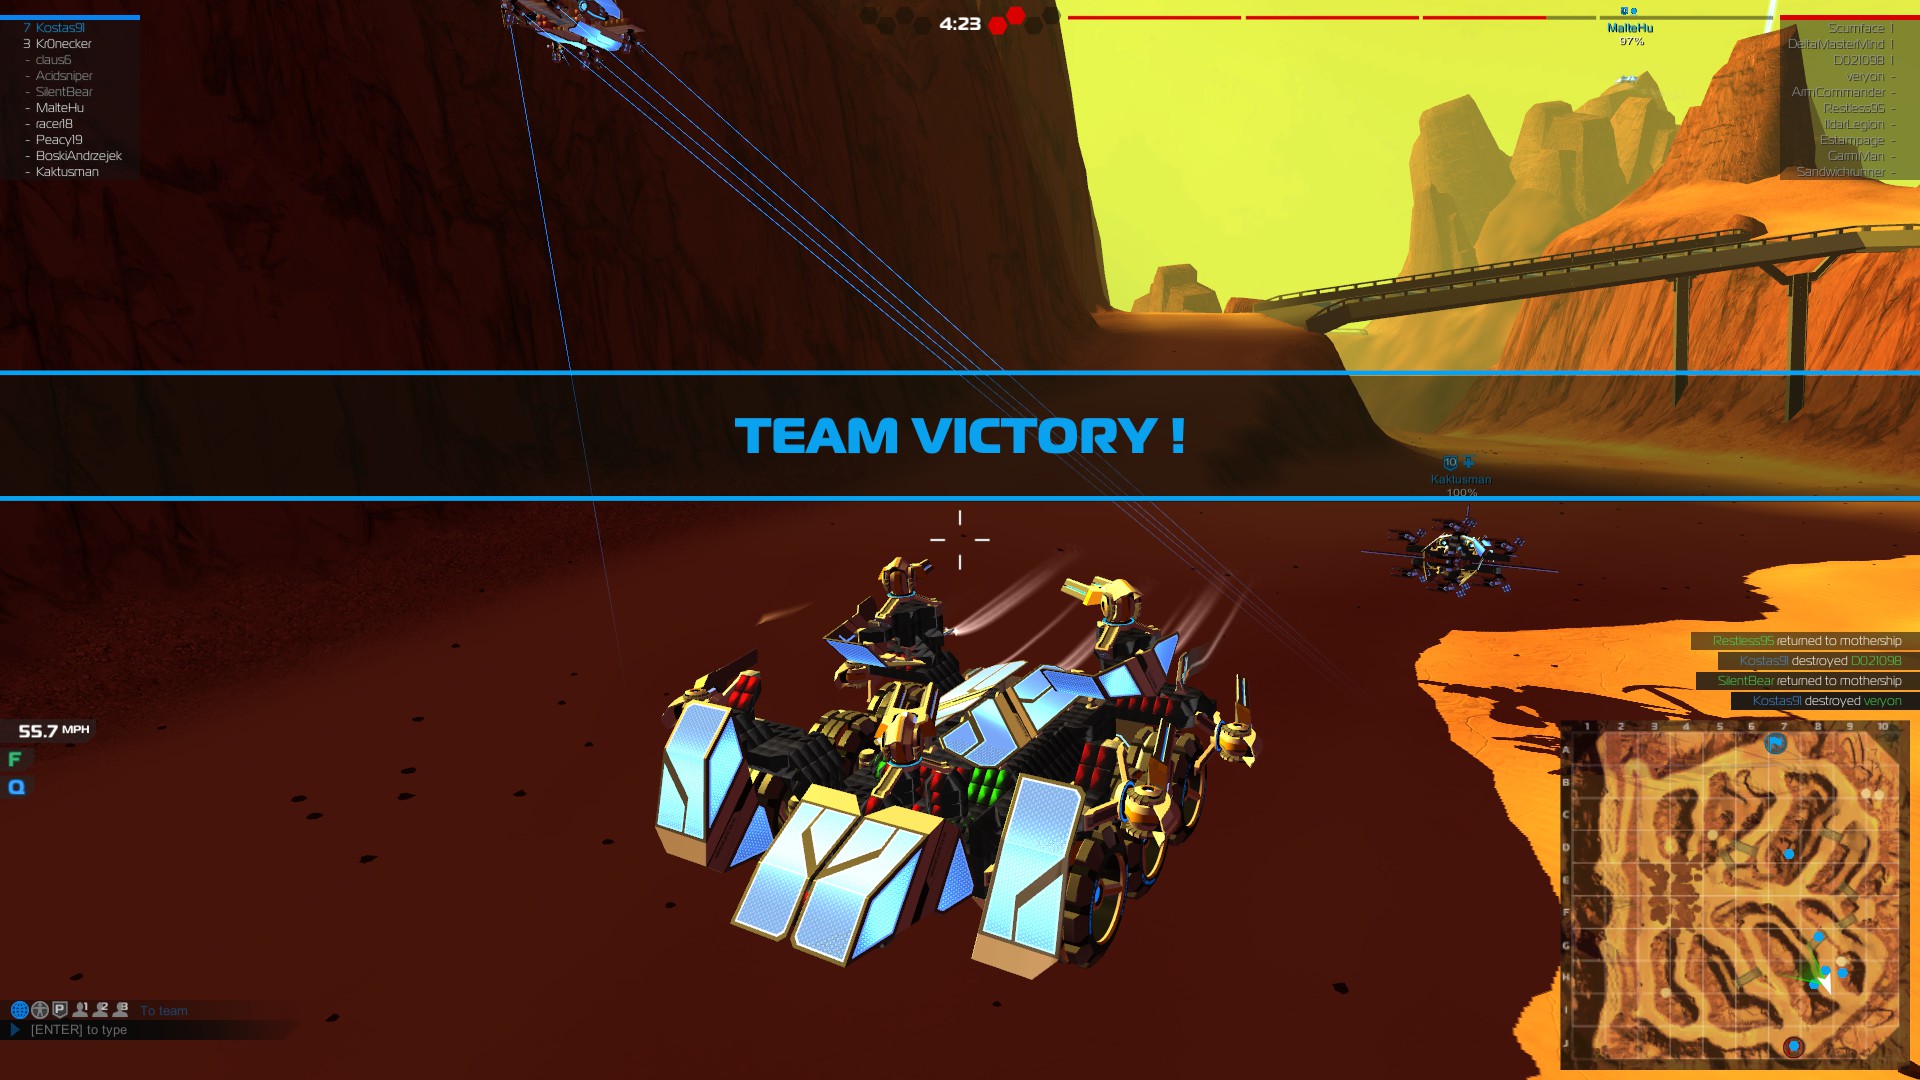
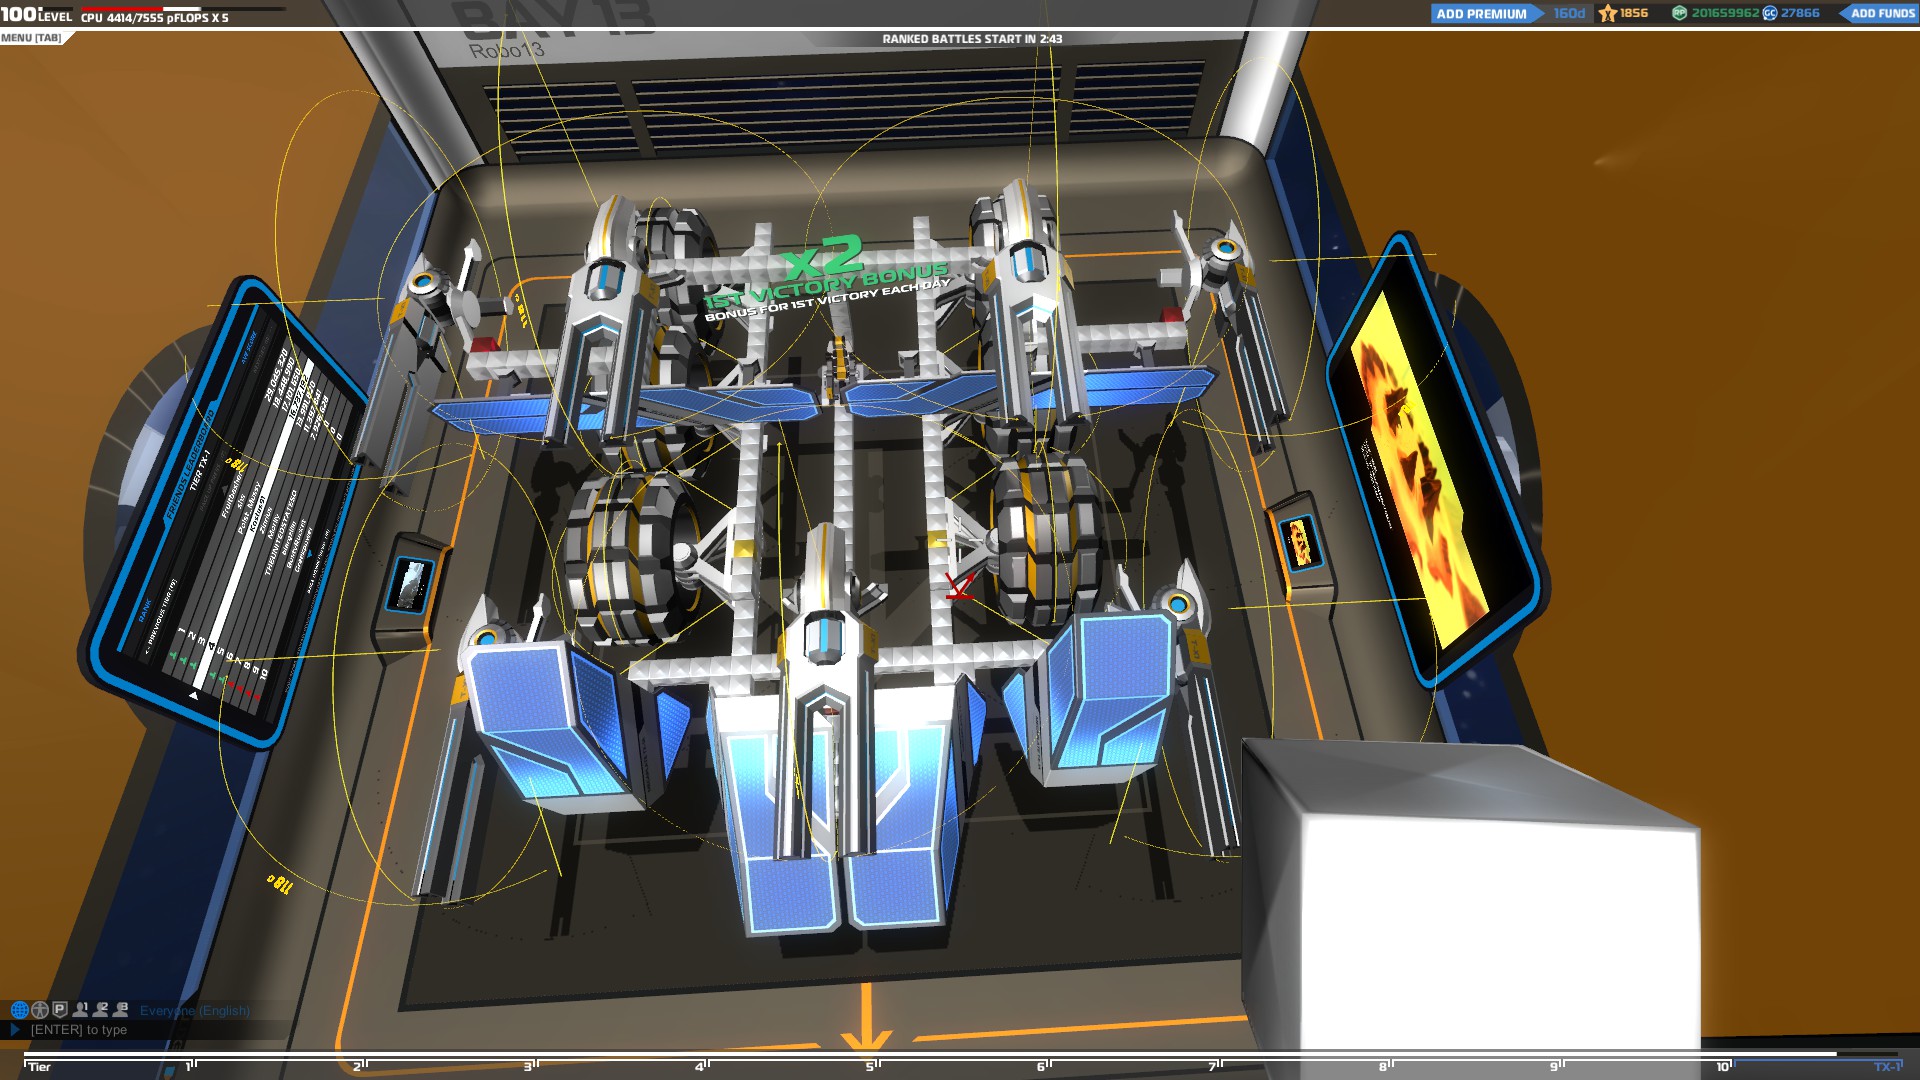
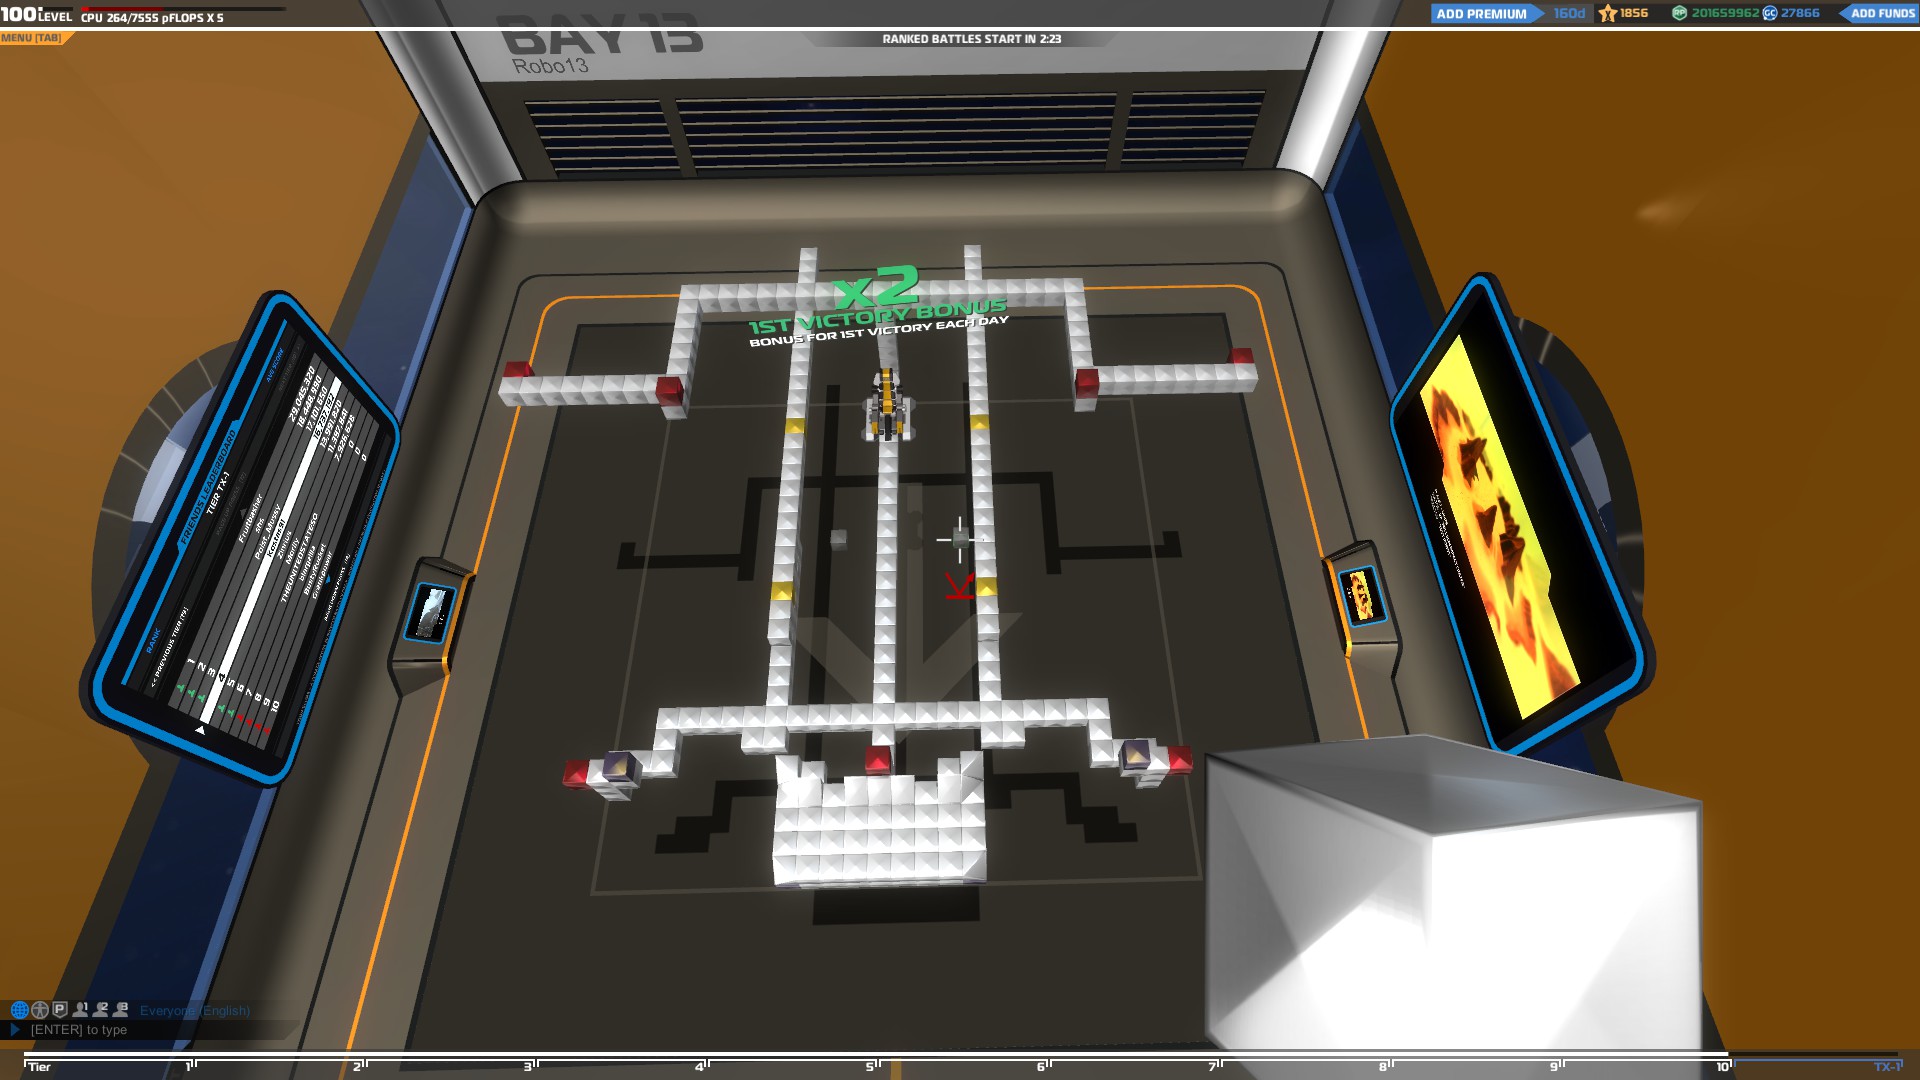
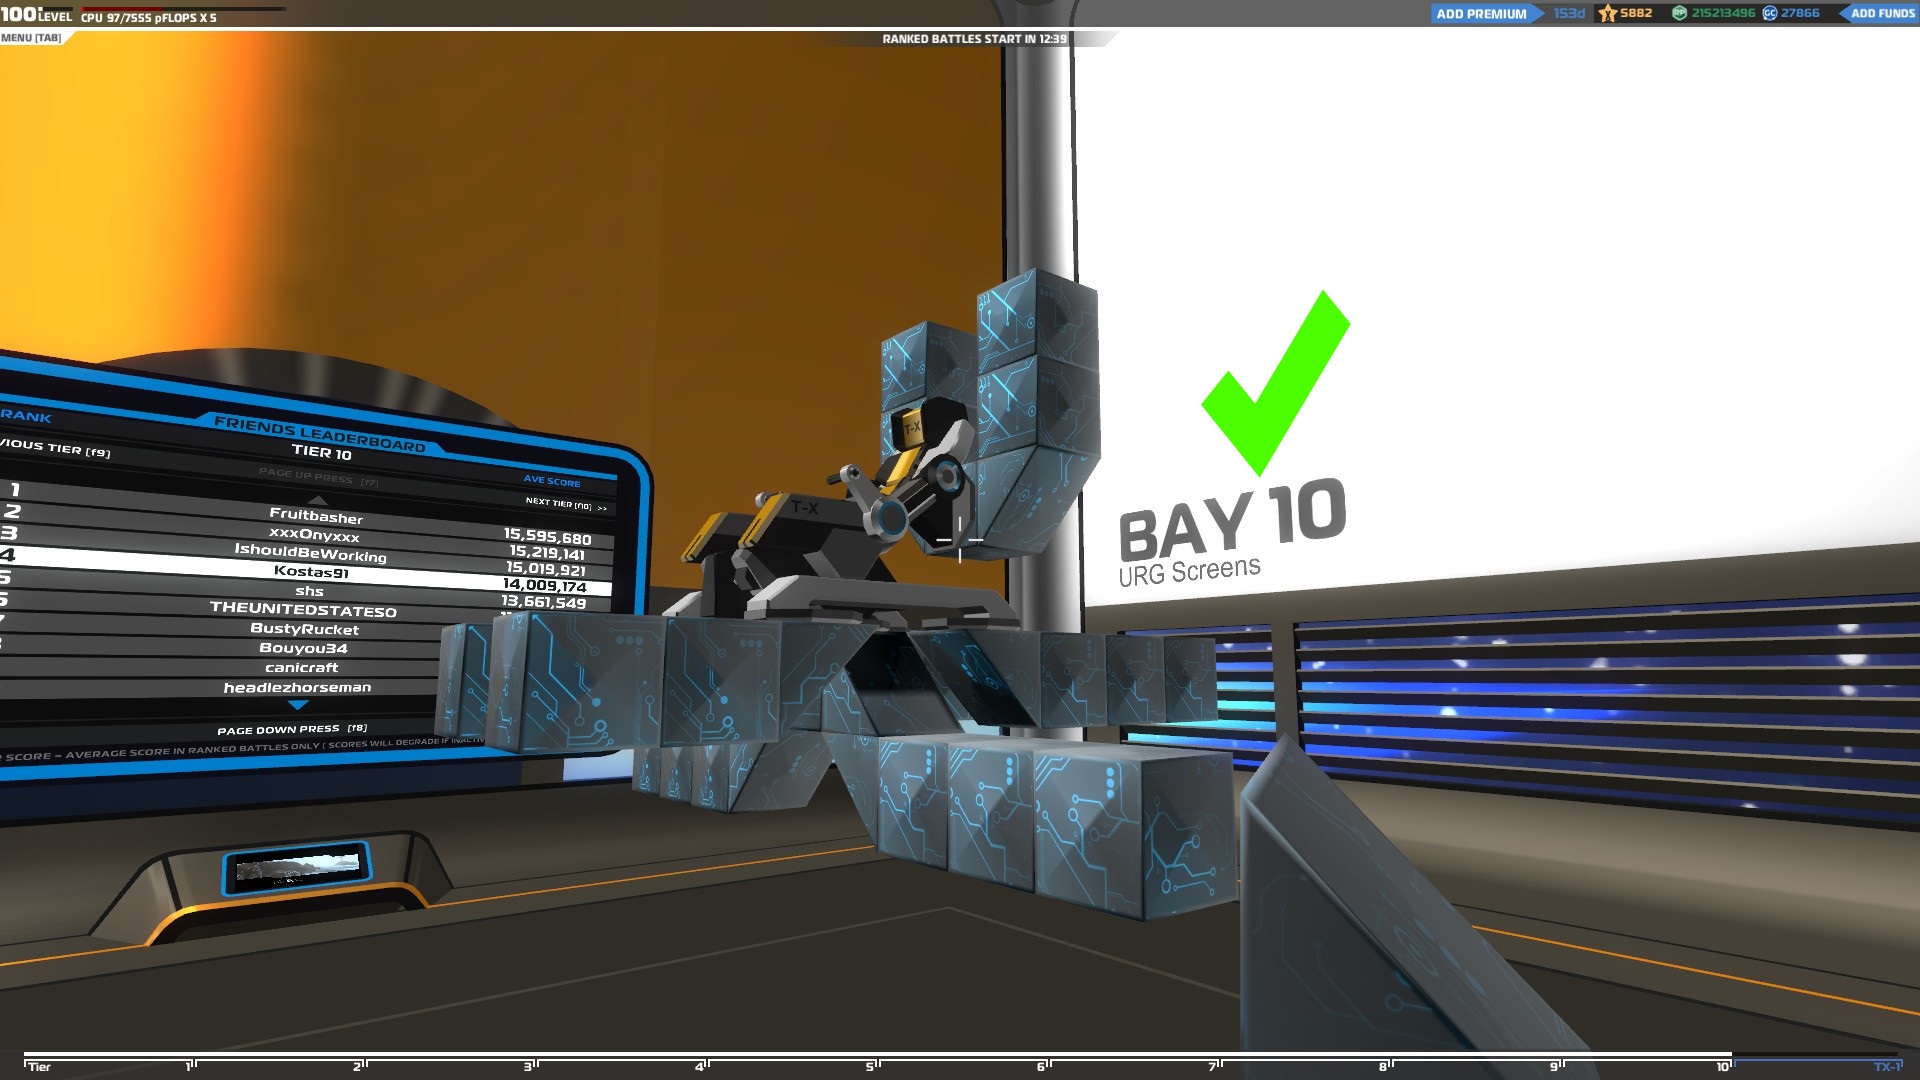
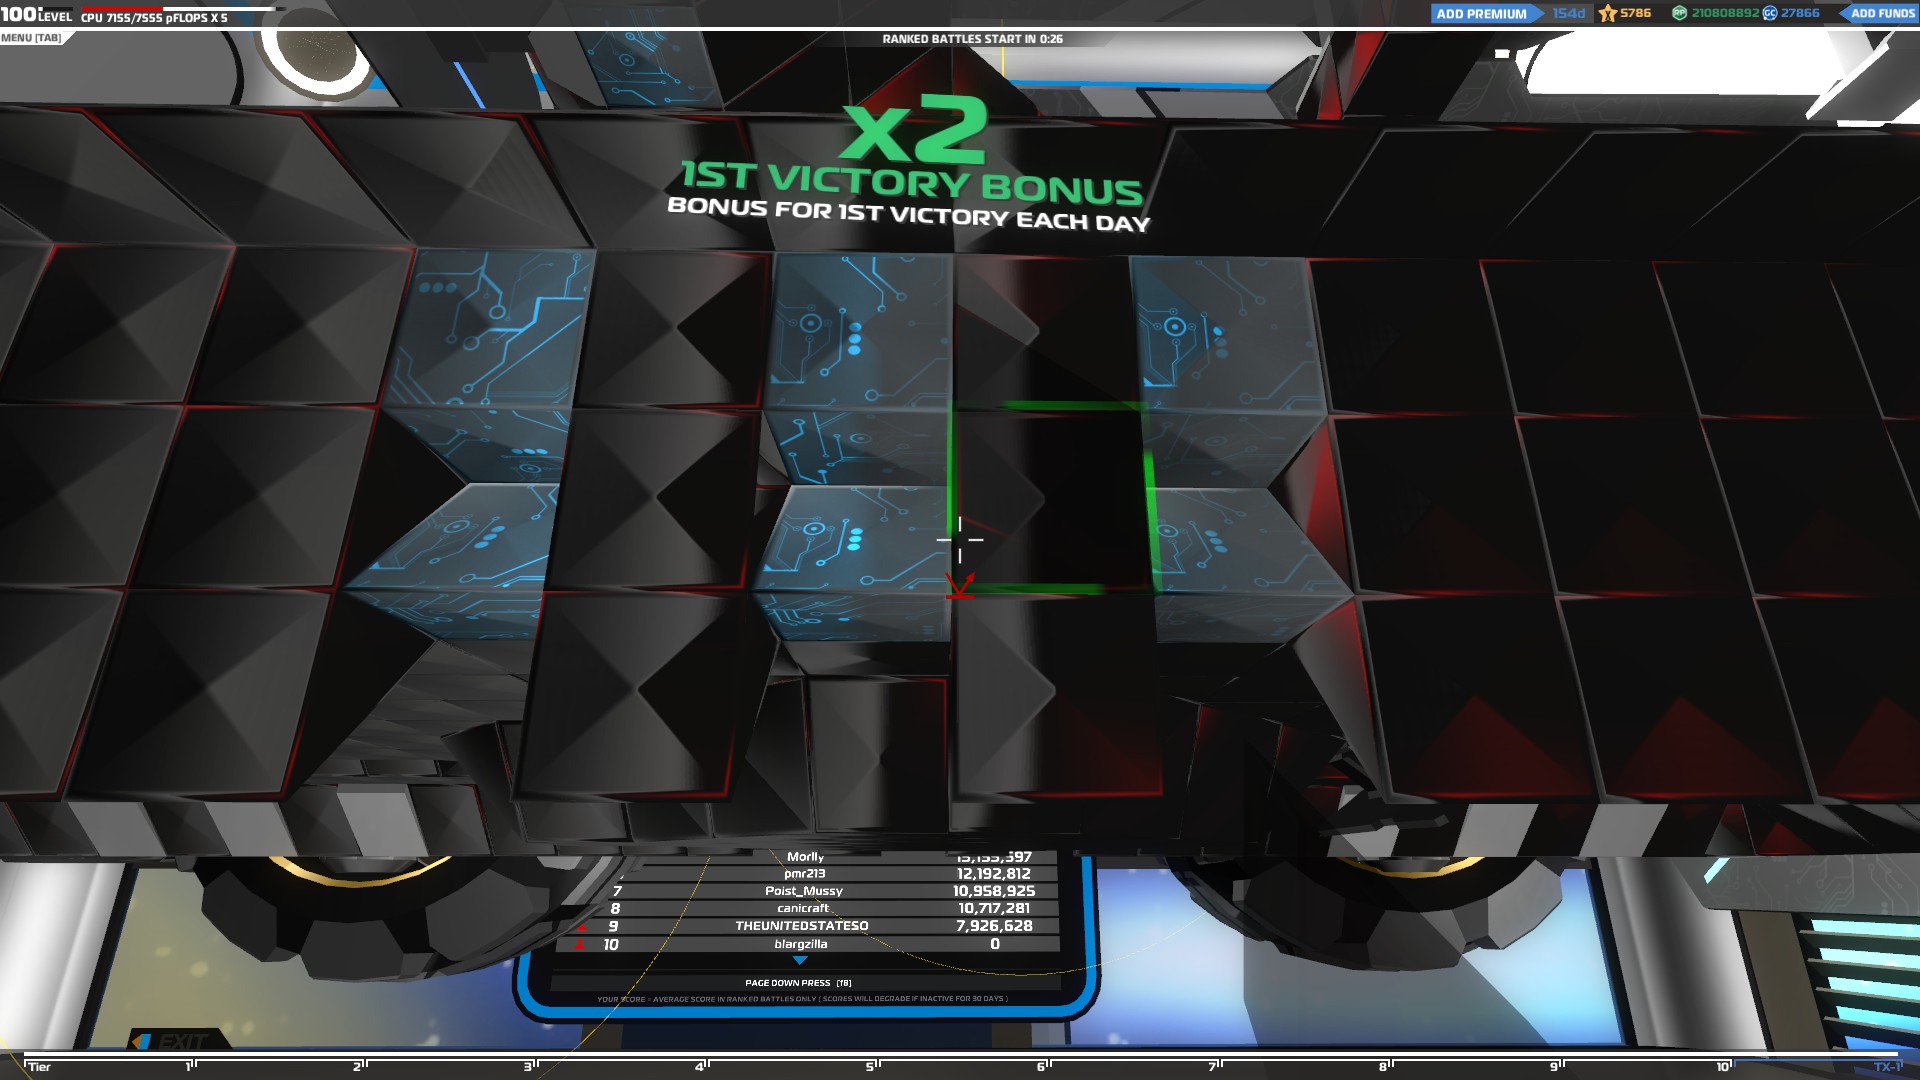
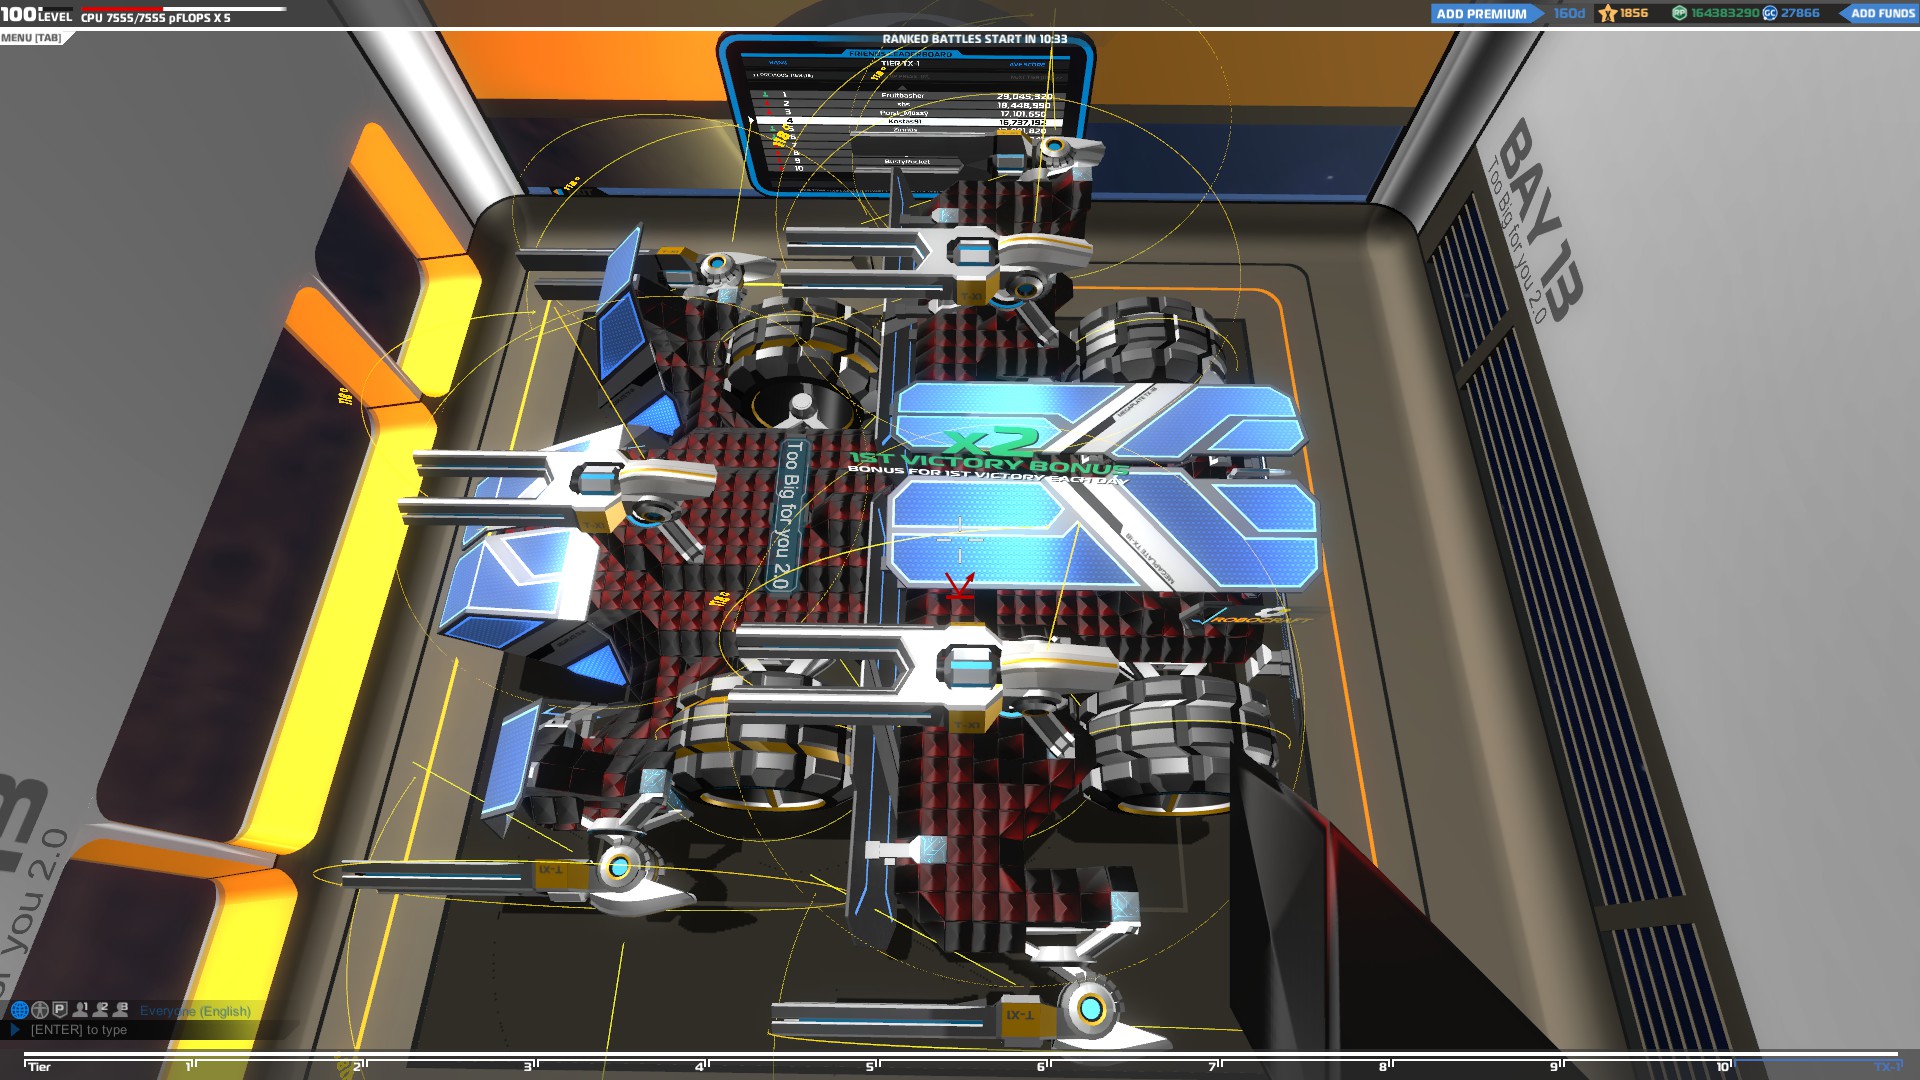
Megabots are TX-1 tier robots and have up to 5 times* the CPU of a T10 robot. Their weapons and items are a lot bigger and stronger and they serve as bosses for high tier players.
Hardware
Currently there is only one Mega weapon:
TX-1 SMGs – They are the mega version of the normal smg weapons but they have two gun barrels instead of one. They have 3 connection points and really high armor which makes them a lot more durable than regular T10 smgs.
They require a lot of CPU and they take too much space which will limit the number of them you can put on your vehicle.
TX-1A/B Electroplates – They are really durable electroplates with 5 and 6 connection points accordingly and very high shield value which makes them a great defensive item.
Movement items
TX-1 Wheels – They are the mega version of the normal wheels but they are a lot faster and tougher. They have 6 connection points which makes them a lot more durable in battle and they are the most powerful wheels in the game.
Special
TX Seat– Once you place the Mega-seat in your bay, your CPU will increase to 7555 which will enable you to build a TX-1 Megabot. It has 6 connection points, 5 at the bottom and one at the back, which will make your vehicle a lot more durable.
Megaparts in T10
It’s possible to use TX-1 parts on a T10 robot but you need to choose them carefully since they use a lot of CPU and adding 5-6 of them can easily max your CPU. Avoid adding TX parts that will not give you a real advantage, like movement items, since the T10 parts will be more than enough for your vehicle.
The TX hardware and blocks can be really useful since they can give you a huge advantage in a battle.
Use the TX weapons on your vehicle to greatly increase your damage and easily cripple enemy vehicles.
The TX electroplates can increase the overall defense of your vehicle since they can absorb a really high amount of damage. You can also use the extra connection points to attach items, like thrusters, and built slimmer vehicle designs.
It’s not a good idea to use too many TX blocks on your vehicle since they use too much CPU and your overall armor will be higher if you use more T10 blocks instead. You can use them as supporting blocks to protect the most important parts of your vehicle like your seat and weapons. Their light weight makes them really effective on fliers so if you have CPU to spare use as many of them as you can to reduce the overall weight of your vehicle.
Building your first megabot
To build a true Megabot you will need to unlock the Megaship, but to do that you will have to spent TX points. To collect these tech points you have to play as a megabot which means that you have to build it in a regular bay.
The space in a normal bay is very limited for a Megabot so space efficiency is everything. Find ways to add as many weapons as you can by placing them at the sides or underneath your vehicle. That way you can push the limits of your bay and build a big enough Megabot and get the necessary TX points you need for the megaship.
“You can only use TX parts on Megabots, the only items from lower tiers you can add are blocks”
Building a Megabot is the same as building a normal vehicle, but at much bigger scale.. In order to build an efficient one you need to plan ahead and mark the position of the weapons, electroplates and movement items you are going to use so you know how big your vehicle will have to be in order to fit all of them.
Building a core for your seat
The TX seat has 6 connection points which means that it is be a lot more durable than a regular seat. The extra connection points will mean nothing though if you connect them with each other because it will be really easy for the damage to be transferred from one to another.
To take advantage of all the connection points on your seat, make sure that they are not connected to each other and each one supports a different part of your vehicle
Once you are done with the connection points, cover them and the seat with extra layers of blocks for extra protection.
Next thing to do is to build good bases for your movement parts and weapons so you can take full advantage of the extra connection points as well.
The shape of the TX Electroplates is great for protecting both your weapons and movement parts so make sure to add as many of them as you can to increase their durability in battle.
Once you are done building you seat’s and movement parts’ cores you can start building the rest of the Megabot. Start building the front of the vehicle first and slowly build towards the back. That way you will finish building the most important parts of the vehicle before you run out of CPU.
Use electroplates instead of extra layers of blocks since they are easier to repair and that will reduce the time the medics will need to repair you. Also, make sure to add TX blocks to support your seat and any items on your vehicle since their high armor will be able to absorb a lot more damage than regular T10 blocks.
Even with the extra CPU you will have with the mega-seat it’s still not a good idea to use too many TX blocks since they will drain your CPU really fast and combined with the rest of the CPU demanding parts, you will not have enough CPU left to build a proper body for your Megabot.
To be able to enter normal and Megaboss battles you will have to use a minimum of 3000 CPU. If you find it difficult to reach this CPU requirement use many electroplates since they are the cheapest megabot parts and use a lot of CPU.
“The requirements to enter a T9 battle with your Megabot is a Megaseat and 3000 CPU”
Megabots Part 2
Online Battles
When you join an online battle as a Megabot you will enter a normal T10 match where you will be the “leader” of the team. There can be only one Megabot per team and usually the team that losses their Megabot first losses the match as well which means that you have a big responsibility and you have to play as good as possible.
Facing other enemies
Megabot
The best way to defeat an enemy megabot is to take out all their weapons first and then destroy the rest of the vehicle. Make sure to target the weapons that are the easiest to destroy first and leave weapons that are on the sides of their vehicle last.
Enemy team
The really high damage of a Megabot can easily destroy normal vehicles but you should still prioritize your targets.
Go for the enemy plasma vehicles first since their high concentrated damage can destroy vital parts of your vehicle fast. Your next target is the enemy medics and smgs. They might not deal too much damage per shot but their continuous damage and good accuracy will result in losing important parts of your vehicle over time and keeping your health low. Leave any snipers for last since their high cooldown will prevent them from doing too much damage on your Megabot.
Battlefield tactics
Your team will follow you since you are one of the most important units in the battle so make sure to choose the best route that will enable you to ambush the enemy team and give you better advantage of terrain.
Megabots use a lot more CPU than regular vehicles but that doesn’t make them invincible so if you are reckless your megabot will be destroyed quickly. Once you encounter the enemy team you need to stay behind cover, like the rest of your team, and slowly damage the enemy units.
When the enemy team and Megabot are damaged enough you can engage and destroy them one by one.
Advanced Warfare
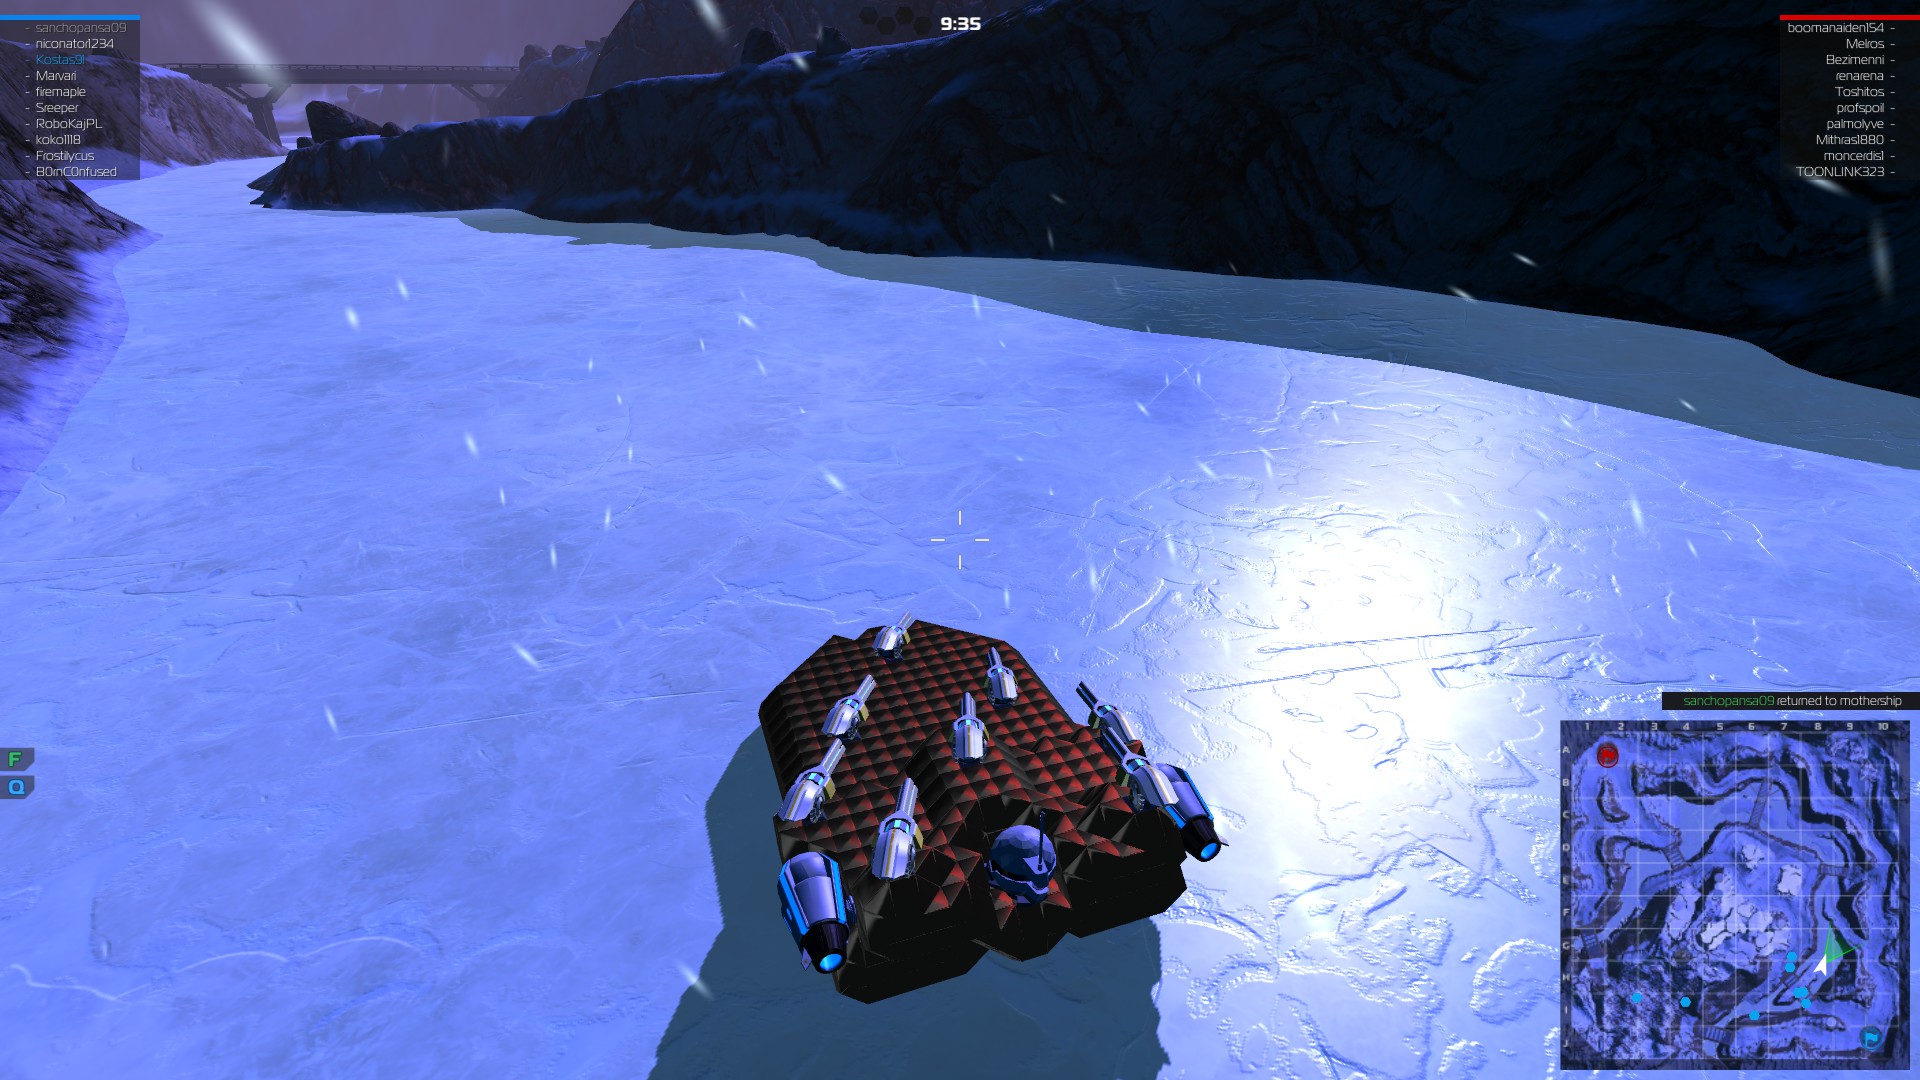

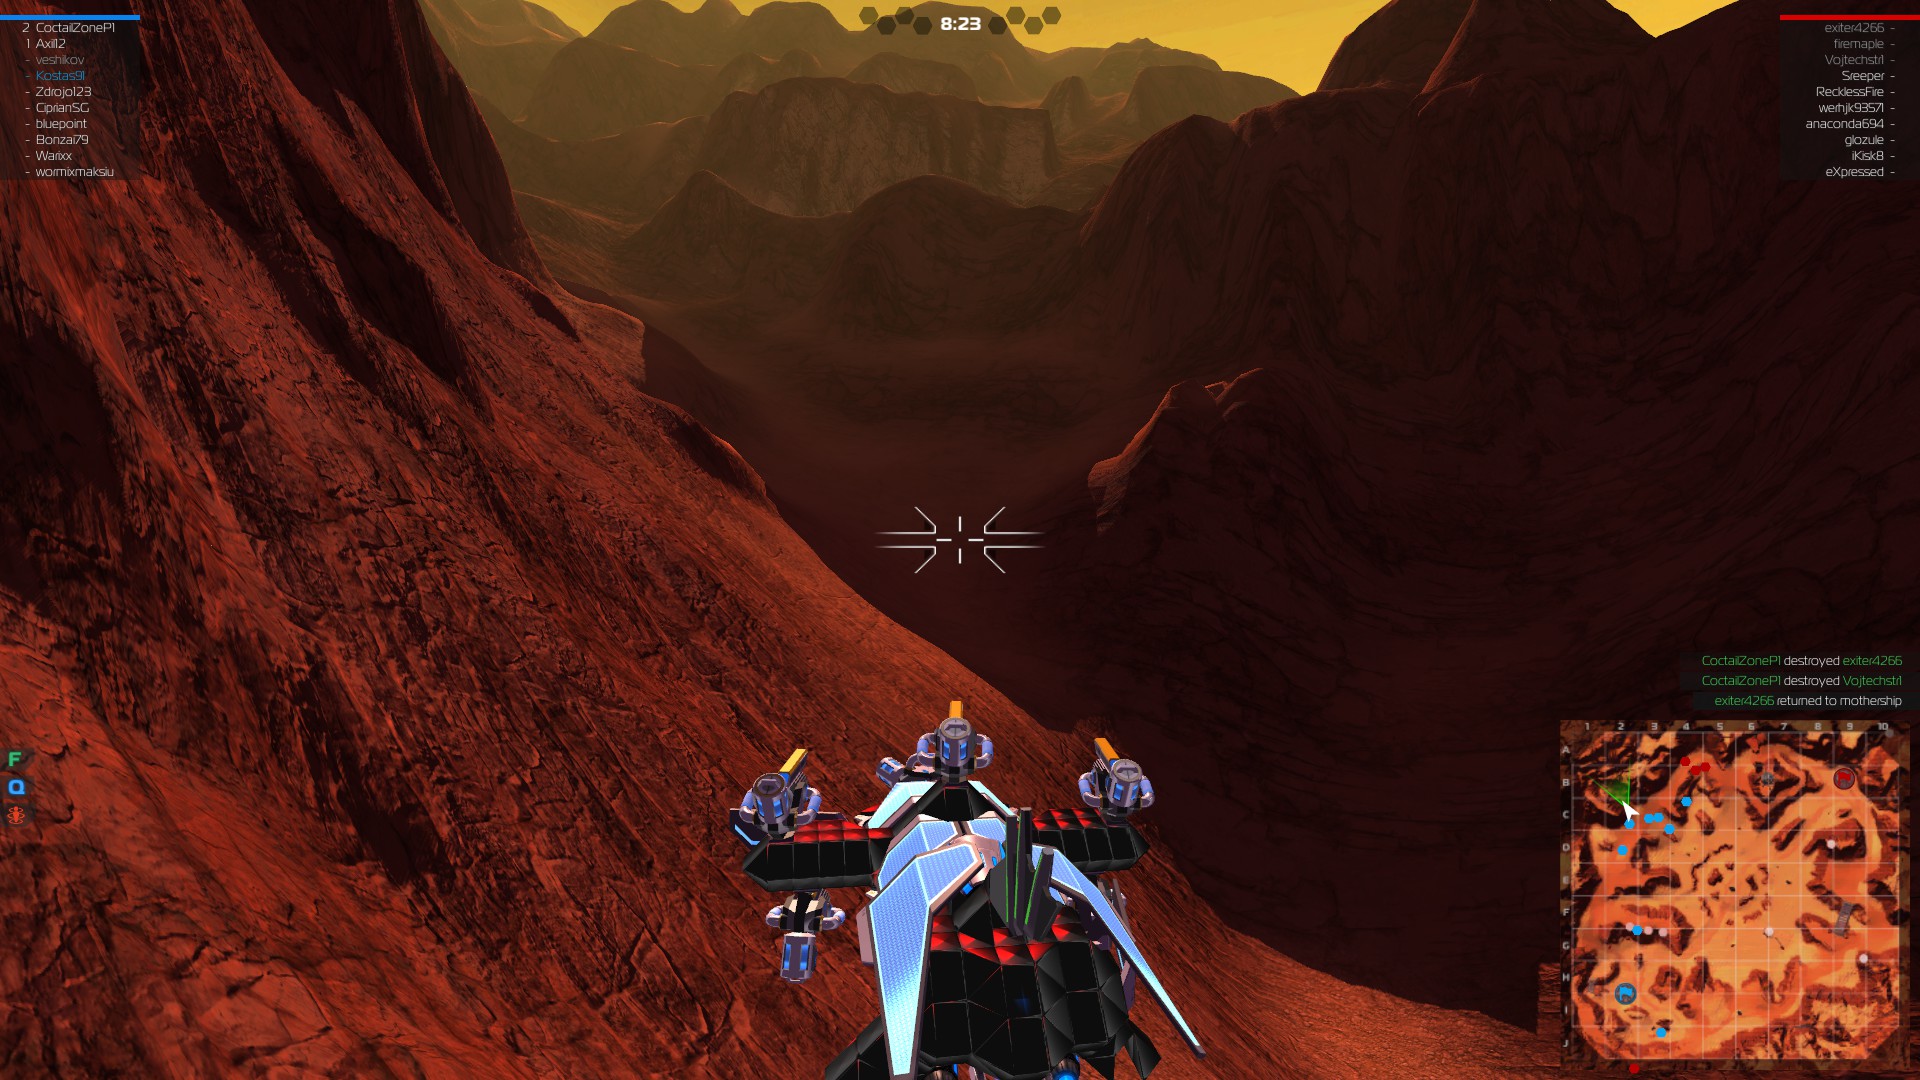
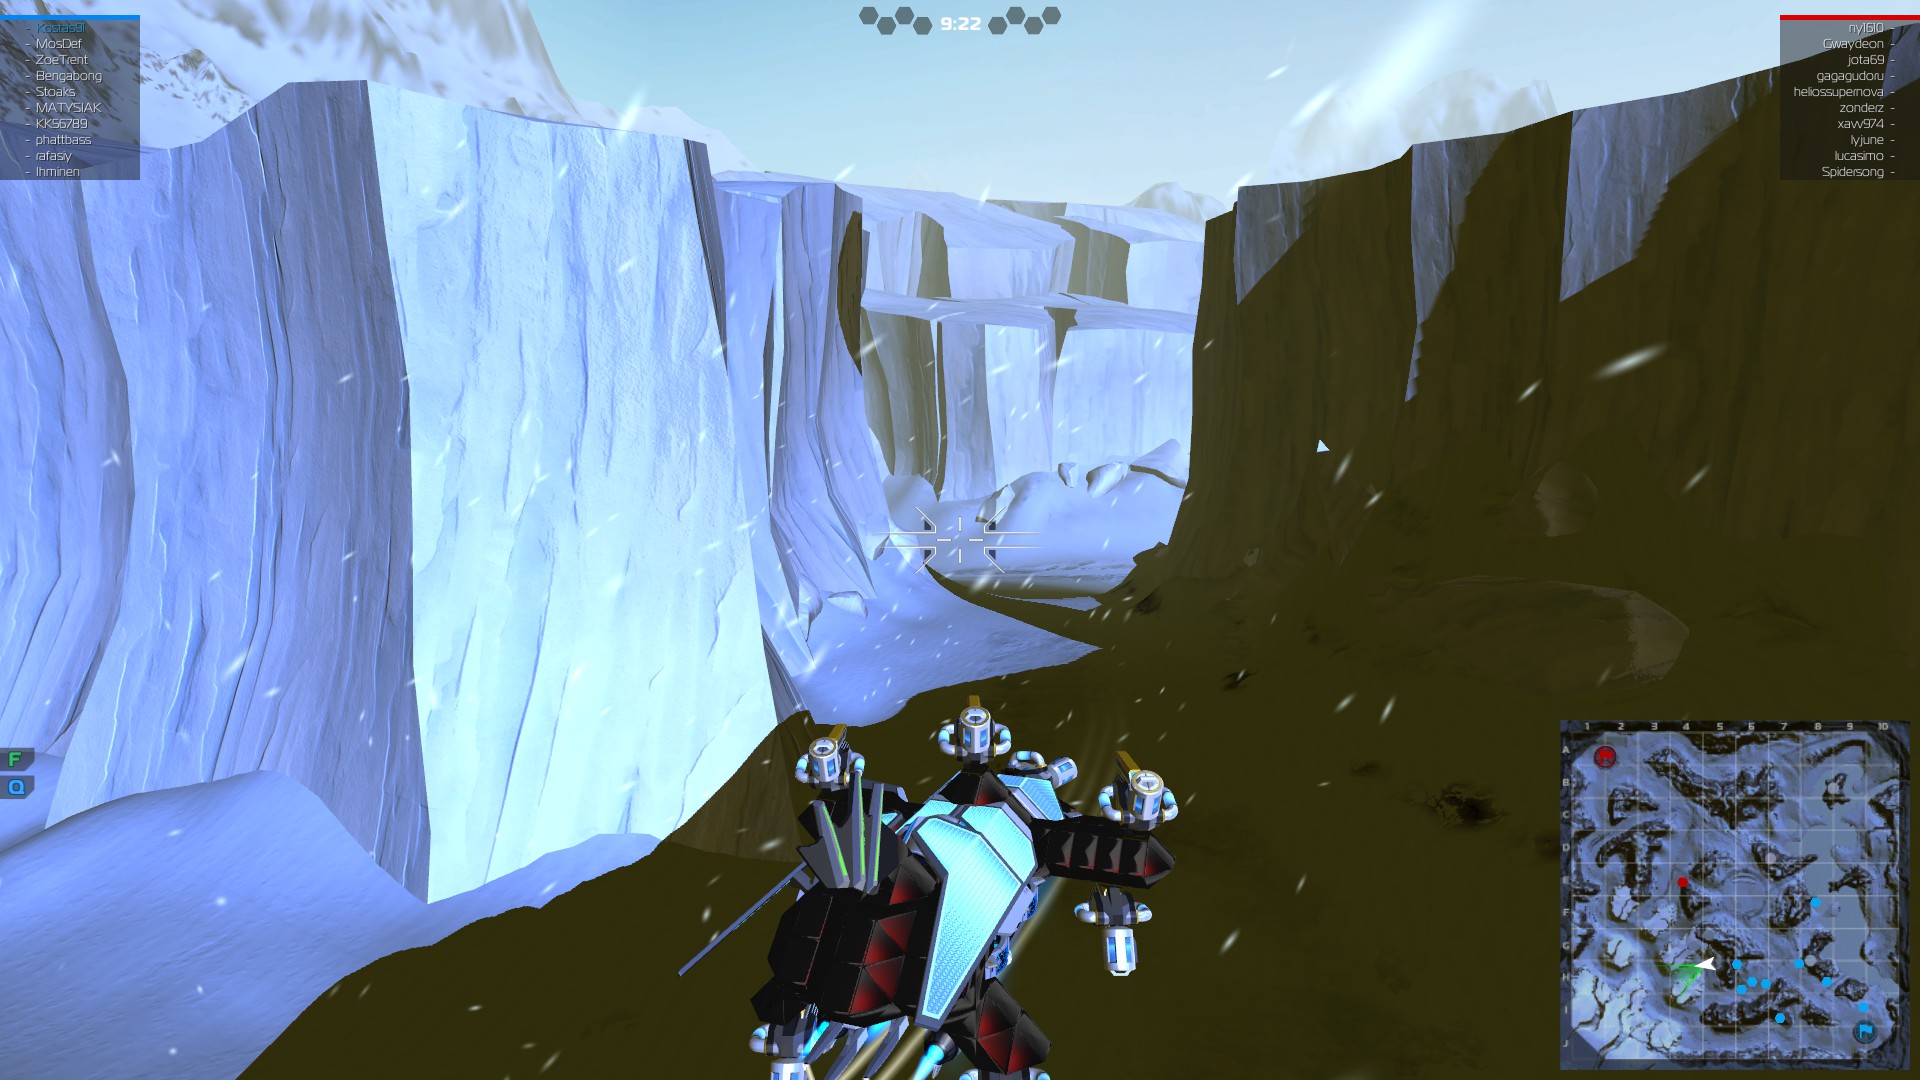
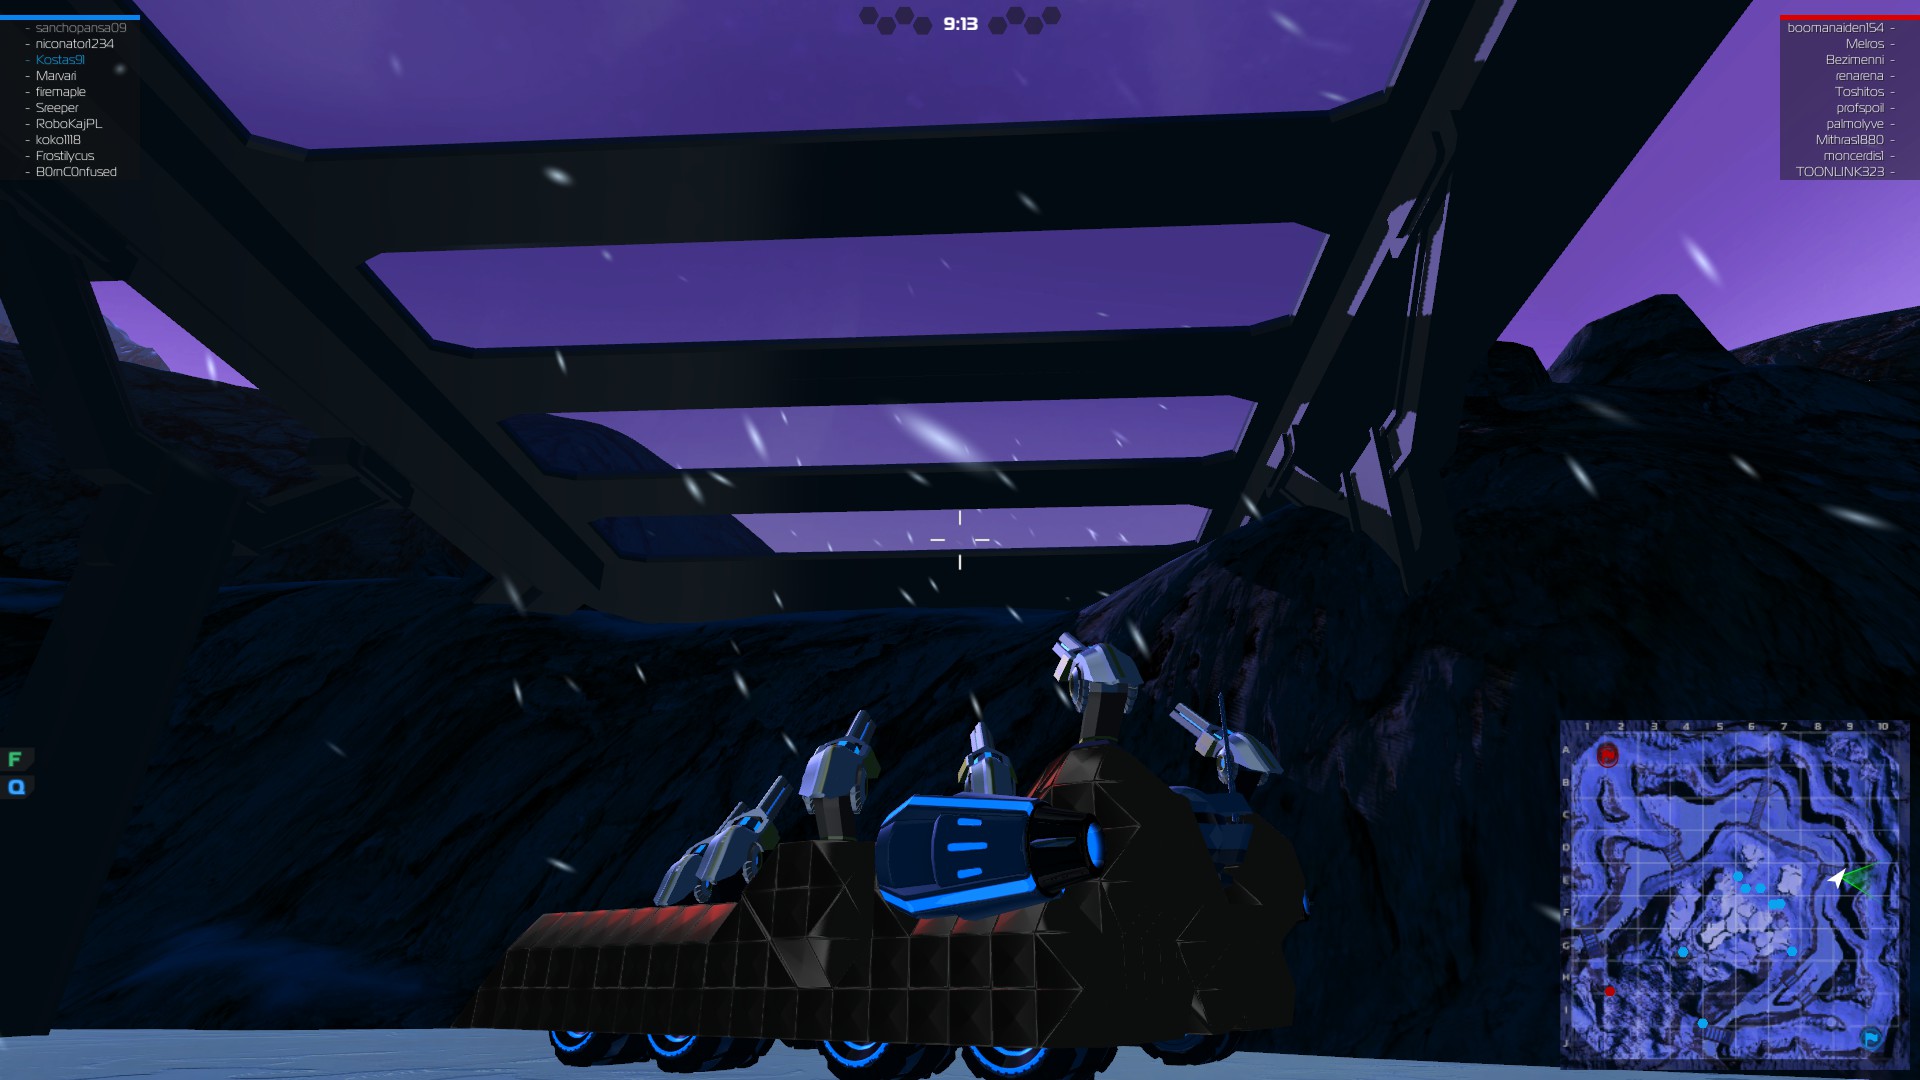
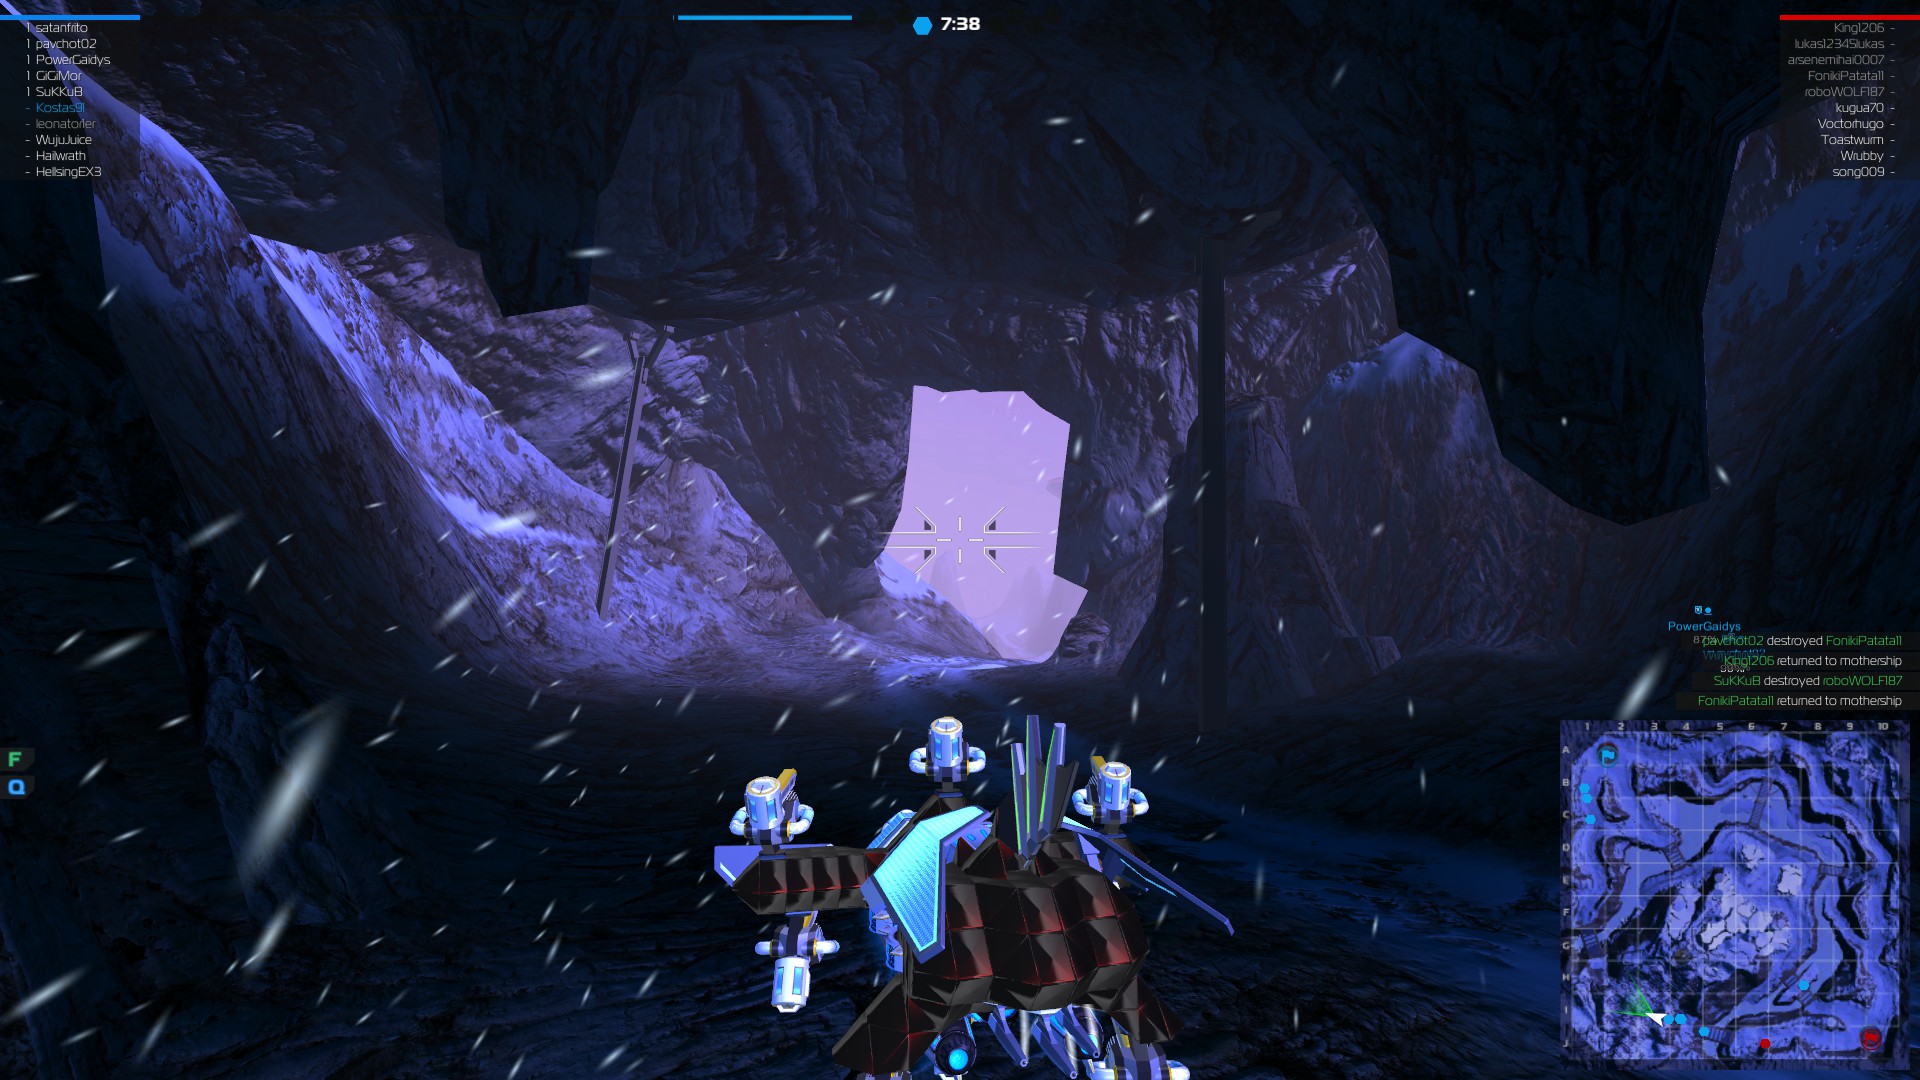
Map Awareness
It is important to have a plan of attack for every map to quickly take position when the battle begins and ambush the enemy. Pay attention to your surroundings and use everything you can for cover or to help you make your escape.
The ice in the Ice Lake and S-o2 maps can be really helpful if you use hovers or walkers when you are up against vehicles that slide on it, like cruisers or tanks. You can follow routes that are covered with ice if you want to escape since the enemy will lose control of their vehicle once they step on it which will give you enough time to escape.
You can also use it to trap the enemy by fooling them and making them follow you there which will make it really difficult for them to escape or take cover since they will not be able to control their vehicle.
There are also some routes that cruisers cannot follow or it will slow them down since they don’t have enough power to climb steep hills so use those routes to escape from them. In general, use the enemy’s movement limitations to your advantage to either find better places to fight them or better routes to escape.
Make sure to study your enemy’s vehicle and according to its size and maneuverability prepare the right plan to either escape or ambush them. Huge or not well built vehicles have difficulty steering and can be easily trapped in narrow routes which will greatly reduce their maneuverability and it will be difficult for them to chase you or escape. Use these routes to limit their movements and ambush them with your team or make your escape.
Fliers shoot from above which means most of the usual covers are useless against them. Use the bridges or caves as cover, since they will block any vertical incoming damage and they will give you enough time to think of a plan of attack/escape or for your team to reach you and provide cover for you.
Surrounding the enemy
Some fights cannot be won by attacking the enemies head on or shooting behind cover to slowly damage them before you engage. Analyze the battle progression and if you see that your team cannot gain any ground take some of your teammates and quickly circle around the enemy and ambush them from behind.
By doing so, you will help your team advance during the commotion you caused and push the enemies back.
Go for the medics first since they are the ones helping their team to hold their ground, so damaging them or destroying them will reduce the overall durability of the enemy team.
It’s really important to let the rest of your team know about your plan so they can charge ahead while you ambushing the enemies, otherwise they will just stay behind cover instead of advancing and the enemies will destroy you one by one.
Know when to ask for repair
When your vehicle is badly damaged your first thought is to go to the medic to repair it, but to become a better player you need to know when you should do that.
If the medic in your team already repairs other players, check what types of vehicles are left in your team and the enemy team and think if it’s a wise move to be repaired first. So if you and 1-2 more of your teammates have plasma vehicles and there is only one damaged smg or sniper in the team, let the medic heal them first, especially if there is an enemy bomber flying around.
In another case, if you use a smg vehicle and there is only one damaged plasma vehicle being healed check if there are any bombers in the enemy team and if there aren’t any, let the medic fully repair the plasma vehicle before you ask for repair. The antigunbrella damage of the plasma would be more important for the team instead of just another smg.
There are a lot more cases like these but the main point is to OBSERVE how the battle progresses before you ask the medics for help, don’t just go in front of them and force them to repair you if you know that the vehicles being repaired at the moment are more important for the battle than yours.
Enemy Capping
When enemy units start capping your base try to figure out how many of them are there by paying attention to the capping speed. This is a good way to know if you will need backup and also what to expect when you arrive at your base to defend it.
It takes time and practice to calculate the number of enemies capping your base but it’s something that can be done by memorizing the capping speed and link it to the number of enemies you encountered.
You can memorize the capping speed changes safely when you cap the enemy base, so check how many of you are capping it and link the number of players to the capping speed.
Interaction with Megabots
Megabots are the most important and powerful units in your team but without good teamwork they can fall really fast. It’s really important for every vehicle class to know how they can assist the Megabot the best in order to win.
Medics
Keeping the megabot’s health as high as possible is really important especially when they are up against enemy megabots so make sure to prioritize them since if they lose their fight against the enemy megabot the rest of the team will be most likely overwhelmed by the power of the enemy megabot.
Plasma vehicles/bombers
They are the second most important support units since they can damage the enemy megabot really bad and give a huge advantage to their own megabot. Until the enemy Megabot is down keep shooting at it and keep its health as low as possible.
Snipers
Their sniping ability and high damage are ideal for destroying valuable parts of the enemy megabot, like weapons and movement items. Go for the weapons first to reduce the enemy’s fire-rate and then for the movement items to immobilize it.
SMG vehicles
Once the fight between Megabots begins, assist your Megabot by destroying the enemy Megabot's weapons and then continuously damage the rest of the vehicle too, so the medics cannot keep up with the repairs.
Make sure to always leave enough space for your Megabot to move freely in all directions and never stay too close to them or block them since it will most likely result in the destruction of the Megabot. Like I said before, they might use a lot more CPU that regular robots but they are not invincible and they need to be able to go back to cover whenever they want.
“If you are caught intentionally blocking the team’s Megabot you will receive a warning”
Advanced Warfare Part 2
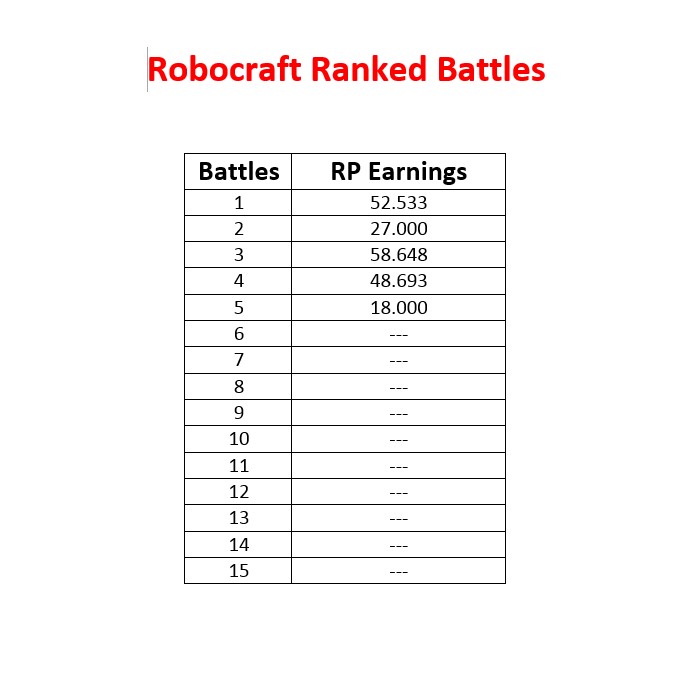
Ranked games
To increase your ranked score you have to win ranked games but winning only a few of them won’t be enough to get a high score on the leaderboard since the ranking system counts your average RP earnings over the last 15 matches you played and summarizes your scores to one, so if you had many bad matched during the last 15 ranked games you played your score might not increase if you win one.
Some other times you might win a game with a descent score but lose points. That means that you had a really good score 15 ranked games before and it was overwritten by the new one which was not as good.
If you want to reach the highest score possible the best way to do it is to keep a log of your ranked games. That way you will know how many of the last 15 games where bad and how many where good. For example if you won a really good ranked game with from which you have received a lot of RP write it down and try to win as many of the next ranked battles as possible and stop when you reach a really high score and you know that your next match will overwrite the really good one you played.
Challenge battles
Building the right vehicle
For a challenge battle you will need fast vehicles which will be able to move quickly around the map and reach any enemy units before they have time to escape.
Good vehicle types for challenge battles are hovers, fliers and cruisers. You should avoid using tanks, since they are too slow, and walkers, since they can easily lose legs.
For the weapon class, you should choose between smgs or plasmas since rail cannons have a really high cool down and the disruptors have a very short range for this game mode.
SMGs are the best choice for this case since they can take down both ground and aerial units but if you are skilled with plasmas and can hit aerial units you could use them instead since their high damage will quickly destroy each enemy unit.
Add a lot more weapons than you need (up to 10) since the enemy units will target them to reduce your damage and then, when you have no weapons left, destroy the rest of your vehicle.
Tactics
Move close to the middle base and find a good cover. The first thing you need to do is to destroy any enemy fliers first and then hunt down the rest of the enemy team. This is really important because bombers will do some serious damage to your vehicle and it will be really difficult to aim at them later when the enemy surrounds you.
Your next target are the enemy snipers so if you spot one try to avoid getting hit and go close enough to destroy it. They can easily destroy your weapons so they can be a really big threat.
Finally target any medics and ground plasmas since they are the next most dangerous units and leave the enemy smgs for last since their low damage cannot cripple your vehicle easily.
Platoon battle
Entering a challenge battle with a platoon to support you, will make it much easier for you to win but you have to pick your team carefully.
Some good team combinations are:
2 players – SMG and medic or SMG and bomber
3 players – SMG, Medic, Bomber or SMG, Medic, ground plasma
4 players – As long as you have a core team of 3 players like the ones above, you can add any vehicle type you want in the fourth slot.
Megaboss battle
Megabots can enter solo challenge battles every 4 hours and go up against several T7 enemies. Without any support from their side, megabots have to play very carefully in order to win.
Even though megabots are really powerful they cannot take a whole T7 team head on so the best way to win is to find cover and destroy a few enemies at a time. You need to use the same tactics you would use in a challenge battle and destroy any fliers first then the snipers, medics and ground plasmas and finally any smg vehicles left.
Since you will not have a medic to heal you make sure to add as many weapons as you can on your megabot because that’s what the enemies will focus the most and without any weapons left there is nothing you can do but wait until the enemy team destroys you.
Conclusion
Robocraft is a combination of both good building and combat skills and if you want to become a pro player you need to master both of them. In this guide I shared with you all the things I learned from experimentation and research after playing for over a thousand hours, so do not expect to become better just by reading this guide, you also need to spend a lot of time experimenting with all these things I shared with you.
Many of you have been asking me for guides for my vehicles but I believe a guide like this one will be more useful to you and will help you build good vehicles yourselves so you don’t have to depend on others. In any case if in the future they add a player roboshop I will definitely add my vehicle designs there so you can buy them.
Things in Robocaft are always changing so in time some of the information I shared with you might not be valid anymore because of the changes that will happen in the game. That’s especially true with the antigunbrella effect which will either change or be removed in the future. For that reason, make sure to check the Robocraft website regularly (robocraftgame.com) for more information about new updates or changes in the game.
If you encounter any issues with the game contact freejam at this email: [email protected]
If you liked this guide make sure to like it and add it to your favorites and I hope in time it surpasses my building guide in rank :)
+++You can find some of my bots on the shop, just type "Kostas" on the search engine+++
You can follow me on the robocraft garage:
robocraftgarage.com/u/kostas_rc/builds
Or on my new youtube channel:
www.youtube.com/channel/UCgpFpzy-bnEcK8aTsEqkx1w/featured
Source: https://steamcommunity.com/sharedfiles/filedetails/?id=371274837
More Robocraft guilds
- All Guilds
- The Ultimate Building Guide
- Robocraft Guide 7
- Naval Mode
- Robocraft - Crate System Guide
- Robocraft - A Simple Guide
- Robocraft - Curse F-66 Owner's Manual
- Robocraft - Tier List of Every Single Parts in the Game
- Robocraft - Damage Determined by Angle of Impact
- Robocraft Royale - Beginner's Guide