
Introduction
Update: 03.03.2015 Be aware, this guide is really outdated, If you want to learn more about building read my newest guide:
http://steamcommunity.com/sharedfiles/filedetails/?id=371274837
Also, make sure to visit my youtube channel for new, up to date tutorials:
https://www.youtube.com/channel/UCgpFpzy-bnEcK8aTsEqkx1w
We can all build a vehicle which will be able to drive, hover or fly and equip it with a few weapons in order to destroy an enemy robot. But when you climb up the tier scale you will find out that the vehicles you build will become more and more fragile, no matter what tier blocks or how many you use.
Sometimes you get heavily damaged really fast or even die instantly from an enemy sniper or plasma gun. This is when you realise that just putting blocks on top of each other is just not enough.
Robocraft requires Imagination and good fighting skills but those two mean nothing without a strong vehicle to support them. If you are able to take advantage of your building material and use it to its full extend you WILL dominate this game.
In this guide I will show you all the building tricks I have learned so far and give you new ideas about how you can build vehicles that can withstand almost everything.
Building For Beginners
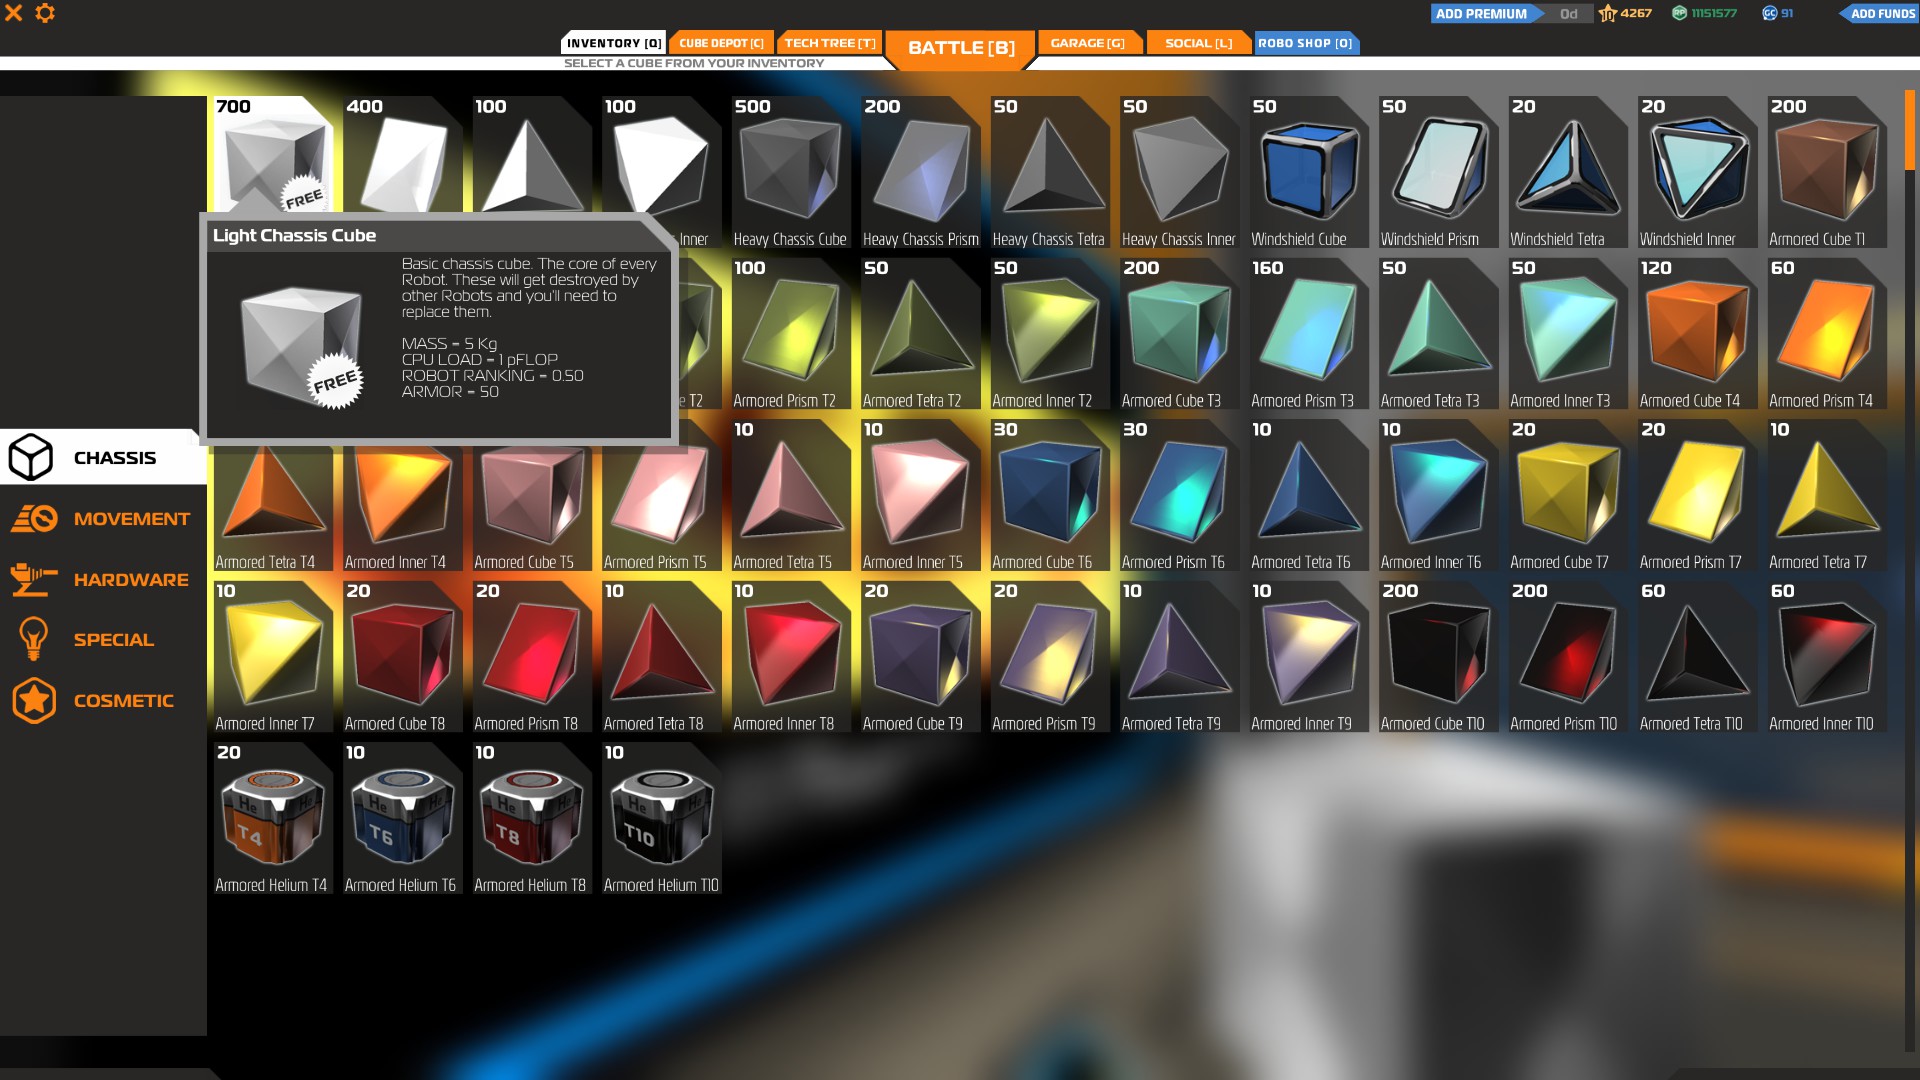

As a beginner in this game you need to learn the basics of robo-building and you also need to know everything about the building materials you are using.
Your most basic building materials are:
- Cubes
- Prisms
- Tertas
- Inners
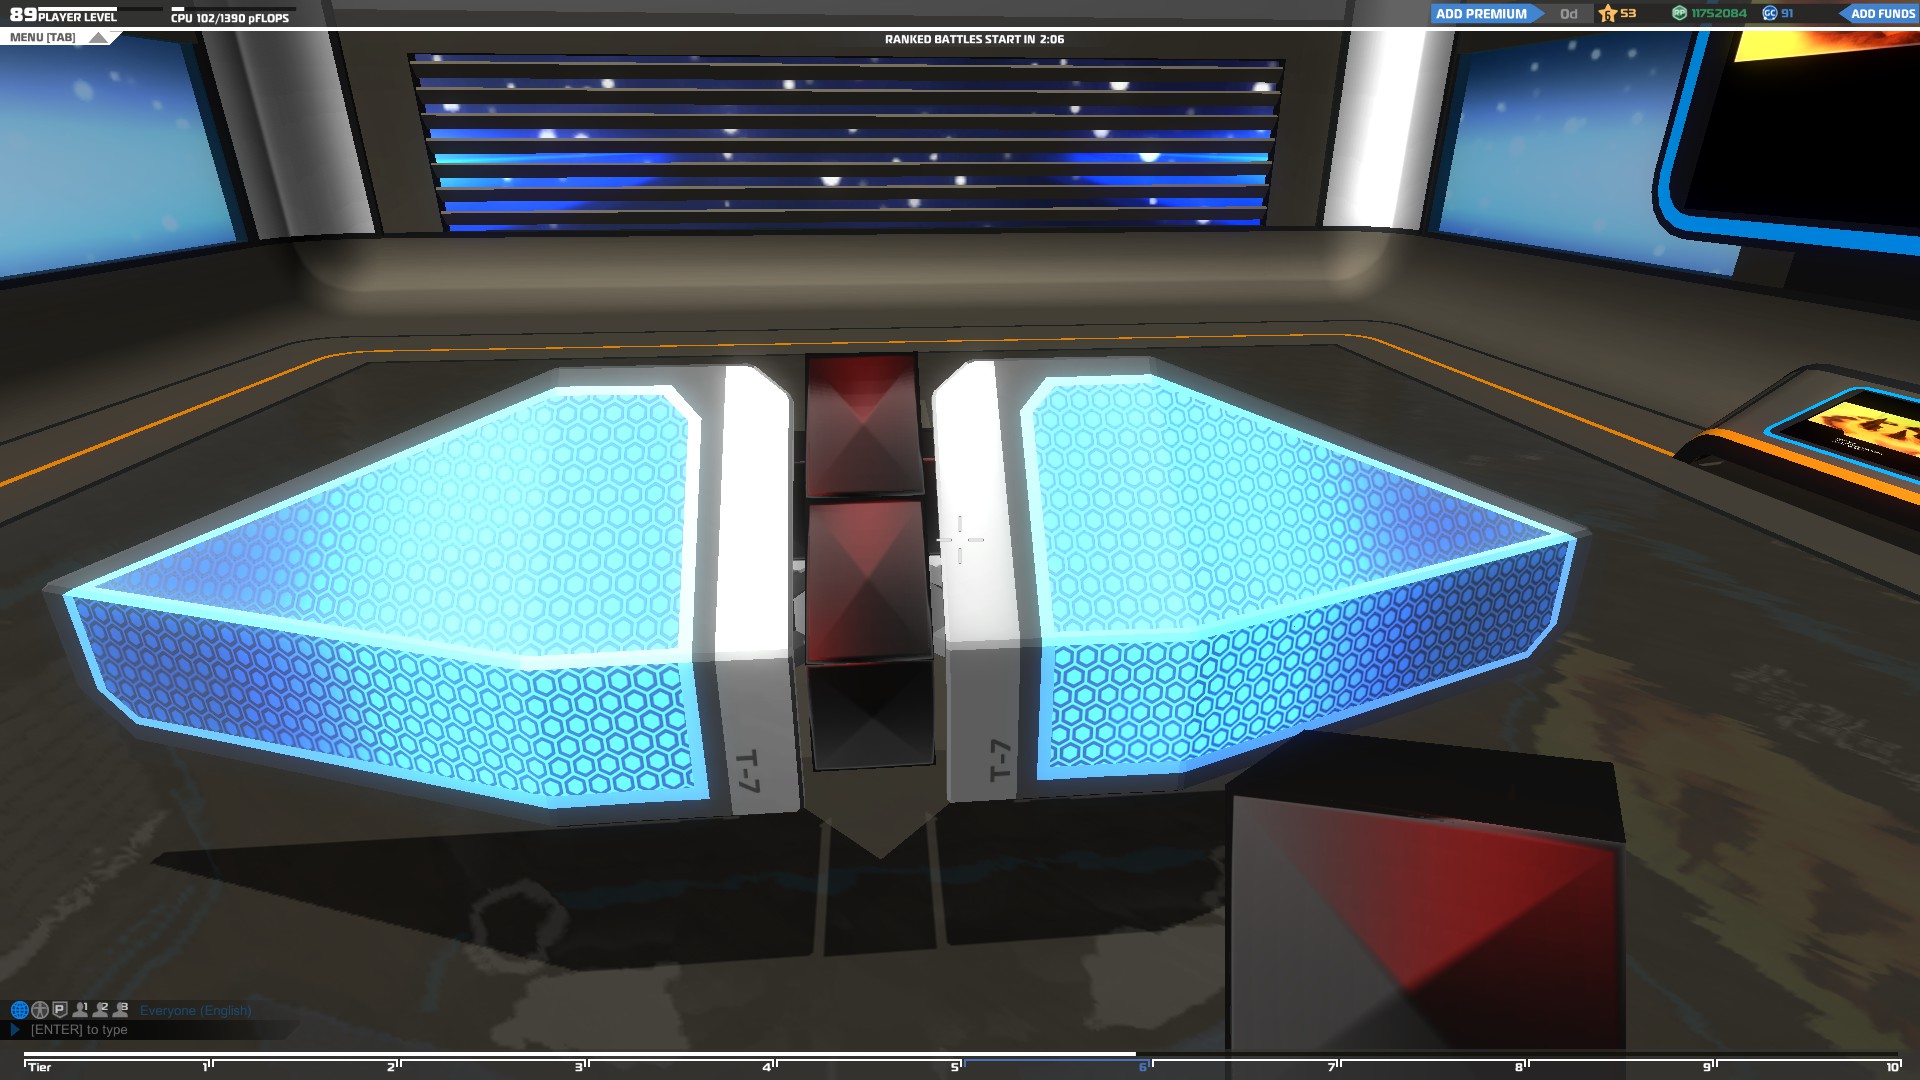
You can use these blocks to build a base and a body for your vehicle.
You might think that the only difference of these blocks is their shape, well, that is not entirely true.
If you move your mouse cursor over each block in your inventory, you will be able to see more information about them.
For example, each white cube has
- Mass = 5 kg
- CPU Load = 1 pFLOP
- Robot ranking = 0.50
- Armor = 50
The mass of each block represent the weight of the block. If you add too many cubes on your vehicle and the overall weight is high, it will be slower.
If you look at the Prisms, Tetras and inners you will notice that they are lighter, but they still have the same amount of armor, so, you can use them wherever you can instead of cubes to make your vehicle lighter.
The CPU Load represents how much CPU your item requires. You can see how much CPU you have left at the top, left corner of your screen, next to your level. You can get more CPU space by leveling up. You can level up when you get enough experience points which you can get by inficting damage to the enemies, getting kills or assists. The maximum level you can reach is 100 and CPU 1511.
The robot ranking system places your vehicle at the right tier level, according to the building material and weapons you use. The white blocks have low robot ranking so the body of your vehicle will be ranked Tier 1. If you use blocks or items of a higher tier, your vehicle ranking will rise to the next tier. You can see your tier level at the bottom of the screen.
The armor represents the toughness of the block. The more armor the block has, the more damage it can withstand.
How damage works
When you get hit by an enemy weapon your blocks and items will be destroyed. How many they will be destroyed depends of their armor.
For example, If you receive 300 damage from an enemy weapon, it will spread to the surounding blocks and you will lose 6 white blocks
(300 dmg / 50 armor per block = 6 white blocks)
Building your first vehicle
To begin building your vehicle, first you have to select the building material you need and place it
using your left click. You can hold the left mouse click to place more cubes faster.
In case you want to delete an item or a block you just have to aim your cursor at it and use the right click. To delete more blocks or items faster just press and hold the right click.
Finally, you can use the middle click of the mouse to select a block or an item you have already placed in your workshop. For example, If you want to quicly select a prism, aim your cursor at a prism you have already placed on your vehicle and use the middle click to select it.
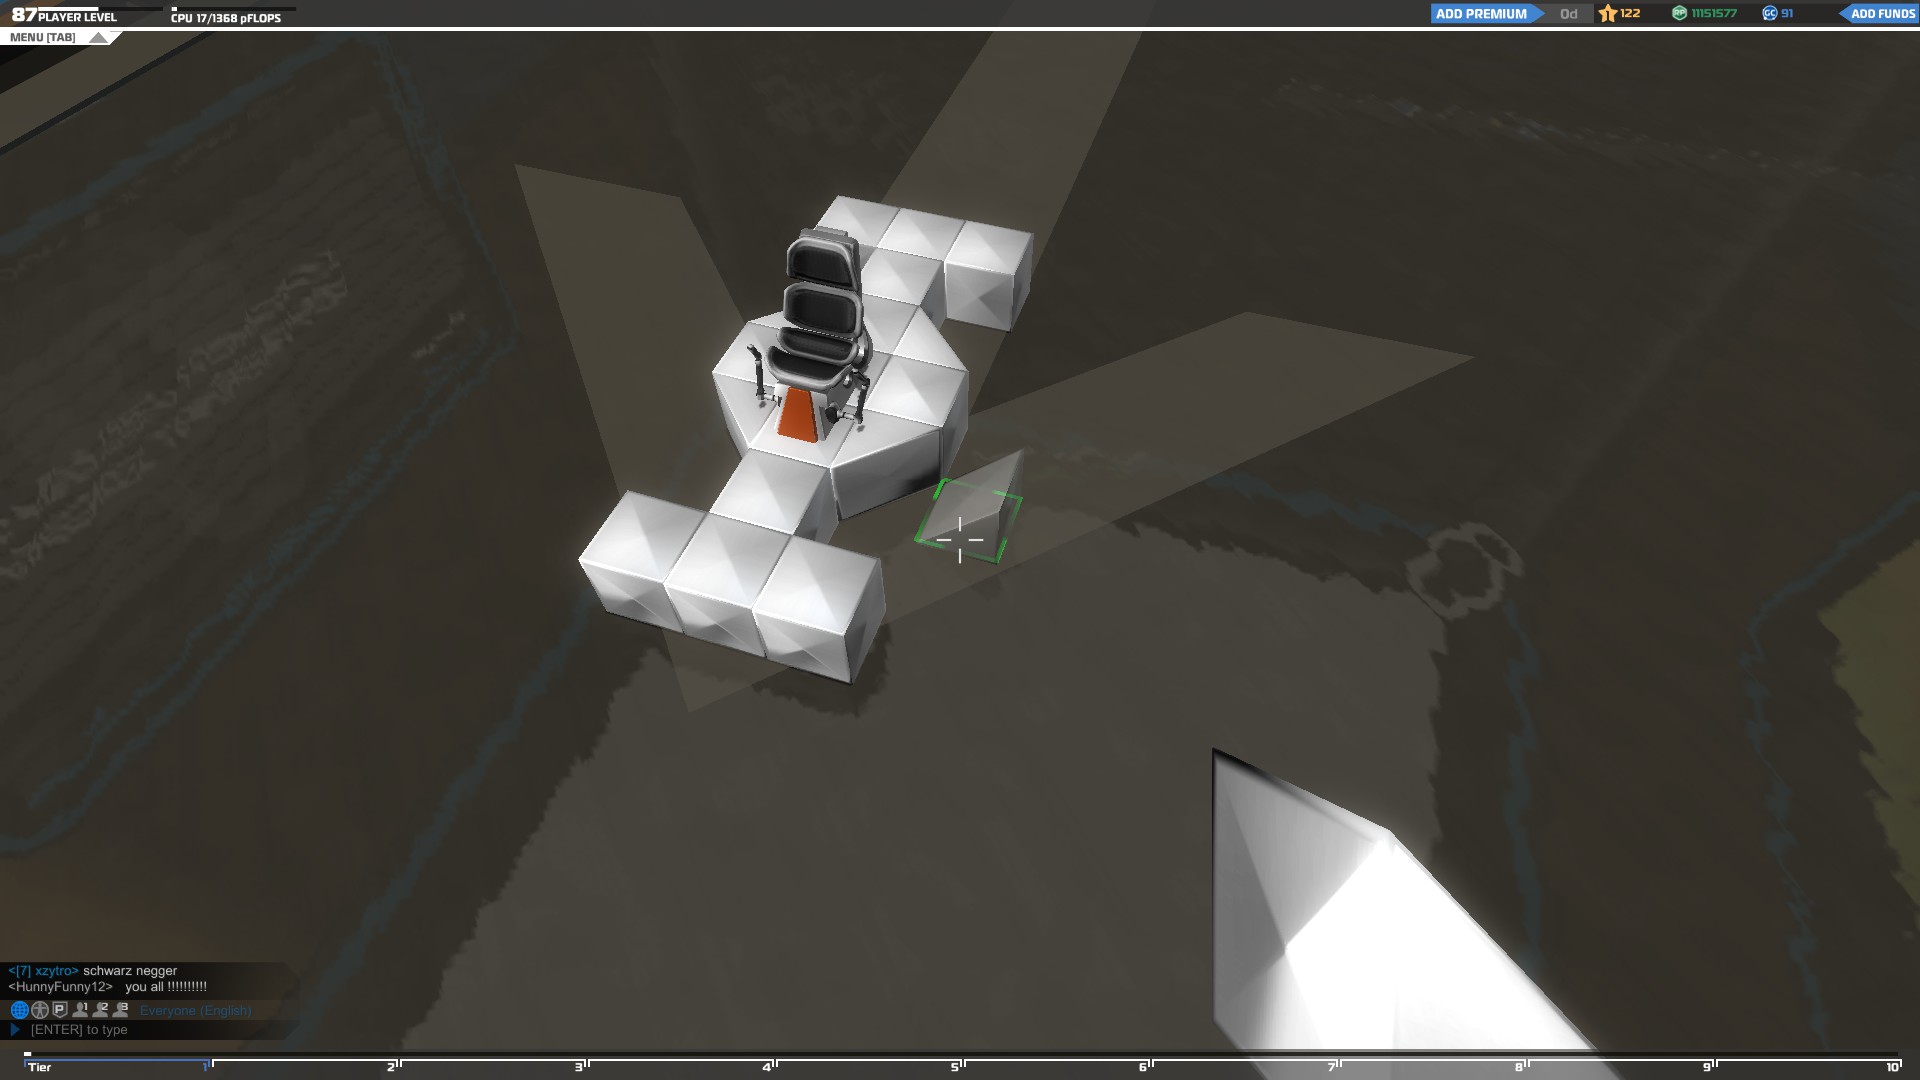
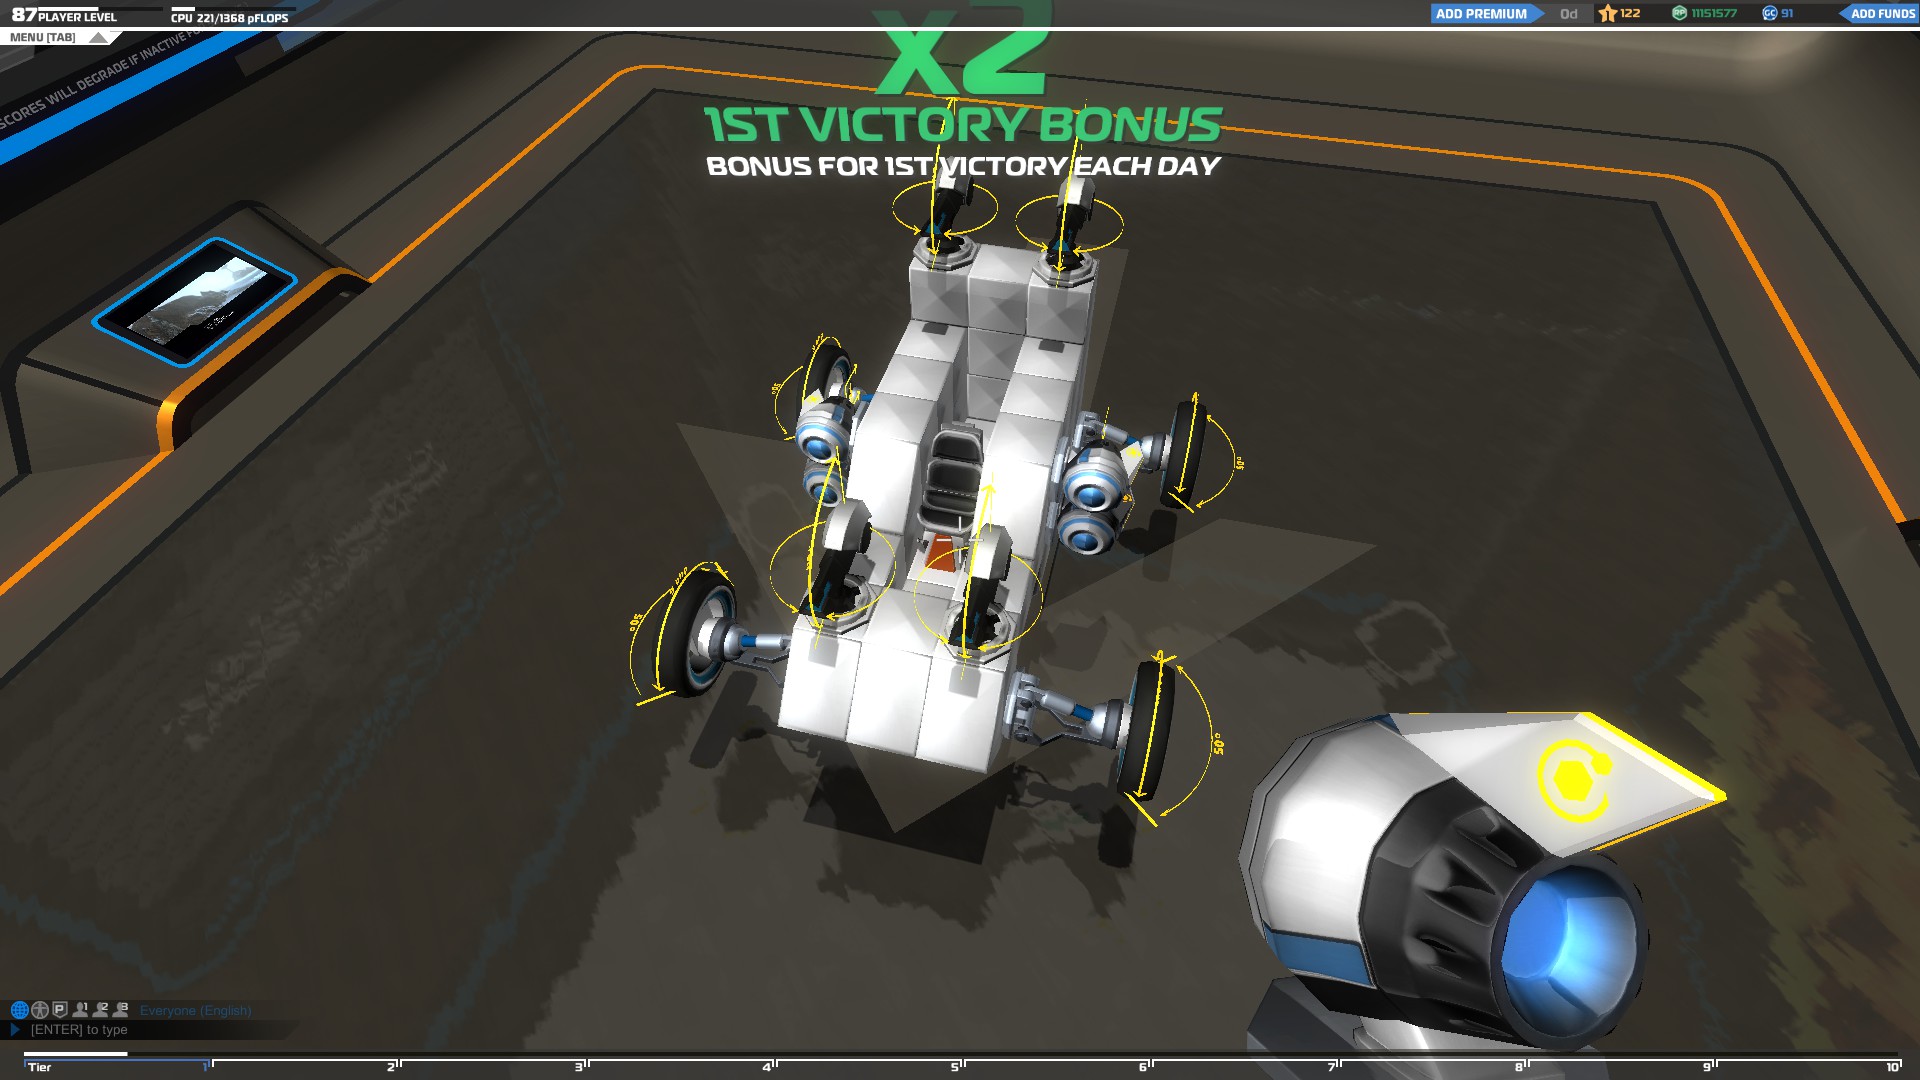
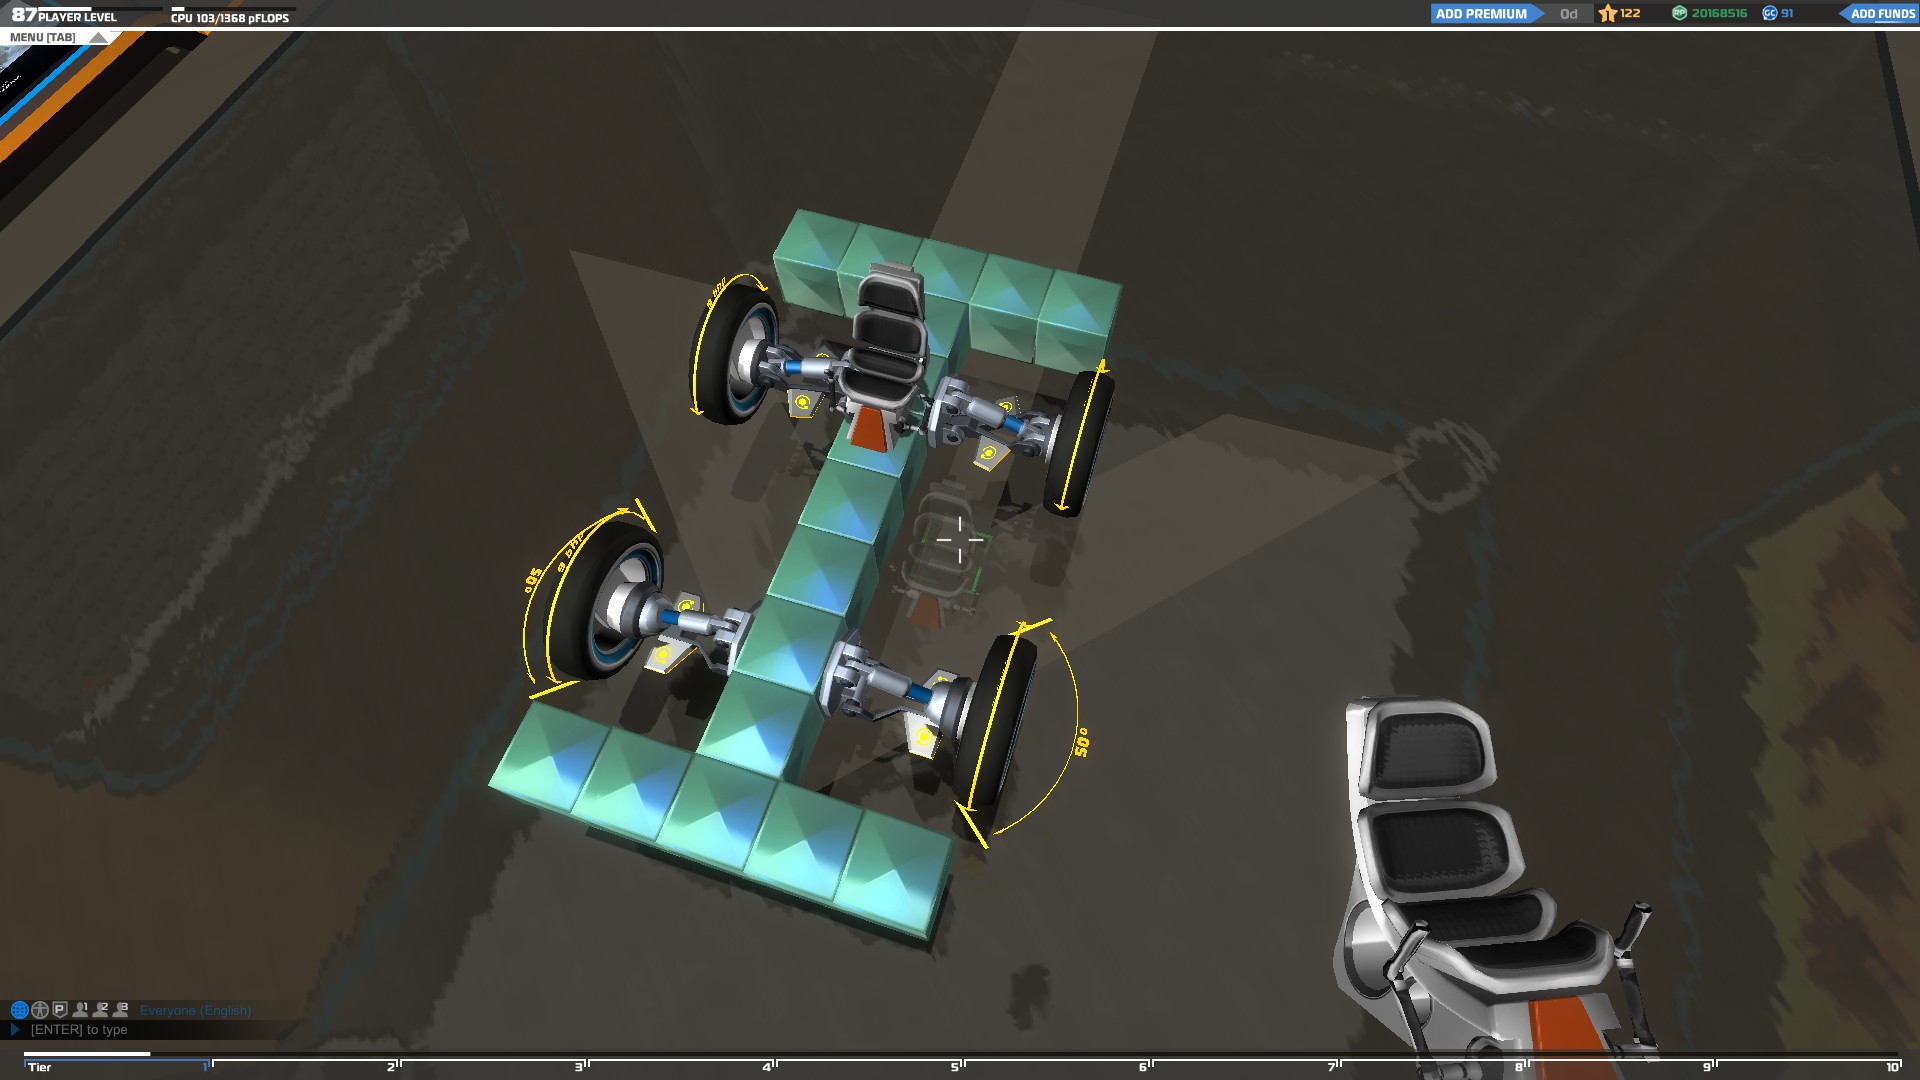
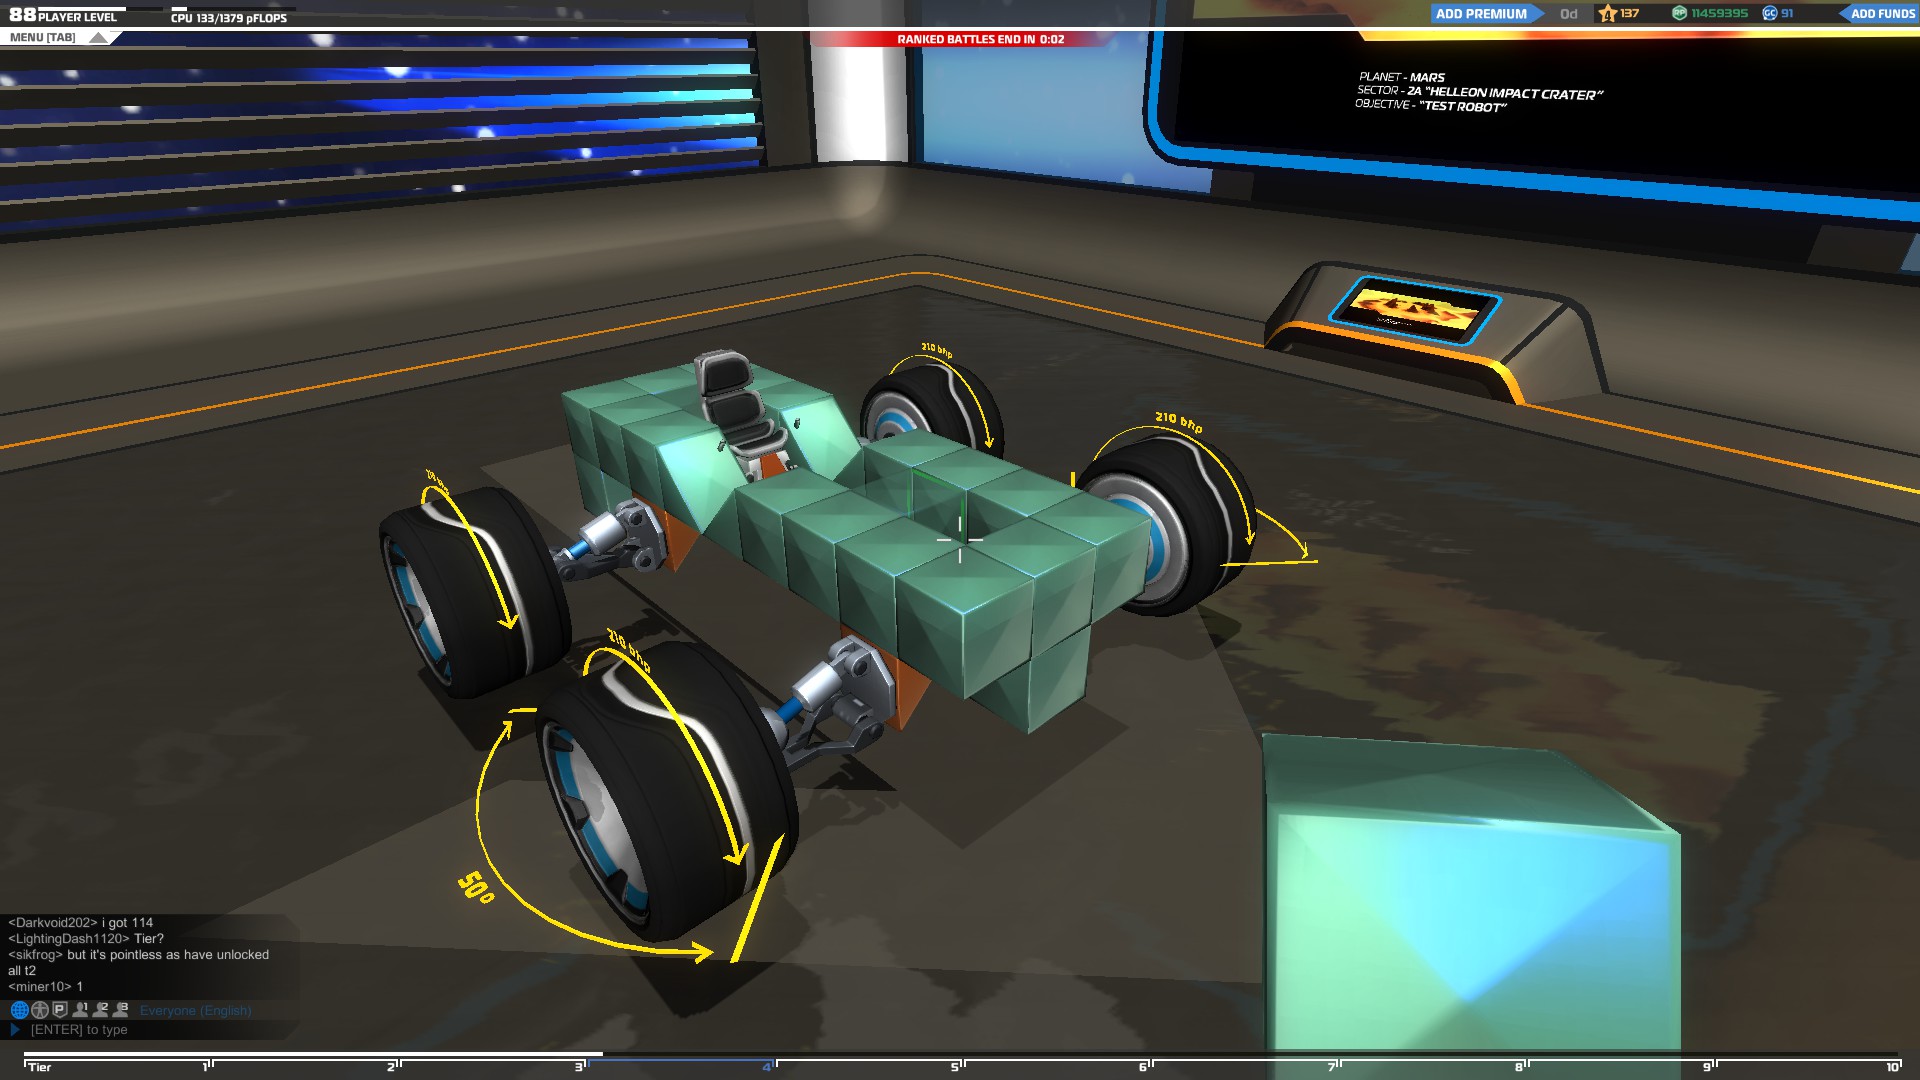
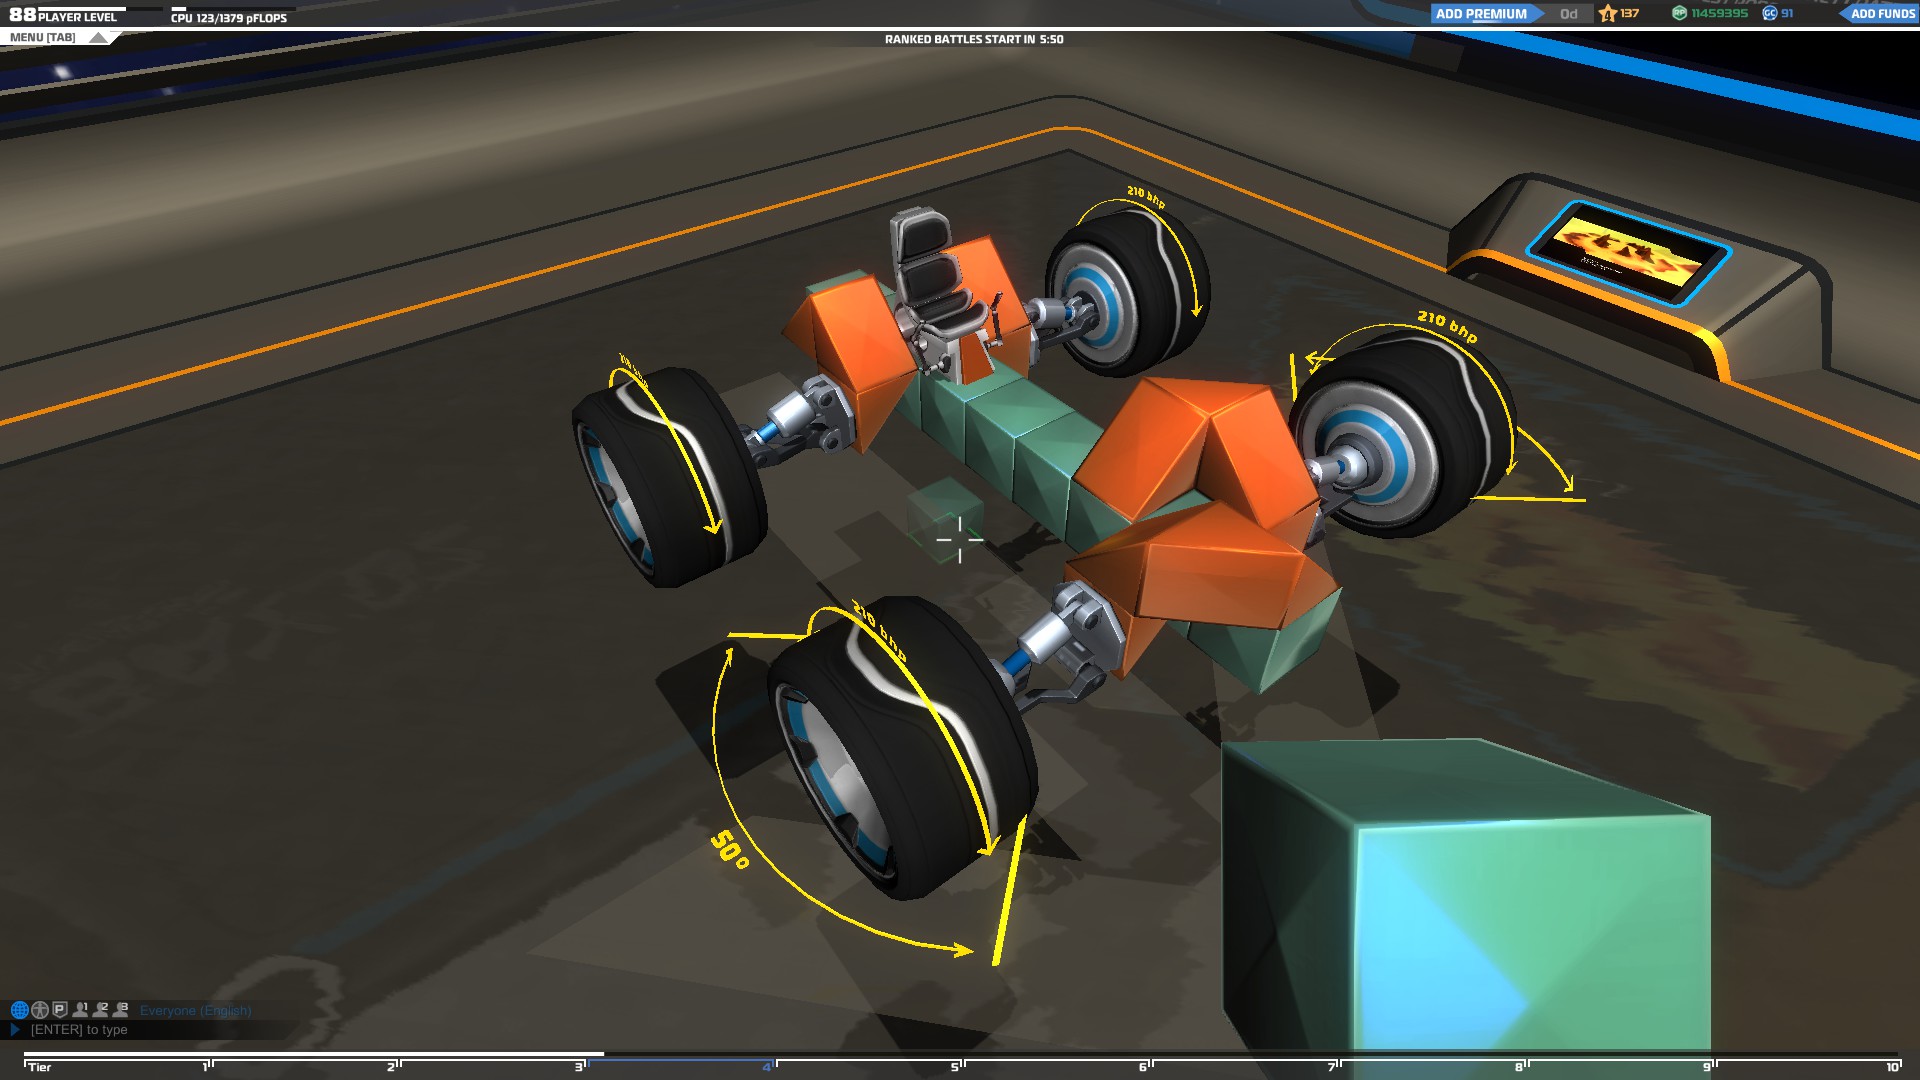
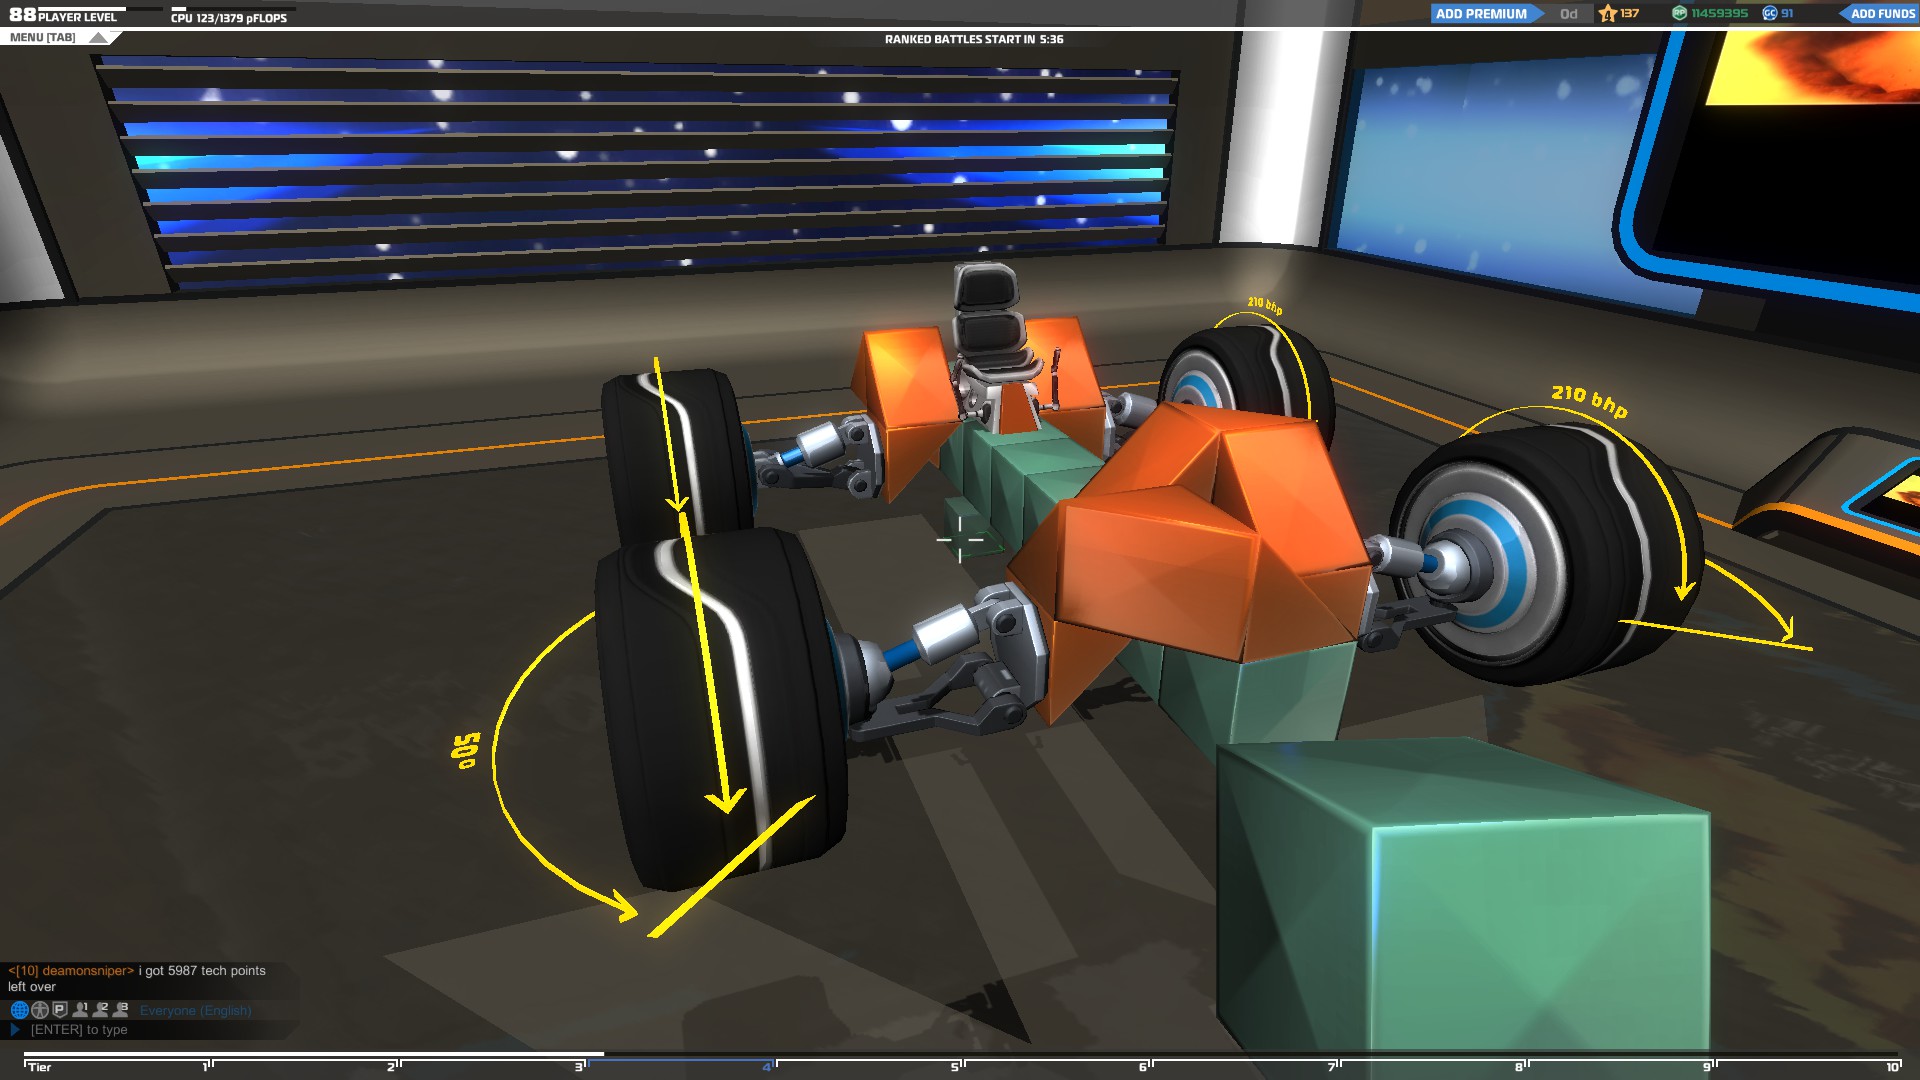
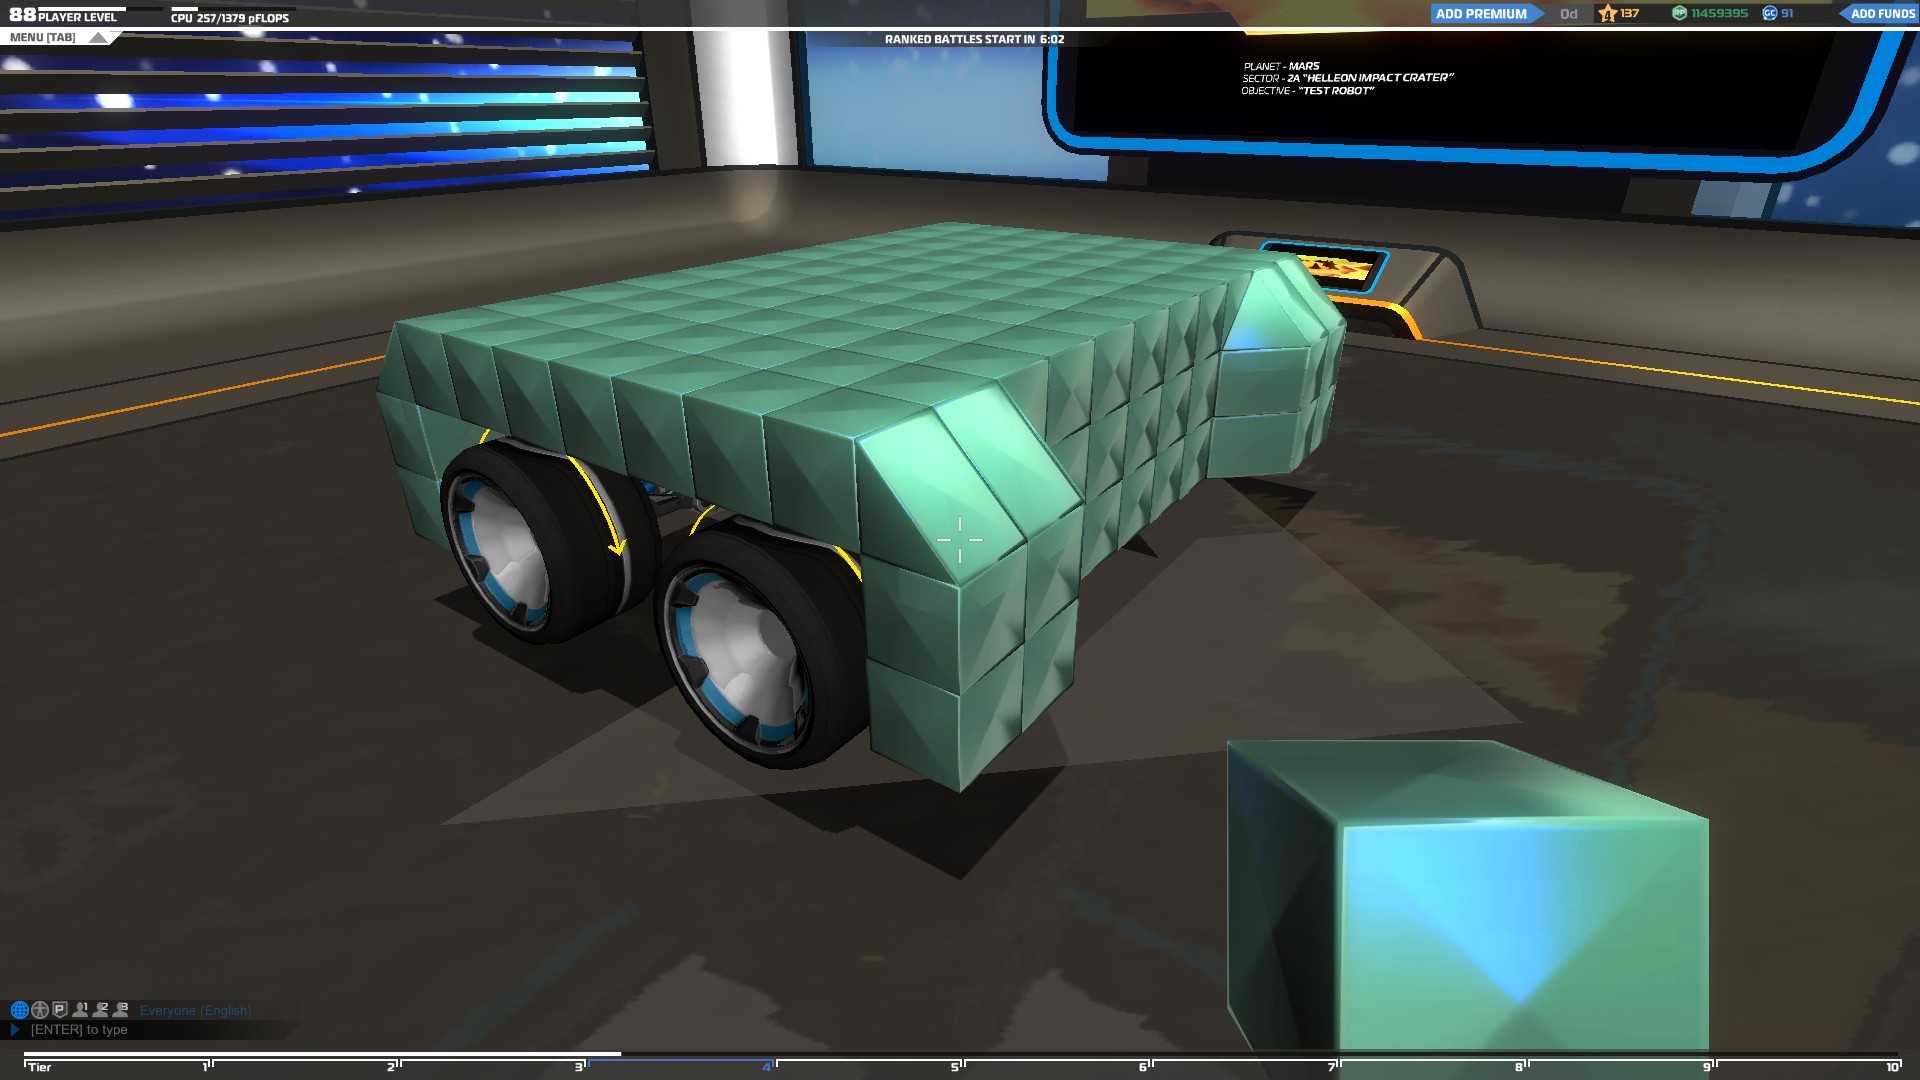
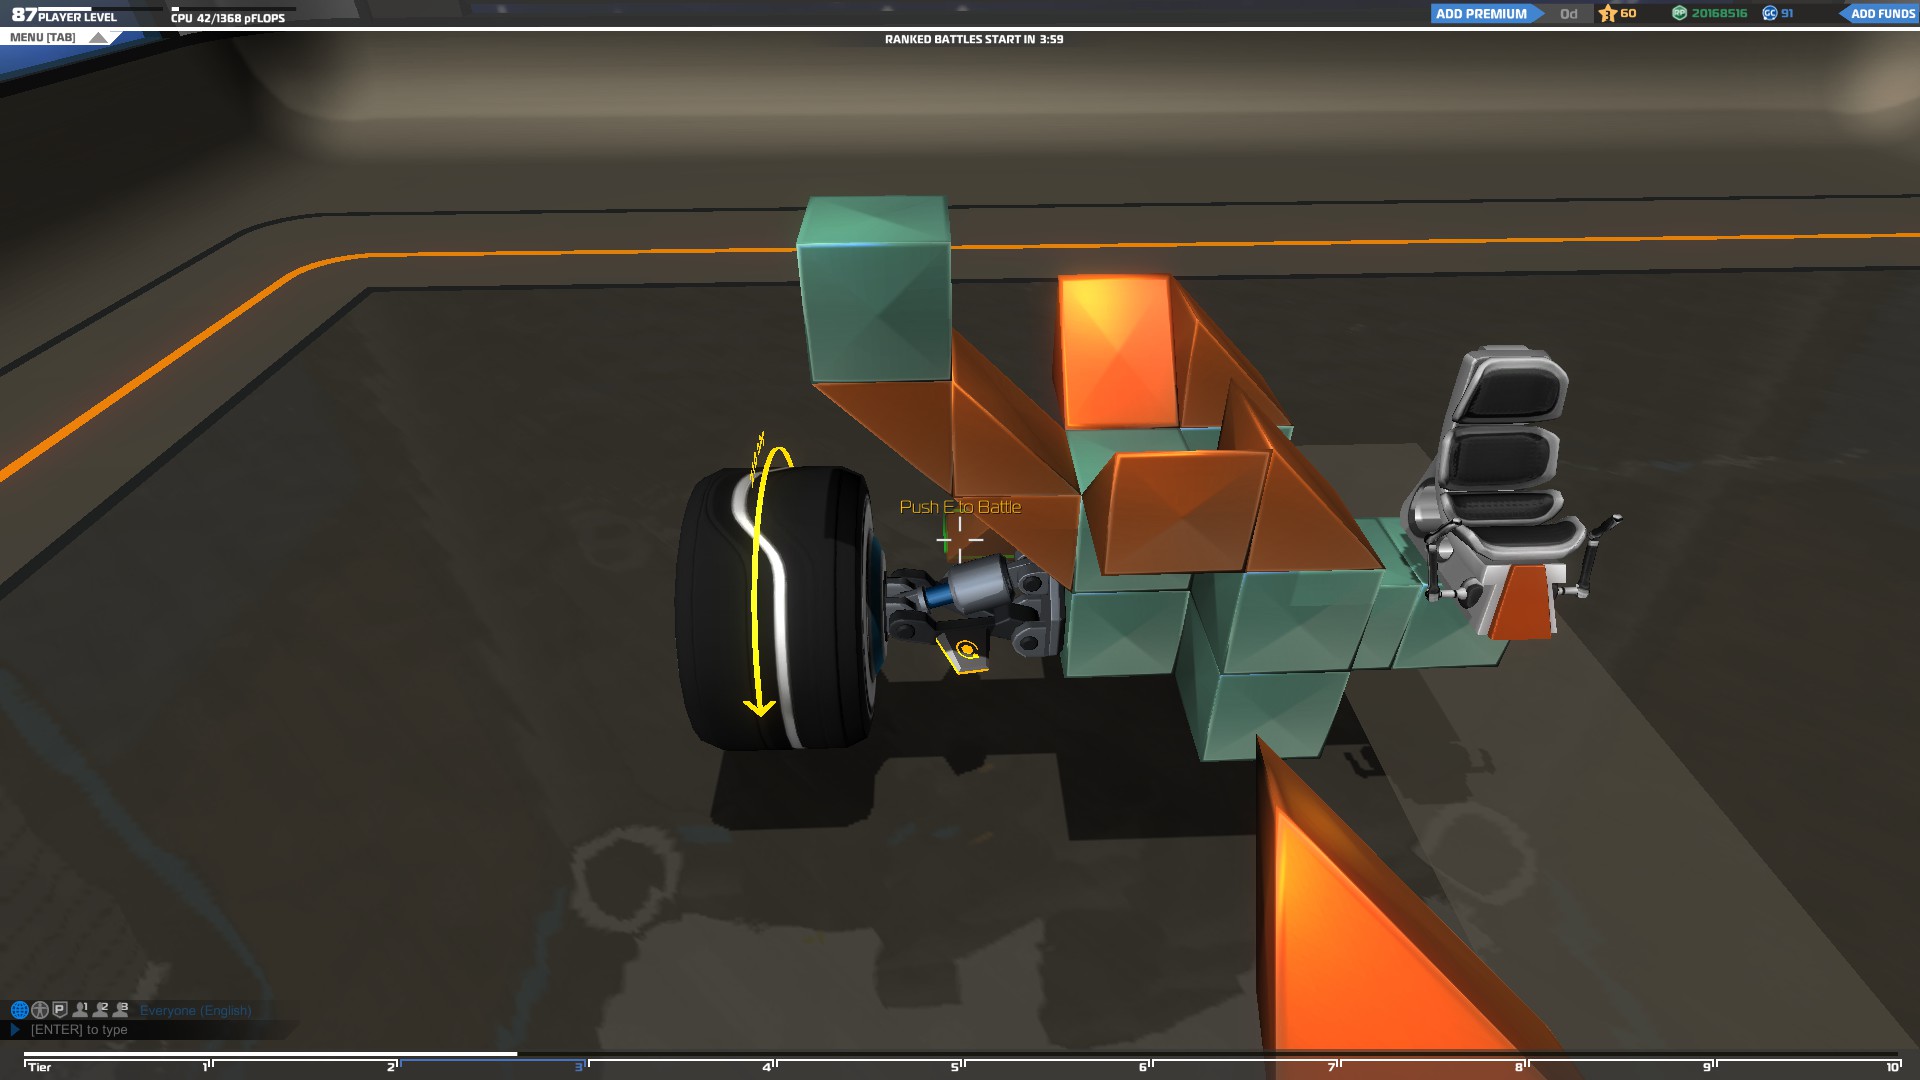
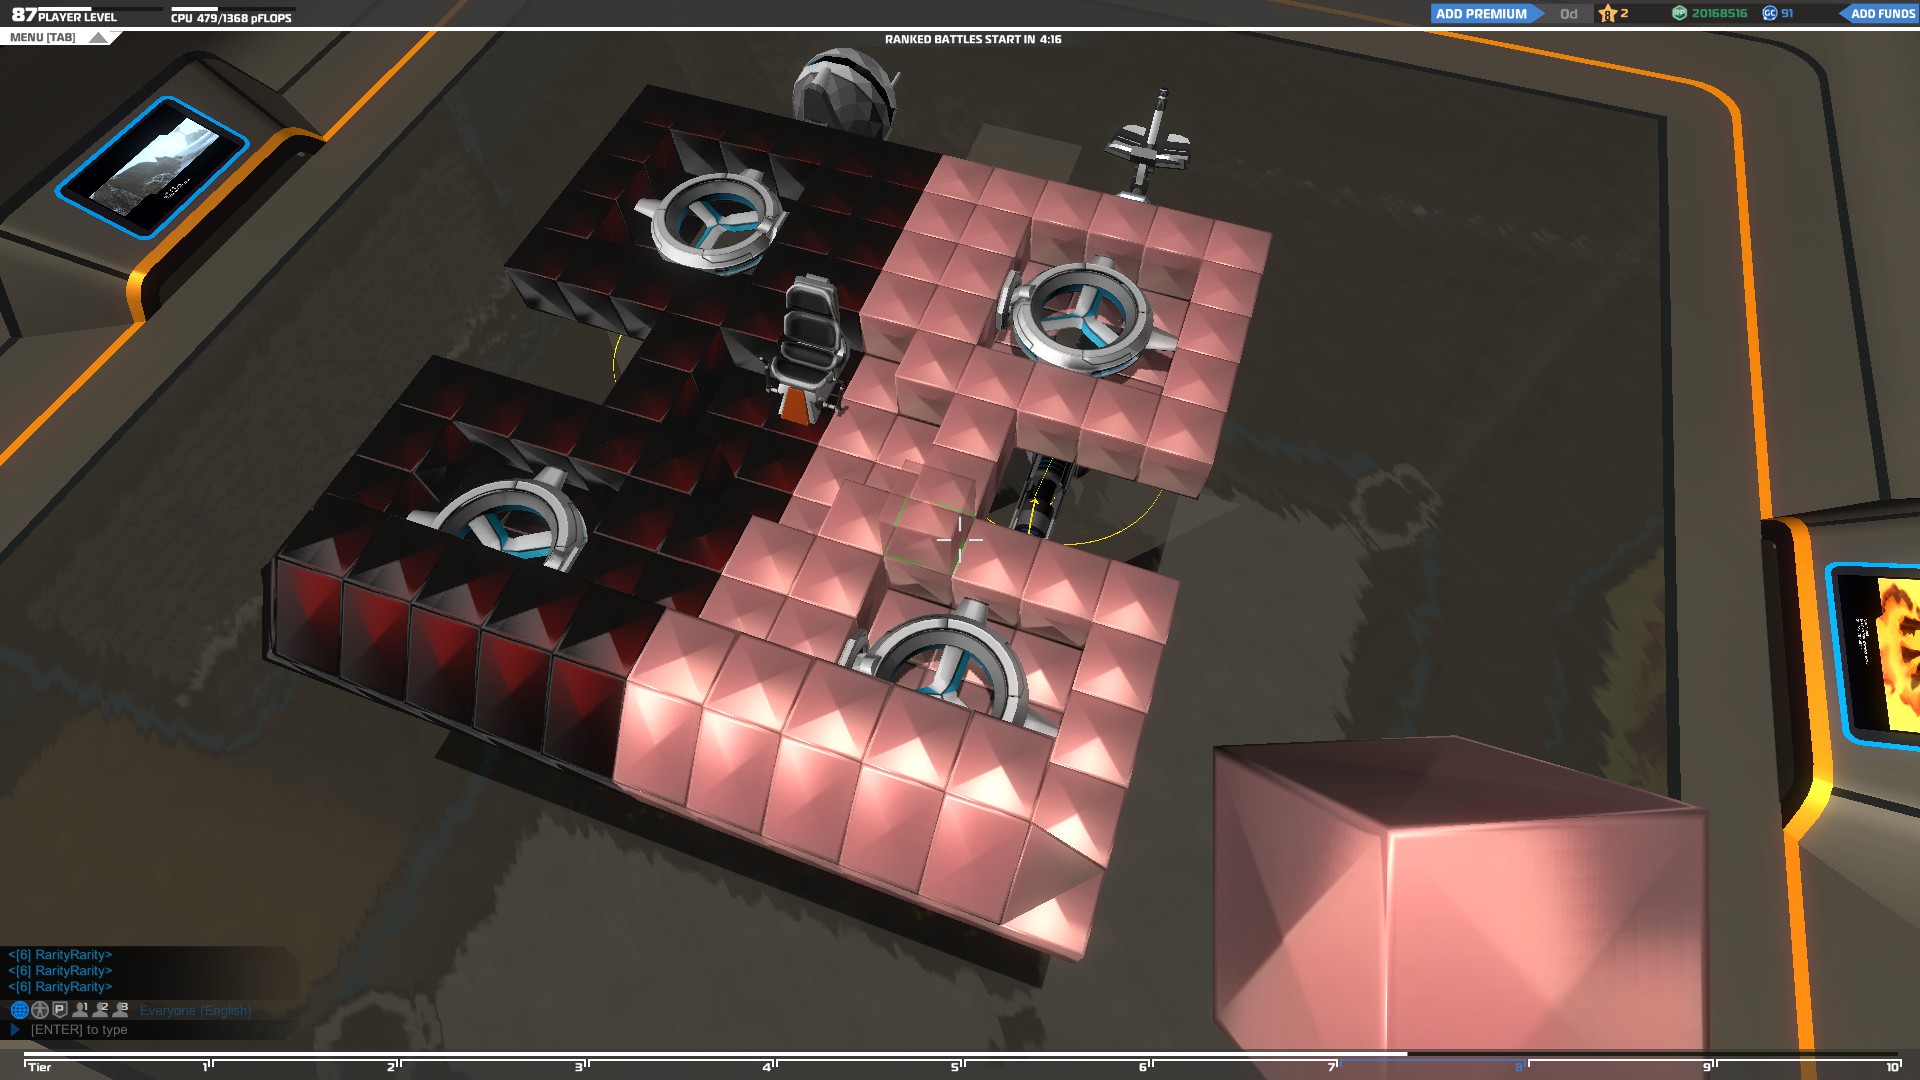
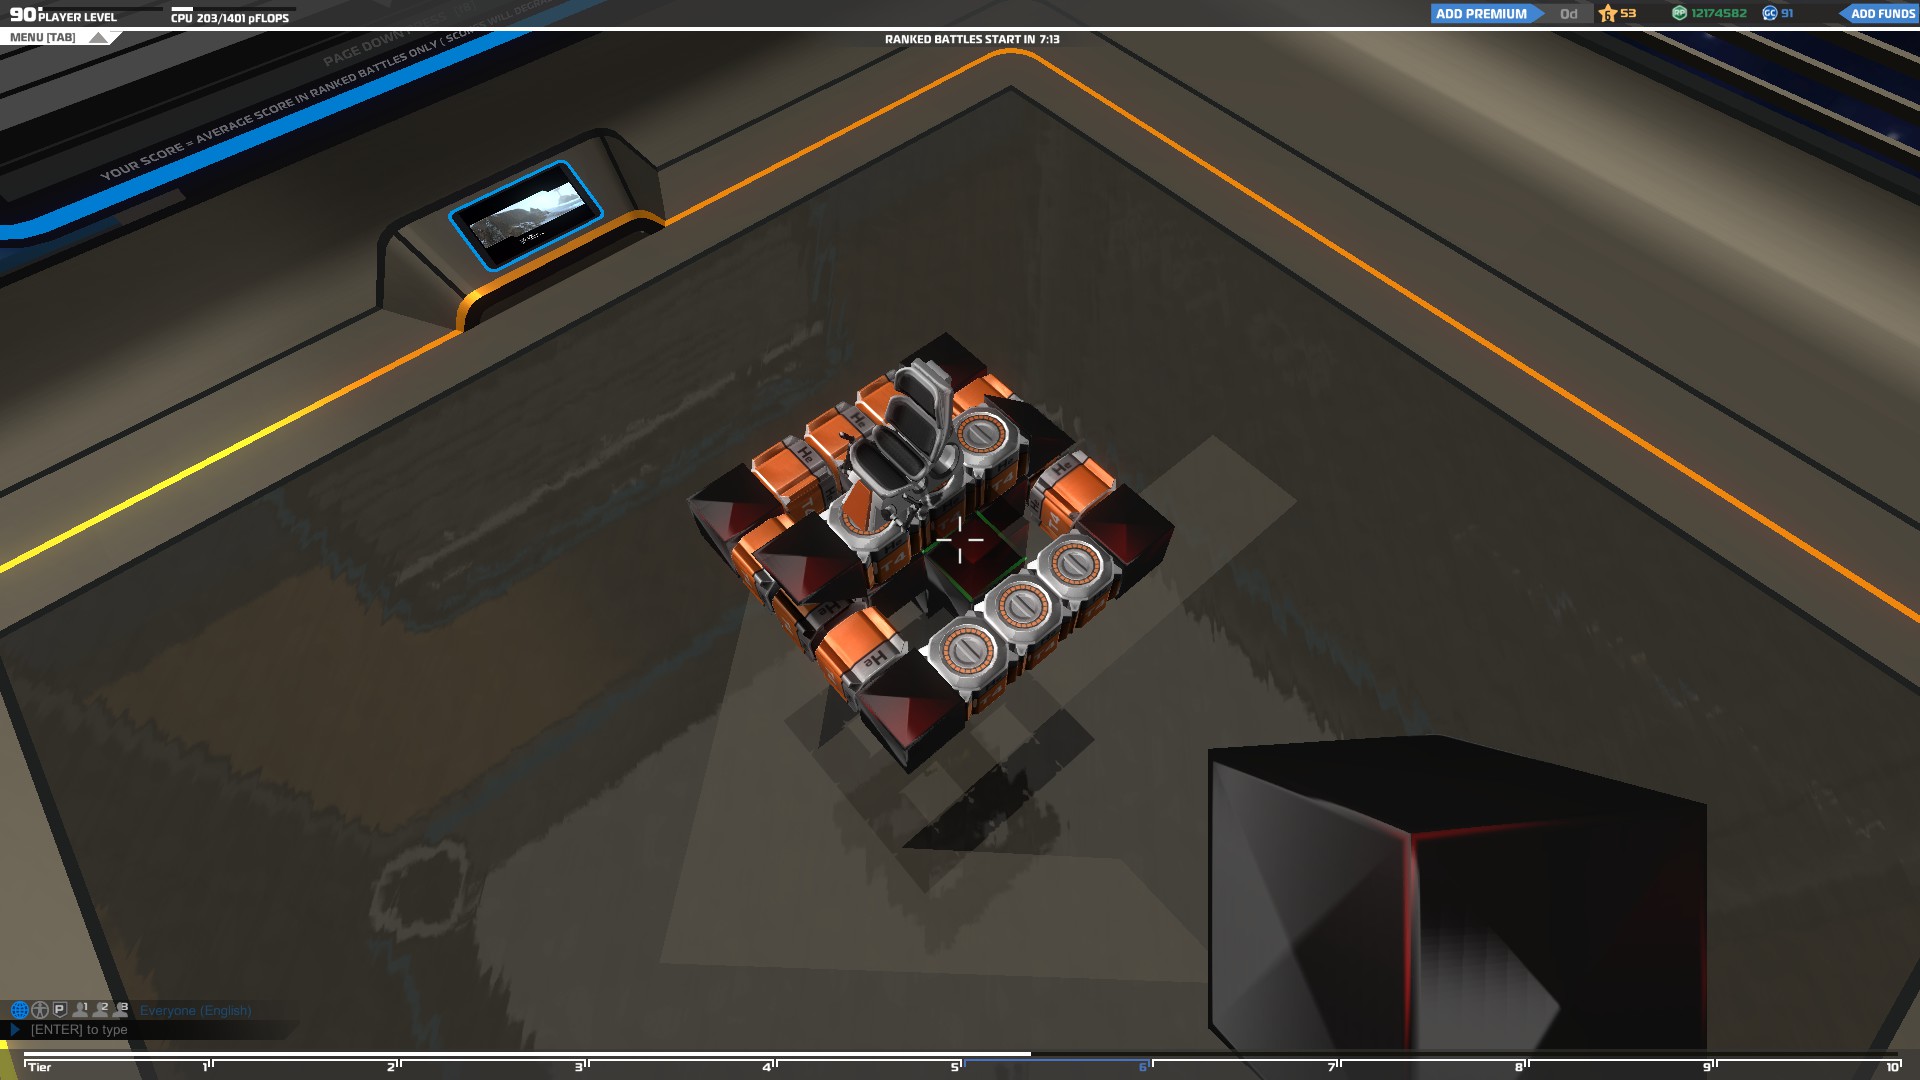
The first thing you need to build is the base of your vehicle which will support your seat and wheels and body of your vehicle.
"The seat itself is indestructuble but if the block that supports it is destroyed, you will die, so make sure you protect it well."
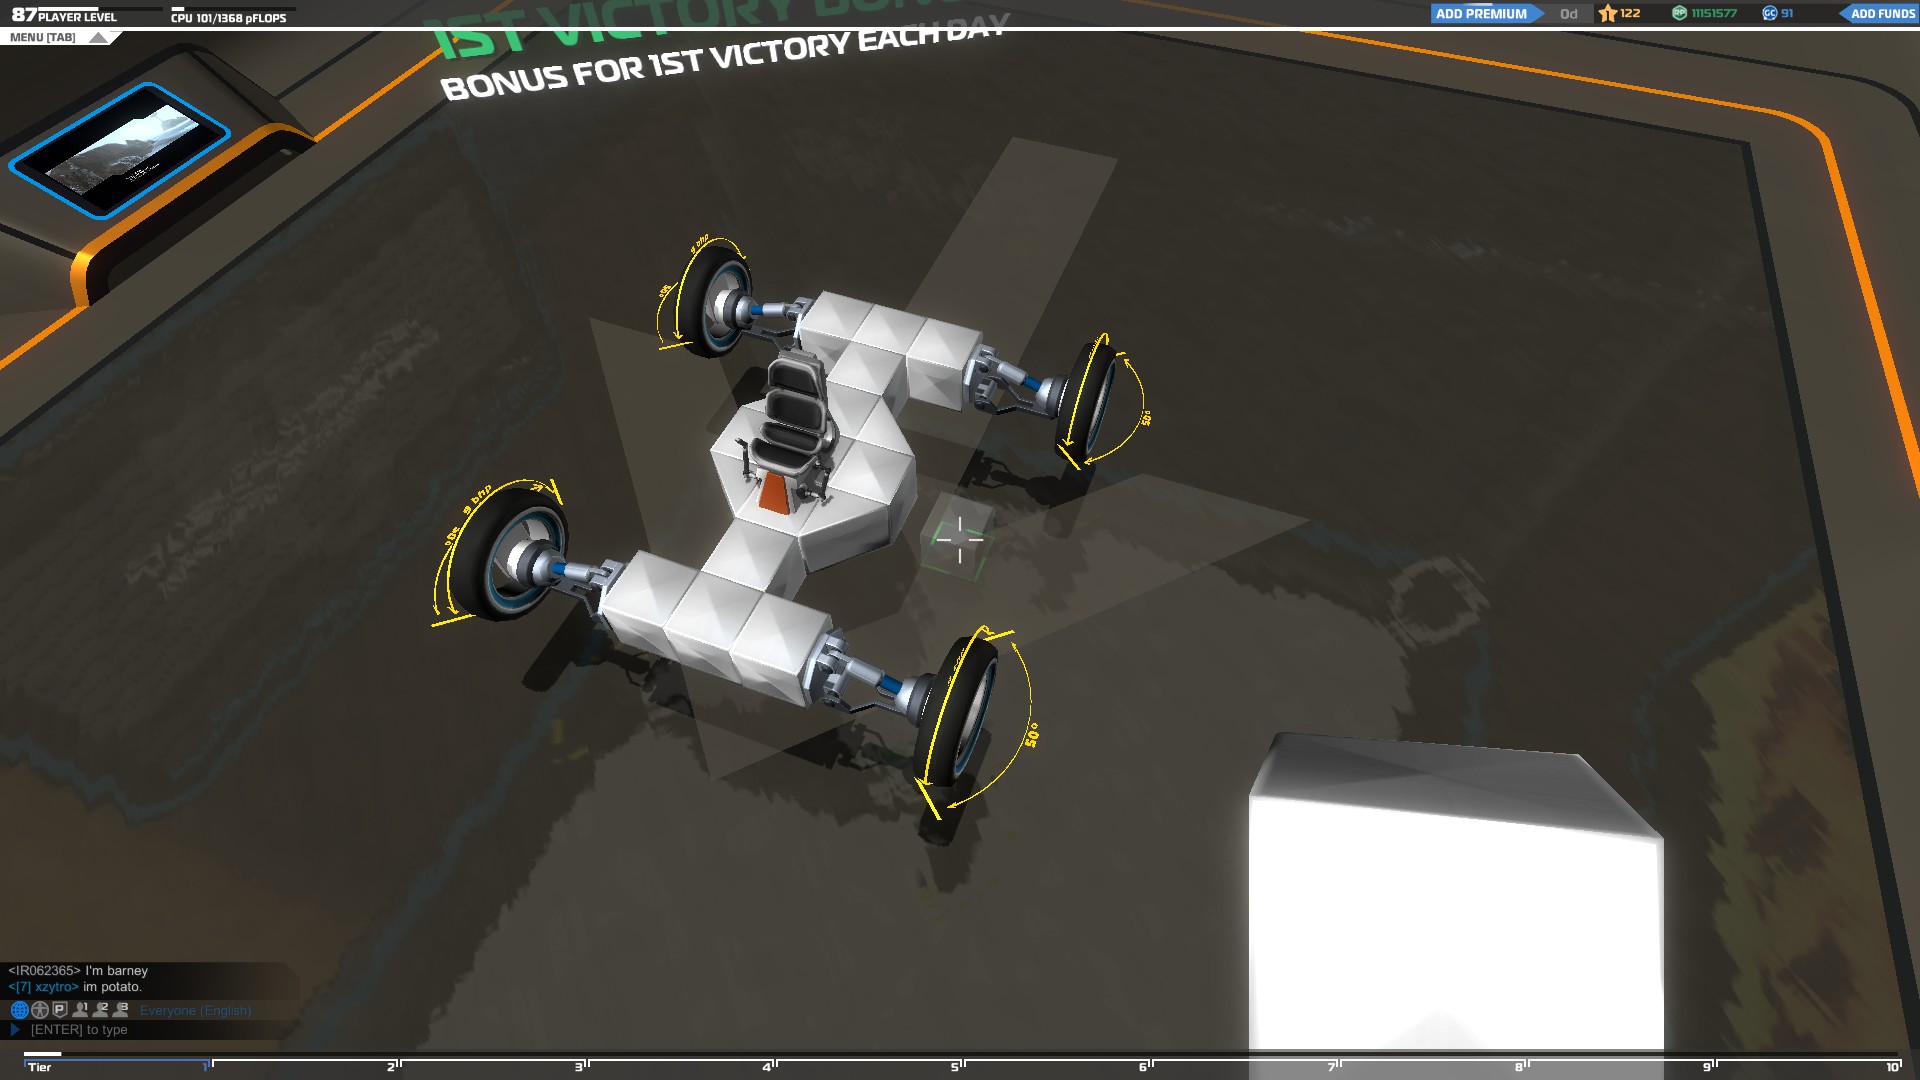
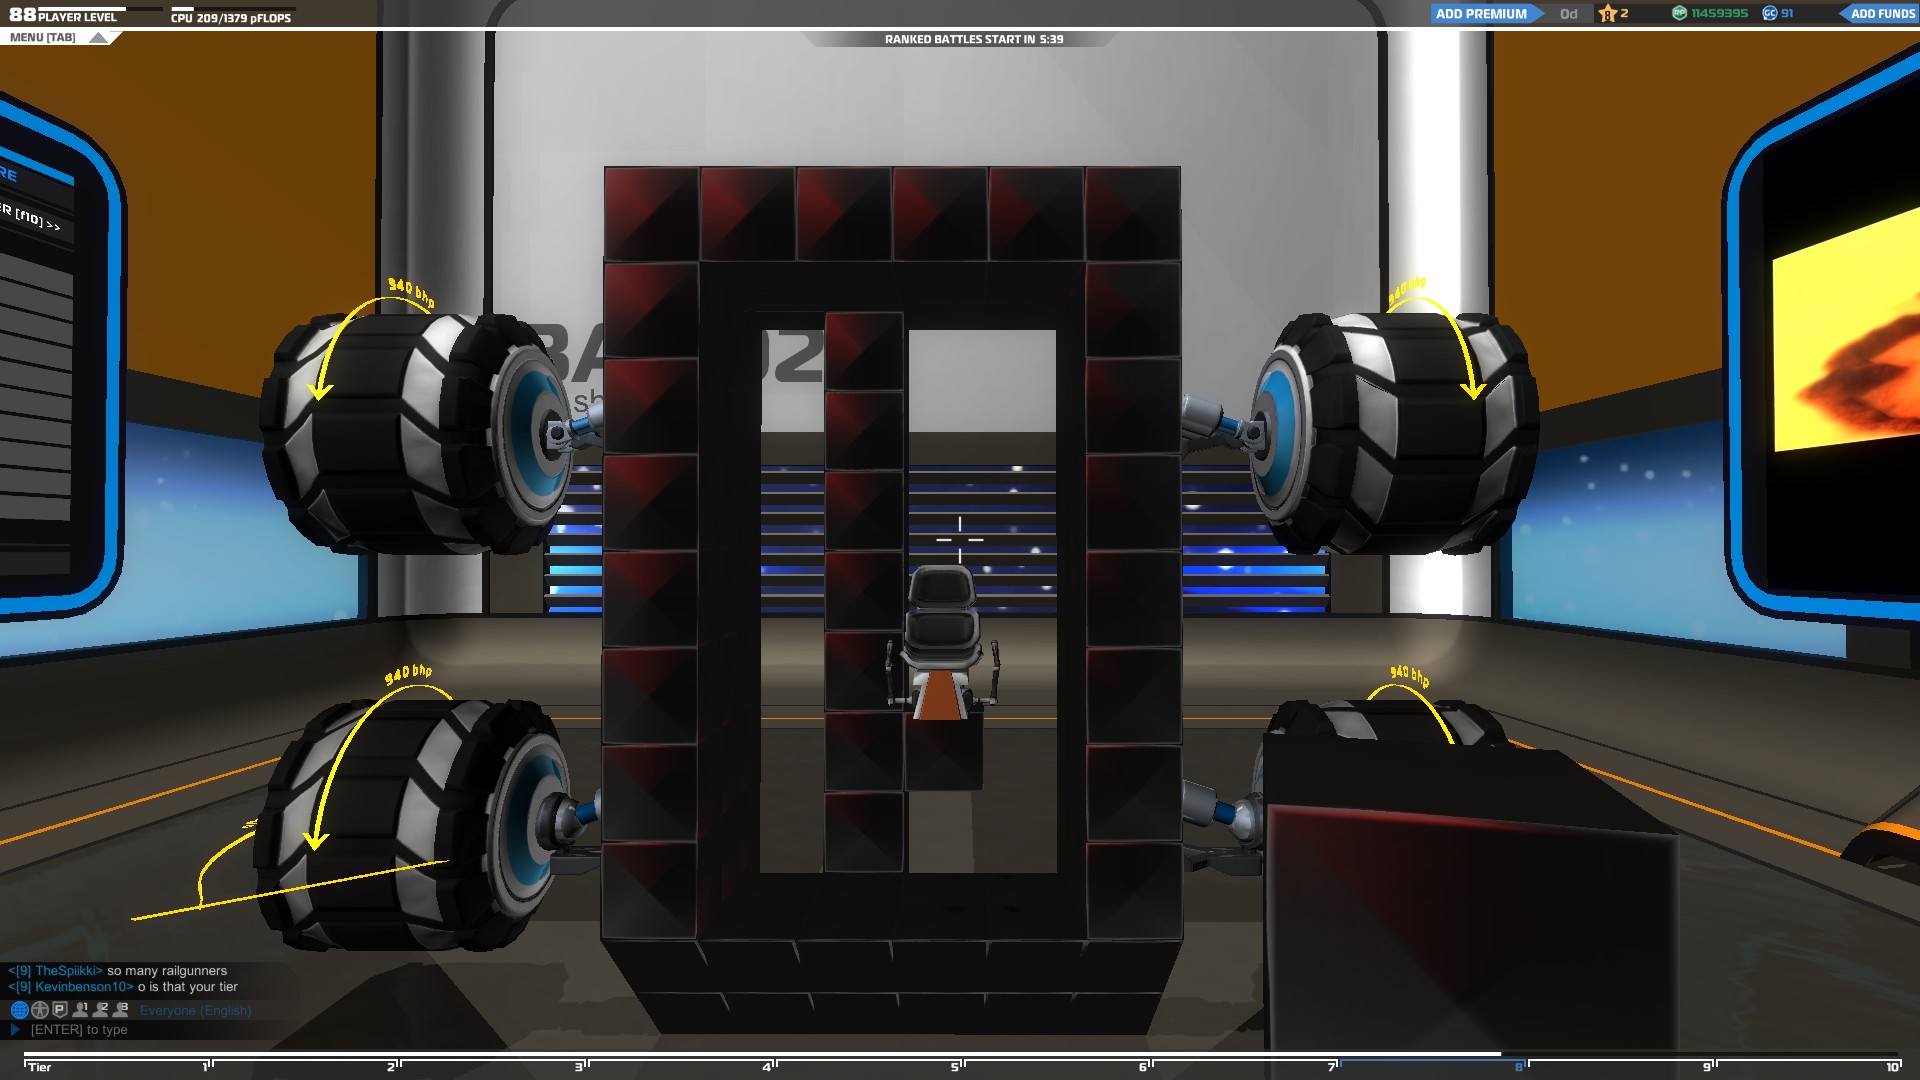
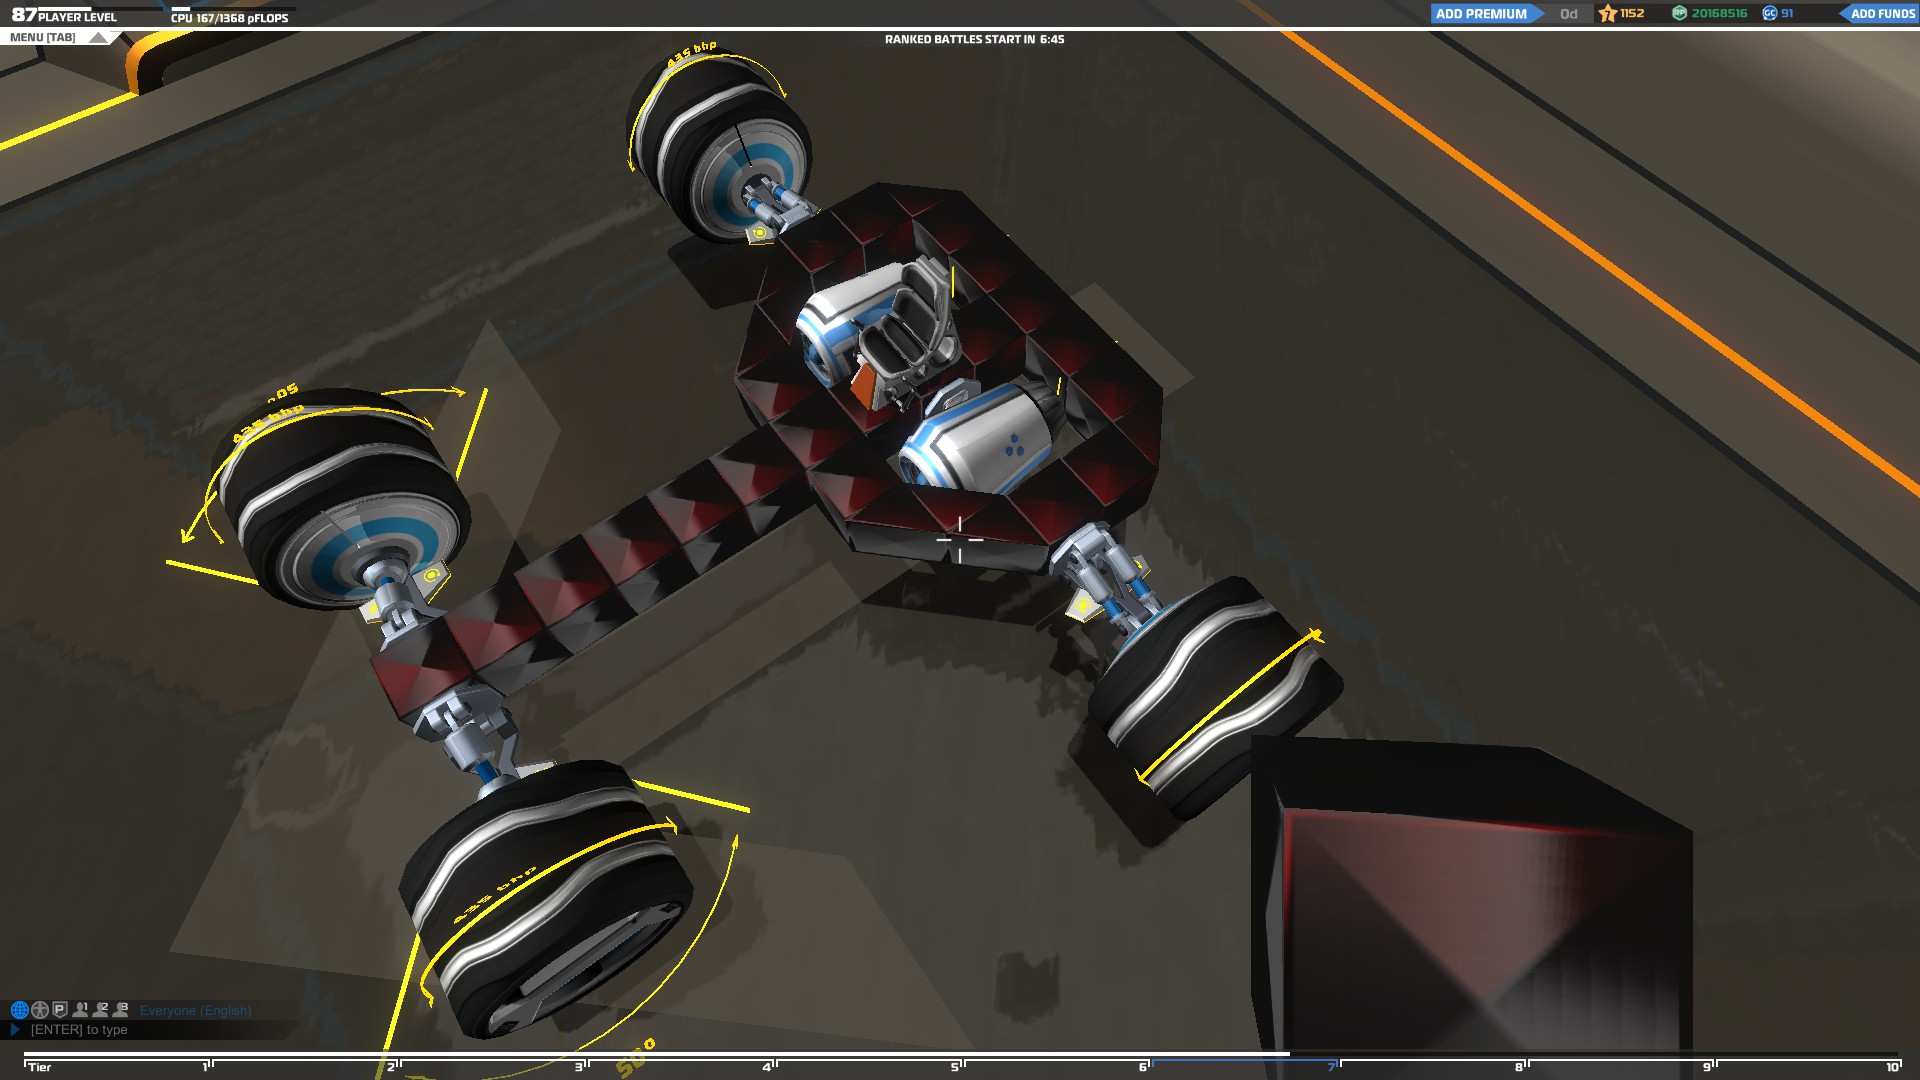
There are two types of wheels, the normal wheels and the steering wheels. The normal wheels can only move to one direction but the steering wheel will give you the ability to turn right and left.
You can only use steering wheels on your vehicle if you want, but If you use only normal wheels your vehicle will be impossible to control.
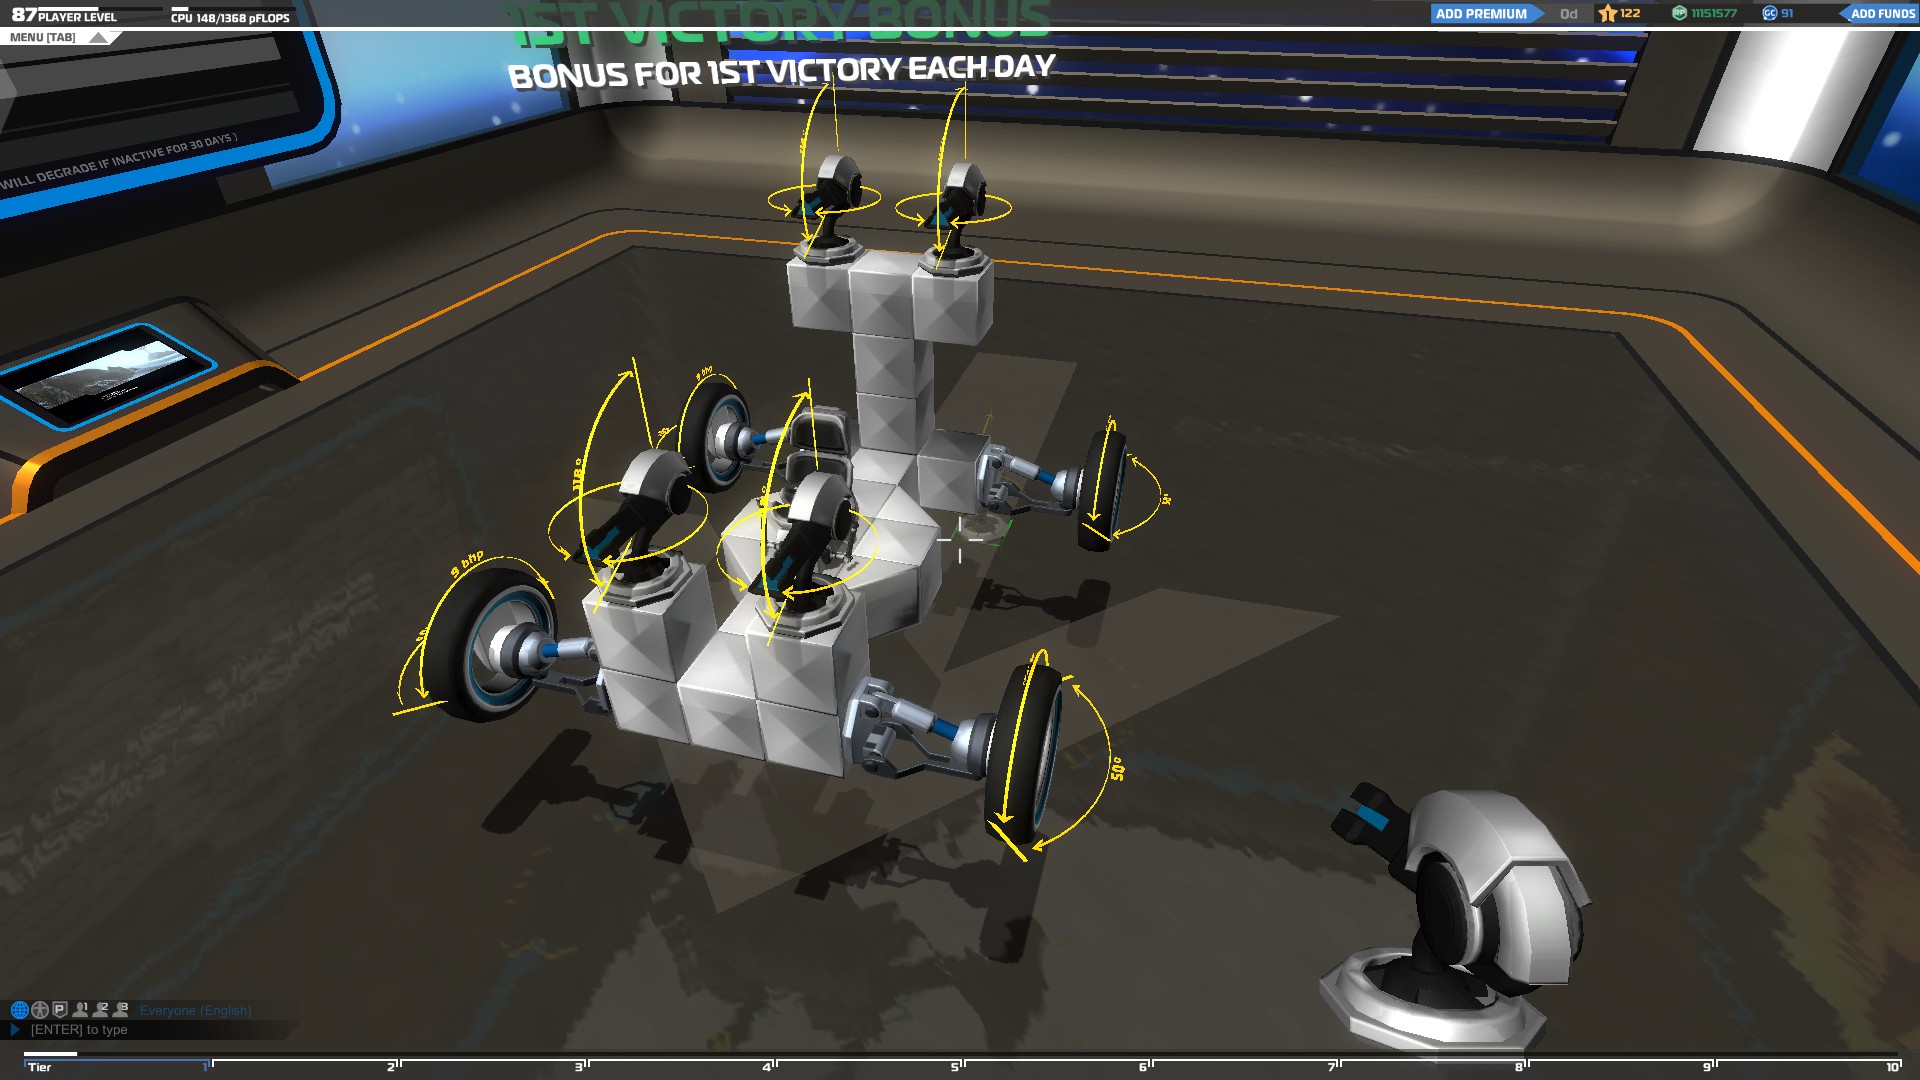
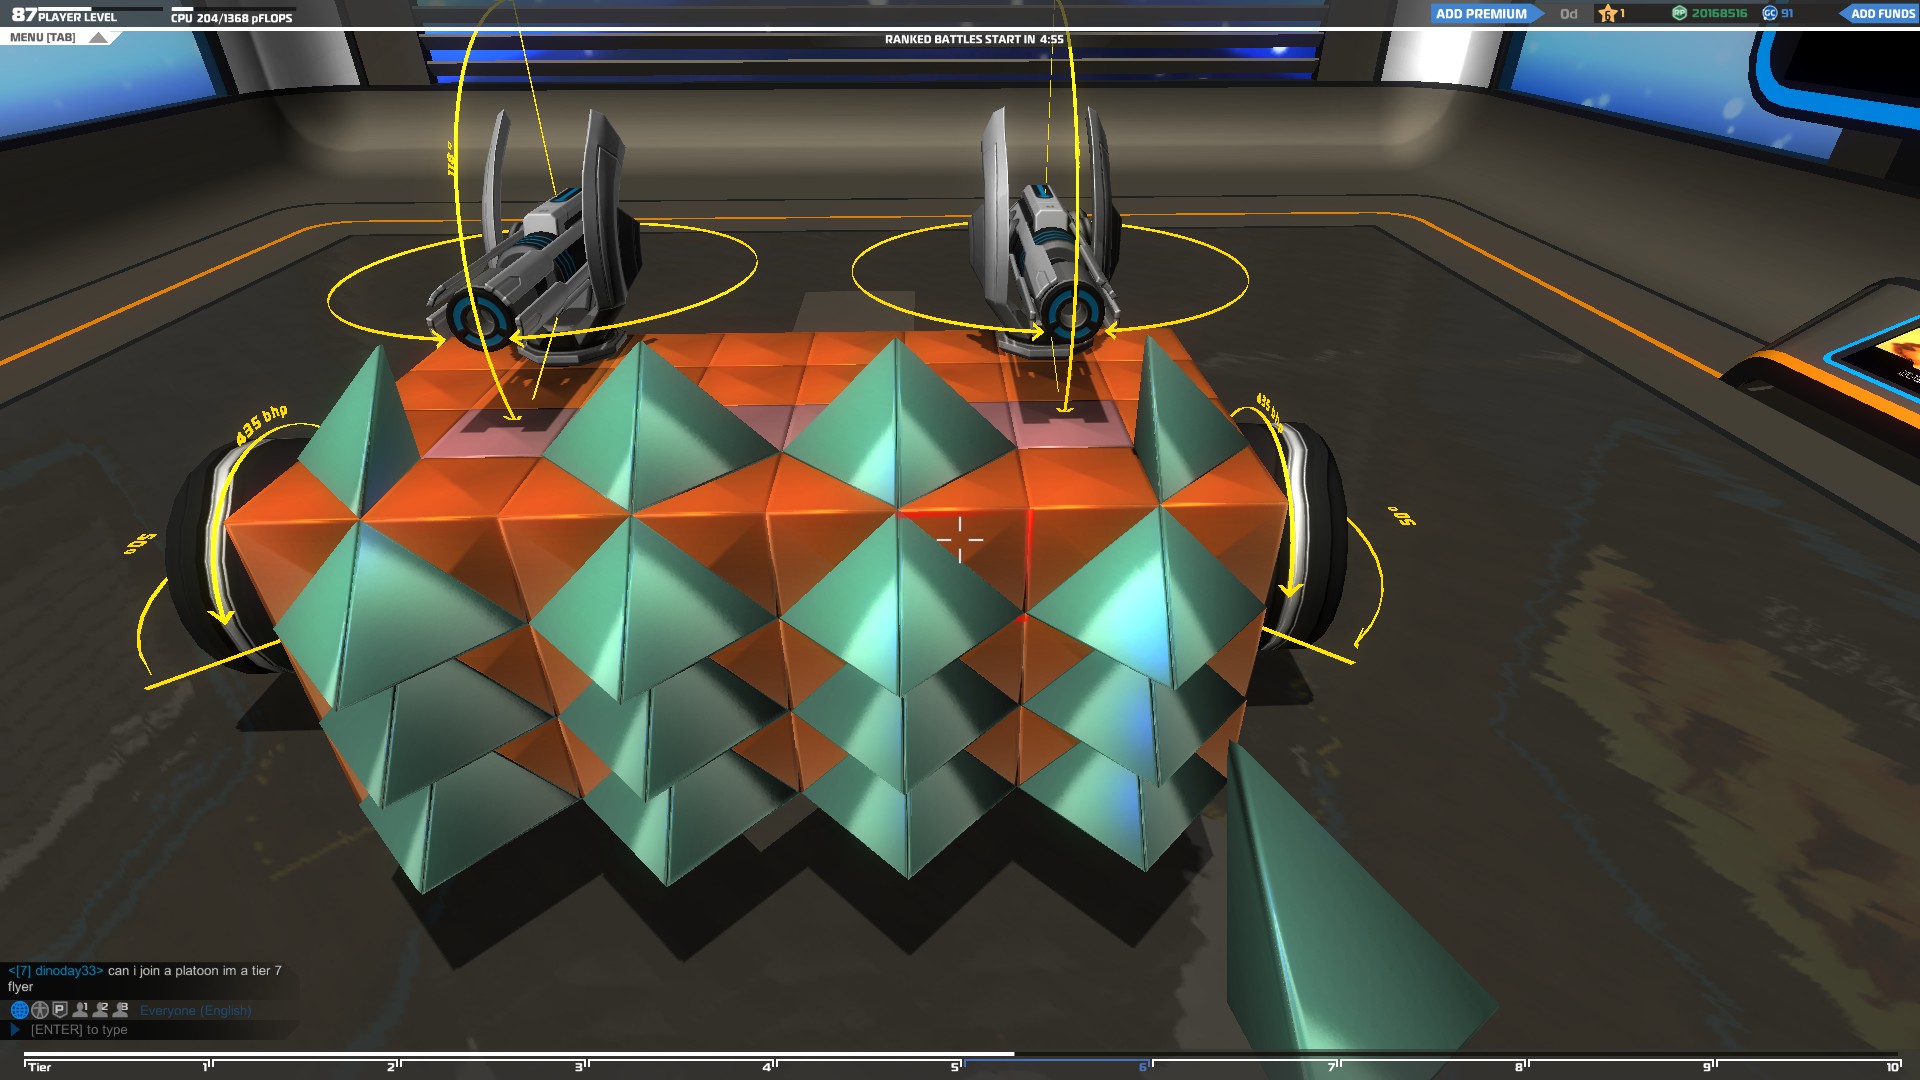
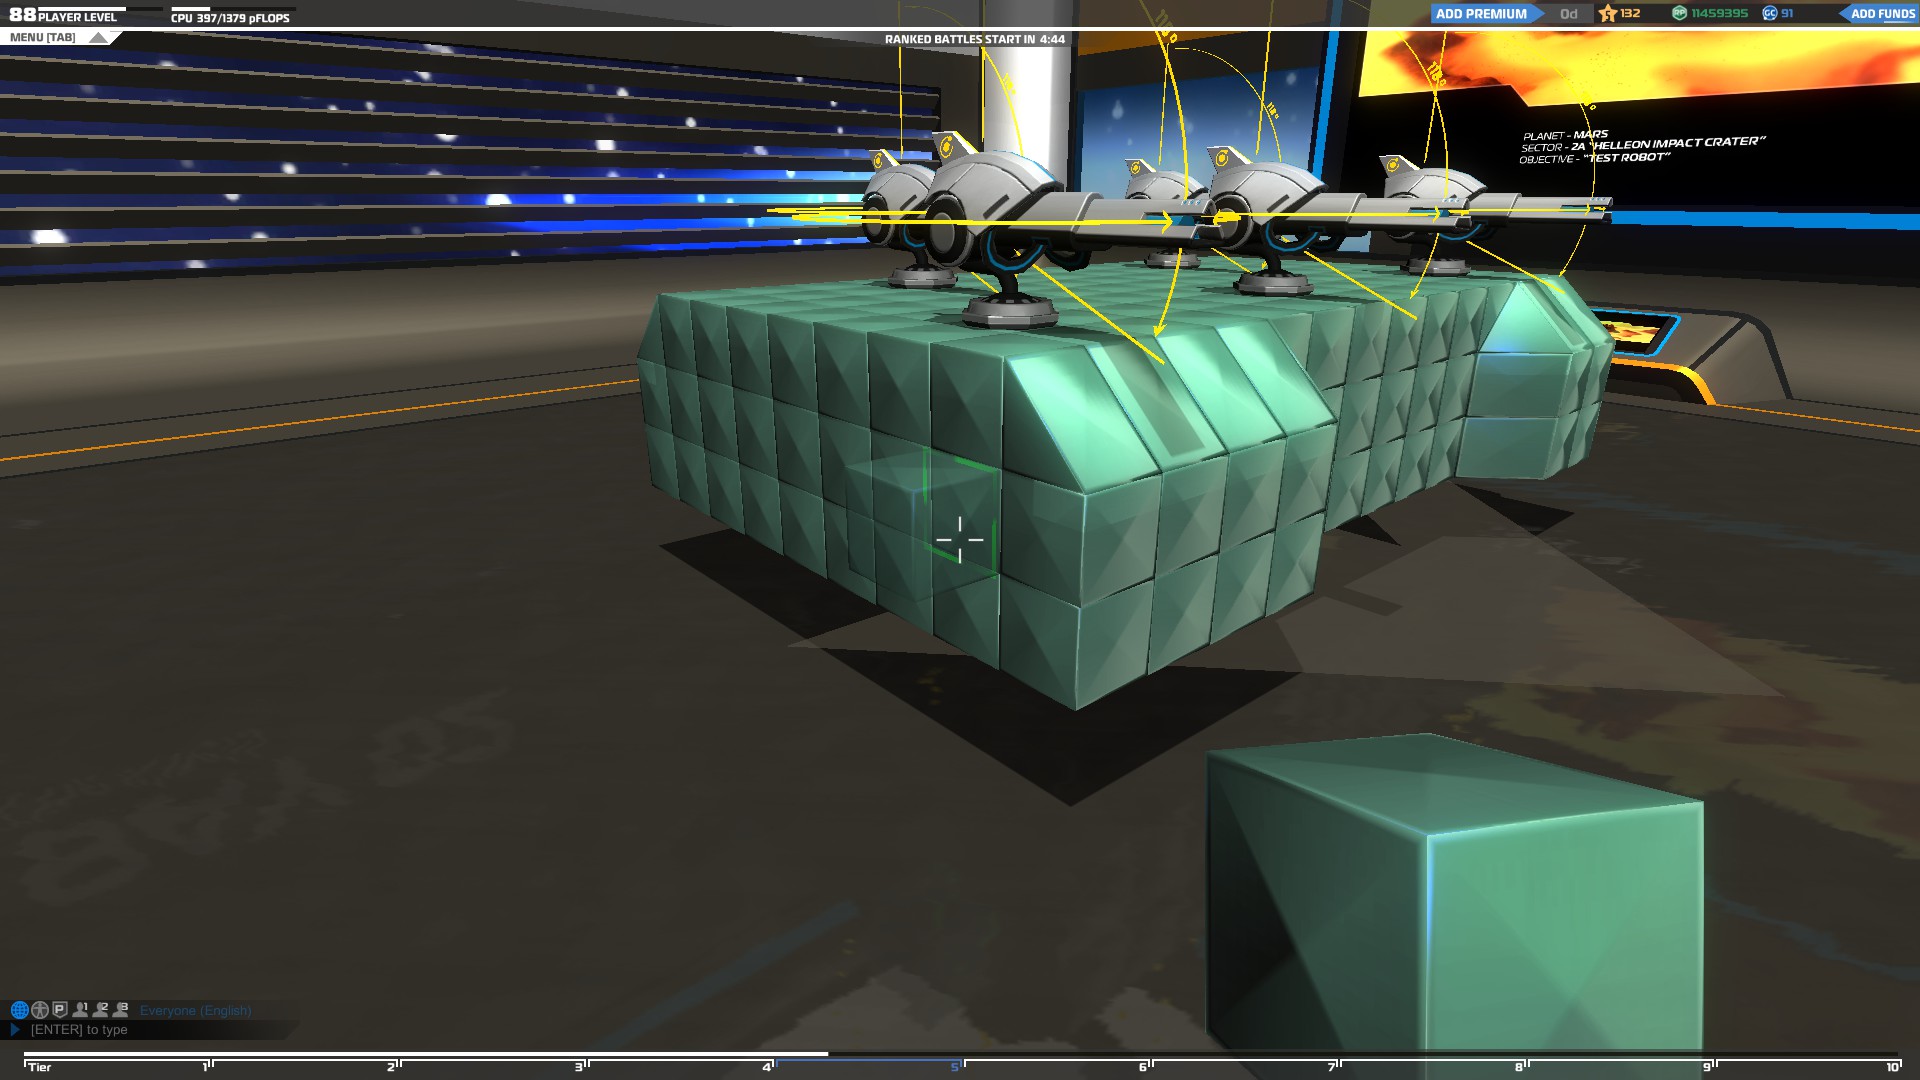
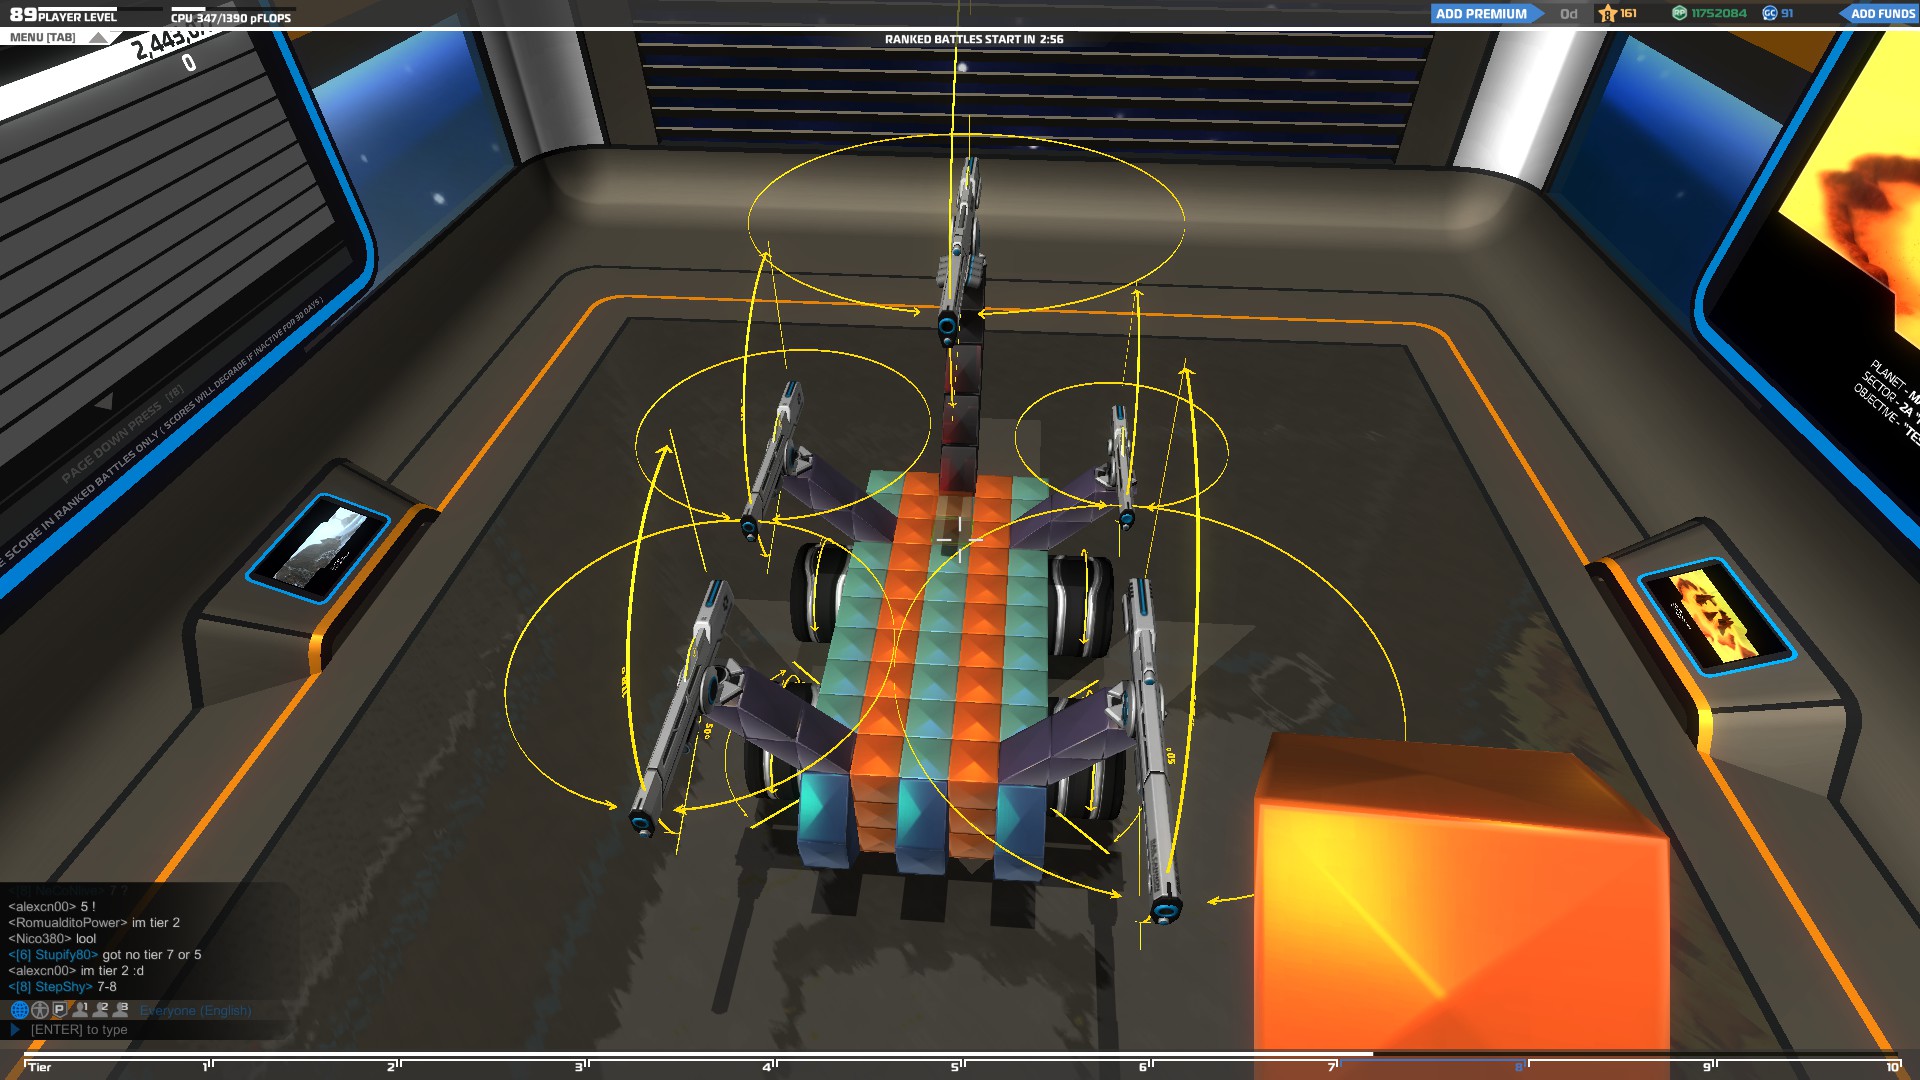
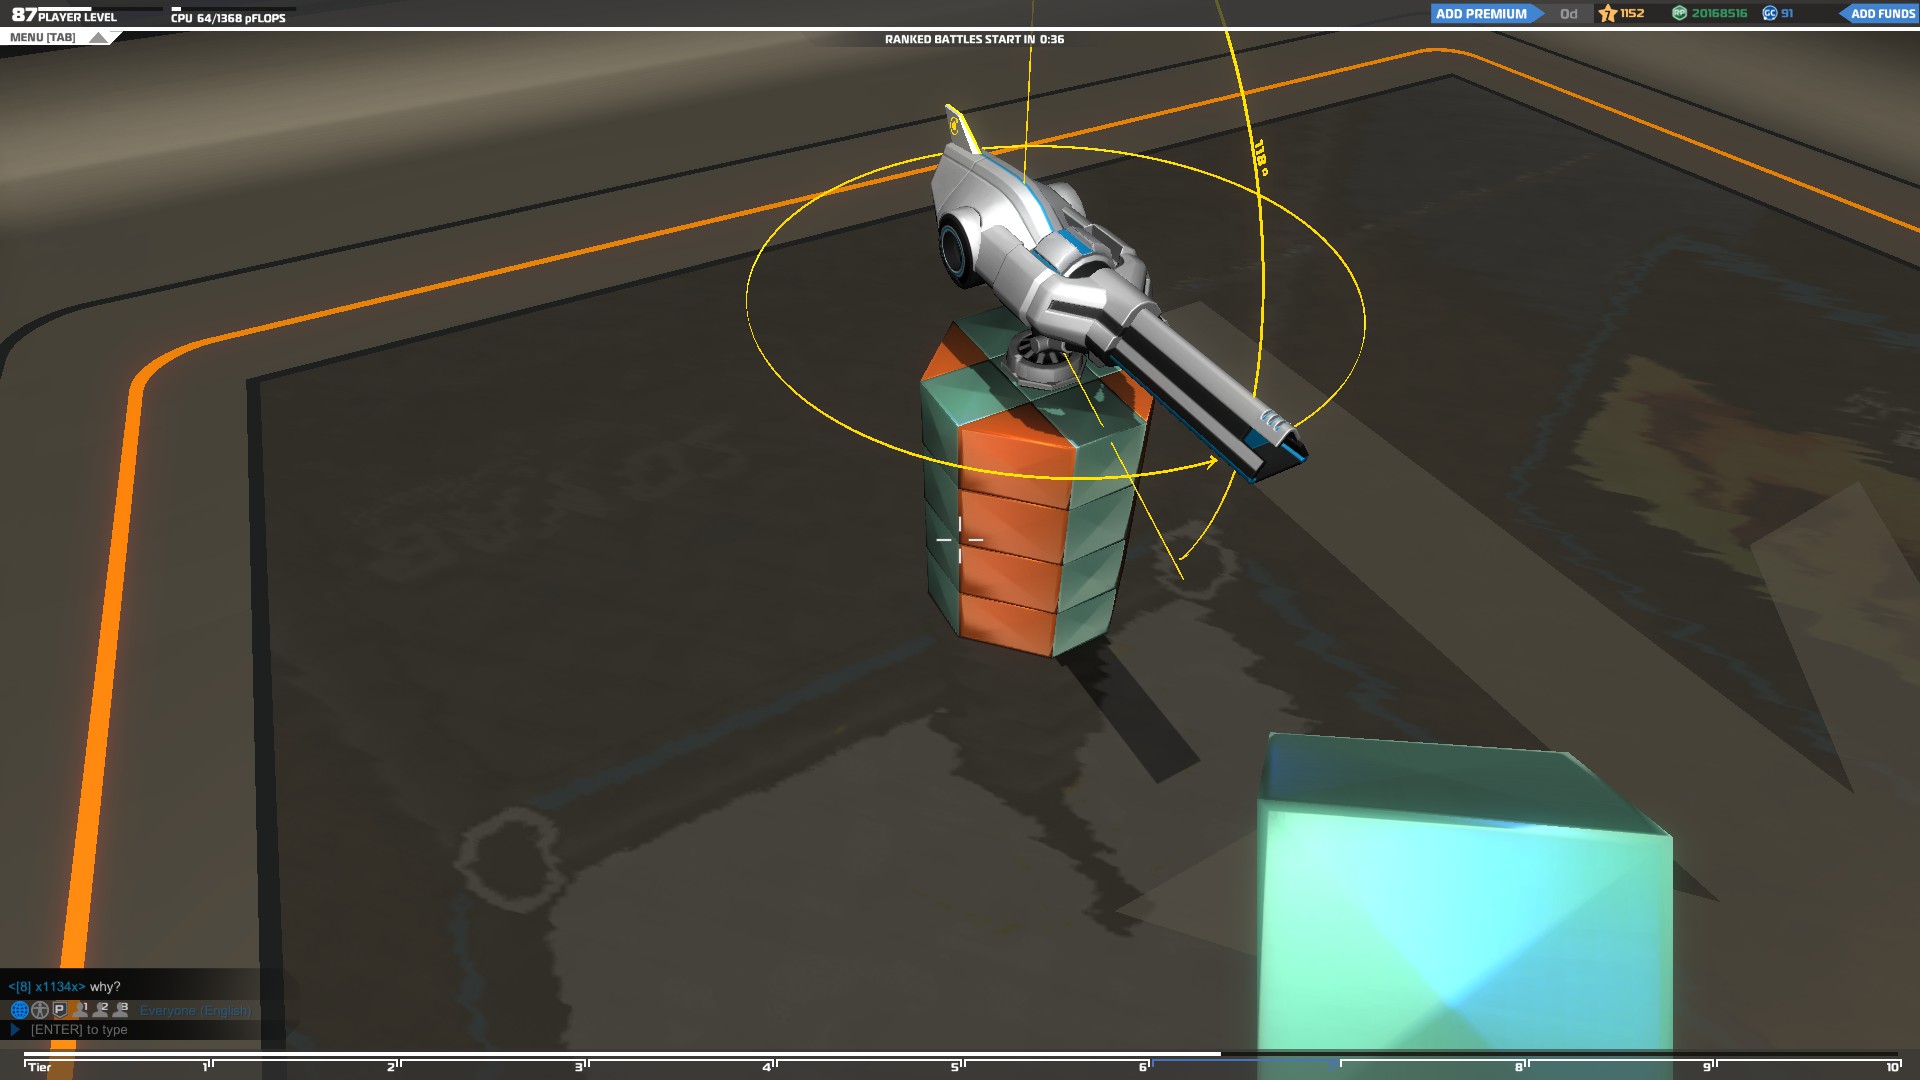
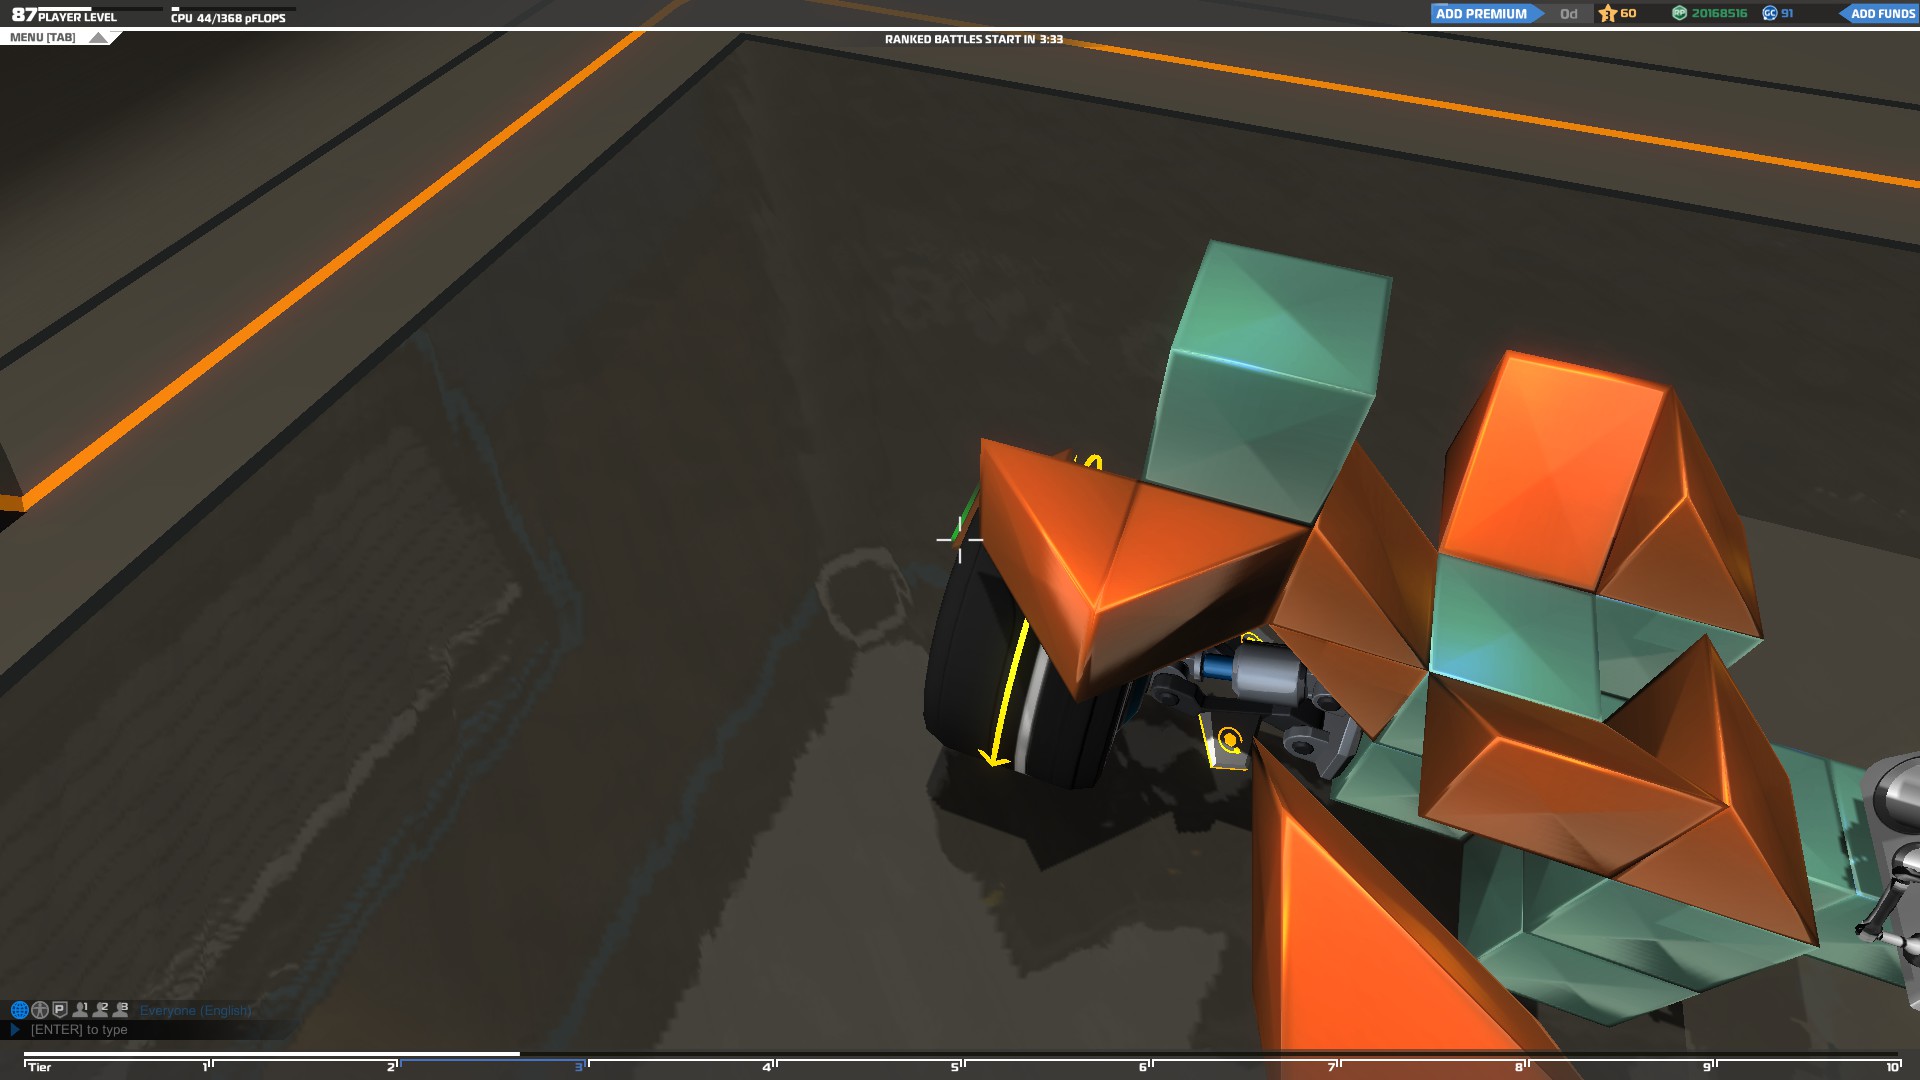
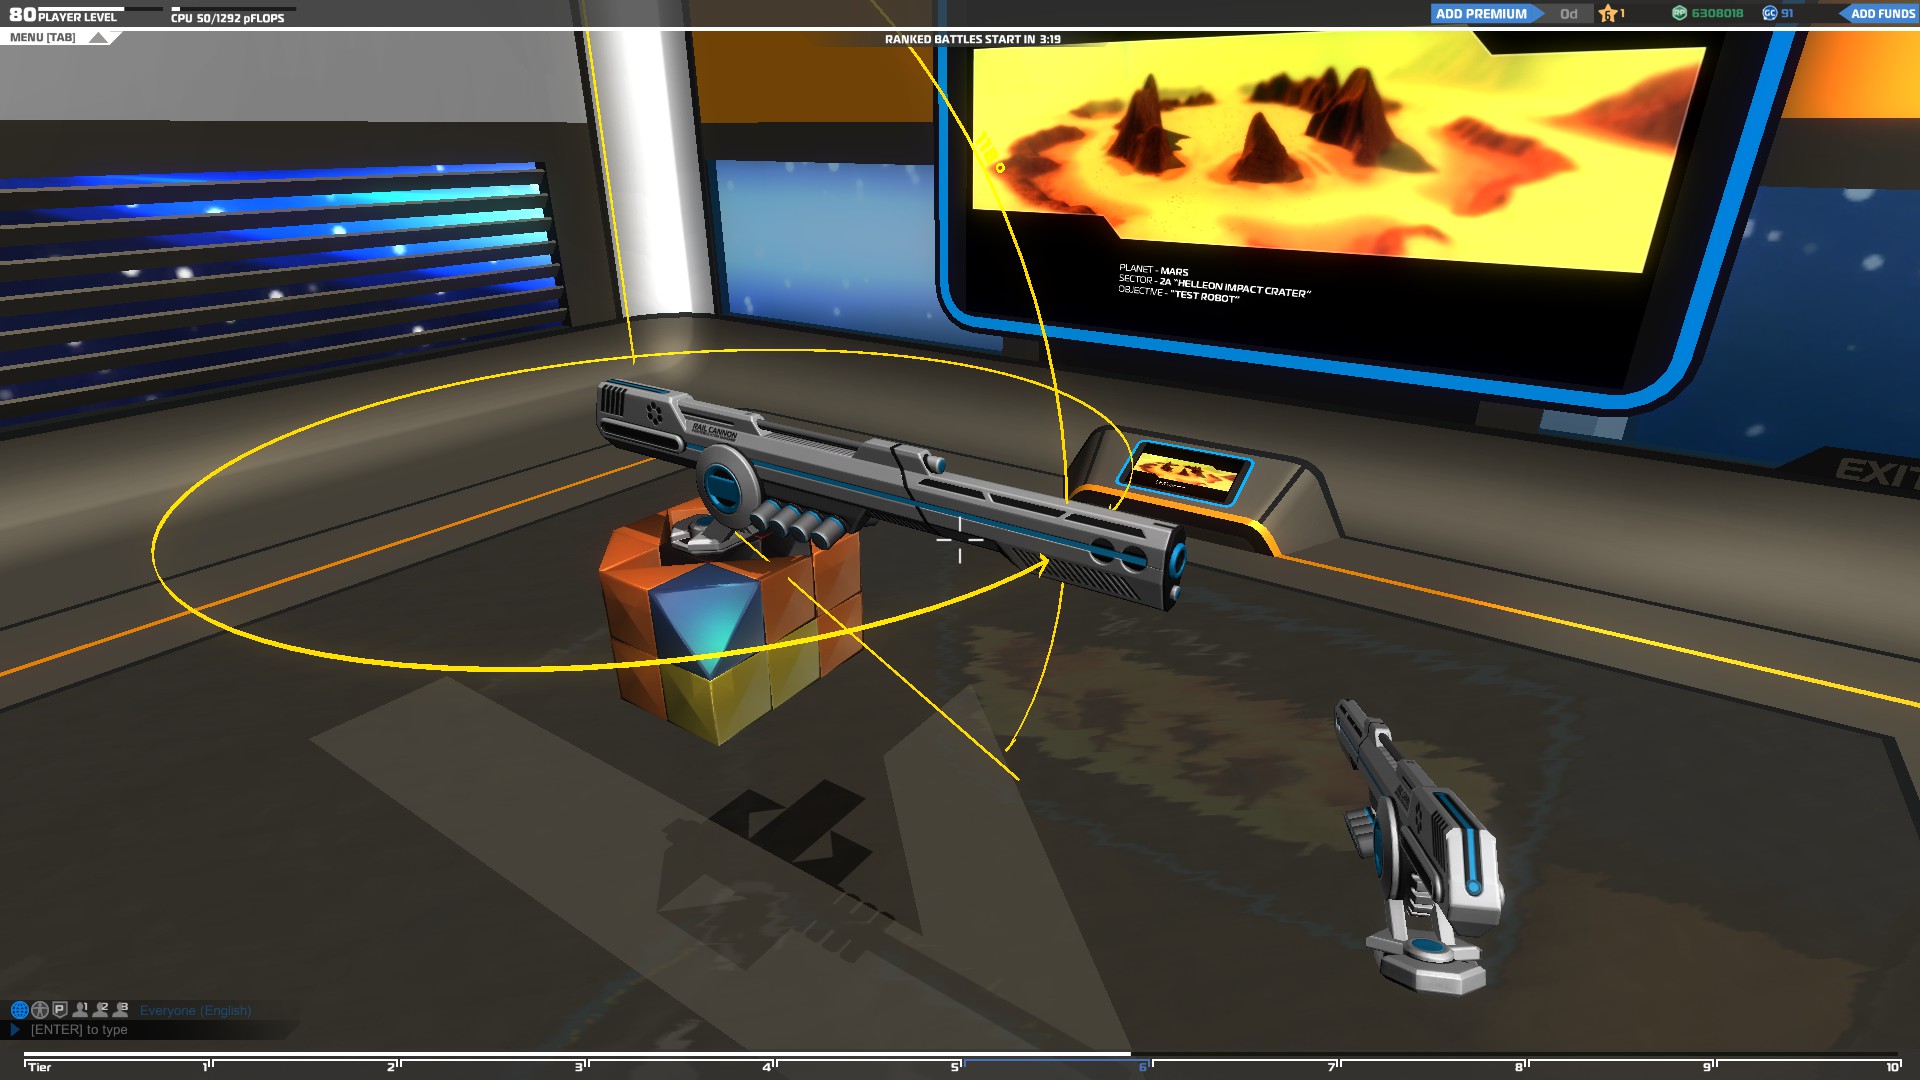
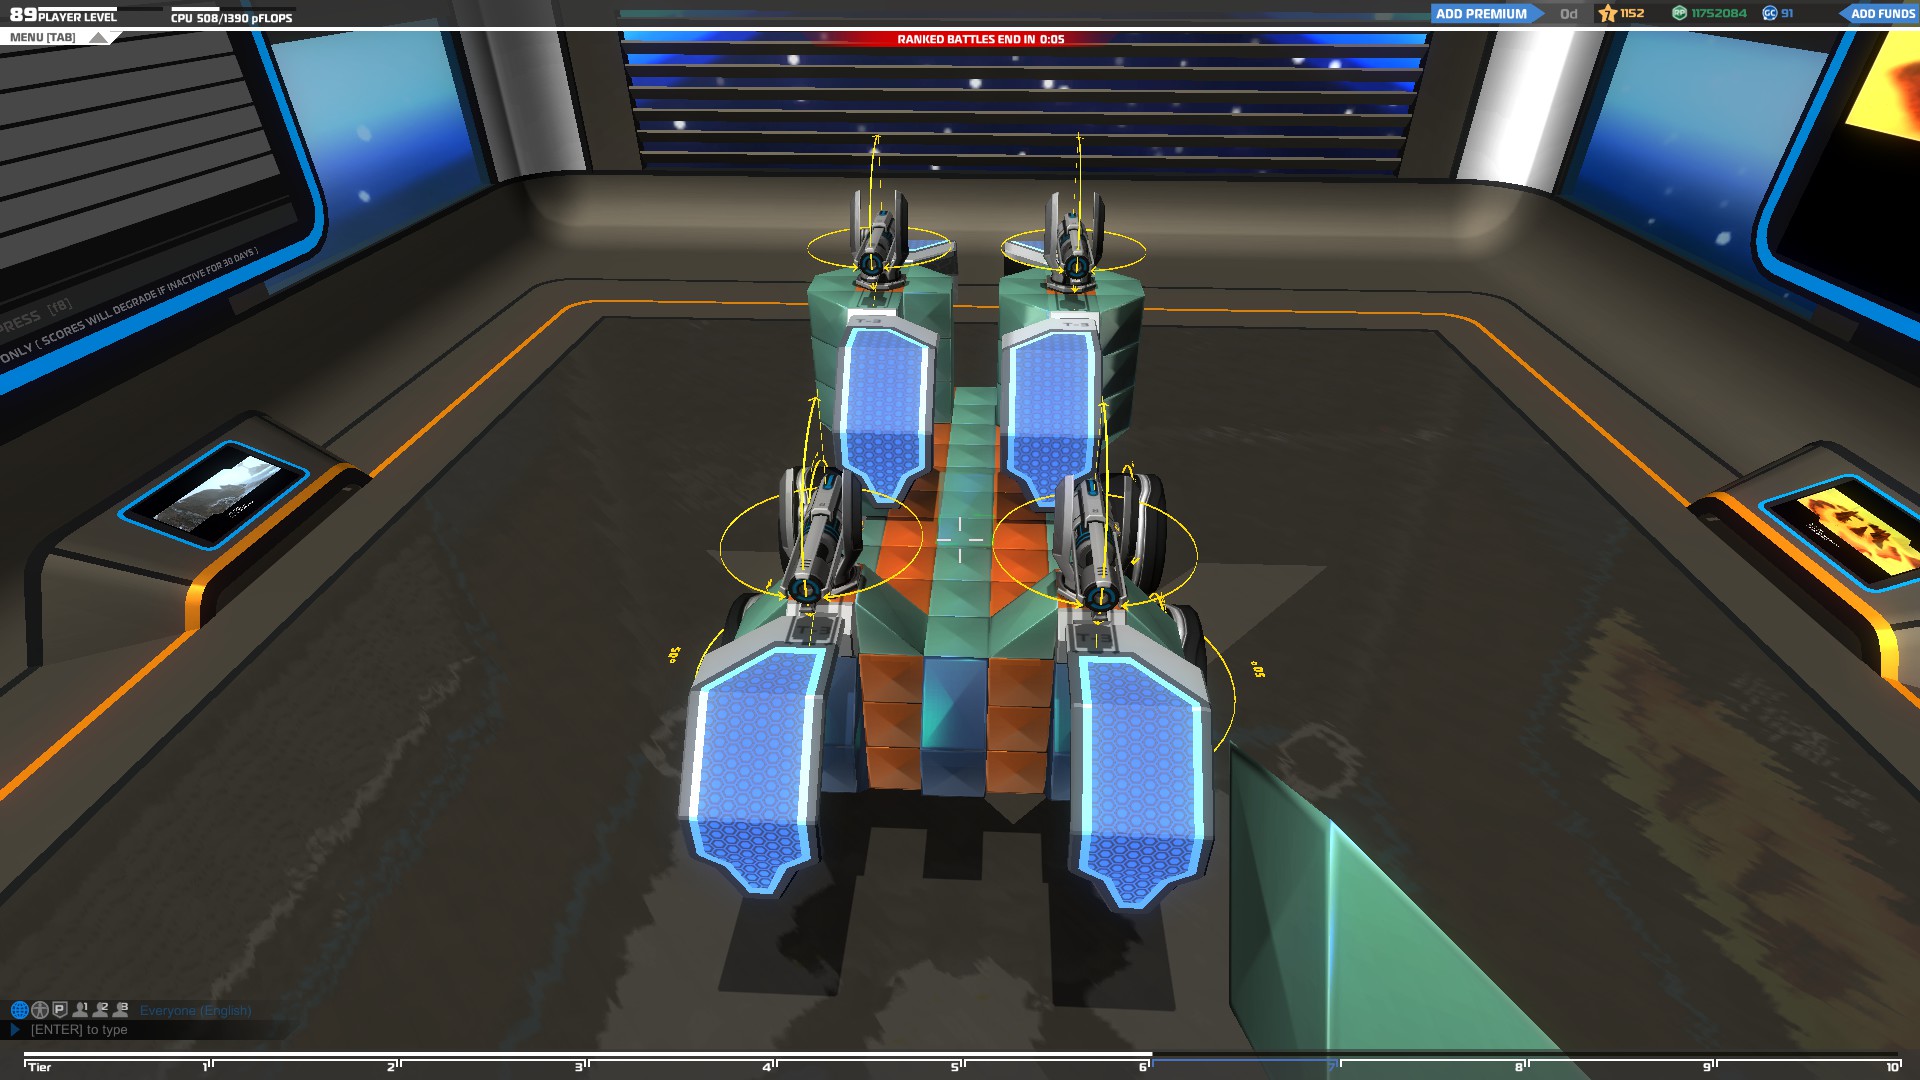
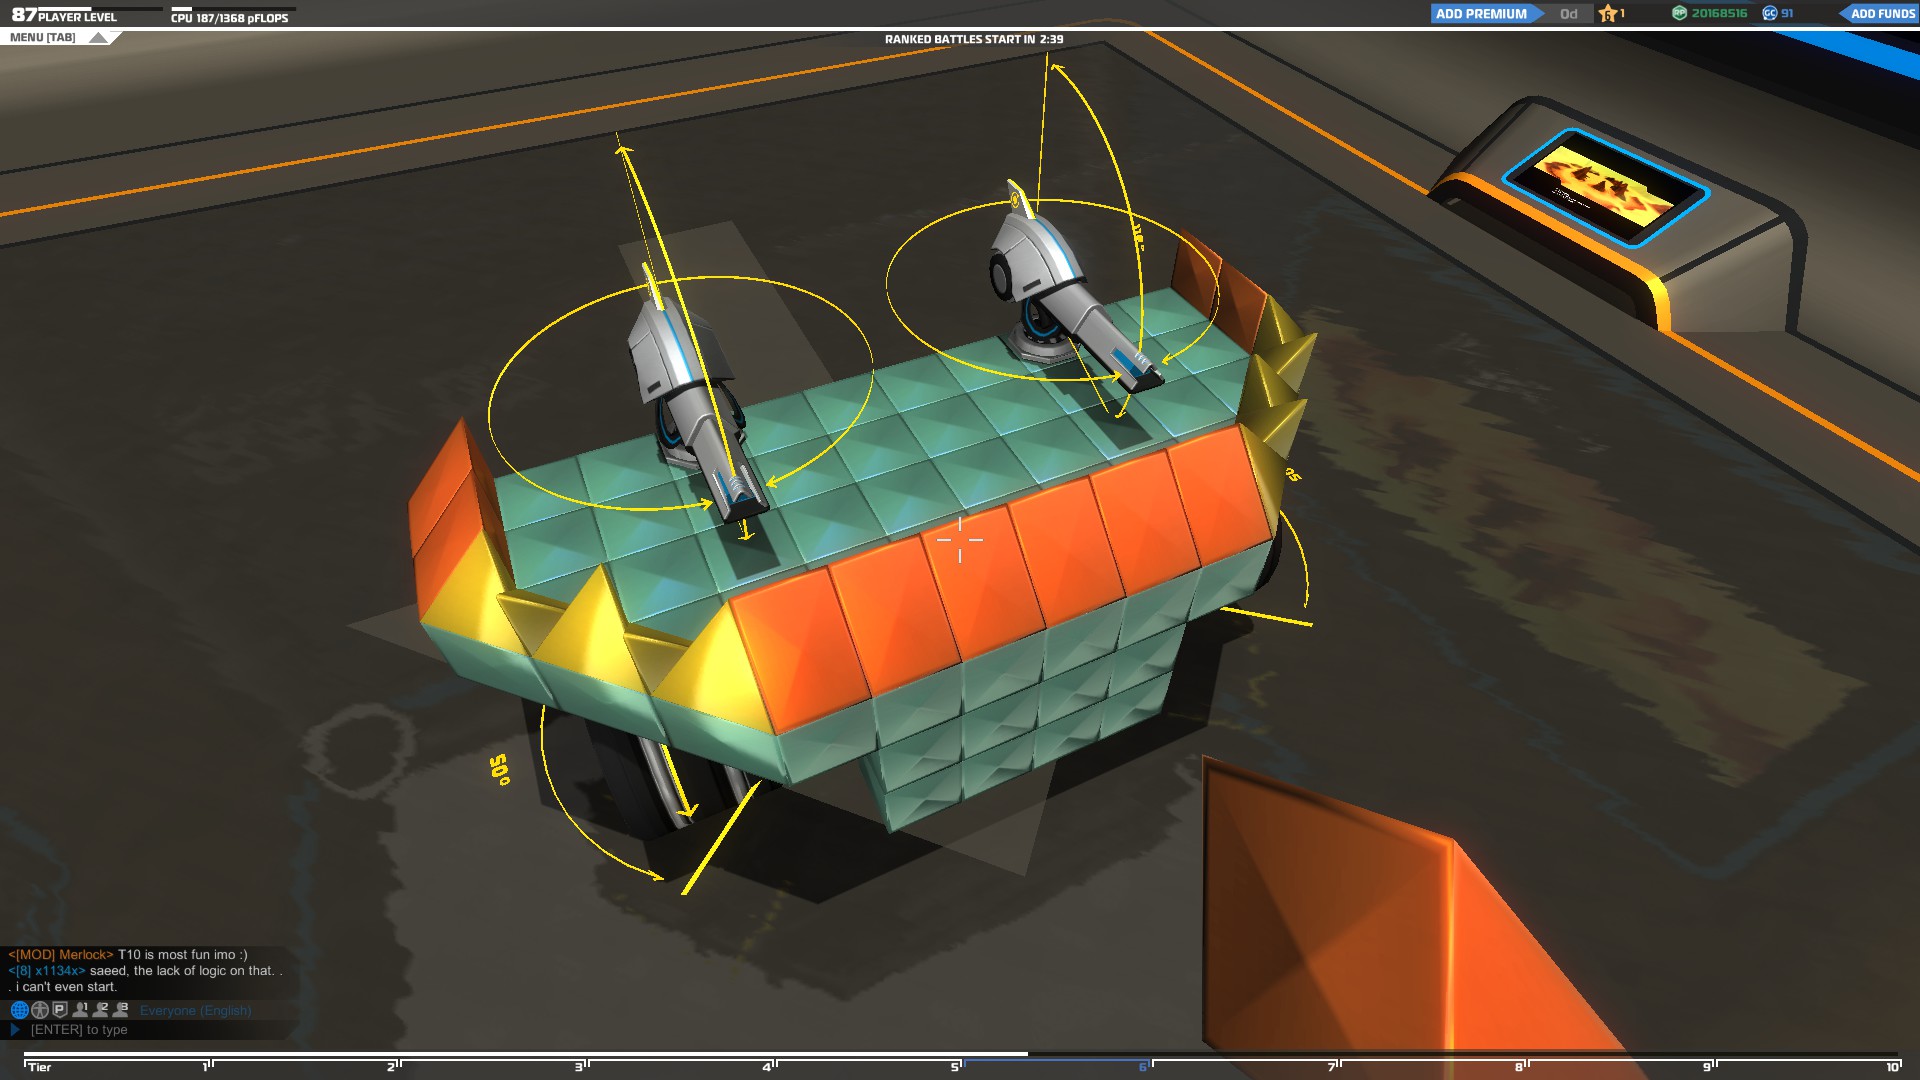
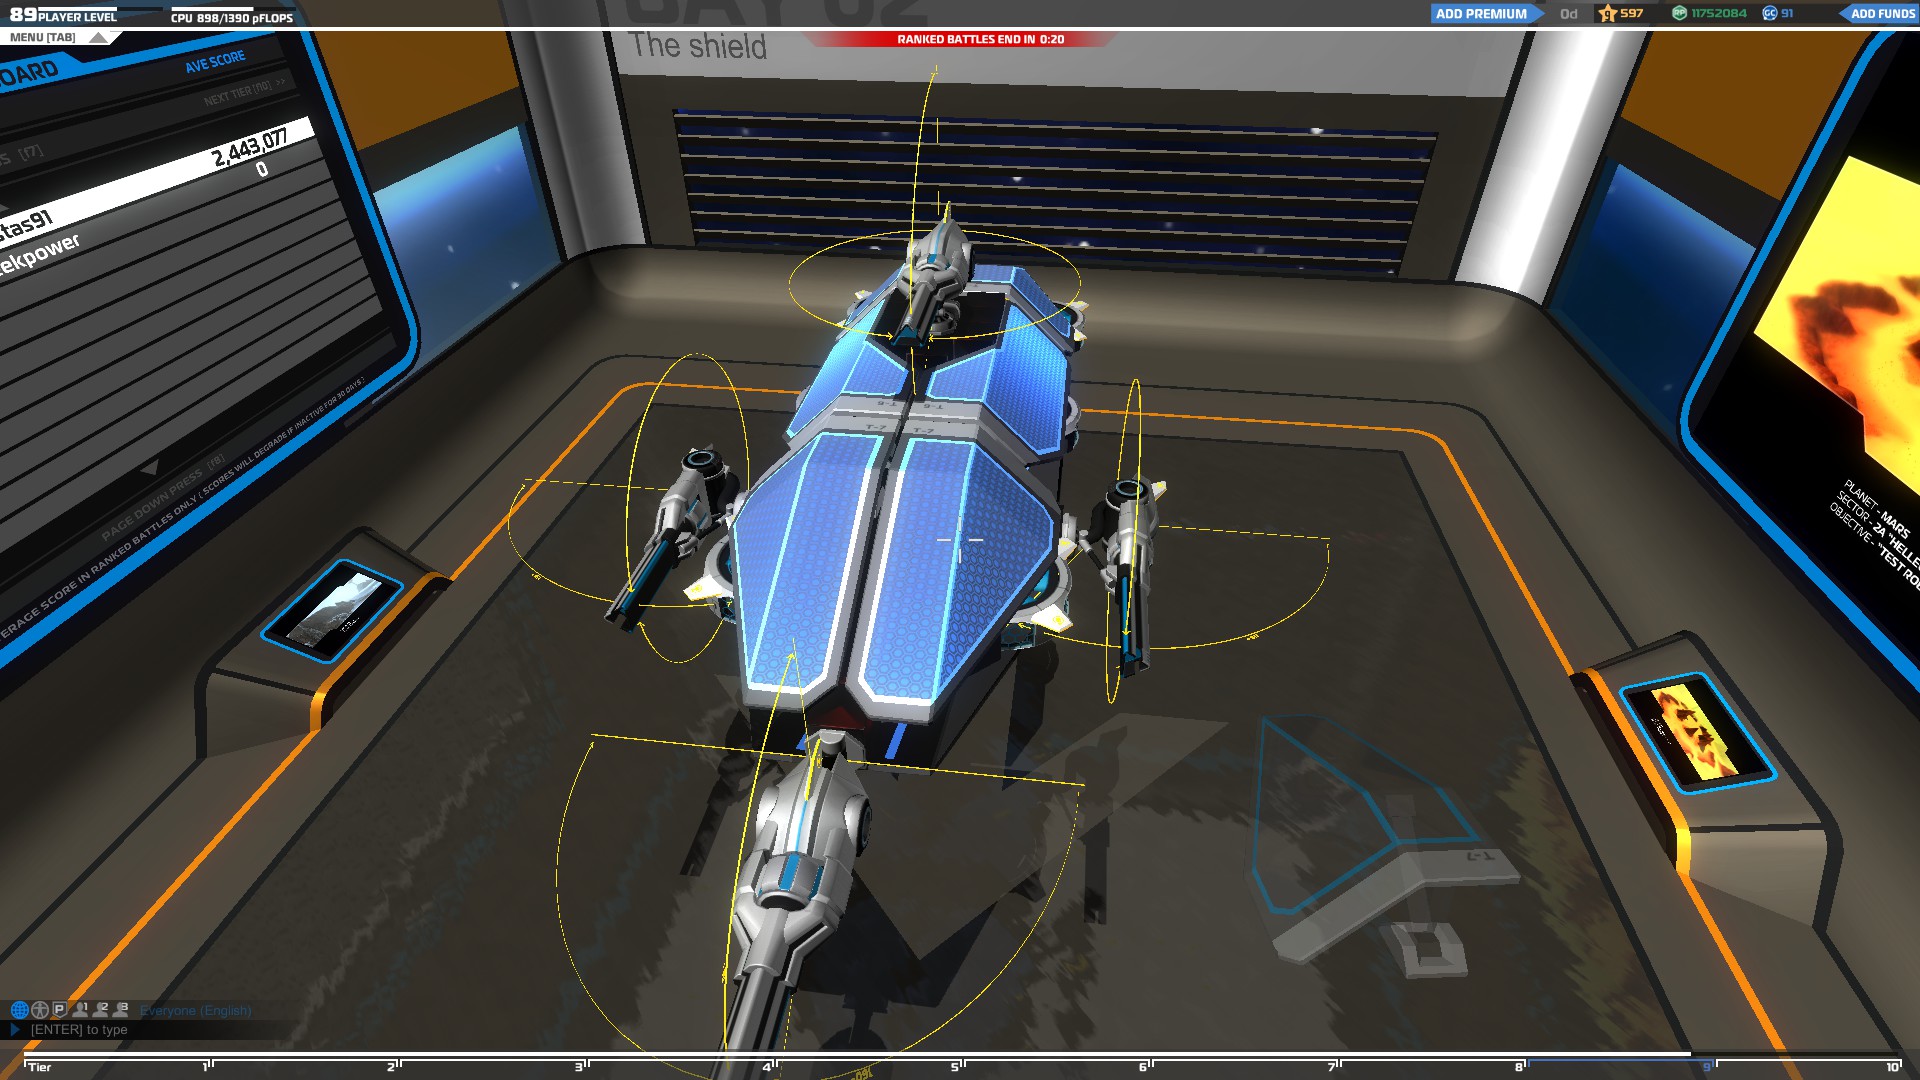
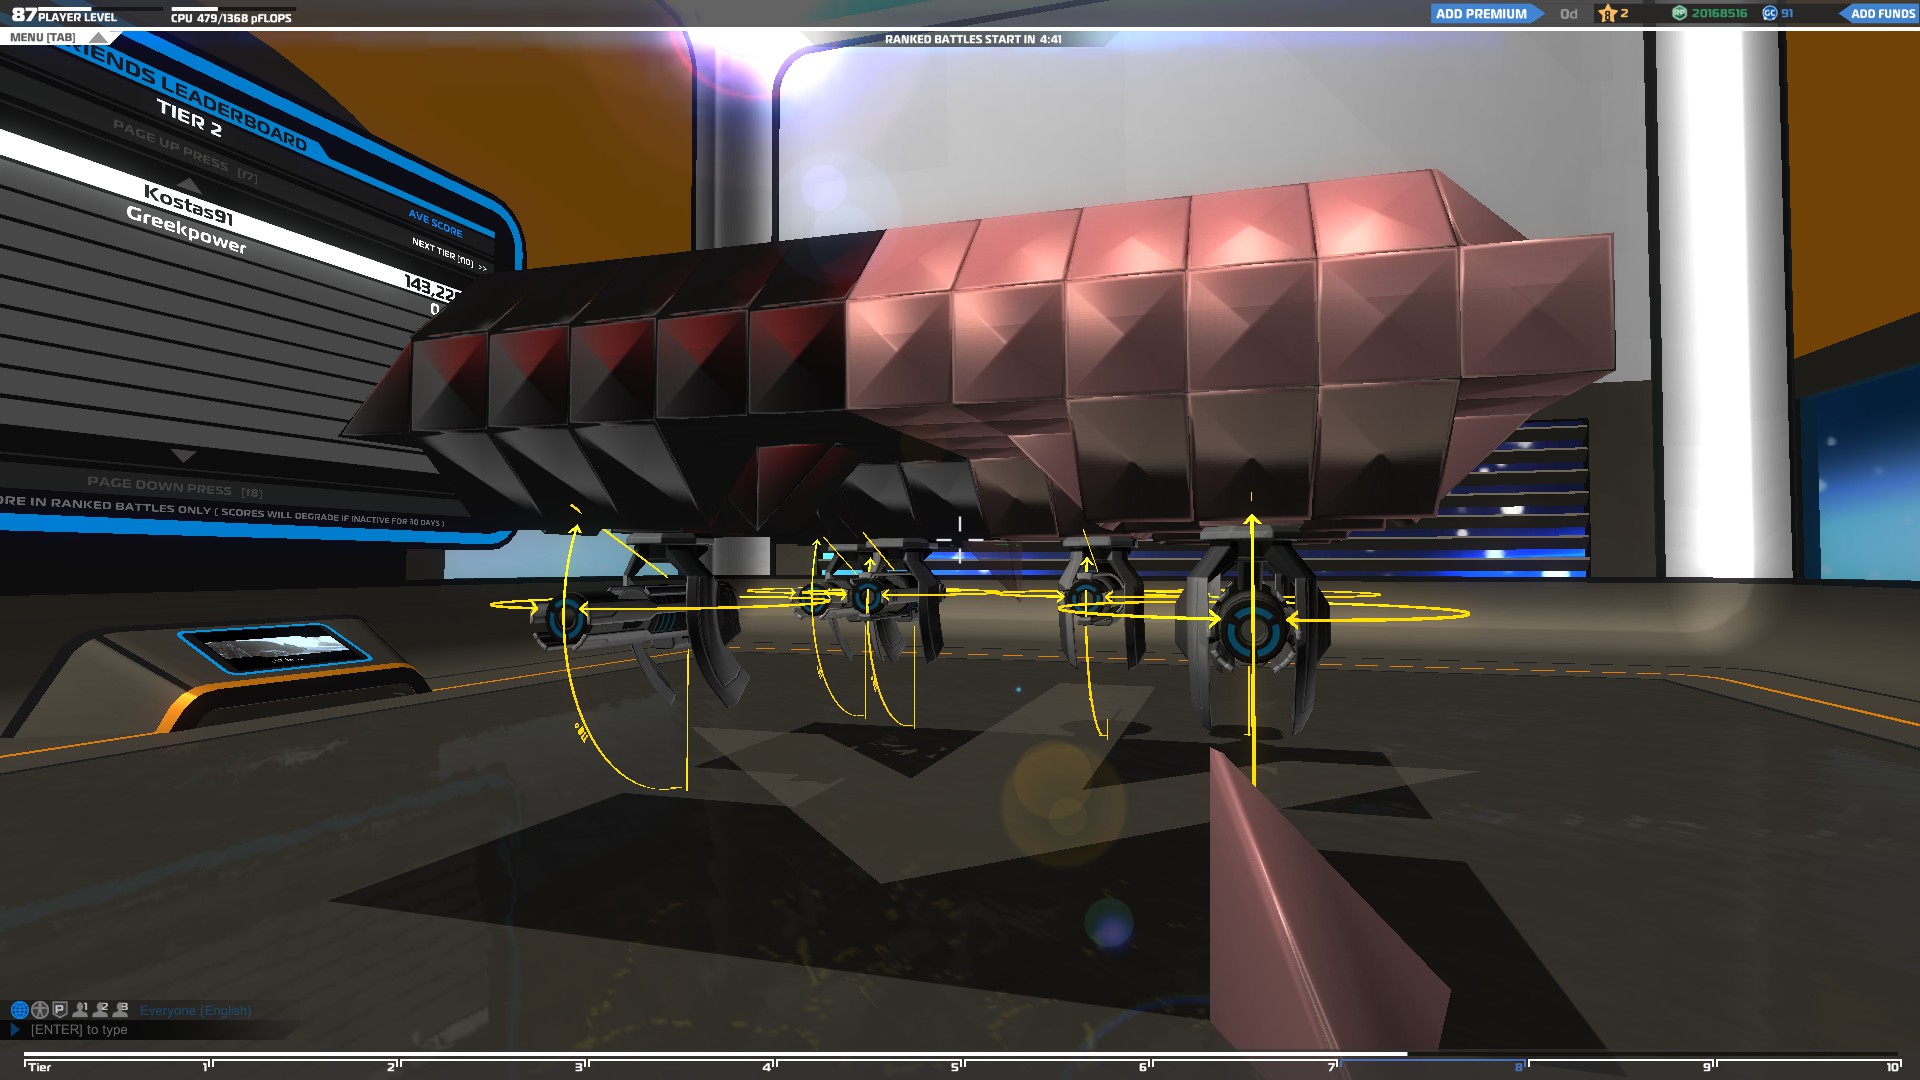
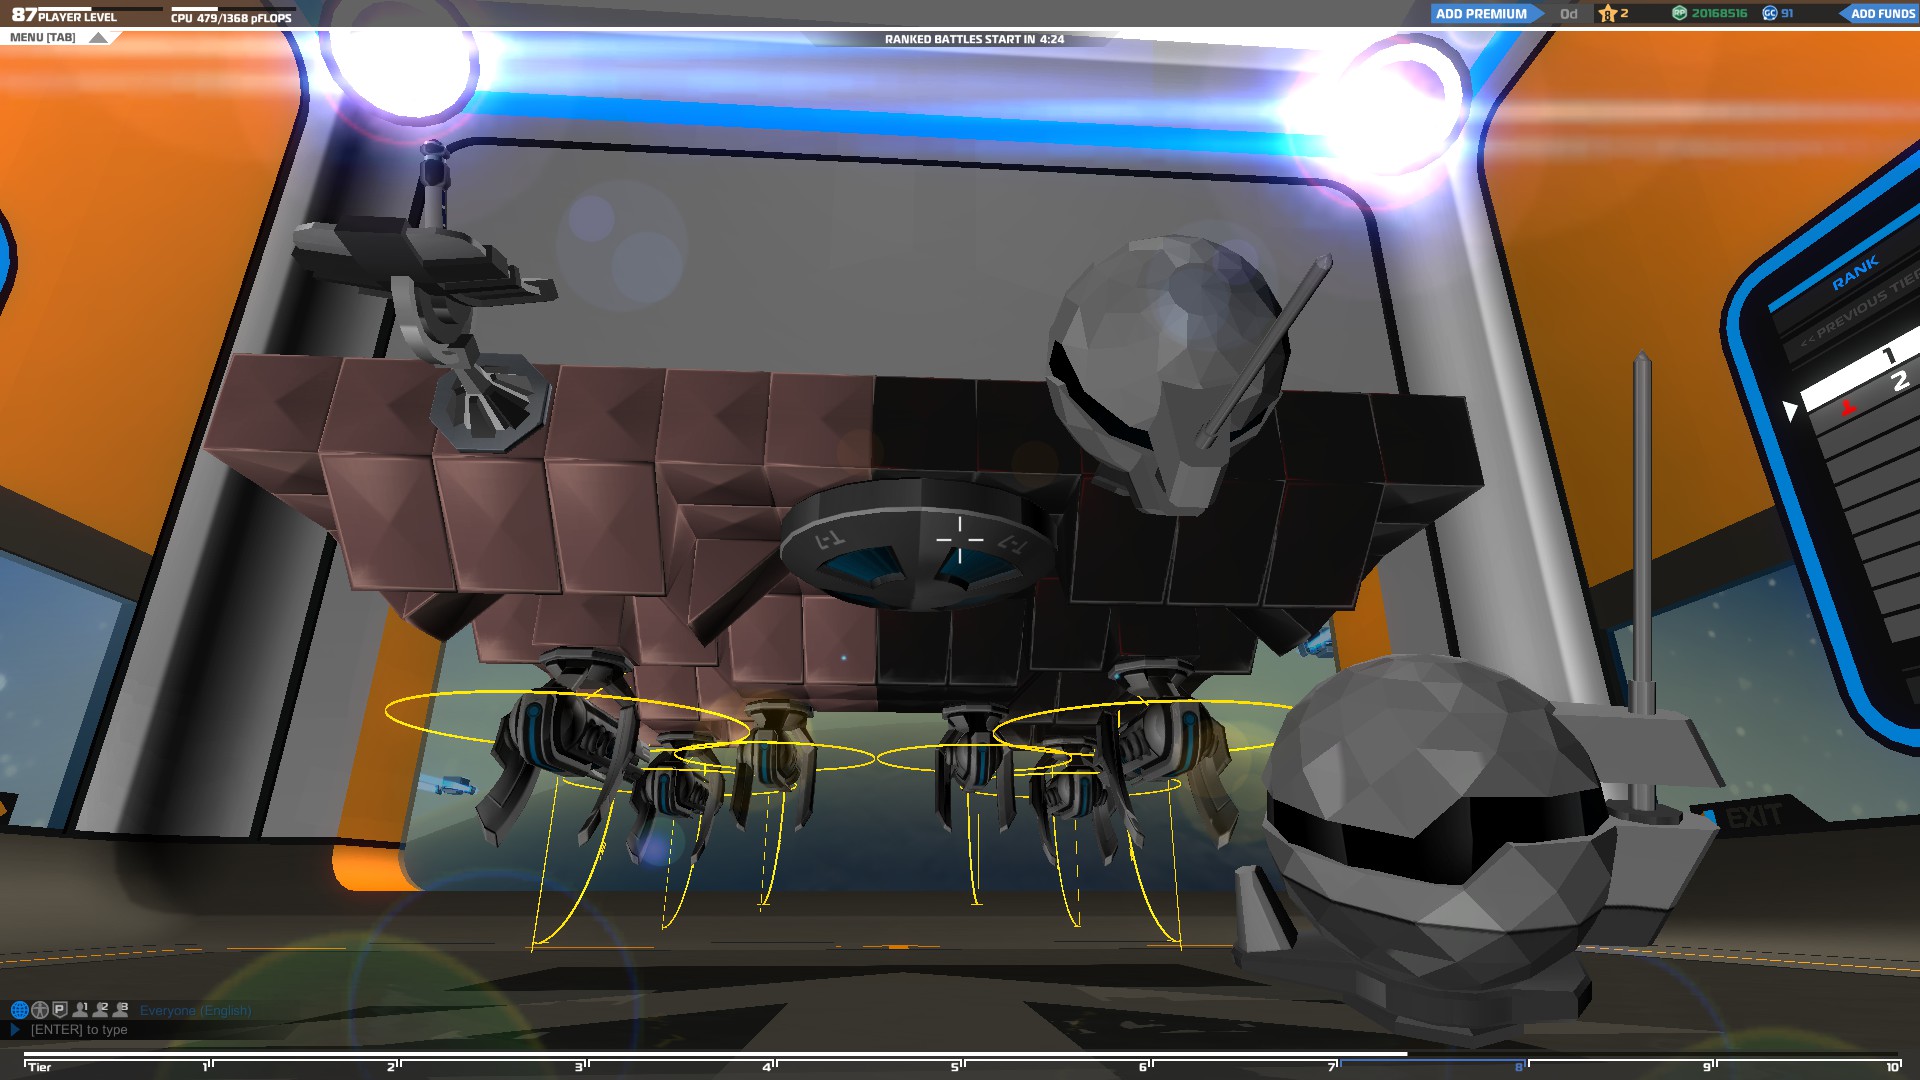
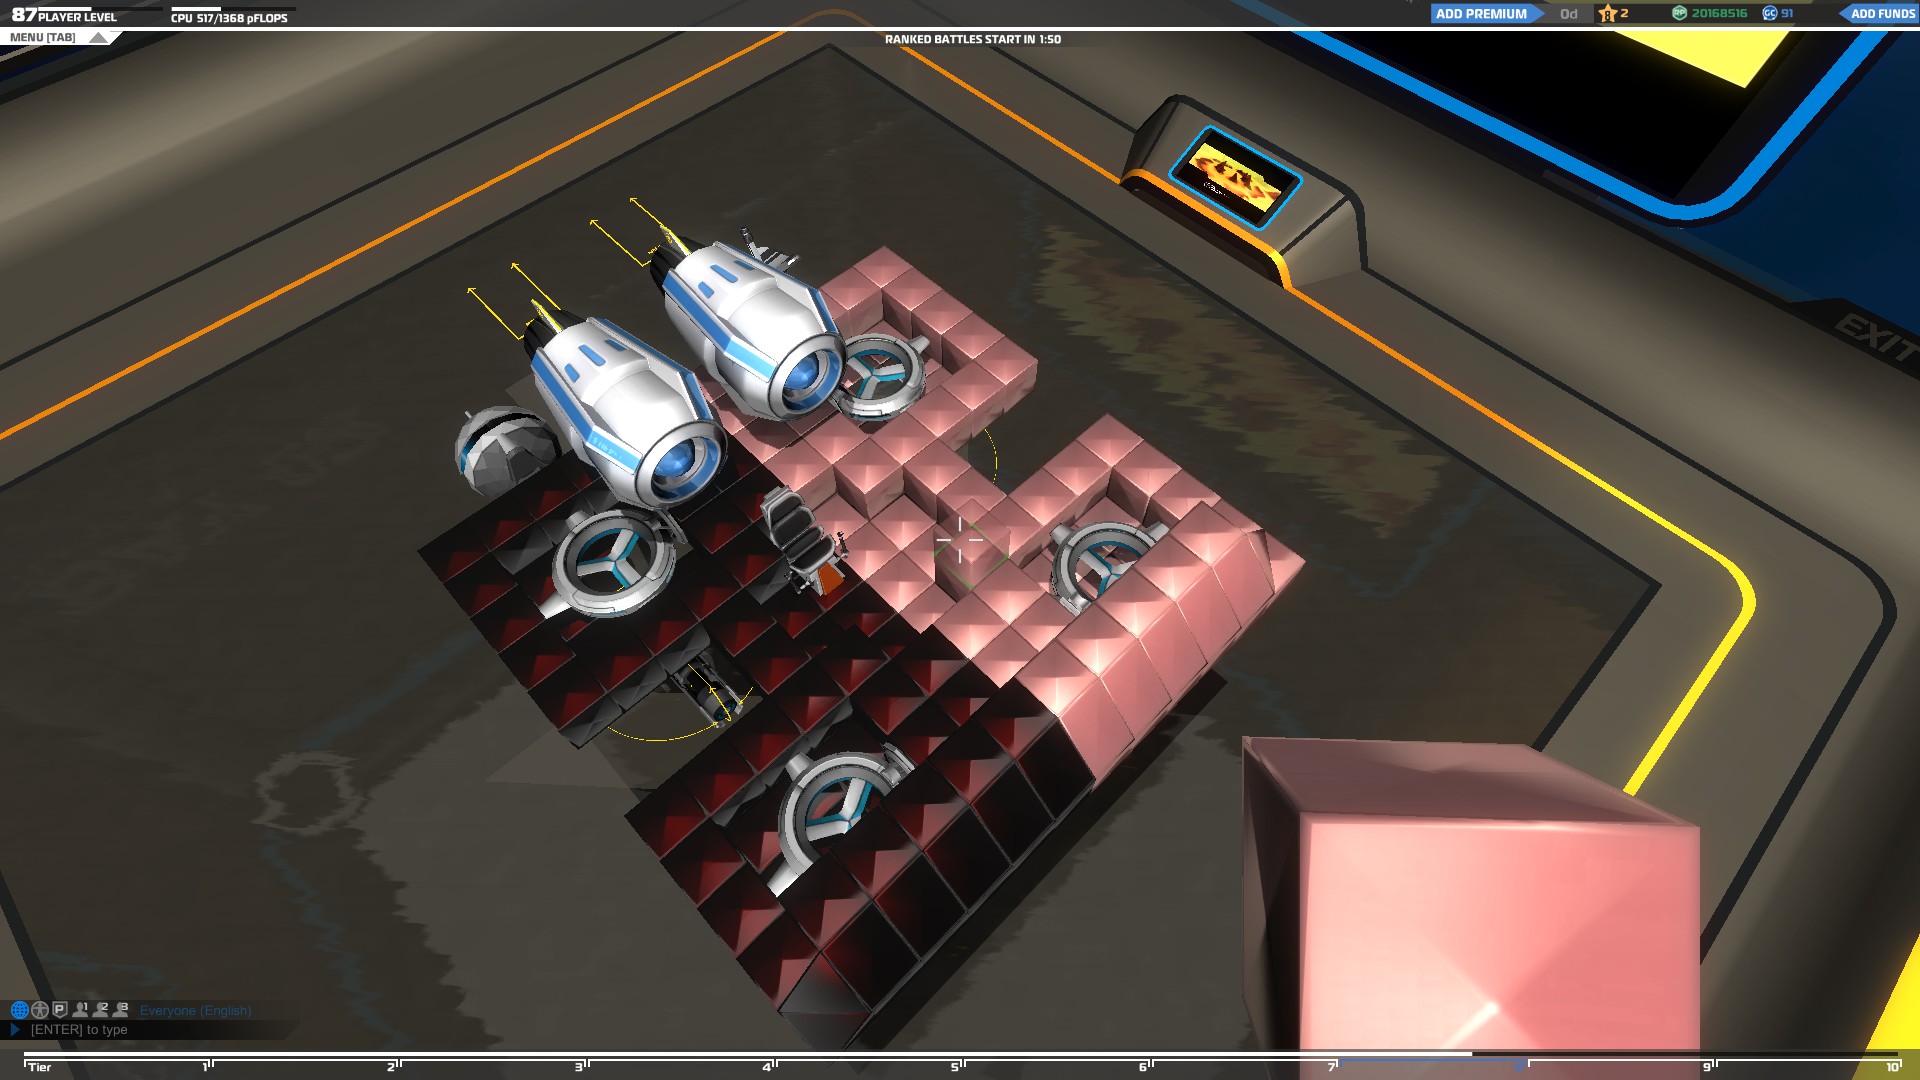
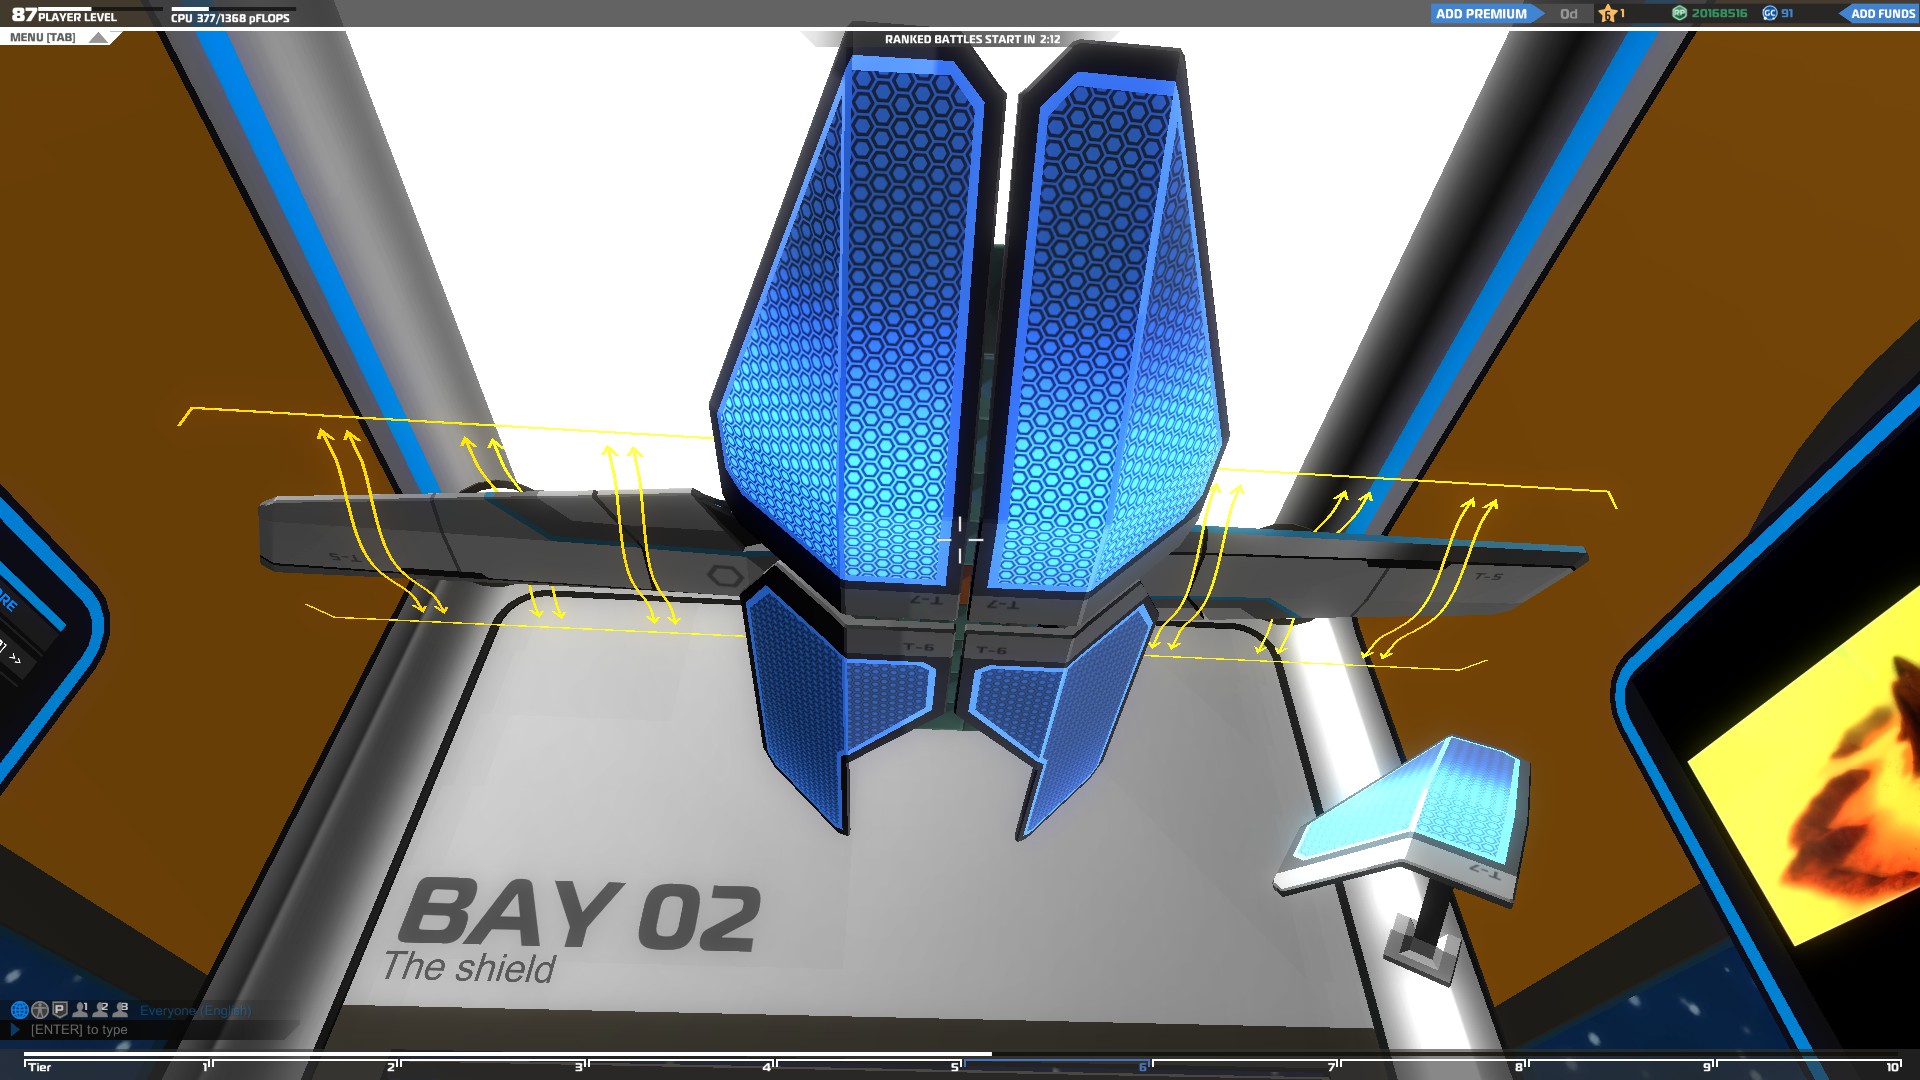
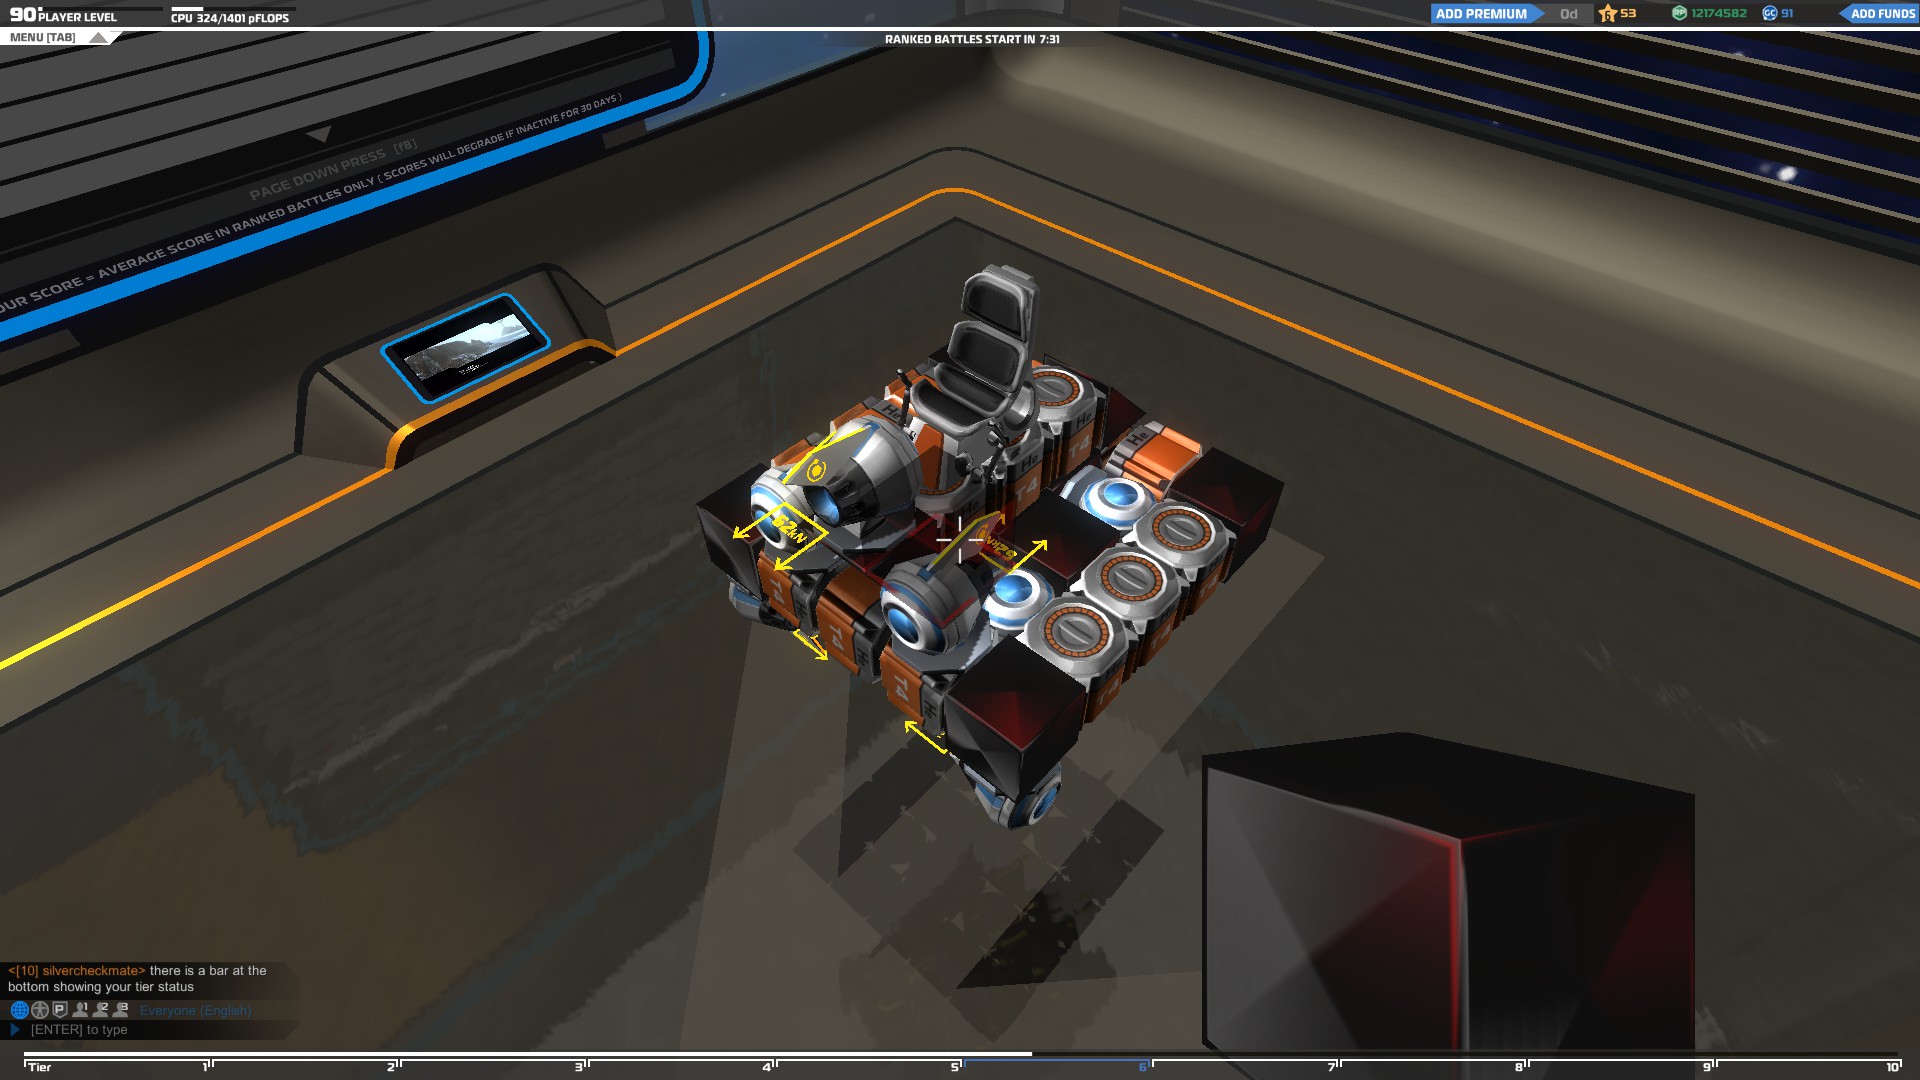
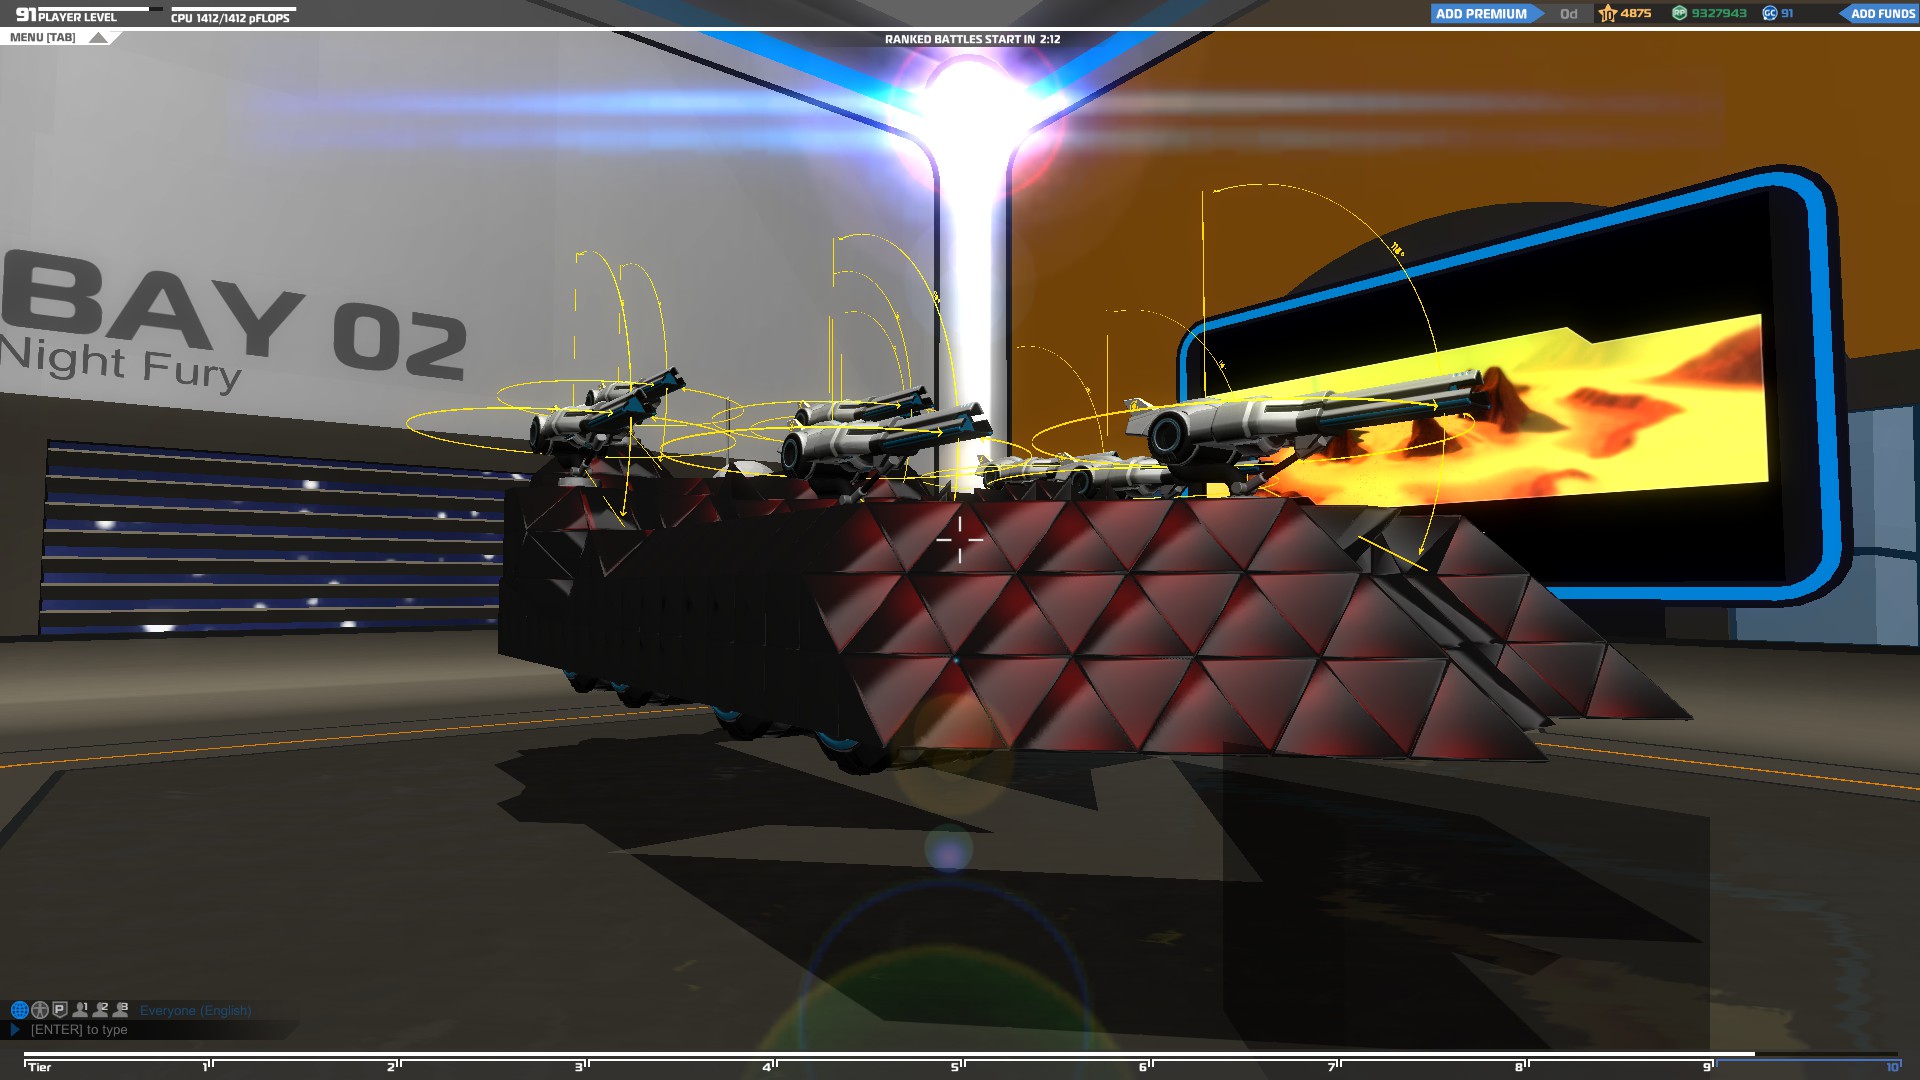
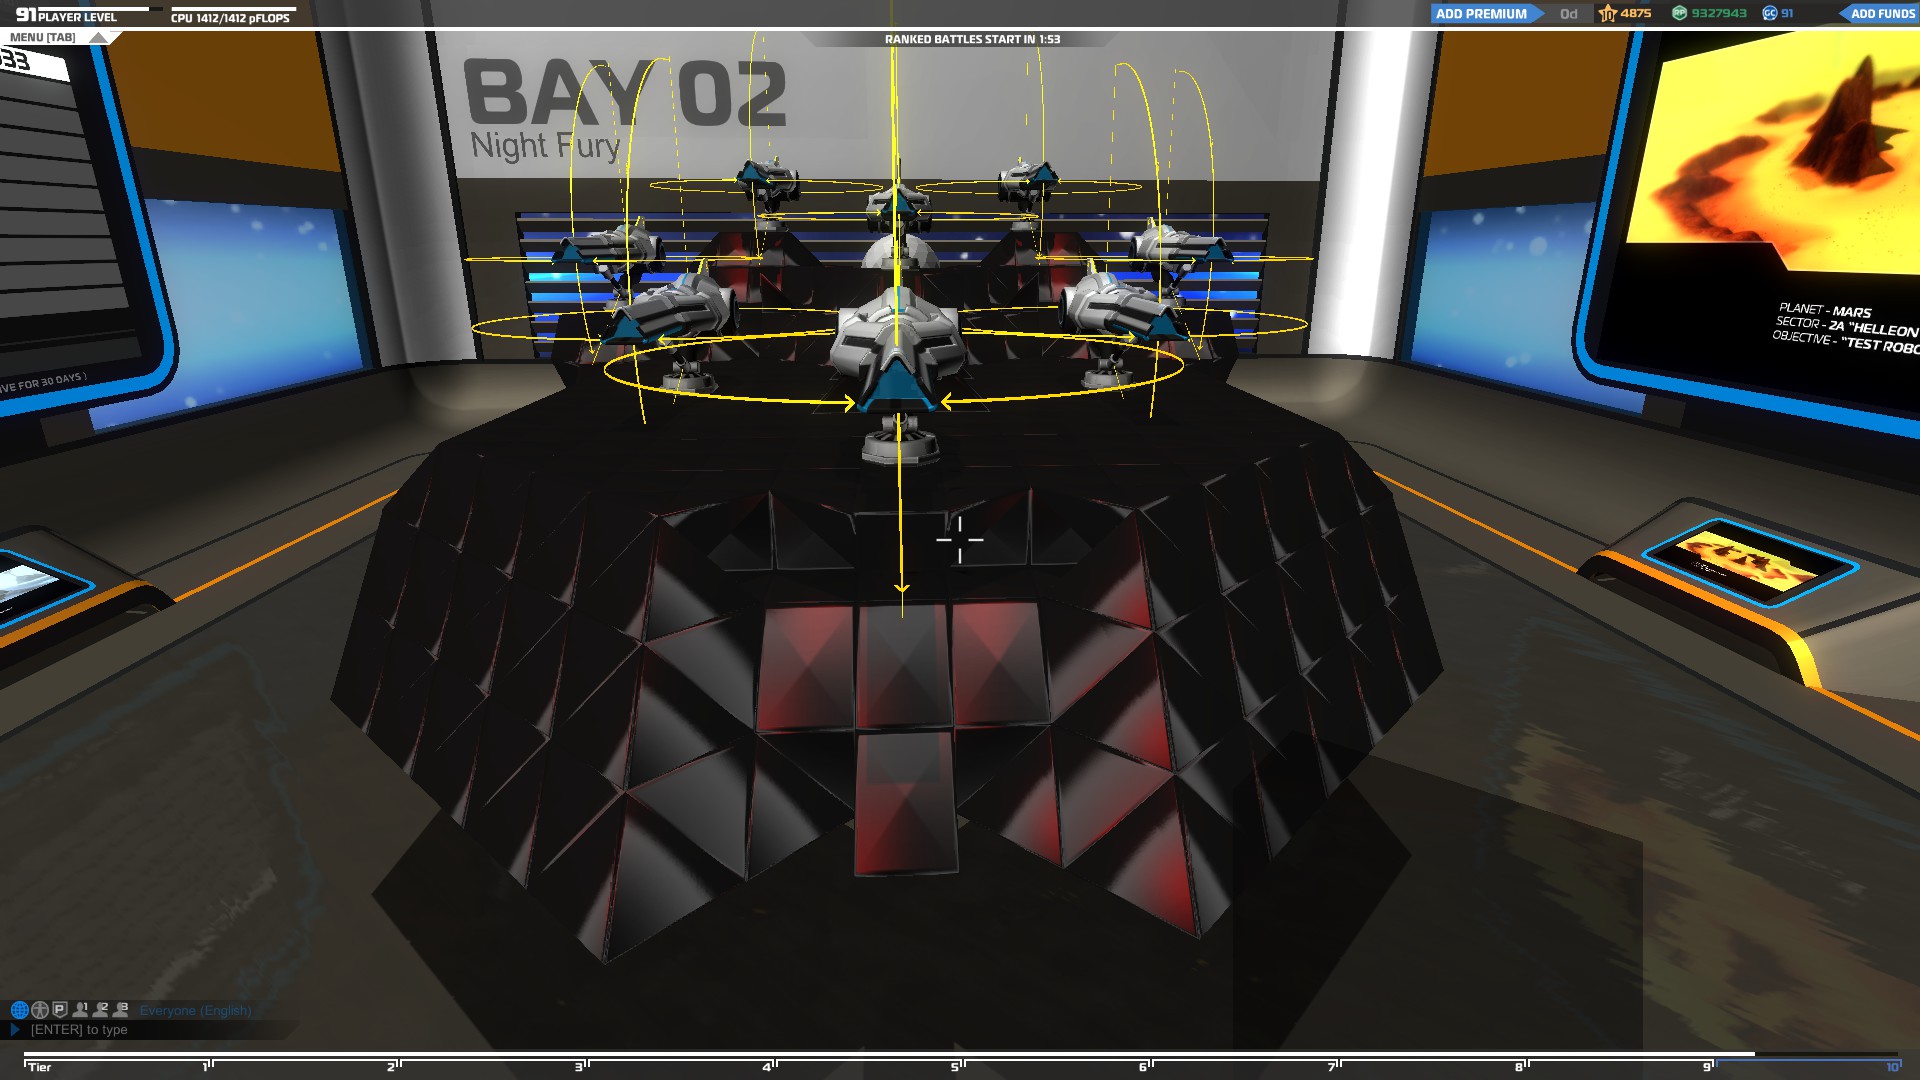
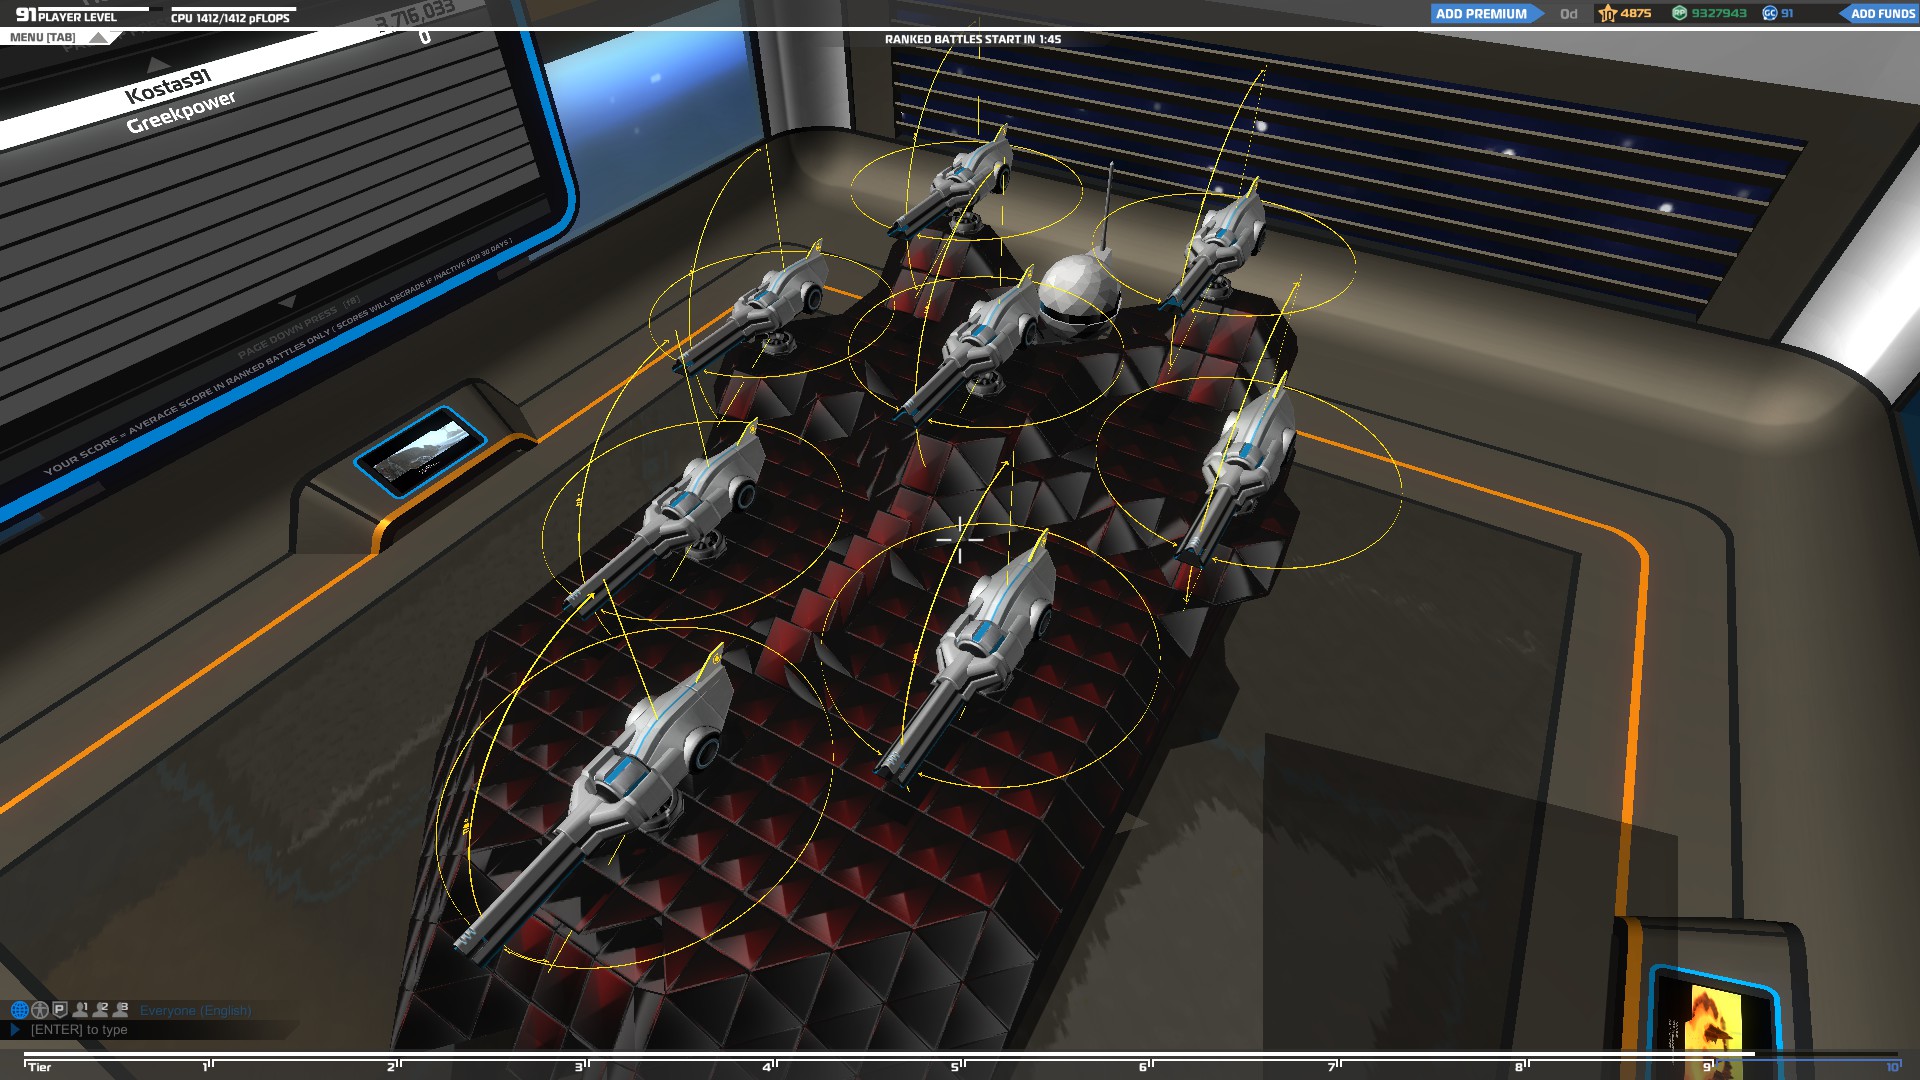
The next thing you should do is to build the bases for your weapons and add them on your vehicle
The yellow lines surounding the weapon represent the space it needs to move around which means you cannot put your weapons right next to each other. As you reach higher tiers, the weapons will require a lot more space so you will need bigger vehicles.
You can use one type of weapon on each vehicle so it will have to be either a Top or front mount SMG, a plasma launcher or a rail cannon.
Make sure you do not block the weapon's view by puting blocks in front of them or other weapons, otherwise your shots will be cancelled before they reach the enemy.
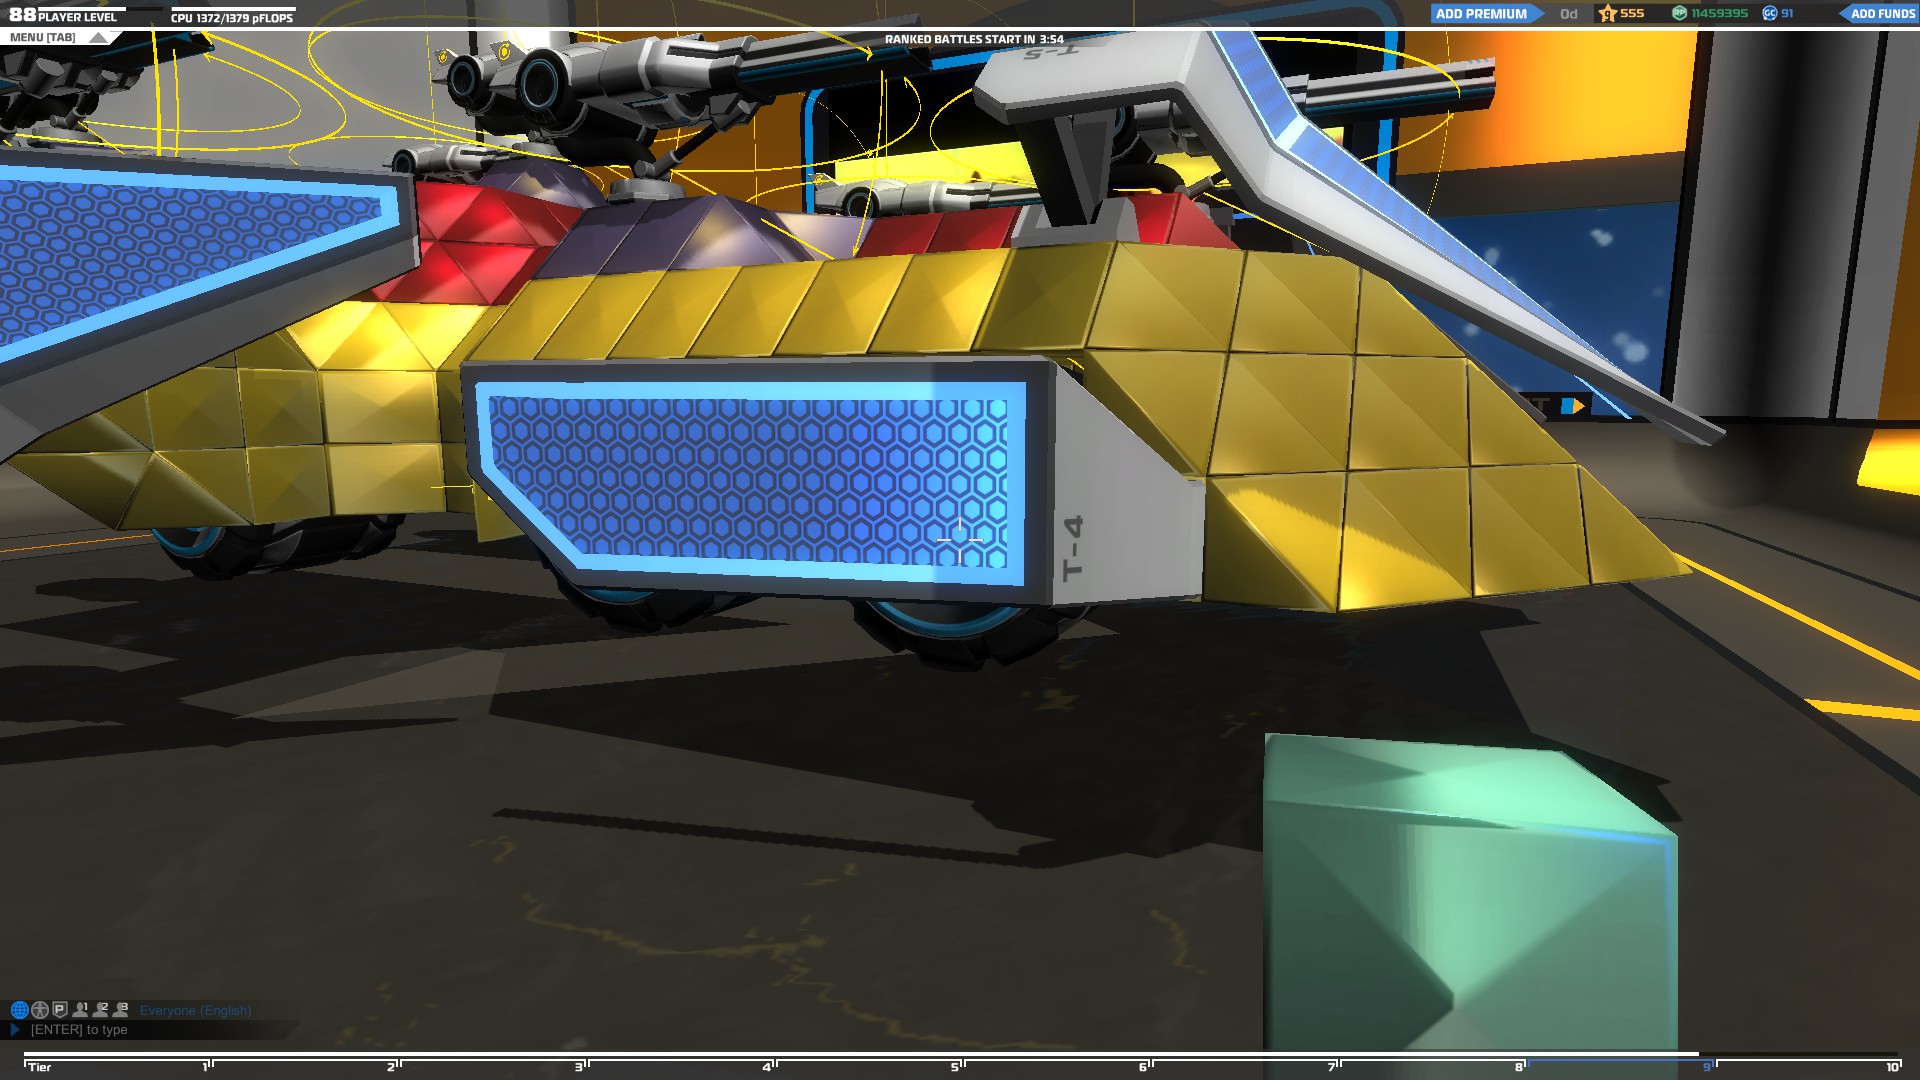
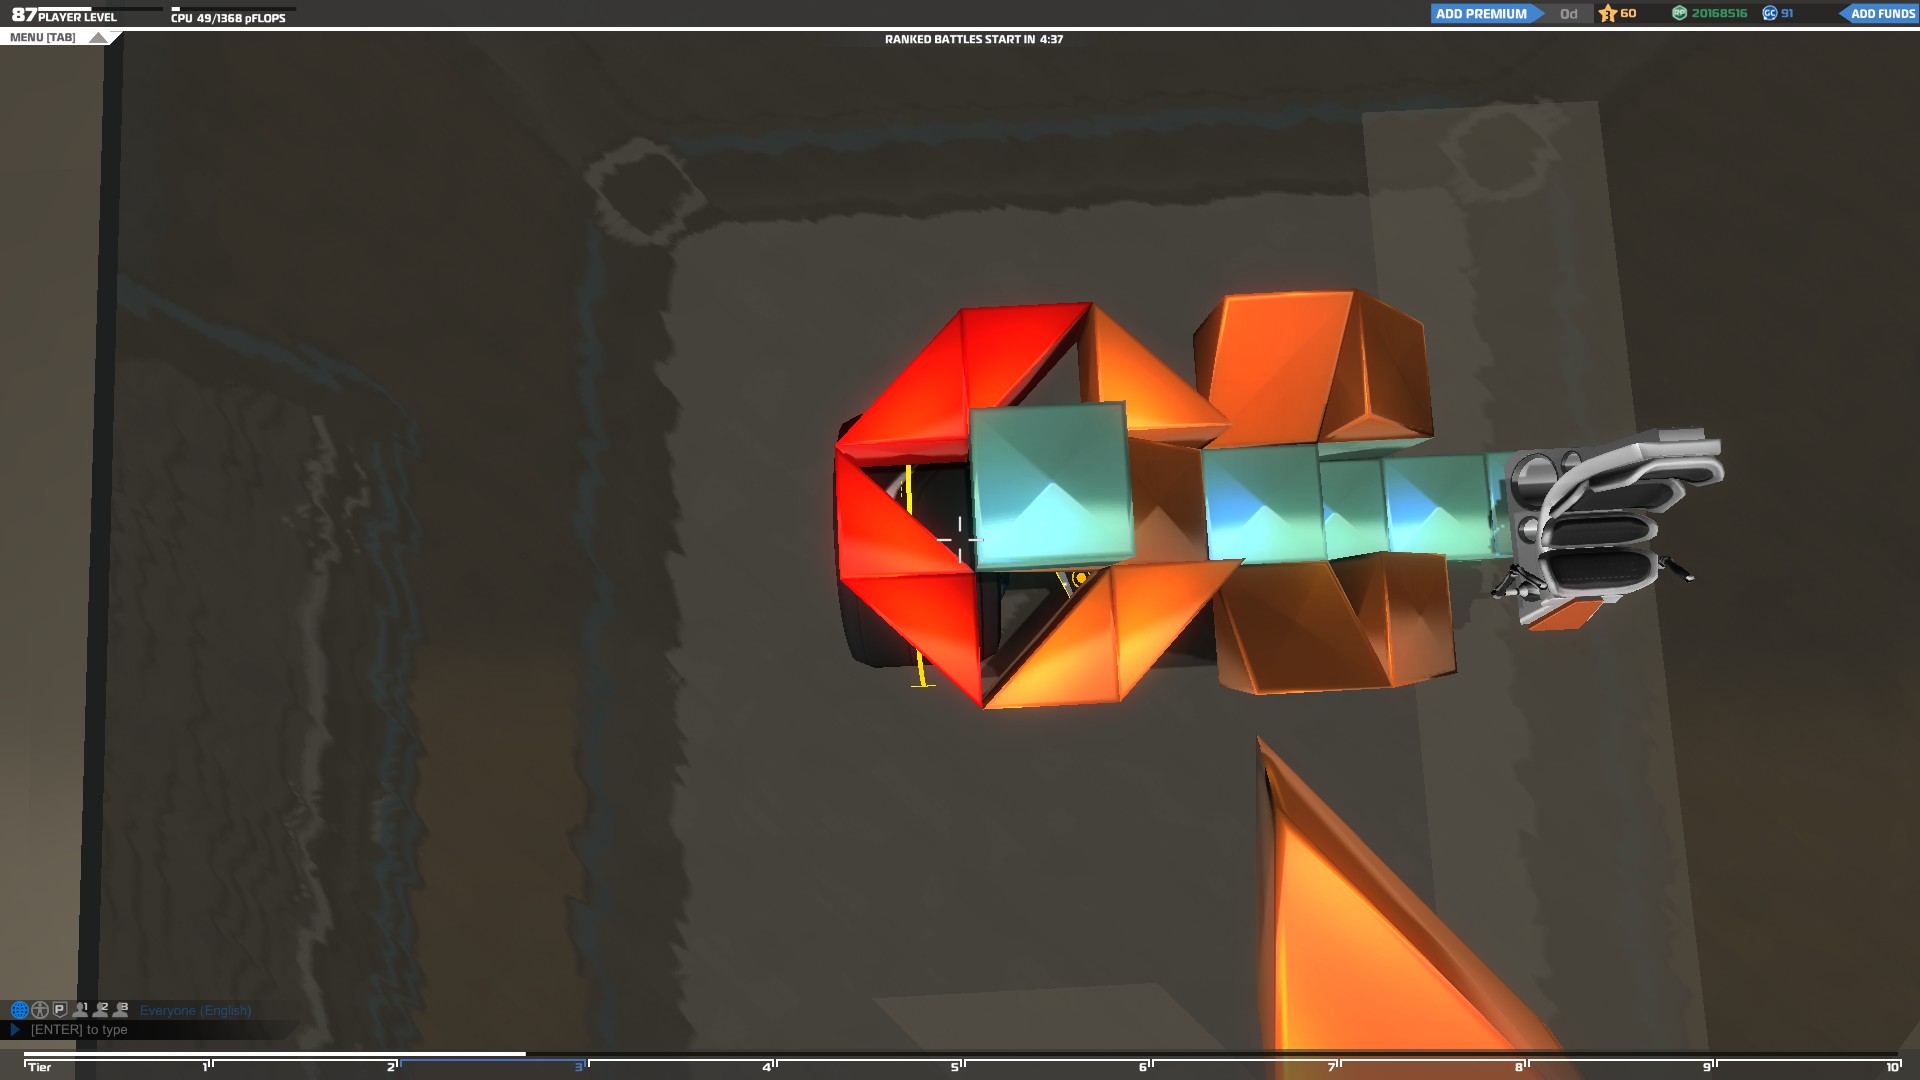
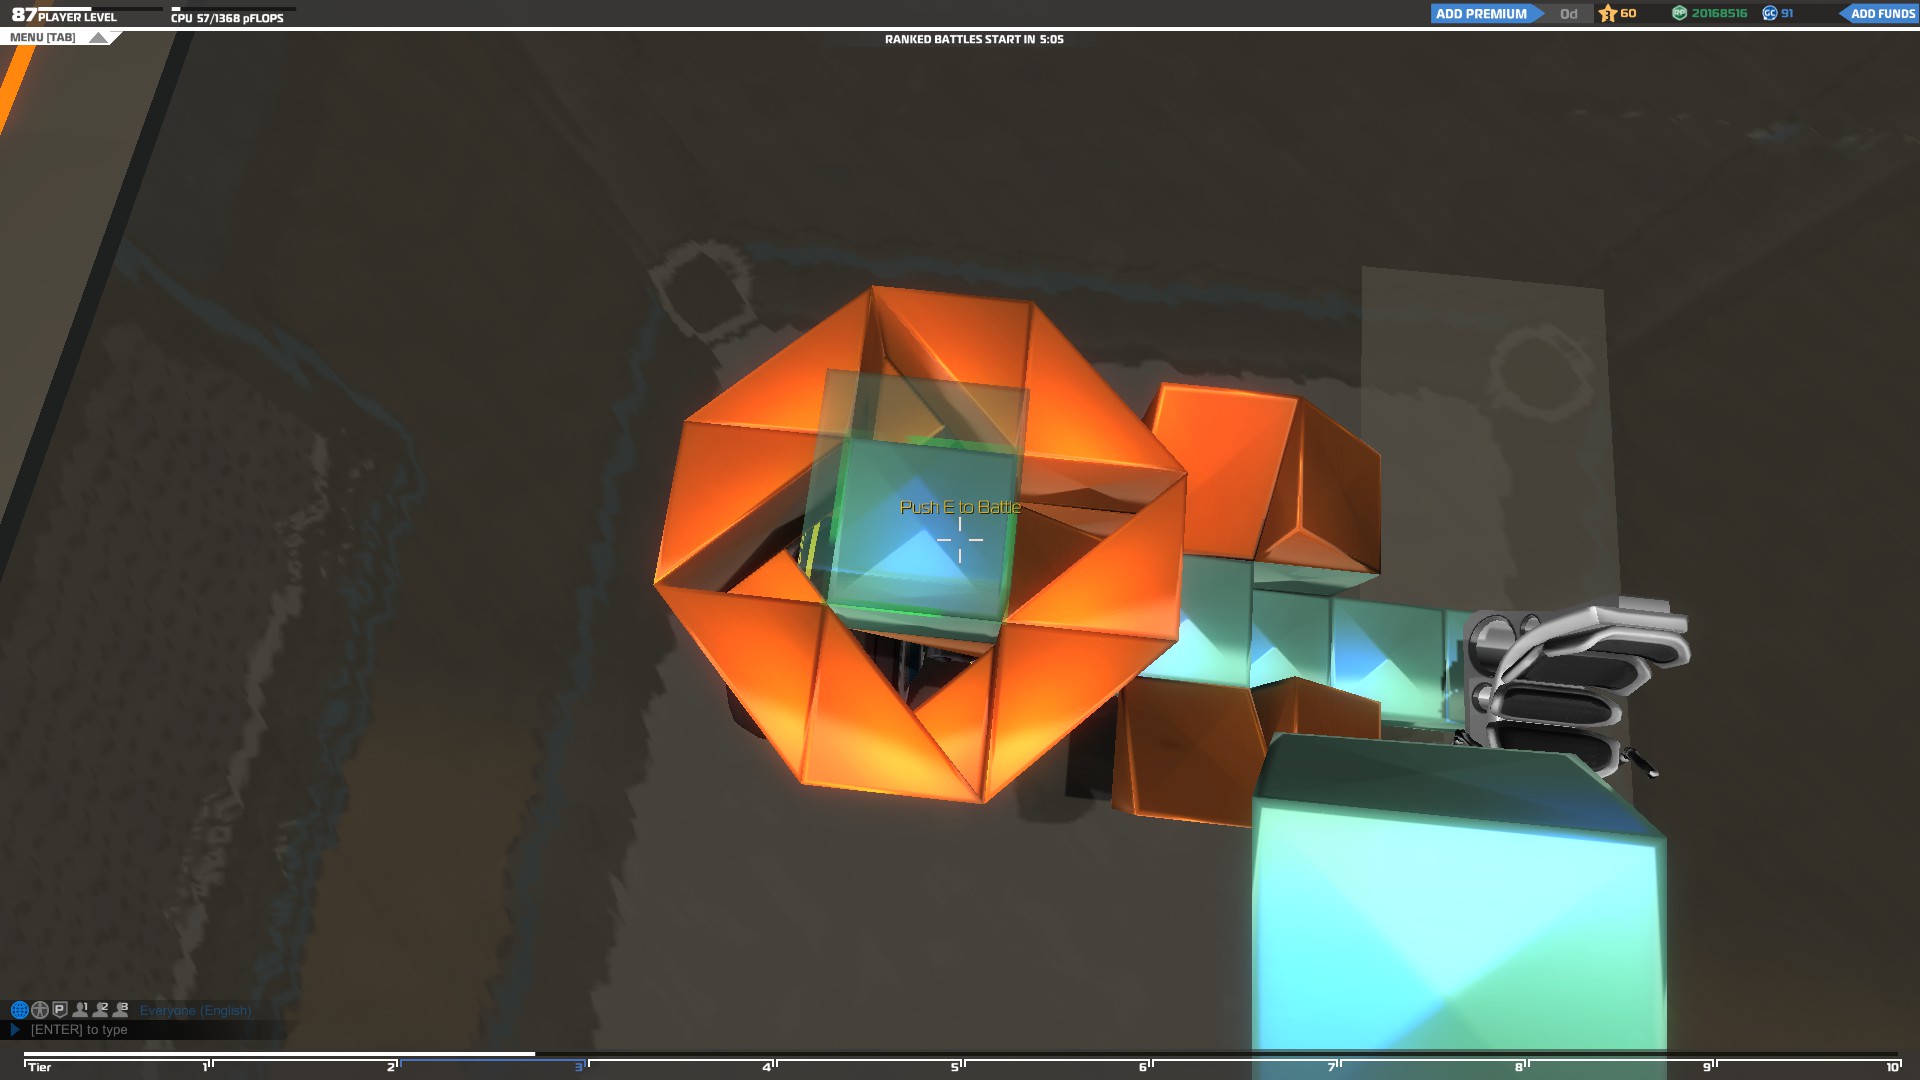
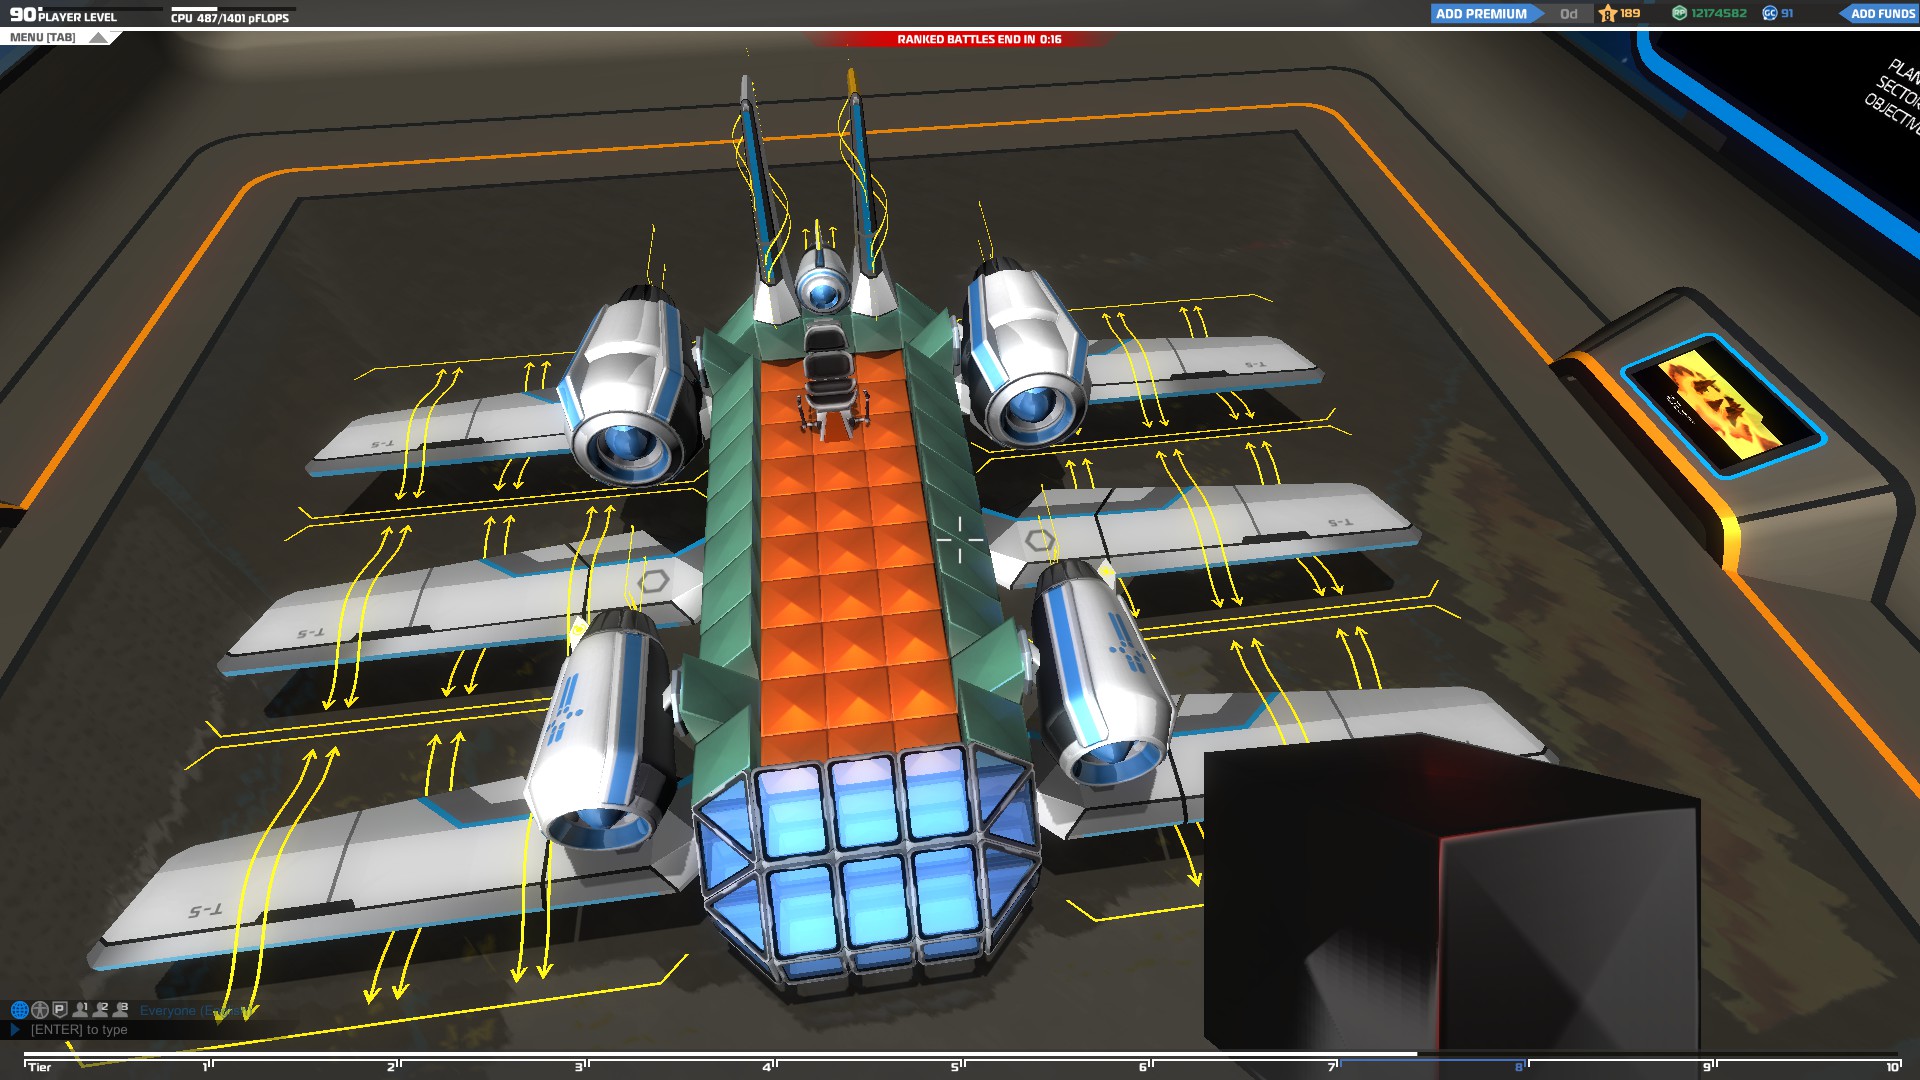
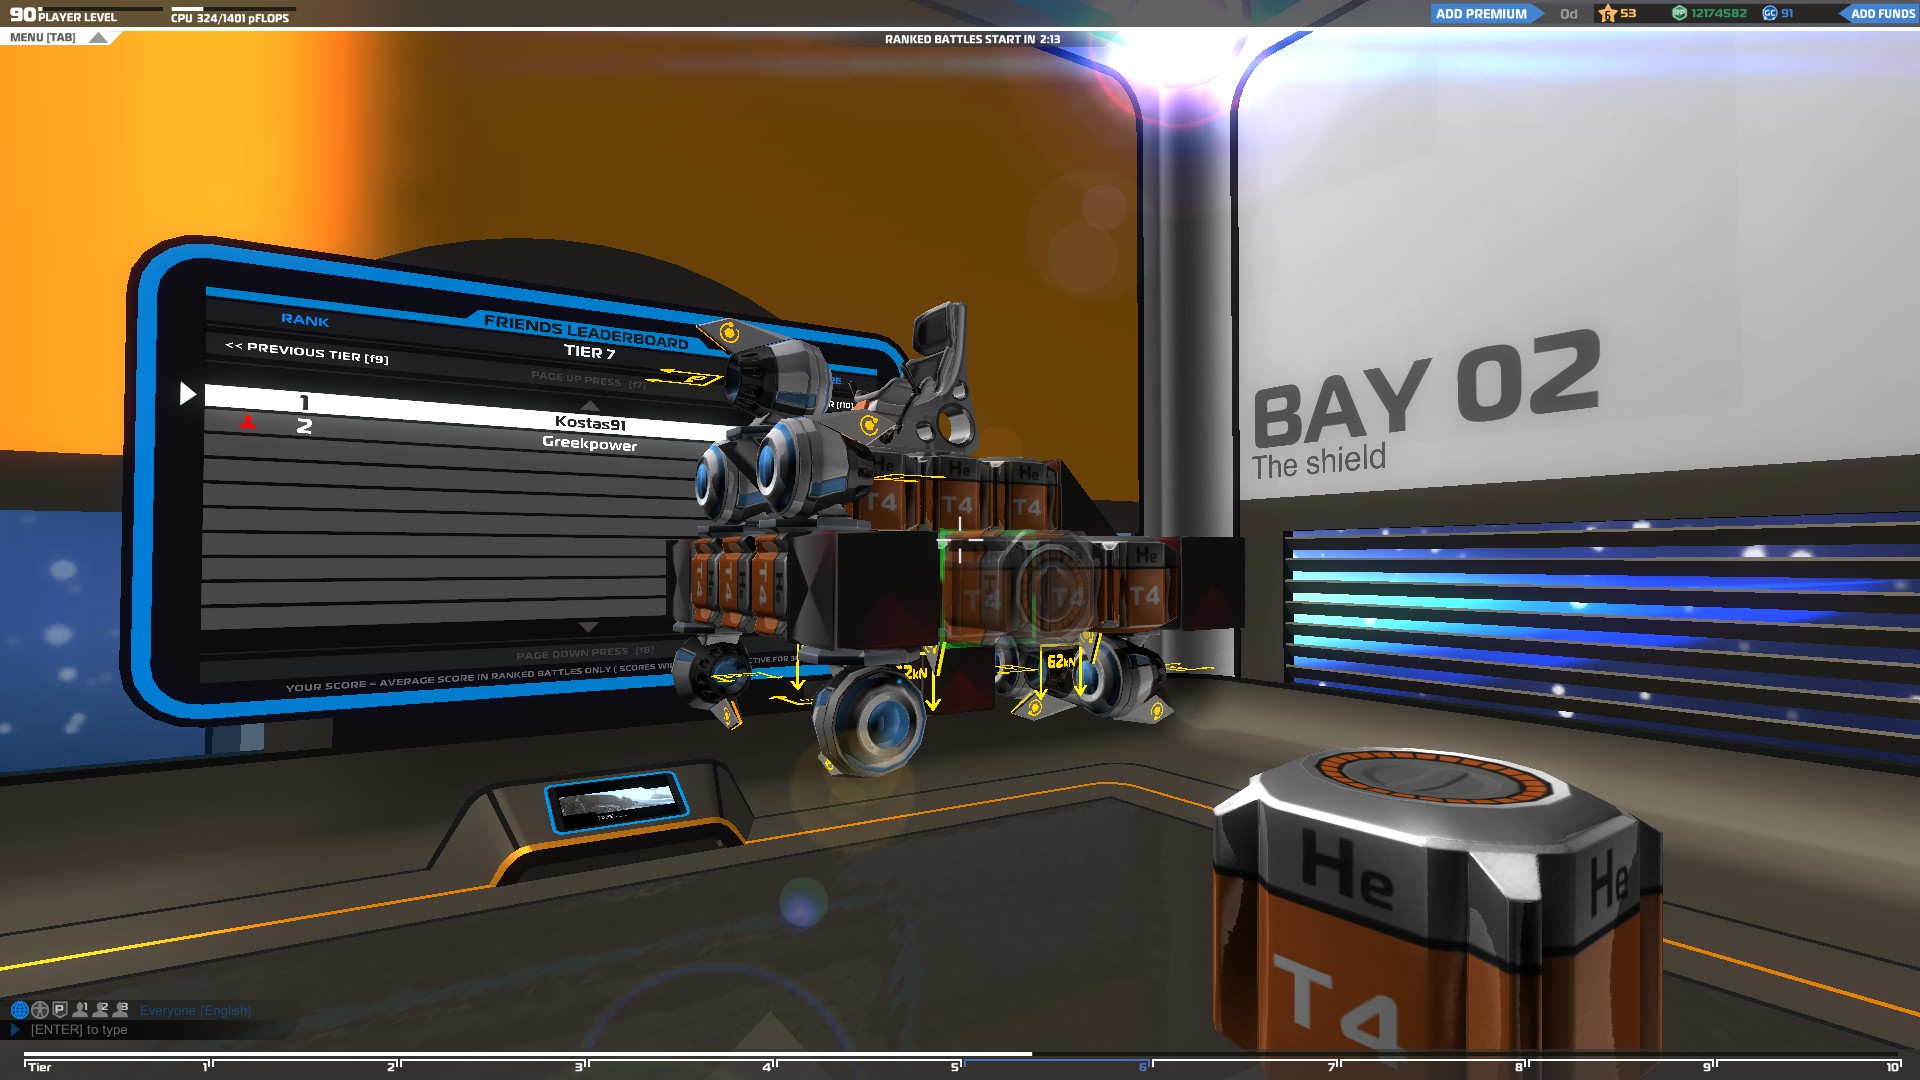
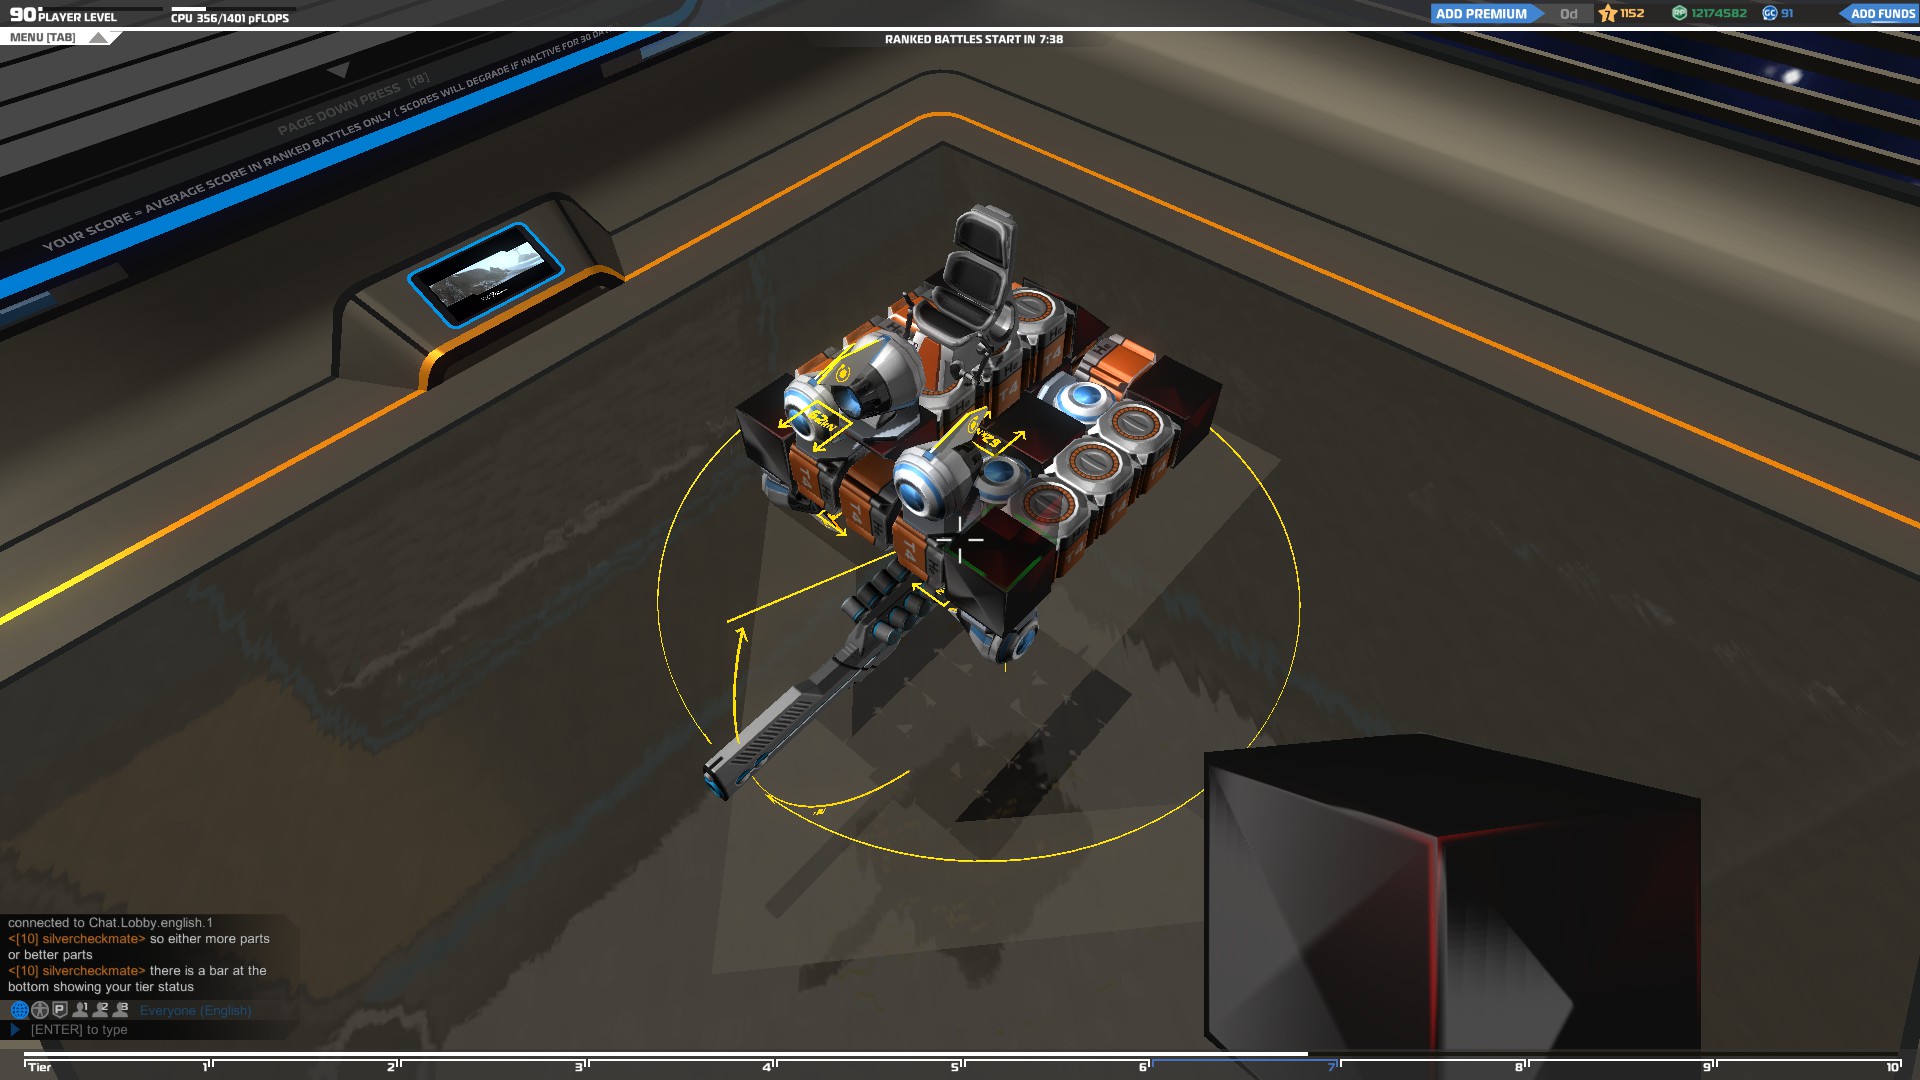
The last thing you should do, is to add a body to your vehicle and cover its weak points. If you have unlocked the thrusters in Tier 2 you can add them as well to give your vehicle a speed boost.
The stronger the body of your vehicle is, the more damage it can absorb. Also the thrusters will make your vehicle faster which is really usefull If it's really heavy and slow.
Finally make sure to add an allignment rectifier available in the special section. In case you lose control of your vehicle and turns upside down, you will be able to flip it back to normal with this item by pressing "F".
Make sure you always test your vehicles in the practice mode before you join a match to test If everything is working properly.
Triforce And Damage Absorption Techniques
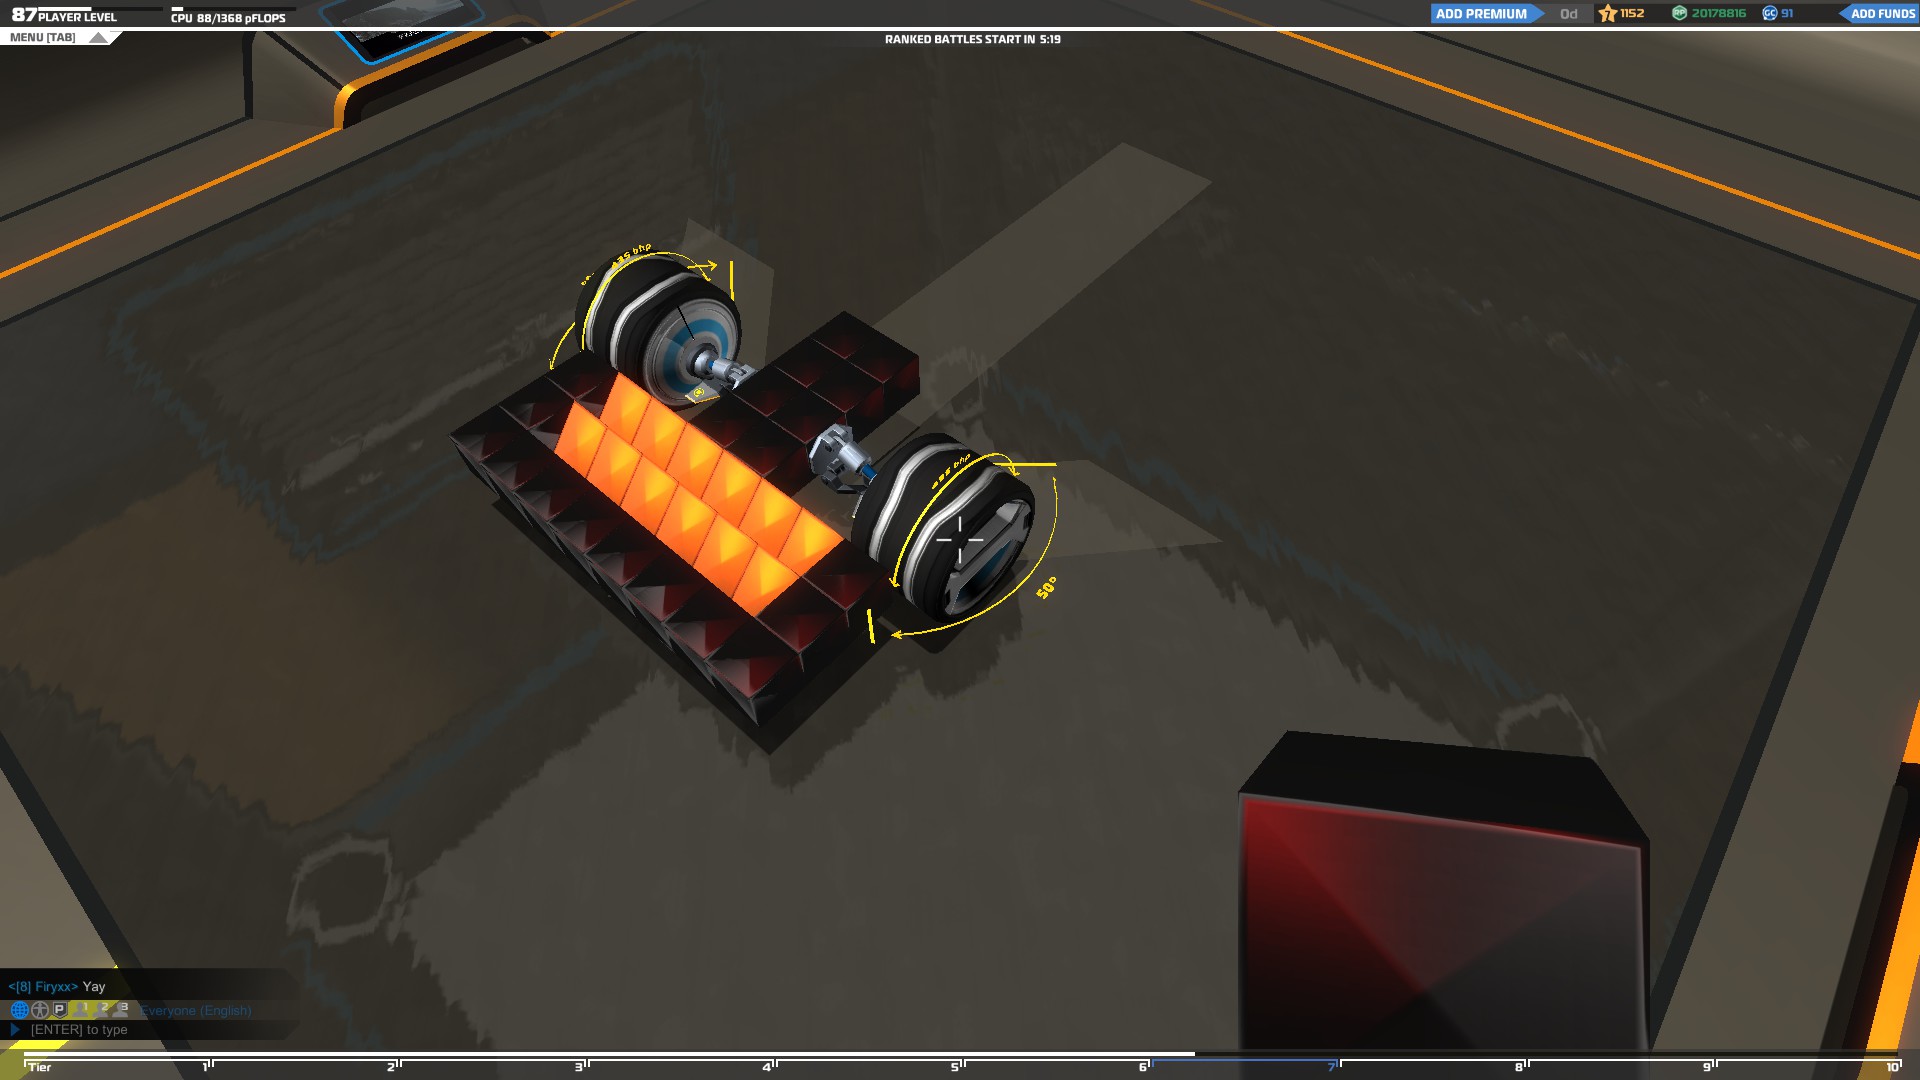
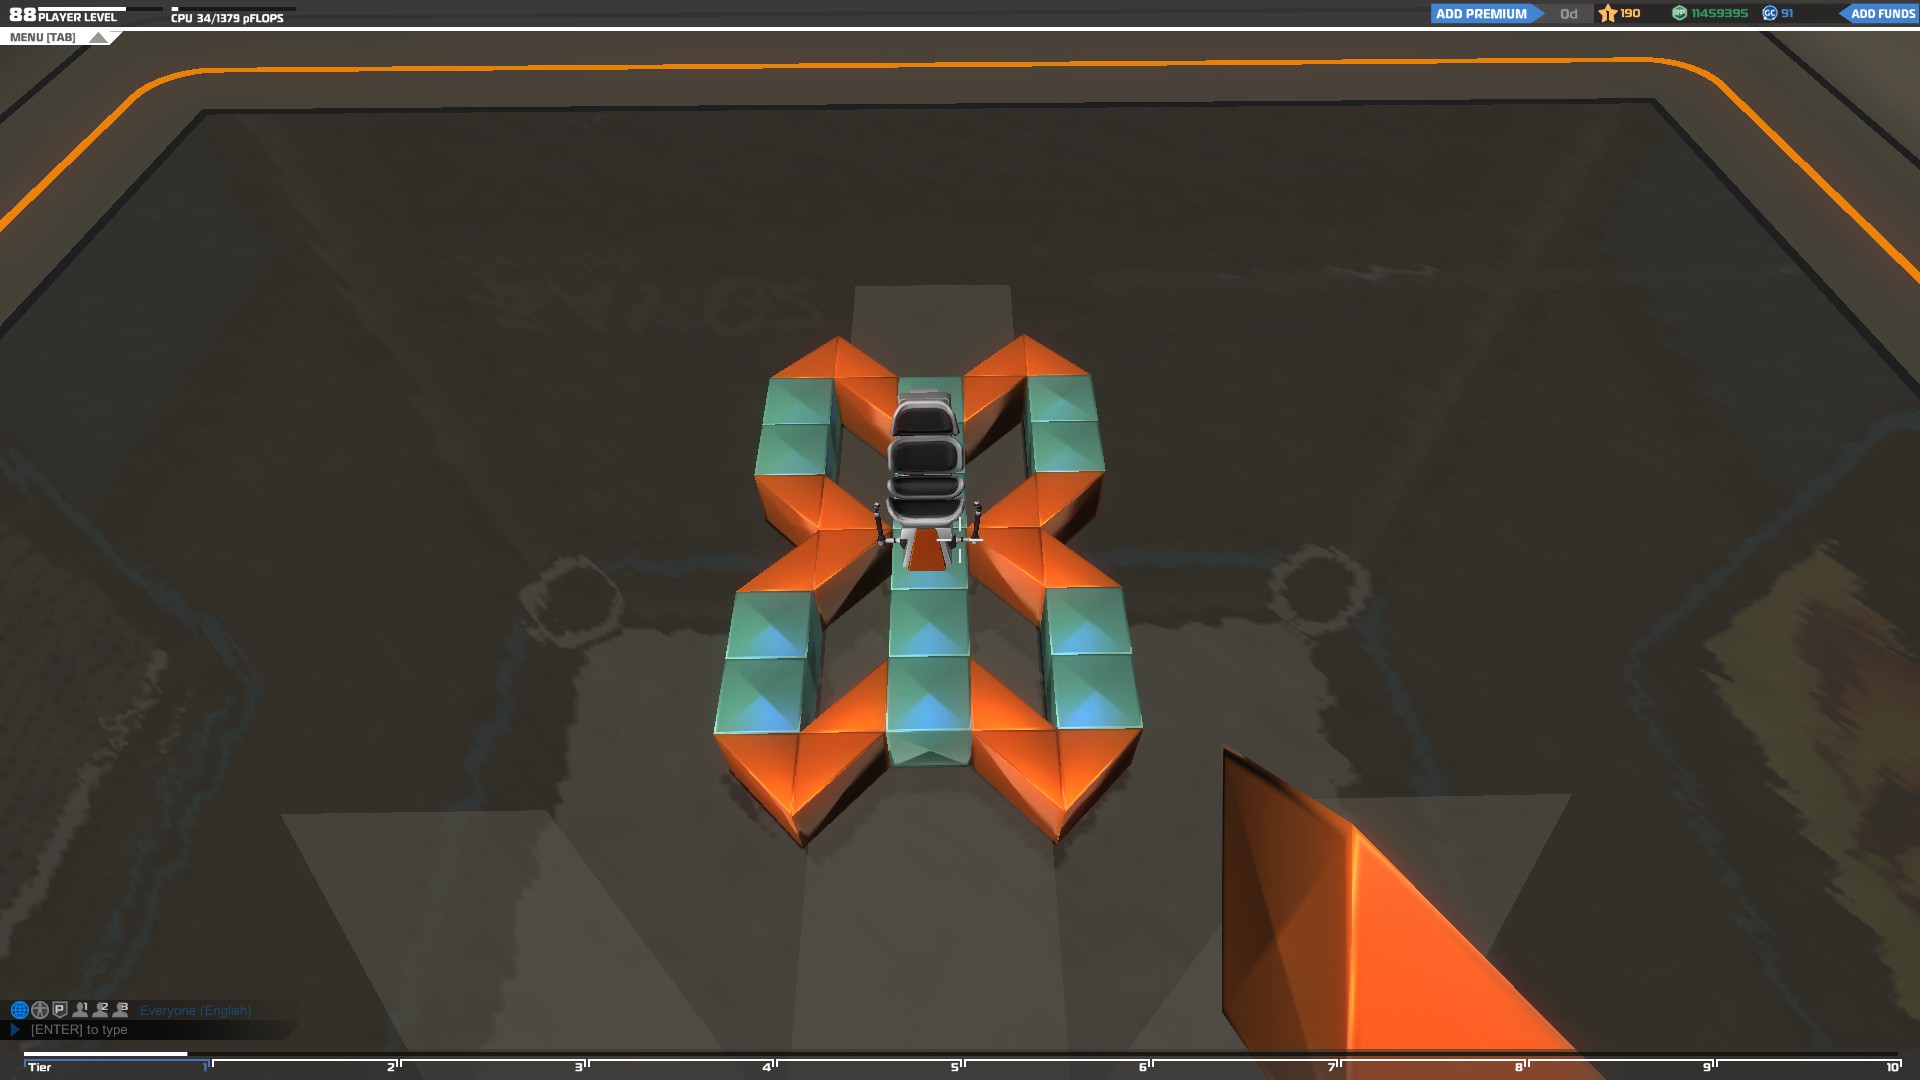
What is the Triforce building technique
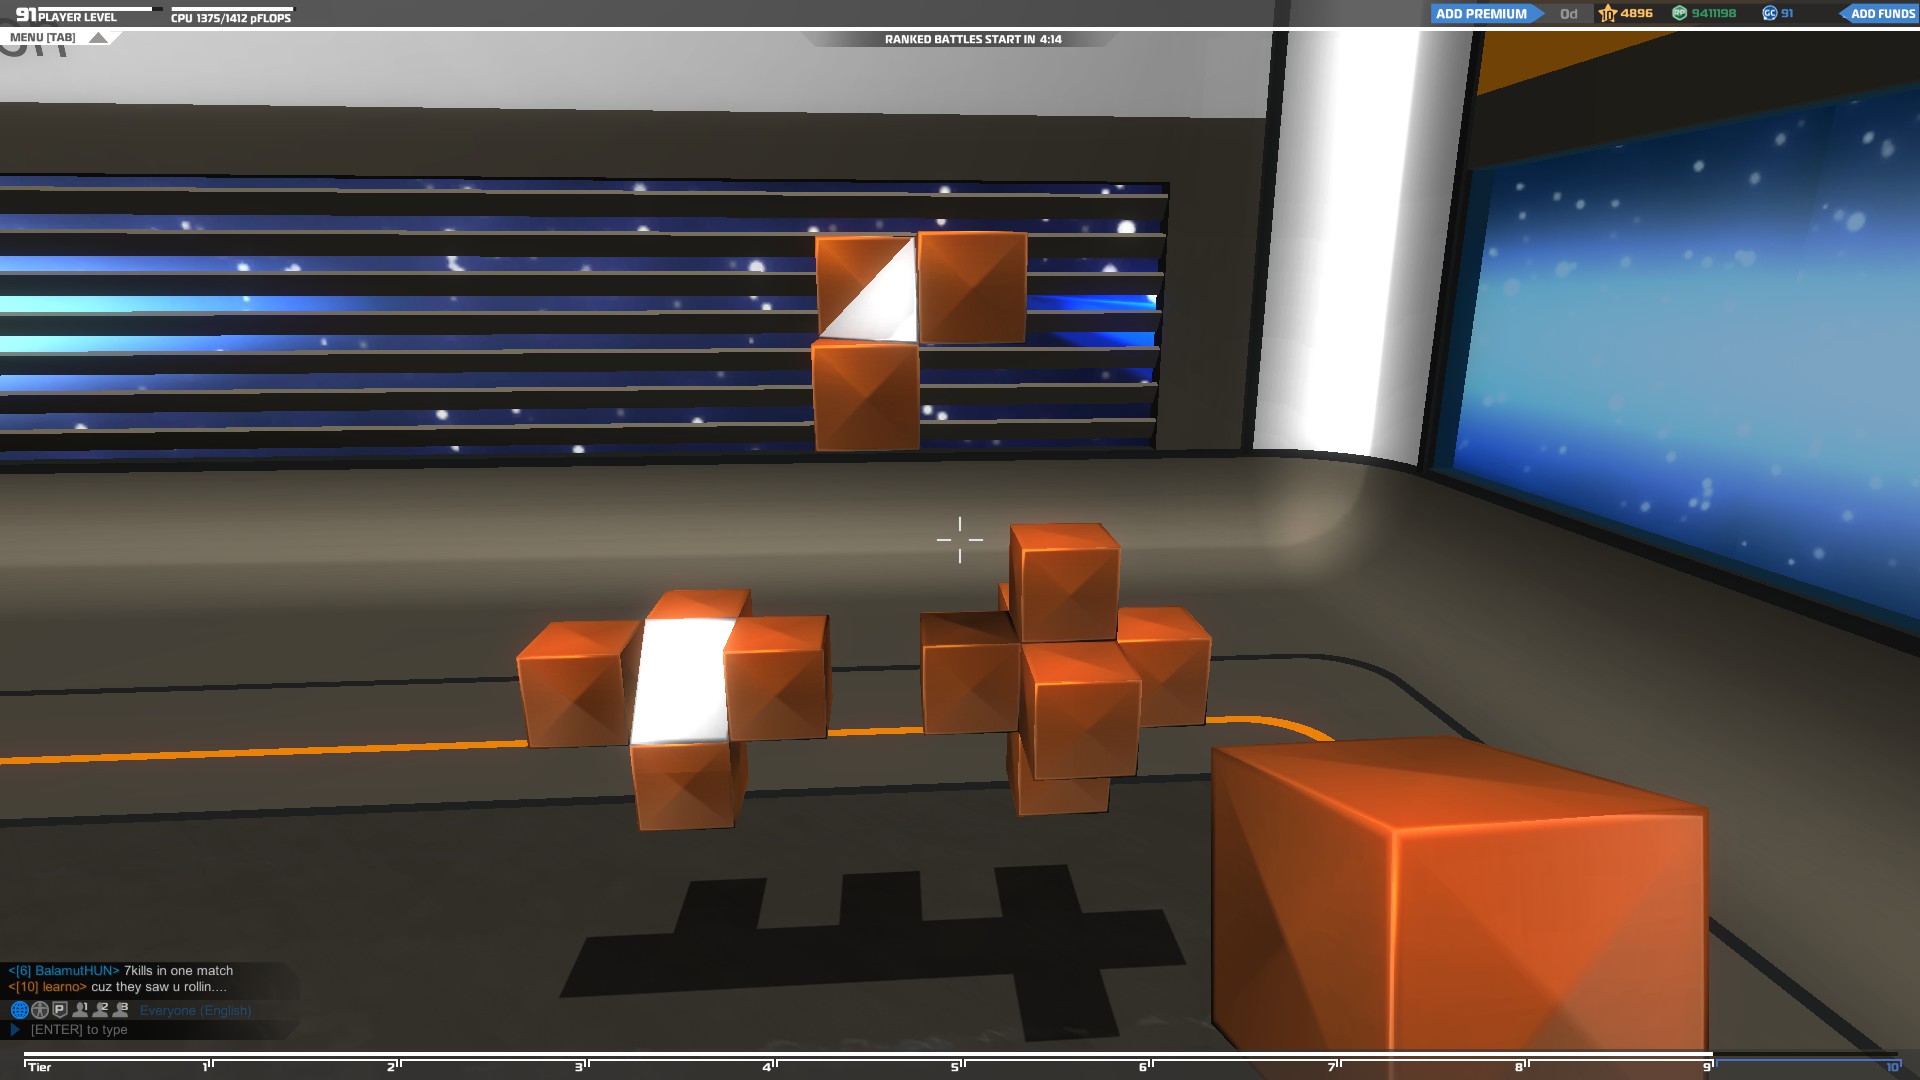
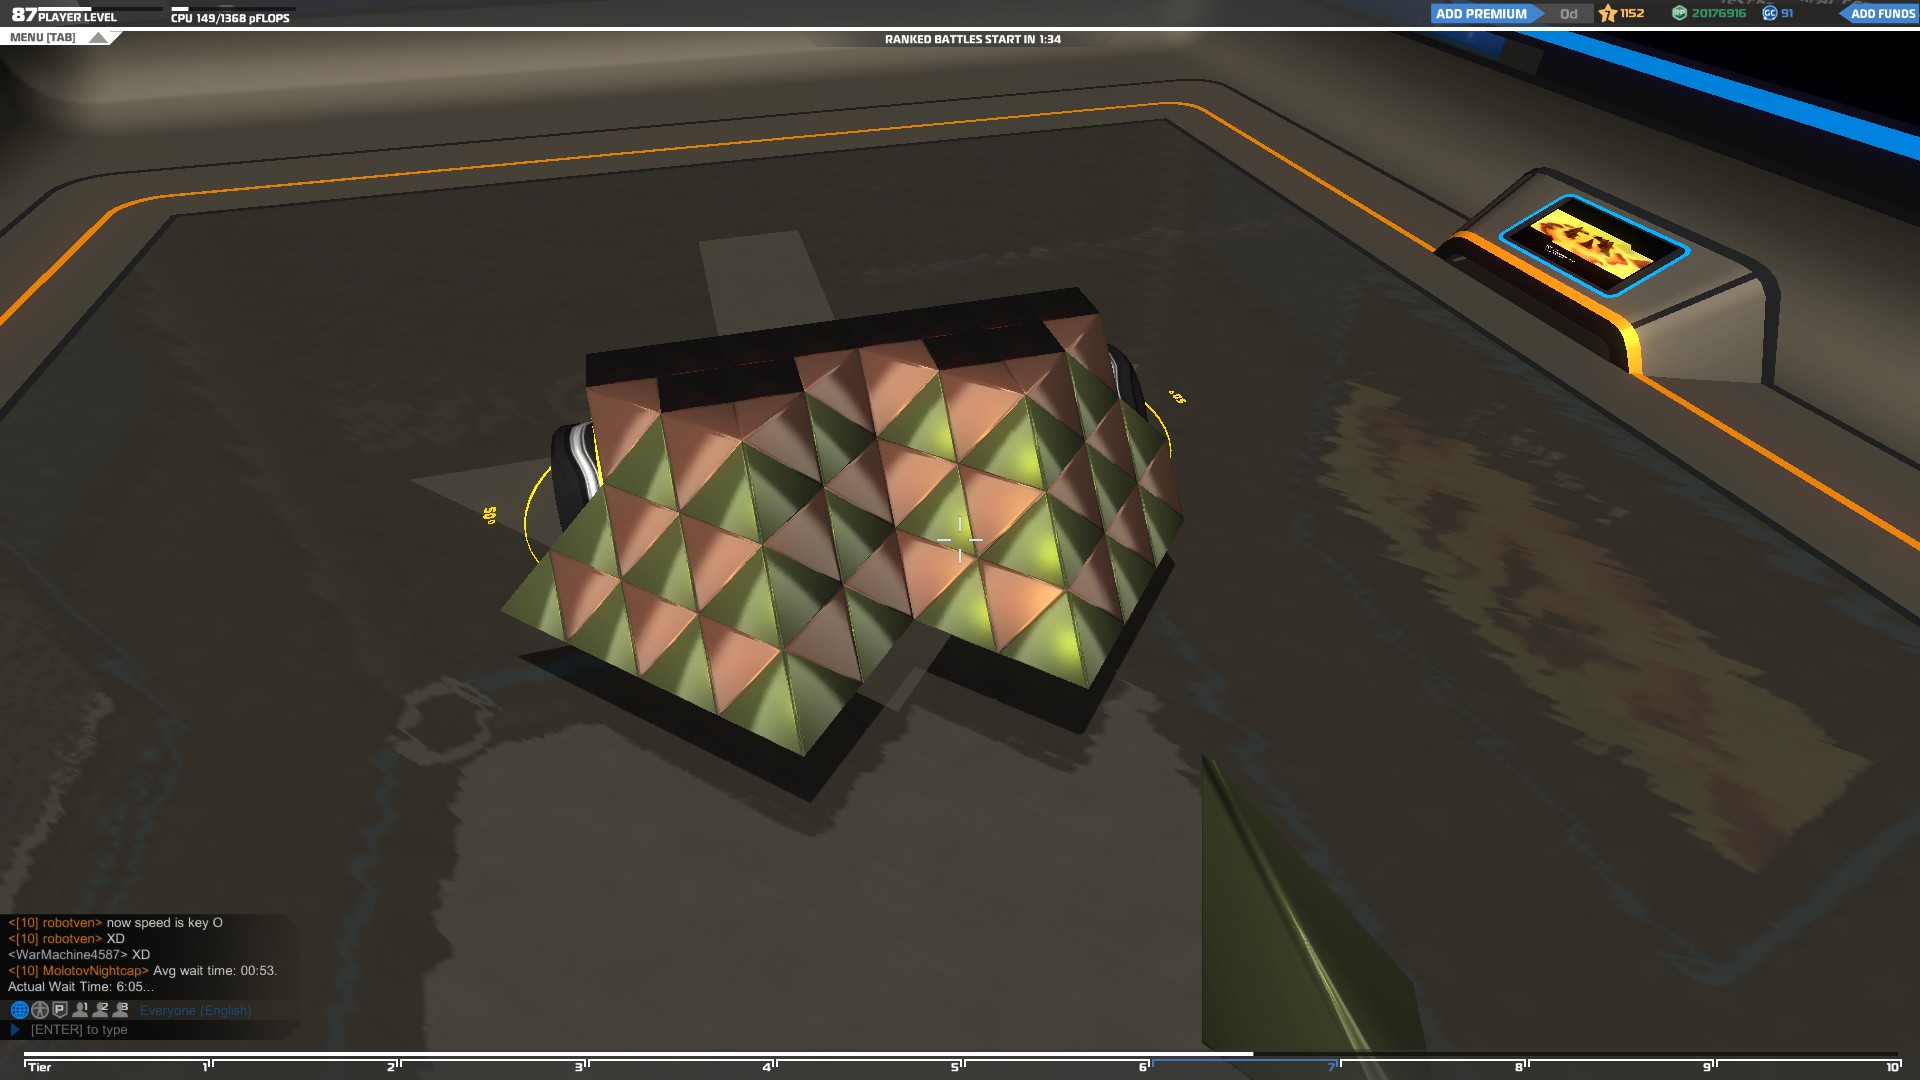
If you check the block stats you will notice that the prisms, tetras and inners have the same armor with the cubes but are a lot lighter and smaller in size.
Triforce takes advantages of the triangular blocks' high amor, light weight and small size combination to build much stronger vehicles without sacrificing speed or space.
But that's not only it, since the damage from every enemy shot spreads to the nearby blocks, you can take advantage of the triangular blocks whichhave only 4 or less sides that can connect to another block to redirect the incoming damage to other less important parts of your vehicle.
Another technique which can redirect damage in a similar way is the spaced armor, where you leave the space between two armor layers empty so the damage doesn't spread to the inner parts of your vehicles.
This technique requires a lot of space though making it really difficult to build an efficient vehicle. That is where the triforce technique makes a real difference.
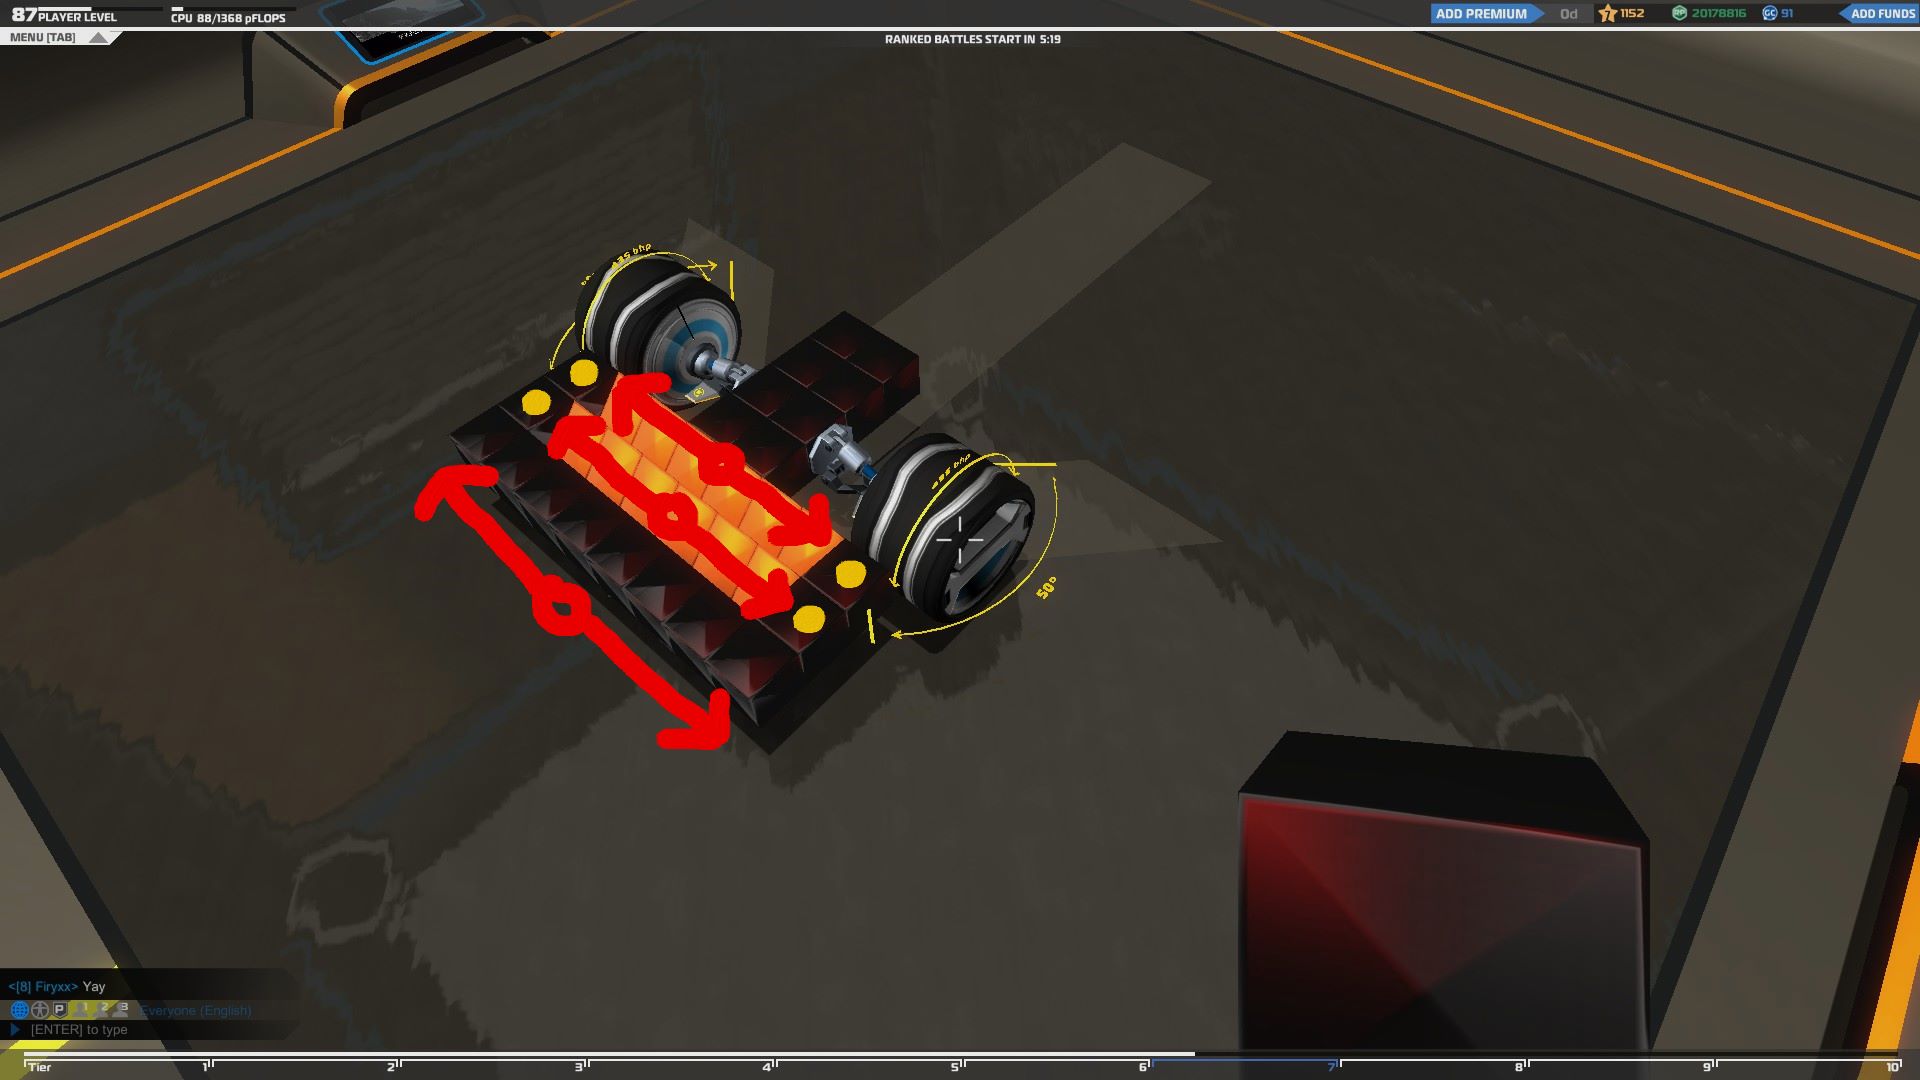
With triforce, you can the concept of spaced armor and by using prisms make it one of the most efficient ways to protect your vehicle.
In this example, Instead of leaving an empty space between the block armor layers I used prisms, but since prisms can only connect 4 of their sides, the damage will still spread the same way it would if you had used spaced armor keeping the blocks behind safe and reducing the overall weight of the vehicle.
That's not the only advantage though. Since I filled the empty space, the enemy now will have to go though 3 layers of armor to reach the base of my vehicle instead of 2.
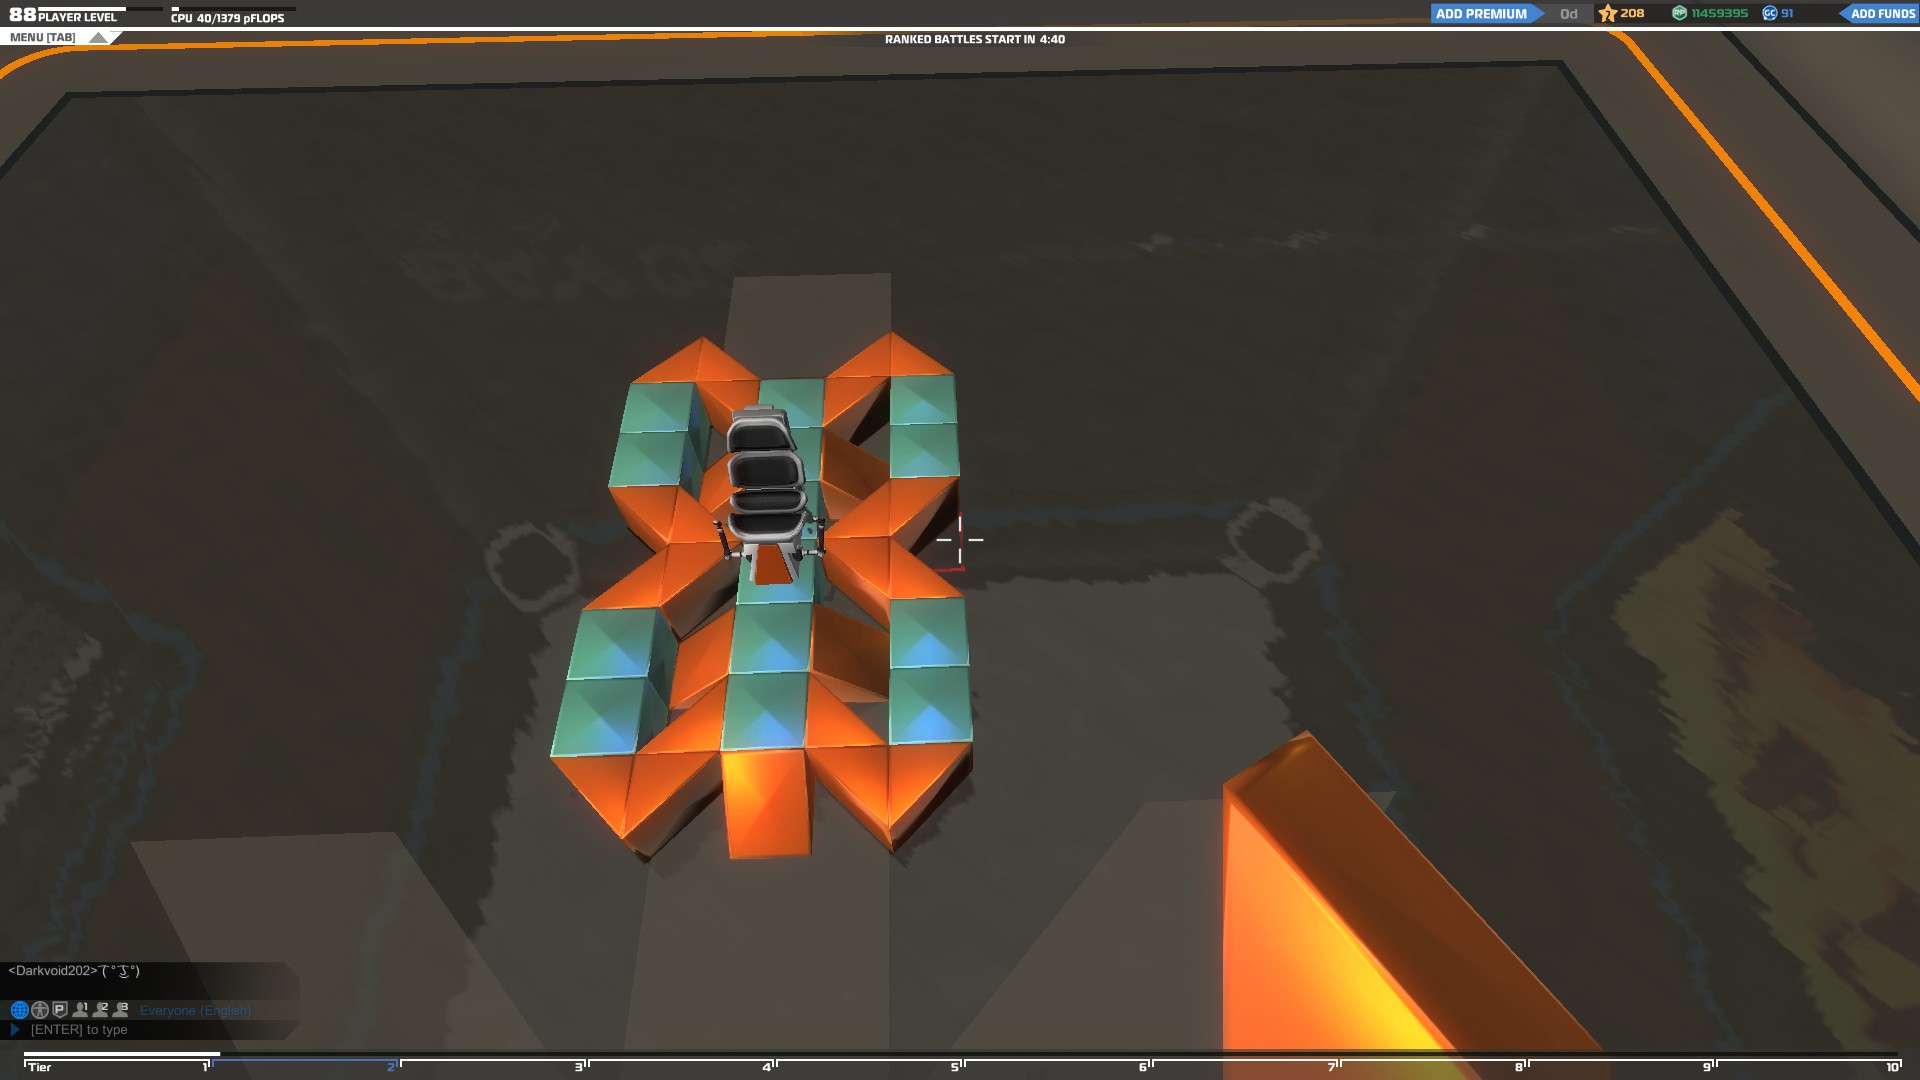
You can also add more prism layers to absorb even more damage
The only drawback of this technique, is that the only blocks supporting the prisms are the cubes I marked with a yellow dot. If both the right and left cubes are destroyed then the whole prism layer will be destroyed as well. Still something like that is not easy to happen and you can always use electroplates to reinforce these weak points.
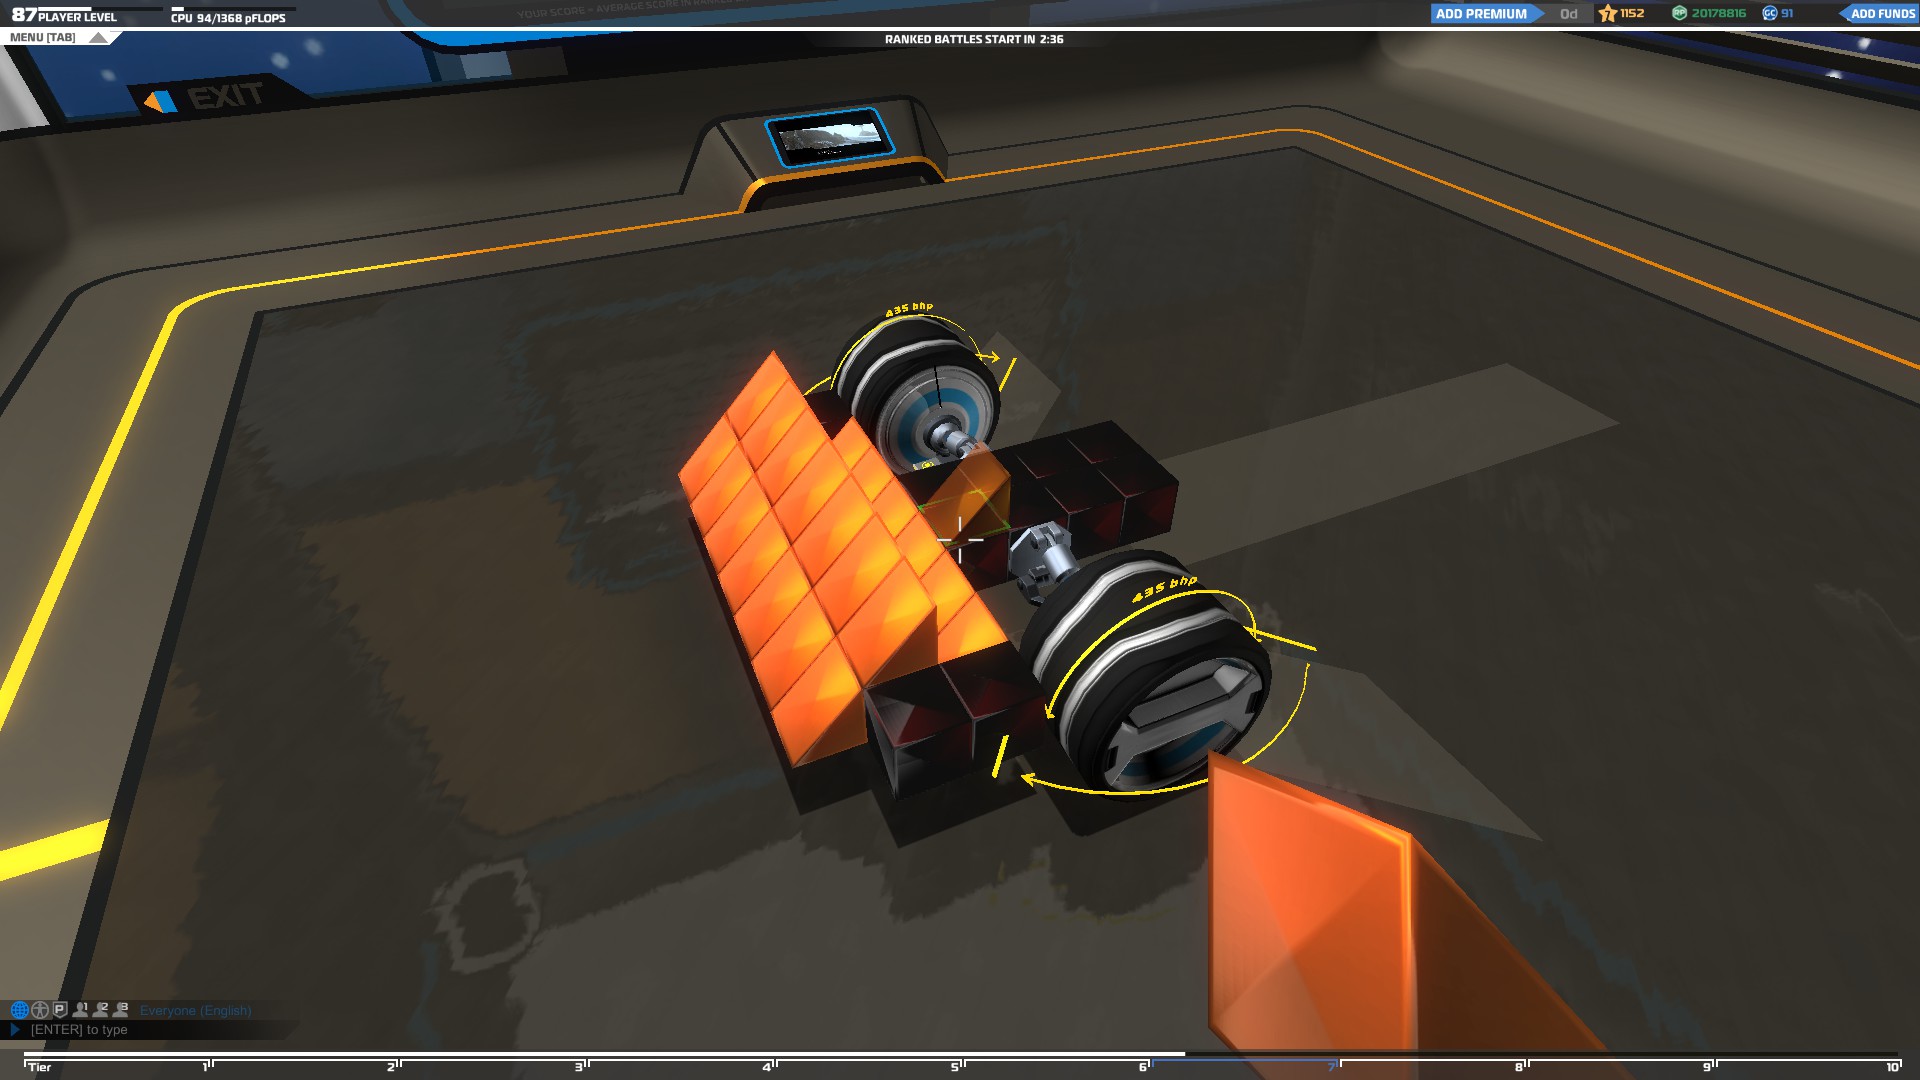
The next thing you can do to protect the outer armor layers of your vehicle is to add tetras, which have almost half of the prism's weight, in order to absorb the incoming damage like in the example below.
Combine that with triforce reinforced armor and the enemies will have to go through 3-4 layers of armor to start doing some more serious damage to your more important parts of your vehicle.
But you should not stop there. Make sure to always max you CPU points by adding as many prisms and tetras as you can on your vehicle to absorb as much damage as possible.
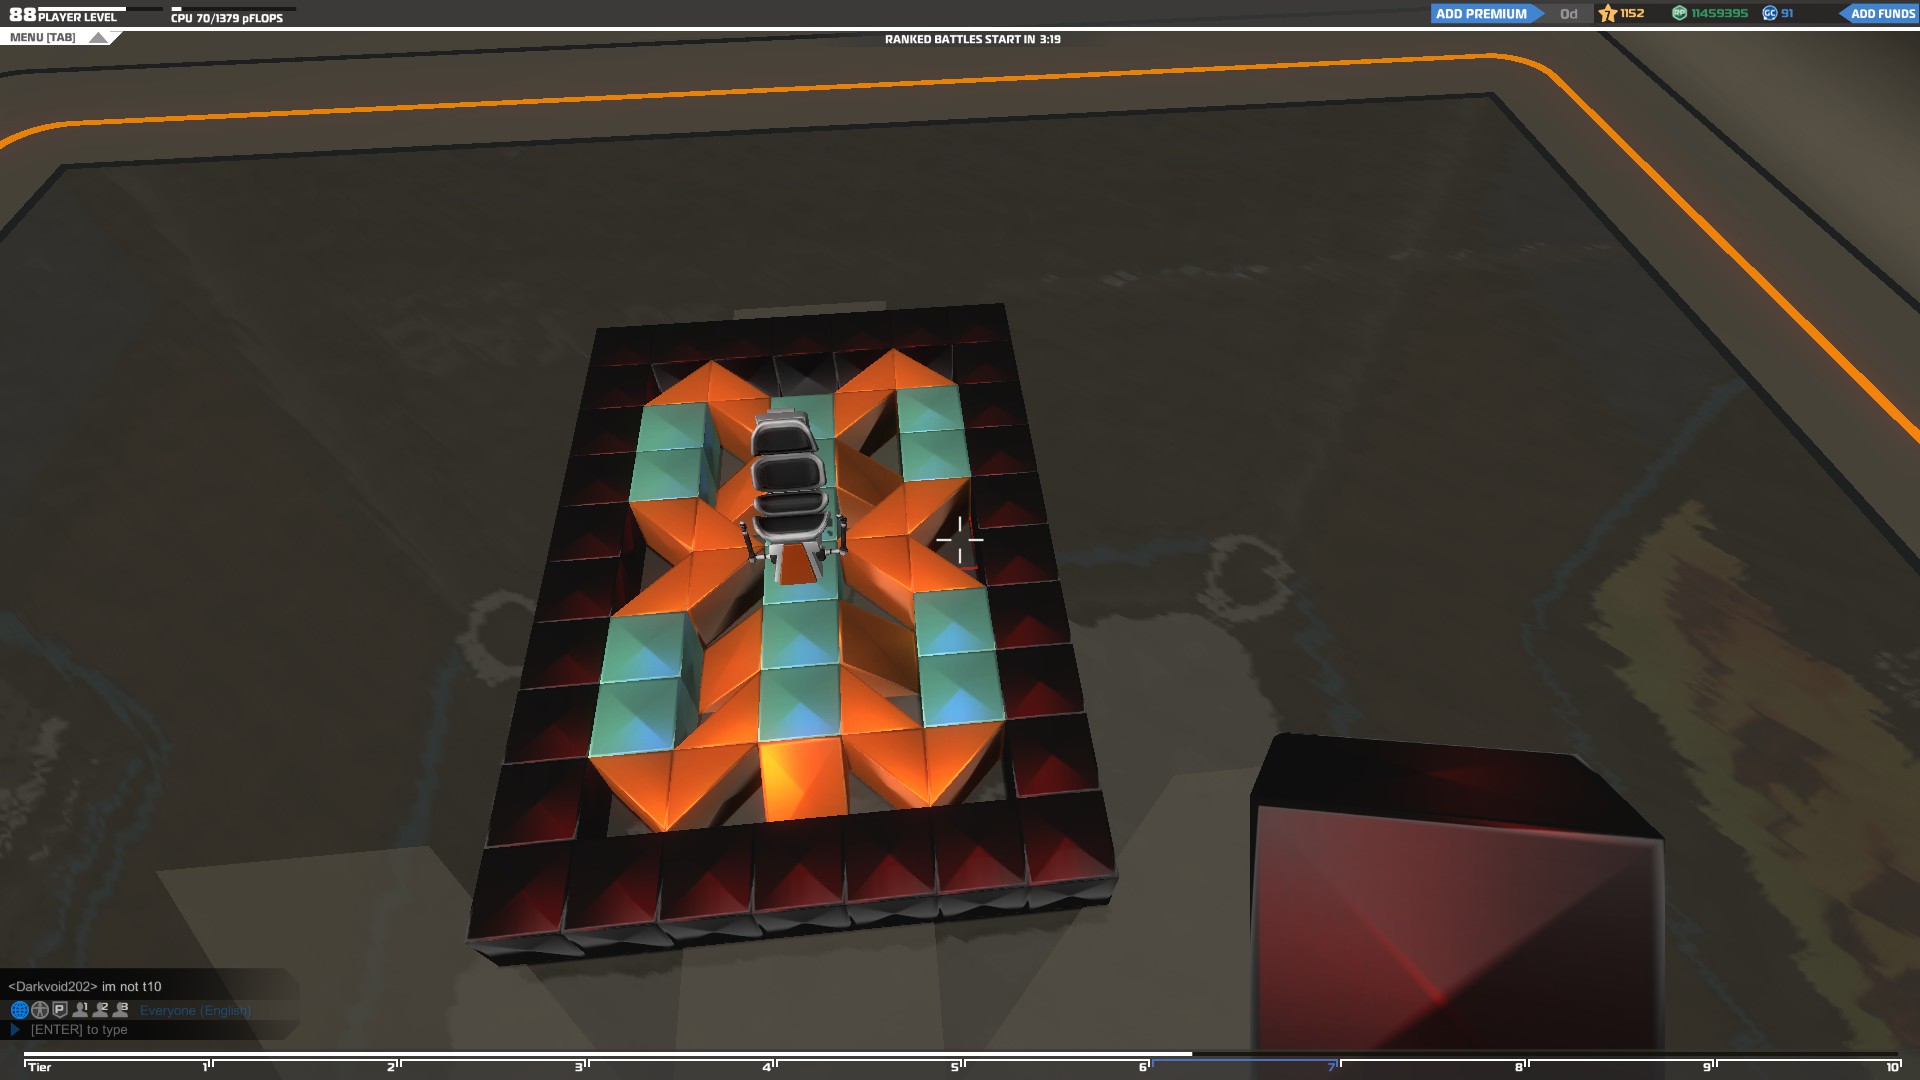
Finally you can built a little less complex but still durable armor by using inner and tetra blocks like in the design below
Triforce building technique is the best way to build a really strong vehicle without having to give up speed or creativity since you will not have to build huge cube shaped vehicles in order to survive.
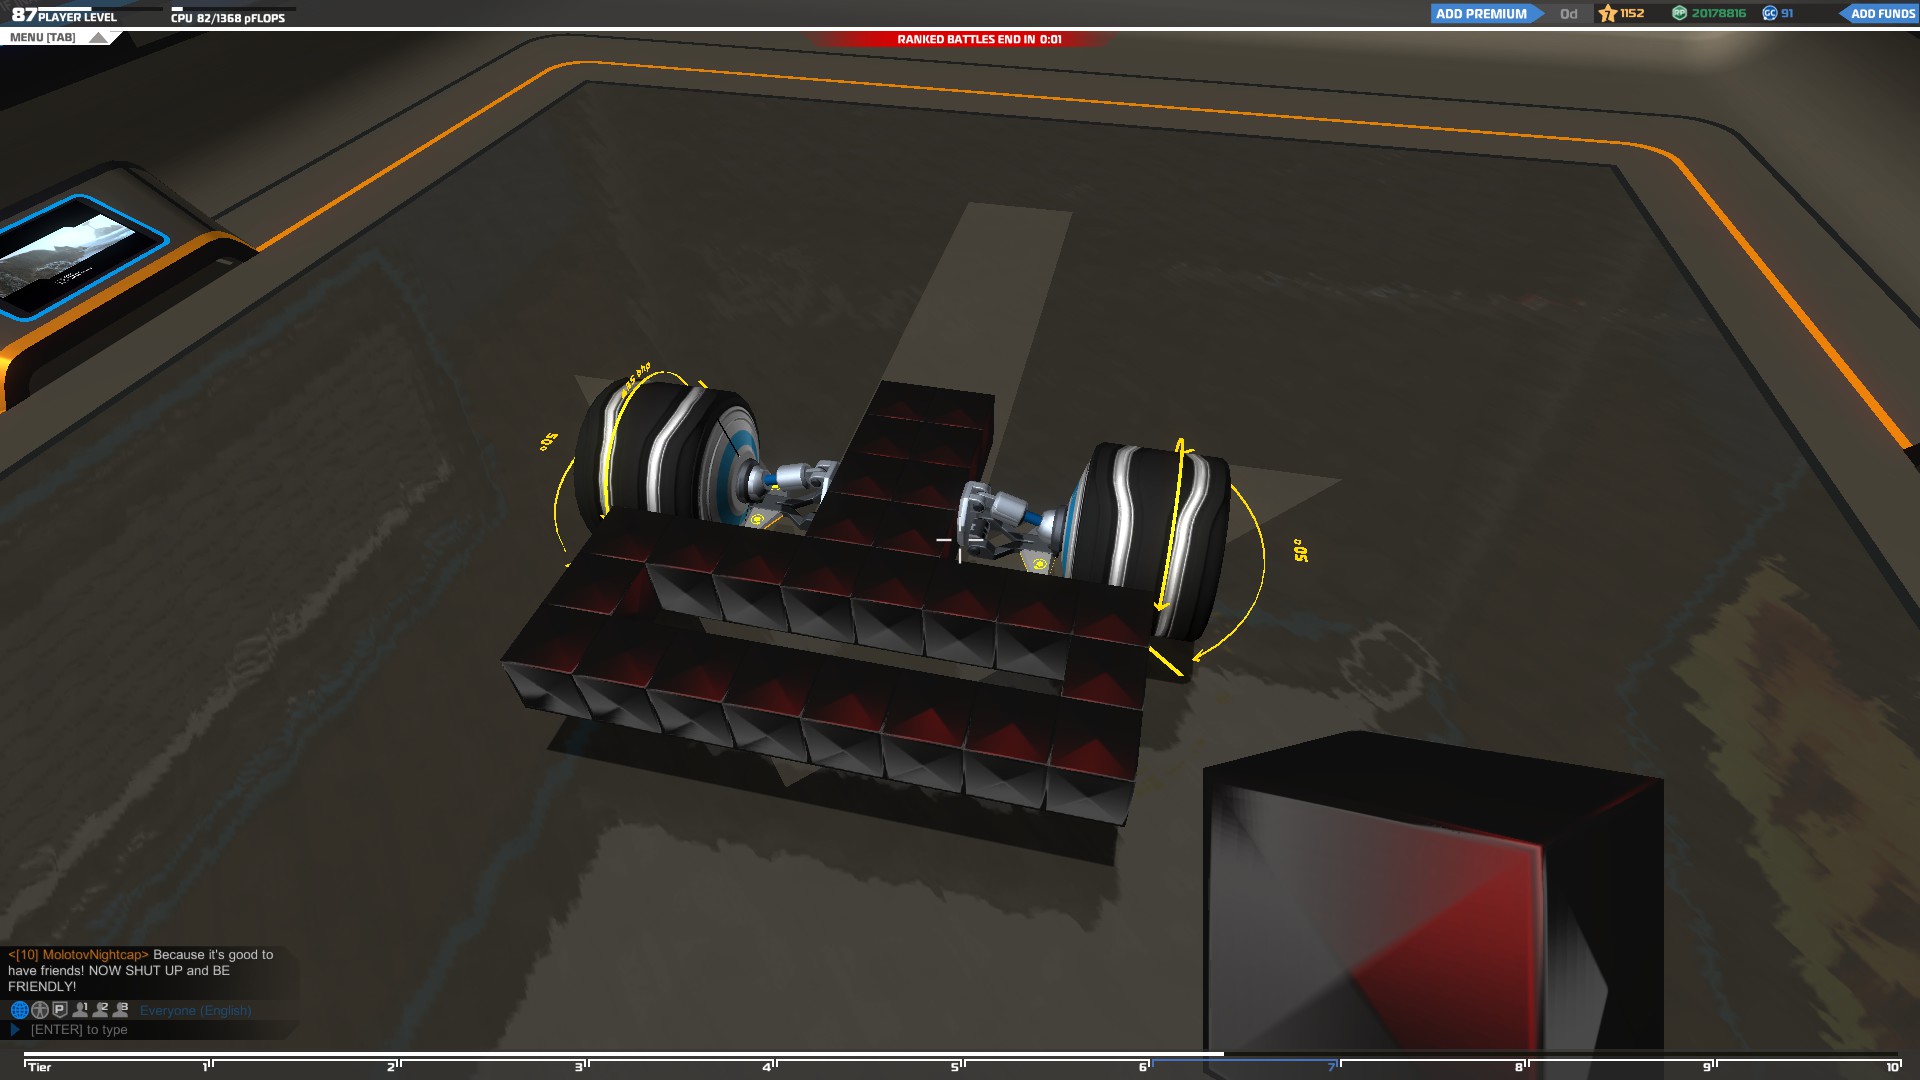
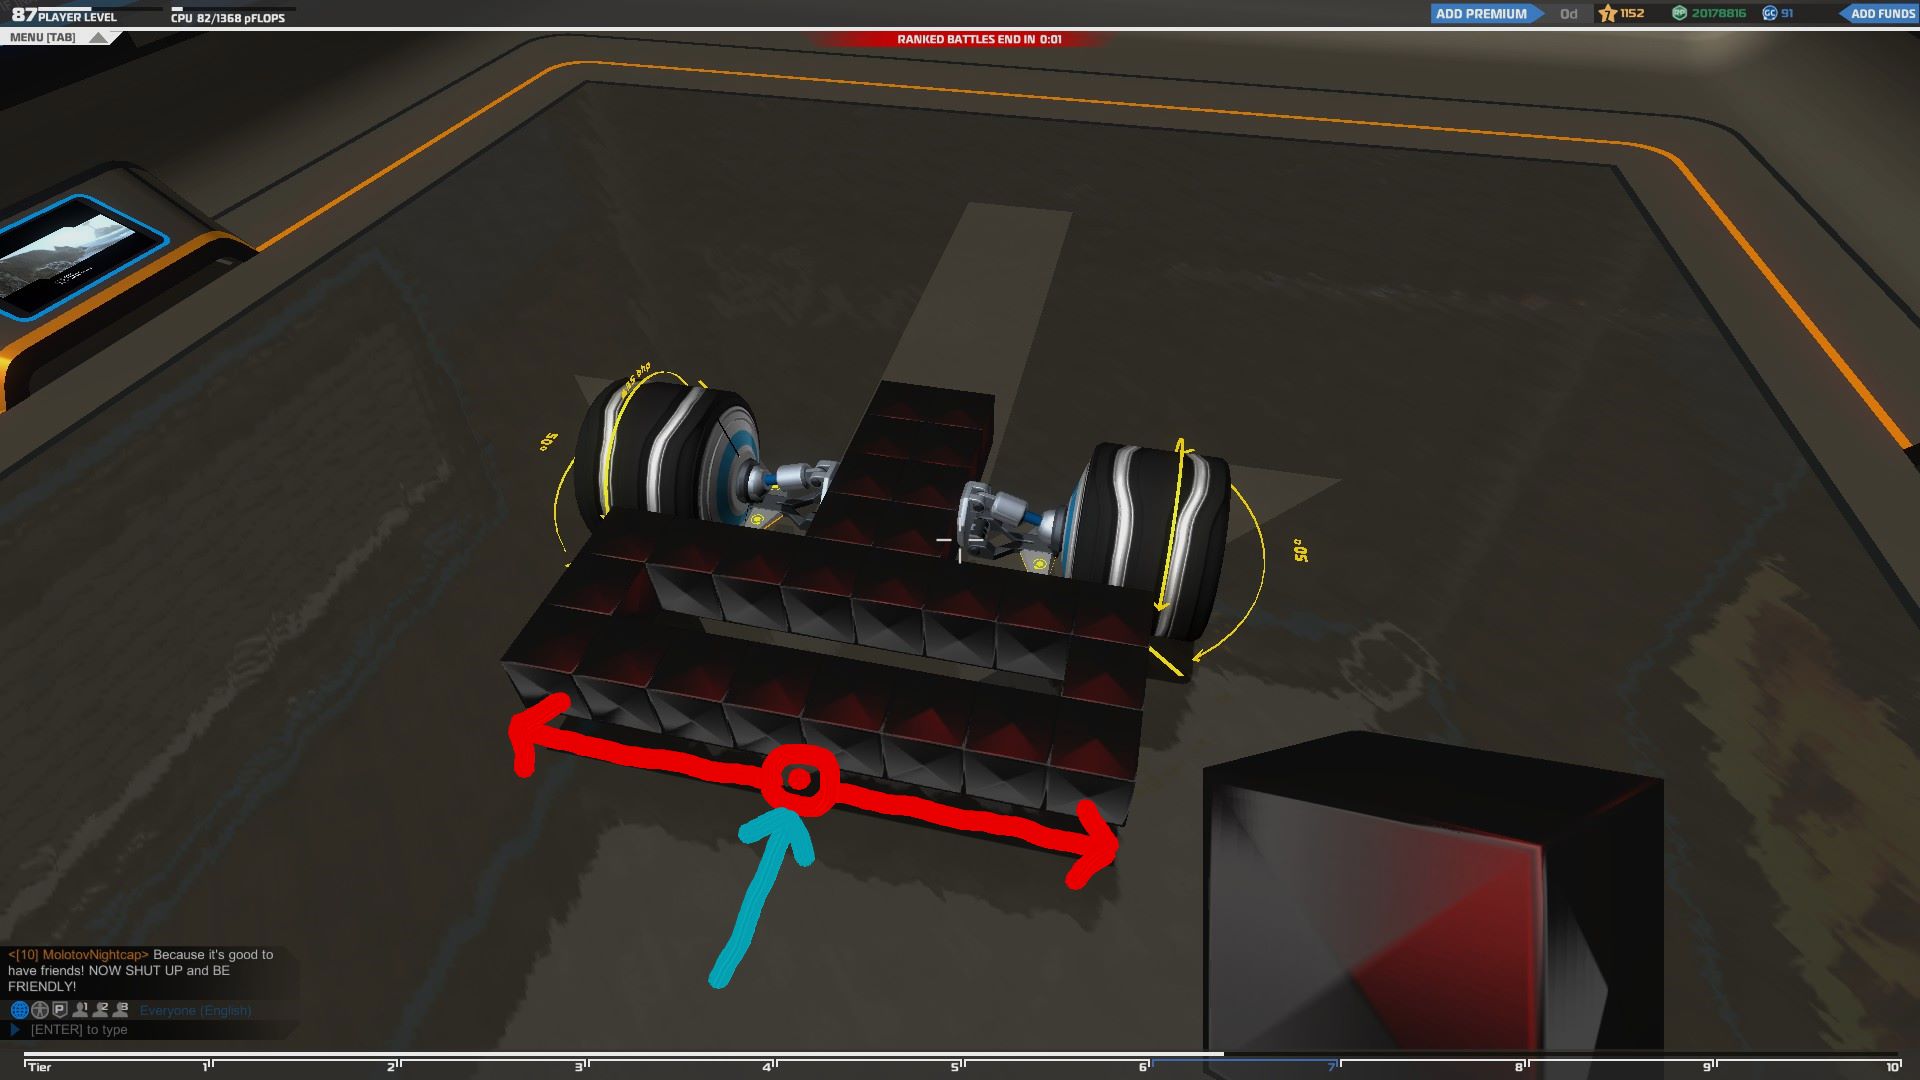
How To Protect Your Wheels And Seat
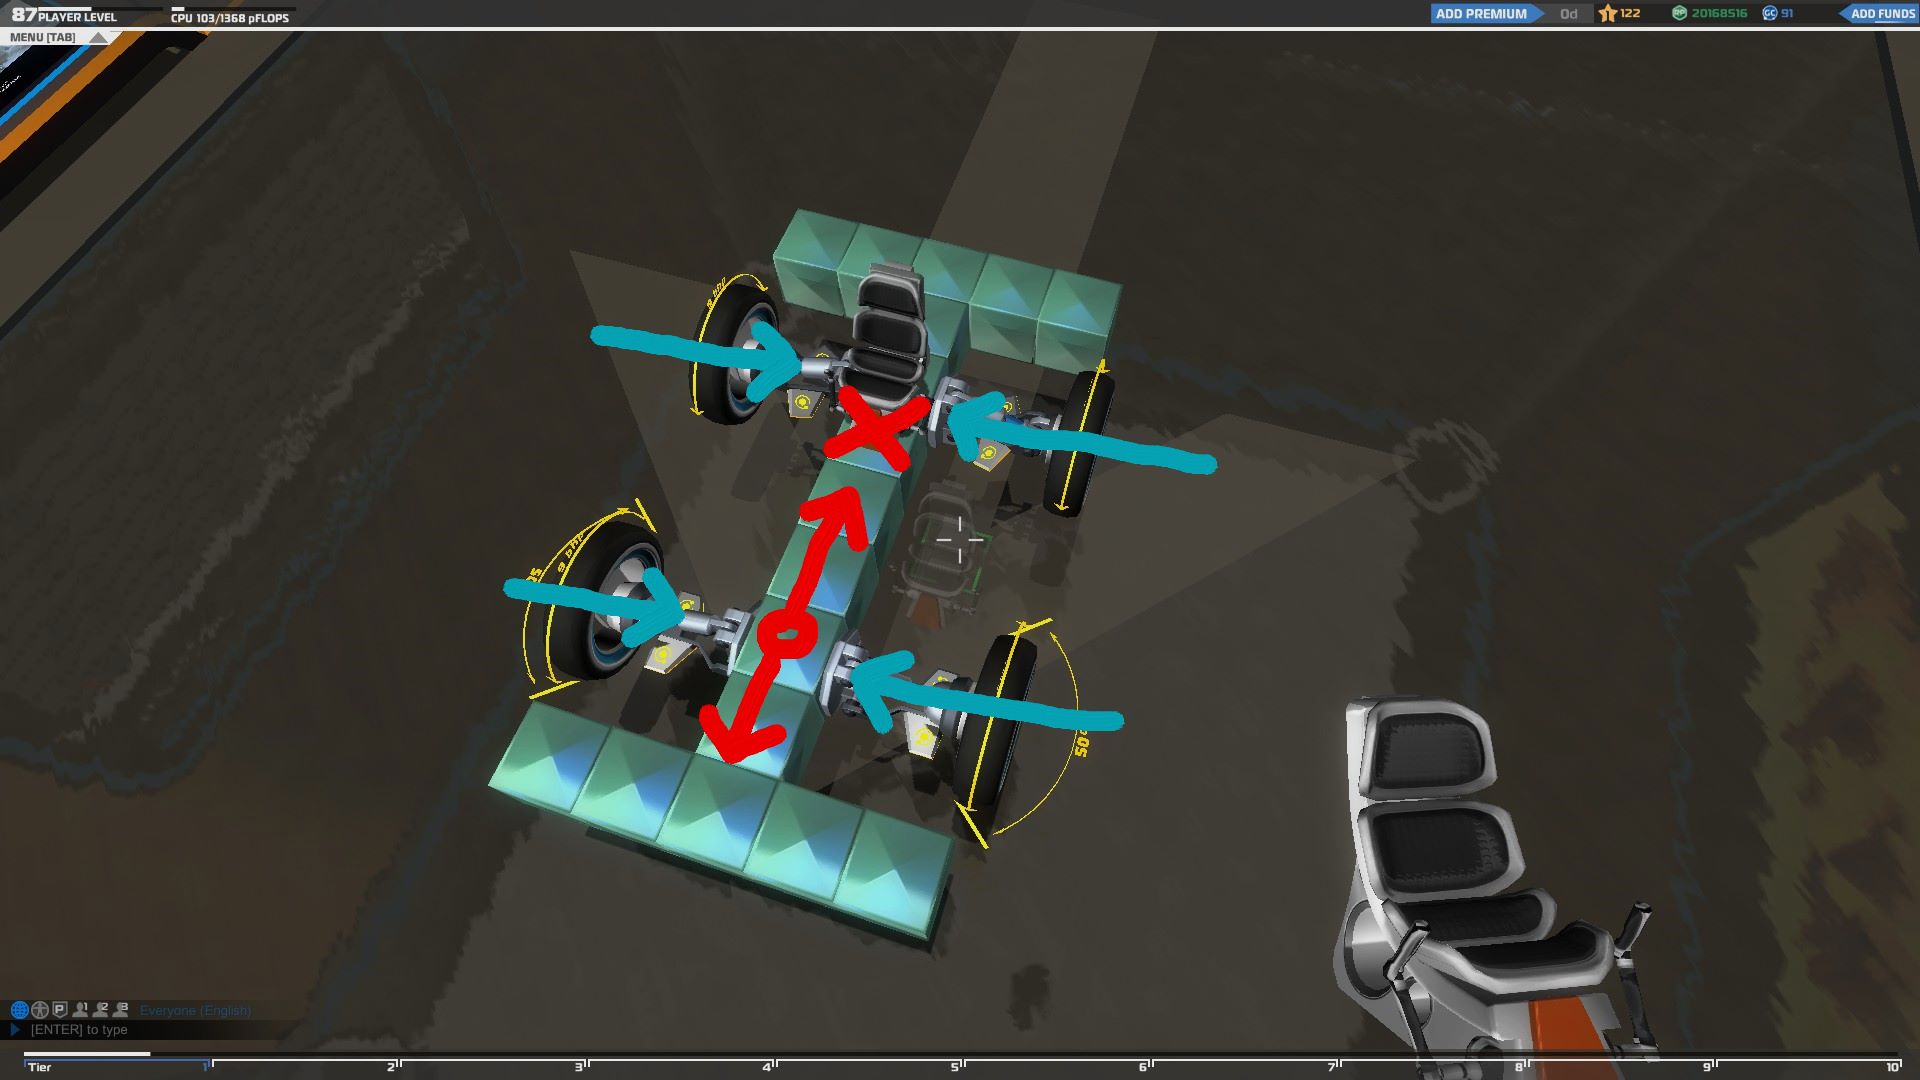
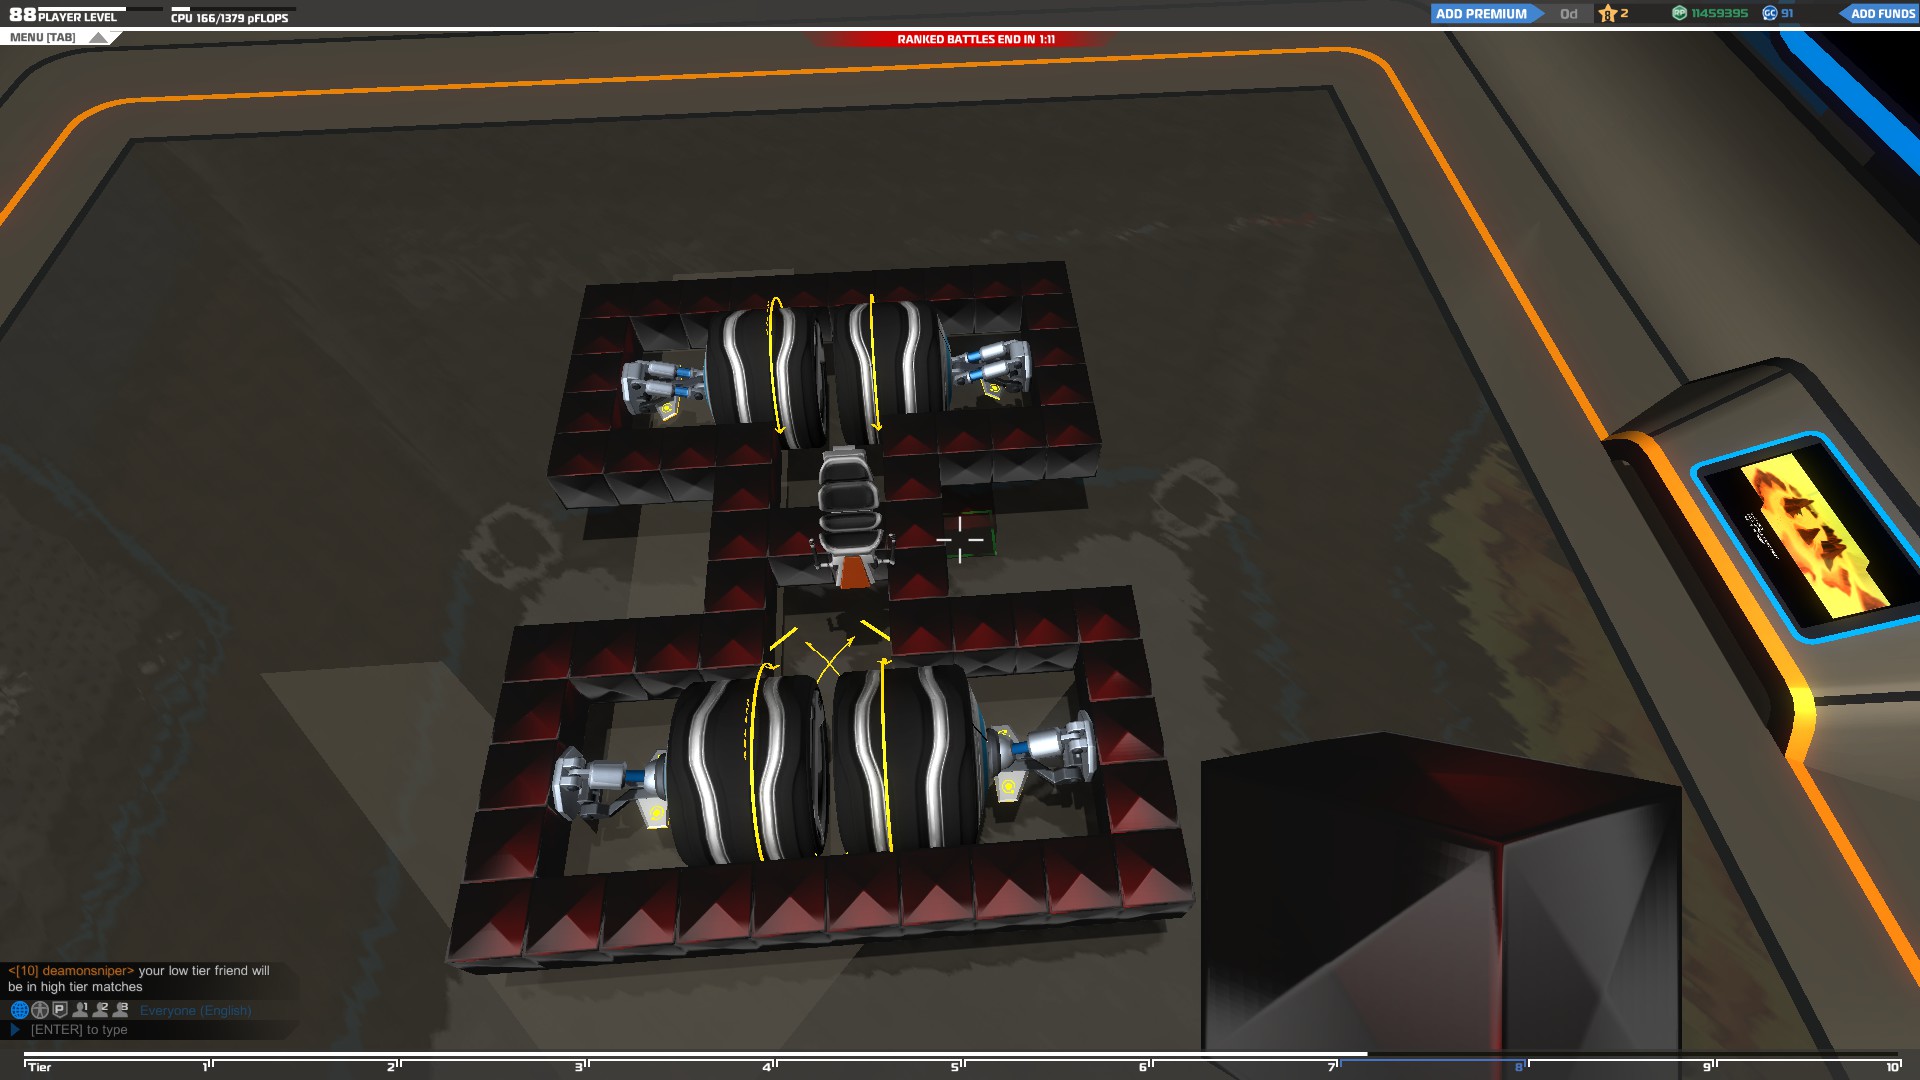
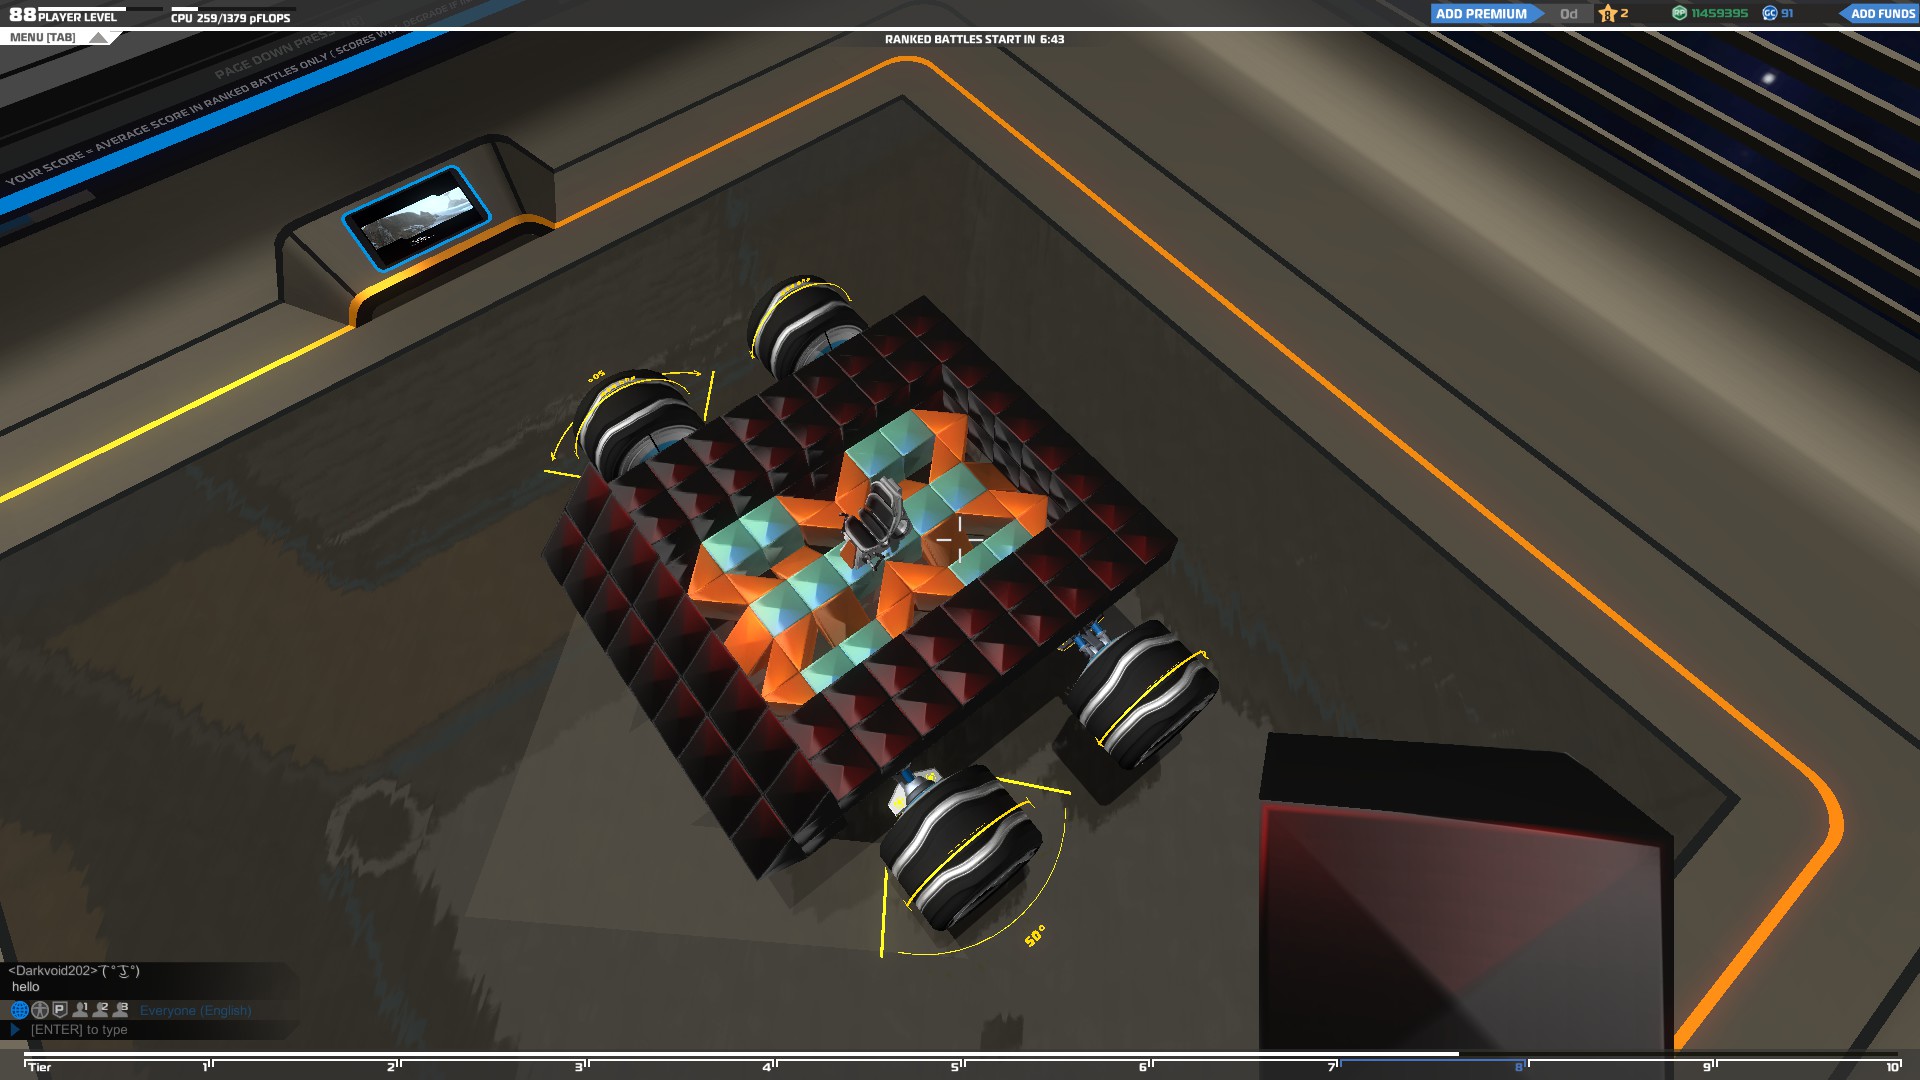

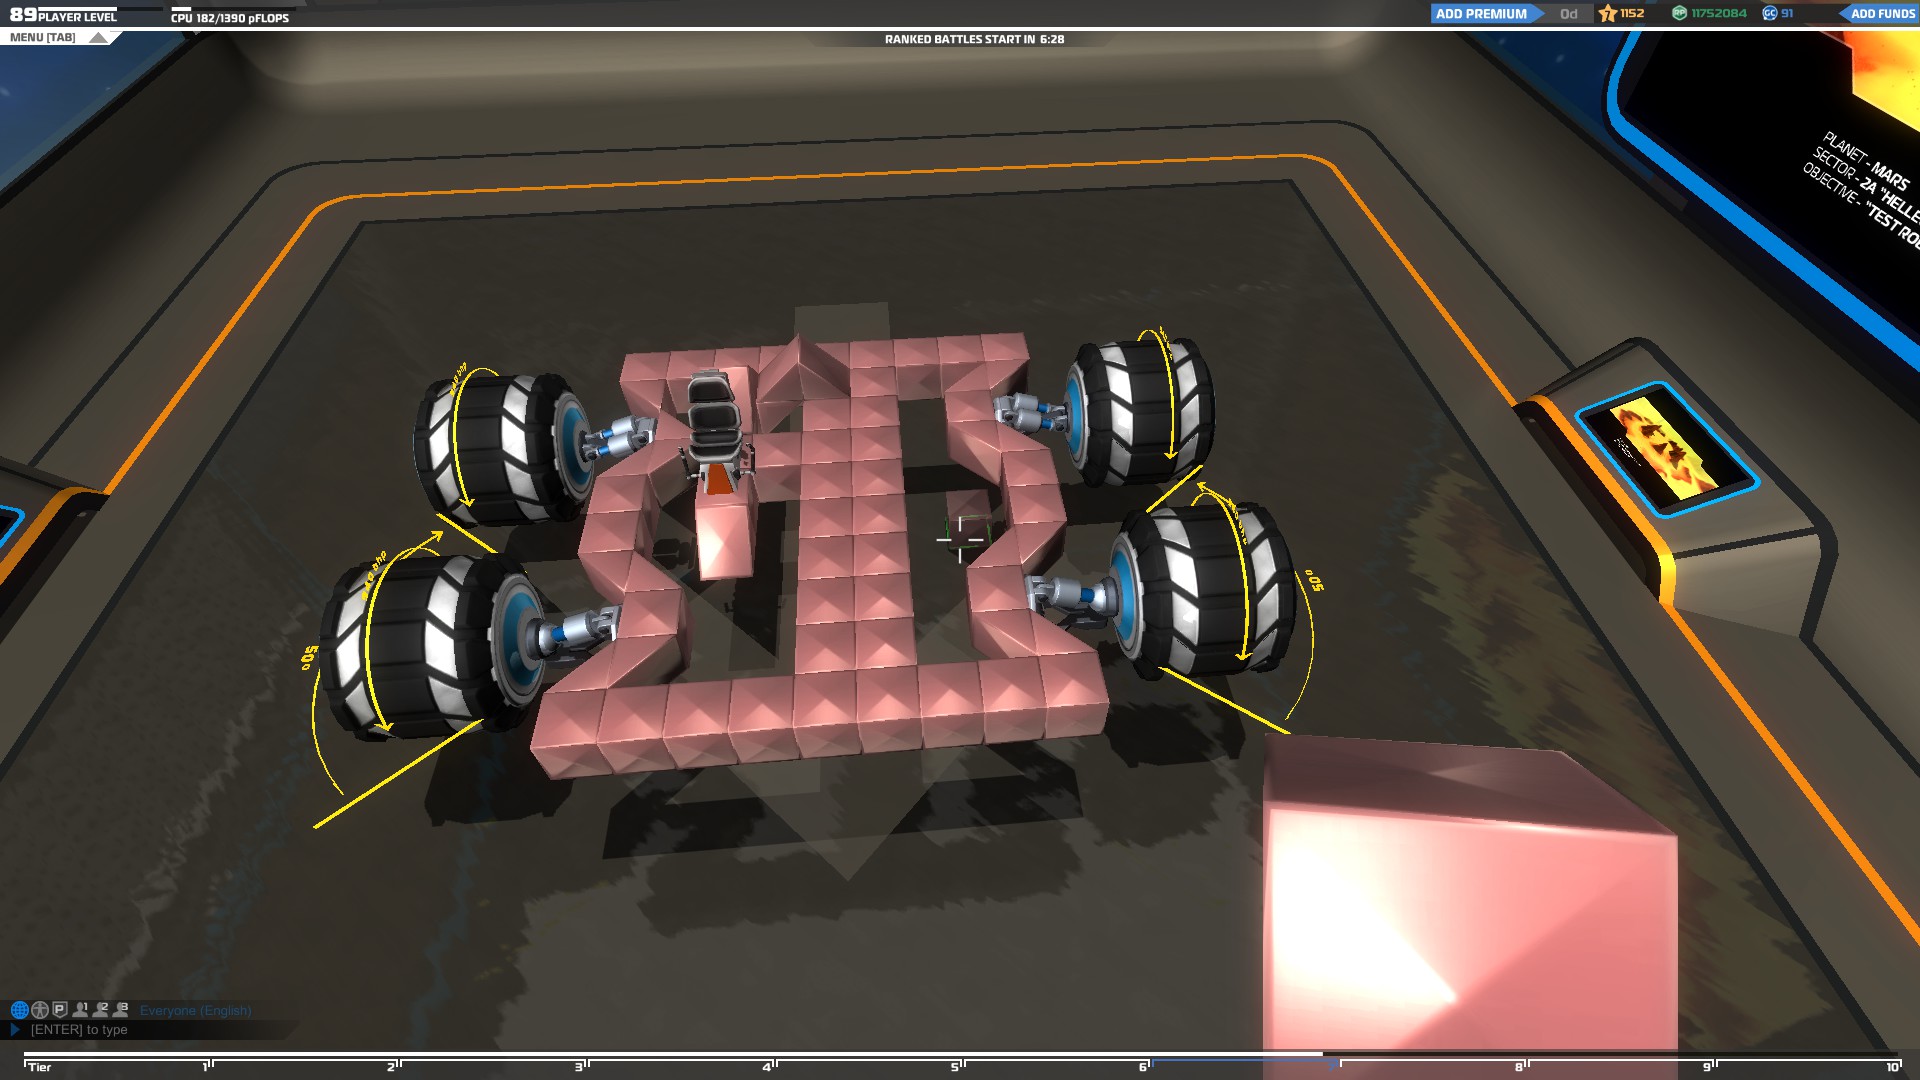
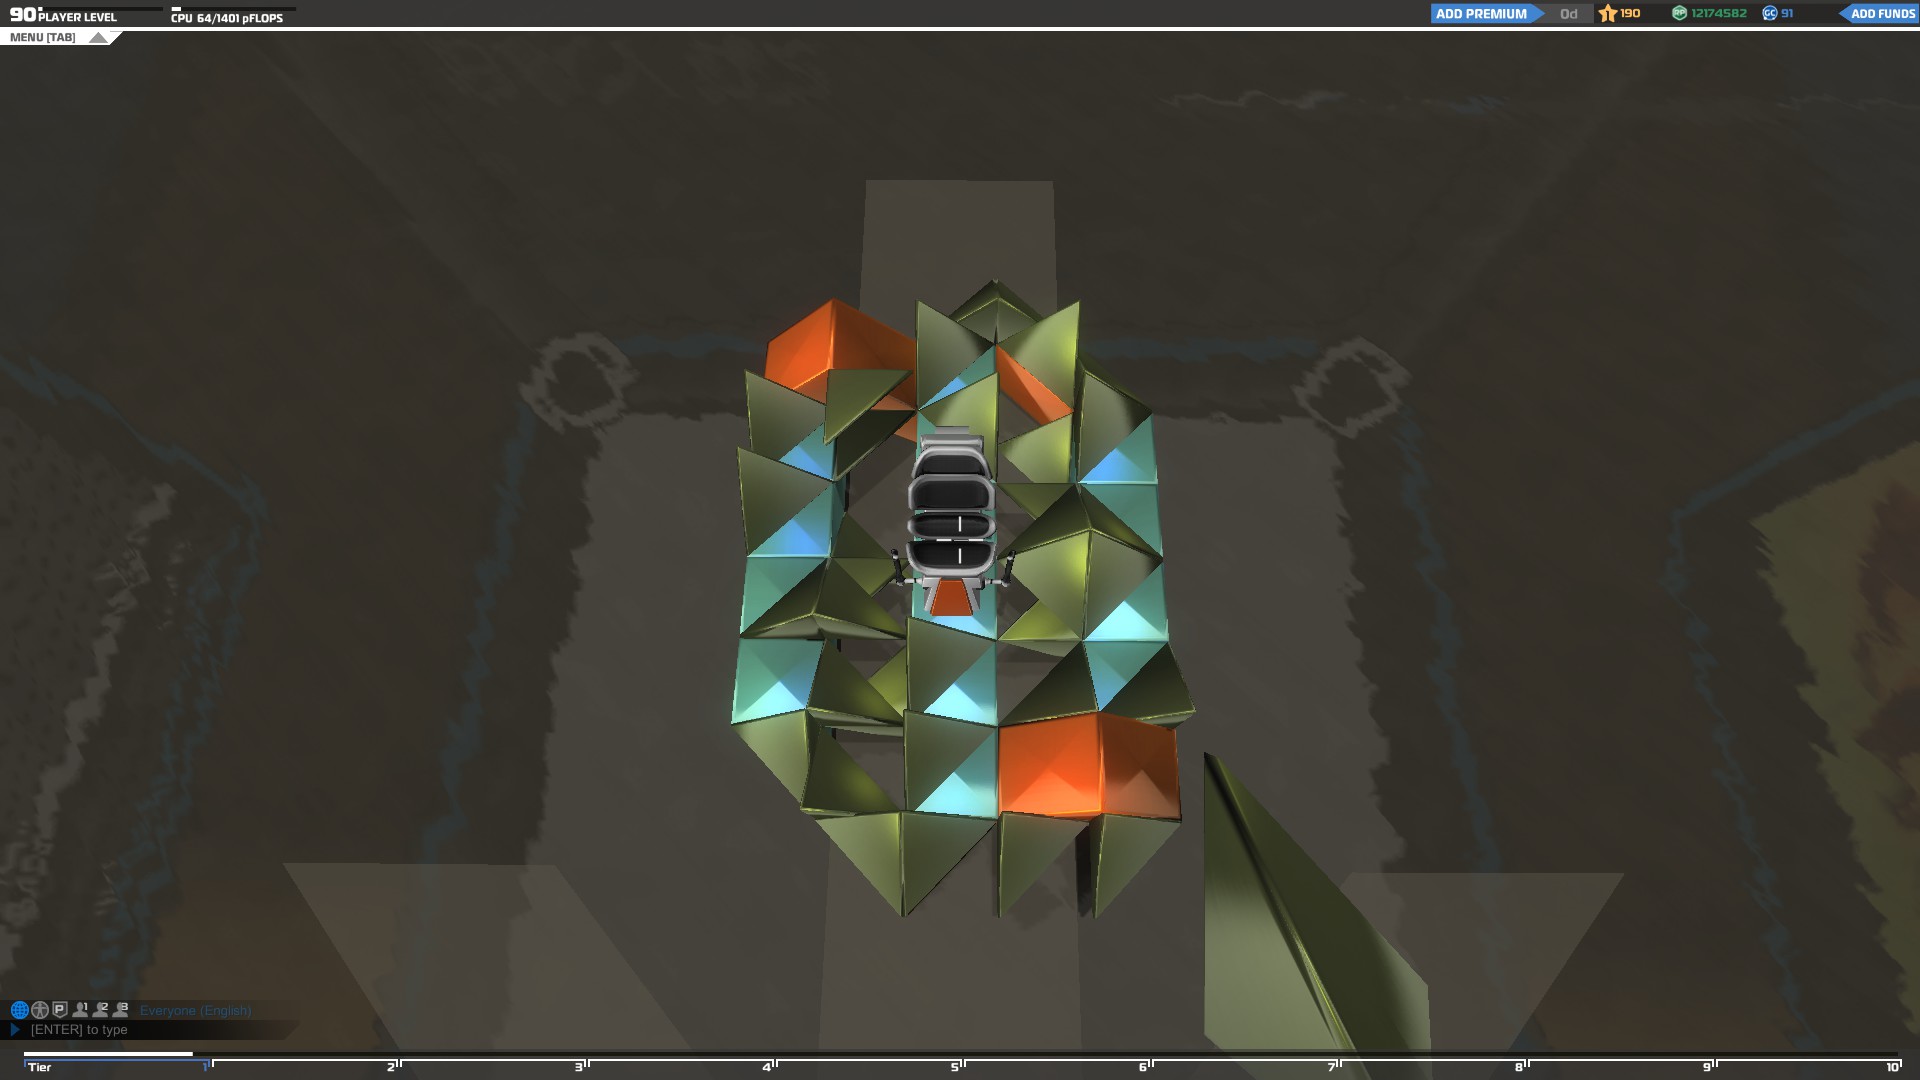
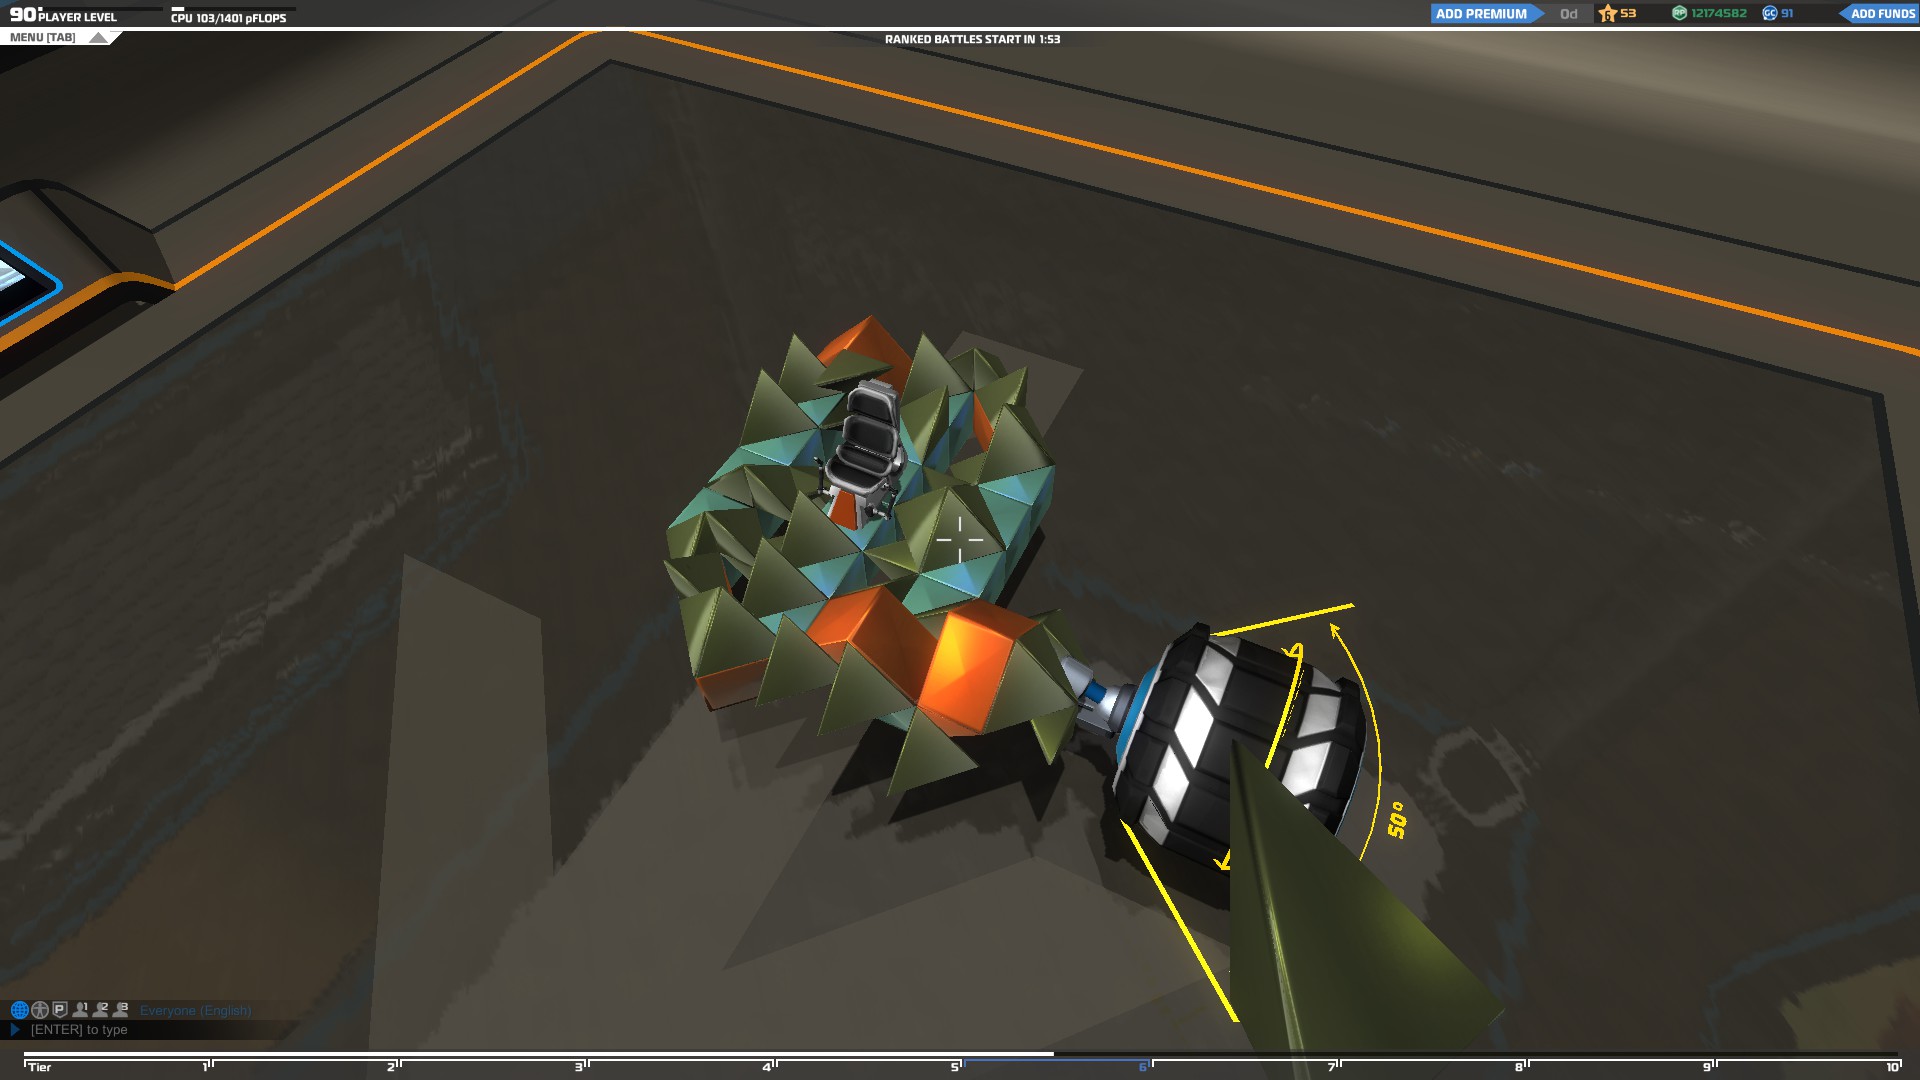
Apart from your weapons the most important things on your vehicle are your seat and wheels. The seat must be placed at the safest part of the vehicle which is usually the center of your base, but the wheels shouldn't.
I talked in the beginner section about how to build a basic base for your vehicle but that can only work in low tiers where you don't have any spare CPU. Especially If you are up against a skilled railgun user, connecting your wheels to the same base you put your seat on, will probably get you killed with one shot no matter the amount of outer armor you use. You can see why in the next example
Since the wheels are visible and easy to target, one hit will not only destroy one wheel but also the surounding blocks until the damage is absorbed. If your wheels are connected to your base you will either die with one shot or lose the majority of your vehicle.
The best way to protect your wheels without endangering the base of your vehicle is to create an extra base just for the wheels. That way If you get hit you will lose only one wheel without your seat or the main base of your vehicle being in danger.
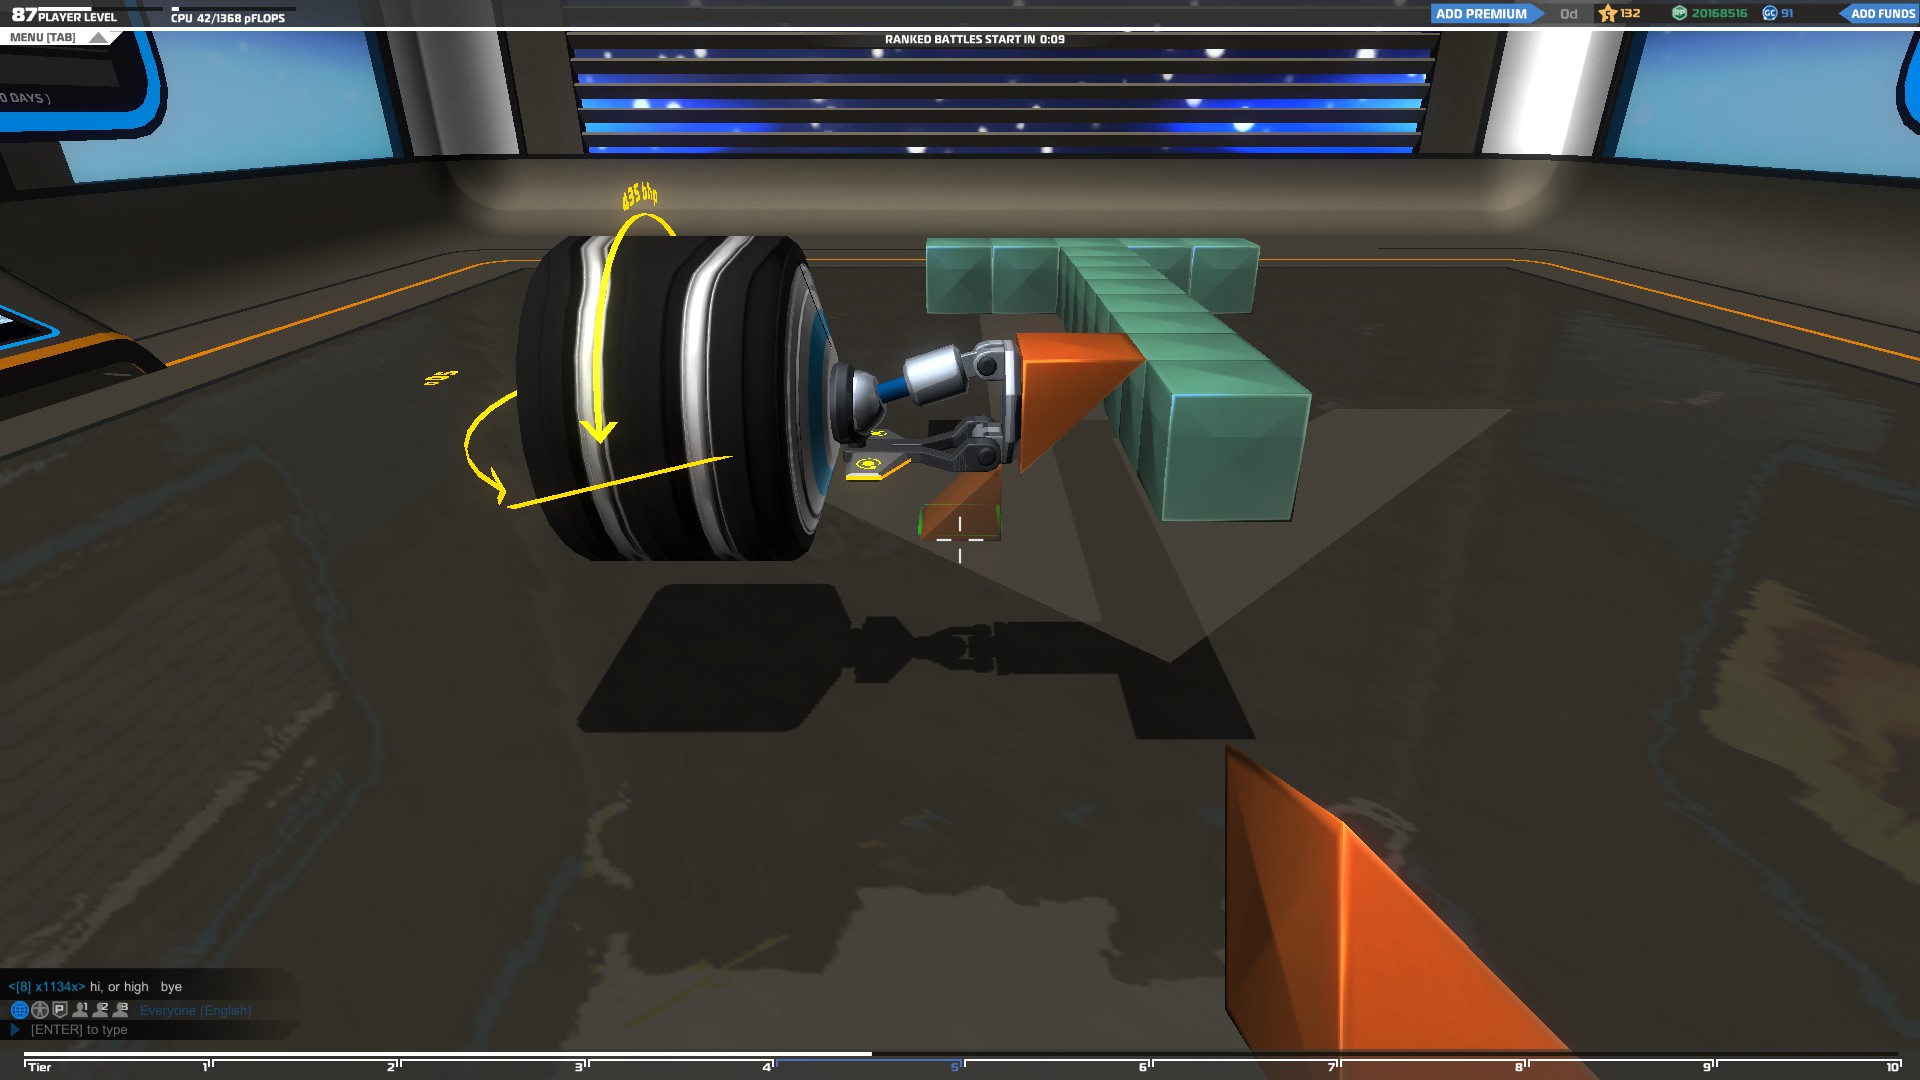
If you want to build a small vehicle and you don't have enough space to build a secondary base, you can do something like that.
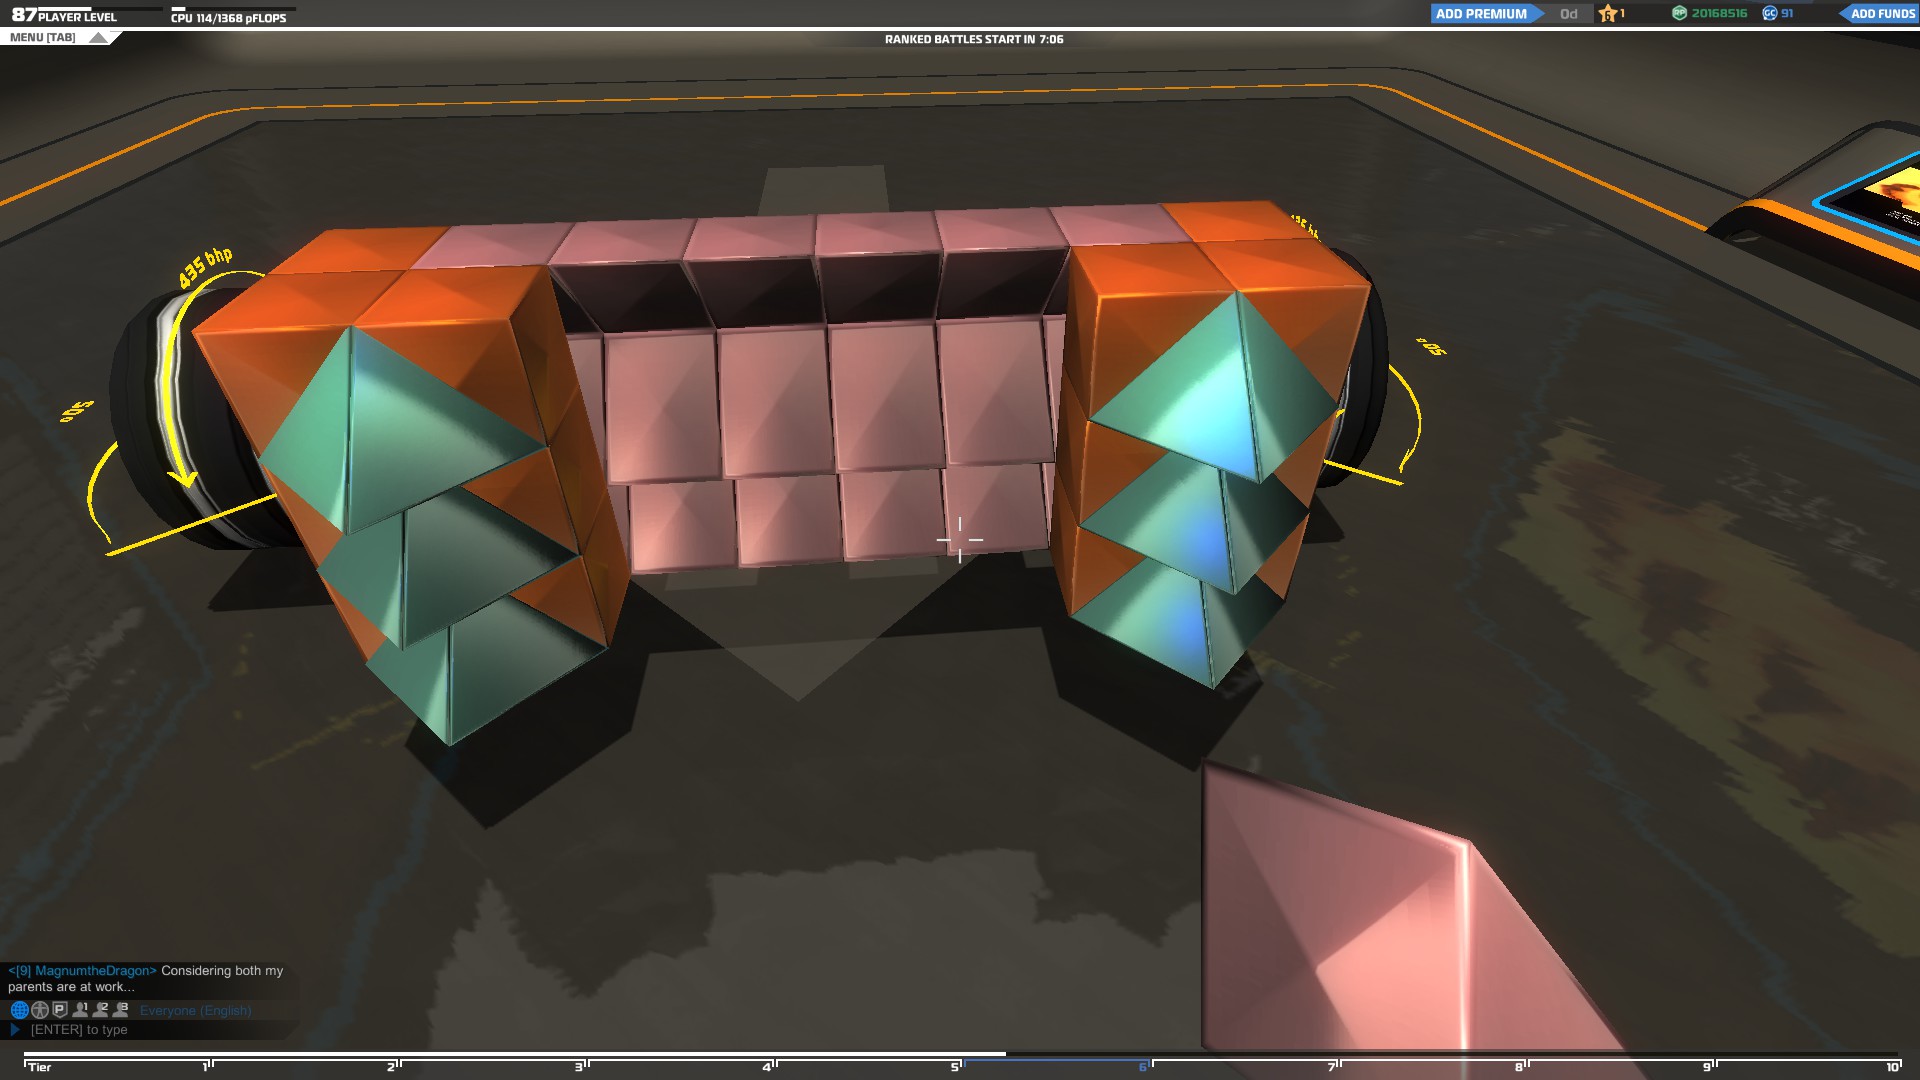
Using 3 prisms instead of a cude to connect your wheel to the base will increase the overal armor so If your wheels get shot the extra prisms will absorb more damage than one single cube.
These are some really basic designs but using this concept you can do much more complex structures which can withstand a lot more damage.
You can also use electroplates to protect your exposed wheels or even cover them competely with blocks.
Finally, you can place your wheels so they face each other to build a motorcycle vehicle. Using your wheels like that will save you a lot of space and you wont endanger your base. The only drawback is that the wheels will be a bit more valnurable since their support block will be located at the outer armor of your vehicle, but you can always add electroplates or an extra layer of blocks to protect them.
Wheels are disposable though and you might lose one or two in a game but the seat is not. The seat itself can only be destroyed If the block below it is destroyed so you need to protect that block as much as possible.
To do so, make sure to build a shield made out of blocks around the seat which will absorb any incoming damage before it reaches its target. Also, make sure to cover the empty space with prisms or tetras to absorb as much damage as you can.
Now that you have a strong base which will protect your seat you can start building the rest of your vehicle.
Another technique you can use to protect your seat is the vertical building which is better for hiding your seat and can lower the overall height of your vehicle. The concept of this technique is really simple, instead of building your vehicle horizontically you build it vertically. That way your seat will also be vertical and as a result you will not need to build a tall vehicle to hide it.
You can also use this technique to trick the enemies by creating a fake rooftop for your seat which will make them waste their shots around that area and keep your seat safe. This can be really effective against bombers since they only aim for parts of the vehicle where they believe the seat is located.
In this examples I made my vehicle taller at the back and added a roof to make it look like my seat is there even though my seat is located towards the front of the vehicle. That way I can trick other players to waste their shots to the back of my vehicle (which I can reinforce to make it more durable) and take their focus away from the more important parts.
You can also hide your seat without using the vertical building technique by placing your seat at a different place than the usuall one. In the following example I placed my seat at the left part of the vehicle so it will be safe If the enemy focuses on the middle of my vehicle thinking that my seat might be there.
Finally you can create an ejection seat which will help you escape from your enemies if you reach 1% health. That can be really helpfull especially in a ranked game where if you get destroyed you lose ranking points even if your team wins.
To create an ejection seat you need to place thrusters at your seat's supporting block. How many thrusters you use is up to you. I created two examples below with the most common ejection seat designs. I use the one at the left because I want to take advantage of the bonus thruster armor to add some extra protection to my seat.
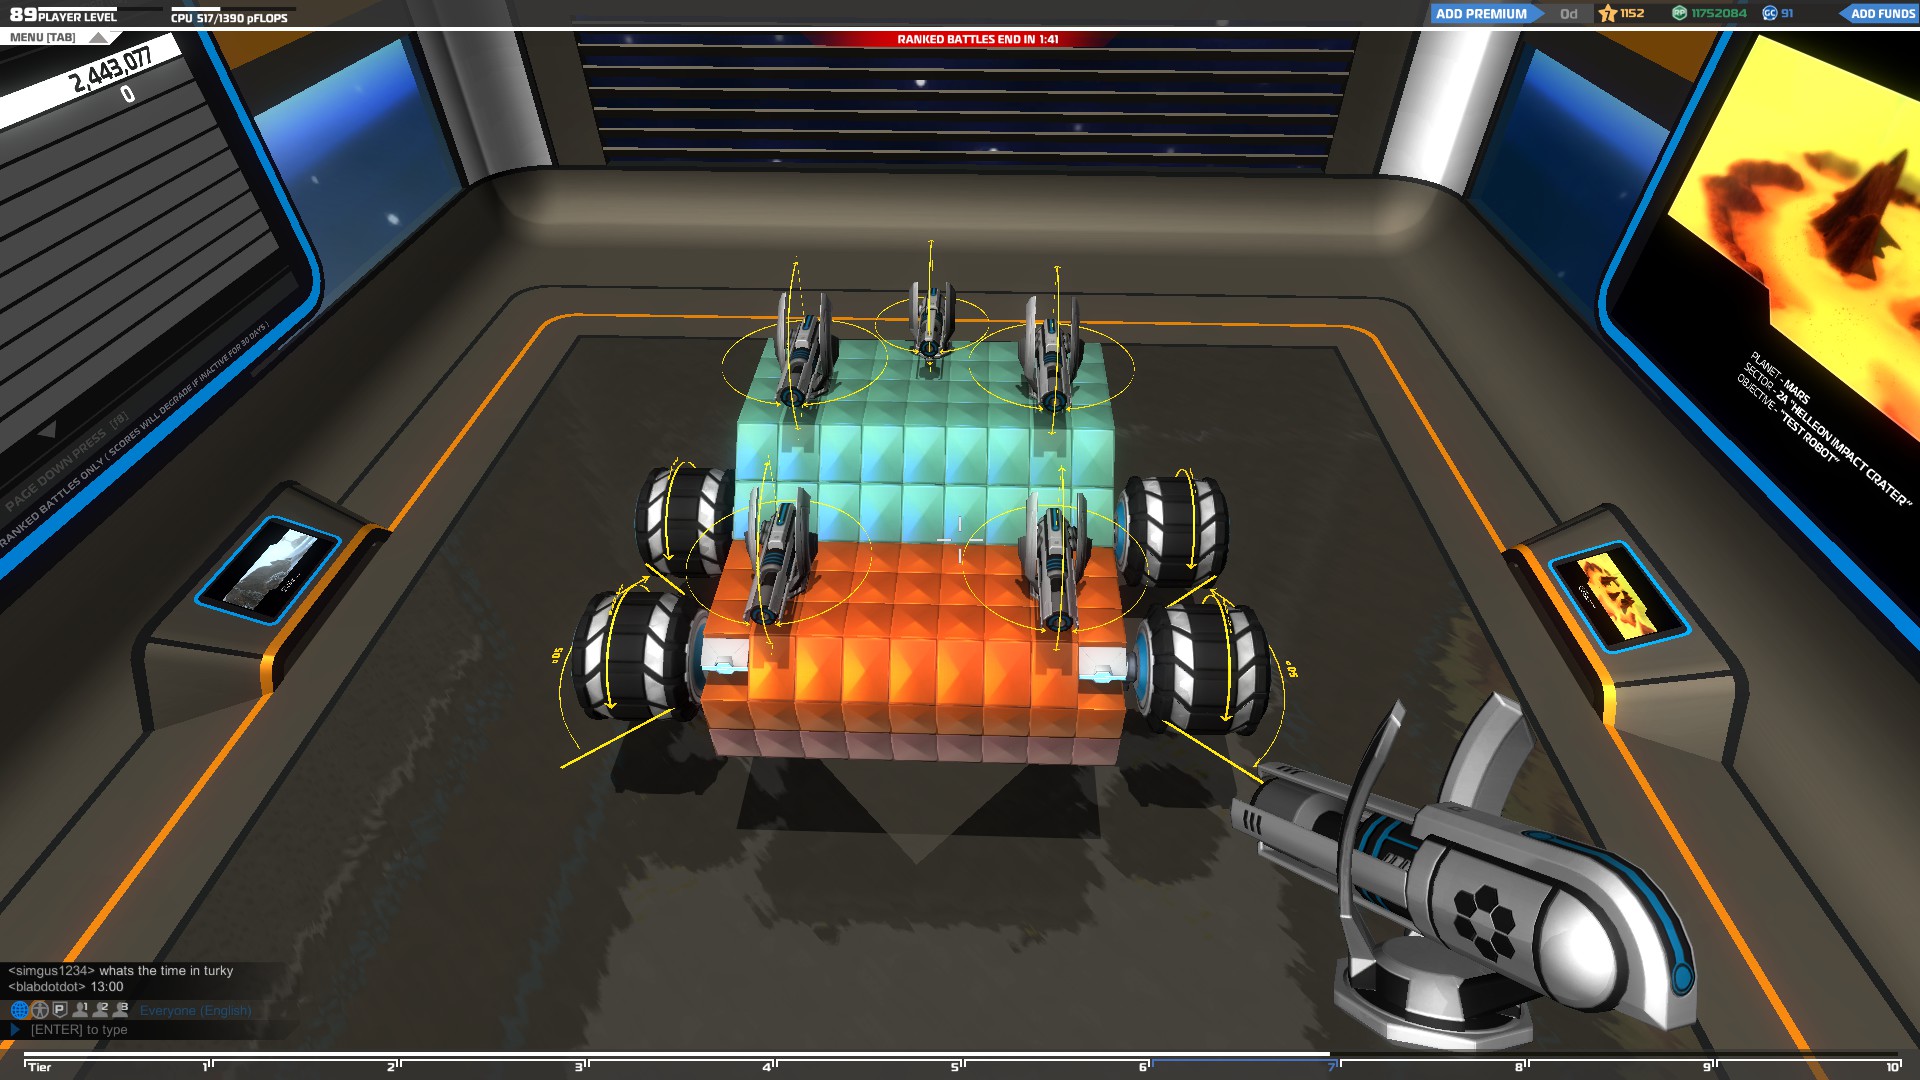
How To Protect Your Weapons


You need to use the same way of thinking in order to protect your weapons as well. So make sure you build strong bases for each of your weapons to increase their survivability, and when I say weapon bases I do not mean the thin block extensions most of the people use.
Yes, these bases are space efficient especially If you use rails but there are too many drawbacks.
They can be easily destroyed with one shot from any weapon and they affect the overall stability of the vehicle making it really difficult to drive.
You need to build weapon bases that will absorb a lot of damage before they are destroyed by surounding the weapon supporting block with more blocks
If you have enough space on your vehicle, you can even use the triforce technique to build an even stronger base for your weapon. After some experimentation, I came up with a way to build a base for my weapons by "Knitting" the prisms blocks with each other.
Using the triforce technique to build your base stop the incoming damage from expanding to the weapon supporting block since the prisms surounding it are not connected to it. That way If your base gets hit, the damage will destroy non important blocks and your weapon will be safe.
That's how you build it step by step.
Depending of the shape of your vehicle you might need to change the design a little bit, but the concept is still the same.
If you don't want to build bases that complex you can still stick with a basic one (like the ones in the second and third picture) and add electroplates as an extra protection layer.
If you want your weapons to survive as long as possible though I would suggest you go with the triforced base and cover it with electroplates for maximum protection.
Finally, you can use another trick to protect your weapons by using prisms to build a protective "wall" in front of them. That way the enemy fire will have to go through these blocks before it reaches your weapons.
Like I said before in this guide though, its not a really good idea to put obstacles in front of your weapons because most of your shots will be cancelled. In that case the drawback of using this technique especially with smg weapons is that your shots will be cancelled if you are too close to your enemy but if you usually attack your enemies from a medium distance you won't have a problem. This will not happen with plasmas though because they shoot at an angle and they will avoid hitting the "wall".
All About Electroplates
Using electroplates is one of the best ways to protect your vehicle because they do not only provide you with some extra armor but they can also absorb enemy fire. More specifically, an electroplate can easily block 1 rail gun shot, 1-2 plasma shots and several smg shots before its energy field is completely drained and needs to be recharged. Make sure to cover as much of your vehicle's body as possible so you can last even longer in battles.
The different electroplate shapes can be used to build creative designs which will protect the majority of your vehicle. Take a look at the following examples.
Like everything else in this game, electroplates have their own drawbacks. In this case, they require a lot of CPU per plate which will make your available CPU points disappear pretty fast and they also have weak spots that can let the damage go through which most of the people don't know about.
As a sniper If I shoot my enemies at the right place, the damage goes through and they lose their electroplates.
When the damage goes through, it hits the blocks behind the electroplates and spreads to the surounding blocks, as a result, their supporting blocks will be destroyed therefor the plates will be destroyed. In this case you can use triforce to redirect the damage you receive and lose only one electroplate instead of two or with good design even save both of them ,like in the examples below.
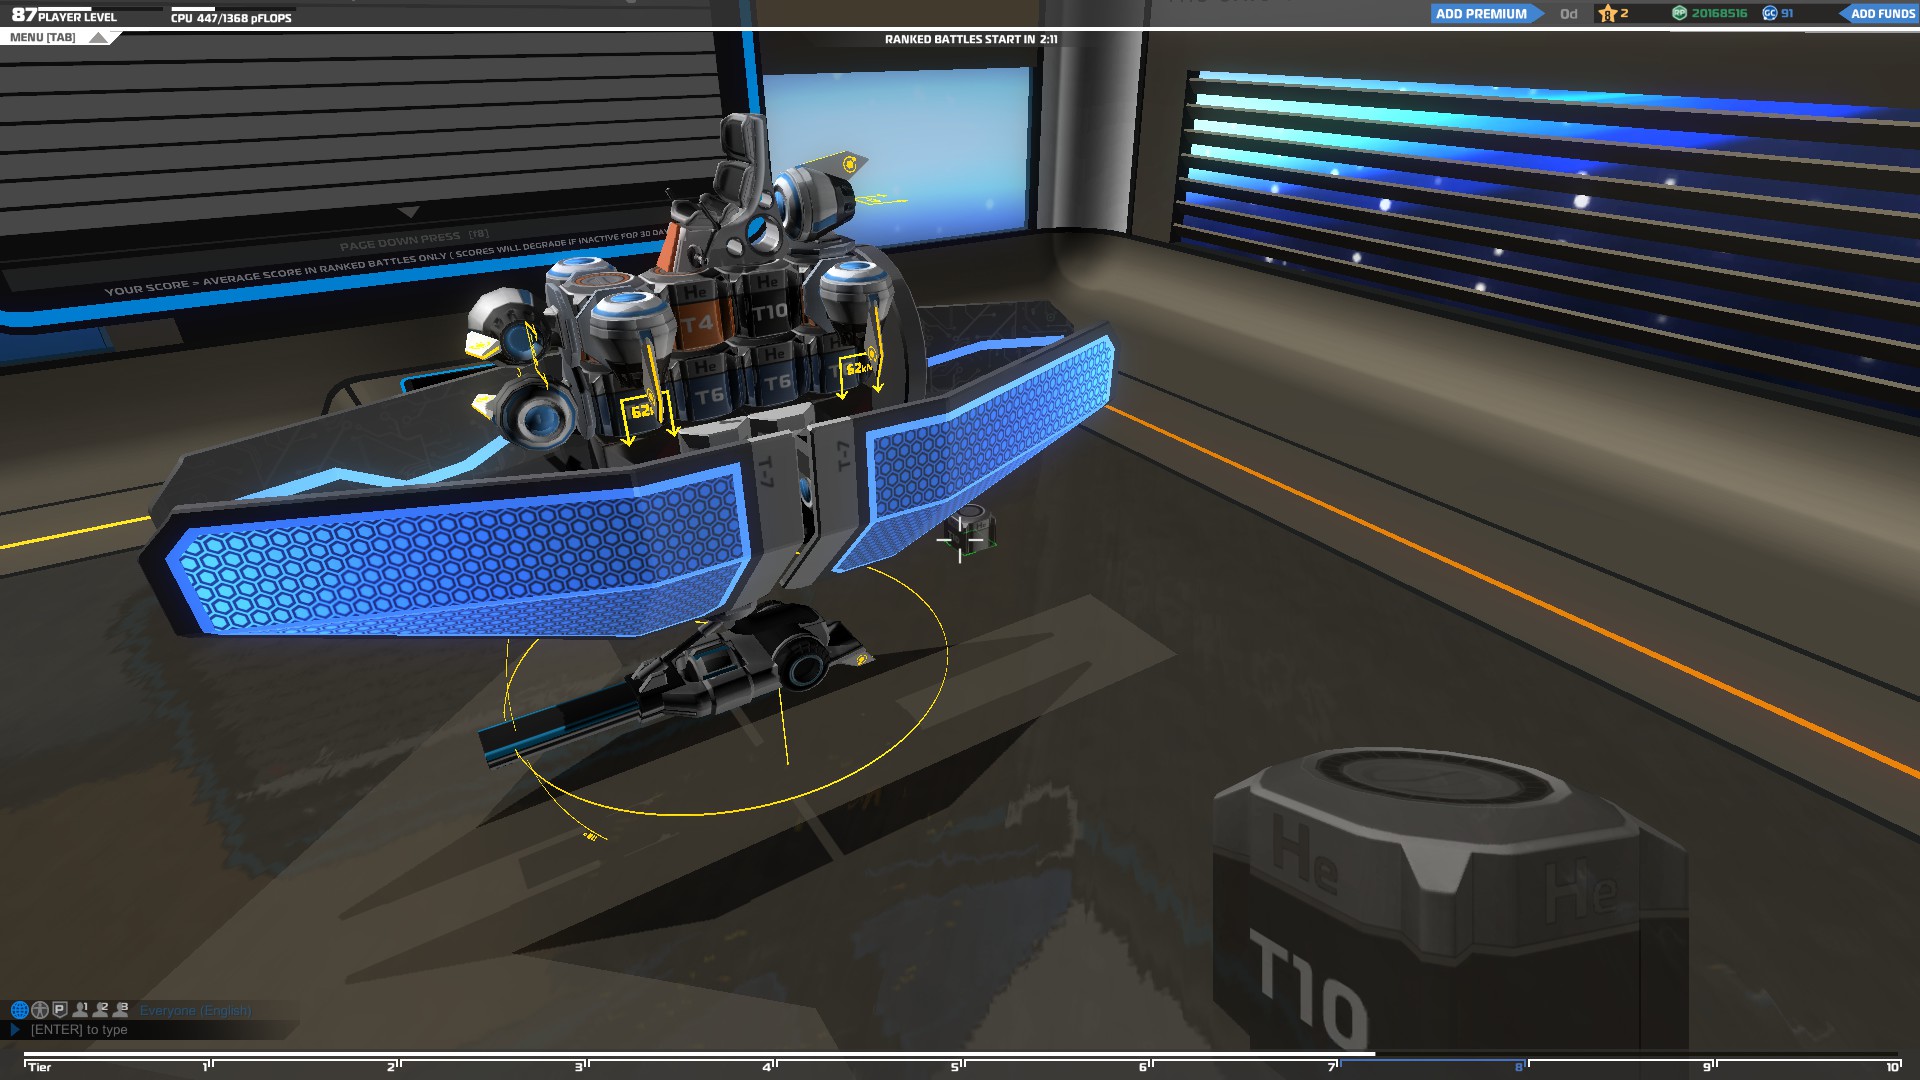
Building A Hovercraft
You should use the same way of thinking when you are building a base for a hovercraft as well. building the rest of the vehicle though is a bit trickier than building a regular tank with wheels. That is mostly because hovers tend to flip quite easily If they are not build right.
If your hovercraft keeps fliping then that means either the weight distribution is wrong, the blades you use are not enough or you need higher tier blades. The most important thing you should do to keep it stable is to put your hover blades as high as possible. That way the majority of the weight of your vehicle will be below the hovers and as a result it will keep your vehicle from flipping.
Since your weapons do not have mass value you can put them at the top of your vehicle but I would recomend you to put most of them below your vehicle. That's because hovercraft are flying higher than other vehicles and it will be difficult to hit your enemies since the weapons can't aim low enough.
Another reason to put your weapons below your vehicle is that it will be more difficult for your enemies to destroy them because it will be harder to see them.
How many blades you should put on your hovercraft depends on the size and overal weight of it and also your available CPU.
The minimum blades you should use is 4. You could use only 3 (1 at the front 2 at the back) but your vehicle will not be very stable. Using more than 4 blades is better because it ill keep the vehicle stable even if your enemy destroys some of them. Using the right tier blades on your vehicle will also make it more stable and will be able to lift more weight.
Also, do not put the right blade to close to the left one. Remember the further away they are from each other the better your stability will become.
The good thing about hover blades is that they are really small and you can easily protect them by putting them inside your vehicle which means you don't need to build a massive vehicle to cover them unlike the wheels. Make sure to completely cover them to protect them from from any damage coming from any directions
Finally, you can use thrusters to make your hovercraft faster. The more thrusters you use the faster your vehicle will become.
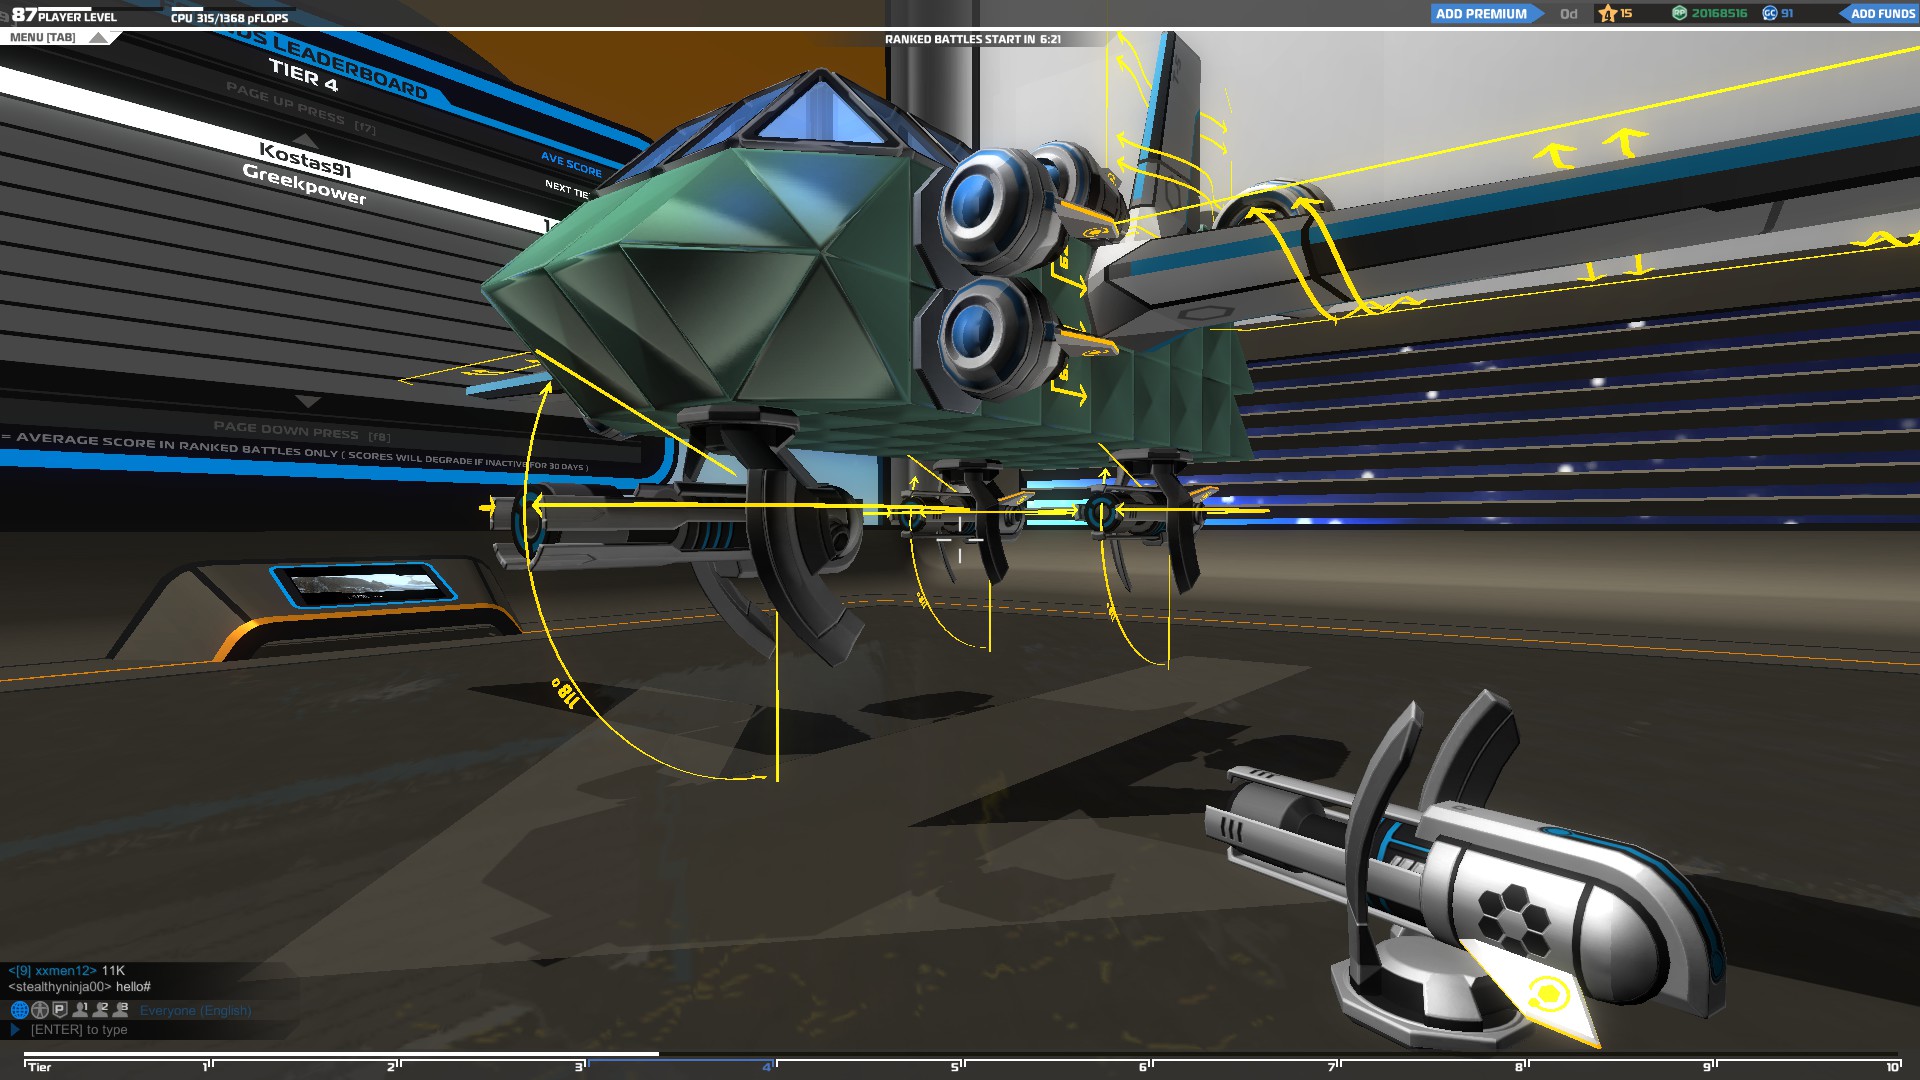
Building A Plane
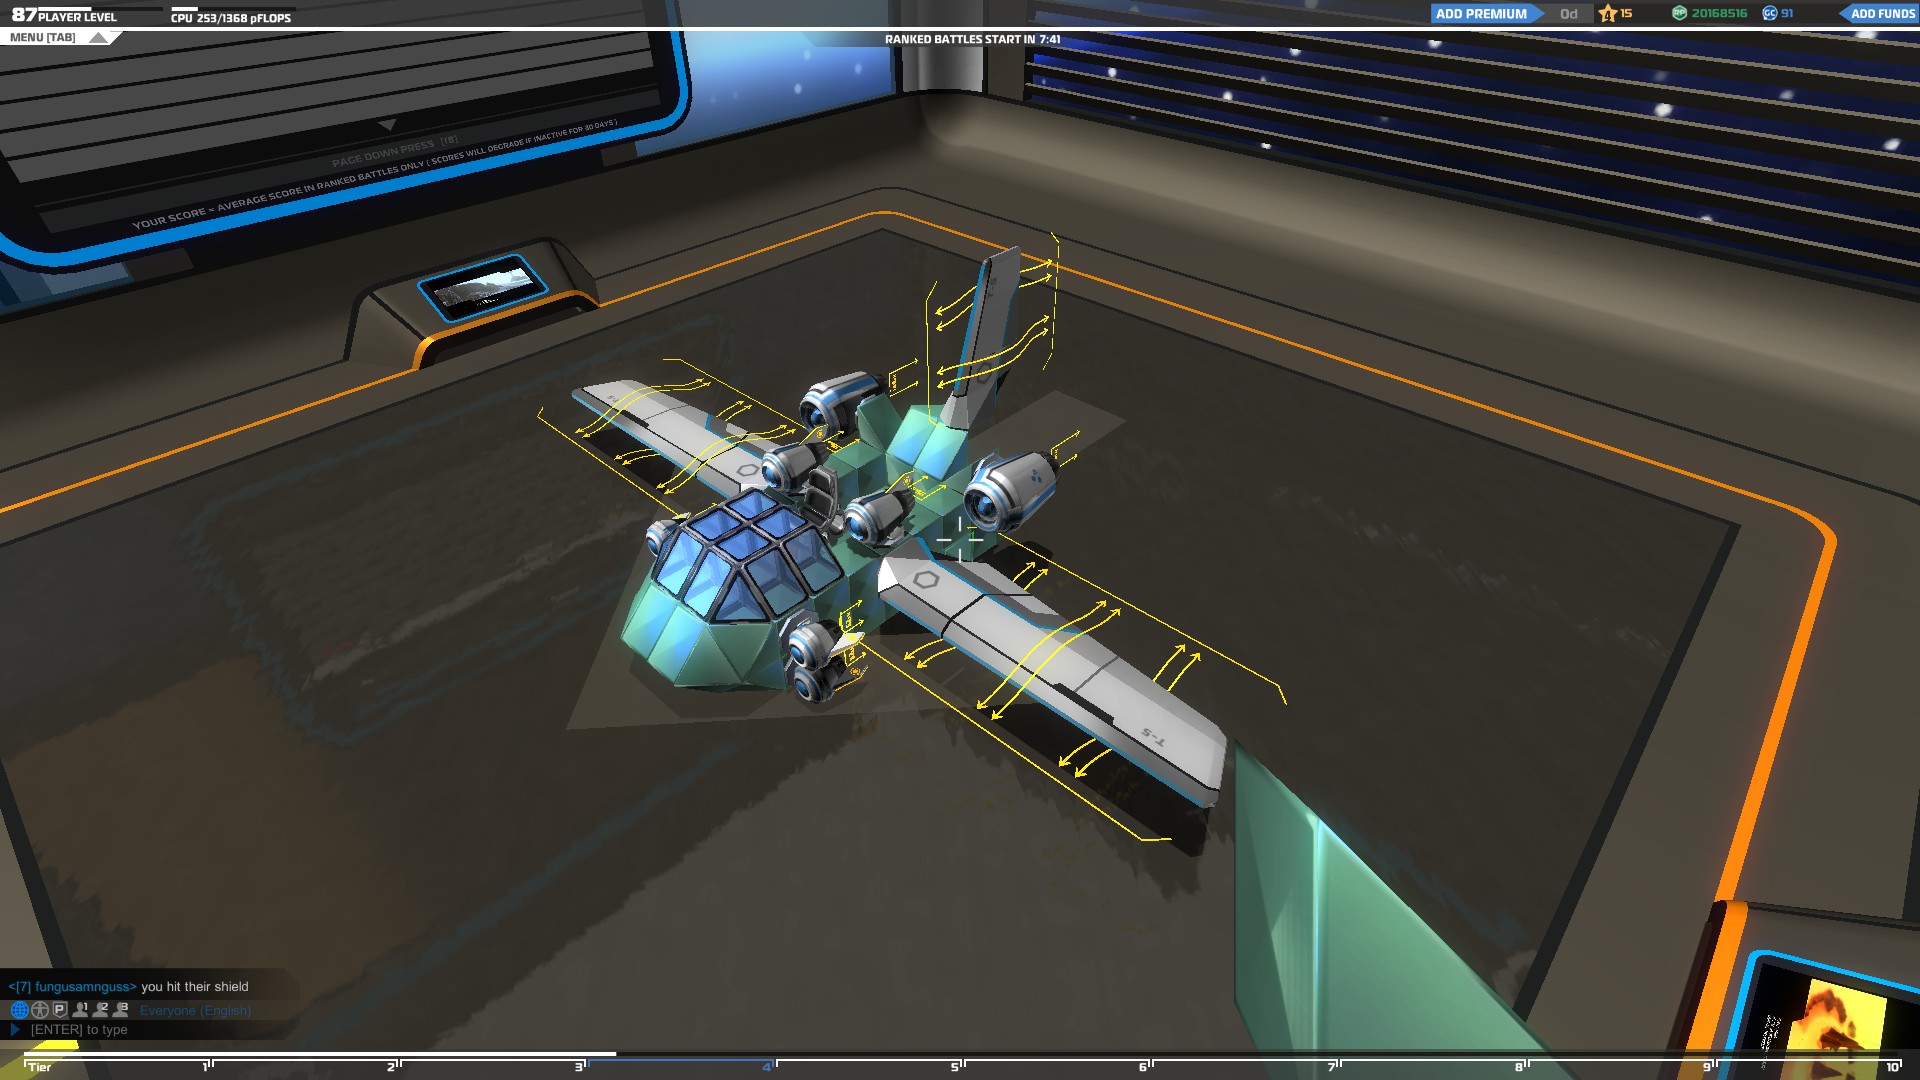


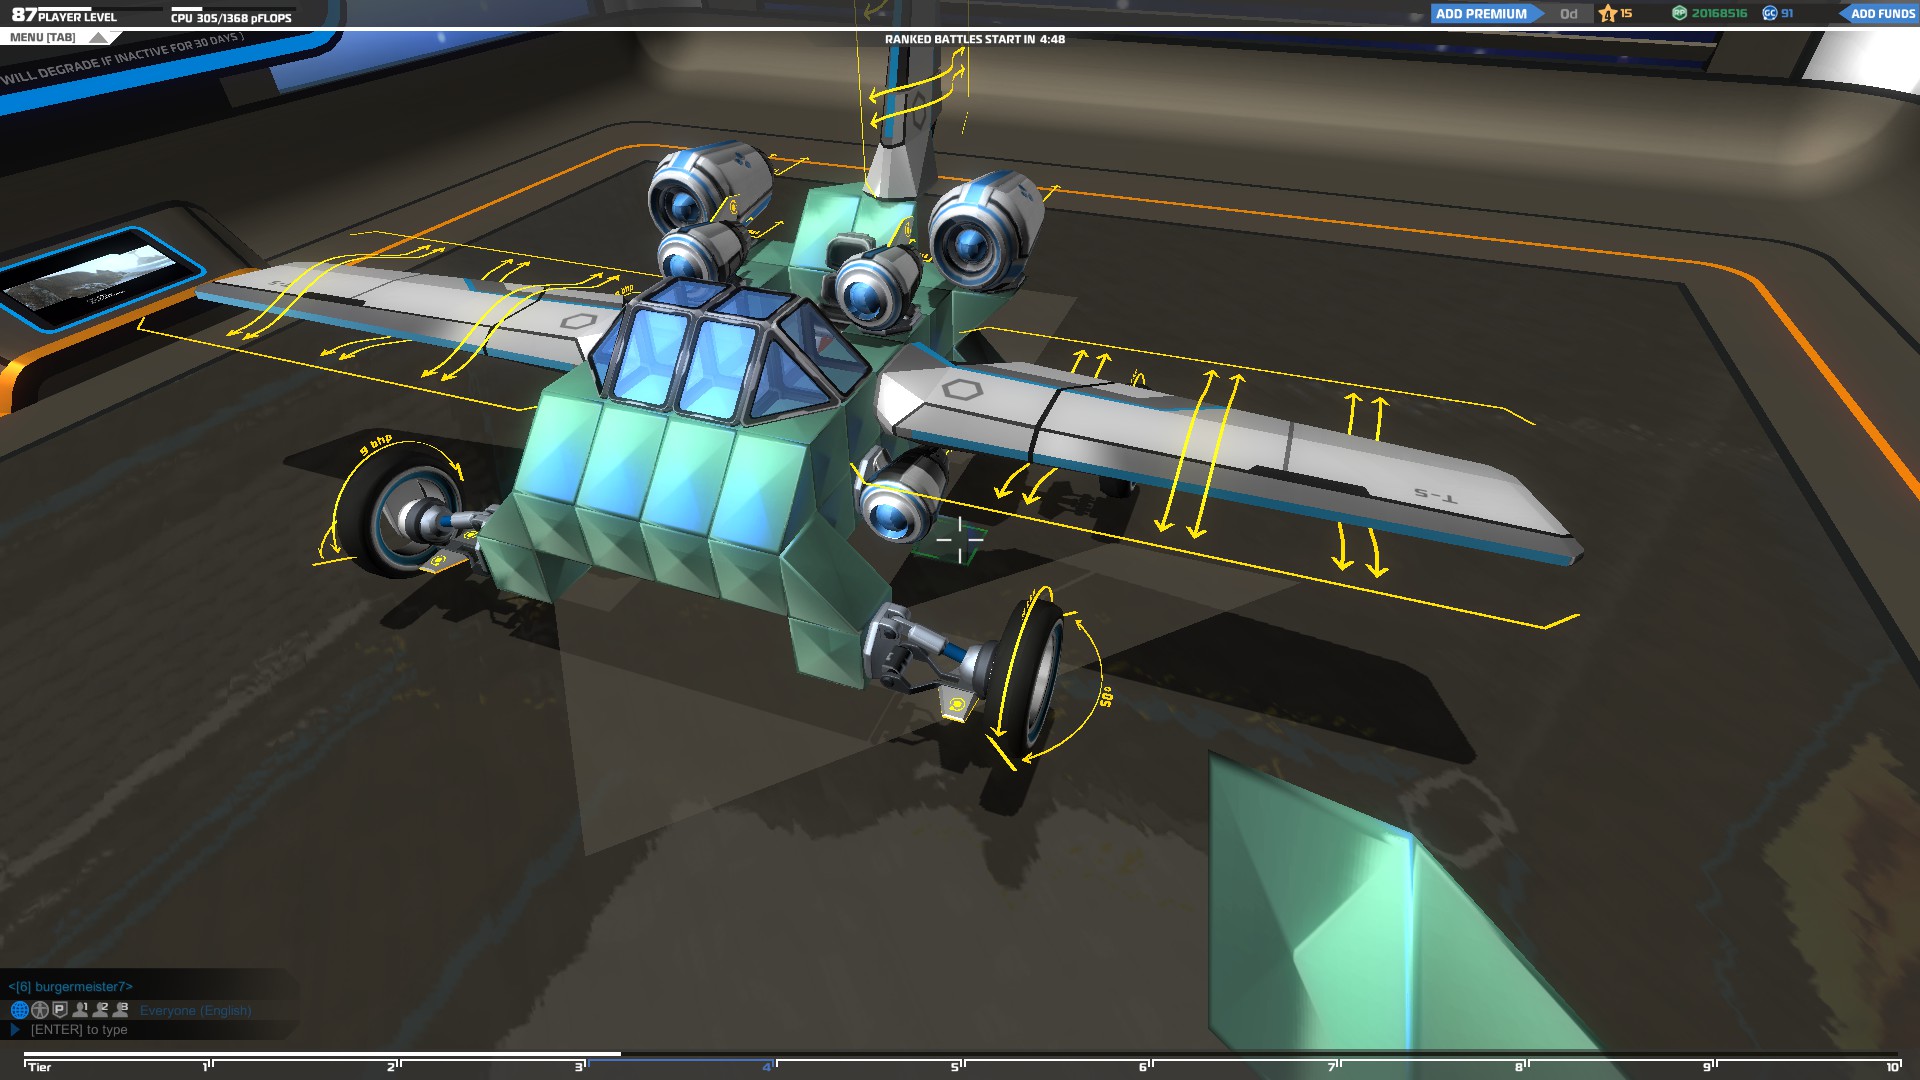
Building a plane can be really tricky since they need to be light in order to fly and you also need to place your wings at the right place in order to make them both flyable and stable.
A plane needs two things in order to fly, wings and thrusters. The wings lift the plane but you need to have the necessary amount of them to be able to do so. Each wing can only lift a specific amount of weight so if your plane is too heavy for a pair of them, it won't fly.
The same goes for the thrusters since if you don't have enough your plane will either be really slow, making it an easy target, or it will not be able to fly because it will not have the necessary boost to do so.
Make sure to add at least one vertical small wing at the back of your plane to help you with the steering as well. You can still steer without them but you will not turn fast which might be crucial in a fight.
A basic plane looks like this:
Since you will be on the air, your targets will be directly below you, therefore your weapons should be at the bottom of your vehicle in order to shoot them. A plane can use either plasma cannons nor smgs but not rail cannons since you will be moving constantly and you won't have time to aim and do an accurate shot.
Be on the air has its benefits but also has many disadvantages on of them being easily spotted. Once the enemies starts shooting at you they will eventually destroy some of your thrusters and wings which will make your plane fall. To avoid that the first thing to do is add more thrusters and wings than you need so your plane can still fly even If you lose some of them.
If your plane is small and you cannot fit more than one pair of wings you can always put a second pair of them on top of the other.
The second thing you should do is to make sure you protect your wings with either an extra layer of block or electroplates.
Another thing you should do is reinforce the main body of your plane at the bottom to make sure your enemy will not destroy it easily.
You can use the same way you protected your wings for the body as well by adding extra layers of blocks and electroplates.
Keep in mind, the more blocks you use, the heavier the plane becomes, the more wings you will need.
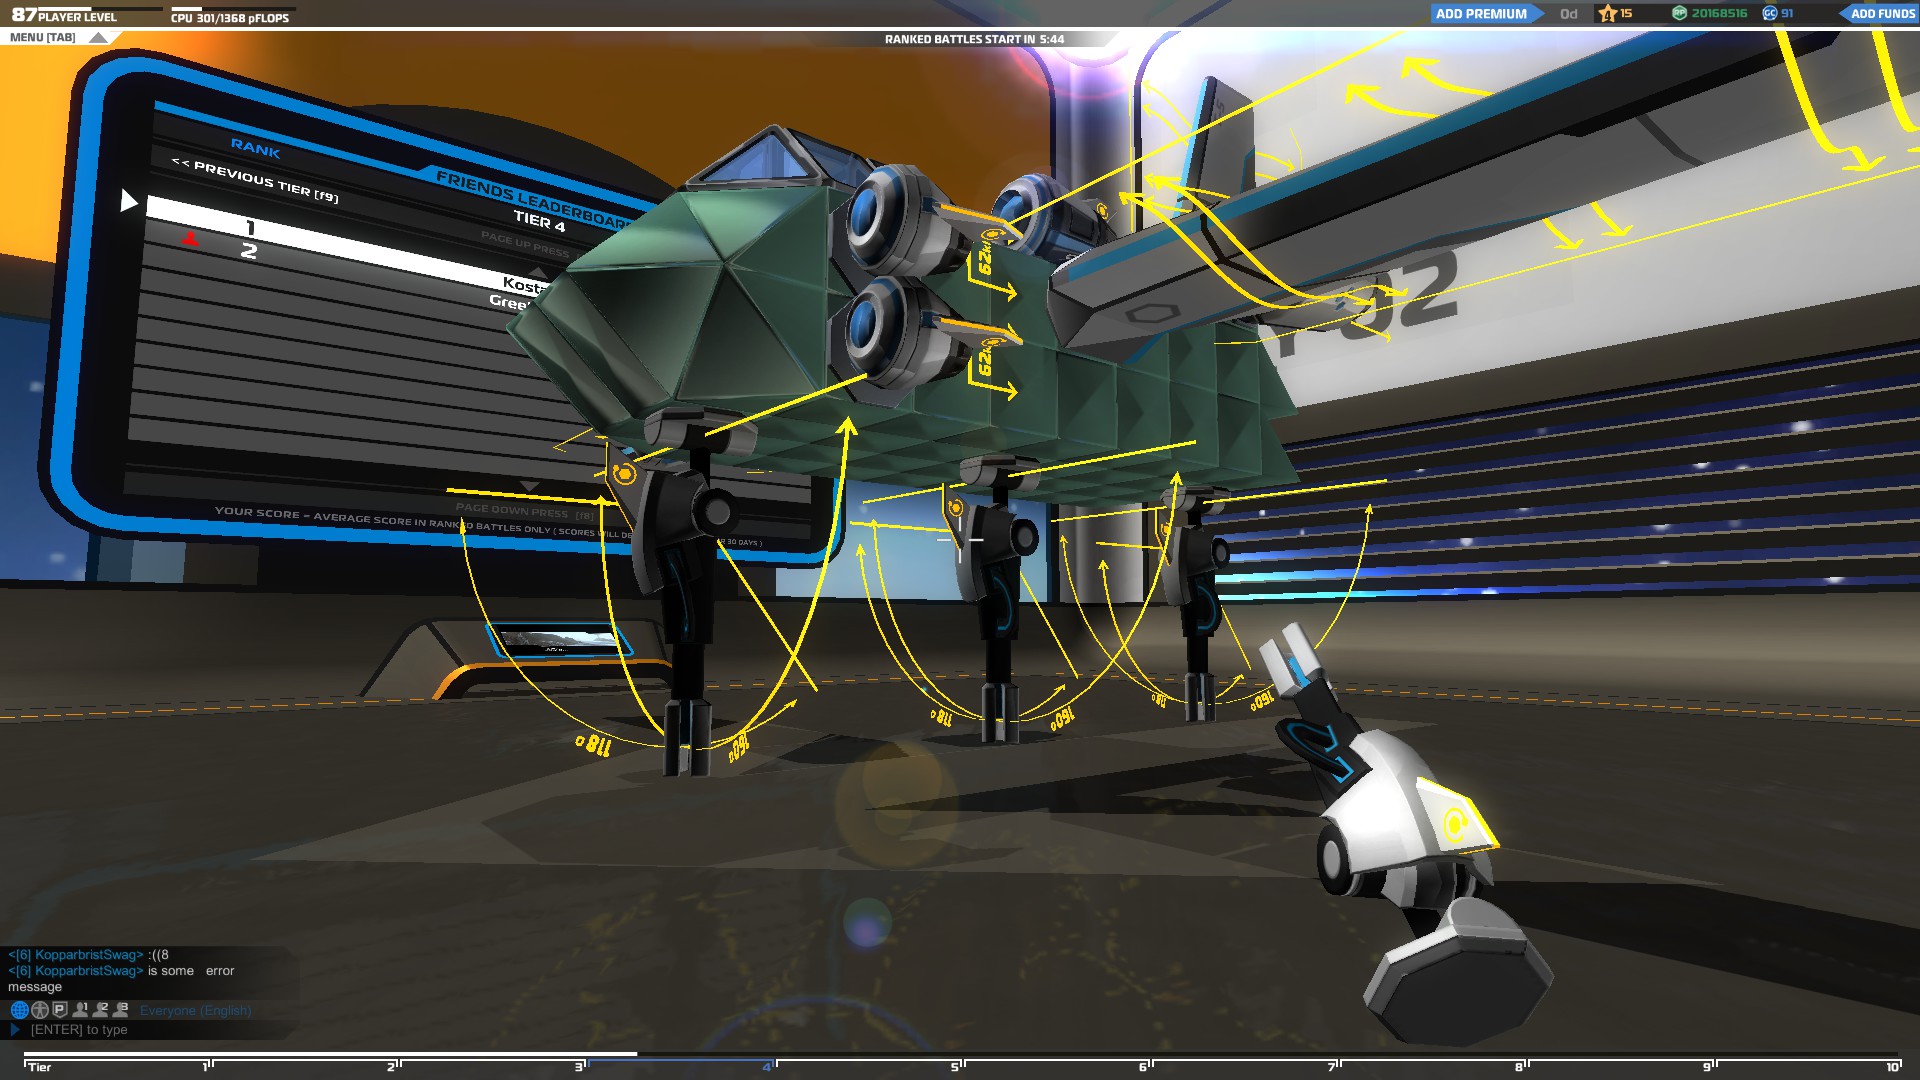
Finally, you can add a set of wheels on your plane to make it easier to take off, especially when you don't have enough space on the map to do so.
Building A Sattelite

A satellite is a small vehicle which uses helium blocks to fly to the highest map altitude and attack the enemies from there. Unlike the plane, a satellite cannot move fast and is really lightly build which makes it an easy target.
The most basic things you need on your satellite are helium blocks. Like the wings, each helium block can only lift a specific amount of weight so the heavier your vehicle is, the more helium blocks you will need.
It's really important to add most of your helium blocks at the middle of your vehicle to keep it from flipping over and if you want to build a square shaped satellite like the one above make sure to have the same amount of helium blocks in every side of your vehicle to make it more stable.
Next thing you should do is to add thrusters to make your satellite easier to climb higher and also to be able to drive it.
Make sure to add the thrusters the same way I did in the examples above if you are using a similar design. To move forward put one or two thrusters at the back and below of the vehicle and the same amount at the front and above of the vehicle, that way you will keep the satellite stable when moving forward.
To turn left and right put the thruster facing opposite to each other.
Lastly you can put some thrusters facing upwards to make the satellite climb faster.
The last thing you need to add is a weapon of your choice and your satellite is ready for action!
You can build a satellite as big as you want as long as you use the necessary amount of helium blocks but since they are the easiest vehicles to destroy I suggest you keep it small and well protected to make it harder for your enemies to spot and target you.
Your worst enemy as a satellite player is the rail cannon so in order to protect your vehicle from them you should use their worst enemy, electroplates. By adding electroplates on your satellite you reduce the chances of being destoyed by one shot.
Make sure to cover with electroplates as much of your vehicle as possible to protect it as much as you can.
Finally, depending on its size, you can add more than one weapons on your satellite for some extra damage.
Conclusion
Those who understand that robocraft is not all about shooting your enemies like a regular FPS game but more about building the strongest and most durable vehicle possible are the ones who will win most of the fights.
Using the above tricks you can build a strong and creative vehicles who will make your enemies tremble in fear!
So this is it, another guide comes to an end. Making guides is really time consuming so If you liked this guide, make sure to rate and comment!
You can always ask me any questions you might have in the comment section below and I will answer them ASAP.
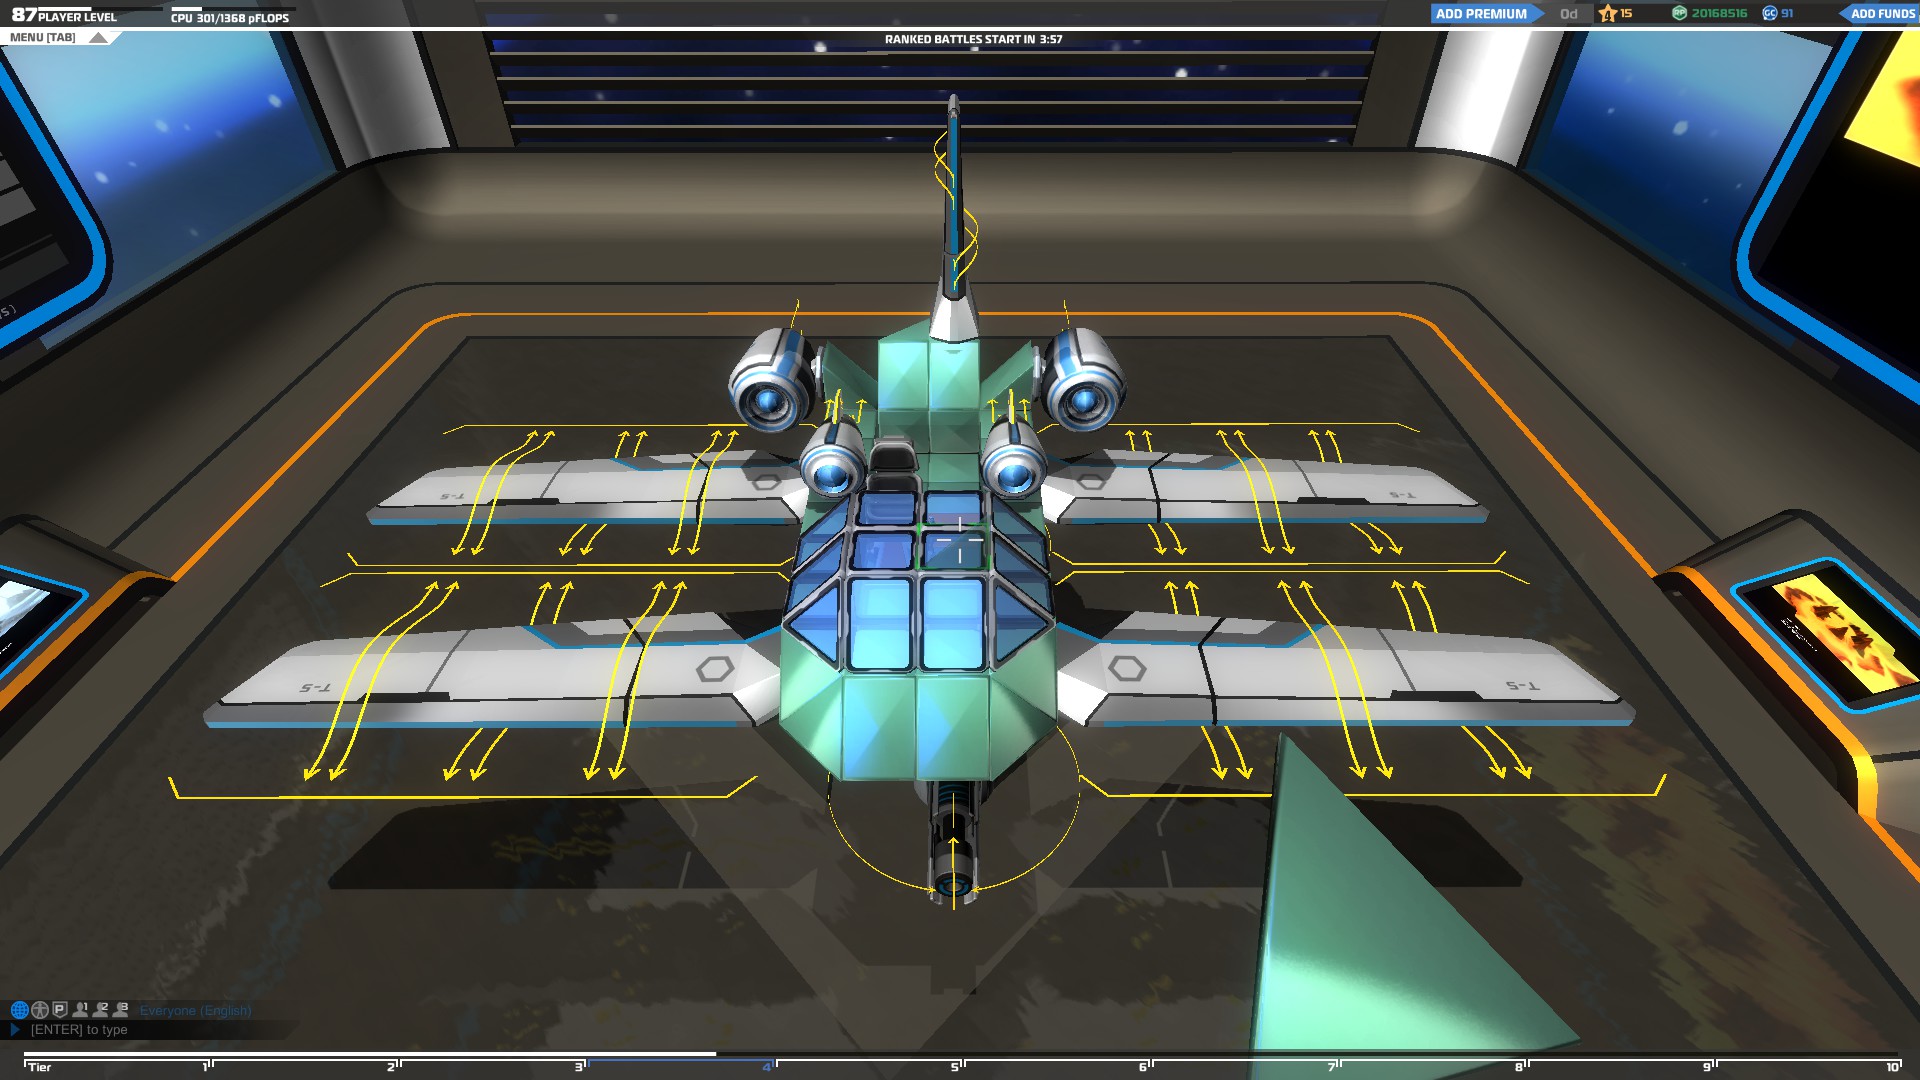
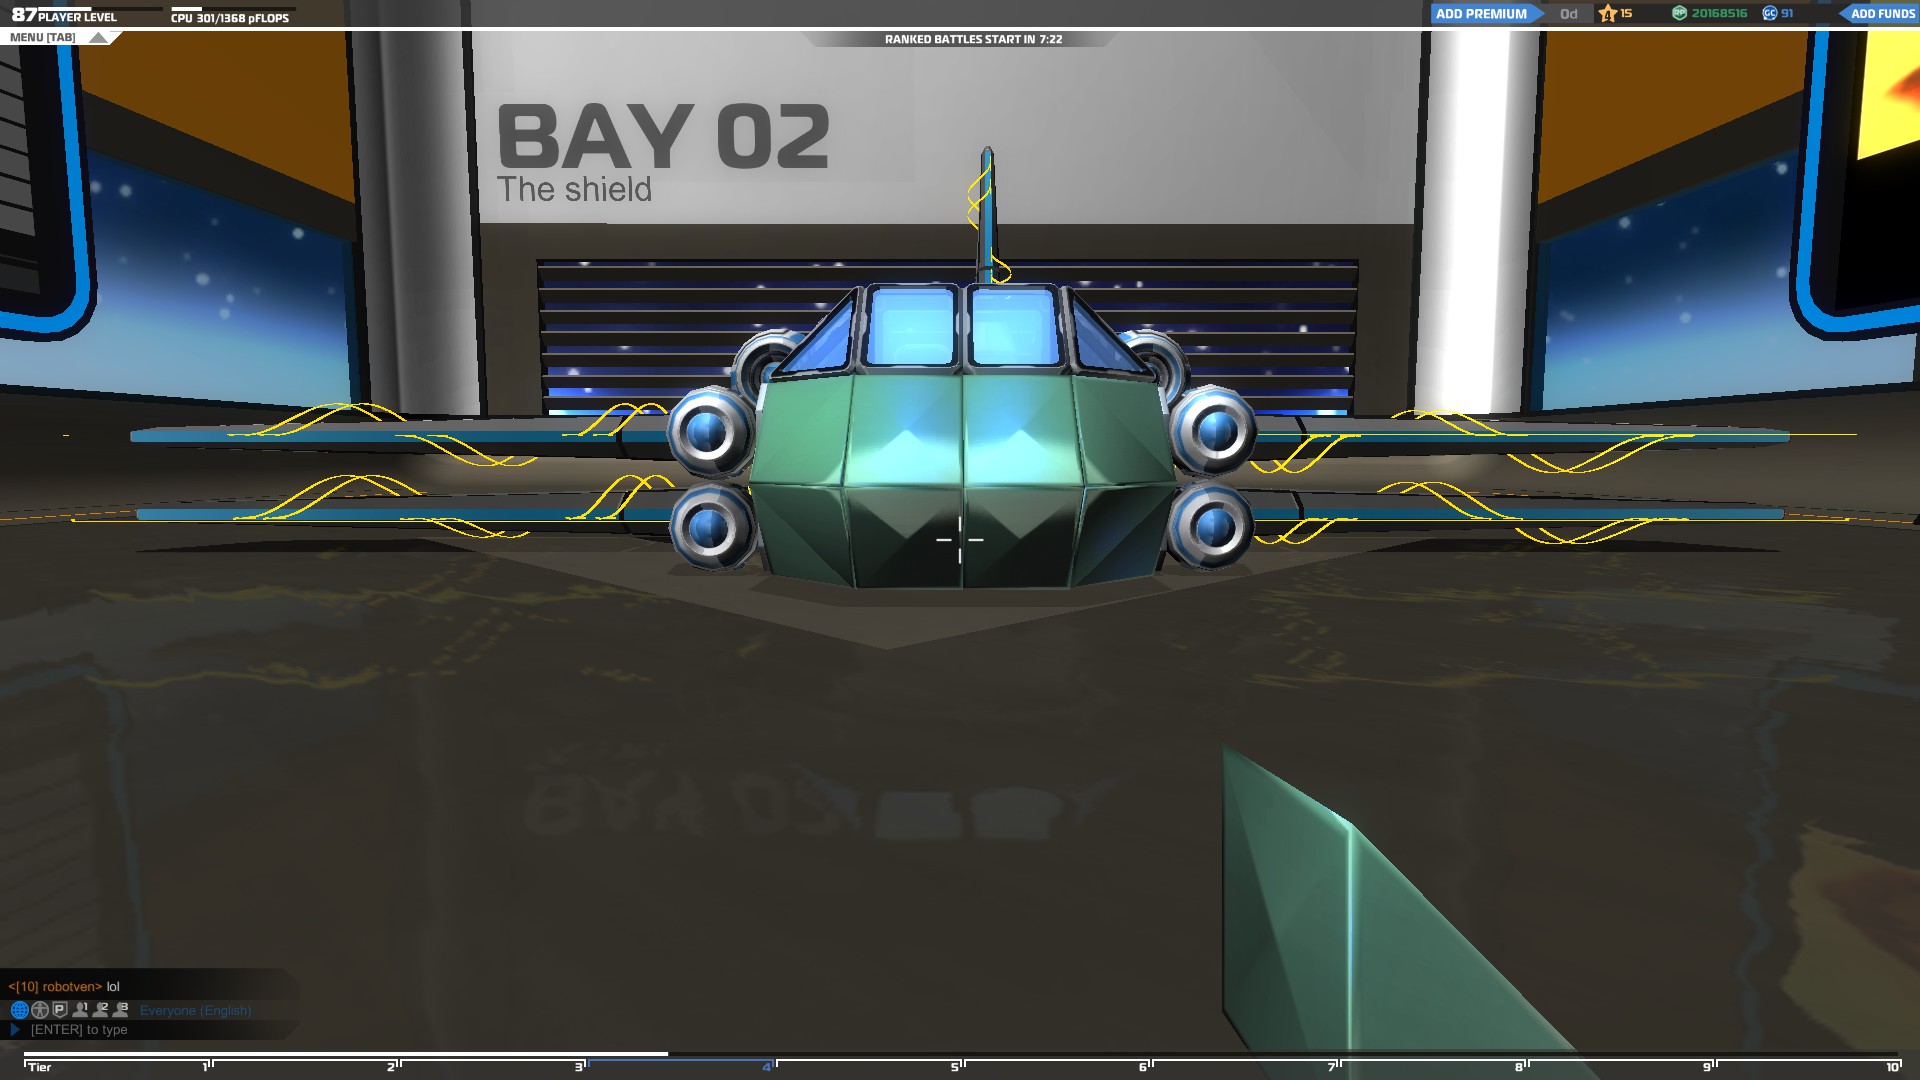
This is the vehicle I use, reinforced using most of the above techniques.
P.S. If you want to learn more about rail guns you can have a look at my first guide by following the link below: The Ultimate Rail Guide
Source: https://steamcommunity.com/sharedfiles/filedetails/?id=310110662
More Robocraft guilds
- All Guilds
- The Ultimate Robocraft Guide
- Robocraft Guide 7
- Naval Mode
- Robocraft - Crate System Guide
- Robocraft - A Simple Guide
- Robocraft - Curse F-66 Owner's Manual
- Robocraft - Tier List of Every Single Parts in the Game
- Robocraft - Damage Determined by Angle of Impact
- Robocraft Royale - Beginner's Guide