
Getting Started


This guide assumes you have a basic understanding of Unity and an existing project setup, so relatively basic terms won't be explained (e.g. prefabs, components).
One of the first things you'll want to do is decide between an Omnidirectional Jammer and Turreted (directional) Jammer. The only difference between the two in components is a turret controller and the jammer type, everything else is the same. The turret will need slightly different placements of prefabs but that will be covered later.
Stat Explanations
Max Range
Fairly self explanatory (remember that the value is 10x in game)Effect Area Ratio
Your guess is as good as oursRadiated Power
How actually powerful it is, directional tend to be more powerful than omni-directional by vanilla balance standards. Equally, Comms and Sensor jamming do not share a radiated power bracket, a Blanket has a radiated power of 1, an Interruption has a radiated power of 750, for example.Gain
"Gain is how fast that [radiated] power falls off, and part of how well it retains that power on the way back." - Baboli
Jammer Setup
As seen in the previous segment, the body of the jammer requires very few components to begin, same as most other mounts (the mesh filter and renderer are purely visual).
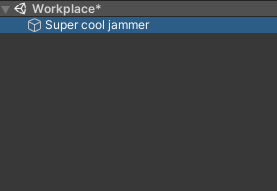
To begin with, make a new prefab in your workplace (left side of the screen) and give it an apt name, such as [Super cool jammer].
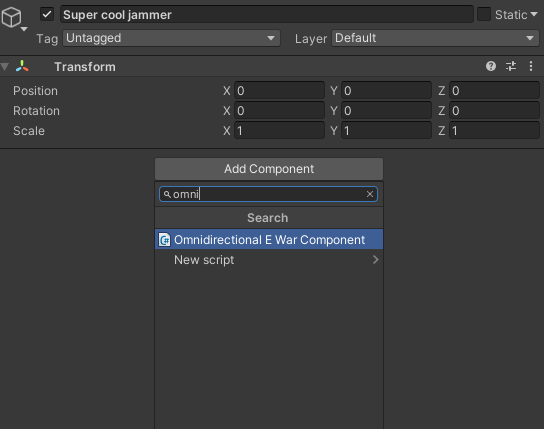
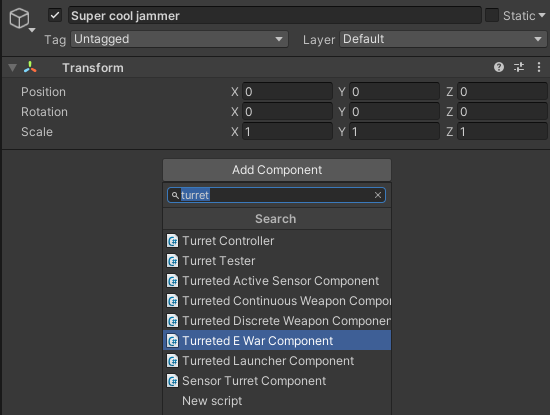
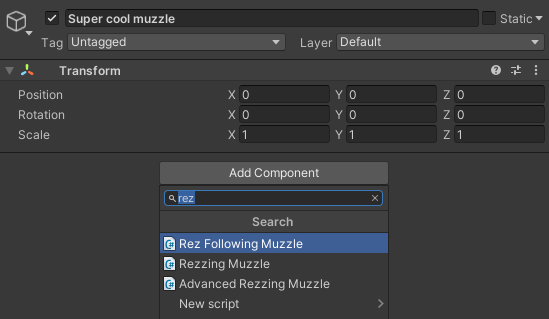
From there, add a new component in the inspector (right side of the screen) and add either the [Omnidirectional E War Component] or [Turreted E War Component].
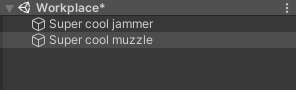
Leaving the shiny new component aside, add a new prefab as a child, again with an apt name.
To this new prefab, add a new component, [Rez Following Muzzle].
This will function as the origin point for the jamming effect, so should be positioned either central to the jammer for Omni or where you intend the swivel point to be for Turrets.
Add [Super cool jammer] as a prefab (drag and drop to lower middle of your screen), the child prefab will be added with it automatically.
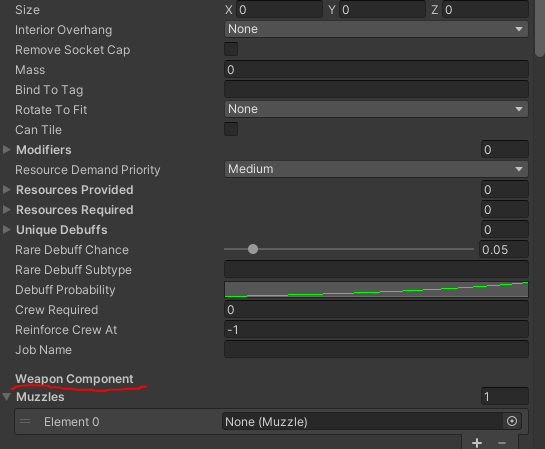
Going back to the [Super cool jammer] prefab in the inspector, scroll down to Weapon Component and its dropdown menu, Muzzles. From there, add [Super cool muzzle] as your muzzle.
Follower And Area Display


Now for the 'complicated' bit.
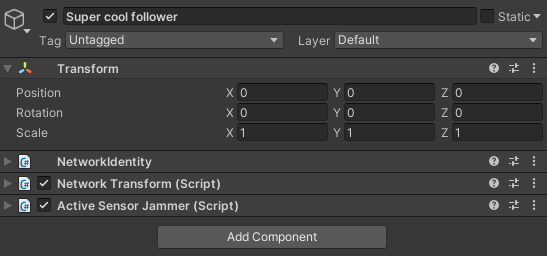
Create a fresh prefab in your workplace, this will be the [Follower] gameobject required by the [Rez Following Muzzle]
To this prefab, add the [NetworkIdentity], [NetworkTransform] and either [Active Sensor Jammer] or [Active Comms Jammer] (but preferably the former of the two, for now)
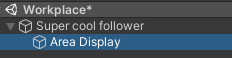
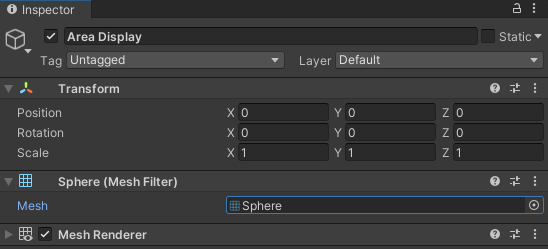
Create a new child of this prefab, called [Area Display], this will be the AOE effect for the jammer visible in Tac-view
To this child, add a [Mesh Renderer] and [Mesh Filter], add a sphere (default unity asset) to the [Mesh Filter]
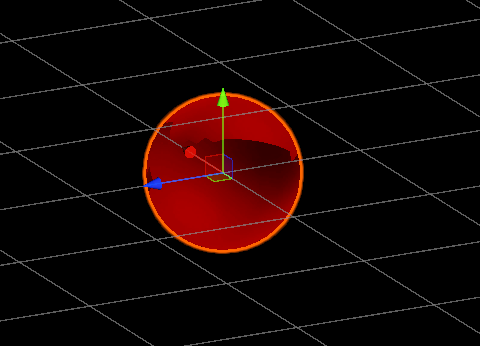
Now, create a new material. Give it a fairly descriptive name and add to it the following settings:
(The colour doesn't *have* to be red, it can be whatever you want)
Once you assign this material to the [Area Display] prefab, it should look something like this. What you will need to do from here is set the [Layer] of the parent [Follower] to [Layer 17] specifically.
GUID Setup


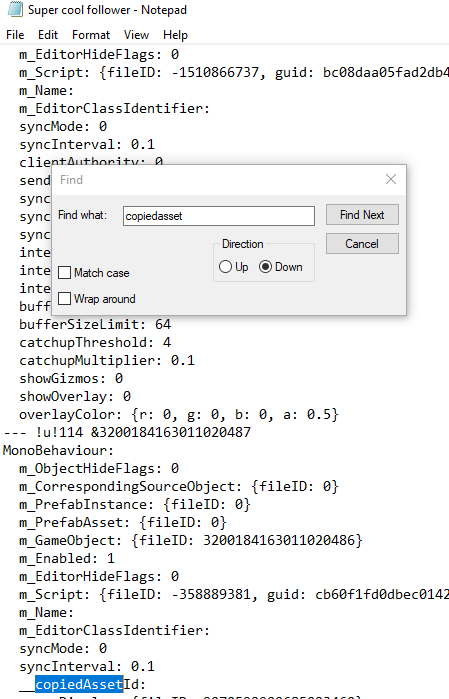

Functionally, the jammer is almost complete, however to get it to work in game you will need to assign the [Follower] a GUID under copiedasset.
To do this, go into your file explorer to where your bundle is and look for the .prefab file of the [Follower], from there ctrl+f and search 'copiedasset', then copy+paste in a GUID generated from one of several websites. For reference, we use https://guidgenerator.com/
Turret Specific Setup
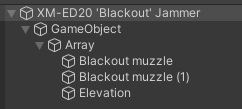
As with any turreted mounts, you'll want an empty prefab as a turn point (in this case GameObject) and something under another empty prefab to act as the elevation point (in this case Elevation)
A Few Neat Tricks
Now for some unnecessary but fun things you can do with jammers and EWar in general.
As you may have noticed in the above image, there are two muzzles. That is because the Blackout jammer is both a Sensor and Comms jammer in one package, you simply repeat the process of making one muzzle and follower but change the second from an [Active Sensor Jammer] to an [Active Comms Jammer], this equally means that you can jam all types of signals with a single jammer, so long as you have the muzzles set up for them.
Another fun thing you can do with jammers is, since they spawn in a thing, generate temporary on-spawn effects alongside the jamming field. Be this noises, physical obstacles (e.g shields) or VFX.
For an example of how the noises works, see our mod 'Experimental Weaponry', there is a demo video on the home page.
Source: https://steamcommunity.com/sharedfiles/filedetails/?id=3161970038
More NEBULOUS: Fleet Command guilds
- All Guilds
- MD/Rail
- Jakub's Guide to not Dying to Missile Spam
- NEBULOUS: Fleet Command Guide 427
- Jakub's Guide to Not Dying to ANS Jamming
- A Thorough Guide to OSPN
- Helpful Heuristics to halt Hodgepodges and Half-measures
- Guide to Missiles and Point Defense
- Hardly's Helpful Guide to: What The Heck To Do With Your Spaceships
- Nuclear or: How You Can Learn to Stop Worrying and Make the Bomb
- Better Battle Report (BBR) User Guide