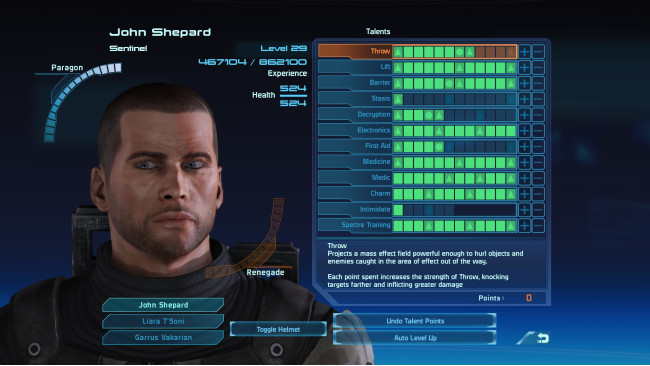
Shepard Medic Build
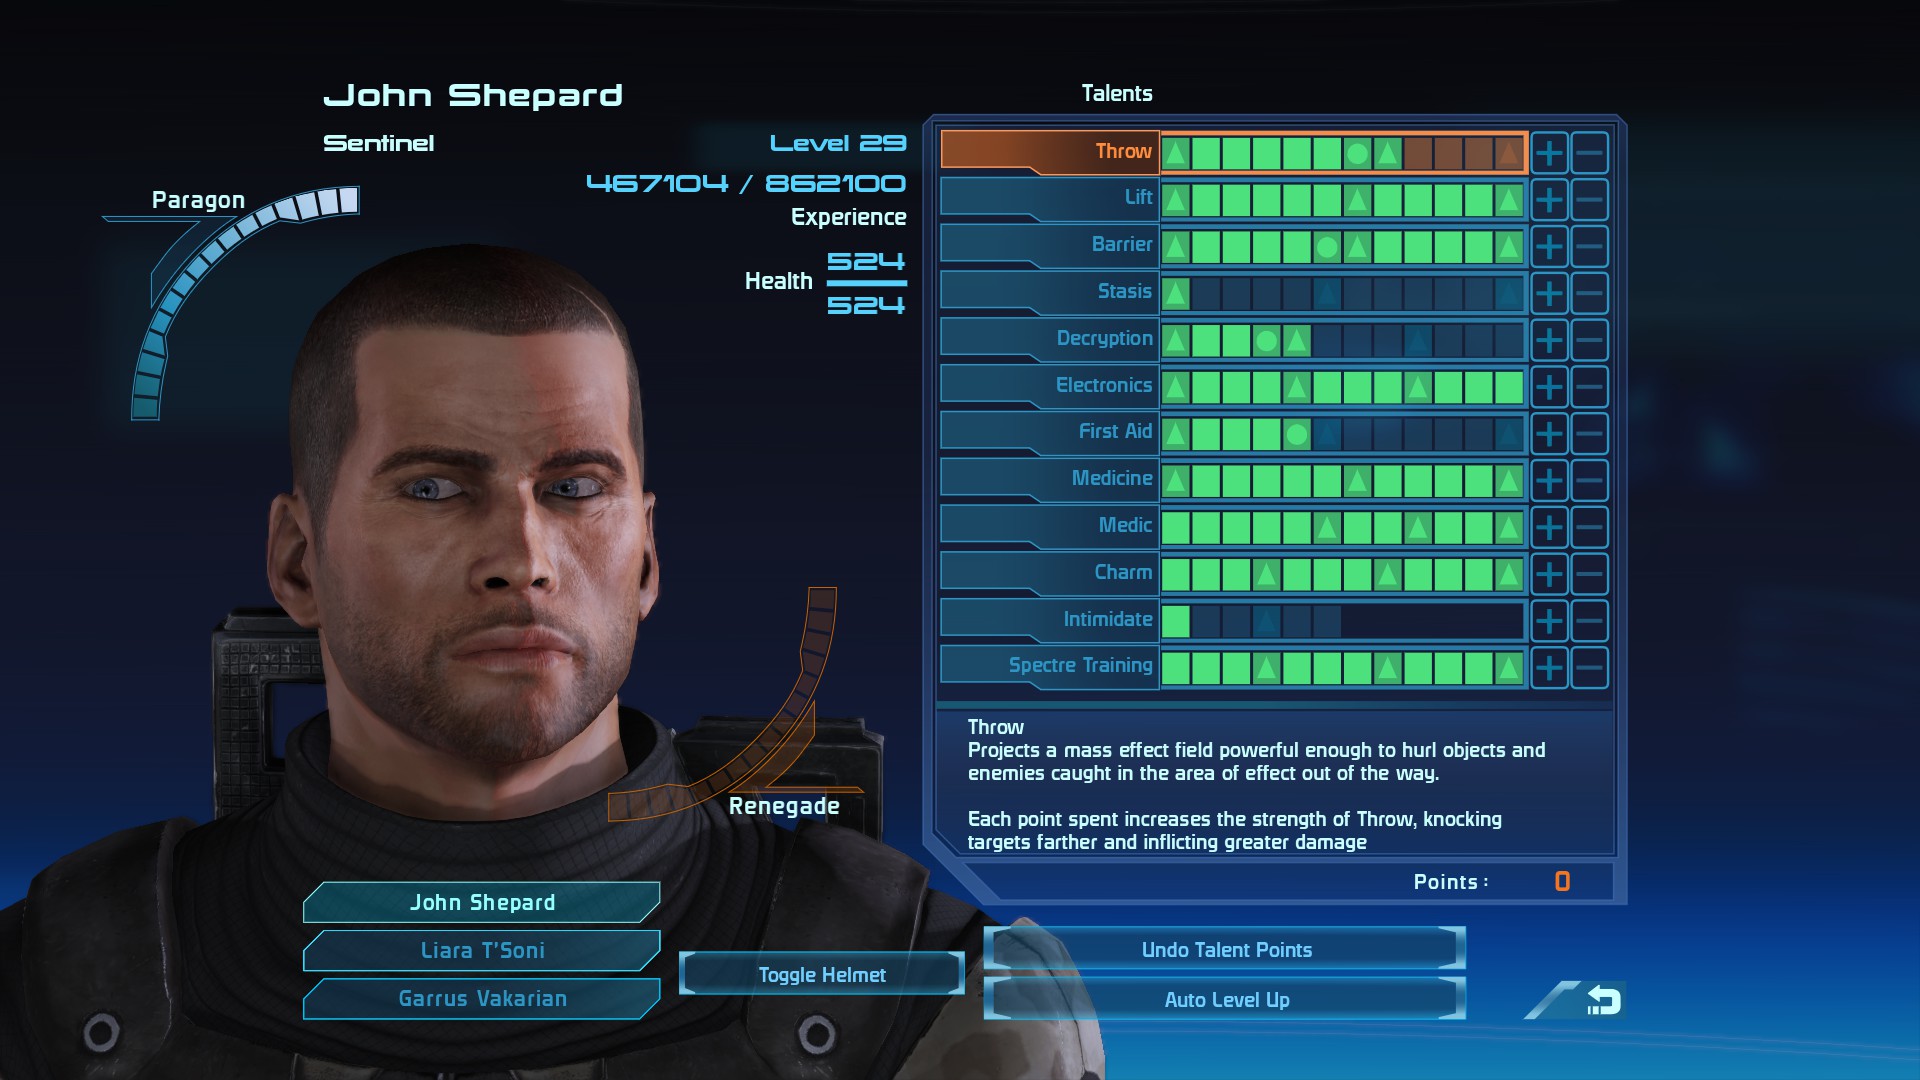
This Sheppard Build is designed to be the ultimate support character, it focuses on Medical tech to keep the squad alive and defensive talents to increase Sheppard’s survivability. Be sure to put an initial point into Barrier to increase your defense before putting points into First Aid to unlock Medicine. Medicine not only gives you a powerful control/damage ability against organic enemies in Neural shock but reduces the cooldown of your First Aid talent. Another early priority is to reach level 6 in the Sentinel Talent to unlock Marksman, the sole combat ability for a Sentinel, which also lowers the cooldown of your biotic and tech talents. Of course, take Charm/Intimidate as you unlock ranks with morality points, I do recommend Paragon over Renegade as Paragon points give a bonus to hit points as well as a reduction in First Aid and power cooldown. Do not put any more talent points into First Aid once you have unlocked Medicine, as your heals will be sufficient with the First Aid Specialization from the Medic class.
Once you have Medicine and Sentinel maxed out, switch priorities to defensive talents. Barrier is the only defensive talent which allows Sheppard to boost his shields when he is under fire so that should be the first defensive talent you take. When you have enough talents in Barrier, take a single point in Stasis, to be used in certain very difficult fights and in emergencies. Once Barrier is maxed, take enough Decryption points to get Advanced Sabotage before maxing out Electronics for a substantial bonus to shields. Defense can be further increased by maxing Spectre Training which increases health, weapon damage, and power damage and duration.
When you get the Rouge VI quest you get the opportunity to take a specialization class, either the Bastion, which increases the power of Barrier and Stasis or the Medic, which increases the power of First Aid and Neural Shock. I recommend the Medic as it further increases the power of your First Aid Power, which the added benefit of letting you revive squad members. With your characters high survivability from Barrier, Electronics and Spectre Training, your squadmates can focus on offense, and you can heal them whenever necessary.
Once Level 20, you should have all the defensive and medical talents you need. Round out your build by putting the remaining points into Throw and Lift. You have enough points to get Advanced Throw and Master Lift by Level 29, which is reachable in one playthrough. Master Lift is particularly helpful in the final encounter of the game, so we get it just in time.
Level 1: Barrier 1, First Aid 2
Level 2, First Aid 2, Sentinel 2, Charm 2
Level 3: First Aid 1, Medicine 1, Sentinel 2, Charm 2
Level 4: Medicine 2, Sentinel 2
Level 5: Medicine 2, Barrier 2
Level 6: Barrier 2, Medicine 2
Level 7: Barrier 2, Stasis 1, Medicine 1
Level 8, Medicine 4
Level 9: Barrier 1, Charm 3
Level 10: Barrier 4
Level 11: Decryption 3, Electronics 1
Level 12, Electronics 4
Level 13: Electronics 4
Level 14: Decryption 1, Electronics 3
Level 15: Spectre Training 4
Level 16: Medic 4
Level 17: Medic 2, Spectre Training 2
Level 18: Spectre Training 4
Level 19: Spectre Training 2
Level 20: Throw 1, Charm 1
Level 21: Throw 2
Level 22: Throw 2
Level 23: Throw 1, Lift 1
Level 24: Throw 1, Lift 1
Level 25: Lift 2
Level 26: Lift 2
Level 27: Lift 2
Level 28: Lift 2
Level 29: Lift 2
Early Game Squad: Ashley & Kaiden
If you're playing Mass Effect Legendary Edition for the first time, you will not have any achievements when you begin the game. There are powerful bonuses to some of these achievements which are worth considering as you plan your playthrough. Essentially, each squadmate provides a bonus once you have completed 5 missions with that character. Therefore, I recommend using each squadmate at different points in the game, and switching out to a new squad once you receive those bonuses. Since Ashley and Kaiden are your first party members, they are the logical choice for your first squad. Ashley provides a 10% reduction to damage taken while Kaiden provides a 10% reduction in the cooldown of Lift and Throw.
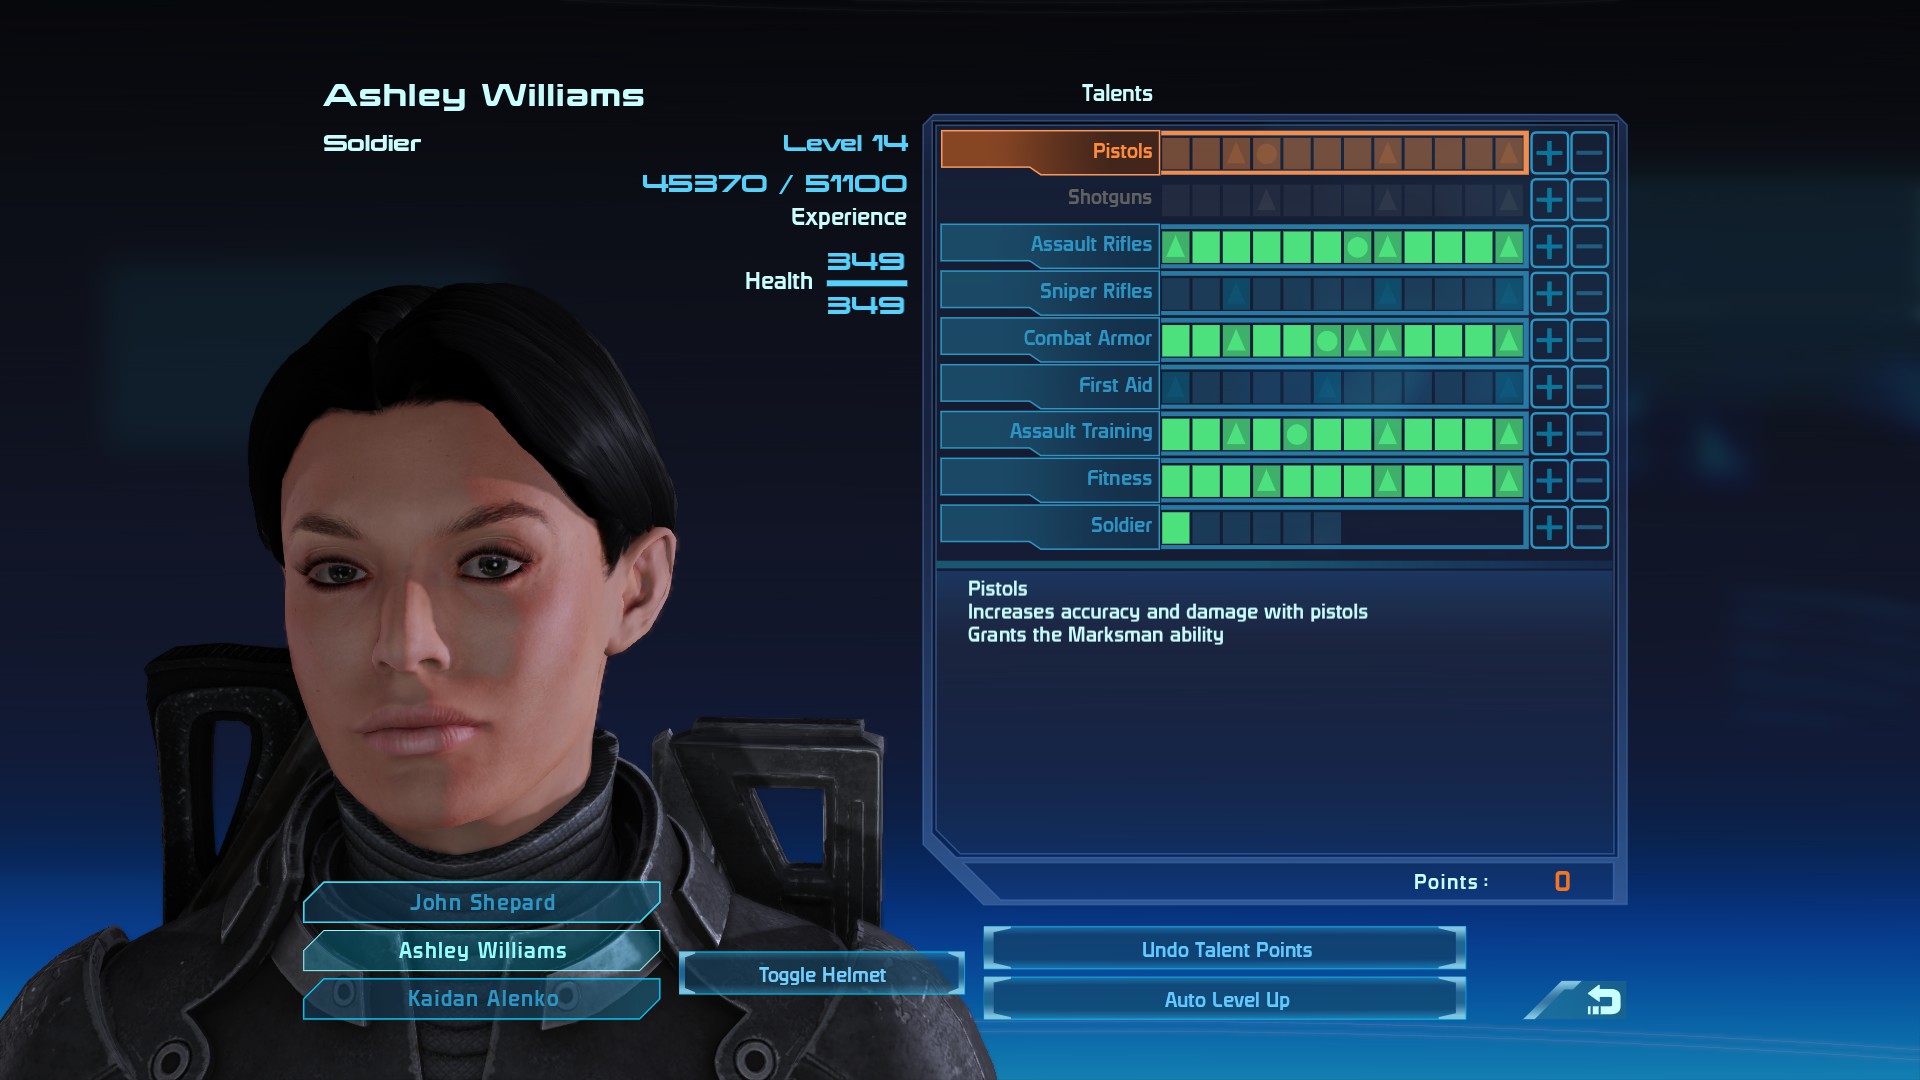
Ashley:
This is the ideal Ashley serves as your early game damage dealer. Focus on talents that increase damage first before switching focus to talents that increase survivability. Her skill distribution is simple enough that mapping it out for each level is unnecessary.
1) Assault Rifles
2) Assault Training
3) Combat Armor
4) Fitness
5) Soilder
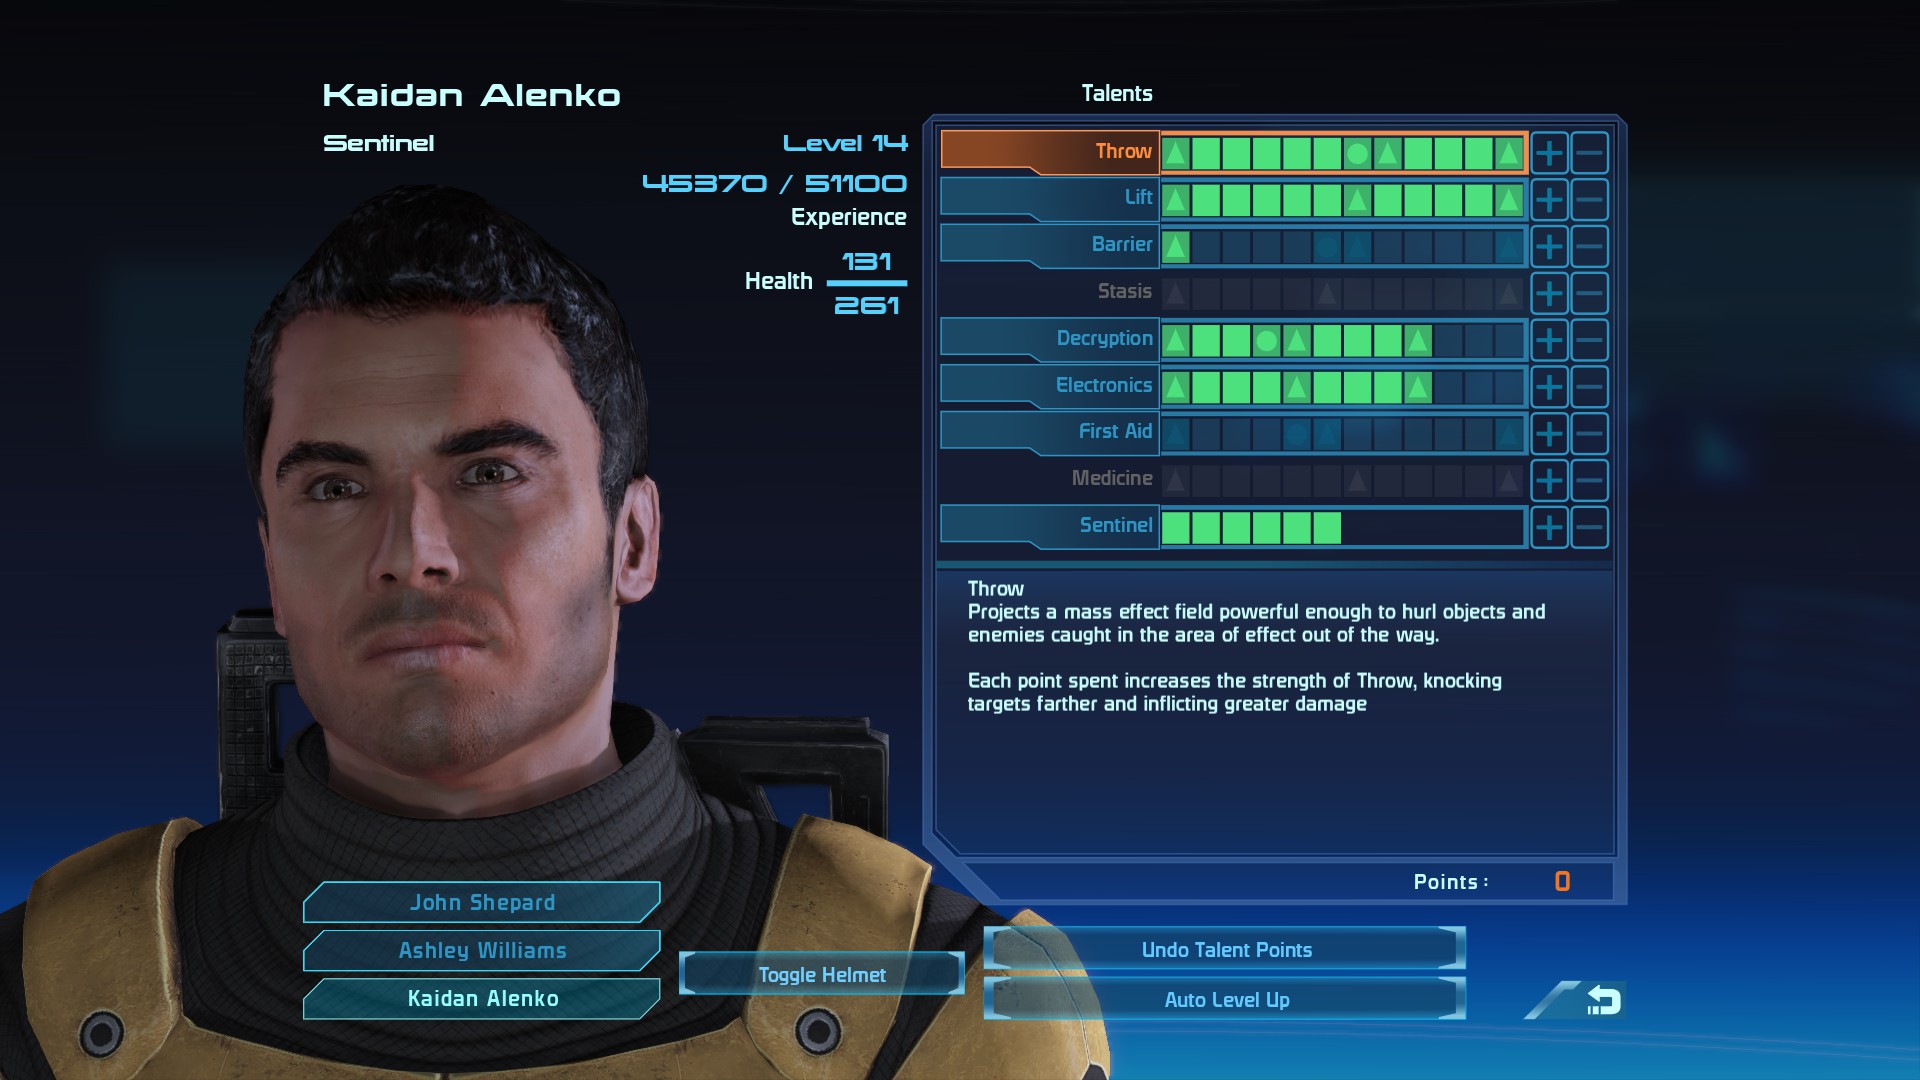
Kaiden:
Kaiden serves as your early game crowd controller and also provides the necessary tech talents to open locked doors and containers. While Sheppard focuses on Barrier/Stasis and First Aid/Medicine, Kaiden filles the gap with Throw/Lift and Decryption/Electronics.
Level 1: Throw 1, Barrier 1,
Level 2: Decryption 3, Electronics 1
Level 3: Throw 3, Decryption 1
Level 4: Electronics 4
Level 5: Decryption 4
Level 6: Electronics 4
Level 7: Throw 3, Lift 1
Level 8: Throw 4
Level 9: Lift 4
Level 10: Lift 4
Level 11: Lift 3
Level 12: Sentinel 2
Level 13: Sentinel 2
Level 14: Sentinel 2
Use this squad for the early game, all the missions/assignments in the first citadel visit, all the easiest assignments, and the Find Liara T'Soni mission.
Mid Game Squad: Wrex And Tali
Once reaching Level 15, having two sentinels on the team starts to cause Sheppard and Kaiden to overlap on talents so switch to Wrex and Tali. Wrex works as your primary damage dealer with some added crowd control, while Tali is our primary form of crowd control. This particular squad is well suited to fight against Synthetic enemies due to the powerful tech abilities of Tali, including AI Hacking, which allows you to charm enemy synthetics for a short time. Using these companions for 5 missions will grant HP regeneration and reduce the recharge time of Sheppard’s Sabotage skill. I recommend using this squad while doing the Rouge VI mission, and the first half of Noveria, you should have done 5 missions with Wrex and Tali once you reactivate Mira.
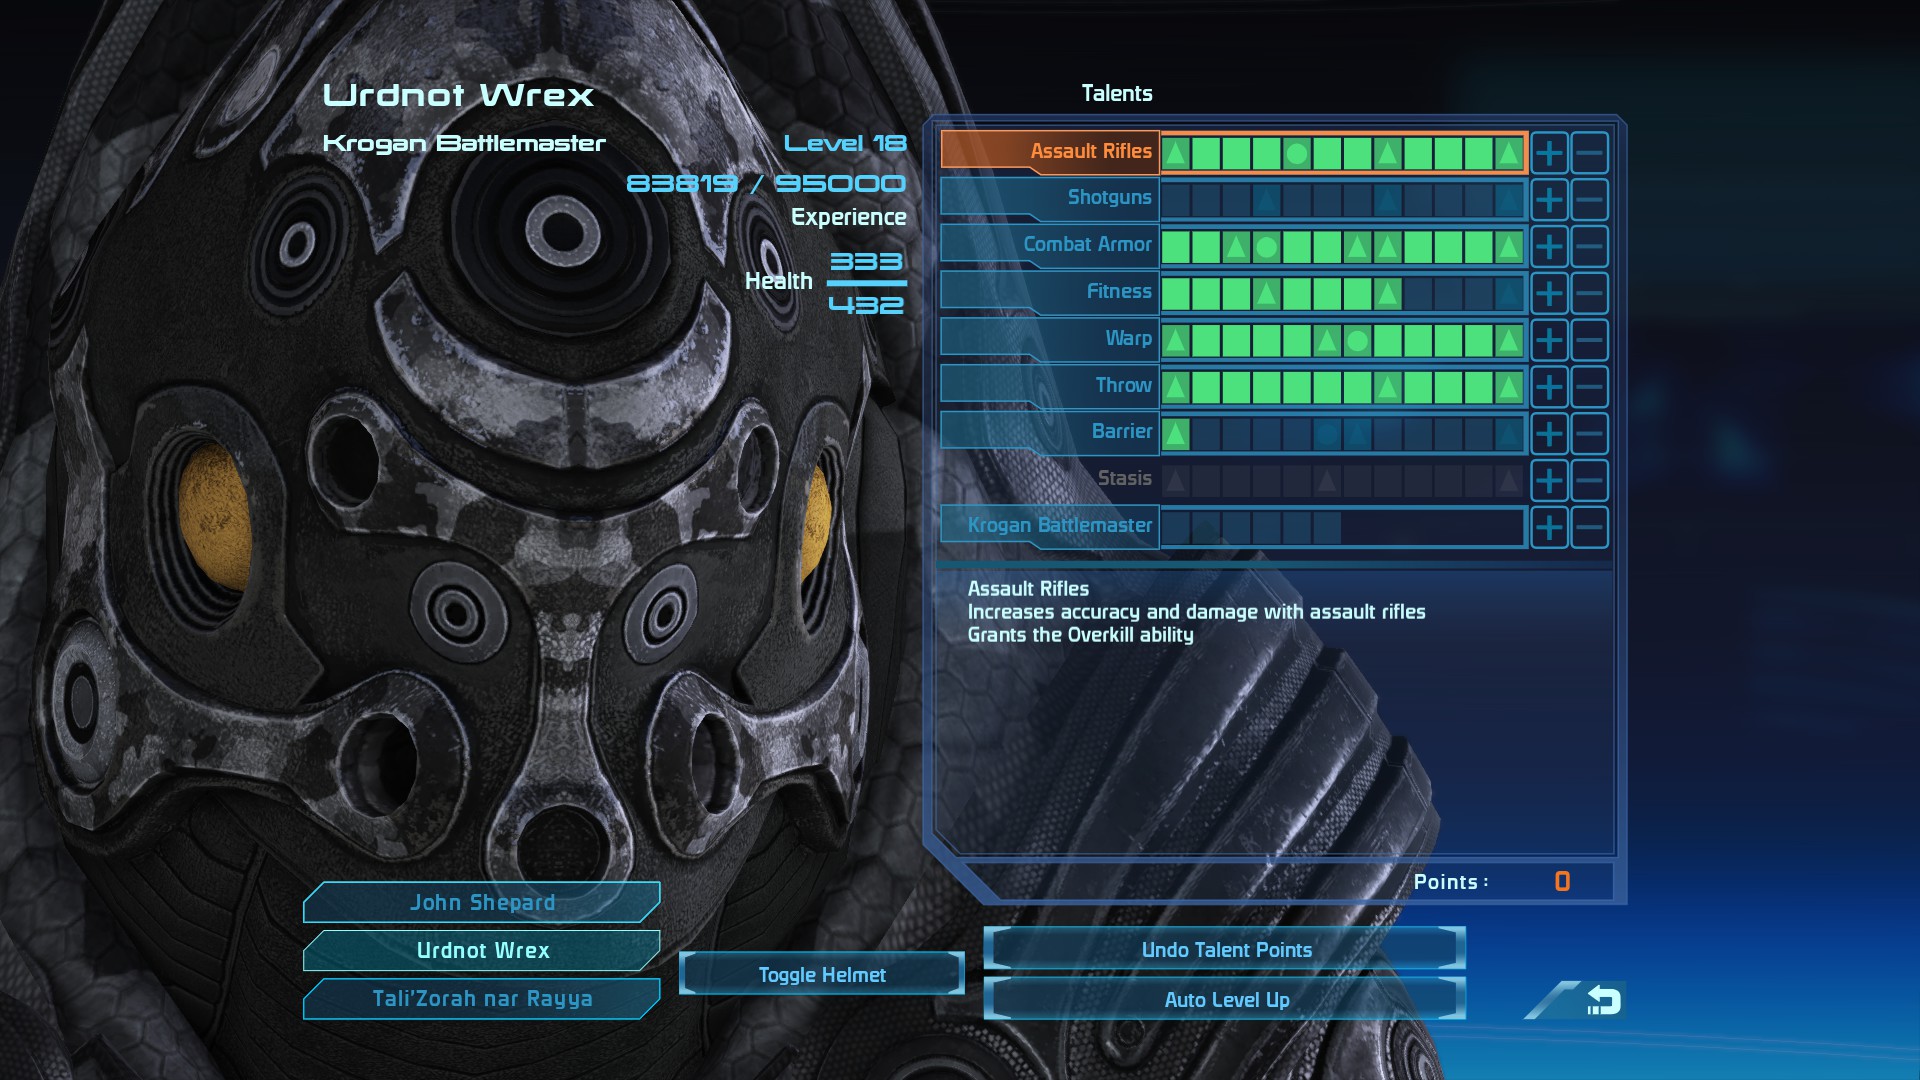
Wrex:
Have Wrex max out his Assault Rifle before switching focus to his biotic abilities Throw and Wrap, round out his build with defensive talents once you have all the offensive talents you need.
Level 15: Assault Rifles 12, Combat Armor 12, Fitness 2, Warp 11, Throw 12
Level 16: Fitness 2
Level 17: Fitness 2
Level 18: Fitness 2
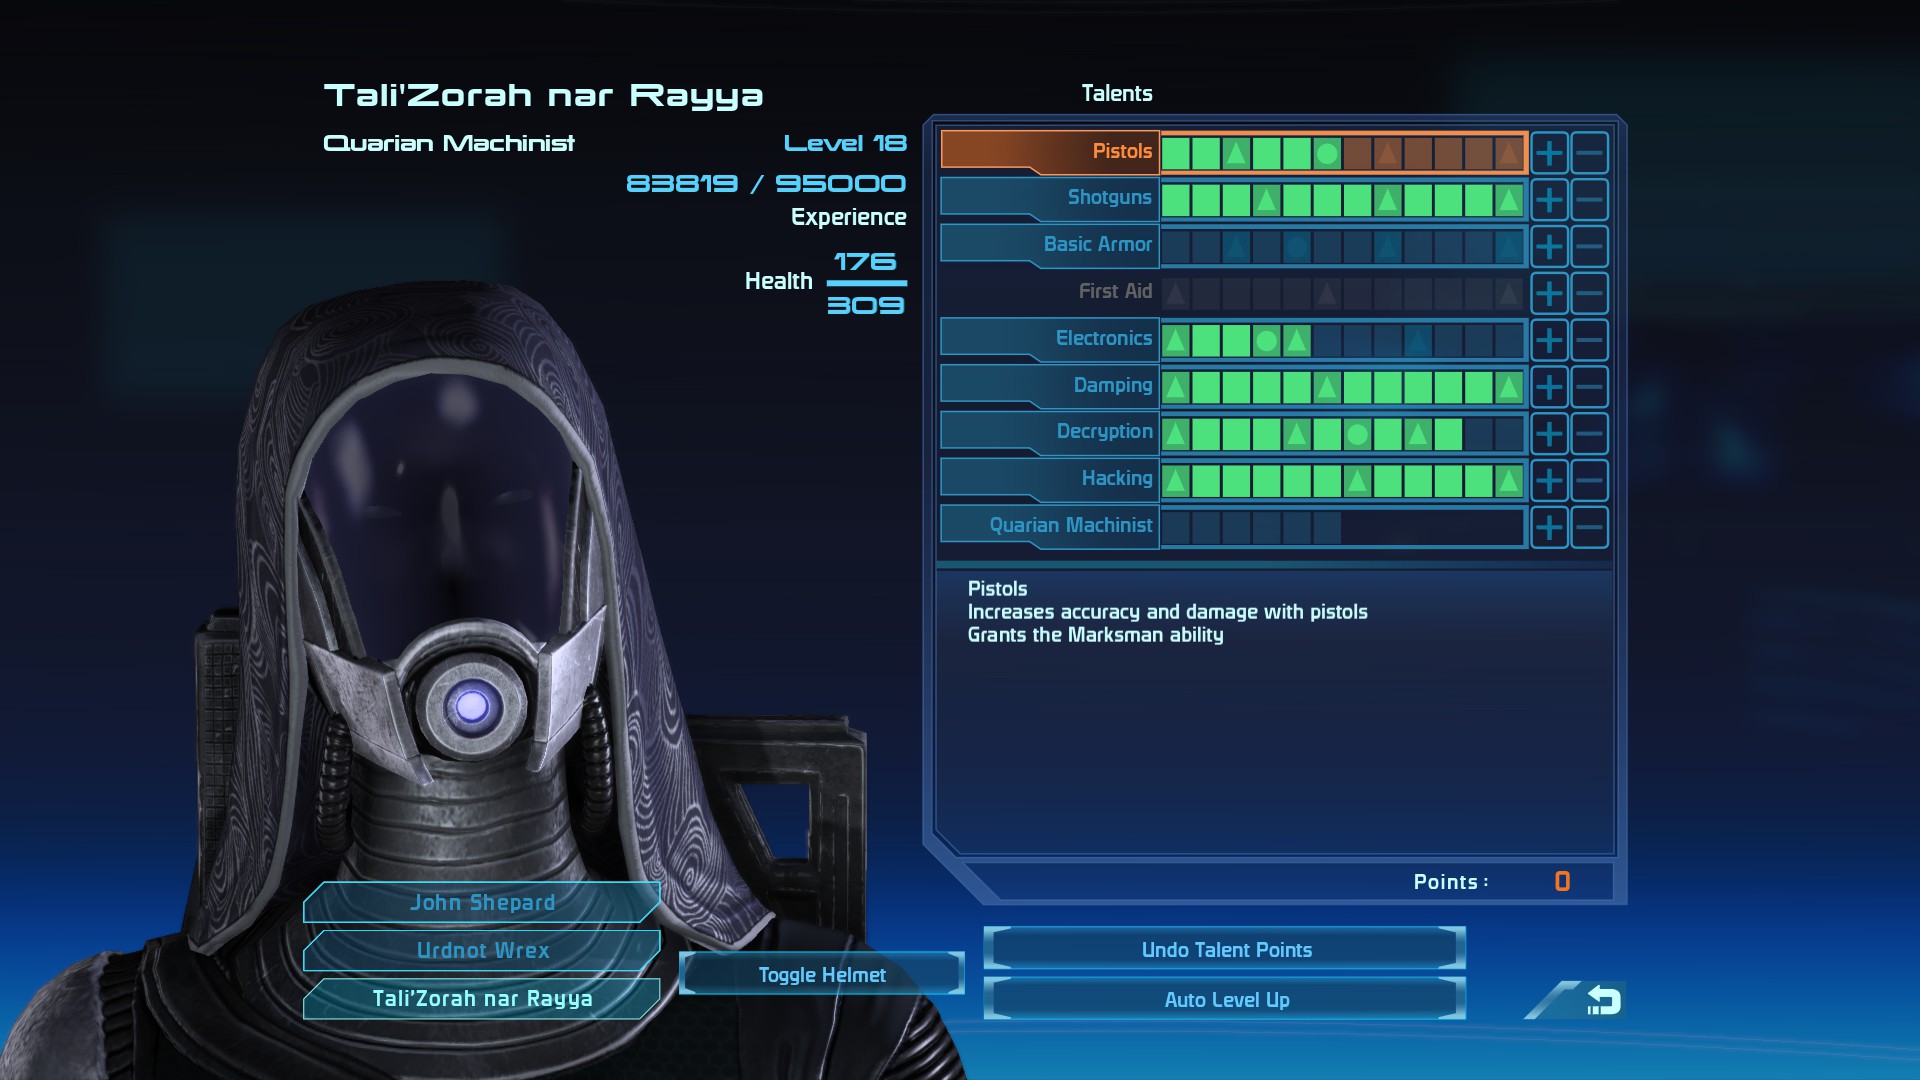
Tali:
Tali gets really strong midgame as all her tech abilities synergize. Get Master Sabotage, AI Hacking and Damping first so Tali has strong crowd control abilities against Synthetic enemies. Round out her build with Shotguns once you have all the tech abilities you need.
Level 15: Pistols 6, Shotguns 8, Electronics 4, Damping 12, Decryption 9, AI Hacking 12
Level 16: Shotgun 2
Level 17: Shotgun 2
Level 18: Electronics 1, Decryption 1
Late Game Squad: Liara And Garrus
This is the ideal squad for Sheppard, and one that is well suited to all of the most challenging encounters of the game.
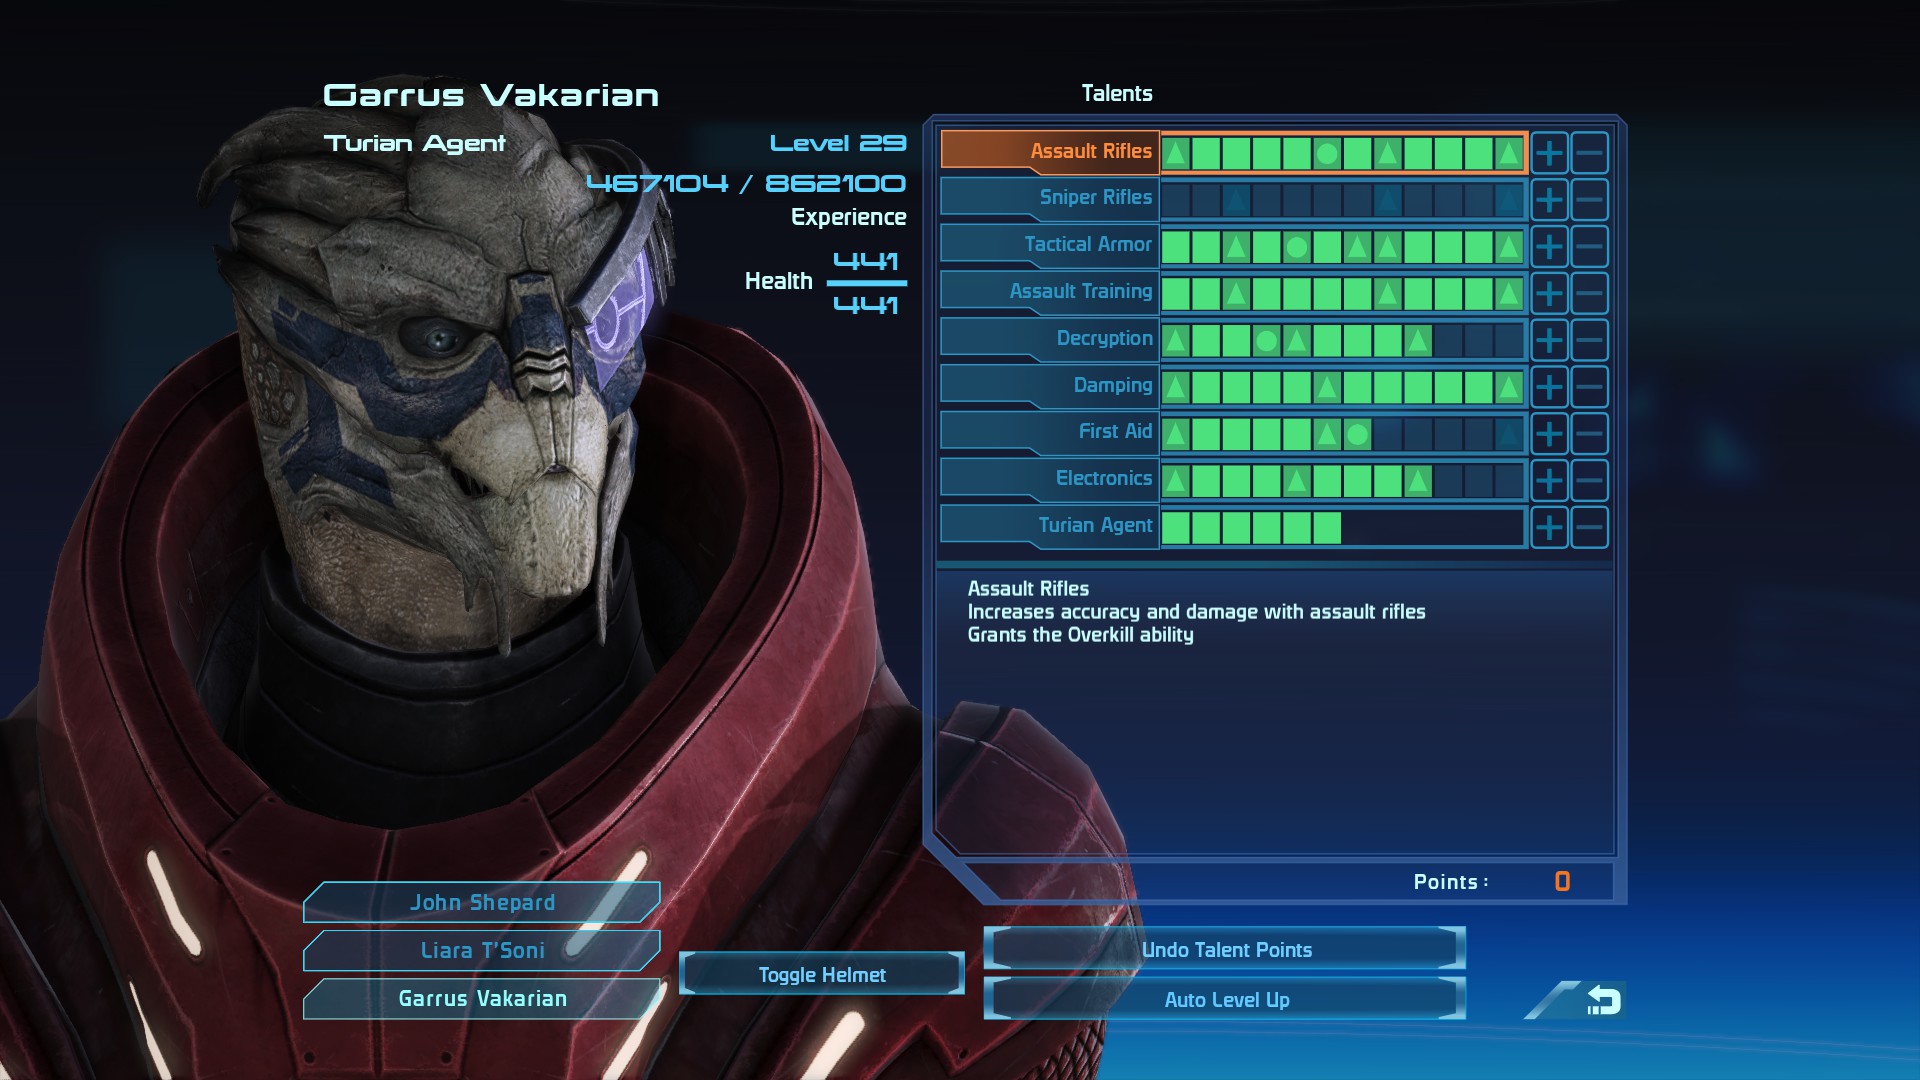
Garrus is our primary damage dealer, and has the highest weapon damage out of any squadmate in the game, while also having the added benefit of powerful tech talents in Sabotage, Overload and Damping. Max sure to have his Deception skill to 9 so you can open any locks. Garrus's achievement provides a 10% reduction in the cooldown of Sheppards Overload ability.
Level 18: Assault Rifles 12, Tactical Armor 12, Assault Training 12, Decryption 8, Damping 6, Turian Agent 5
Level 19: Damping 1, Turian Agent 1
Level 20: Damping 2
Level 21: Damping 2
Level 22: Damping 1, First Aid 1
Level 23: First Aid 2
Level 24: First Aid 2
Level 25: First Aid 1, Electronics 1
Level 26: Electronics 2
Level 27: Electronics 2
Level 28: Electronics 2
Level 29: Electronics 2
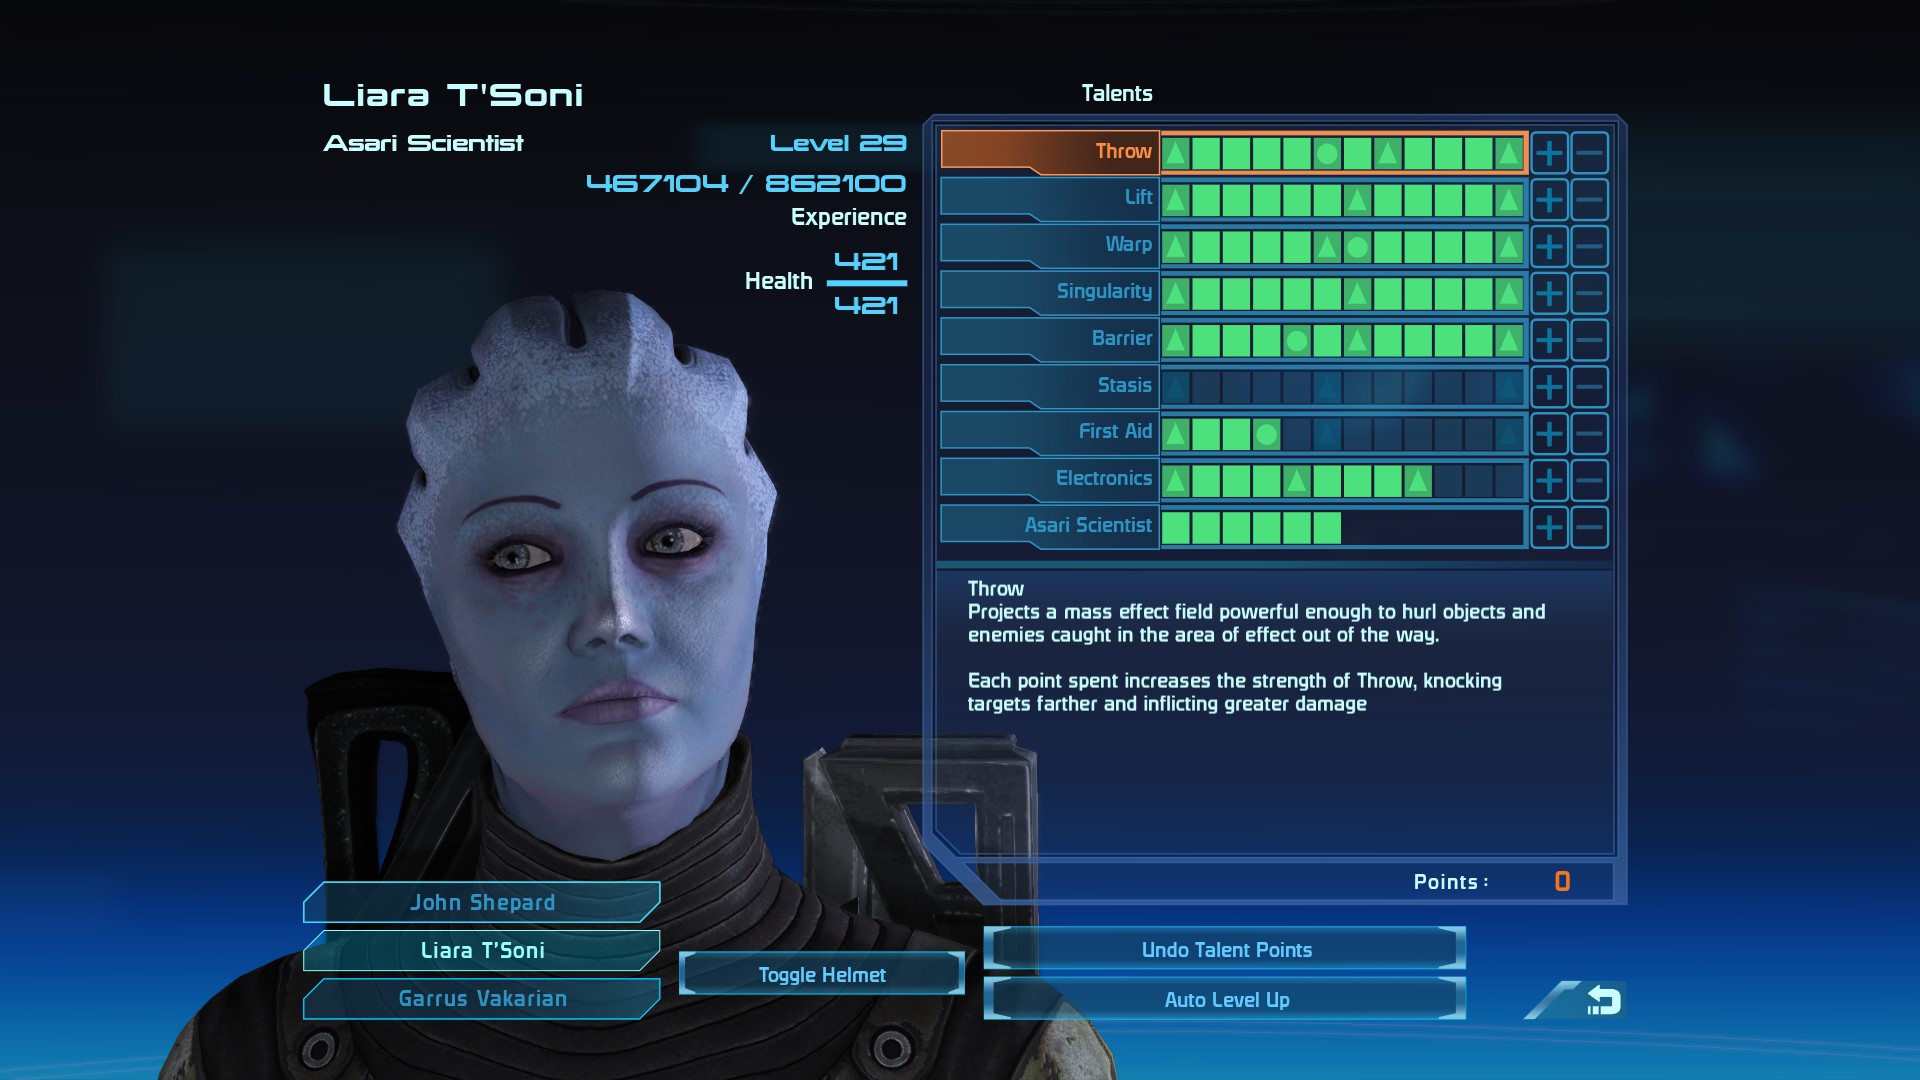
Liara's biotics provides our primary method of crowd control and is an enormous help when fighting Rachni, Thorian Creepers, Husks and Krogan. Max our all of her offensive biotic talents (Throw, Lift, Warp and Singularity) first, before rounded out the build with the defensive bonuses from Barrier and Electronics.
Level 18: Throw 11, Lift 12, Warp 12, Singularity 12, Barrier 1, First Aid 1, Asari Scientist 6
Level 19: Barrier 2
Level 20: Barrier 2
Level 21: Barrier 2
Level 22: Barrier 2
Level 23: Barrier 2
Level 24: First Aid 2
Level 25: First Aid 1, Electronics 1
Level 26: Electronics 2
\Level 27: Electronics 2
Level 28: Electronics 2
Level 29: Electronics 2
Recommended Quest Order With Gameplay Showcase Videos
Eden Prime
Citadel - do all assignments and missions possible, start "The Fan"
Major Kyle - Hawking Eta
Distress Call - Argos Rho
Lost Freighter - Gemini Sigma
Espionage Probe - Voyager Clustor
Missing Survey Team - Hades Gamma
Hostage - Hades Gamma
Lost Module - Attican Beta
Geth Incursions - Armstrong Cluster
Missing Marines - Artemus Tau
(Note: These are the easiest assignments which can be done with little combat, or with most combat in the Mako)
Find Liara Tsoni
Rogue VI - Local Cluster
Return to Citadel - do all assignments possible, progress "The Fan"
Noveria
Listening Post Theta - Styx Theta
Listening Post Alpha - Styx Theta
Depot Sigma-23 - Argos Rho
Feros
Derelict Freighter - Maroon Sea
Colony of the Dead - Maroon Sea
Exogeni Facility - Maroon Sea
Find Dr. Saleon - Kepler Verge
Dead Scientists - Keplar Verge
Asari Diplomacy - Artamis Tau
Cerberus - Voyager cluster
Hades Dogs - Voyager Cluster
Hostile Takeover Part 1 - Gemini Sigma
Hostile Takeover Part 2 - Hades Gamma
Besieged Base - Hades Gamma (paragon)
Hostile Takeover Part 3 - Horse Head
Privateers - Horse Head
Wrex: Family Armor - Argos Rho
Citadel - Finish Asari Diplomacy and The Fan
Virmire
Citadel: Detention
Bring down the Sky - Note: Do this late, as the reward scales with level
Ilos and Final Battle
Source: https://steamcommunity.com/sharedfiles/filedetails/?id=2784903799
More Mass Effect Legendary Edition guilds
- All Guilds
- Achievement Checklist: Mass Effect Legendary Edition
- 100% Achievement Guide: Mass Effect Legendary Edition Part 3
- 100% Achievement Guide: Mass Effect Legendary Edition Part 2
- 100% Achievement Guide: Mass Effect Legendary Edition Part 1
- My Mass Effect mod list: (Legendary Edition)
- Mass Effect: Legendary Edition - Zakoczenia - Jak odblokowa wszystkie zakoczenia?
- Mass Effect Legendary Edition Guide 683
- Achievements Fix
- Mass Effect Legendary Edition - Gua de logros (ESP)
- Steam Deck: Working Offline Mode + Achievements