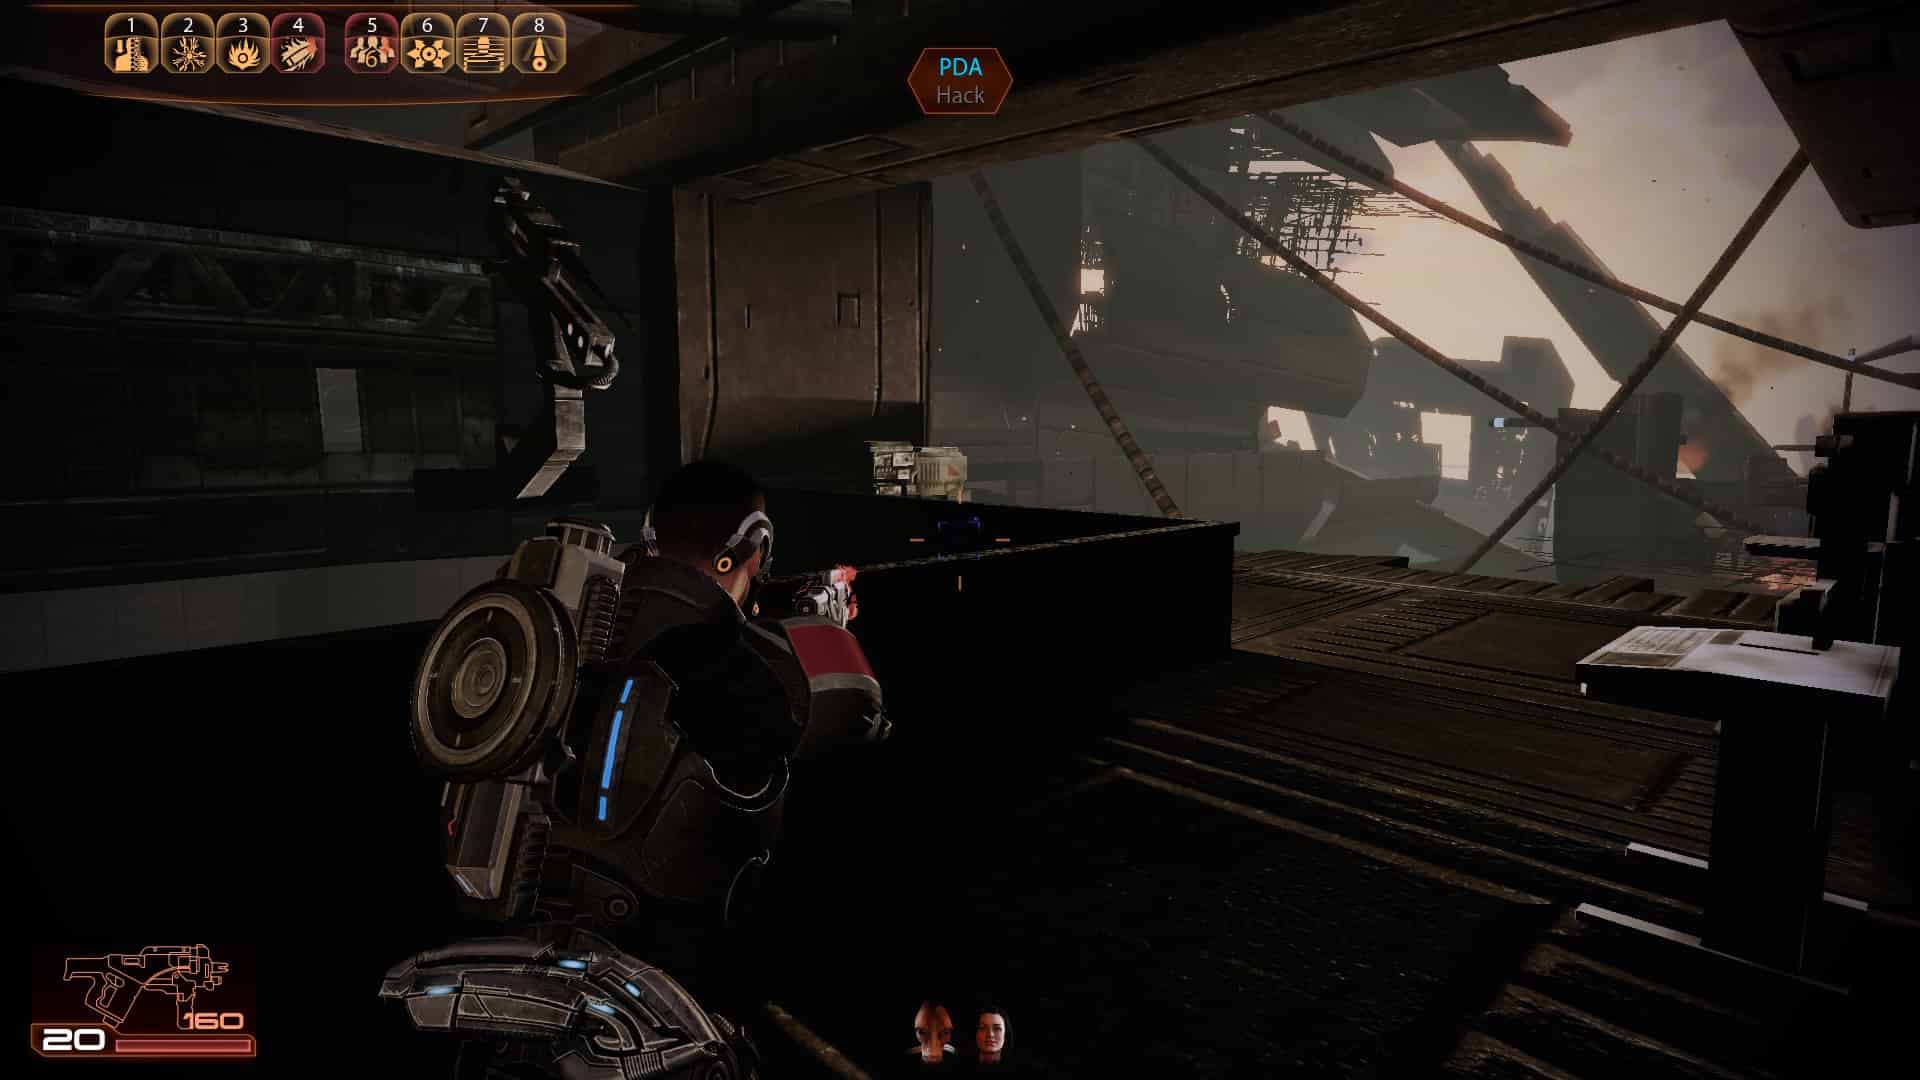
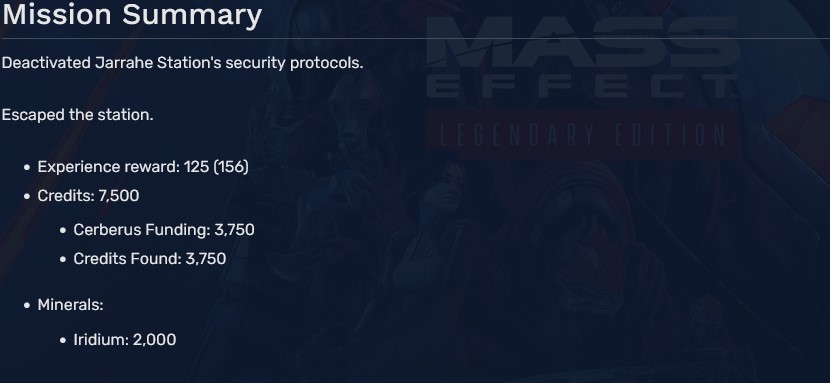
Plot Mission 1: Awakening
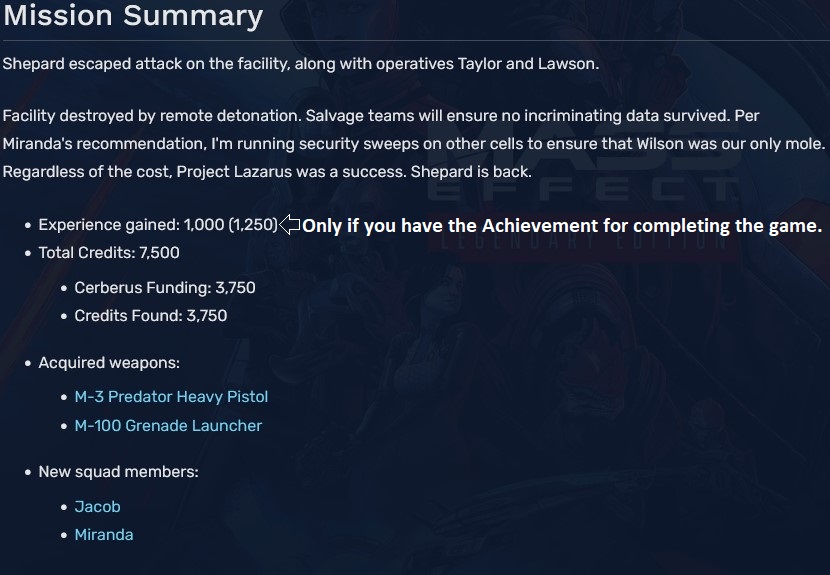

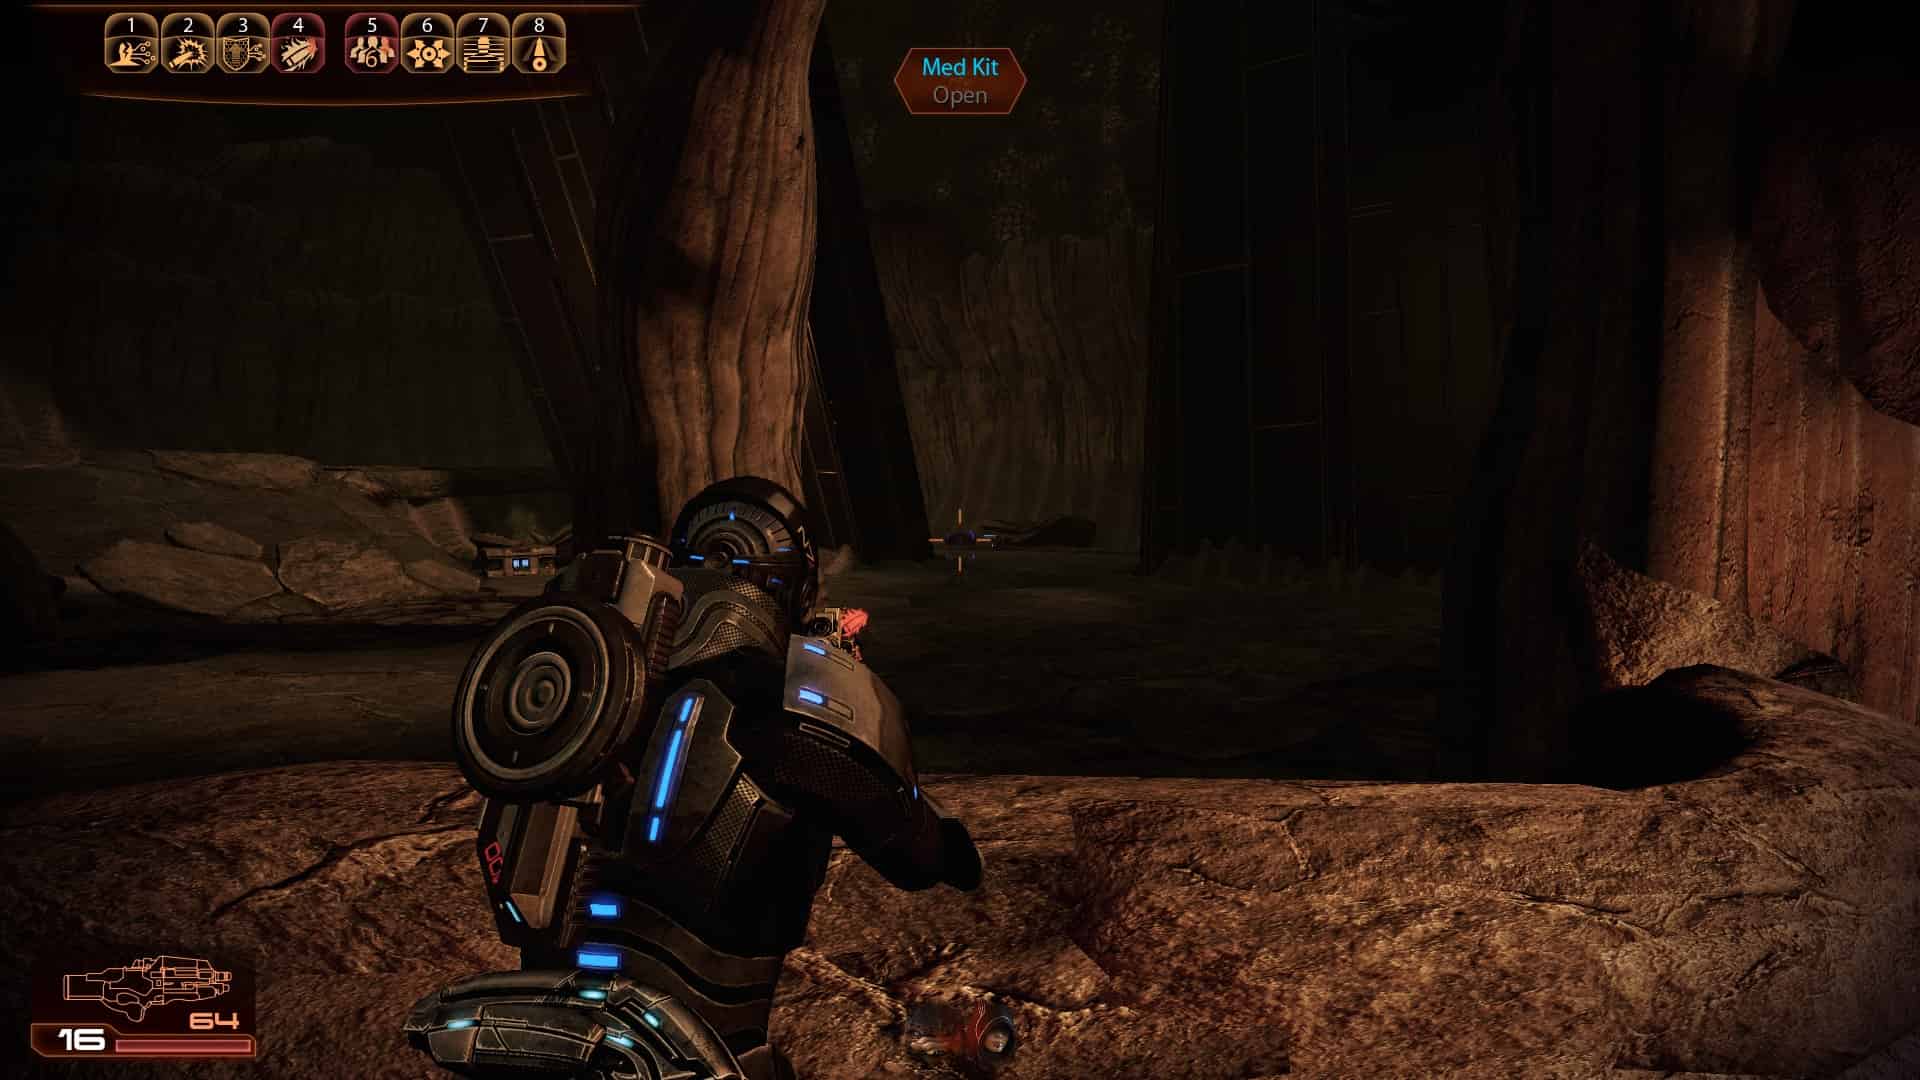
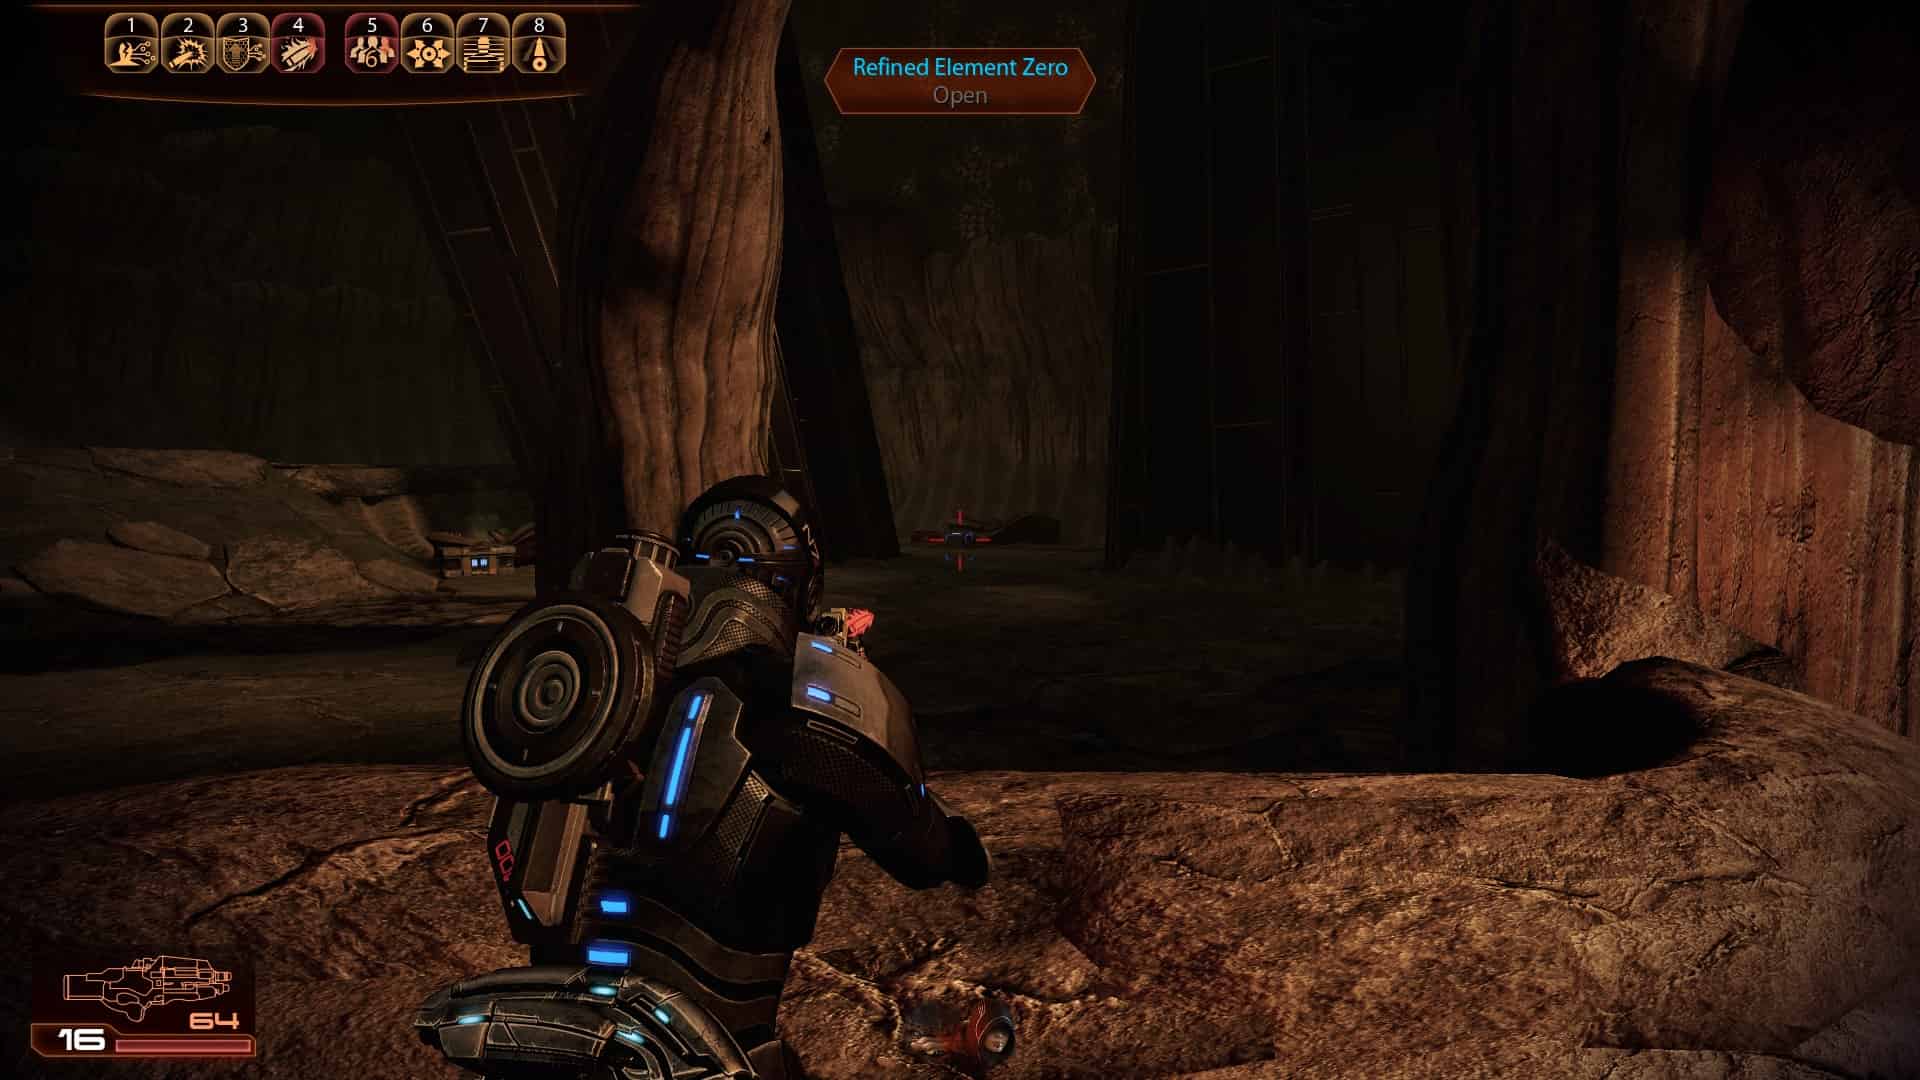
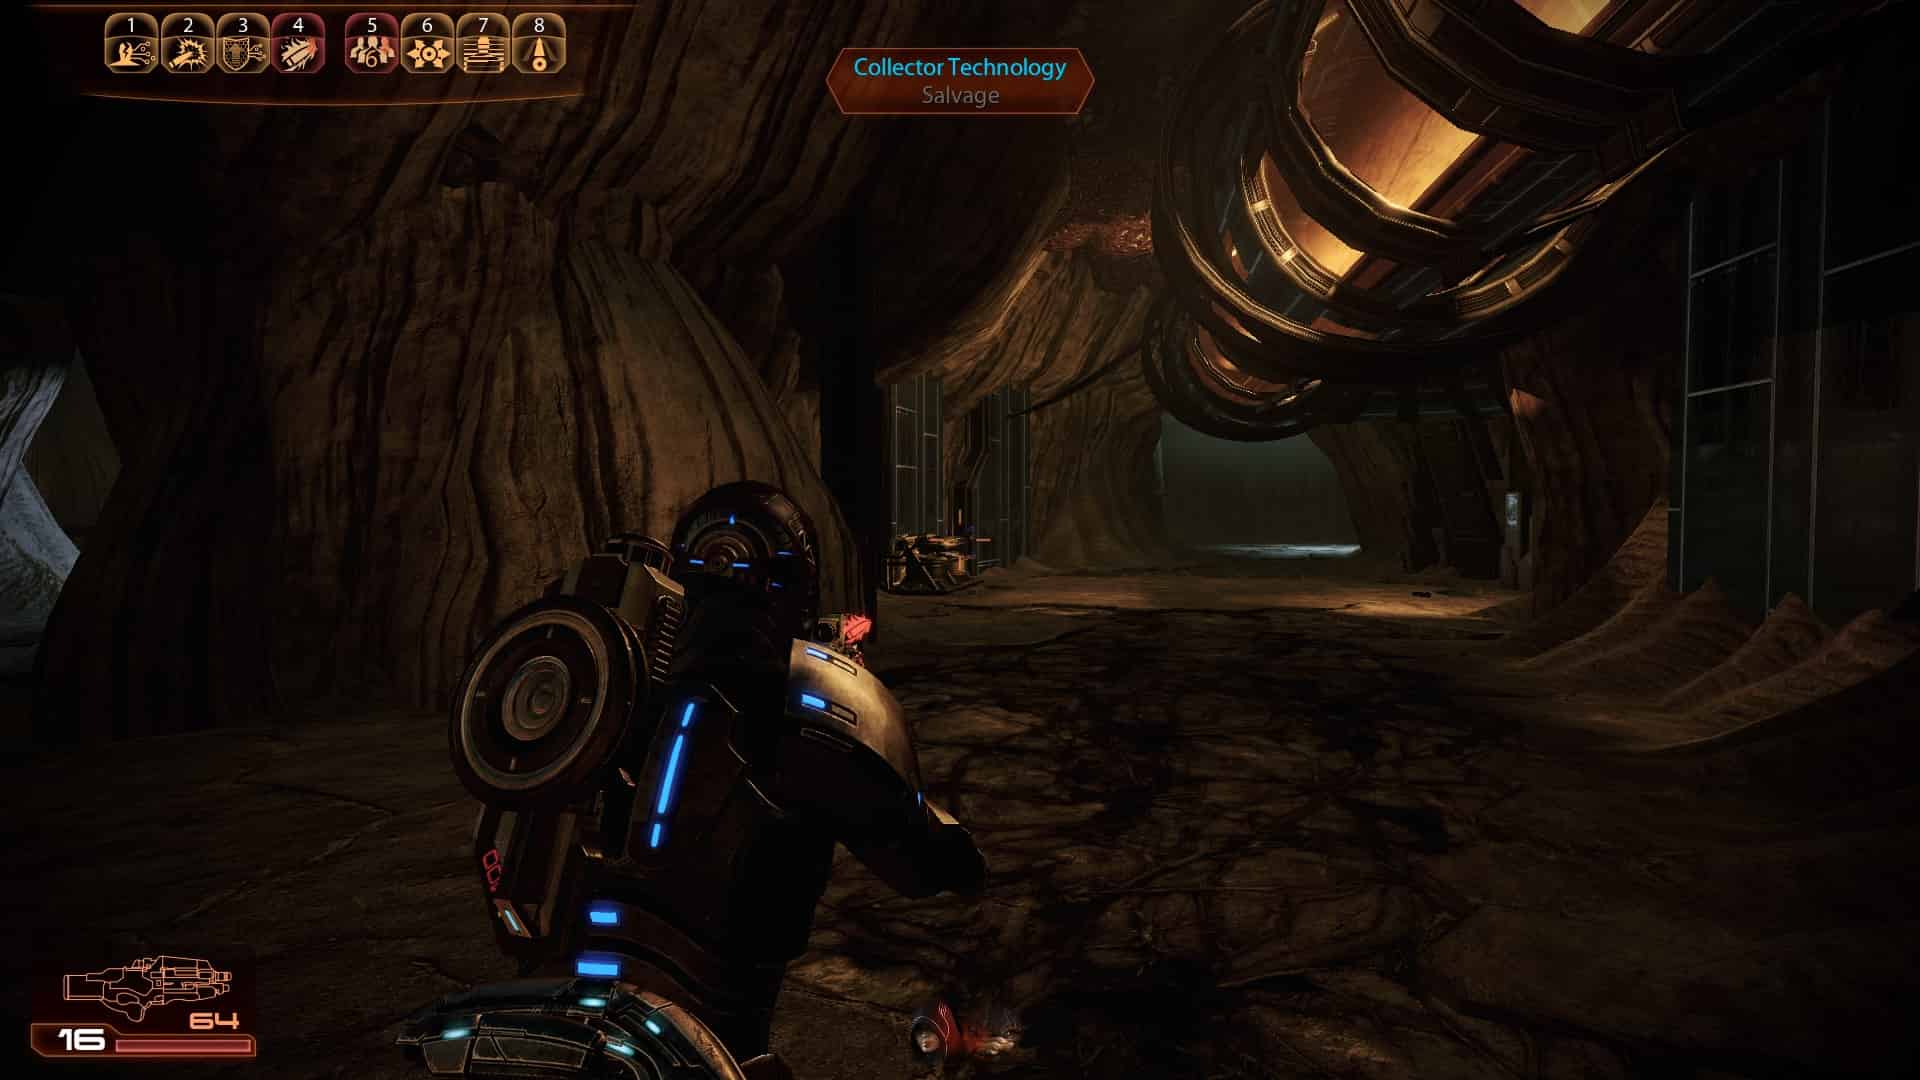
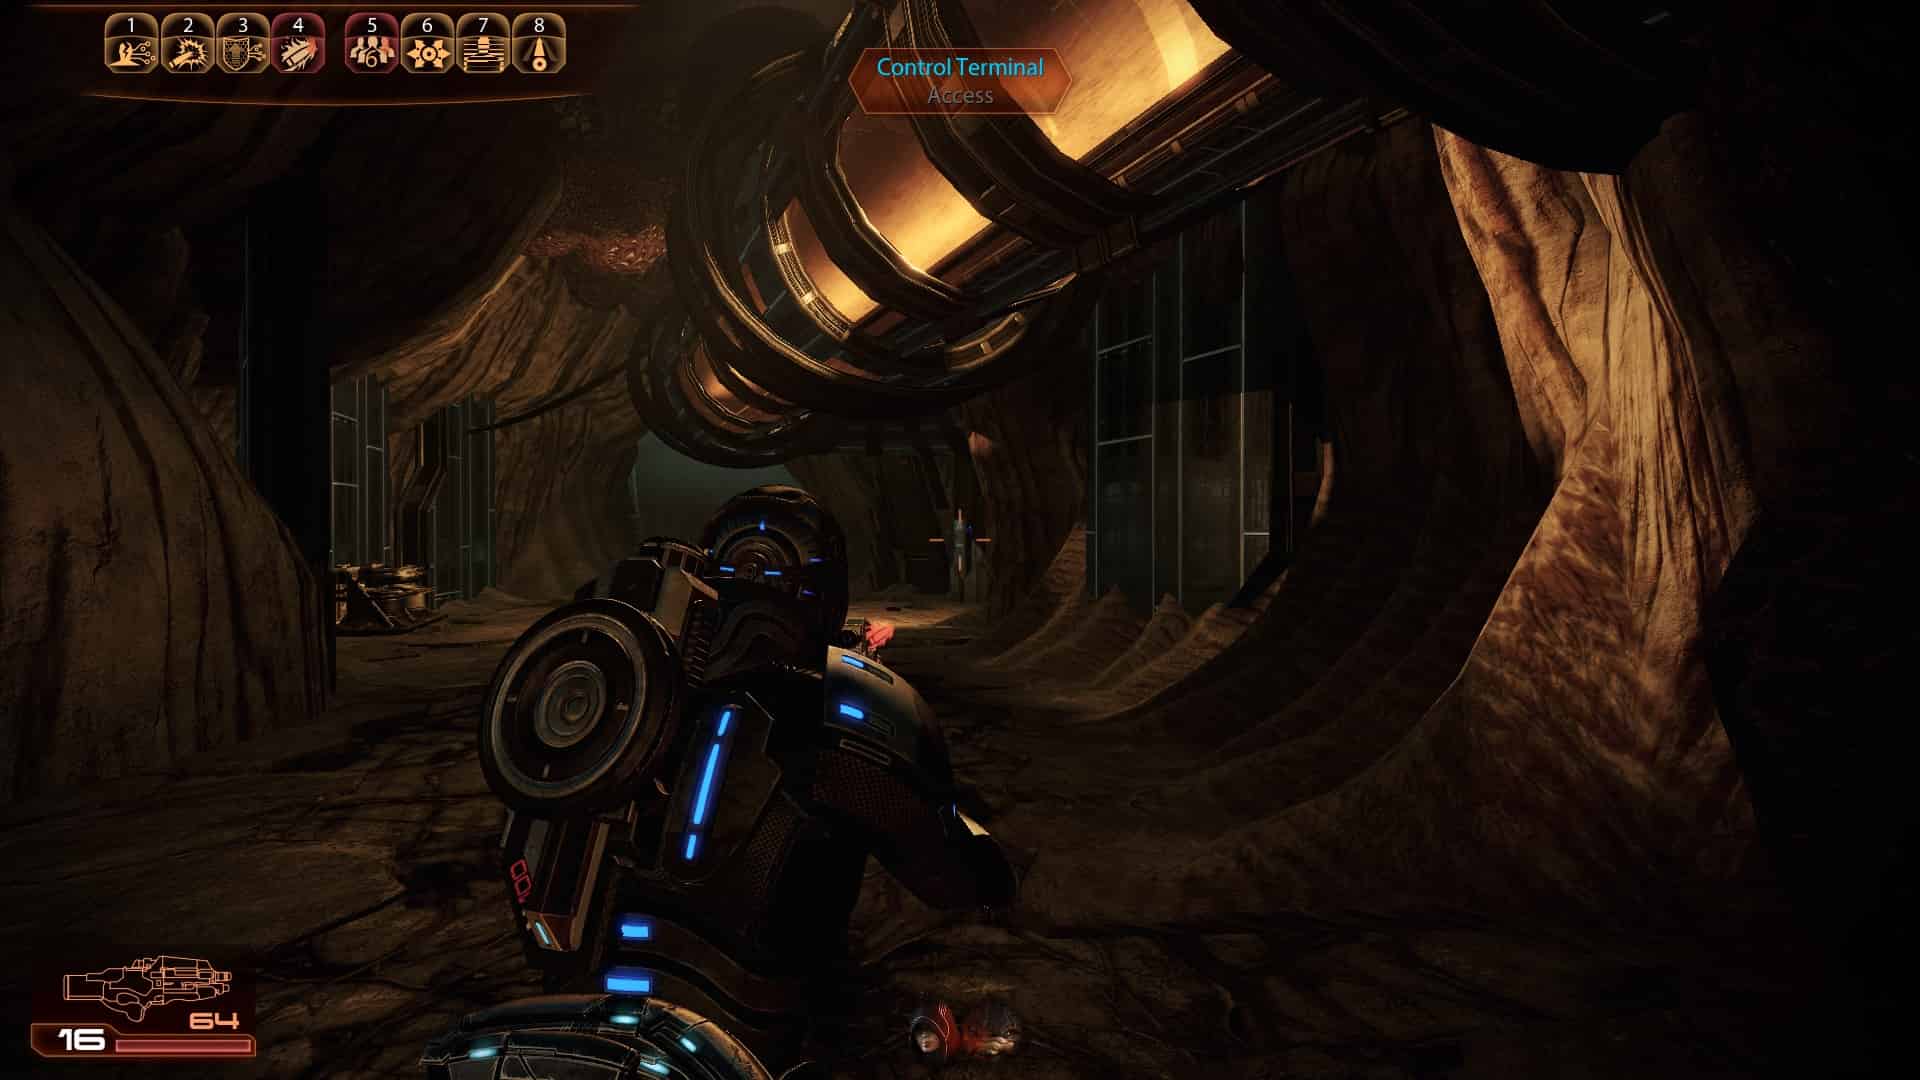
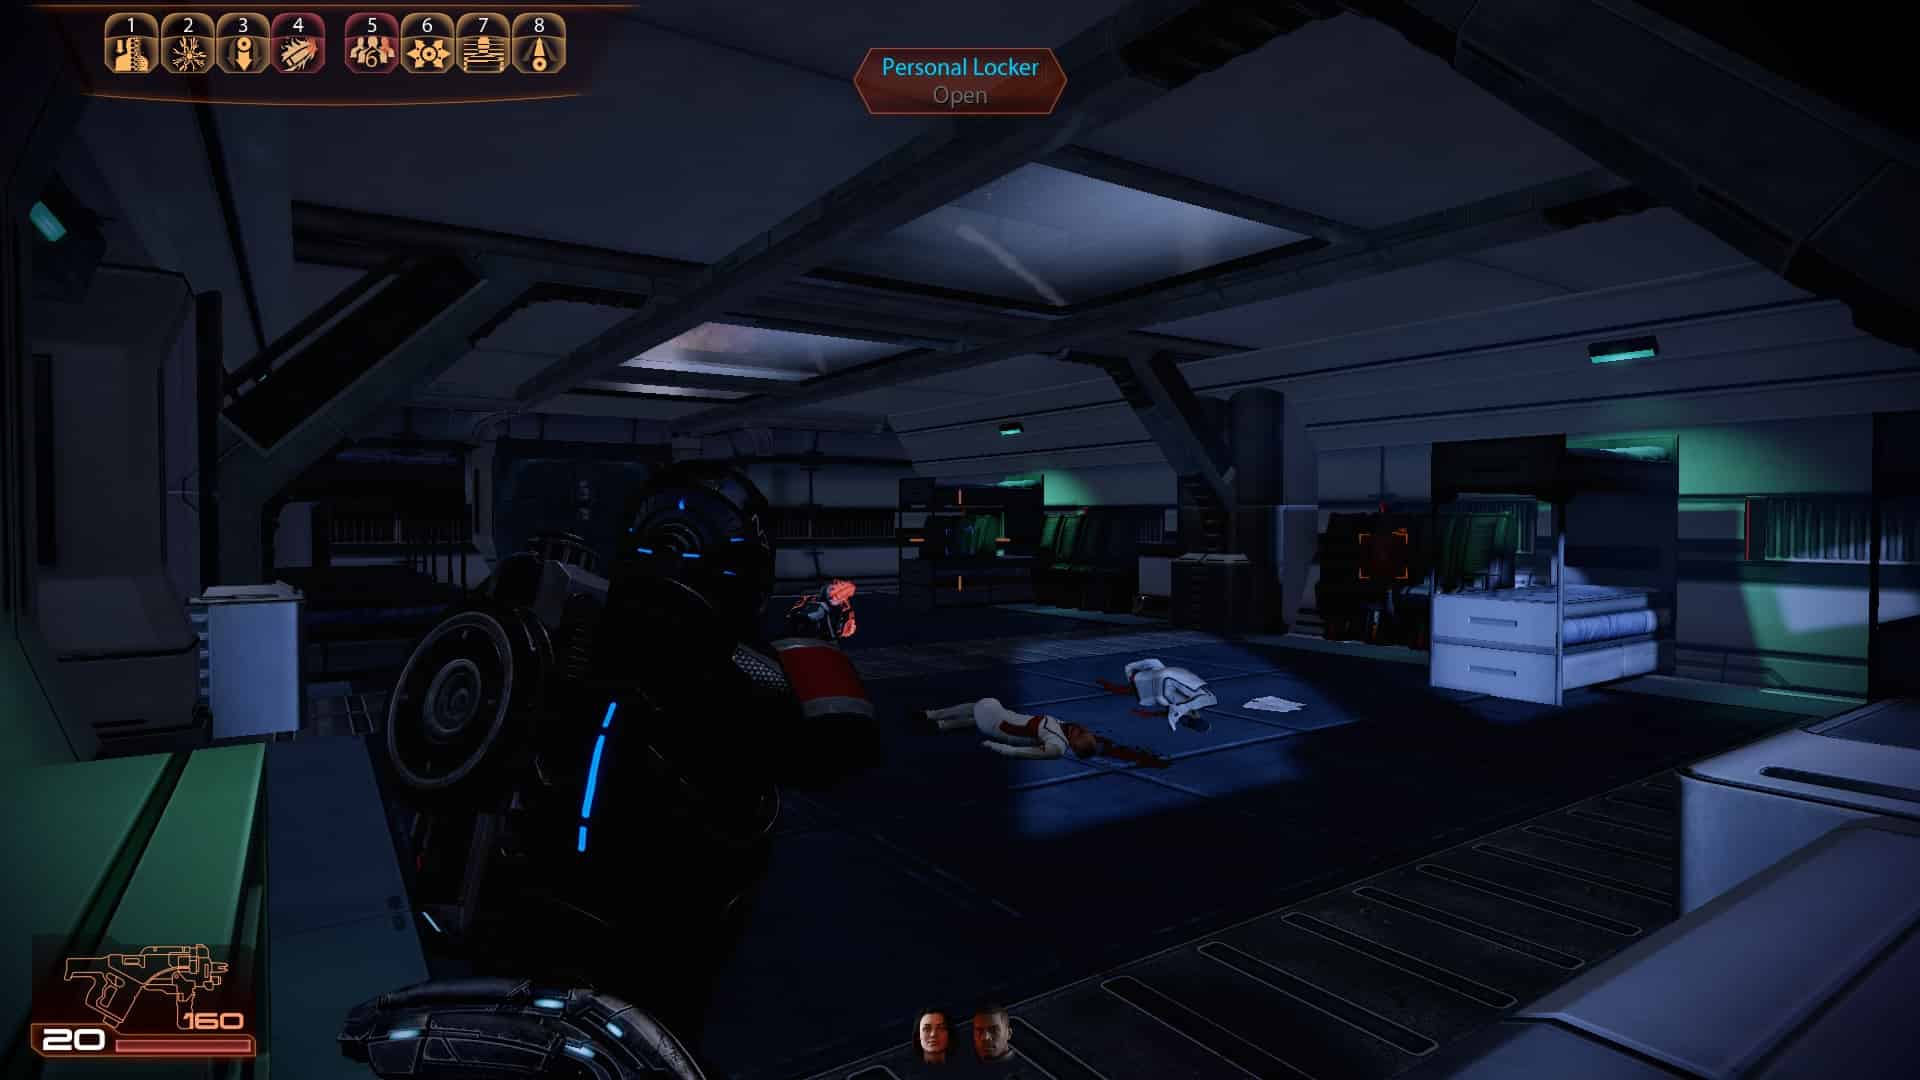
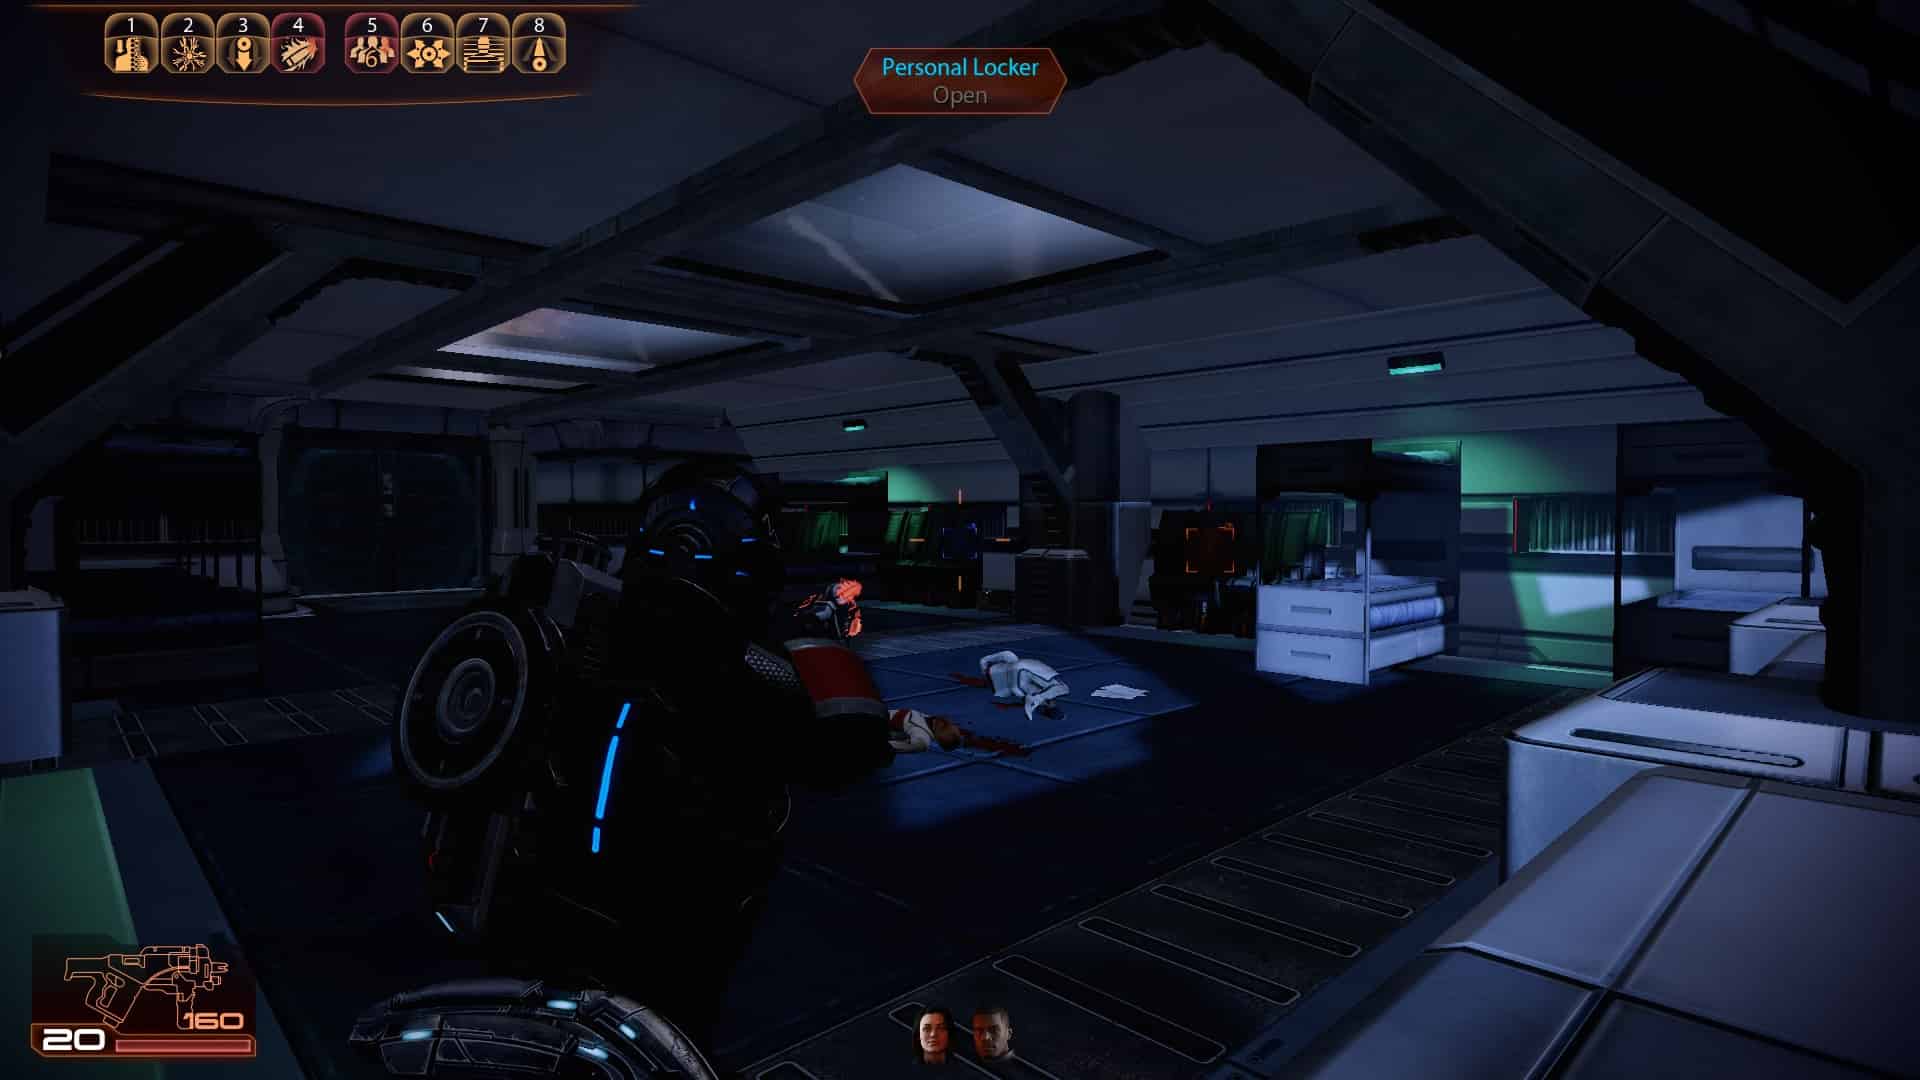
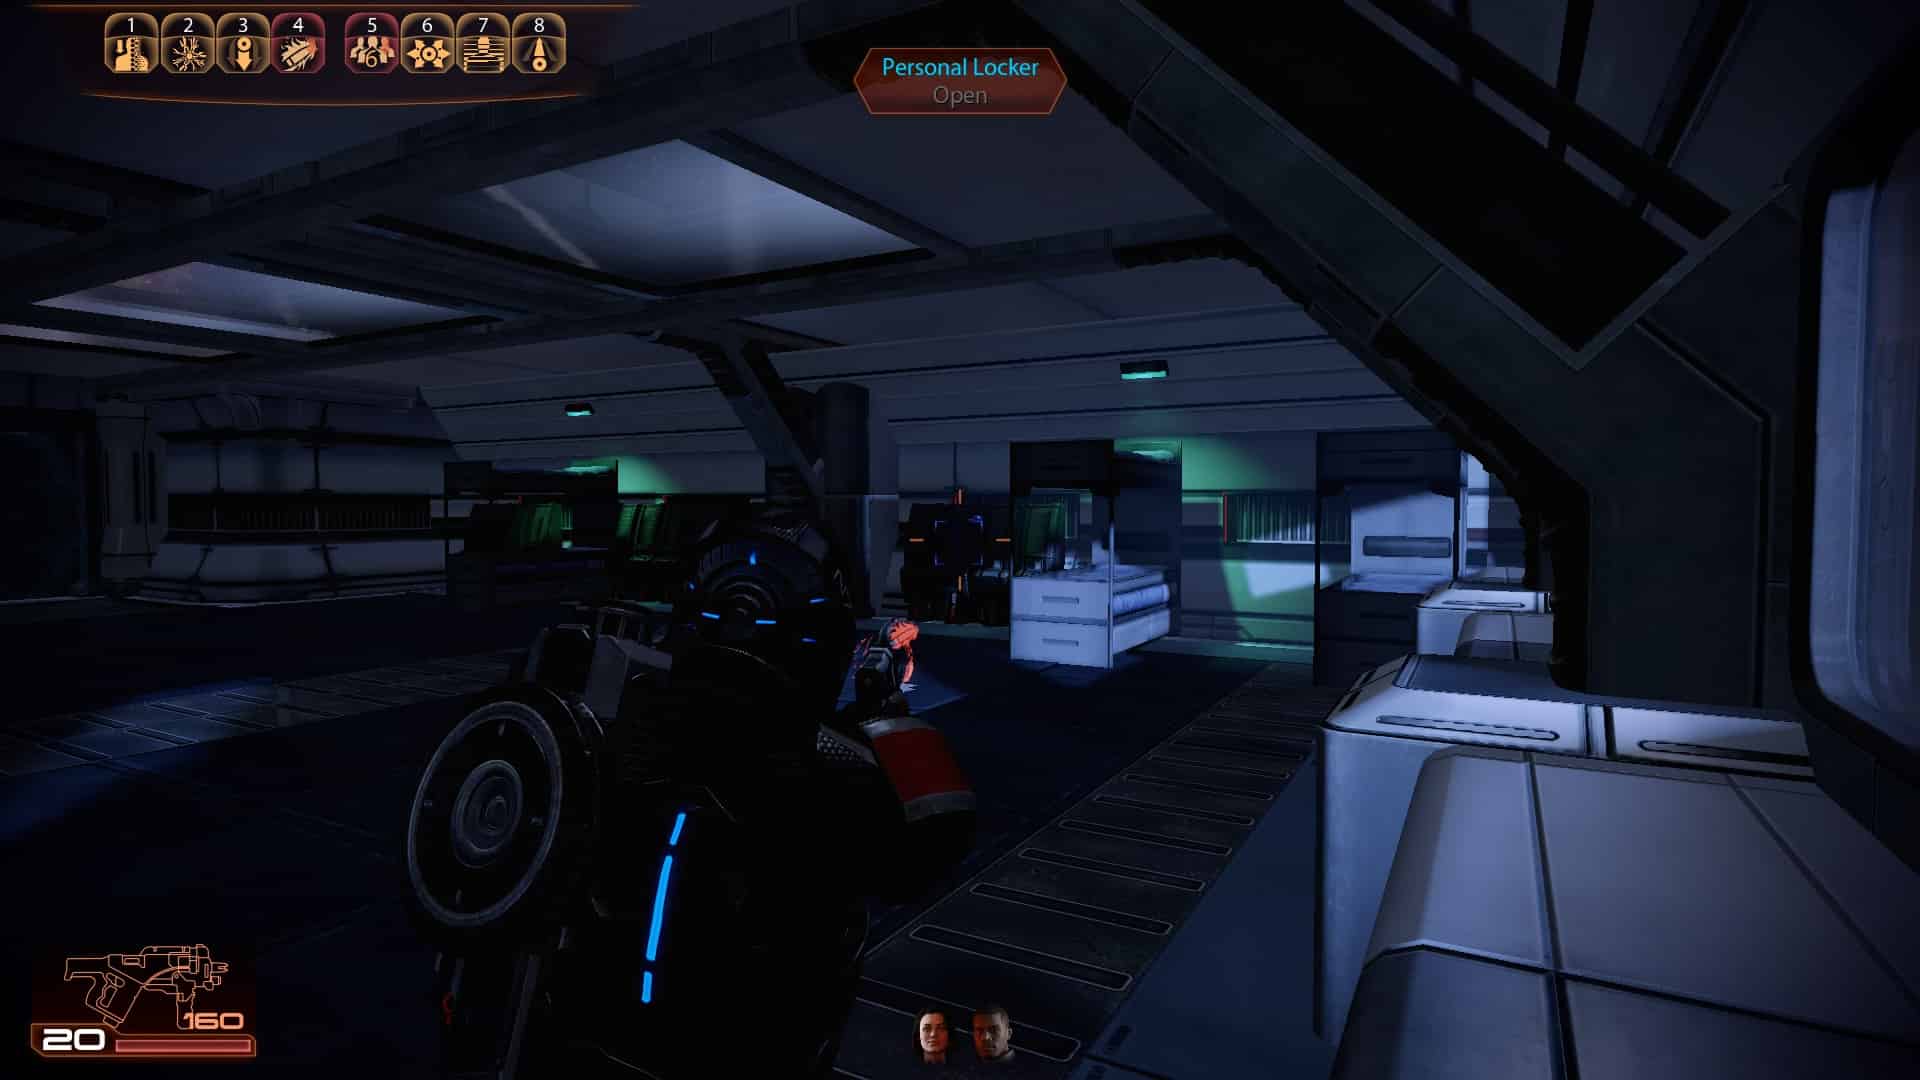
1
2
3
4
Start of the game: Best possible Import Bonuses from Mass Effect 1
Start of the game: Best possible Import Bonuses from Mass Effect 1 and the Achievement for completing Mass Effect 2
Start of the game: New Game+ character (you don't get any Import Bonuses from Mass Effect 1)
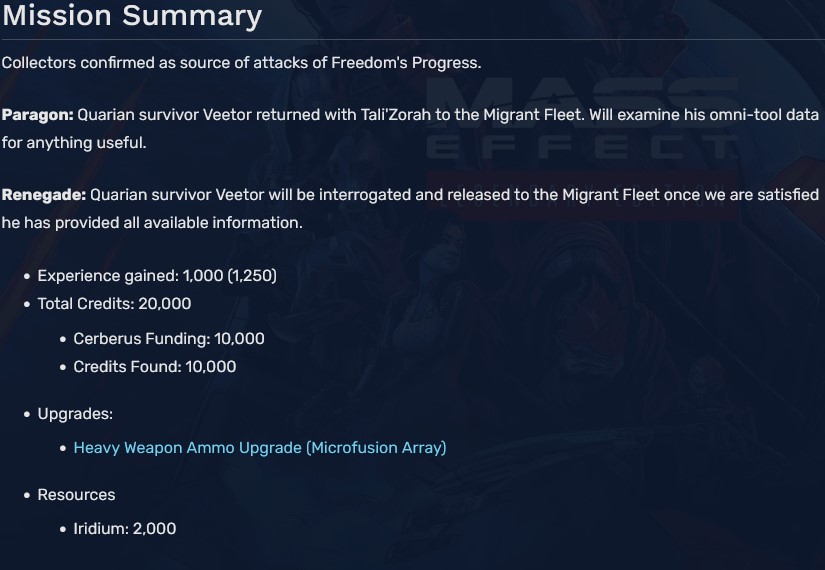
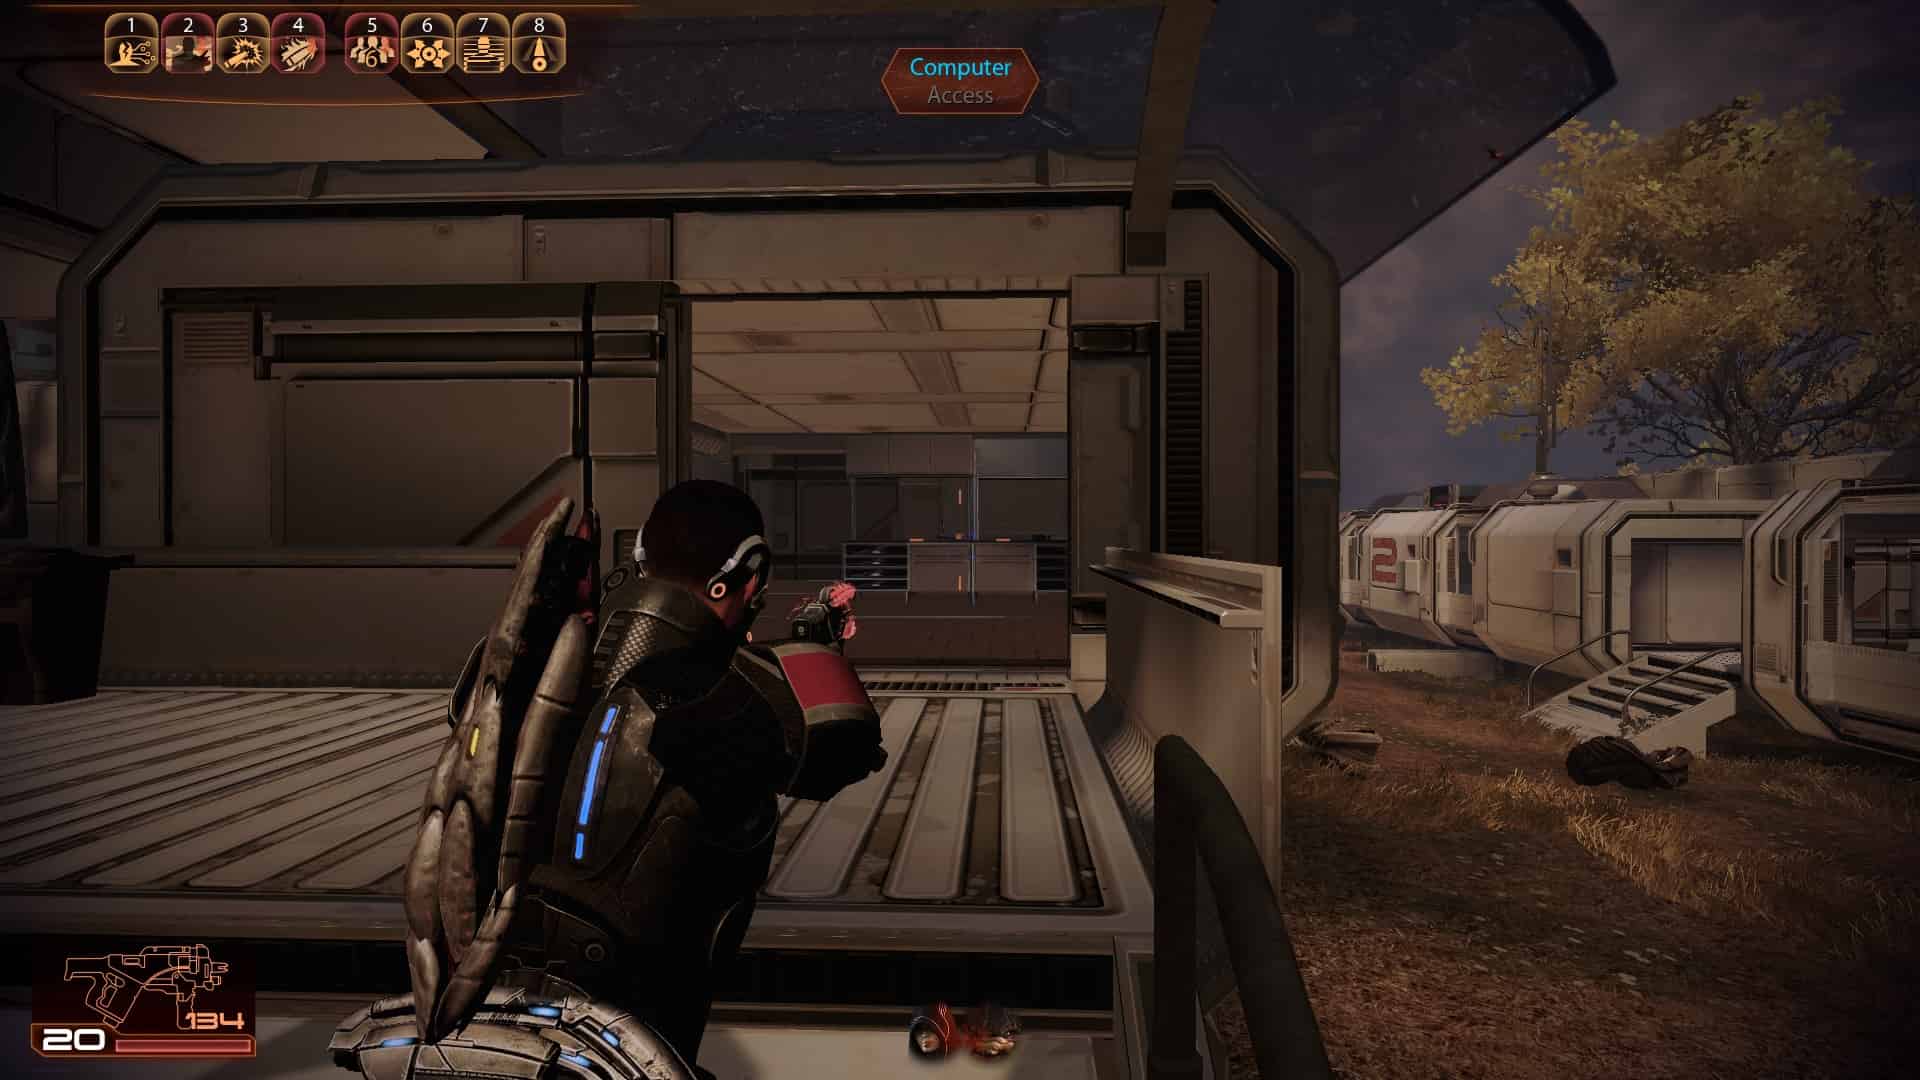
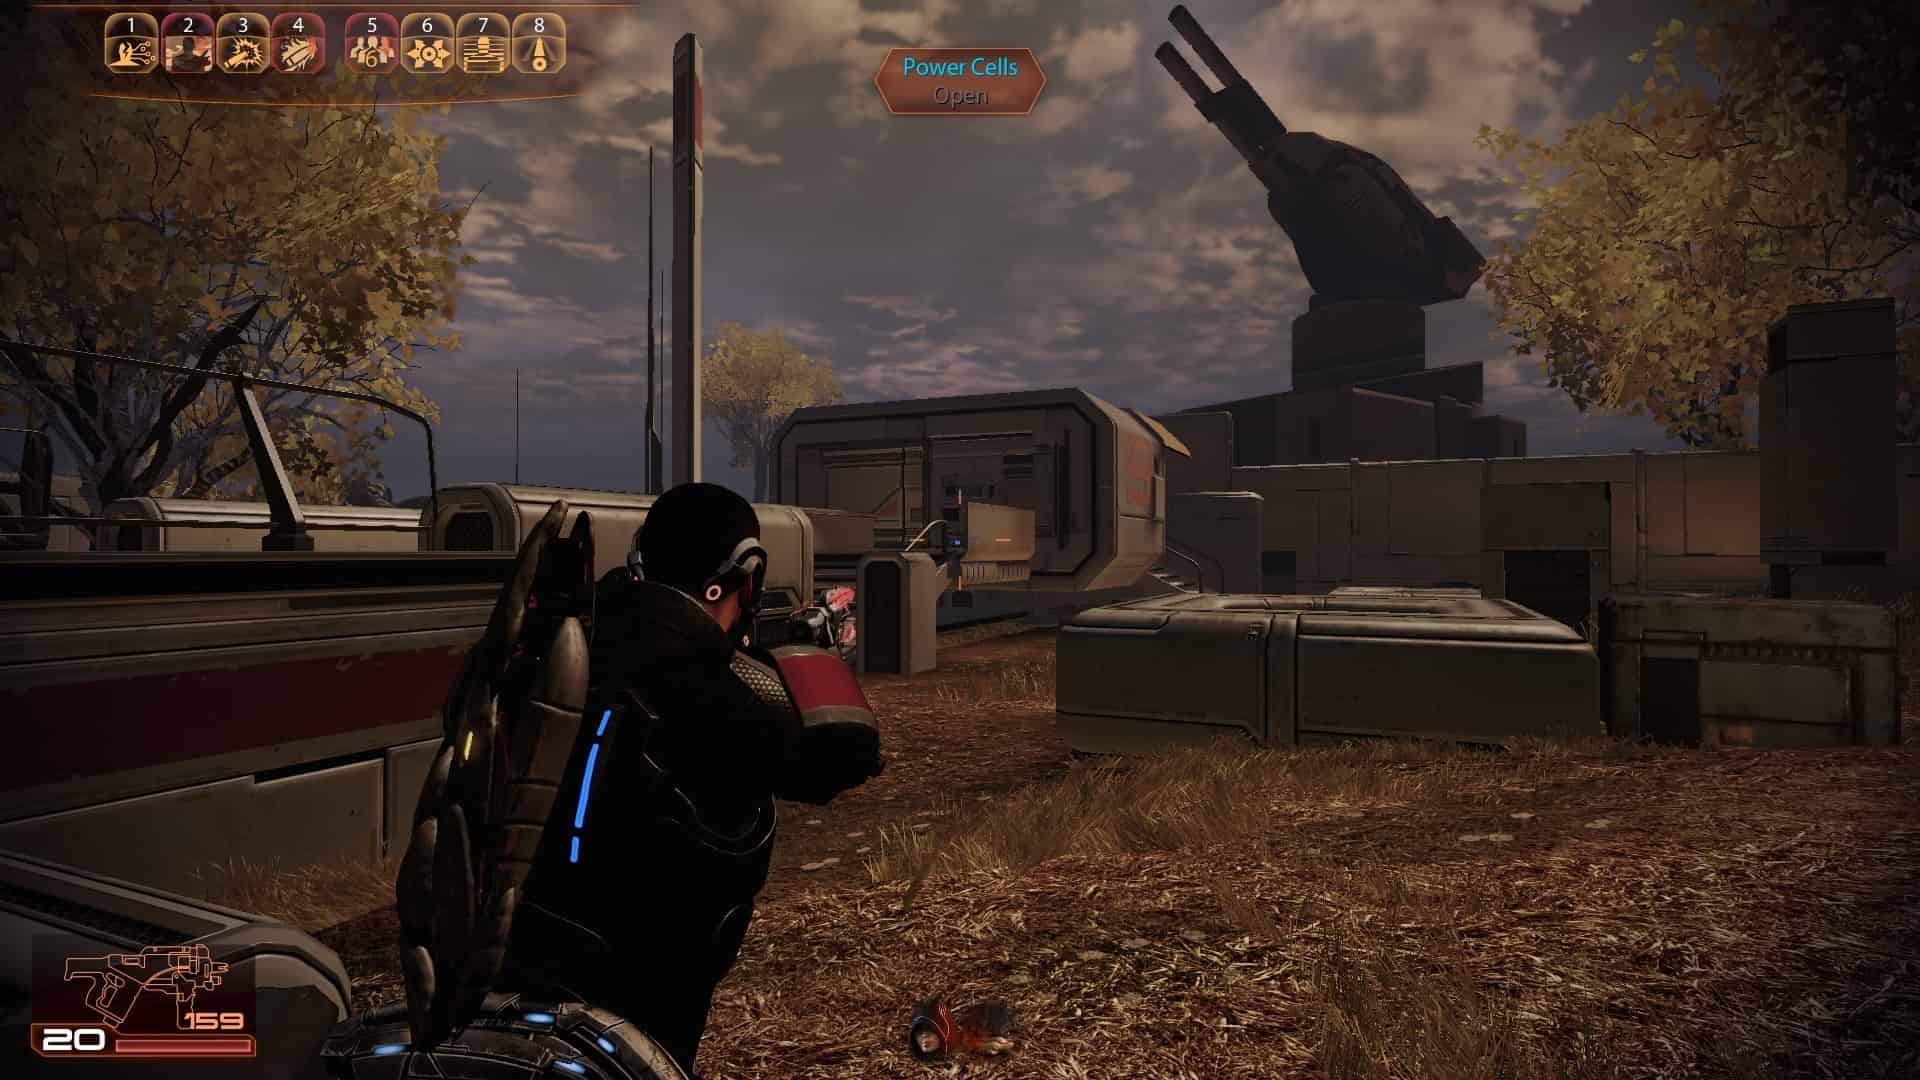
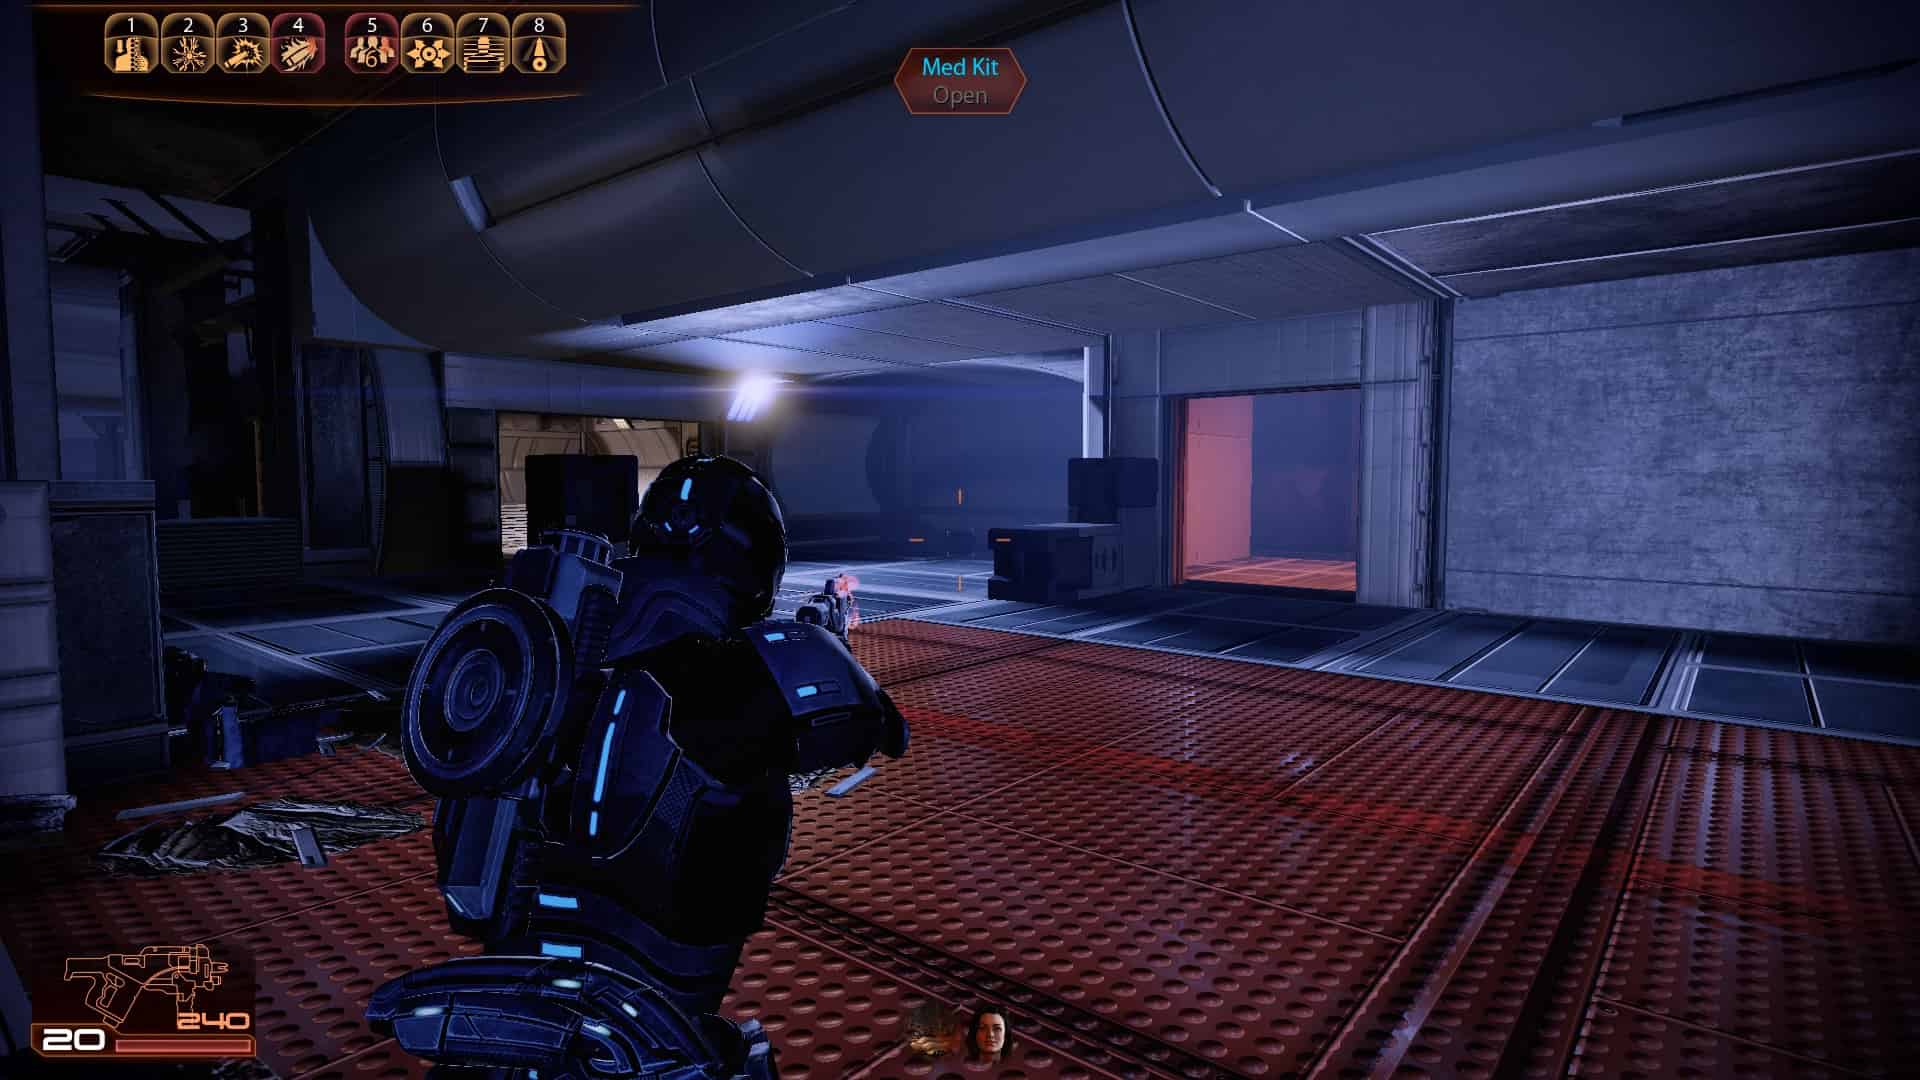
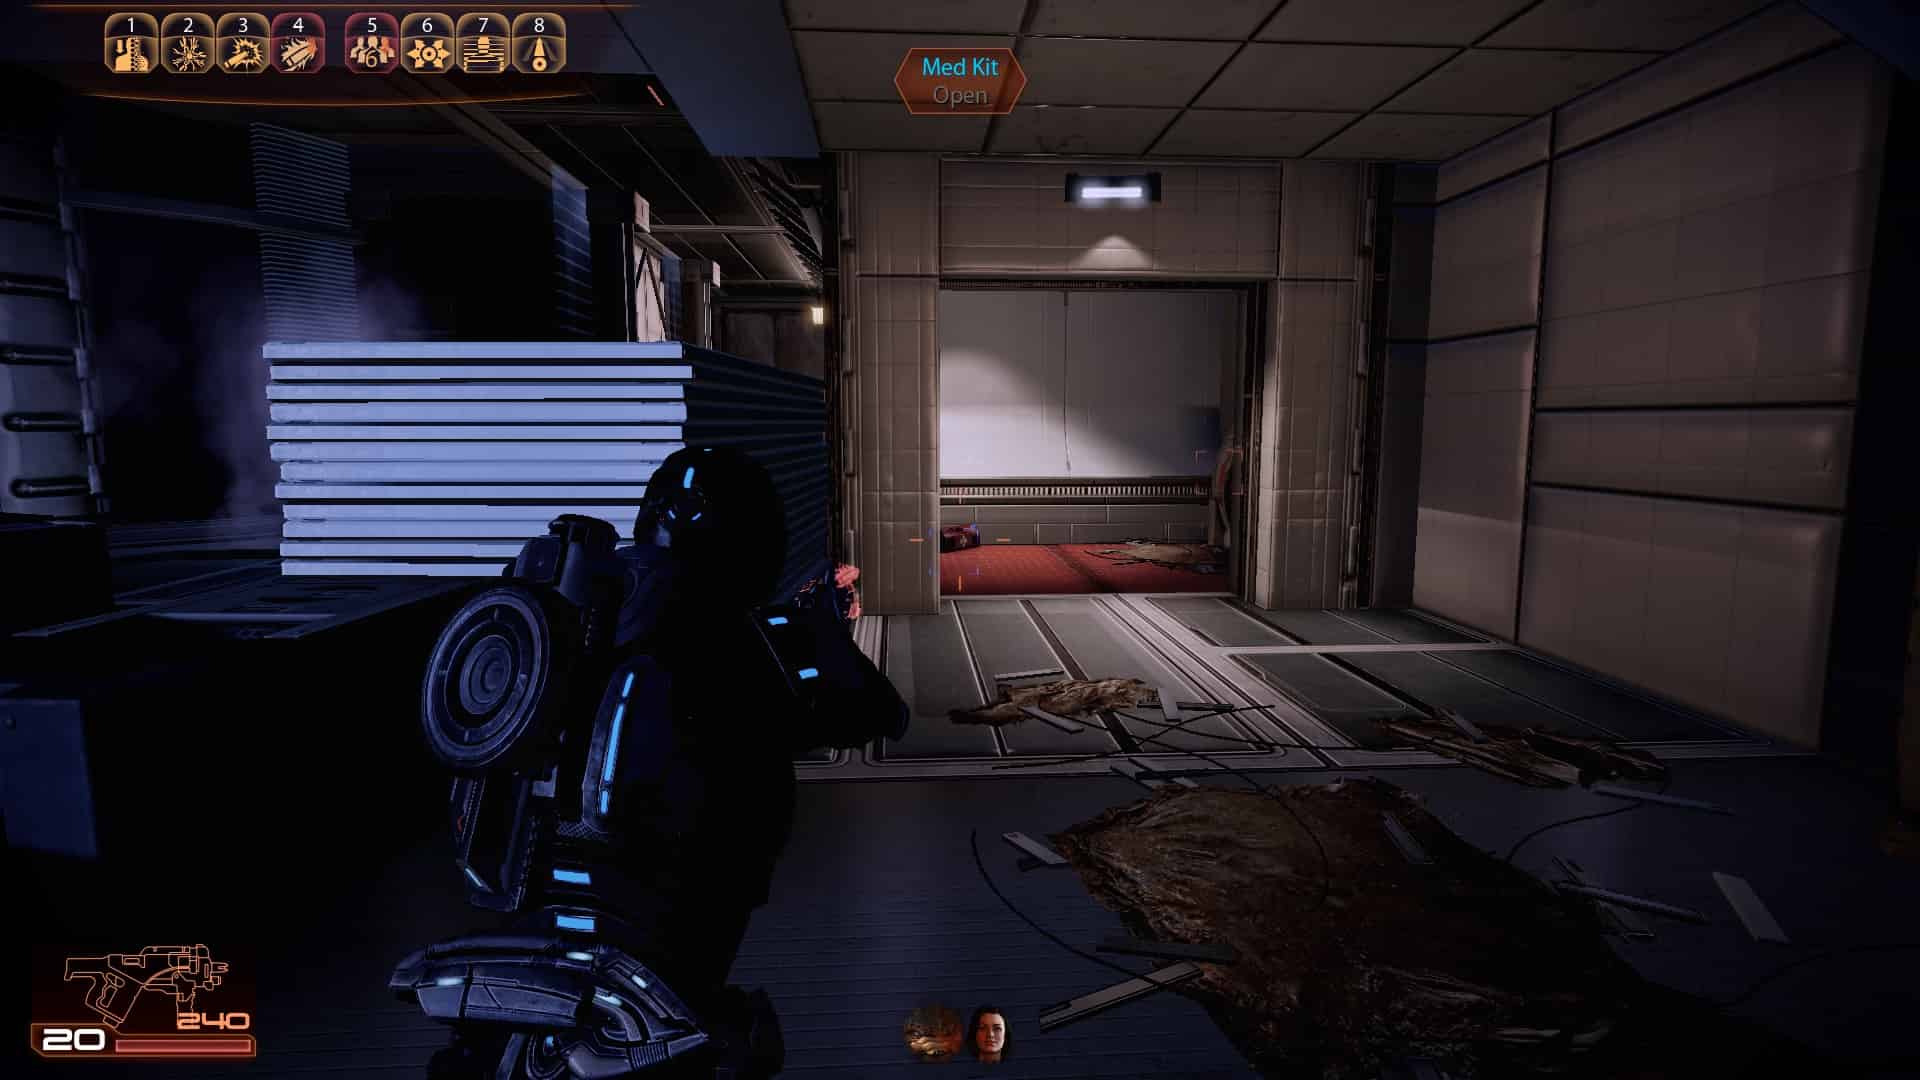
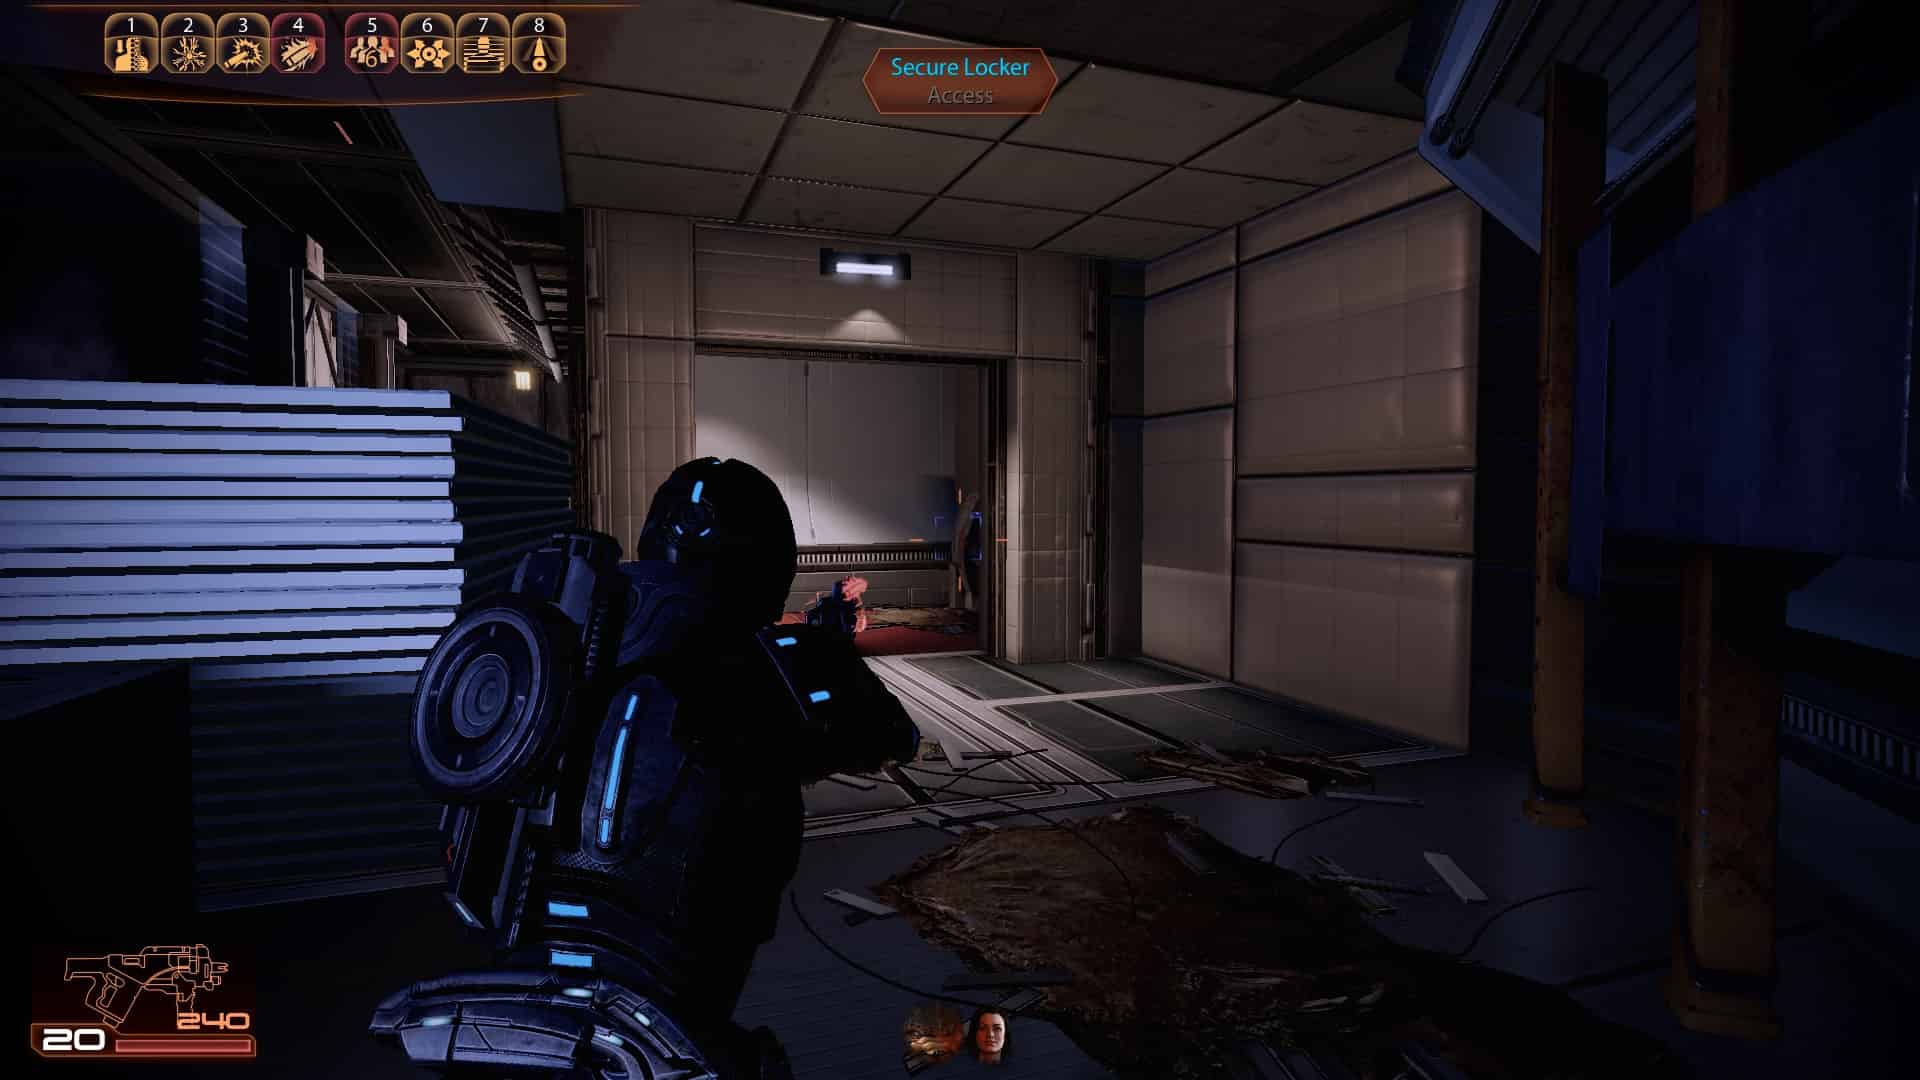
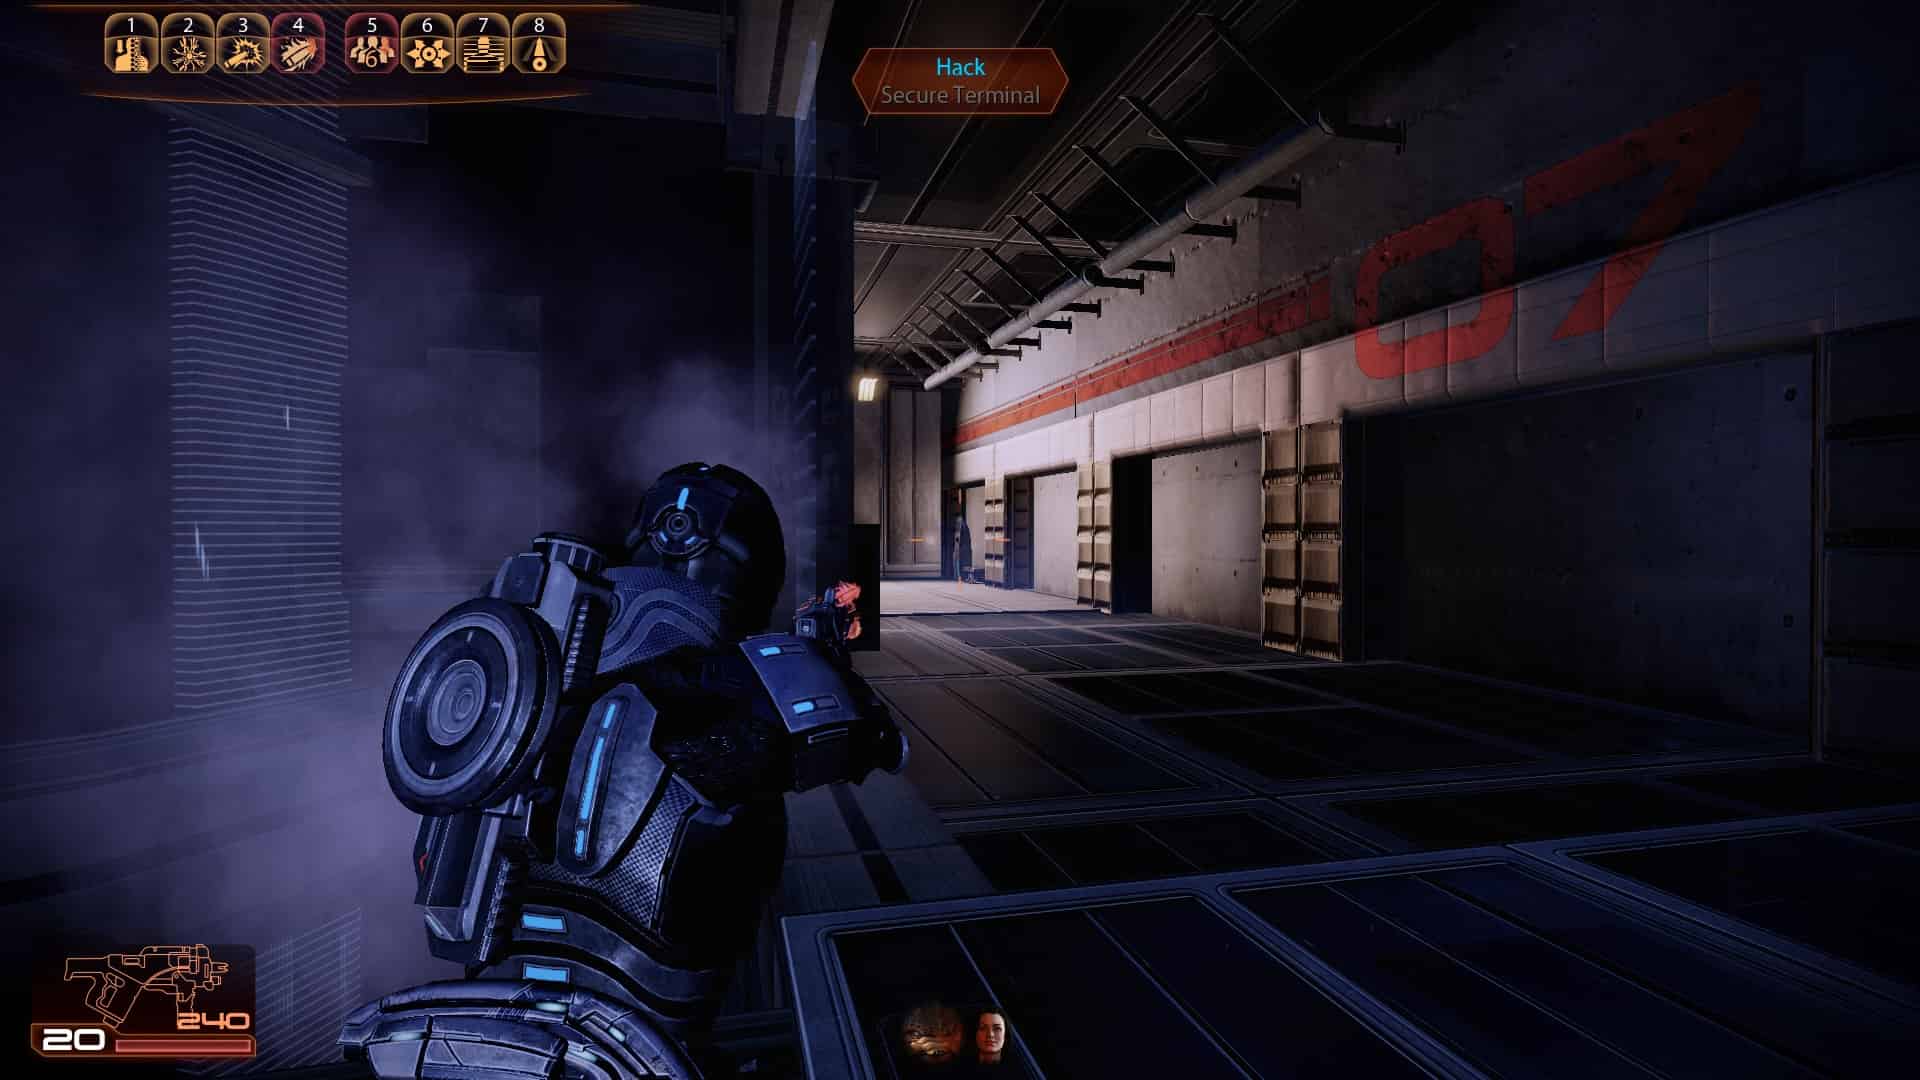
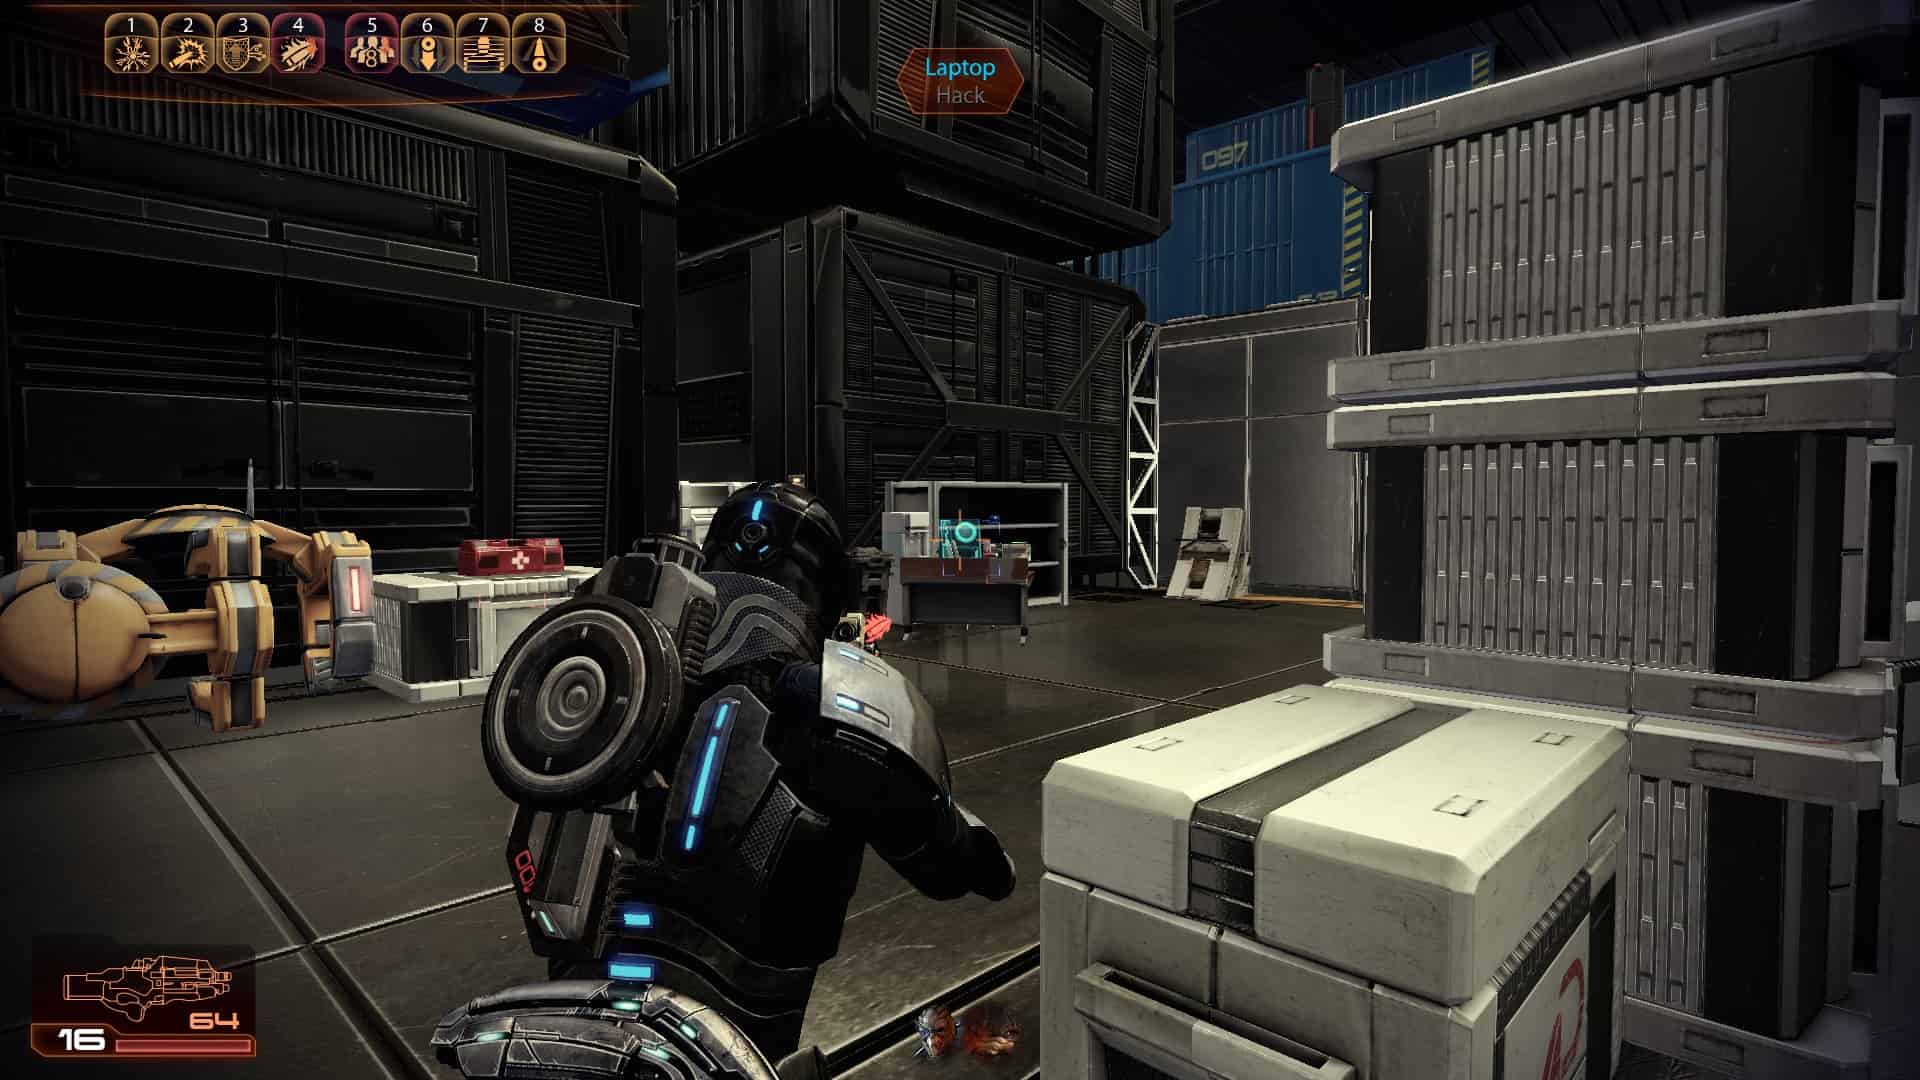
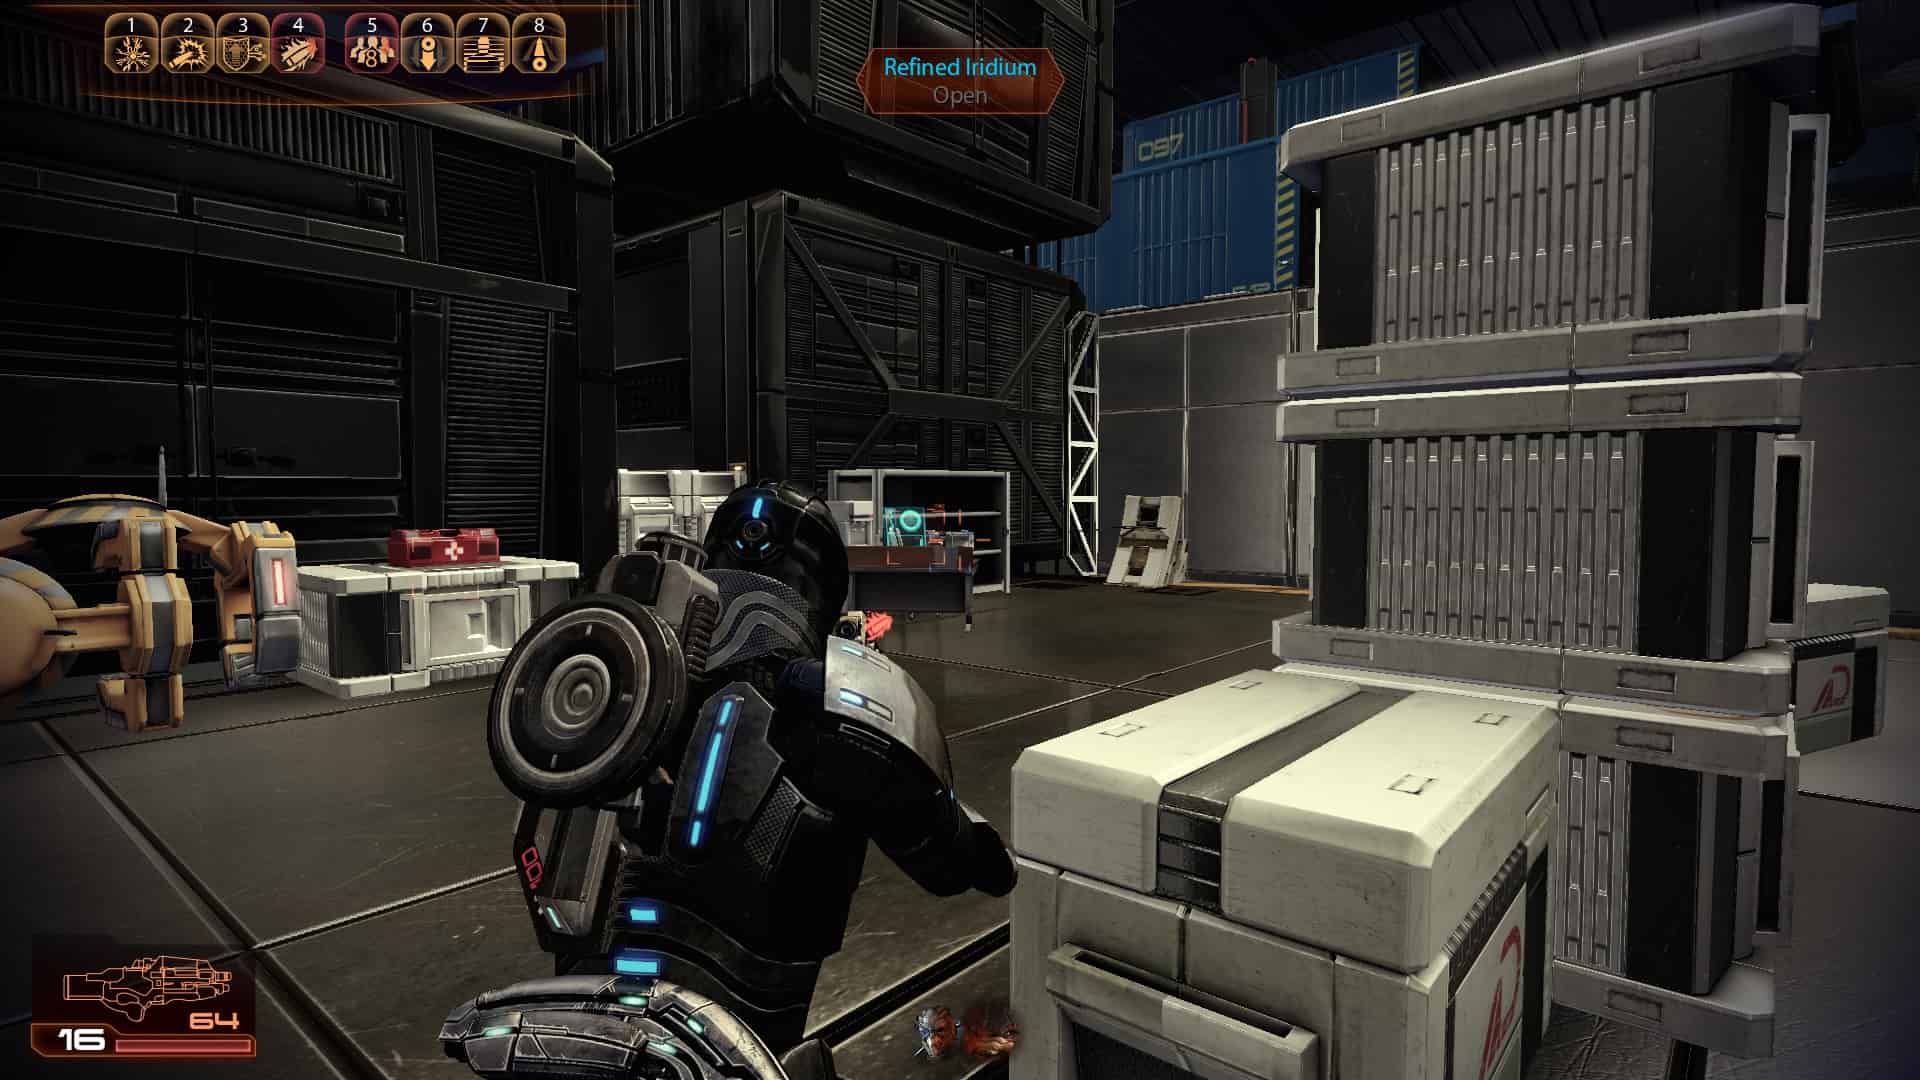
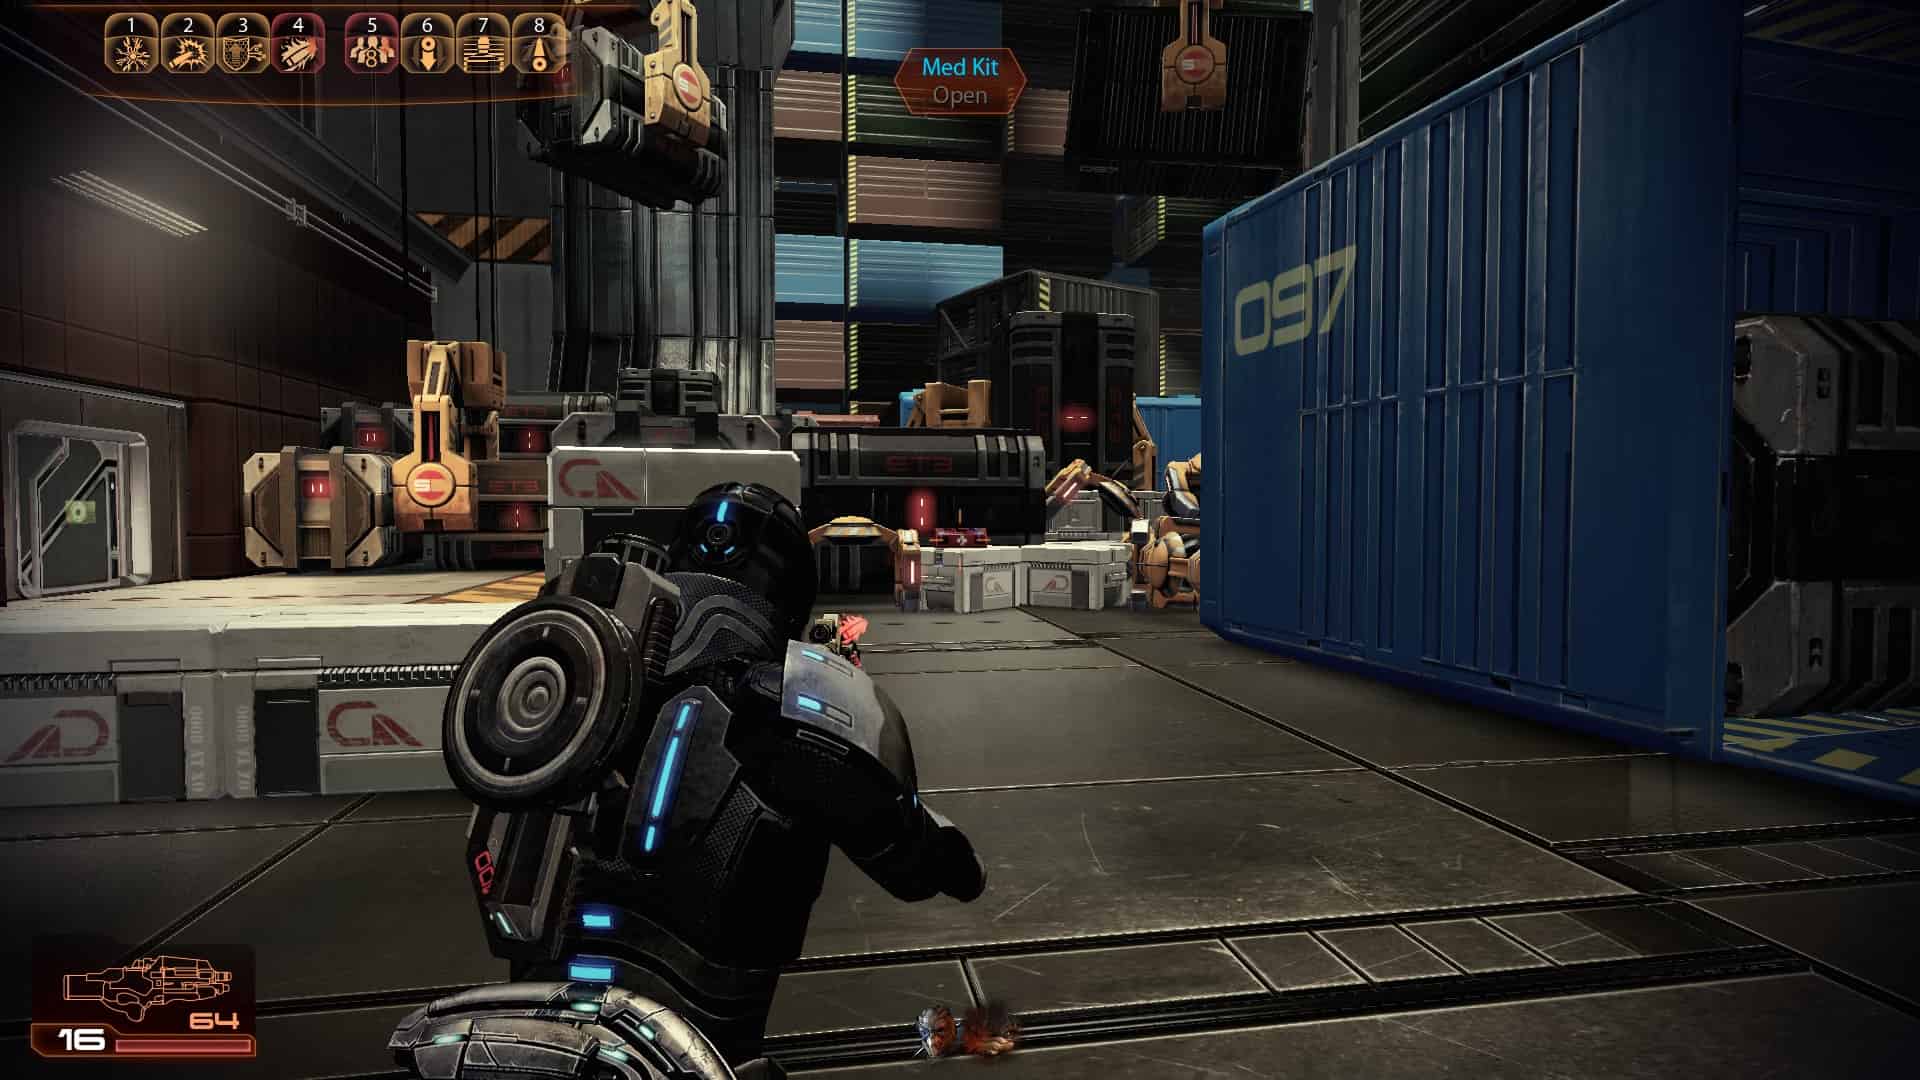
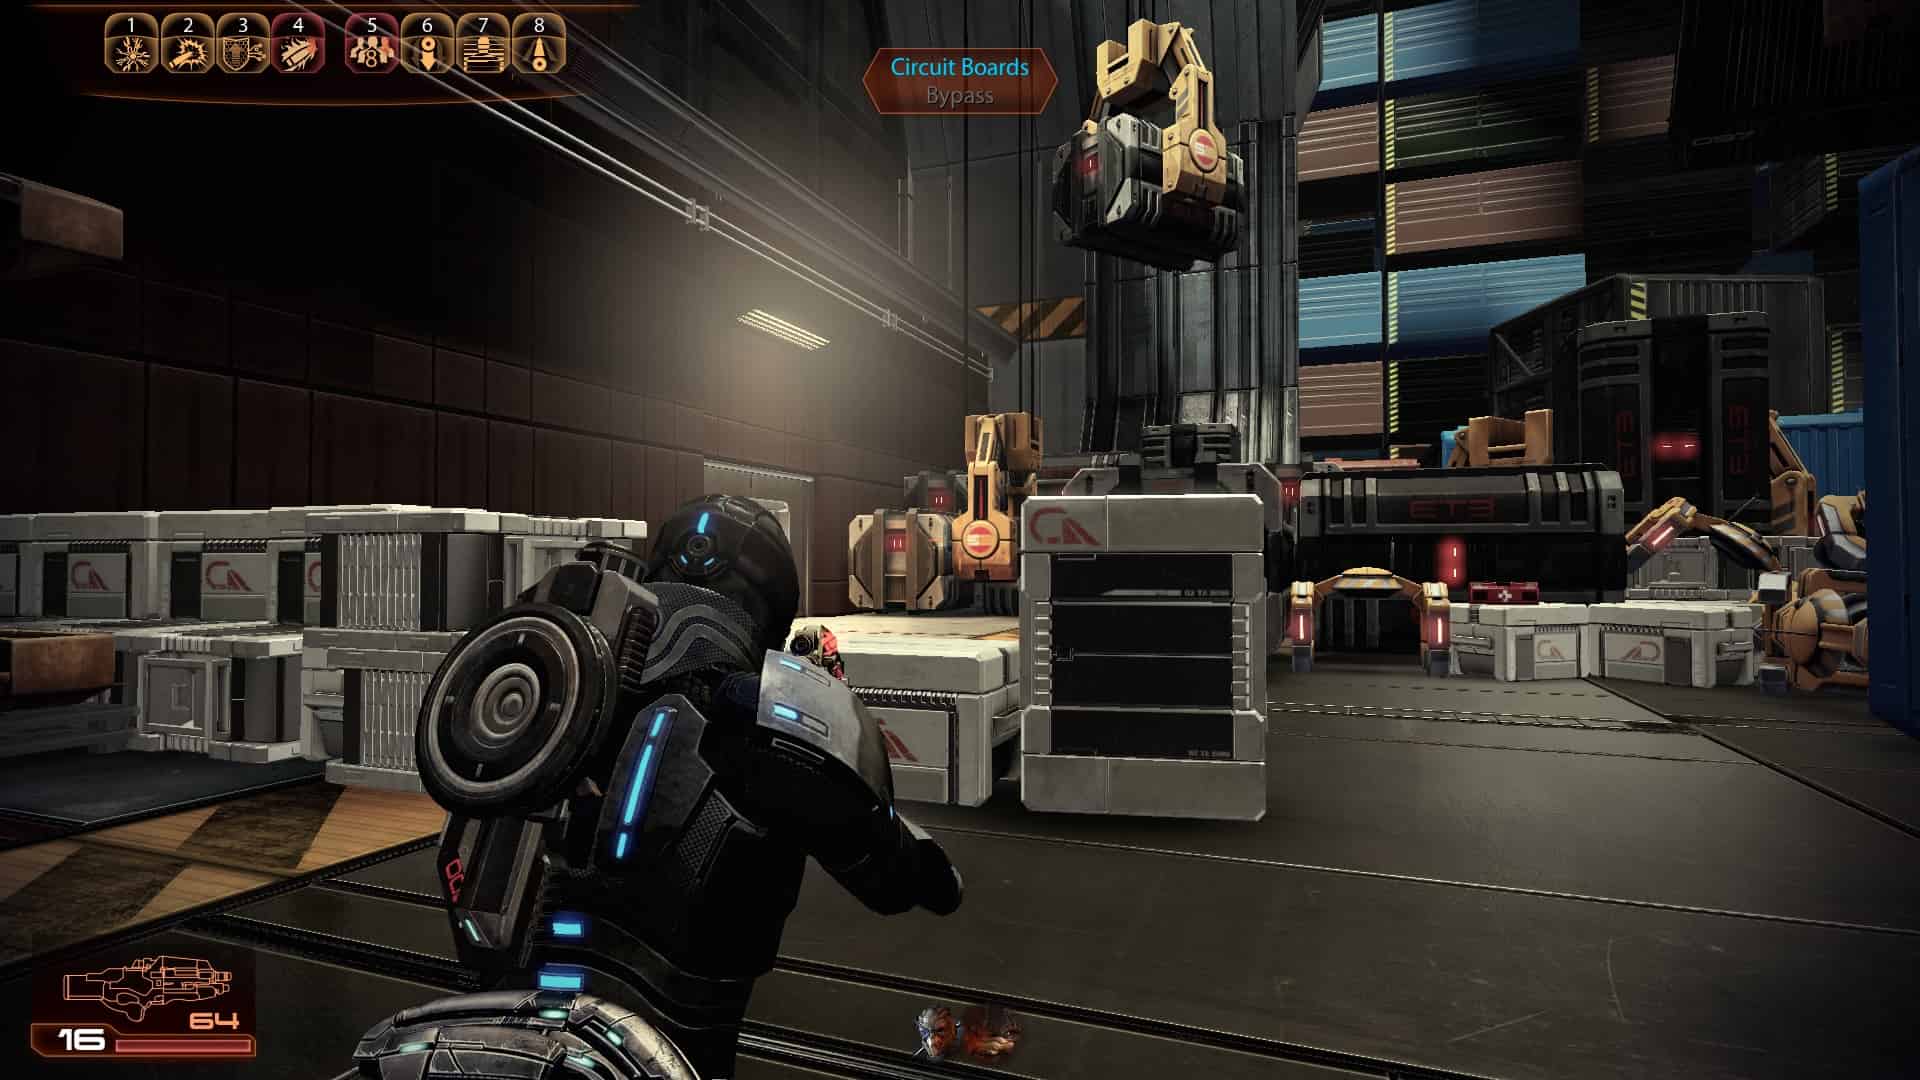
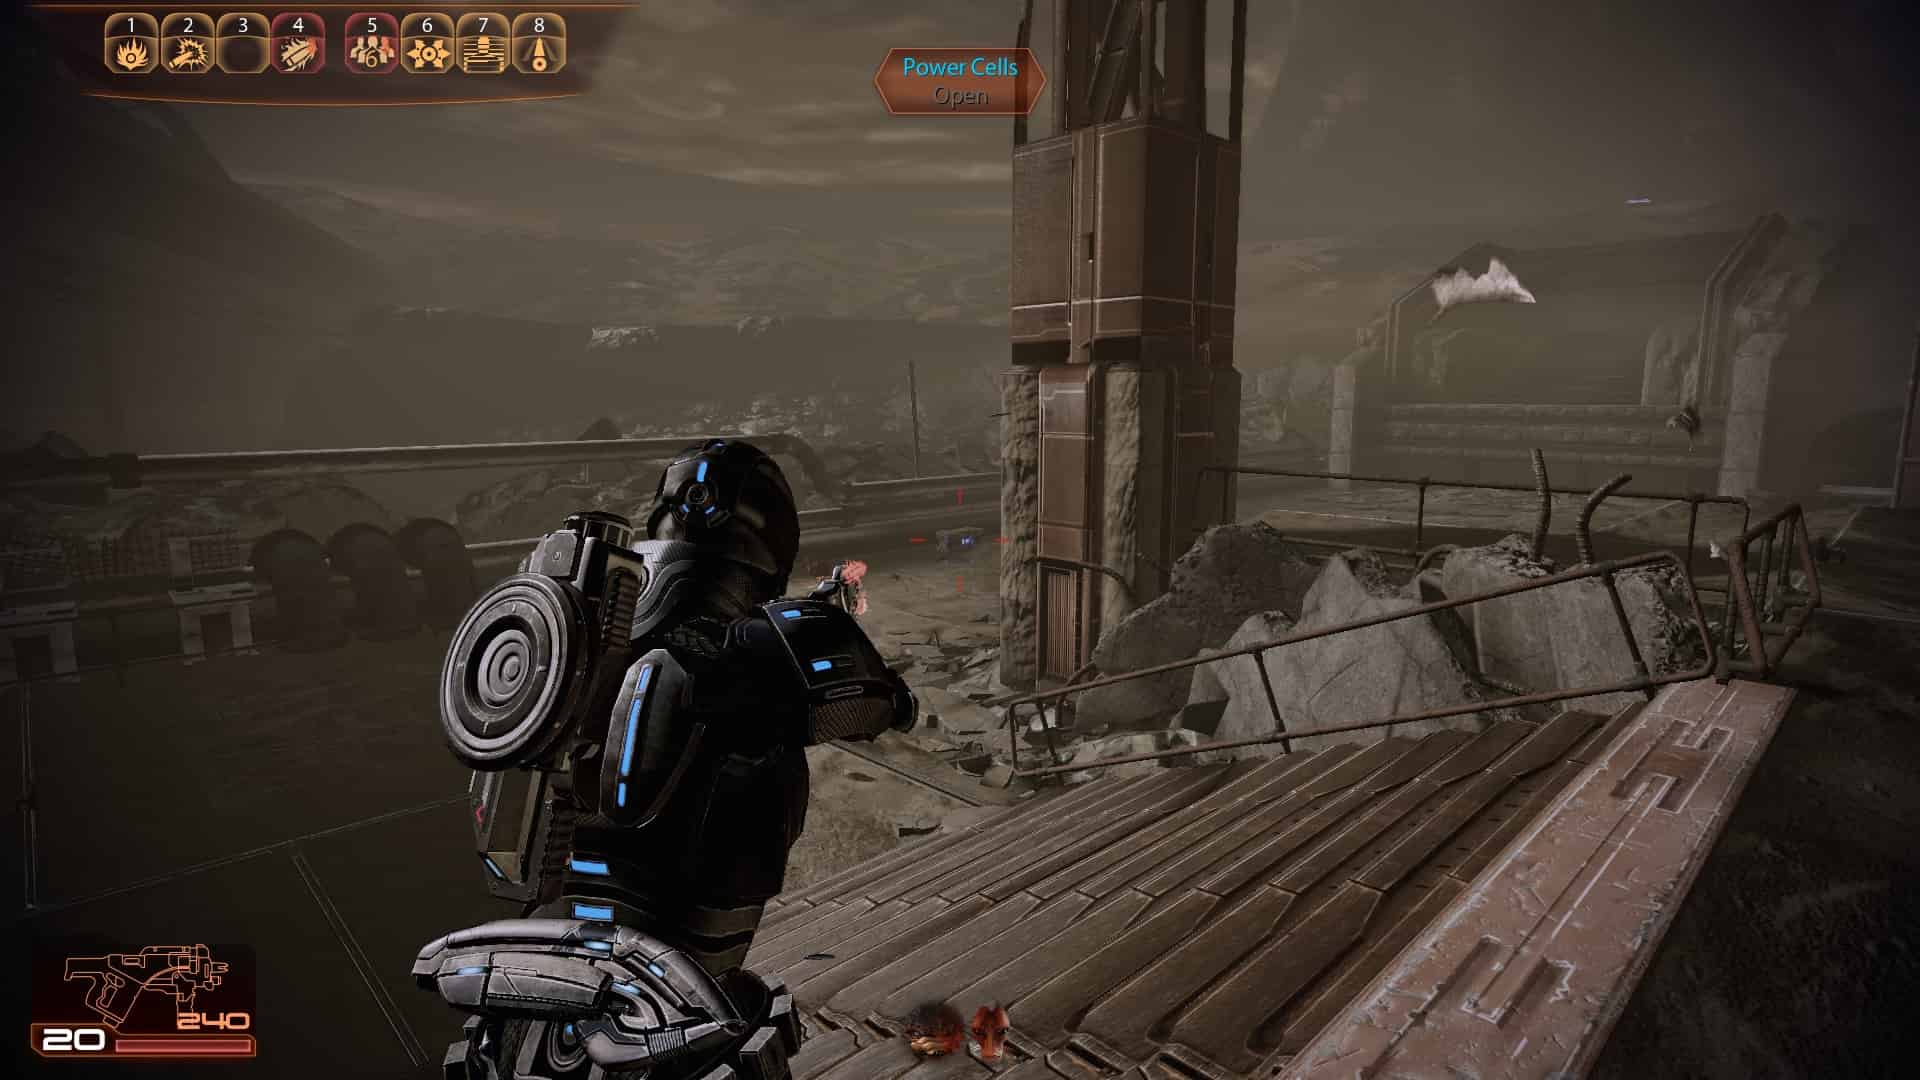
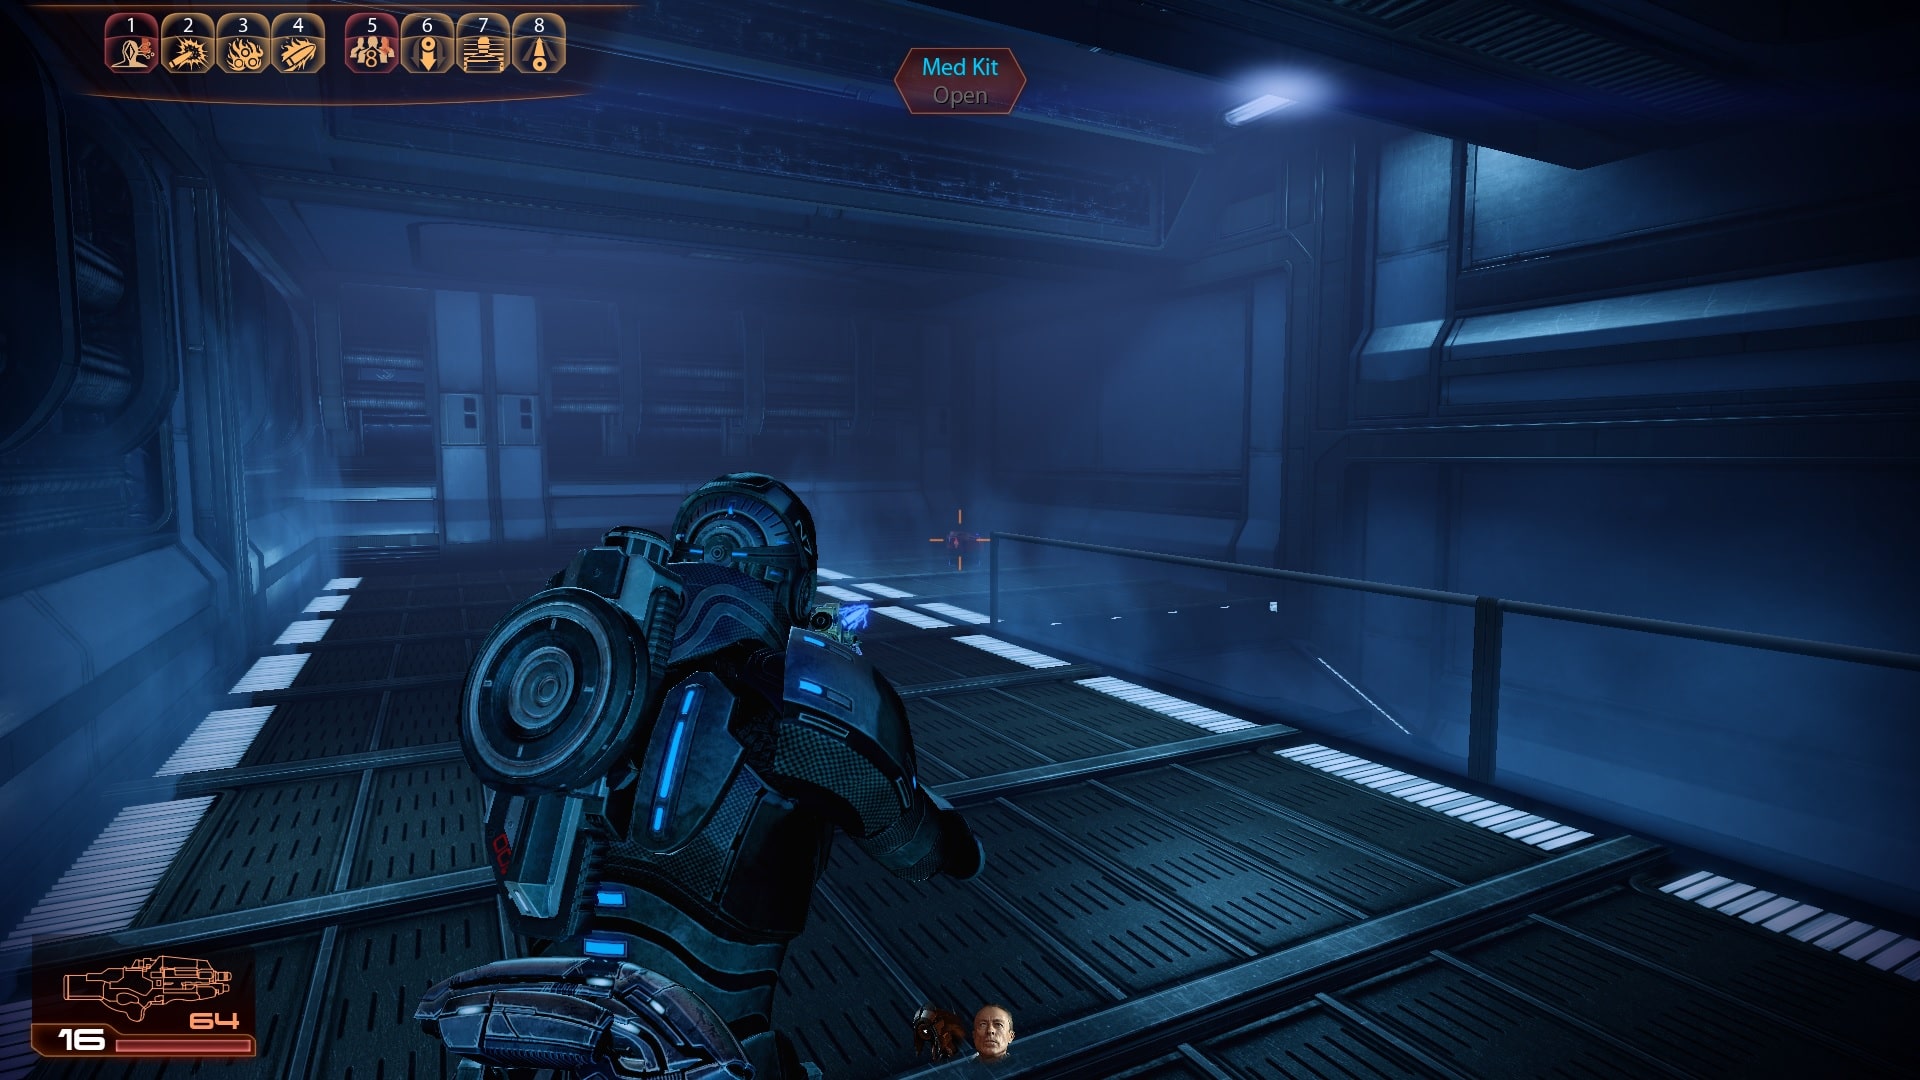
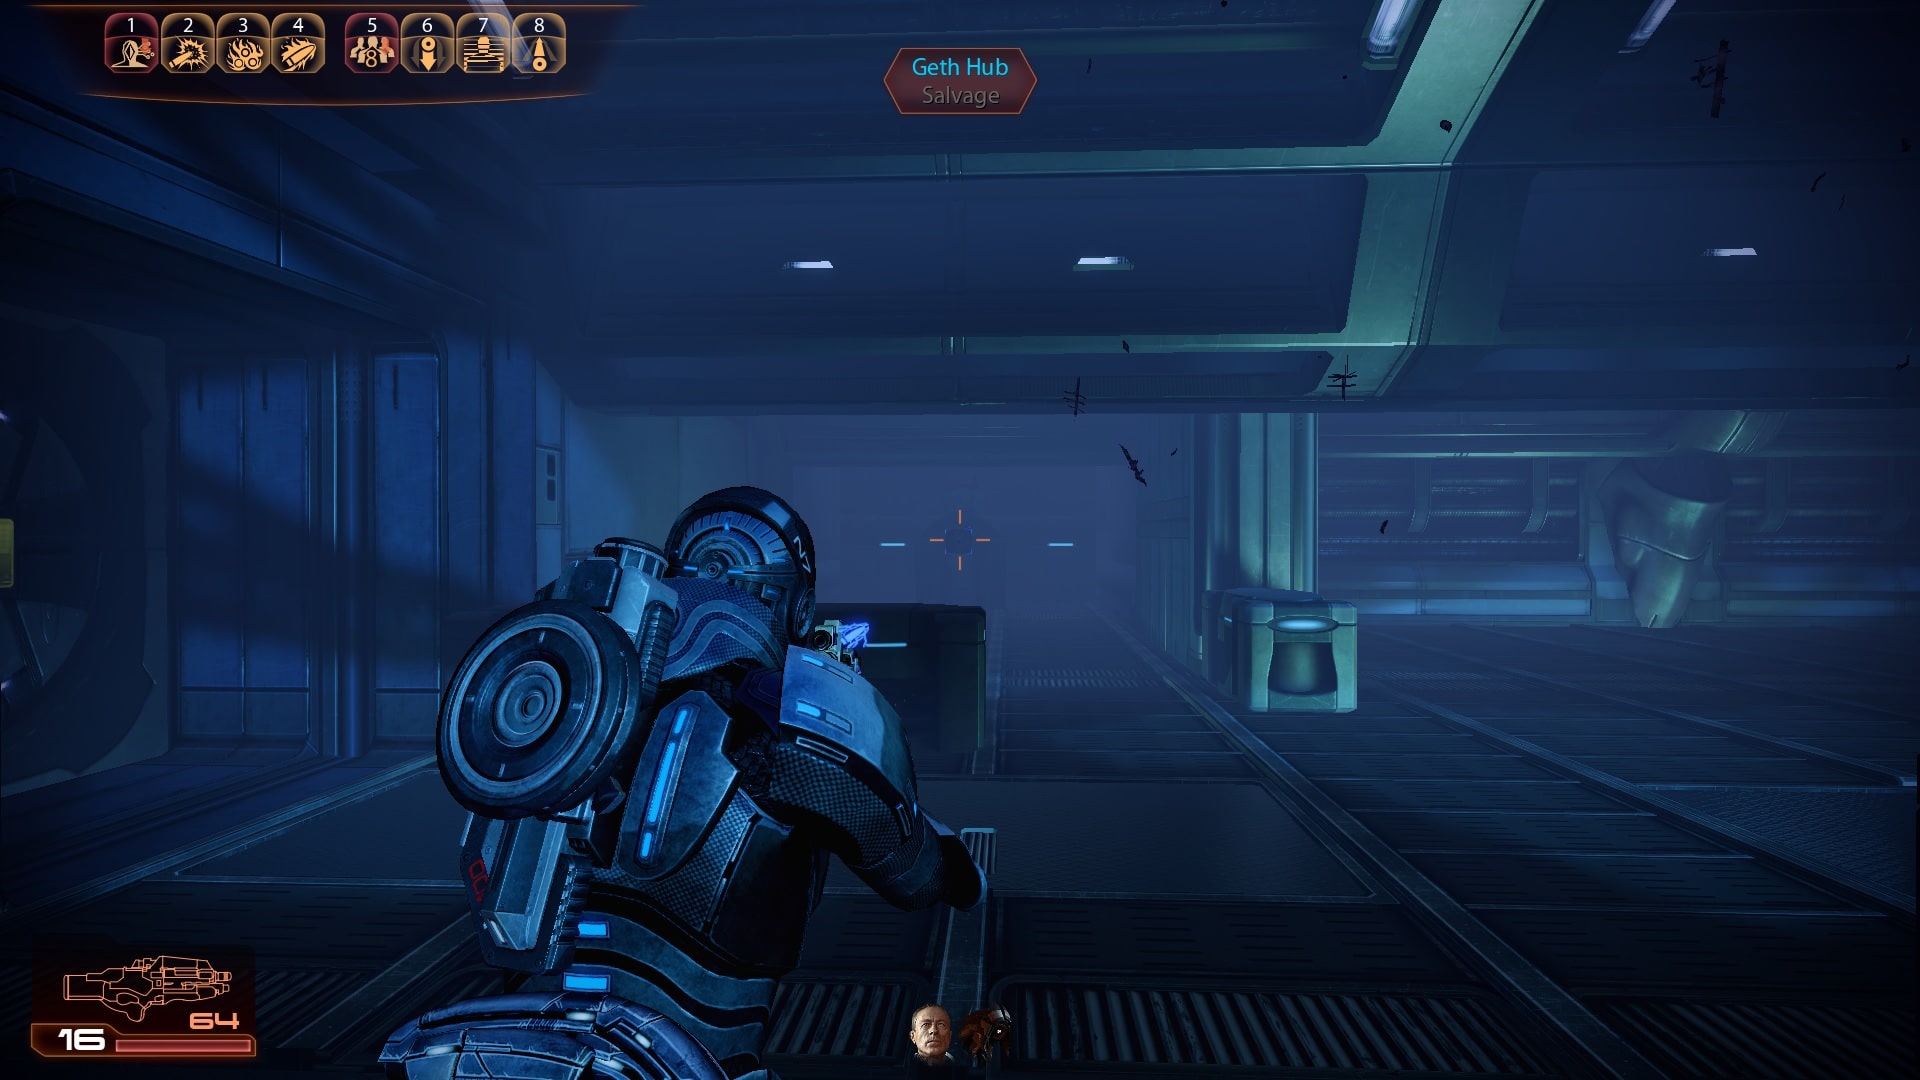
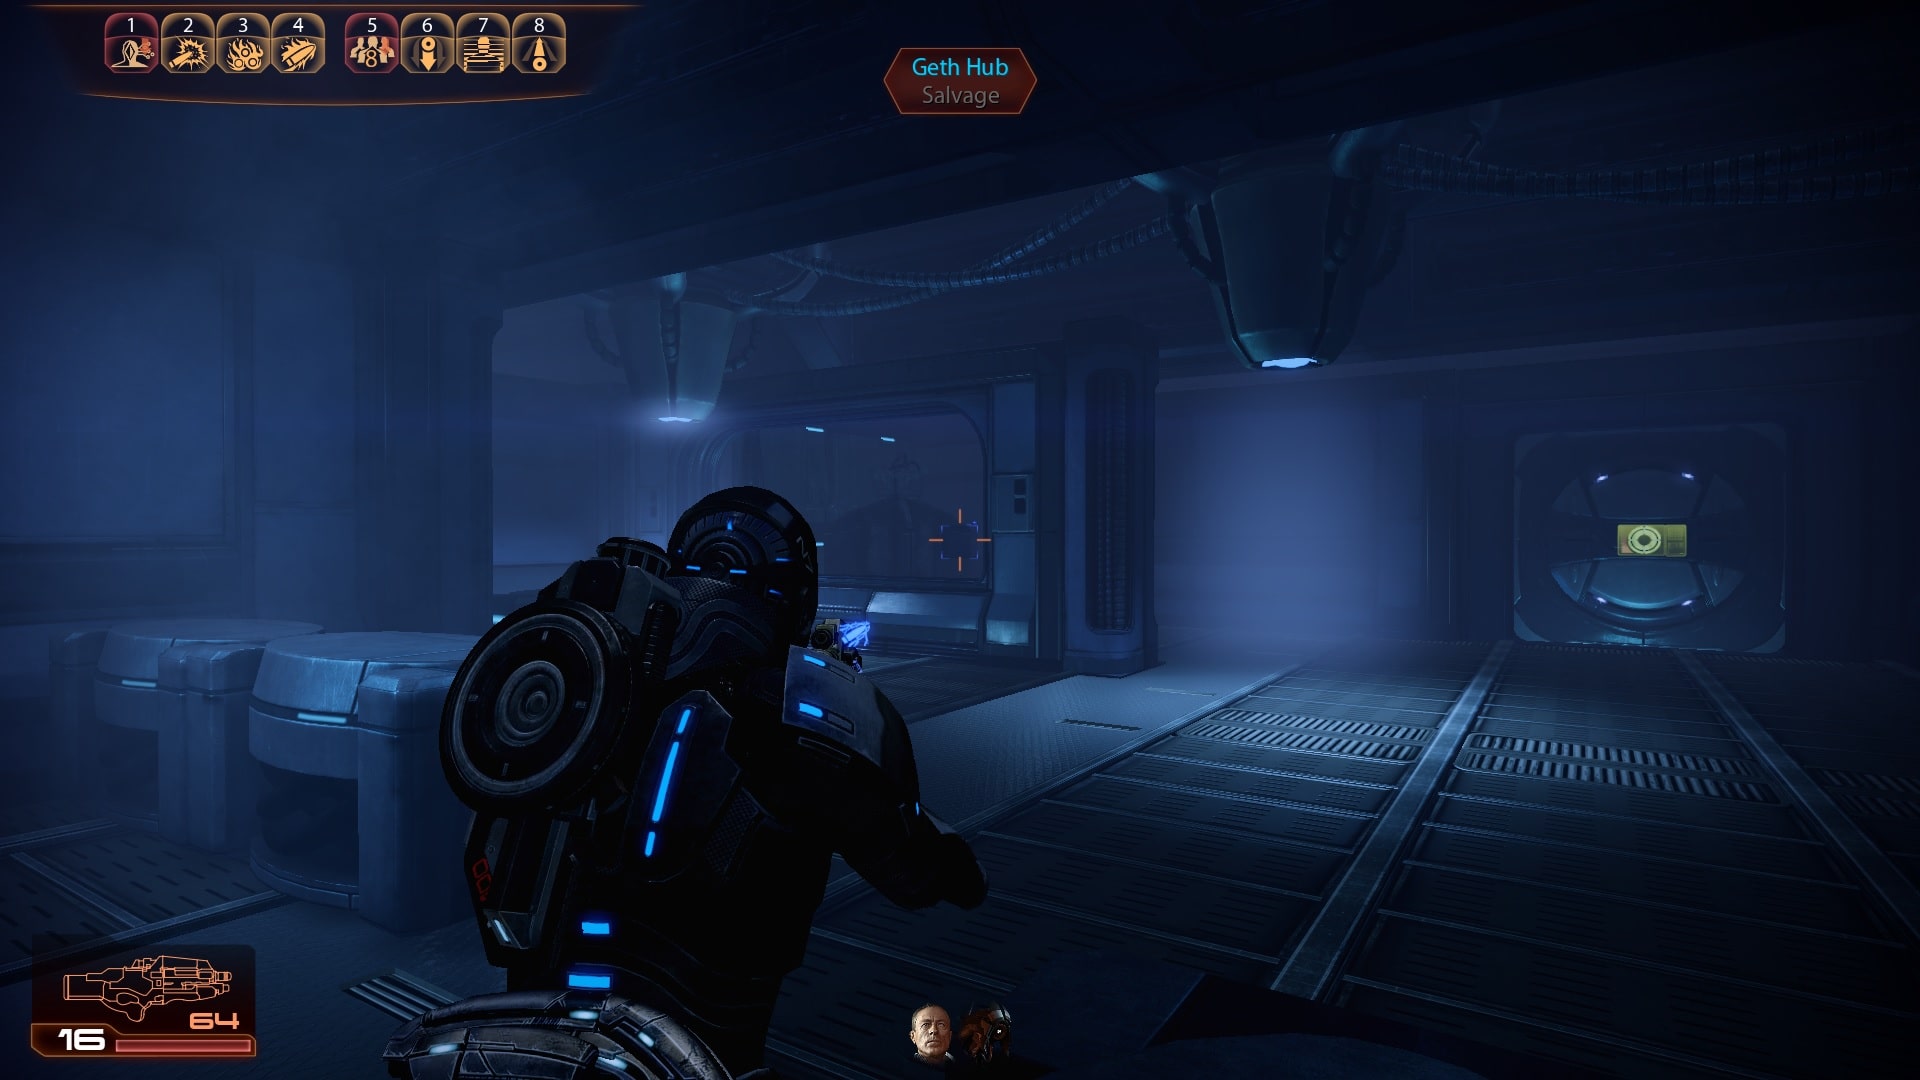
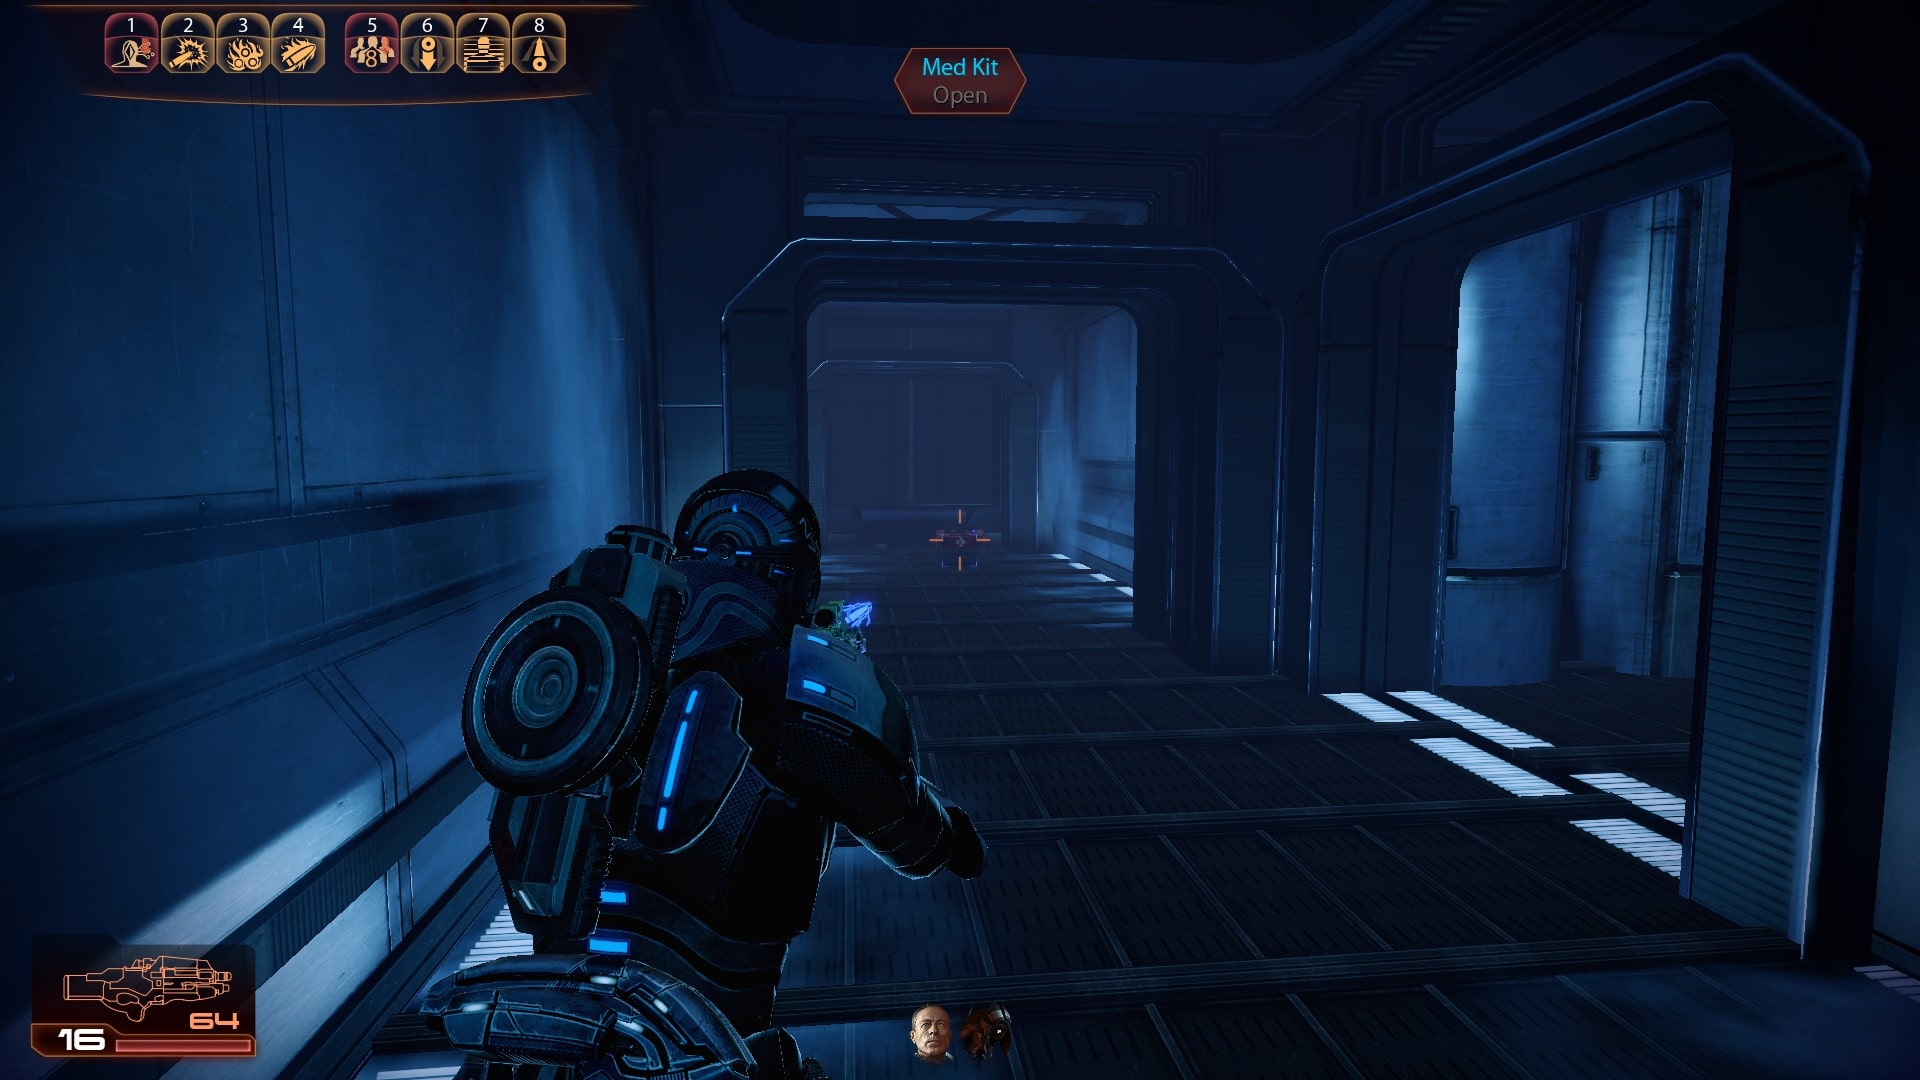
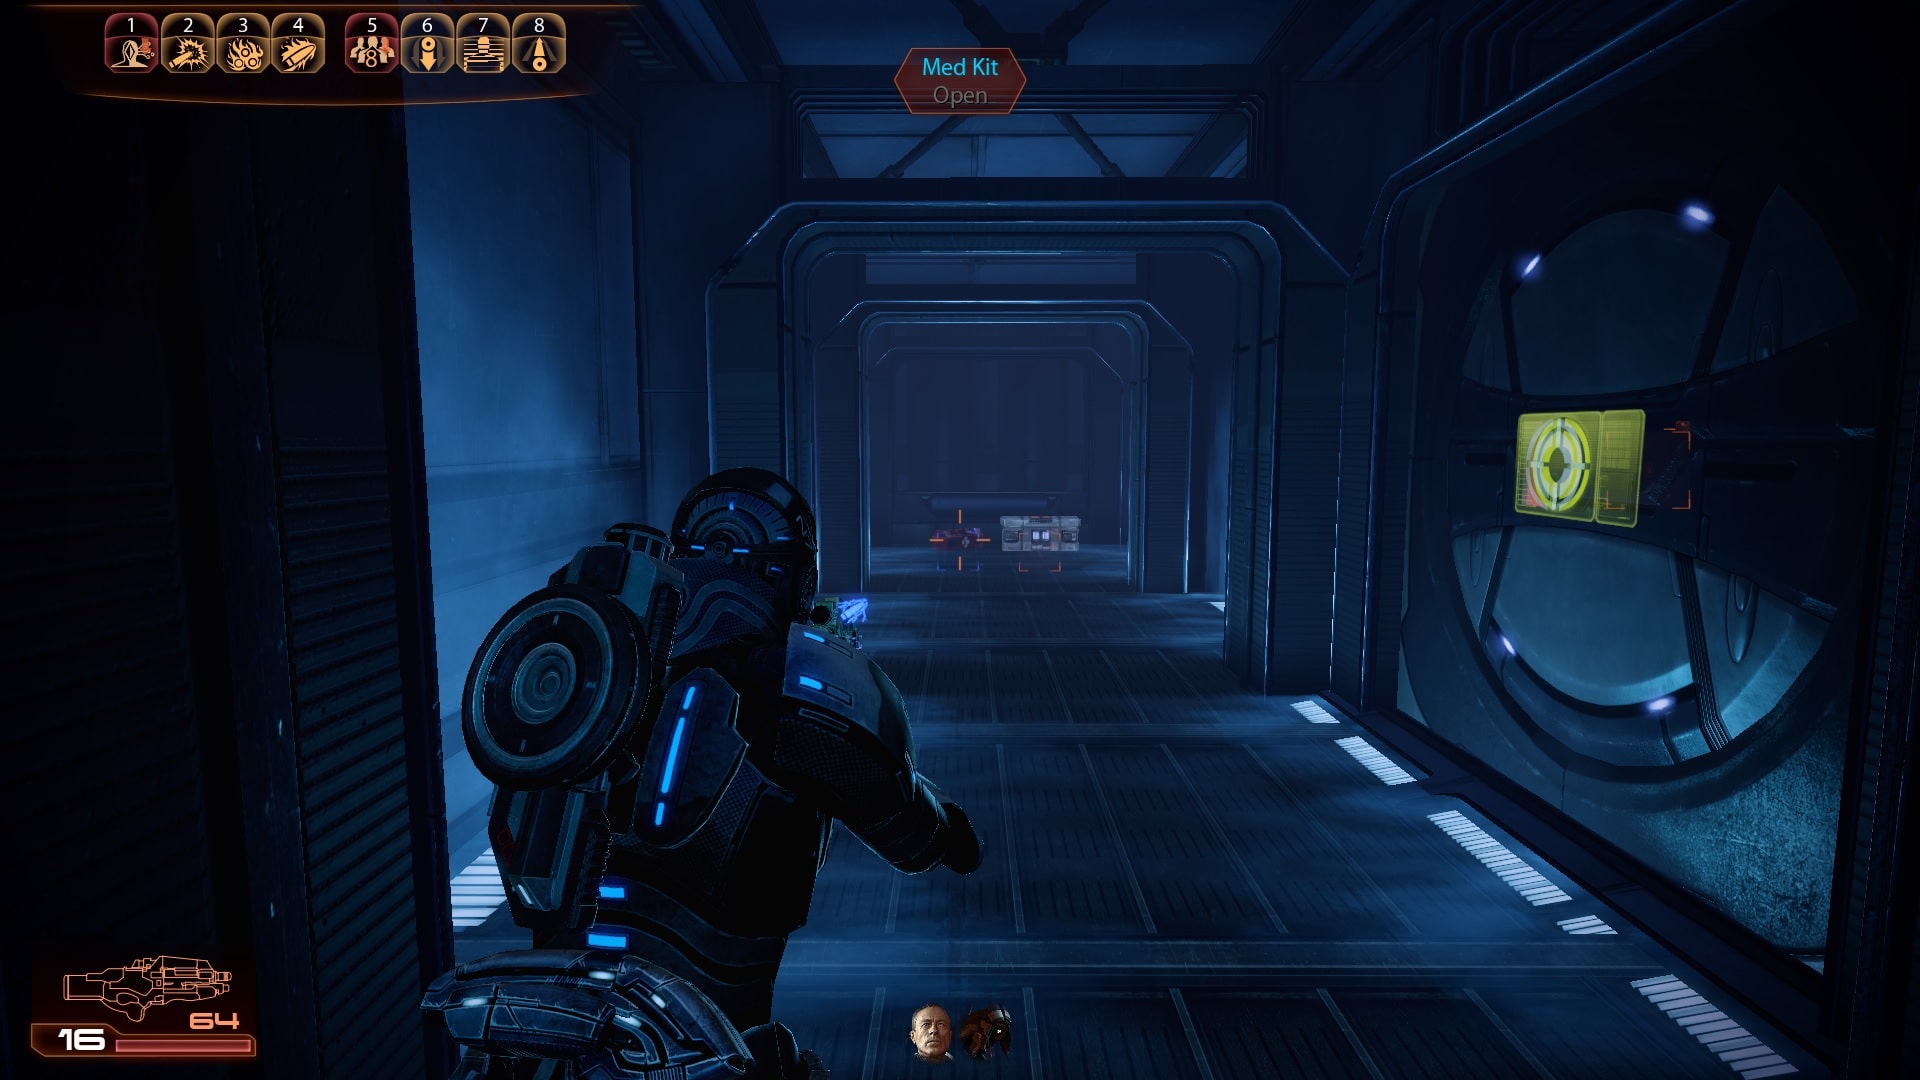
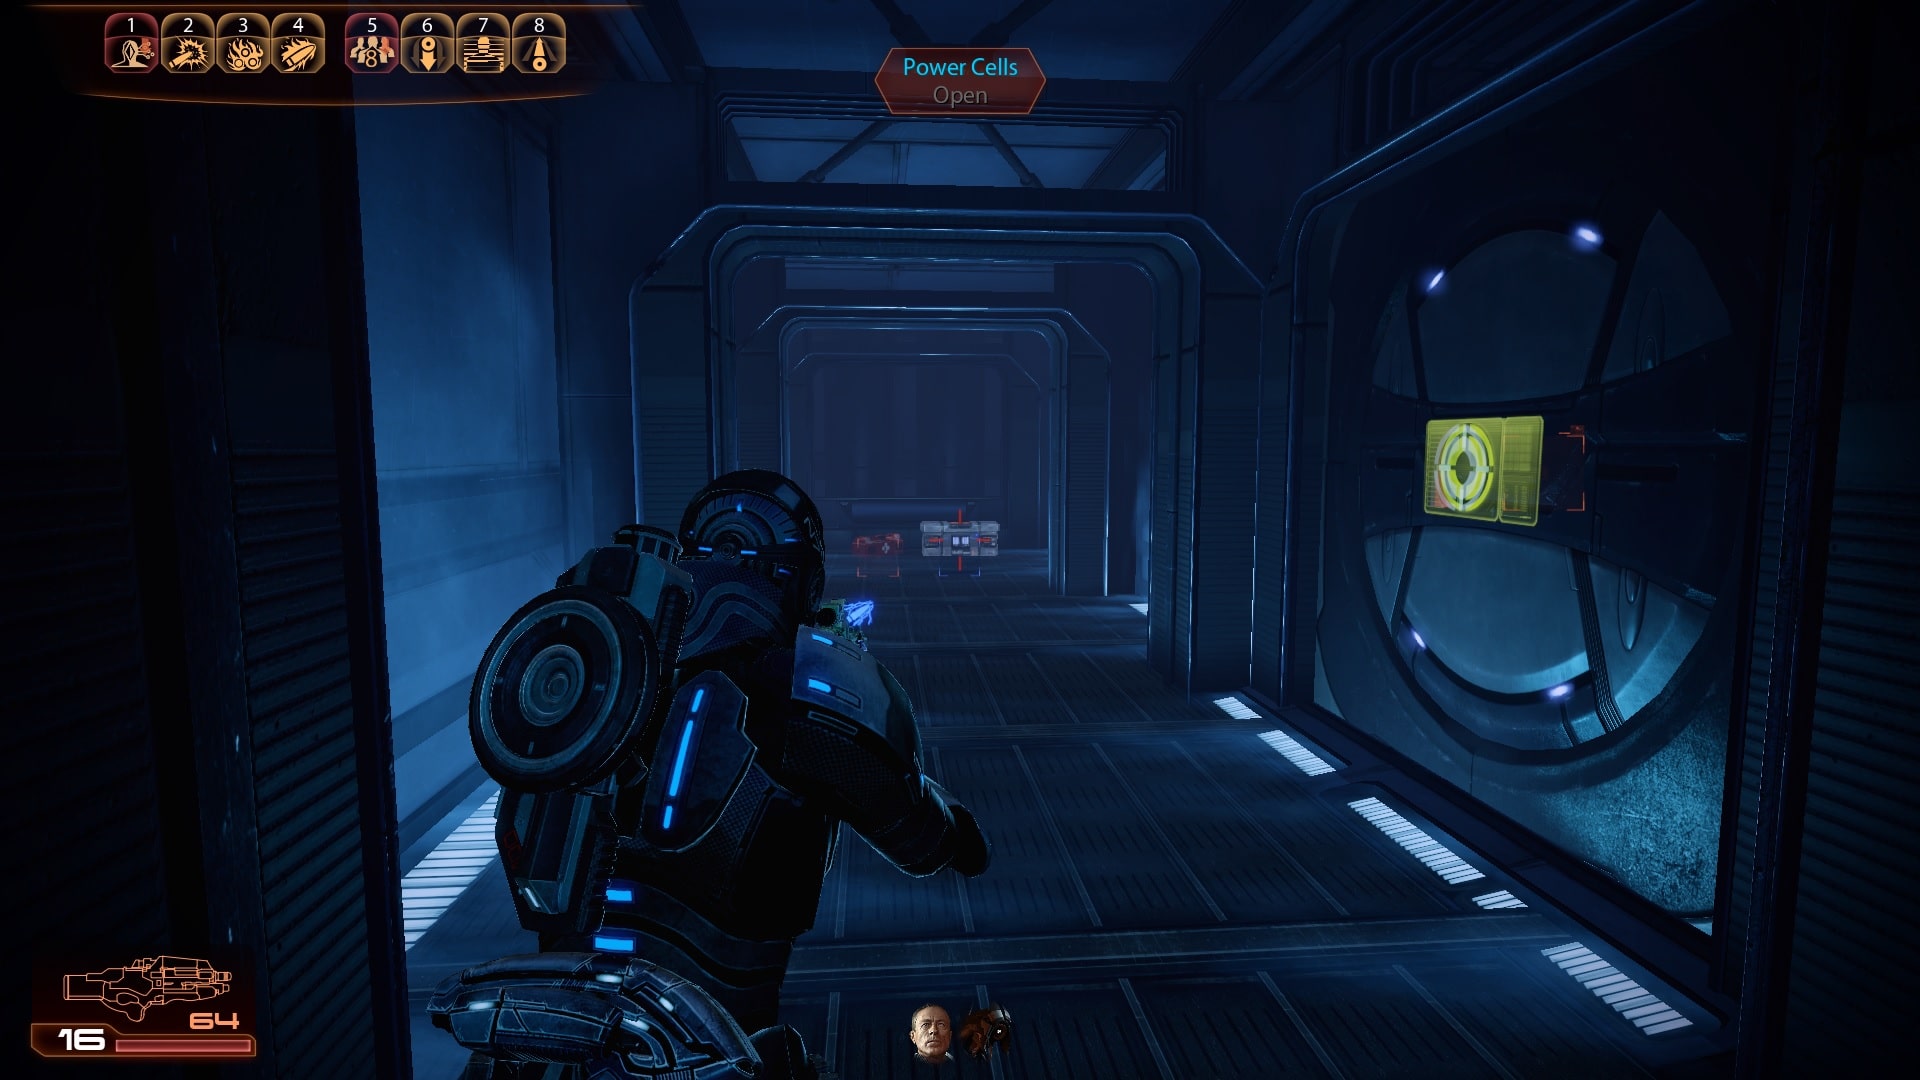
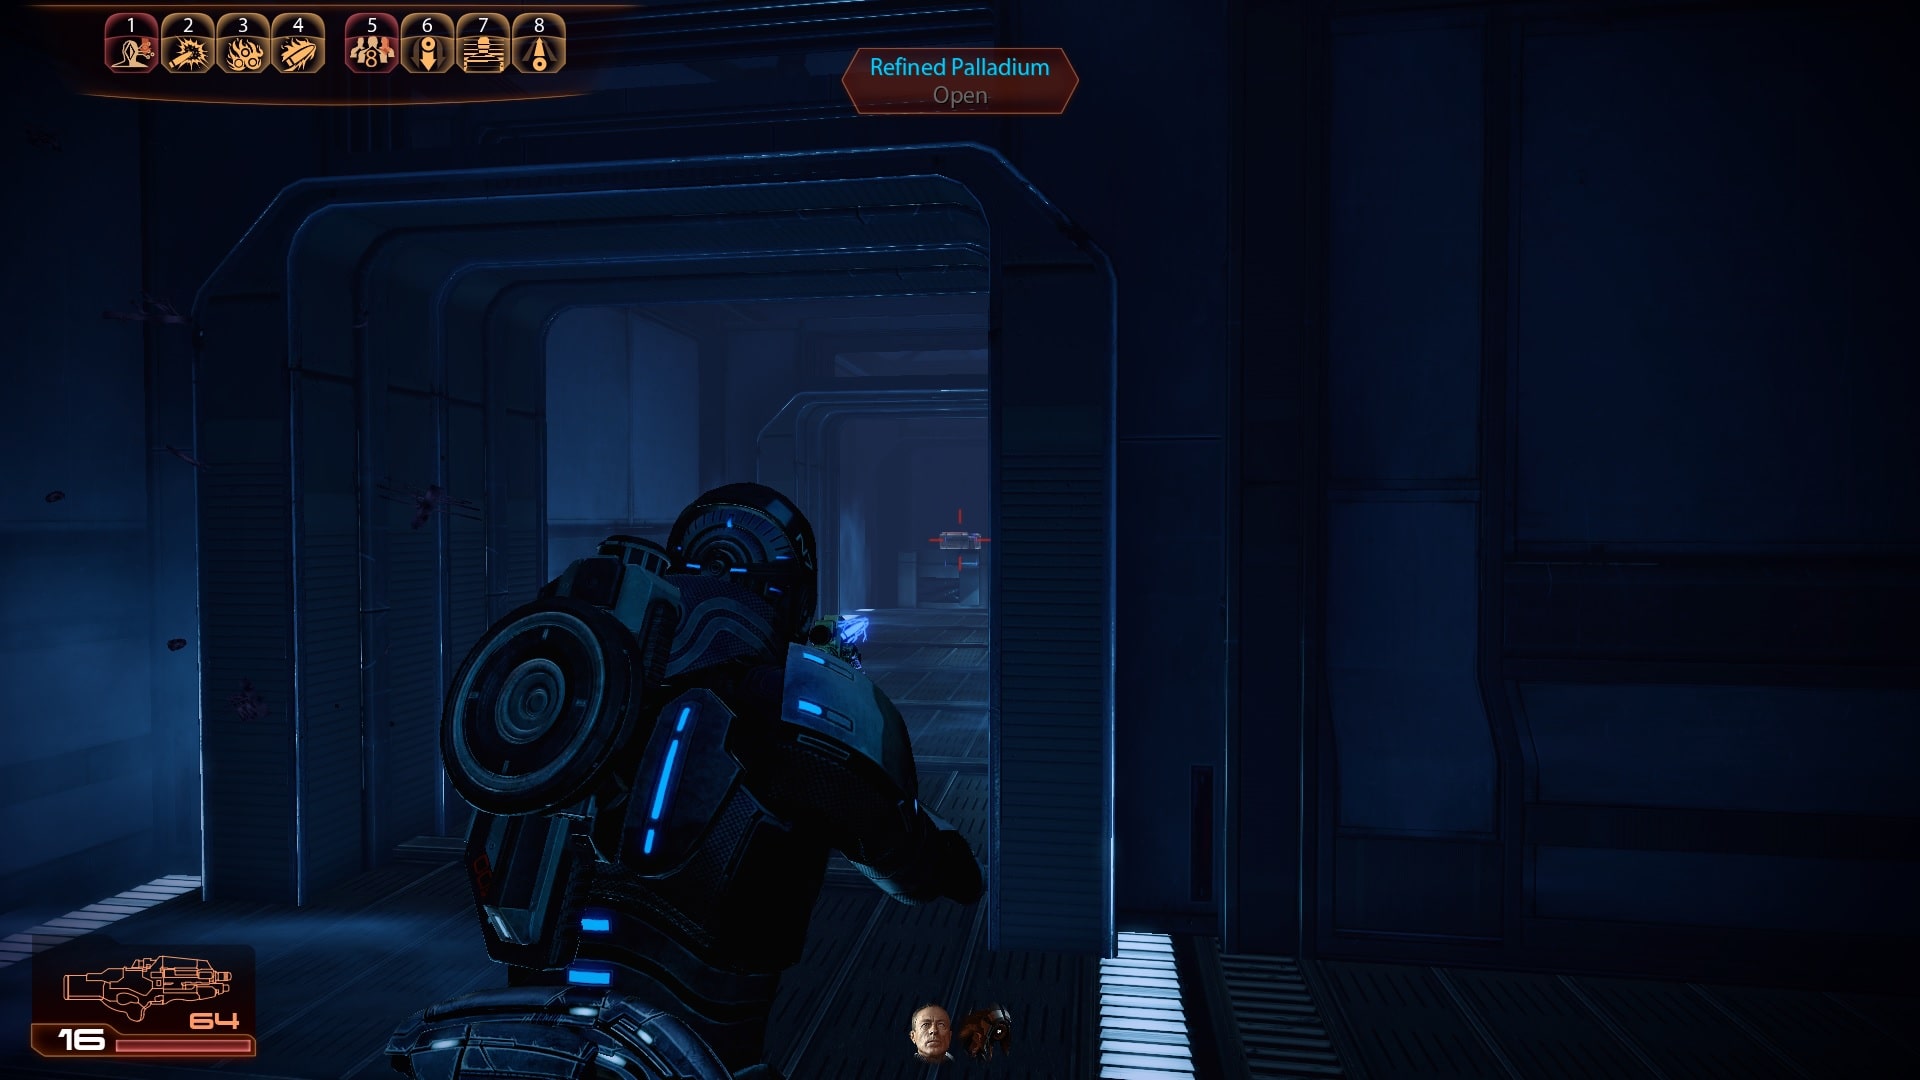
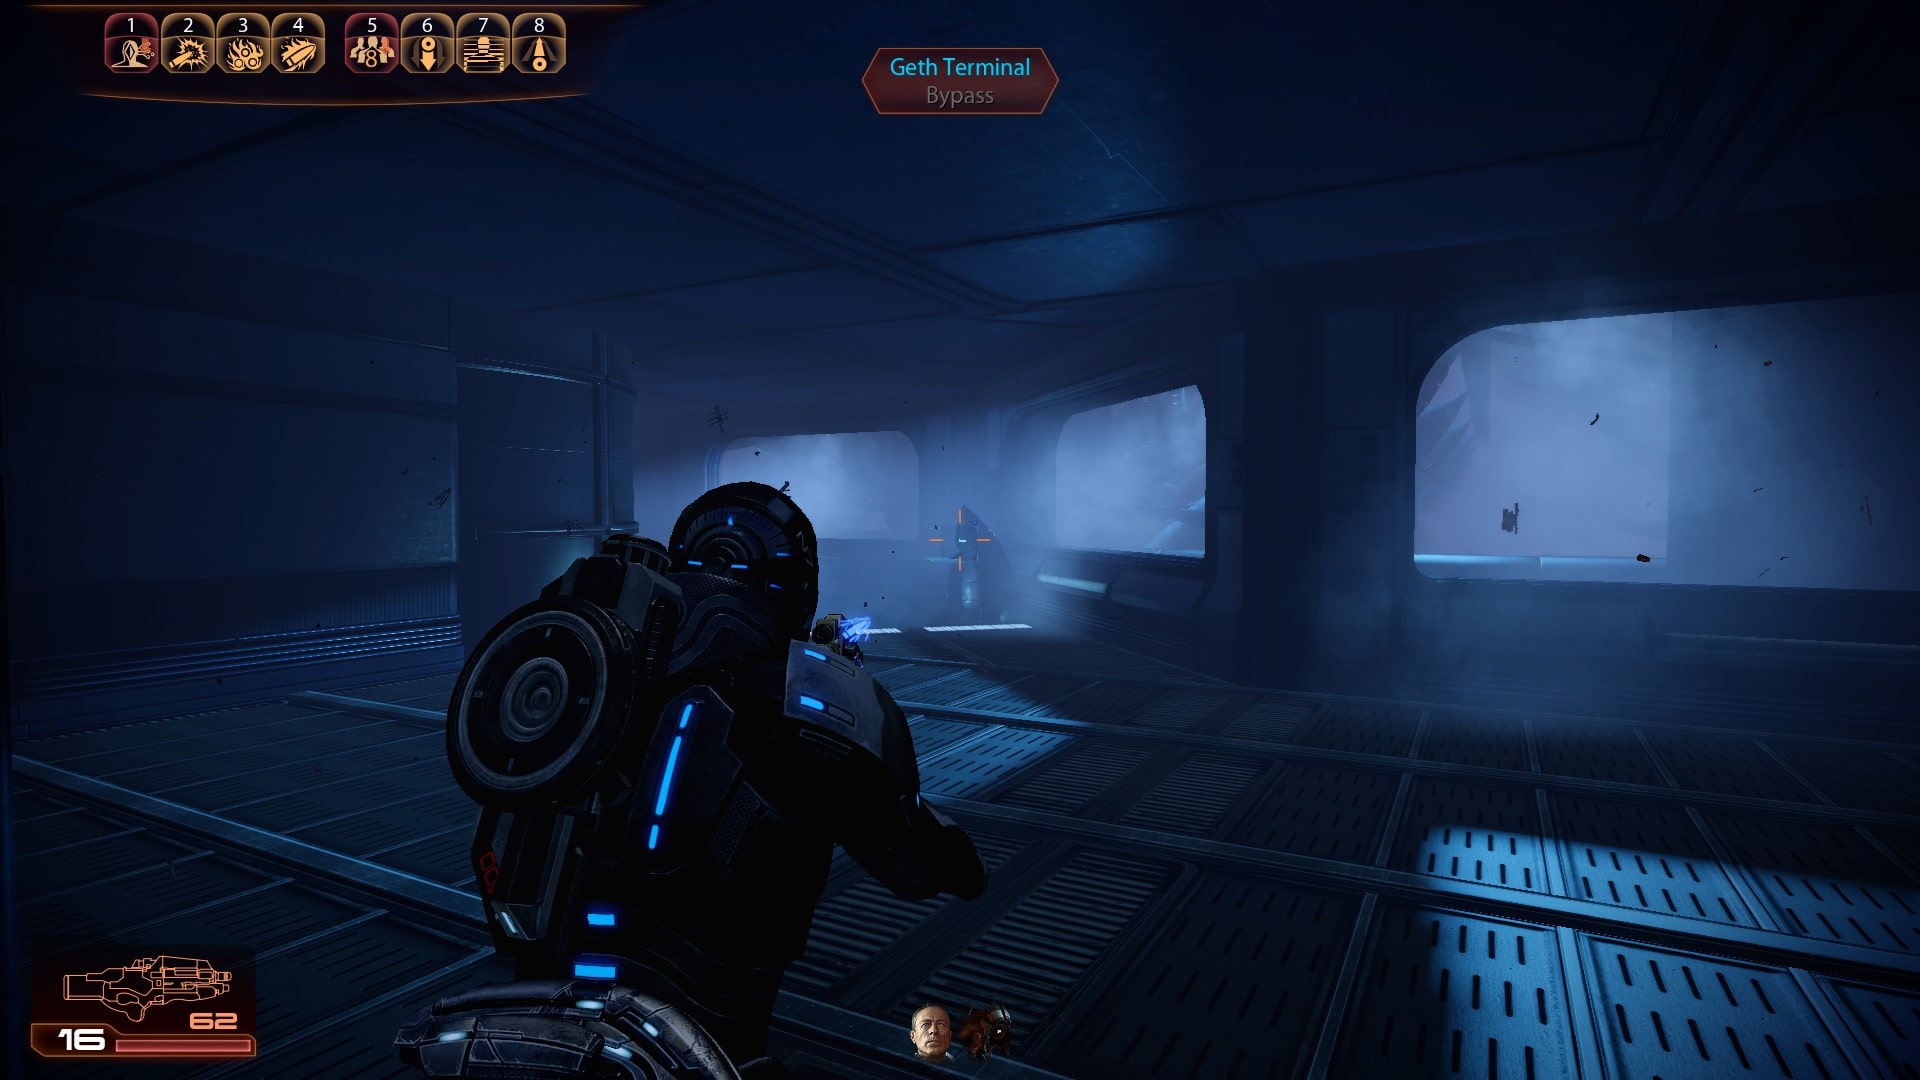
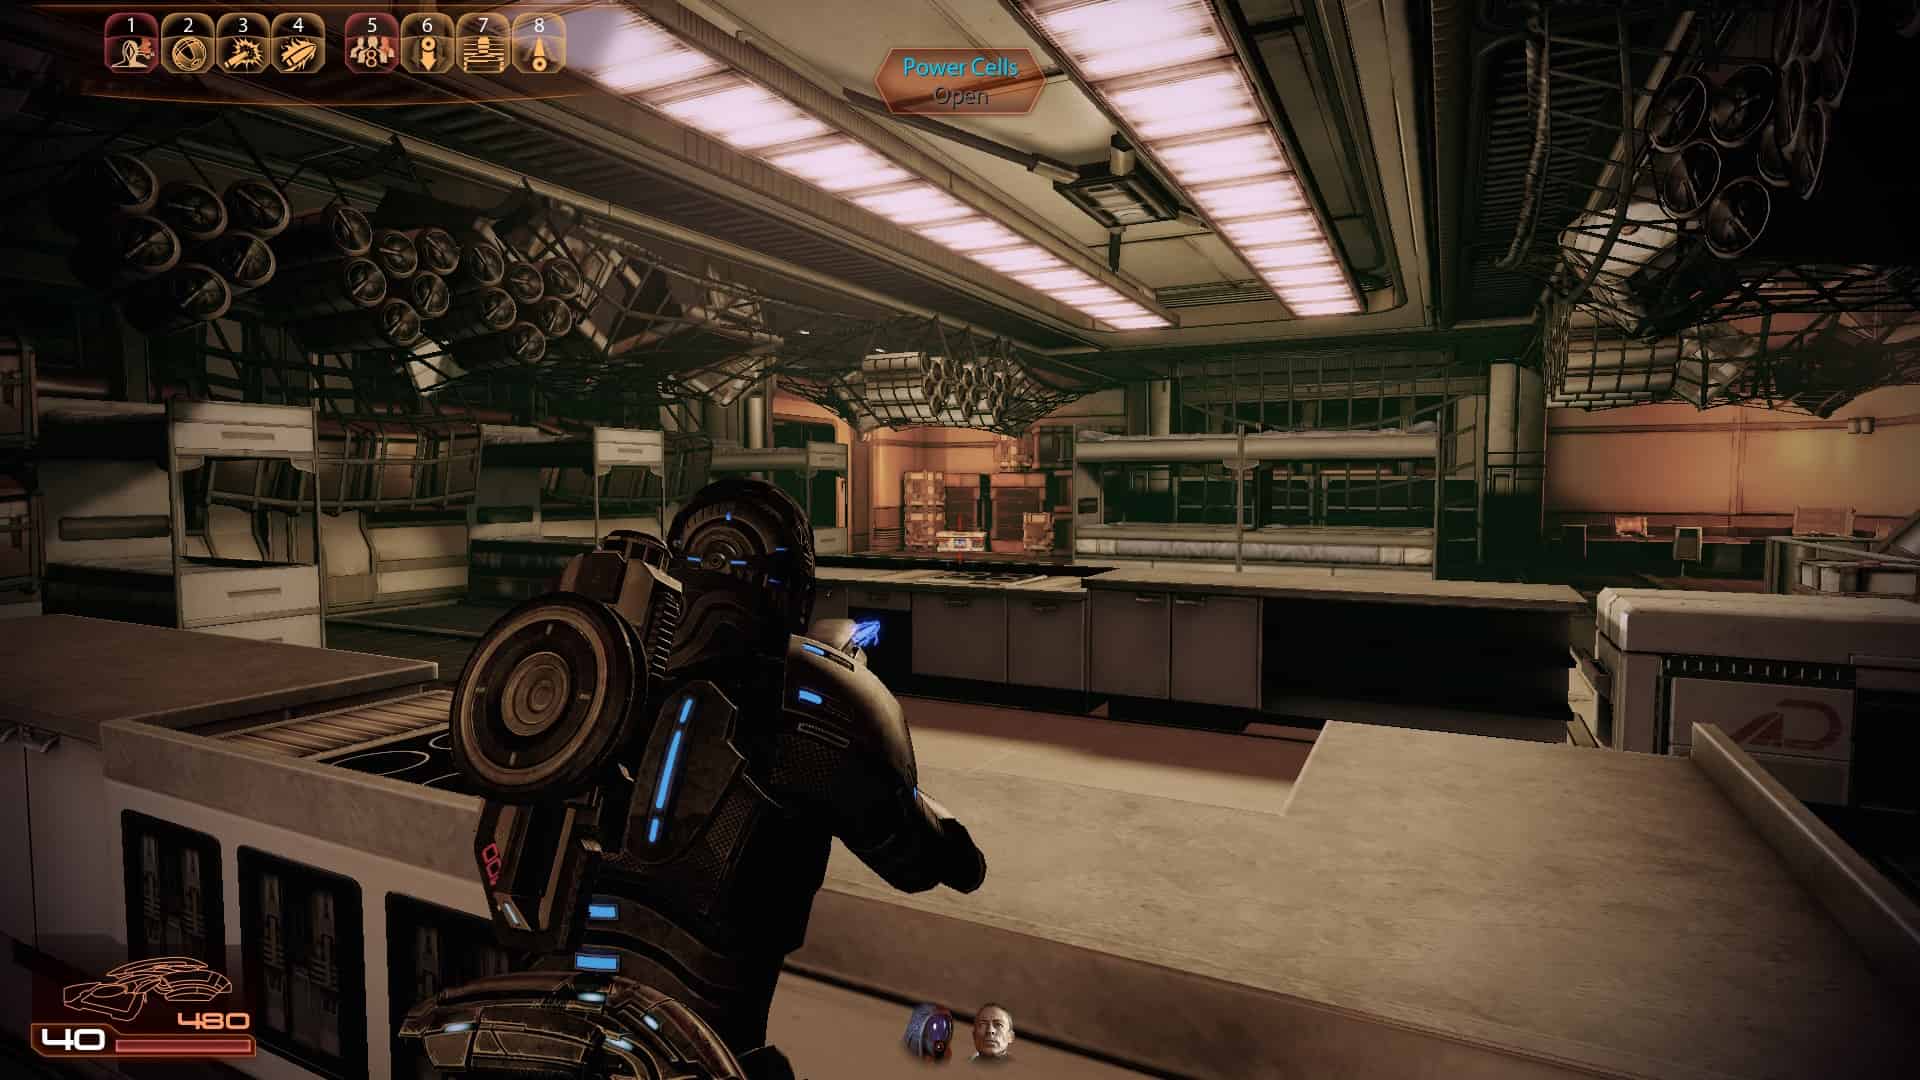
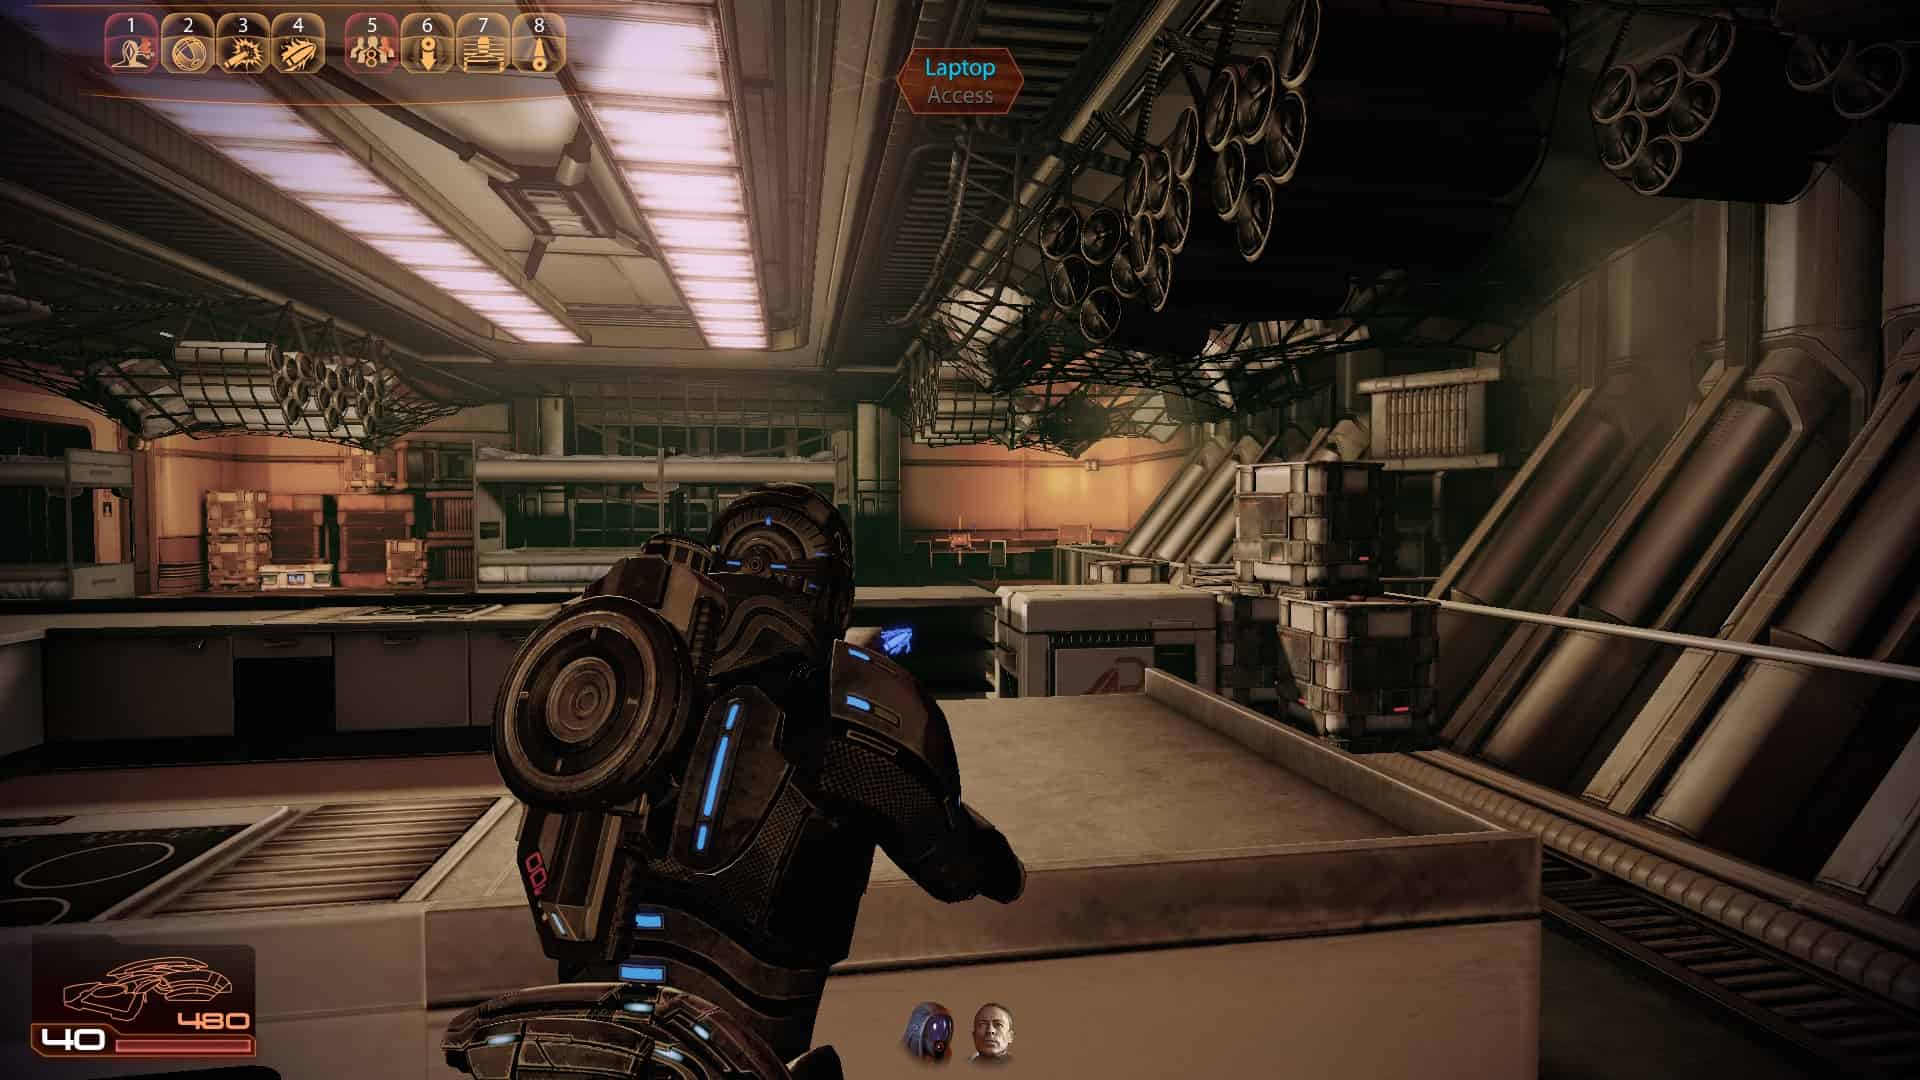
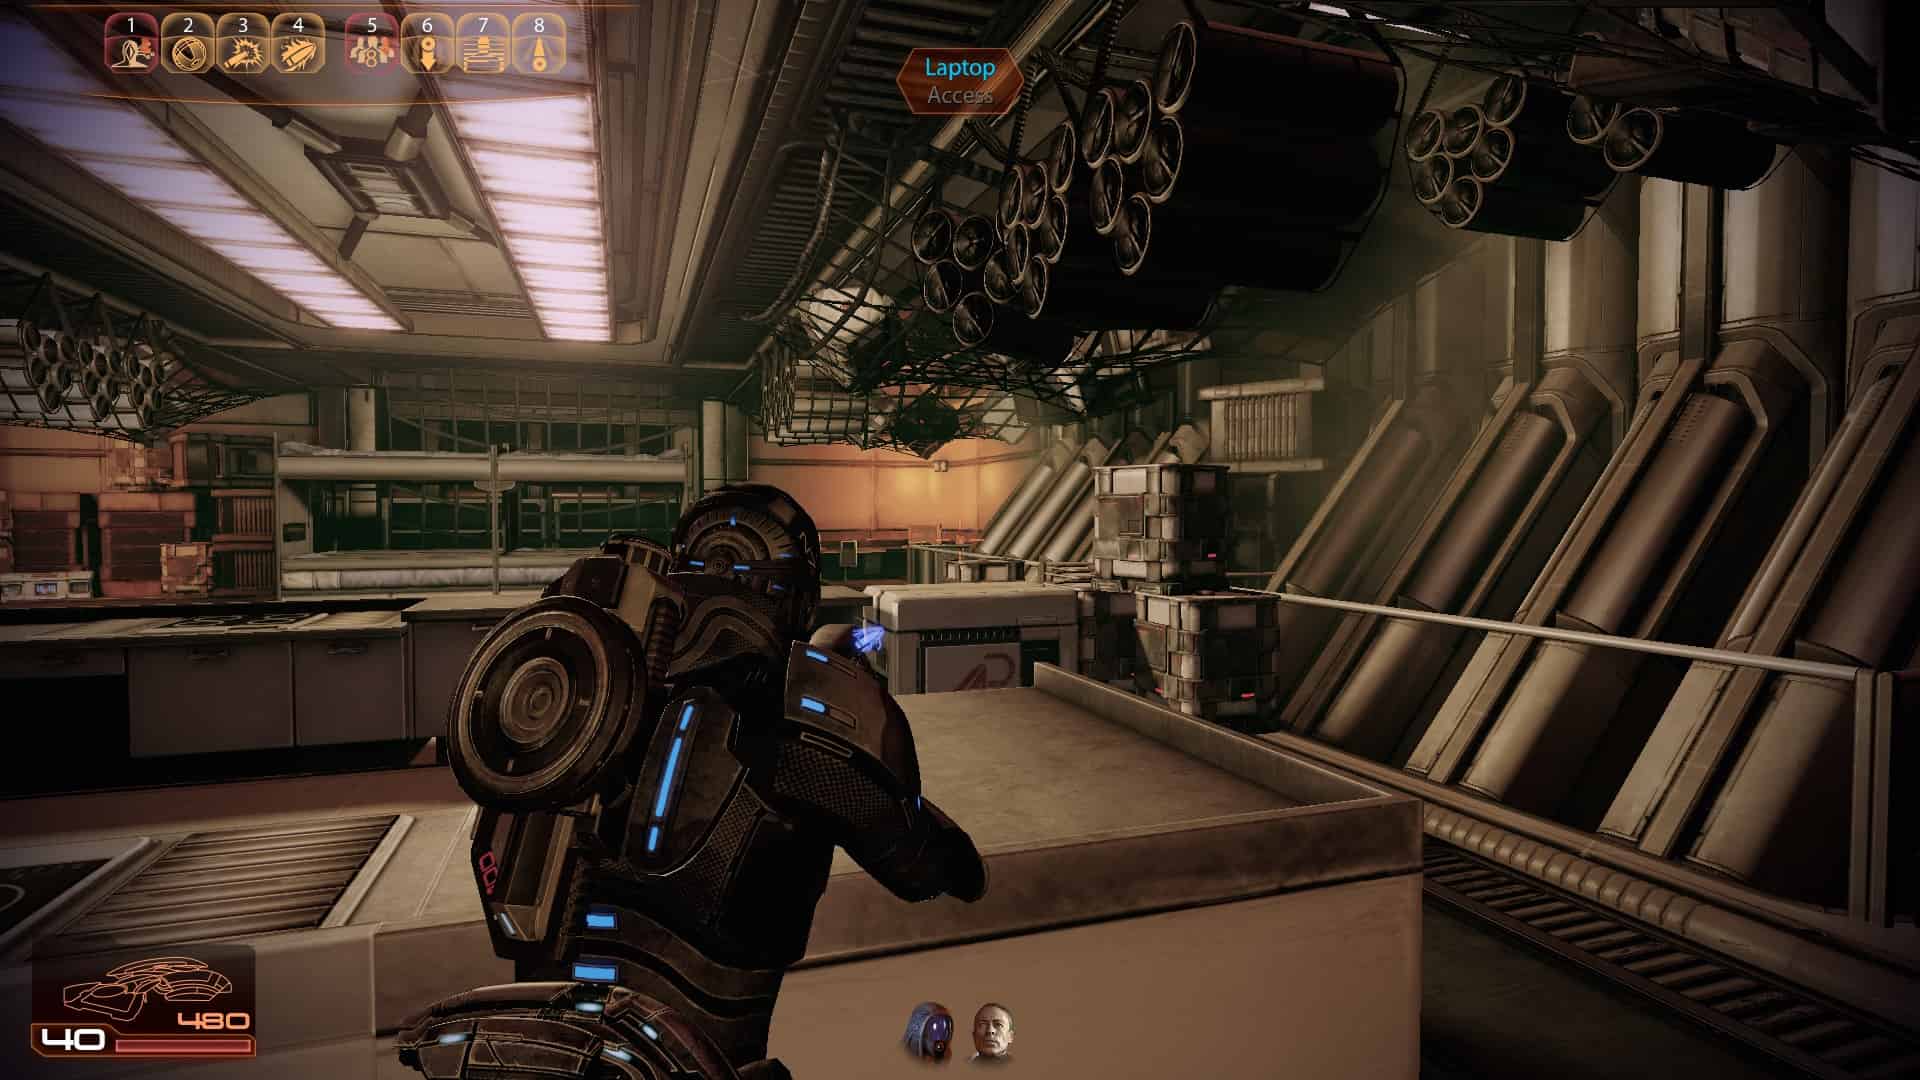
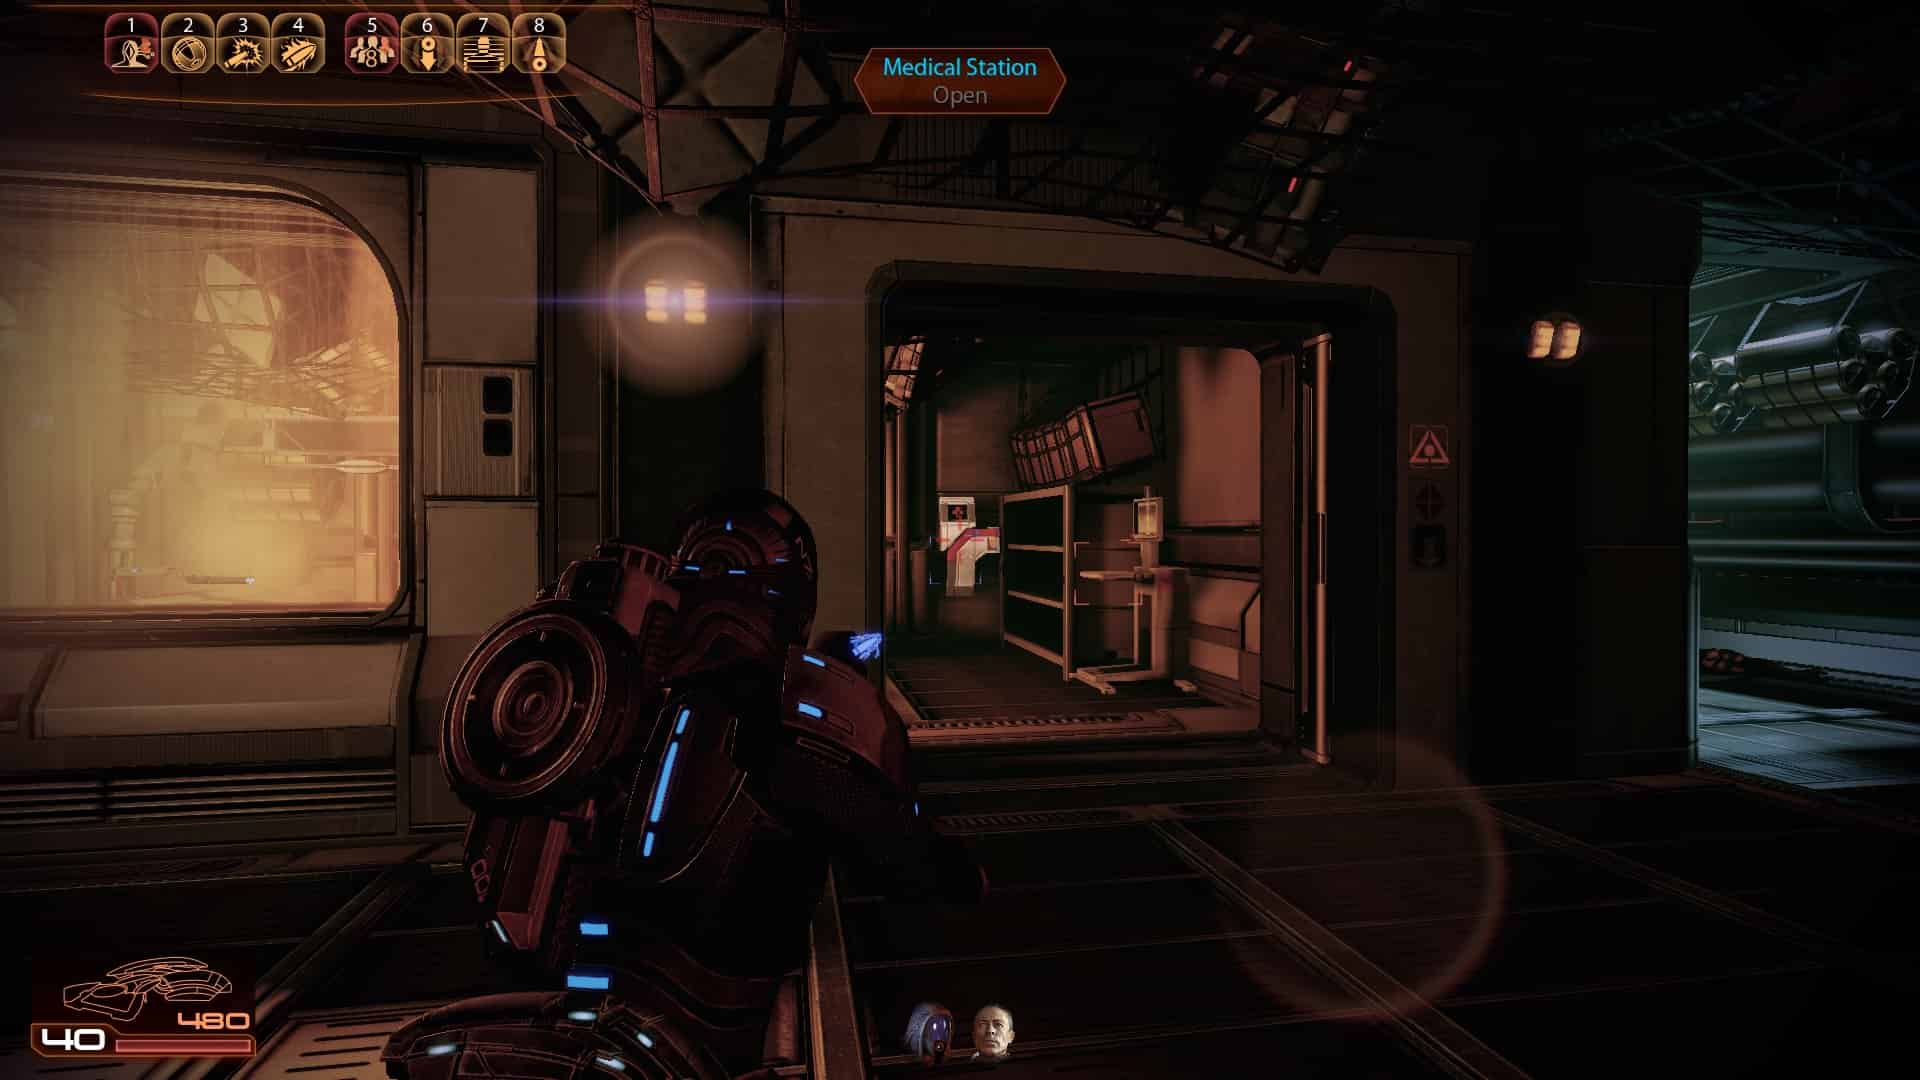
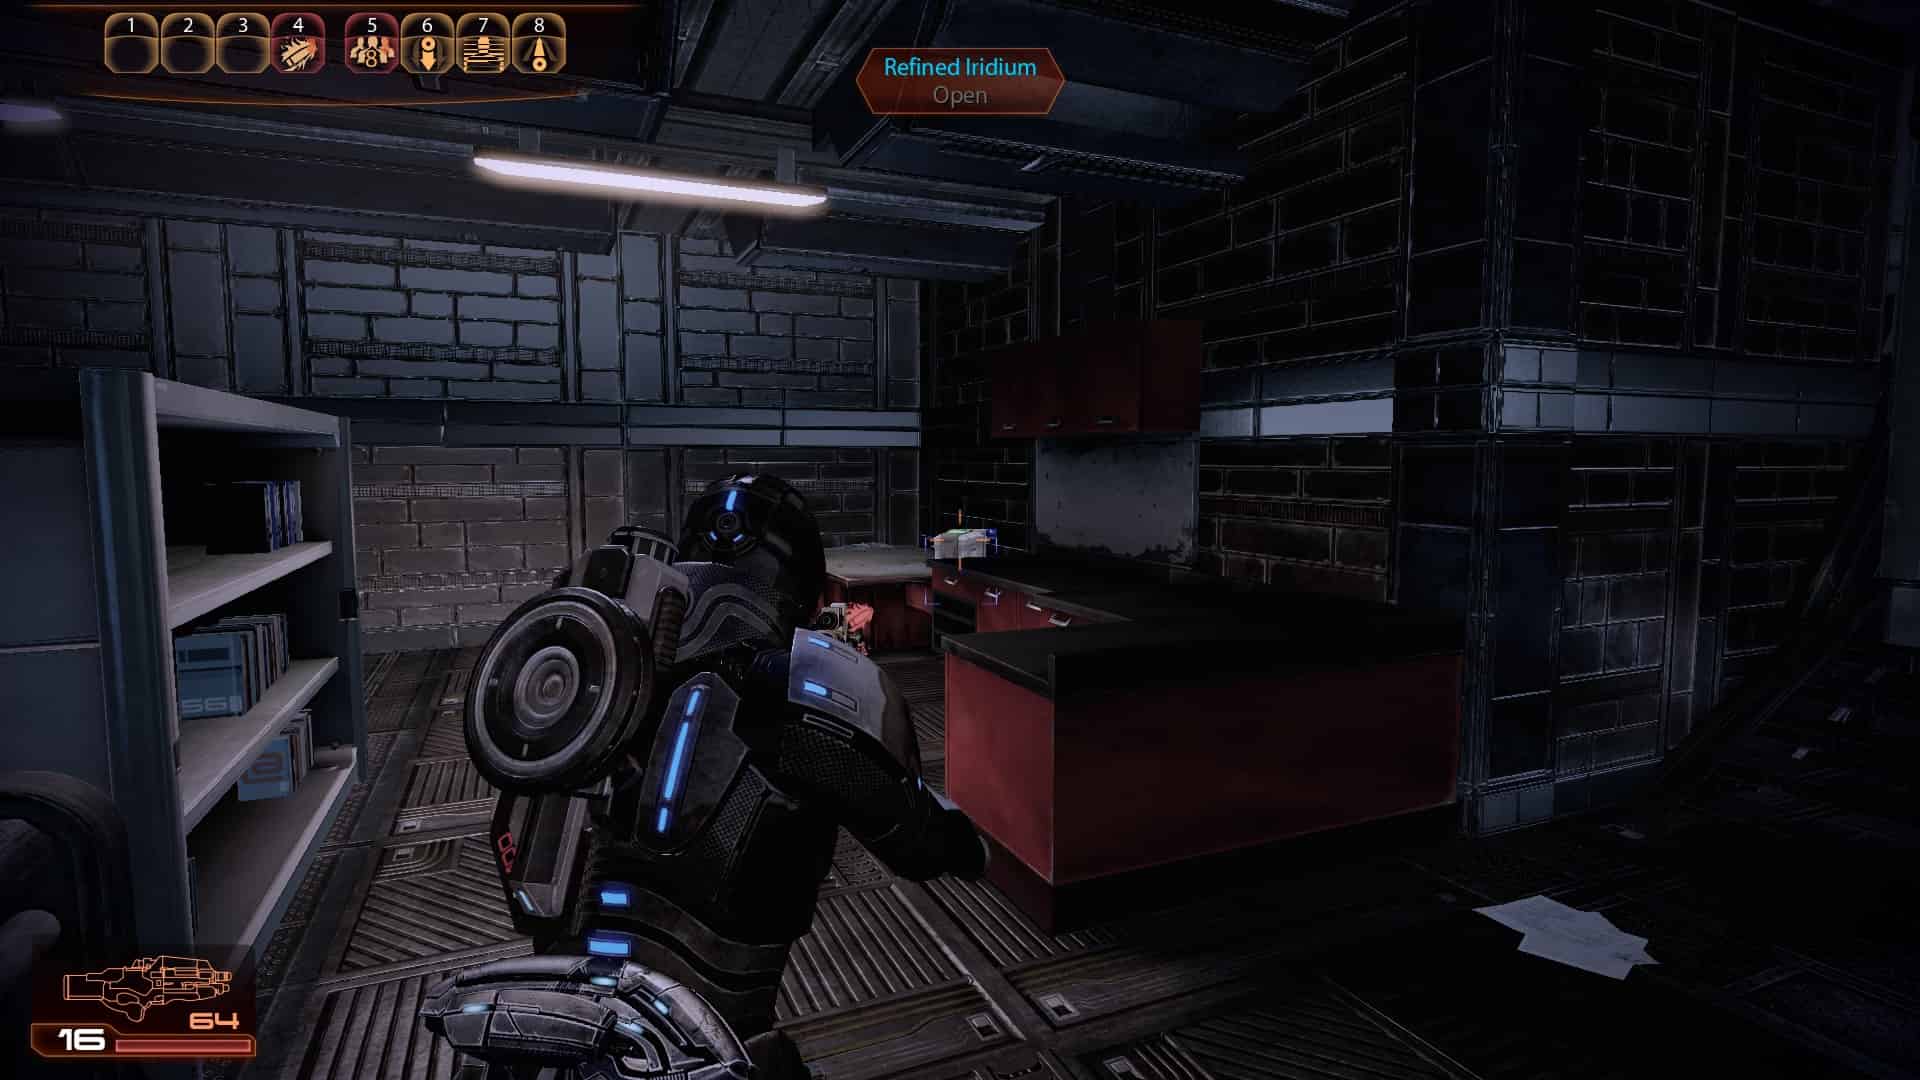
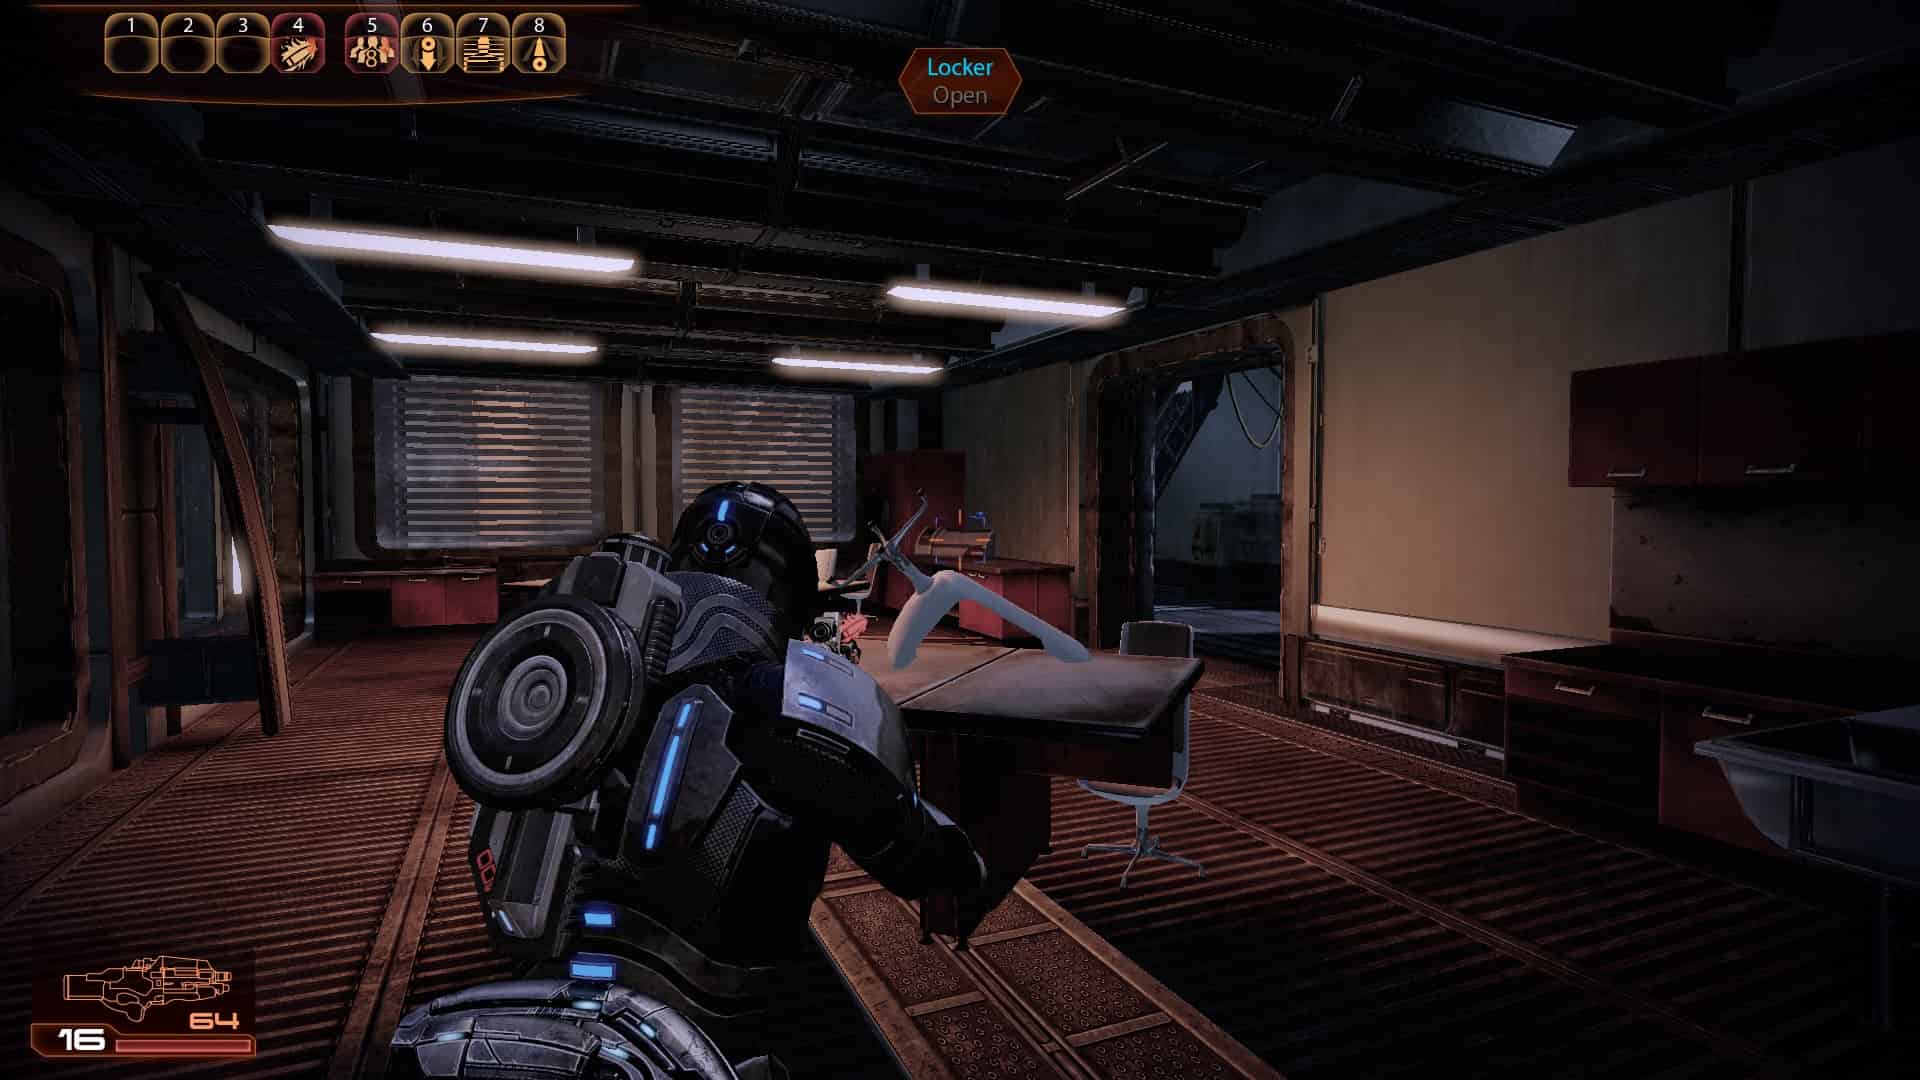
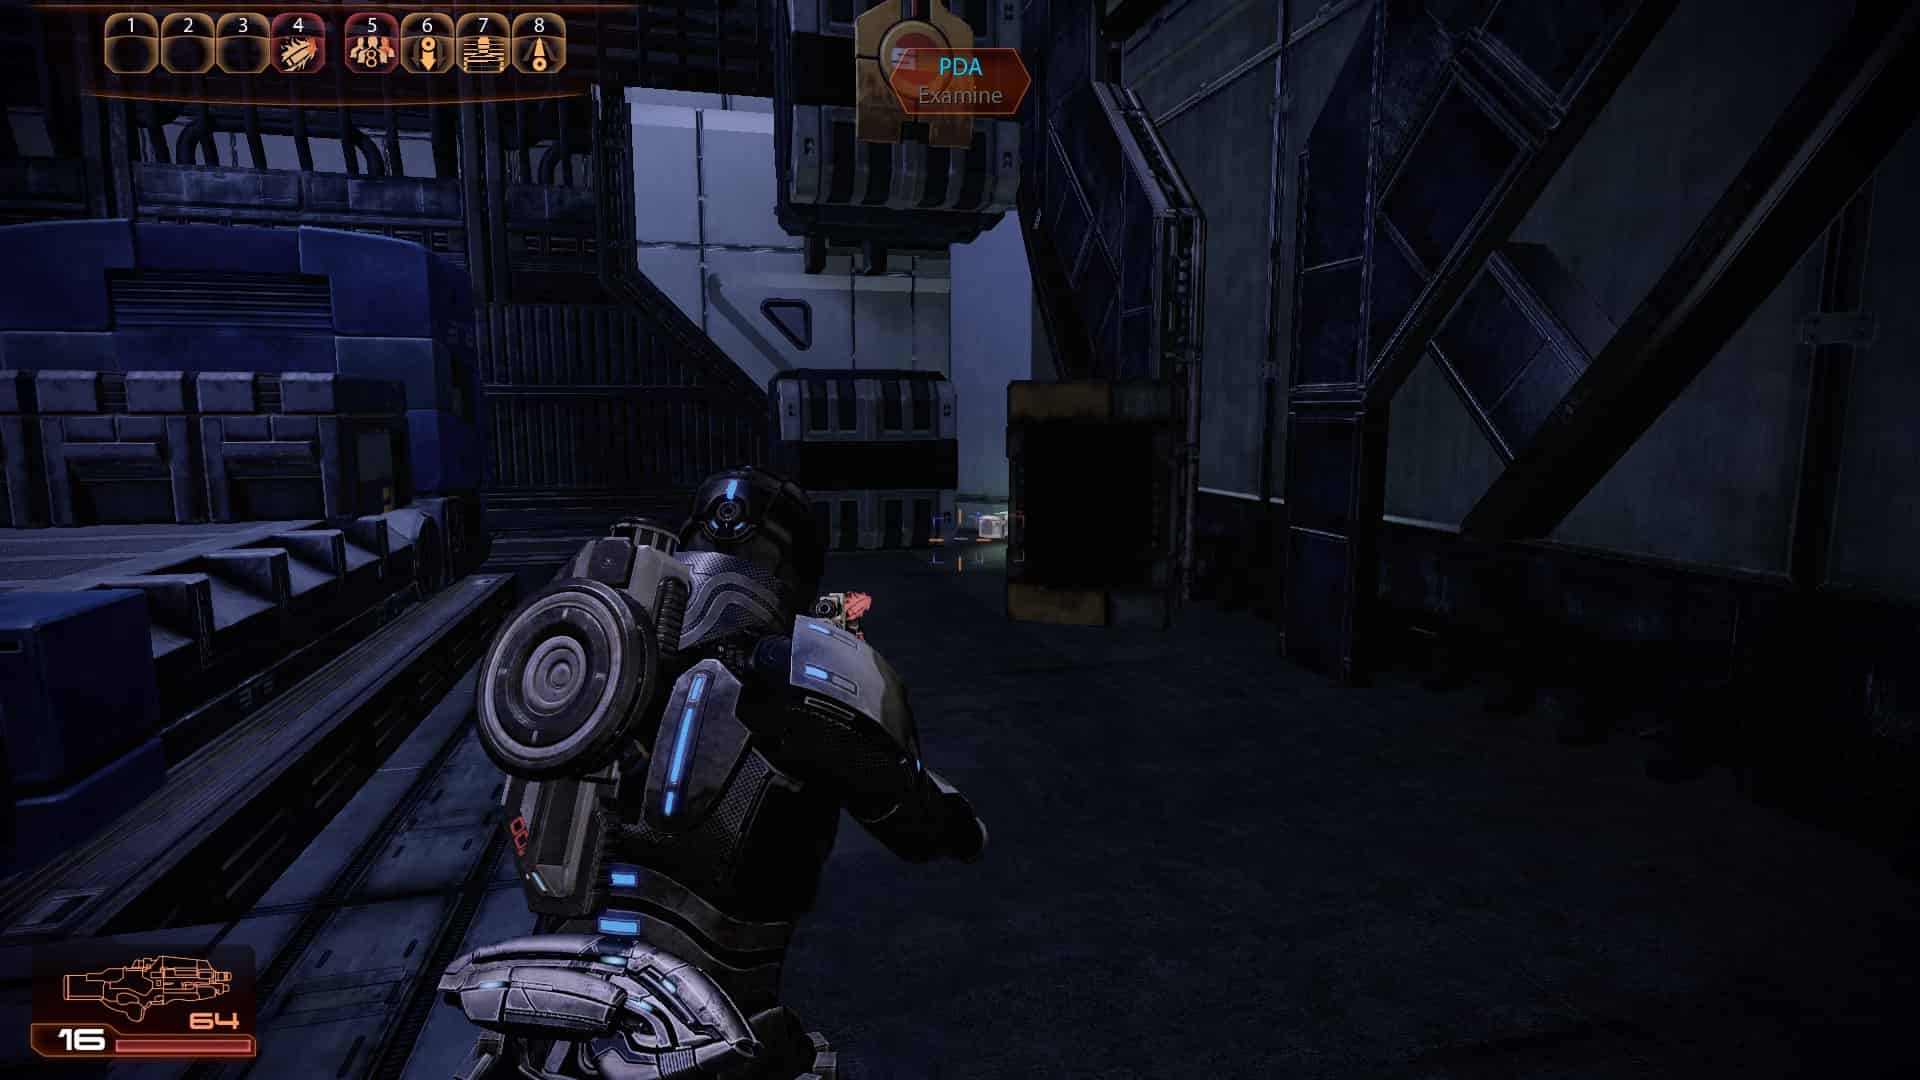
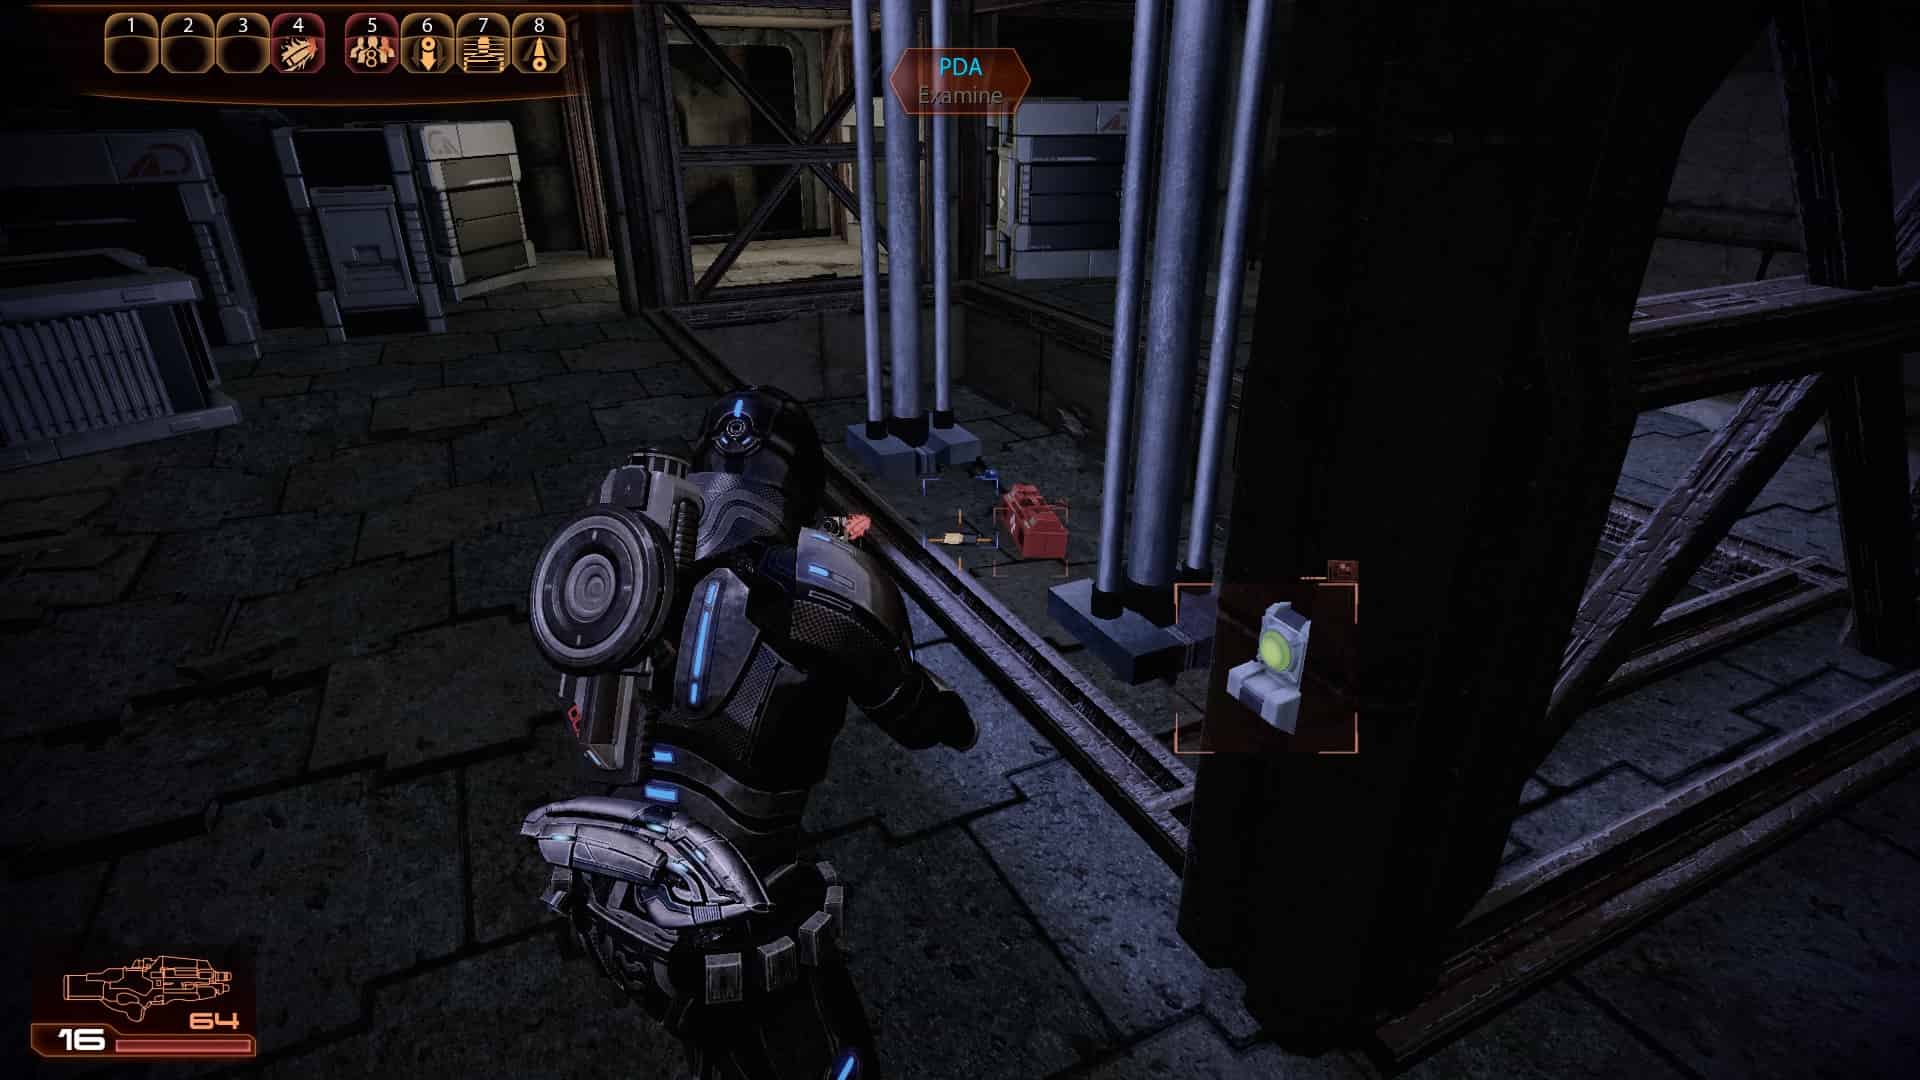
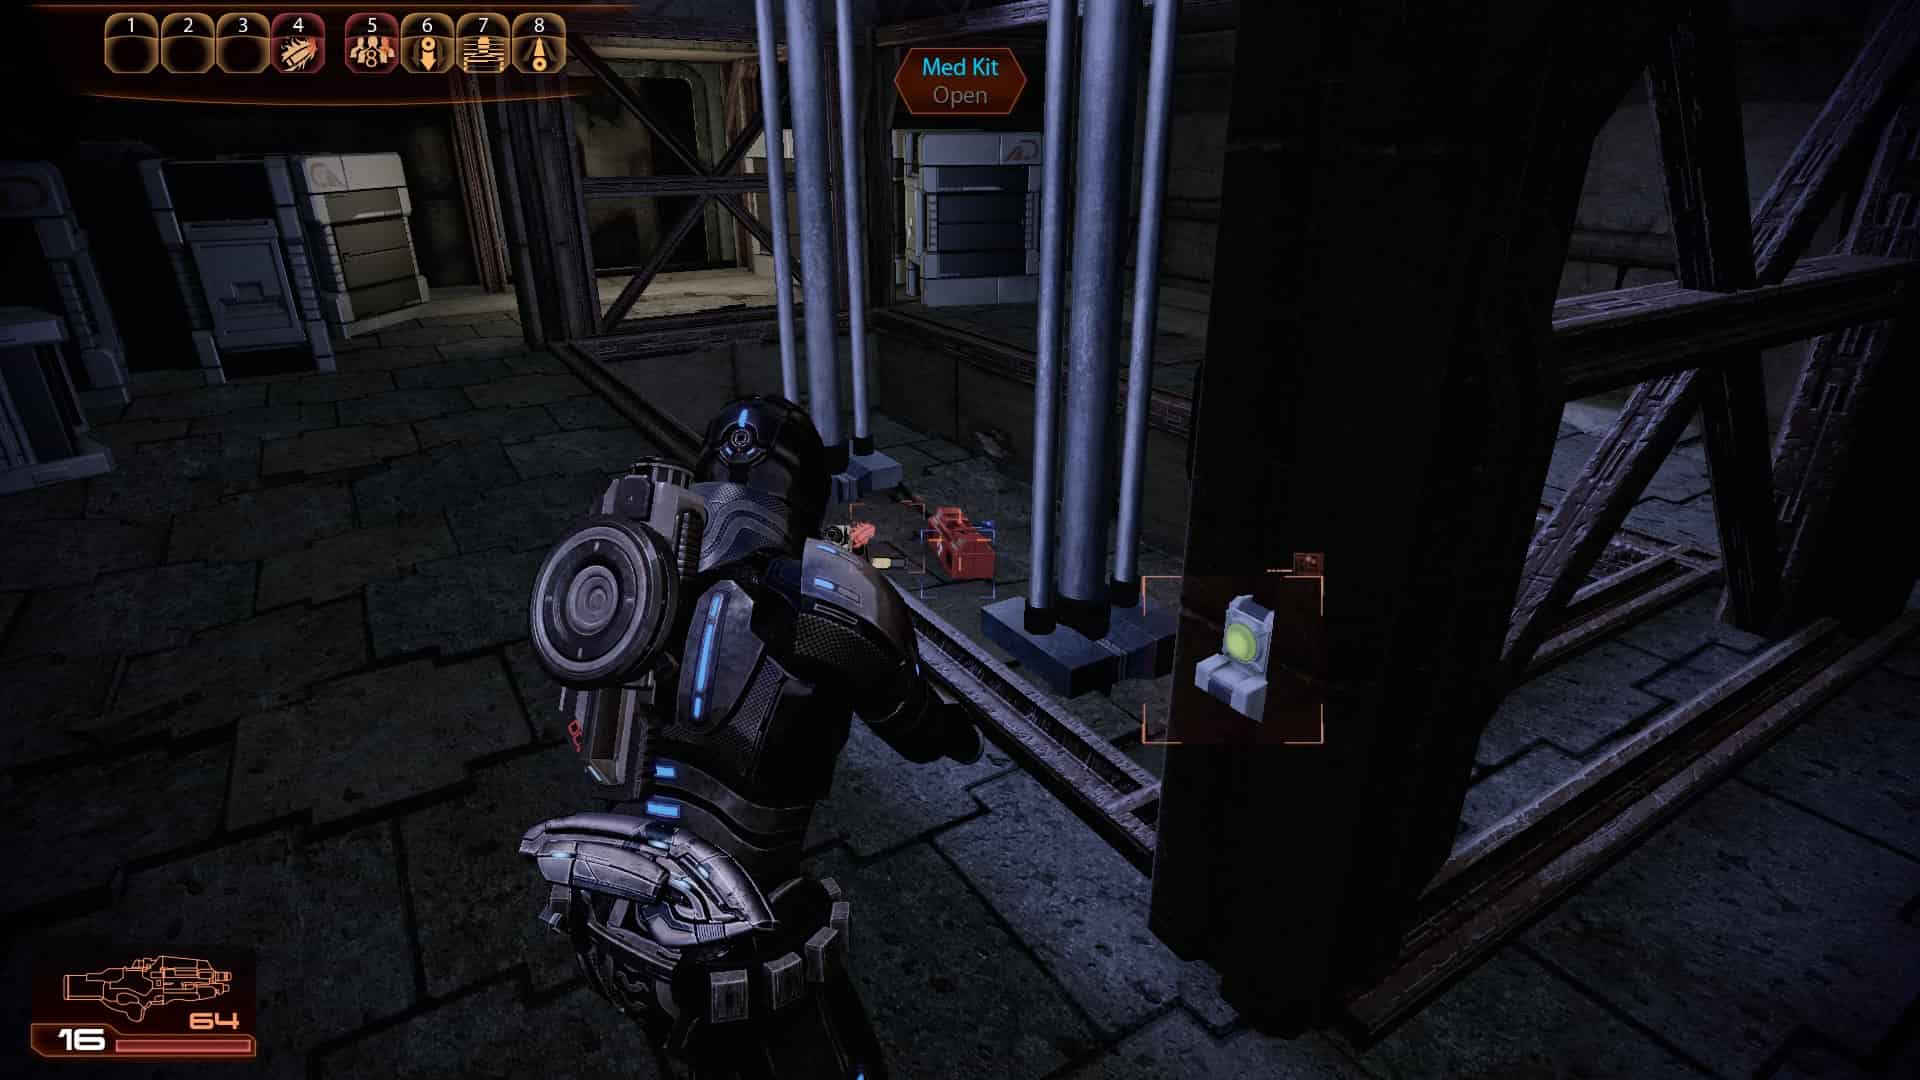
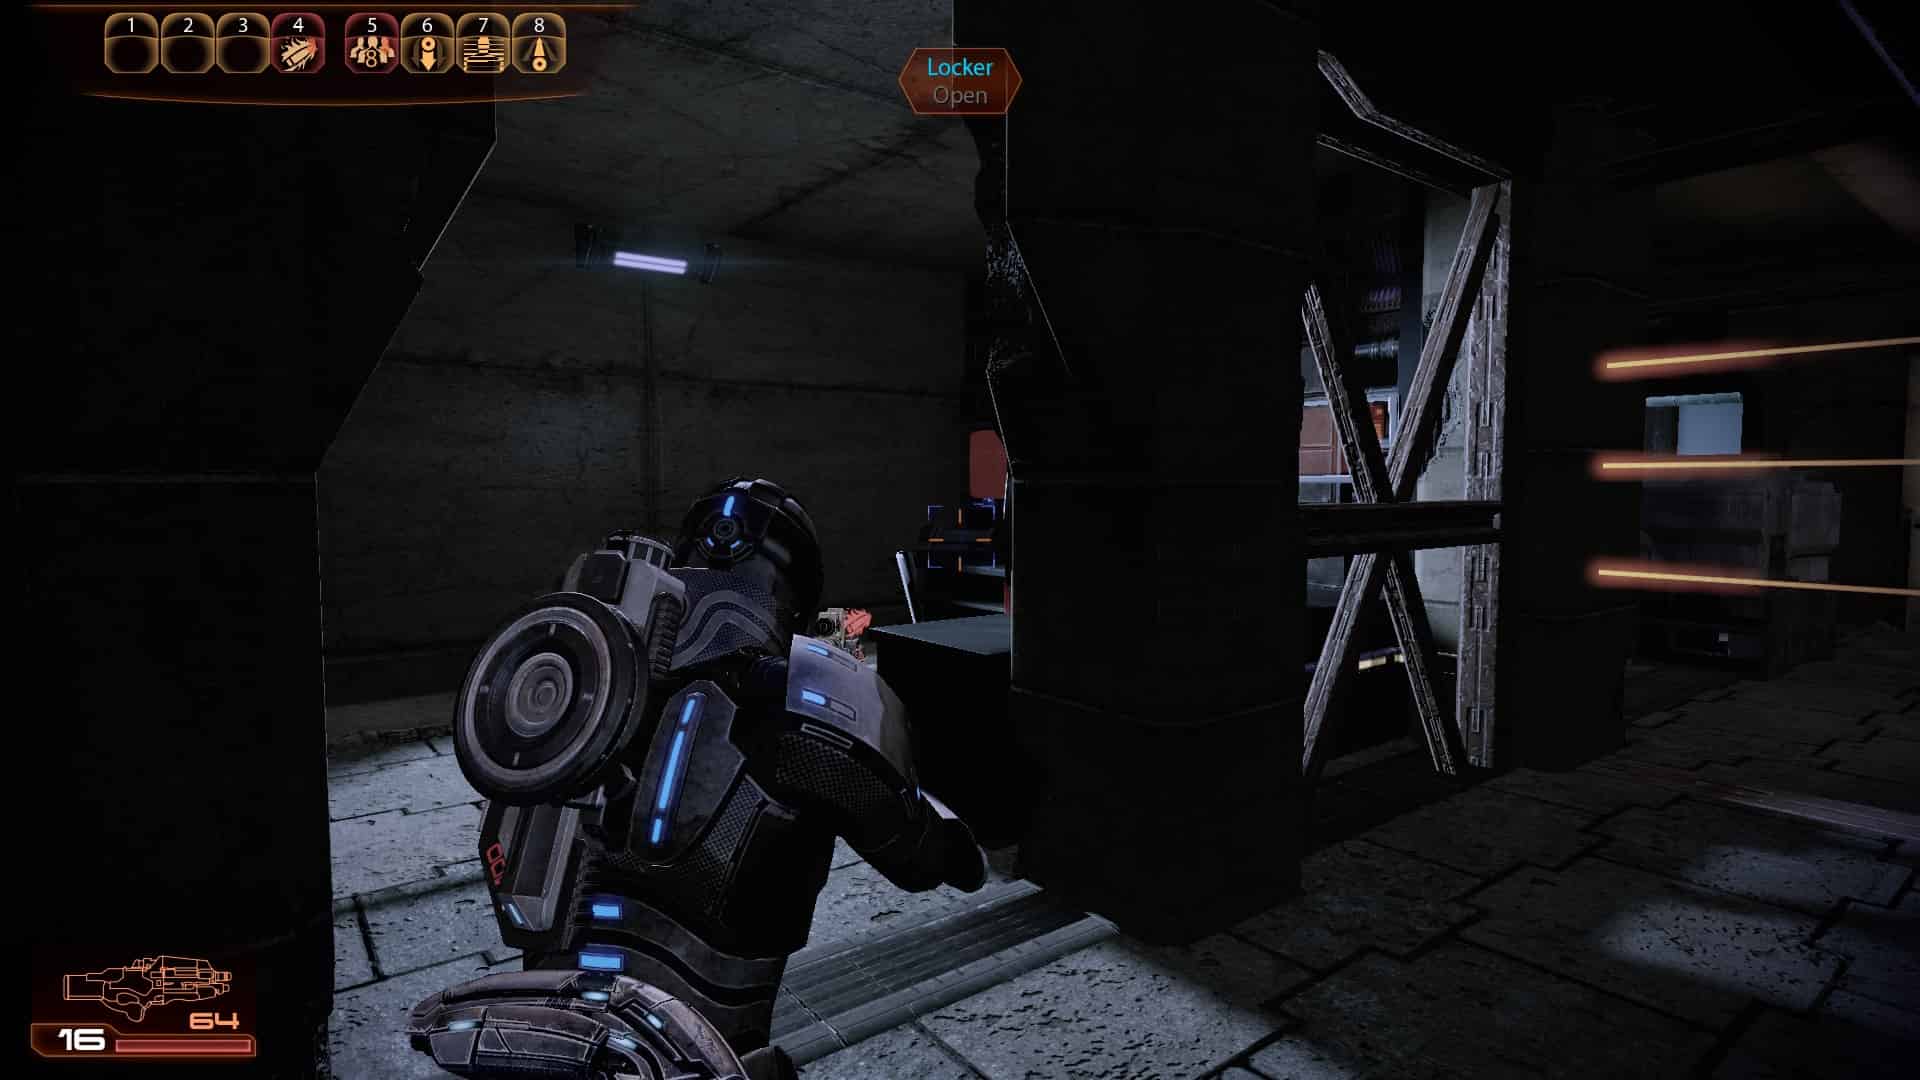
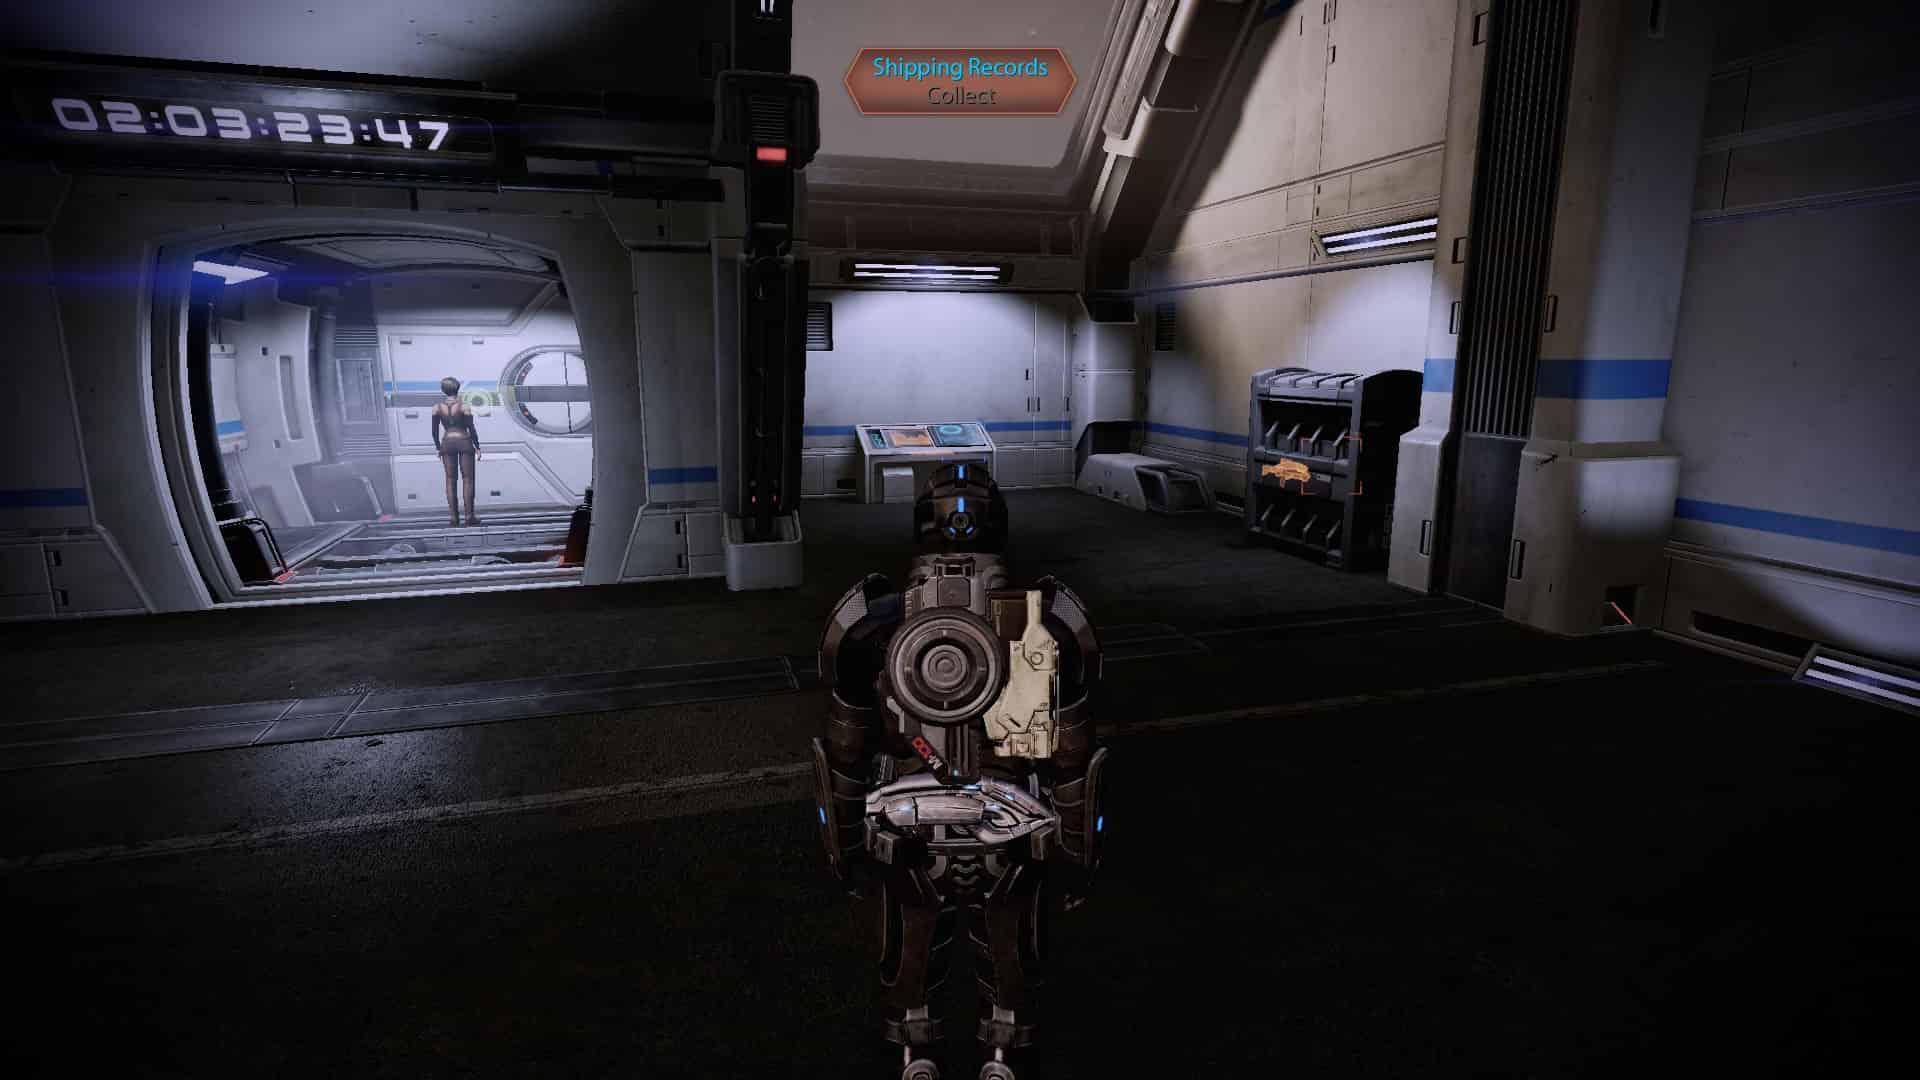
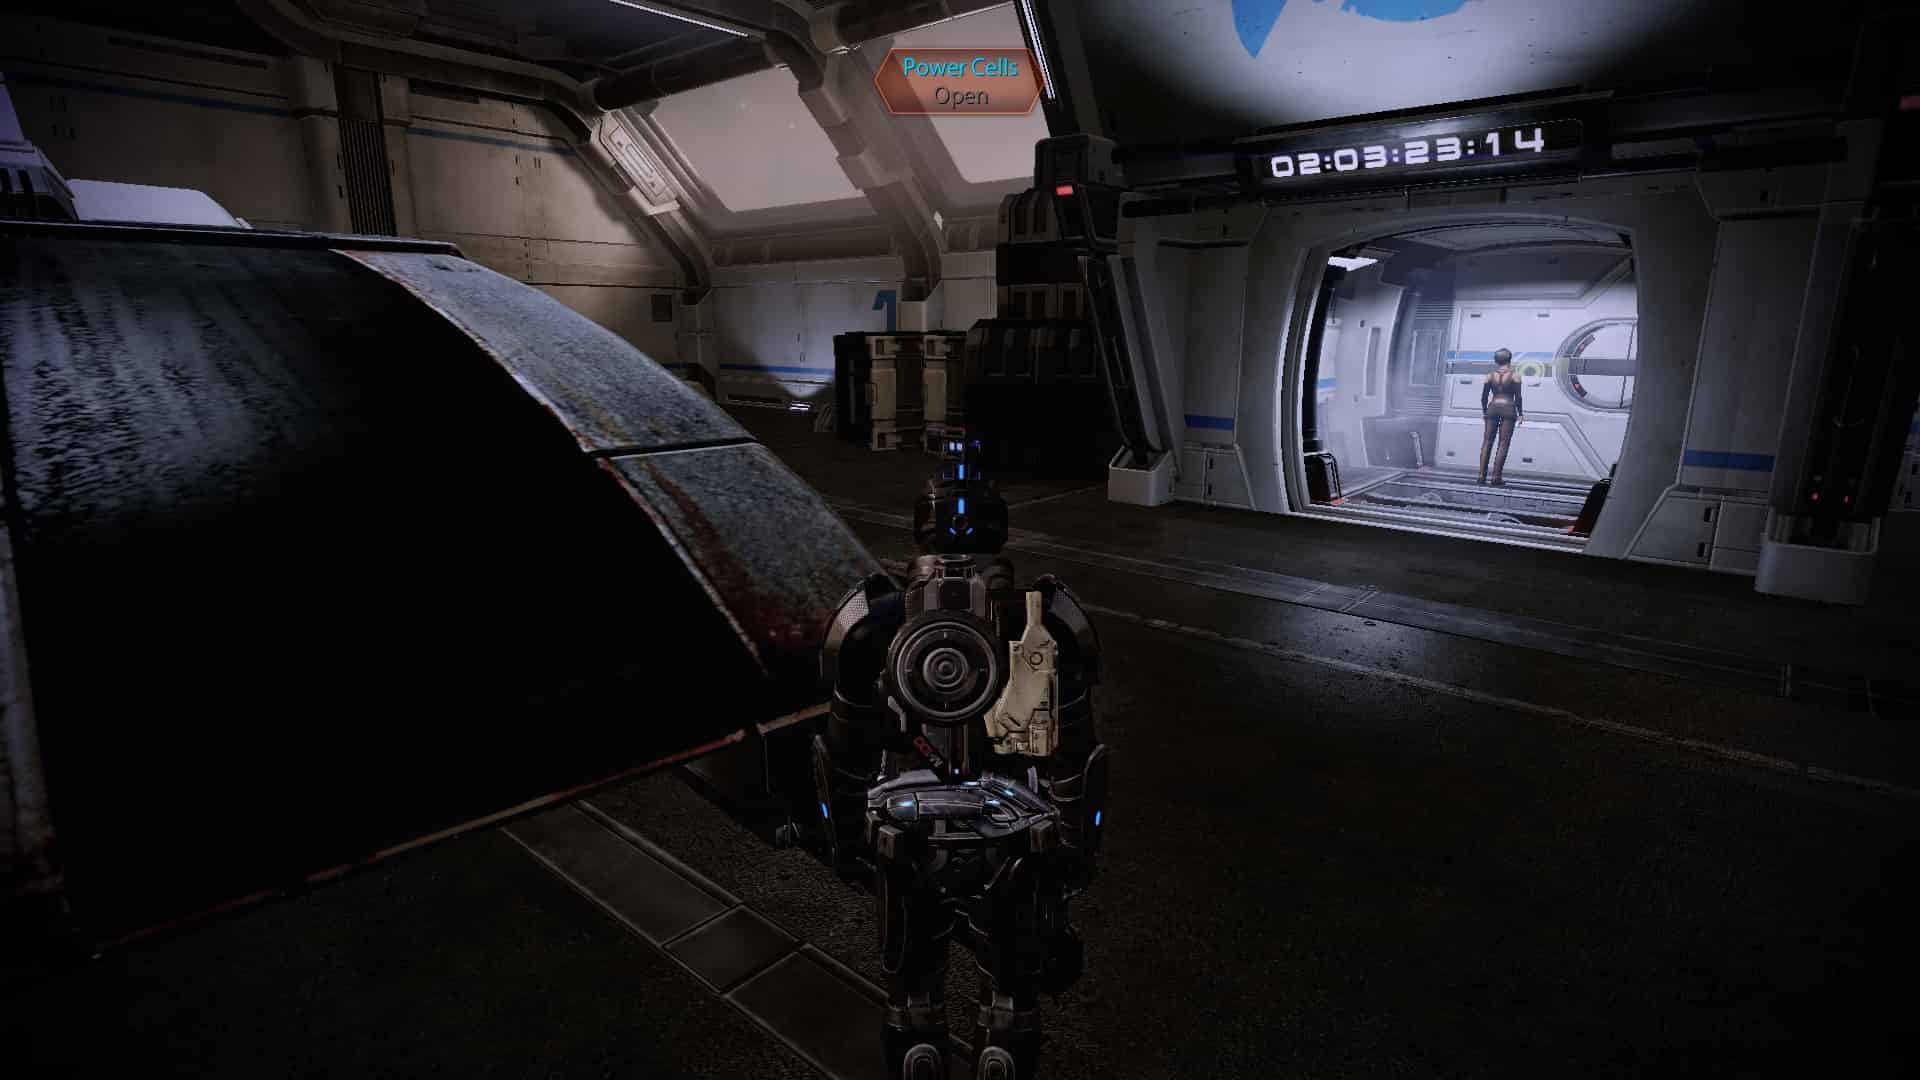
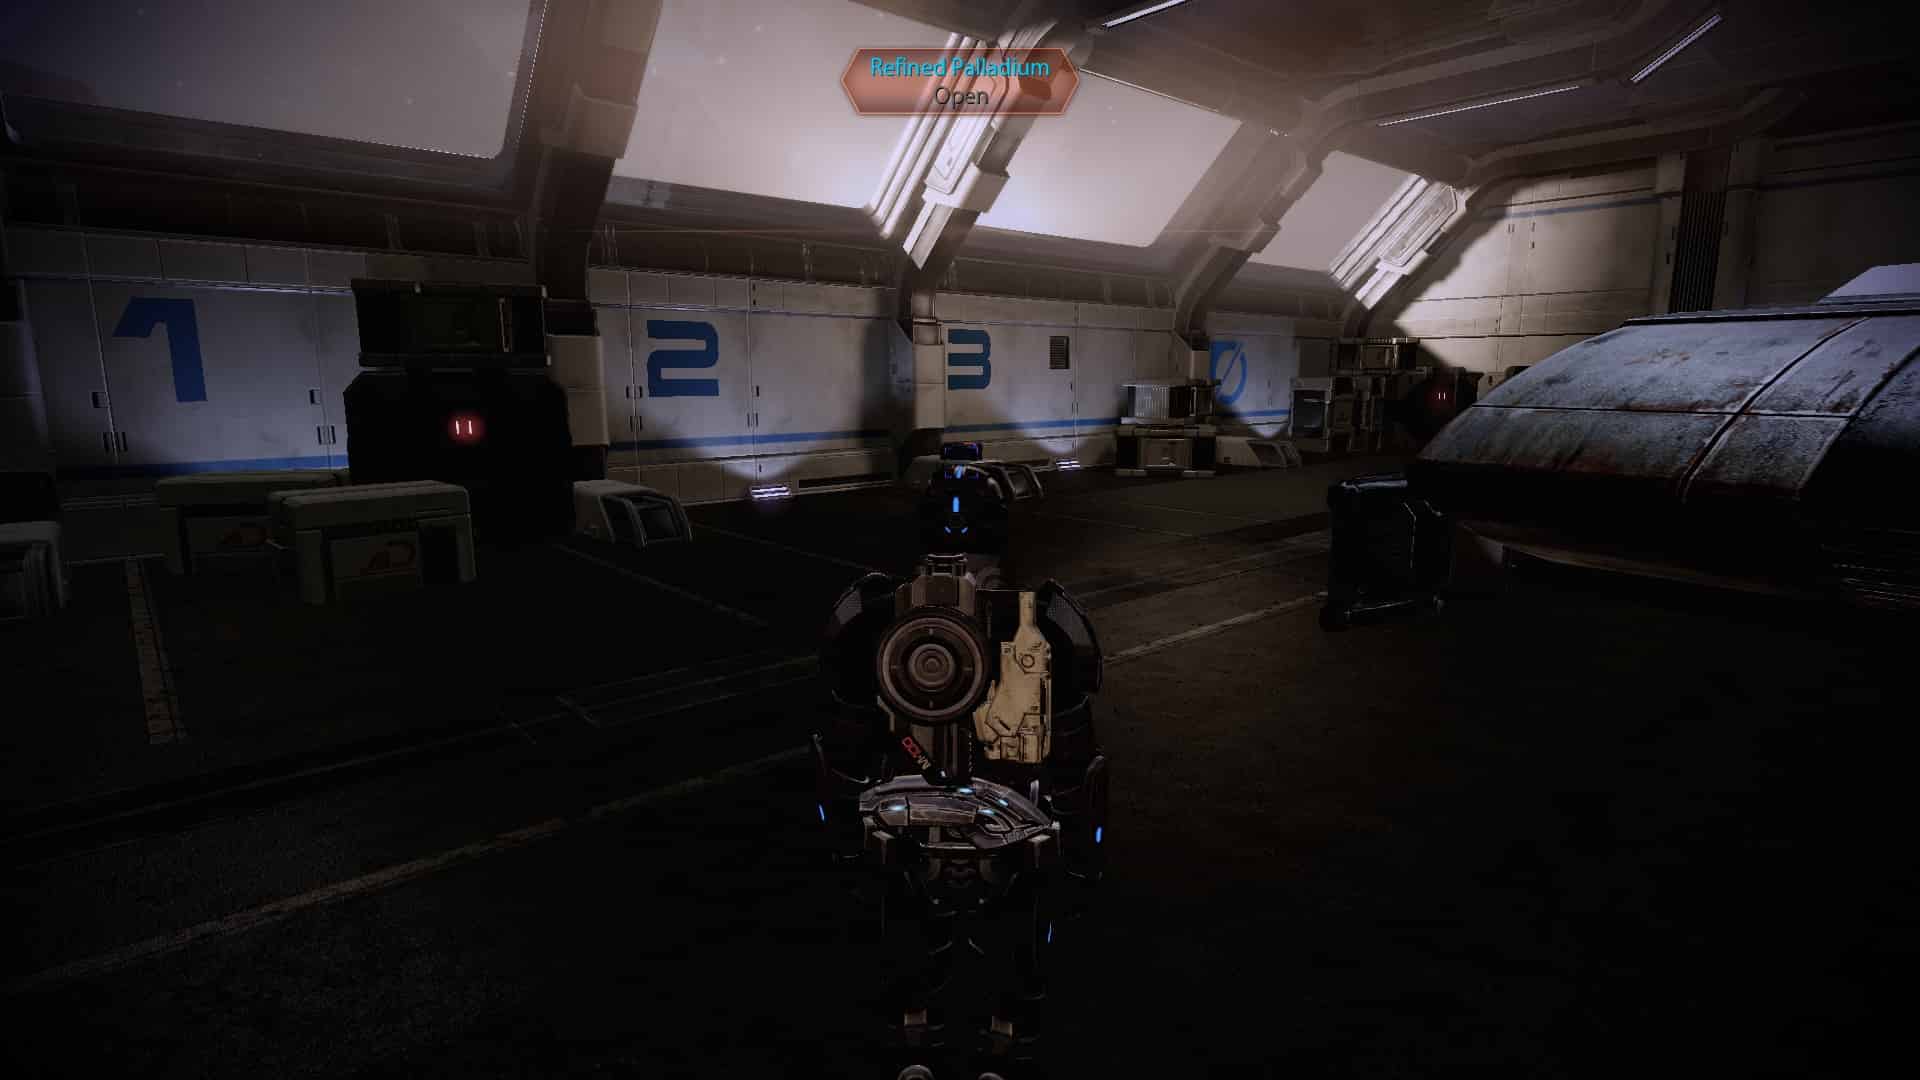
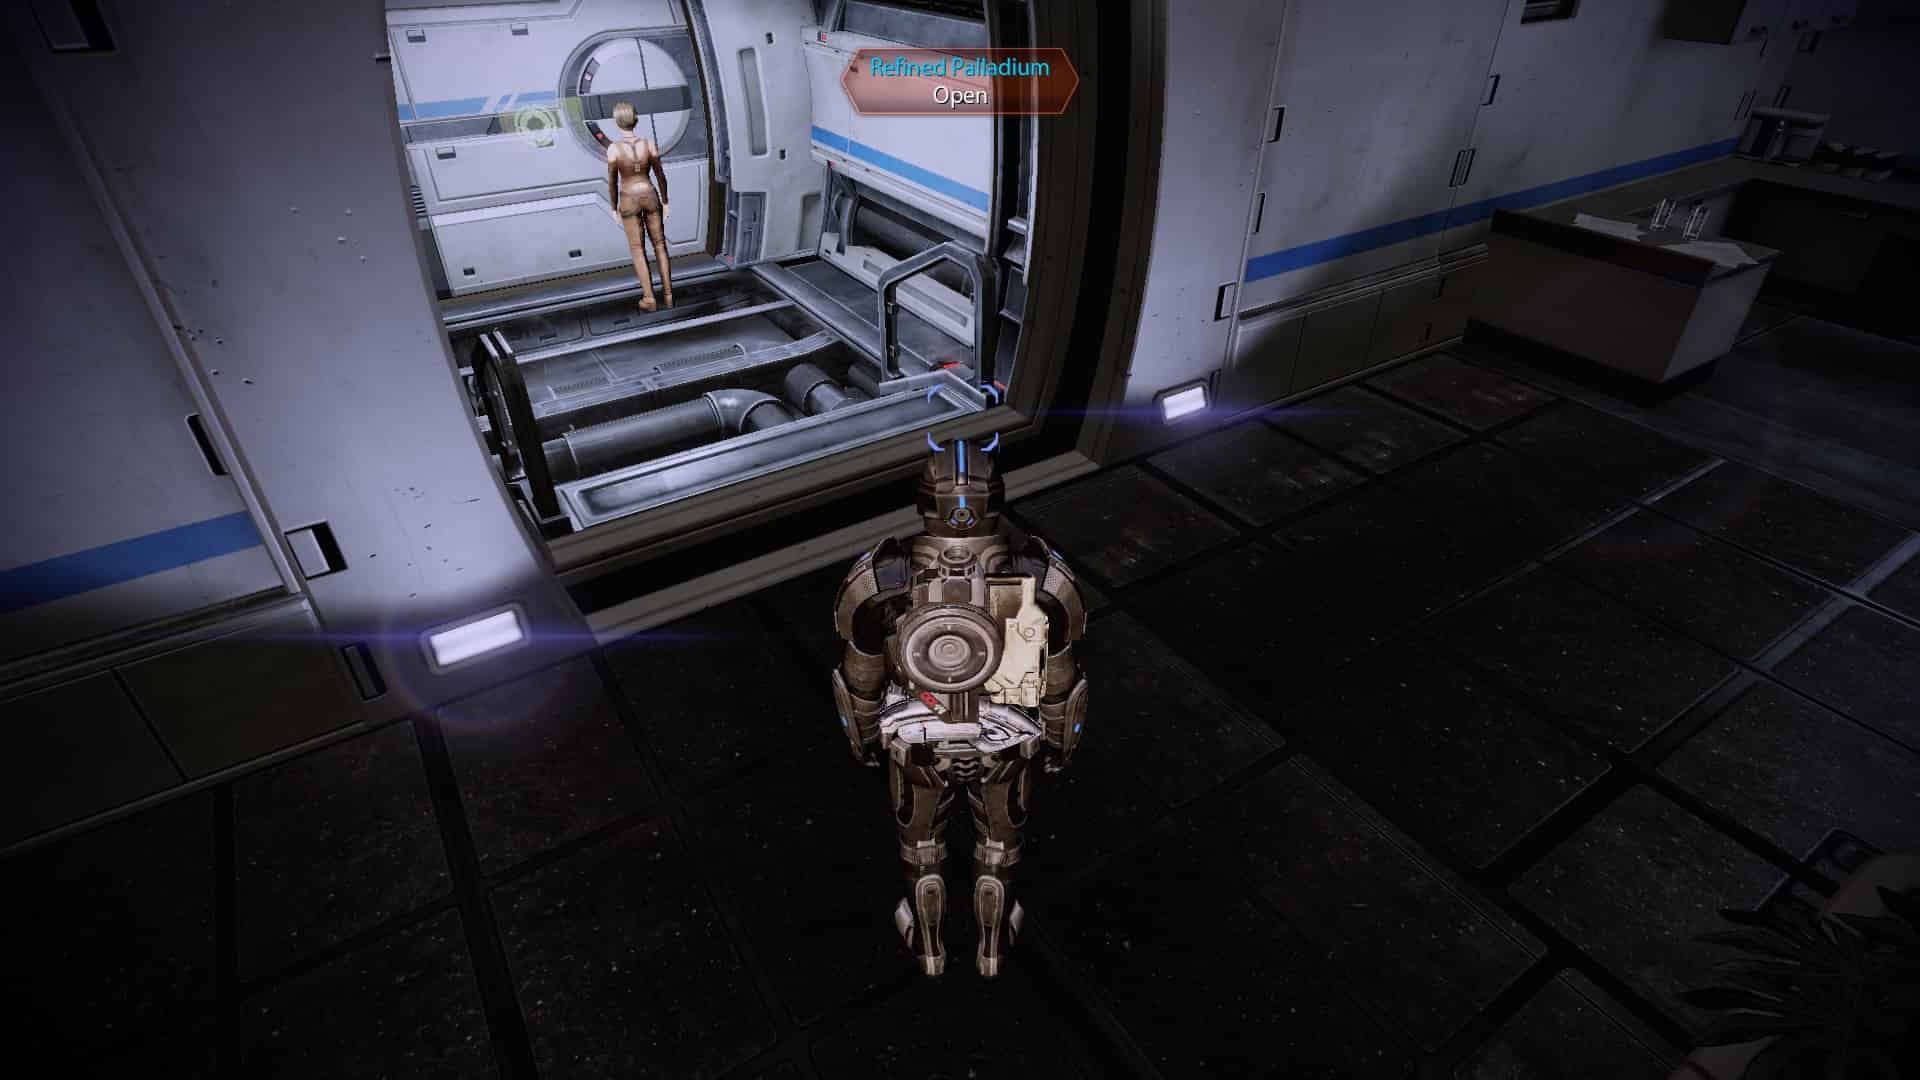
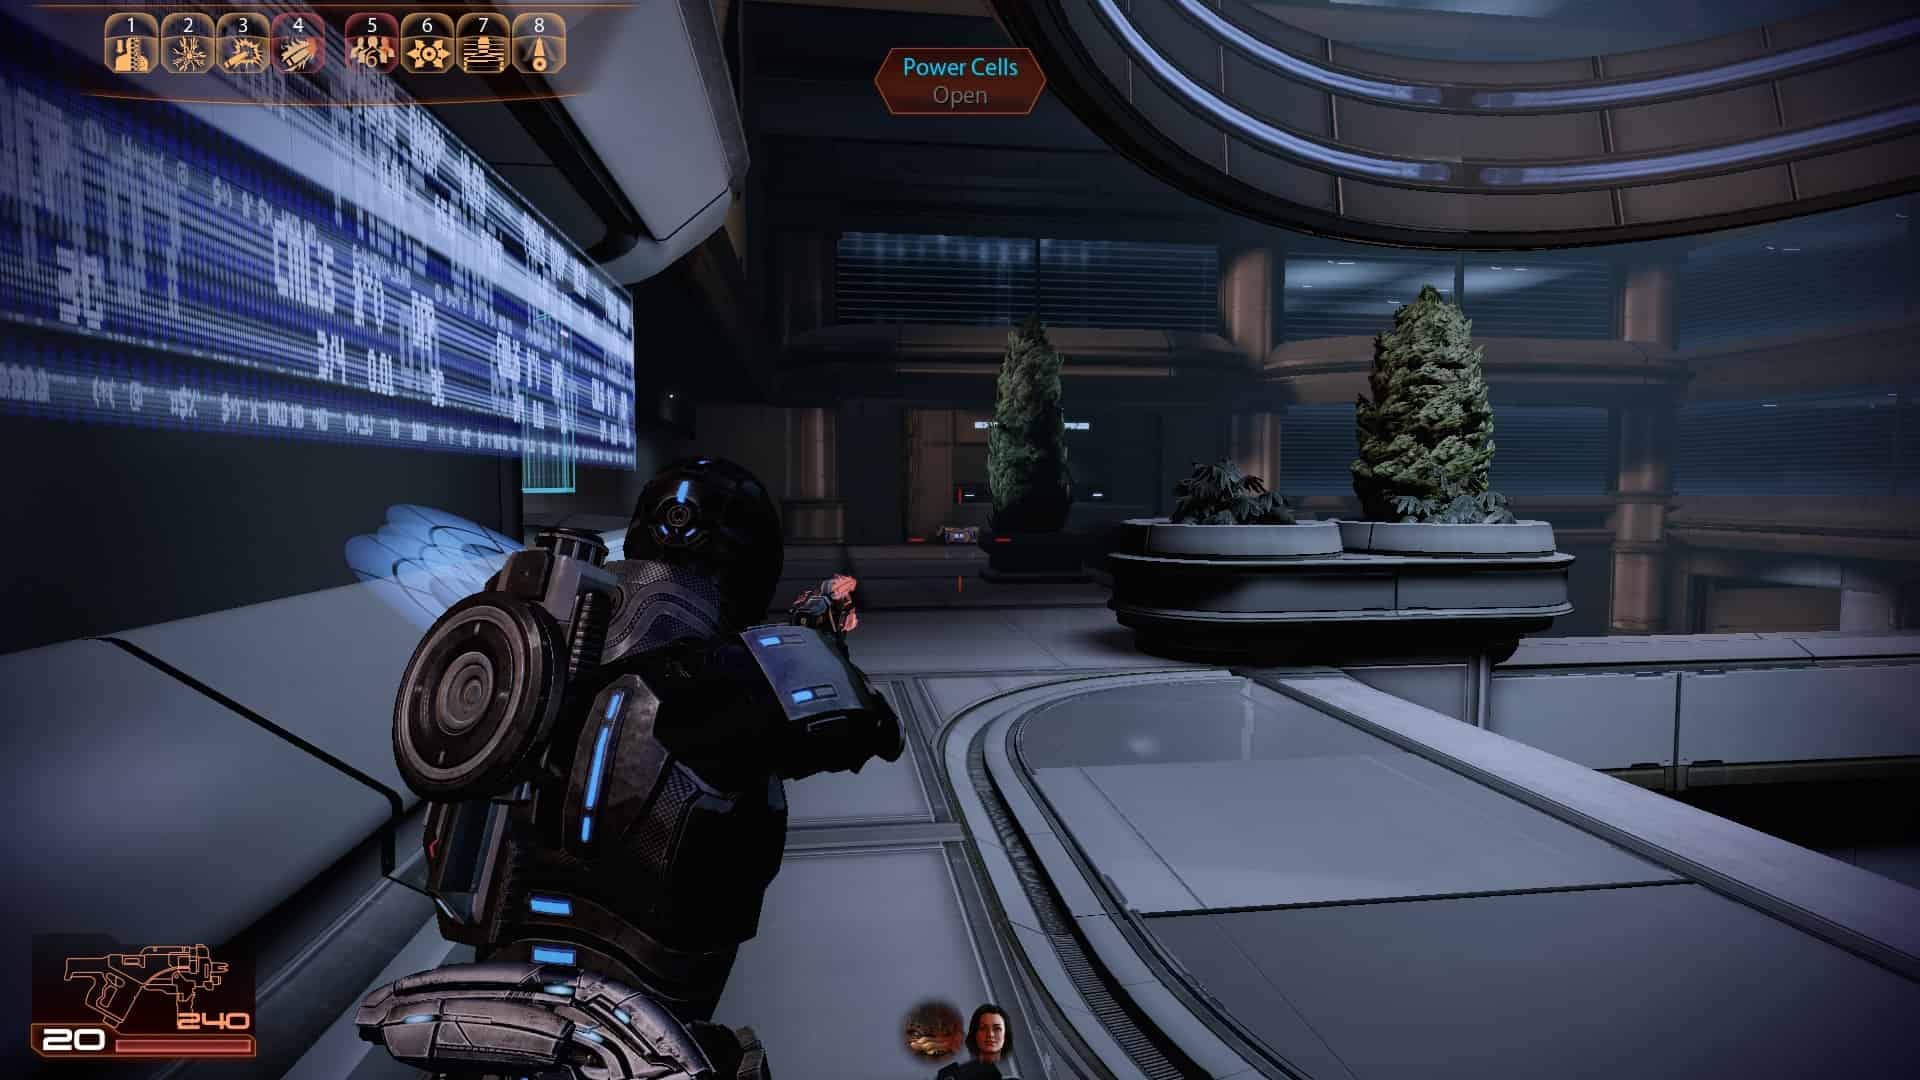
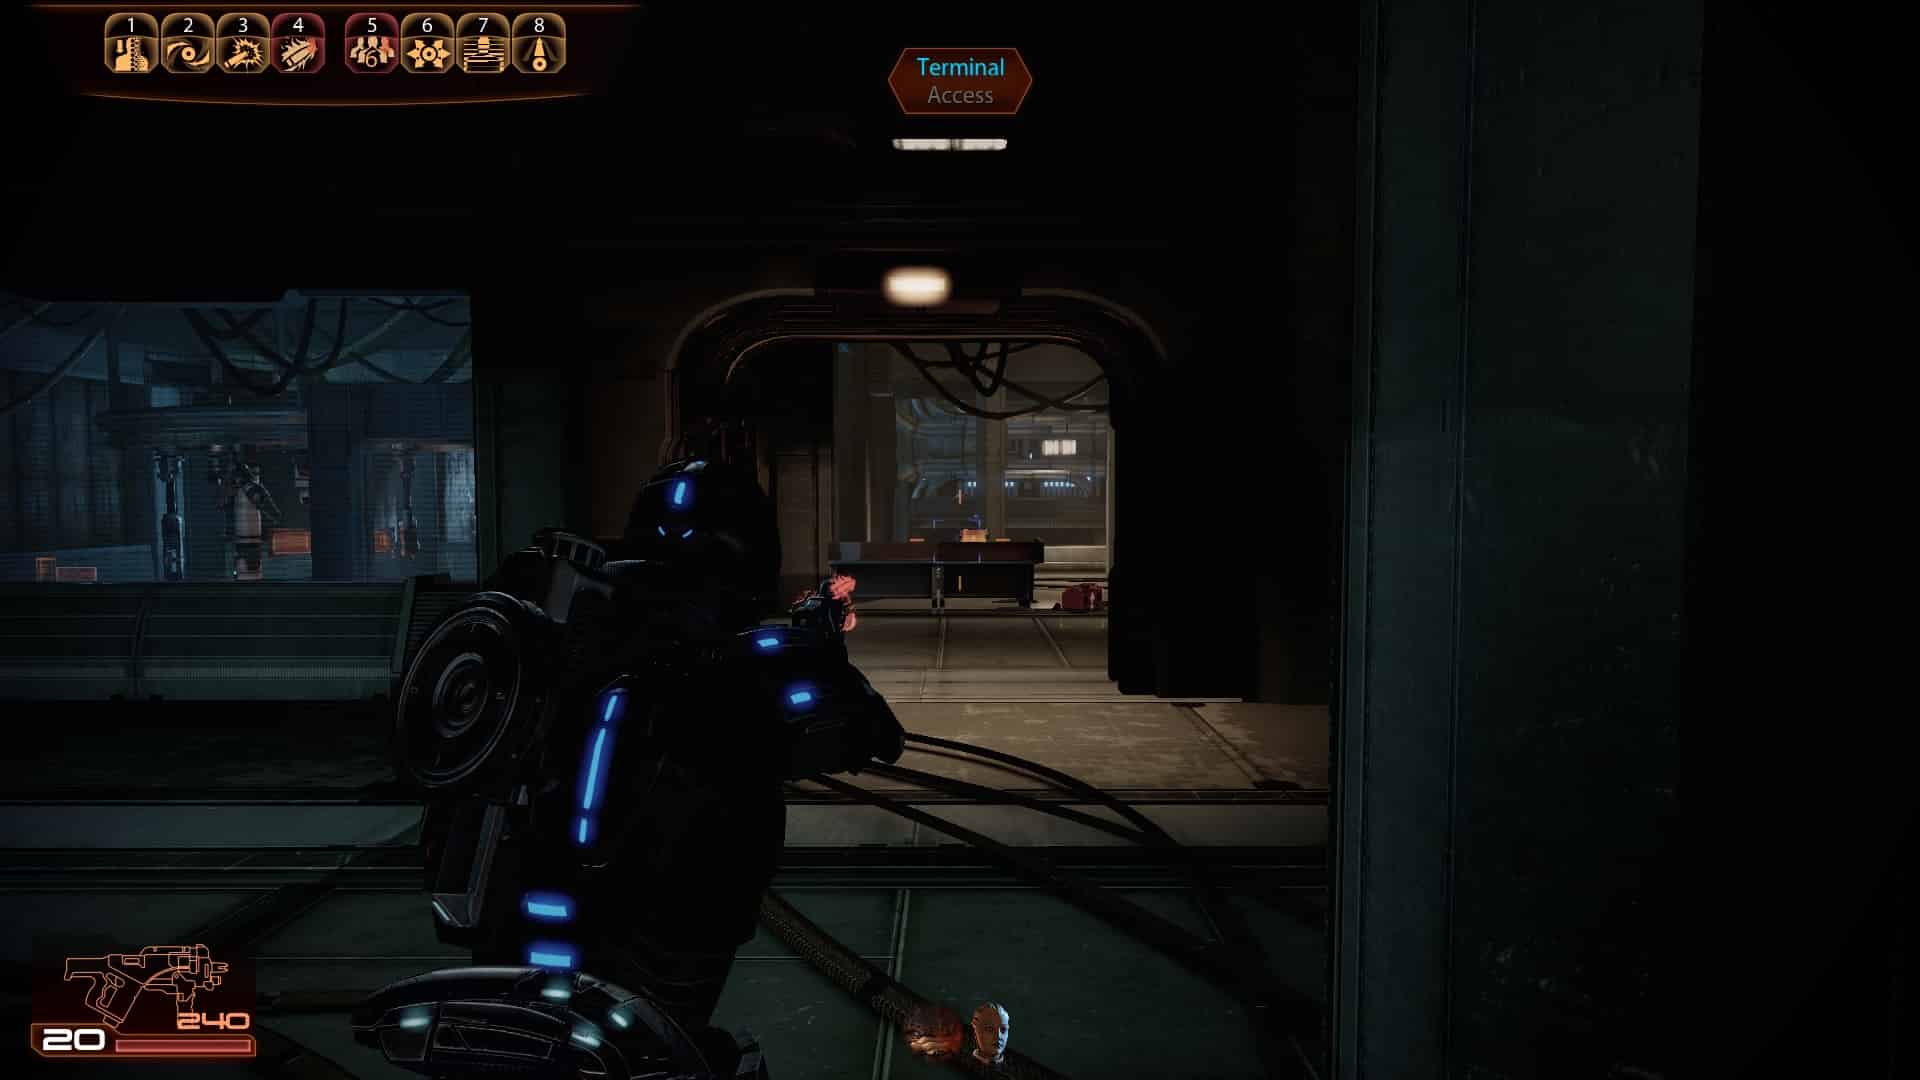
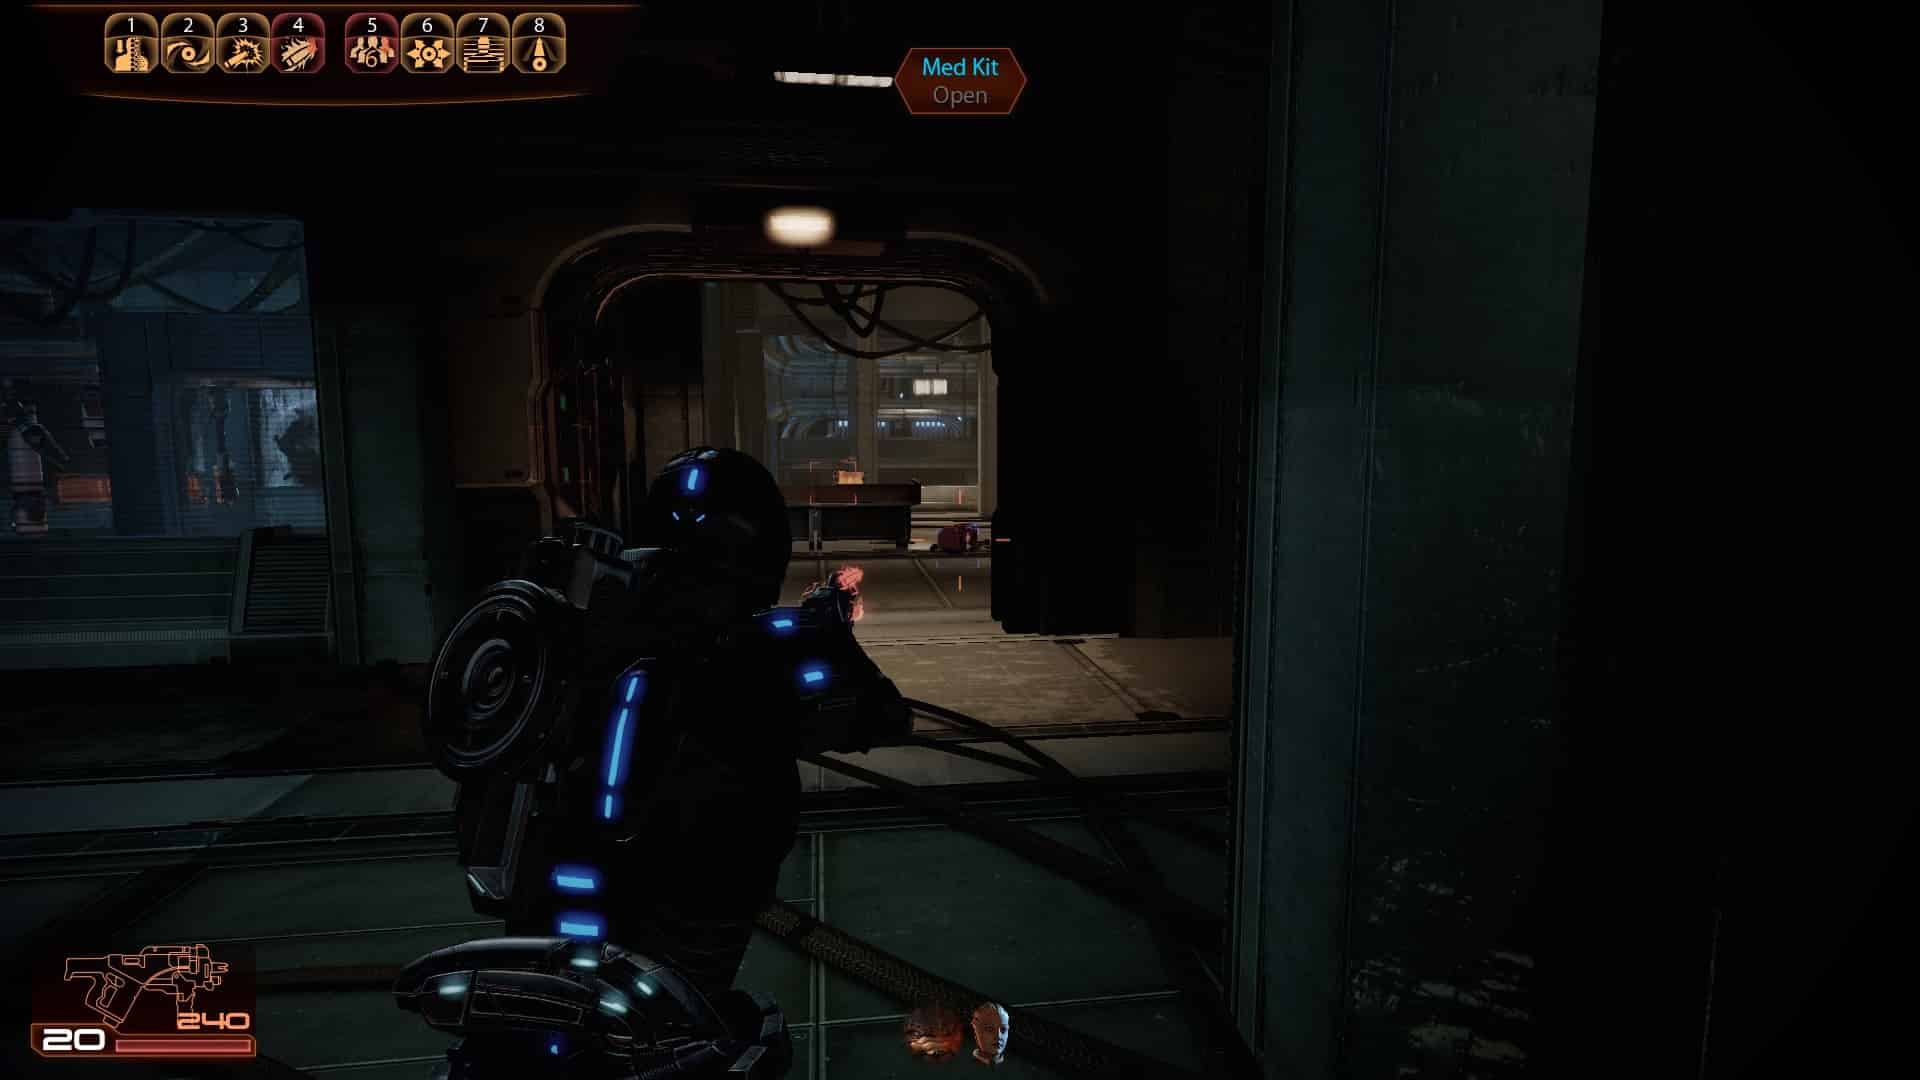
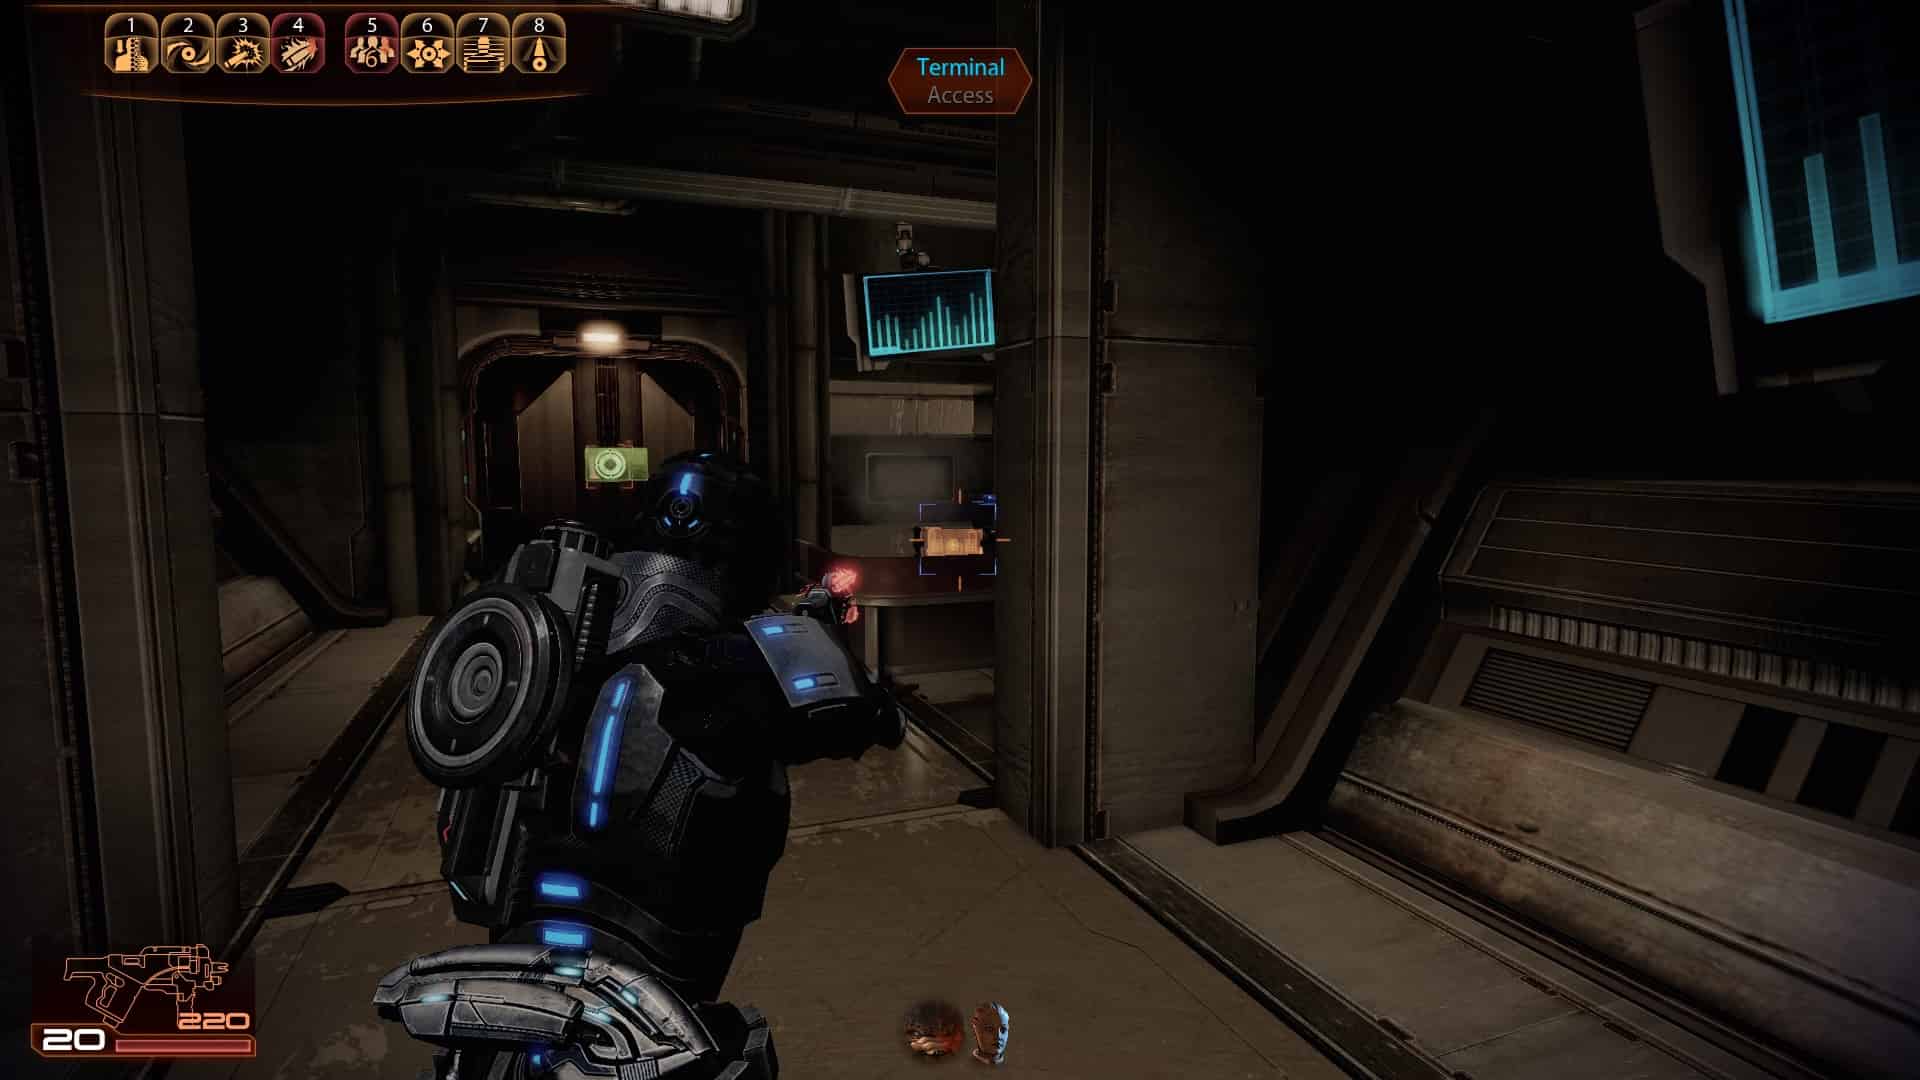
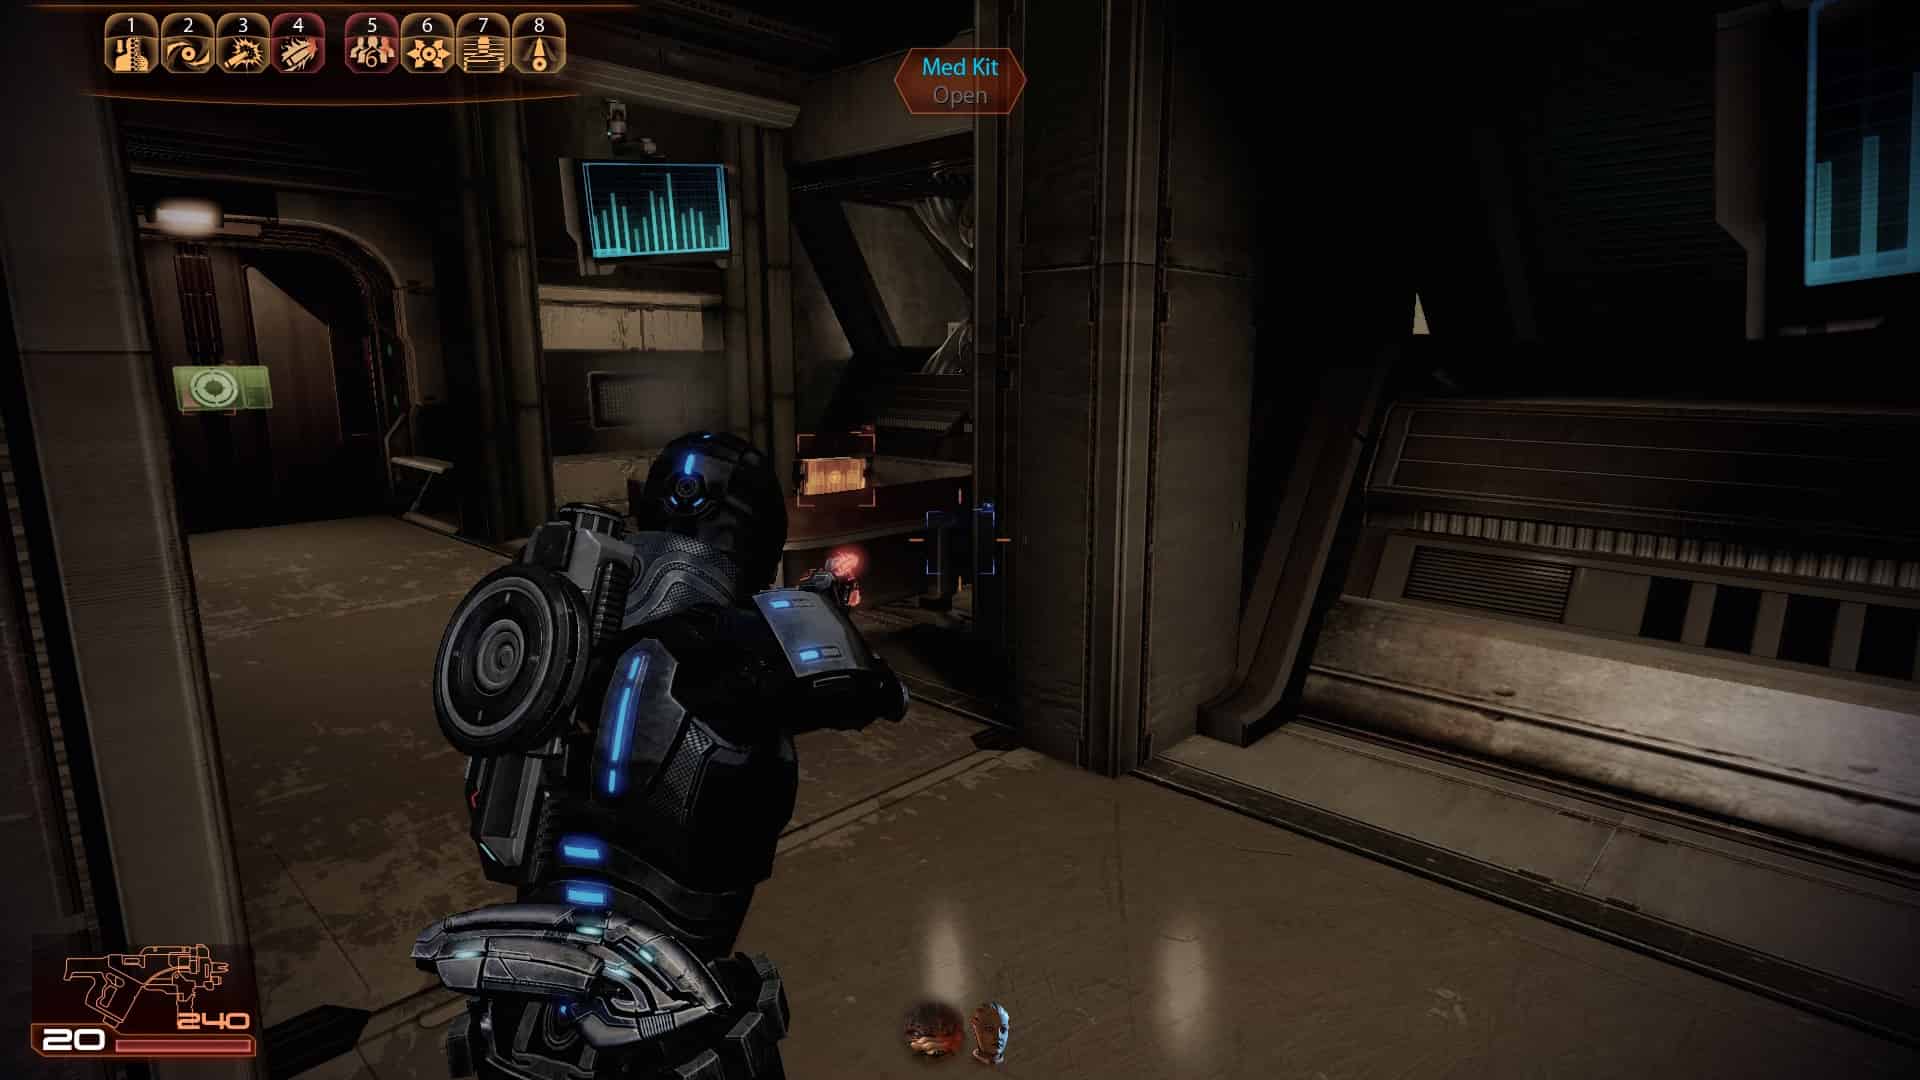
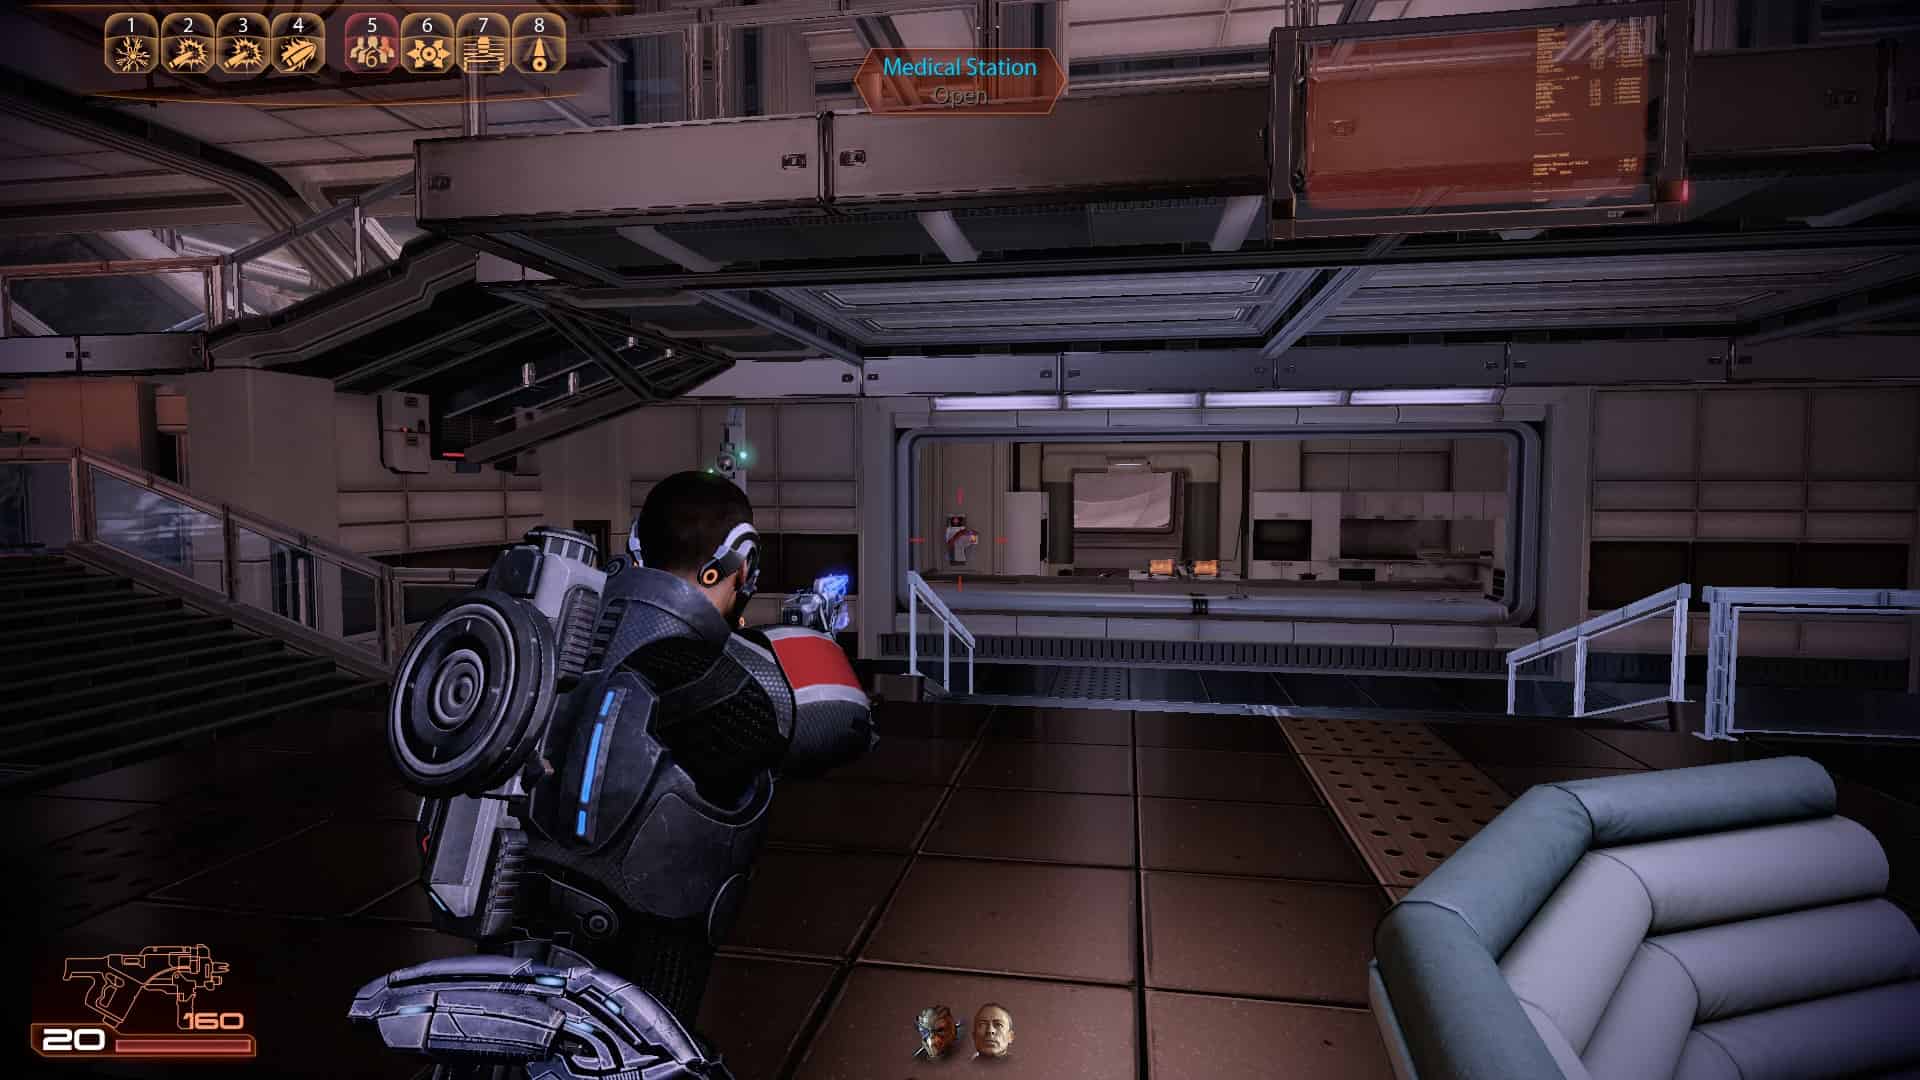
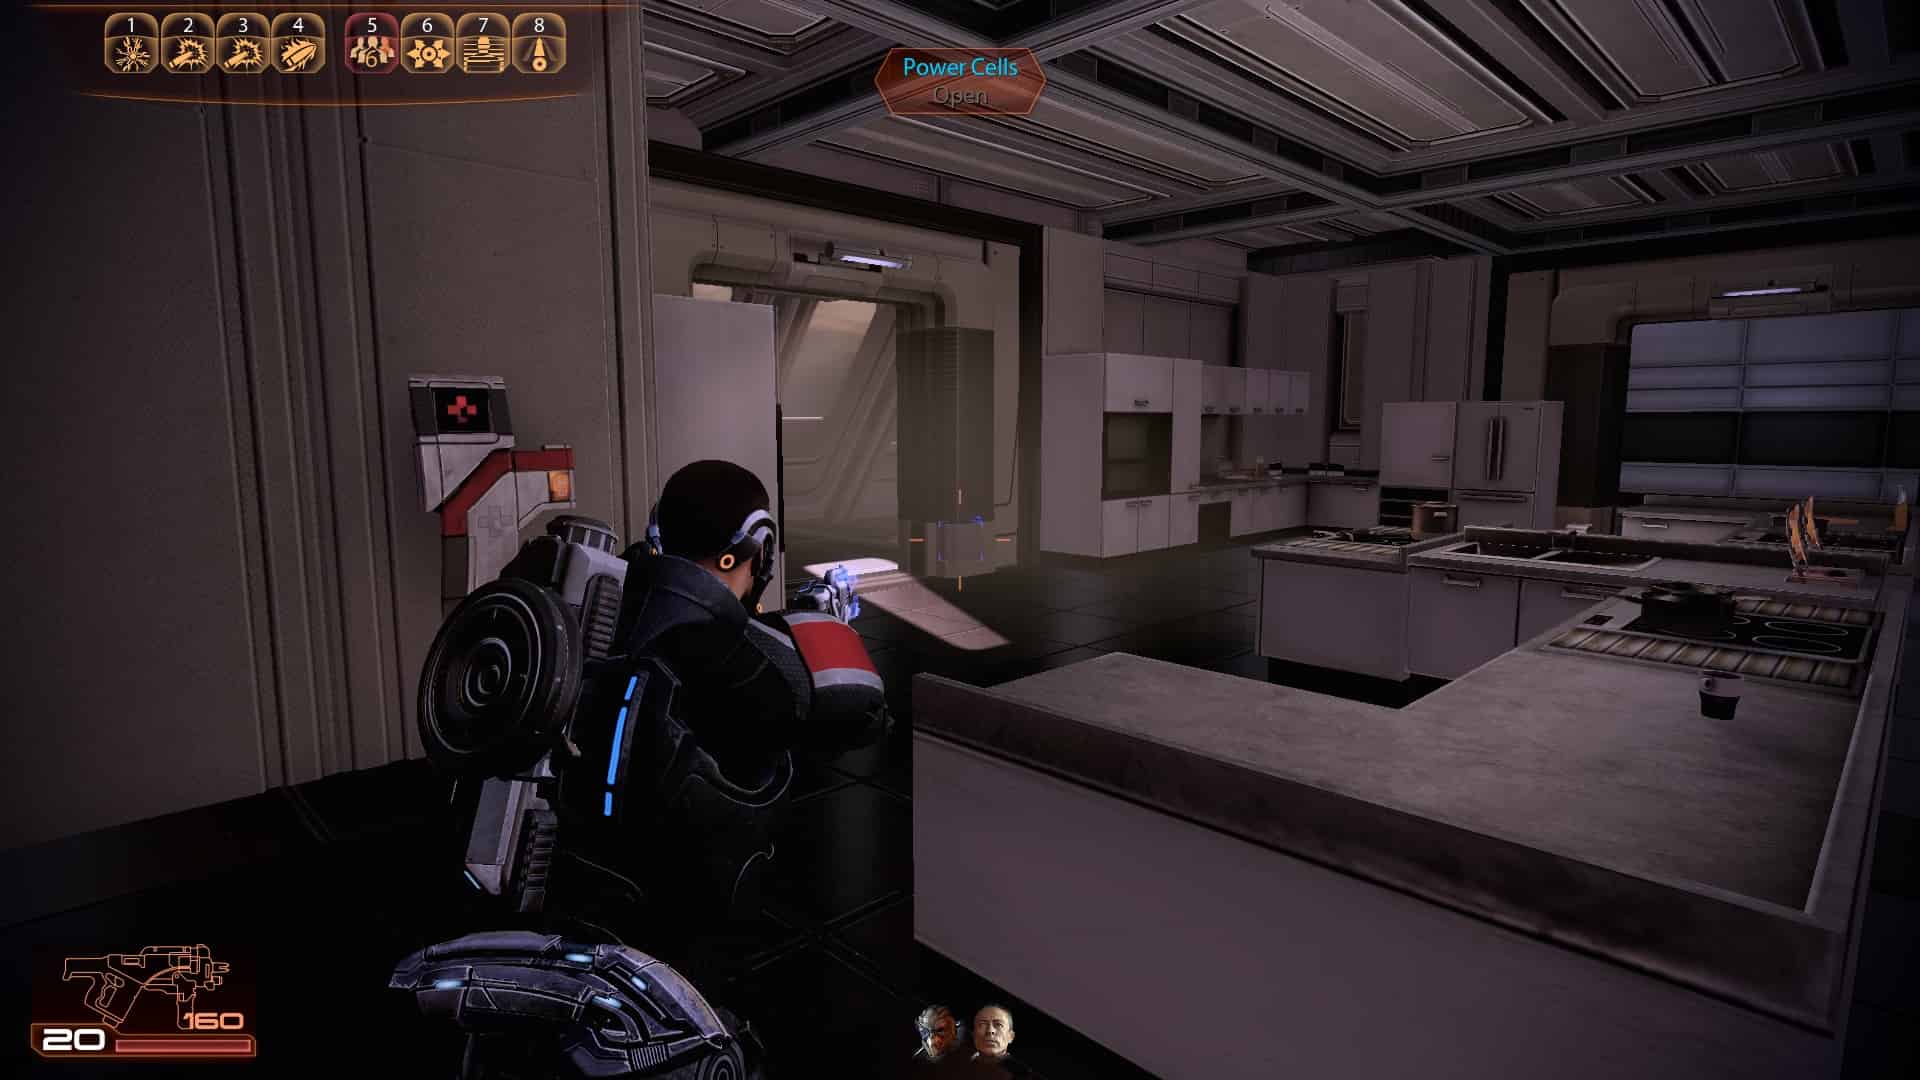
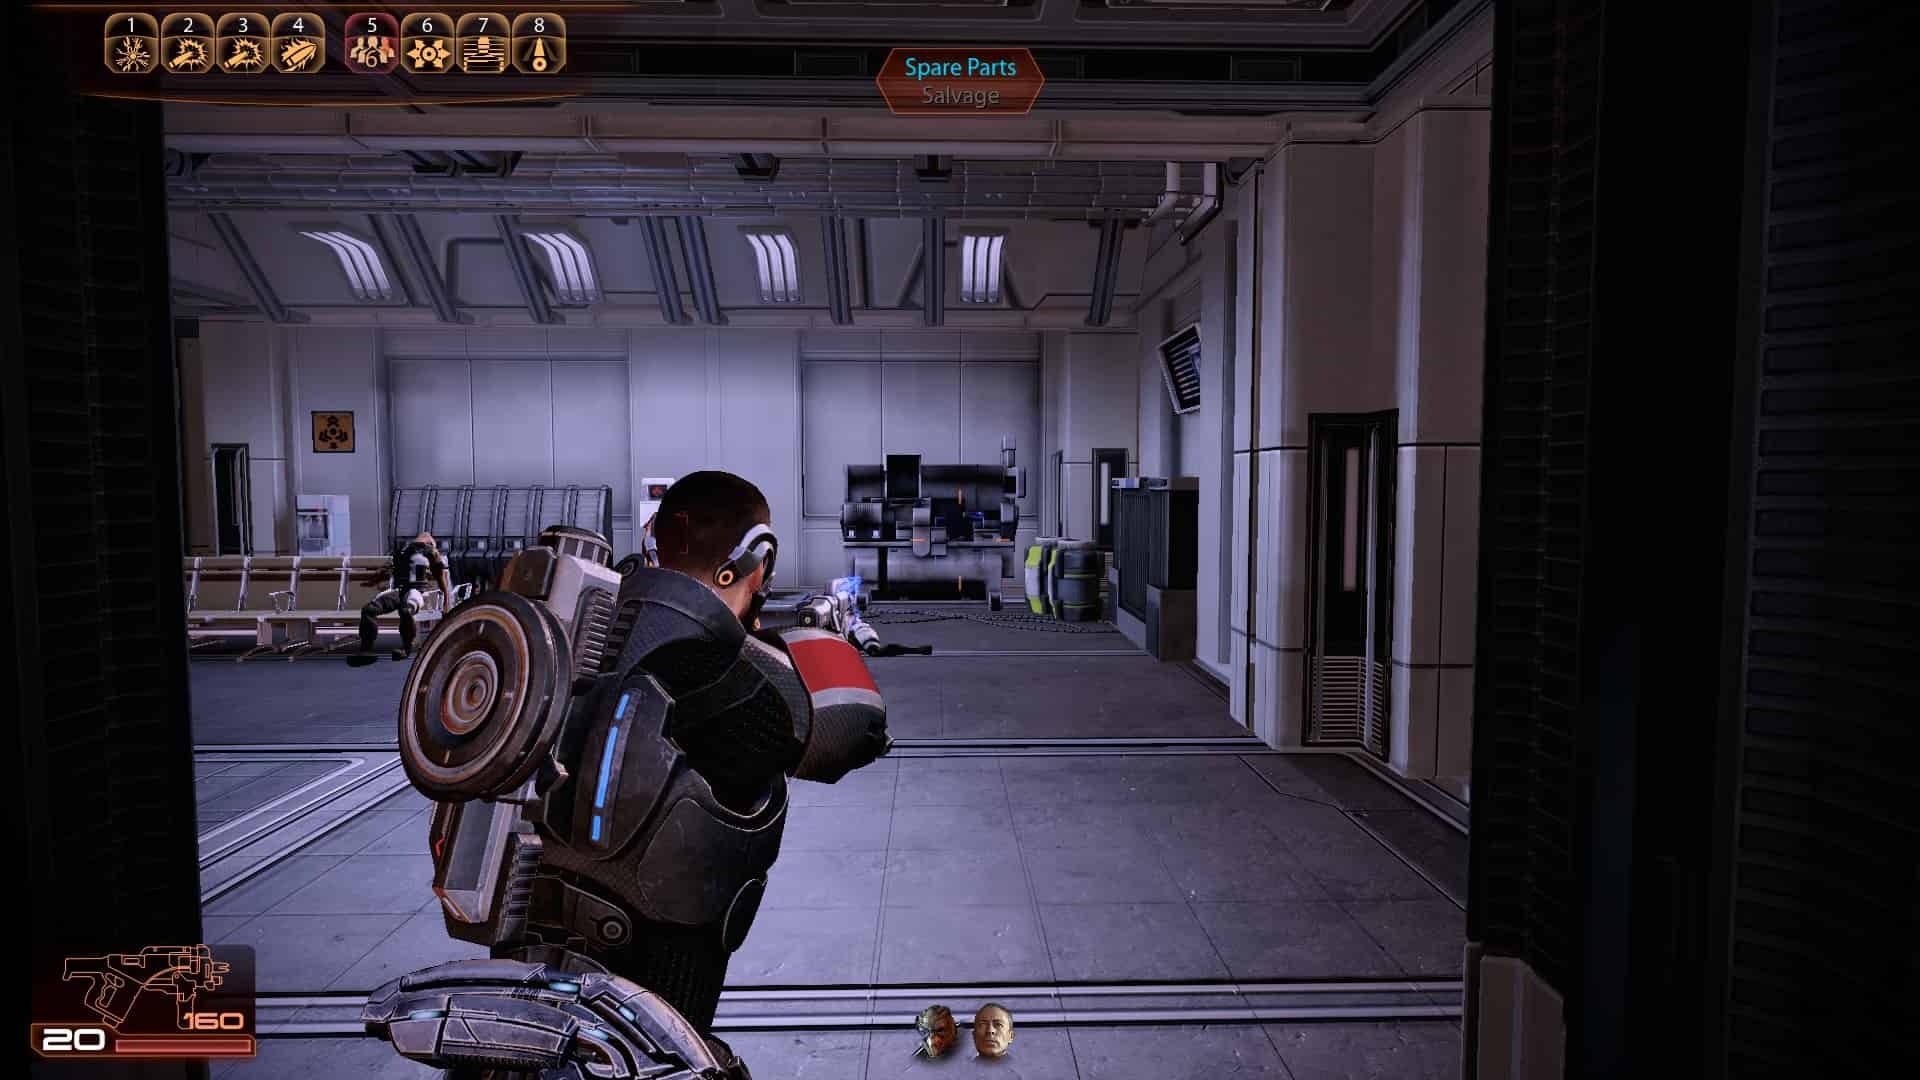
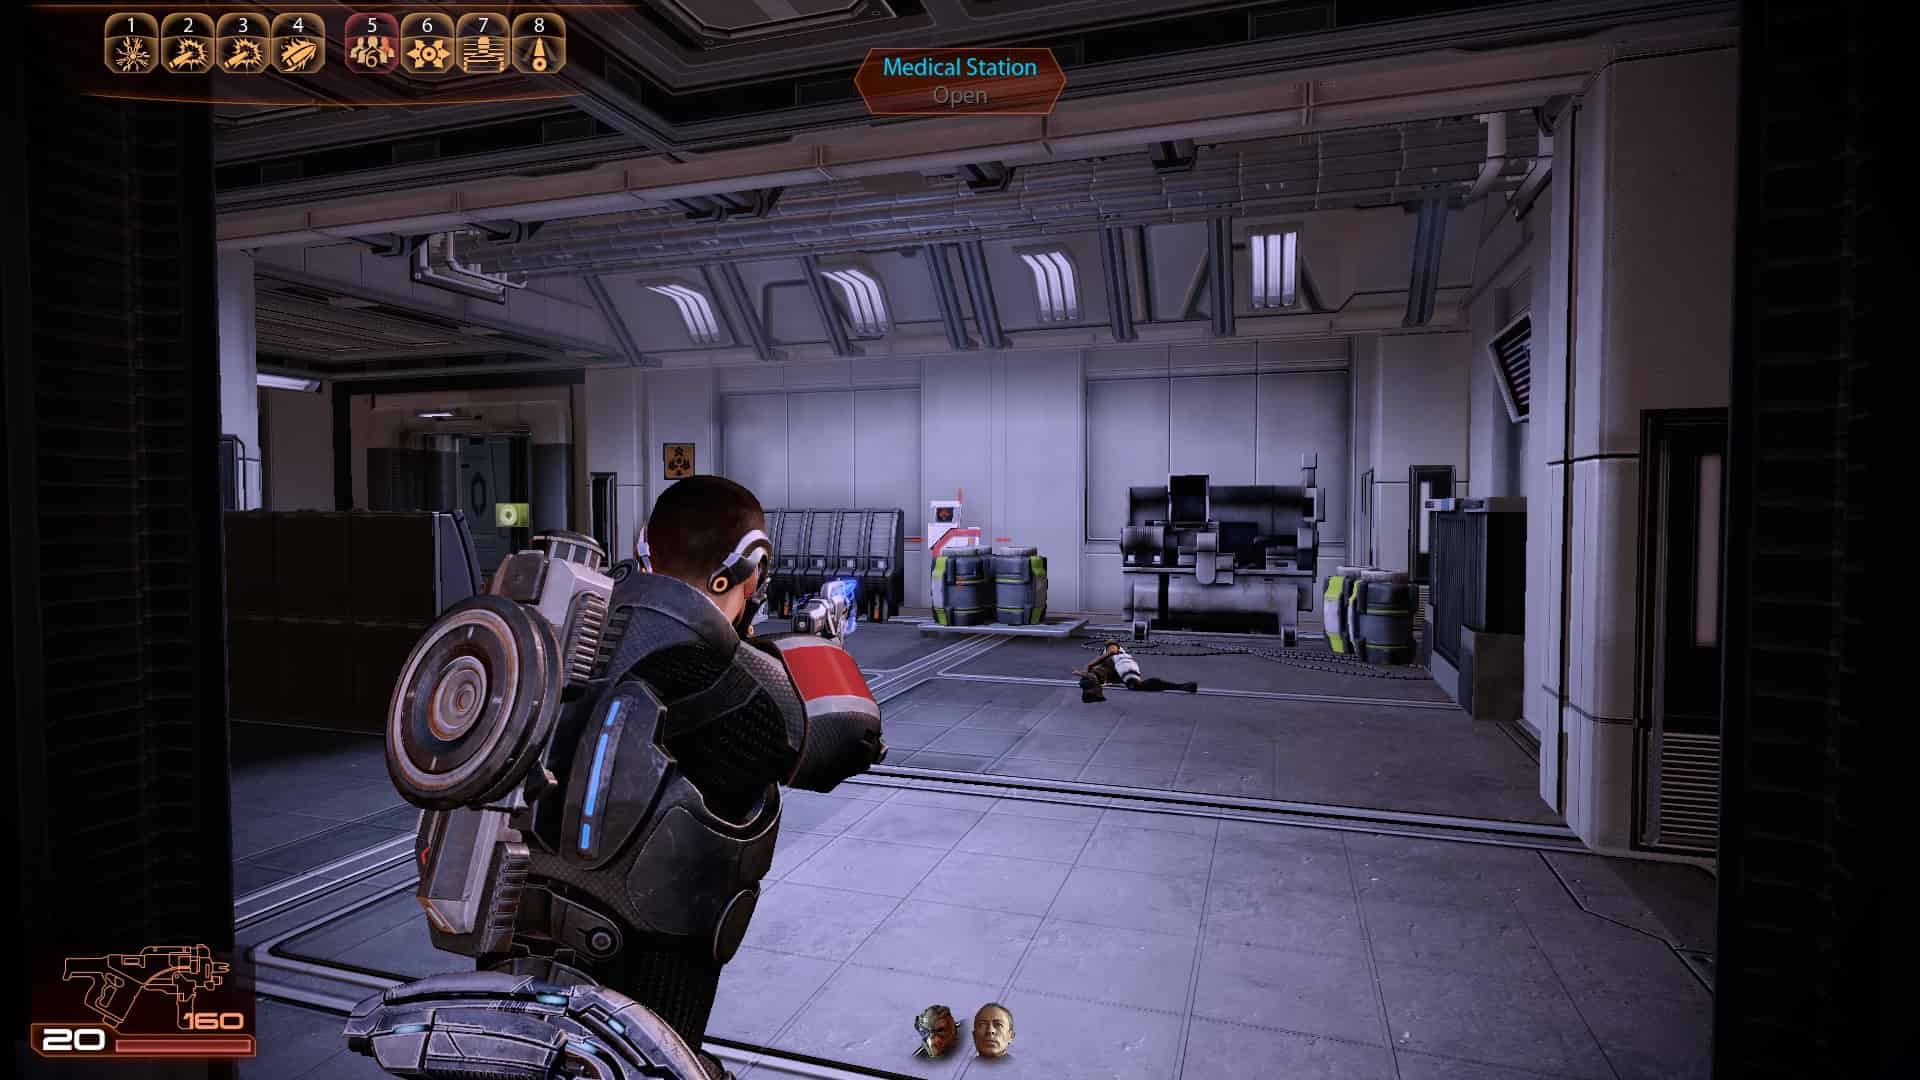
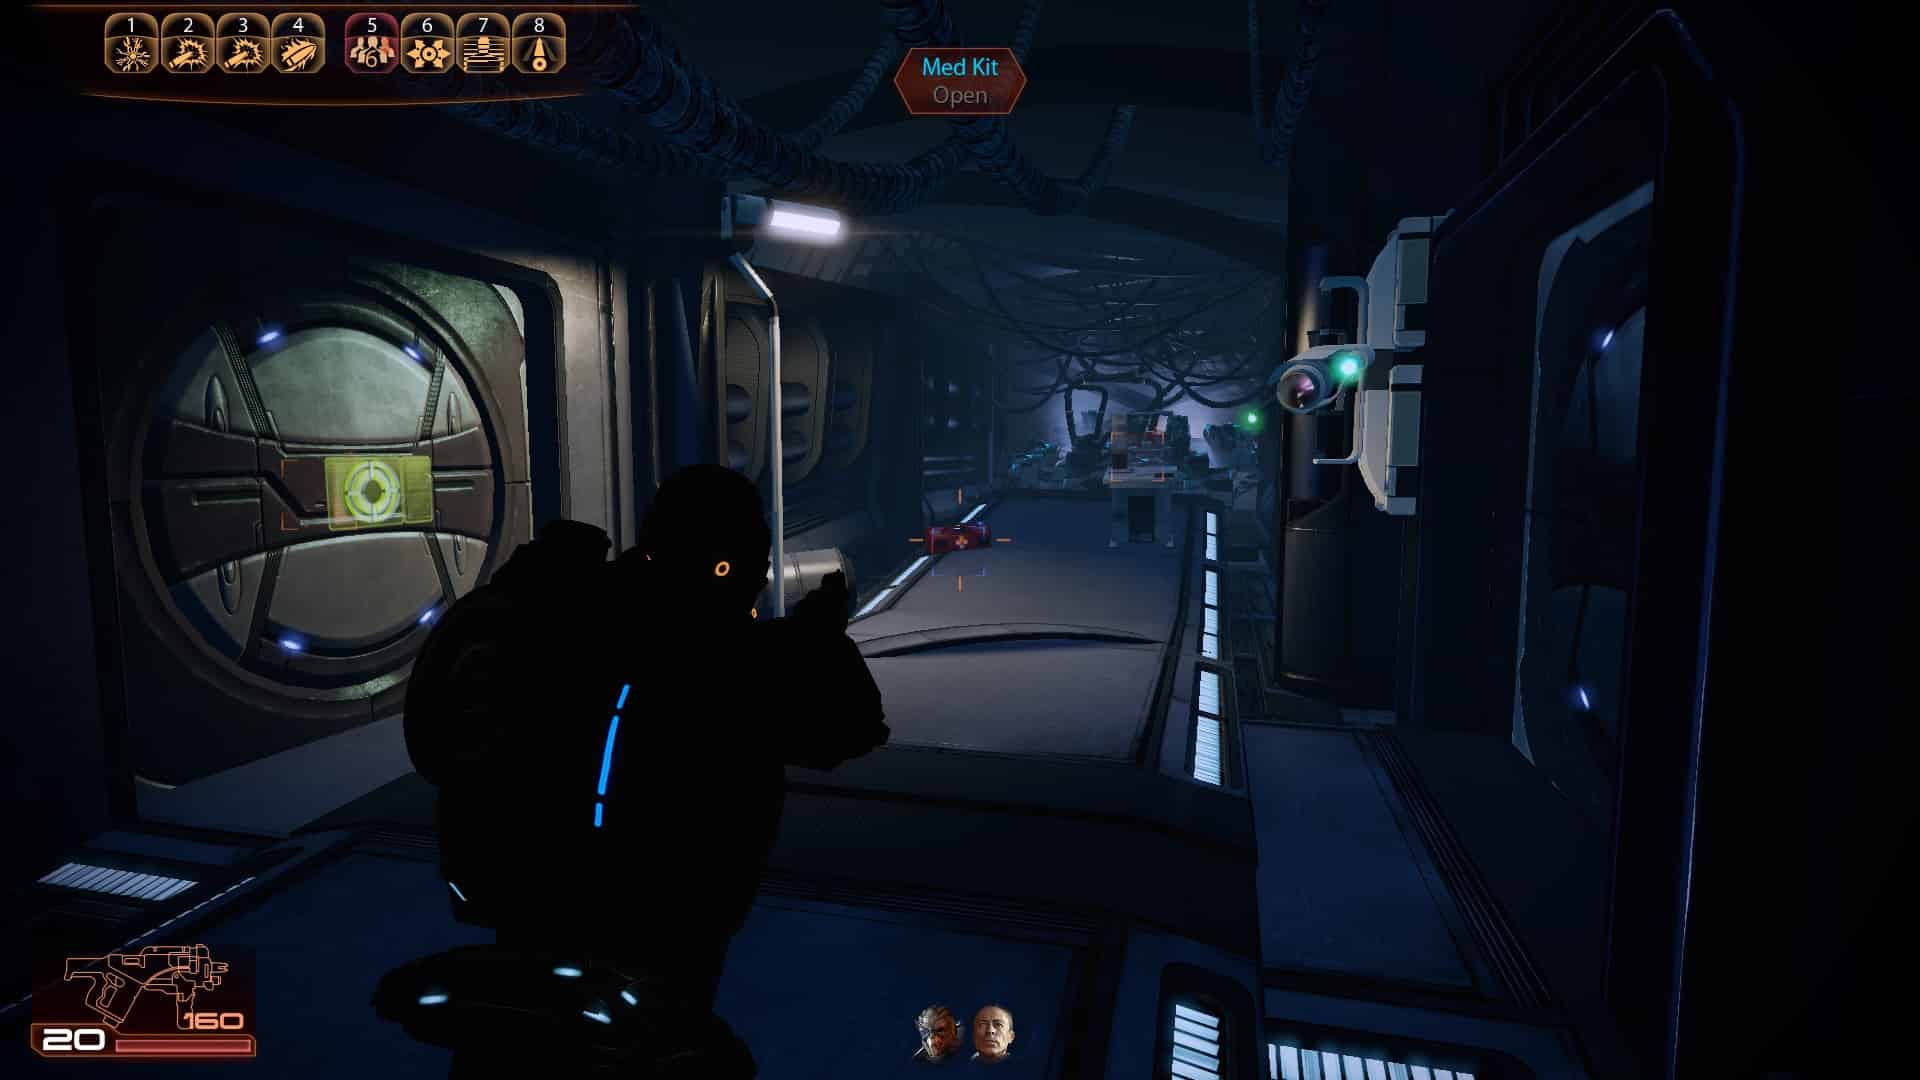
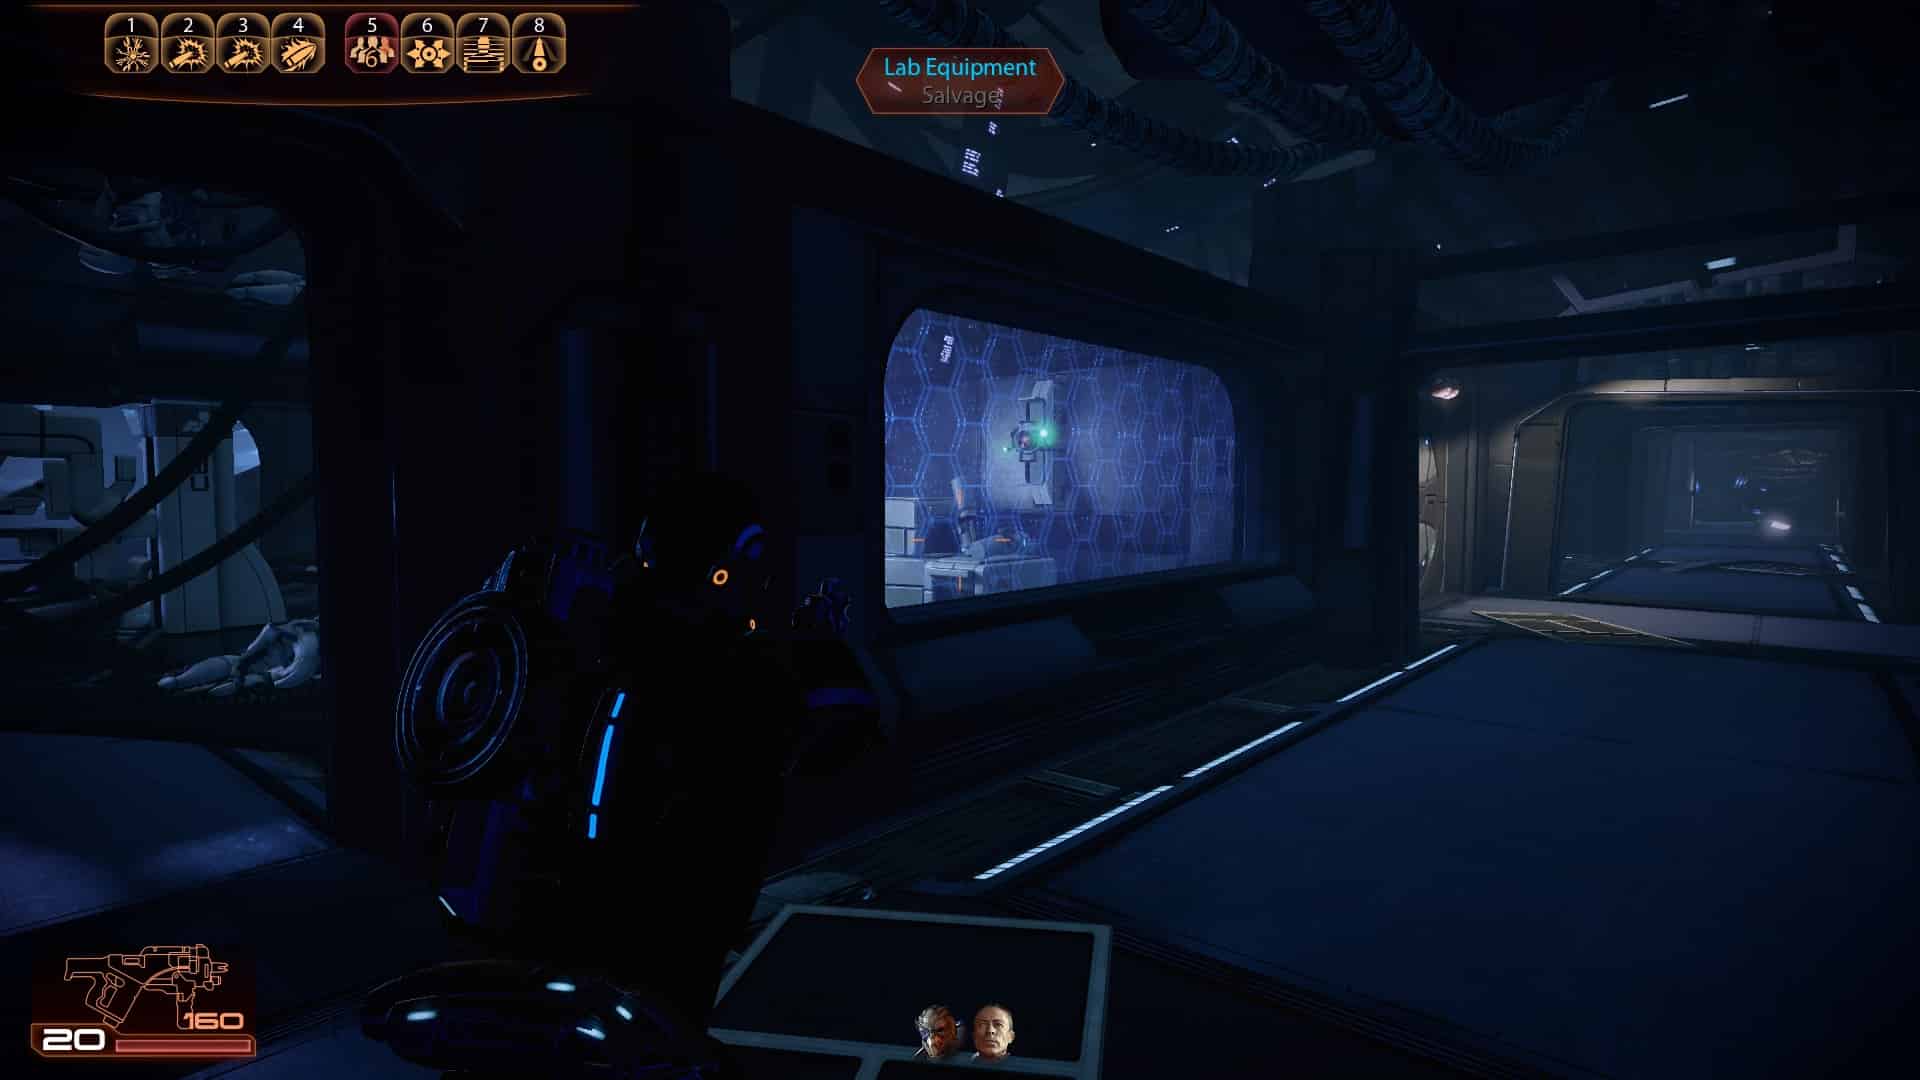
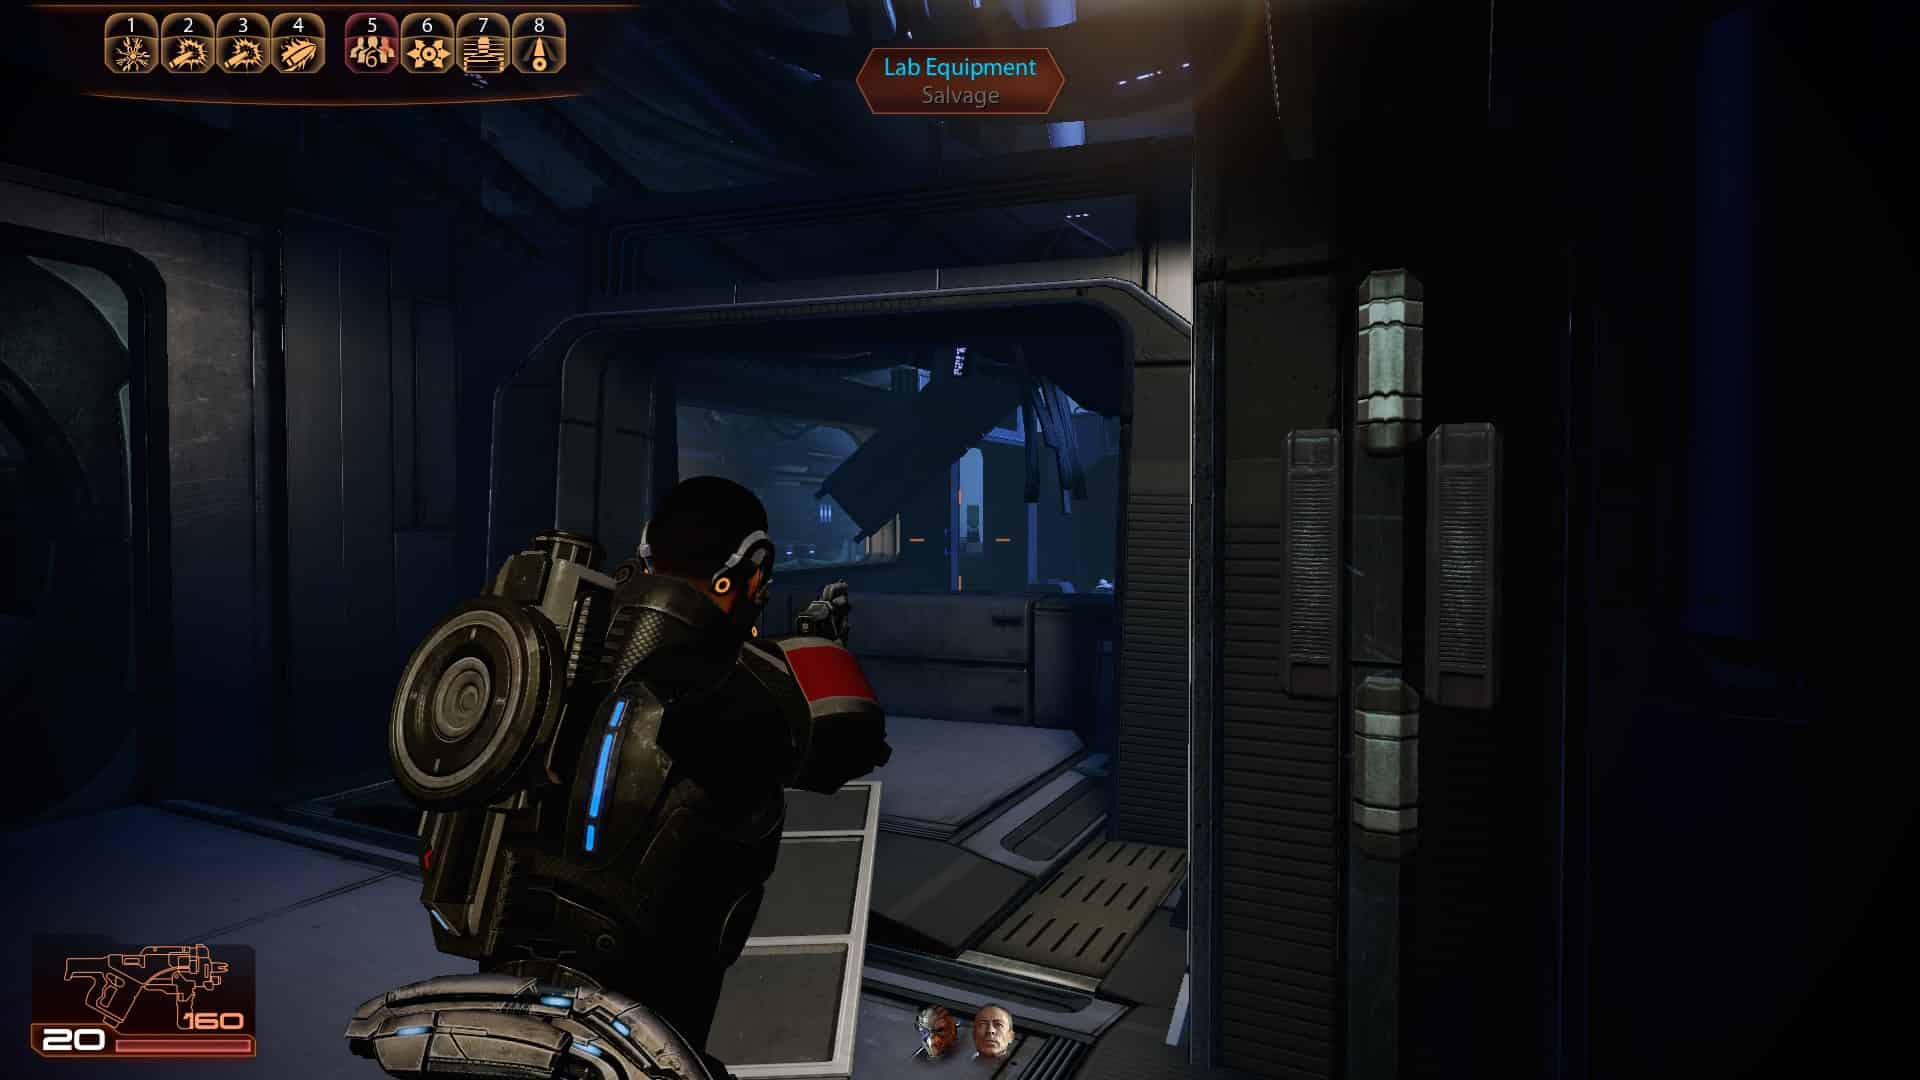
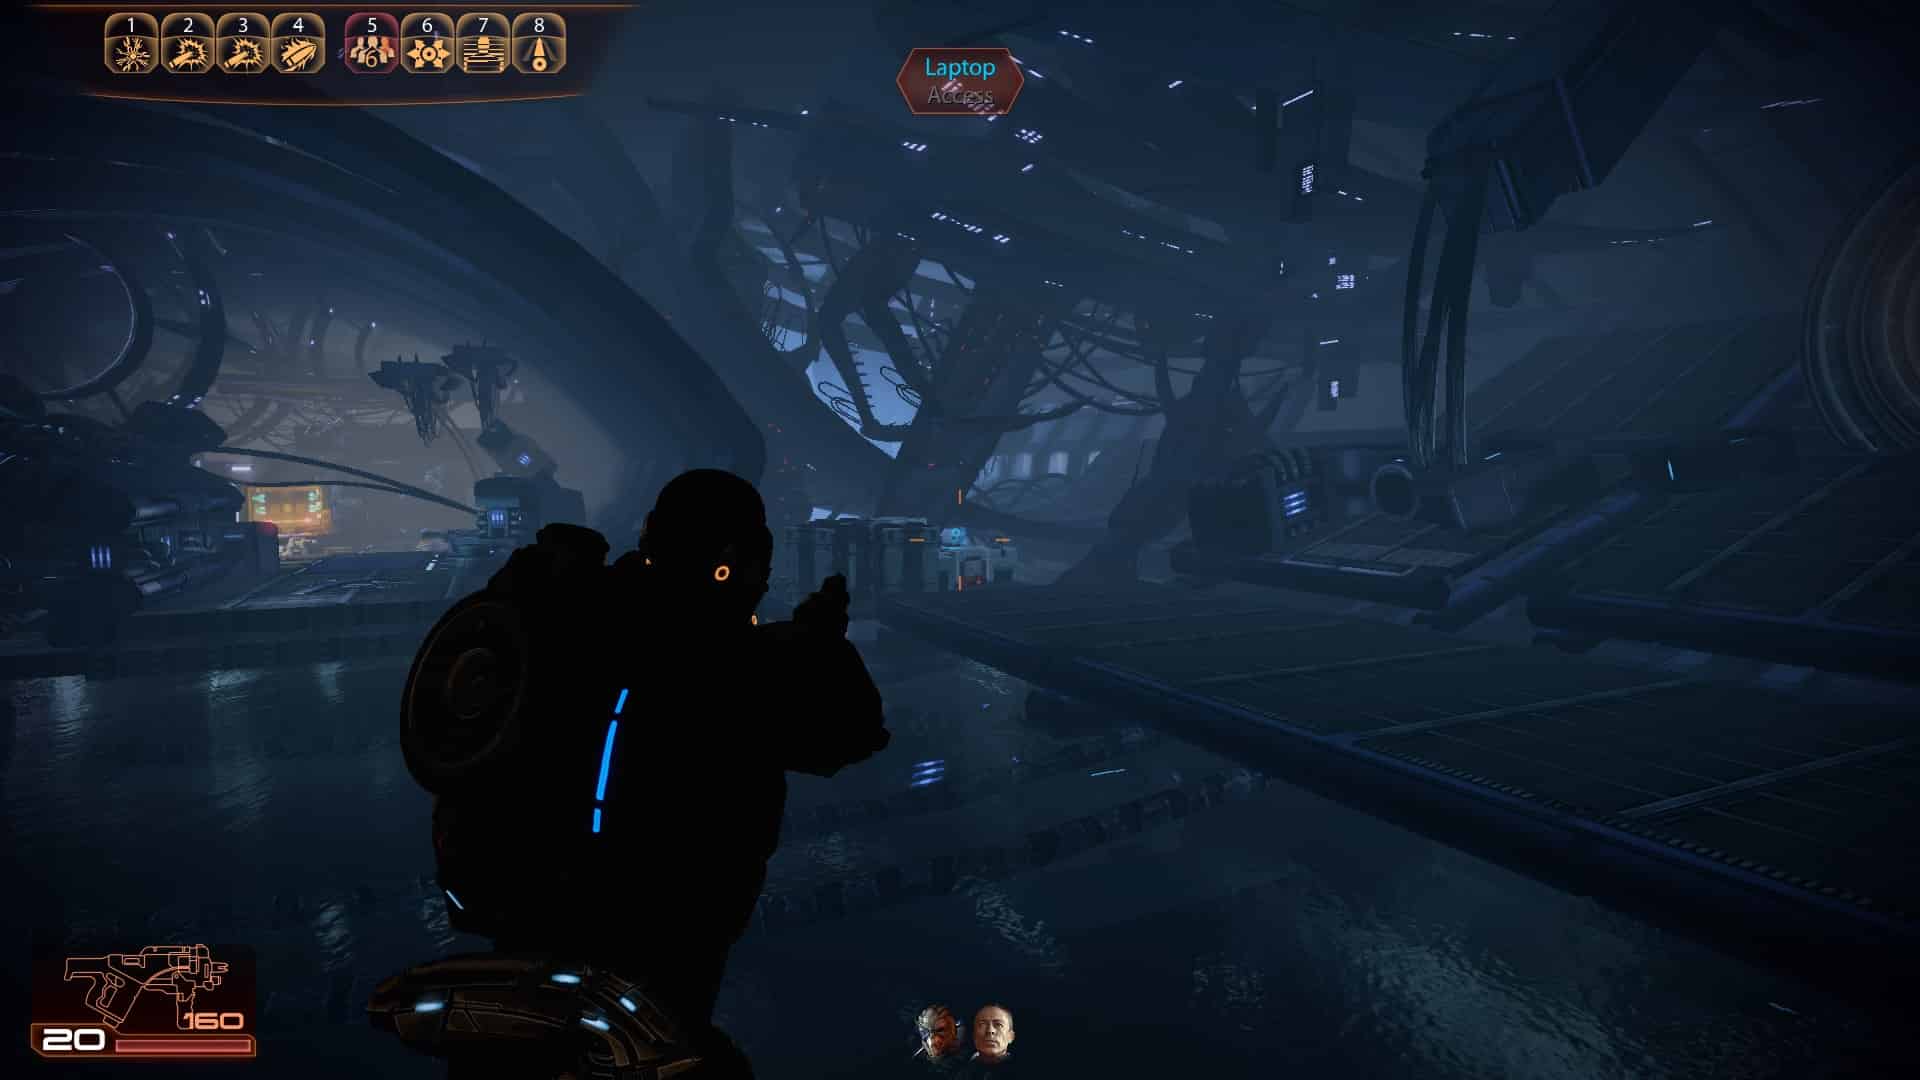
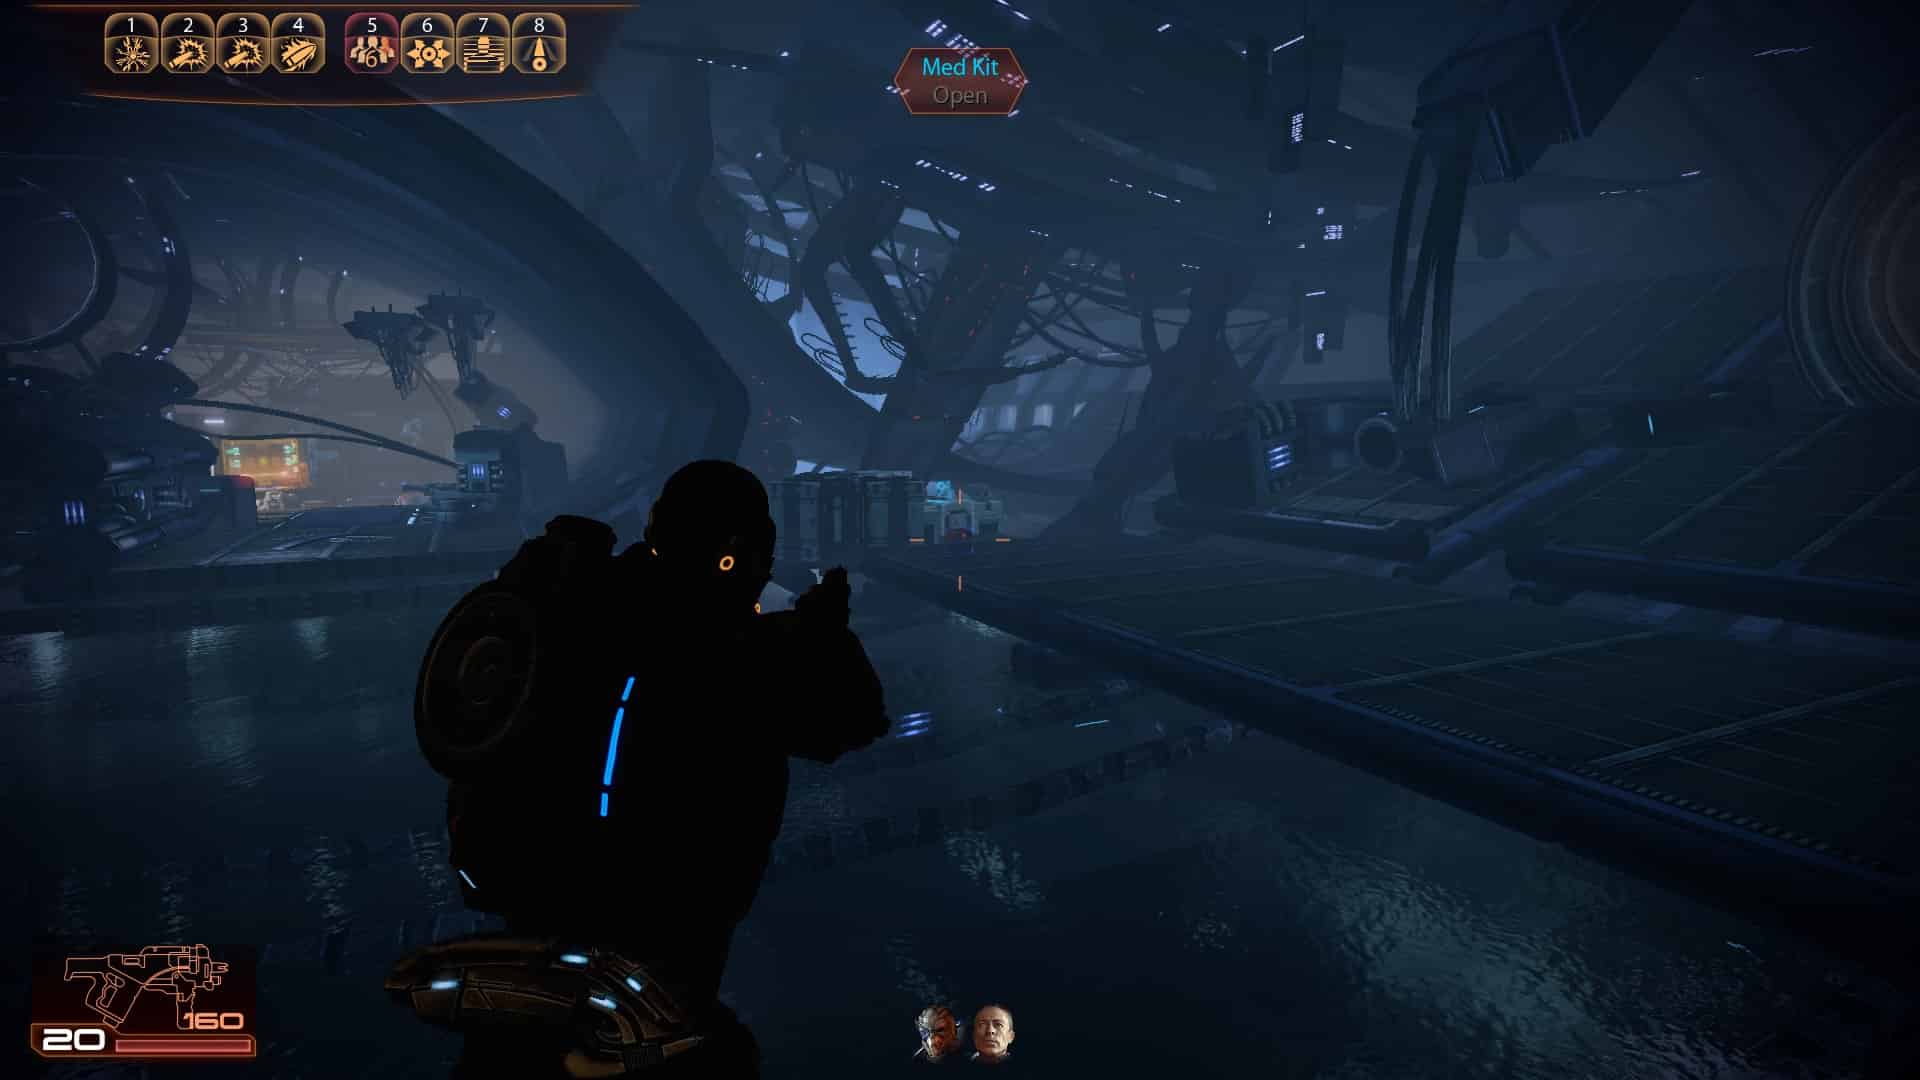
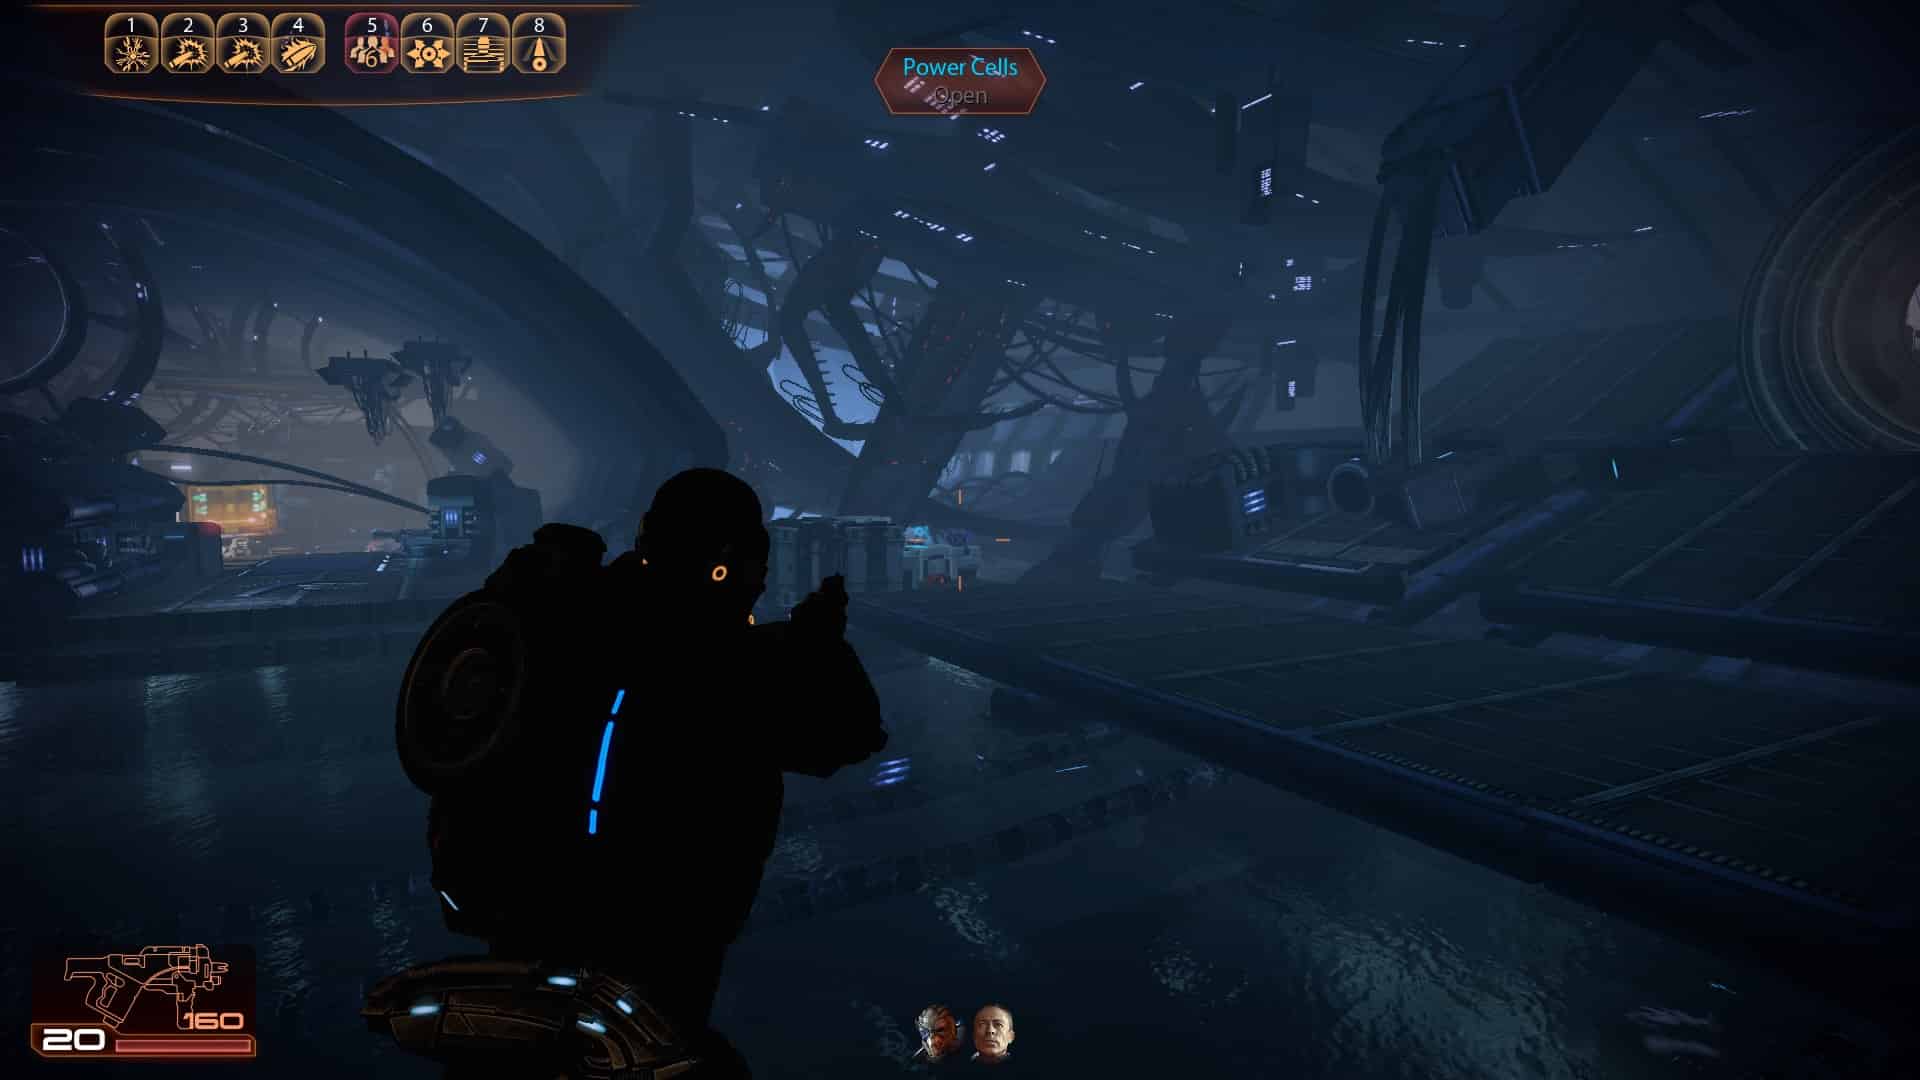
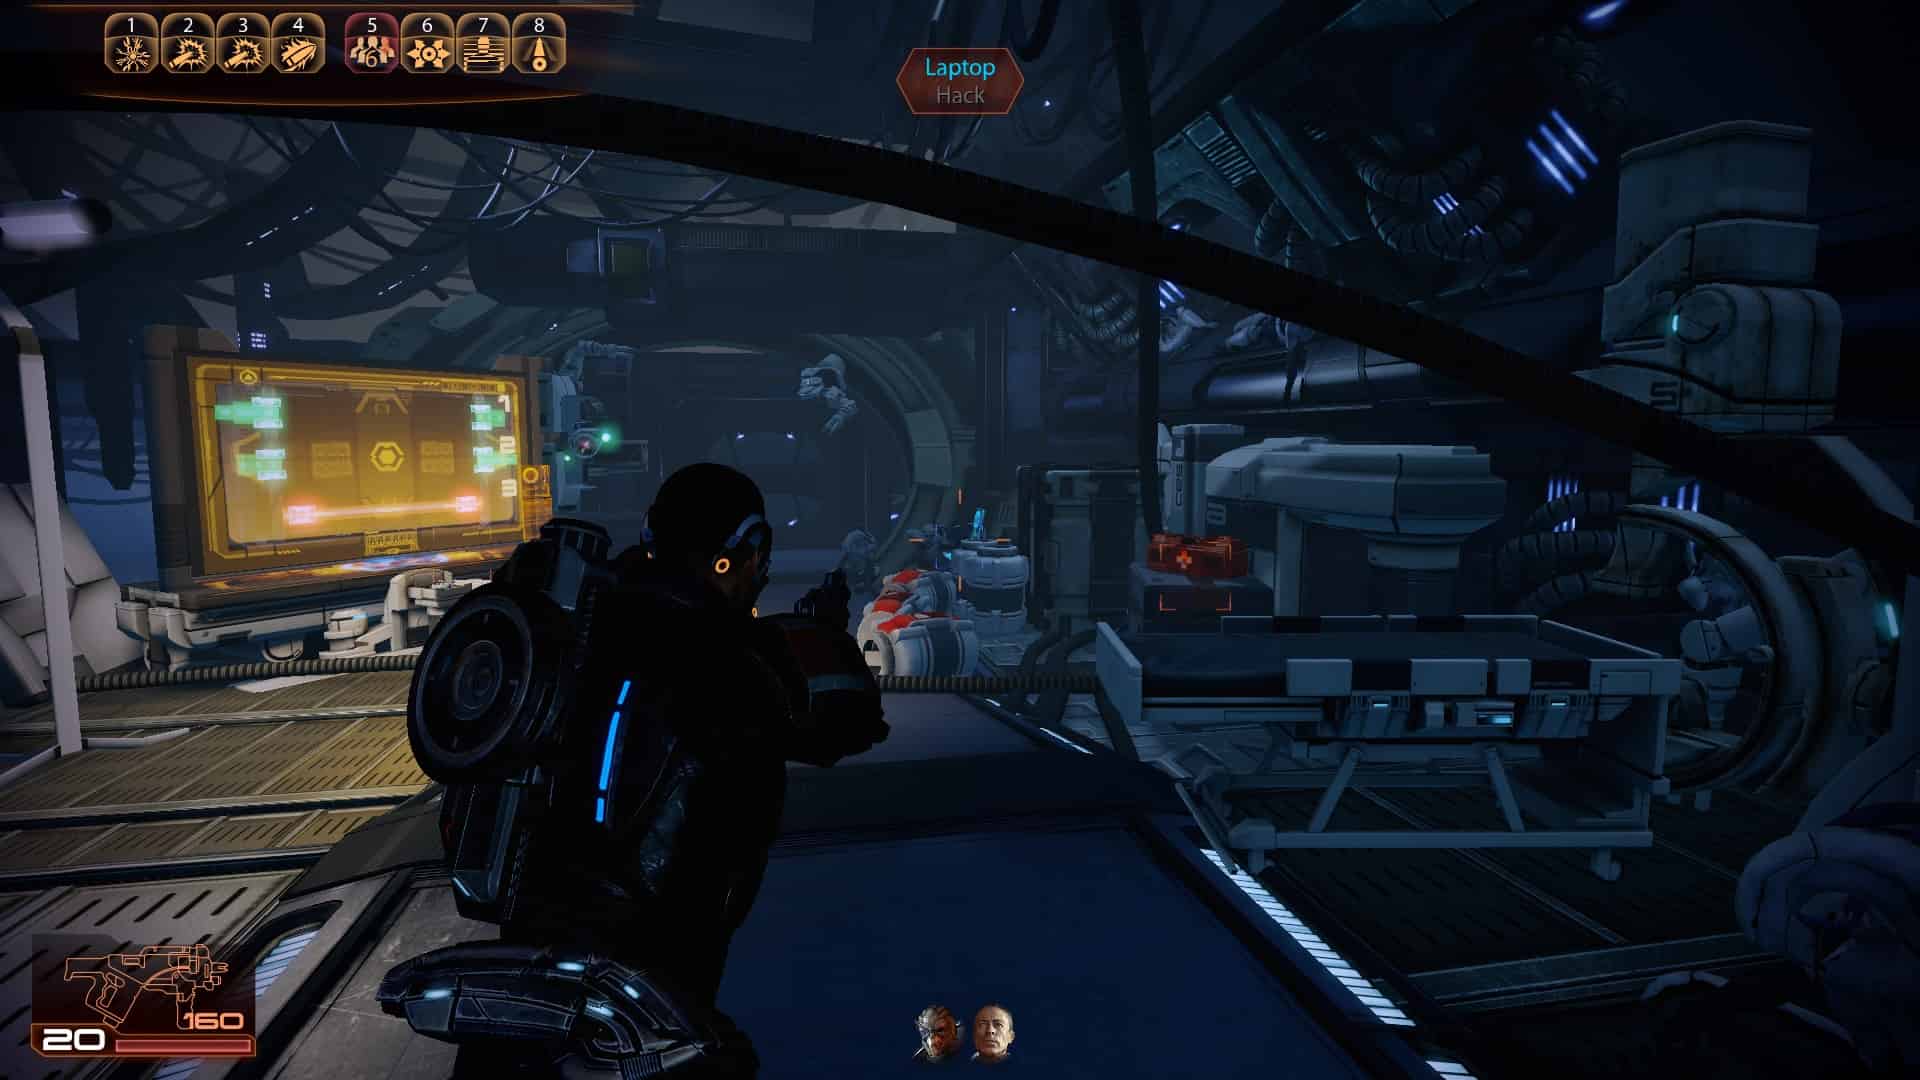
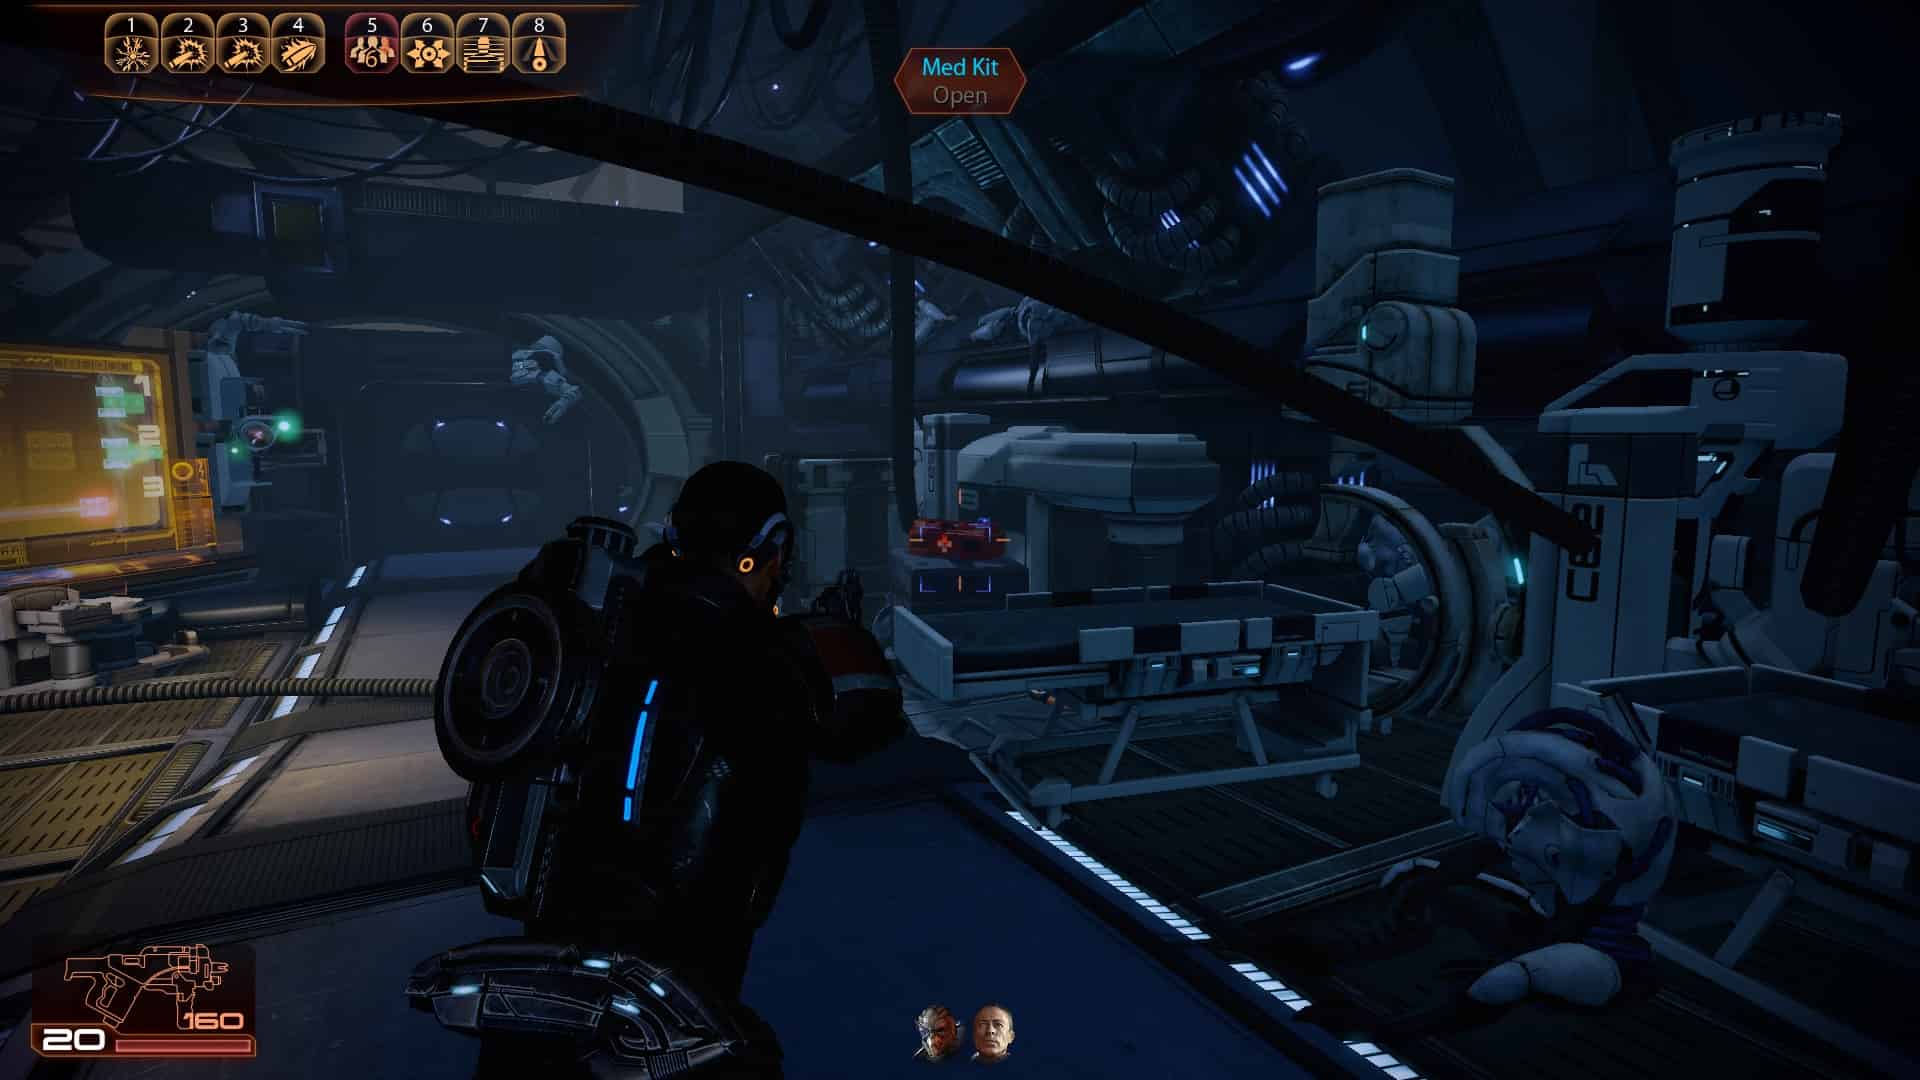
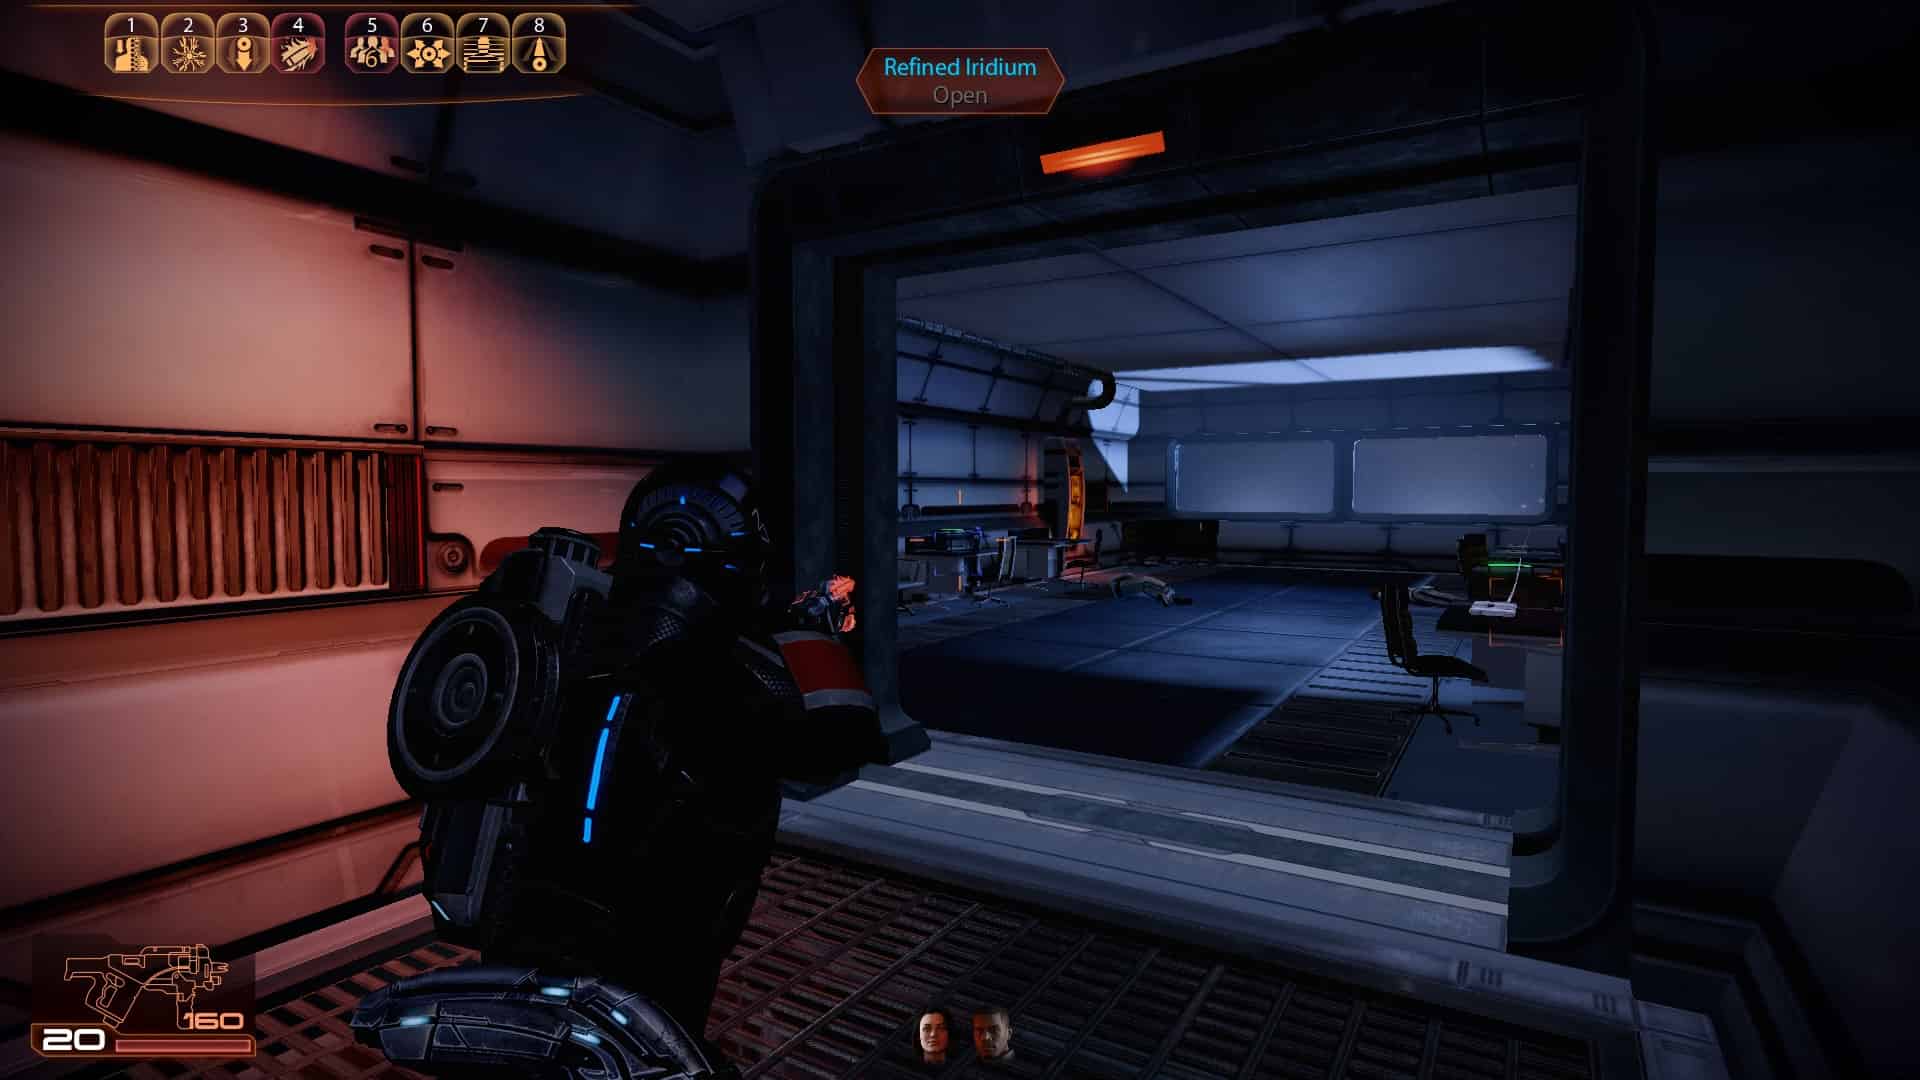
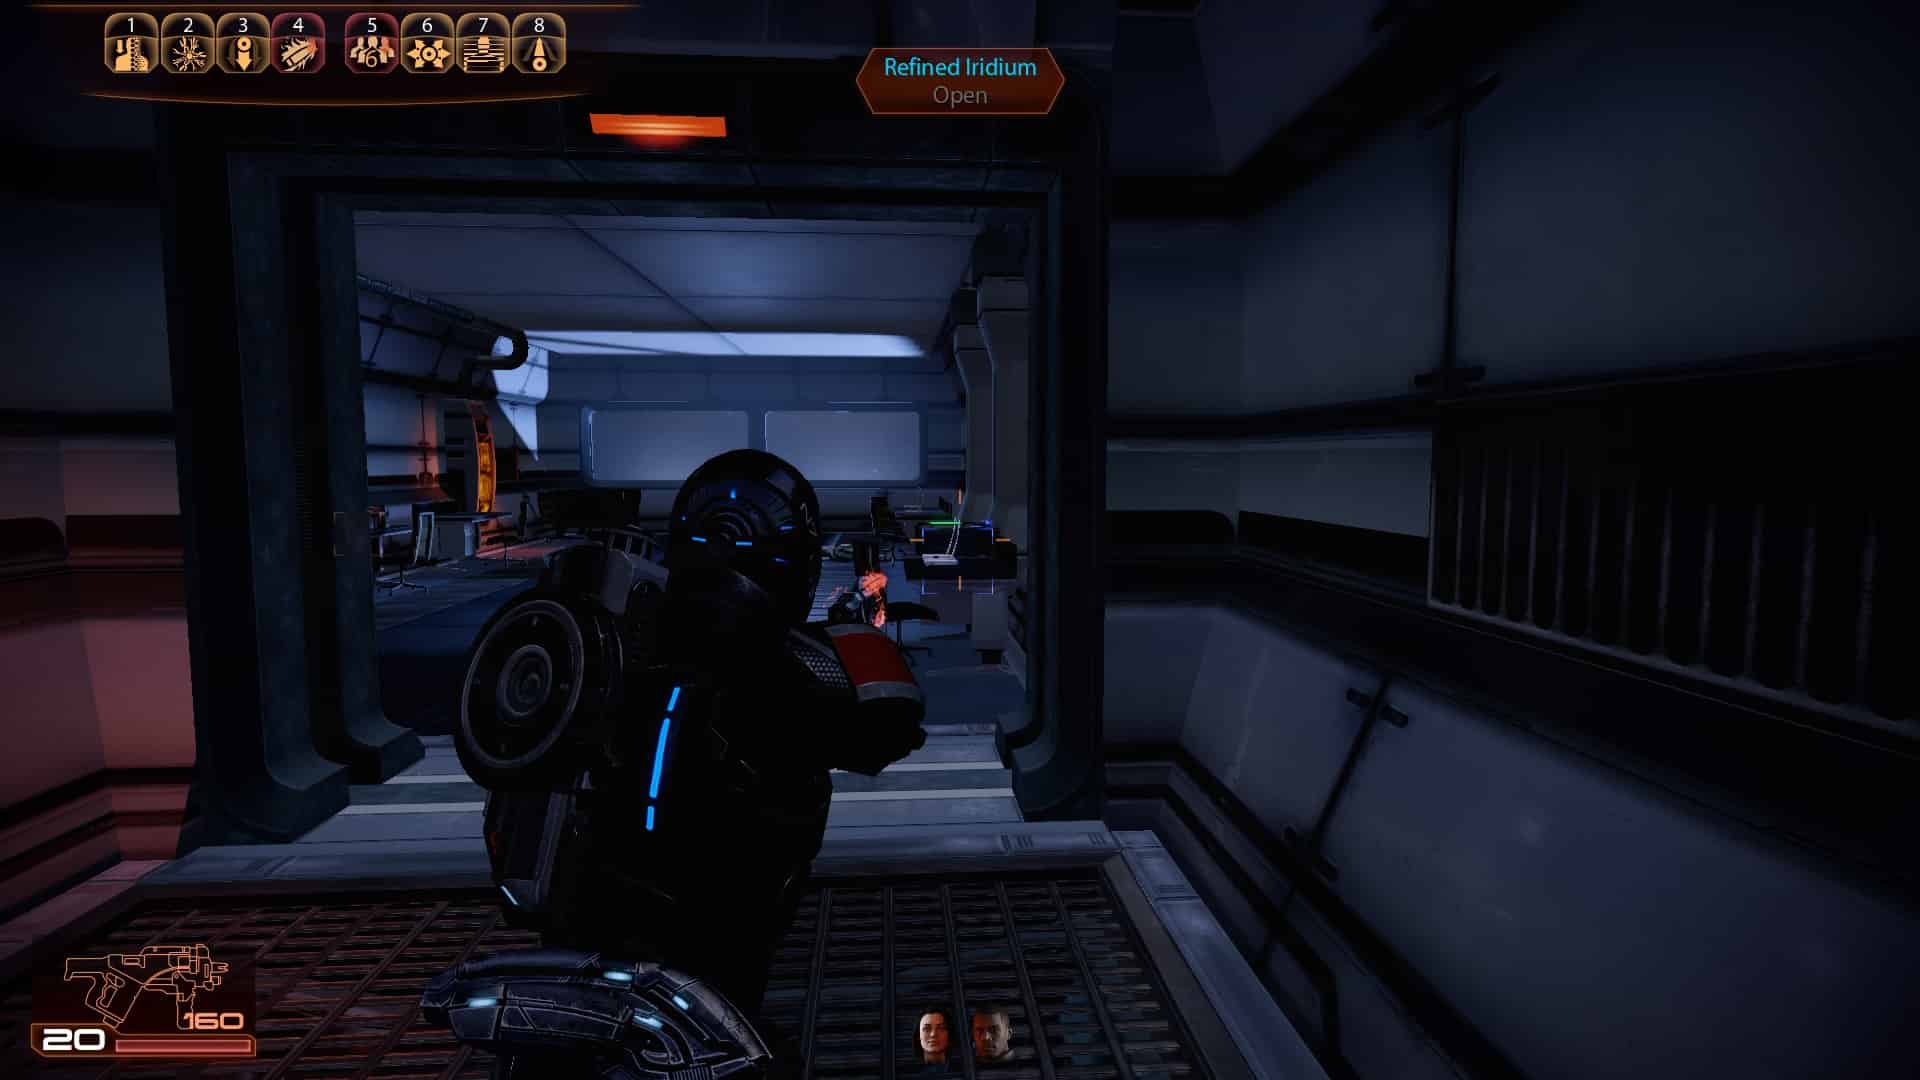
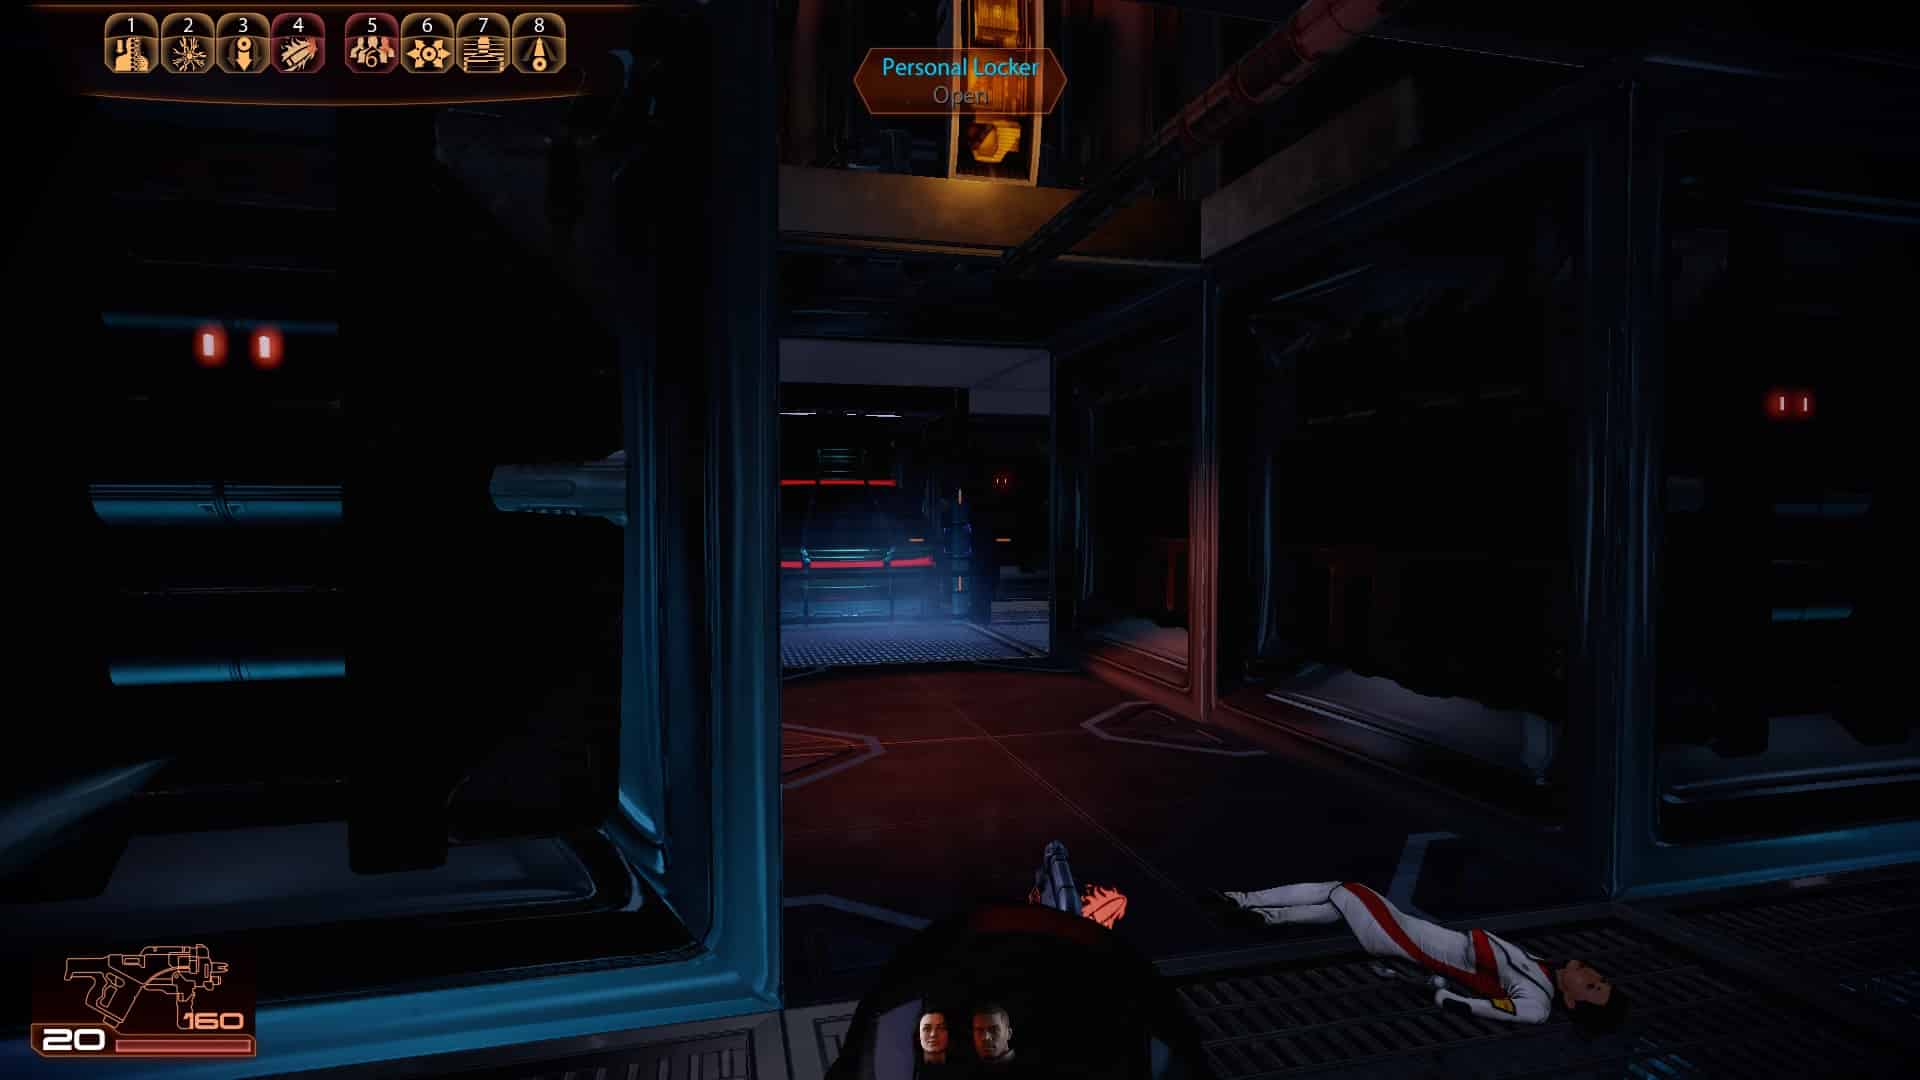
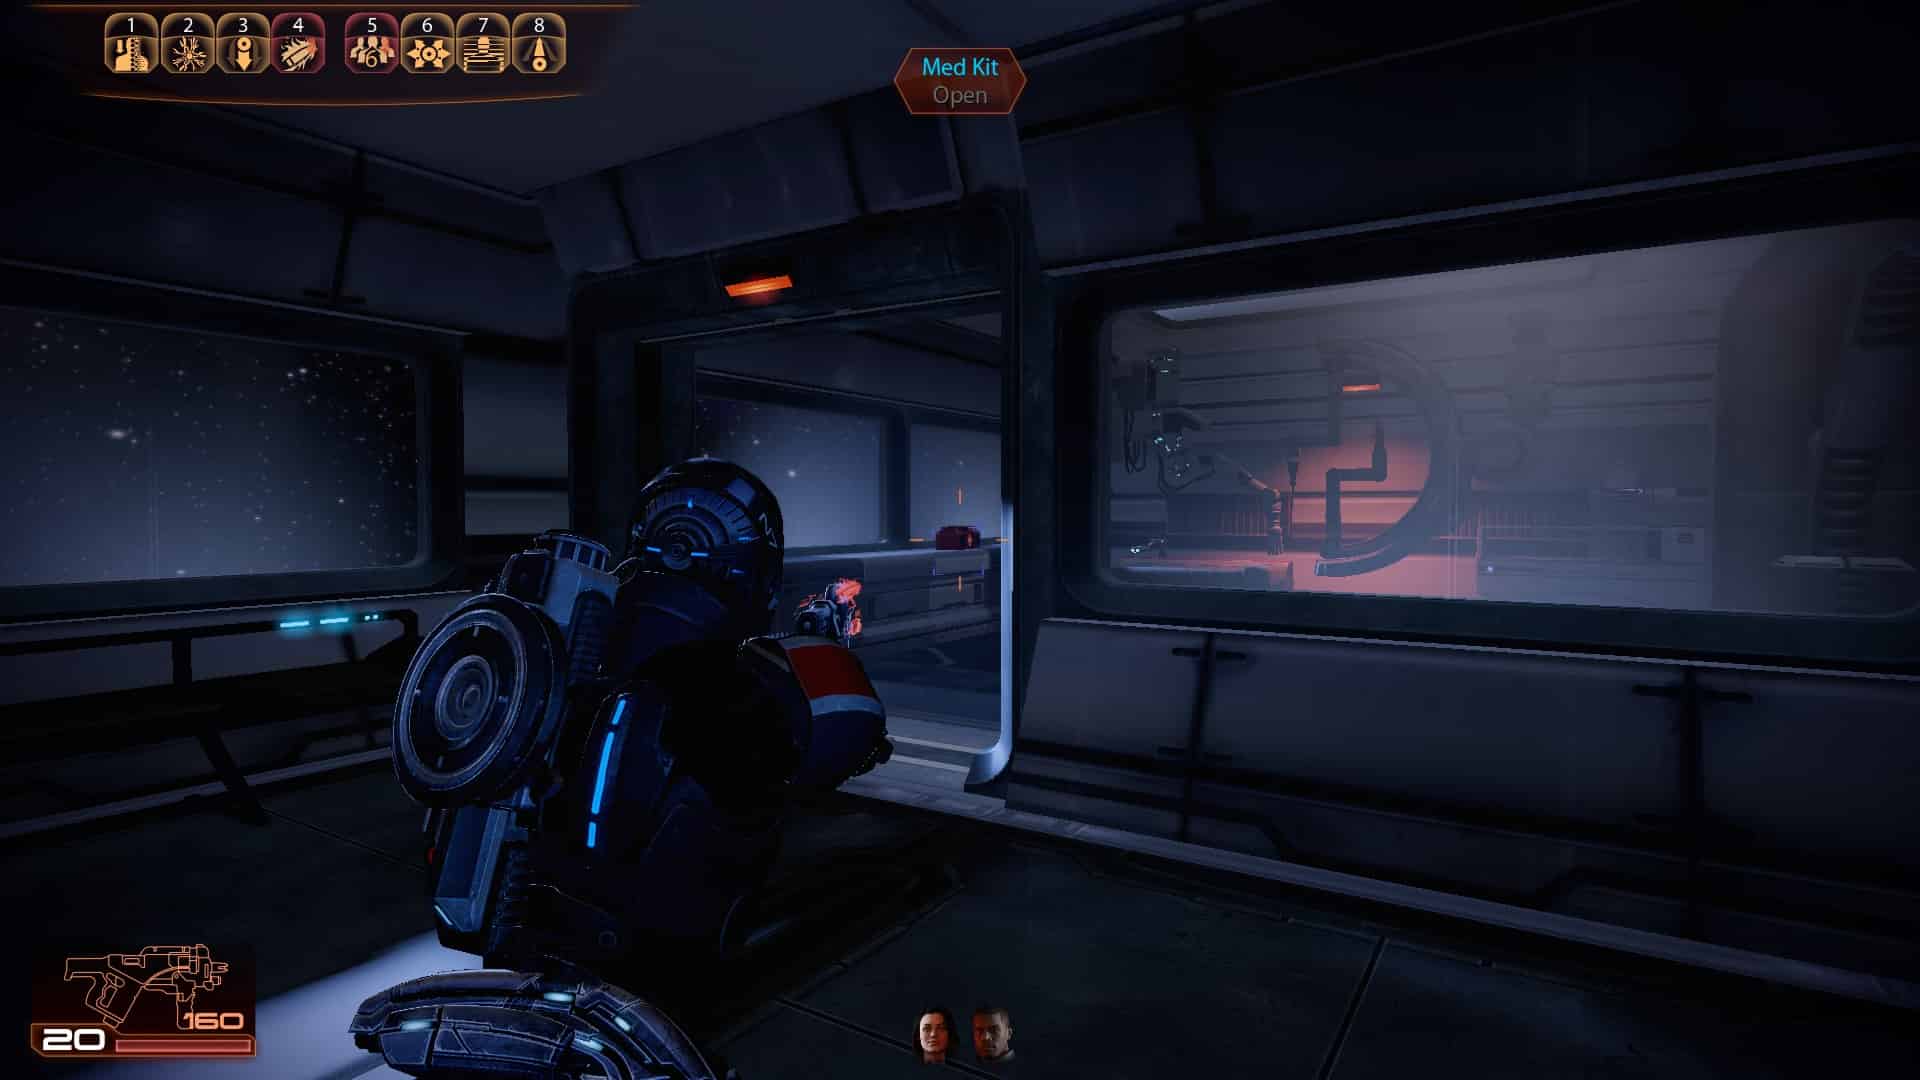
Plot Mission 2: Freedom's Progress


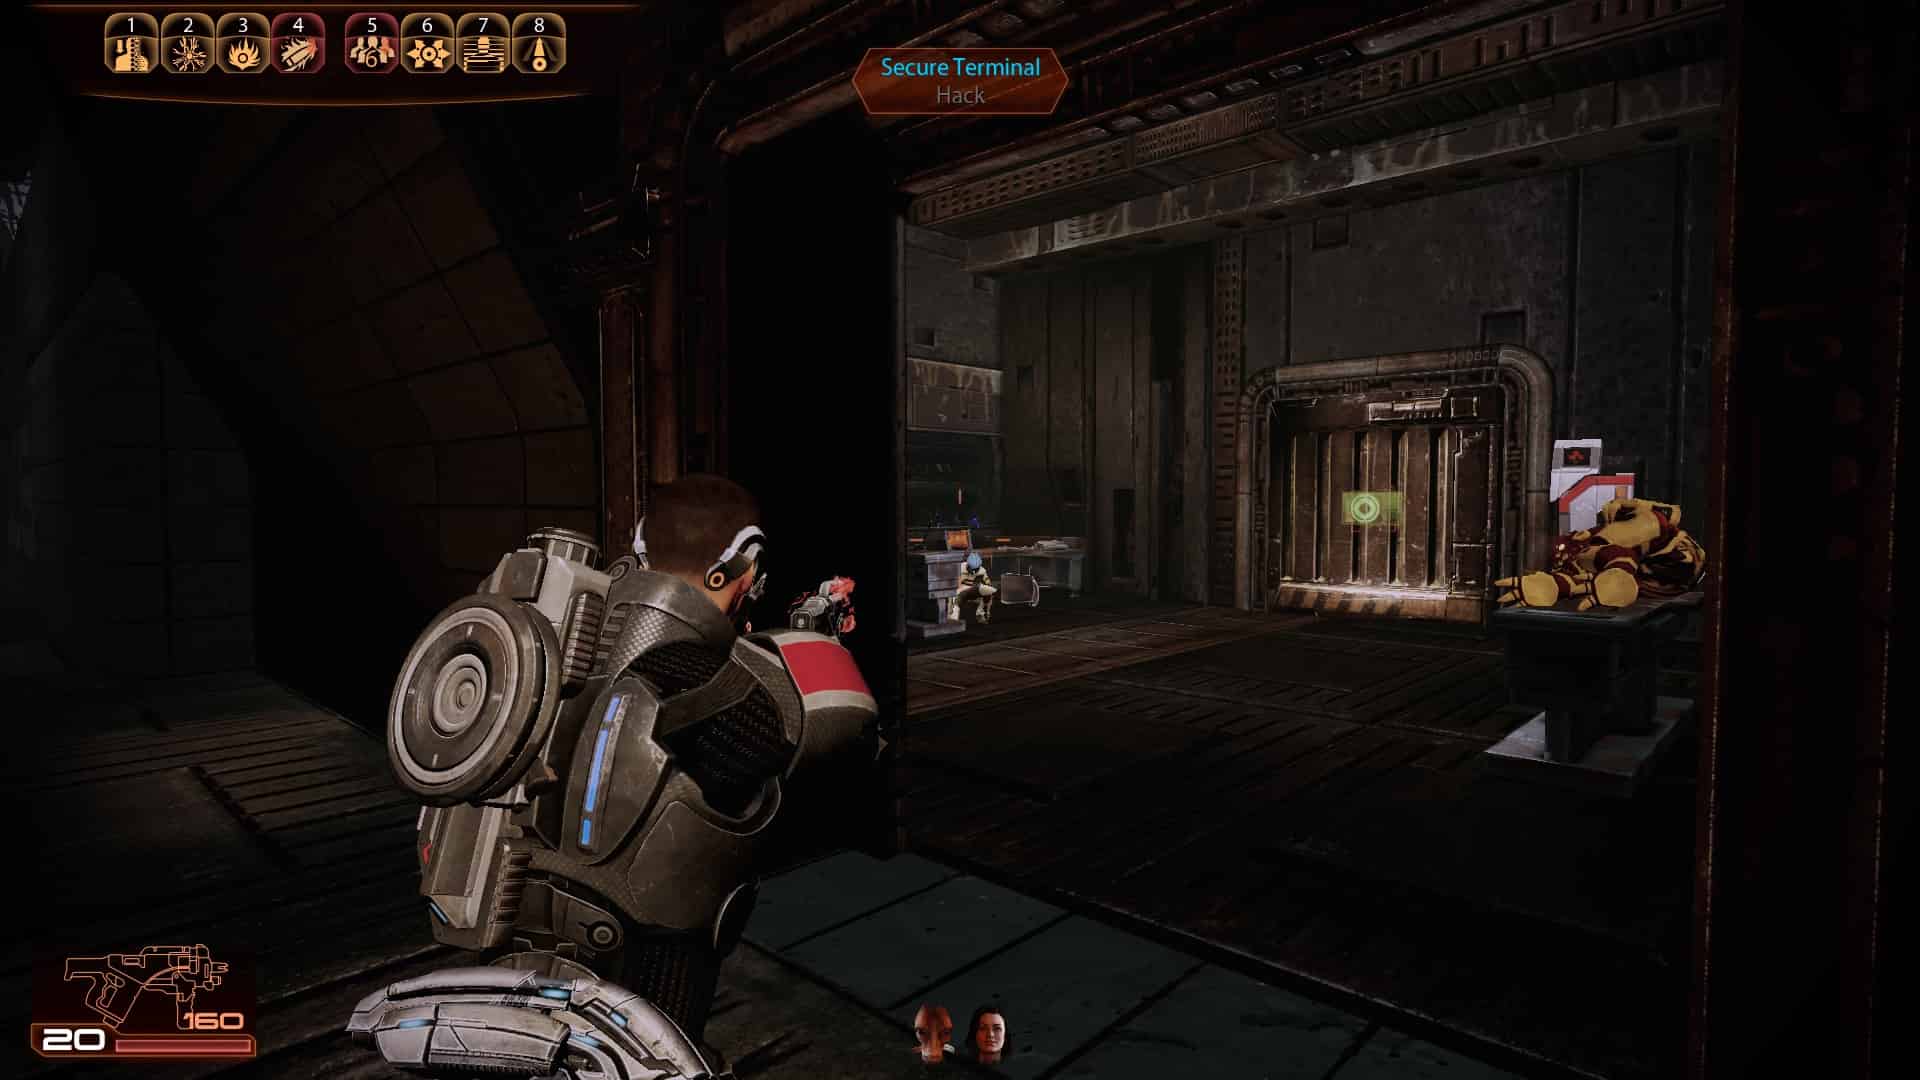
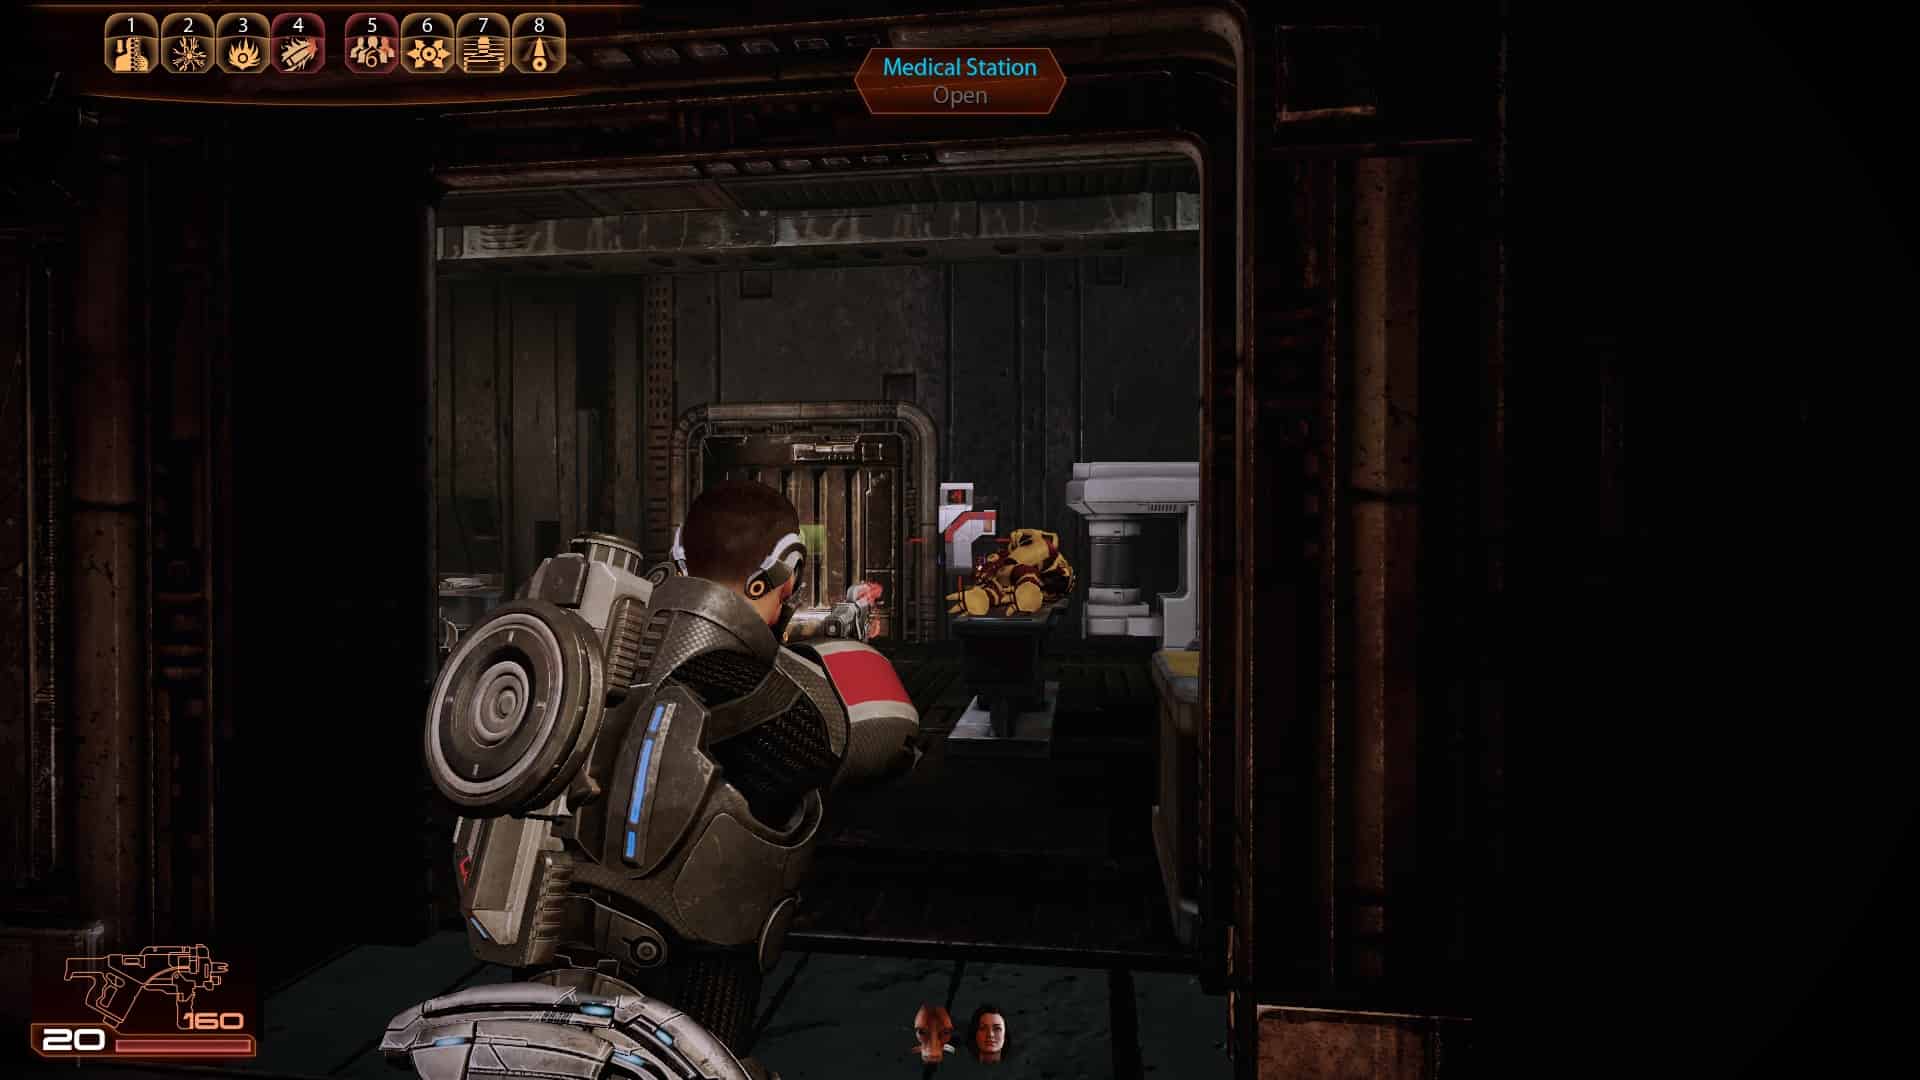
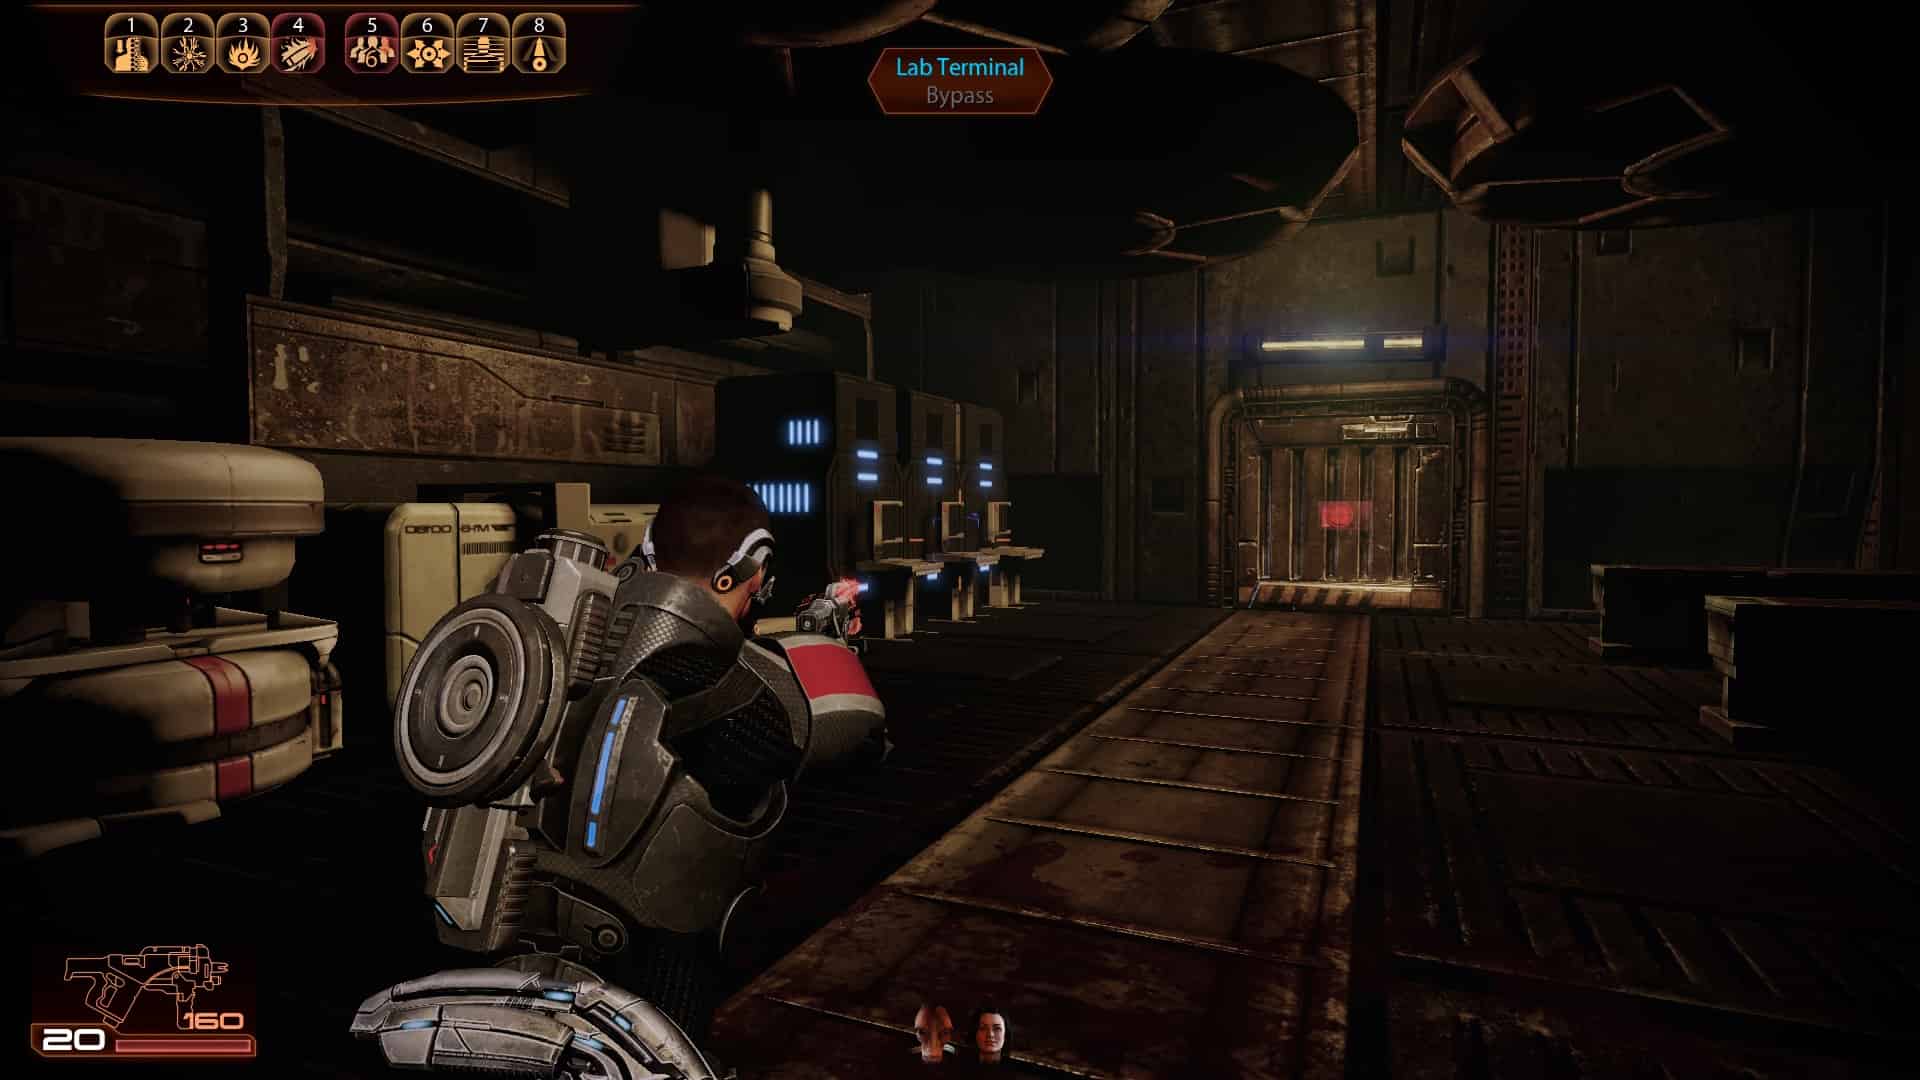
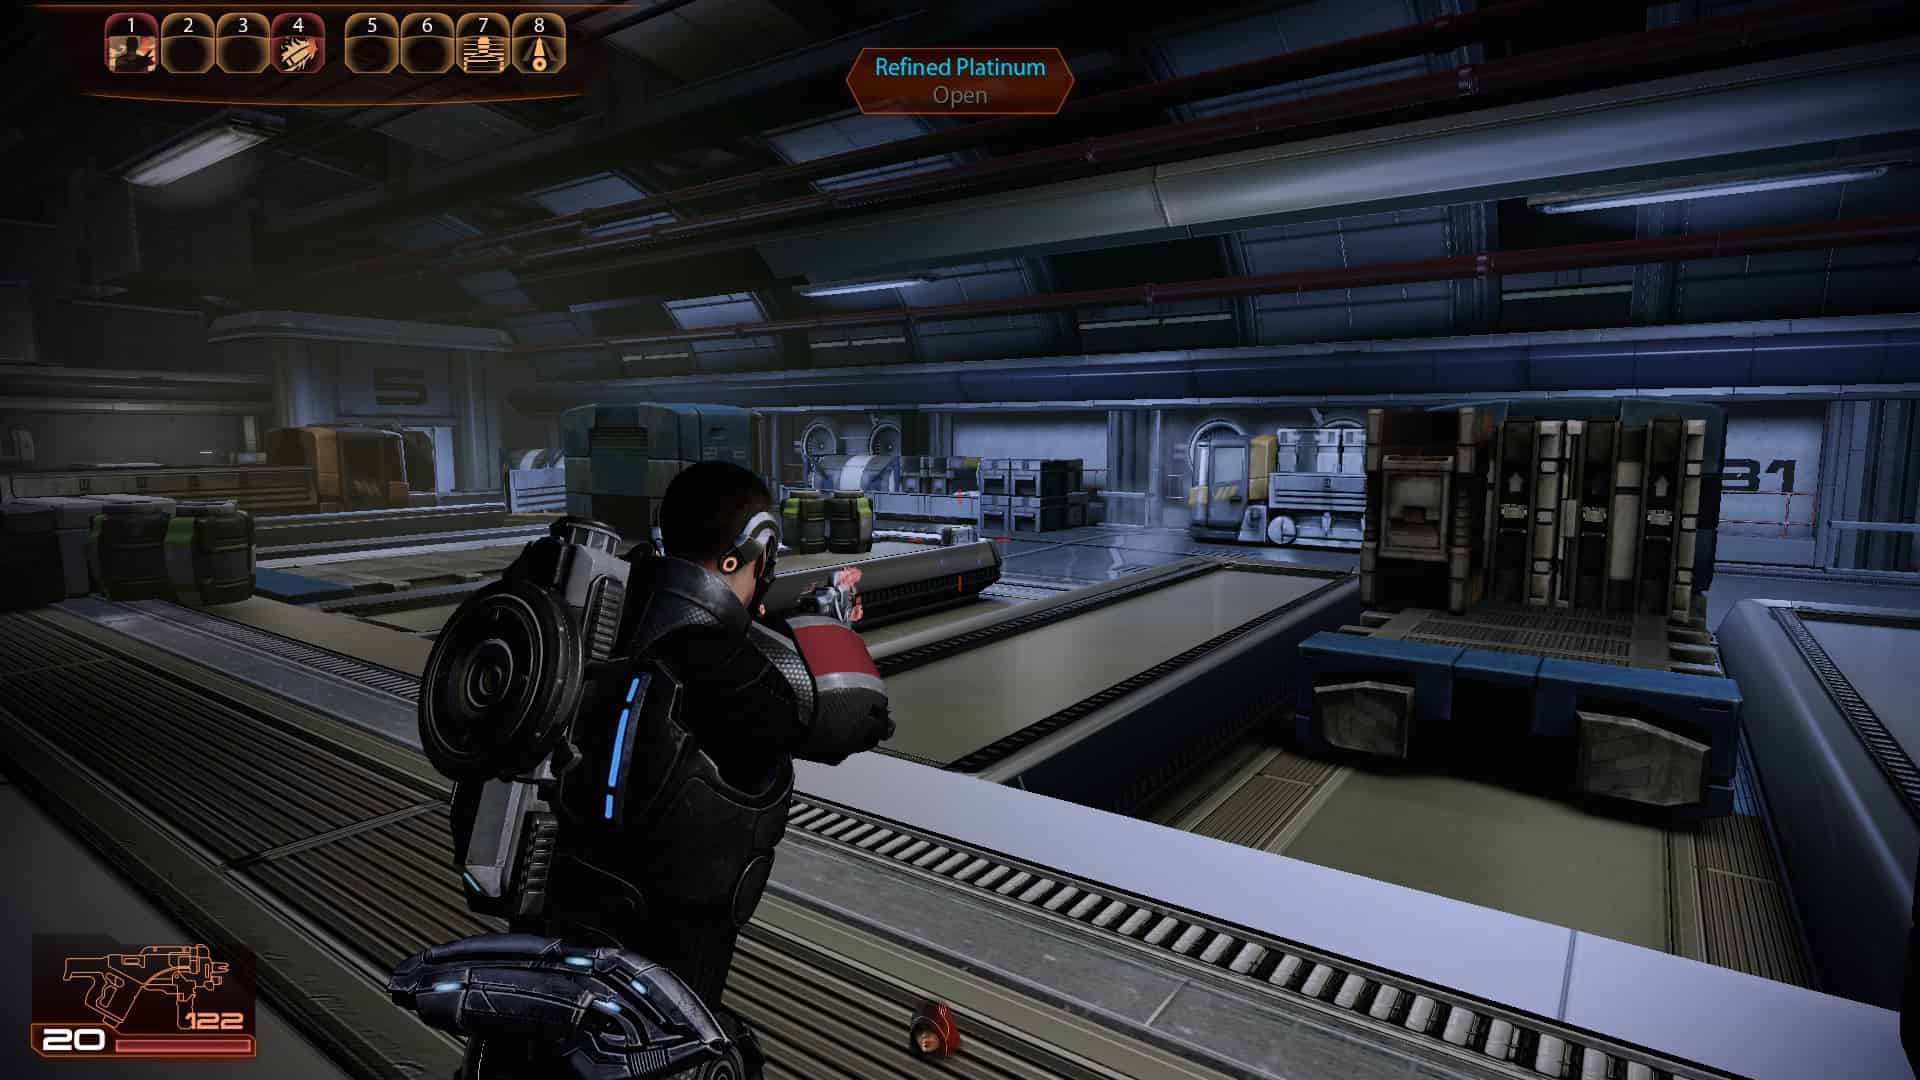
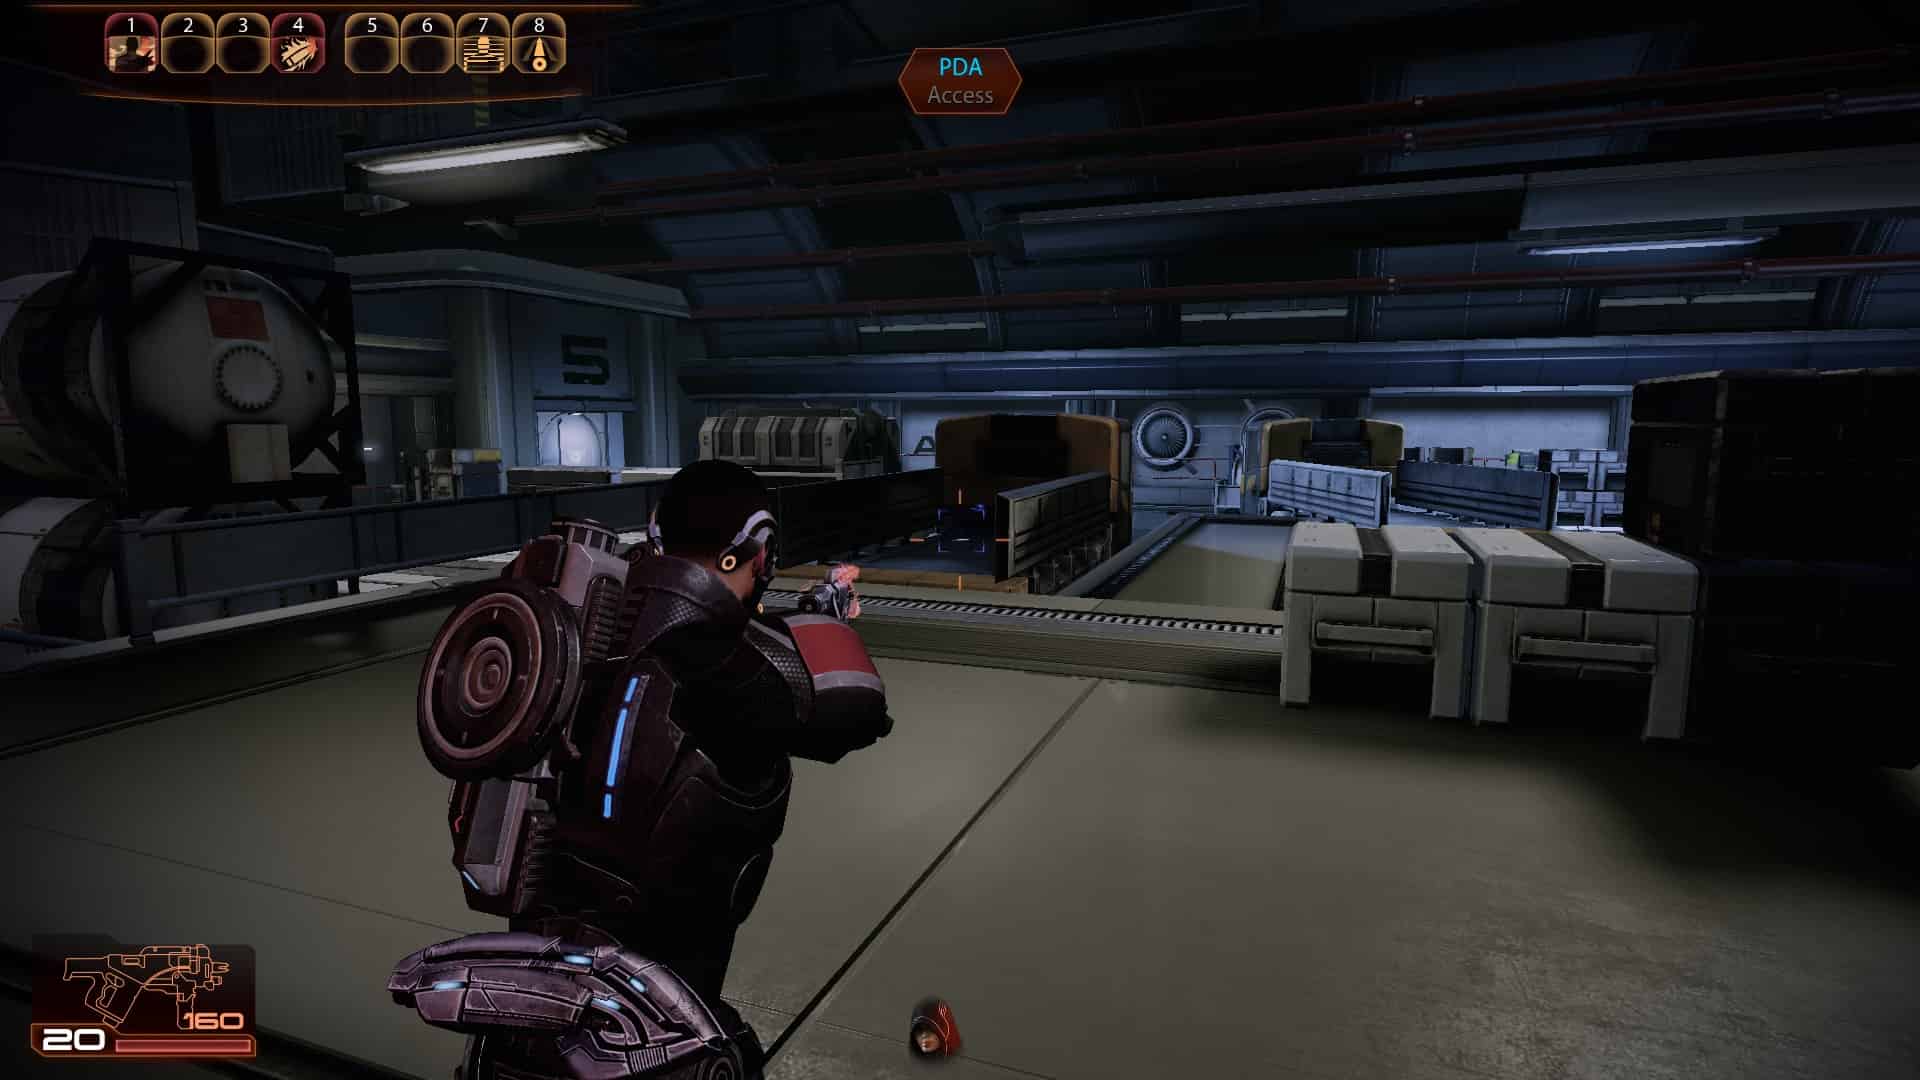
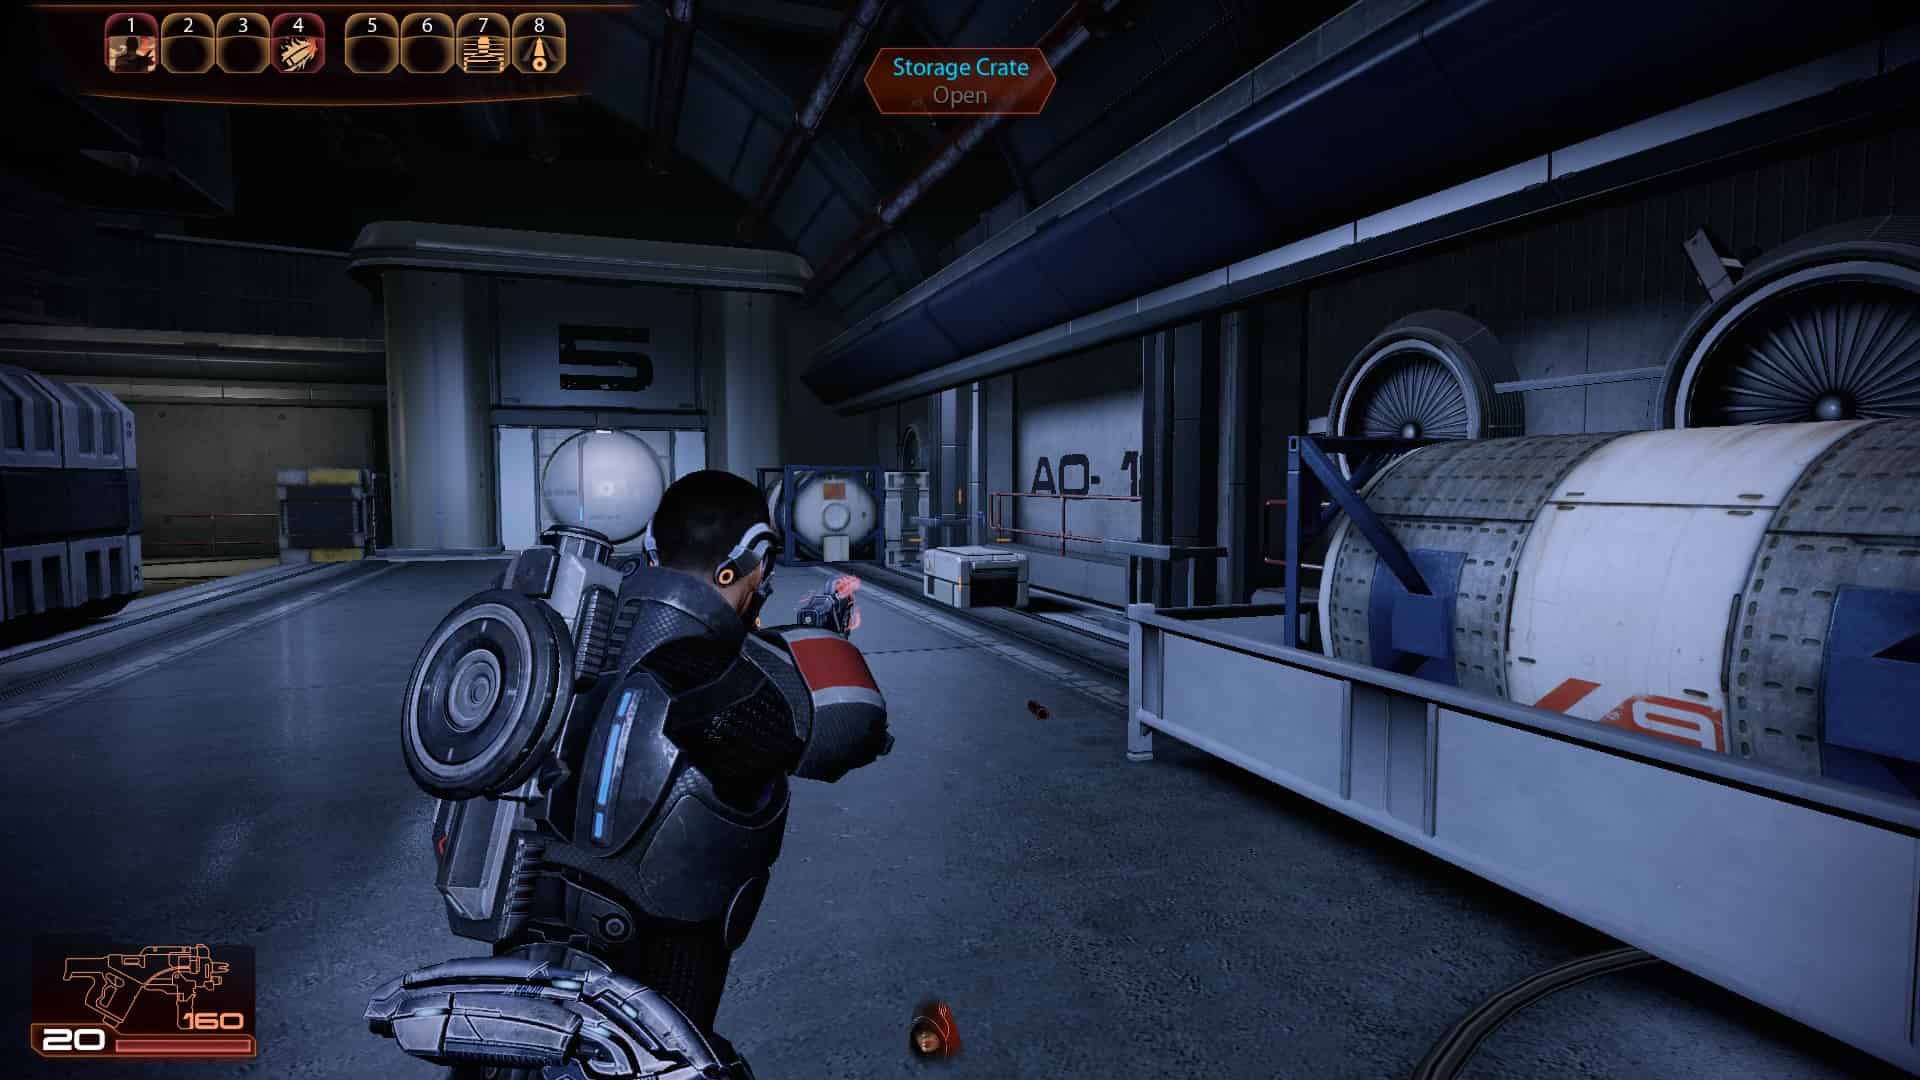
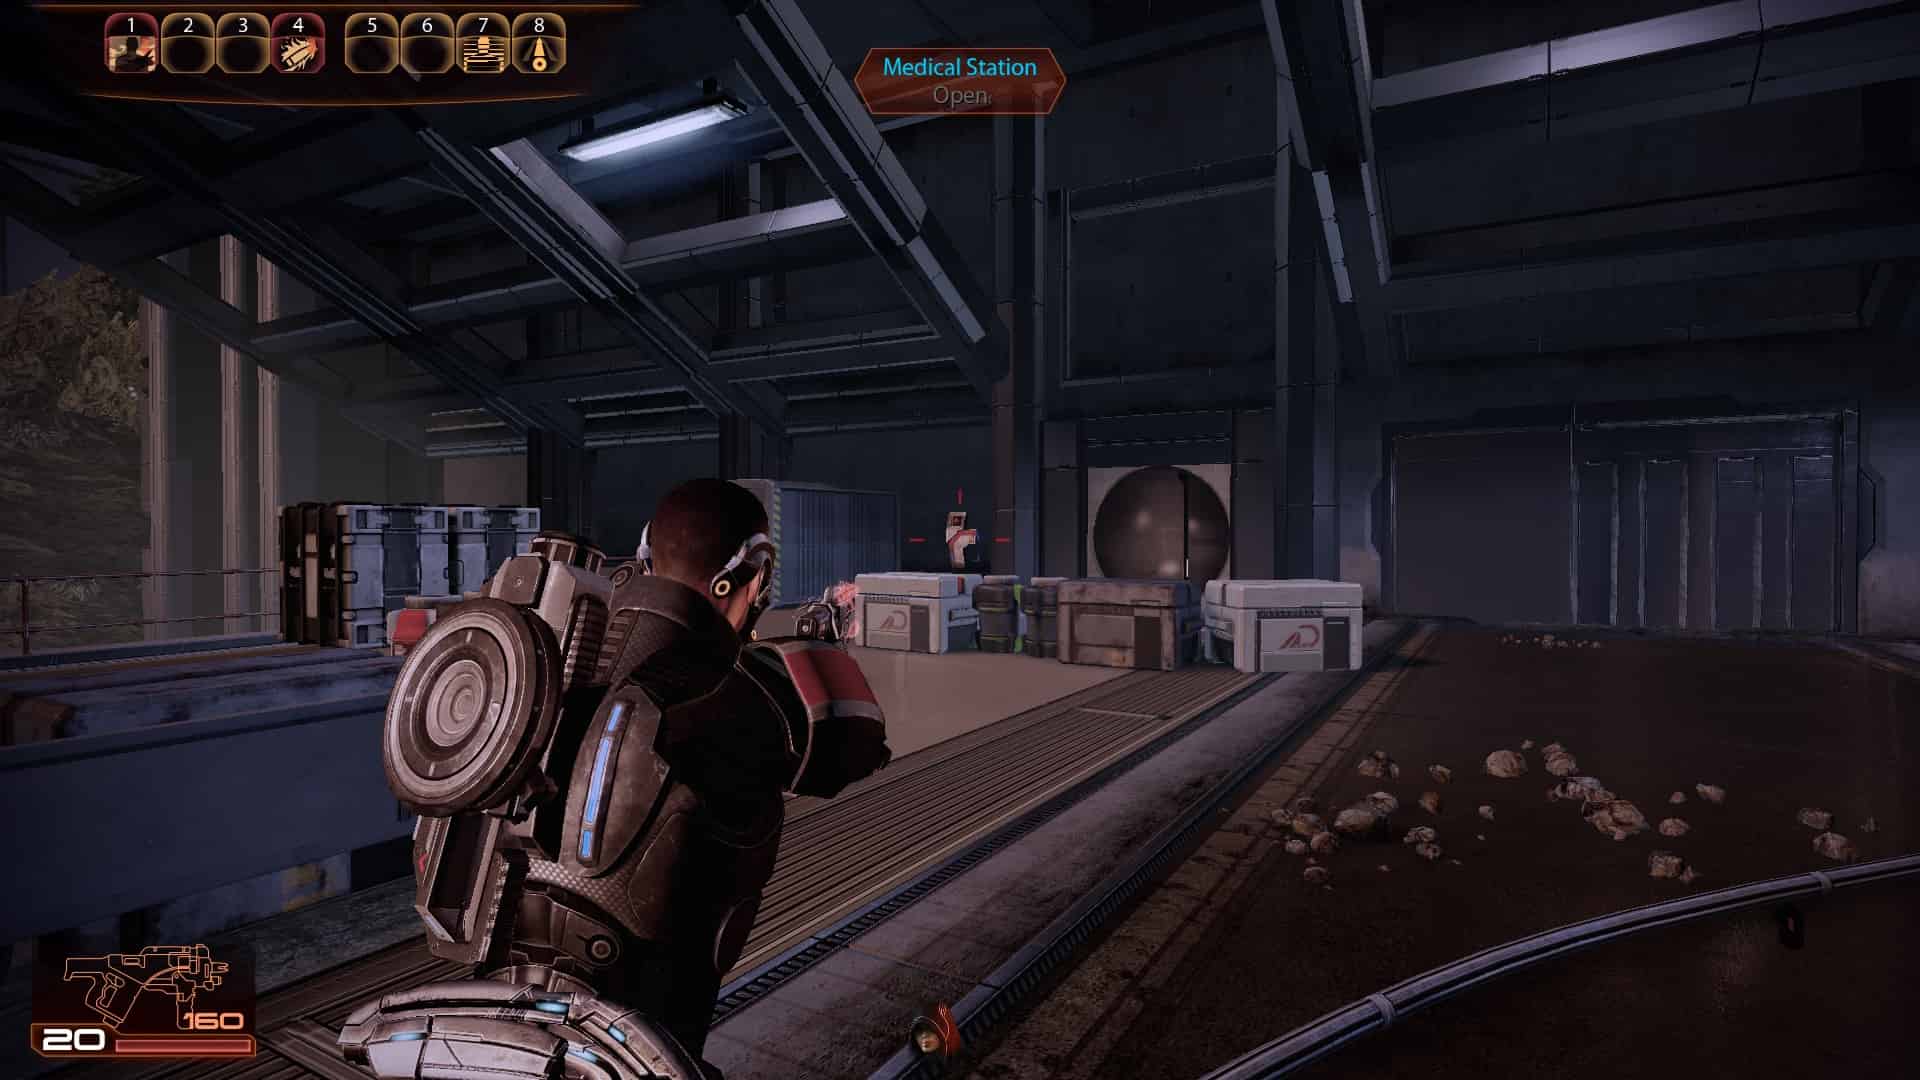
1
2
3
4
5
6
7
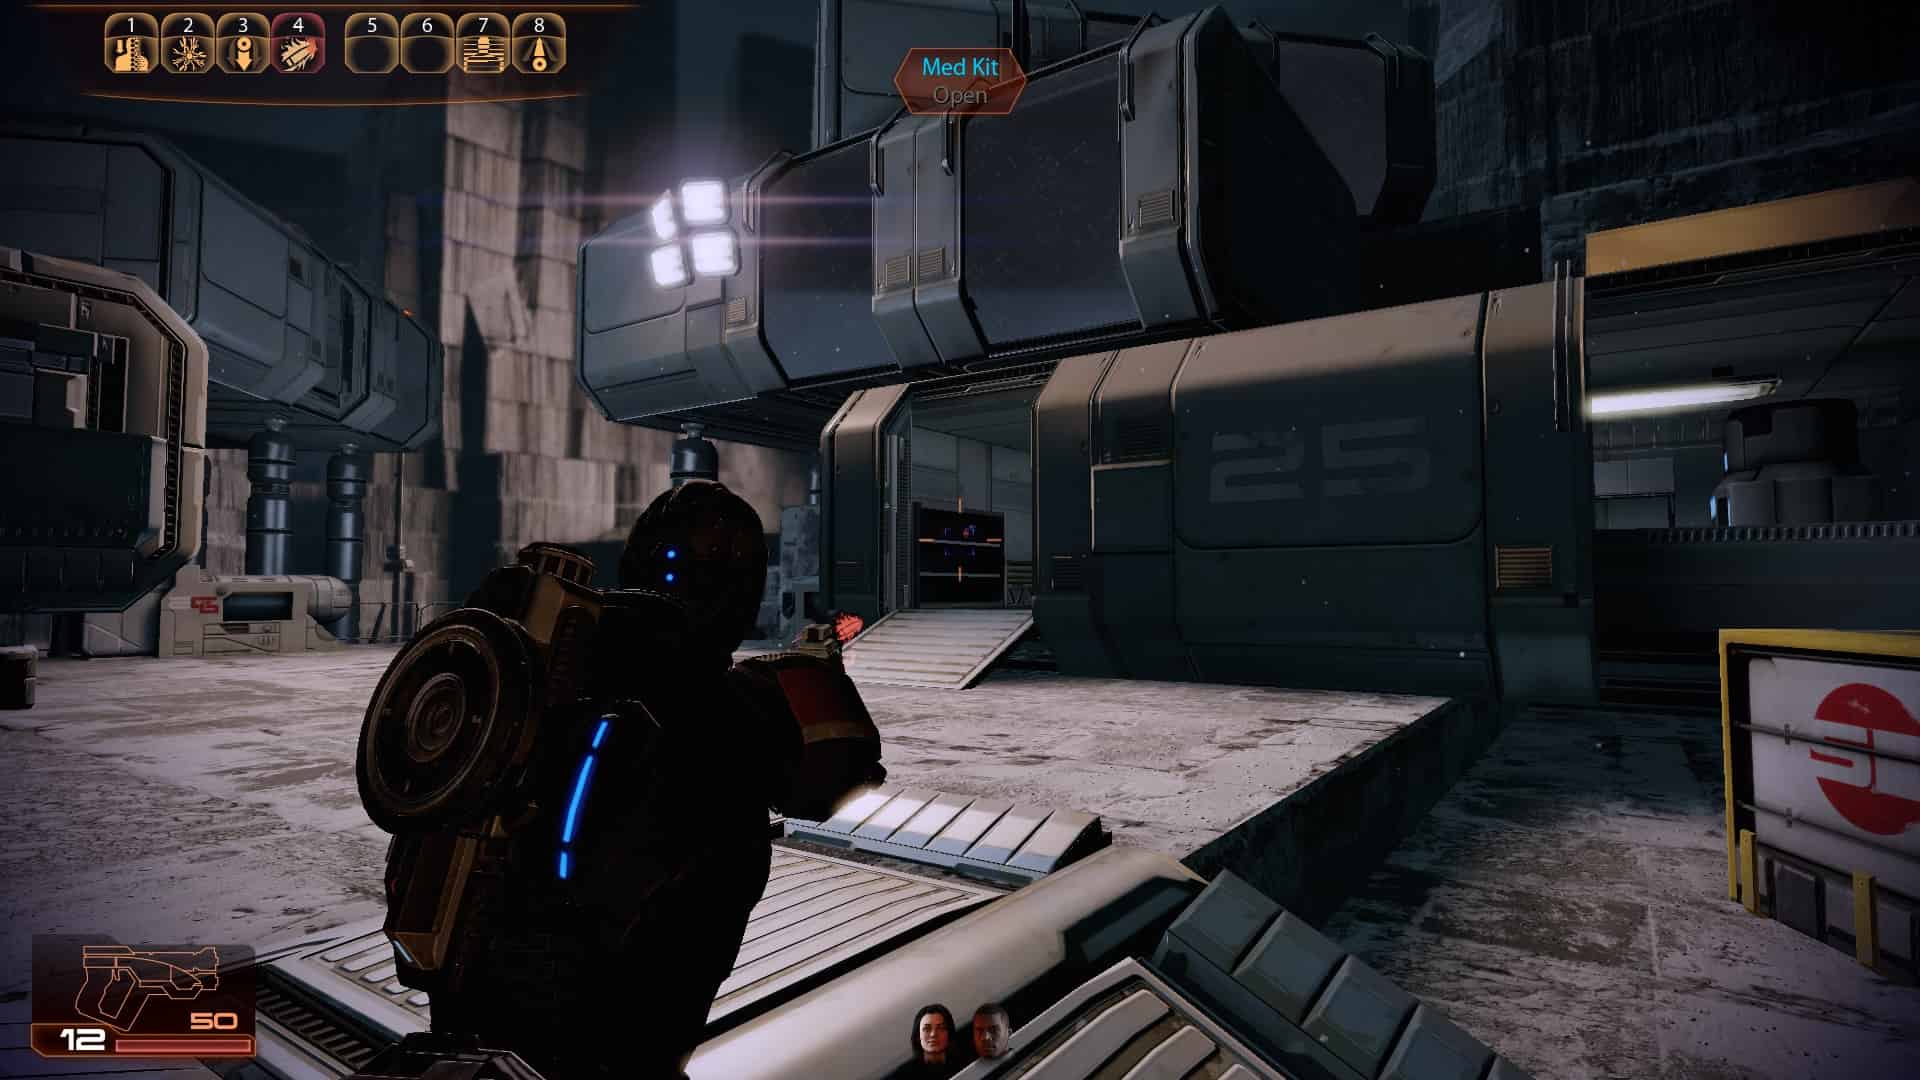
8
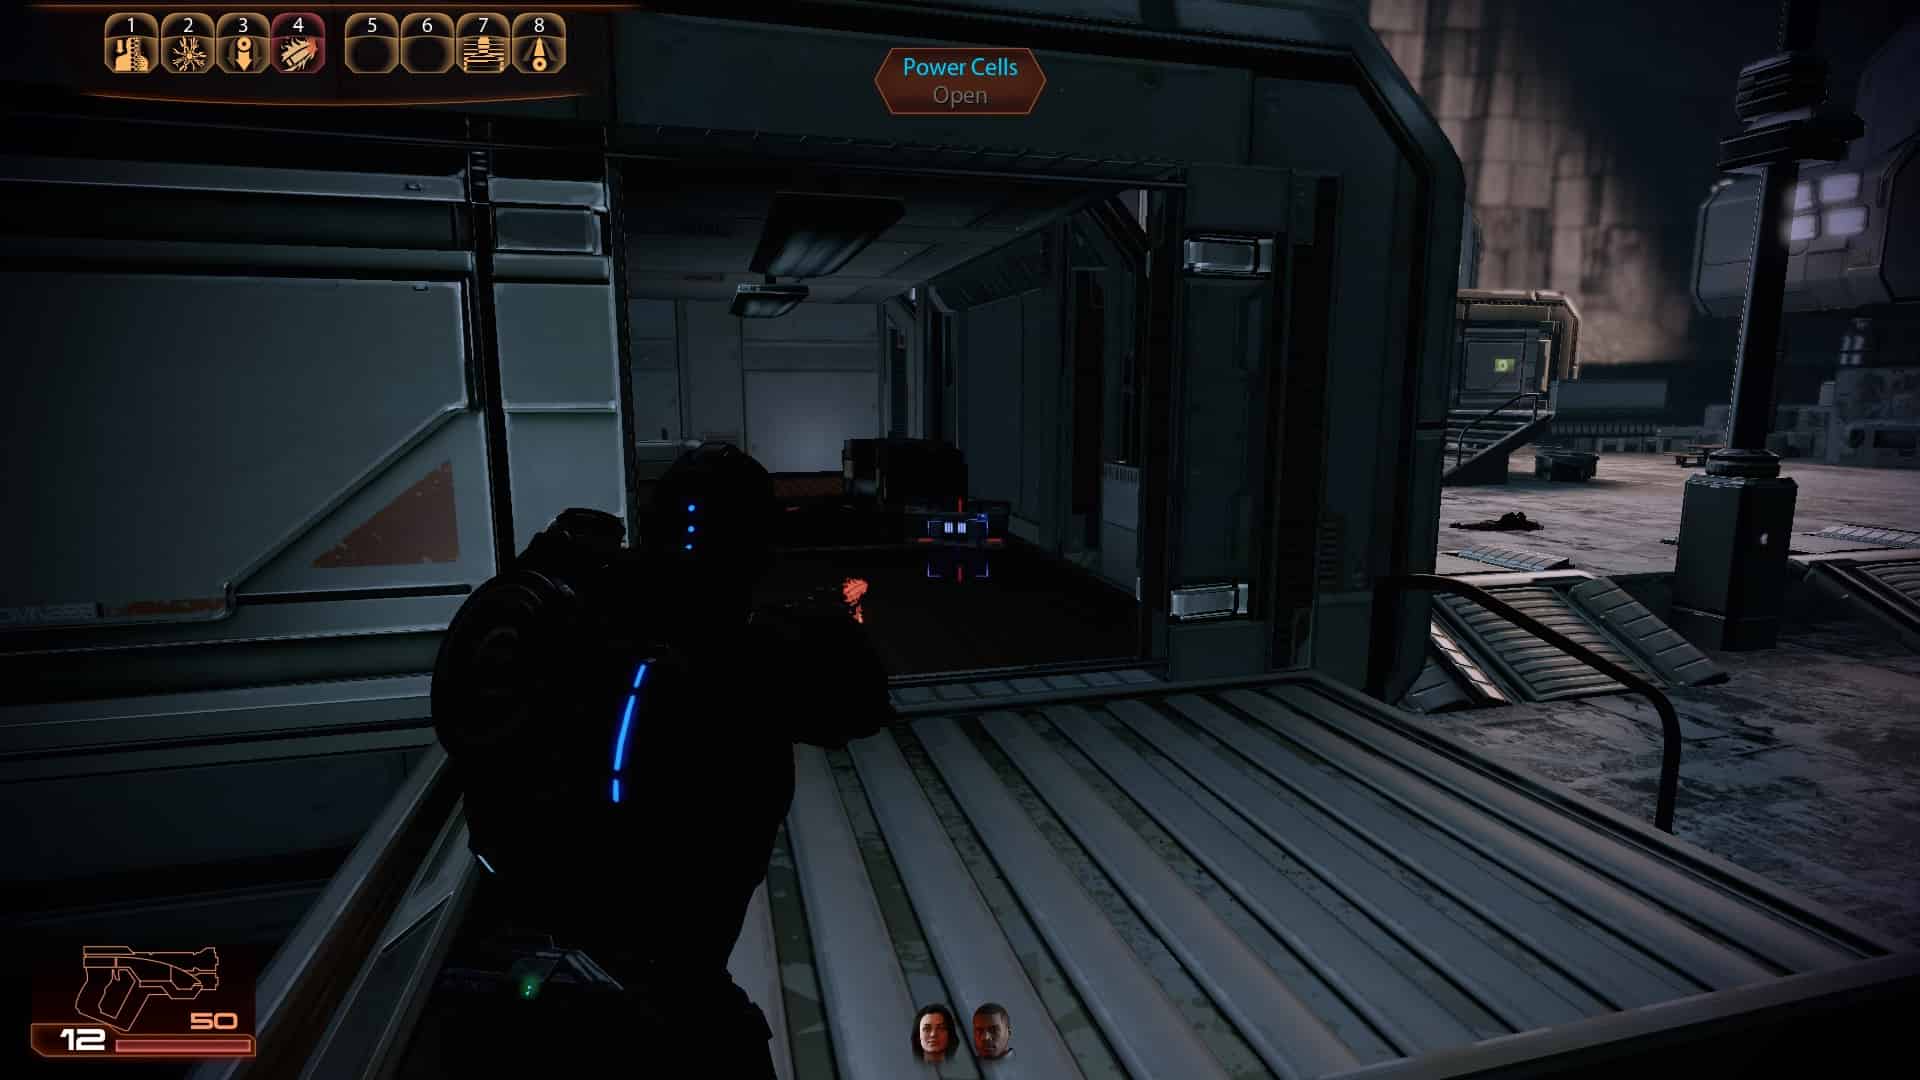
9 (Upgrade - Heavy Weapon Ammo)
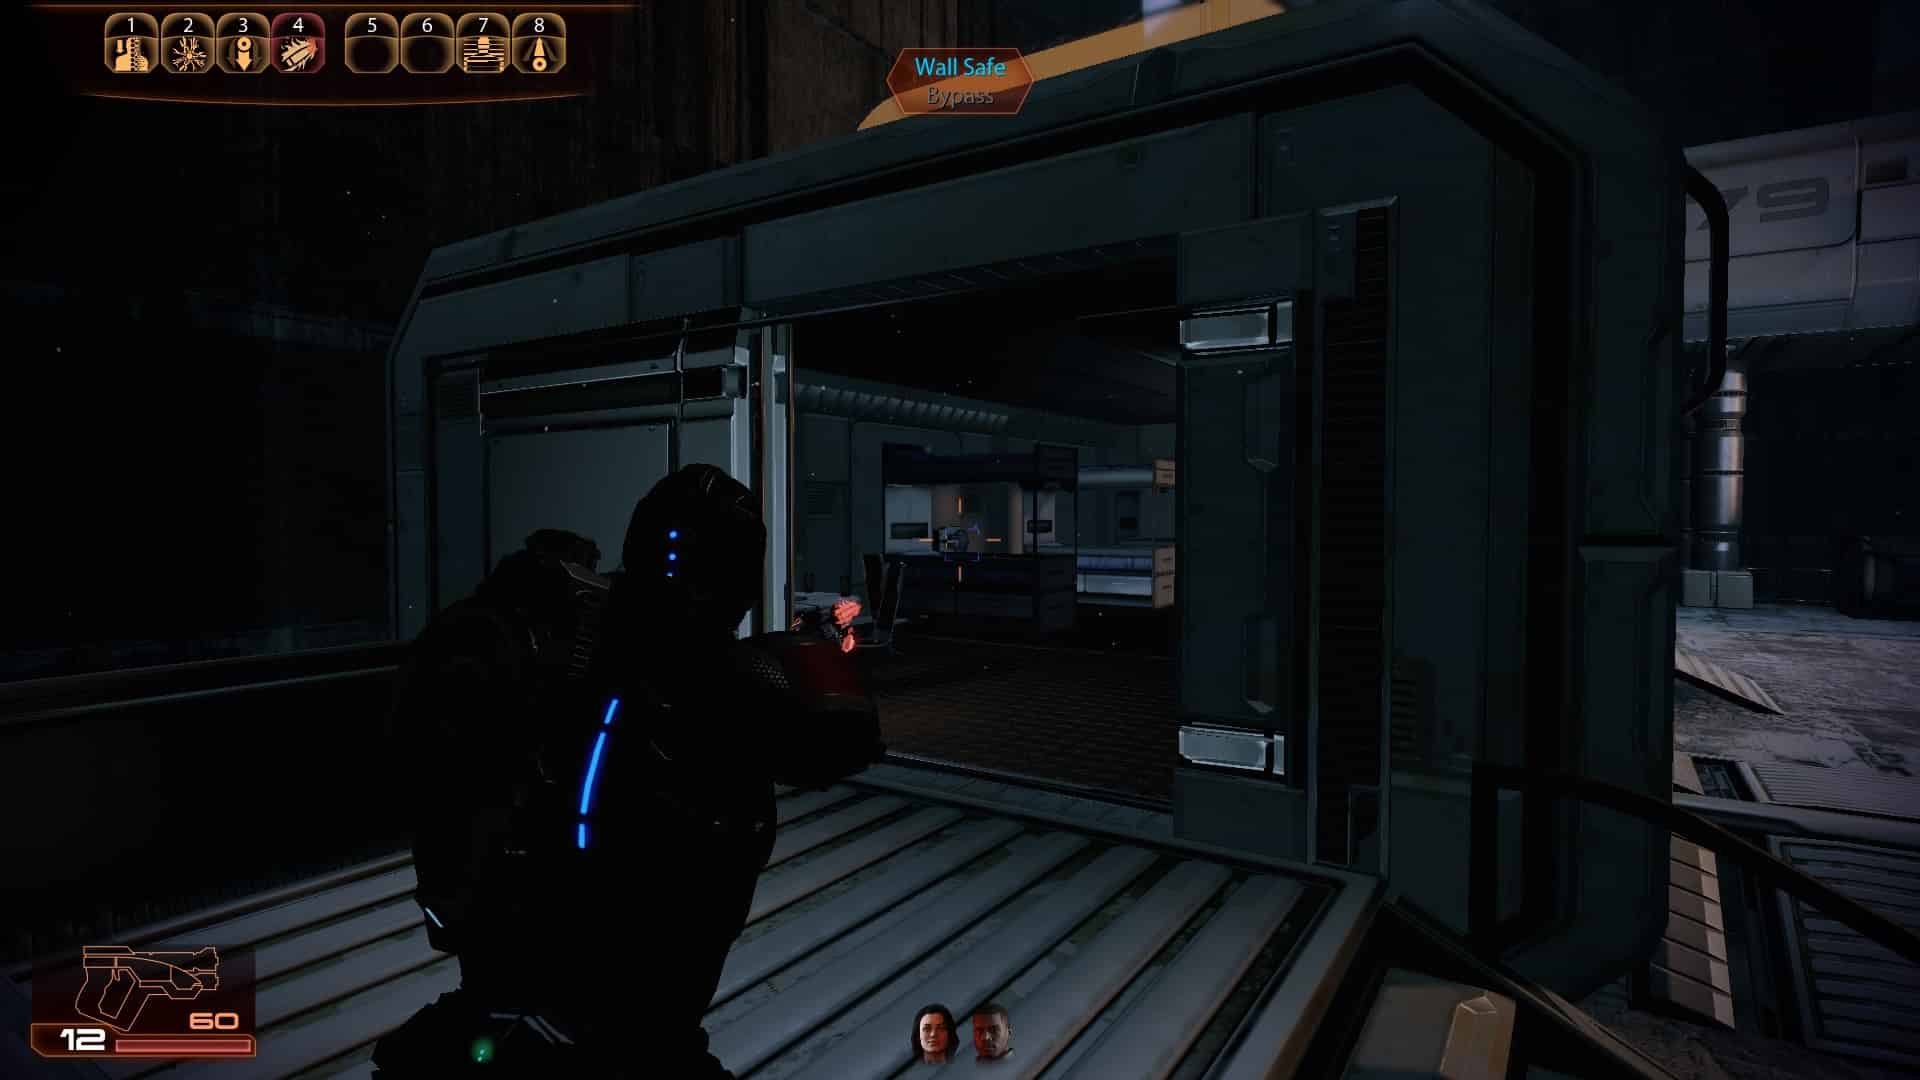
10
11
12
13
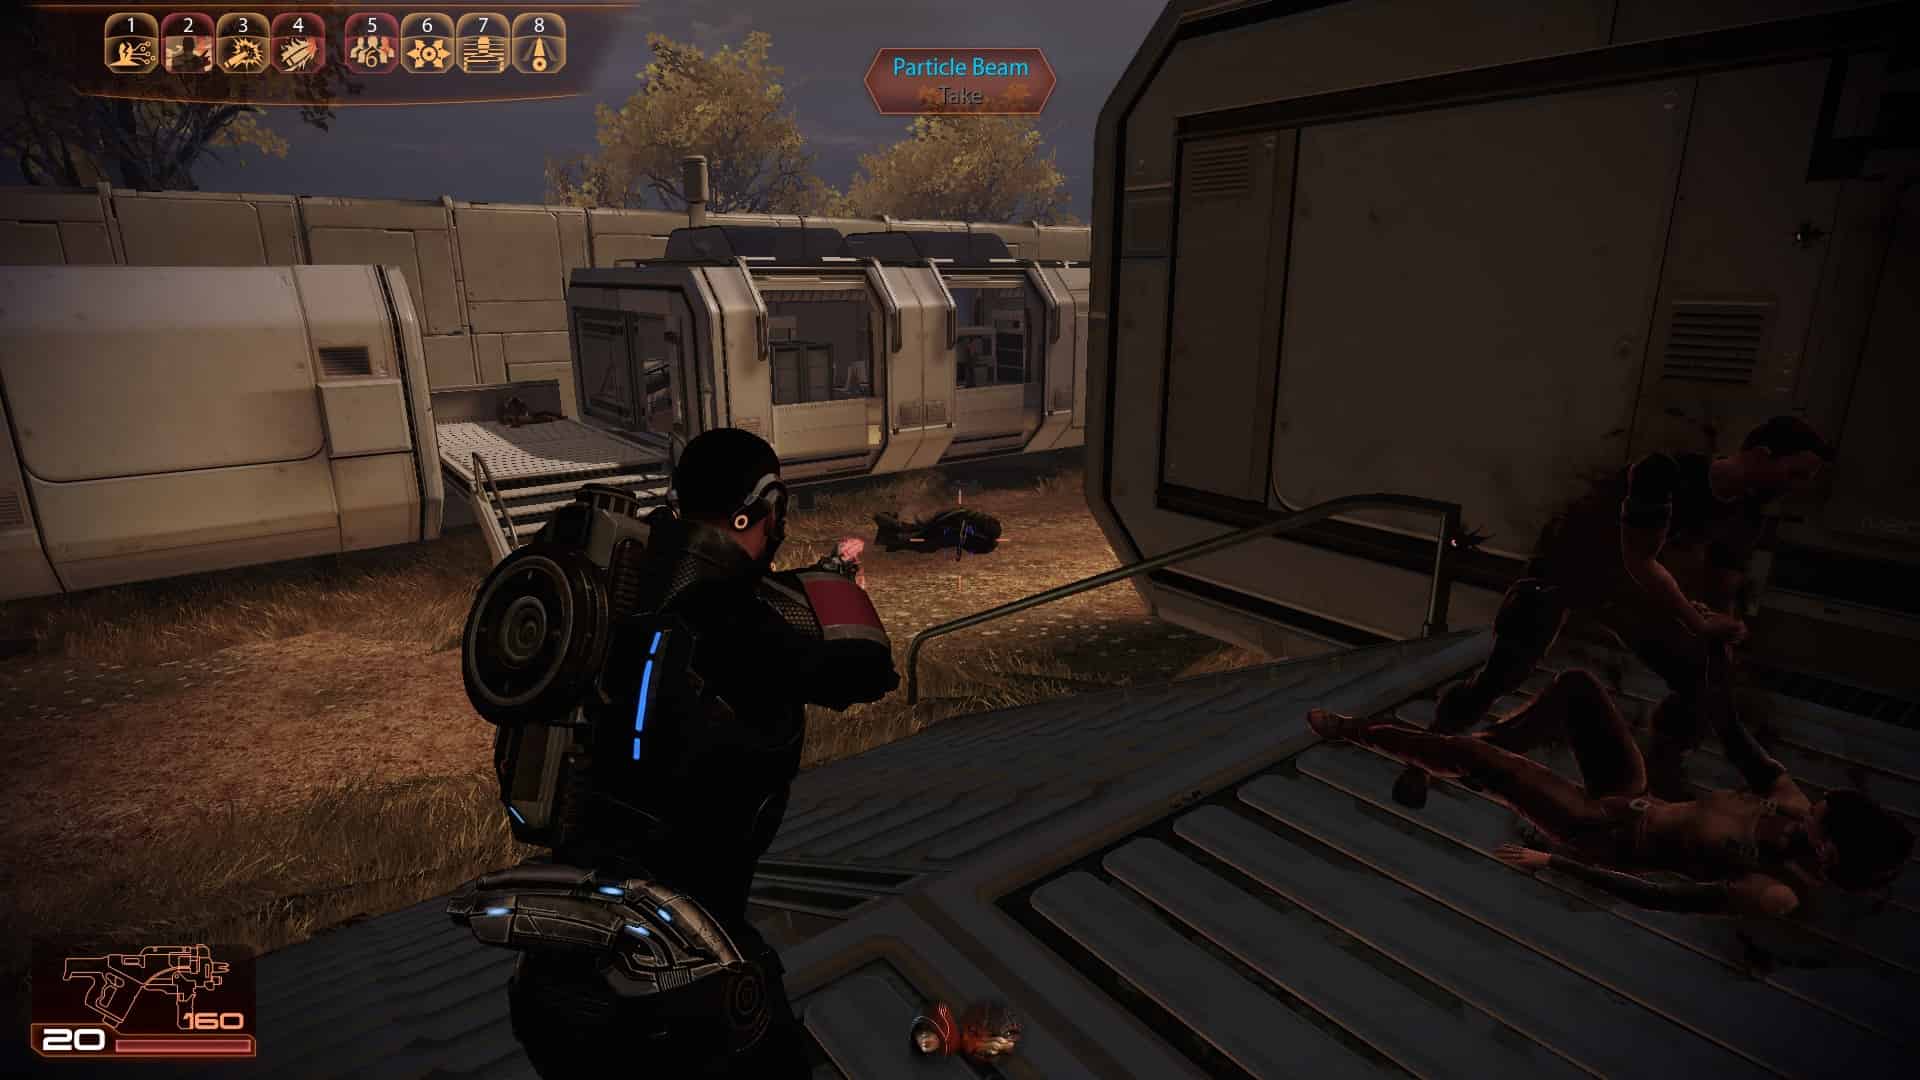
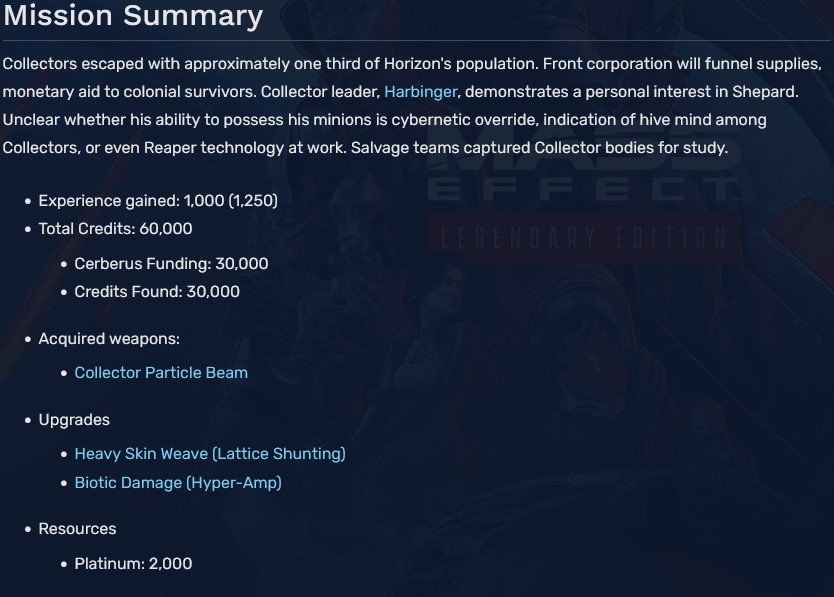
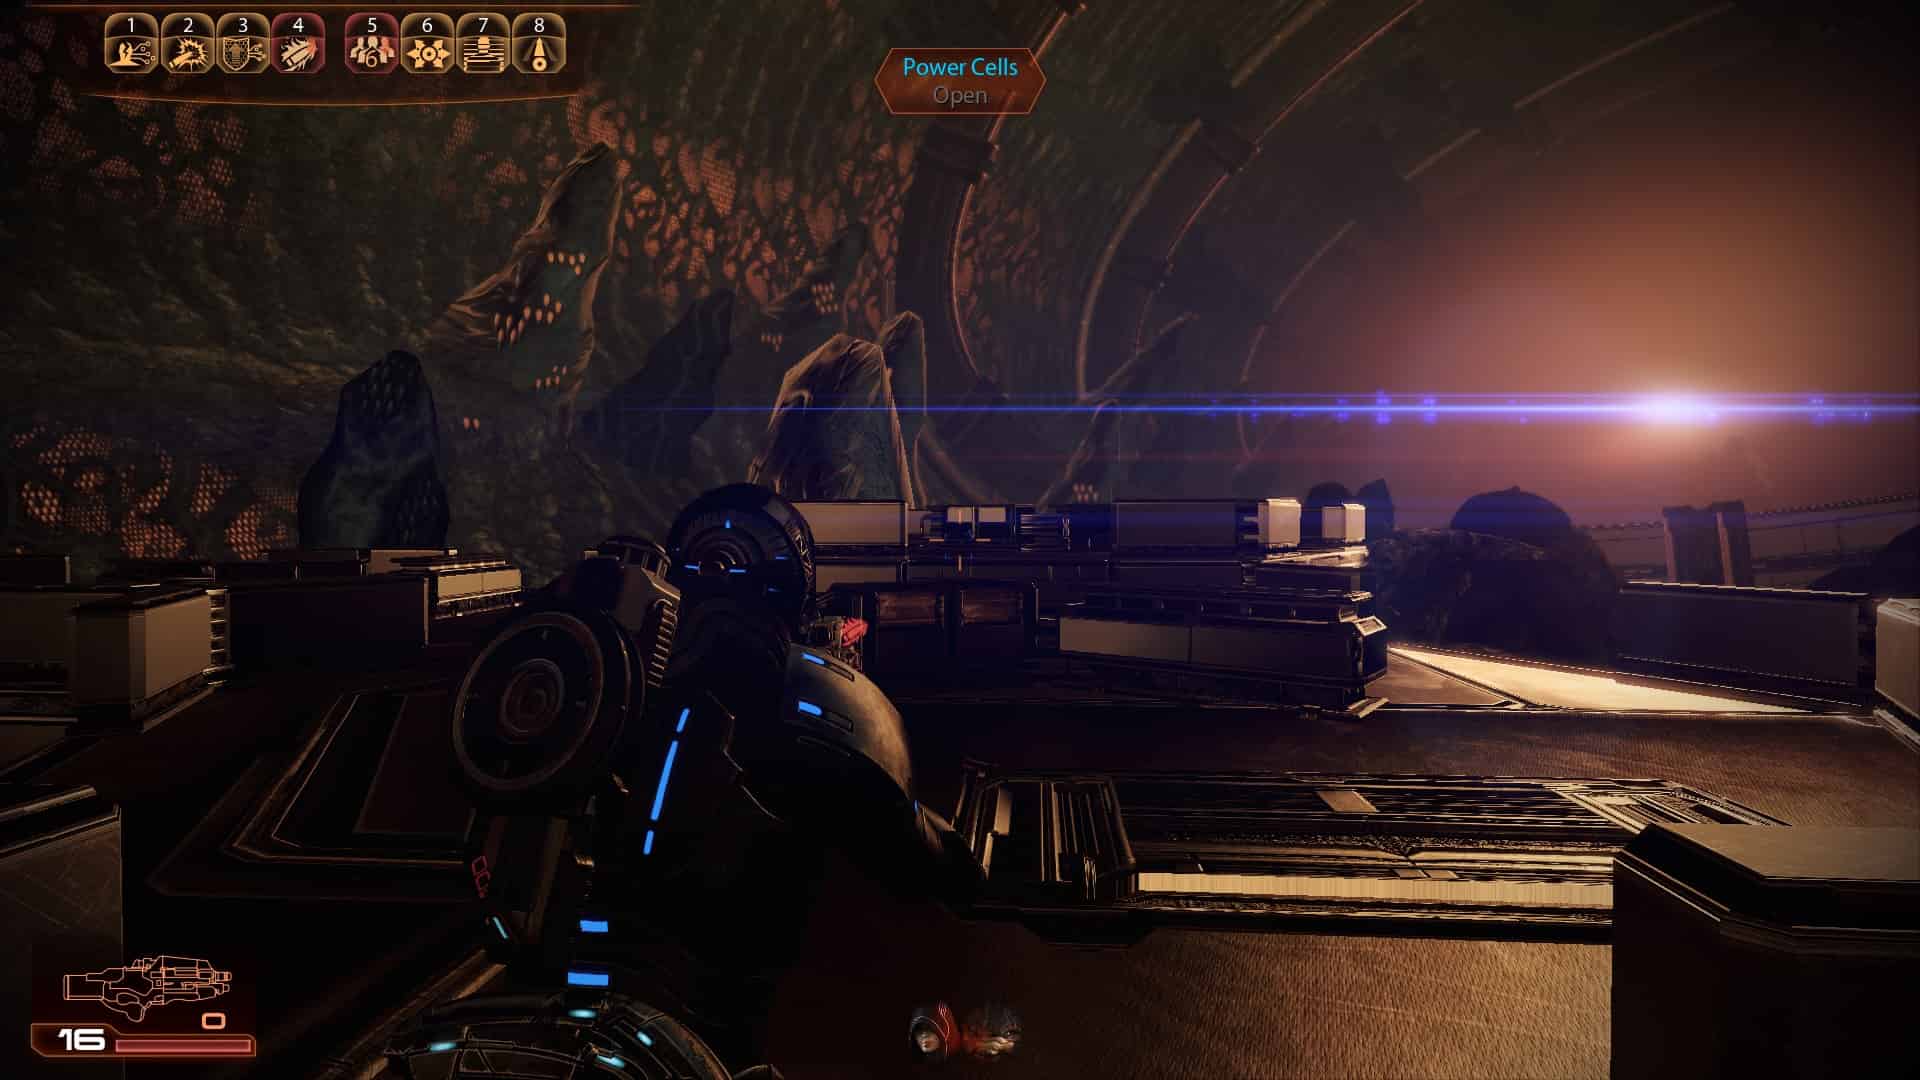
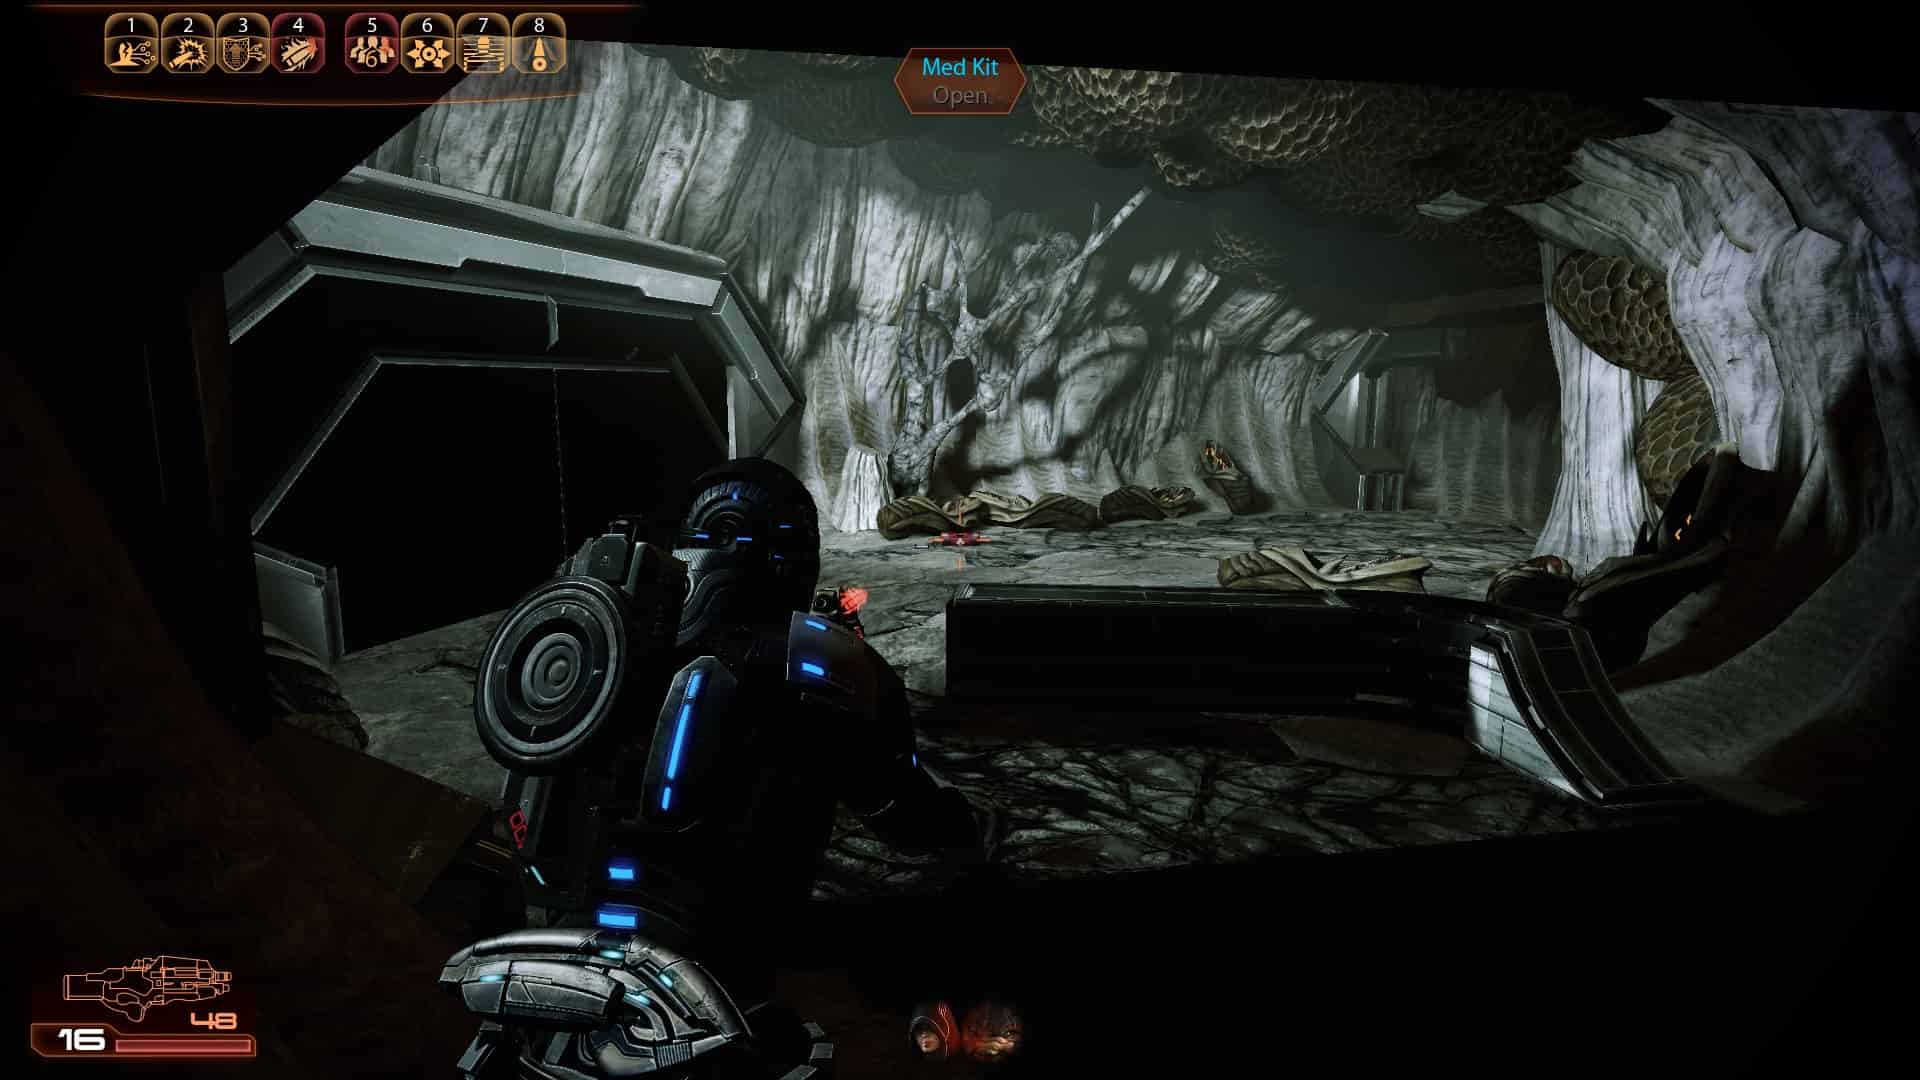
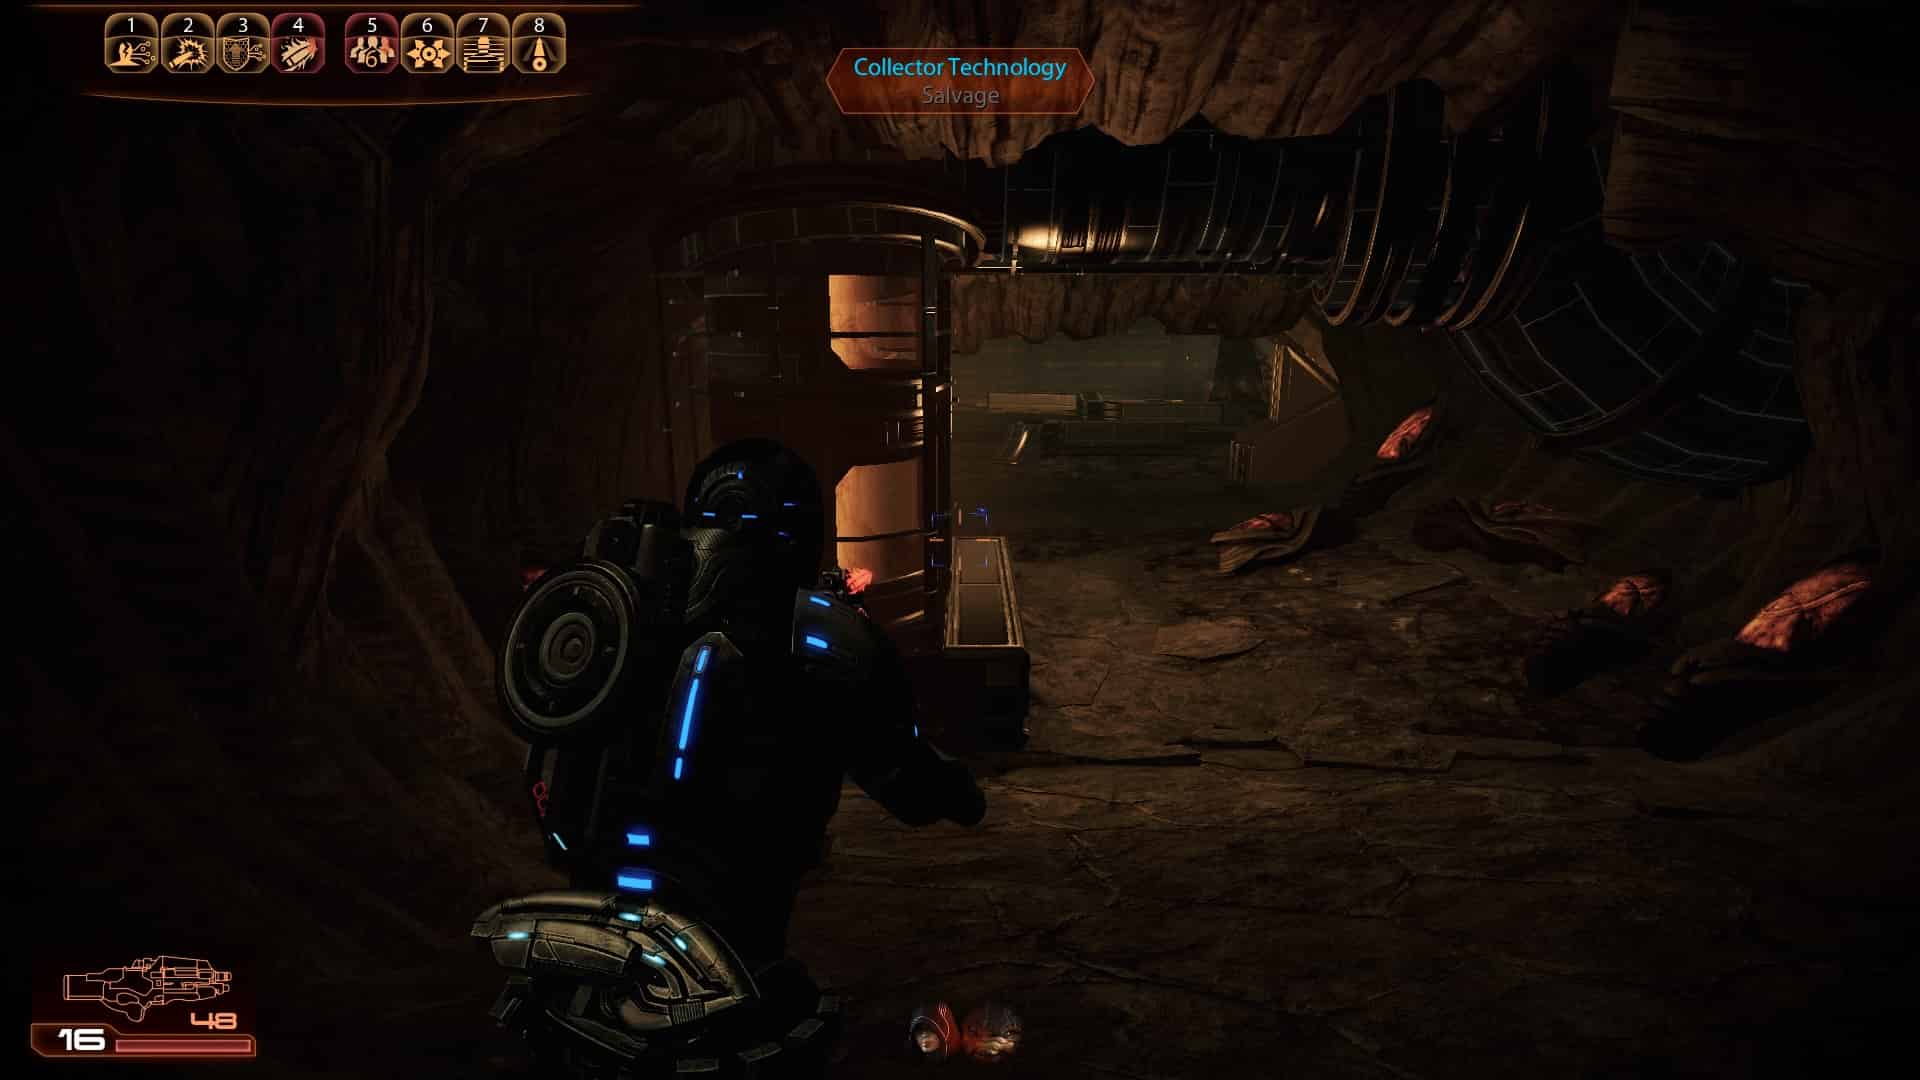
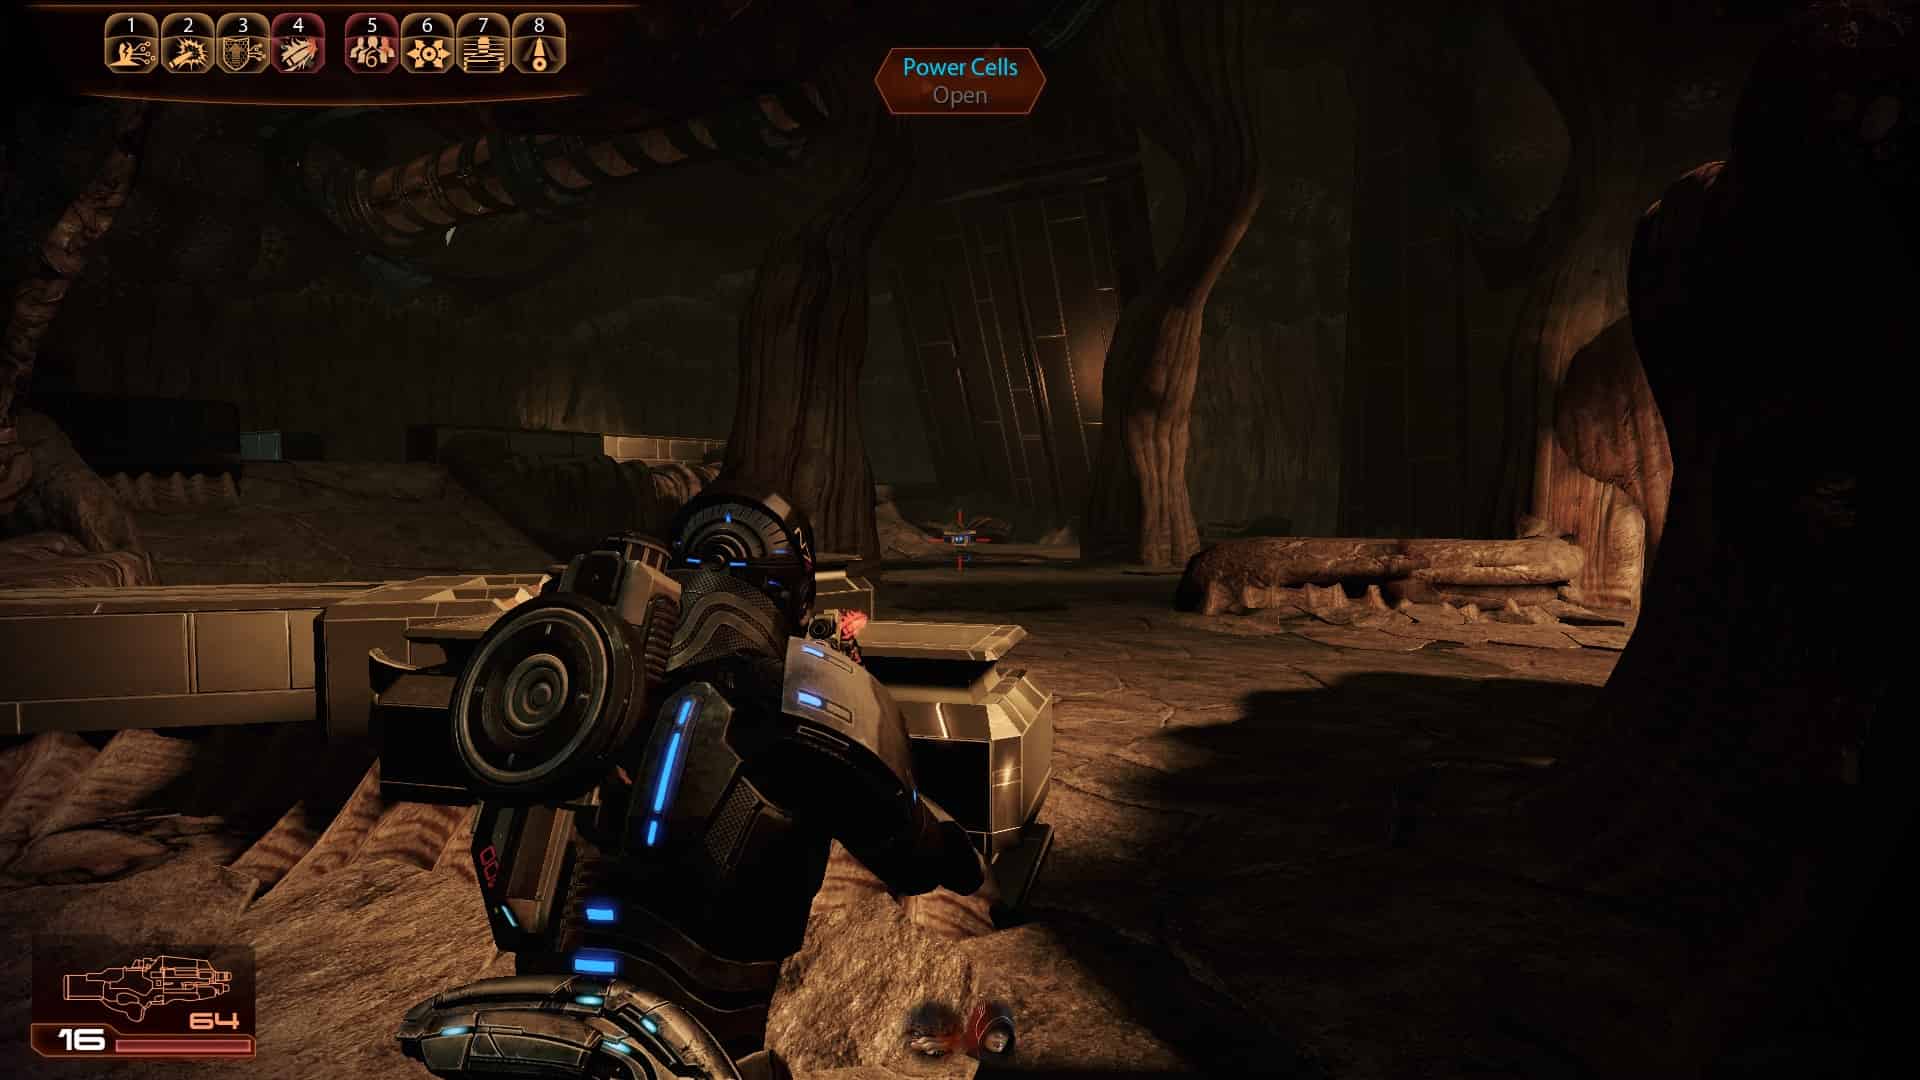
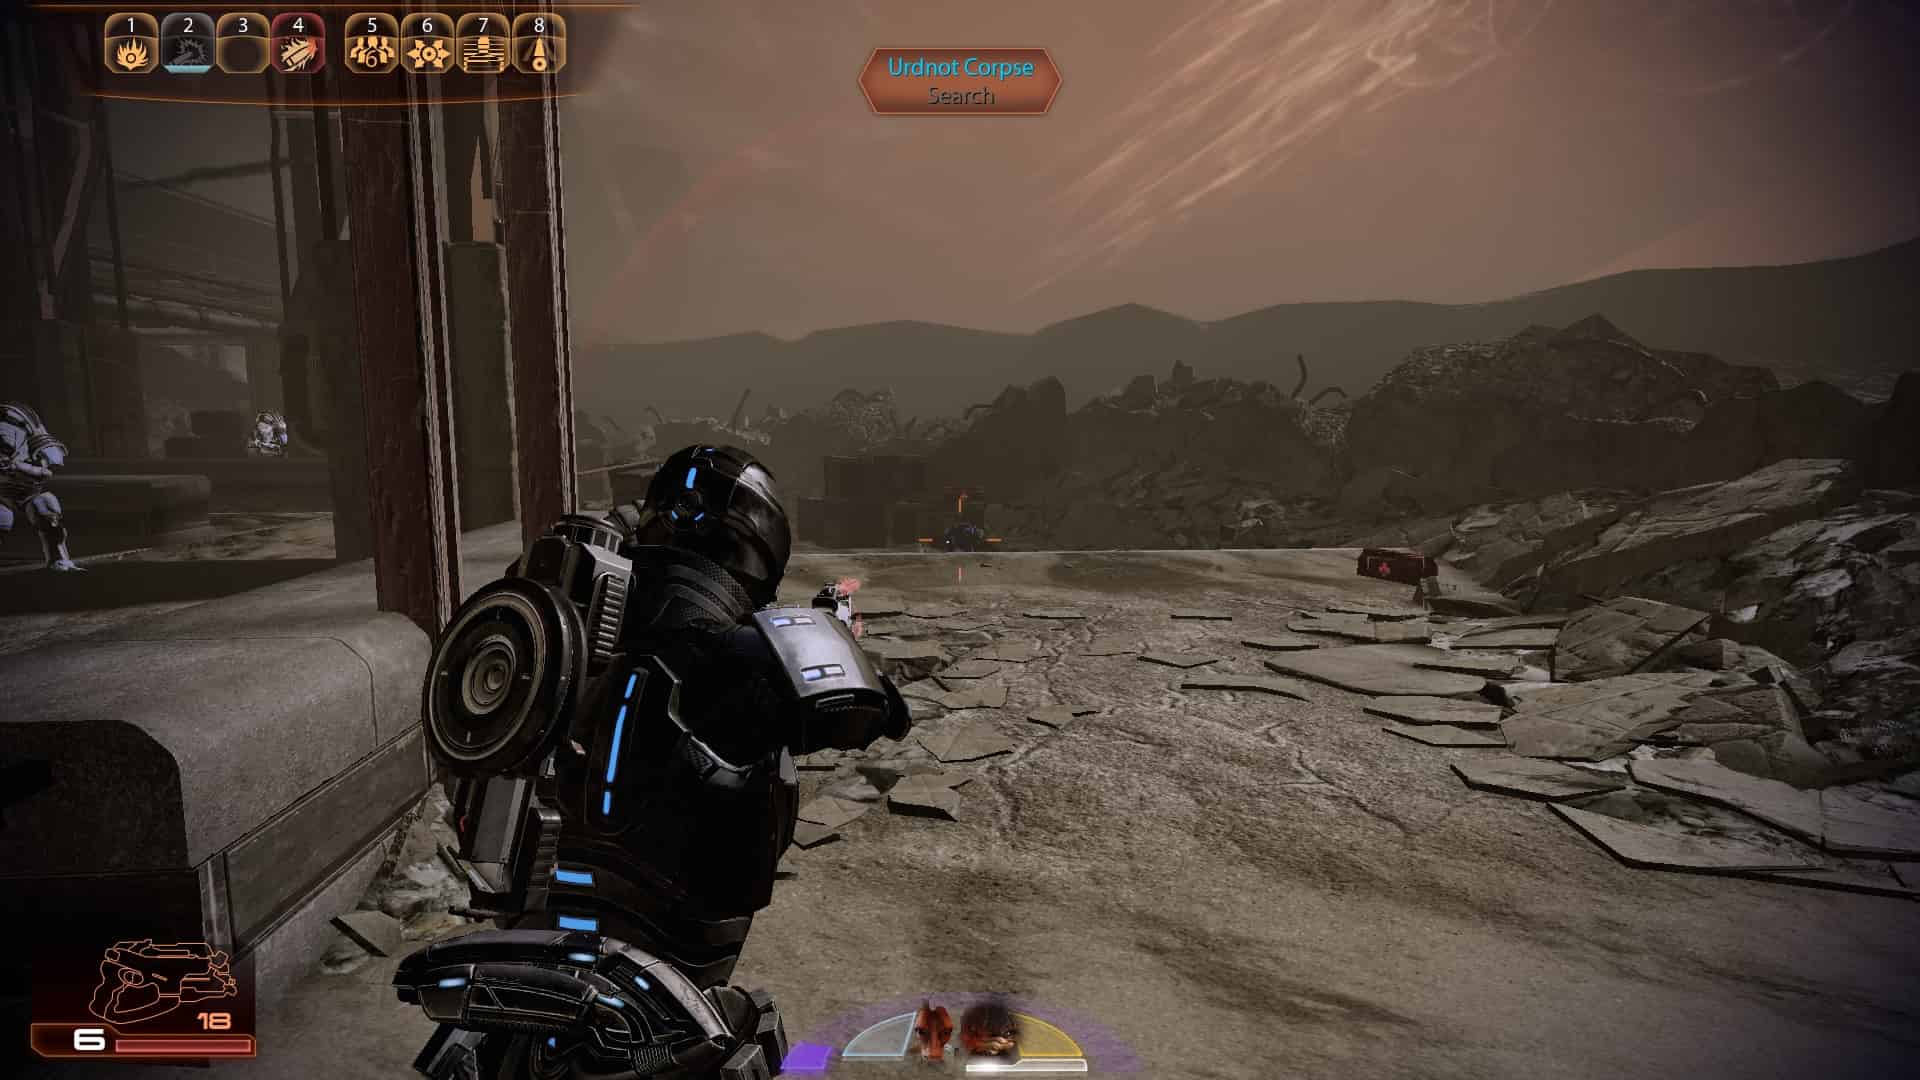
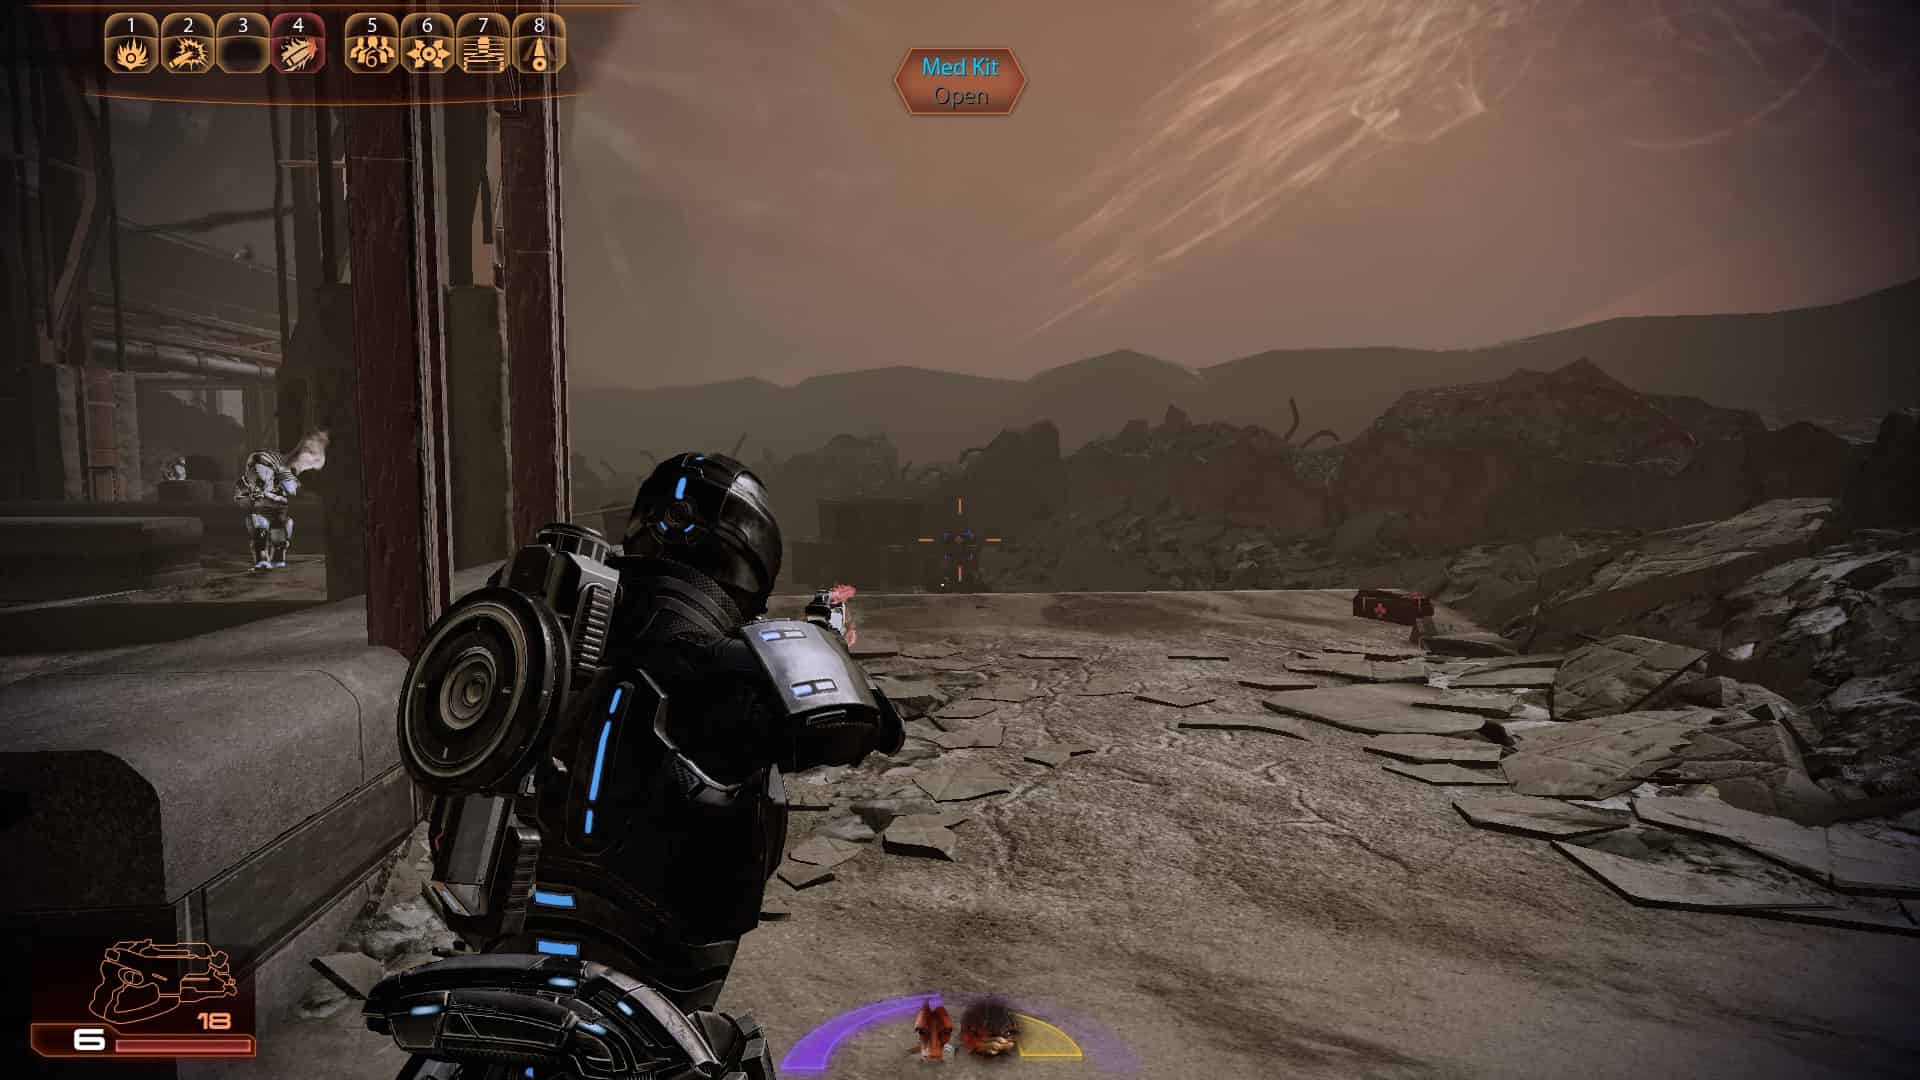
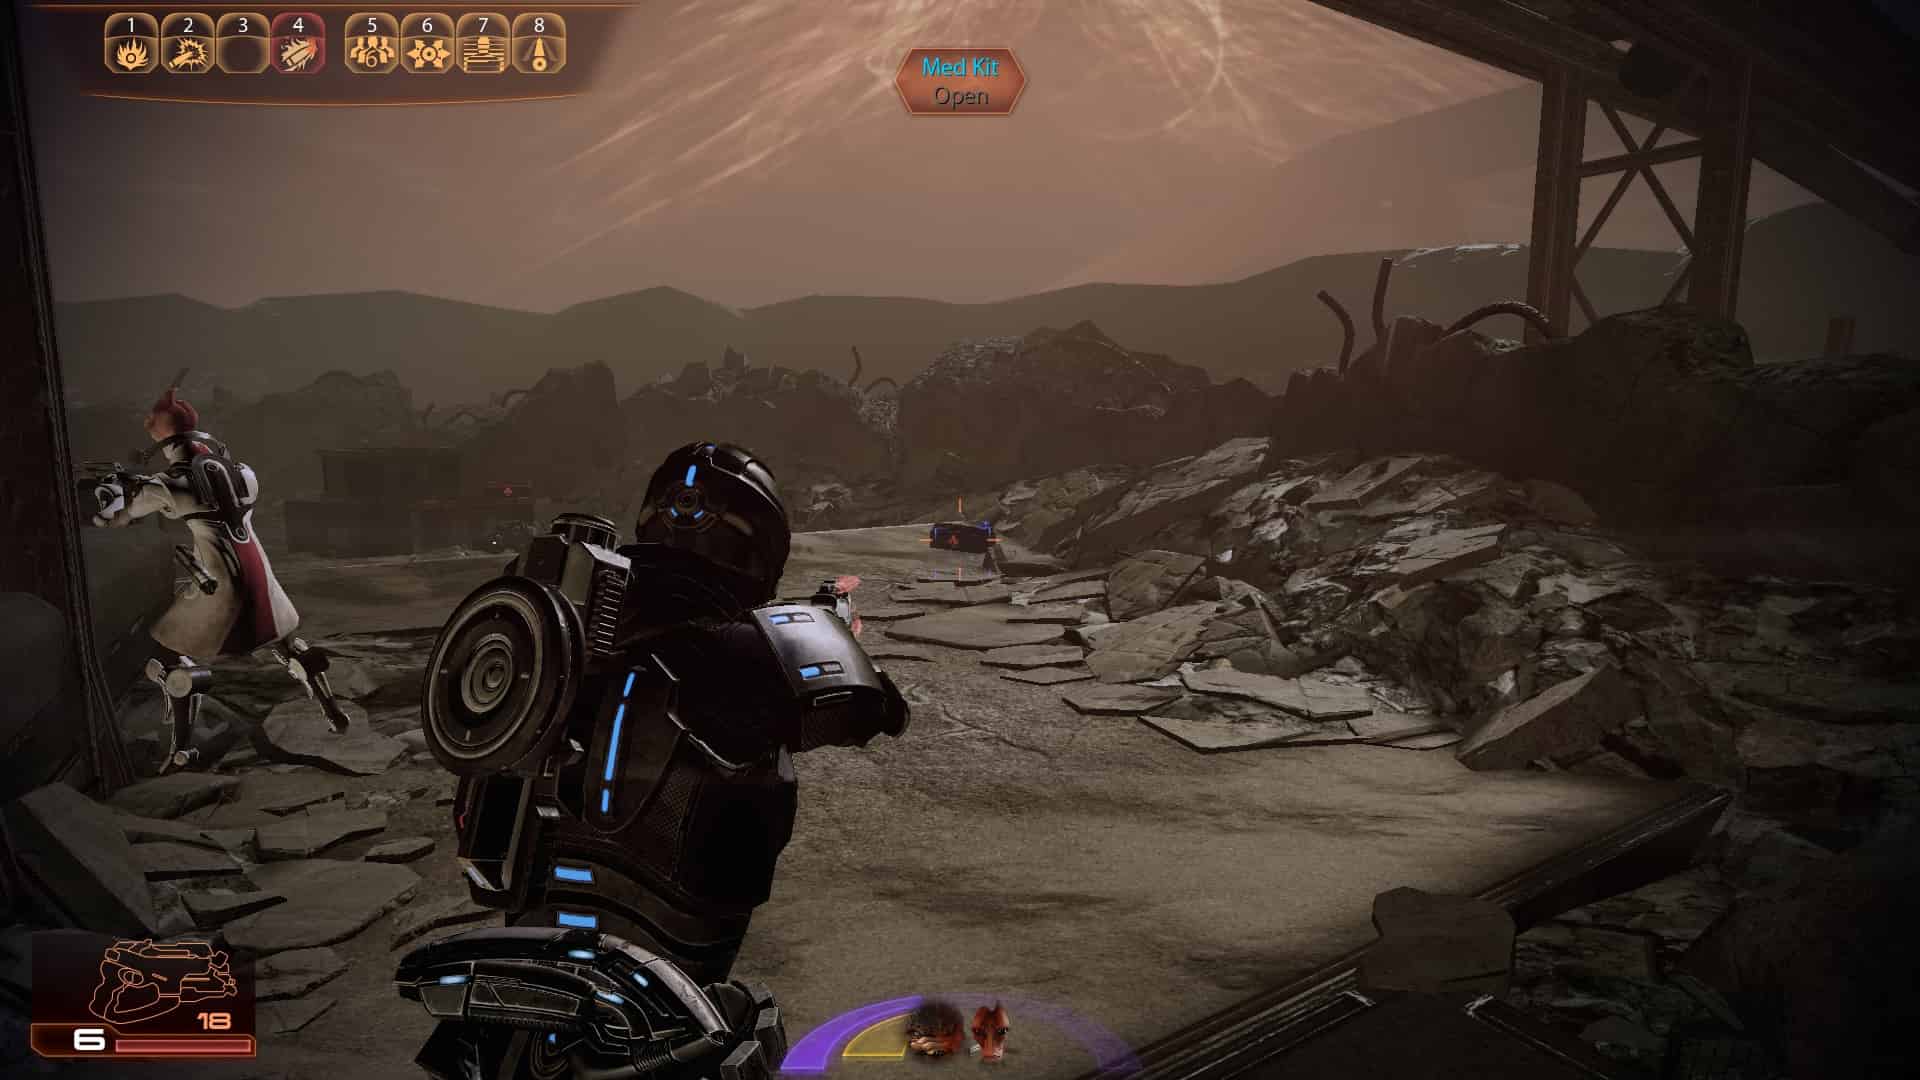
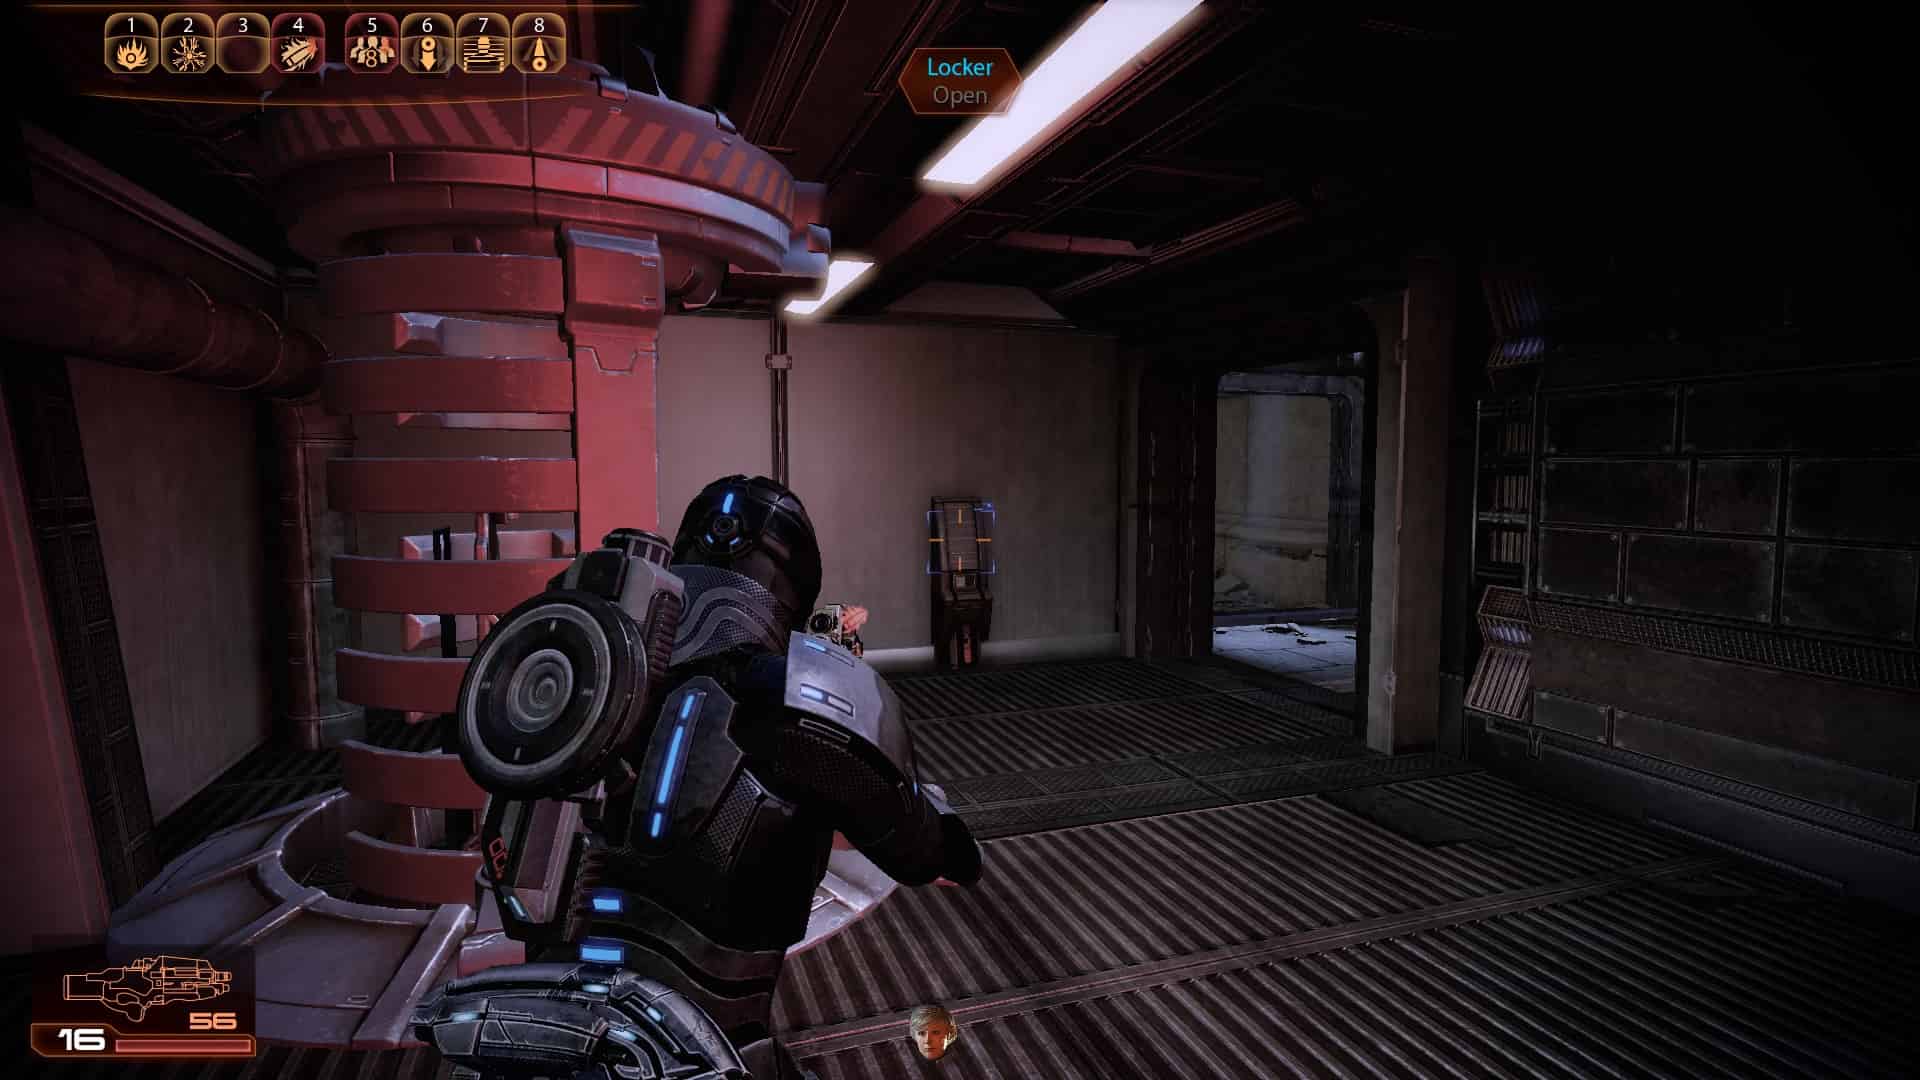
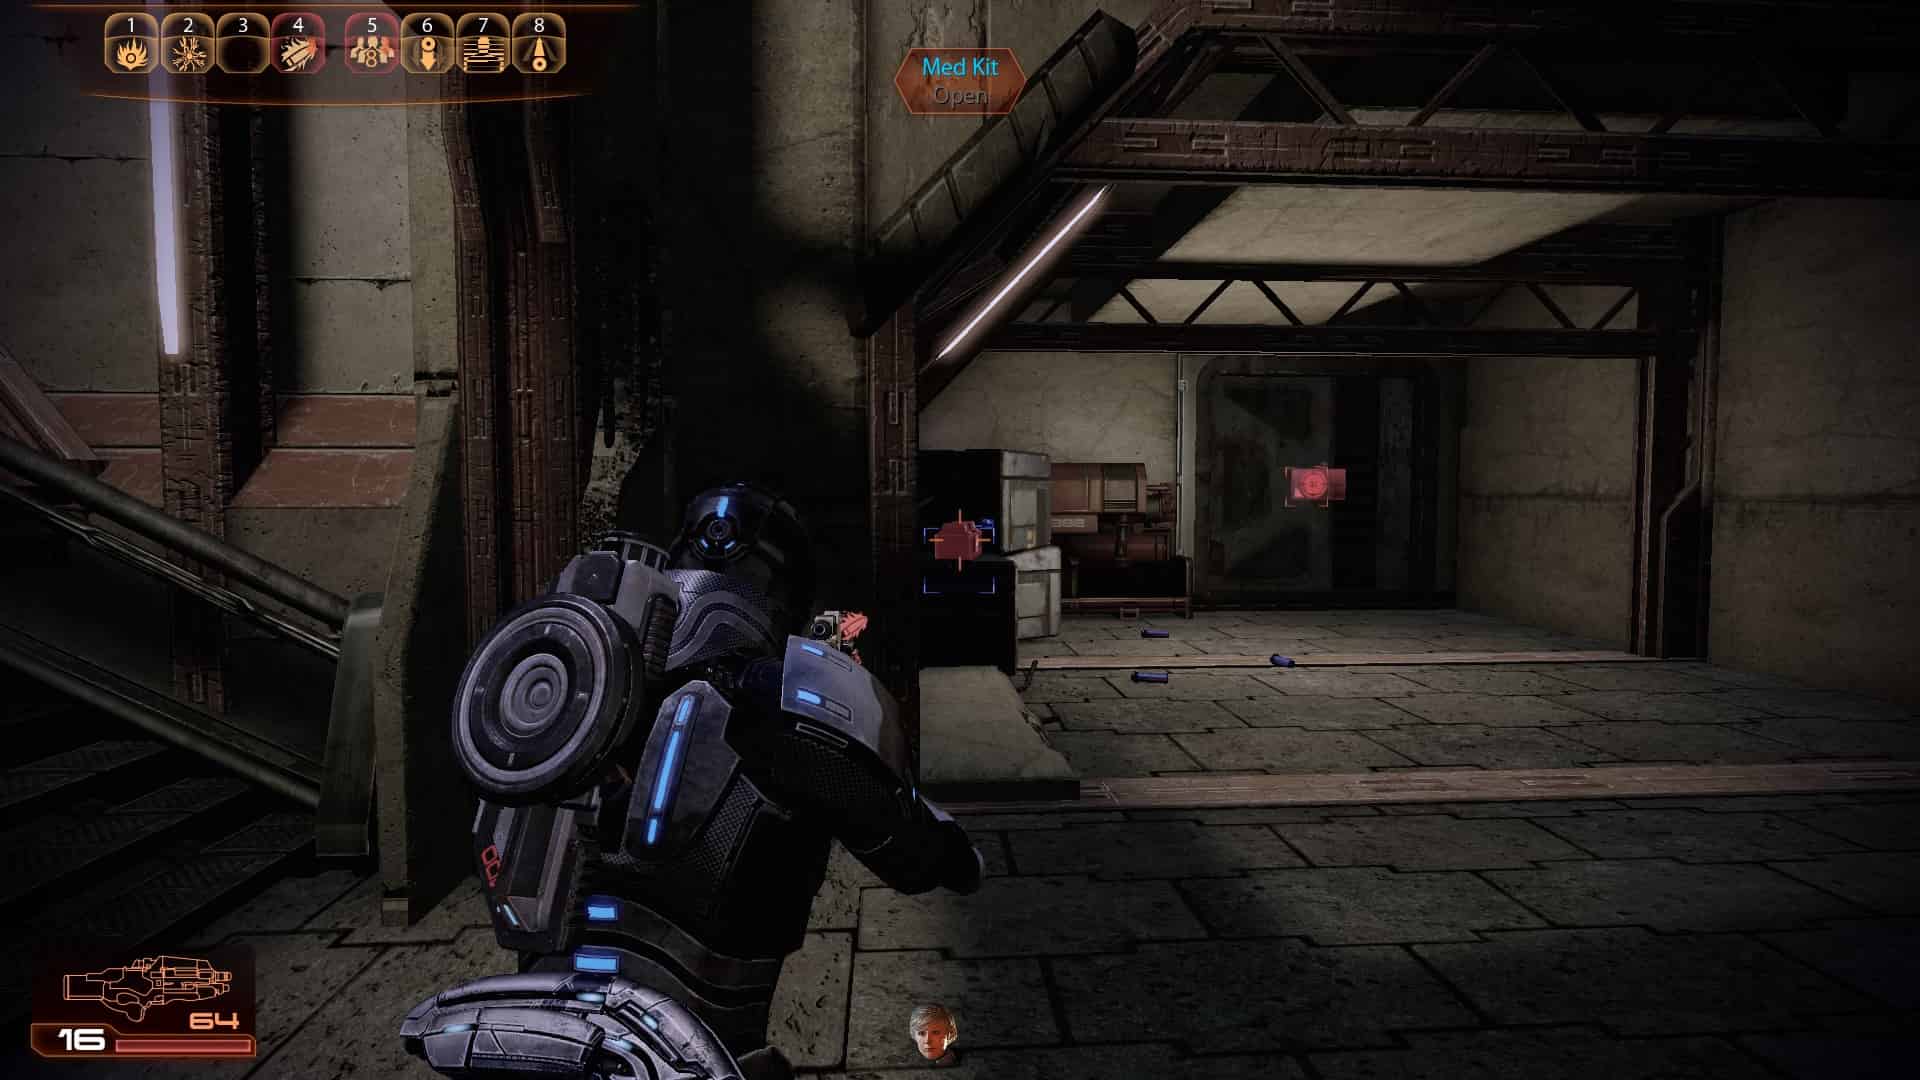
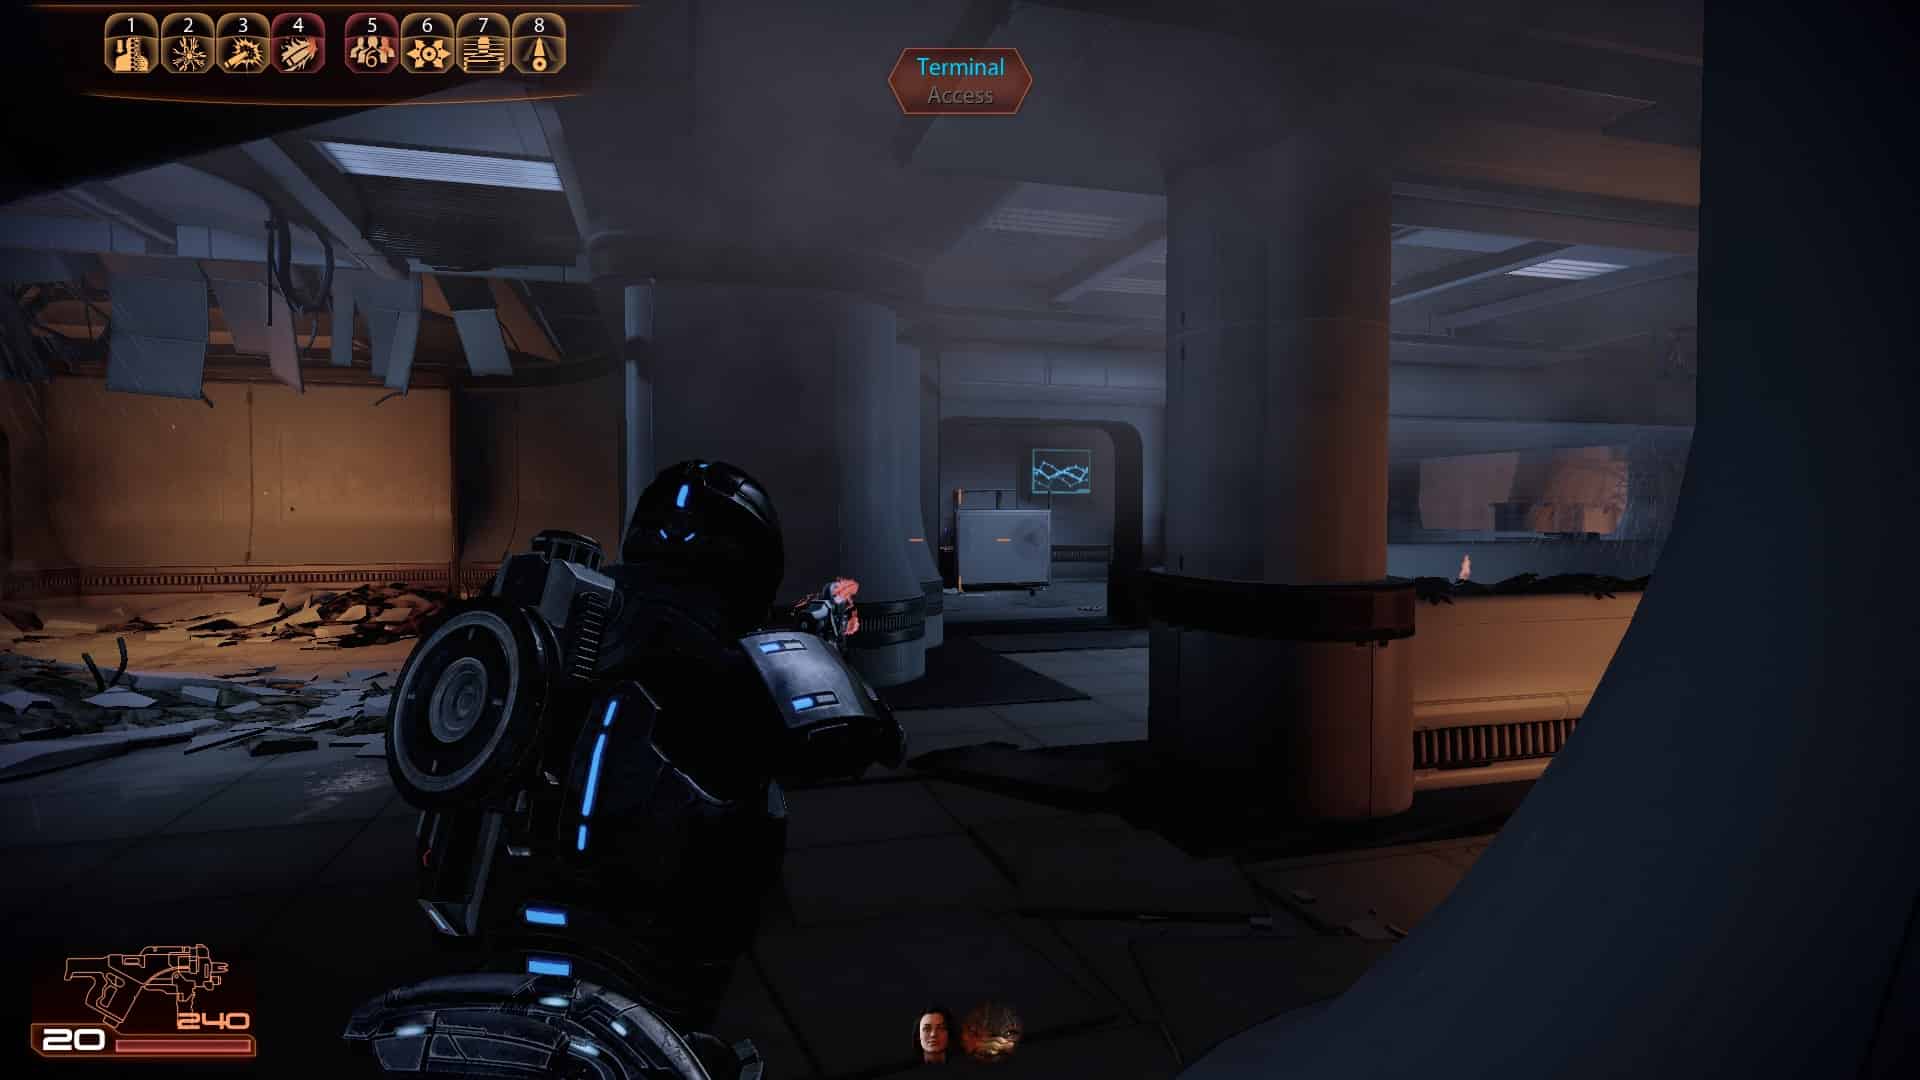
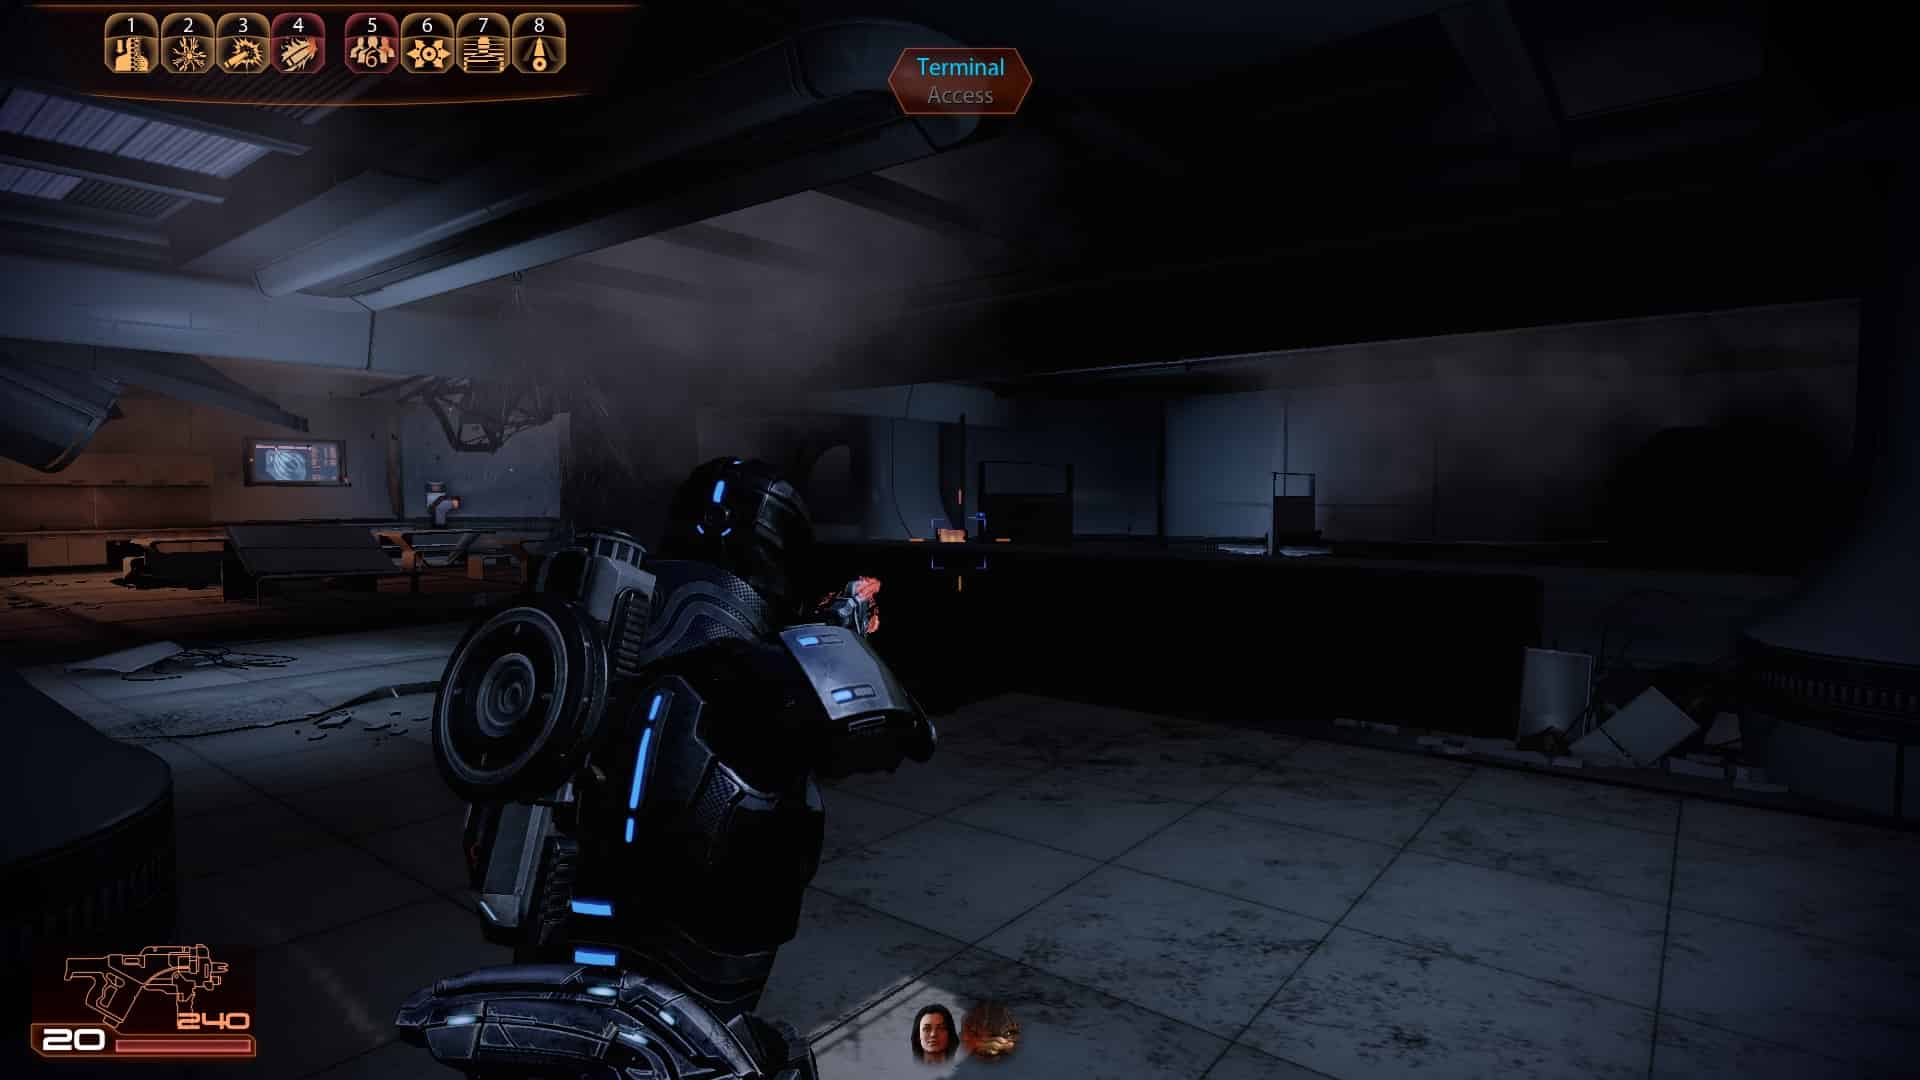
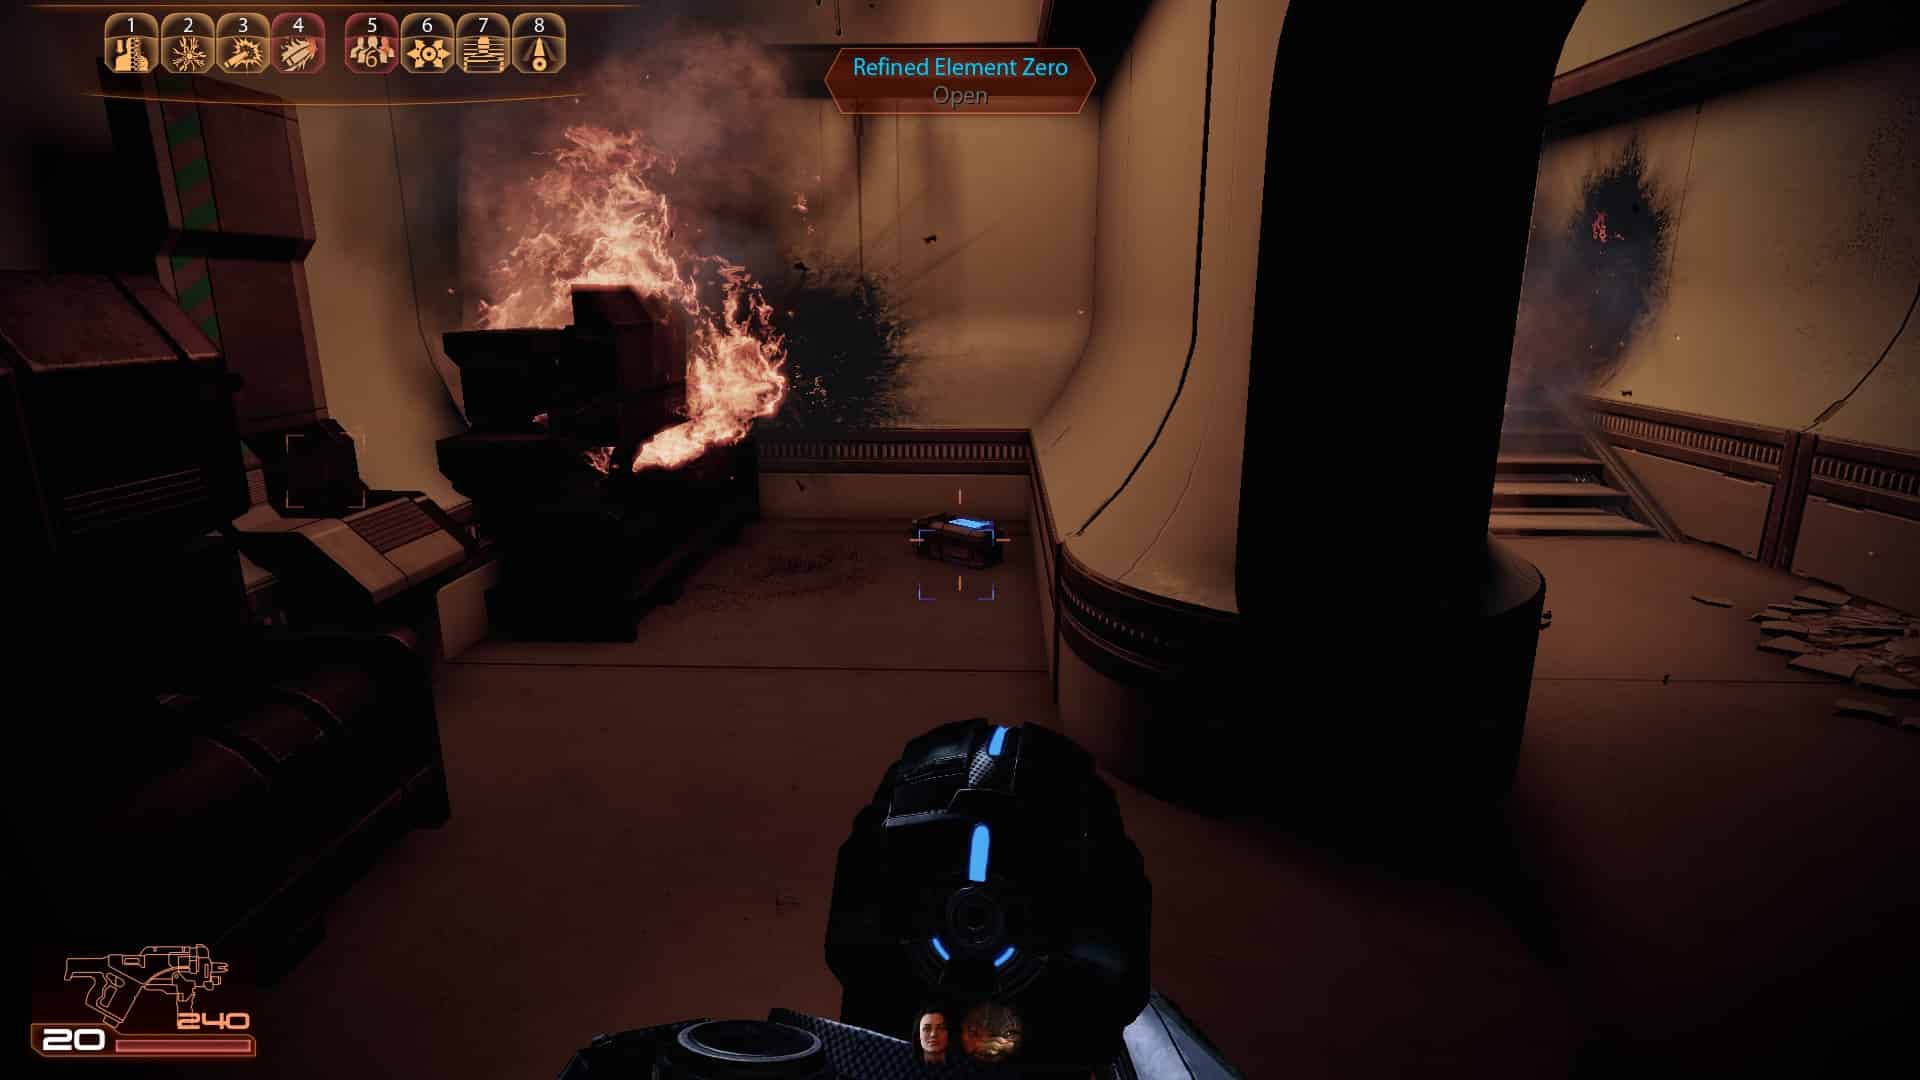
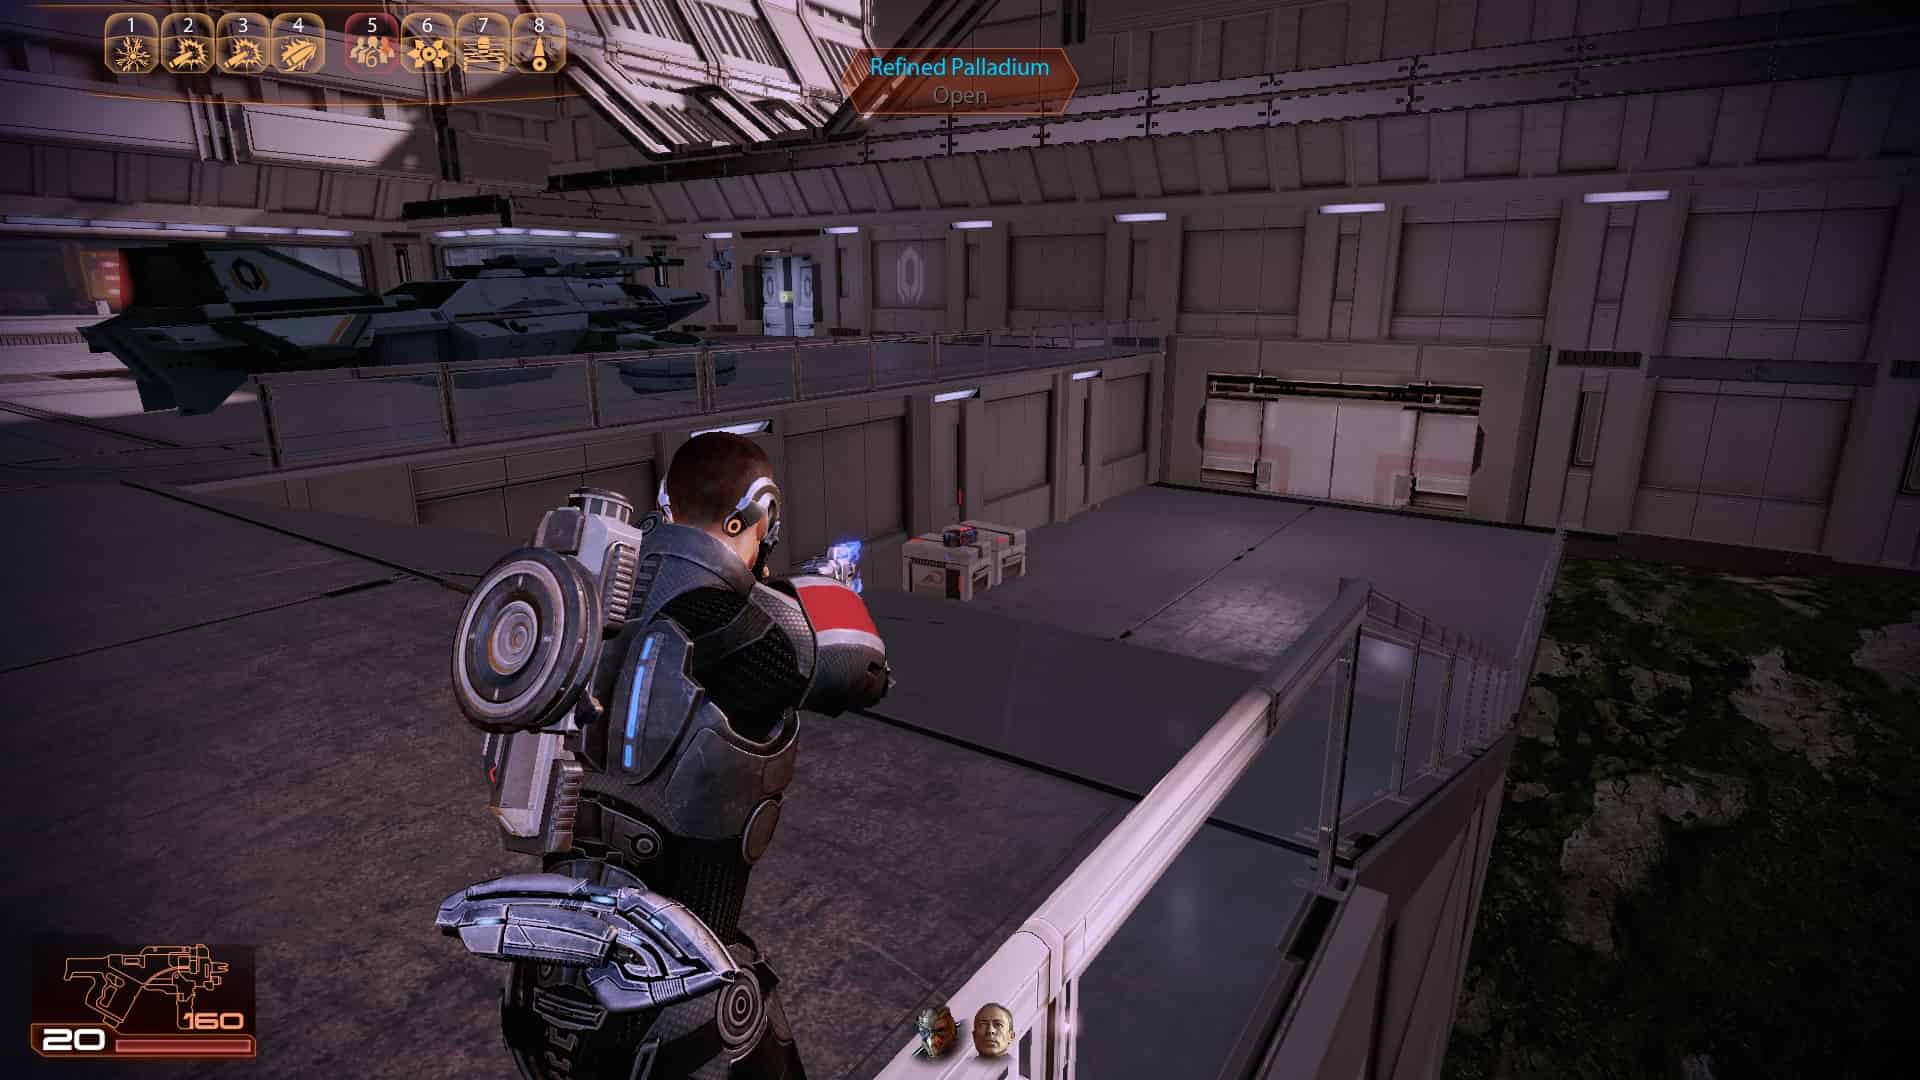
Plot Mission 3: Horizon
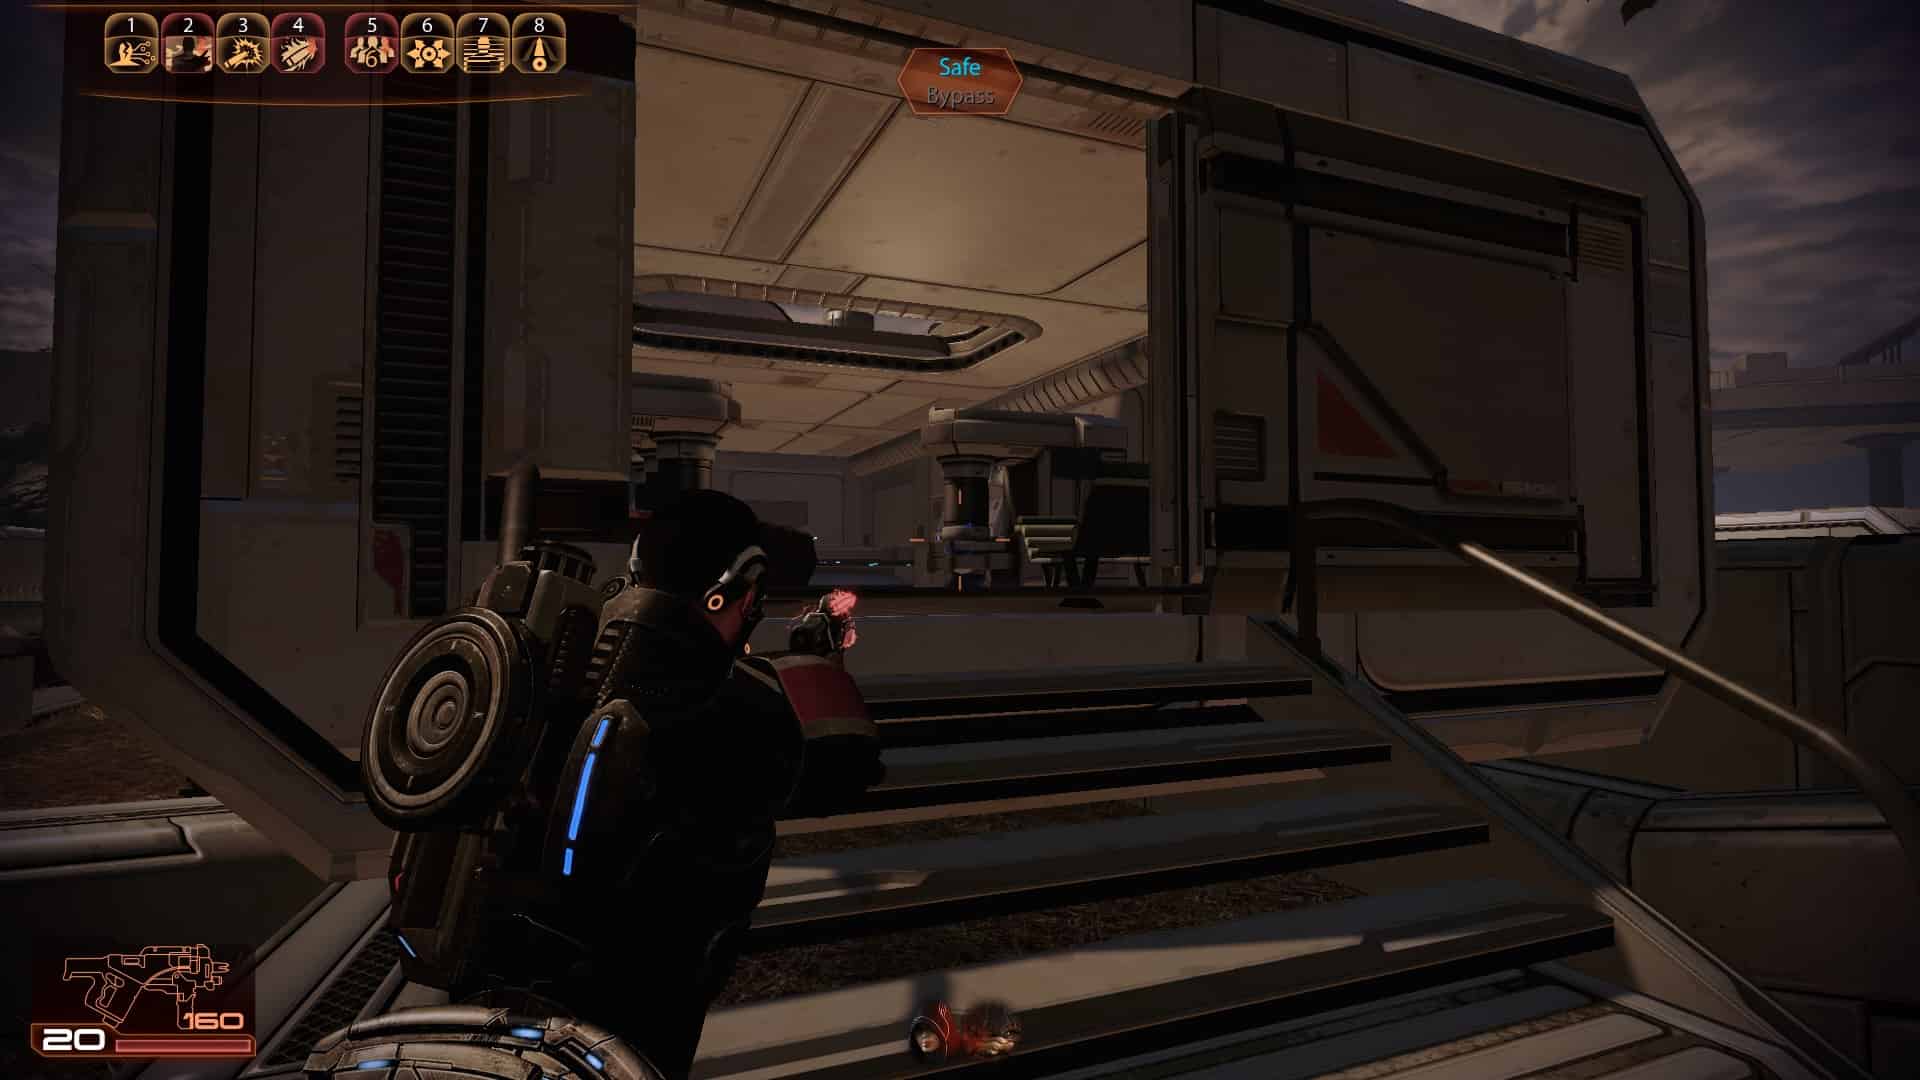
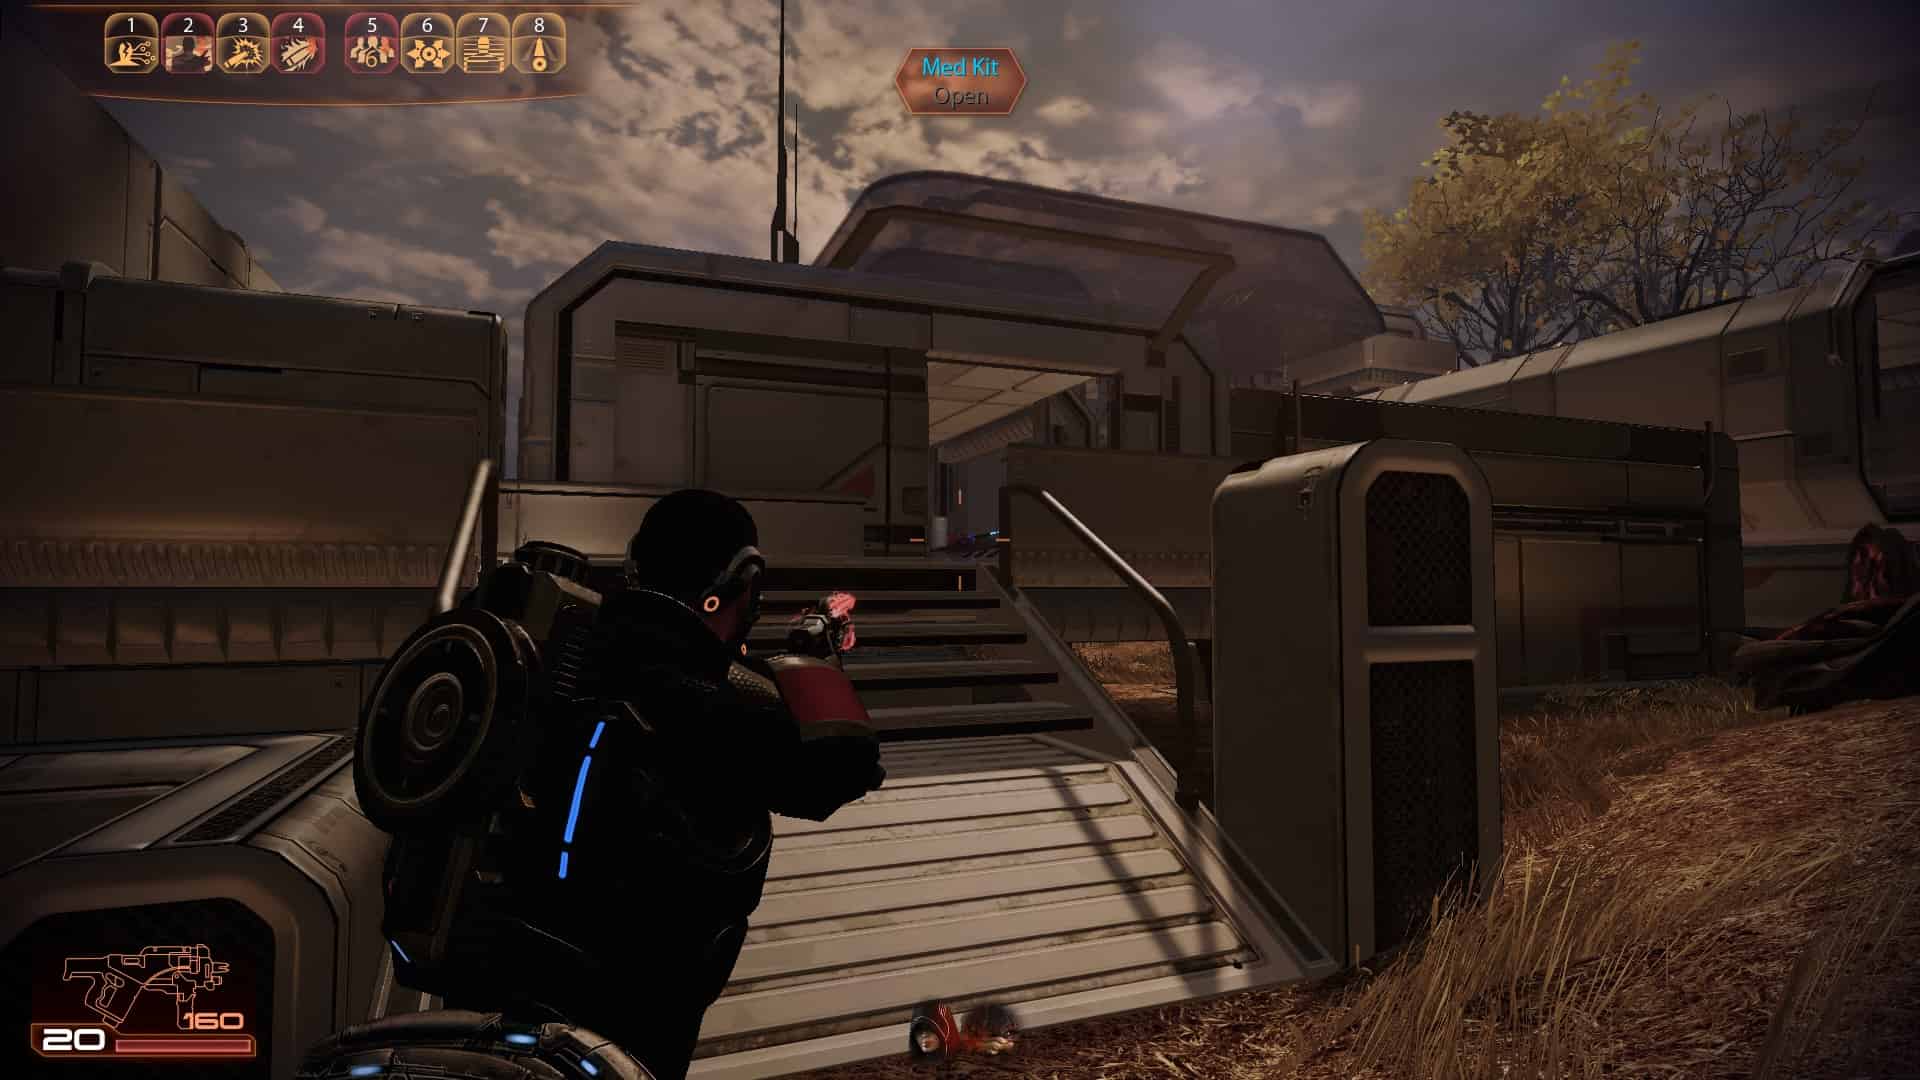
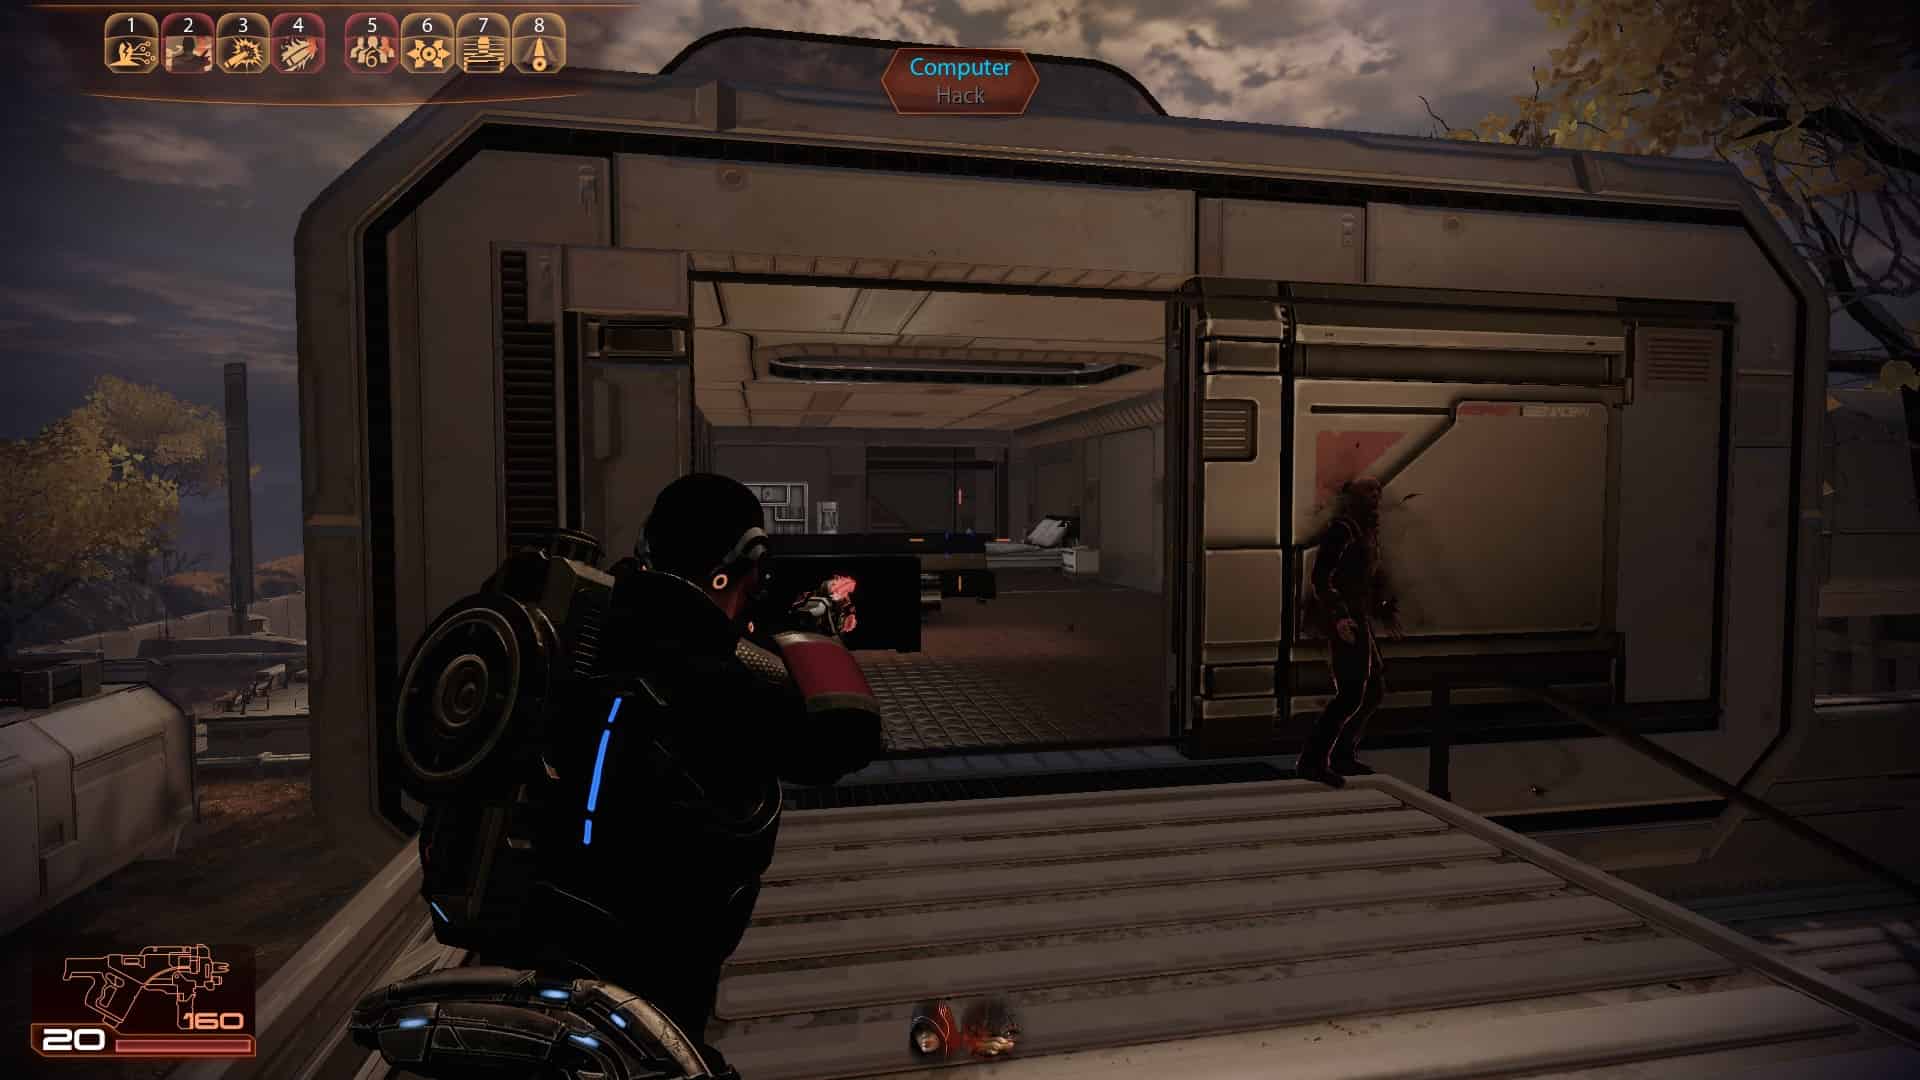

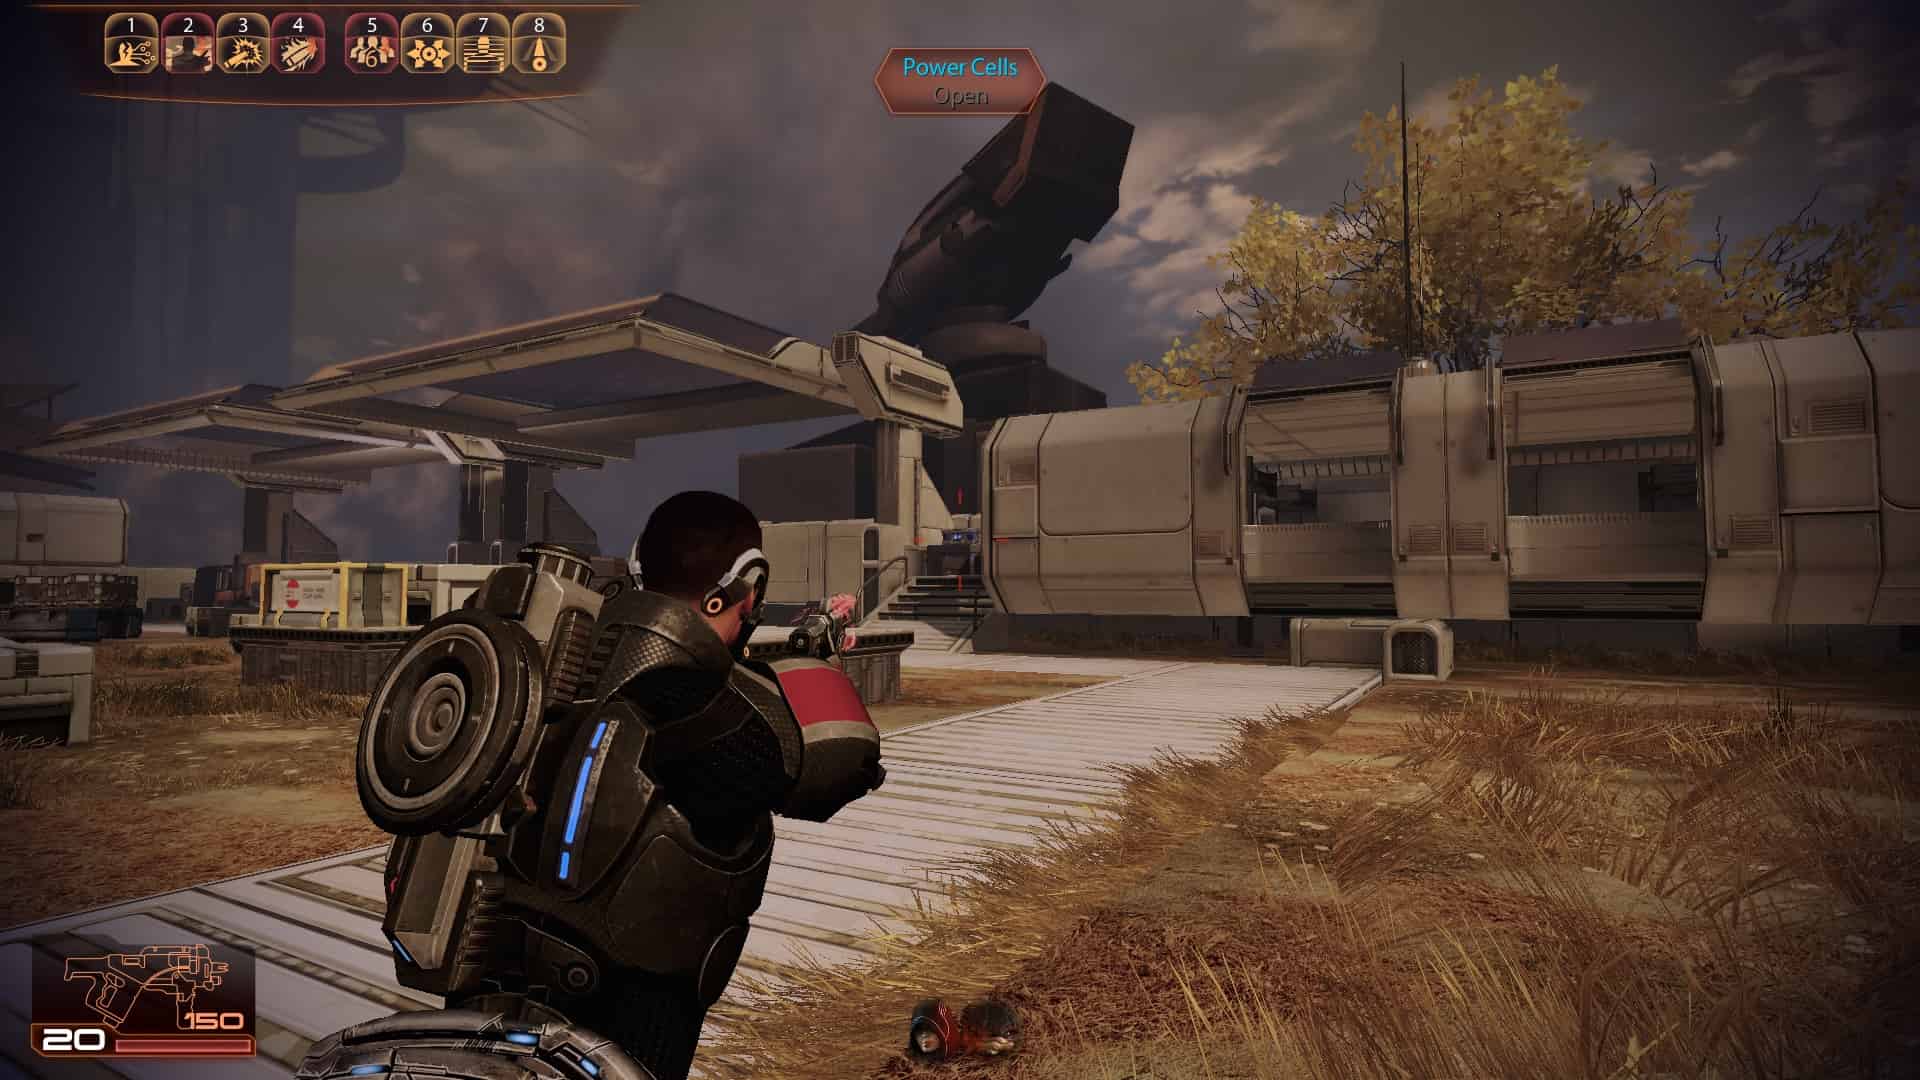
1
2
3
4 (Upgrade - Heavy Skin Weave)
5
6
7
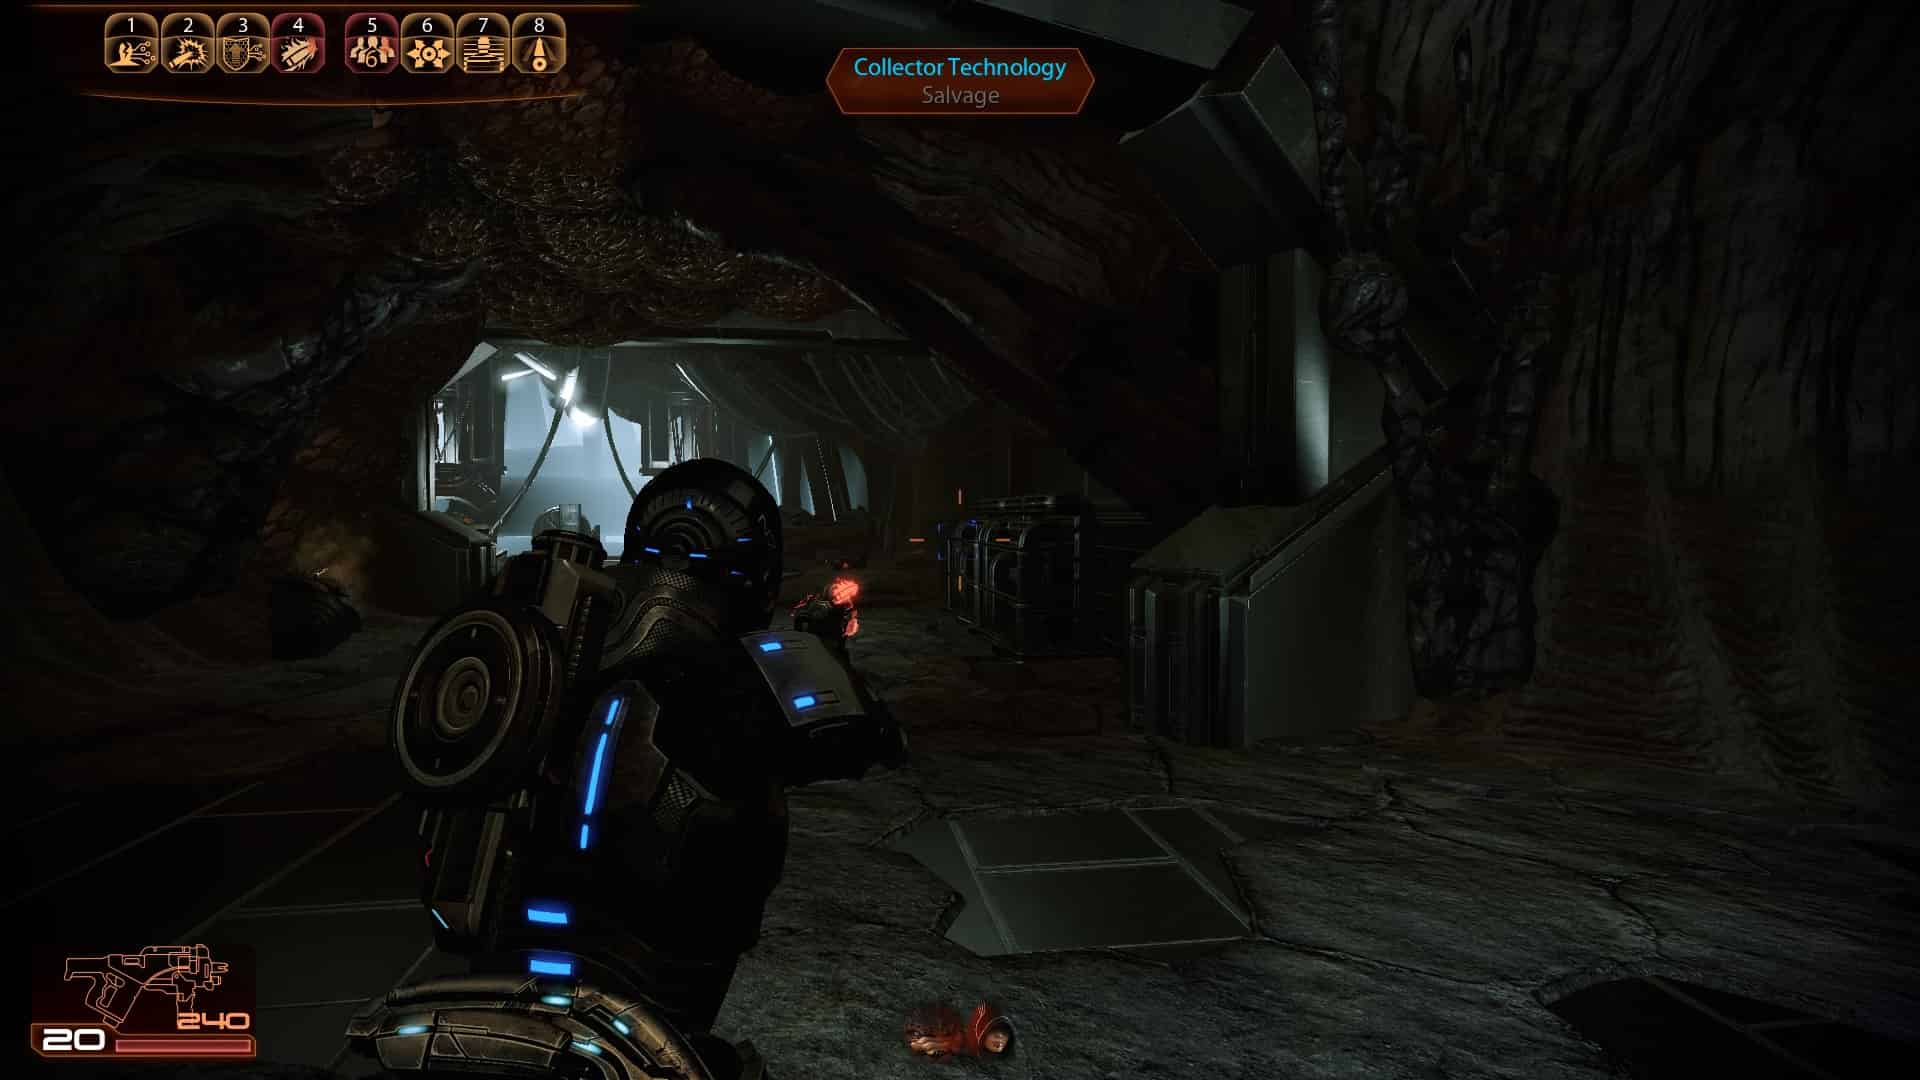
8 (Heavy Weapon - Collector Particle Beam)
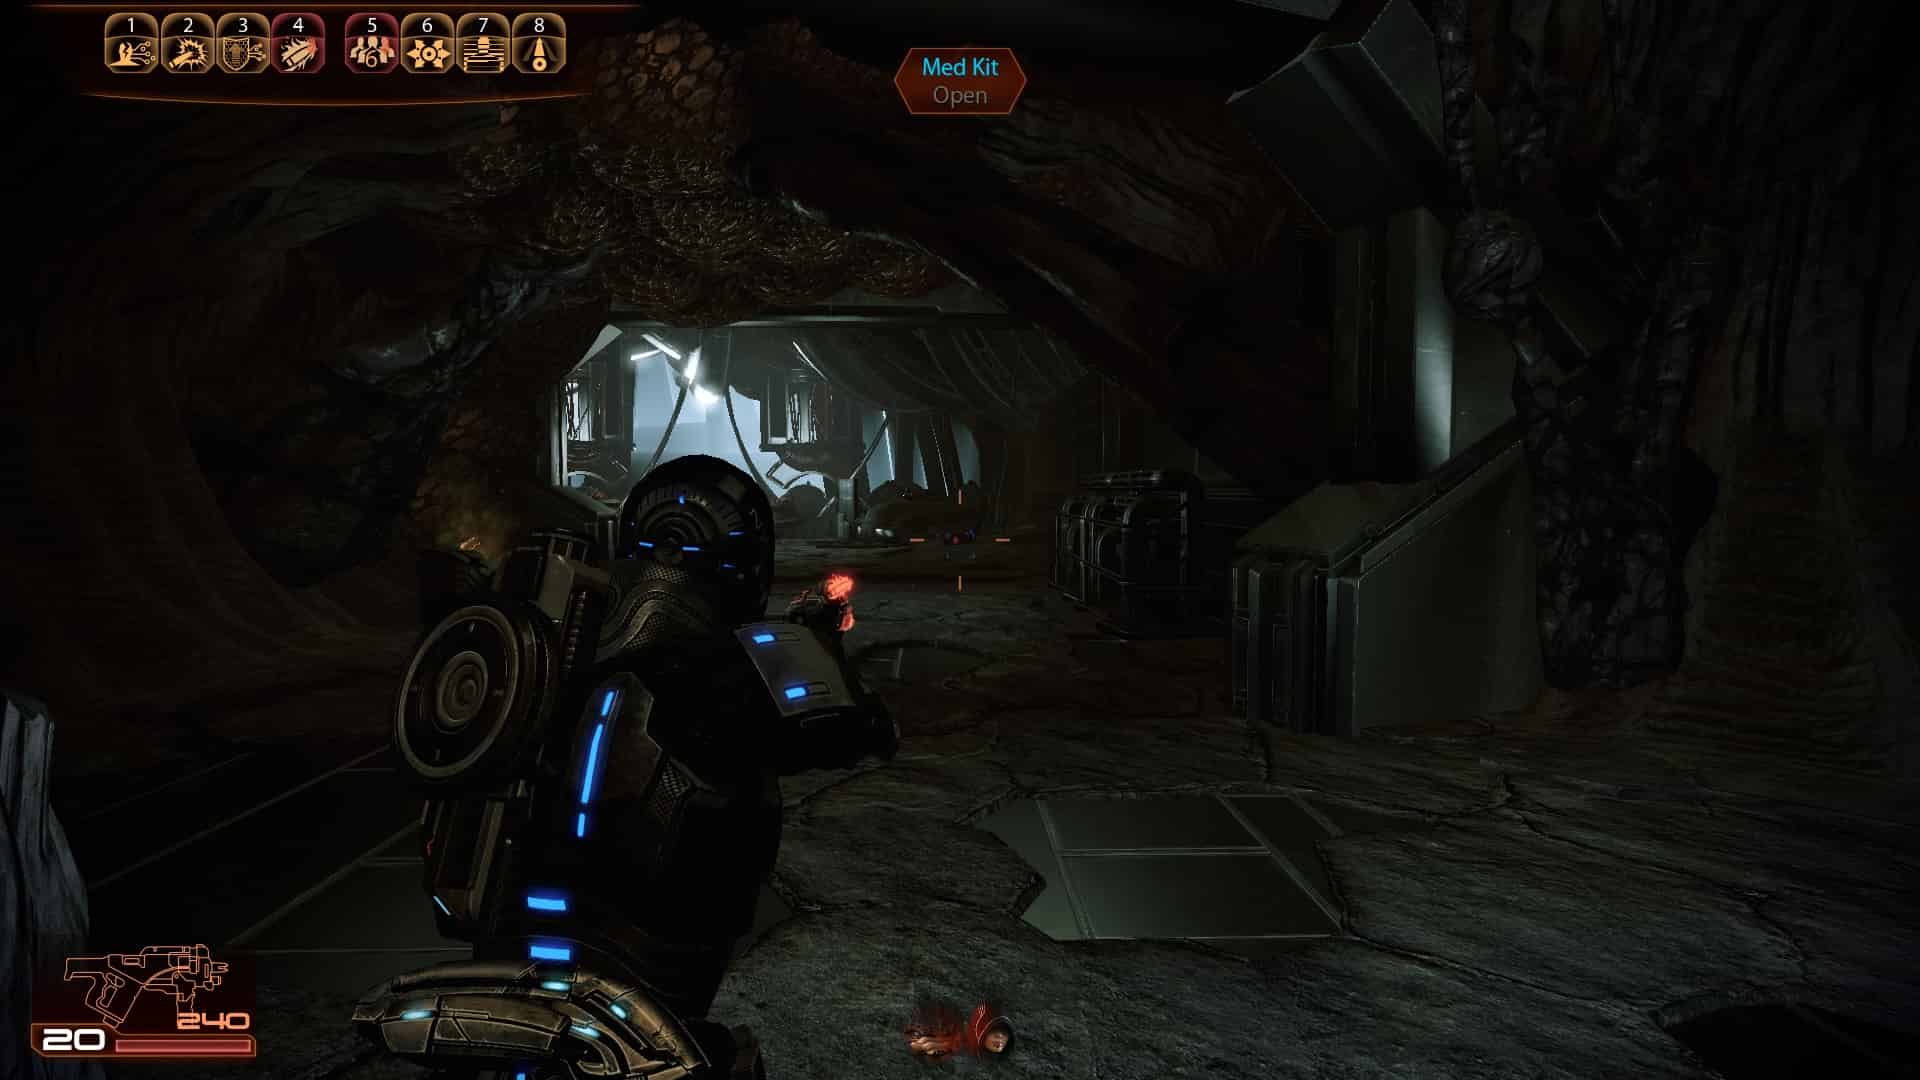
9
10
11
12
13
14
15 (Upgrade - Biotic Damage)
16
17
18
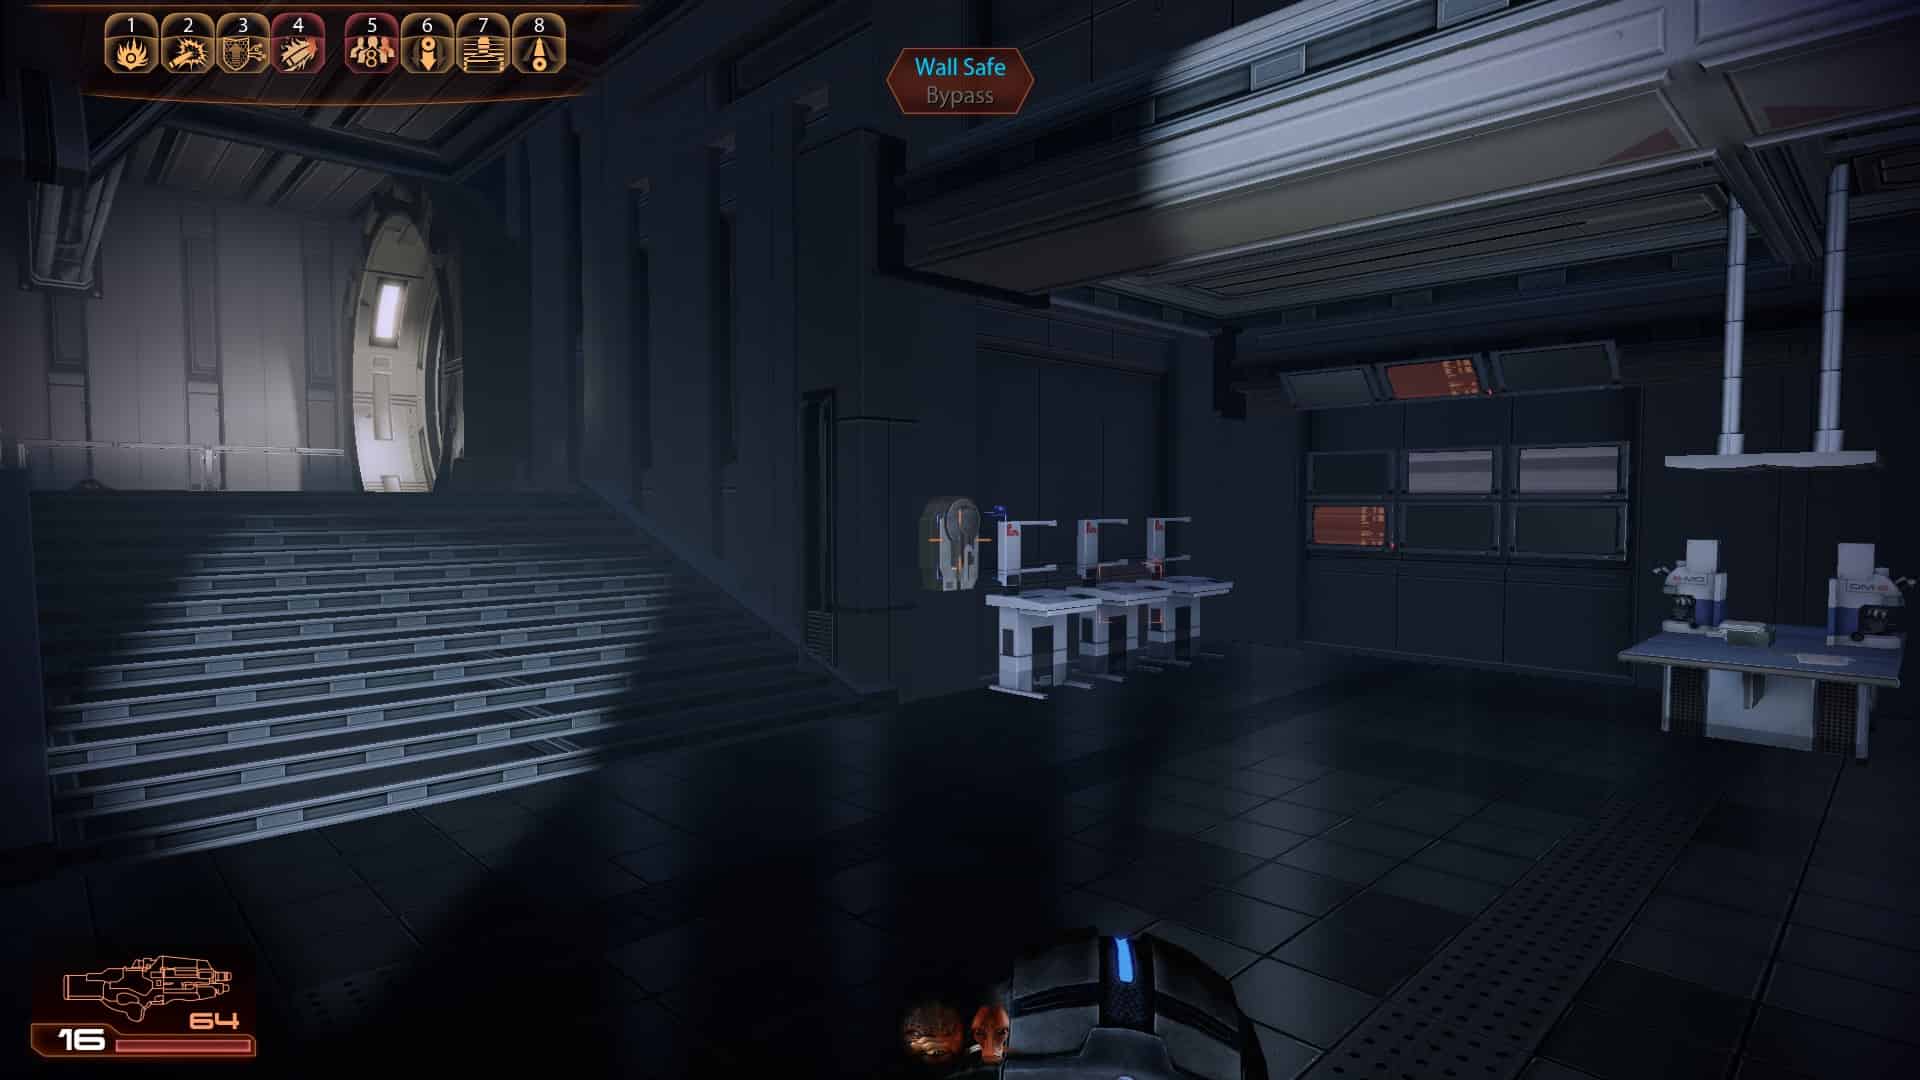
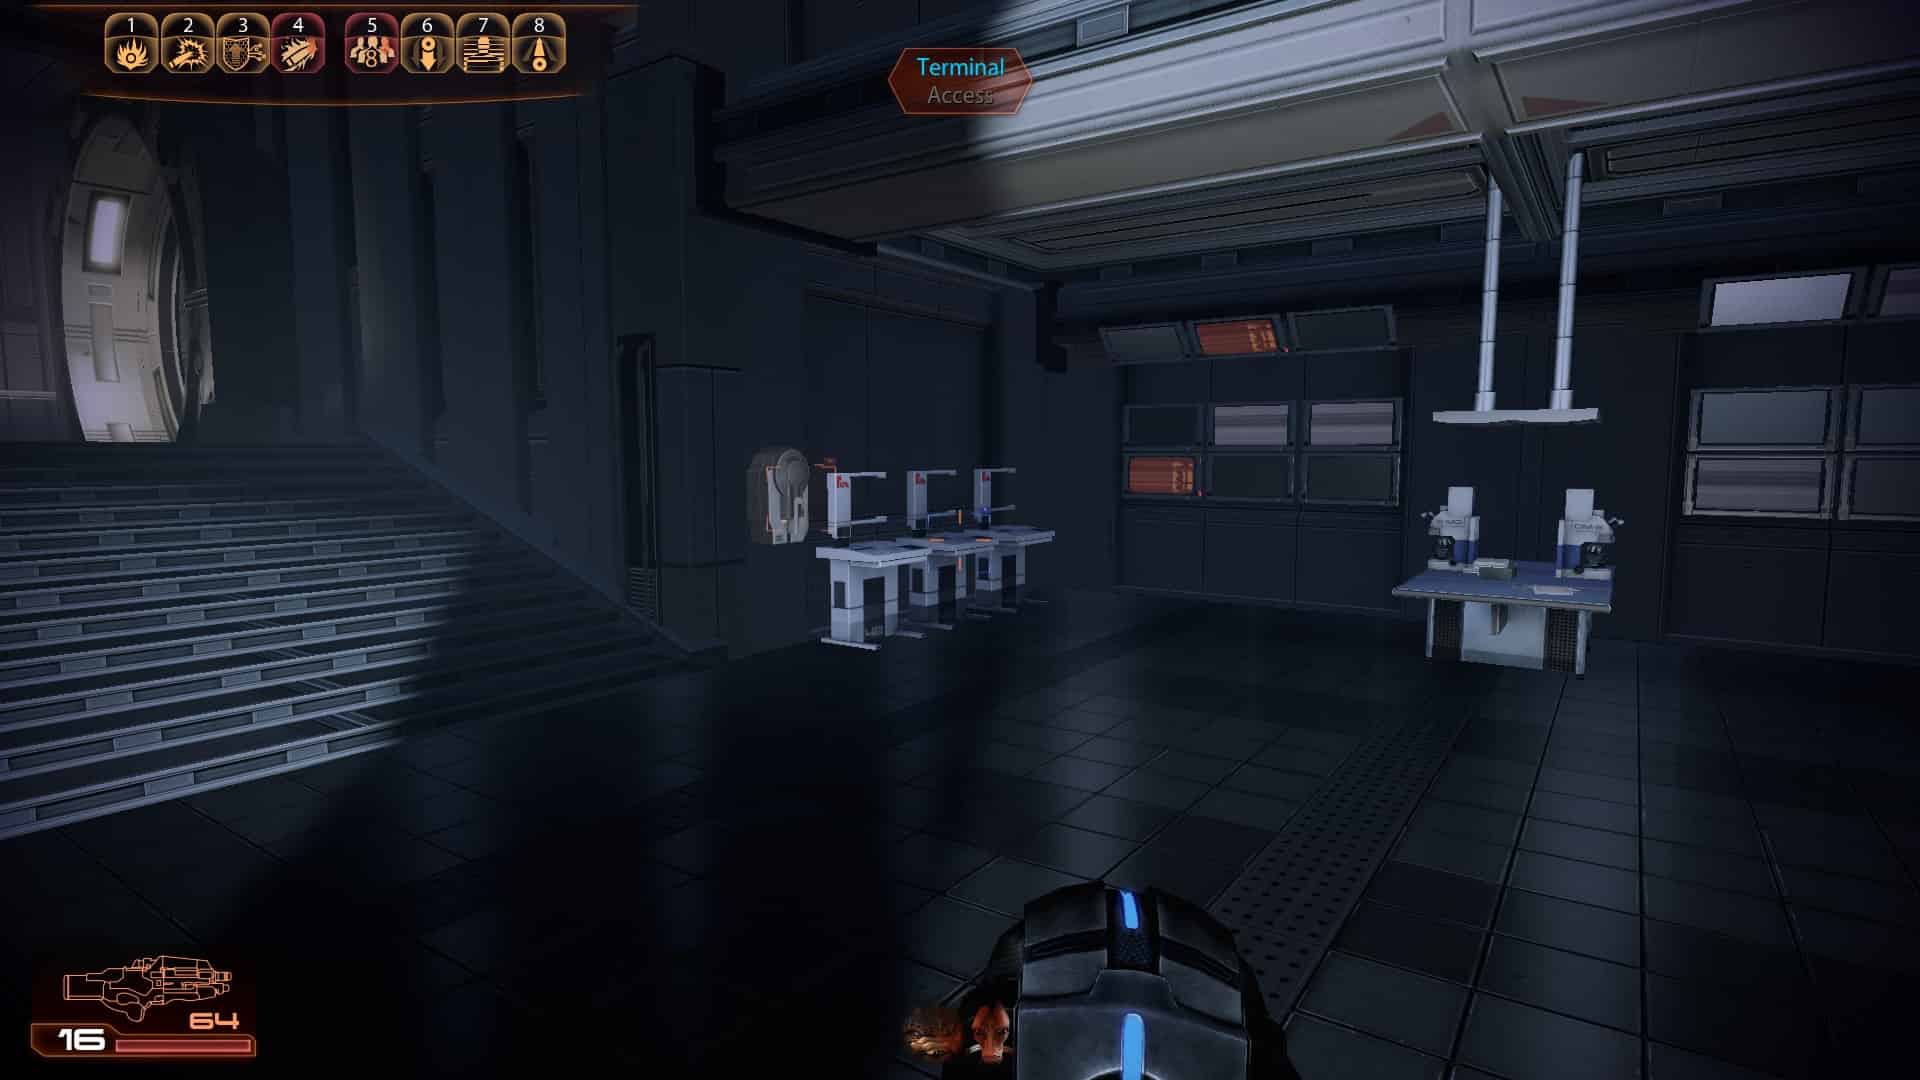
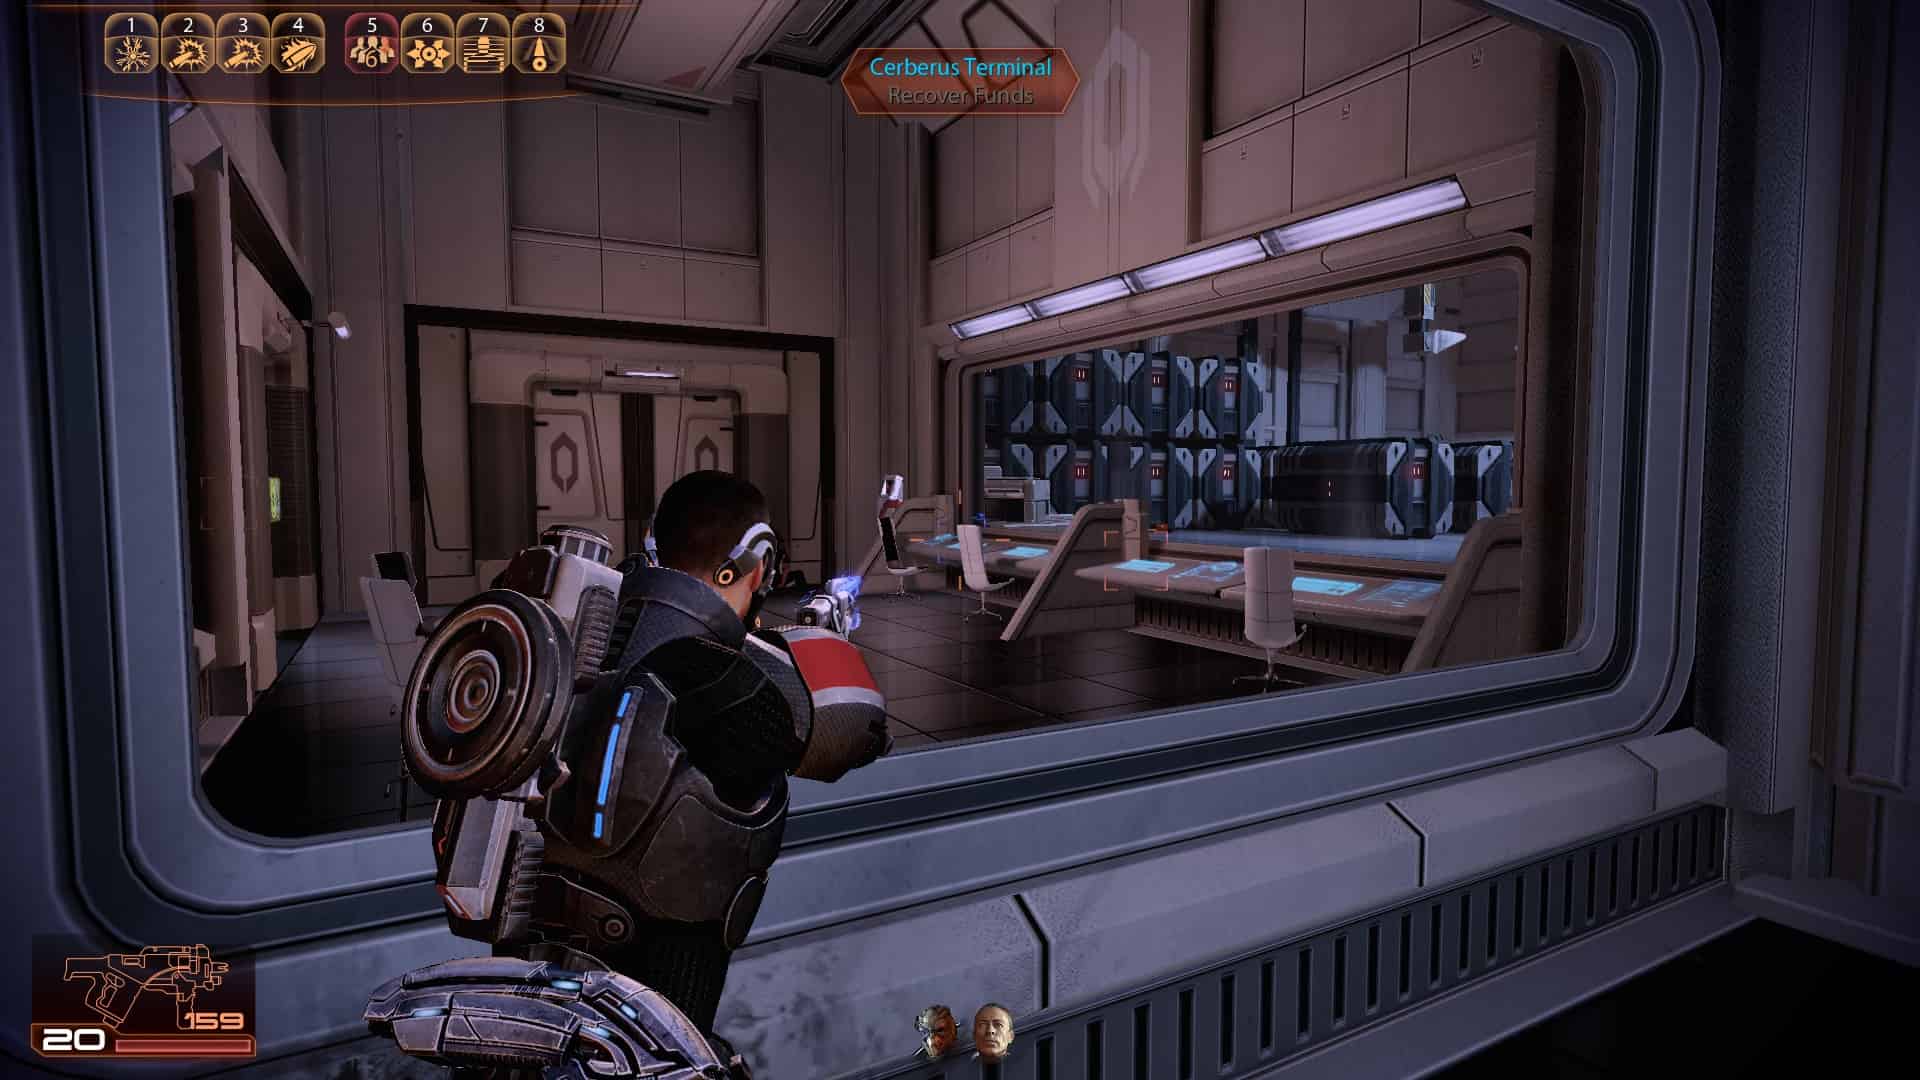
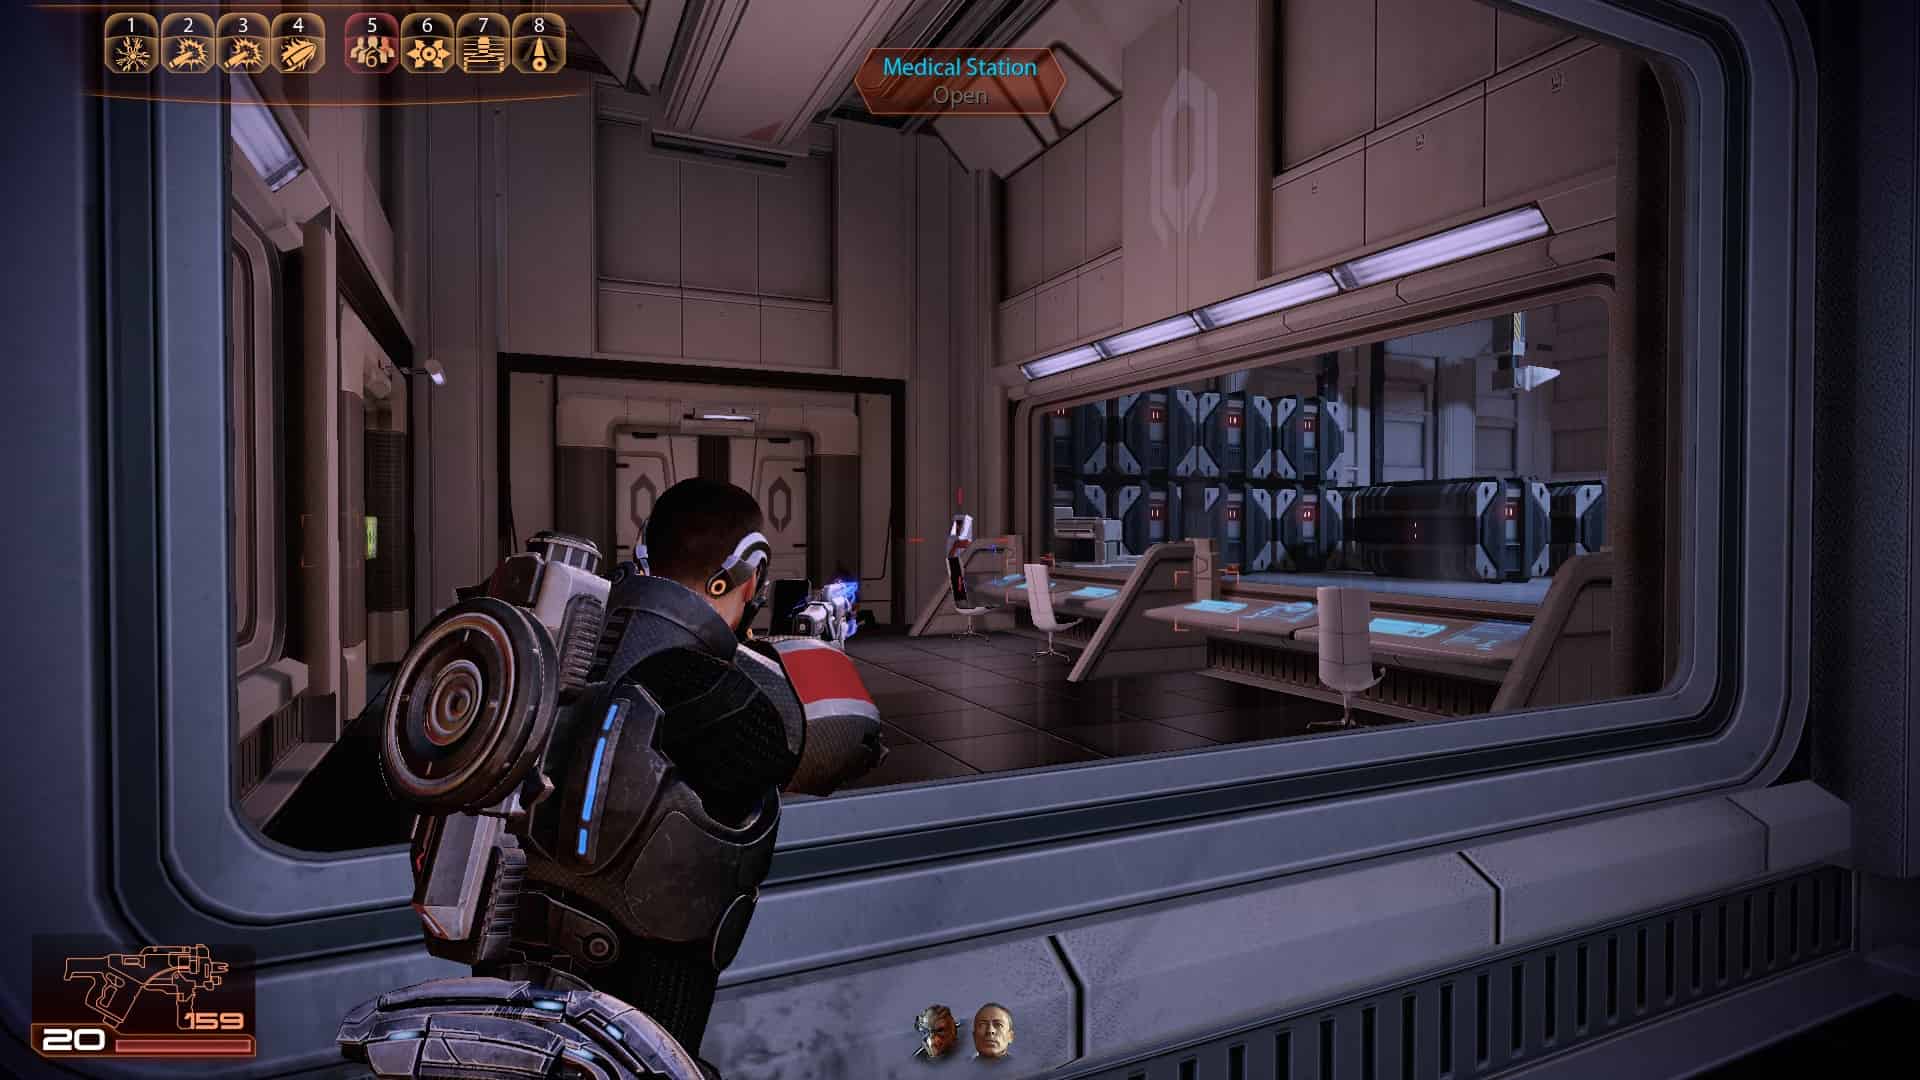
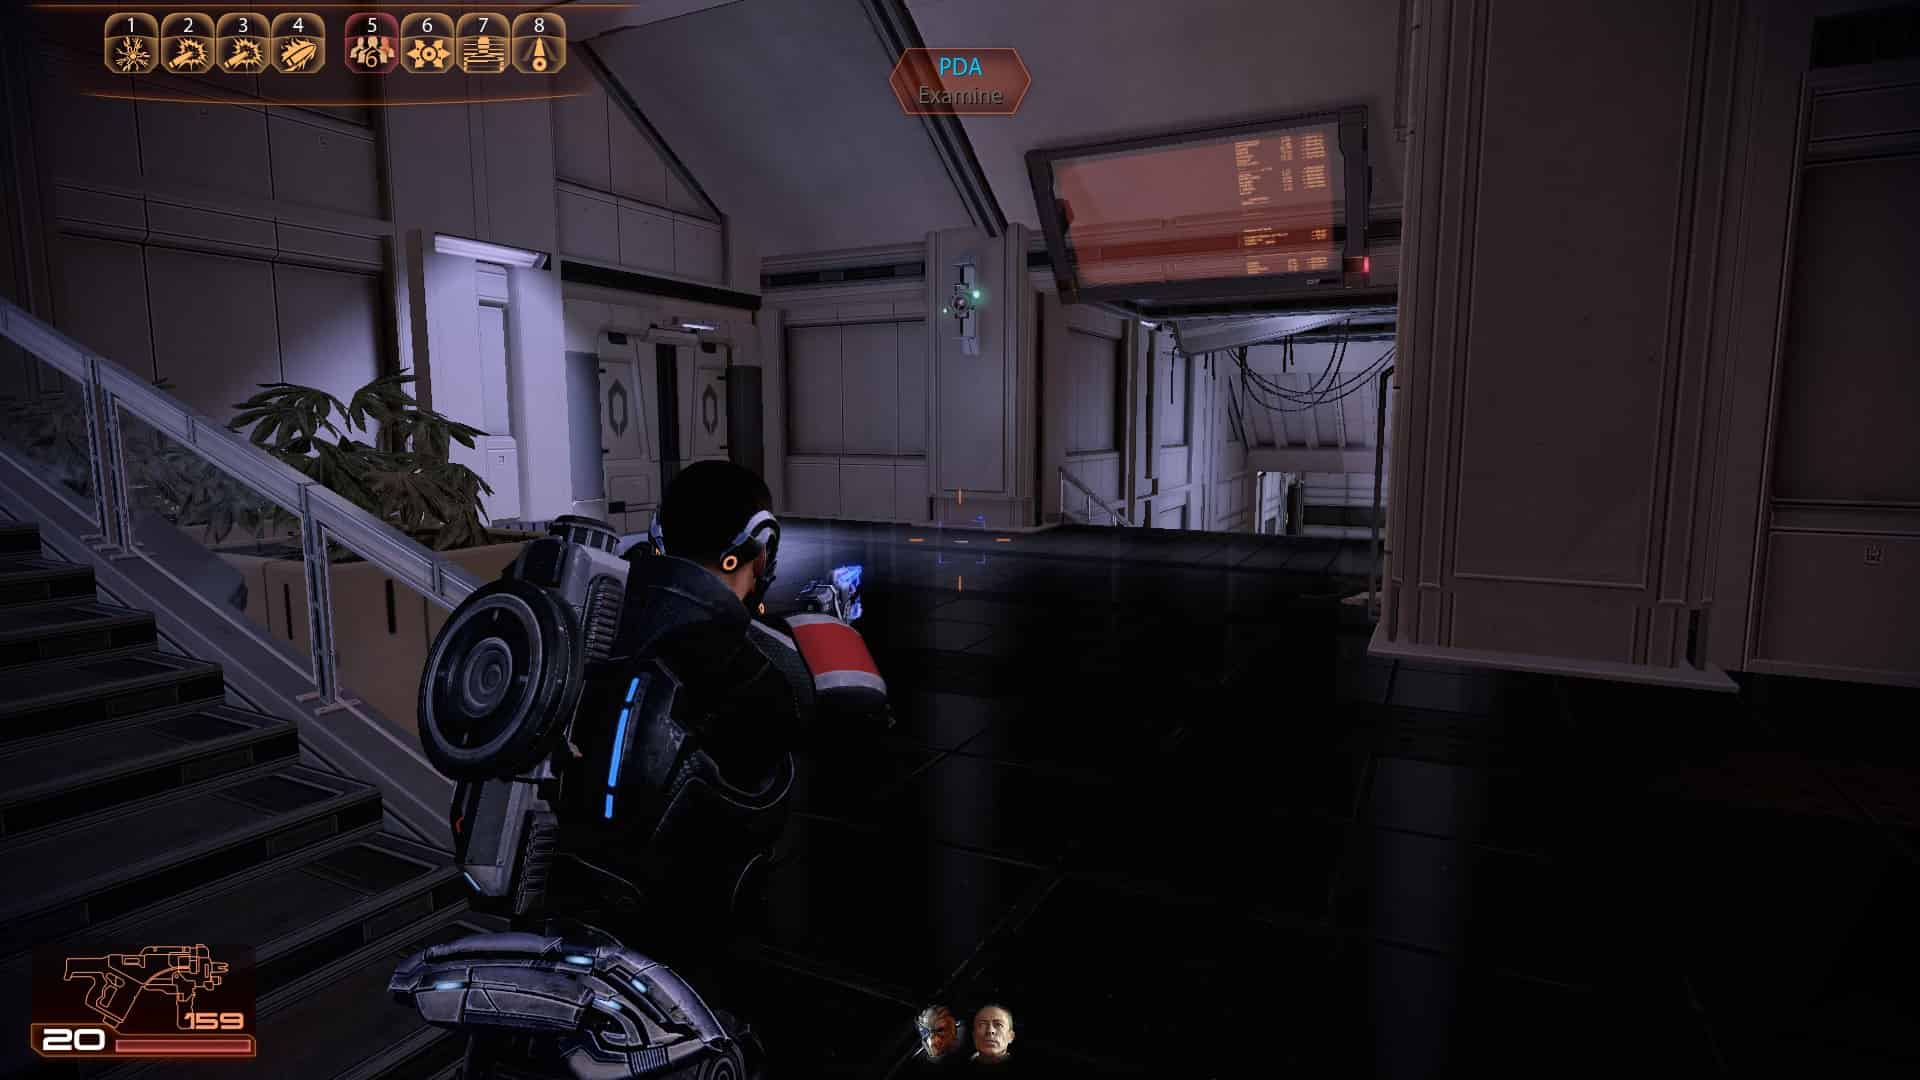
Plot Mission 4: Collector Ship

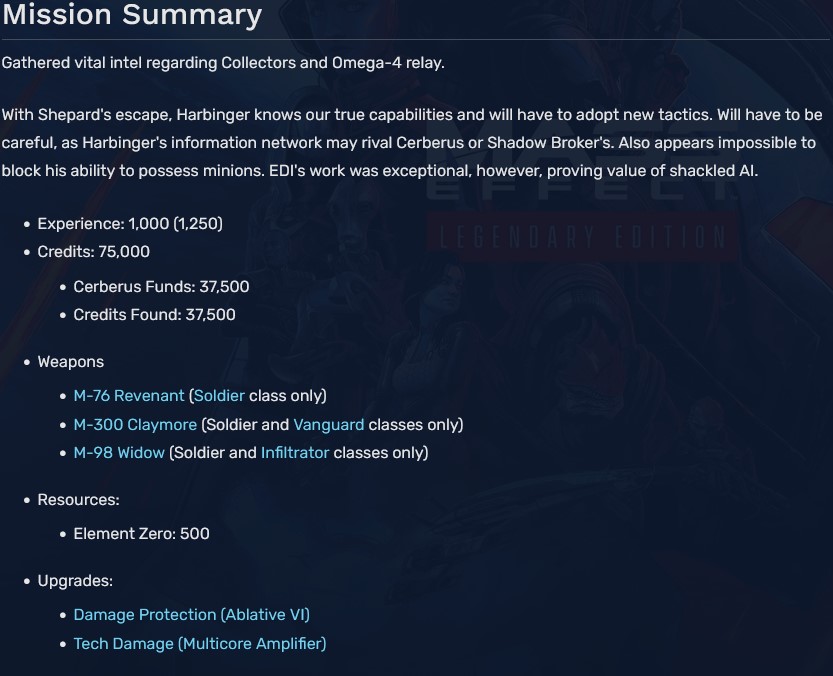
1
2
3
4
5
6 (Upgrade - Damage Protection)
7
8
9
10
11
12
13
14
15 (Upgrade - Tech Damage)
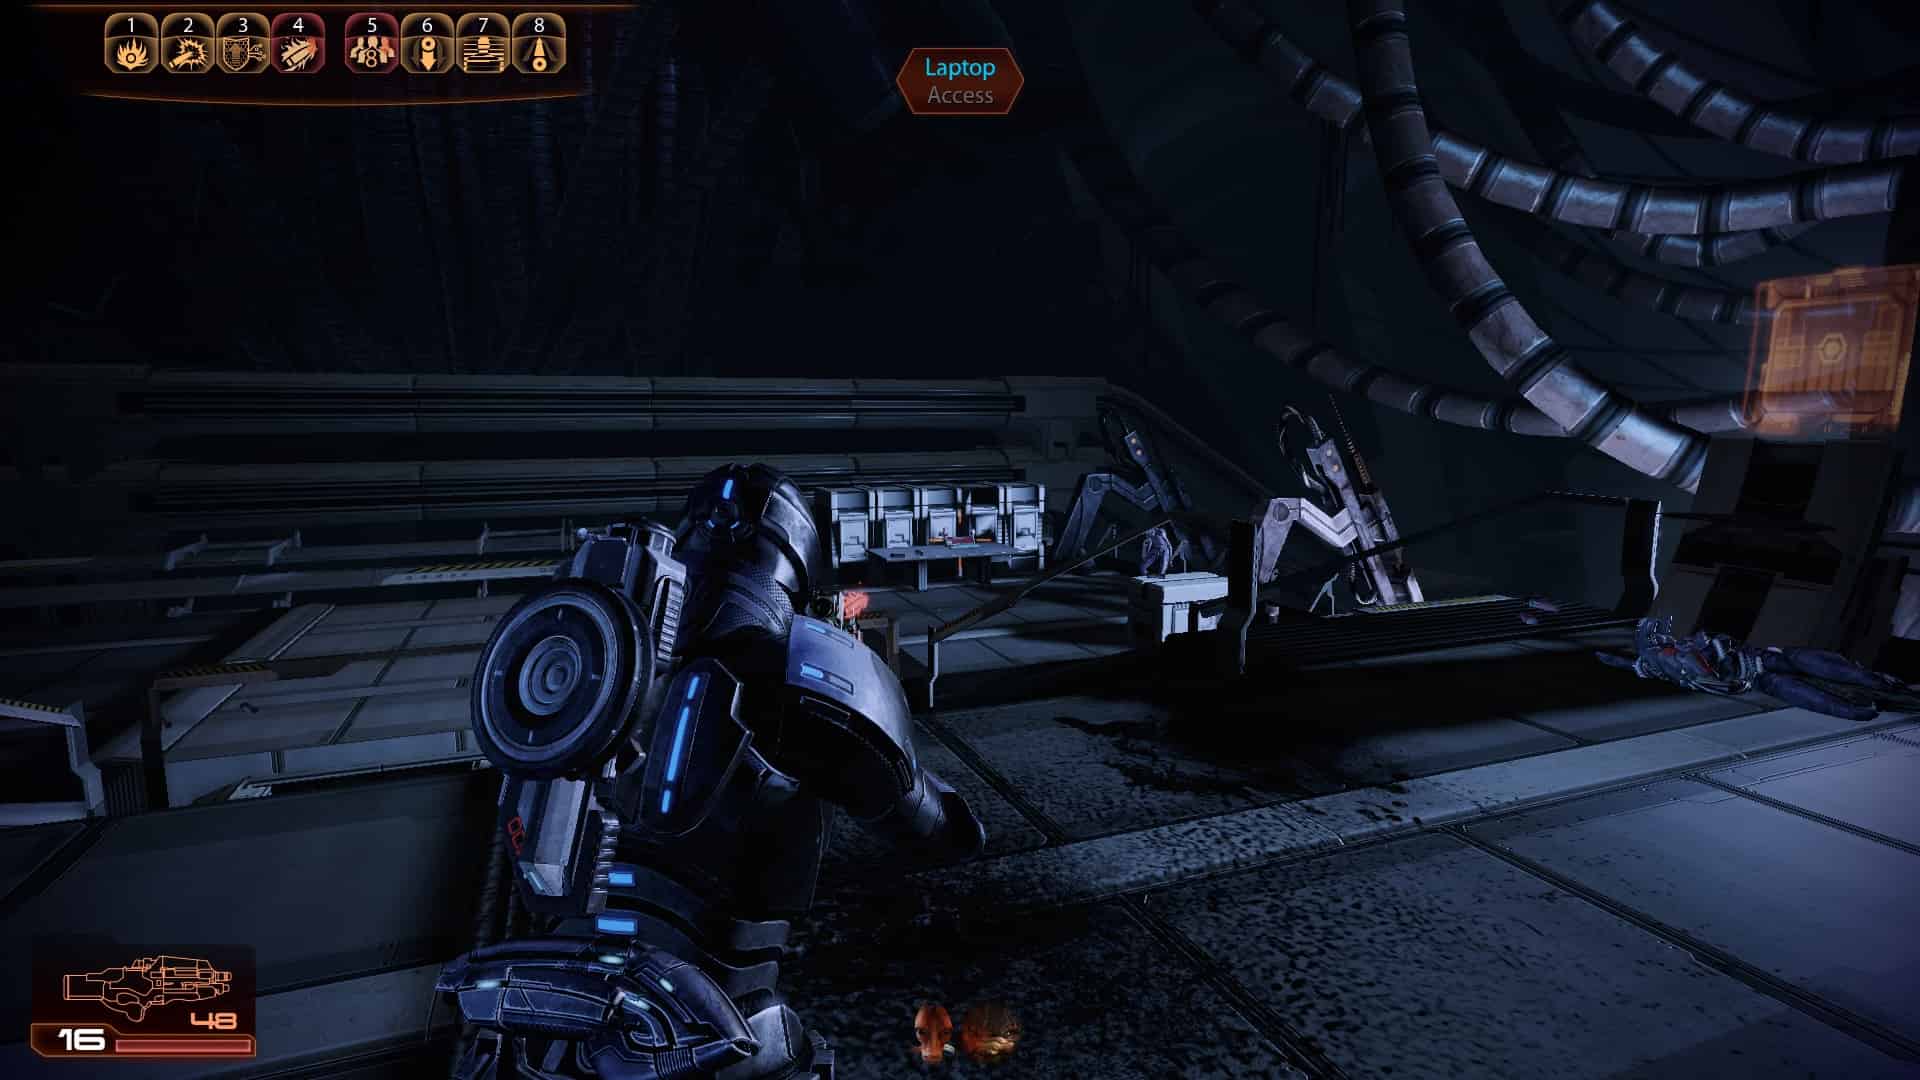
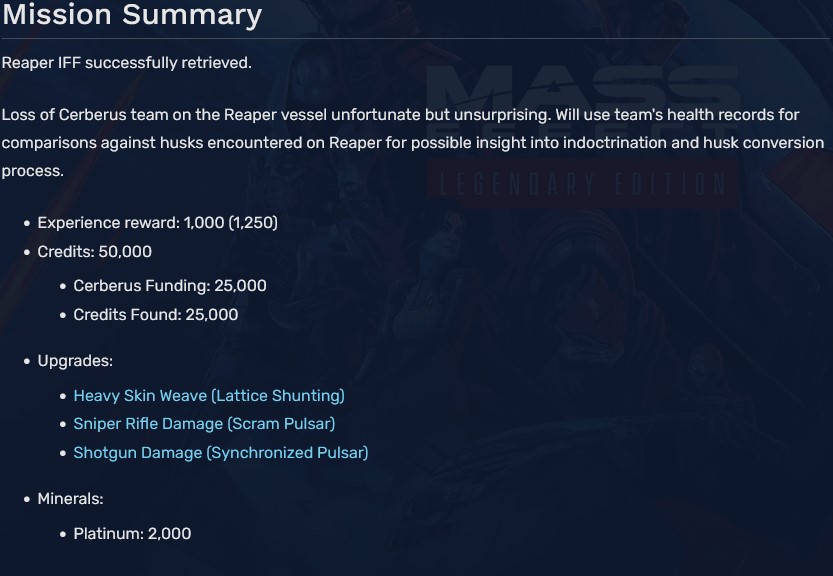
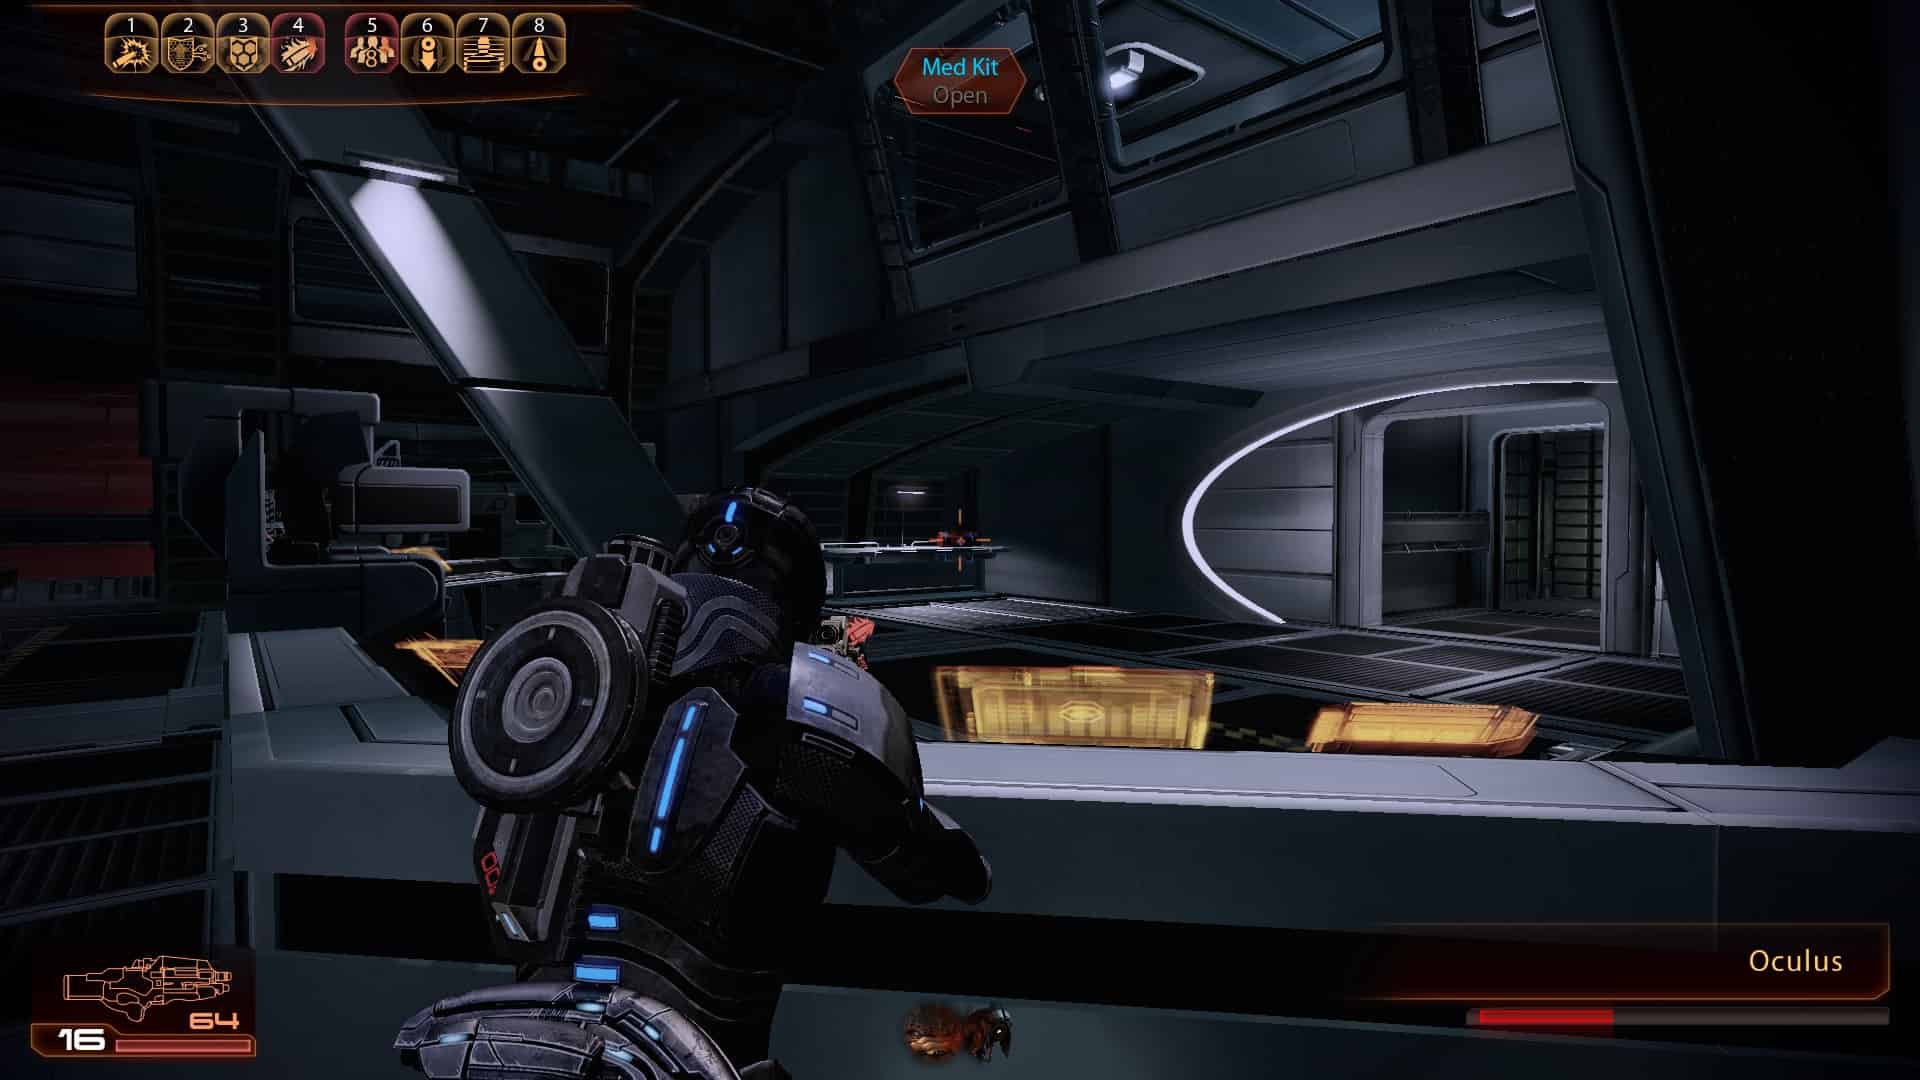
Plot Mission 5: Reaper IFF

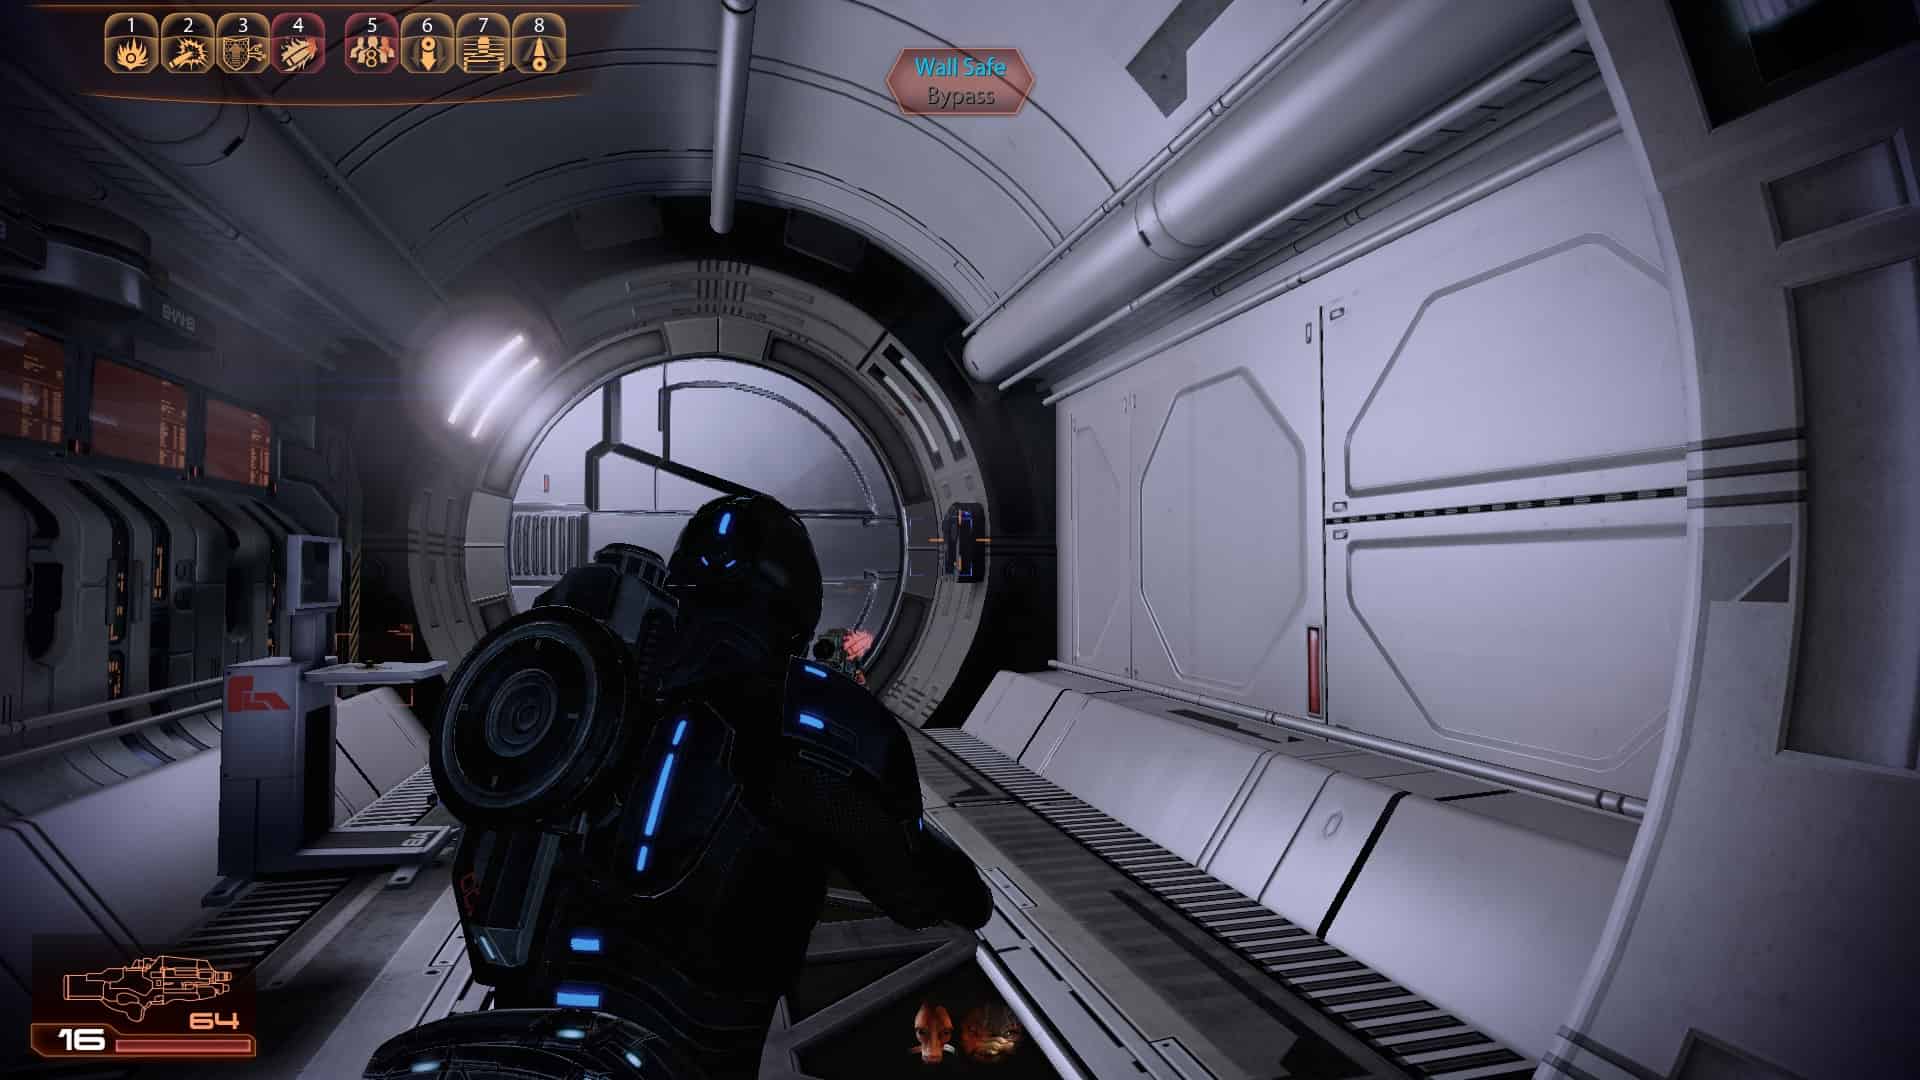
1
2
3
4
5
6 (Upgrade - Sniper Rifle Damage)
7
8
9
10
11 (Upgrade - Heavy Skin Weave)
12
13
14
15
16 (Upgrade - Shotgun Damage)
17
18
19
20
21
22
Plot Mission 6: Suicide Mission


1
2
3
4
5
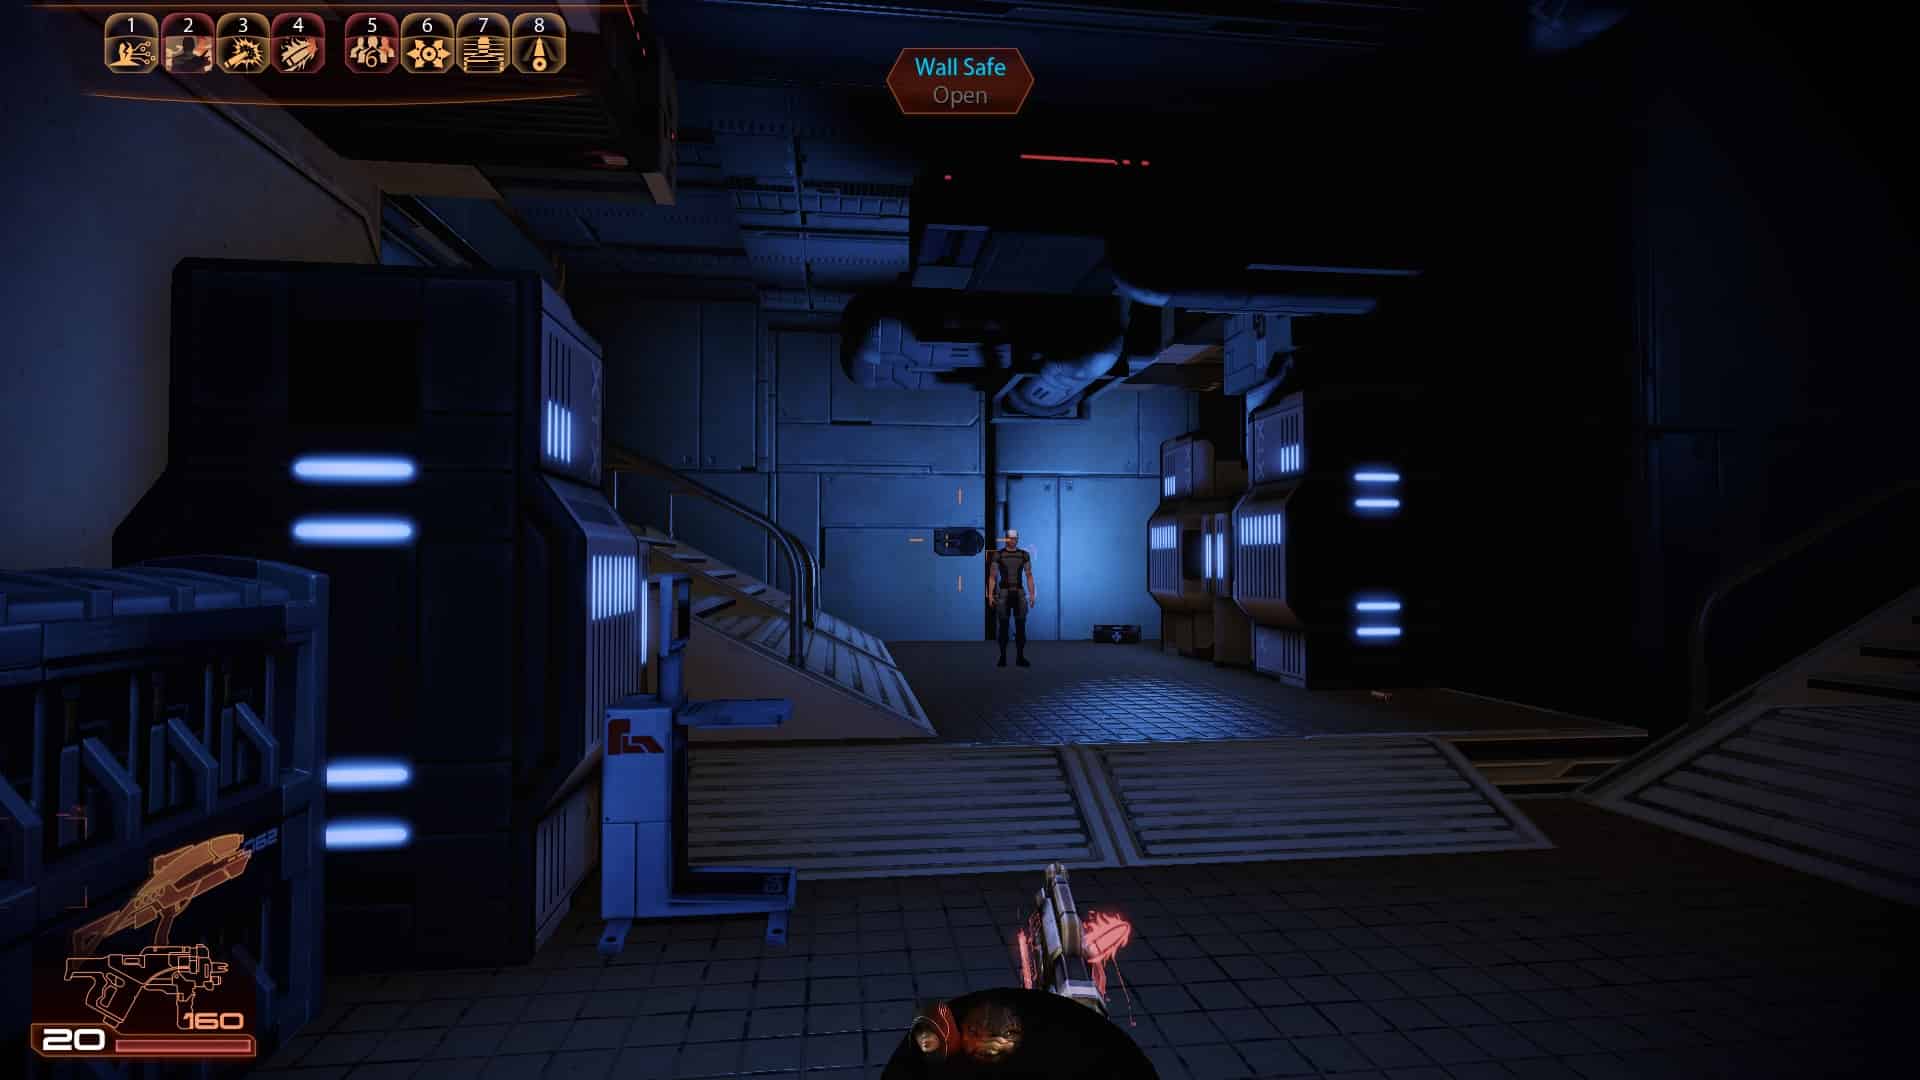
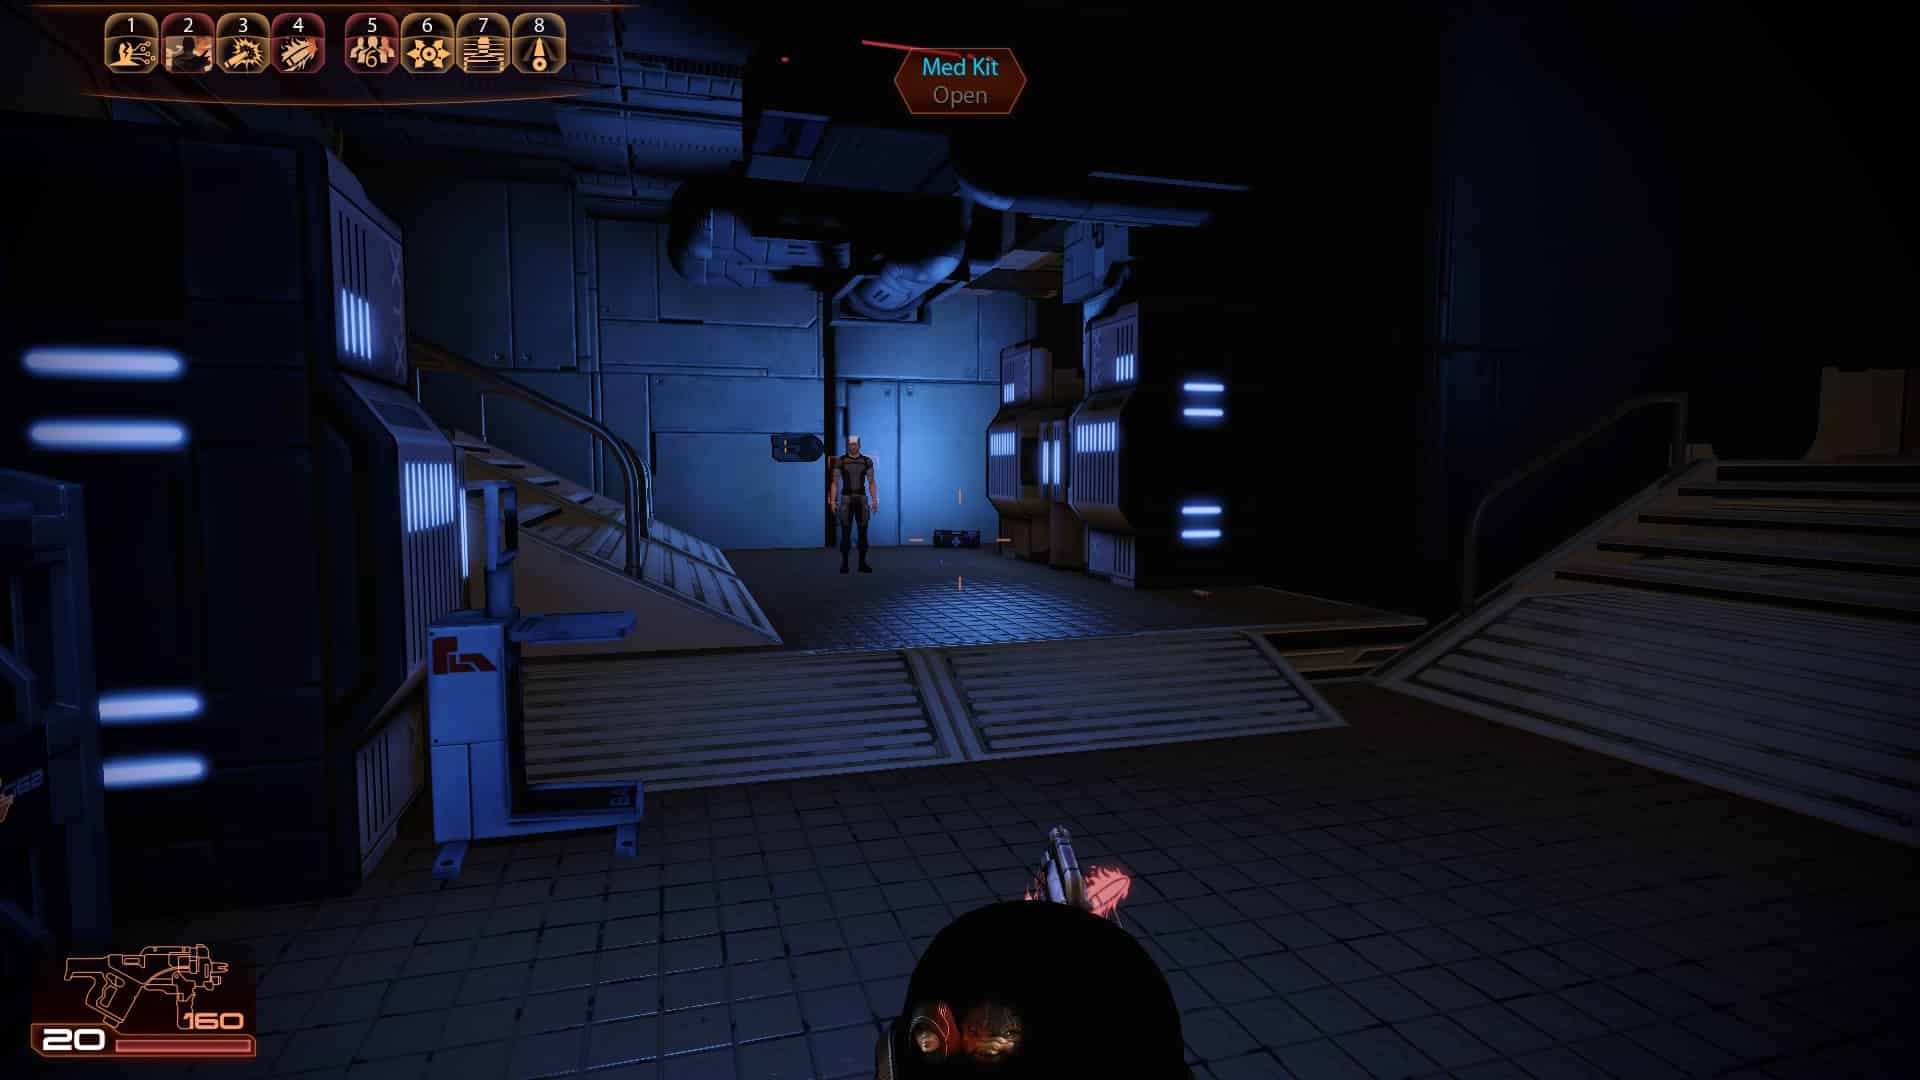
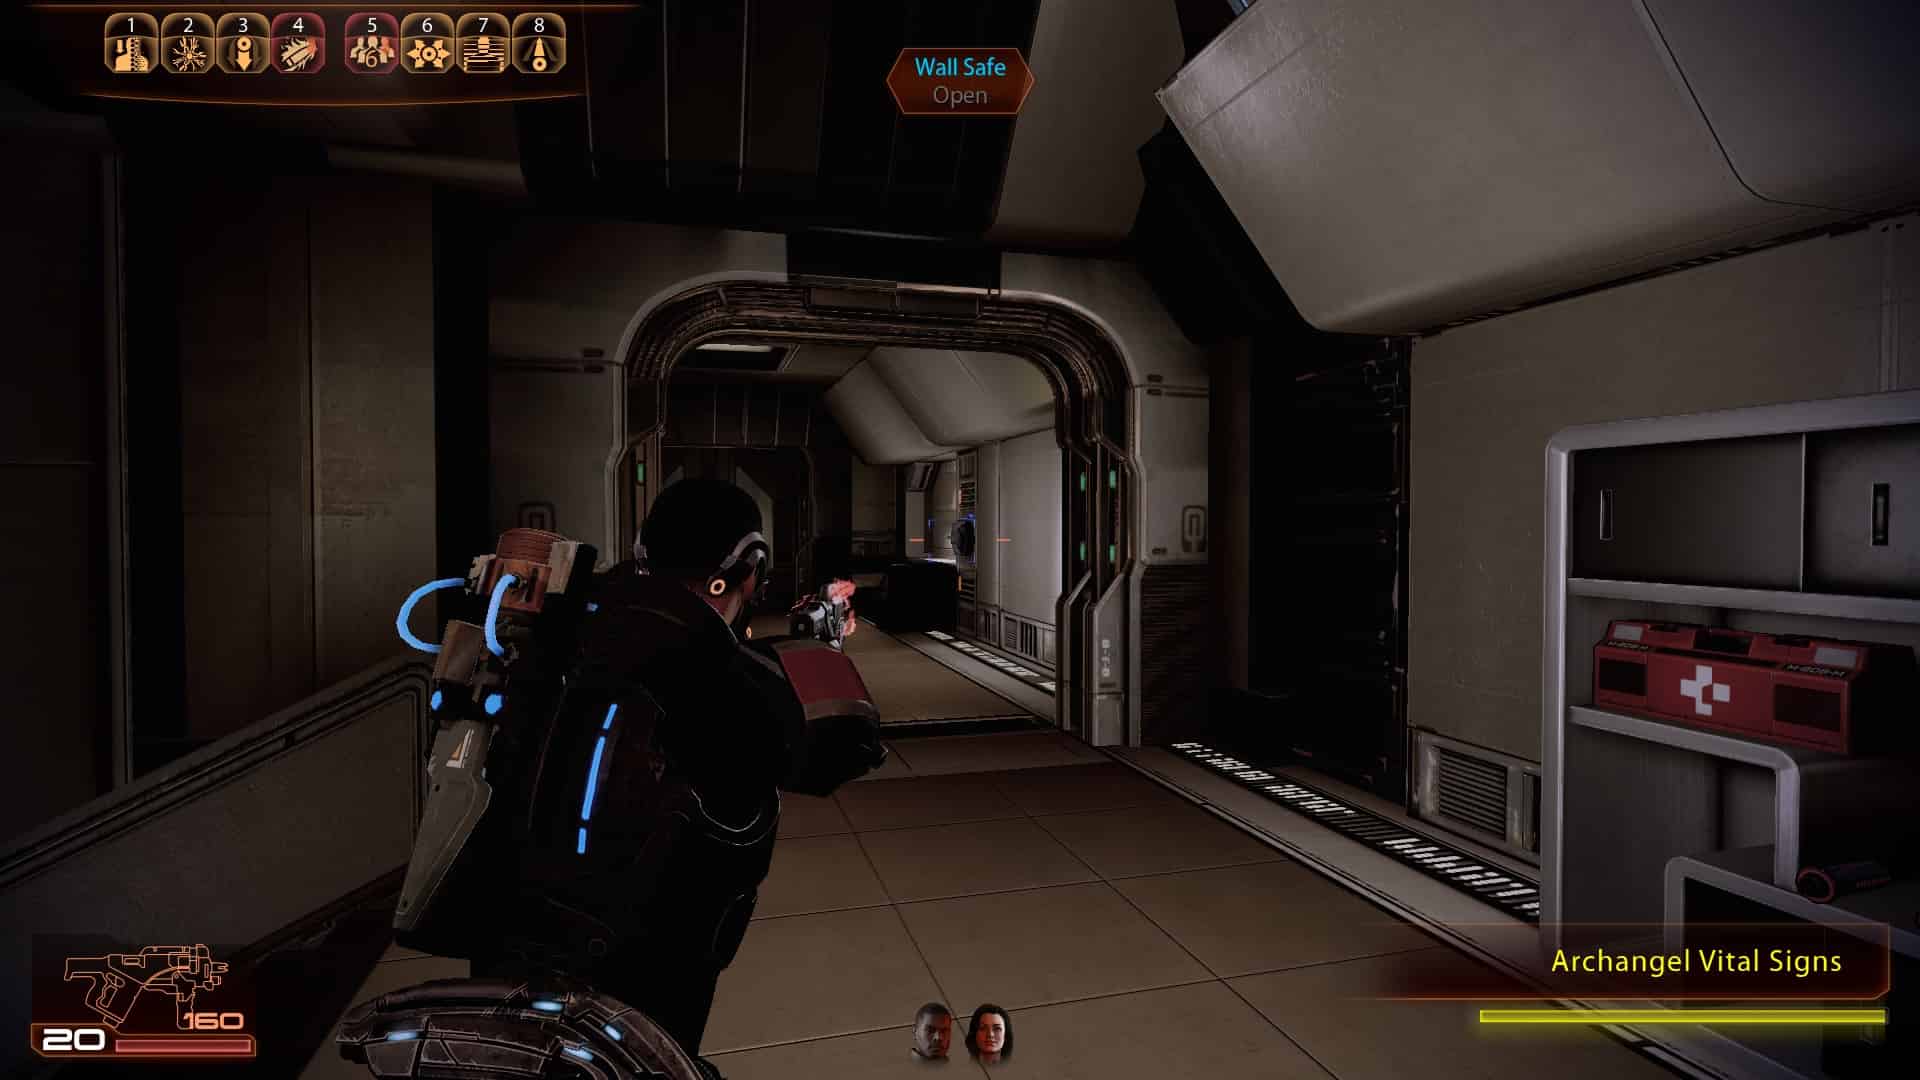
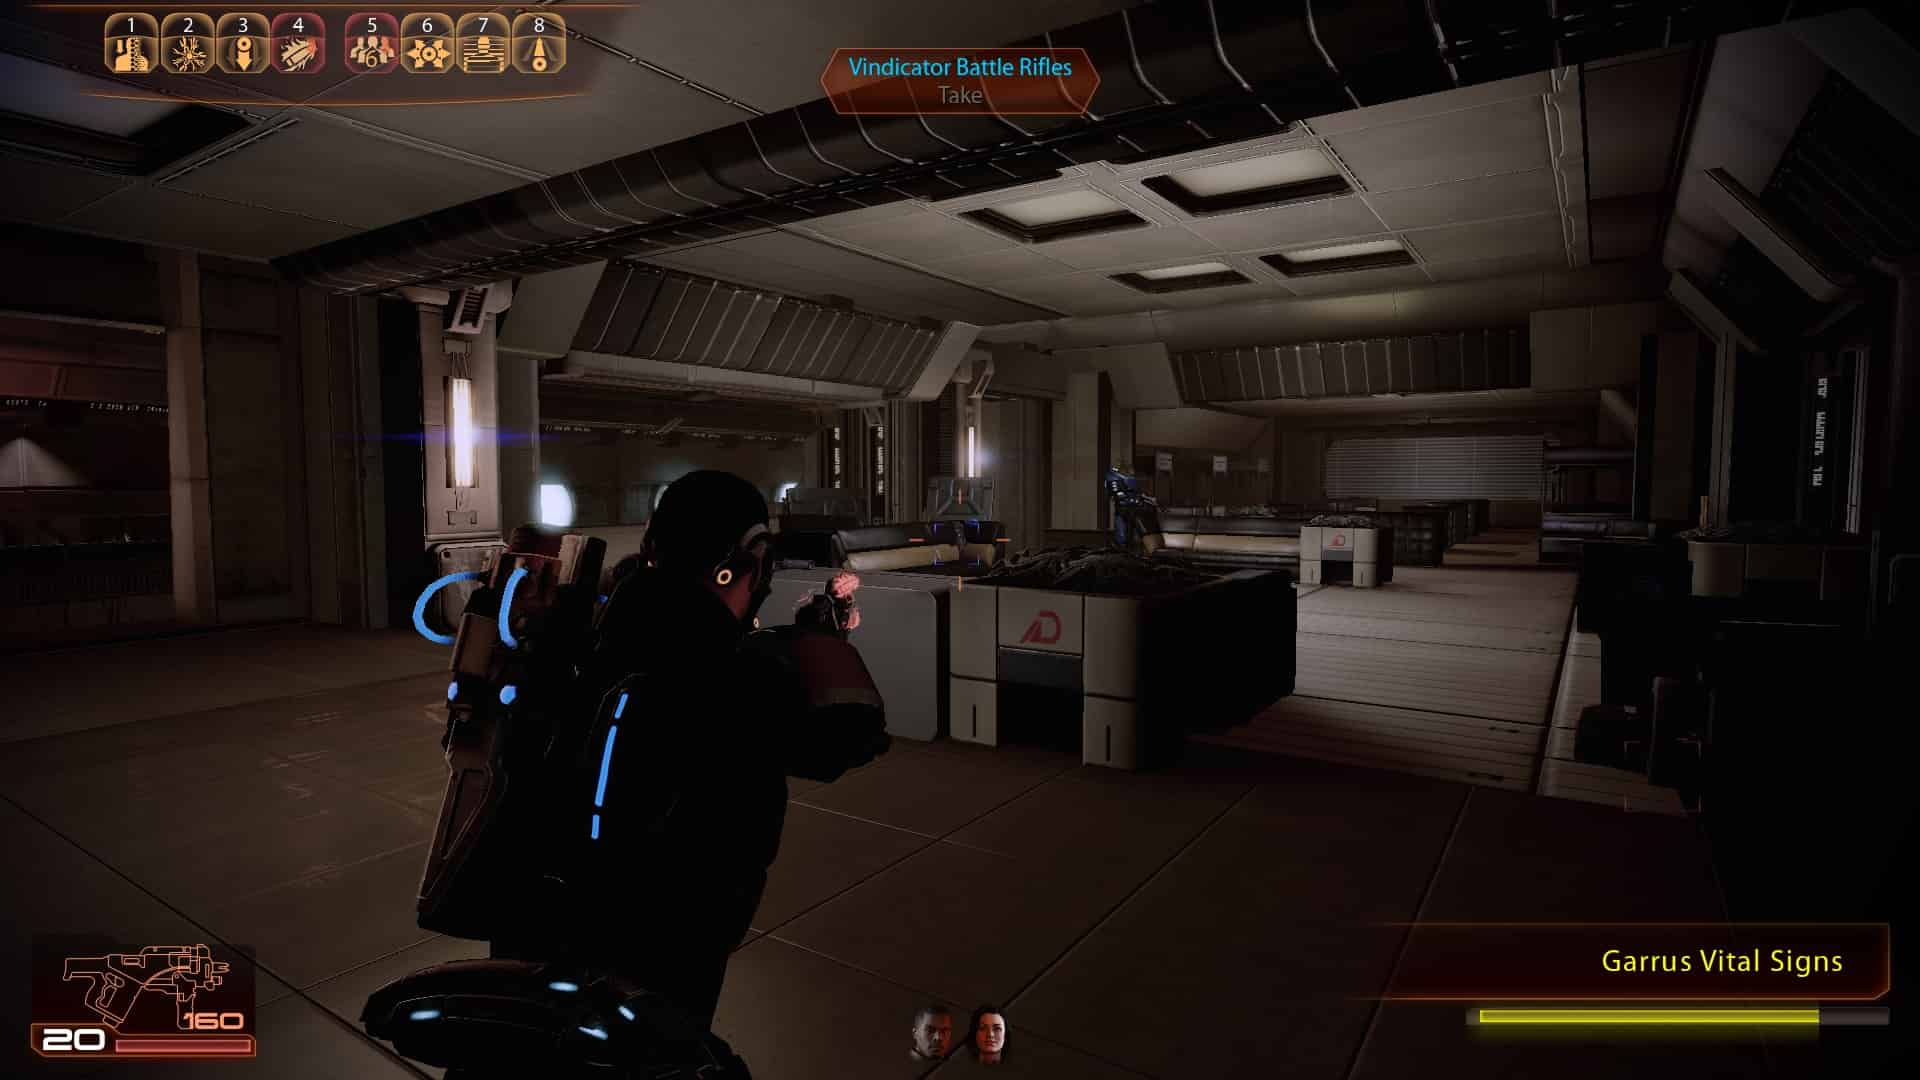
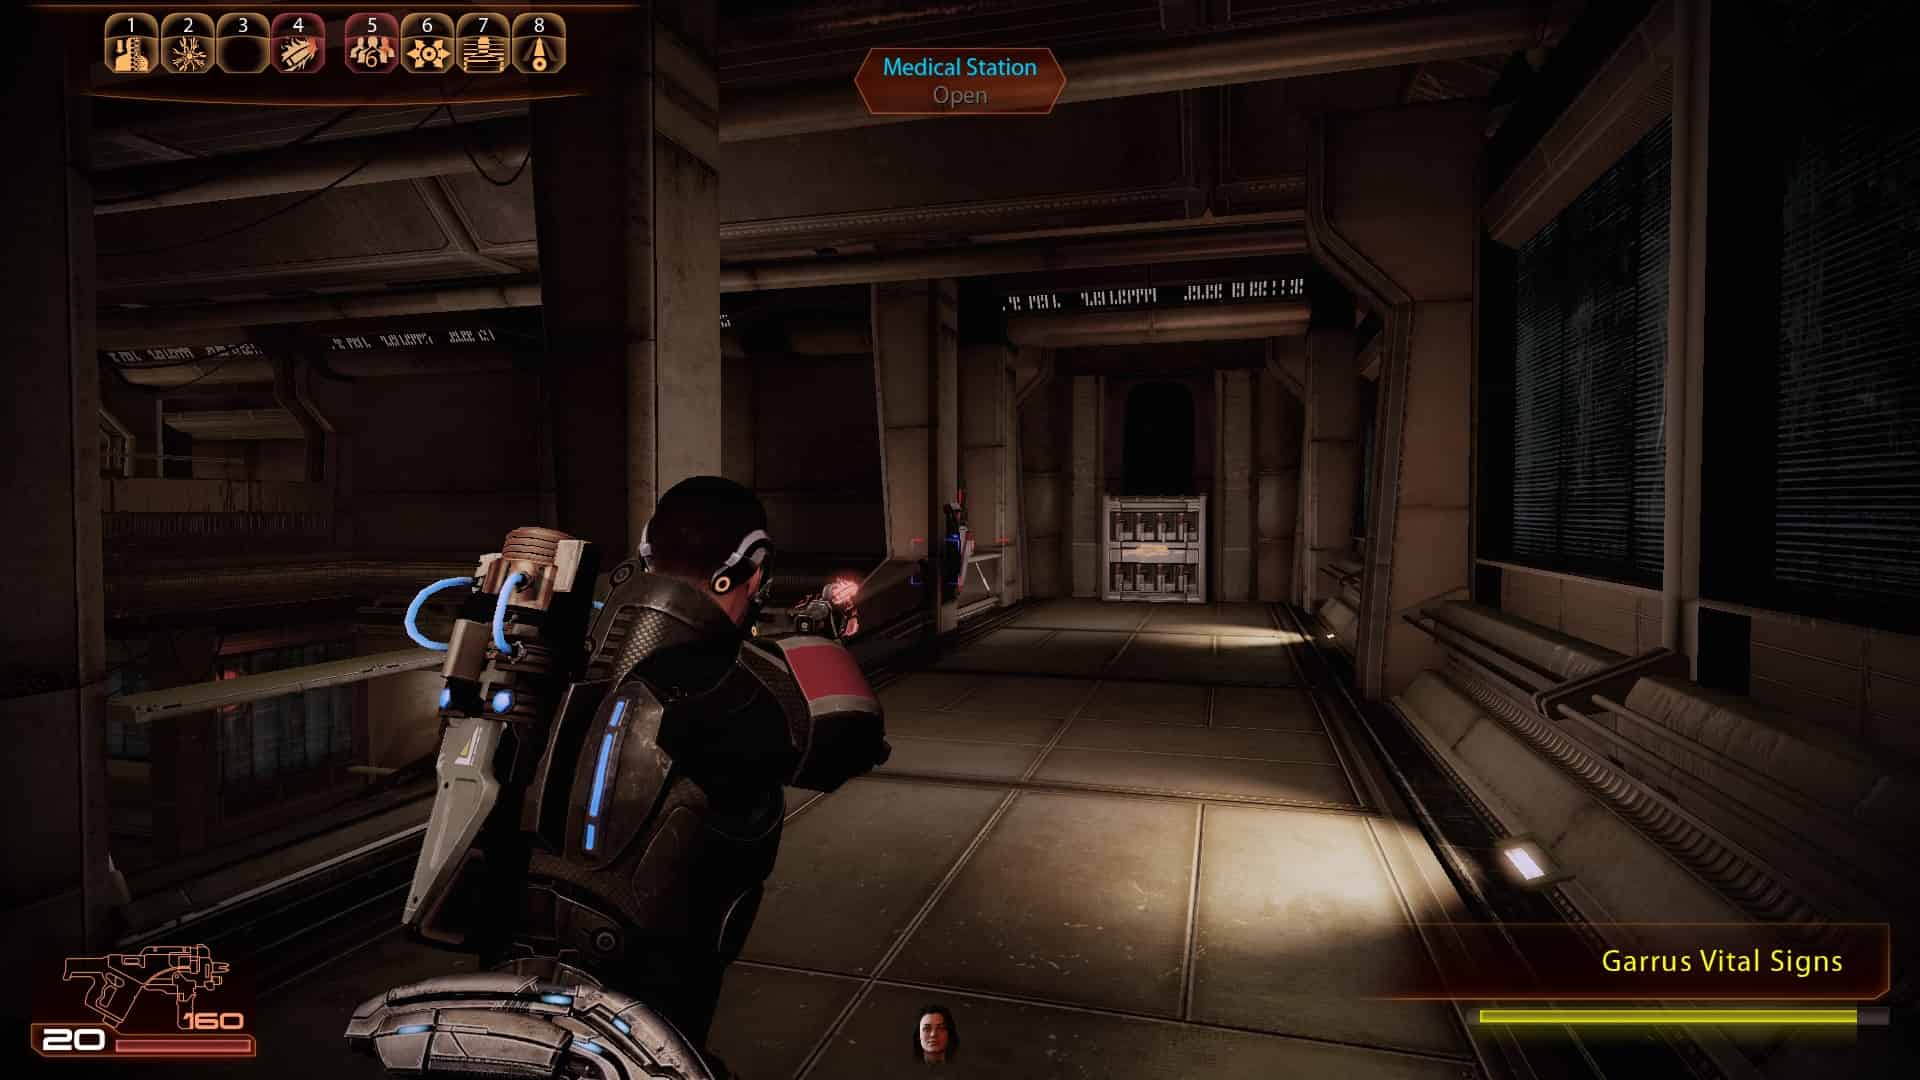
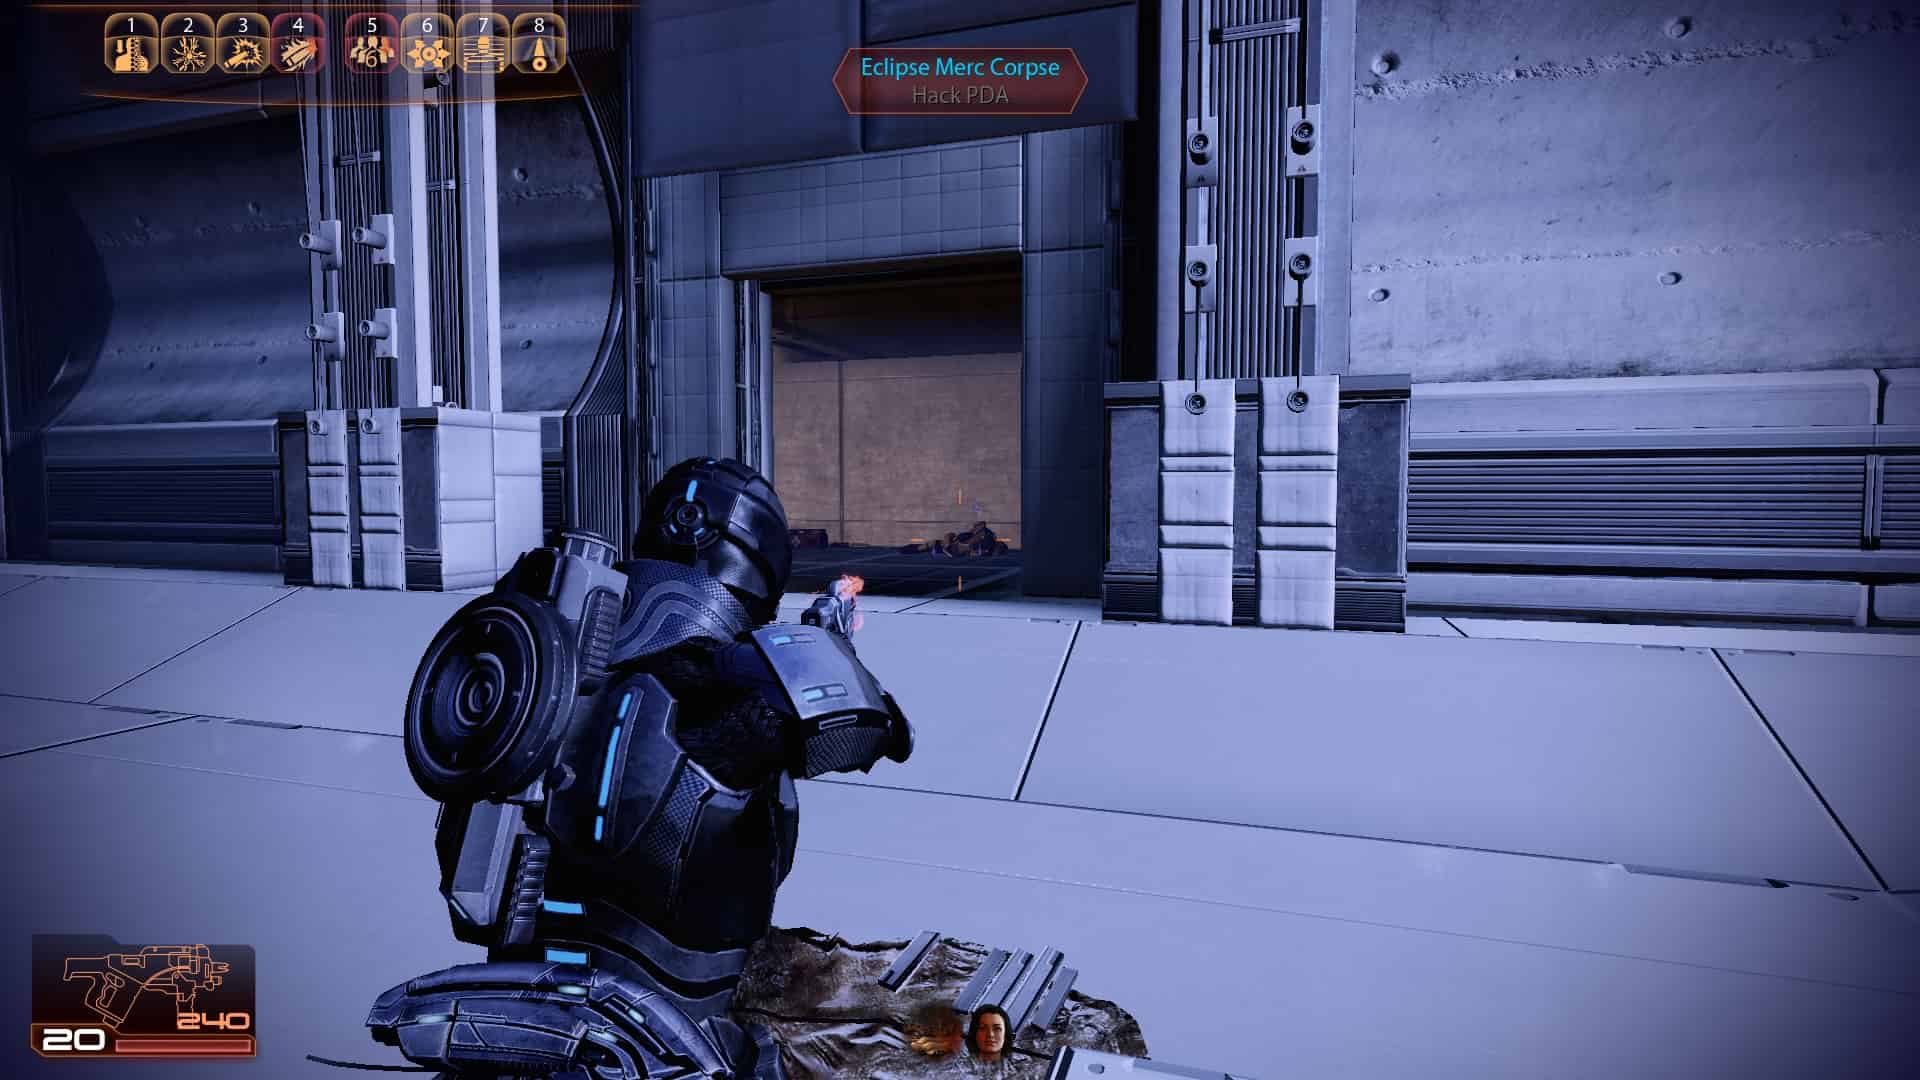
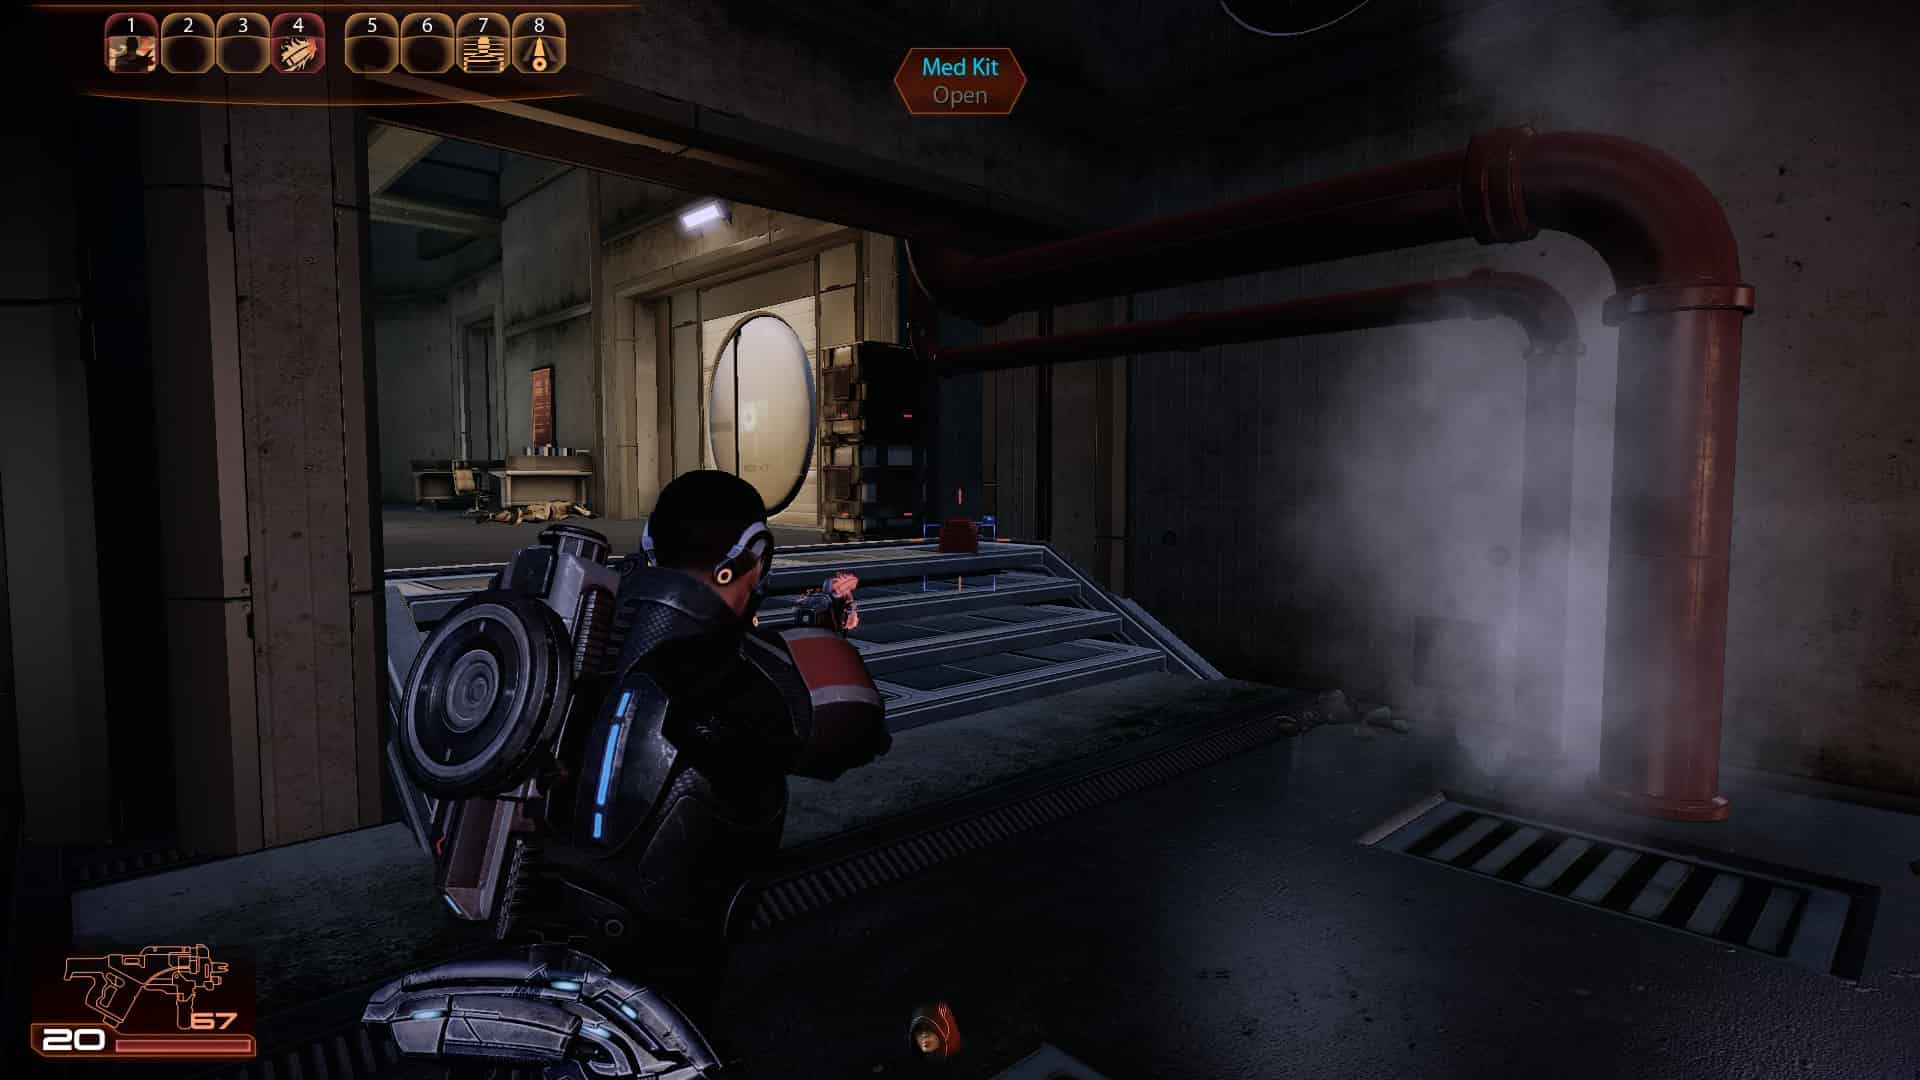
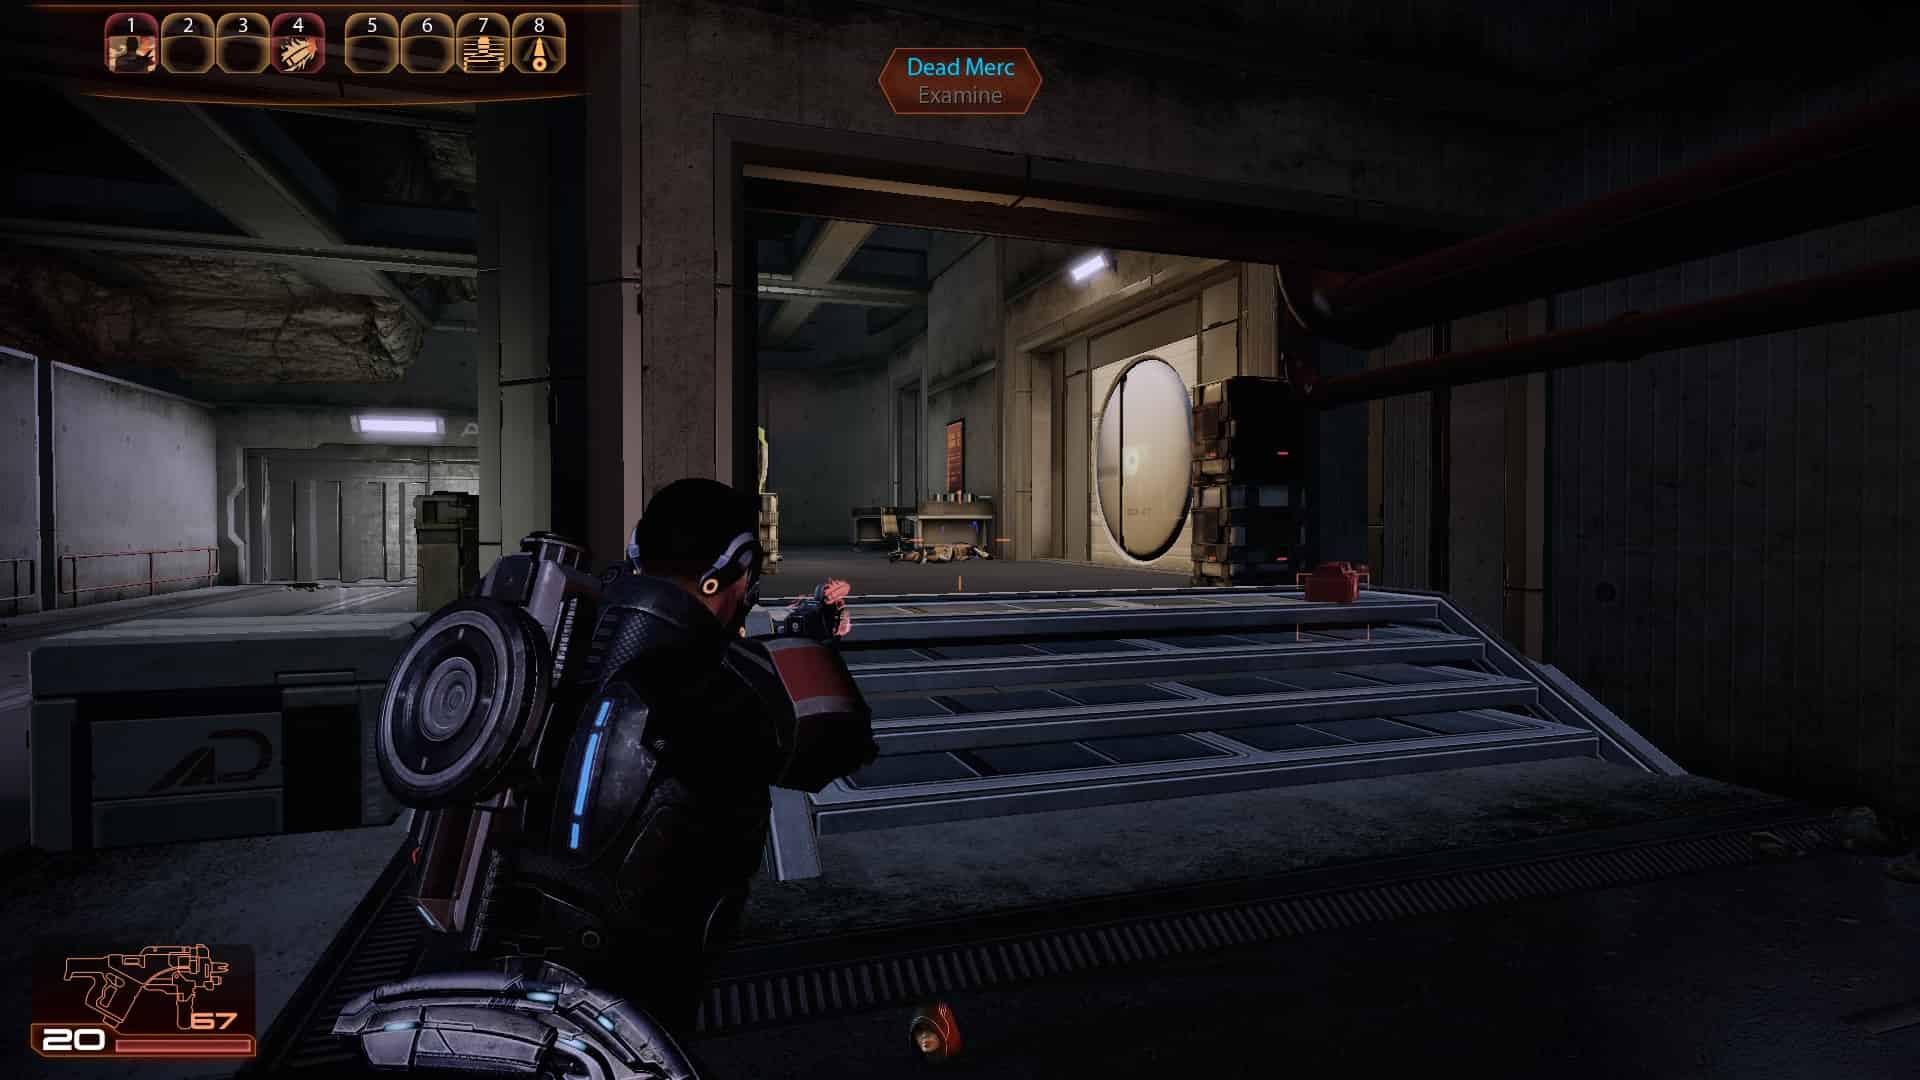
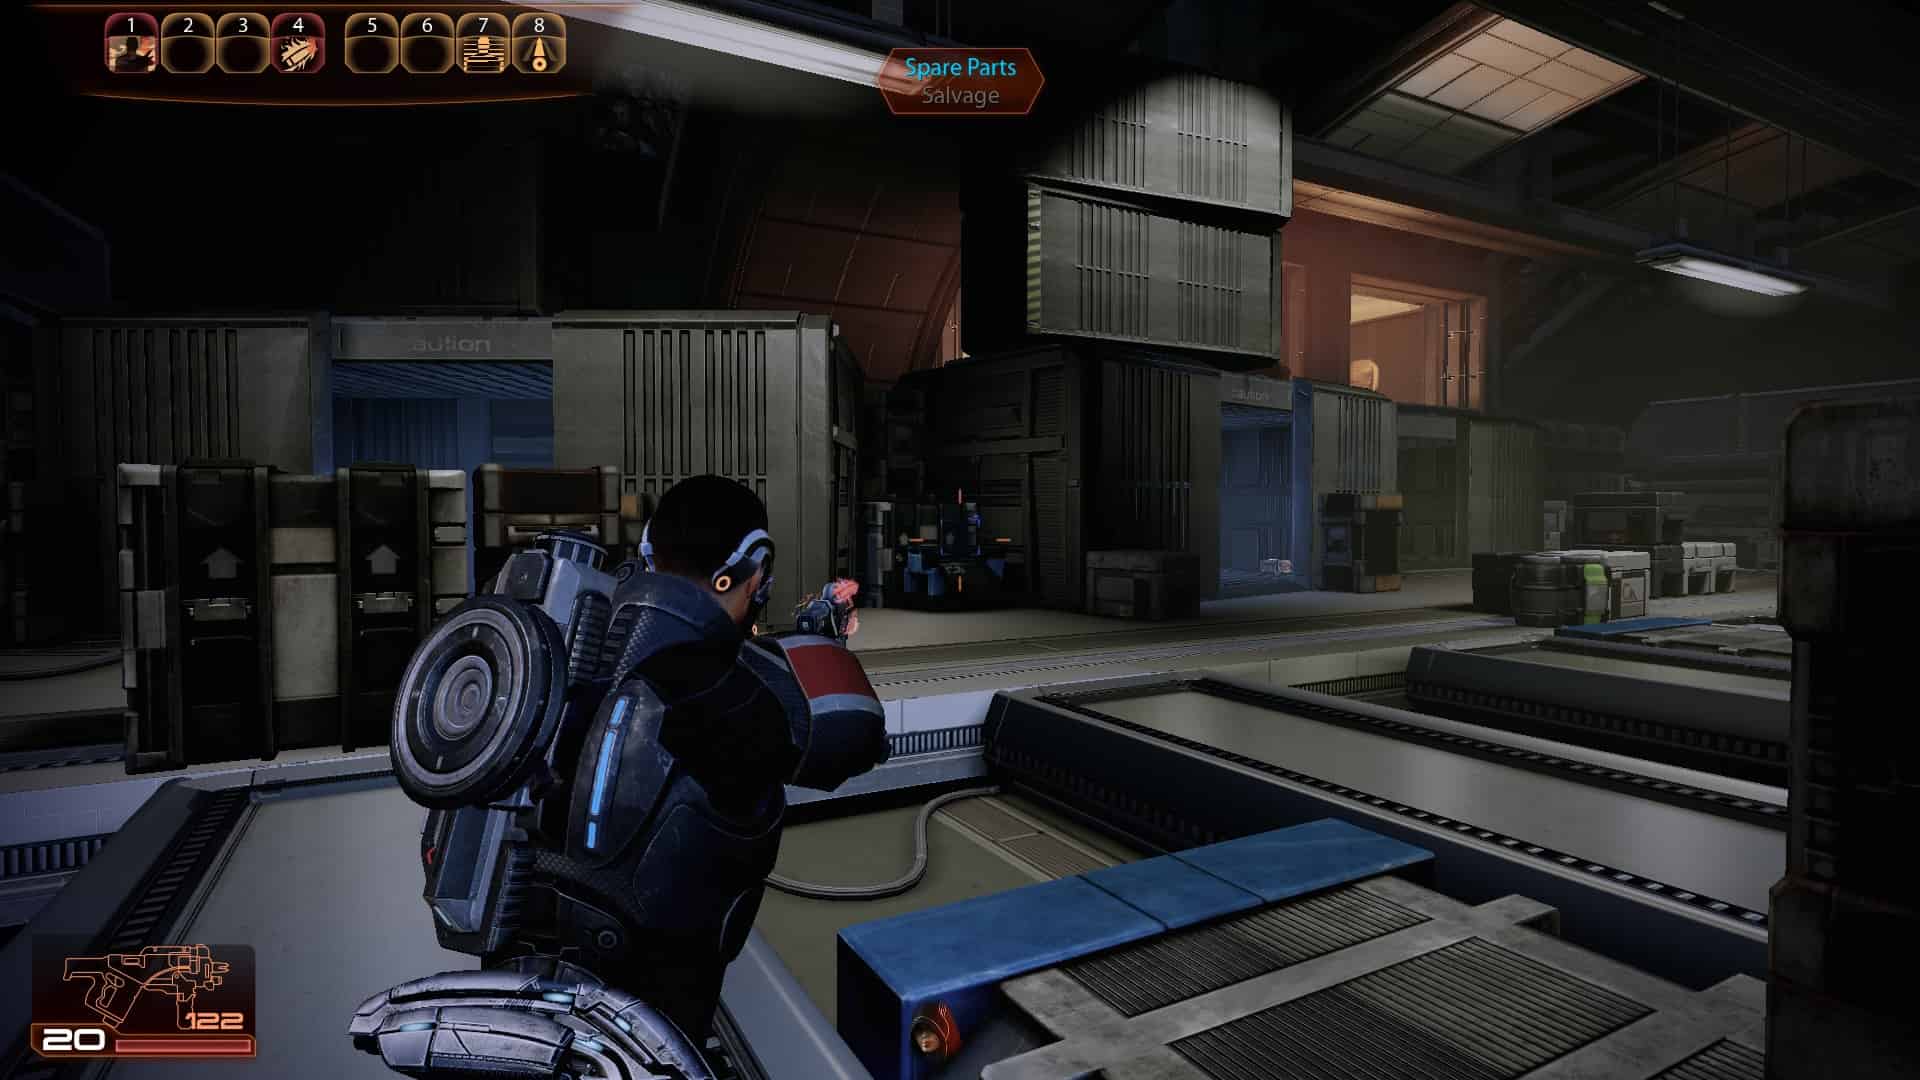
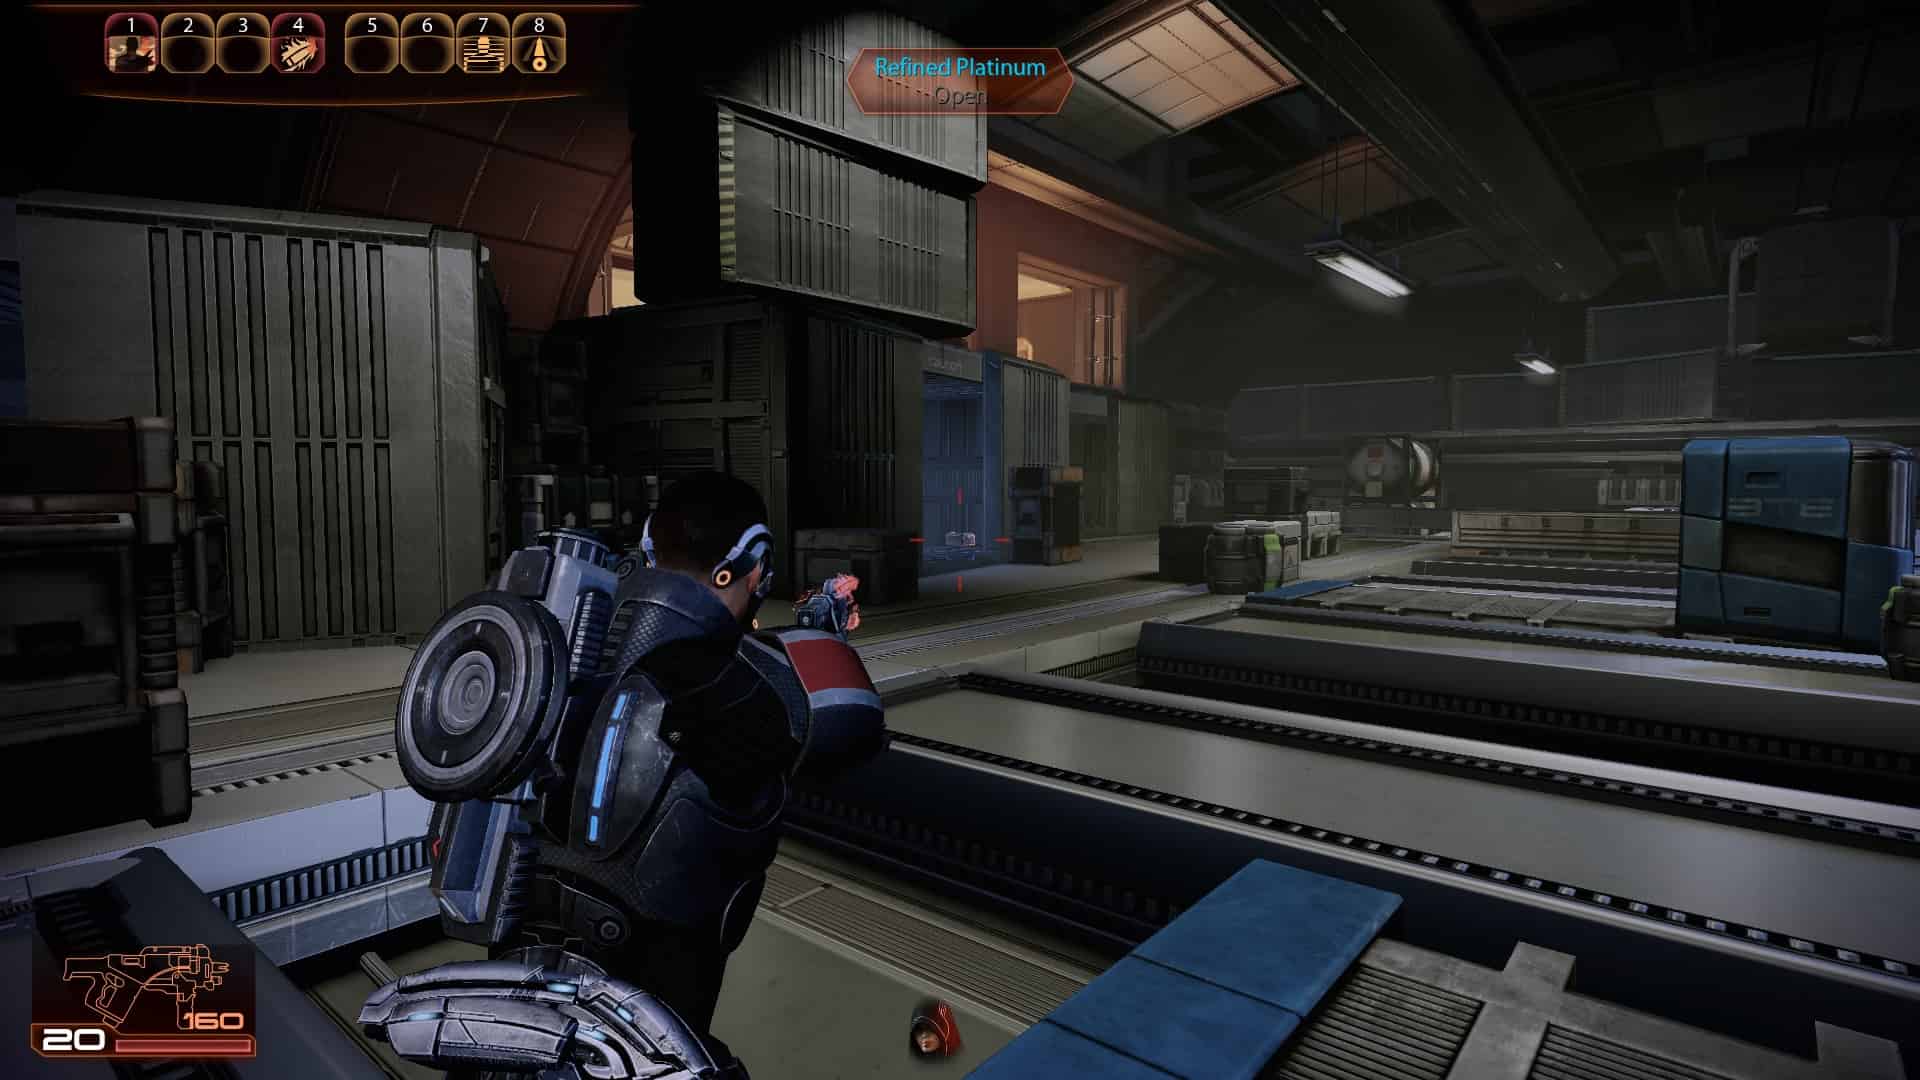
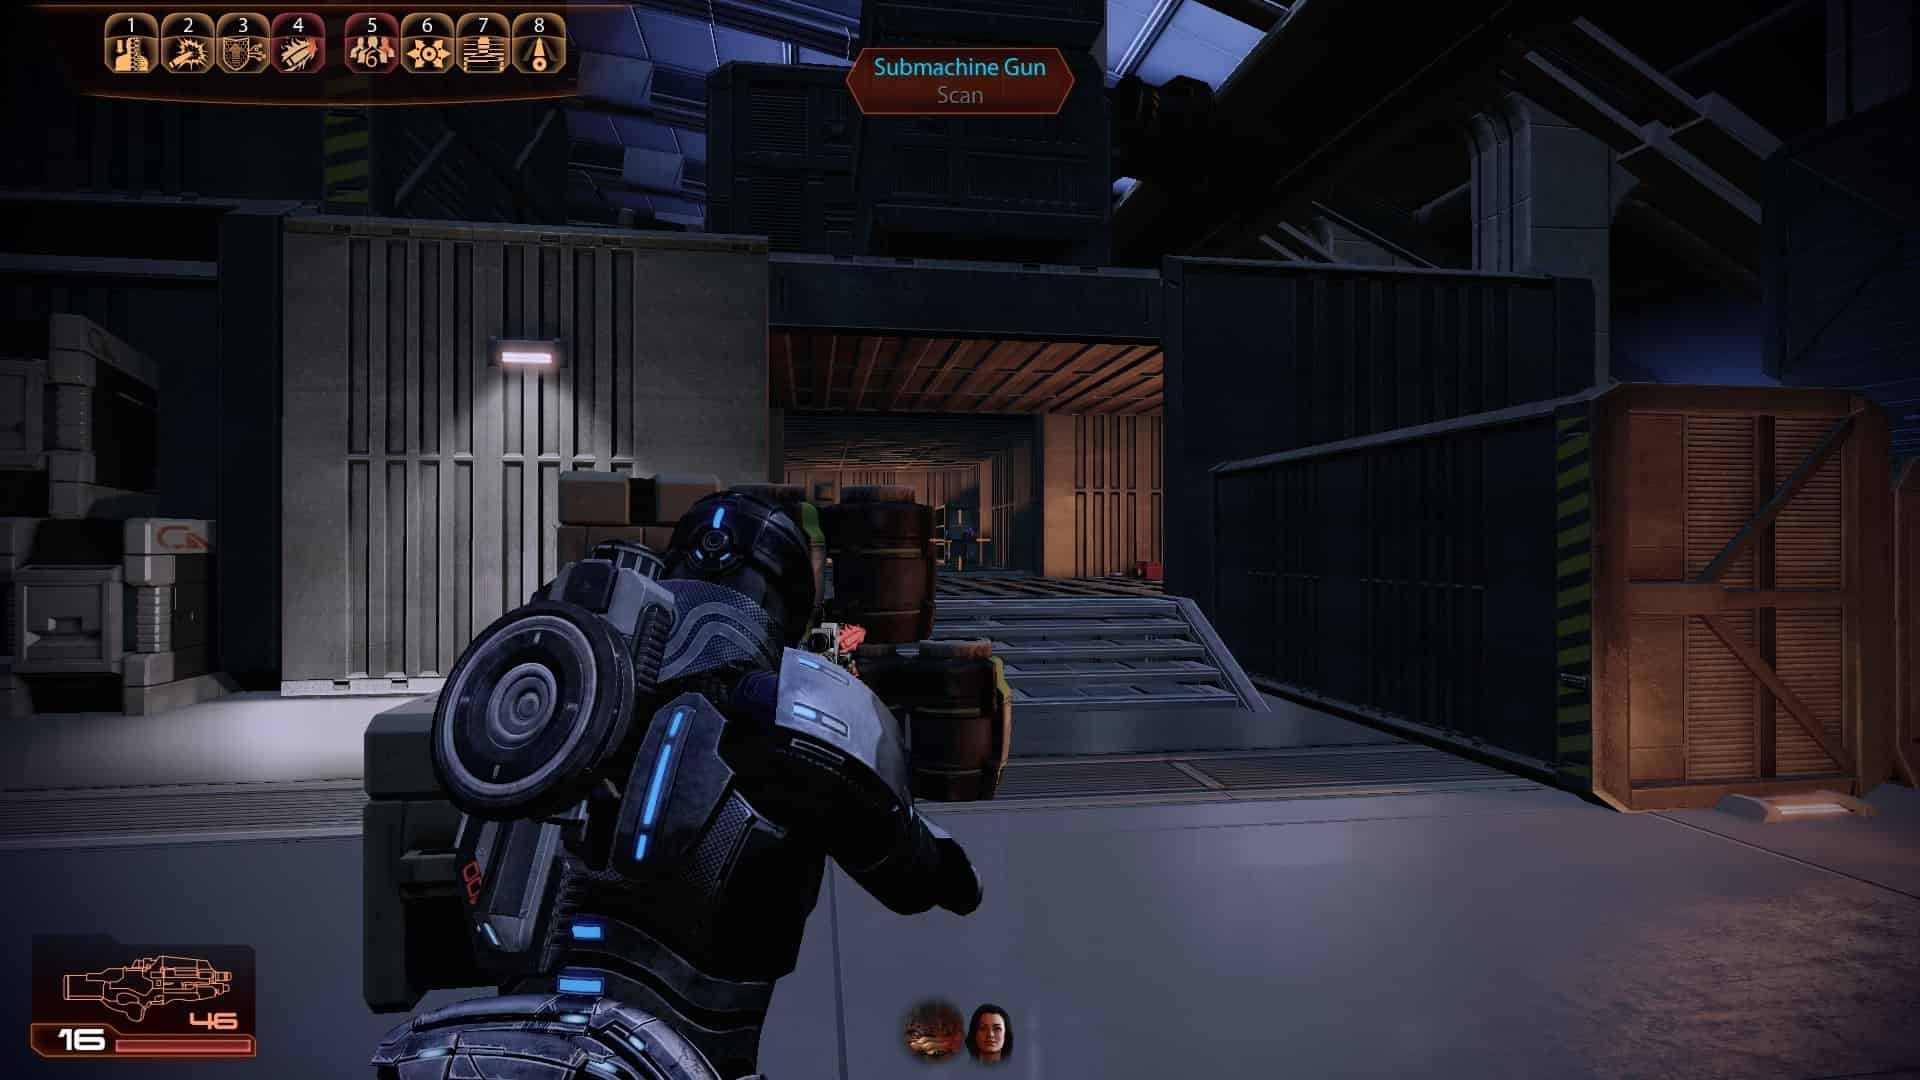
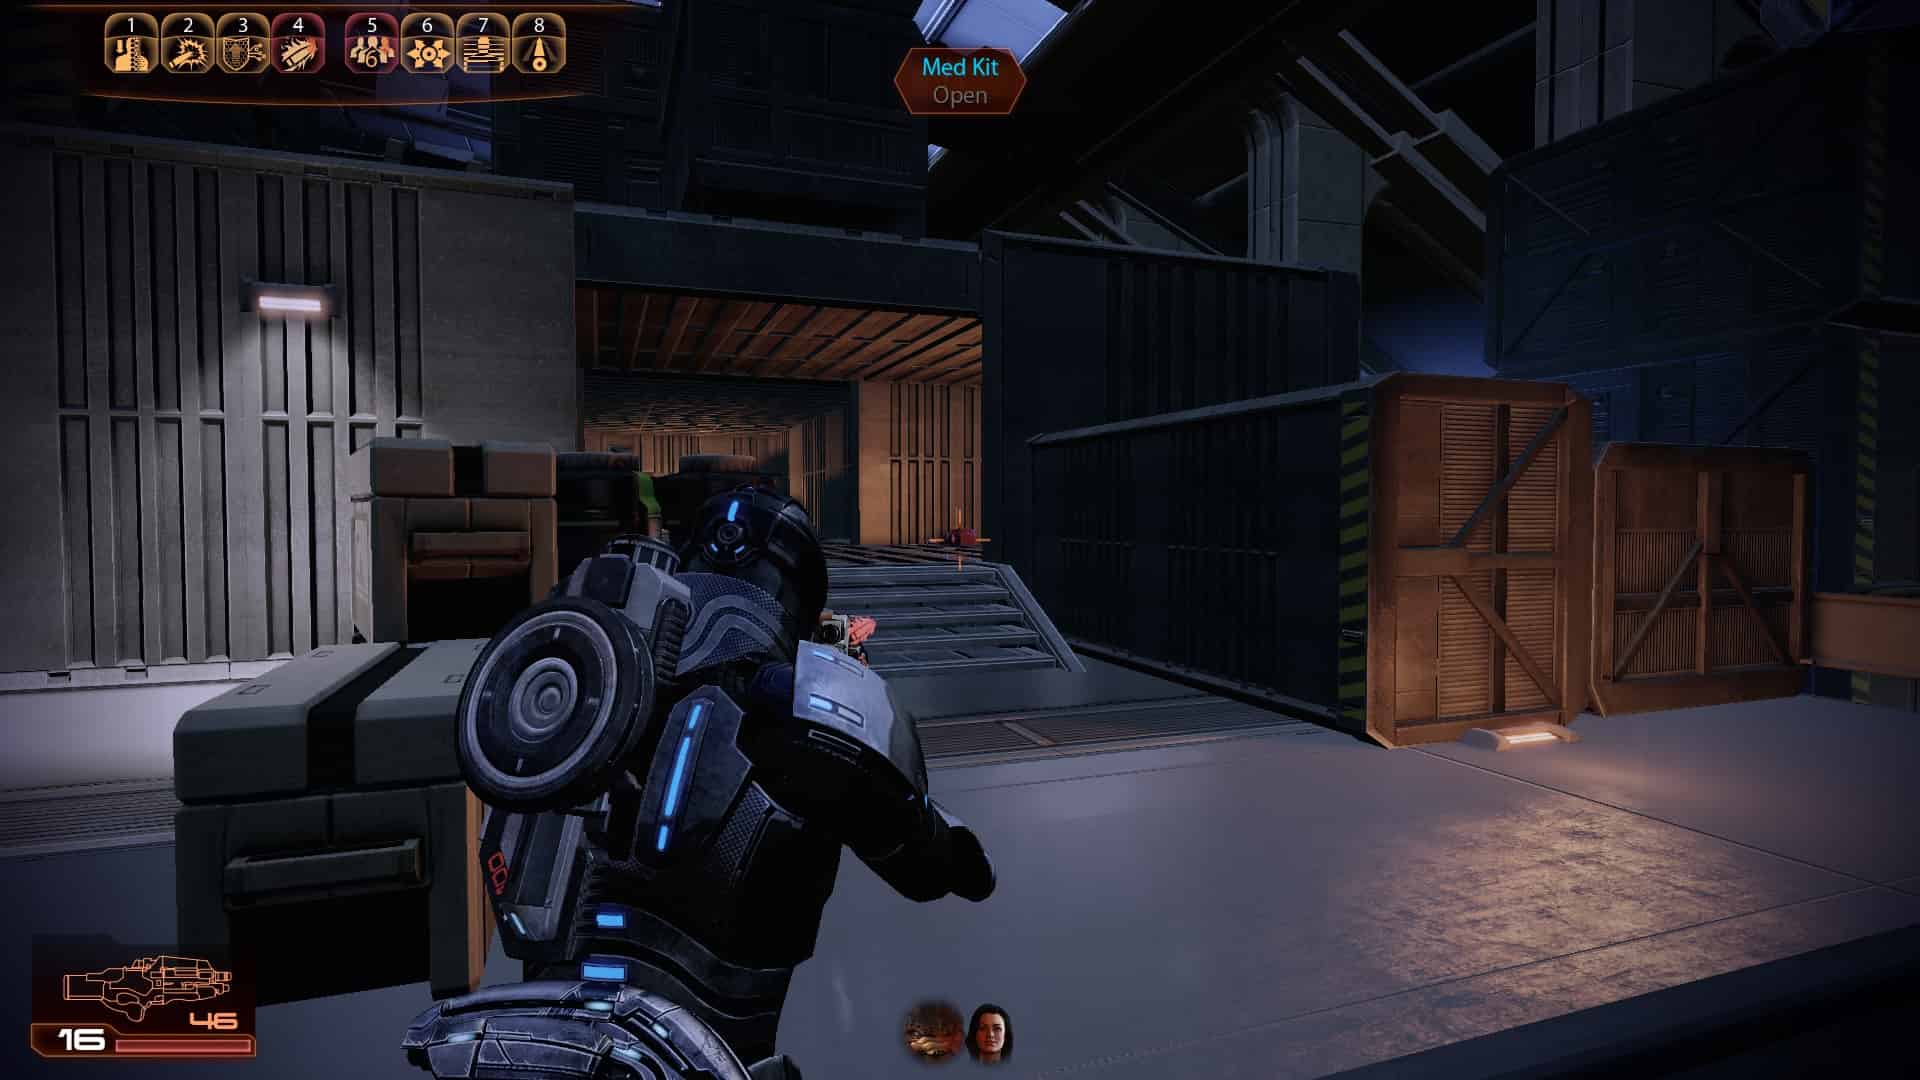
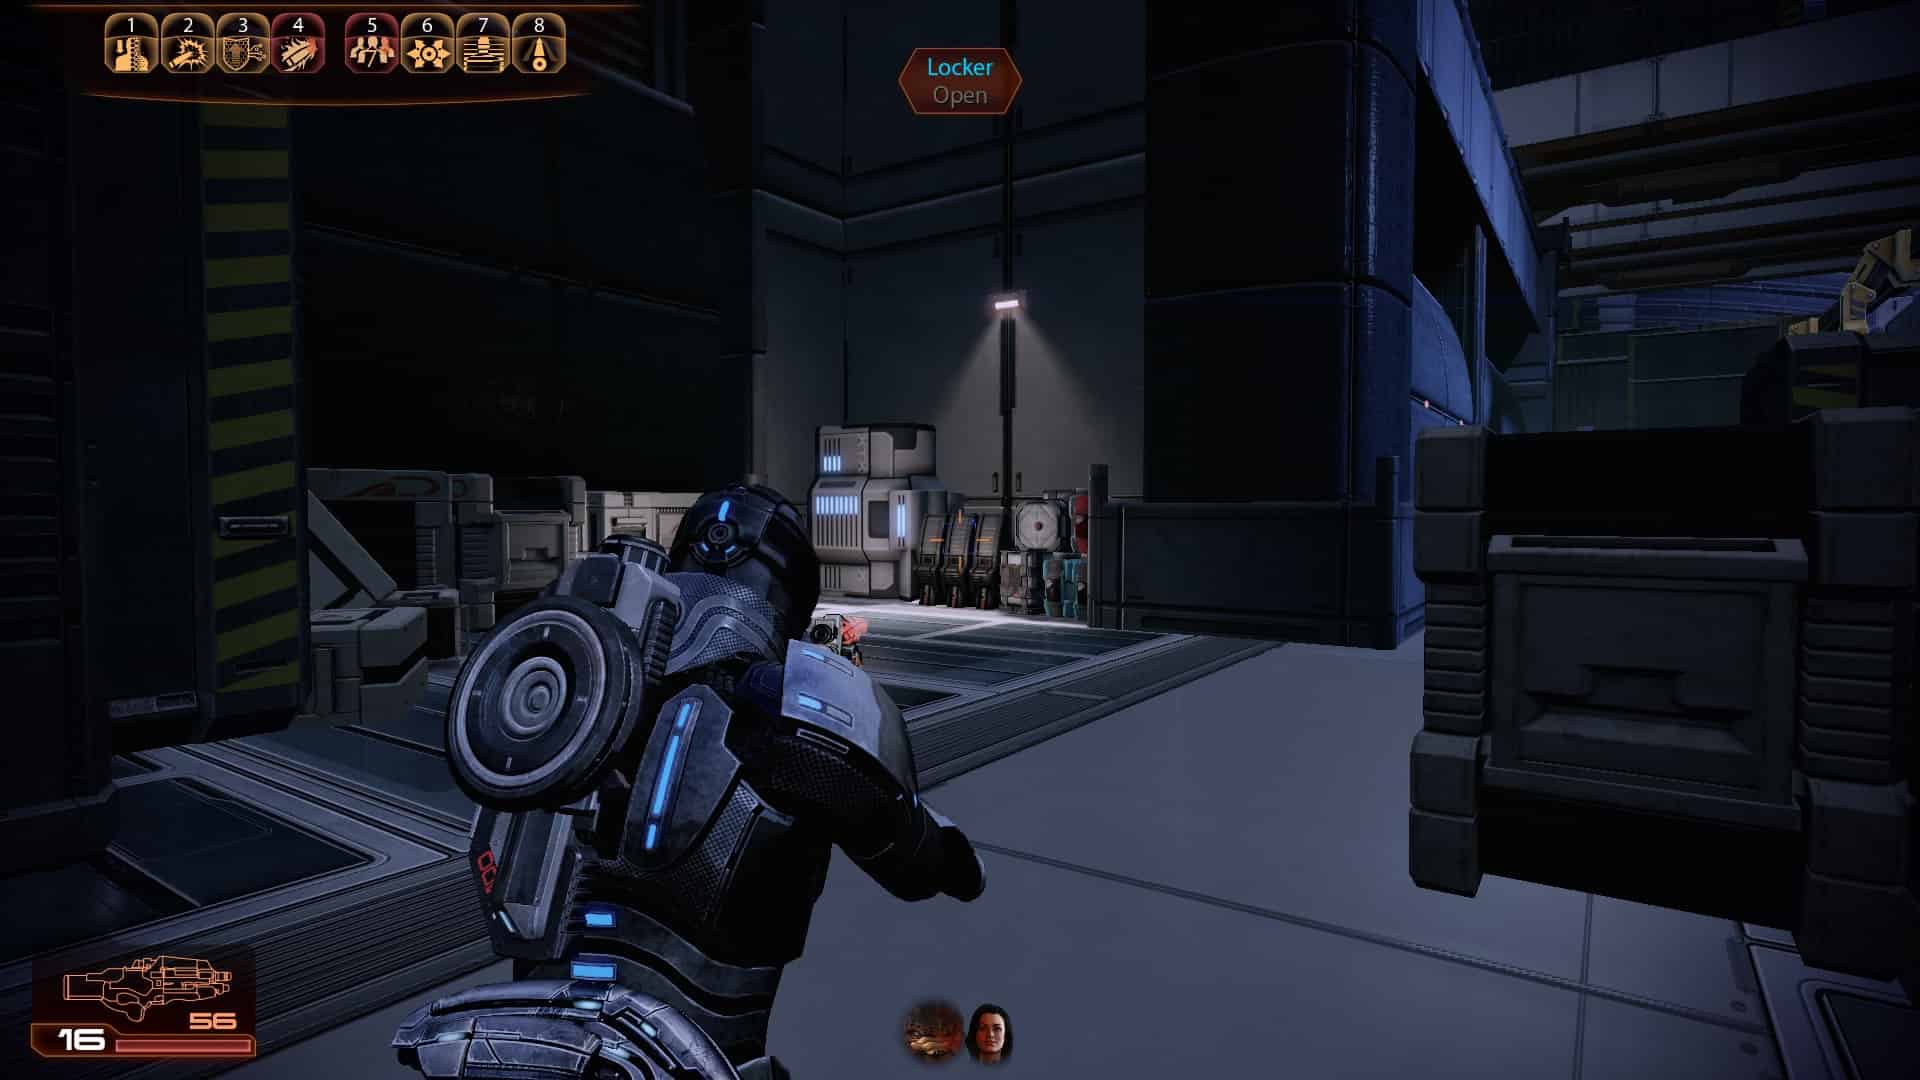
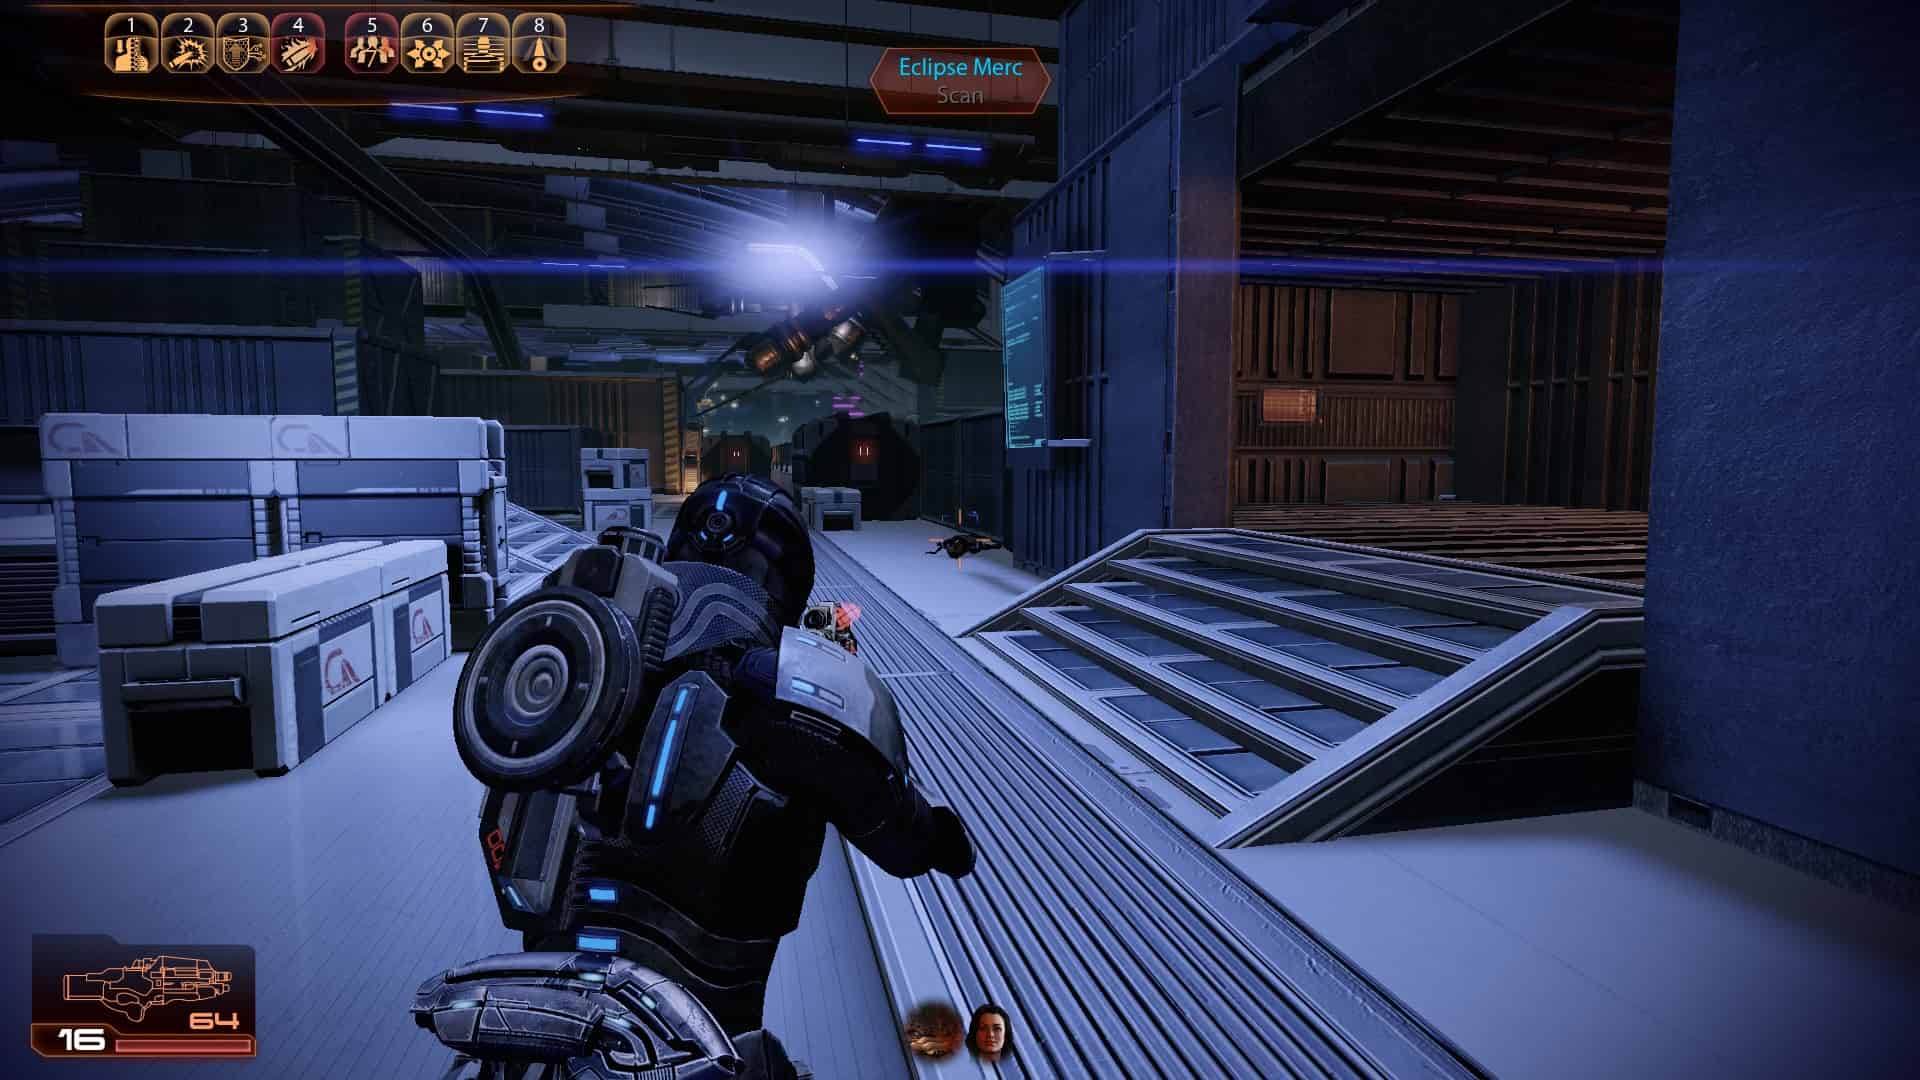
Dossier Mission: Archangel


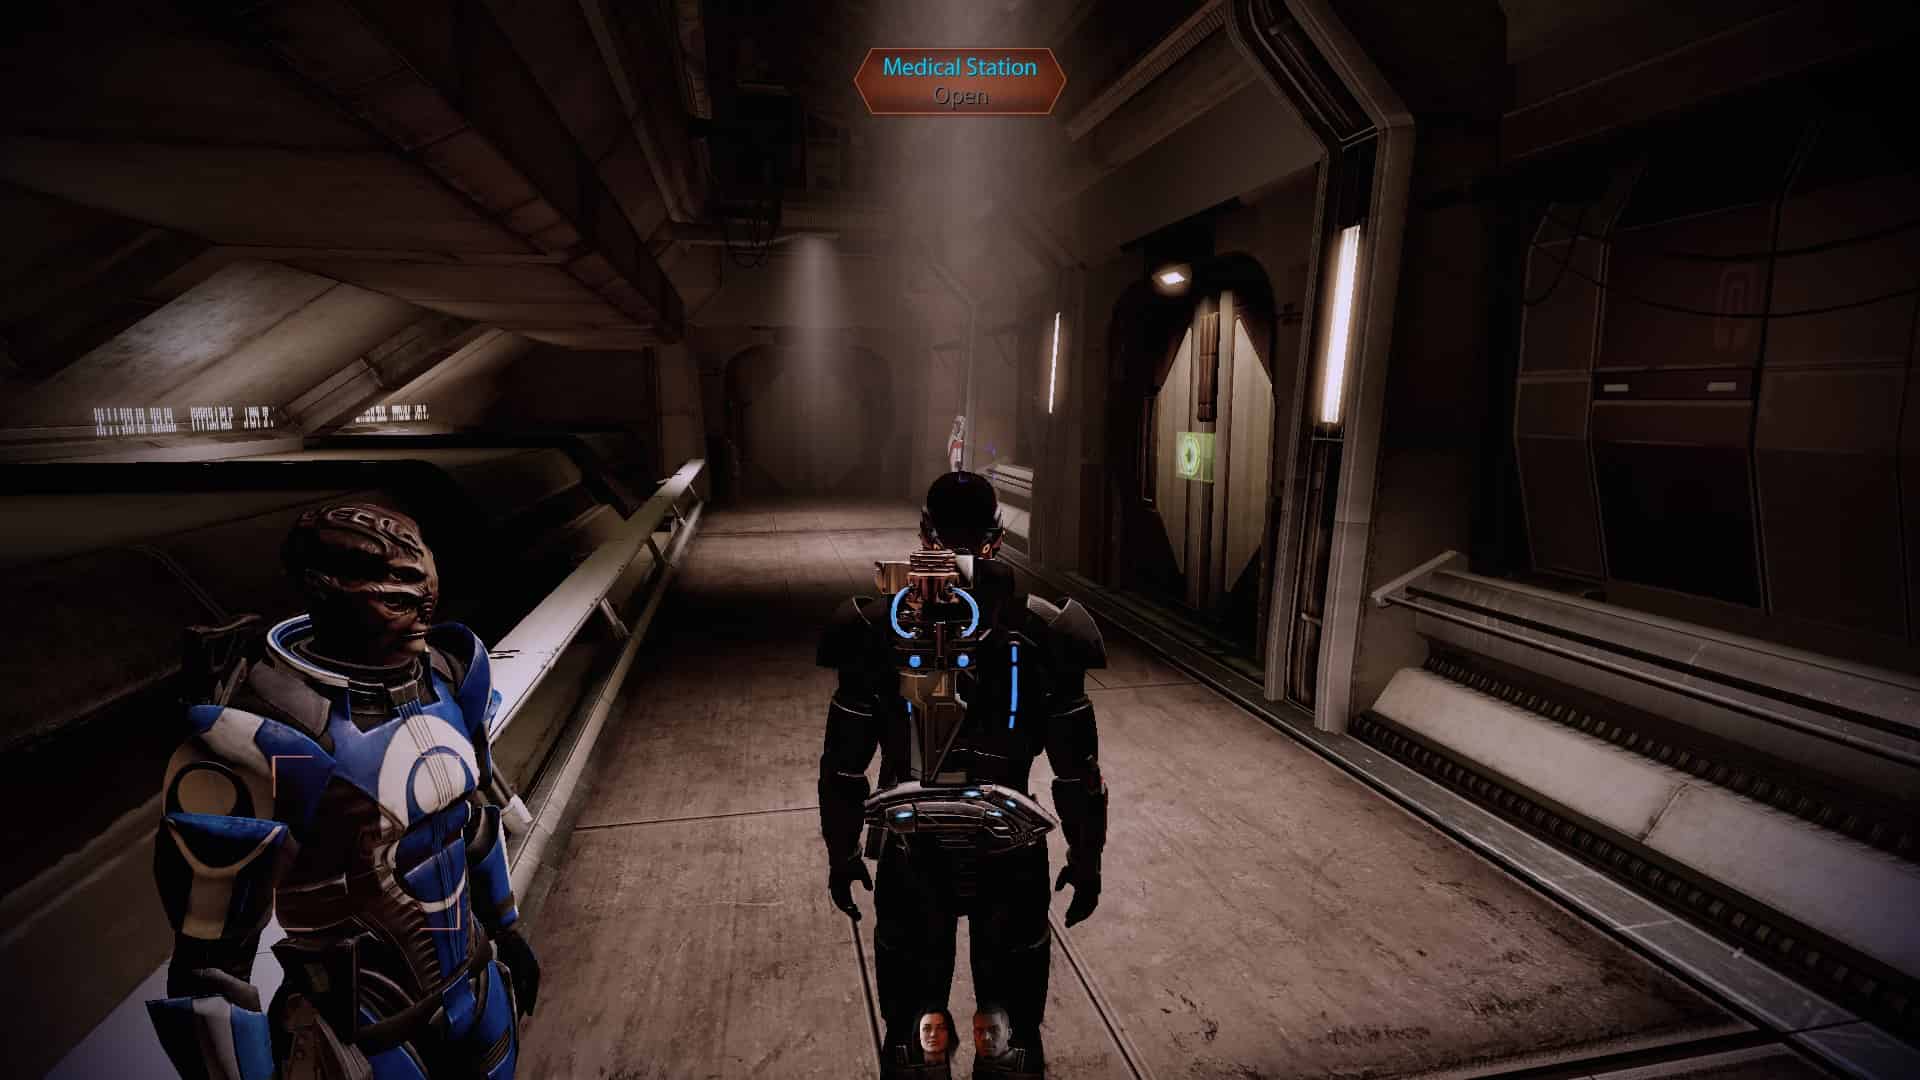
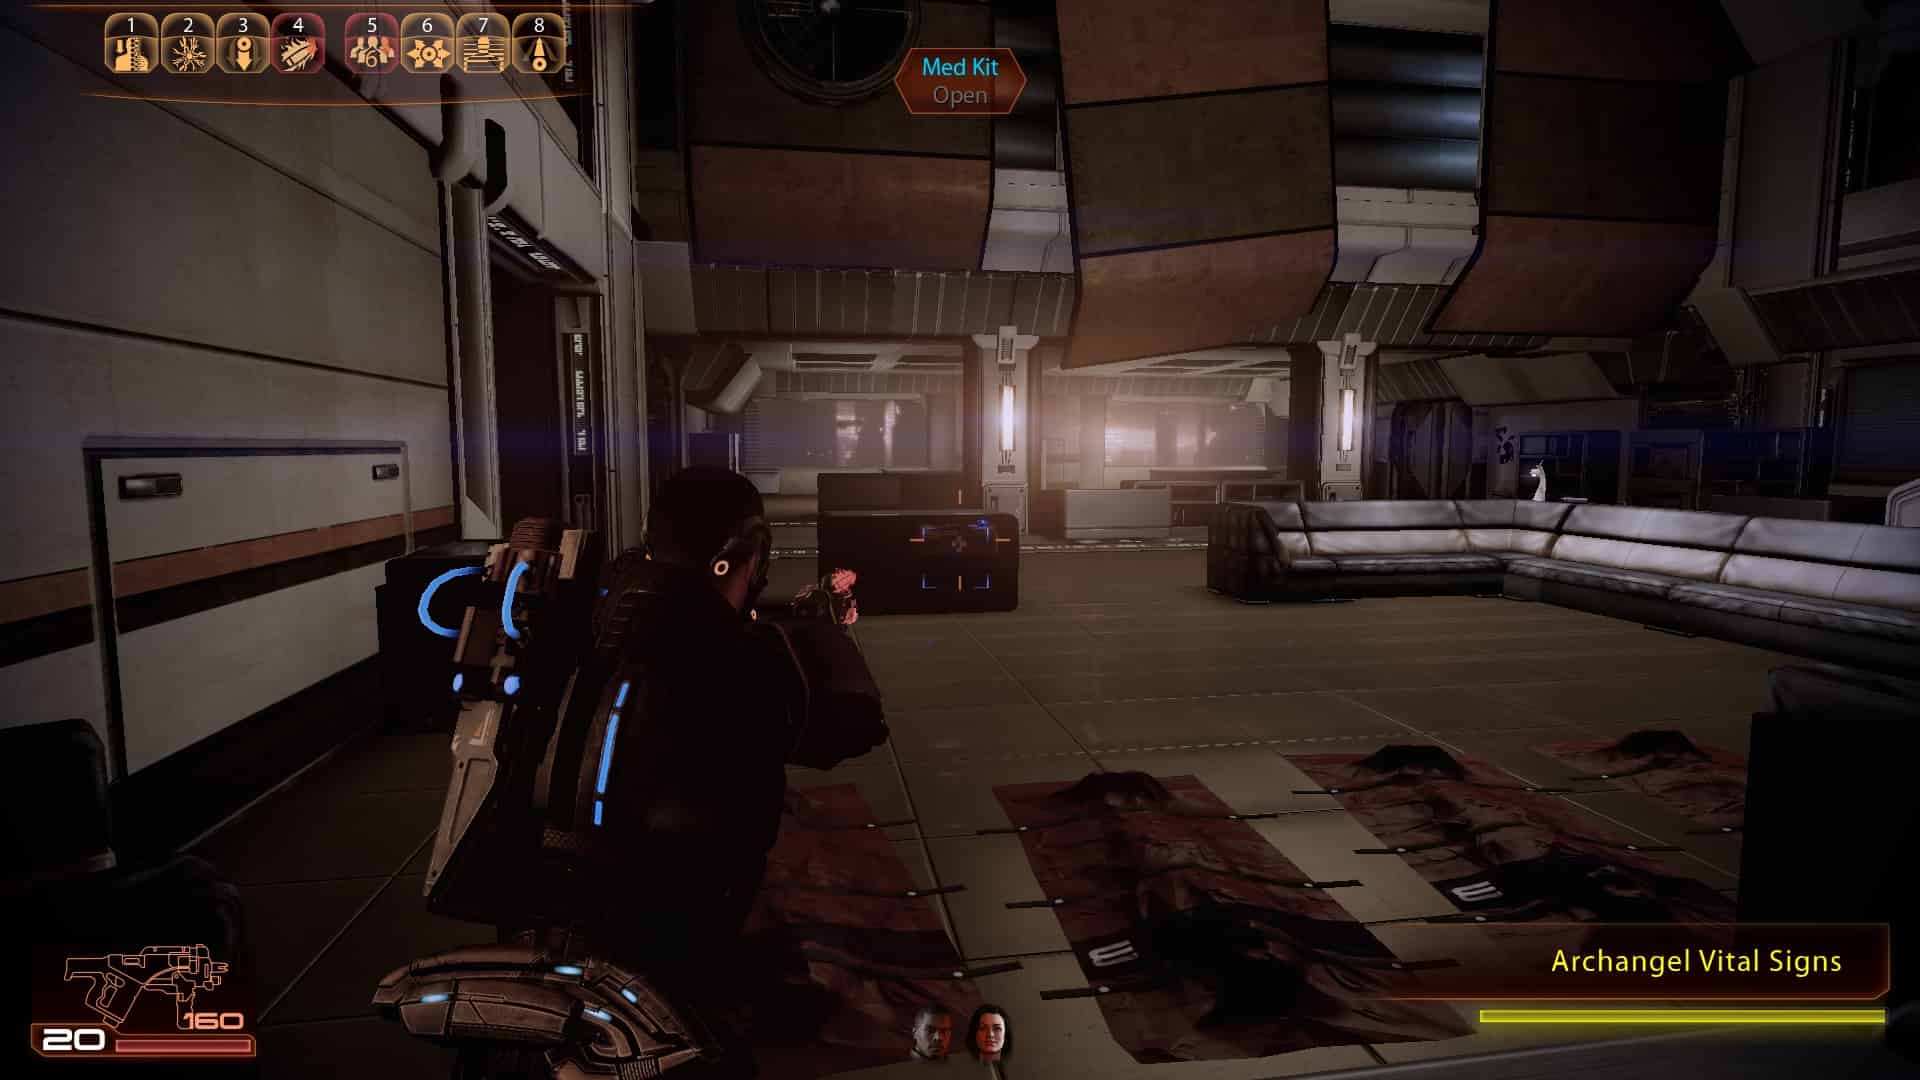
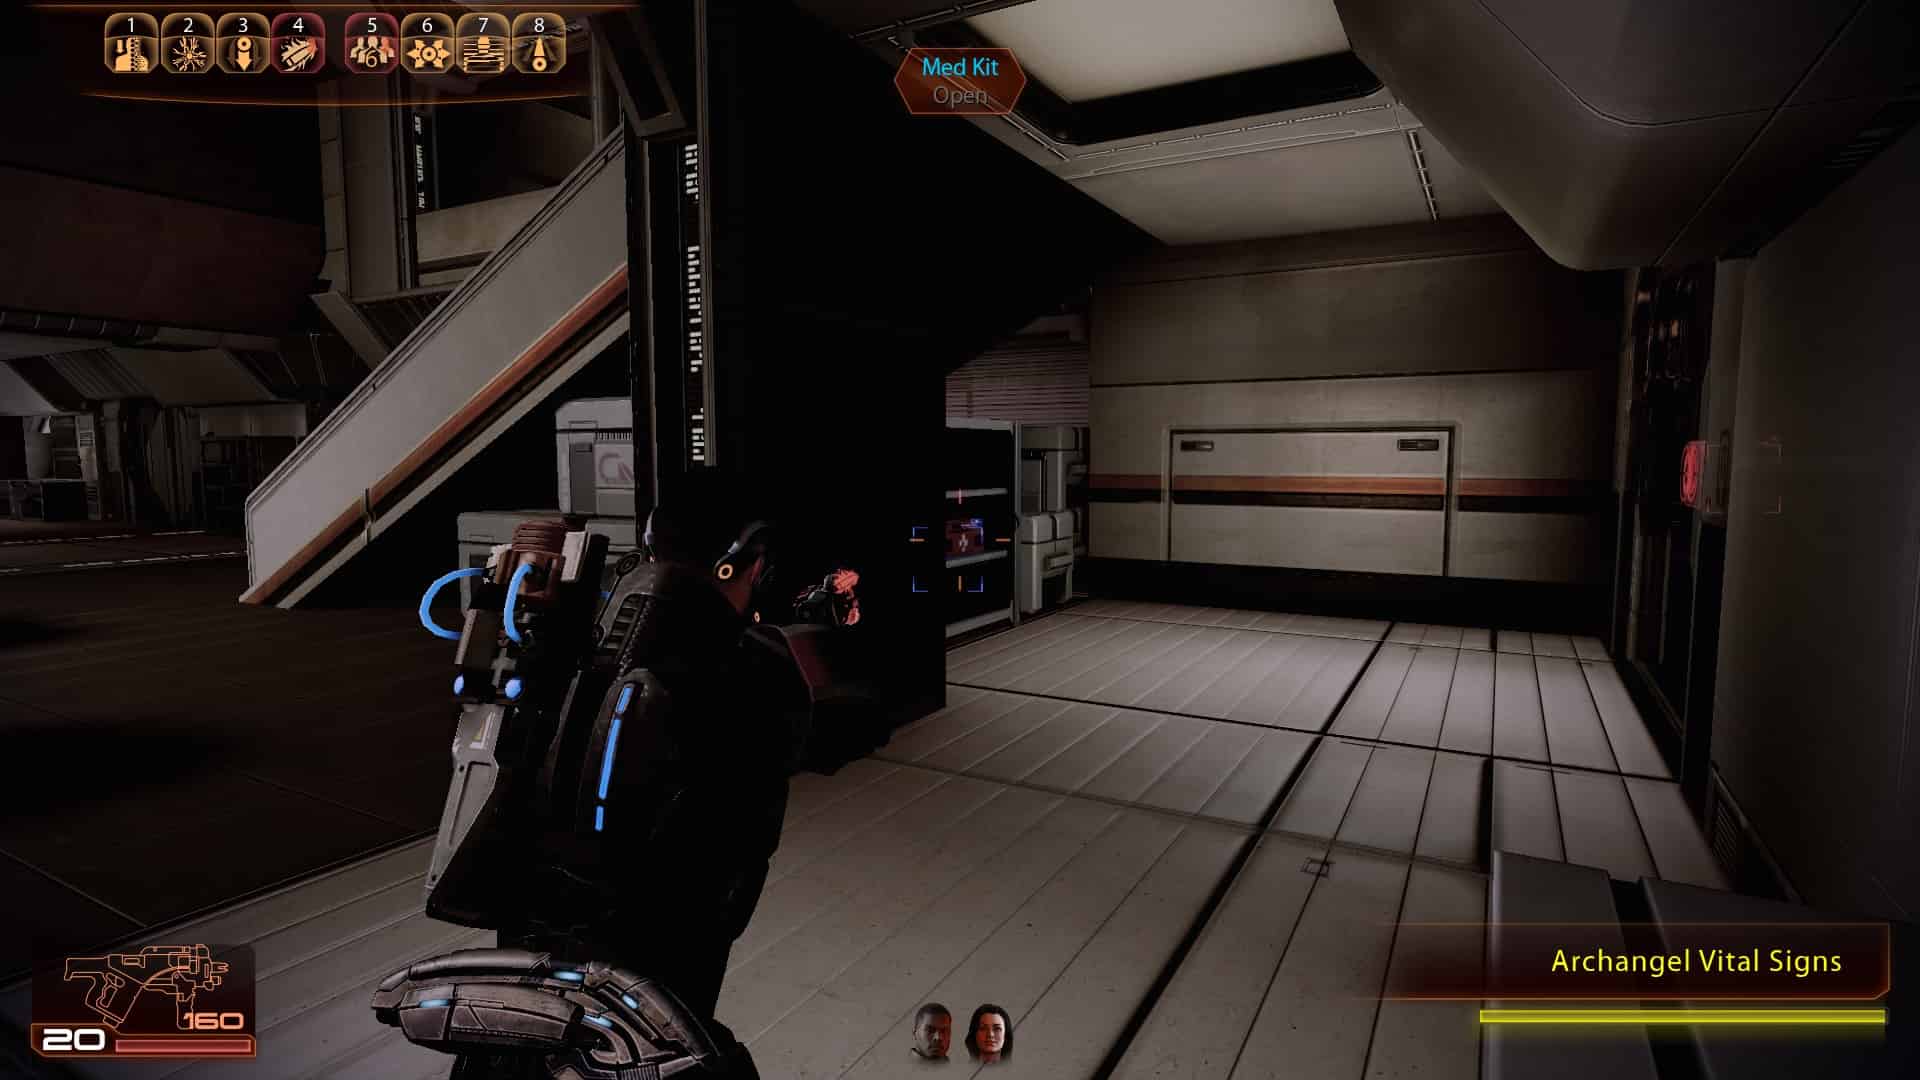
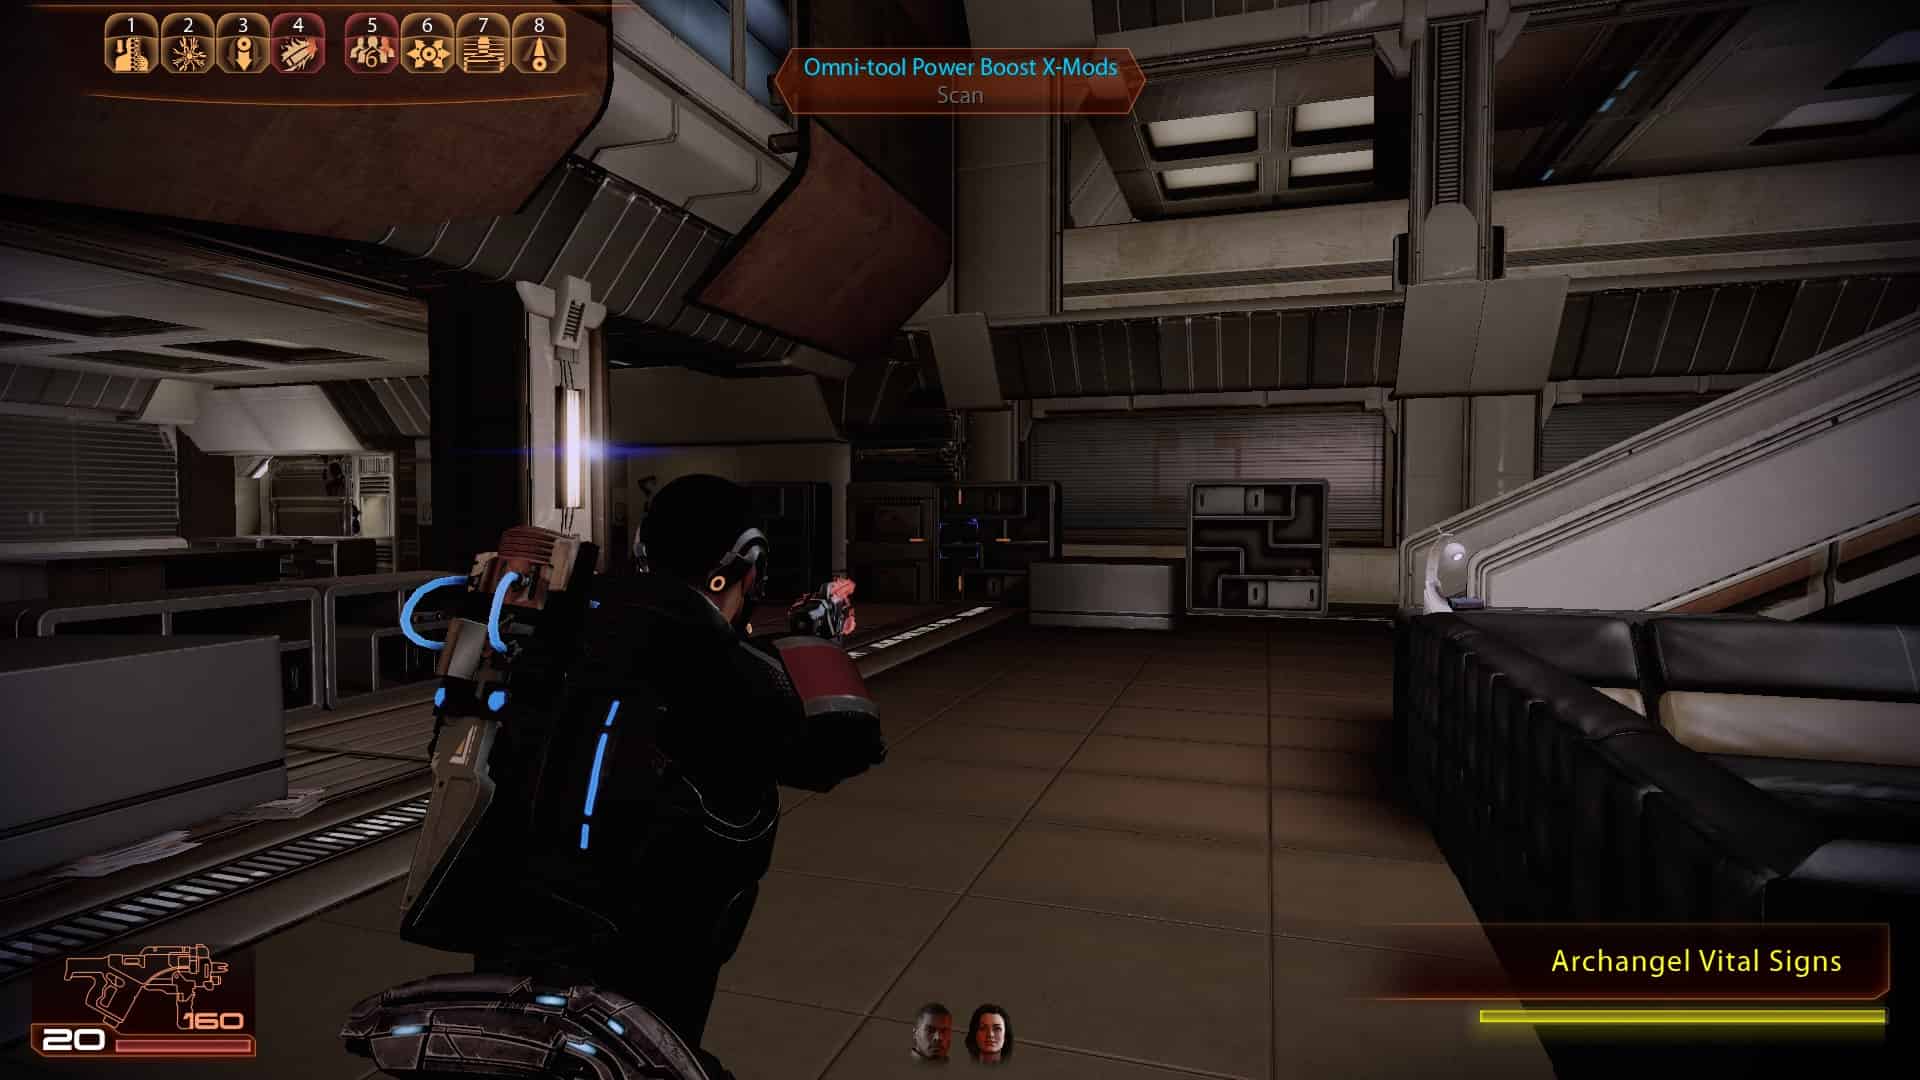
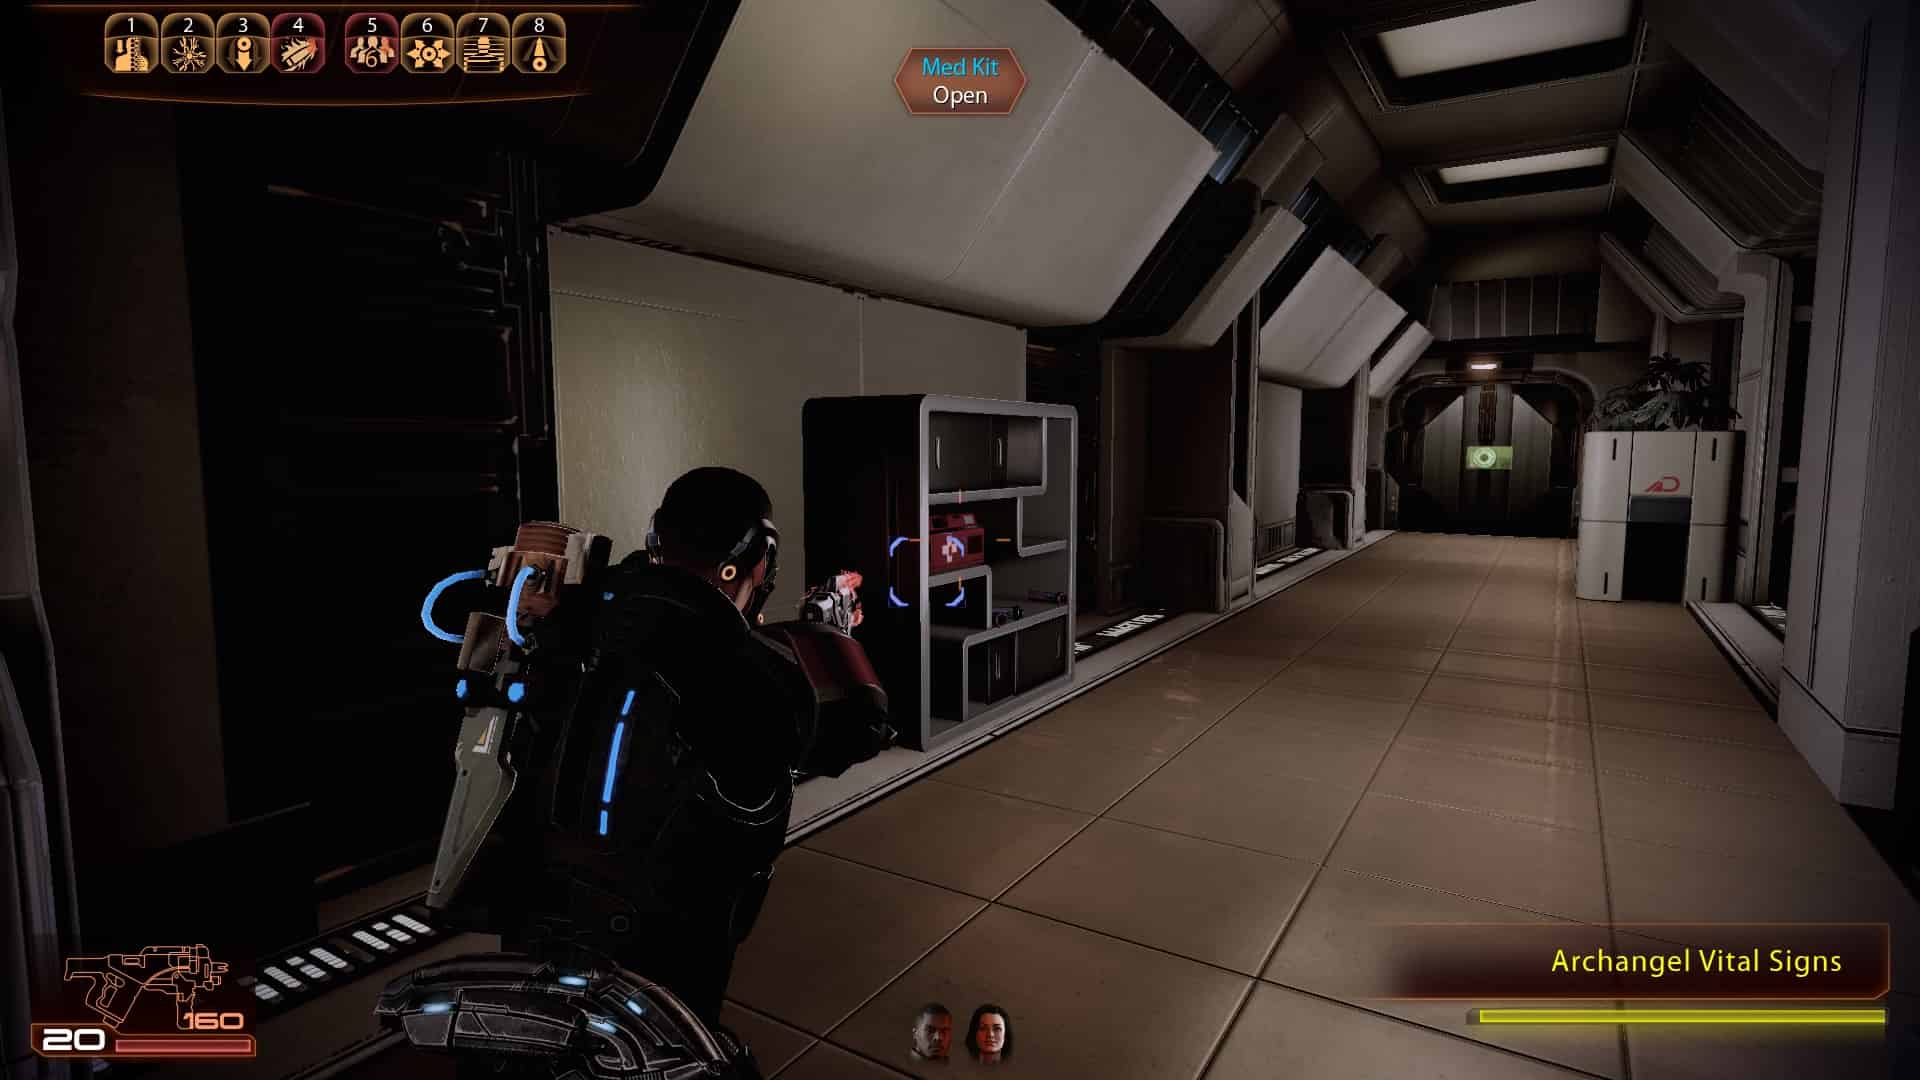


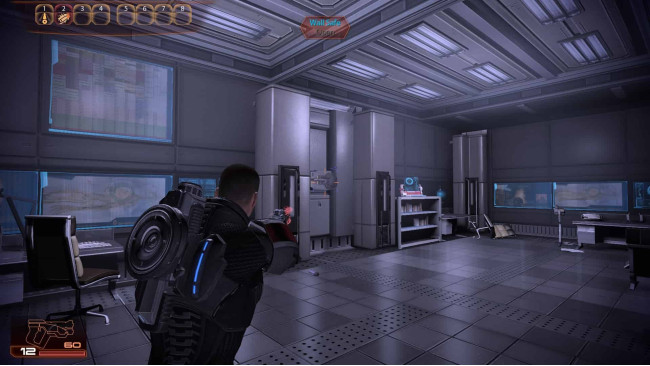
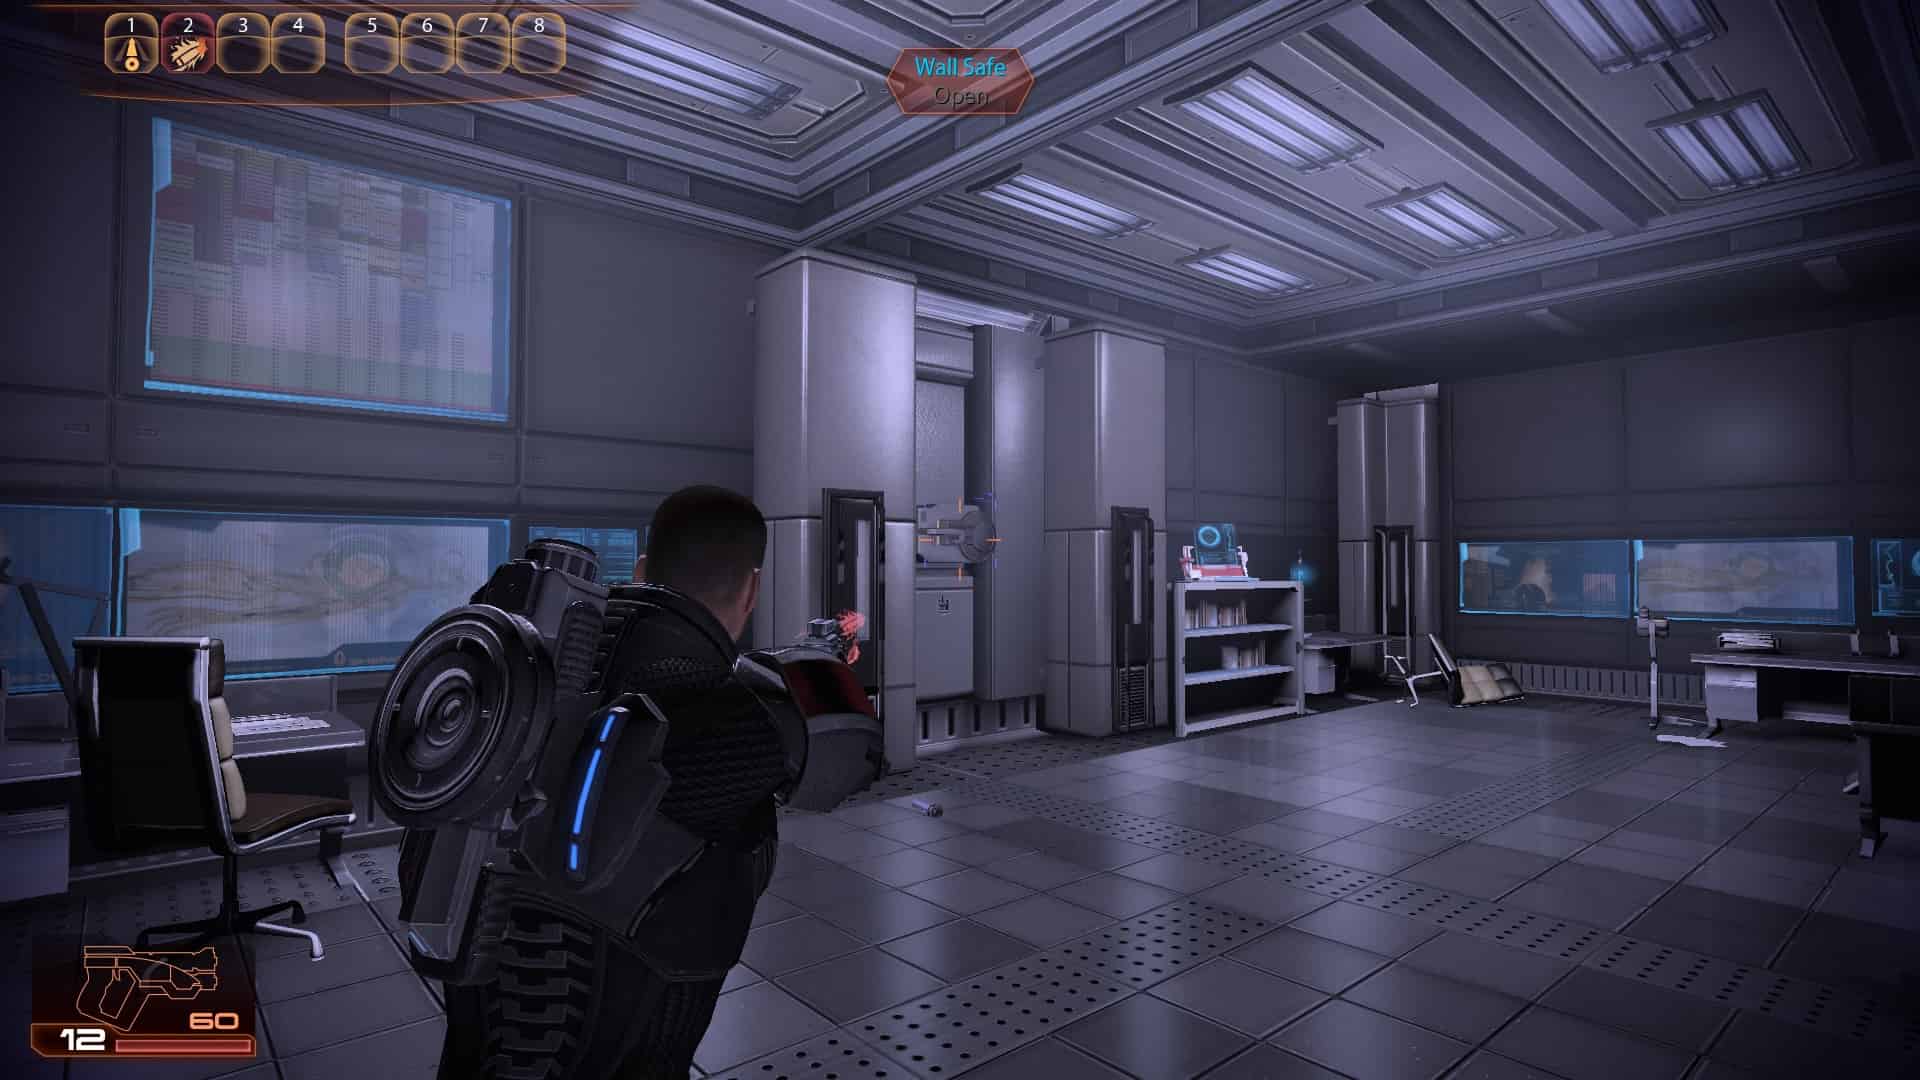
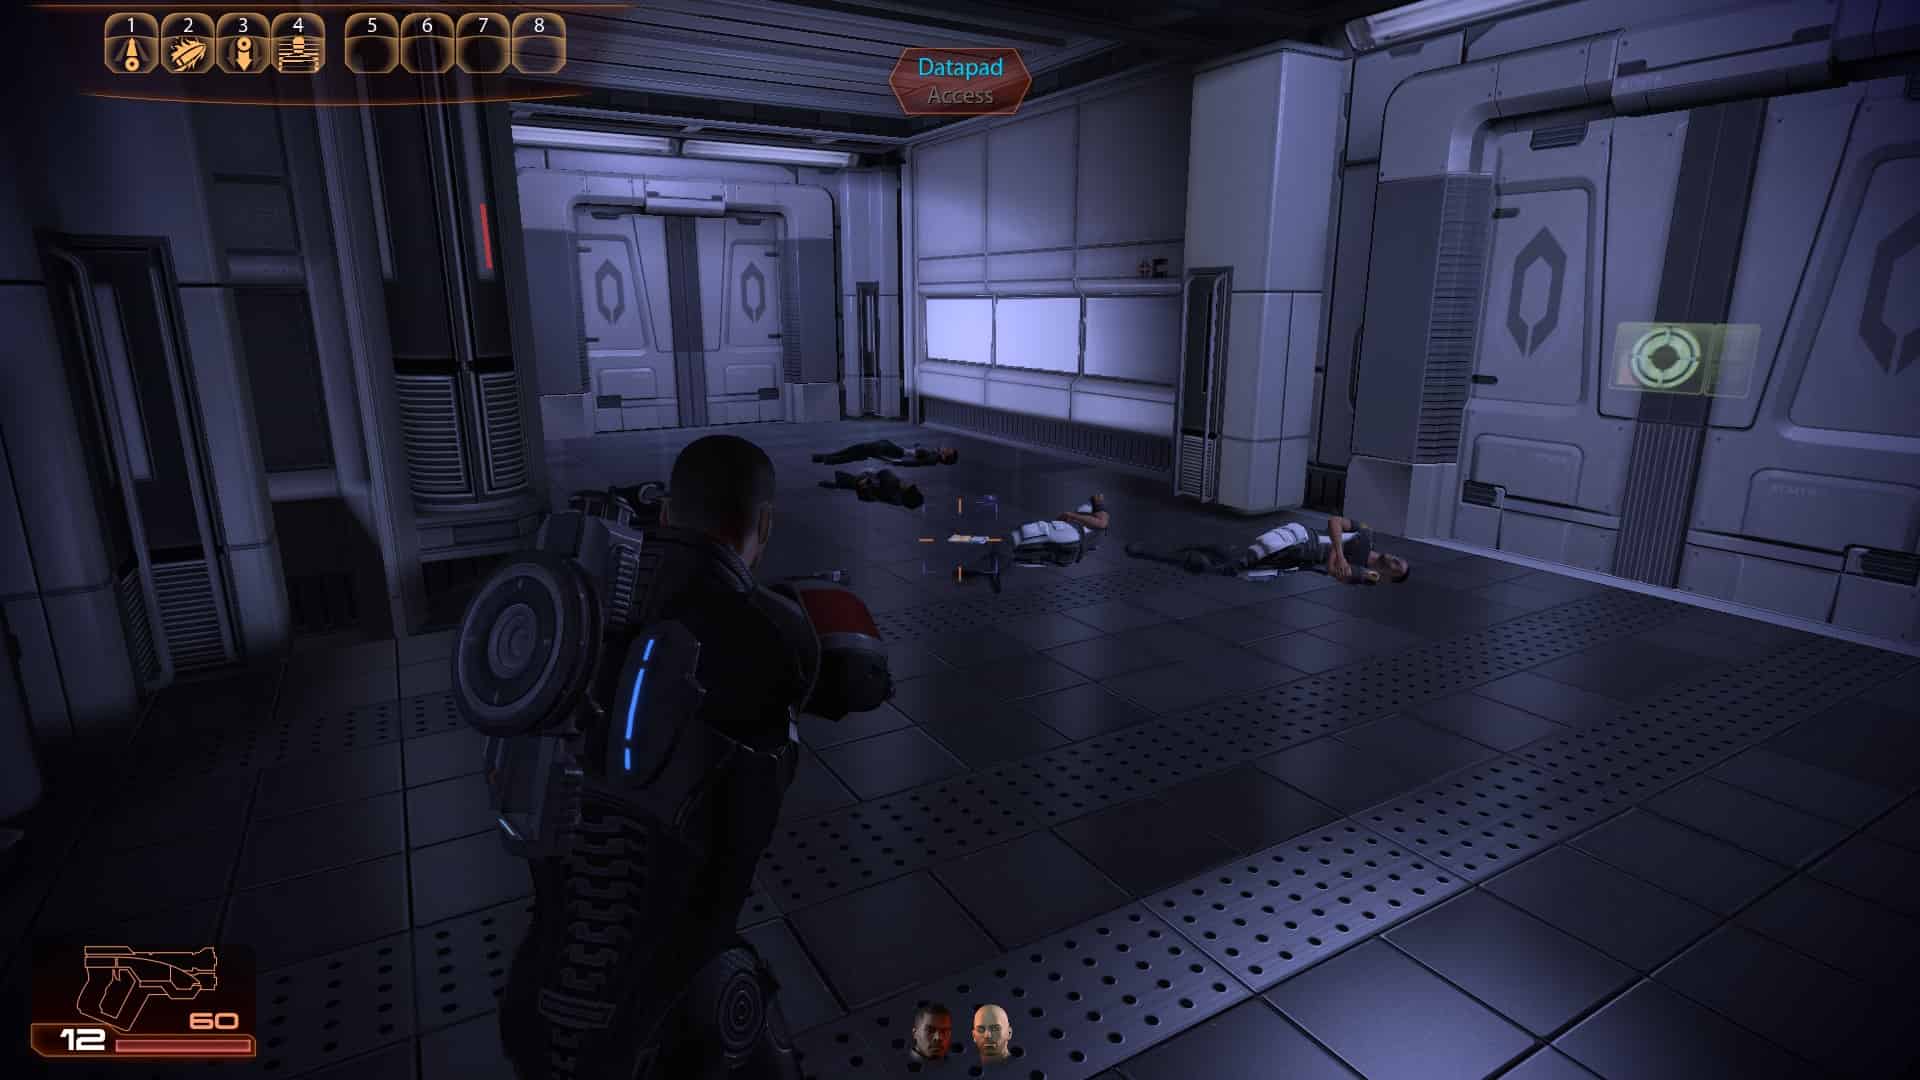
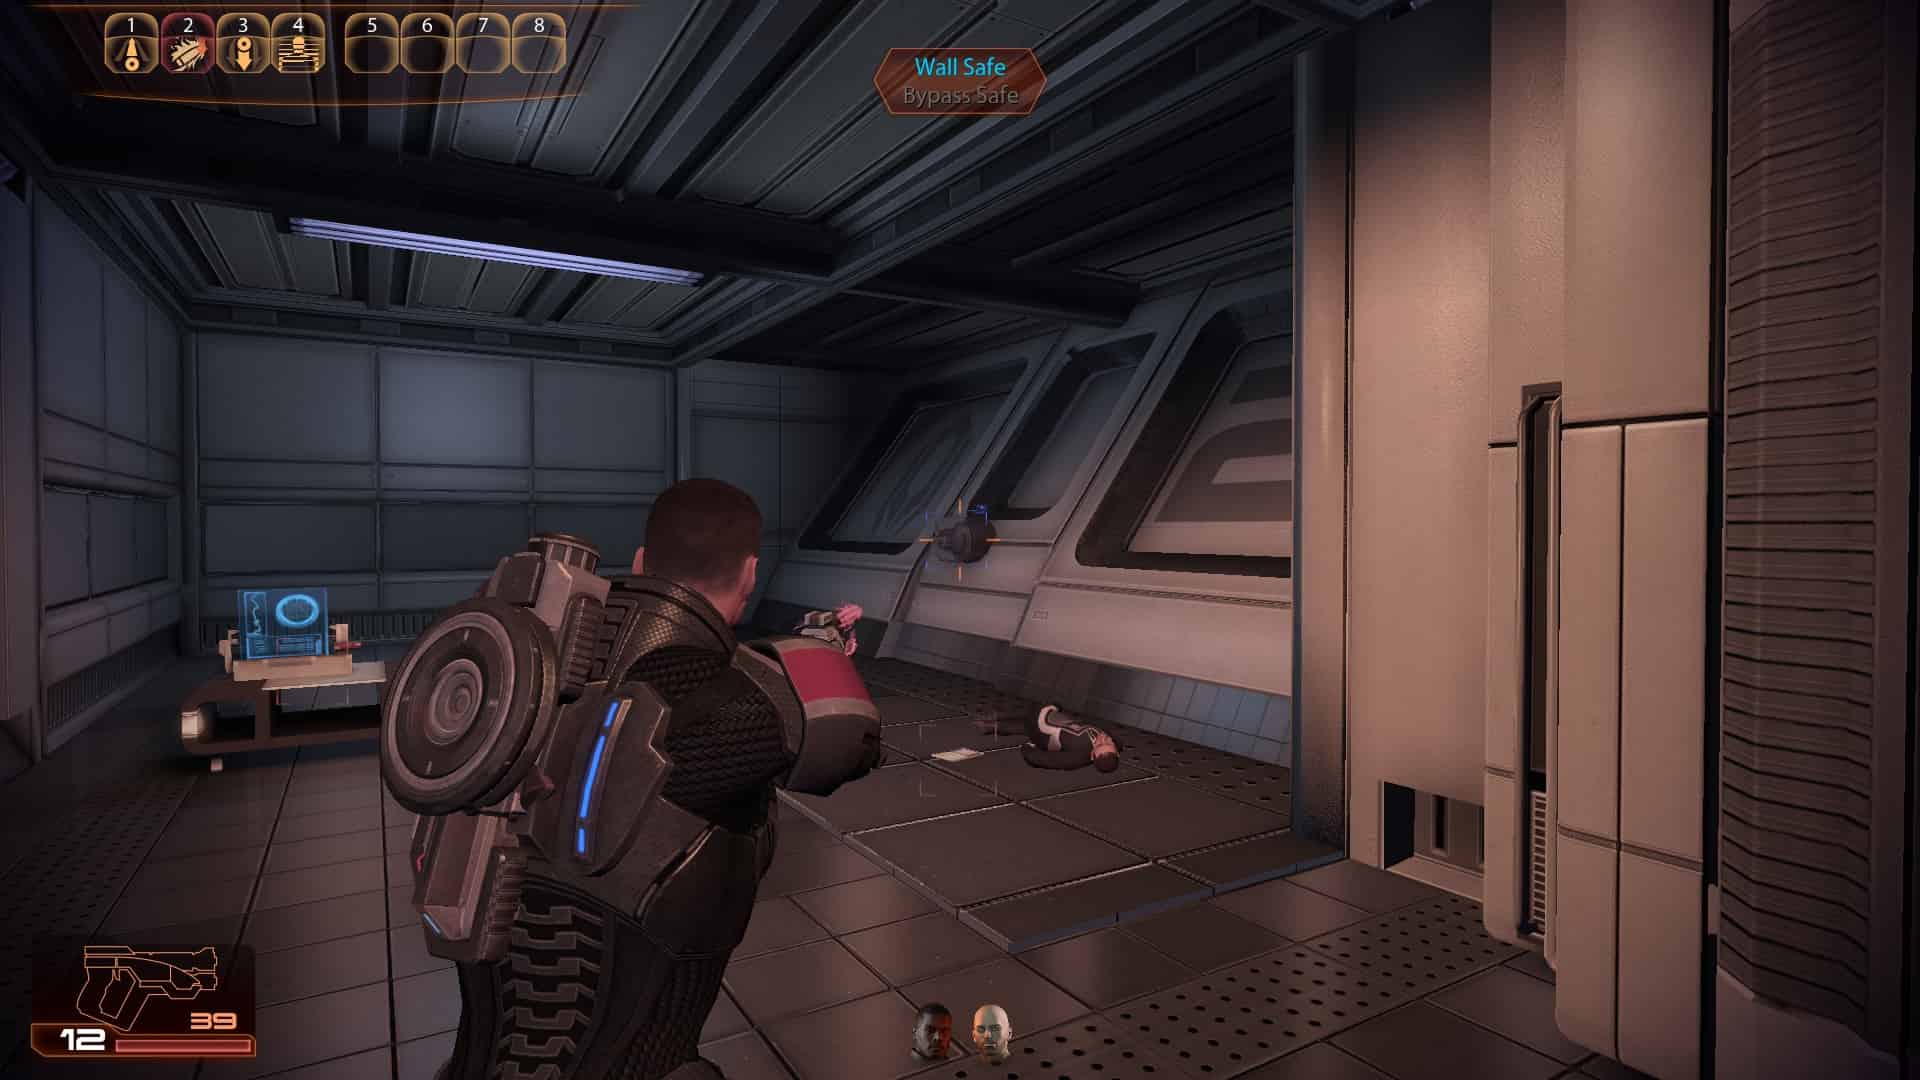
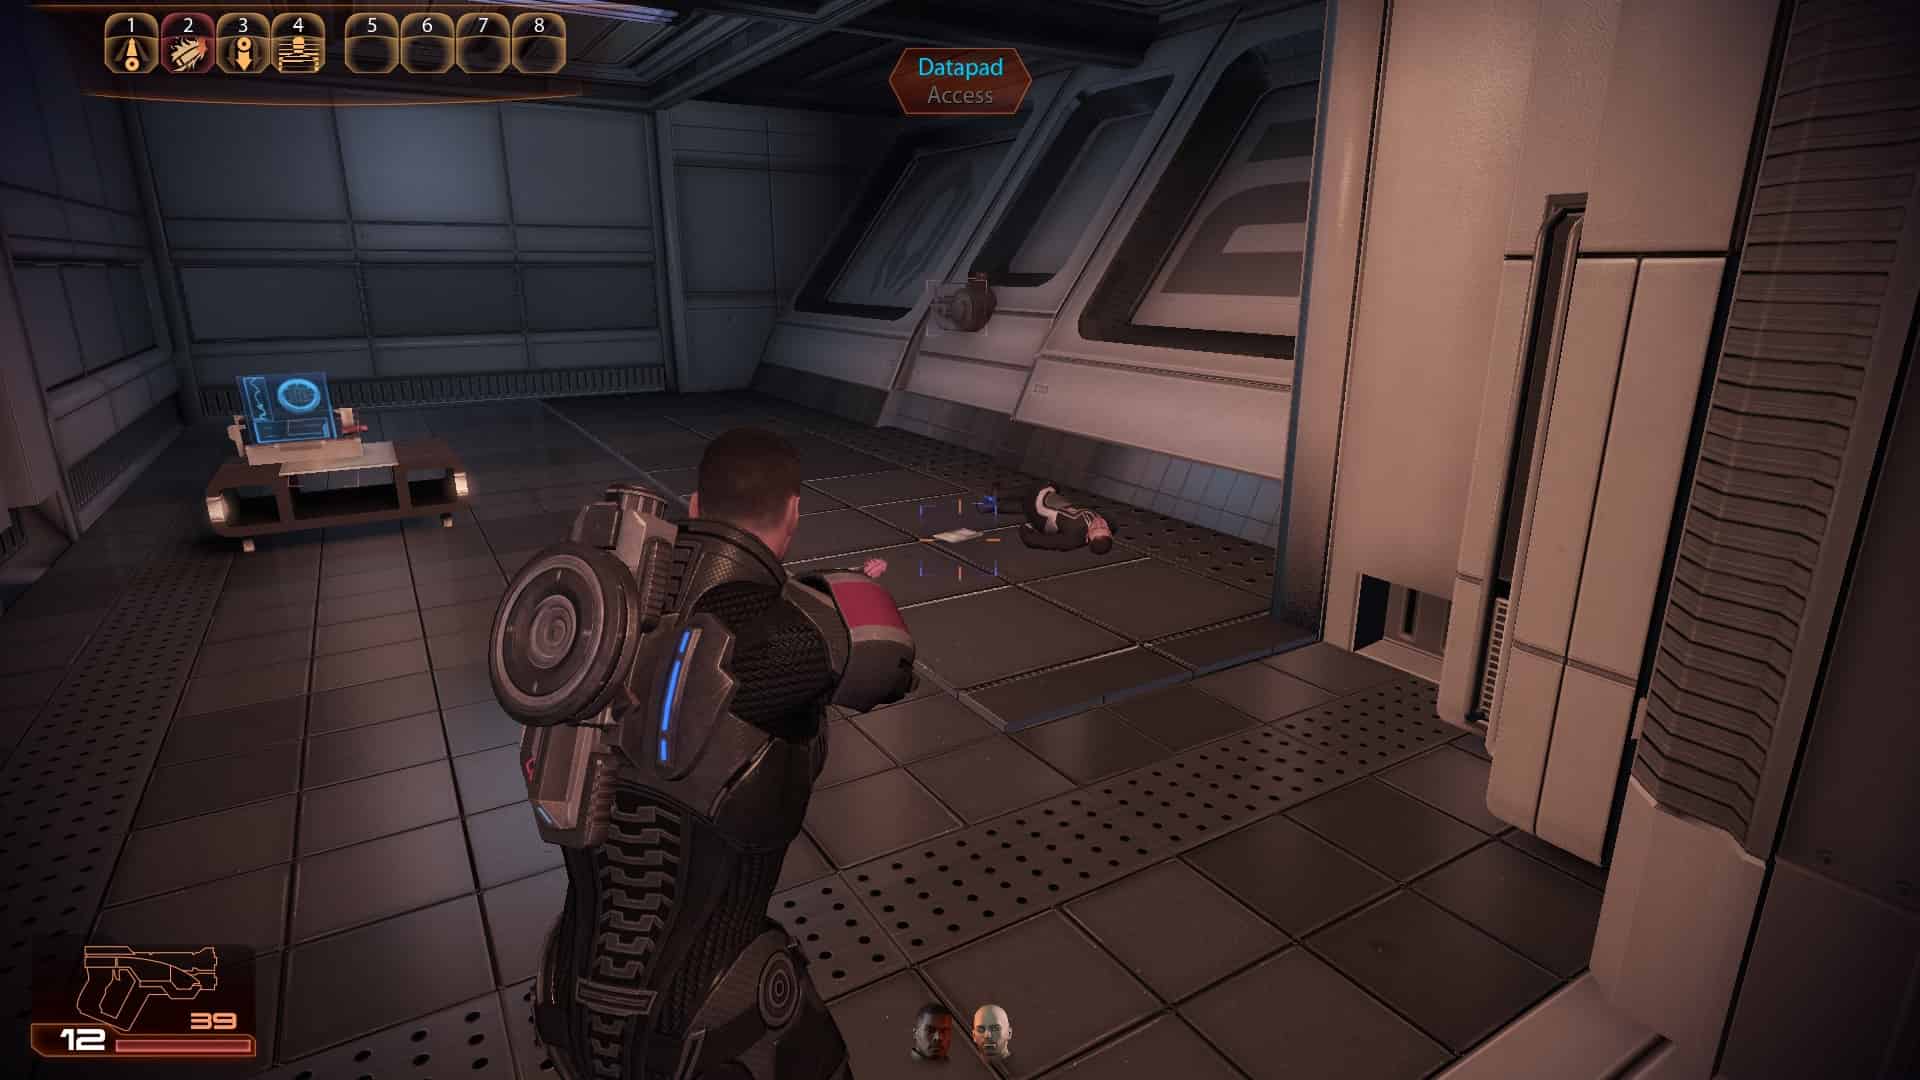
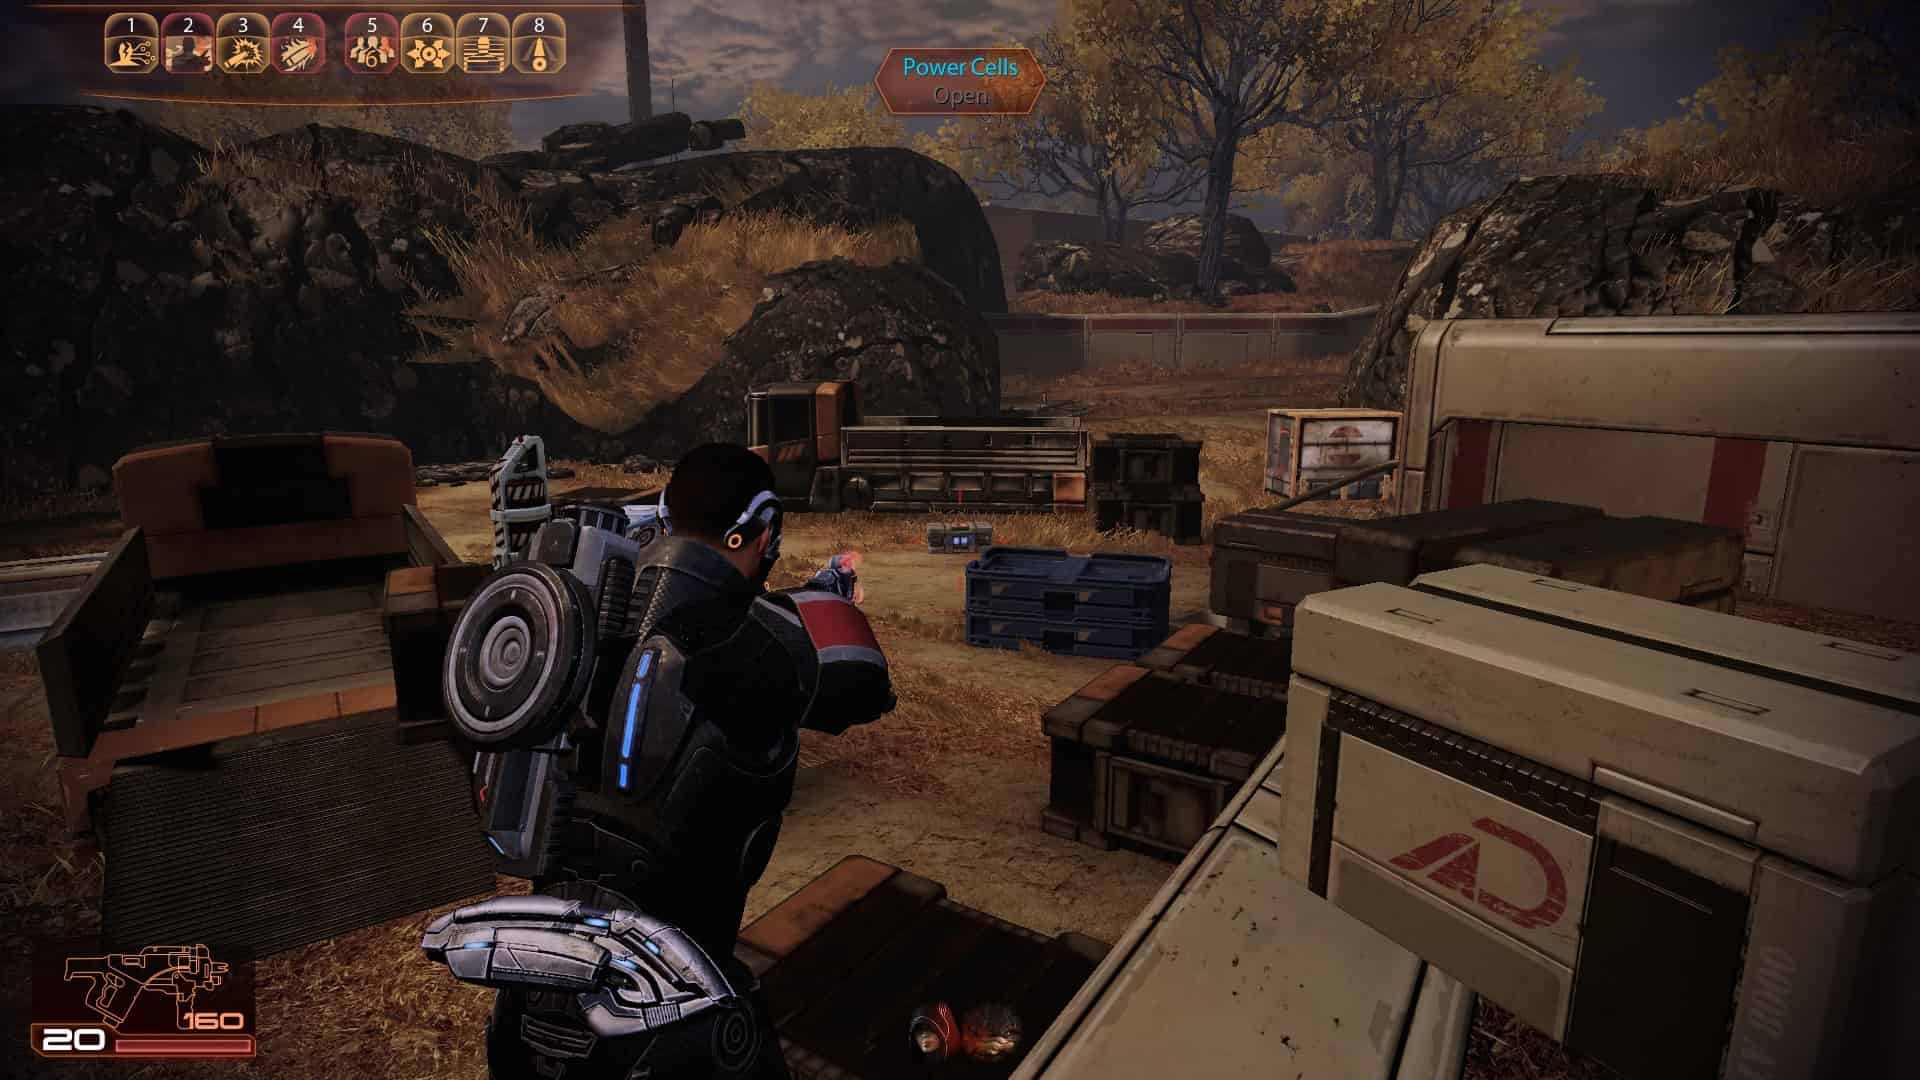
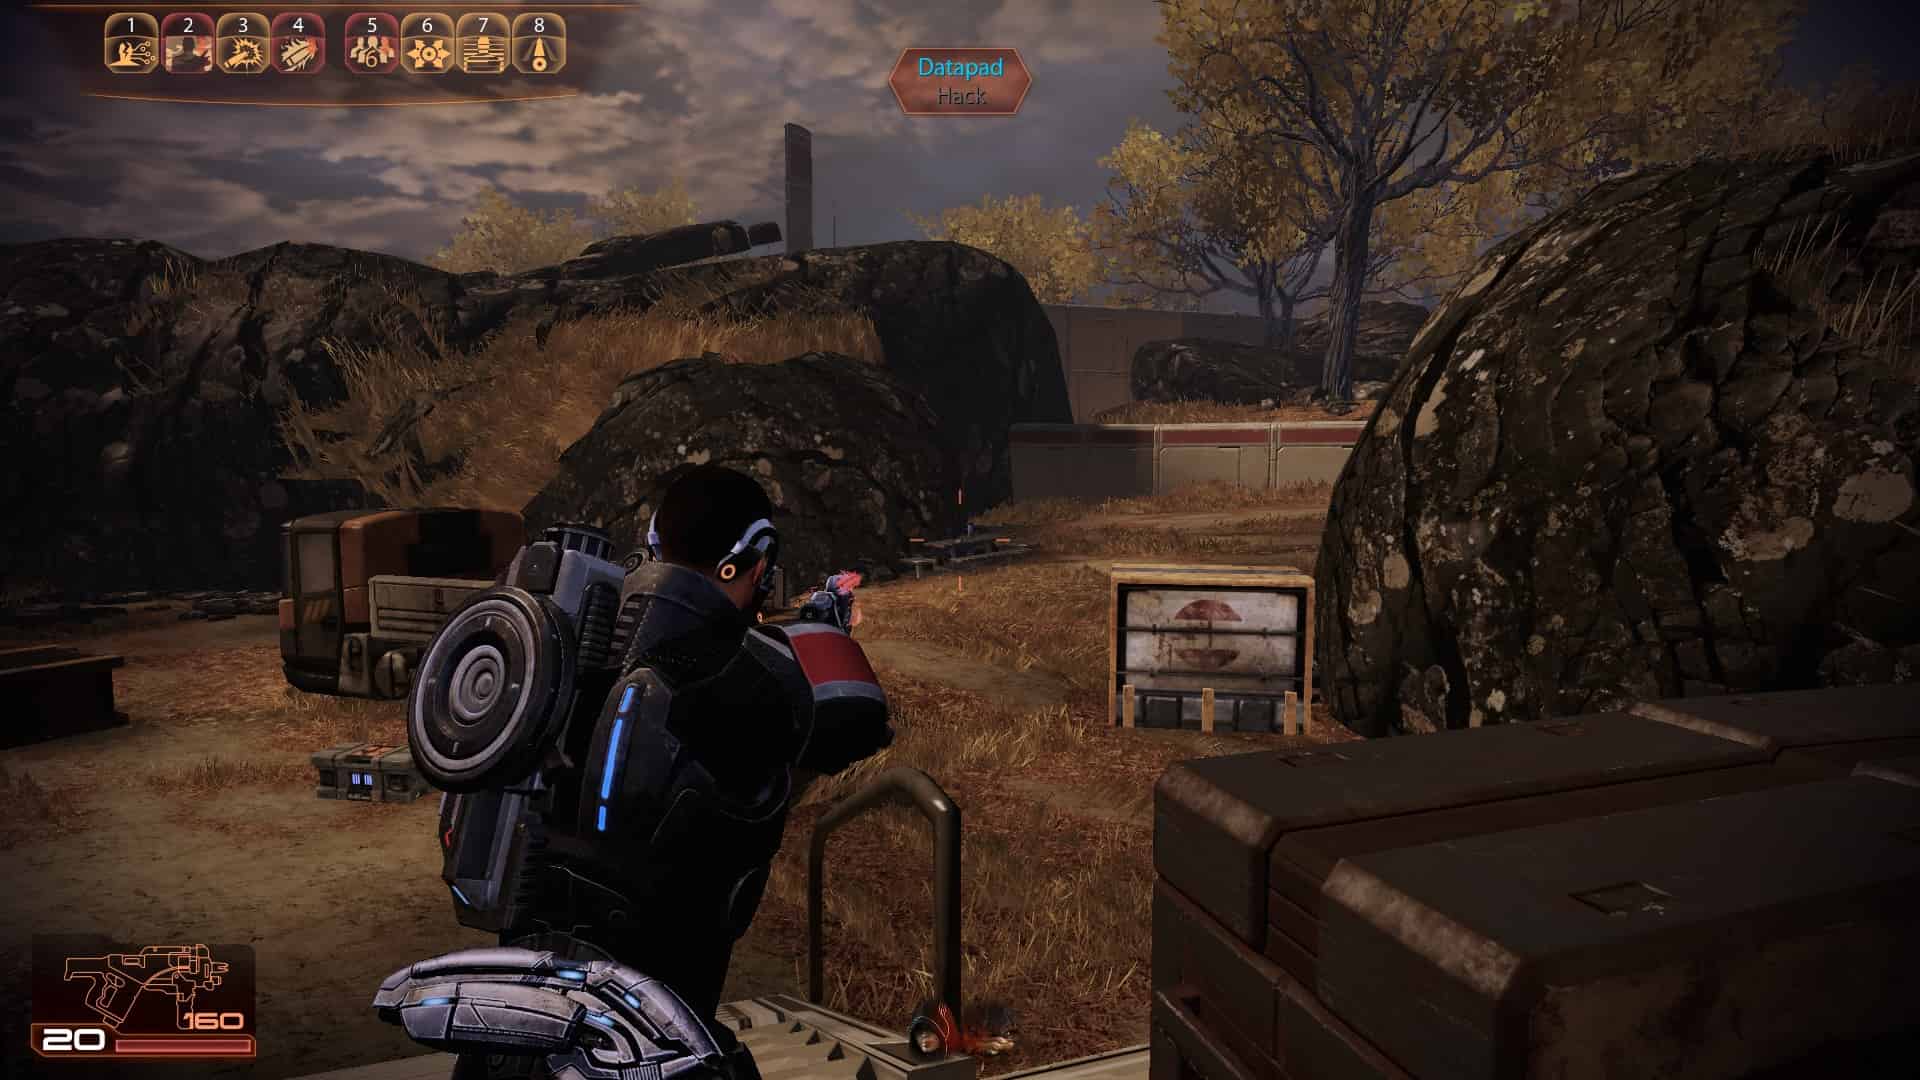
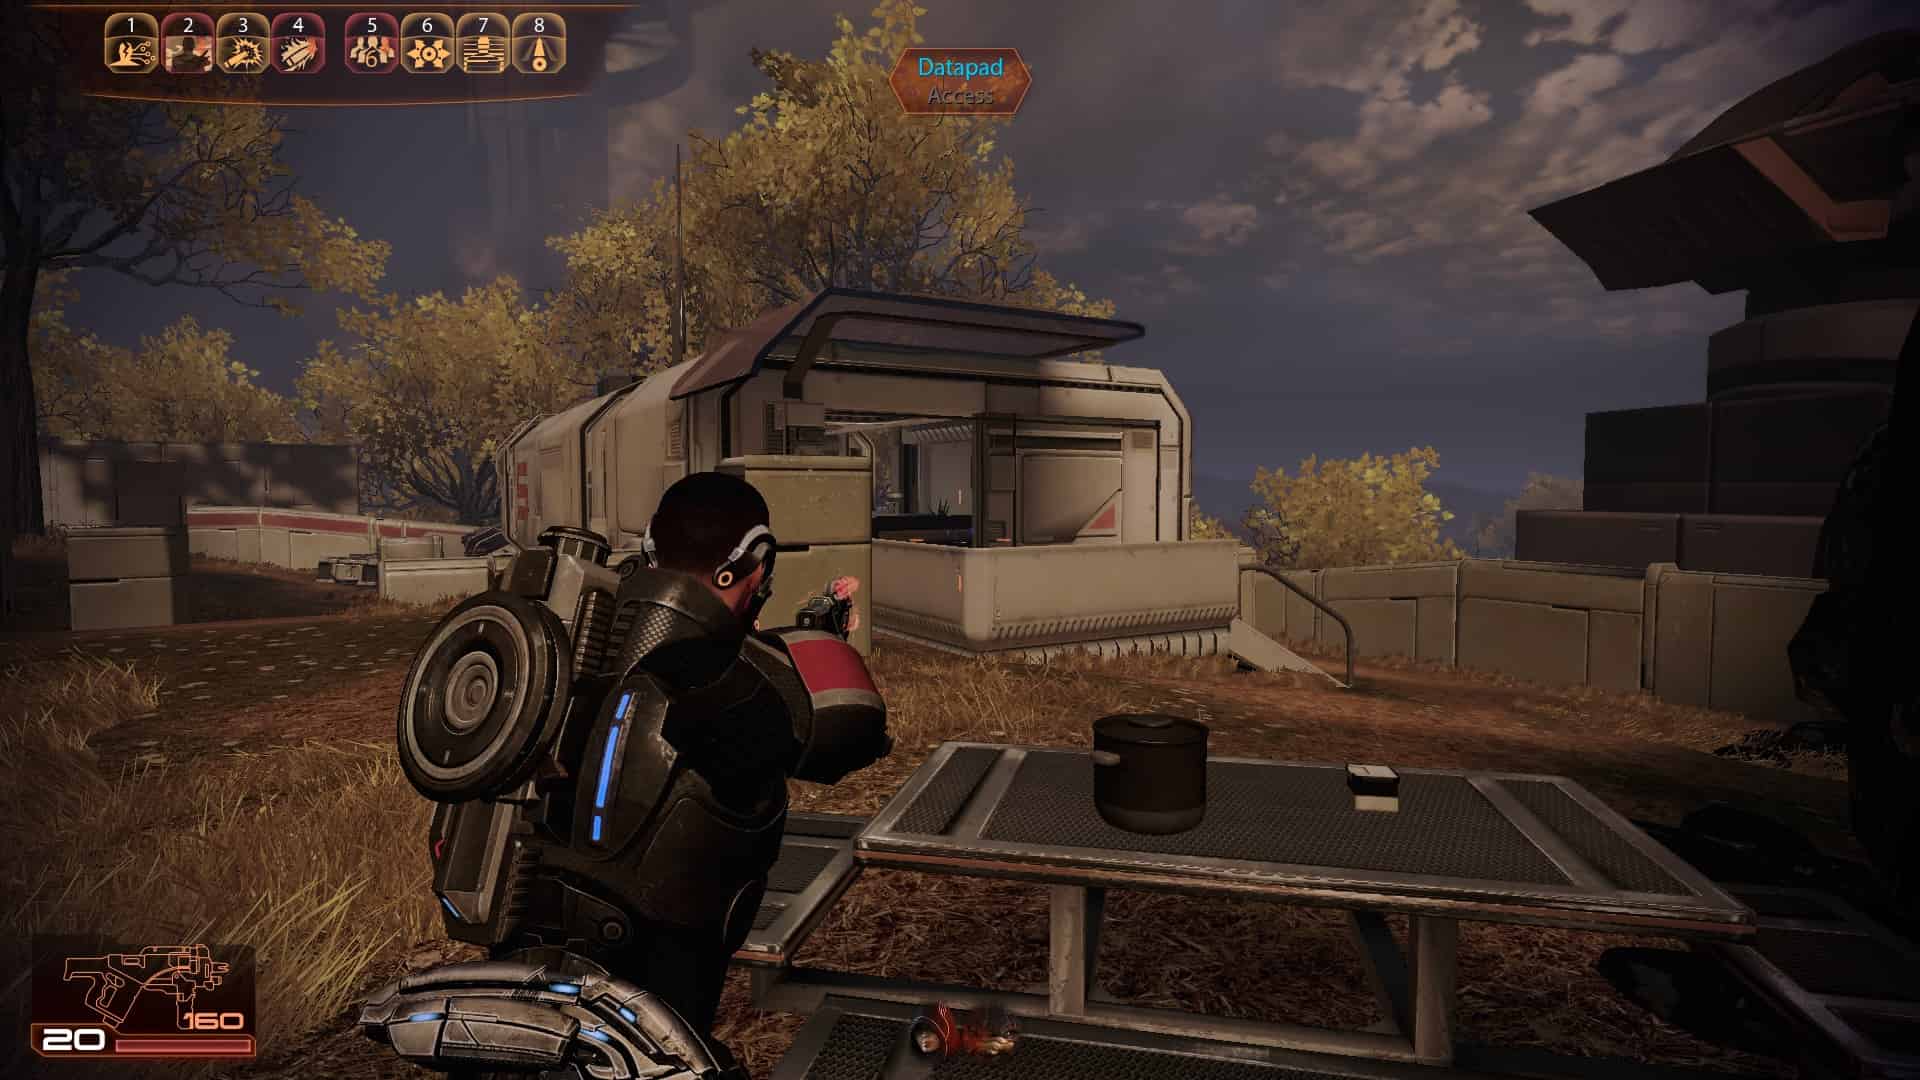
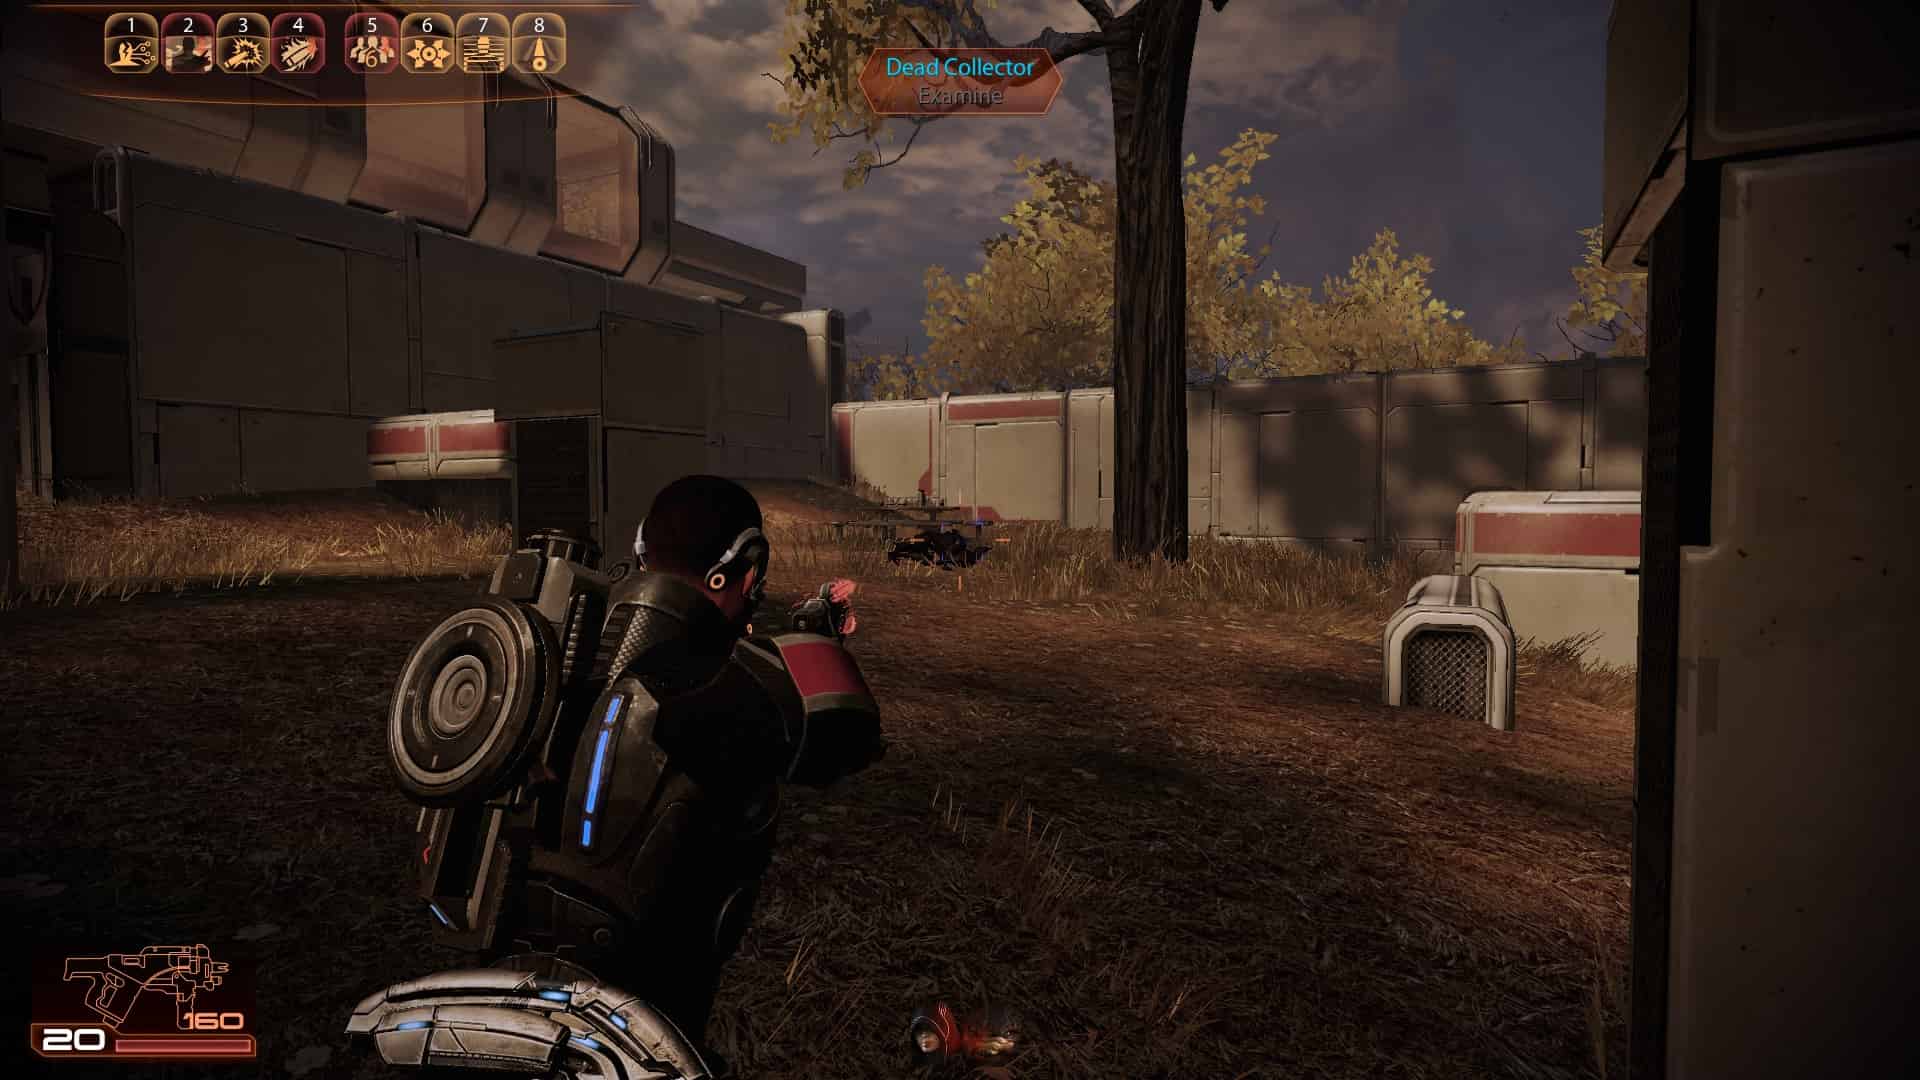
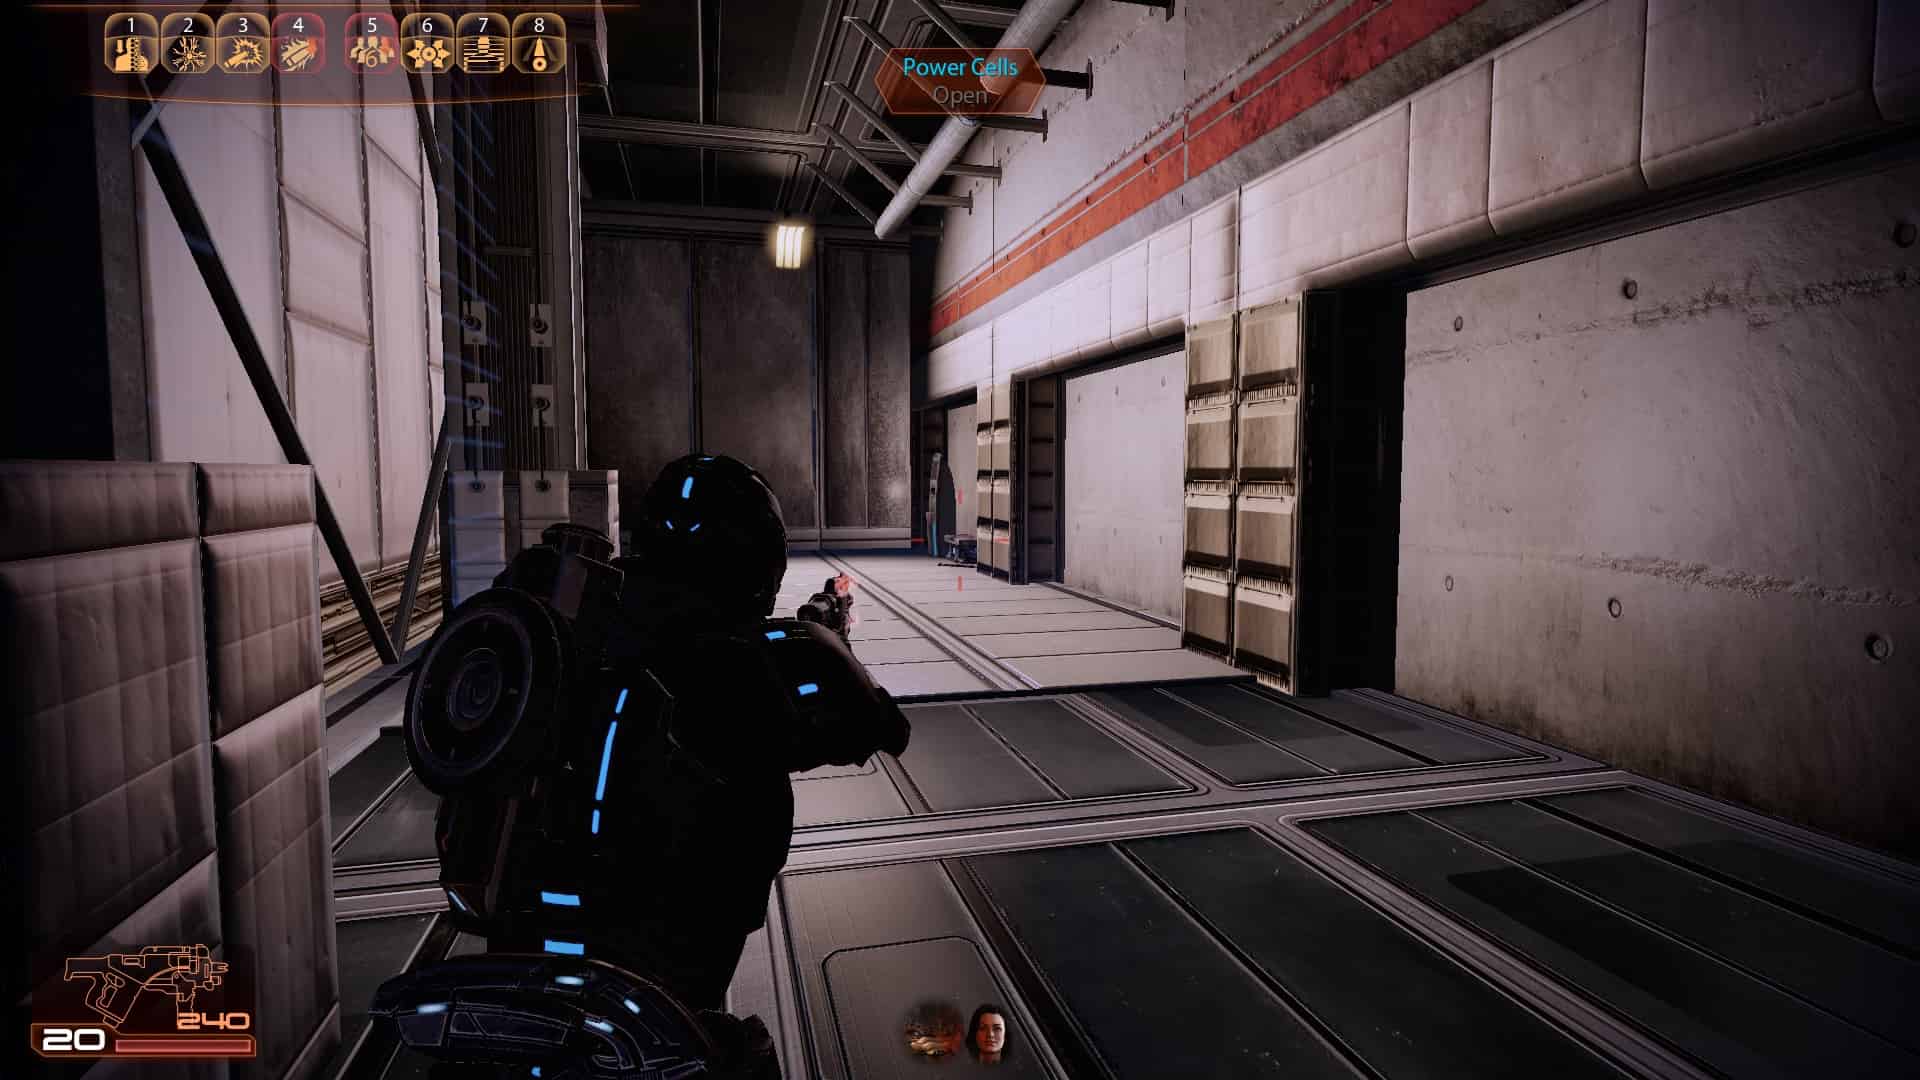
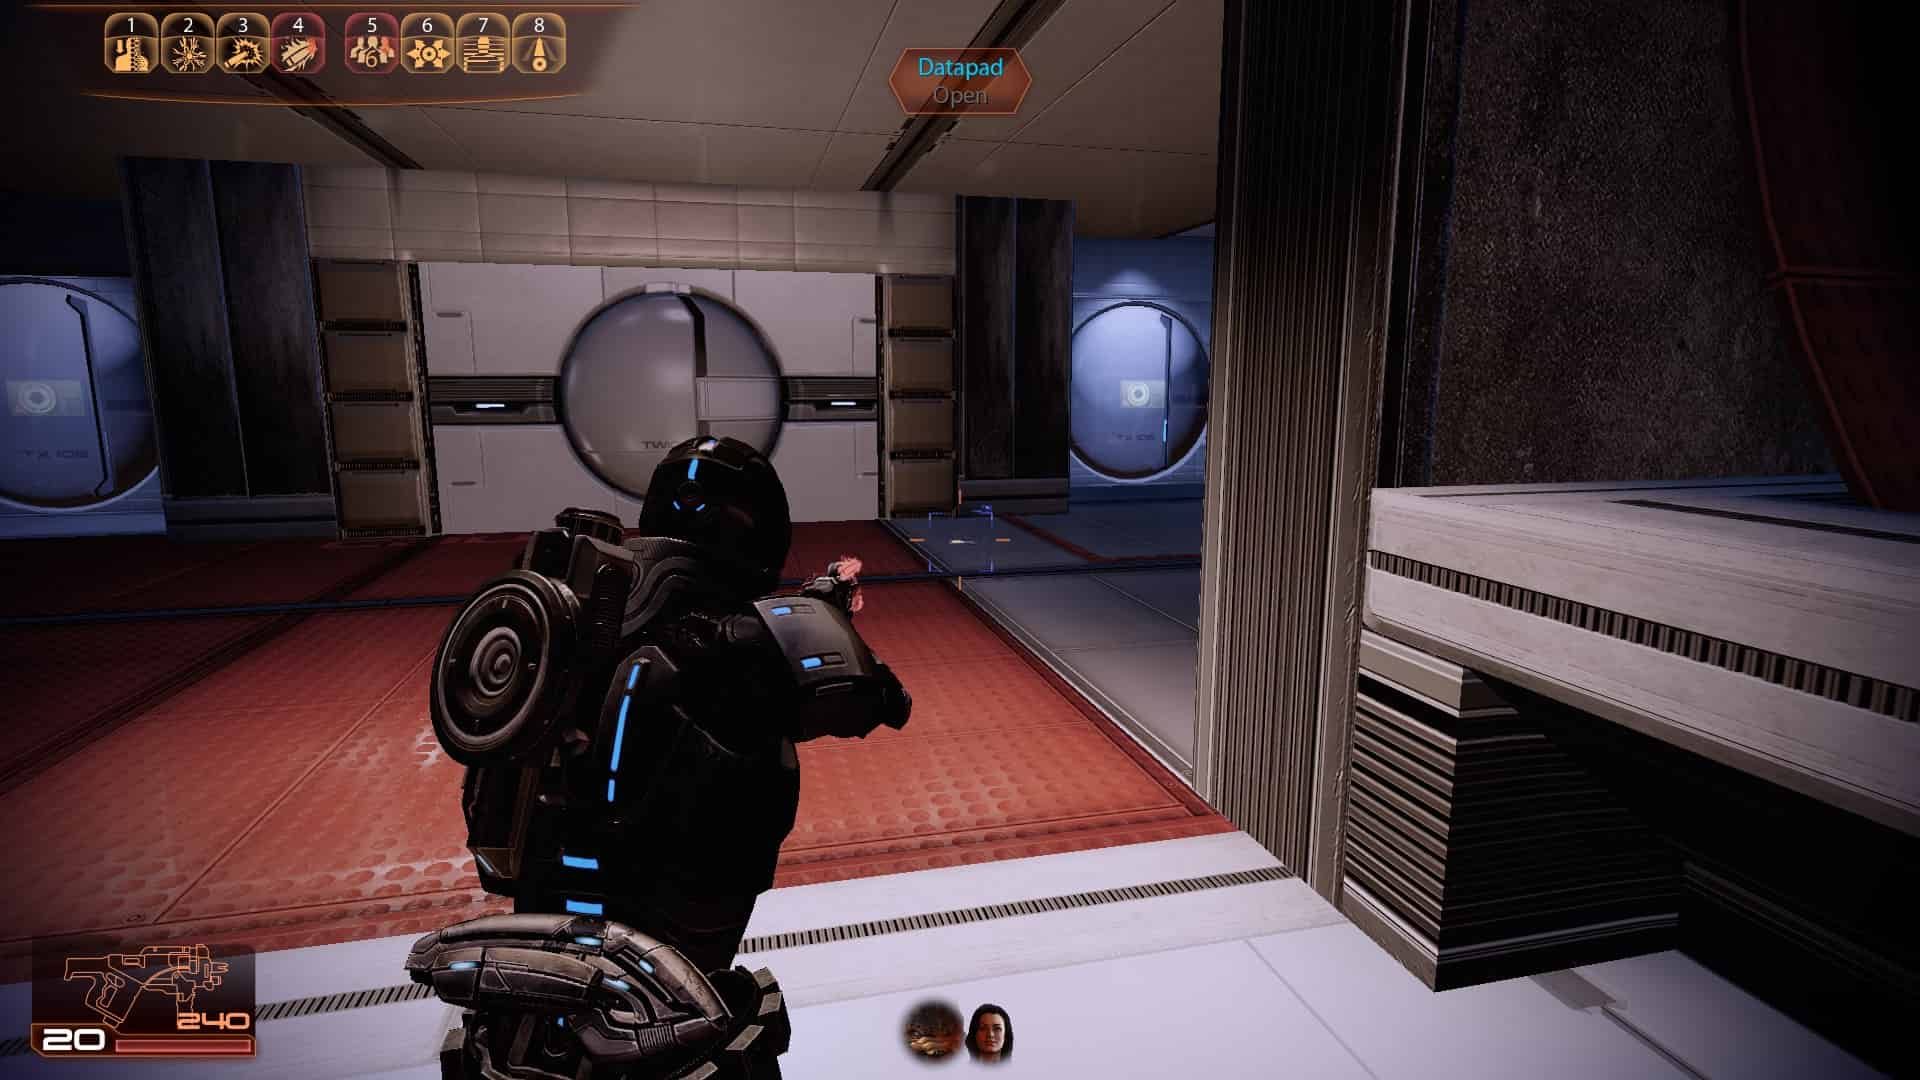
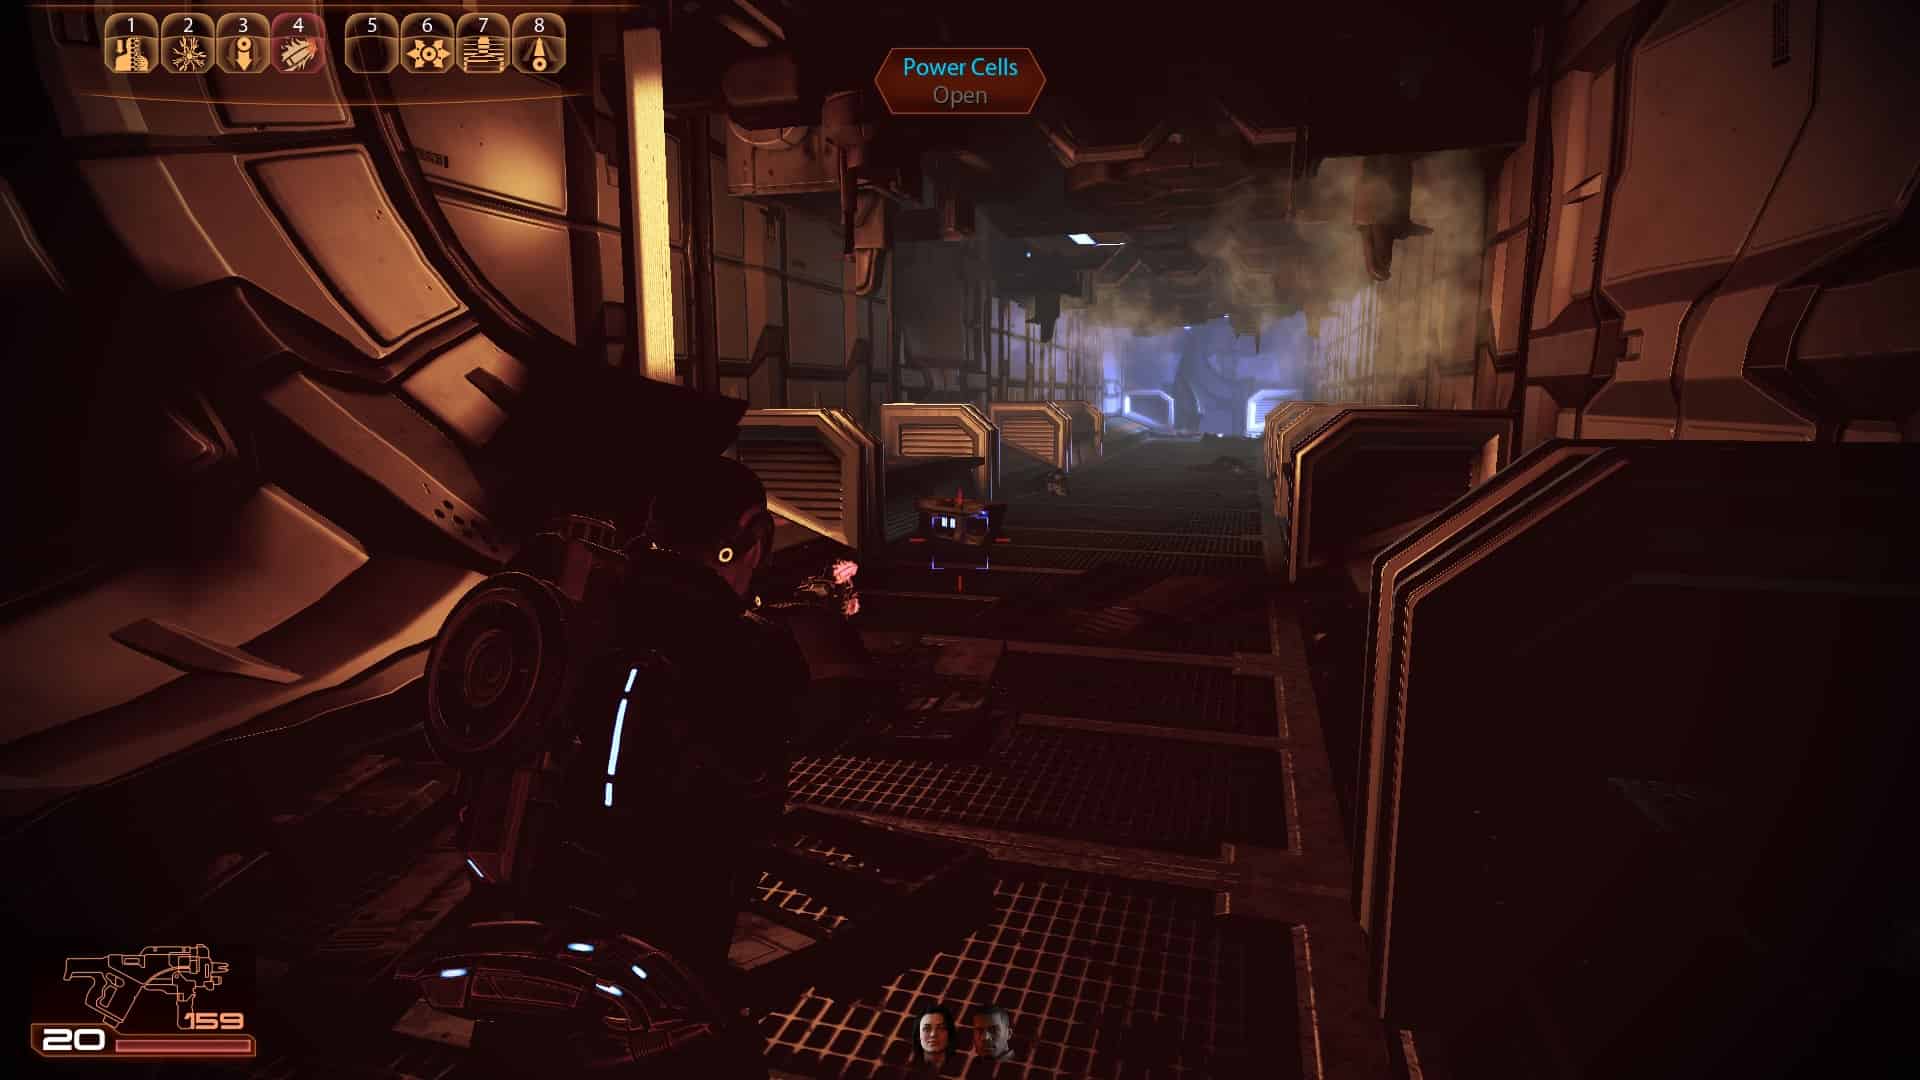
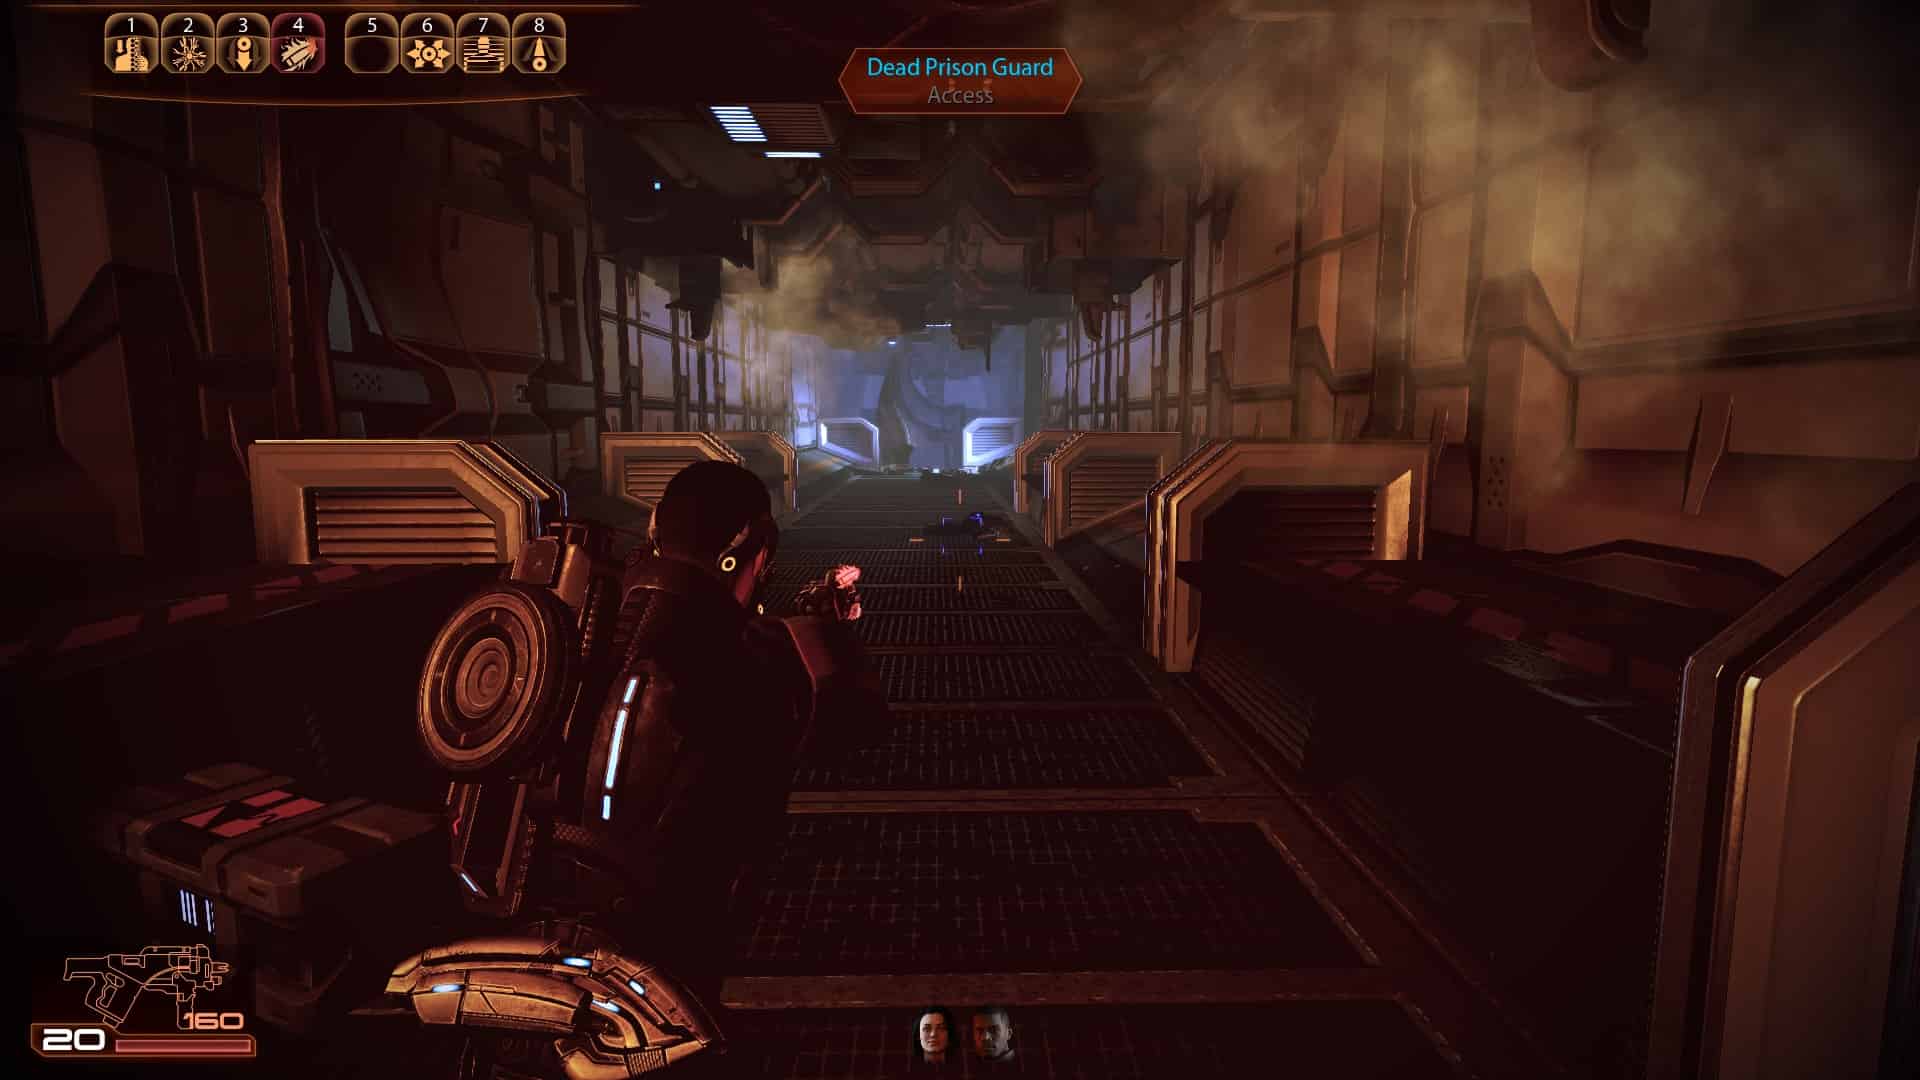
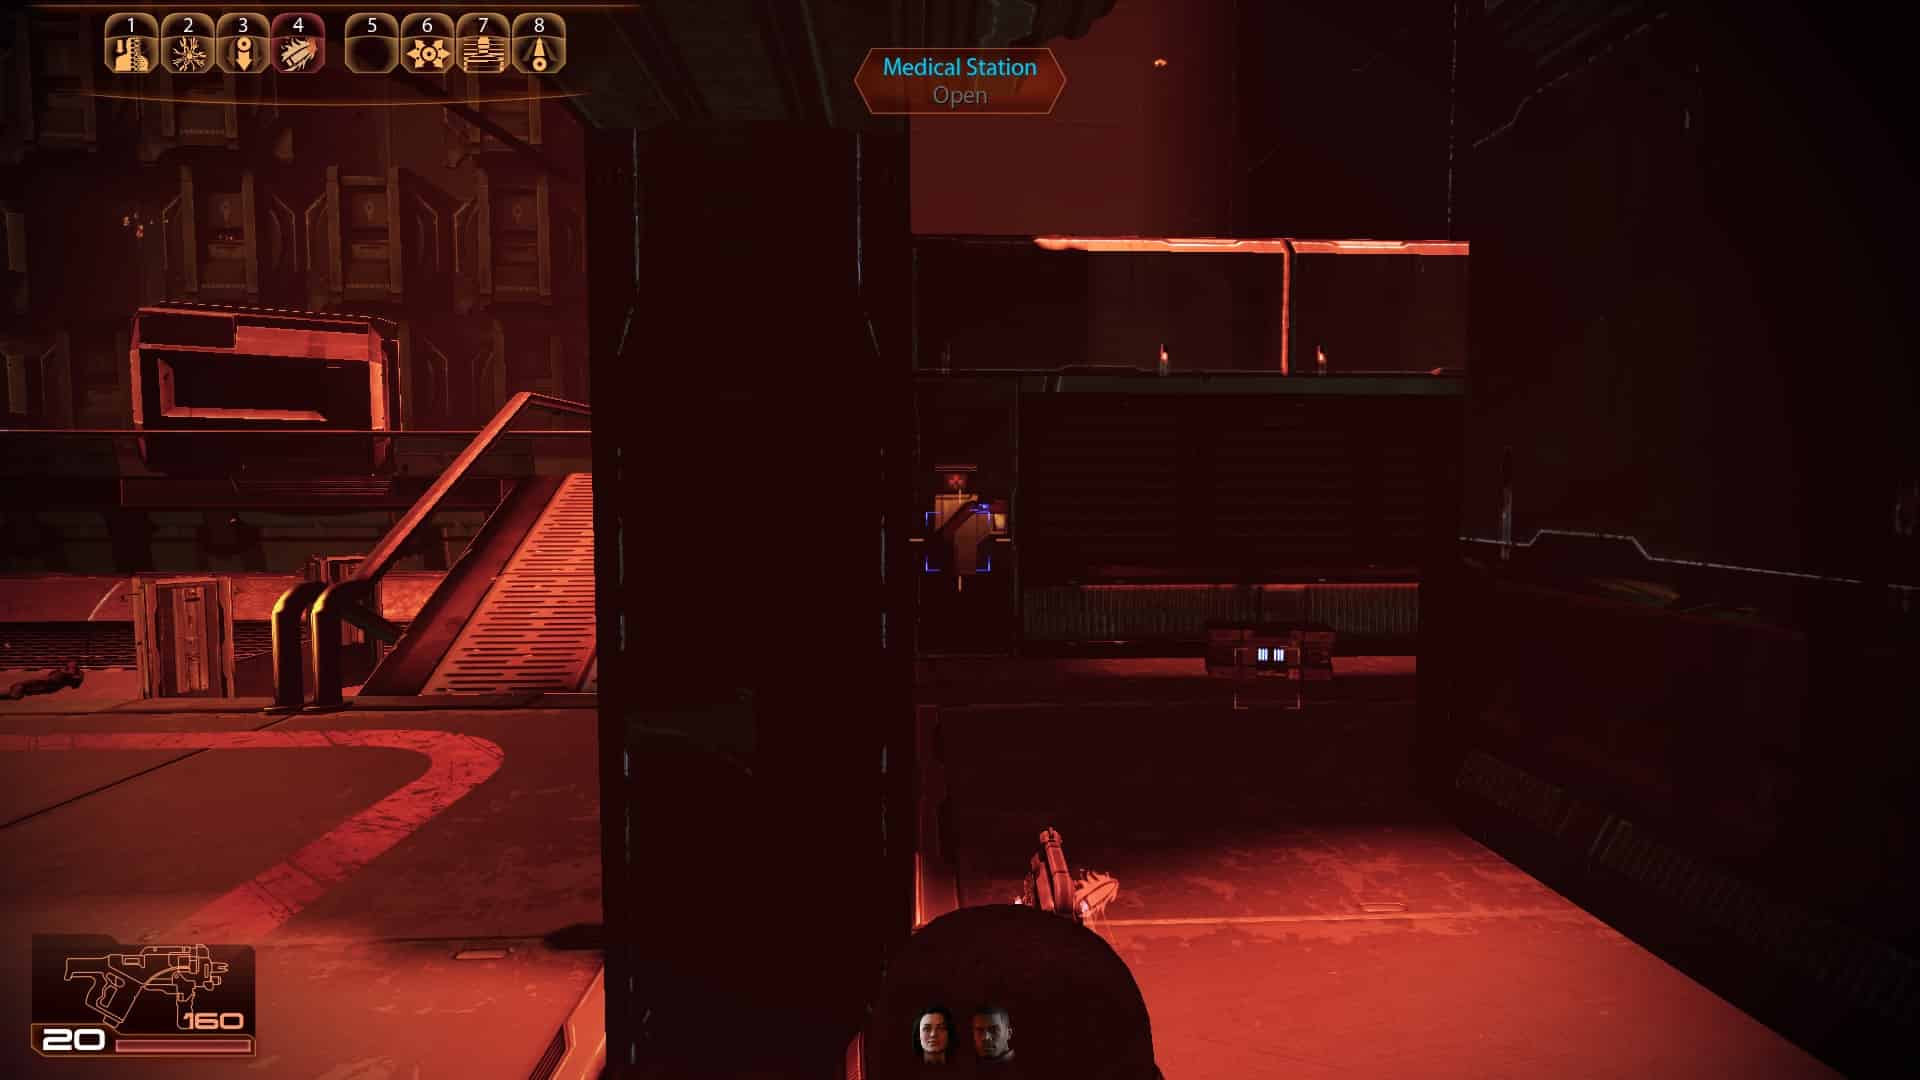
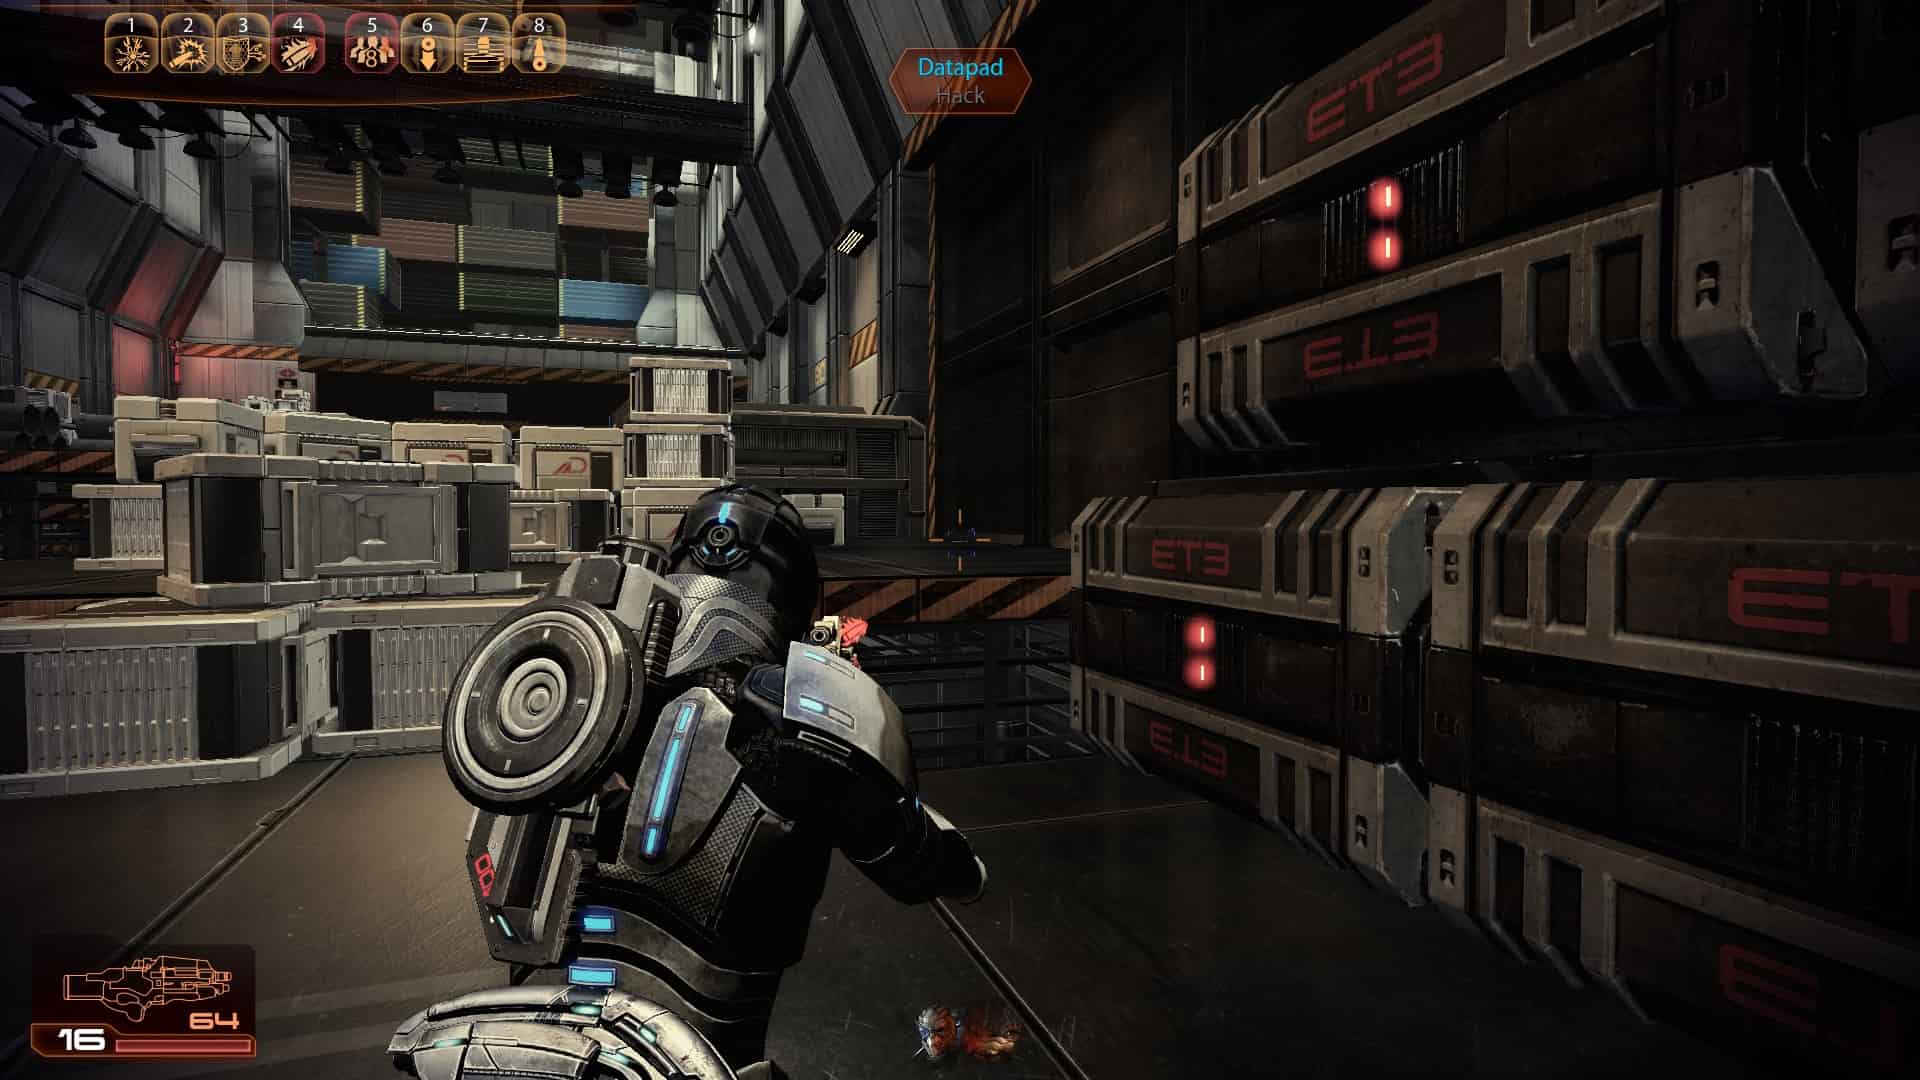
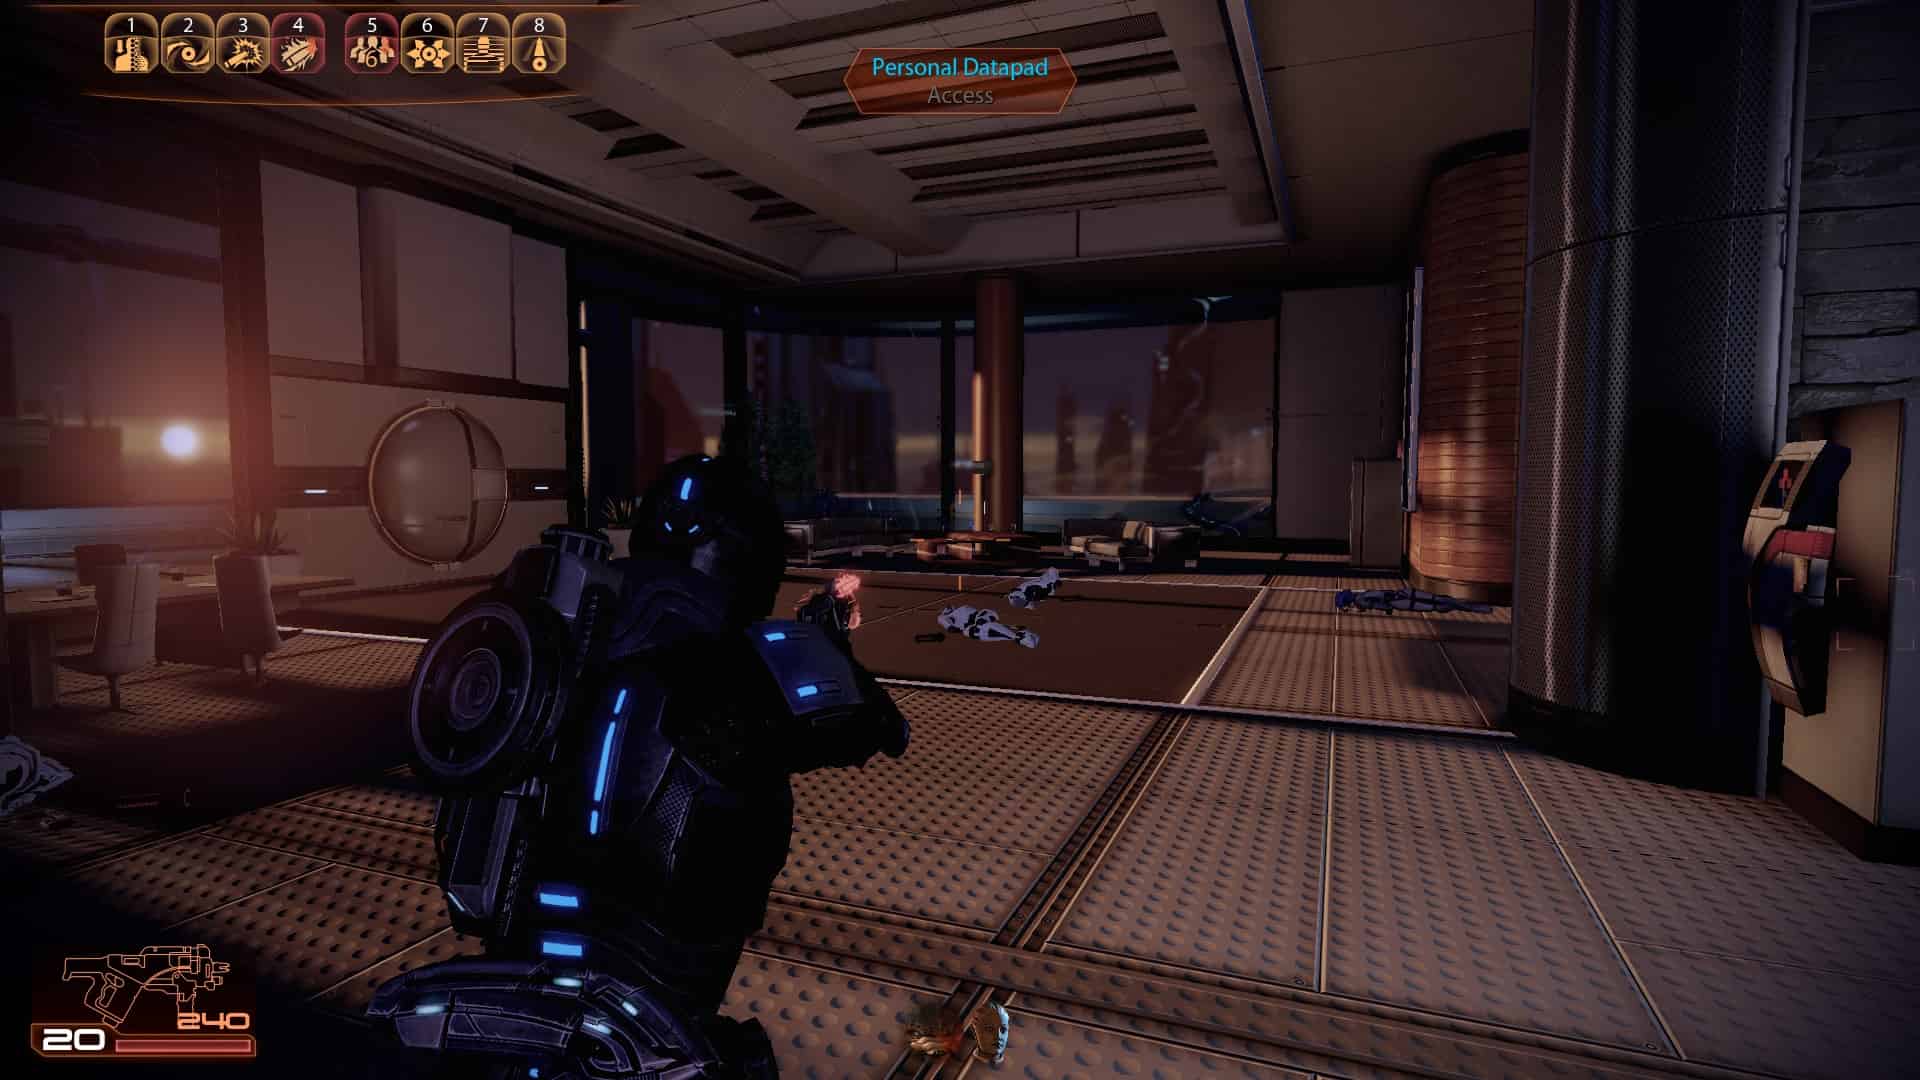
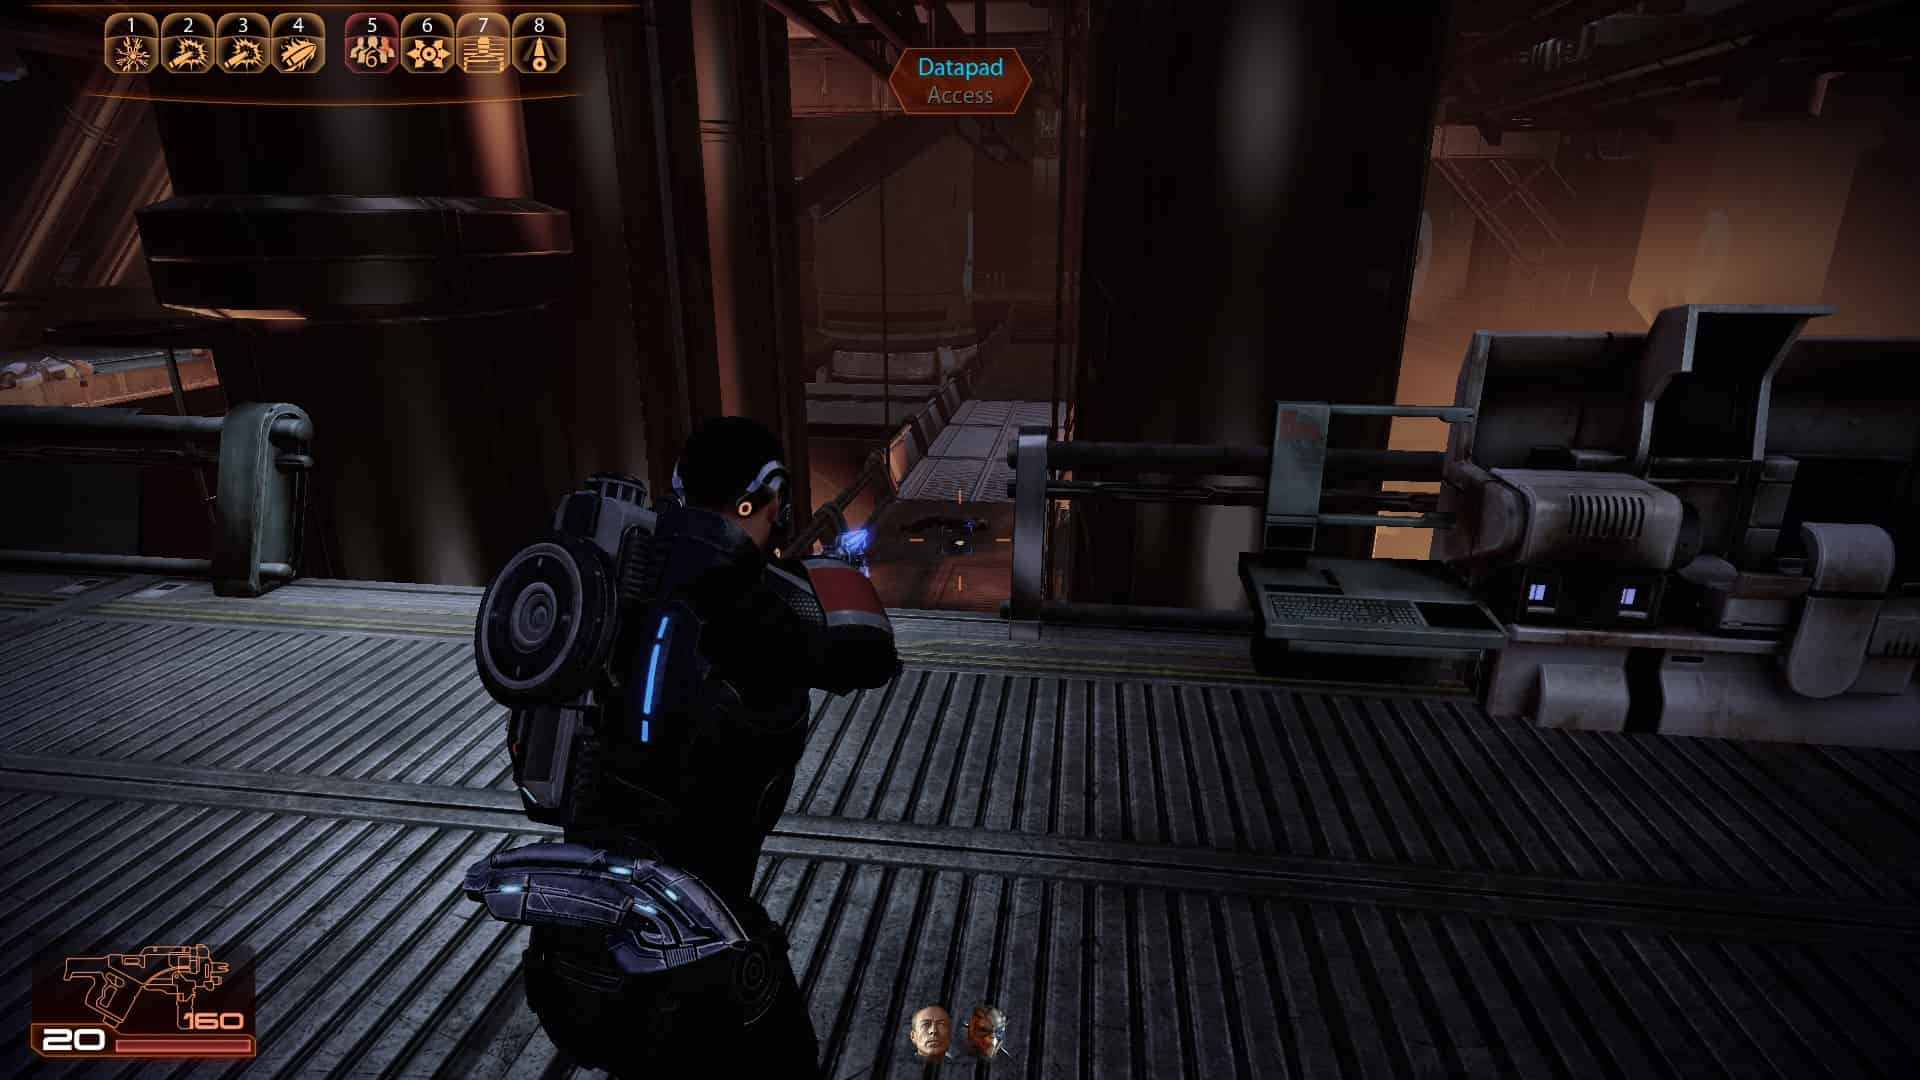
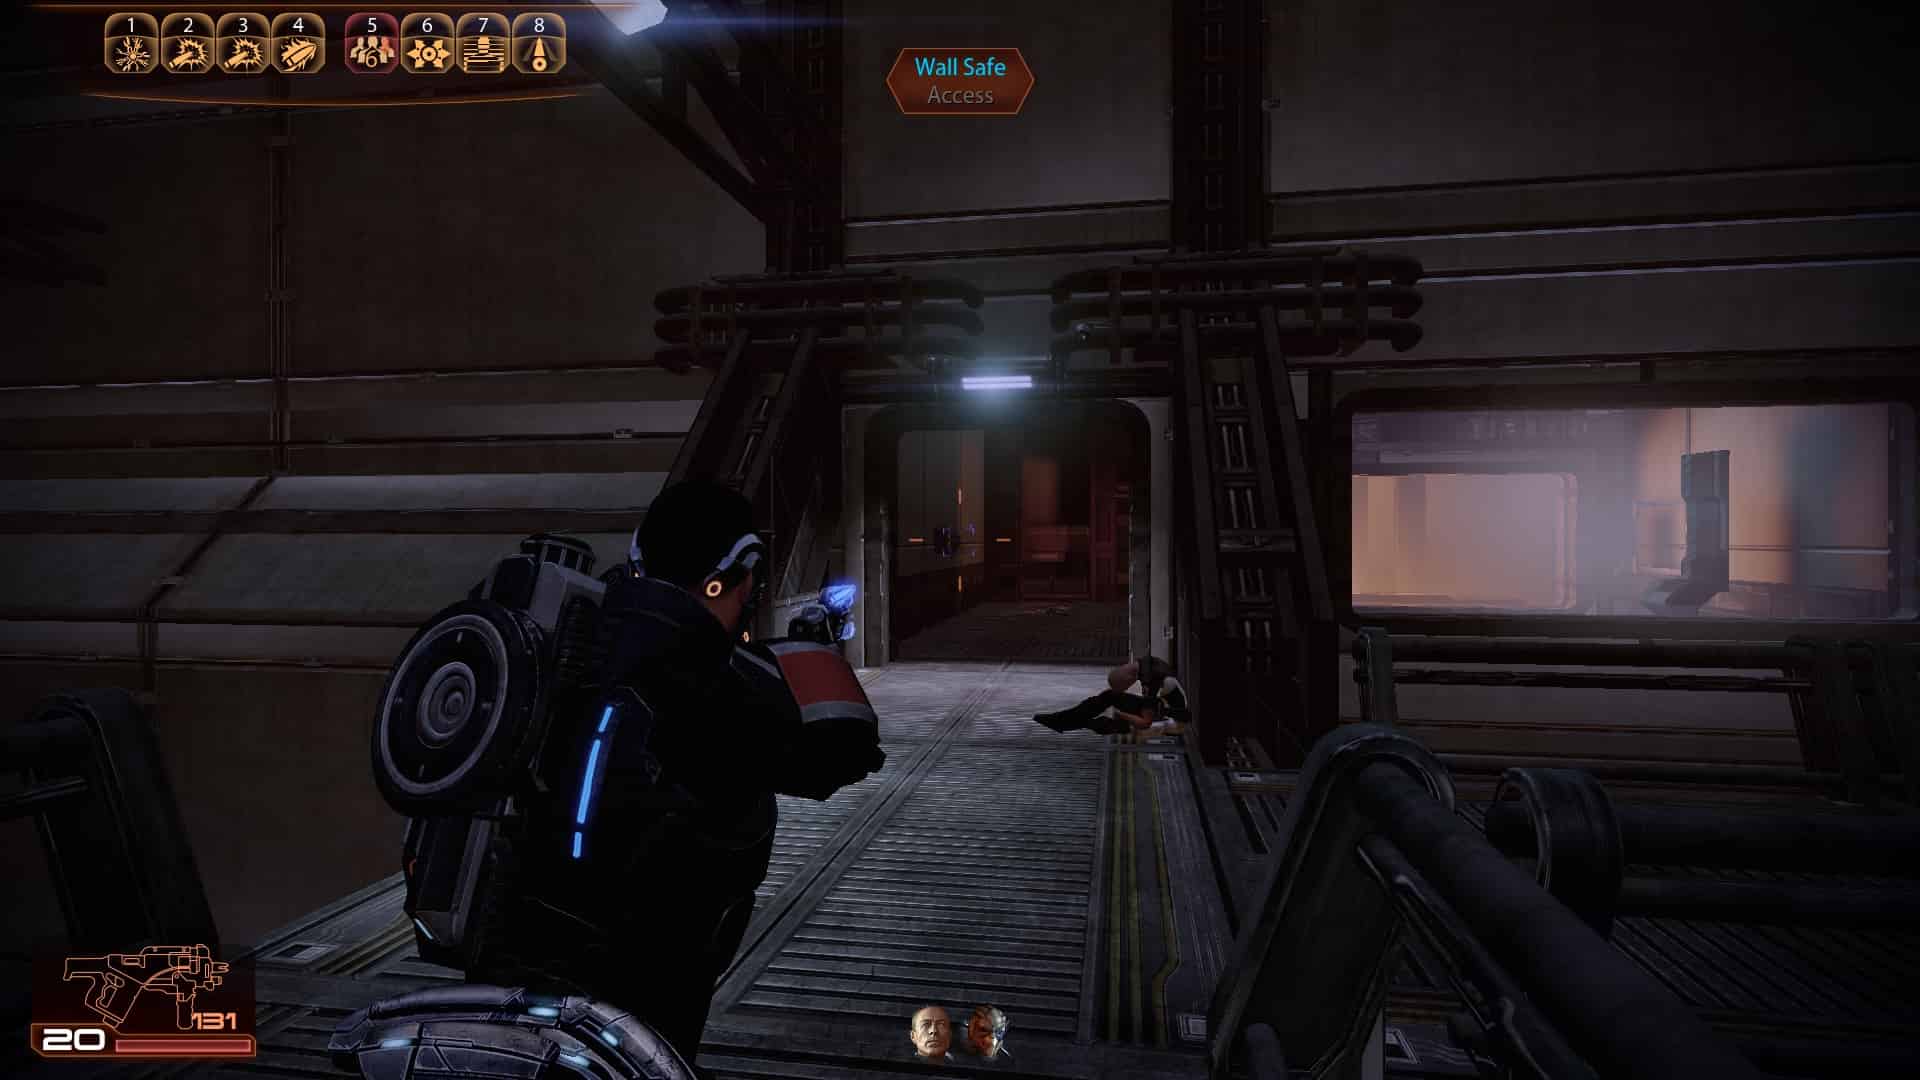
1 (Assignment - Datapad Recovered)
2
3
4
5
6
7 (Upgrade - Submachine Gun Damage)
8
9
10
11
12
13 (Upgrade - Tech Damage)
14
15
16
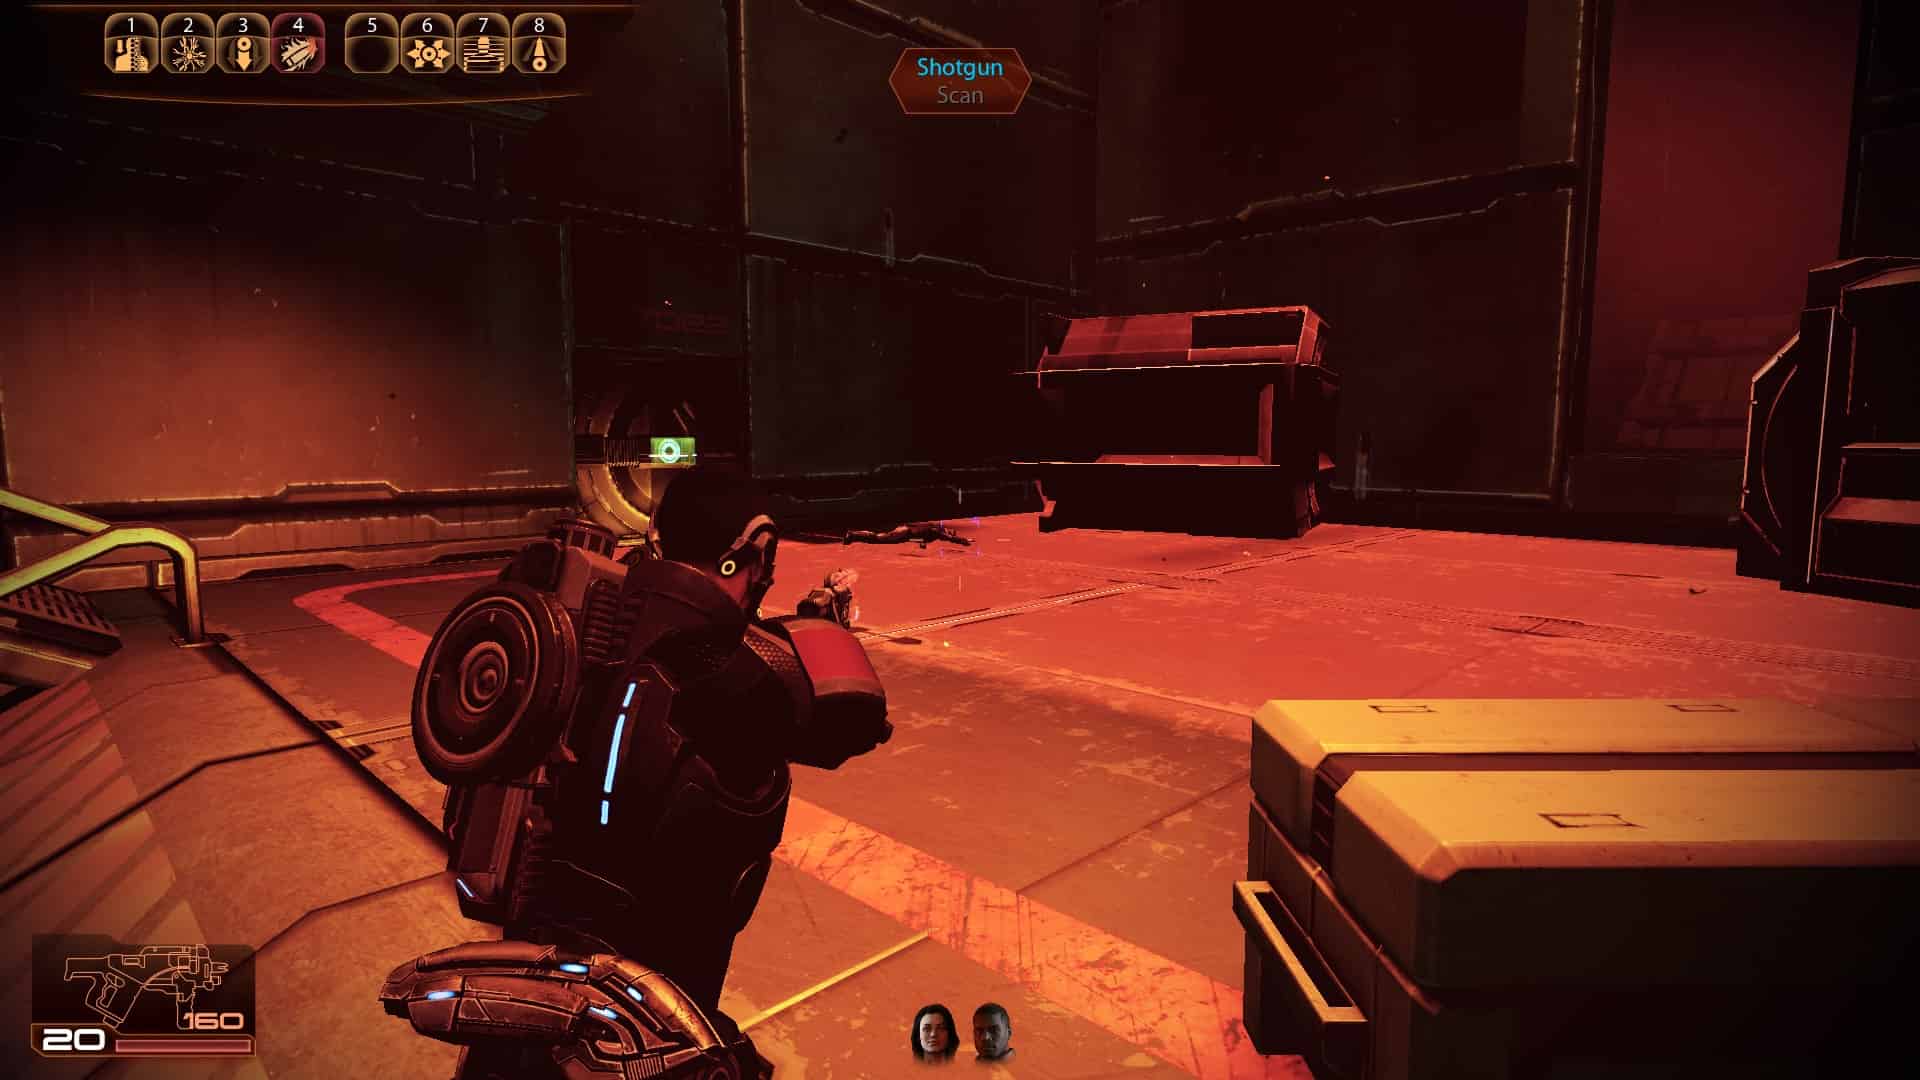
17 (Weapon - Vindicator Assault Rifle)
18
19
20
21
22
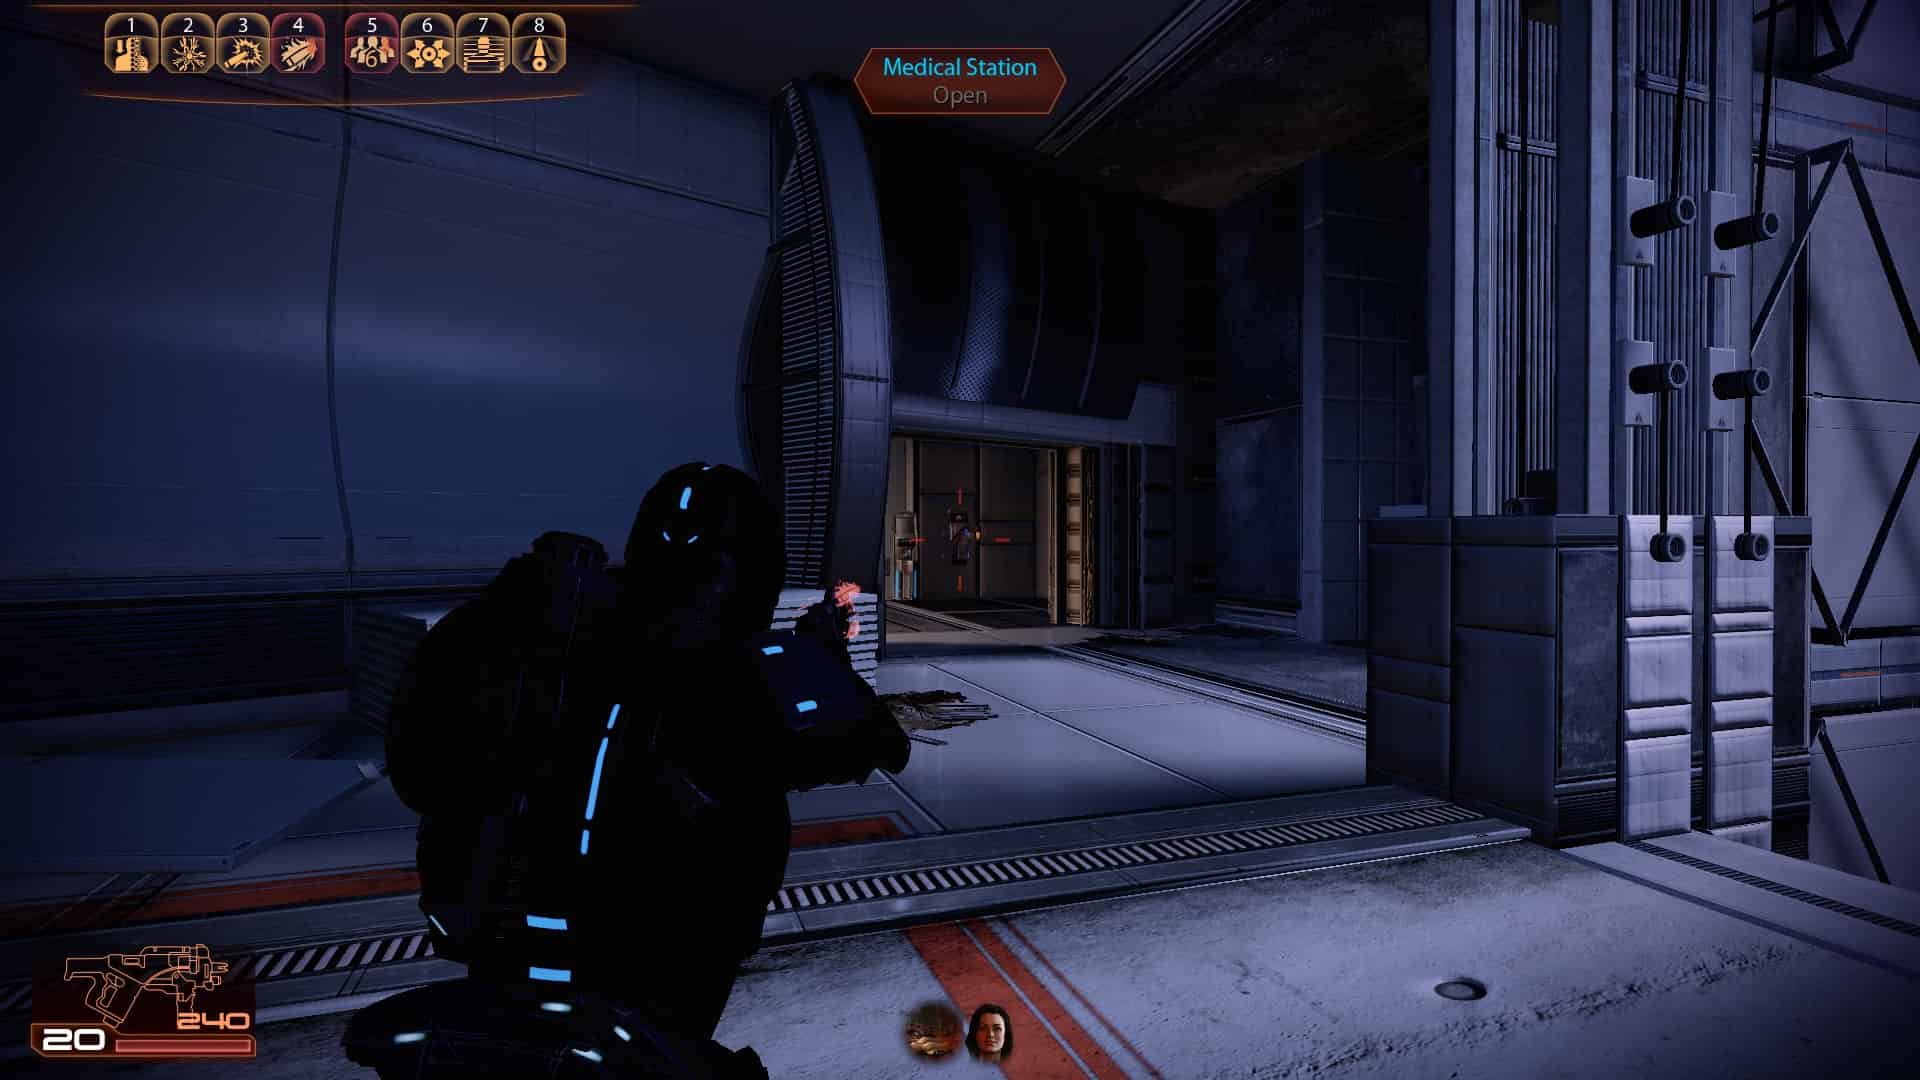
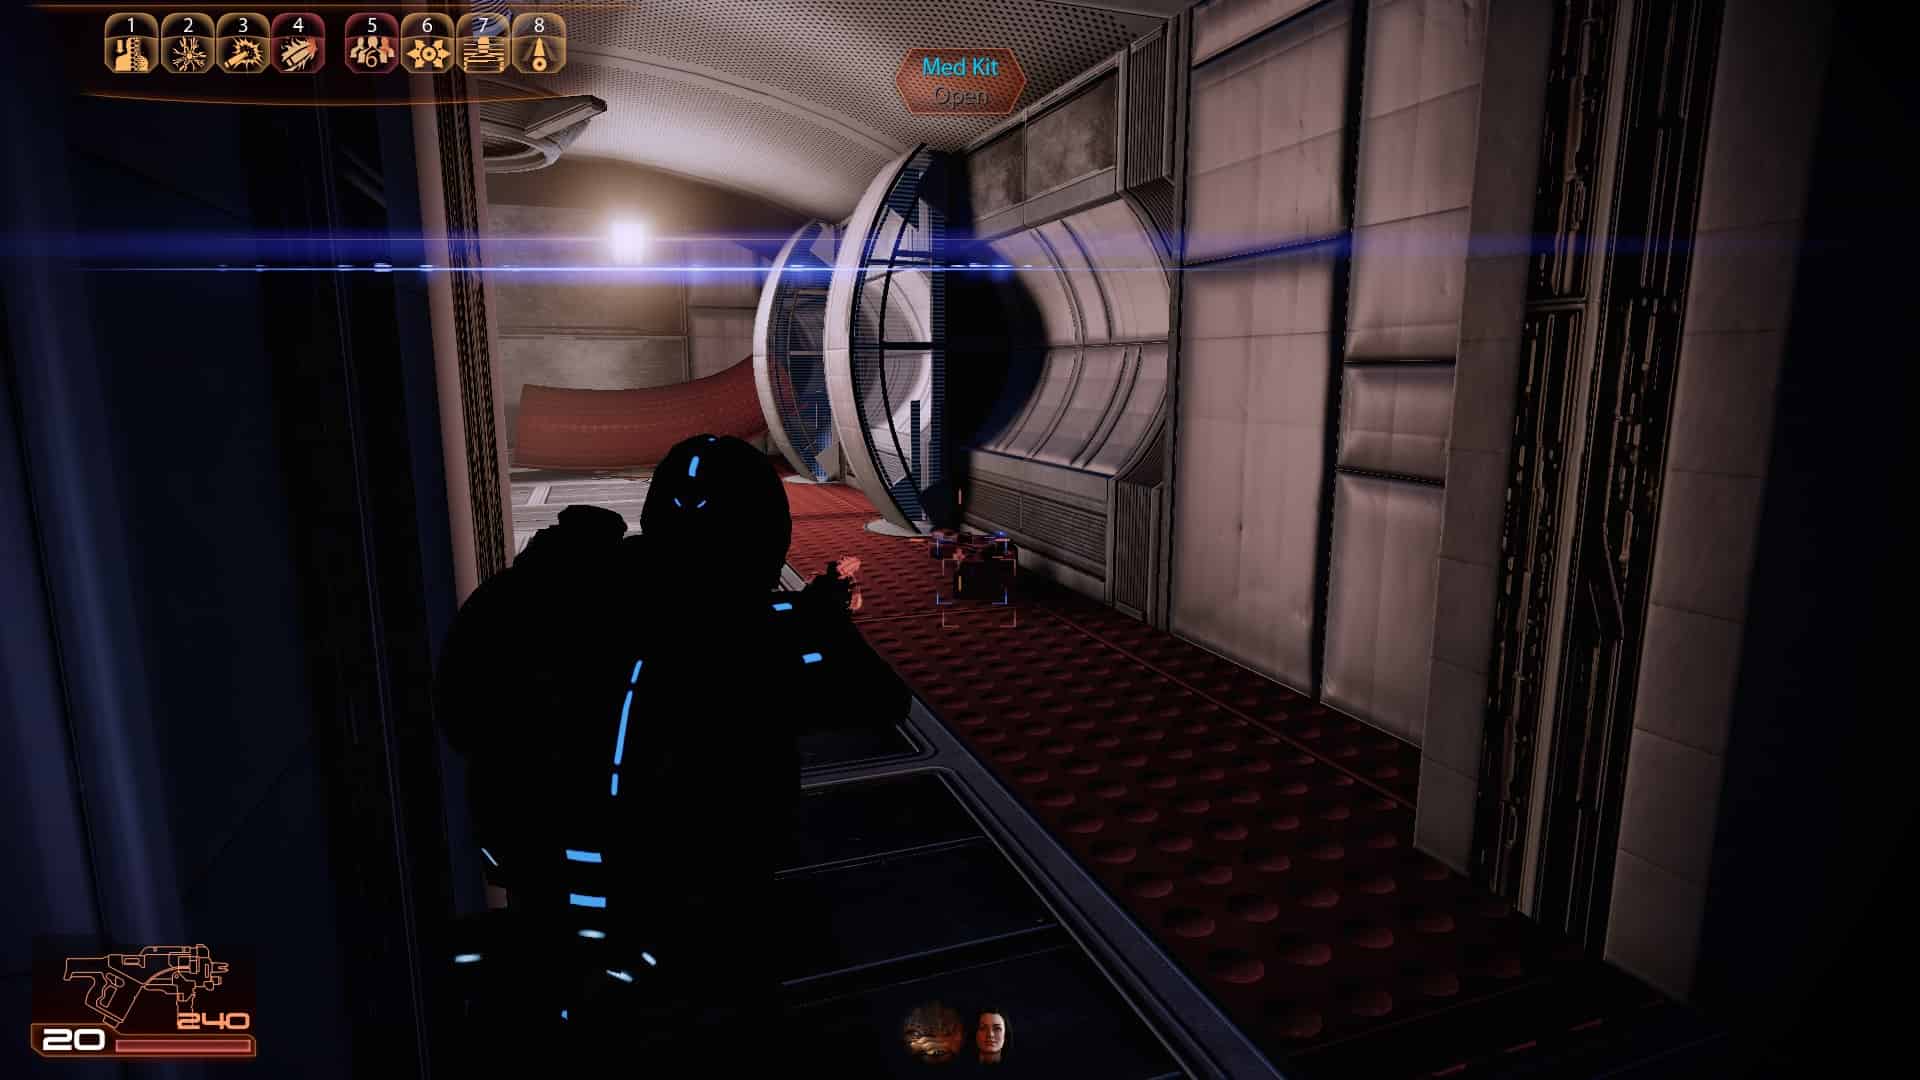
Dossier Mission: Tali


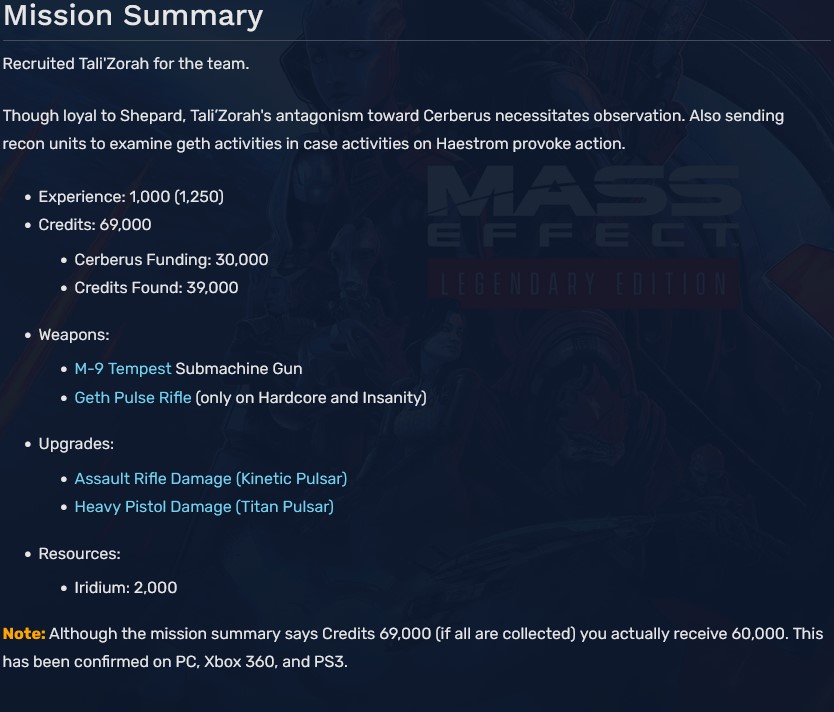
1
2
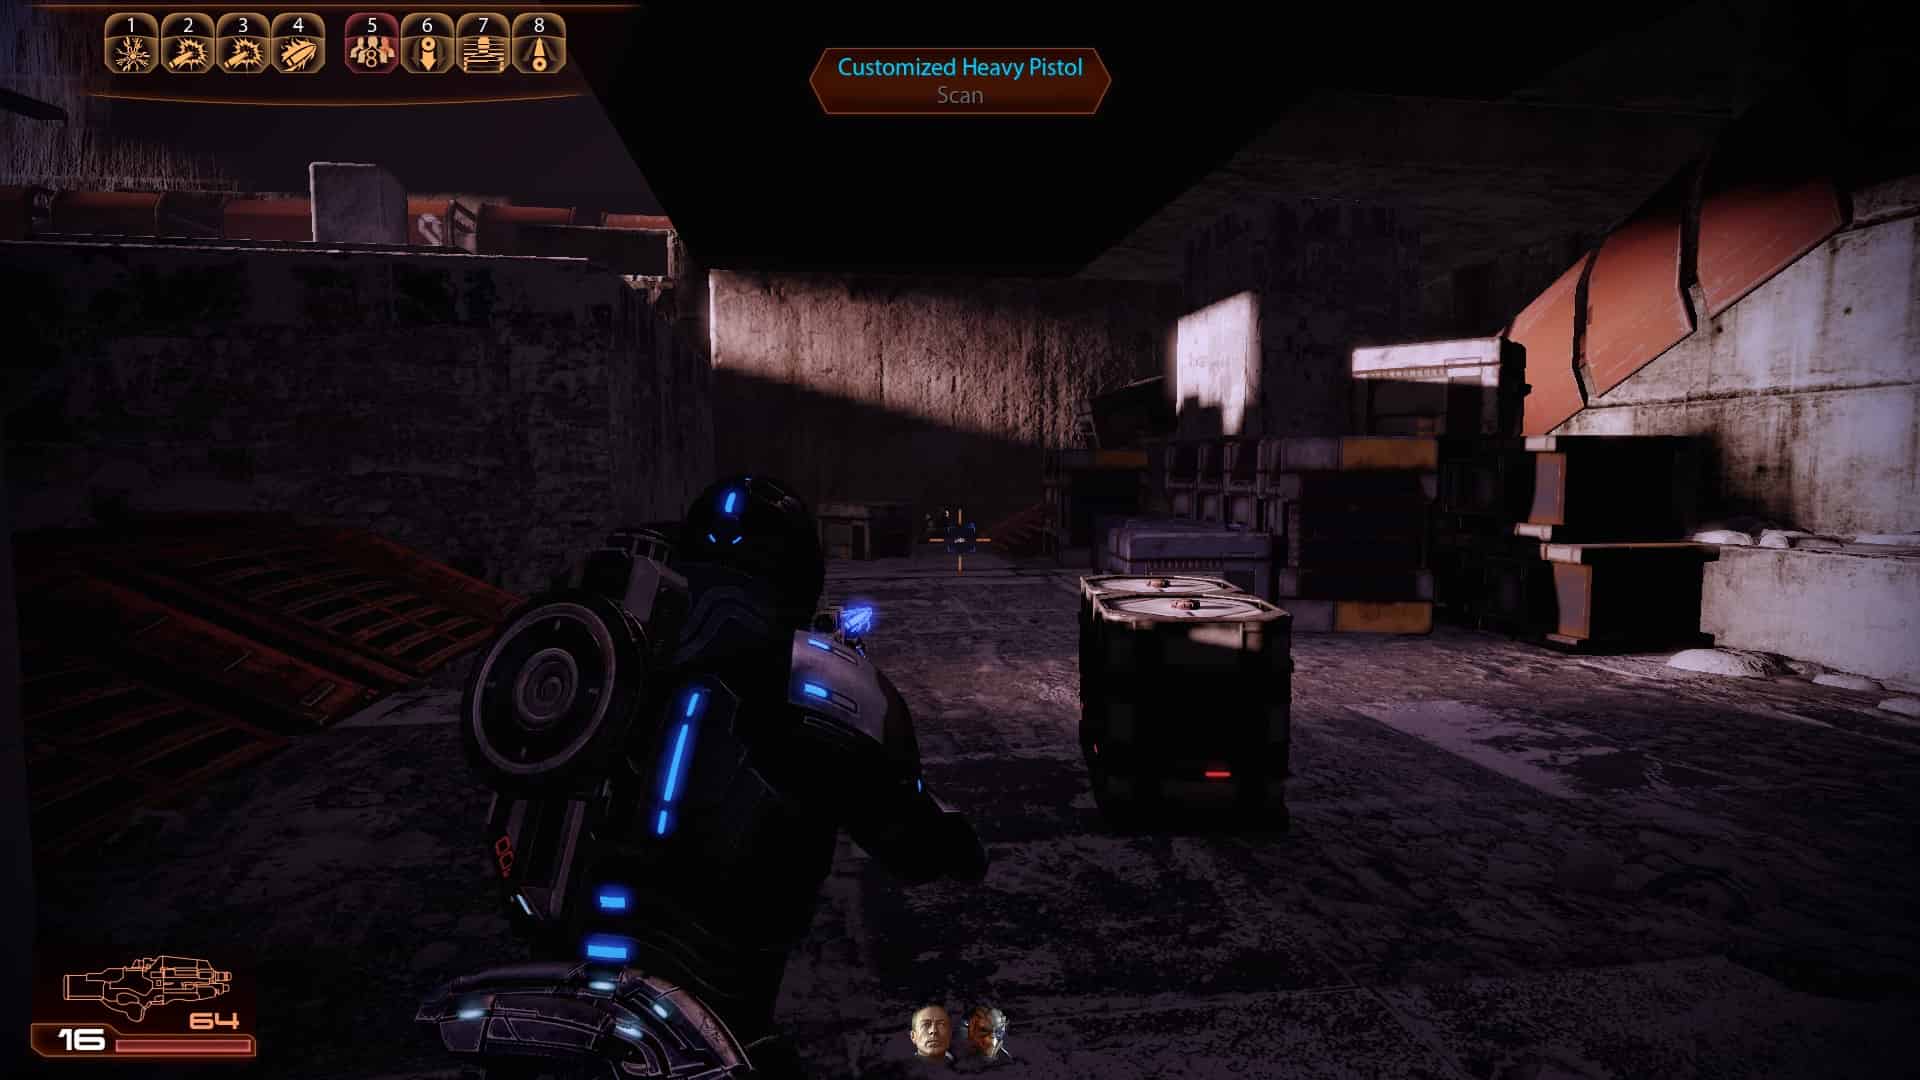
3 (Upgrade - Heavy Pistol Damage)
4
5
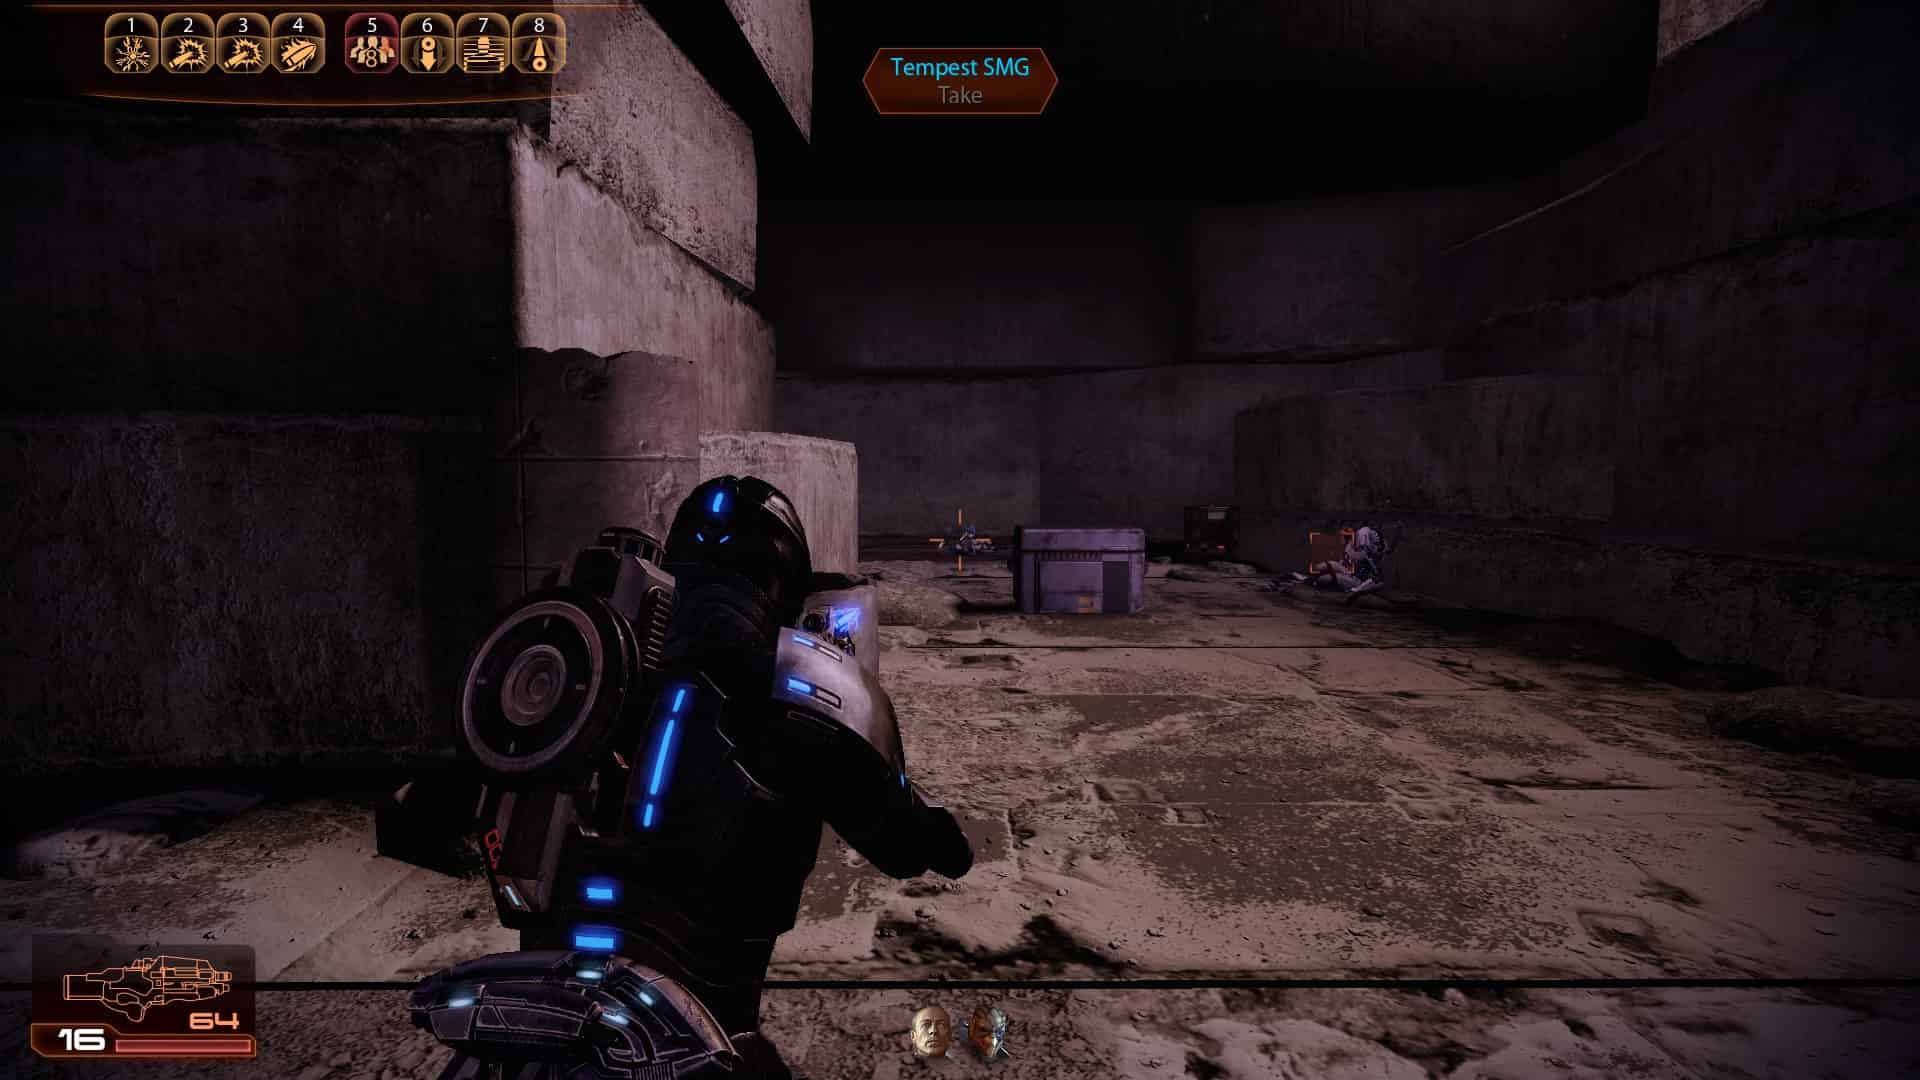
6 (Weapon - Tempest Submachine Gun)
7
8
9
10
11
12
13
14
15
16
17
18 (Upgrade - Assault Rifle Damage)
19 (There's nothing in the following open area)
20
21
22
23
24
25
26
27
28
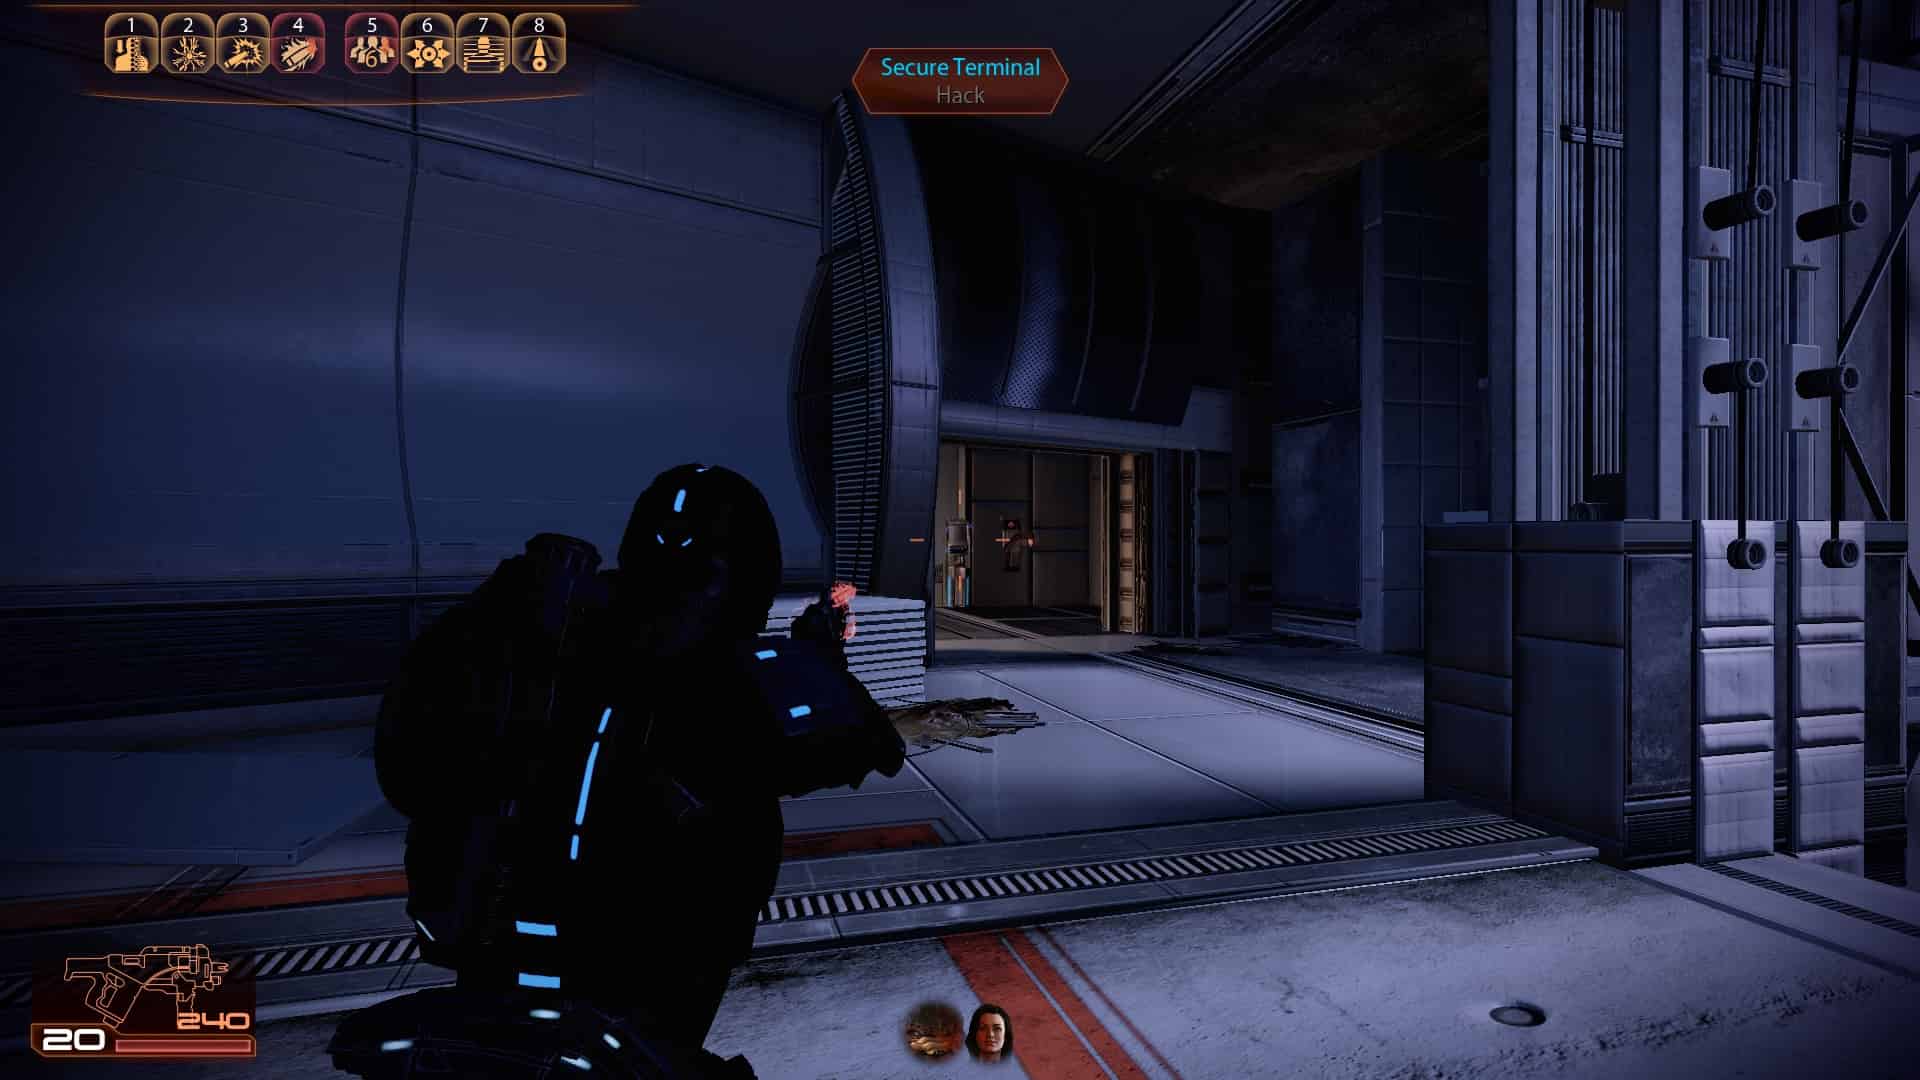
29 (Weapon - Geth Pulse Rifle, only on Hardcore and Insanity)
30
Dossier Mission: The Assassin


1
2
3
4
5
6
7
8
9
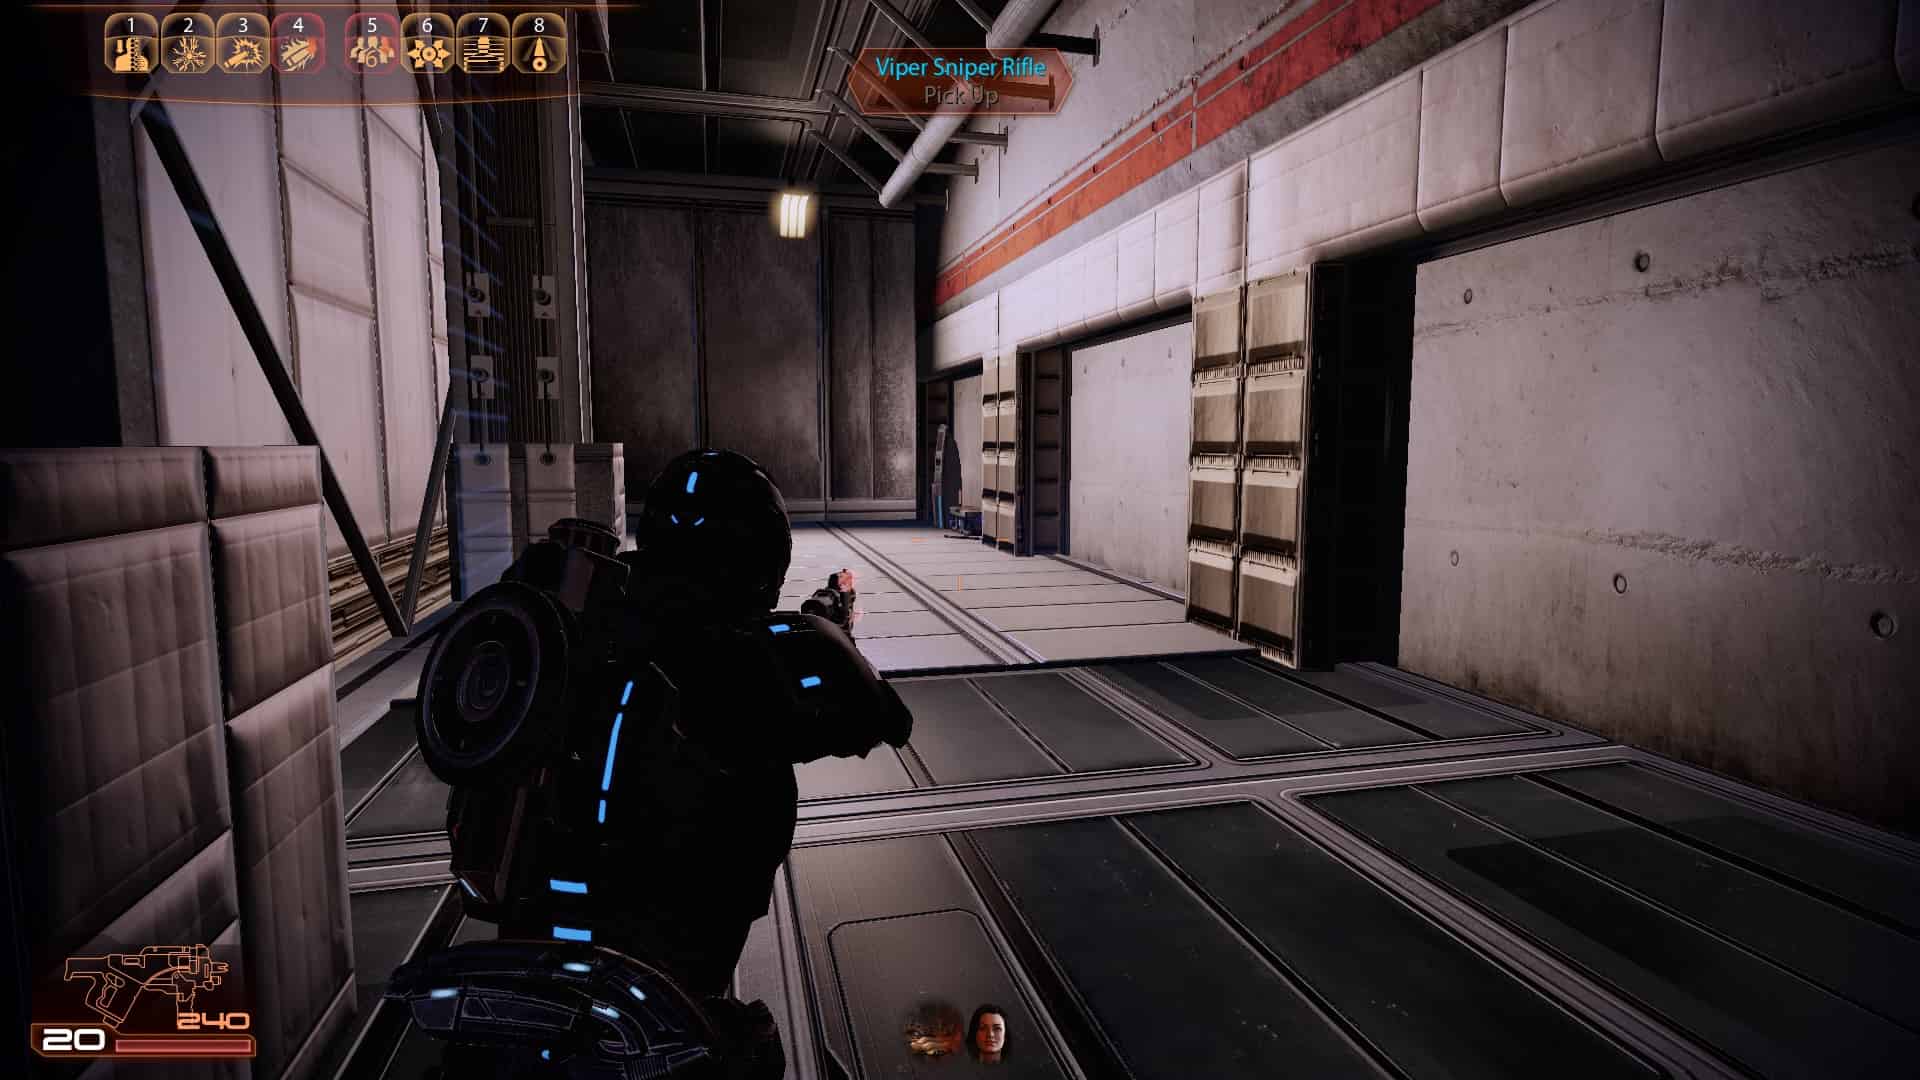
10 (Weapon - Viper Sniper Rifle)
11 (Assignment - Salarian Family Data)
12
13
14
15
16
17 (Upgrade - Submachine Gun Damage)
18
19
Dossier Mission: The Convict


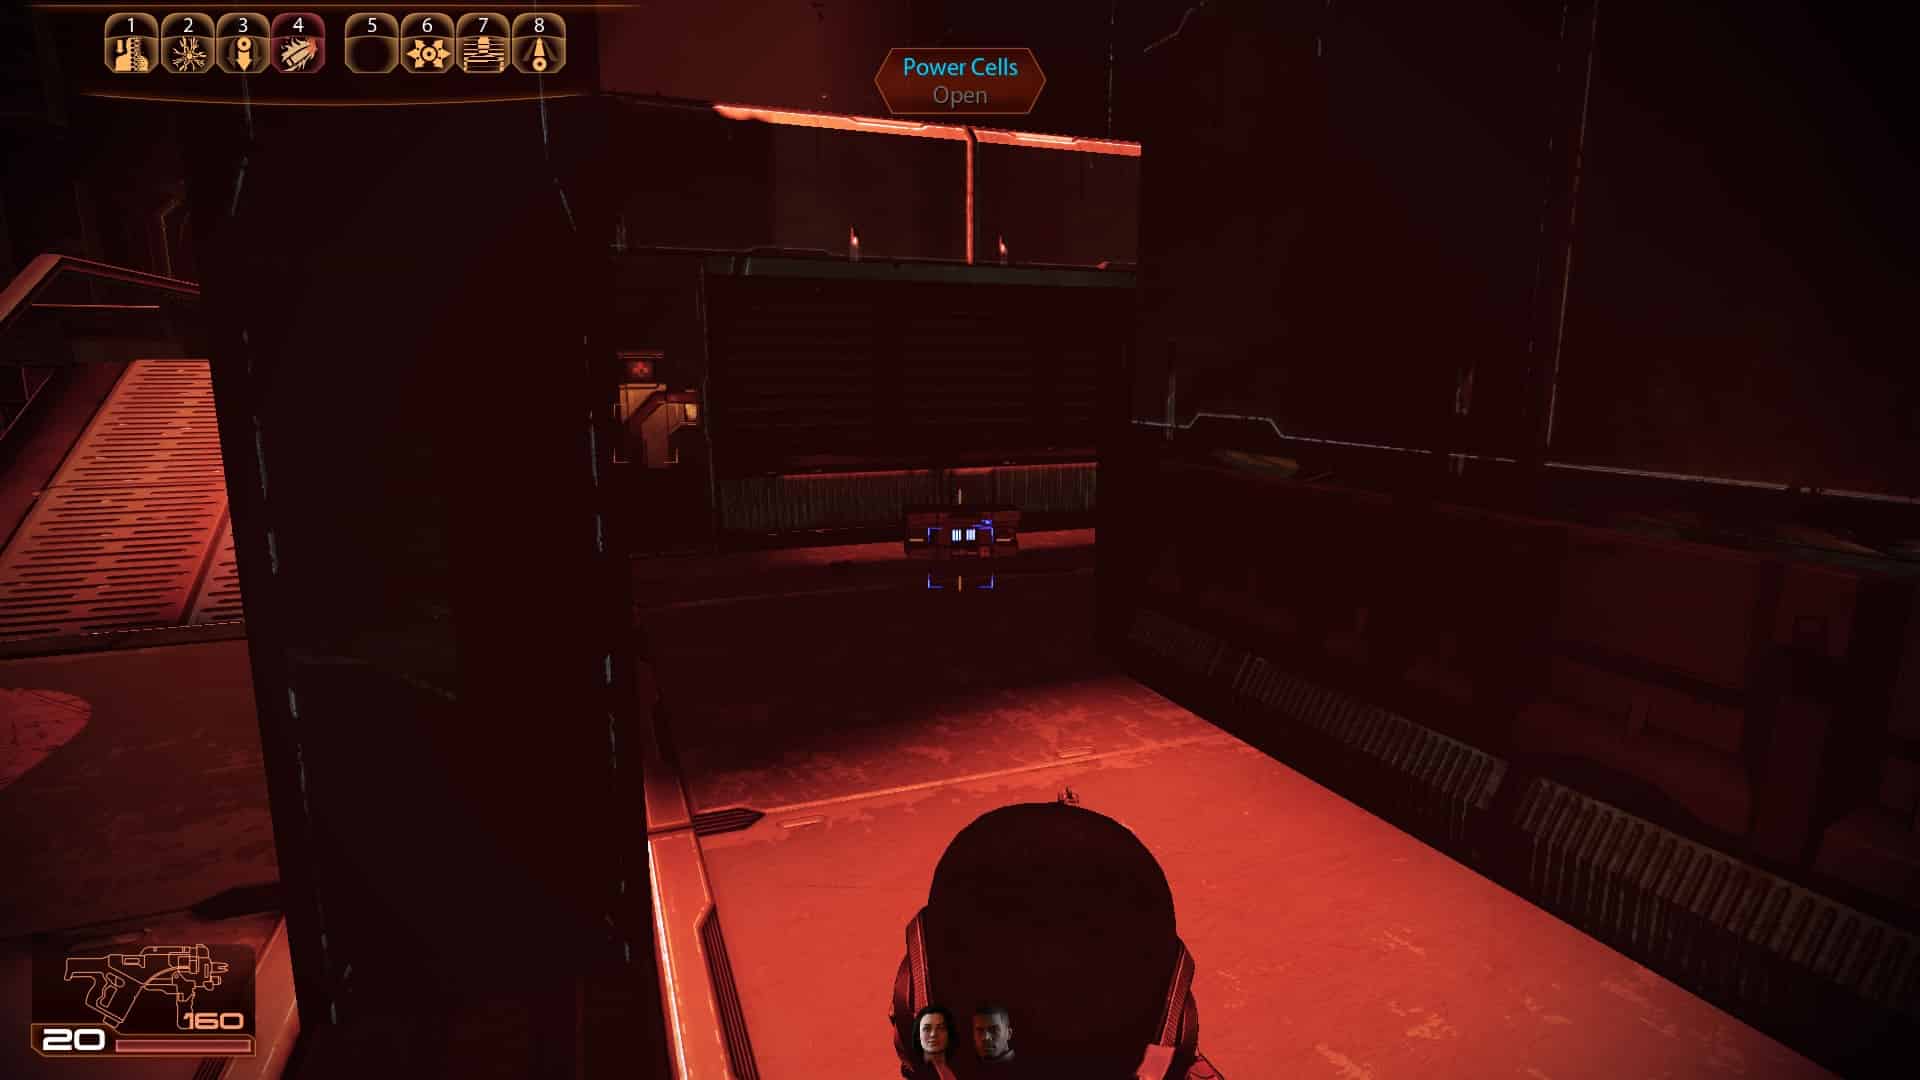
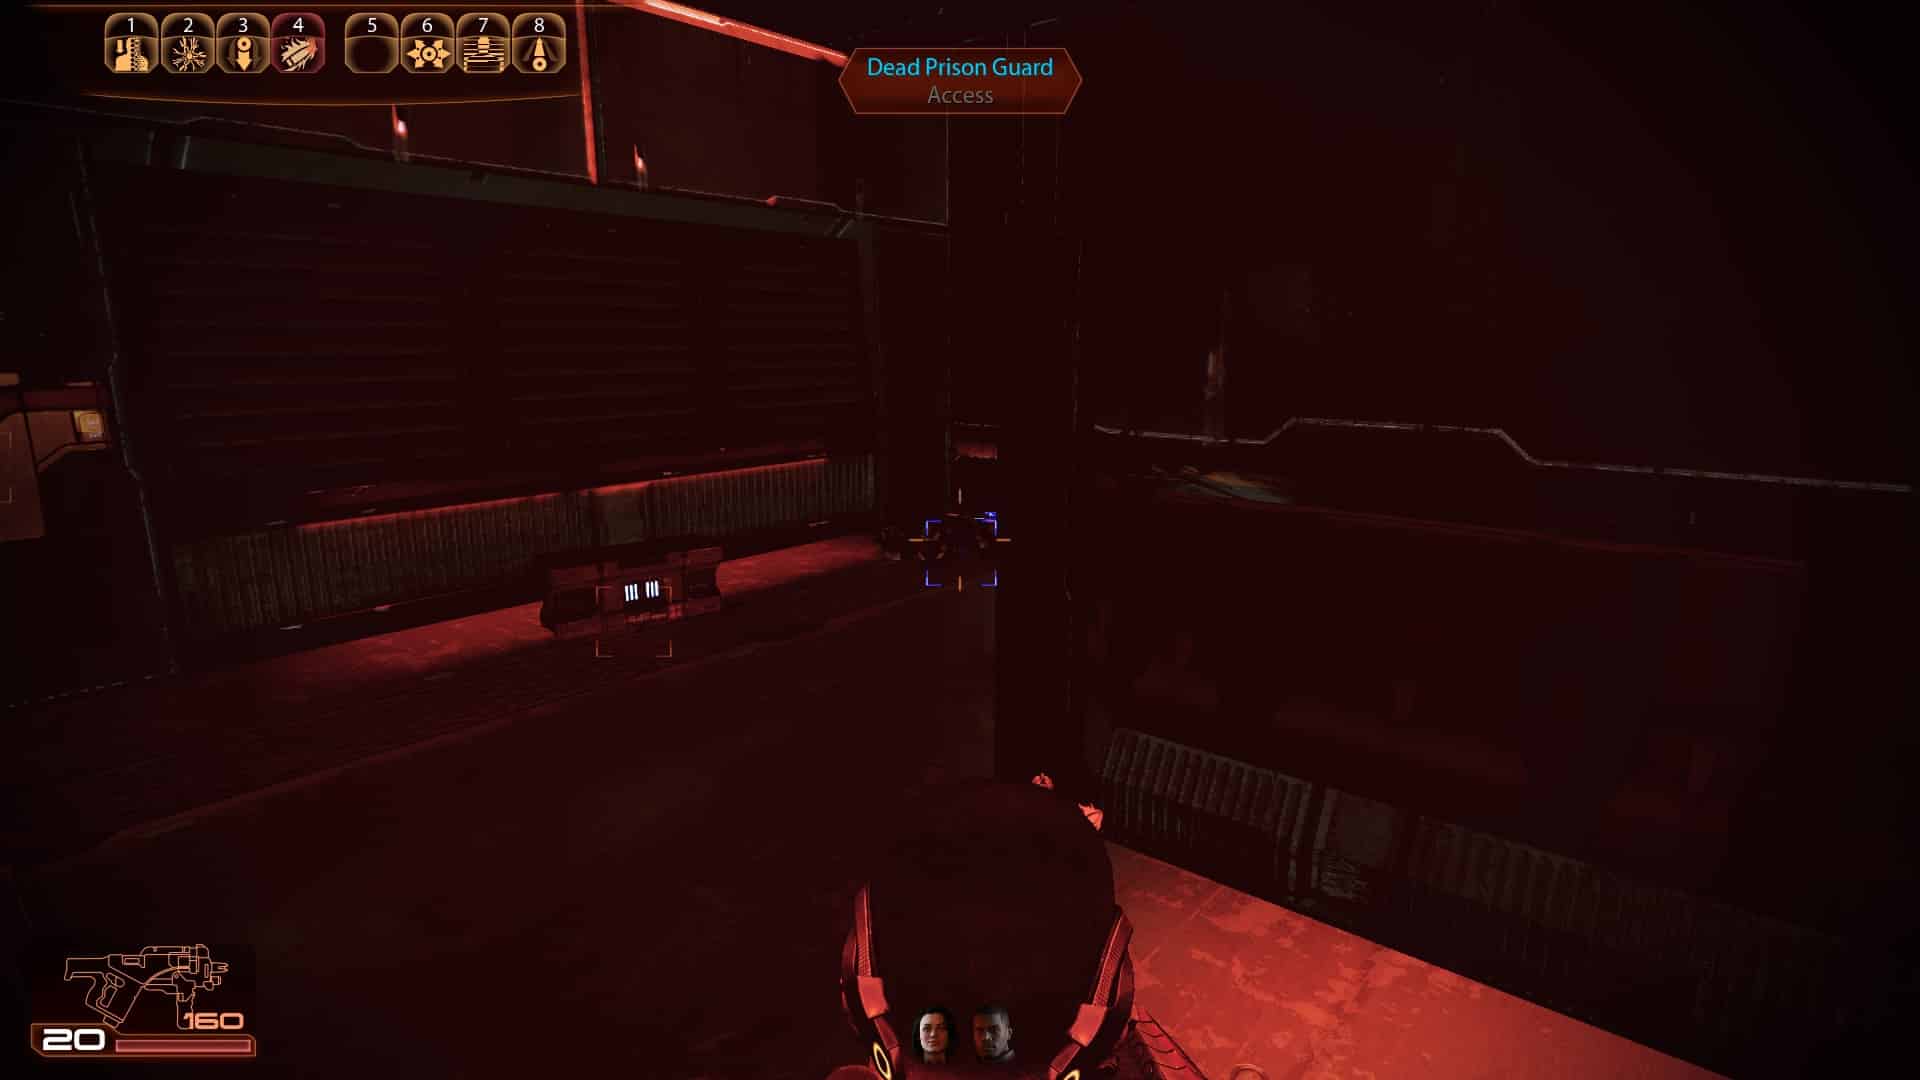
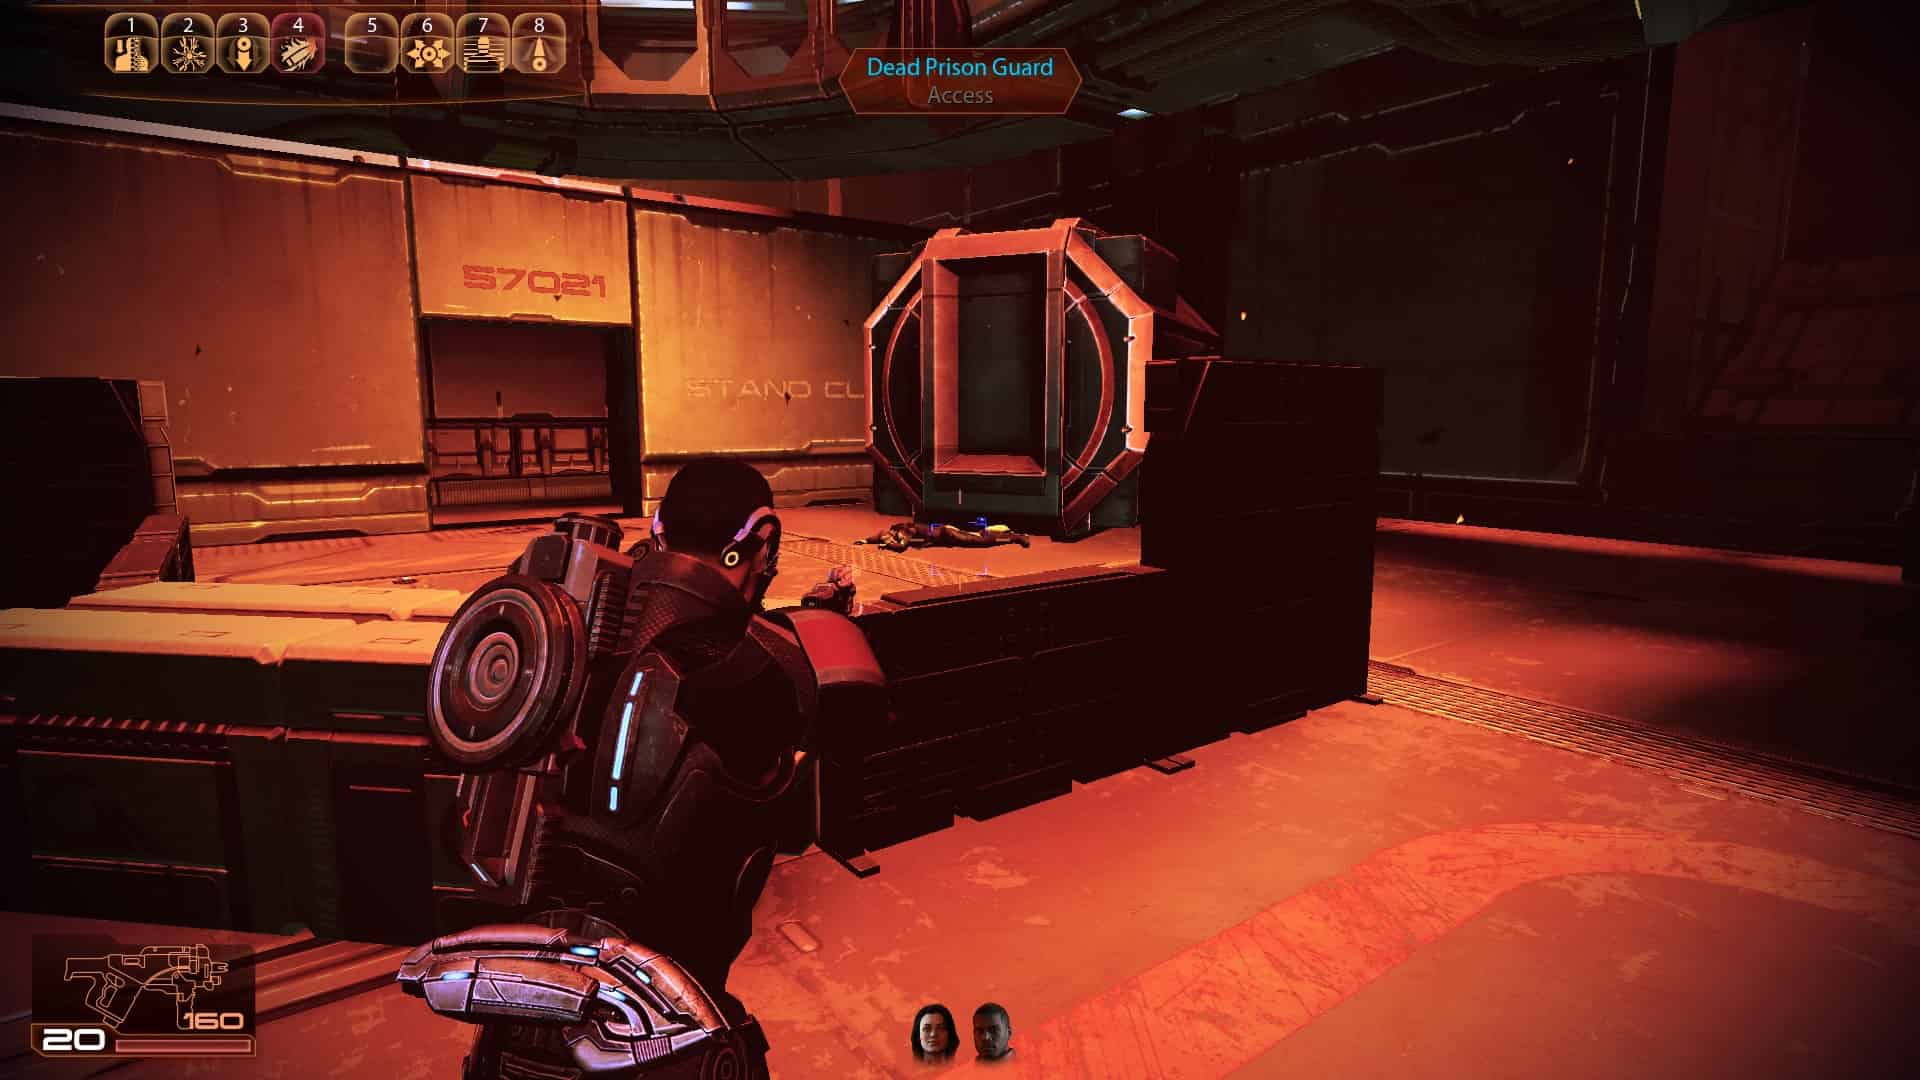
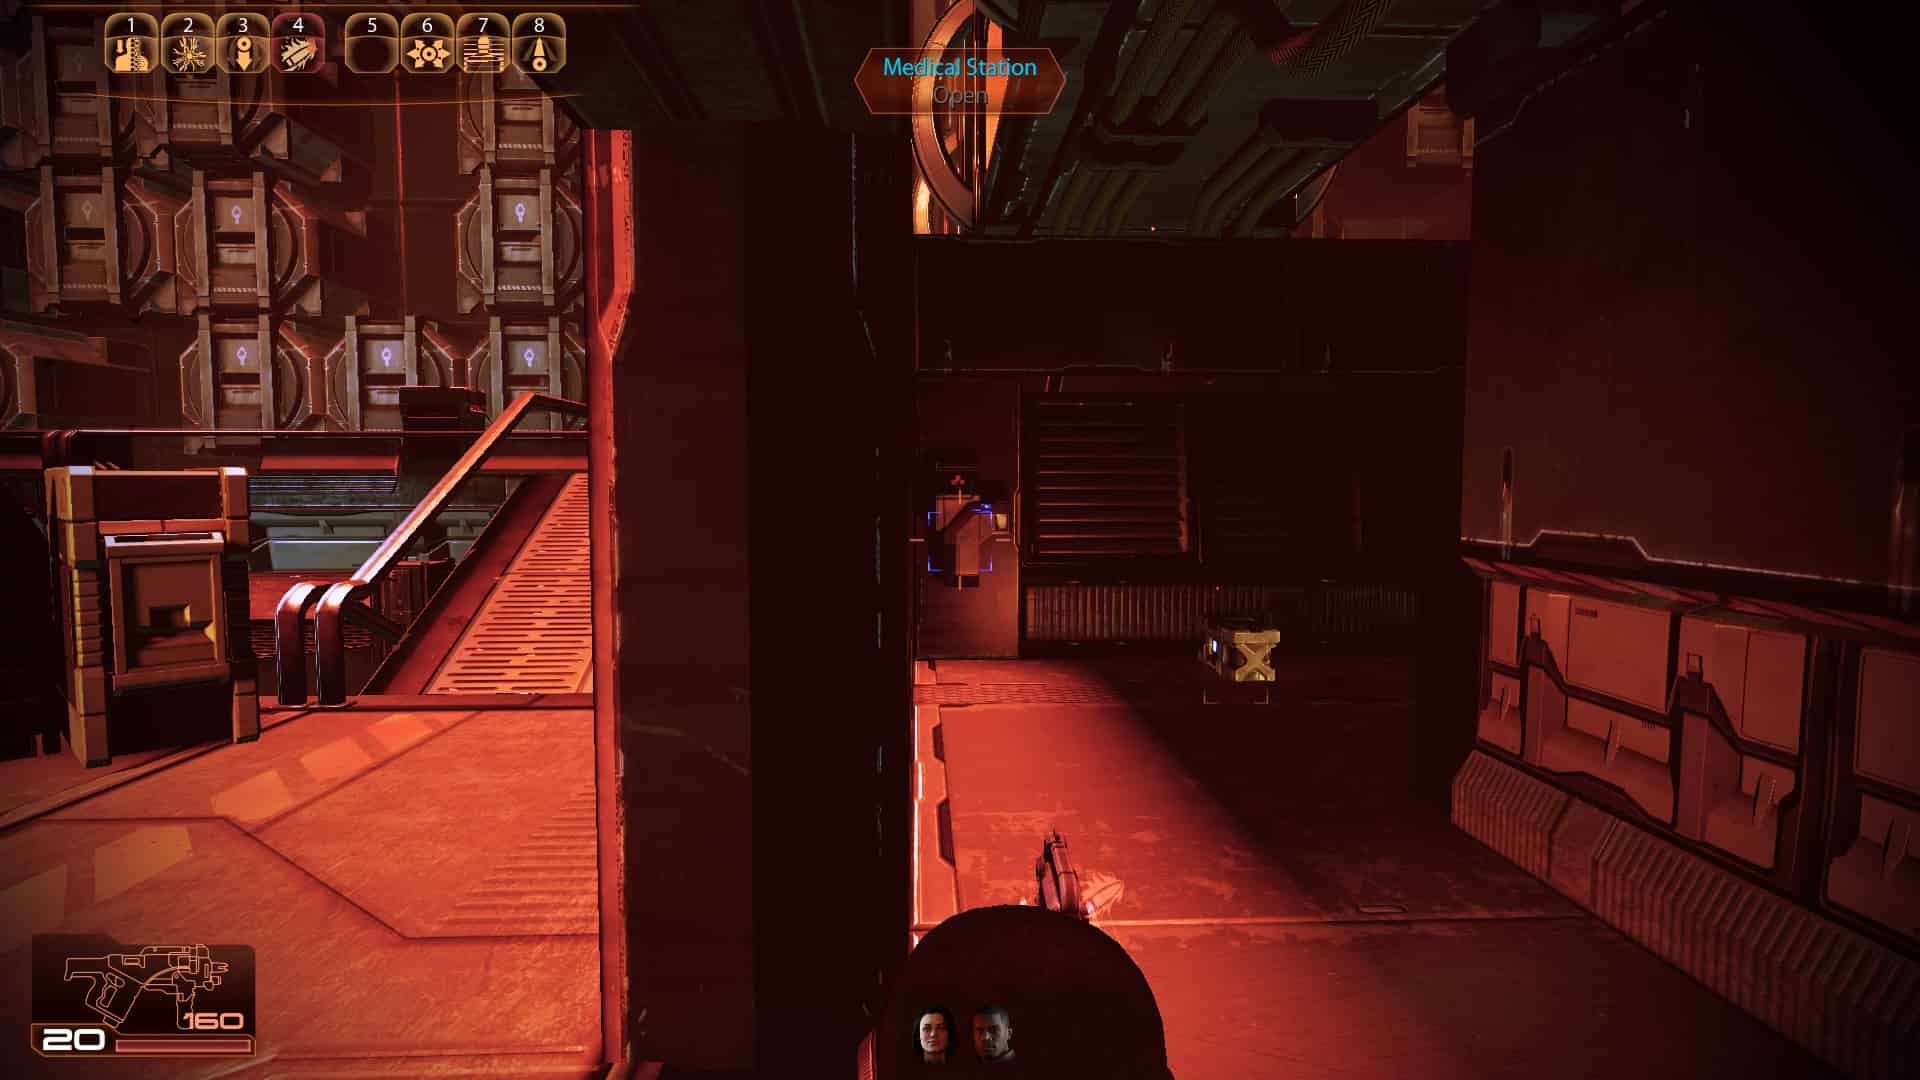
1
2
3 (Upgrade - Damage Protection)
4
5
6 (Upgrade - Shotgun Damage)
7
8
9
10
11
12
13
14
Dossier Mission: The Justicar

1
2 (Assignment - Stolen Goods Found)
3
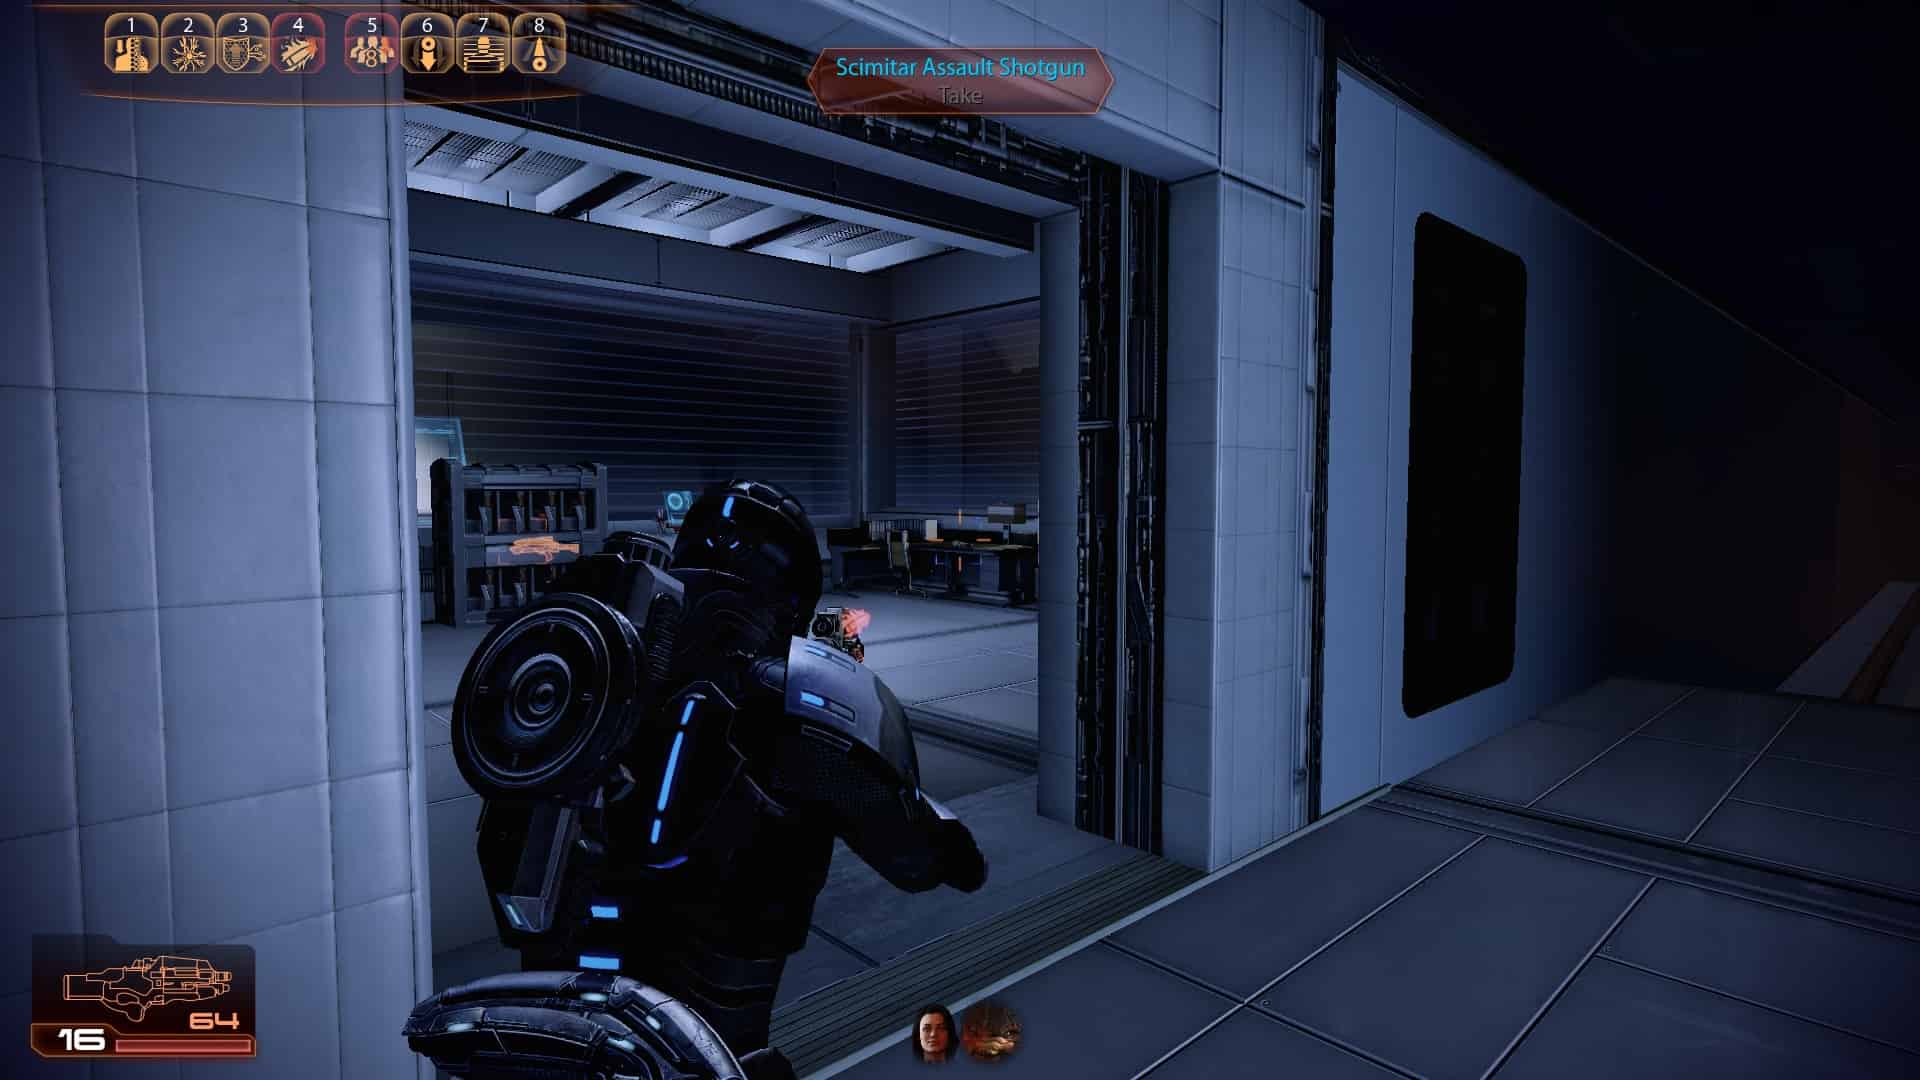
4 (Weapon - Scimitar Shotgun)
5 (Upgrade - Biotic Damage)
6
7
8
9
10
11
12
13
14
15
16
17 (Assignment - Smuggling Evidence)
18
19
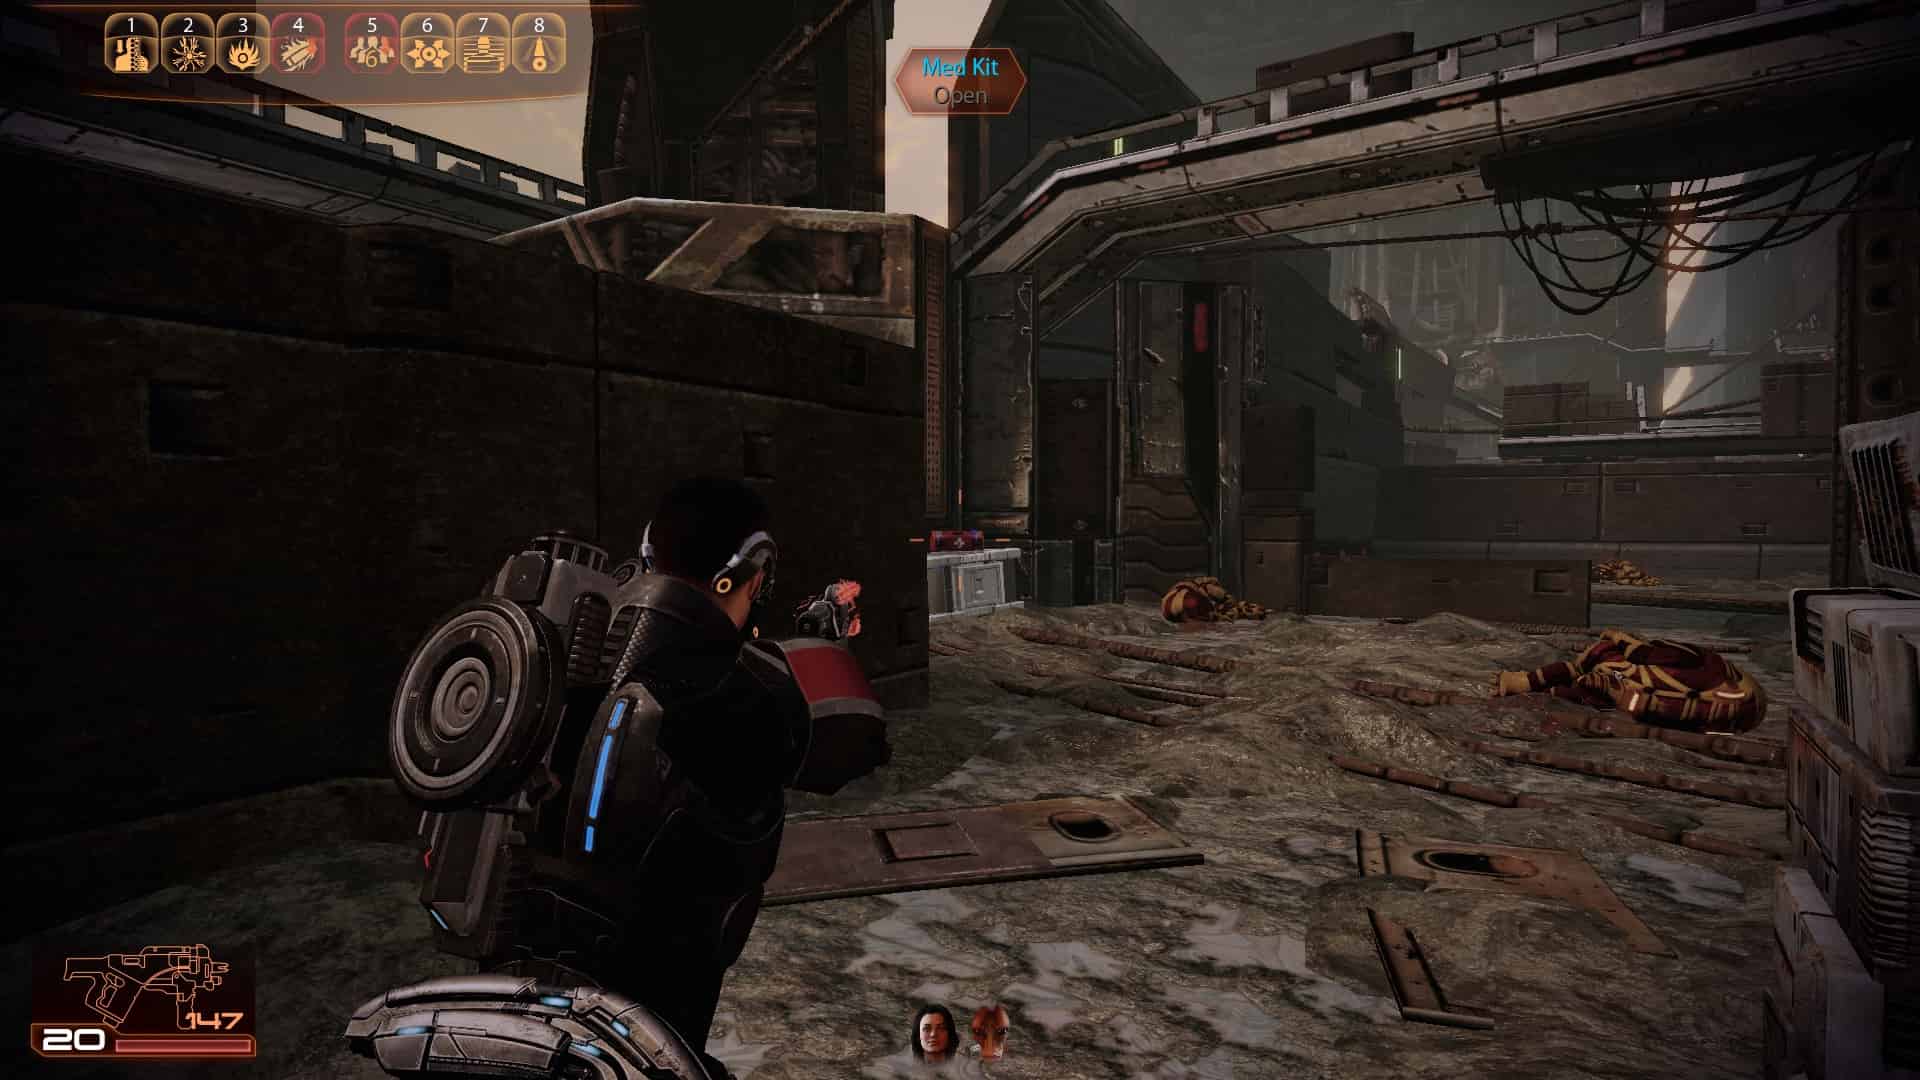
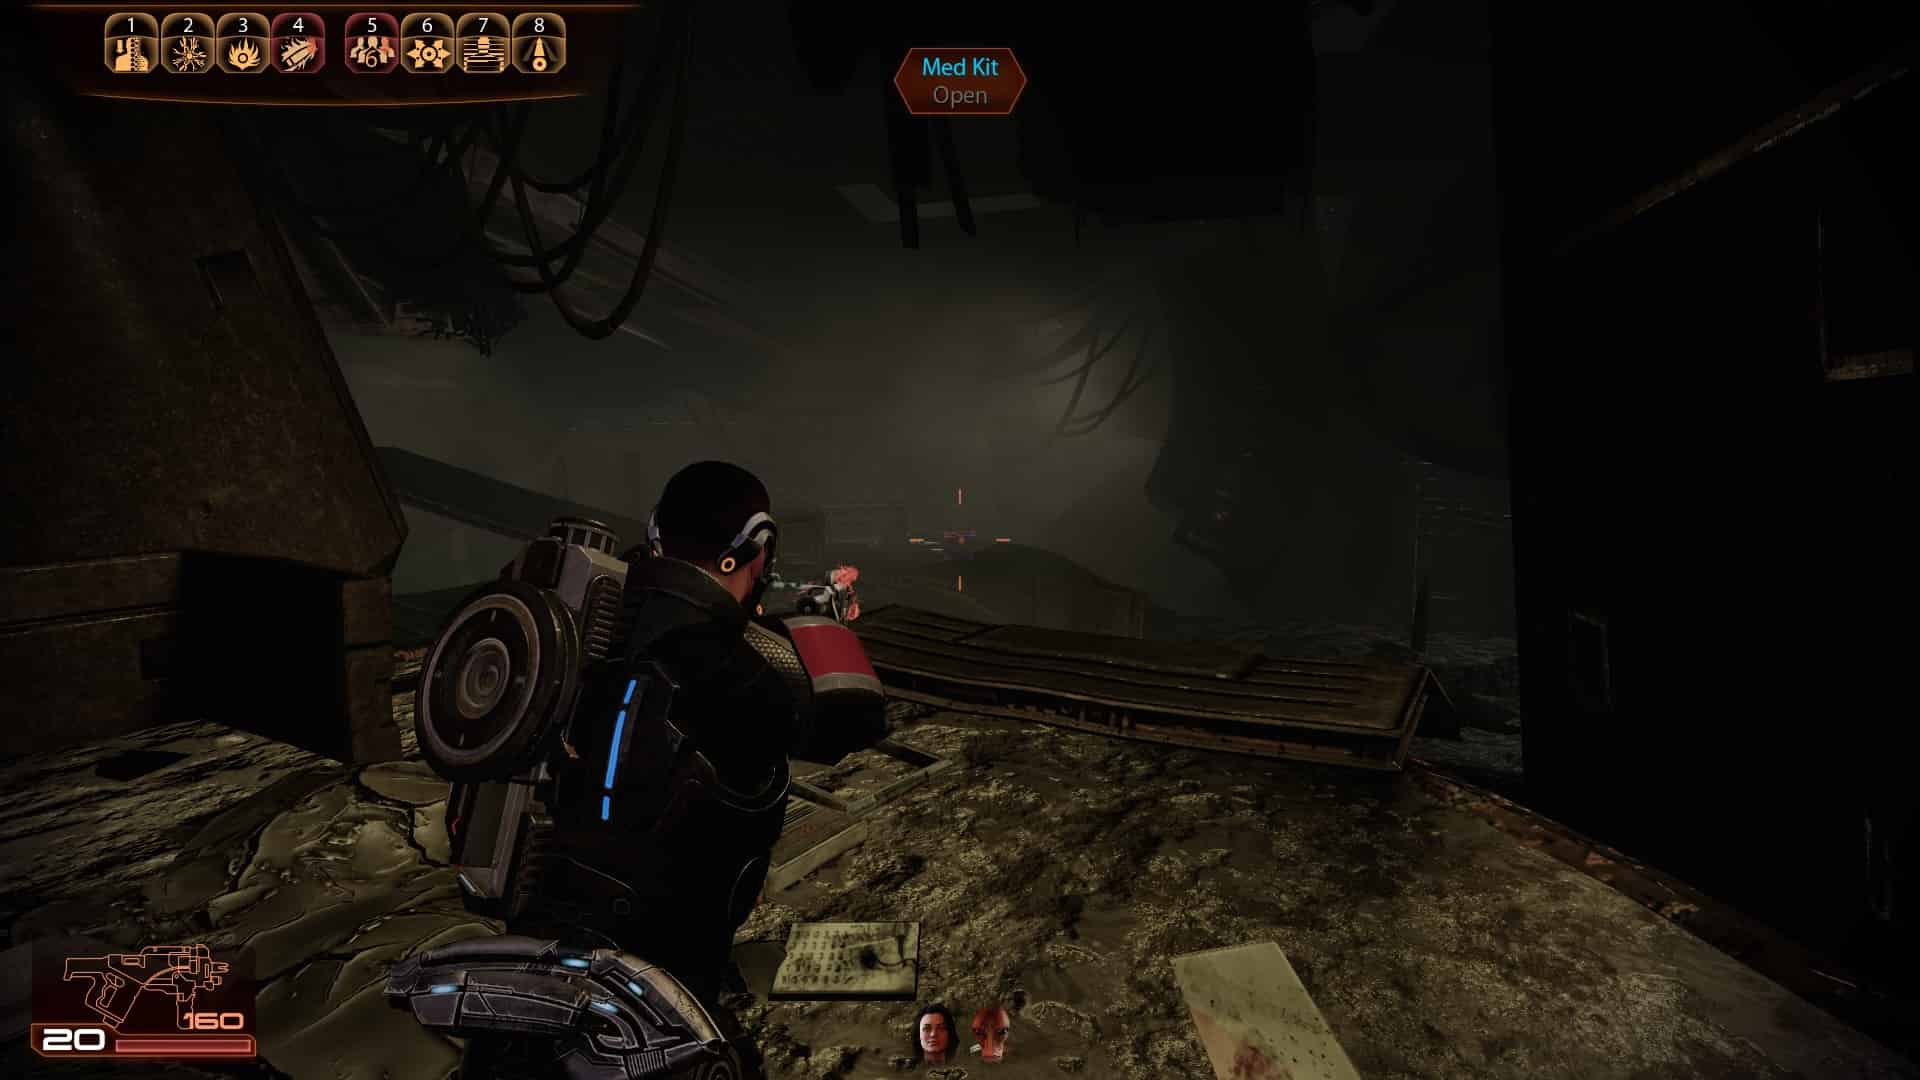
Dossier Mission: The Professor

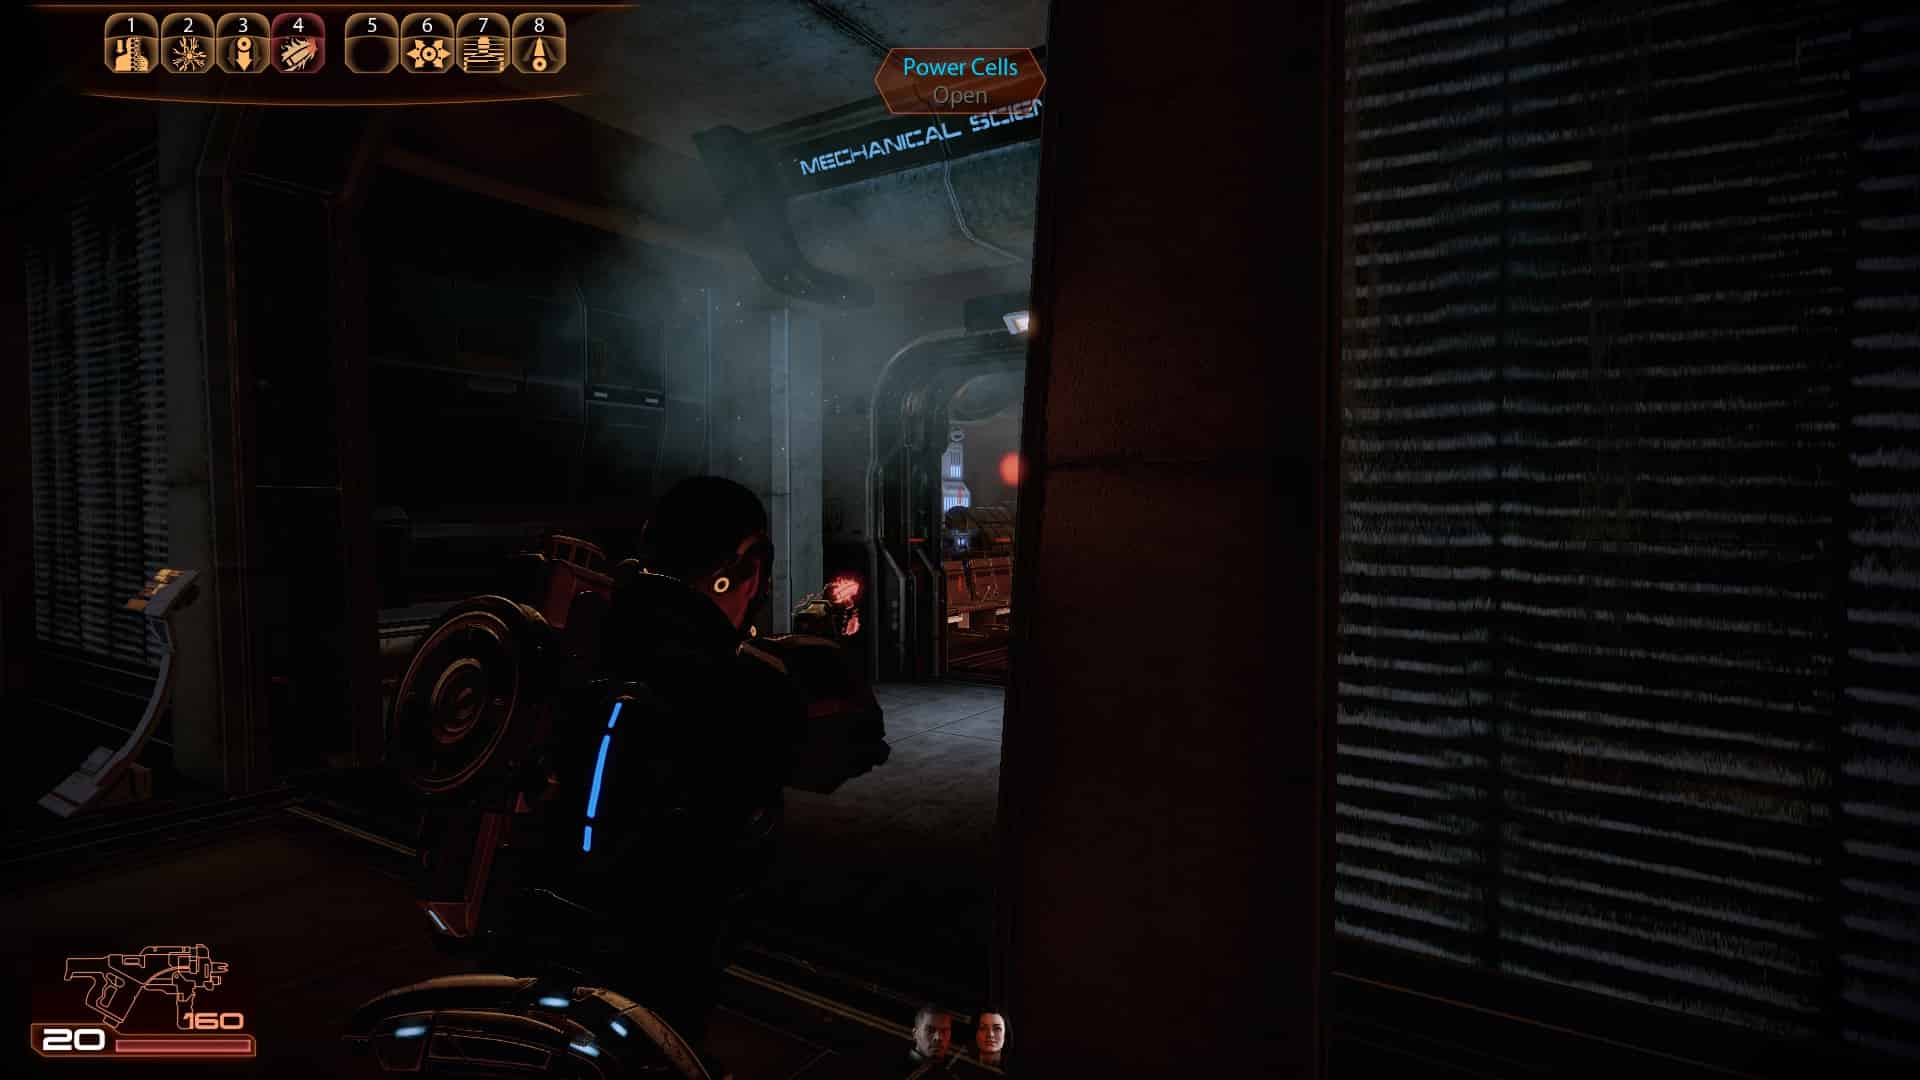
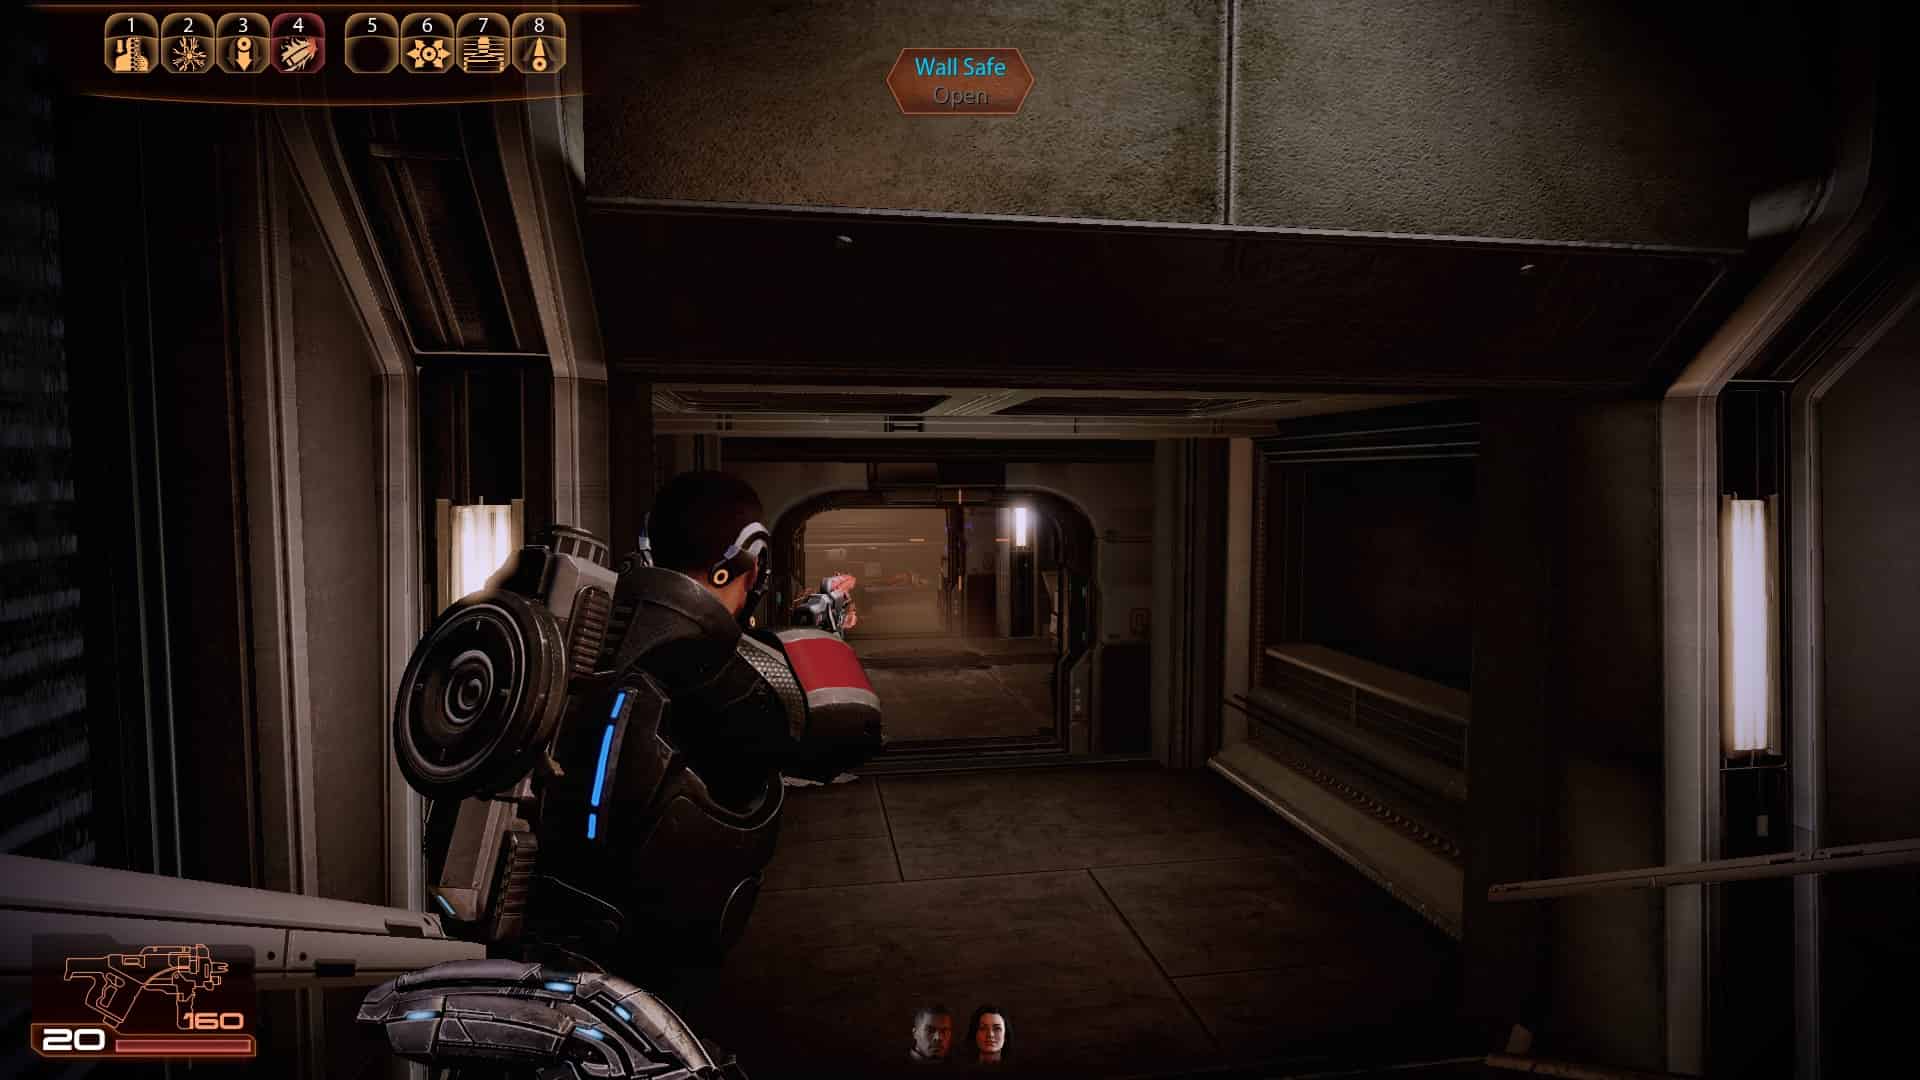
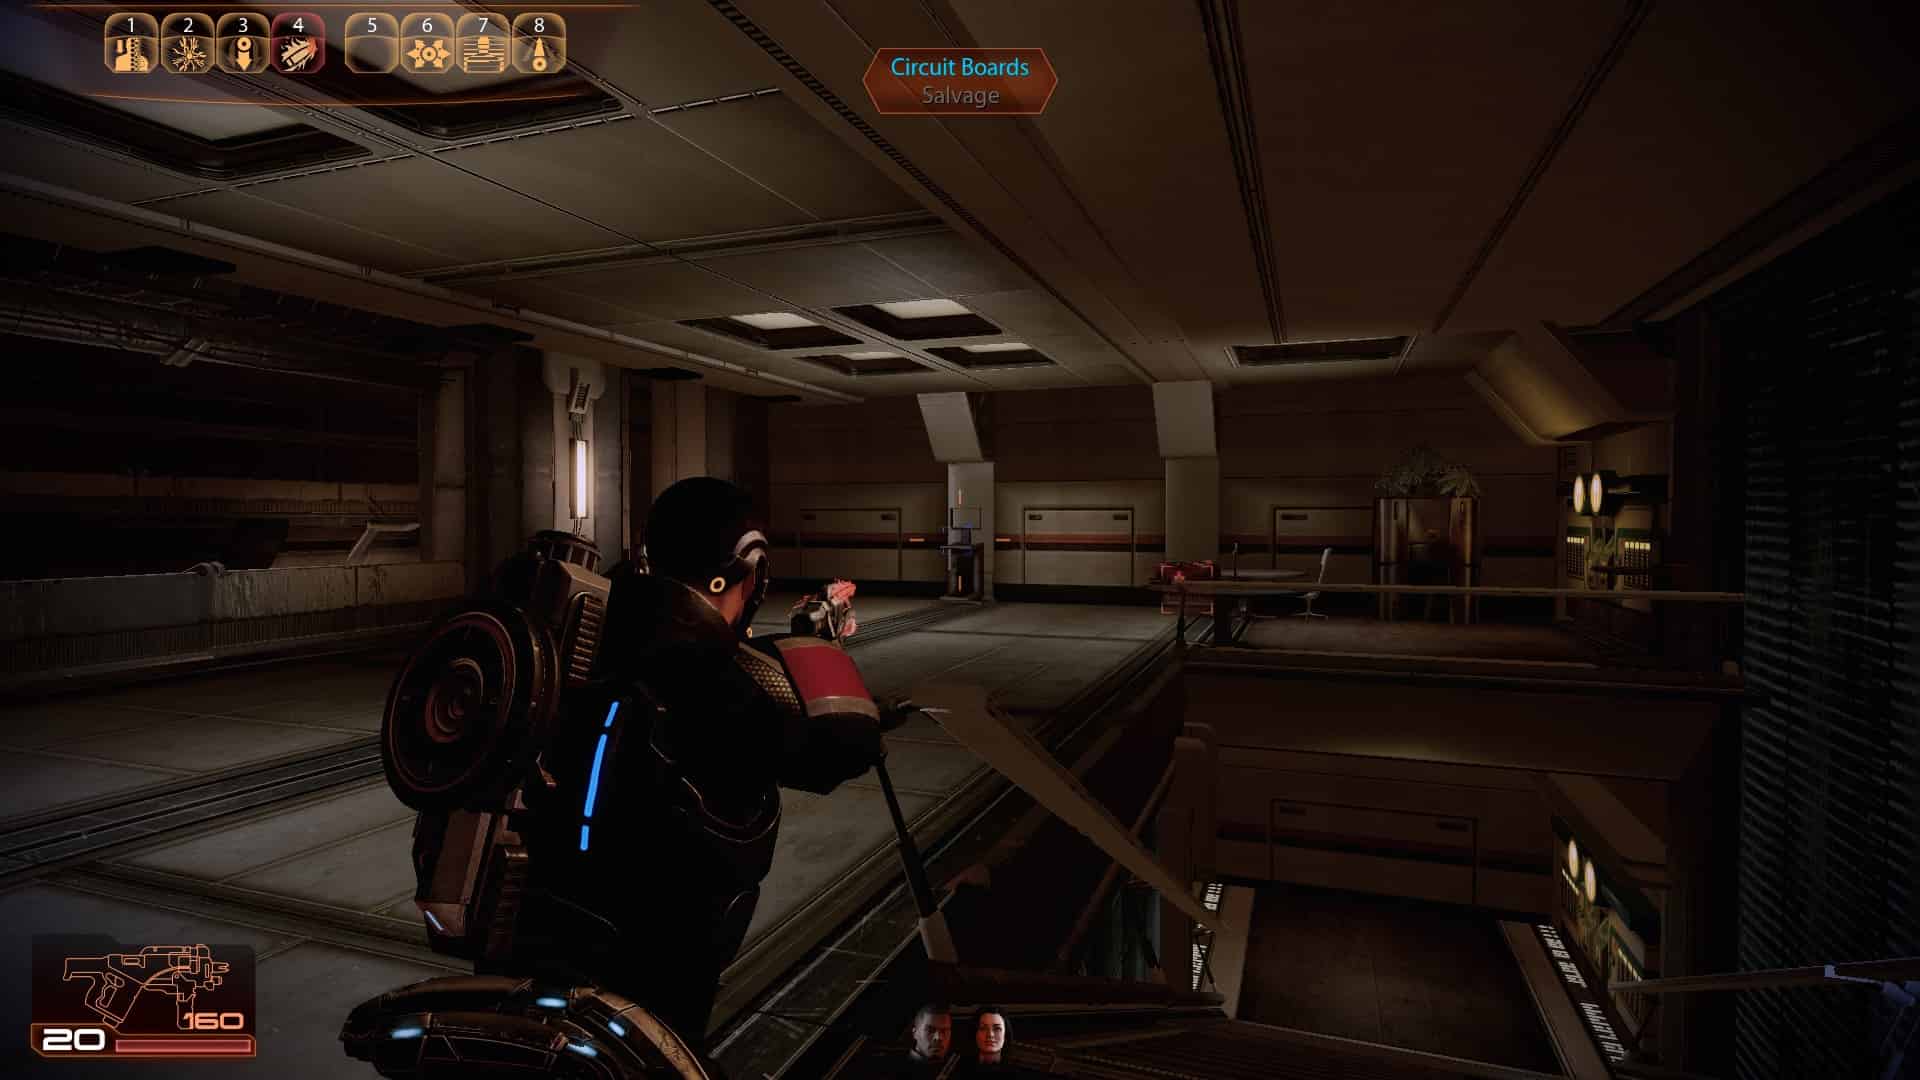


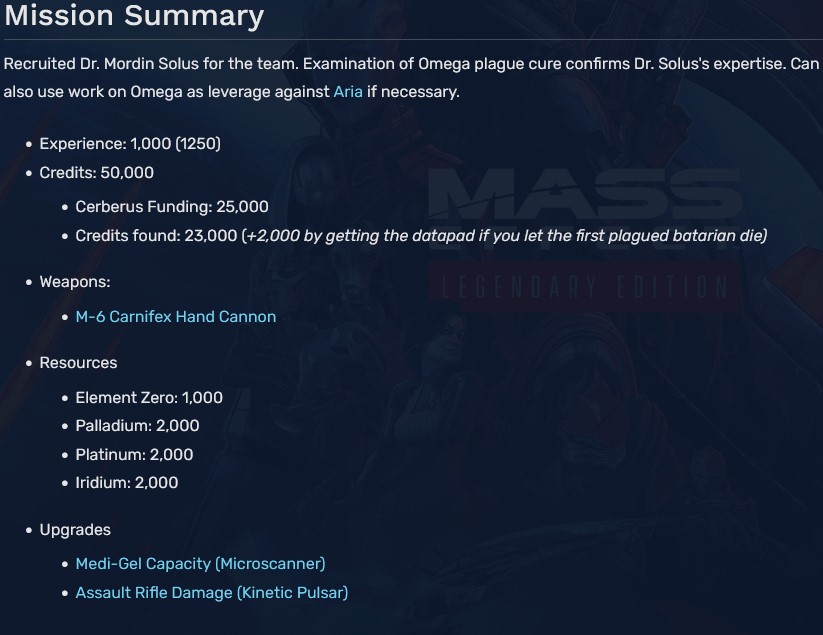
1
2
3
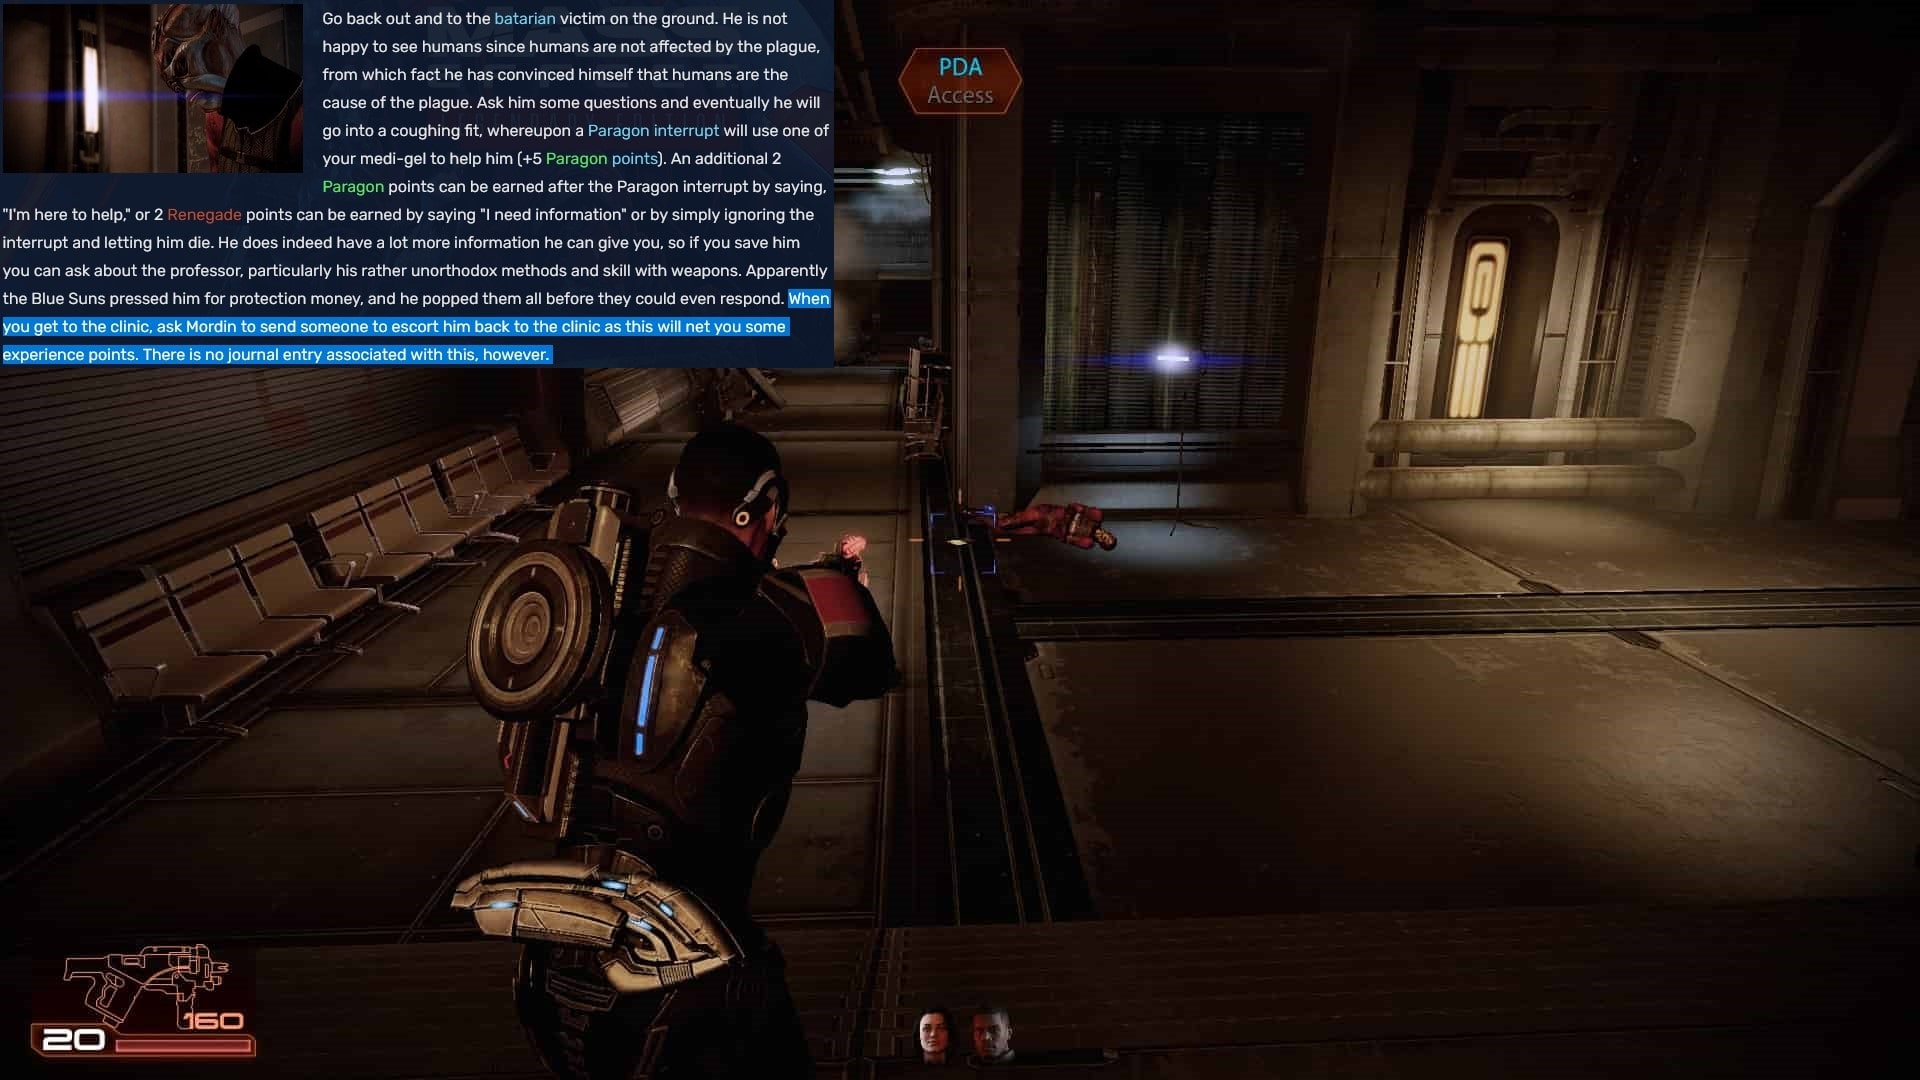
4
5 (Only if you let the batarian victim die. This will give you less XP)
6
7
8
9
10
11 (Upgrade - Assault Rifle Damage)
12
13
14
15
16
17 (Upgrade - Medi-Gel Capacity)
18
19
20
21
22
23
24
25 (There's nothing in the following large open area)
26
27
28
29
Dossier Mission: The Warlord

1
2
3
4
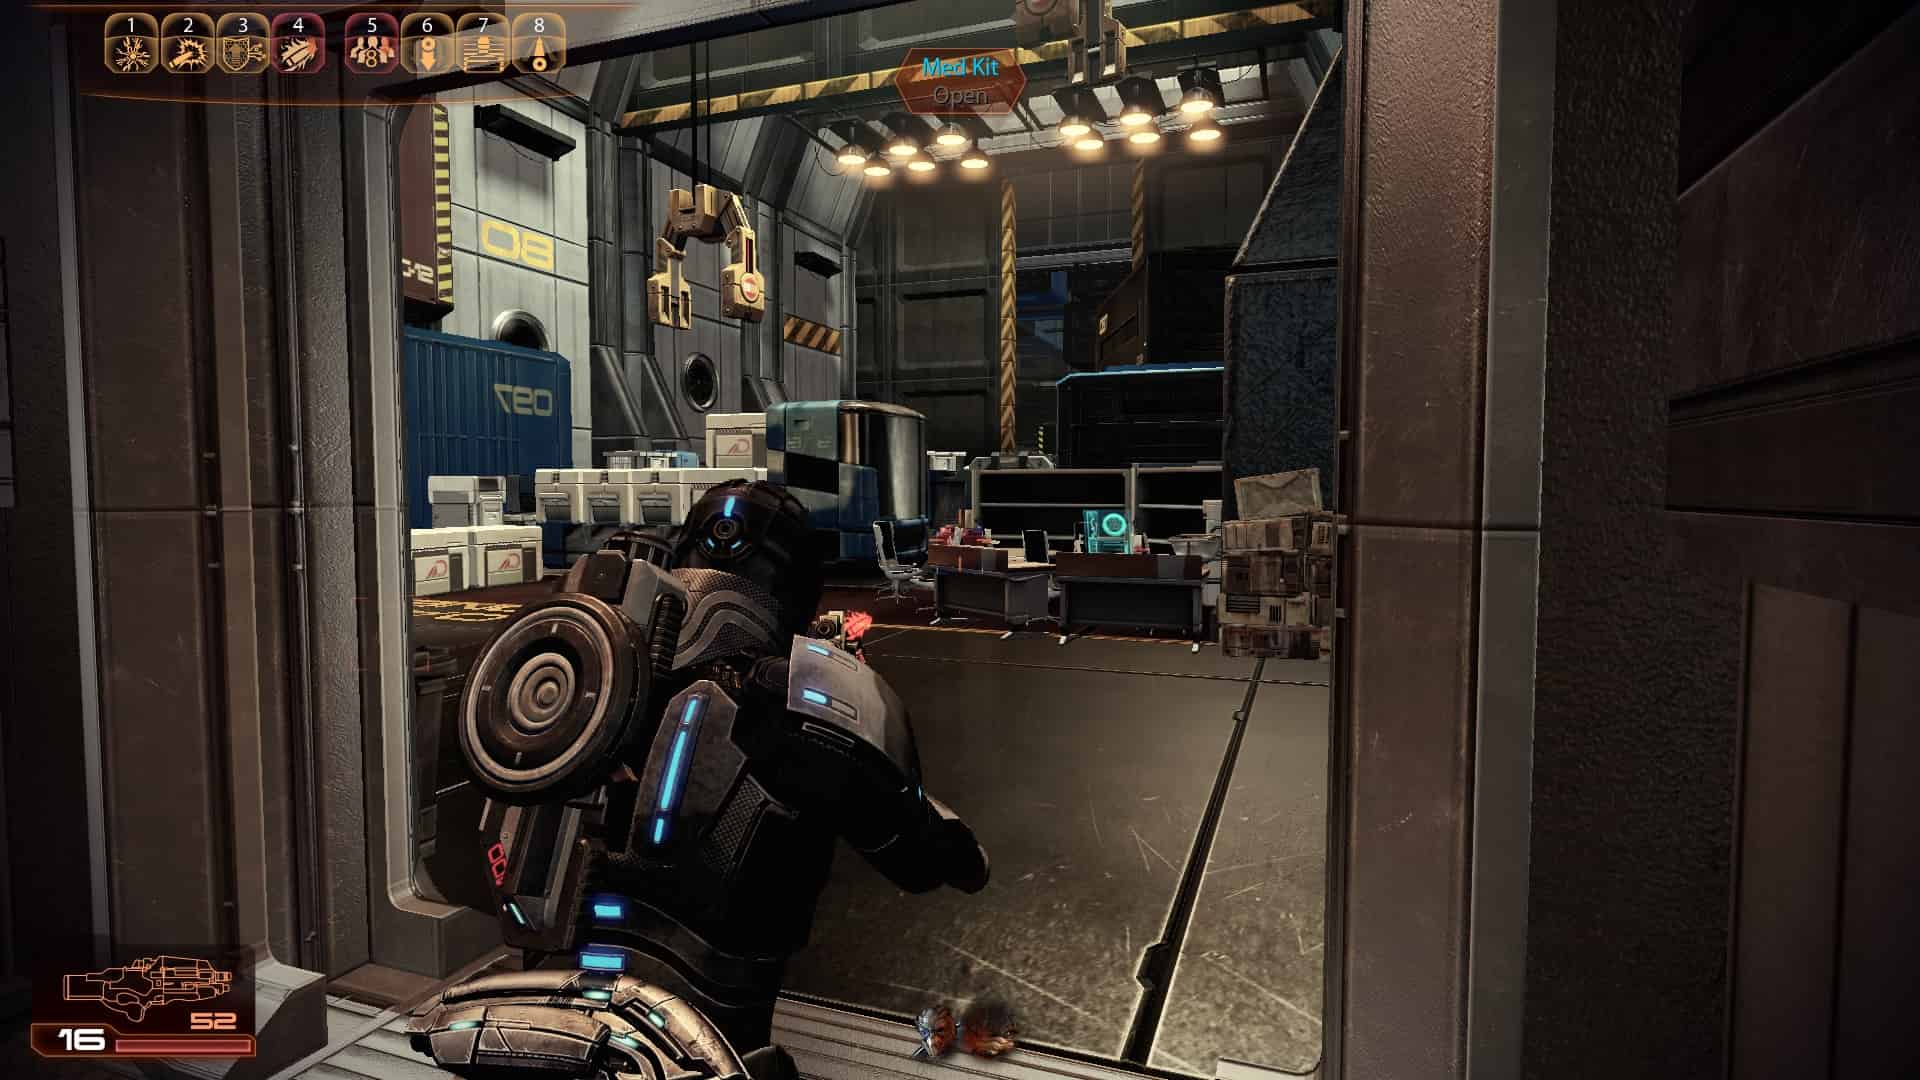
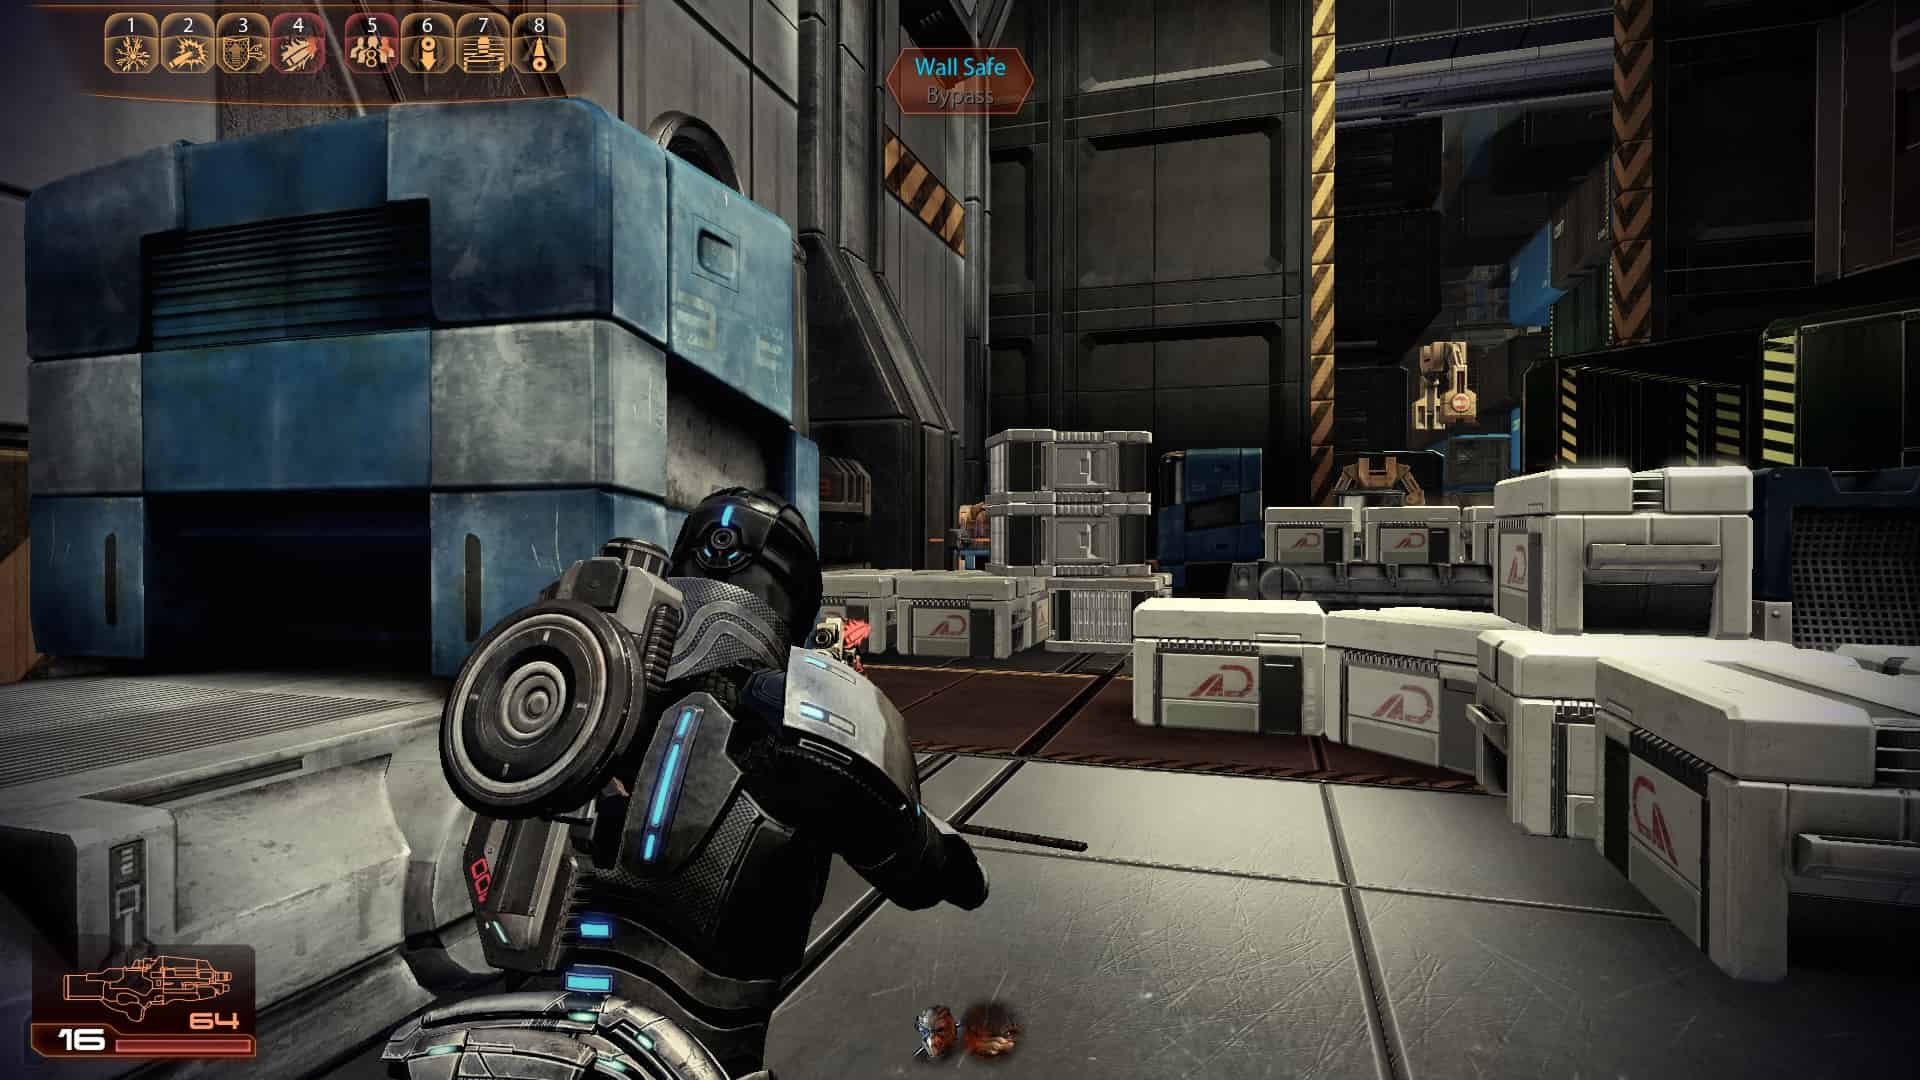
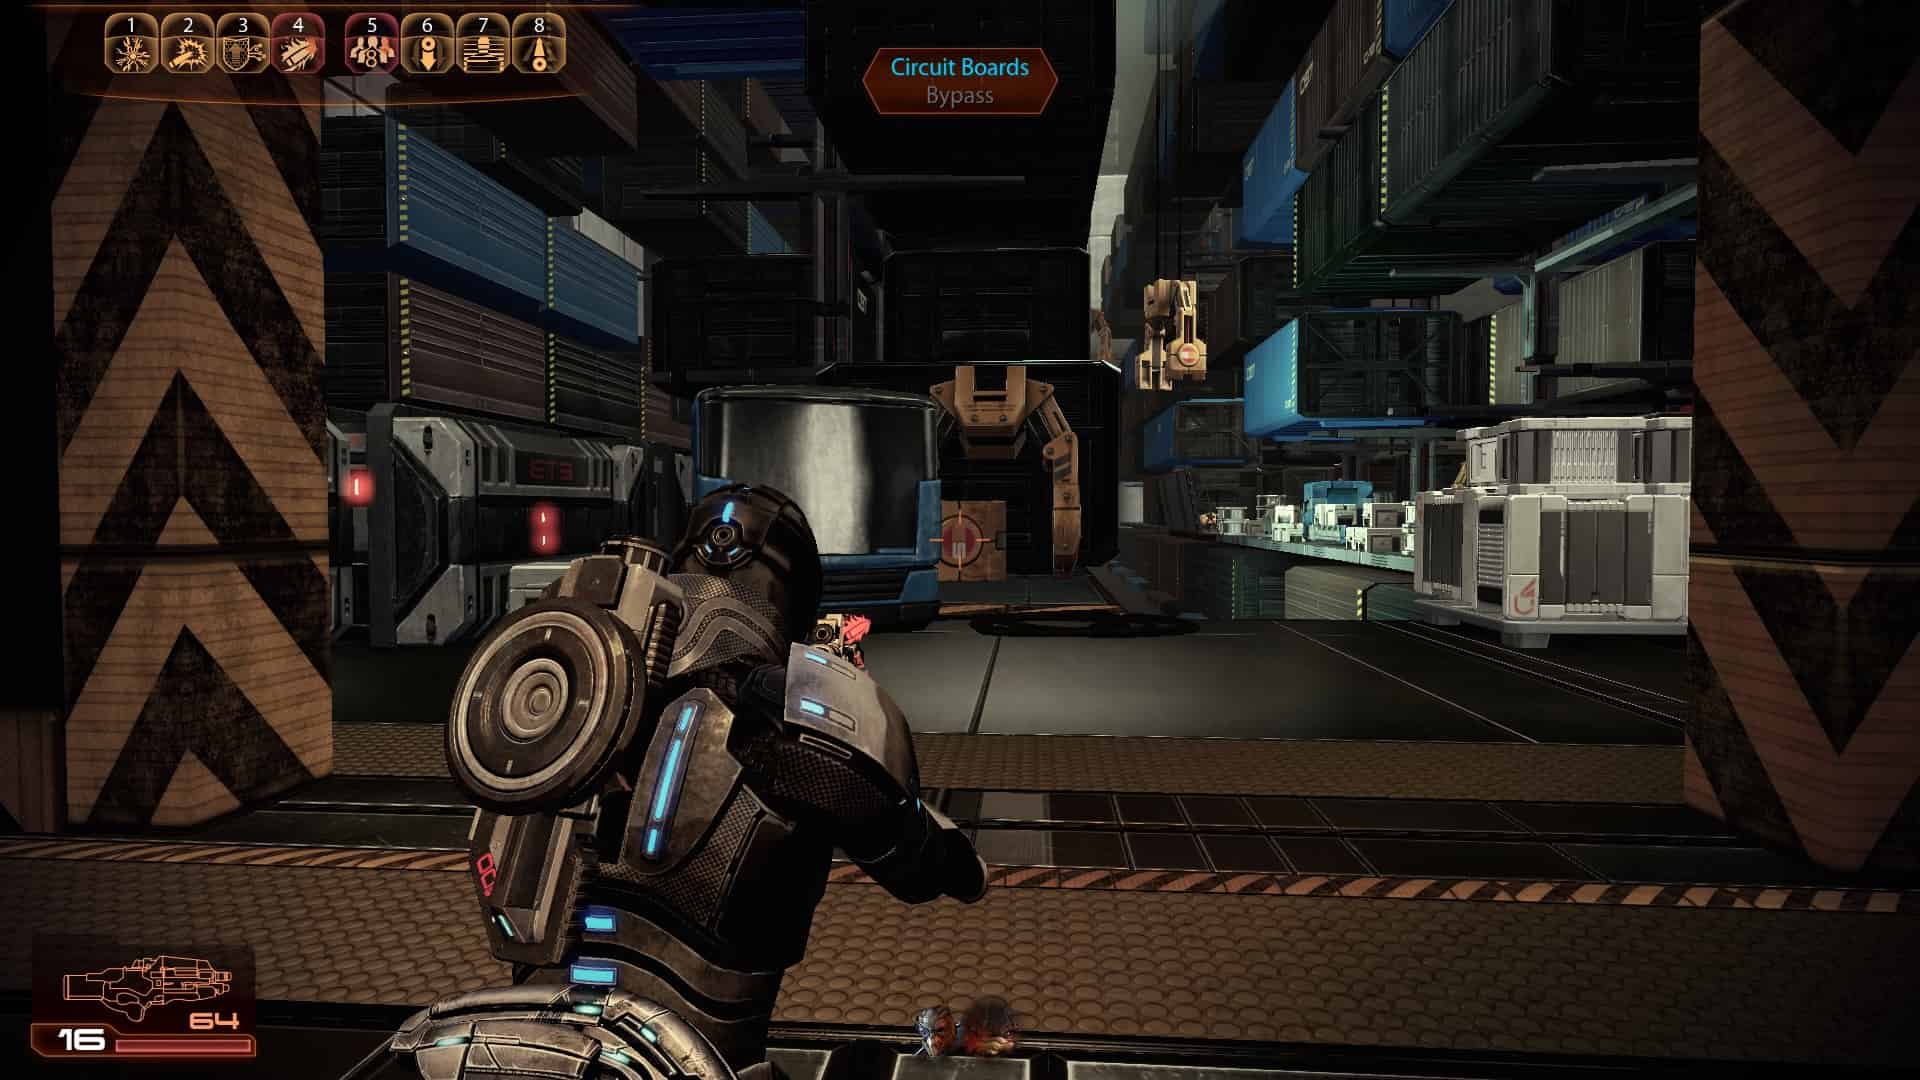
5 (Upgrade - Sniper Rifle Damage)
6
7
8
9
10
11
12
13
14
15
16 (Upgrade - Krogan Vitality)
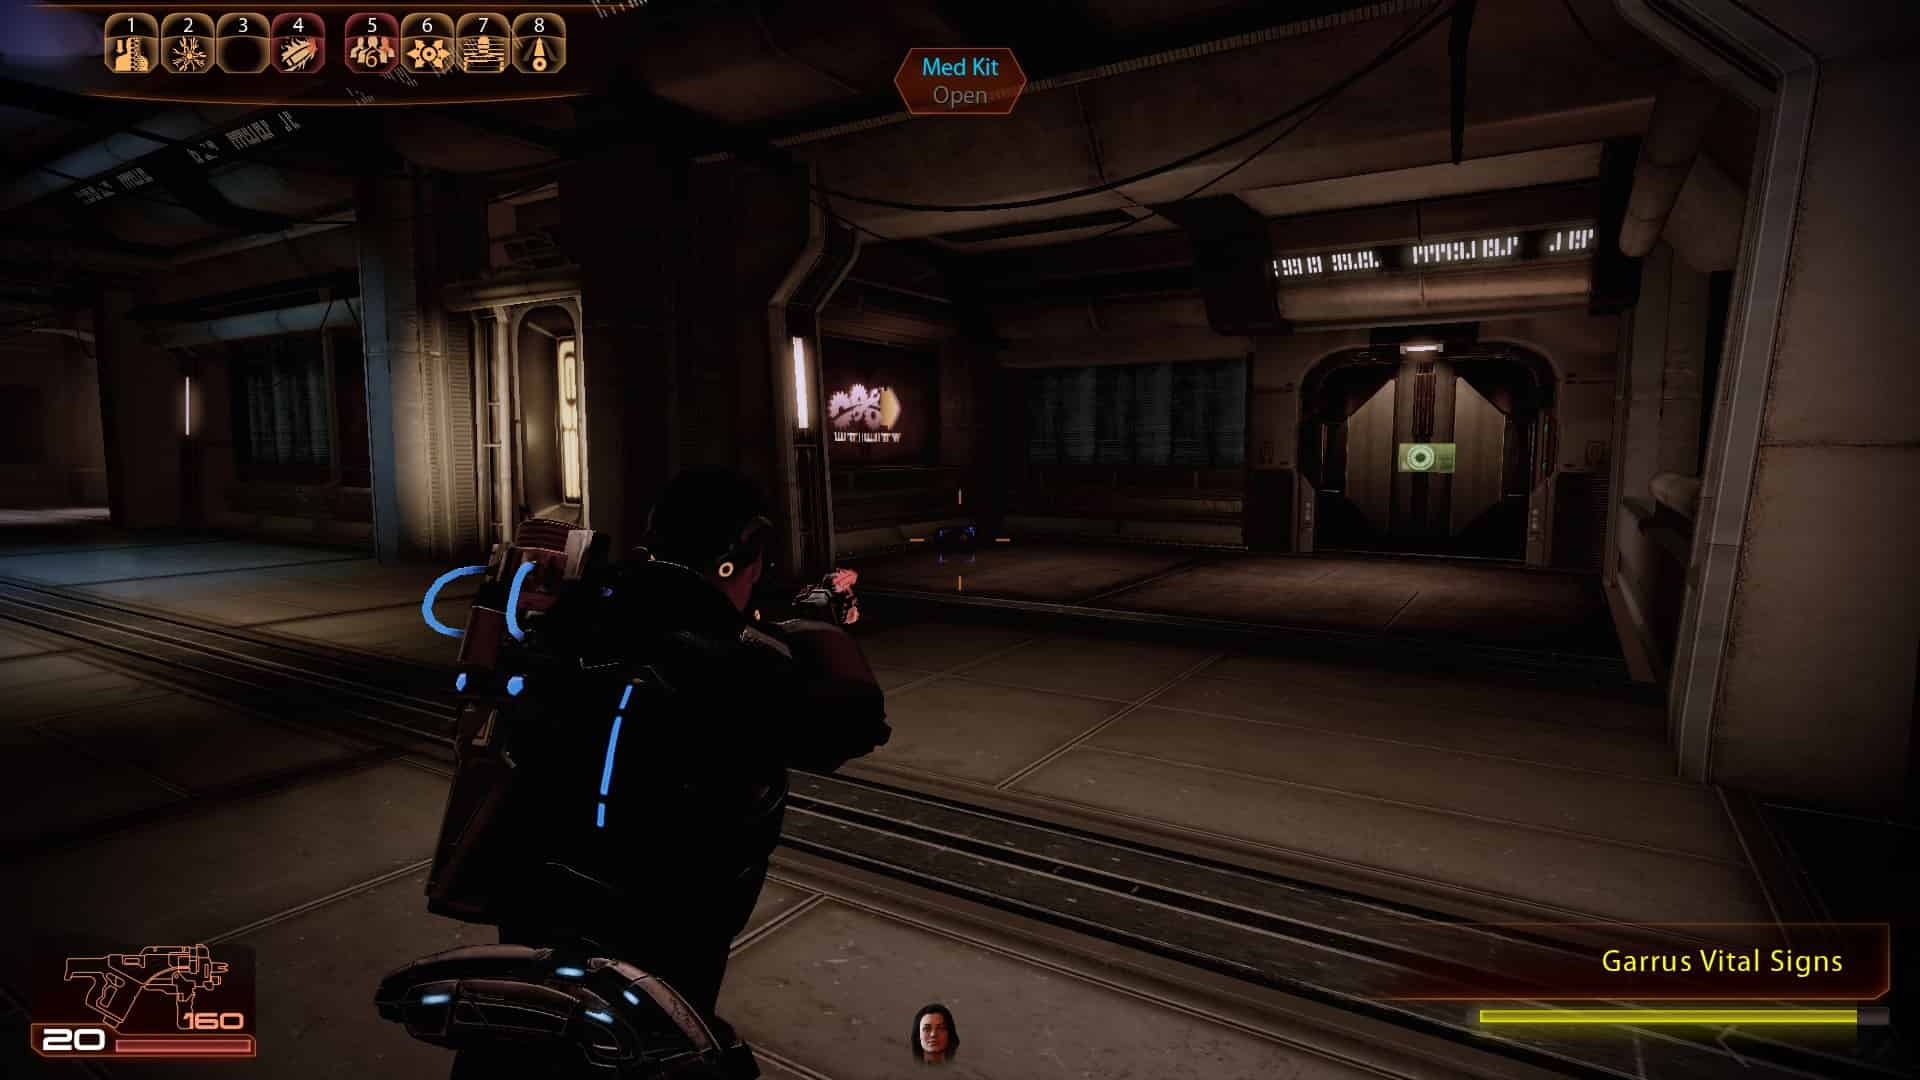
Loyalty Mission: Garrus


1
2
3
4
5
6
7
8
9
10
11
12
13
14
15
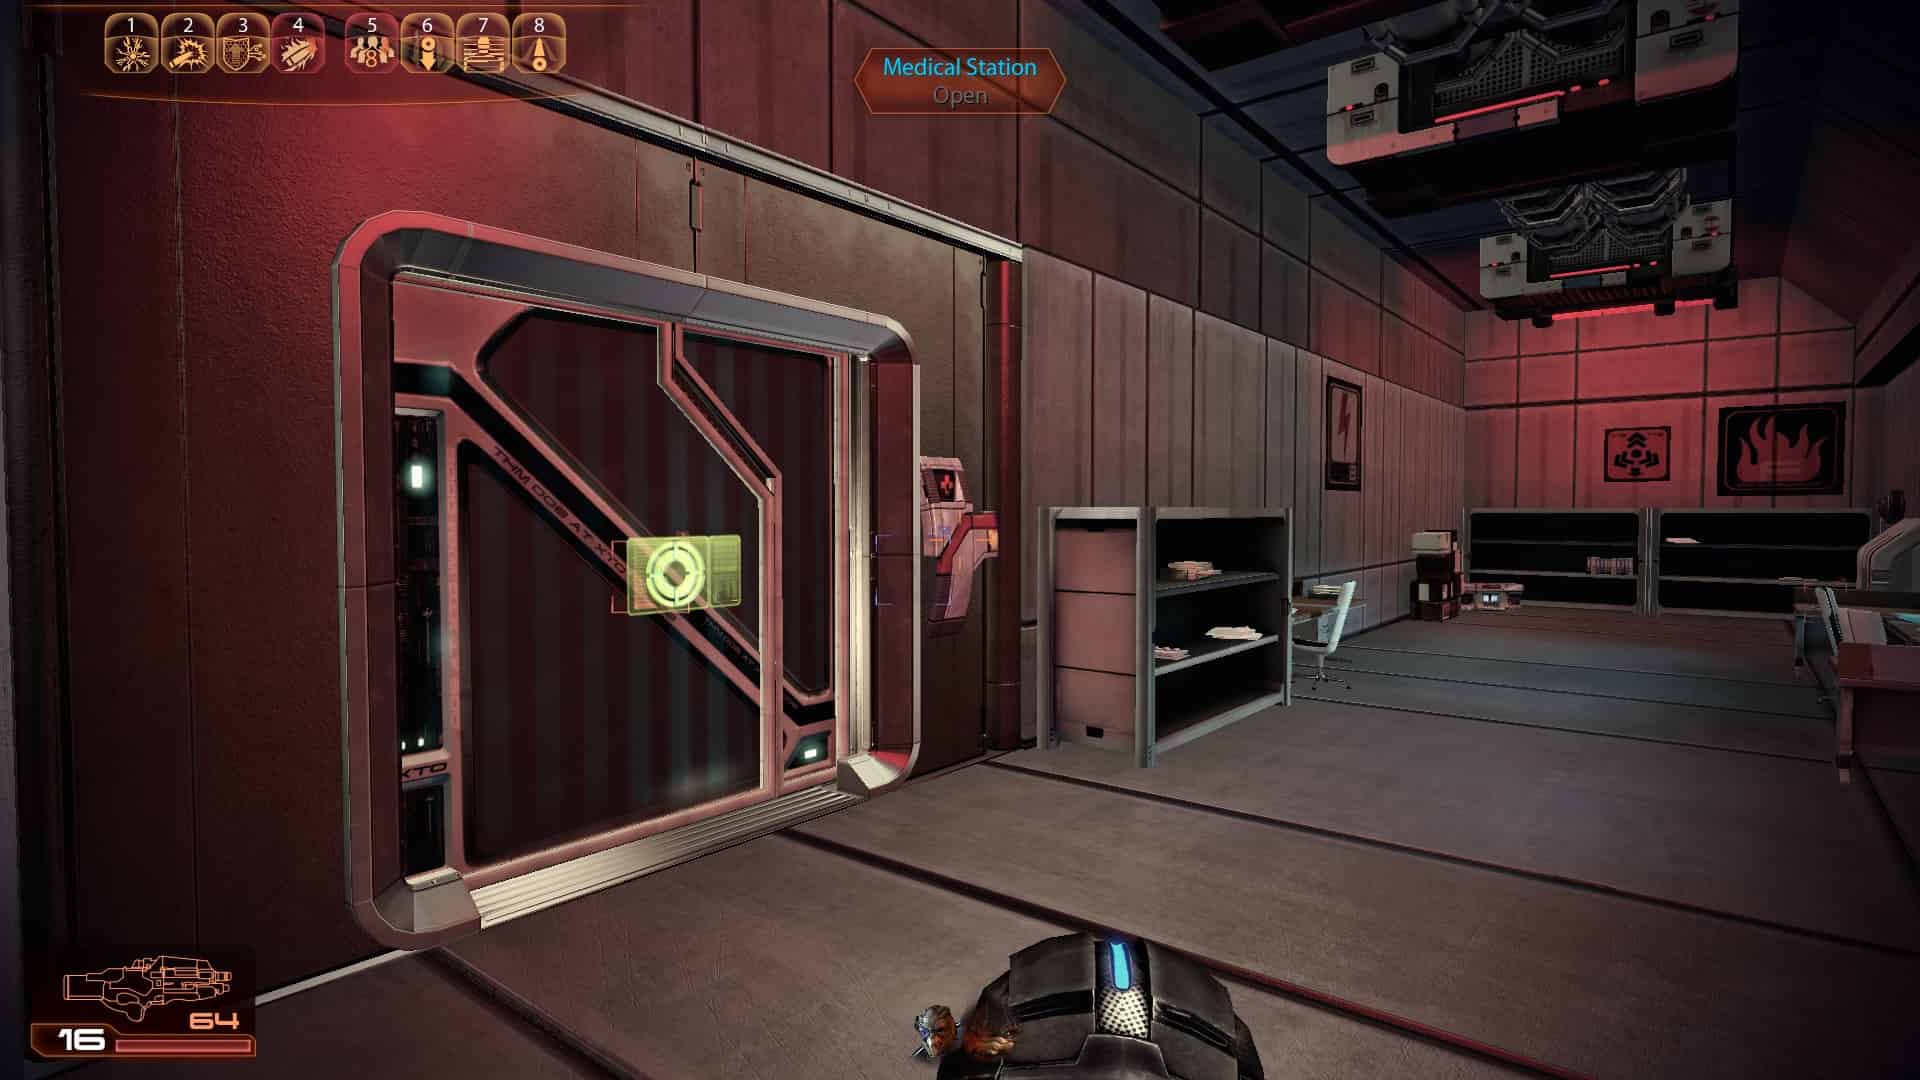
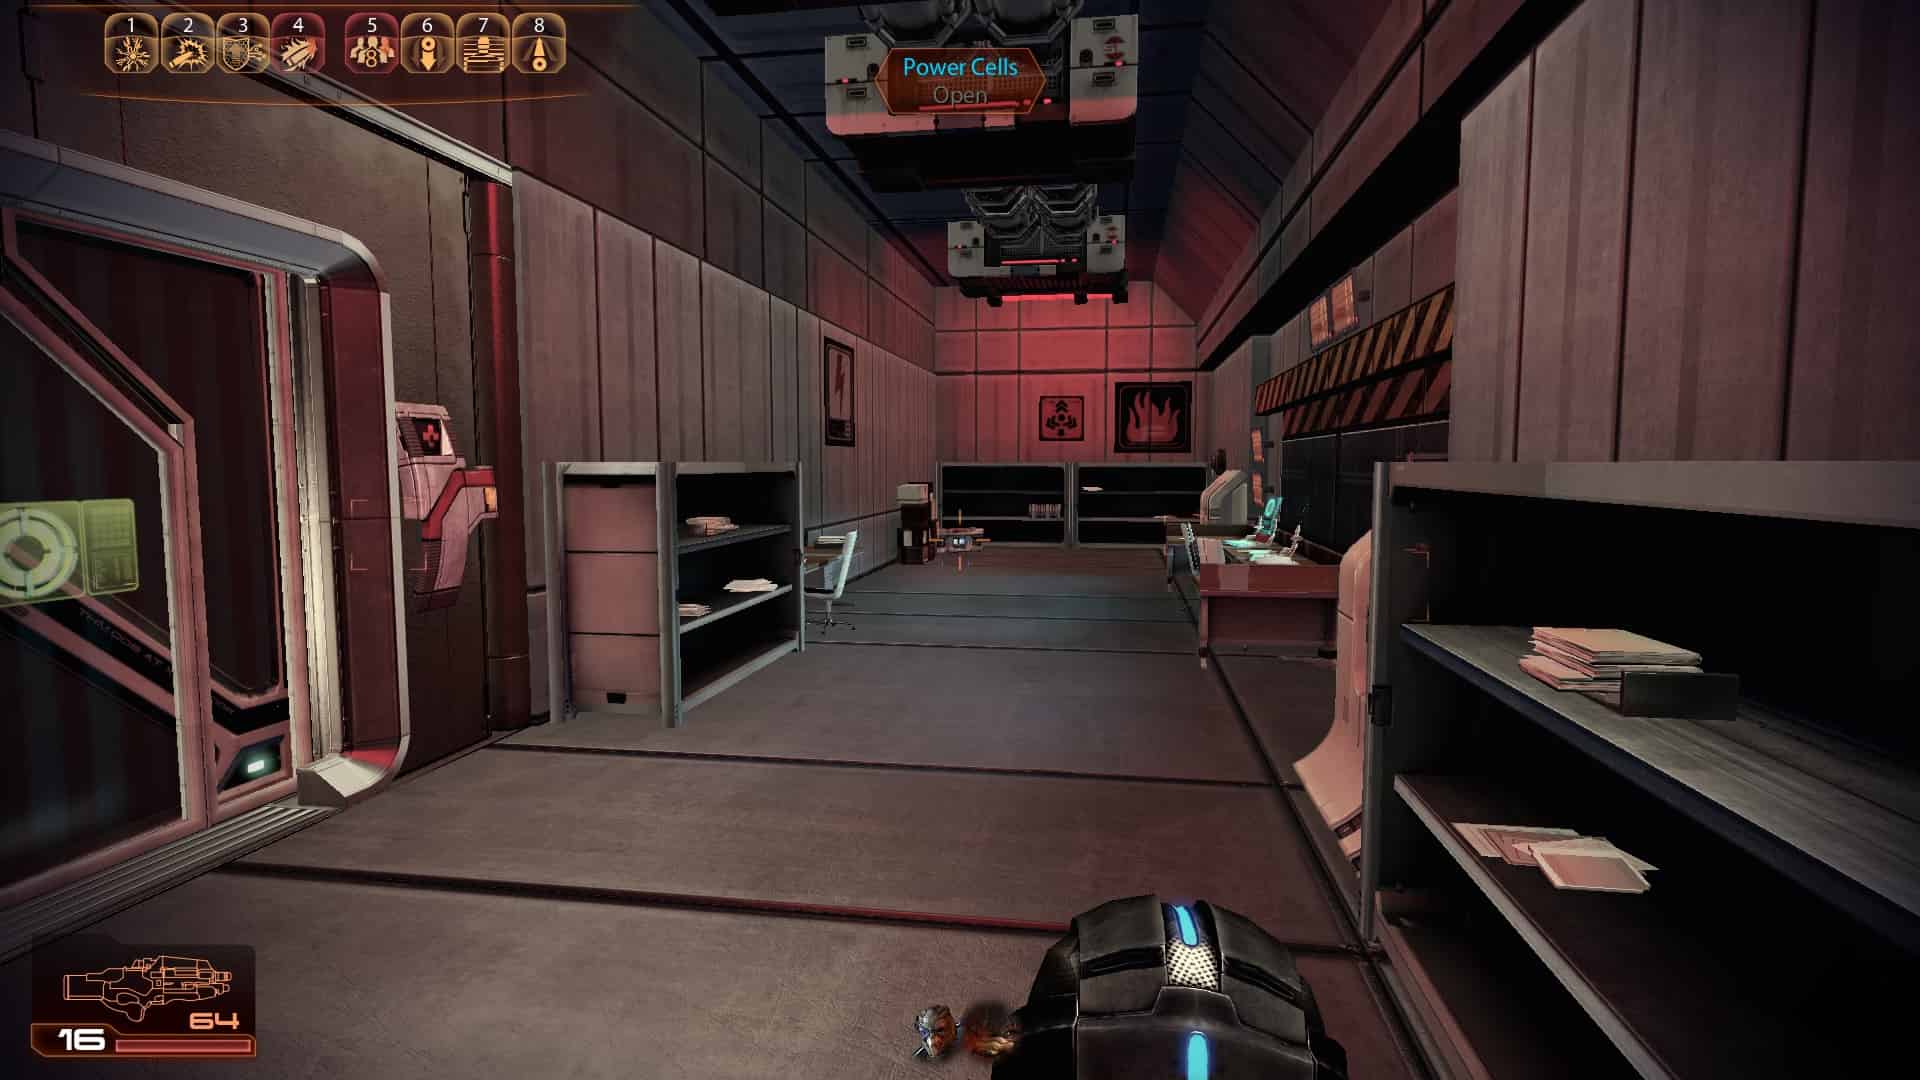
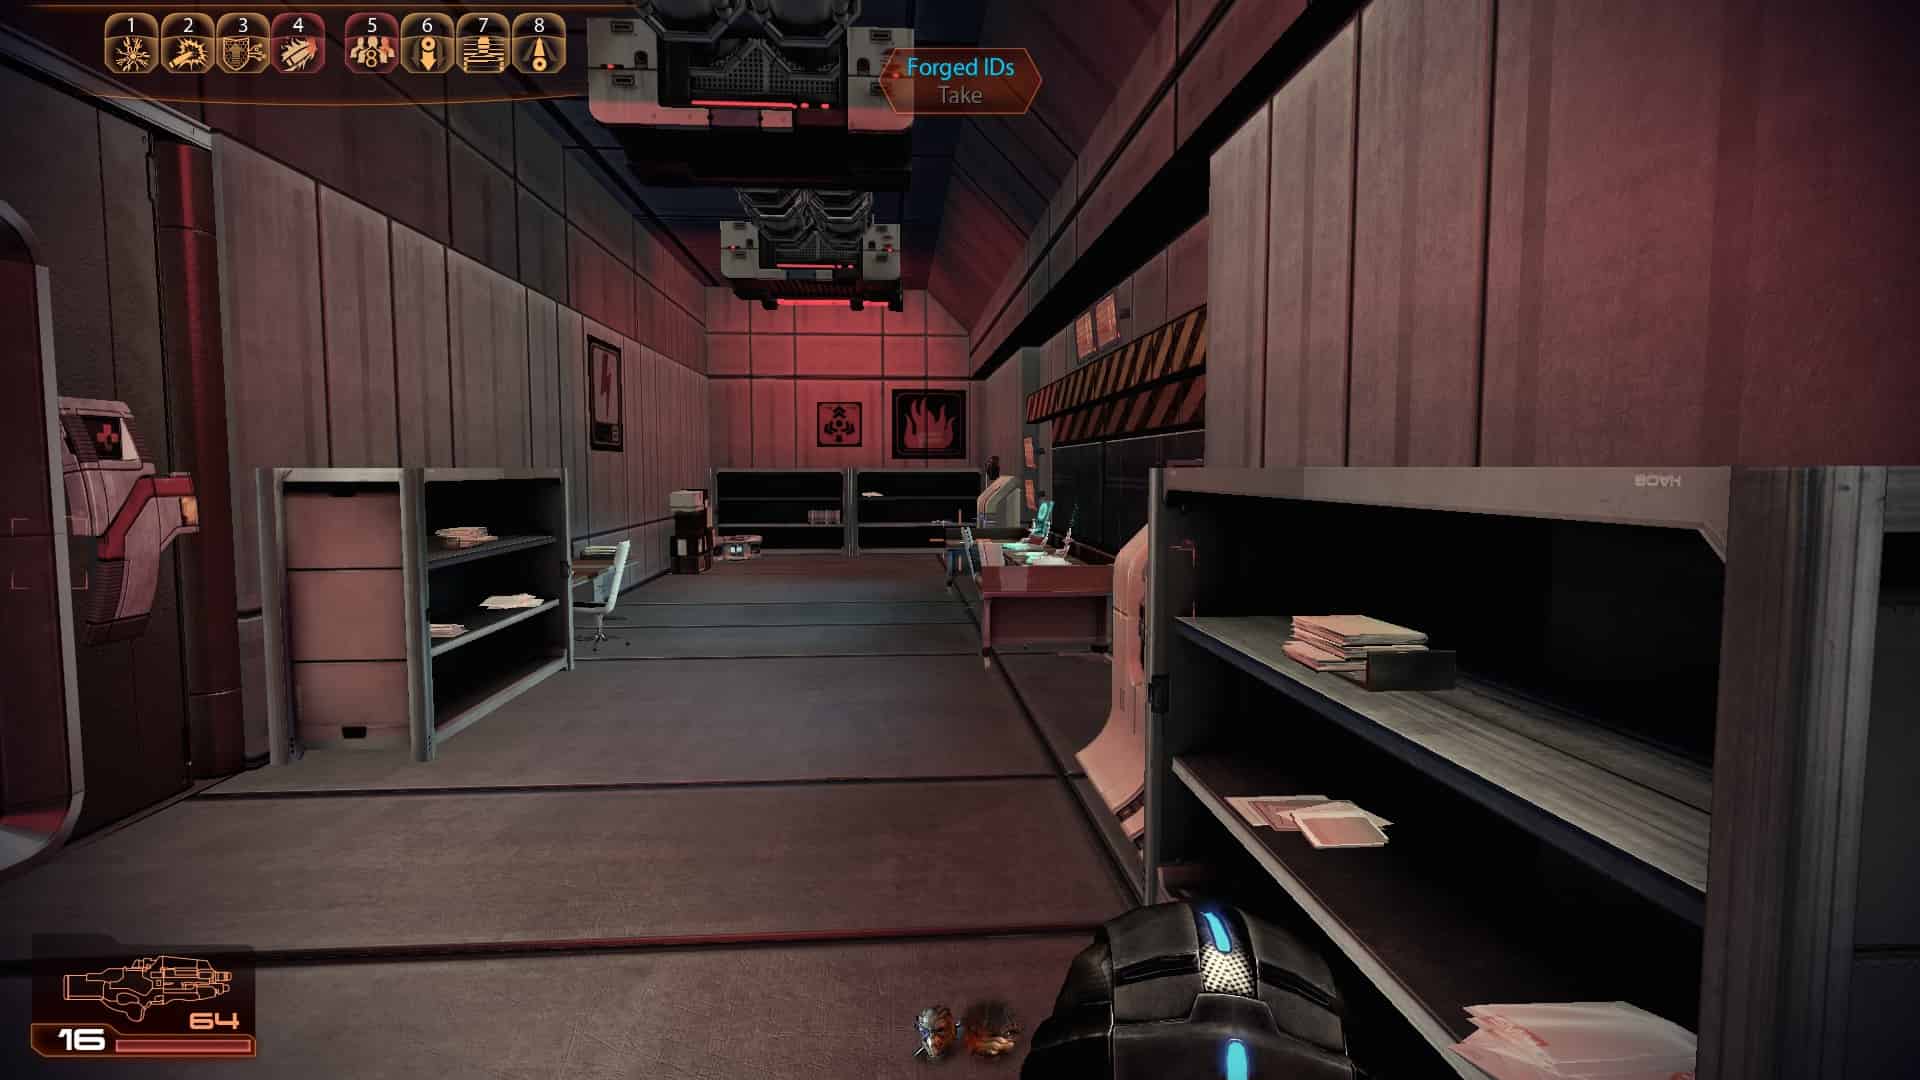
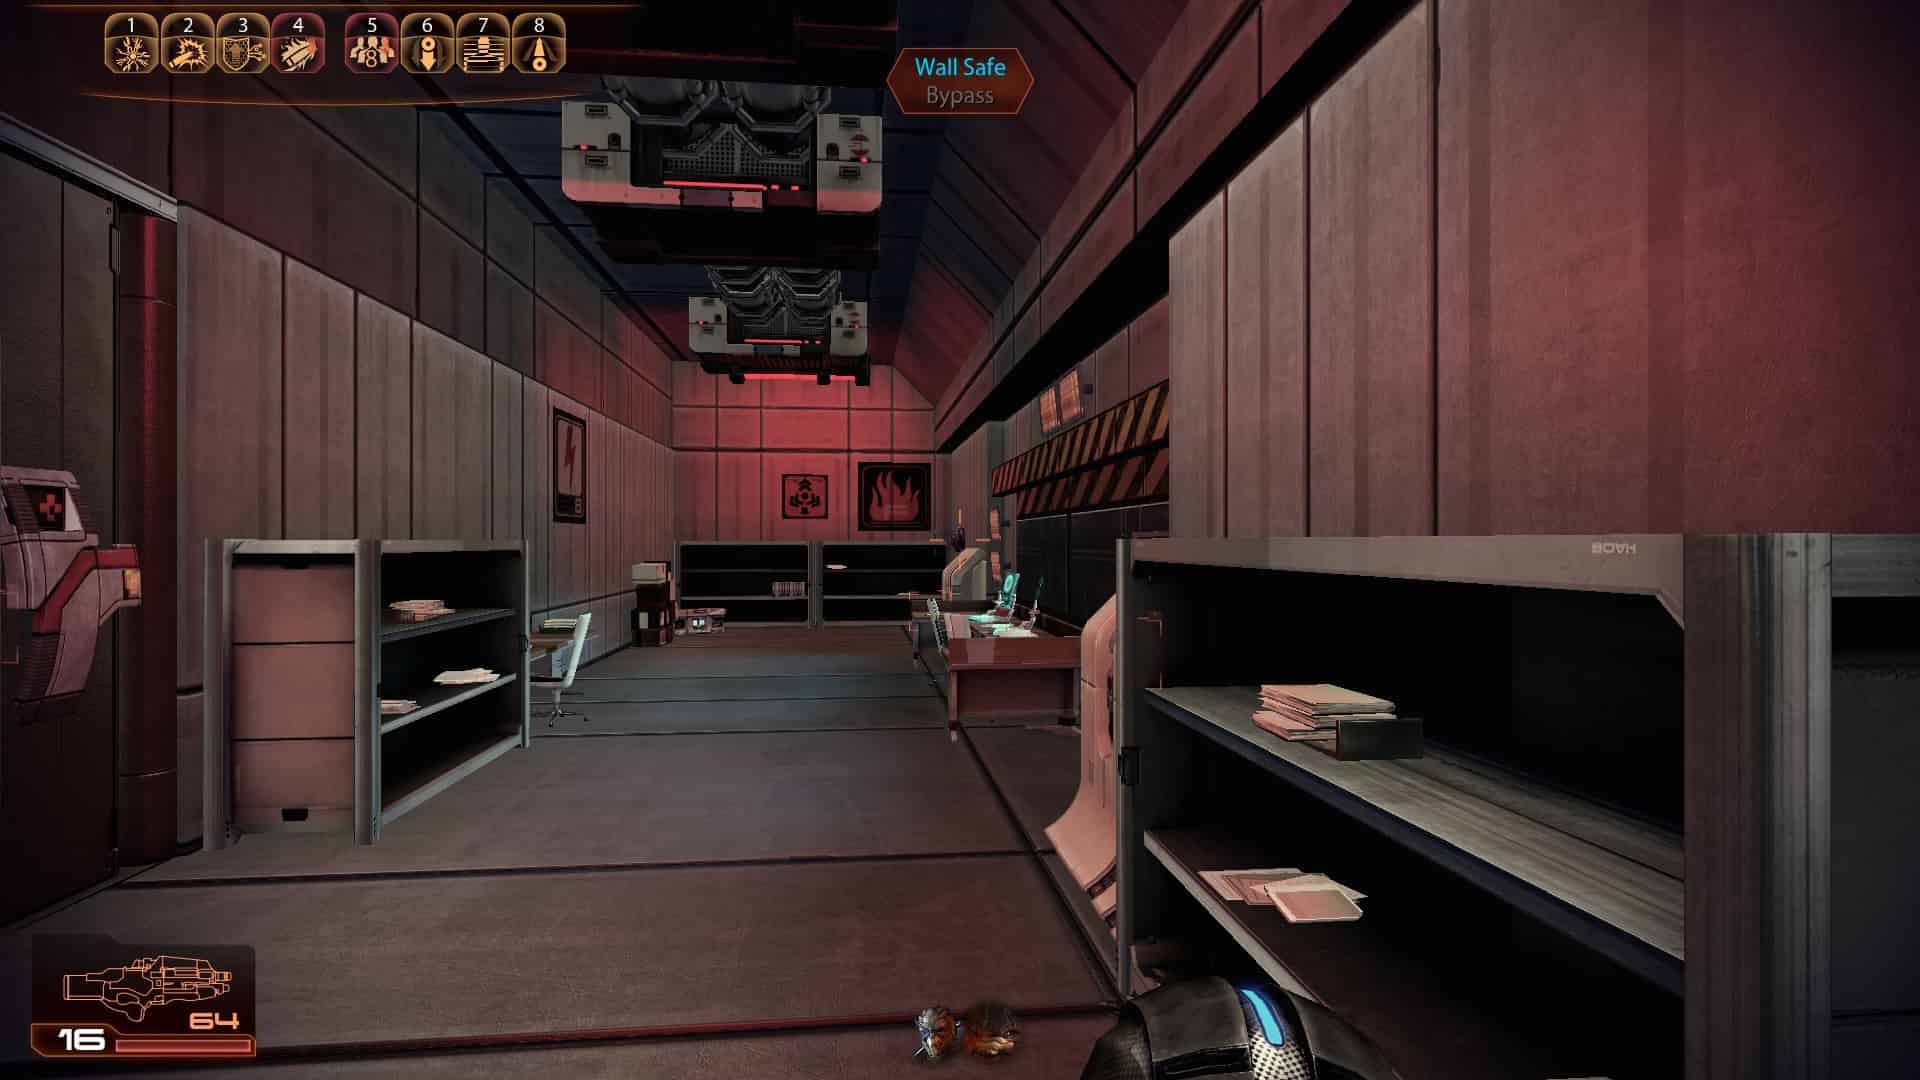
16 (Assignment - Found Forged ID)
17
18 (Upgrade - Sniper Rifle Damage)
19
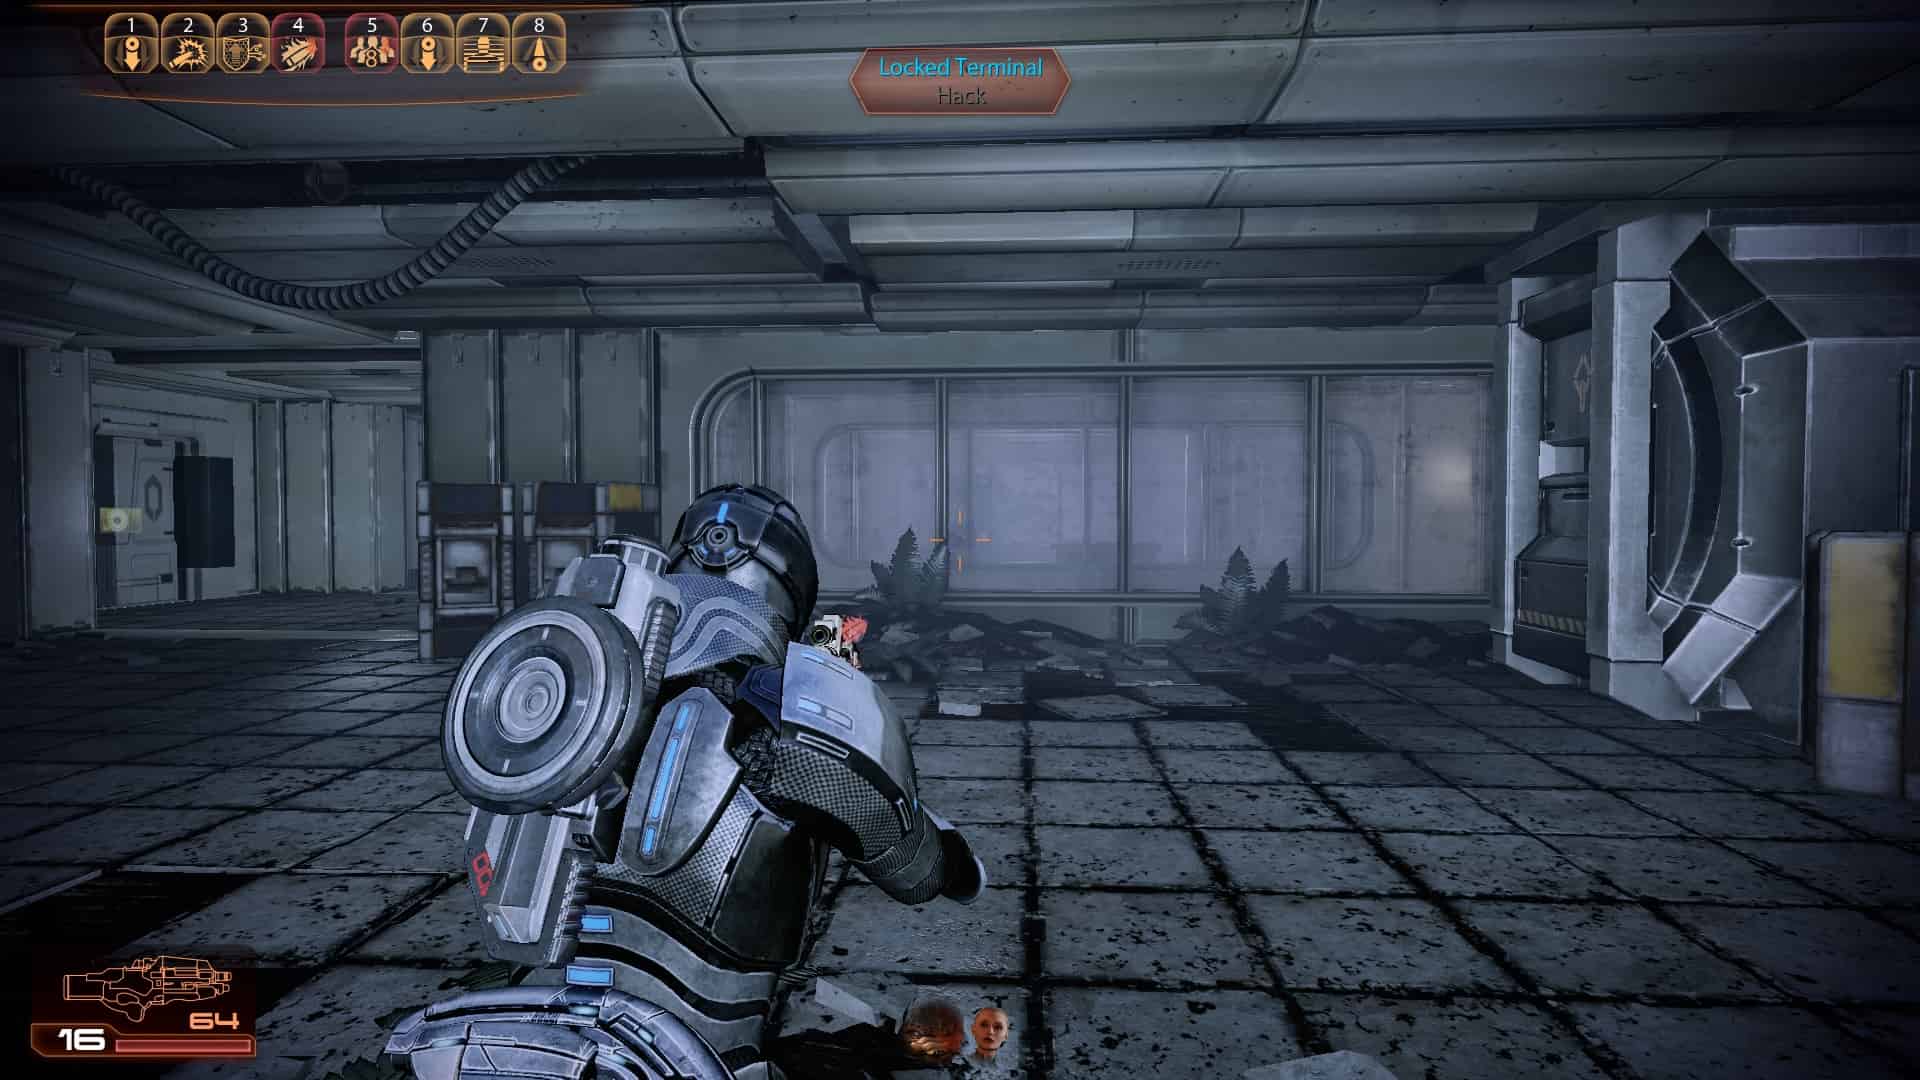
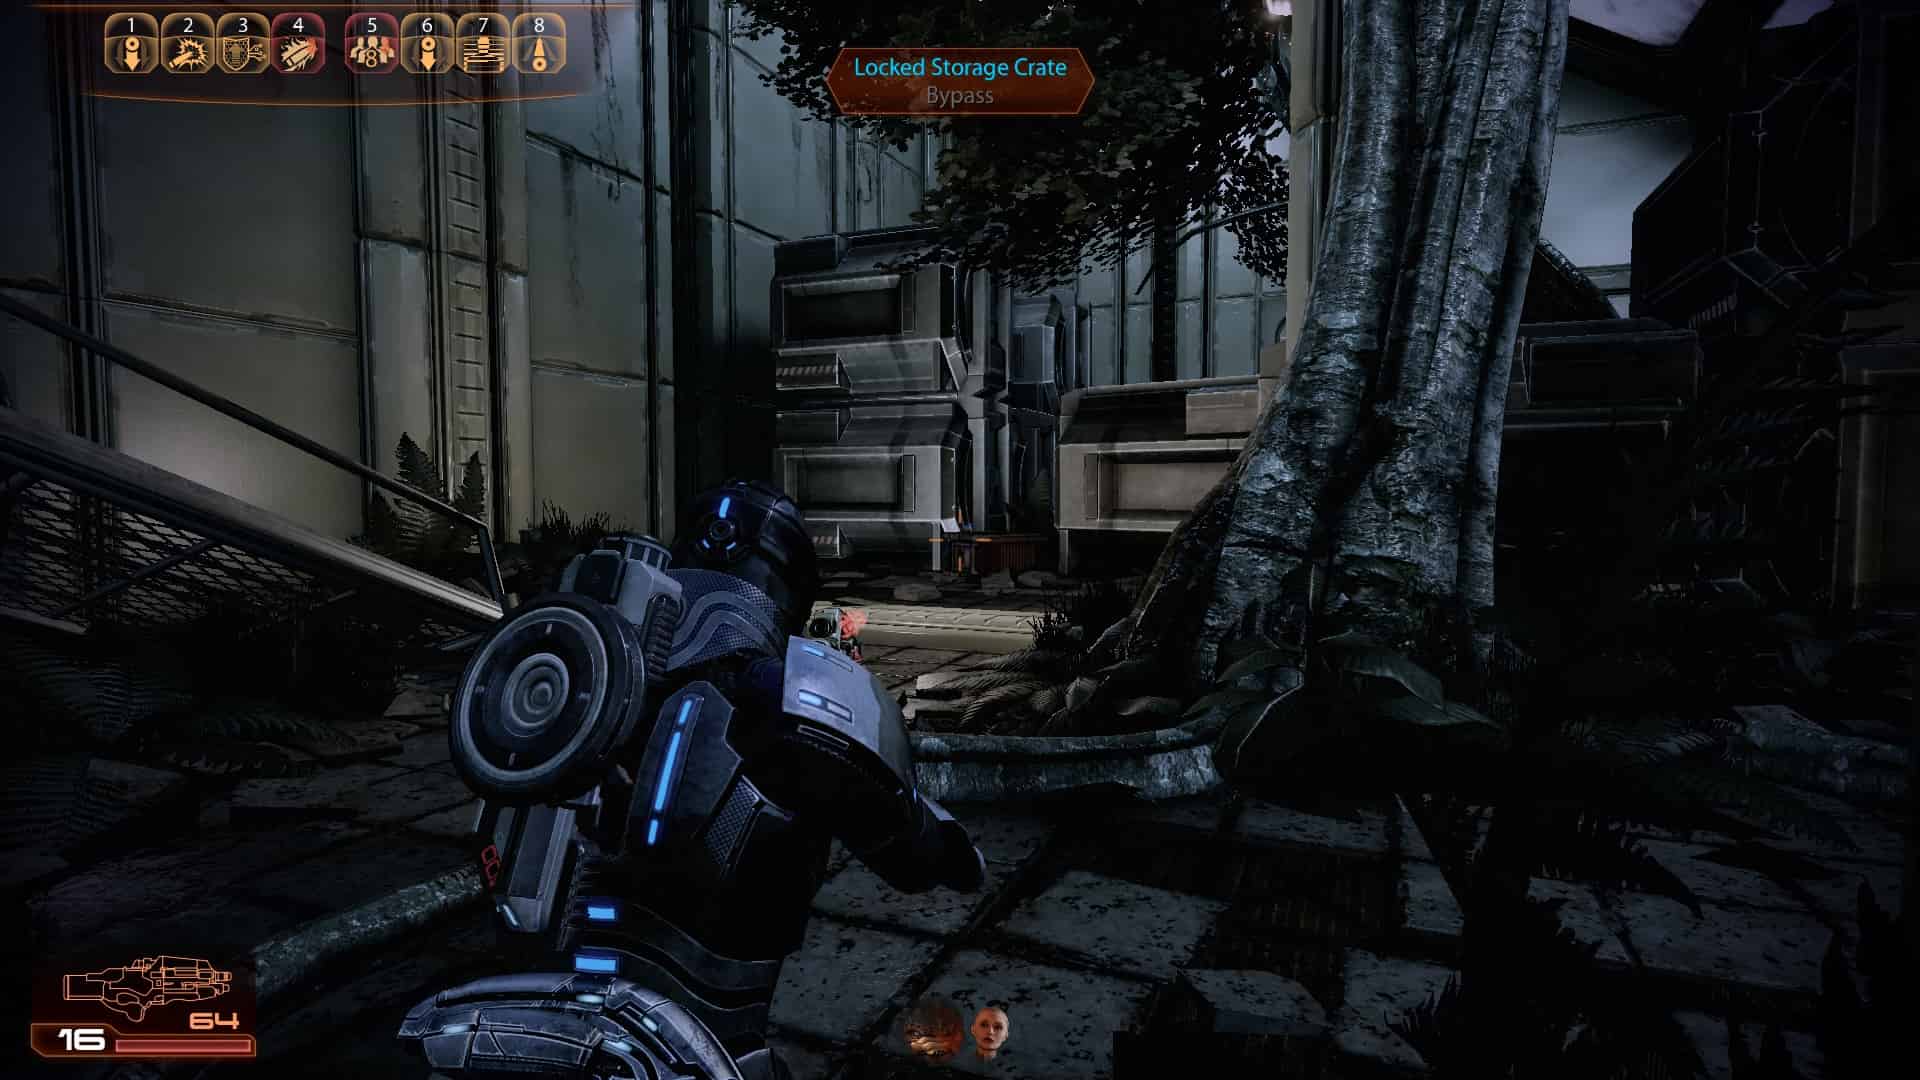
Loyalty Mission: Grunt
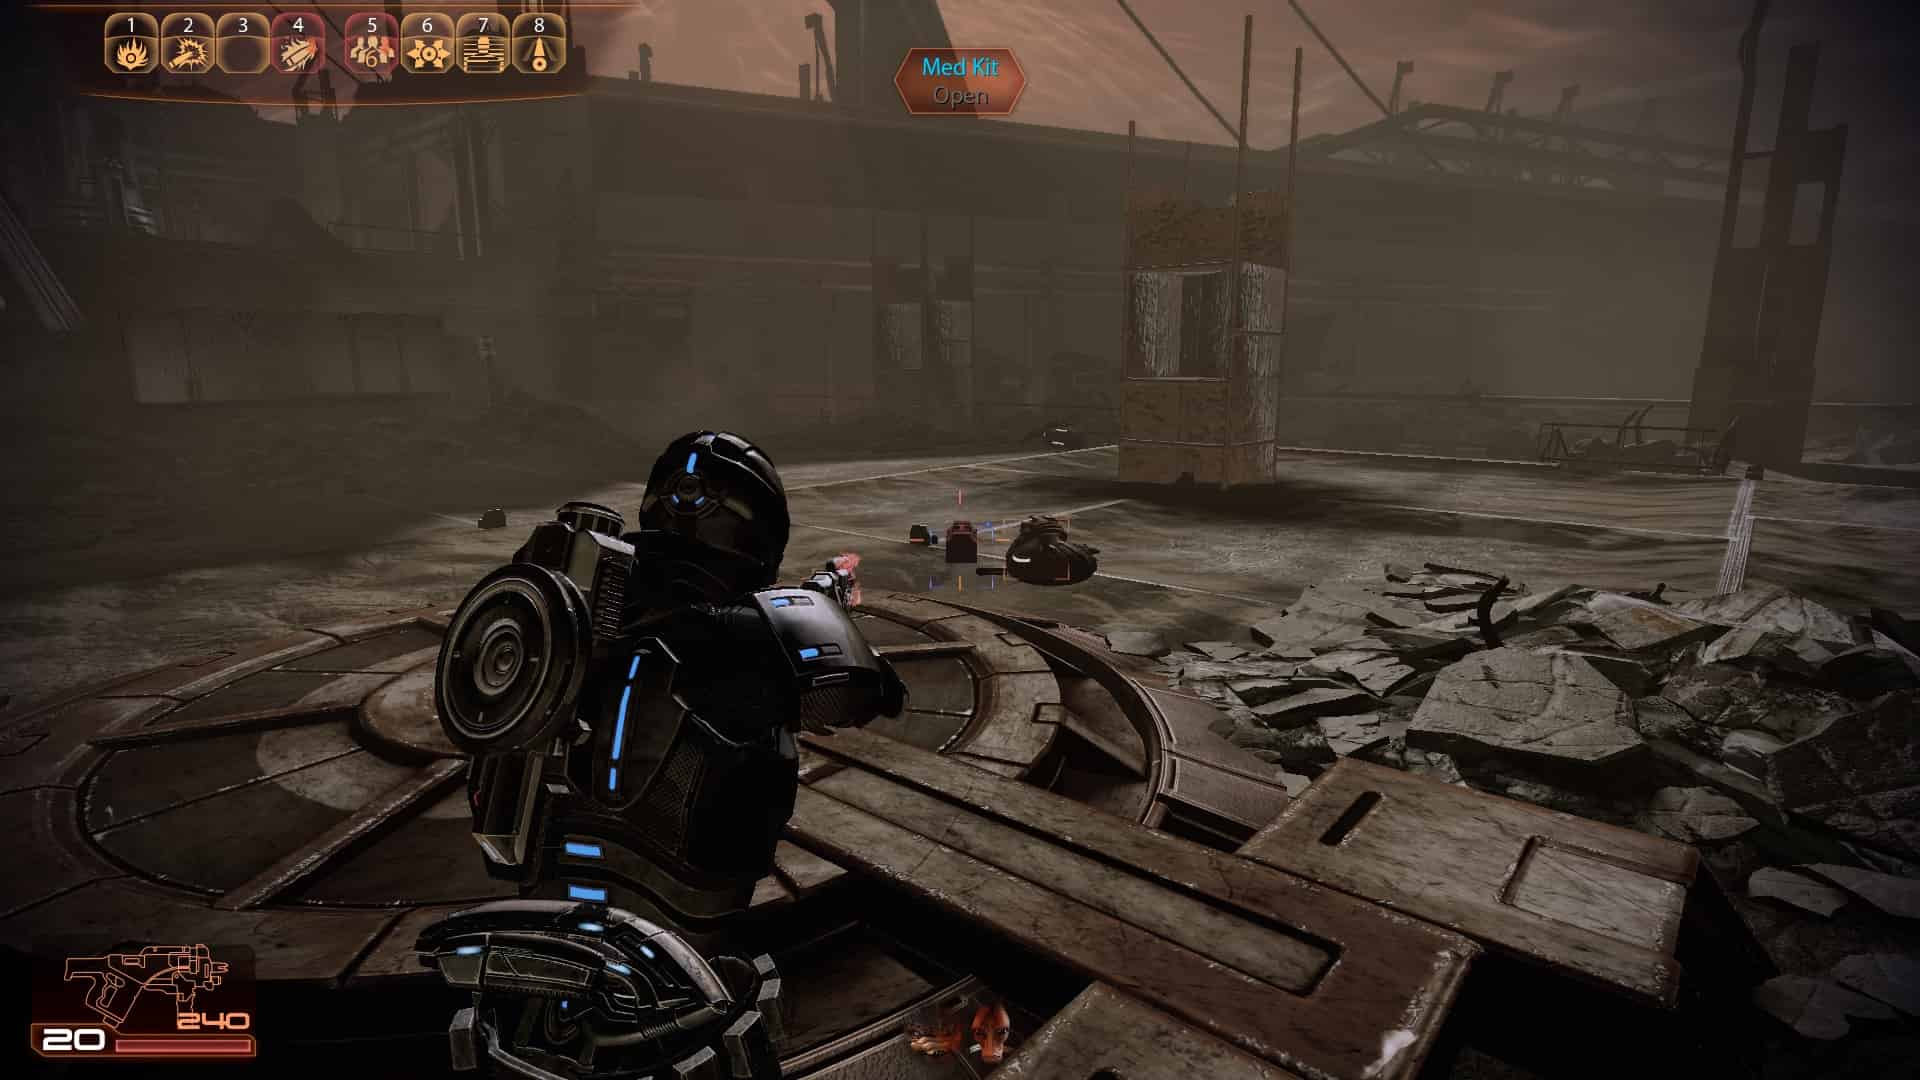
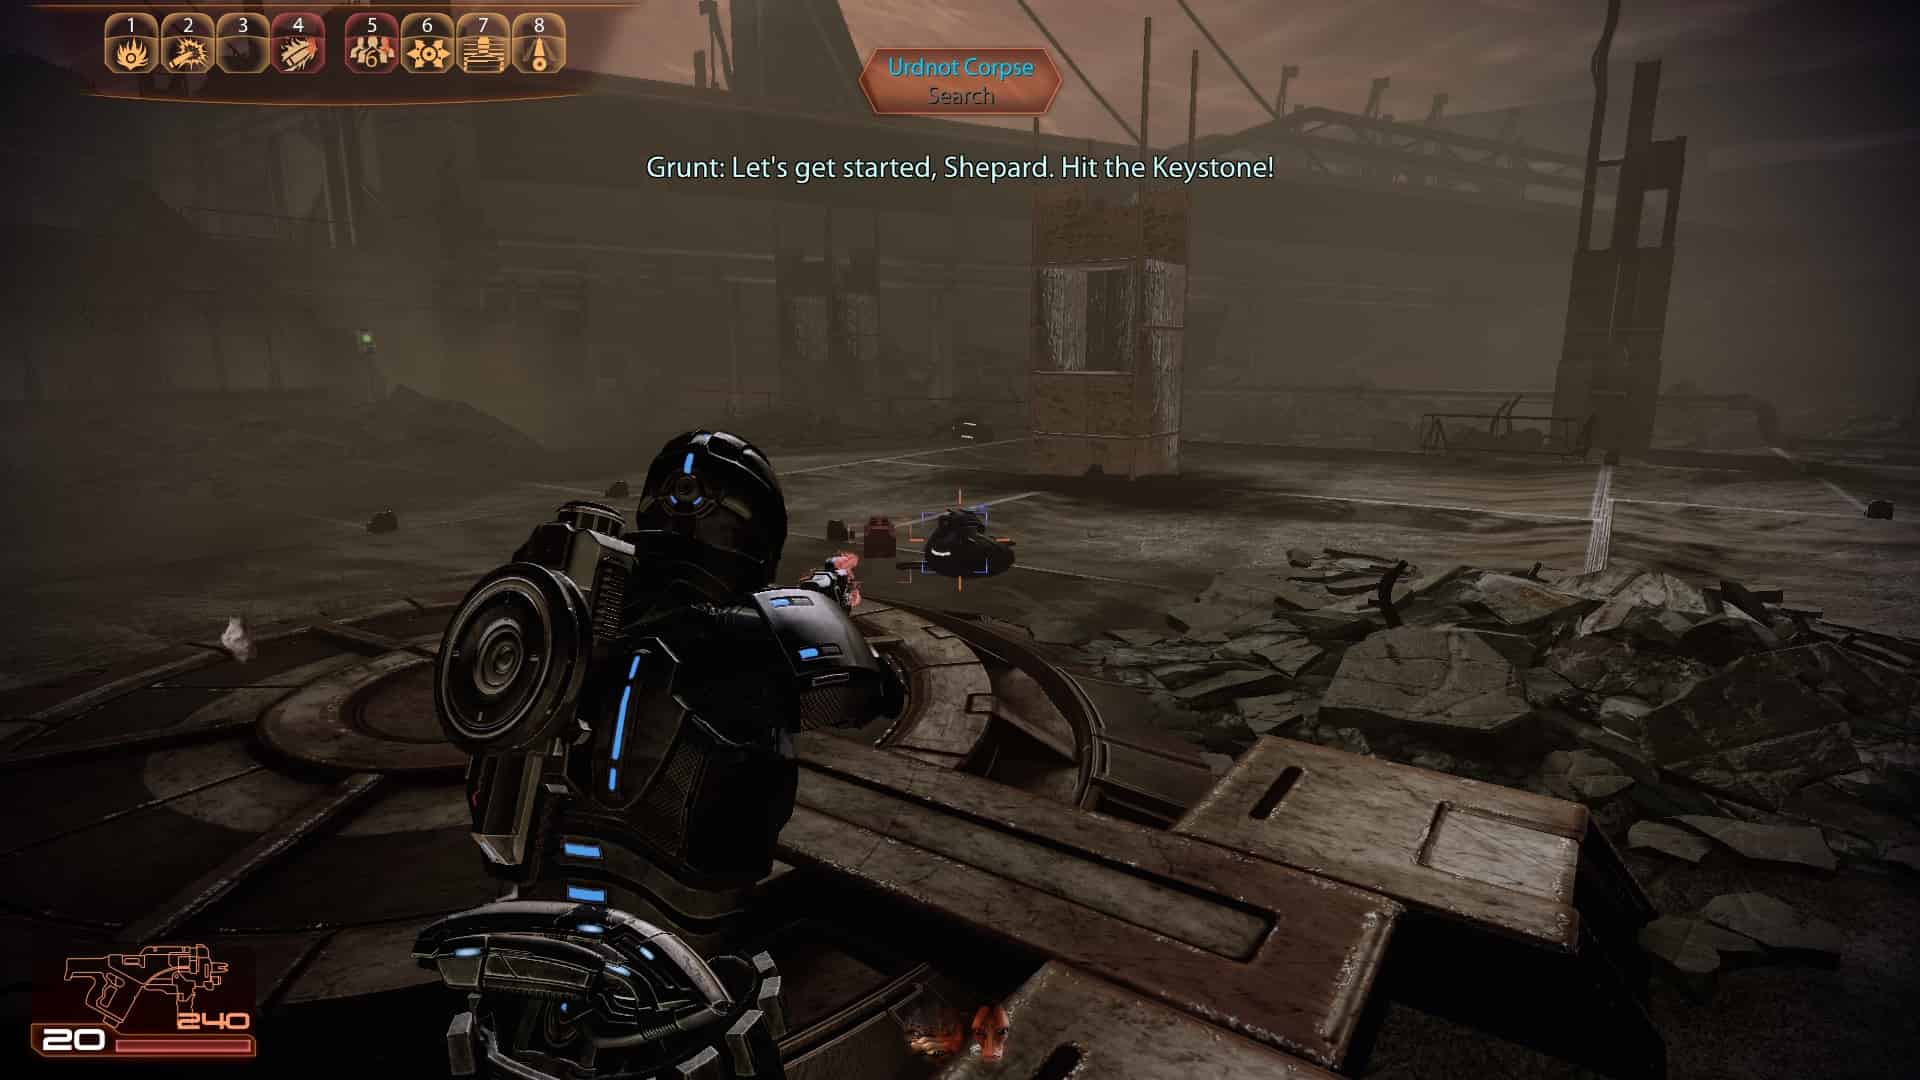
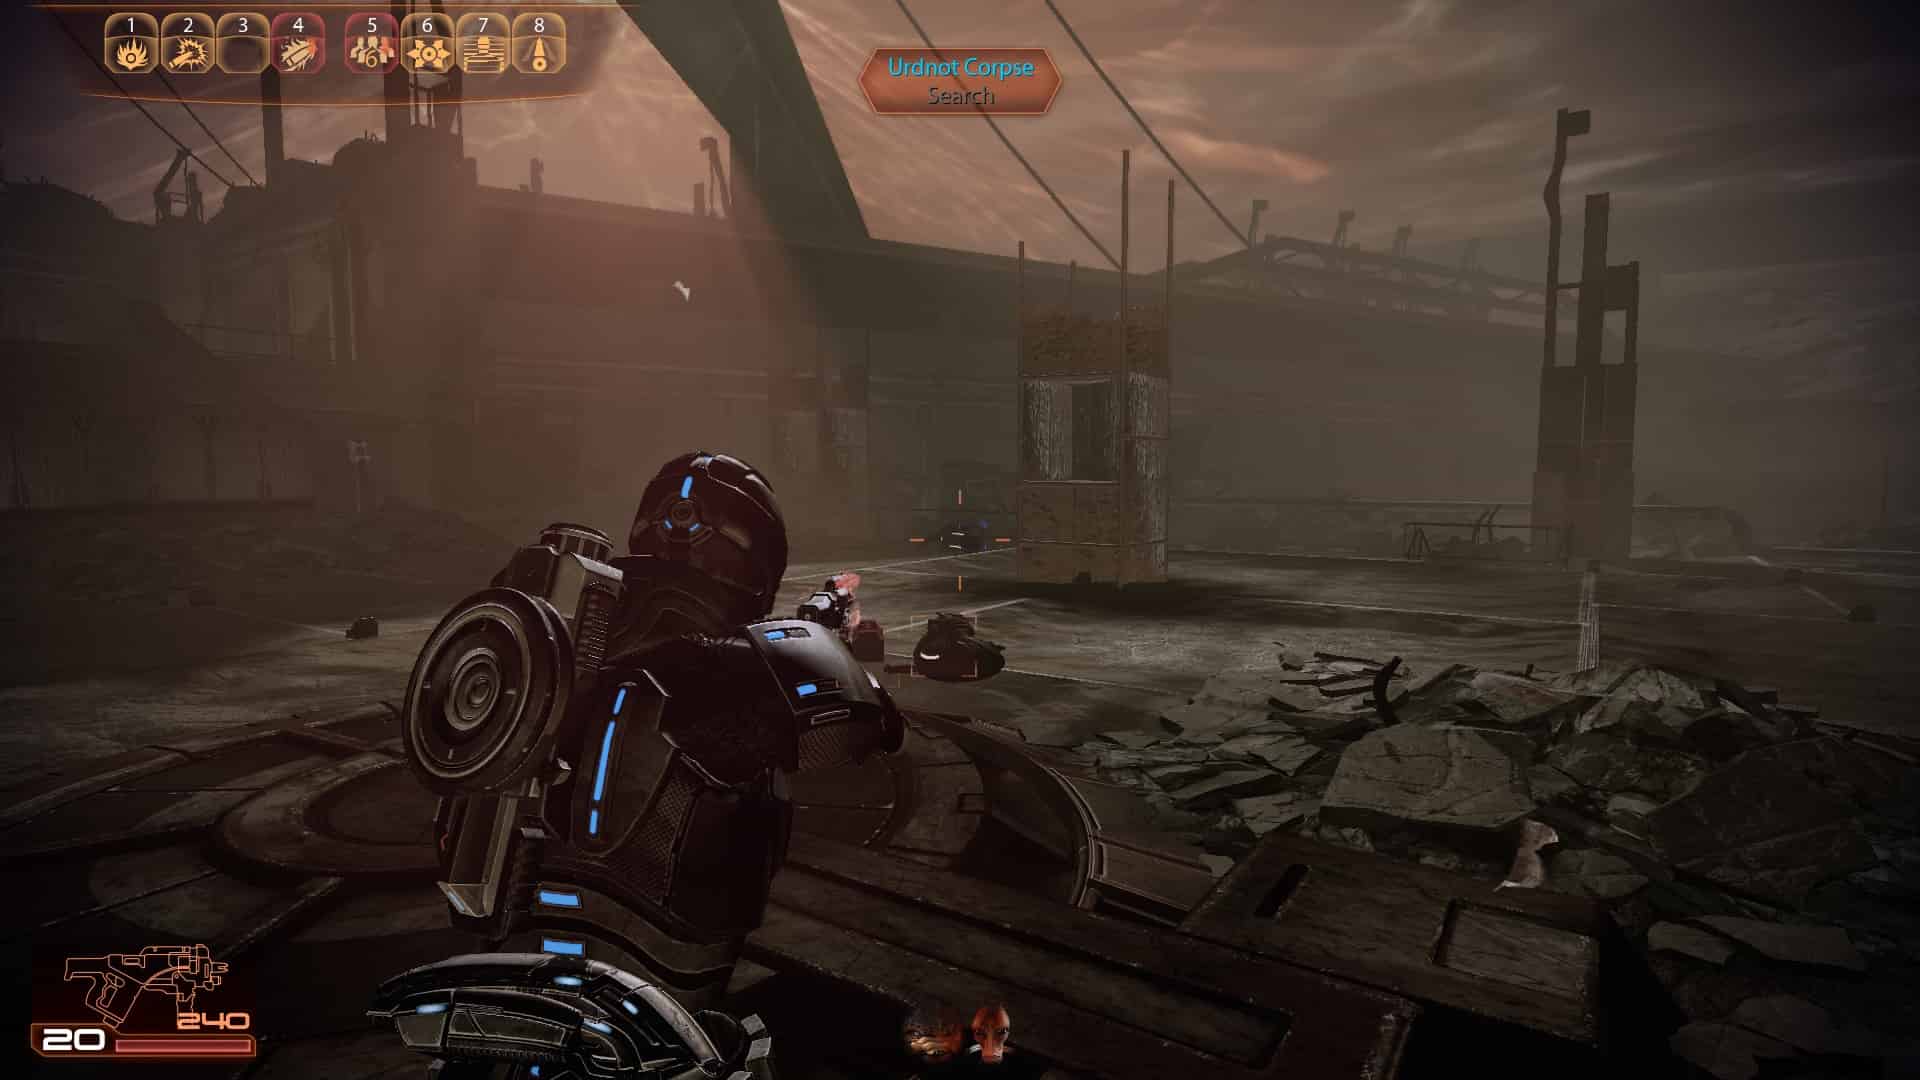
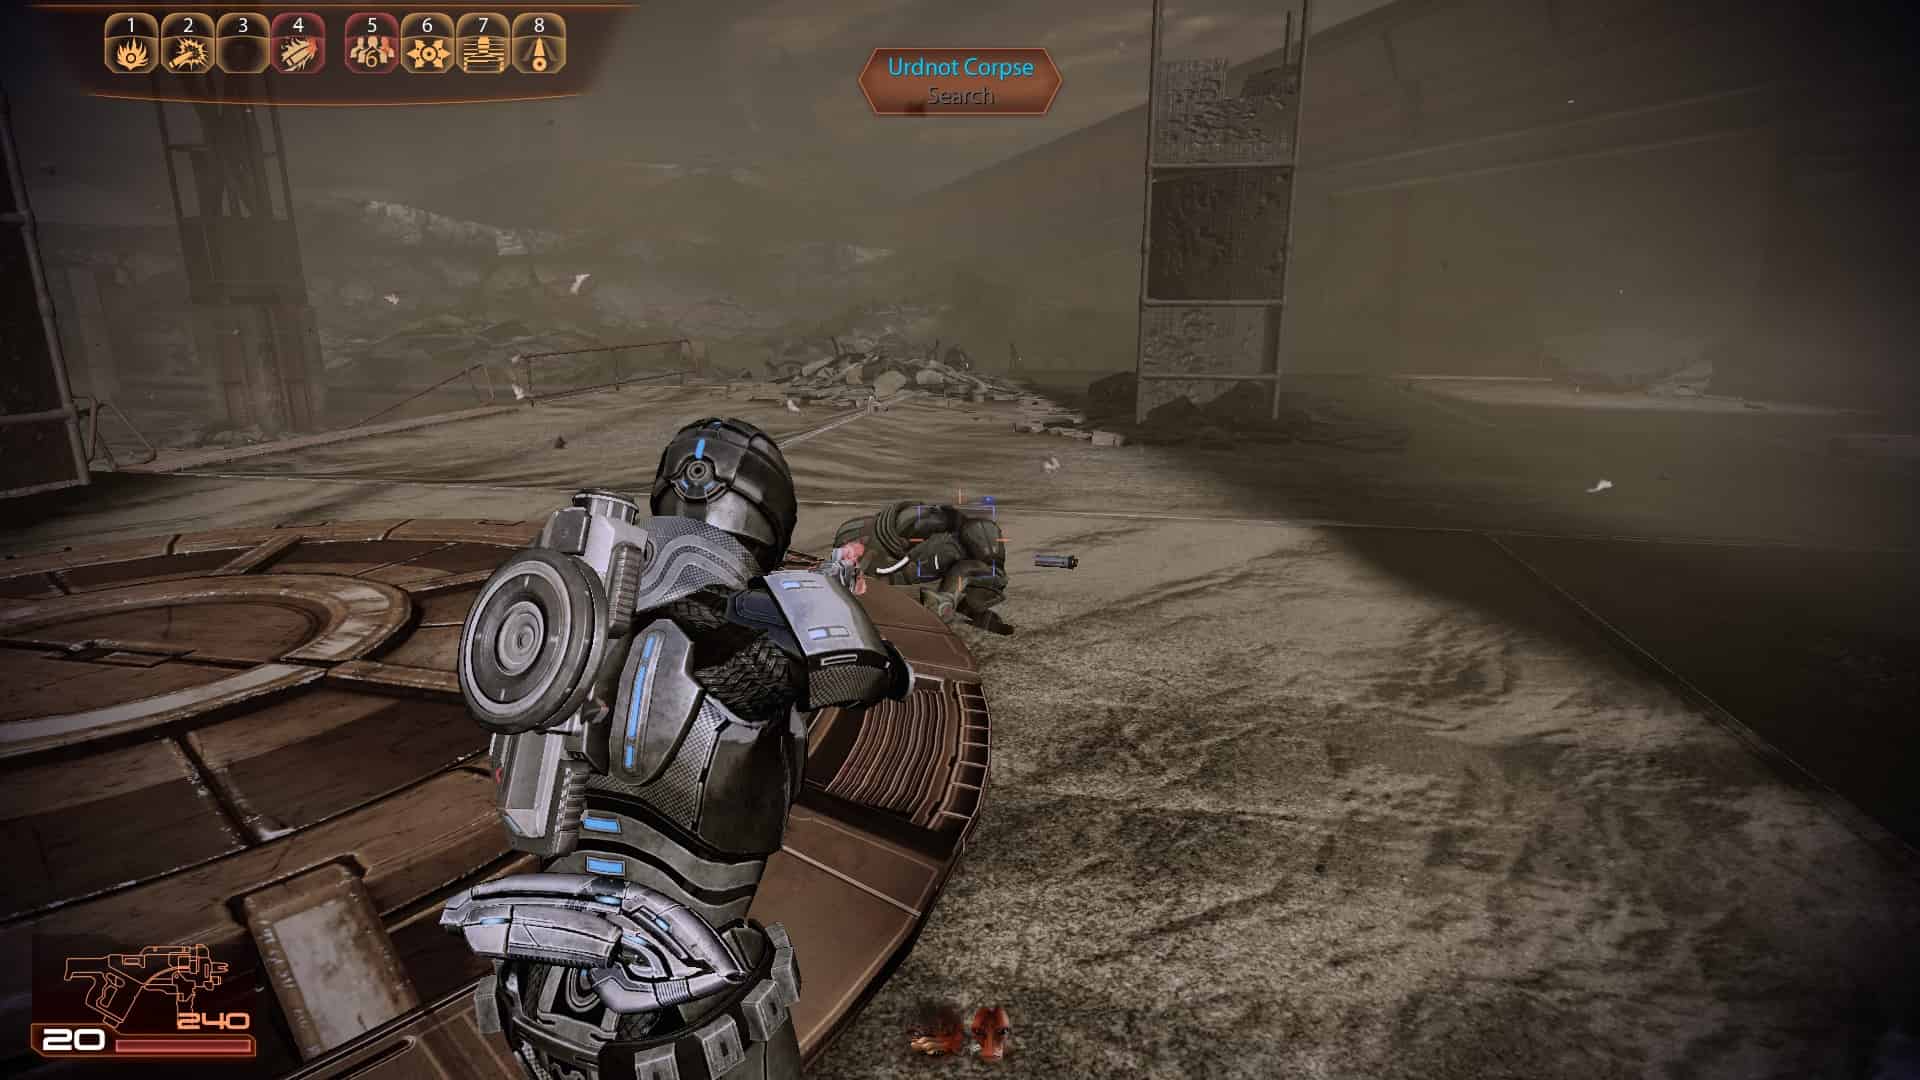

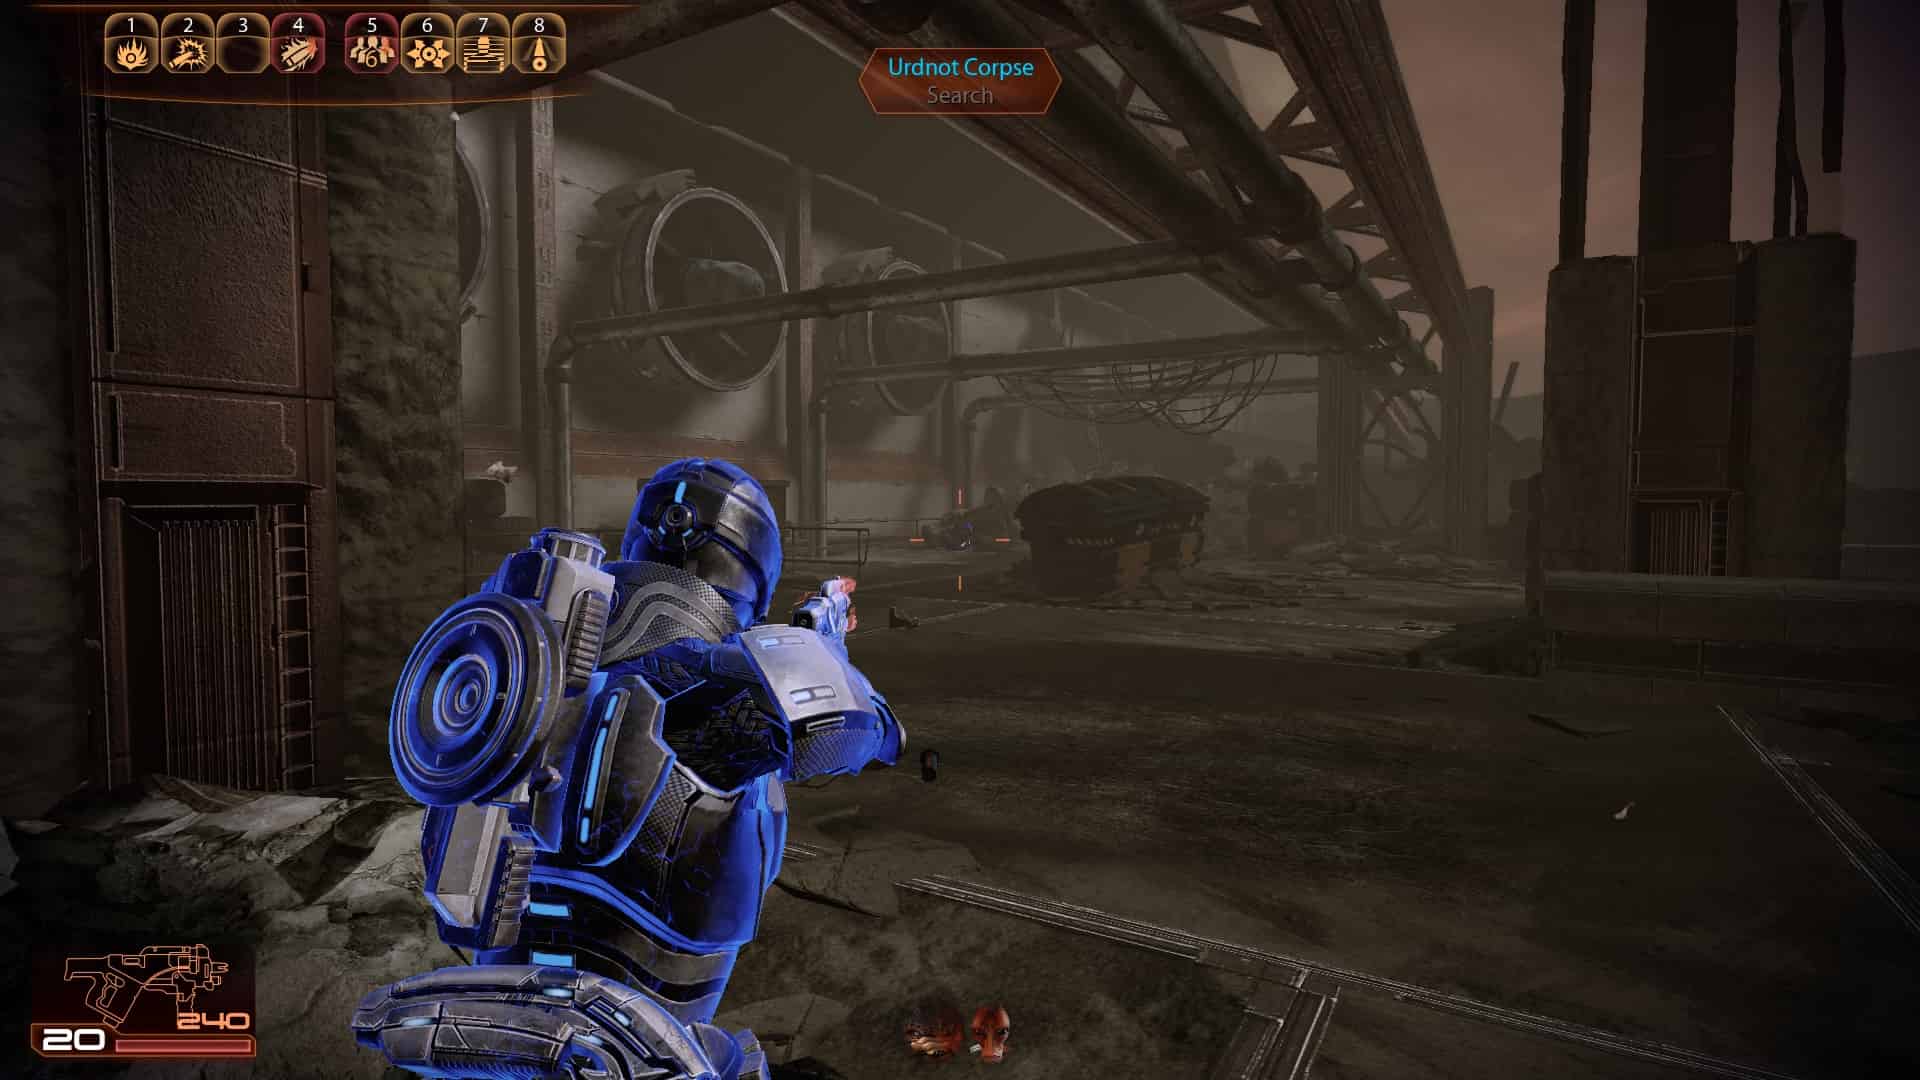
1
2
3
4
5
6
7
8
9
10
11
12
13 (Loot before you kill all the enemies)
14 (Loot before you kill all the enemies)
15 (Loot before you kill all the enemies)
16 (Loot before you kill all the enemies)
You get a Shotgun Damage Upgrade upon completion
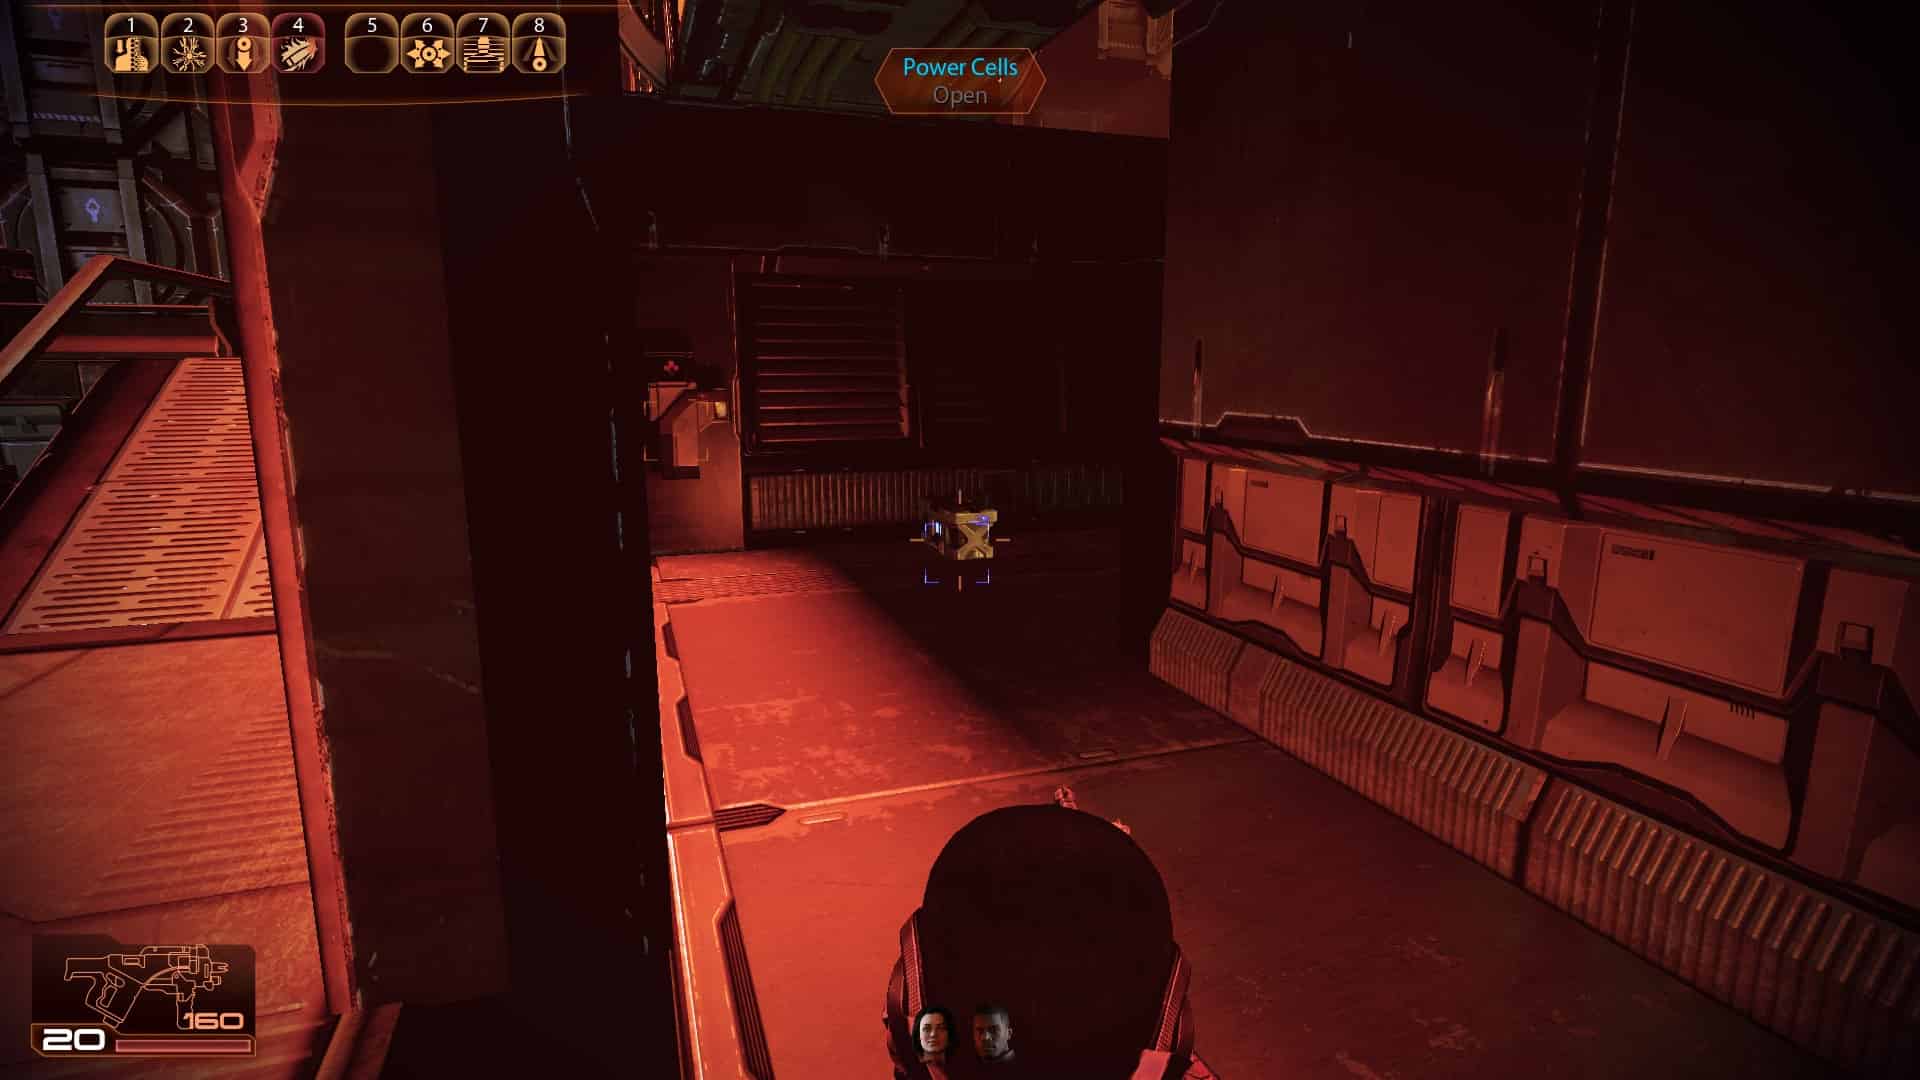
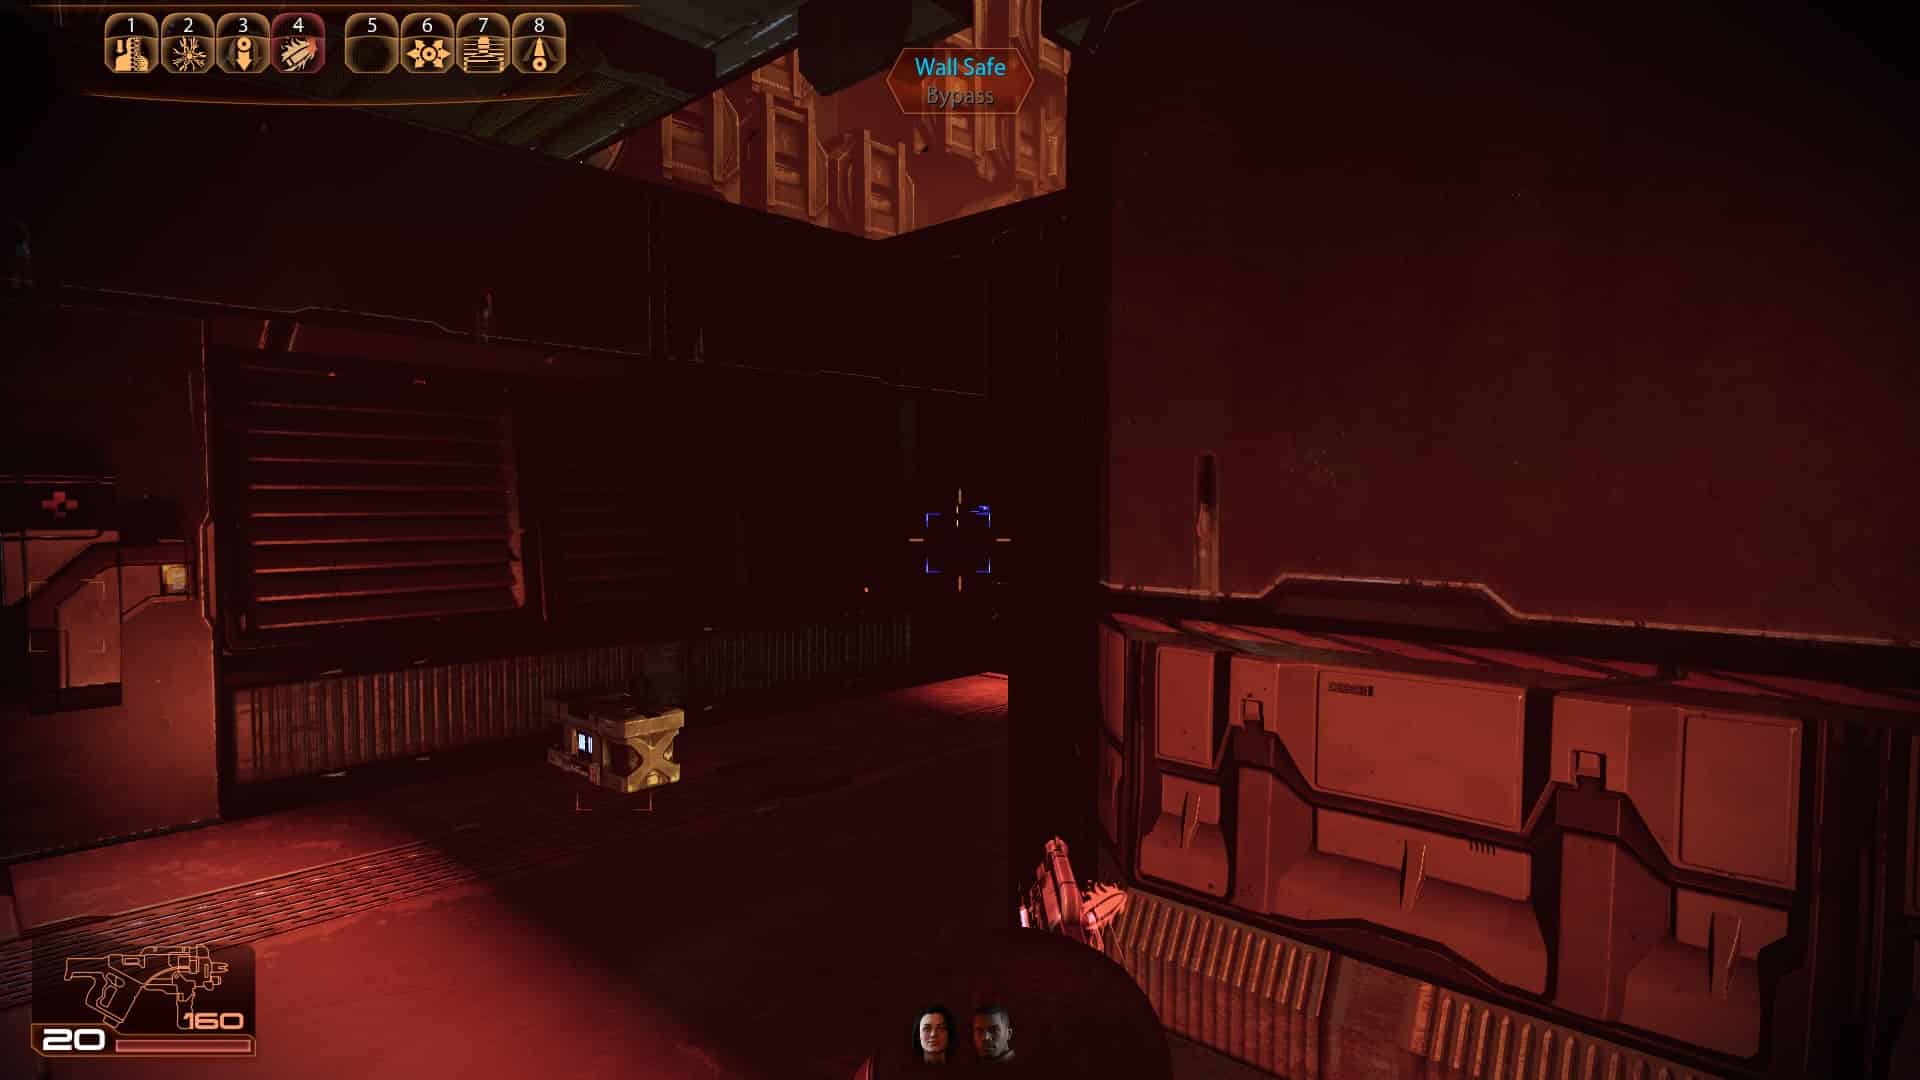
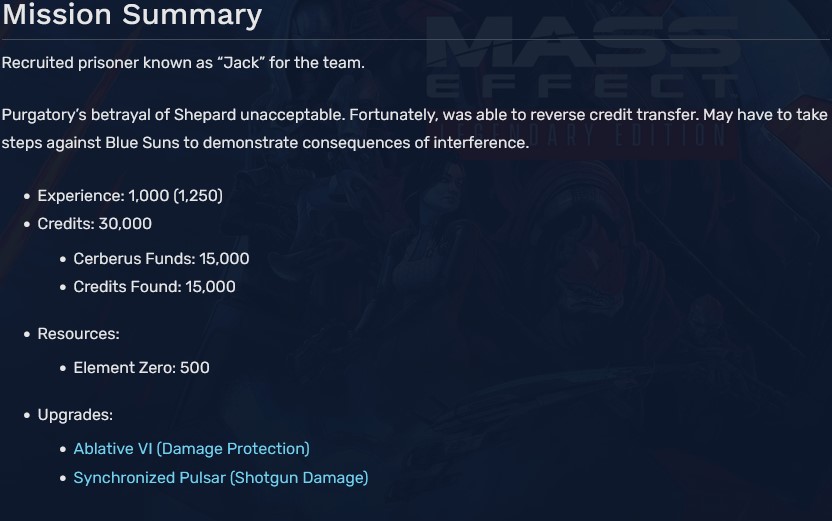
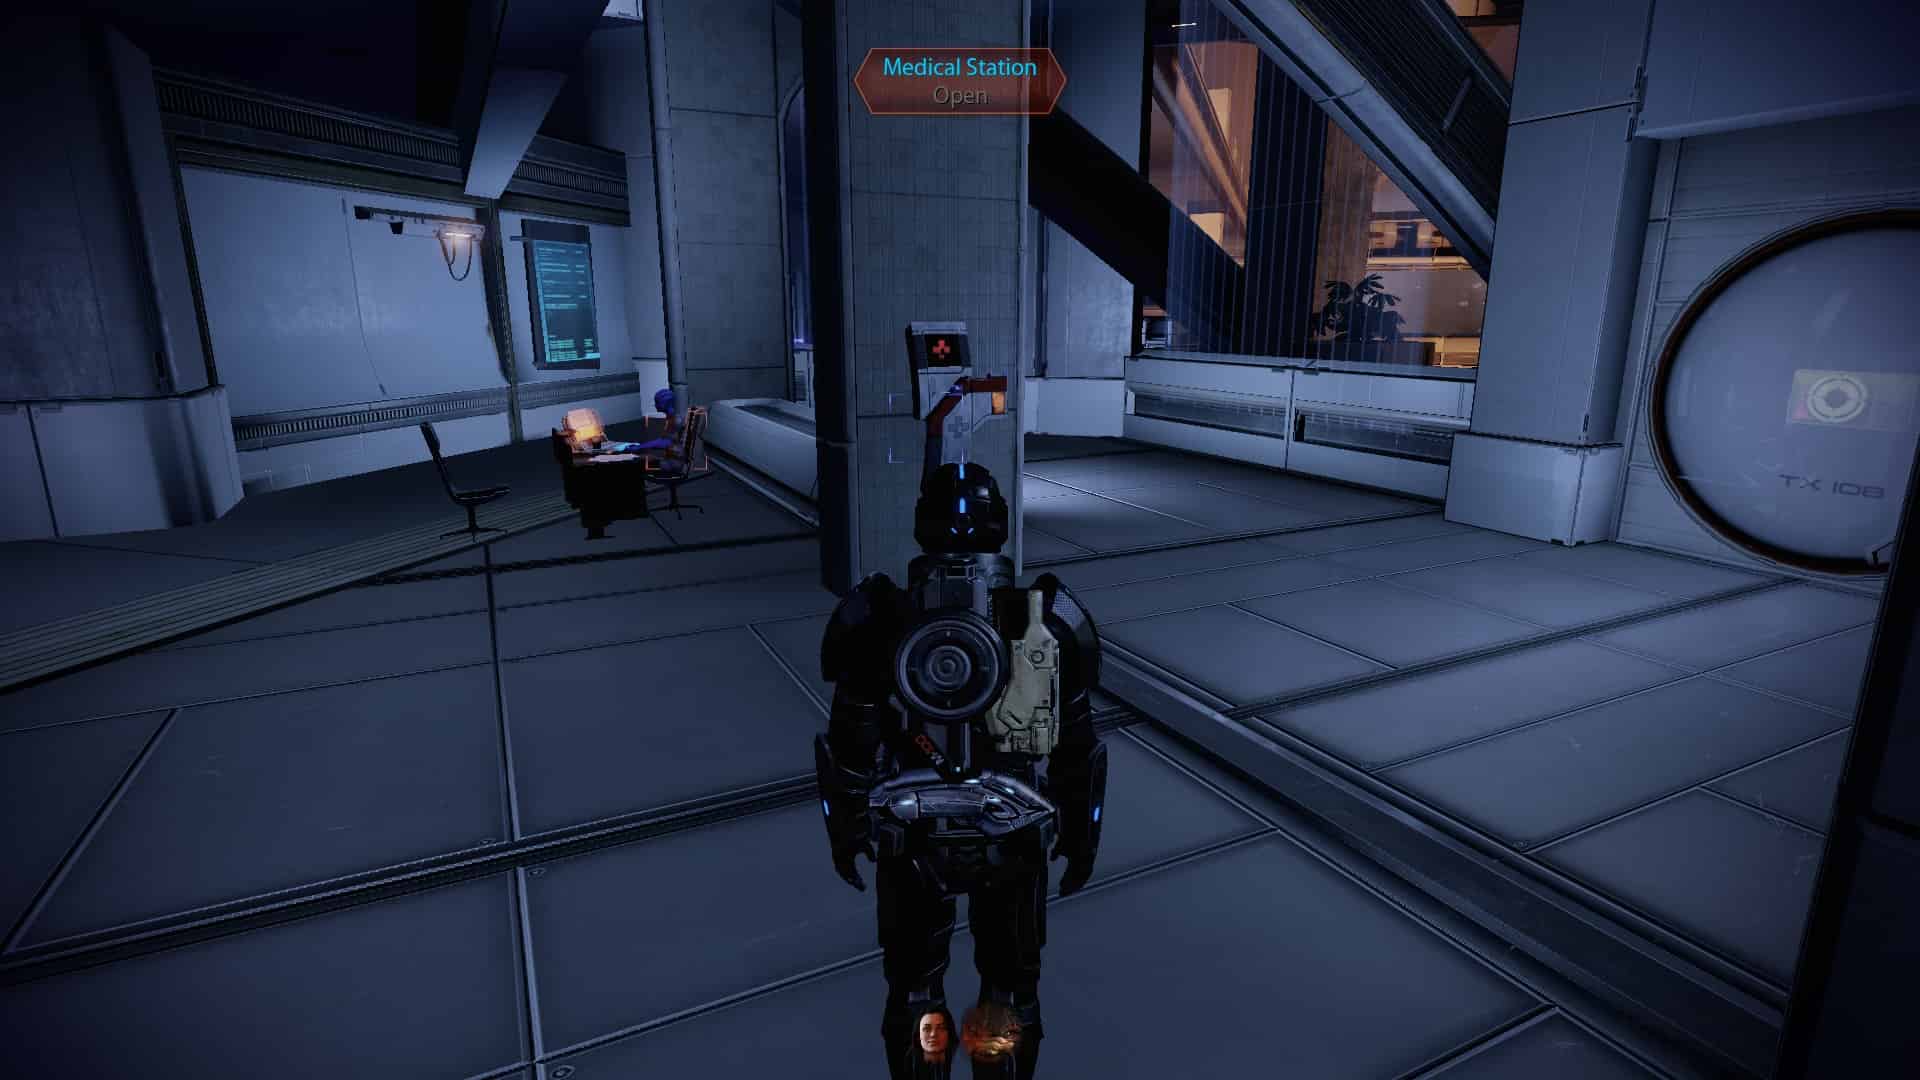
Loyalty Mission: Jack

1
2
3
4
5
6
7
8 (Upgrade - Biotic Damage)
9
10
Loyalty Mission: Jacob

1
2
3
4
5
6
7 (Upgrade - Heavy Pistol Damage)
8
9
10
11
12
13
Loyalty Mission: Kasumi
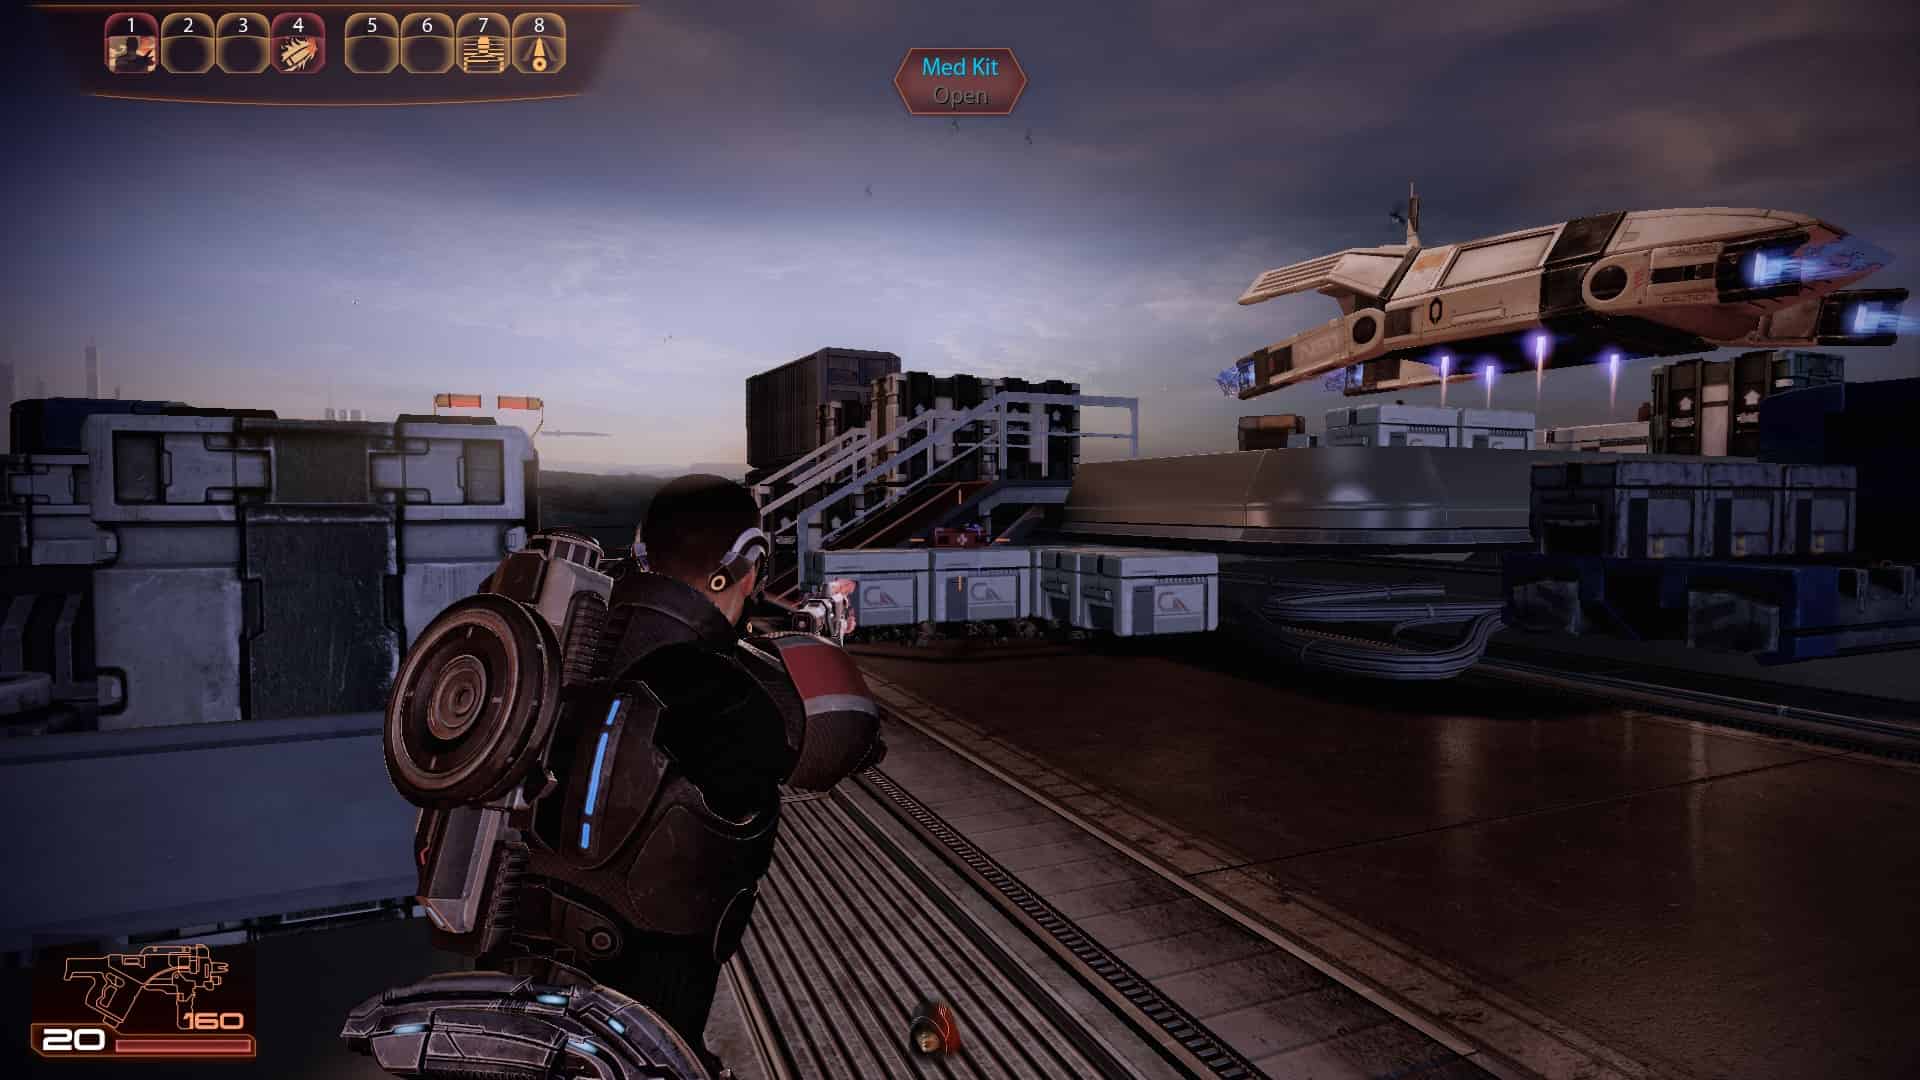
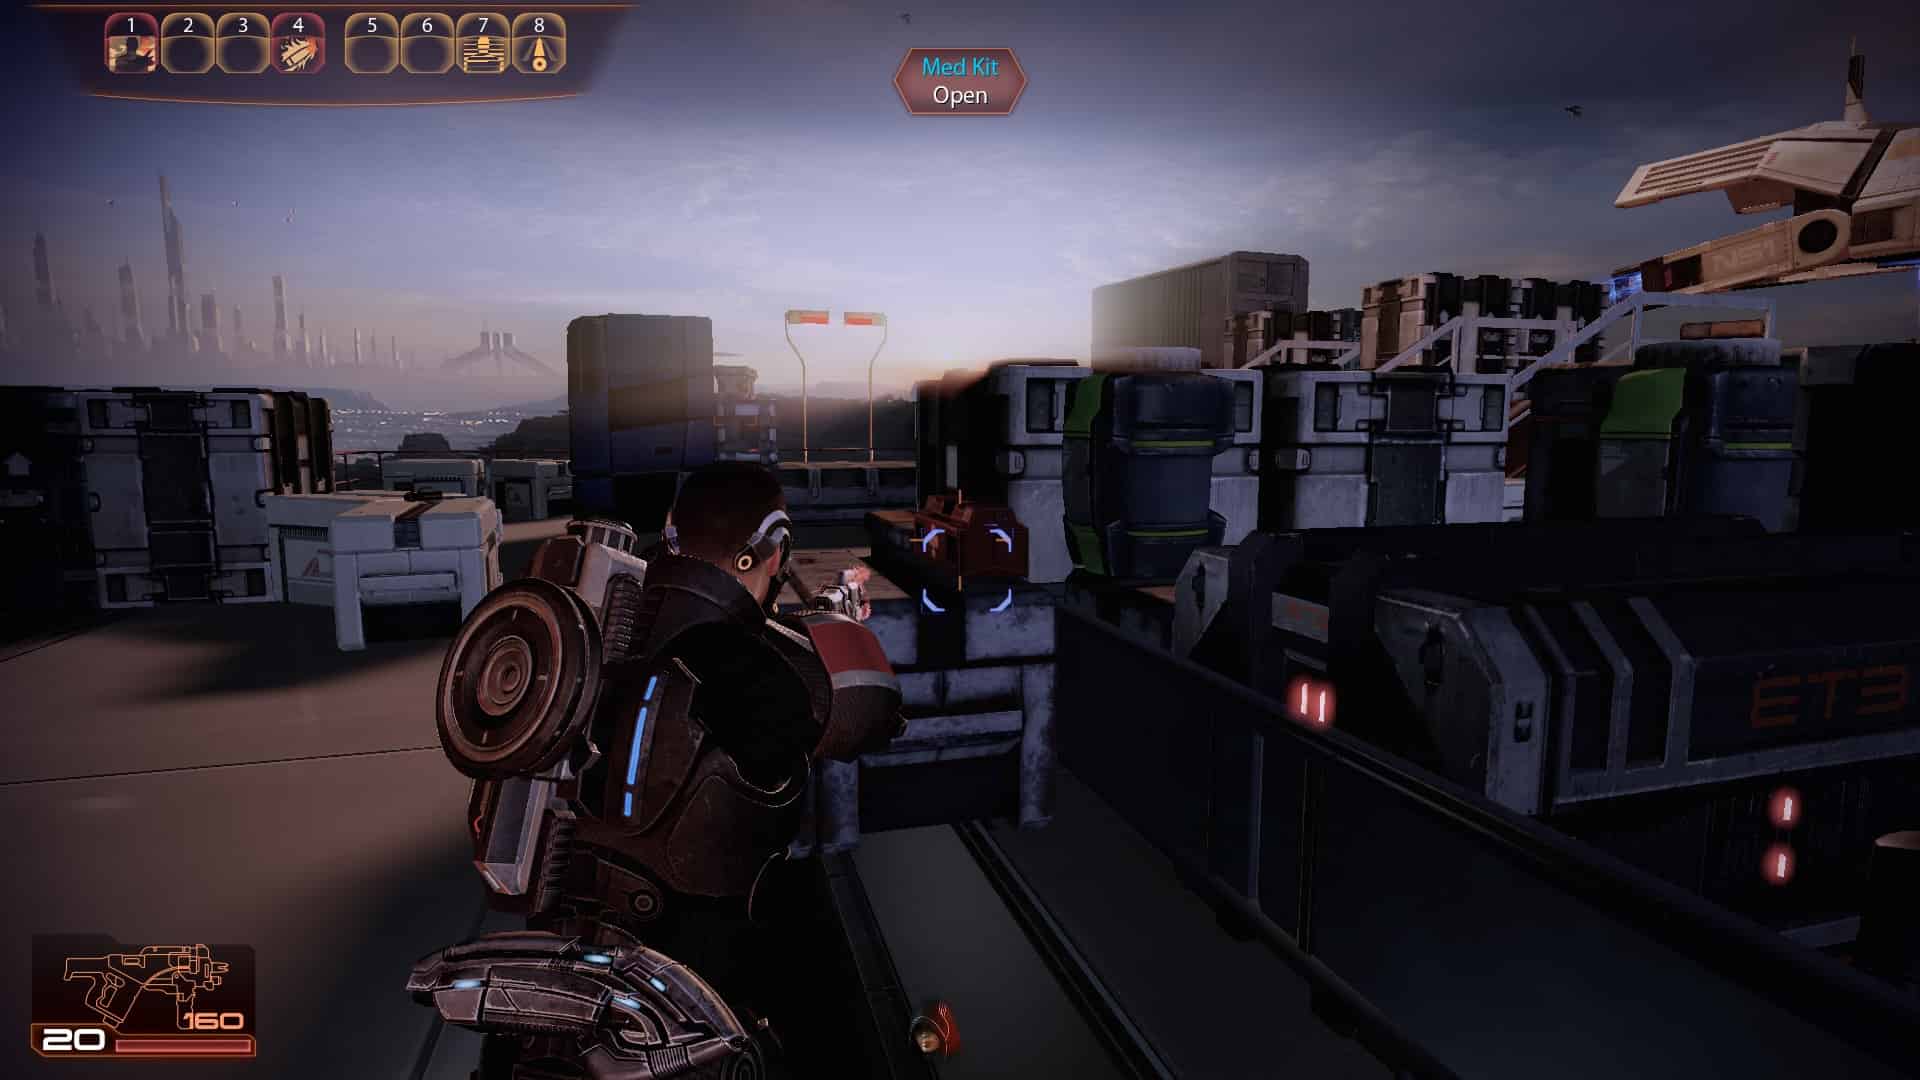
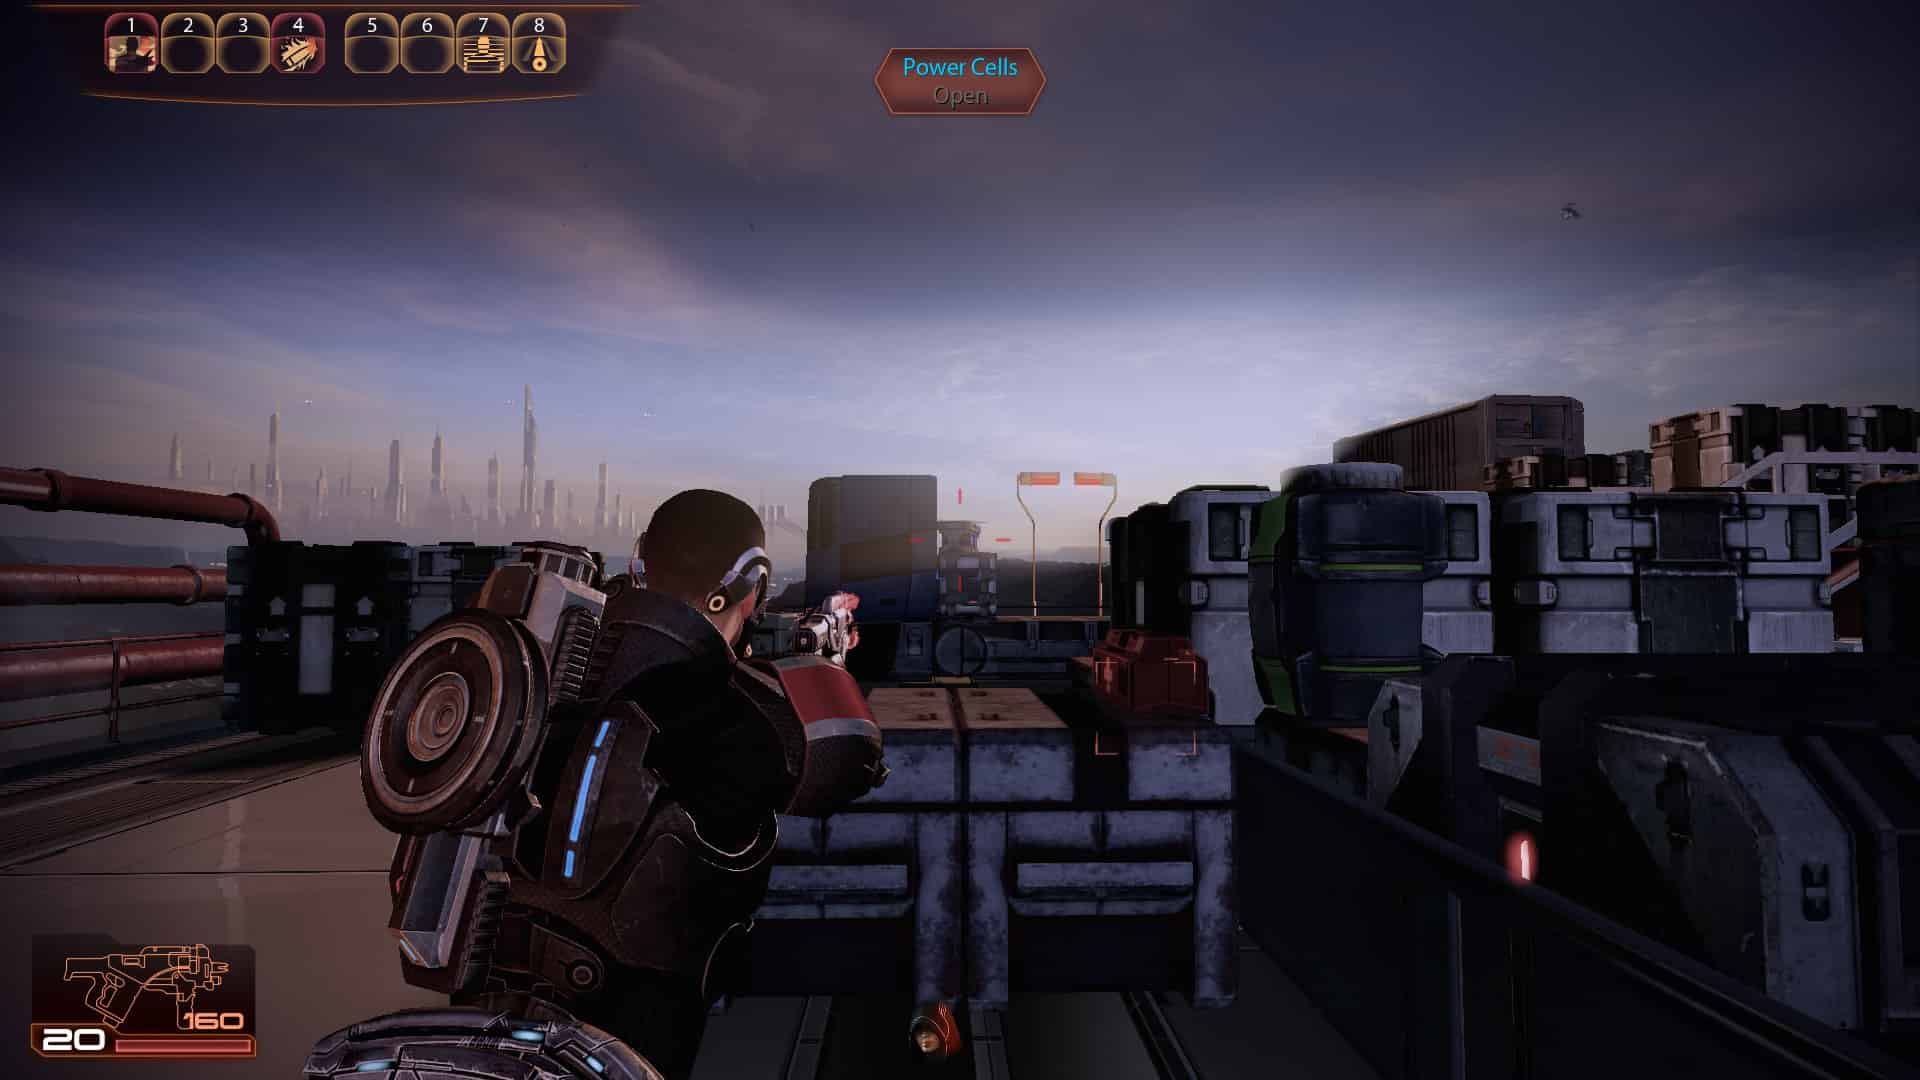

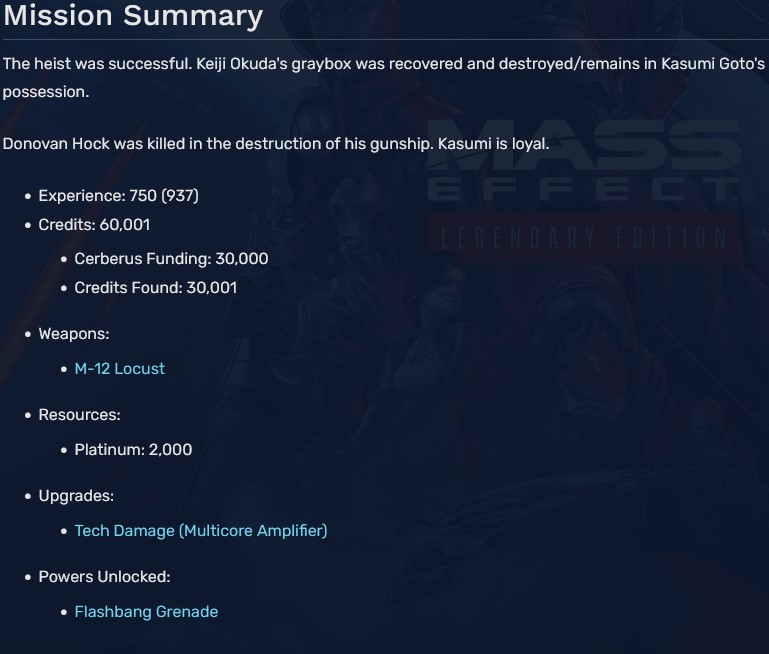
1
2
3
4
5
6 (Weapon - Locust Submachine Gun)
7
8
9
10
11
12
13 (Upgrade - Tech Damage)
14
15
16
17
18
19
20
21
22
23
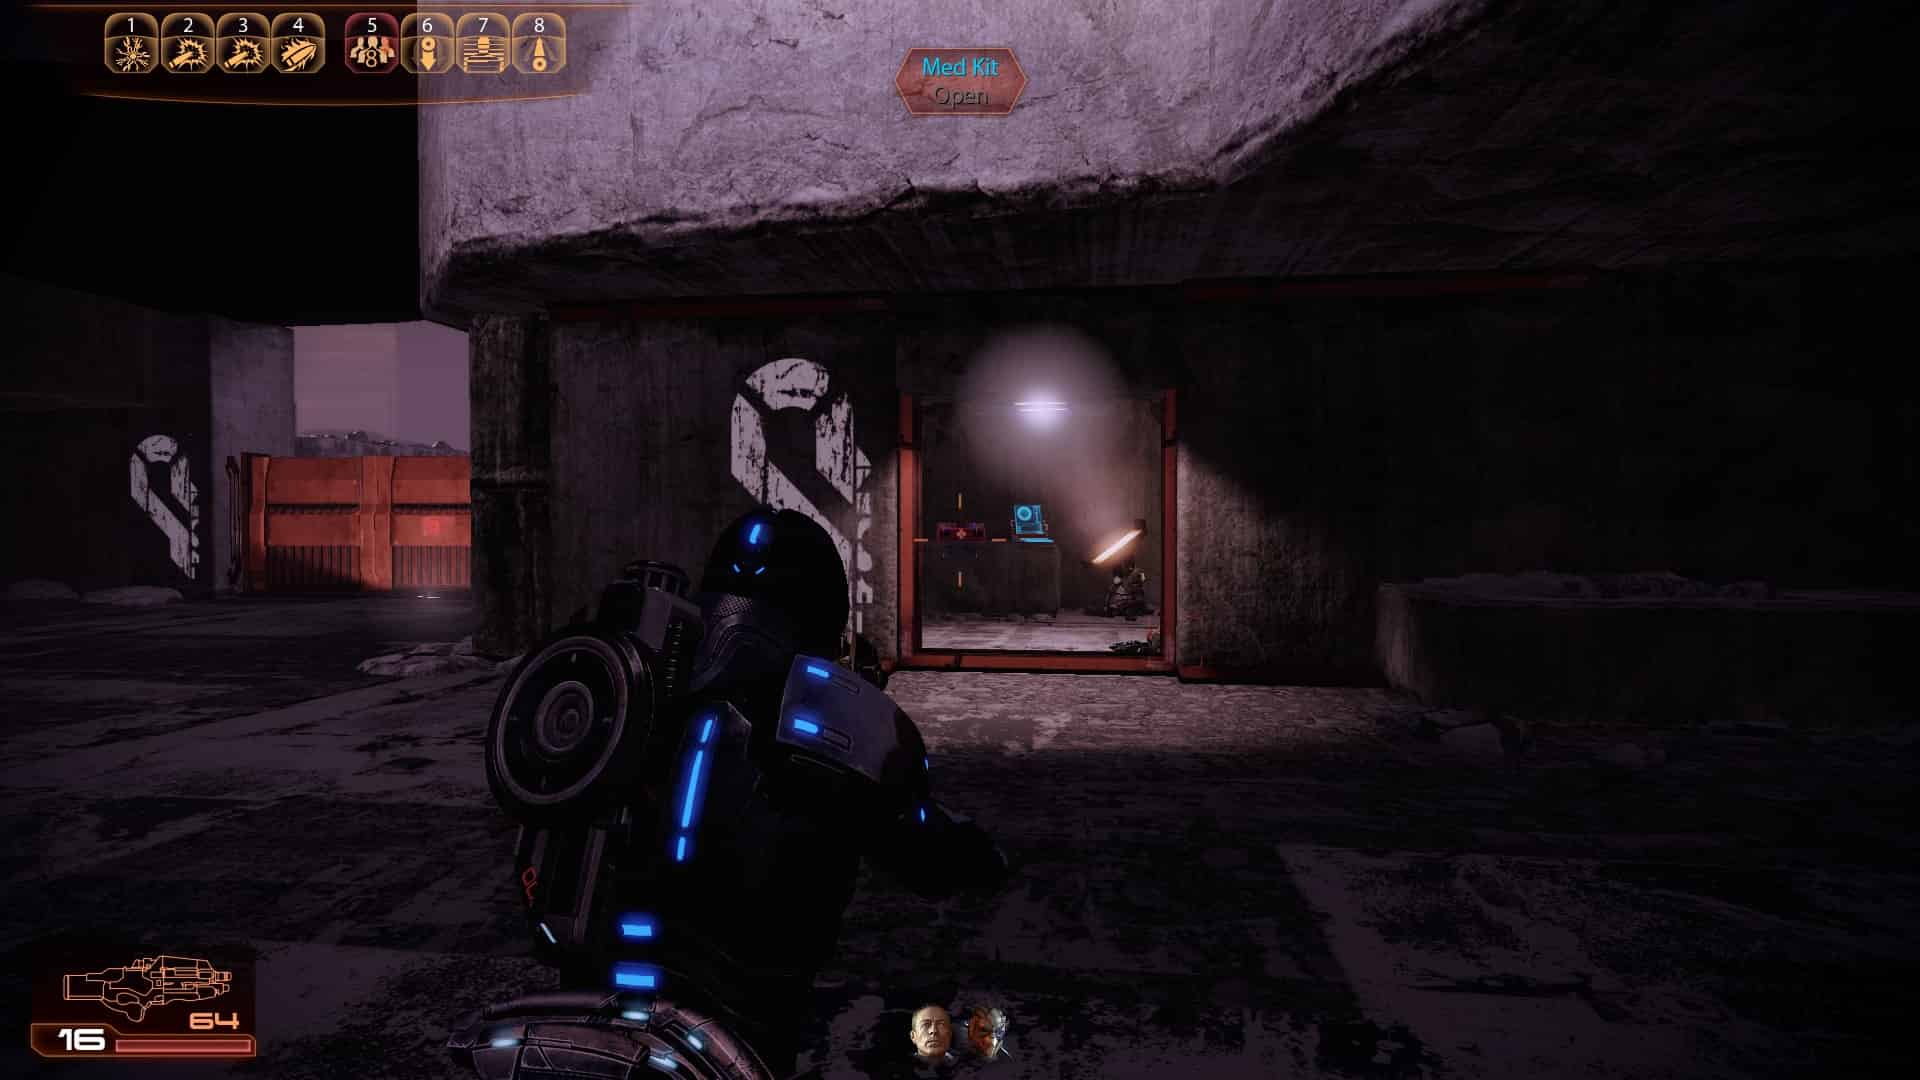
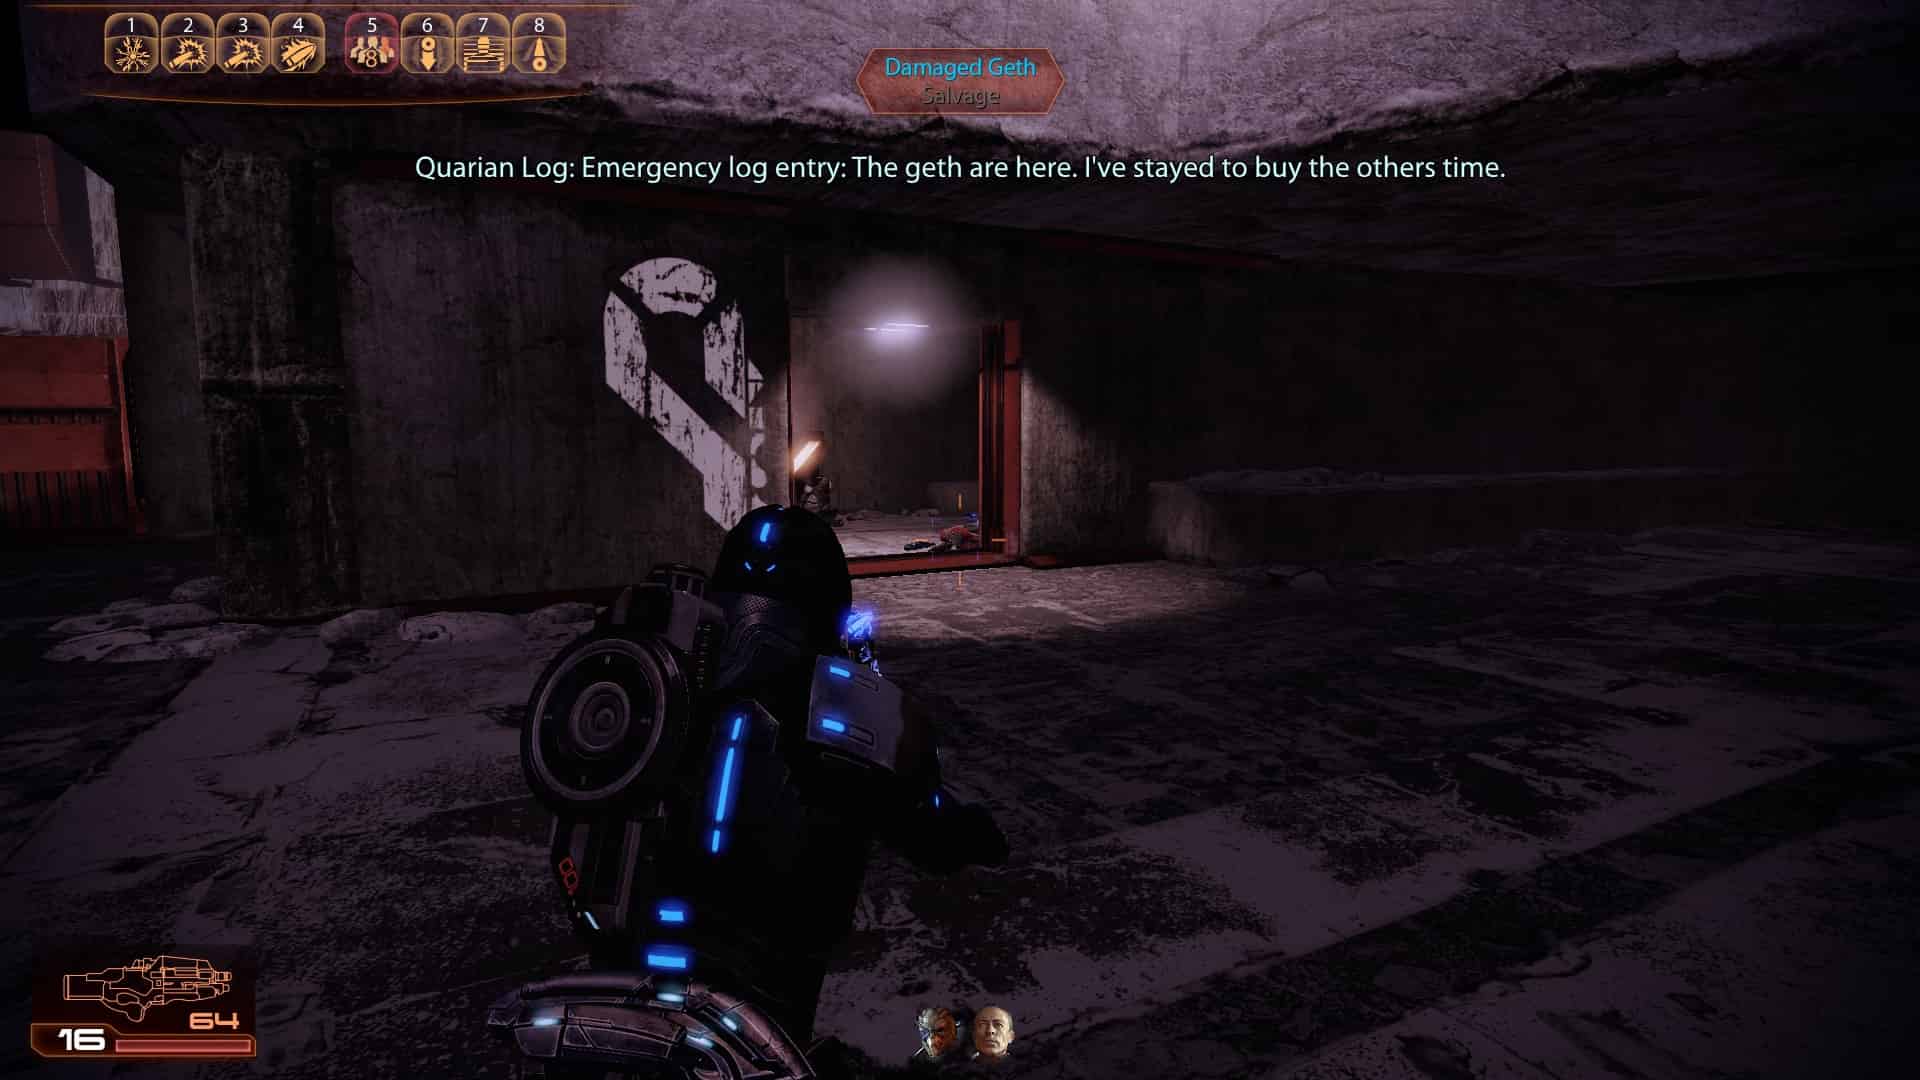
Loyalty Mission: Legion


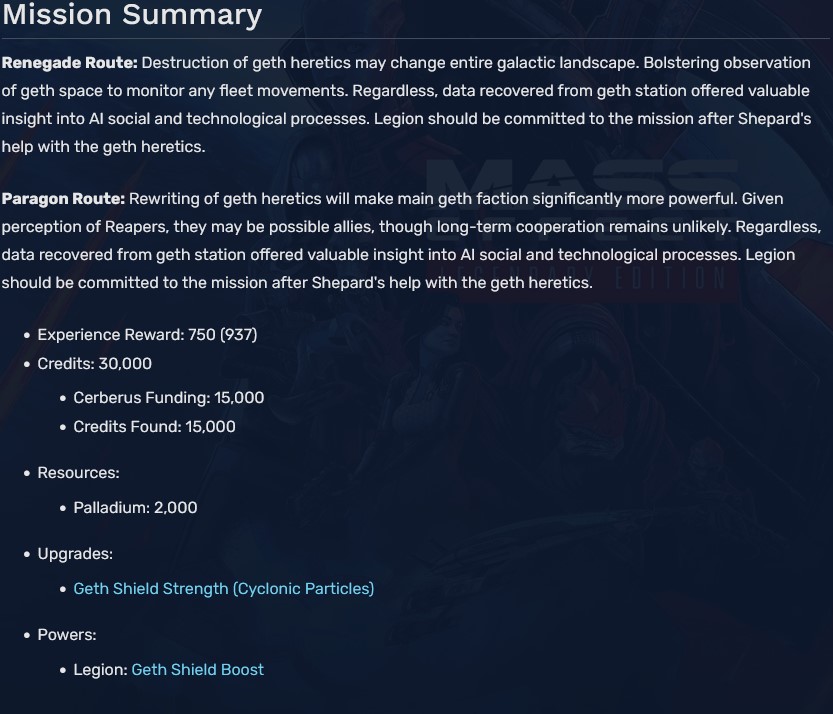
1
2
3
4
5
6
7
8
9 (Upgrade - Geth Shield Strength)
10
11
12
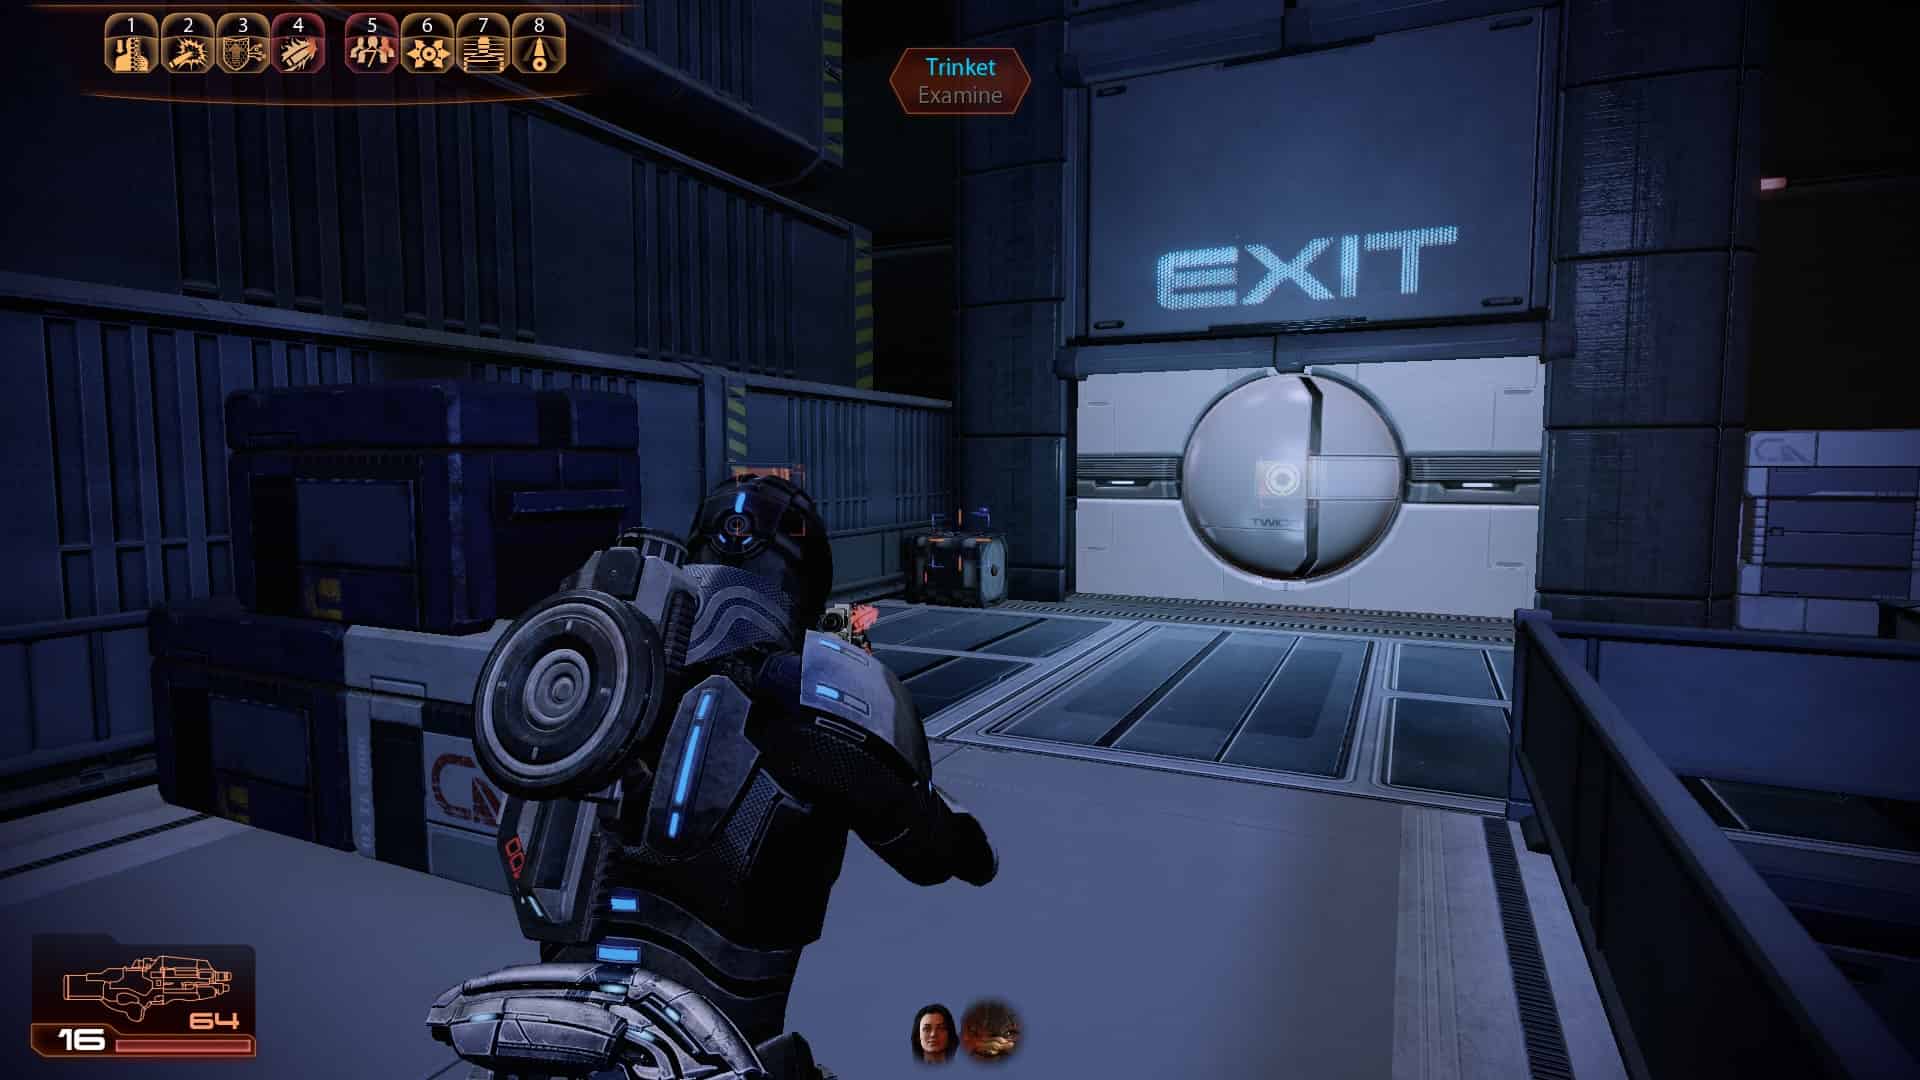
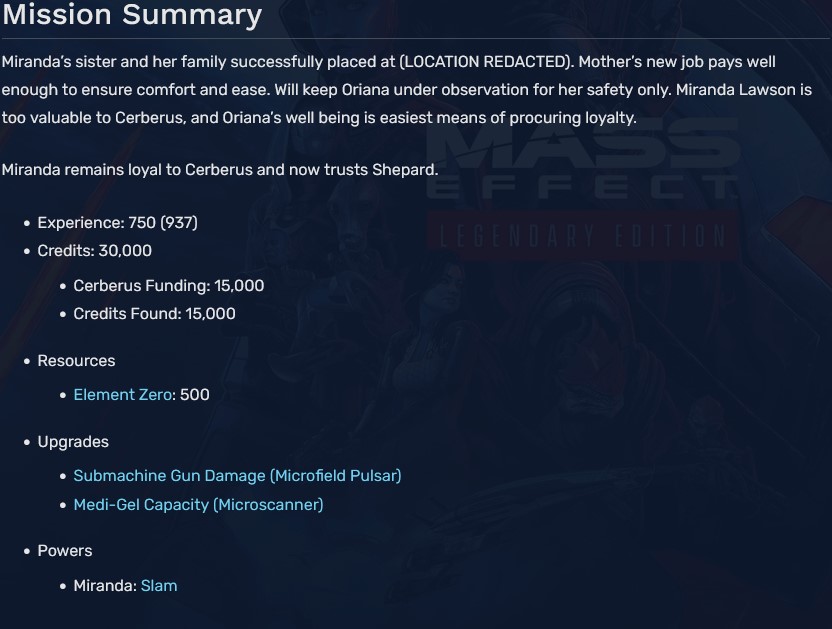
Loyalty Mission: Miranda


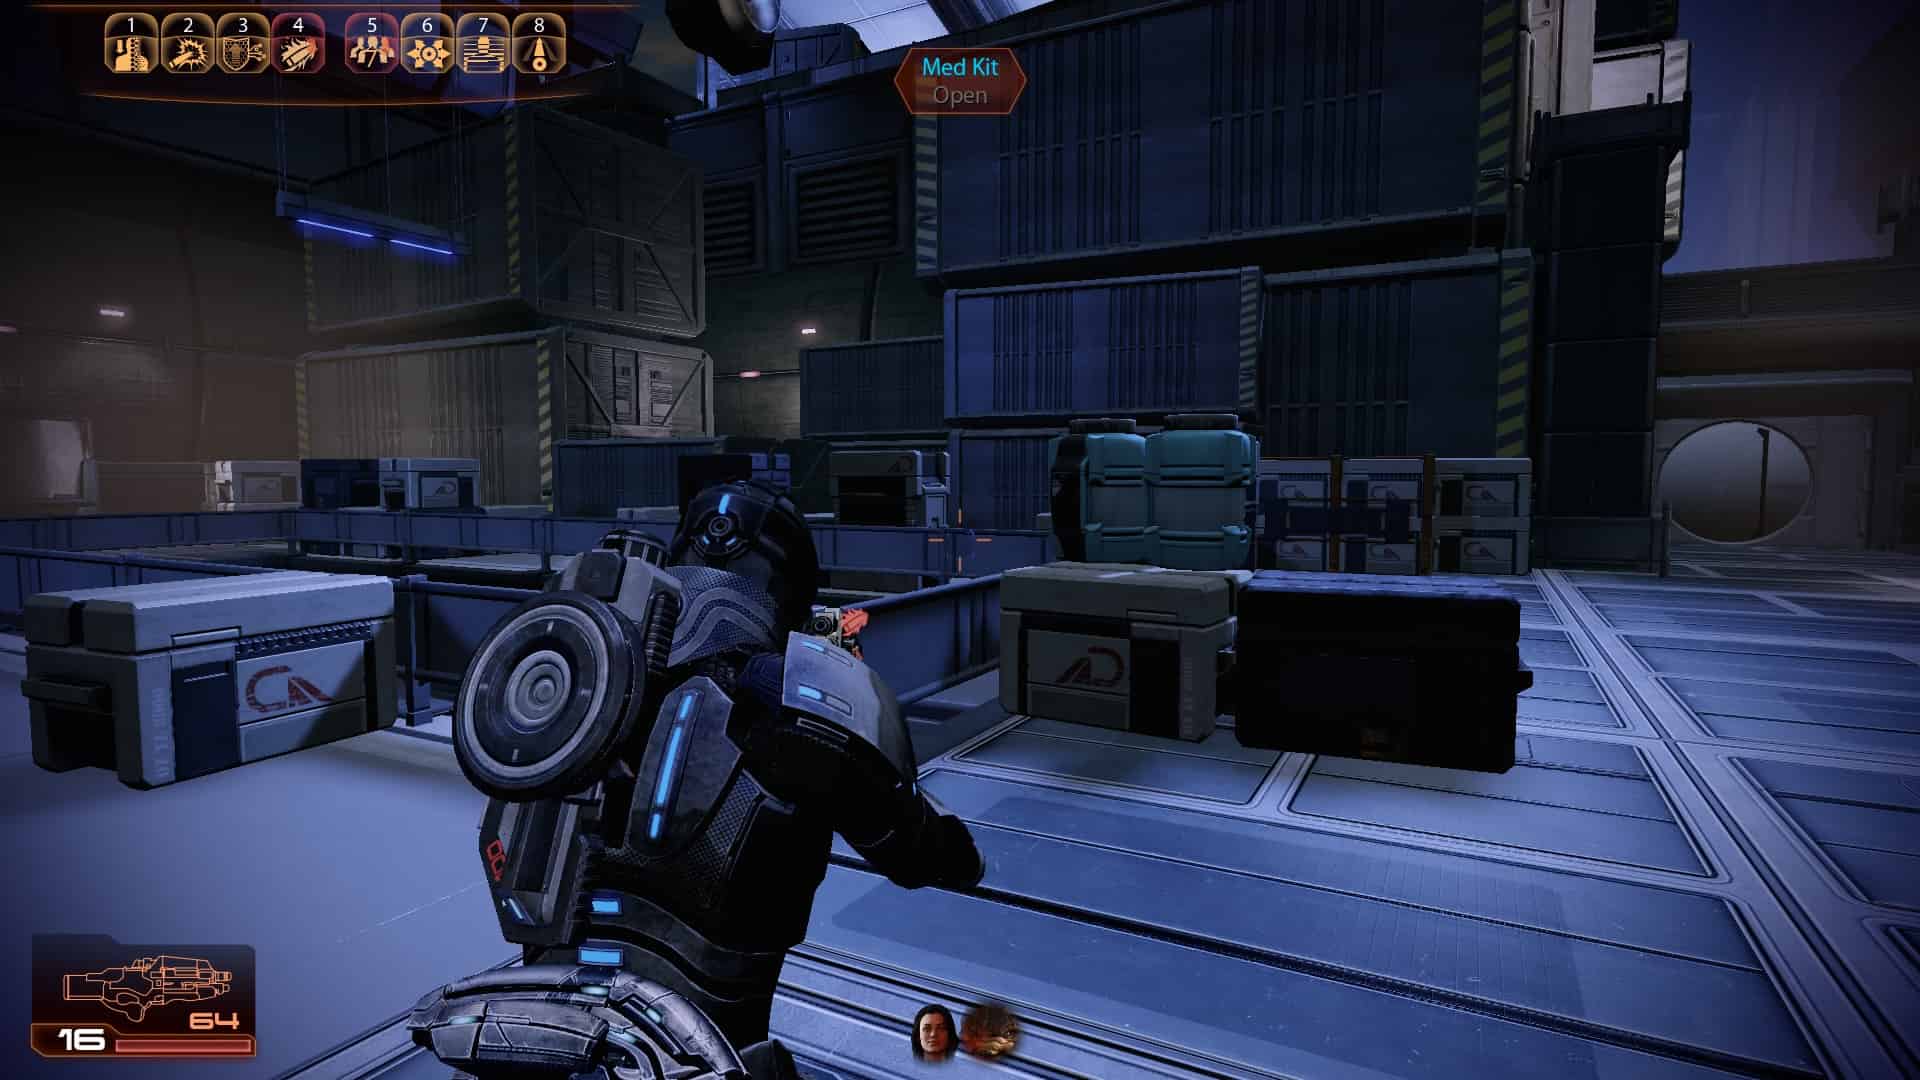
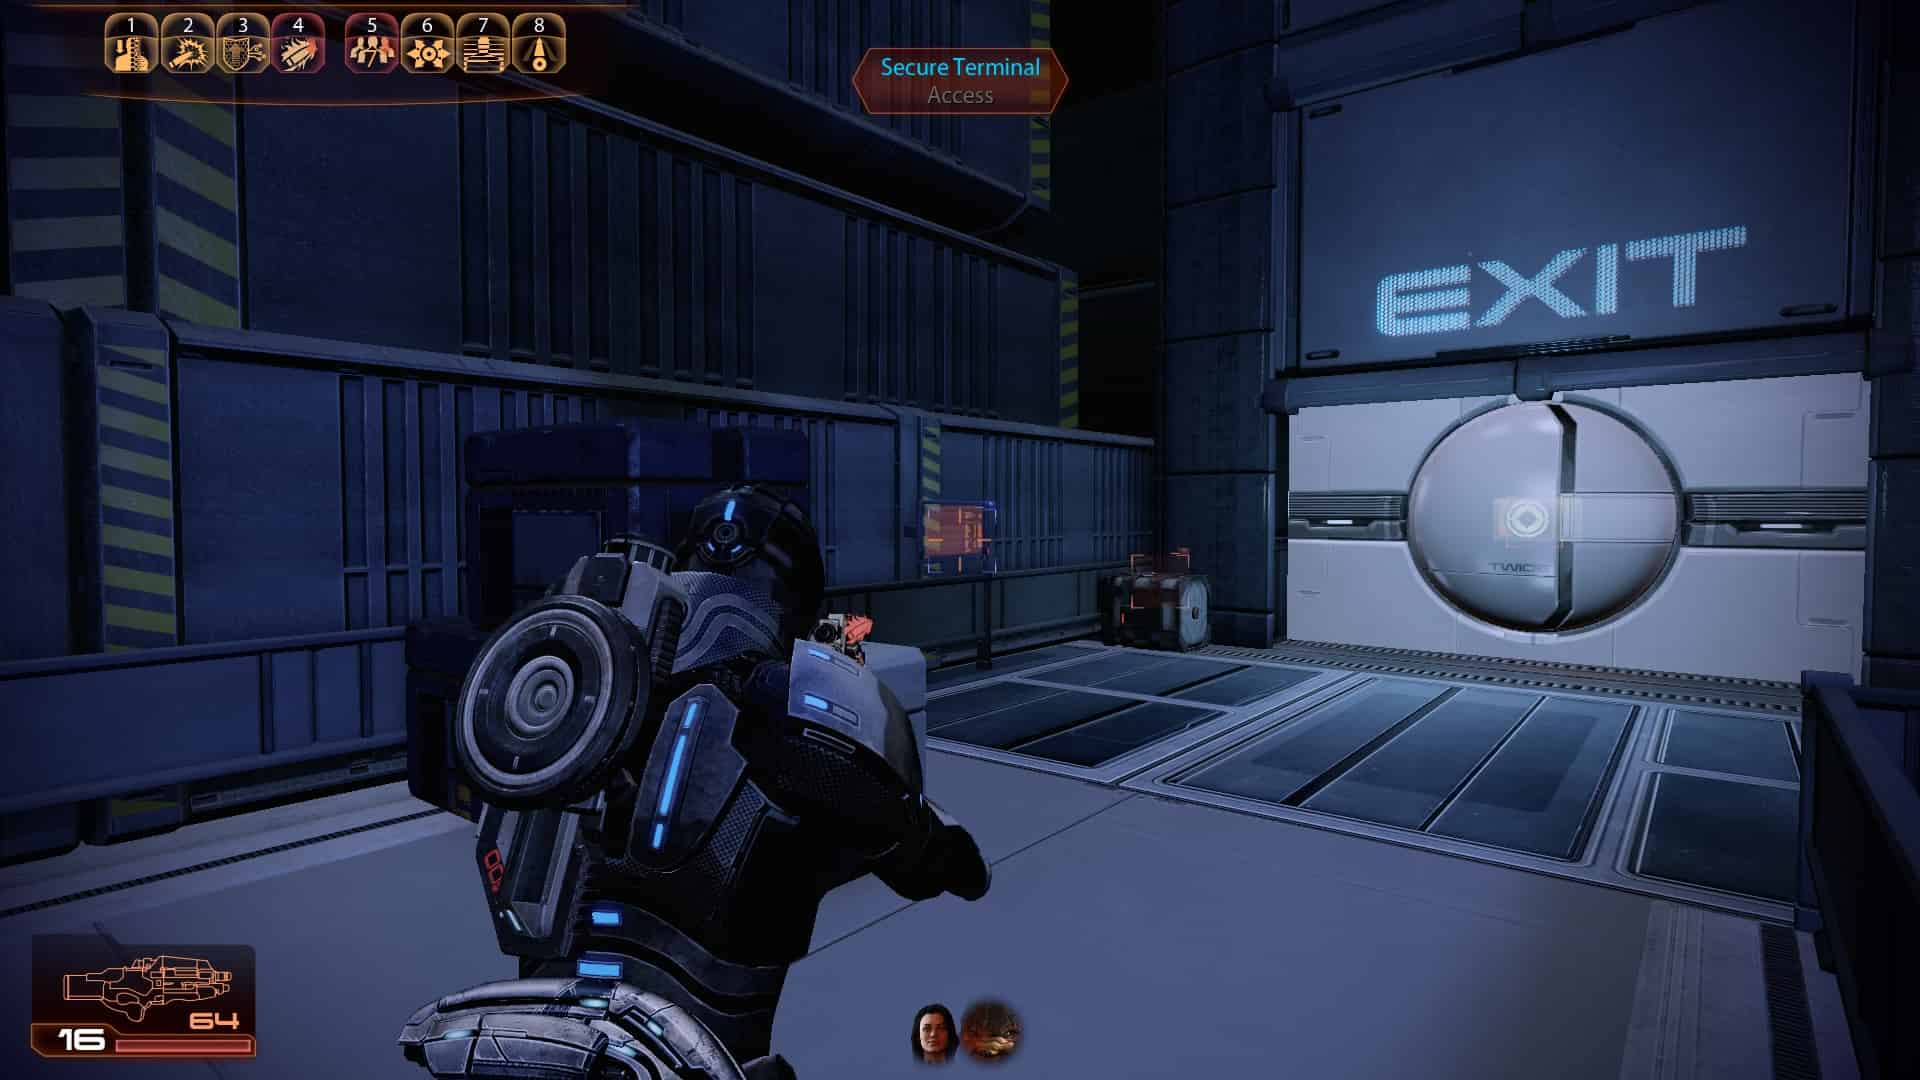
1
2 (Upgrade - Submachine Gun Damage)
3
4
5 (Upgrade - Medi-Gel Capacity)
6
7
8
9
10
11
12
13
14 (Assignment - Lost Locket Found)
Loyalty Mission: Mordin
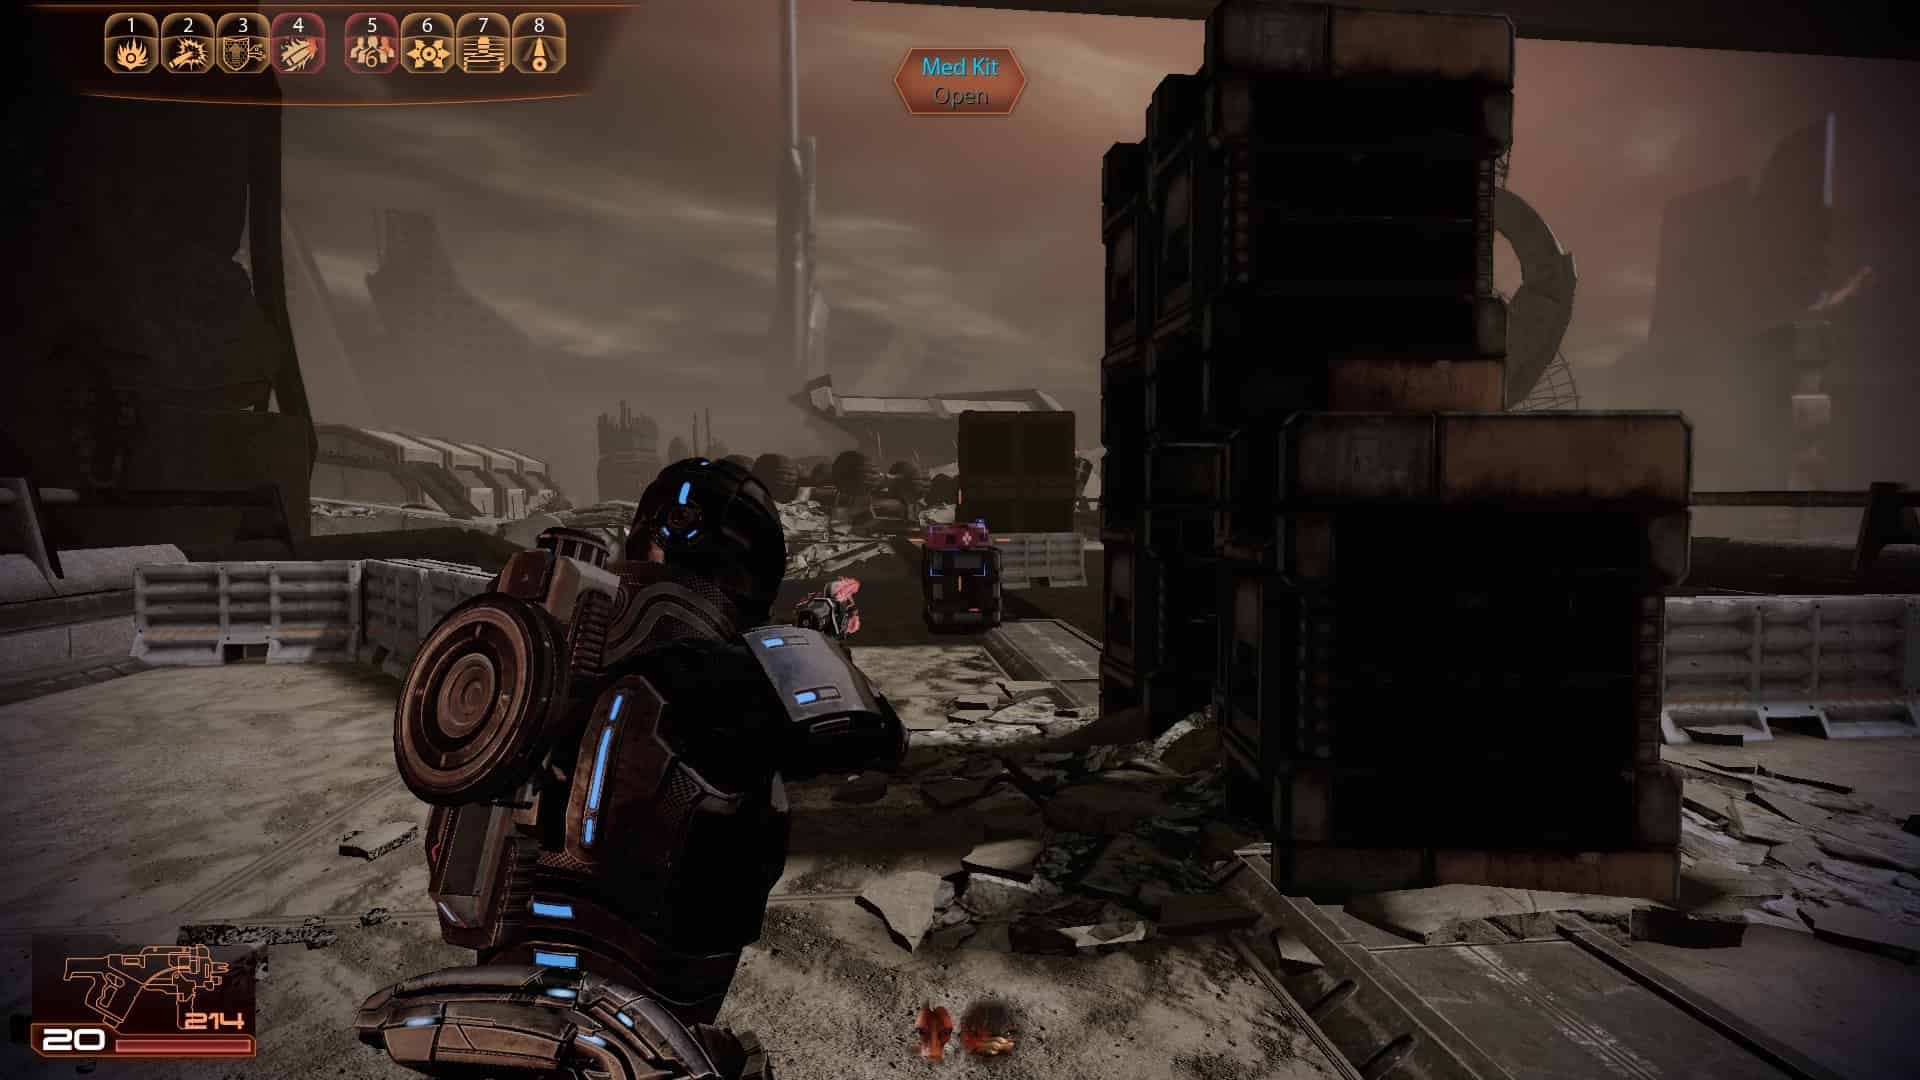
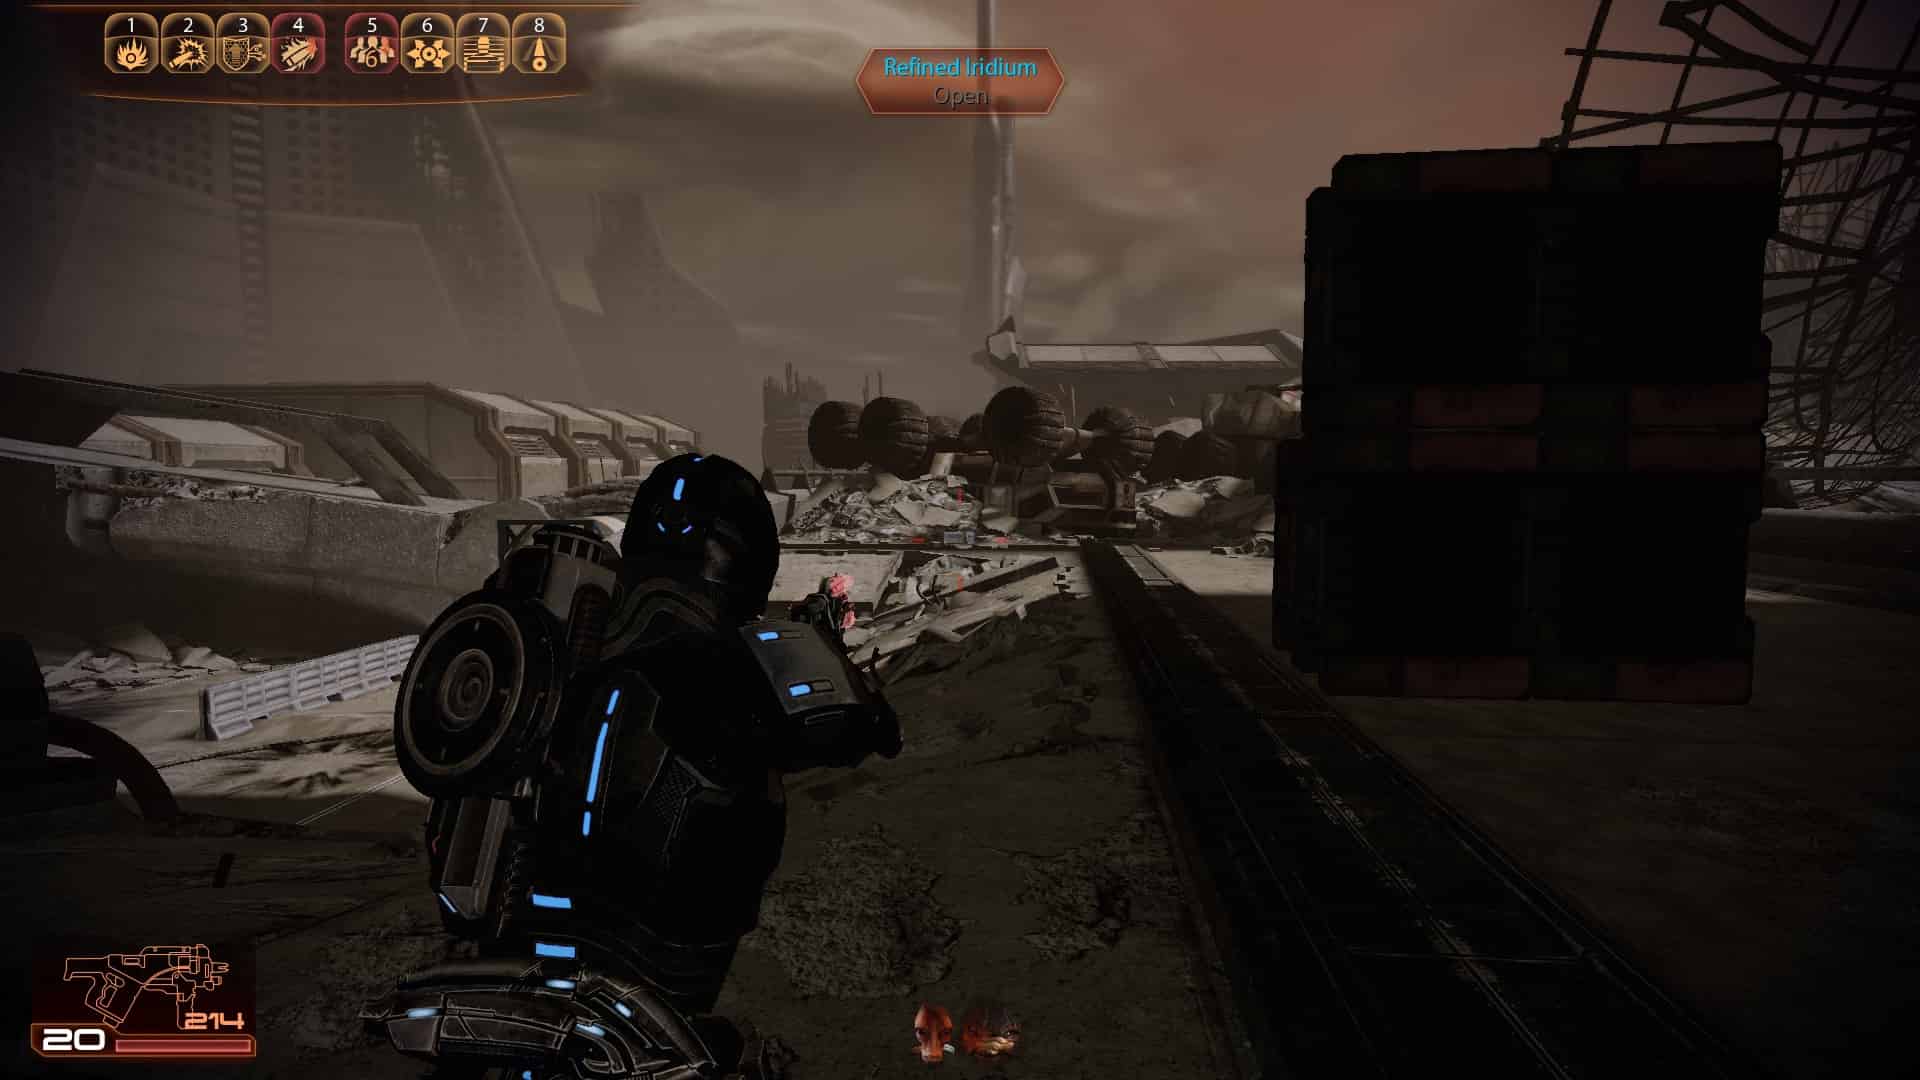
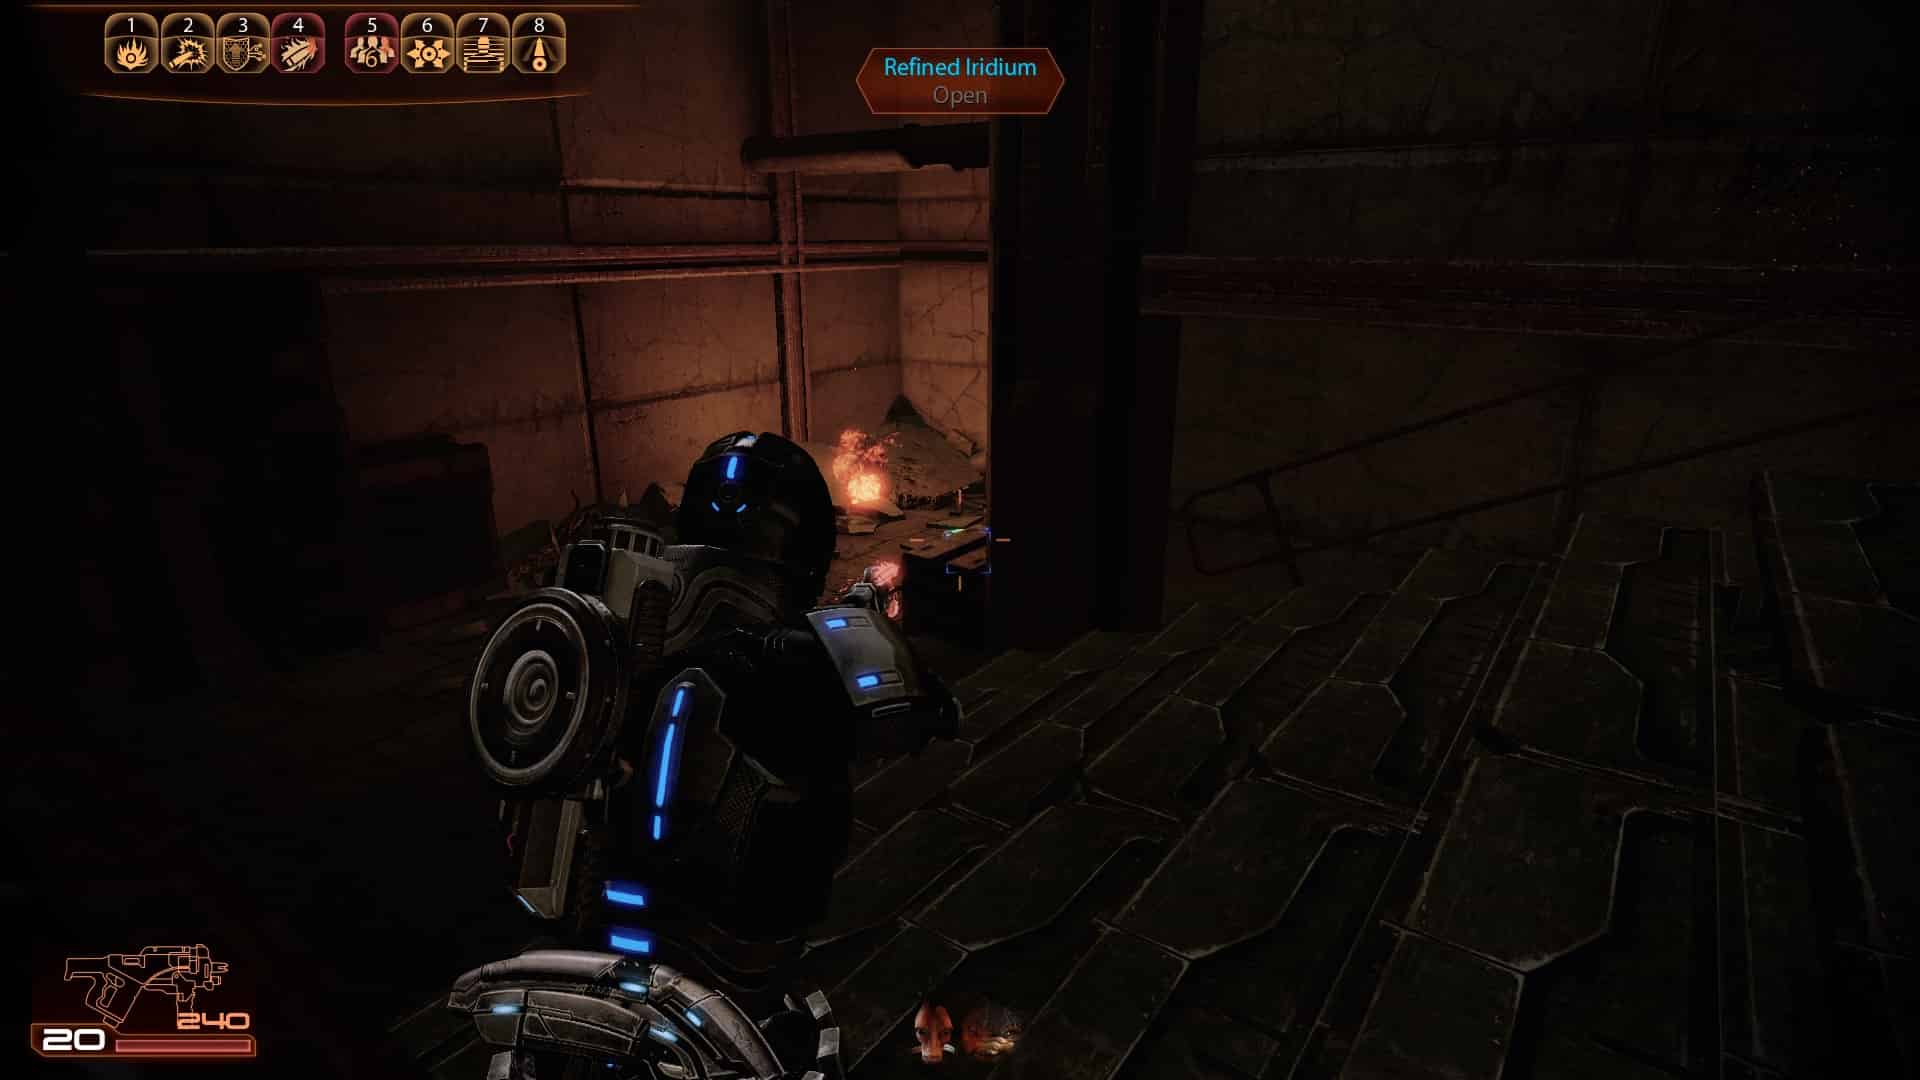
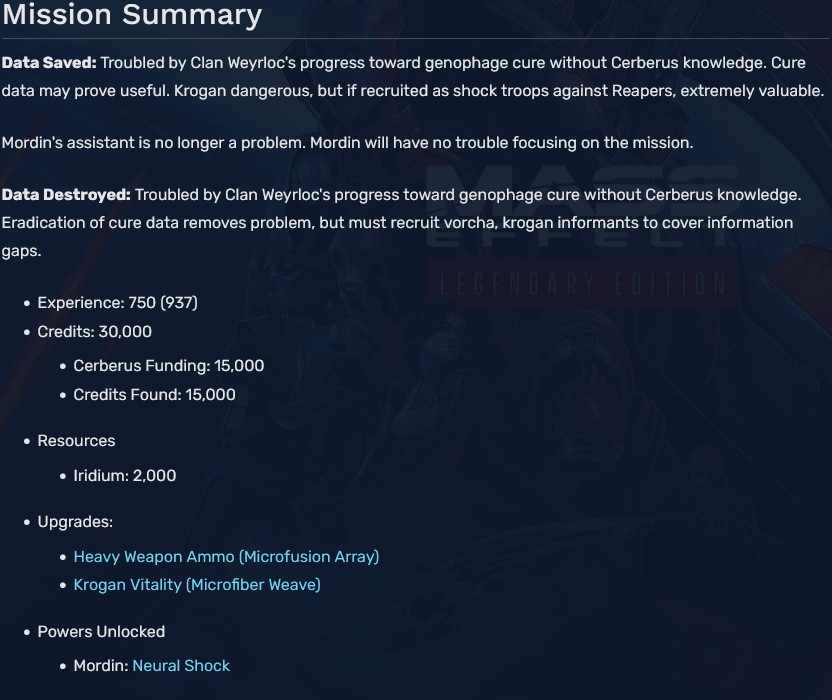
1
2
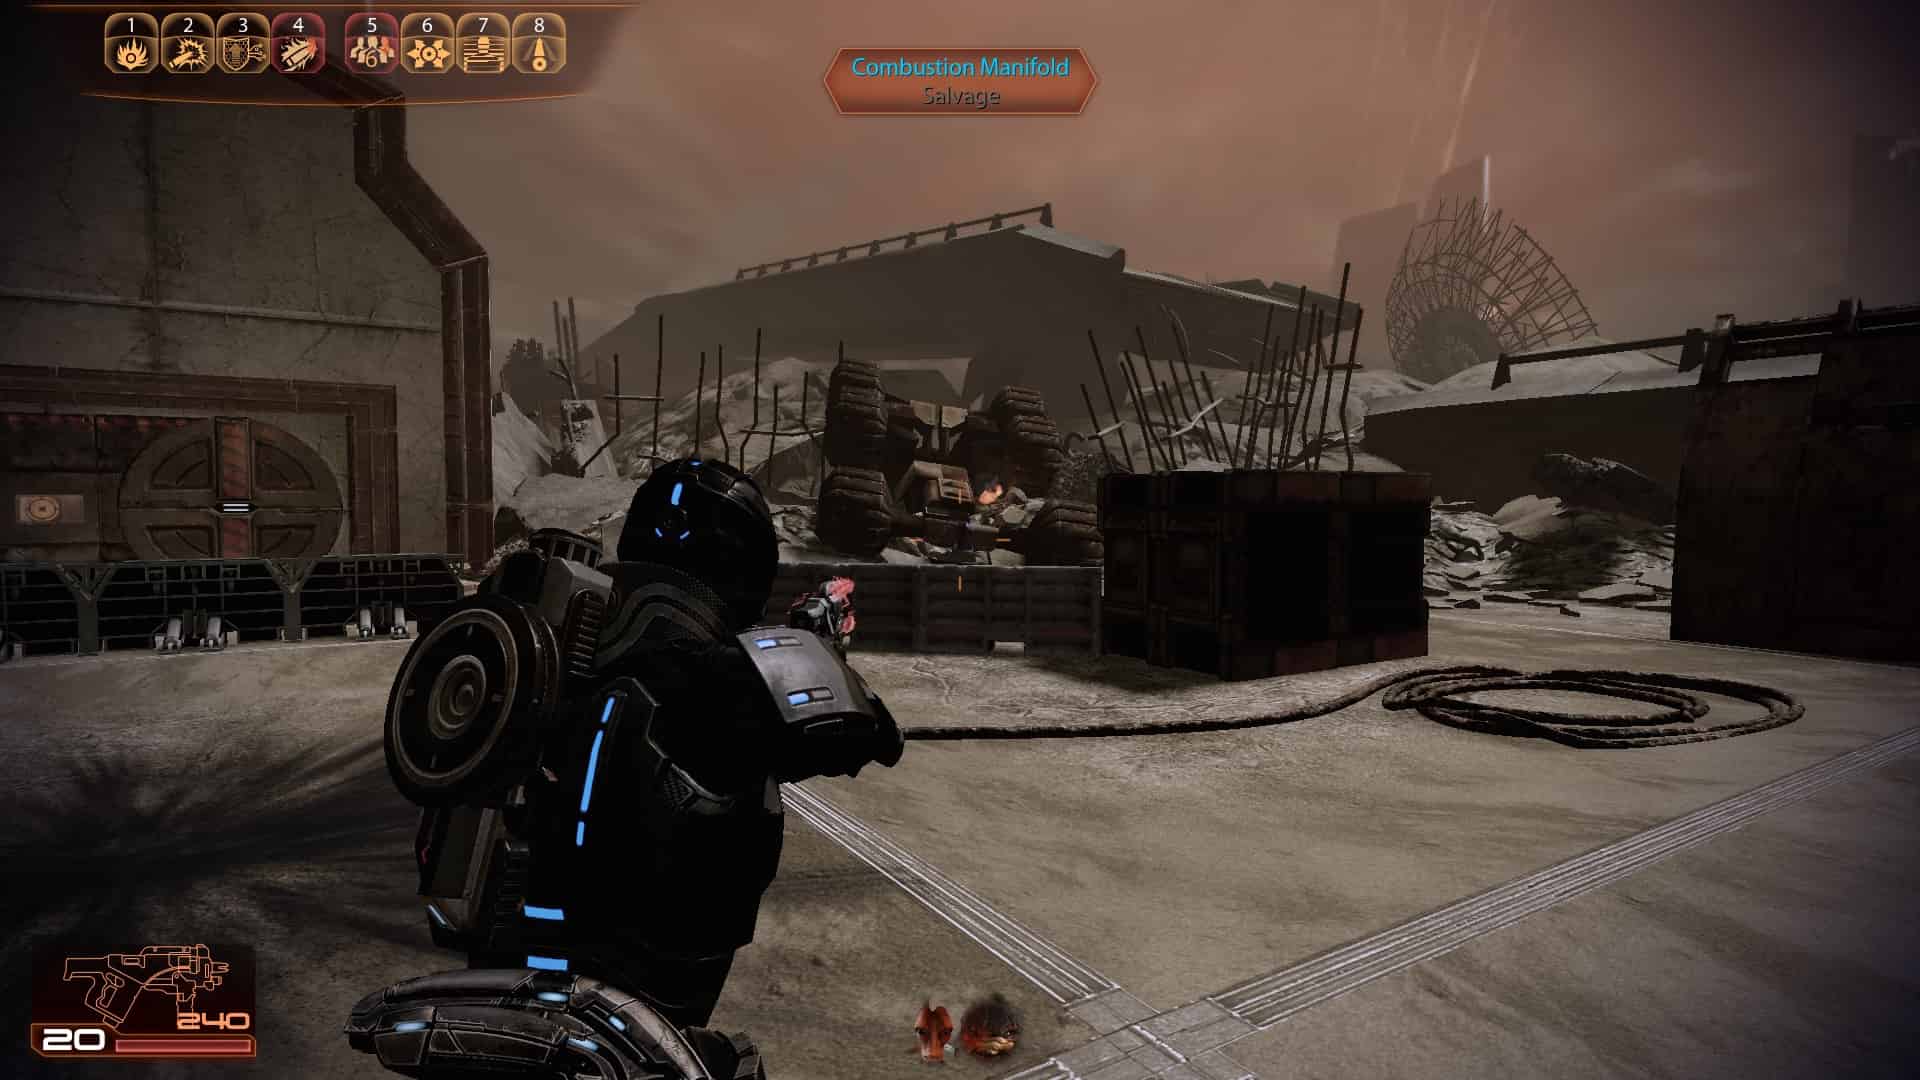
3 (Assignment - Combustion Manifold)
4
5
6
7
8
9 (Upgrade - Krogan Vitality)
10
11
12
13
14
15 (Upgrade - Heavy Weapon Ammo)
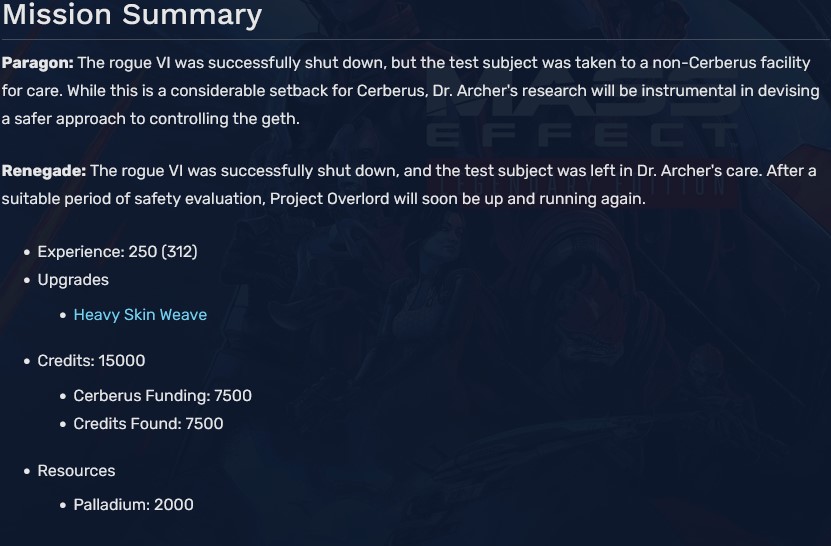
16 (Choose to stay longer)
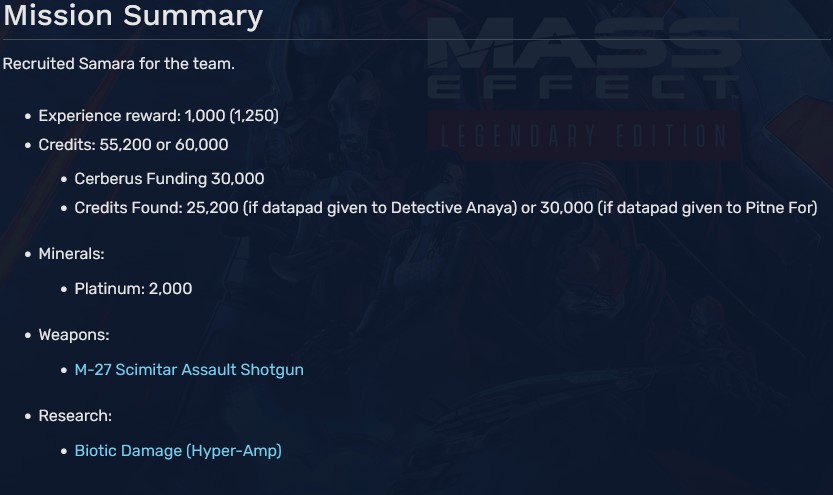
Loyalty Mission: Samara
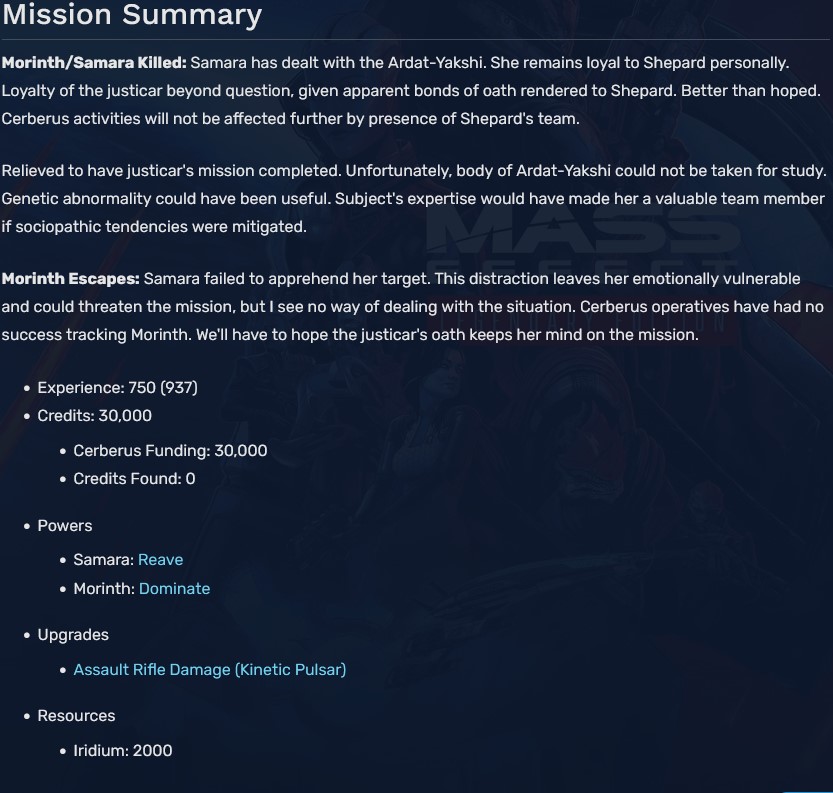
1 (Upgrade - Assault Rifle Damage)
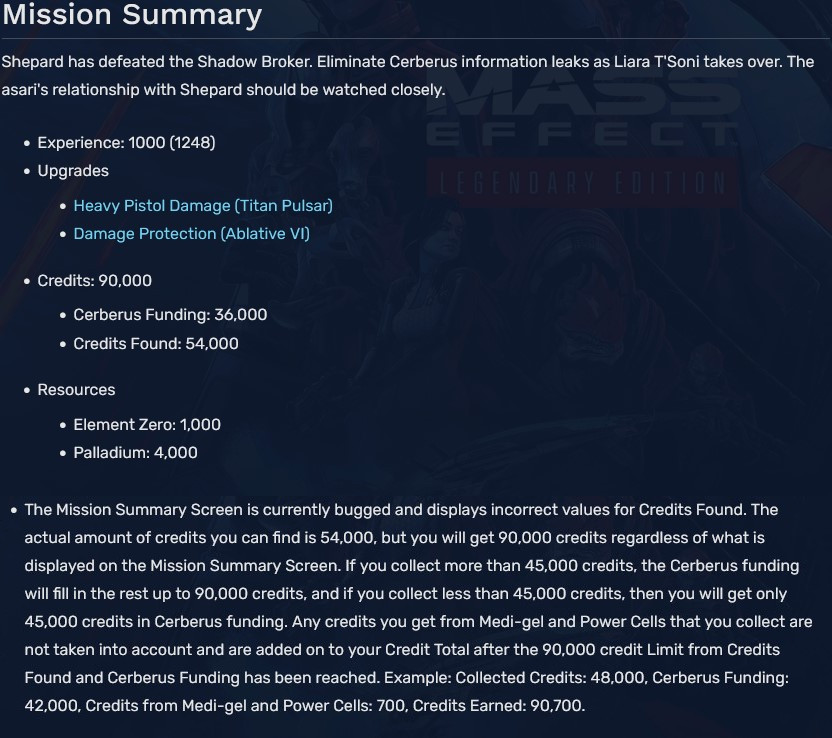
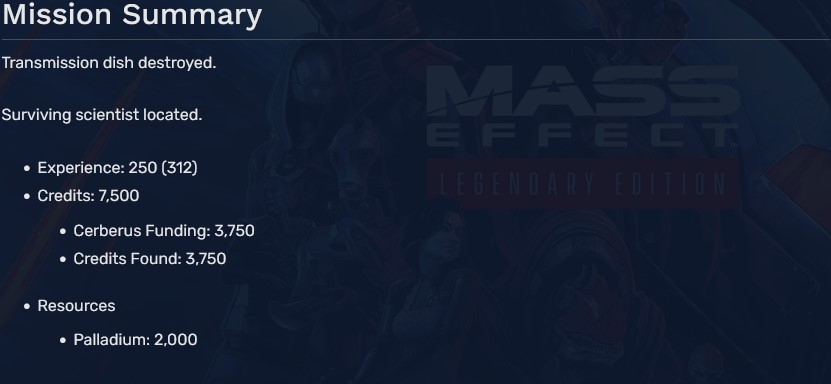
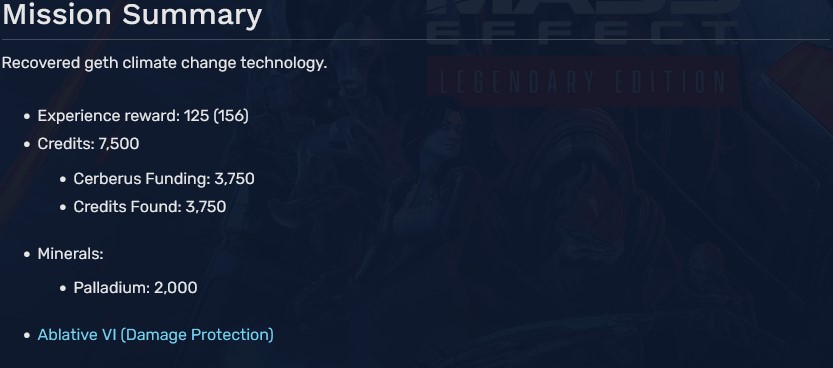
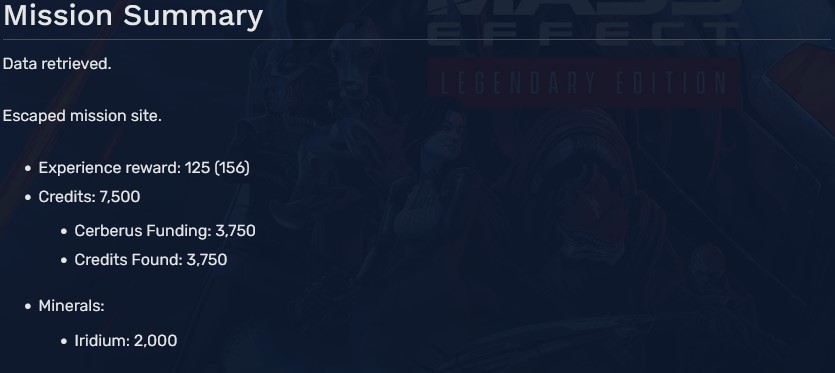
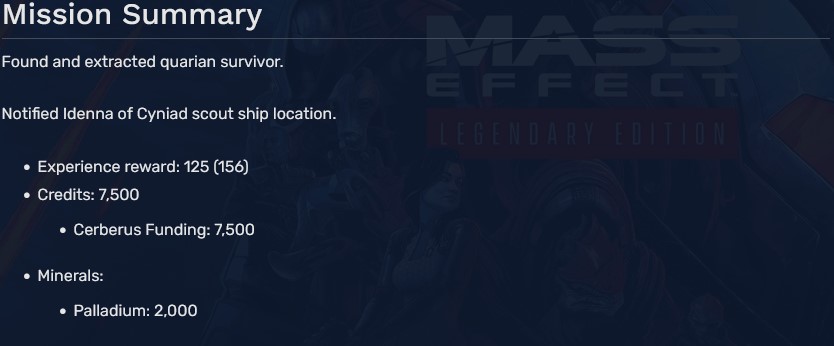
Information from masseffect.fandom.com: "The Mission Complete screen will falsely report that 2,000 units of a resource were found. There are no resources to be found in the mission, and the amount of resources, as shown in the Mission Computer, does not change upon completion of the mission. This is fixed in the Legendary Edition."
Loyalty Mission: Tali


1
2
3
4
5
6
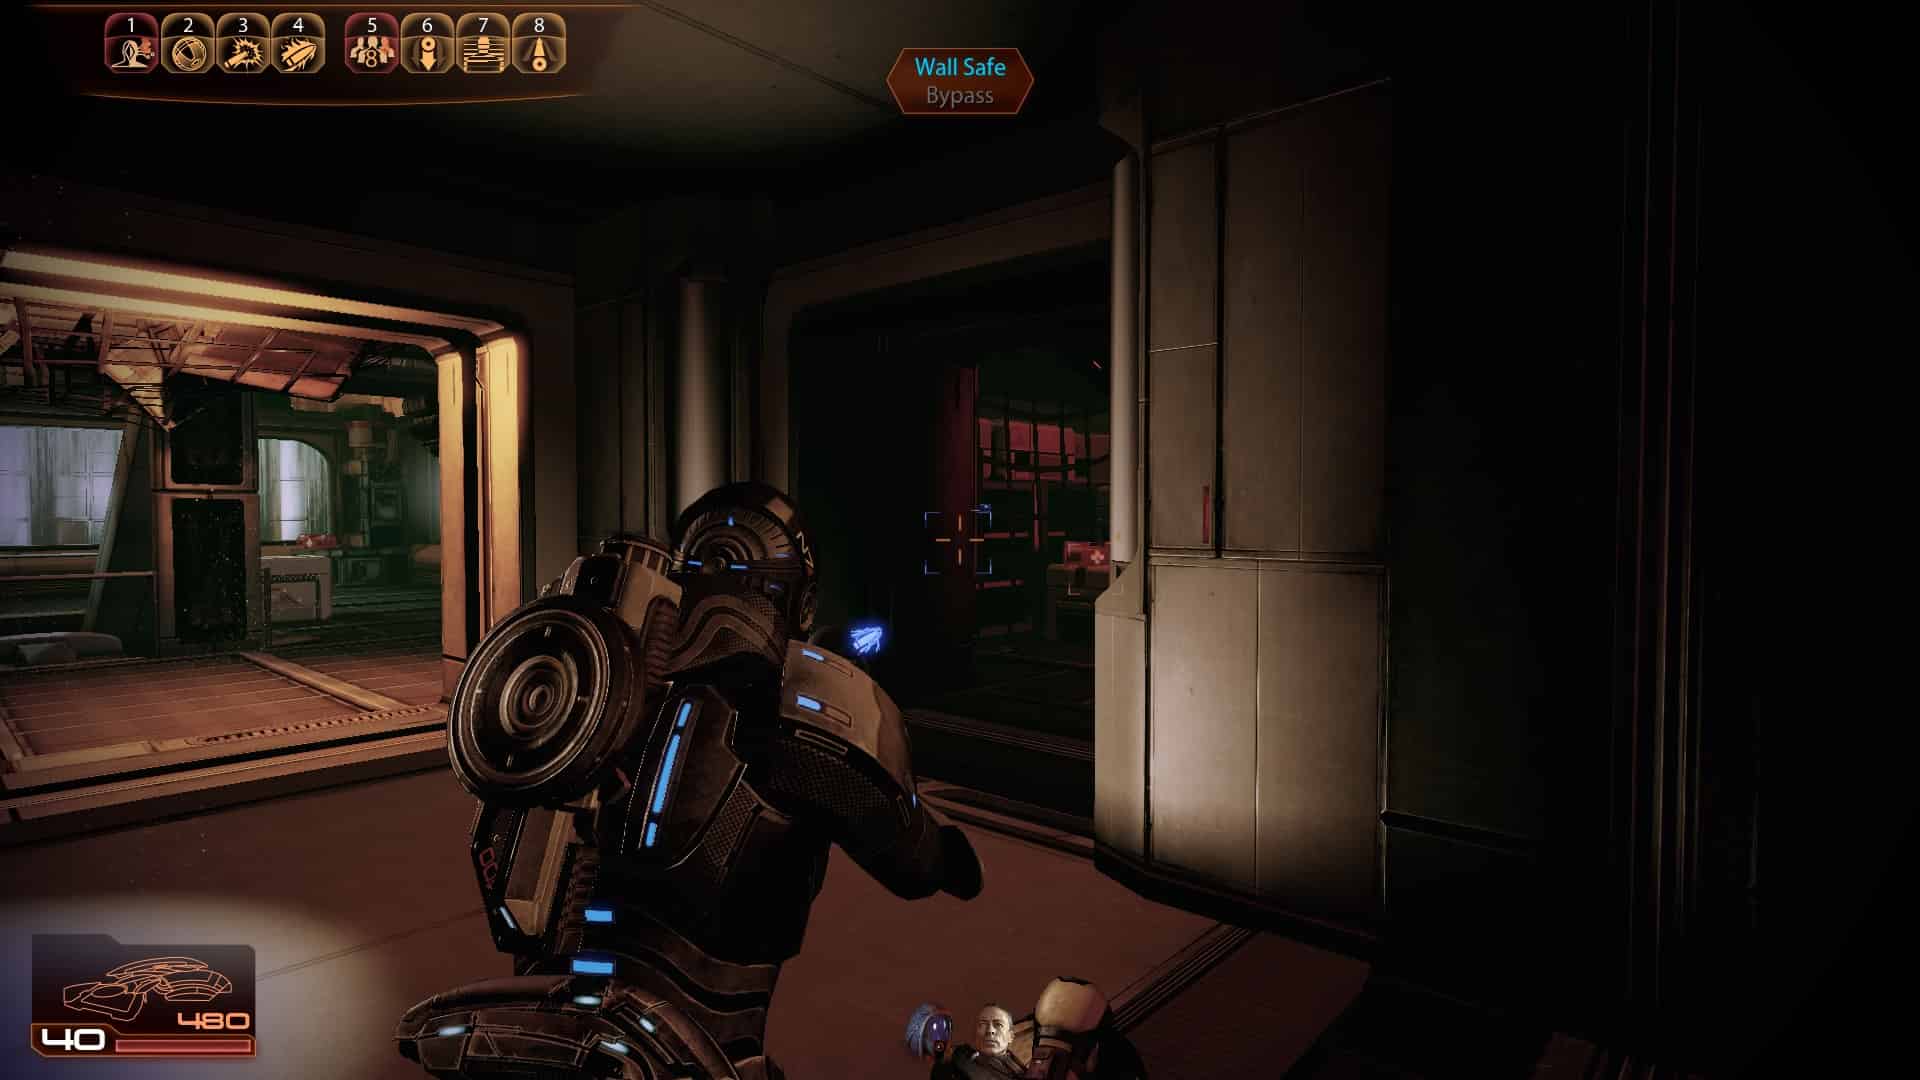
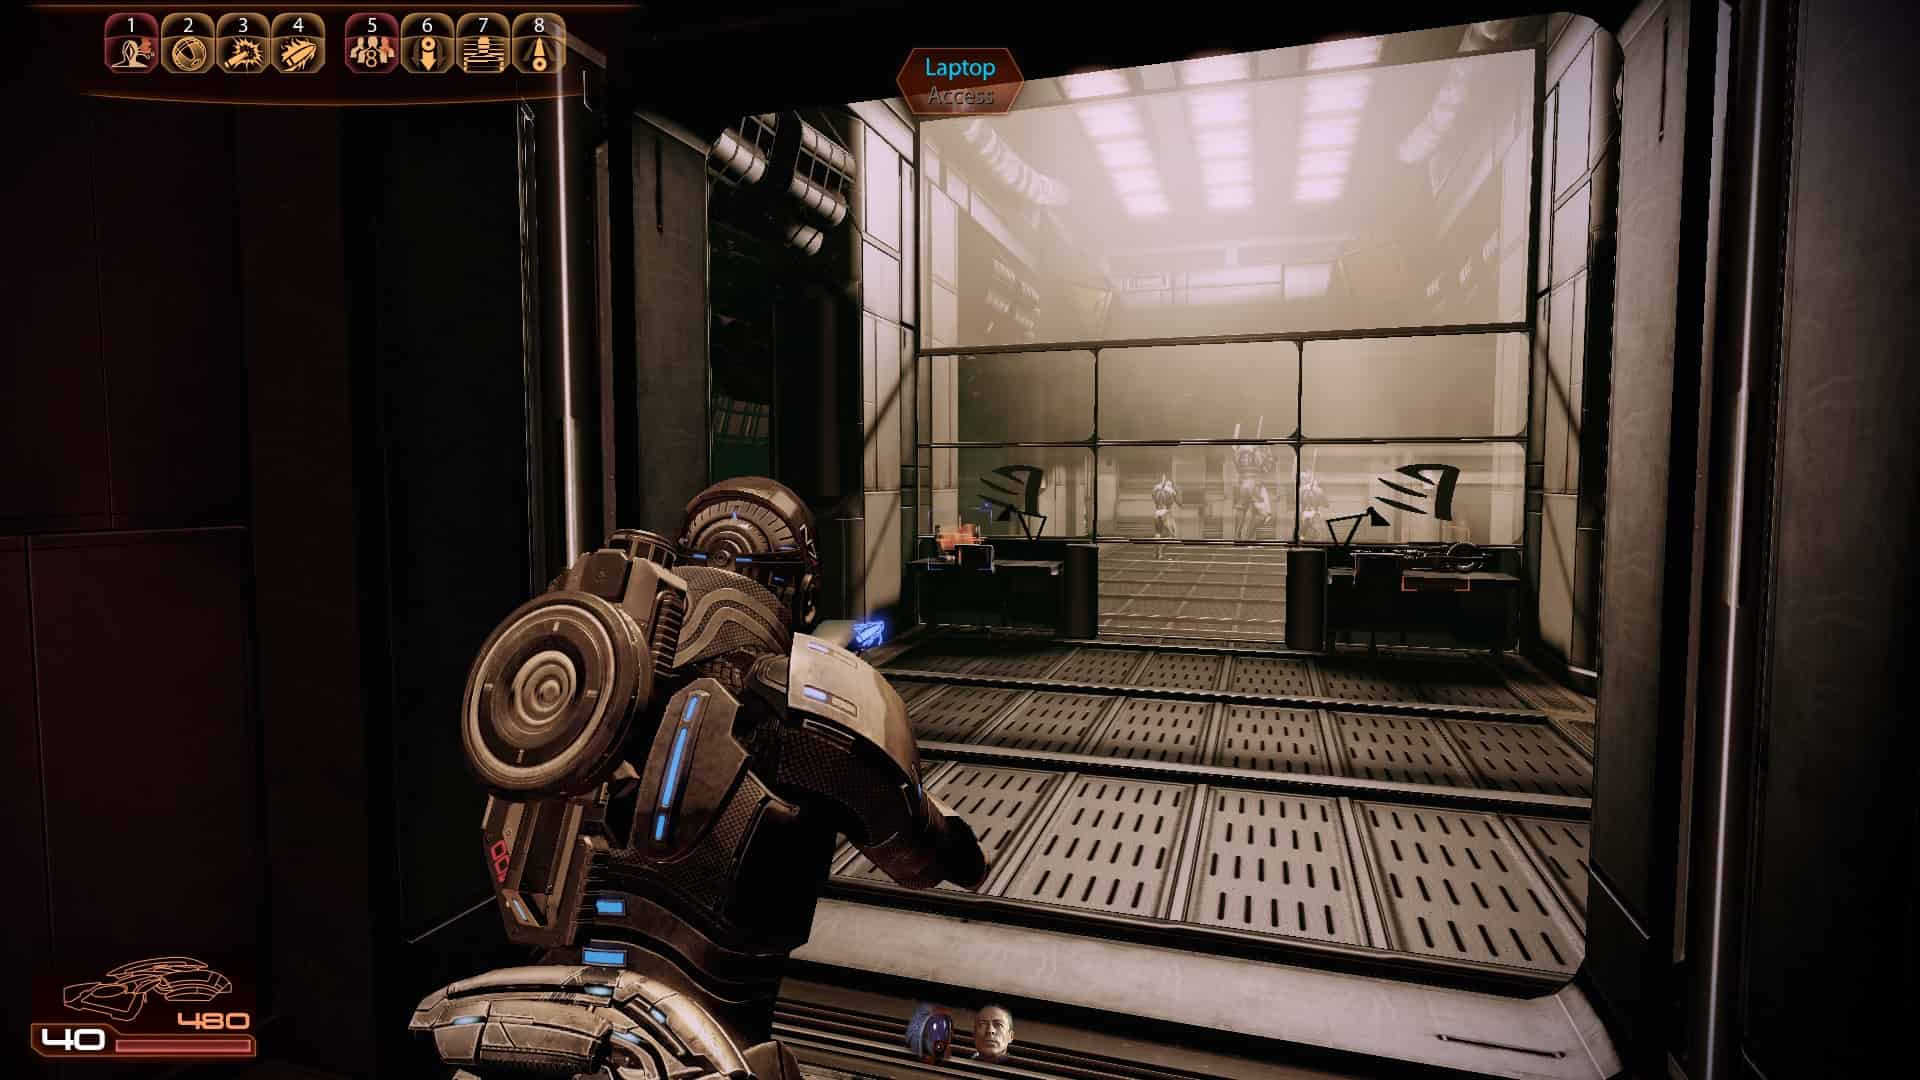
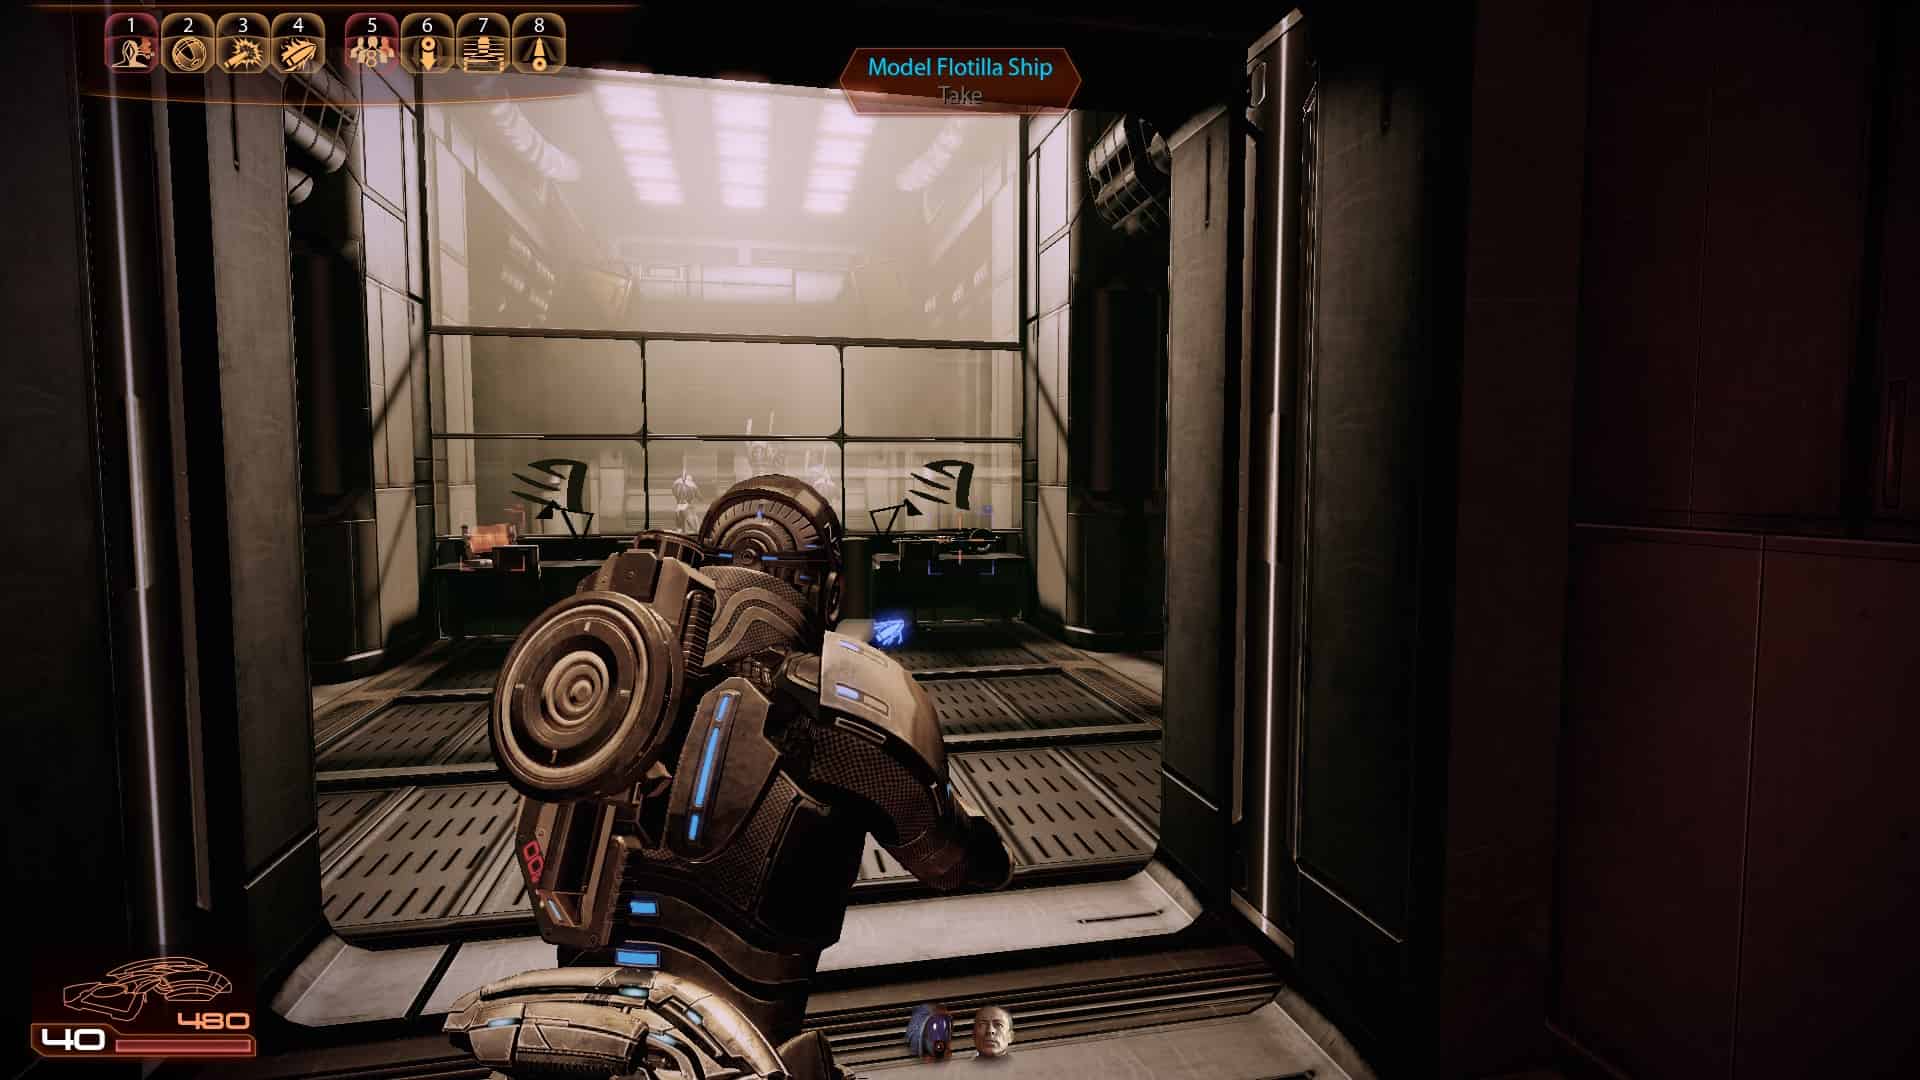
7 (Upgrade - Geth Shield Strength)
8
9
10
11
12
13
14
15
16
17
18
19
20
21
22
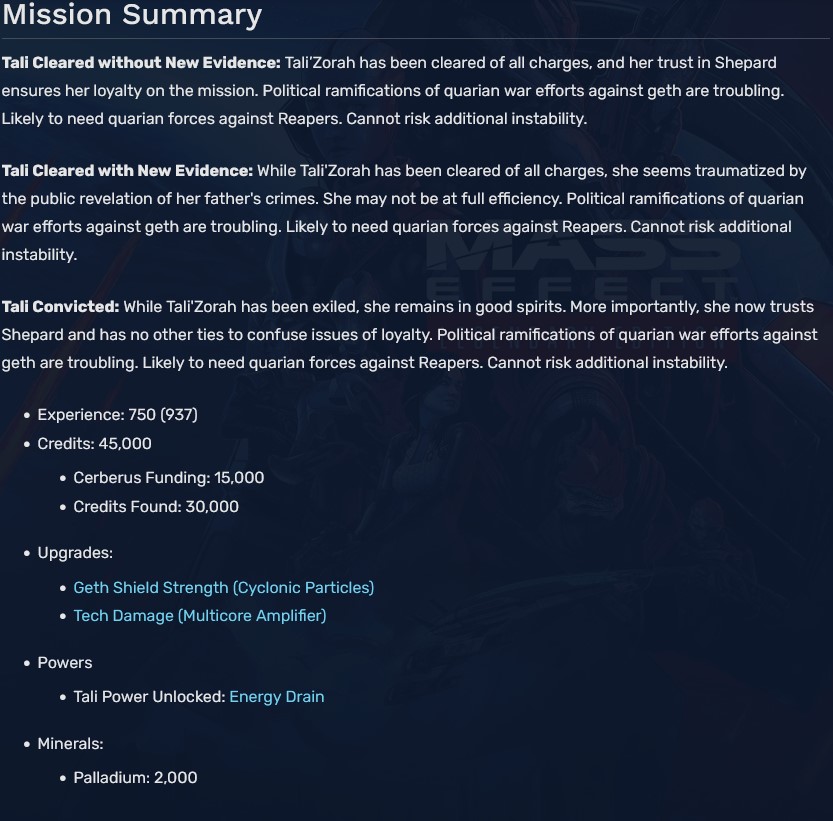
23 (Upgrade - Tech Damage, only if Tali is found not guilty)
Loyalty Mission: Thane
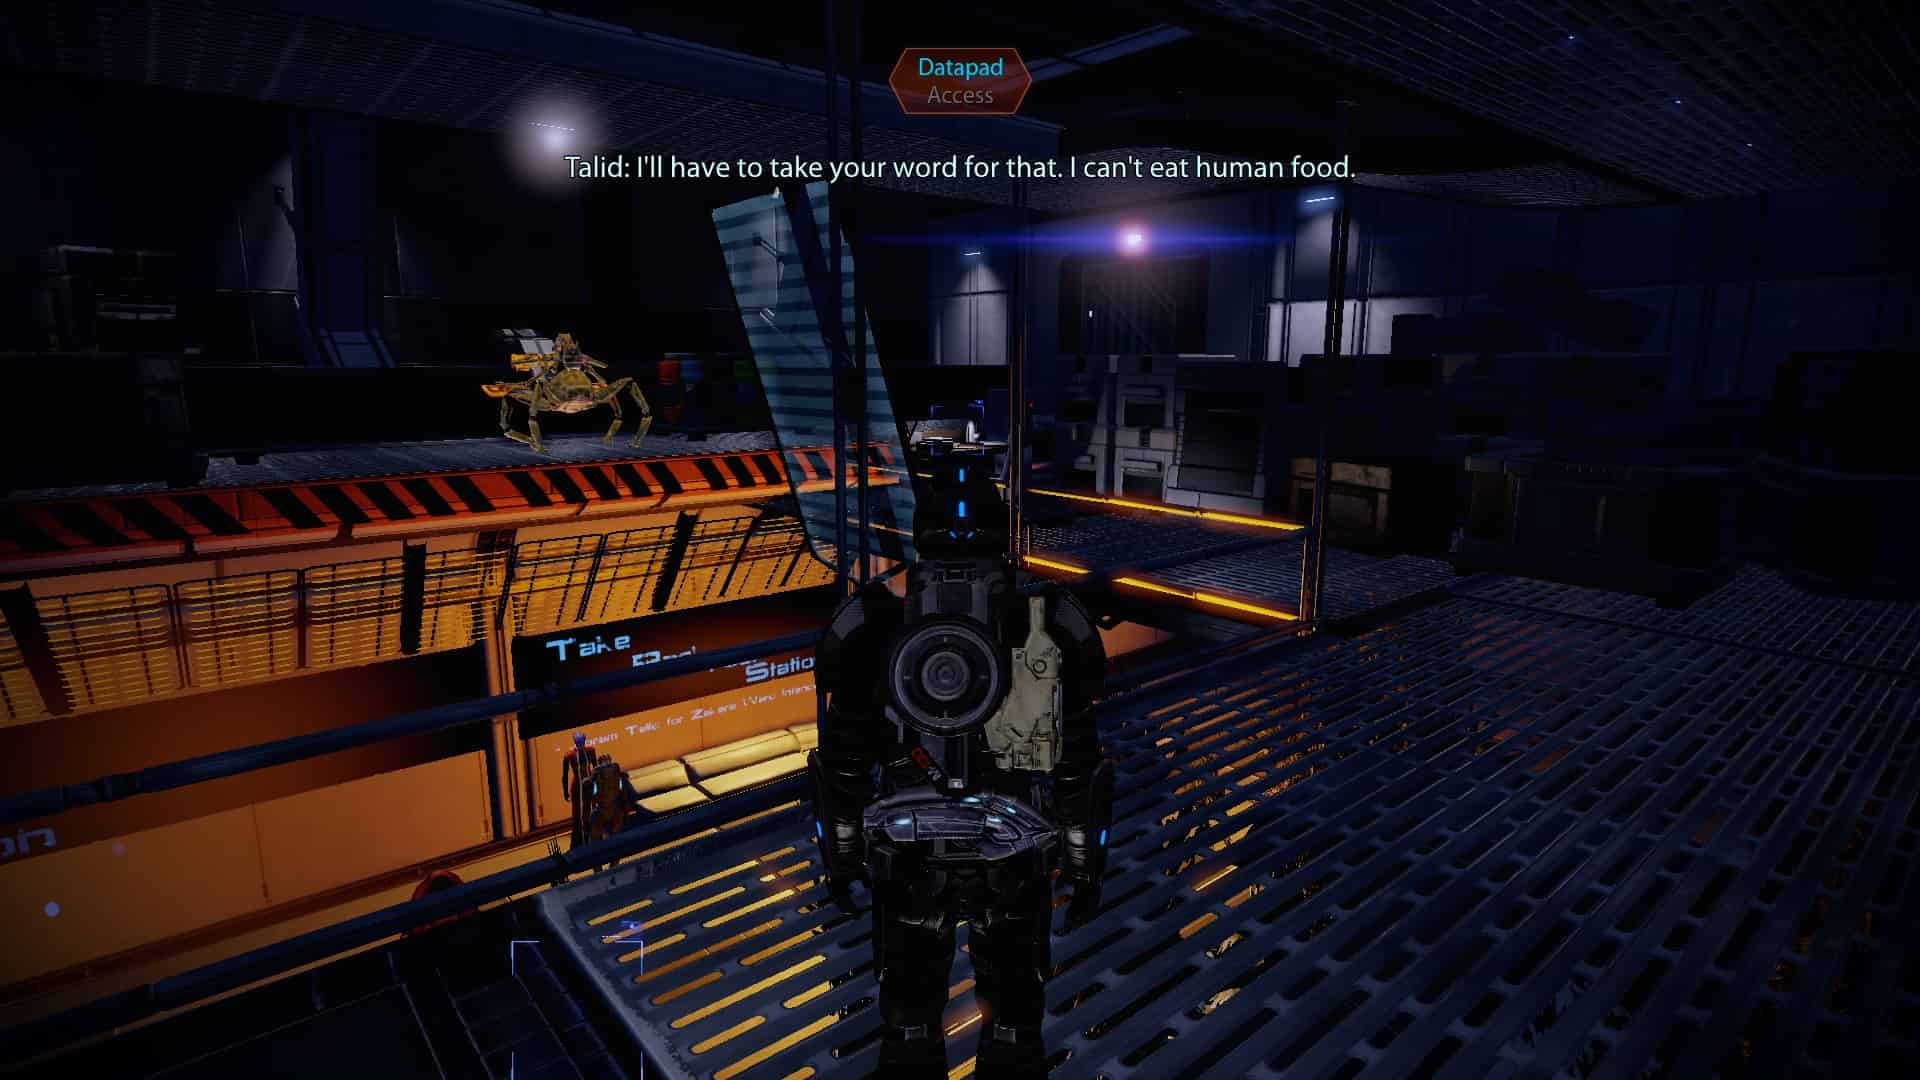
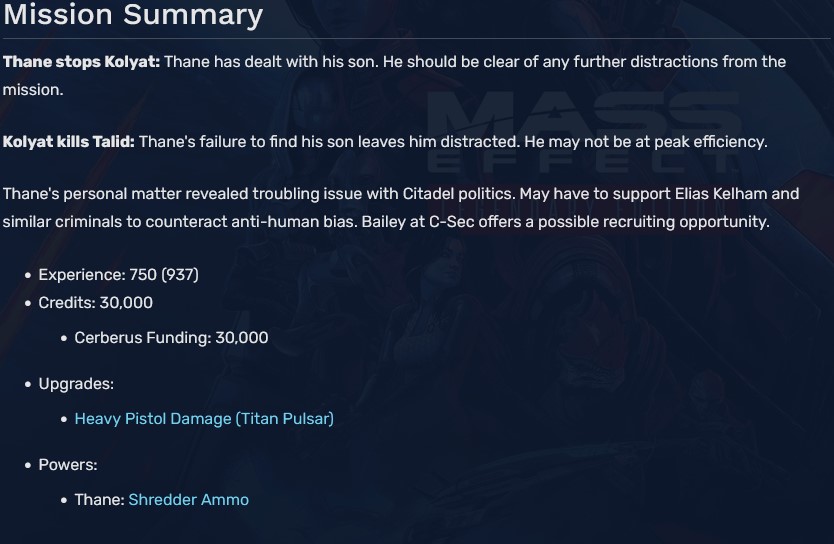
1 (Upgrade - Heavy Pistol Damage)
Loyalty Mission: Zaeed (Paragon Route)


1
2
3
4
5
6 (Paragon Only)
7 (Paragon Only)
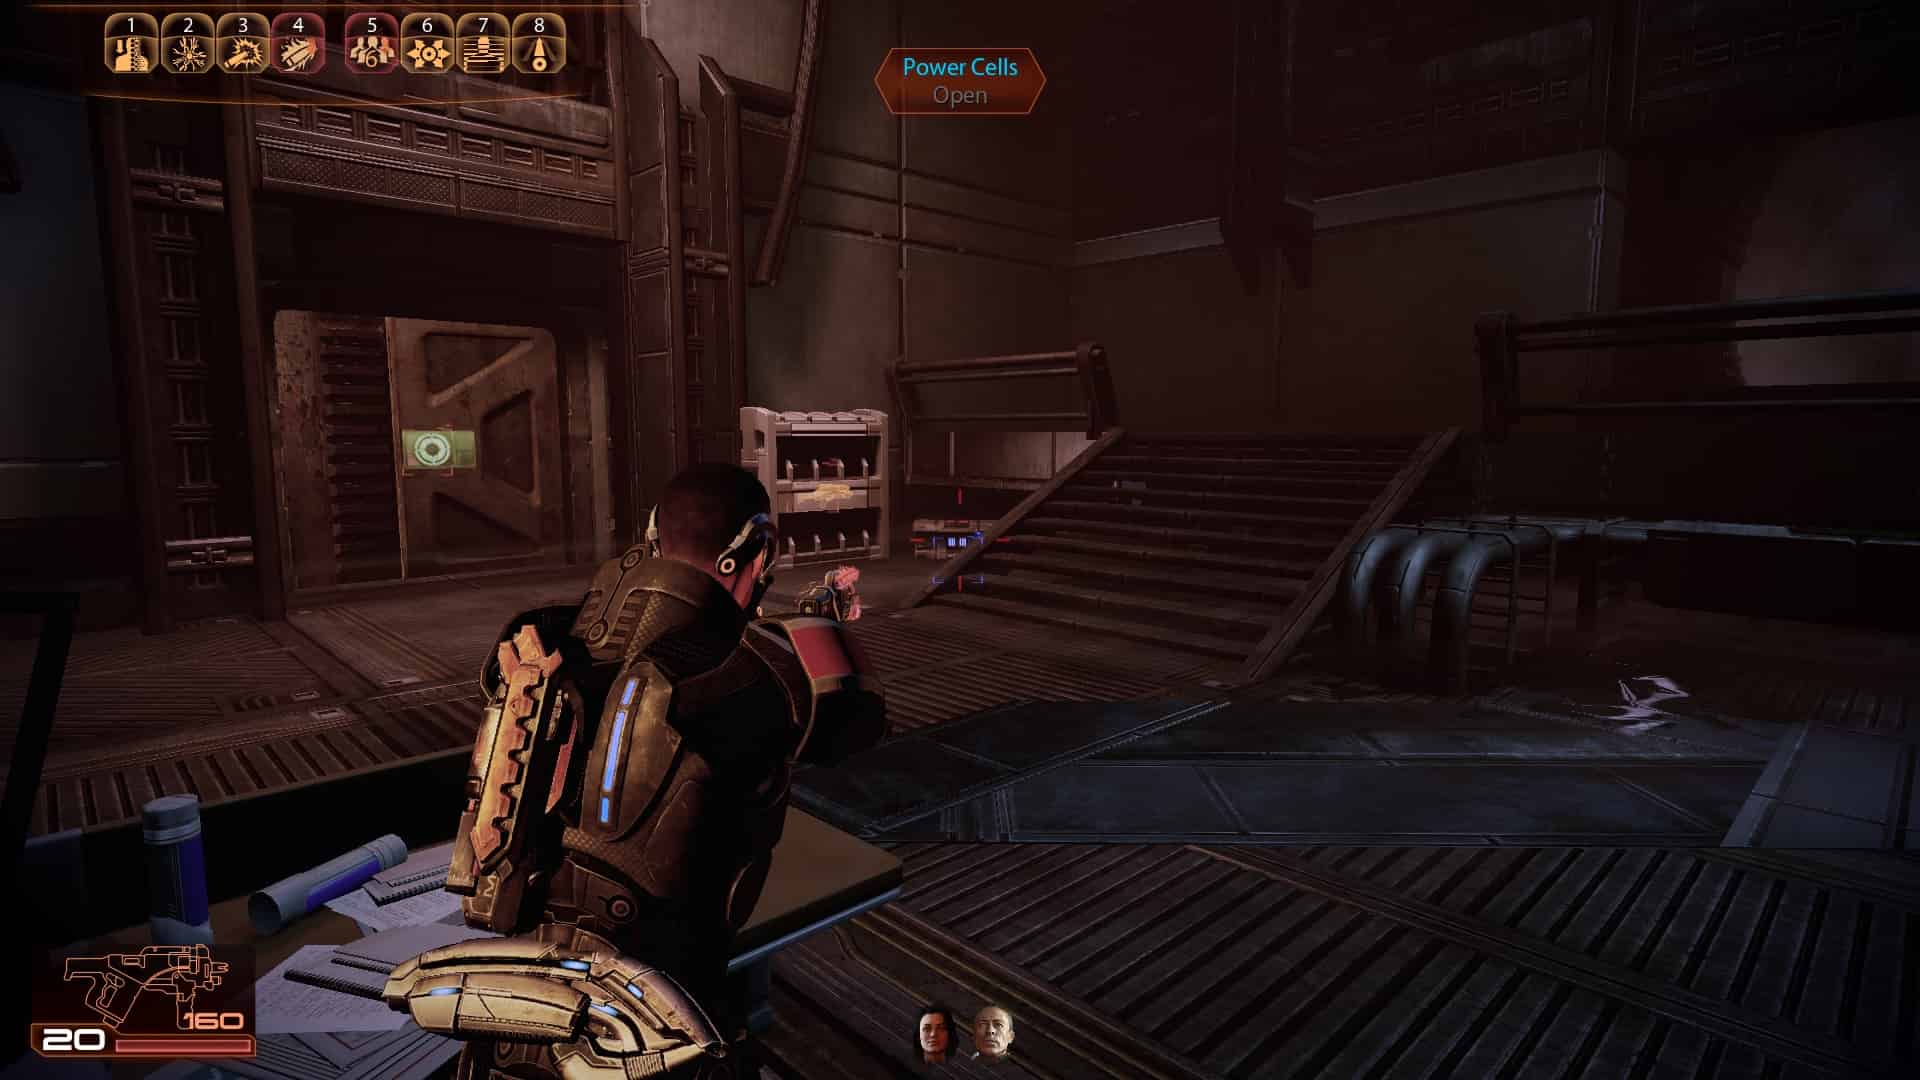
8 (Paragon Only, Upgrade - Heavy Weapon Ammo)
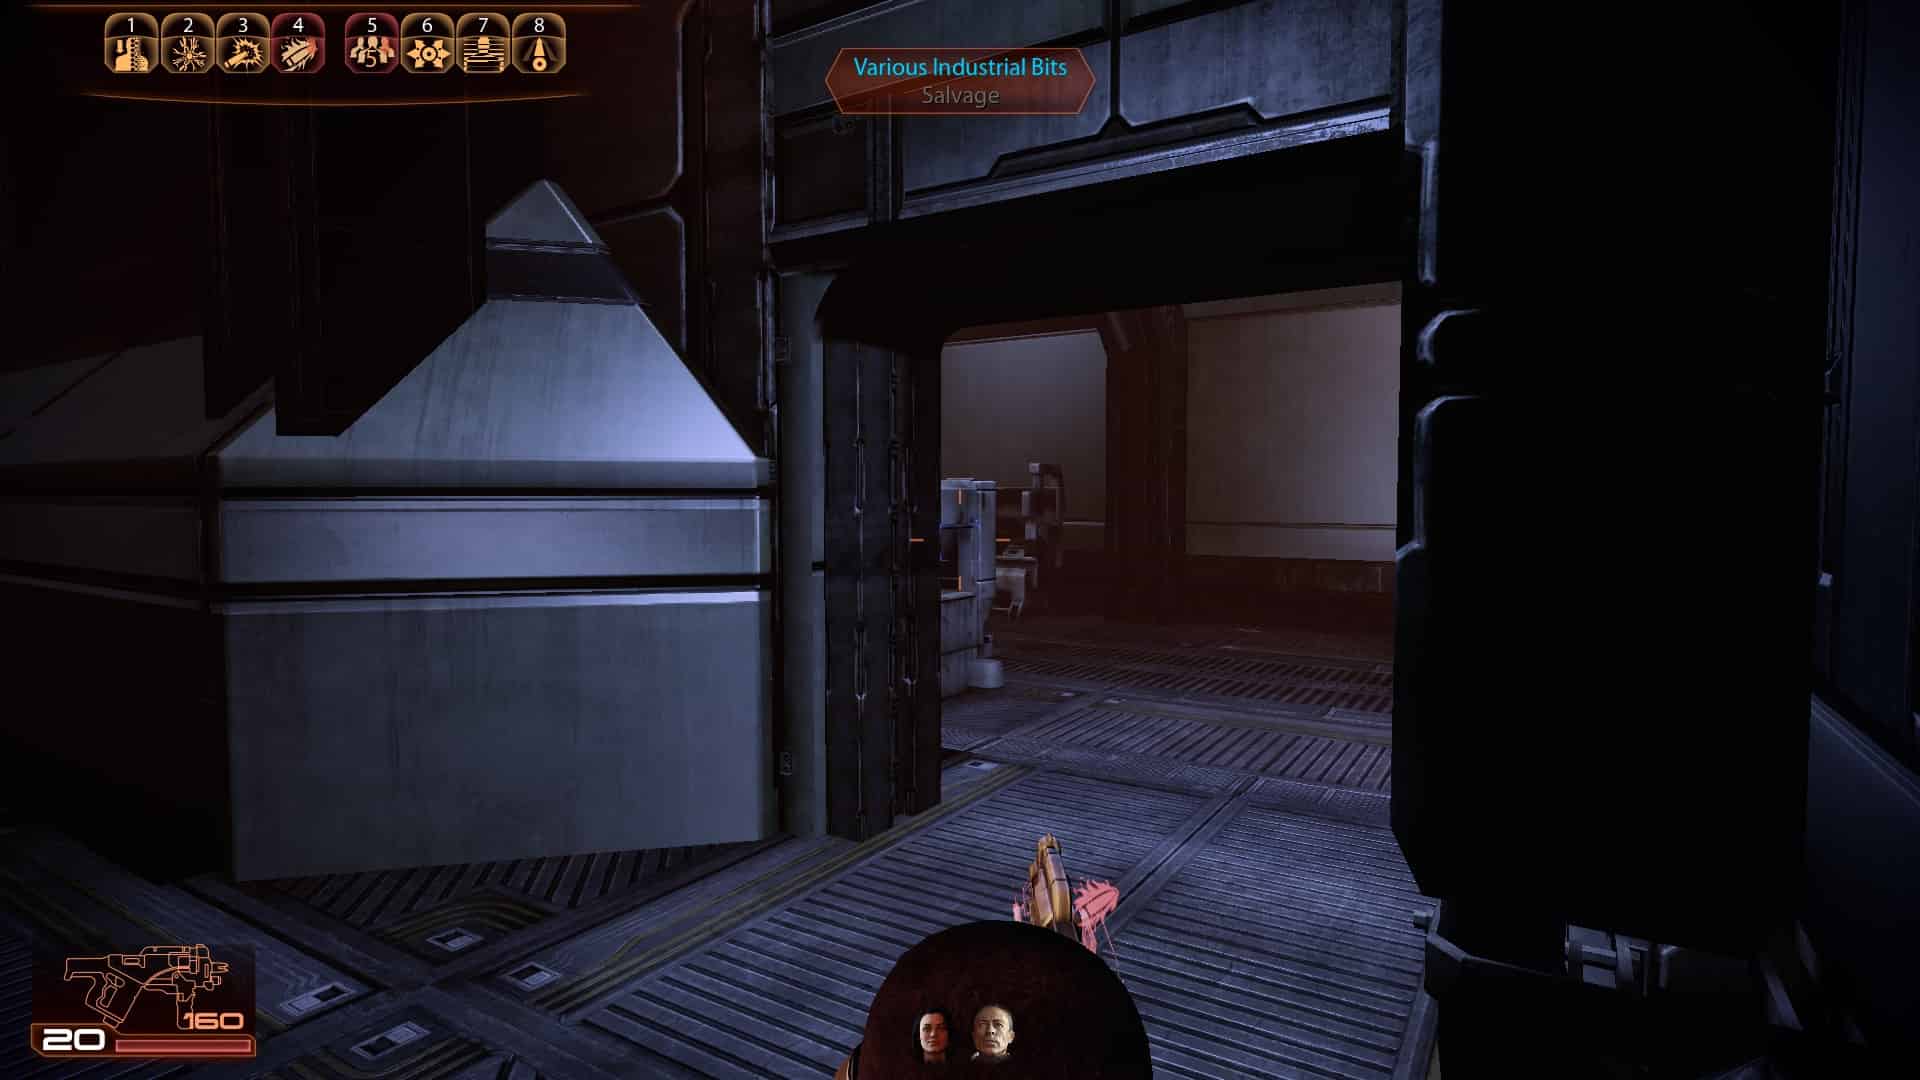
9
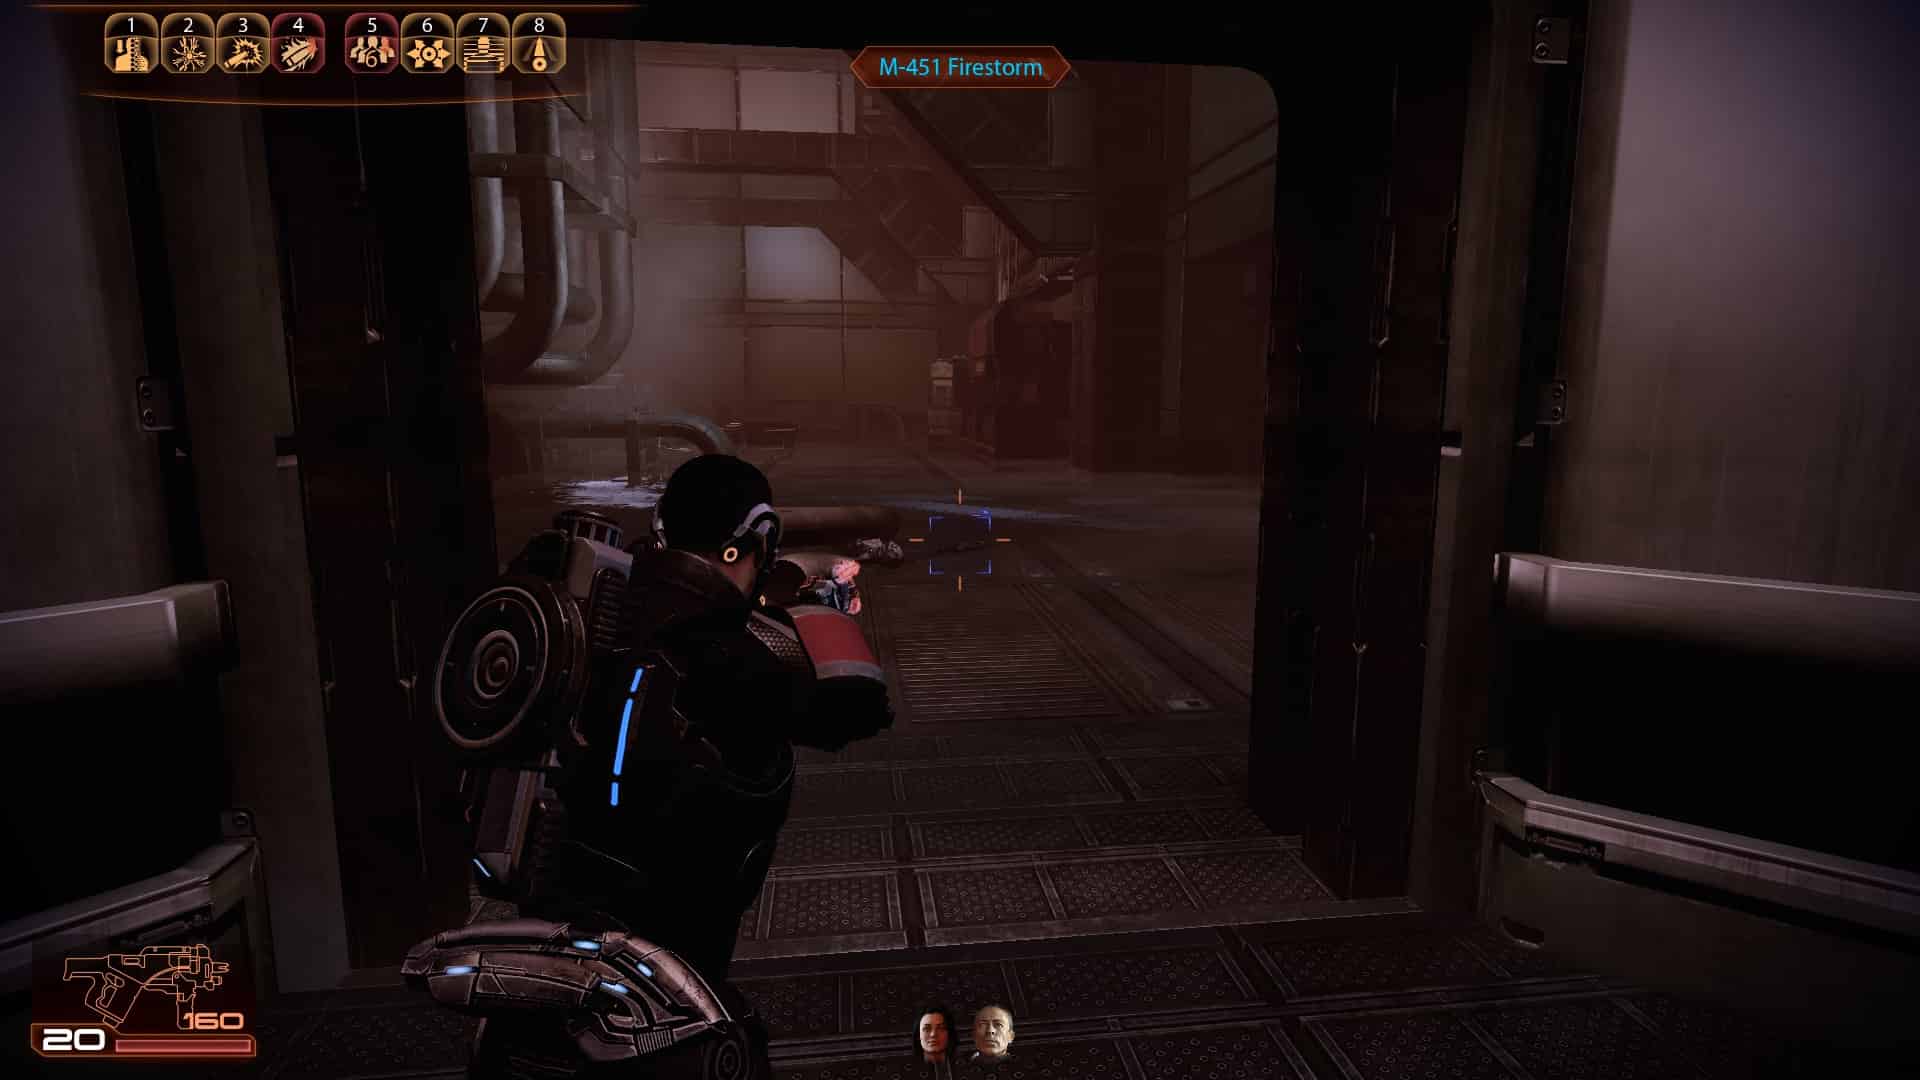
10 (Heavy Weapon - Firestorm)
11 (Paragon Only)
12
13
14 (Door to the left)
15 (Door to the right)
Loyalty Mission: Zaeed (Renegade Route)


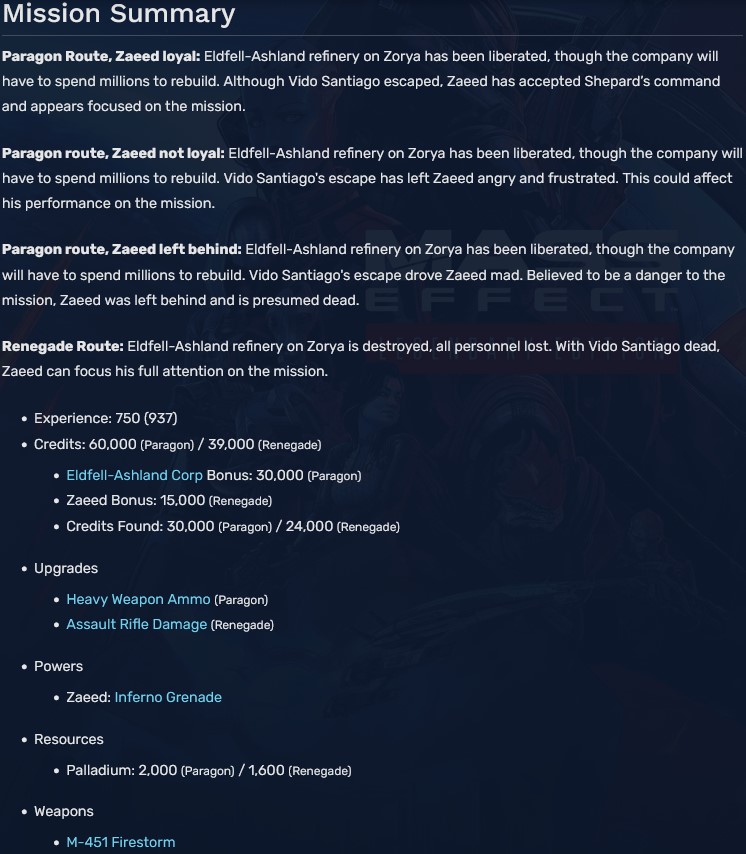
1
2
3
4
5
6 (Renegade Only)
7 (Renegade Only, Upgrade - Assault Rifle Damage)
8
9 (Heavy Weapon - Firestorm)
10
11
12 (Door to the left)
13 (Door to the right)
Arrival (Part 1 - Prison)


1 (At the first crossroads, turn left)
2 (Use the valves to access this room)
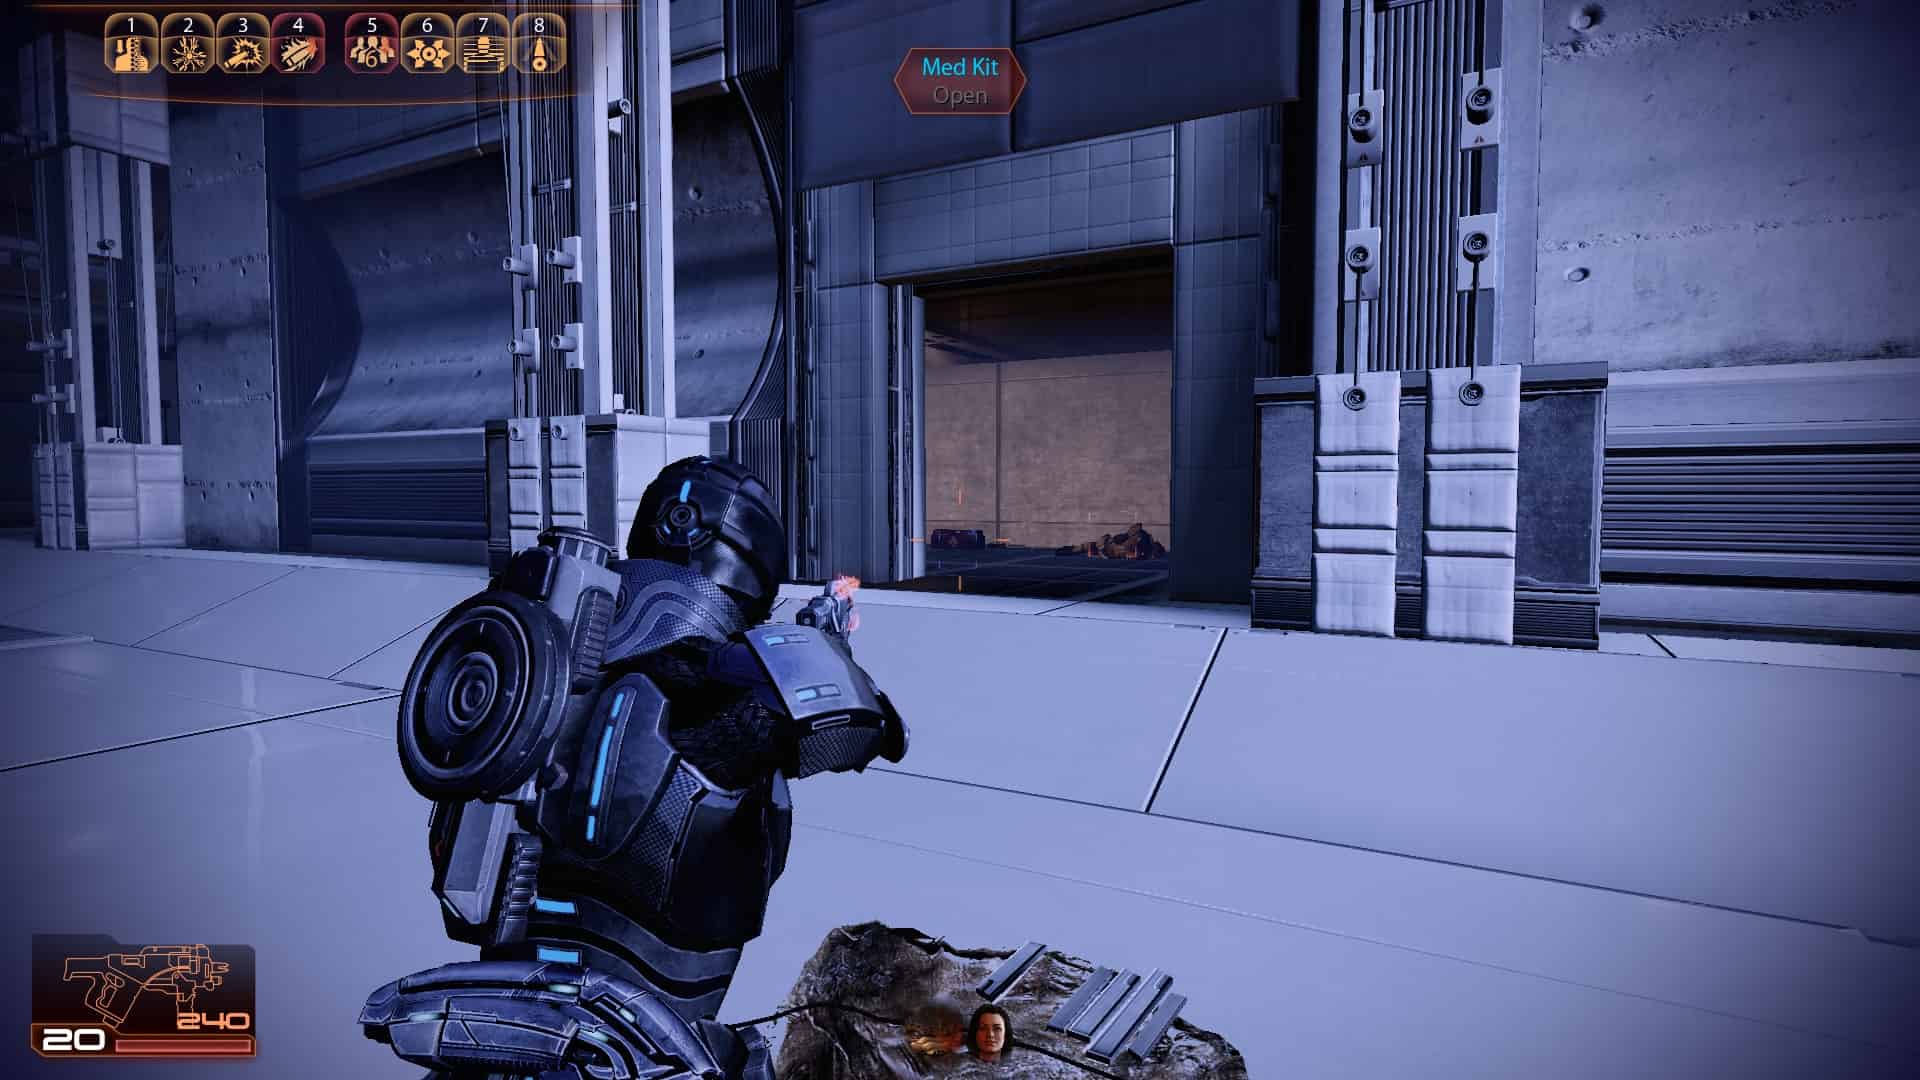
3 (Upgrade - Heavy Weapon Ammo)
4
5 (In one of the nearby buildings)
6 (In one of the nearby buildings)
7 (Continue to the next area to get here)
8 (Middle control once, left control once, right control twice)
9 (Upgrade - Medi-Gel Capacity)
10 (Use the vehicle lift and go down, then use the lift again)
11
12
13
14
Arrival (Part 2 - Project Base)


1
2
3
4
5
6
7
8
9
10
11
12
13
14
15
16
17
18
19
20
21
22 (Upgrade - Heavy Skin Weave)
23
24
25
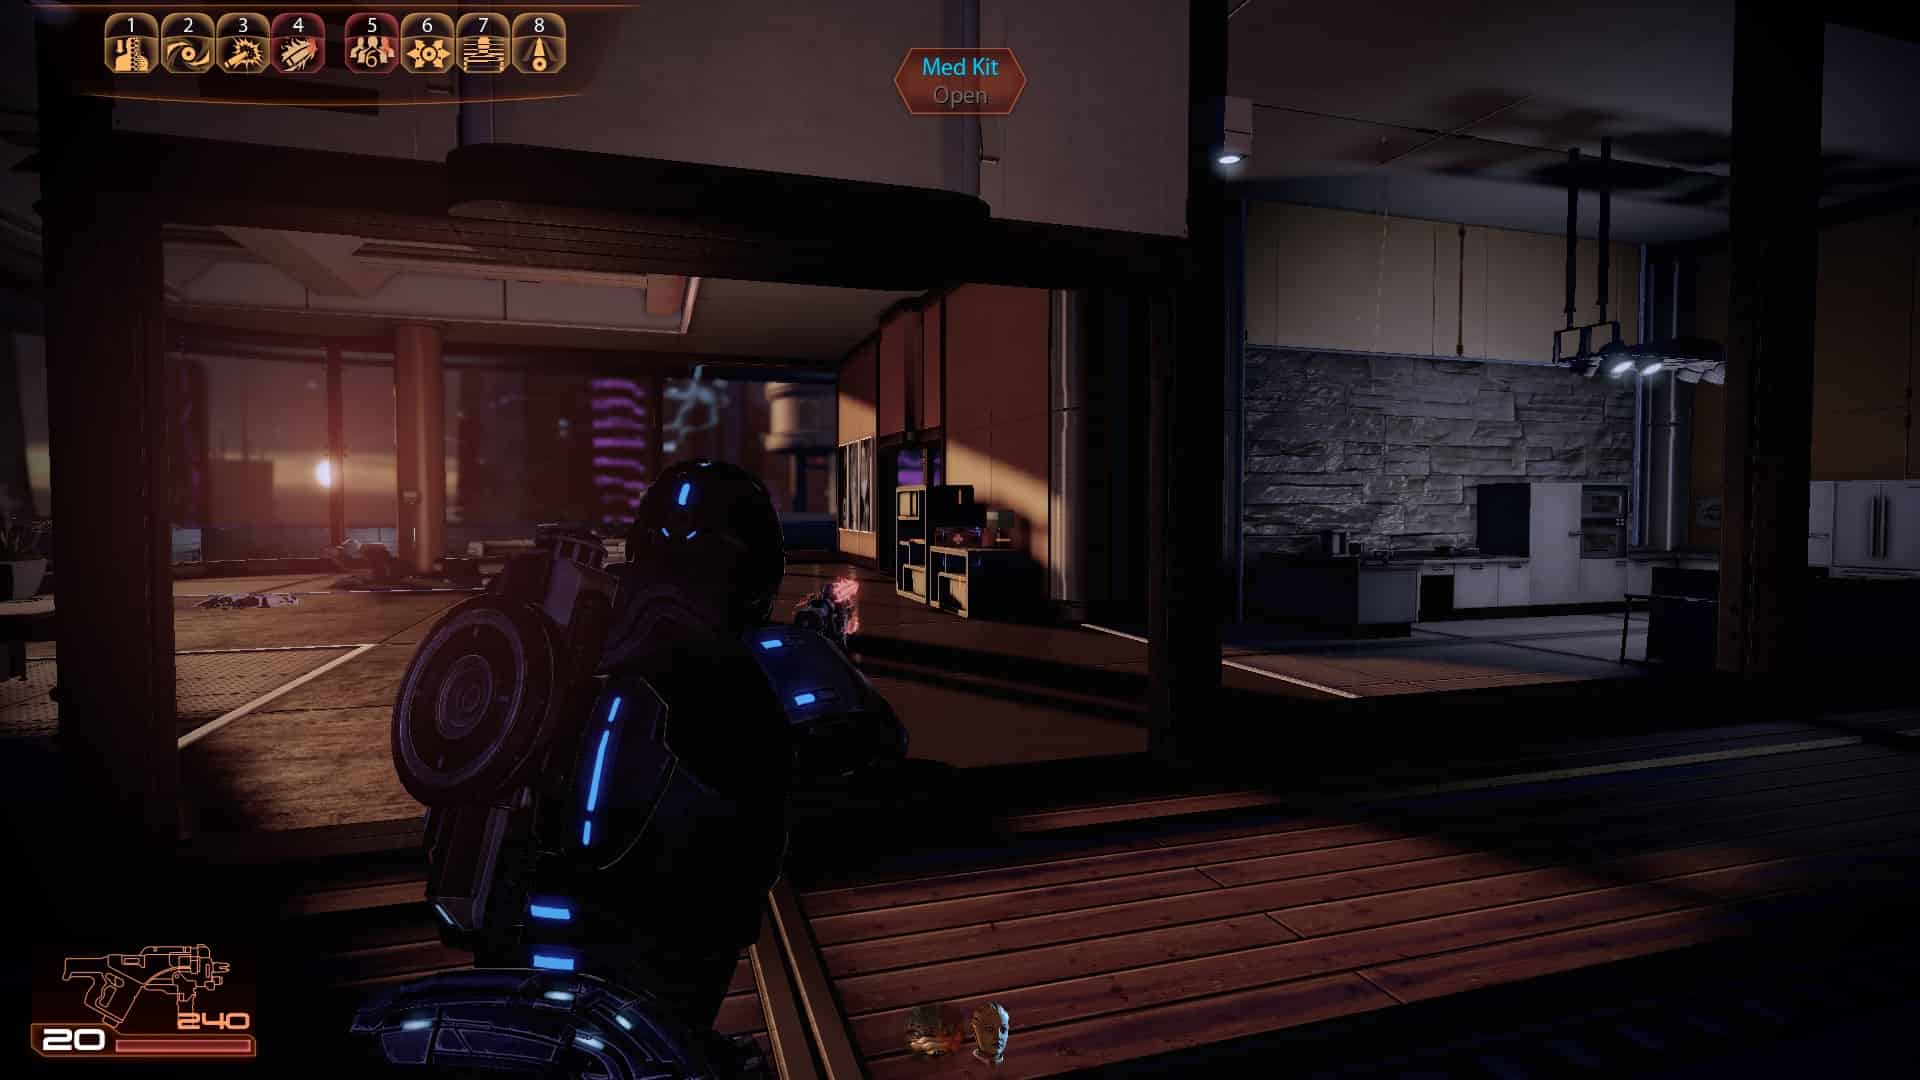
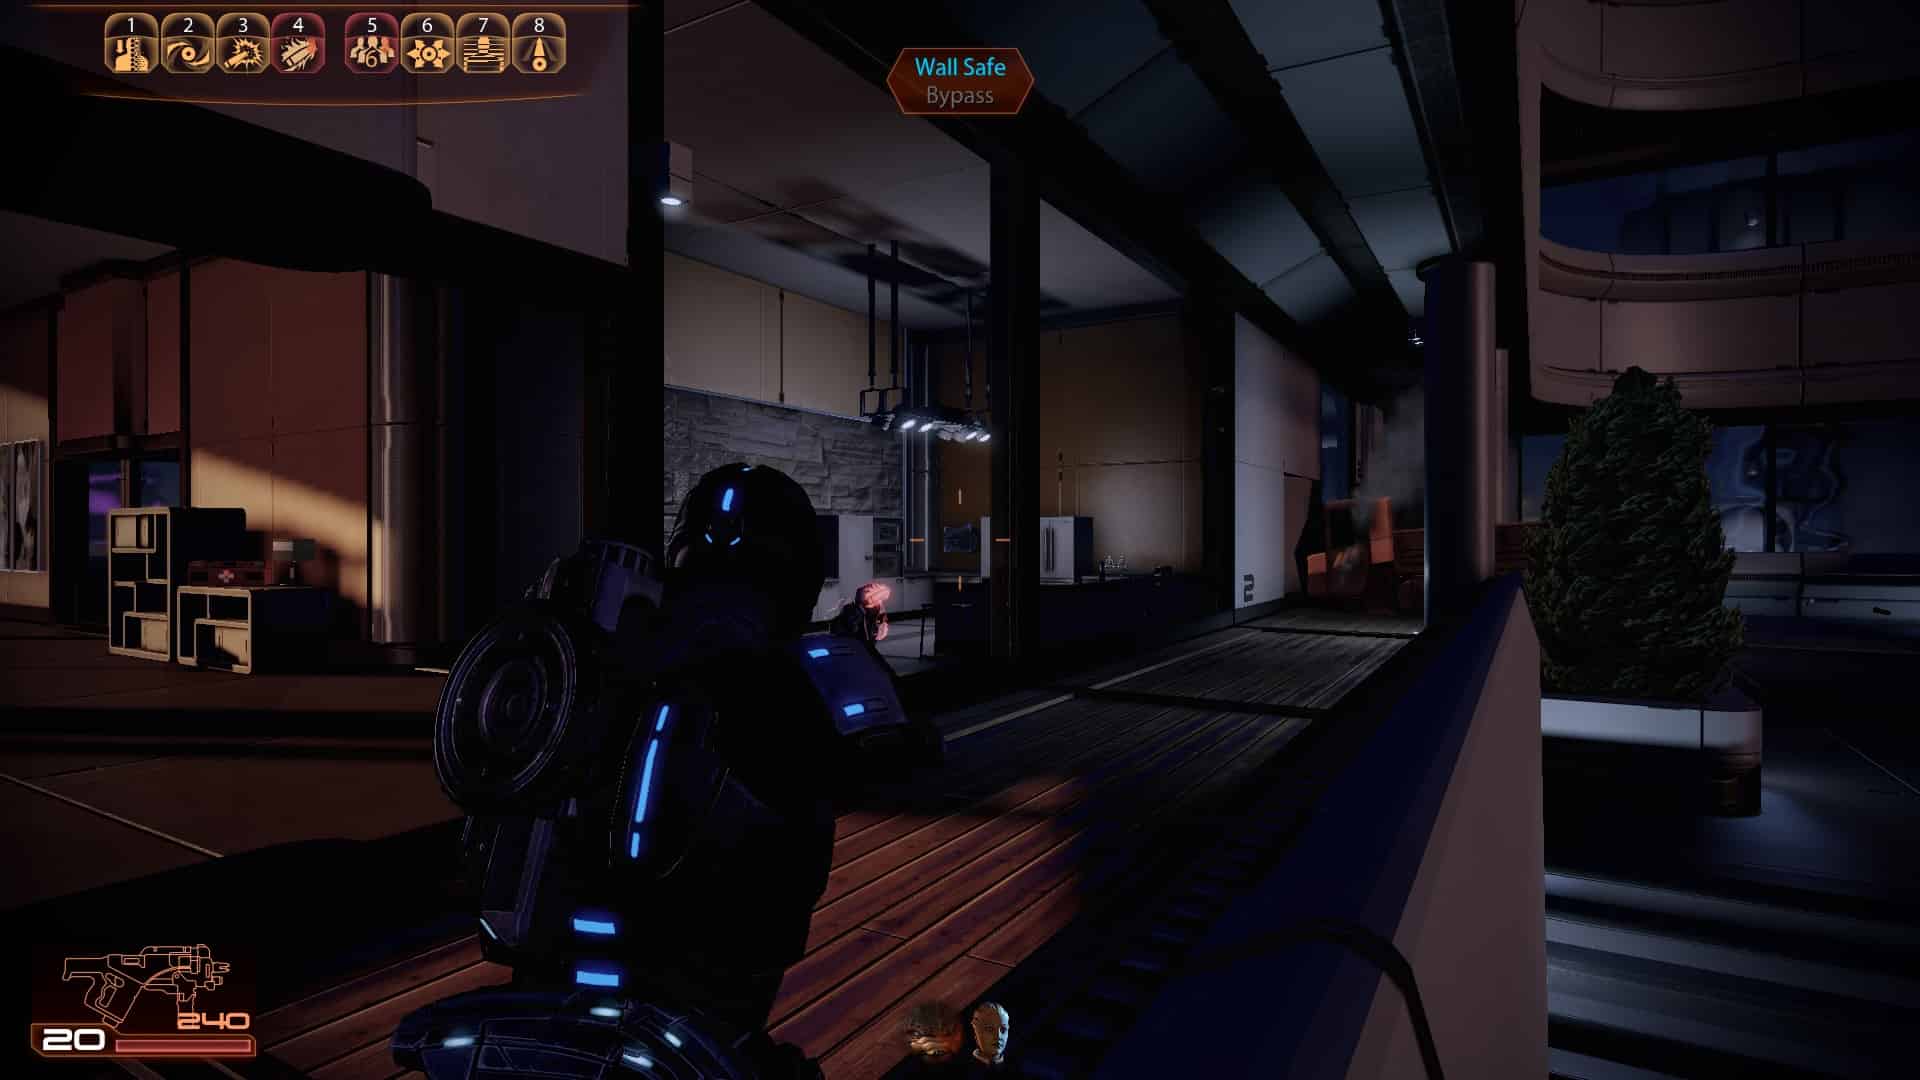
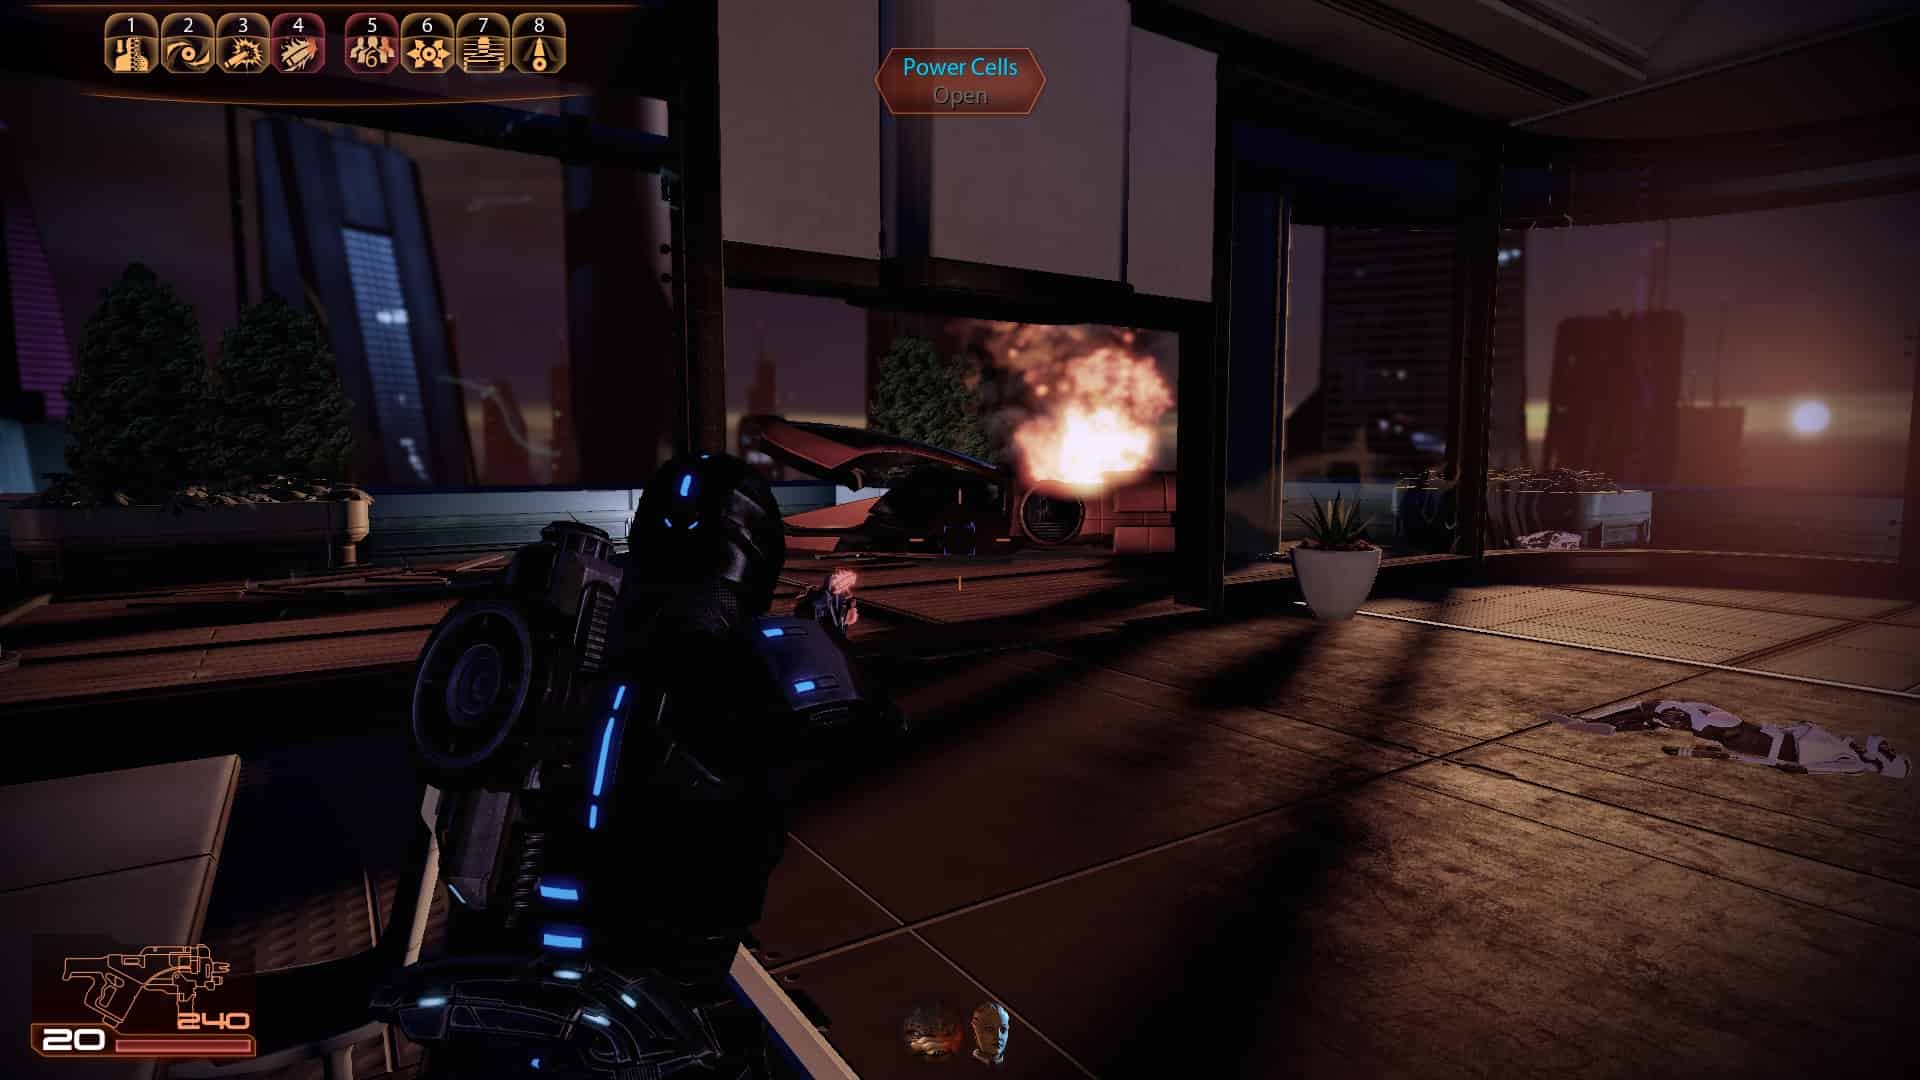
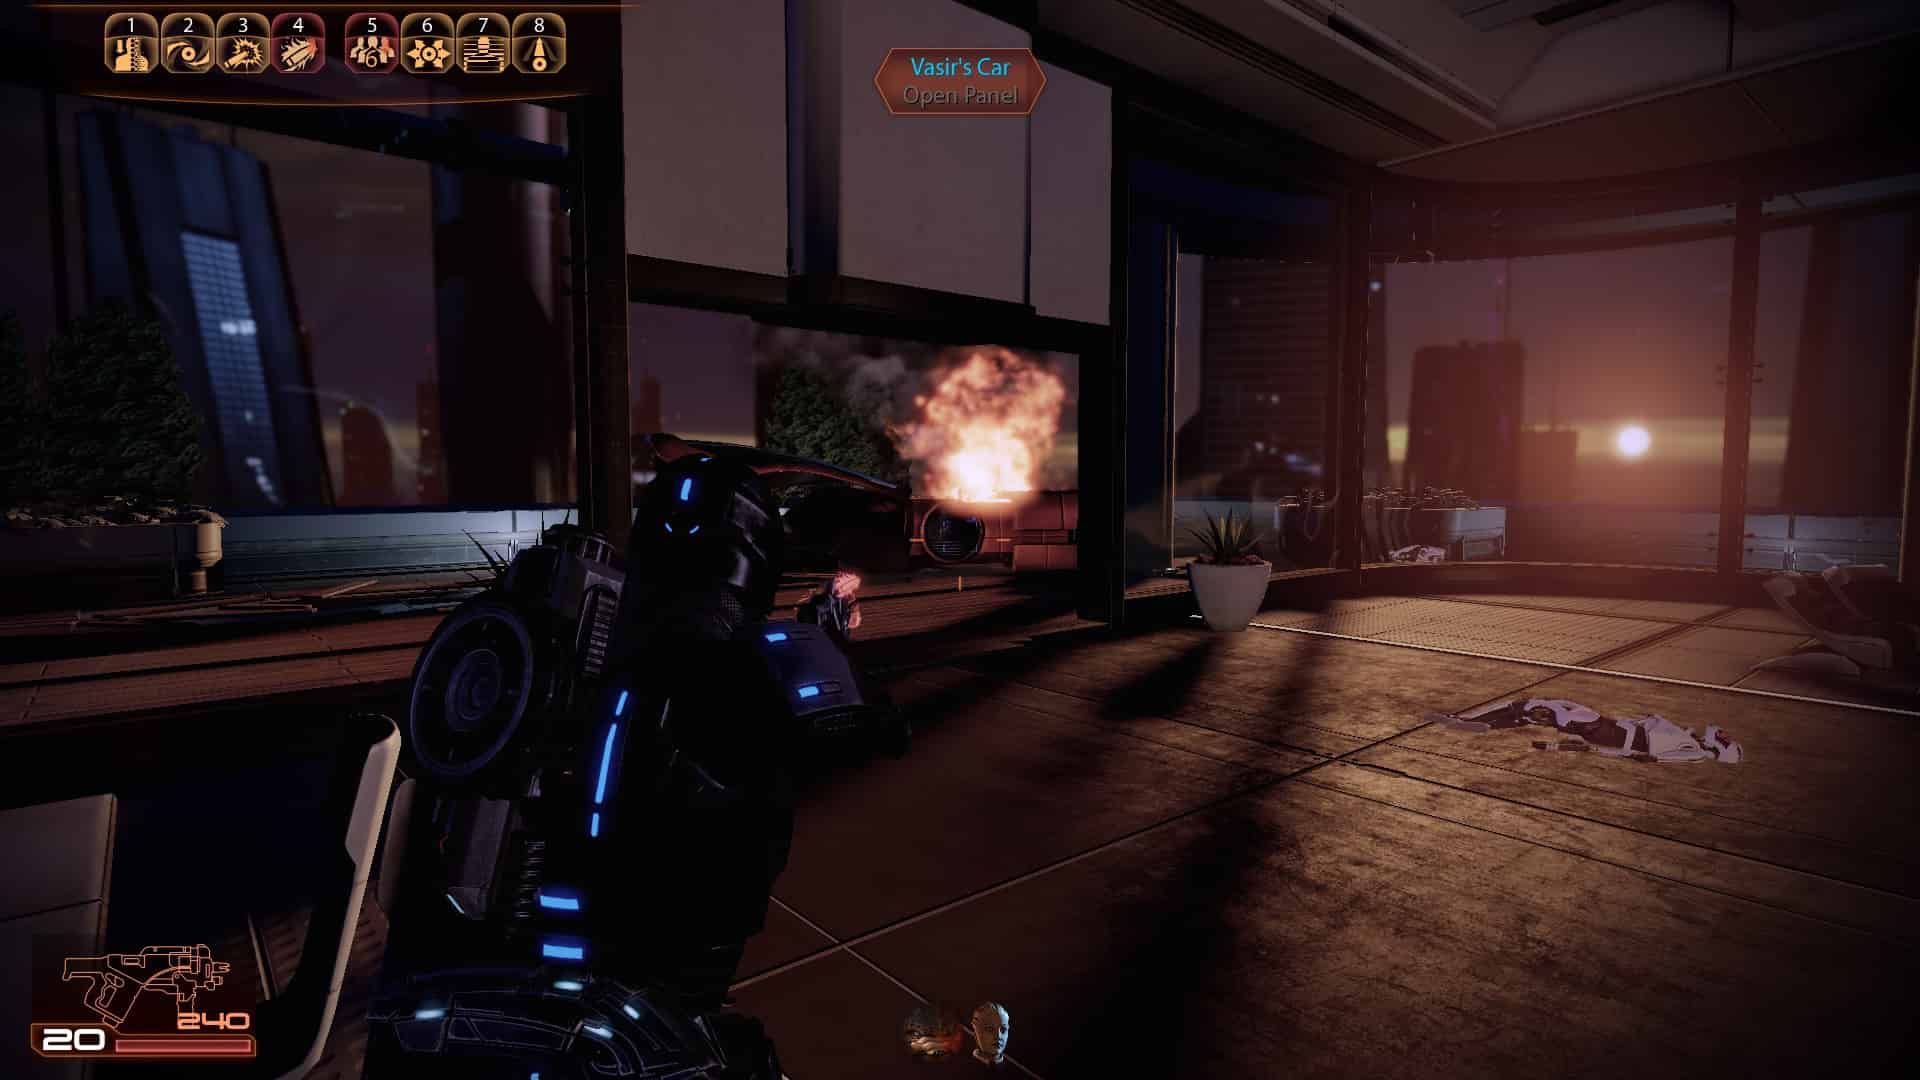
Lair Of The Shadow Broker (Part 1 - Trading Center)


1
2
3
4
5
6
7
8
9
10
11
12 (Upgrade - Heavy Pistol Damage)
13
Lair Of The Shadow Broker (Part 2 - Hotel)
1
2
3
4
5
6 (Upgrade - Damage Protection)
7
8
9
Lair Of The Shadow Broker (Part 3 - Ship)


1
2
3
4
5
6
7
8
9
10
11
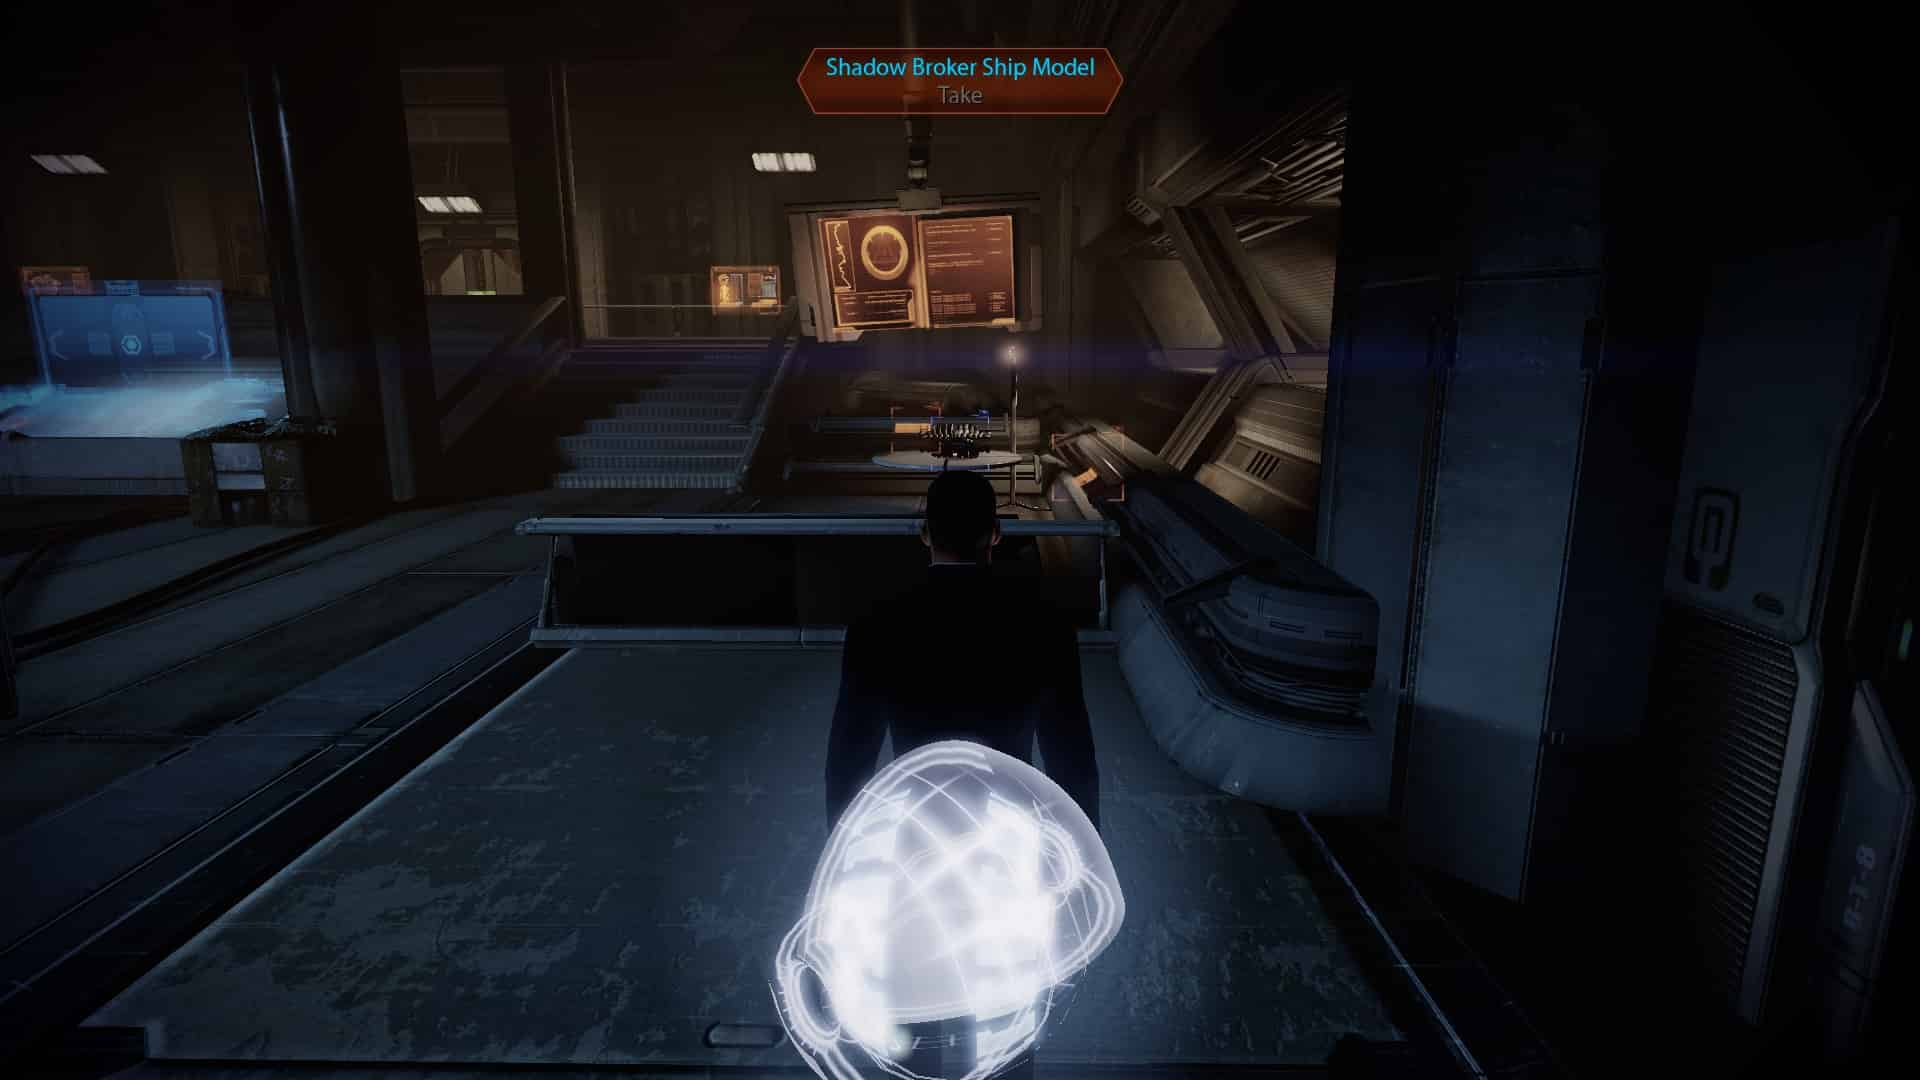
12 (After the mission is over)
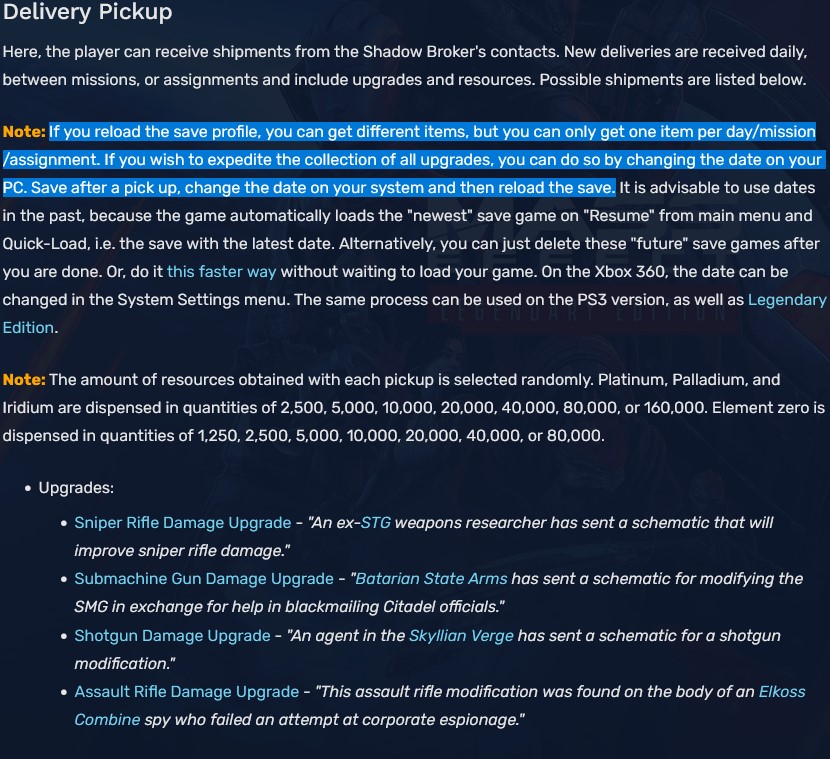
Shadow Broker Base: Delivery Pickup
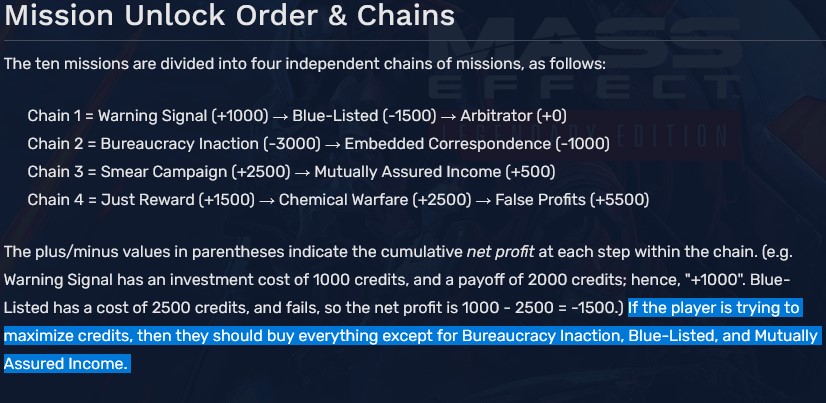
Shadow Broker Base: Investment Opportunities
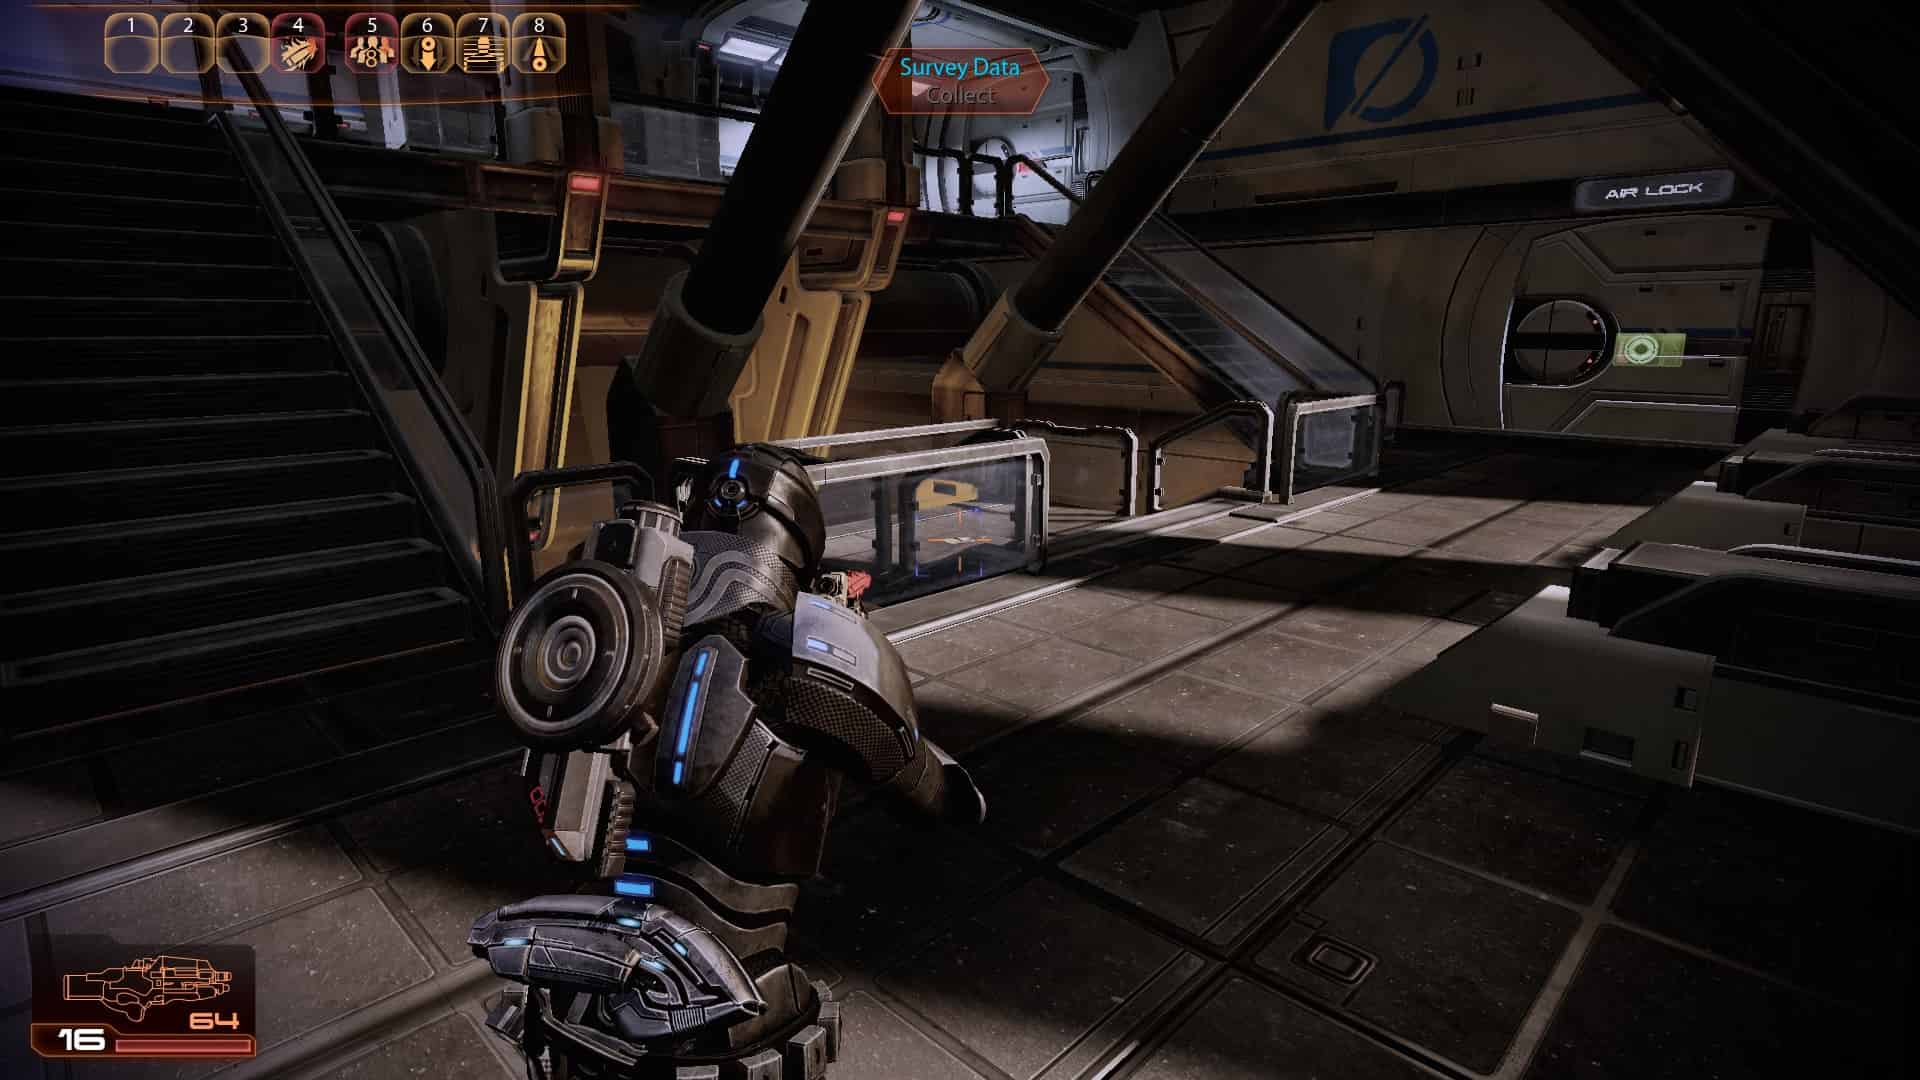
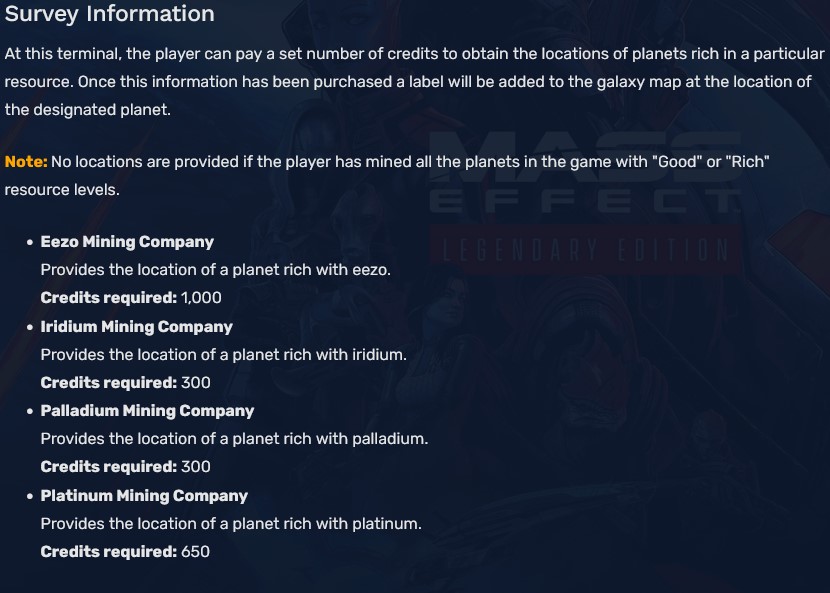
Shadow Broker Base: Survey Information
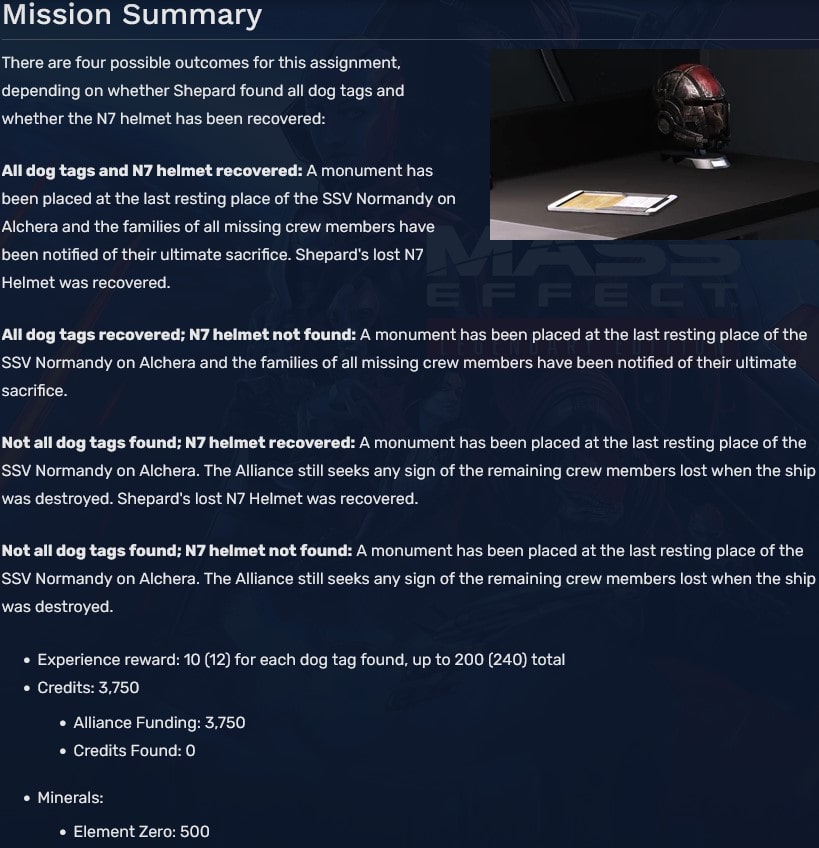
Normandy Crash Site
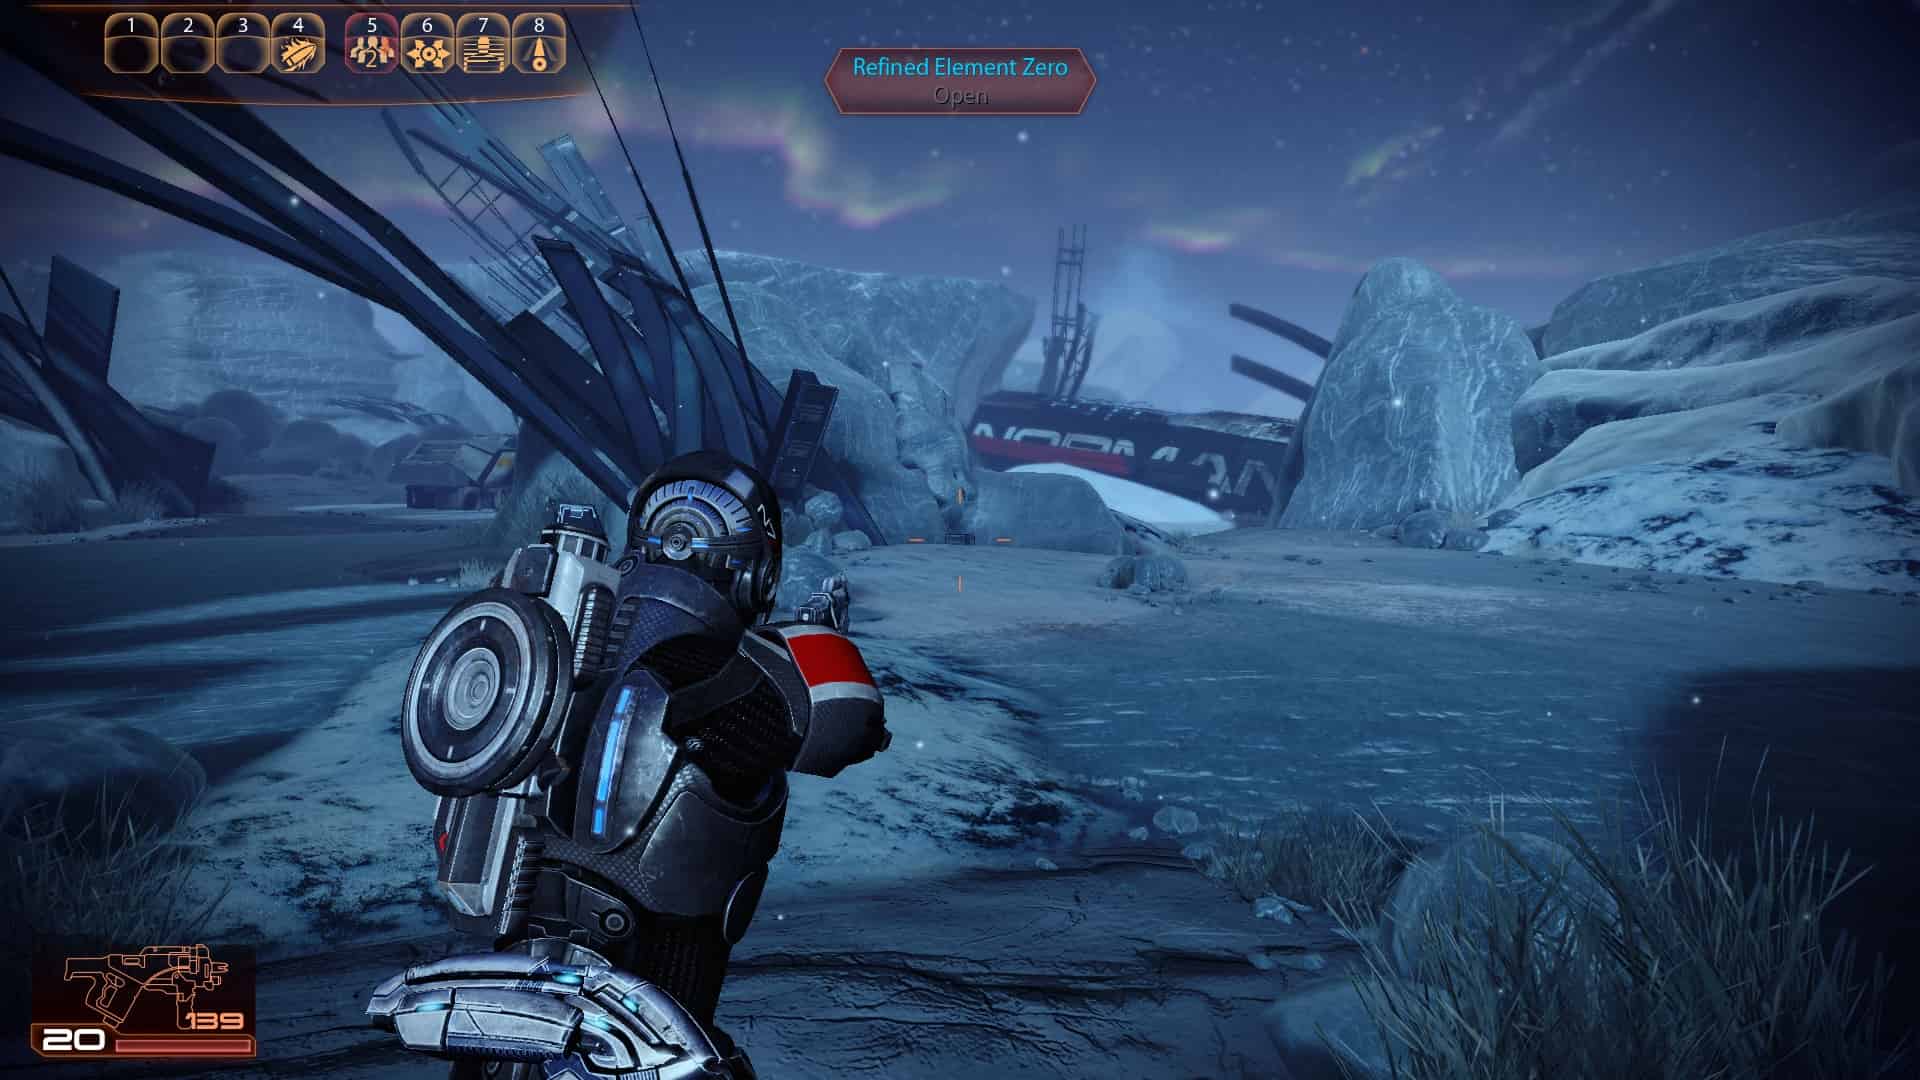
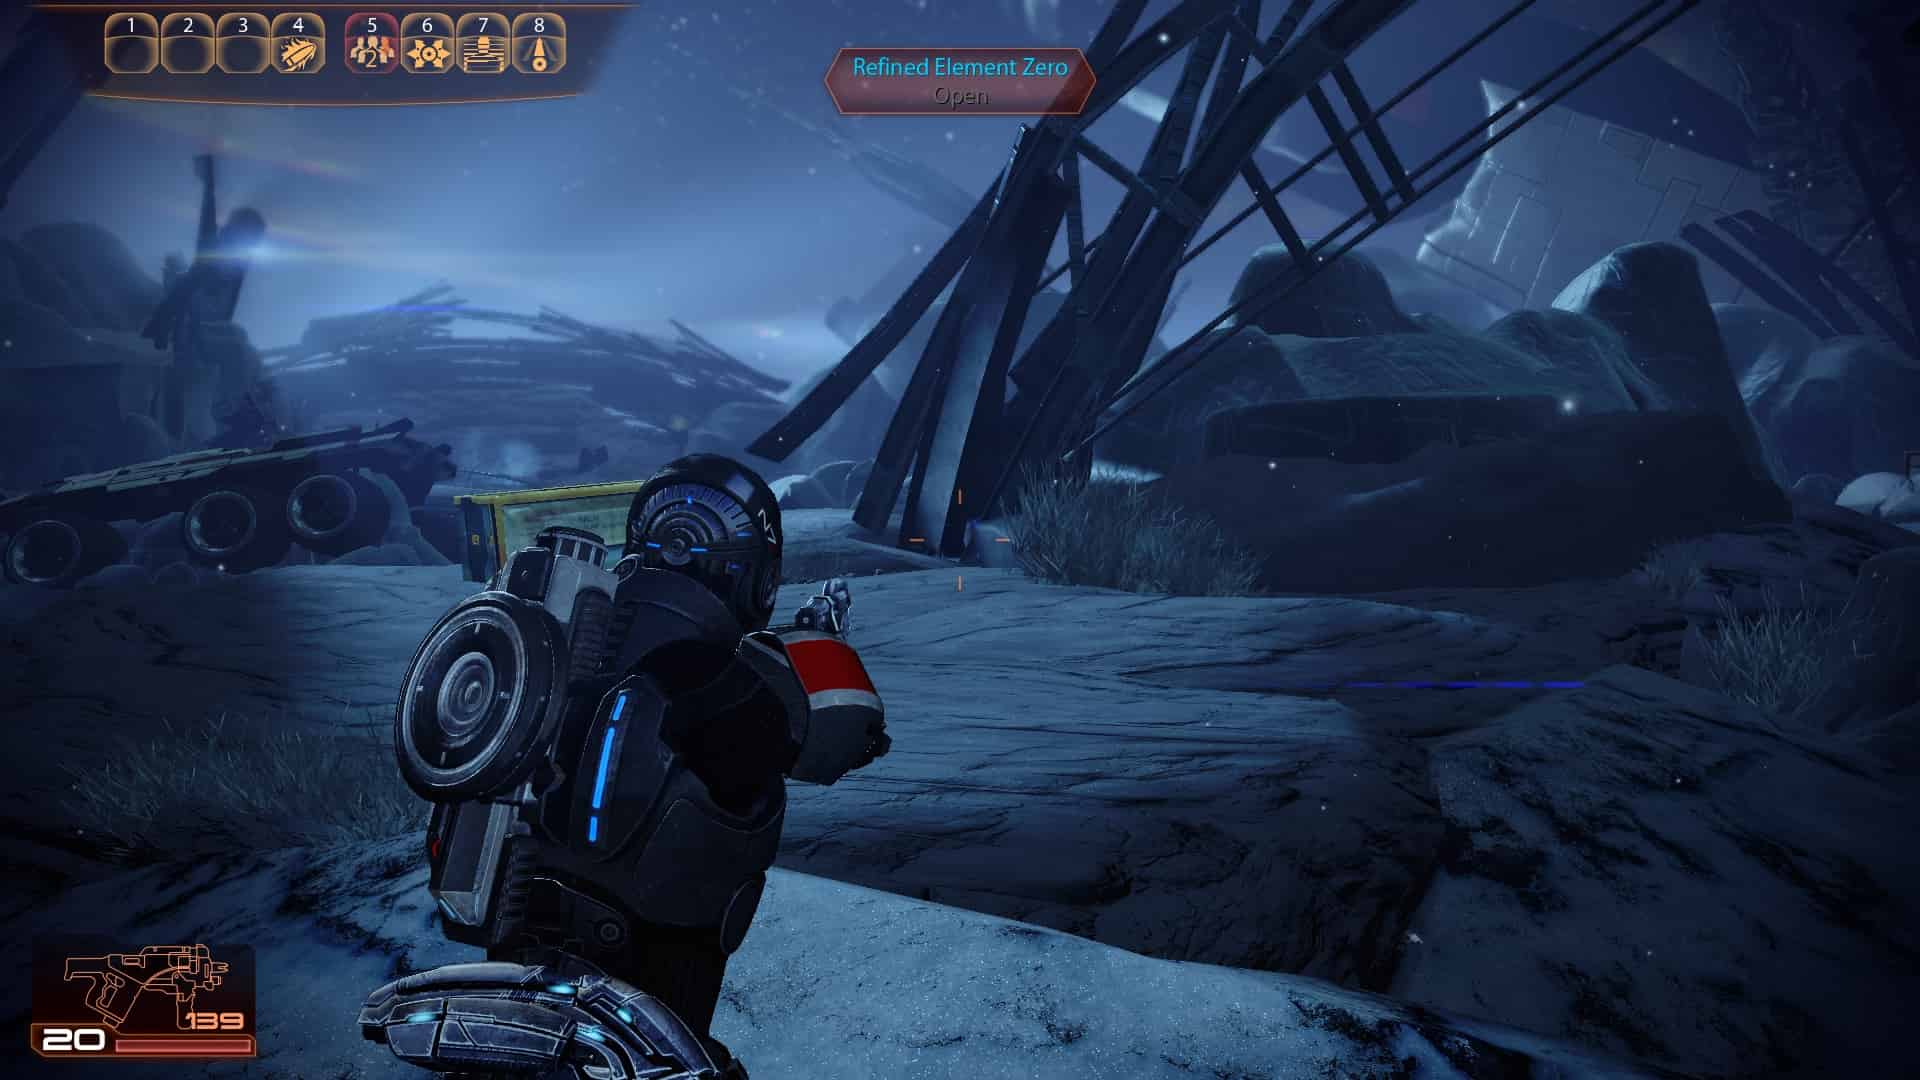
1
2
3
4
5
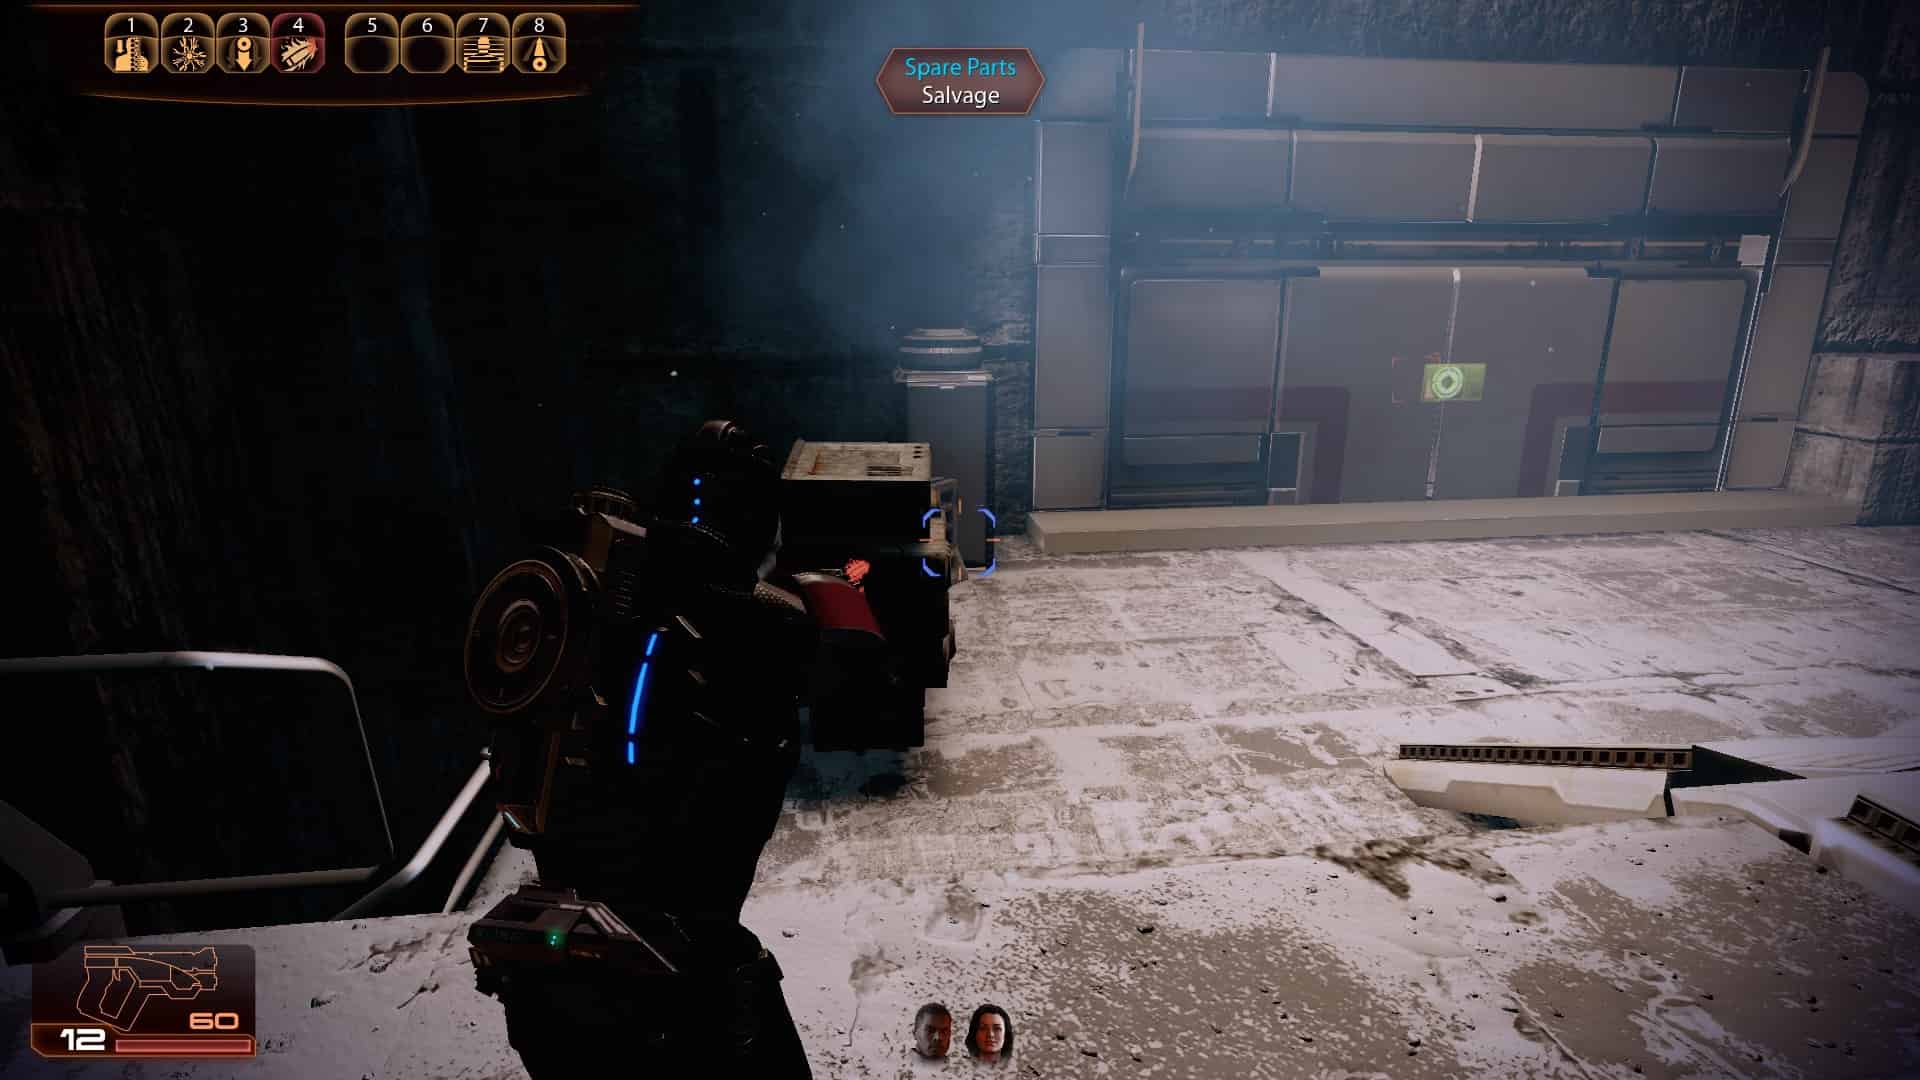
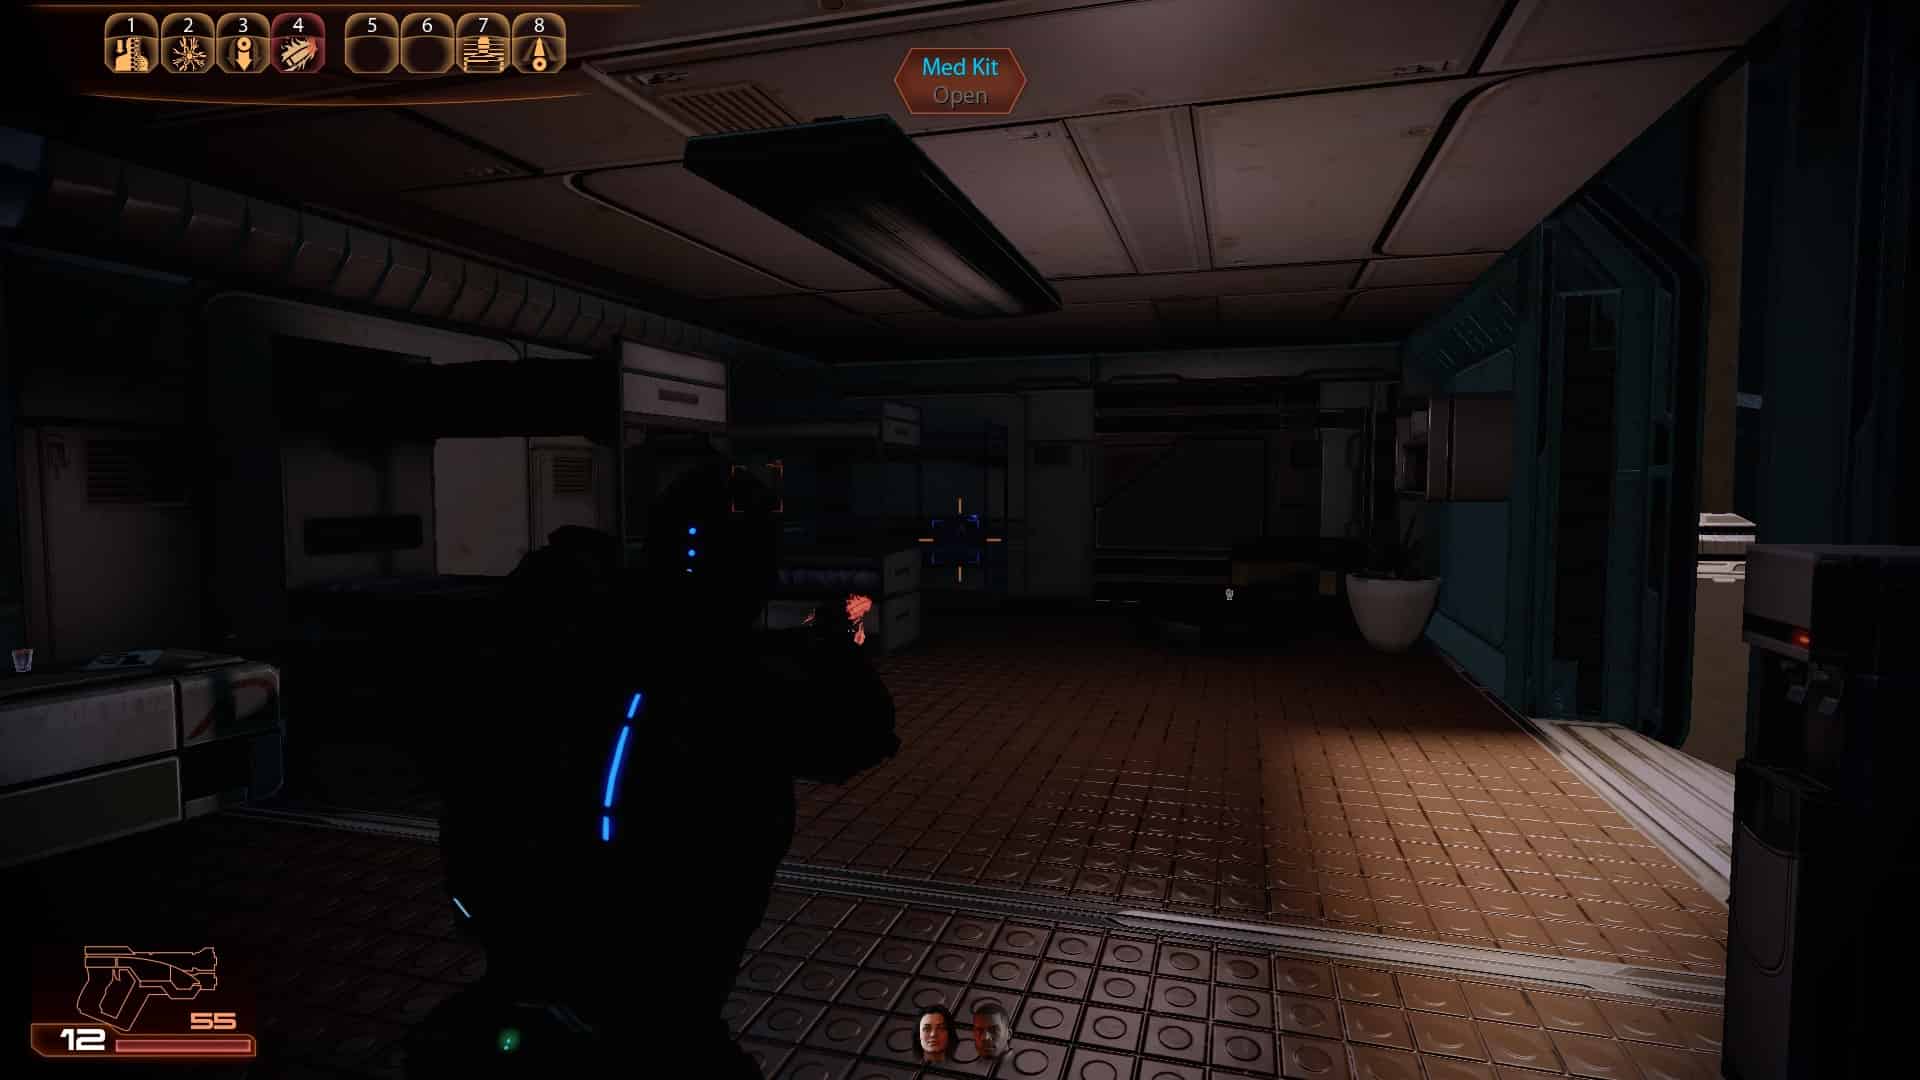
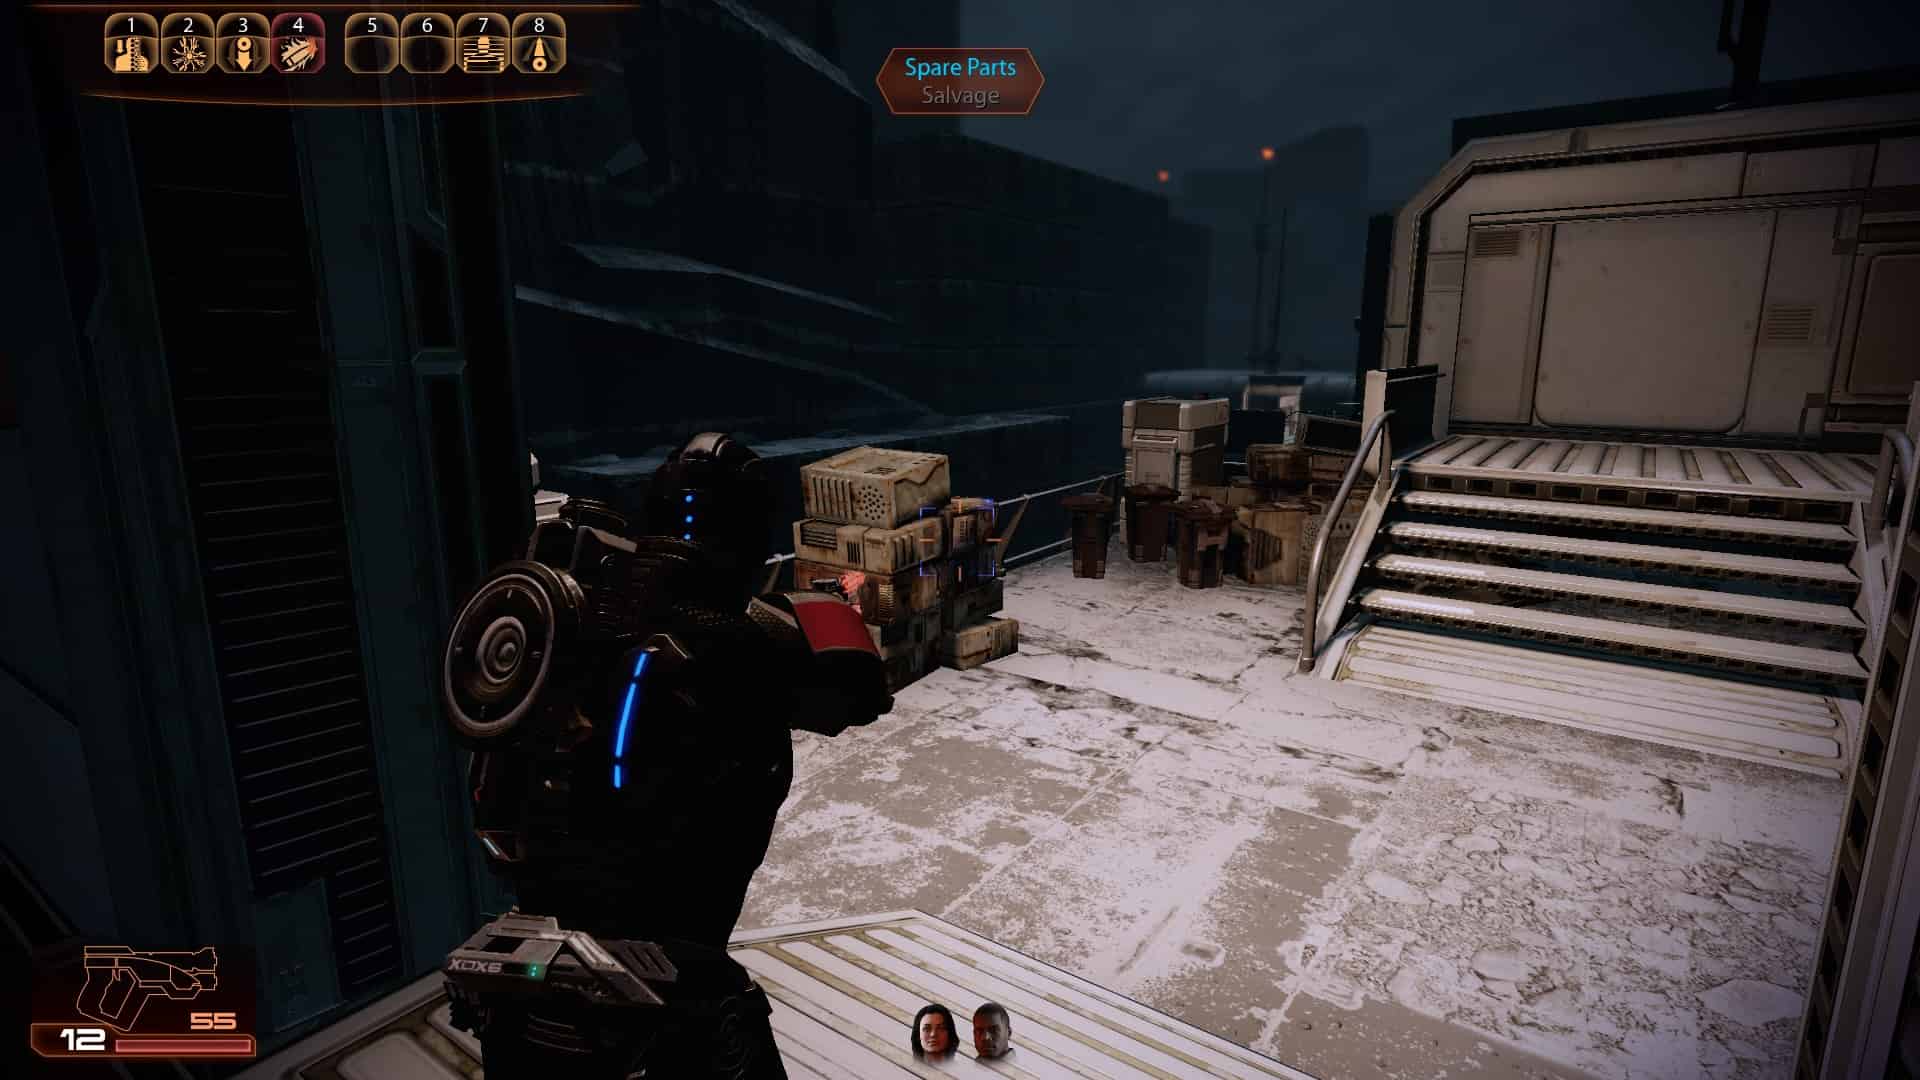
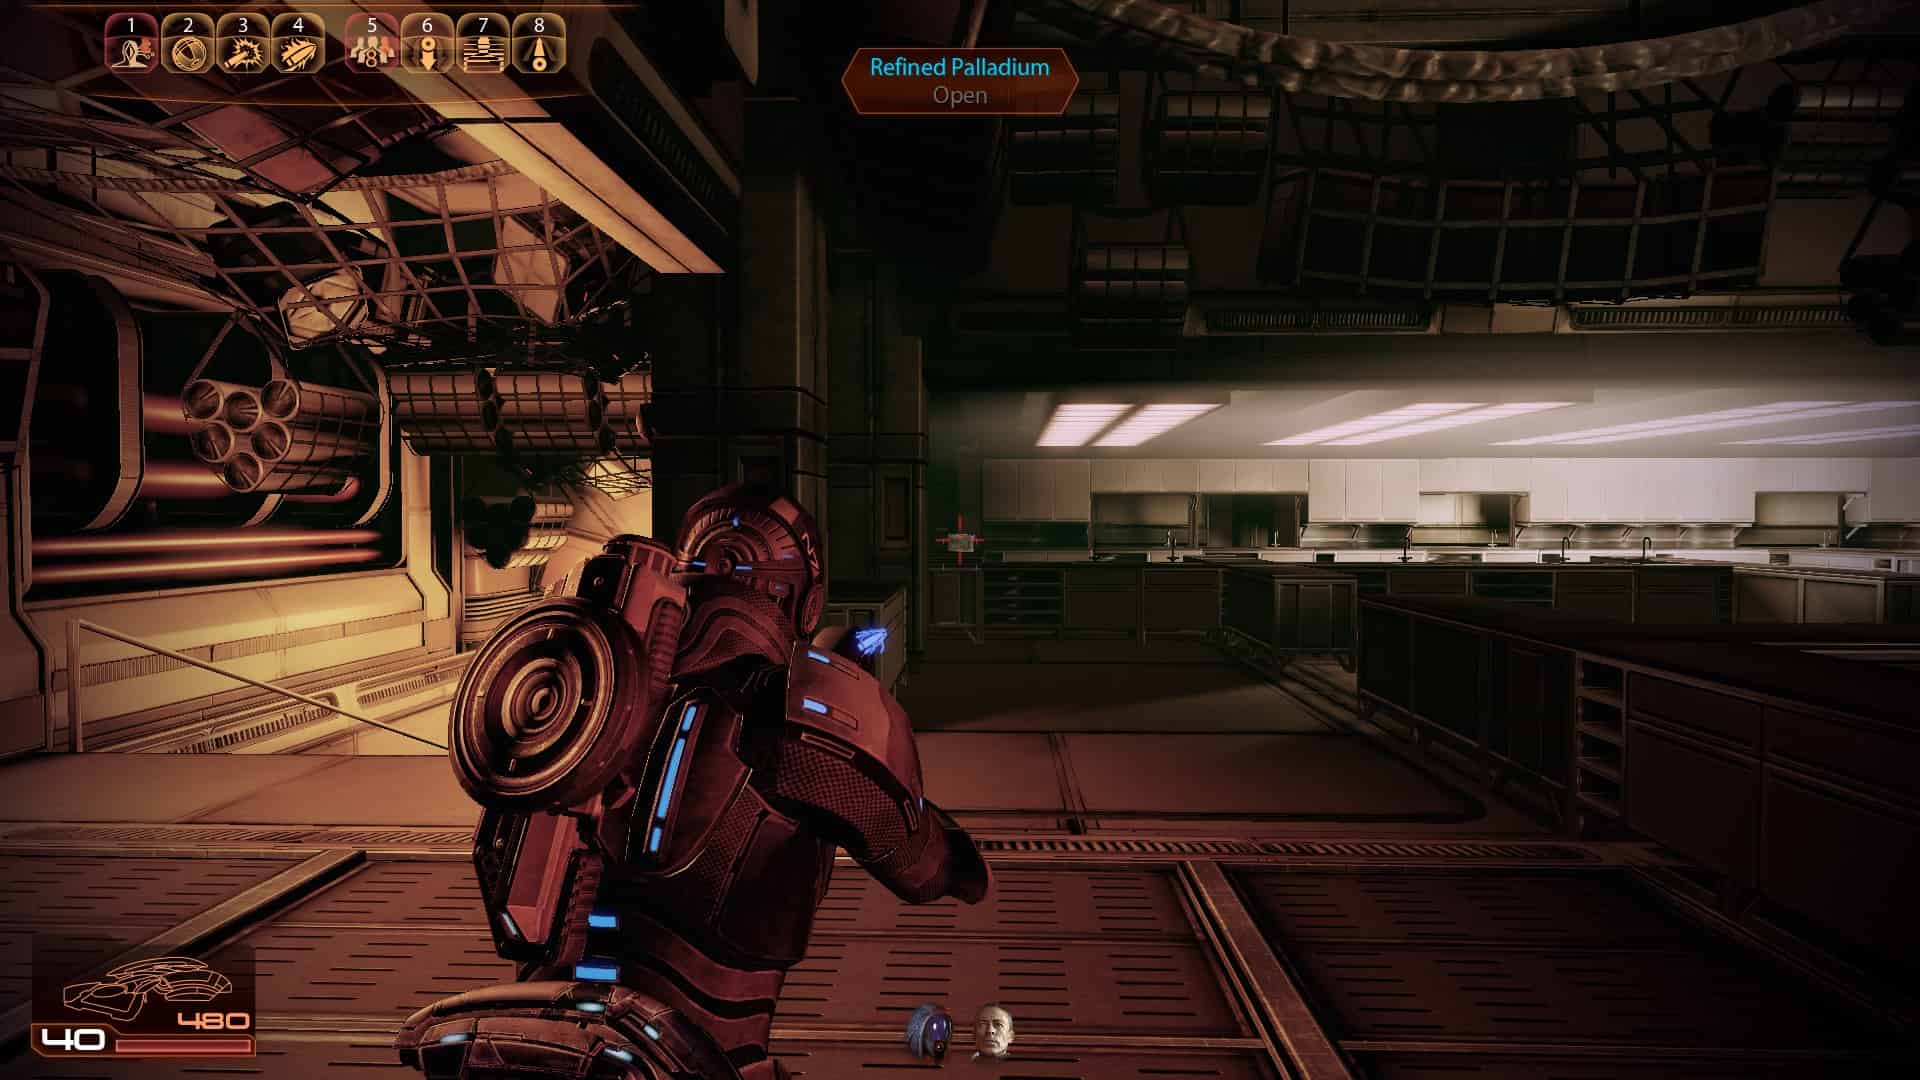
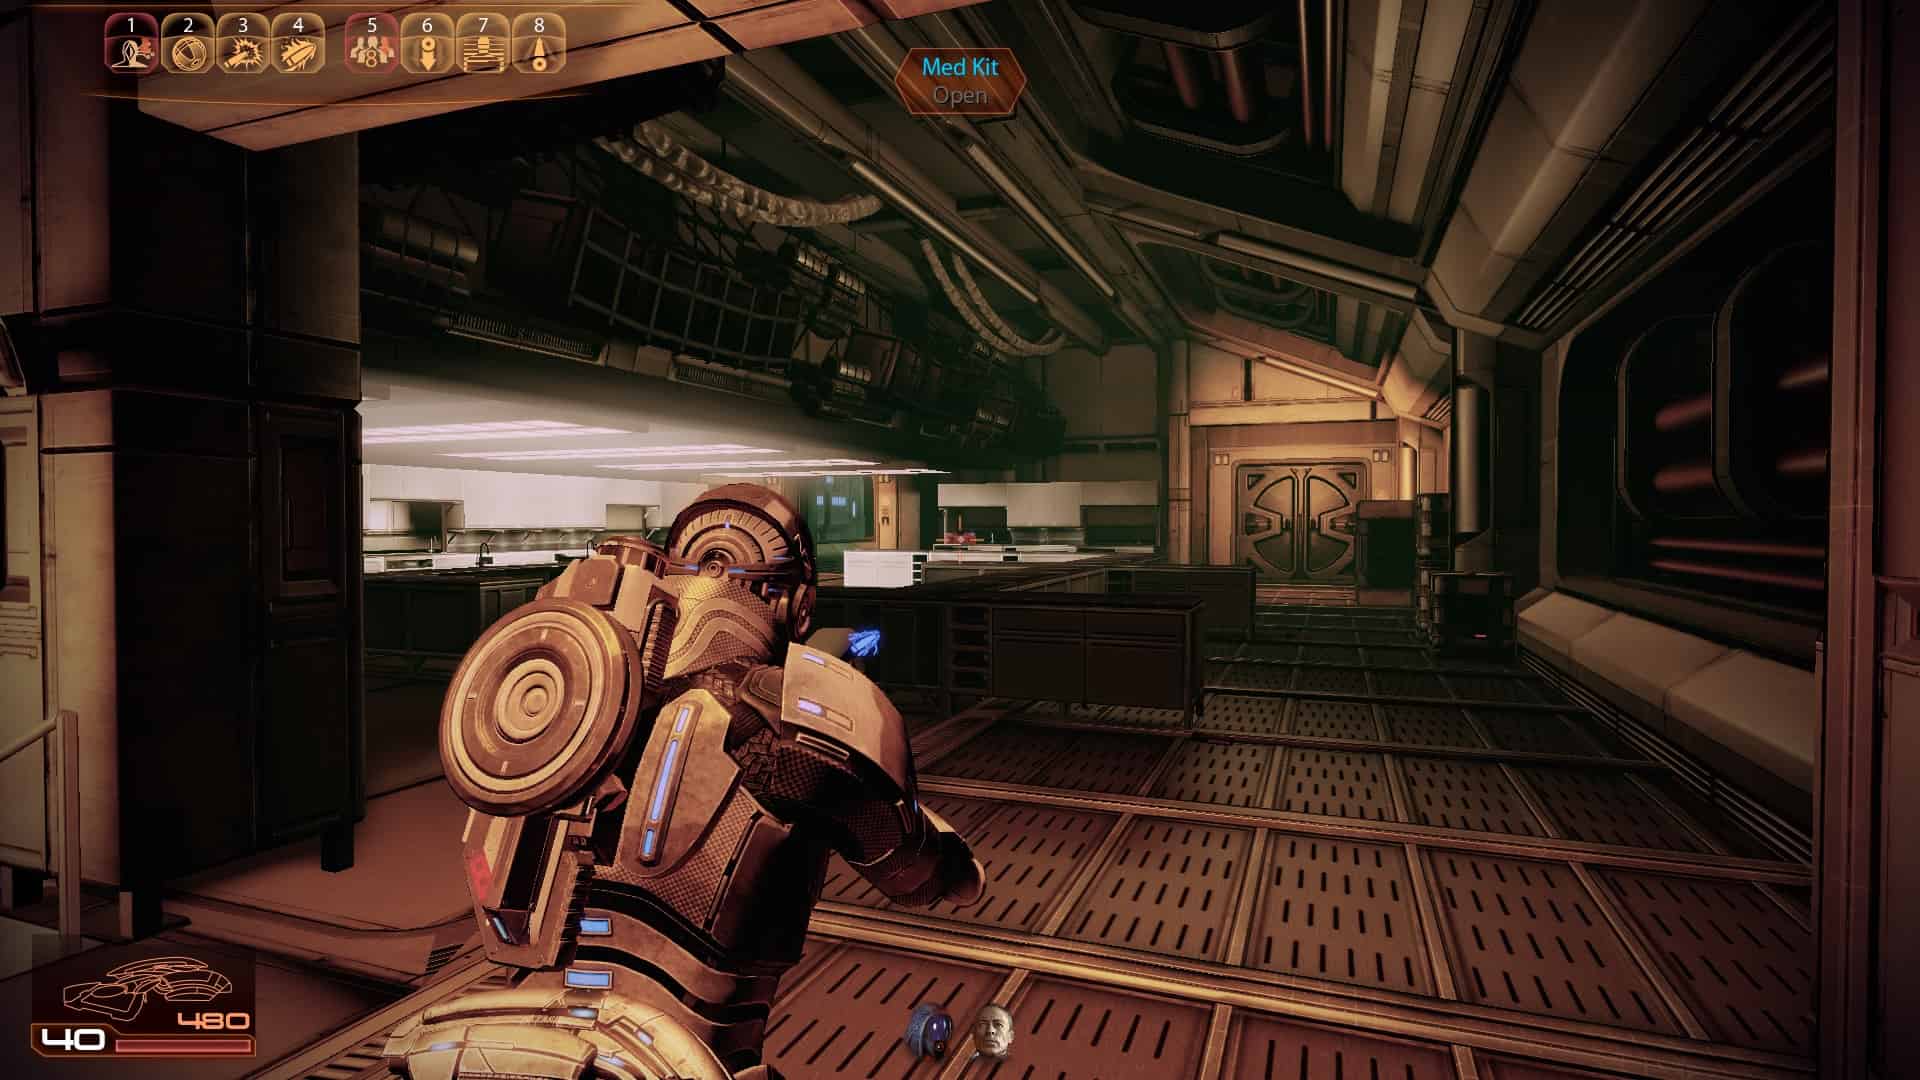
Overlord (Part 1 - Hermes Station)


1
2
3
4
5
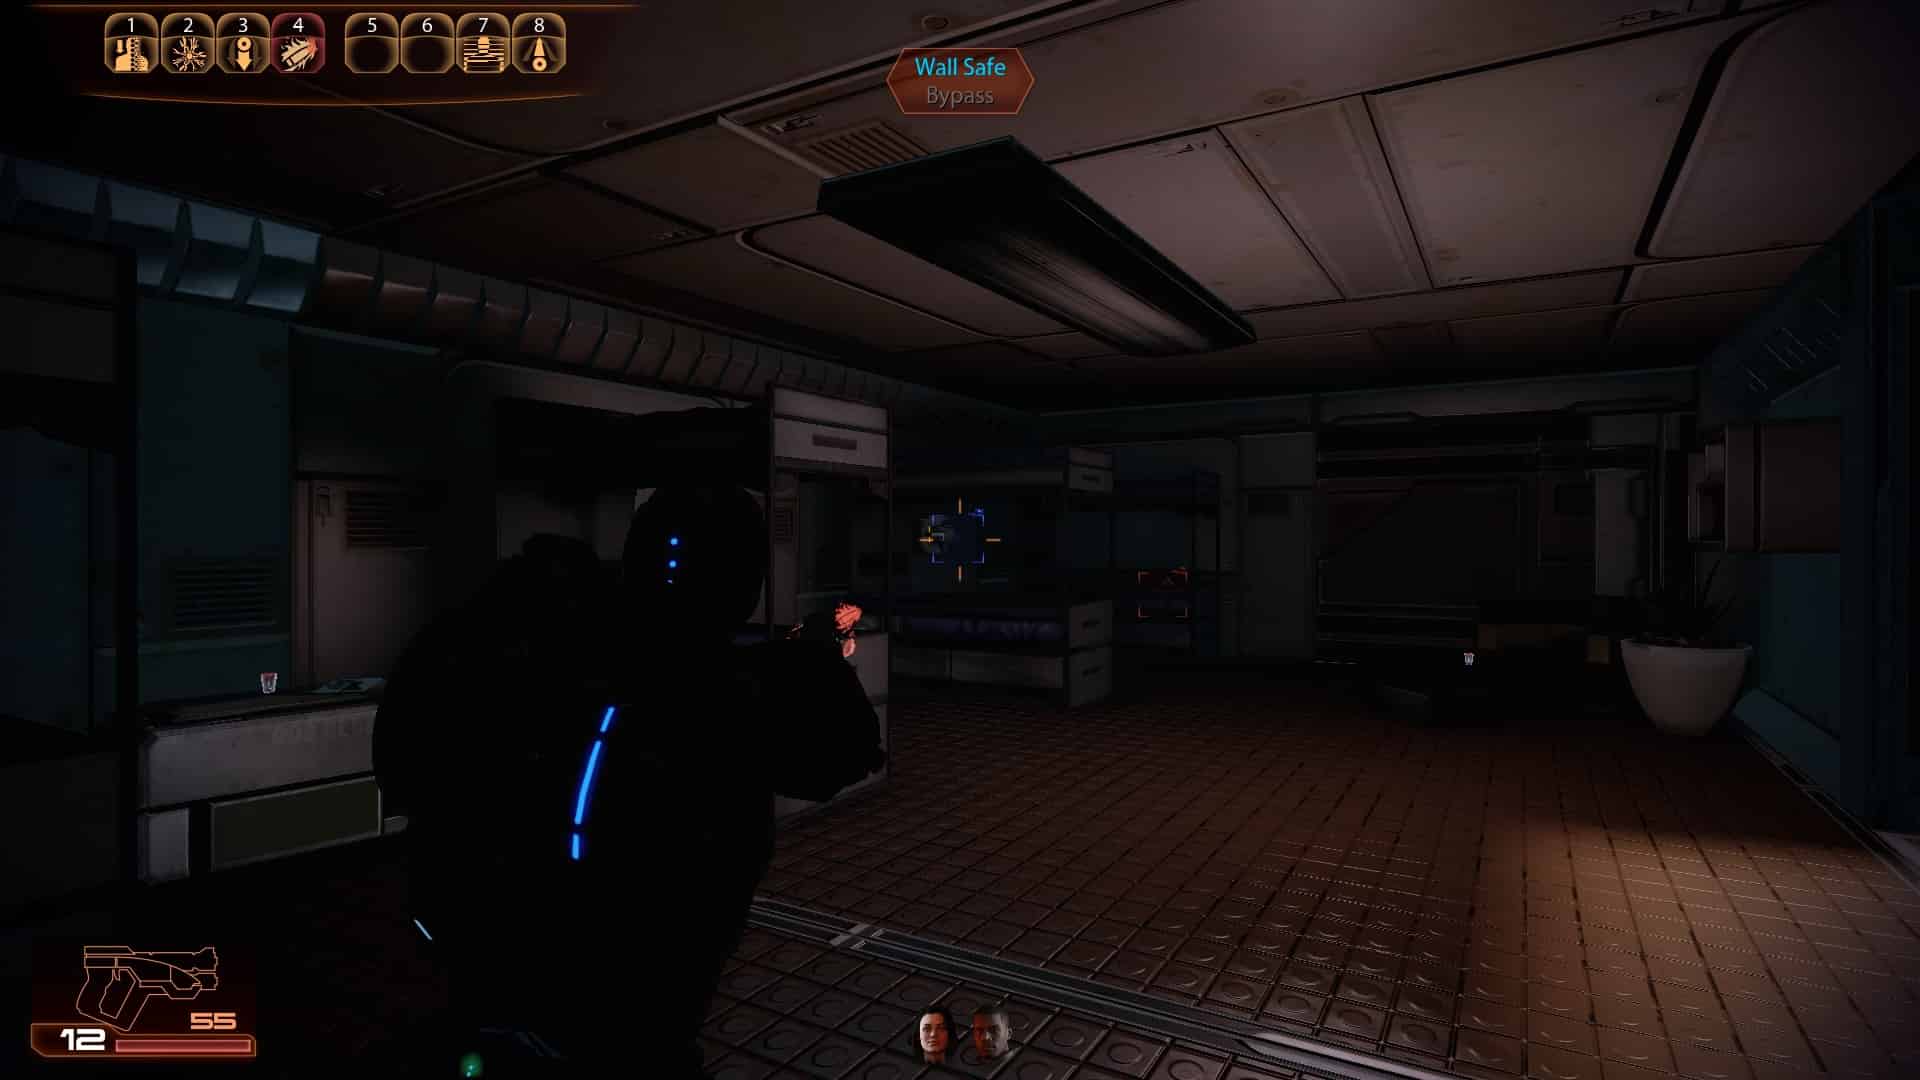
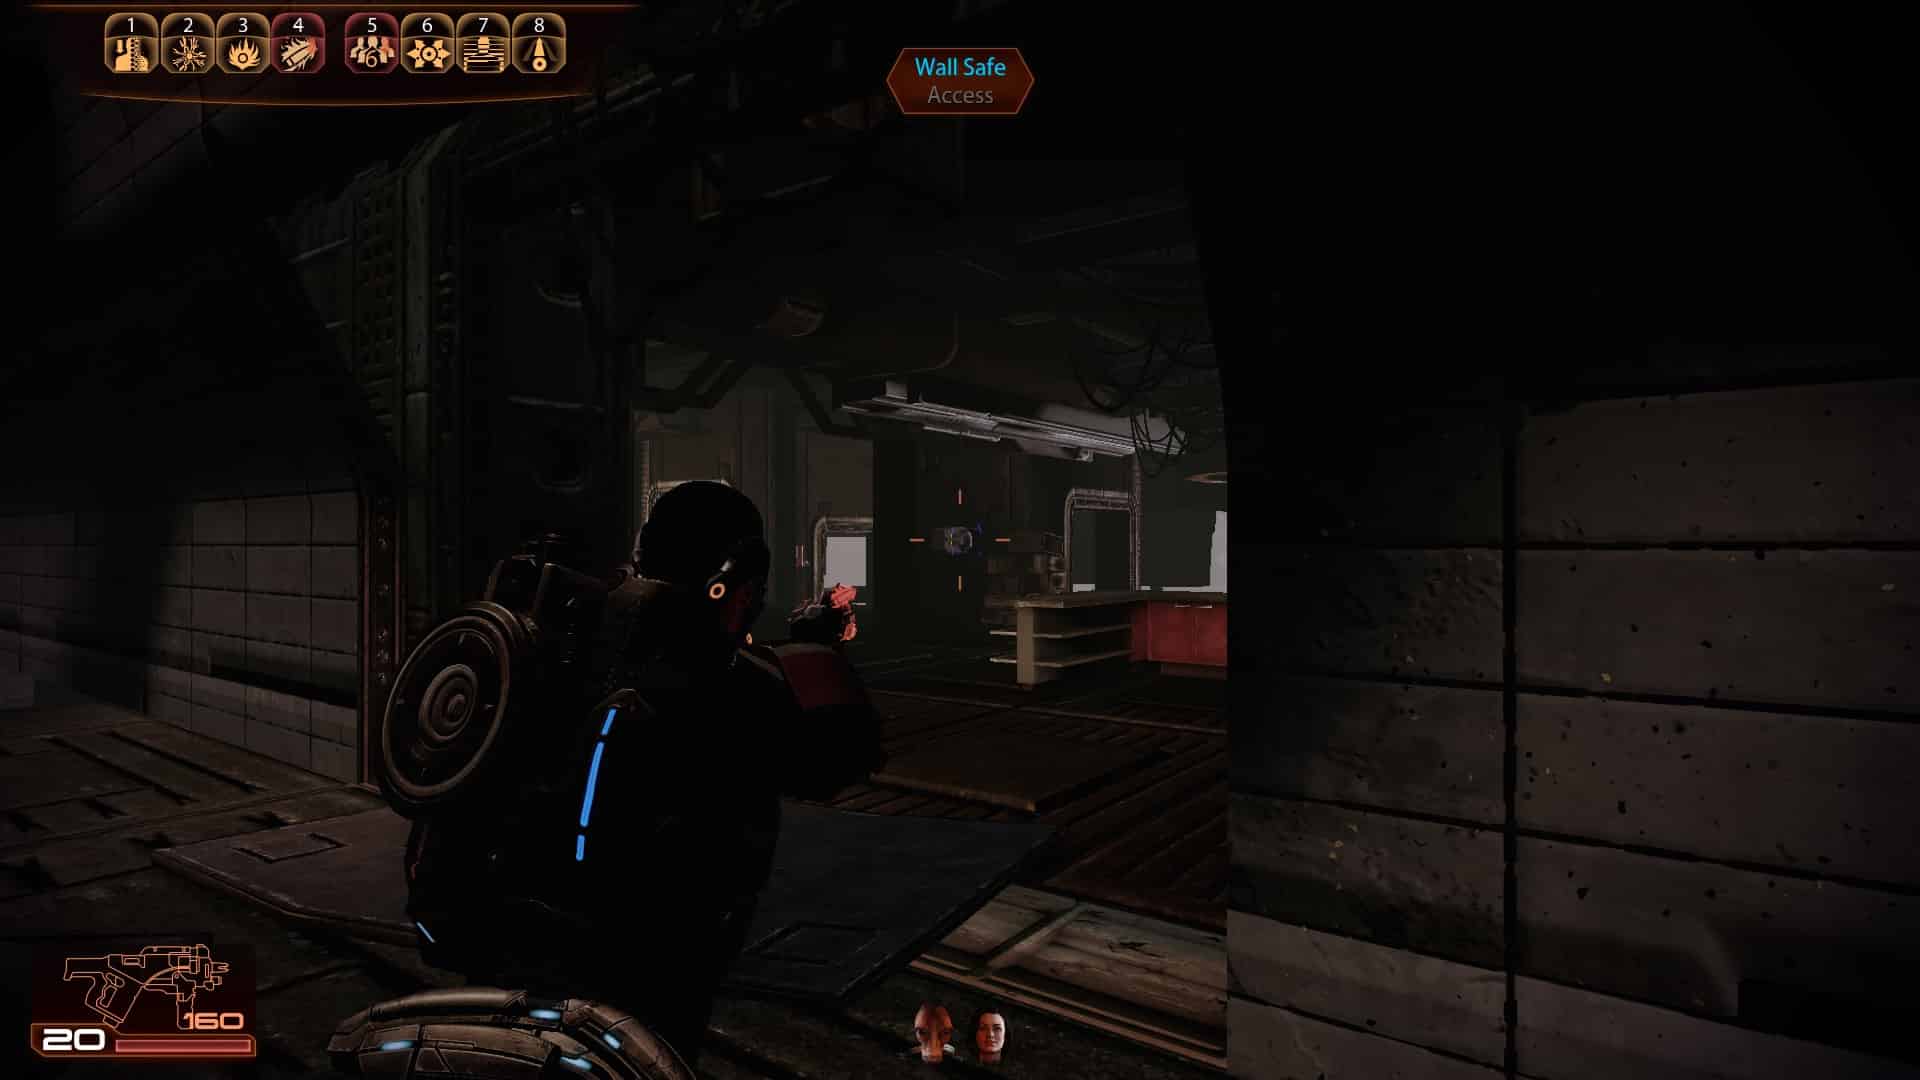
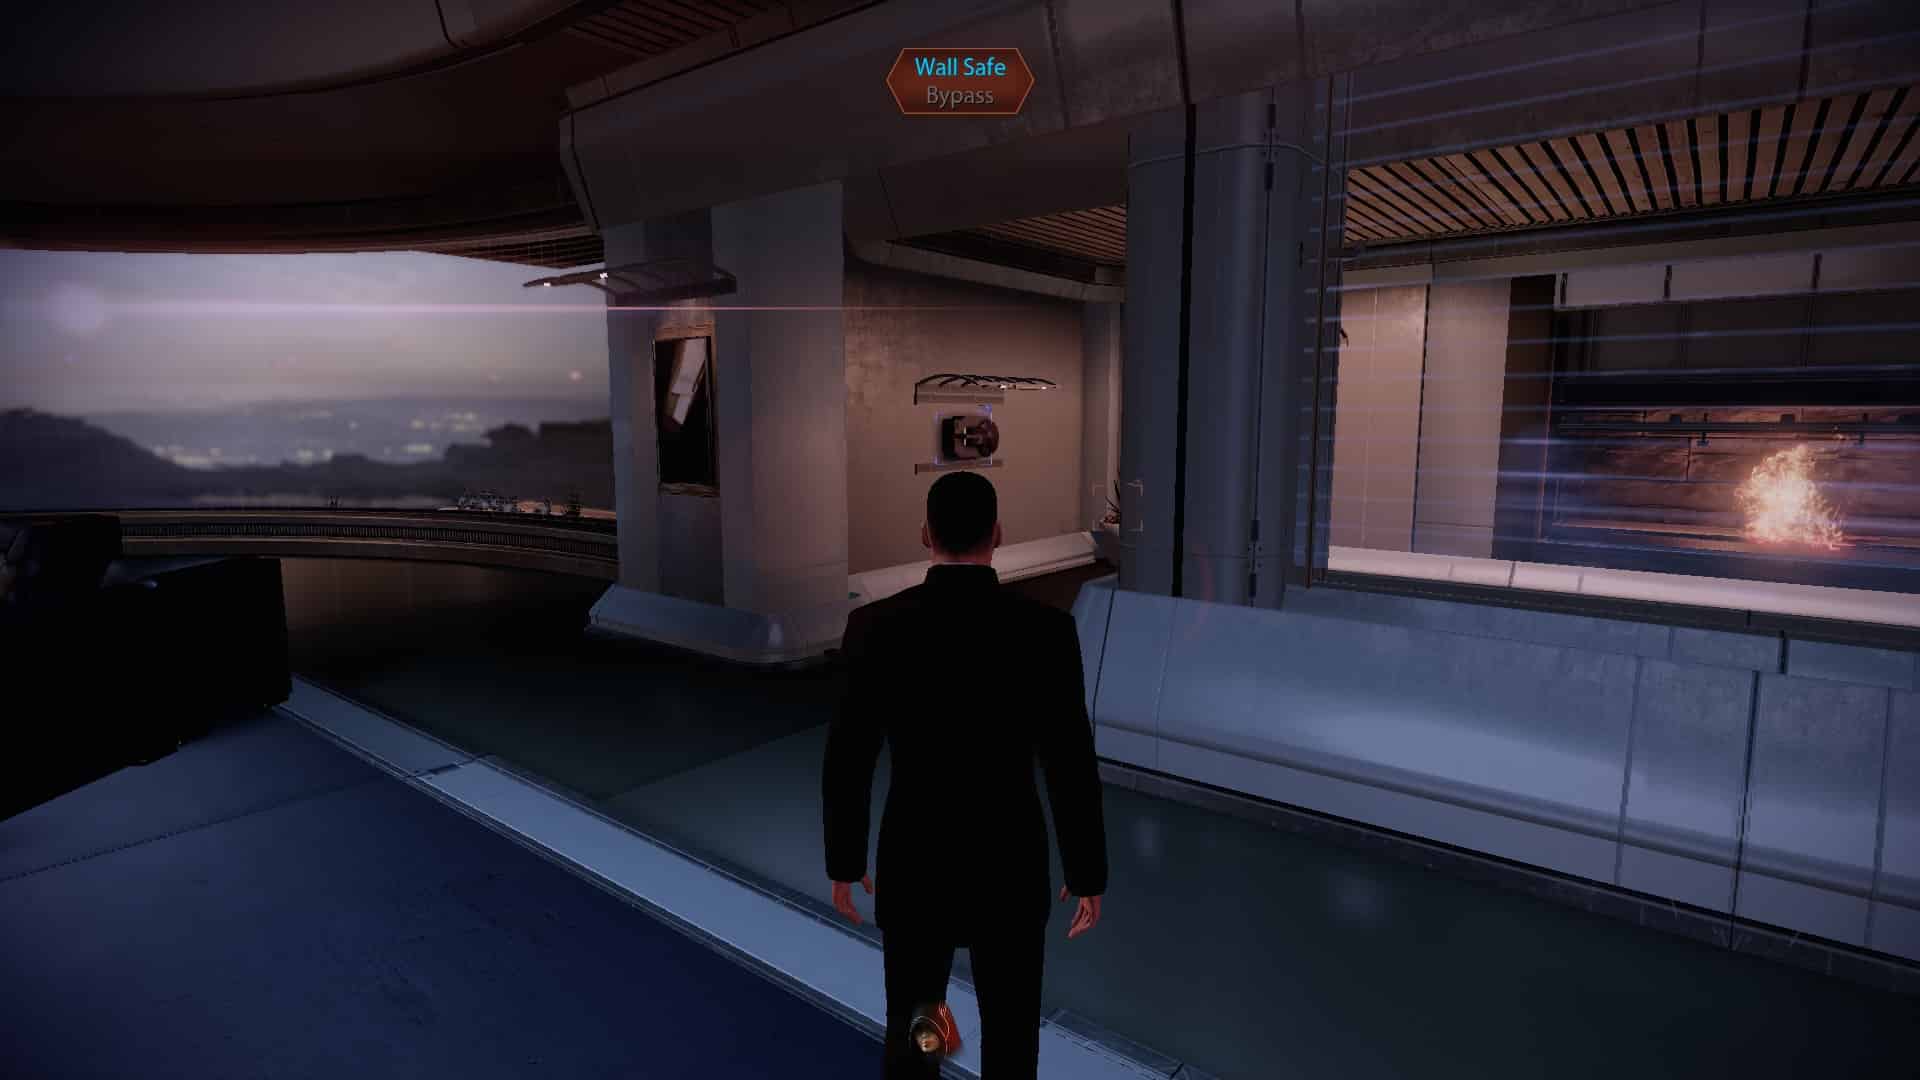
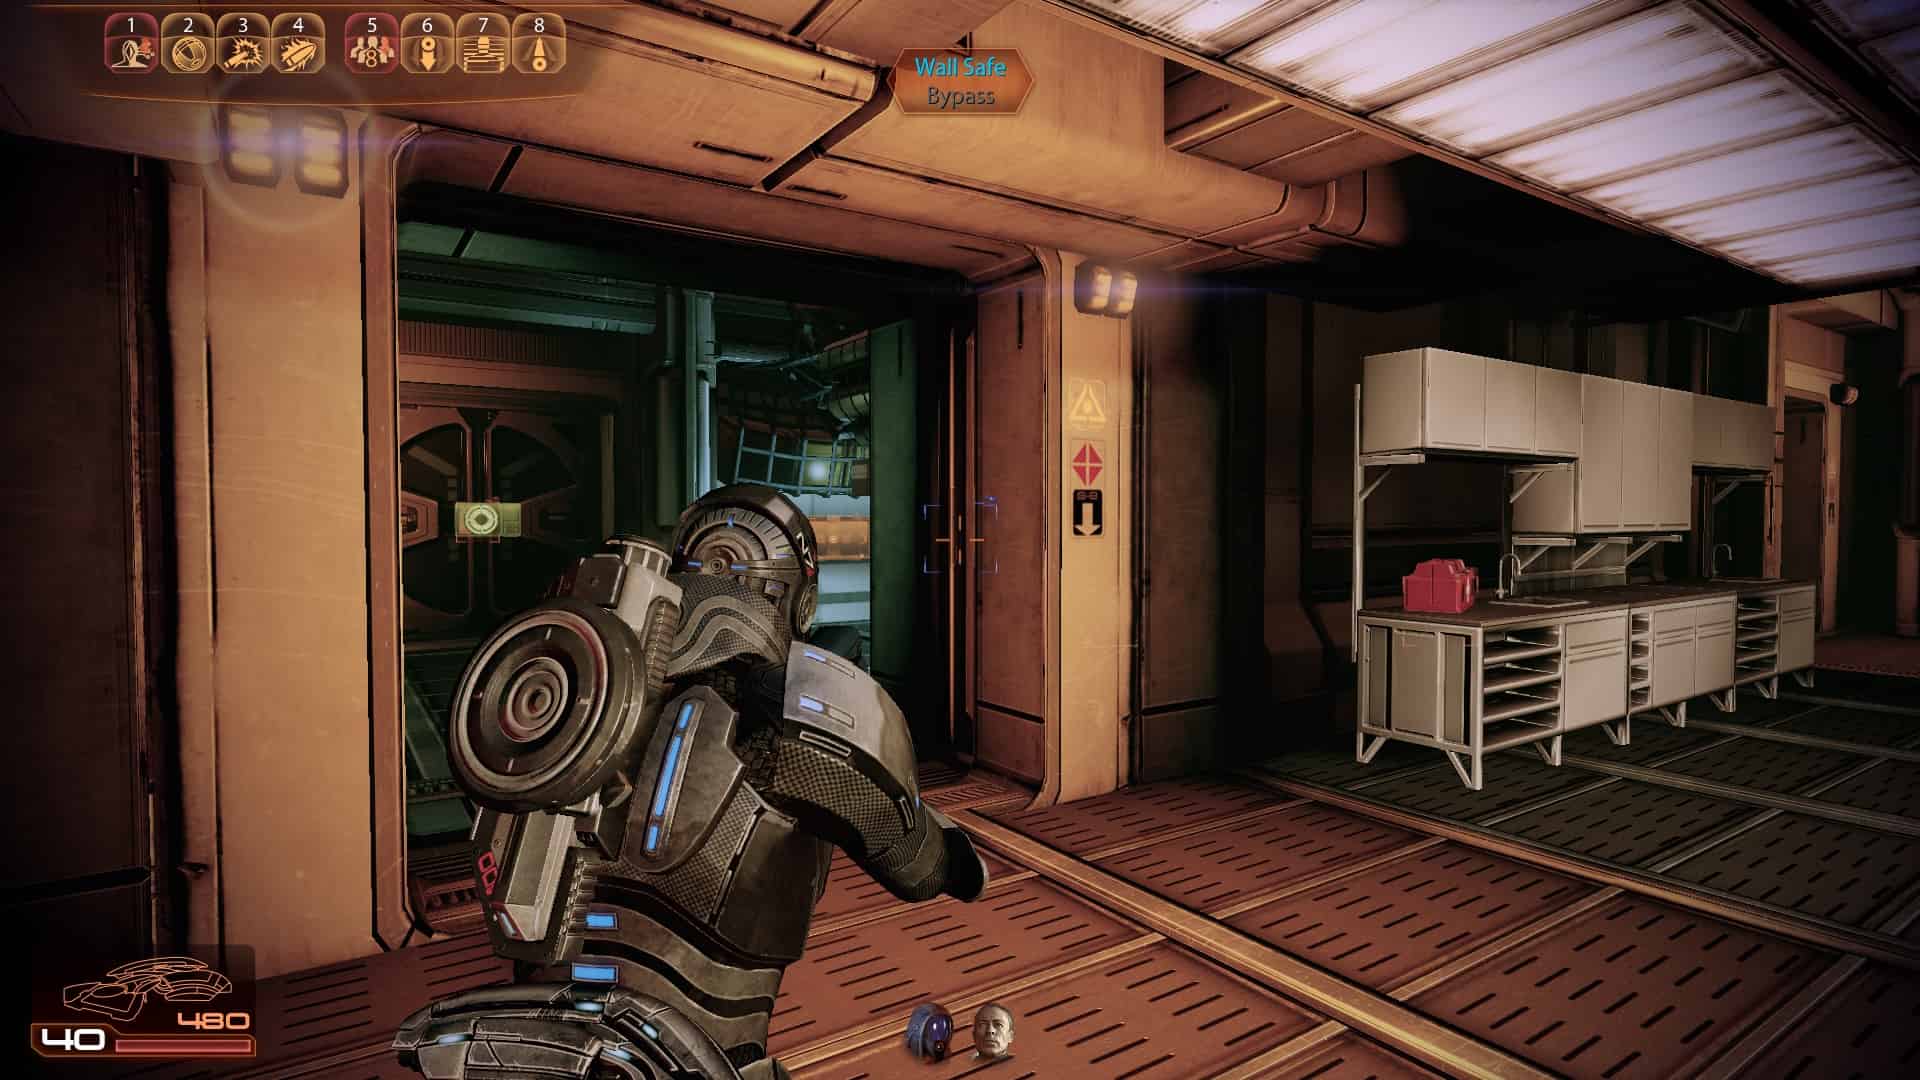
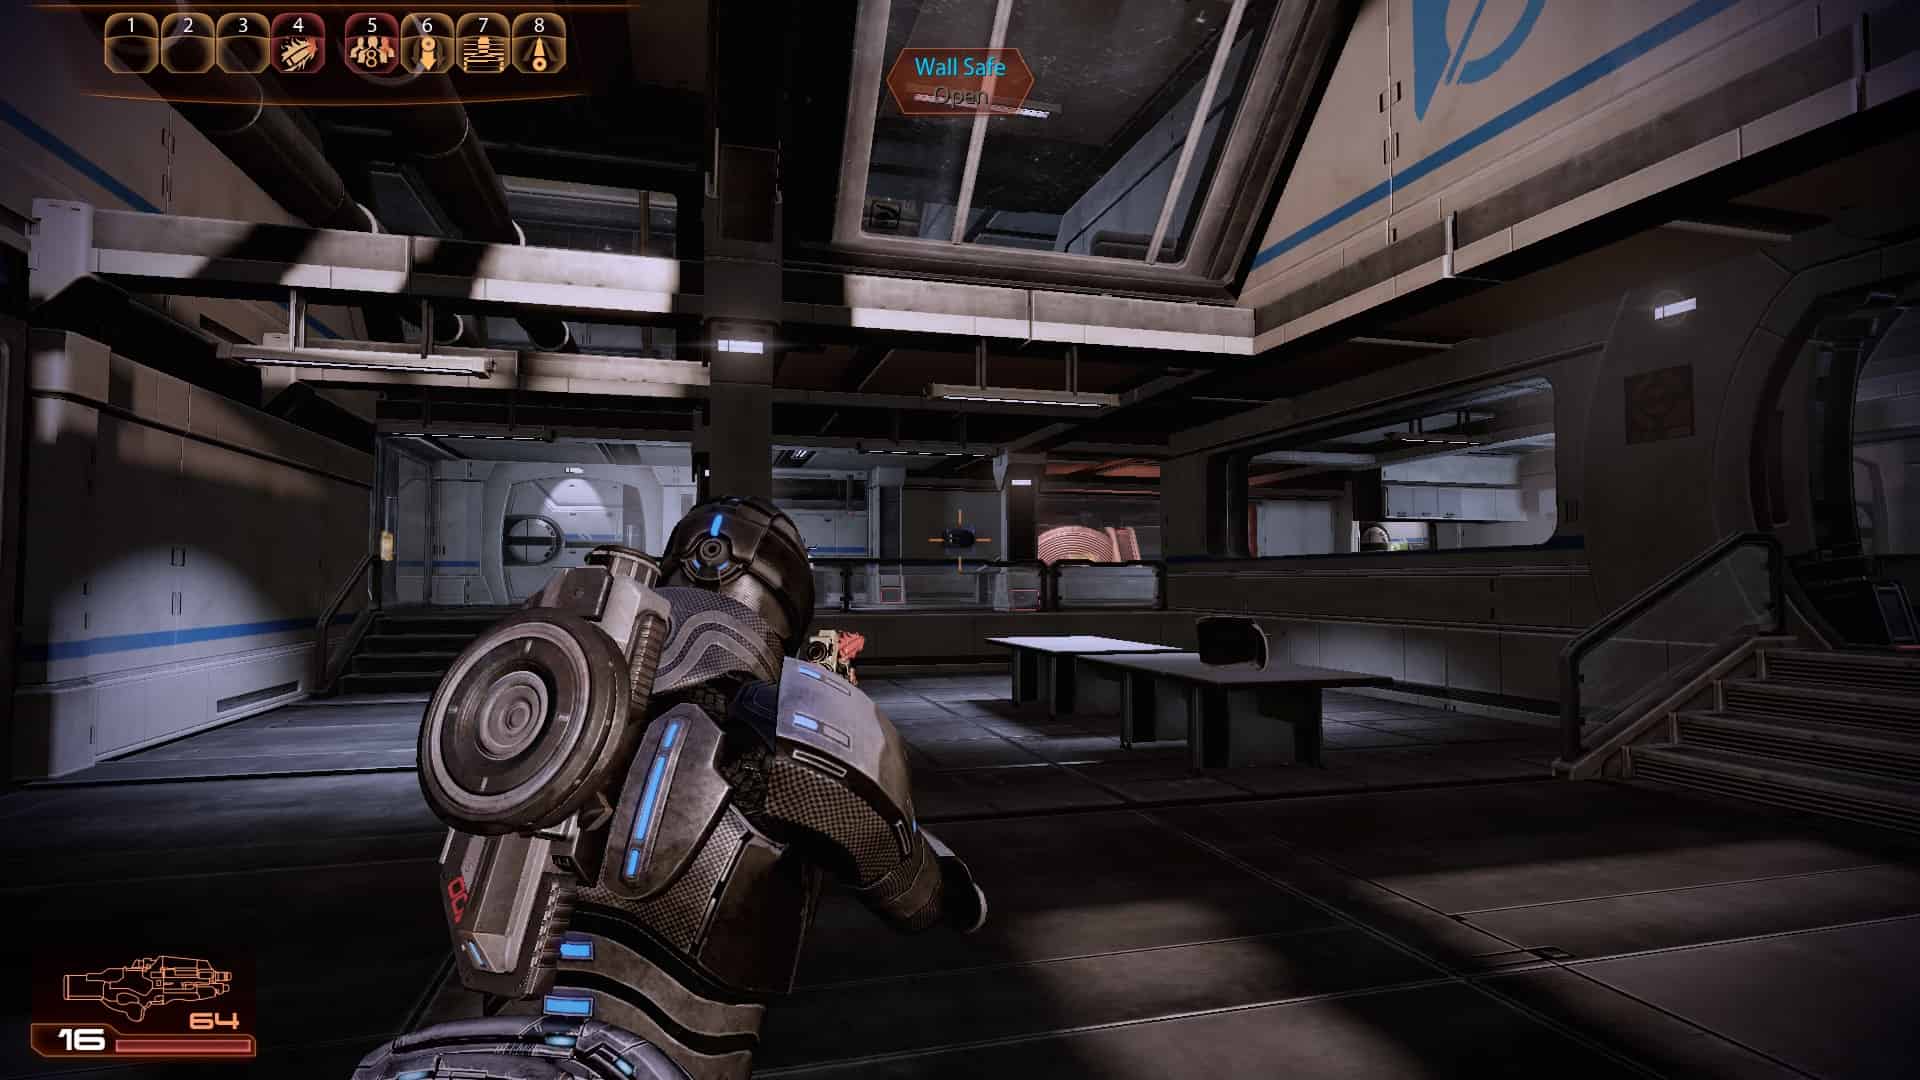
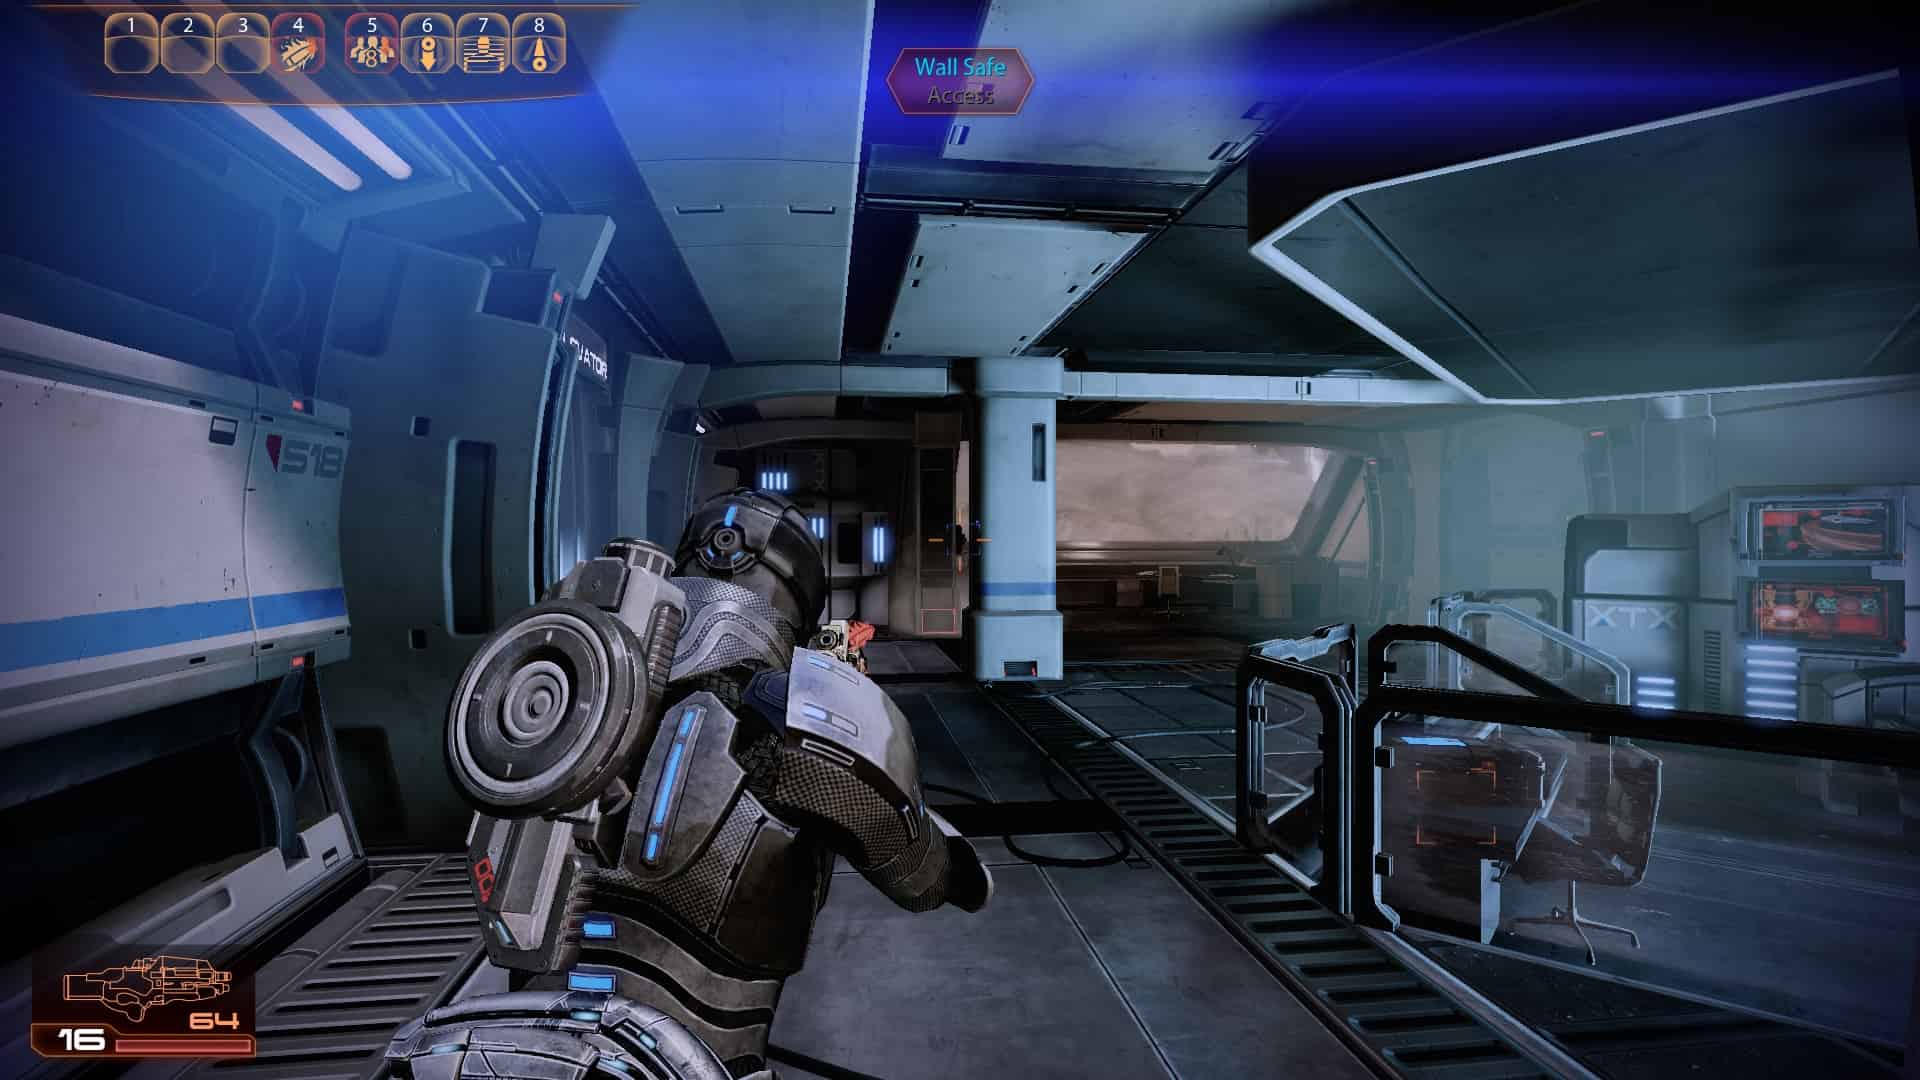
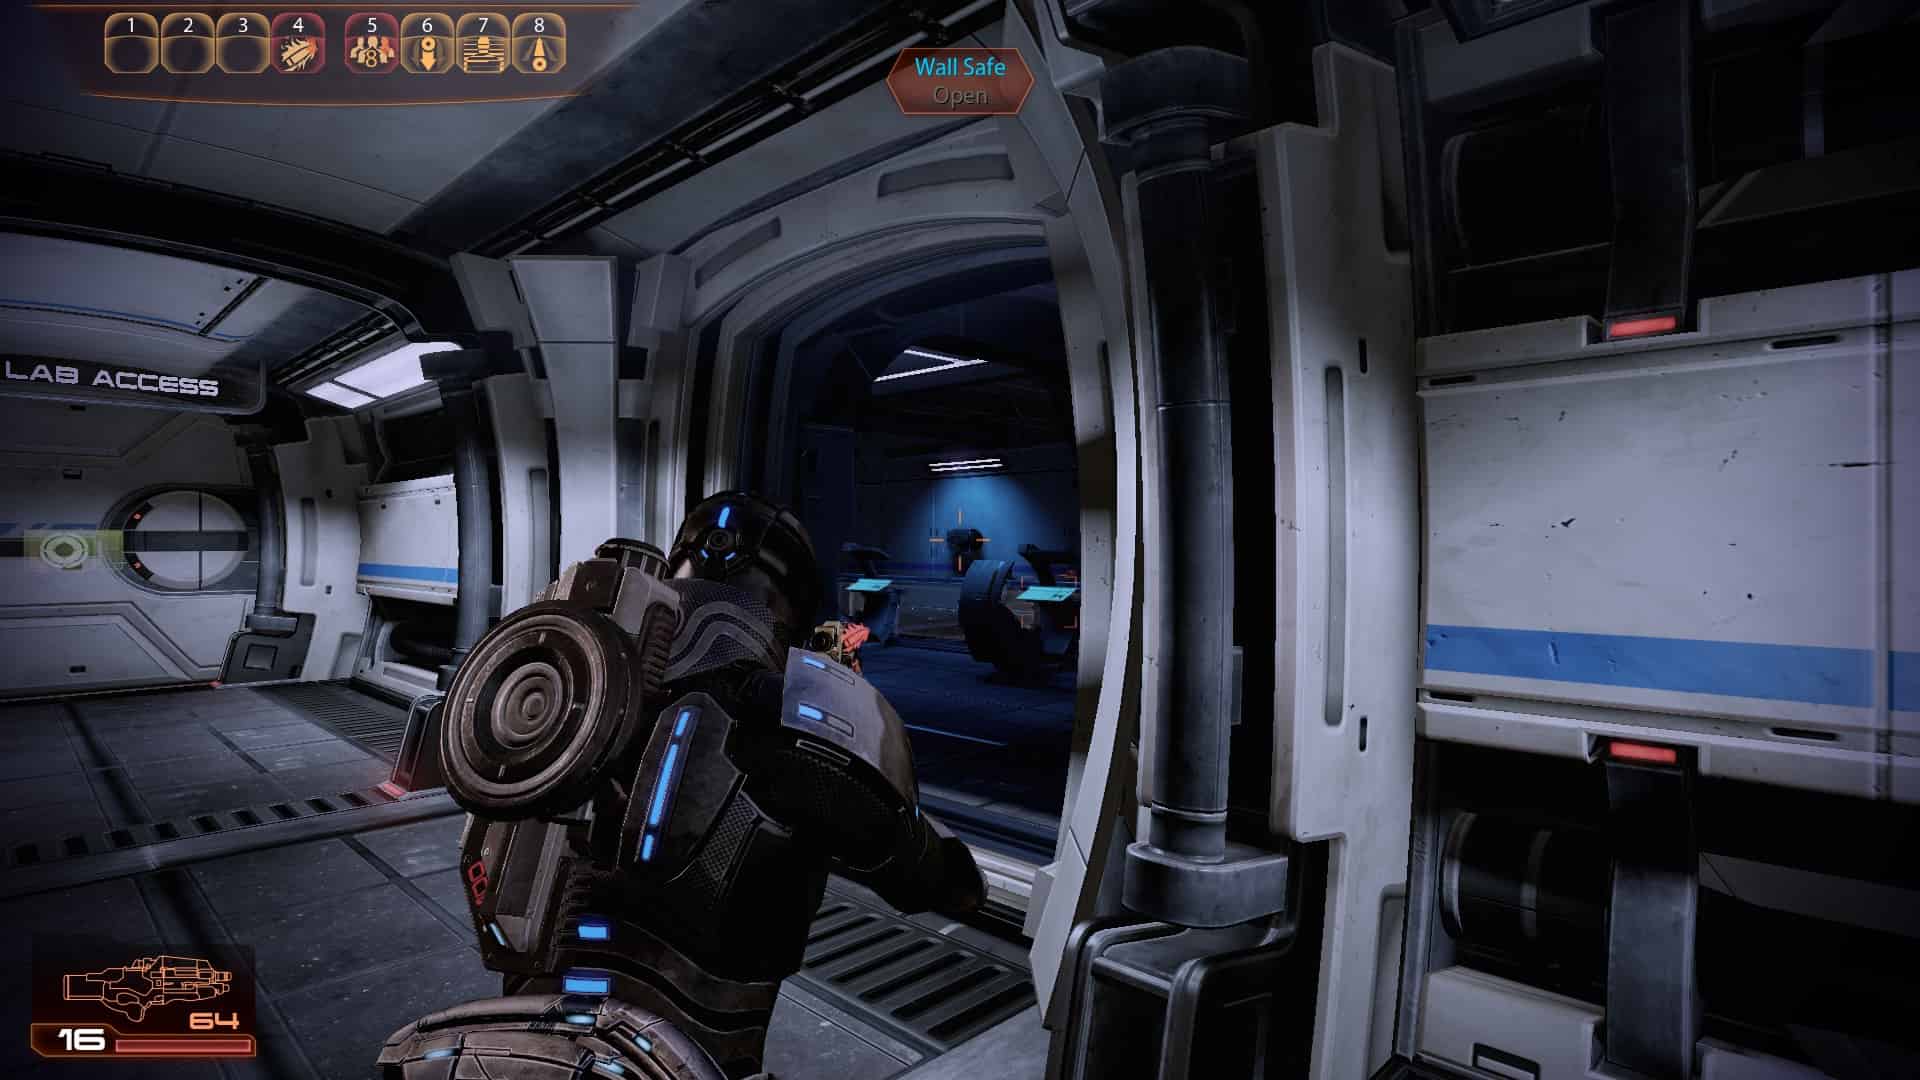
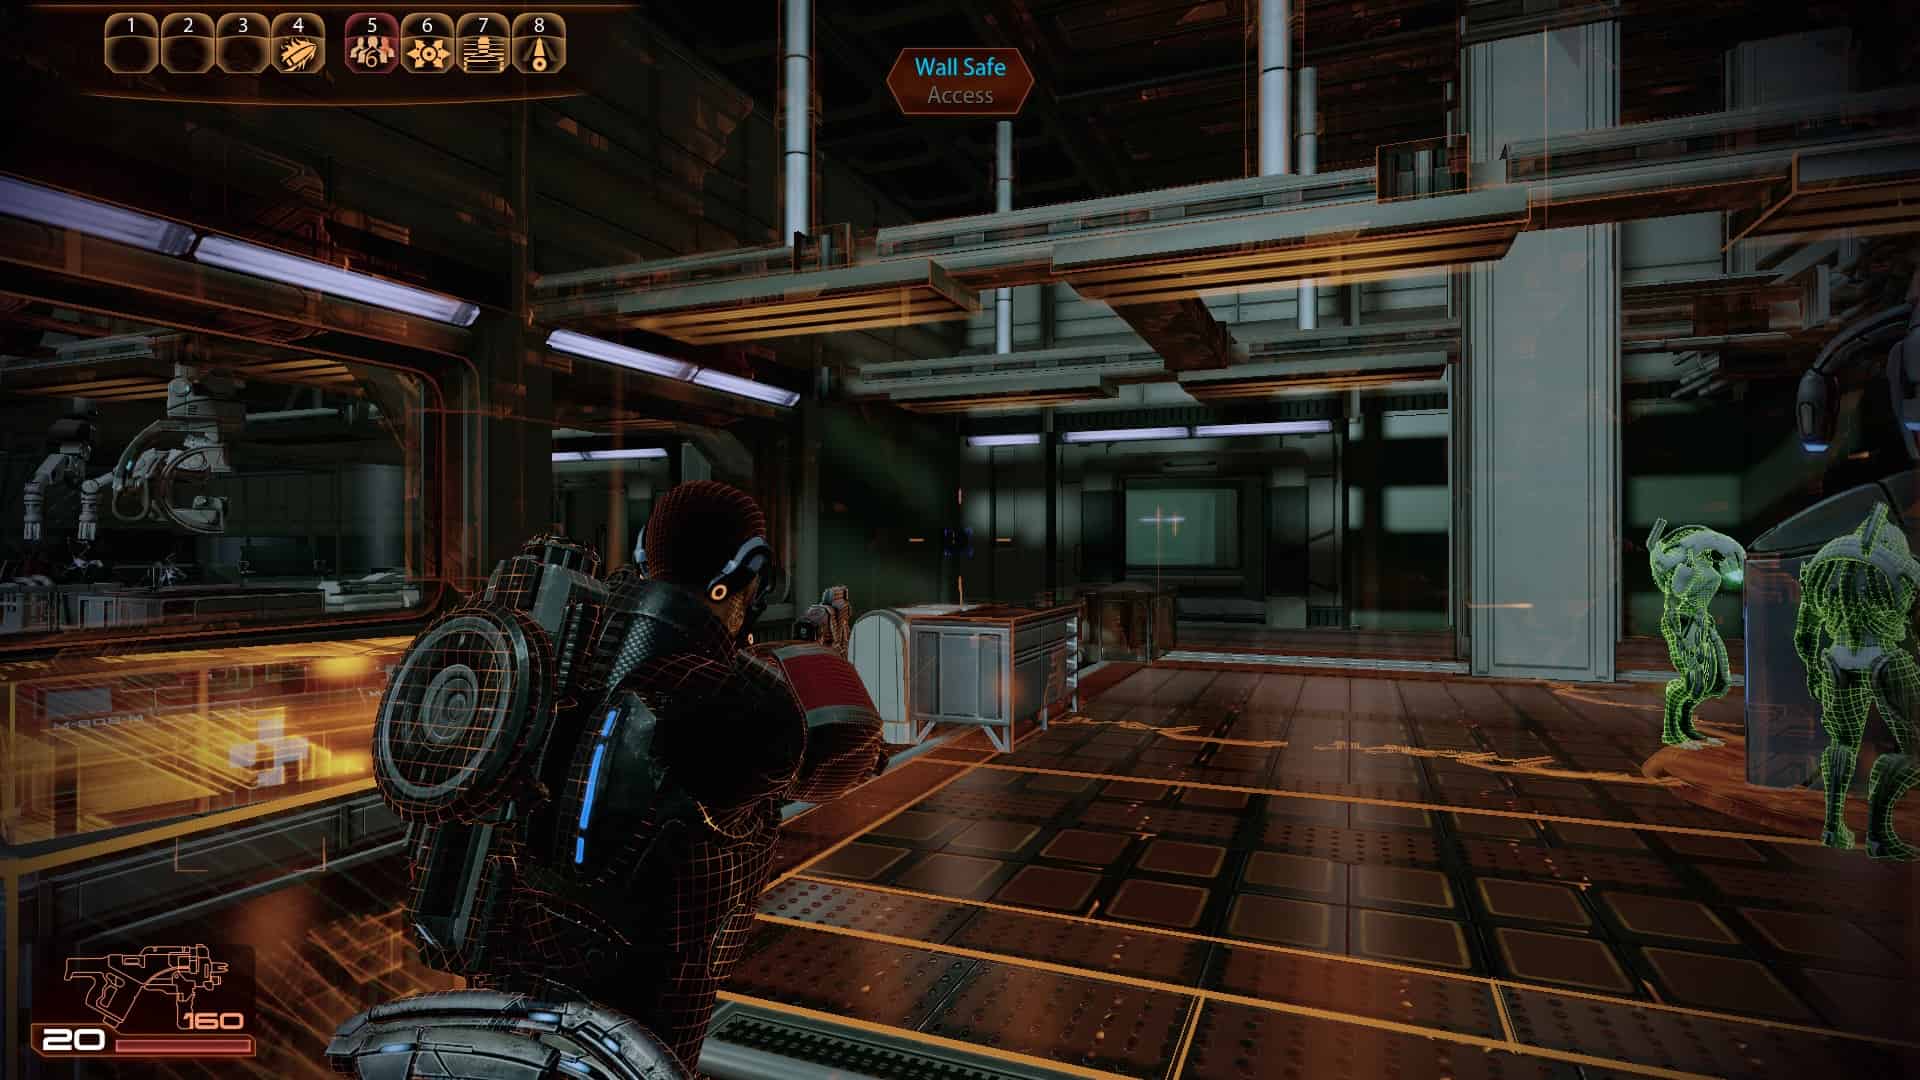
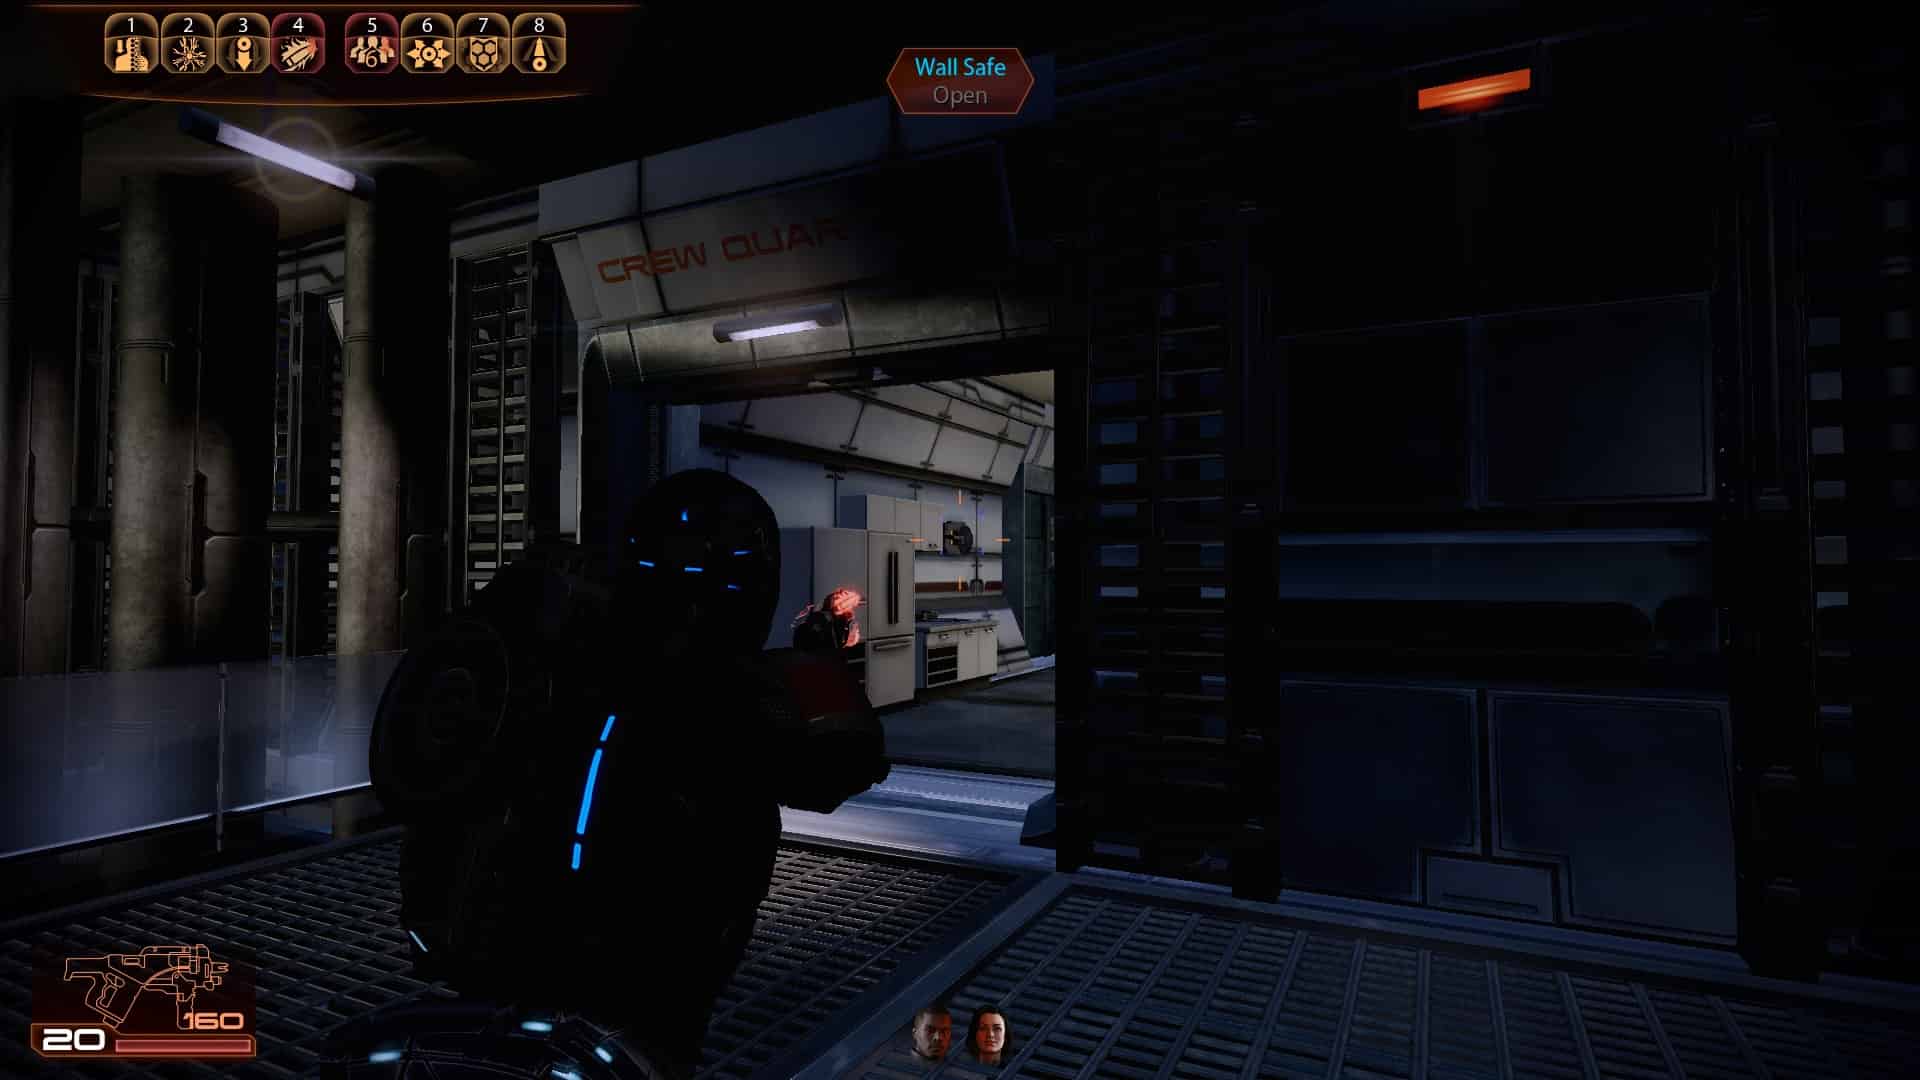
6 (After the fighting has died down, go back to the entrance of the cafeteria and climb the stairs to your right. Enter the door to the right at the top. At the far end of the room is a Wall Safe)
7
8
9
10
11
12
13
14
Overlord (Part 2 - Cerberus Data Packets)
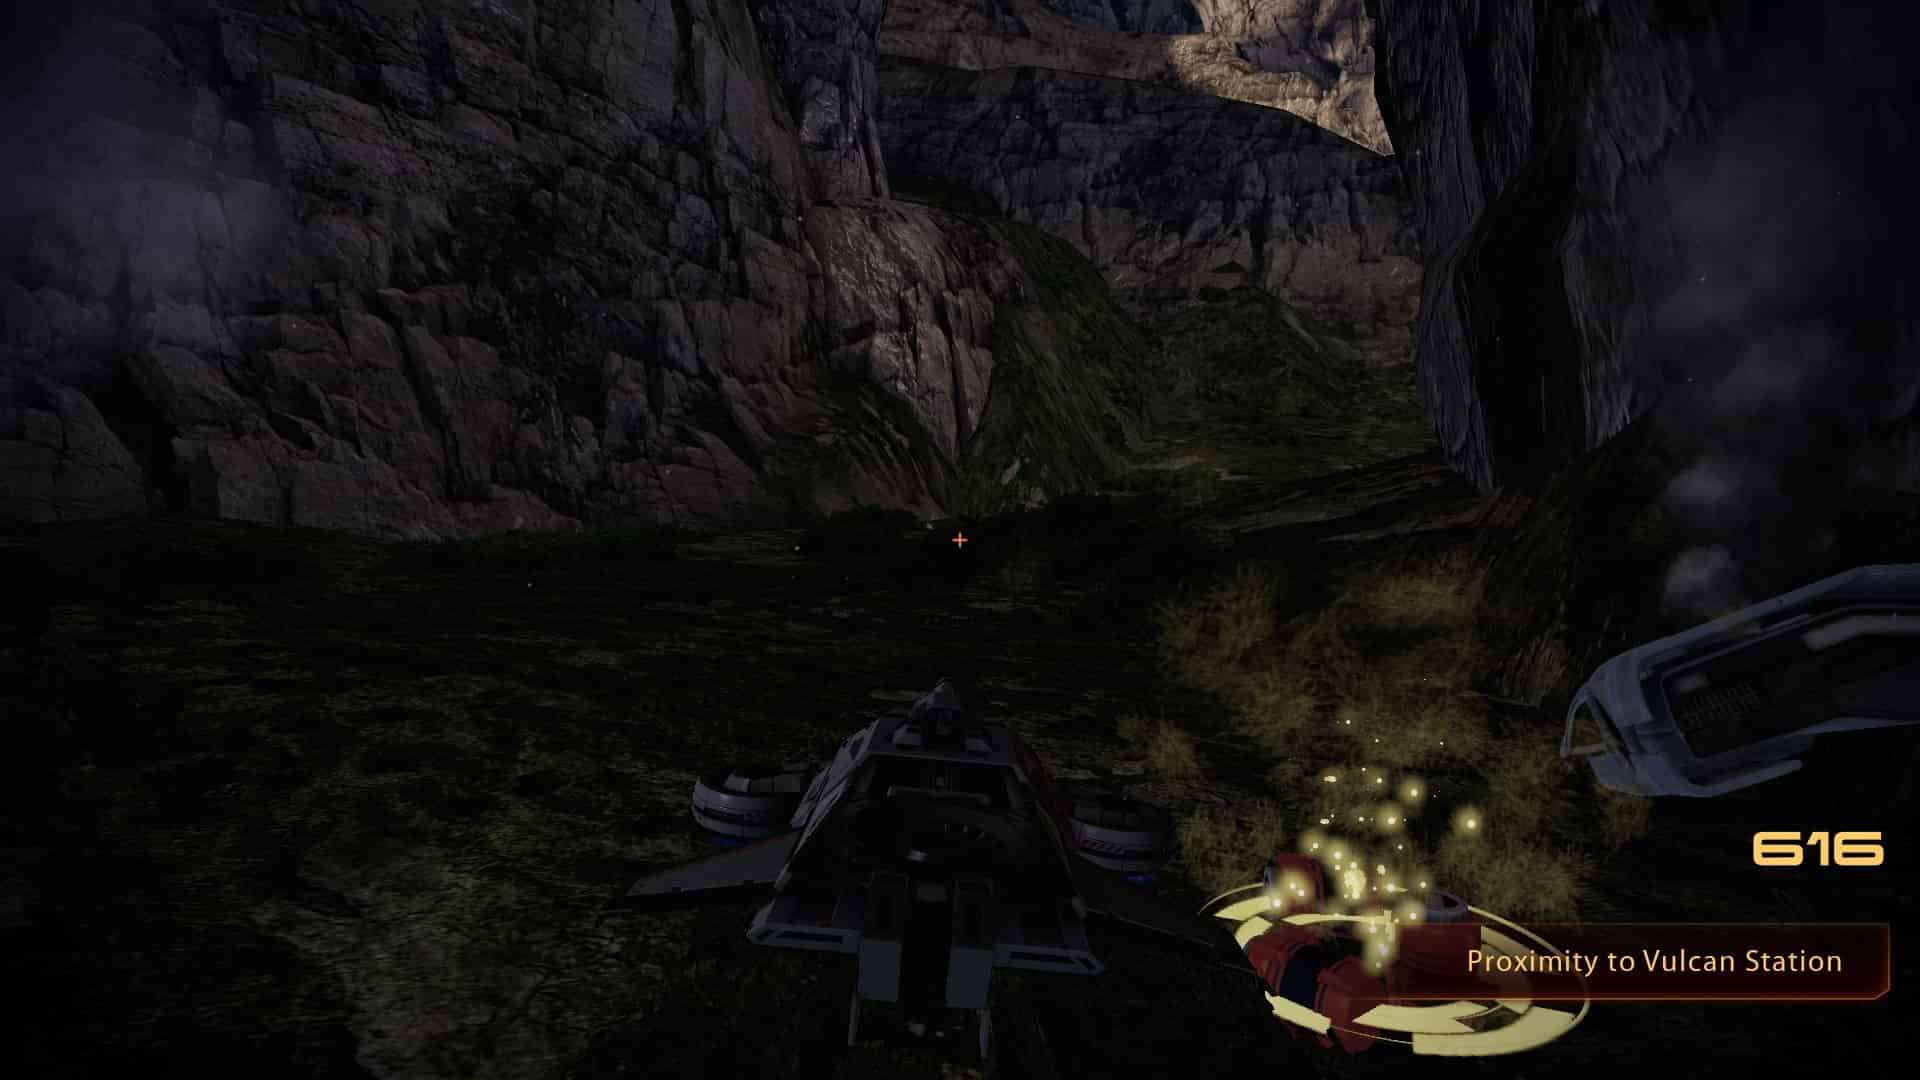
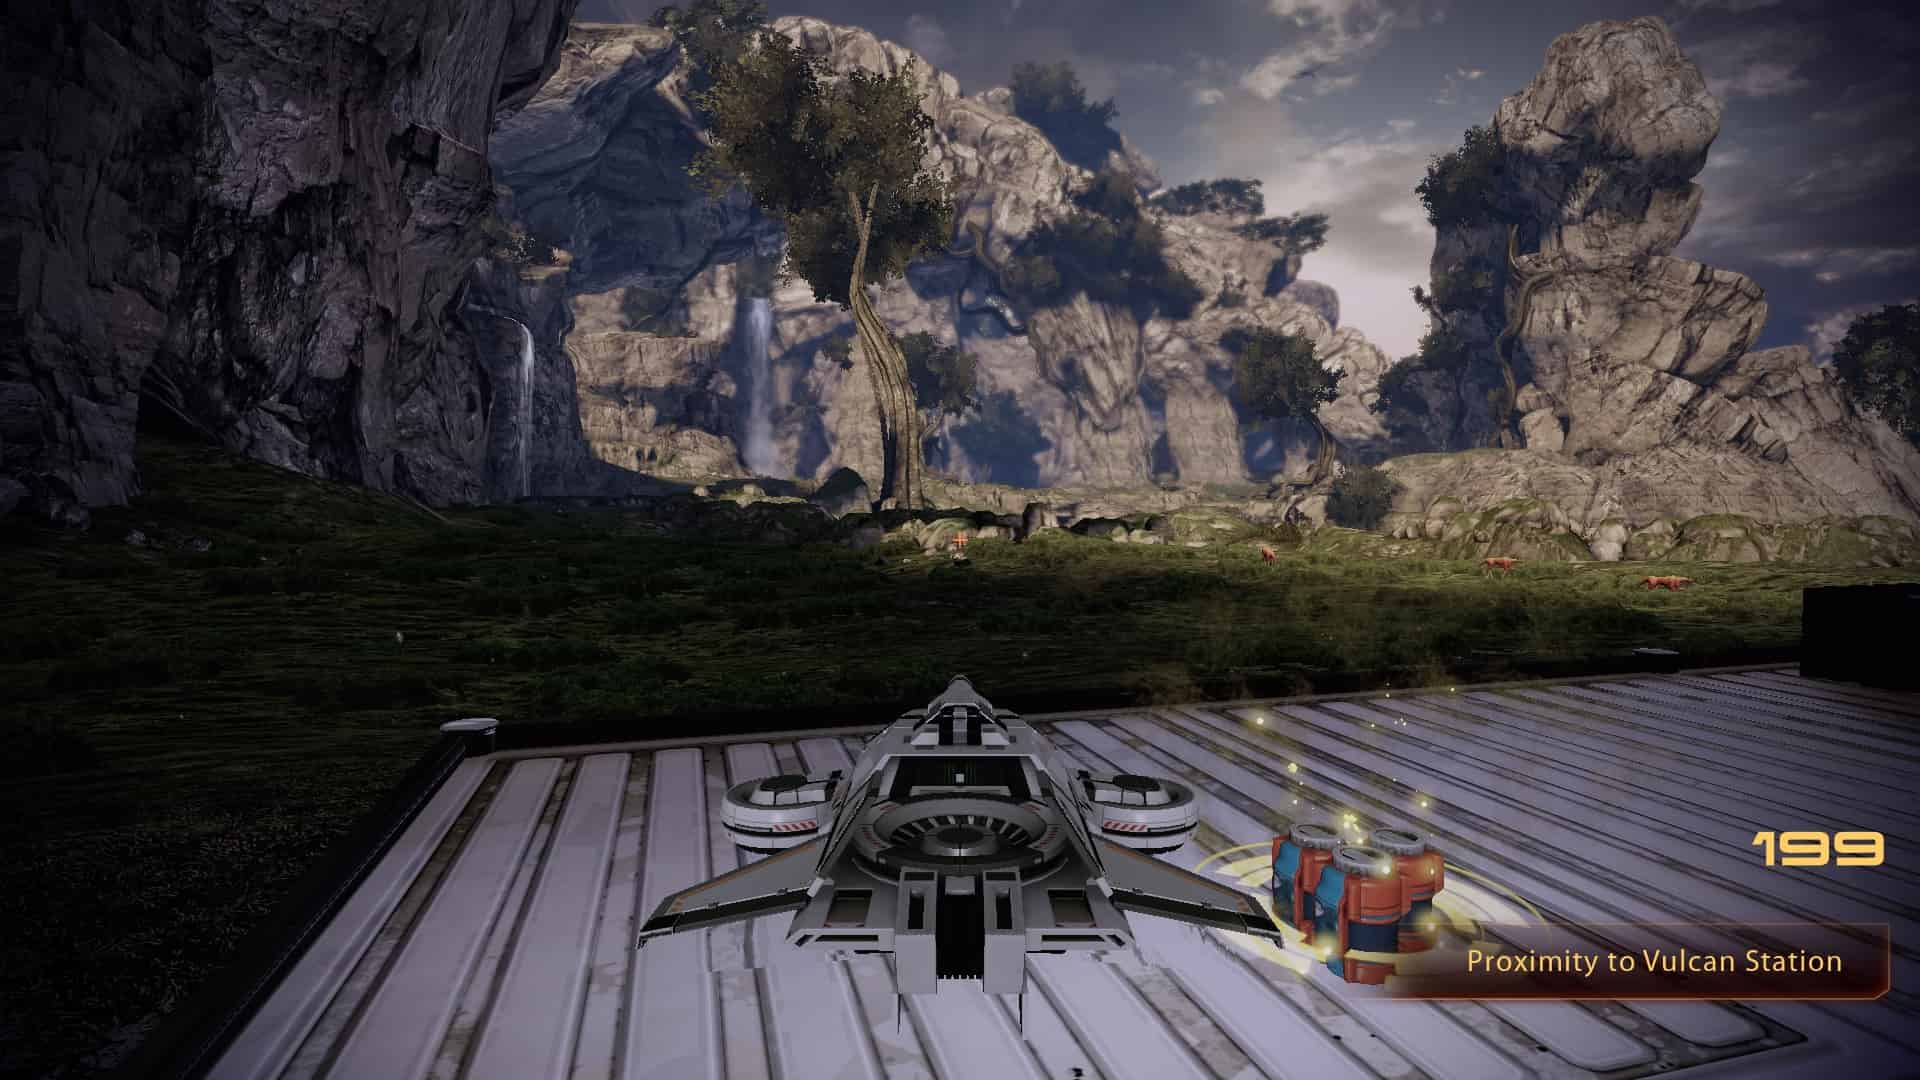
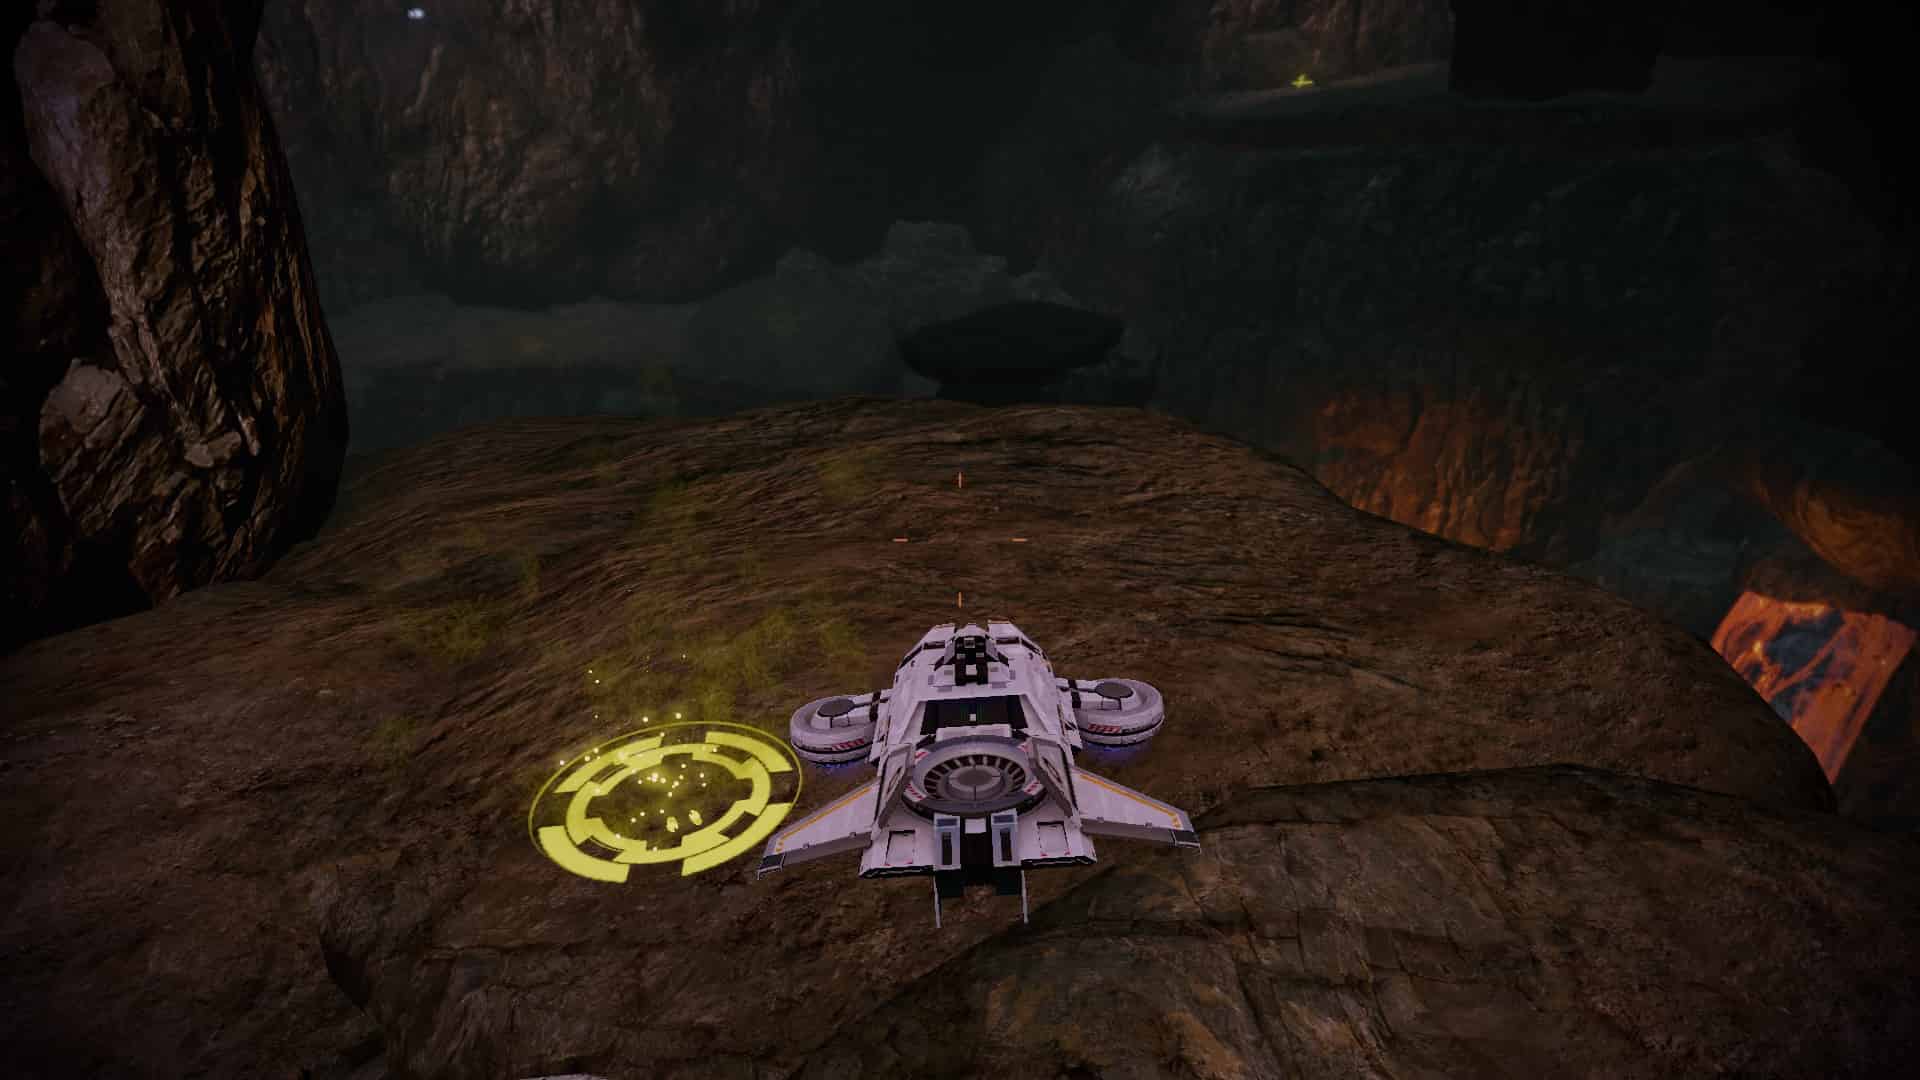
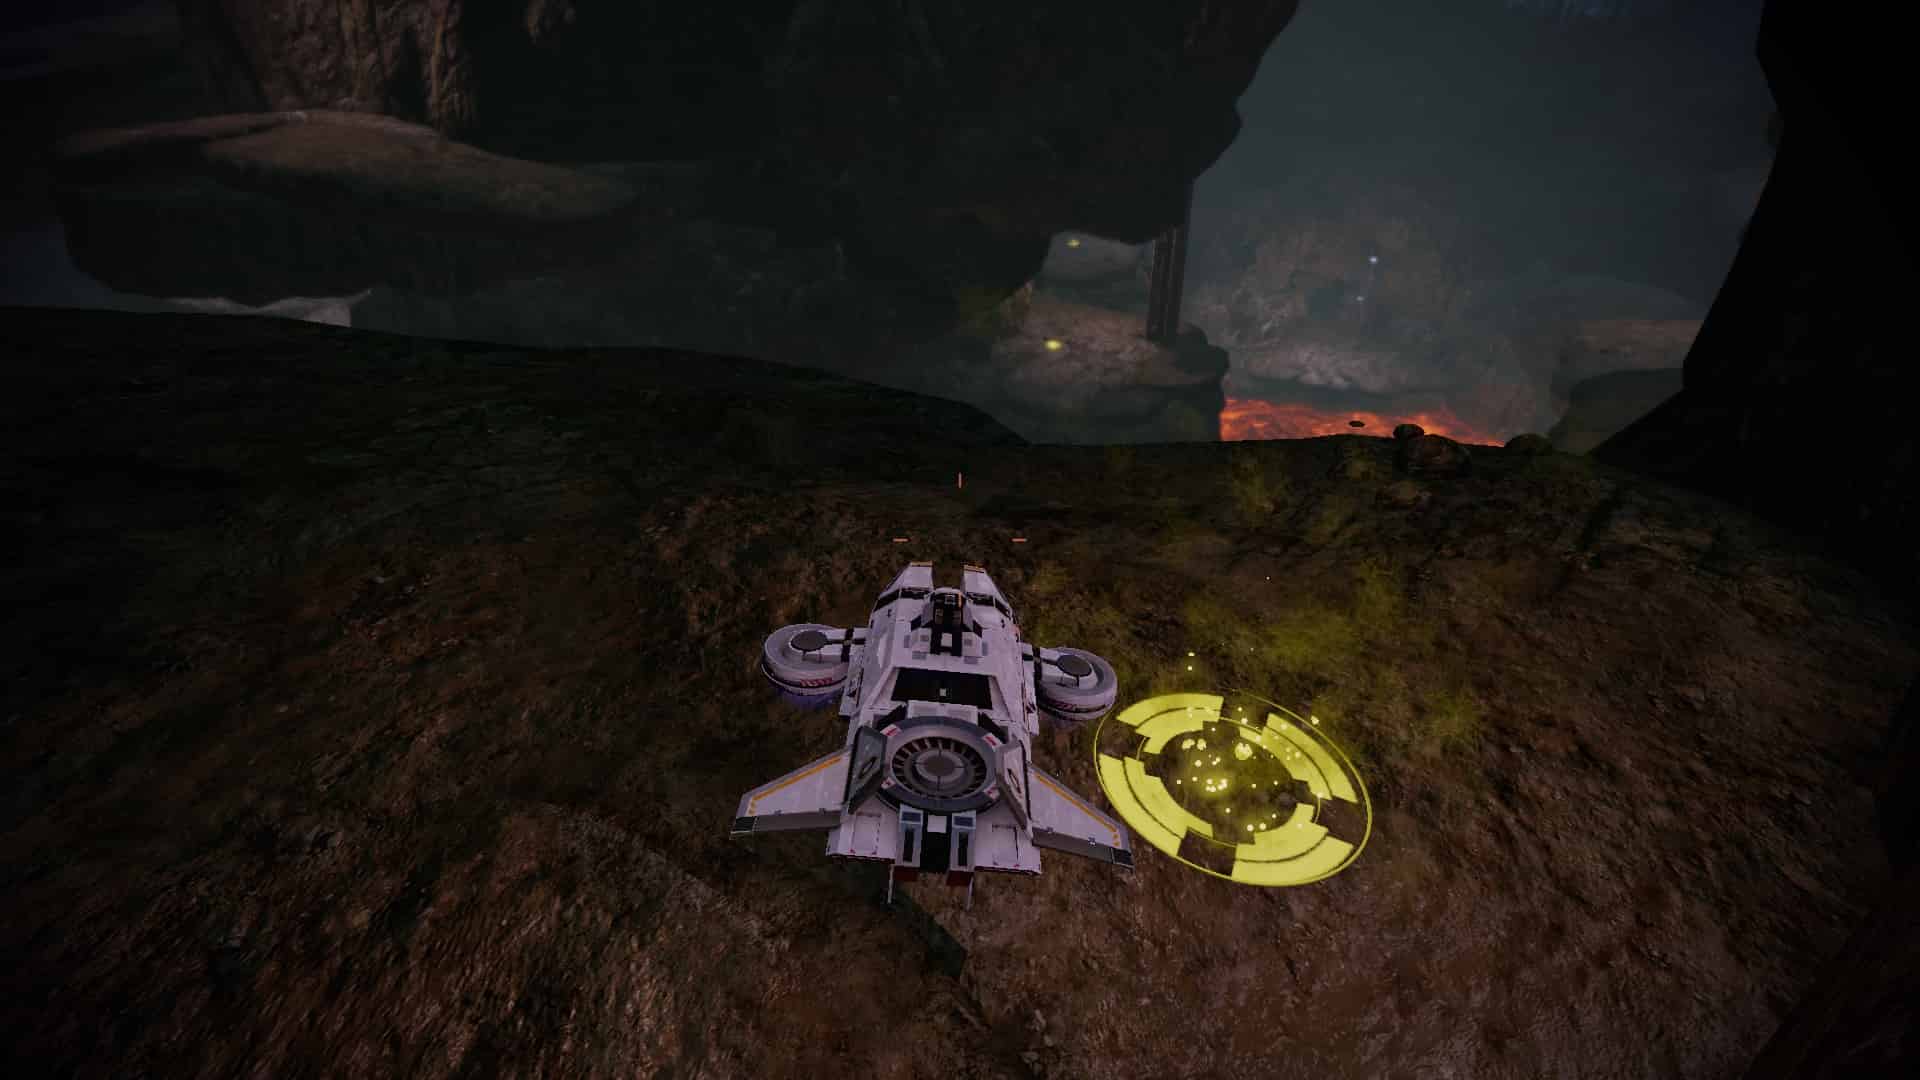
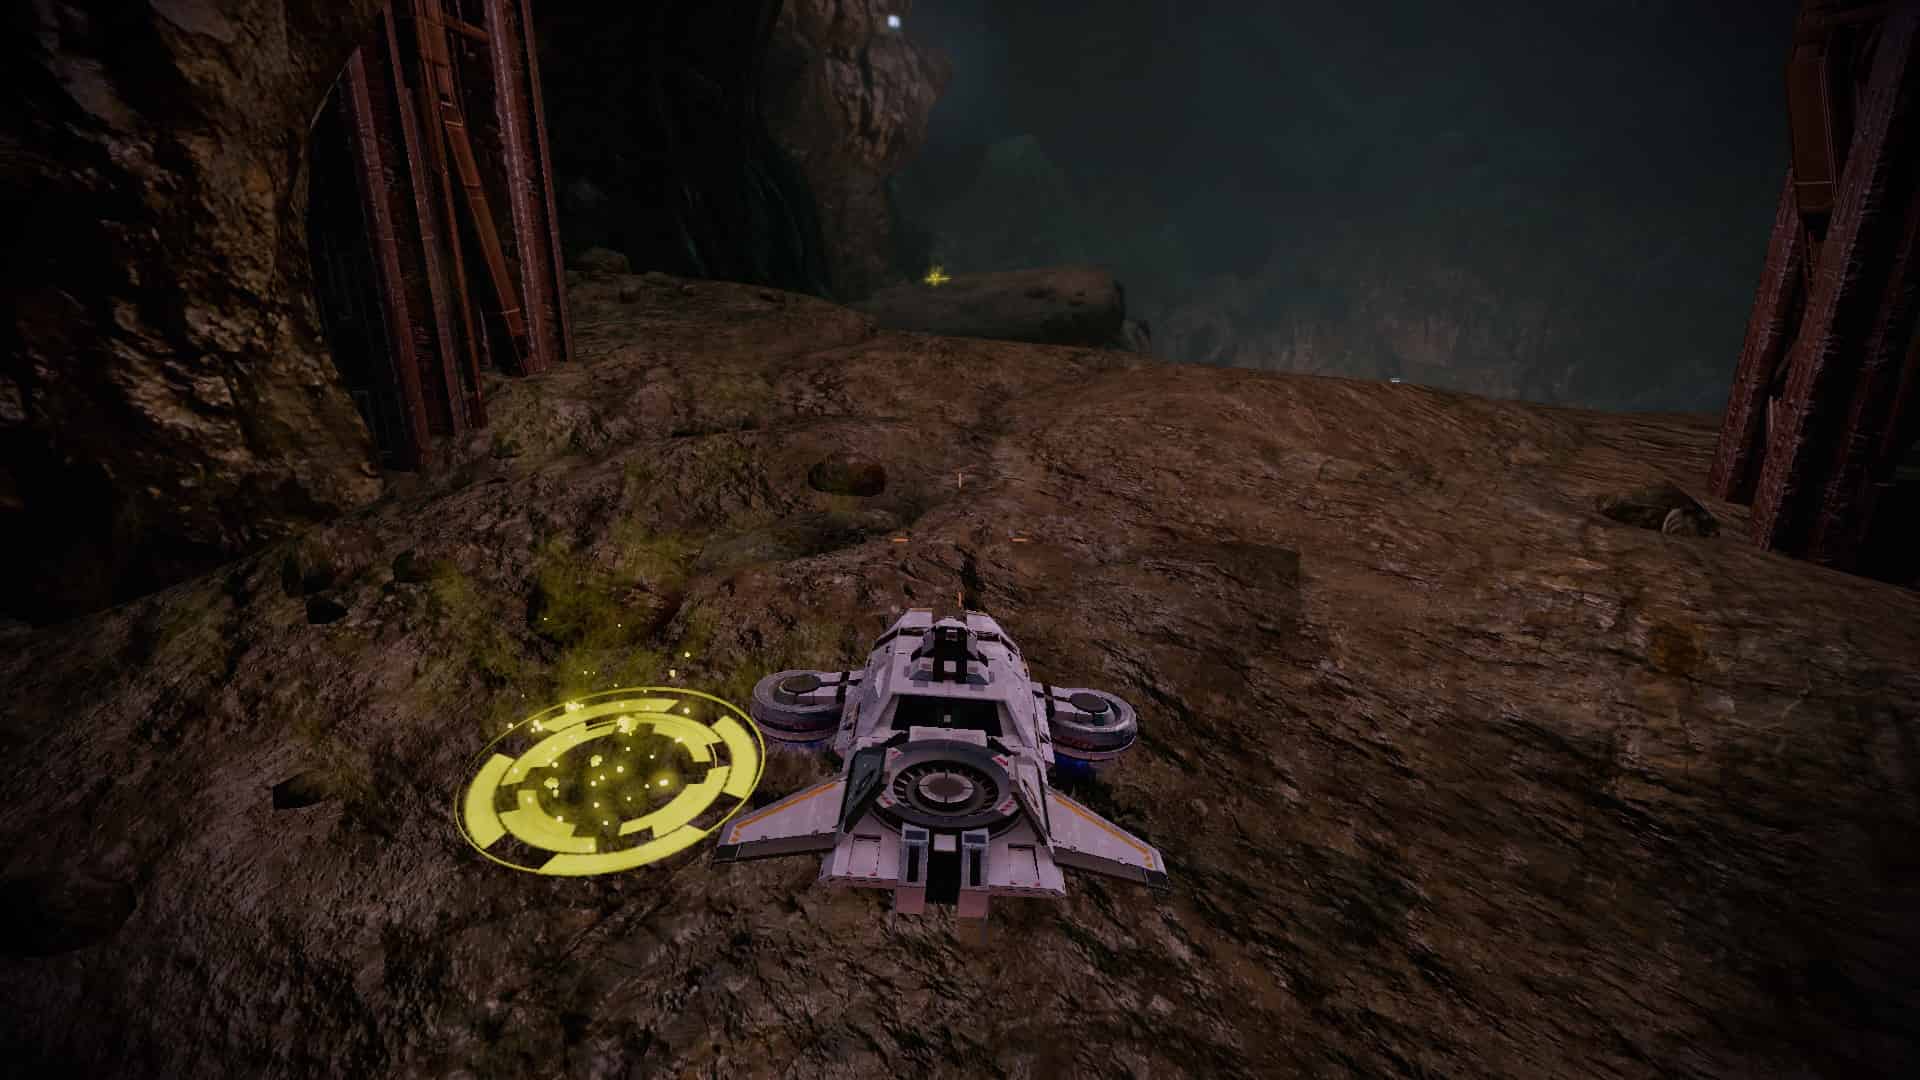
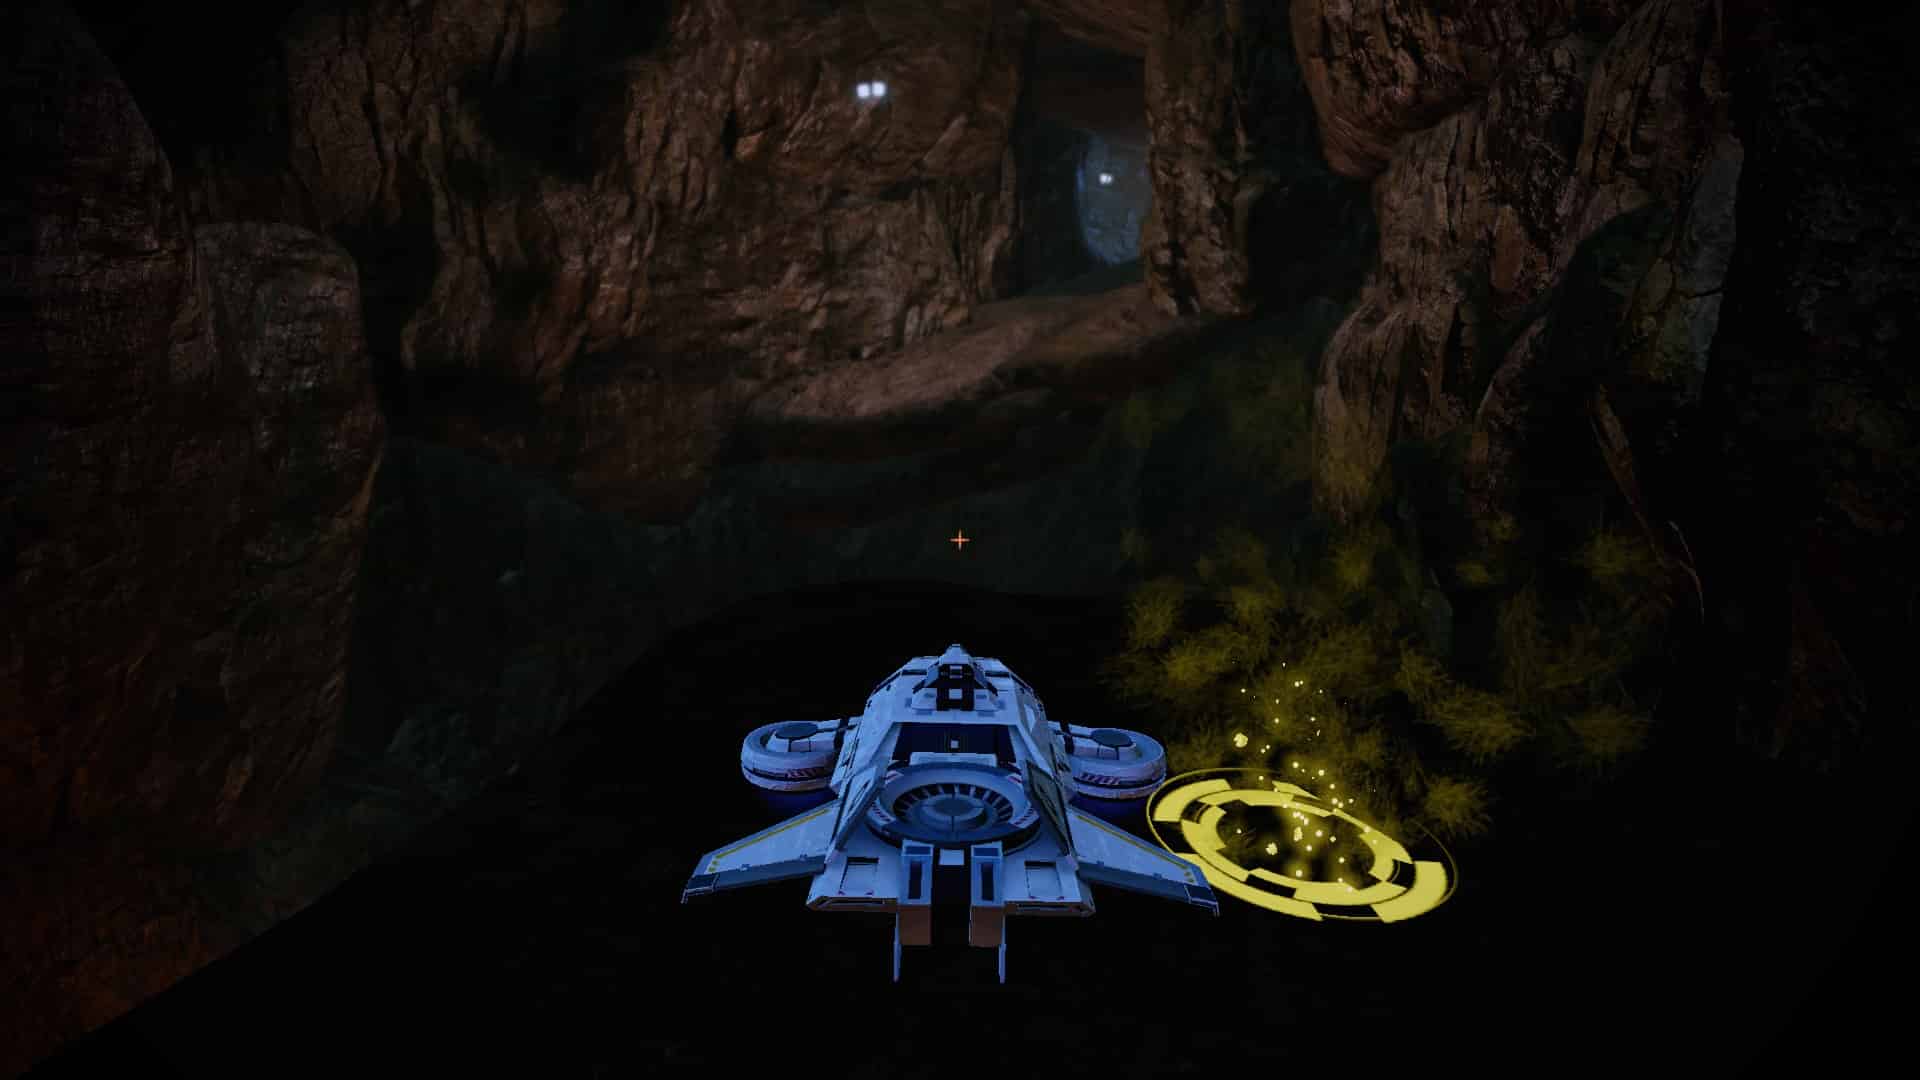
1. After exiting Hermes Station, go down the ramp, then make a sharp right and follow the wall on the right. You will have to make another sharp right into a very large cavern, but you should be able to see the sky through the far side of the tunnel. Just on the other side of the cave you will see a platform which is defended by two Cerberus Turrets. Take them out, and you will find the data packet, which resembles three red barrels sitting in a yellow ring. Hover over it and use the M-44's mineral retrieval system to pick up the packet.
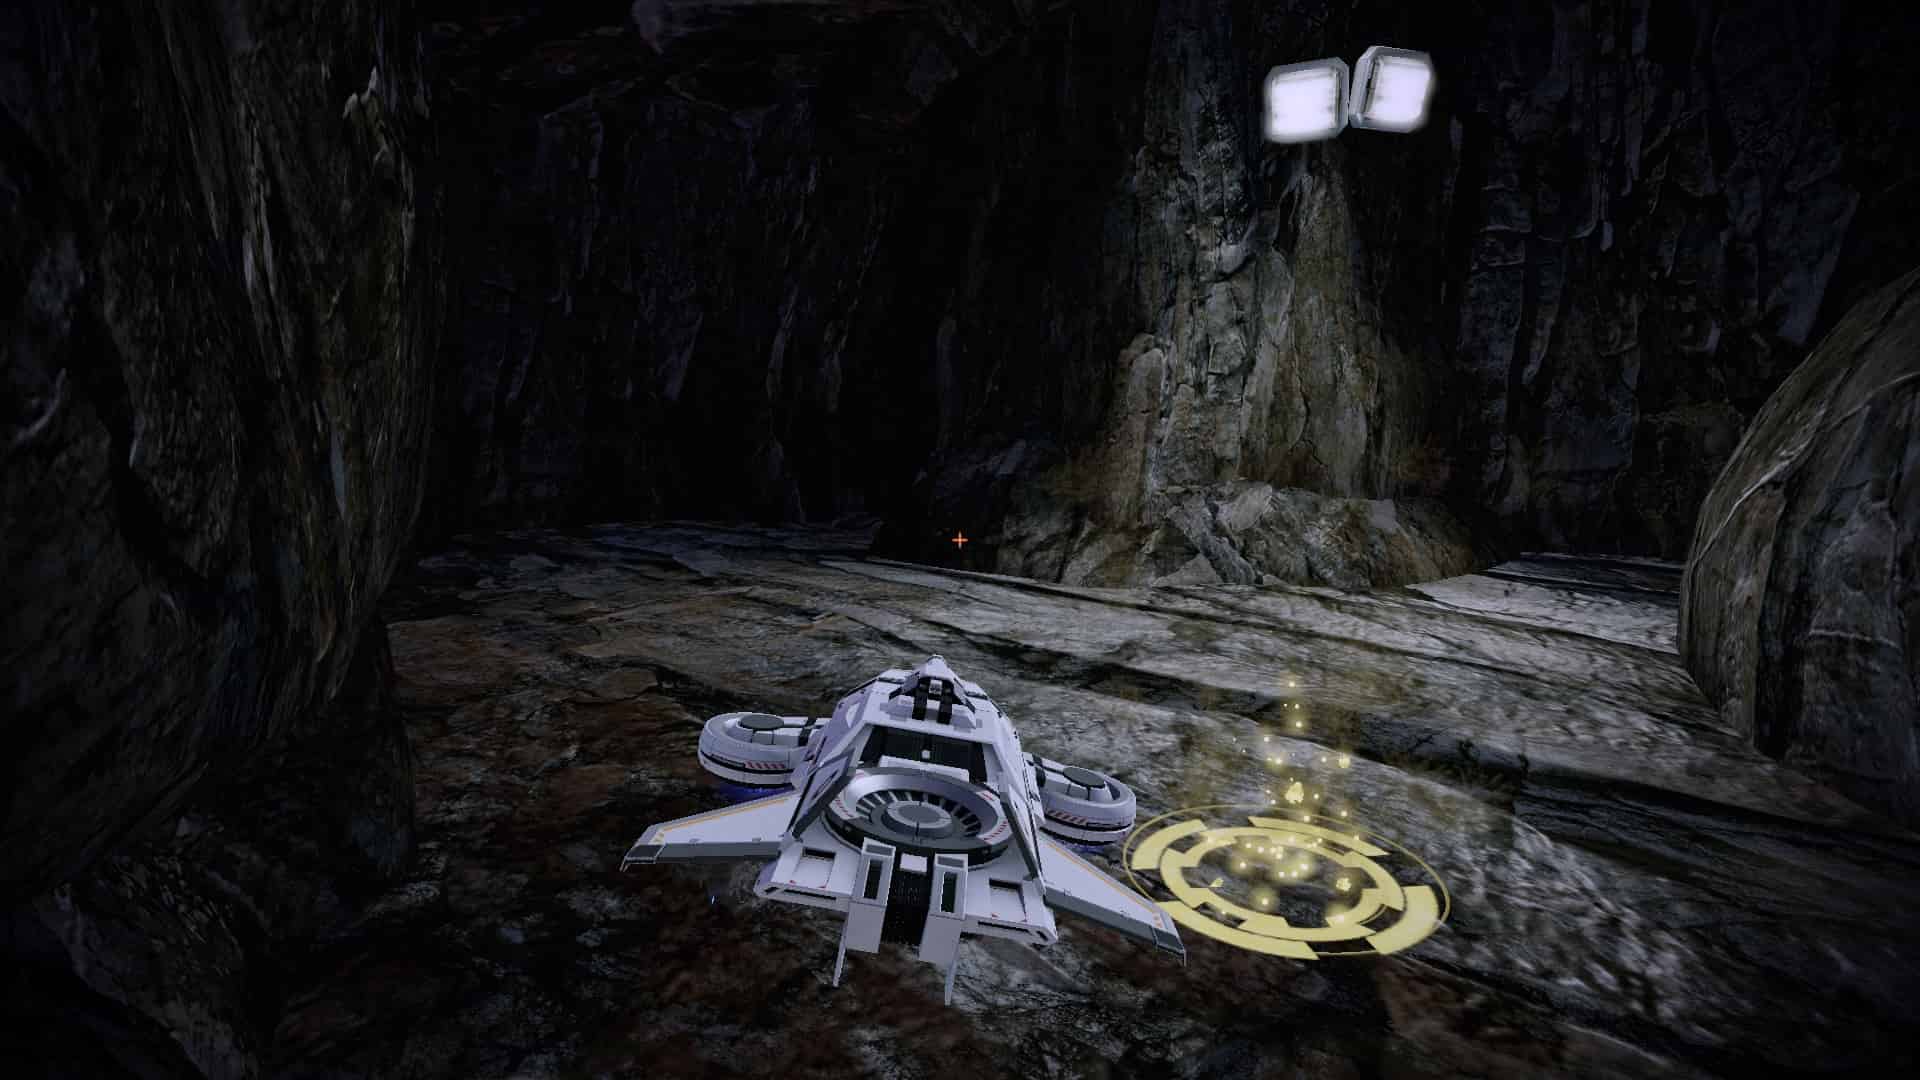
2. Head back into the large cavern, but bear to the right at the fork. Head directly for the waterfall in front of you, and pass through it to the ramp just beyond. This leads to the entrance to Atlas Station, but there also happens to be an unguarded data packet here. Pick it up, and head back out the way you came.
3. As you reach the back side of the waterfall, turn right and follow the wall to another lake and waterfall, but this time continue past it to the ramp in front of you. This one is guarded by two Cerberus Turrets, however, so take them out before collecting the data packet, which is on the rear platform.
4. Exit this area and once again follow the right-hand wall around until it opens up and you see a path heading upwards that hugs the cliff on the left side. Continue to follow that path upwards and around the corner, and you will find a smaller platform guarded by two more Cerberus Turrets. Destroy them, grab the packet and get back on the path you were following.
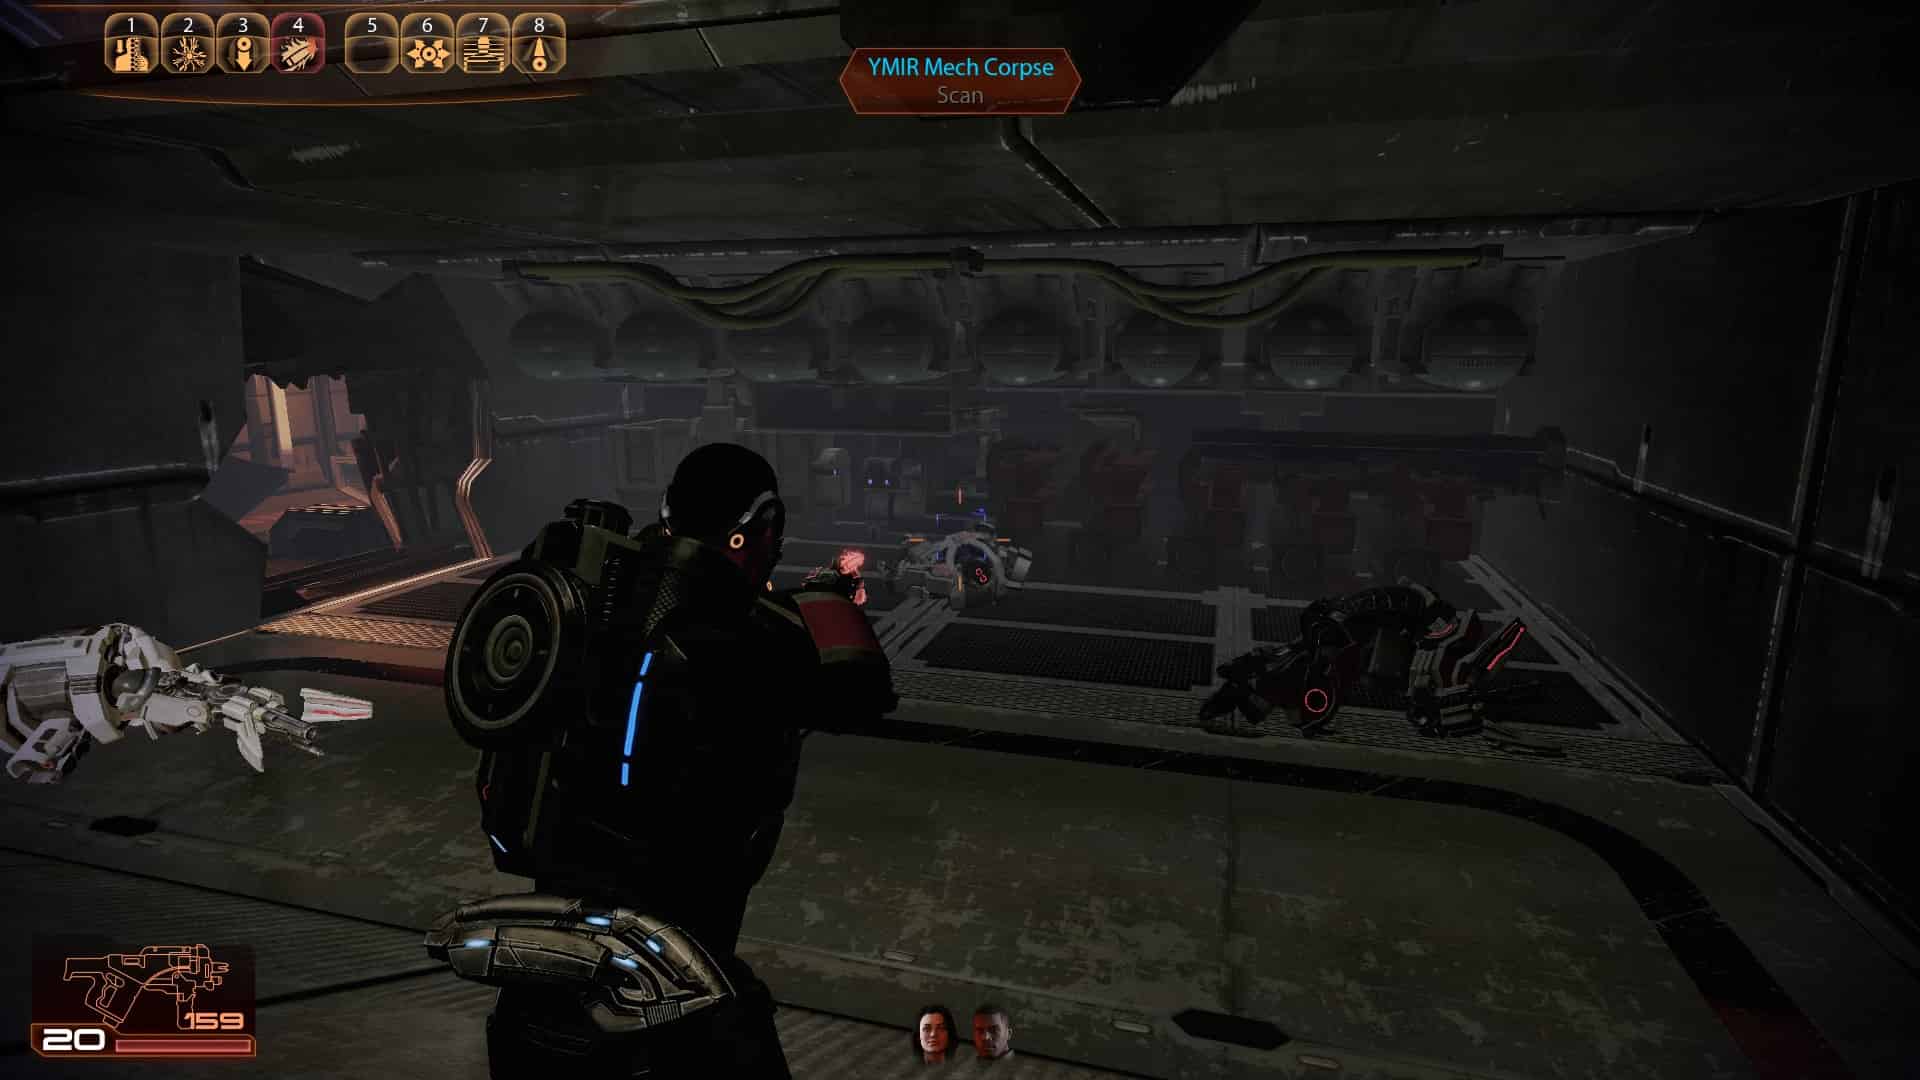
5. Once again hugging the wall you came along before, you'll follow the path for a bit until it opens up into a wide area, and you see a natural stone bridge to your right. Packet number five is actually underneath that bridge guarded by two YMIR Mechs. The data packet here appears to have been dropped by accident, as the barrels are slightly scattered next to the smoking wreck of a car. Pick them up after taking care of the mechs, then head back towards the beginning of the bridge.
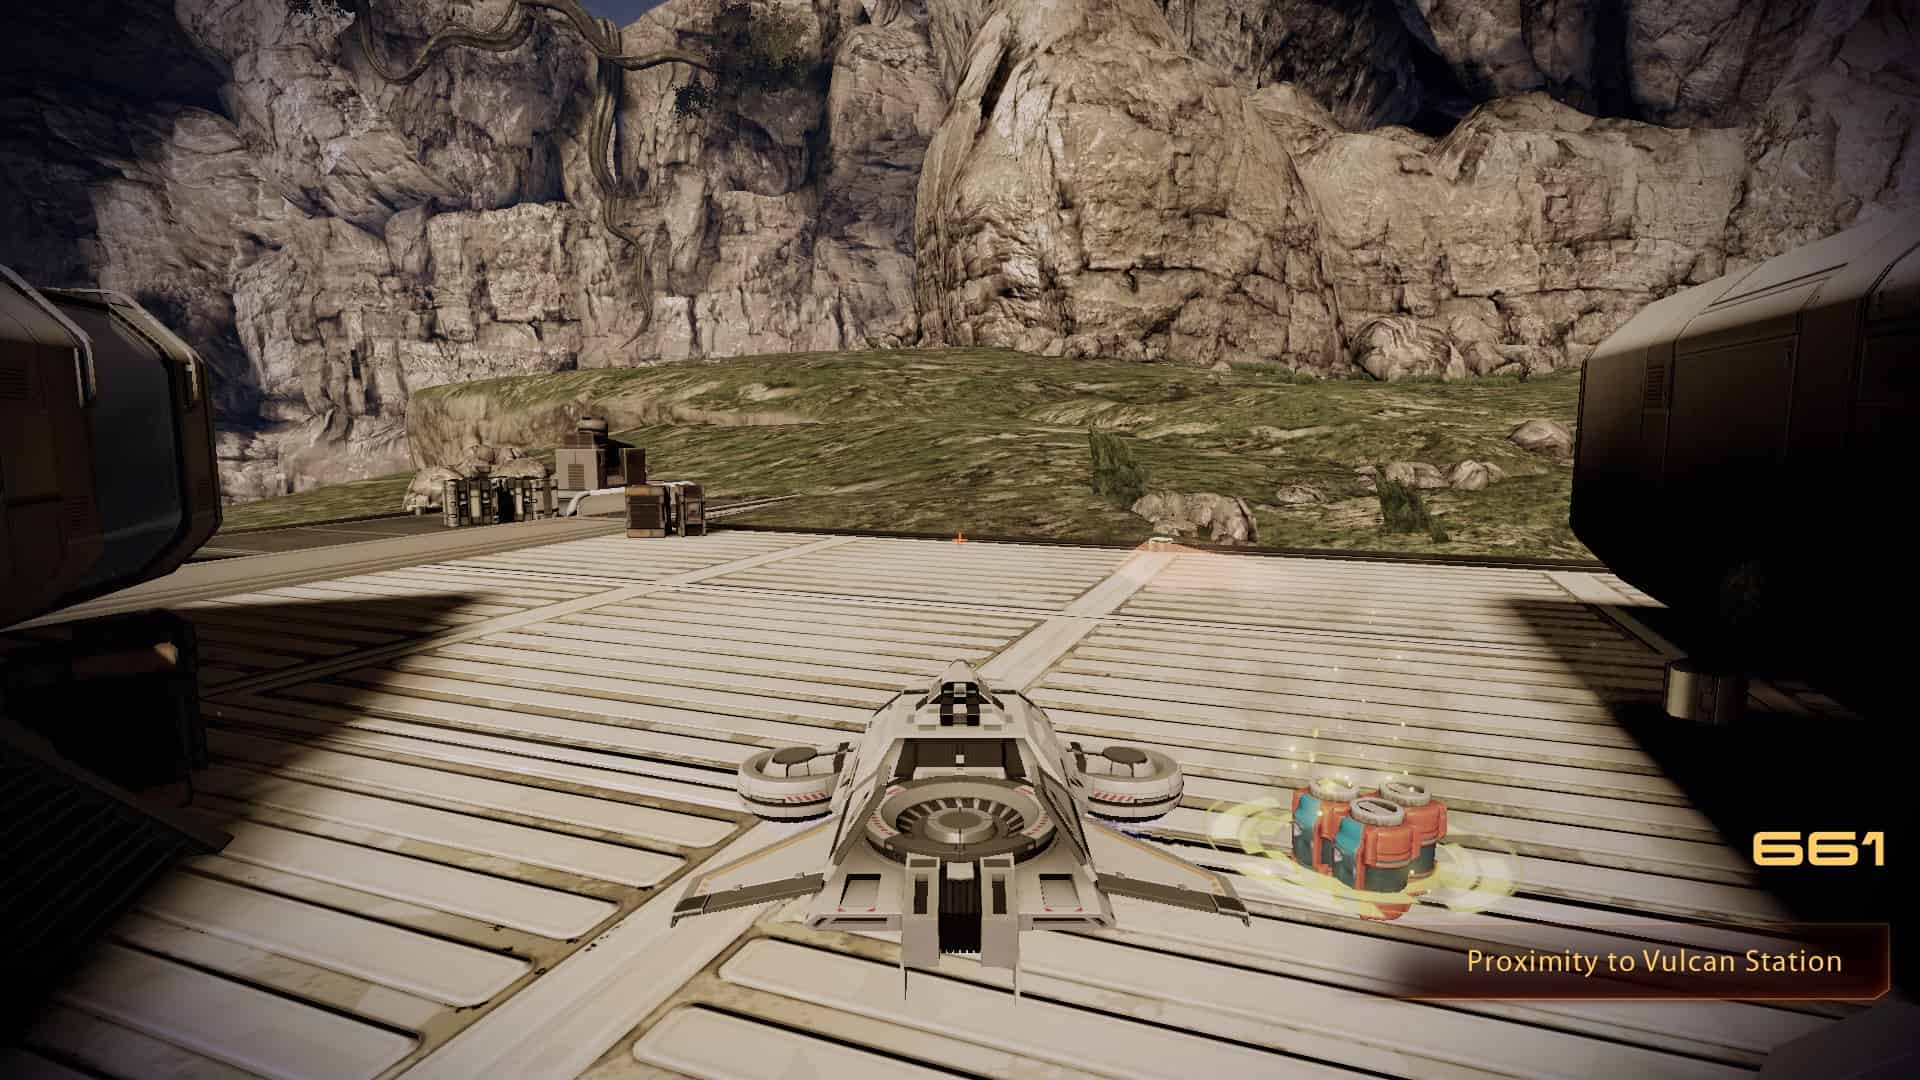
6. Once you are on top of the bridge, you can continue across it, heading for Vulcan Station, but you'll see an unguarded platform with the data packet sitting out in the open. Pick this final packet up and the Data Hound Achievement will unlock. Note: This achievement is not available in the Legendary Edition.
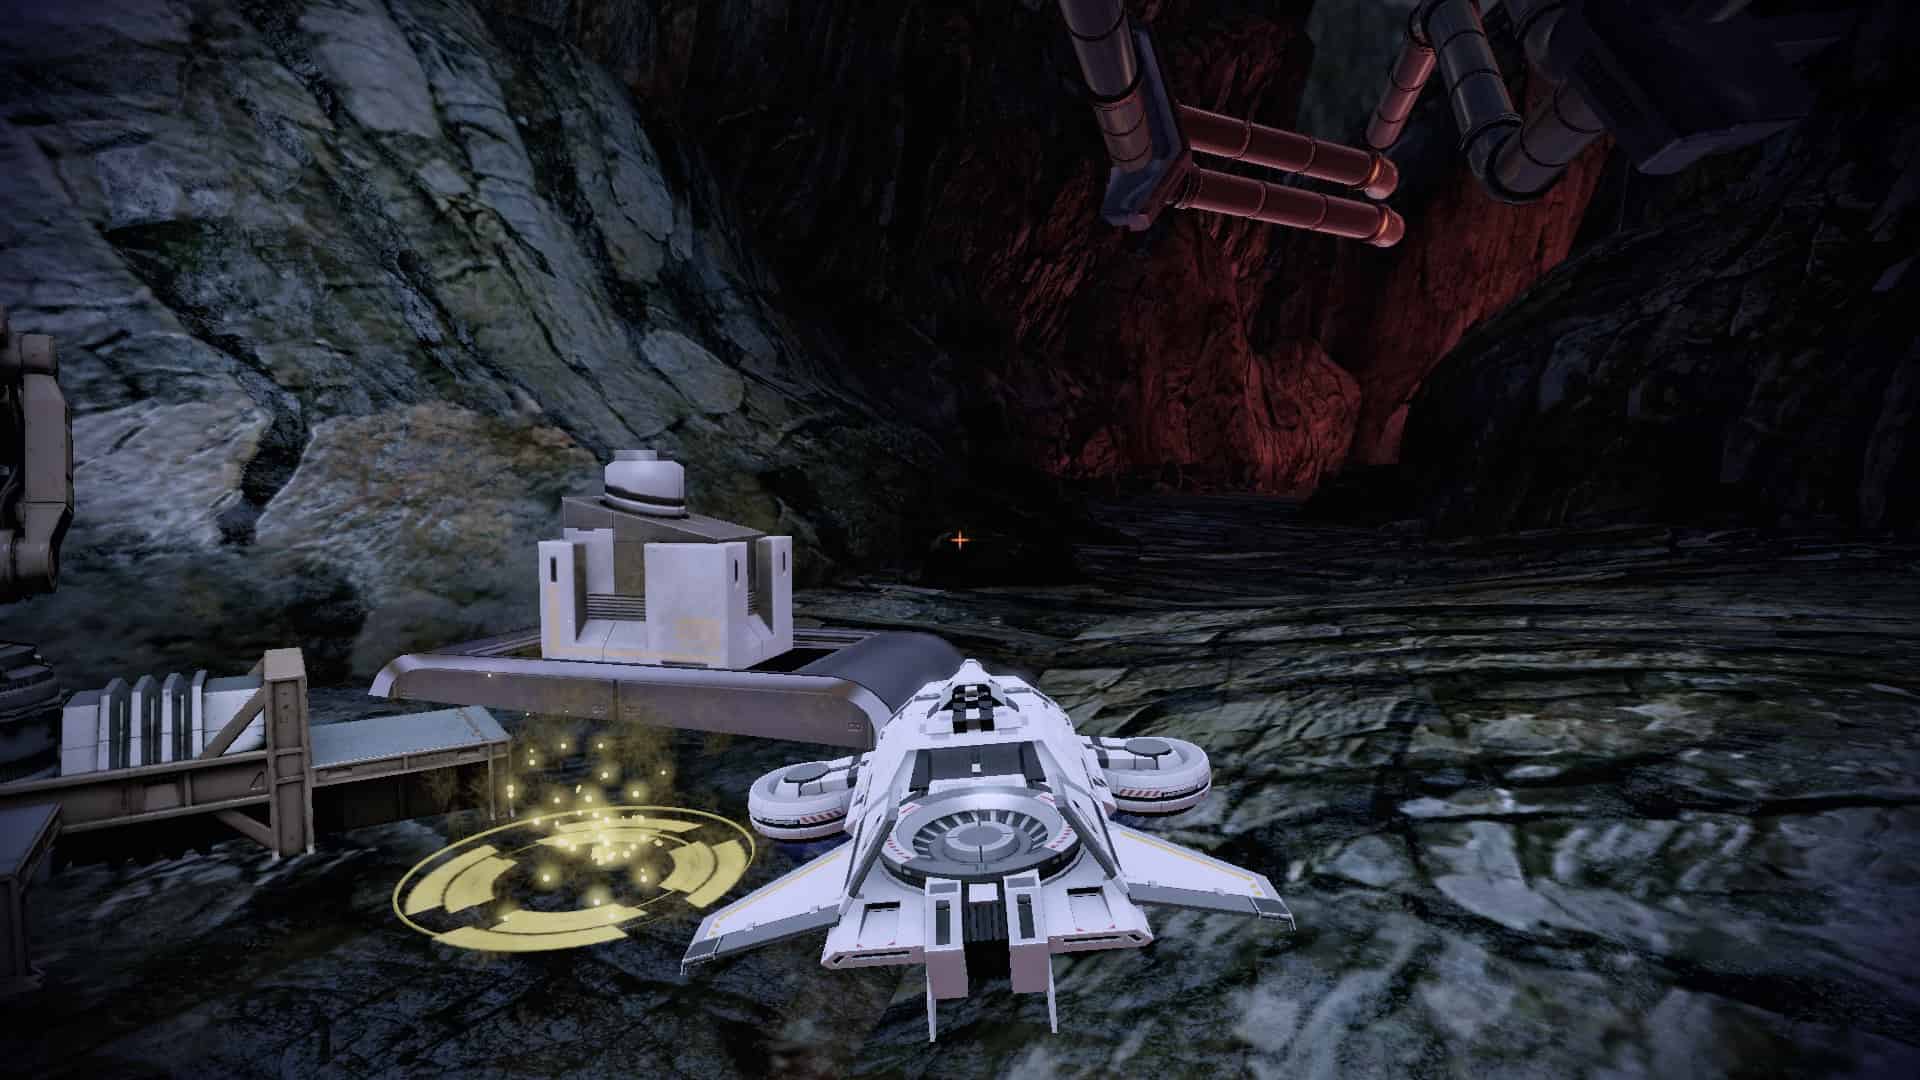
Overlord (Part 3 - Vulcan Station)
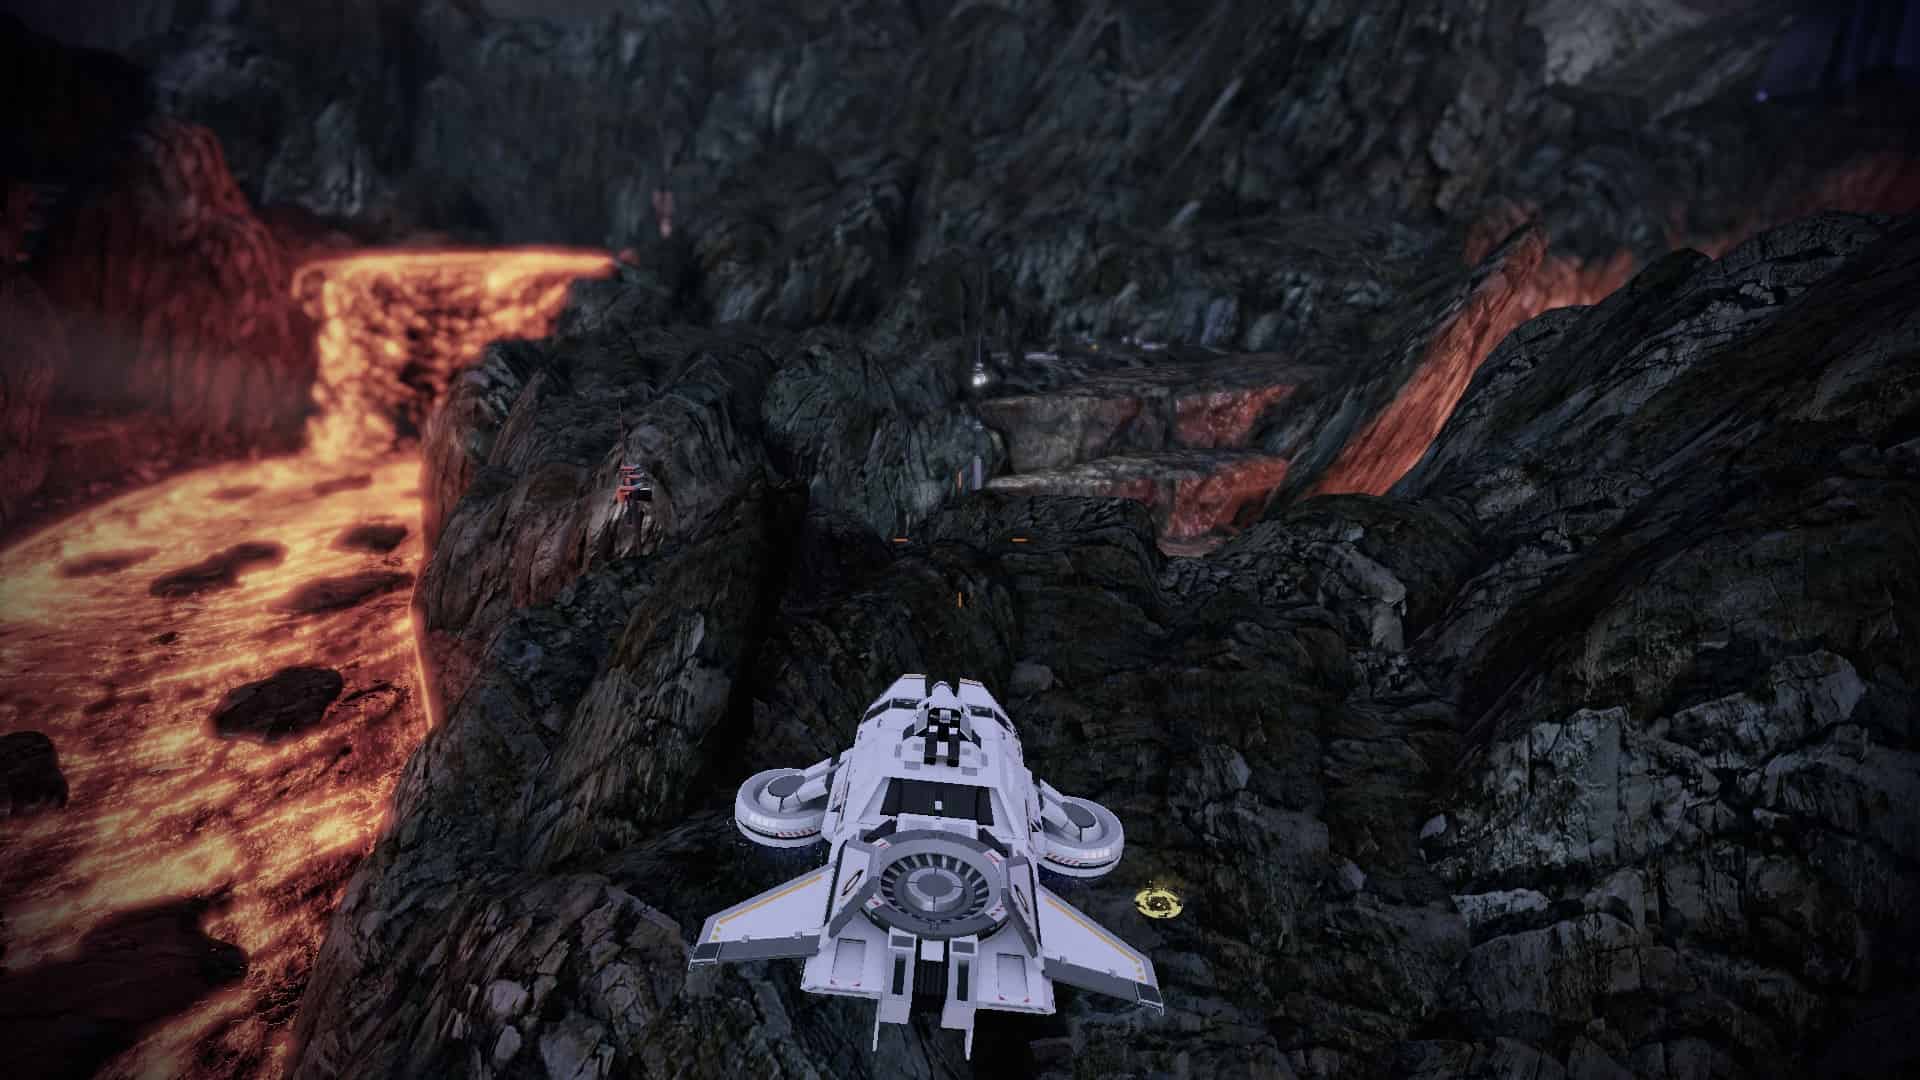
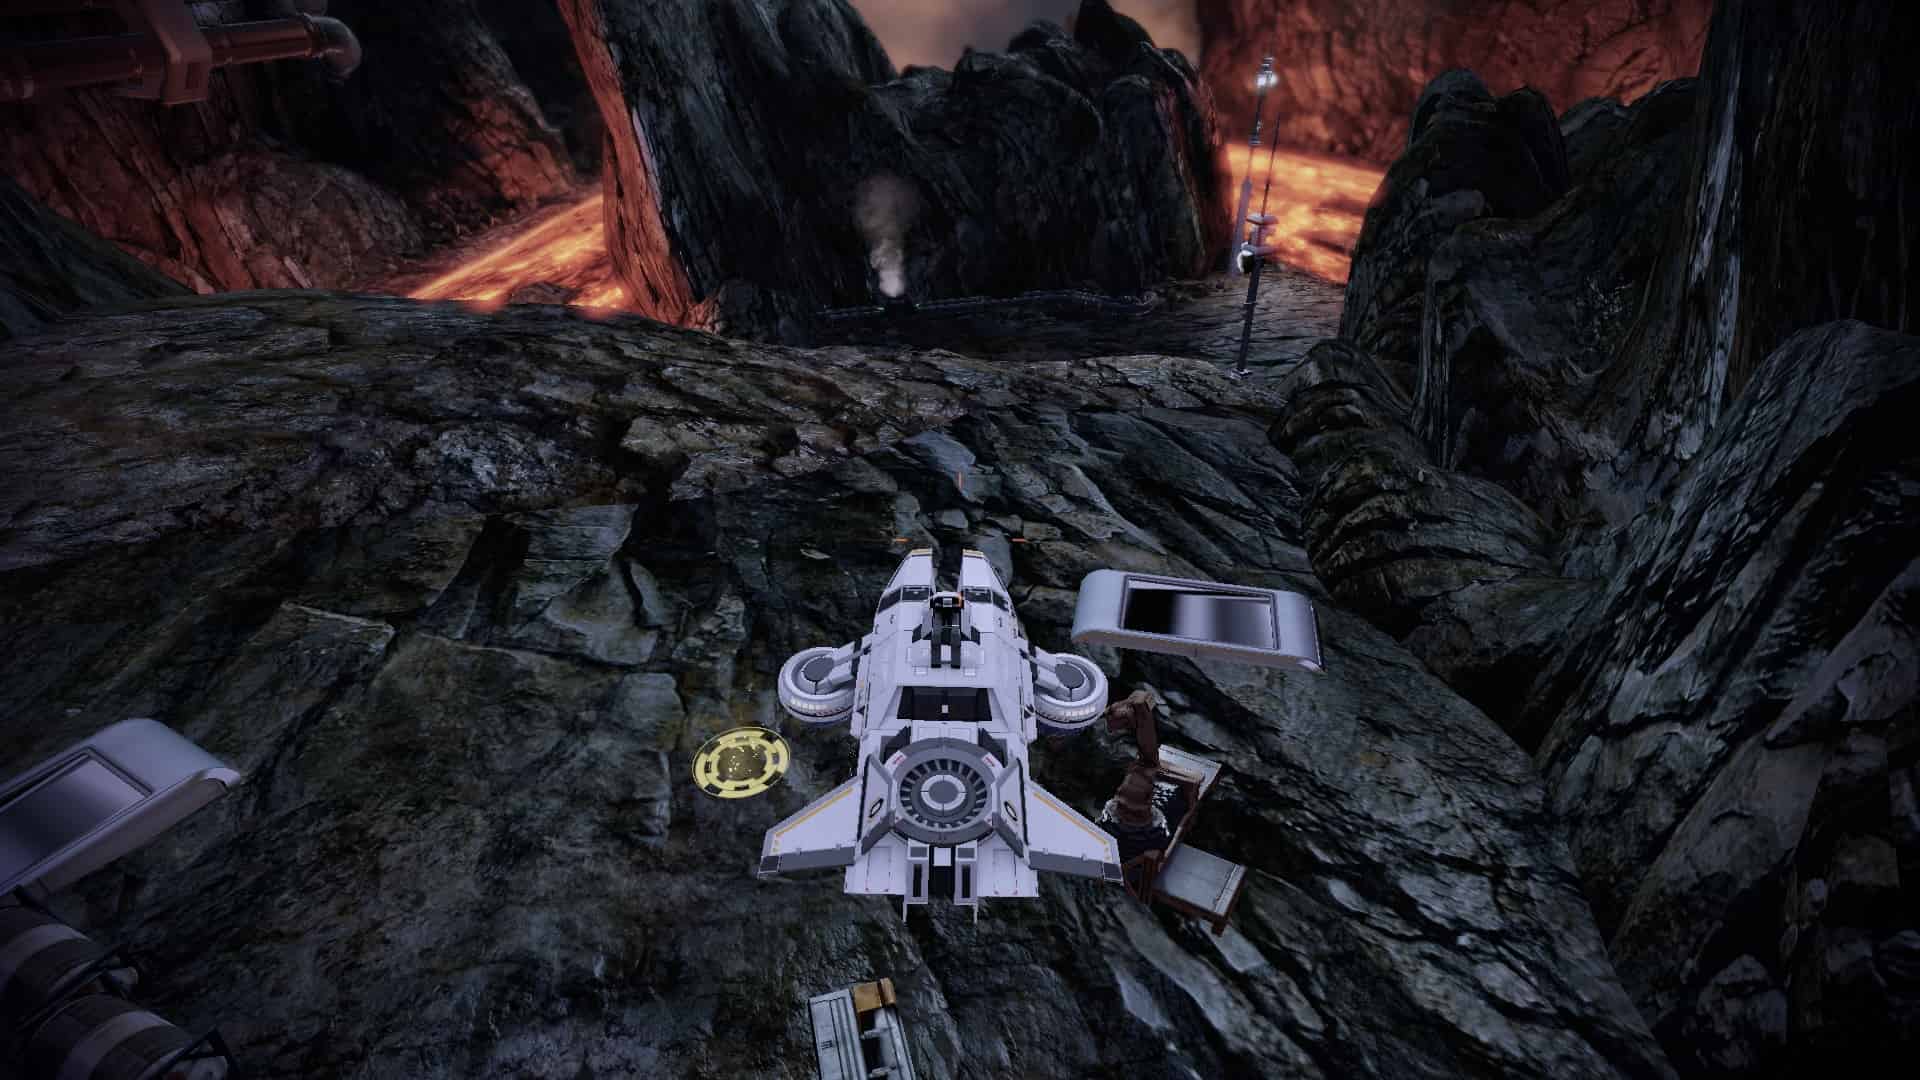


1 (Turn left after defeating the first turret in the area)
2 (Next to the second turret)
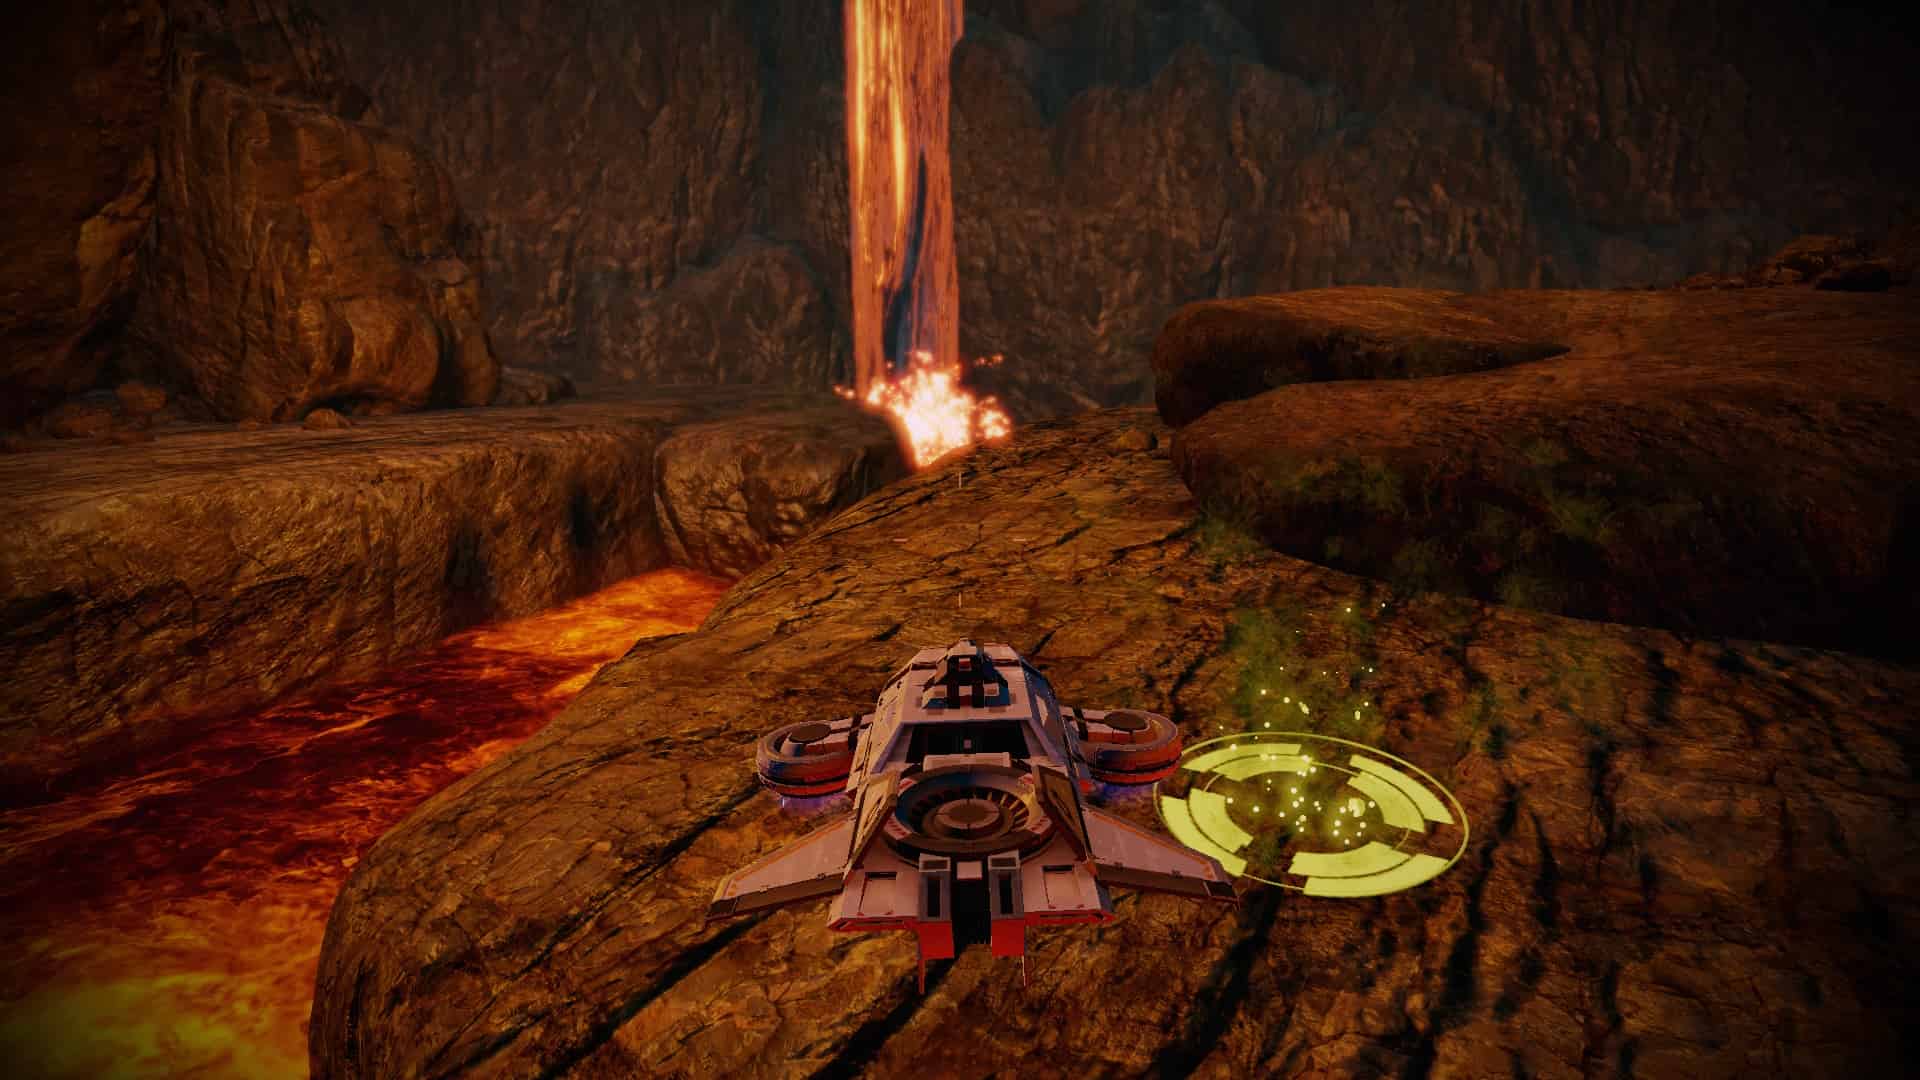
3 (Once you cross the lava, go to the right high ground using the vent)
4 (On the opposite side)
5
6
7
8
9
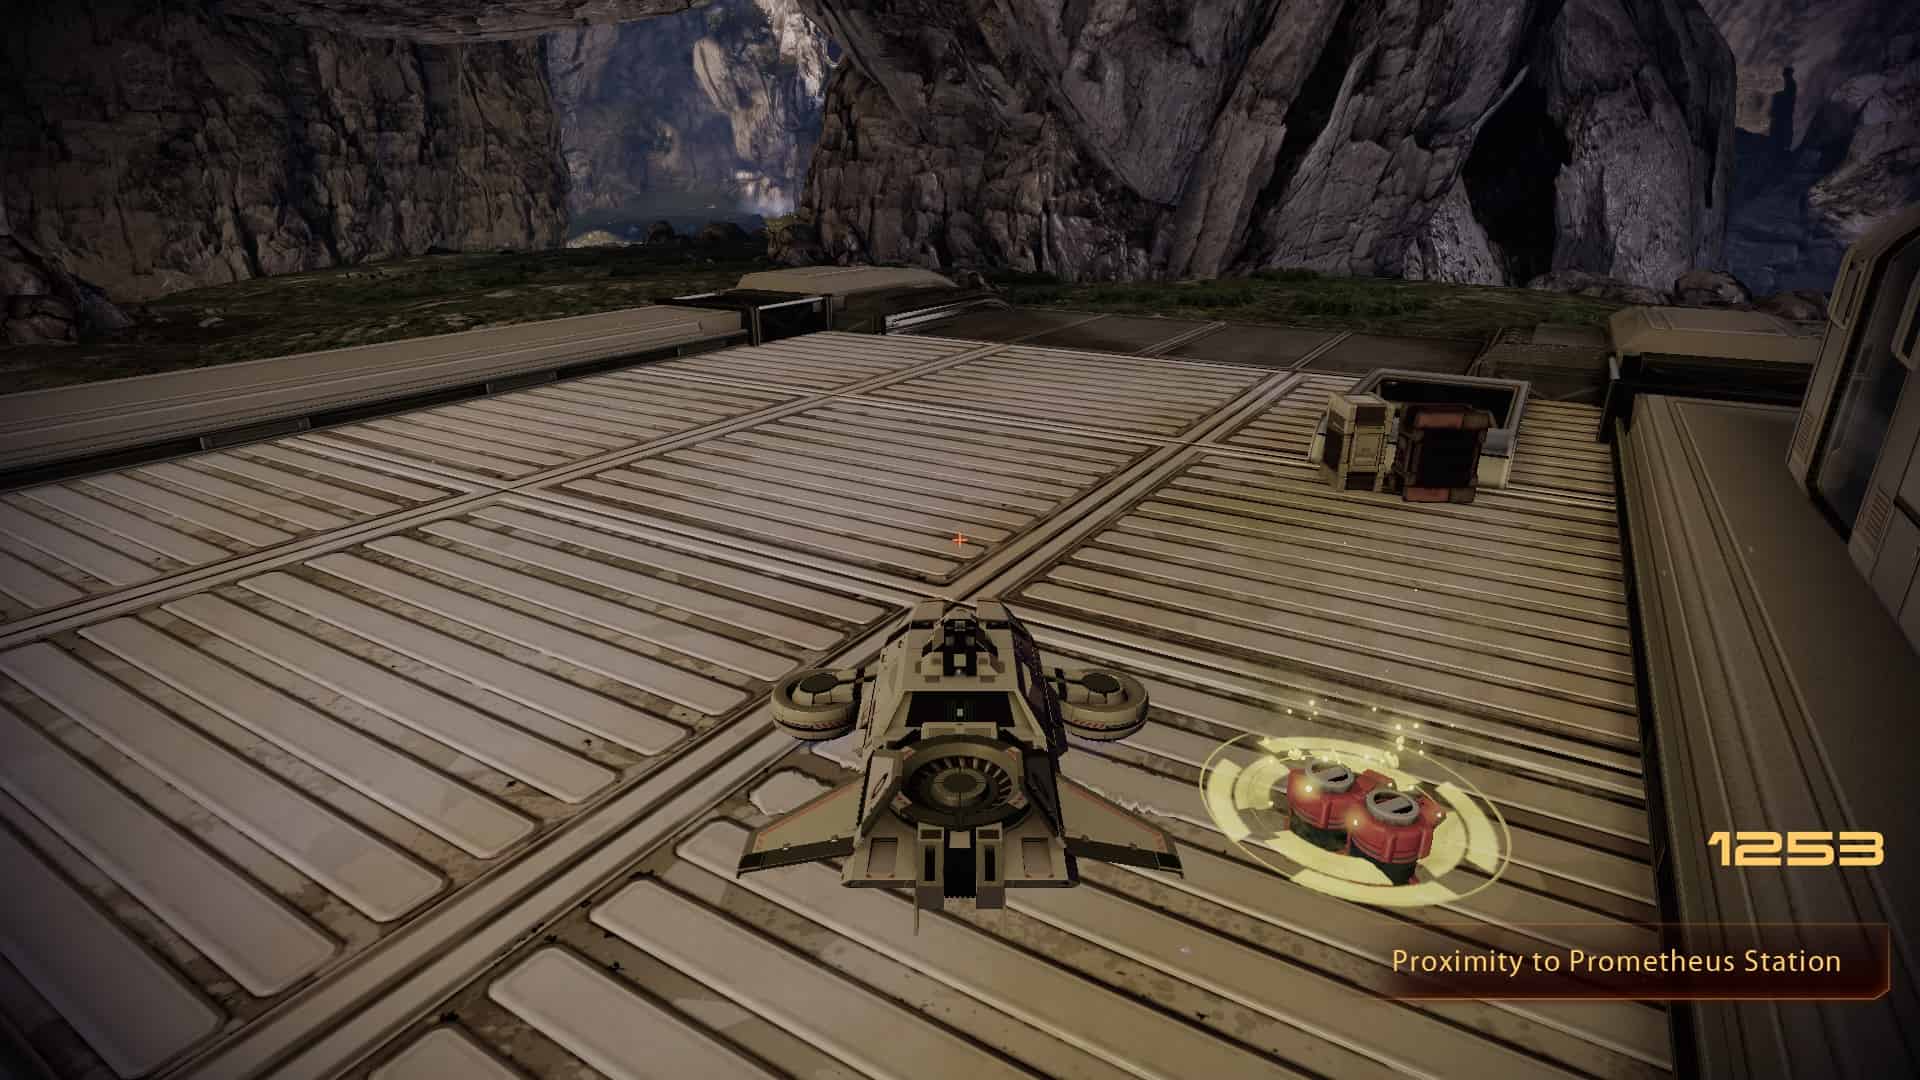
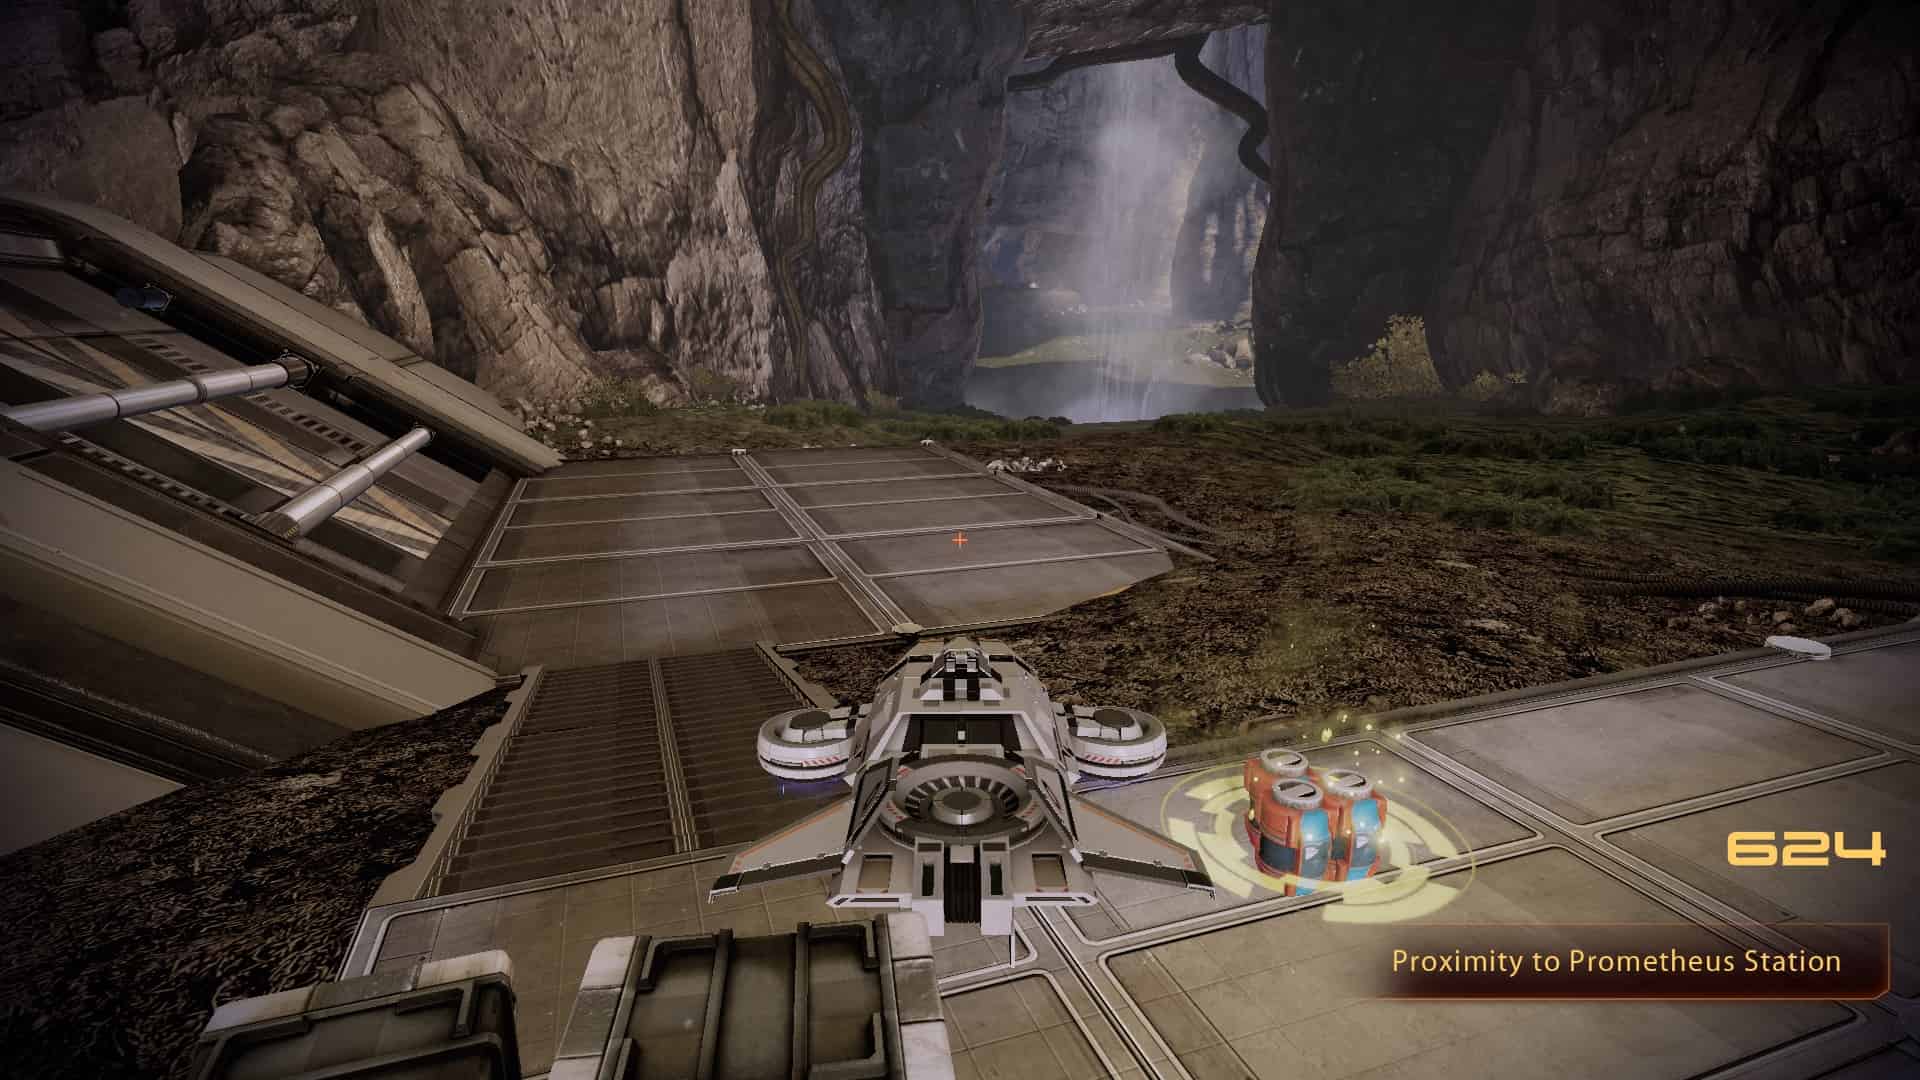
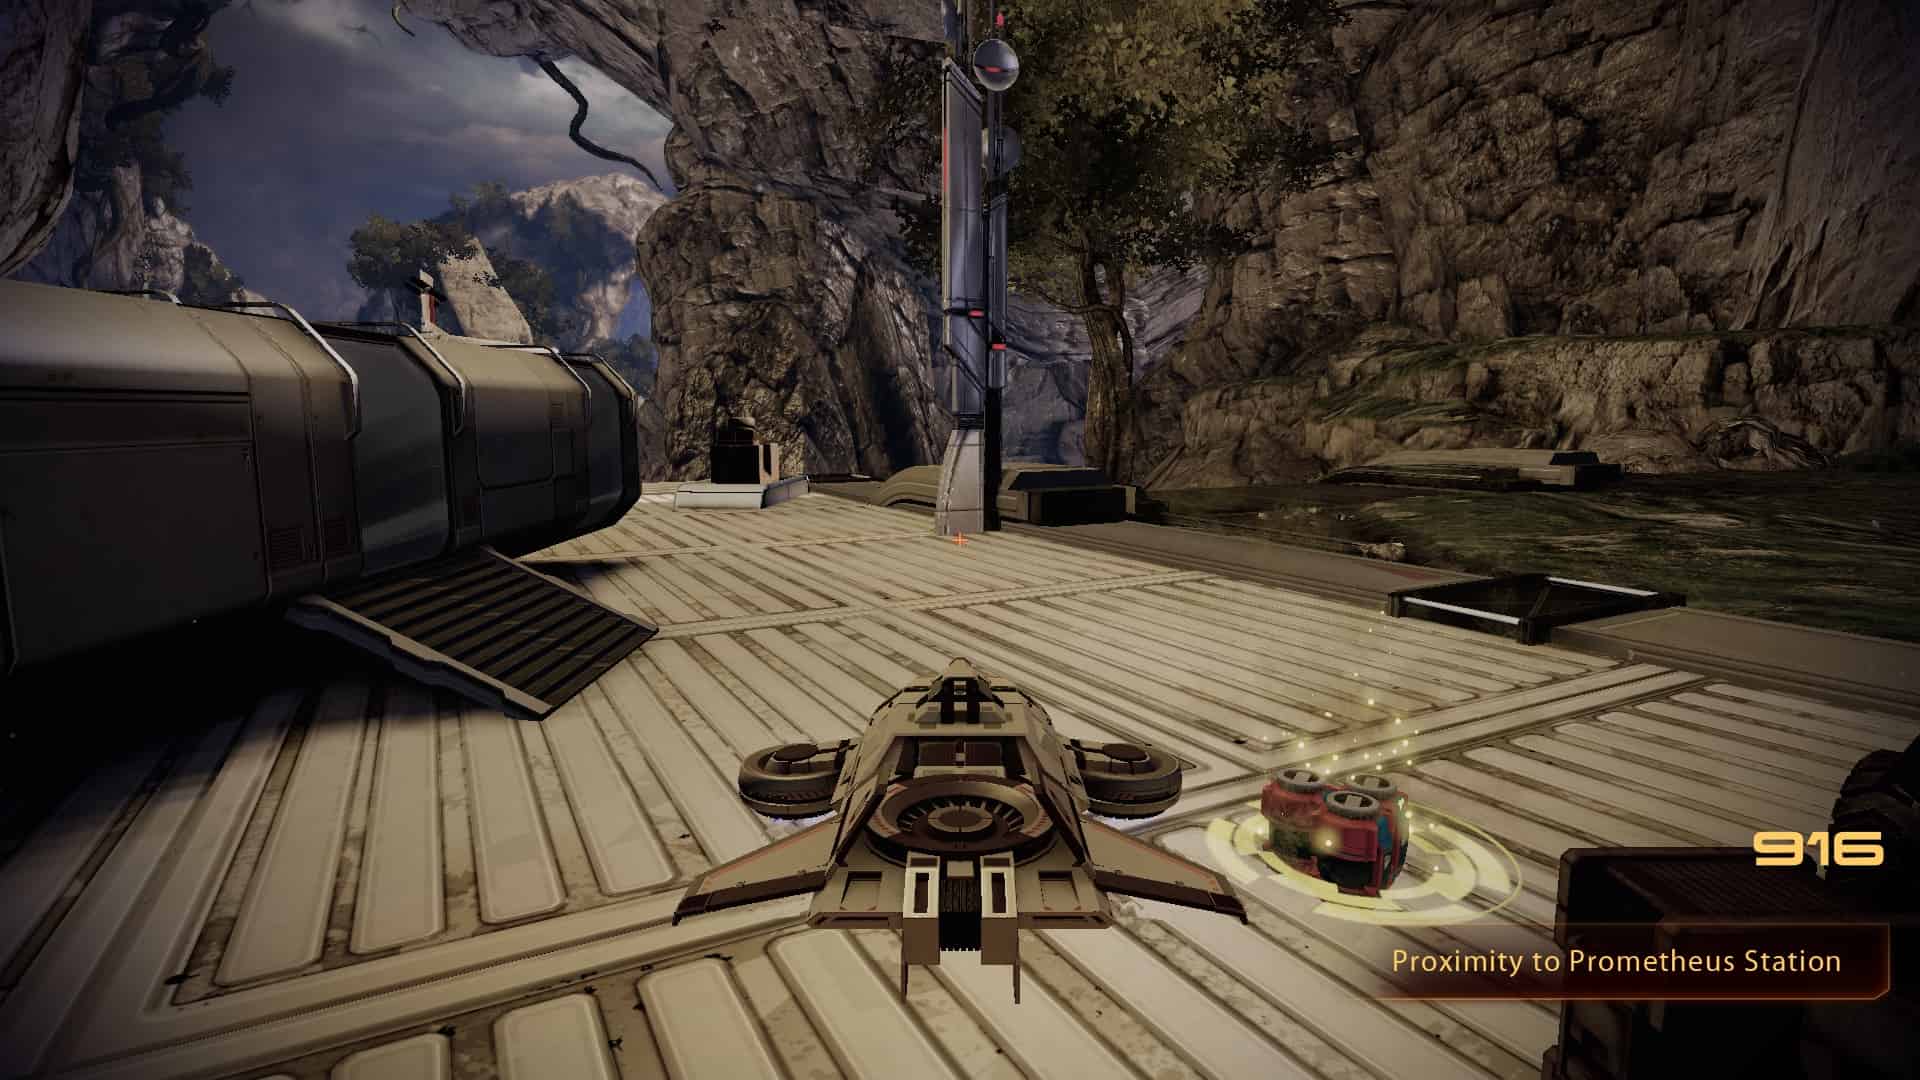
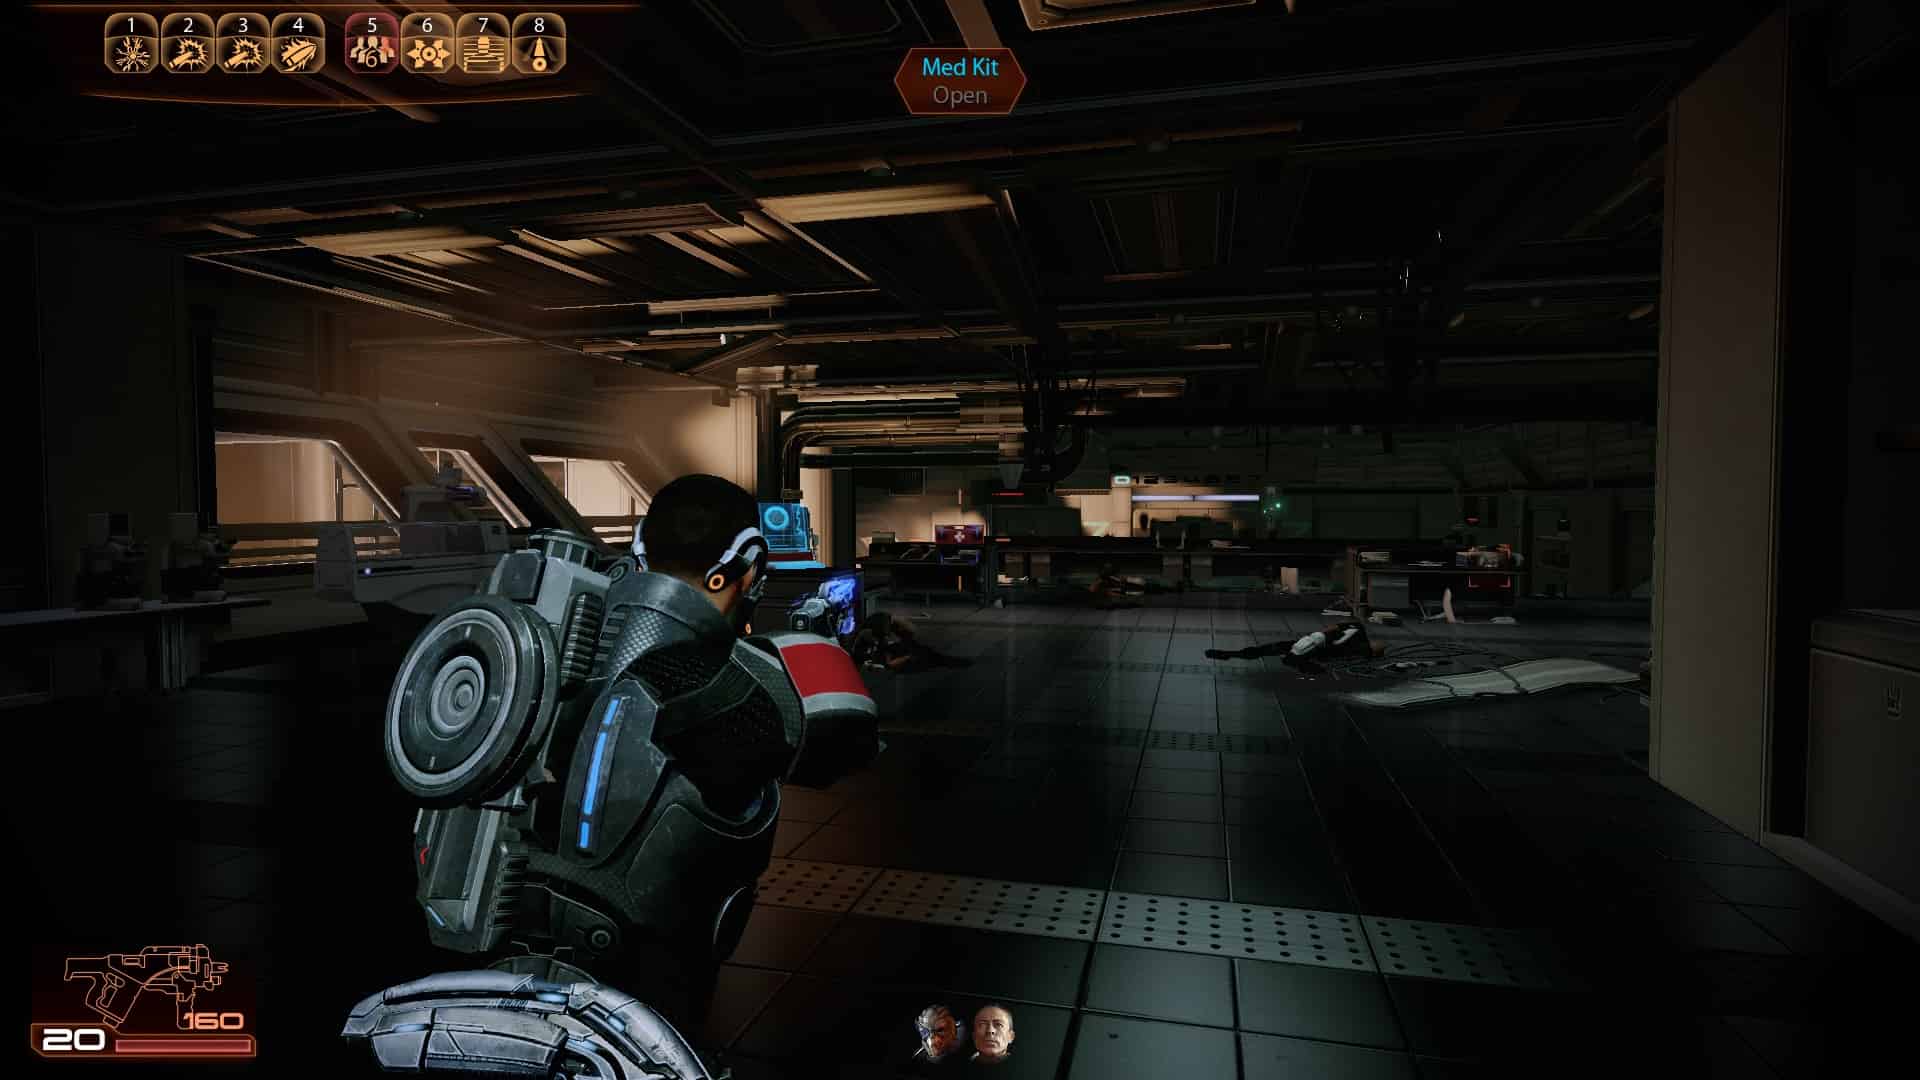
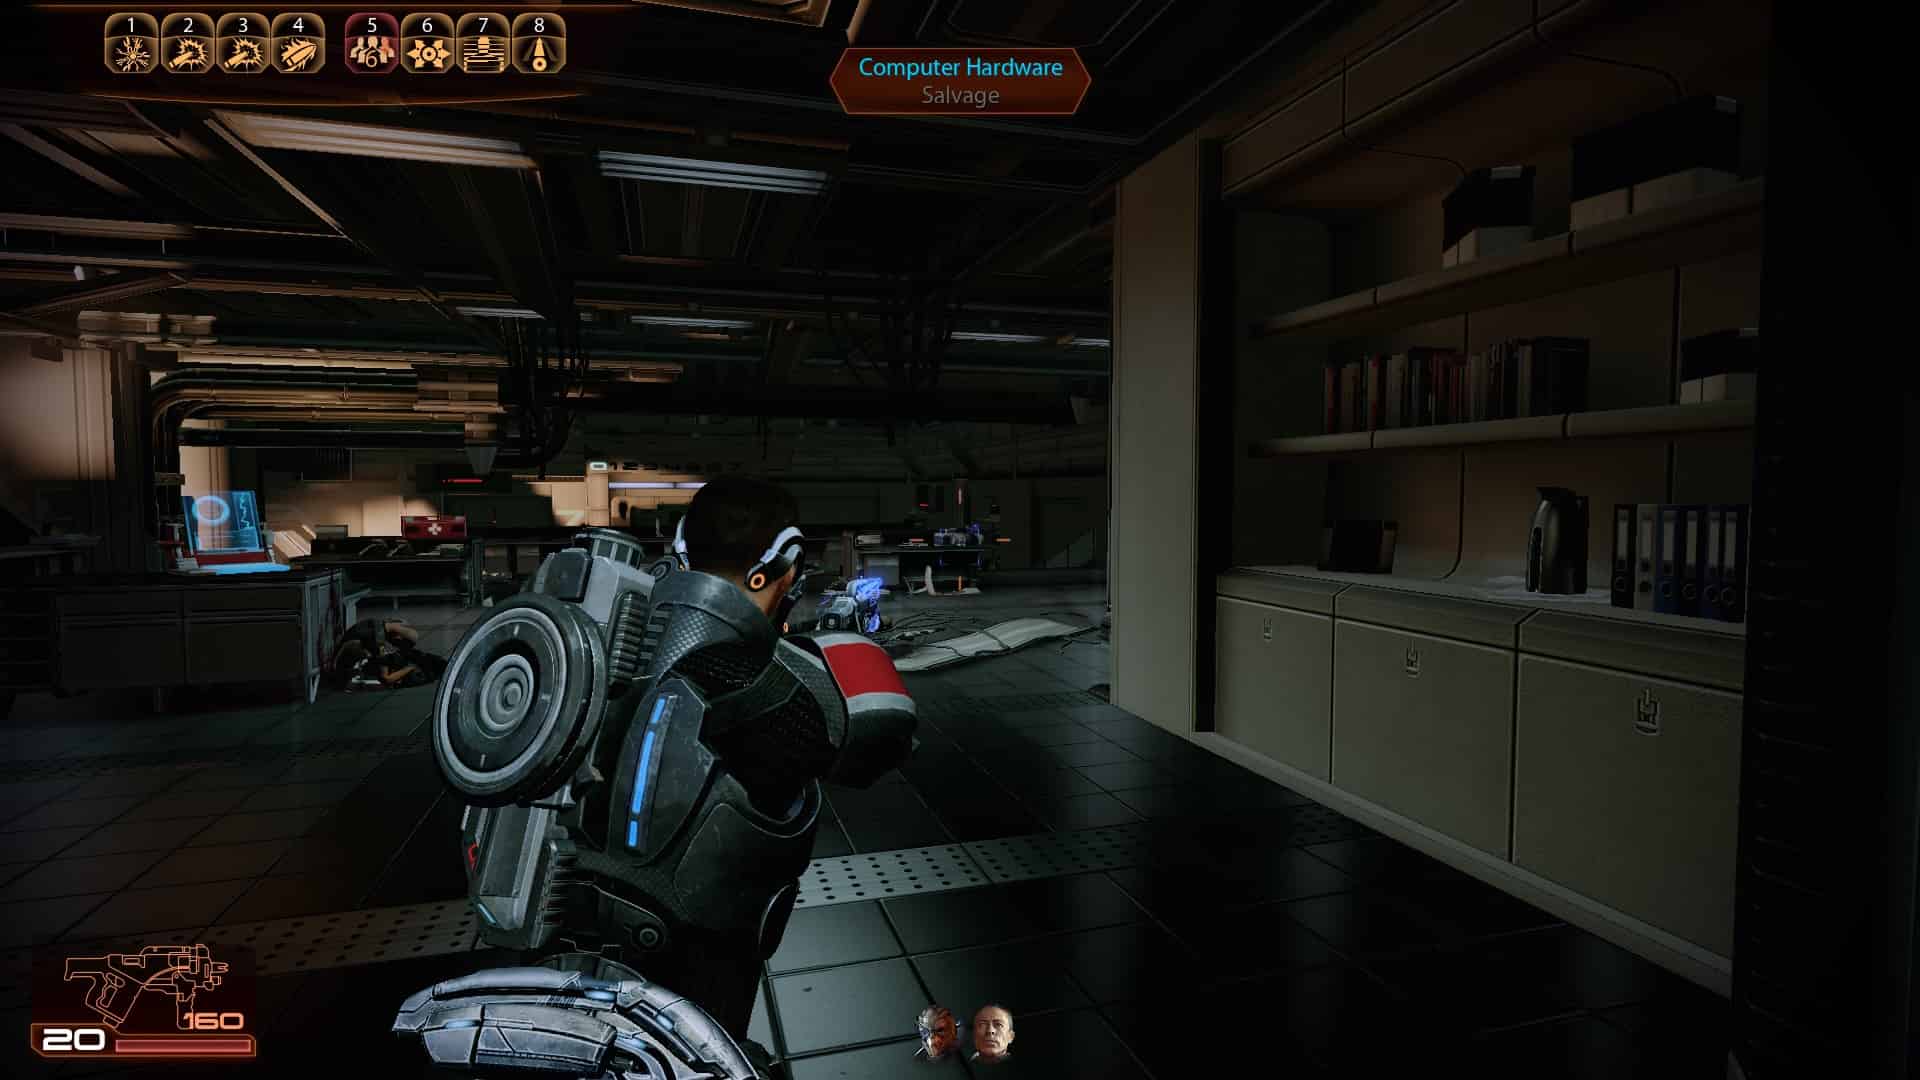
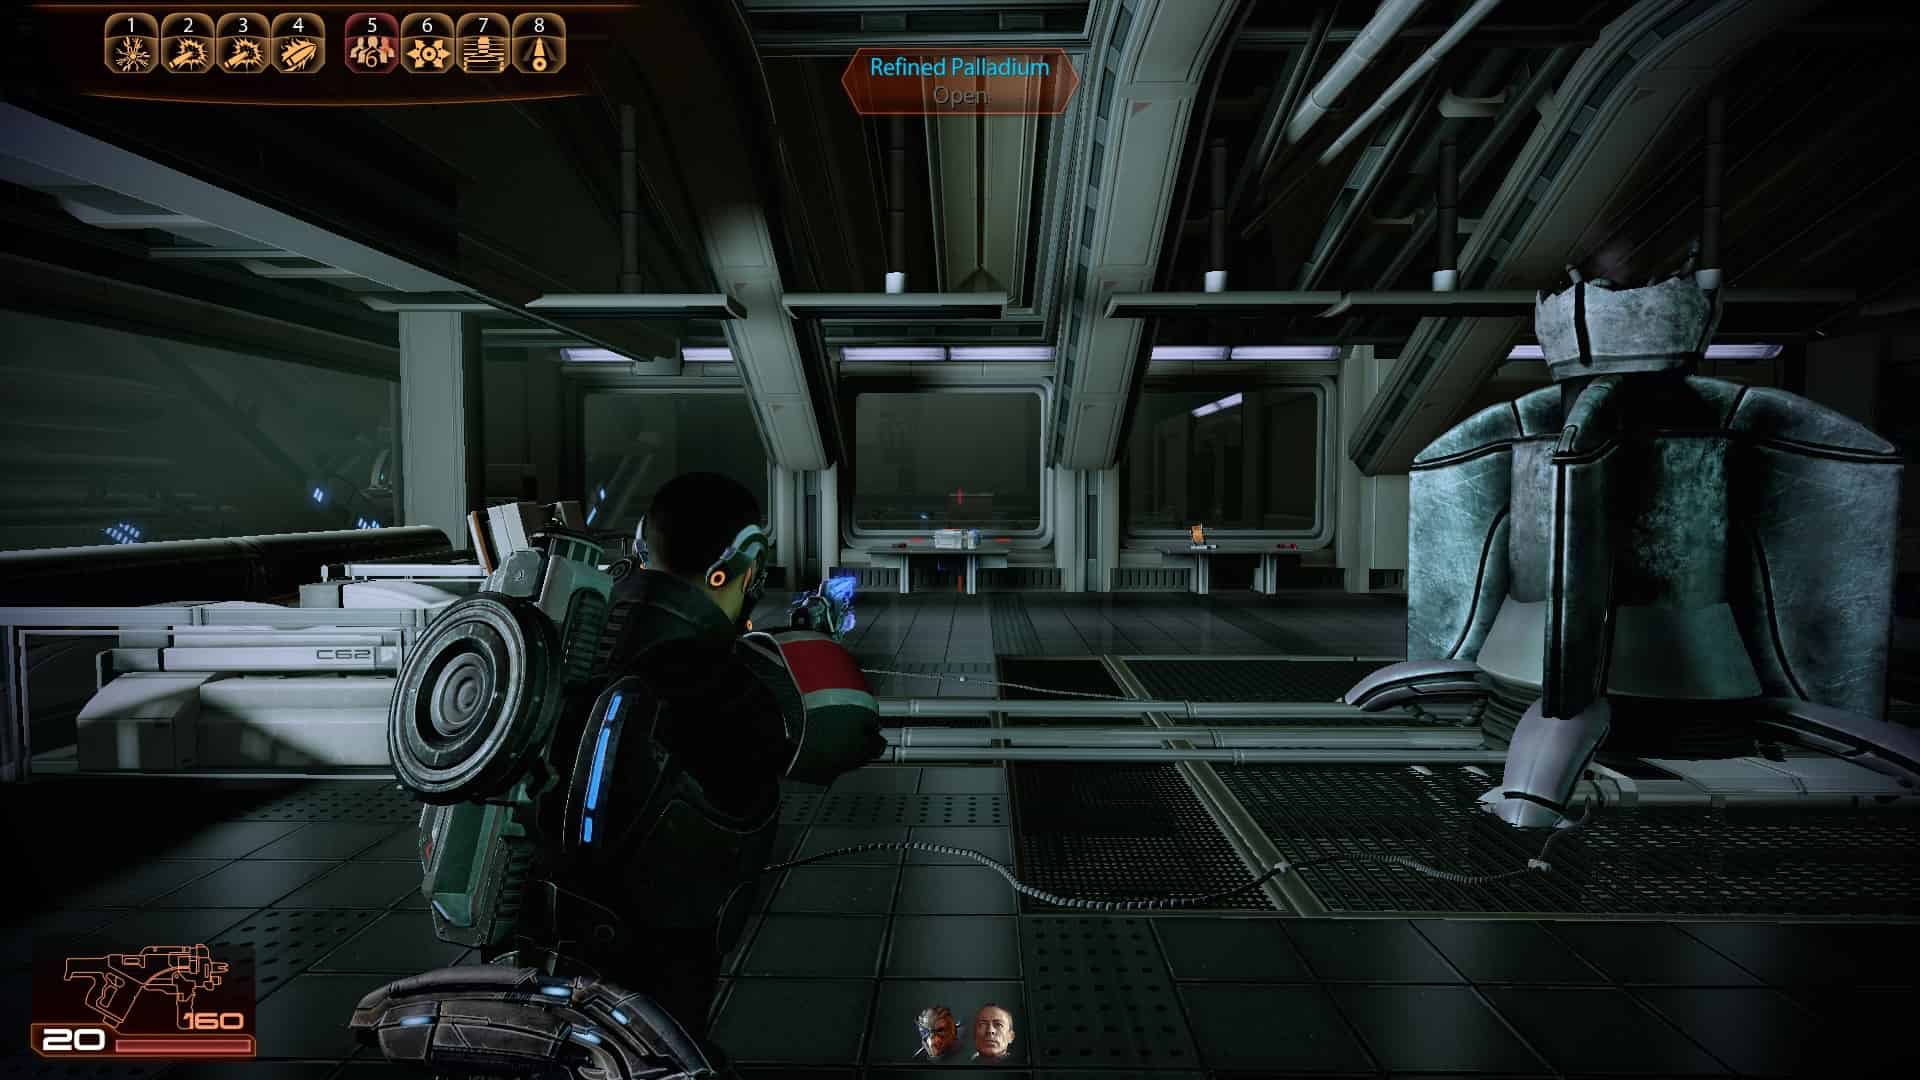
Overlord (Part 4 - Prometheus Station)

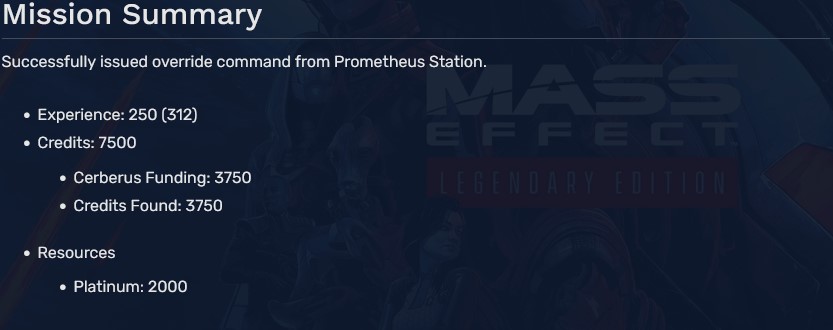
1
2
3
4
5
6
7
8
9
10
11
Overlord (Part 5 - Atlas Station)

1
2
3 (Upgrade - Heavy Skin Weave)
4
5
6
7
8
9
10
11
12
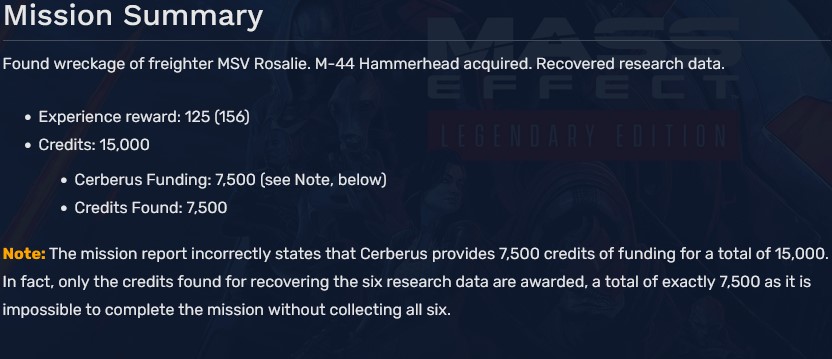
Project Firewalker: Rosalie Lost
No extra loot can be found
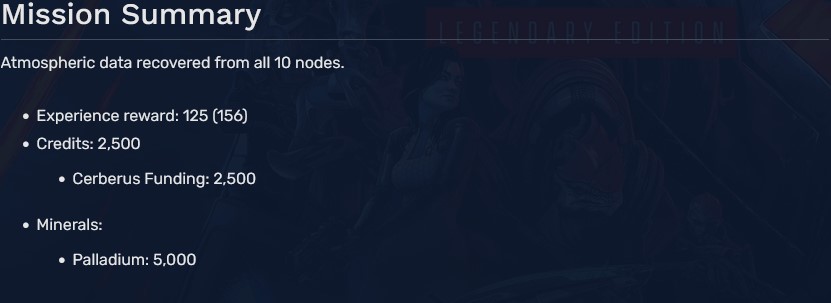
Project Firewalker: Geth Incursion
No extra loot can be found
Project Firewalker: Survey Sites Located (Artifact Collection)
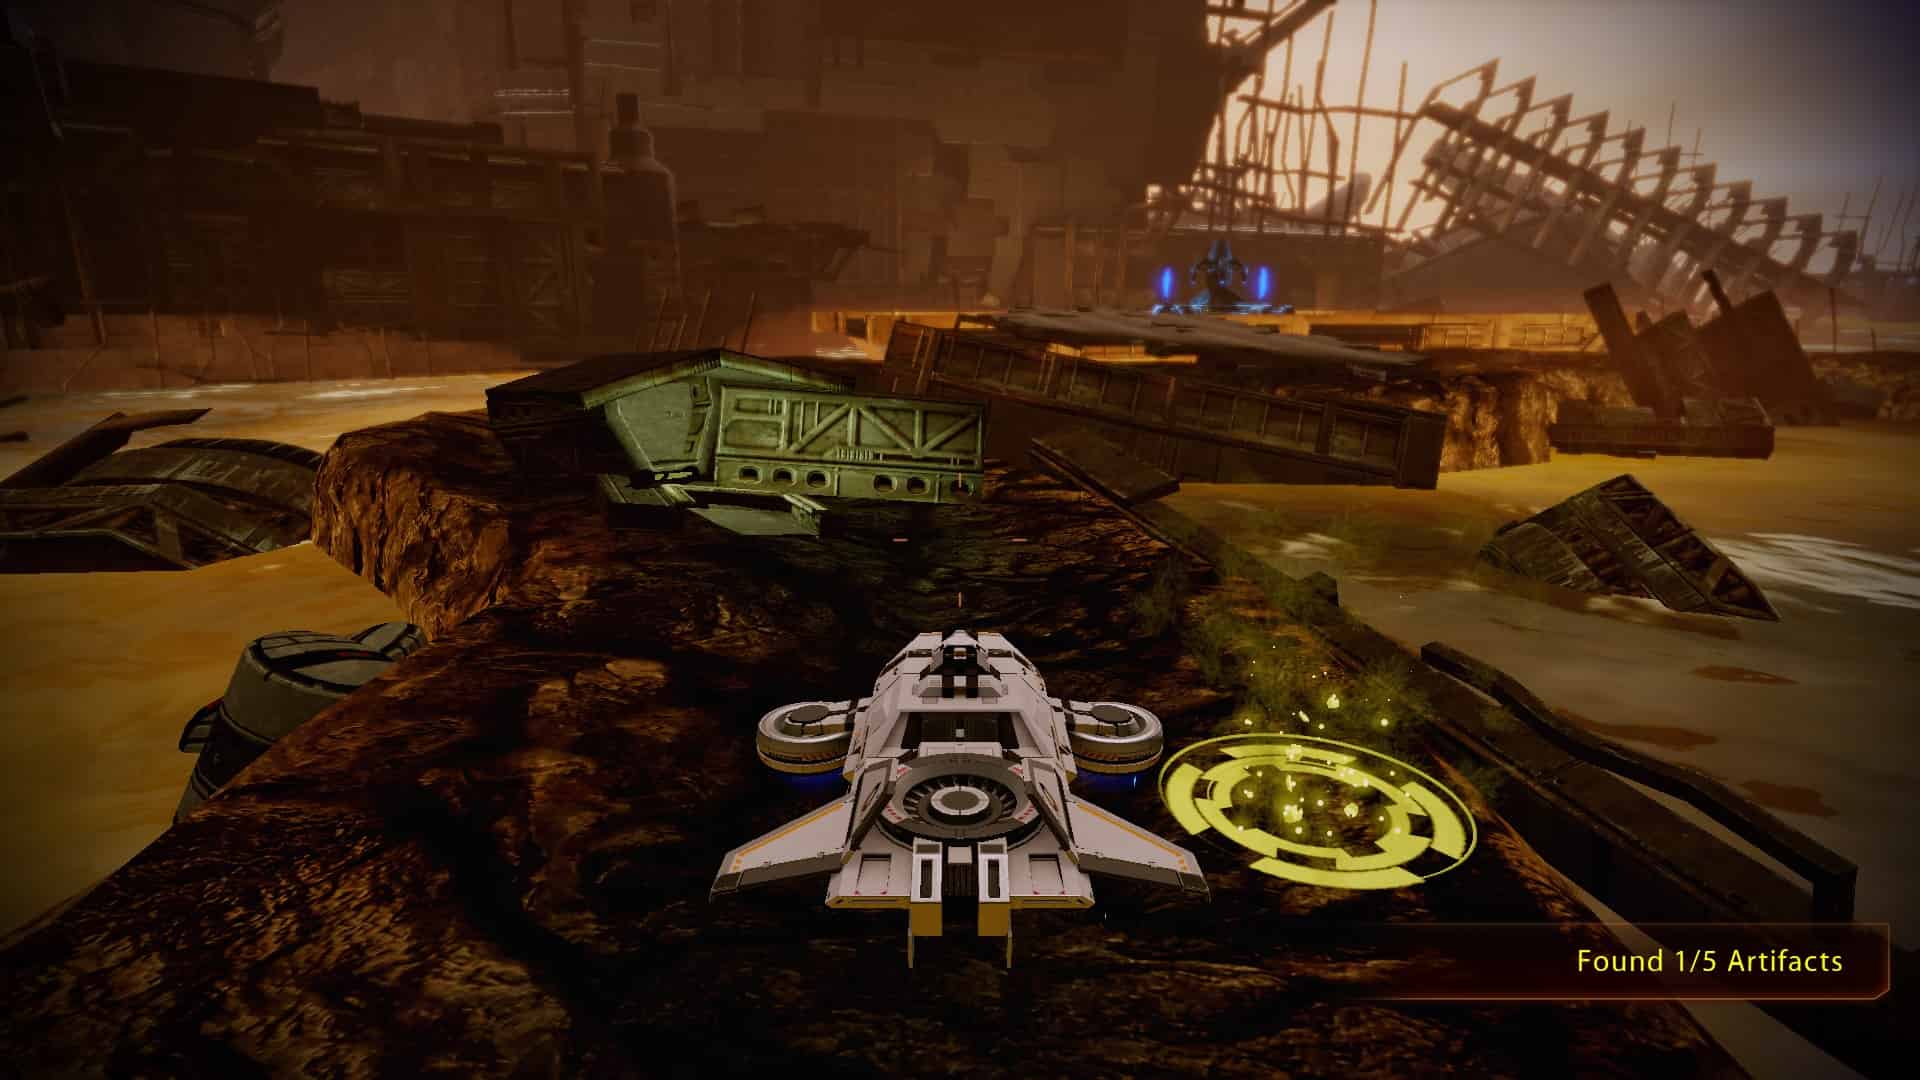
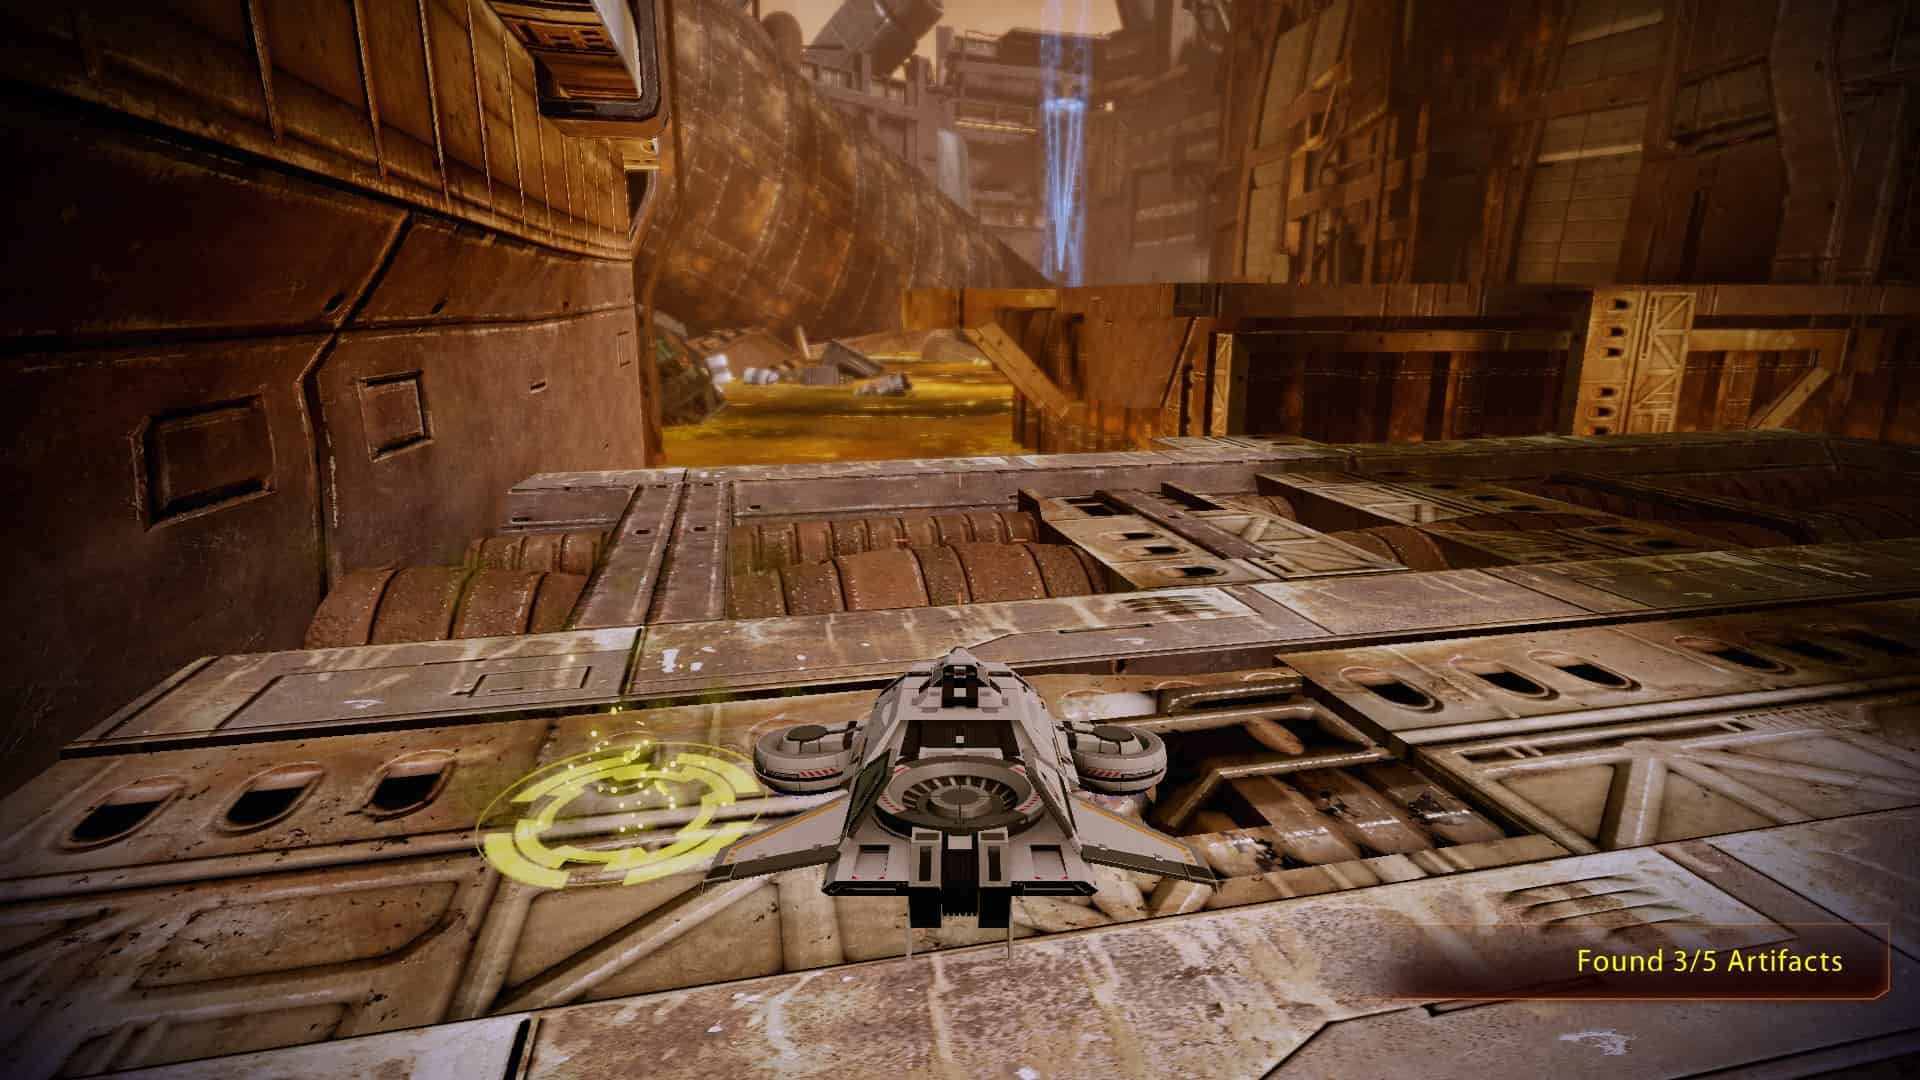
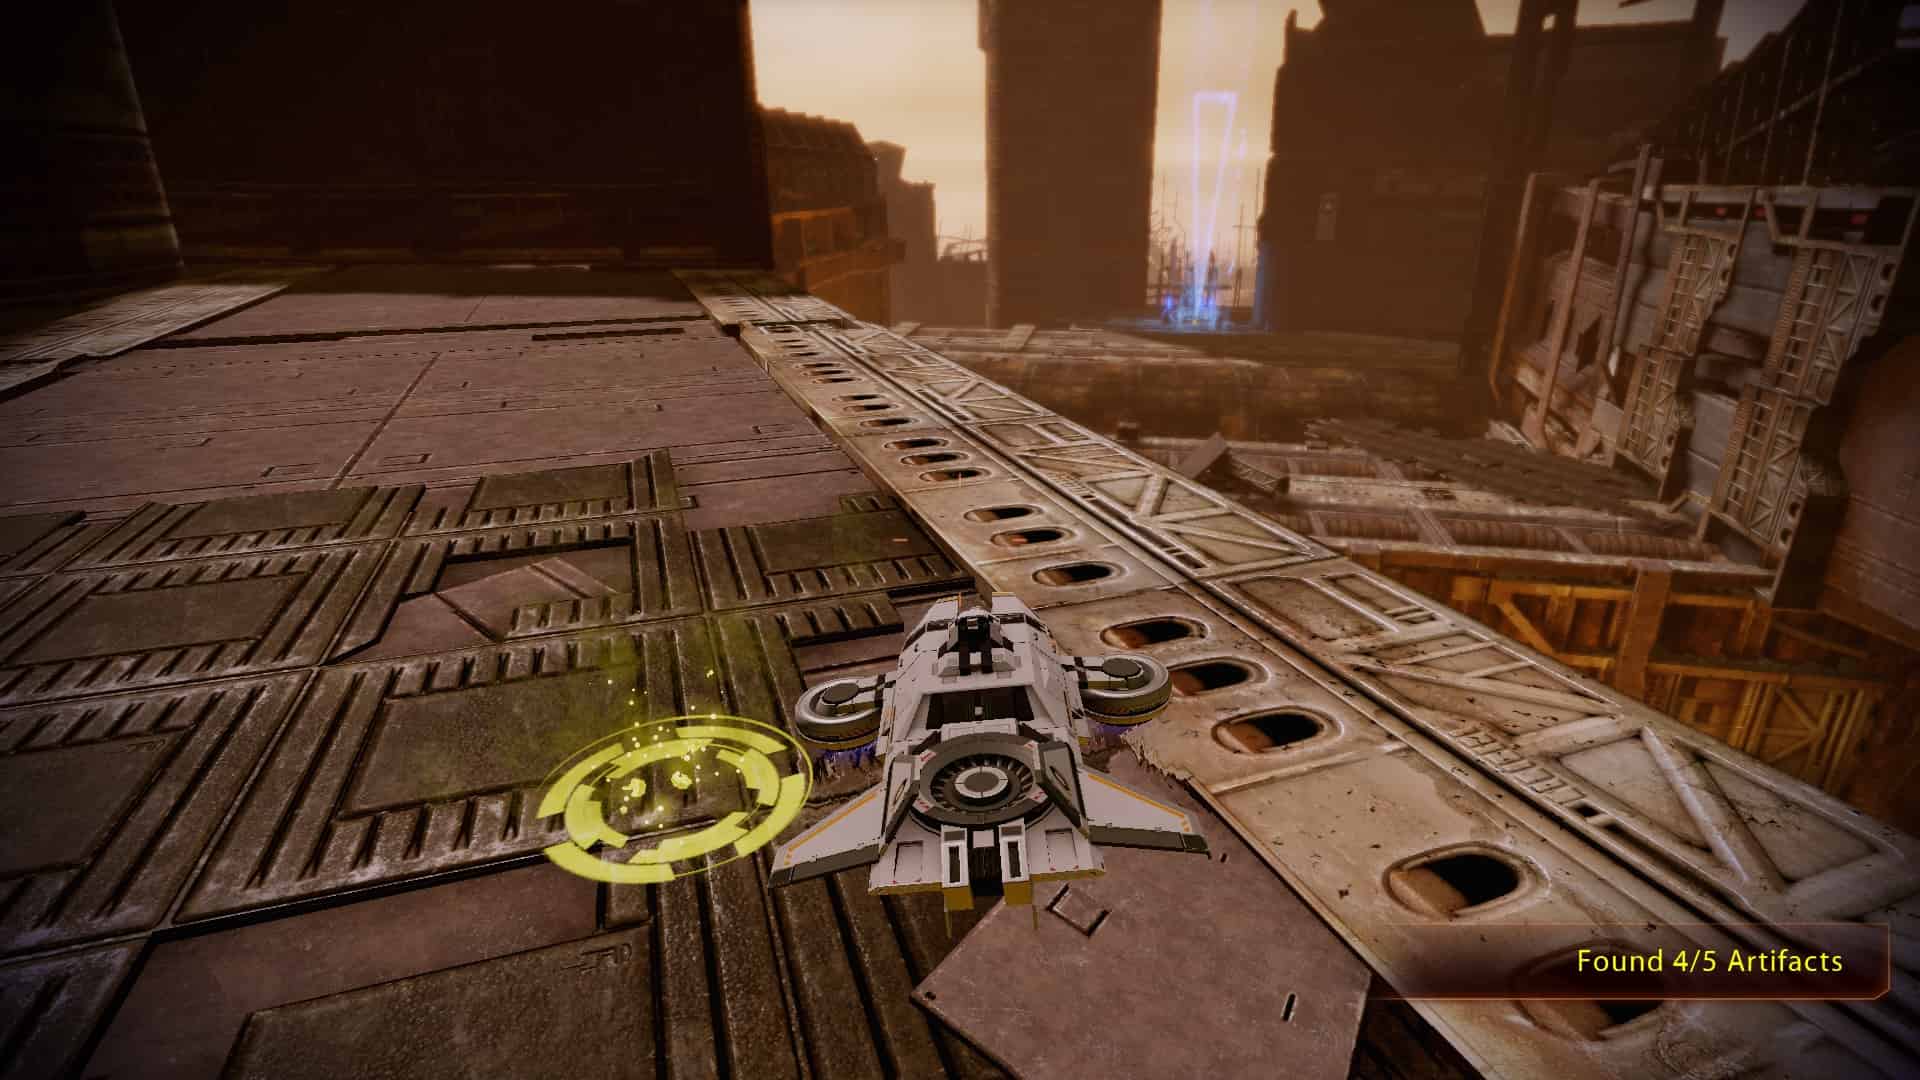
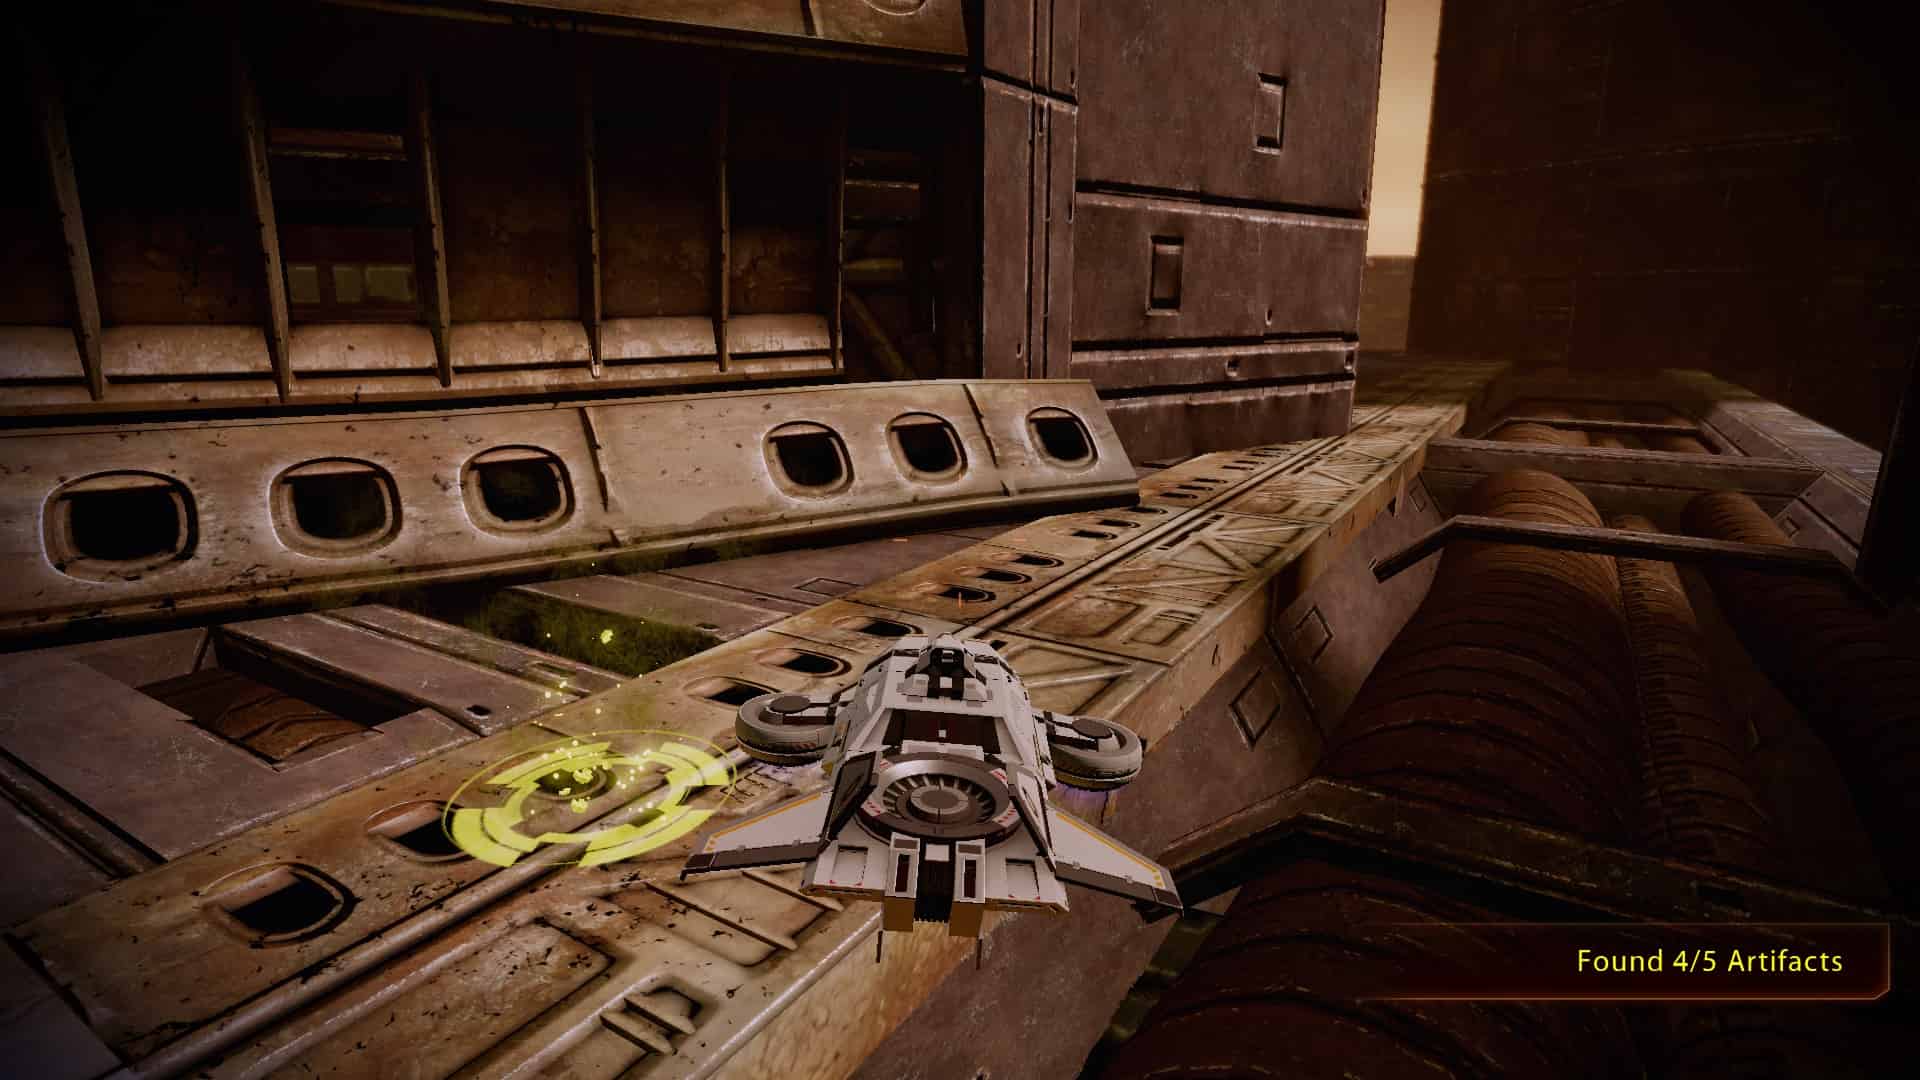
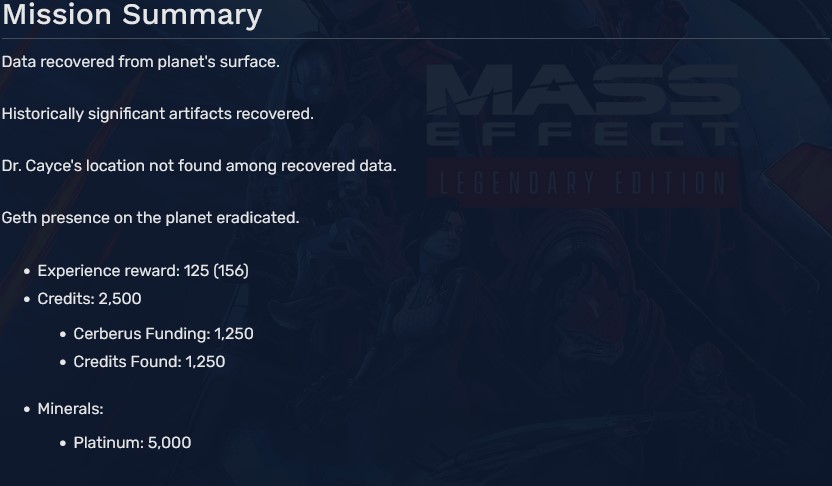
1
2
3
4 (Before looting the 5th Artifact, go behind it)
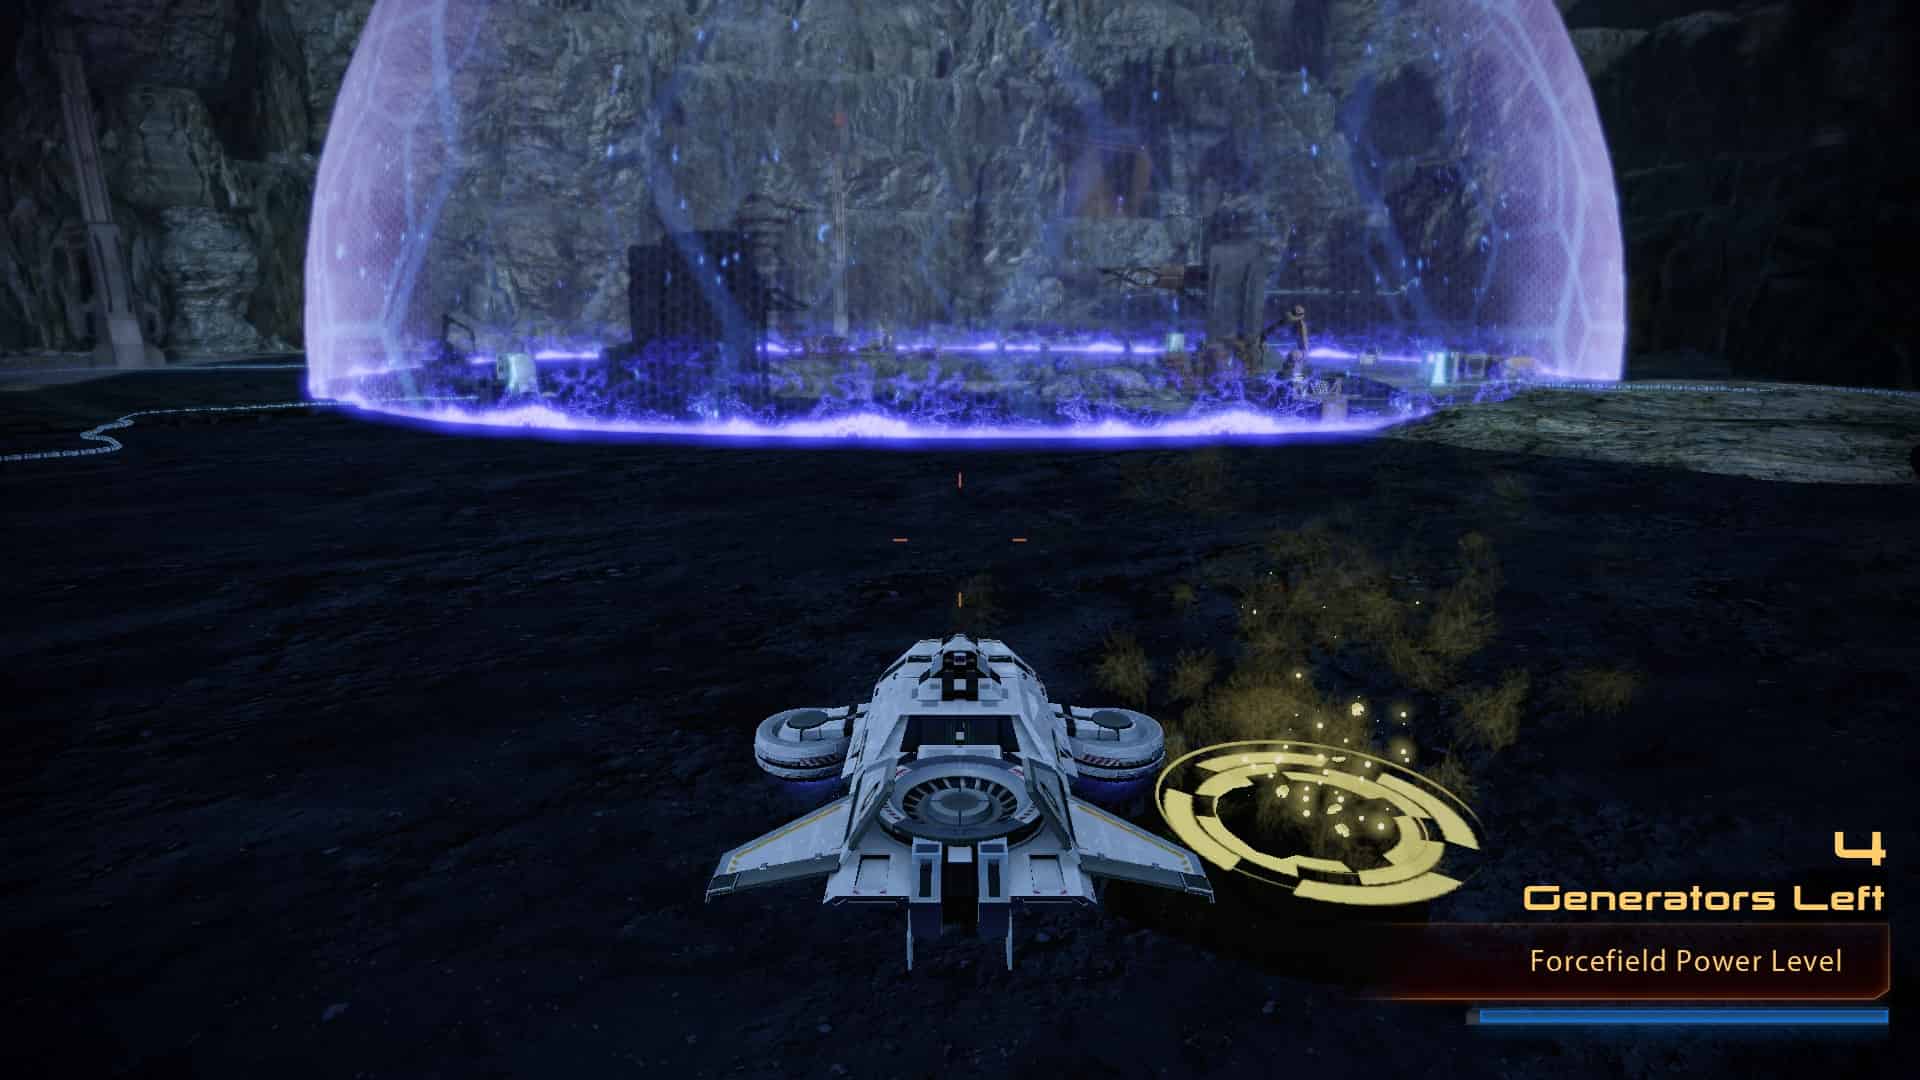
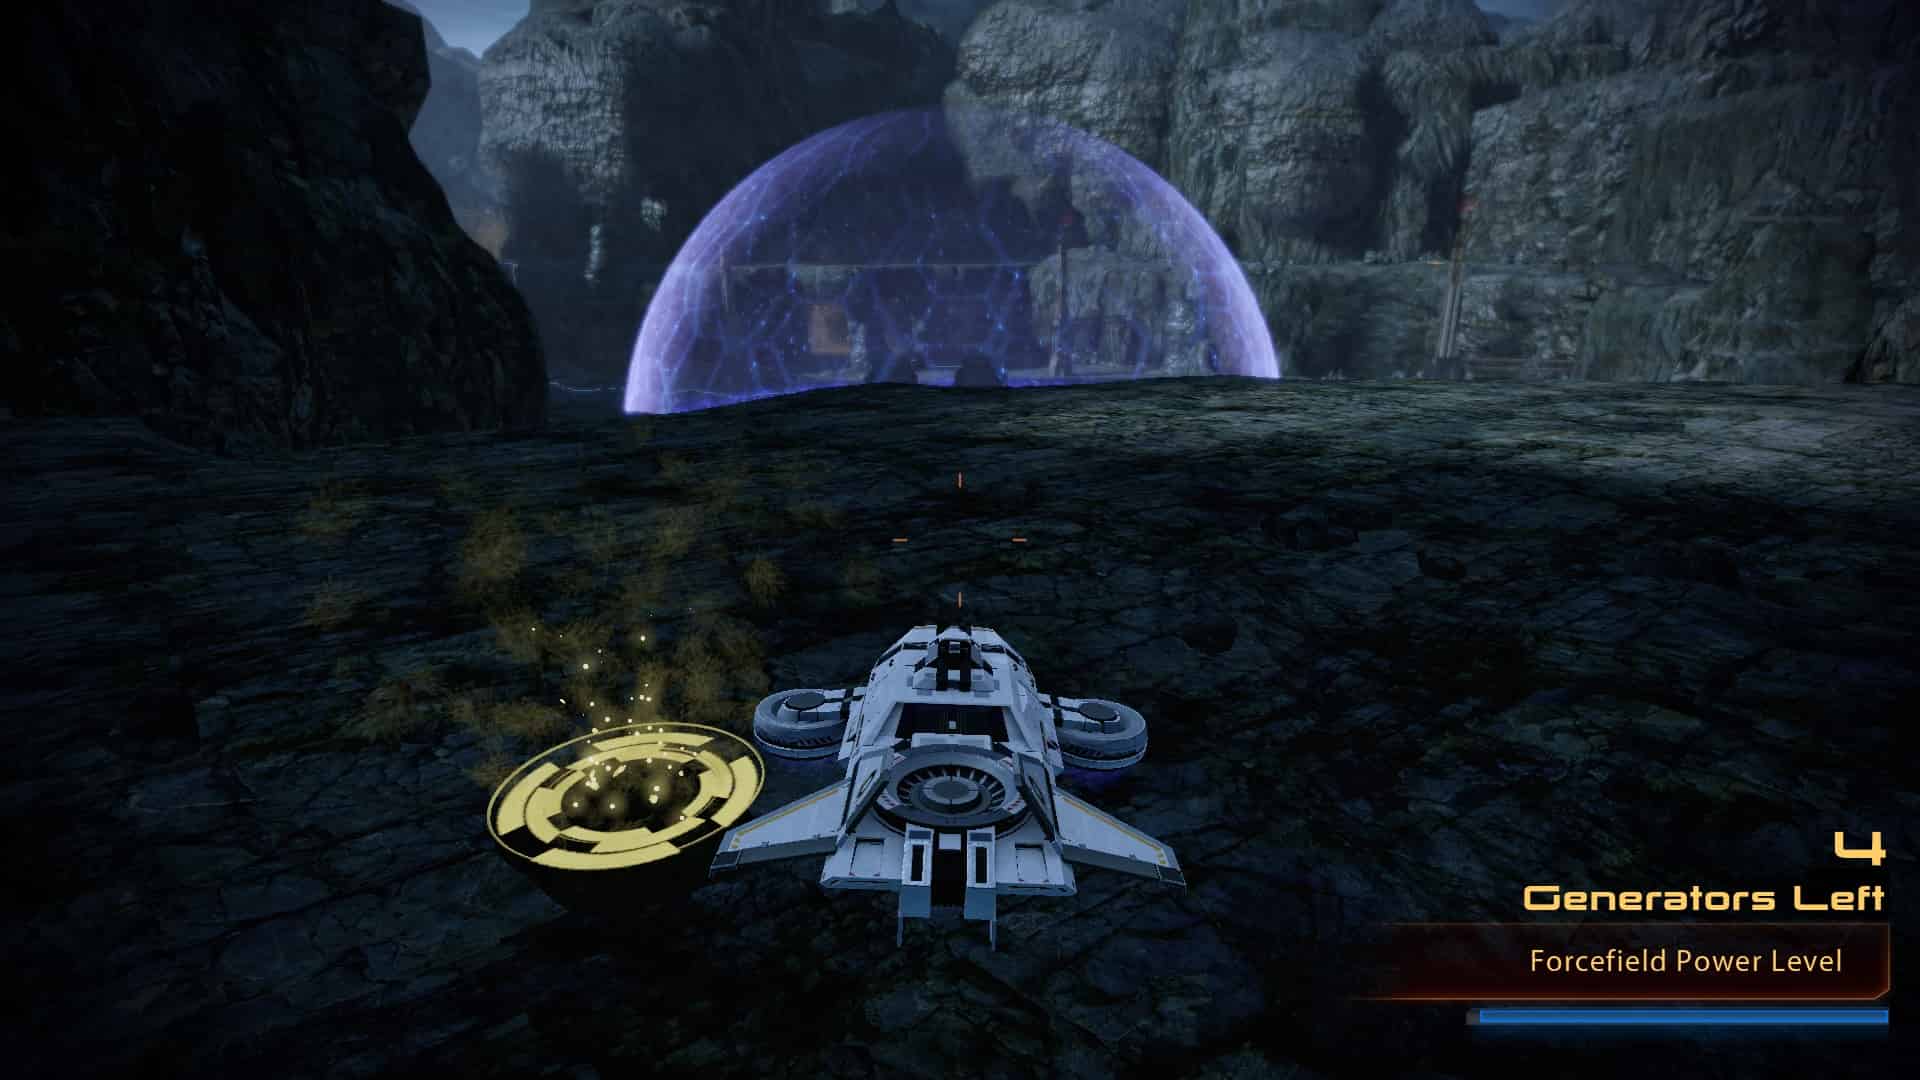
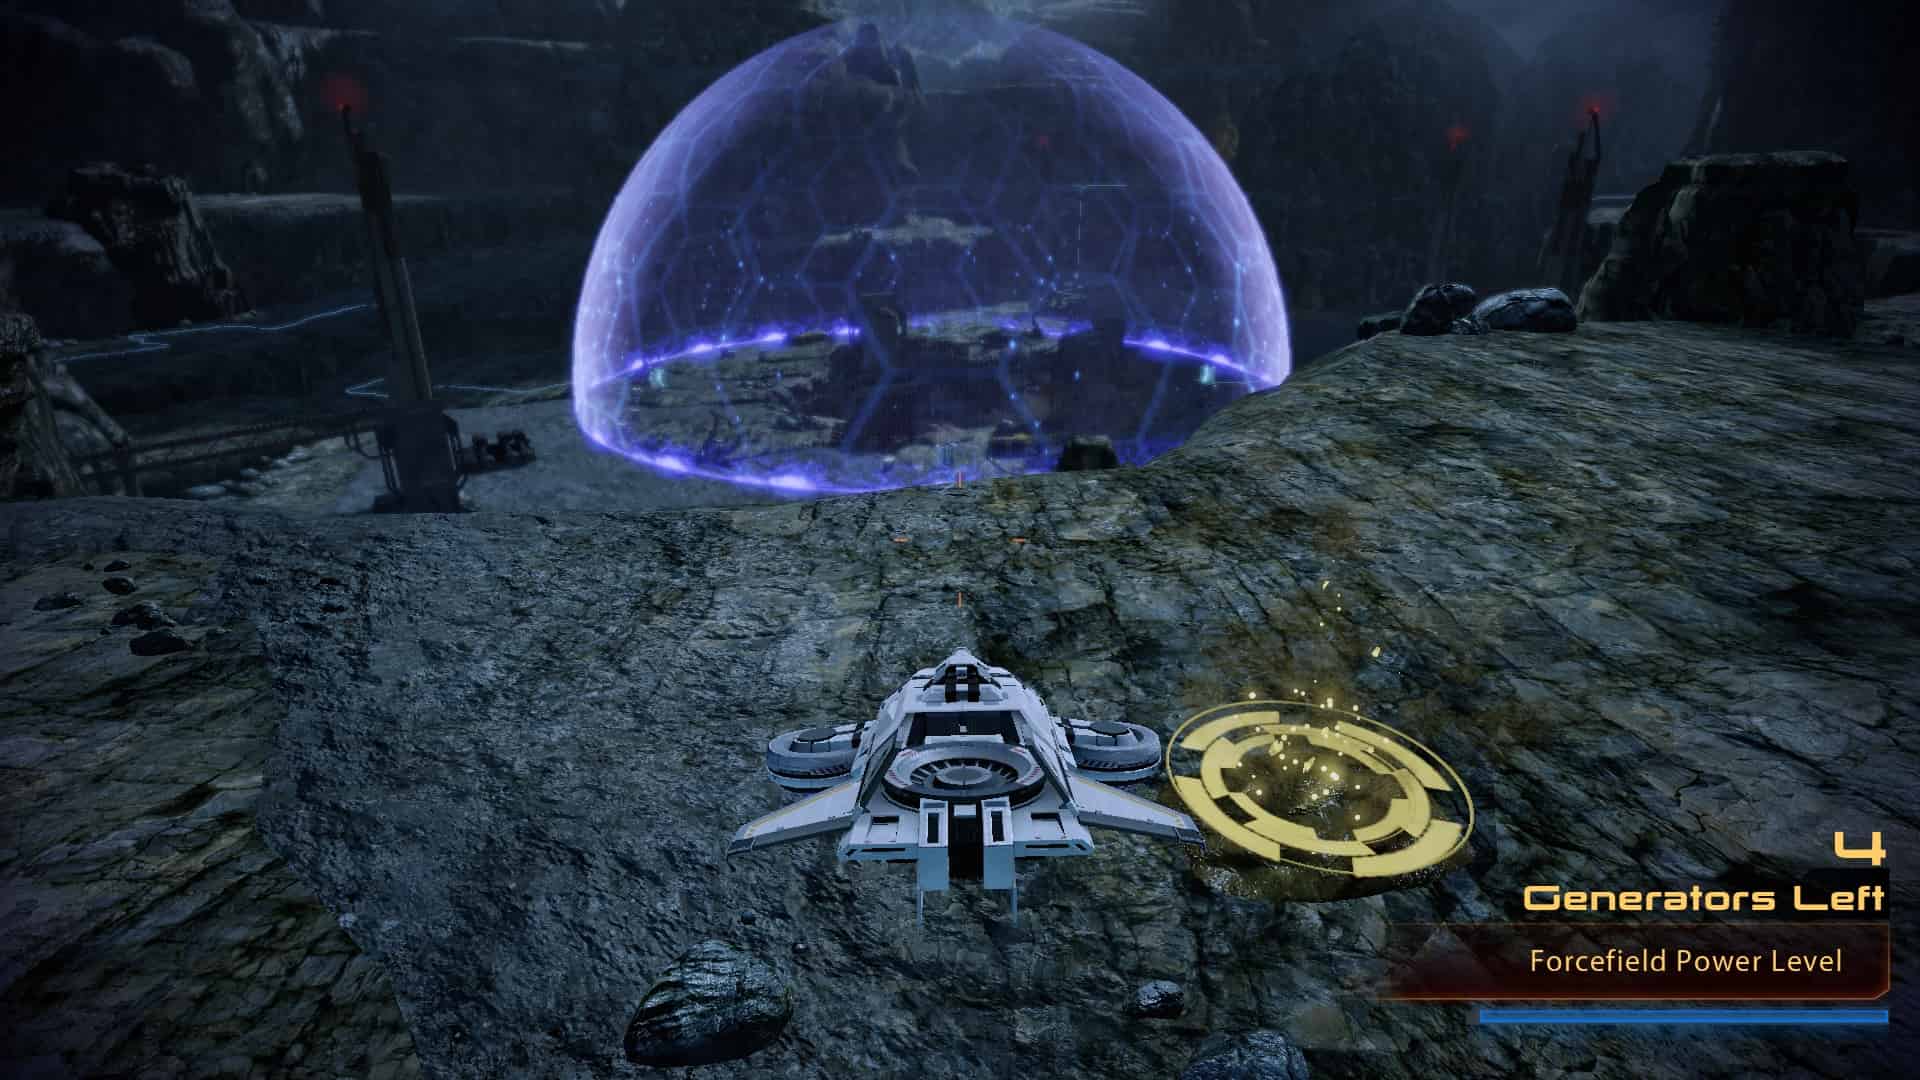
Project Firewalker: Volcano Station (Recover Research Data)

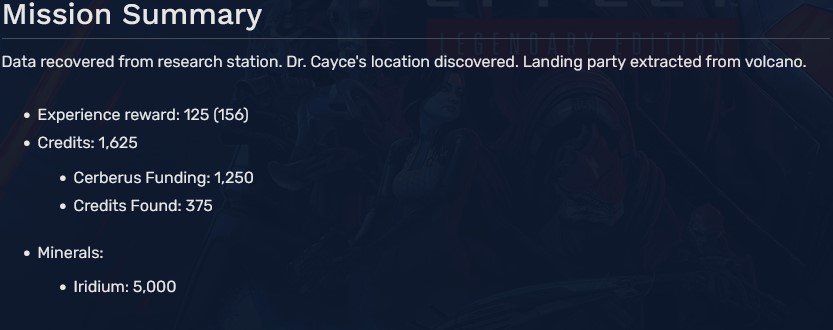
1 (Go left at the fork and jump to the small platform)
2 (Go back and head all the way down)
3 (Nearby, to the right)
4 (Go all the way up and this time turn right at the fork)
5 (Go down and jump to the other side)
6 (Straight ahead)
7 (Straight ahead)
8 (After the tunnel, next to the research base)
9
10
11
12
13 (After leaving the base. You can't miss it)
Project Firewalker: Prothean Site

1
2
3
4
5
6
7
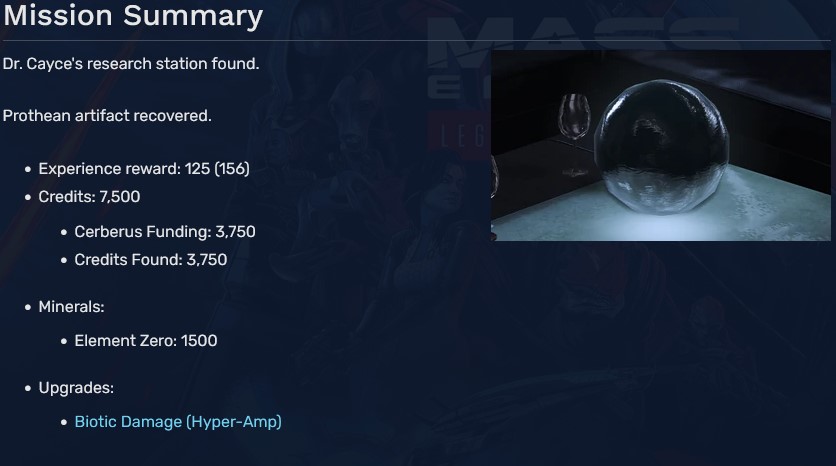
8 (Upgrade - Biotic Damage)
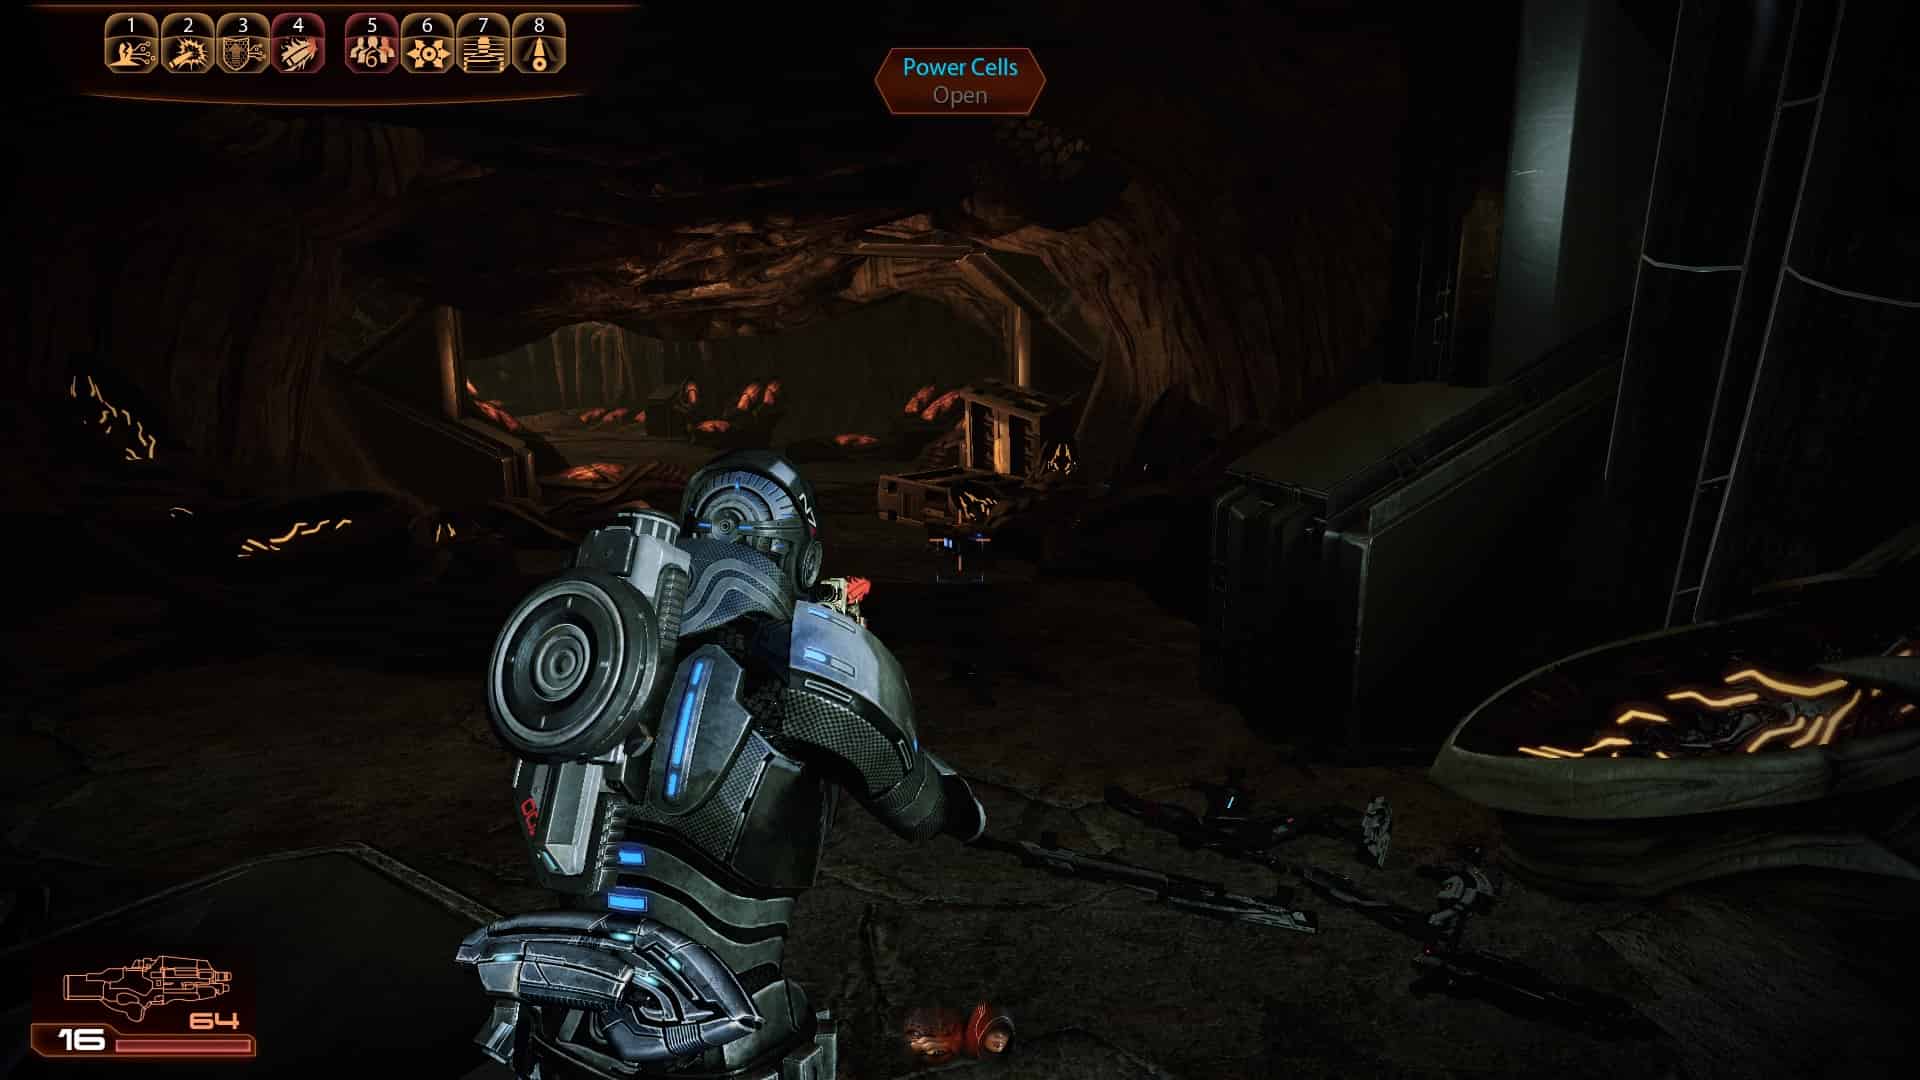
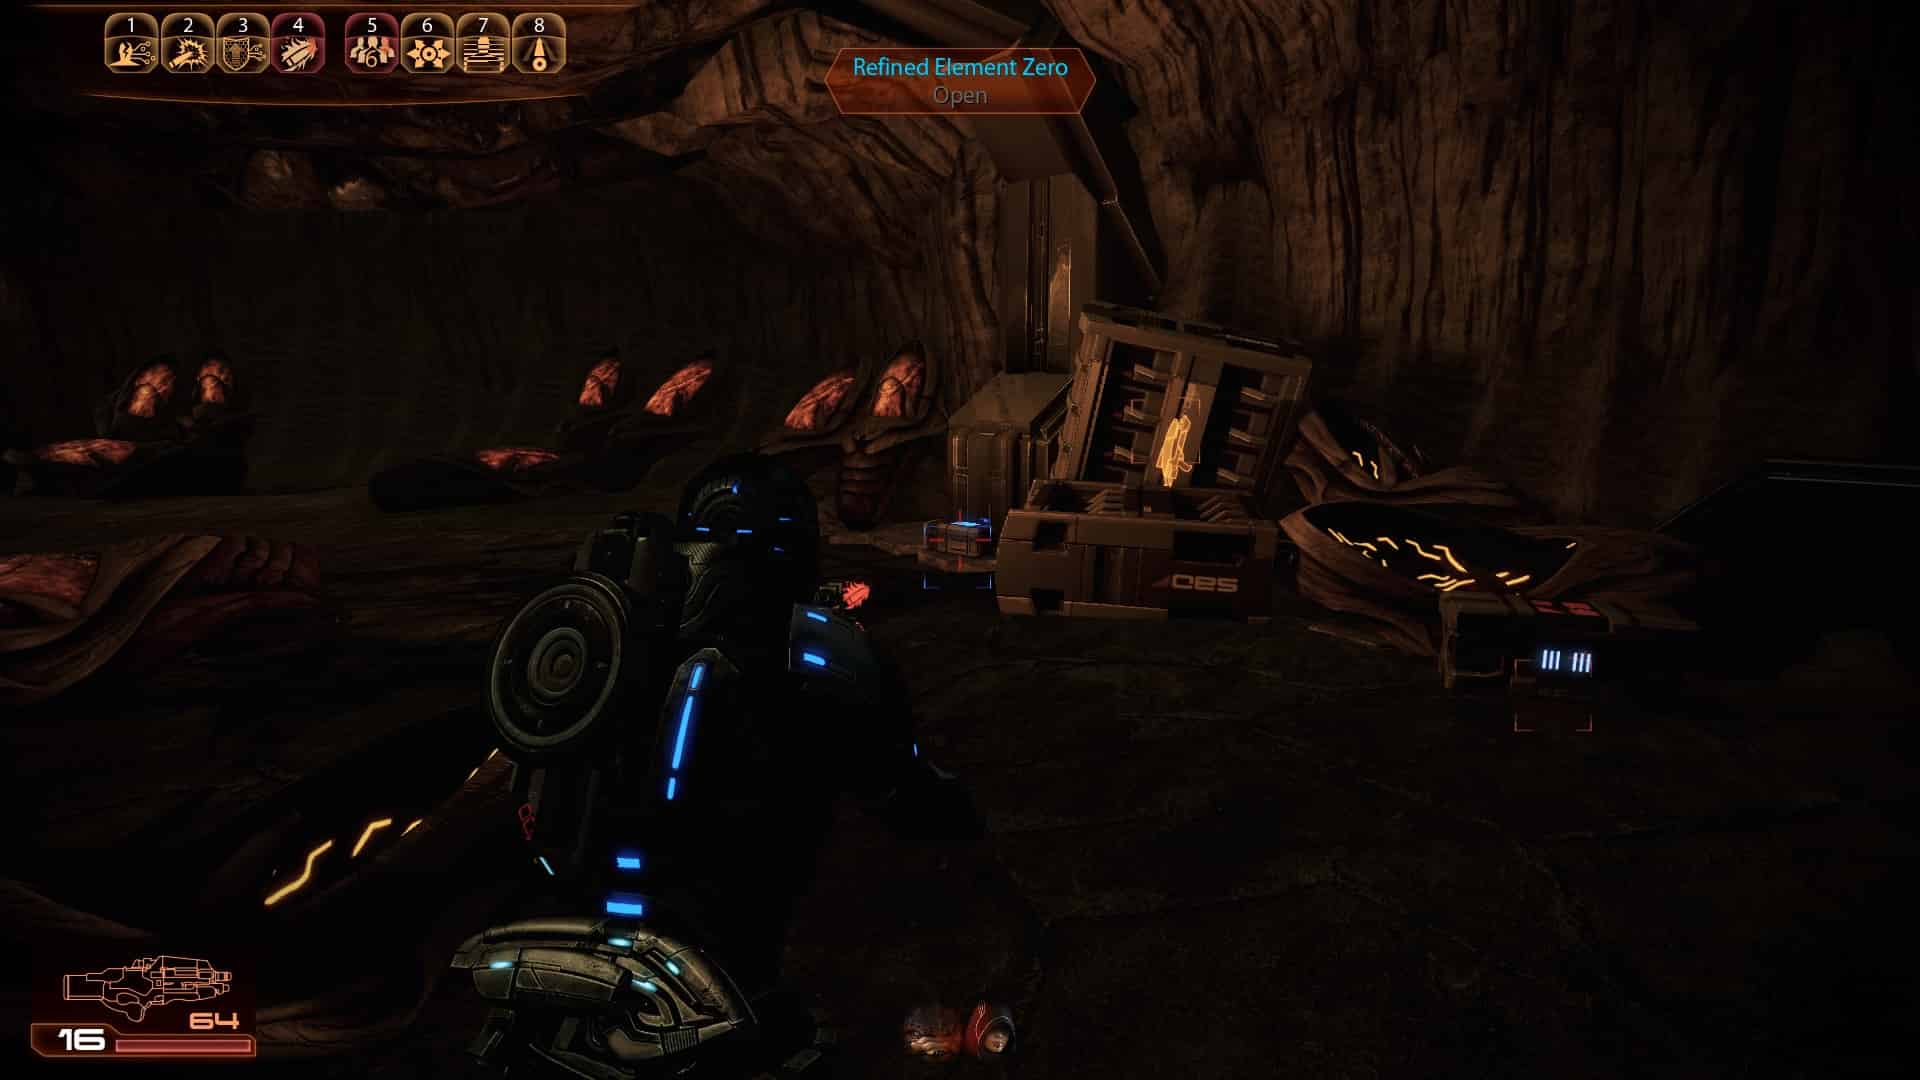
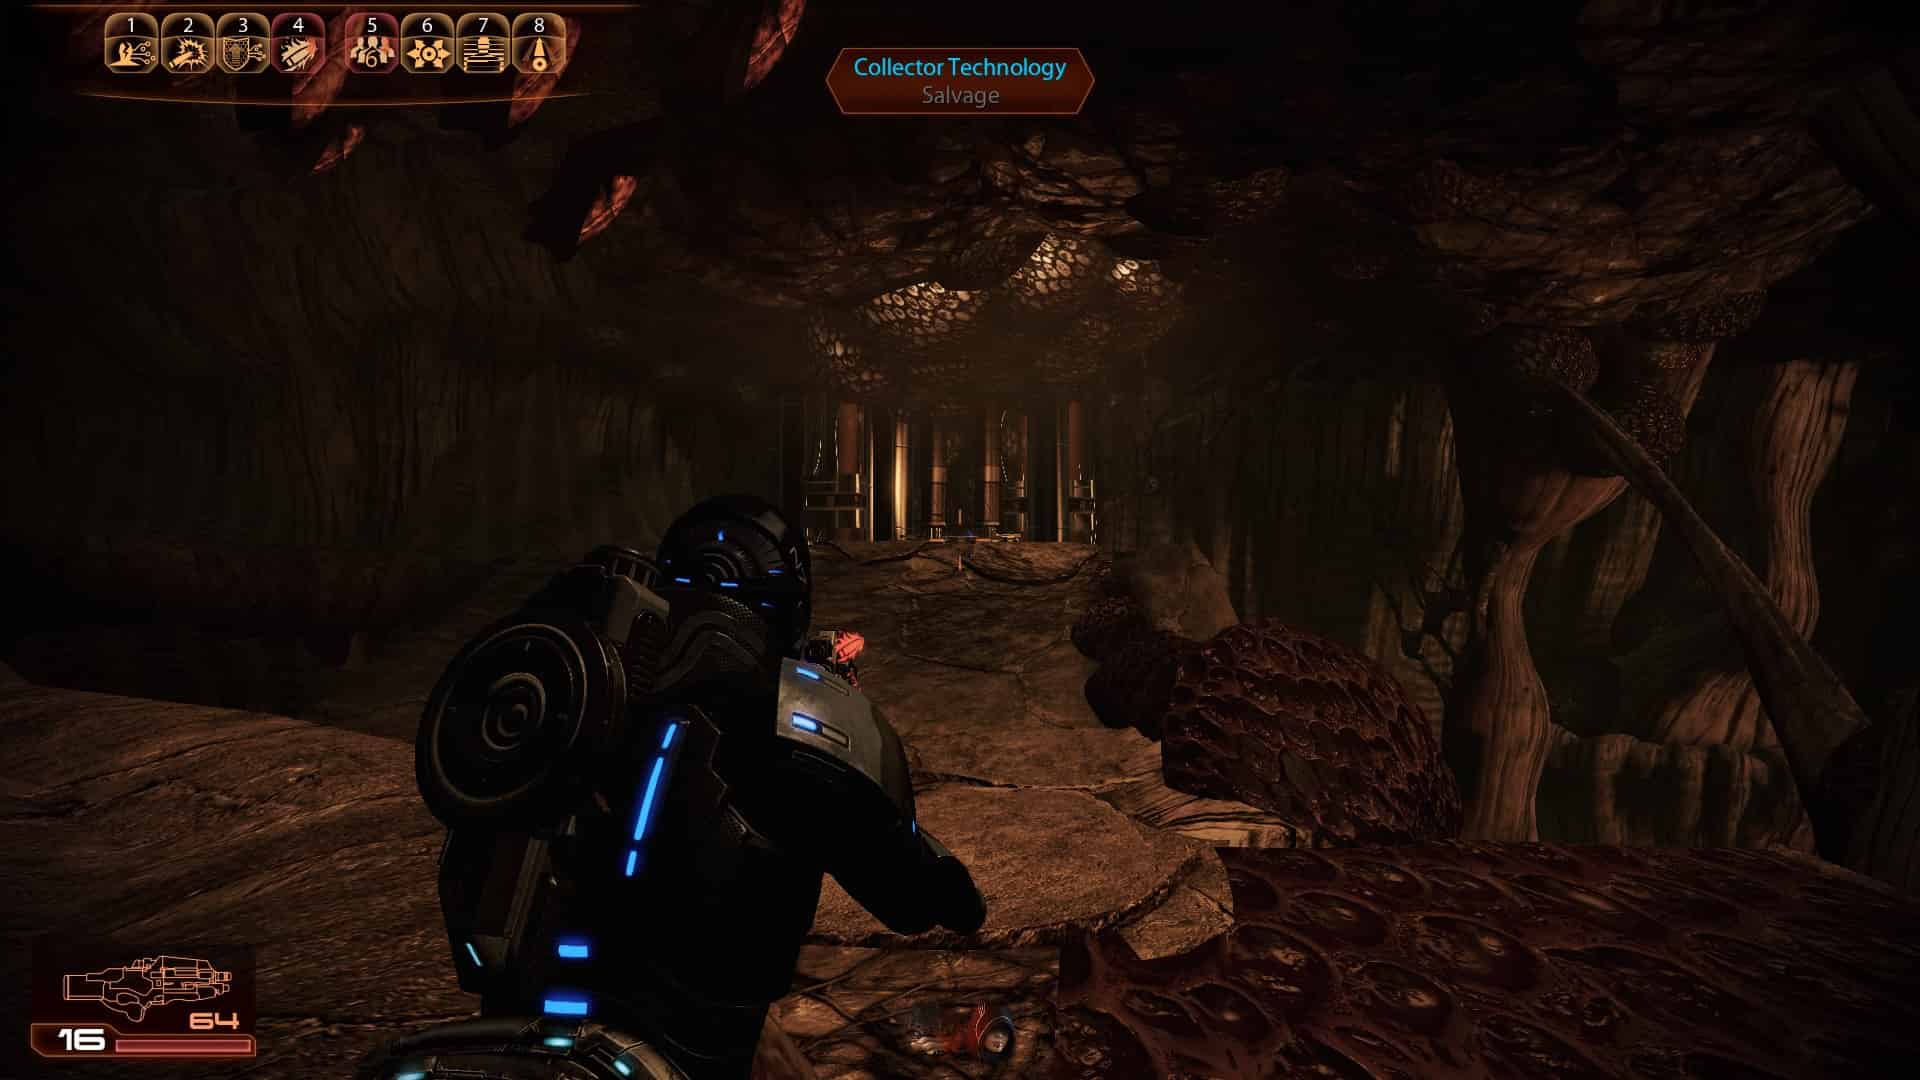
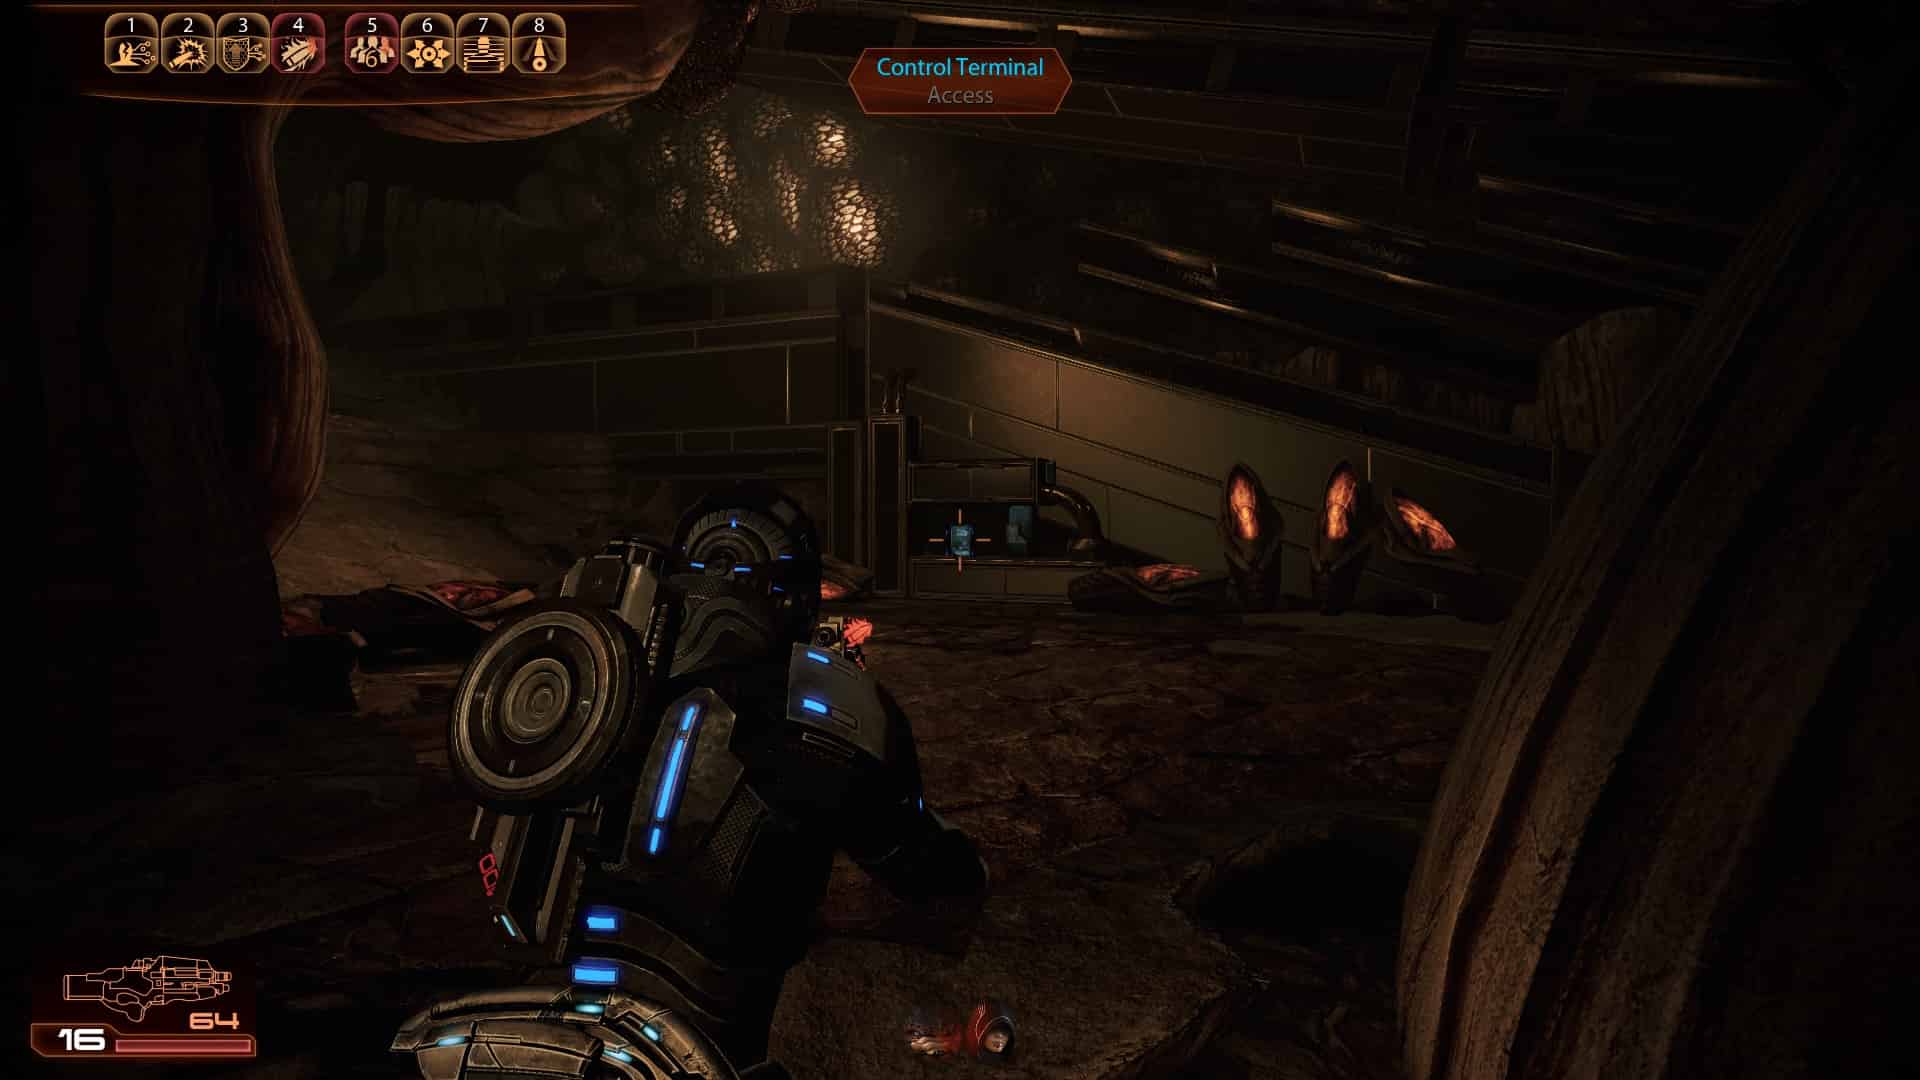
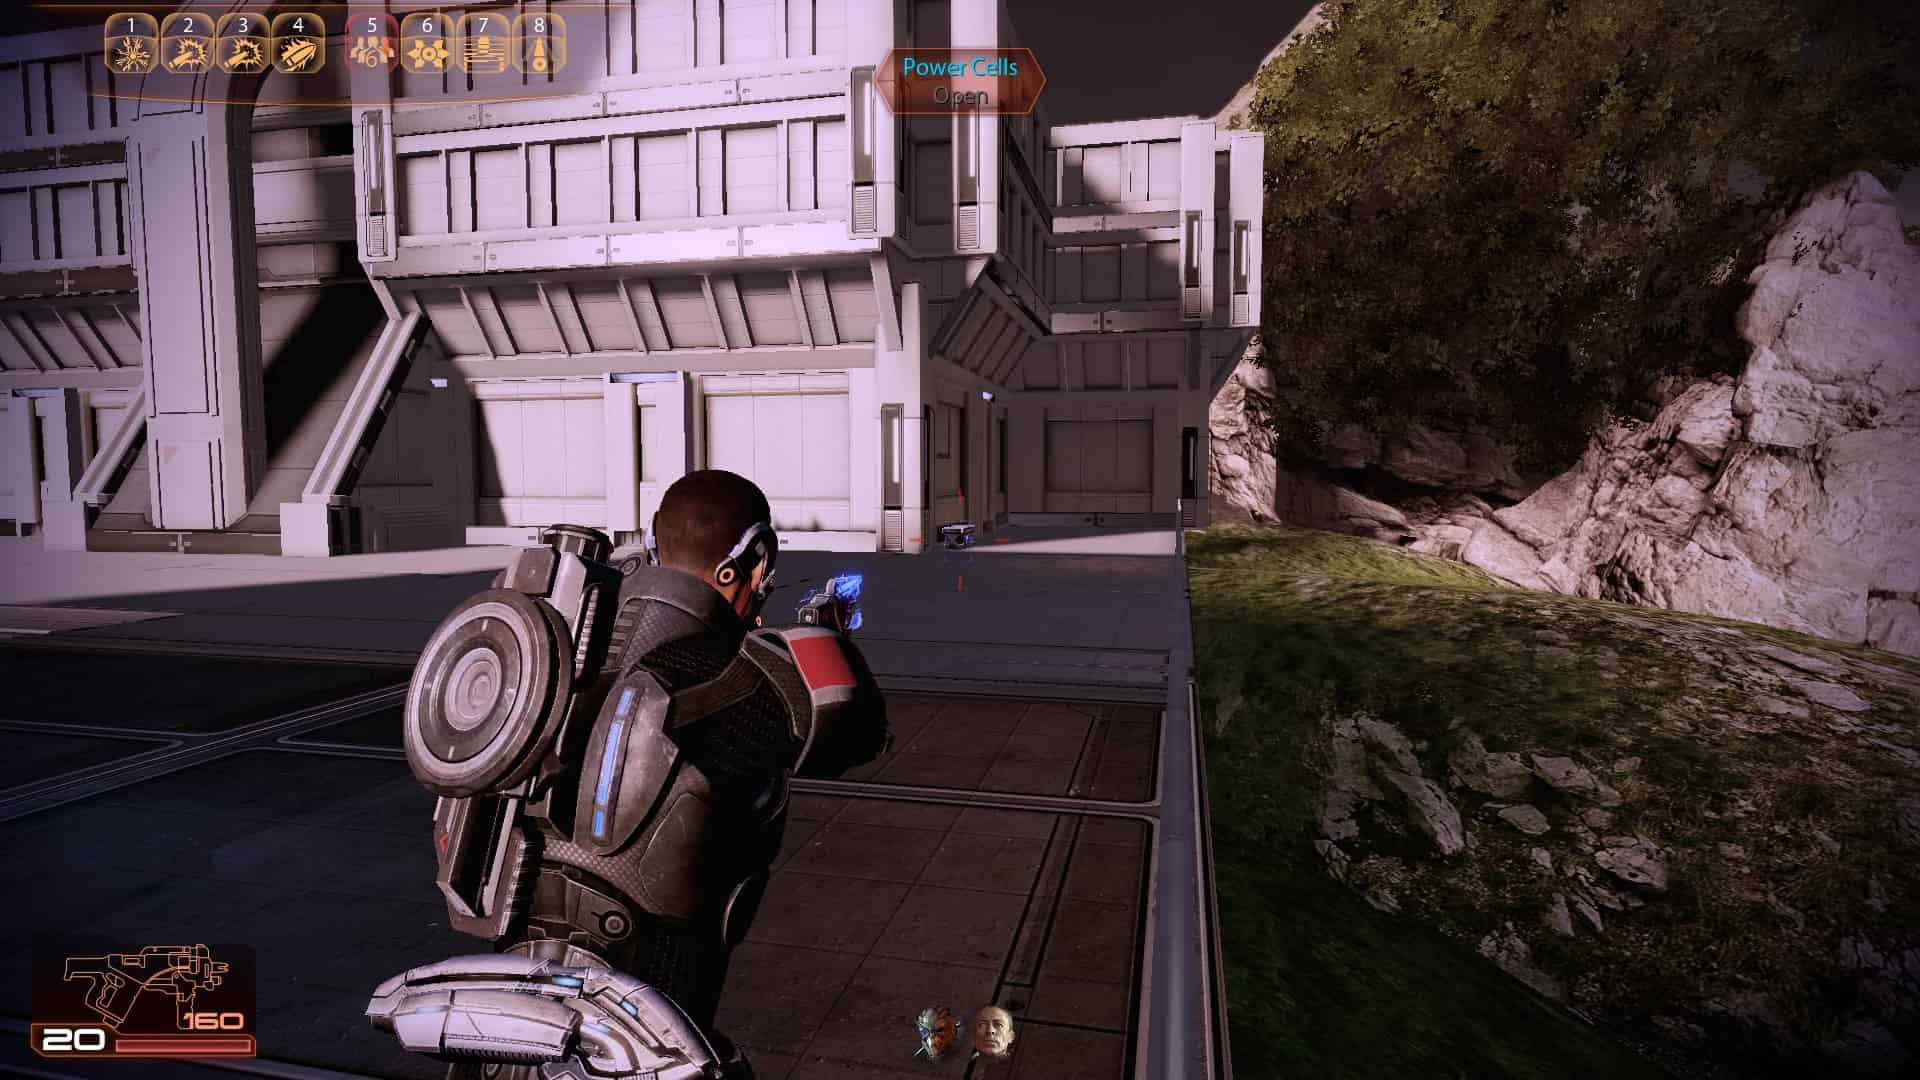
N7 Assignment: Abandoned Mine
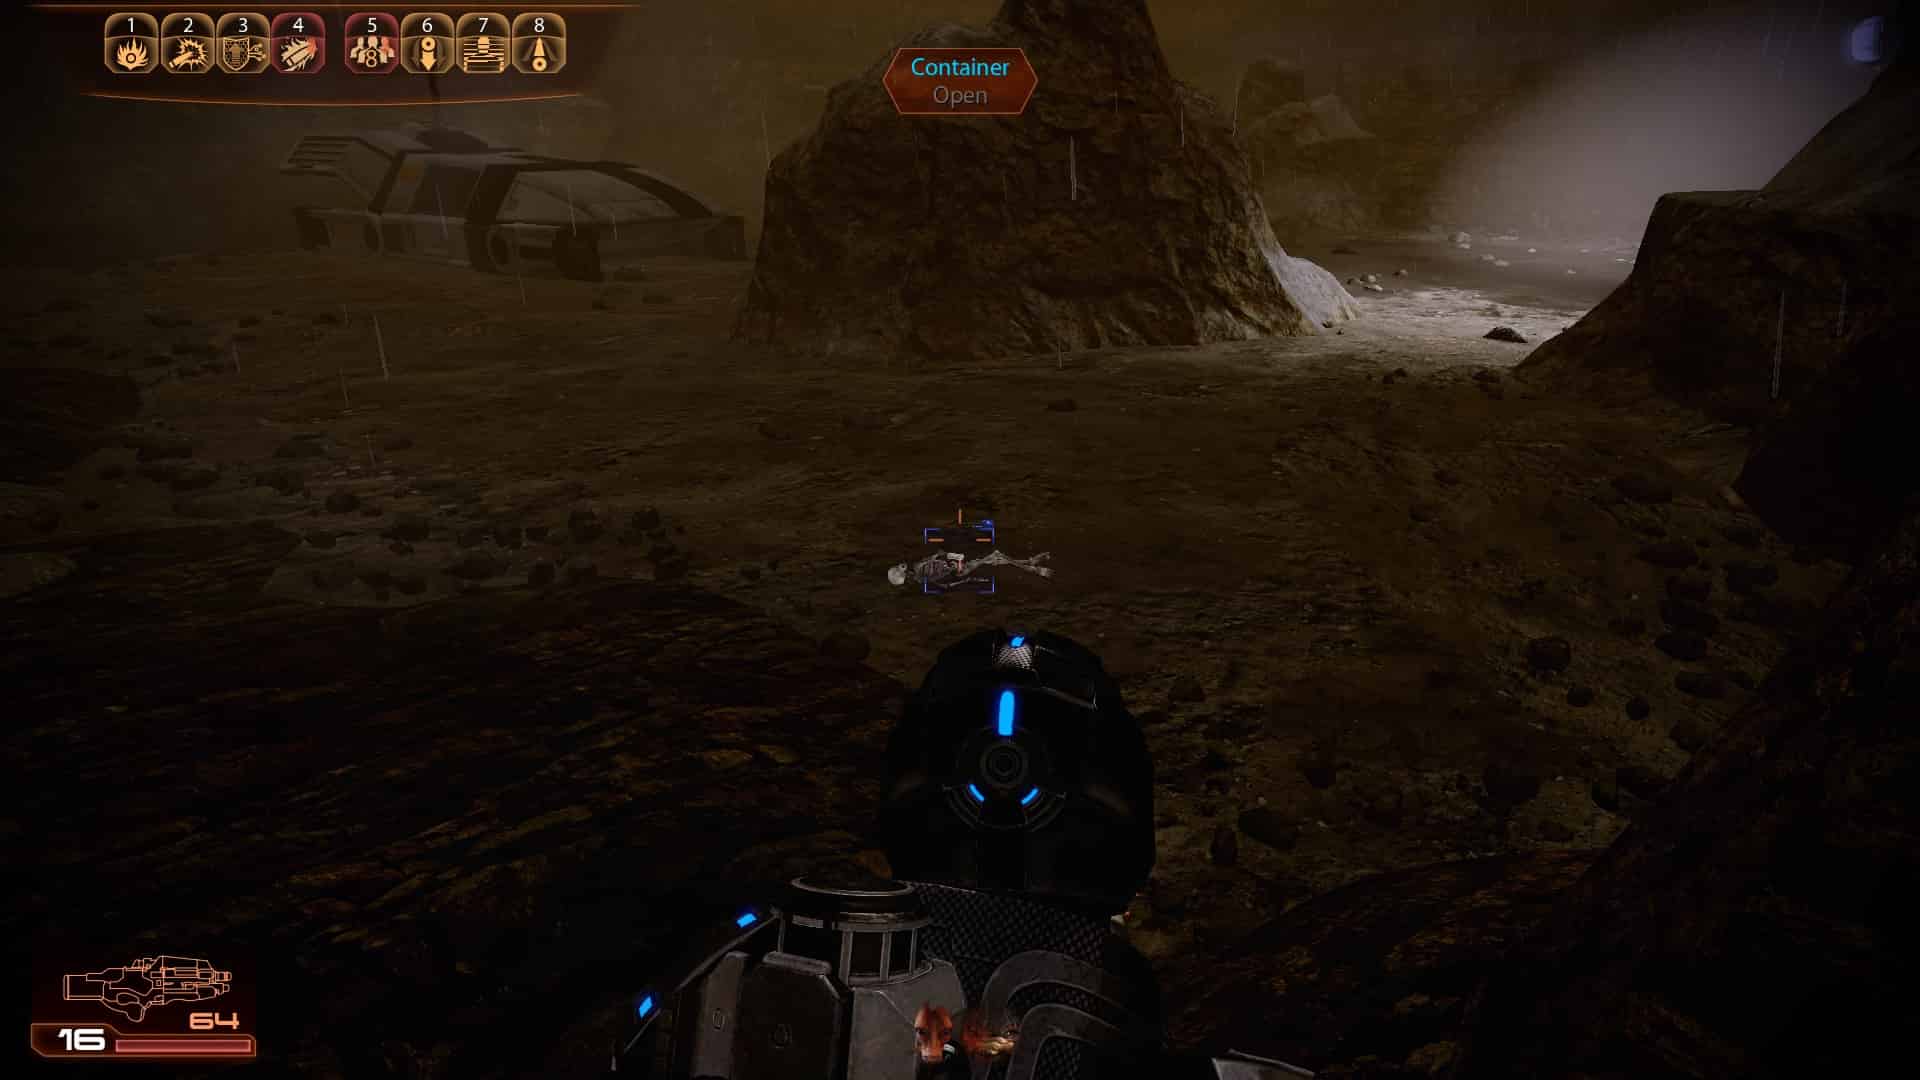
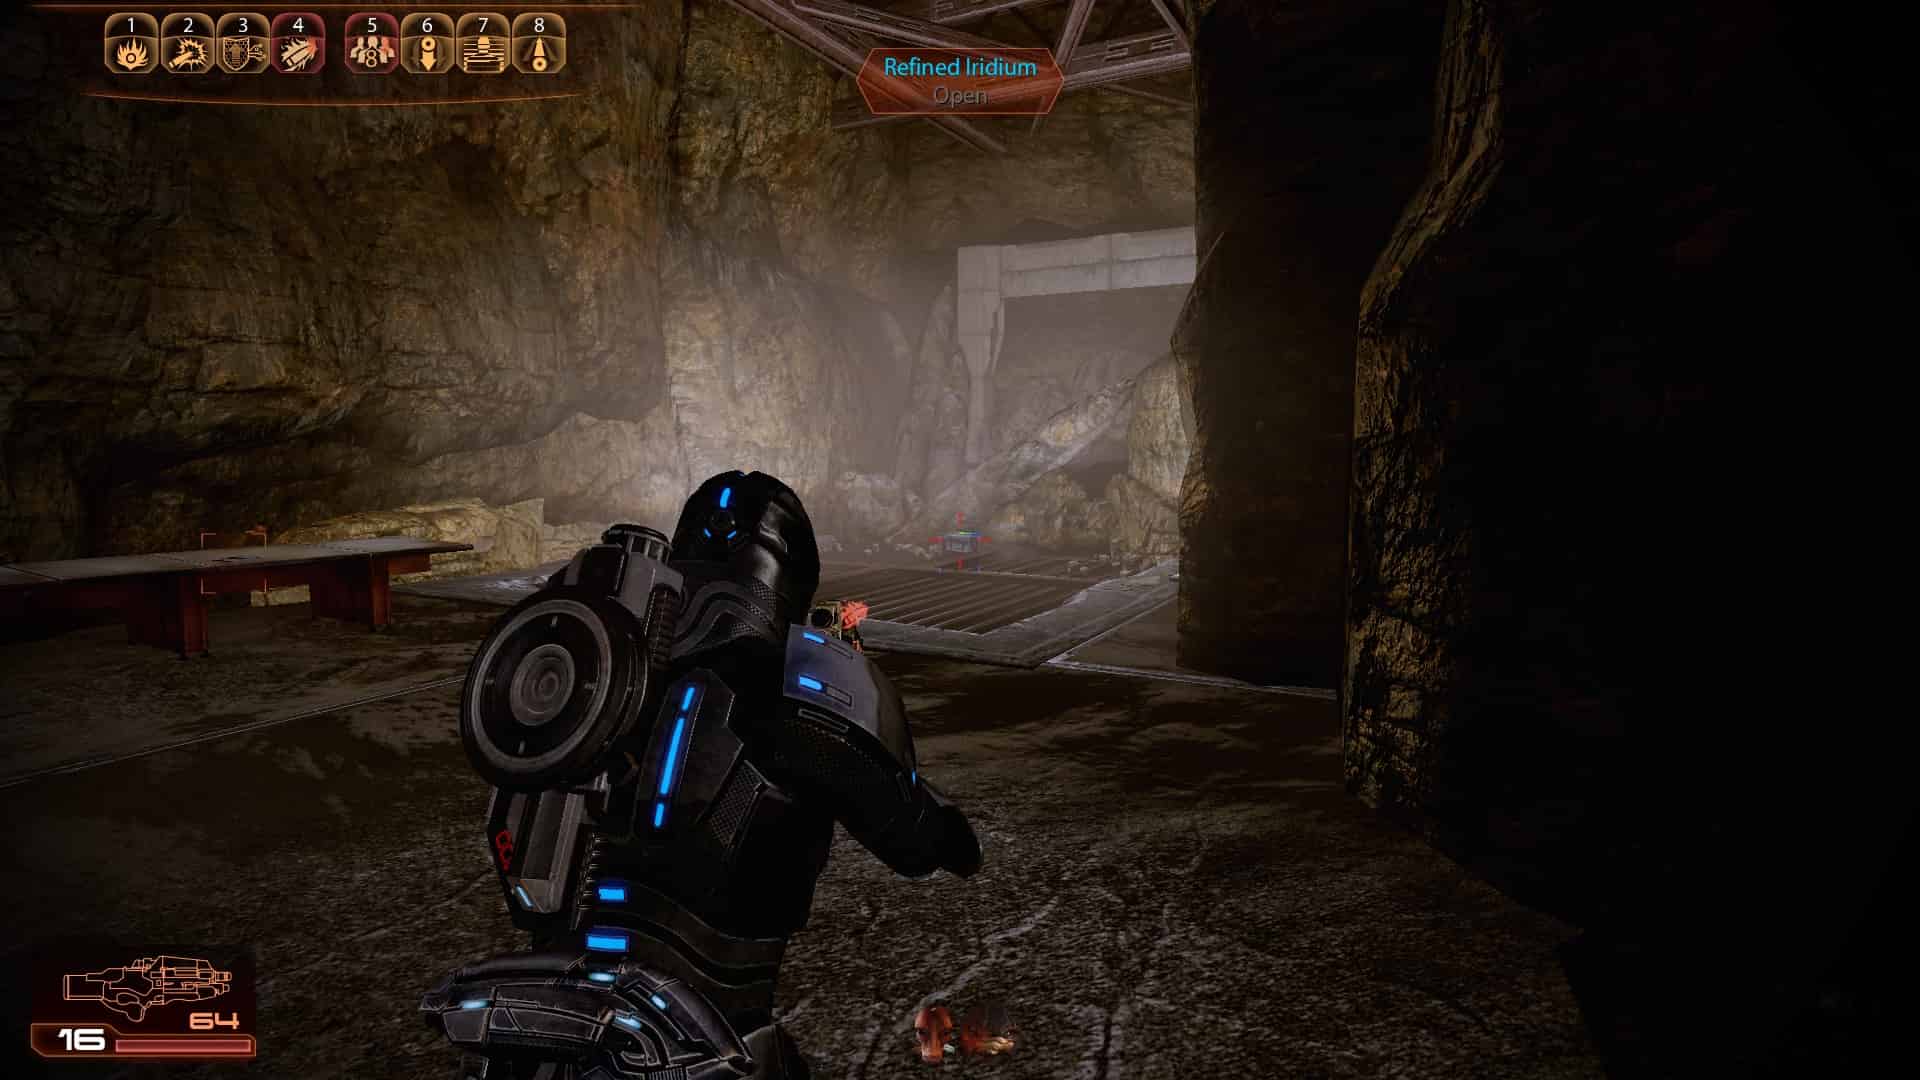
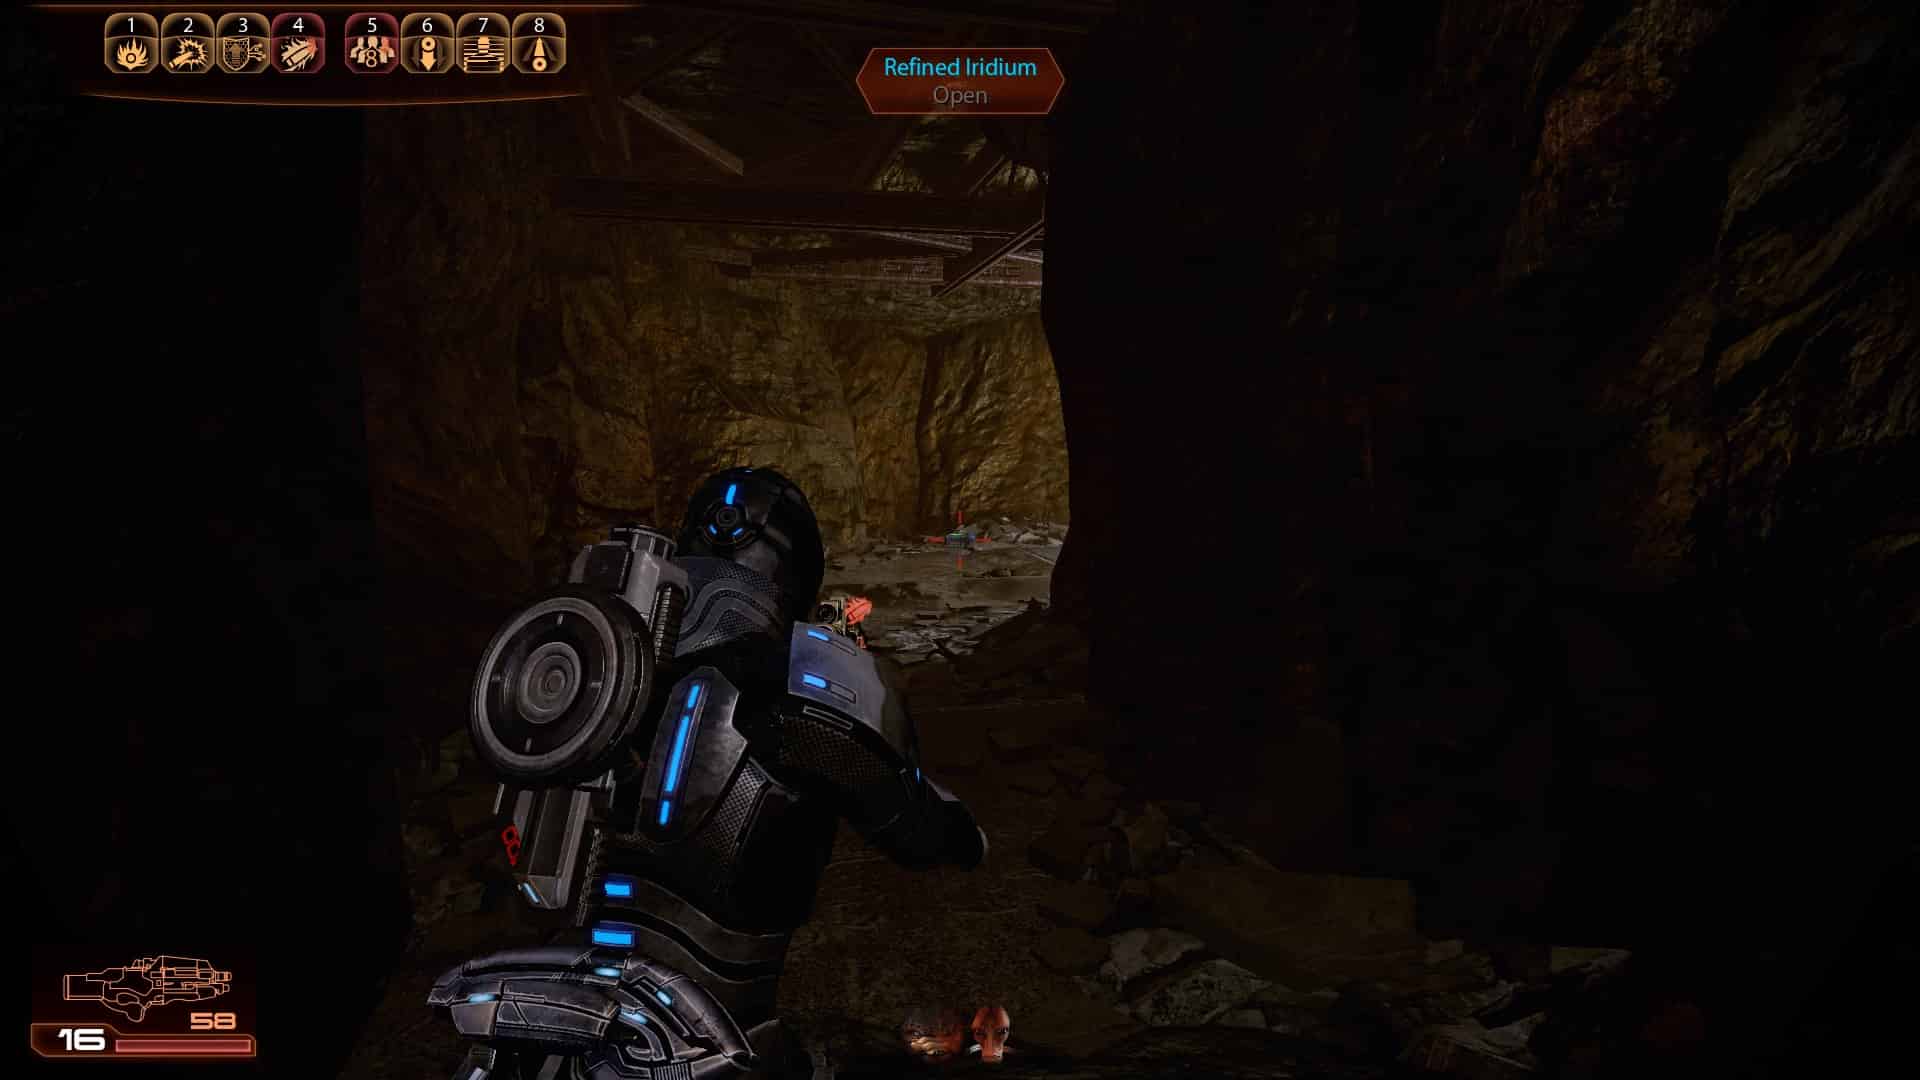
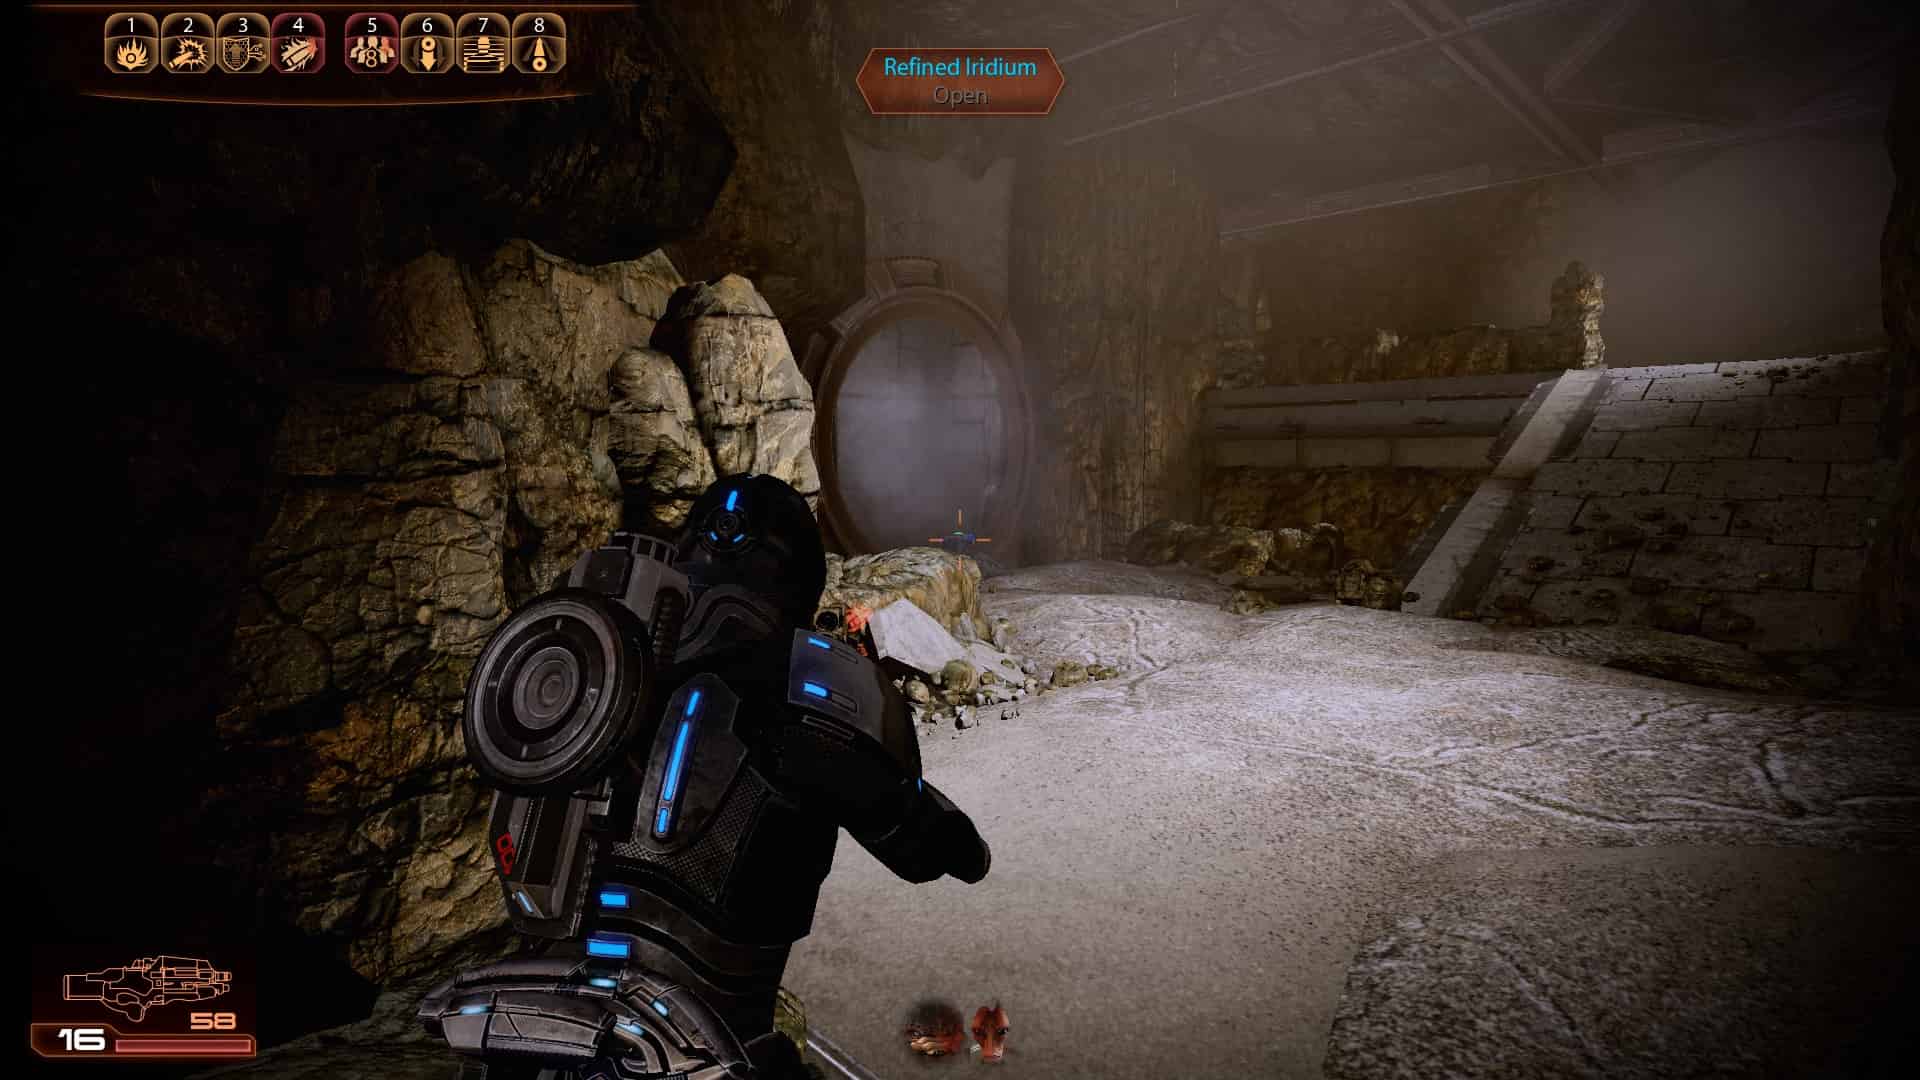
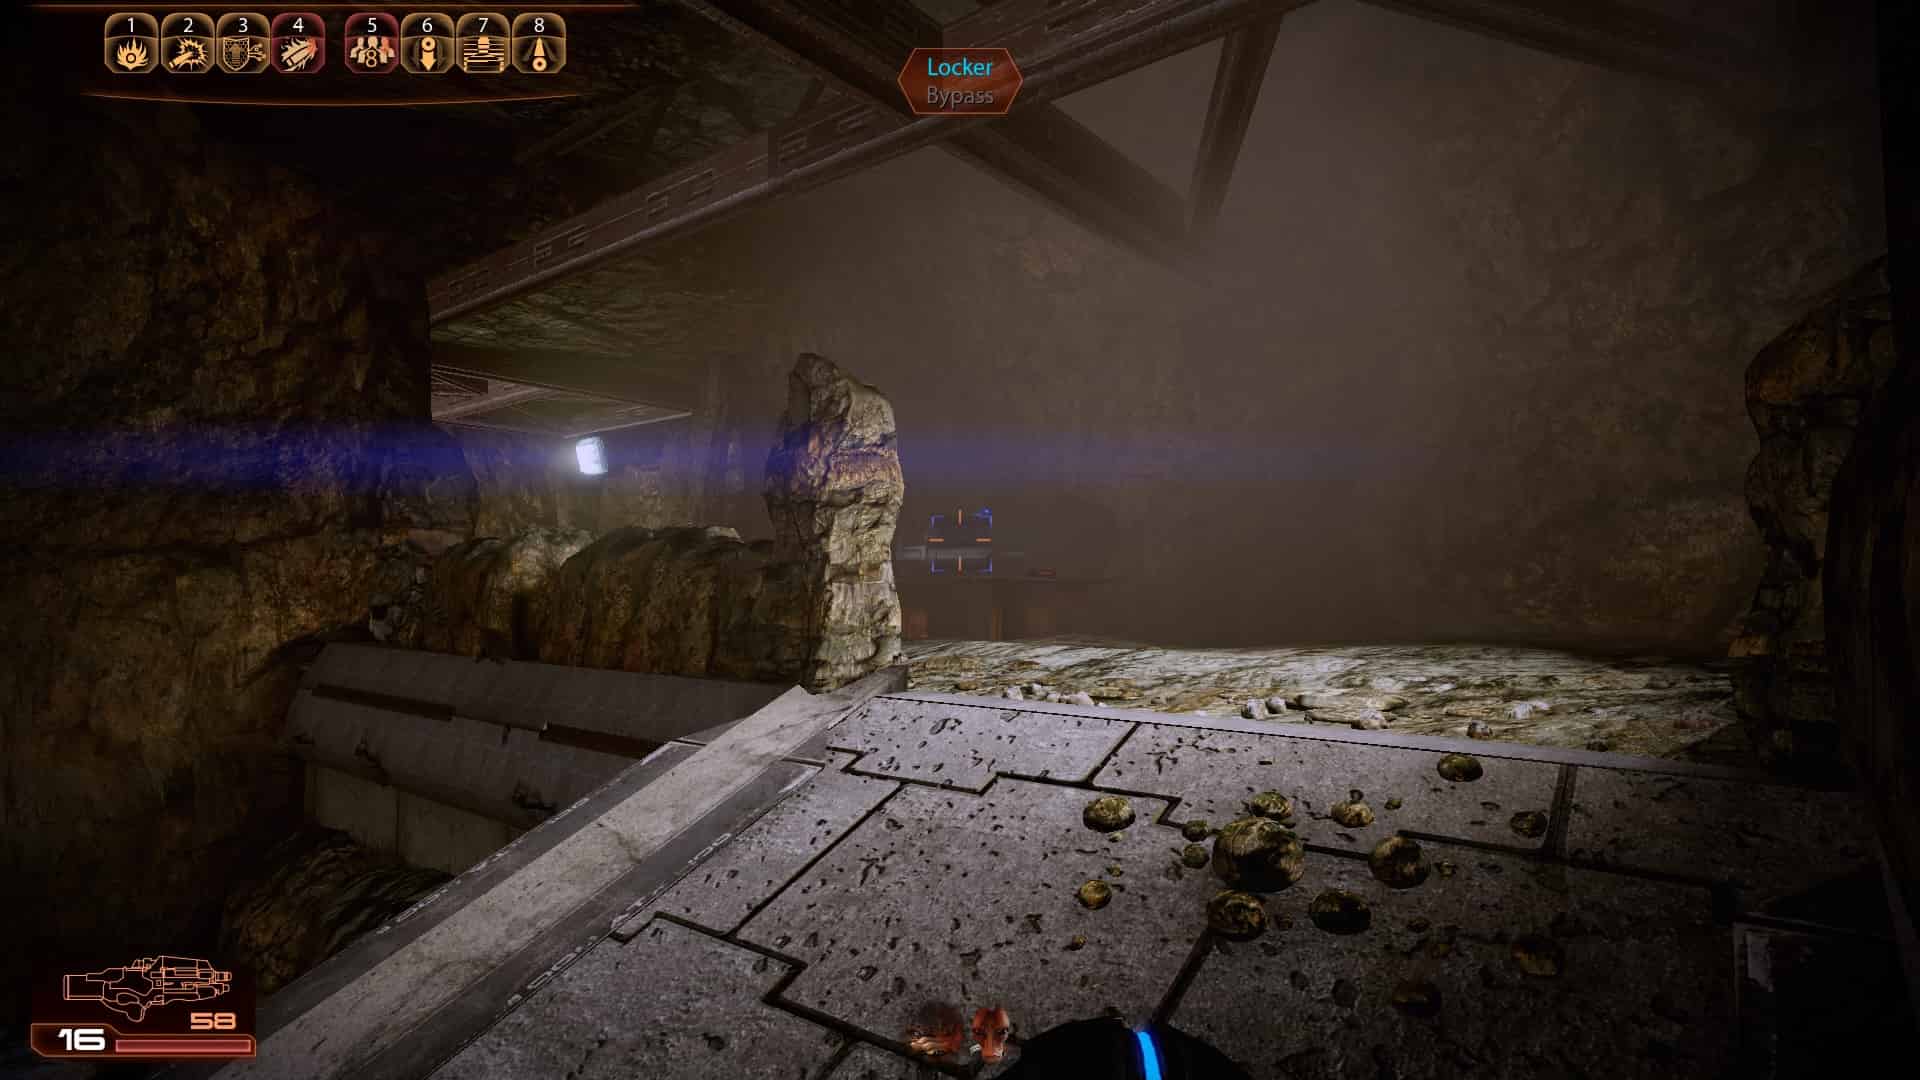

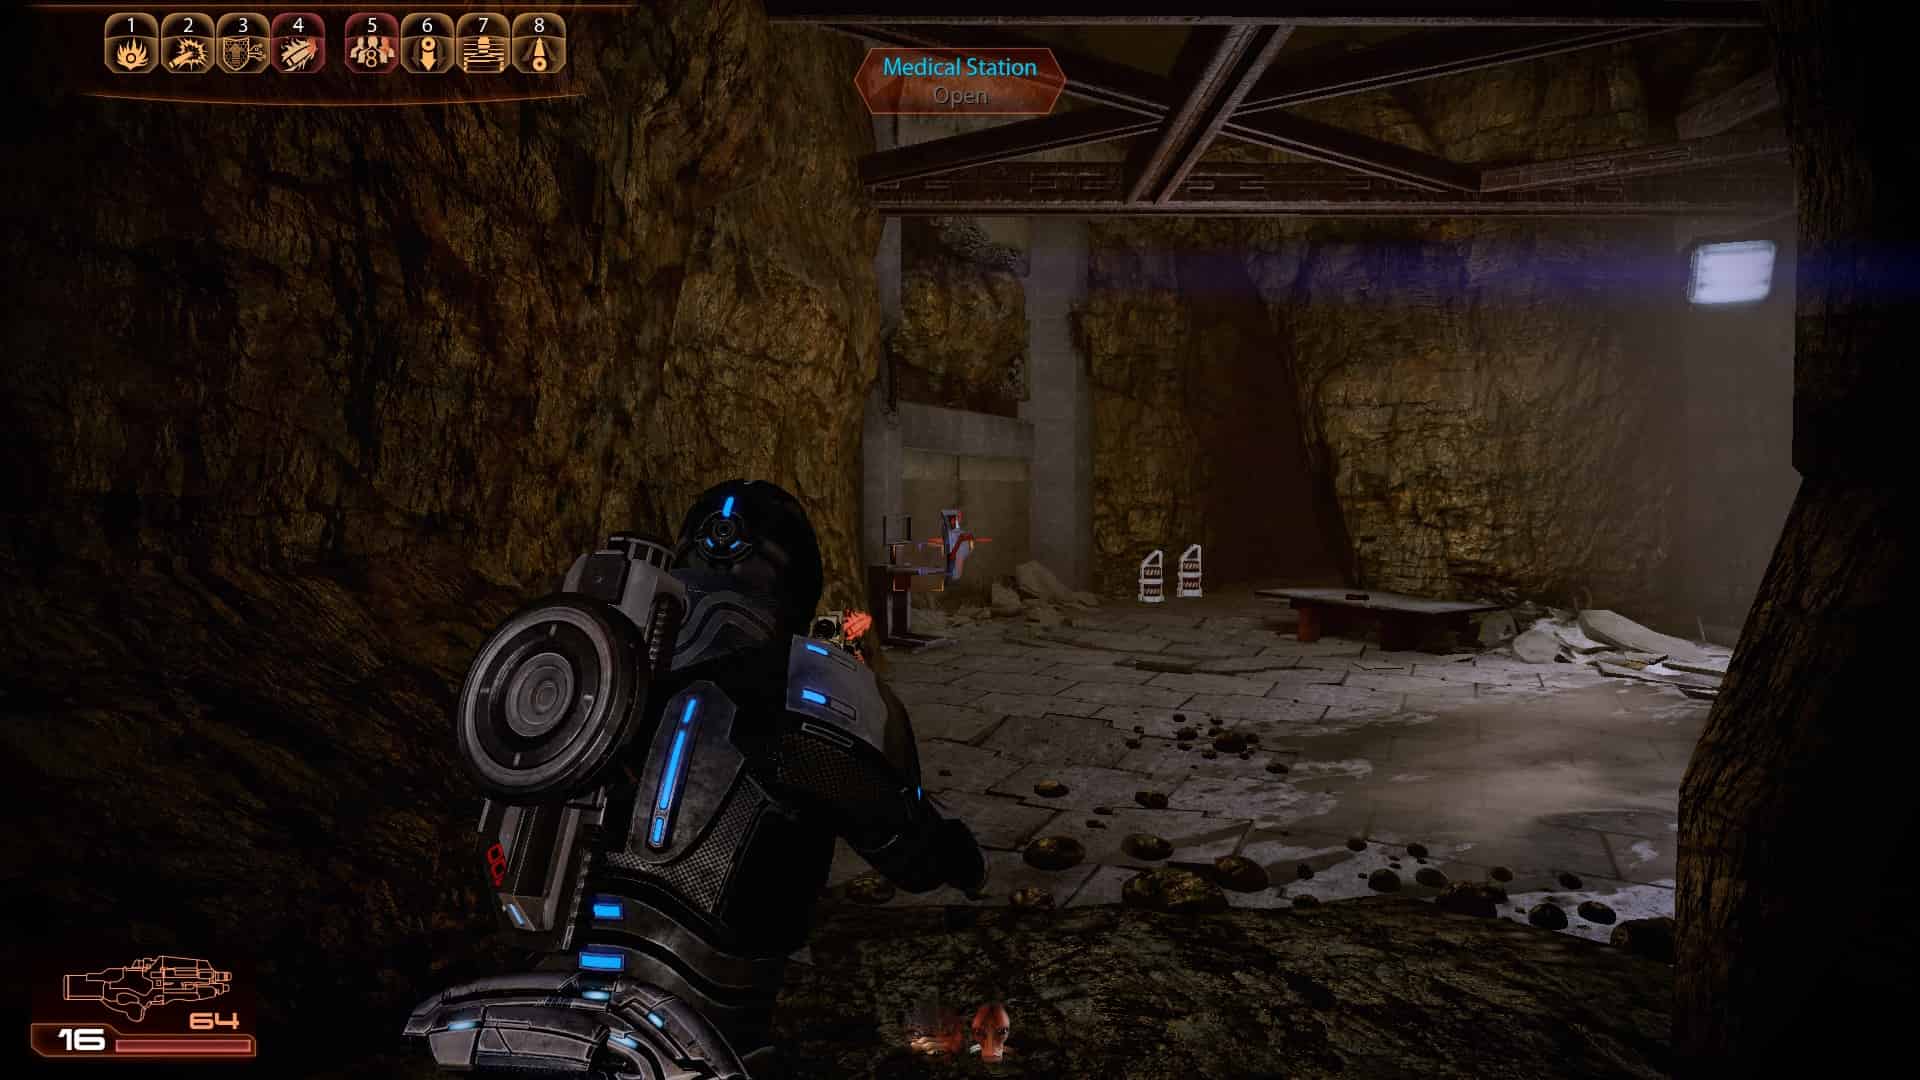
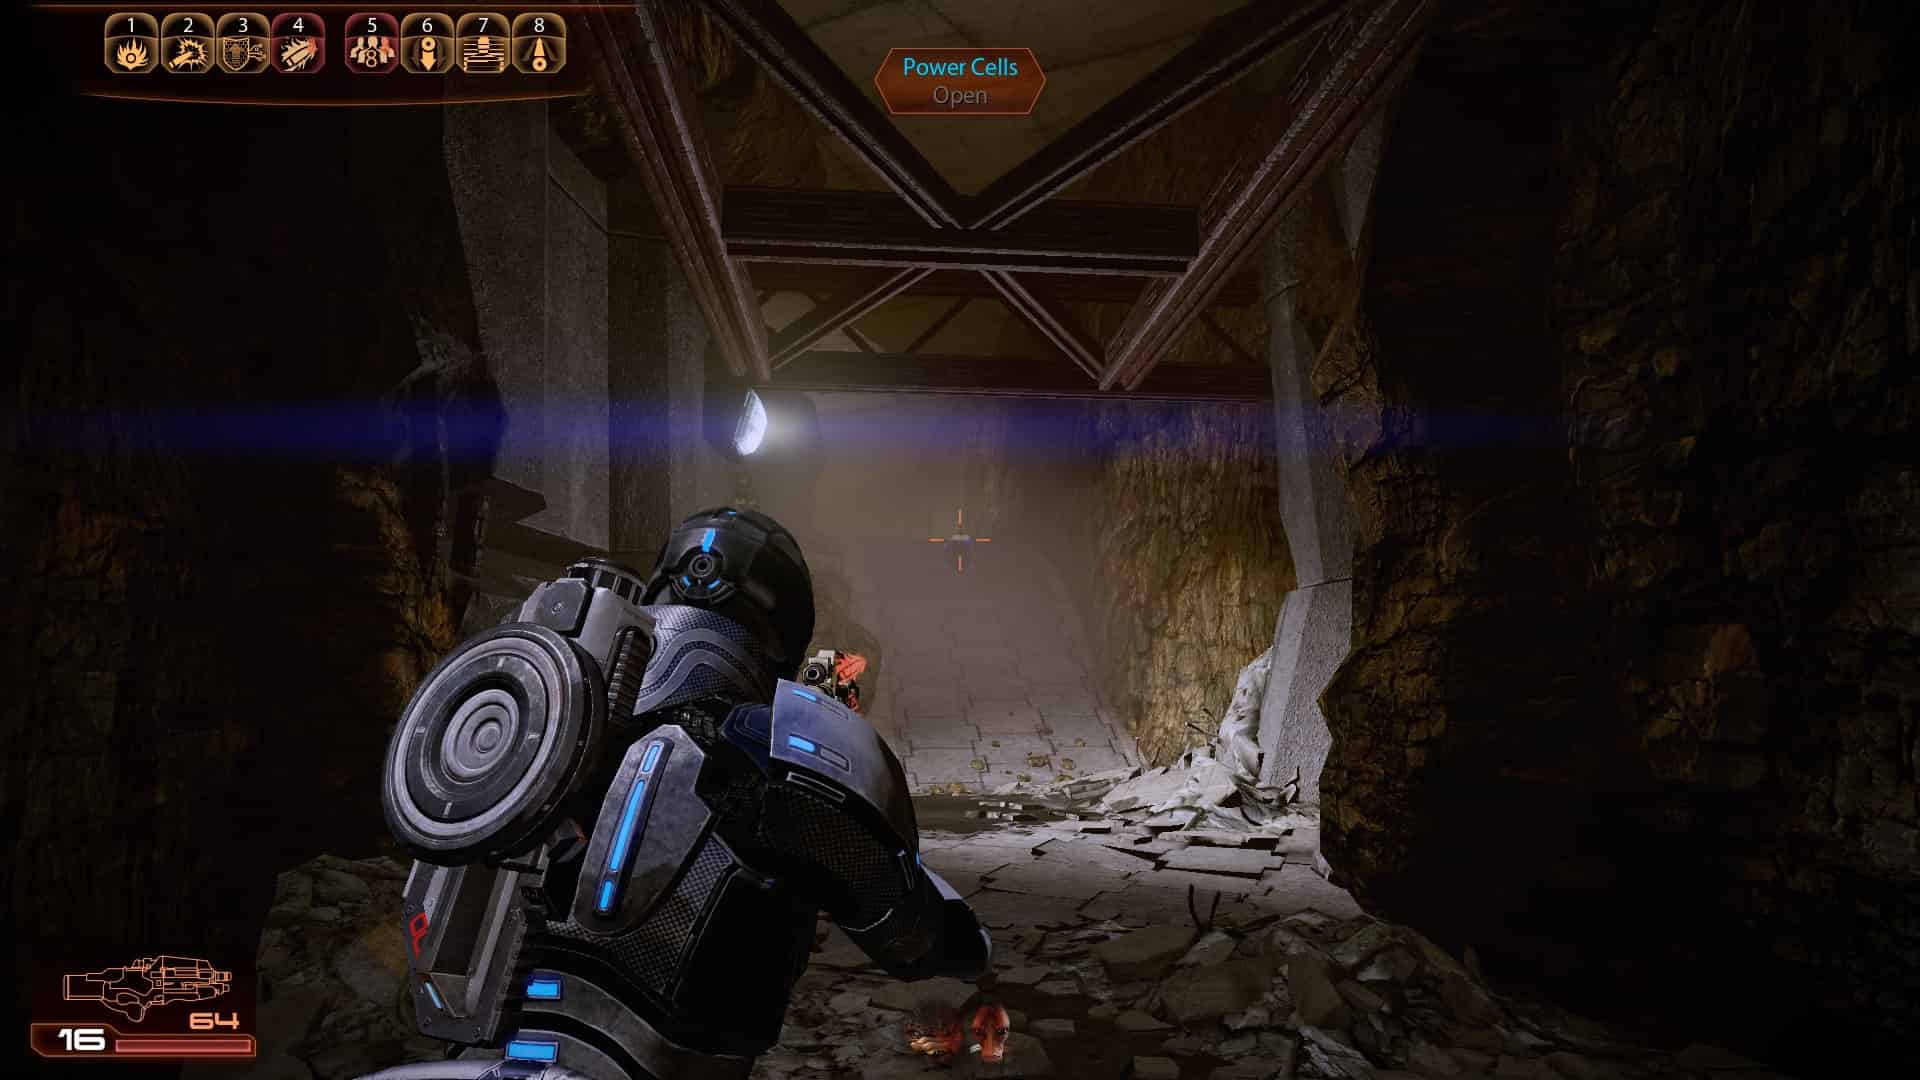


1
2
3
4
5
6
7
8
9
10
11
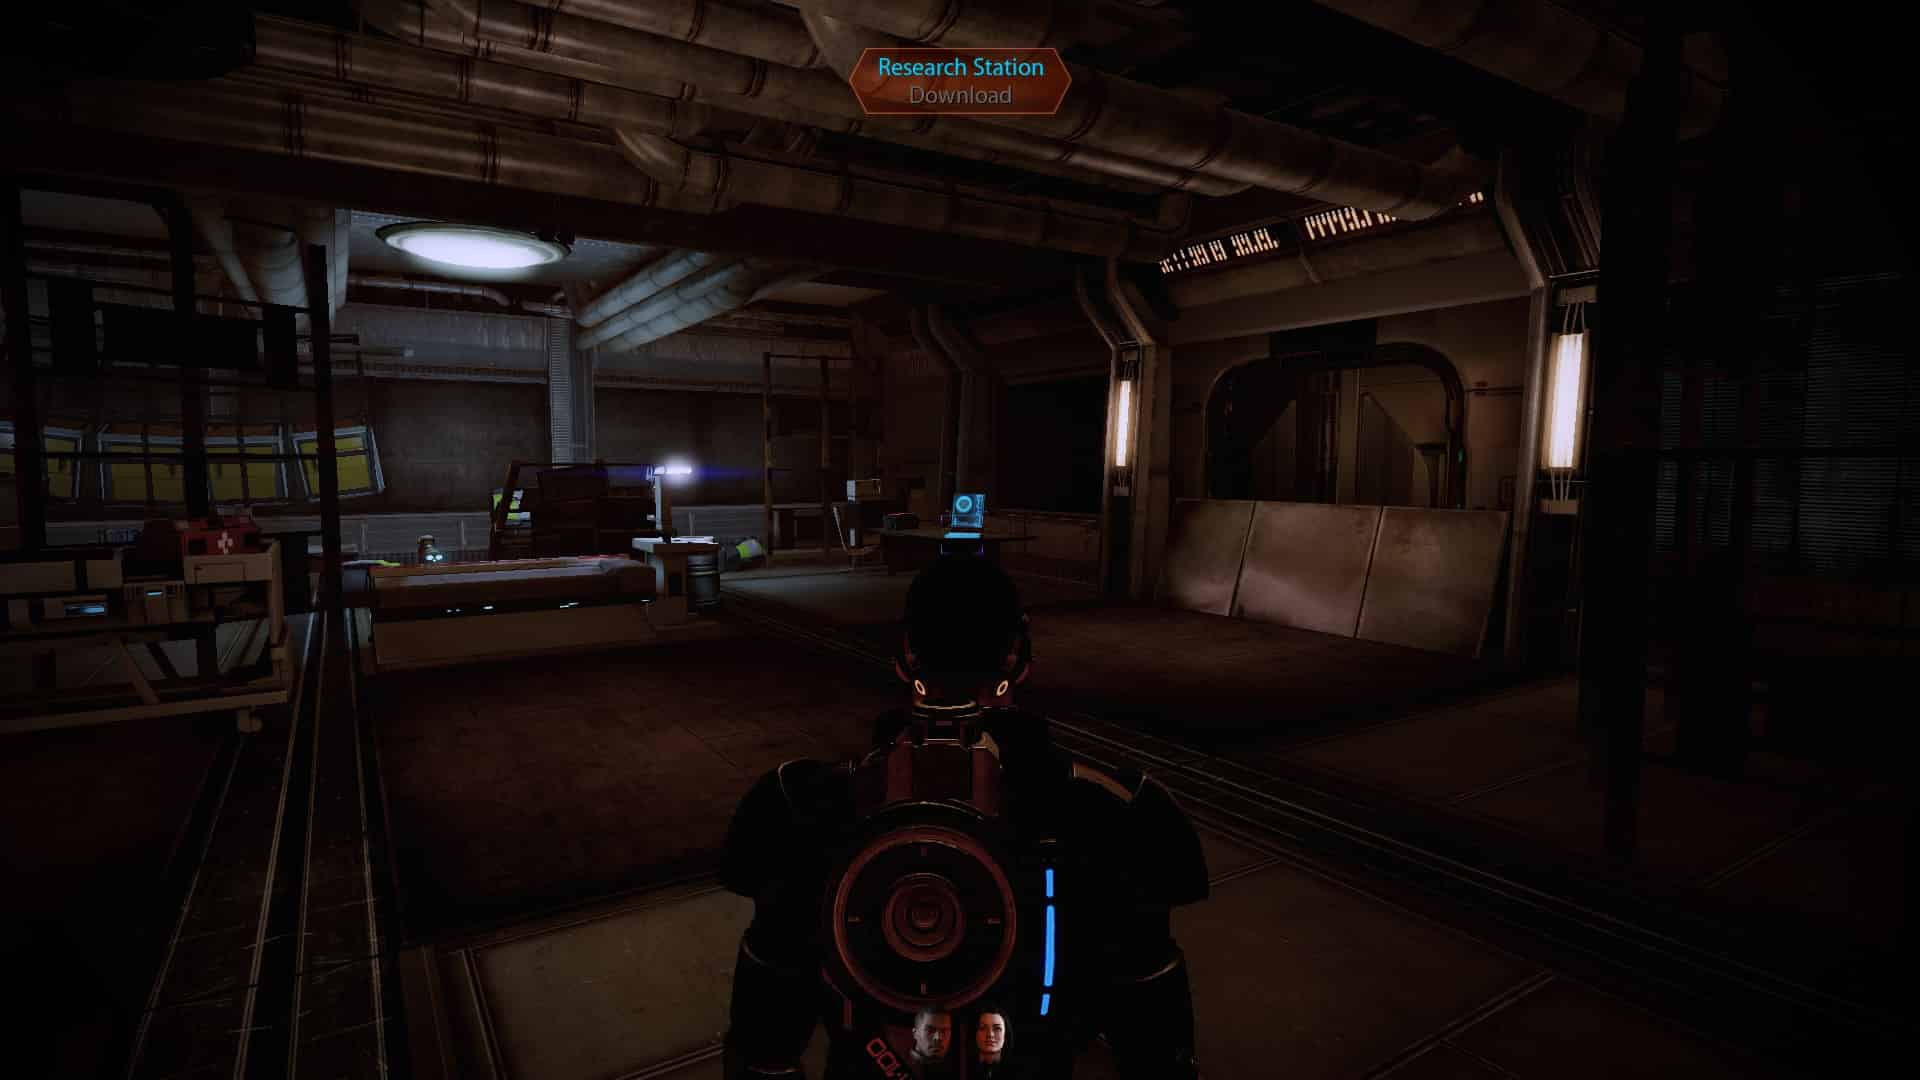
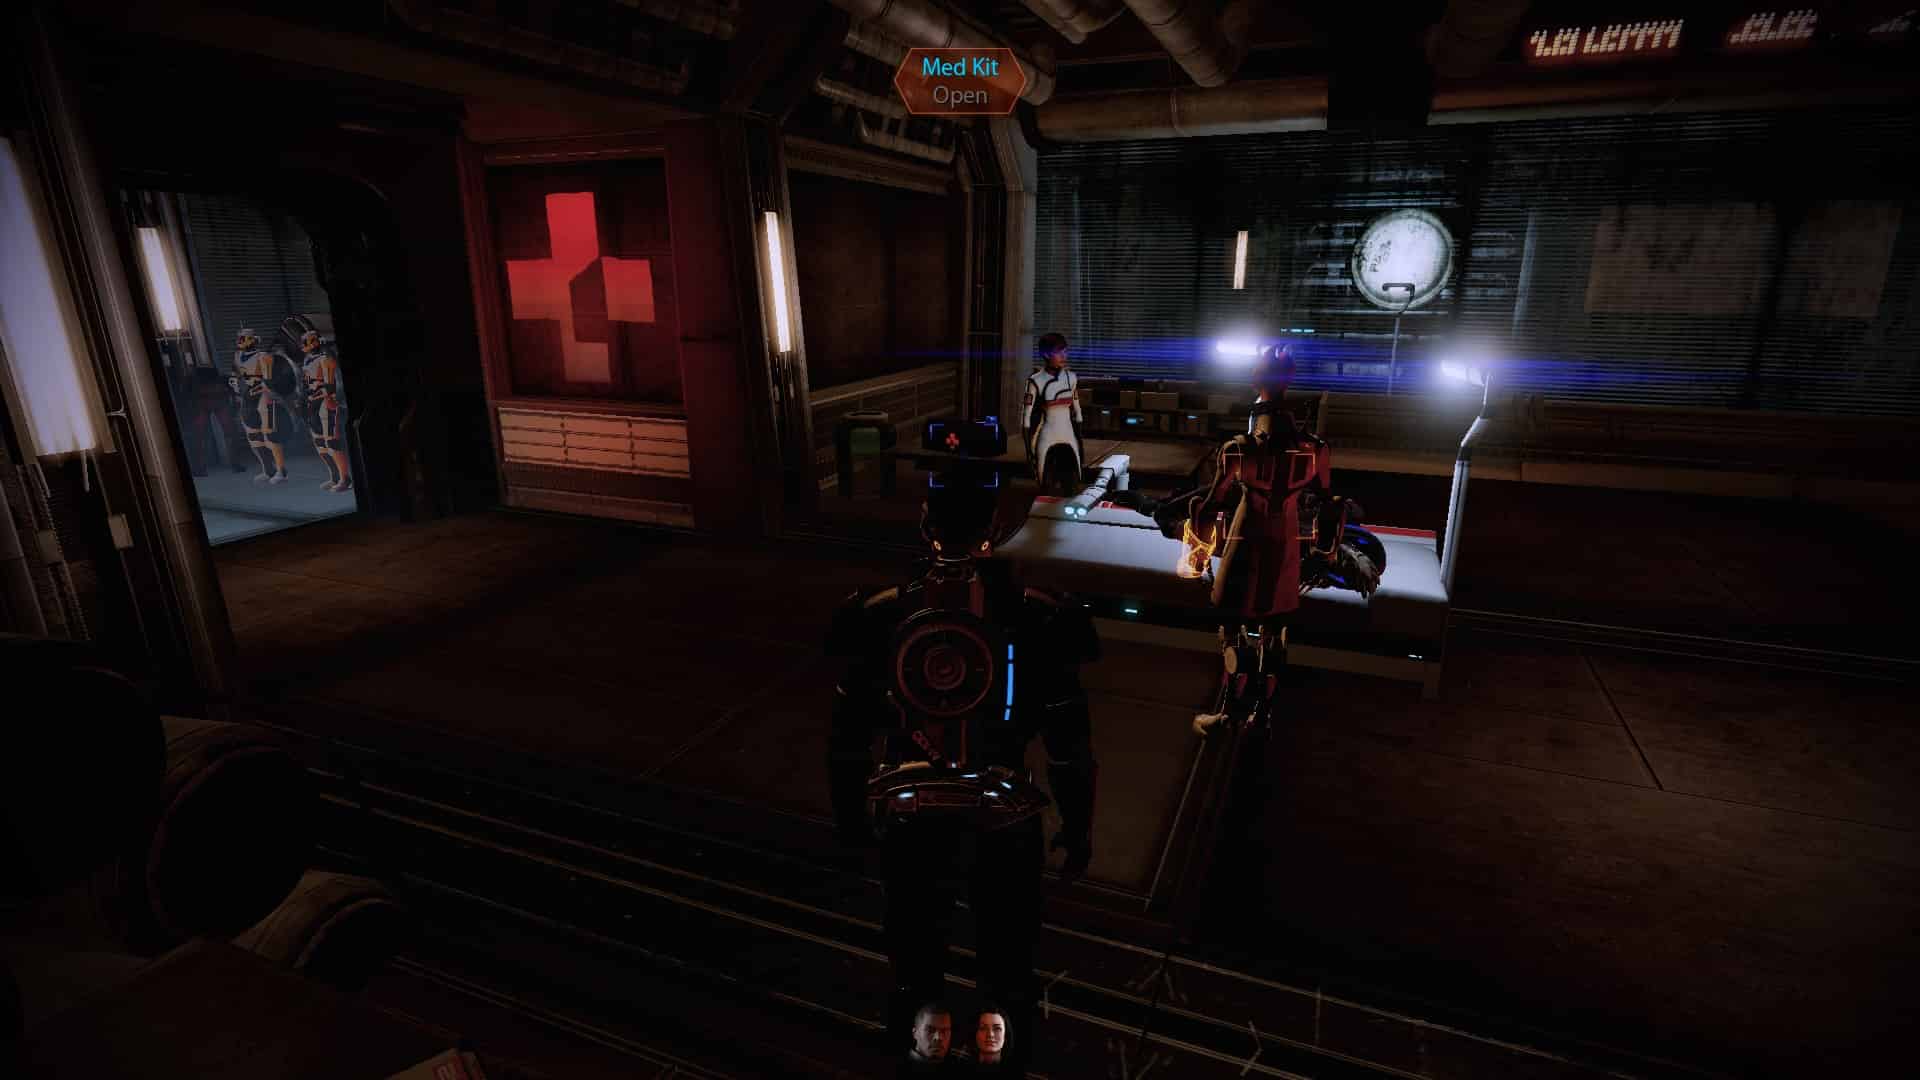
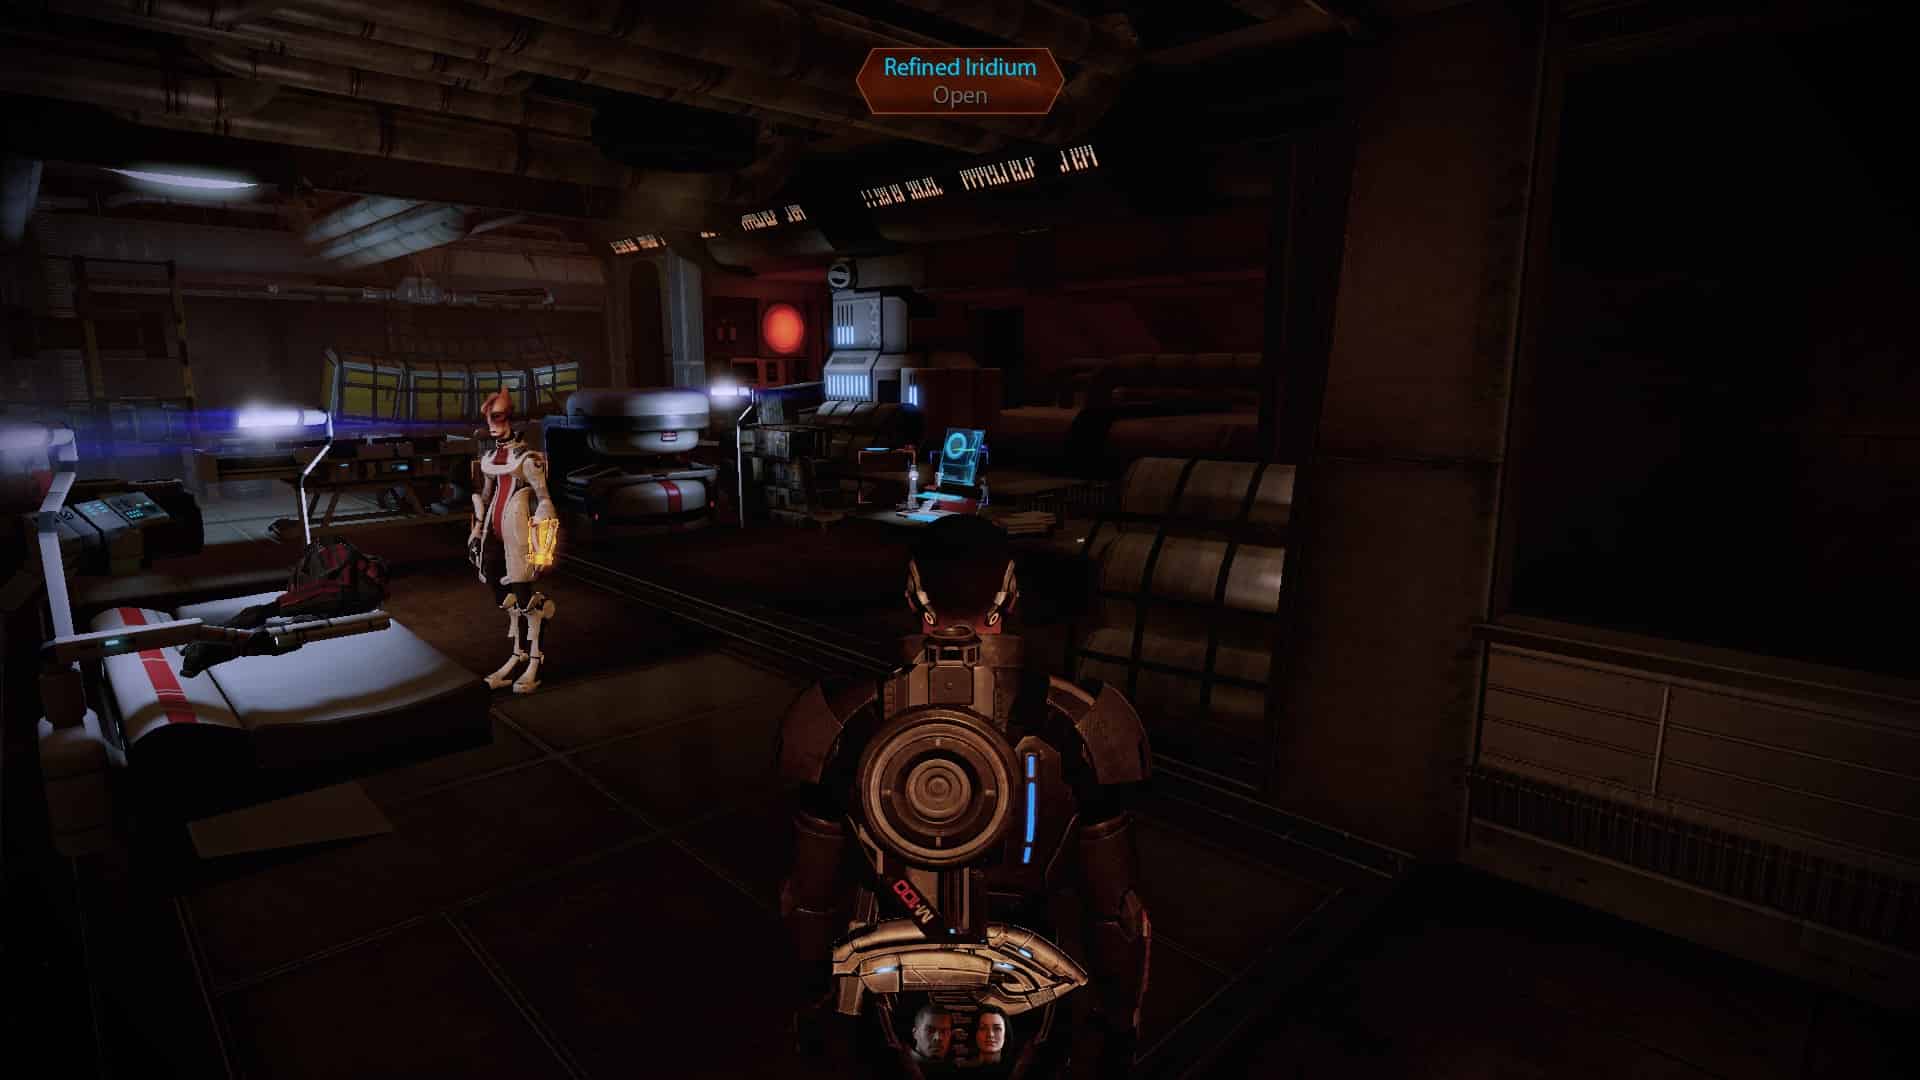
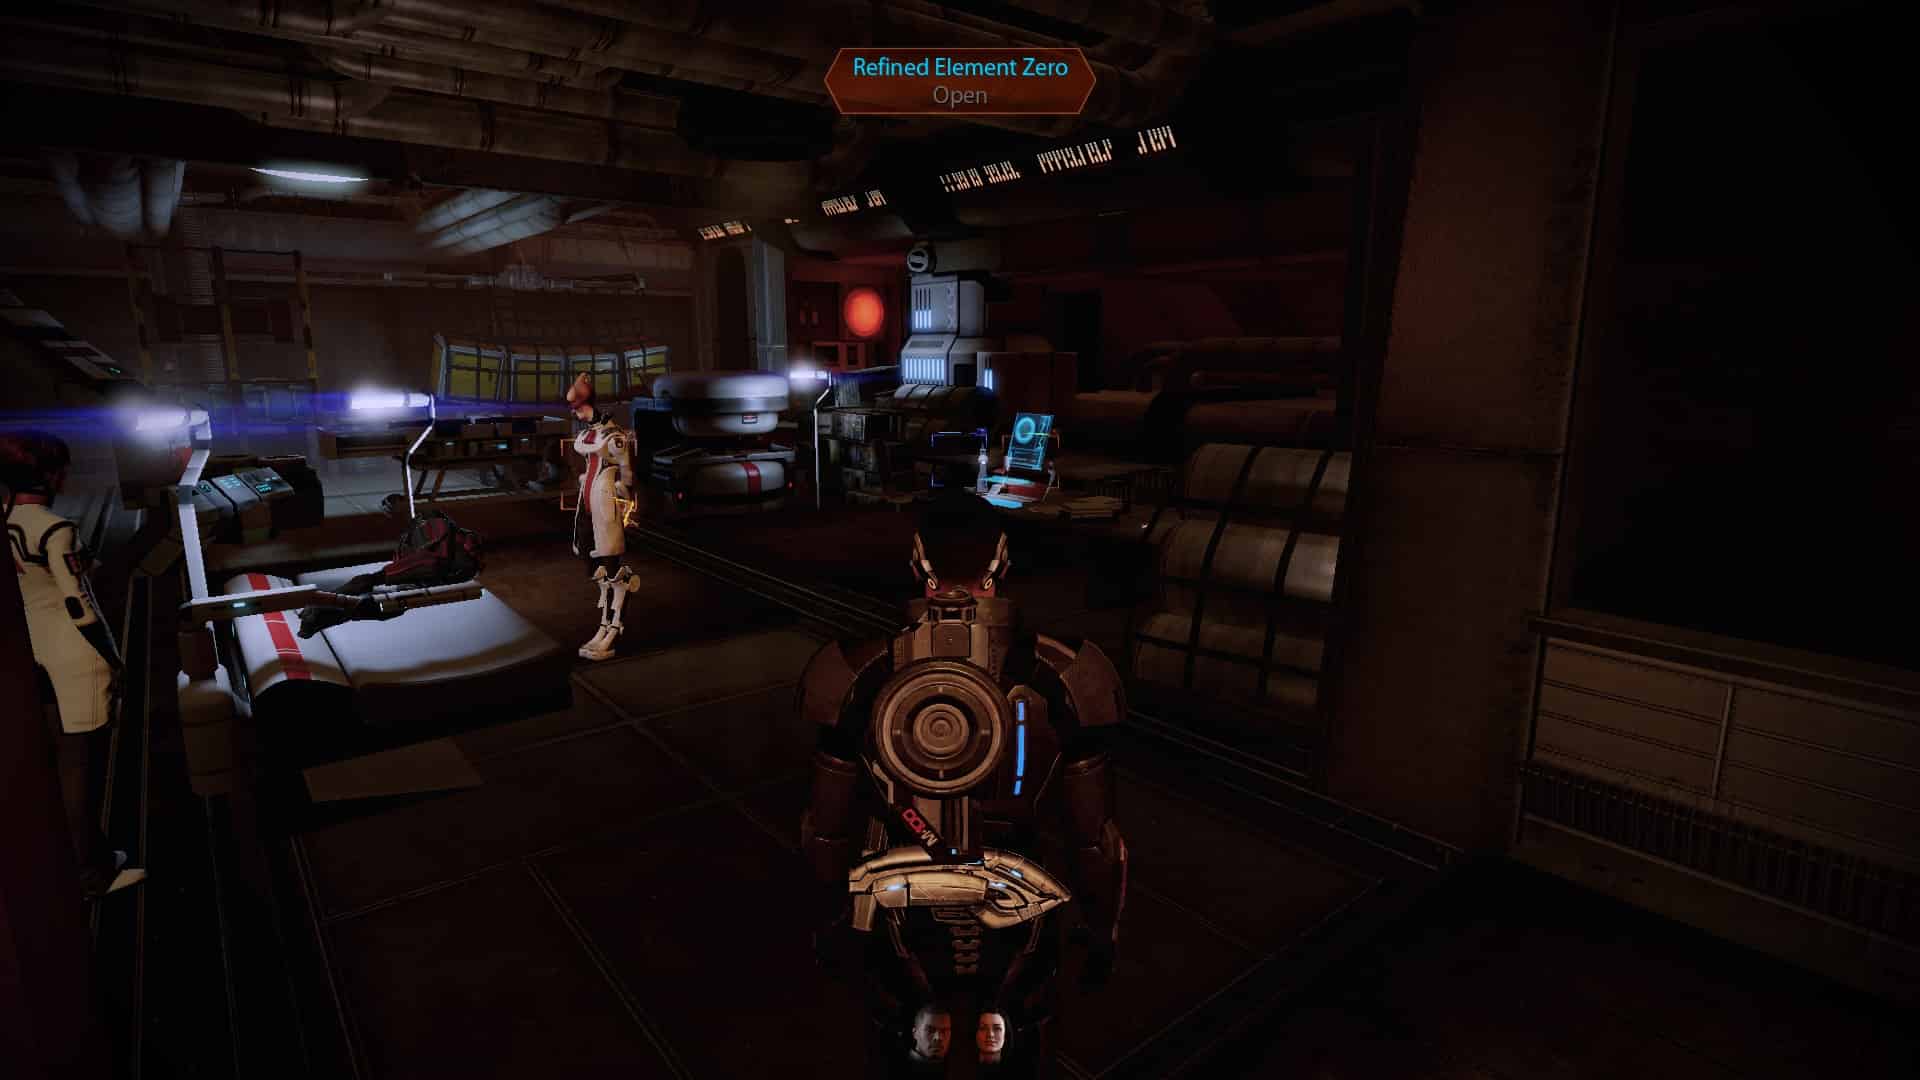
N7 Assignment: Abandoned Research Station

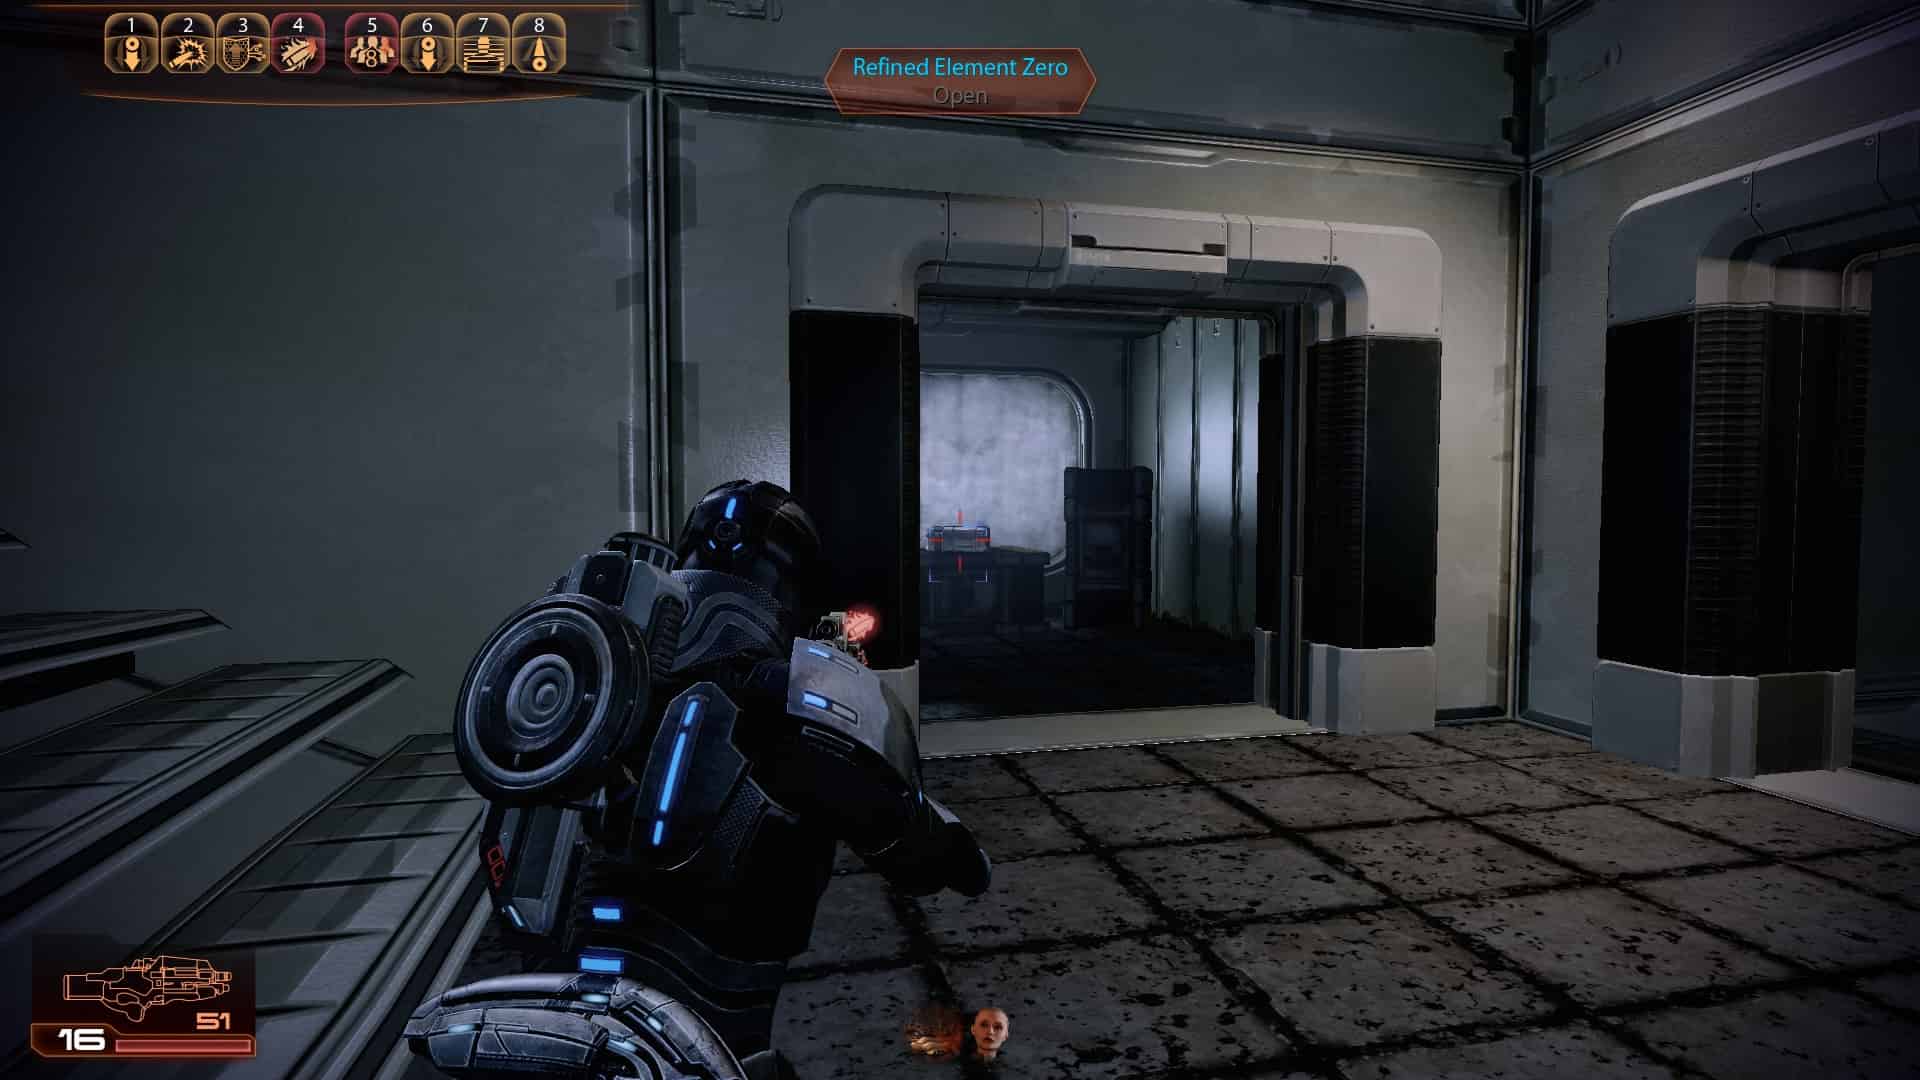
1
2
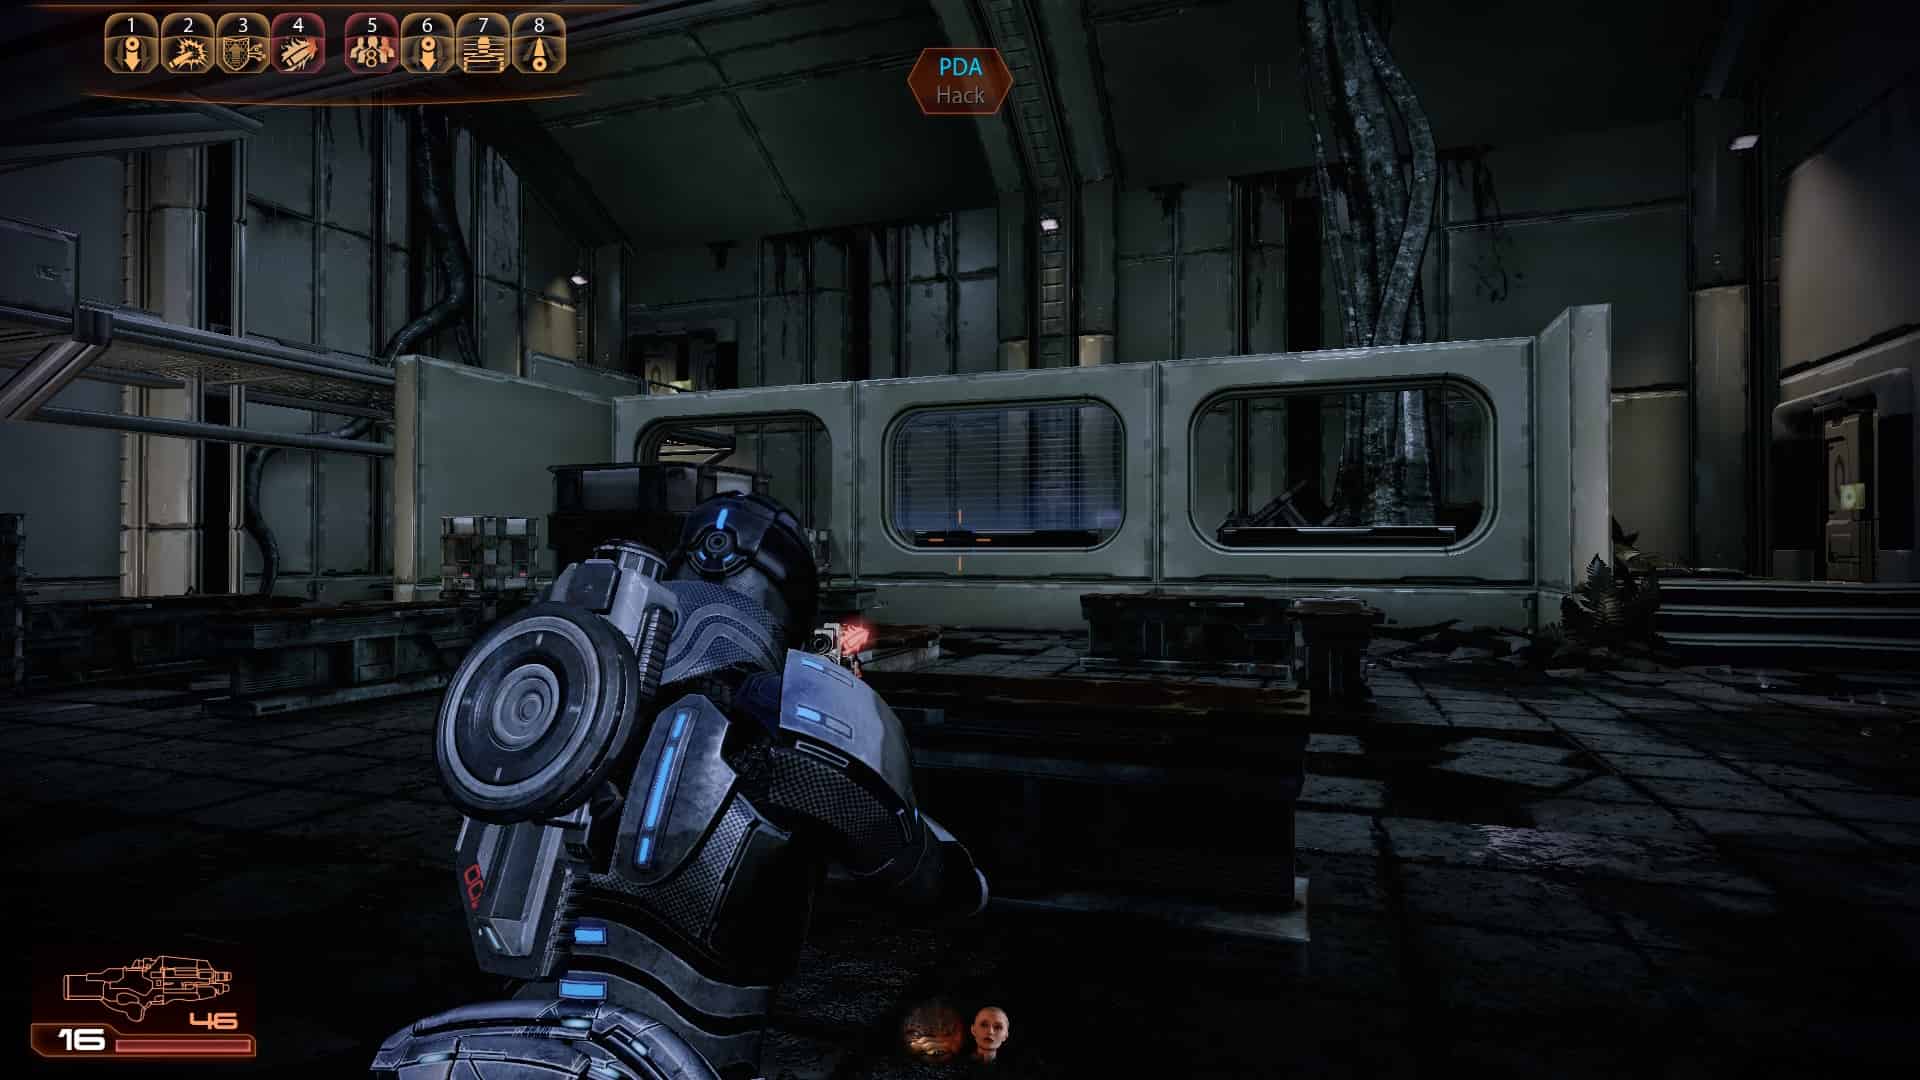
3 (Left door)
4 (Left door)
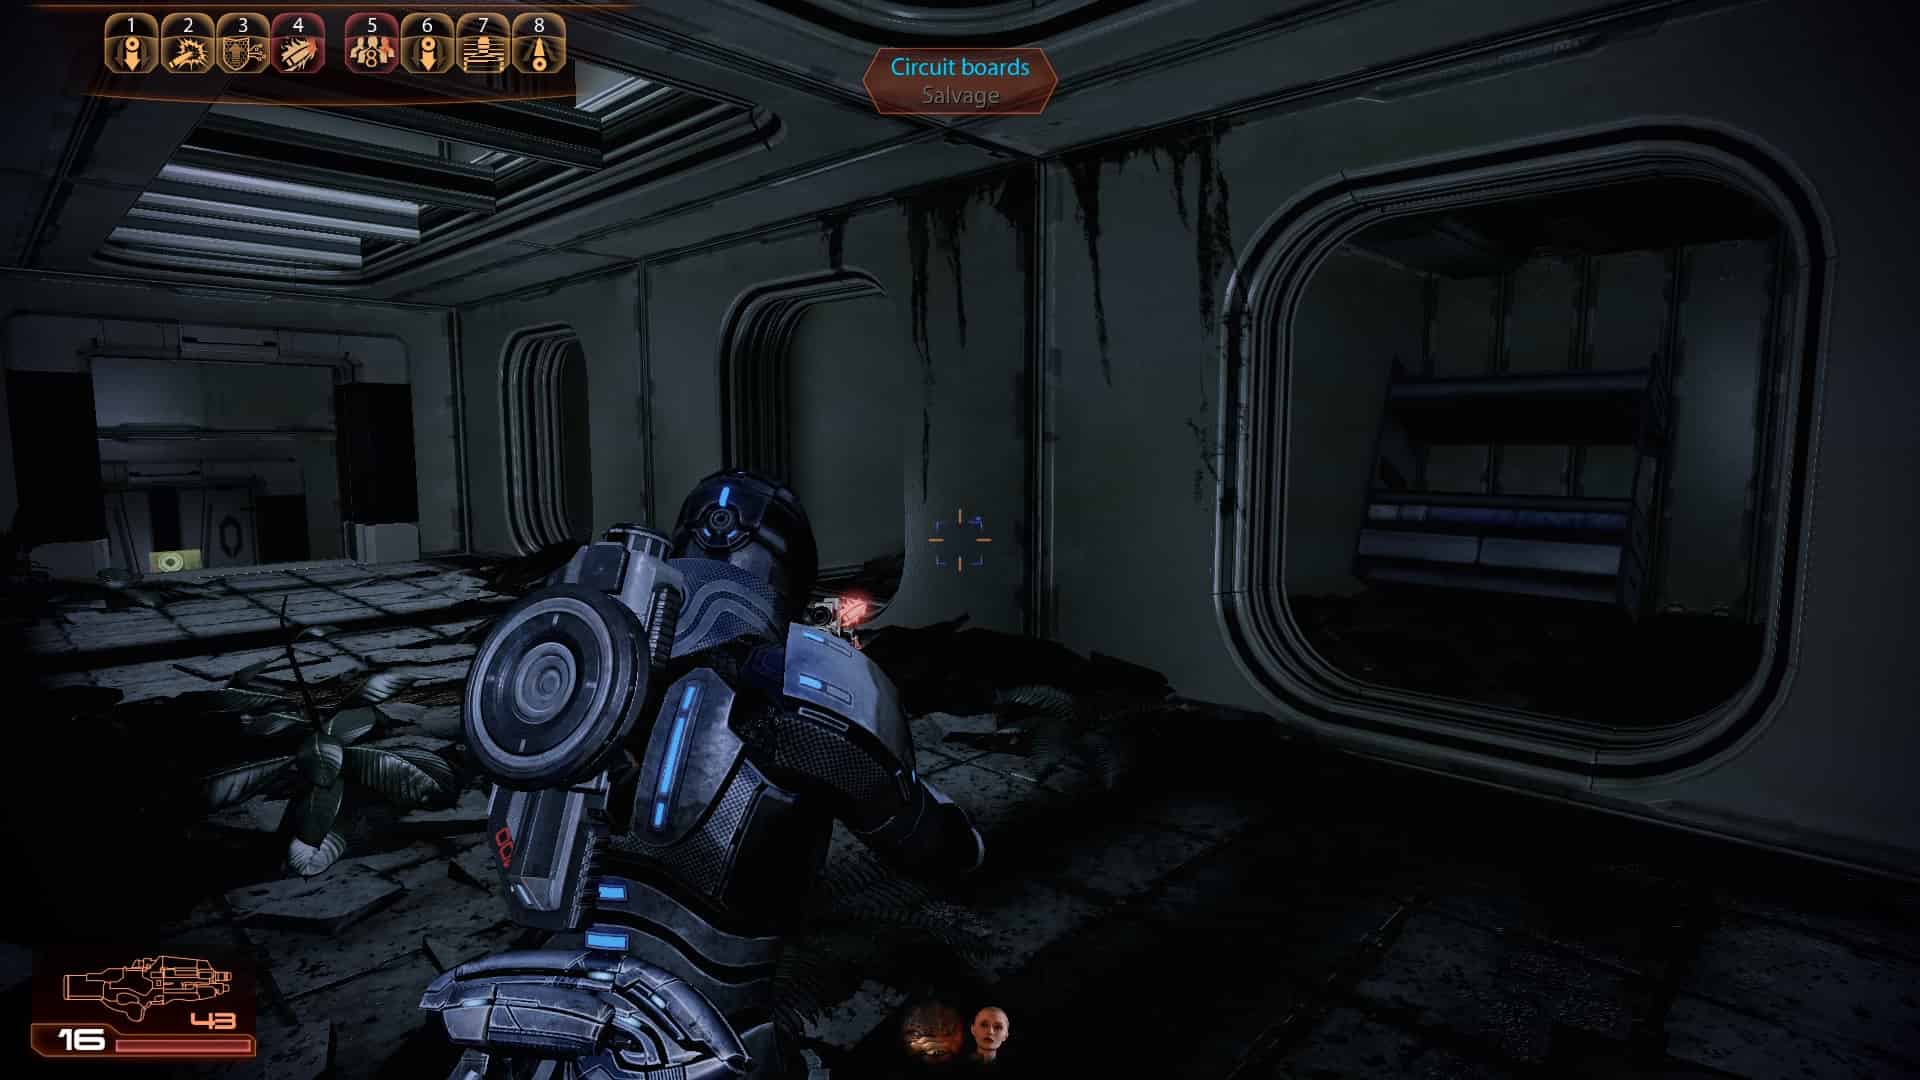
5 (Middle door)
6 (Middle door)
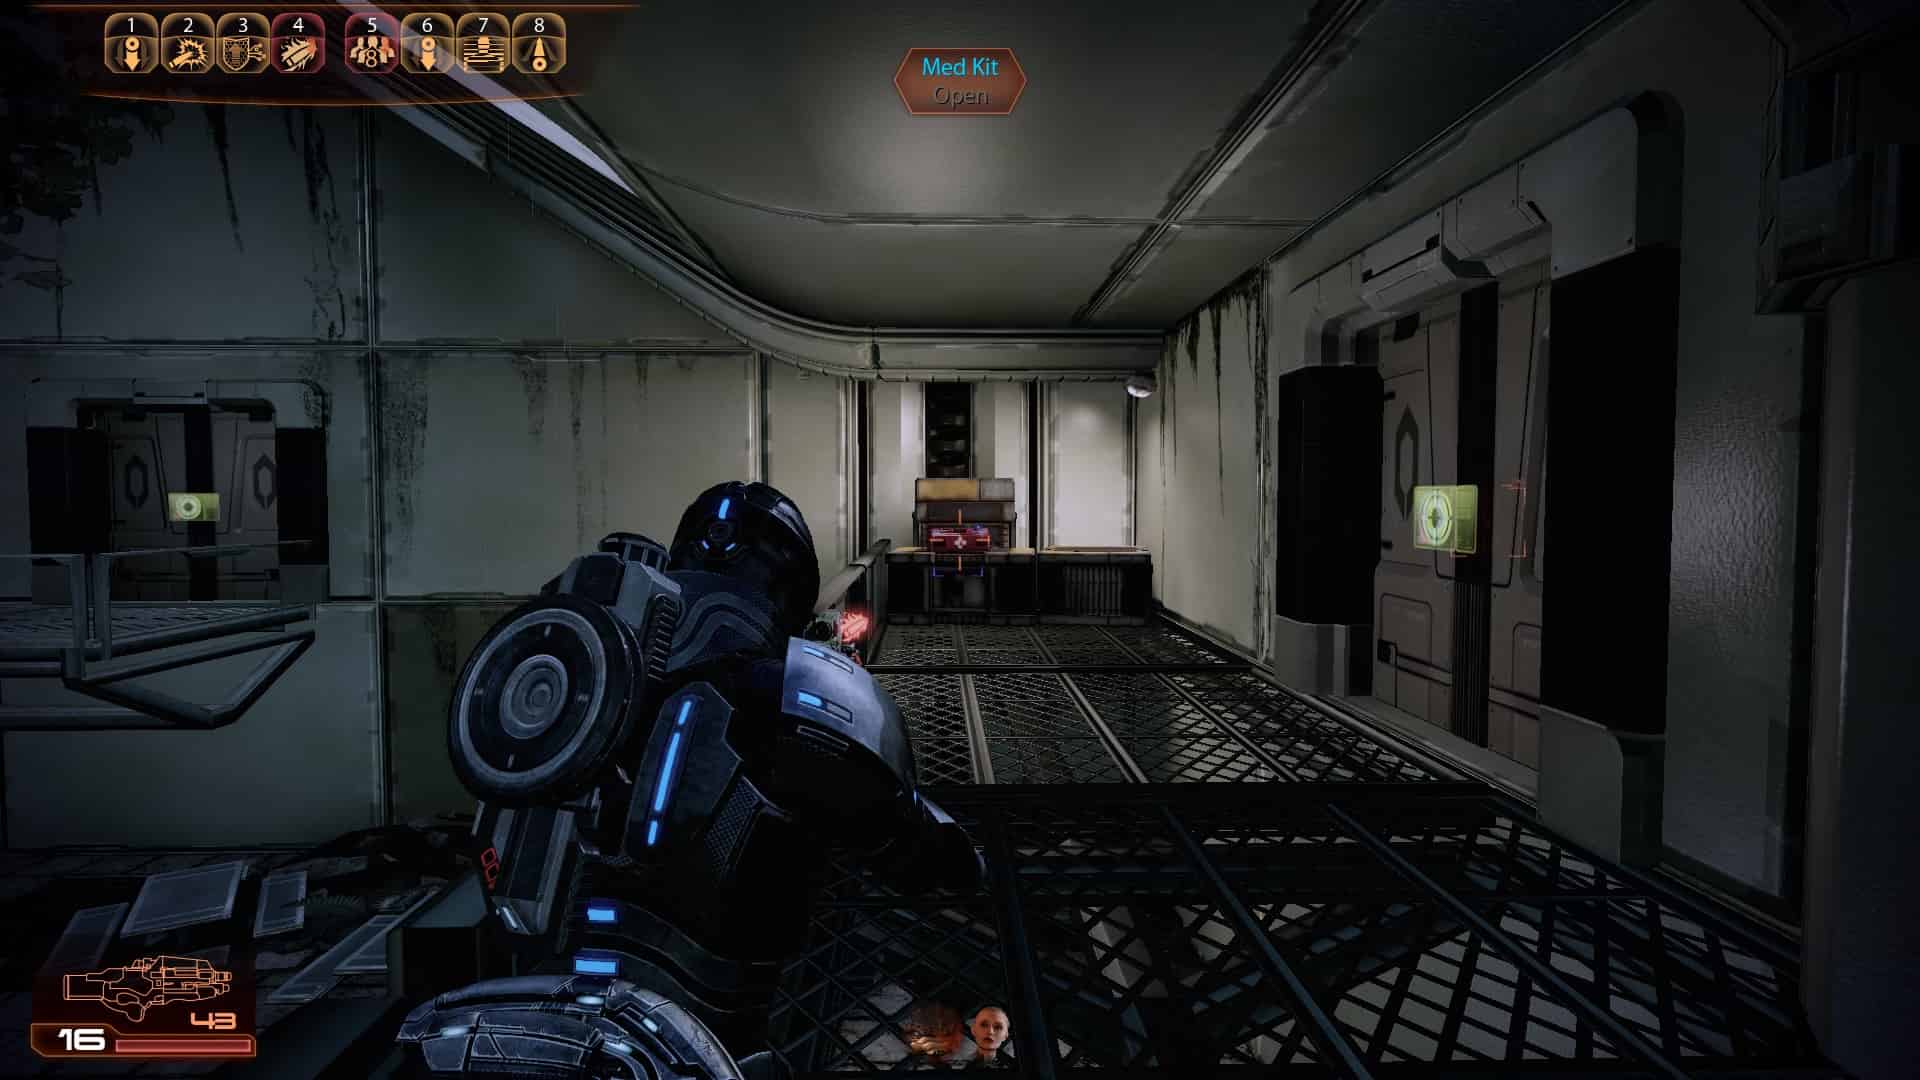
7 (Right door)
8 (Right door)
9 (Right door)
10 (Right door)
N7 Assignment: Anomalous Weather Detected

1 (Straight ahead, and a little to the right)
2 (From the shuttle, go left, up the hill)
3 (A bit further ahead)
4 (When you see a ramp going up, go left instead)
5 (Now go up the ramp. Stick to the left and make a sharp left turn when you can)
6 (Heading towards the thing in the background, to the right)
7 (Move forward and look right)
8 (Back up a few steps and go left)
9 (Down the small hill, to the right)
10 (Back and left)
11 (Go around the wall from the left)
12 (Once you reach the device but before activating it, look back)
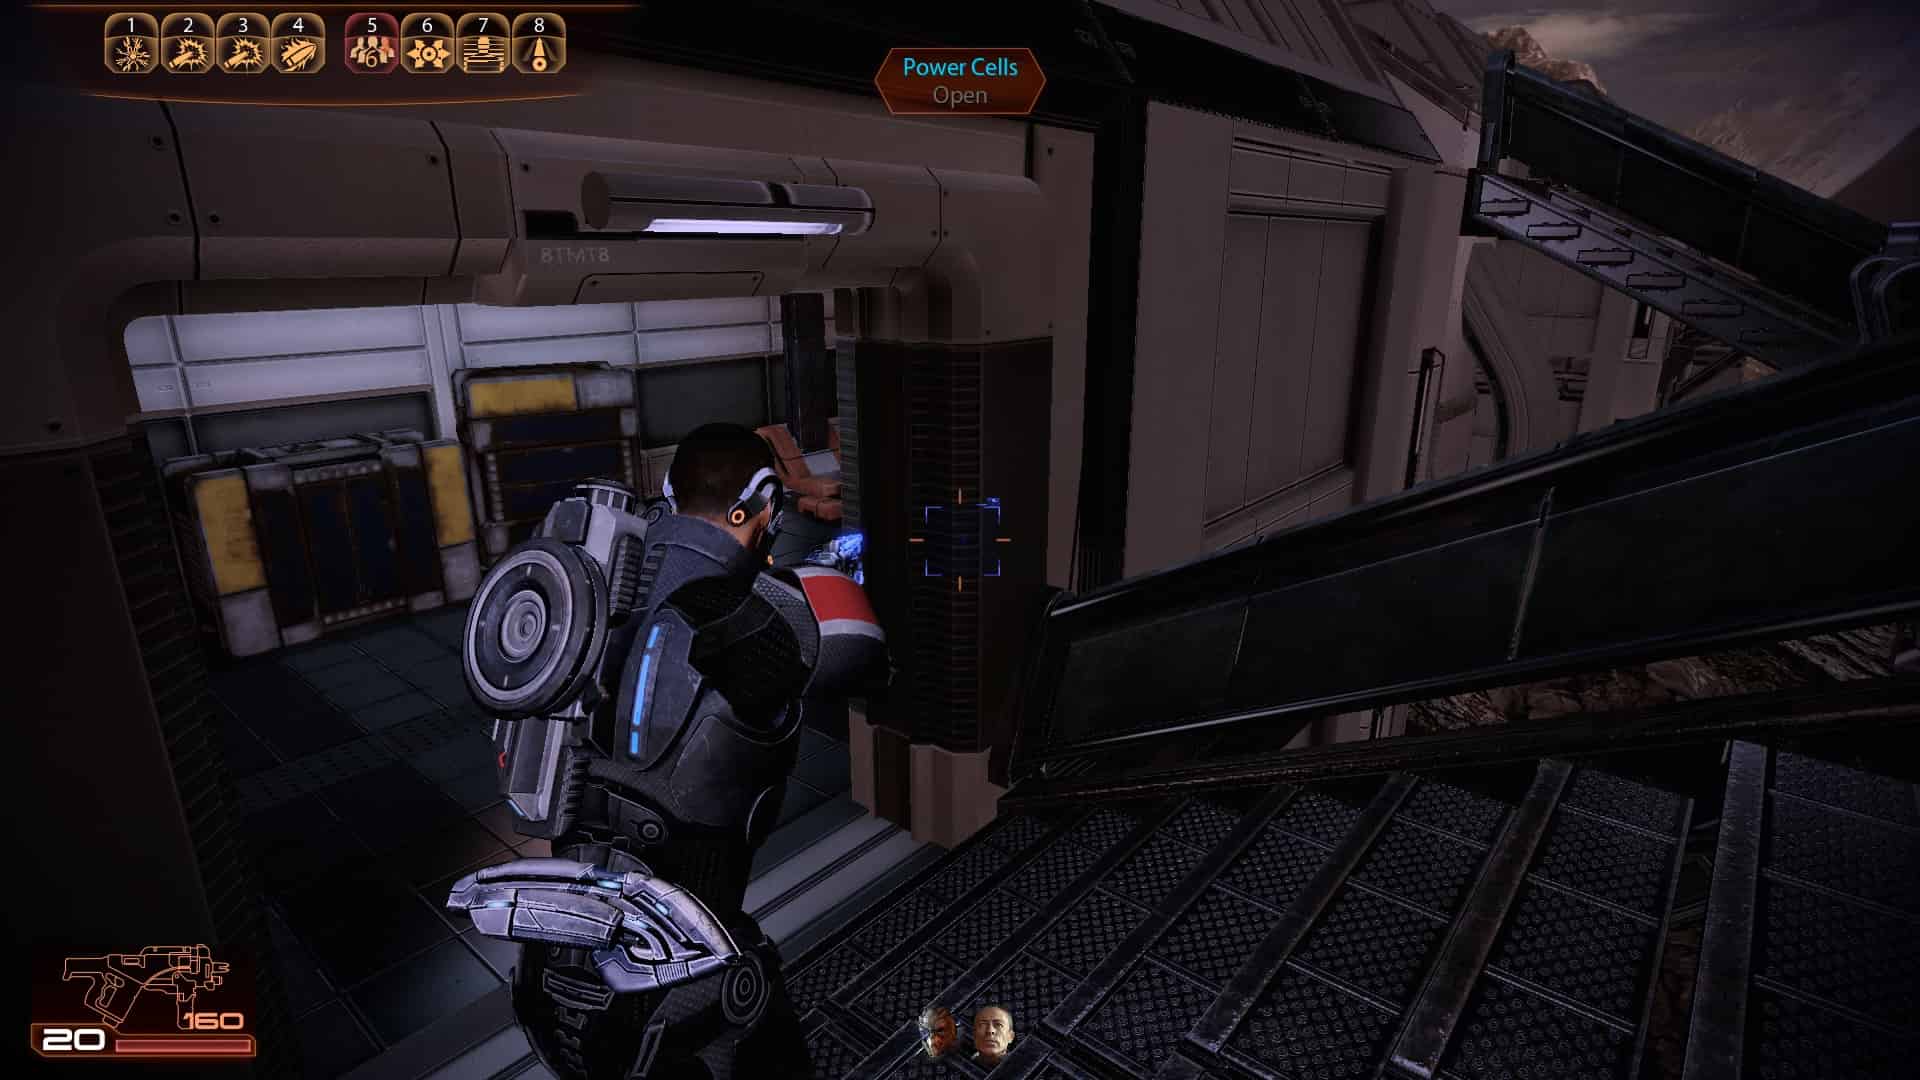
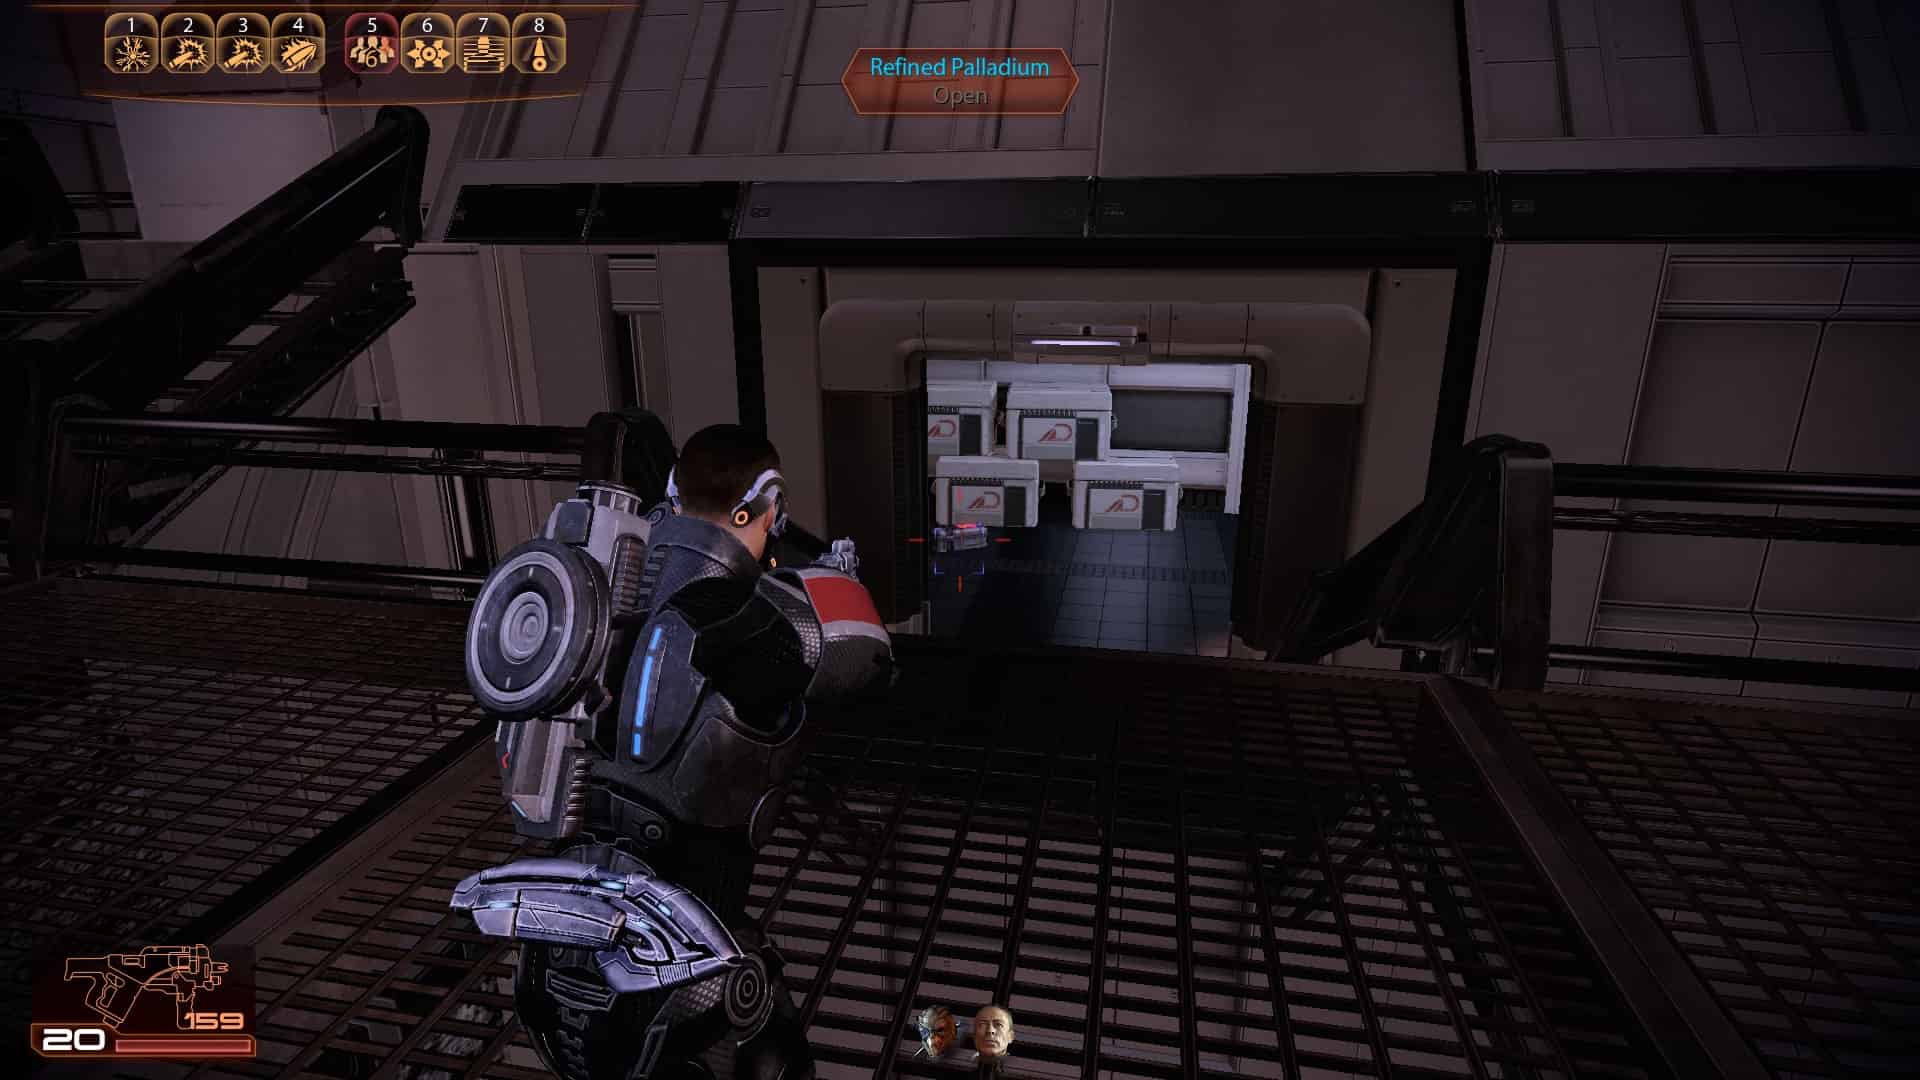
You get a Damage Protection Upgrade and 3750 Credits Found upon completion
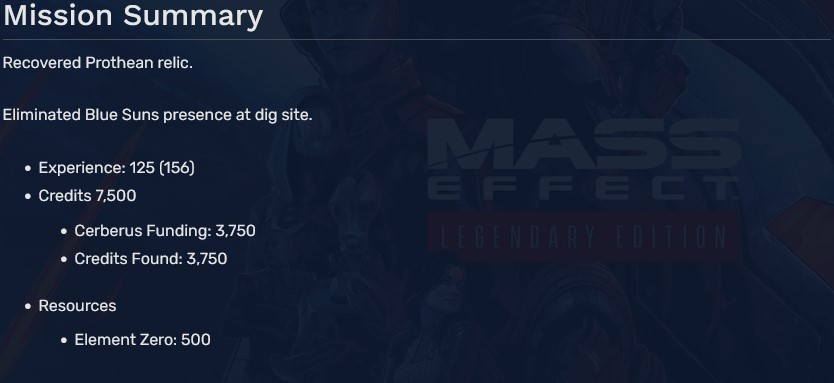
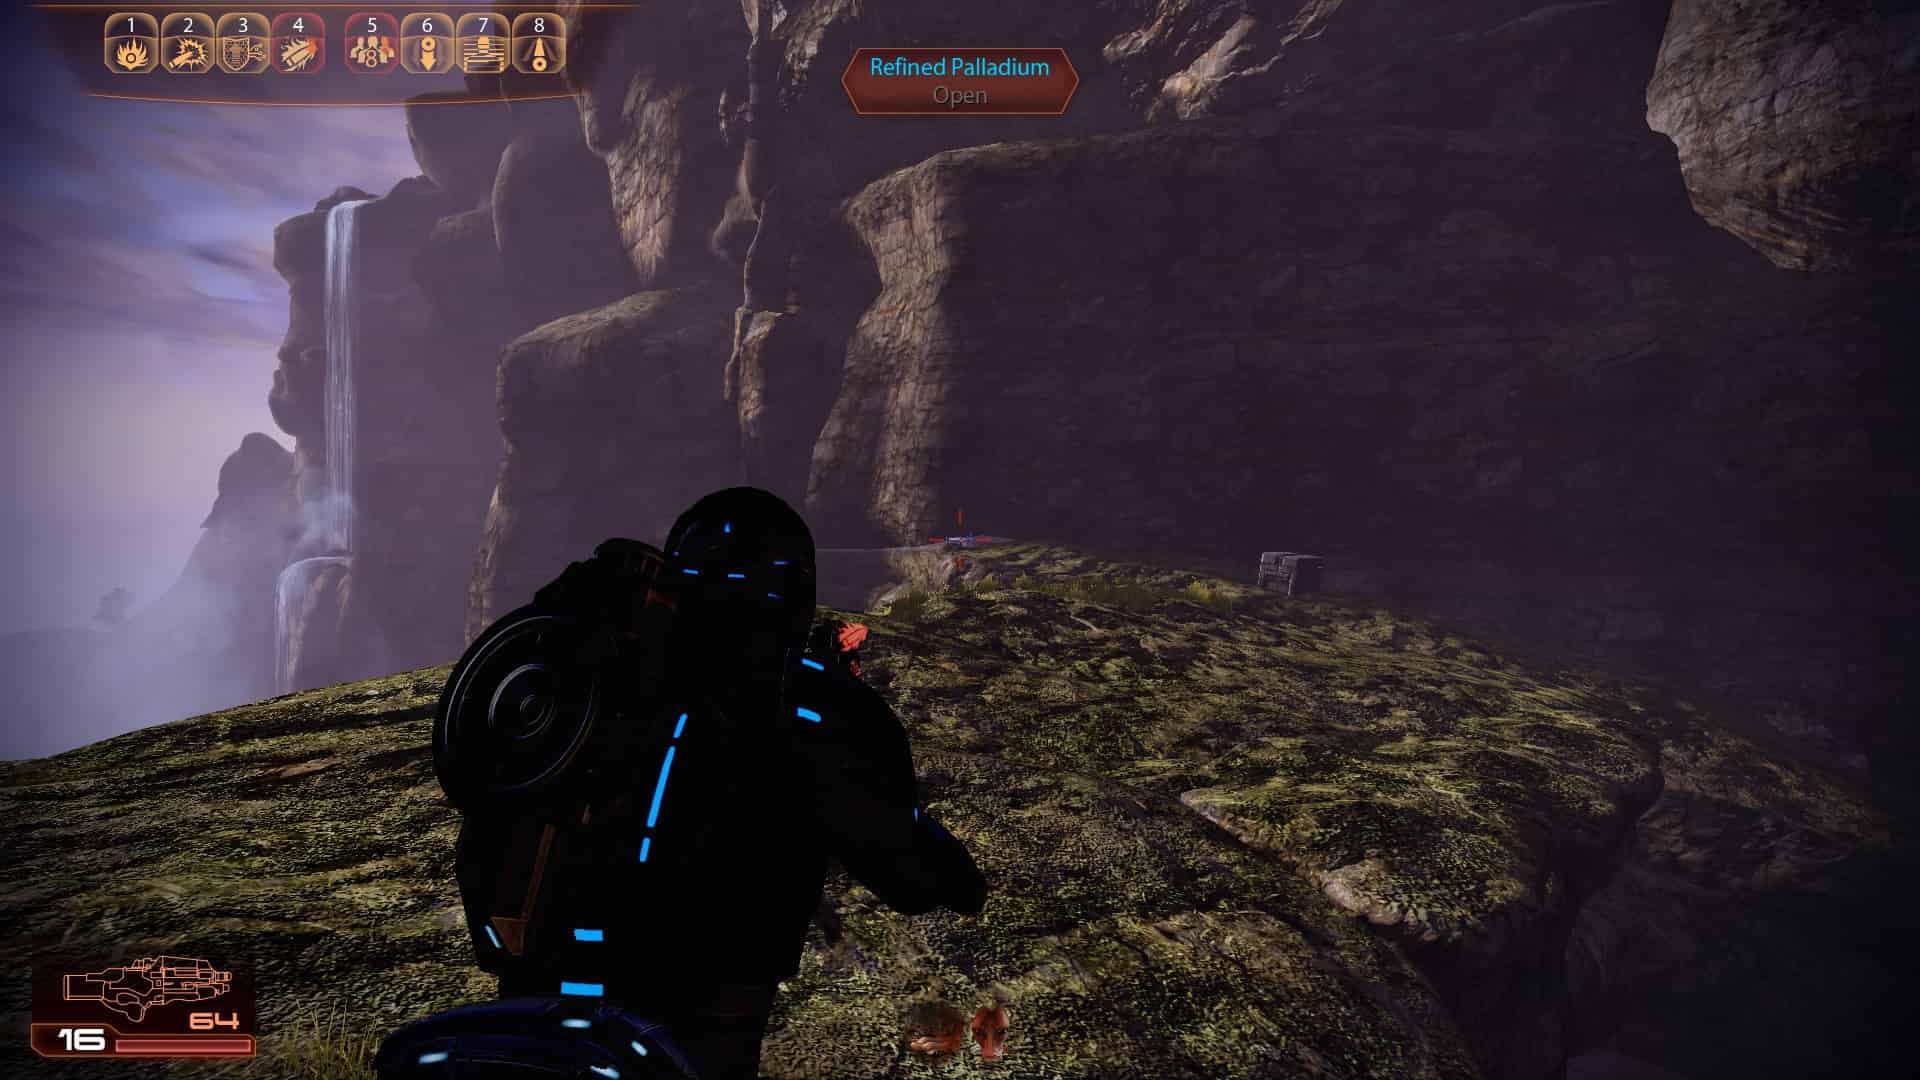
N7 Assignment: Archeological Dig Site
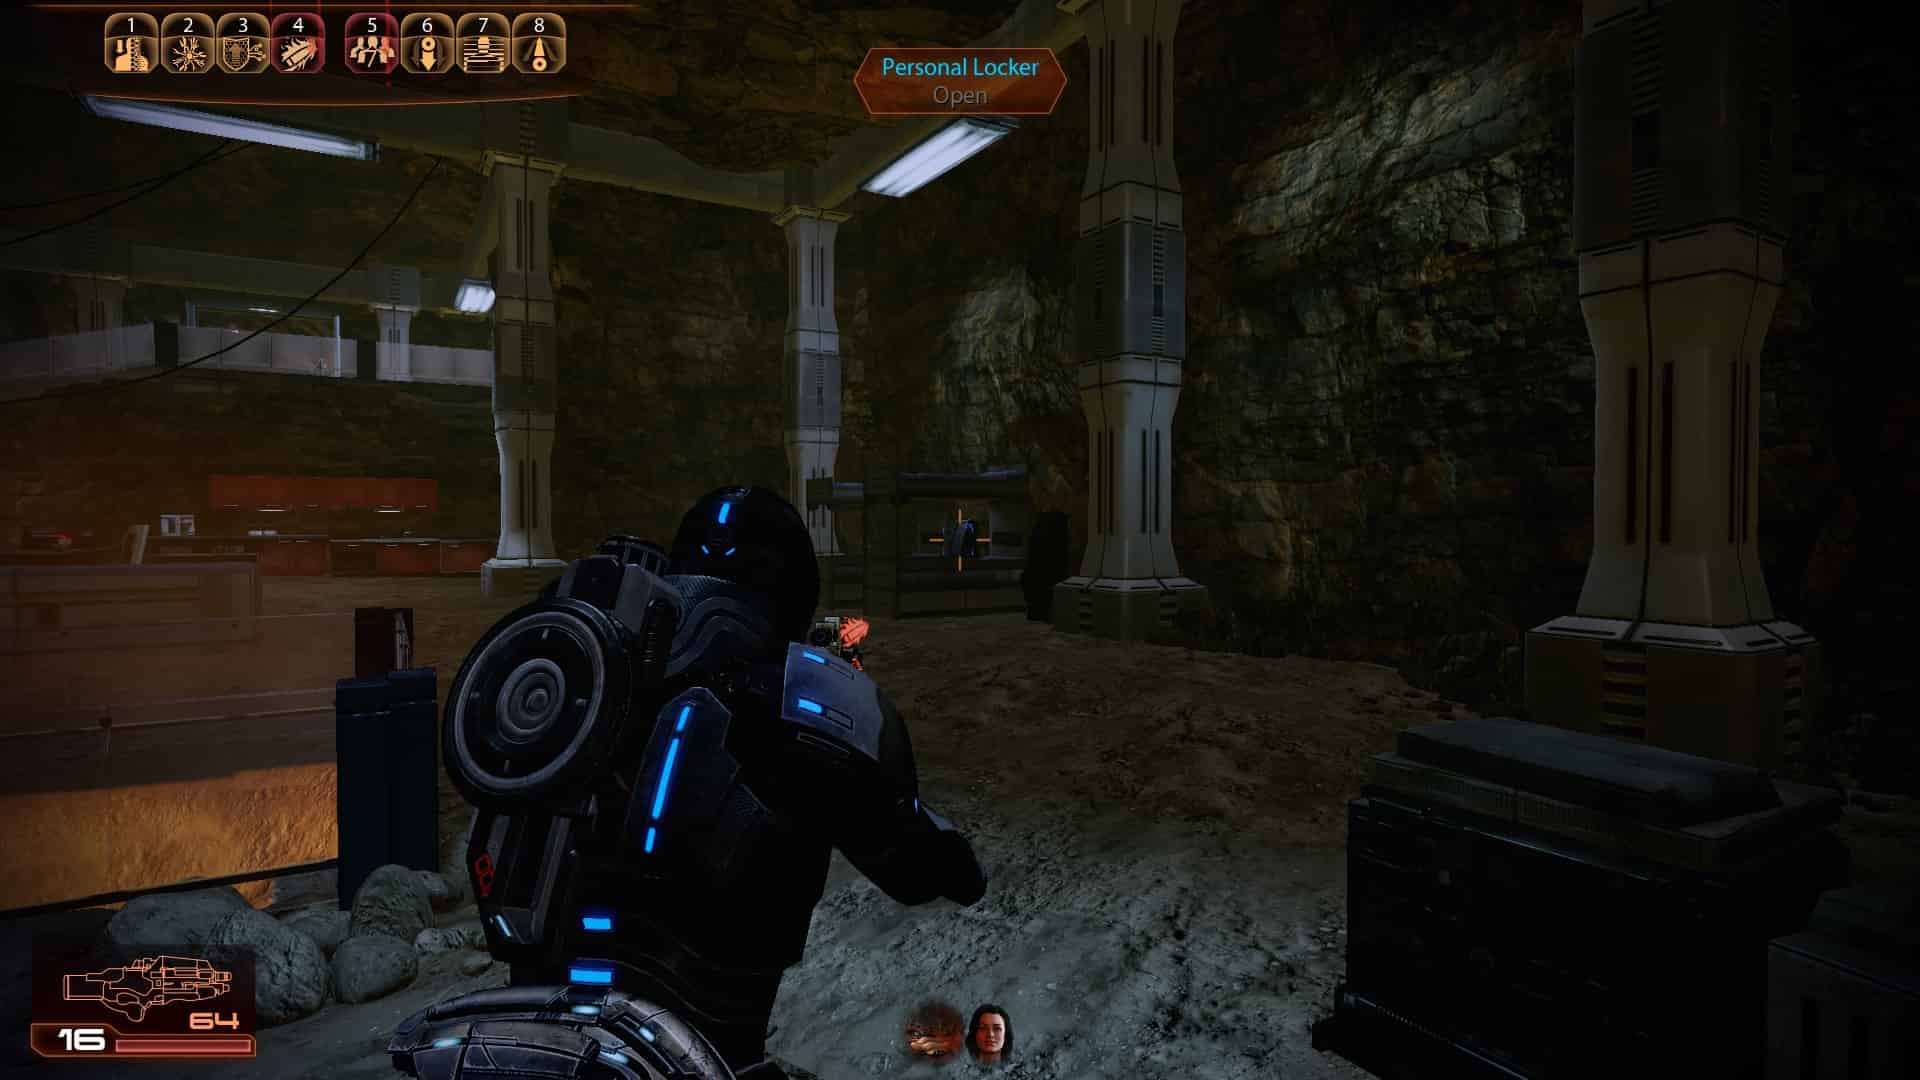
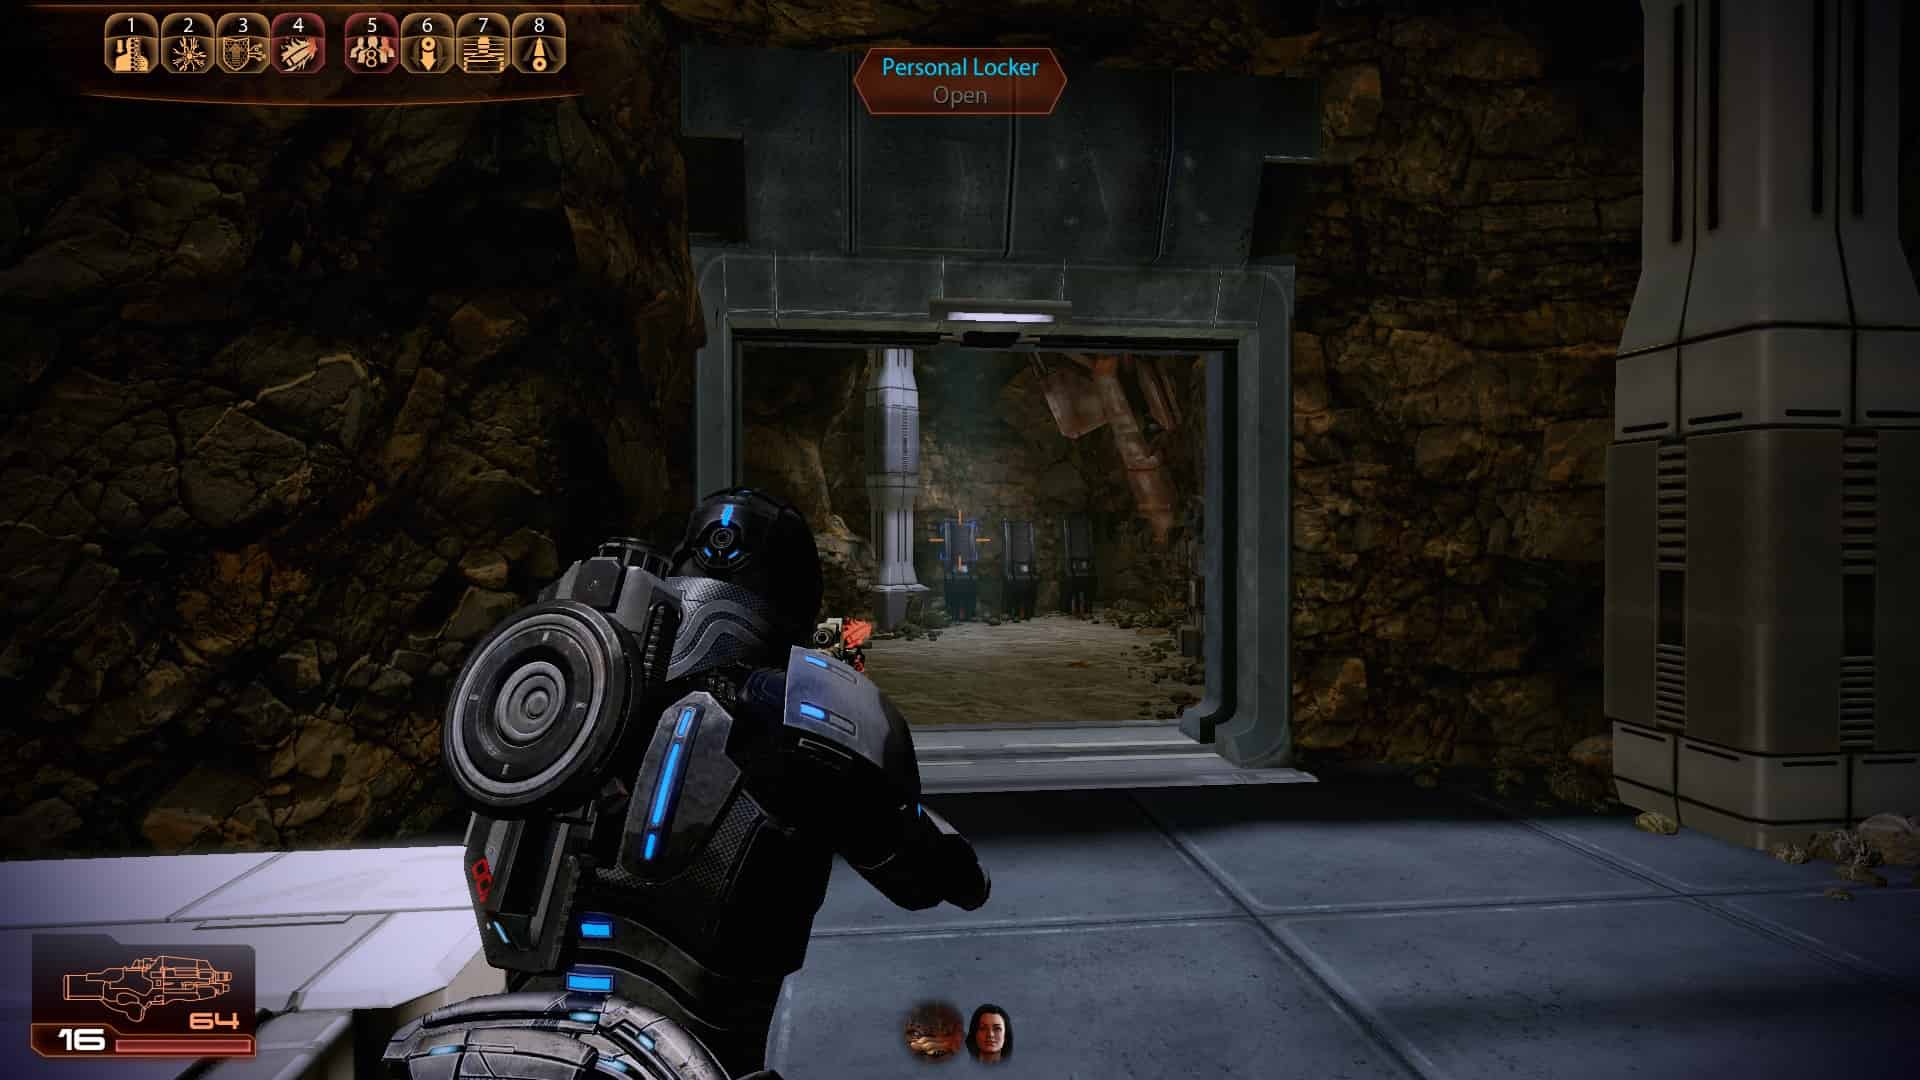


1
2
3
4
5
6
7
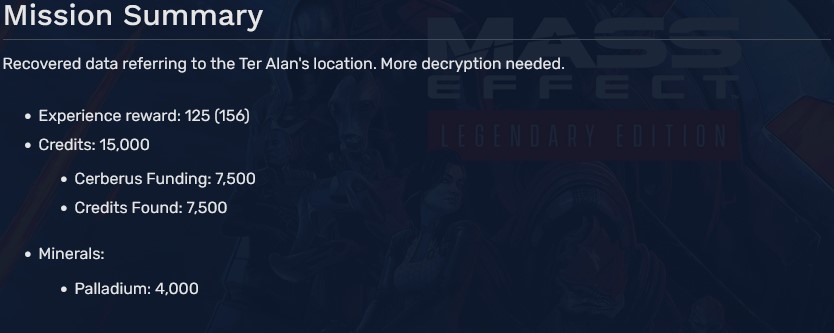
8 (Assignment - MSV Strontium Mule)
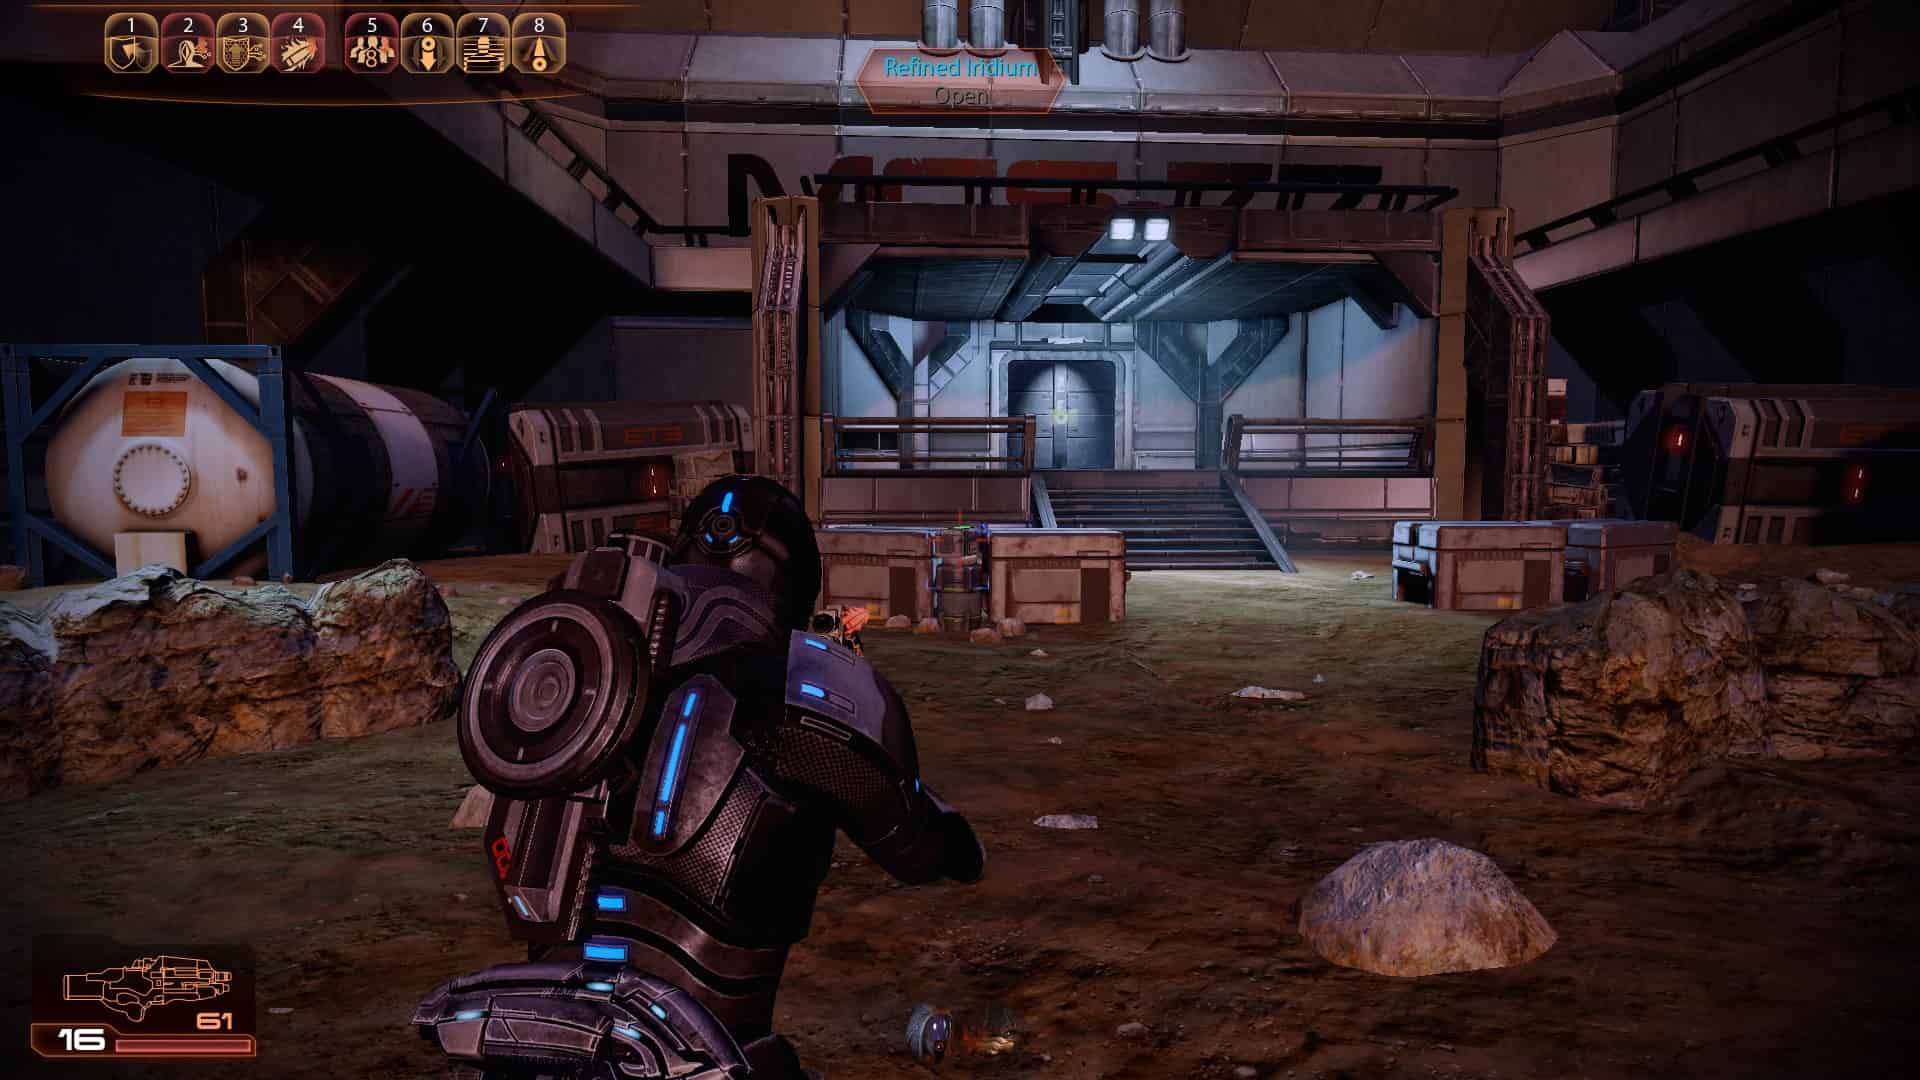
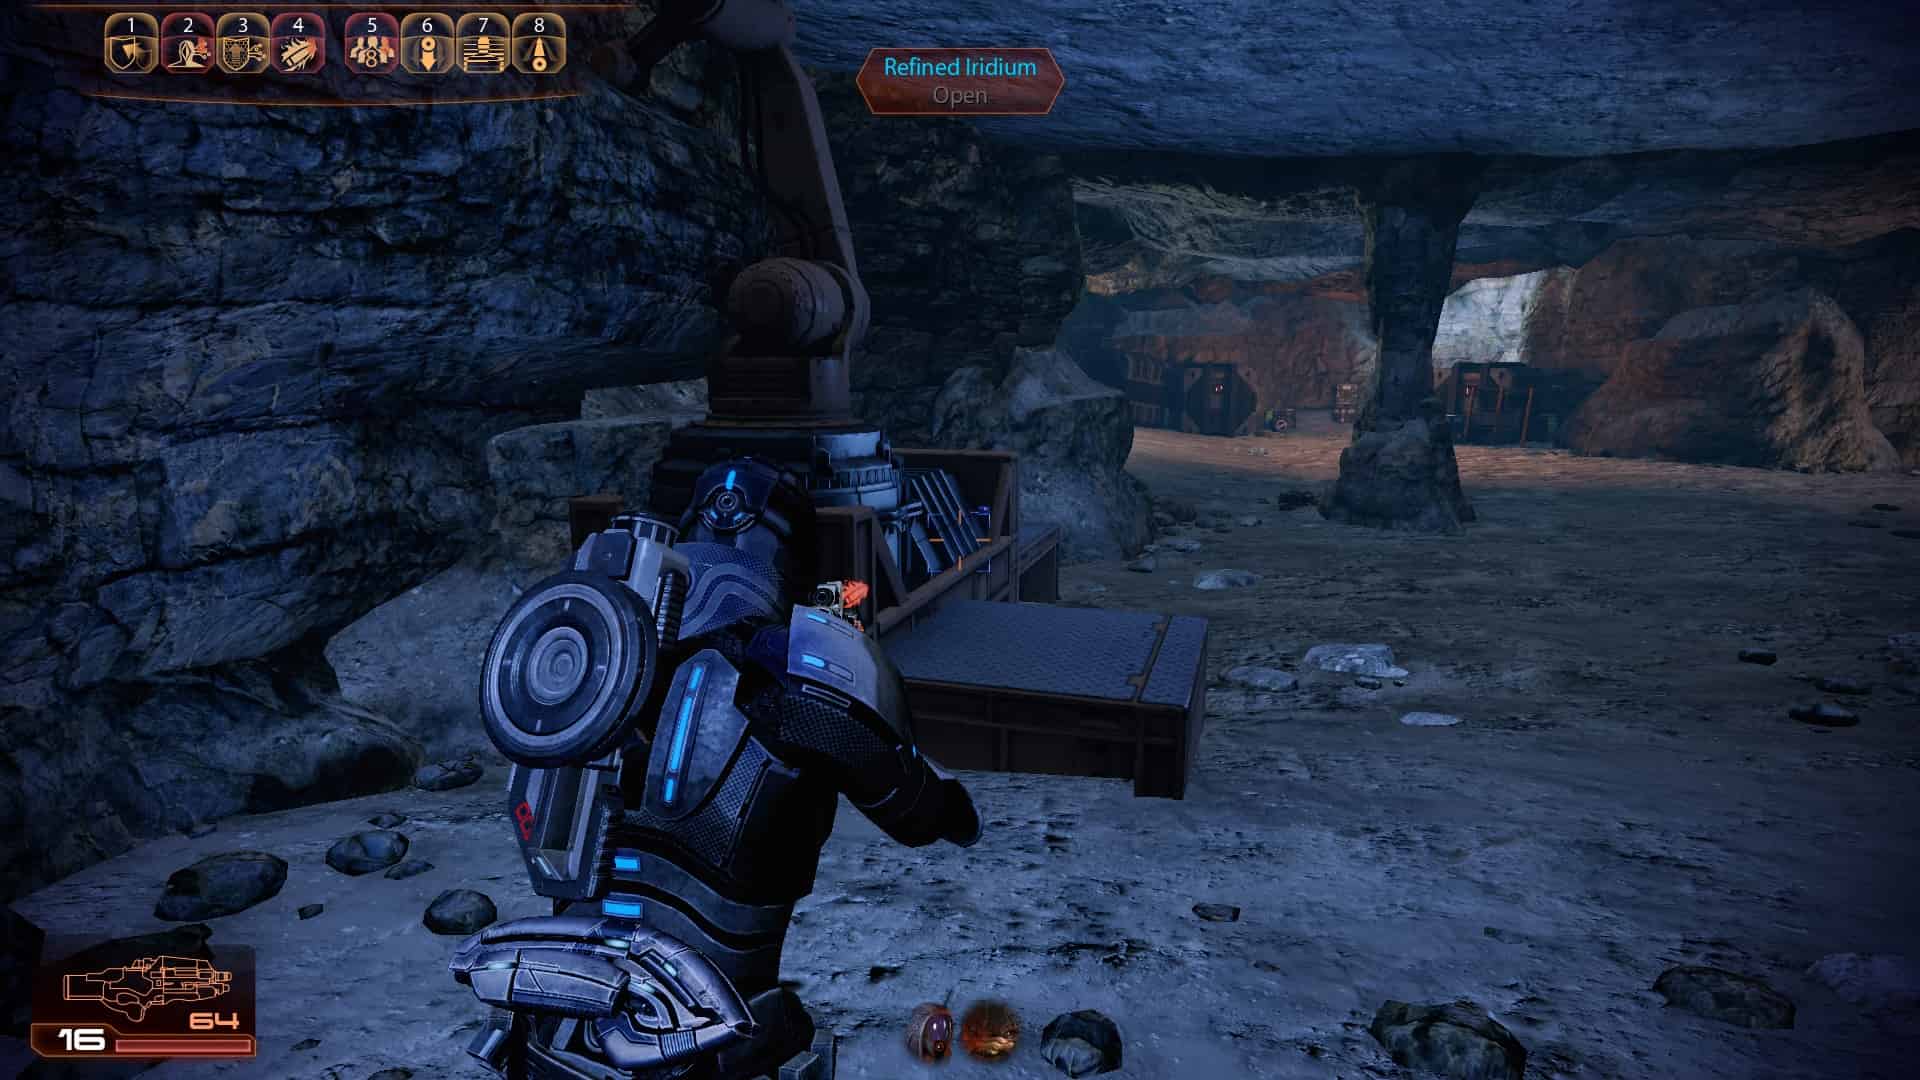
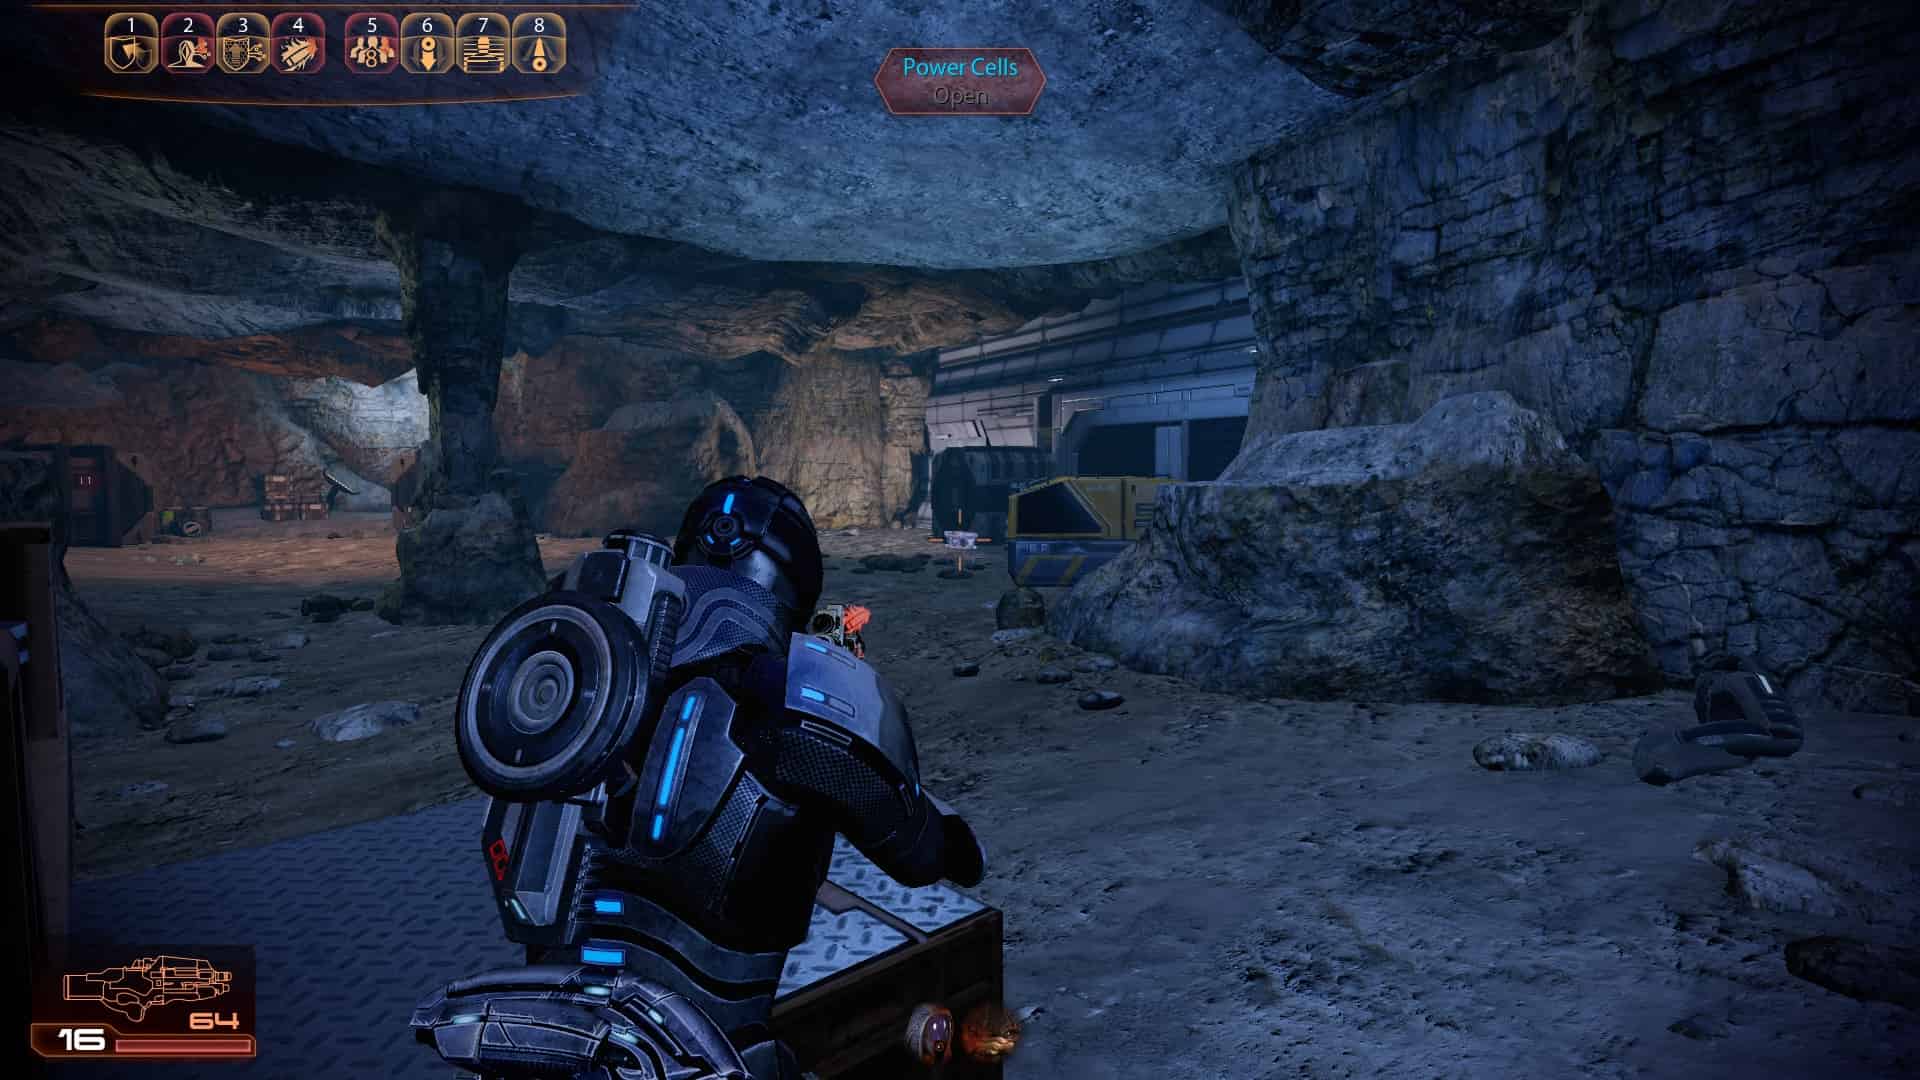
N7 Assignment: Blood Pack Base

1
2
3
4
You get a Heavy Weapon Ammo Upgrade and 3750 Credits Found upon completion
N7 Assignment: Blood Pack Communications Relay
1 (At the third beacon, go left)
2 (Following the beam to the 4th beacon, path on your left)
3 (Following the beam to the 5th beacon, turn left when you can)
4 (Following the beam to the 6th beacon, stick to the right)
5 (Activate the 7th beacon and follow the path up to the right of it)
You get 3750 Credits Found upon completion
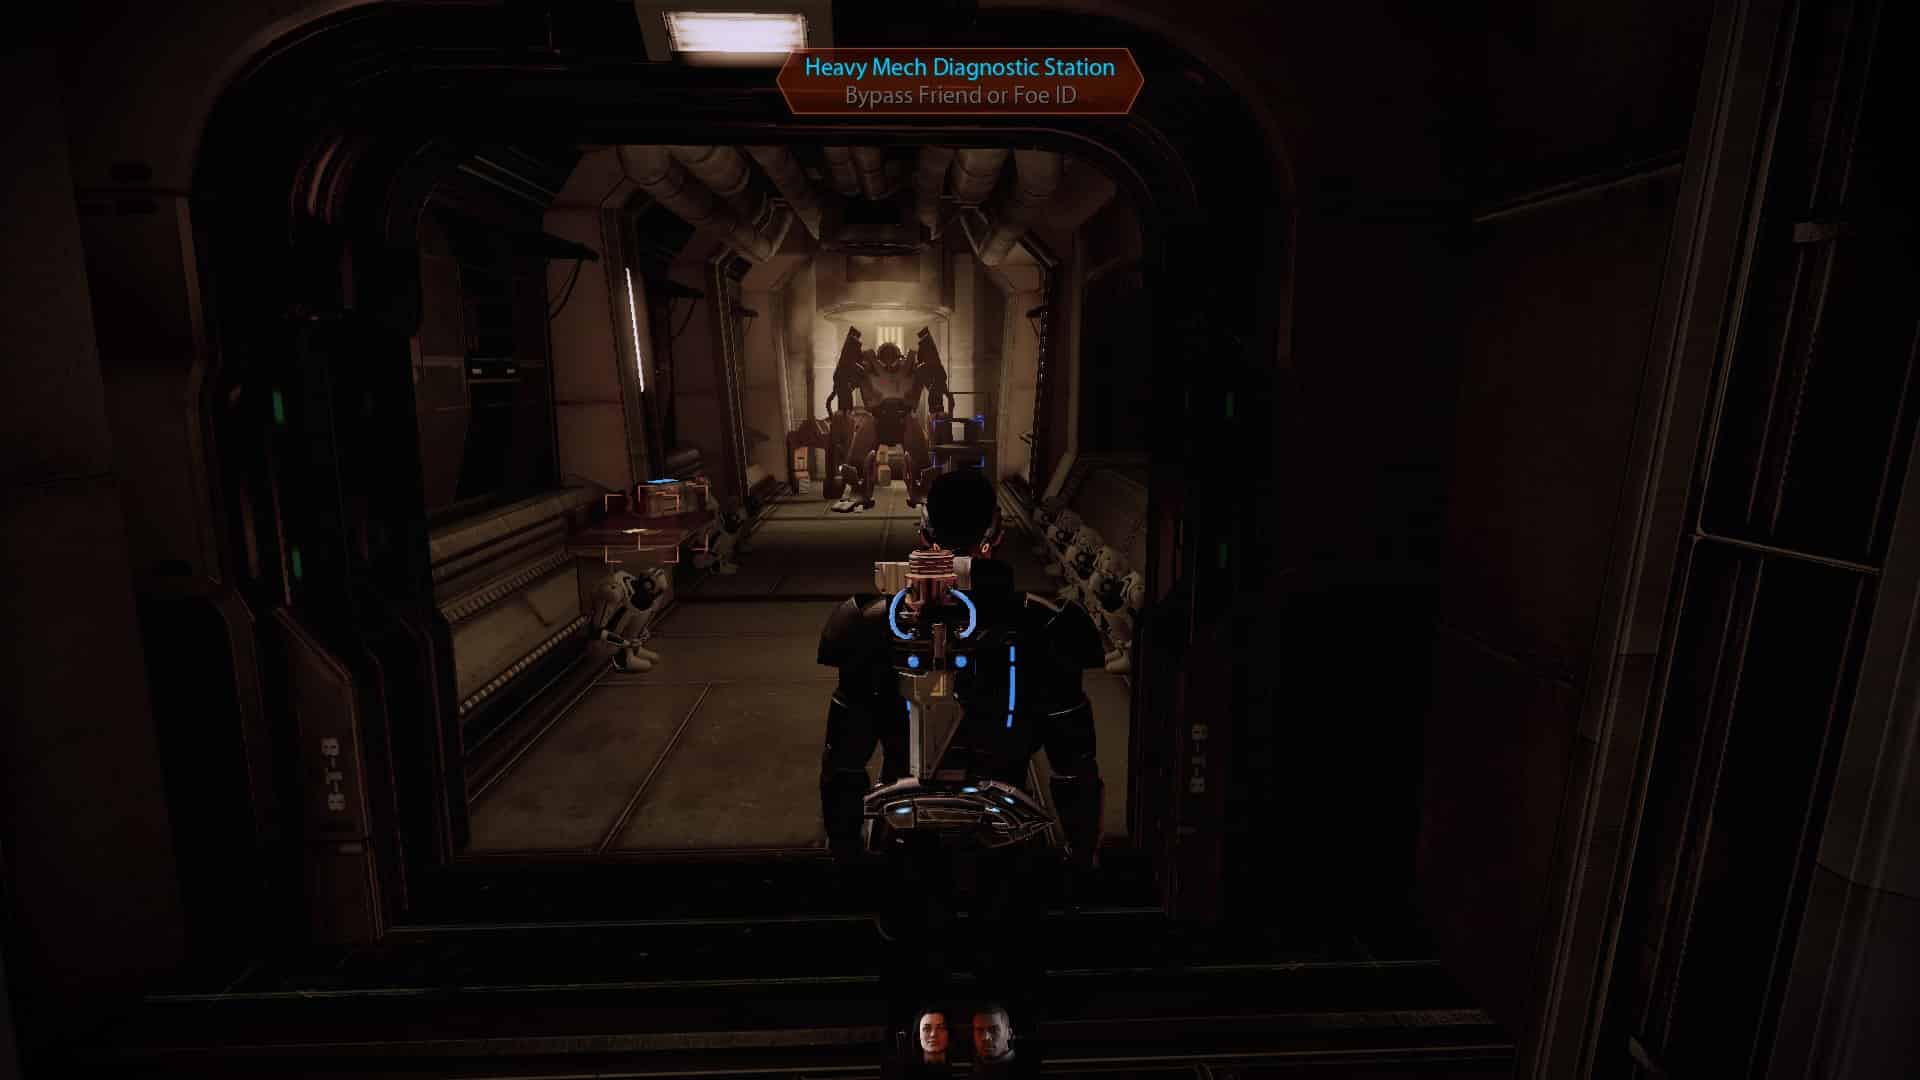
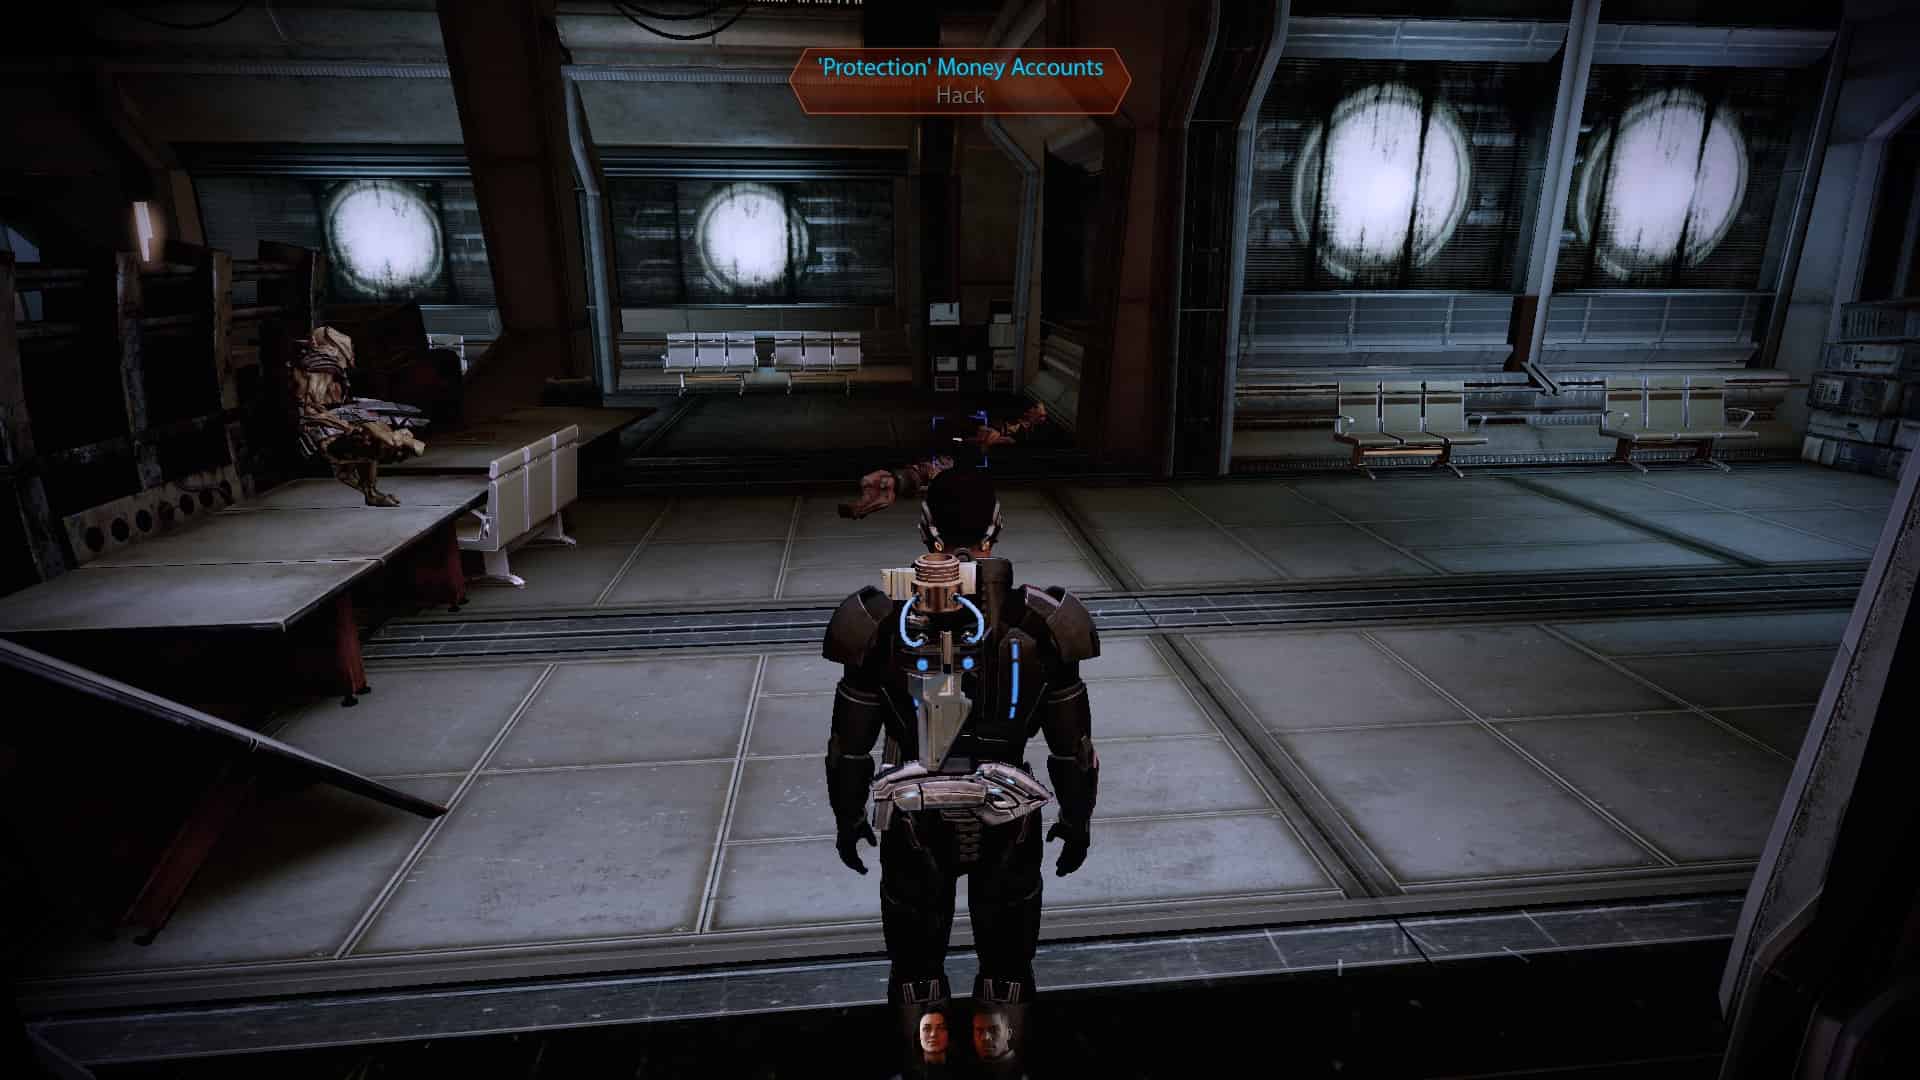
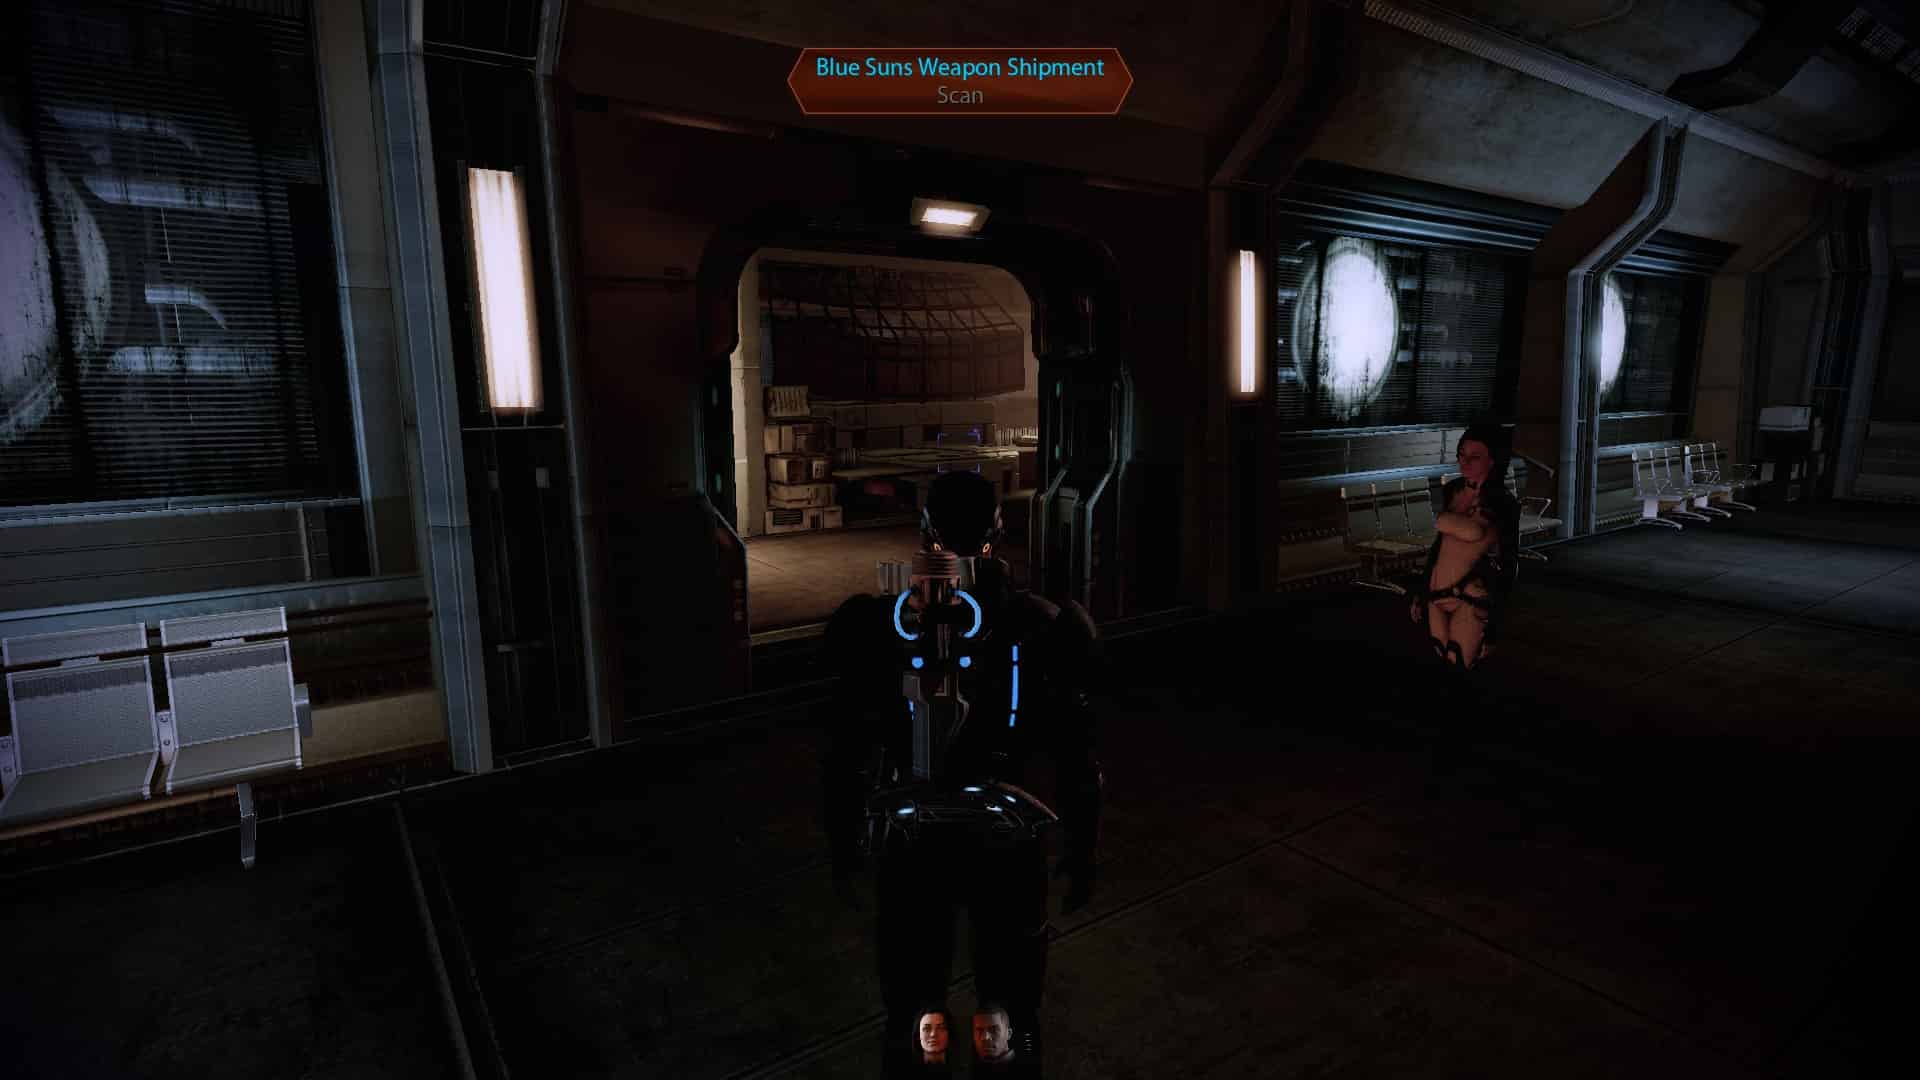
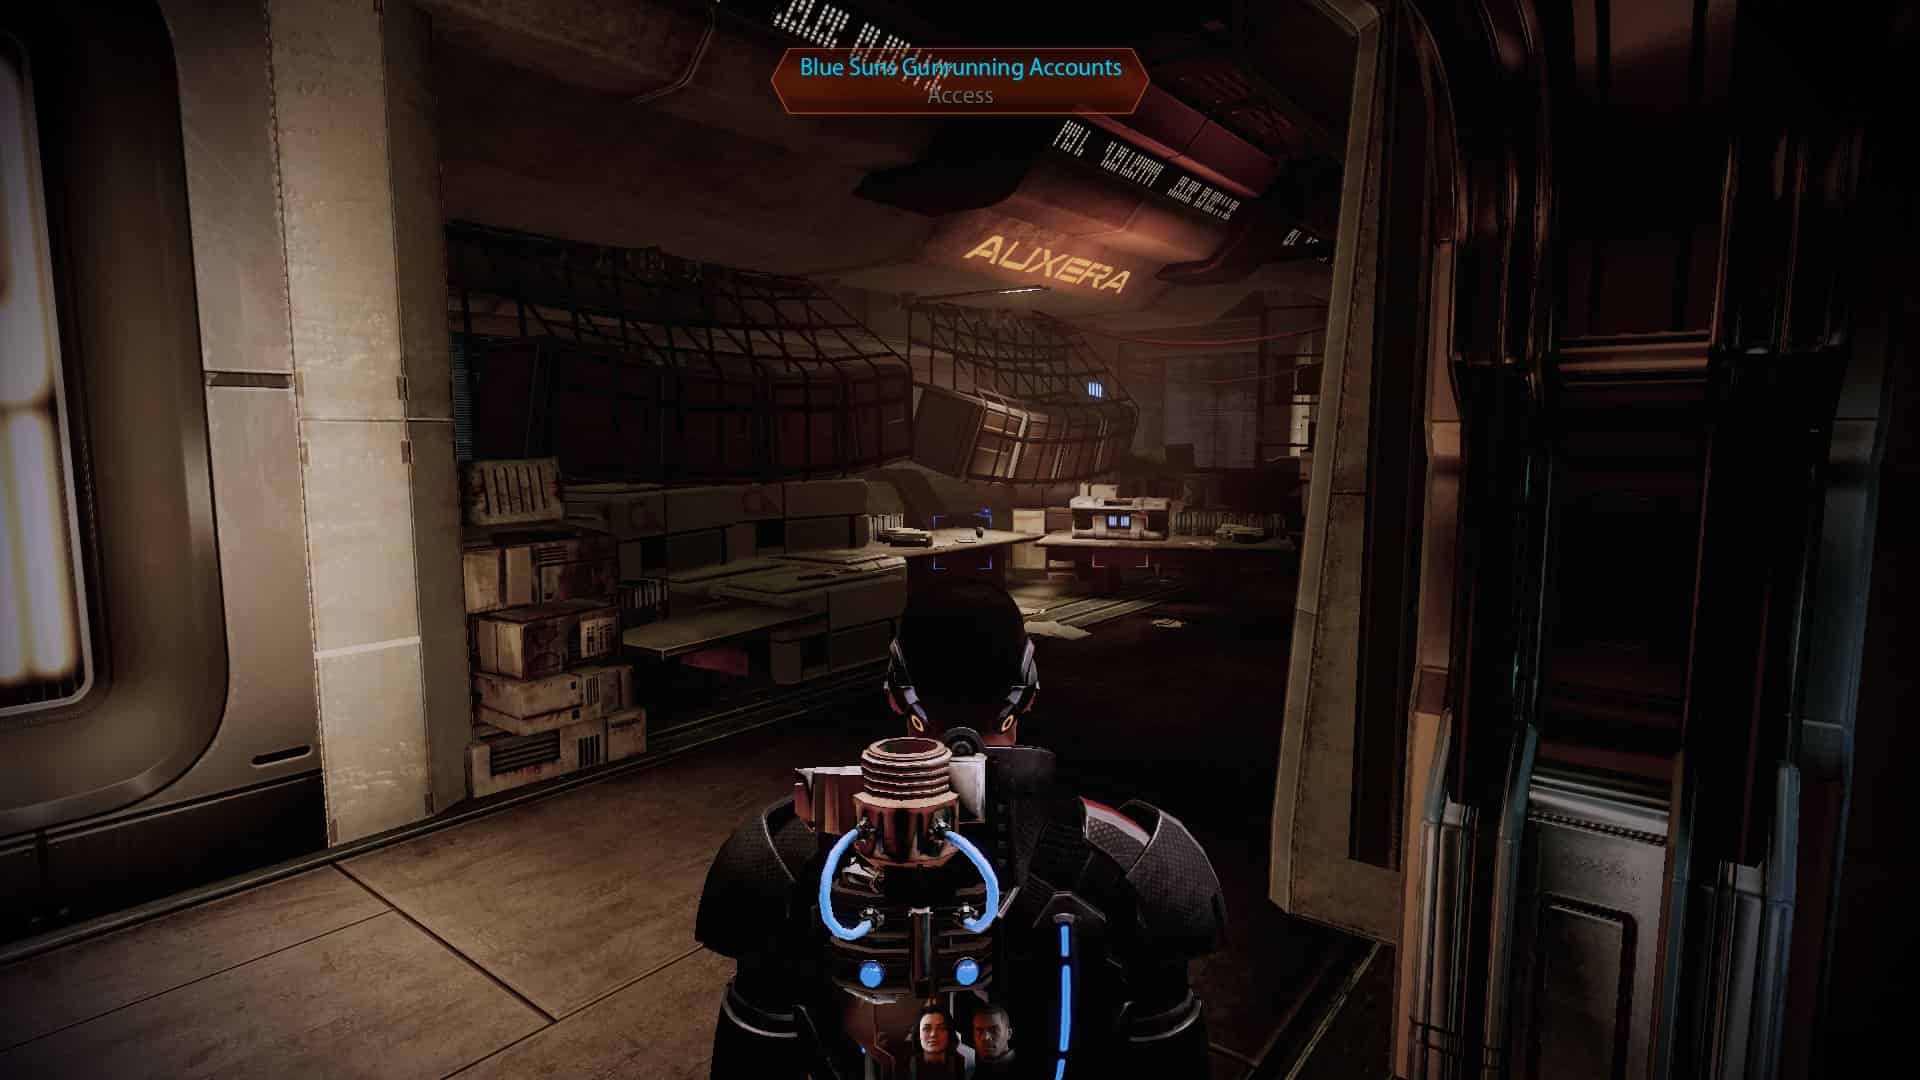
N7 Assignment: Blue Suns Base


1
2
3
4
5
6
7
8
9
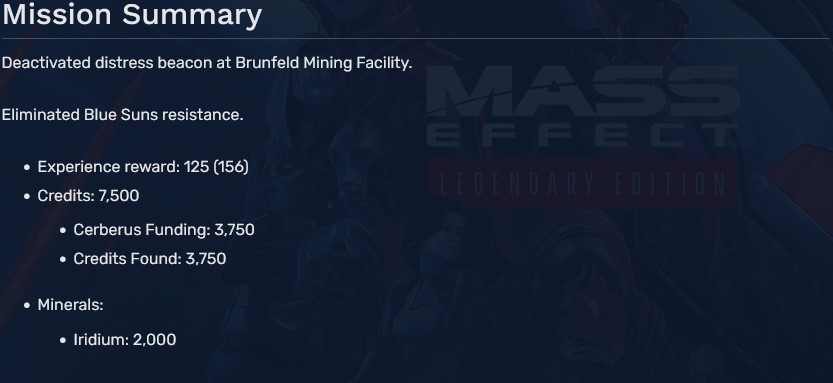
N7 Assignment: Captured Mining Facility


1
2 (In the large open area, stick to the right)
3 (Keep going and stick to the right)
4
5
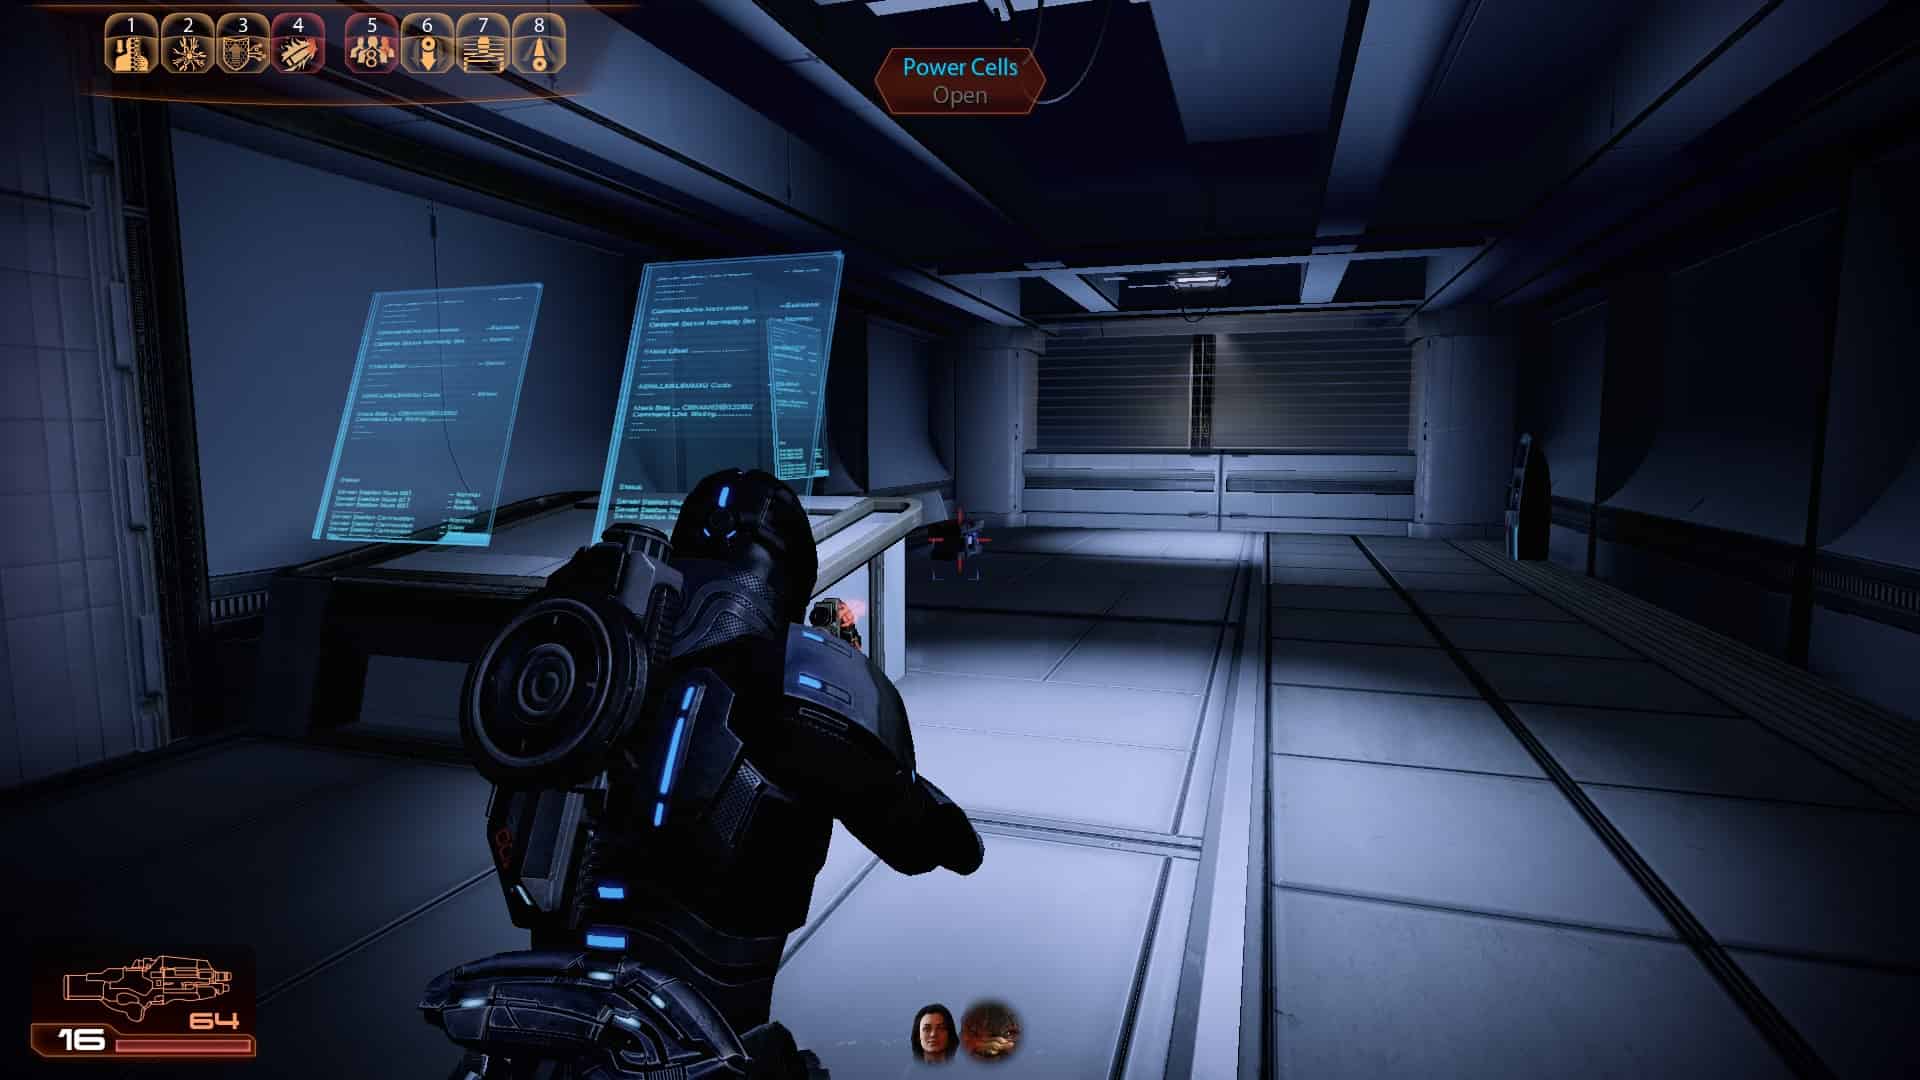
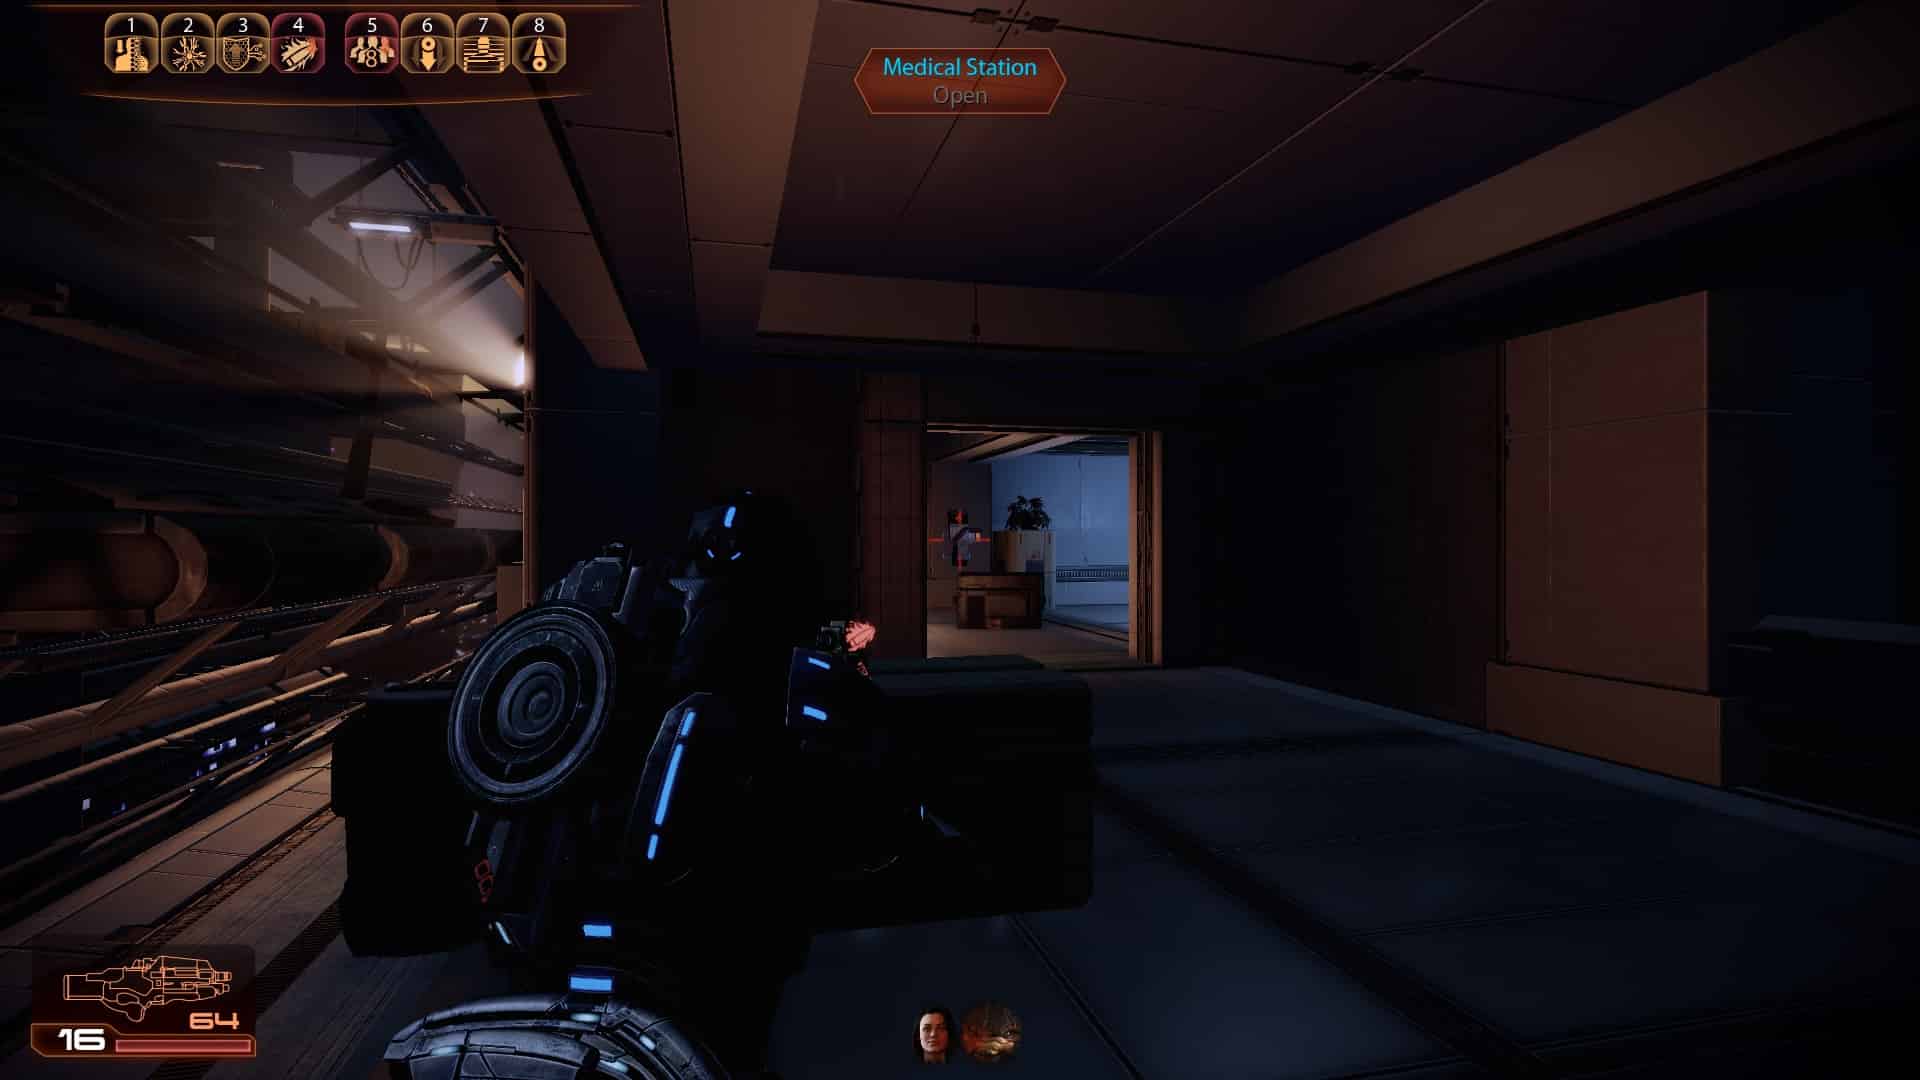
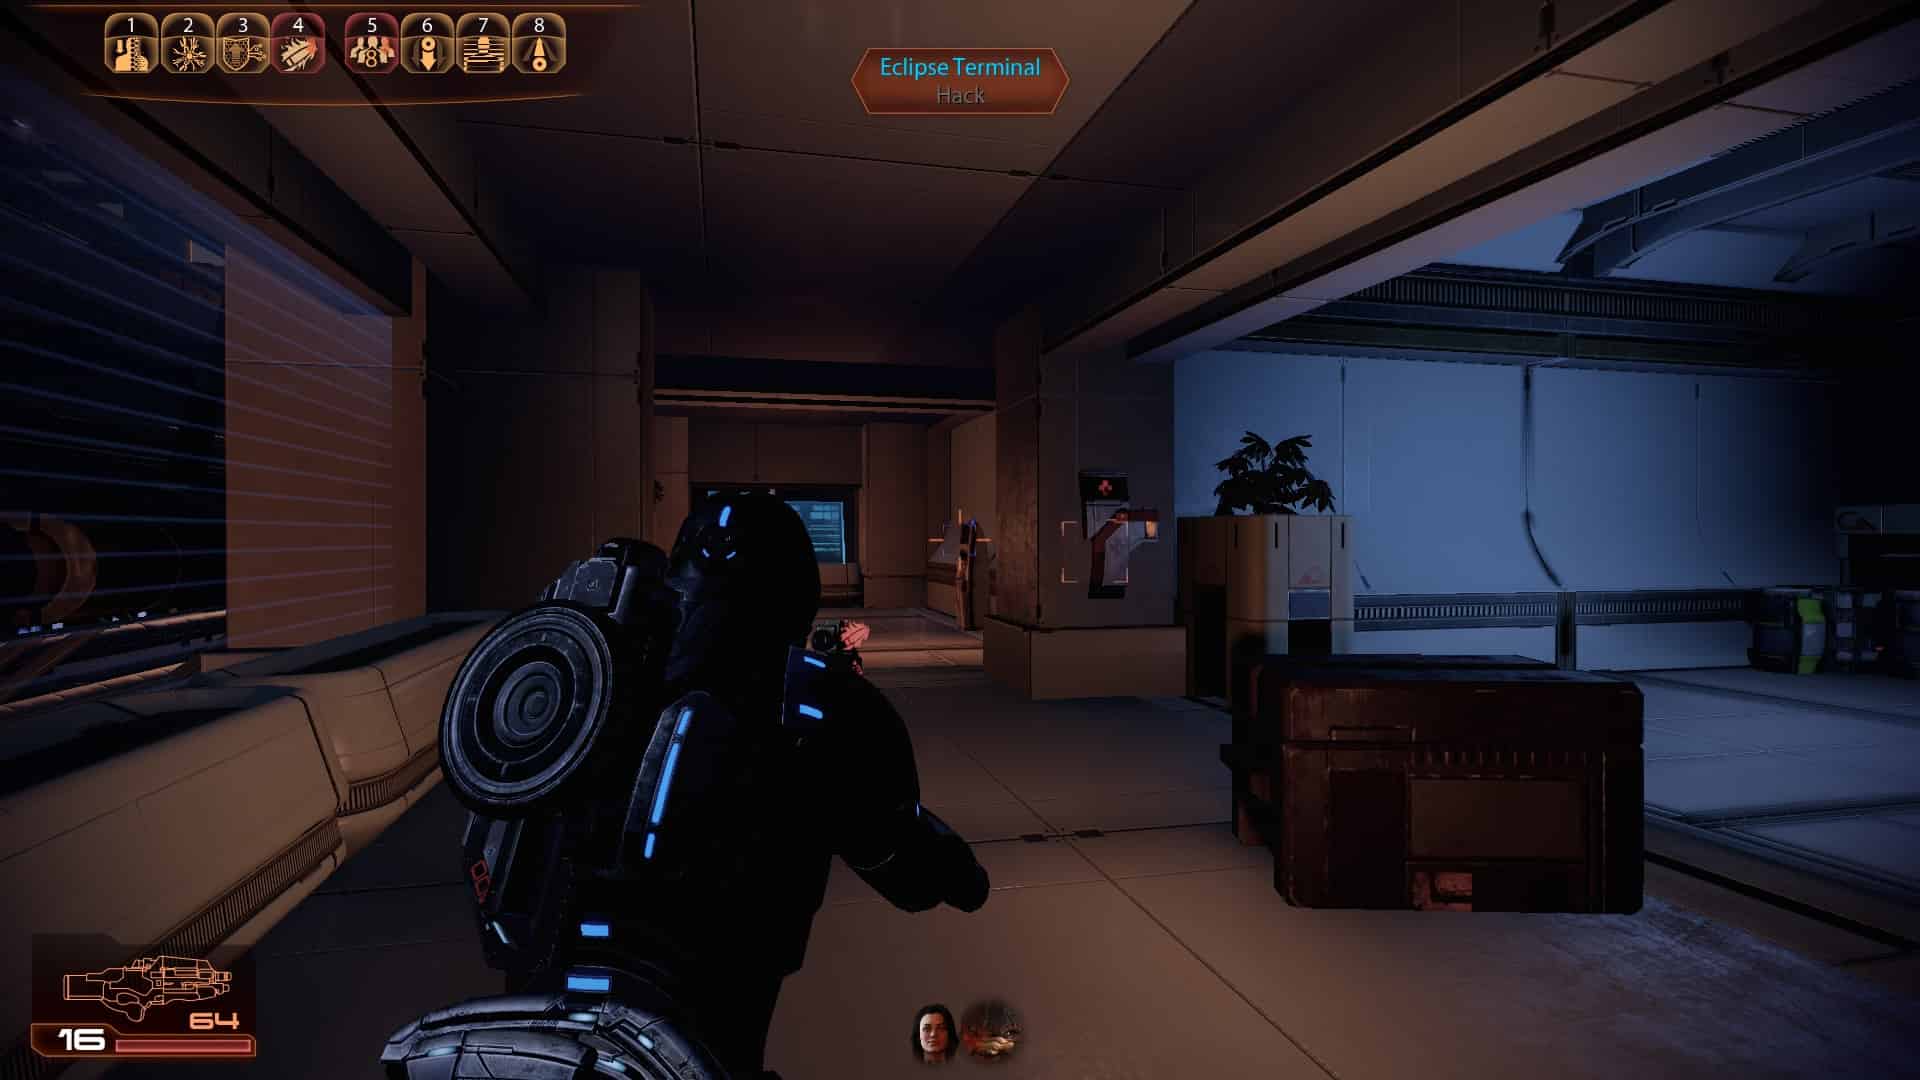
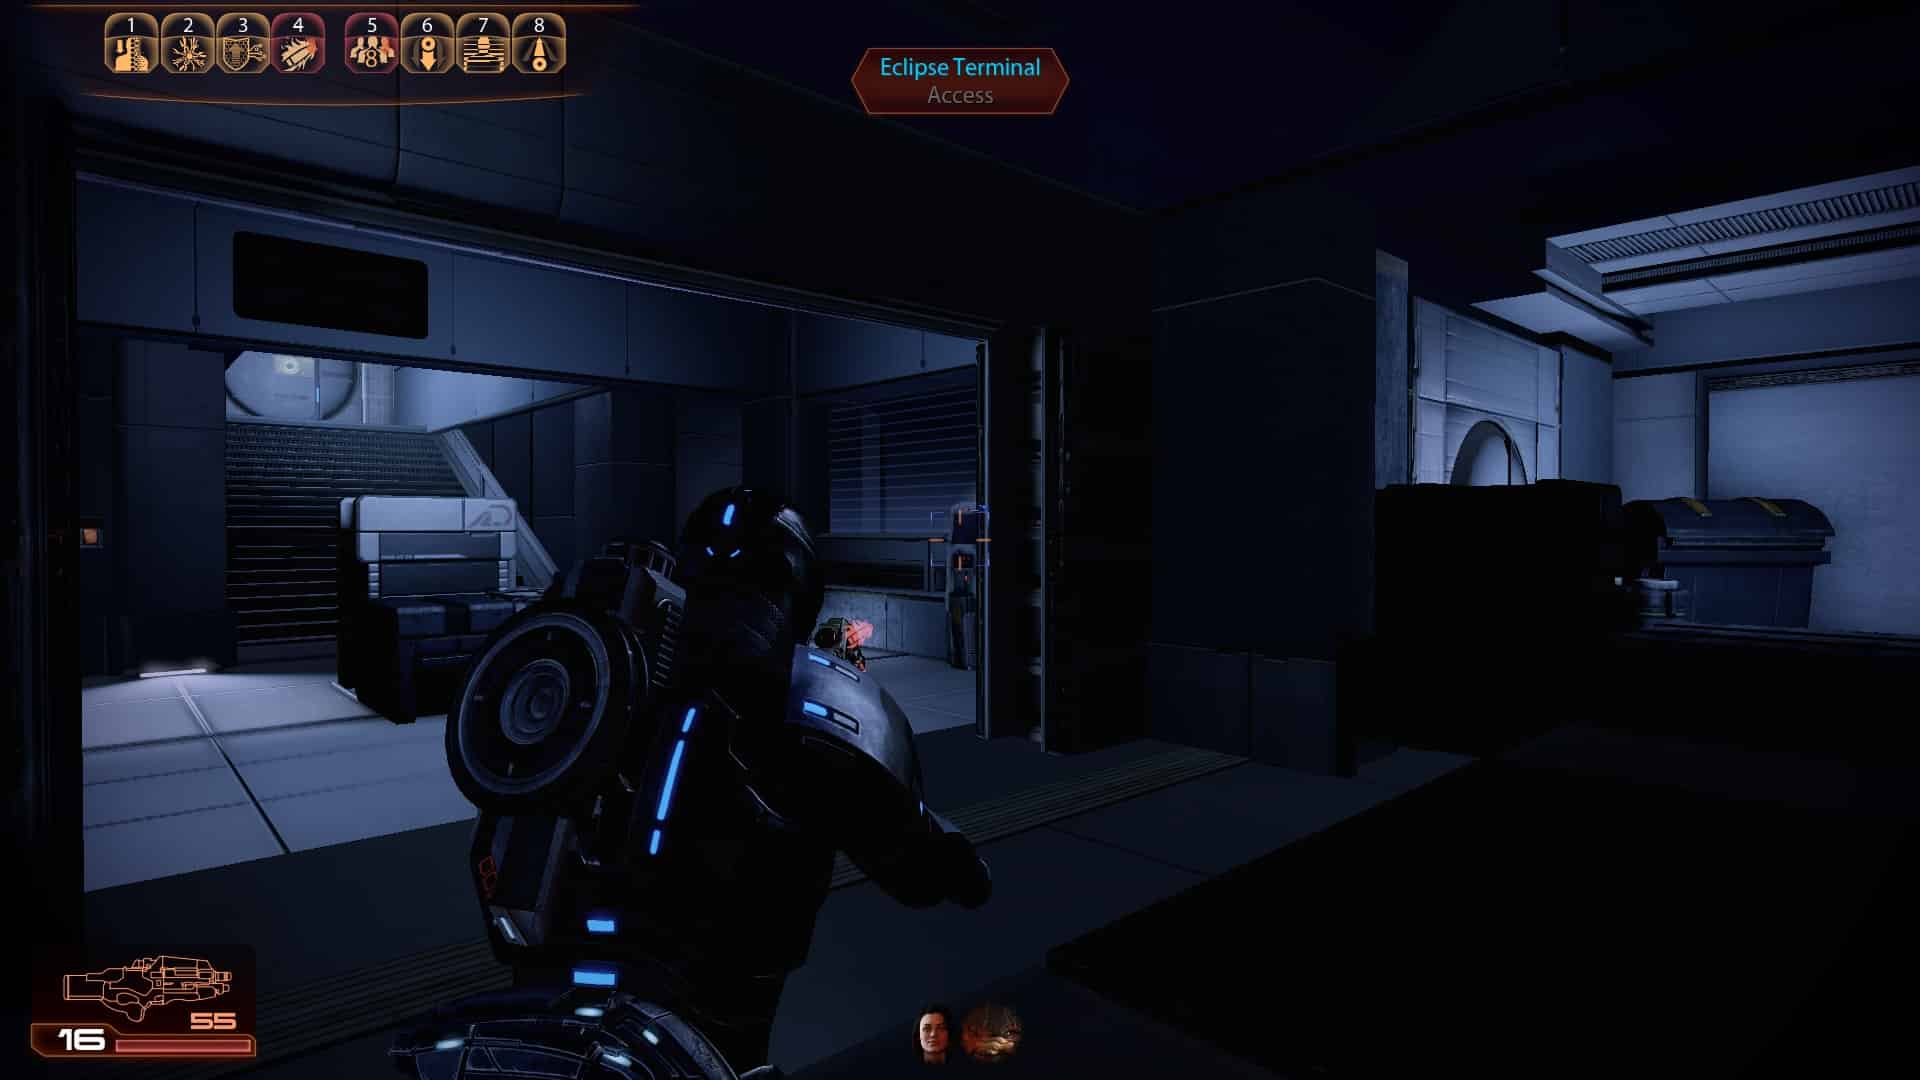
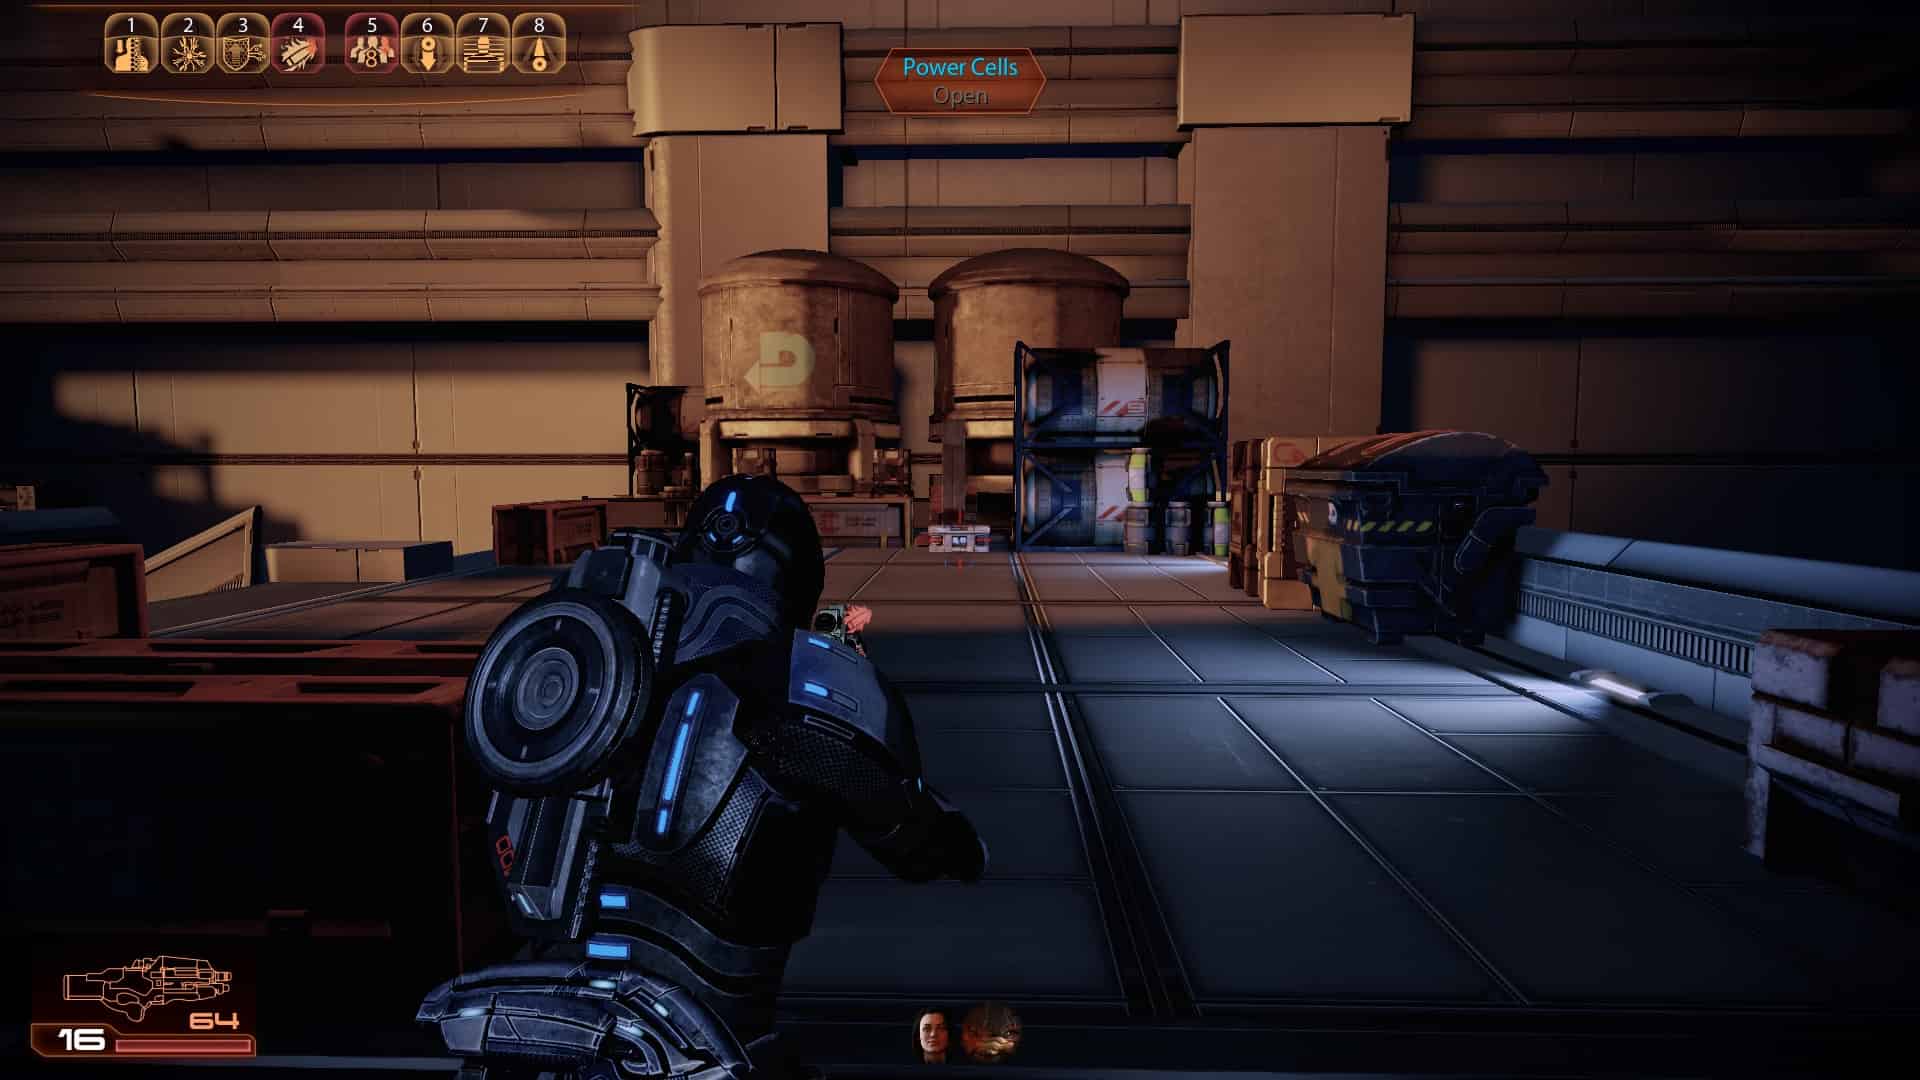
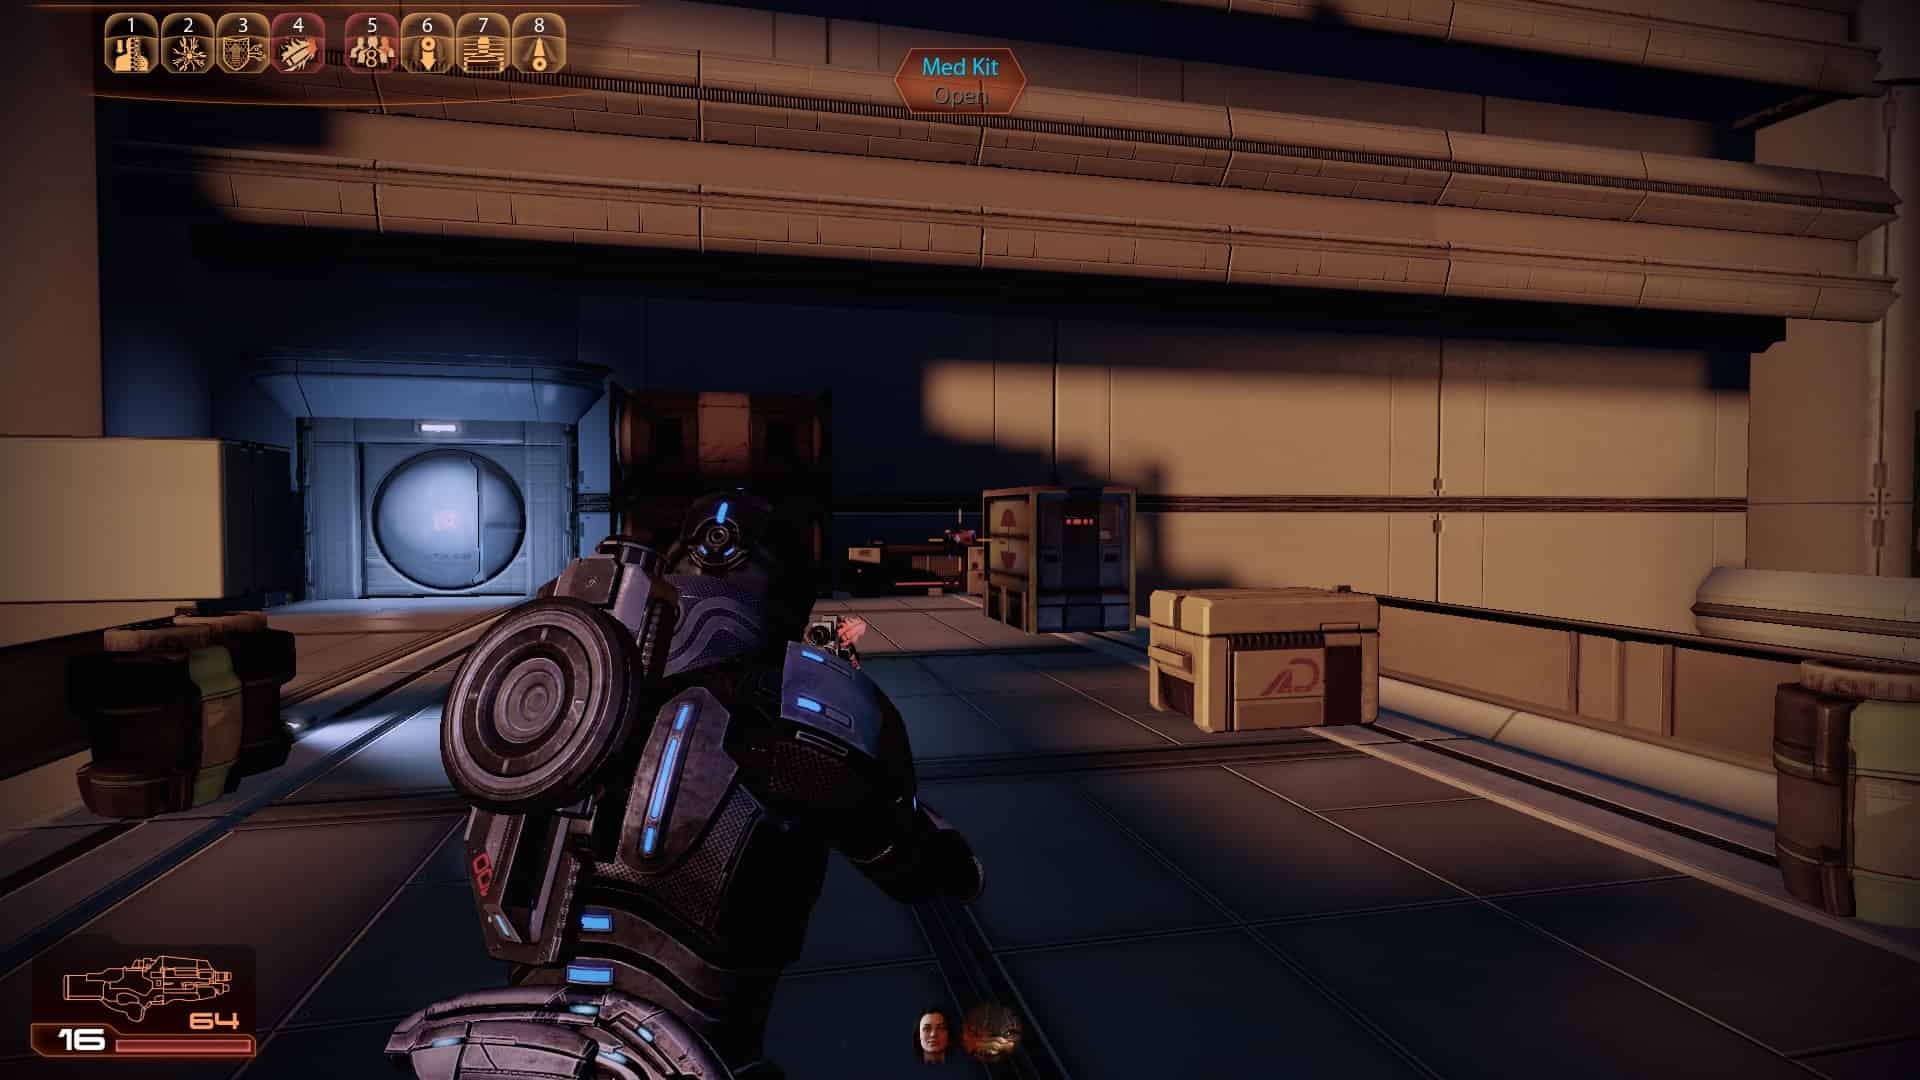
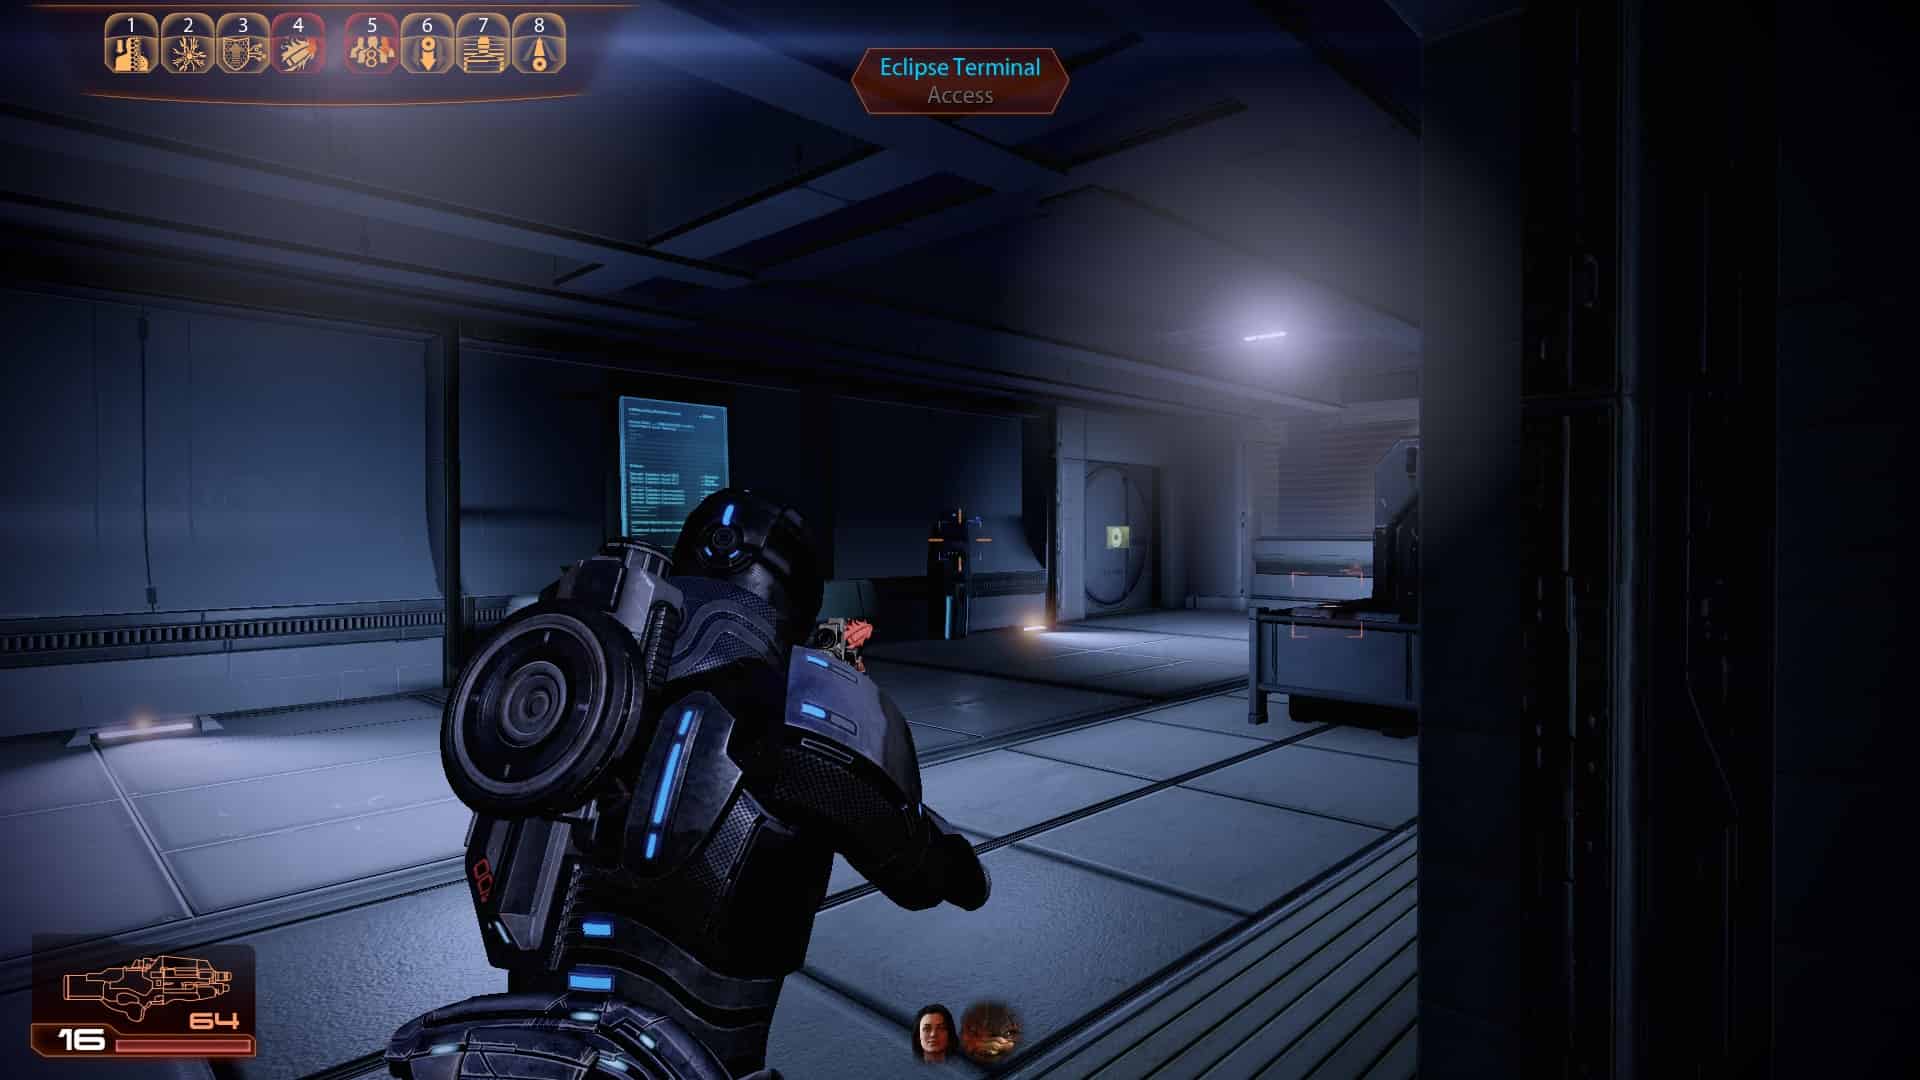
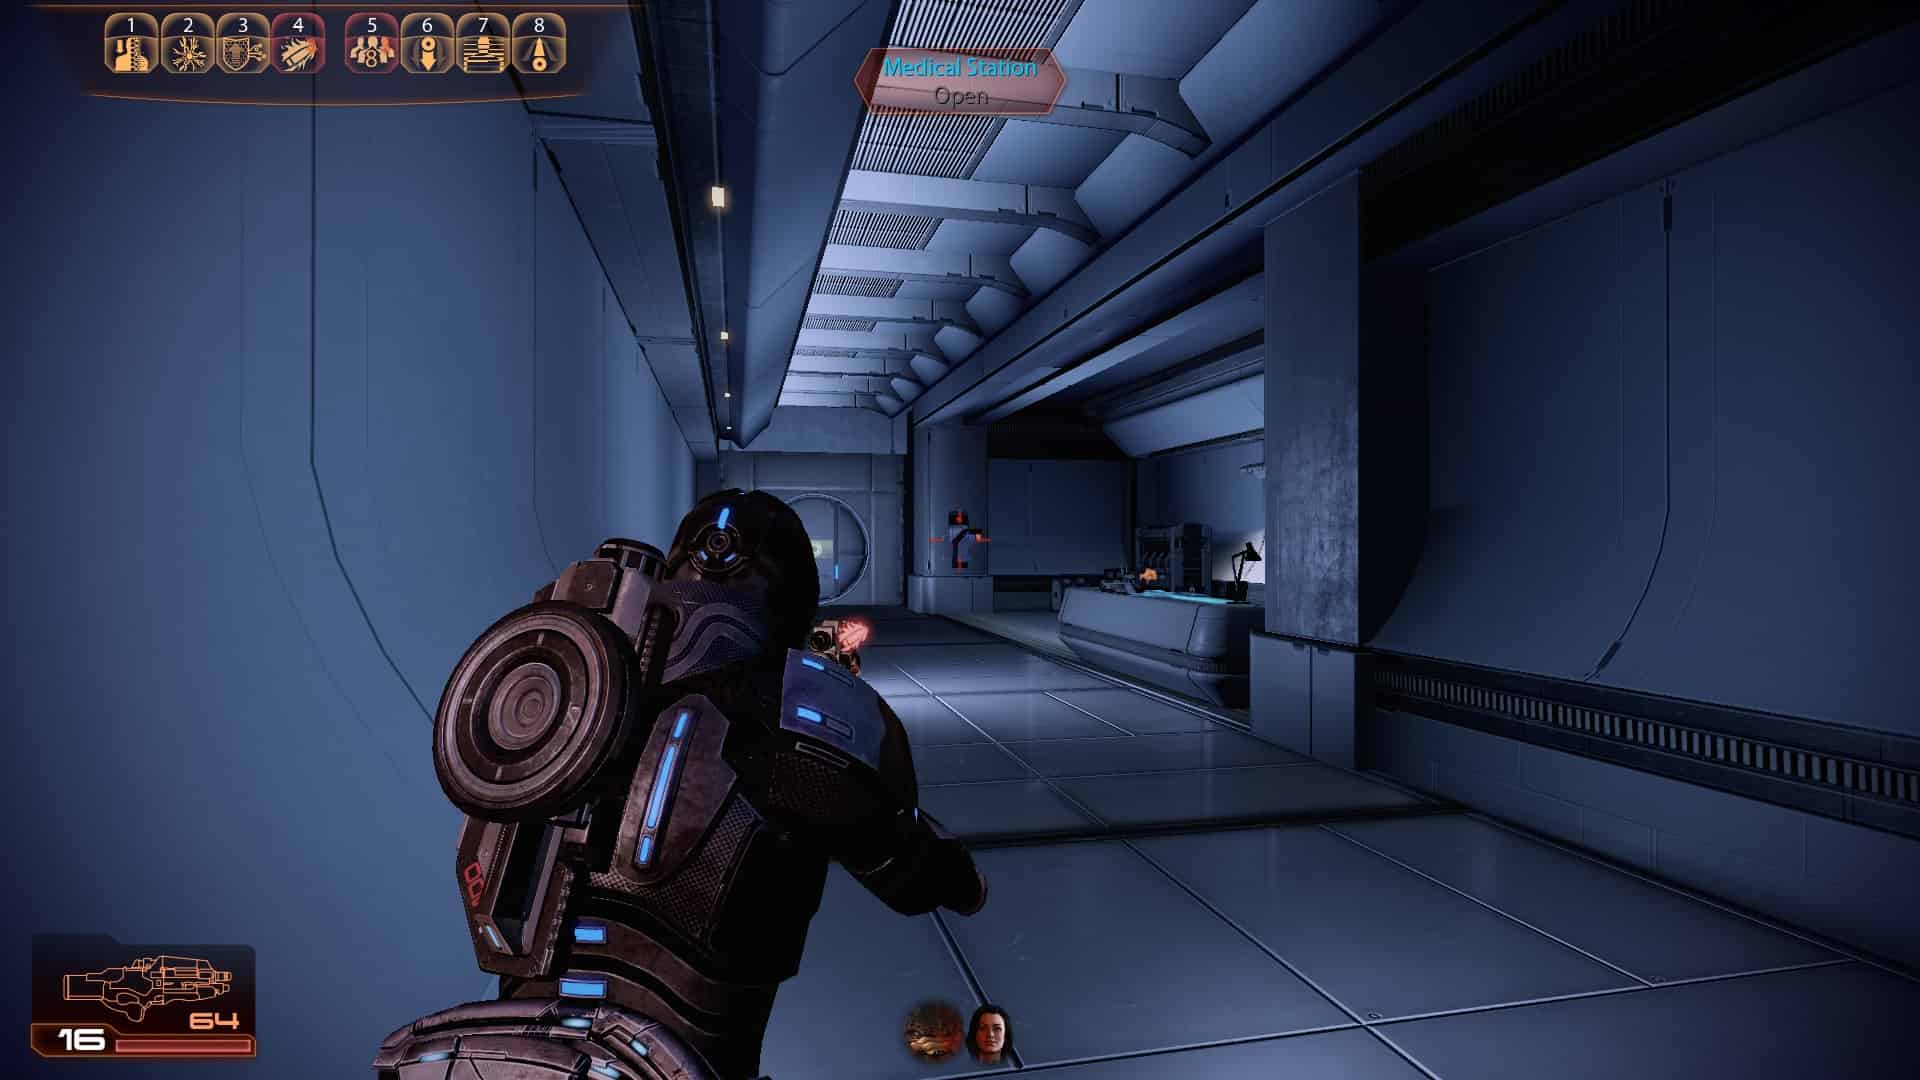
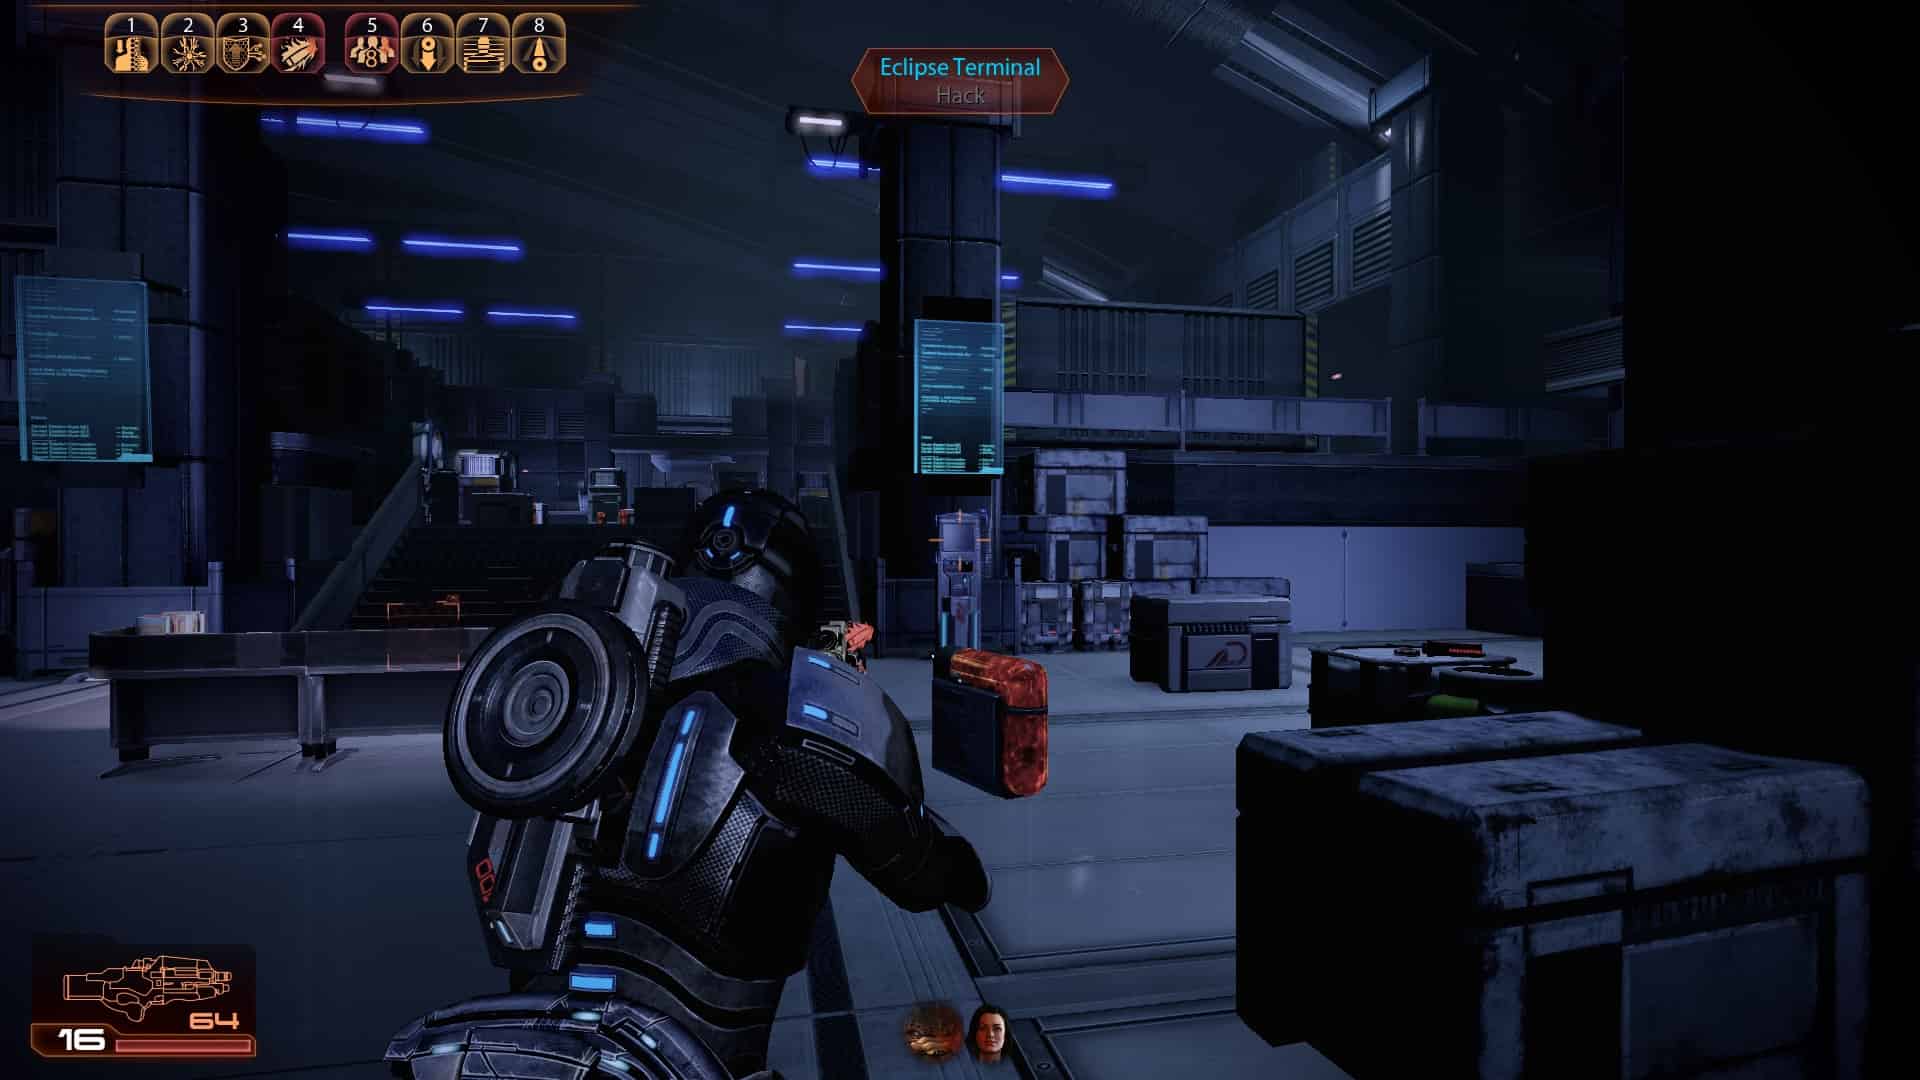
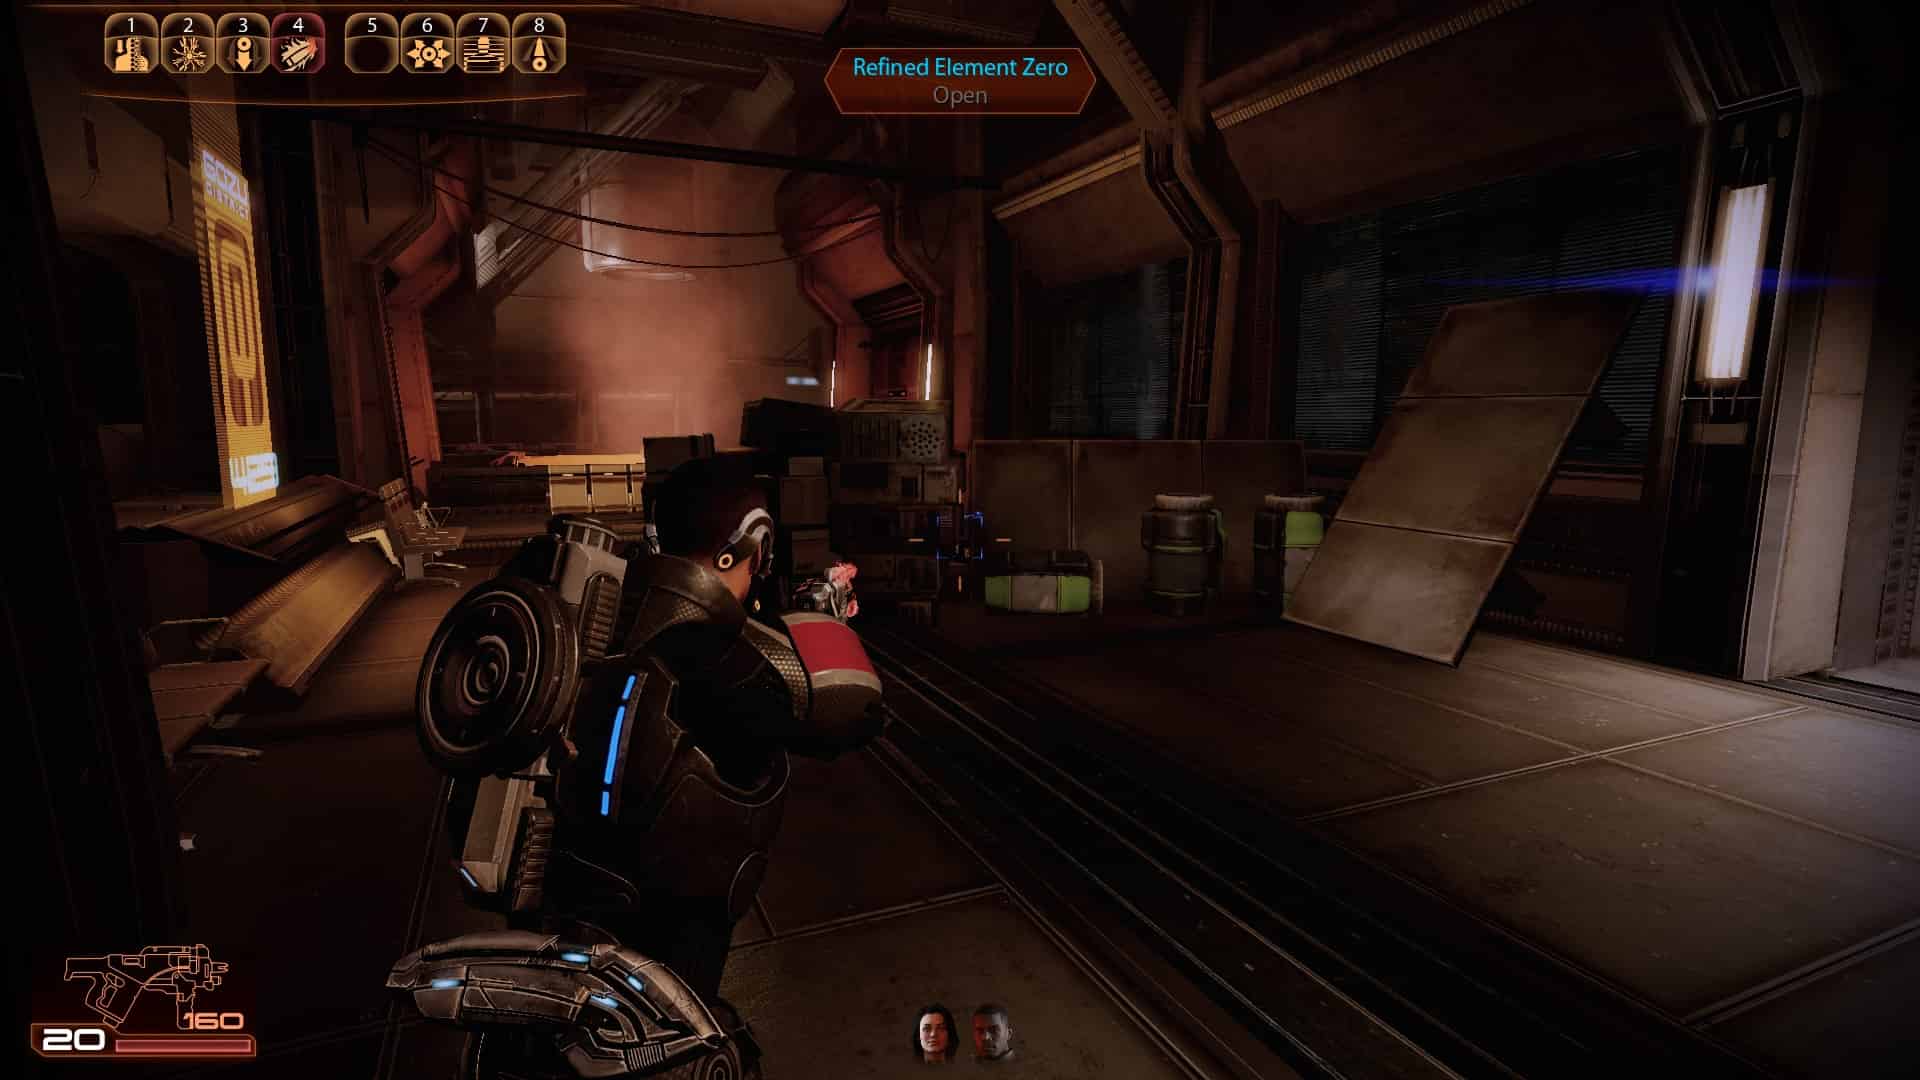
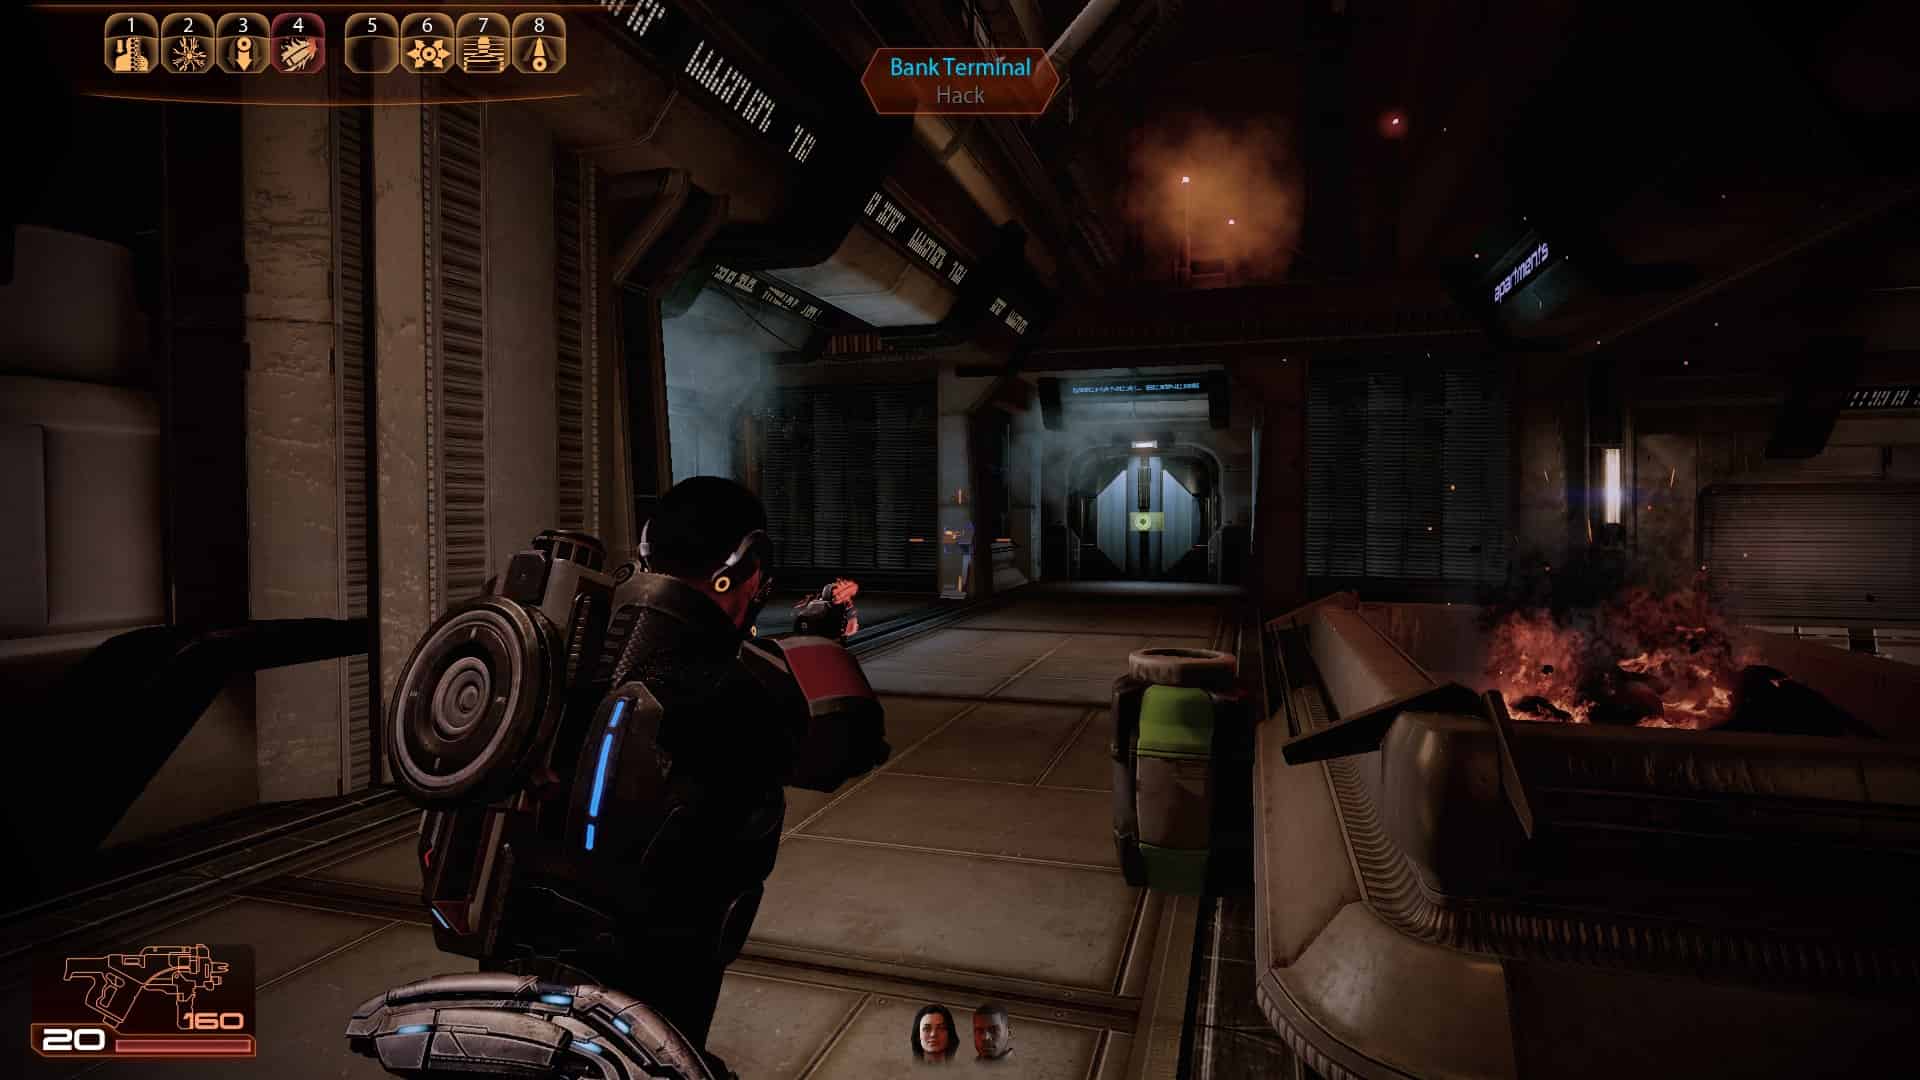
N7 Assignment: Eclipse Smuggling Depot

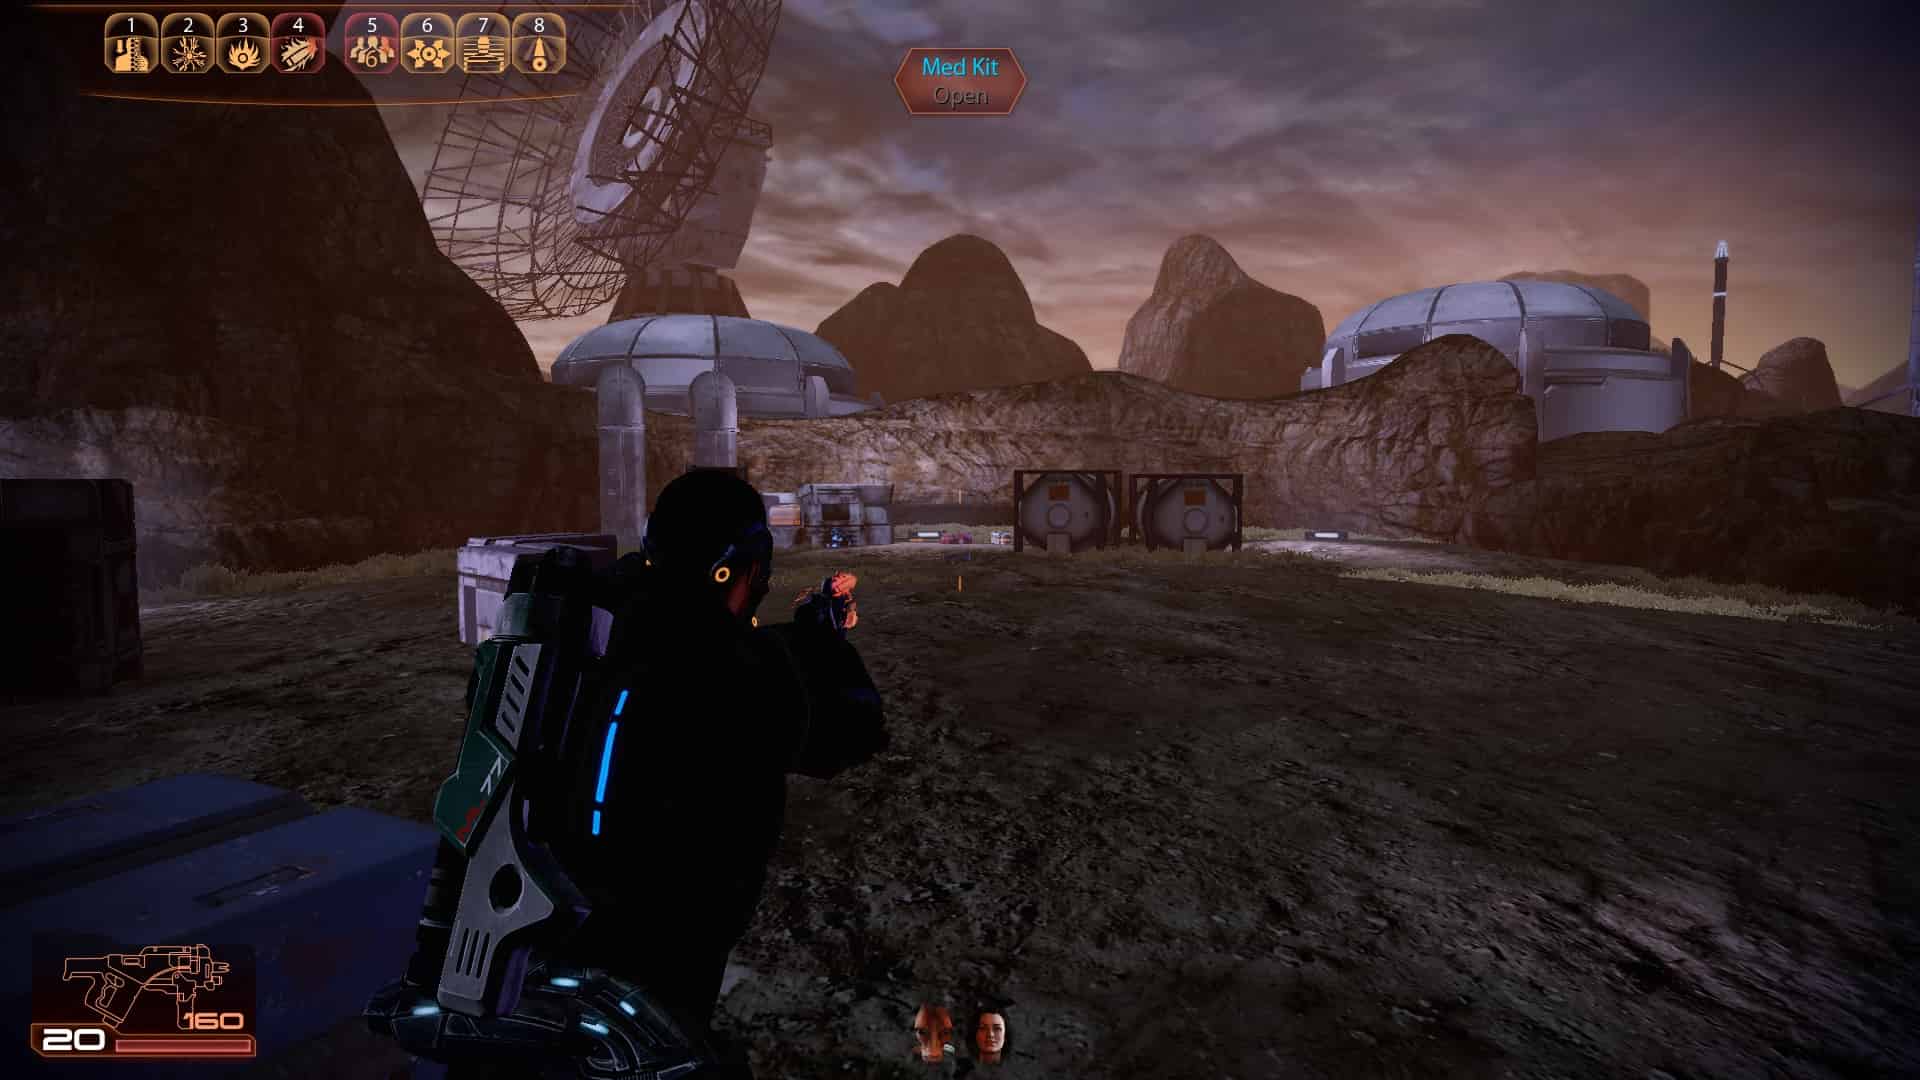
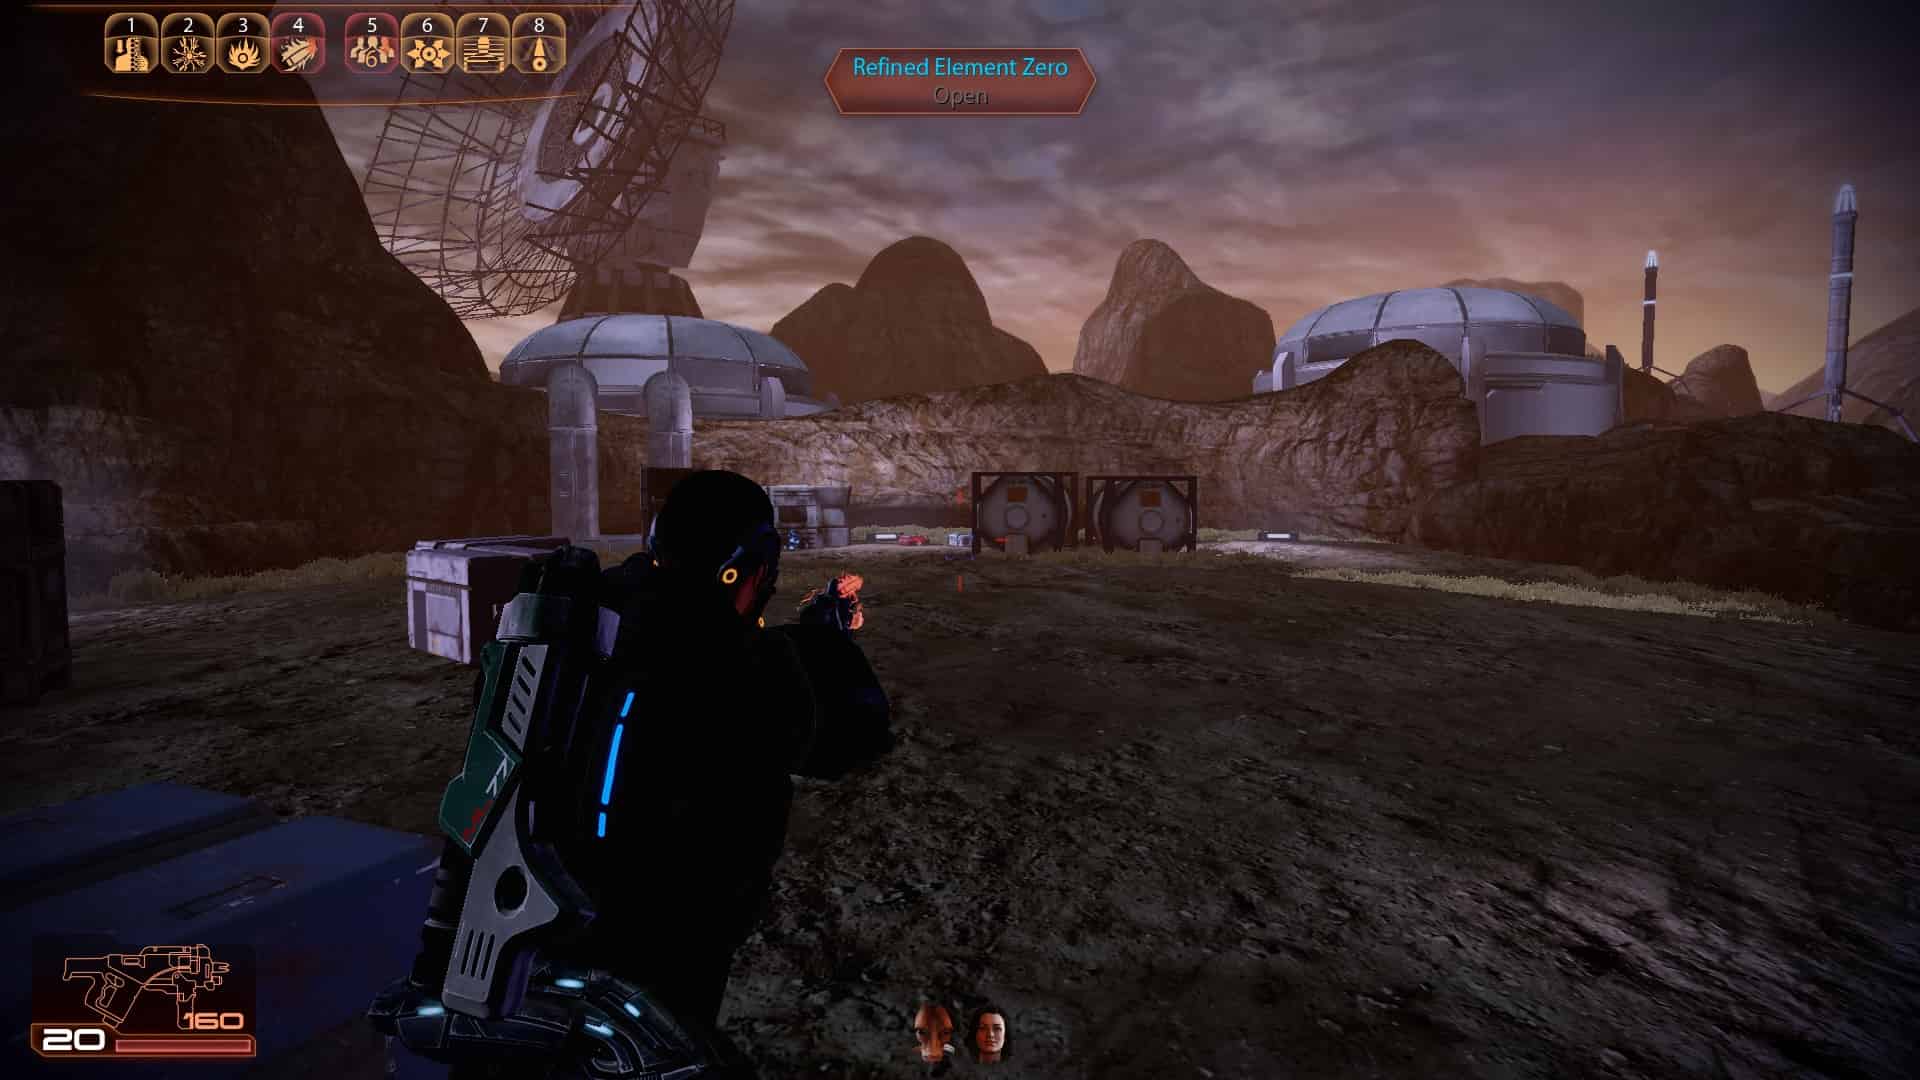
1
2
3
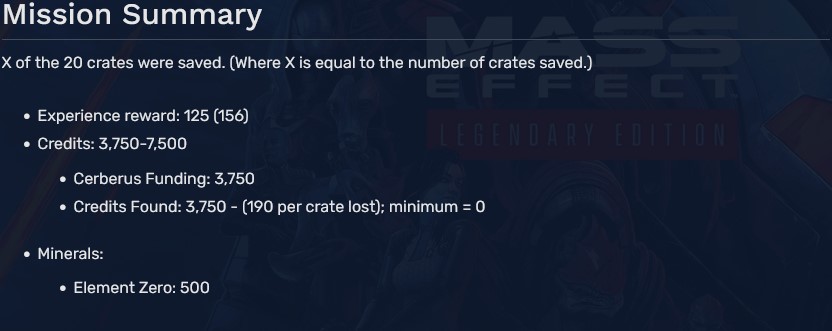
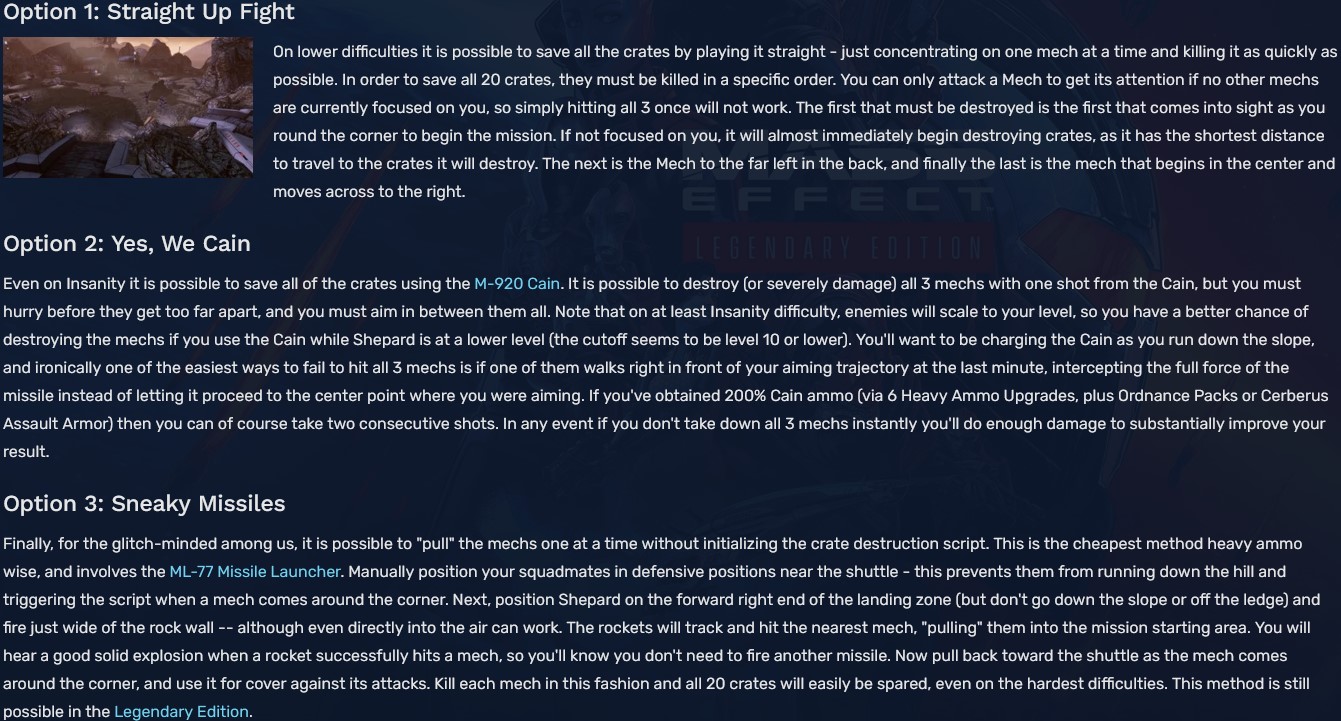
How to save all 20 crates
N7 Assignment: Endangered Research Station
1
You get 3750 Credits Found upon completion
N7 Assignment: Hahne-Kedar Facility

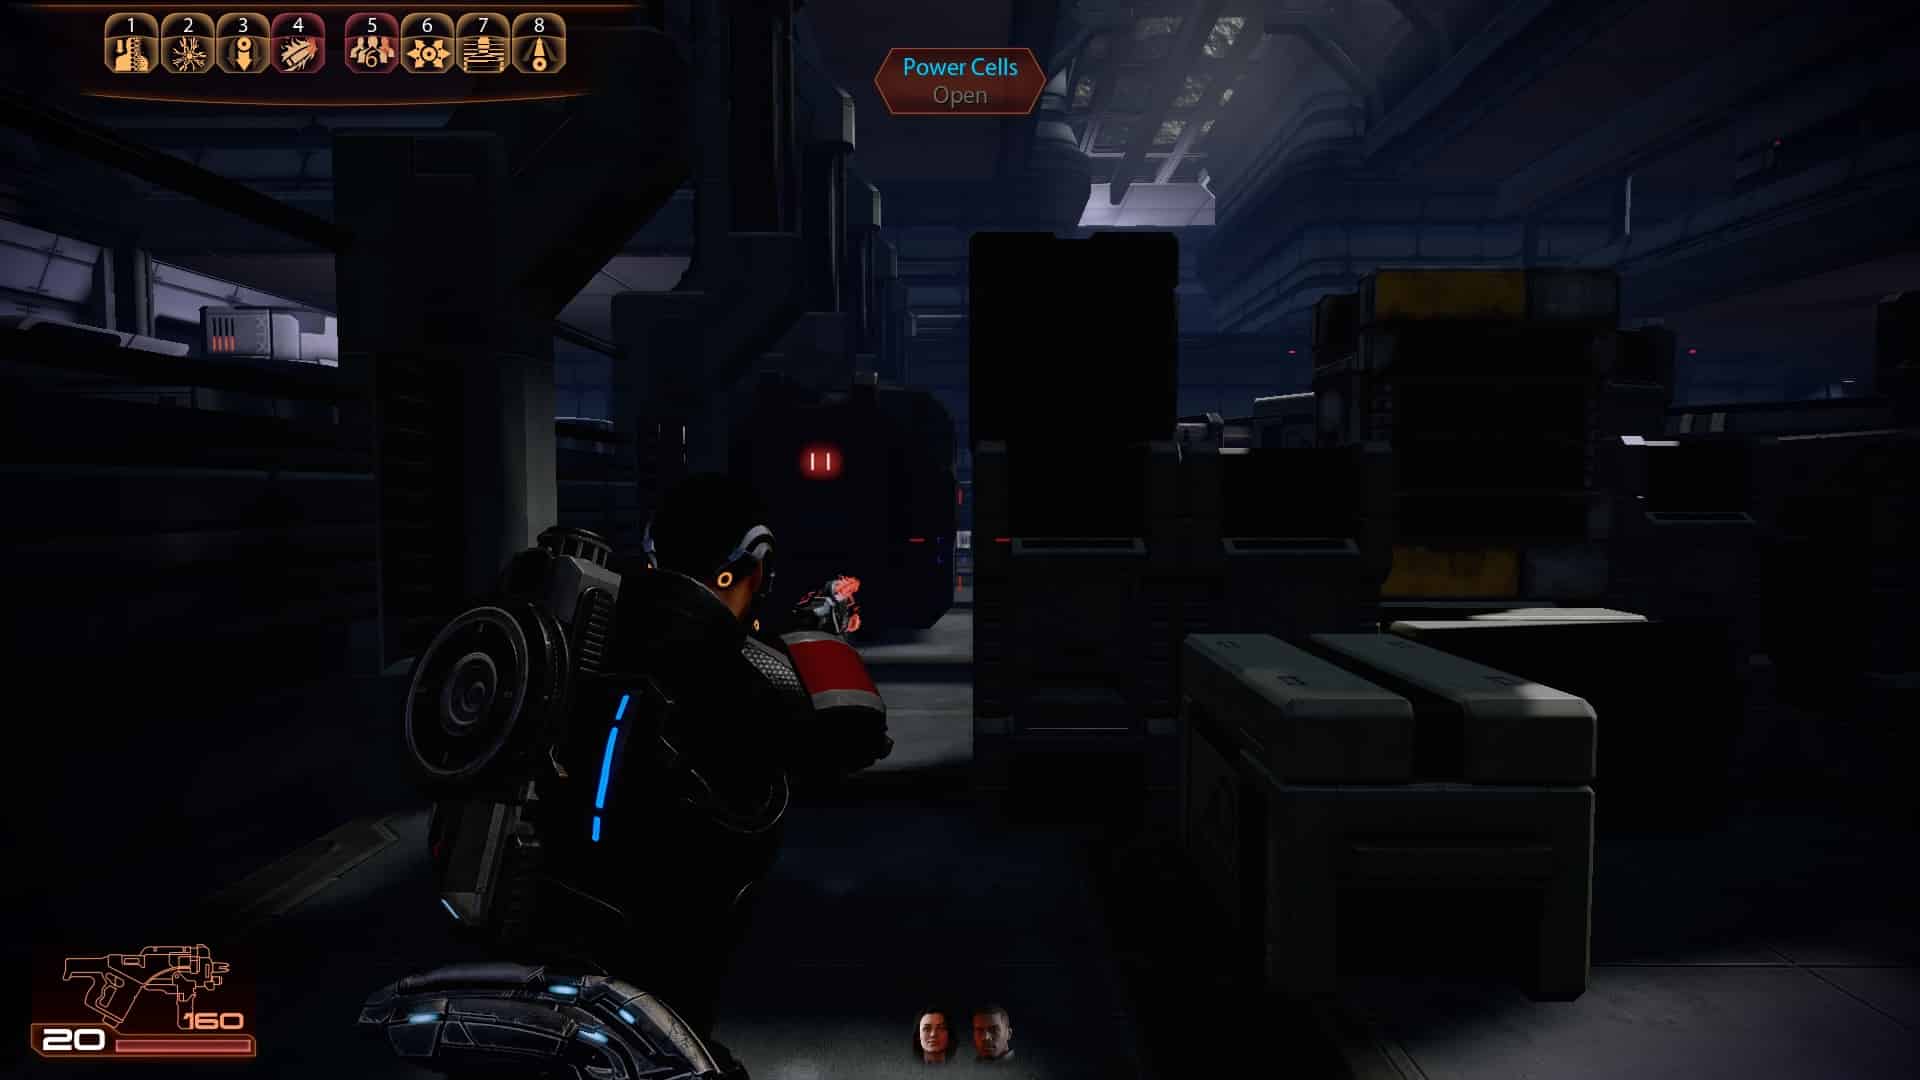
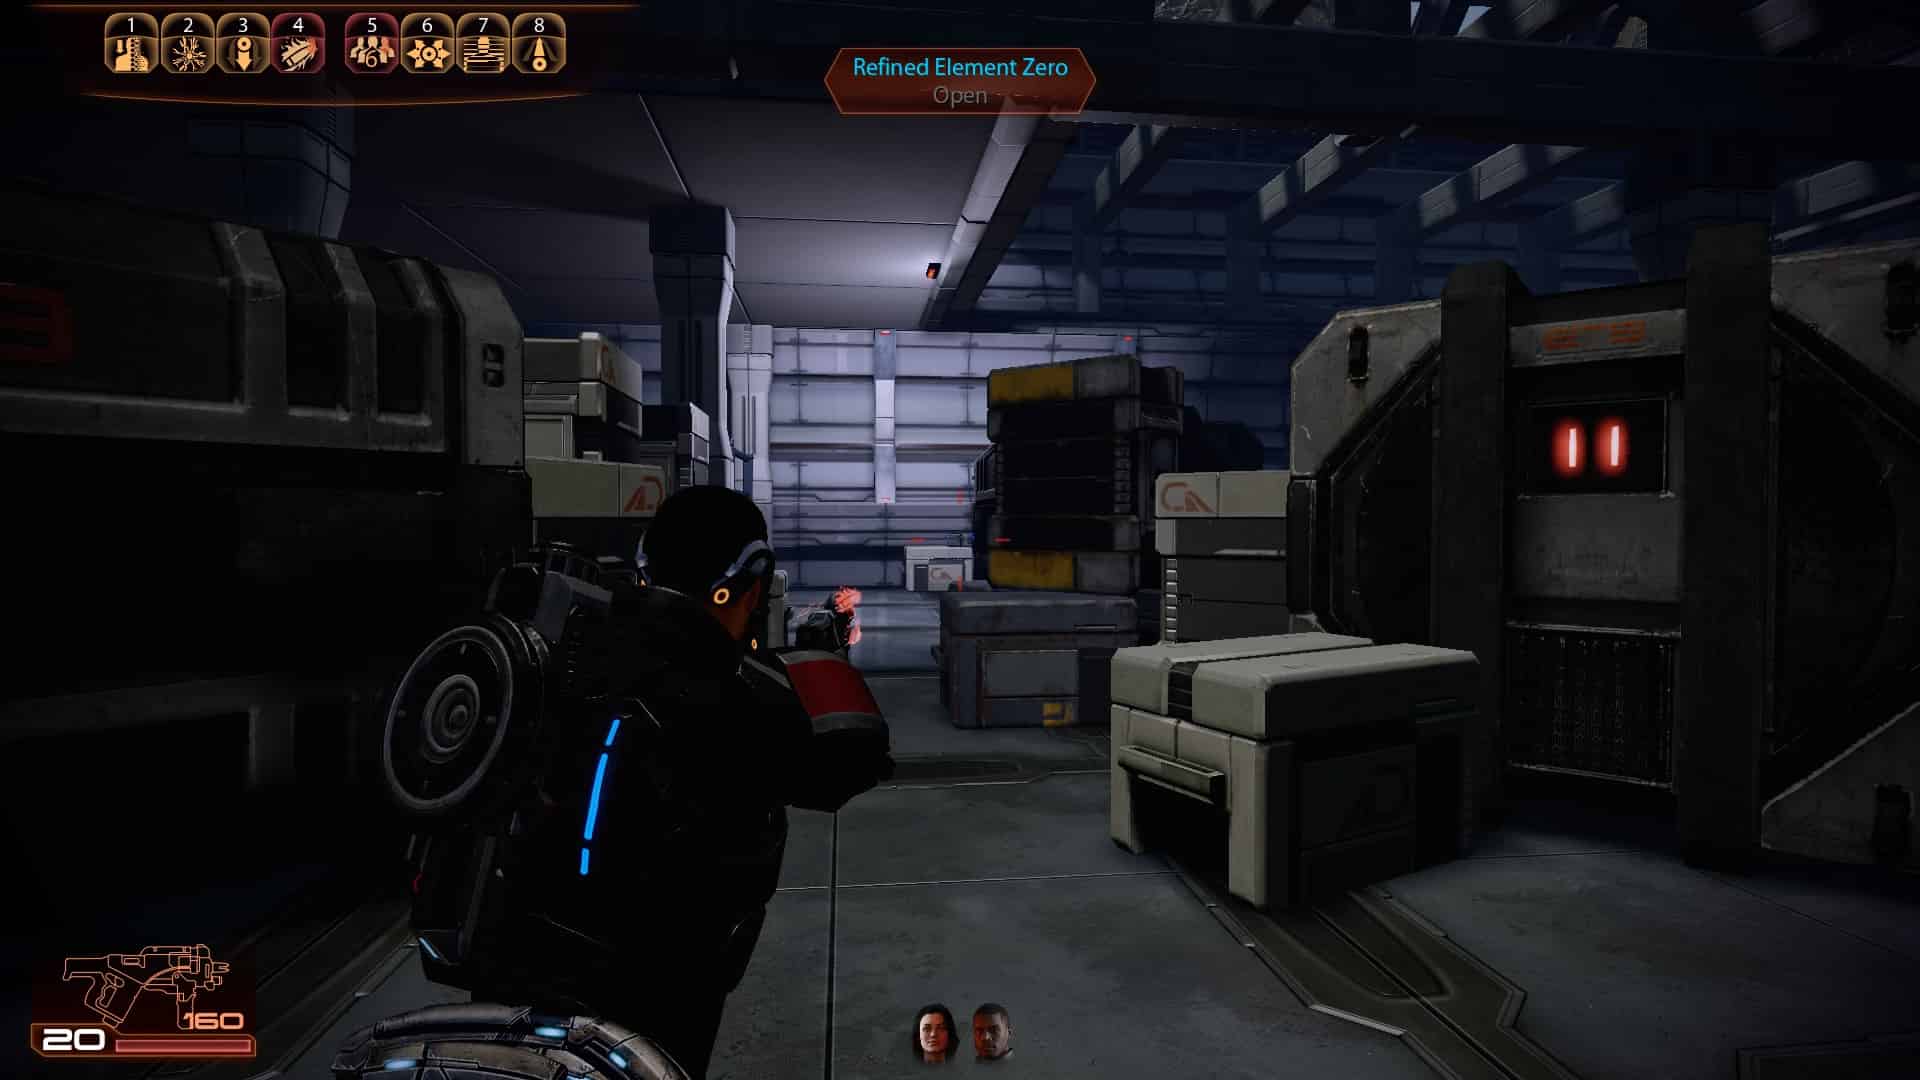
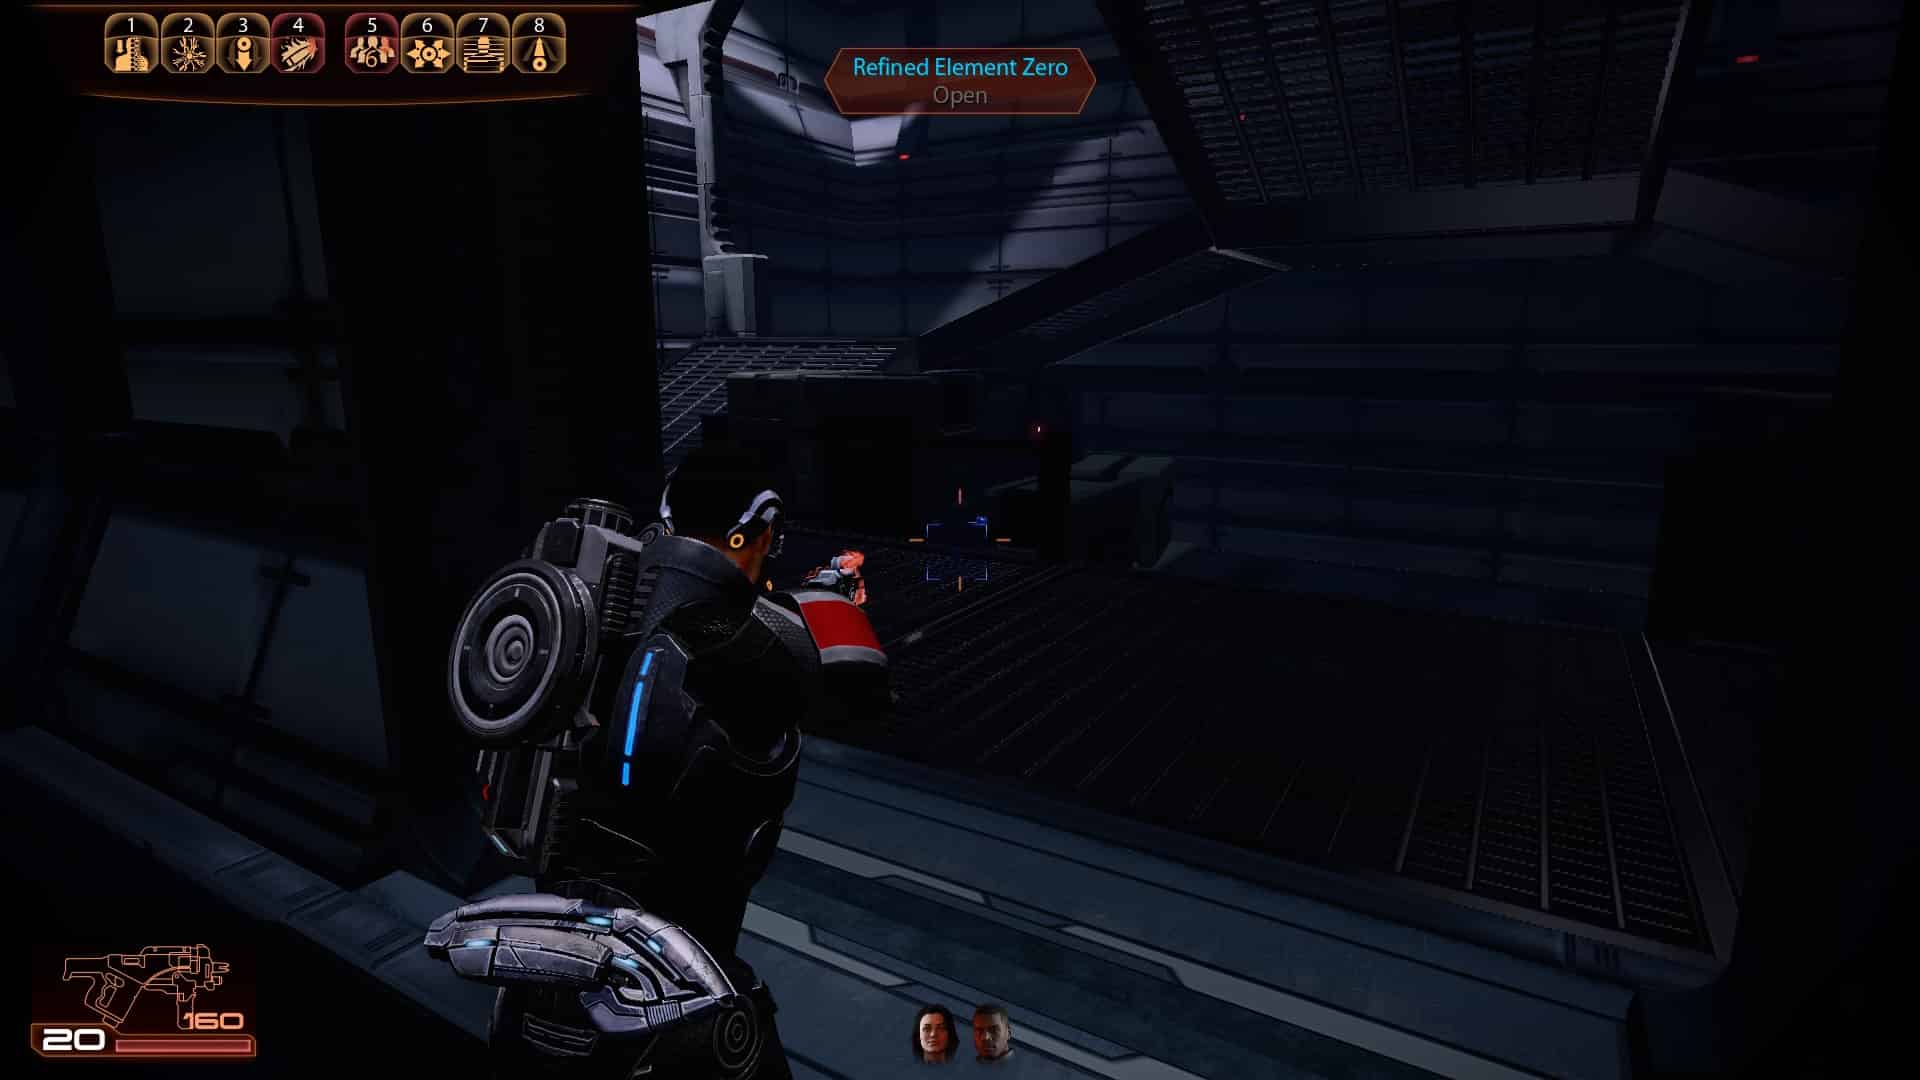
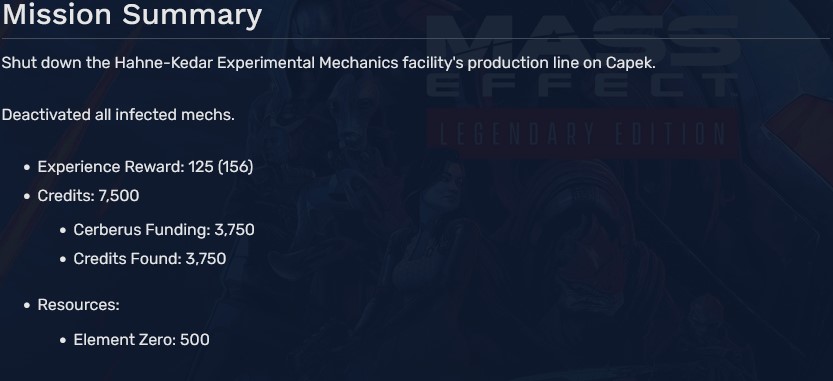
1
2
3
4
5
6
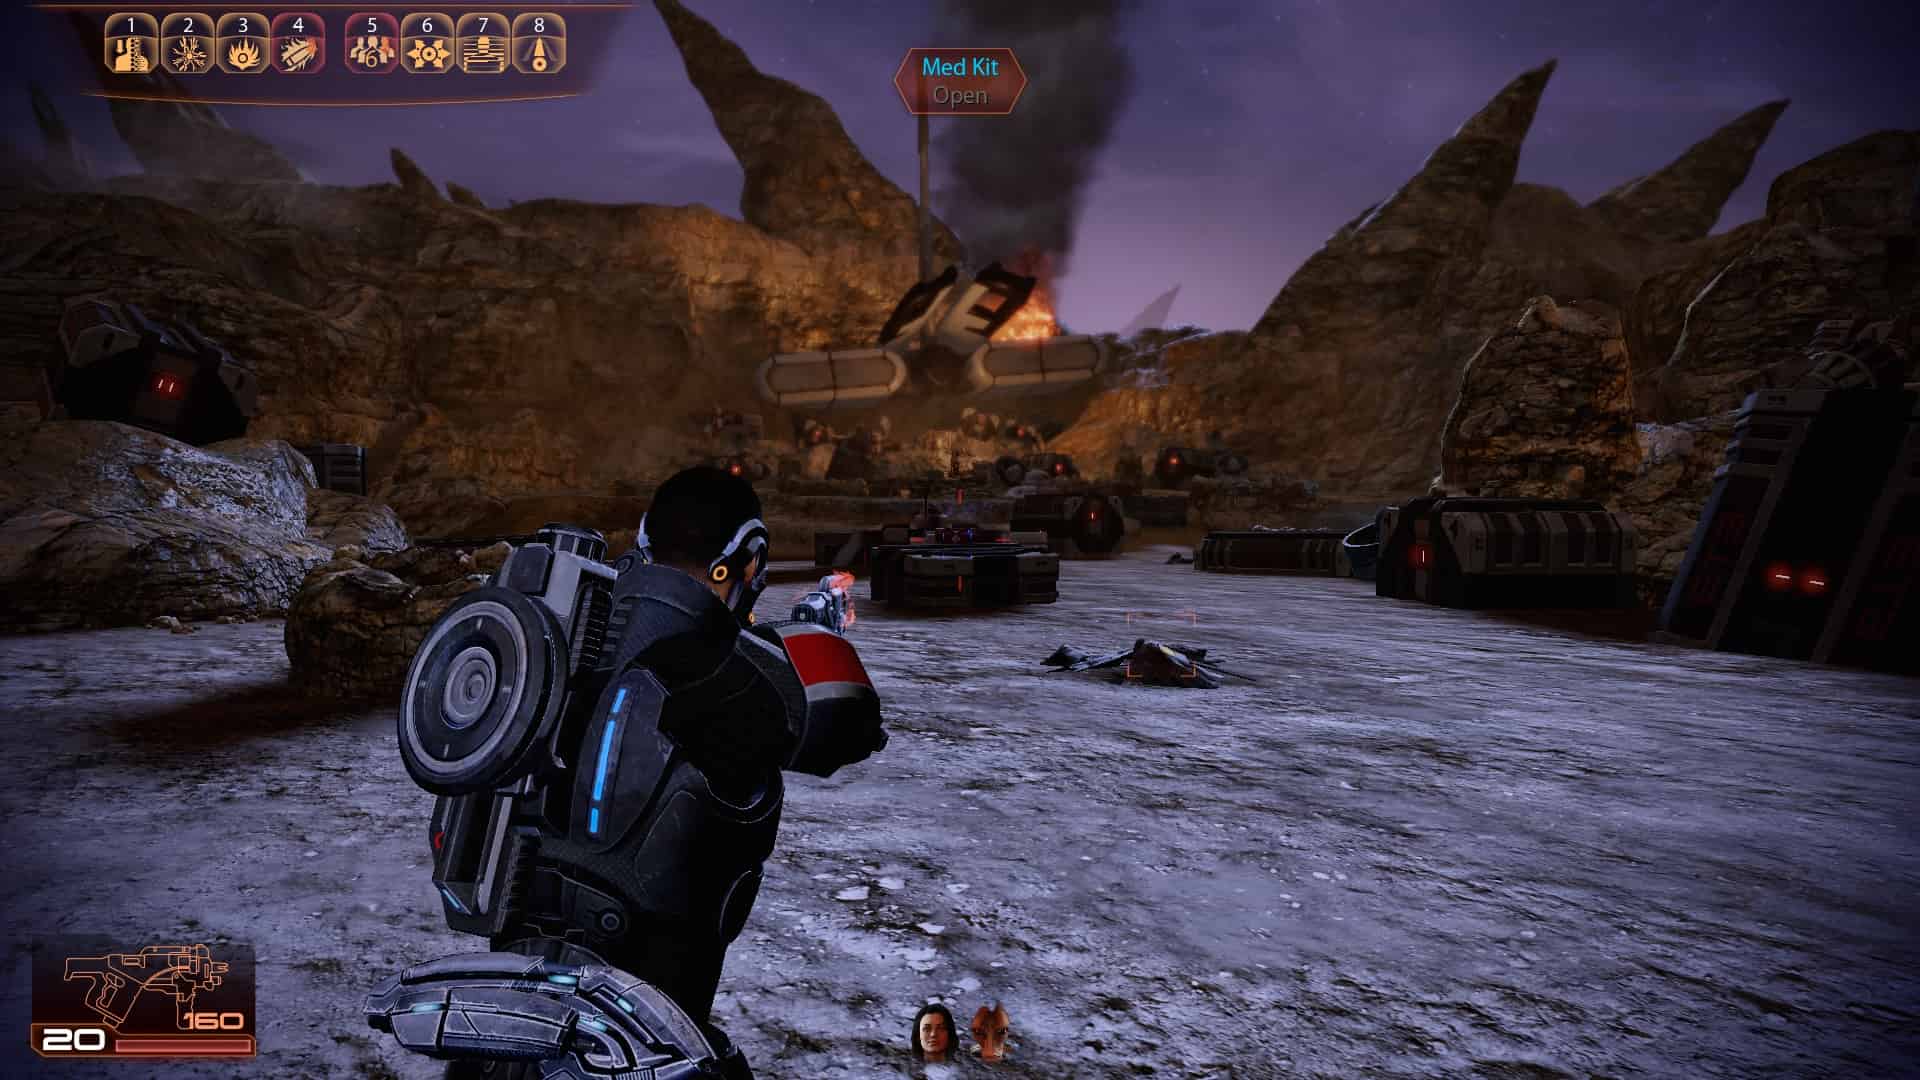
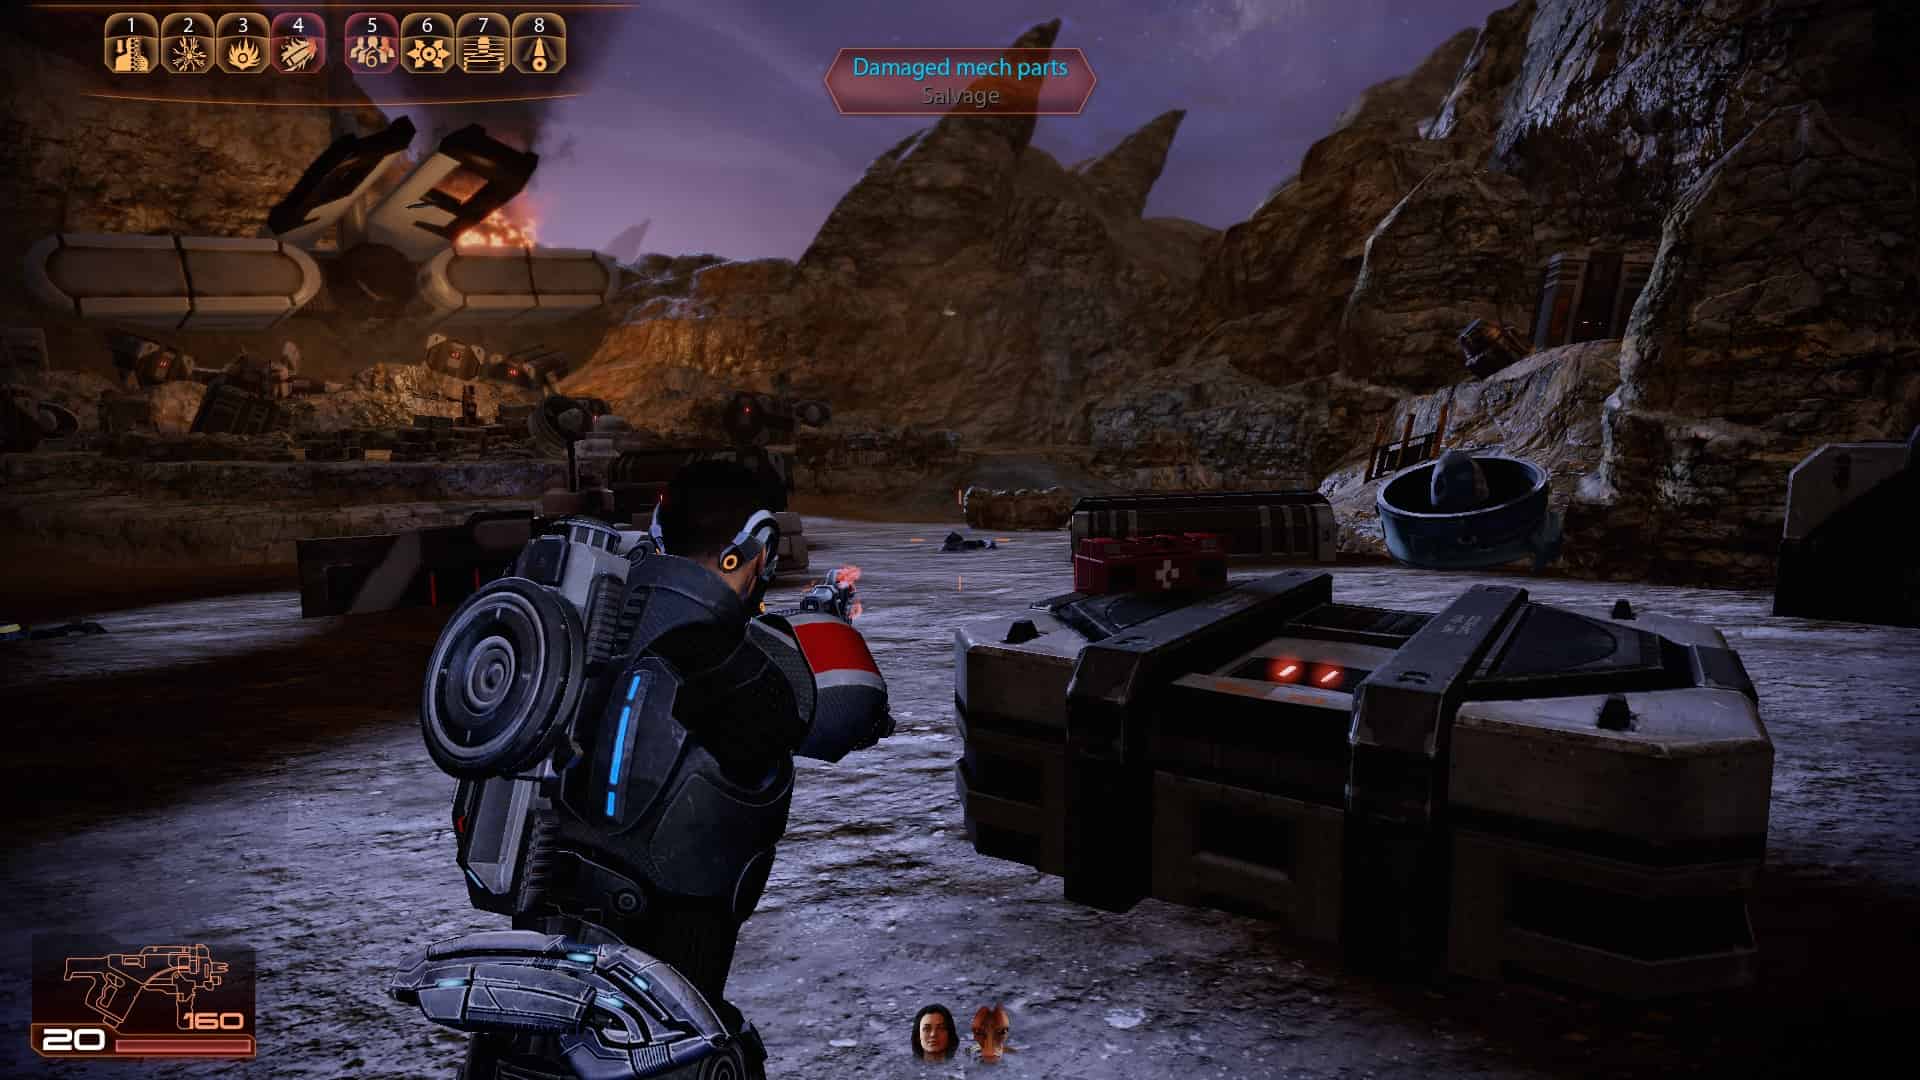
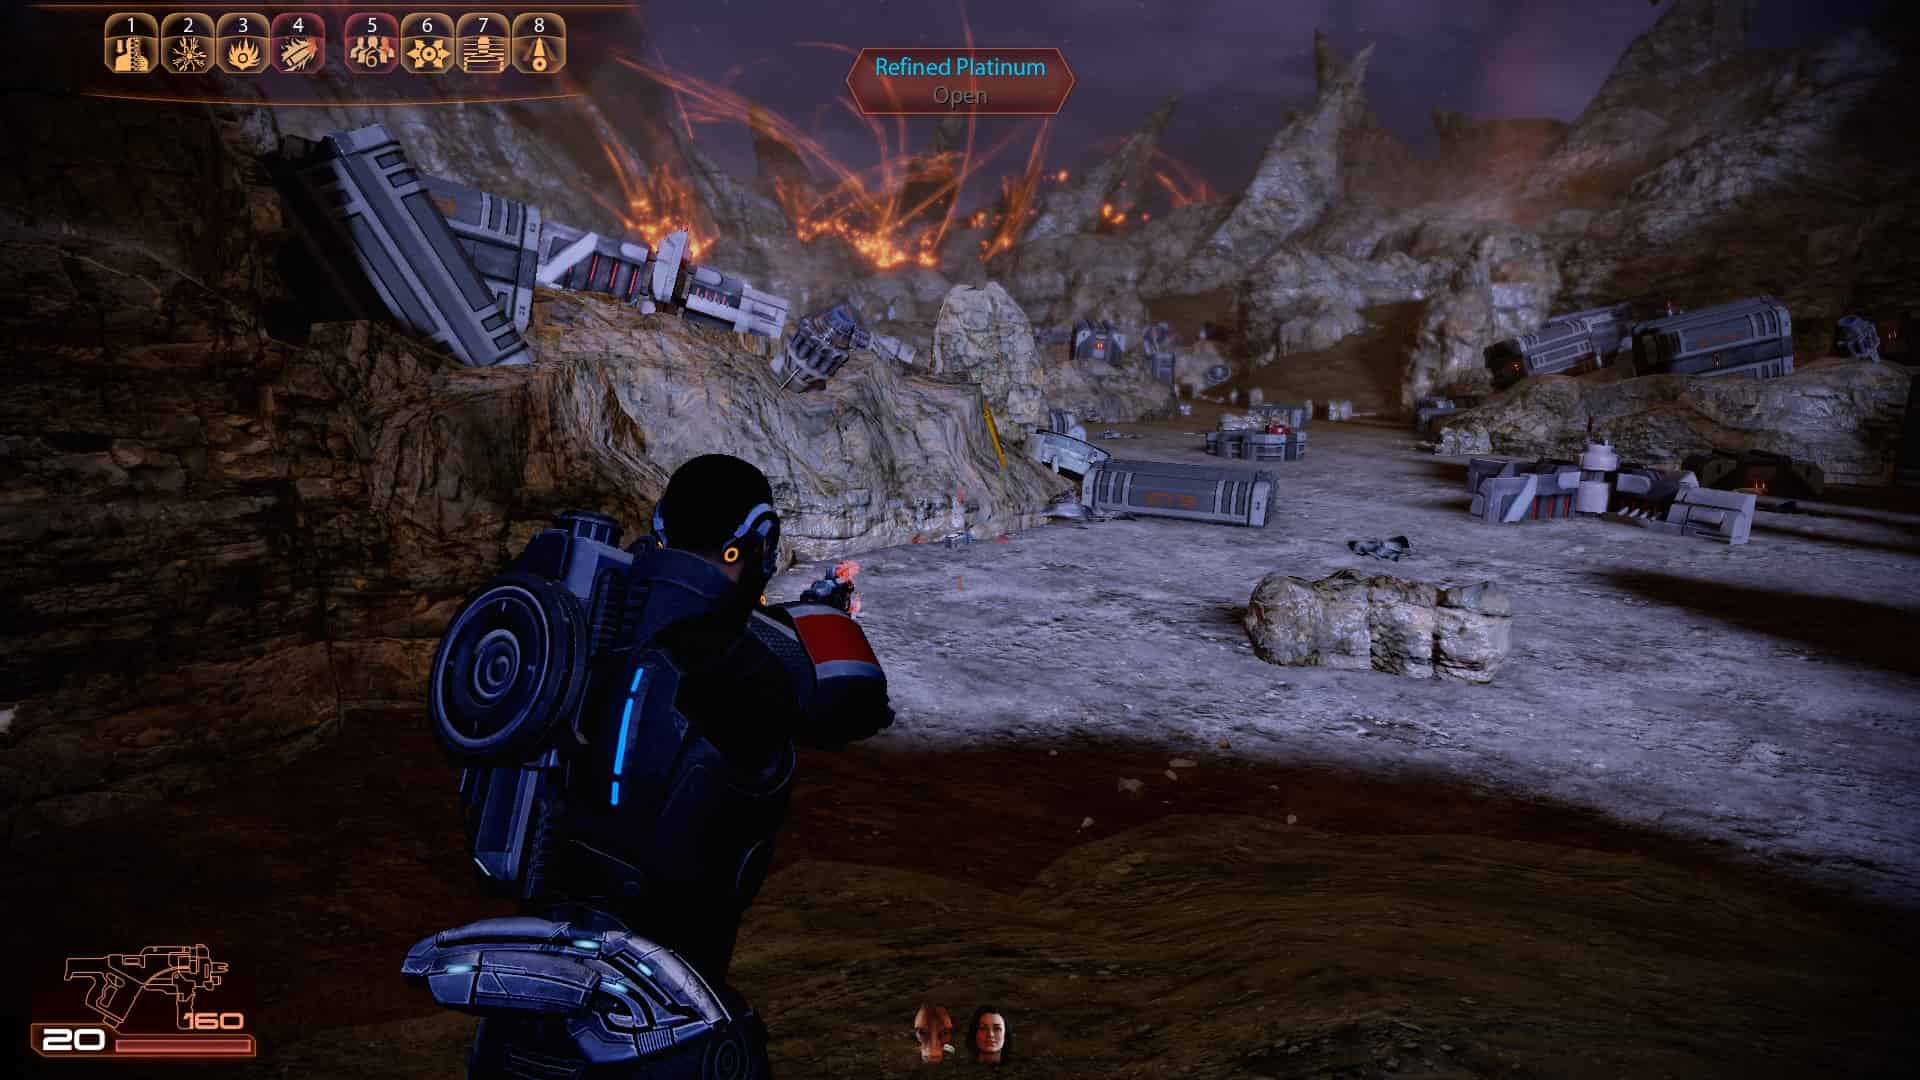
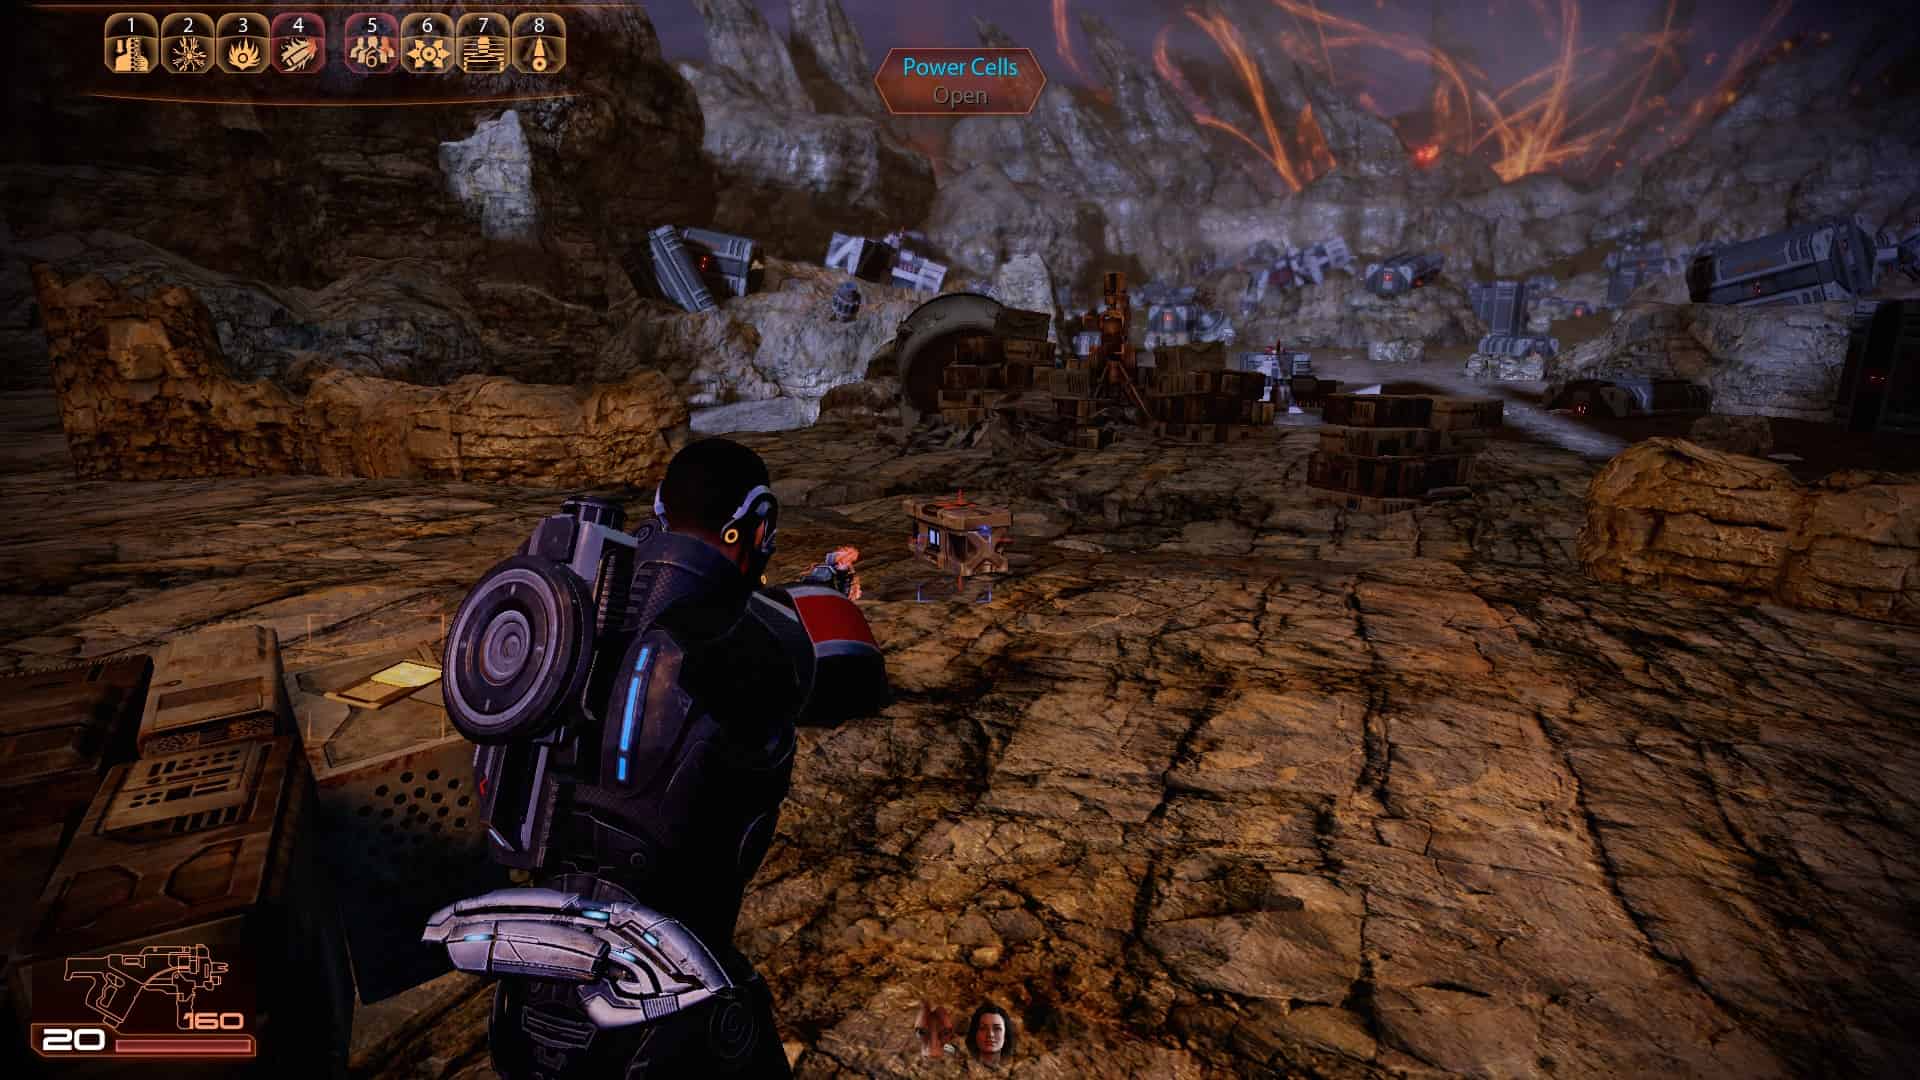
N7 Assignment: Imminent Ship Crash

1
2
3
N7 Assignment: Javelin Missiles Launched
1
2
3
N7 Assignment: Lost Operative


1
2
3
4
N7 Assignment: Mining The Canyon
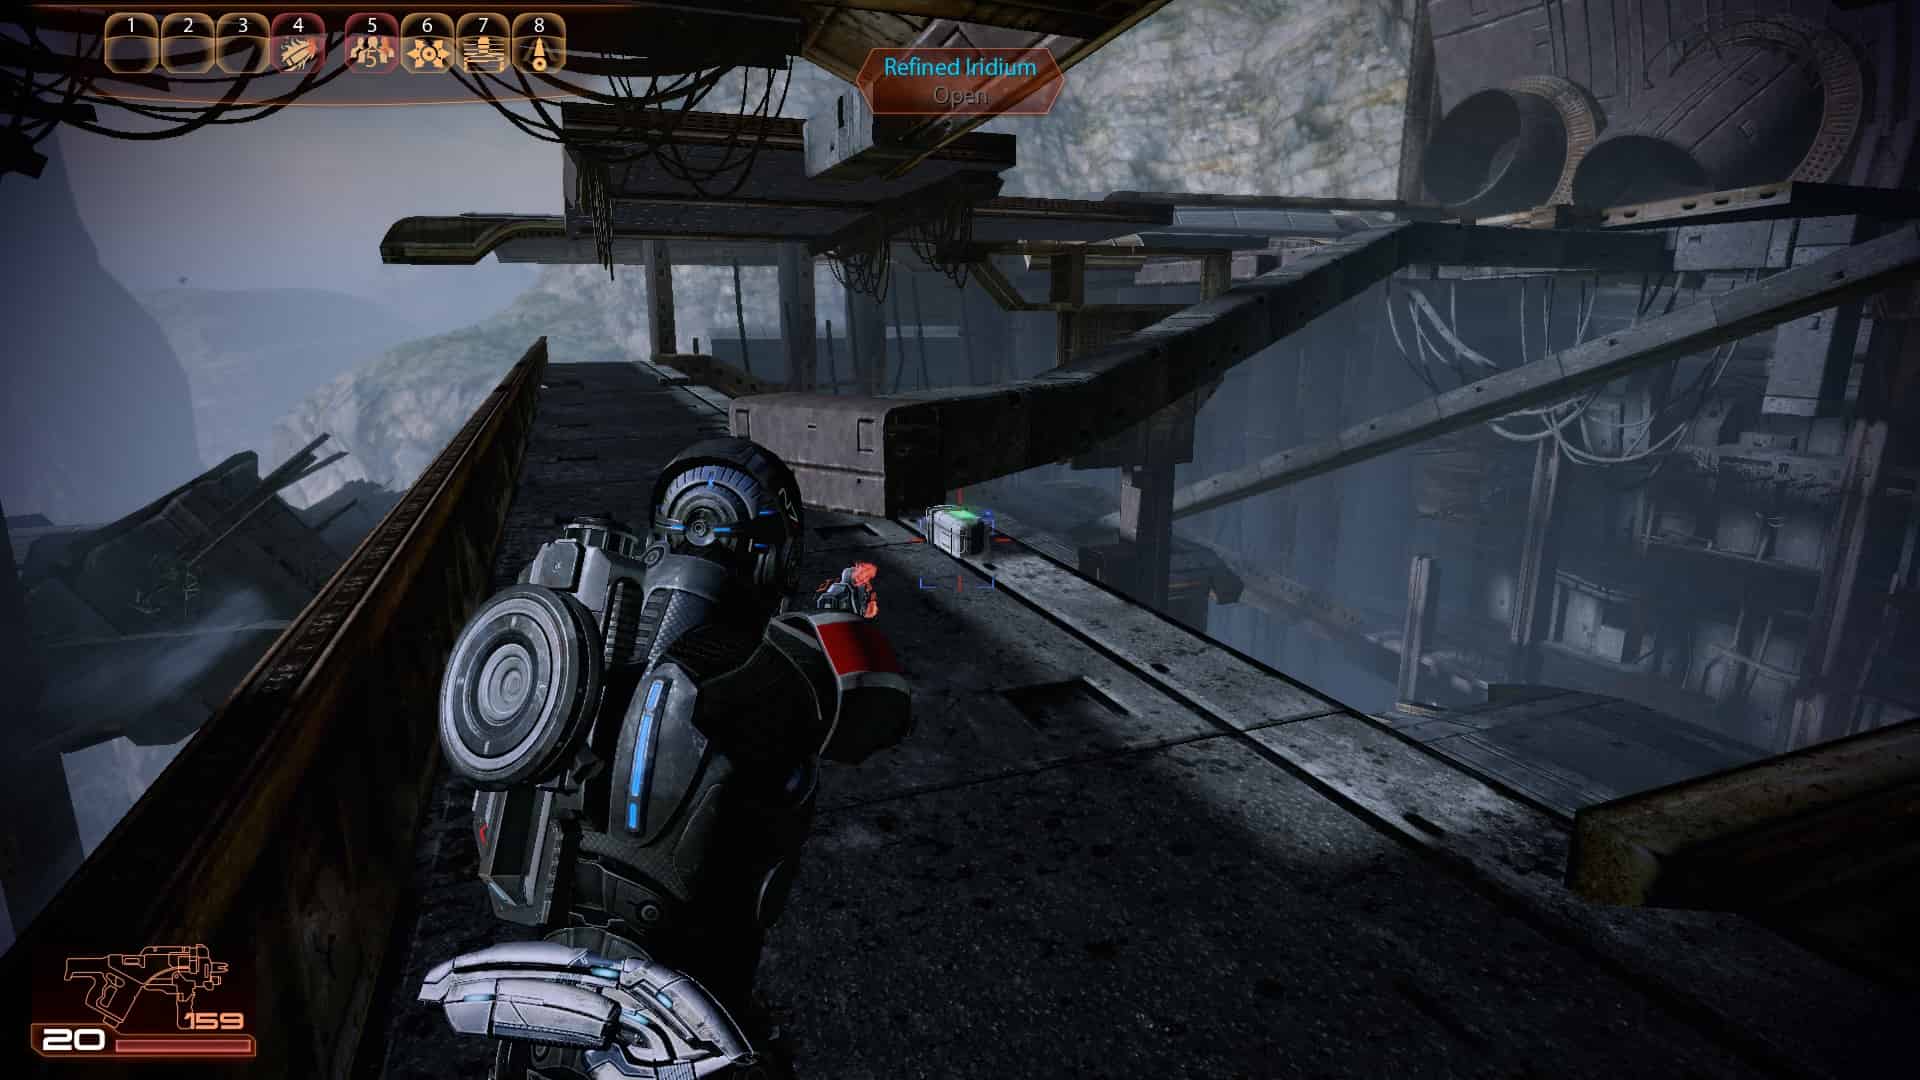
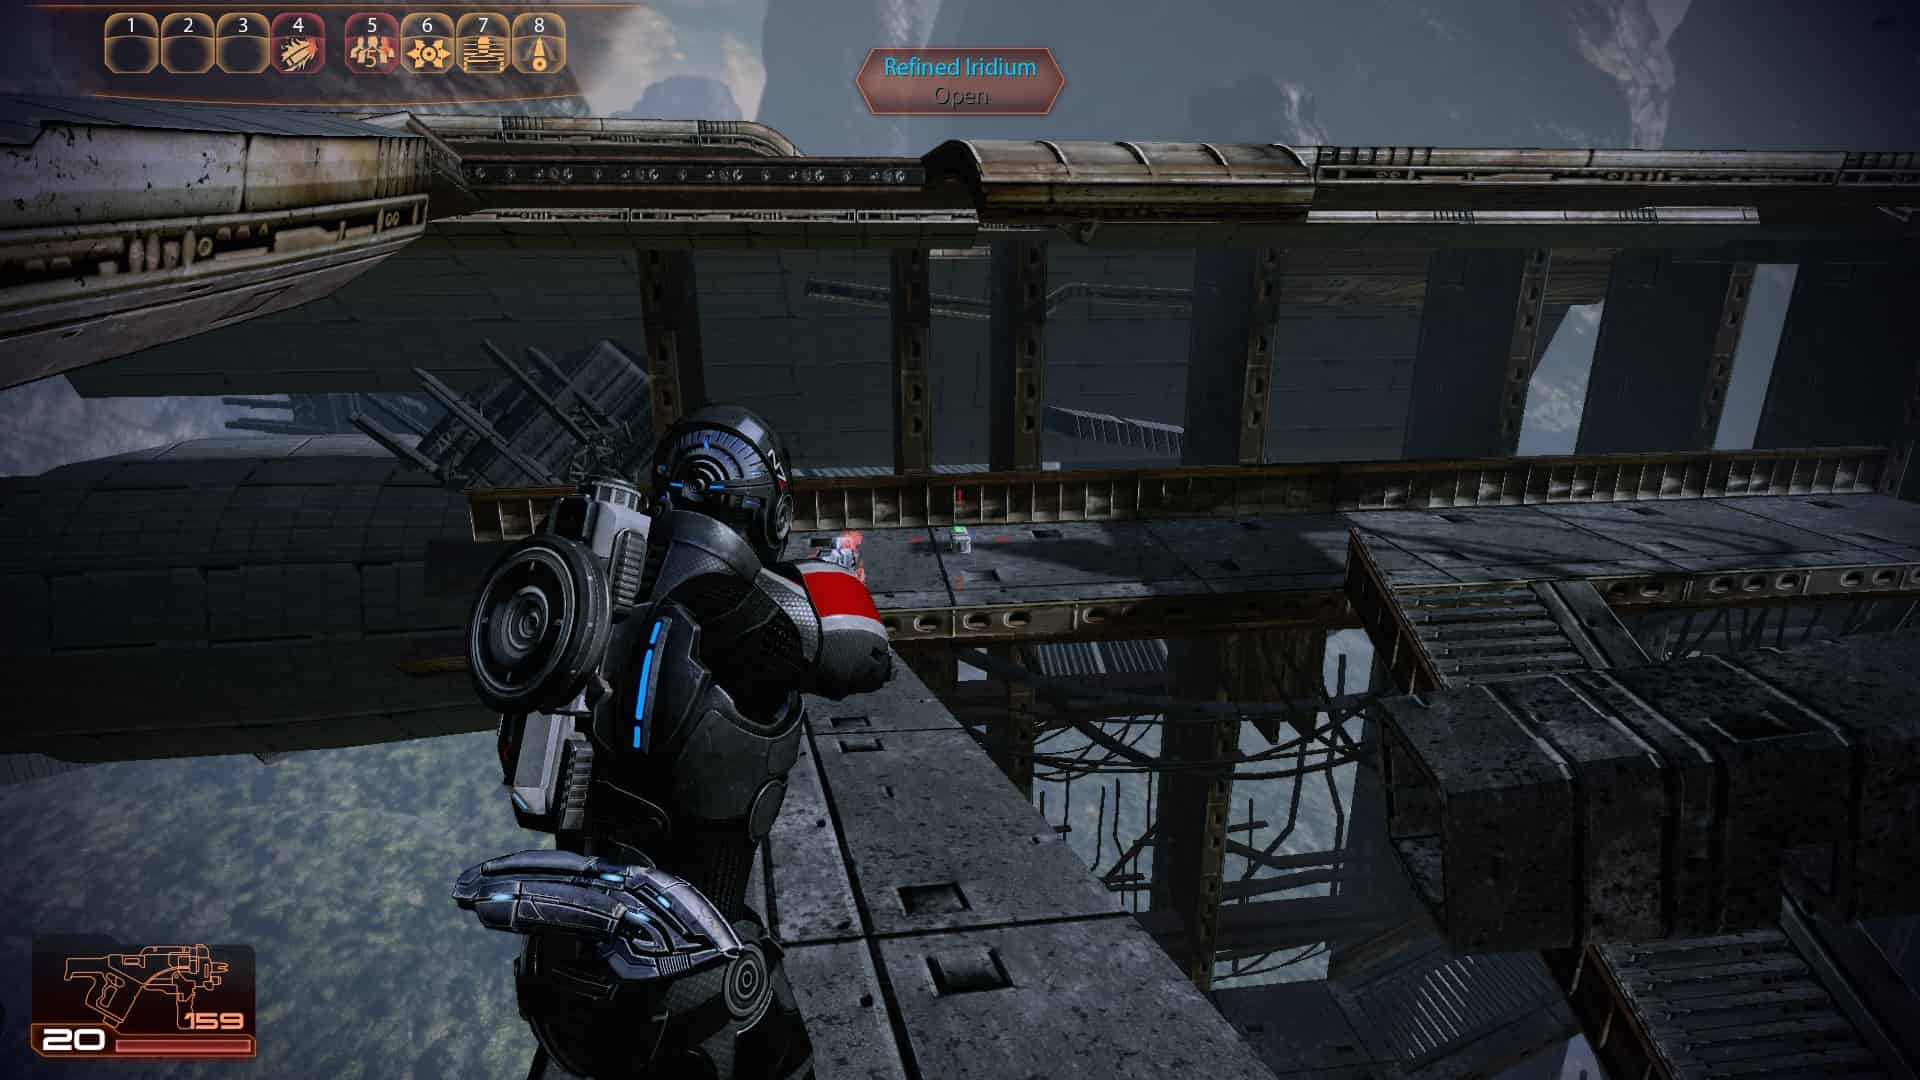
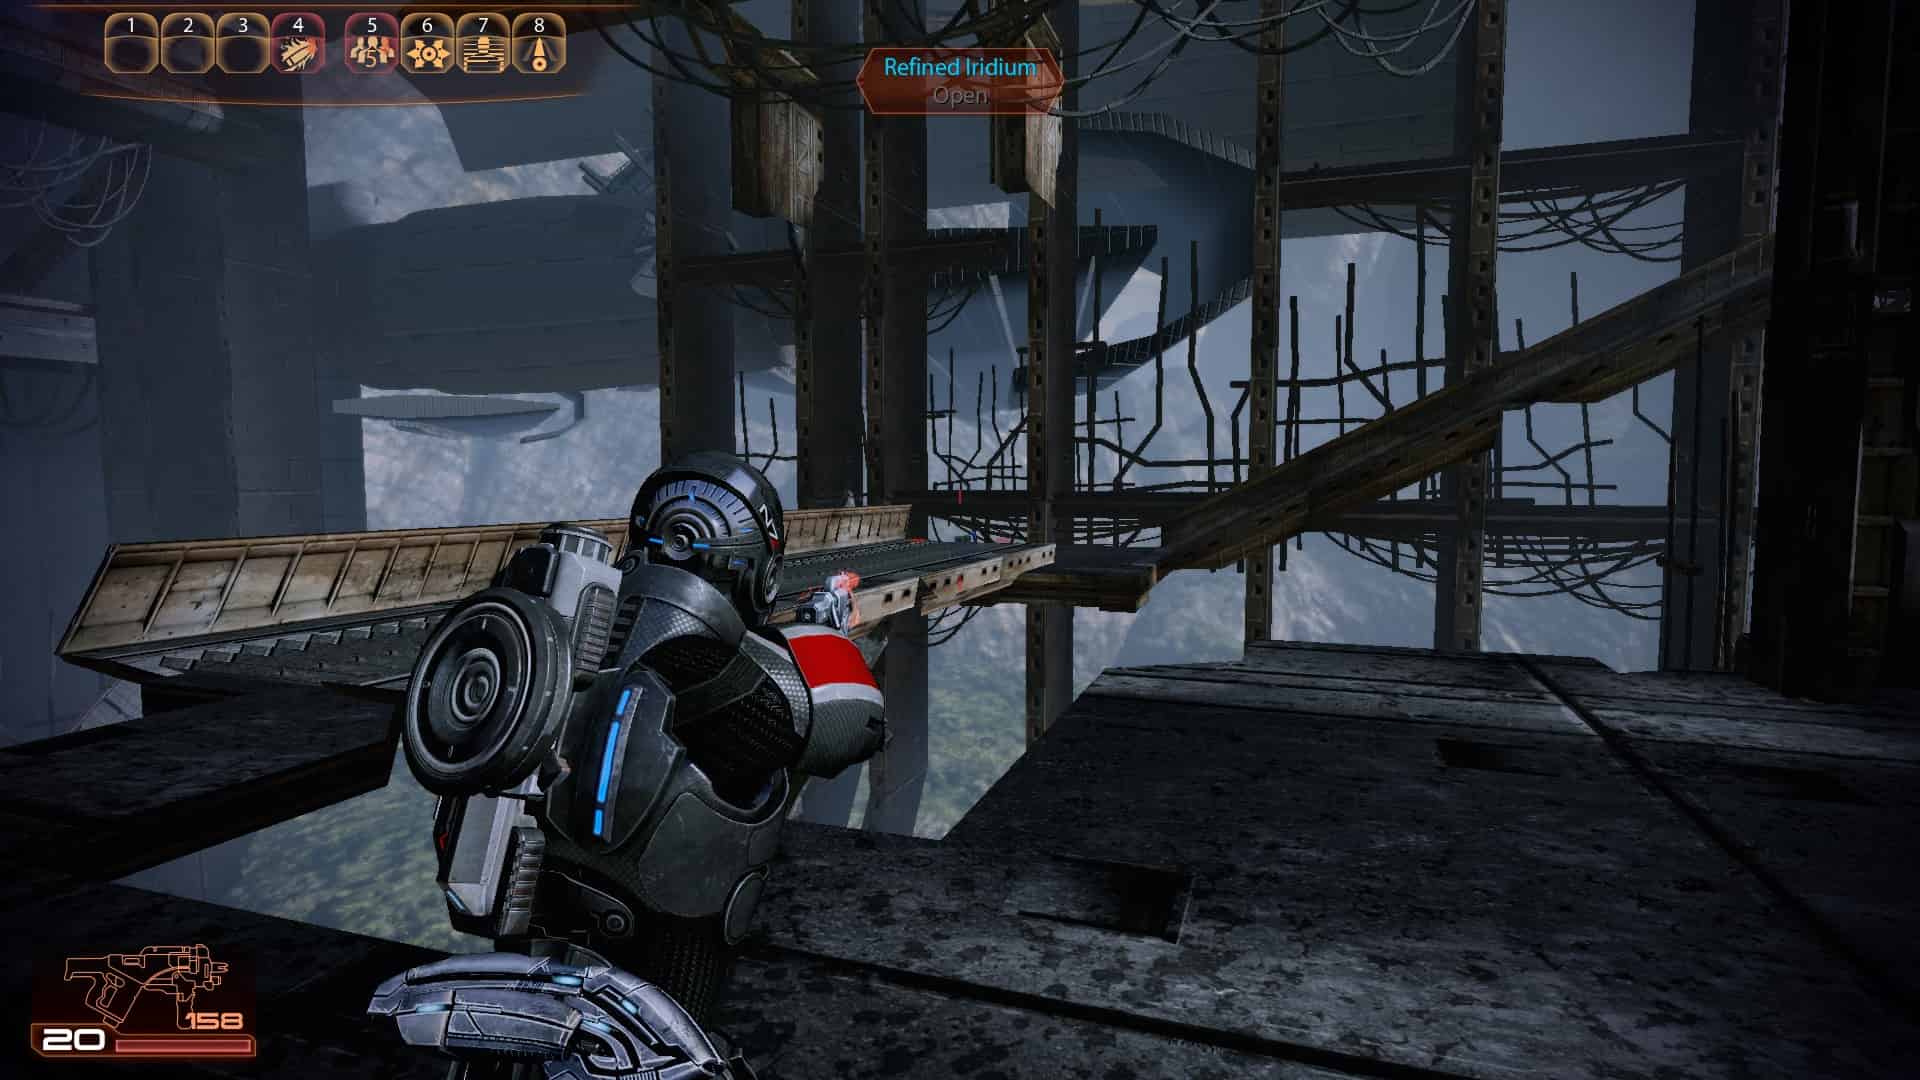
You get 5000 Platinum upon completion. No other loot can be found.
N7 Assignment: MSV Estevanico
1
2
3
4
You get 3750 Credits Found upon completion
N7 Assignment: MSV Strontium Mule

1 (Go to the area with 3 locked doors. Once unlocked, use the right door and turn left)
2 (Go back to the 3 doors and take the center one)
3 (In the last room of the mission)
4 (Upgrade - Heavy Skin Weave)
5
N7 Assignment: Quarian Crash Site
1
2
N7 Assignment: Wrecked Merchant Freighter

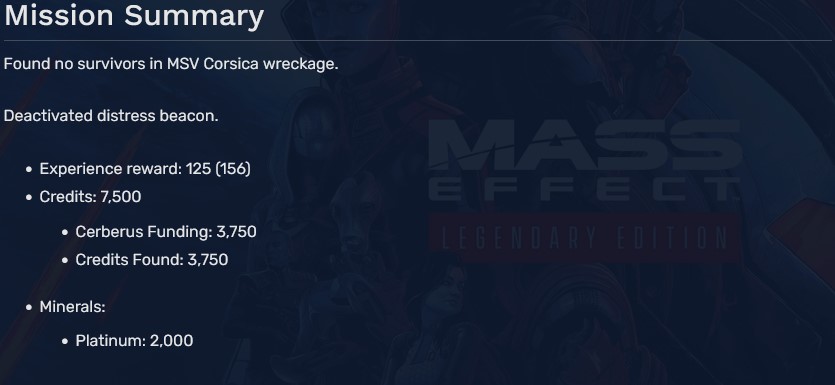
1
2
3
4
5
6
7
8
9
Source: https://steamcommunity.com/sharedfiles/filedetails/?id=2849040151
More Mass Effect Legendary Edition guilds
- All Guilds
- Achievement Checklist: Mass Effect Legendary Edition
- 100% Achievement Guide: Mass Effect Legendary Edition Part 3
- 100% Achievement Guide: Mass Effect Legendary Edition Part 2
- 100% Achievement Guide: Mass Effect Legendary Edition Part 1
- My Mass Effect mod list: (Legendary Edition)
- Mass Effect: Legendary Edition - Zakoczenia - Jak odblokowa wszystkie zakoczenia?
- Mass Effect Legendary Edition Guide 683
- Achievements Fix
- Mass Effect Legendary Edition - Gua de logros (ESP)
- Steam Deck: Working Offline Mode + Achievements