
Introduction
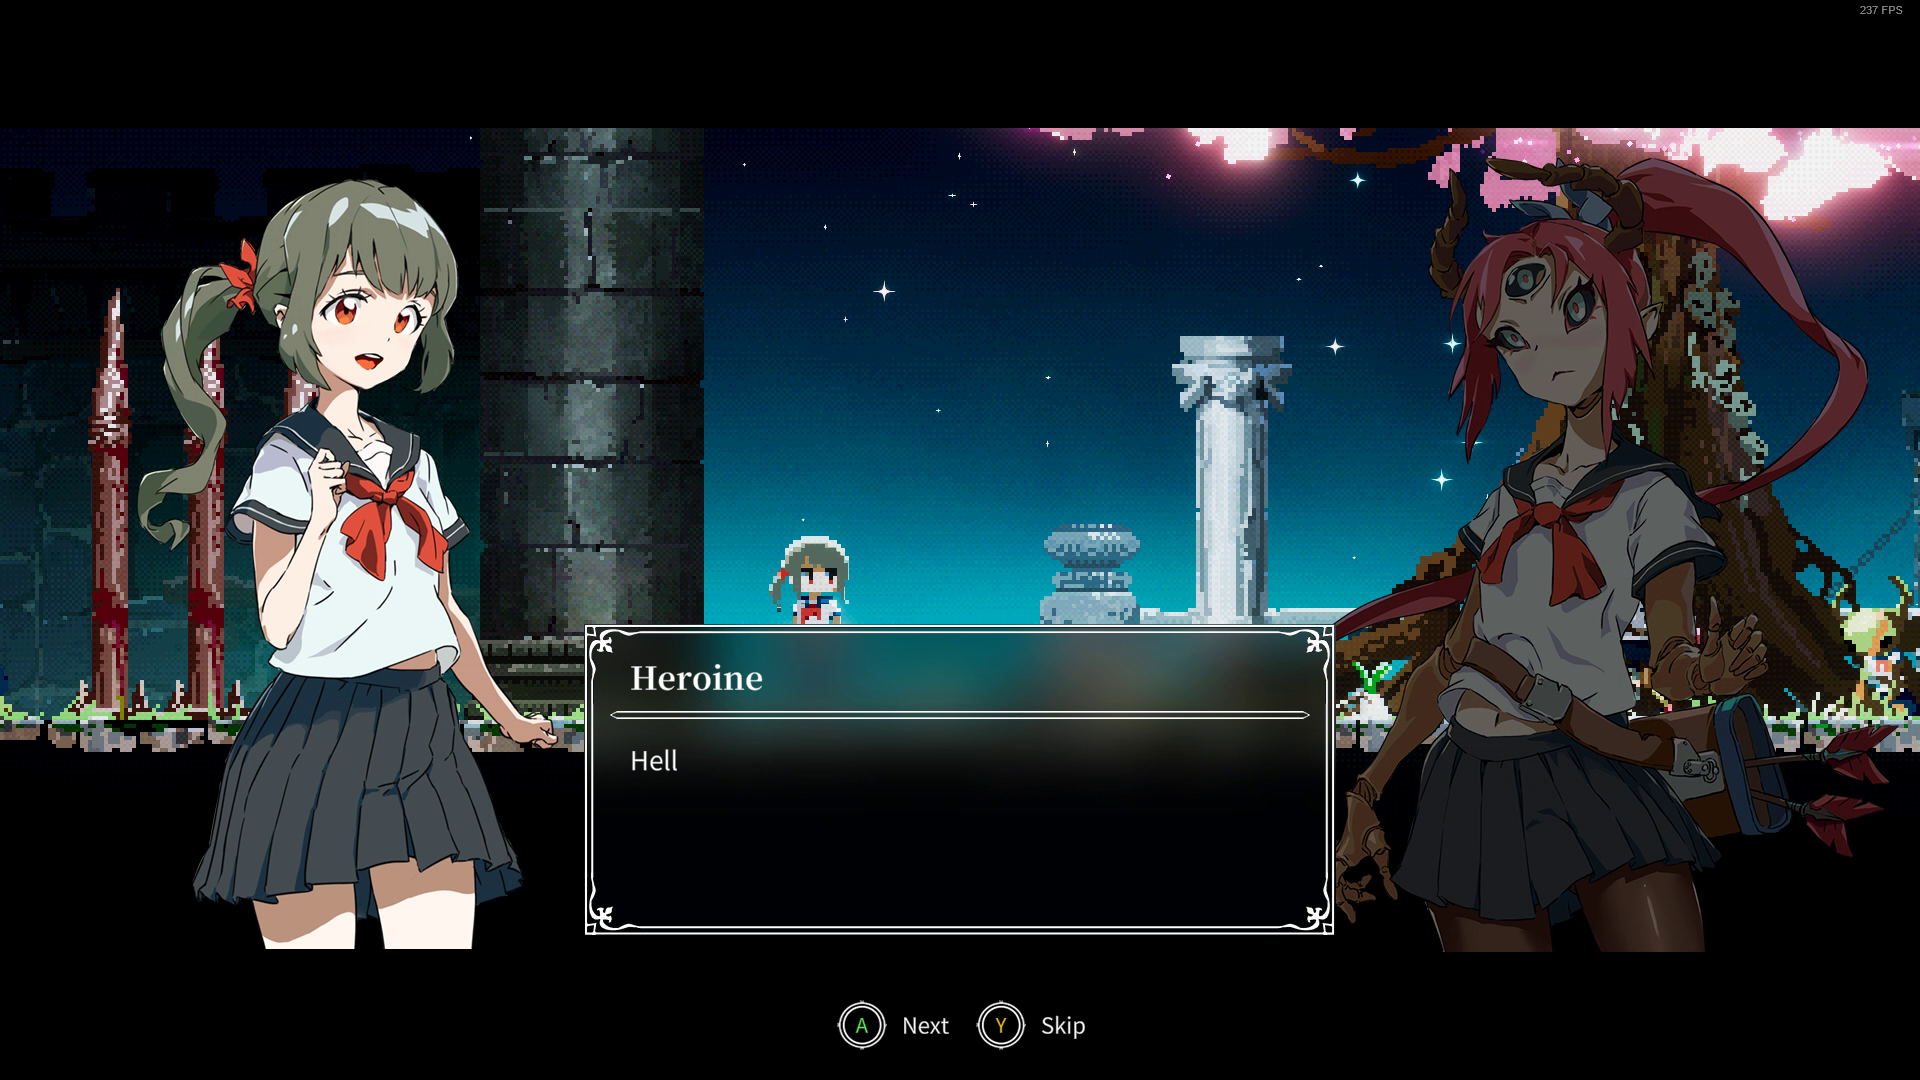
Lost Ruins is a game that has three endings -- the bad ending (The End achievement), the good ending (Reincarnation achievement), and the best ending which requires you to replay the game and get the good ending + complete every side quests on Veteran mode (Arrive Home achievement).
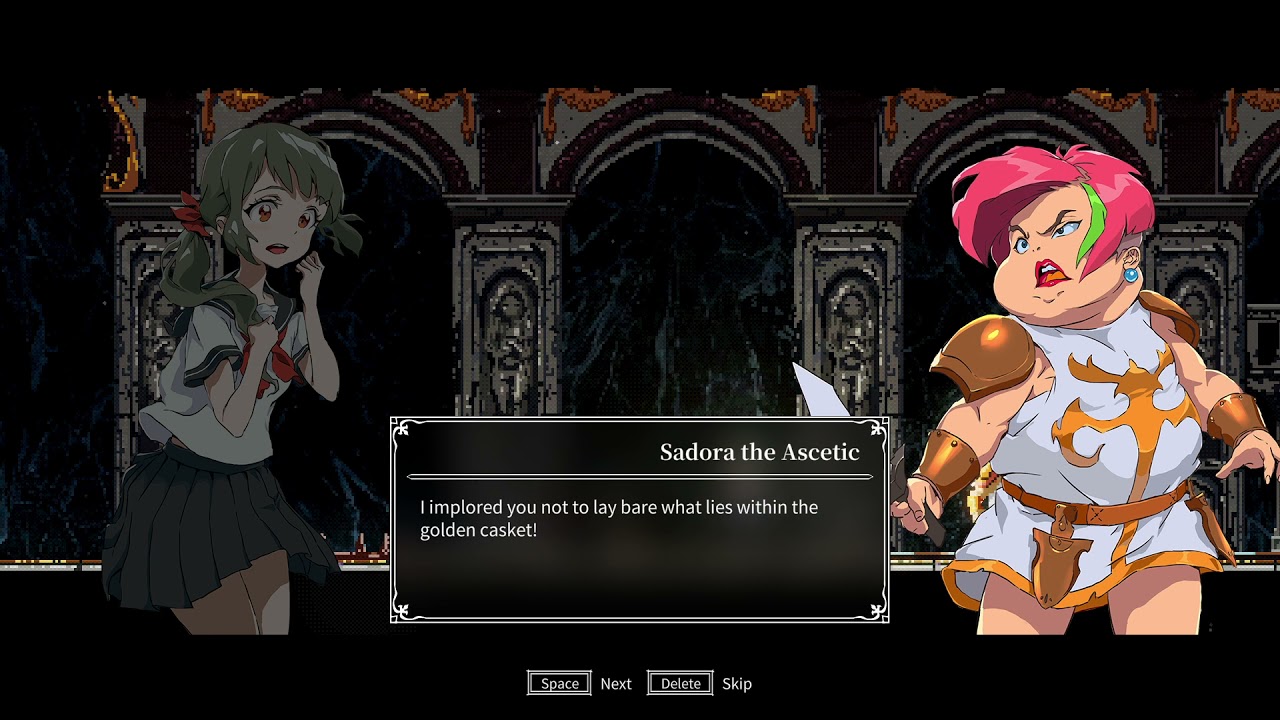
To get the good ending you will have to complete the Ascetic Lifestyle side quest given by Sadora the Ascetic before you confront the final boss, the quest requires you to not open any golden chest you find until you meet Sadora a second time (after defeating Jun ), thus completing the quest. After the quest has been completed you are allowed to retrace your steps to open all the golden chests, doing so will aggro Sadora and forcing you to kill her (The Fallen achievement), but you will still get the good ending. Opening any golden chests before you defeat Jun and meet Sadora a second time will fail the quest and result in the bad ending.
To 100% the game you are required to go for the good ending because by completing the Ascetic Lifestyle side quest you are rewarded with the Holy Sword, an item which is required for:
Collecting All Weapons -- Weapon Master achievement
Some other things you need to collect include:
All equipment -- Hoarder Achievement
All spells -- Spell Master Achievement
All art pieces -- Art Collector Achievement
NOTE: For the art piece locations I'm only writing through memory since they don't show up anymore after you've picked them up. If you have any information on where they are, feel free to correct me.
All records (smartphones, journals, etc.) -- Librarian Achievement
Checklist
All WeaponsAll EquipmentAll Records And QuestsIf you are looking for where to find specific items in this list, simply Ctrl+F and look for it in this guide, I'll make sure to cover the location of every item on this list.
(51)
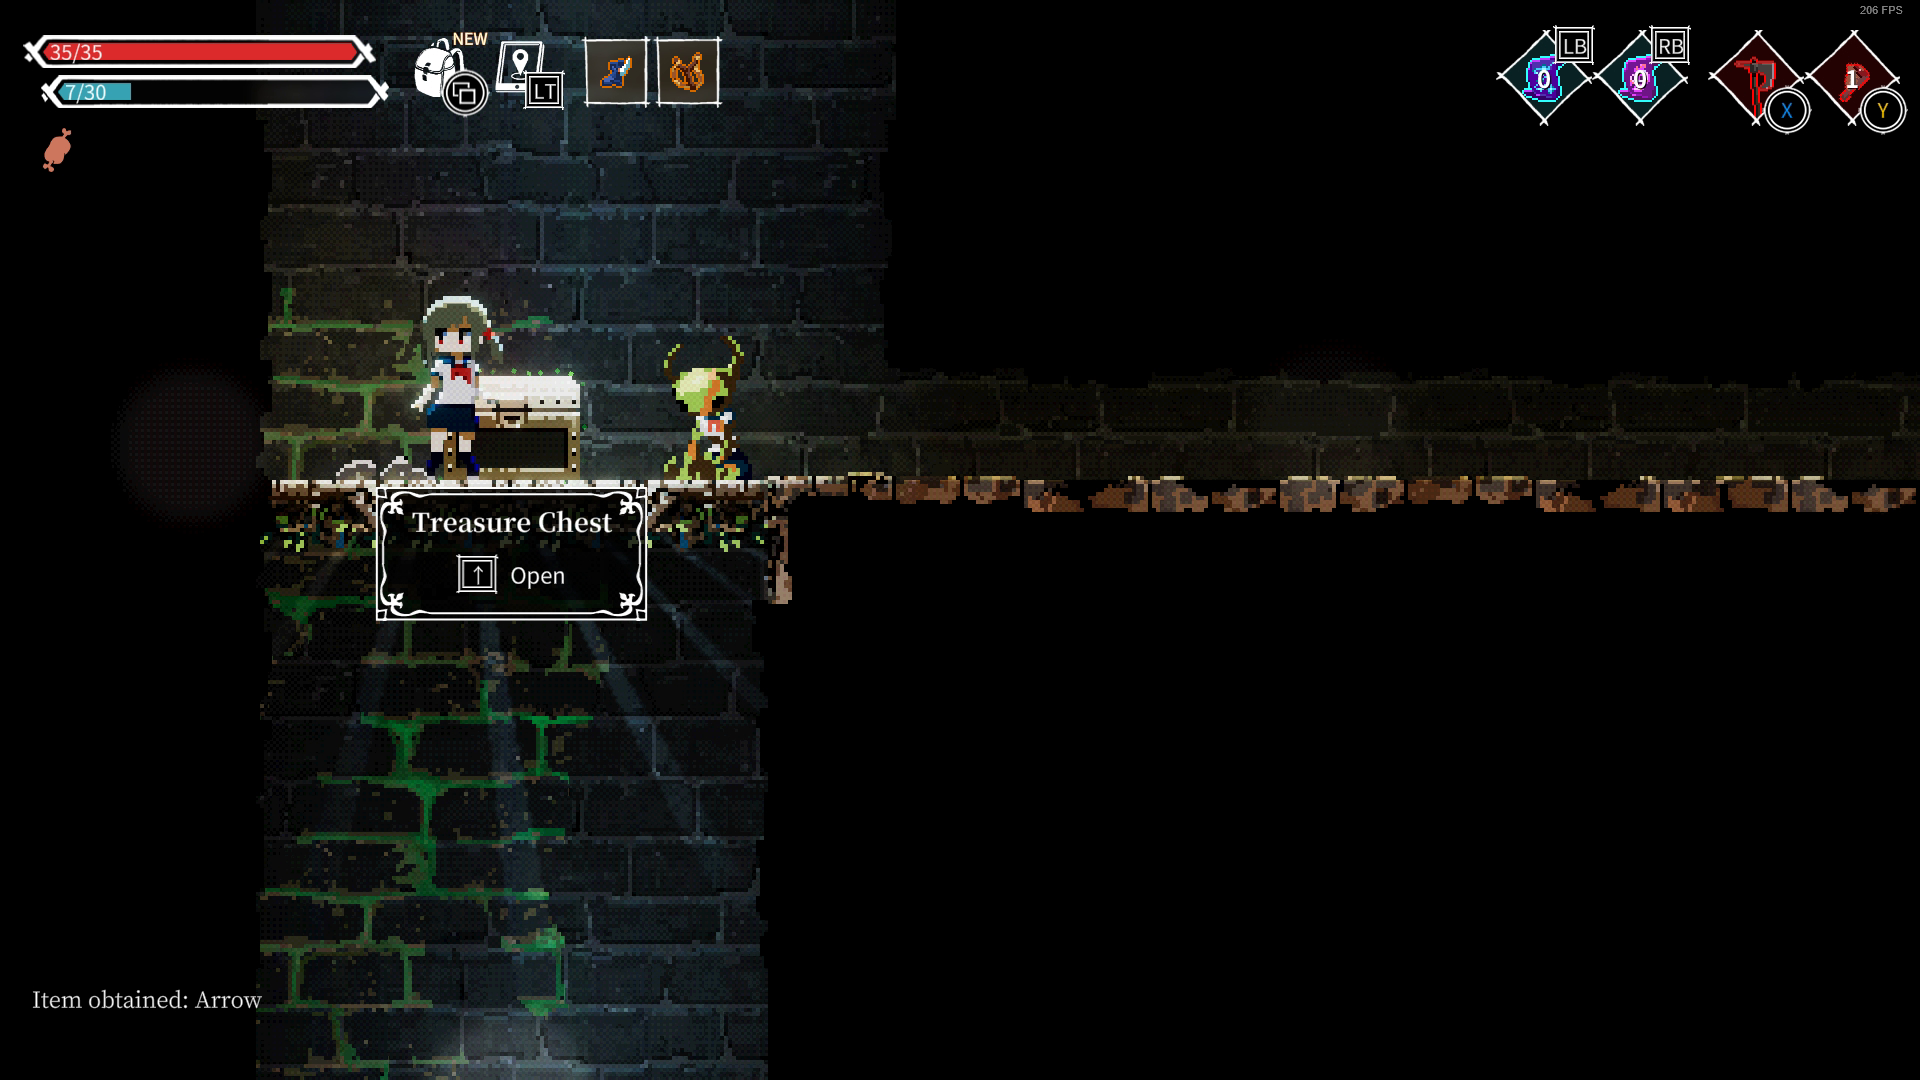
Arrow
Best Friend
Blood Axe
Bow
Broom
Club
Cursed Scythe
Dagger
Dane Axe
Dynamite
Earth Wand
Fire Bow
Fire Wand
Flame Sword
Gladius
Goblin Dagger
Hatchet
Holy Sword
Homi
Ice Axe
Ice Wand
Kitchen Knife
Leyden Jar
Lightning Wand
Long Sword
Mace
Magic Bow
Magic Shield
Missile
Missile Launcher
Multi-shot Bow
Pickaxe
Plunger
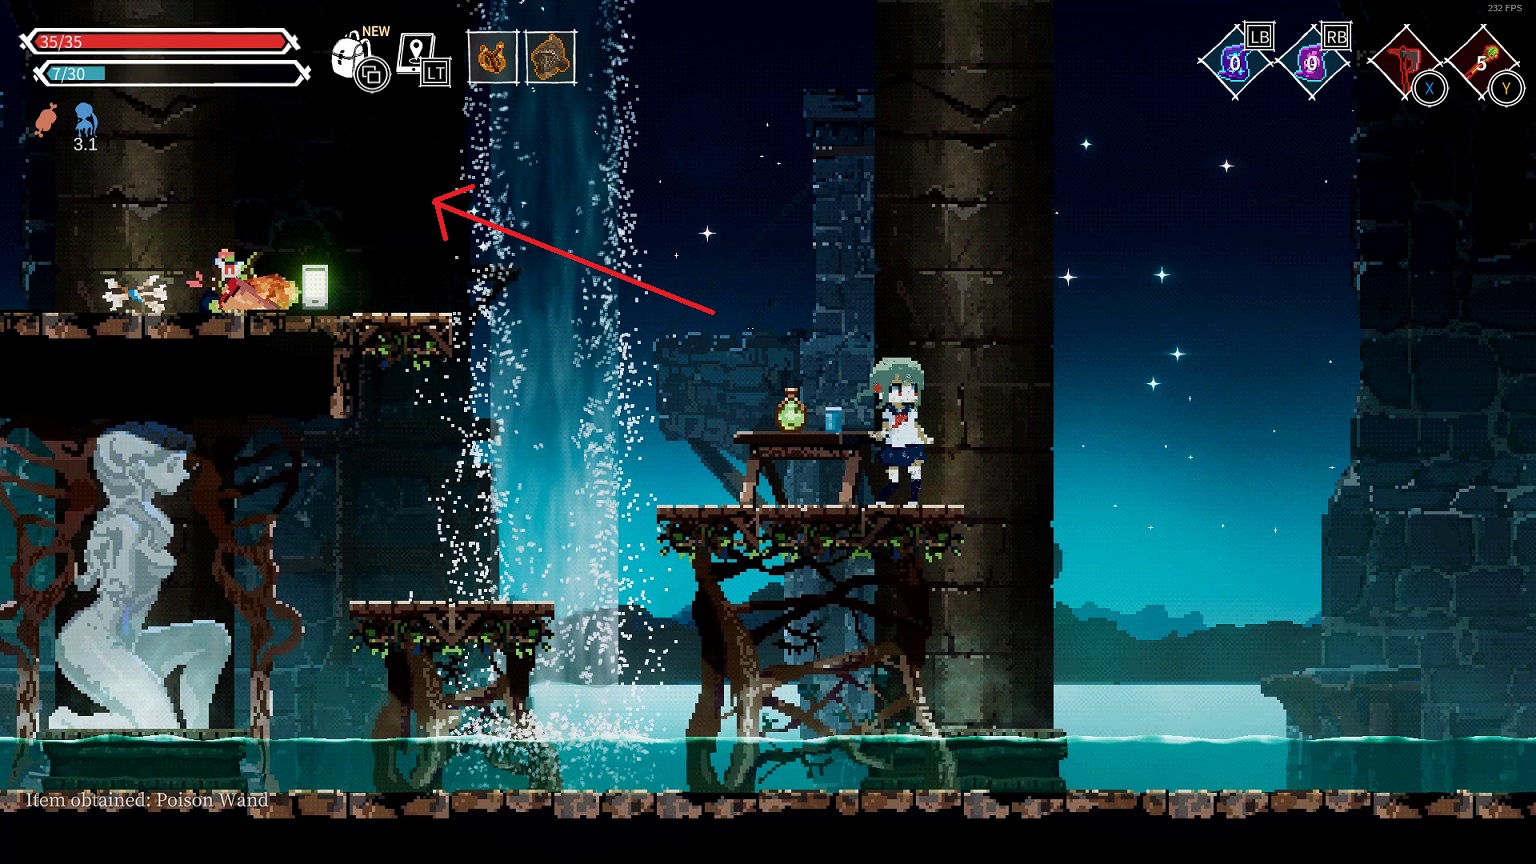
Poison Wand
Ray Wand
Rusty Dagger
Rusty Sword
Shield
Shield of Life
Shuriken
Sledgehammer
Stiletto
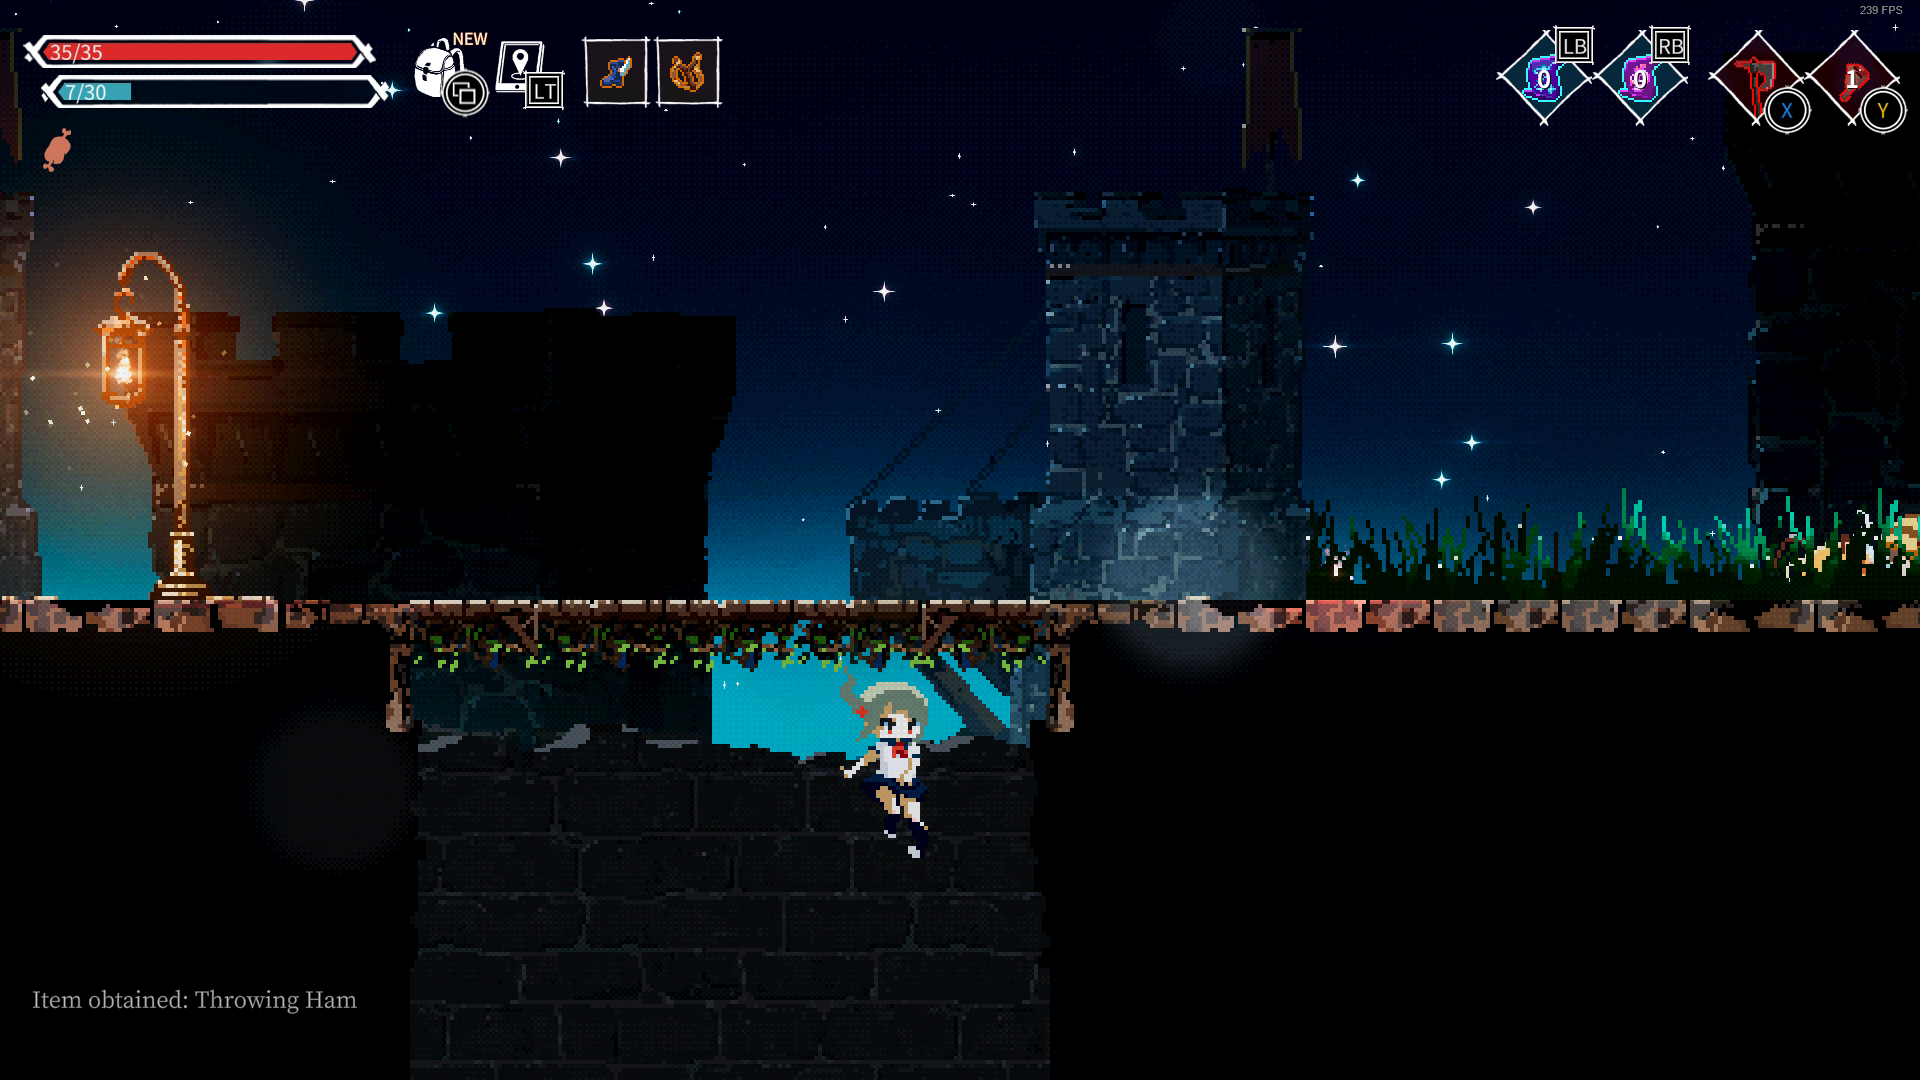
Throwing Ham
Throwing Hammer
Throwing Oil Bottle
Throwing Poison Bottle
Throwing Water bottle
Thunder Hammer
Vengeance Shield
Yuri's Wand
Zweihander
(37)
Amulet of Life
Amulet of Magic
Amulet of Poison
Assassin's Gloves
Battery
Belt
Berserker Armor
Circlet
First Aid
Gauntles
Gemmed Magic Wand
Gladiator's Armor
Gladiator's Helmet
Goblin's Shaman's Mask
Hockey Mask
Hog's Fang
Hot Pack
Ice Cream Scoop
Kitchen Gloves
Leather Armor
Leather Gloves
Mage's Orb
Magical Gloves
Maid Uniform
Plate Armor
Propane Gas Bottle
Purifier
Quiver
Ranger's Hood
Rune Stone
Saint's Skull
Slingshot
Swimsuit
Thief's Shoes
Vampire's Cape
Winged Shoes
Yellow Boots
All Spells (24)
Chain Lighting
Corpse Absorption
Fire Bolt
Fire Rune
Fireball
Freeze
HP Absorption Orb
Ice Bolt
Ice Rune
Ice Shot
Ignition
Invisibility
Lightning Rune
Magic Missile
Poison Bolt
Poison Rune
Recast Velocity
Shock Wave
Spark
Summon Fire Orb
Summon Ice Orb
Summon Lightning Orb
Summon Sword
Summon Thunderstorm
A Goblin's Tale 1
A Goblin's Tale 2
A Goblin's Tale 3
Astarte's Request
Beatrice's Request
Elanor's Request
Ghost Girl's Request
Journal #1 to #10
Jun's Journal #1 to 4
Kana's Journal #1 and #2
Kana's Request
Lami's Journal #1 to #3
List of Ingredients
Lusty's Request
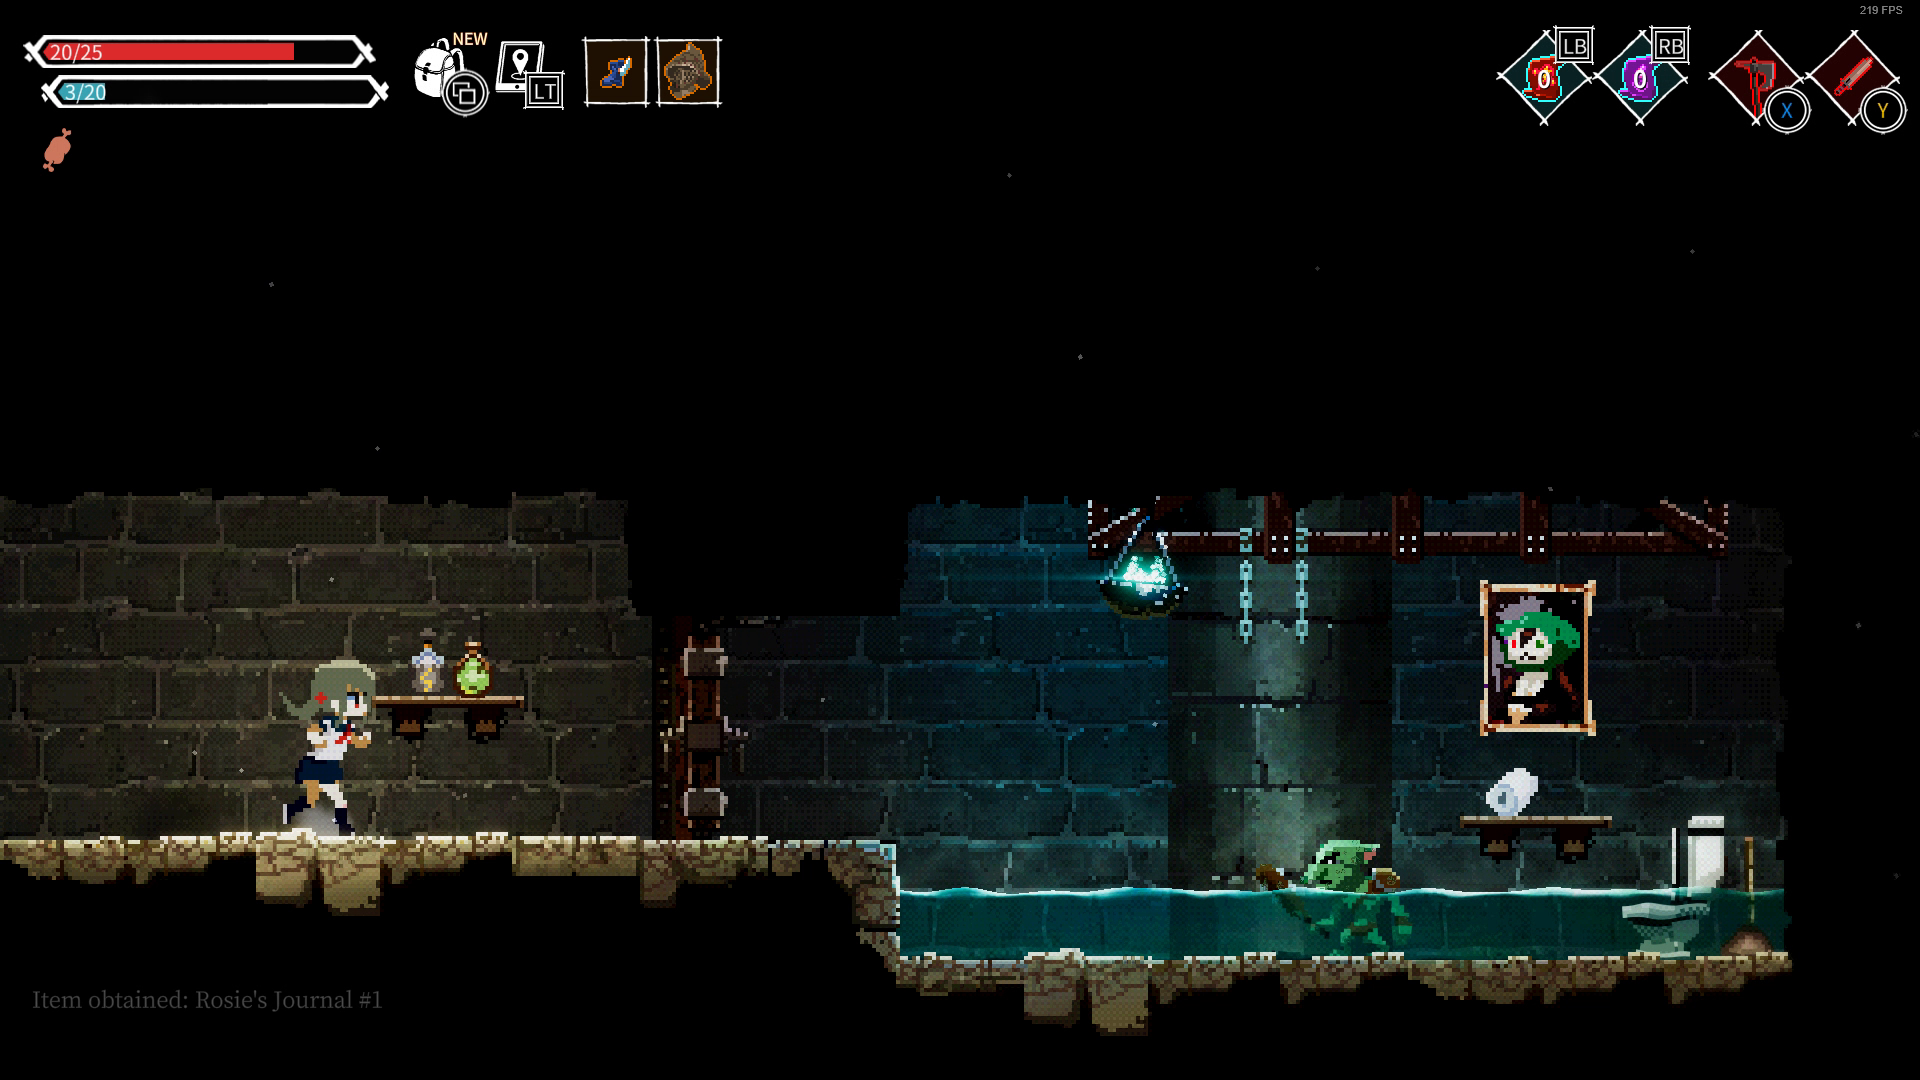
Rosie's Journal #1 to #3
Smartphone Message #1 to #7
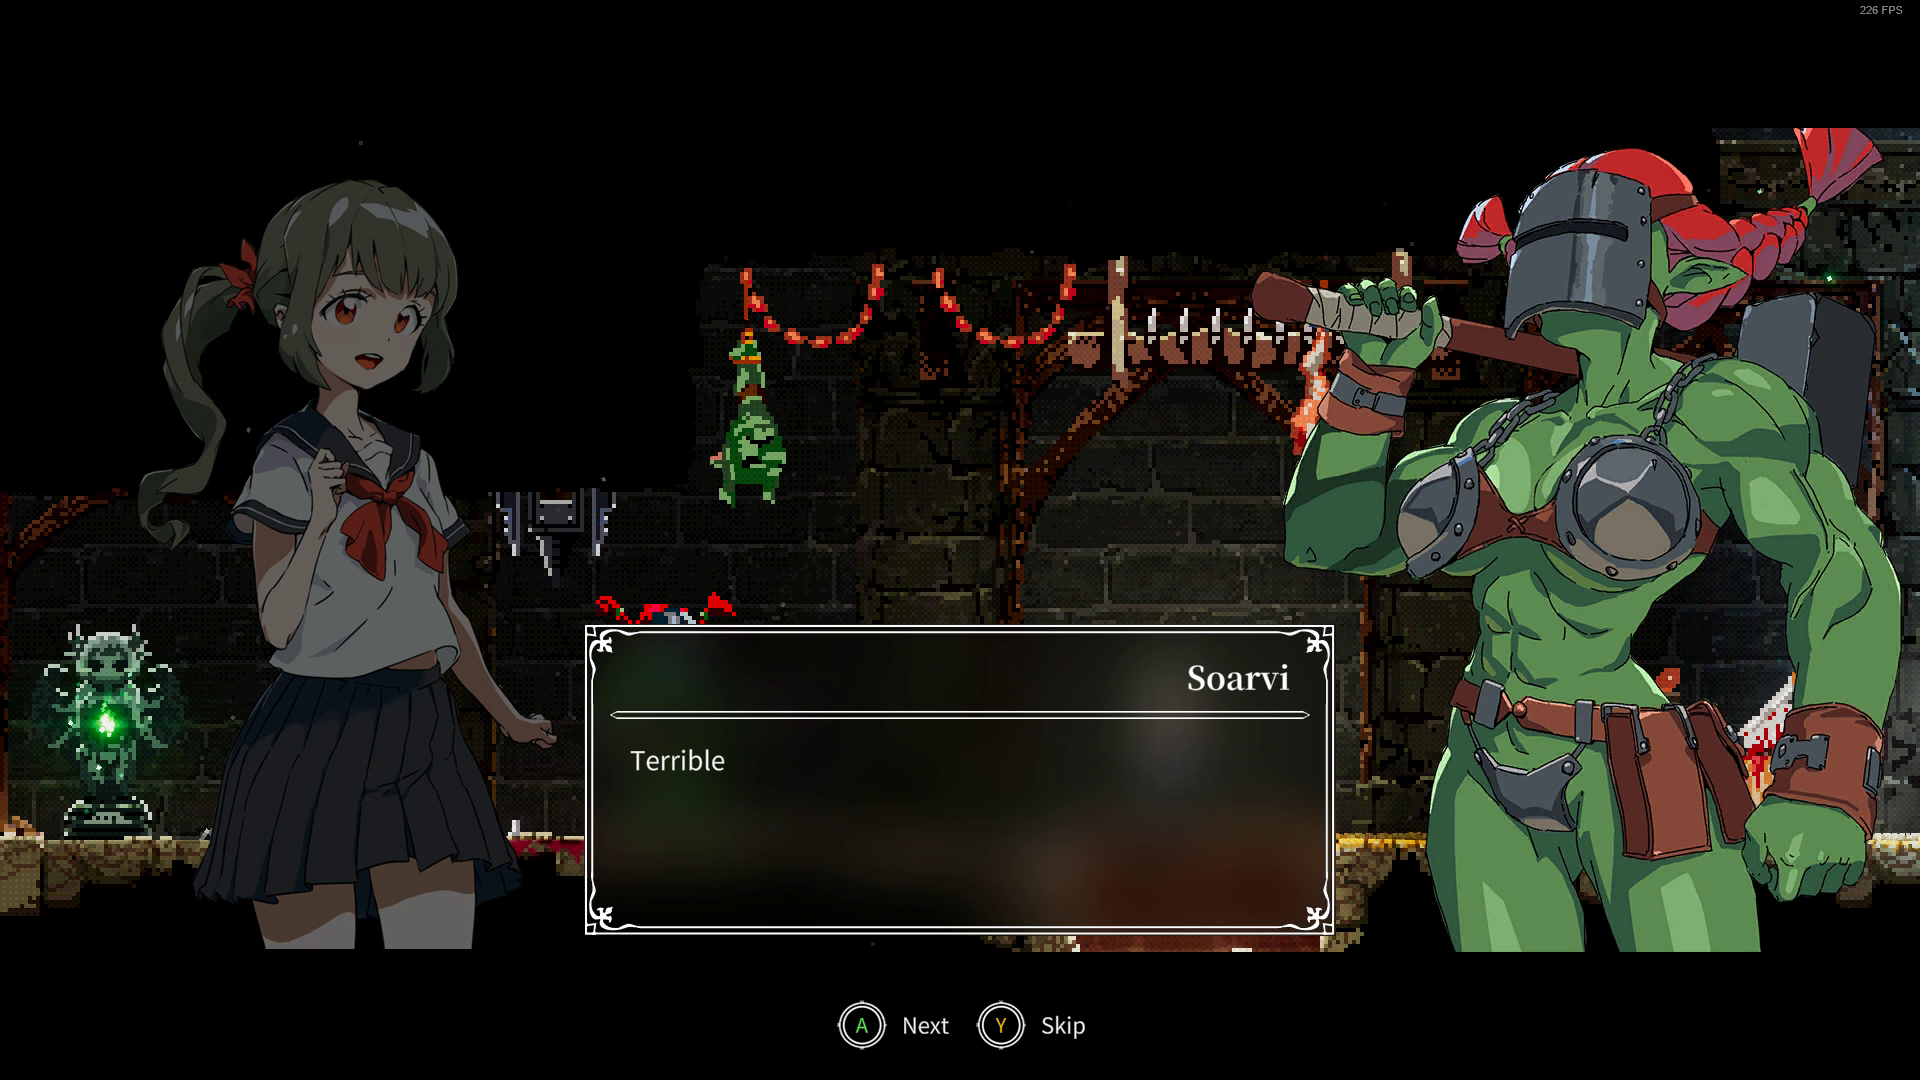
Soarvi's Request
Sora & Minji's Request
The Ascetic Lifestyle
Yuri's Journal #1 to #3
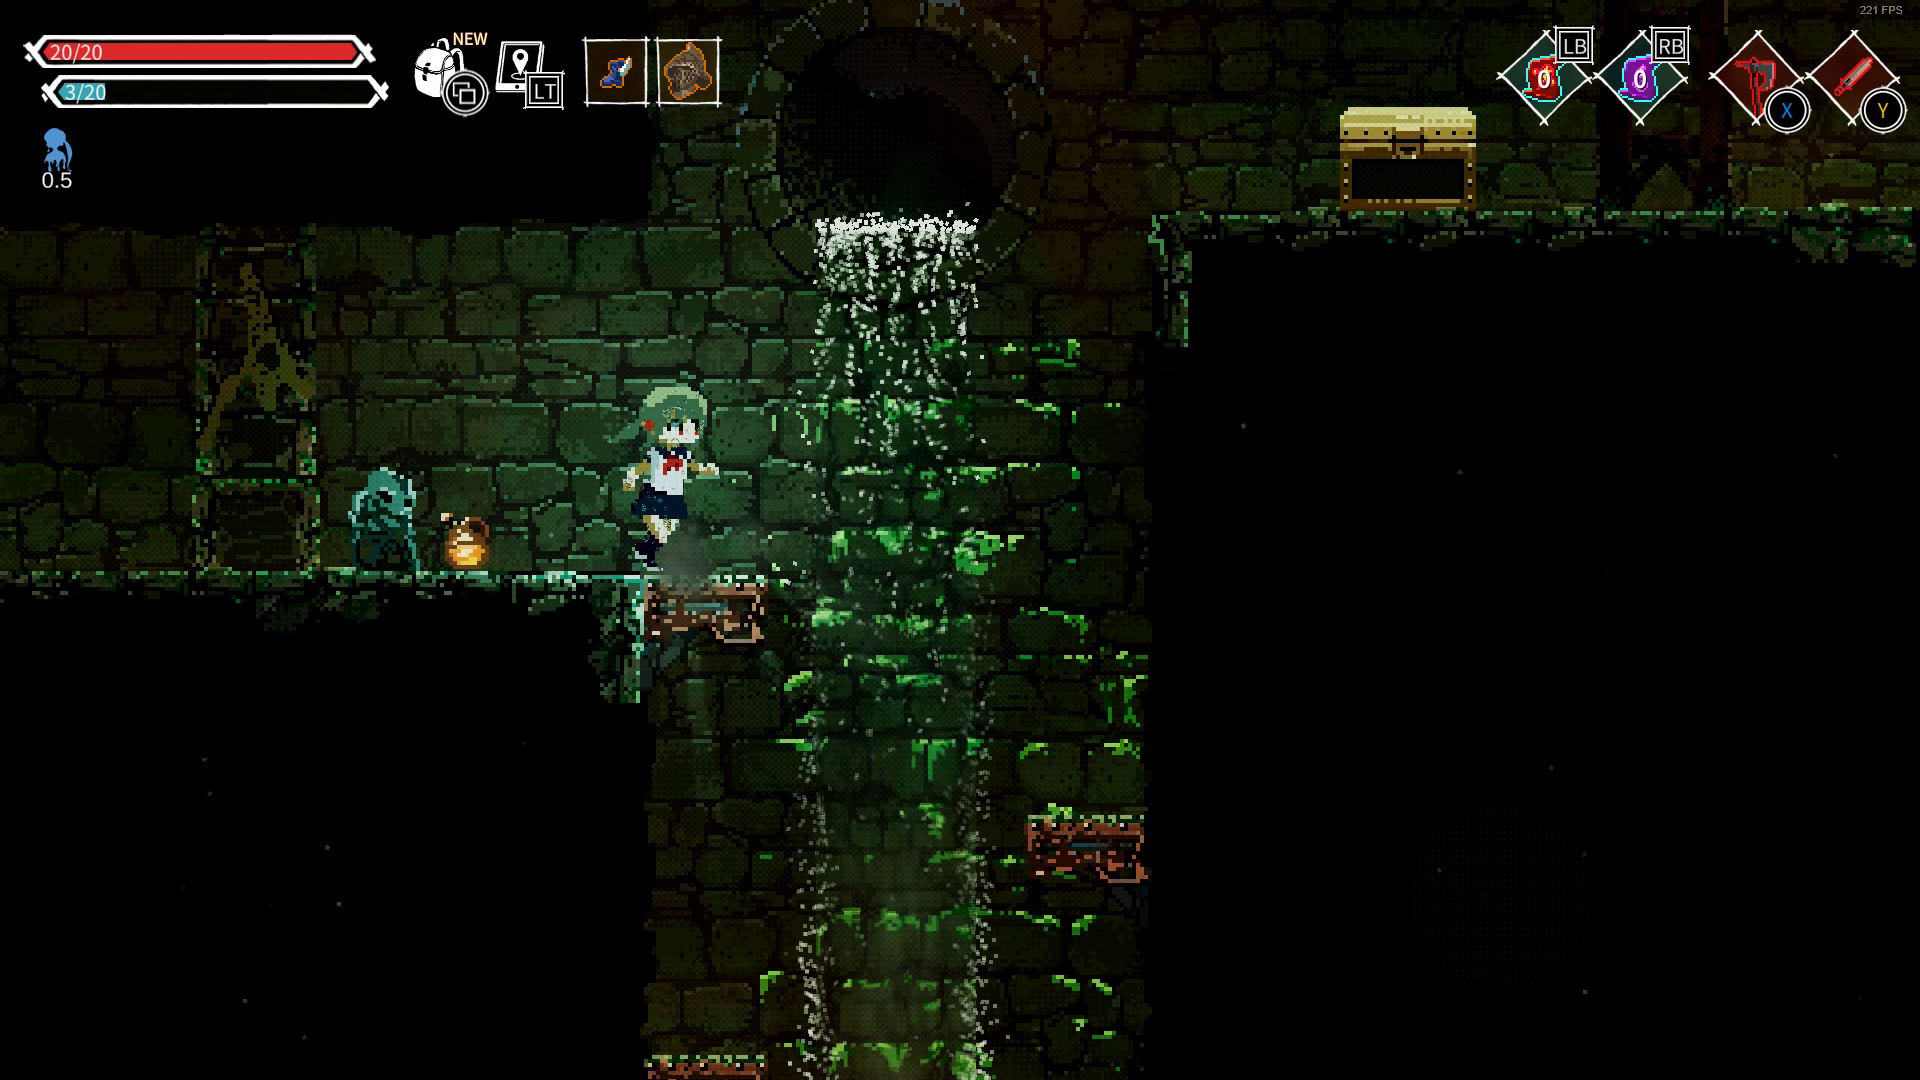
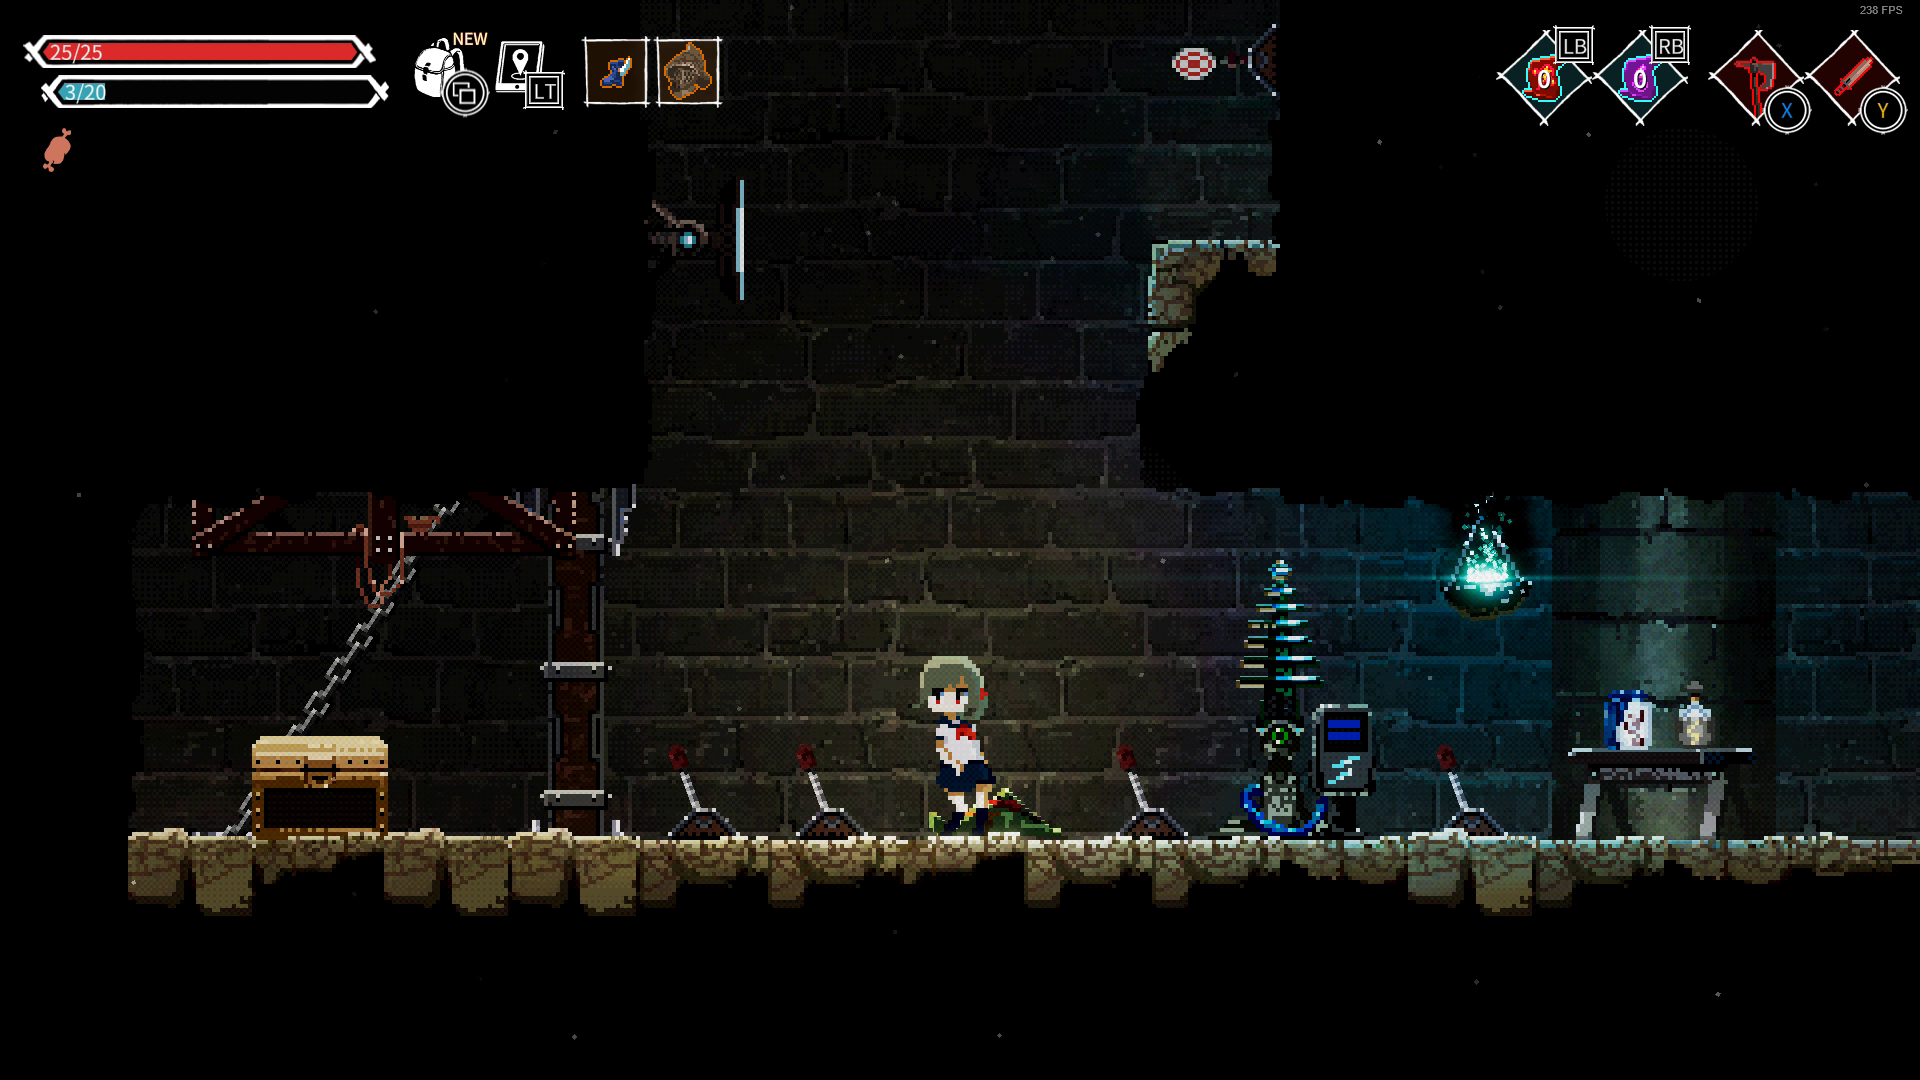
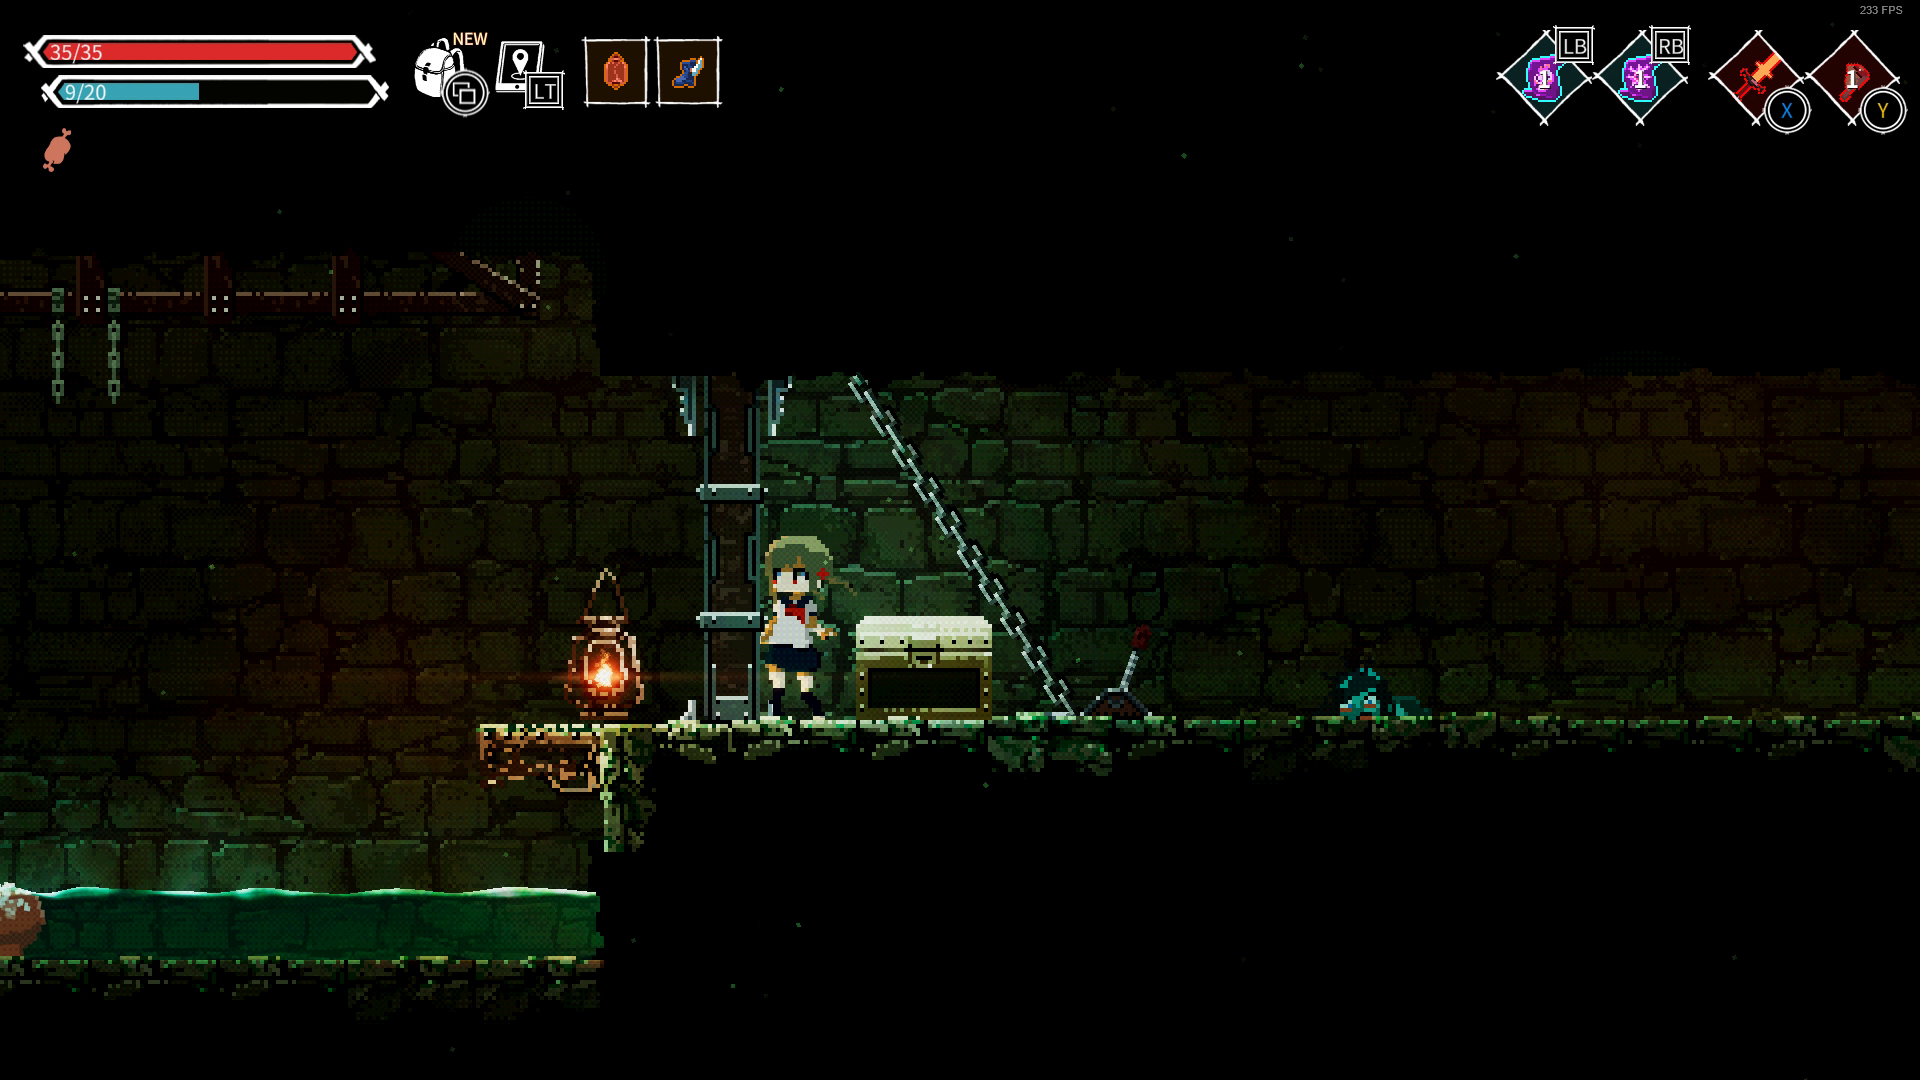
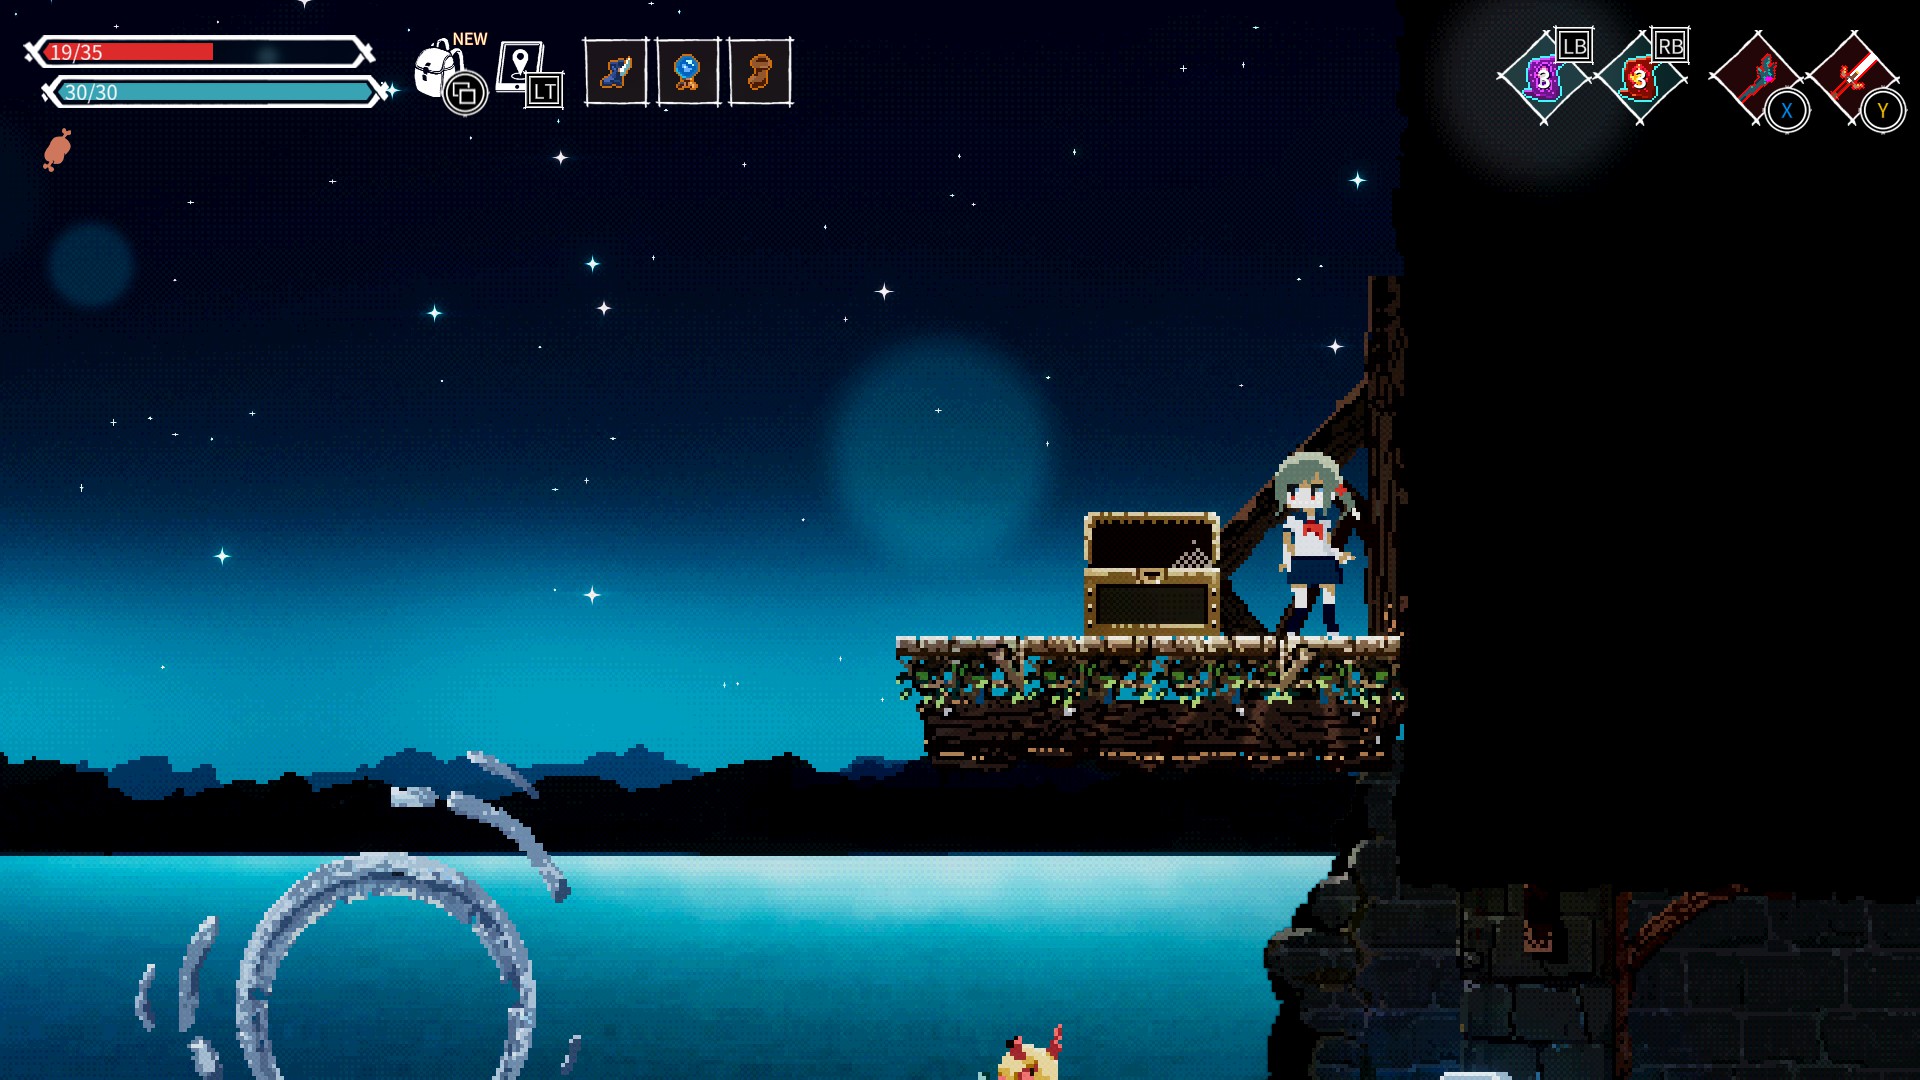
Part 1: Starting Area
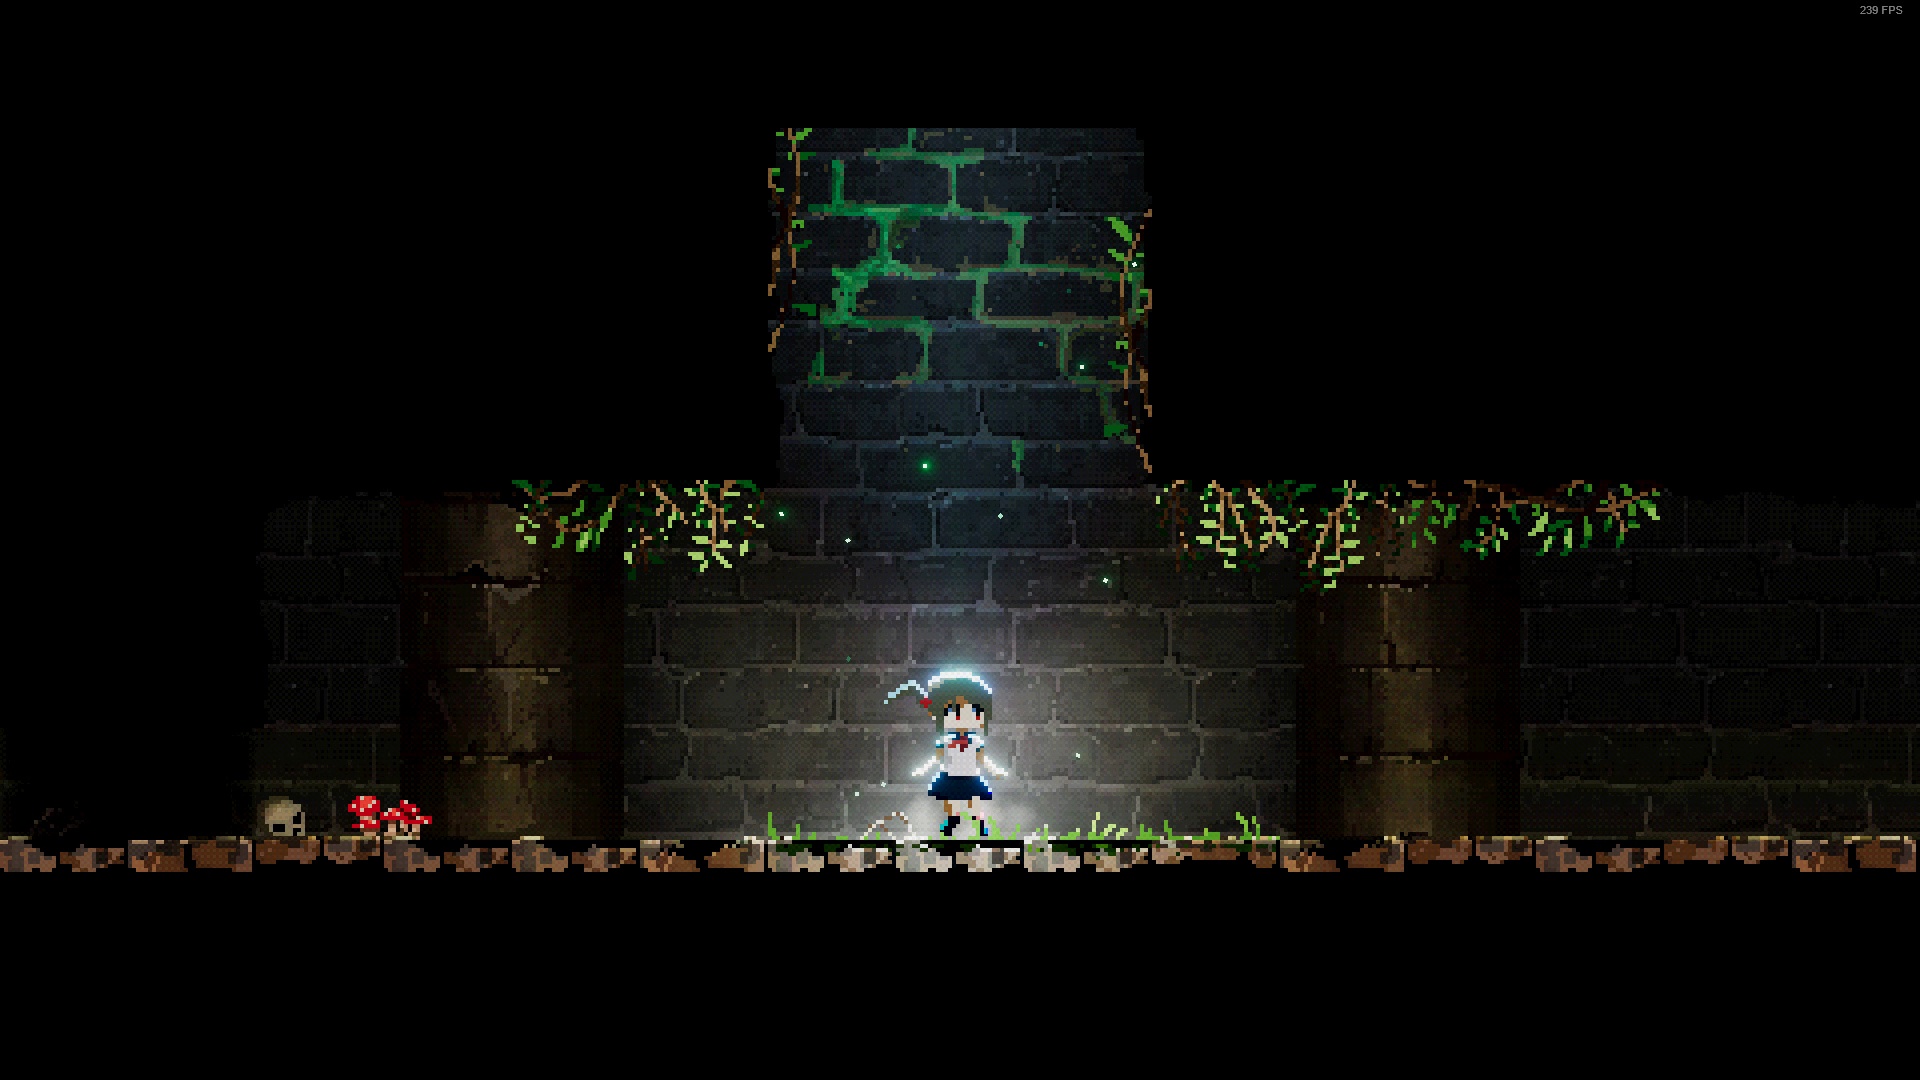

Like any metroidvania game the first thing you should do upon dropping down at the starting area is immediately turn left to check for secrets, here you'll find a small tunnel to roll into and inside you will find your first journal -- Journal #3 as well as a HP potion and an MP potion
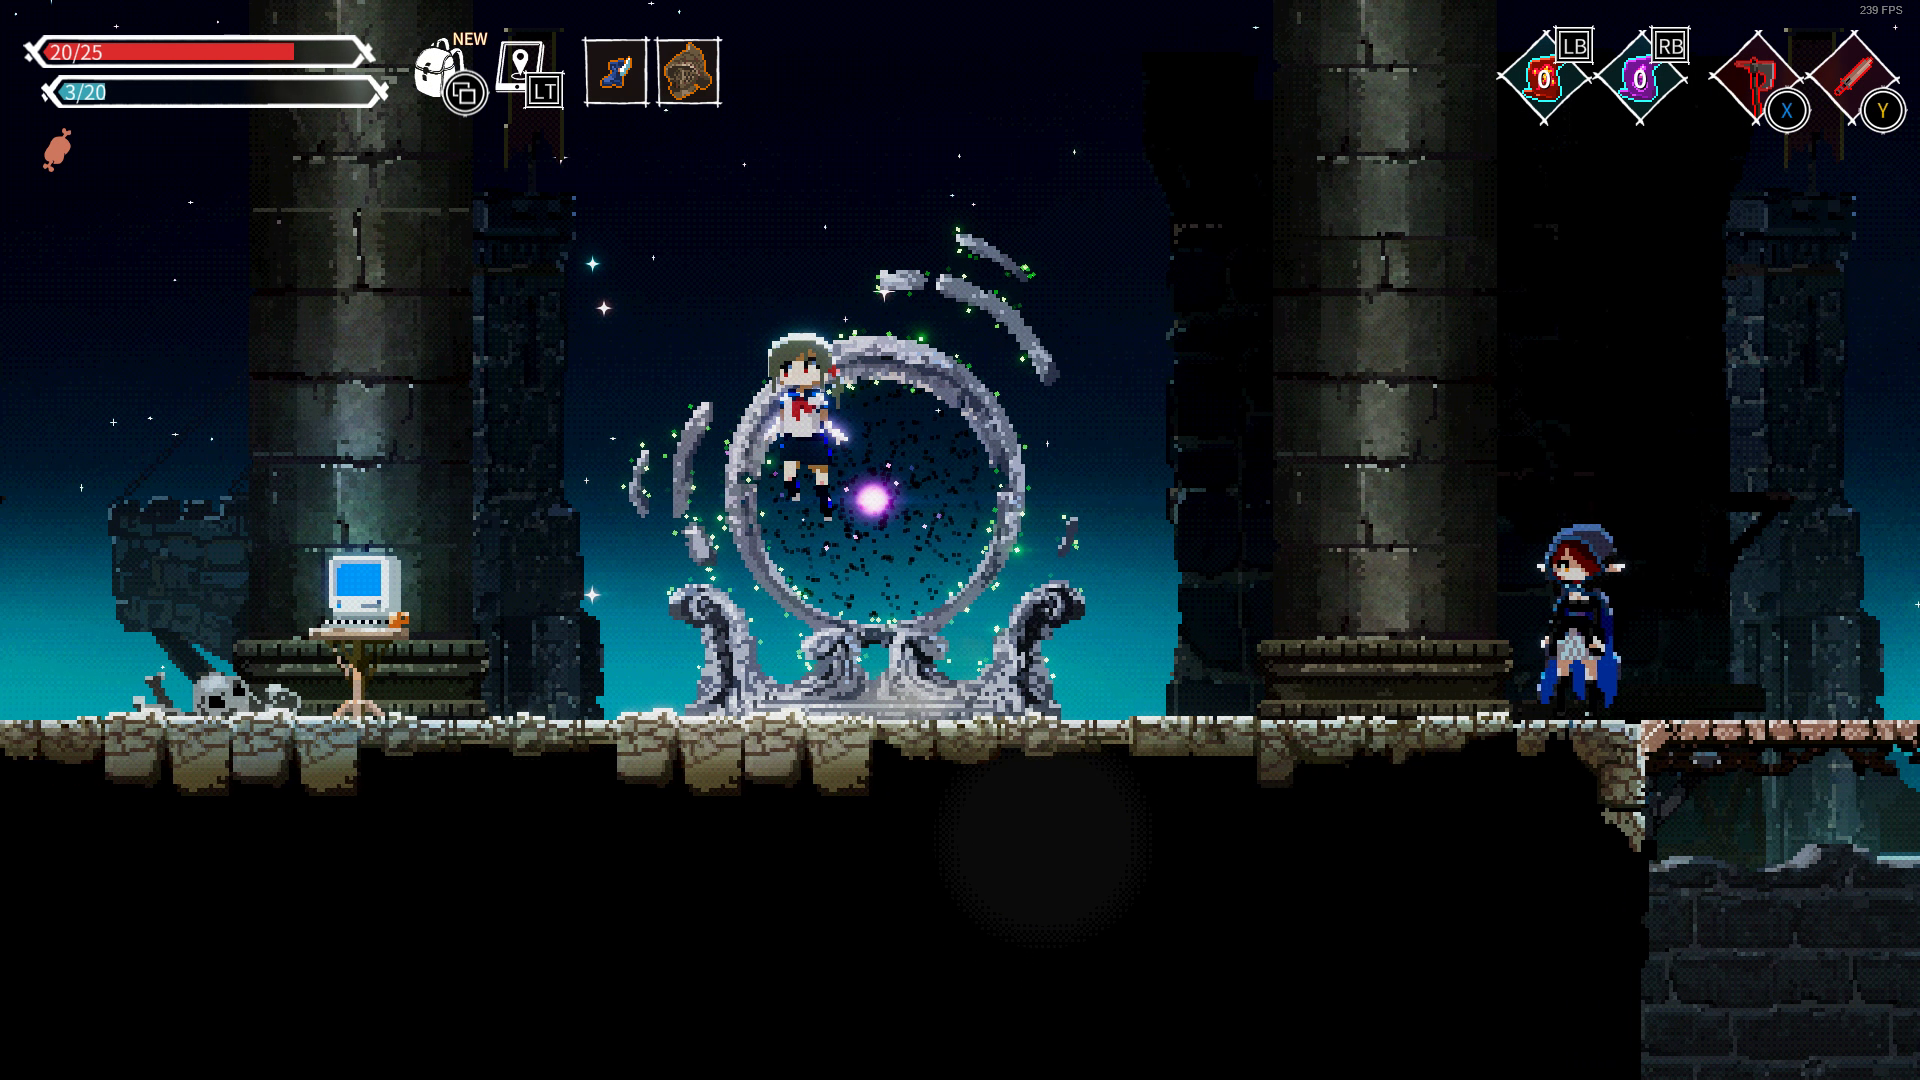
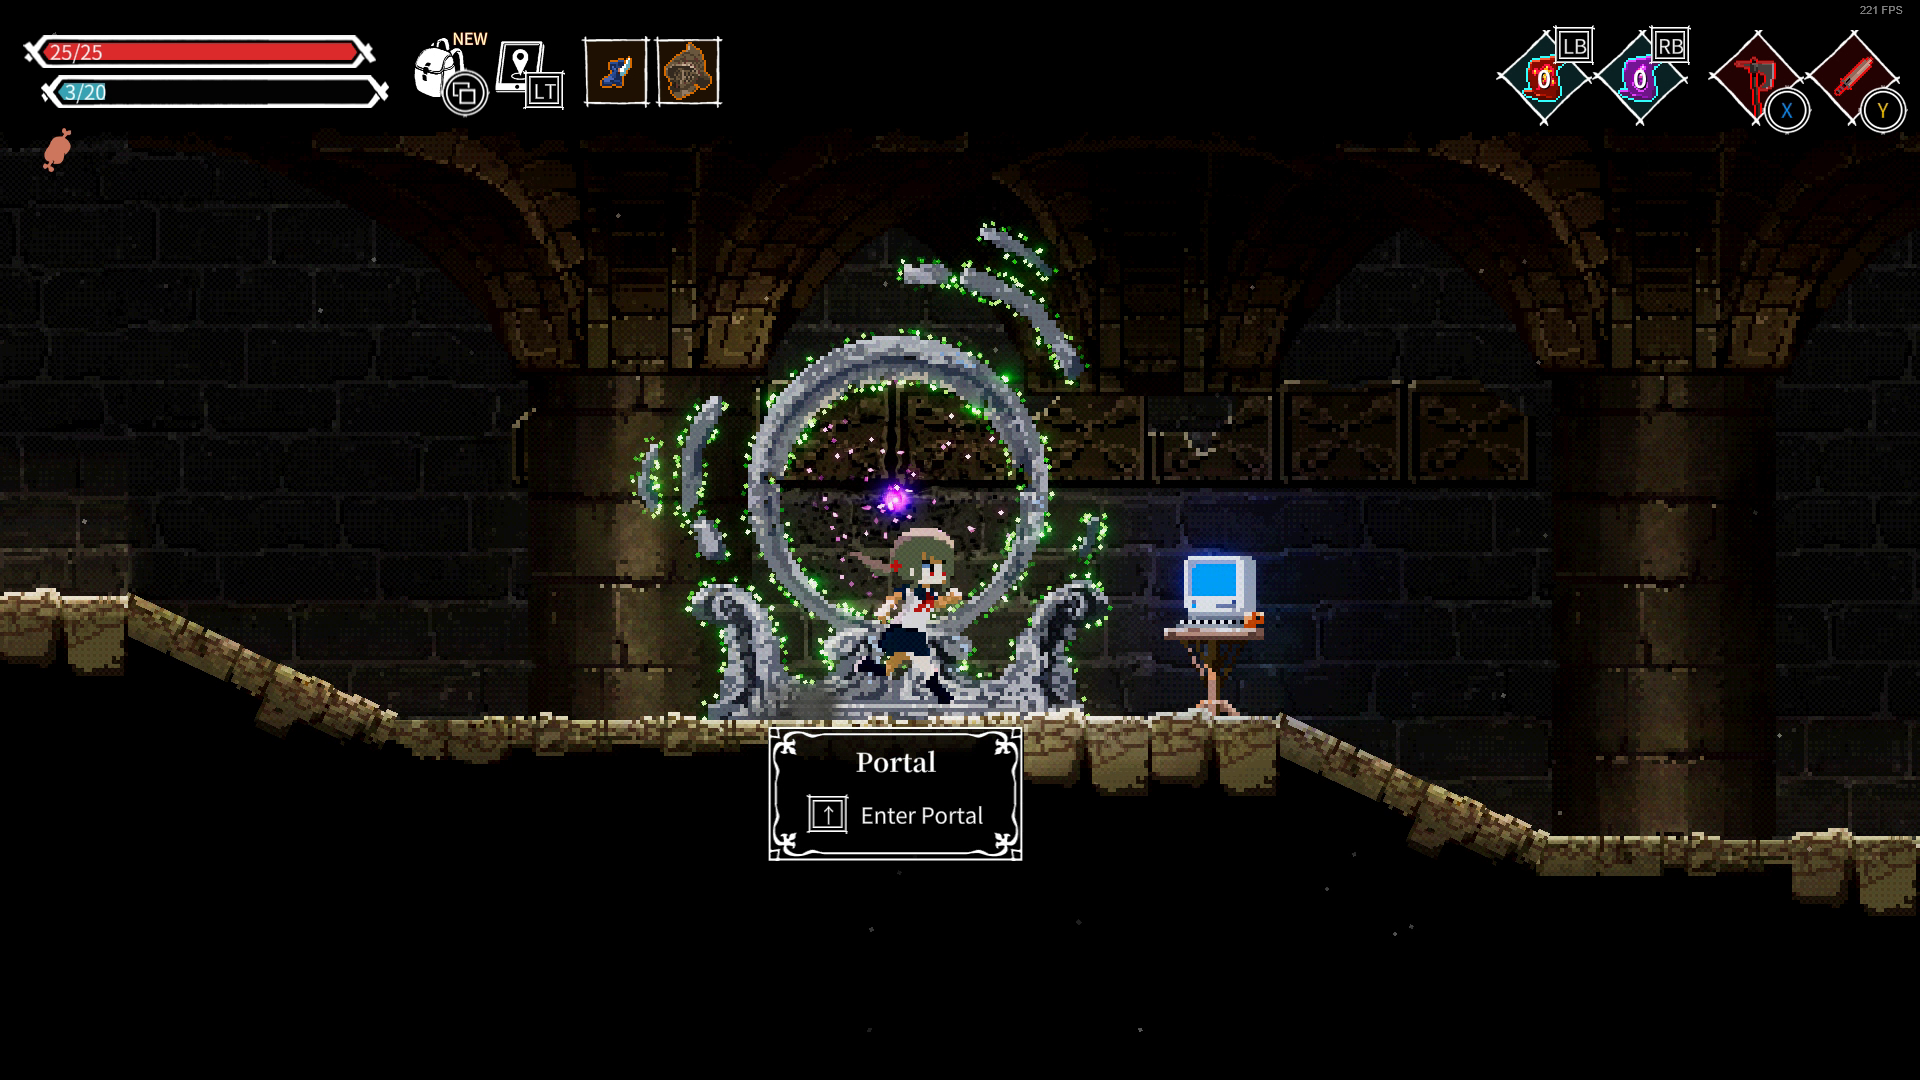
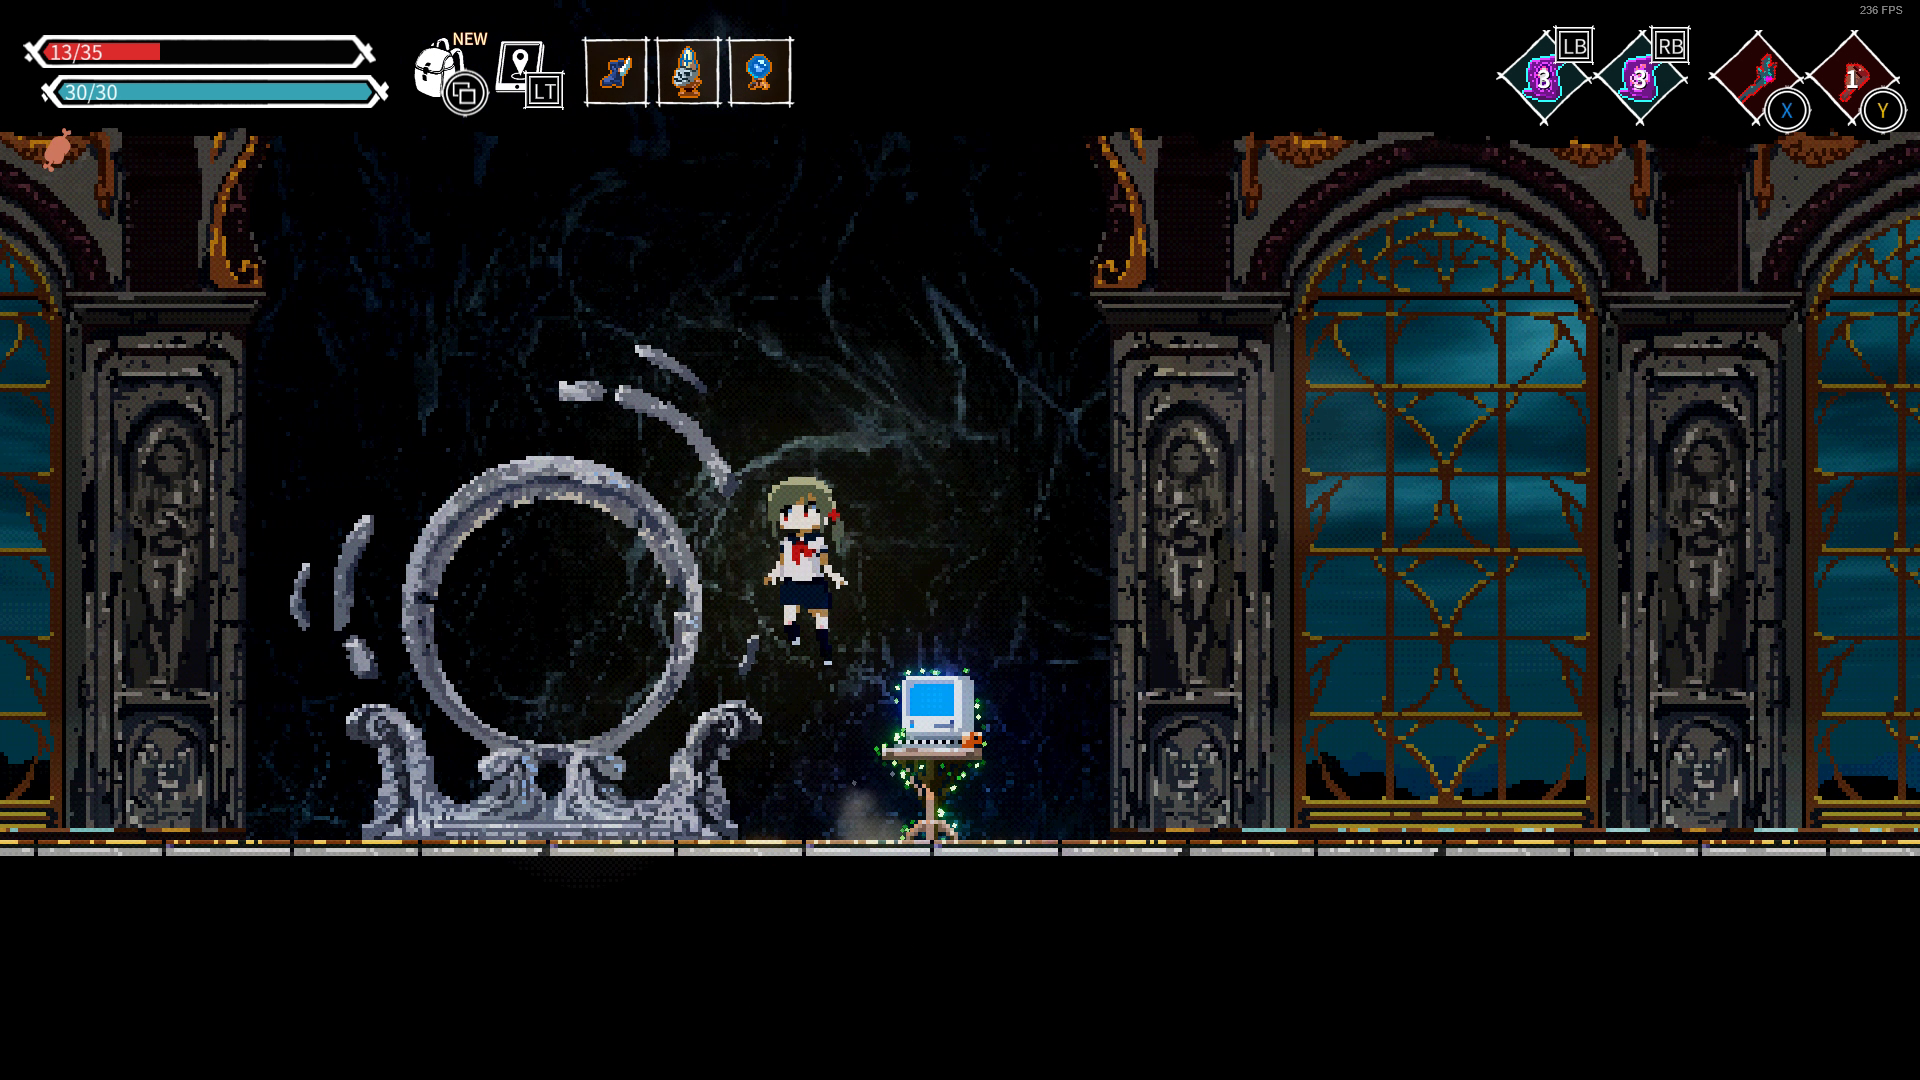
Continue right and you'll find Portal #1. You should pick up Smartphone Message #1 and a Gladius before you meet your first enemy. From here on continue forward.
_________________________________
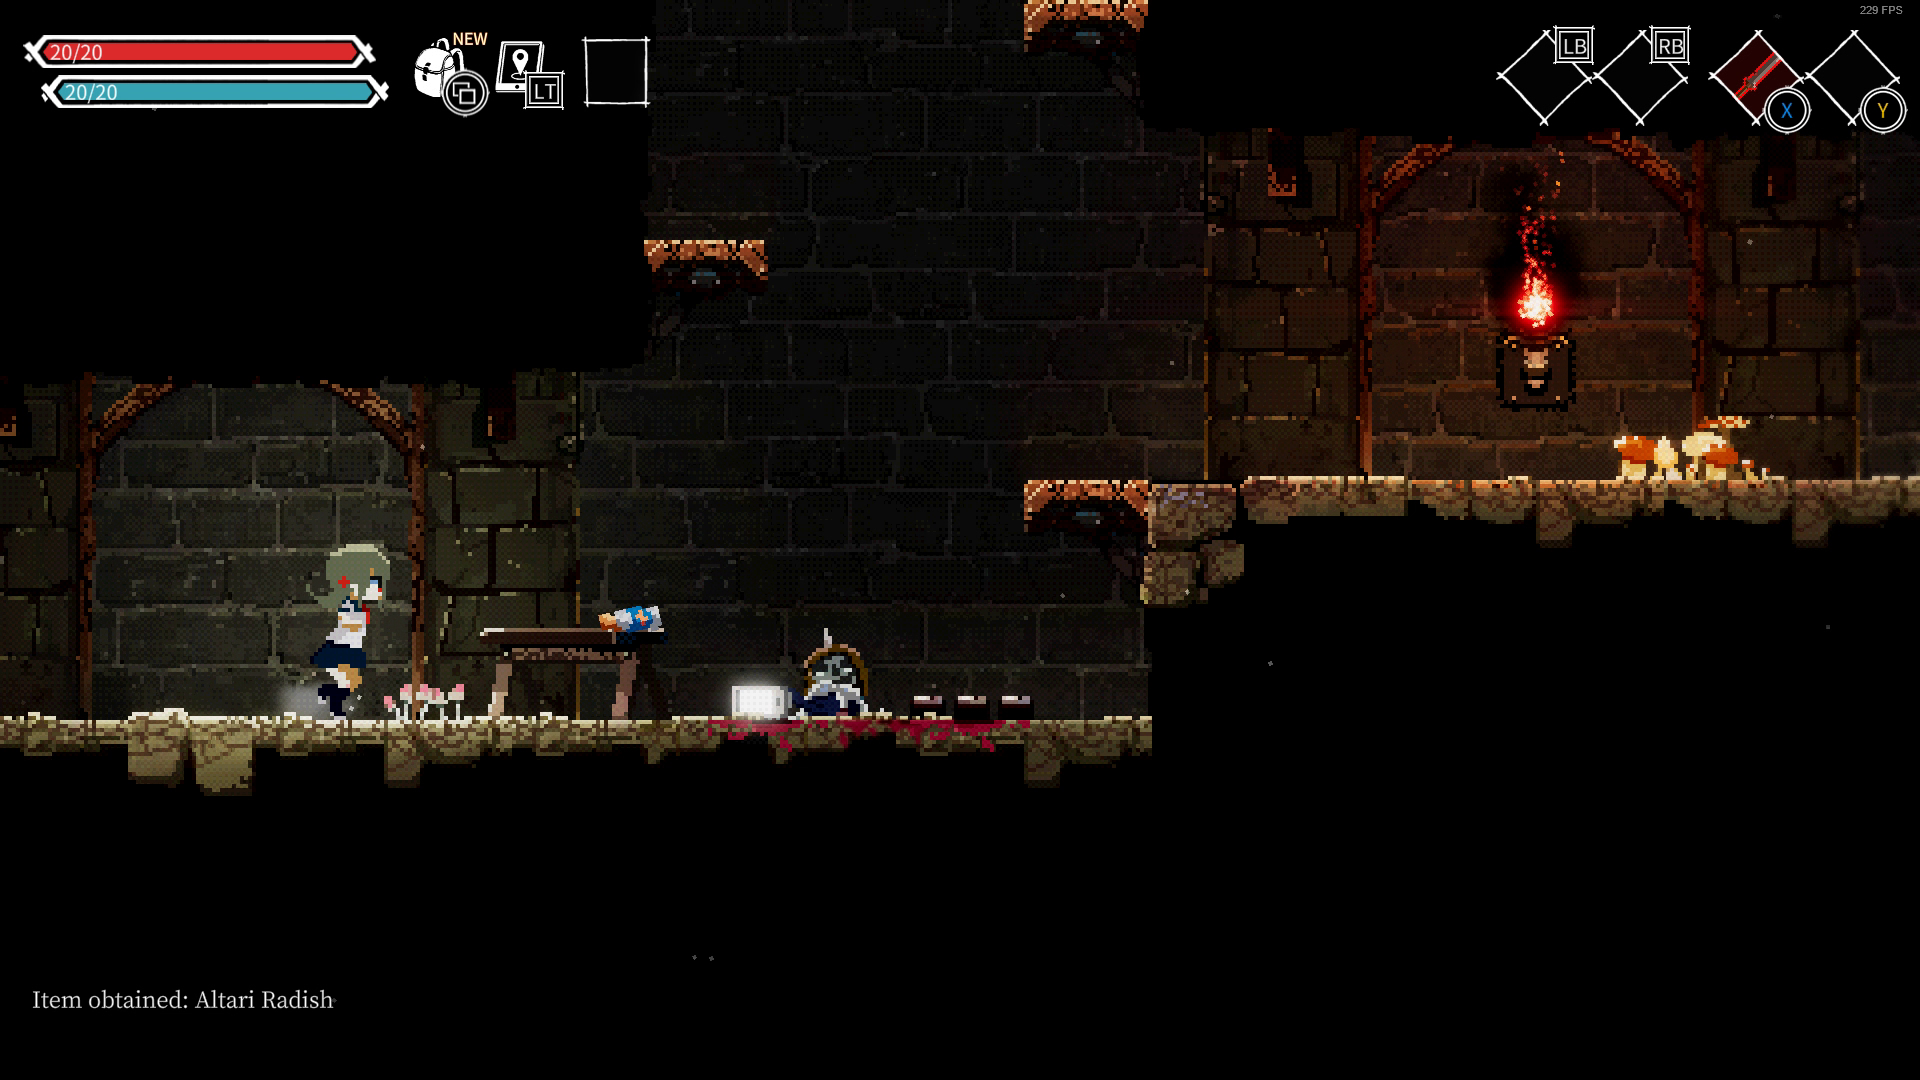
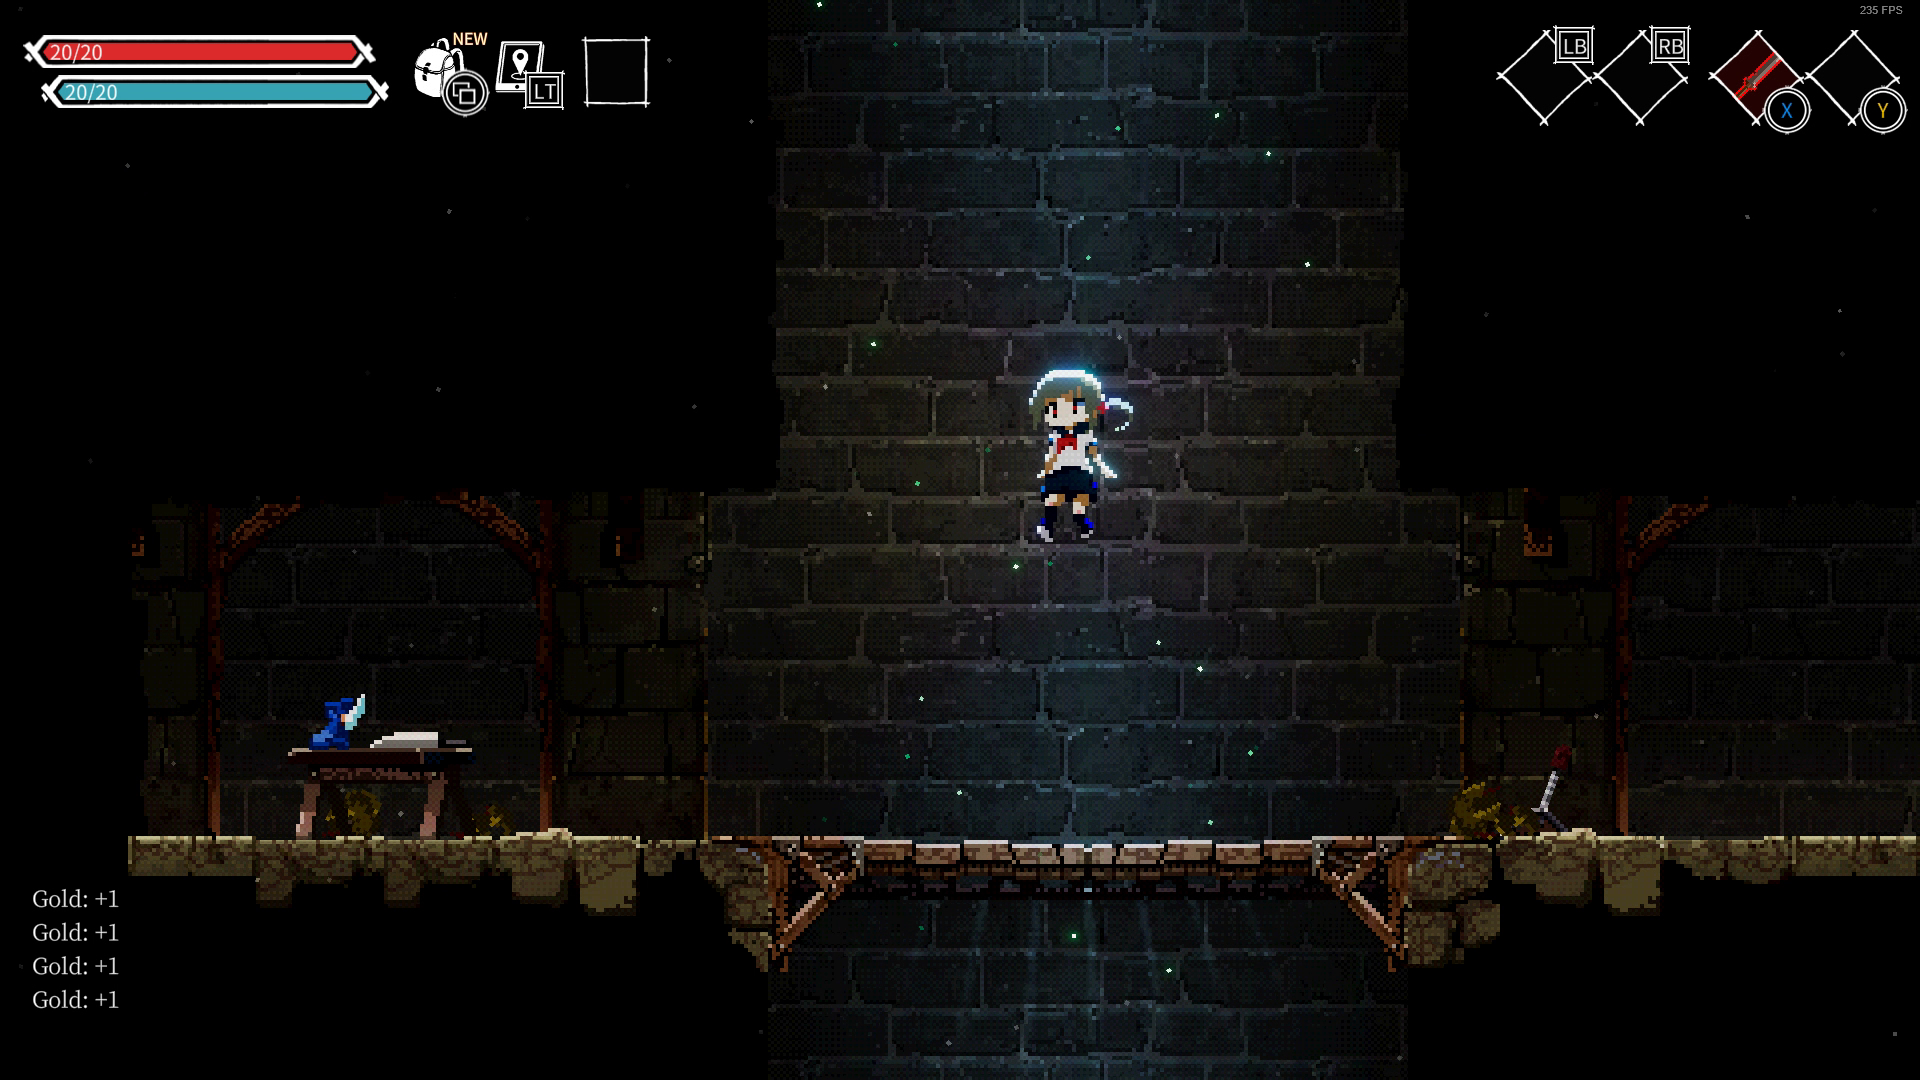
In the next room you will find an Ointment and Smartphone Message #2. Jump over the spikes and continue upwards. Here you will find a Kitchen Knife and Winged Shoes.
________________________________
________________________________
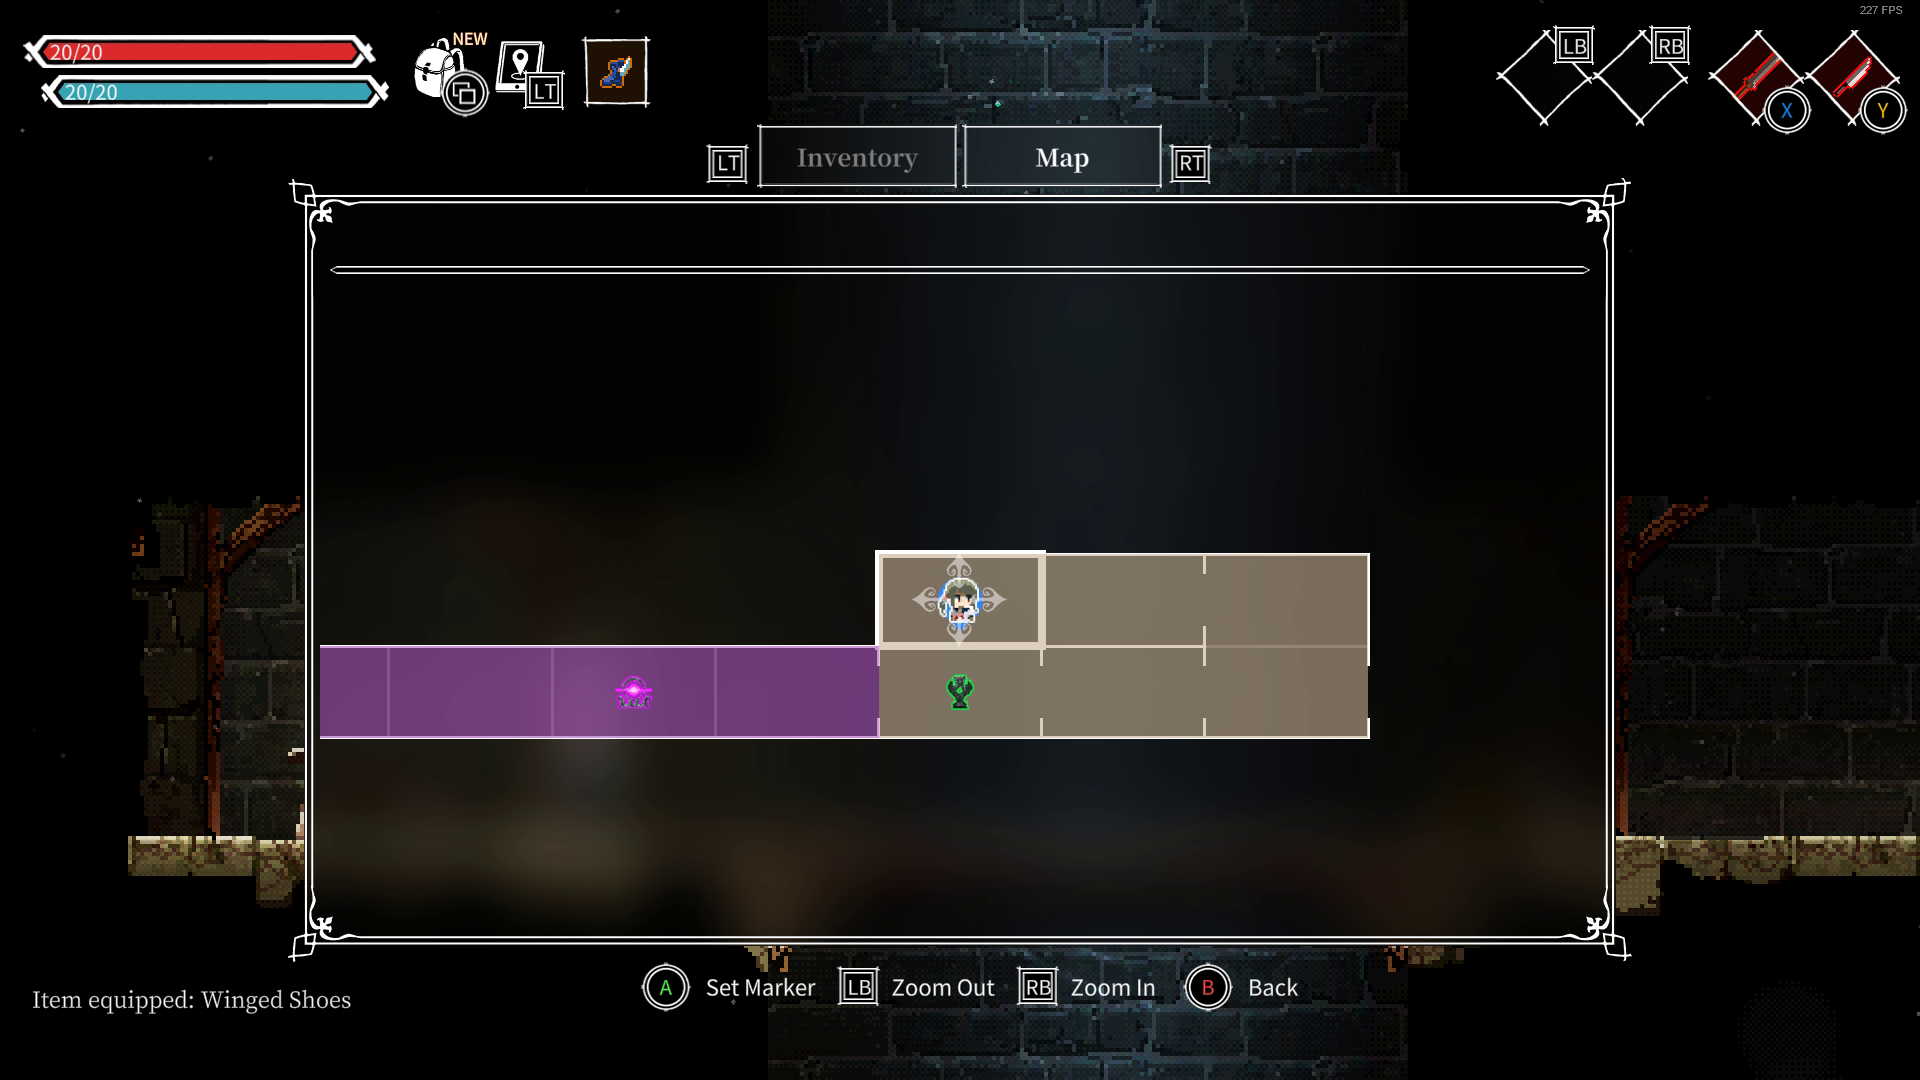
The Winged Shoes are quite possibly the most important item you will find in this game, it allows you to perform actions while mid-air, including attacks and dodge rolls. Unlike the gladius or the kitchen knife, you will have to open your menu and manually equip it.
________________________________
________________________________
After picking up the Winged Shoes, backtrack to the room with the spikes and continue forward. You will pick up Smartphone Message #3 and #4 as you progress. At the bonfire checkpoint, you're presented with two ways to go, if you choose to go down you will find a Rusty Sword and a breakable wall but as of now, you do not have any items or spell to break this wall. You do not have to go out of your way to pick up the Rusty Sword as you will find plenty more as you progress through the game. So forward it is.
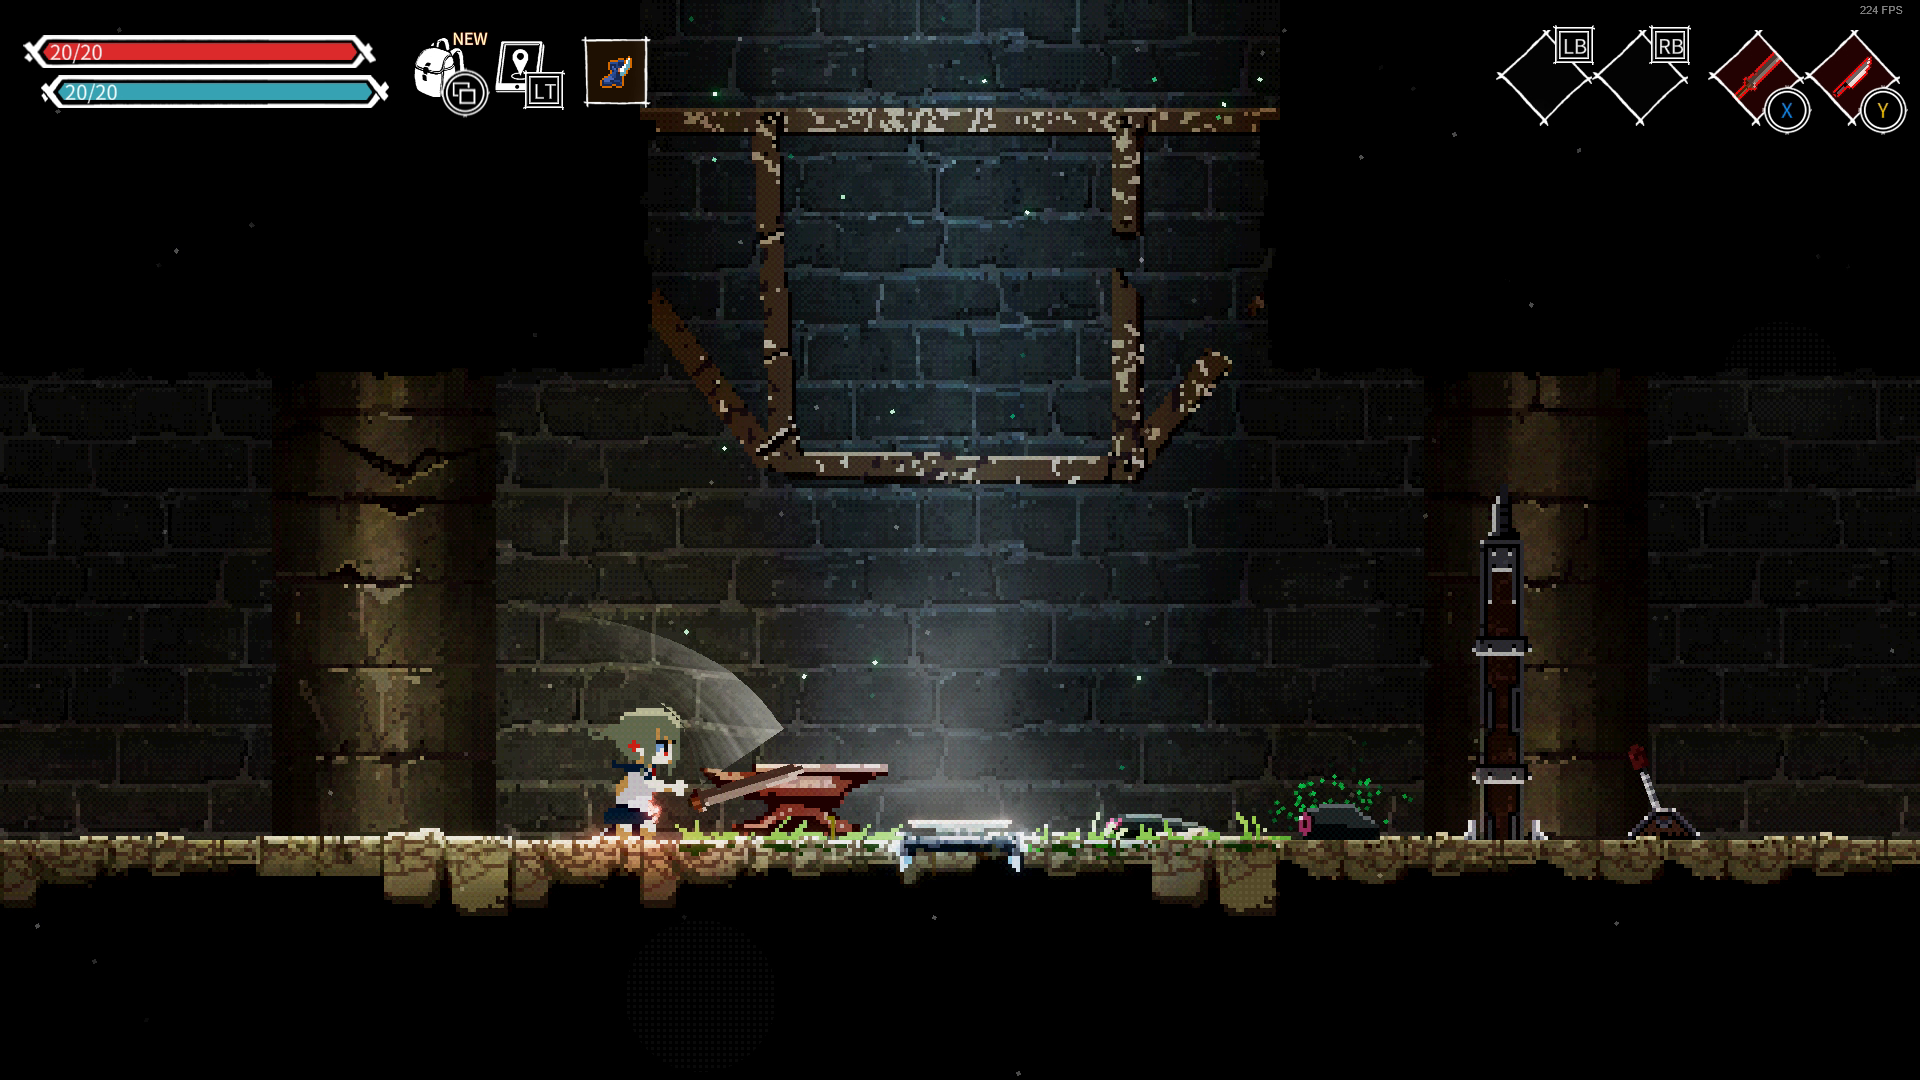
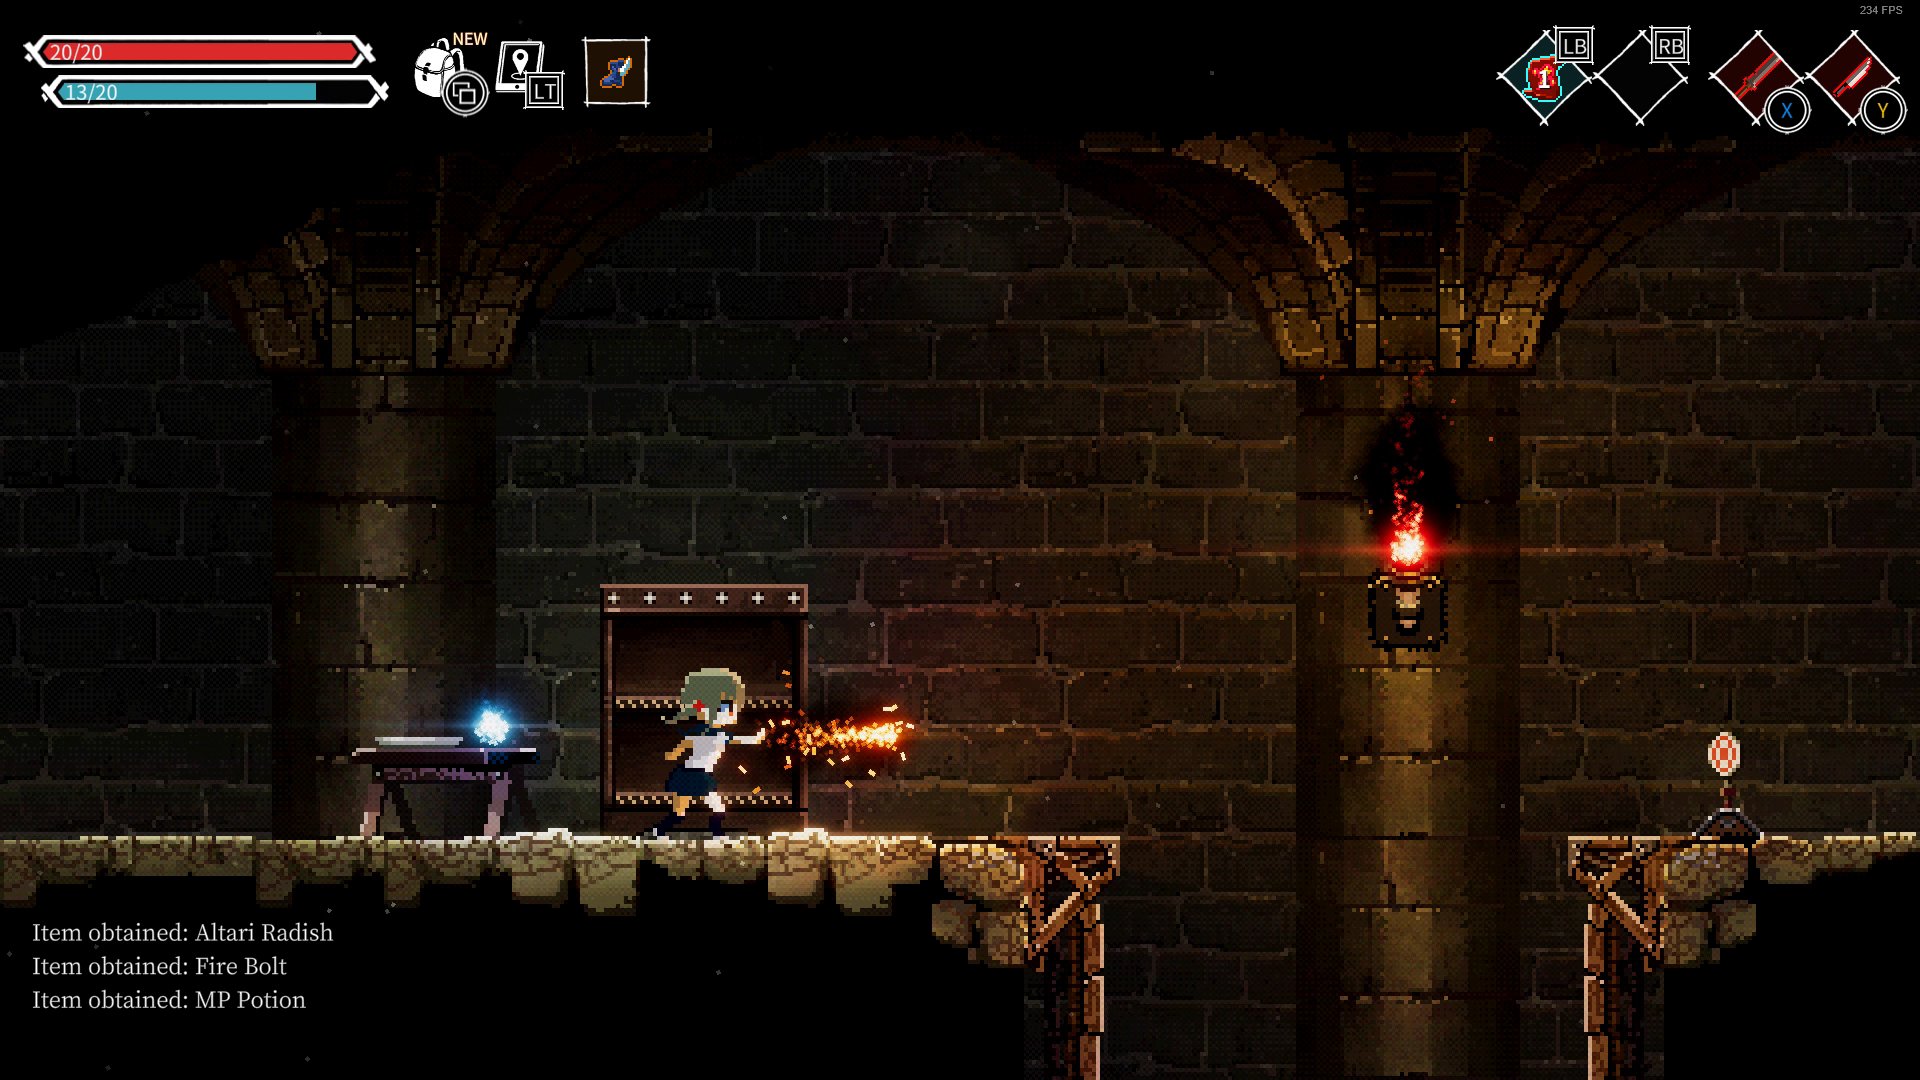
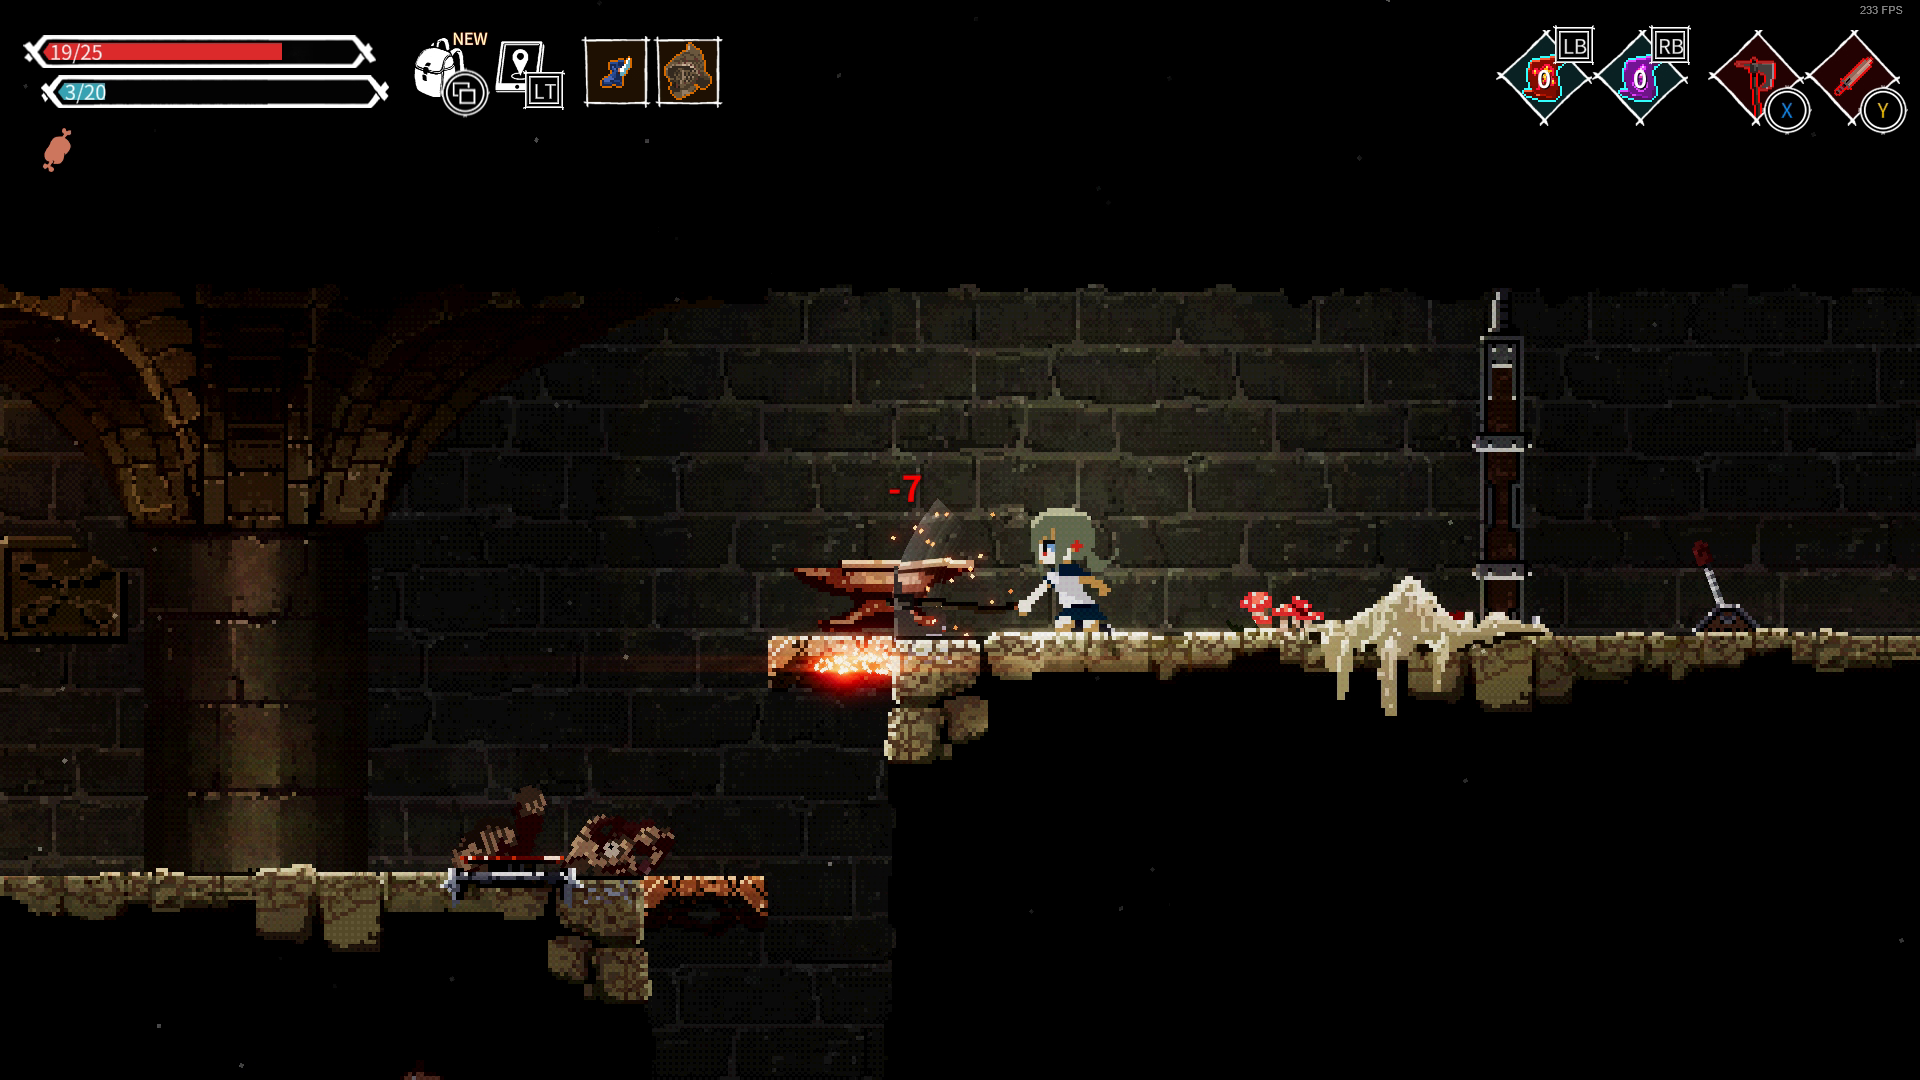
Here you must go through three basic puzzle tutorials, in the first one you have to hit the anvil until it sits on a button, in the second puzzle you have to pick up the Fire Bolt spell and hit the target with it. The third one will require you to burn the poison on the ground with your spell before you progress.
After you meet Beatrice, simply follow her instructions. In this room you'll find Vending Machine #1 and Portal #2.
Notable items that can be found in Vending Machine #1
[[list]
Leather Armor
Leather Gloves
Ignition
Ice Bolt
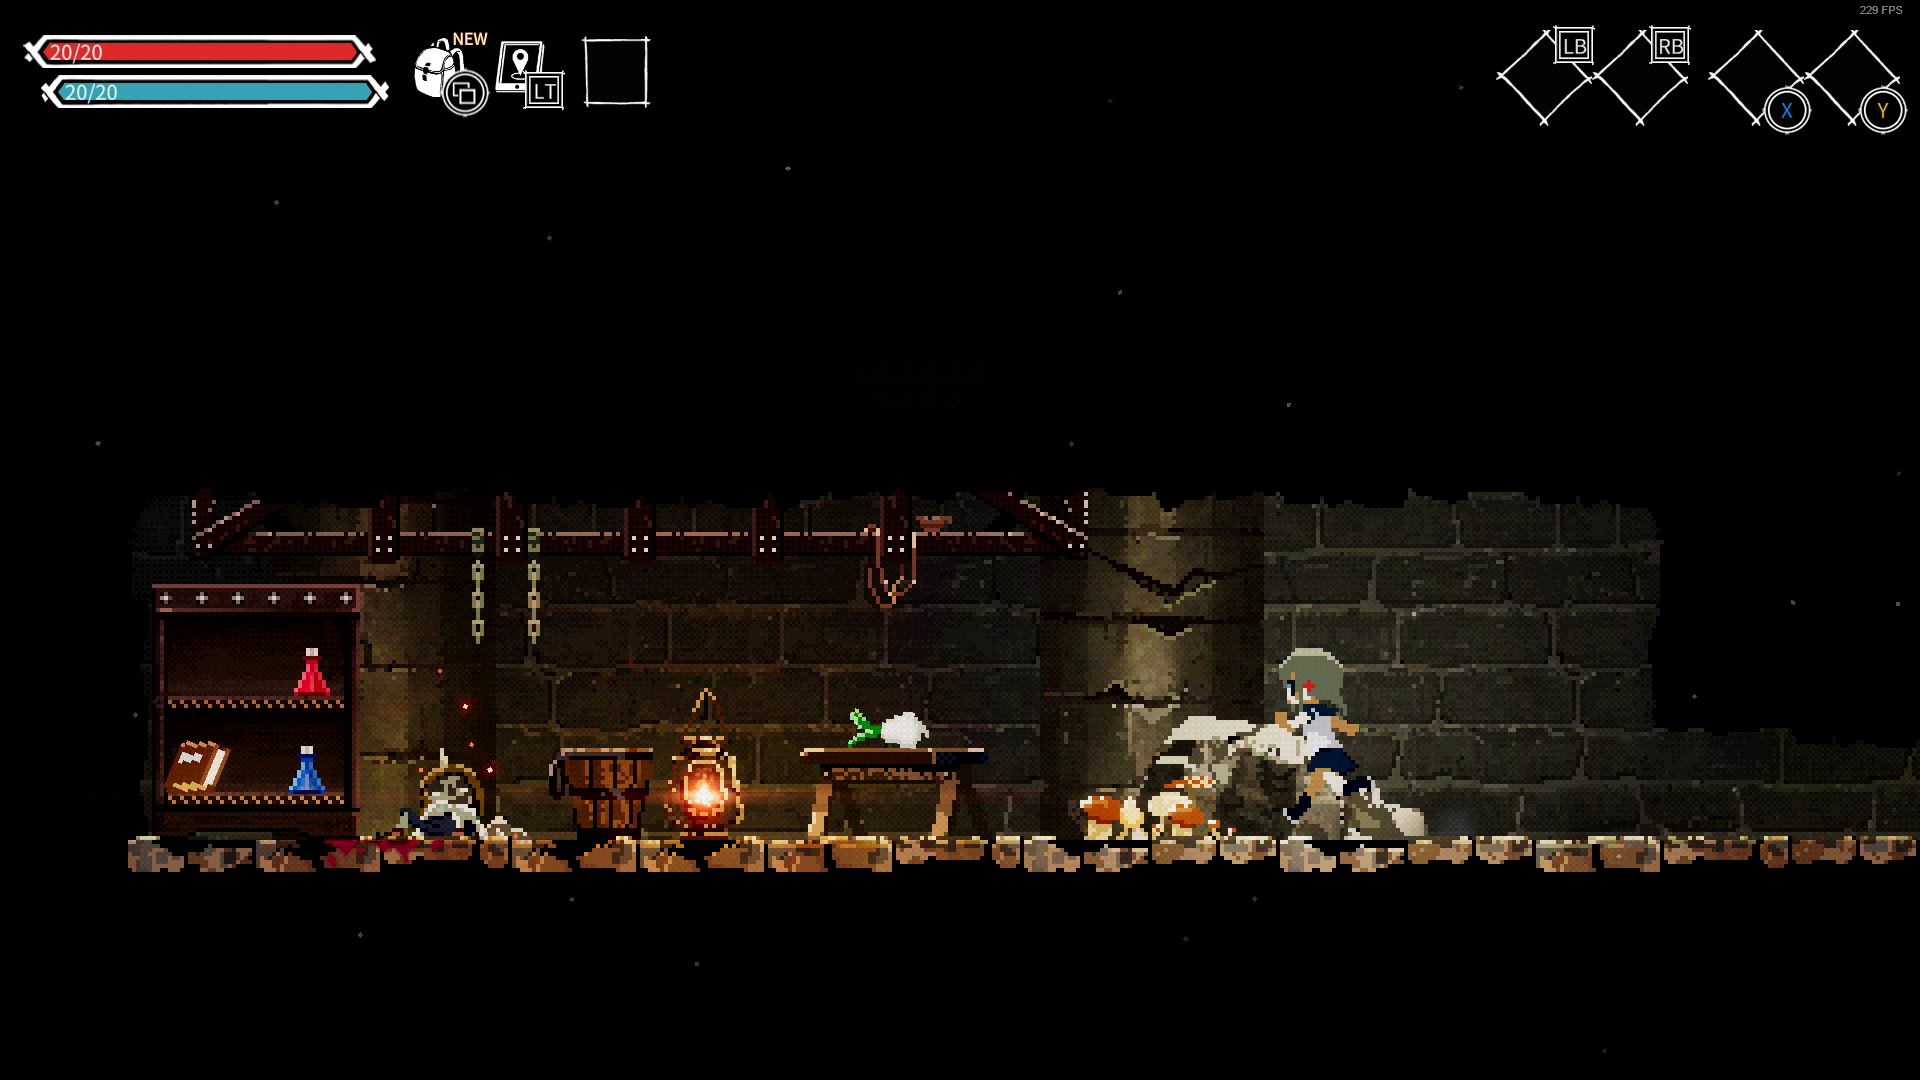
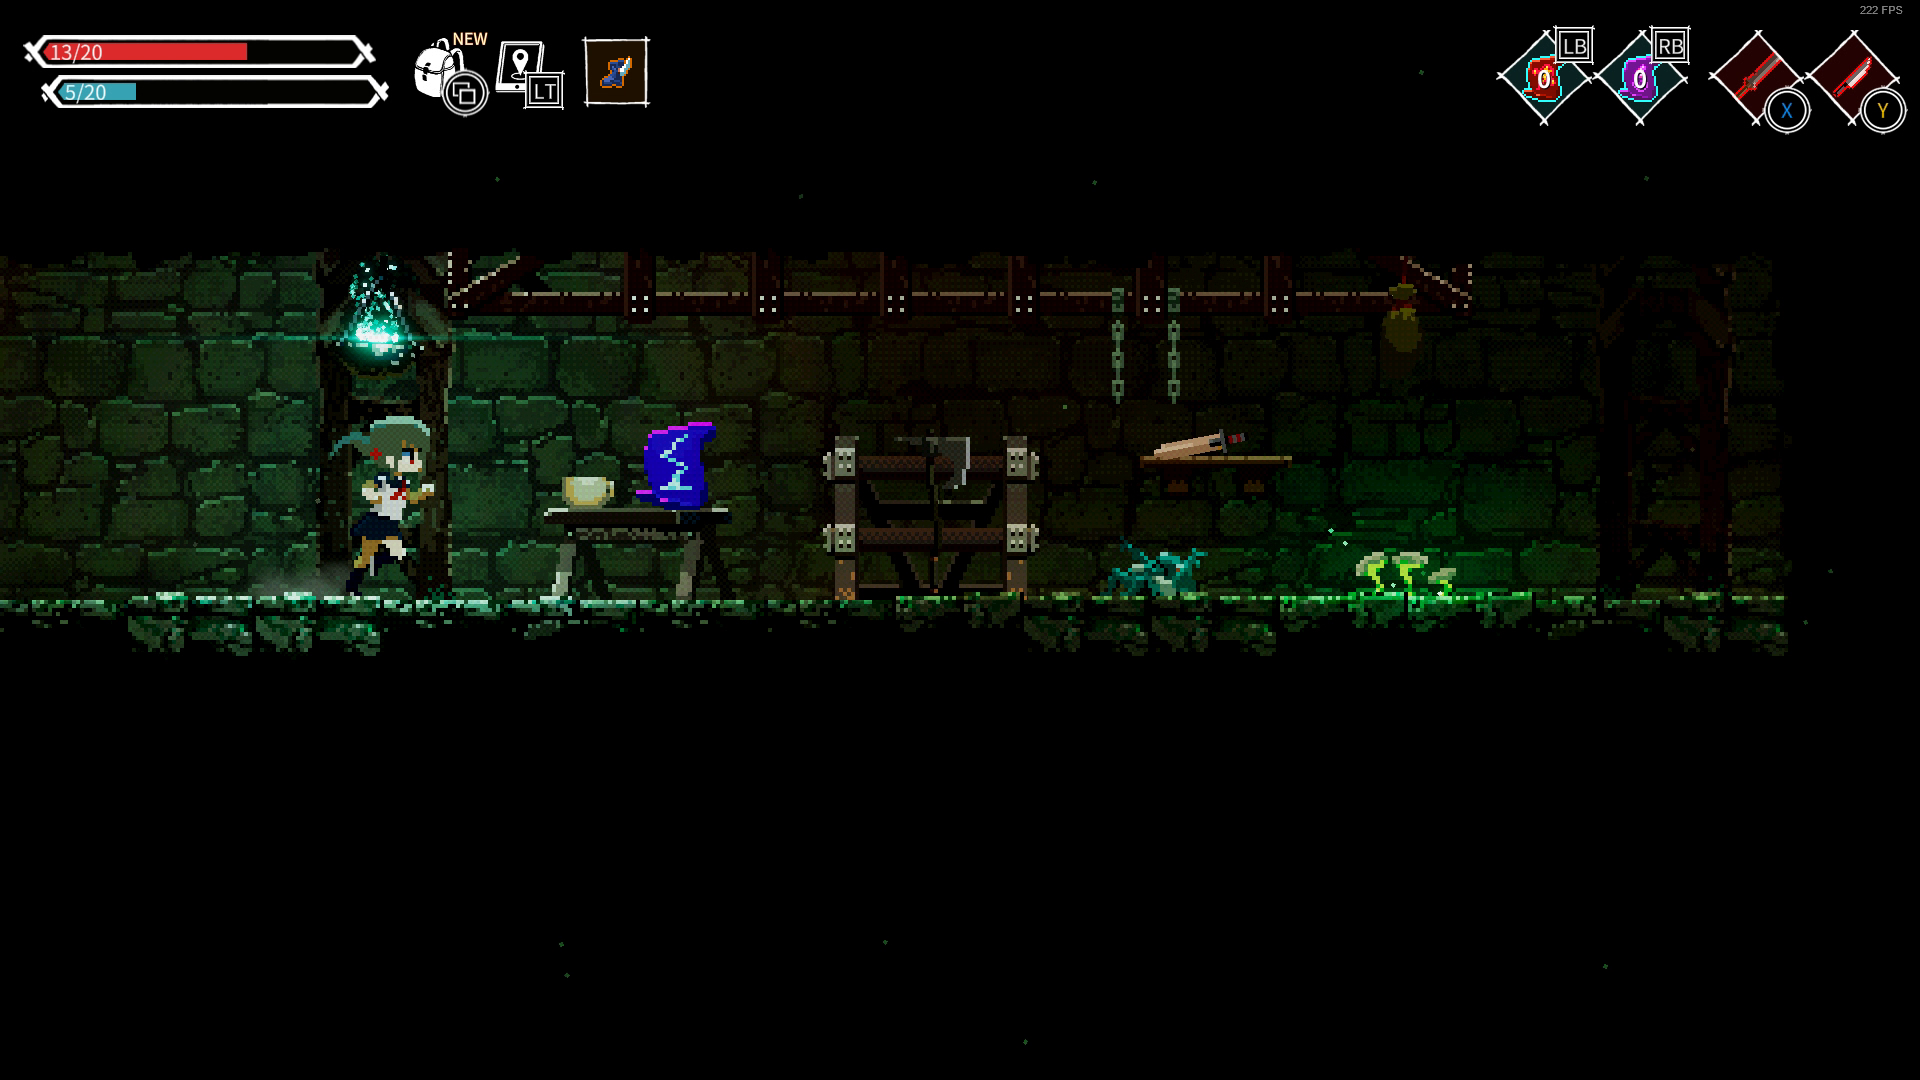
Part 2.1 : Sewers


Position yourself as left as possible before dropping down the ledge to access a hidden platform, roll into the tunnel and you will find a Shield, a Zweihander, and a HP potion.
After touching the bonfire checkpoint, go right to find a breakable wall. Use the Dynamite on the ground to smash the wall open. In this room you will find
Smartphone Message #6
Magic Missile
Earth Wand
Ointment
Moving left from the checkpoint you can pick up a Throwing Water Bottle before you reach the save point (Portal #3). Keep going left and you will see a locked gate, you can actually hit target behind the gate by using Magic Missile.
______________
In this room you will find:
Poison Bolt
Missiles
Amulet of Poison
Antidote
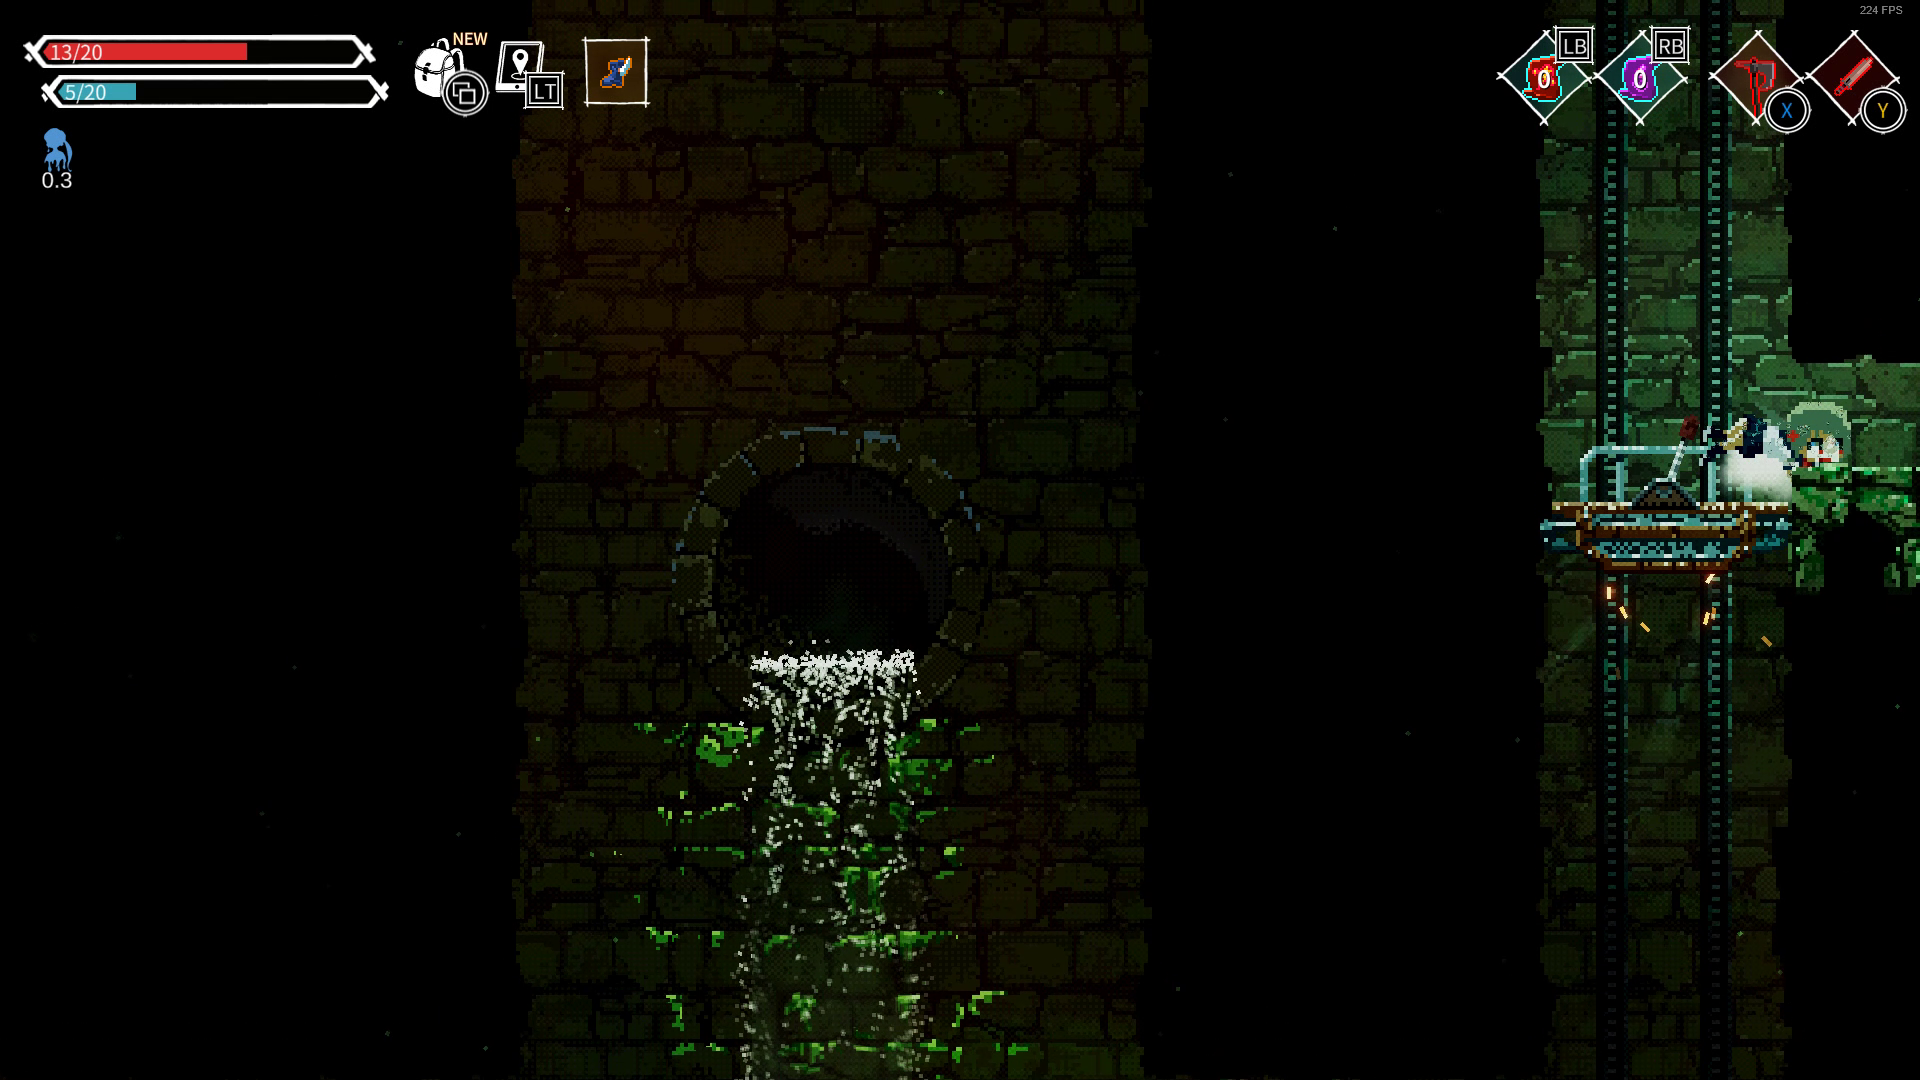
Once you've dropped down from the save point, continue right before dropping further down to find a room with a Slingshot, Rusty Sword, Rusty Dagger and a Leyden Jar. The Slingshot can be incredibly useful if you're going for a Throwables build, and let me tell you, that sht is OP.
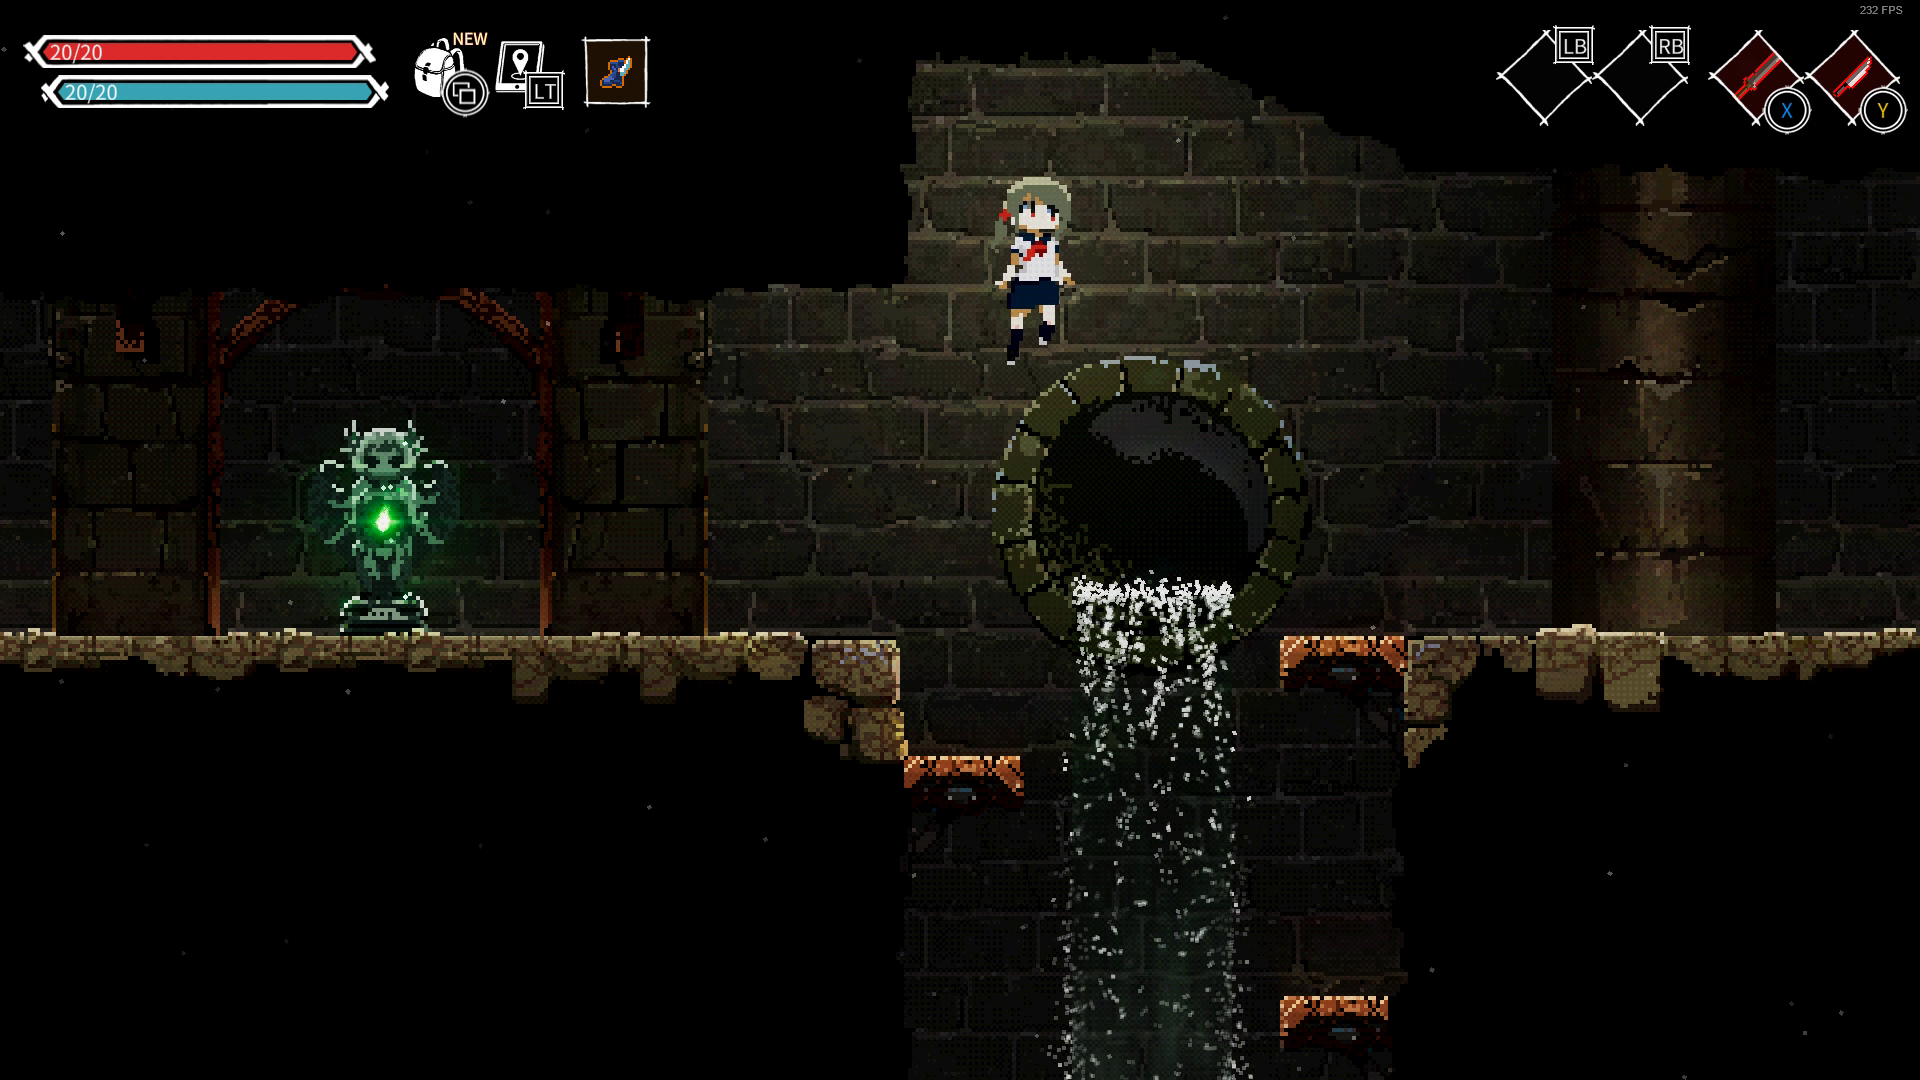
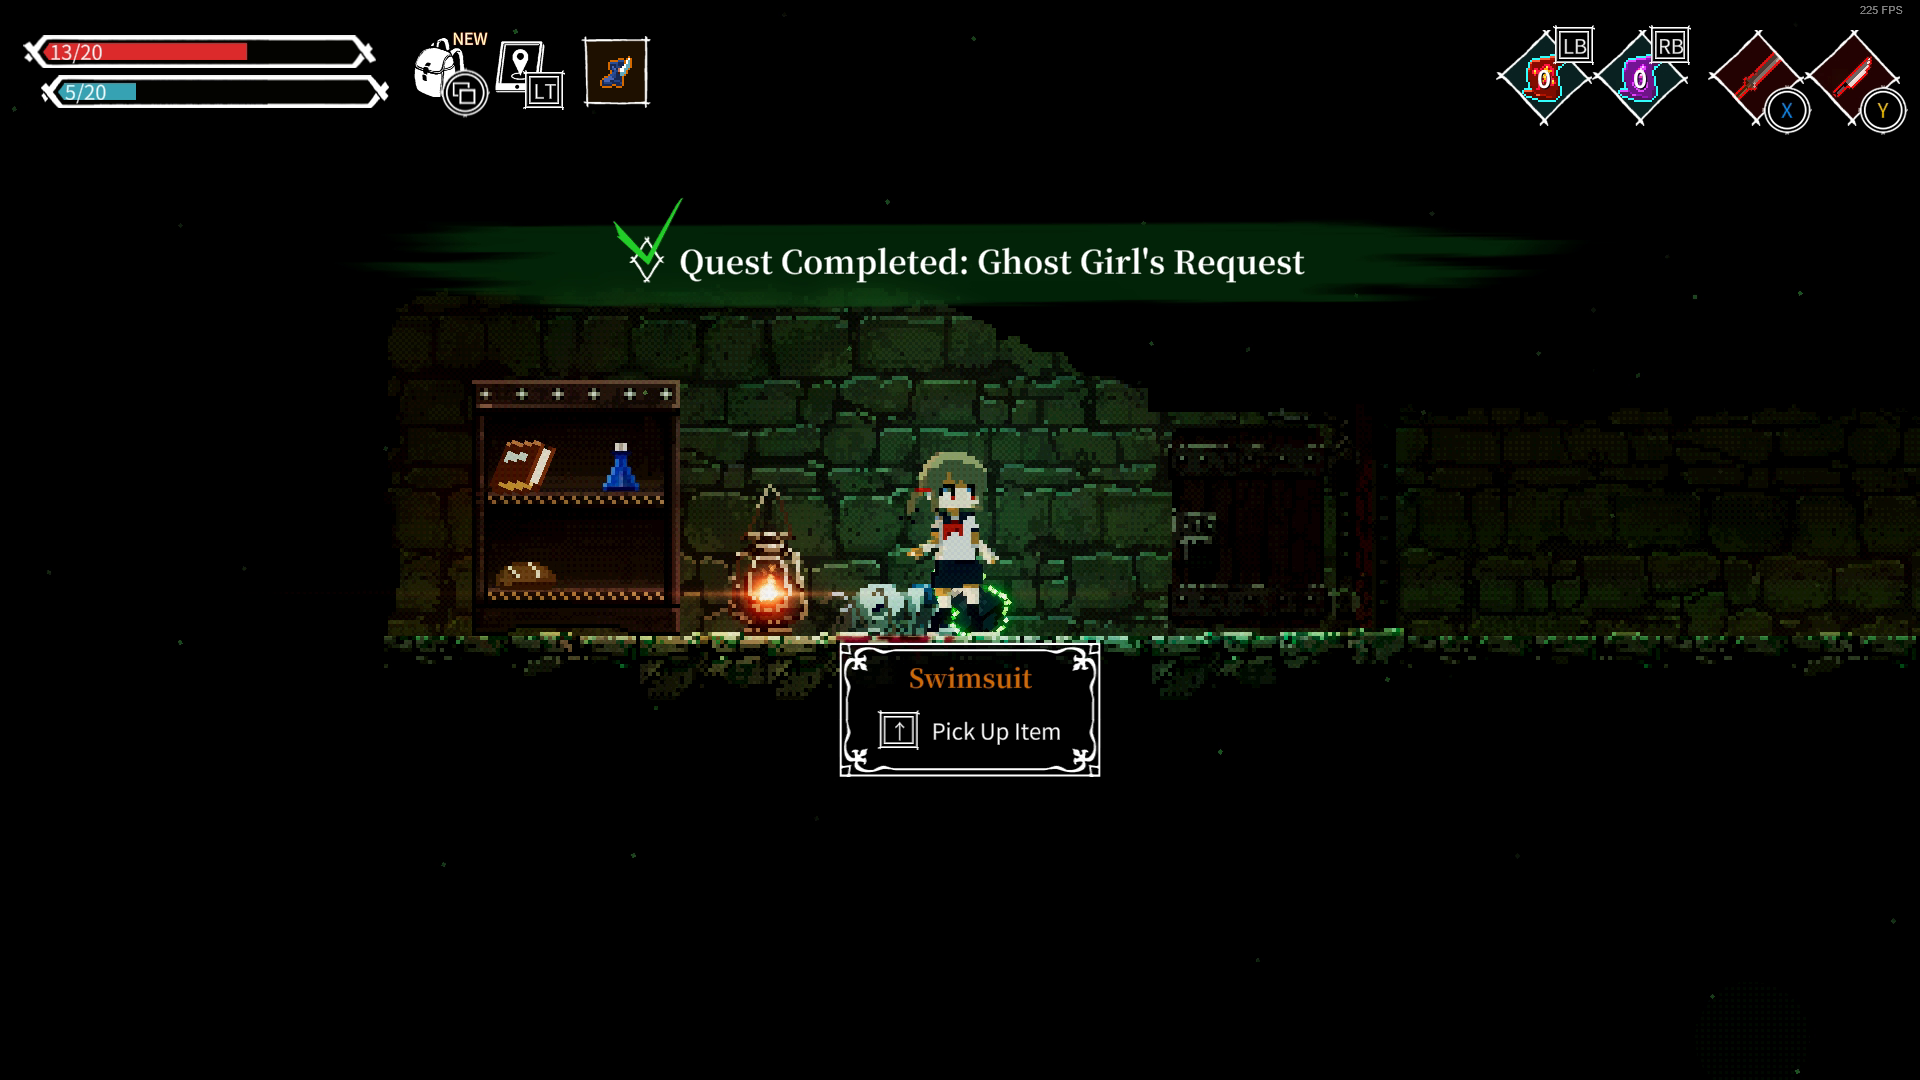
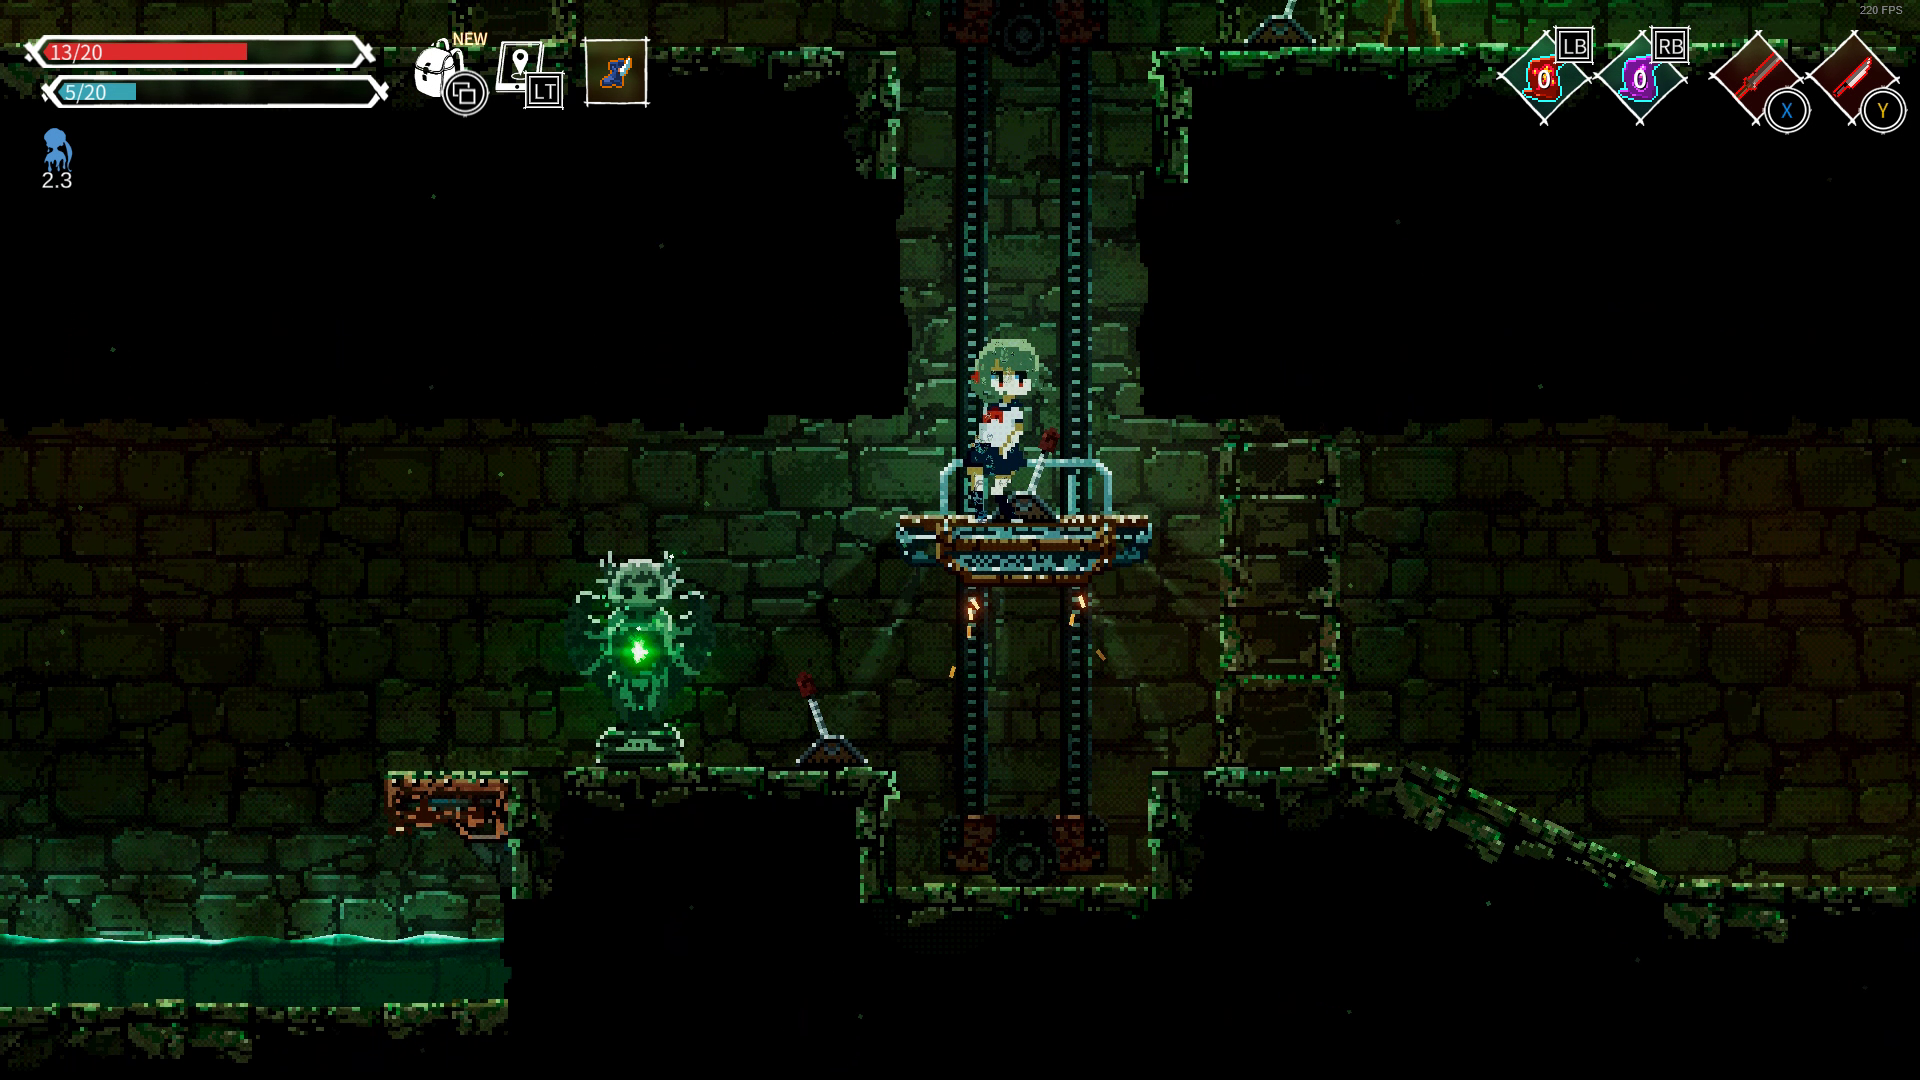
Continuing downwards you'll find a Lightning Wand, a Cola and an unraised bridge. It might seem like the only option is to drop down here but you should also know that it is possible to jump across this gap by jumping high and then rolling mid-air with the Winged Shoes equipped, this is a strat used by speedrunners for a small skip. Since we're going for 100% here, you should definitely drop down to trigger the Ghost Girl's Request side quest.
From here on your route should look like this:
Go right until you see a checkpoint, then use the lift to go up, and then left until you find Vending Machine #2. Pick up the Canal Alcove Key and Lami's Journal #1 here, and then use the key to open the door for the ghost girl. The reward for this quest is the Swimsuit, an MP potion, bread and Journal #5.
Notable things that are sold in Vending Machine #2 include:
Club -- You won't find this anywhere else in the map
Fireball
Magic Missile
Summon Thunderstorm
Gladiator's Armor -- Powerful item, you also won't find this anywhere else on the map
Part 2.2: Sewers

After the Ghost Girl side quest head back to the checkpoint with the lift, here you can either go right or go up and then right. I would recommend you do the former and just go right from the checkpoint since this is the easier route.
The next room will require you to make a decision between continuing right or dropping down. Dropping down leads to nothing, go right instead.
Again you are presented with two paths, keep going right for now and you will find a room with Vegetable Soup, Spark, Hatchet and Dagger. I would recommend you replace your weapons with the Hatchet and the Dagger because they deal more damage.
Exit the room and immediately drop down and turn right (turning left leads to nothing), here you should encounter some mushroom enemies and a spike trap. Keep going right, past the checkpoint, slimes, until you find a lift. Halfway up the lift should be a hidden tunnel, roll into it. Here you'll find:
Freeze
Amulet of Life
Leyden Jar
Journal #6
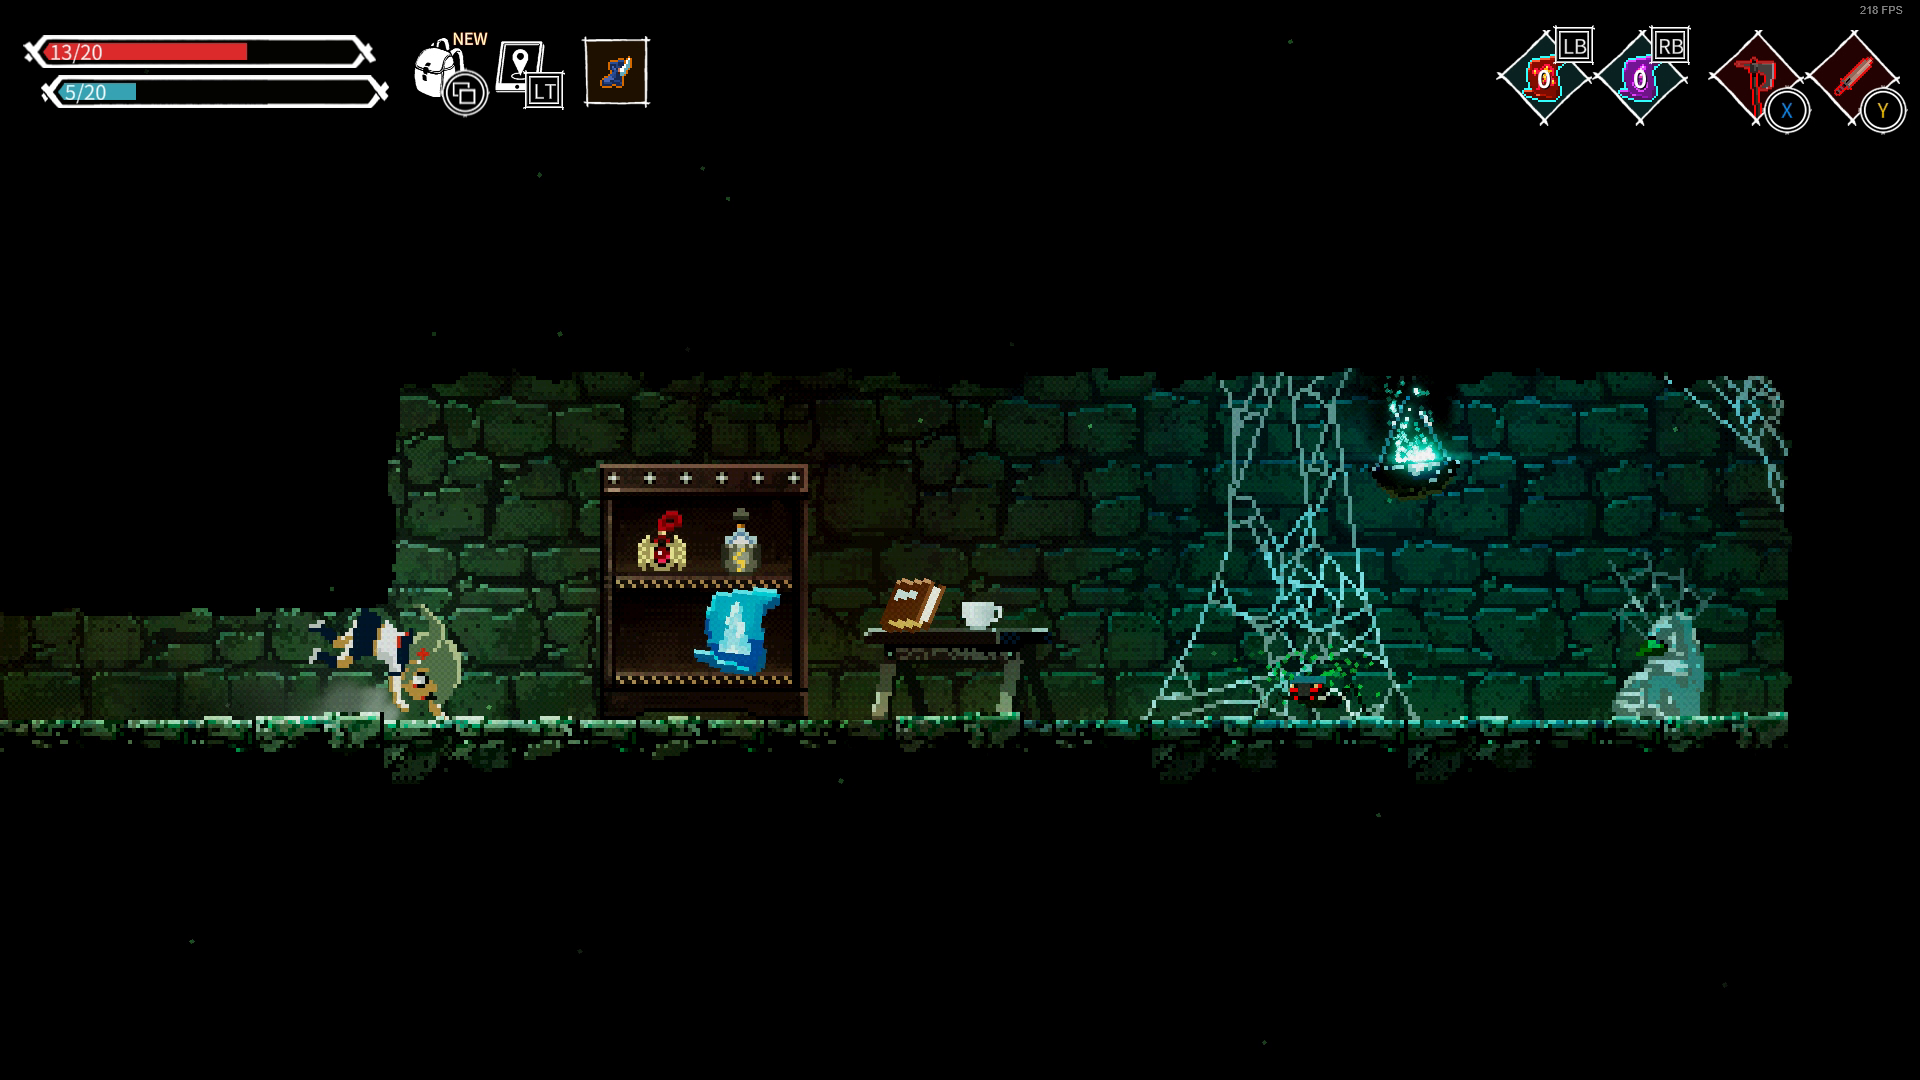
Coffee
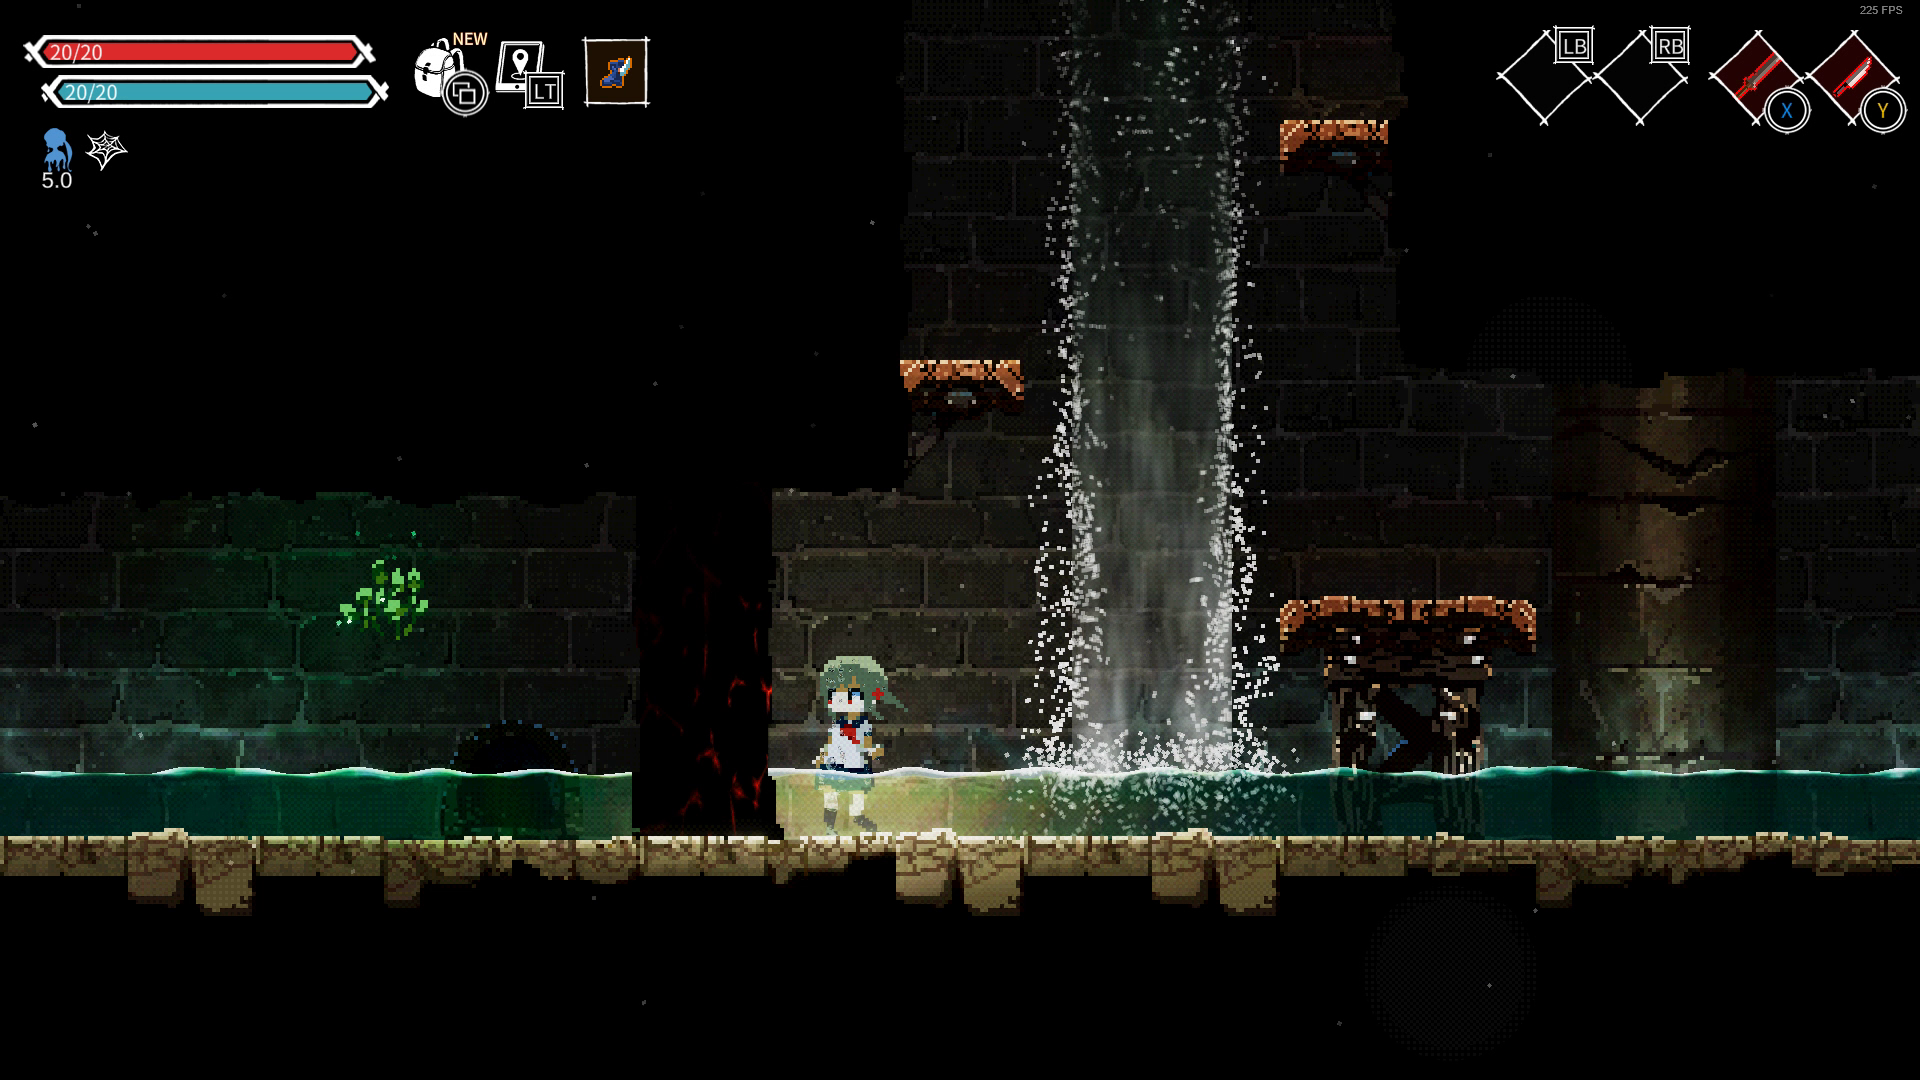
Continuing up the lift, a spell is required to hit the target and raise the bridge. After that, continue left into a room filled with spiders. Here you will find an antidote and the Purifier -- a useful tool for you to heal up without consuming items. Immediately after this room is Portal #4.
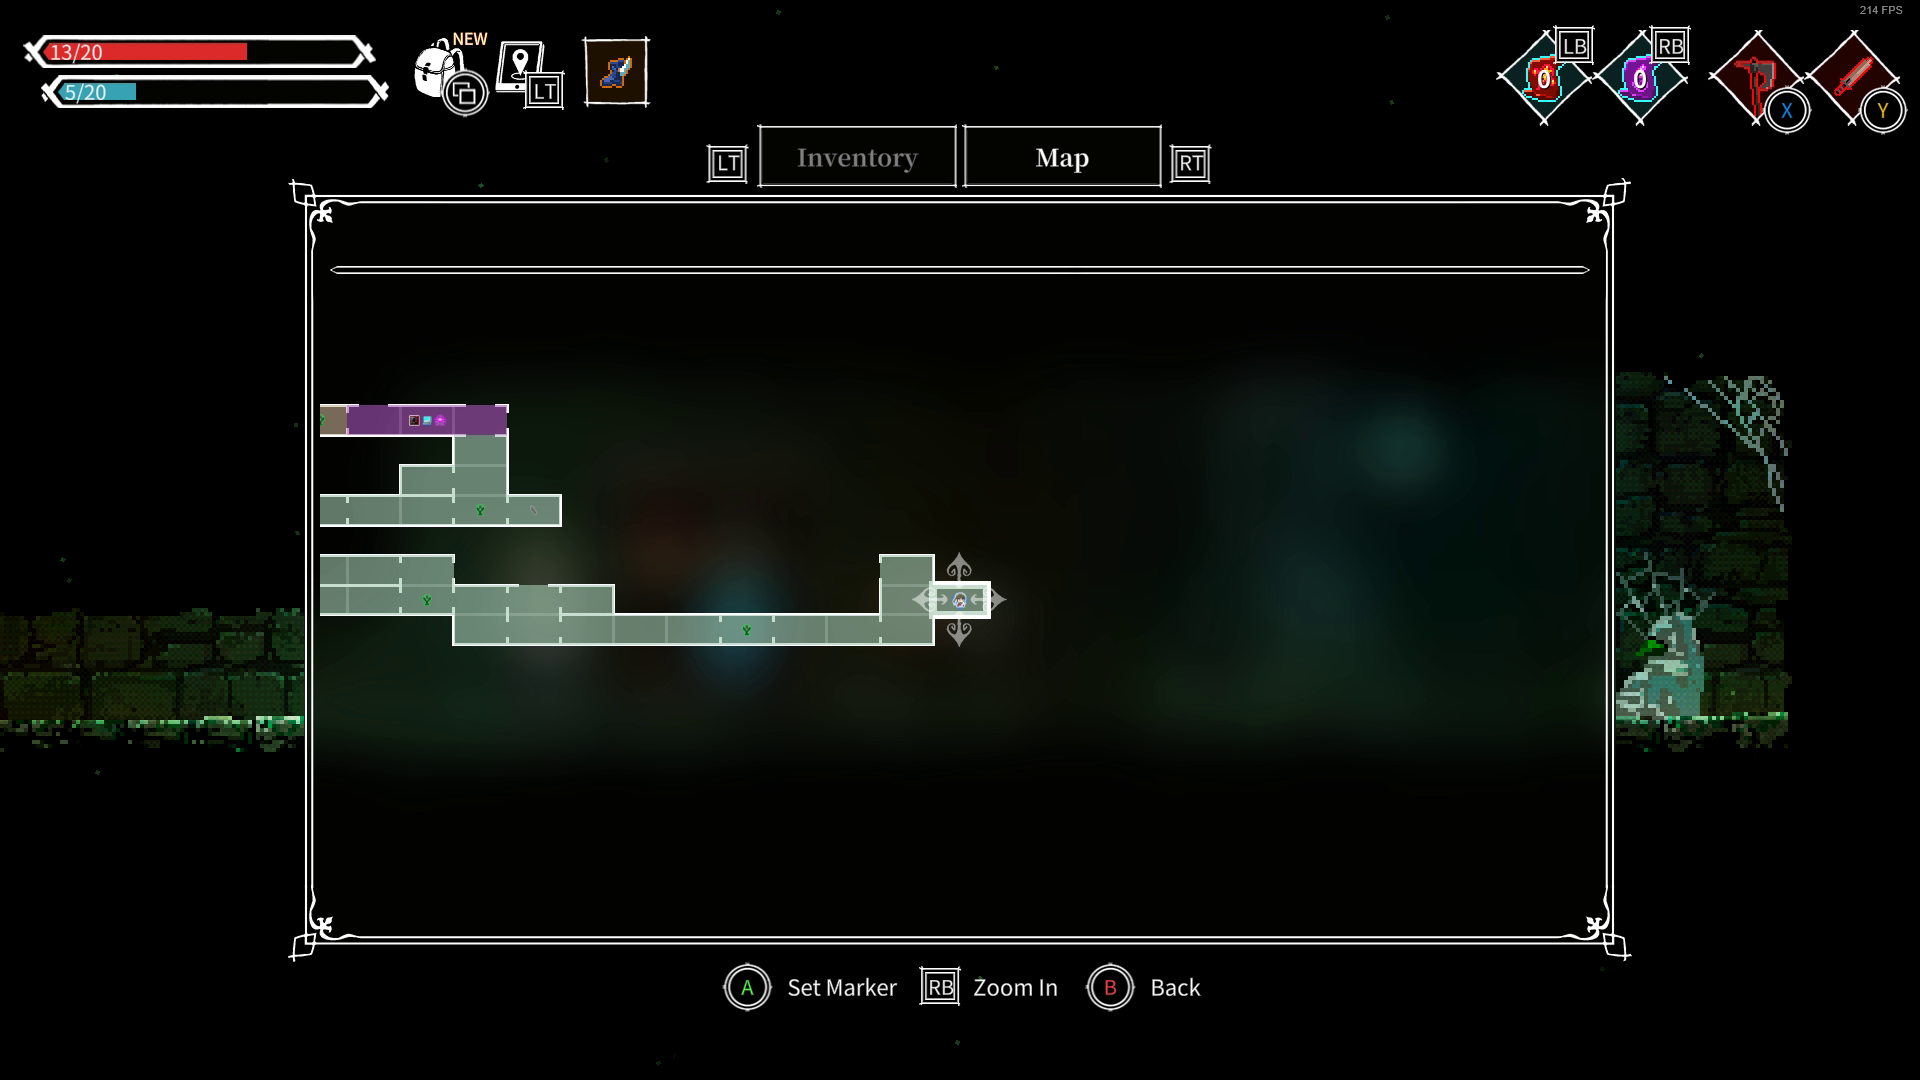
Going left here will lead you back where you came (no notable loot to pick up), going up the lift will progress the area. Once up, head left (going right will lead to a Golden Chest that is inaccessible (Golden Chest #9), though there's a broccoli and a protein powder here if you need them). After the slimes, you'll find Lami's Journal #2 and a Bundle of Fire Wand, plus a broccoli and a coffee. Go up the through the lift here.
Once up the lift, you can either go left or right. Going right will trigger a cutscene at Portal #5, and then immediately after is your first boss fight. Head left first and you'll find some loot hidden behind a locked gate. This is a puzzle that requires you to have the Zweihander and Winged Shoes. In this room you'll find Gladiator's Helmet, Arrow Bundle, and a Bow.
Lami Boss Fight
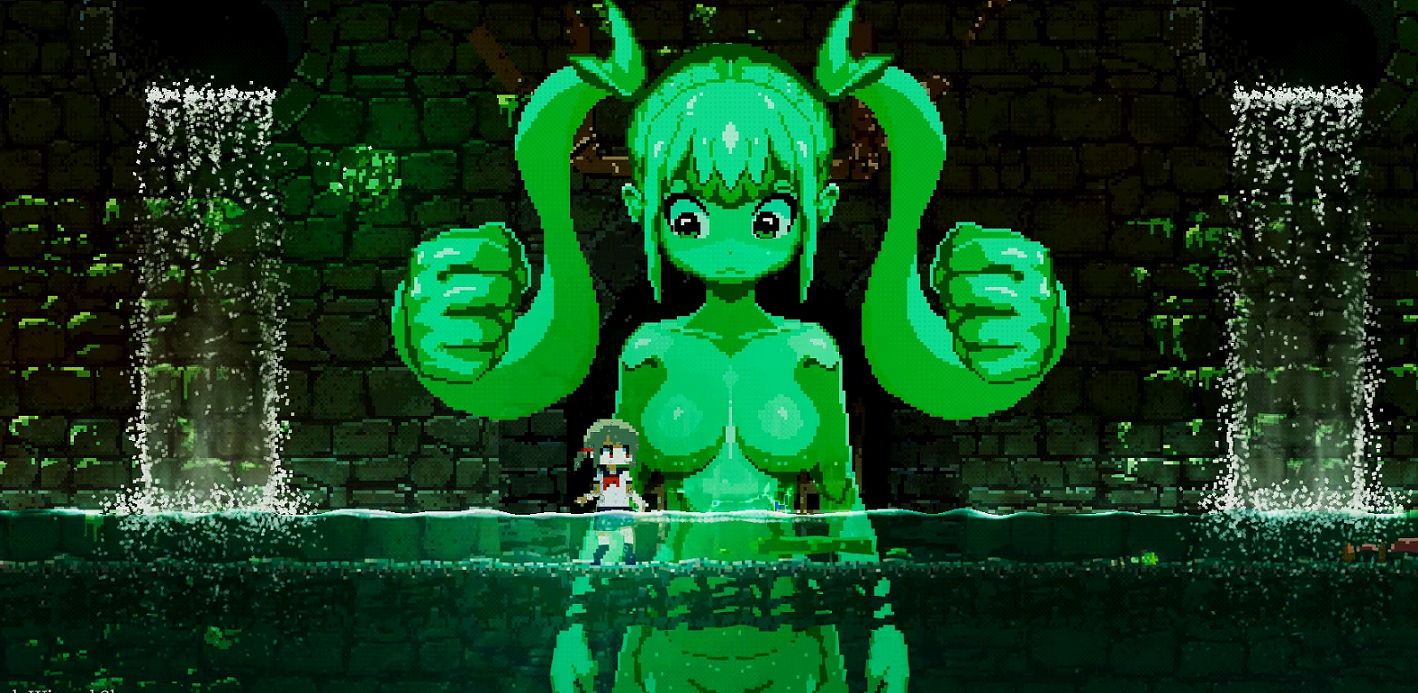
Lami is a fairly easy boss. In her phase one you have to fight a green slime and a red slime. Her phase two is just her running around trying to punch you. You can dodge and then stab her in the back with your dagger, heavy weapons would not be fast enough here as she reacts fairly quickly and will retaliate with a fast uppercut.
In her third phase she transforms into a giant slime, she will try to slam you with her fists that is also her hair that is also.. made of.. slime (sick design tbh). After 3 or 4 slams she will disappear into the water and then reemerge for a surprise attack, you will have to time your dodge perfectly to fully evade this.
Using the winged shoes here would be a wise choice, but you can also opt for the purifier to heal you during the boss fight.
Lami is weak against electricity, using spark here will shock the water and hurt both her AND yourself, unless you are wearing the Swimsuit which nullifies electric damage.
Lami will drop her Striped Panties (Adds one item slot), Lami's Journal #3 and an MP potion.
Beatrice And Astarte
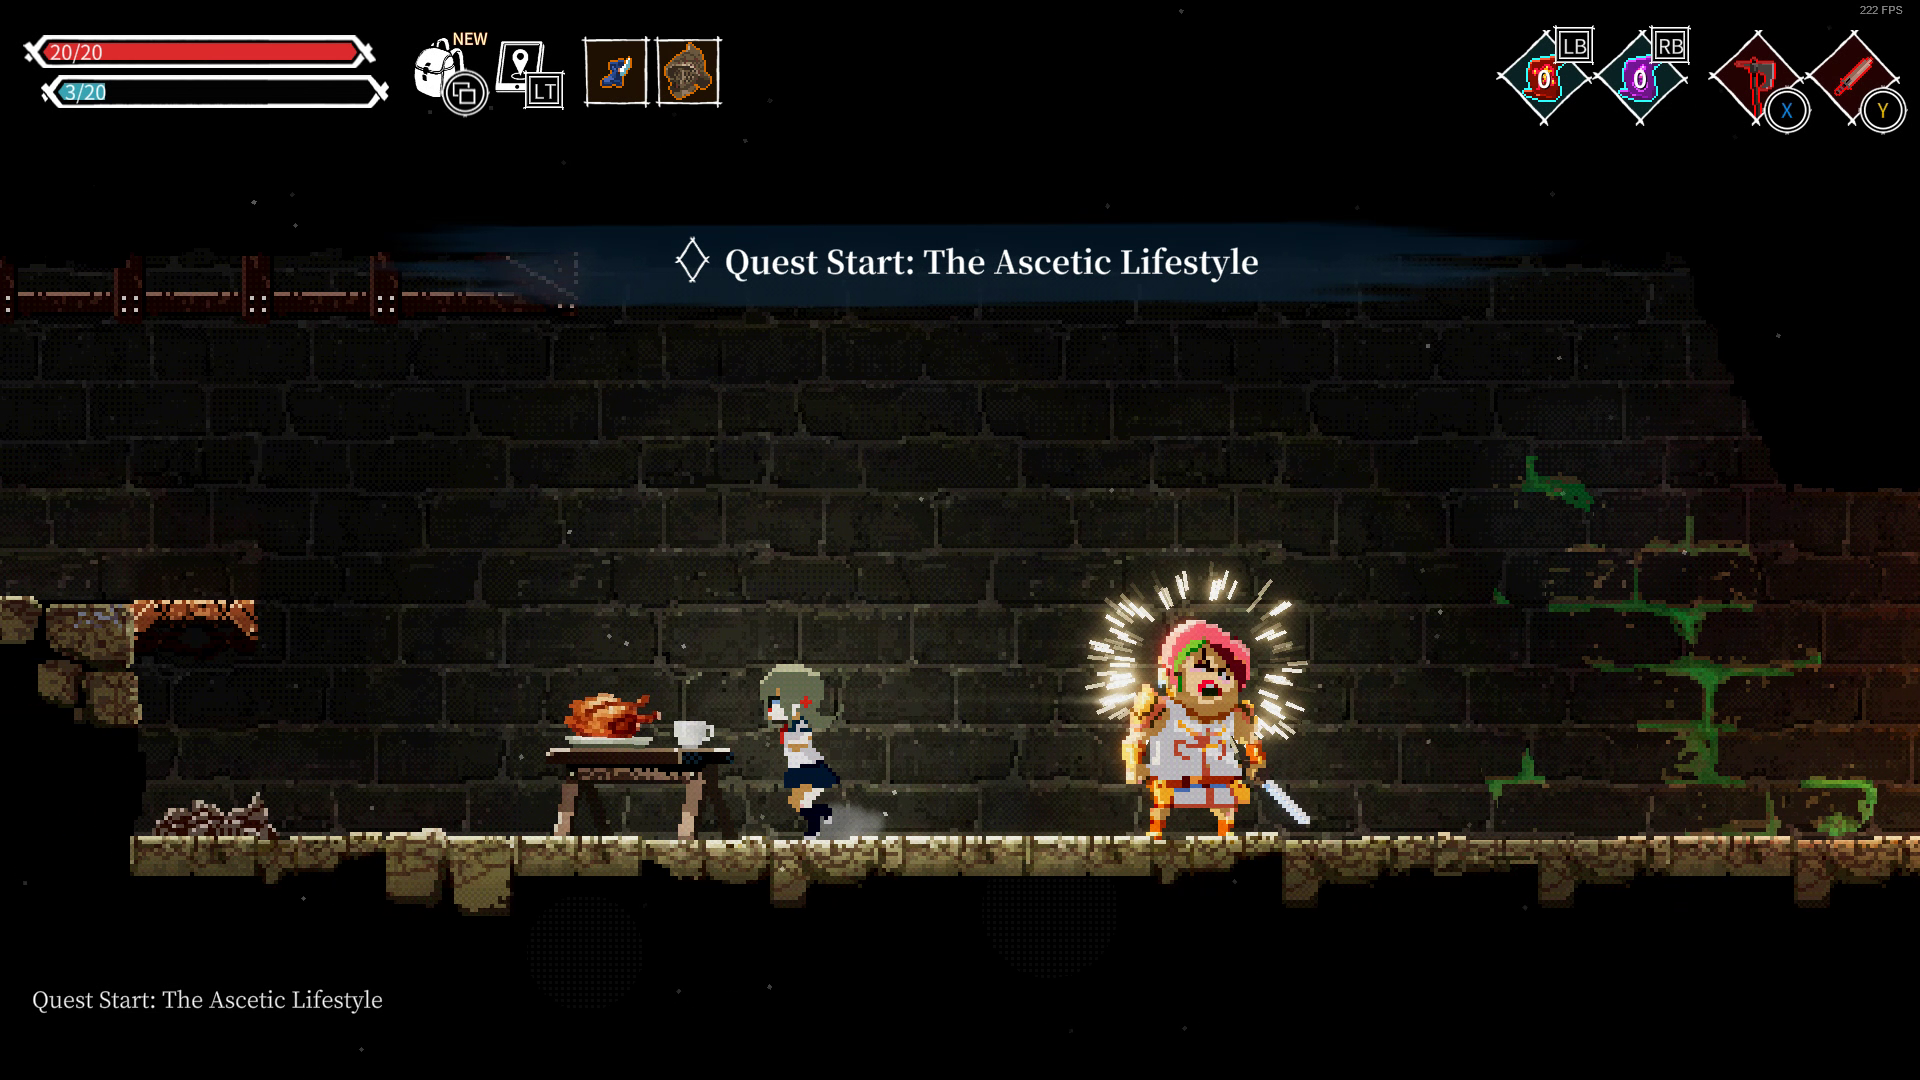
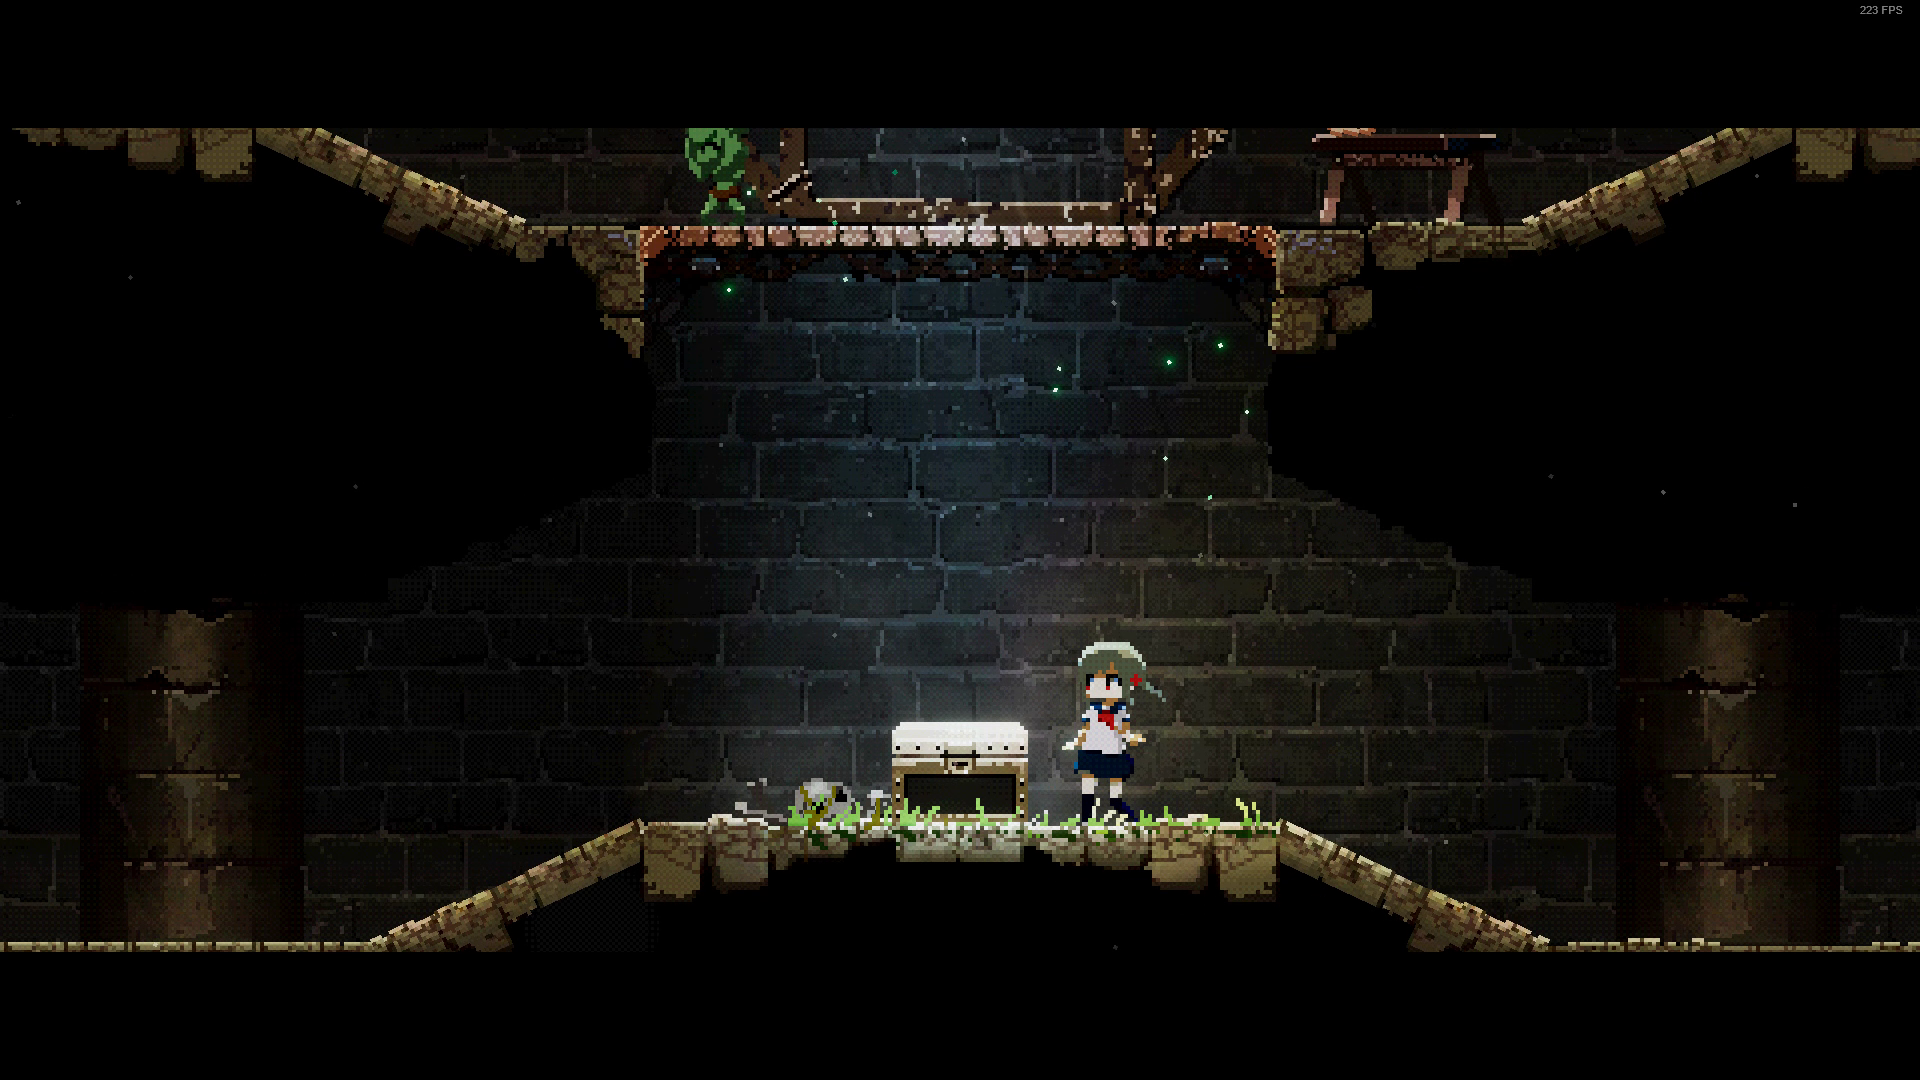

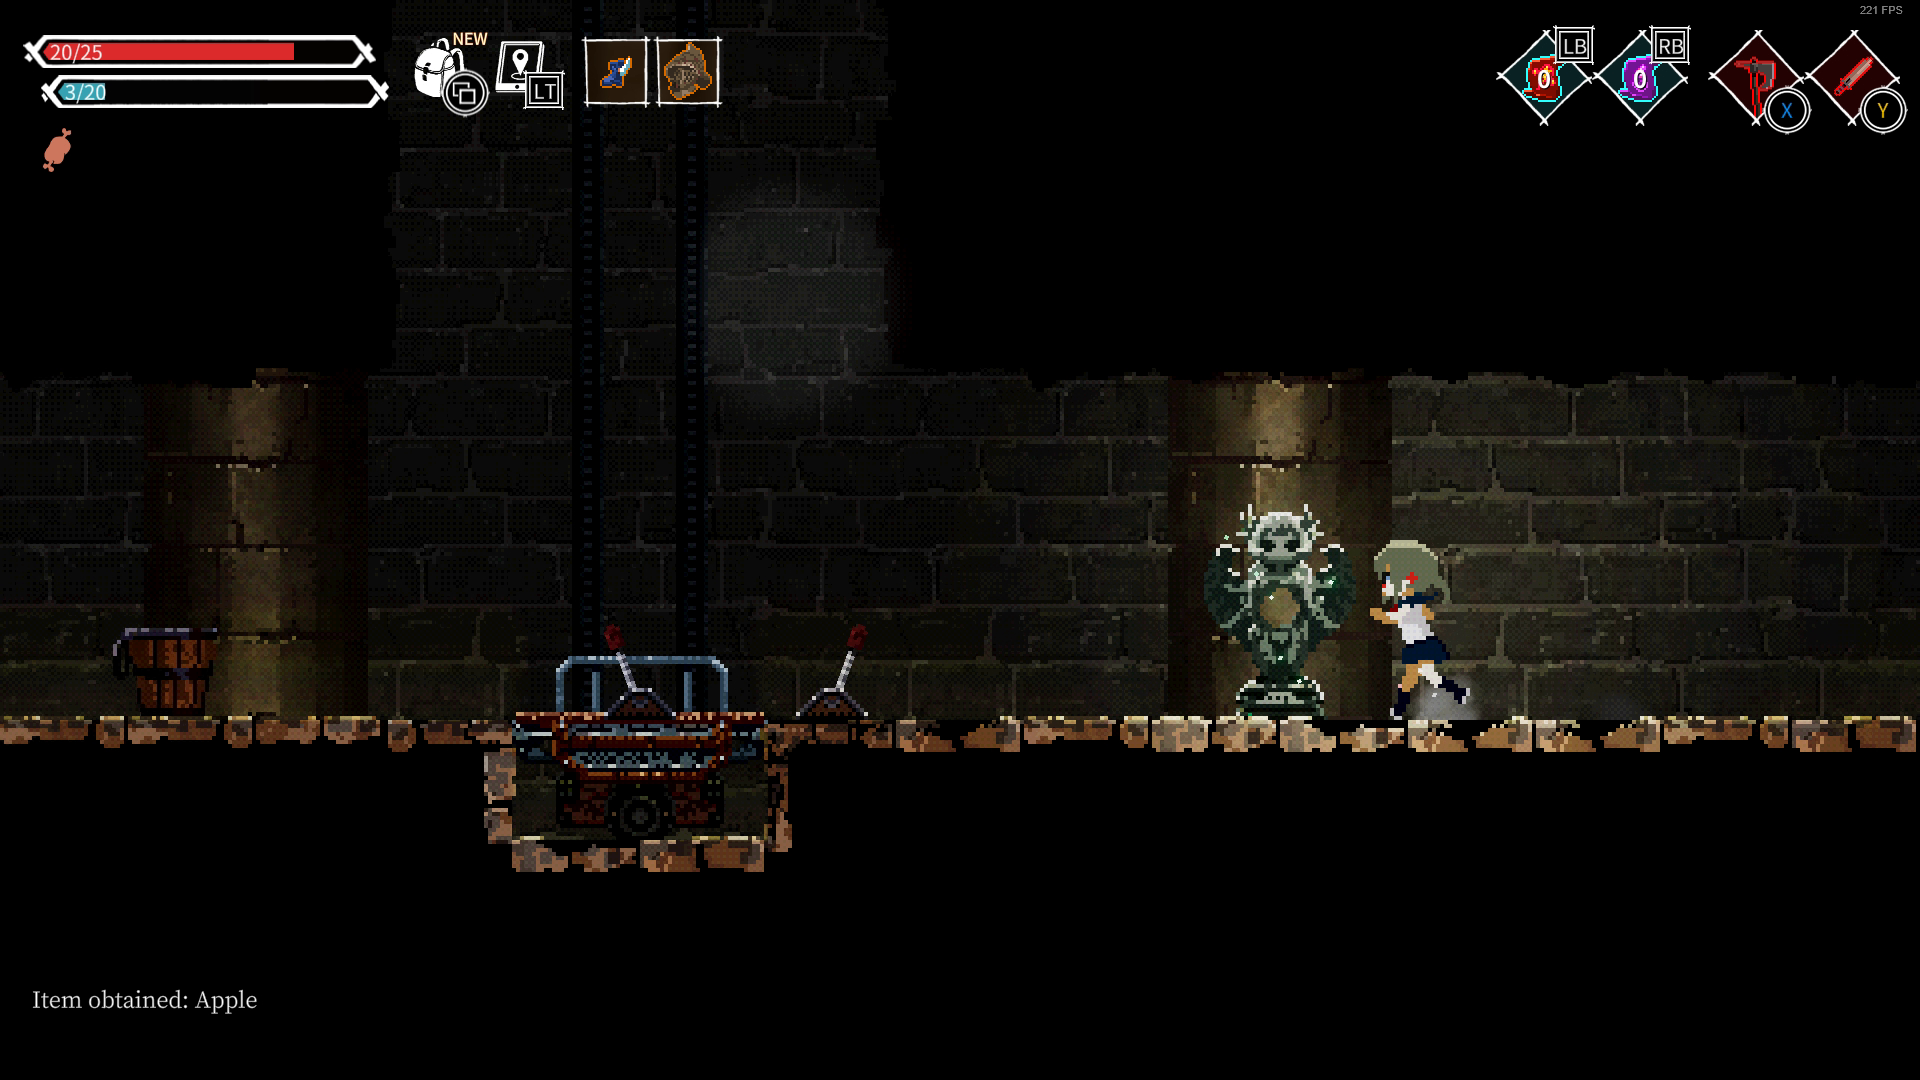
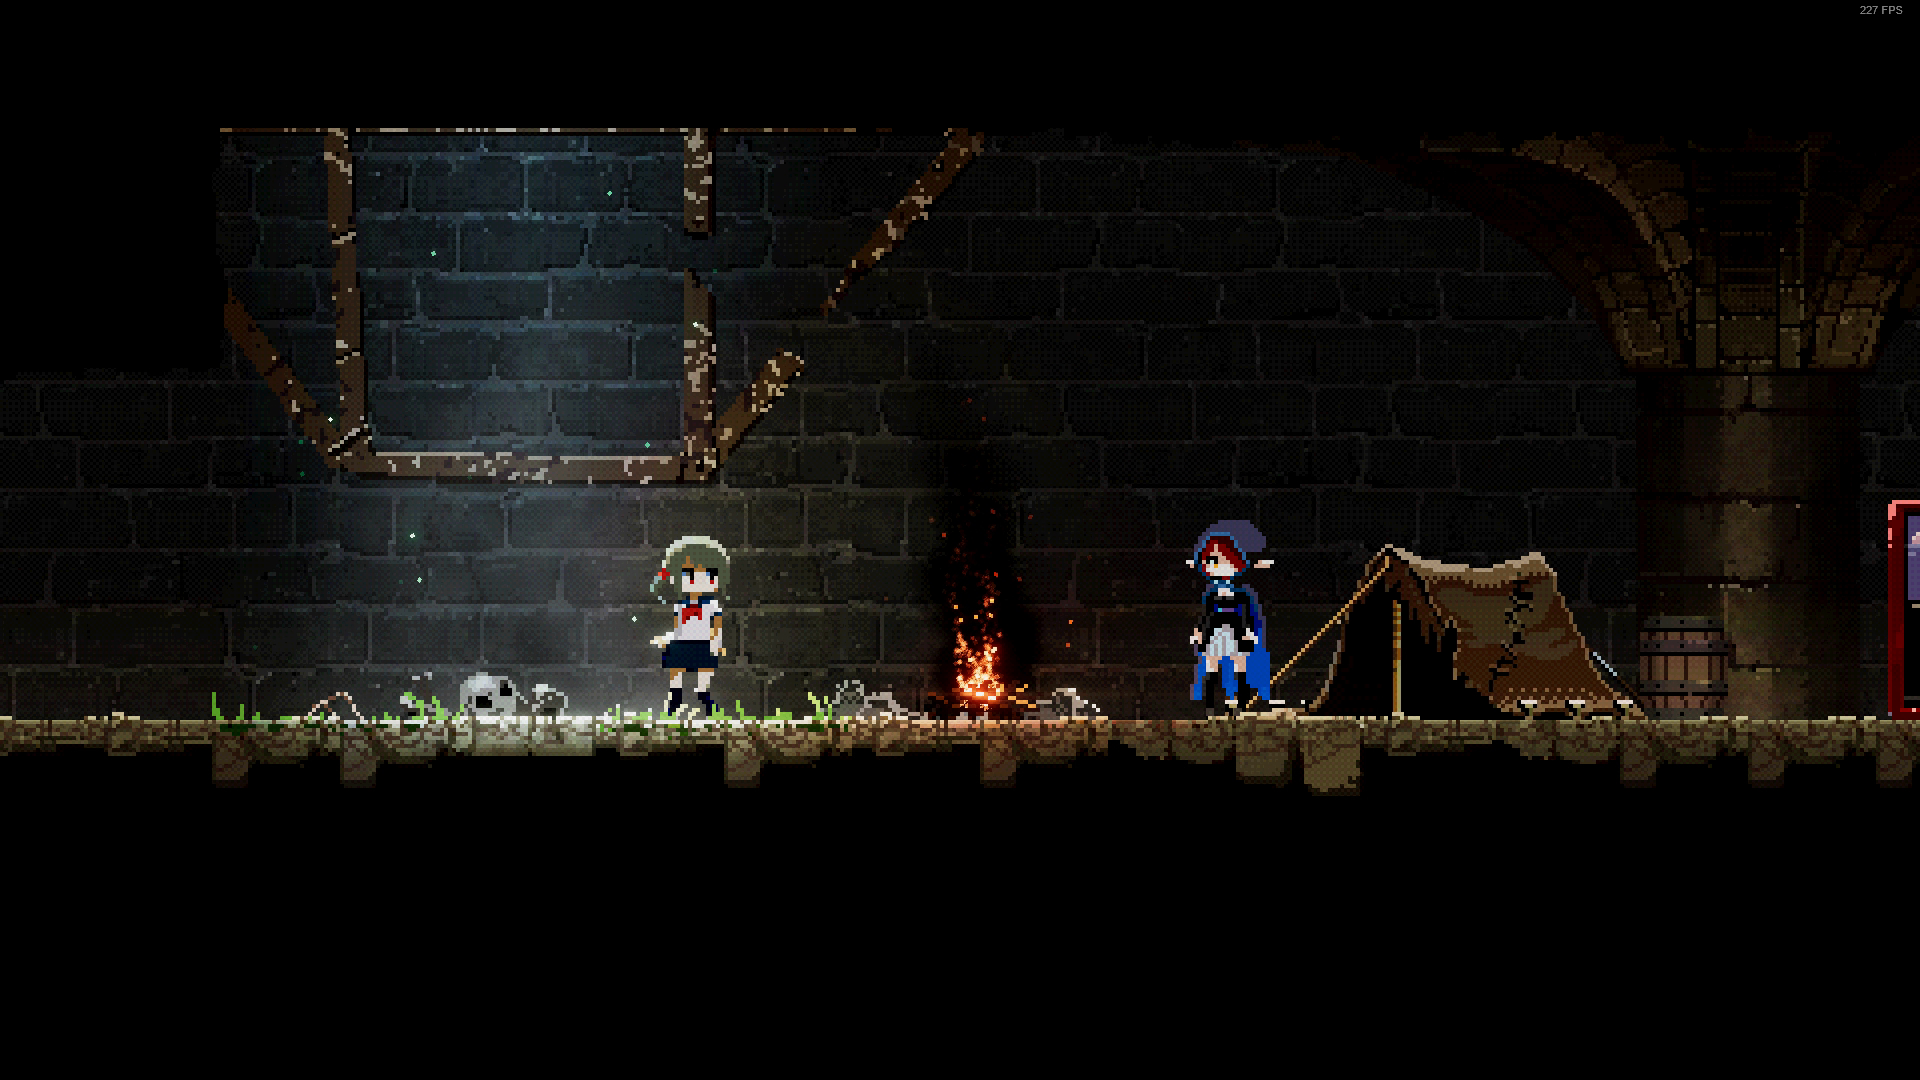
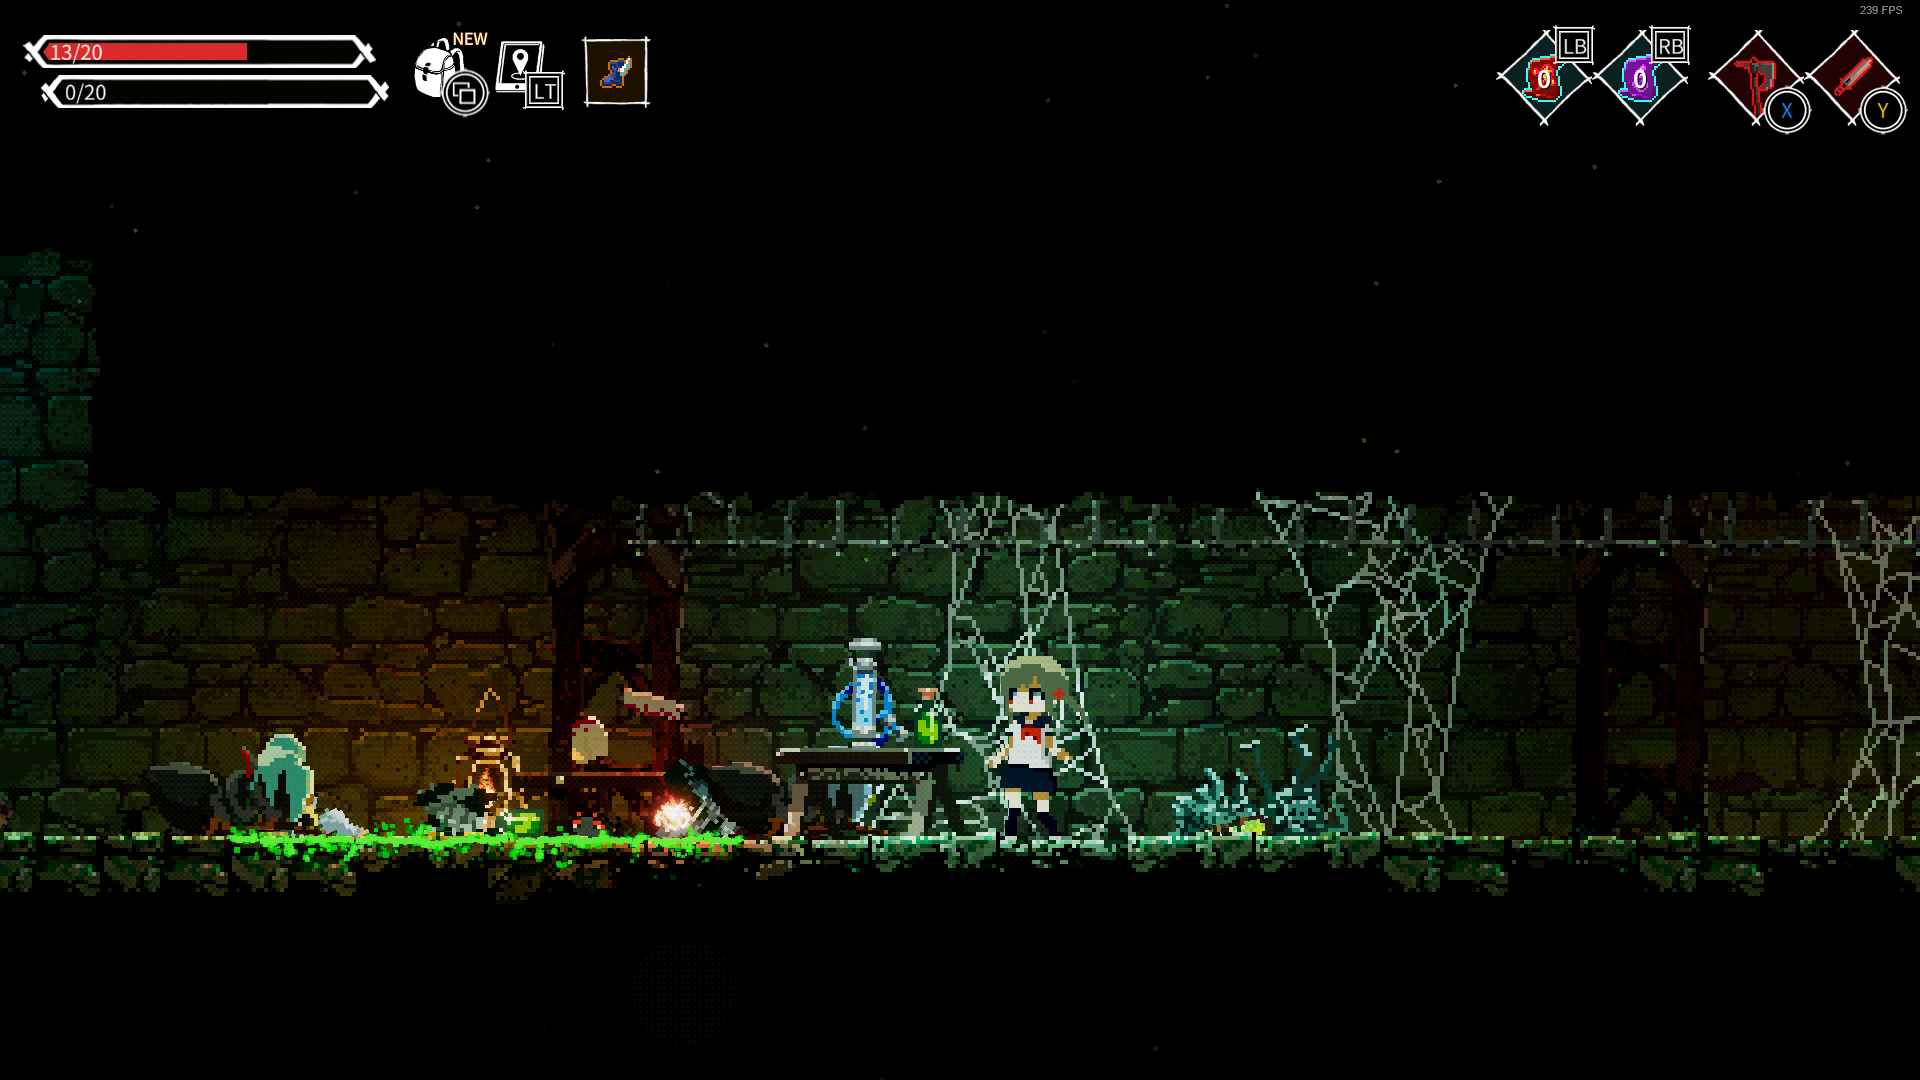
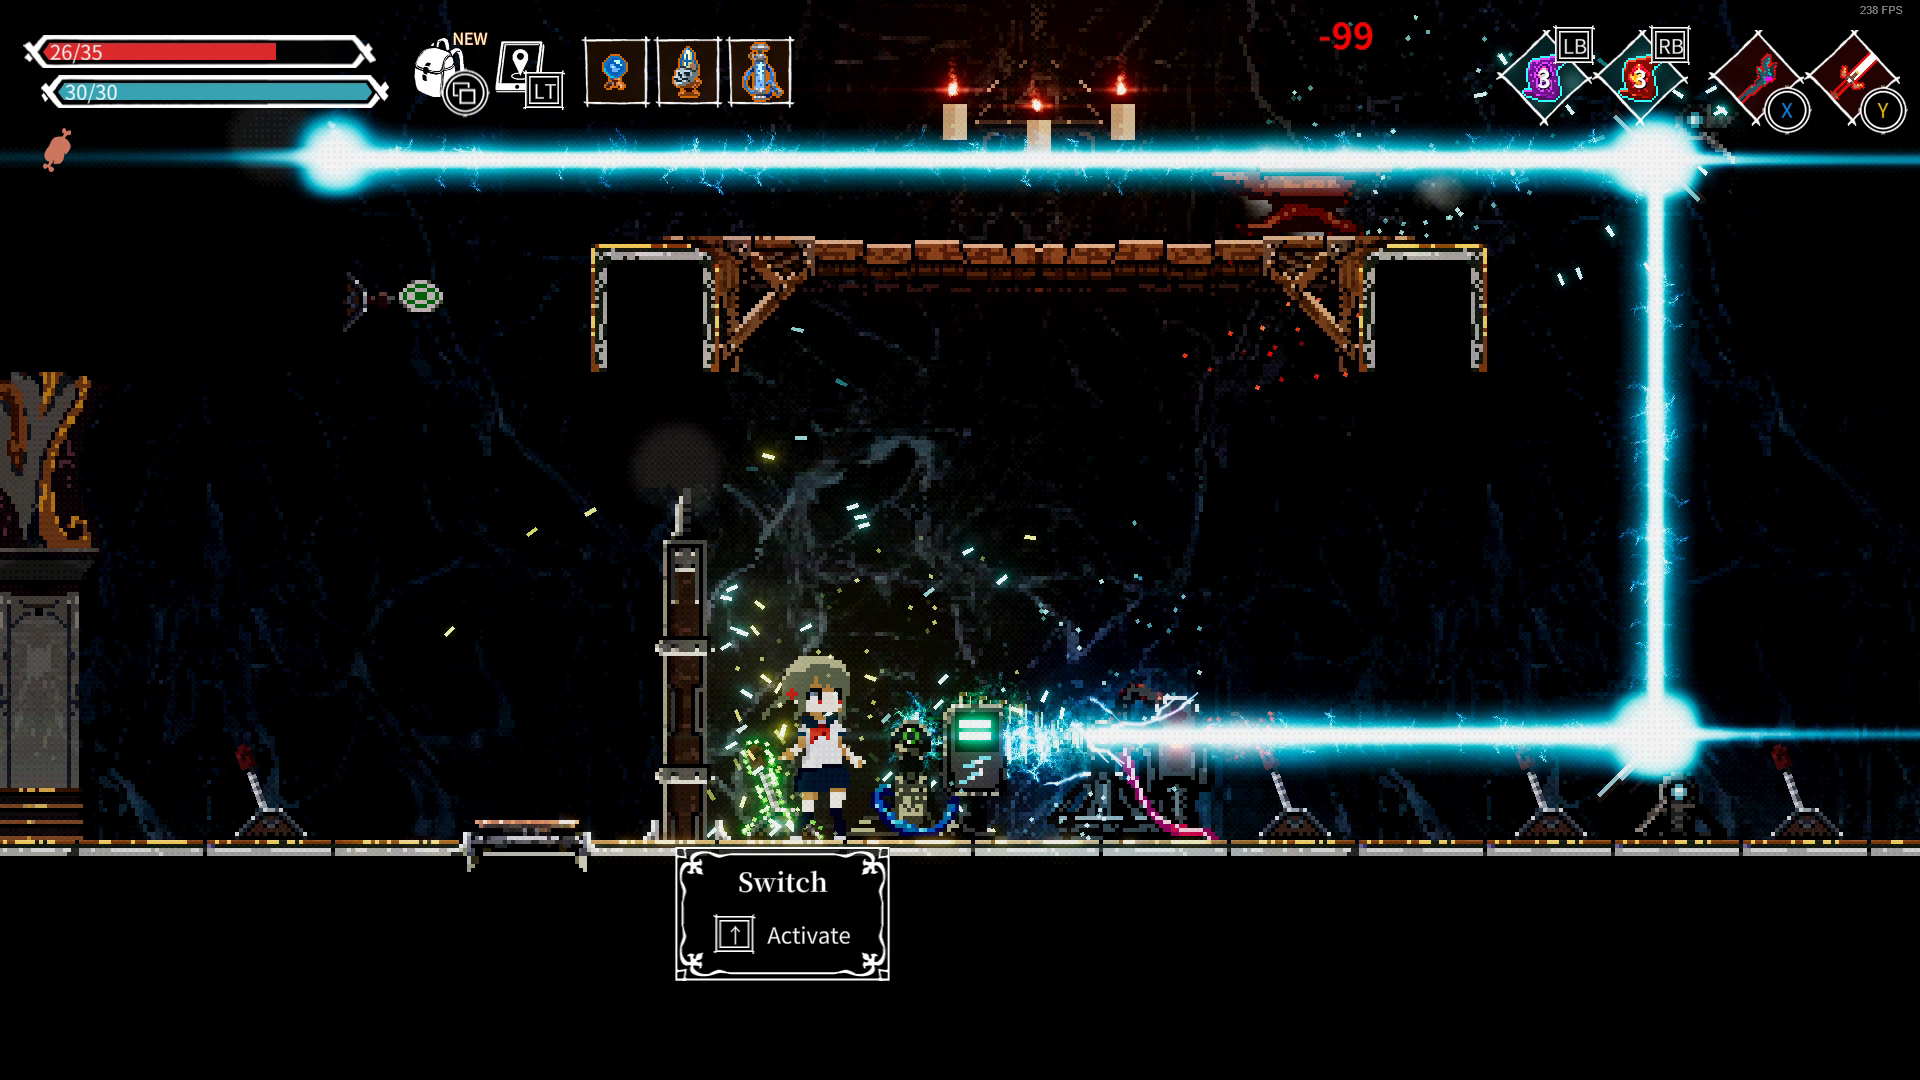
The room after the boss fight will contain the first golden chest you see -- Golden Chest #1. The chest will not be accessible until later on. Sadora the Ascetic will be waiting in the next room, along with a coffee and a roasted chicken. Hear what Sadora has to say here.
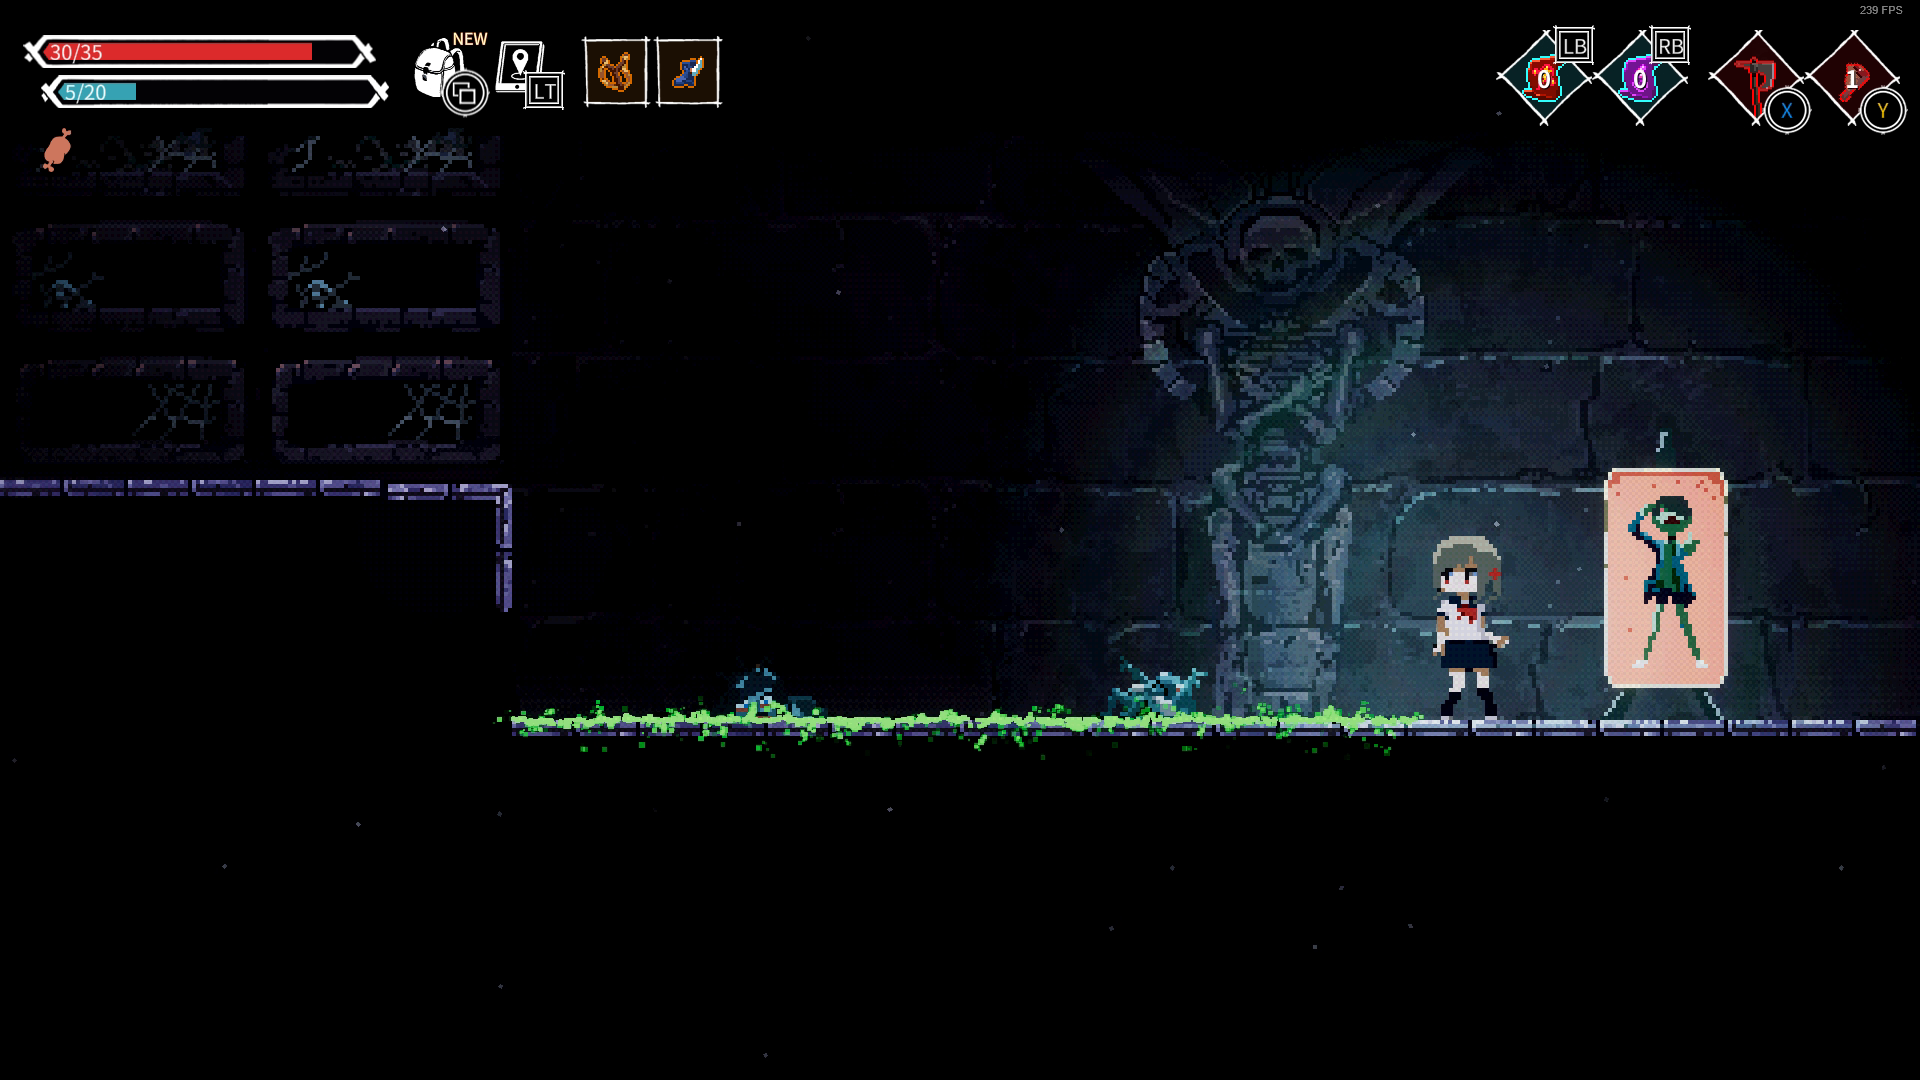
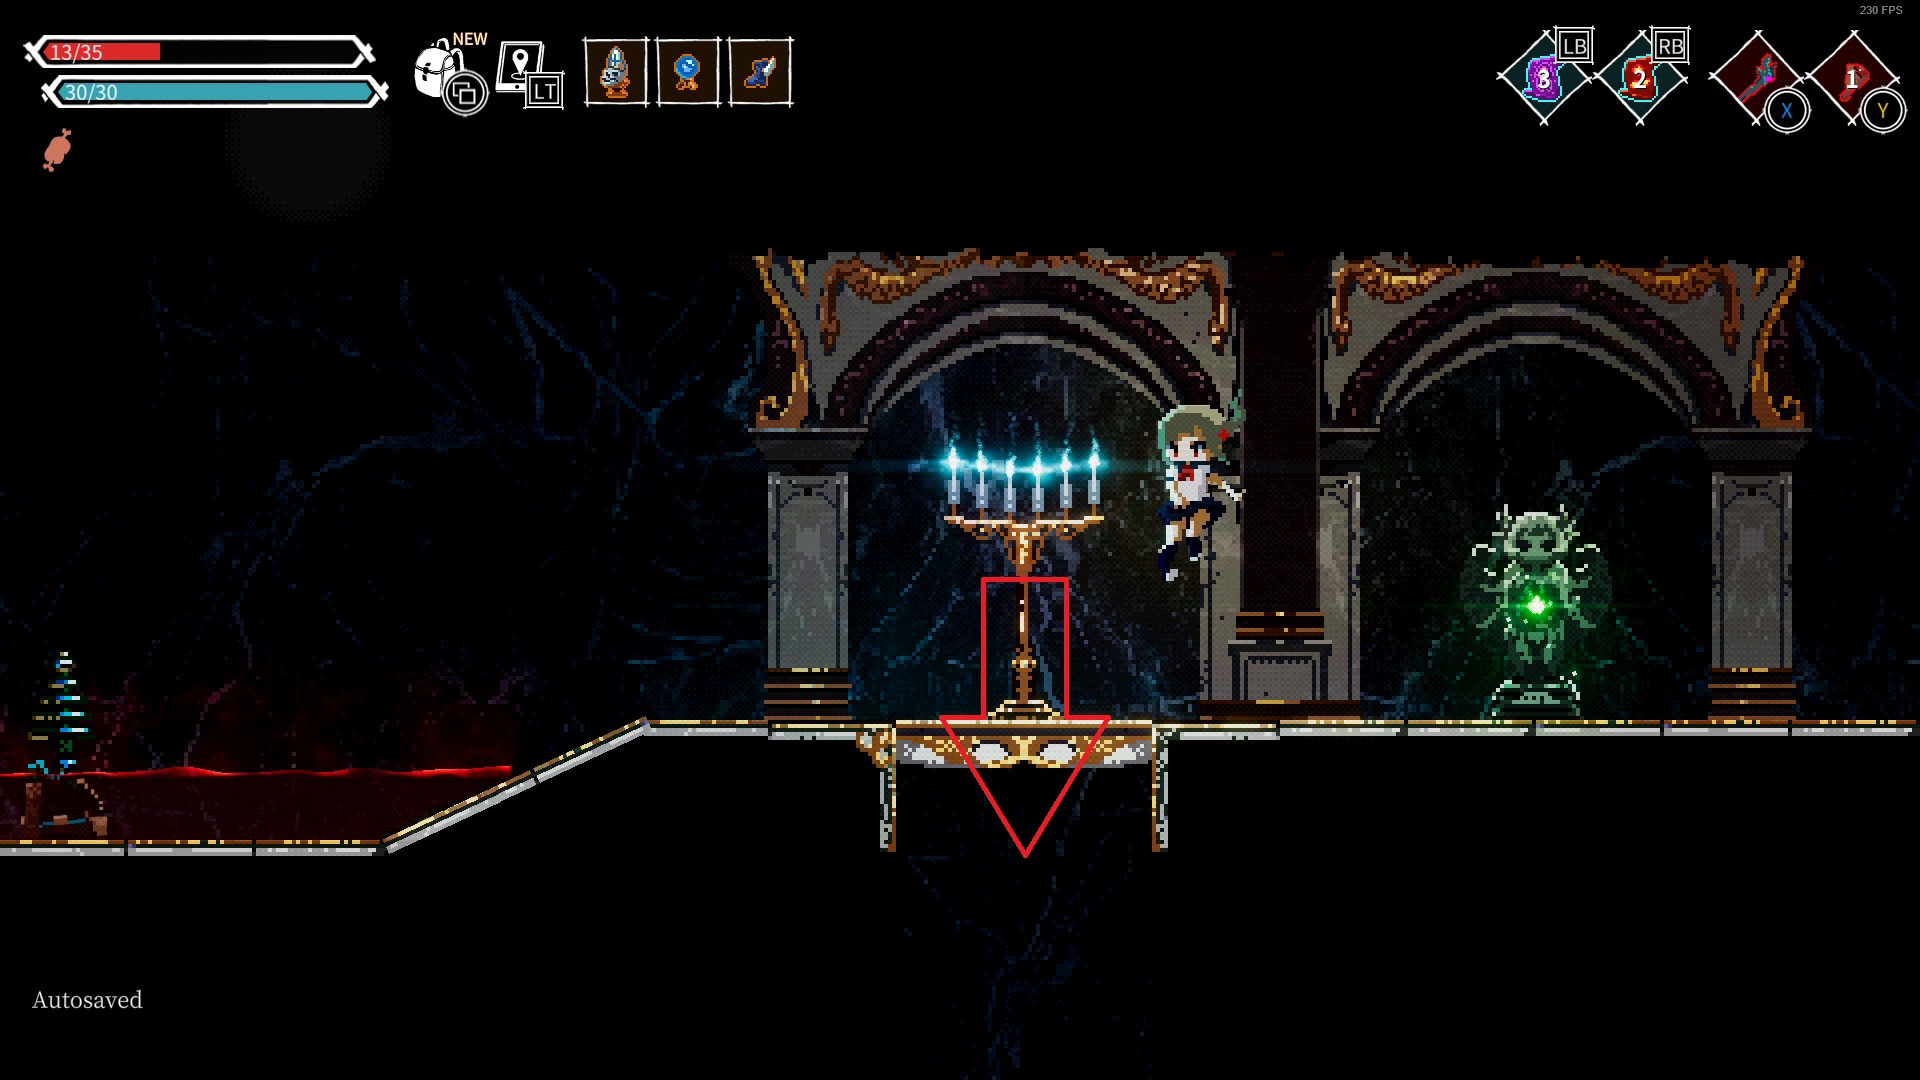
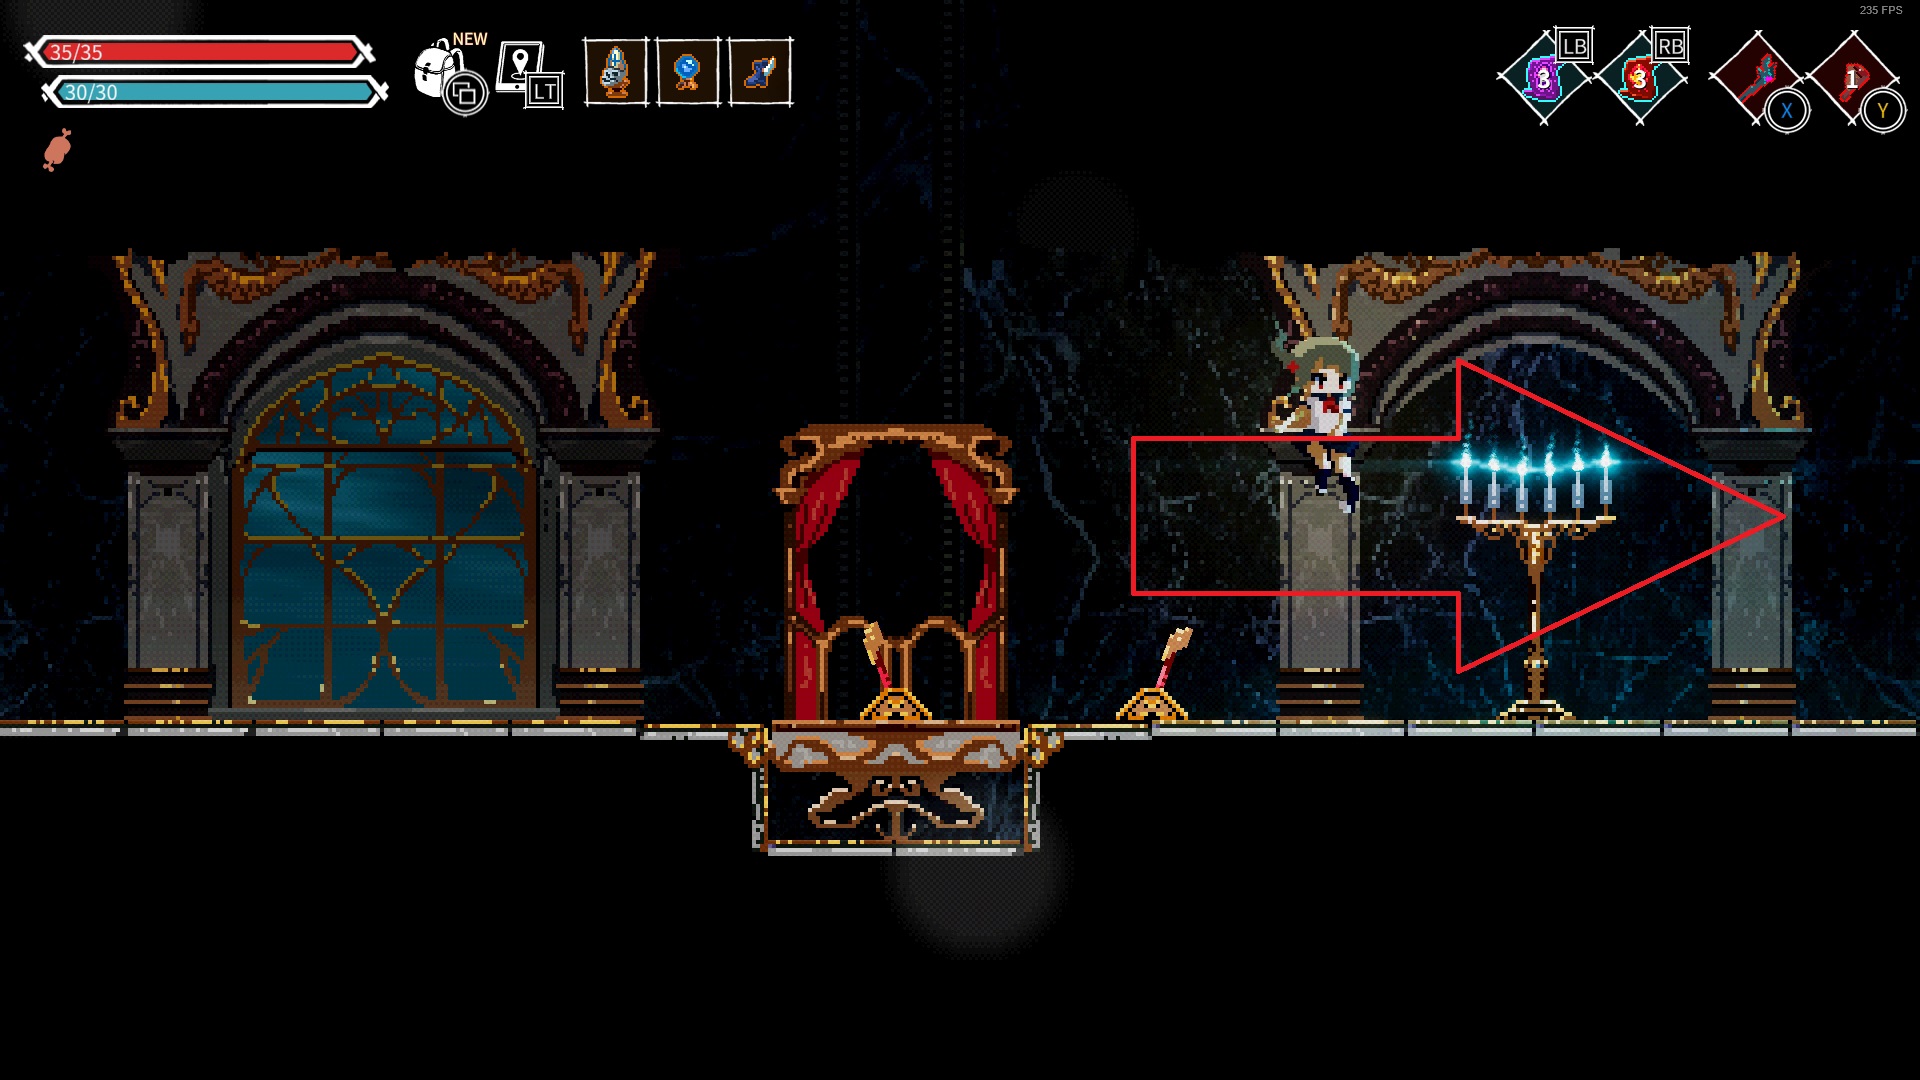
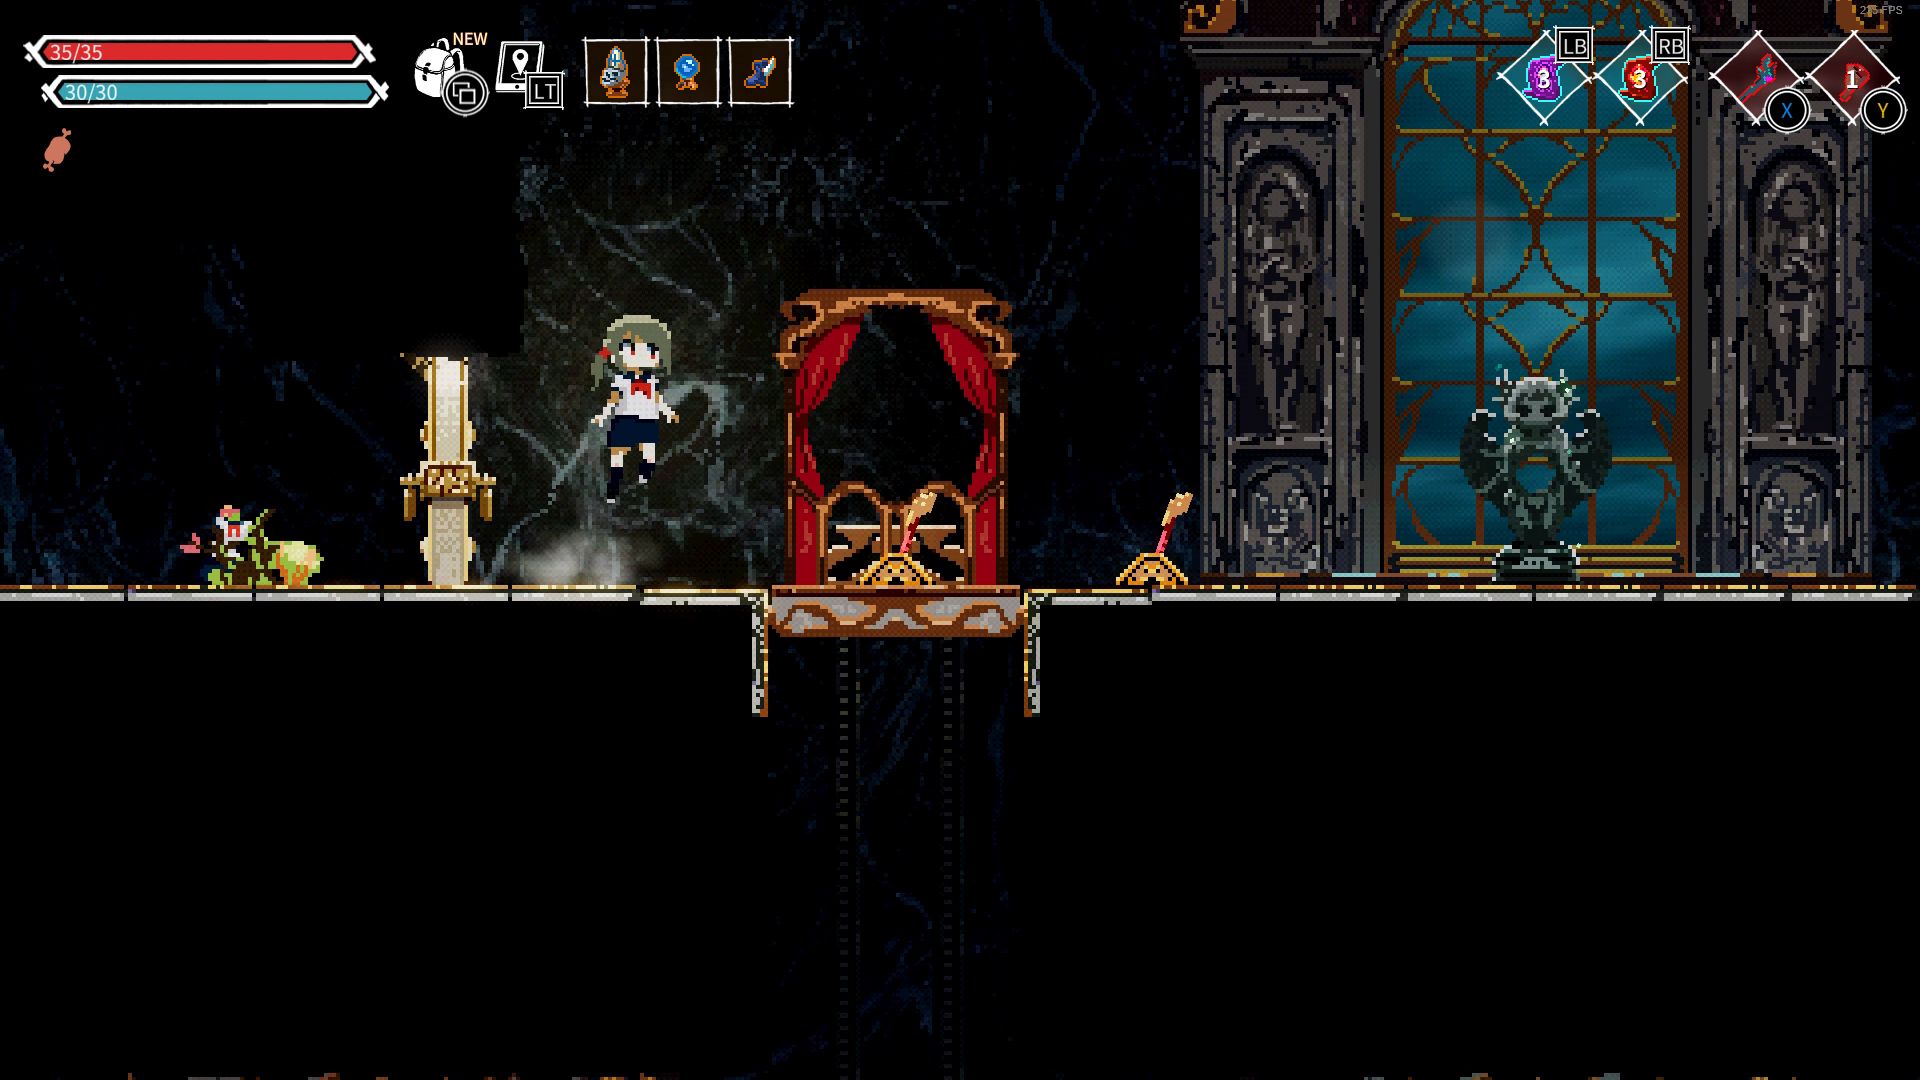
The game puts you to the test immediately after meeting Sadora with Golden chest #2 sitting directly in the spotlight, do not open it. Keep going left instead to a room with a lift.
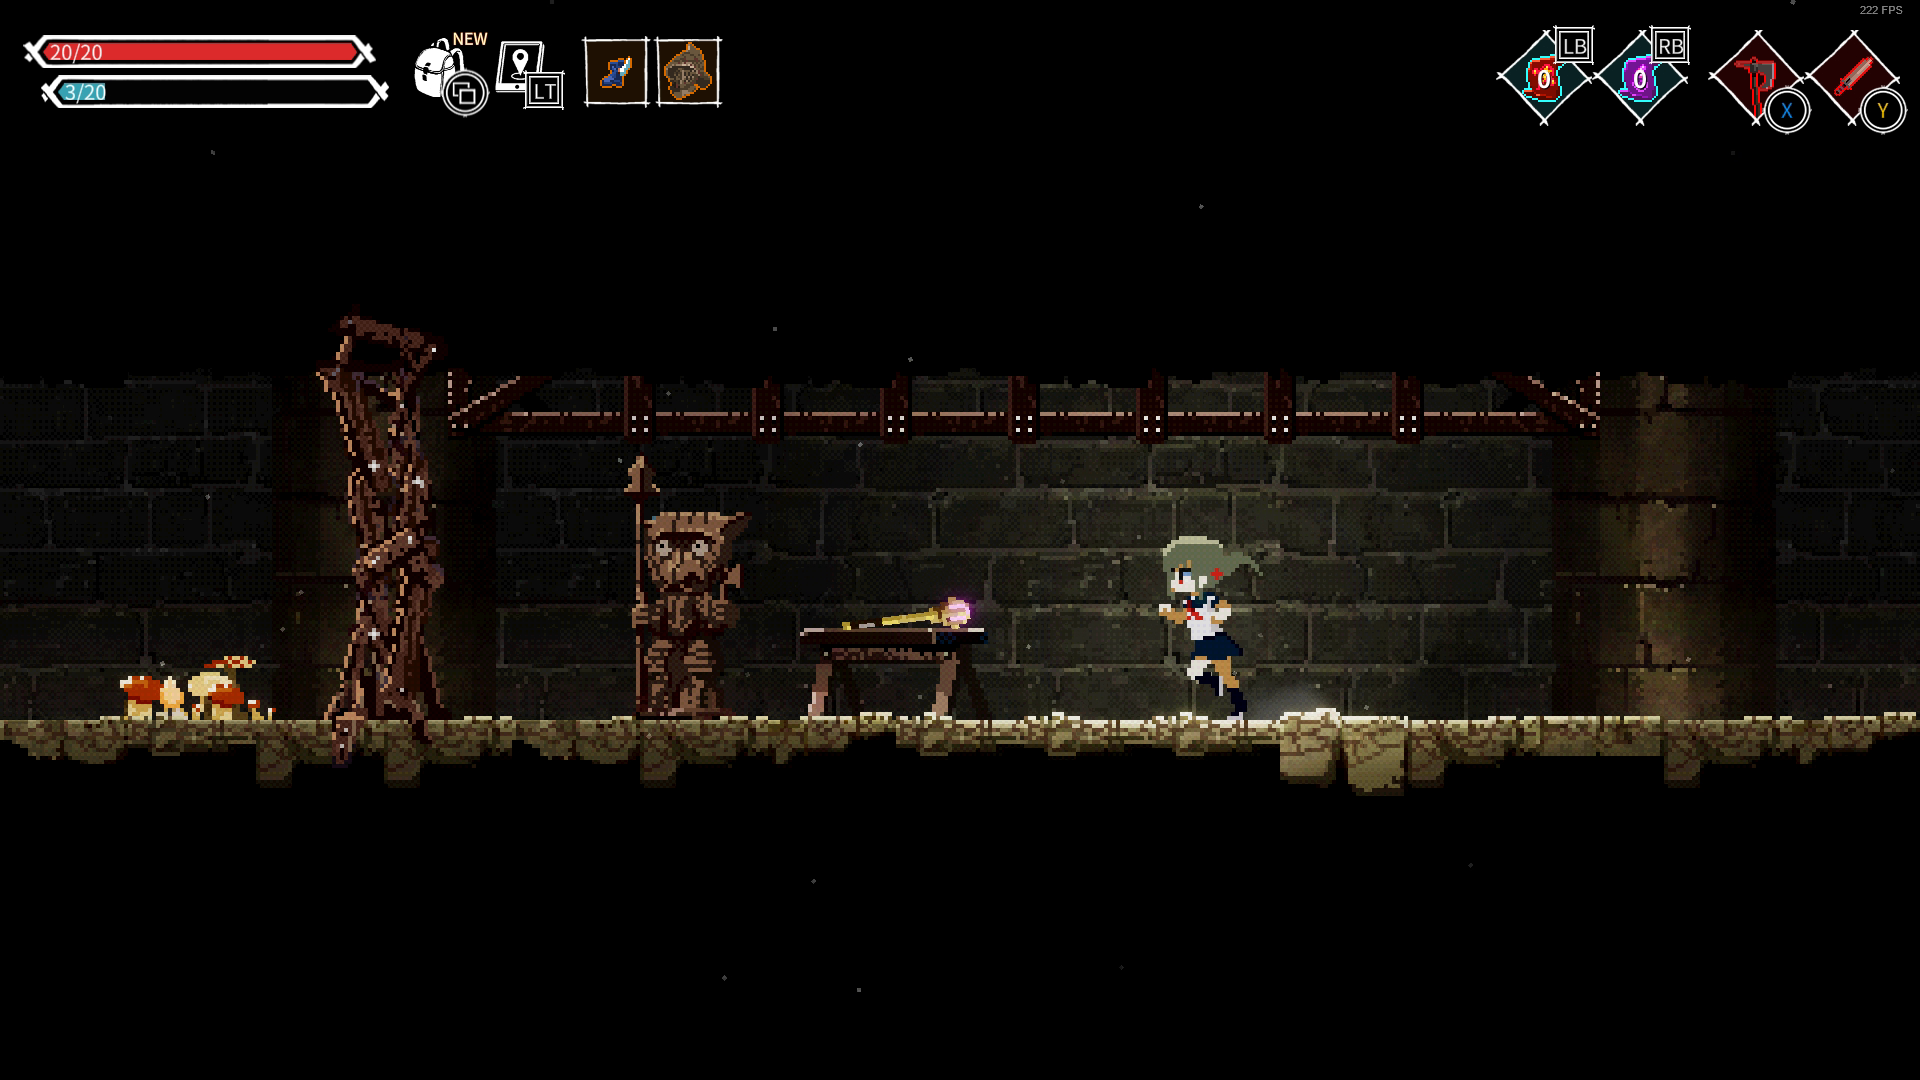
Ignore the lift for now and go left again and you'll find a totem and a Bundle of Ray Wands here, after that you'll find yourself unlocking a shortcut back to Portal #2 + Vending Machine #1. Now go back to the lift.
_________________________________________
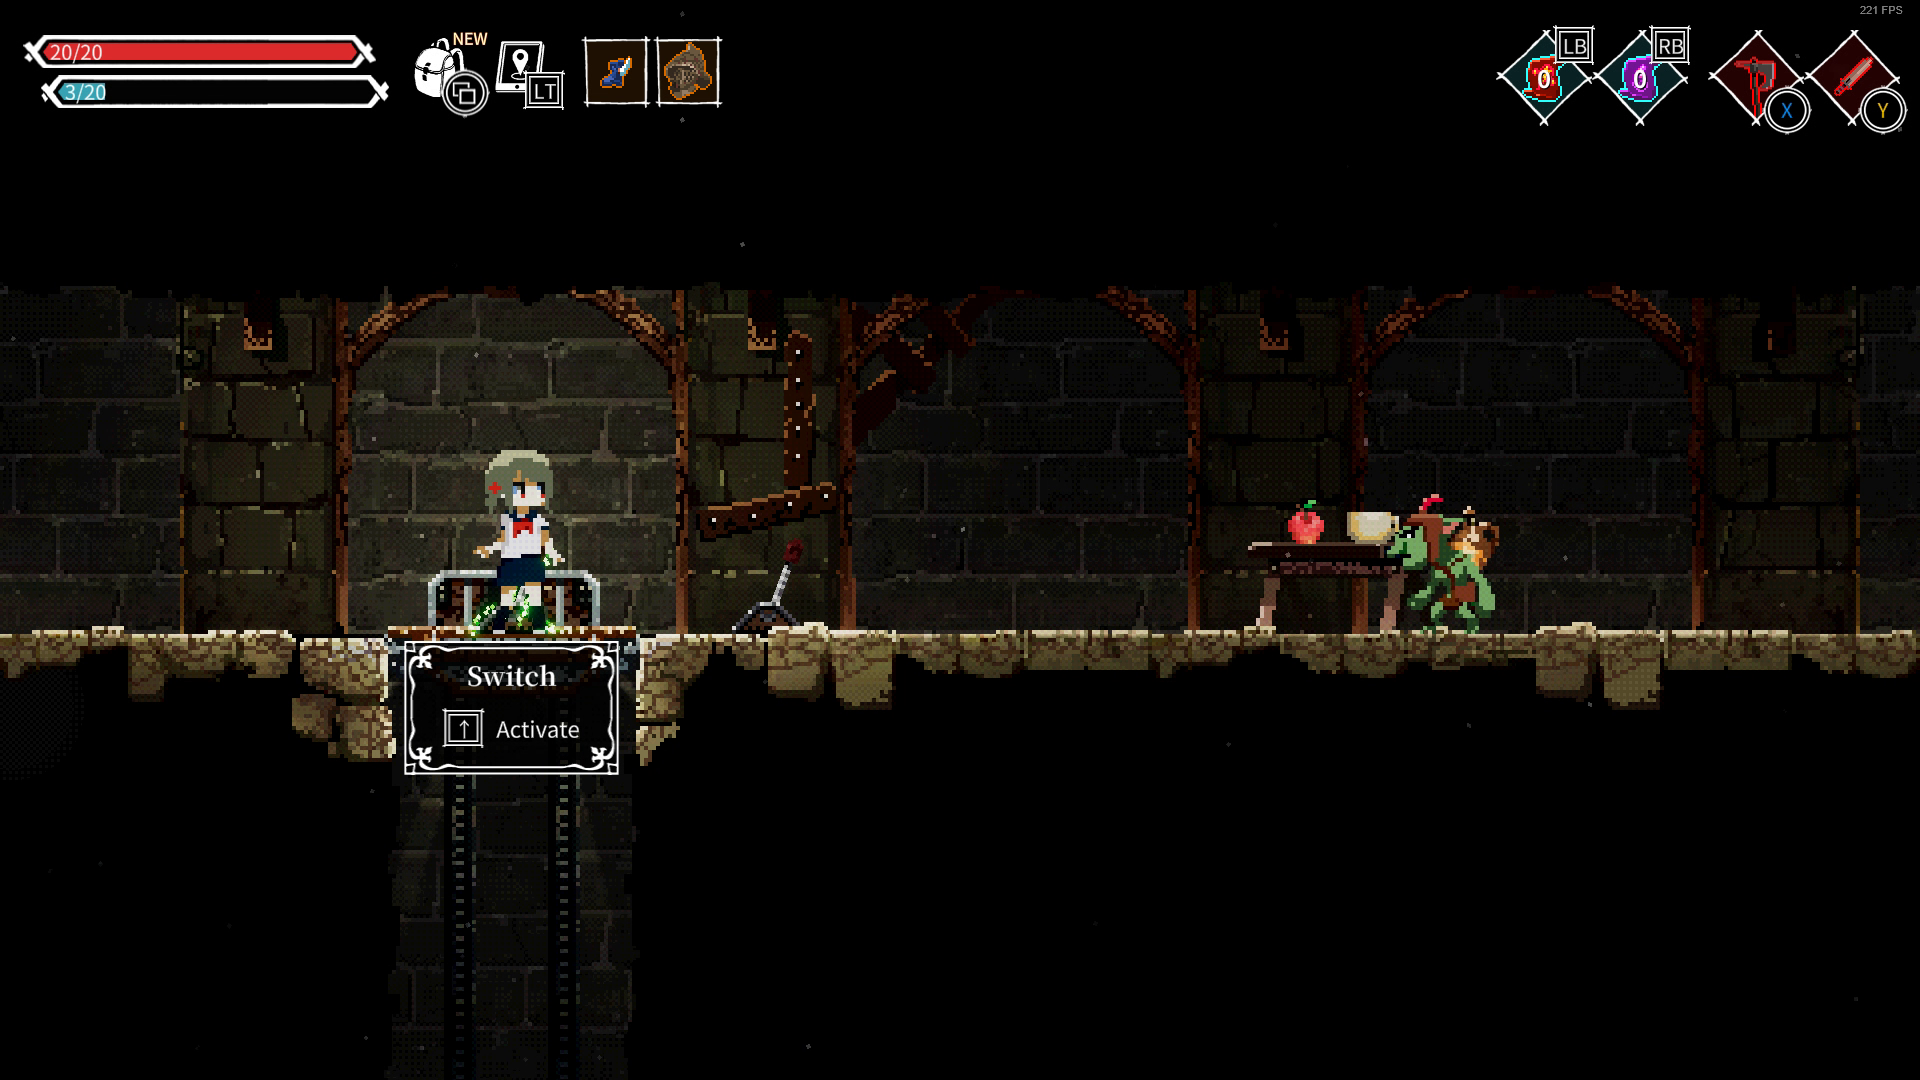
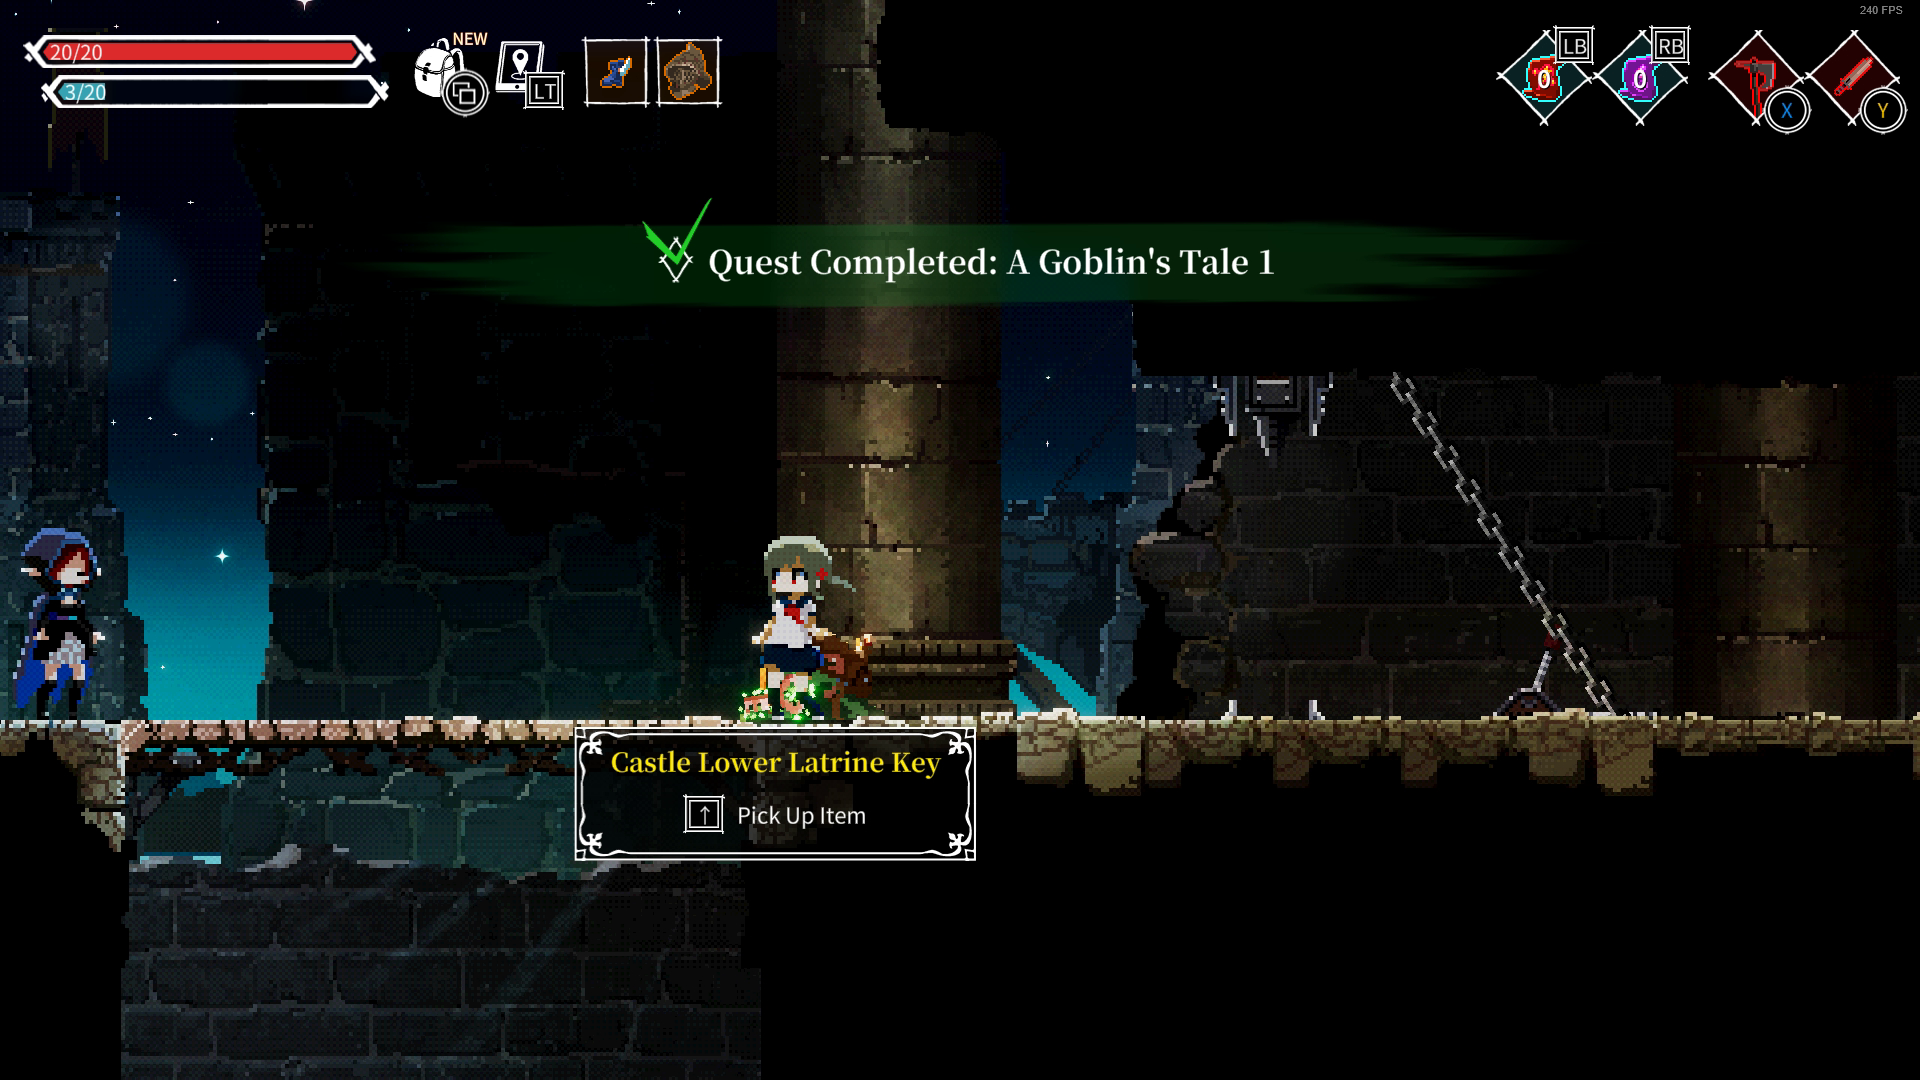
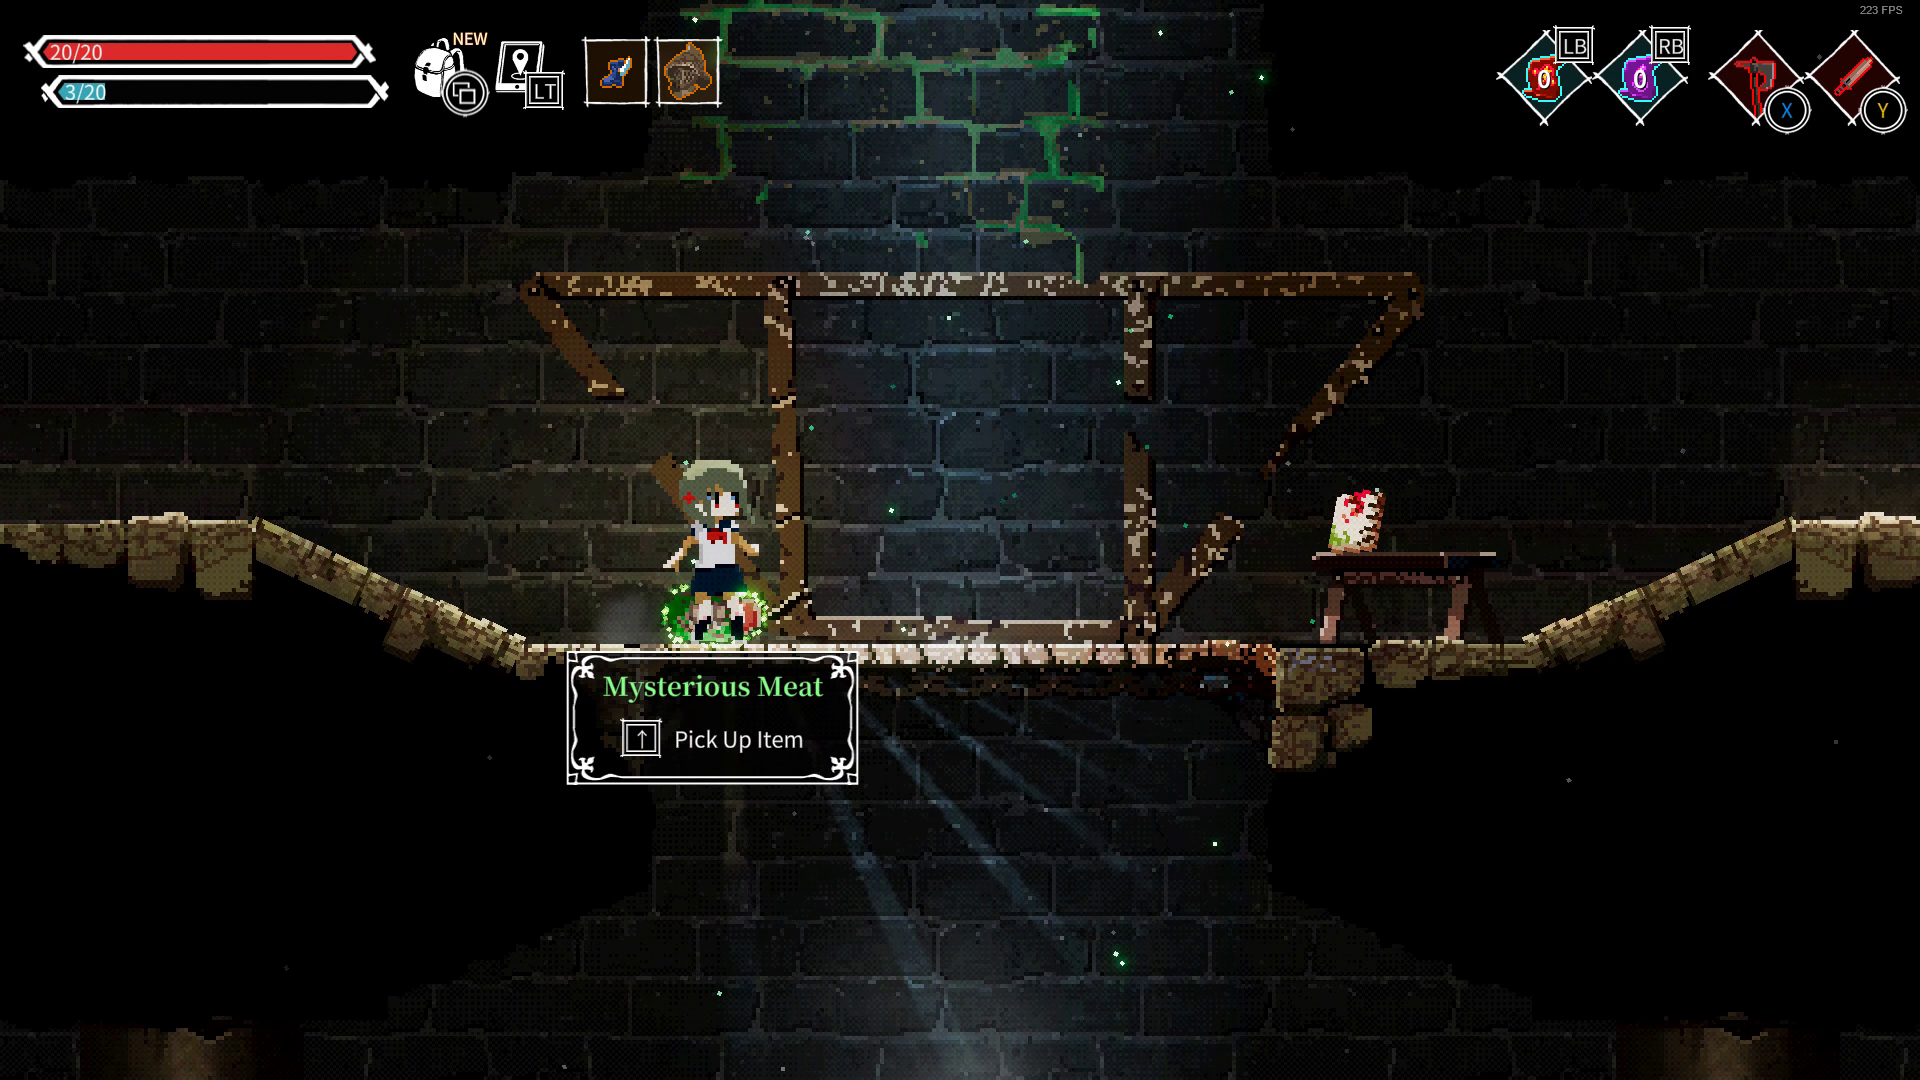
Go up the lift you'll find two paths -- left and right. Head left here to trigger A Goblin's Tale 1 and pick up the Castle Lower Latrine Key before heading right to use the key on the latrine. Along the way you will find the Mysterious Meat which permanently increase your HP by 5 points after consuming plus Rosie's Journal #1.
At the Latrine you'll find Art Piece #1 (not shown in screenshot, you can only pick it up one time), a Throwing Poison Bottle and a Plunger.
Back to where you completed A Goblin's Tale 1, you'll find Beatrice and Portal #6. In this same room you'll also find the Long Sword.
Beatrice will give you Beatrice's Request as a side quest (collect Poison Rune, Fire Rune, Ice Rune and Lightning Rune for her), after completing this quest, you will have to buy back the four runes or else the Spell Master achievement won't trigger. The reward for this quest is the Summoning Sword spell.
Beatrice does not sell any notable weapons or items, but she does sell a large variety of spells, some spells you can not find anywhere else on the map (though this still needs confirming). If this is your first playthrough, you should note that after defeating the 5th story boss Kana , Beatrice won't be available anymore, thus locking you out of the Spell Master achievement.
Keep going left here and you'll find that the roads diverge into two paths. One will lead to the Snow Lady optional boss fight and the other will progress the story. I'd recommend against going for the optional boss for now as it's not easy if you don't have the flame sword + hot pack combo. (But hey, if you're feeling confident, go for it by all means) Therefore, take the lift up and head right after the triggering the checkpoint.
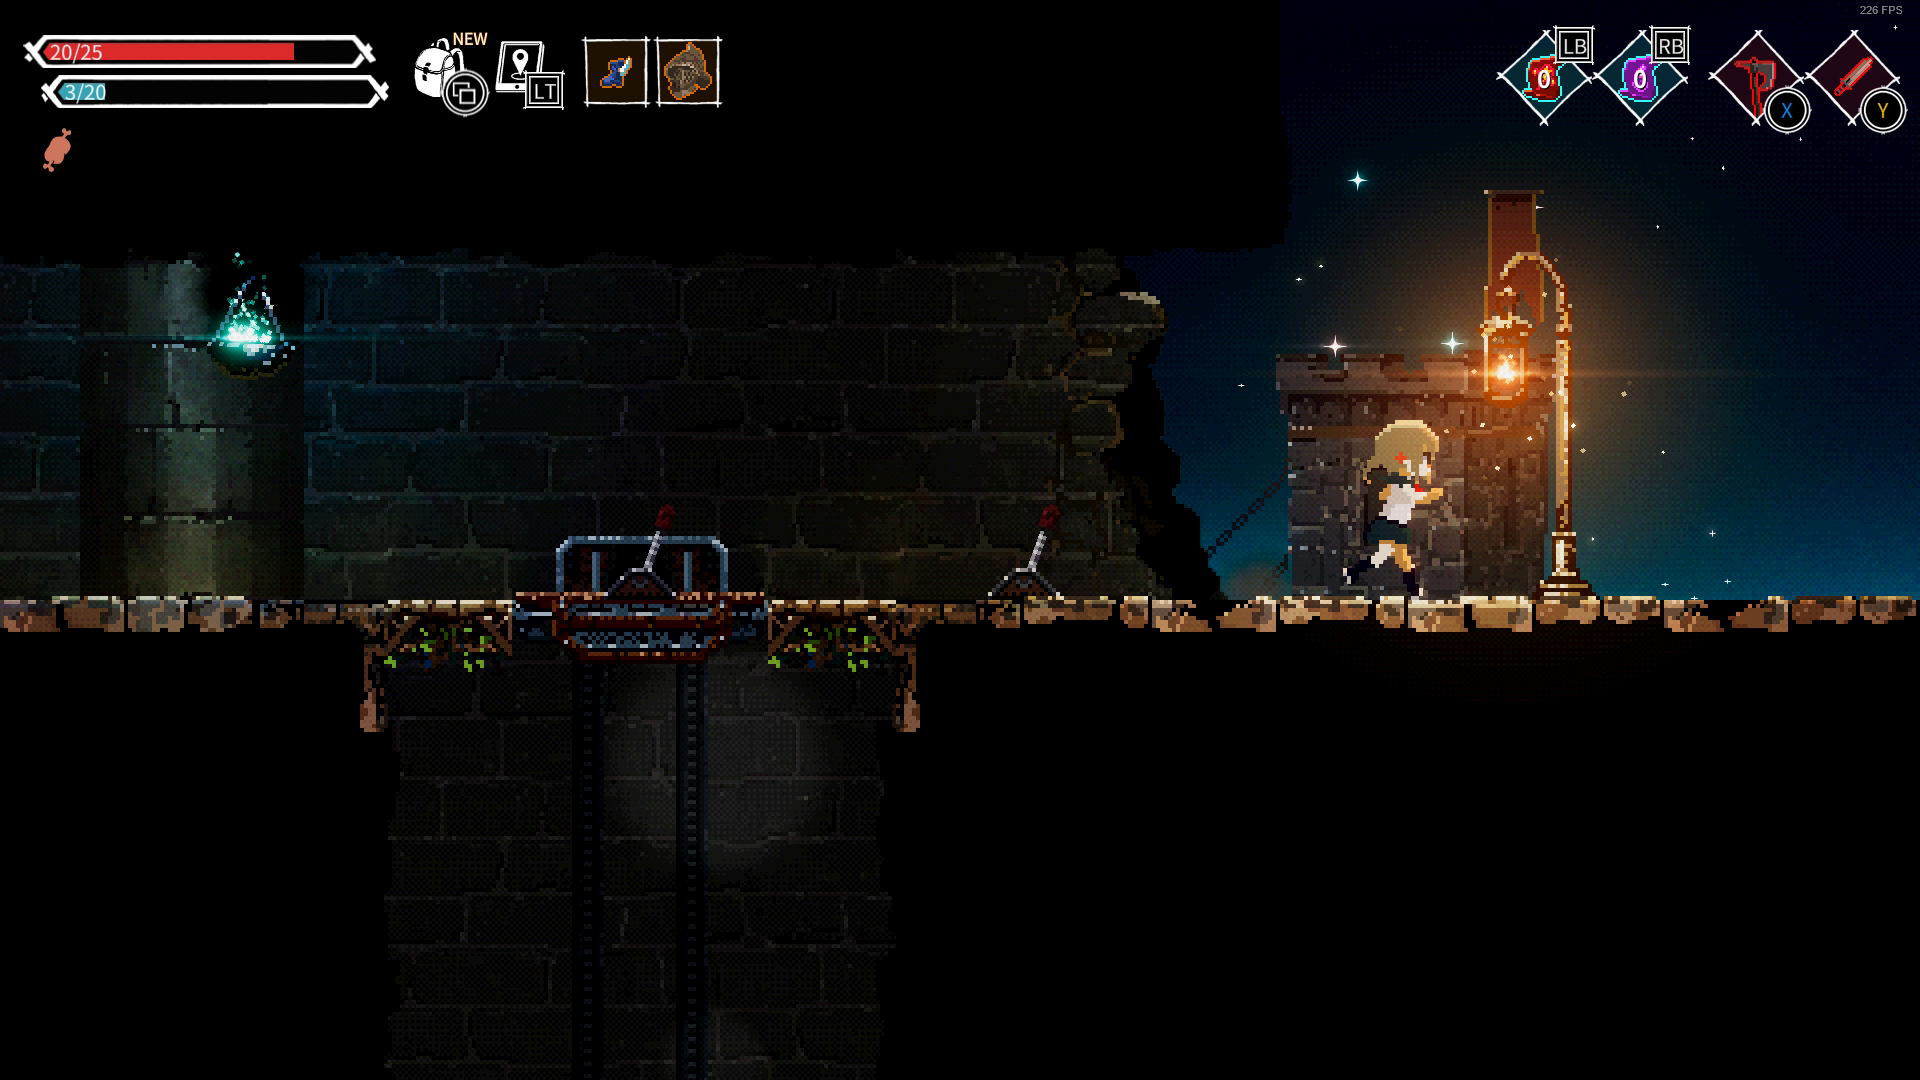
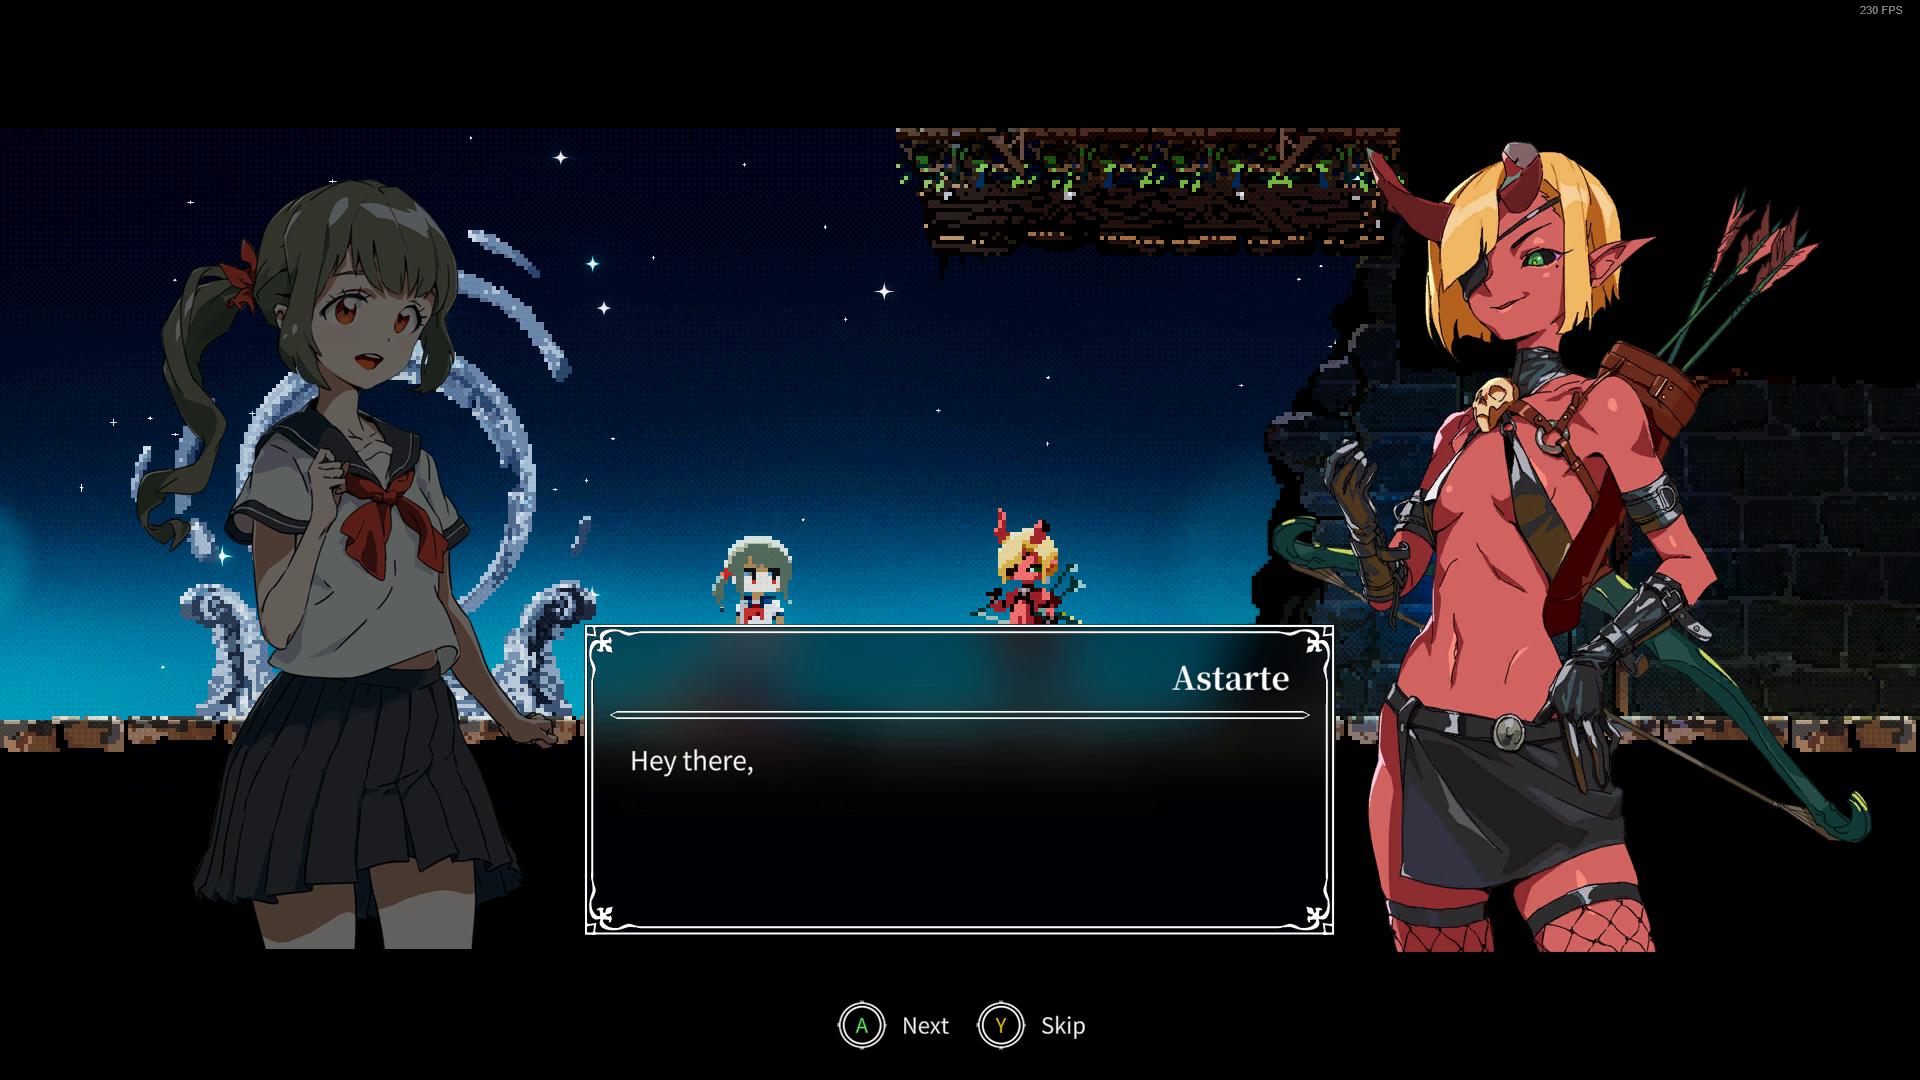
Go past the three harpies and you'll find Astarte (I'm down bad for her), Portal #7, and Golden chest #3 which is still inaccessible for now.
Astarte sells Fire Rune and Poison Rune, as well as Assassin's Gloves, Hot Pack (buy this first if you have cash, it is crucial) and Quiver.
Part 3.1: Castle Floors
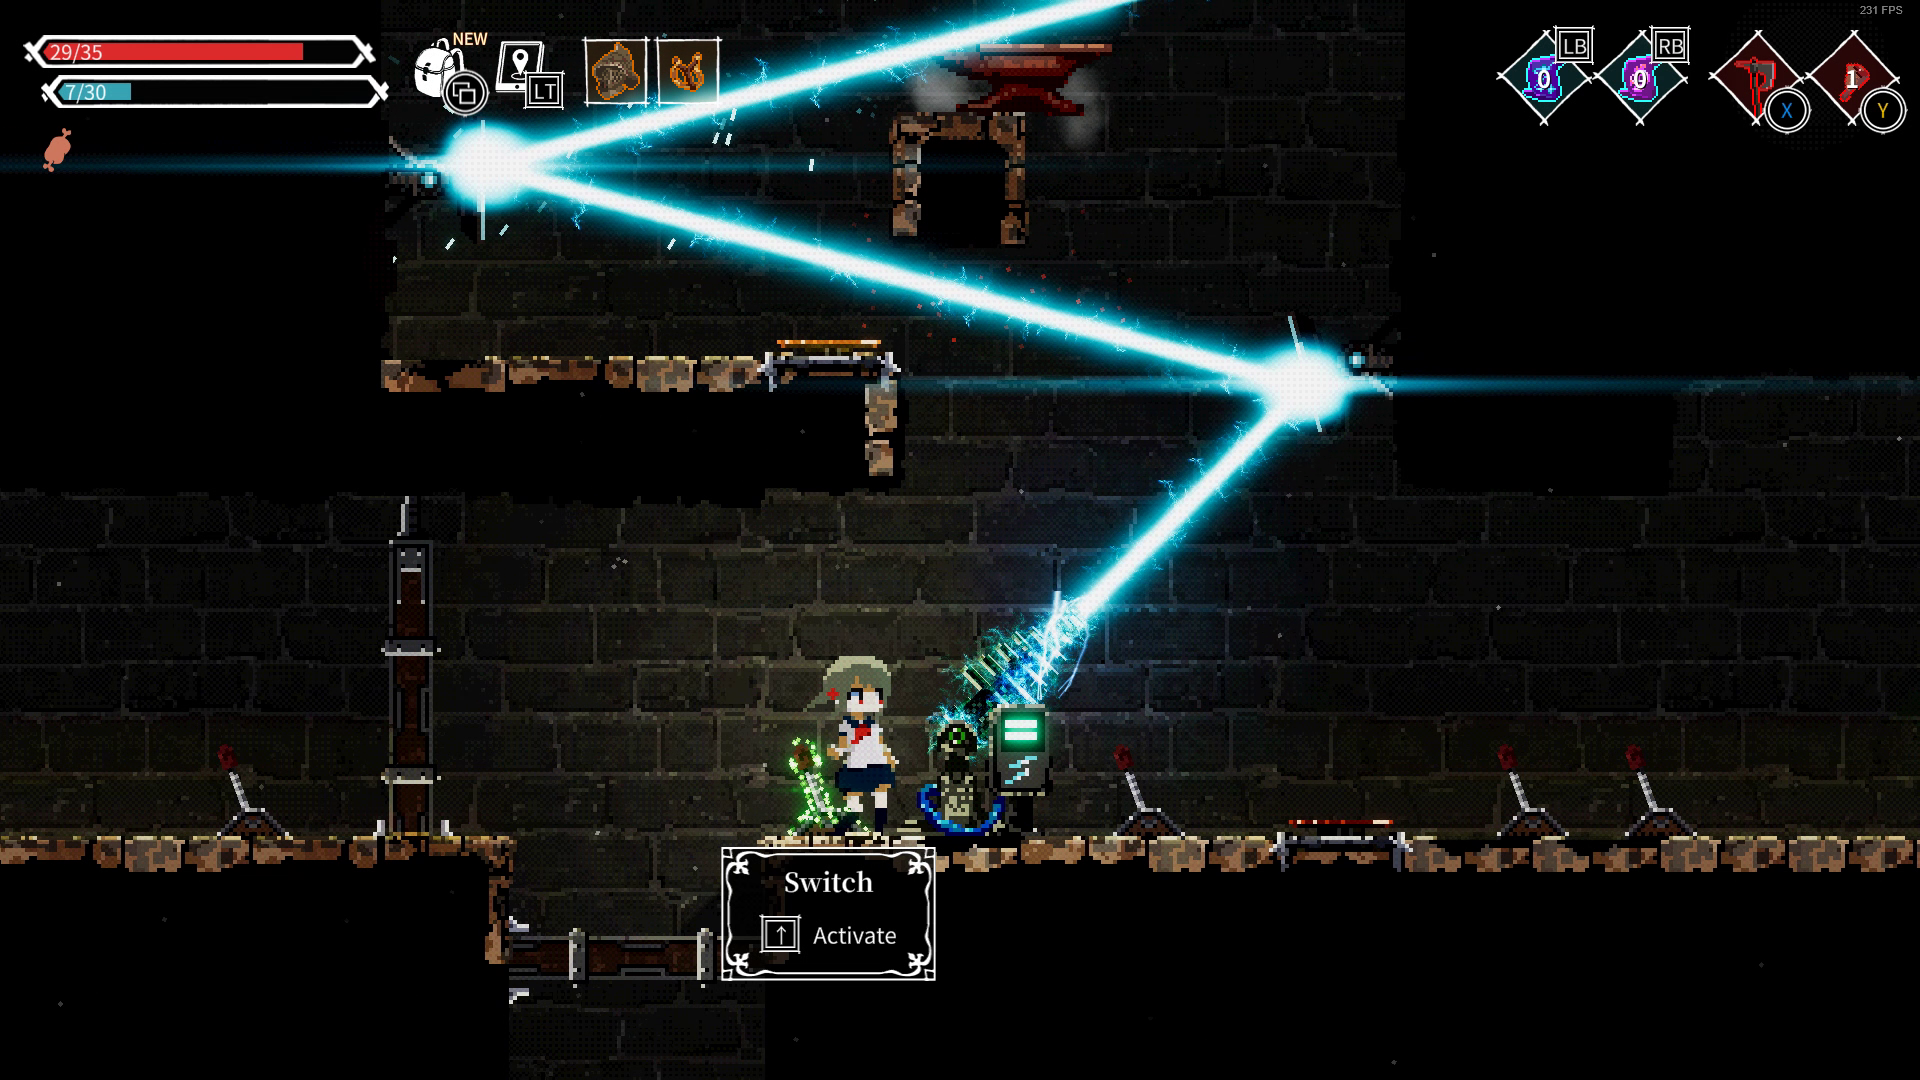
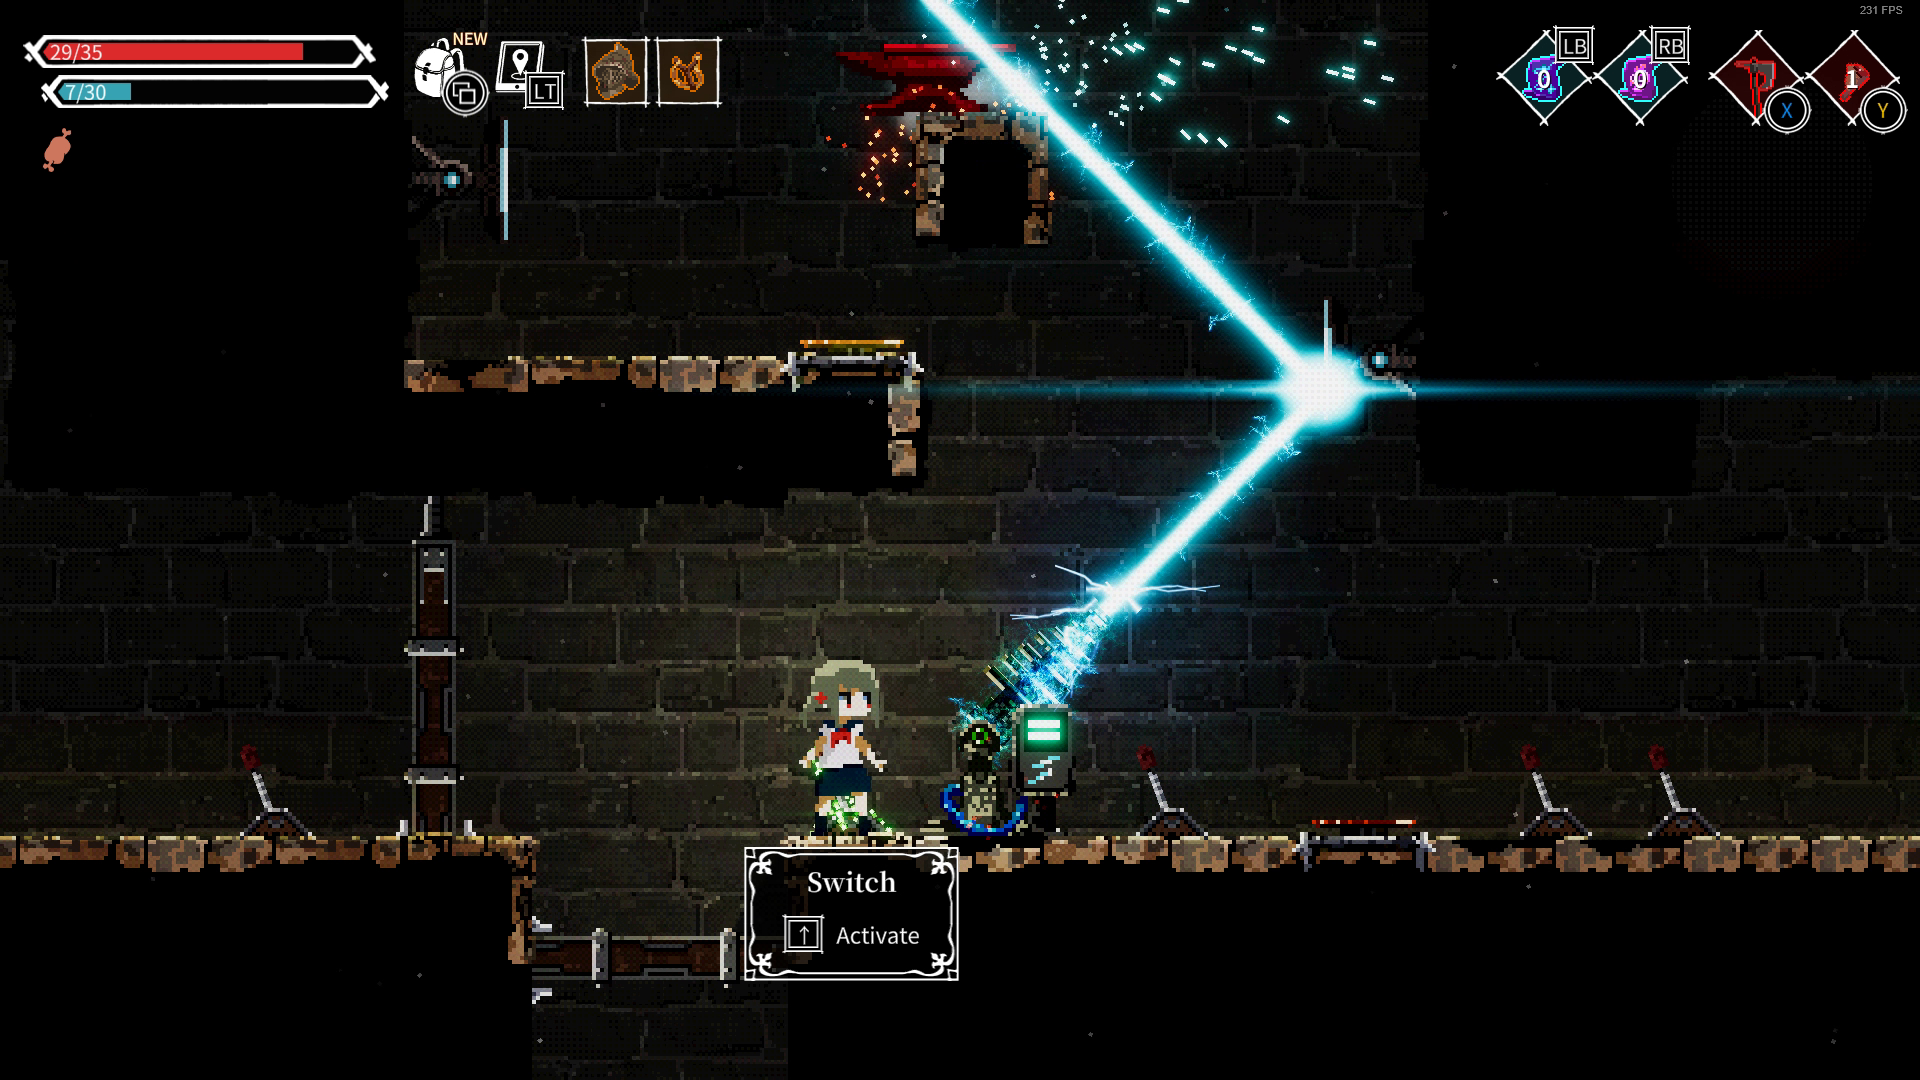
Right of Astarte's room is a simple puzzle where you have to direct the laser to shoot at a target above. Past this is a large room where you'll find:
Rosie's Journal #3
Barbeque
Broccoli
Cheese
The top left exit will lead to Golden chest #4, the top right exit will require you to hit an avil until it sits on a button to unlock the gate, there you will find
Arrow Bundles
HP Potion
Goblin Shaman's Mask
Journal #4
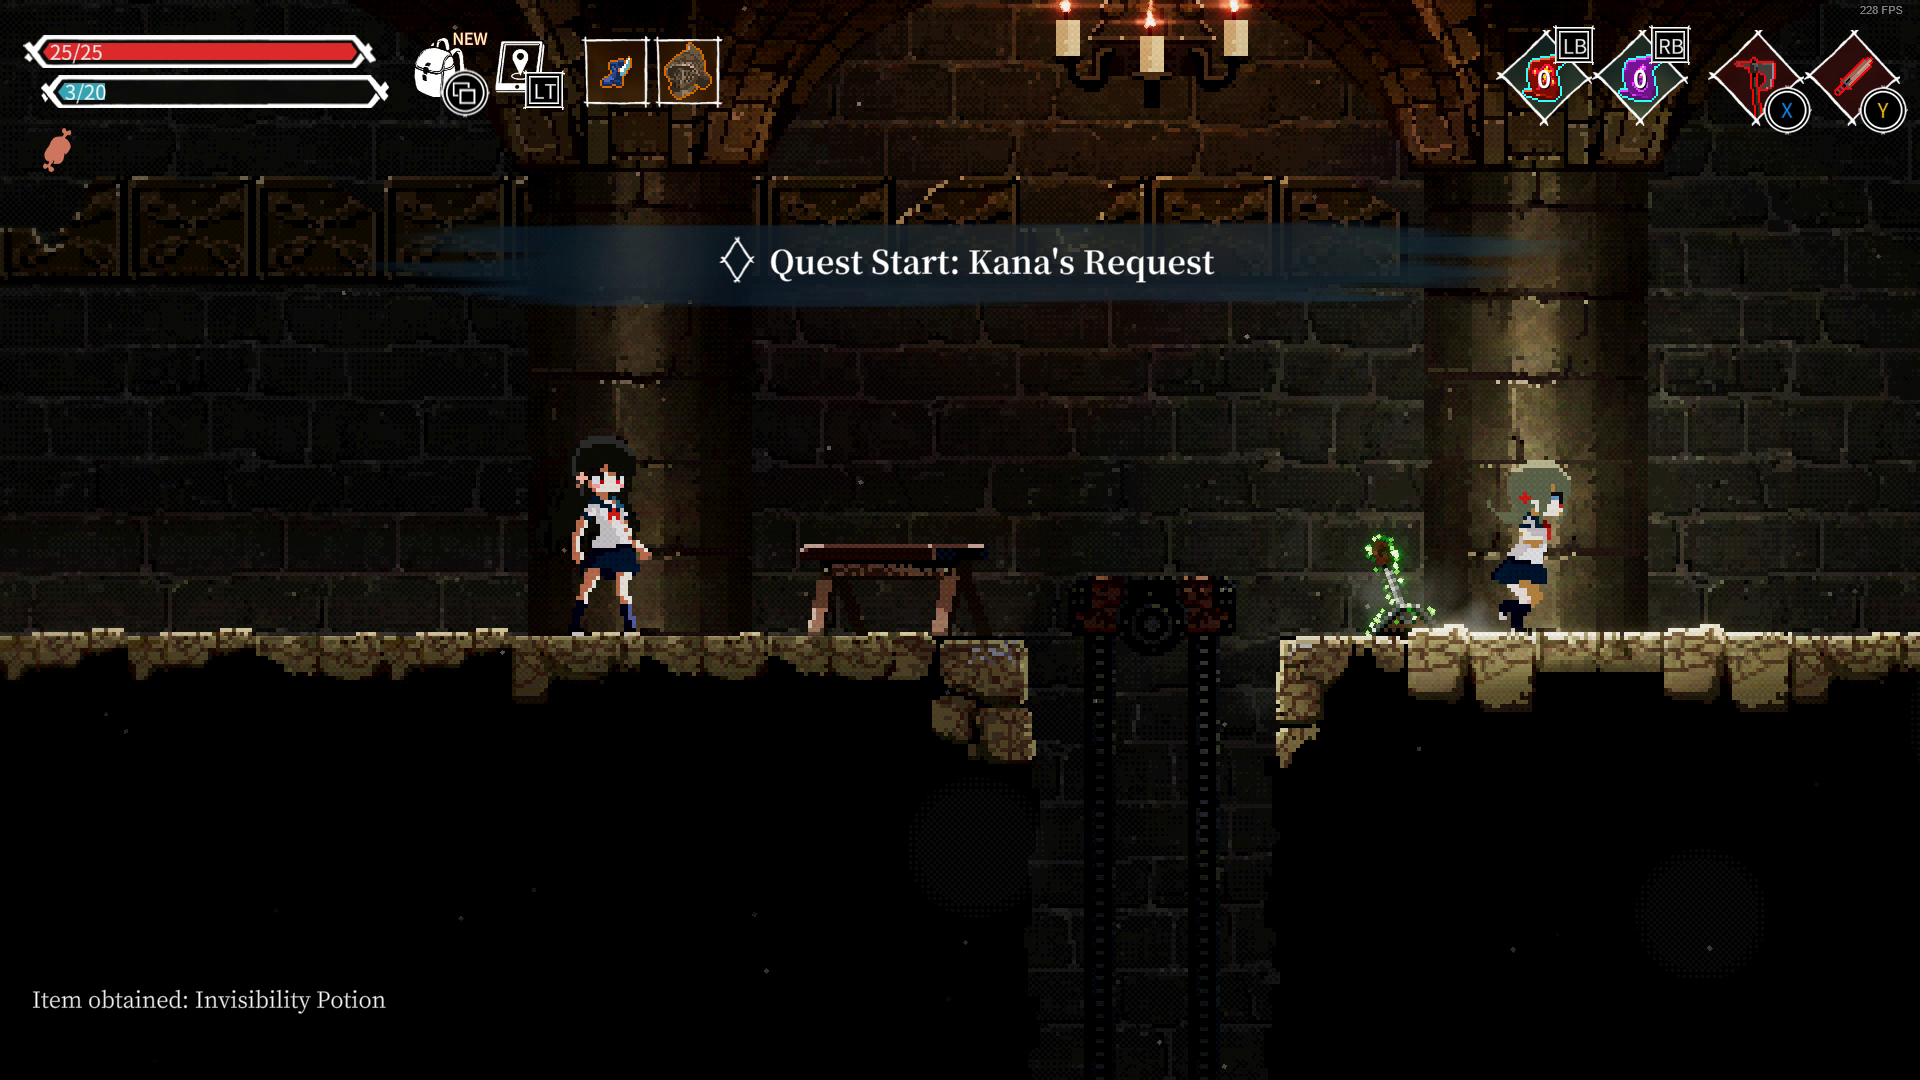
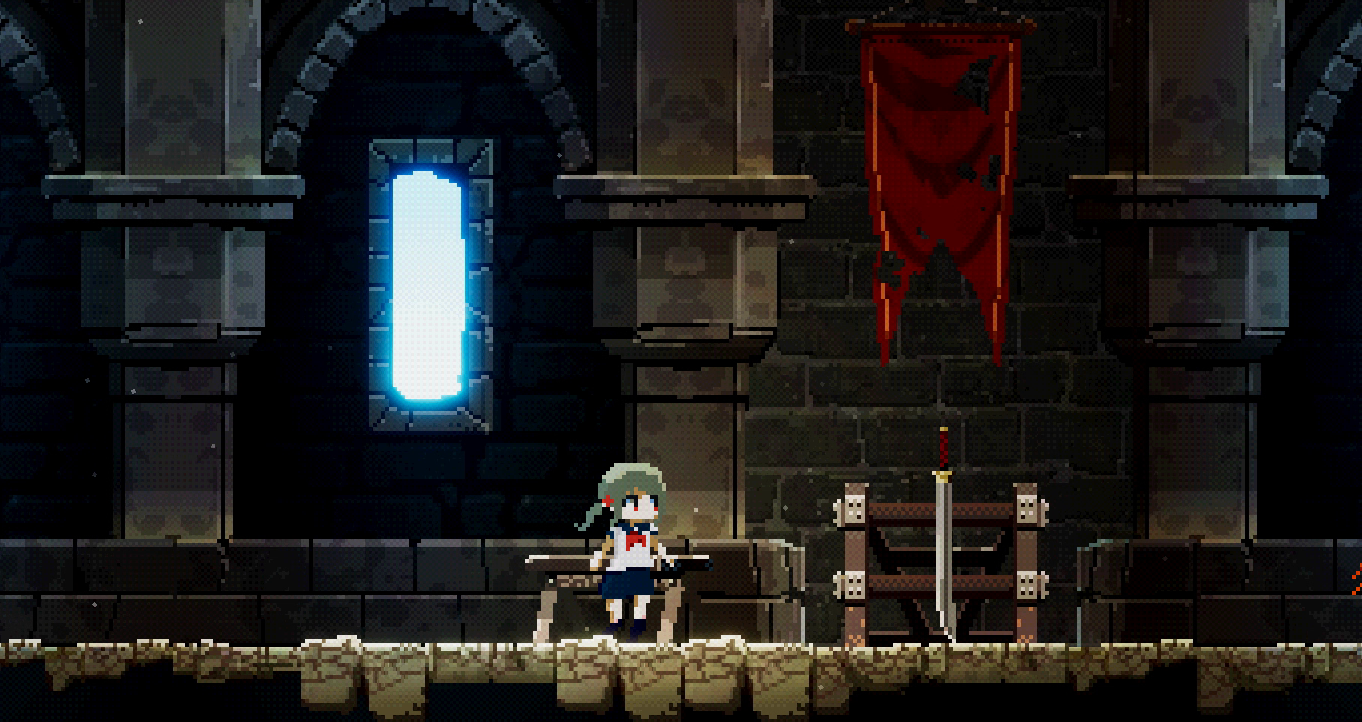
The bottom right exit leads to Portal #8, and beyond that you will meet Kana, who starts Kana's Request. To retrieve her Katana for her, keep heading right without dropping down. Avoid or kill the demons to reach the Katana in the middle of the room. At the end of this room is a locked door, which key you will get from Kana after completing the quest.
BEFORE giving Kana her katana back (DONT IMMEDIATELY JUMP OVER TO HER AFTER EXITING THE ROOM), you should drop down after exiting the room and then head right to look for a fire spitting totem. If you time your attacks perfectly, you can use the Katana to block the fireball. Doing so 20 times will unlock the Sword Master Achievement.
The katana will be taken from your inventory after you complete Kana's quest in exchange for the Castle Lower Sanctum Key. NOTE: The Katana is not counted towards the Weapon Master achievement. The Key can be used to unlock the door in the room where you got her katana, inside you will find:
Invisibility Spell
Kitchen Gloves
Invisibility Potion
NOTE: Invisibility is a spell that actually breaks the game, you can cheese any boss with this spell as they won't react when you're invisible, but it is not much useful to you if you don't have any items that provides mana regeneration.
Part 3.2: Castle Floors

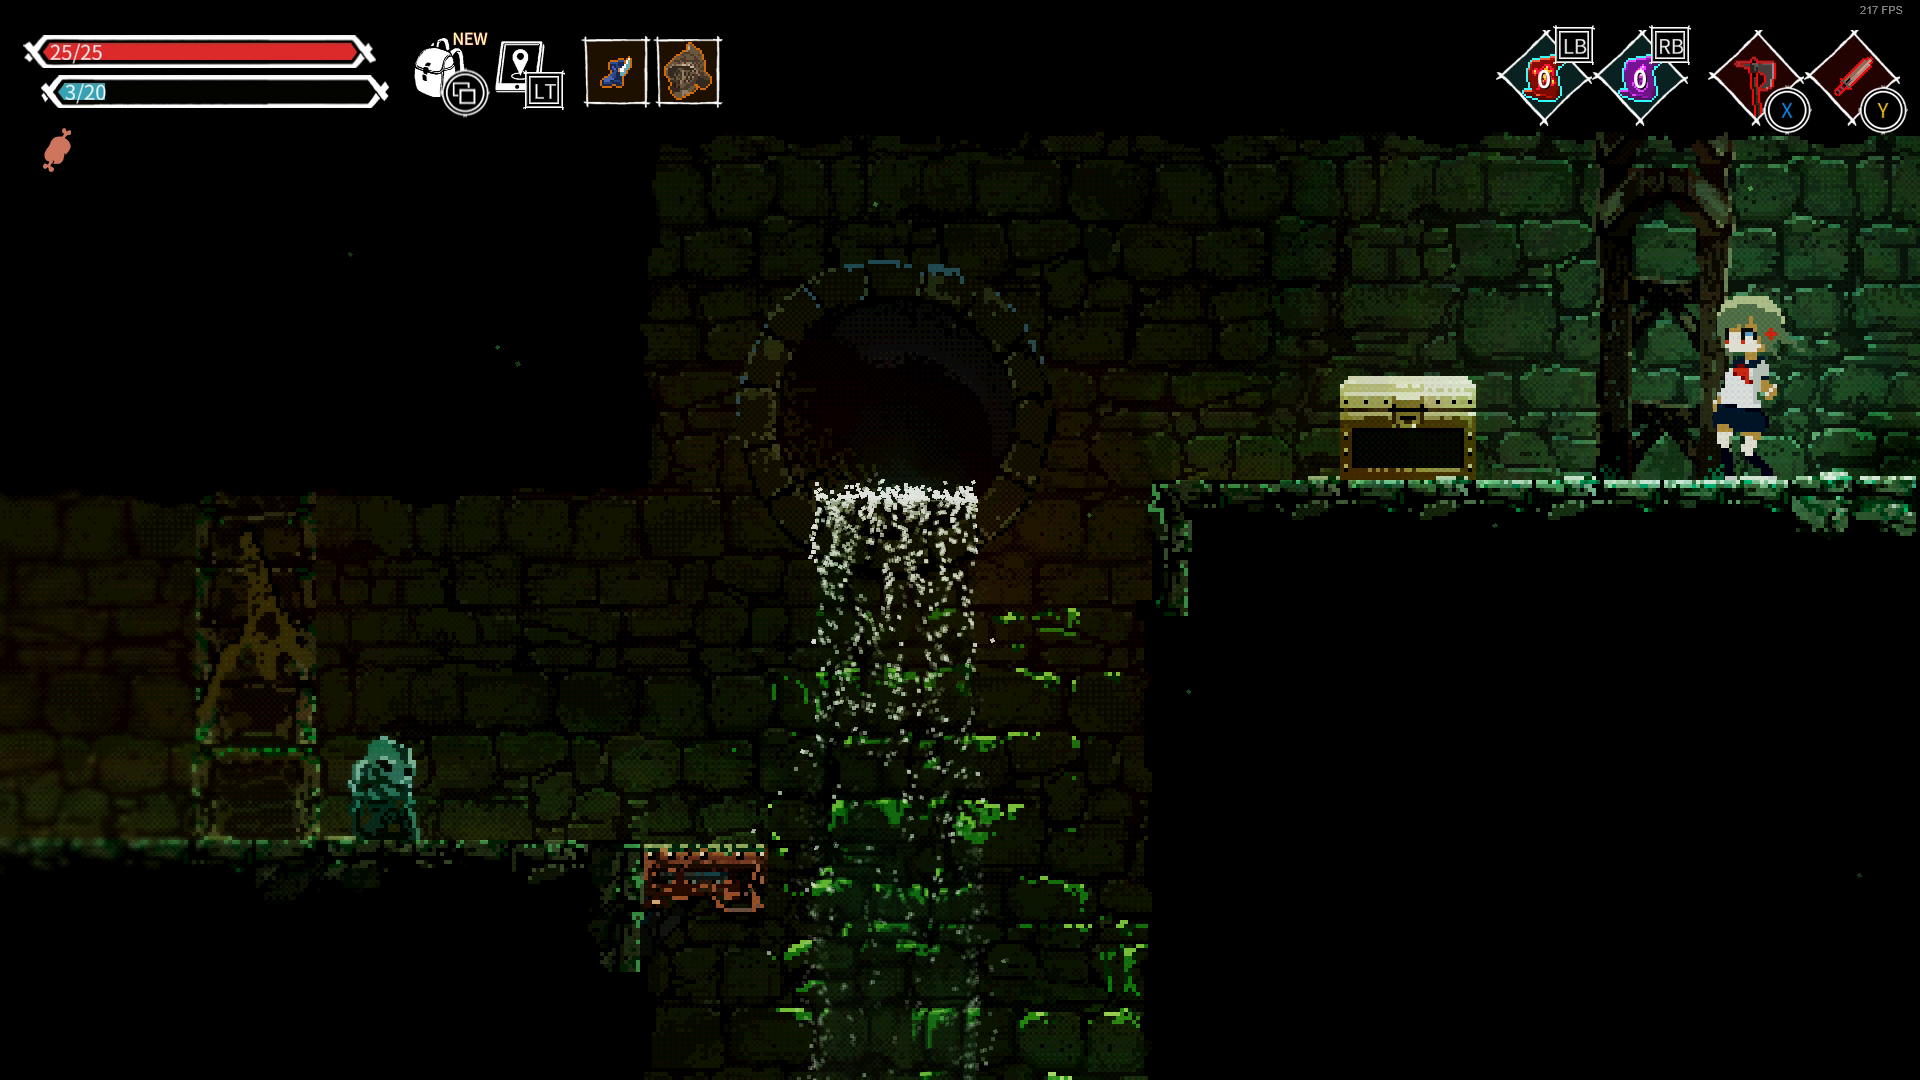
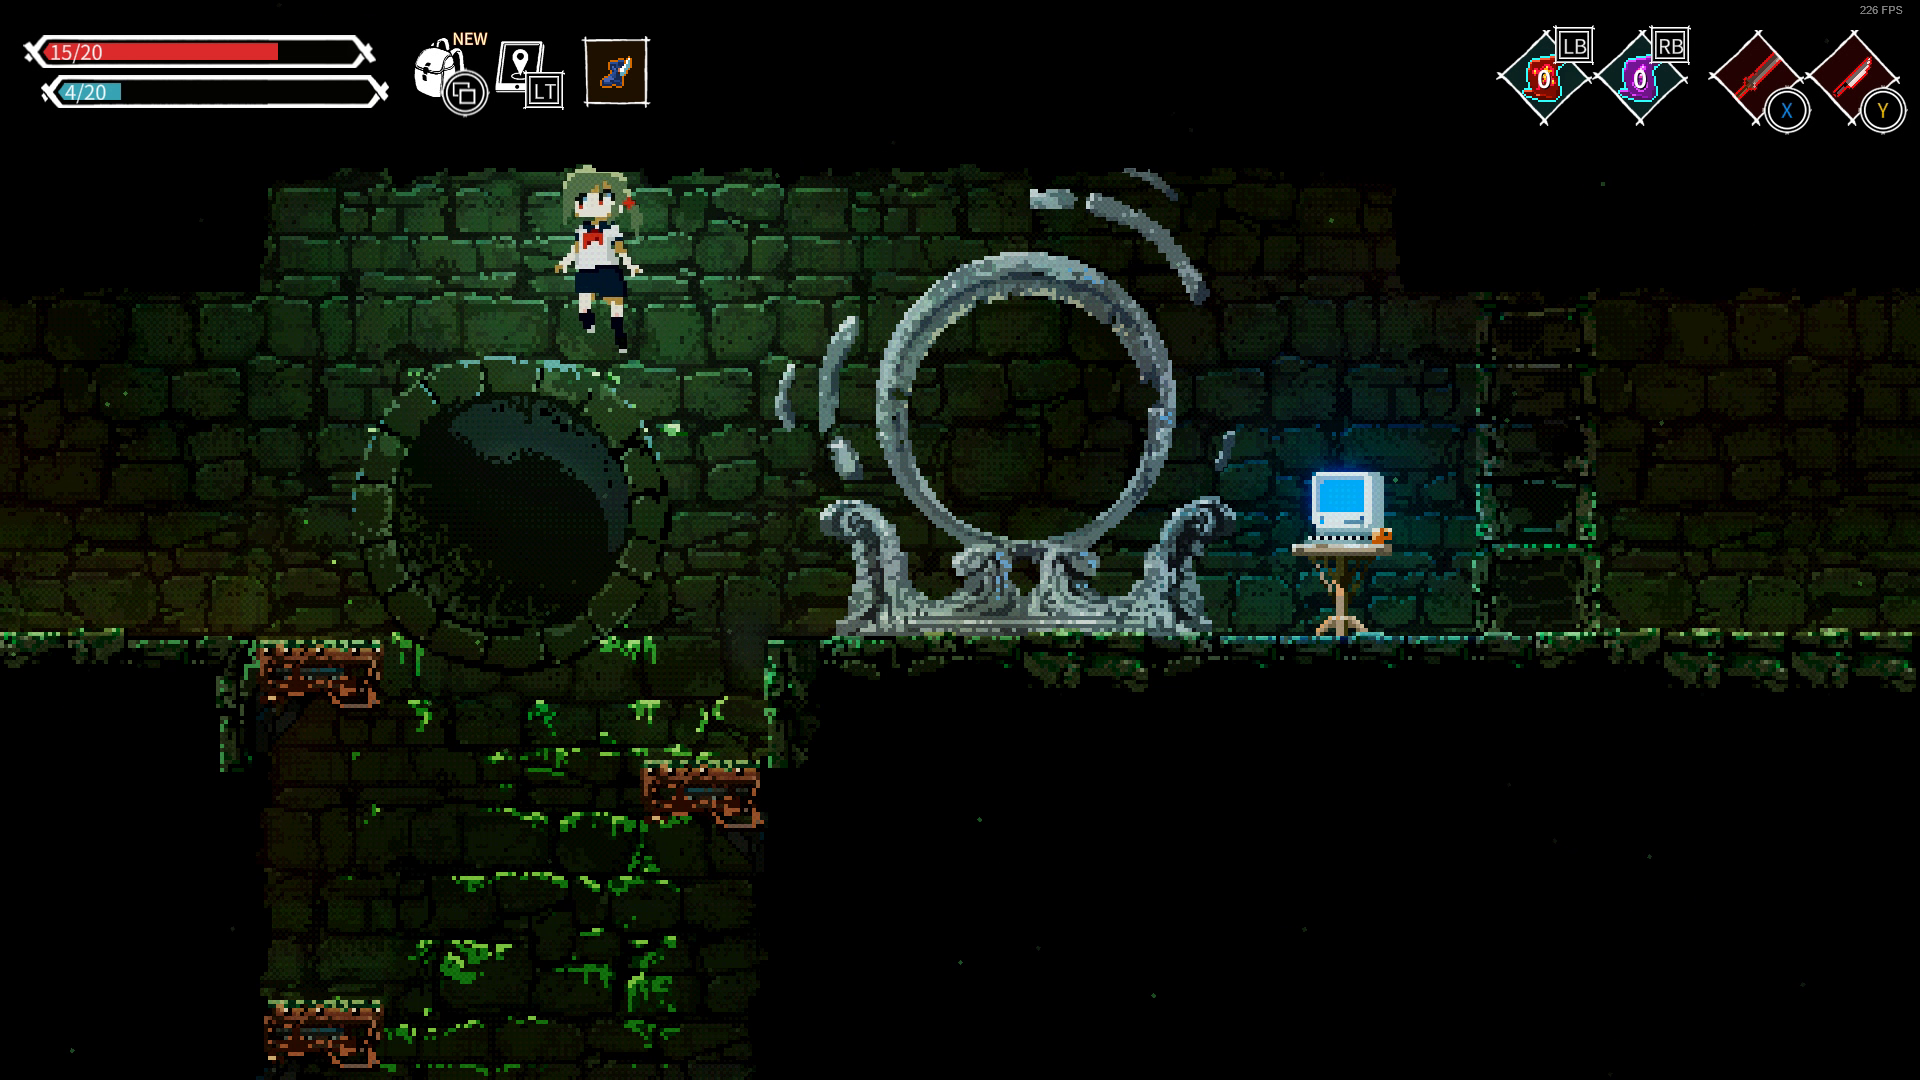
Continuing from Kana (bottom right exit), you will find yourself in yet another large room. The bottom left exit of this room will lead back to Golden Chest #1 (past a locked gate).
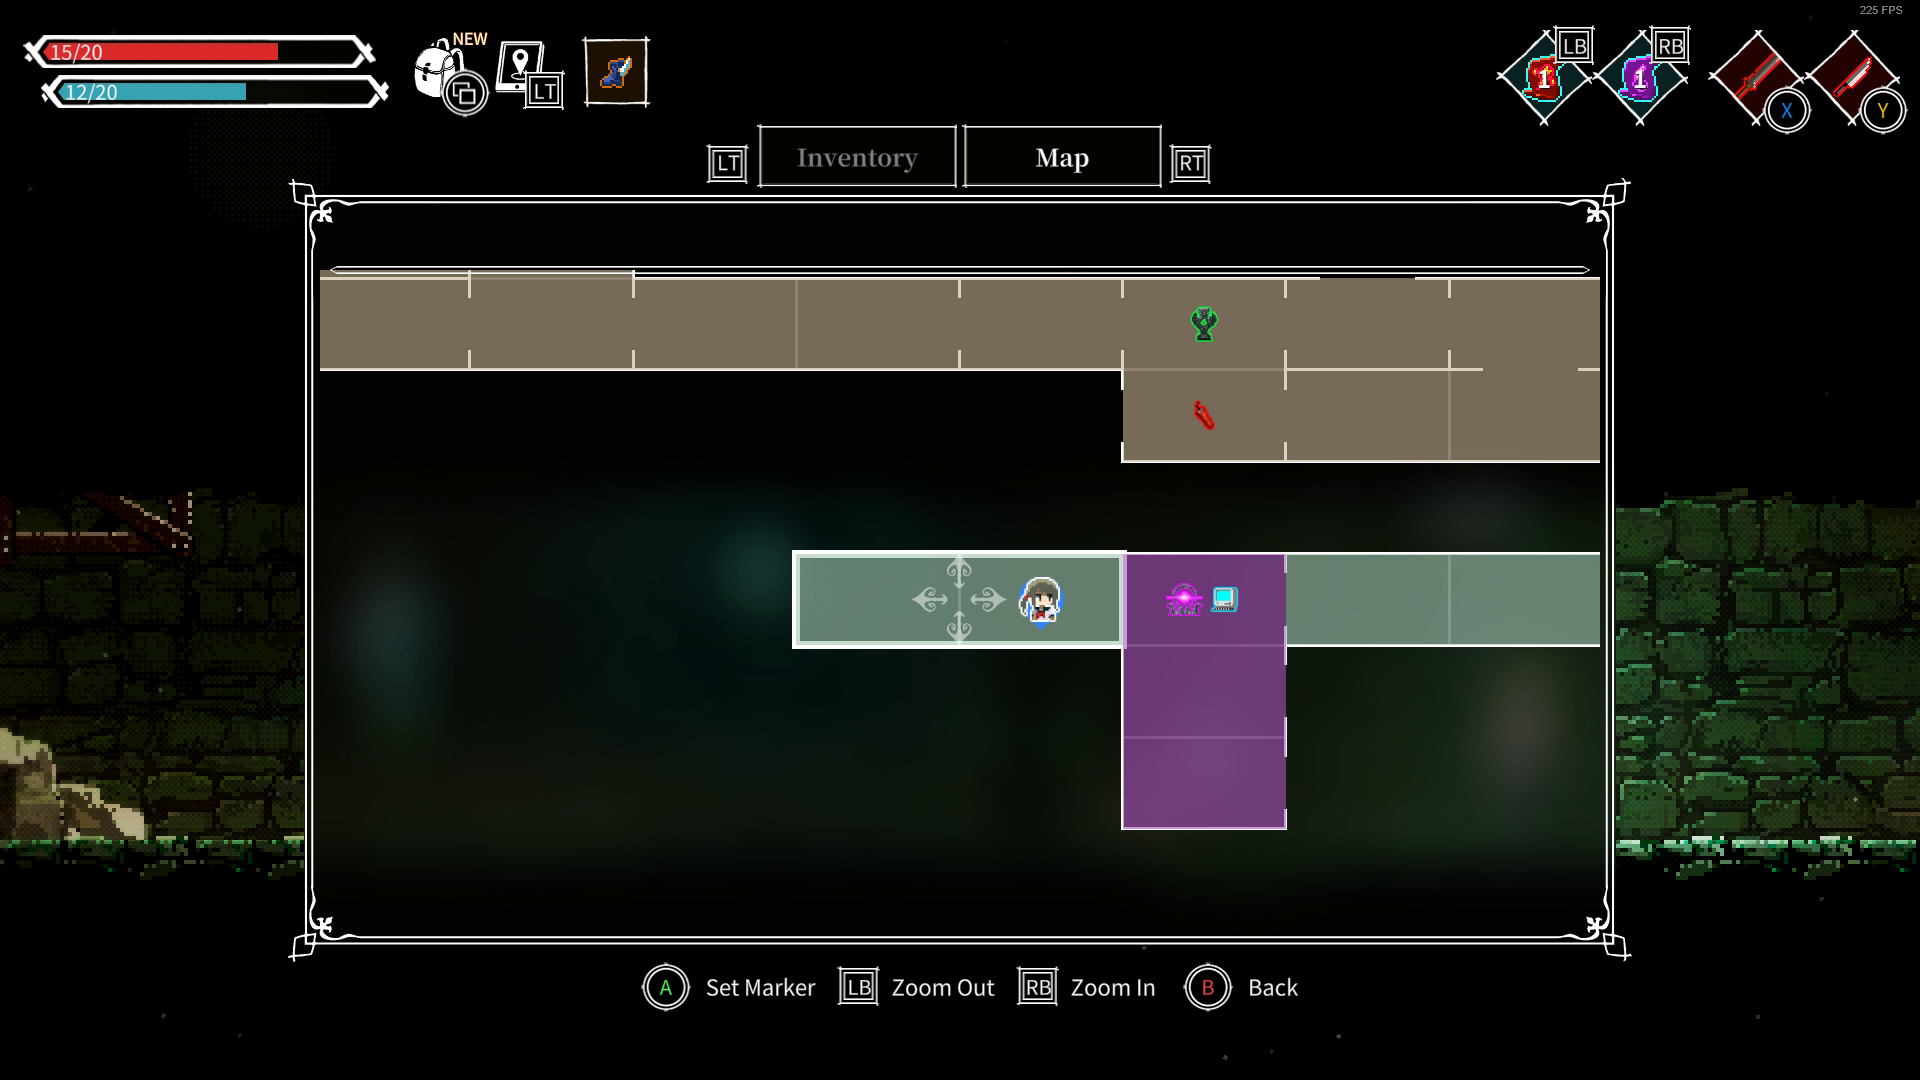
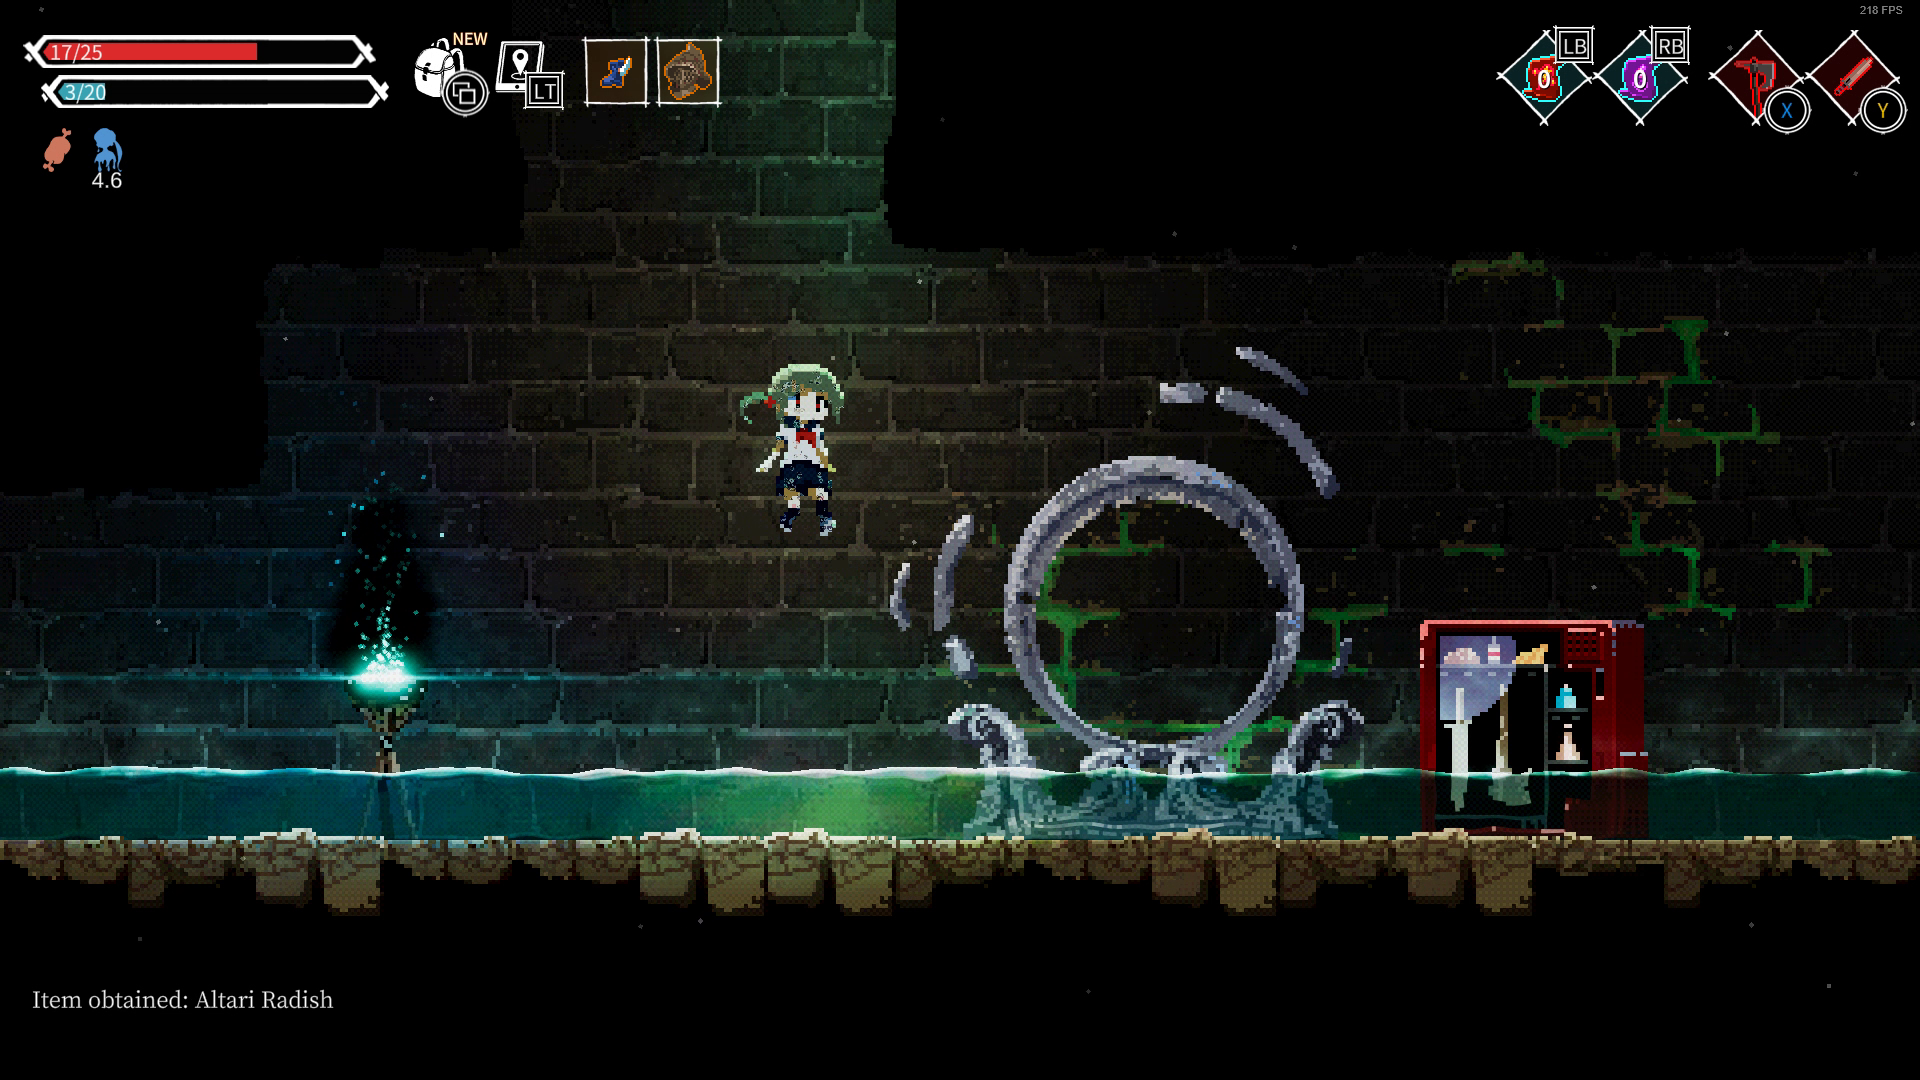
At the middle of this large room there will be three planted radish and a hole which you can drop down to find Portal #9 and Vending Machine #3.
Notable items you can find in Vending Machine #3
Ice Cream Scoop
Thief's Shoes
Mace
Ice Rune
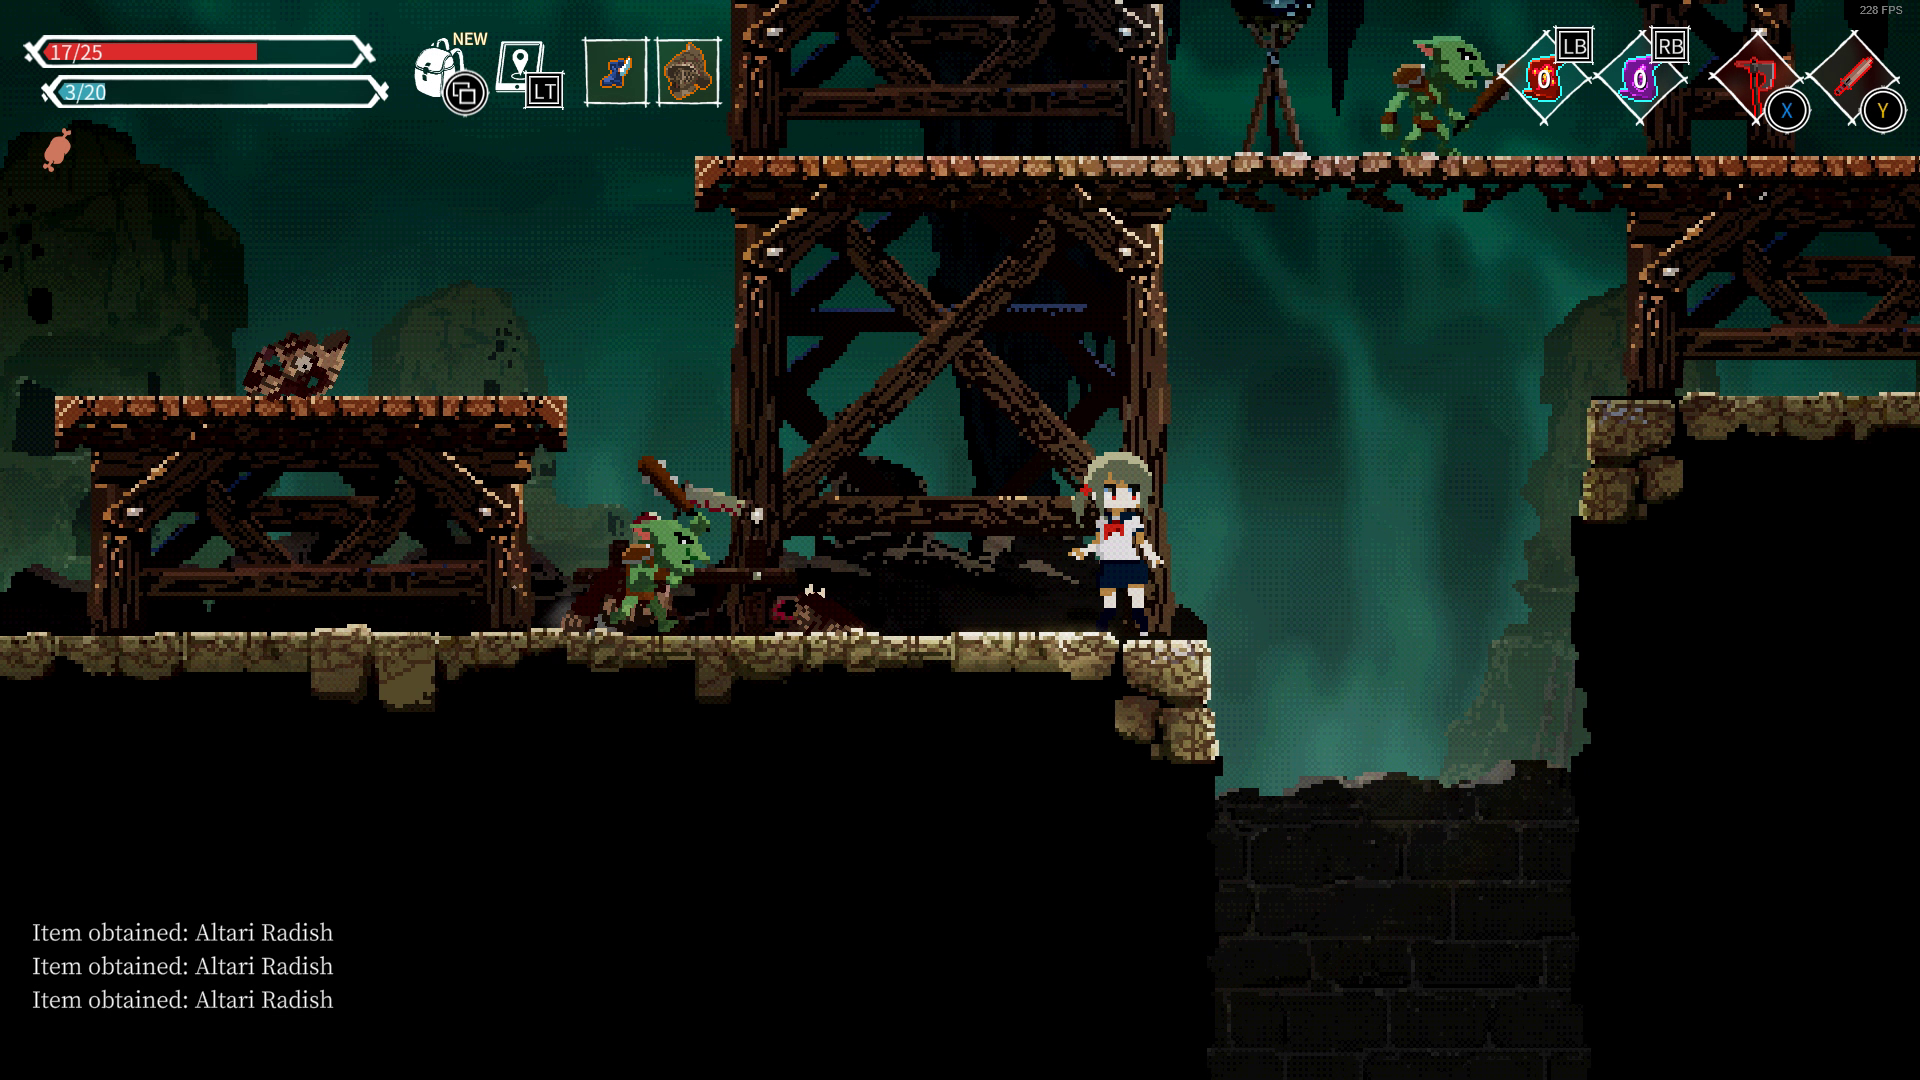
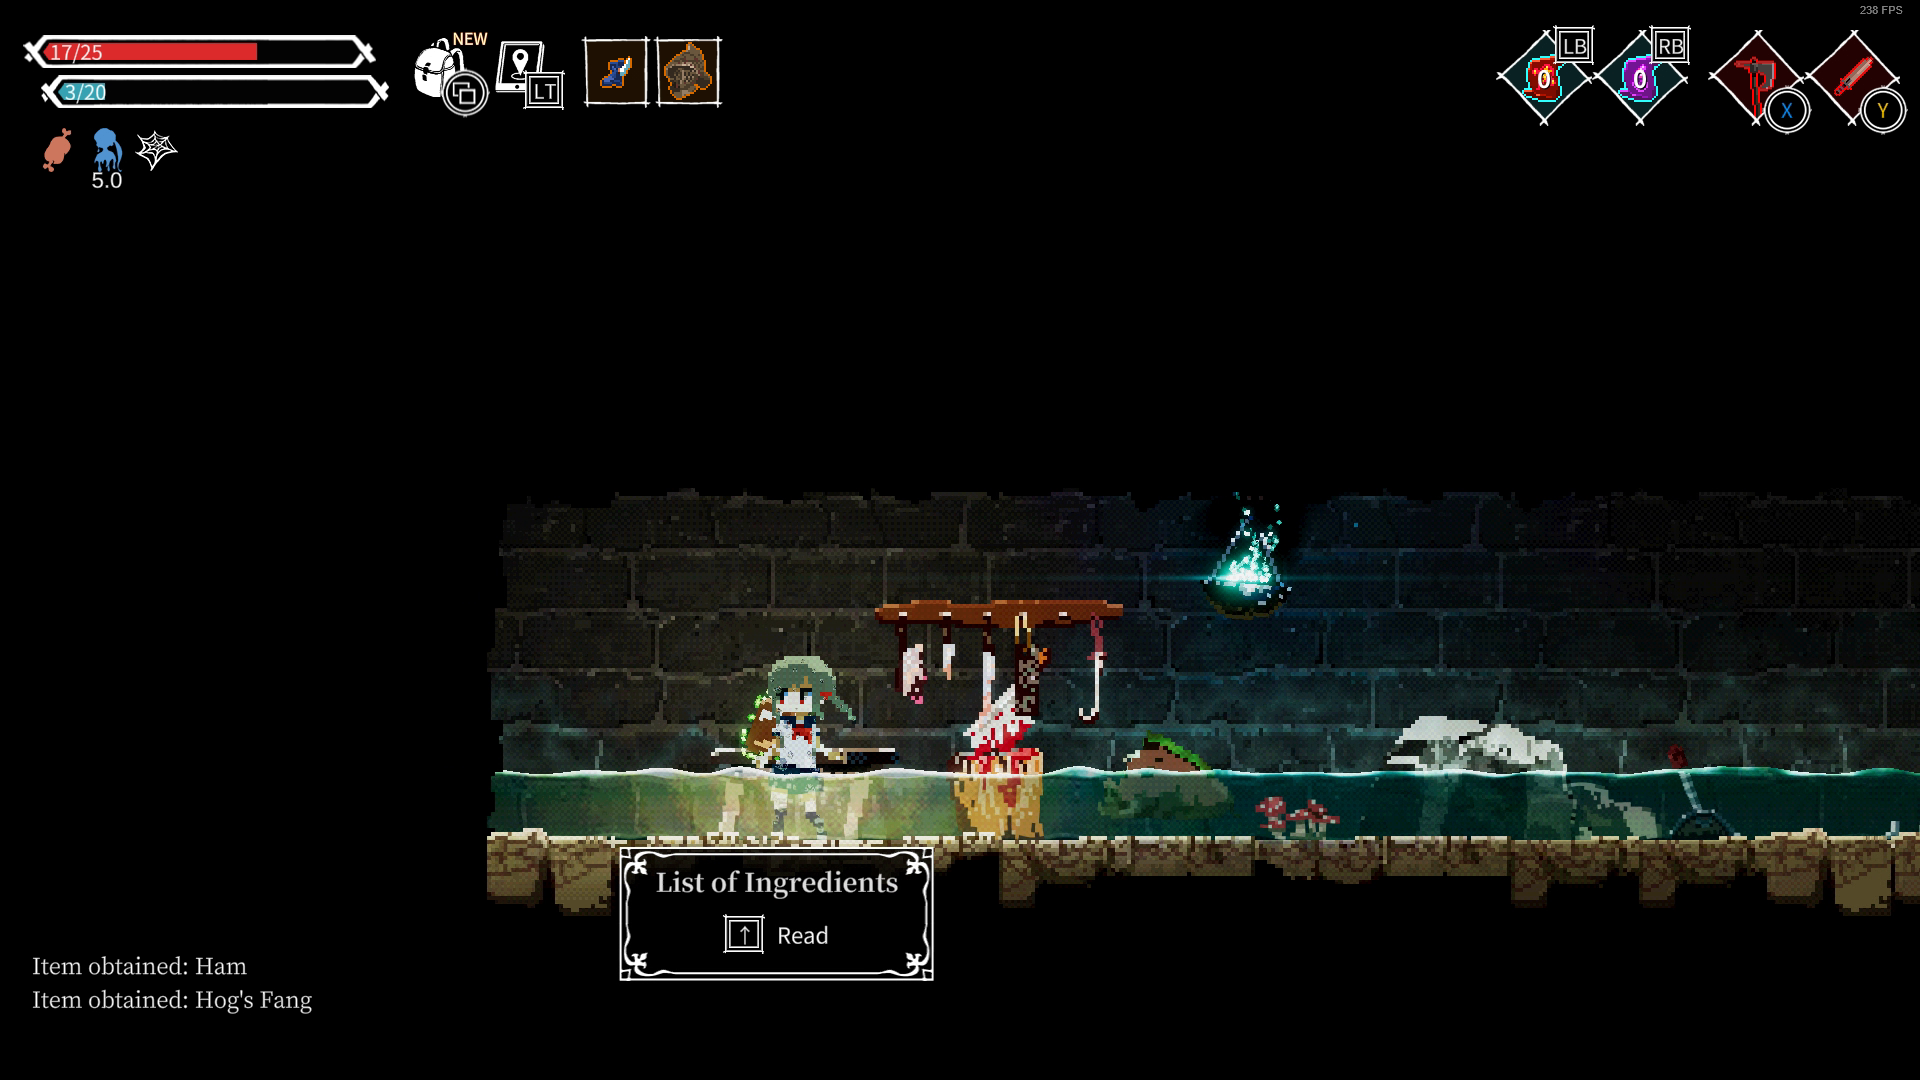
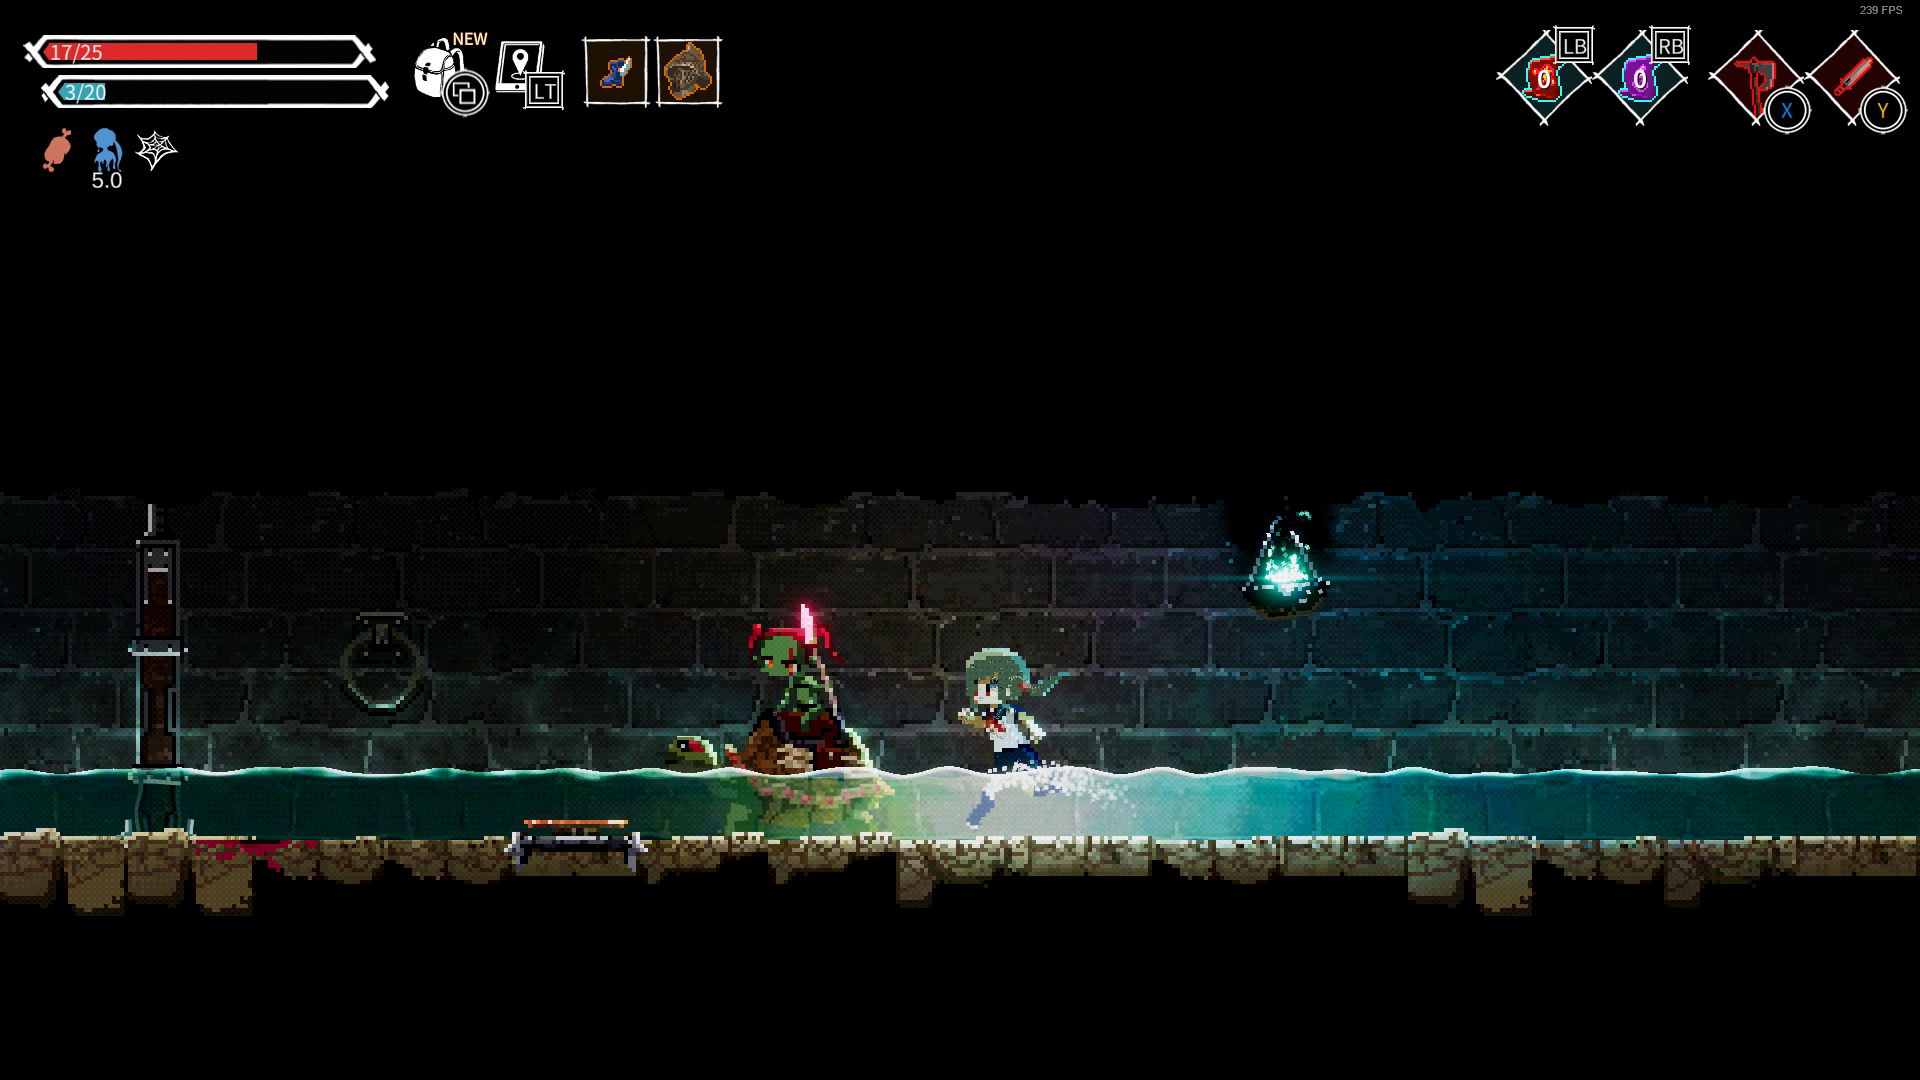
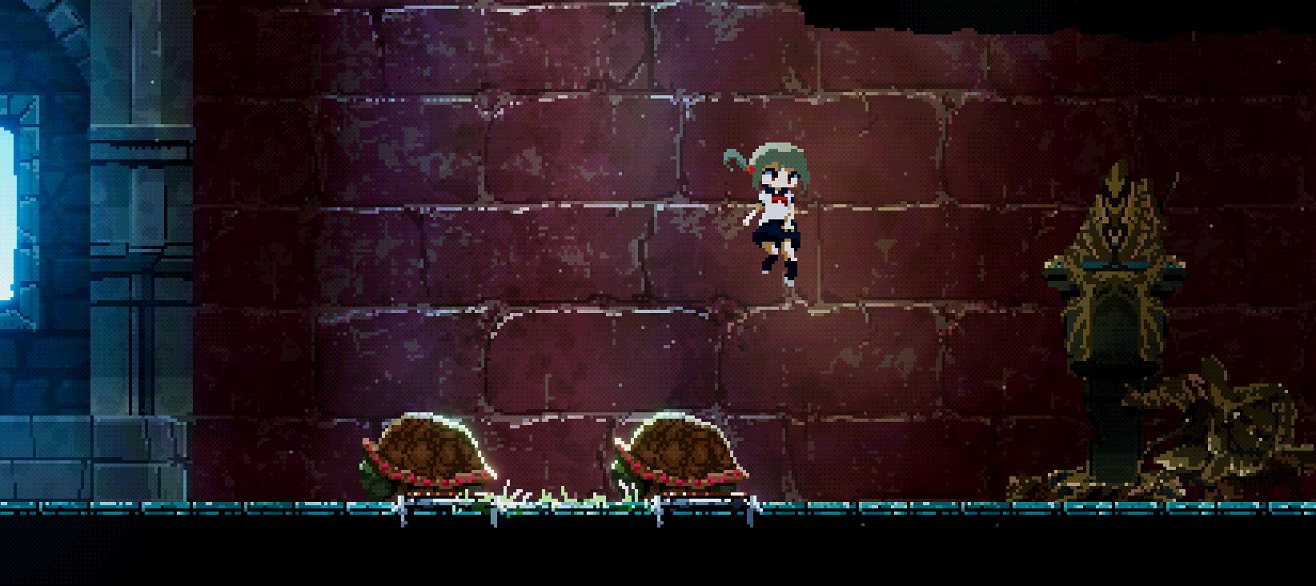
To the right of the vending machine is Golden Chest #5 which is inaccessible for you, left will lead to a locked gate. Kill the tortoise riding goblin and get the shell to sit on the button to unlock the gate. Inside you'll find Hog's Fang, List of Ingredients and a Ham. Once you're done, you may teleport back to Portal #8.
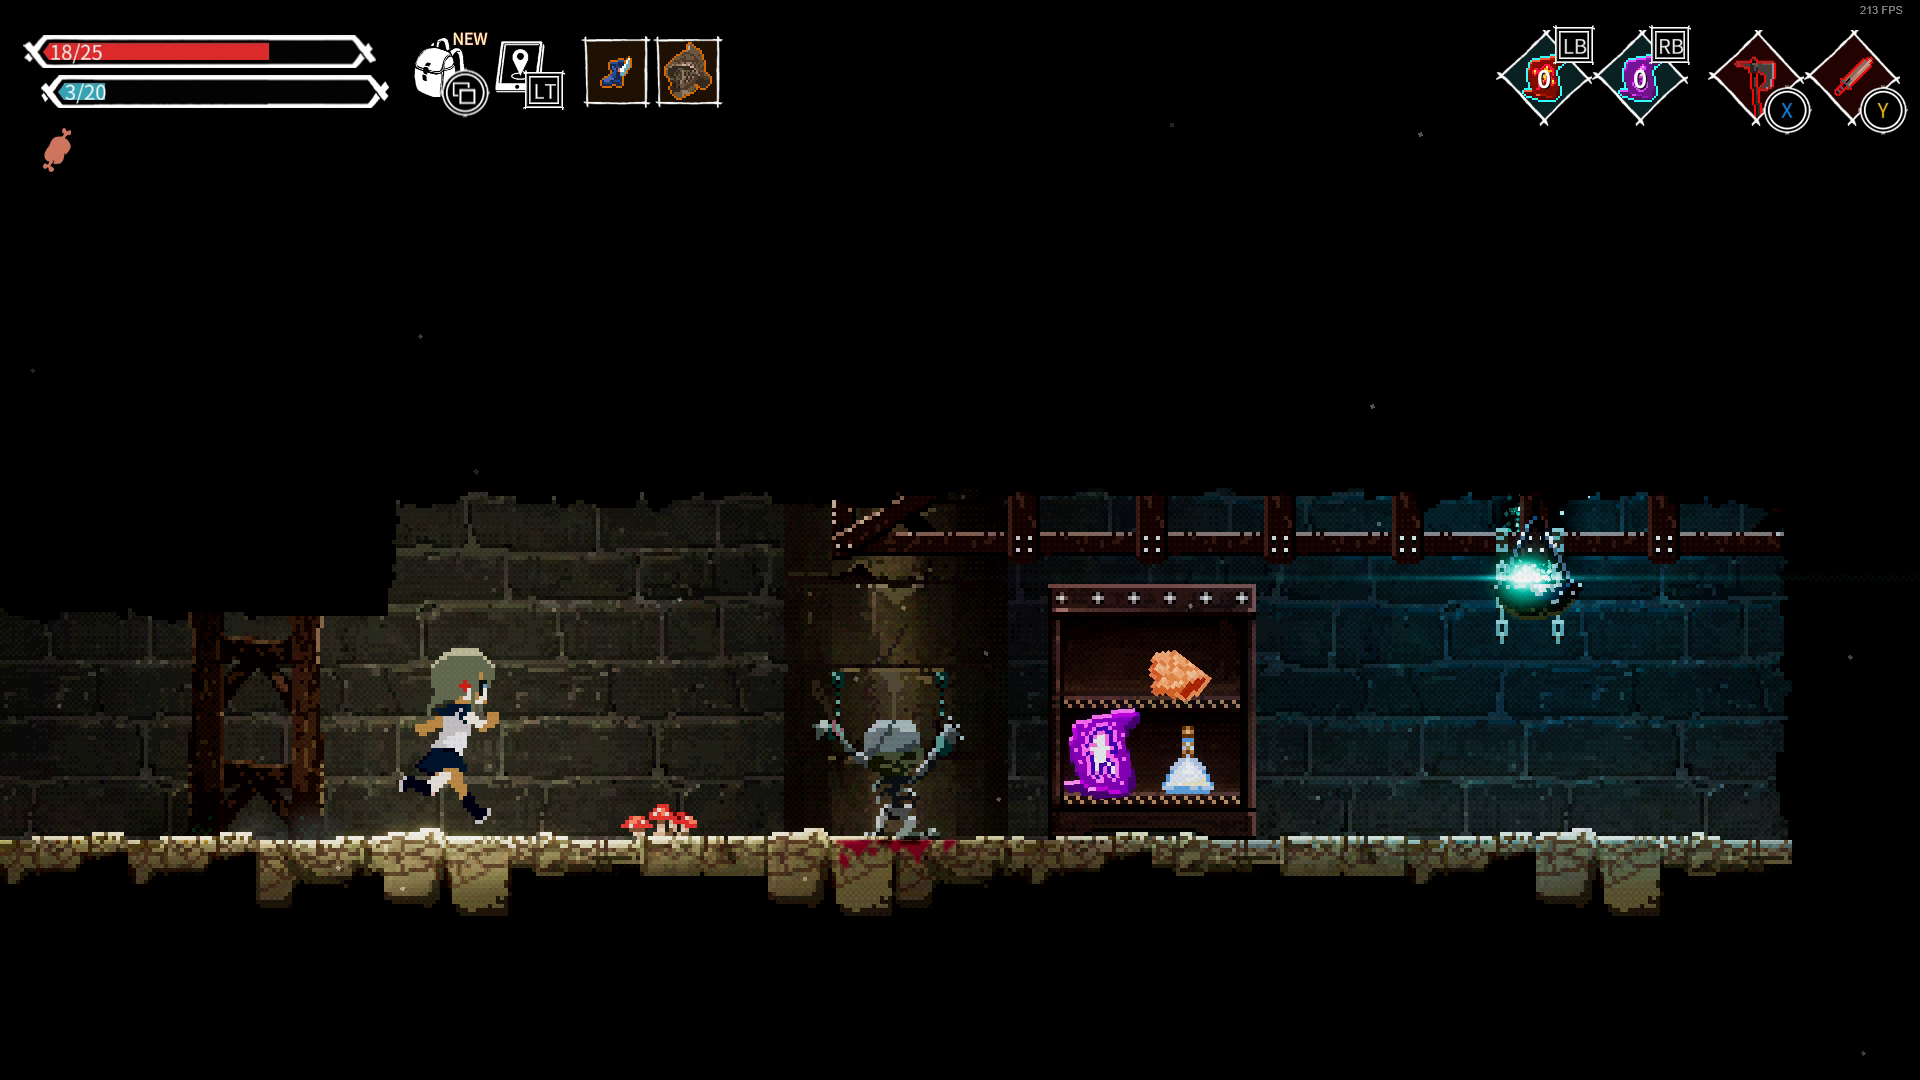
Continue right from the large room to reach a room with a fire cannon, use the fire cannon to clear the enemies ahead, continue right to find Rosie's Journal #2. Further right are spikes and some platform, one of which contains a pressure plate which will trigger a fireball spitting trap, you can actually destroy the trap, it will sometimes drop a fire wand as loot. Below the trap is a tunnel where you can roll into. Inside you will find:
Radish
Bread
Homi
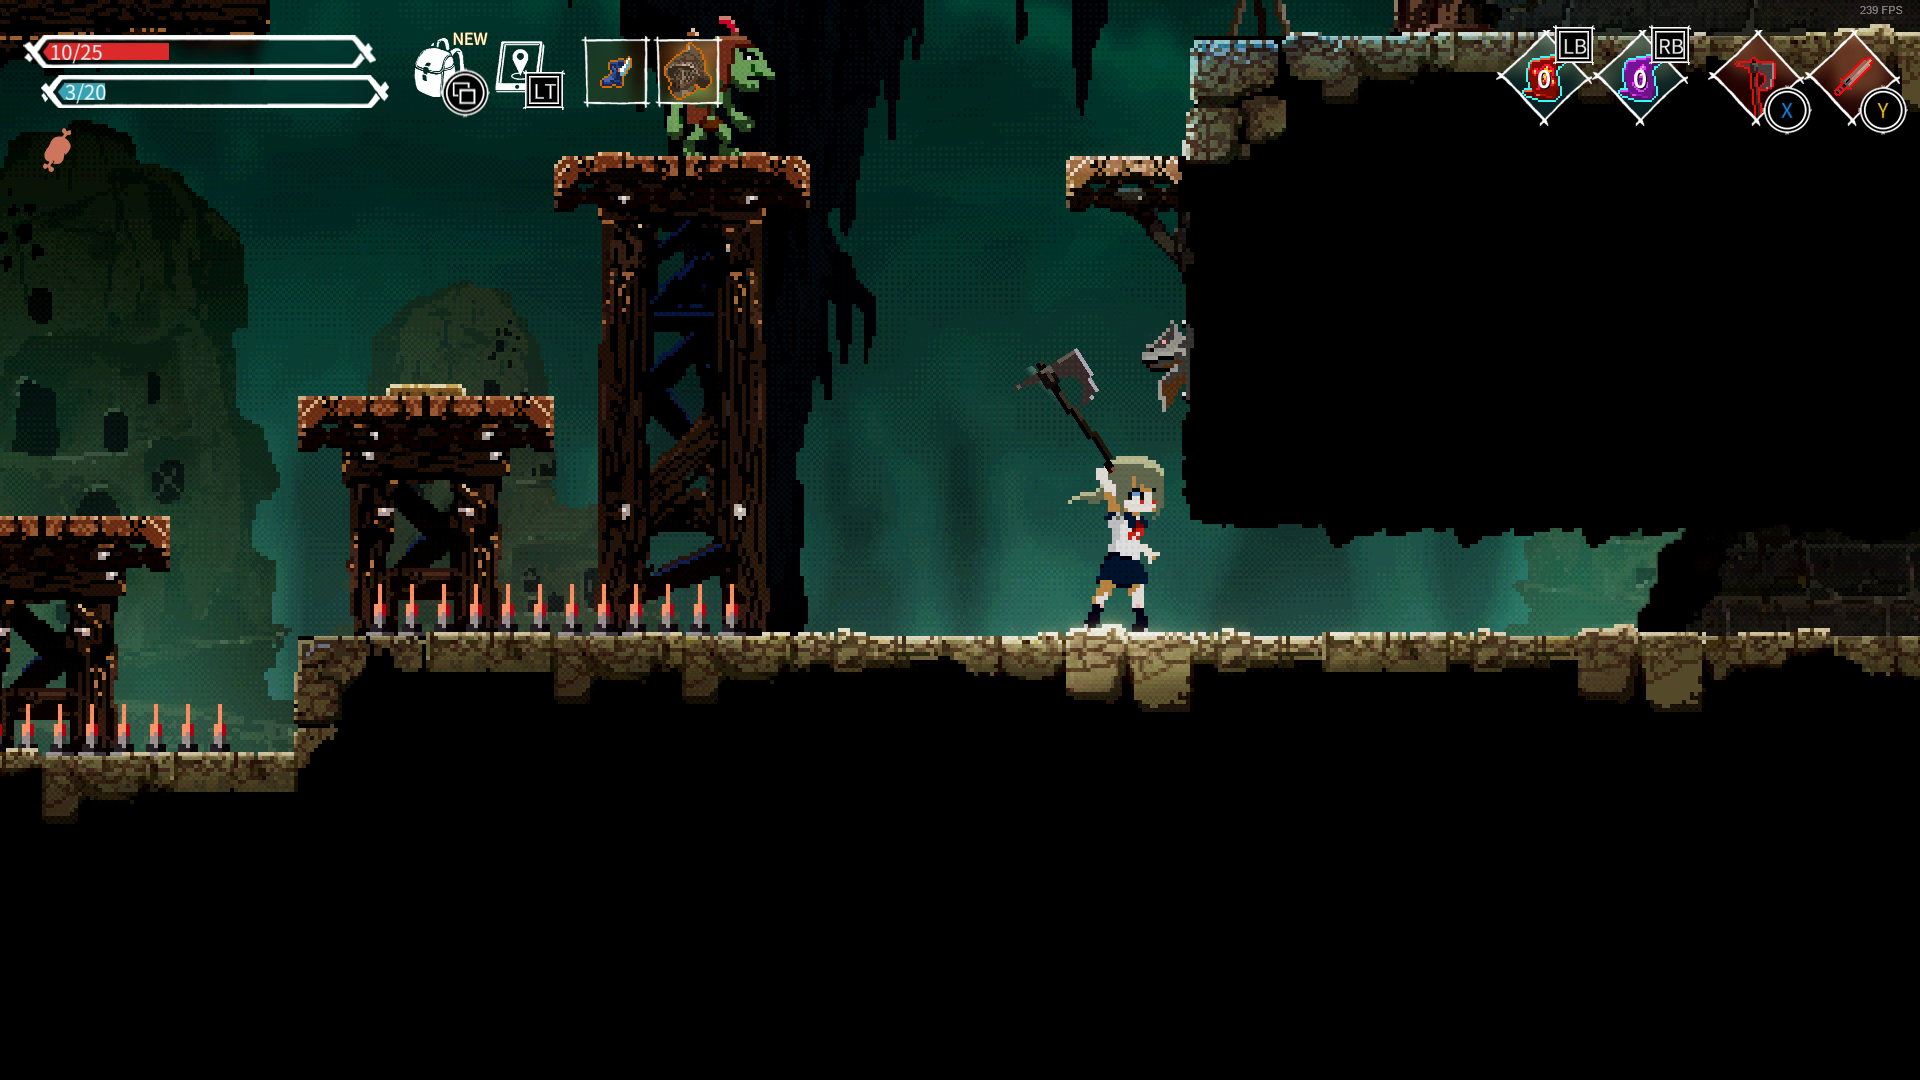
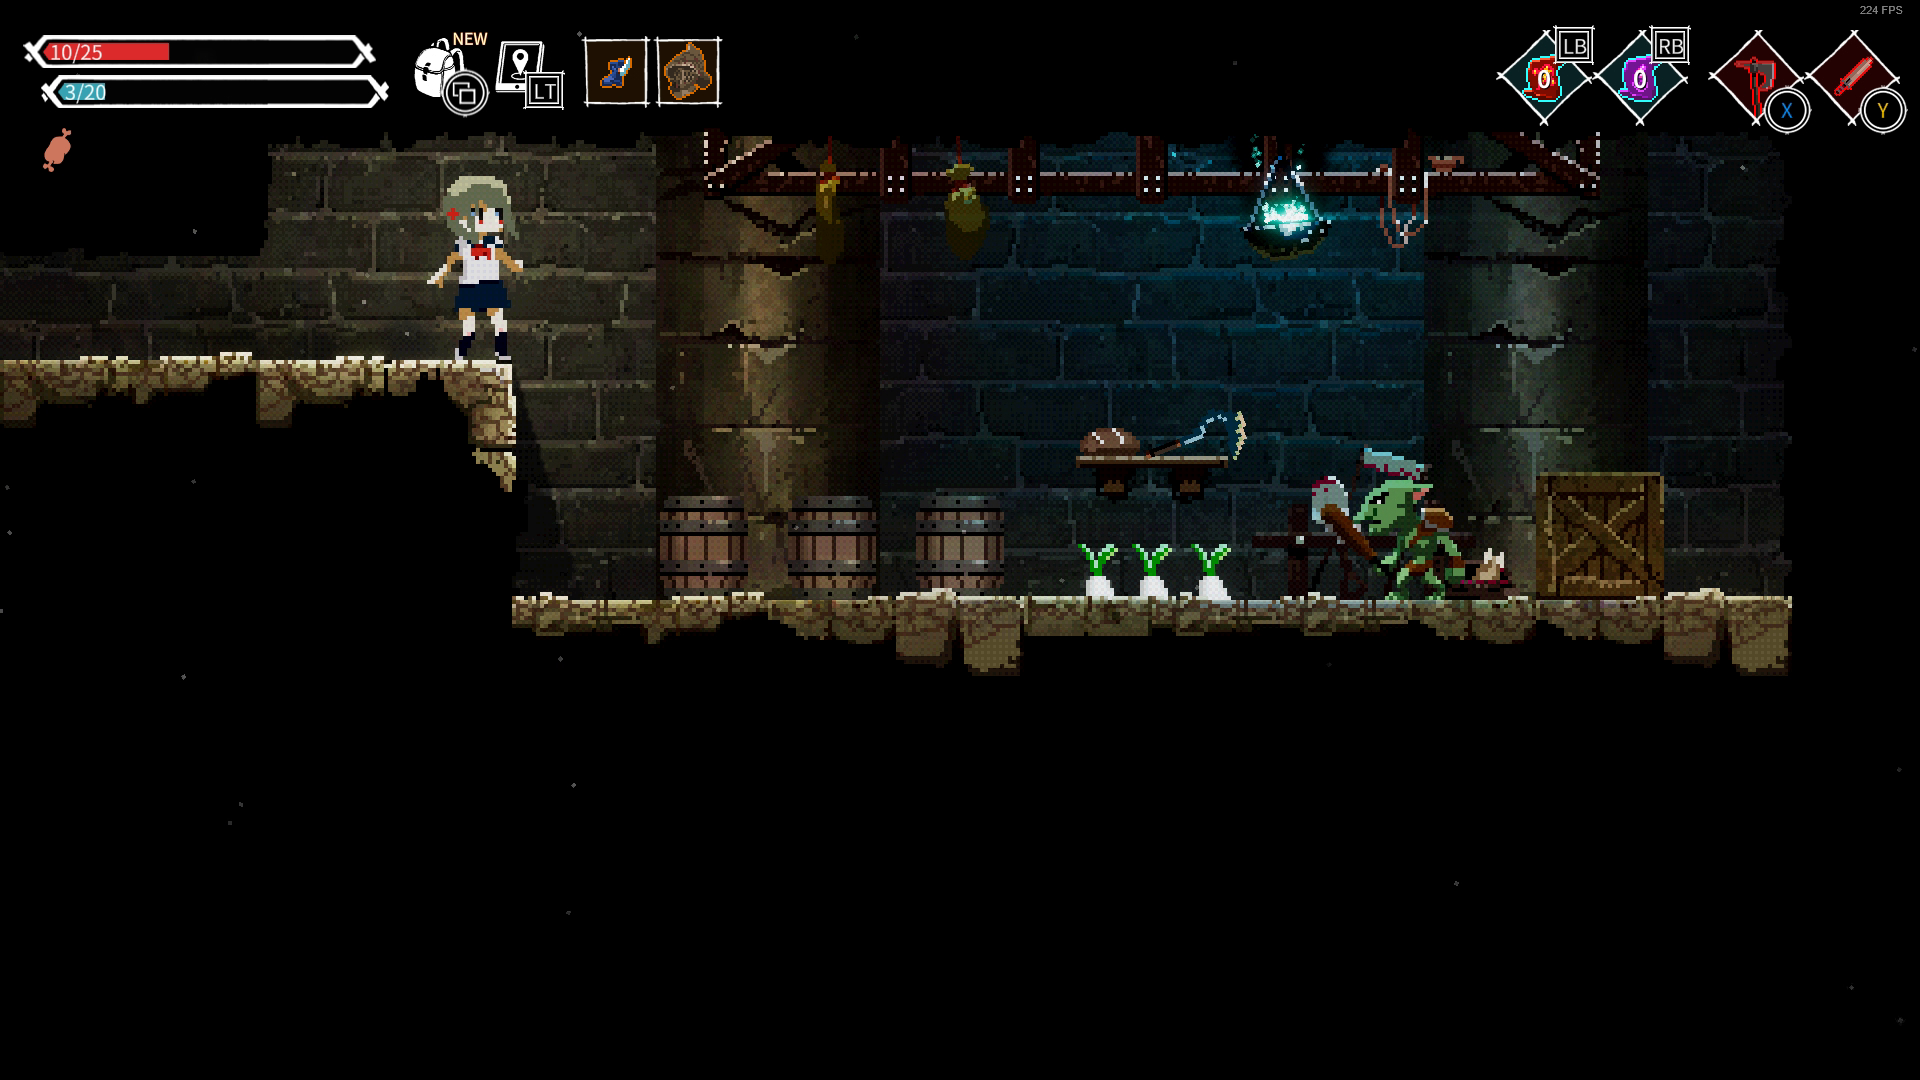
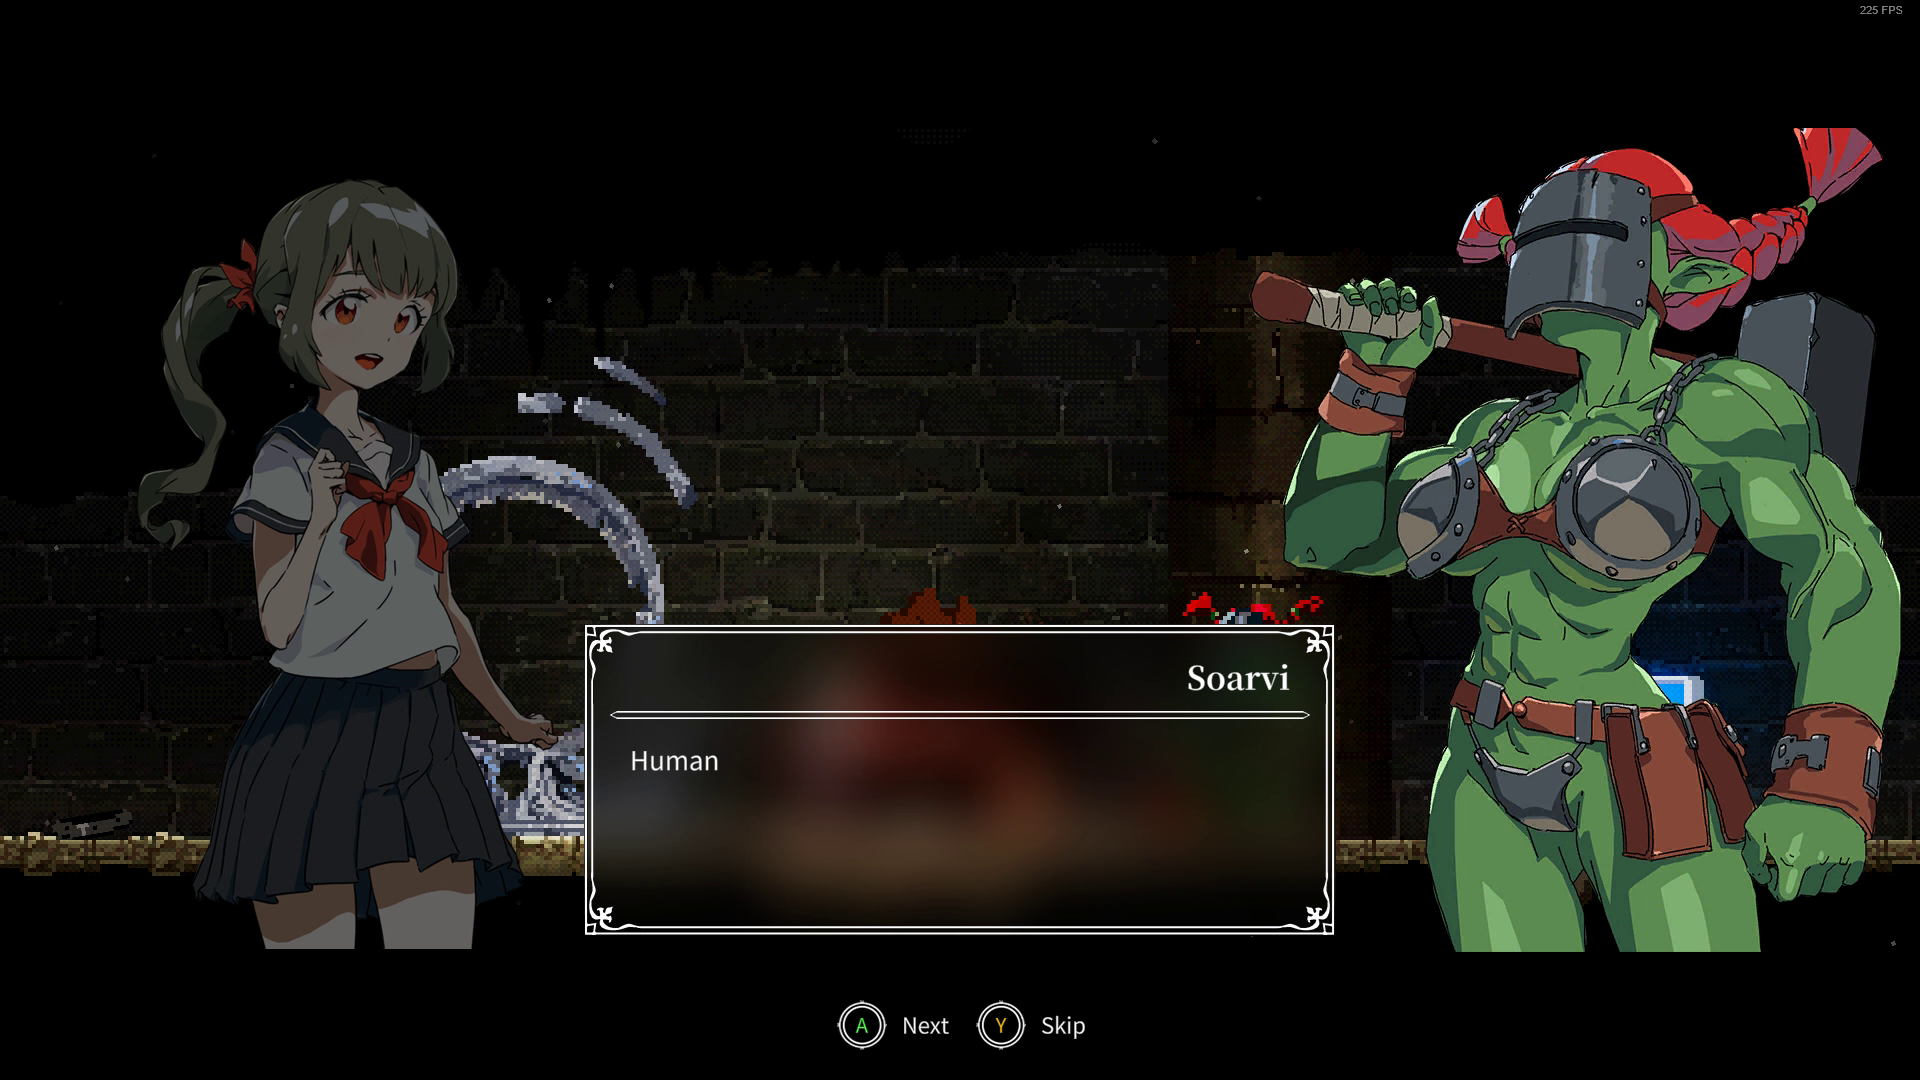
After getting the invisibility potion and a broccoli, you may exit the room through the top right exit to find Soarvi and Portal #10
Soarvi sells:
Throwing Hammer
Shield of Life
Dane Axe
Mace
Belt
Gauntlets
Plate Armor
Battery -- After completing Soarvi's Request
Thunder Hammer -- After completing Soarvi's Request
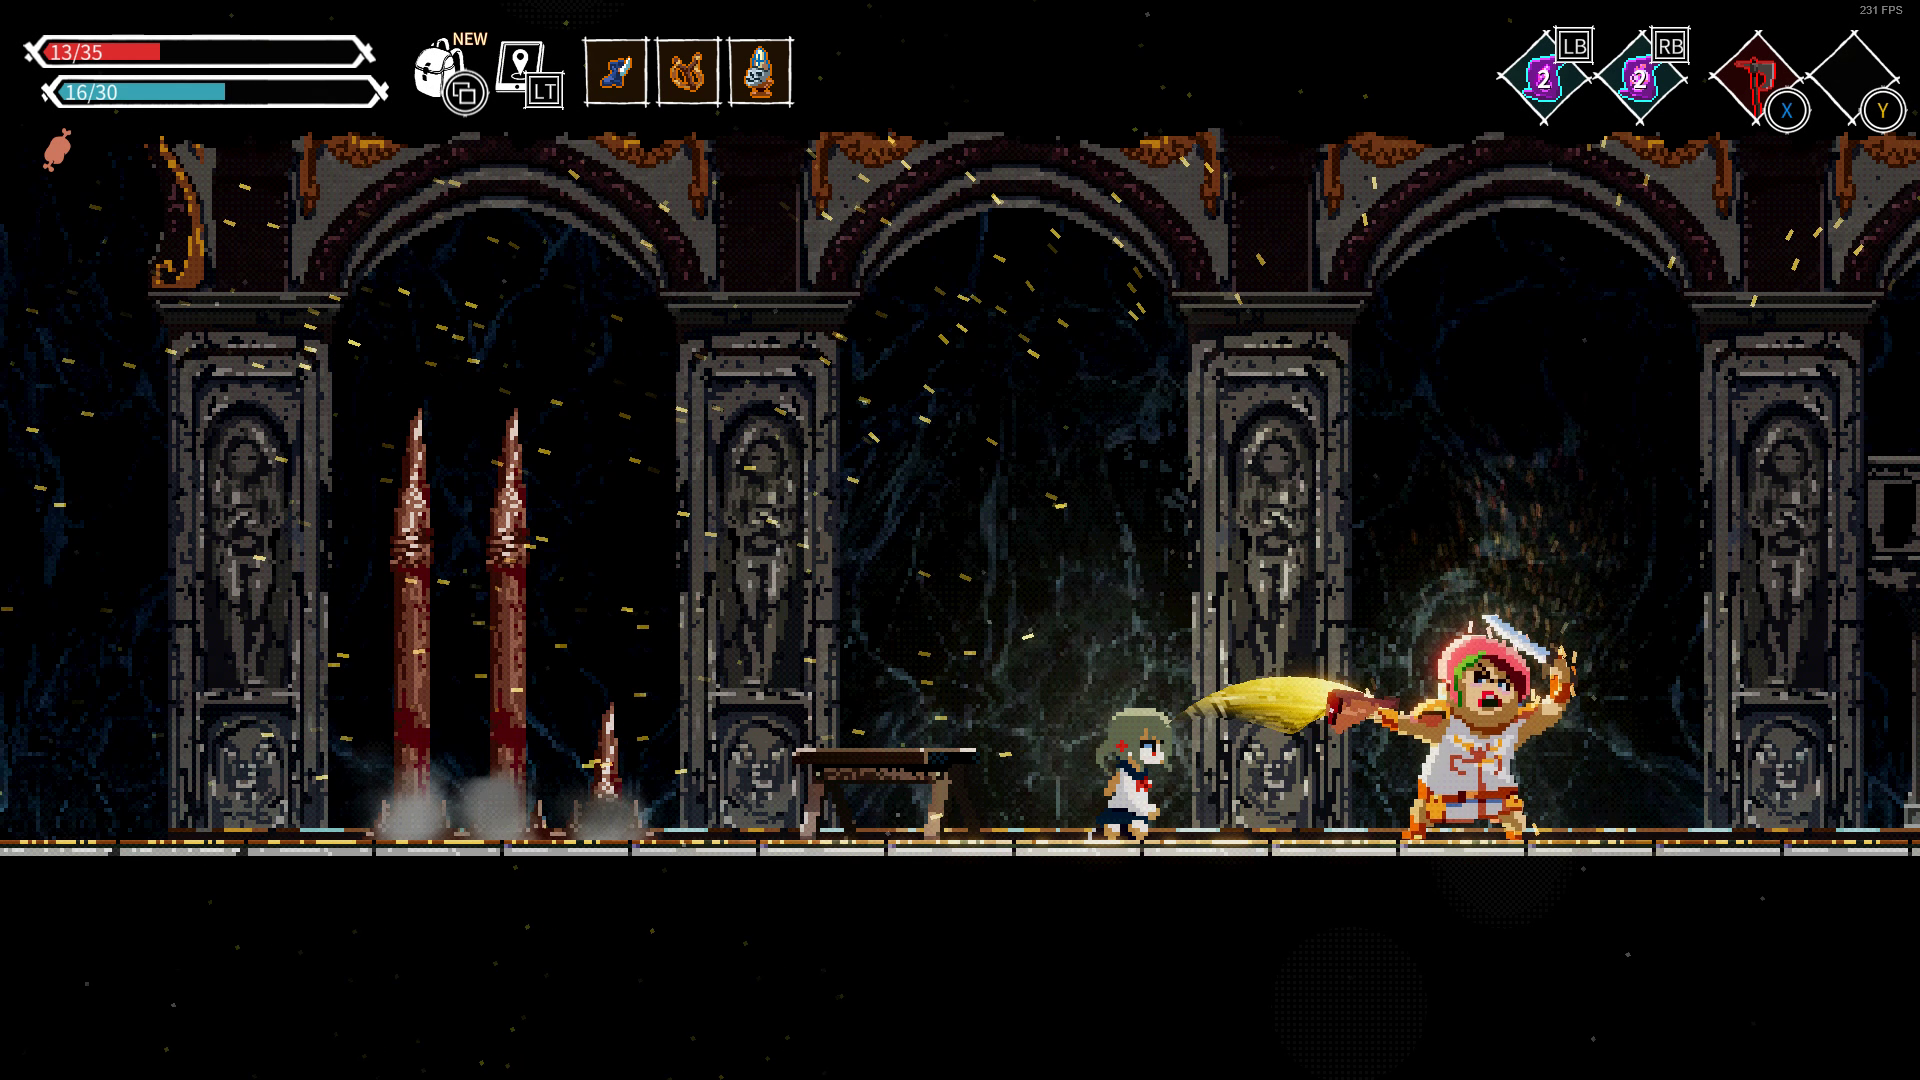
Rosie Boss Fight
Phase 1 Rosie has three attacks, close range melee, long range jump attack and throwing ham.
She will always start a fight by throwing a ham at where you stand, if you were jumping, she will aim high.
_______________________
_______________________
If you choose to dodge behind her when she's going for a close range melee, she will turn around and throw a ham, be sure to jump and don't try to attack after dodging.
_______________________
_______________________
The key to this fight is to wait for her to be exhausted and then stab her back with the dagger 4 times, she will be exhausted after exactly 7 attacks. Rinse and repeat.
________________________
________________________
Her phase two is easy rather annoying, in her orc form she will attempt to jump and slam down on you, you will need to be airborne when she slams into the ground to avoid being staggered. While jumping, you cannot collide into her body as she has an active hitbox. Winged Shoes will allow you to dodge midair and avoid collision. After slamming down she is open for a backstab if you're close enough; while Gladiator's Helmet will give you the extra damage. Like phase 1, you should also wait for her to be exhausted before stabbing her with a dagger.
Rosie's orc form has a melee attack where she slams her fists on the ground to create shockwave. After dodging behind her she will immediately turn around and do the same attack, there will be no window for attack here, simply gain some distance and bait her into doing the jumping attack.
She will also go around the area eating goblins to heal up, there is nothing you can do to stop this. Just let her do her thing and be patient.
Her third form is easy as she charges at a straight line and then takes a few seconds to rest up. Simply jump up and stab her to death.
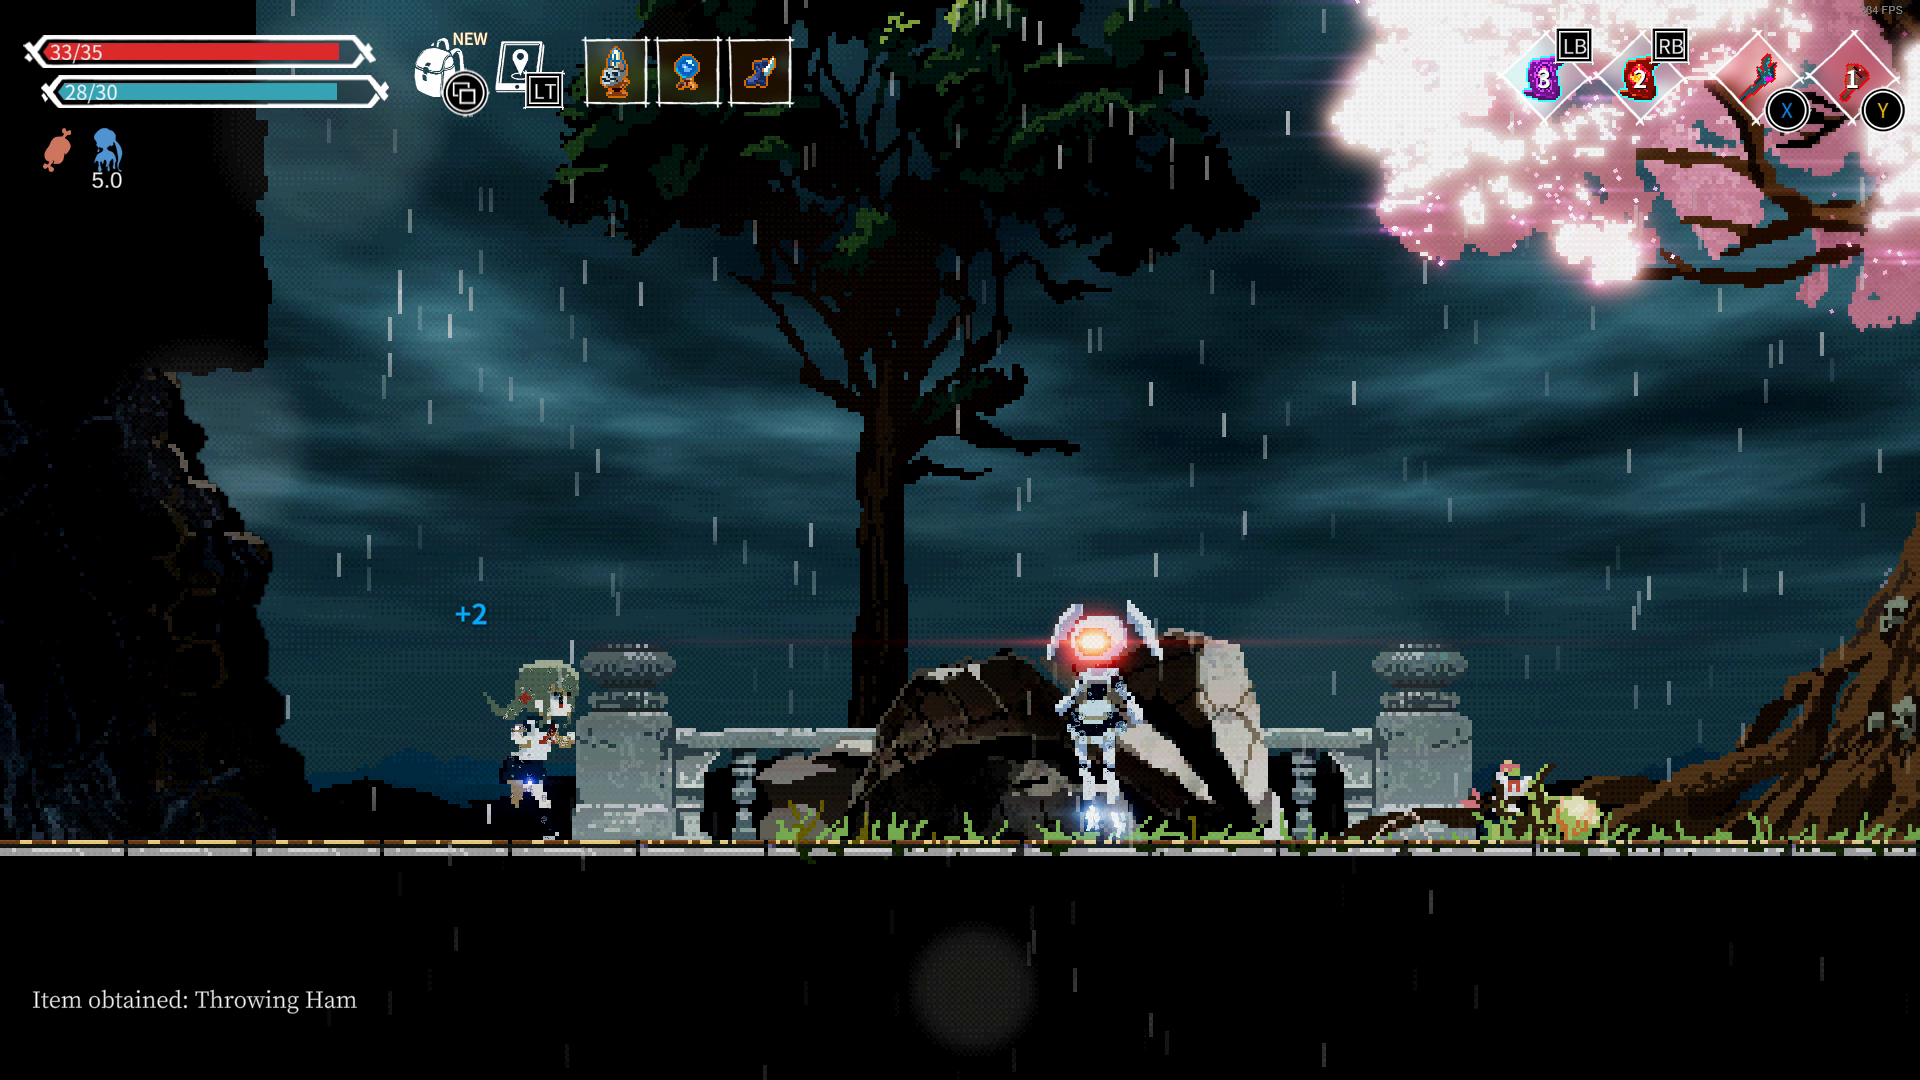
Rosie will drop her Striped Bra and Throwing Ham upon death, the Throwing Ham combined with the Slingshot is good for cheesing bosses. After the fight Soarvi will come up to you offering a side quest to gather a battery and a sledgehammer for her.
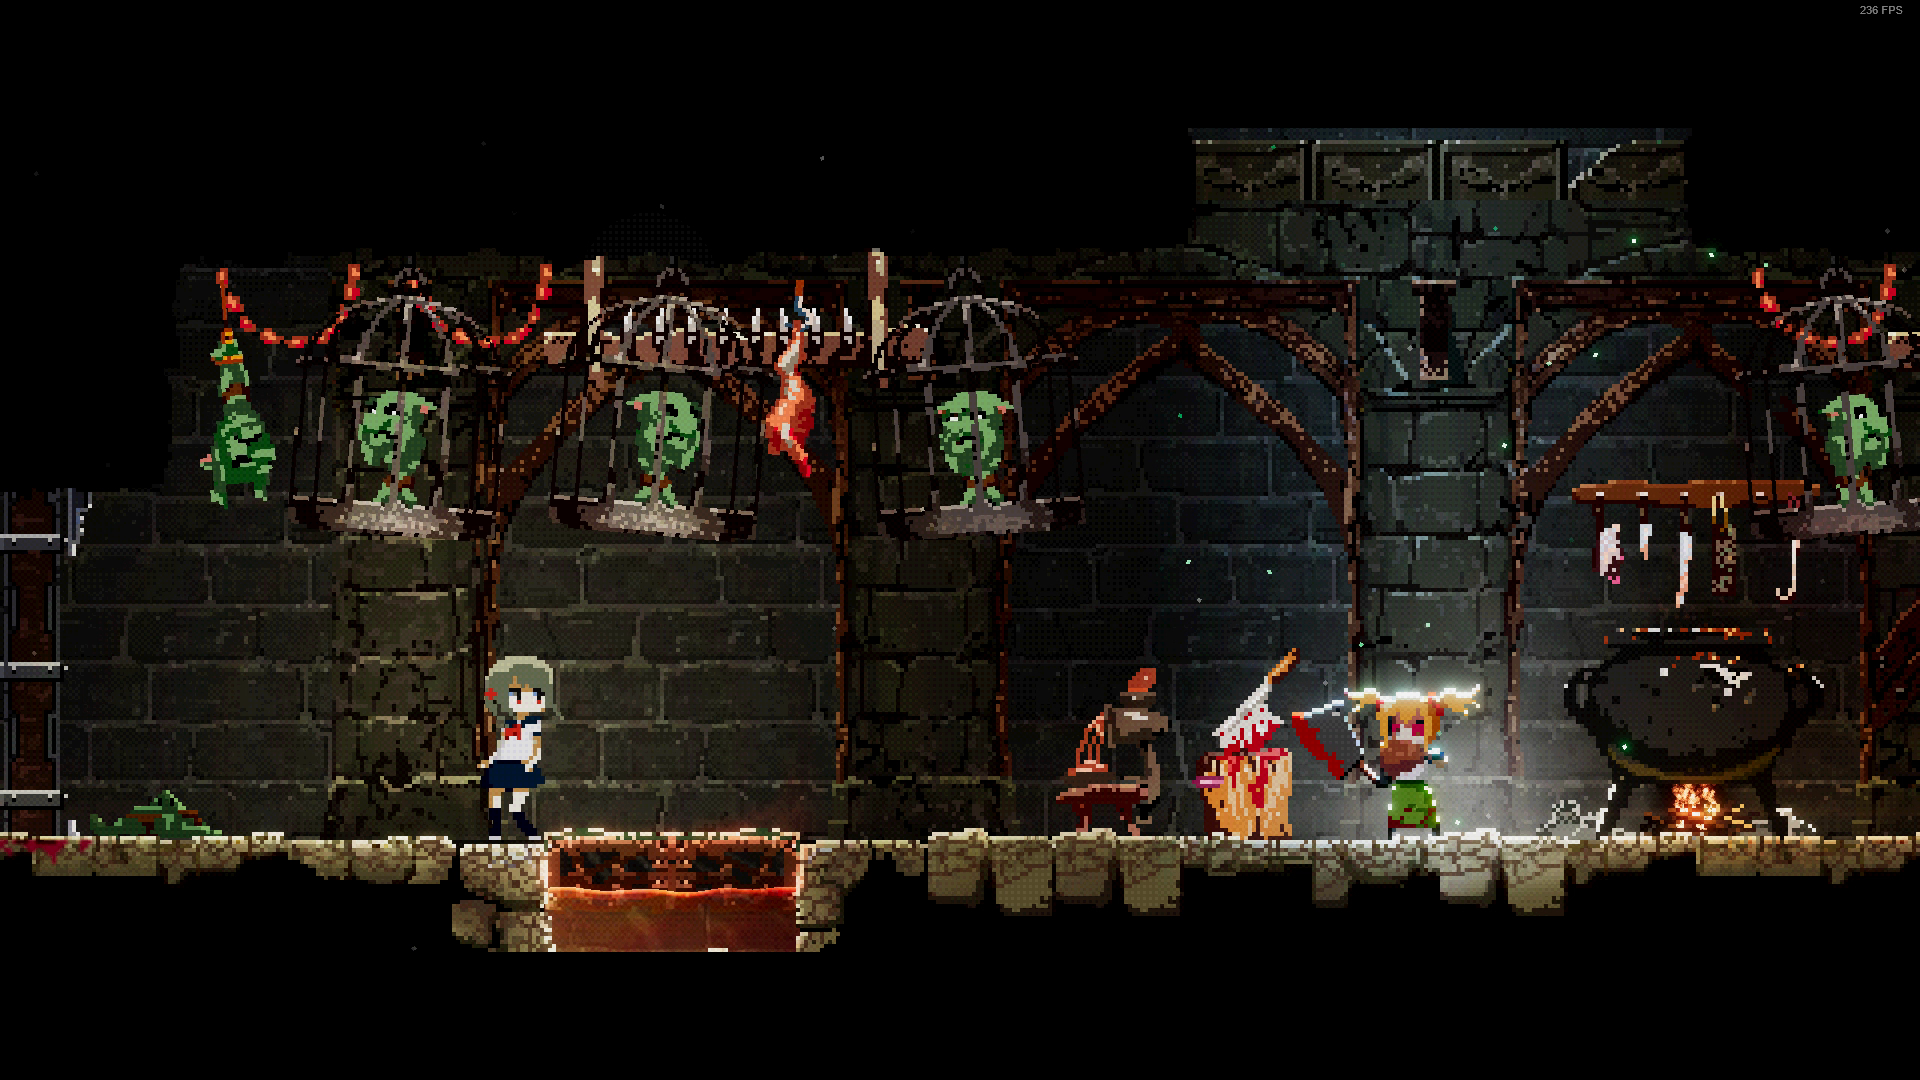
Part 4: Treasure Room
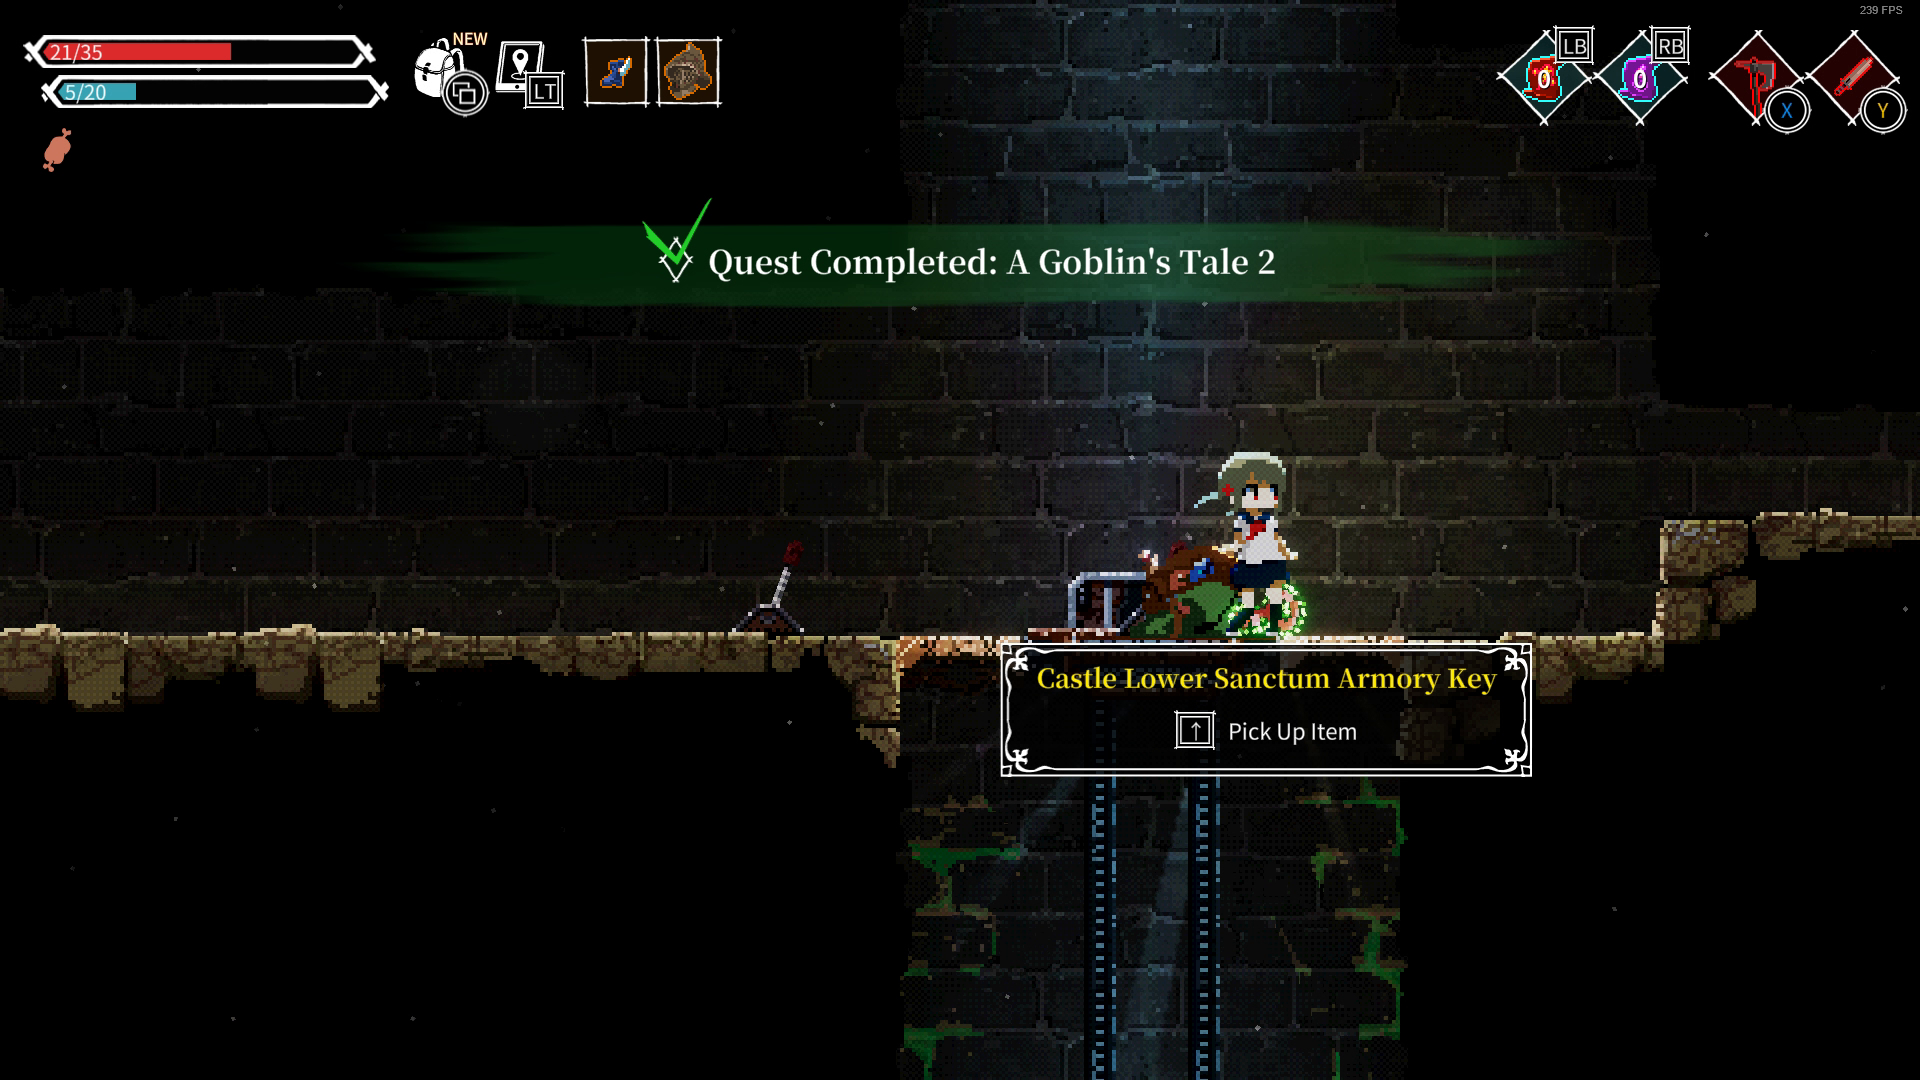
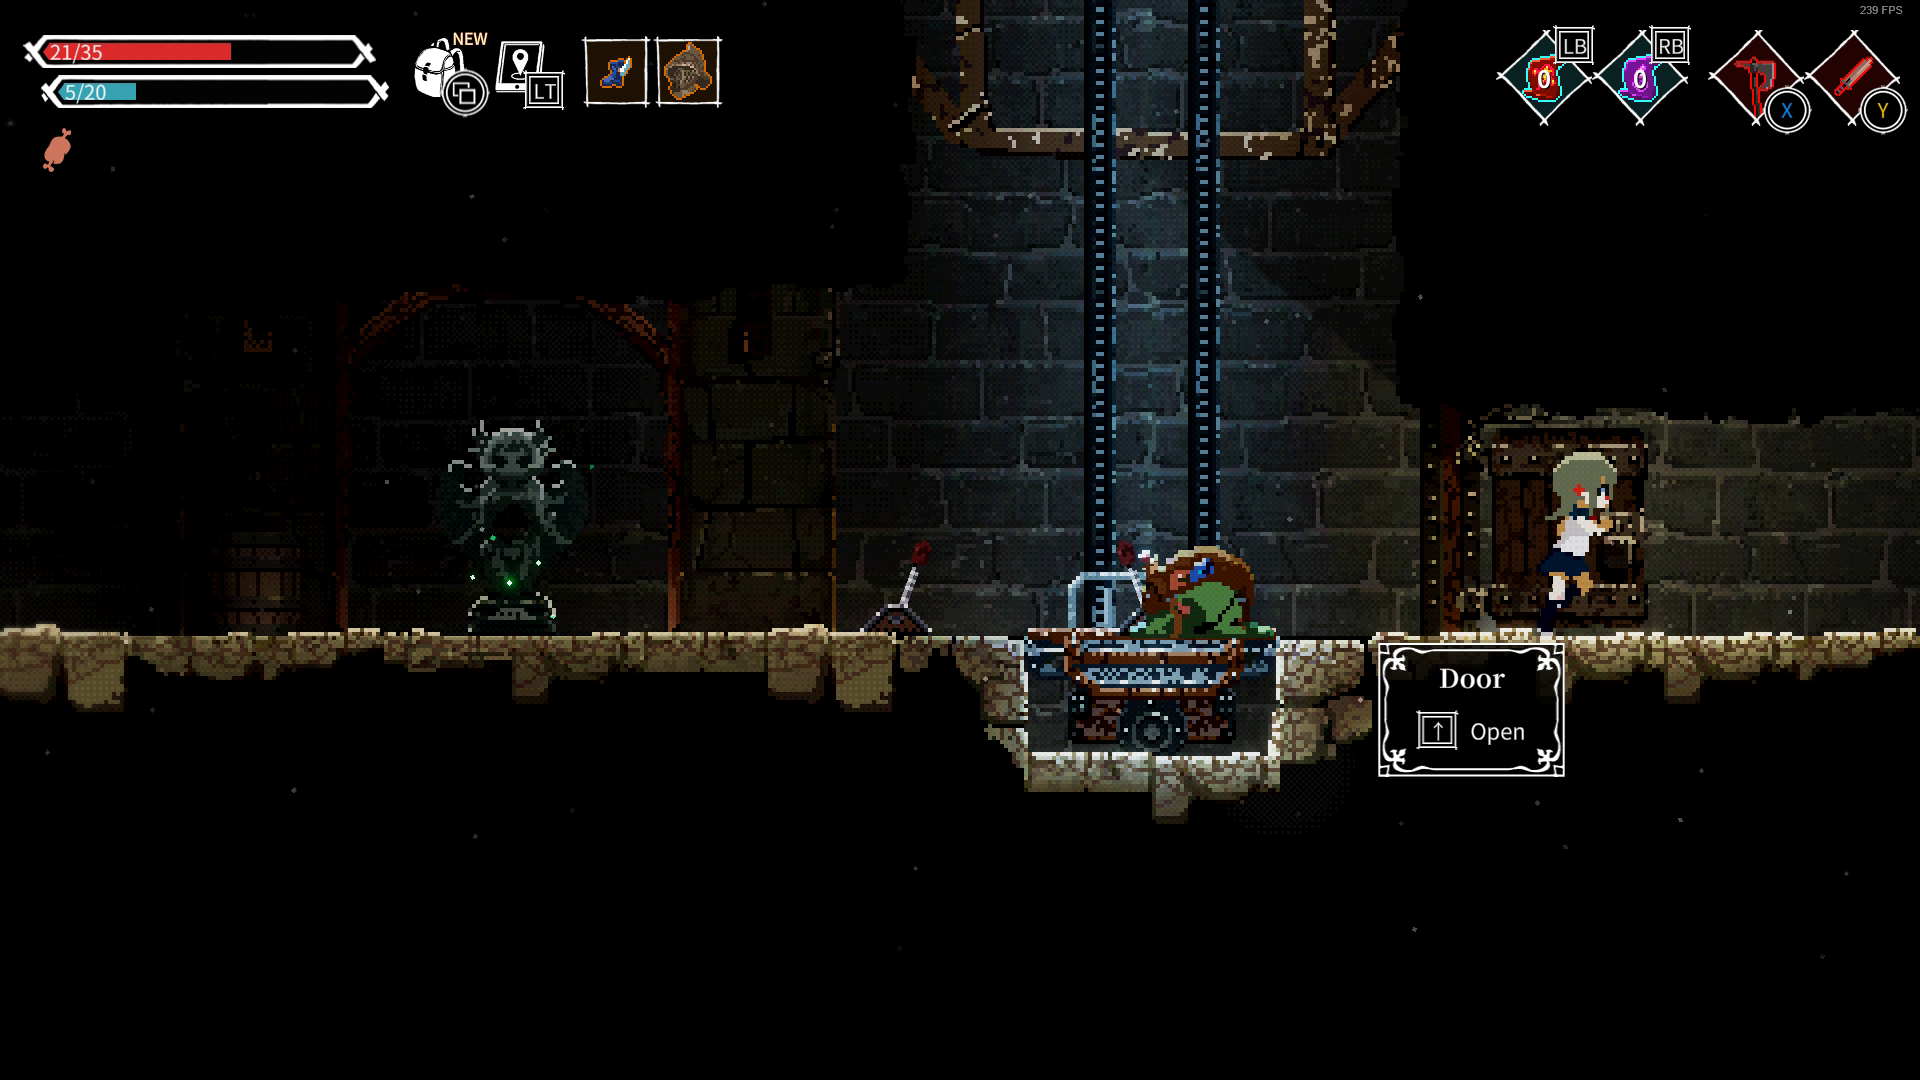

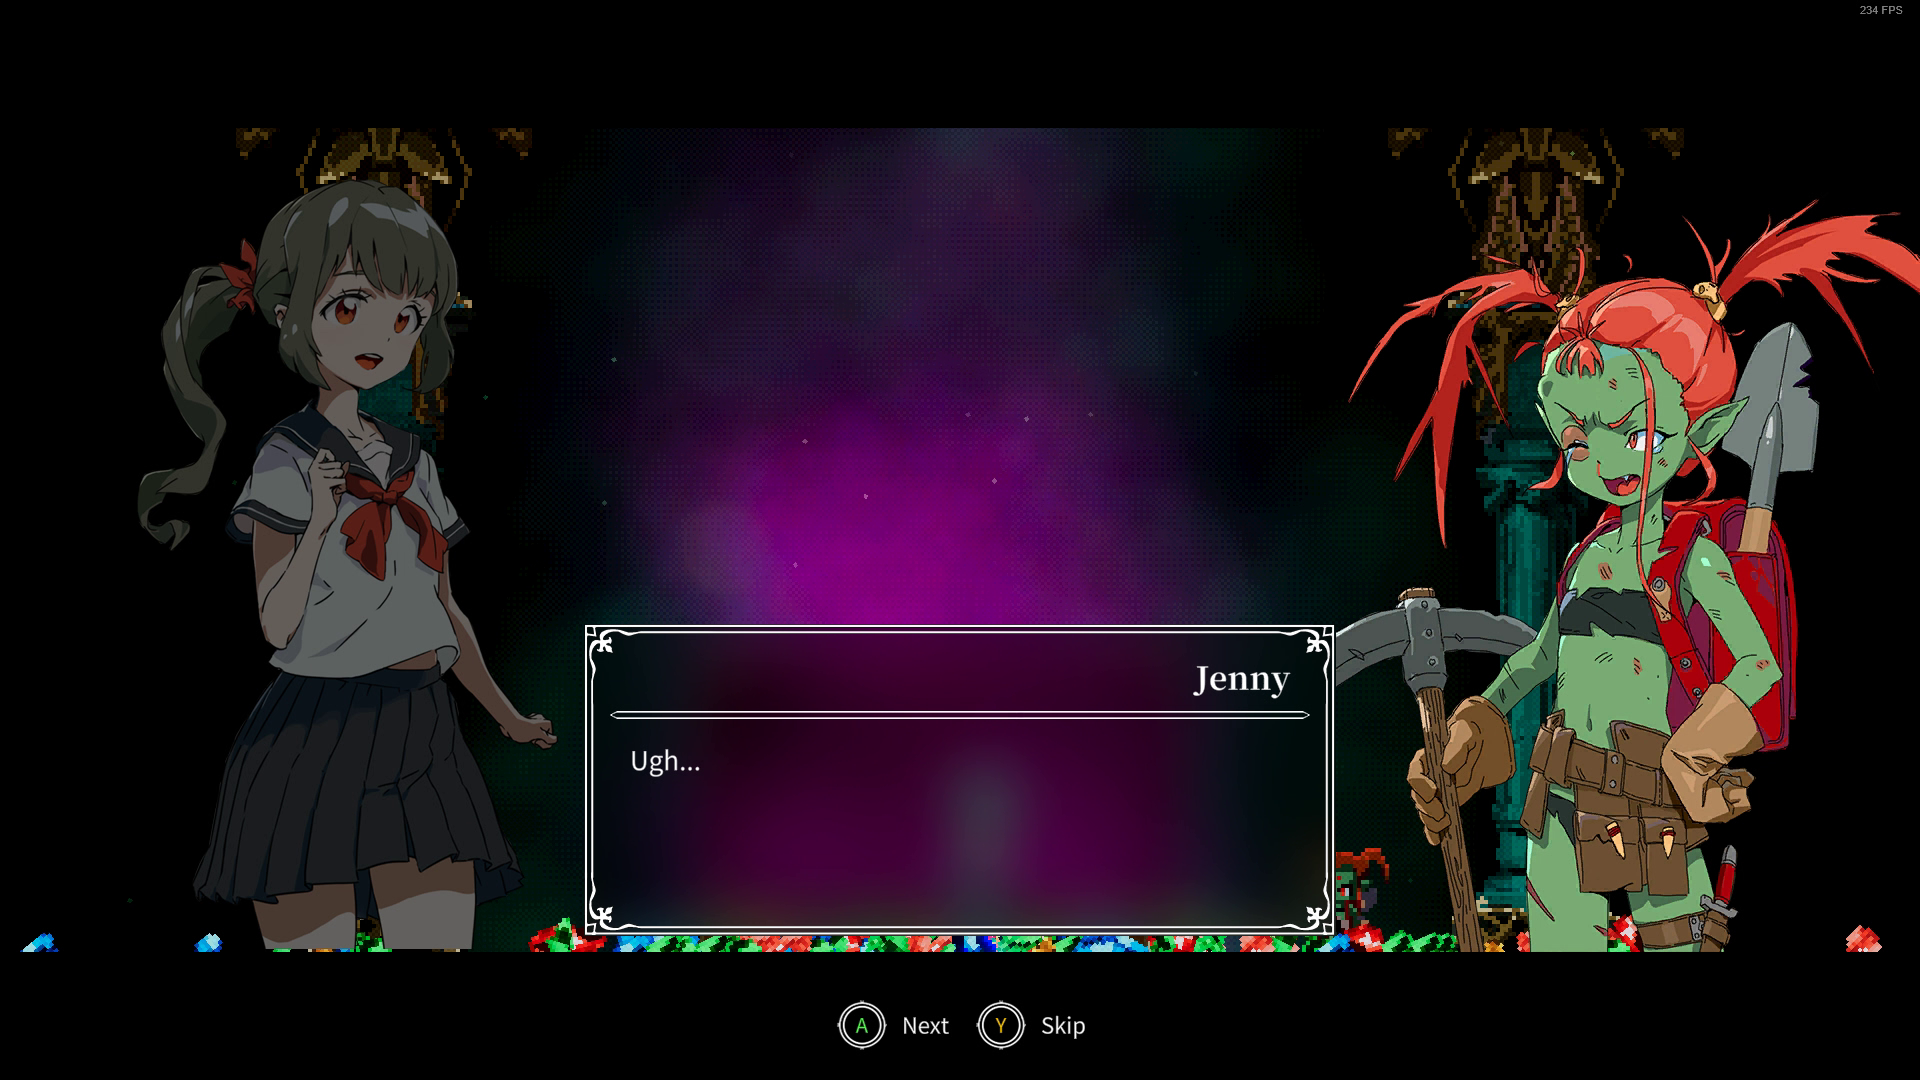
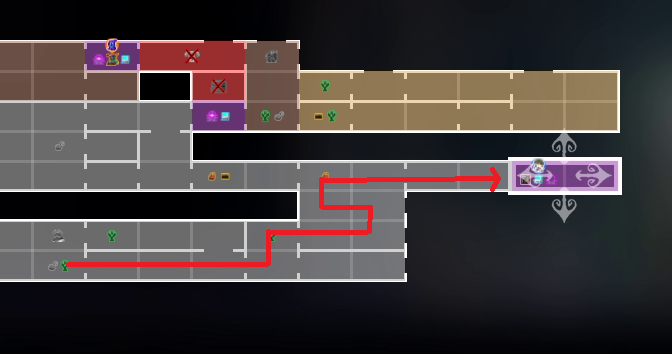
After leaving the Rosie boss room you will trigger A Goblin's Tale 2, take the Castle Lower Sanctum Armory Key and drop down to open the door to the treasure room (optional area). Don't mind the small tunnel near where Boris died, it's a shortcut that allows you to come back from some other area.
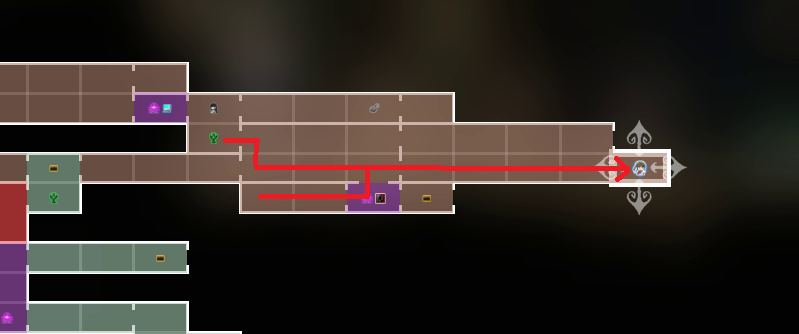
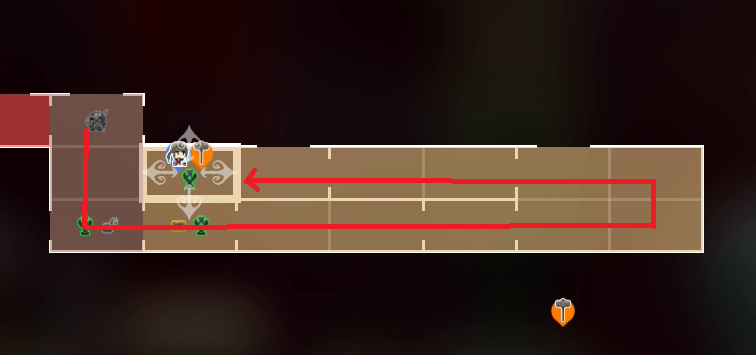
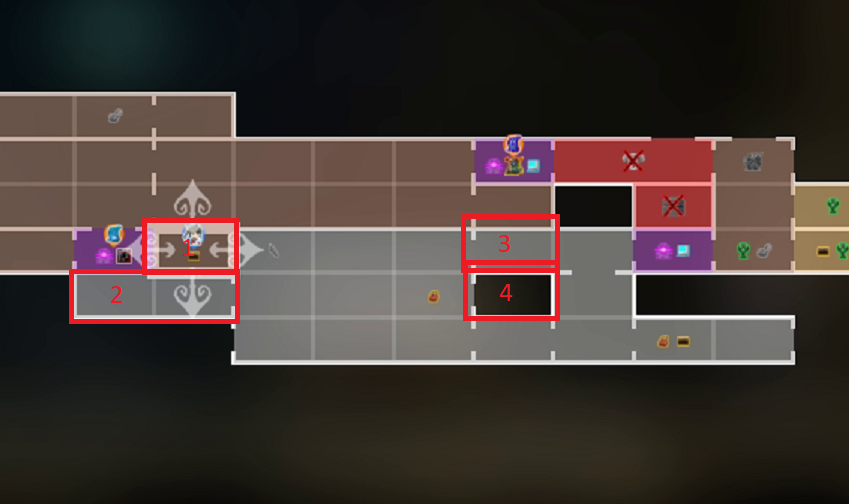
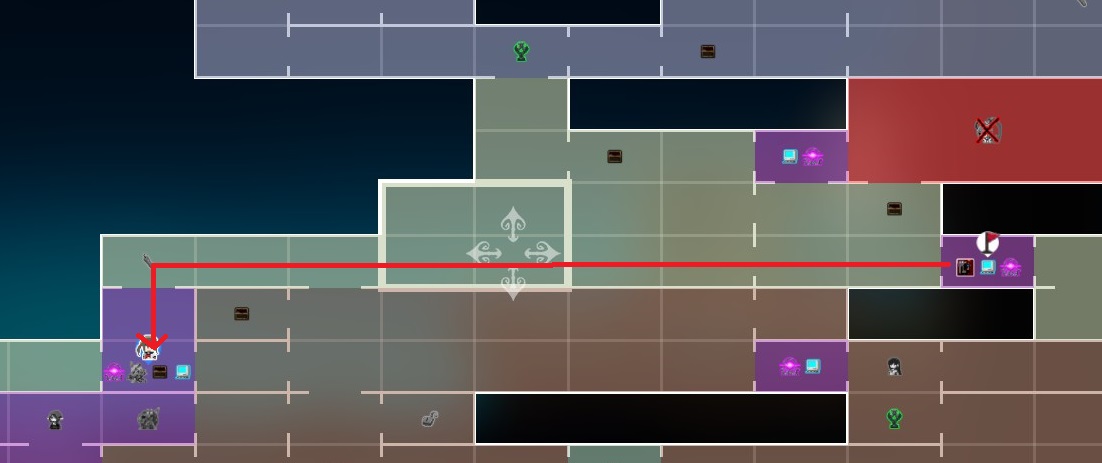
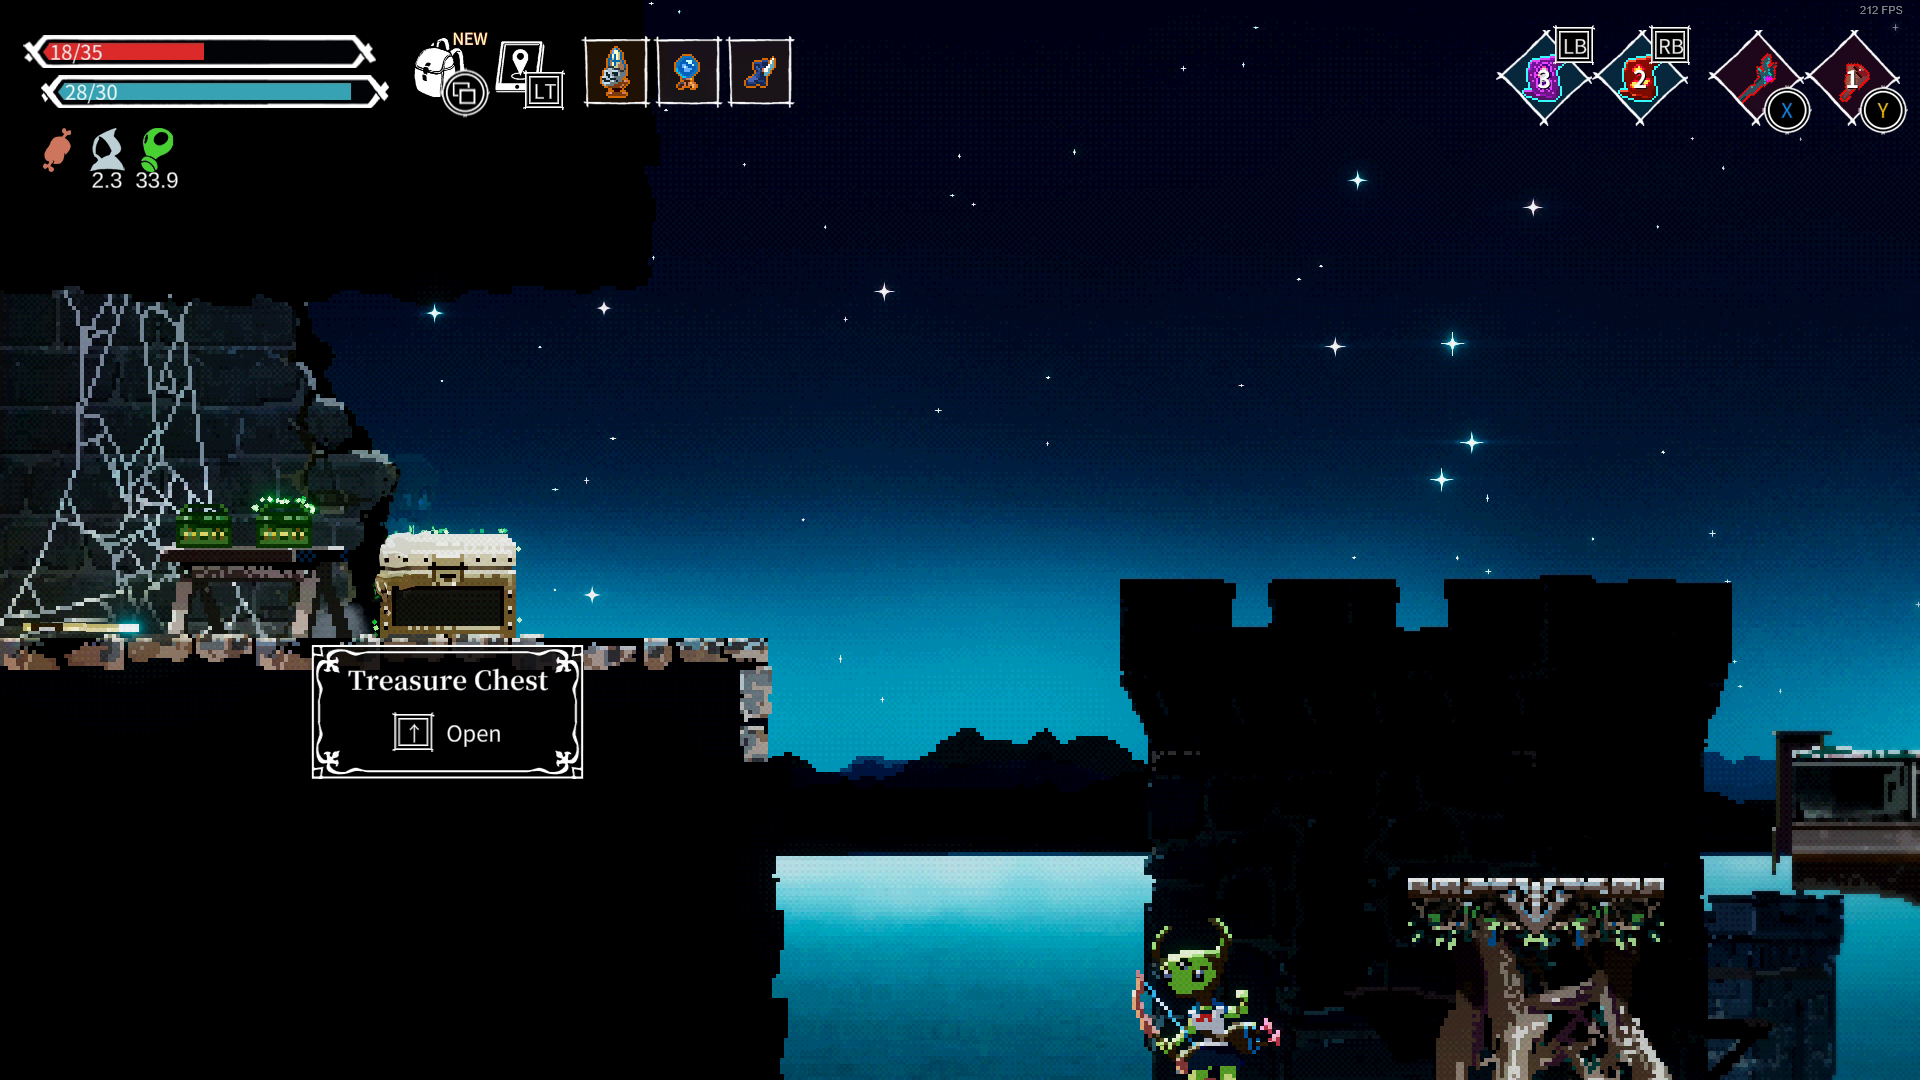
At the entrance of the treasure room you will find Golden Chest #6 and meet Jenny. Simply follow the route shown above to reach the end, pick up whatever gold you find on the way. There will be a puzzle involving two buttons and two shells, you know what to do.
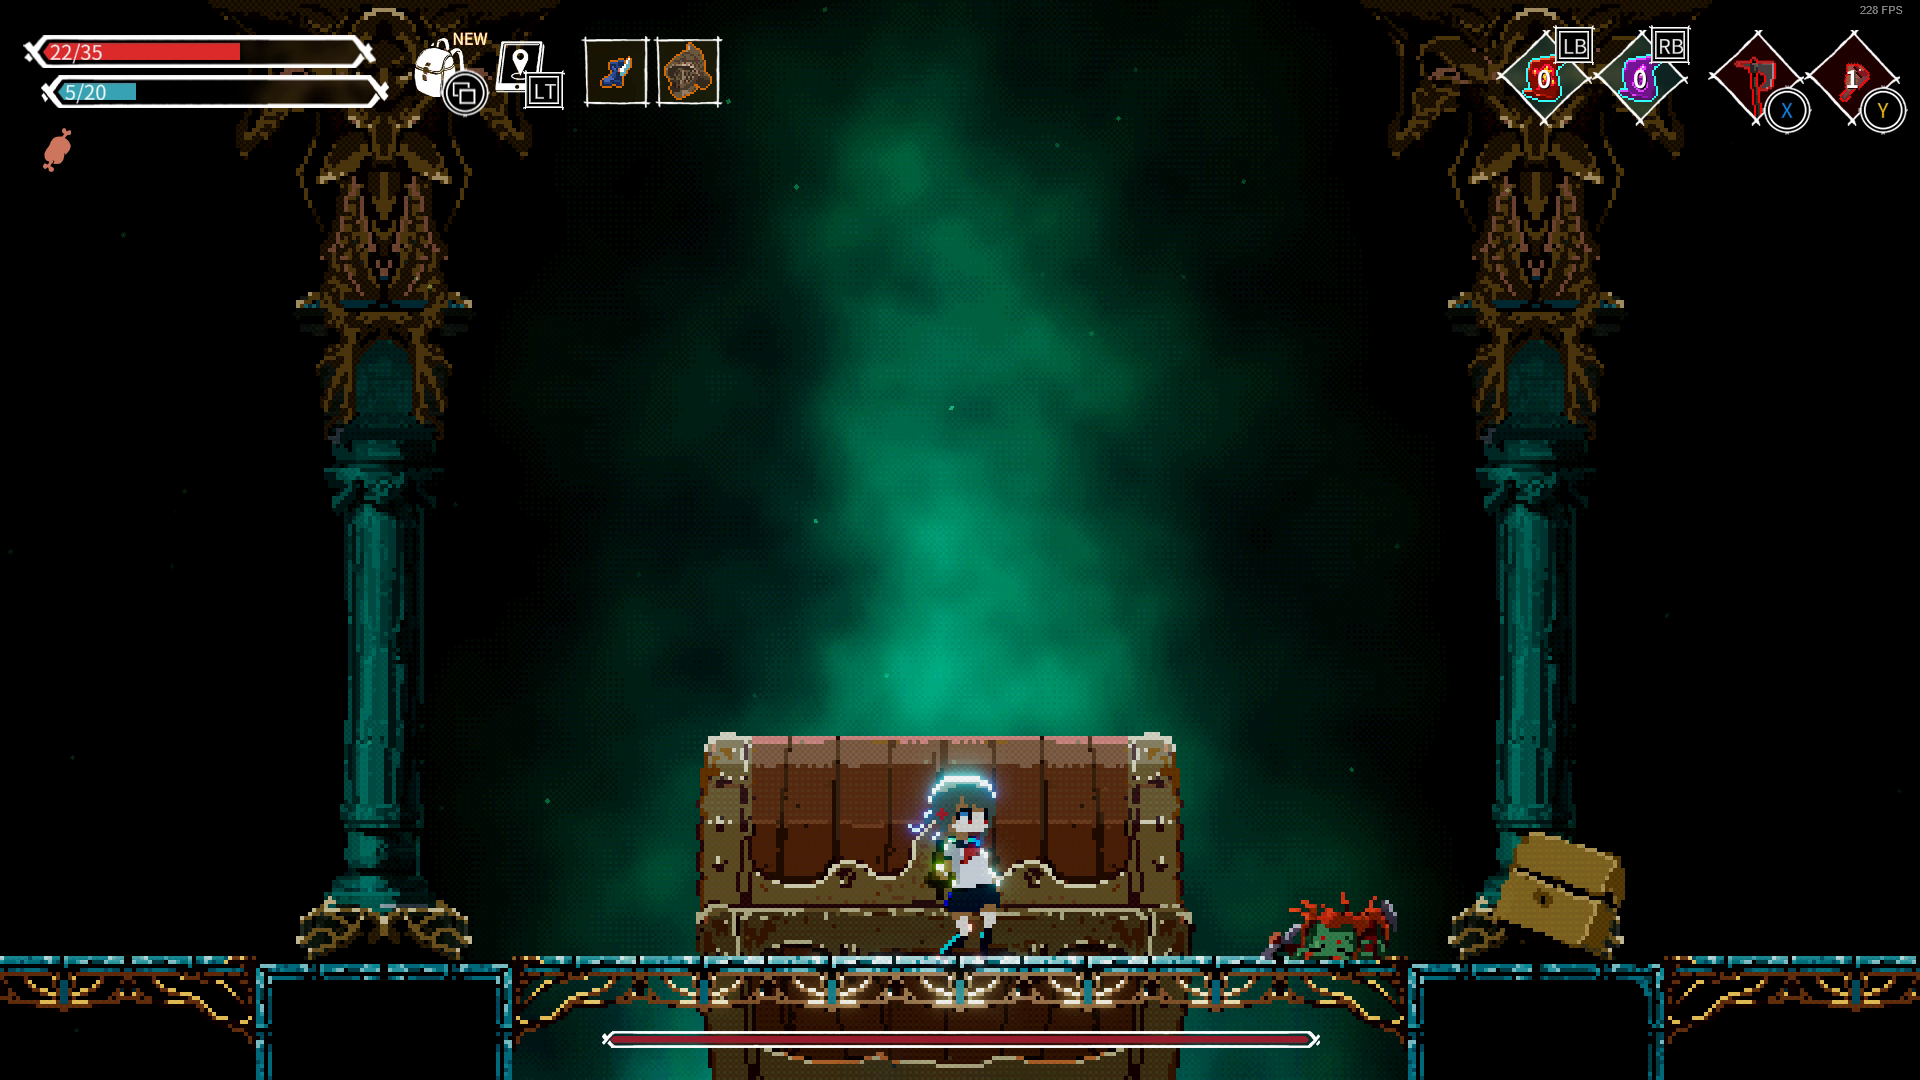
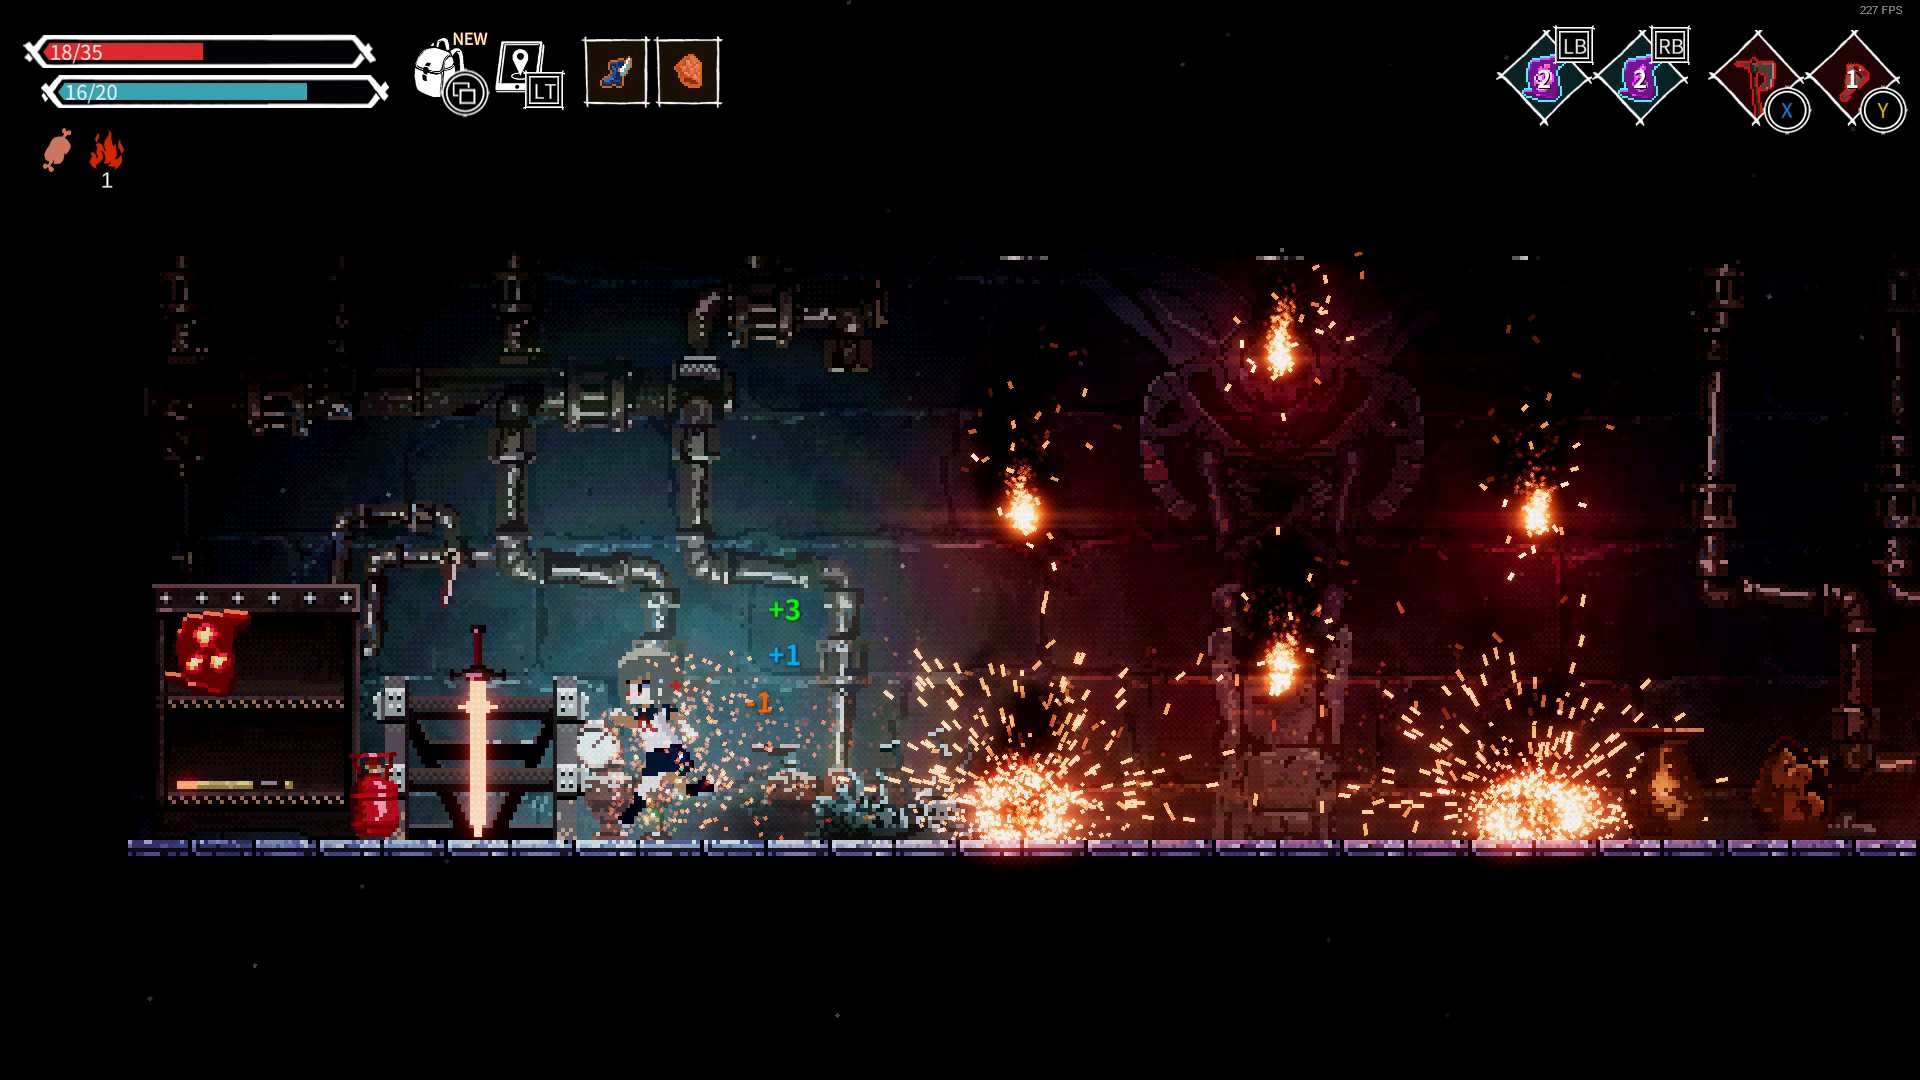
At the end of this area you'll find the Sledgehammer, tons of gold, a Plate Armor and the Corpse Absorption Spell that will make the next area a walk in the park. Golden Chest #7 will also be in this room, but this is not like any other Golden Chest -- it's a mimic. Opening it will not fail the Ascetic Lifestyle quest.
Mimic Boss Fight
Even until now I have not seen all the Mimic's attacks, the fact is that I shred through her health so fast she just ended up using the same Boob Slamming attack over and over again.
_________________________
_________________________
In her first phase she is locked up in a tiny chest, her first attack will be to charge at you. Big mistake, as this puts her in a corner where you can stunlock here by relentlessly slashing.
_________________________
_________________________
Don't give her any chance to attack during the second phase, equip the Gladius/Hatchet plus any items that boosts your attack speed (Leather Gloves) and damage (Gladiator Helmet/ Gladiator Armor). Keep slashing until her hitbox is gone, then run to the far right corner of the boss room. Get ready to time your jump to her slams, on her third slam she will send waves of golden coins to you, dodge it but not too far or you'll run into the falling gems which deals bleeding damage.
And that's about it, she'll occasionally drop coins at you and there's a blue orb attack which I never got to see happen.
After the fight you'll meet Jenny again, who gives you her Pickaxe.
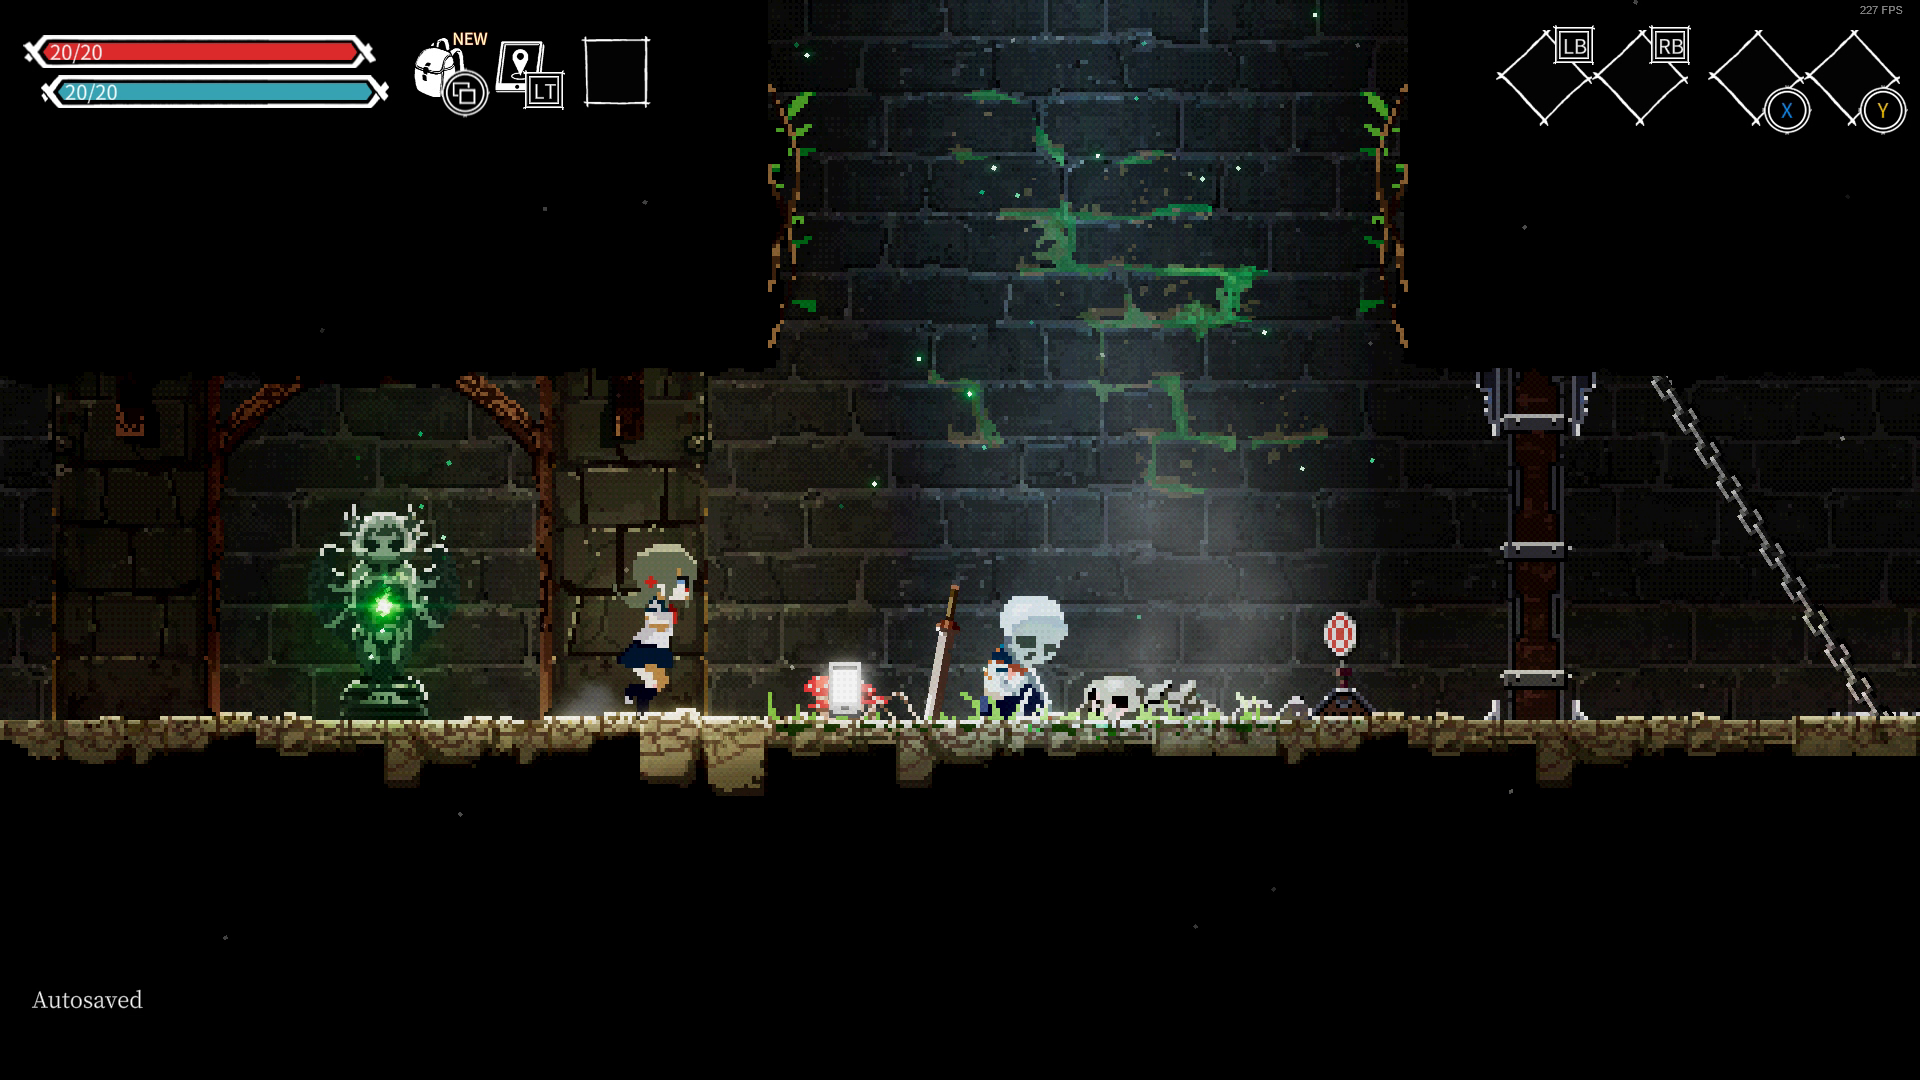
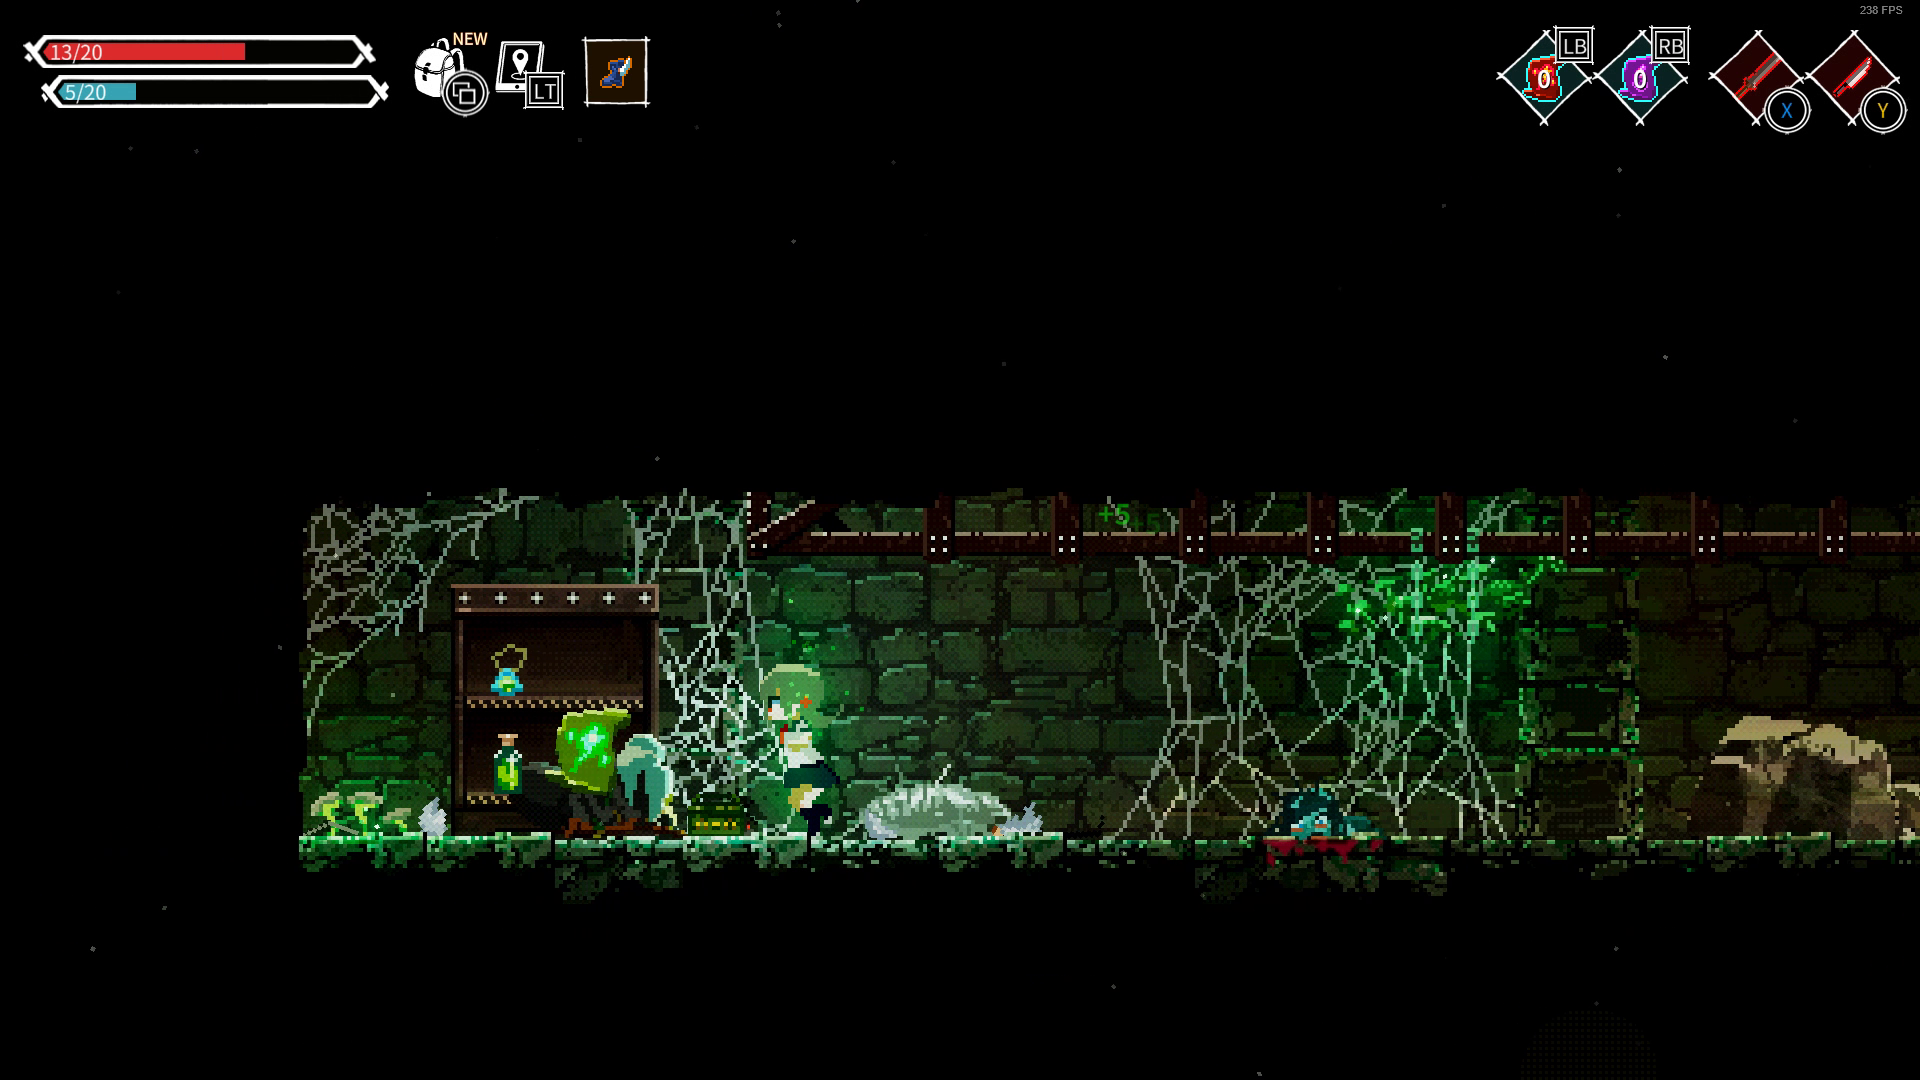
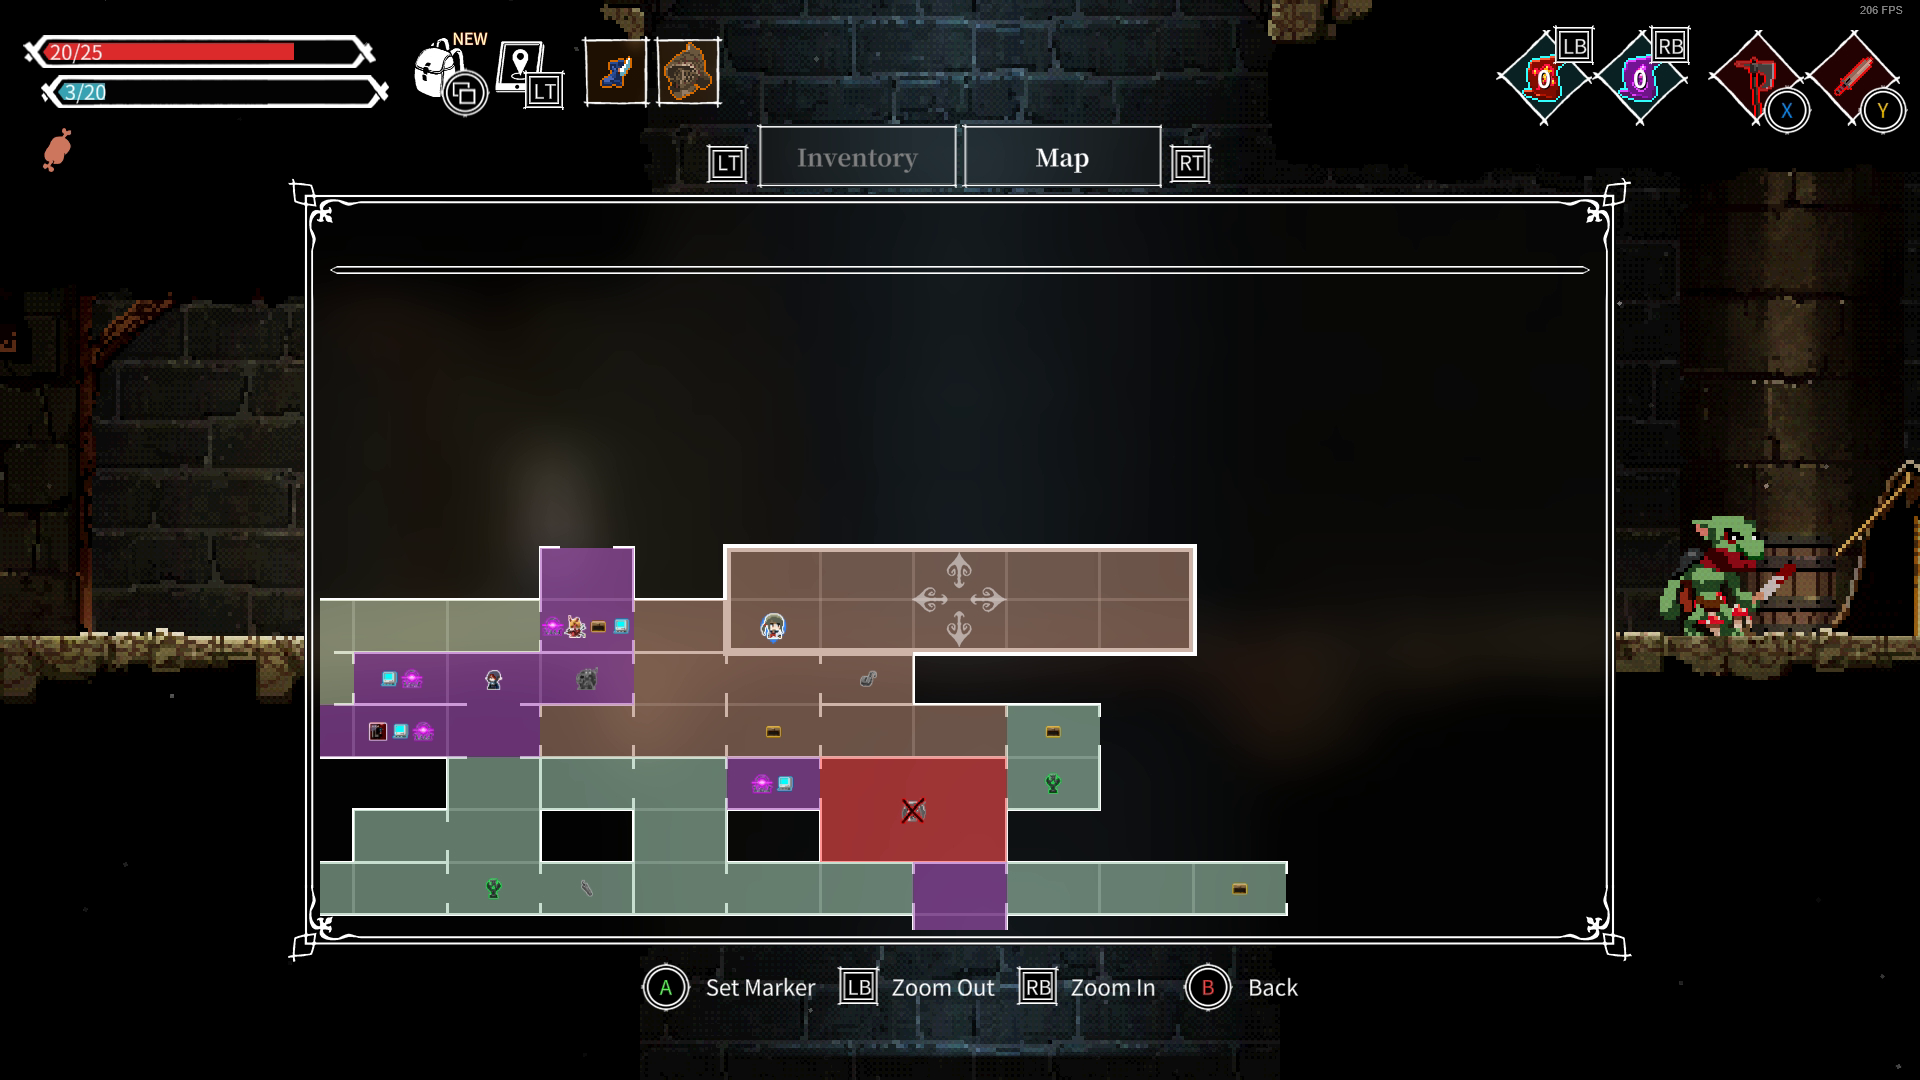
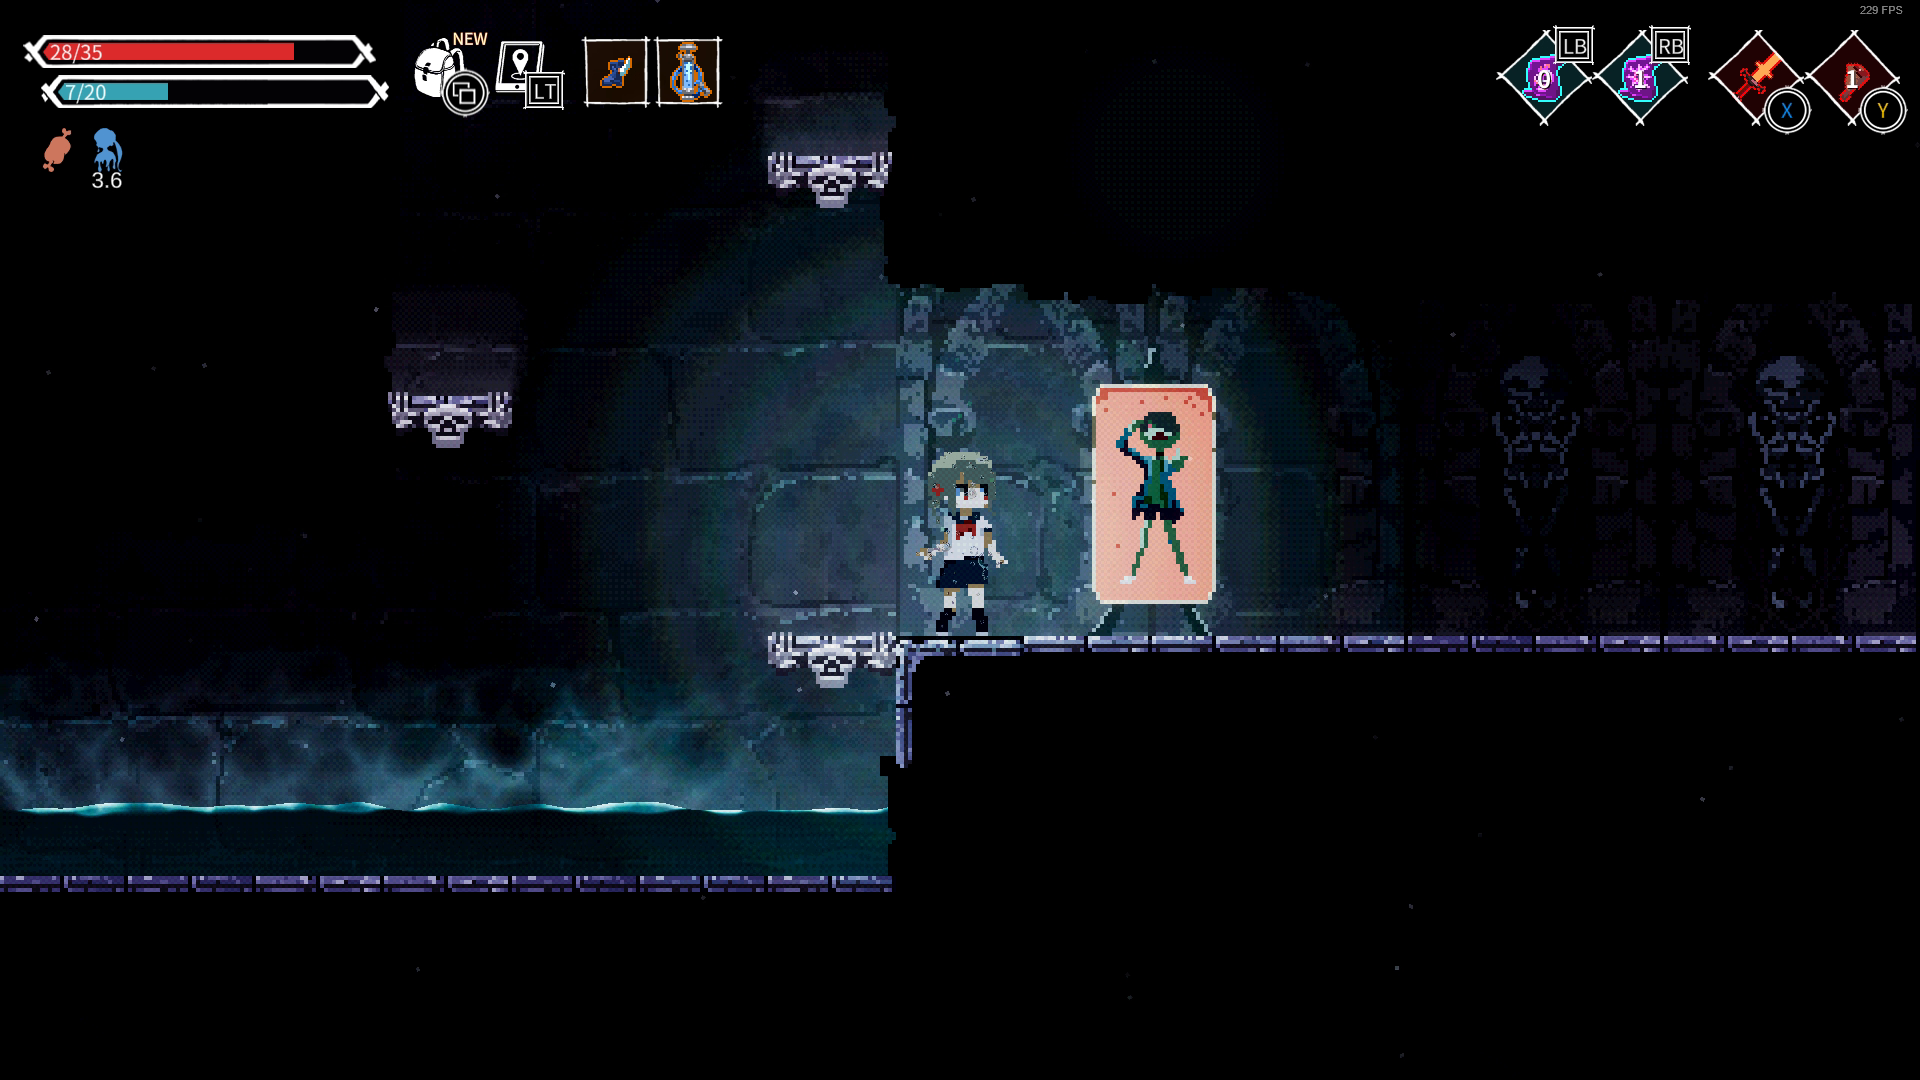
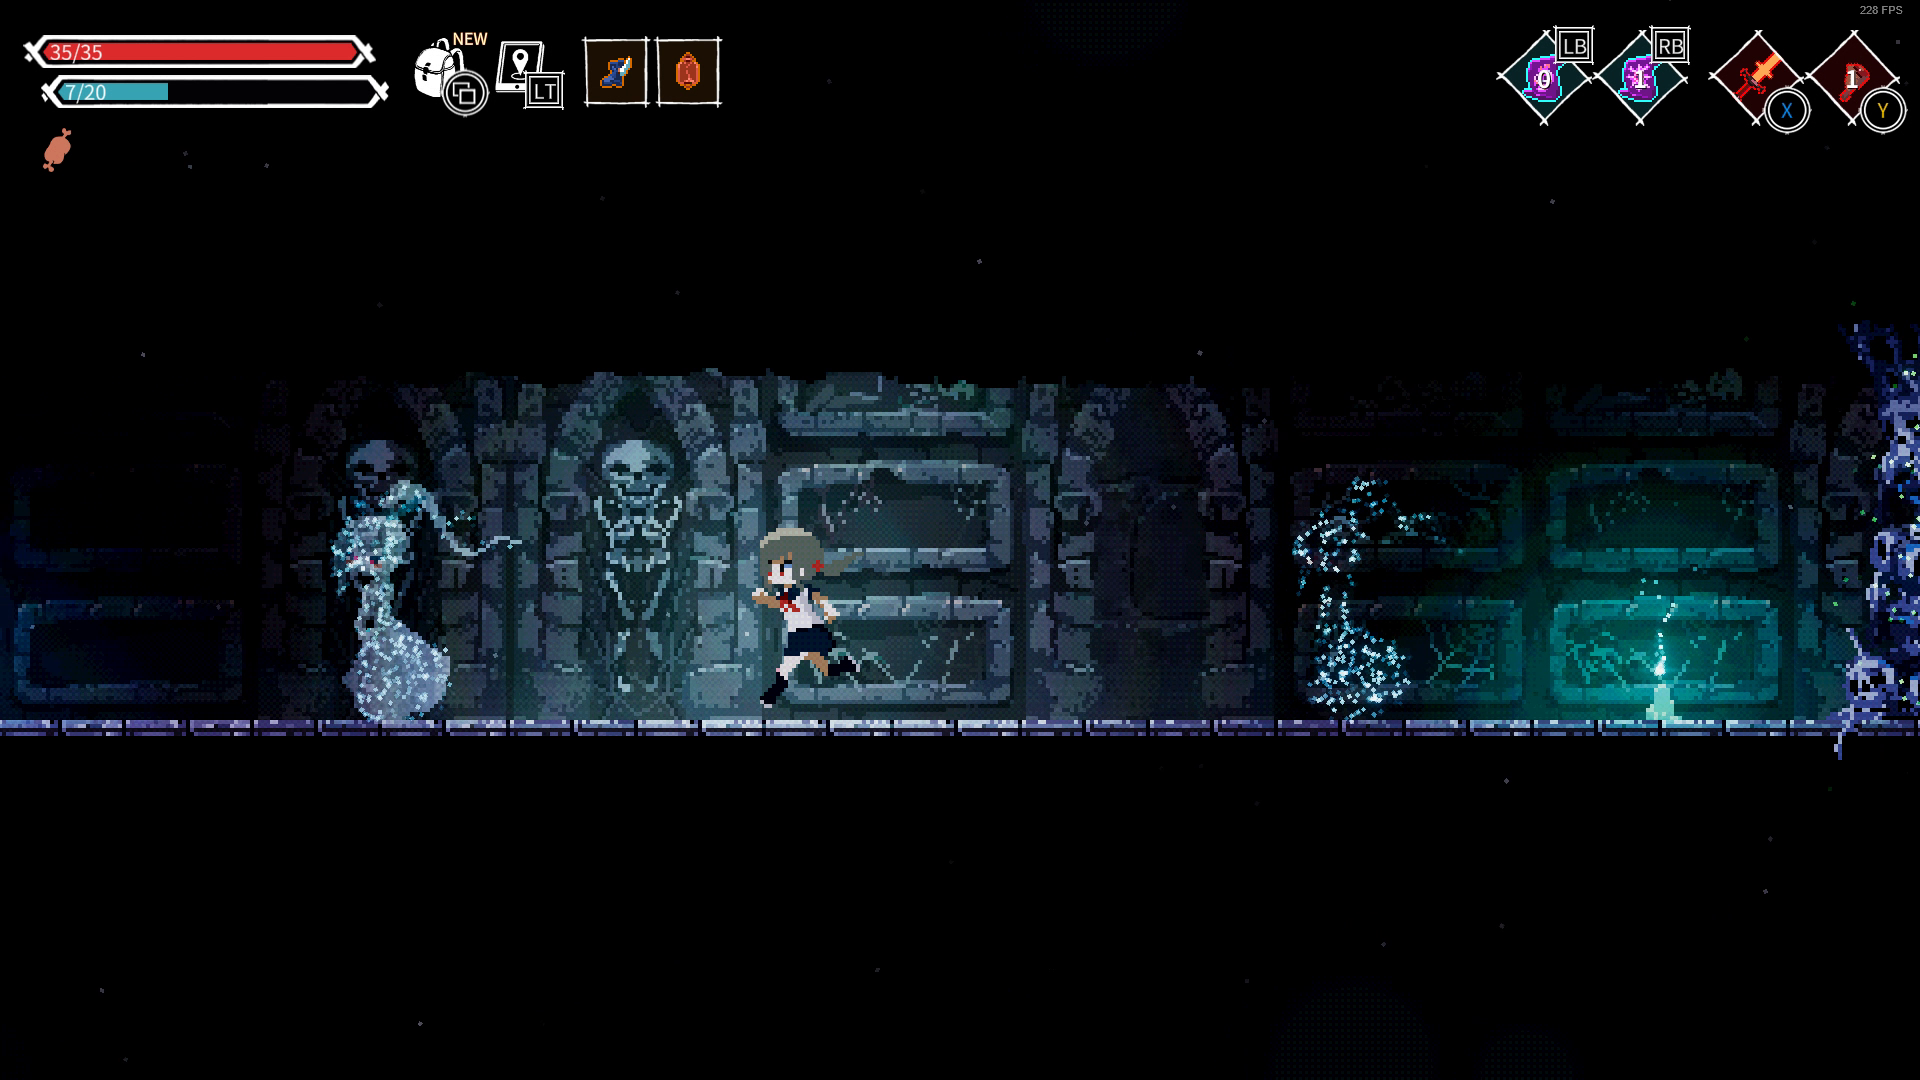
Part 5.1: Catacombs
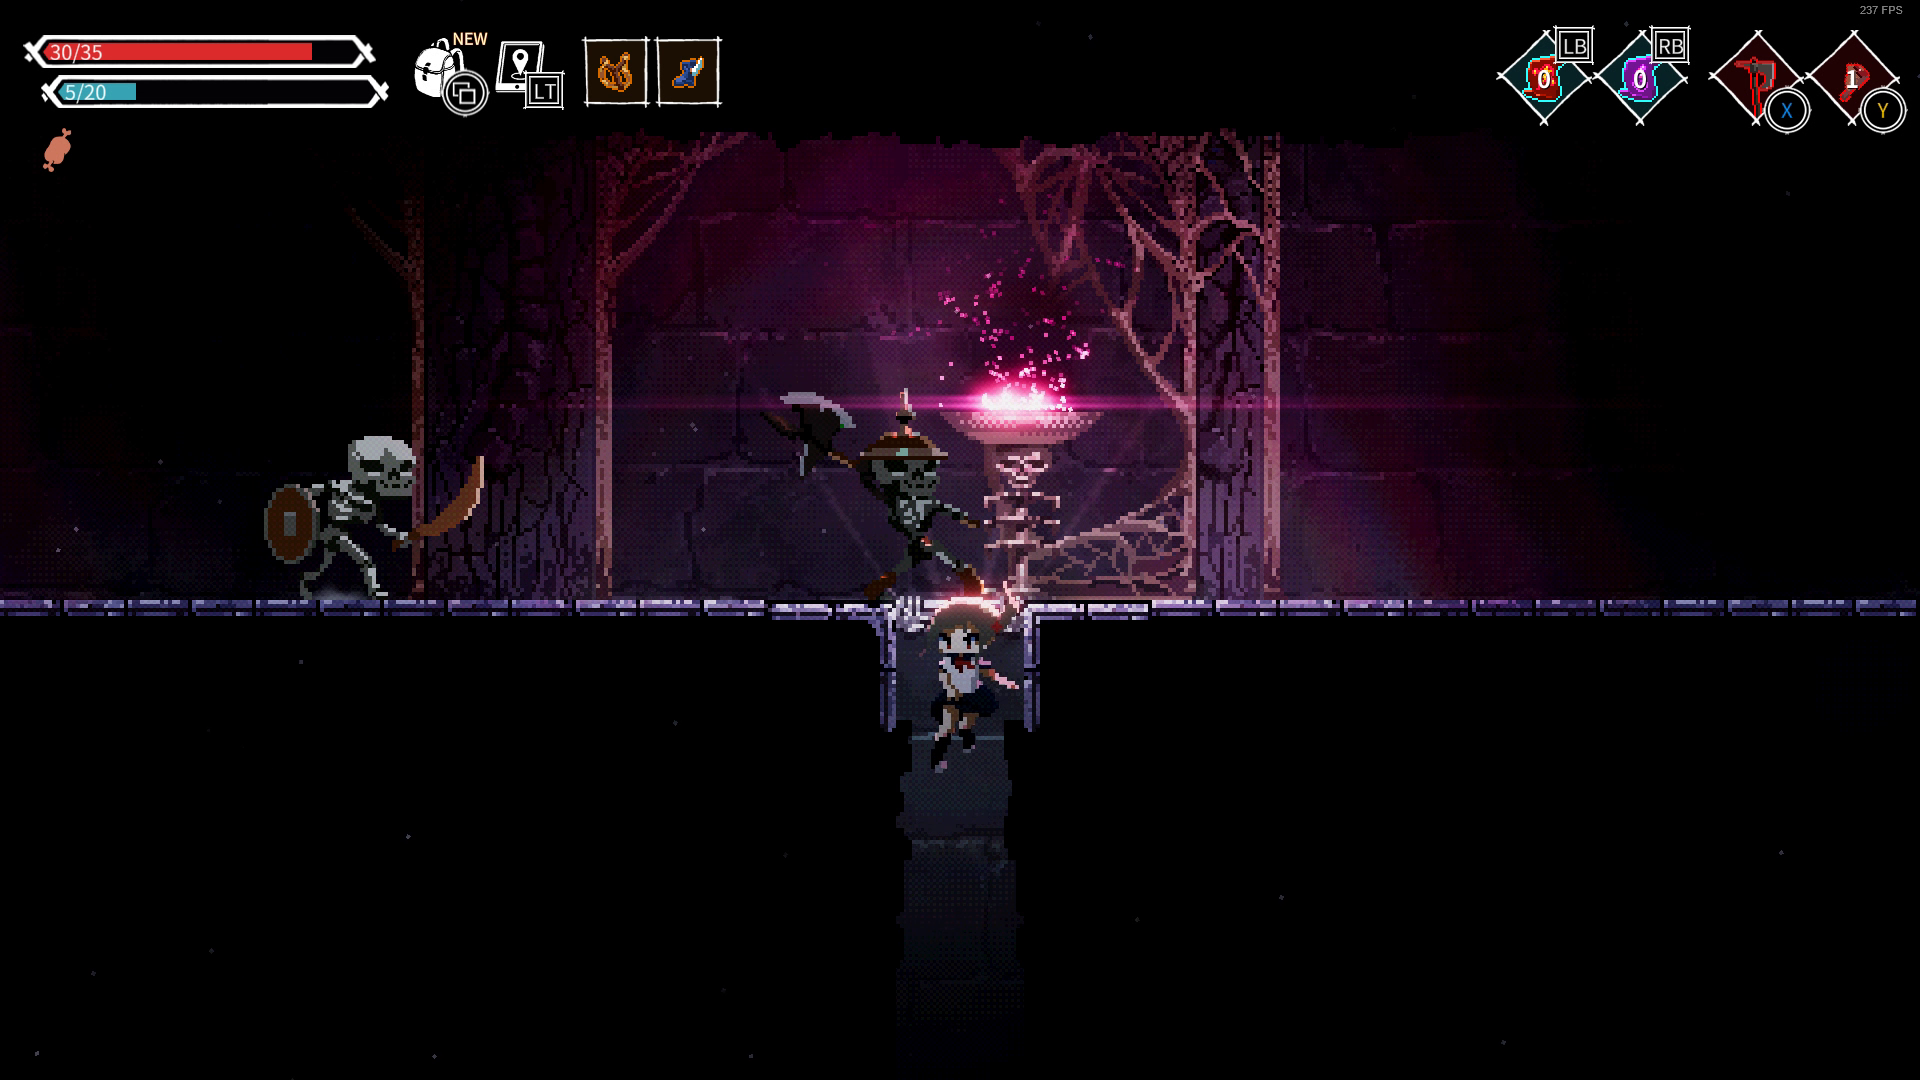

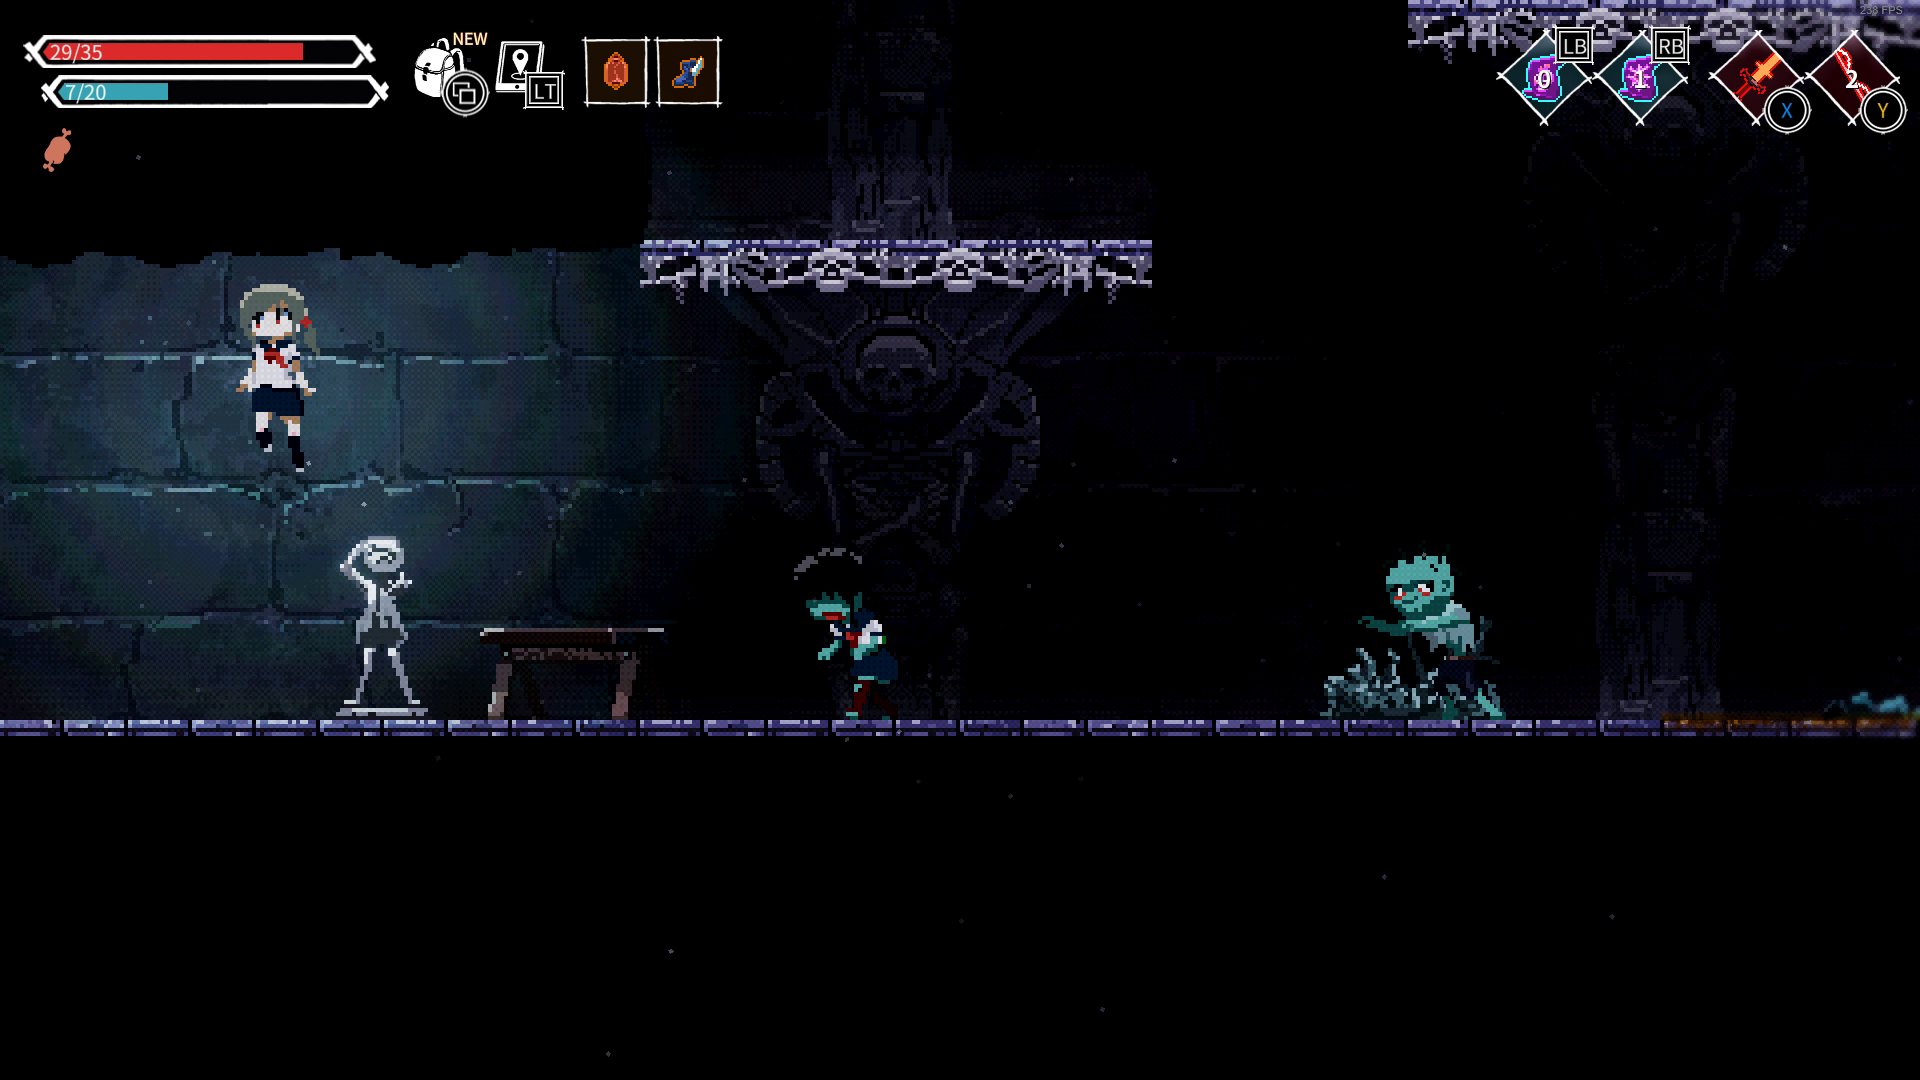

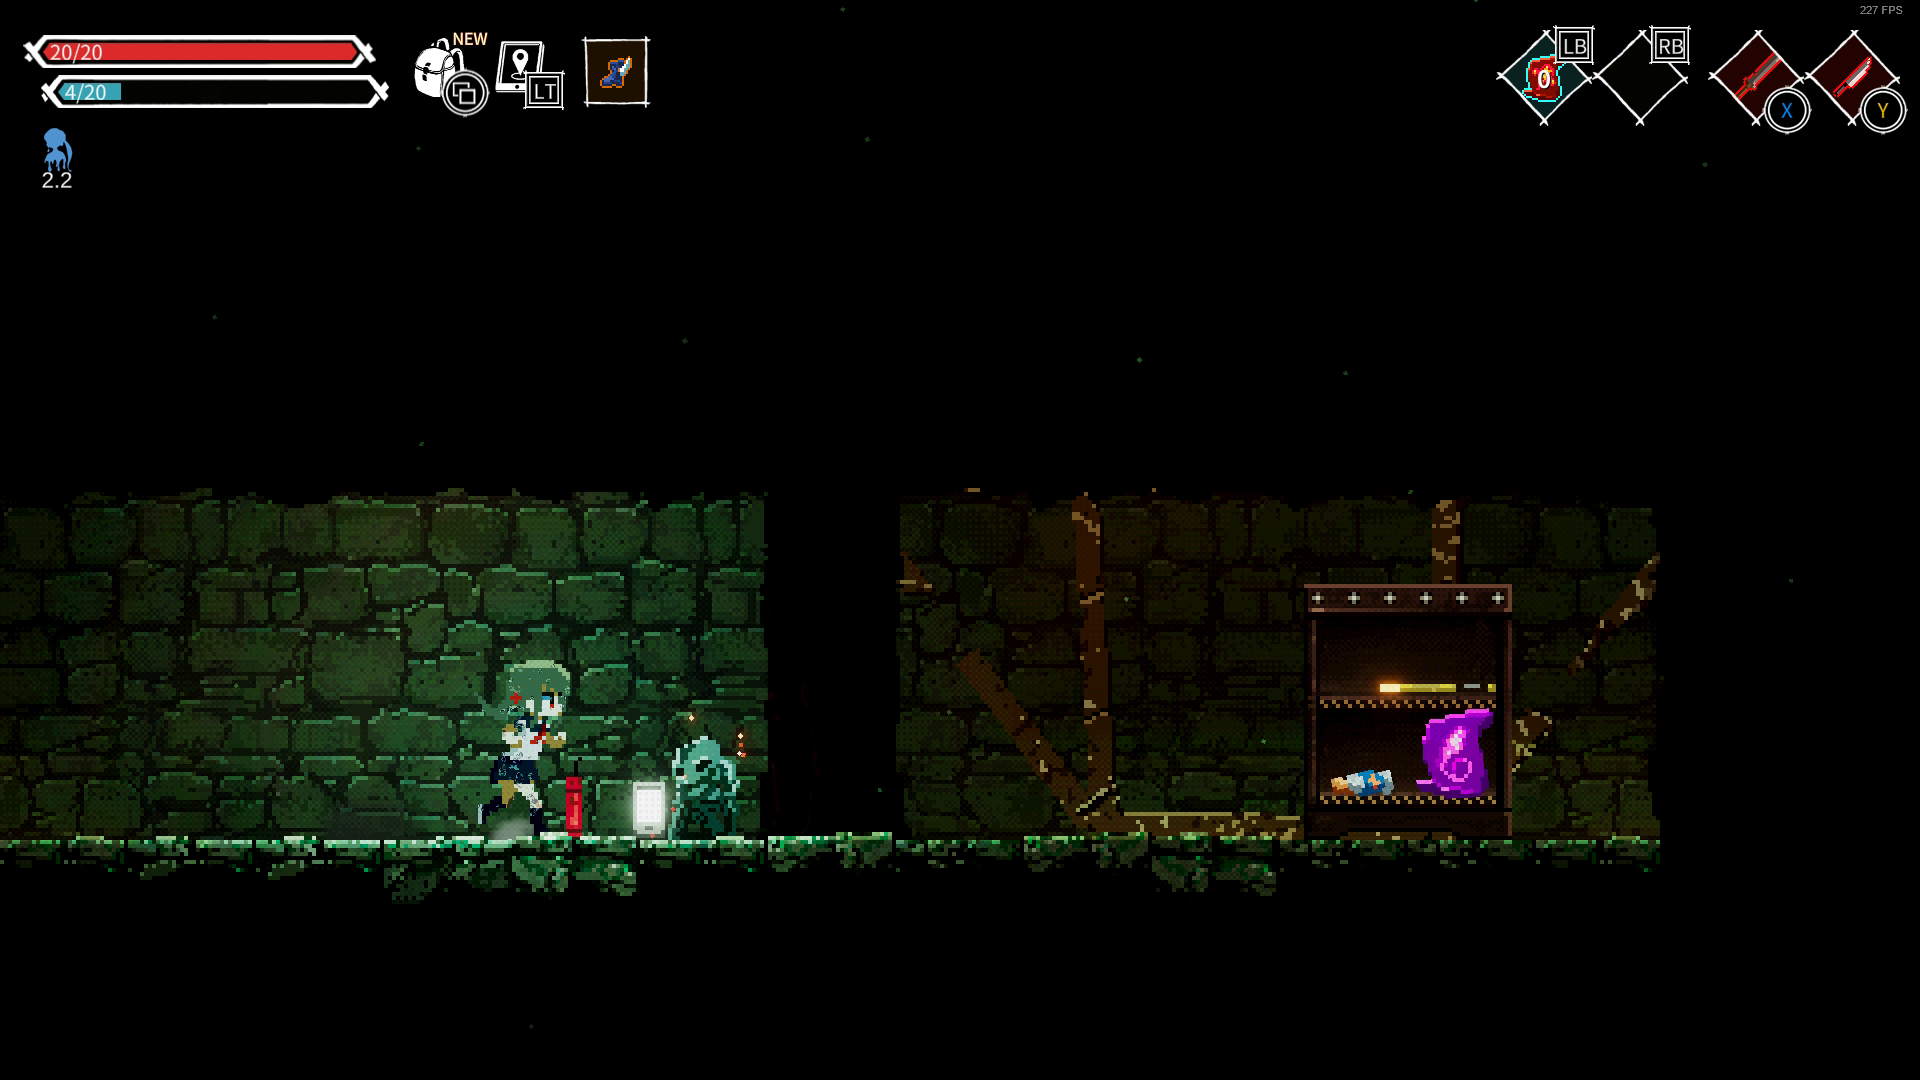
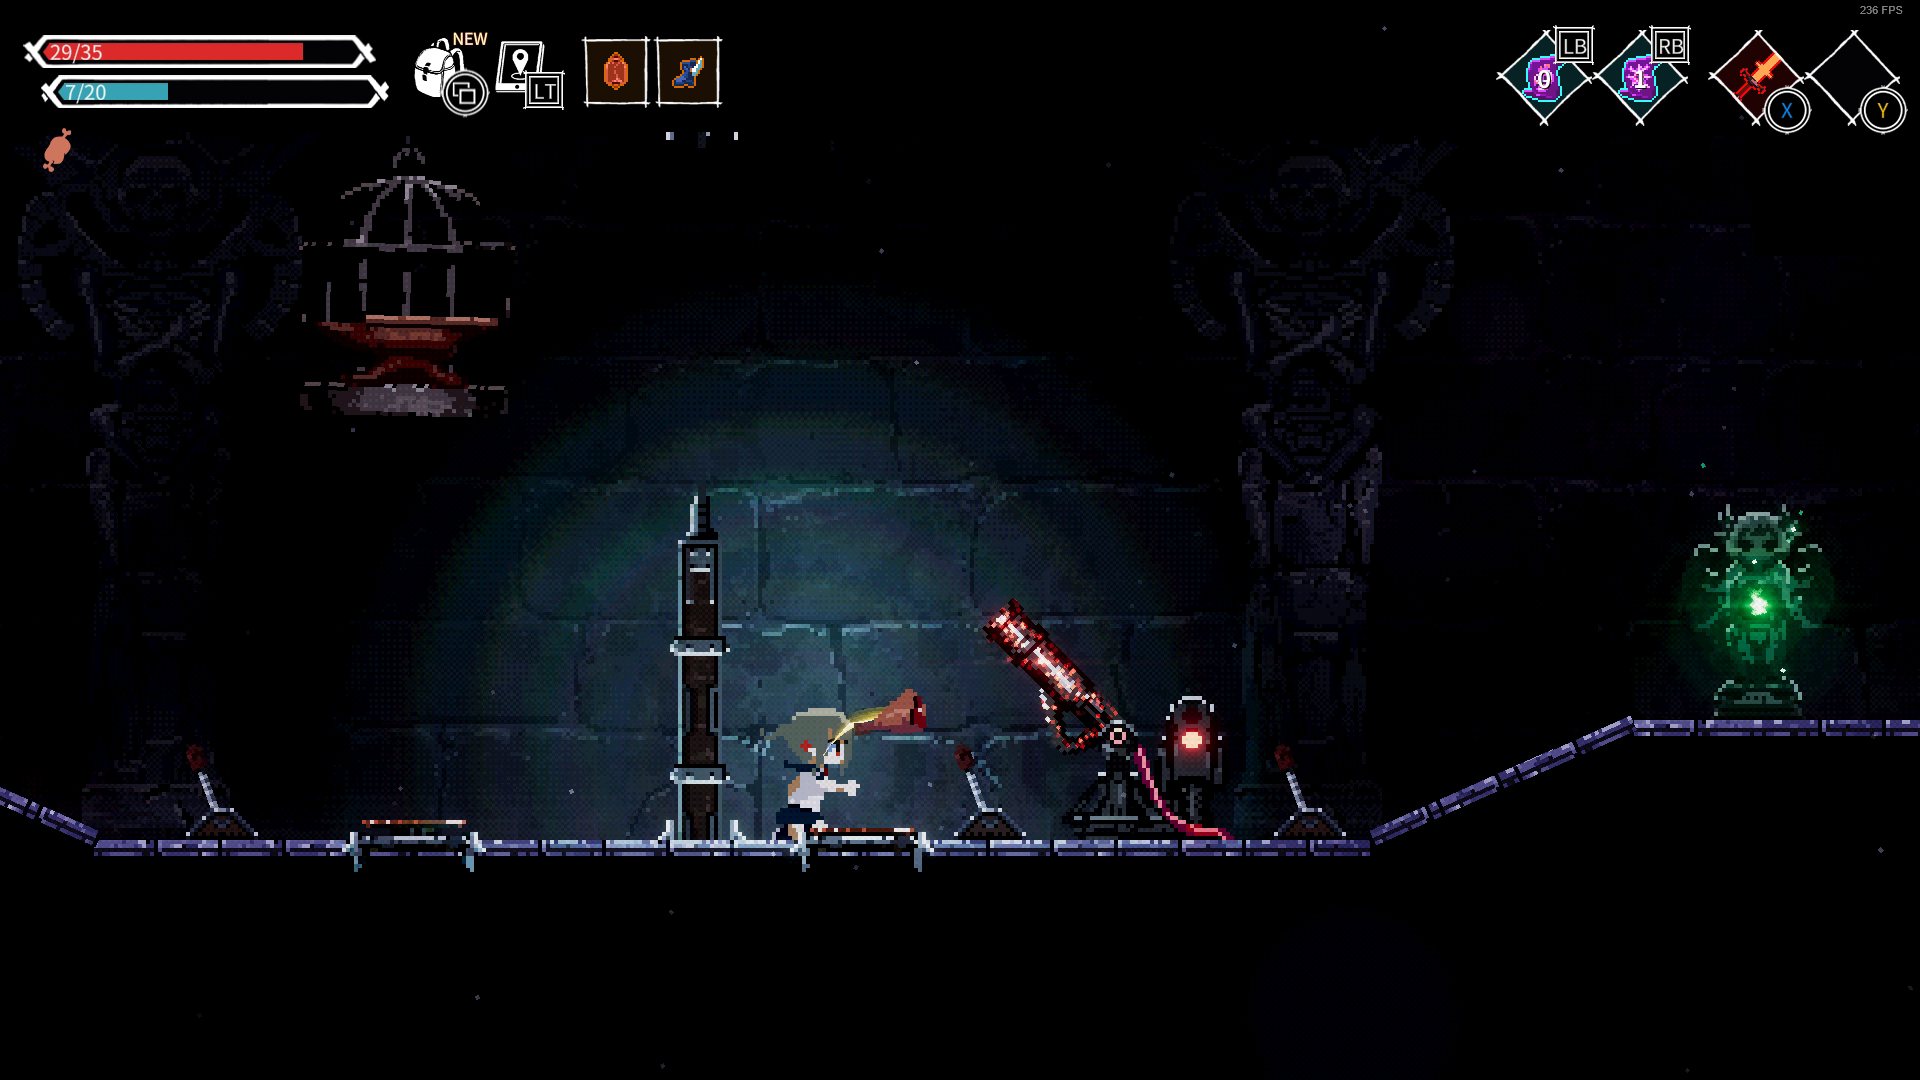
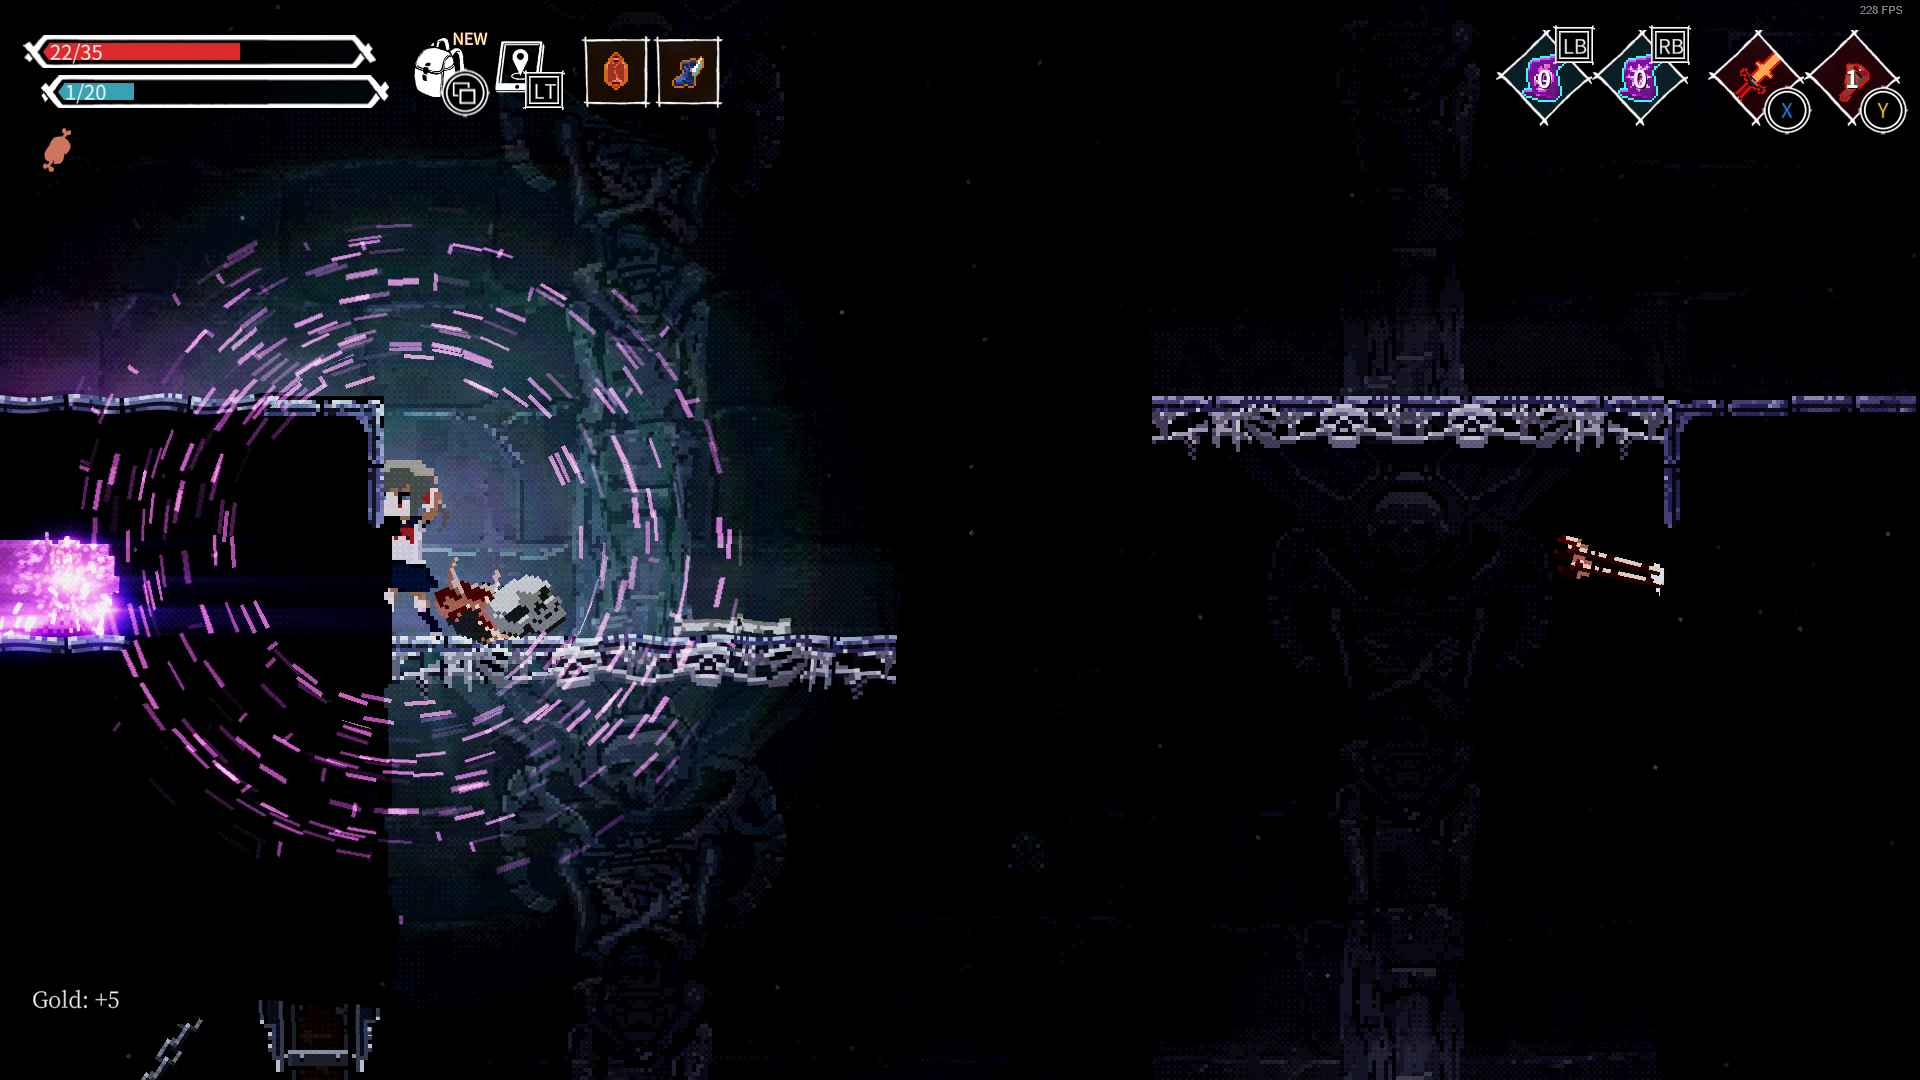
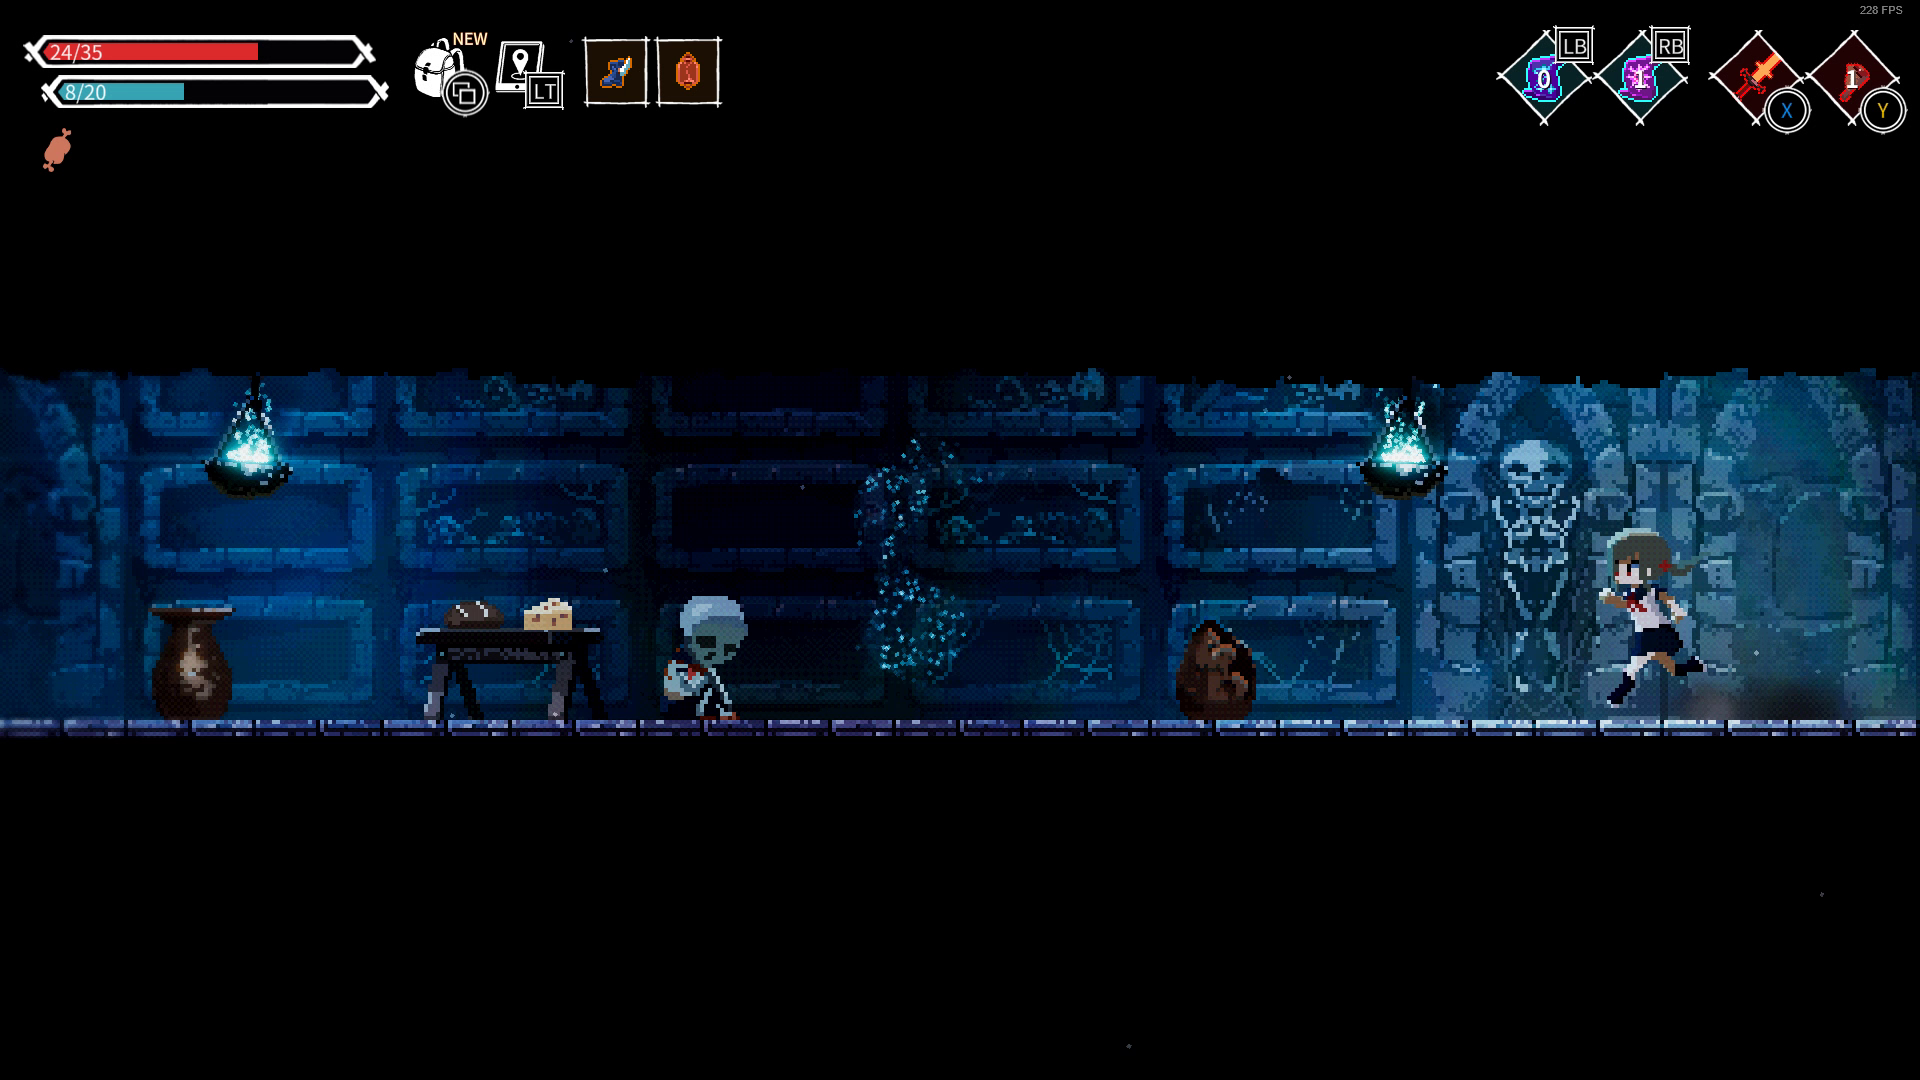
After coming back from the Treasure Room you'll have to head left into the Catacombs, here you will want to equip your Corpse Absorption Spell as skeletons/zombies count as corpses. Using this spell on them will damage them and heal you + replenish some of your mana. It is a crucial spell to have if you don't plan on struggling here for more than an hour.
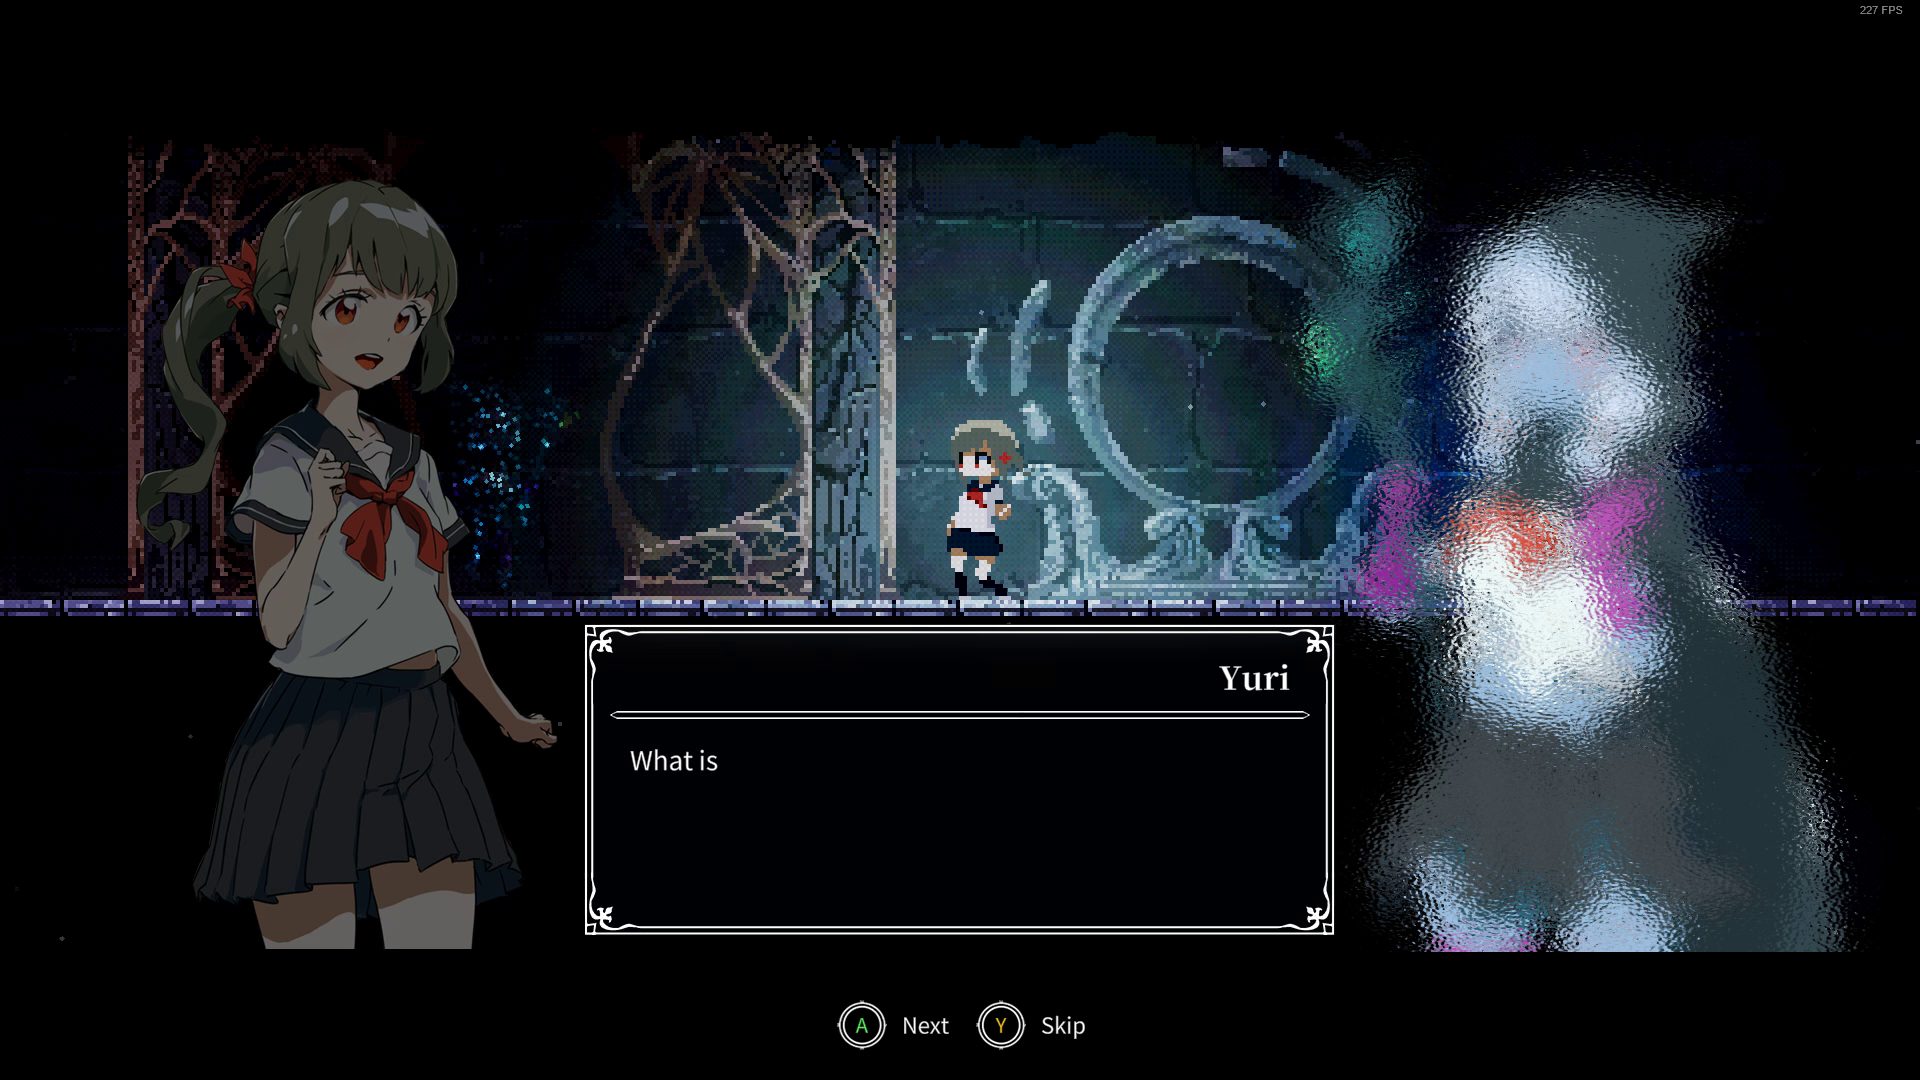
At the entrance of the Catacombs you'll find Portal #11 plus an encounter with Yuri.
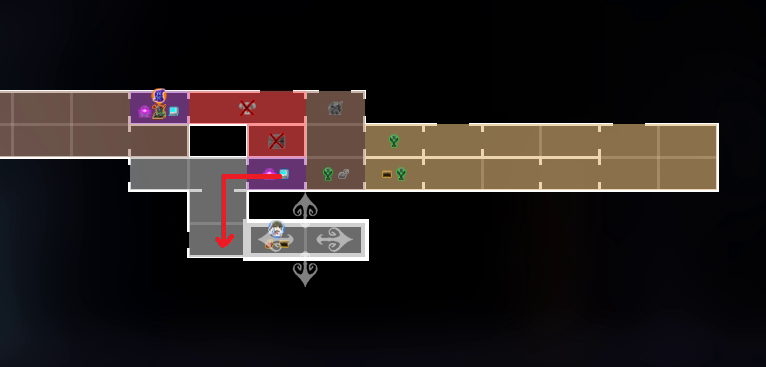
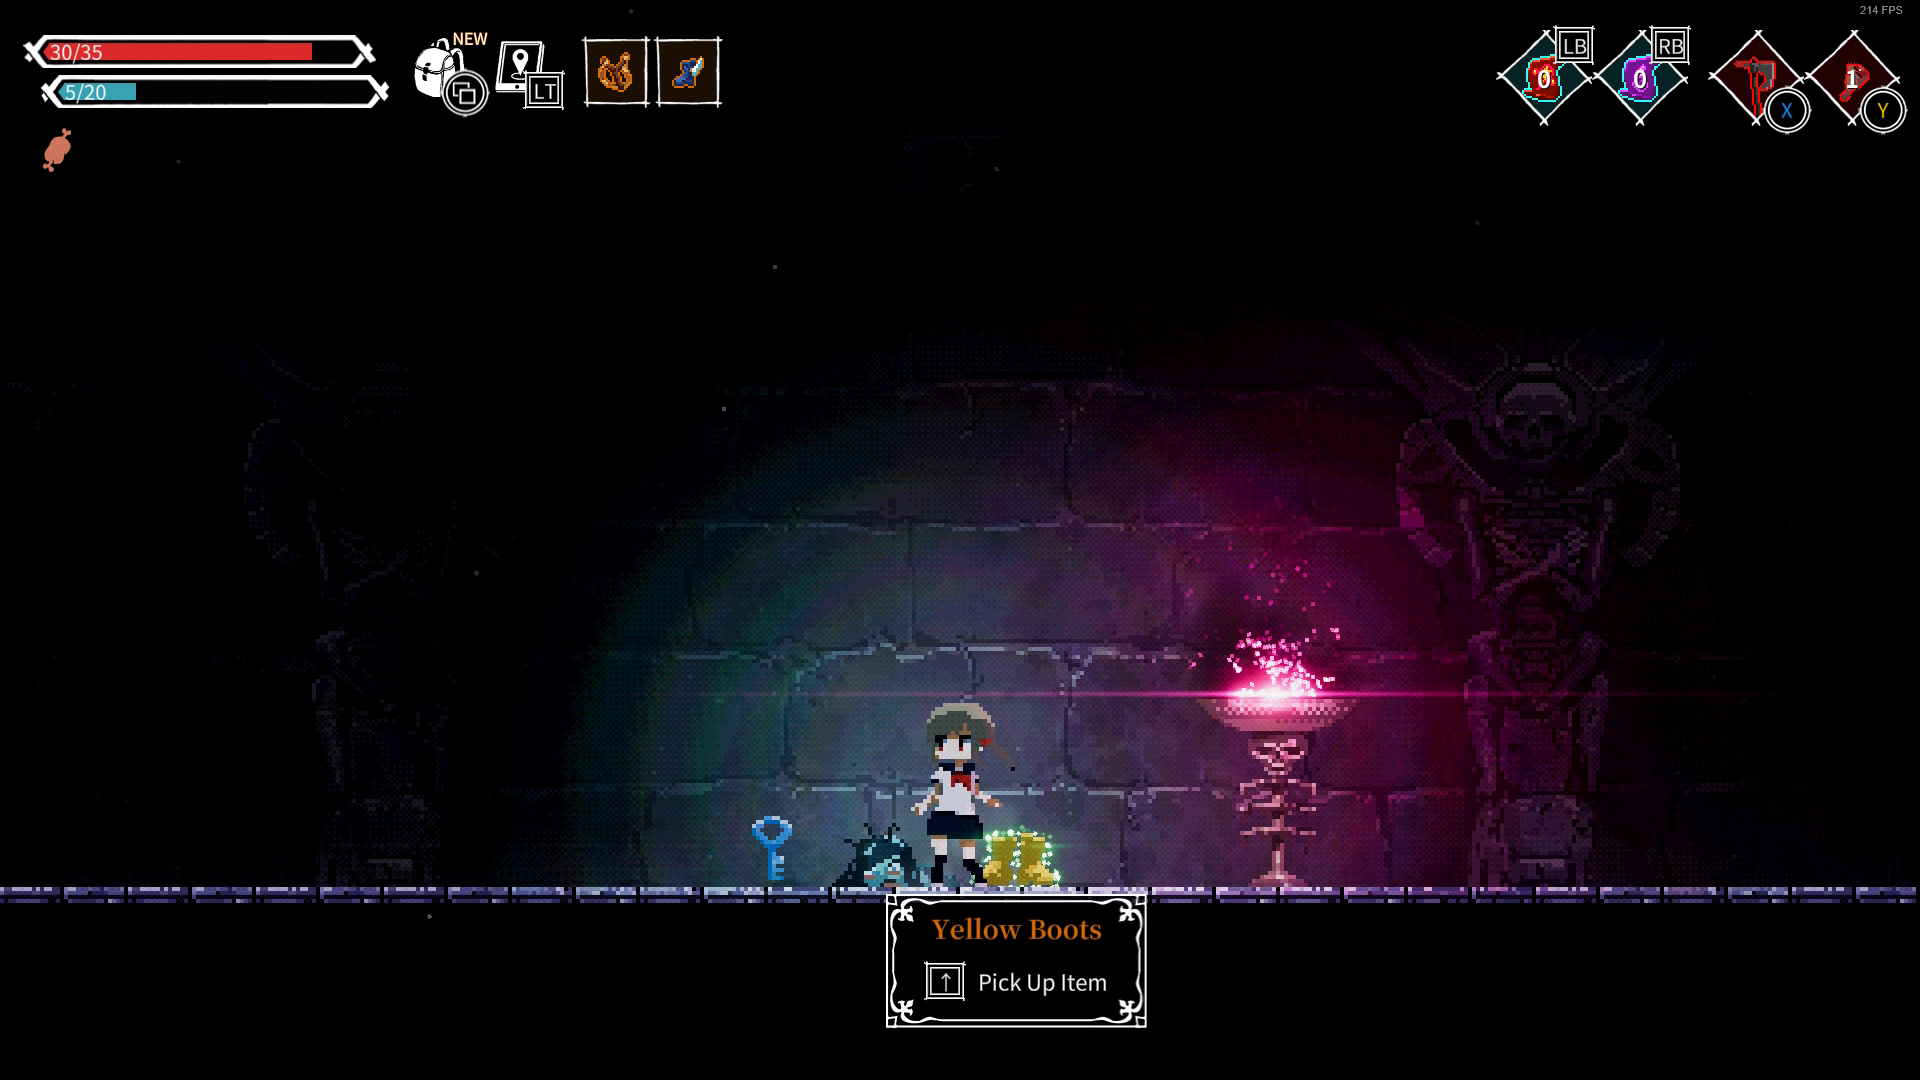
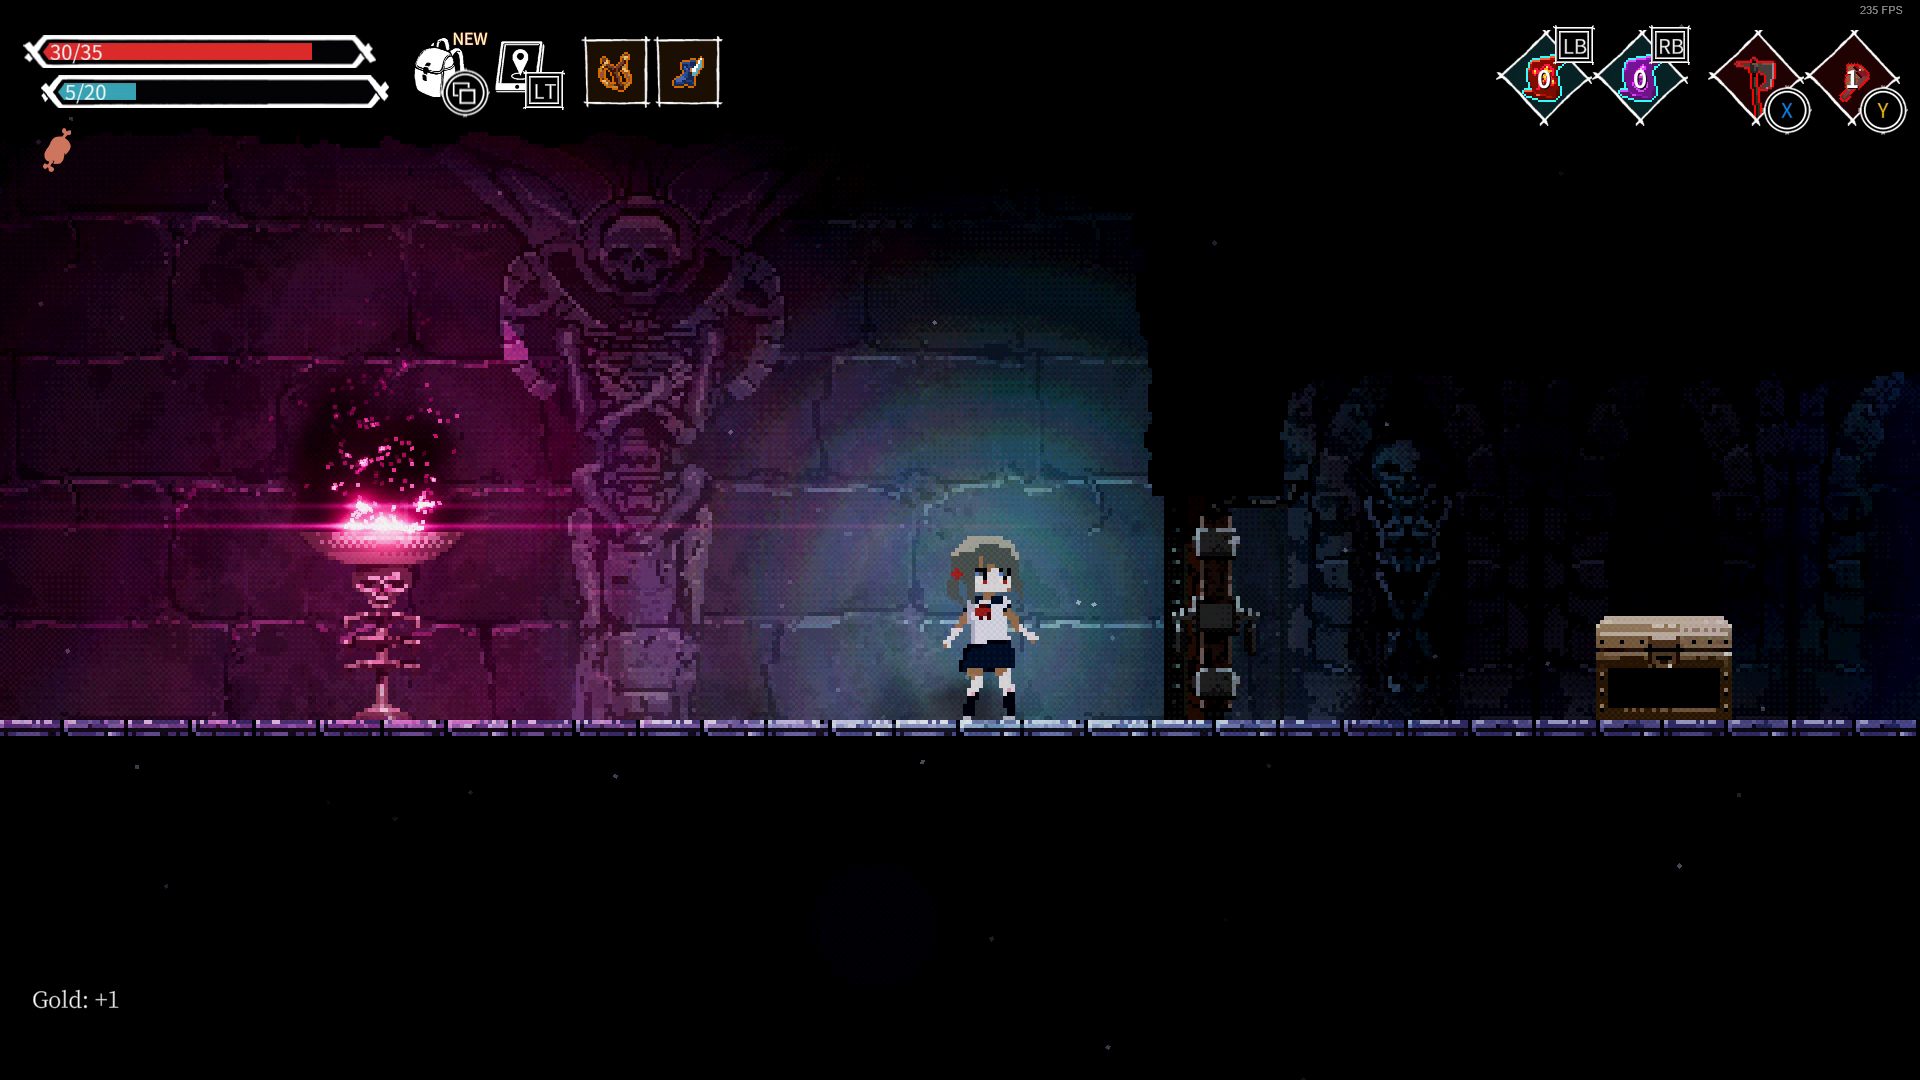
Keep going left and drop down at the ledge below a pole arm skeleton. Here you'll find Yellow Boots and the Crematorium Key. Going right from here will lead to Golden Chest #8 behind a locked door, the crematorium key is not for this door, it has to be accessed from the other side.
Going left from where you found the Yellow Boots will lead to a room with acid on the ground. In this room you'll find your first Icon (Icon #1). You have to destroy 5 of these for the Iconoclasm achievement. Equip your yellow boots to step on the acid or burn it with fire.
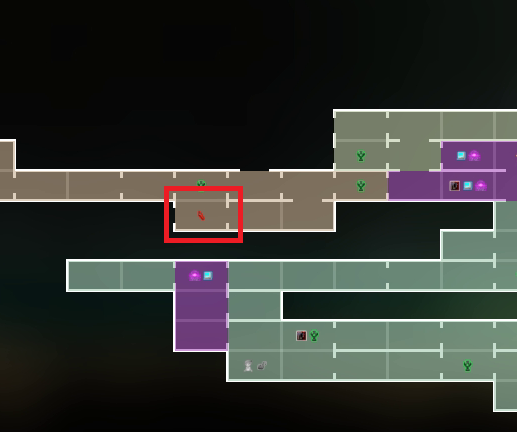
The next room will be a large one with 6 exits total. You'll be stepping in from the bottom right exit of the room. Exit 3 will lead back to Portal #11, and the bottom left exit will progress the area. Exit 1 is blocked by a breakable wall (Use dynamite or fireball spell or firewand) and it will lead to Golden Chest #5 and Vending Machine #3 (where Portal #9 is)
____________________________
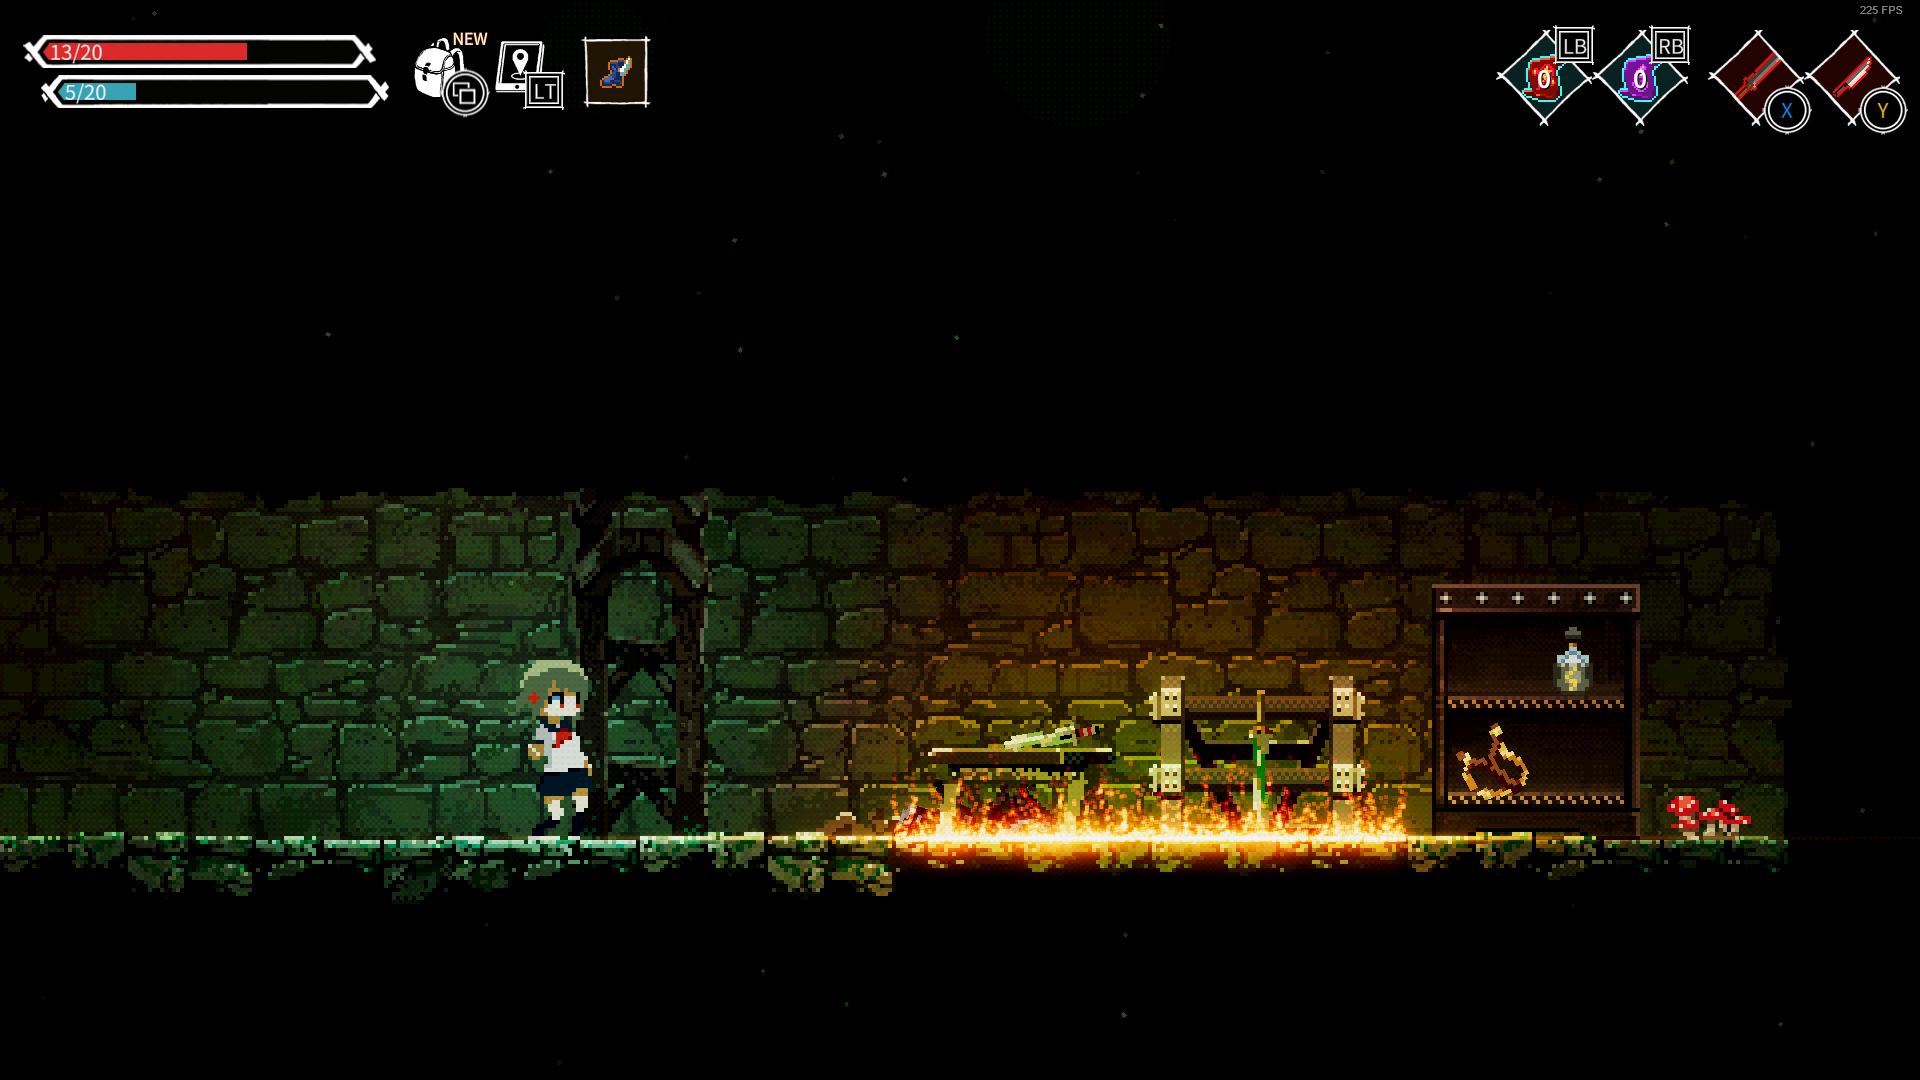
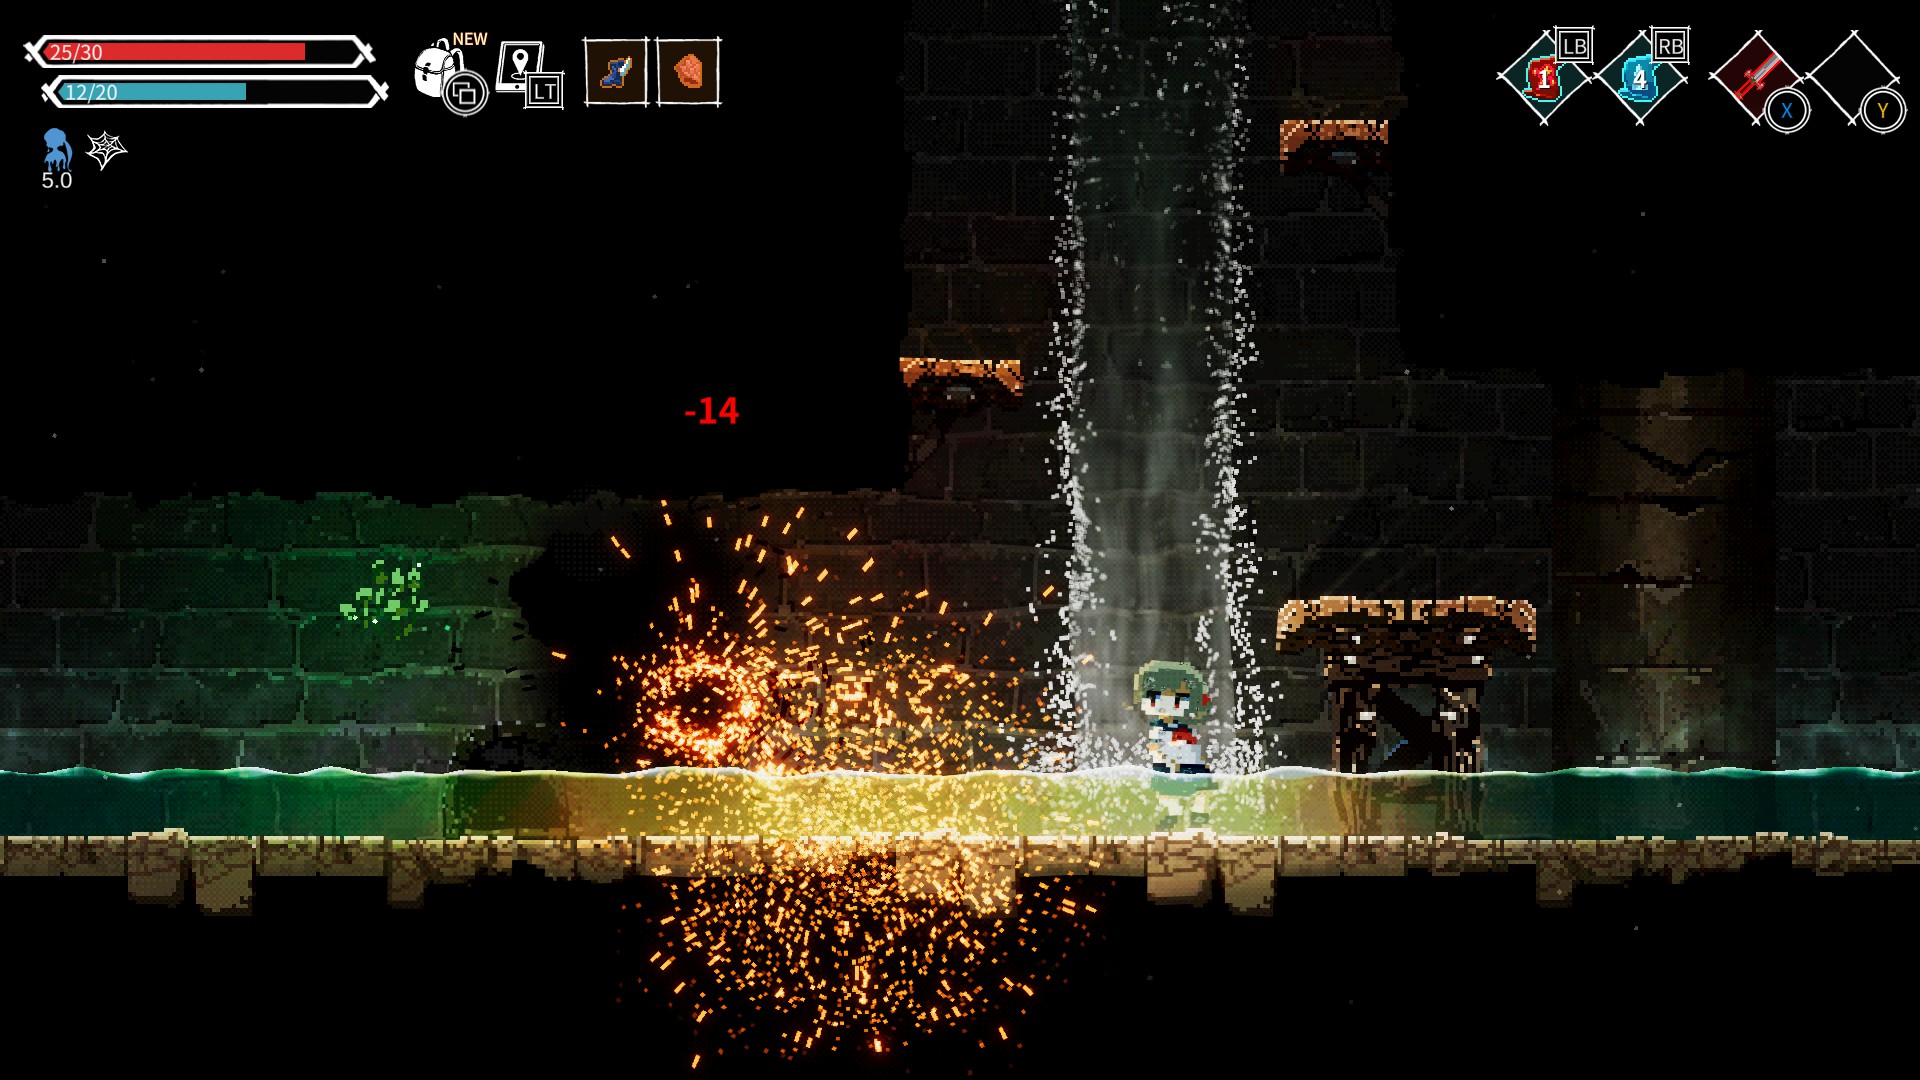
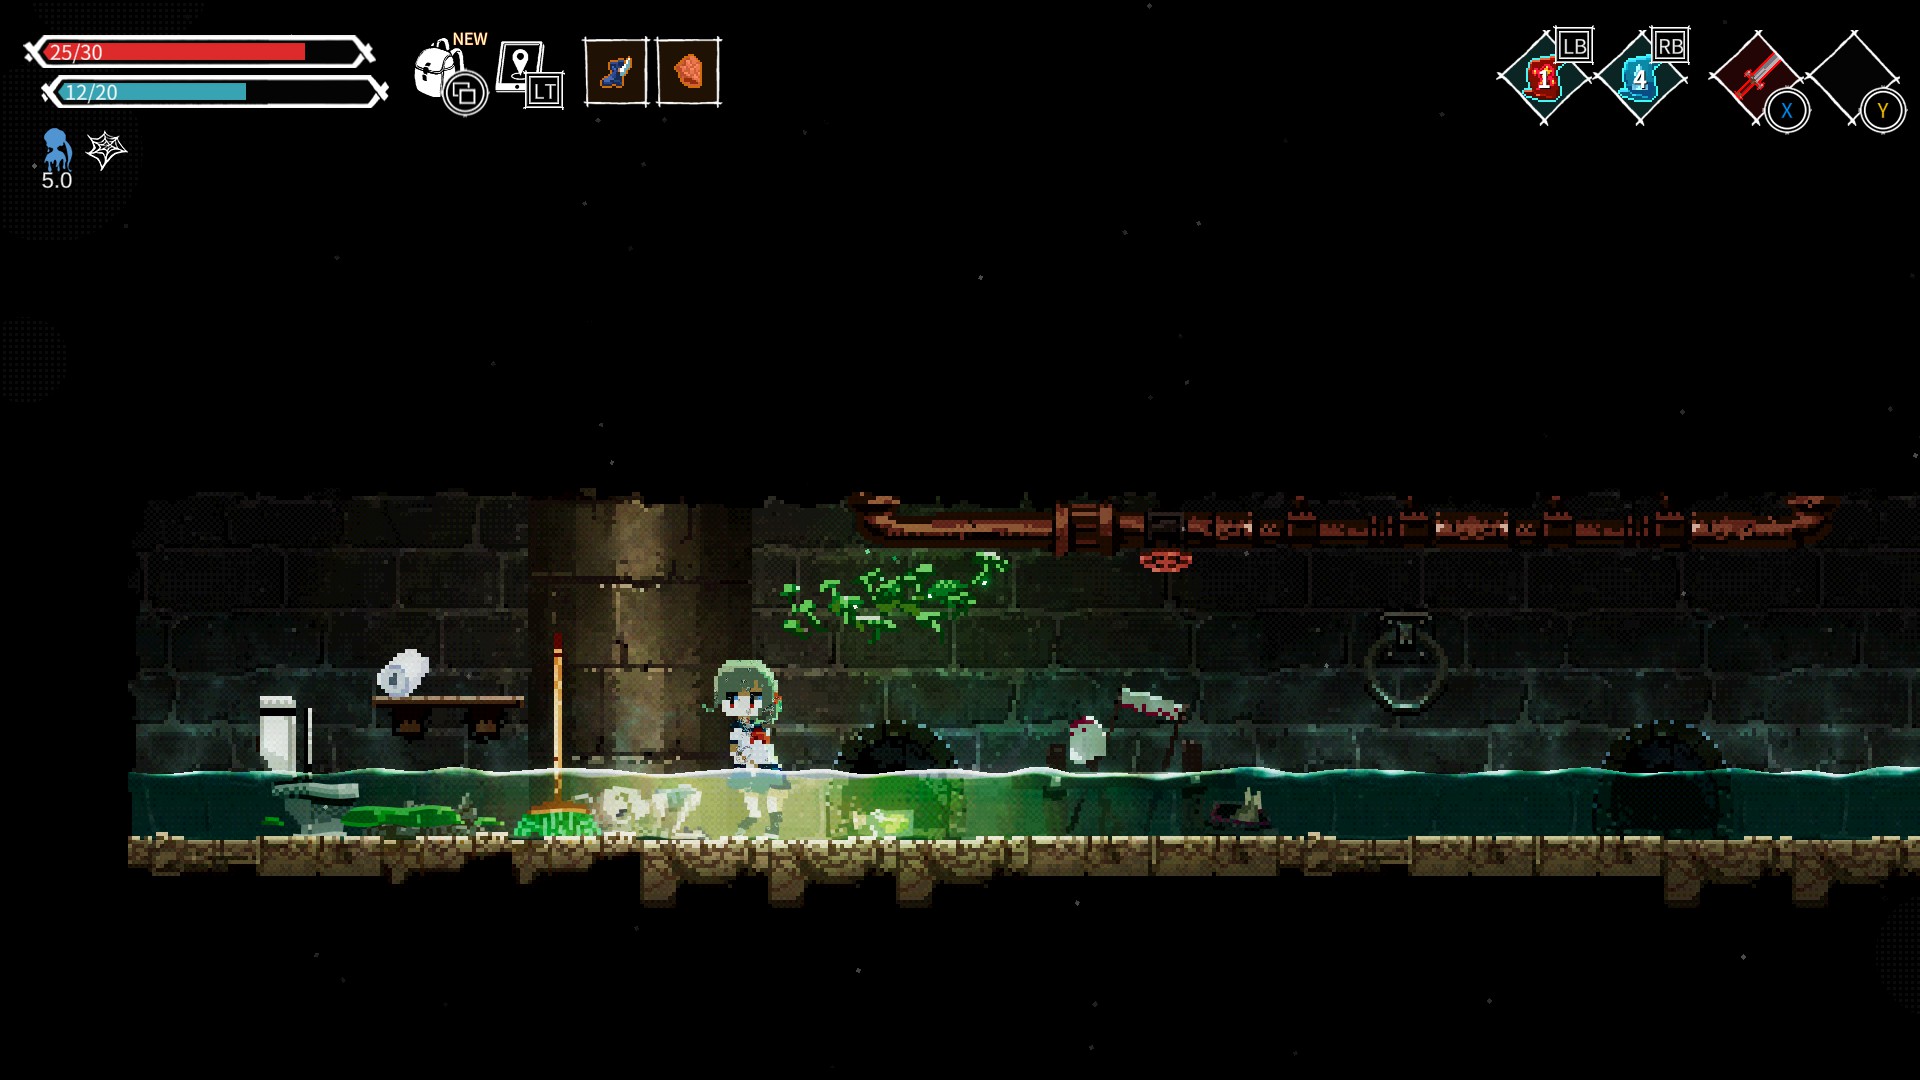
Exit 2 will lead to a room with a floor covered with oil and fireballs raining from the ceiling, be mindful of the pressure plate trap. Equip Kitchen Gloves for fire resistance and free heal + MP when you're burned. At the end of the room you'll find:
Flame Sword
Propane Gas Bottle
Summon Fire Orb
Fire Wand
____________________________
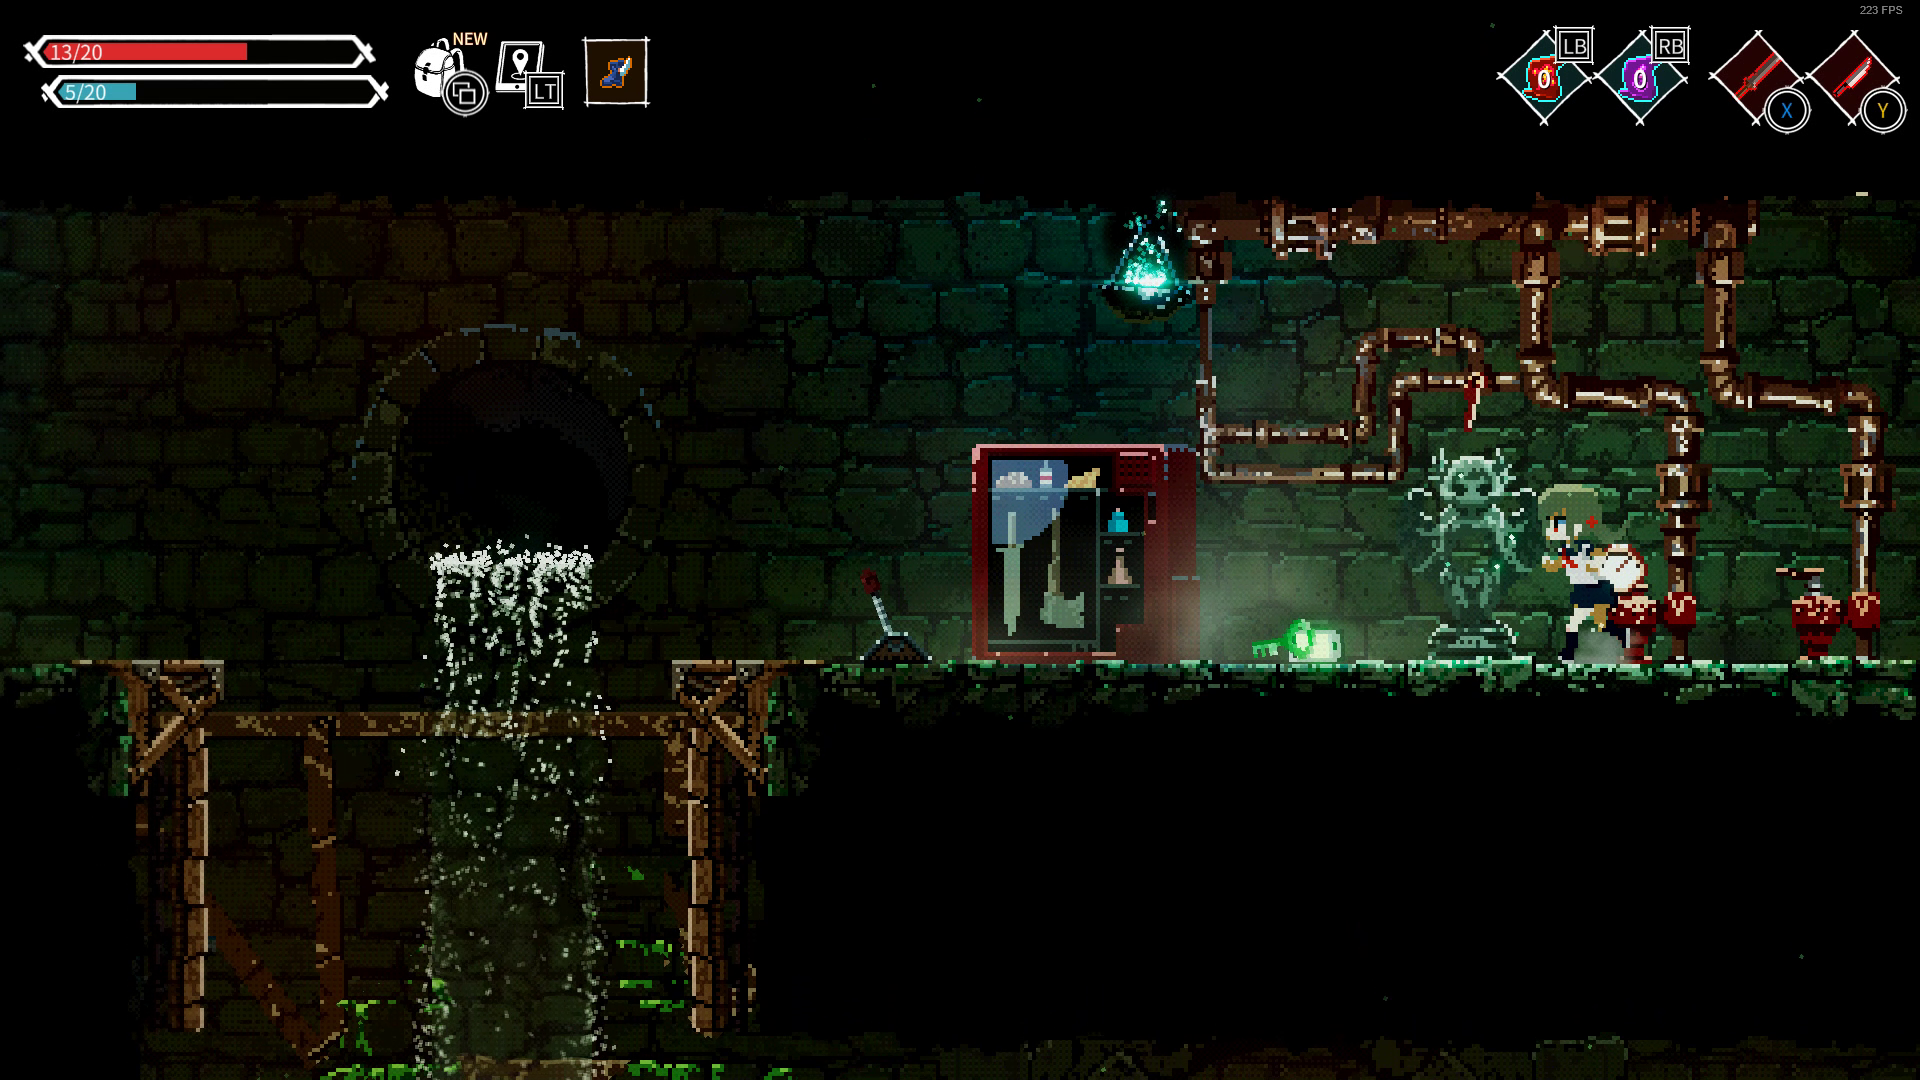
Unlock the door at Exit 4 with the Crematorium Key and you'll find
Recast Velocity
Journal #8
Leyden Jar
Magic Bow
plus an ice wraith. By equipping the Hot pack, she practically can't deal any damage to you.
___________________________
Before exiting this large room via the bottom left exit (where the zombies are), be sure to destory Icon #2 and pick up Yuri's Journal #1. This exit will lead to Portal #12.
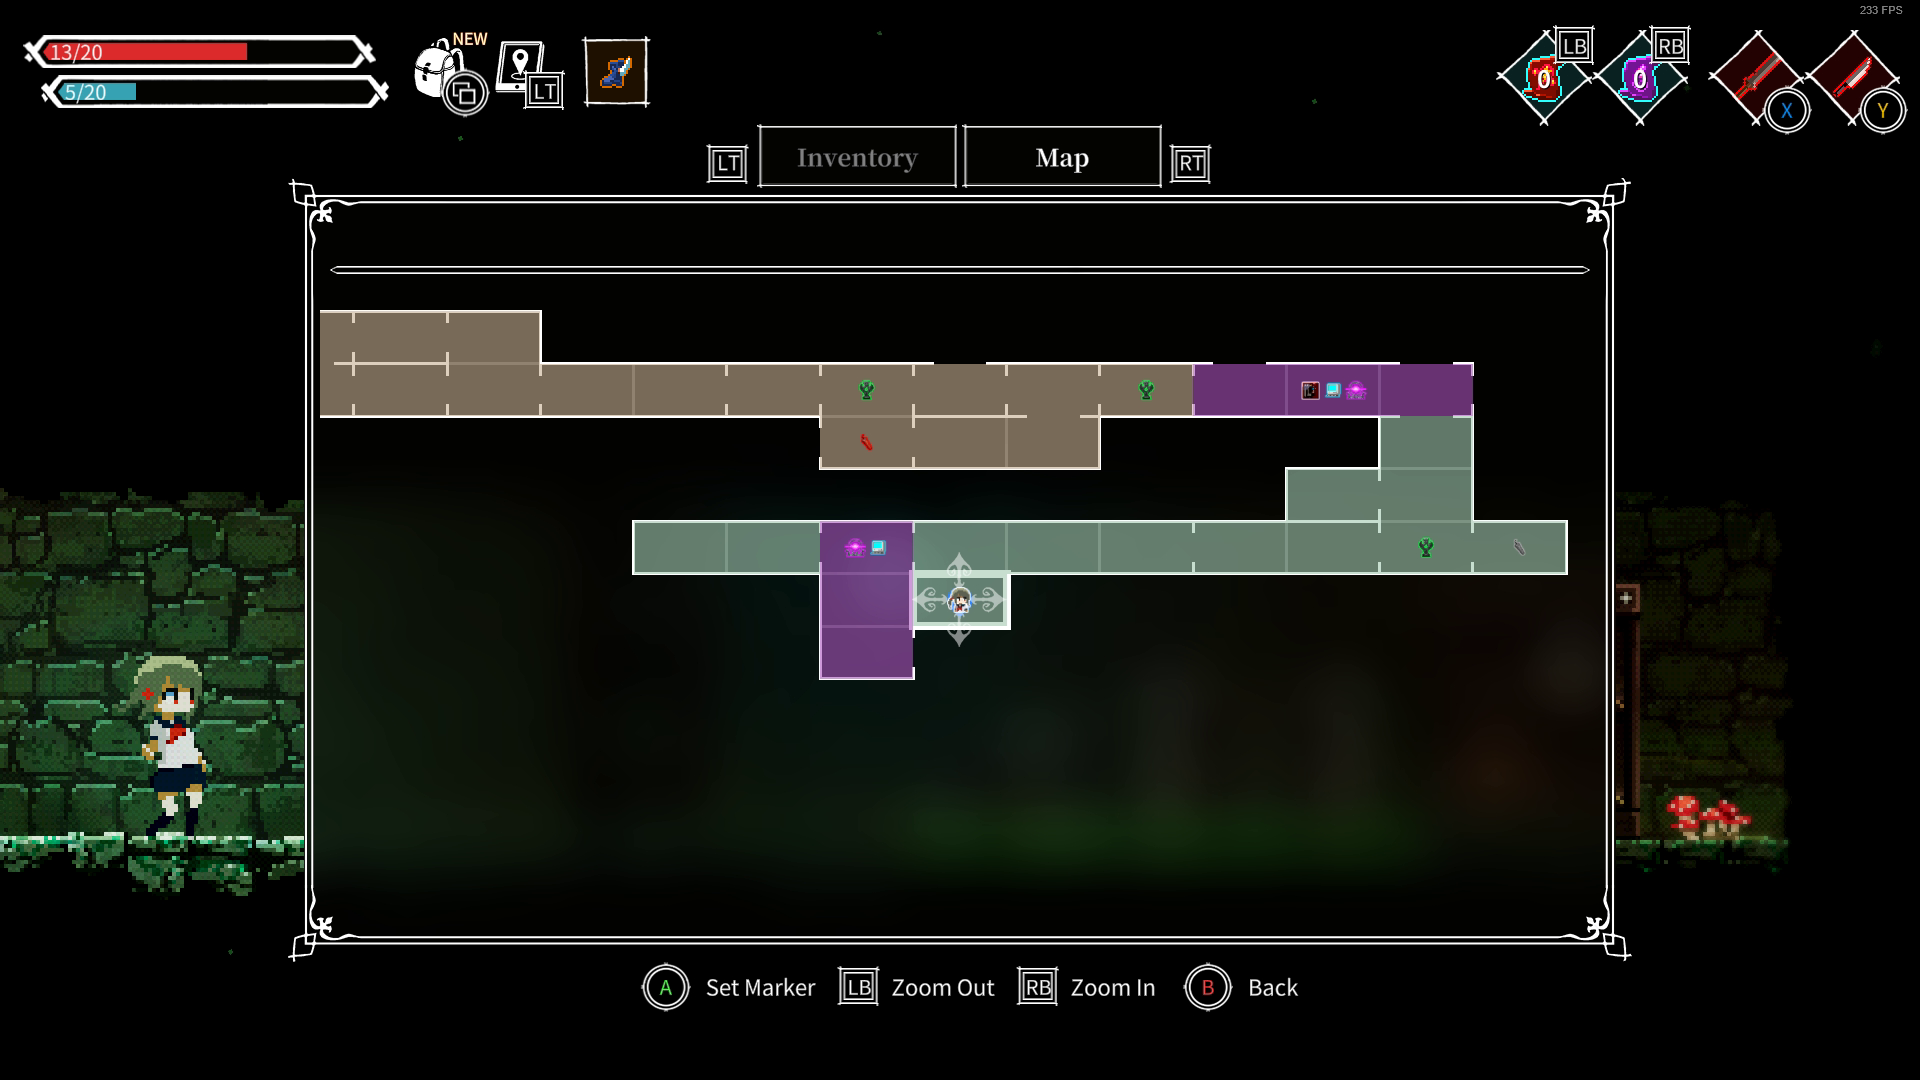
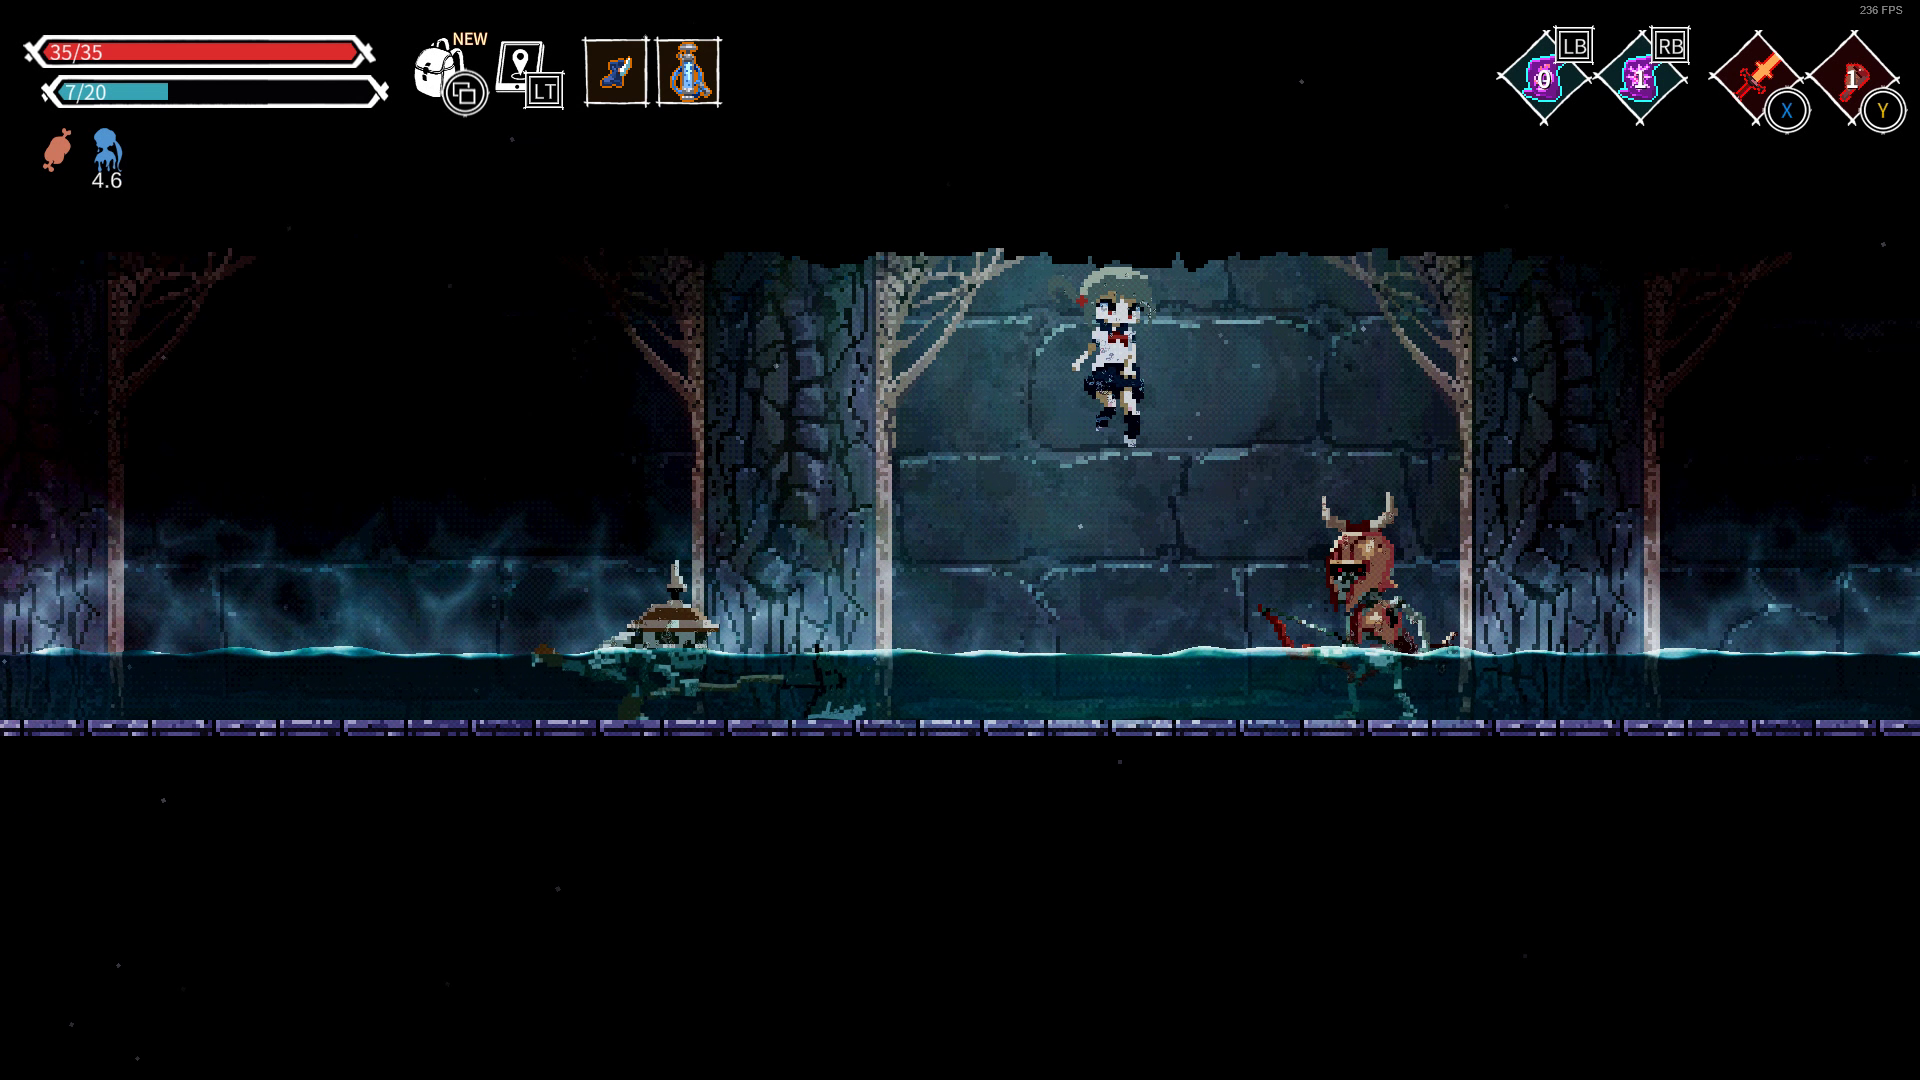
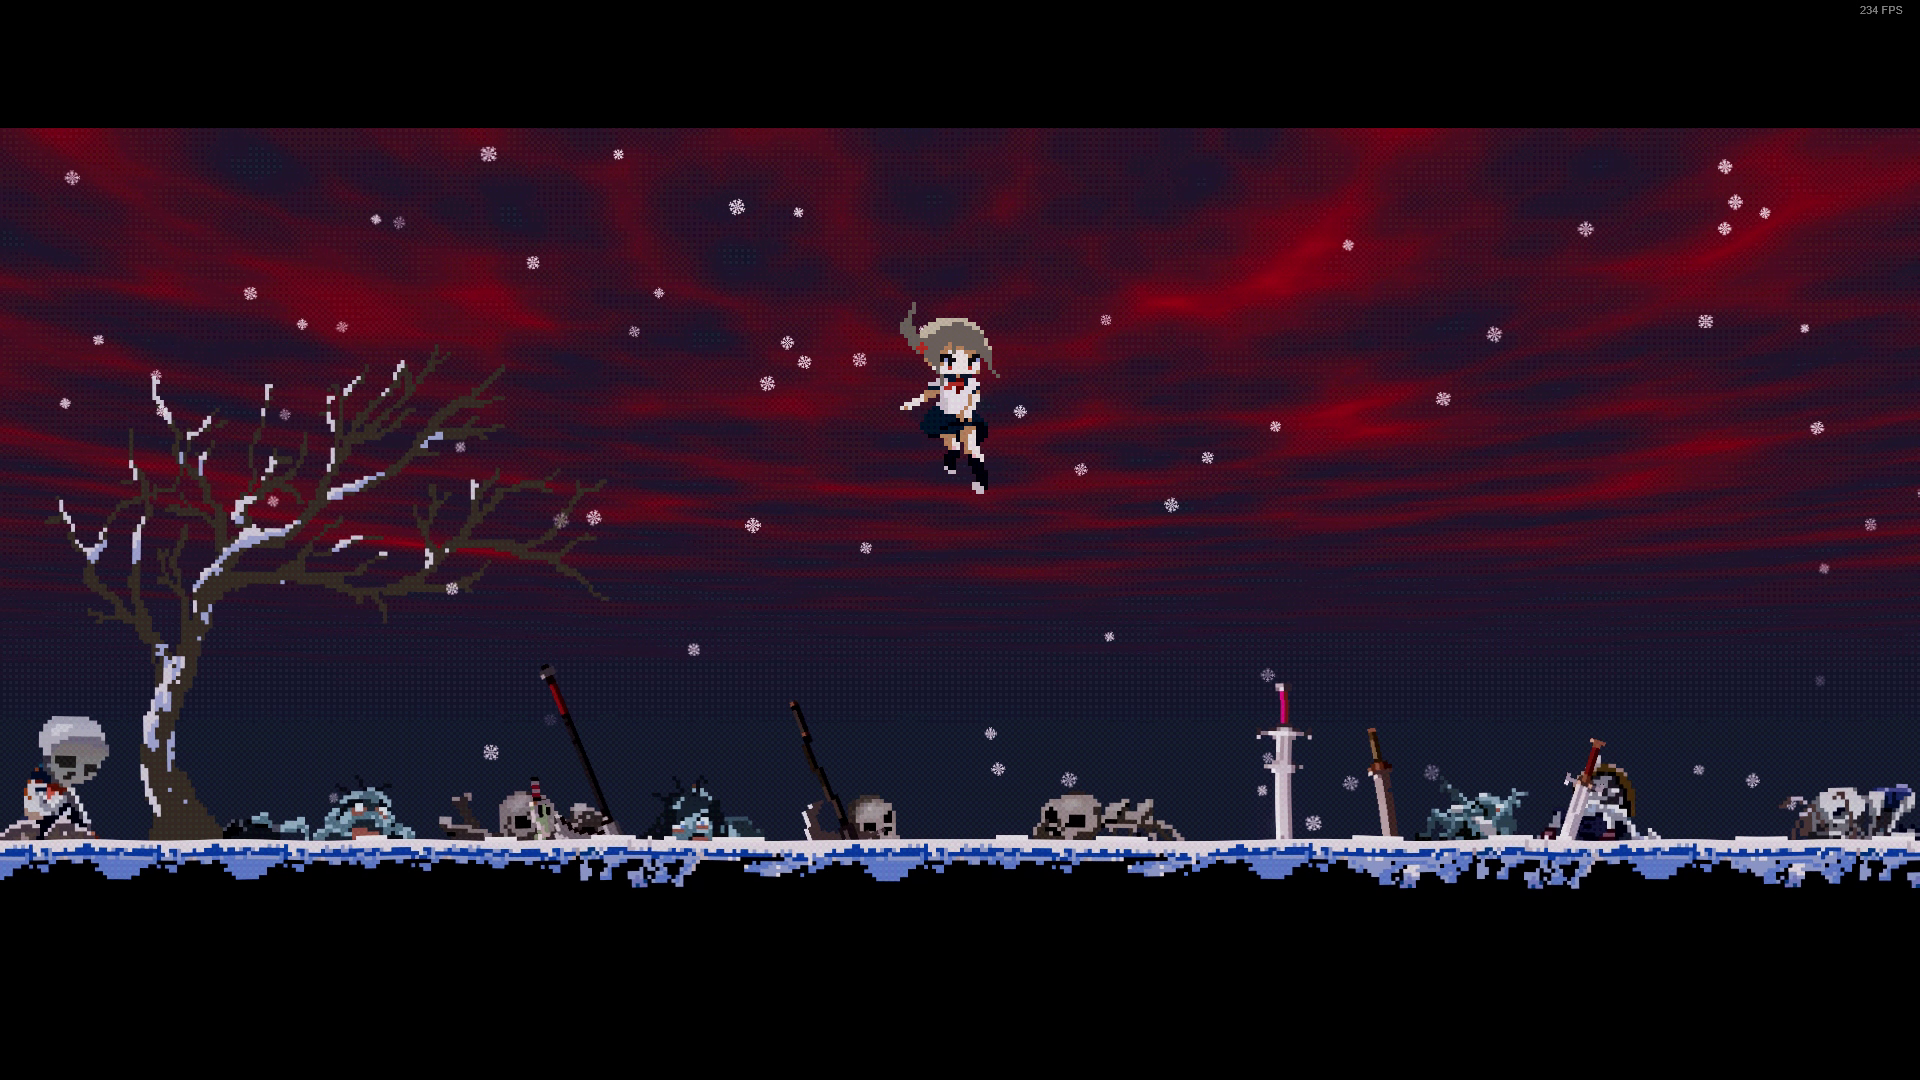
Detour: Snow Area + Snow Lady Boss Fight

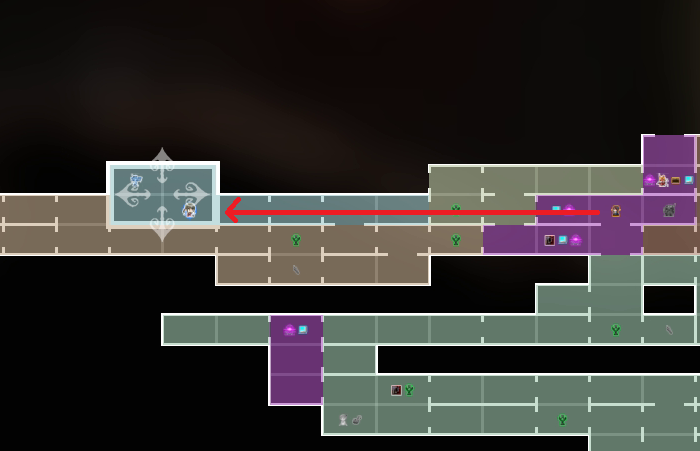
You can make a detour here by using the portal to teleport to Portal #6, where Beatrice is. You'll be going to the optional snow area which you've skipped previously. From Portal #6 keep heading left until you meet multiple snowmen.
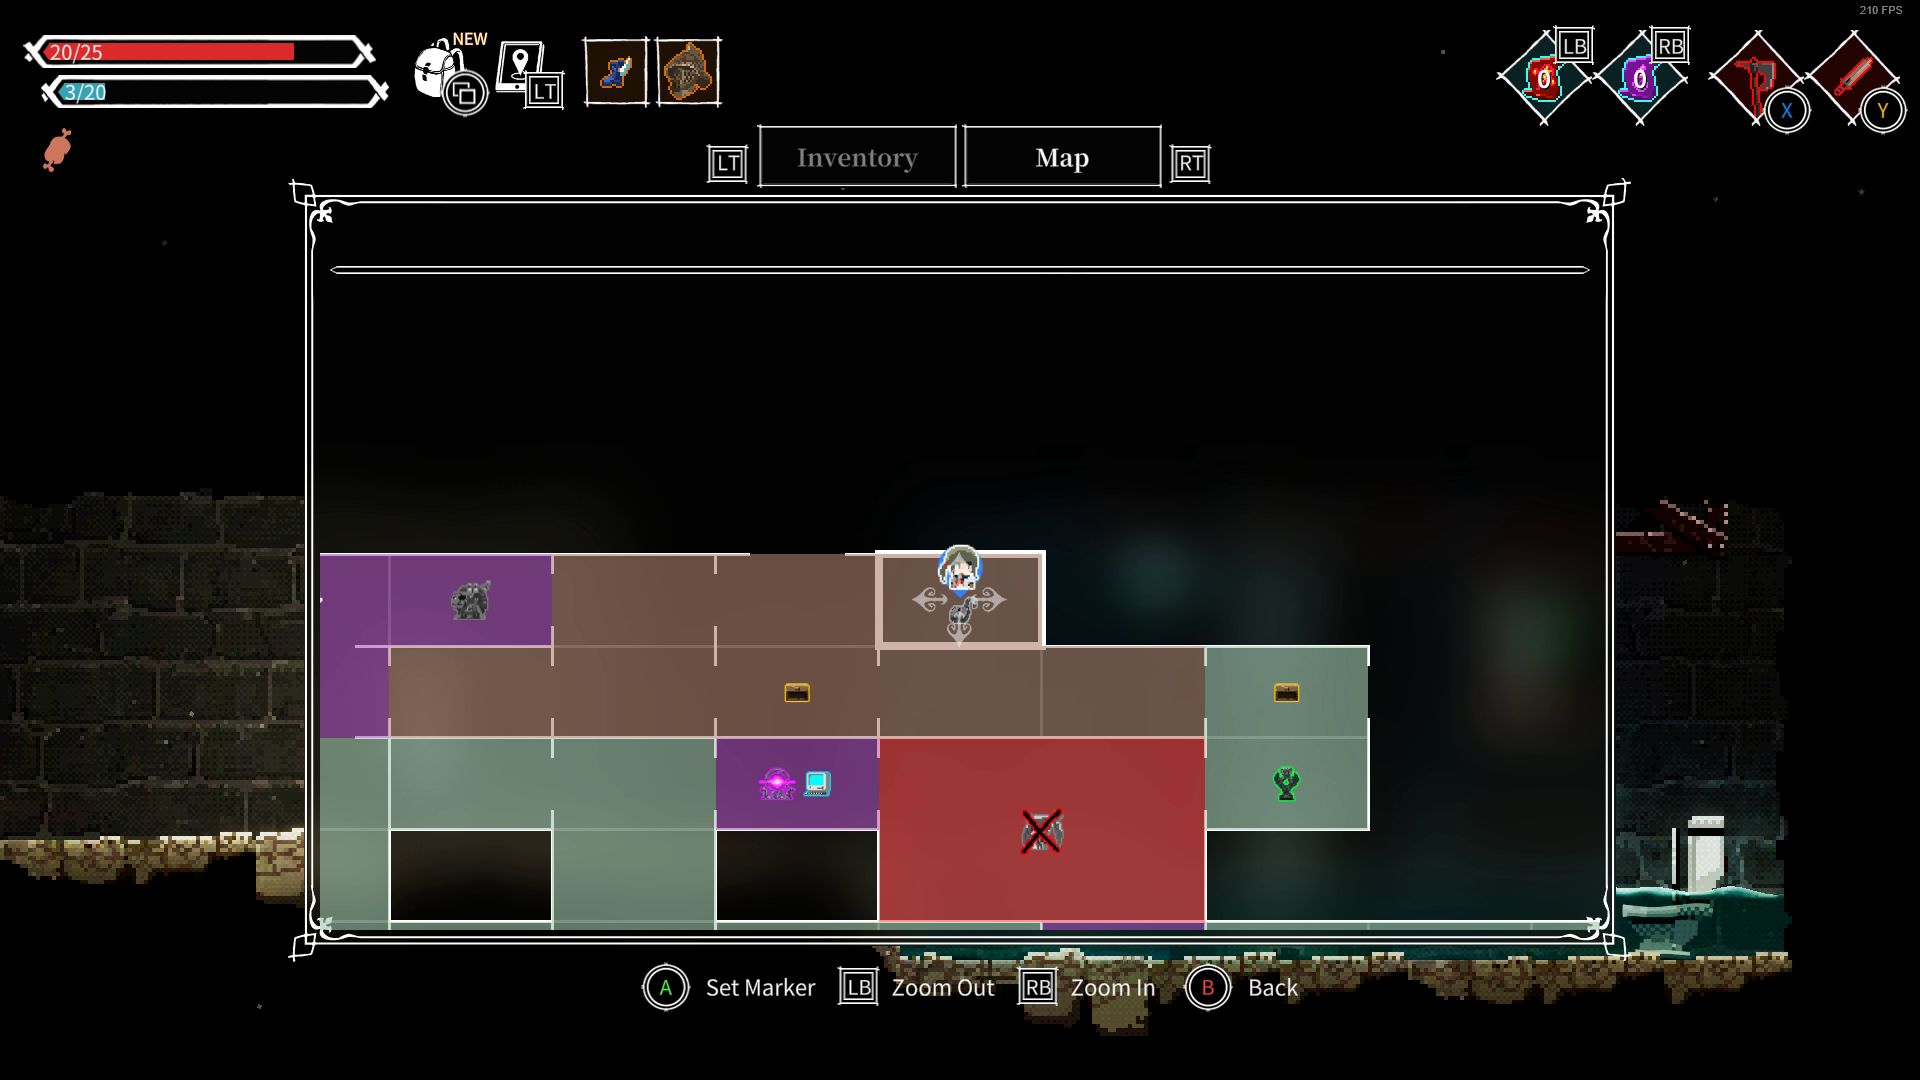
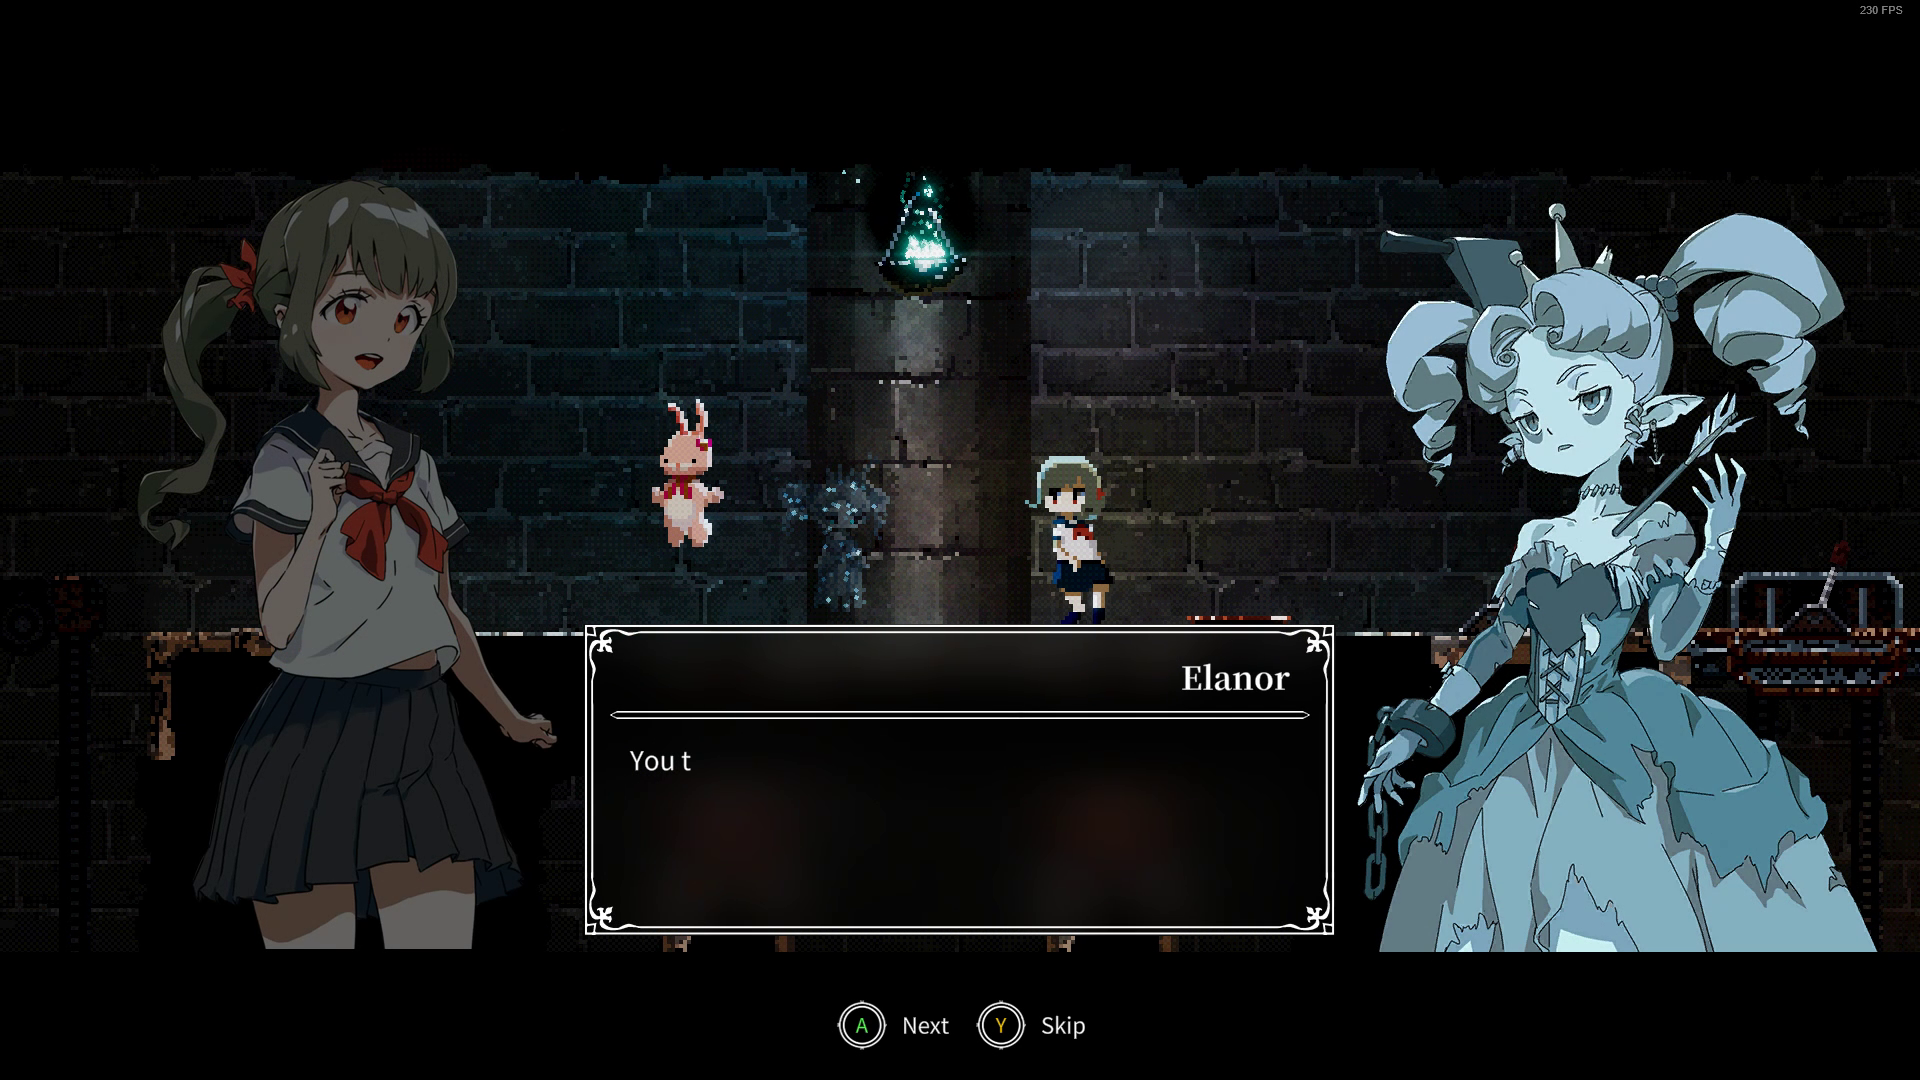
Keep progressing left until you've reached a puzzle room shown in the map above where you will meet Elanor and start Elanor's Request . Here is where you will find the Shockwave spell and the Cursed Scythe plus an Earth Wand and an MP potion. You can watch this video on how to solve the puzzle, hint: it involves using the Shockwave spell. After finishing the side quest. don't forget to pick up Best Friend.
Exiting the puzzle room via the top right exit will bring you to the Snow Lady boss fight.
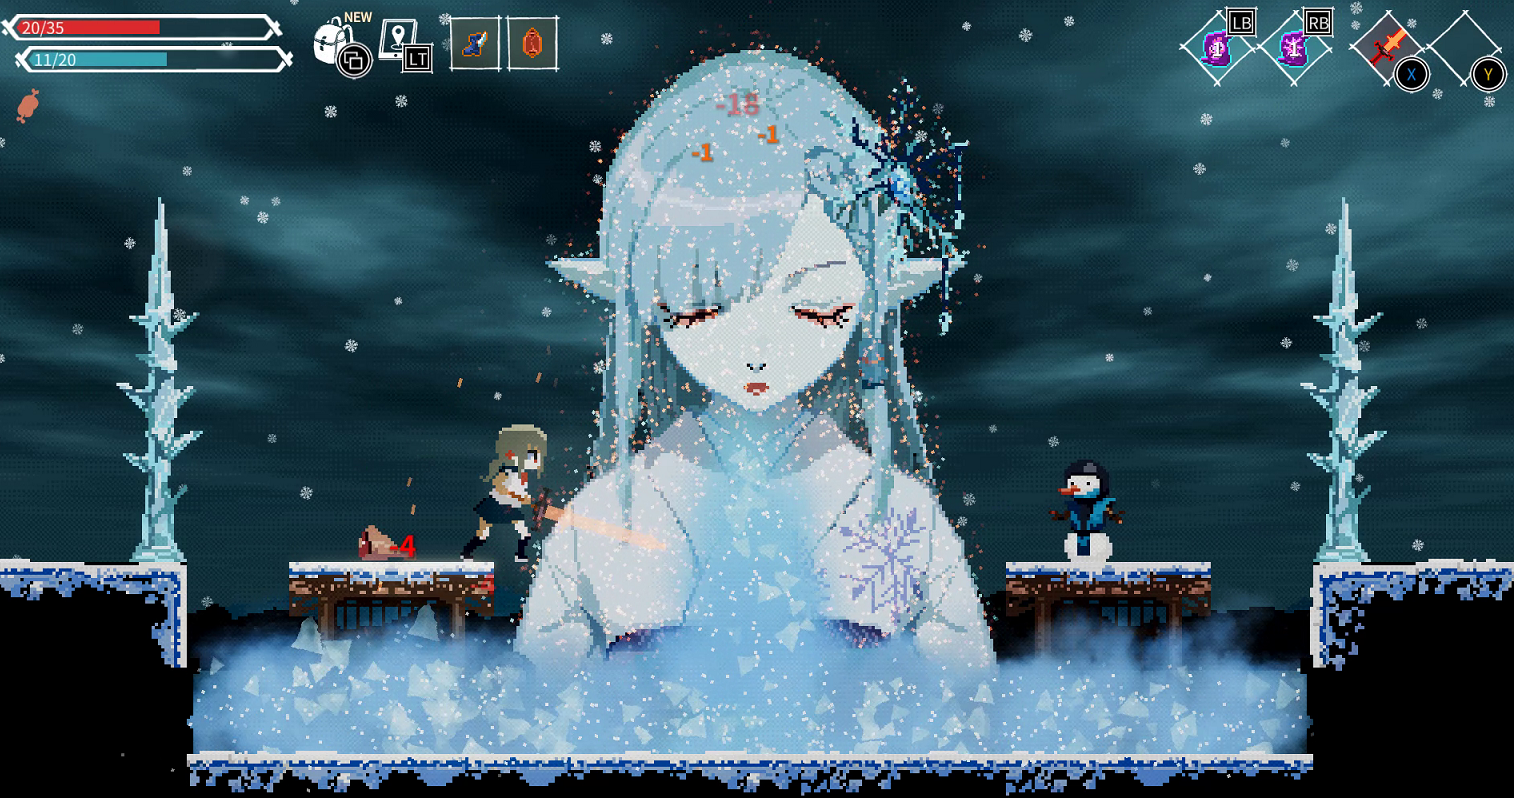
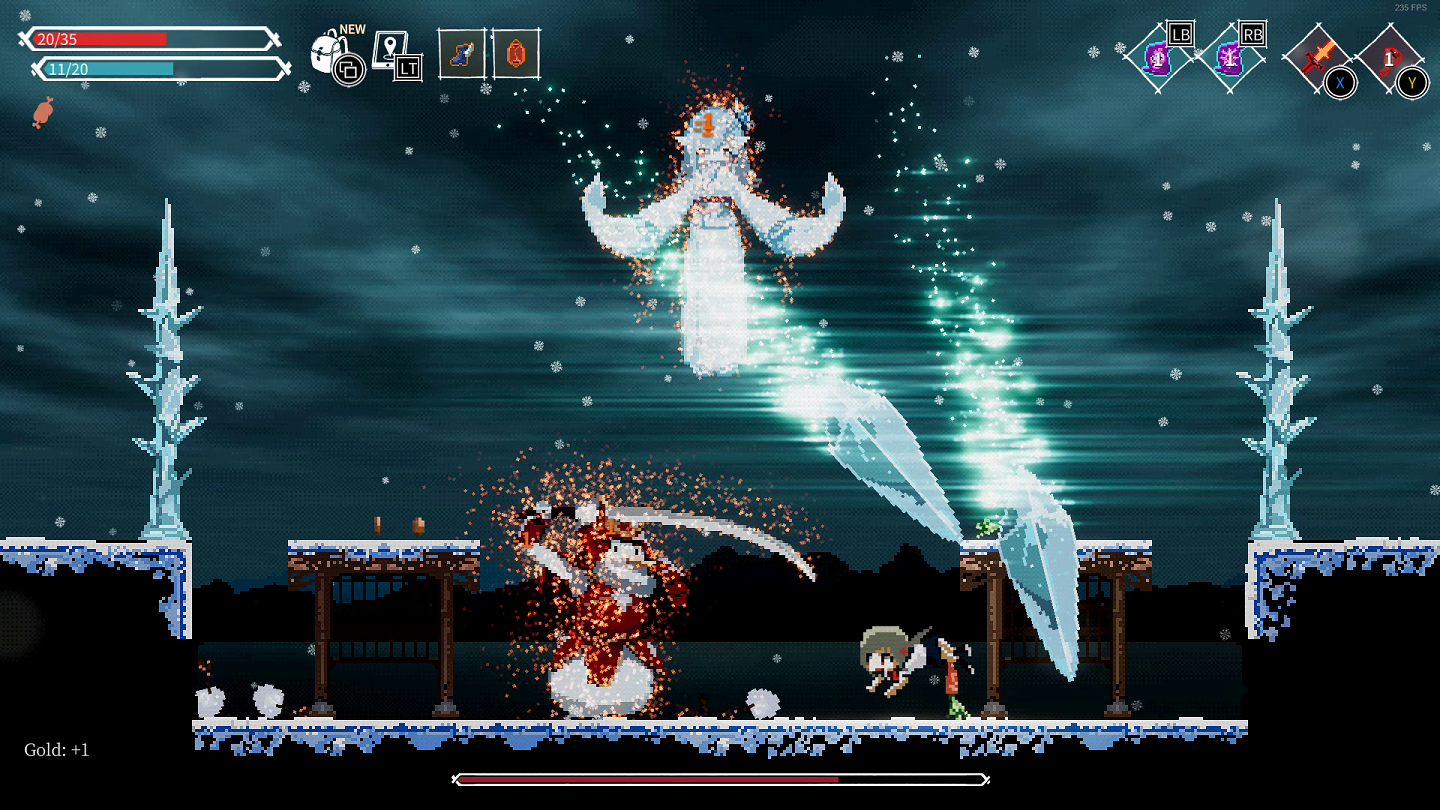
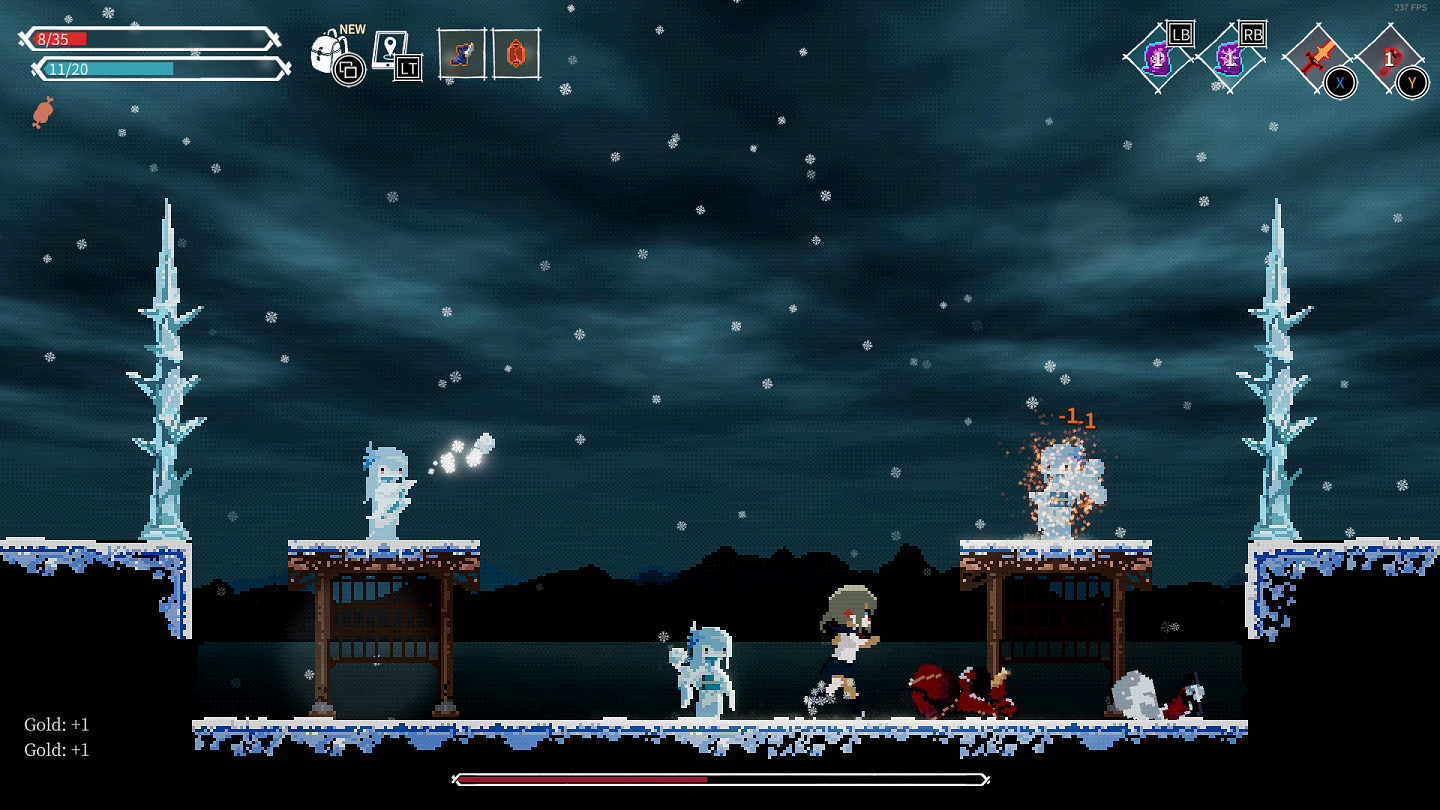
SNOW LADY BOSS FIGHT
The Snow Lady is extremely easy if you have Hot Pack and Flame Sword equipped. Phase 1 will involve summoning three snowmen and then blowing ice on the lower floor of the room. She can barely damage you if you have Hot Pack equipped. Just keep slashing her and watch her burn.
Phase 2 will involve summoning samurai snowmen and shooting ice projectiles. Wait until you've dodged the ice projectiles before you start attacking the snowmen. Killing the snowman will bring her down to your level where you can start damaging her.
Phase 3 is a game of hide and seek. You'll be immune to her snowball attacks and the fact that she's burned will help you identify her among her clones easily.
She drops Summoning Ice Orb and Ice Axe upon death.
Part 5.2: Catacombs
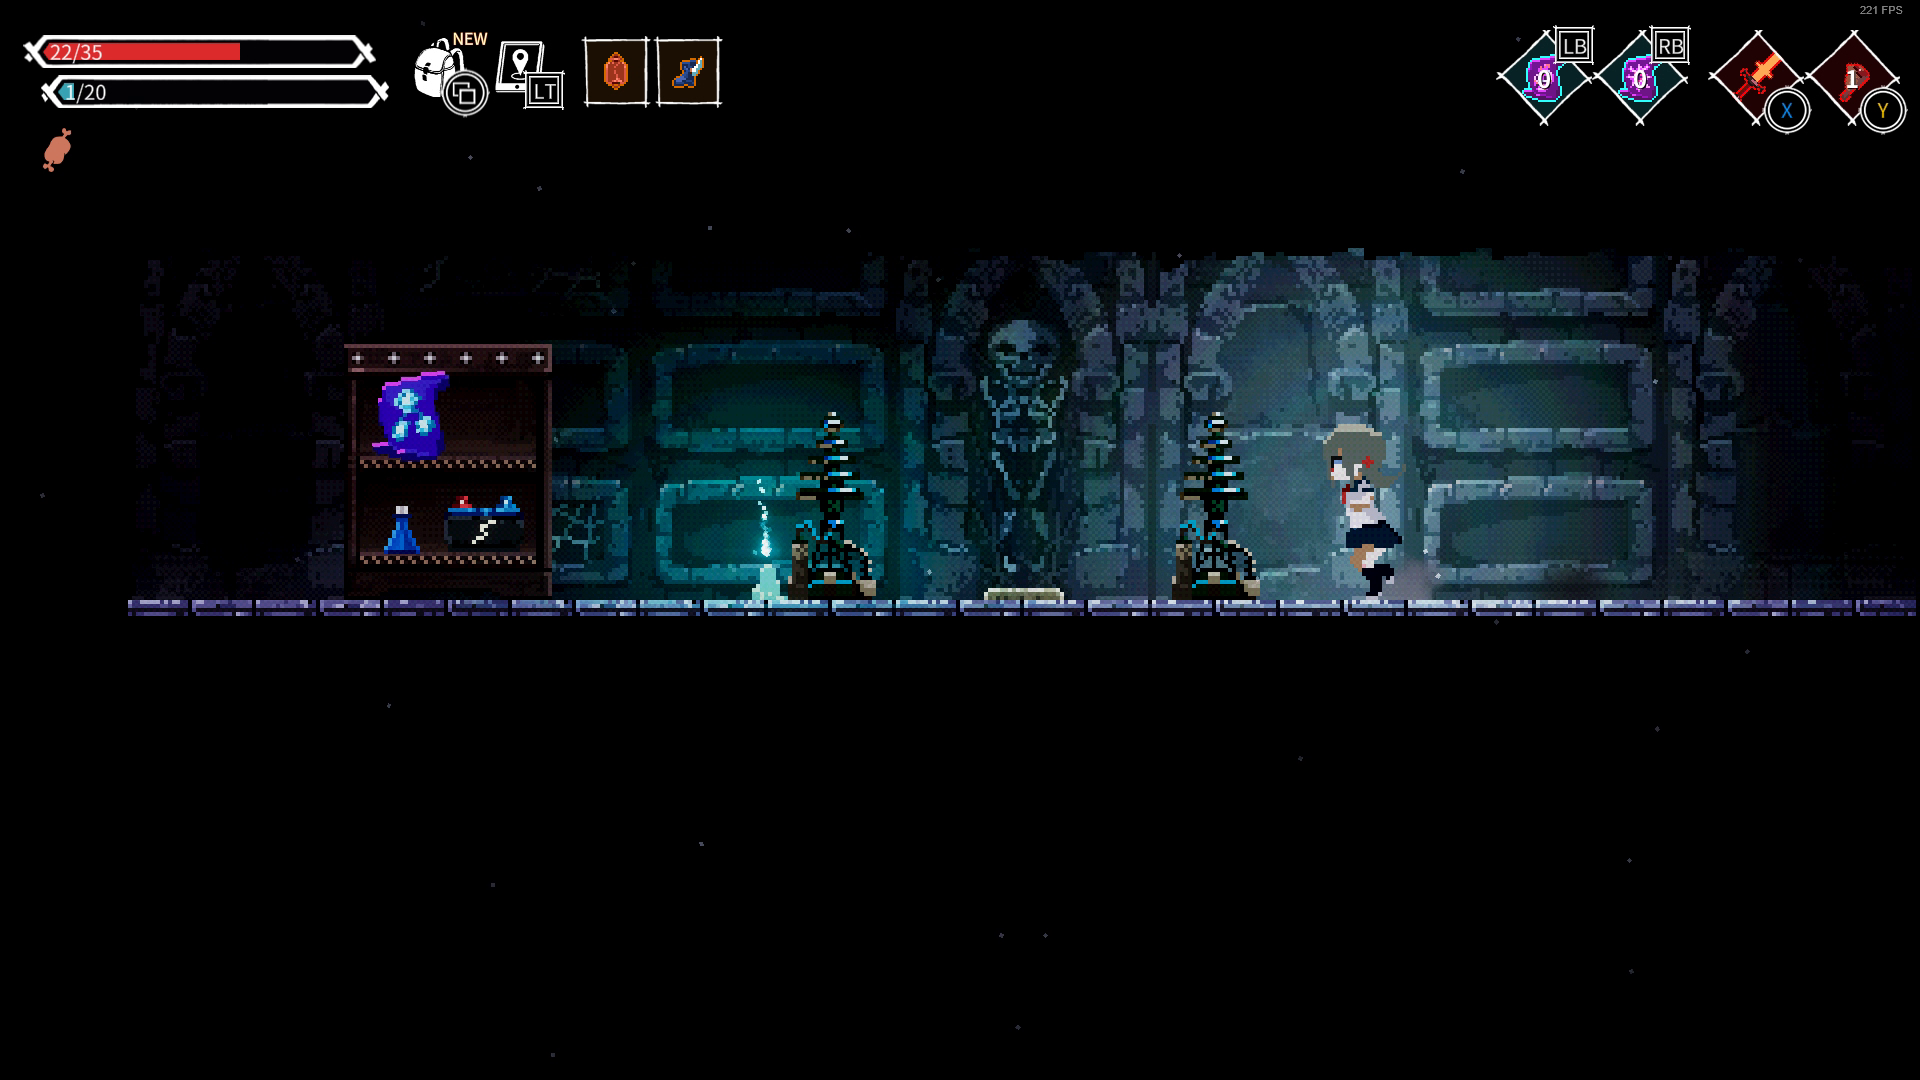
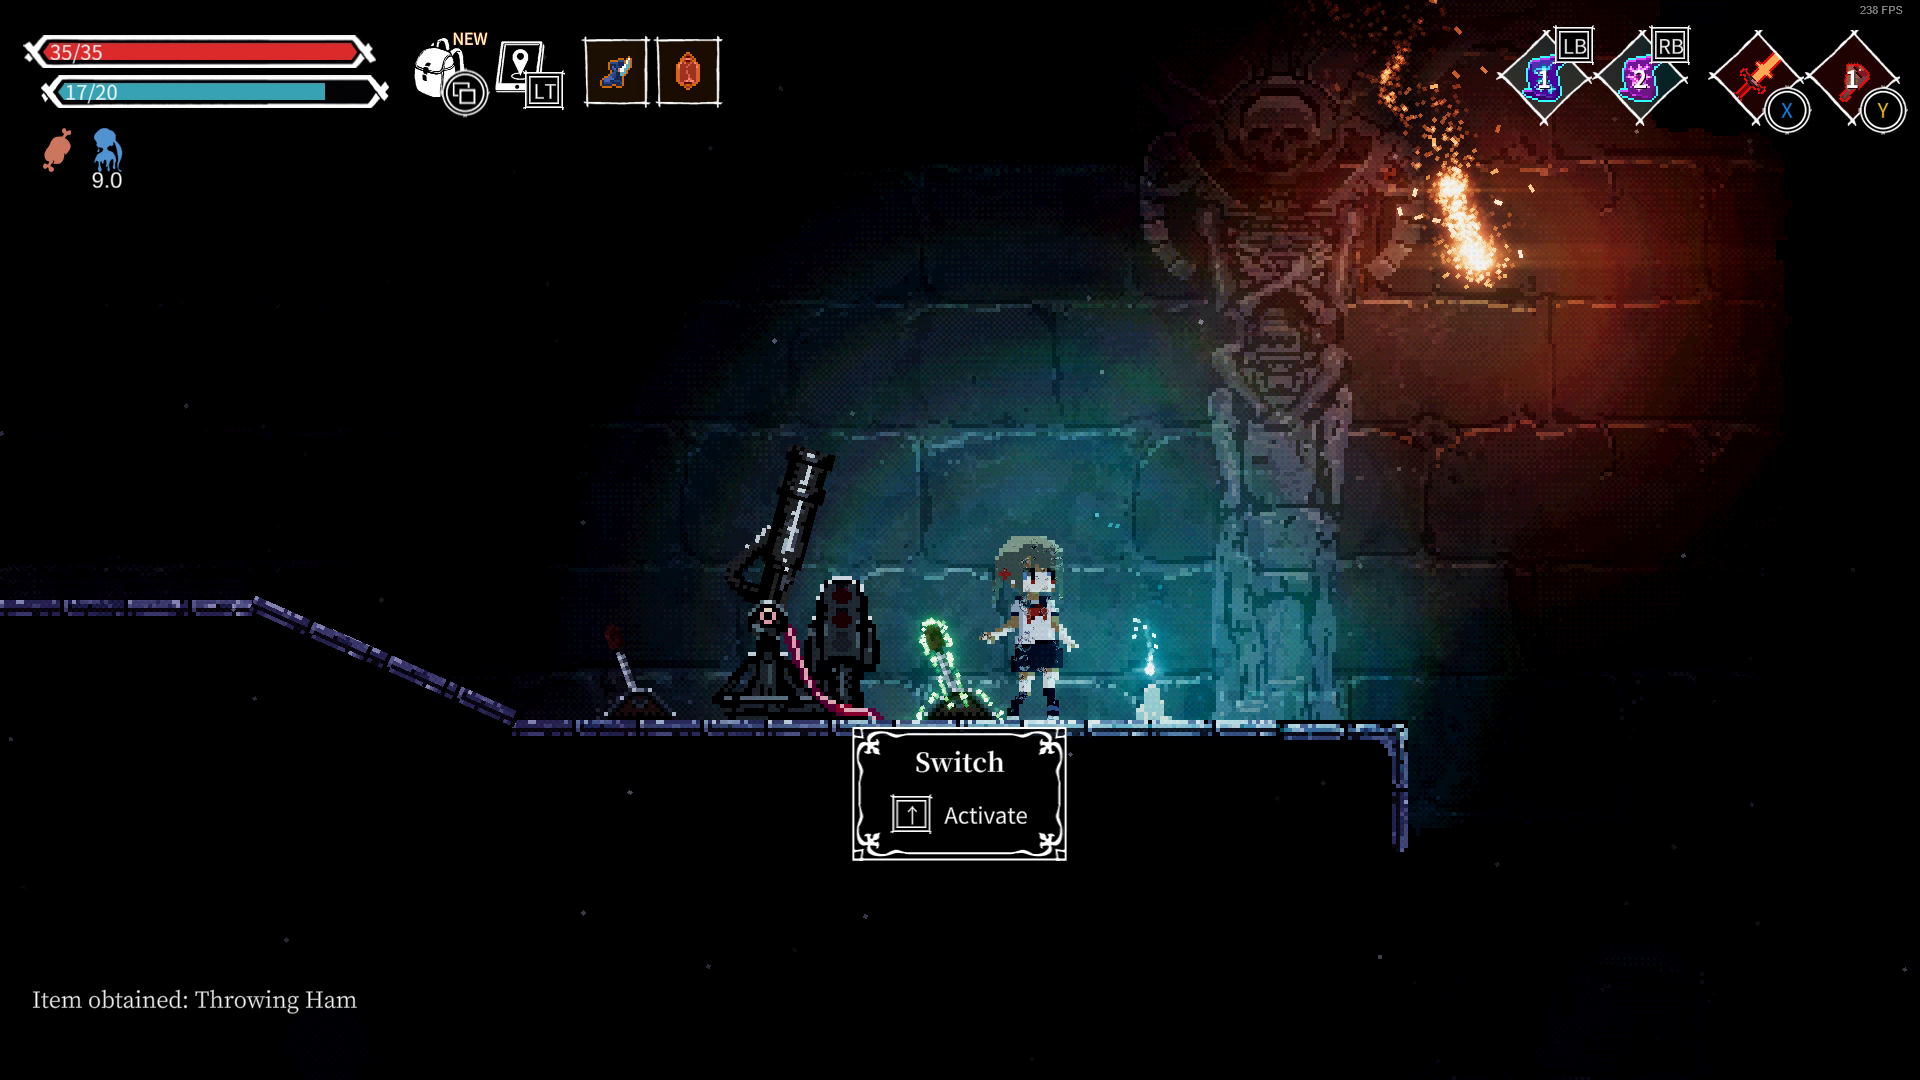

Now back to the Catacombs, go left from Portal #12 and you'll find another puzzle room. The puzzle after this will require you to sit on a pressure plate and use a throwable/spell to activate the fire cannon, aimed at the cage containing the anvil (pull left lever three times).
Next you'll arrive at a room with three exits, one on the top left, one blocked on the middle left and one on the bottom right. Top left exit will lead back to Golden Chest #9 (in the sewers), meanwhile the bottom right exit will progress the area.
The locked gate in the middle will require you to use shockwave to hit the target behind the wall. Behind this gate you'll find the Battery, Summon Lightning Orb and an MP potion.
NOTE: Now that you've gathered both the Sledgehammer and the Battery, you can visit Soarvi to complete the side quest. You should also buy the Thunder Hammer plus the Battery back from her.
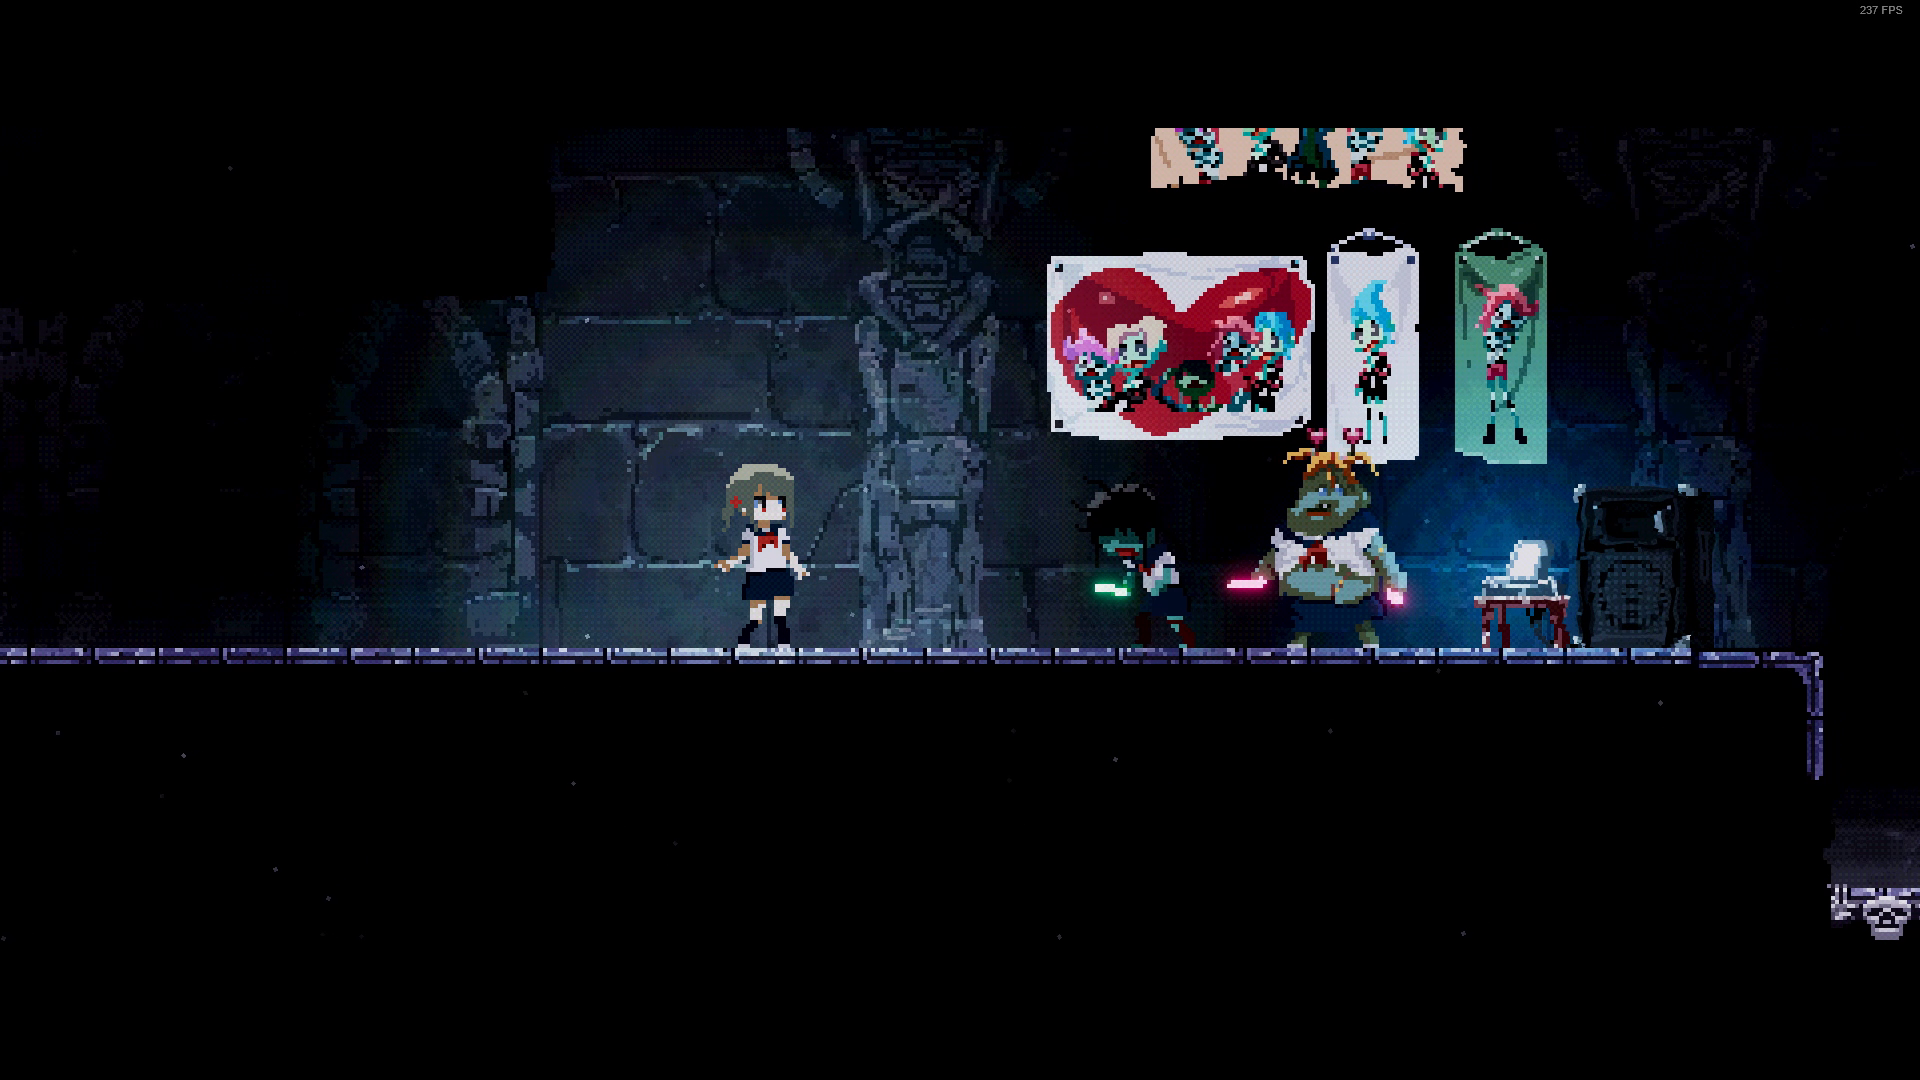
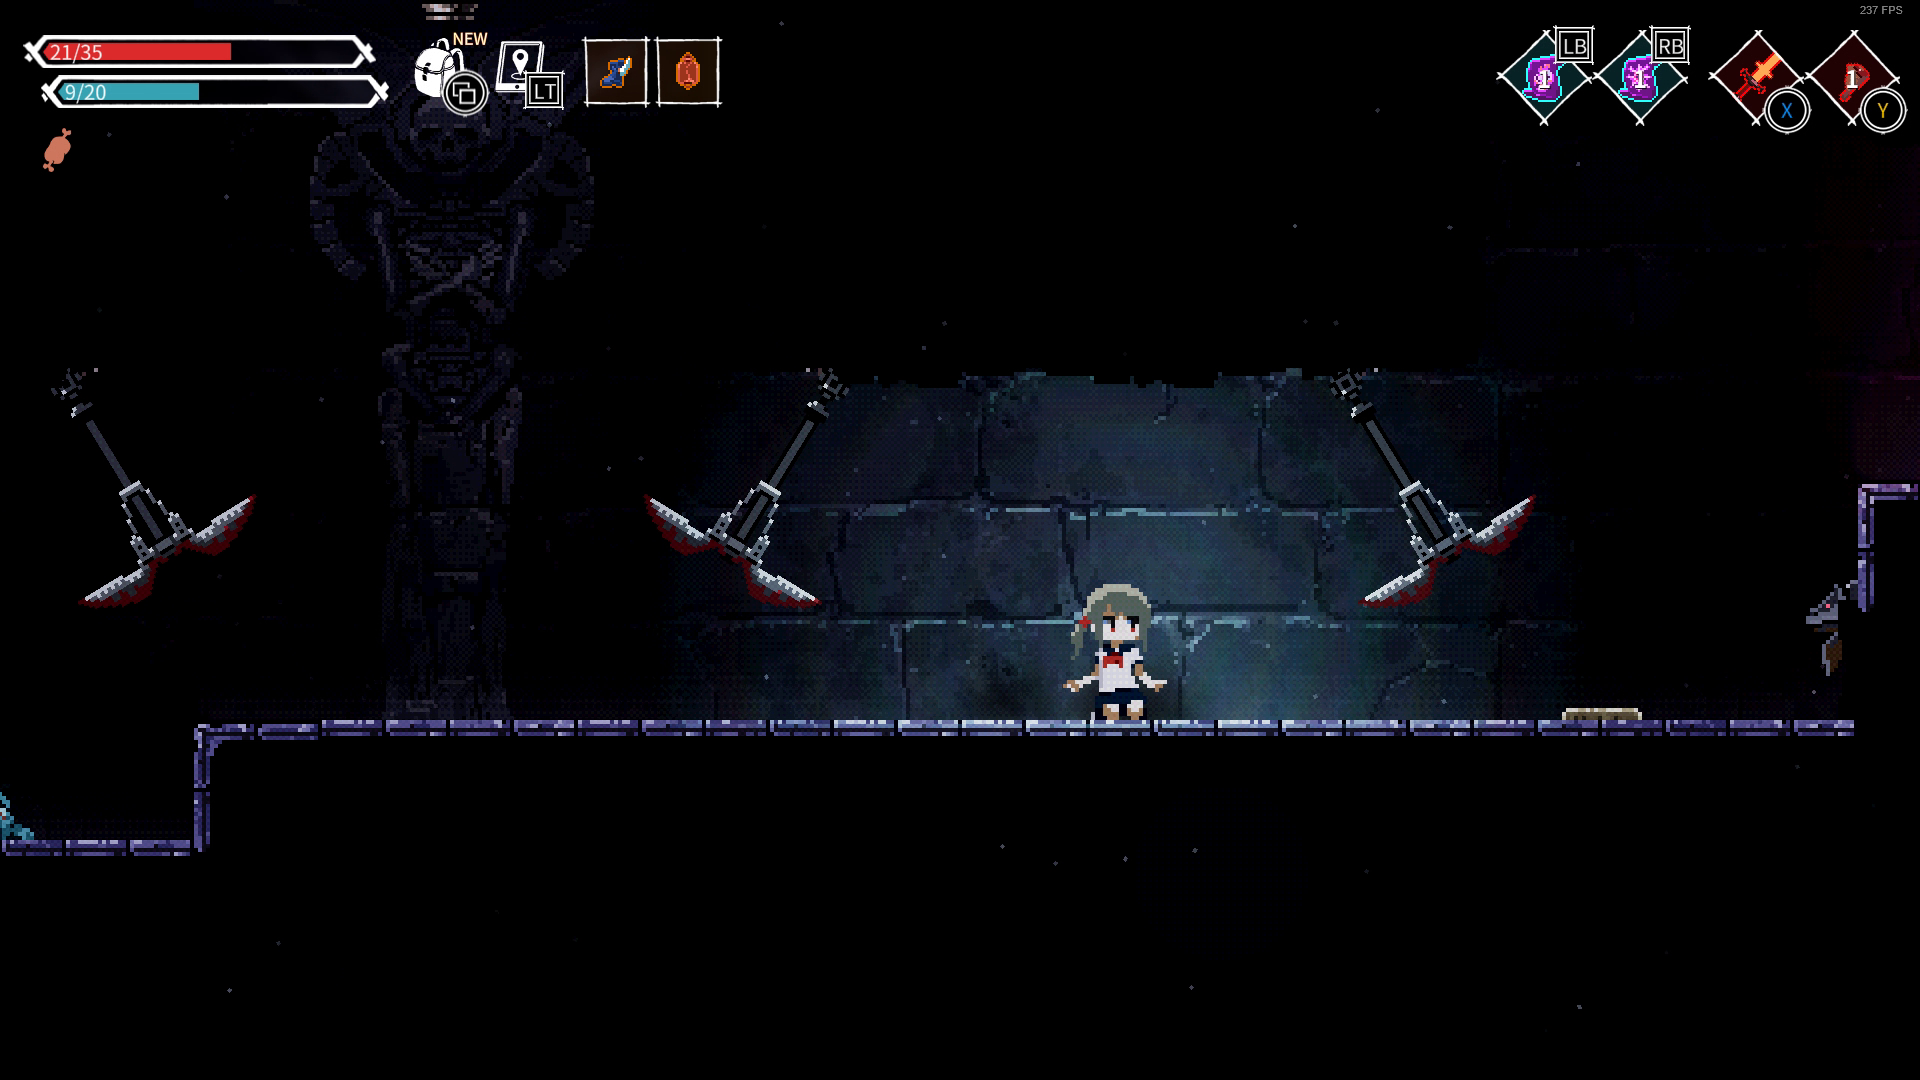
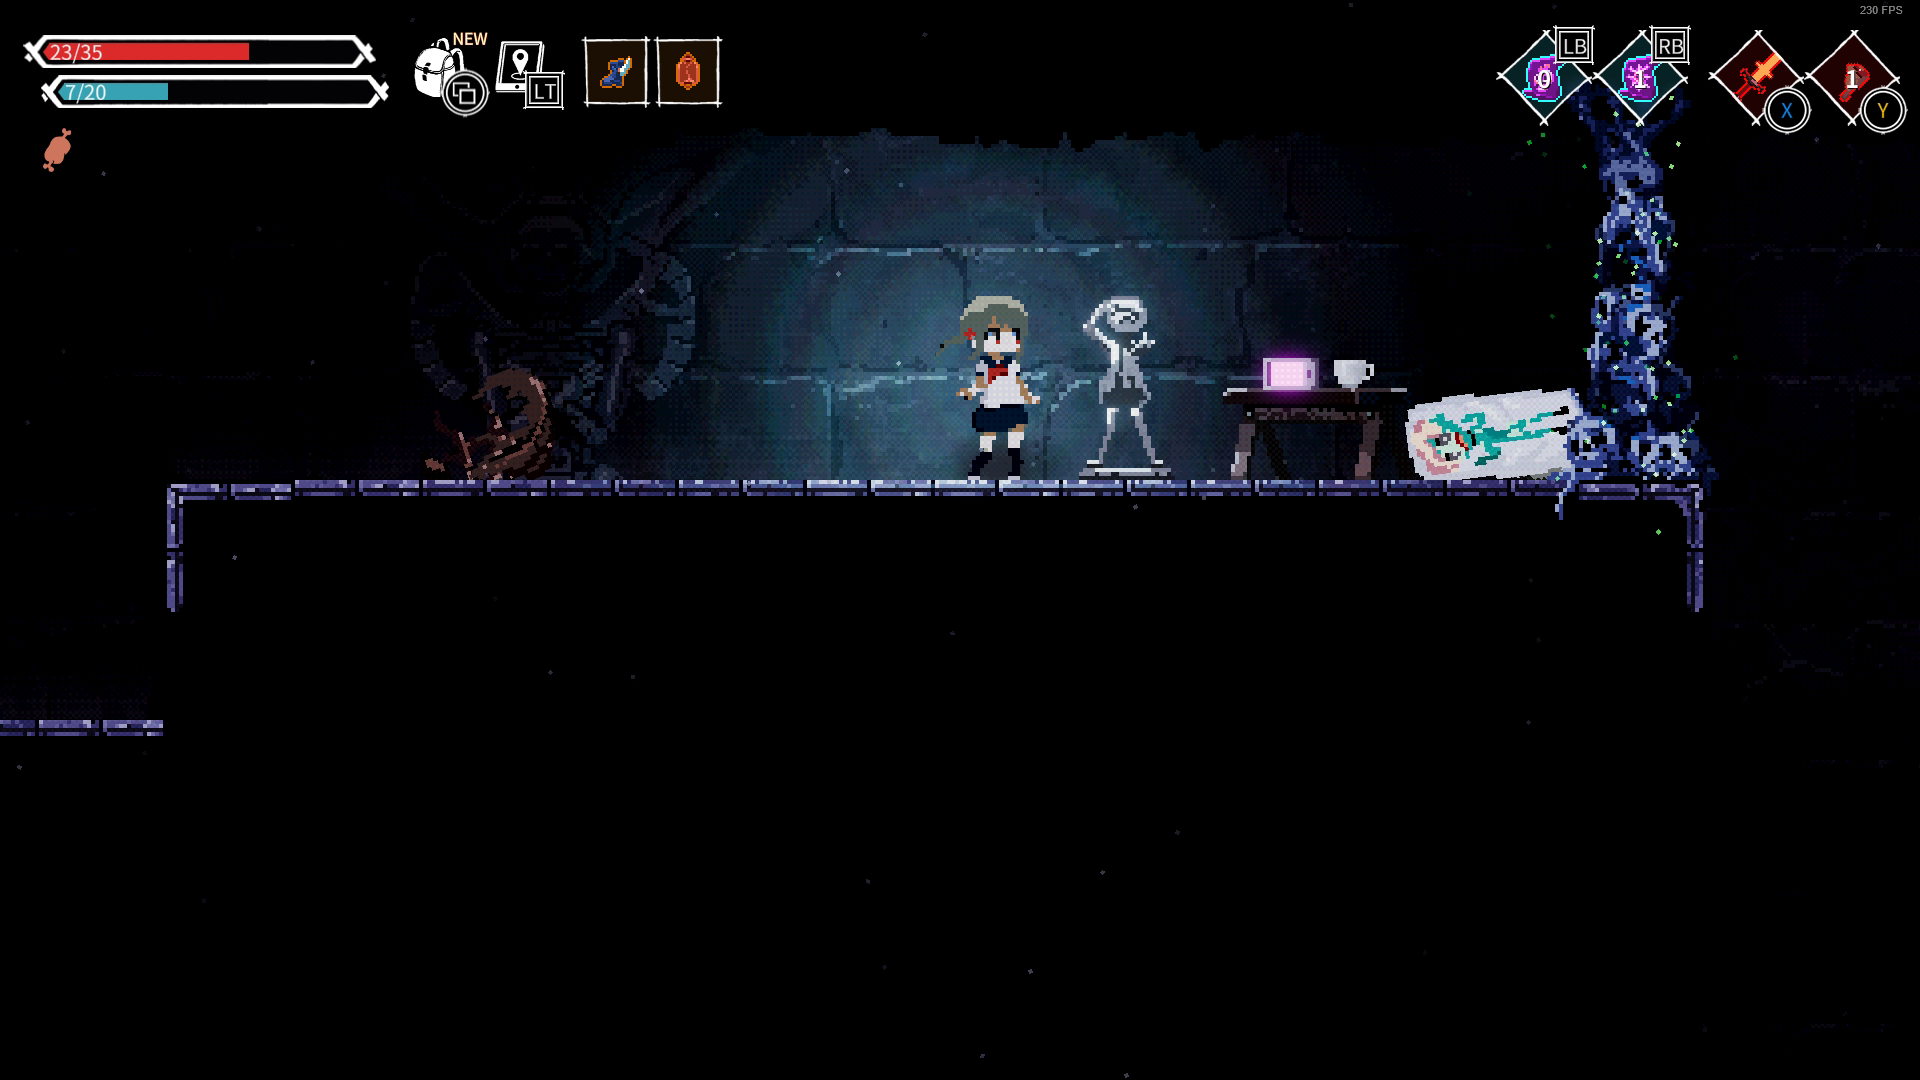
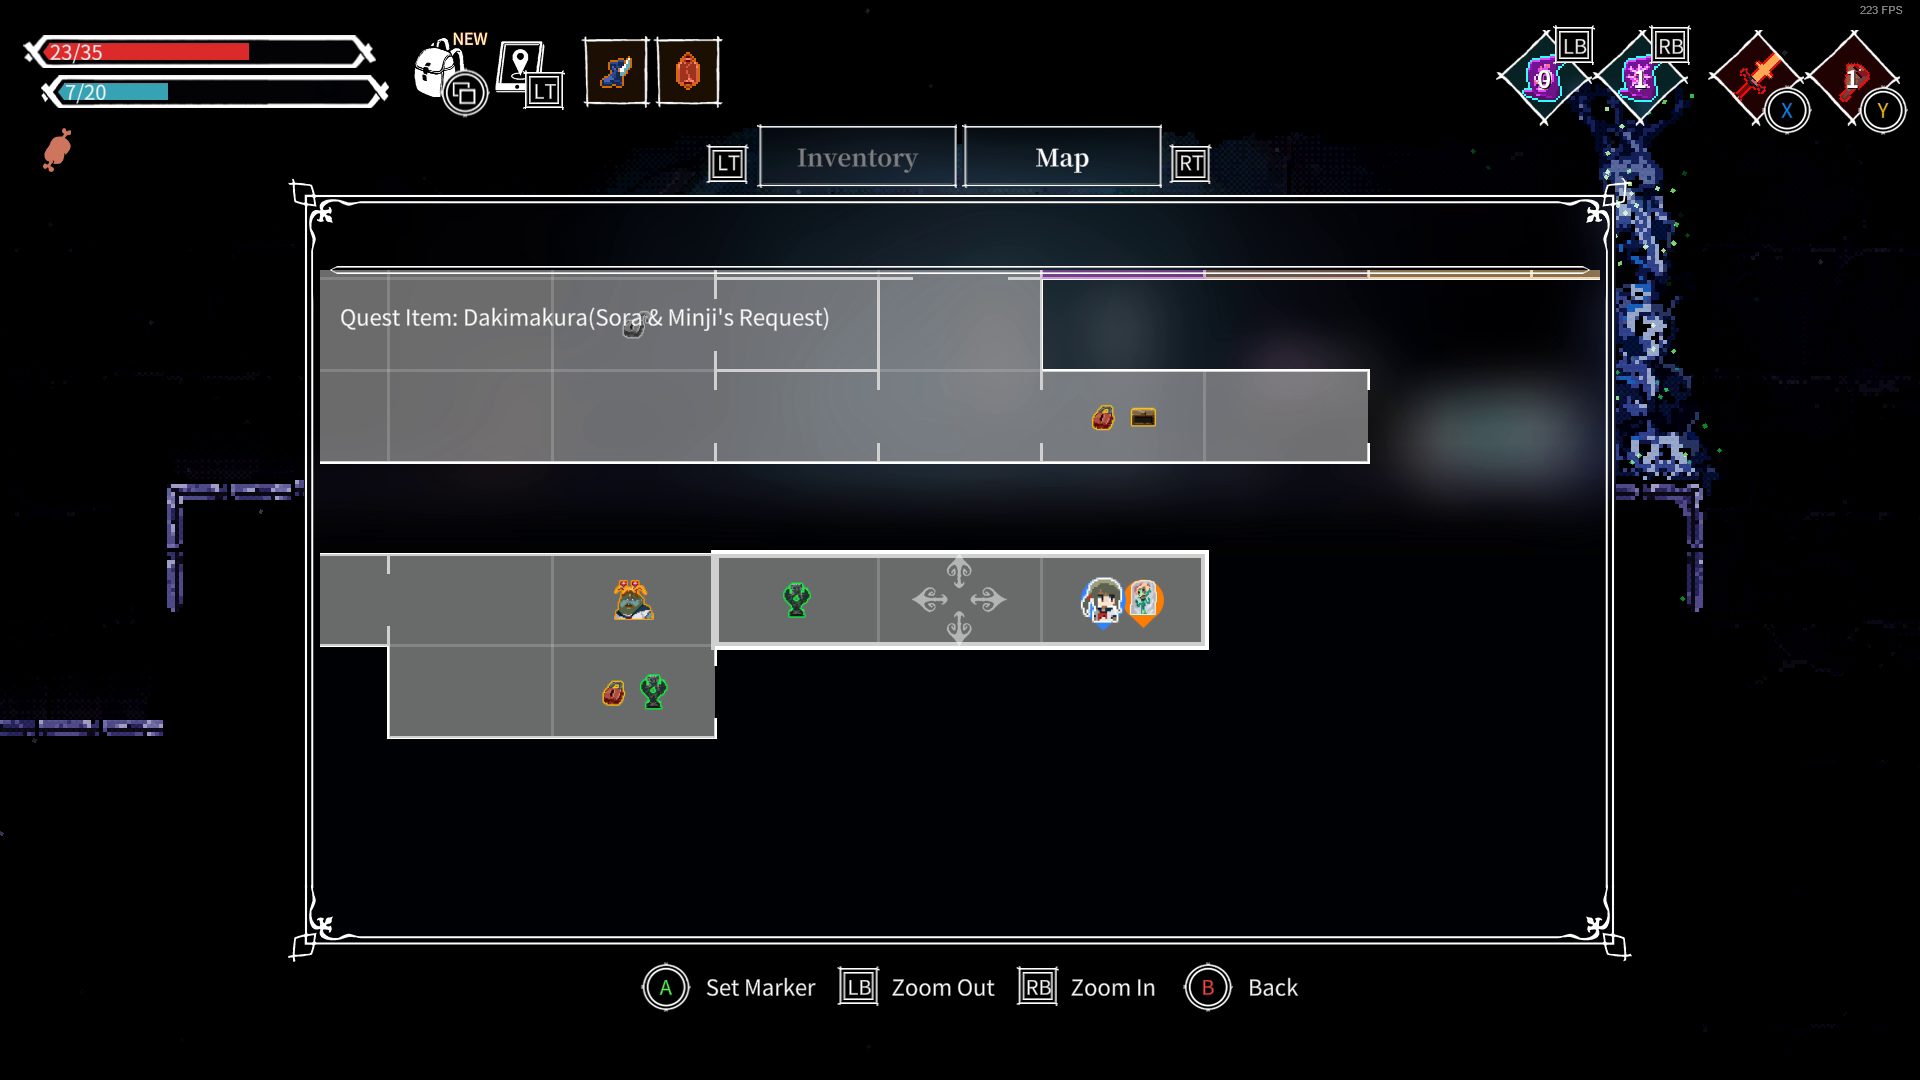
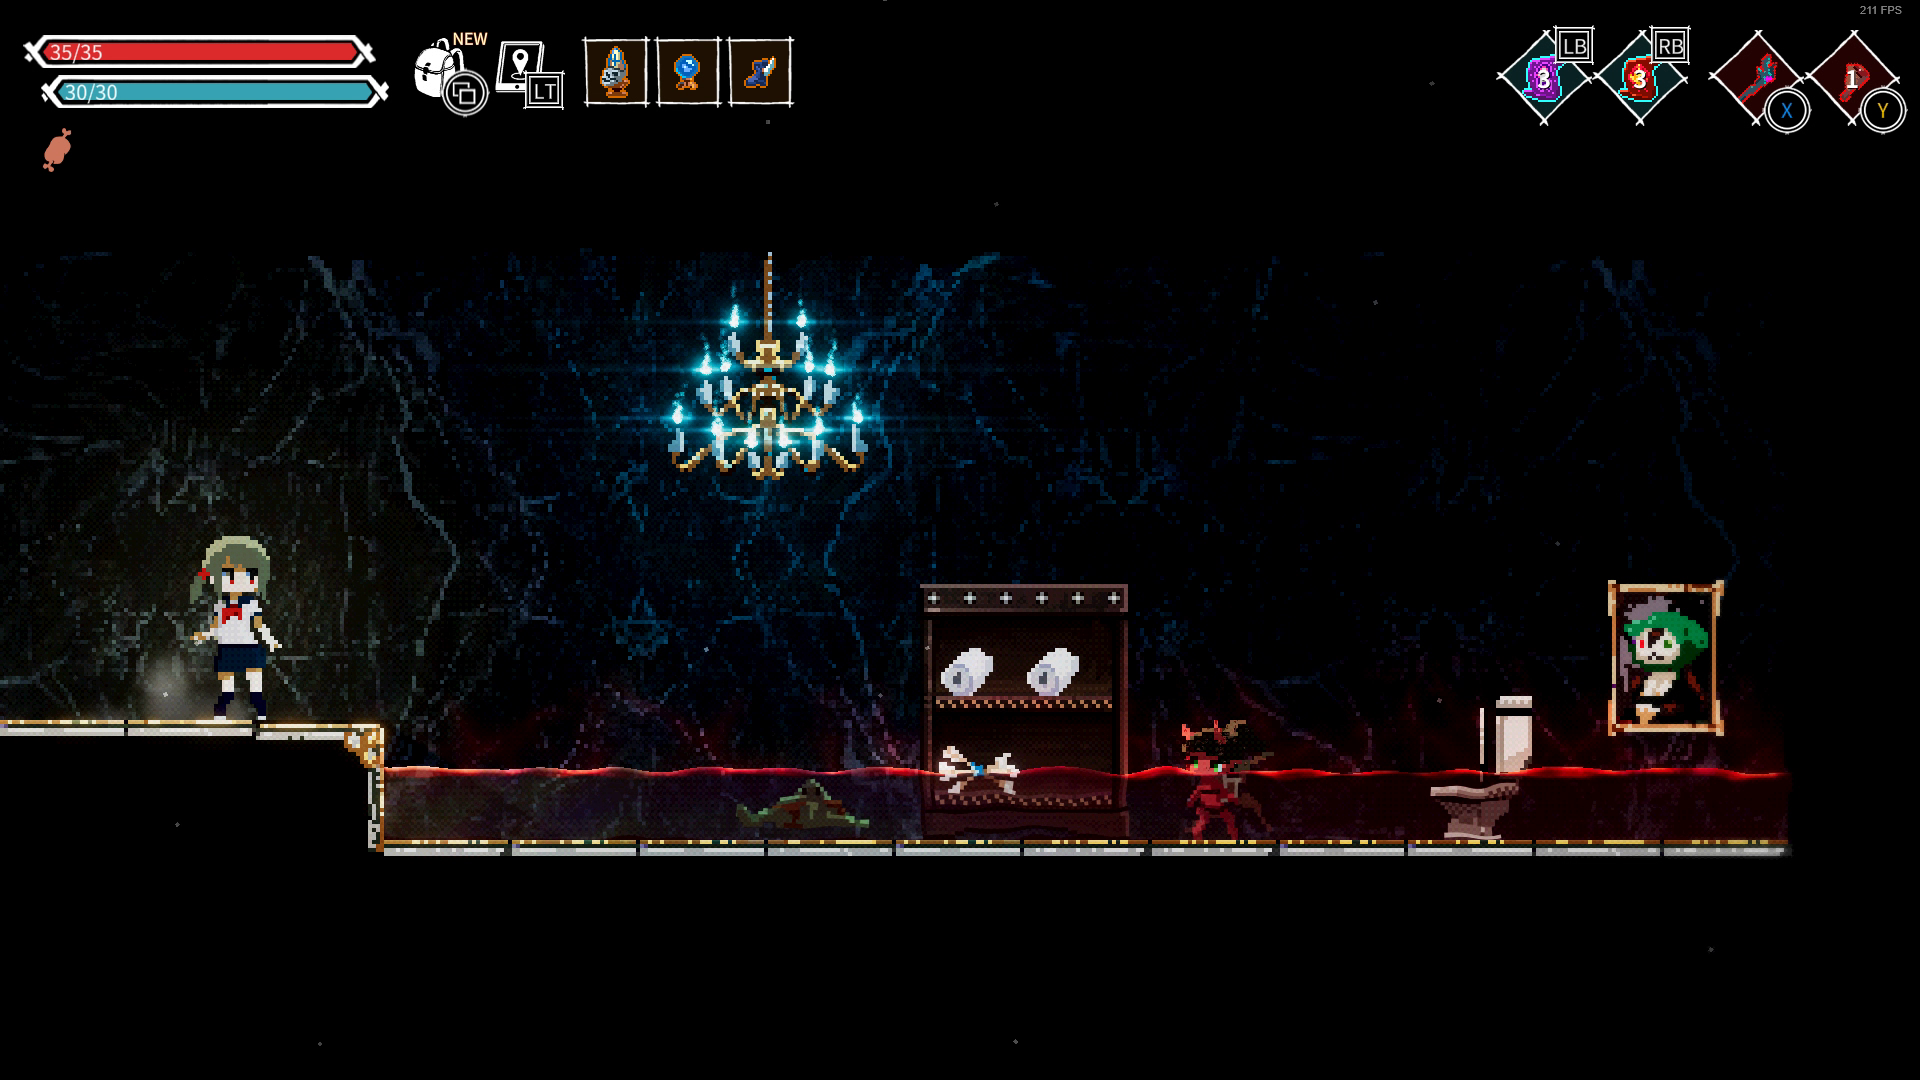
That's it for this room, keep progressing right via bottom right exit and you'll encounter Yuri again and pick up Yuri's Journal #2, then you'll meet Sora and Minji, starting Sora and Minji's Request. The quest require you to retrieve their Dakimura, which you can find if you keep progressing right from the room without dropping down. You'll have to navigate through some traps to get to the Dakimura, you can use the Corpse Absorption Spell to deal with the skeleton archer and mage protecting the Dakimura or you can use Invisibility if you don't feel like dealing with them.
Here you'll find Icon #3, Yuri's Journal #3 and a coffee. After picking up the Dakimura head back to Sora and Minji either through where you came from or go right and drop down then turn left again. By completing this quest Sora and Minji will drop the Catacomb Latrine Key and a Hair Band which increases selling price. Use the key to open the door below the speakers to find Art Piece #2.
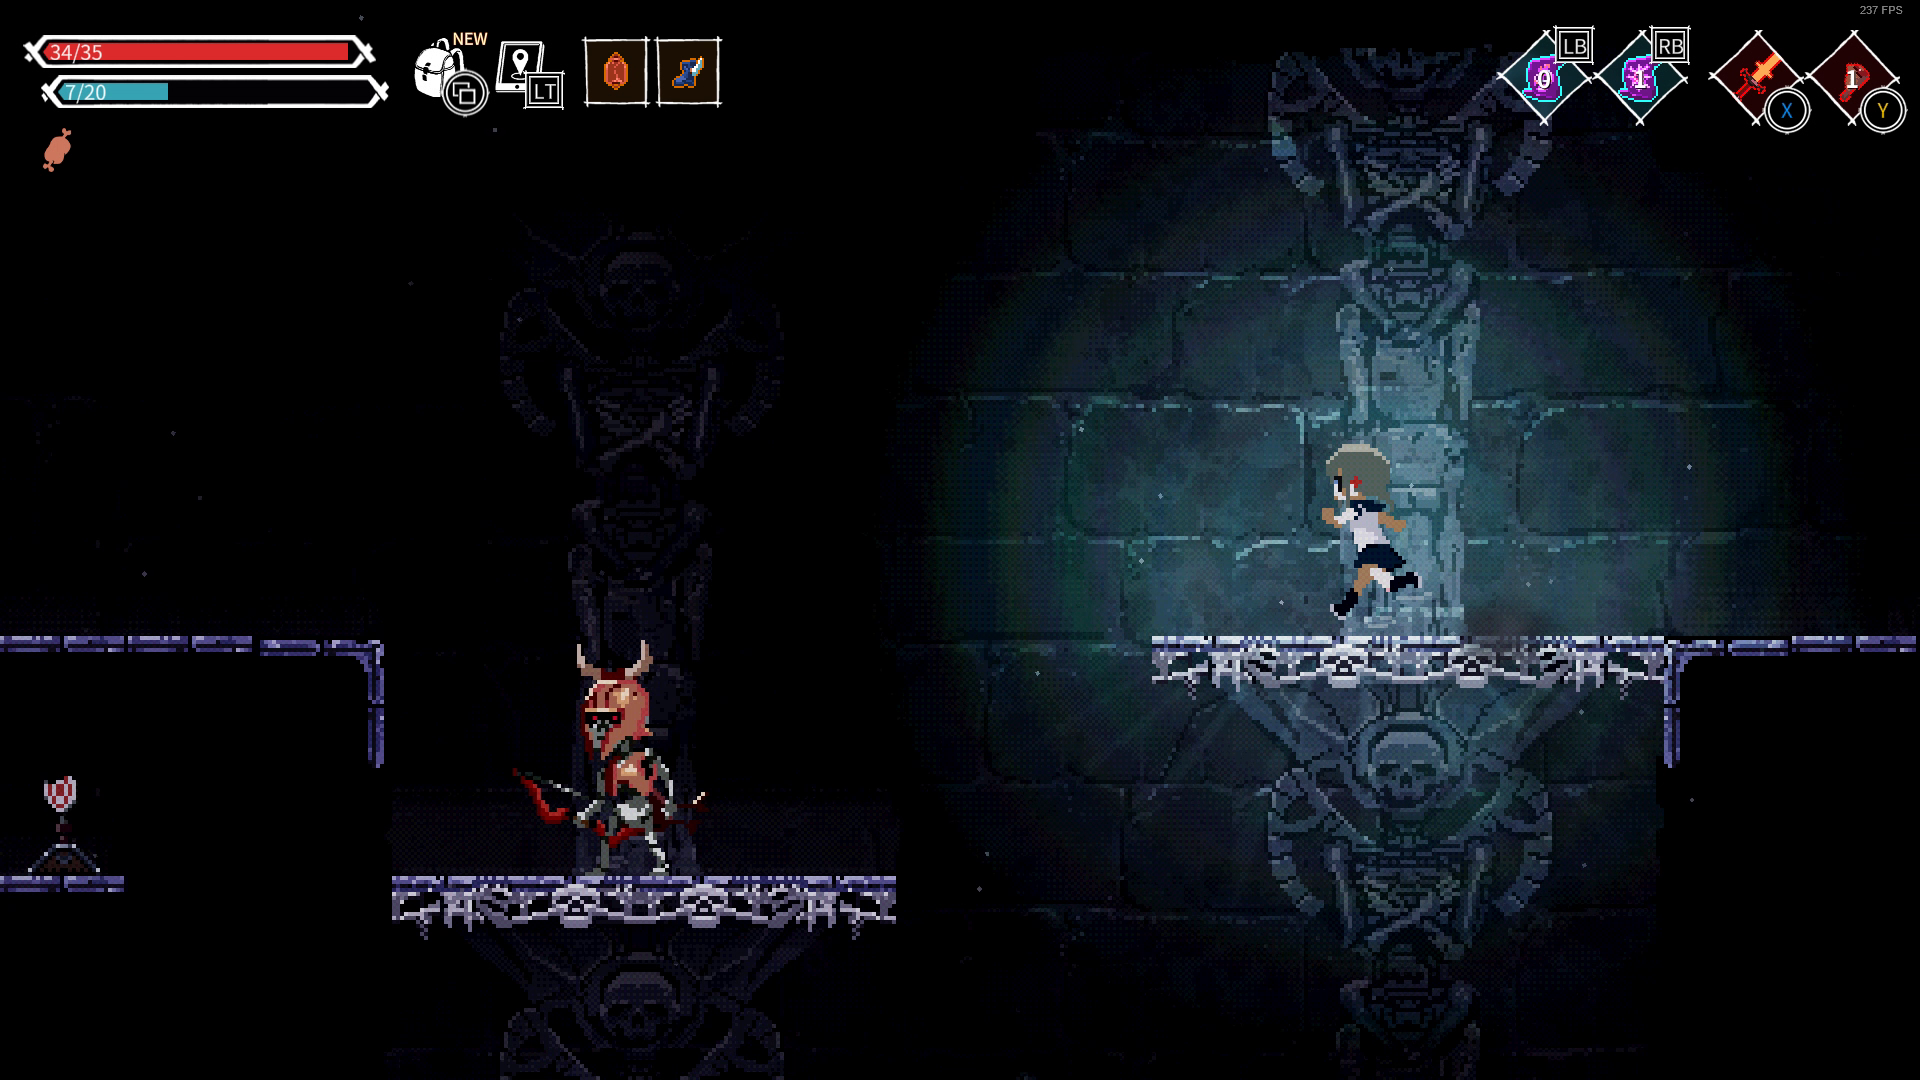
Exit the room through the bottom right exit and then keep progressing right pass the skeletons to find Icon #4. Above the Icon is a checkpoint. You can either choose to progress right from the Icon or right from the checkpoint above. You should take the exit near the checkpoint for now.
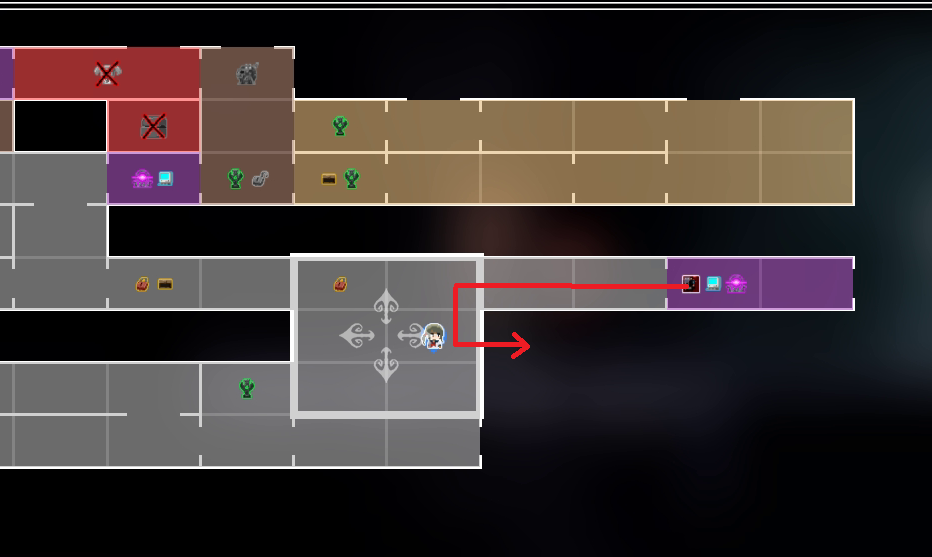
There you'll find a big room with moving platforms. For now, you should ignore every other exit in this room and just focus on getting up the platforms (all the way to the top) to reach to top right exit of the room where you'll meet Yuri again and fight two ice wraiths at once. After that you'll reach Portal #13 and Vending Machine #4.
ROUTE OVERVIEW
Vending Machine #4 sells:
Sledgehammer
Ray Wands
Magic Shield
Magical Gloves
Chain Lightning -- Buy this immediately
HP Absorption Orb
Ice Shot
-
The reason why you should get the Chain Lightning spell immediately is because you'll be using it very soon. From the vending machine head on back where you came to the big room with the moving platforms, drop down to the middle level where you'll find an exit to the right guarded by an archer skeleton, along with Icon #5.
Here you'll want to activate the right lever of the fire cannon one time and then shoot it. The fireball will go through an arc and destroy a breakable floor where you can drop down to find a HP potion and Journal #7.
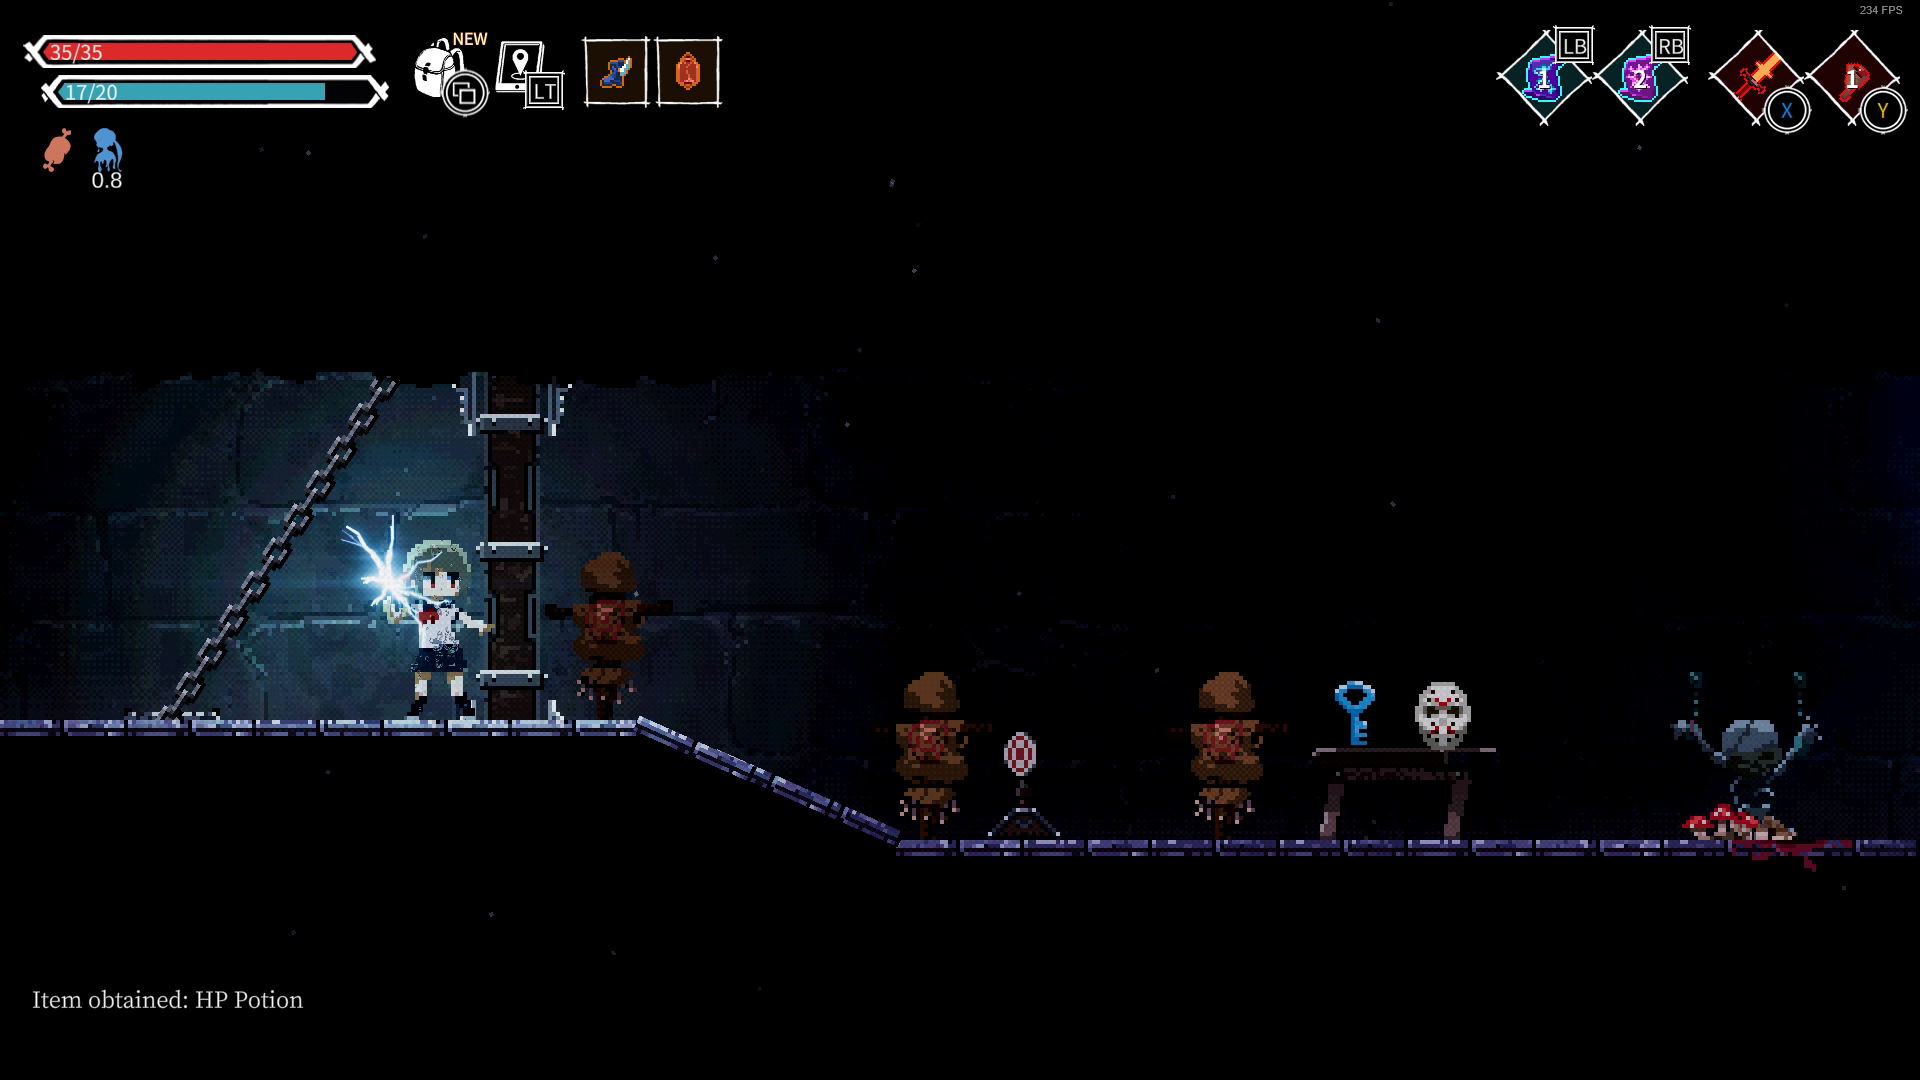
From the journal head right and you'll arrive at a locked gate with straw men behind it. Use chain lightning here to hit the target and unlock the door. You'll find the Hockey Mask, Catacomb Chancel Key, Holy Bottle and Missiles.
Head left now past the draw bridge to loop back to the big room with moving platforms, on the top left corner of this room there's a lock door, the Catacomb Chancel Key opens this door to reach an ice wraith, cheese, bread and Golden chest #8 (reminder: you still shouldn't open any golden chests yet at this point). Opening the next door will lead to the room where you found the yellow boots.
Now that you're done here, you can head back to Portal #13 and progress right to confront Yuri.
Yuri Boss Fight
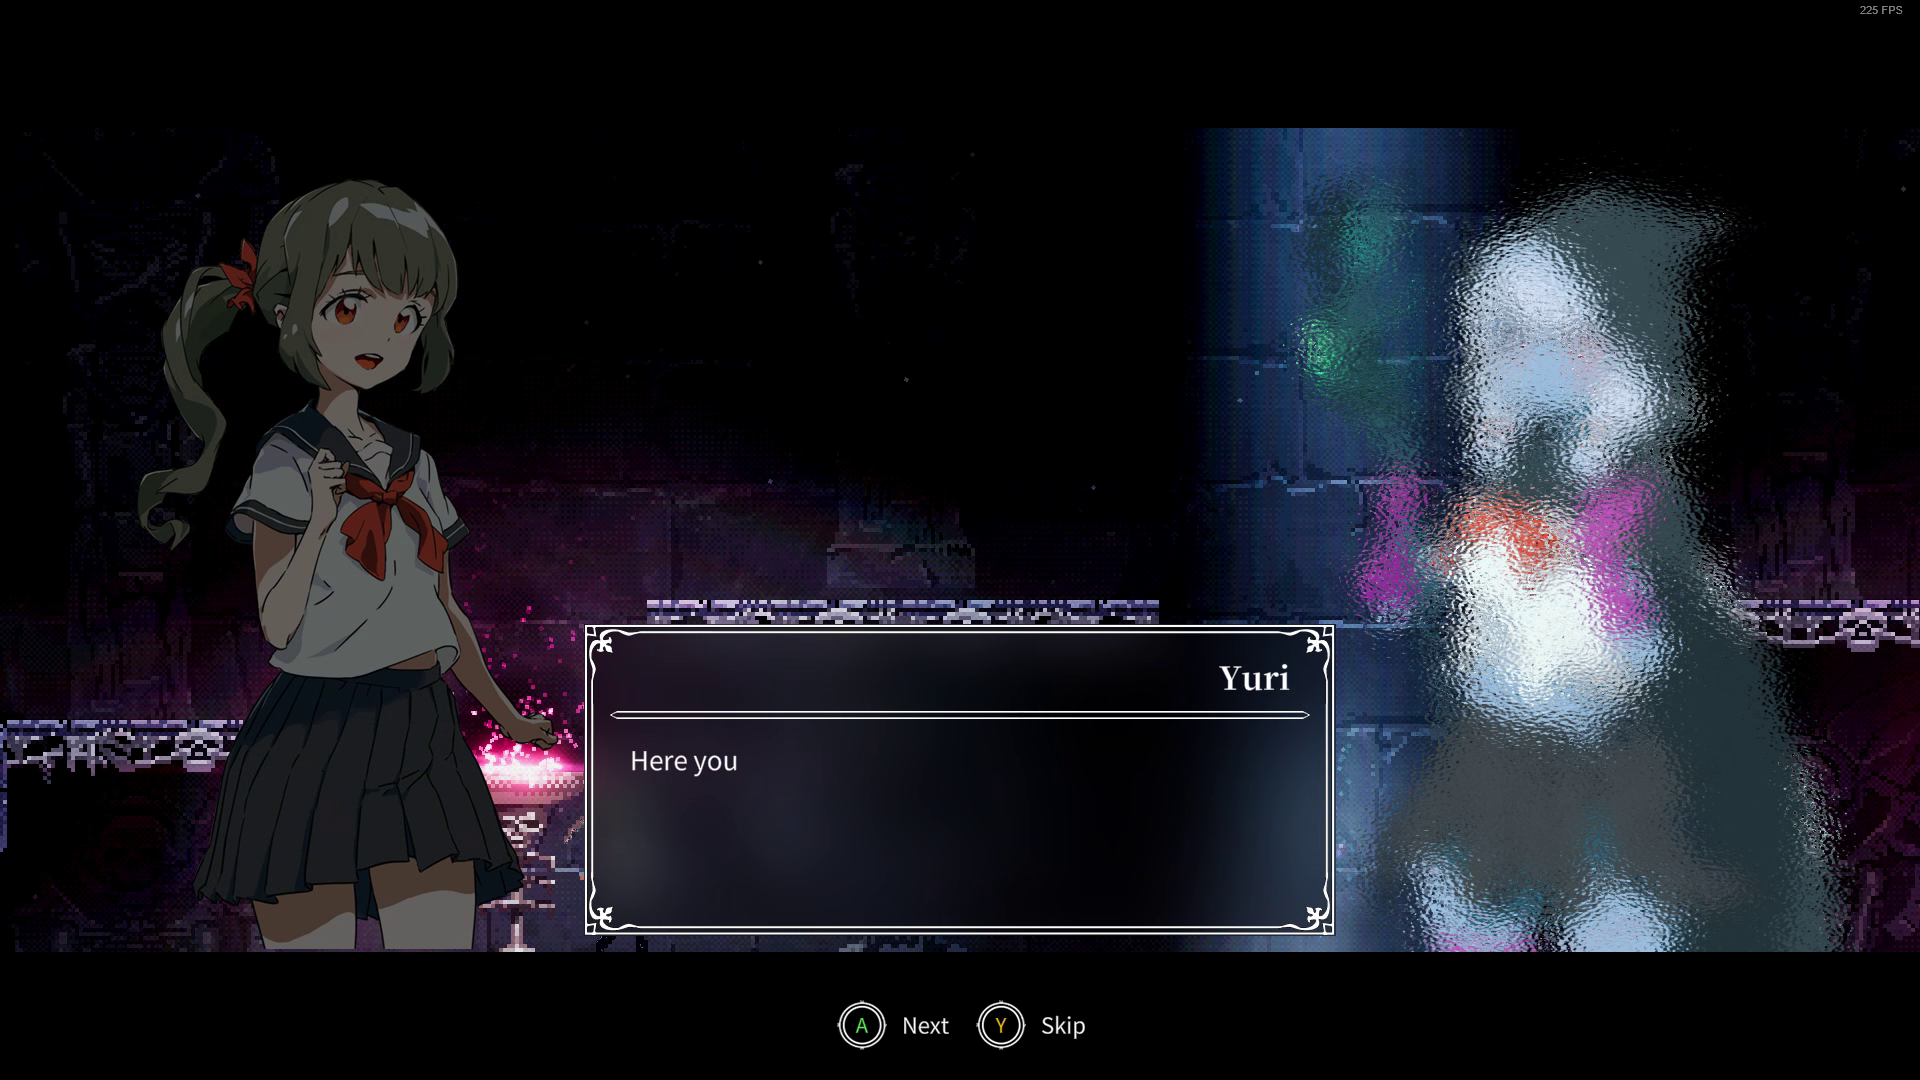

My strategy against Yuri is a dumb one, it involves equipping Slingshot and the Throwing Ham, and just cheese her from a distance. I wouldn't say it's fun, but it's an easy win strategy. You can also equip Best Friend here and have it help you block enemy projectiles. Each time Best Friend blocks damage for you you're awarded with +2 MP, this will be useful in the second phase.
The second phase is mostly the same, I gain distance from her and throw my ham when she's not blocked by projectiles. She will try to heal by summoning skeletons, two archers and one shield, if you don't kill them in time, Yuri will absorb them as HP. Lucky for you, you have an absorption spell of your own, stand in the middle of the boss room and spam the Corpse Absorption Spell to easily dispense the skeletons.
Yuri will drop Yuri's Wand, Yuri's Skull and Catacomb Egress Key upon death.
Part 6: Gardens
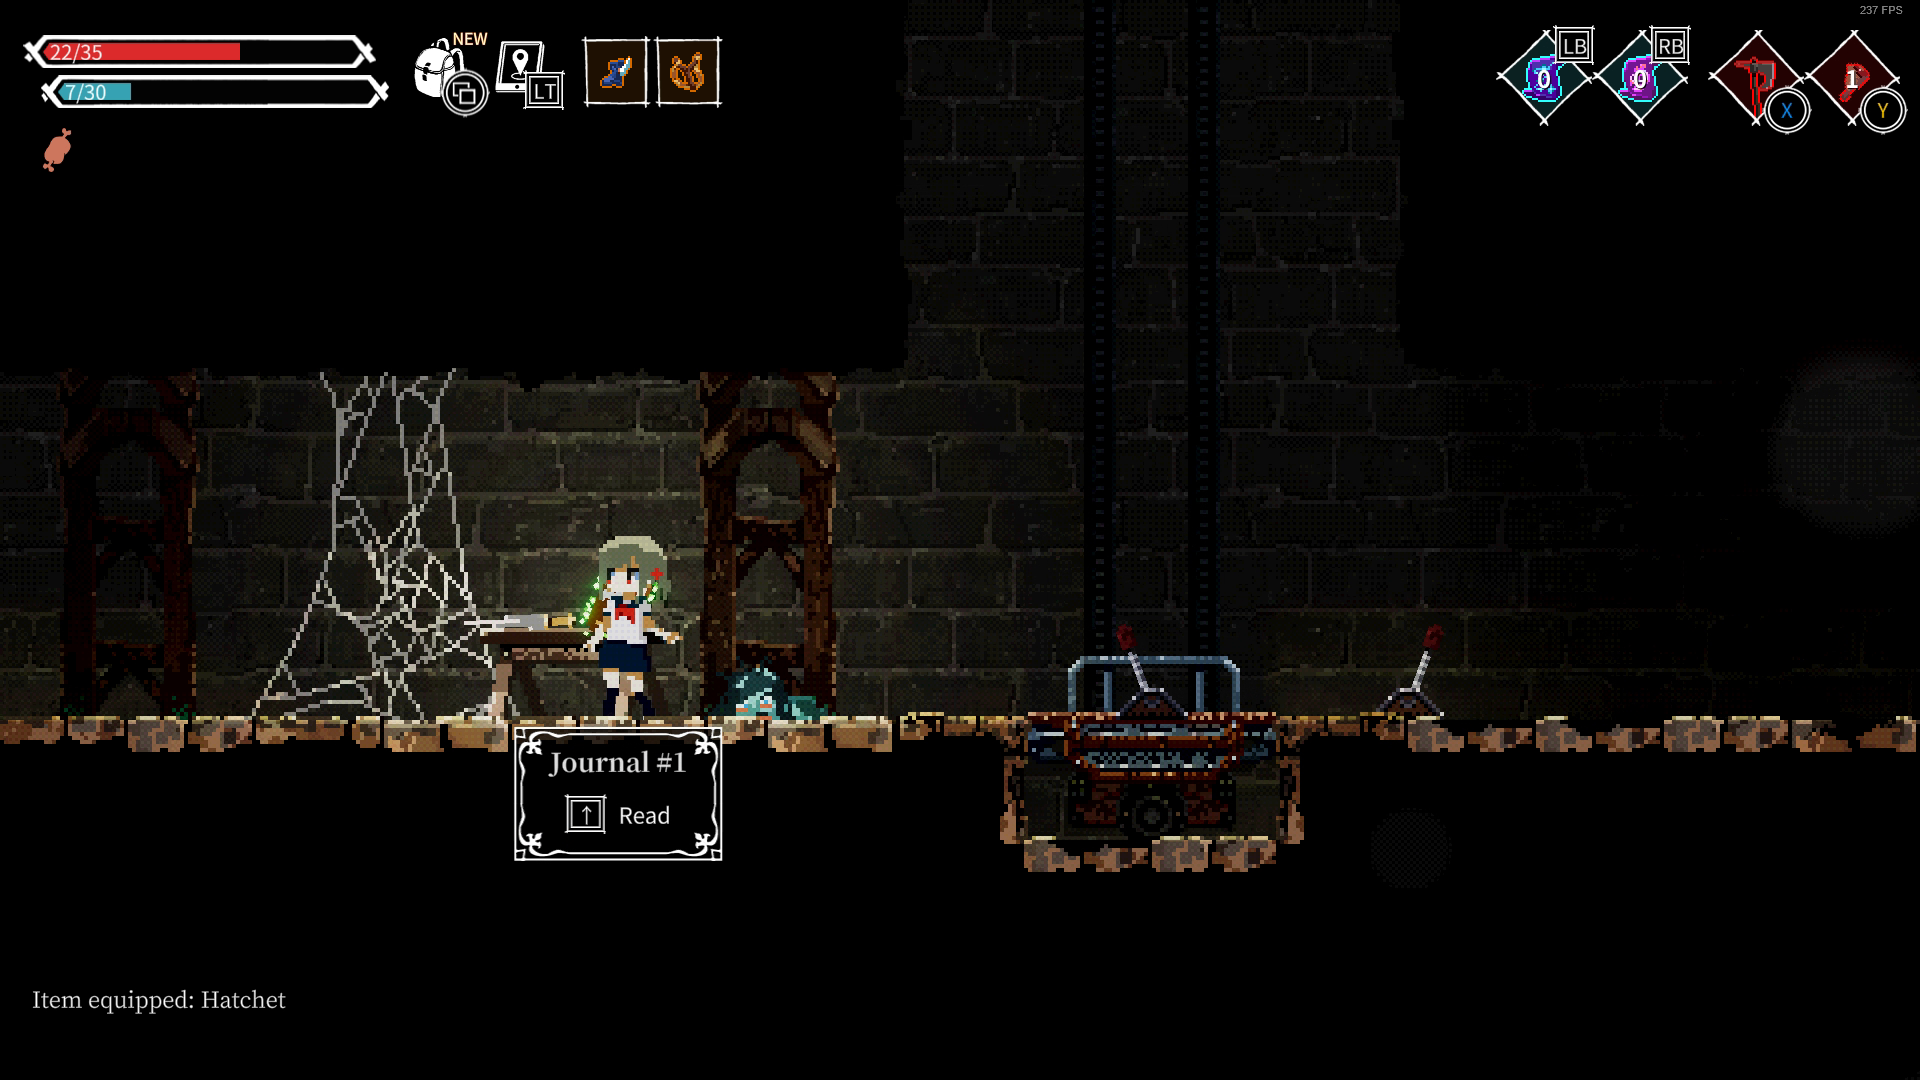


Take the lift up after Yuri and you'll find Stiletto and Journal #1, keep on progressing left from here instead of going further up to find a fire cannon. Activate the right lever two times and shoot it to hit the target and unlock the gate, inside you'll fine Vengeance Shield along with some Fire Wands.
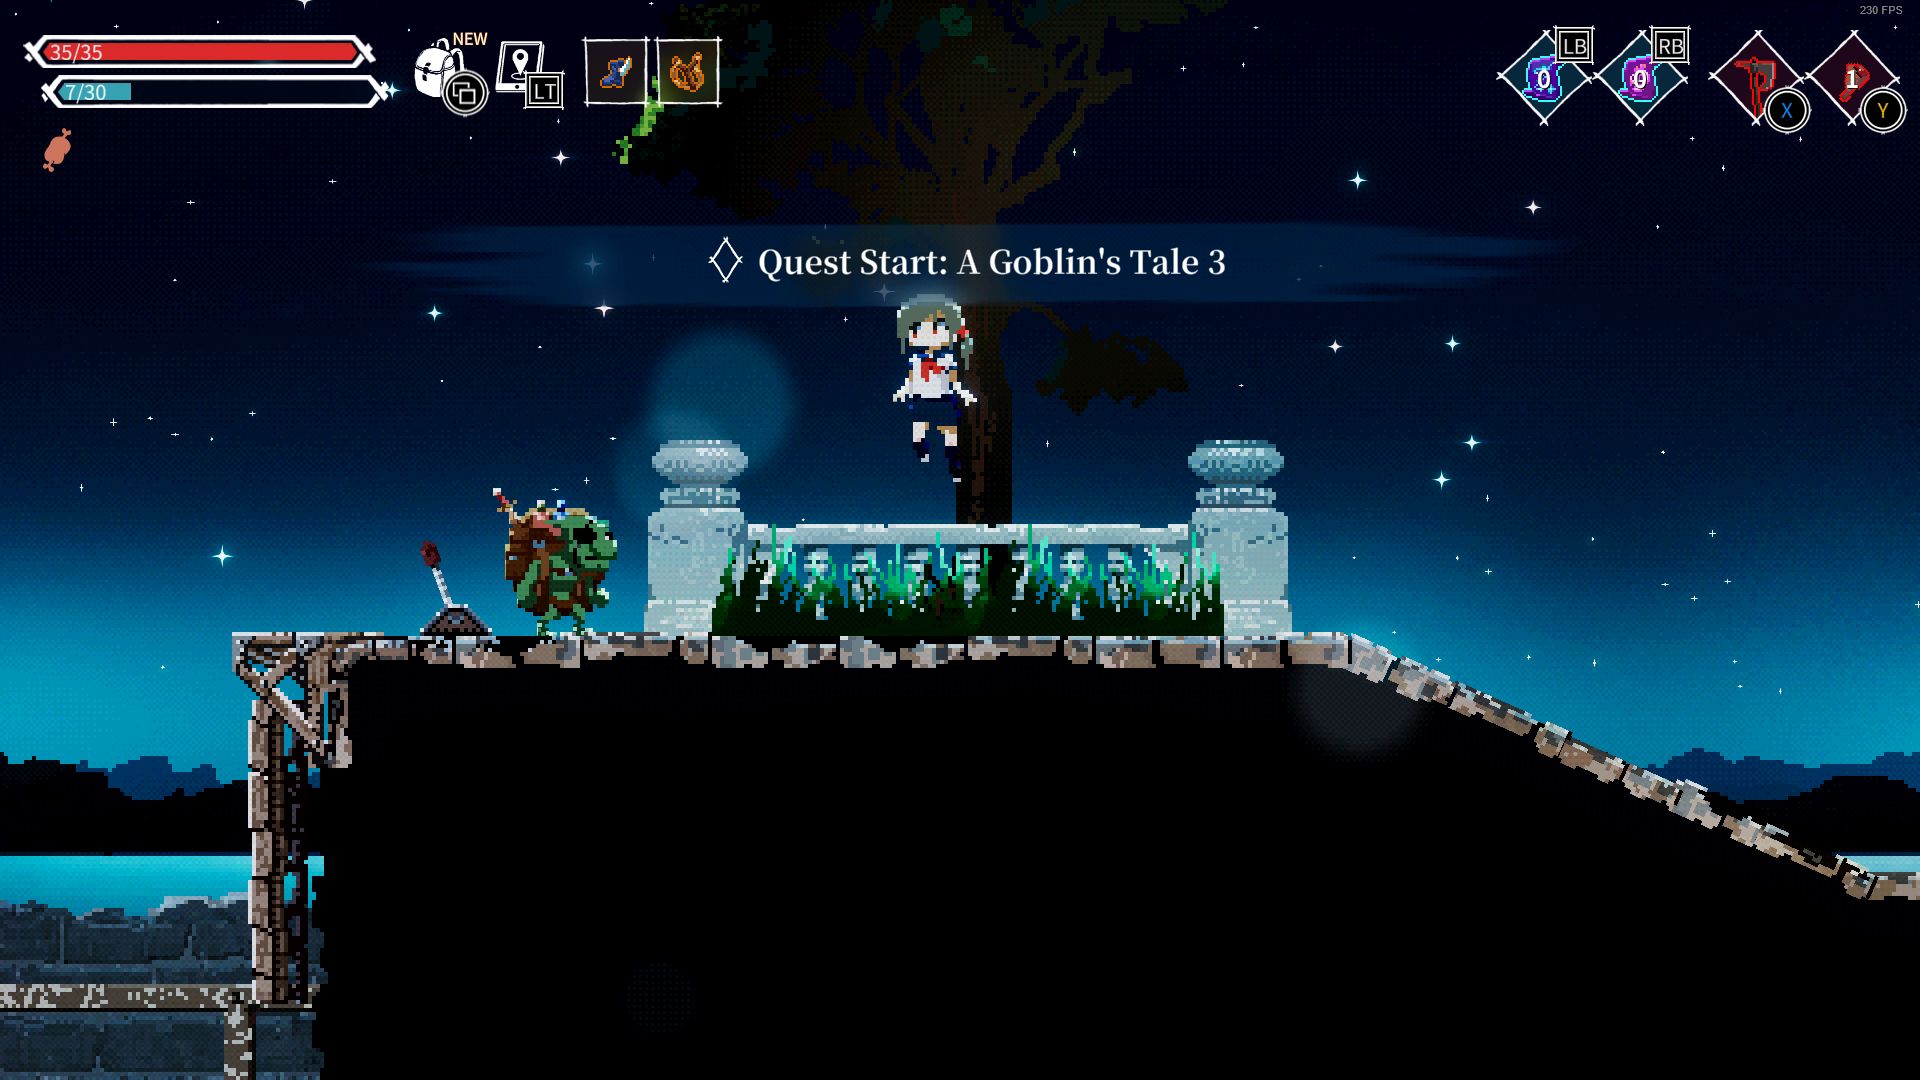
Now continue upwards and you'll have arrived at the Gardens, immediately at the entrance is Jun's Journal #1 and a Bow. Keep progressing left and you'll trigger A Goblin's Tale 3 (thus completing Goblin Tales achievement) and receive a Goblin Head Ornament.
Keep going left past the checkpoint then up and take note of the inaccessible tunnel, in the next room, once you drop down the bridge you will find Golden Chest #10. You don't actually have to drop down now since you can't open them yet.
In the next room you'll find Portal #14 along with Astarte whom will start Astarte's Request, requiring you to kill some harpies for her. Do it, and you will receive the Multi Shot Bow. She'll be waiting at her usual spot.
The room after this will have an upper level and a lower level, you won't find anything when progressing left on the lower level. Instead, you should go up then go left, picking up a Poison Wand, some throwing poison bottle and Jun's Journal #2 on the way.
Shortly you'll arrive at a puzzle room, there are two doors to open here, one on the left and on below.
1. Pushing the anvil to the right to press on the plate on your level (lower reflect mirrors) will cause the gate to the left to open up, this leads to Portal #15 and Vending Machine #5.
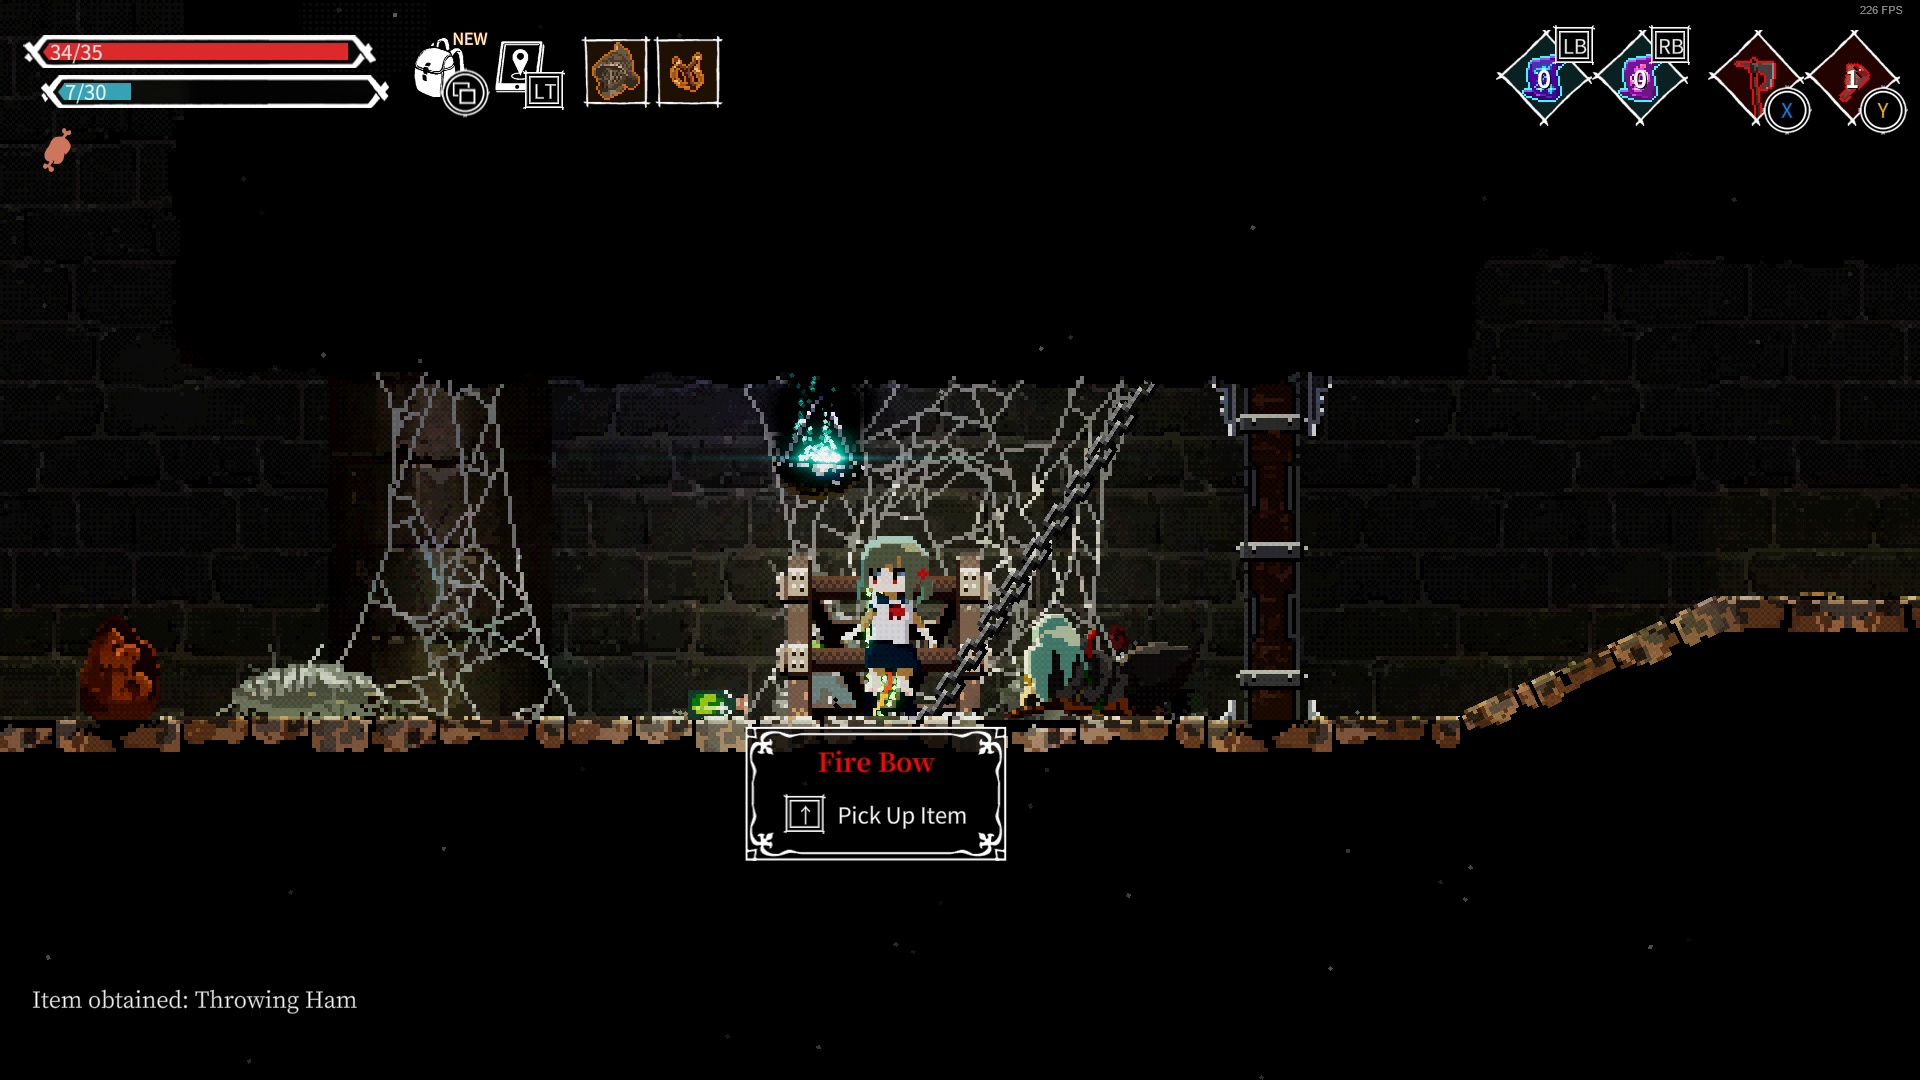
2. Pushing the anvil to the left and pressing on the plate above you (Left Screenshot, no need to adjust reflect mirrors) instead will open the gate for you to drop down, below you'll pick up the Fire Bow.
In Vending Machine #5 you'll find the Lightning Rune, thus completing Beatrice's request. Next to the Vending Machine is Journal #2.
Note: At this point you should probably visit Beatrice and buy any spells that you don't have from her. Don't forget to buy back all the runic spells from her after completing her quest.
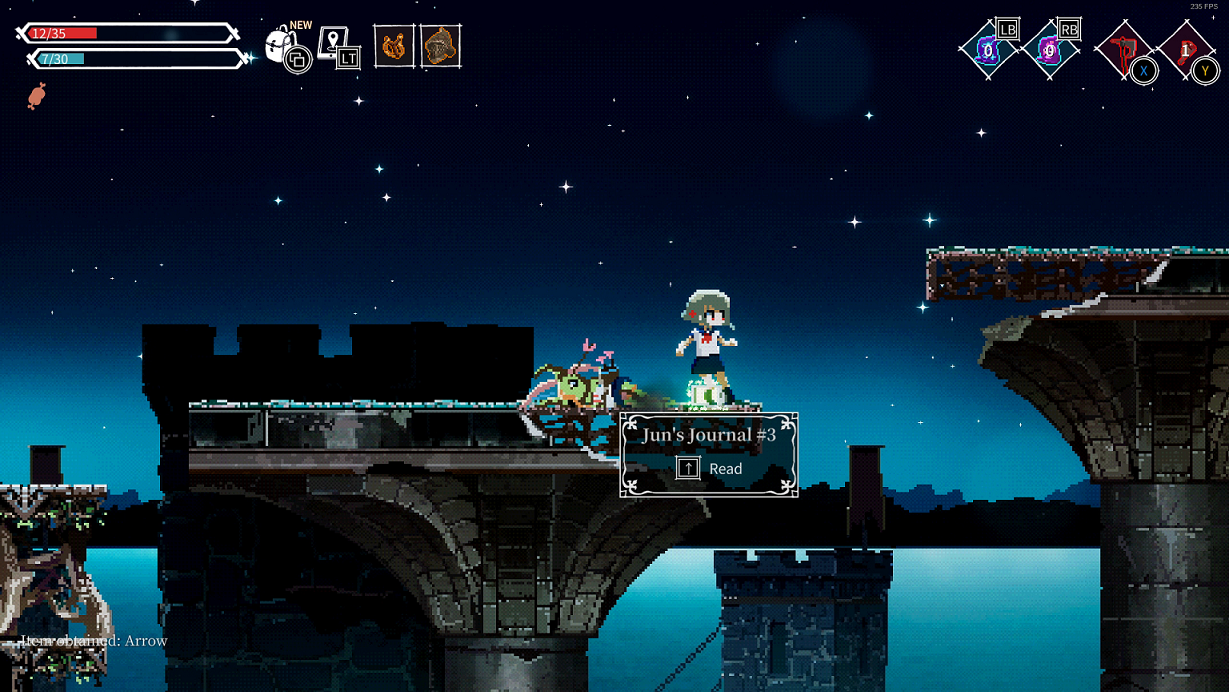
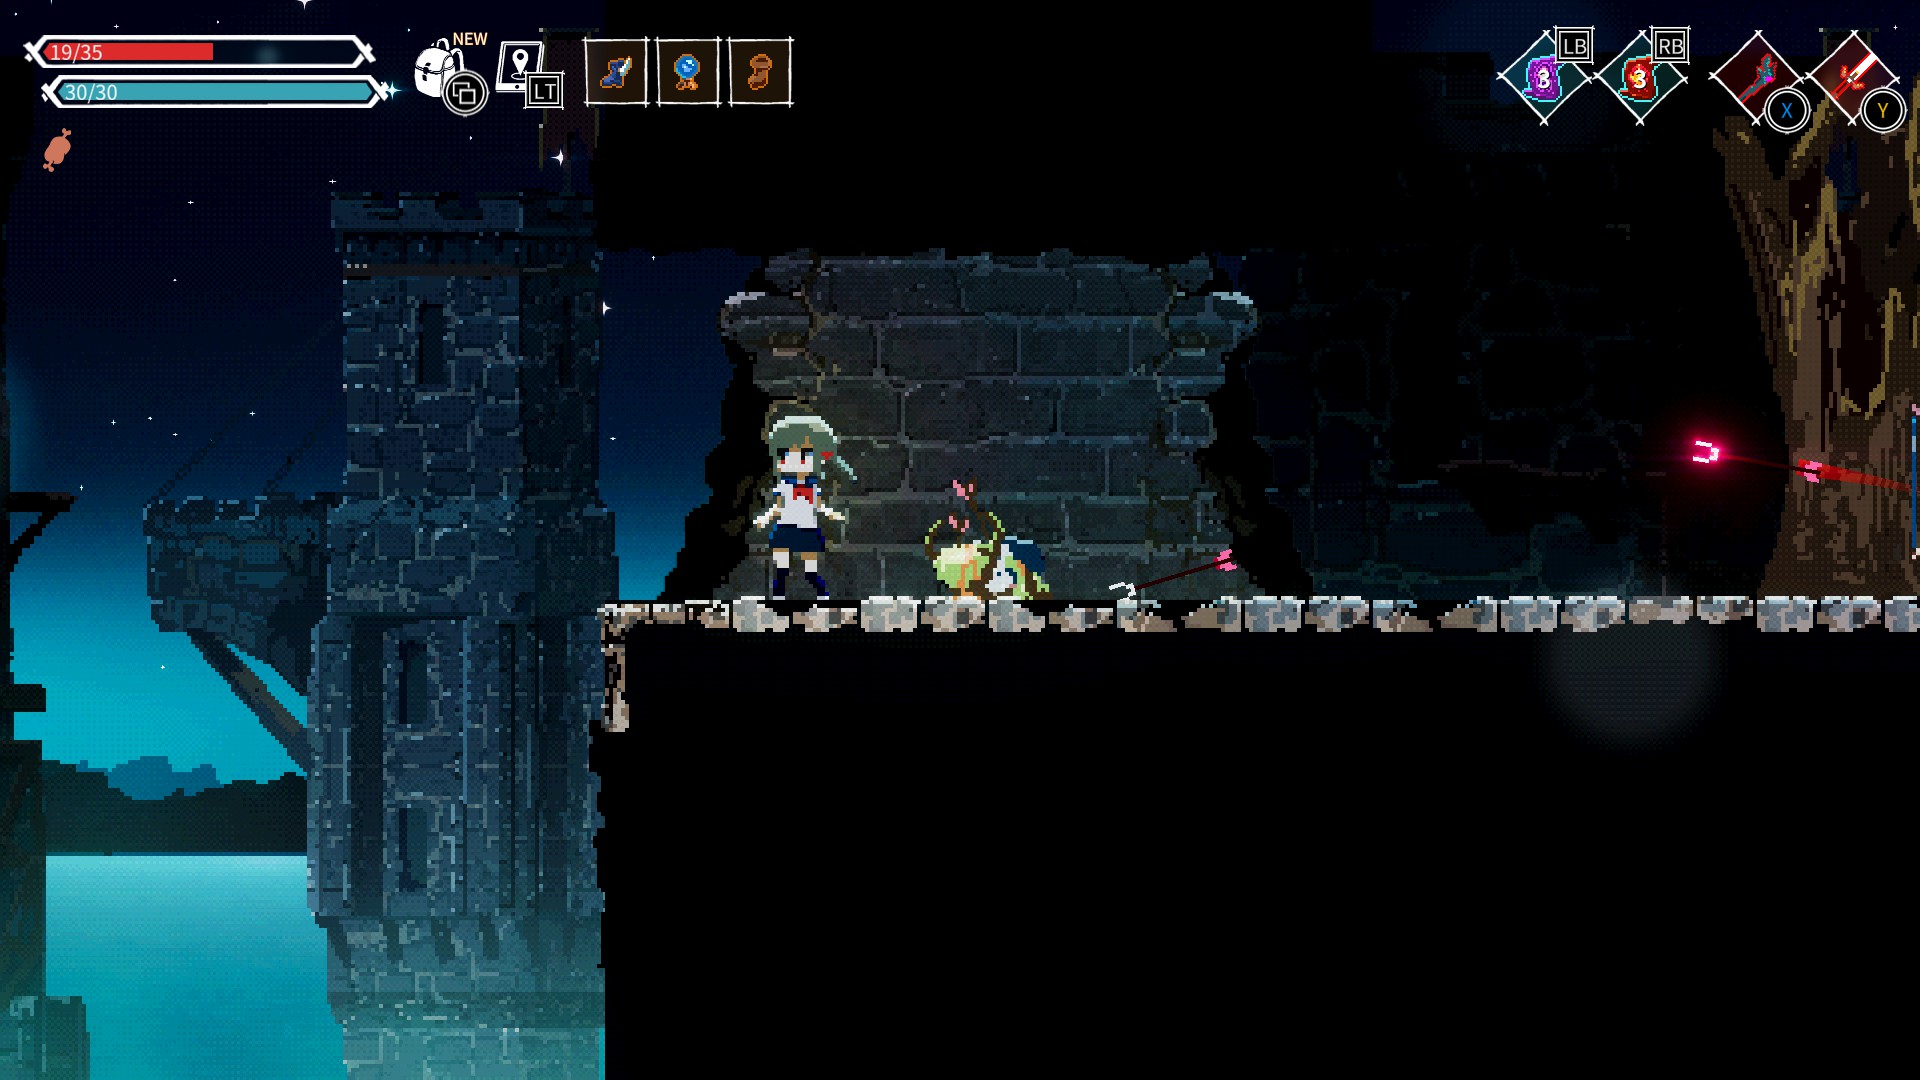
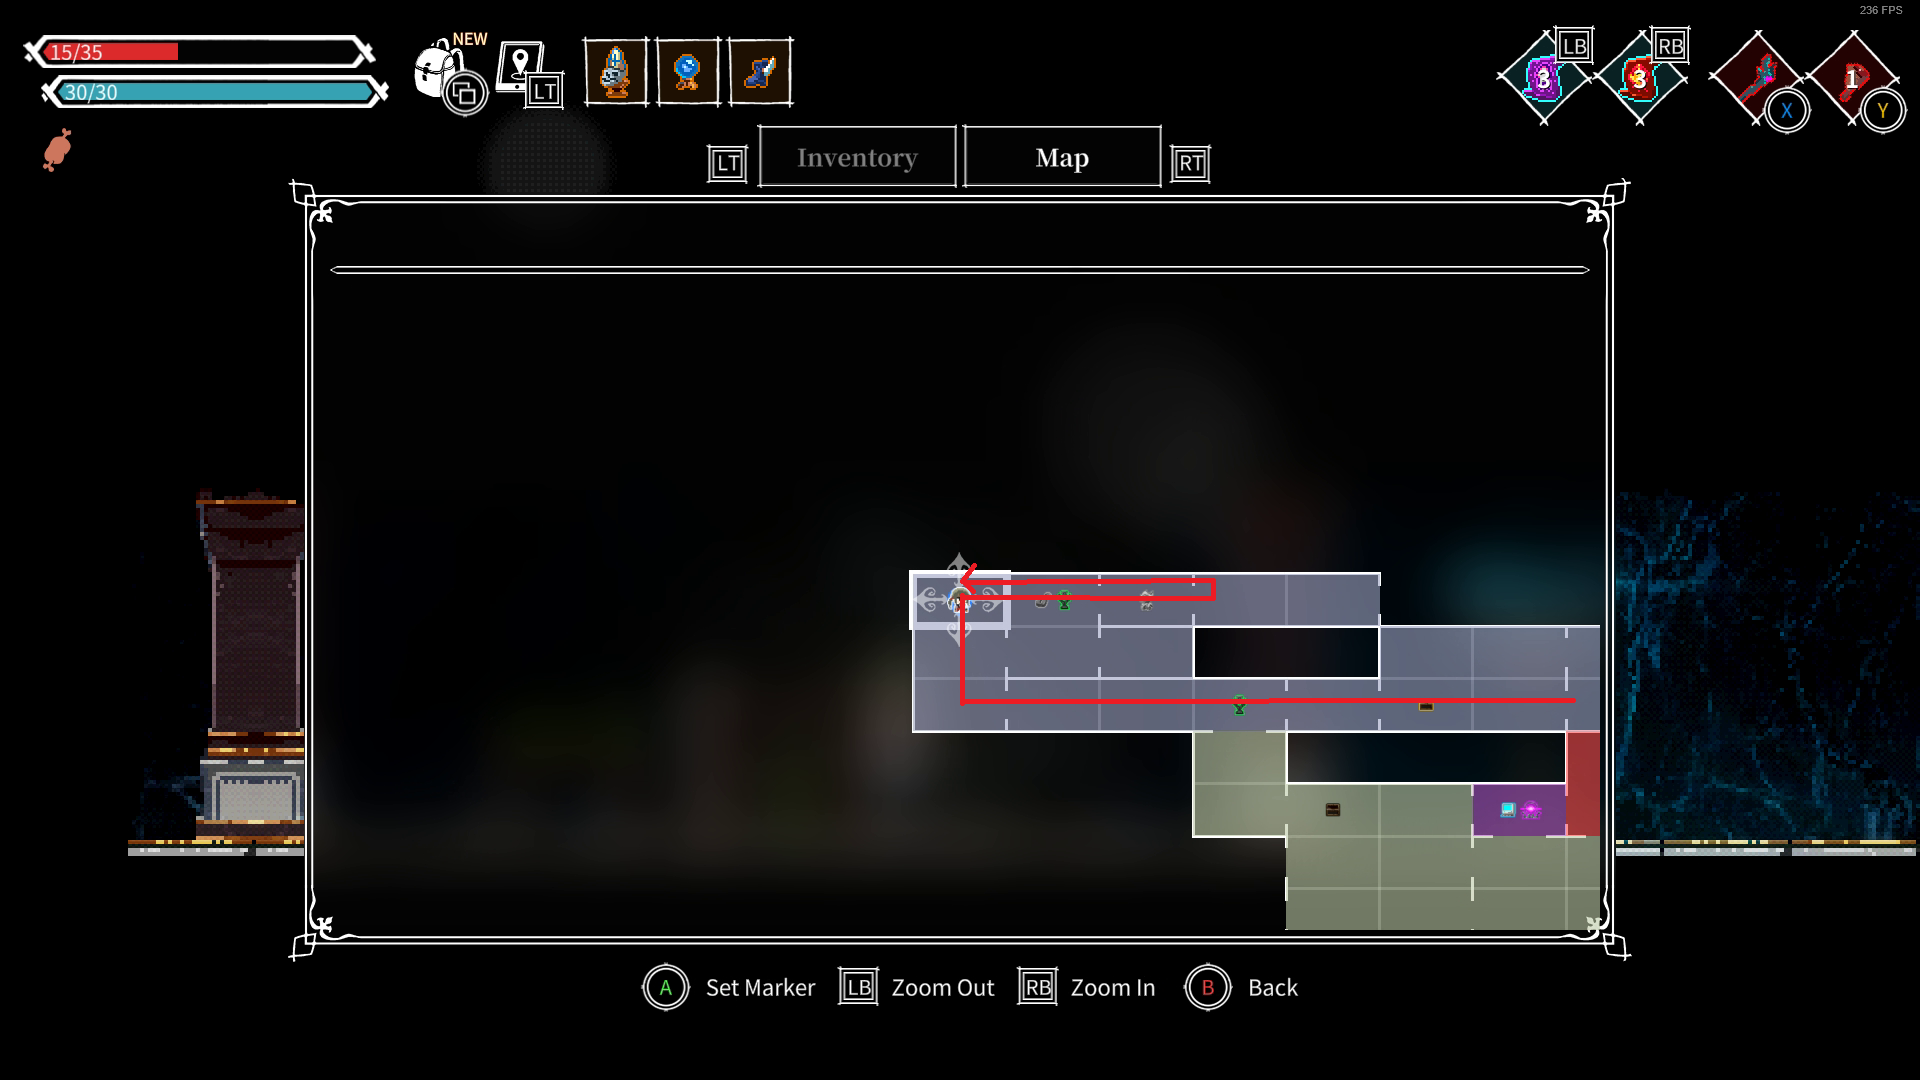
Going left from Portal #15, you'll arrive at a large room with platforms upwards.This large room here is actually connected to three separate Golden Chests (Golden Chest #3, Golden Chest #11 and Golden Chest #12) but you should ignore them for now. Instead, head on up the platform and exit through the top right exit, picking up Jun's Journal #3 on the way. Use invisibility here if you have to because the archers are incredibly annoying and the bleed damage will kill you pretty fast. The top right exit leads to portal #16 before arriving at Jun boss fight.
Jun Boss Fight
To be honest with you I don't have a solid strategy against Jun. She is such a headache to deal with. Best Friend is useful here to stop her arrows, but keep in mind that Best Friend will also block your Throwing Ham if you don't aim carefully. Here's how I managed to defeat her.
Jun is another boss that can be somewhat cheesed with Throwing Ham. Keep jumping to avoid the arrows and look for a small window between the arrows to attack her. If you have any mana to spare, use Magic Missile to chip away her health when you're waiting for Throwing Ham to come back. If you get too close, Jun will jump away or uses melee attacks, those are a pain to deal with, that's why I prefer to play at long range against her instead.
During her phase 2 she'll transform into a spider, she'll shoot arrows faster and she has a raining arrow ability now. Also she will jump up and out of the screen and then land down to send poison waves on both sides. The flower petals indicate where she will land, you'll have to be airborne when she lands to avoid being staggered, use Winged Shoes to roll away and gain as much distance as possible while airborne.
______________
Jun will also spread webs all over the boss room to slow down your movement. The invisibility spell will benefit you here to get away from her undetected. The webs will also stop any projectiles you shoot at her, but if you are at the edge of the room while she's in the middle or the other side, she won't be aggroed and will simply stand idle until you approach her. Use this exploit to clear the webs while she's doing nothing.
Jun drops the Garter Belt, which adds one more item slot for the heroine; Jun's Journal #4 can be picked up after the boss fight.
Part 7: Ascetic Lifestyle
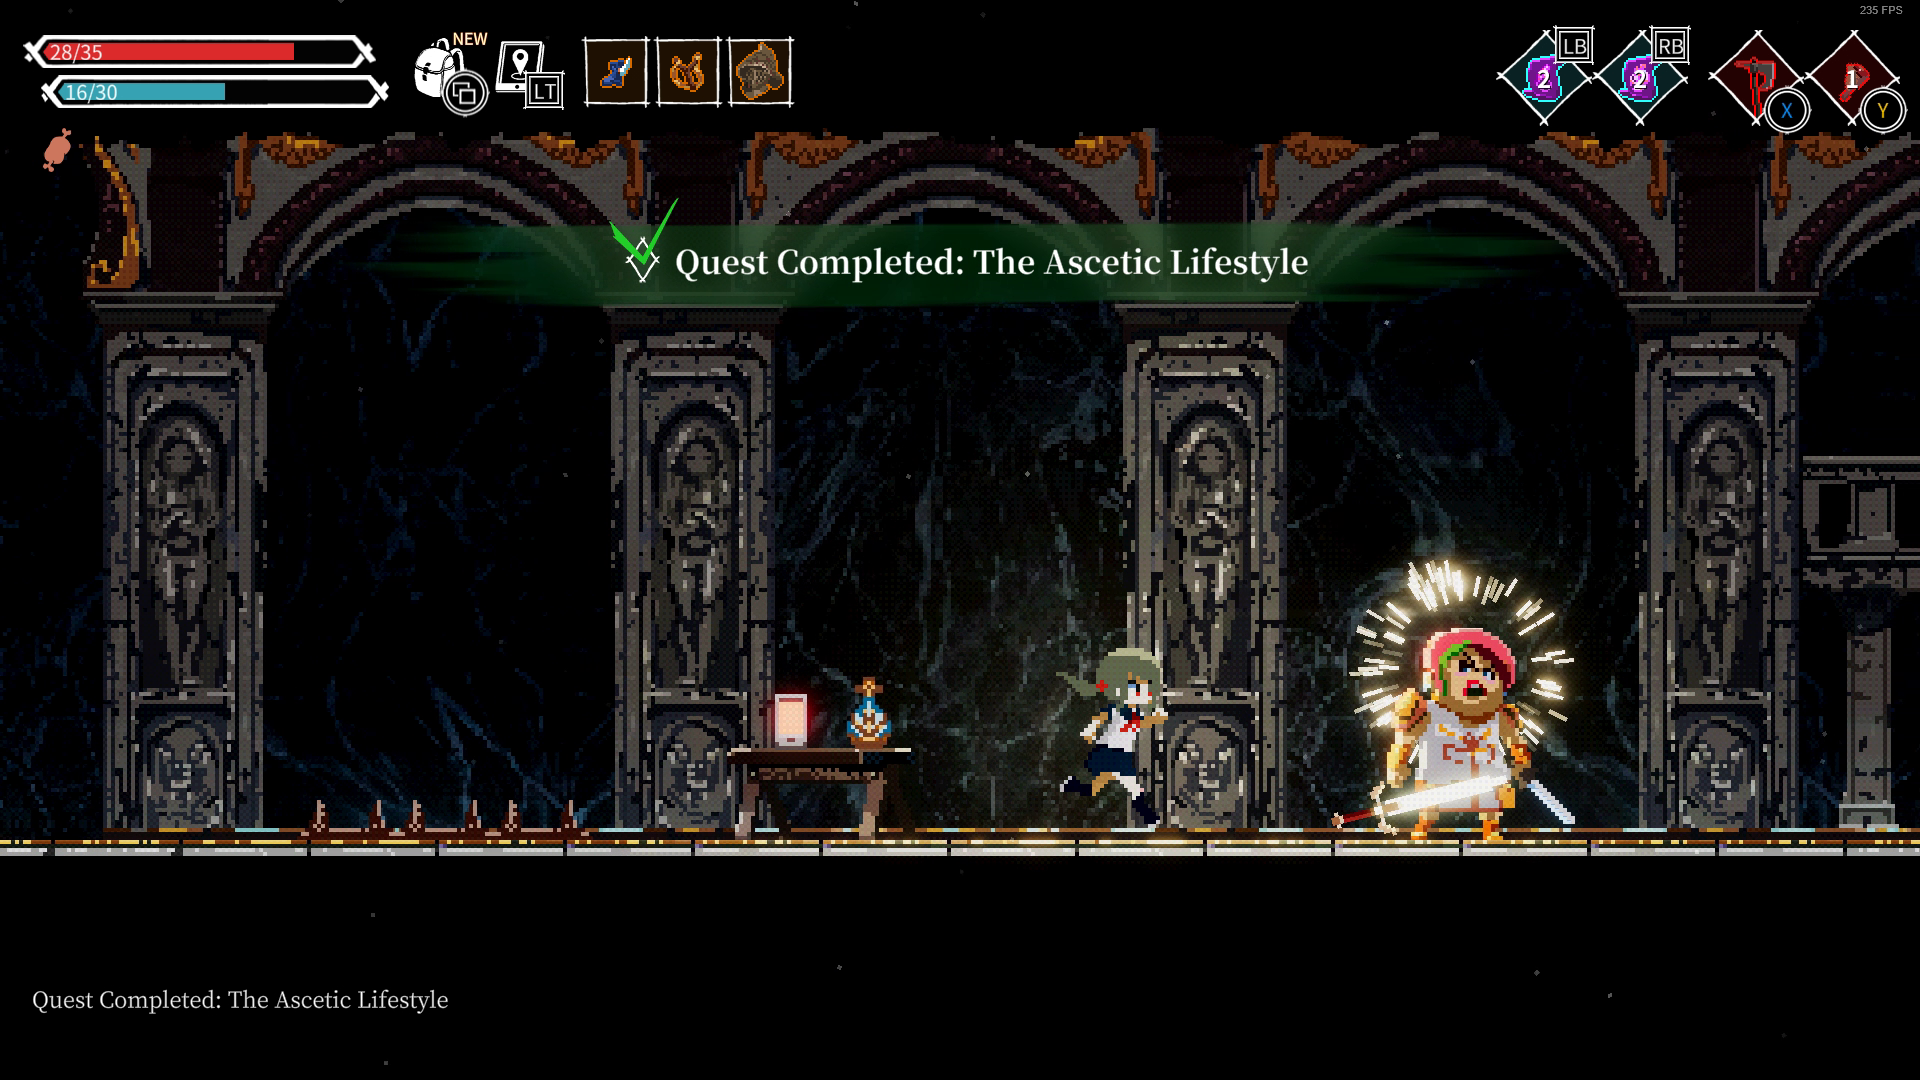
After Jun's fight, you'll find Portal #17, and after that you'll finally meet Sadora again (Kana's Journal #1 is in this room), this completes the Ascetic Lifestyle quest and awards you with the Holy Sword. At this point you are allowed to go back and open every Golden Chest you found previously.
Note: Also it is at this point that you should prepare to end the game. Visit every vending machine to see if they are selling anything you don't own. Check with Astarte, Saorvi, Beatrice. Make sure you've done every side quest including Astarte's, Saorvi's and Beatrice's. Go through the map to find any unexplored area that you've missed. If you don't have enough cash, sell all your arrows but one, sell all your wands but remember to leave at least one in your inventory for the Weapons Master Achievement.
SLIGHT DETOUR
One thing I forgot about is the breakable wall at the starting area (before Vending Machine #1), behind the breakable wall is a Broom and Art Piece #4 (iirc)
Golden Chest Overview (SO FAR)
Chest #1Location: Sewers, after Lami Boss Fight (Accessed through Castle Floors)
Items: Mage Orb, MP Potion
Chest #2Location: Sewers, after Lami Boss Fight
Items: Fire Rune, Rune Stone, MP Potion
Chest #3
Location: Above portal #4 and Astarte, dropped down from Gardens
Items: Blood Axe
Chest #4Location: Castle Floors after Portal #4
Items: HP Absorption Orb, Goblin Dagger, MP potion
Chest #5Location: Castle Floors (Accessed through catacombs breakable wall)
Items: Saint's Skull, Holy Bottle
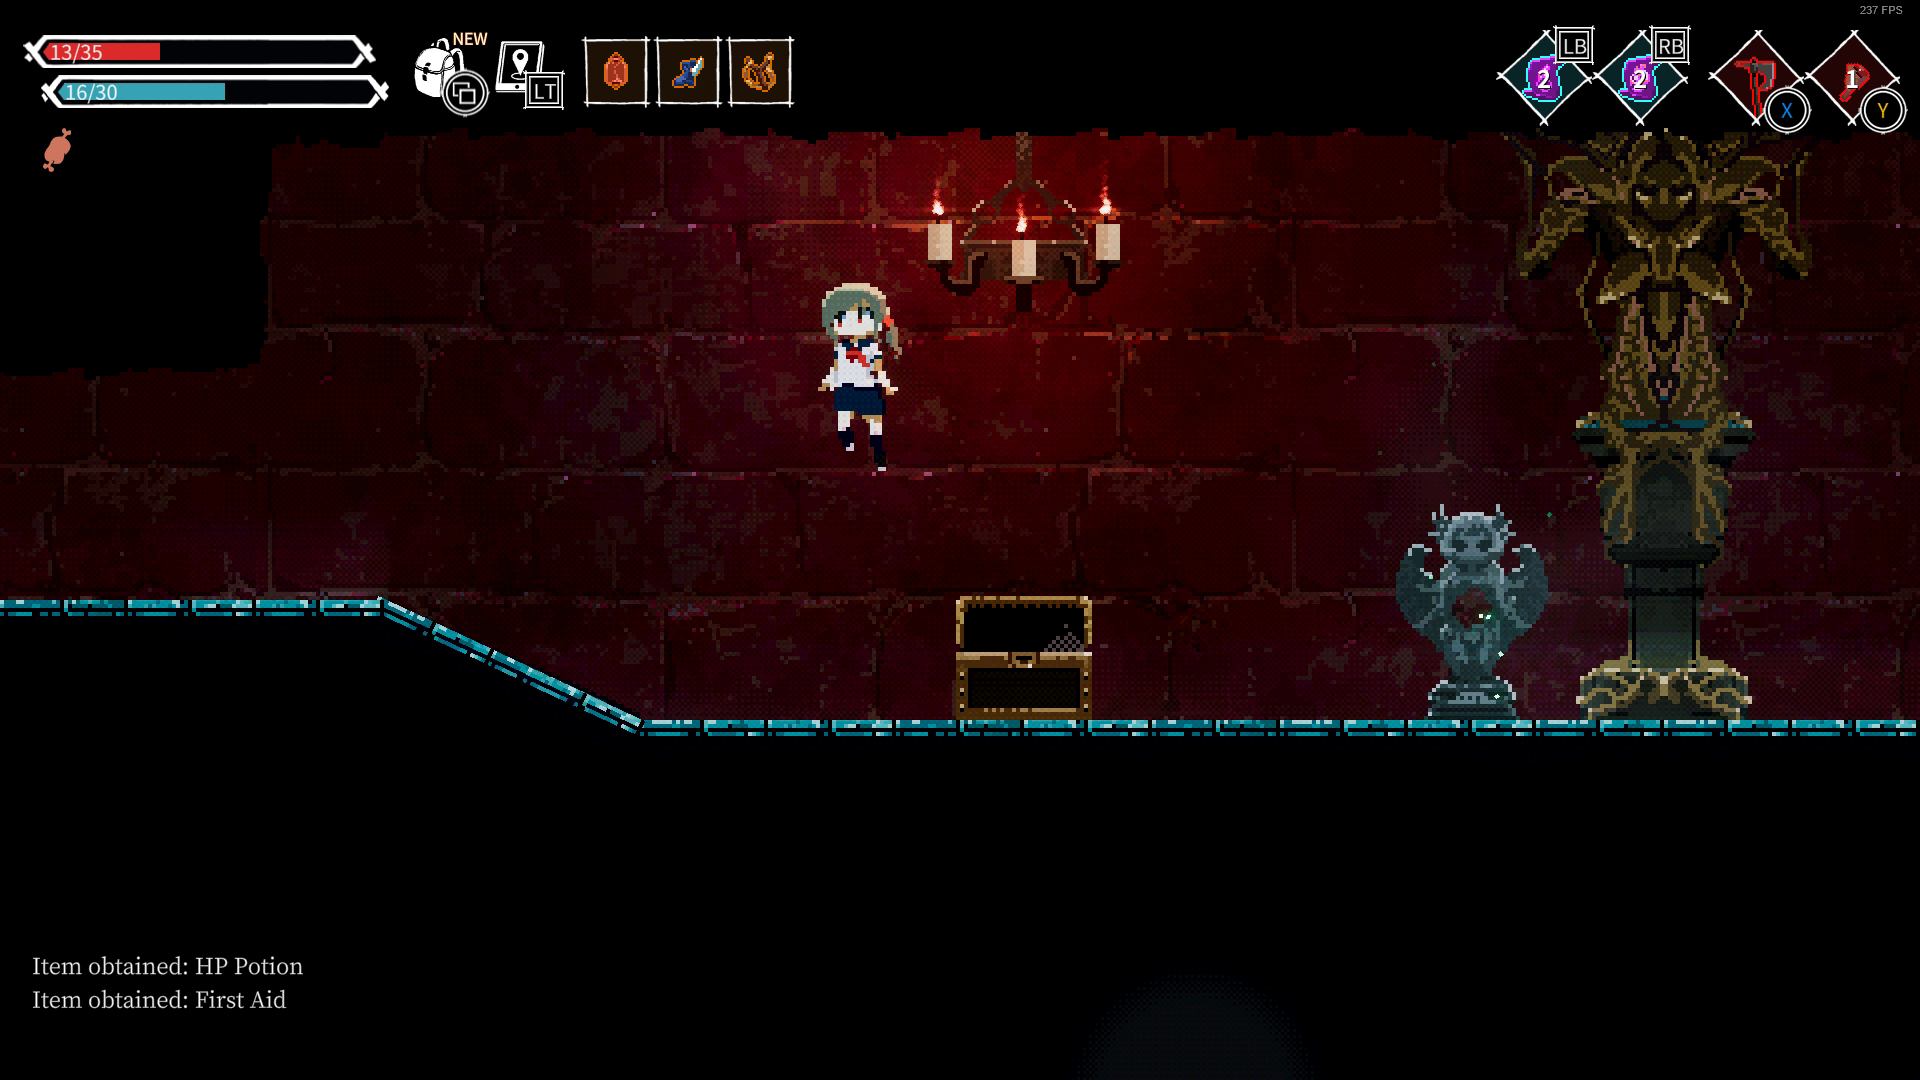
Chest #6Location: Treasure Room Entrance
Items: First Aid Kit, HP Potion
Chest #7Location: Treasure Room
Mimic Chest.
Chest #8Location: Catacombs, go left from Vending Machine #4, door opened with Catacomb Chancel Key
Items: Circlet, MP Potion
Chest #9 Location: Sewers (accessed through Catacombs)
Items: Vampire Cape, MP Potion
Chest #10
Location: Gardens, drop down bridge
Items: Ranger's Hood
Chest #11Location: Gardens, room before Portal #16, Middle Right exit
Items: Berserker Armor, HP Potion
Part 8: Castle Roof

Upon opening Chests #1 to #11 you'll go back to Sadora to find that she's aggroed, kill her in one shot and get The Fallen Achievement
With all the items you have now it should be smooth sailing from here on. I would recommend equipping:
Mage's Orb
Yuri's Wand
Saint's Skull/ Purifier/ Winged Shoes depending on the situation
Fireball
Throwing Ham
and most importantly, Invisibility
With Mage's Orb and Yuri's Wand you can cast invisibility for as often as you like, this way you can just walk past every enemy without having to fight anyone.
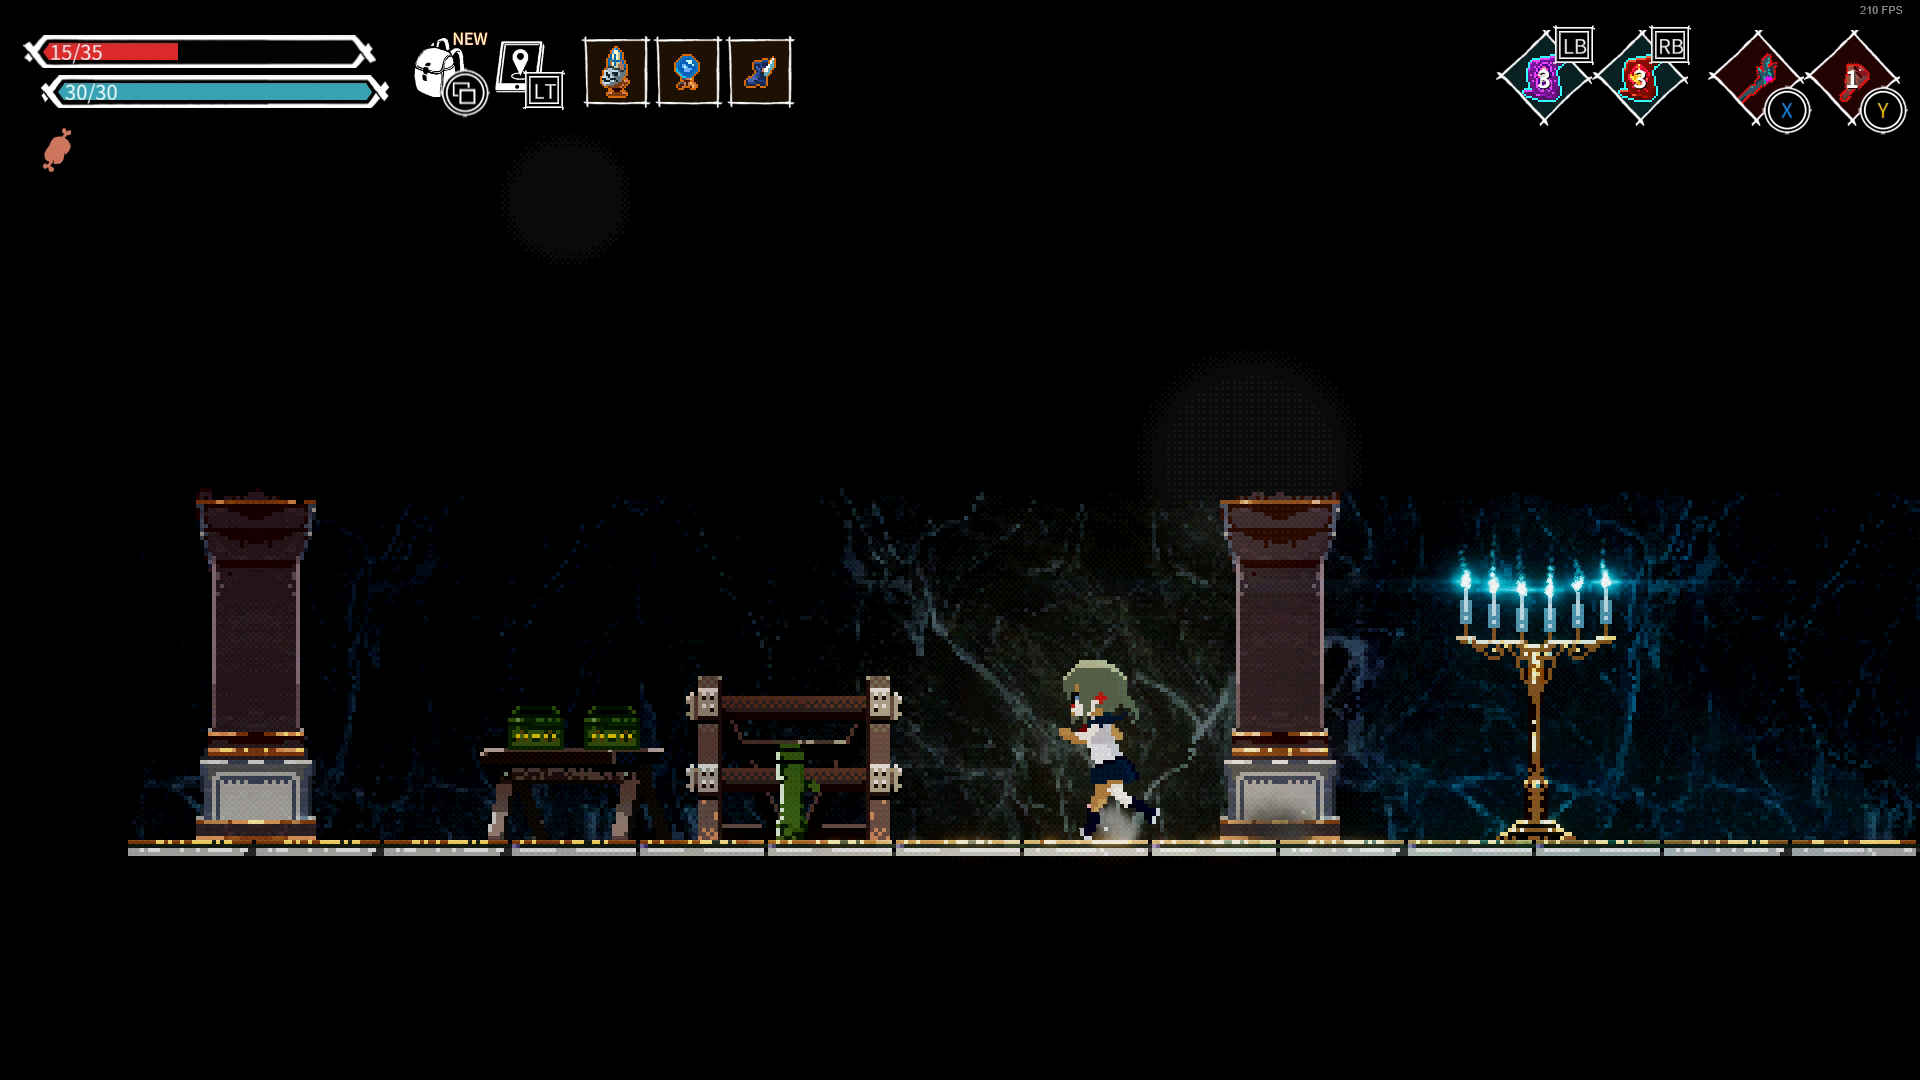
From Sadora go right until you see a lift and a child demon, take the lift up and then head left to open the door to Sadora's Secret Stash, inside you'll find the Pepper Grinder, Ice Wand, Holy Water, Invisibility Potion and tons of gold.
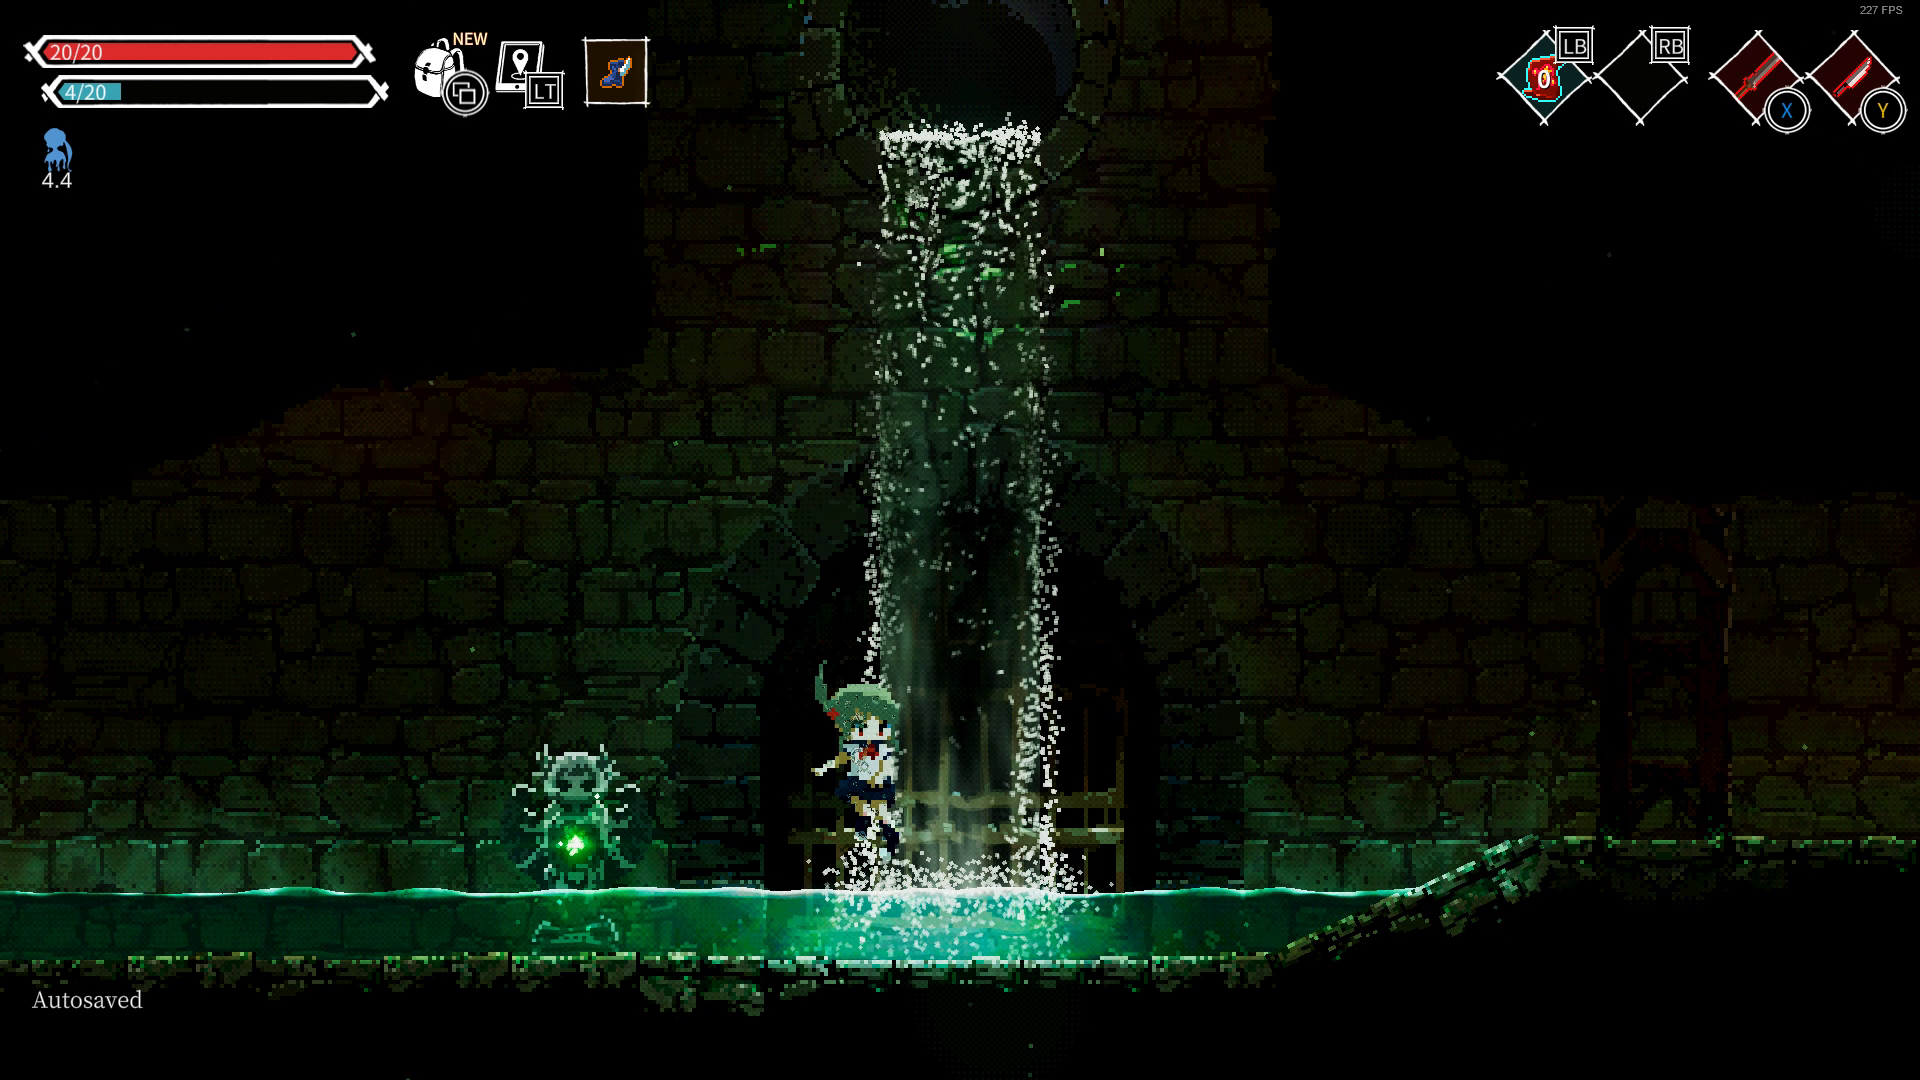
Continue upwards and then go straight left to find Portal #17. Keep going left from there and step into the rain, watch out for Ice Traps on the bridge, stay invisible to avoid fighting.
Here you're gonna have to kill the demon, one fireball and a ham to the back should do the trick, past the wall there's another ice trap and more enemies waiting.
Past the checkpoint there is a small gap for you to drop down, it loops back to the Gardens where you'll find Golden Chest #12 (Amulet of Magic, Coffee) From here you can go right to access Portal #16 and warp back to Portal #17, then go back to where you dropped down.
Moving on you'll find some electric traps, time your roll to avoid getting shocked. On the other side there will be a lift, go up, and then head all the way right (ignoring the second lift) to find a latrine with Art Piece #3.
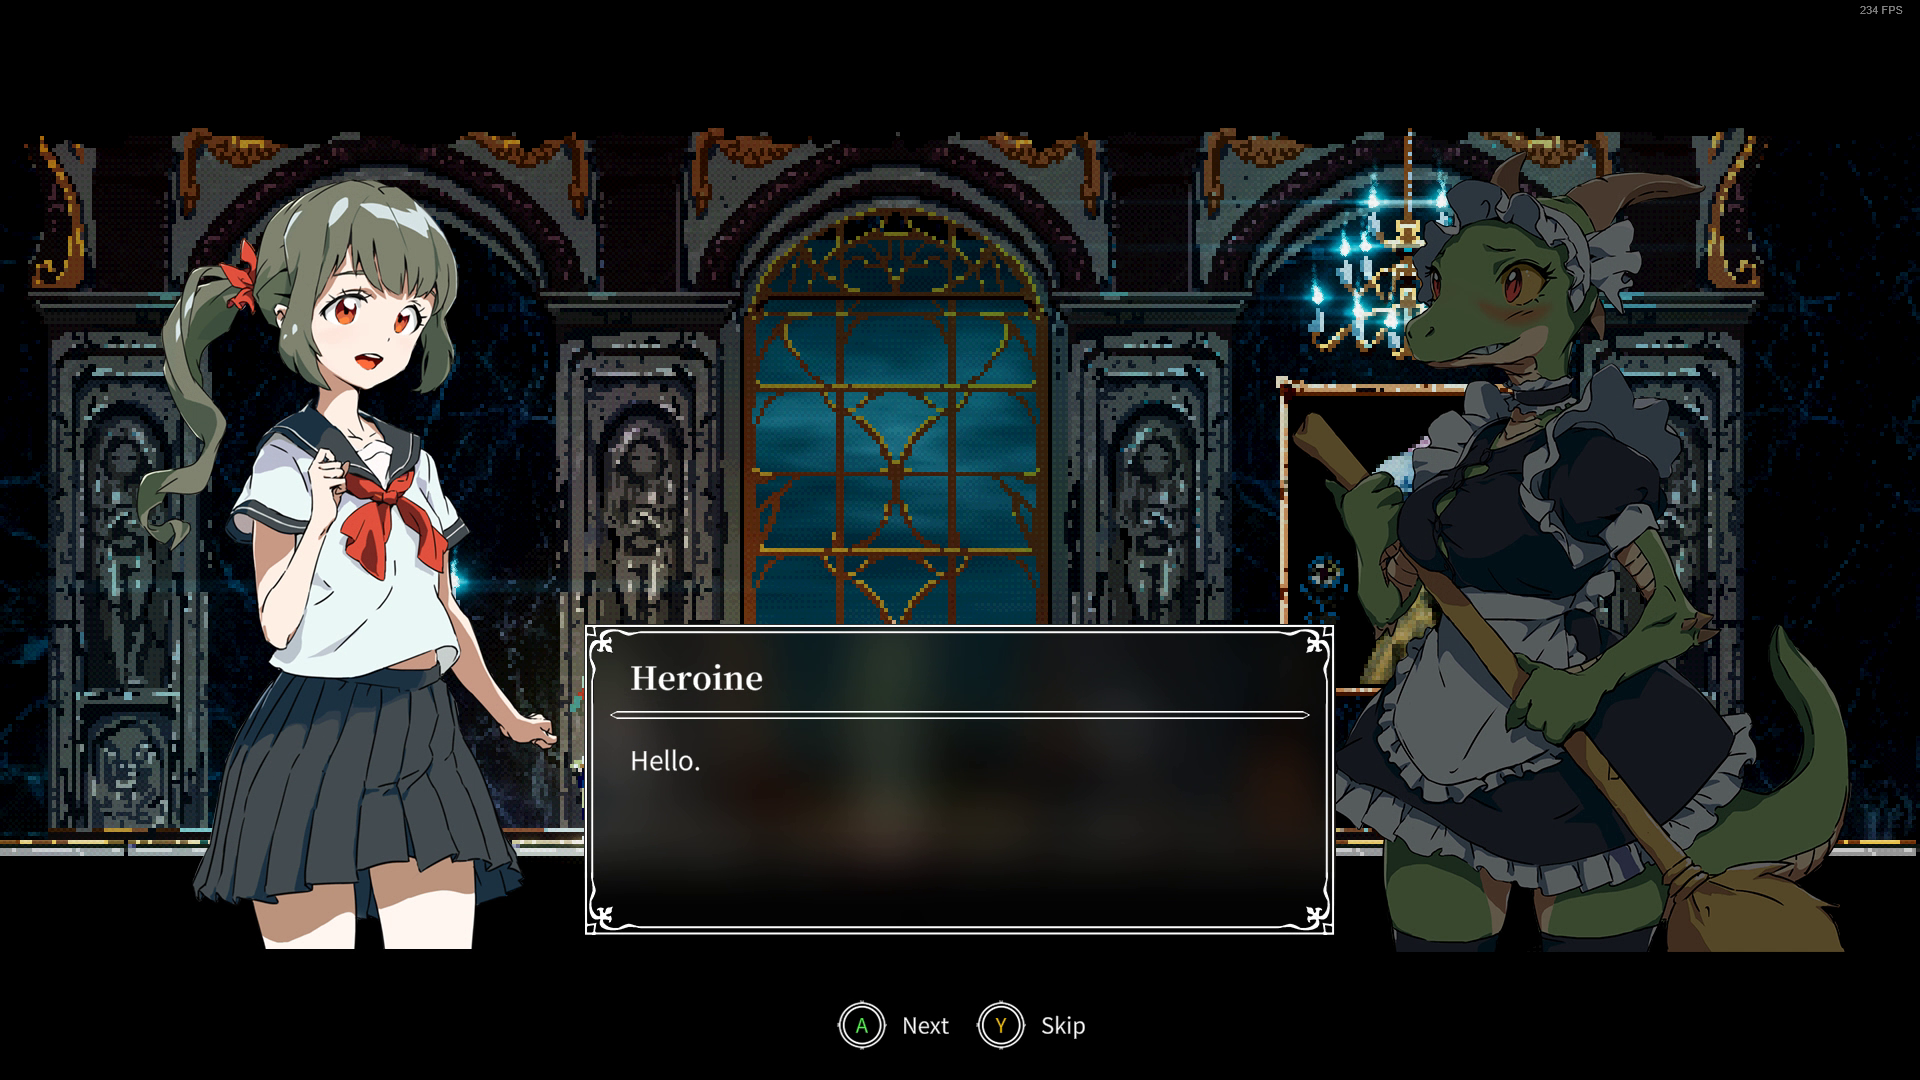
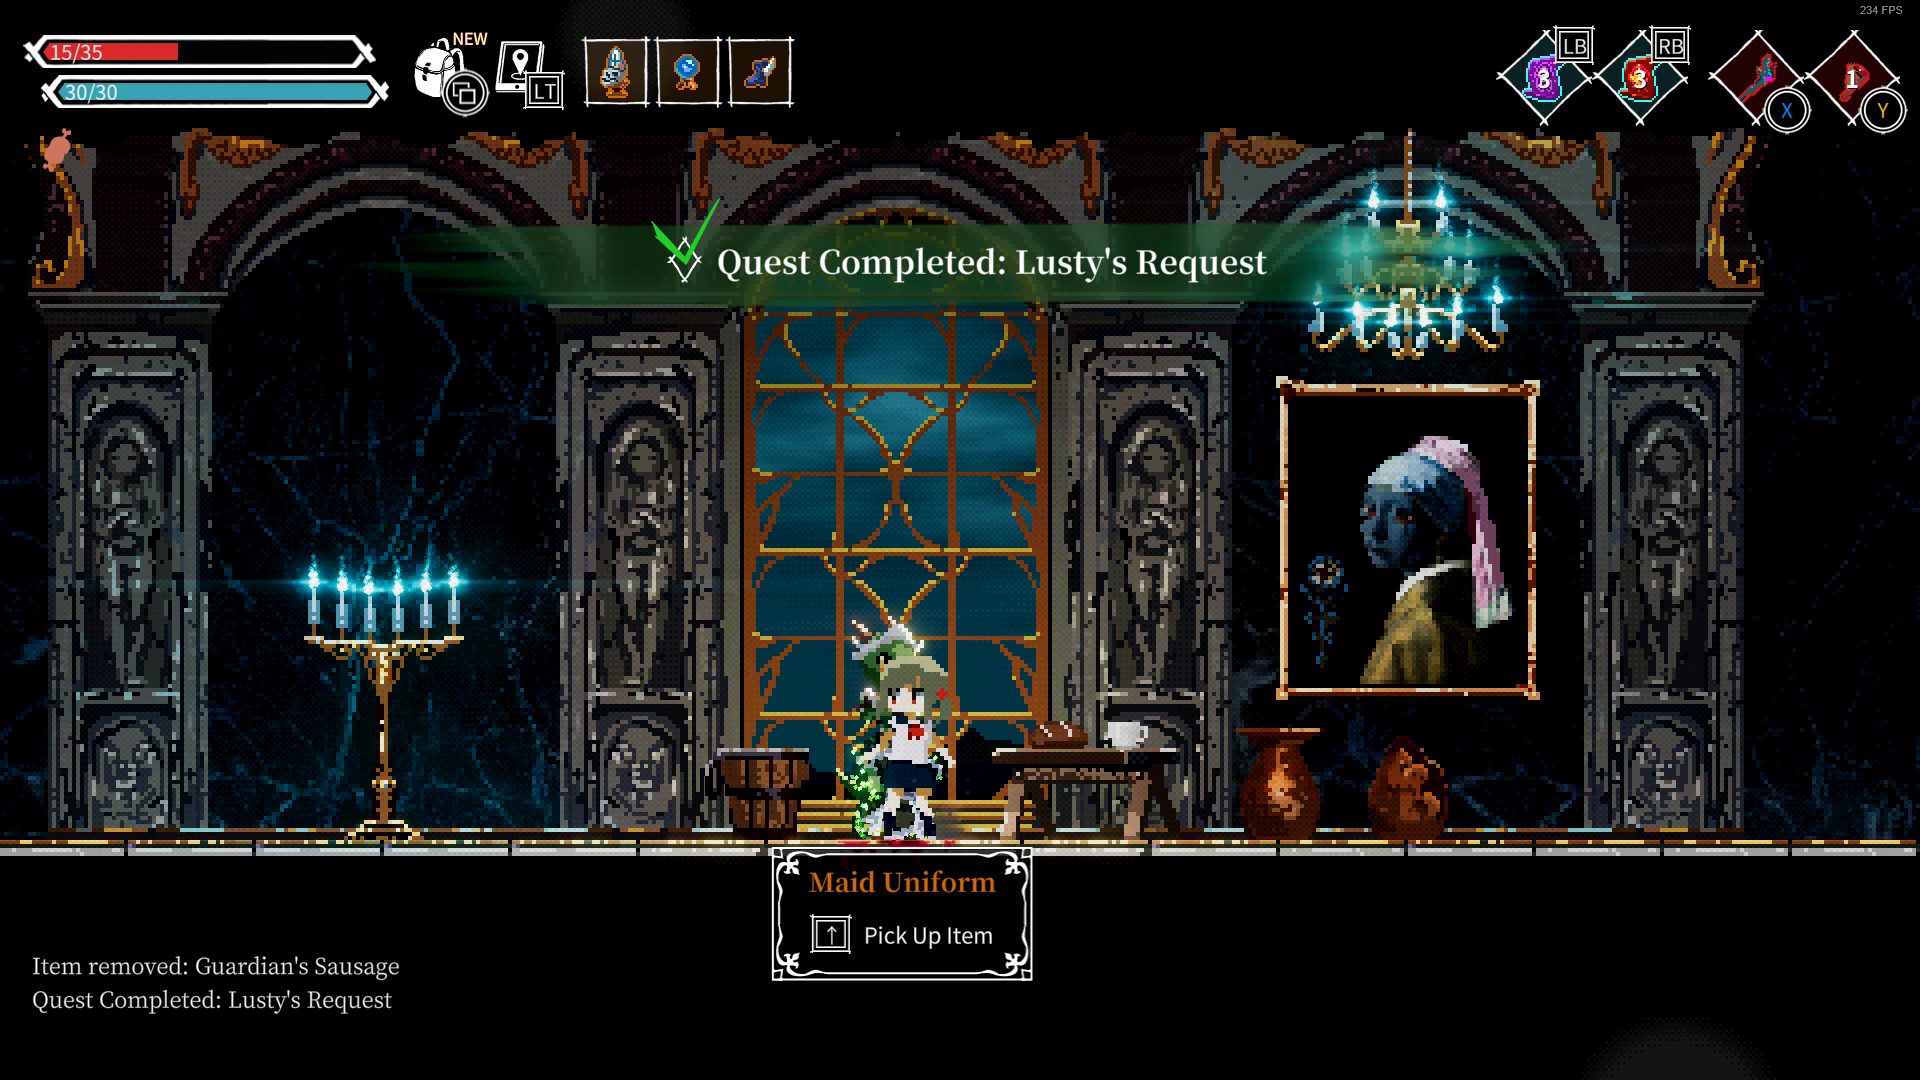
Now go up the second lift and you'll see a locked door on your left and a checkpoint to your right, continue right to find Lusty the Argonian Maid .
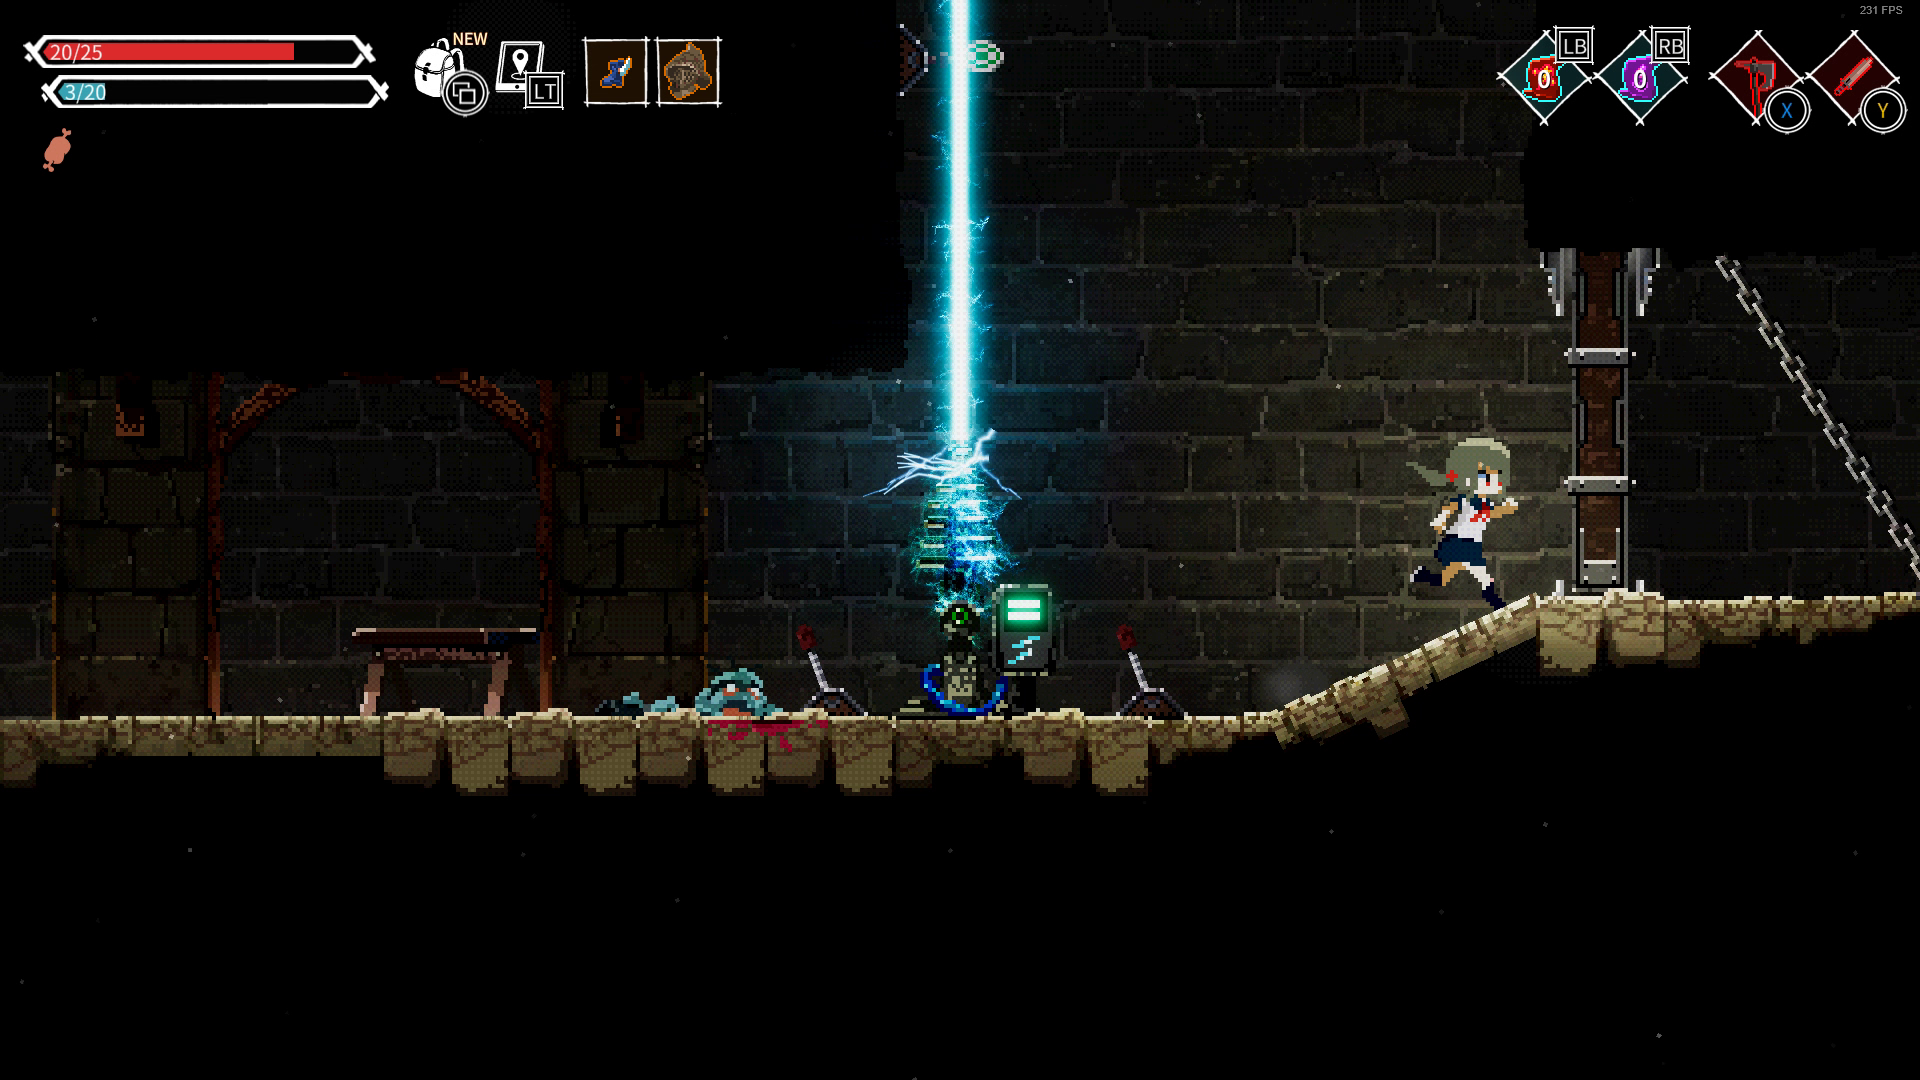
Lusty's Request will require you to kill the robot in the next room, the robot drops the Upper Sanctum Key as well as Guardian's Sausage. Hand the Guardian's Sausage back to Lusty and receive the Maid's Uniform, then head to the left of Lusty's room to open the door beside the lift that was previously locked. Inside you'll find the Missile Launcher.
______________________________________________________________
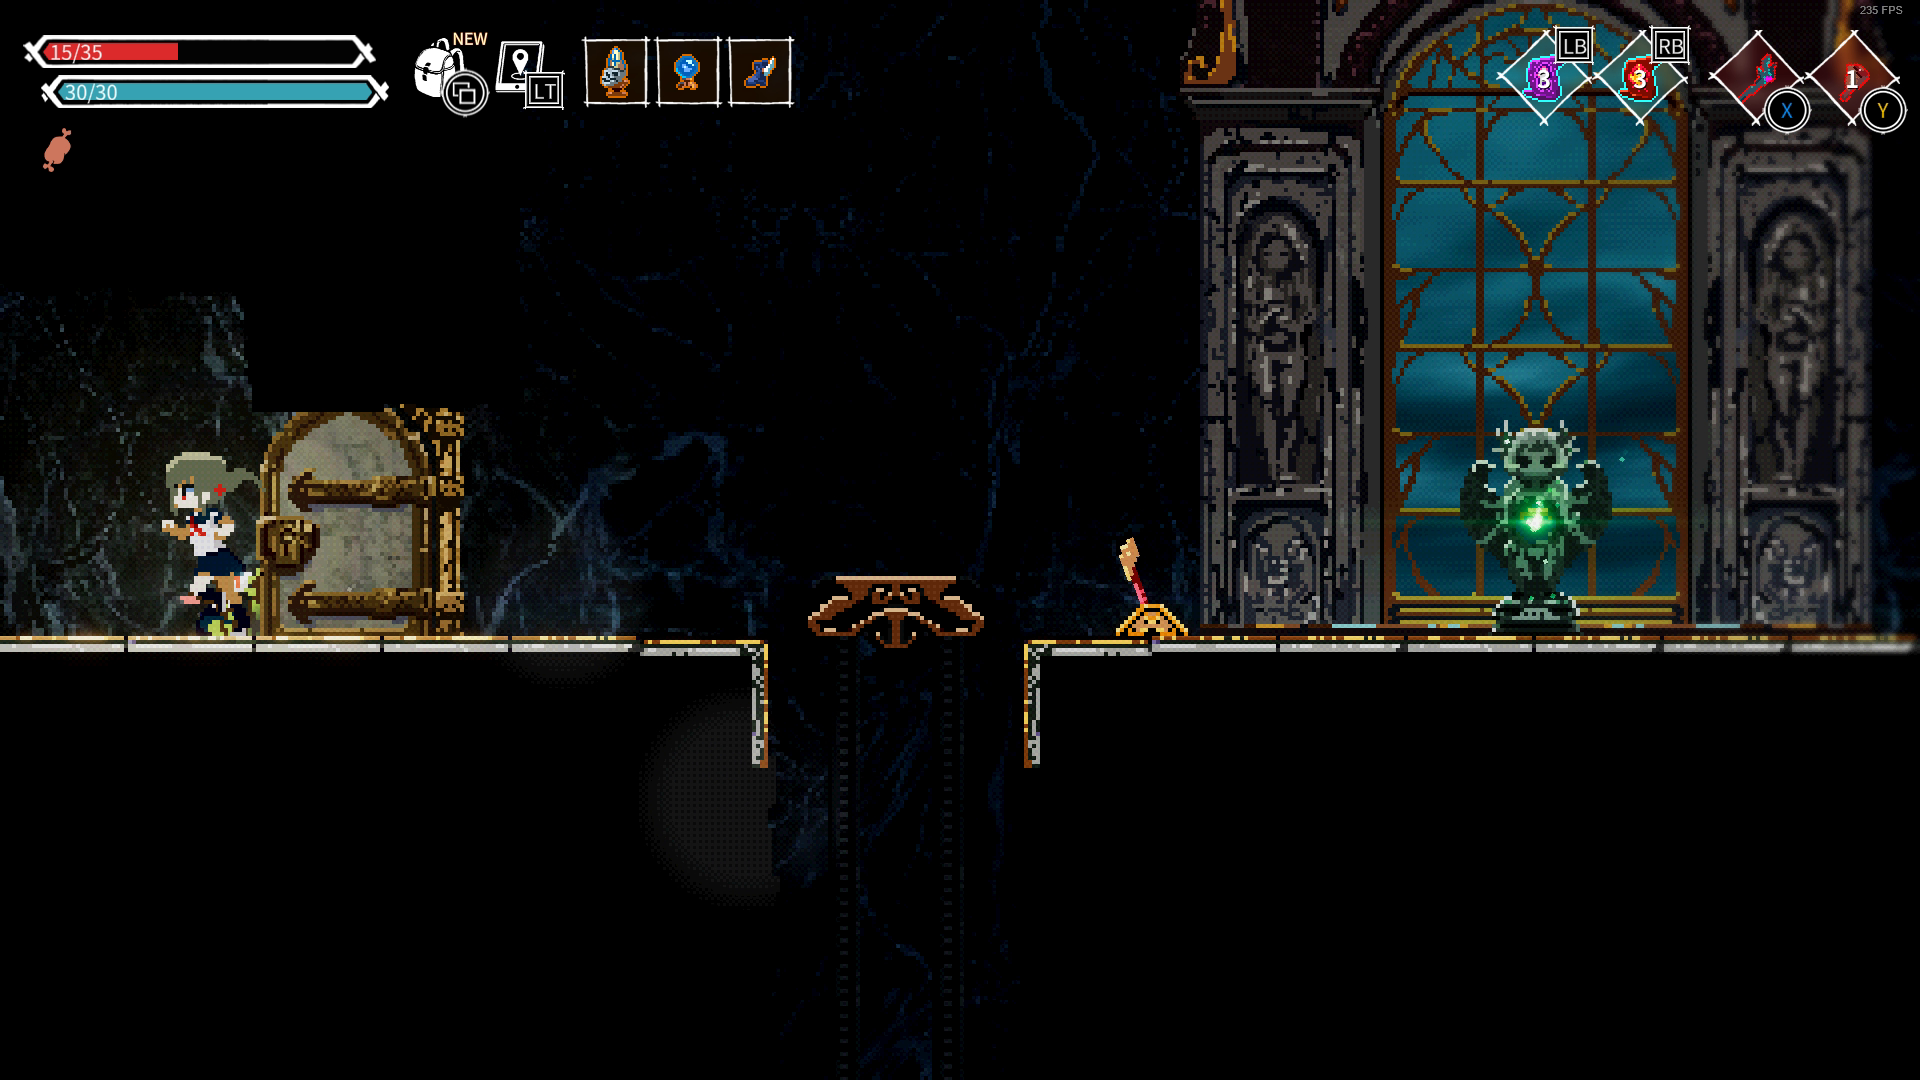
Past the robot you killed is Kana's Journal #2. Continue right until you reach a hole where you can drop down, do it. Below, you'll find a breakable wall to your right. behind this wall is a lightning wand, a ray wand and some missiles.
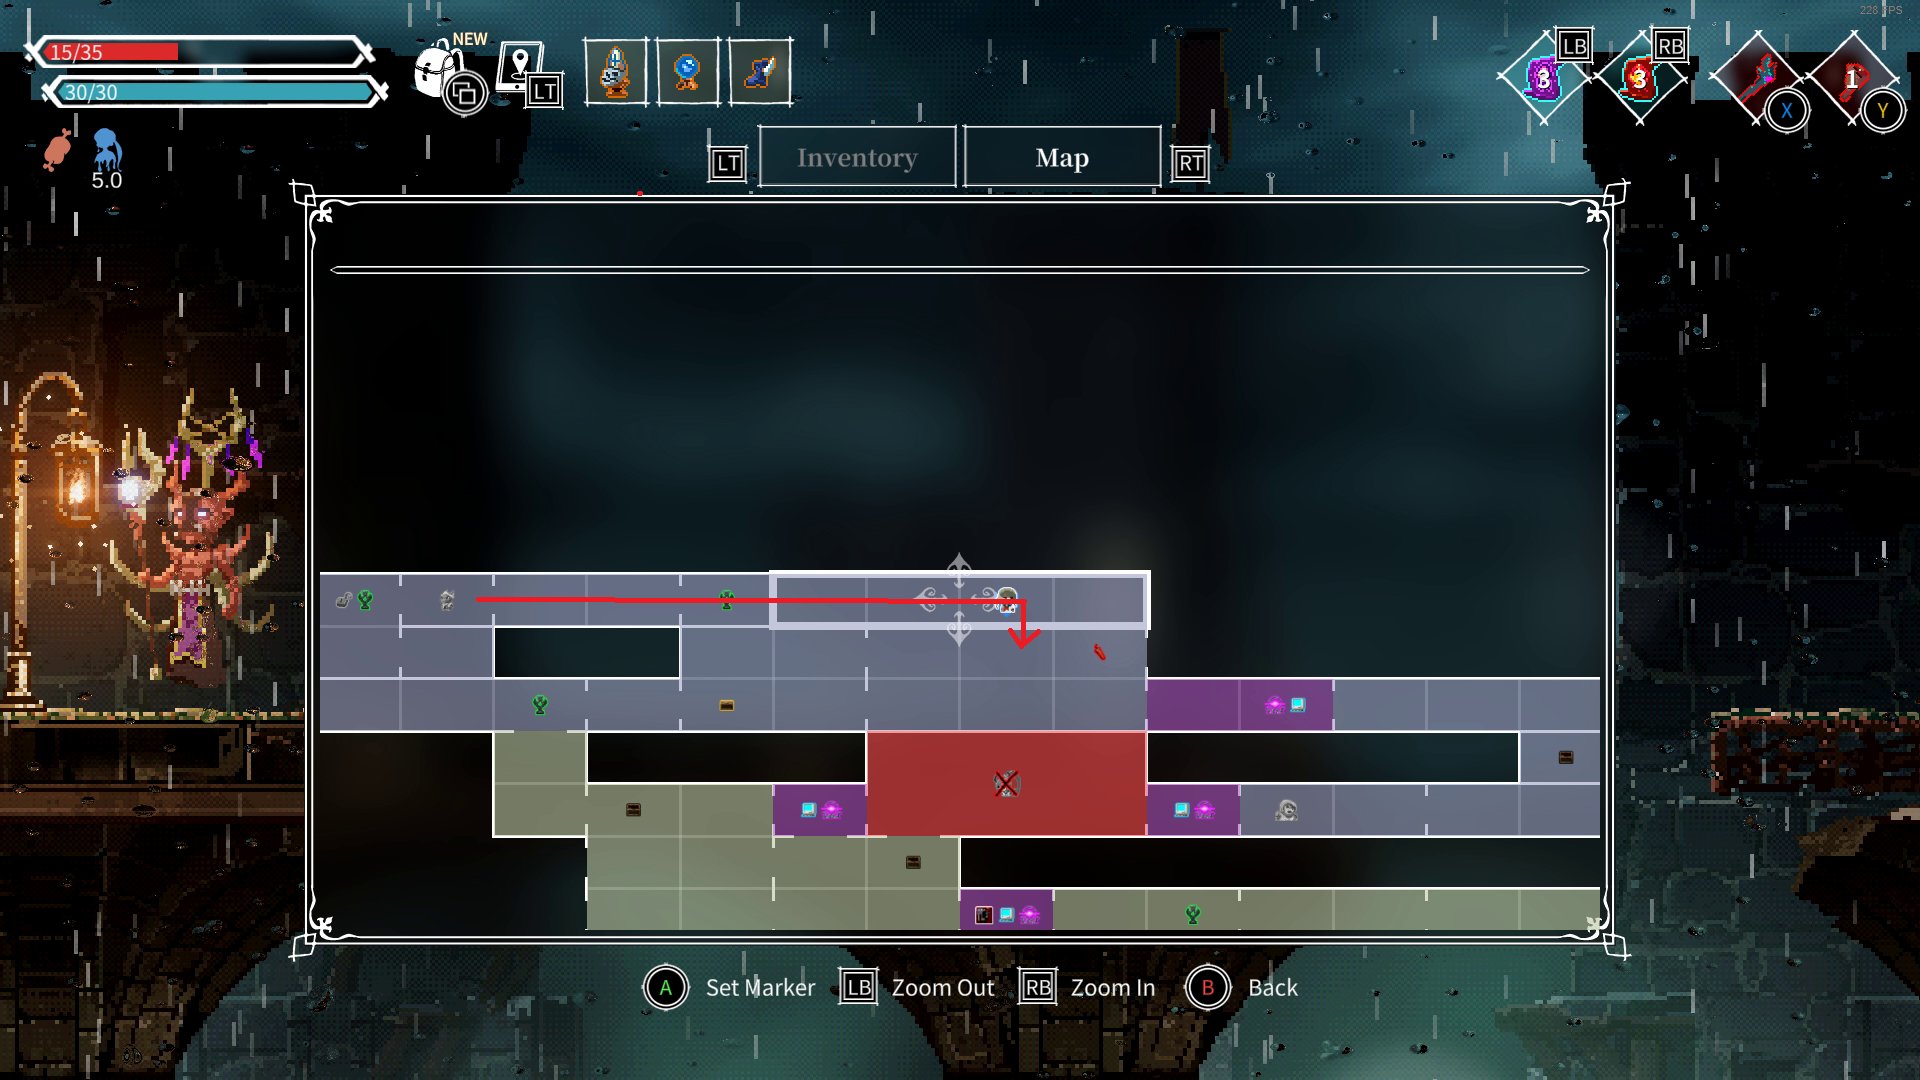
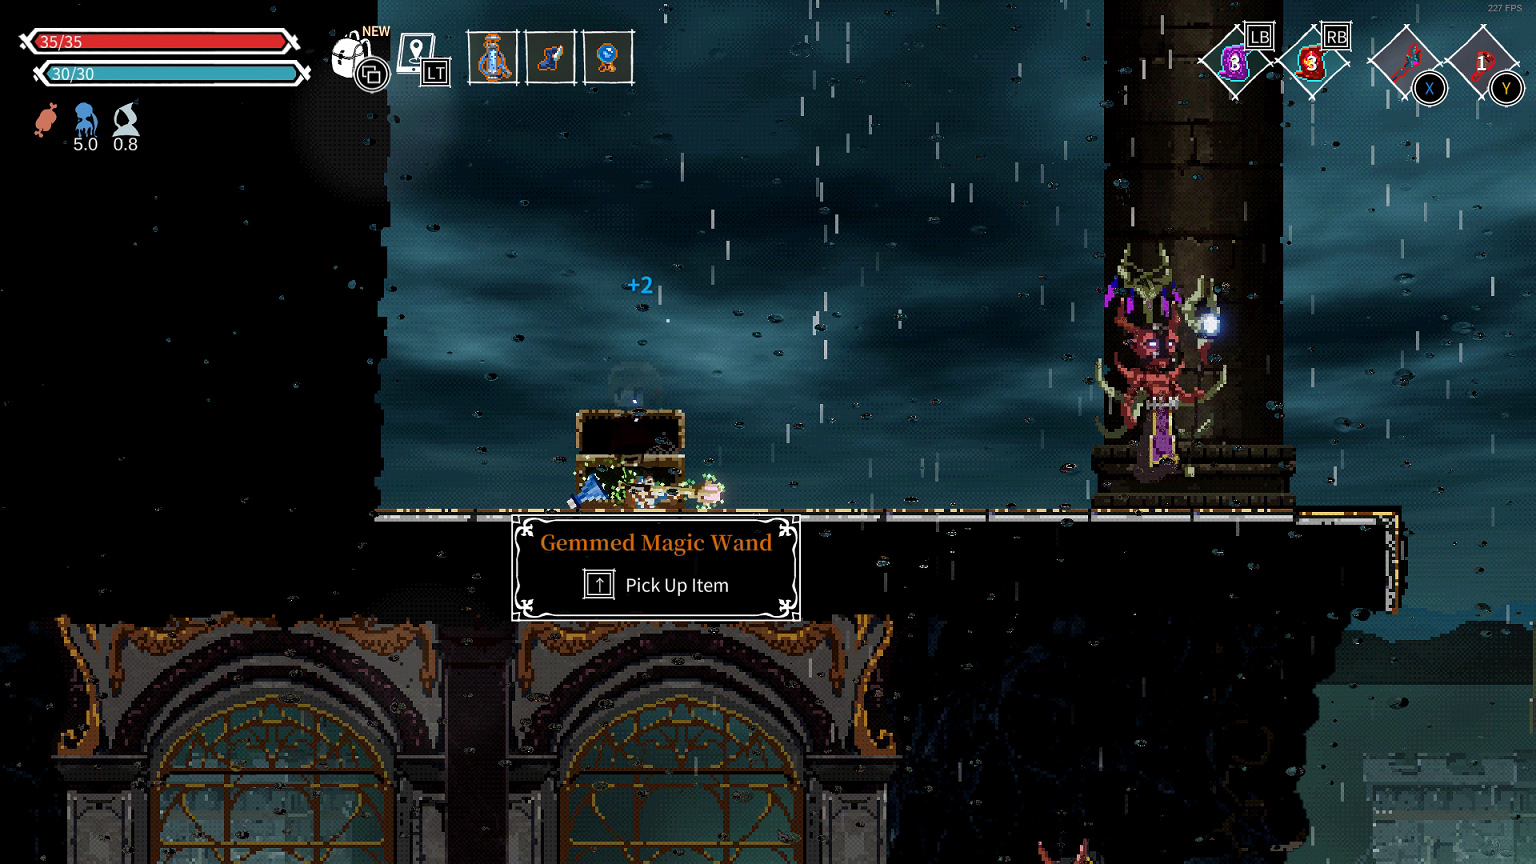
Continue left from here past the laser cannon and don't drop down and you'll eventually reach Golden Chest #13 containing the Gemmed Magic Wand, Holy Bottle and MP Potion.
Return to where you dropped down and keep going right to find Portal #17 and Vending Machine #6. There should be nothing in this Vending Machine that you need but you should double check anyway just in case.
From the Vending Machine continue right, past the laser cannons, up the lift, then left into the last puzzle room in the game. To solve this puzzle:
Step 1: Tilt both cannons to the left one time, and hit the fire cannon. Make sure the fireball hits the target mounted on the wall.
Step 2: Tilt both cannons all the way to the right so that it is parallel to the ground.
Step 3: Lower the reflective mirrors so that the laser can be reflected at a right angle.
Step 4: Keep hitting the laser until you've successfully pushed the anvil across the bridge, let it drop down onto the pressure plate.
After the puzzle it's a linear path to Portal #18 and Kana.
Kana Boss Fight
Kana may resist fire but with Mage's Orb, Saint's Skull, Gemmed Magic Wand, and Yuri's Wand equipped, she won't stand a chance against your Fireball. Use invisibility if you need a moment to rest and recharge your mana.
The same goes for Phase 2. The swords that Kana summons will still find you even when you're invisible, however, lucky for you they don't do much damage against your mage build. The floating swords will block any projectiles, so wait for your window patiently and aim carefully.
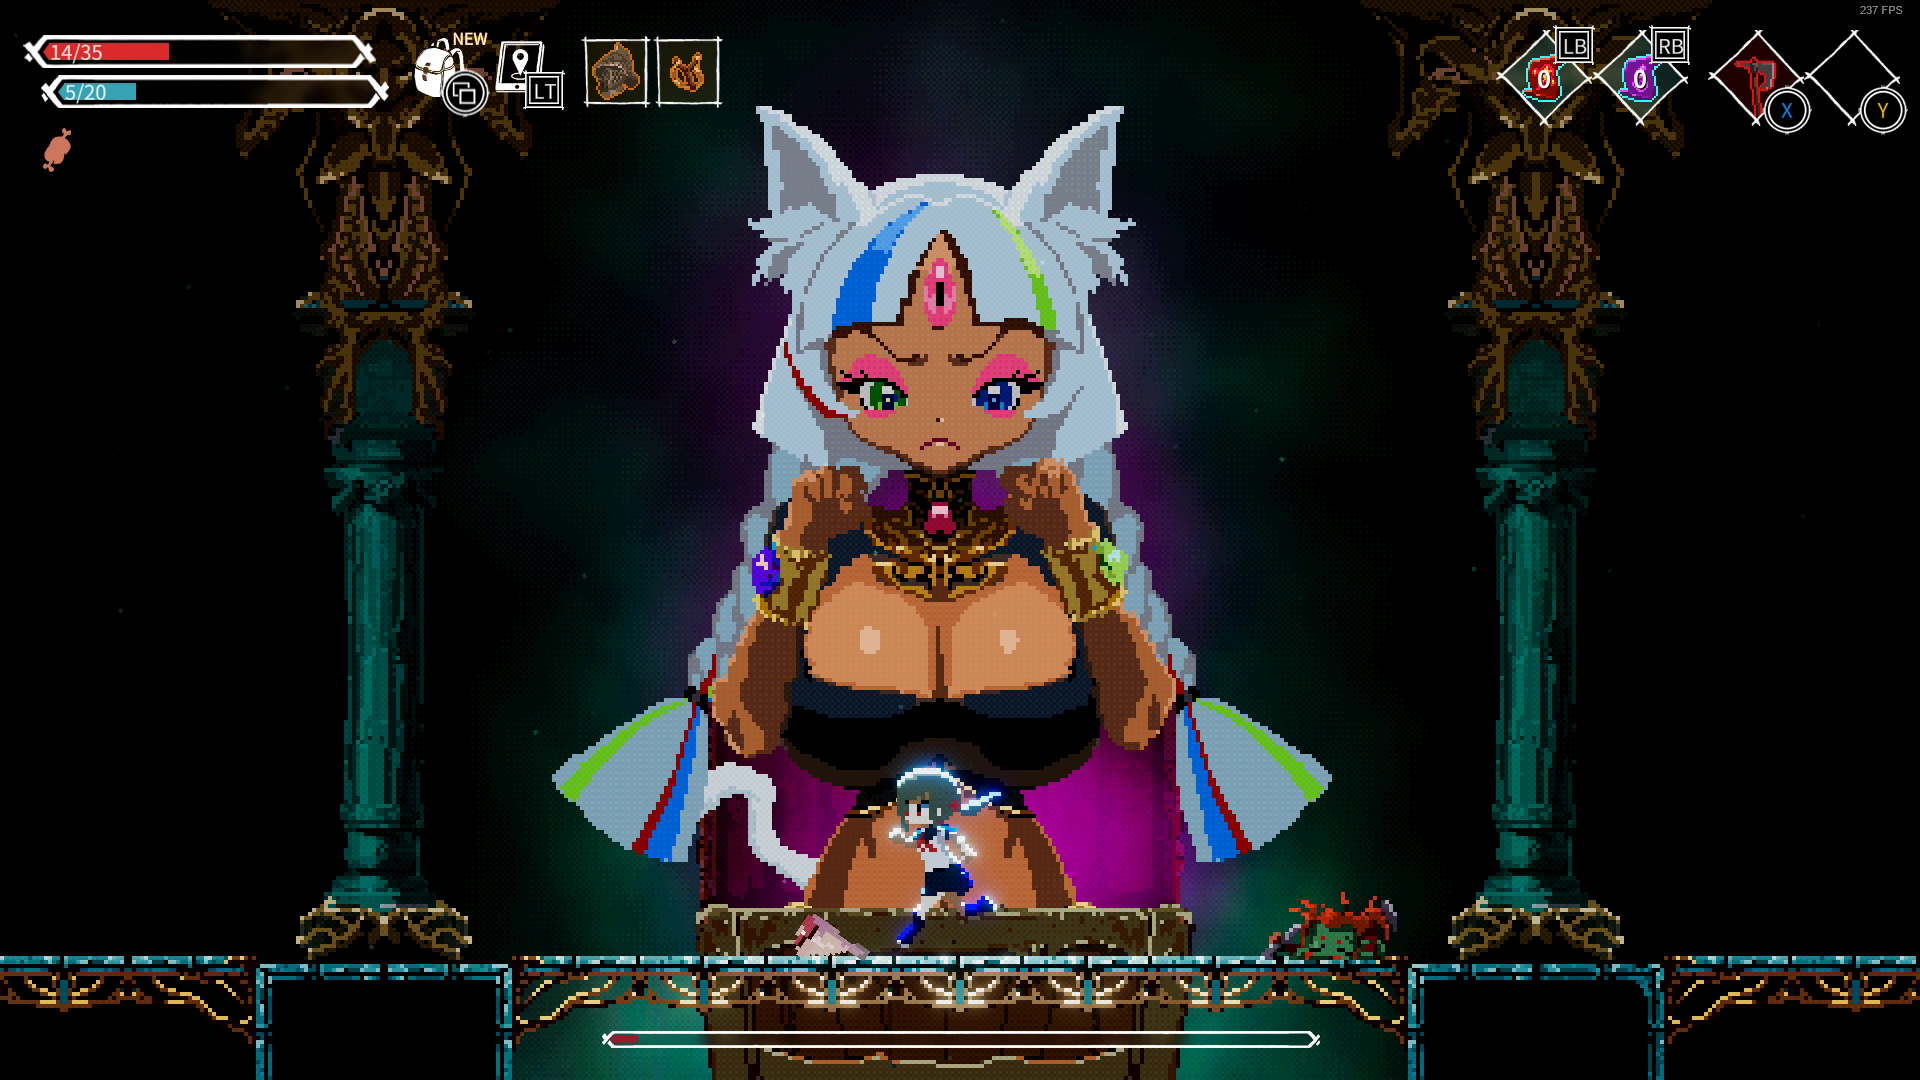
Final Boss Fight

A cutscene will trigger after you defeat Kana, sending you to a new area. Upon spawning in this area you'll immediately find:
Rusty Sword
Dane Axe
Hatchet
Gladius
Long Sword
Zweihander
Stay invisible and simply follow the path to reach the final boss. Pick up Journal #10 on your way there.
Before the final boss you will find the last portal in the game, to the left of the portal there's Vending Machine #7 which sells Amulet of Poison, Amulet of Life and Amulet of Magic. plus shuriken if you have not picked up any at this point. If any achievement still hasn't pop for you at this point, you can compare your inventory with the checklist in this guide to find out what you're missing.
If you have trouble fighting the final boss, I would recommend you go for what I like to call The Gladiator Build. -- Gladiator's Helmet, Gladiator's Armor, Leather Gloves + Gladius and Holy Sword.
Observe.
_______________________
END NOTEFeel free to point out anything I've missed! Thank you for reading.
Source: https://steamcommunity.com/sharedfiles/filedetails/?id=2727546191
More Lost Ruins guilds
- All Guilds
- if you're struggling to get the hardboiled achievement..
- How to cheese Hardcore Mode
- Lost Ruins
- Lost Ruins
- Lost Ruins
- Lost Ruins
- 100% Achievements Guide
- Guide 33
- Guide 23