How To Hard Mode - Introduction
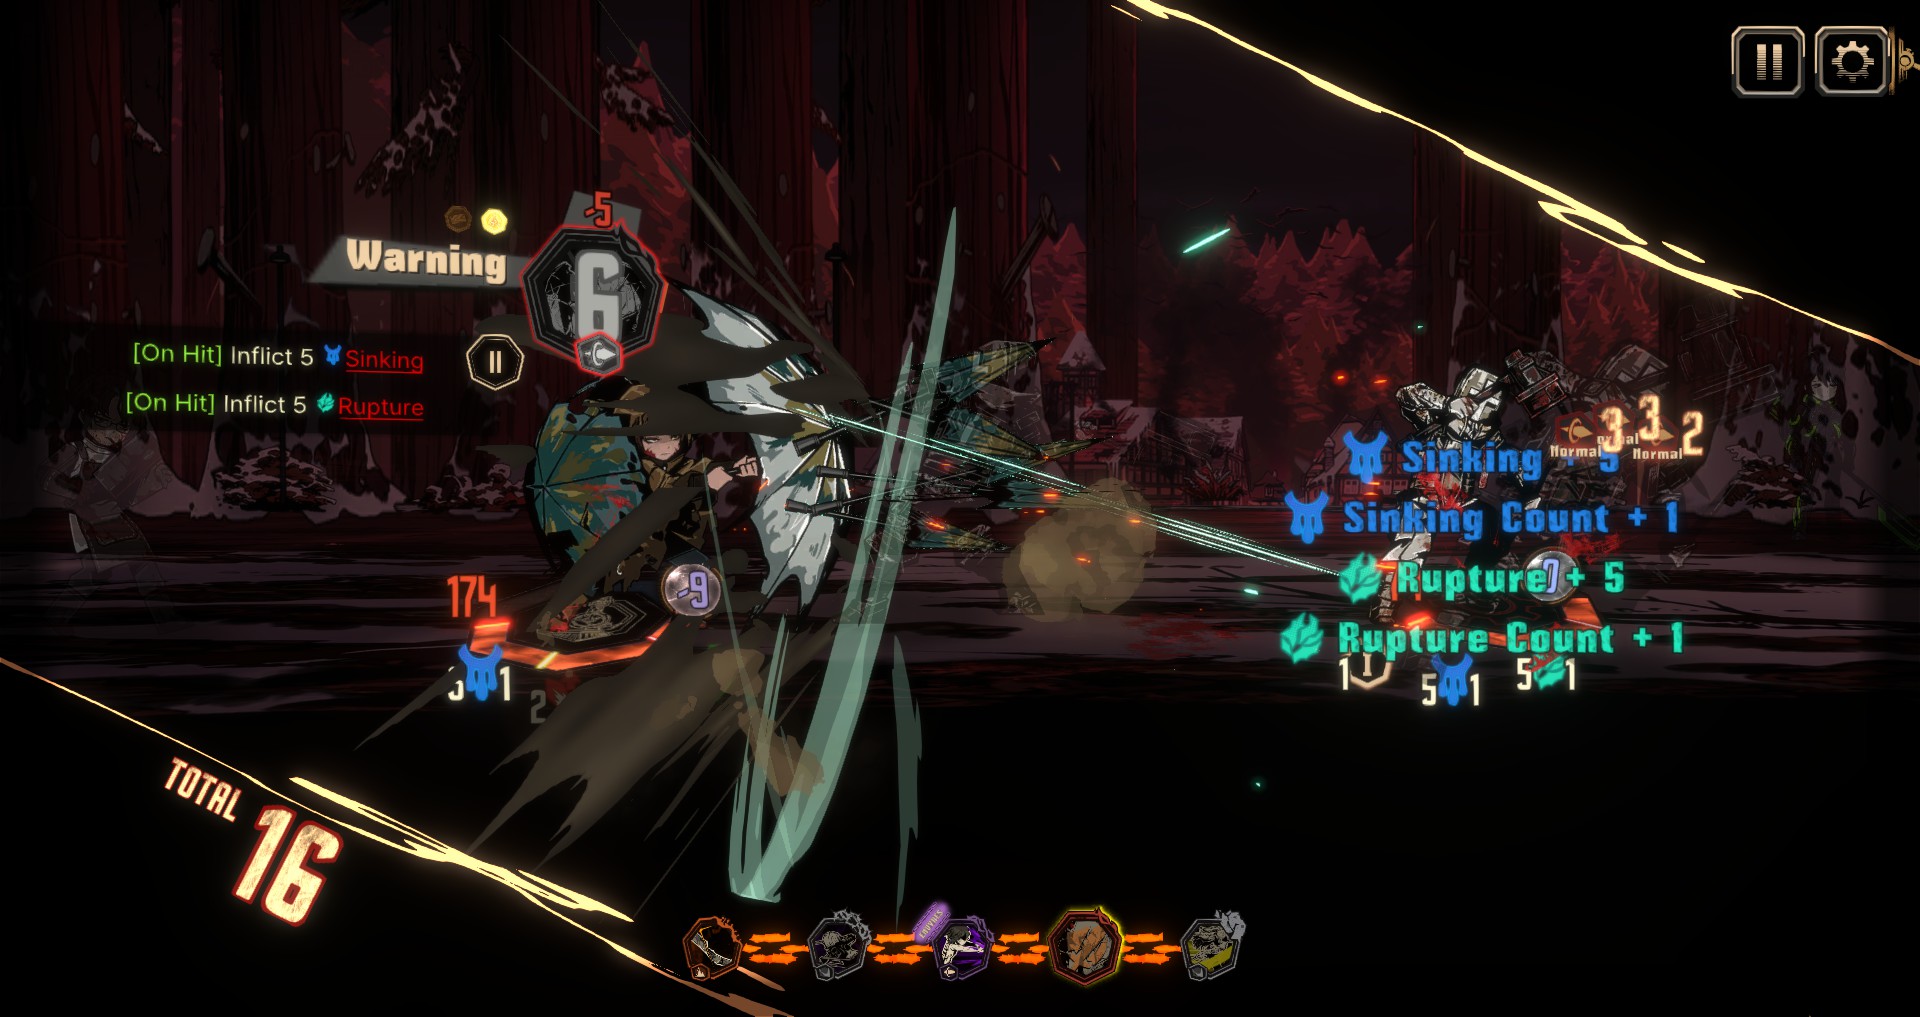
From what I've seen of people's complain of the difficulty spike in the game, most stems from an underestimating of the mechanics of the game itself. Most players are used to pressing the auto win-rate button, and don't actually understand how the game works. And while the auto buttons are useful when farming, going through Mirror Dungeons with them is a huge mistake.
Players underestimate the power of the defense skills, 00 IDs, and having a team that's complimentary to not just themselves, but also EGO gifts gained during a MD run. In this guide, I'll go through these advanced mechanics, gameplay, and also team composition with EGO gifts.
I'll also be doing this guide in 1 single run. There's no real way to proof I did that, so you'll just have to take my word for it. But It's mainly to show that a hard run is not just doable, it's something that you can predict and improve on by knowing the right strategies.
Level 1 - Evergreen Strategies

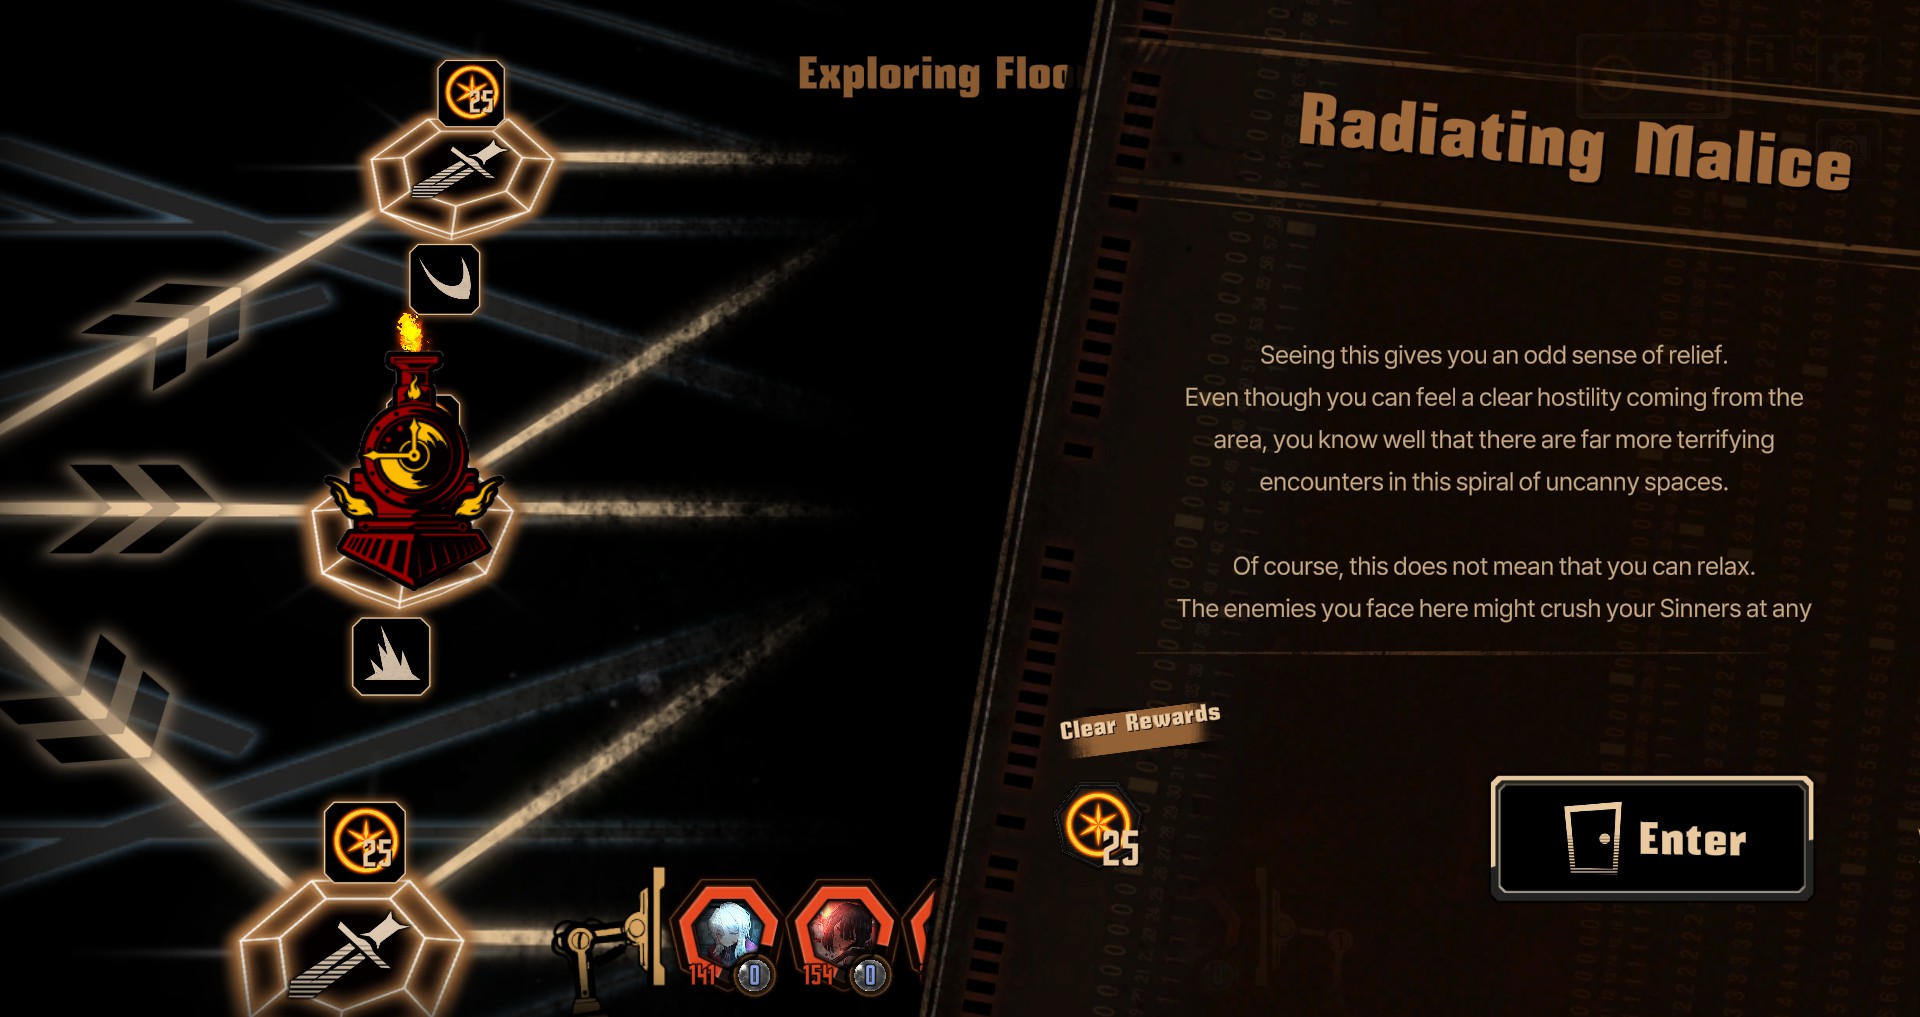

Evergreen are things that you should always do, because they always produce a decent result. For Mirror Dungeon 2 Hard (MD2H) these first 2 things are pretty simple to do.
1. Choose Evergreen Starters
When choosing your starter sinners, you have 300 points (250 before the upgrade) to spend on. This gets you 2-3 000 sinners. Your basic instincts will be to get sinners with high base clashing power, but honestly, in MD2H, clashing power is the least of your worries.
Evergreen sinners are IDs that are useful no matter what EGO gifts builds you end up going with. These includes characters that can heal (Hong Lu, Faust, Chef Ryoshu and Gregor, etc), and those that can buff or debuff coins (Zwei Rodion, L Corp Faust, Sunshower Heathcliff, etc).
In fact, just to make things abundantly clear how little base clashing powers matter, I went out of my way to pick 2 characters that - at the time of writing the guide - are thought of as "low tier" in that regard (Sunshower Heathcliff and Chef Gregor). I would have also picked Zwei Rodion, but I don't have her yet.
2. Choosing the right path
This is quite simple. It's just to make your quality of life easier. Pick nodes with 2 or more paths going forward, and if possible, pick the middle nodes instead. This is just to increase your number of choices as you go forward.
3. EGO gift > Everything
Whenever you have a chance to pick up an EGO gift, do it. They are force multipliers. At this point in the dungeon, you don't have to care much about what you pick up. Just try to keep them towards the side of 1 or 2 type of buff/debuff when given a choice.
Also, healing gifts are absolutely superior to any other EGO gifts, because they are evergreen. Their effects are good whenever, and in general, you want at least 2 healing EGO gifts before you end level 5.
The other type of evergreen EGO gifts are EGO resources. Not as good, and definitely should not be picked over a buff/debuff of a build you're going for, but they are good when the other choices aren't, or if you're looking to throw EGOs at your enemies.
Level 2 - Matching T-Shirts


1. Matching Your EGO Gifts
Once you have the chance to choose between more EGO gifts, it's time to start planning. Choose gifts that compliments each other.
You don't even have to plan. Just look at me! If I had more than 2 brain cells, I would have picked the poise EGO gifts instead, because I have more poise characters ready for battle. But it would still work even then, because...
2. Don't Be Afraid to Downgrade
In your first opportunity to modify your team, remember, rare IDs are great, but they are not the be-all-end-all of power. 00s and even 0 IDs have actual use. Even IDs that have not been leveled up can be used to increase your team's fighting power.
For this run, because I made the mistake of going for bleed gifts instead of poise gifts, I have less battle ready characters to choose from. I downgraded my 000 KK Hong Lu to his 00 Kurokumo Hong Lu, which has a higher bleed output to compliment the gifts. I could have also downgraded Sunshower Heathcliff to N Corp Heathcliff, but I wanted to continue making my point on "low tier" characters.
Even a level 1 base LCB ID can get used. There's someone out there who cleared MD2H with just base IDs, btw. But that's not for the general player. The other 2 IDs I picked, LCB Yi Sang and G Corp Outis have support passives that are evergreen, an SP heal and power buff respectively.
Now, you might have noticed that by now I should have slots for 6 IDs, but I only have 5 combat ready, and that's because...
3. Be Weak Now, Be Strong Later
At the second level of the MD2H, you can still make mistakes and be okay. So take more chances. Not saying that you should, but you could. If you, like me, did not have enough cost to buy a battle ready ID, just don't yet. You'll be fine.
Most enemies are still not strong enough to pose a serious challenge yet, so go with confidence and pick choices for the long term.
Level 3 - MANAGER ESQUIRE!!!




1. Sanity Management
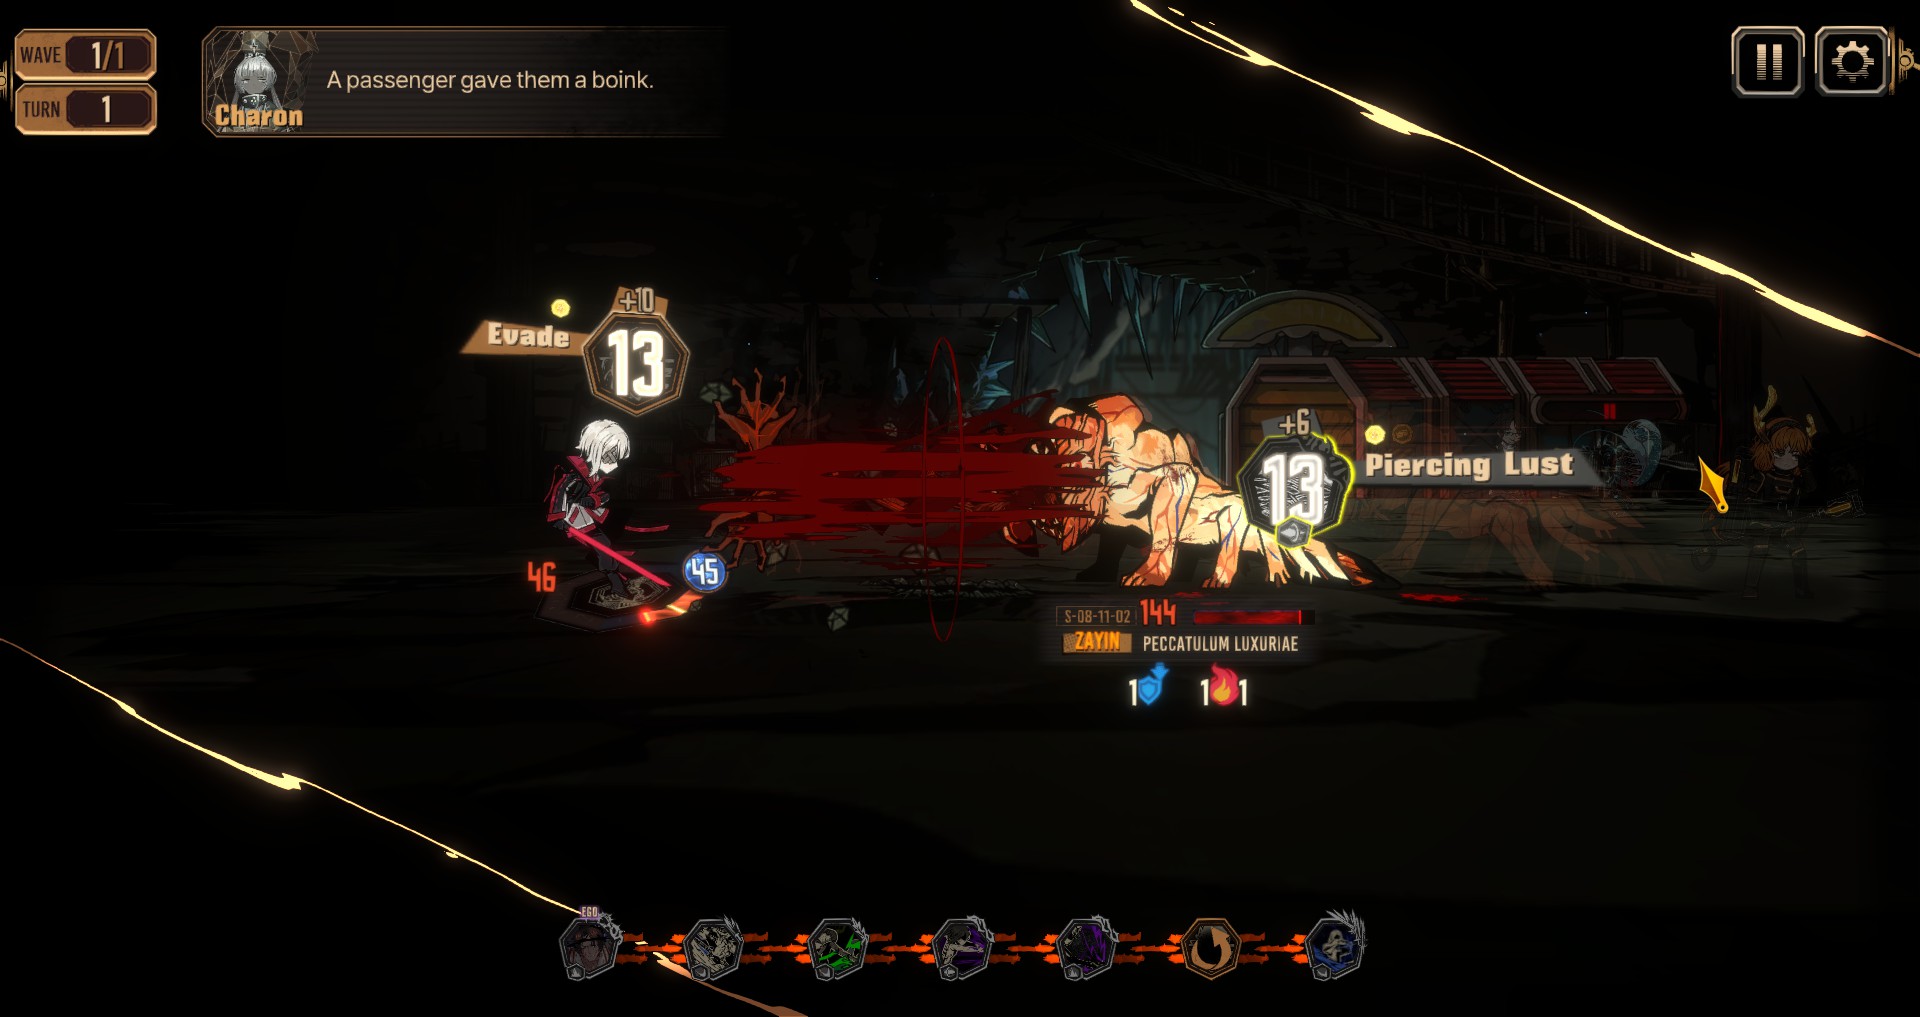
At this point, one of the most important thing to manage is sanity. Sanity isn't just used for EGO activation, but also for higher chance of a positive coin flip. There are therefore some sinners you want to keep at high sanity, namely those with high clash power, like Rodion below.
But there are also character you want to keep high because their EGOs are useful, like Faust. These characters do not need to have their sanity kept at maximum, just above zero so they are high enough to activate their EGO with no downsides.
Then there are your negative coin units, like Sunshower Heathcliff. Their coins get stronger the lower their sanity, so feel free to put them in unfavorable situation so long as they don't die, and use their EGO if your sin resources are available for them to do so.
2. Don't Forget to Defend
There's a really ridiculous misconception that defensive skills in this game are useless. I can see why people will think that, with how the rest of the game being onboarding, making it easier to not focus on using it. But even then, there are boss fights that should have taught people the helpfulness of defensive skills.
The thing is, there's a reason why tank characters have defense skills that are colored with a sin. So lets make this clear for the cheap seats. Defense scales. And even defense skills that are colorless means they don't have weaknesses!
3. Don't Forget to Heal
This game can sometimes feel like a bash-fest. Big numbers and all that. But there are certain roles to certain characters that players would do well to remember. And one of those are healers. And yes, there are healers. The most obvious one is of course, Faust.
But others includes:
Gregor (LCB, Chef, G Corp) in support
Hong Lu
Chef Ryoshu
Have at least 2 of them in play at all time. They will severely increase your ability to survive in the dungeon. They can even bring sinners back from near death when used correctly, or save a sinner from corrosion.
Level 4 - Advance Mechanics




1. Speed Redirection
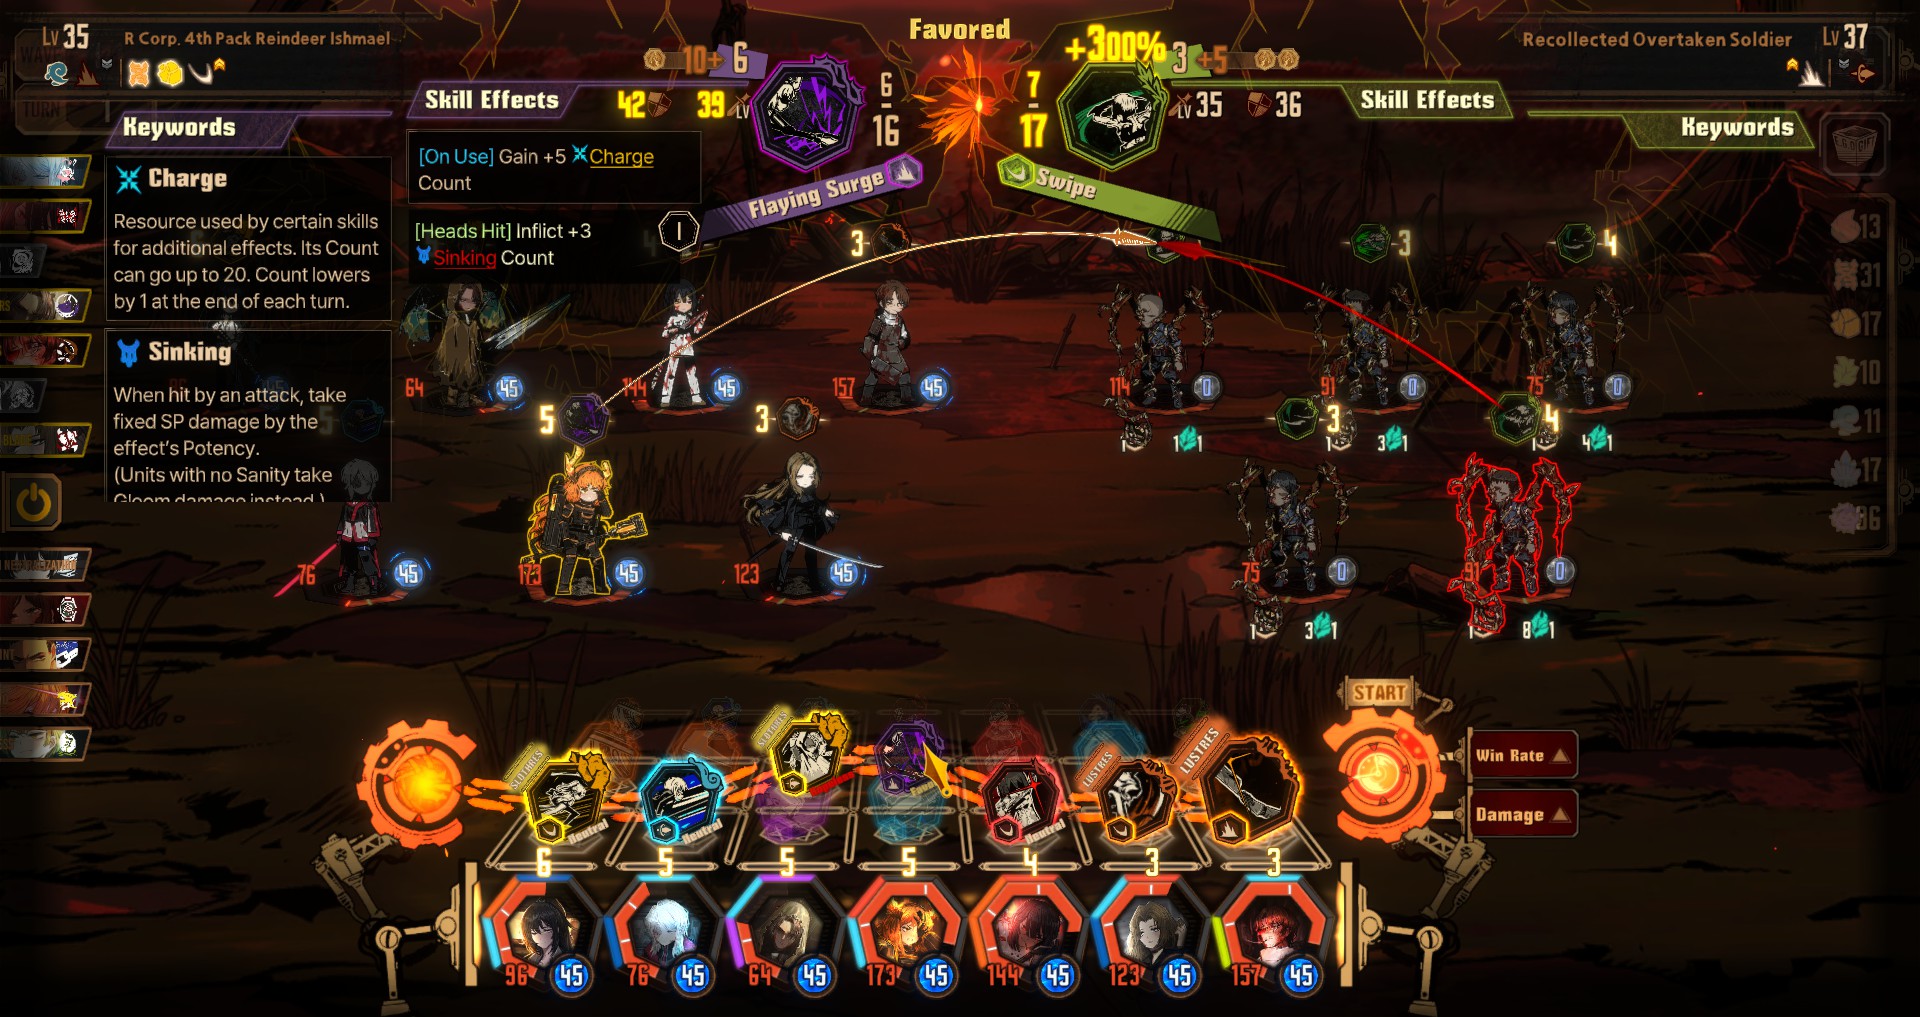
As a basic, you should know that you can redirect an attack using a sinner with higher speed. But did you know you can completely bypass an attack by choosing the sinner with just the right speed? In the below example, Rodion has higher speed than the enemy, but lower than her other allies, and a losing clash power.
You can have all the other characters attack first, unopposed, staggering the enemy, while having Rodion as the last attacker, acting as a tank to distract the target. This is why lower speed characters likie Rodion, Meursault, and Heathcliff are important. They are also often tanks for this very reason.
Once staggered, the attack can continue, dealing excessive damage, and ignoring the potential damage that might have come from being hit.
Especially on level 4 and 5 of the dungeon, this mechanic becomes vital, as you can use it to completely avoid damage that you would otherwise take in normal encounters.
2. Use Resonance
Resonance happens when 2 or more skills have the same sin color. This is not just a match 3 mechanic, but also a planning element that forces you to create complimentary teams that have a high resonance affinity.
Resonance increases not just your damage, but also coin power. If at any point you find yourself in a losing situation by a hair, look for a way to activate resonance to give you that edge. Don't be afraid to throw out an EGO or two to get that resonance. And remember, don't forget to defend and heal.
3. Open with AoE
Another common complain is that there's little control in human fights. But it's better to think of it as a completely different combat style that requires completely different strategies. While anomalies fight can be thought of as duels, human fights can be thought of as party battles.
Because human fights have all characters start out with just 1 skill slot, opening with AoEs are absolutely devastating as the attack won't be wasted with targeting the same enemy twice.
Doing this will usually end the fight in 2 turns. I've not had any human fights go beyond 3. The second and third turns are just used to restock EGO resources.
Level 5 - How To Beat Bosses


1. Debuff/Buff Stacking
If you've gotten the right EGO gifts and built your team around them, you're going to find yourself stacking these debuffs/buffs like Santa giving gifts. You can easily stack bleed for 1000+ fixed damage, and these are going to be your overwhelming source of DPS going forward.
2. Neutral to Stagger
At level 5 of the dungeon, you're not going to be winning any easy clashes. Being able to get your coins to neutral will be an achievement. But your tactic right now is not to win clashes, it's to stagger your opponents as quickly as possible.
Use neutral and defensive clashes to distract a couple of targets while focusing the rest of your firepower on the remaining to get them to stagger. Here's a simple rule, you don't have to worry about winning coin clashes if the opponent has no coins for you to clash.
3. If you meet Brazen Bull or My Form Empties...
Give up. Bye!
Just kidding!
If you've followed the guide so far, building your team around EGO gifts and ID affinities, you'll... still not have a good time, let's be honest. This is a Project Moon game we're talking about. If they say something is hard, it's hard.
But it honestly does not matter which boss you get. You apply what you know of their mechanics and everything in the guide and play. It's key that you keep the fight going, because all those buffs and debuffs will build up. You won't see a big number pop up to celebrate your damage, but trust that the damage is being done.
The longer you survive, the higher the damage you deal. So, and this might seem obvious, don't die. Use EGOs to redirect, freely drop your sanity if you need to. If you run out of EGO or bodies to throw, just get corrupted.
Make sure you manage your sanity. If you have to use an EGO, try to keep it to negative coin characters or those with high sanity, so that your clash power can remain high enough. And finally, I cannot stress this enough, countering and evading is an extremely stable source of clash wins.
Don't worry about pushing your luck. Even if some of your sinners die, as long as the debuffs are active, keep fighting.
And eventually...
Well...
See for yourself.
Conclusion And Debunking "Balance"
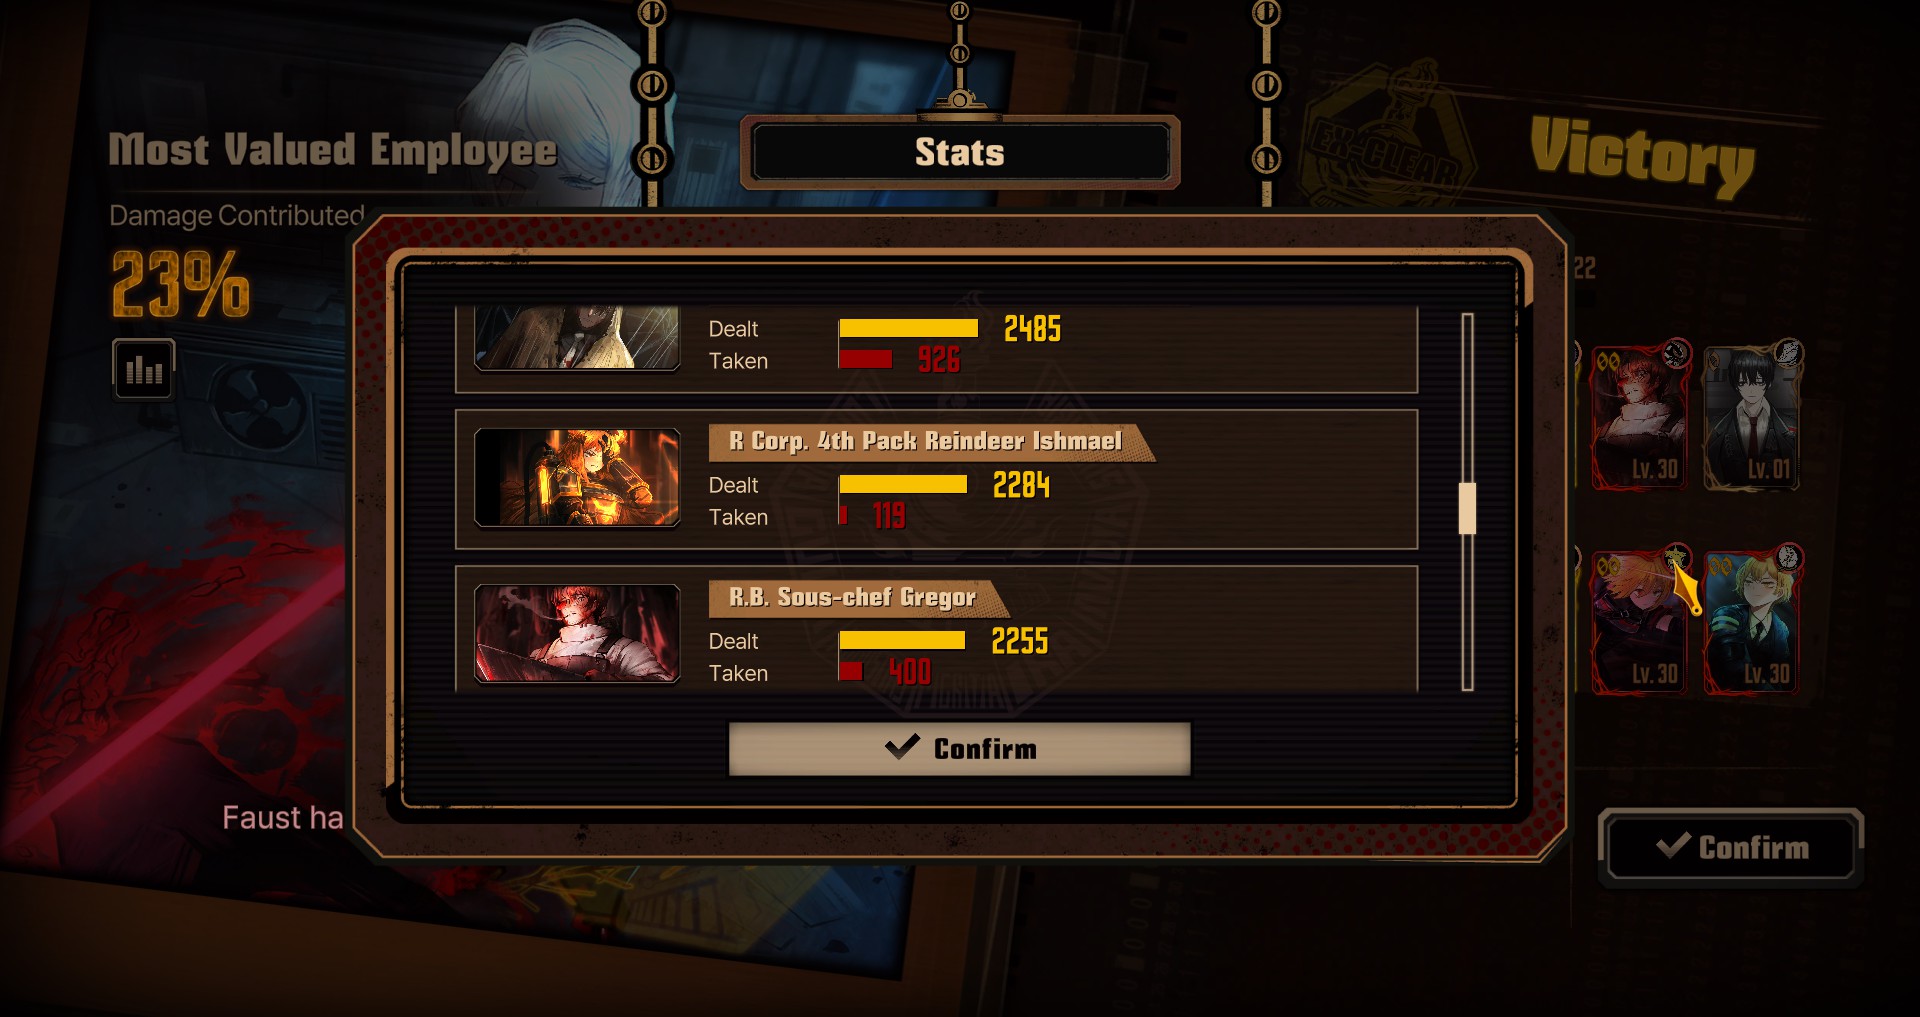

Sunshower Heathcliff and Chef Gregor, the two "low tier" units were my absolute best tanks, soaking up a whopping 1,326 damage between the two of them.
The most damage done was by... L. Corp Faust. That's right, not 000 Chef Ryoshu, but 00 Faust. That's because as I've said at the start of this guide, there are no low tier characters. They all have their roles to play, and the key to victory is team-EGO-gift composition. While L Corp Faust does not have a high damage output, she is an evergreen clash winner.
That's not to discount the other characters. Ryoshu and Hong Lu applied the most bleed, likely doing the most DoT damage. Ishmael and Heathcliff synergised with the sinking EGO gifts I got late in the run, dropping damage done by enemies, reducing the most damage done. Rodion's Sky-clearing Cut from her Kurokumo ID (considered her weakest 000 ID), won all but 1 of her clash.
And this is why I don't buy the idea of this game being unbalanced or the hate for some of the units that I hear on forums and subreddits. So far, this is the most balanced game I've played, where every character is a boon to the possible team composition. Even level 1 characters and base IDs still find roles to play in this hard content.
This is my 4th time completing MD2H, without having to restart a run even once. I've completed with poise/bleed, rupture/sink, charge/rupture, and bleed/sink teams. Every run completed had at least 2 00 IDs. I've defeated Brazen Bull, My Form Empties, and Kromer. It is 100% doable without hard farming.
Now if you'll excuse me, I'll be farming for Zwei Rodion. I think there's a build where she can make my team immortal.
Helpful stuff:
A spreadsheet I made to help with team building[docs.google.com]
Source: https://steamcommunity.com/sharedfiles/filedetails/?id=3005155371
More Limbus Company guilds
- All Guilds
- Mastering Gacha & Lunacy Resource
- TRADUCCIN al ESPAOL de Limbus Company
- Limbus Company Guide 831
- Limbus Company new players FAQ
- What to do if you have lost the love of your life
- How to increase your chances of getting christmas nightmare EGO!!
- Getting extra weekly bonus's from Mirror Dungeon overhauls
- How to delete Limbus Company
- How to Discard (with simple Q and A's)
- CantoVII speed guide
