Opening
With the game still being in early access, there are a lot of advanced mechanics that the game doesn't currently explain, so I'm here to help you learn important facts!
Cards
You've probably been getting items in the game called "XXXXXX card", but haven't seen them showing up in your inventory. Don't worry, these are stored elsewhere and you've been missing out on huge buffs because of this.
Cards are basically gained while skilling and killing monsters
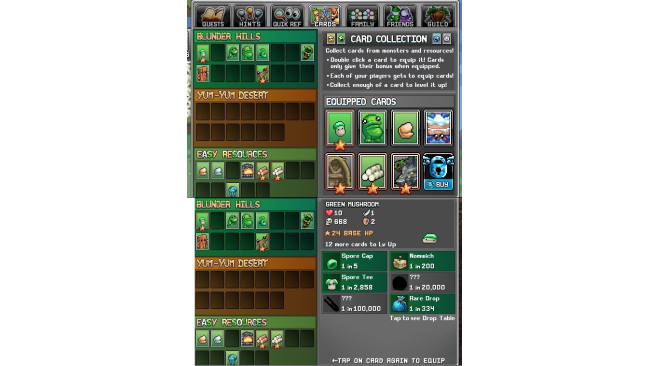
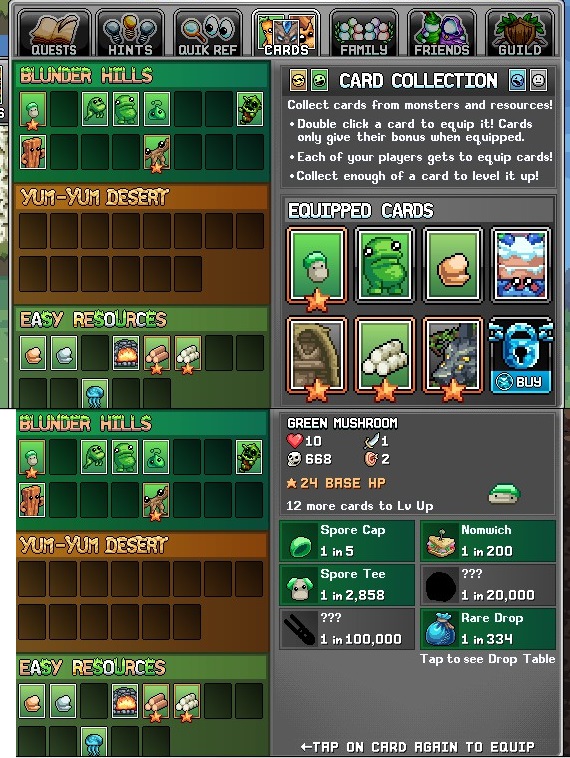
To access cards, open your codex and hit the CARDS tab.
Cards do quite a few things
1)They show drop rates of items off monster once you collect one of their cards.
2)You can equip 4-8 cards (default in 4, you can upgrade to 8).
3)Equipped cards provide stat bonuses ranging from flat stat increases, to money bonuses, increased skilling speed, to drop % increases.
4)Collecting duplicate cards levels up the card, granting them higher bonuses.
5)You can see Monster hp, attack, # killed, and accuracy requirement on the cards.
Upon unlocking a set number of unique cards from each section, you can equip a single set bonus under the set tab on the left. This allows you to equip another bonus on top of your cards.
Merits
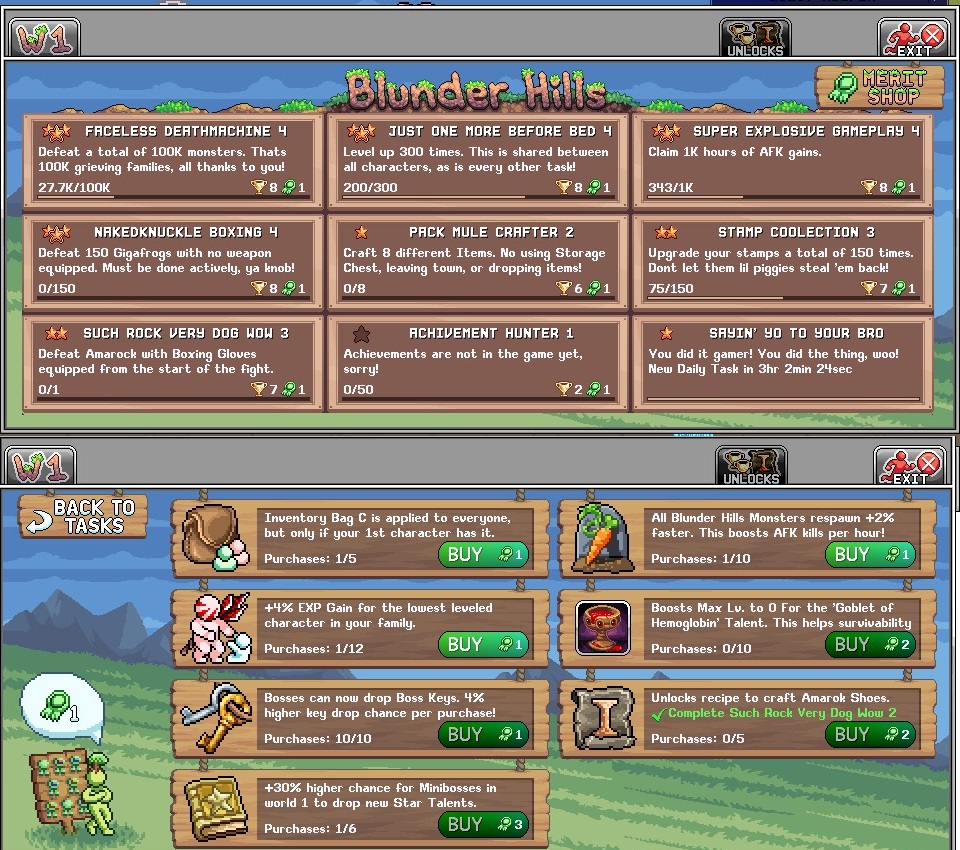
At level 10, you can talk to the green guy with a tree on his head in town and start the merit system. The merit system is basically a challenge system.You'll be given 9 different challenges to complete (Only 8 at the moment as the bottom middle one isn't currently working). All but the lower right one have multiple levels. The lower right one is a daily task that doesn't award merits, just trophy points. It's recommended to do these daily.
Each challenge you complete gives Merit points and Trophy Points. You can click on the Merit Shop to spend the Merit points on ribbon perks. It's highly recommended to start with Boss Key increase.
Trophy Points can be spent by clicking on the UNLOCKS tab. You can buy upgraded recipes (for weapons, stack limits, and tools), along with resource boosts and gems here.
Statues
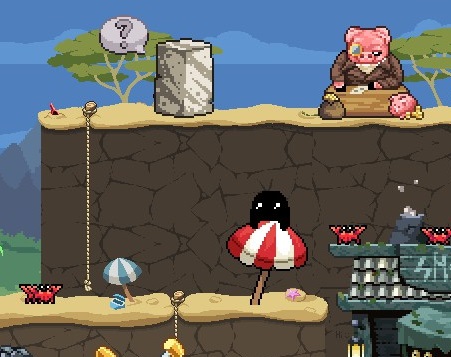
*NOTE: THE DEVELOPER HAS SAID THAT THE STATUE SYSTEM WILL BE REWORKED IN THE NEAR FUTURE*
In town, you'll be given a quest by the block of stone on the top left to bring him some stonemason tools. These can be bought in the shop for around 35 silver. Once completed, you'll have the option to turn in all those statues you've been getting to it for additive bonuses depending on the type of statue. The shop even sells 3 power statues daily. Don't forget to buy the shards in the shop that let you reset your points. Each shop has a different stock.
Statues are not shared between characters by default. Upon reaching world 2, the main town shop sells a golden chisel. You can buy this, drop it on the statue, and then he'll allow you access to the upgrades tab. The upgrades tab allows you to upgrade individual statue types to share between characters. The money cost for this is MASSIVE.
Minigames

Anytime you click a skilling Resource, you'll be prompted to either Play Game or Just Idle.
Play Game is something you can do 5 times a day across all skilling zones (this can be upgraded in the gem shop). Depending on the skill, you'll play a small minigame which allows you to gather a decent number of resources depending on your performance. Each minigame is different depending on what skill you're playing.
Your plays reset daily.
Class Selection And The Hidden Class

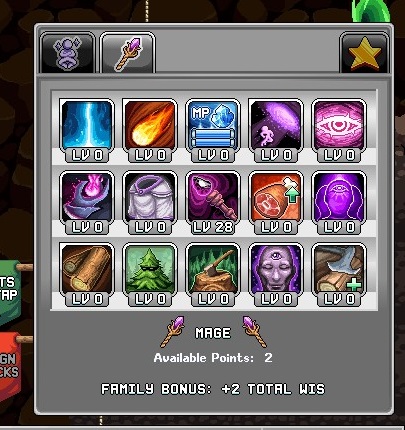
At Level 10, you can talk to this guy on Map 3 (the Green Bean map) and he'll let you choose a class. Currently, warrior is the best class, followed by mage, followed by archer. Make sure the class matches your starting bonus (if you started with str, go warrior. Wis go Mage. Agi go Archer). Starting bonuses can only be changed upon reaching the top of the tree in W1 and starting the Telescope's quest.
There is also a hidden class called the Journeyman who's based on the LUCK stat and is focused on getting rare drops, but that should be your 4th or so character as the quest to unlock him is quite expensive. You'll need to read another guide to learn how to unlock him. He also evolves into another class later on which is focused on helping your other characters. You can not select a class on the character you wish to become a Journeyman.
Once you select your class, a new tab under TALENTS will be available with the same number of skill points you spent in your other tree available to spend here as well.
Your second class will be chosen in World 2 on Map 3. This will require 250 kebabs (sold from store in W2) and 150 Crabcakes (dropped from the monsters on Map 3).
Alchemy
Each World has a different set of skills. In World 1, you have crafting as the town skill and mining & woodcutting as the support skills. In World 2, you have alchemy as the town skill and bug catching & fishing as the support skills. In World 3, you have construction as the town skill and hunting & worship as the support skills.
Alchemy is a complex skill and is not very well explained, and the explanation is locked a few quests into World 2's main quest.
WORLD PORTALS UNLOCK FOR ALL CHARACTERS ONCE YOU OPEN THEM ON ANY CHARACTER. UPON UNLOCKING WORLD 2'S PORTAL, YOU SHOULD IMMEDIATELY SEND ALL CHARACTERS INTO THE WORLD 2 PORTAL, AND CLICK THE CAULDRON. ALL CHARACTERS START AT LEVEL 0 ALCHEMY, BUT CLICKING ON THE CAULDRON WILL MAKE THEM LEVEL 1 AND WILL ALLOW THEM TO LEVEL PASSIVELY.
Once a character is level 1 alchemy, you can assign them to a cauldron, which will increase the meter in order to upgrade and unlock new bubbles. Characters generate free exp while doing this.
For info on how the skill works, see the below two videos made by the developer.
Guilds
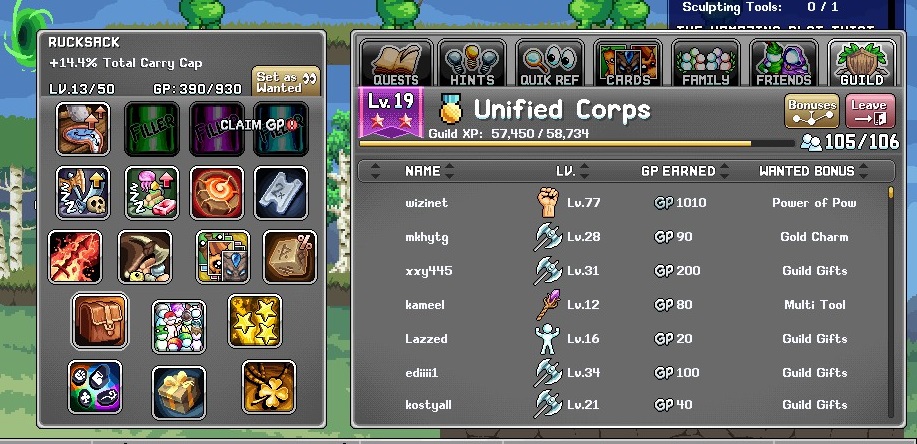
Join a Guild asap. Guilds offer weekly rewards, really good bonuses, and give you people to socialize with (though that's kinda limited atm) There are daily and weekly challenges to get guild points to level up guild perks with.
There's no good recruitment system ingame atm, so use forums or just search a guild from another player you see and request to join via the guild interface under the codex.
Gem Store
Many people will argue on what is the best use for gems, but here's what I've discover are the first few.
1)Infinite Hammer (W1+W2 Anvil): First purchase as it allows 2 items to be produced at once, making crafting easier to level for all characters and easier to get resources needed for crafting.
2)Card Unlocks (Cards): There are four slots to unlock. These are all passive bonuses and worth getting.
3)Brimstone Furnace (W1+W2 furnace): Upgrades the furnace to allow a chance to get double bars. While this doesn't matter for copper bars, once mining starts slowing down at iron, it makes a hell of a lot of a difference.
4)Daily Teleports (Dailies N Resets): Allows you to teleport around the map each day with a single purchase. You really don't need to buy all 7 ranks of it as each rank is 7 daily teleports.
5)Daily Minigames (Dailies N Resets): Allows you to play more minigames daily. Good for a quick burst of resources, especially once resource gathering starts slowing down at higher tiers.
Aiming for permanent unlocks first is the key thing.
Multiplayer Capabilities
There's currently a huge misunderstanding on the current multiplayer interaction in this game.
First off, other players can not steal your drops, kill your monsters, or take your bars/thread/other produced items. All this stuff is locked off on your own map.
Currently, multiplayer is limited to chatting and seeing what other players are on the same map as you. Group content like dungeons is planned in the near future.
Dev Streams
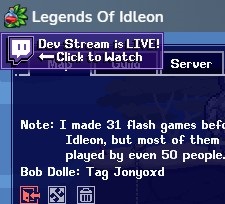
If you see this icon in the upper right corner, the developer is currently streaming on twitch.
It's recommending to go watch him as you can learn about the game and see what content is coming up. Also, he likes to hand out gems and spawn bosses and crystal creatures. What he does is go to certain world (worlds can be switched by going to the menu, world, selecting an icon on the top following by a world #(so like Cookie World 1, or Pizza World 12). He usually spawns things in the mushroom area of map 1 so everyone can access it.
Bonus Stuff
-Every time you unlock a Steam Achievement, a bunch of gems and other items will drop on the ground around the map. MAKE SURE YOU PICK UP ALL ITEMS WHEN THIS HAPPENS AS ALL ITEMS DISAPPEAR ONCE YOU LEAVE THE CURRENT MAP OR SHUT THE GAME OFF.
-The guy who lets you select a class will give a quest to find a walking house after selecting a class. It's a boss monster called Baba Yaga. To find it, you'll need to kill Green Beans around the area until you unlock the lower left portal by the Birch Tree. In the portal is a dead end map full of orange mushrooms to kill. At 00 every hour, Baba Yaga spawns. You likely won't be able to kill it as it's very high level. The next quest in this chain is to kill it.
-The Tools that the stone block in town wants are sold by the store in town for around 35 silver.
-The Pig character in town sells permanent upgrades called bribes which will save you lots of money in the long run.
-The Pig also lets you upgrade stamps which are permanent stat boosts shared across characters. Each rank of each stamp gets more and more expensive. Once you max out a stamp, you can upgrade it to a new set of levels by handing over a certain amount of specific resources. The stamp will tell you what it needs.
-Ideally, you want to never take damage. Make sure to raise your defense through stamps, statues, and new armor if you're taking damage from monsters.
-If you start getting MISS when attacking monsters, your accuracy is too low. You will need to raise your class' accuracy skill or get flat accuracy bonuses through cards and other means. If a monster drops their card, you can see what accuracy is required to reach 100%. Using the AFK info inside menu can also show your total accuracy %
-When you get to the first big boss, there's a pretty good chance you'll only have about 50% accuracy. Try not to fight him if it gives you a warning above his door about your accuracy.
-Dailies reset around Midnight American time.
-All stores have different stock. Make sure you buy your daily rare restocked items from them (statues, shards, etc)
-Make sure you don't buy duplicate items from stores that can't be used multiple times (chest space for example). This can cost you a lot of money. Selecting the item before purchasing will tell you if you need it.
-Prioritize Chest space over Stack capacity over Inventory space. All monster drops different materials and you need as much chest space as possible. Stack capacity allows you to hold more items at once which saves inventory space. This is the reason why Inventory space is at the bottom as the other 2 are far superior.
-Shop around for space upgrades. If you have 3 gold, you may be able to buy a +5 chest upgrade in the jungle store, while the main town store only sells +4 for 3 gold.
-If an NPC has a circular arrow speech bubble, that means that they have a repeatable quest (usually daily).
-If you get duplicate quest rewards like stamps, sell them to the store as they are worth quite a bit of money.
-The Peanut Recipe can be obtained by completely the Picnic basket's first daily quest for 200 frog legs and 100 bean slices.
-If you drop a quest item and need to reclaim it, you can go to the quest log, go to the quest and click reclaim. This mostly matters at higher levels when you start getting handed quest chain tokens that all combine into another token.
-There's a food slot in your inventory to equip 2 food items (can be upgraded for more). Always equip the Golden Jams you get in 1 slot as this is free hp increase (you'll get many more and they all stack for more hp). The other can be for healing, but you should only be taking damage on bosses.
-When you kill an NPC, there's a chance for a crystal NPC to spawn which has better loot.
-For the summer event, use the oysters in the highest level area you can handle as the summer NPCs scale with the area, thus give more xp and loot. Just use 1 oyster at the start in order to test the waters as you don't want to waste a stack and be unable to kill any of them.
-Create new characters every time you unlock a new slot as they are free resources and free xp across your account.
-The spiked boxing gloves suck, don't make them. They can only hit 1 enemy at a time and aren't a class weapon, so they don't benefit from class bonuses like warrior double hitting. Boxing gloves are only used for the journeyman class.
-The reason you see the locations of all portals on each map is because you can click the portals and your character will auto-walk over and use them.
-Don't forget to click the buy points button on the anvil. You can buy upgrade points for money and monster drops. The best use for points is speed and capacity, as exp isn't very good in the early levels.
-There's a hidden minigame that can be played once a day for up to 40 gems. The portal to it is in the carrot man room, but you can teleport to it by typing into chat "If u love me let me go". It's case sensitive and you have to type it EXACTLY like that. The minigame starts a 00 each hour (make sure you're a minute early) and the goal is to last as long as possible as spikes randomly pop out of the ground to instant kill. You get 2 gems each round you survive. It's completely random, so no skill is involved.
-If you go to codex, quick ref, and anvil, you can use the quick deposit button anywhere to deposit all produced items (like thread, nails, and bricks) directly into your storage.
Source: https://steamcommunity.com/sharedfiles/filedetails/?id=2537608652
More Legends of Idleon MMO guilds
- All Guilds
- The MOST Important Info !!!!
- Legends of Idleon MMO:
- How to Idle in IdleOn
- Legends of Idleon MMO Guide 266
- IdleOn
- IdleOn
- Tips, tricks, and resources for your early > mid game progression
- how to use cheese engine
- Legends of Idleon GUIDE #1 for beginners
- A Complete Guide For Beginners :)