General Information
As of game version 1.0.5.2
• There are 20 Armor Sets in total
• Armor pieces do not provide any stat bonus; they are purely cosmetic
• The Trader that is selling the Goldgrowth Set seems to be bugged
The spoiler factor of this guide is rather low.
I kept infos for locations pretty vague.
Explicit solutions for secret locations are all hidden behind a spoiler,
so it should be safe to scroll through the guide for visual purpose.
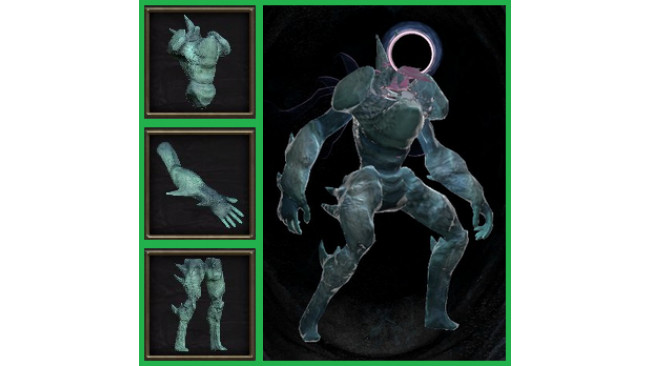
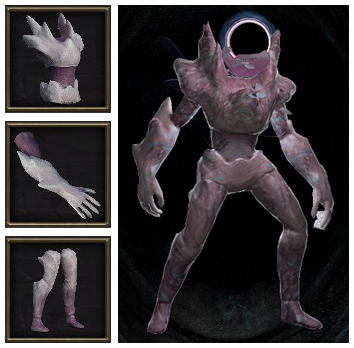
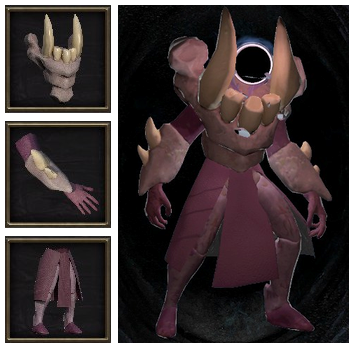
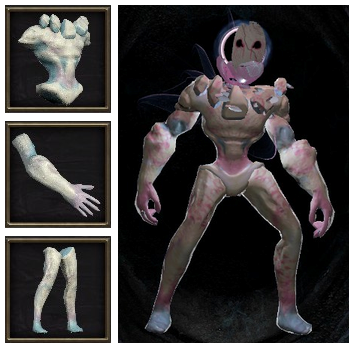
(1) Prickly Weeper Set
Location:
Weeping Cavity, scattered around the area
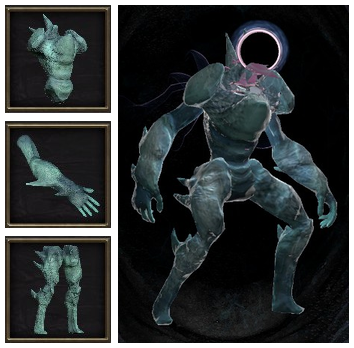
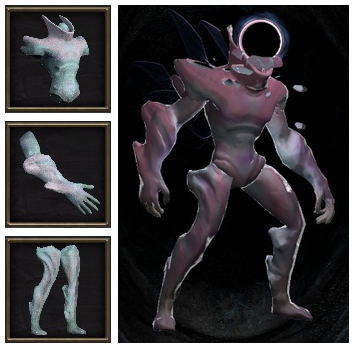
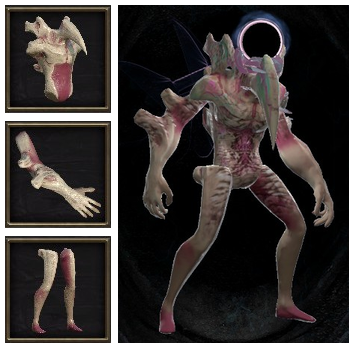
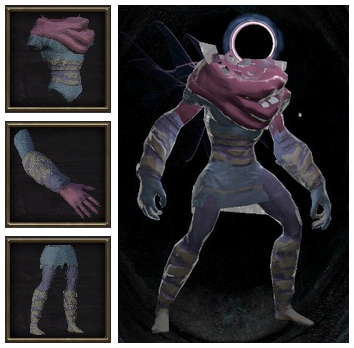
(2) Otherwhere Phlox Set
Location:
Weeping Cavity, secret location
Hints:
Left of the very beginning; secret within a secret within a secret.
Solution:
From the very start move left, there's a breakable wall, in the next room is another breakable wall, in the last room is a breakable floor at the right end.
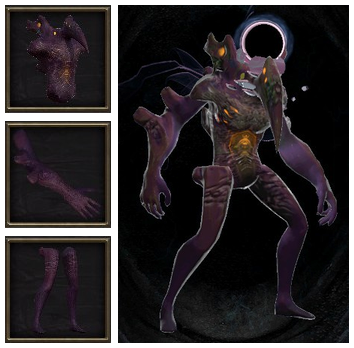
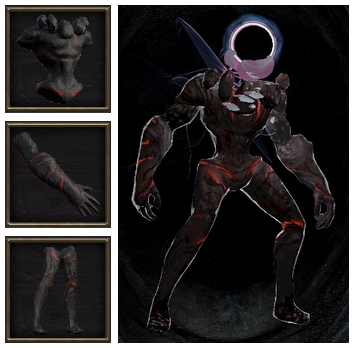
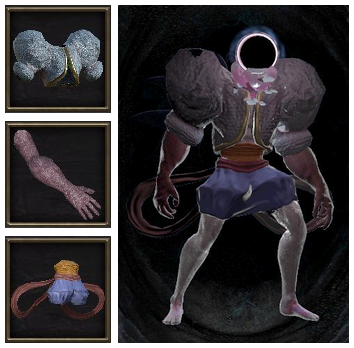
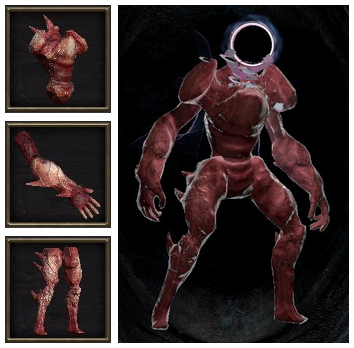
(3) Boulderplate Set
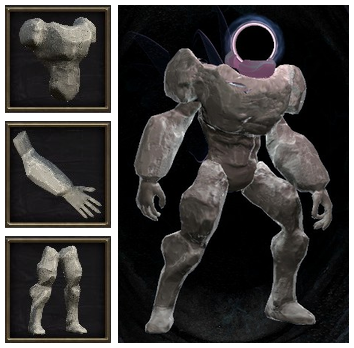
Location:
Unformed Desert, scattered around the area
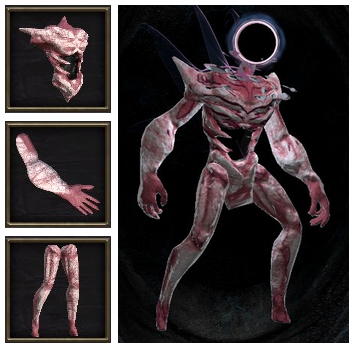
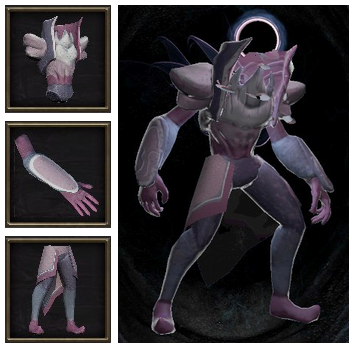
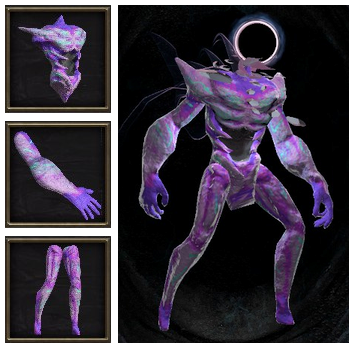
(4) Petalstone Set
Location:
Lithic, scattered around the area
(5) Hyaline Set
Location:
Lithic, from a Trader
Hints:
Obtainable from the Art Trader to the left of the central Checkpoint.
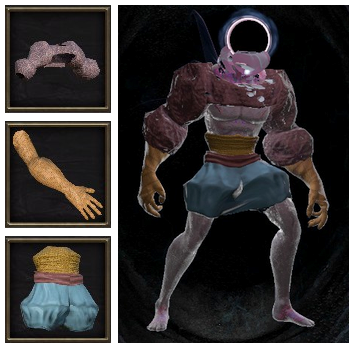
(6) Wakebone Set
Location:
Worldpillar, secret location
Hints:
Above the Trader go left to an outside area; platforming puzzle.
Solution:
Near the end of the platforming puzzle (indicated by multiple ladders you climb down), look at your map. You have to drop down from a little platform to the tallest pillar in that area (which is the lowermost).
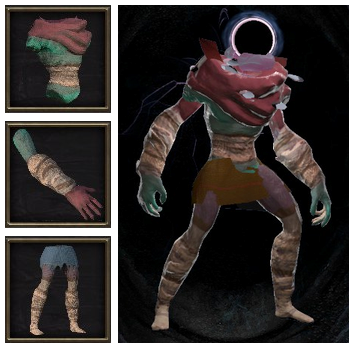
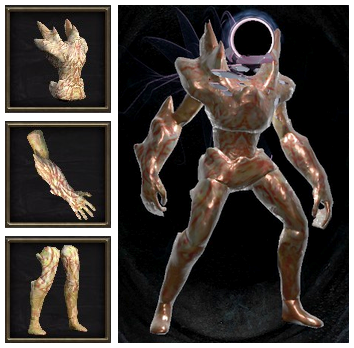
(7) Hollowroot Set
Location:
Nerveroot, scattered around the area
(8) Jawplate Set
Location:
Feasters Lair, scattered around the area
(9) Bonebird Set
Location:
Feasters Lair, secret location, from a Trader
Hints:
Sold by Trader Owl near the southern Nerve Pass.
Solution:
To the left of the Crab Boss Arena there is a wall to dash through. Directly after that there is a breakable floor. Go down and head left to find another breakable floor. Secret Trader and Nerve Pass ahead.
(10) Drained Shell Set
Location:
Gloomnest, scattered around the area
[requires air dash]
(11) First Yr Set
Location:
Yr Den, scattered around the area
(12) Celebration Set
Location:
Carven Palace, scattered around the area
Hints:
Left side of the area below floor 1, hug the walls.
(13) Formal Coda Set
Location:
Carven Palace, scattered around the area
Hints:
Right side of the area below floor 1, in the caves.
(14) Adept Embroider Set
Location:
Carven Palace, secret location
Hints:
Left shaft between floor 1 and floor 2; fake ceiling above a pullable platform.
Solution:
While riding the elevator up from floor 1, move to the left into the shaft between floor 1 and floor 2. Proceed through that area until you find a pullable platform on a wire. Above that platform, slightly to the left, there is a fake ceiling, leading to a secret area with the armor set and a captured rock giant at the end.
(15) Petalgem Set
Location:
The Garden
Hints:
To the left of the Thirsting Trees Checkpoint.
(16) Friendly Imposter Set
Unique visuals:
This is the only Armor Set with an actual Face Mask.
Location:
Weeping Cavity
[requires item pull]
Hints:
Near the exit to the Desert, next to the 3 ladders.
(17) Weathered Stitcher Set
Location:
Servants Path, scattered around the area
[requires air dash + item pull]
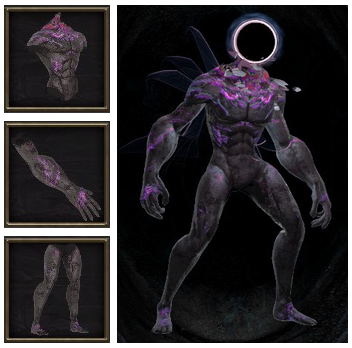
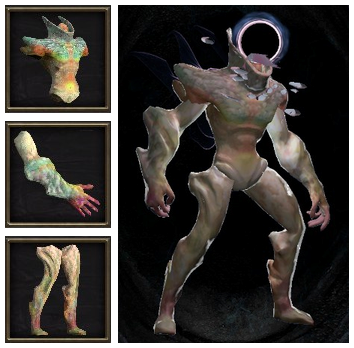
(18) Waneblood Set
Unique visuals:
This Armor Set generates a crimson trail behind you when moving around.
Location:
Worldpillar / Nerveroot, secret location
[requires air dash + self pull]
Hints:
At the end of the secret Challenge room below the Elevator.
Solution:
From the Worldpillar Elevator (lowest point) go left towards Nerveroot until you reach a pit with "orange death sparks". You can drop down to a small ledge on the right end of that pit.
On that ledge you can dash to the right into a pitch black secret shaft where the challenge begins. You will keep falling down into spikes there.
• Tip: Tapping pull mid-air helps to slow down your momentum and grants you slight moments for orientation.
• The needed actions in that shaft (if I remember correctly) are:
Dash left, pull left, pull right, dash right.
(19) Huskroot Set
Location:
Servants Path, secret location
[requires slow walk + double jump]
Hints:
Breakable floor near the Glowing Needle Thrower.
Solution:
The breakable floor is to the right of the Glowing Needle Thrower, shortly before you stand infront of the wall. There is a platforming challenge below, that requires you to slow-walk, double jump and air-dash multiple times. The very bottom is safe ground.
(20) Goldgrowth Set
Location:
Worldpillar, from a Trader
Hints:
Sold by the Assistant near the Worldpillar Checkpoint after you defeated the Shapely Fidus.
Attention: This Trader might be bugged
• It may happen that the Armor Set vanishes from this shop after defeating the Final Performance.
• It may happen that the Armor Set vanishes from this shop after buying one piece of it and then leaving the area.
• It may happen that the vanished Armor Set re-appears all of a sudden in the shop at a later point for unknown reasons.
Source: https://steamcommunity.com/sharedfiles/filedetails/?id=2574961494
More GRIME guilds
- All Guilds
- GRIME
- Grime
- 100% Video Walkthrough [All achievements]
- The Listener, Yon, Coda Gifts
- Parting Shade Guide
- GRIME ! -!
- GRIME 100% Achievement Guide
- DLCParting Shade
- GRIME 100% RUS
- GRIME Guide 25