The Basics Of Cave Ins


Like dwarven engineers digging deep into the heart of a mountain, we are going to dig a huge cavern and cuase it to cave in , leaving us with many layer deep silo to build out base in.
So as you probably know stability is based on the distance from a stable structure - starting with stability 4 and decreases 1 for each voxel distant from that structure.
So you can a cave in by digging a room 7 by 7 wide, and the central voxel will collapse. Not only this but it will collapse ALL voxels above it!
We can use this principle to dig out deep silos, first you dig a long tunnel into the mountain, and try to get as deep as you can (or need to). If you choose a tall mountain you can excavate 8 or more levels. For my game i started excavation on level 6, and the mountain went upto to level 13, so my silo was 7 levels deep.
Once you have dug you tunnel to the area you want your base you begin to excavate the
Decide the shape of the silo you want to build, we will cause a cave in that excavates that shape from the bottom layer all the way to the top.
Since it take time to dig into Lime Stone, the most efficient size is to create a 10 voxel long room , as this is the maximum distance supported by wooden beams that will support the ceiling, the room can be as wide as you want so long as you continue to add support beams.
I chose a 7 by 9 shape as I like my rooms to be symmetrical about the central line. You then need to excavate this shape plus 3 additional voxels in each dimension
So for the 7 by 9 room , you will dig a shape roughly 13 by 15 voxels accross
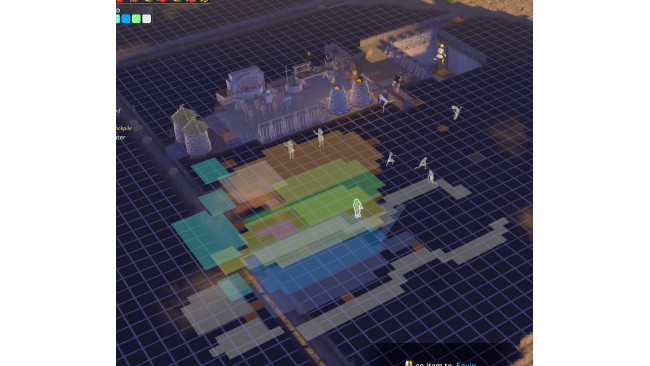
The grey area is the excavation or basement.
The white ares is the cave in area.
The cave in will happen progressively as you continue your excavation, i find it helpful to use a Stockpile (set for Limestone) to mark out the cave in area. Then you can count 3 squares from the stockpile to determine the area you need to dig.
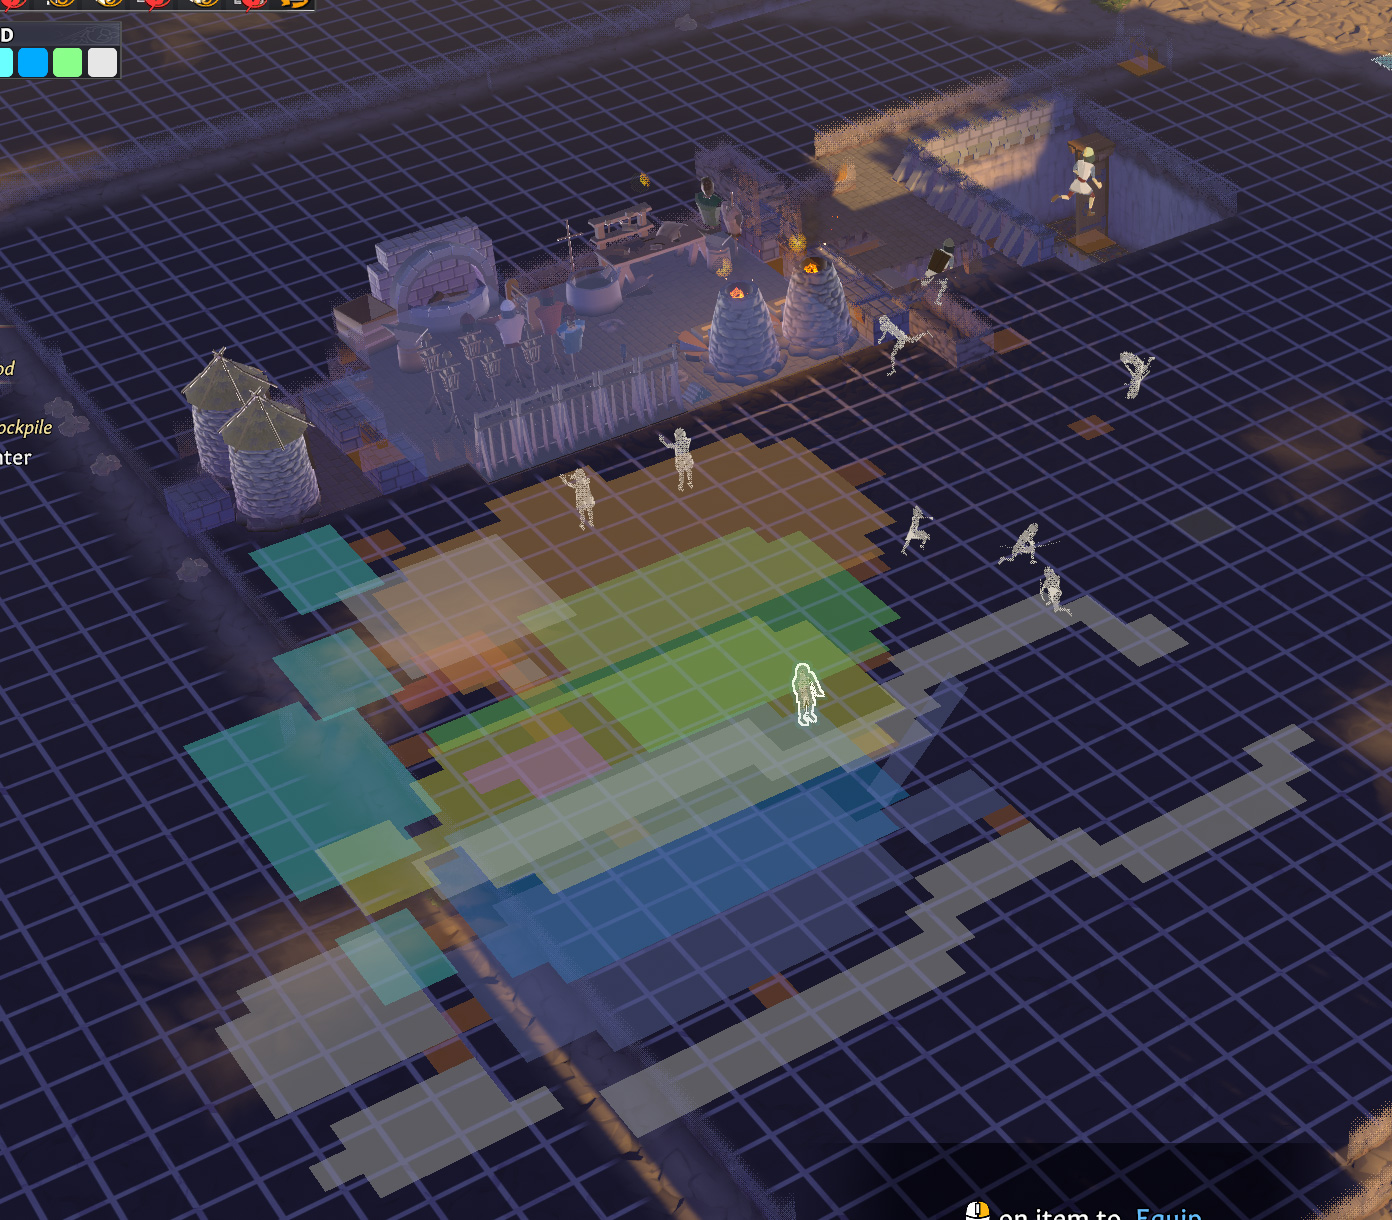
Once you have got the hang of it you can create more complicated shapes. I usually add a 3 by 3 area at the end to put the stair case in. I also add alcove to the main room to slot in some big workstations.
The blue square are walls to create a space for a door way.
its time consuming to dig at first, but it saves allot of time in the long run. the bonus is you also produce ALLOT of Limestone if you dig into a mountain.
Note: the excavation will destroy anything above it, like gold or iron seams.
Building The Basement
So once you have your excavation complete you will need to build out your basement.
Use Clay walls, and place them underneath earth next to the excavated area.
This will create an area very cold on the outside of the clay walls due to its depth and well its insulated as it has earth ceilings and clay walls. Assign this for your excess food storage.
Now finally add some beams to support the first room above (shown in brown).
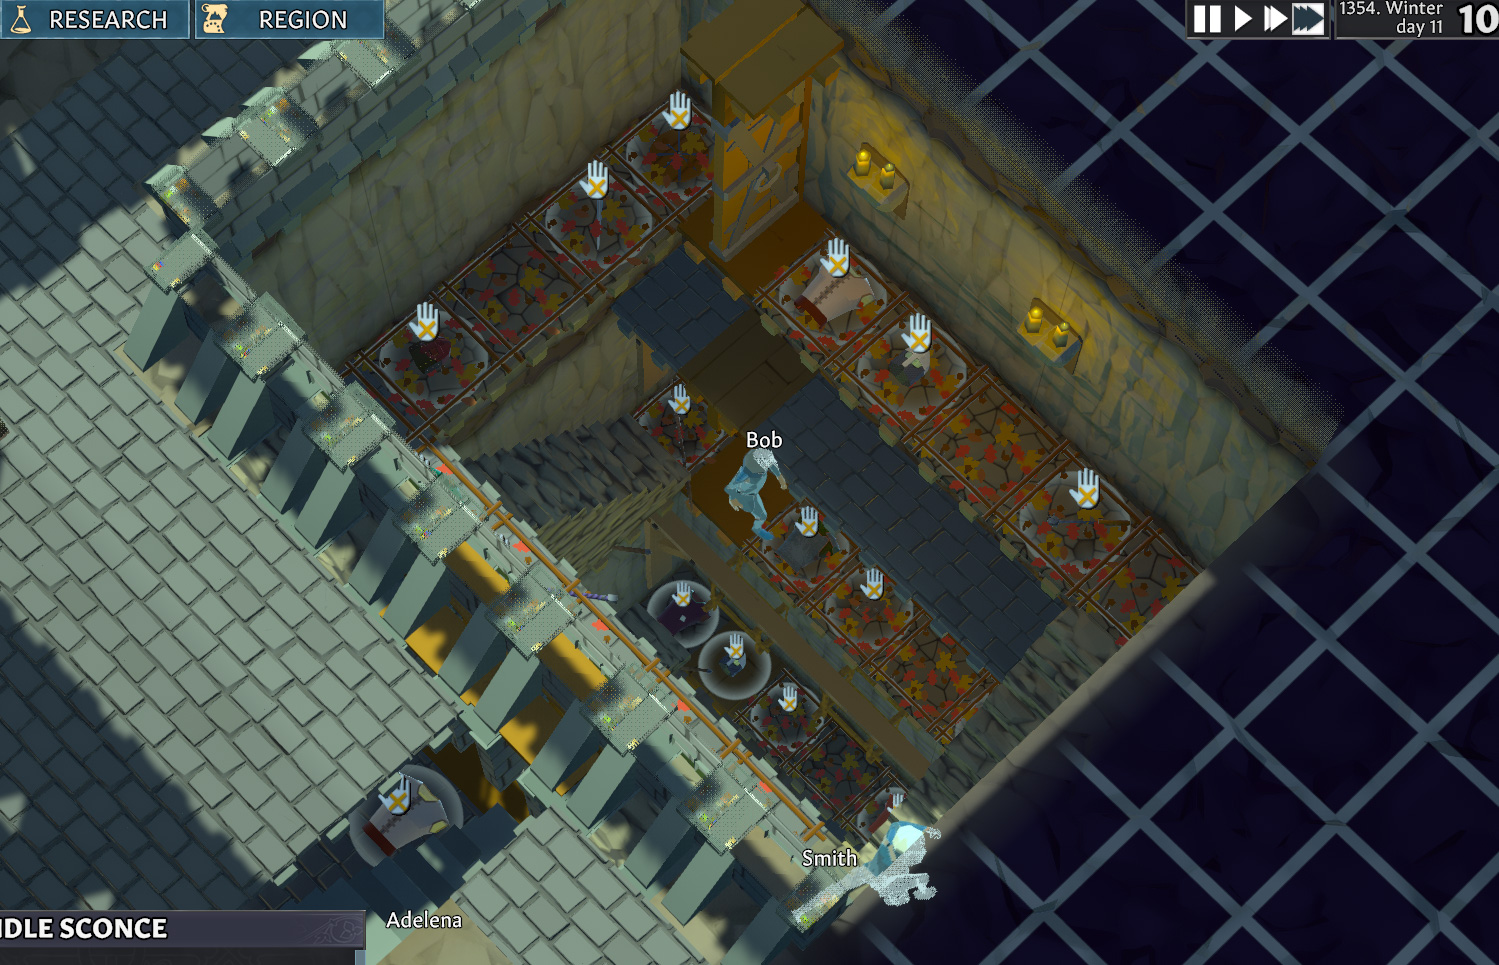
Since the floor is covered with Limestone, i usually build a Stonemasons bench down here so you can start producing Limestone Blocks. We will use a Limestone Blocks floors to make the floors increasing movement around the Silo.
Here is one in use , you can see the shelves with food storage around the outside, and all the limestone and the stonemasons benches in the middle.
Building Up
Now the beams are in place to support the floor we can build some stairs and begin work on the upper levels.
Layout floor tiles over the whole area, then begin building work stations. Here is my library as an example:
You can start planning your levels to give you an idea from the bottom up my silo goes something like this:
Lvl 6 - basement - food storage & limestone
Lvl 7 - Woodwork & Tayloring workshop
Lvl 8 - Shared Bedroom
Lvl 9 - Food & Beverage Kitchen
Lvl 10 - Great Hall & Chappels
Lvl 11 - Library
Lvl 12 - Metal Working workshop
Lvl 13 - The Roof - Meat Smoking
You can dig deeper and have more levels but this was enough for me
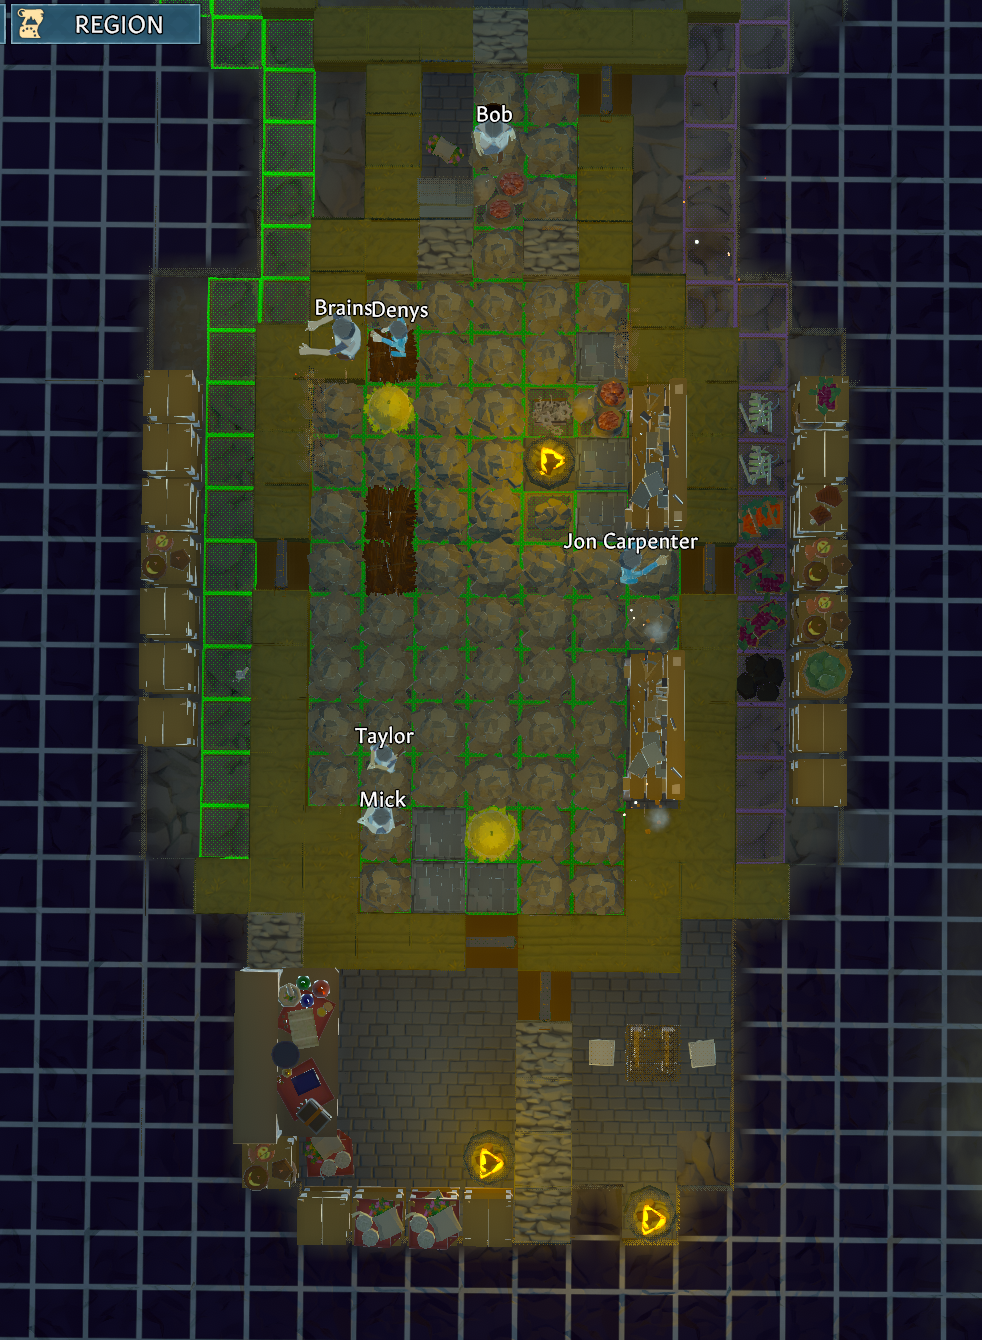
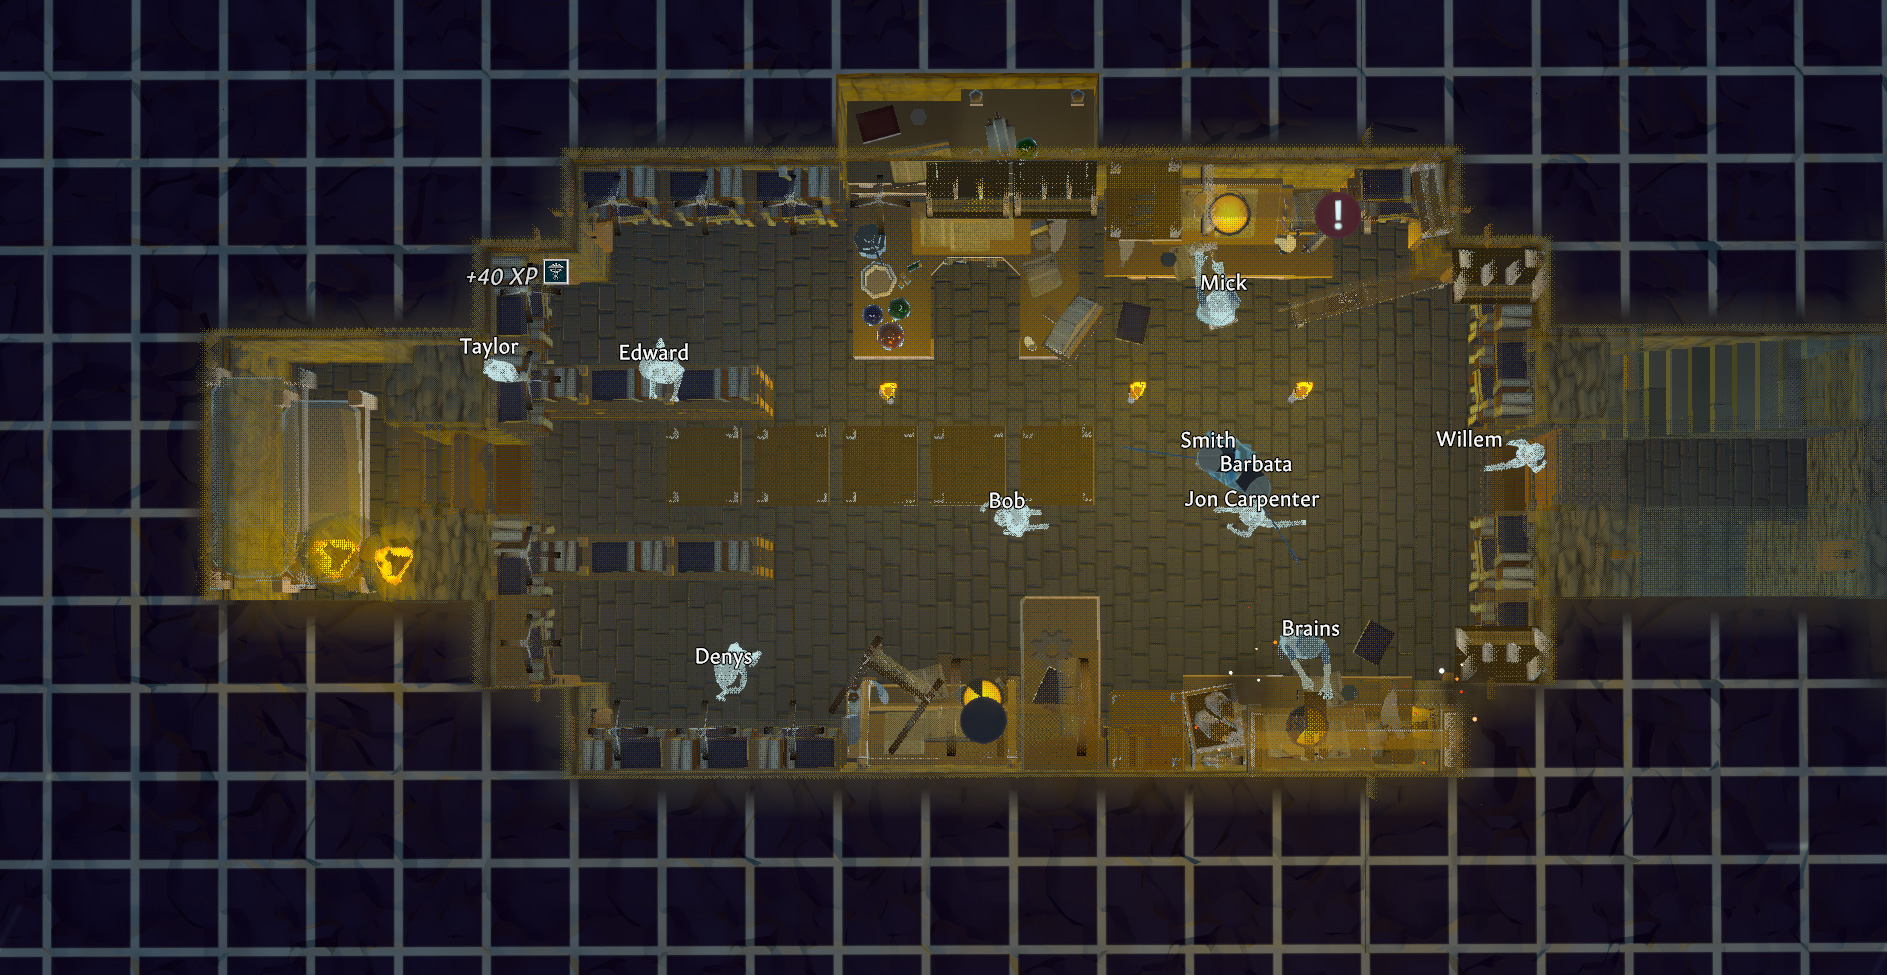
If we look at the Rooms Legend we can make out the Silo shape in 3 Dimensions:
Defences
The silo by its nature is pretty much invulnerable to Trebuchet fire, and currently onlyl has one long thing tunnel to enter it. However there is one more trick left to play with this design, and that is to add a defensive structure.
Next to entrance tunnel we dig out a new section i started with a 7 by 5 area, and build a cork screw stair case running up the inside of the excavation. Leave the middle empty then construct some battlements at the top of the stair well. Close off the doors in the basement and construct the base entrance at the top of the stairs. Add some traps along the winding pathway to the stop of the stairs and we have a deadly stair well. Archers can only shoot you by crossing all the traps in the entrance tunnel, and they seem to be spread out by the traps.
The disadvantage with this and the silo in general is there is allot of going up and down stairs to move between inside / outside , or to move things around.
Since the highest areas seem to be at the edge of the map you may want to dig a moat to cut off raiders that spawn next to you.
The Roof Garden
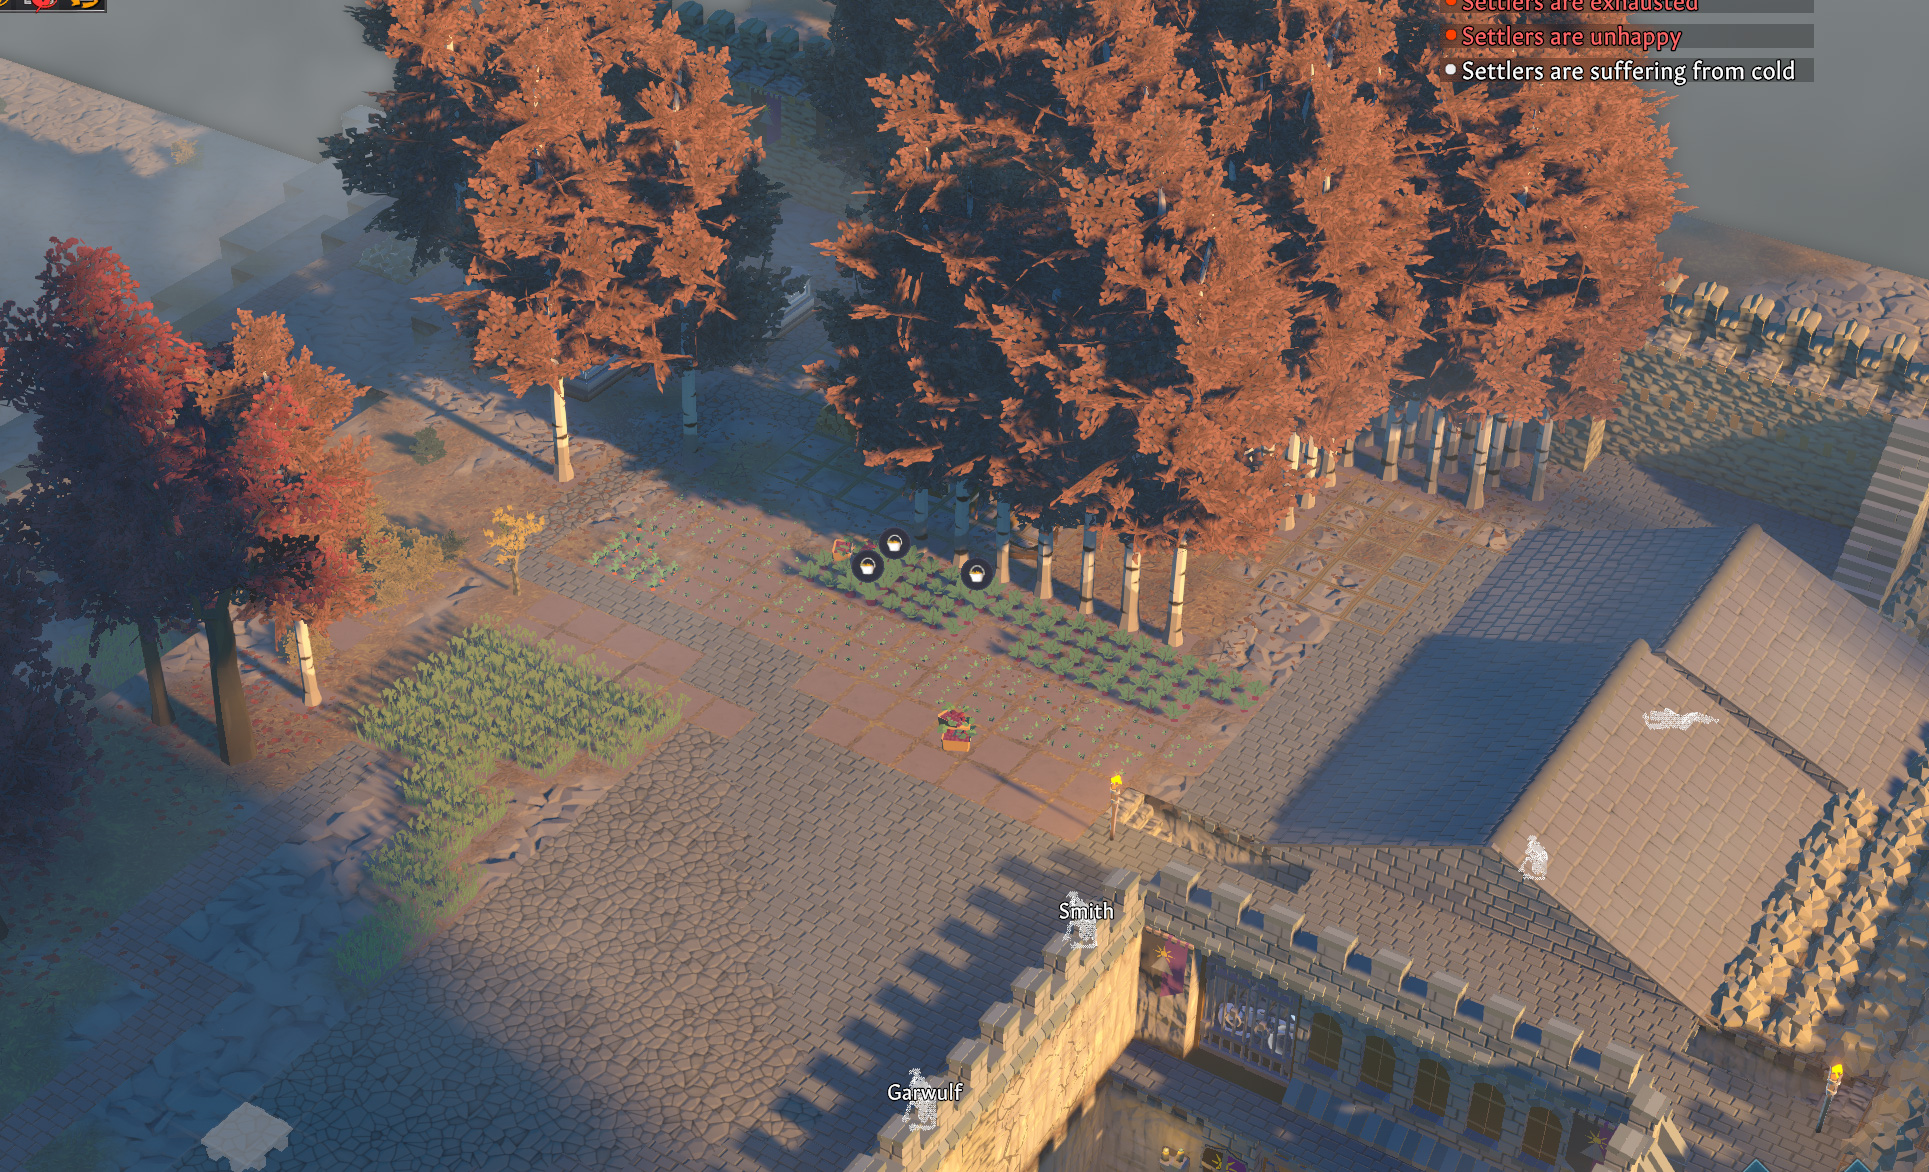
Finally once the entrance is constructed you can migrate your fields to the top of the mountain you have chosen (hopefully it has some earth spots for you to plant on). Plant some trees too, and you should be self sufficient in your Silo.
Source: https://steamcommunity.com/sharedfiles/filedetails/?id=2625963802
More Going Medieval guilds
- All Guilds
- Remove Death by Old Age
- Jobs & Priorities
- Going Medieval - Guide to Modding and Supported files
- Changing Voxel Values (Mining)
- Going Medieval Guide 345
- What changes do you want to see in the game? \ ?
- Going Medieval Guide 325
- Going Medieval Trke Rehber.
- How to Dismantle Items Effectively
- Character creation guide [BR/EN]