What You Will Need
The area referenced by this guide does not become available until the second half of the game, the World of Ruin. In order to access the desert where the Slagworms and Cactuars you will be fighting are located, you will need to have acquired the Falcon, the game's second airship. As this is among the first priorities you will have in the game's apocalyptic second act, most players will get to this point long before they're looking to max out their characters' spell lists.
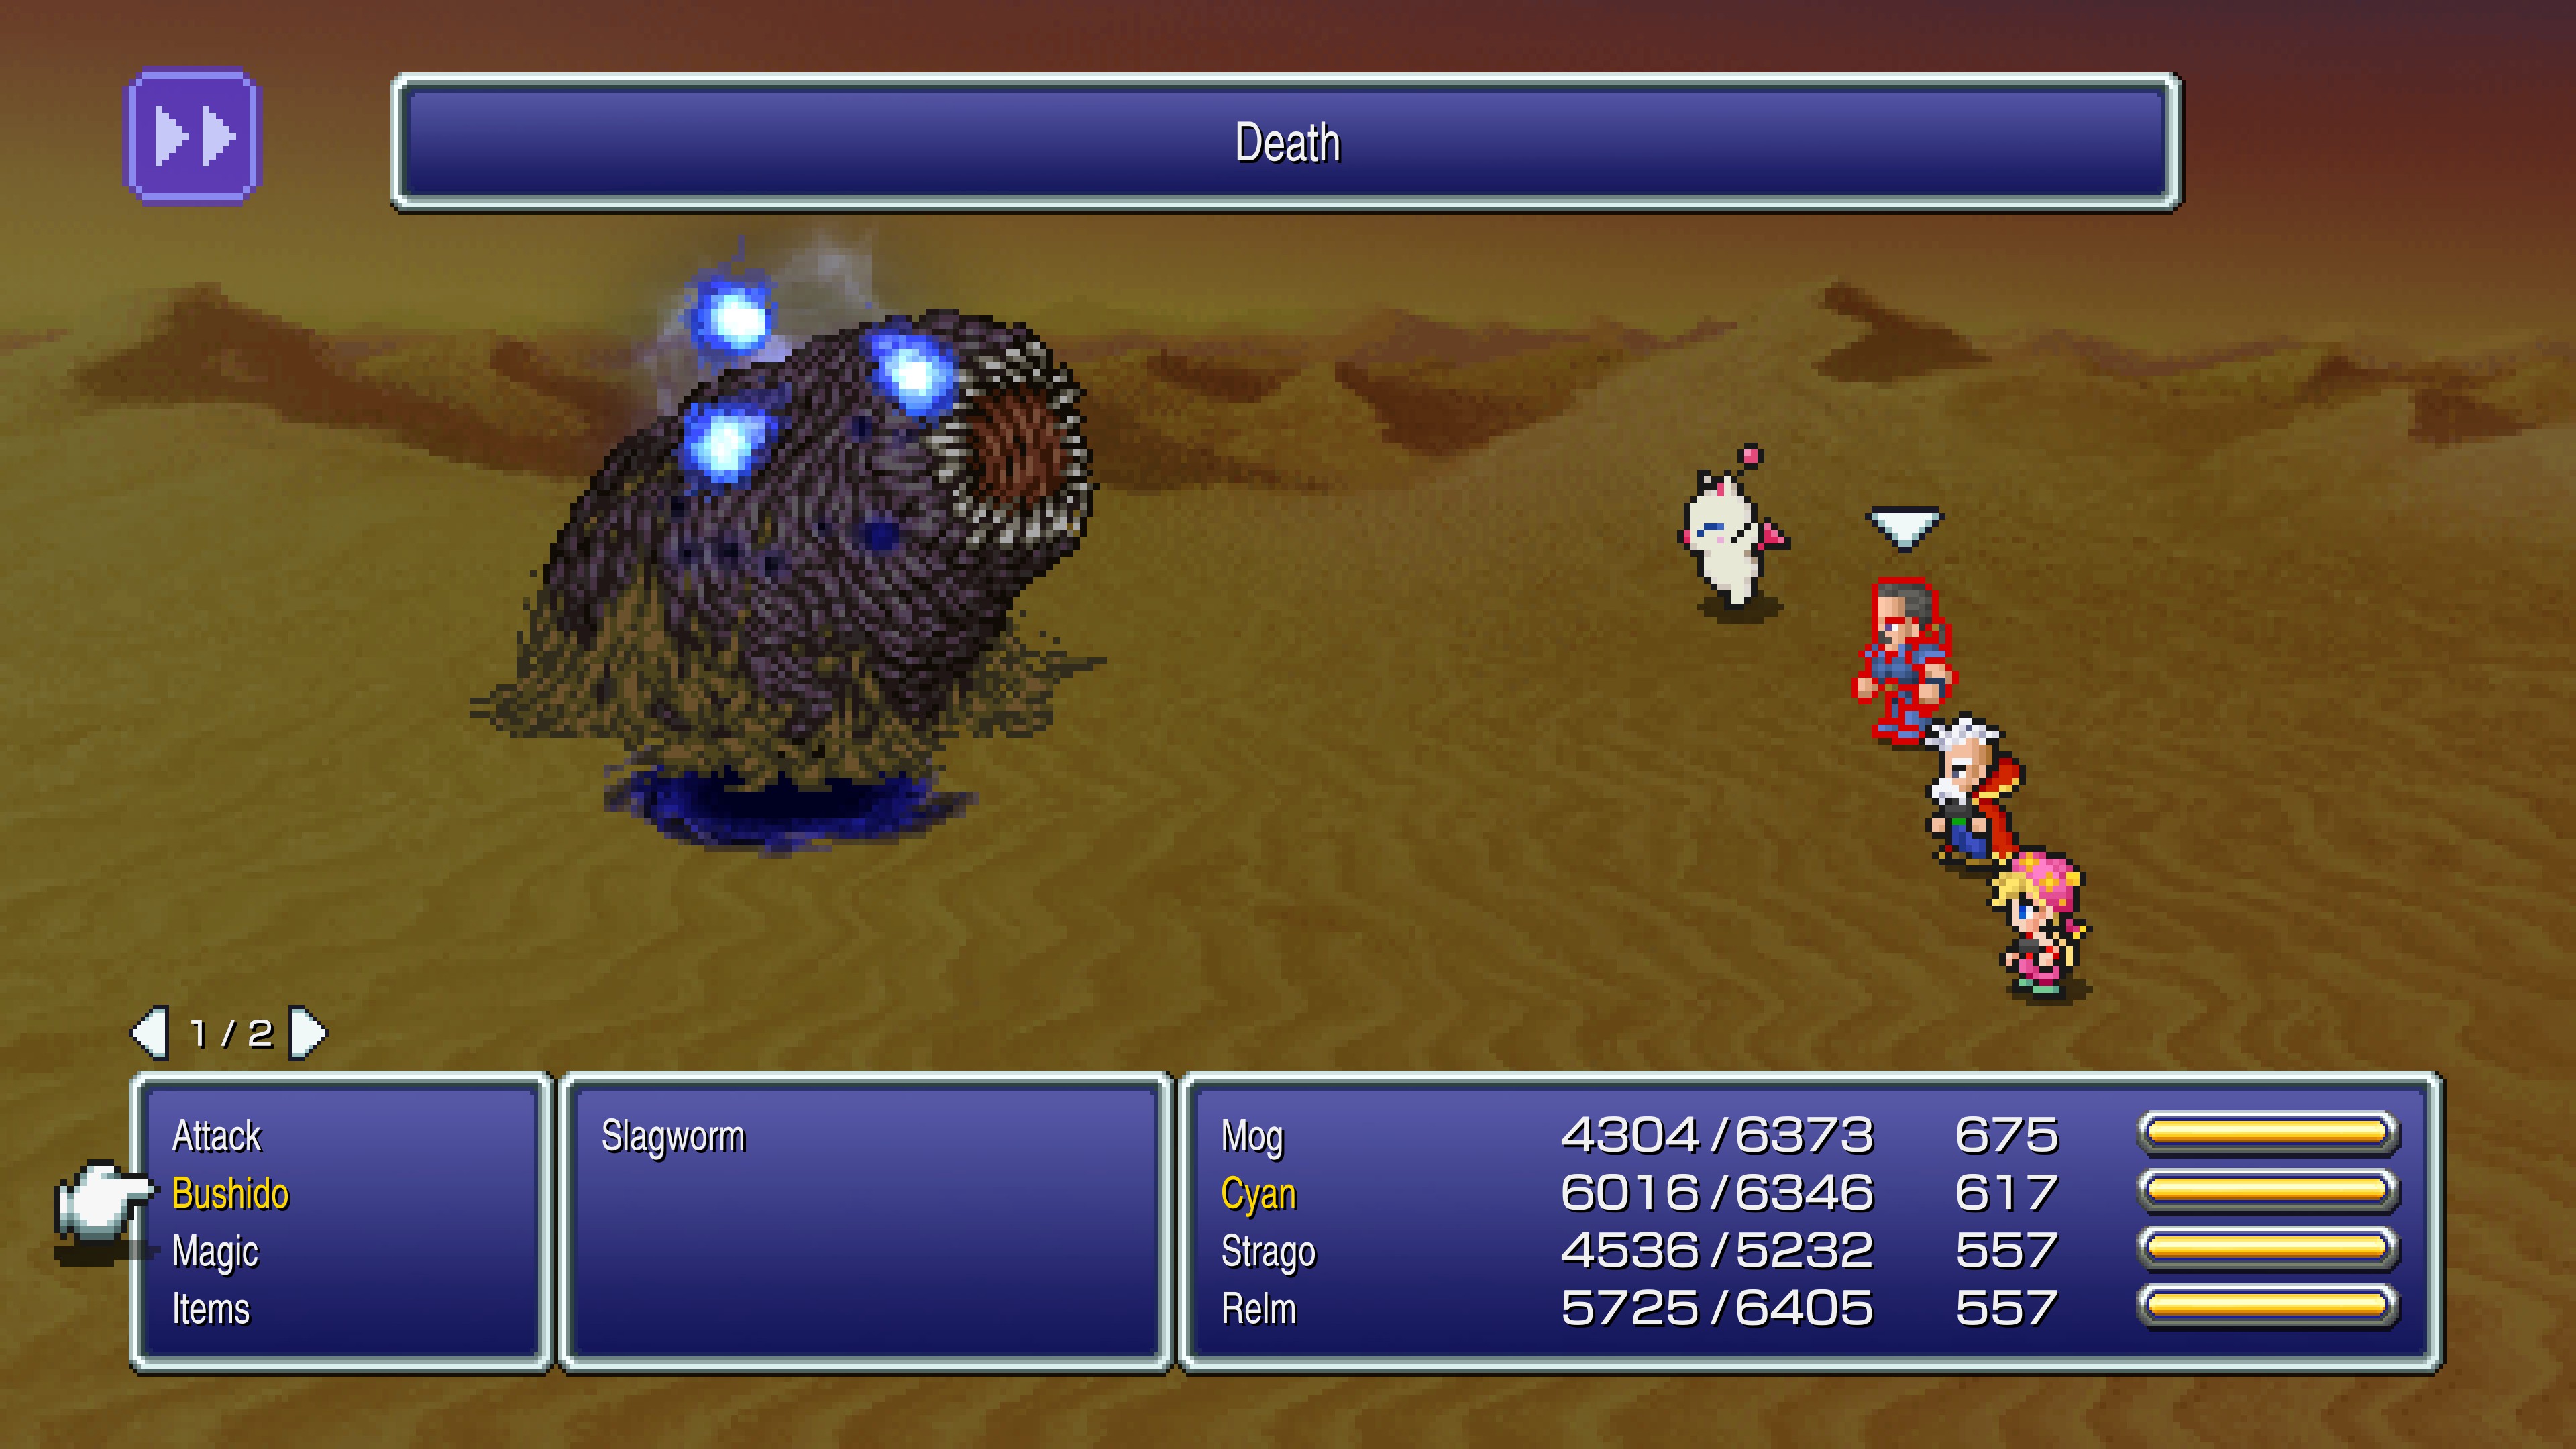
The rest is quite simple. You only need at least one character that can cast the Death spell, which you can learn earlier in the game from the Catoblepas esper, an unmissable esper gained during the events in the Magitek Laboratory in Vector in the old World of Balance.
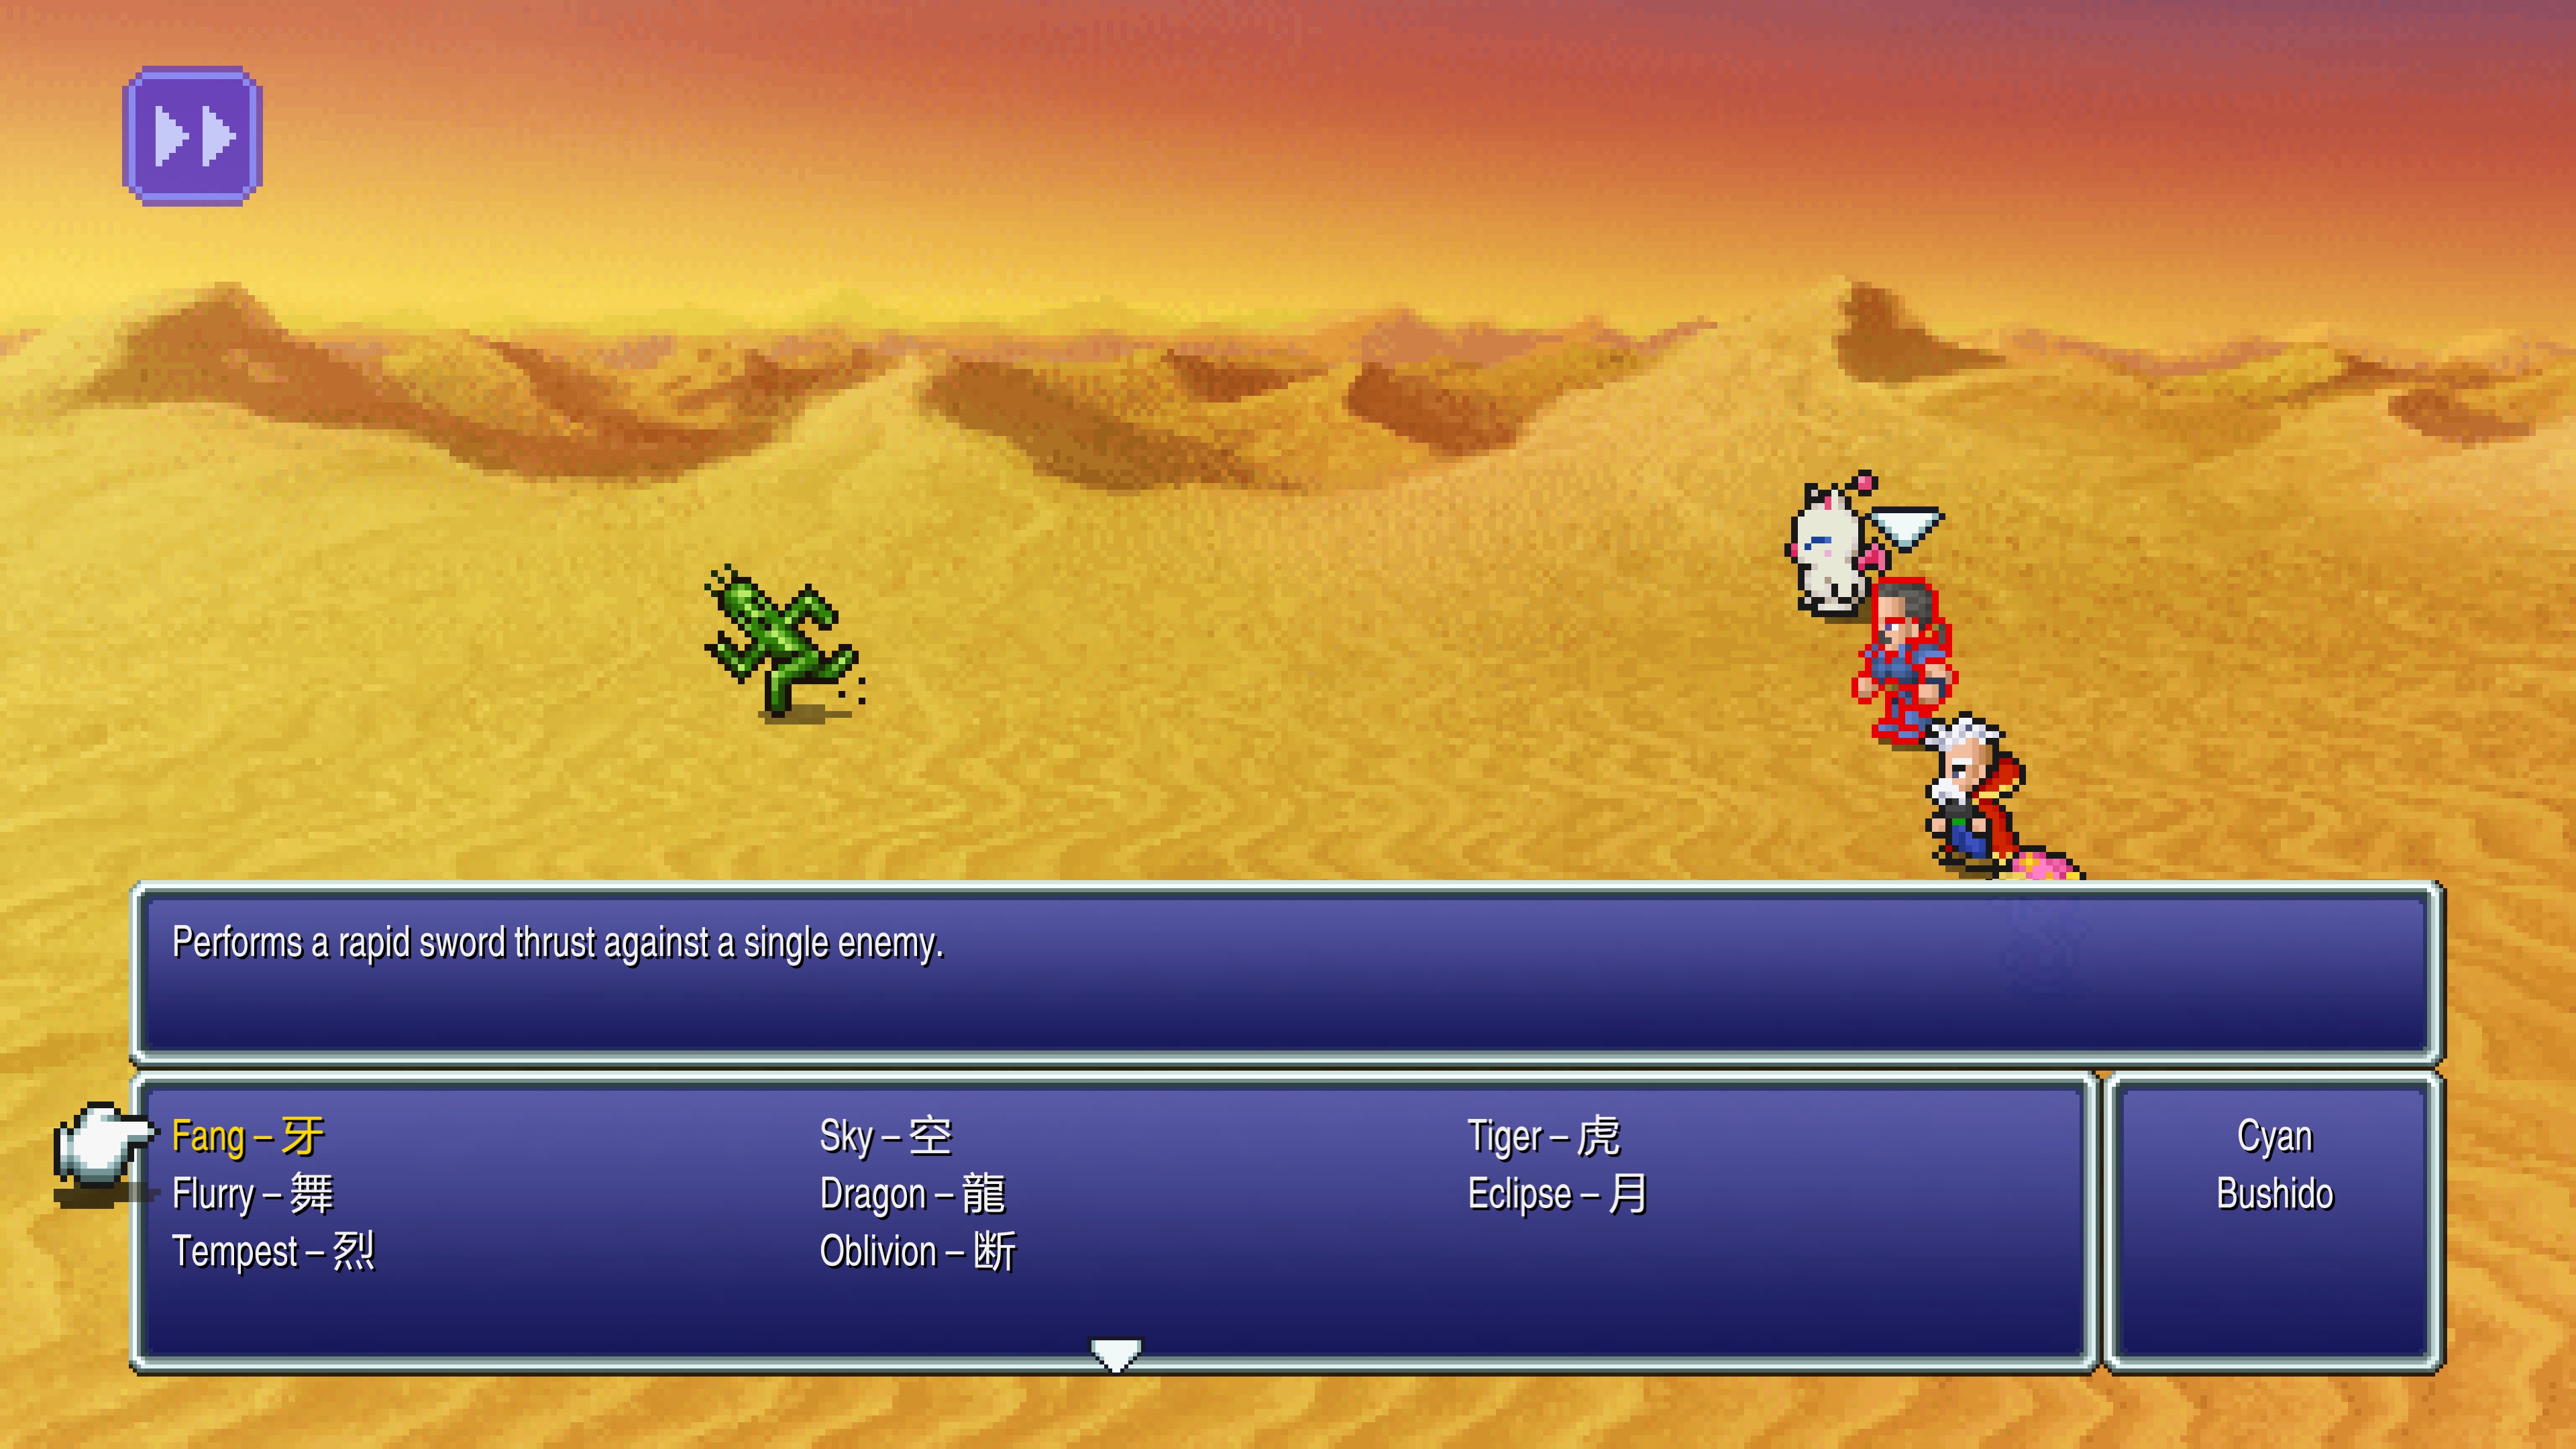
The second thing you need besides a character who knows how to cast Death is one with some kind of unblockable attack or magic that reliably does damage. I recommend Edgar's Drill Tool, Sabin's Raging Fist Blitz, or Cyan's Fang Bushido as some of the best examples, since they are quick to execute and cost no MP, allowing you to unleash them upon those elusive Cactuars reliably and rapidly and saving MP for the Death spells you will use to annihilate the Slagworms.
Beyond that, you will want some Tents or Sleeping Bags to intermittently refresh your party as you go about your battles. And don't worry about the fact that a tent costs 1,200 Gil and a Sleeping Bag 500, because you're soon going to have almost more money than you know what to do with.
Where You Must Go
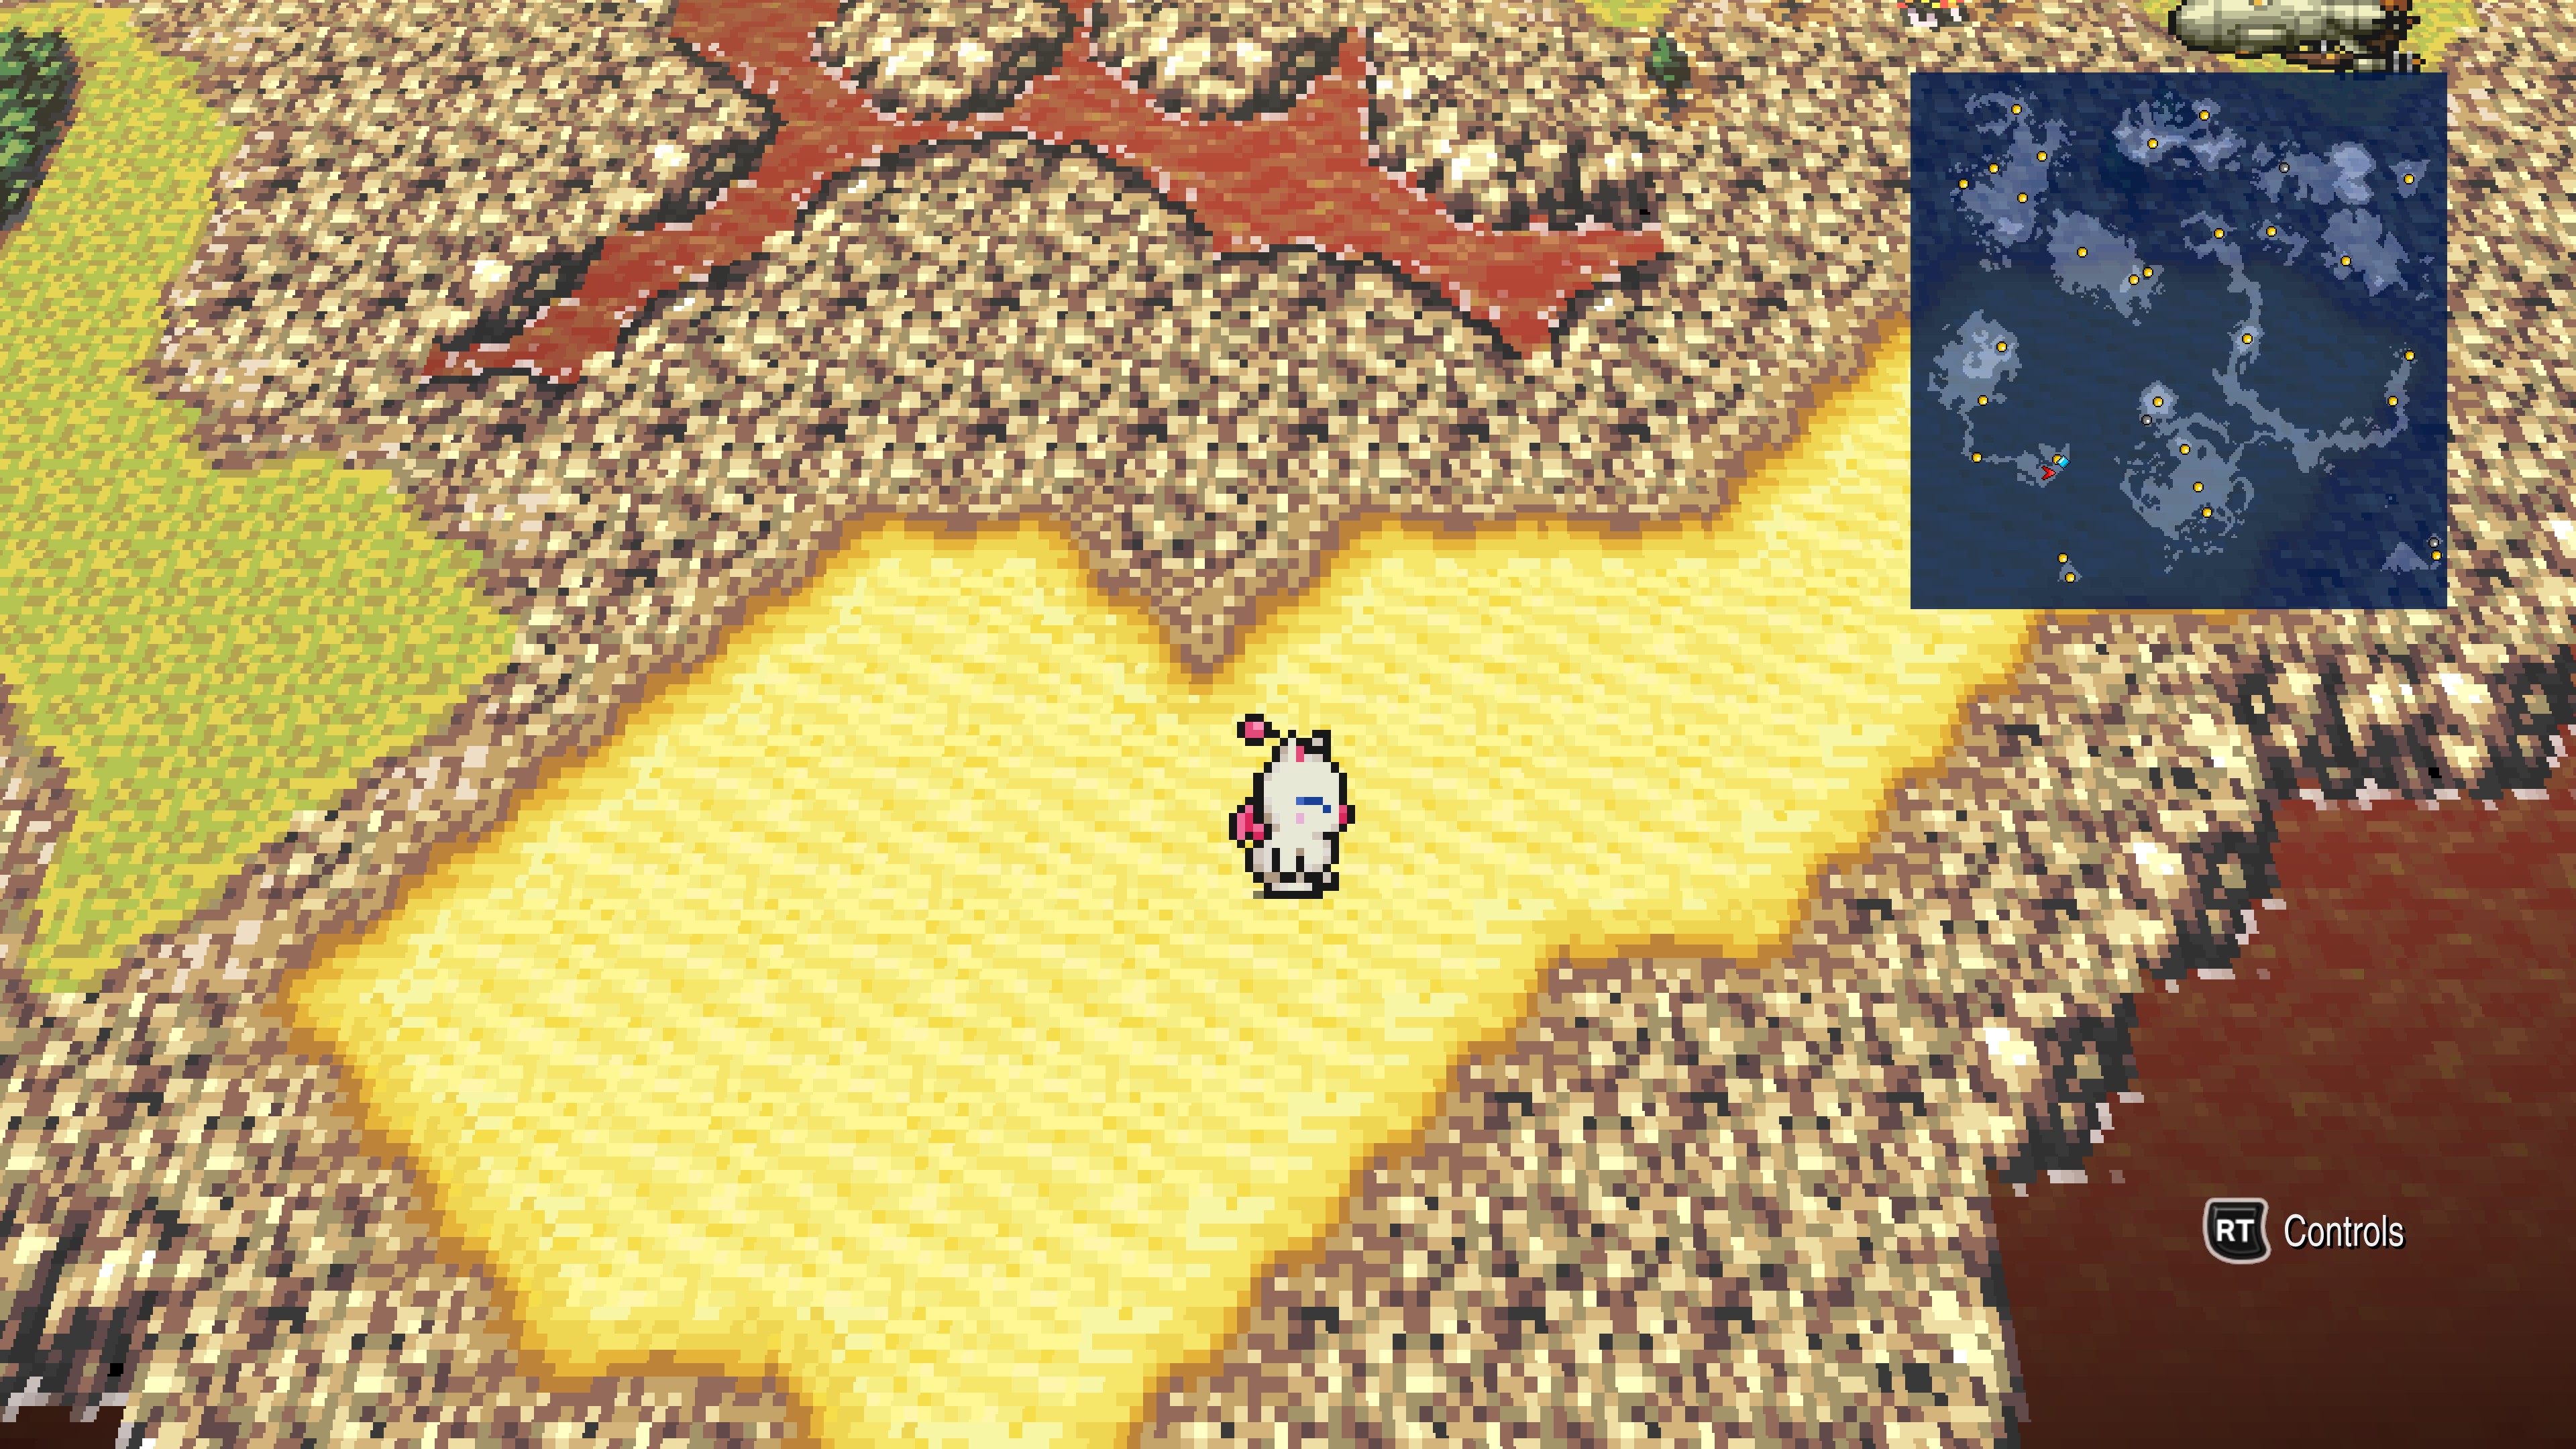
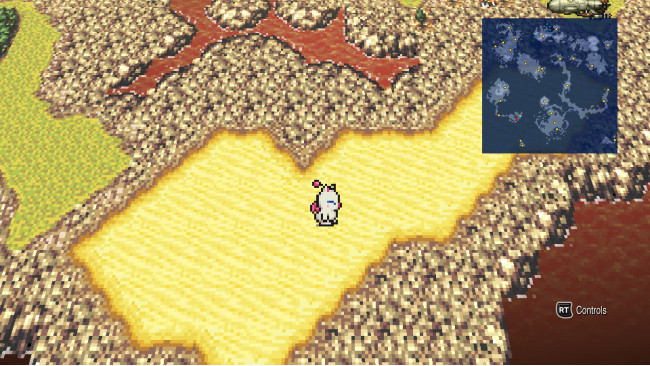
In the southeast portion of the World of Ruin map, just north of where you first awaken, is a continent consisting of two landmasses connected by a thin land bridge. The larger northern landmass contains the towns of Jidoor and Zozo, while the smaller south landmass is home to the village of Maranda, with the Opera House occupying the center of the narrow land bridge between.
Your target is a desert on the southern landmass just to the southwest of Maranda, pictured below with the minimap to show you exactly where it is. Learn to love this place, because it is going to teach you tons of powerful magic fast and make you rich in the process!
What You Must Do
Now that you have your characters ready and have arrived at the desert, all you need to do is to equip your characters with the espers who have the different magics that you want to learn, and then just start walking around inside of the desert until you get a random encounter, which shouldn't take long.
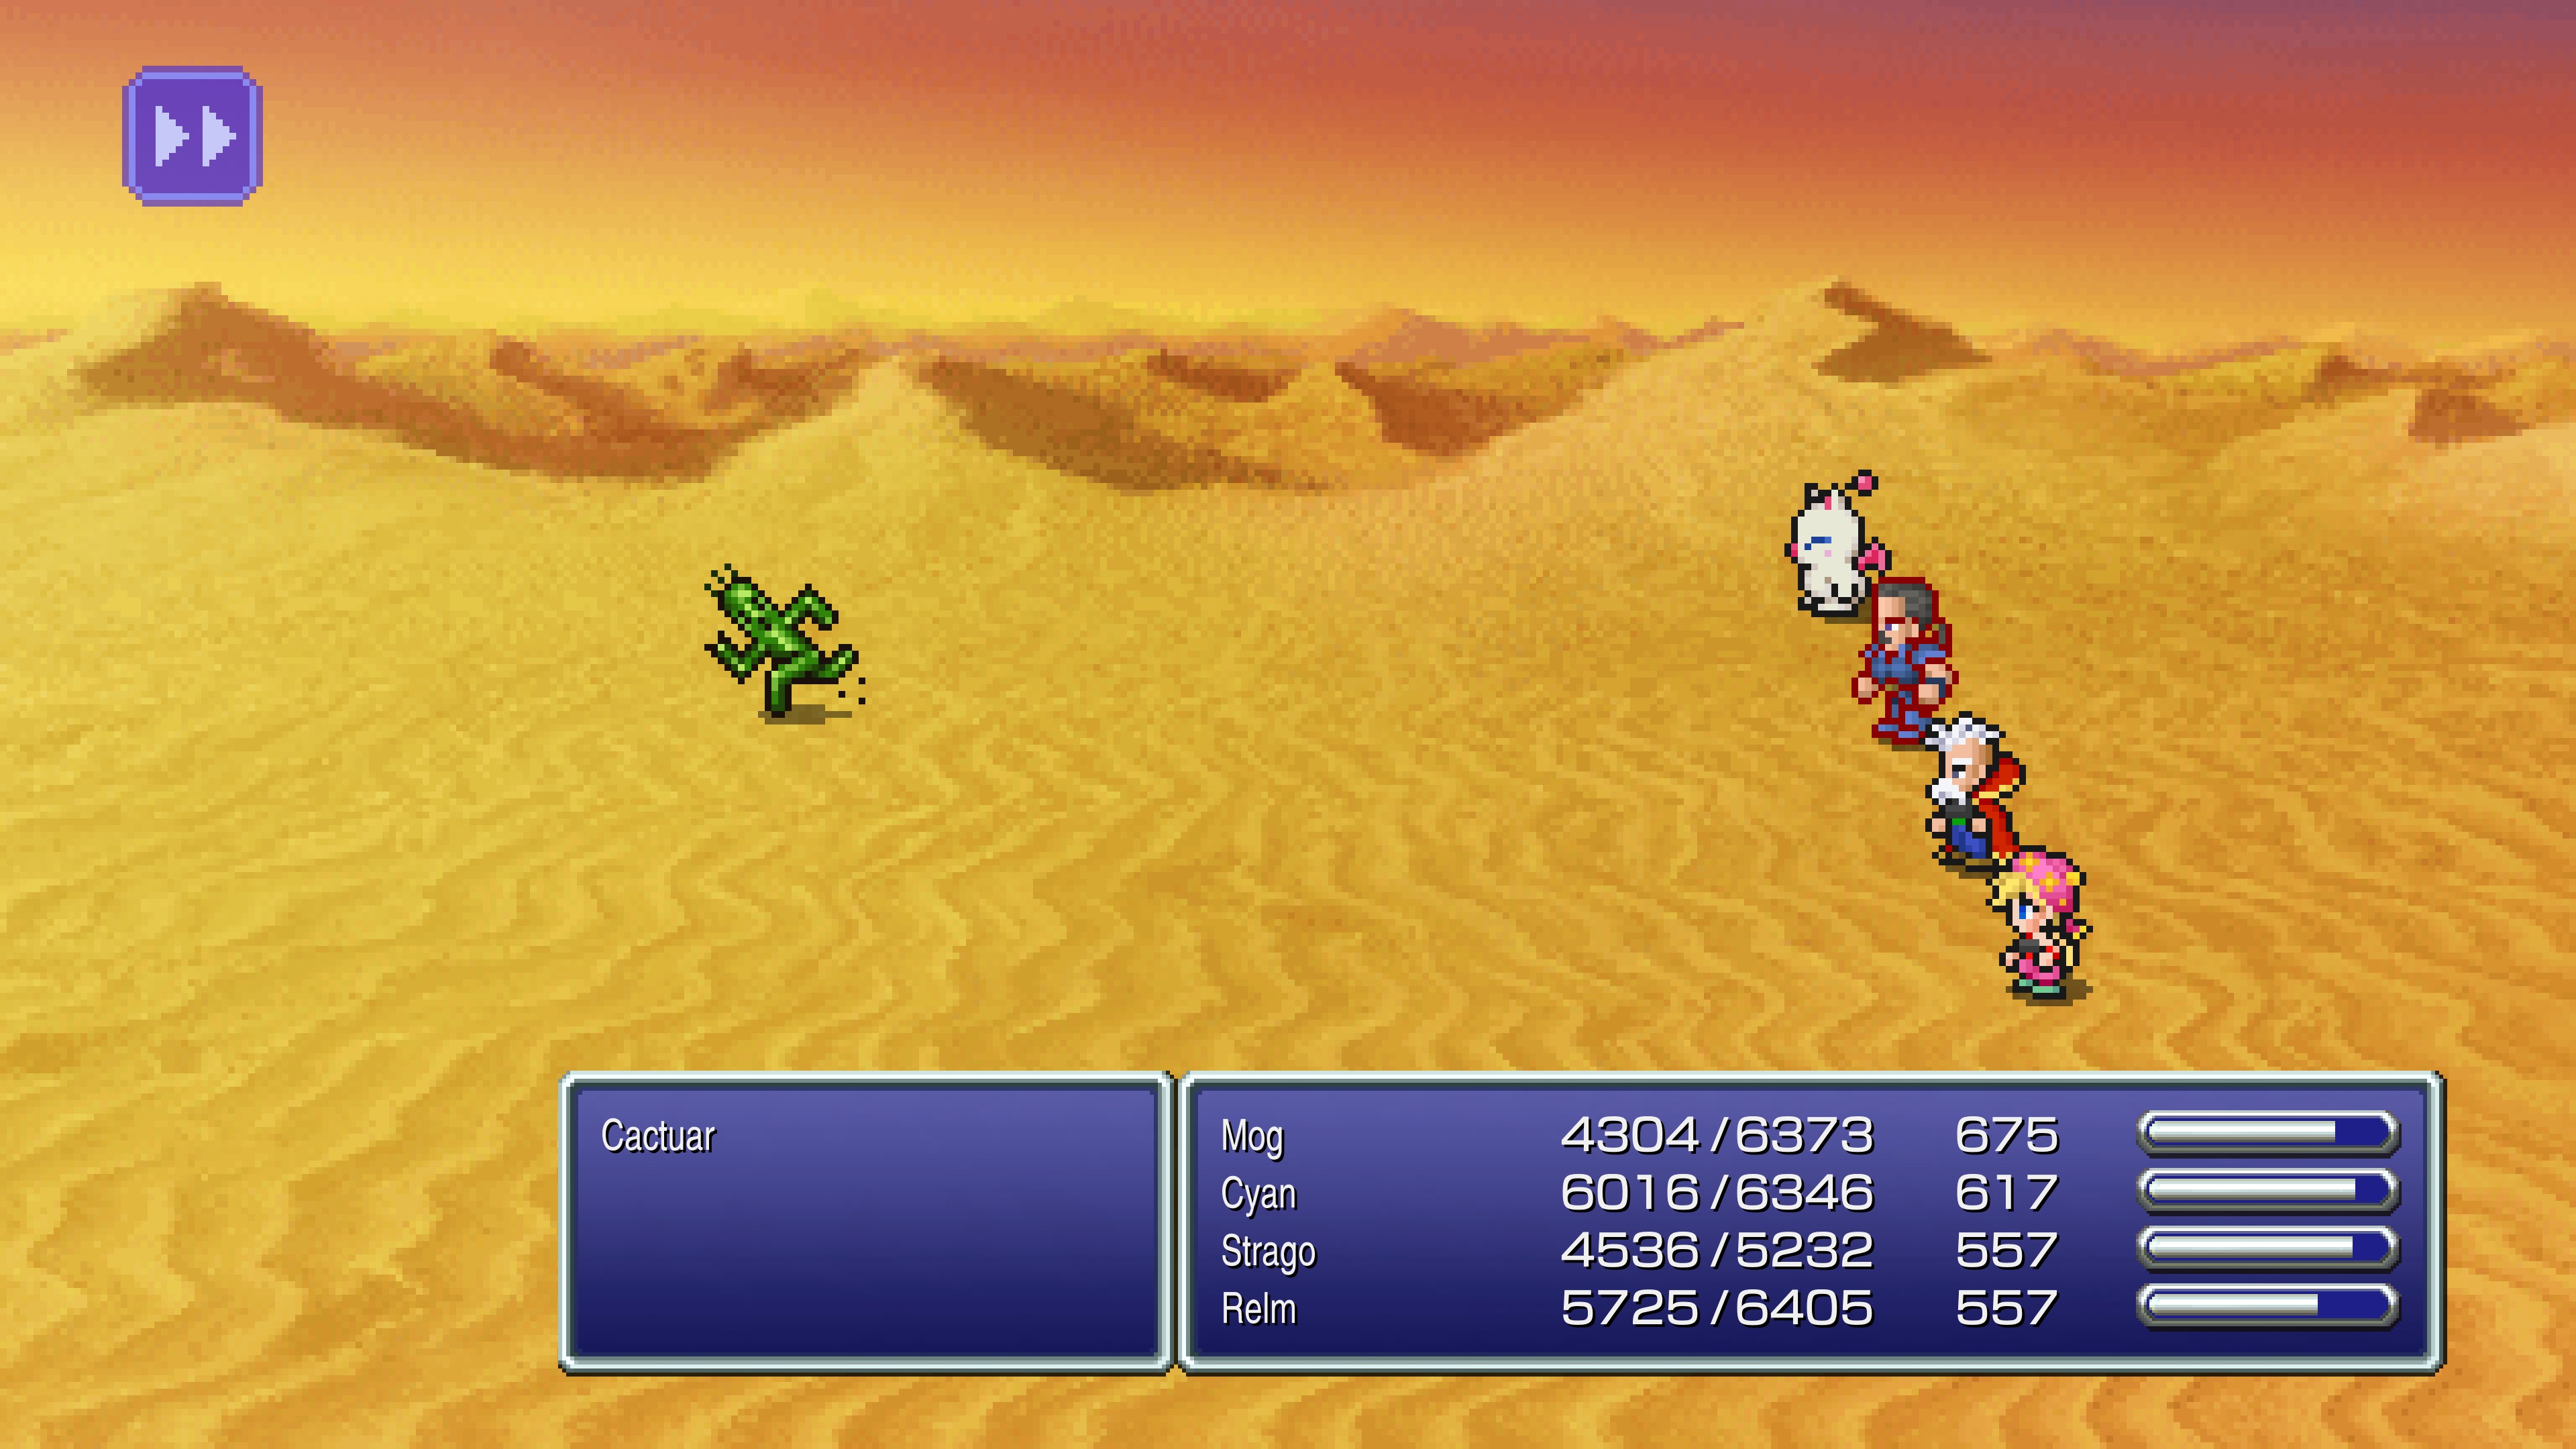
You are mainly hoping to encounter a Cactuar, an elusive creature with incredibly high evasion and magic evasion stats, meaning that it is very difficult to hit them with physical and magical attacks that have any chance to miss (which is most of them). Cactuars will also flee if you wait around too long to act, wasting time and precious Magic AP that you could have gotten by defeating them!
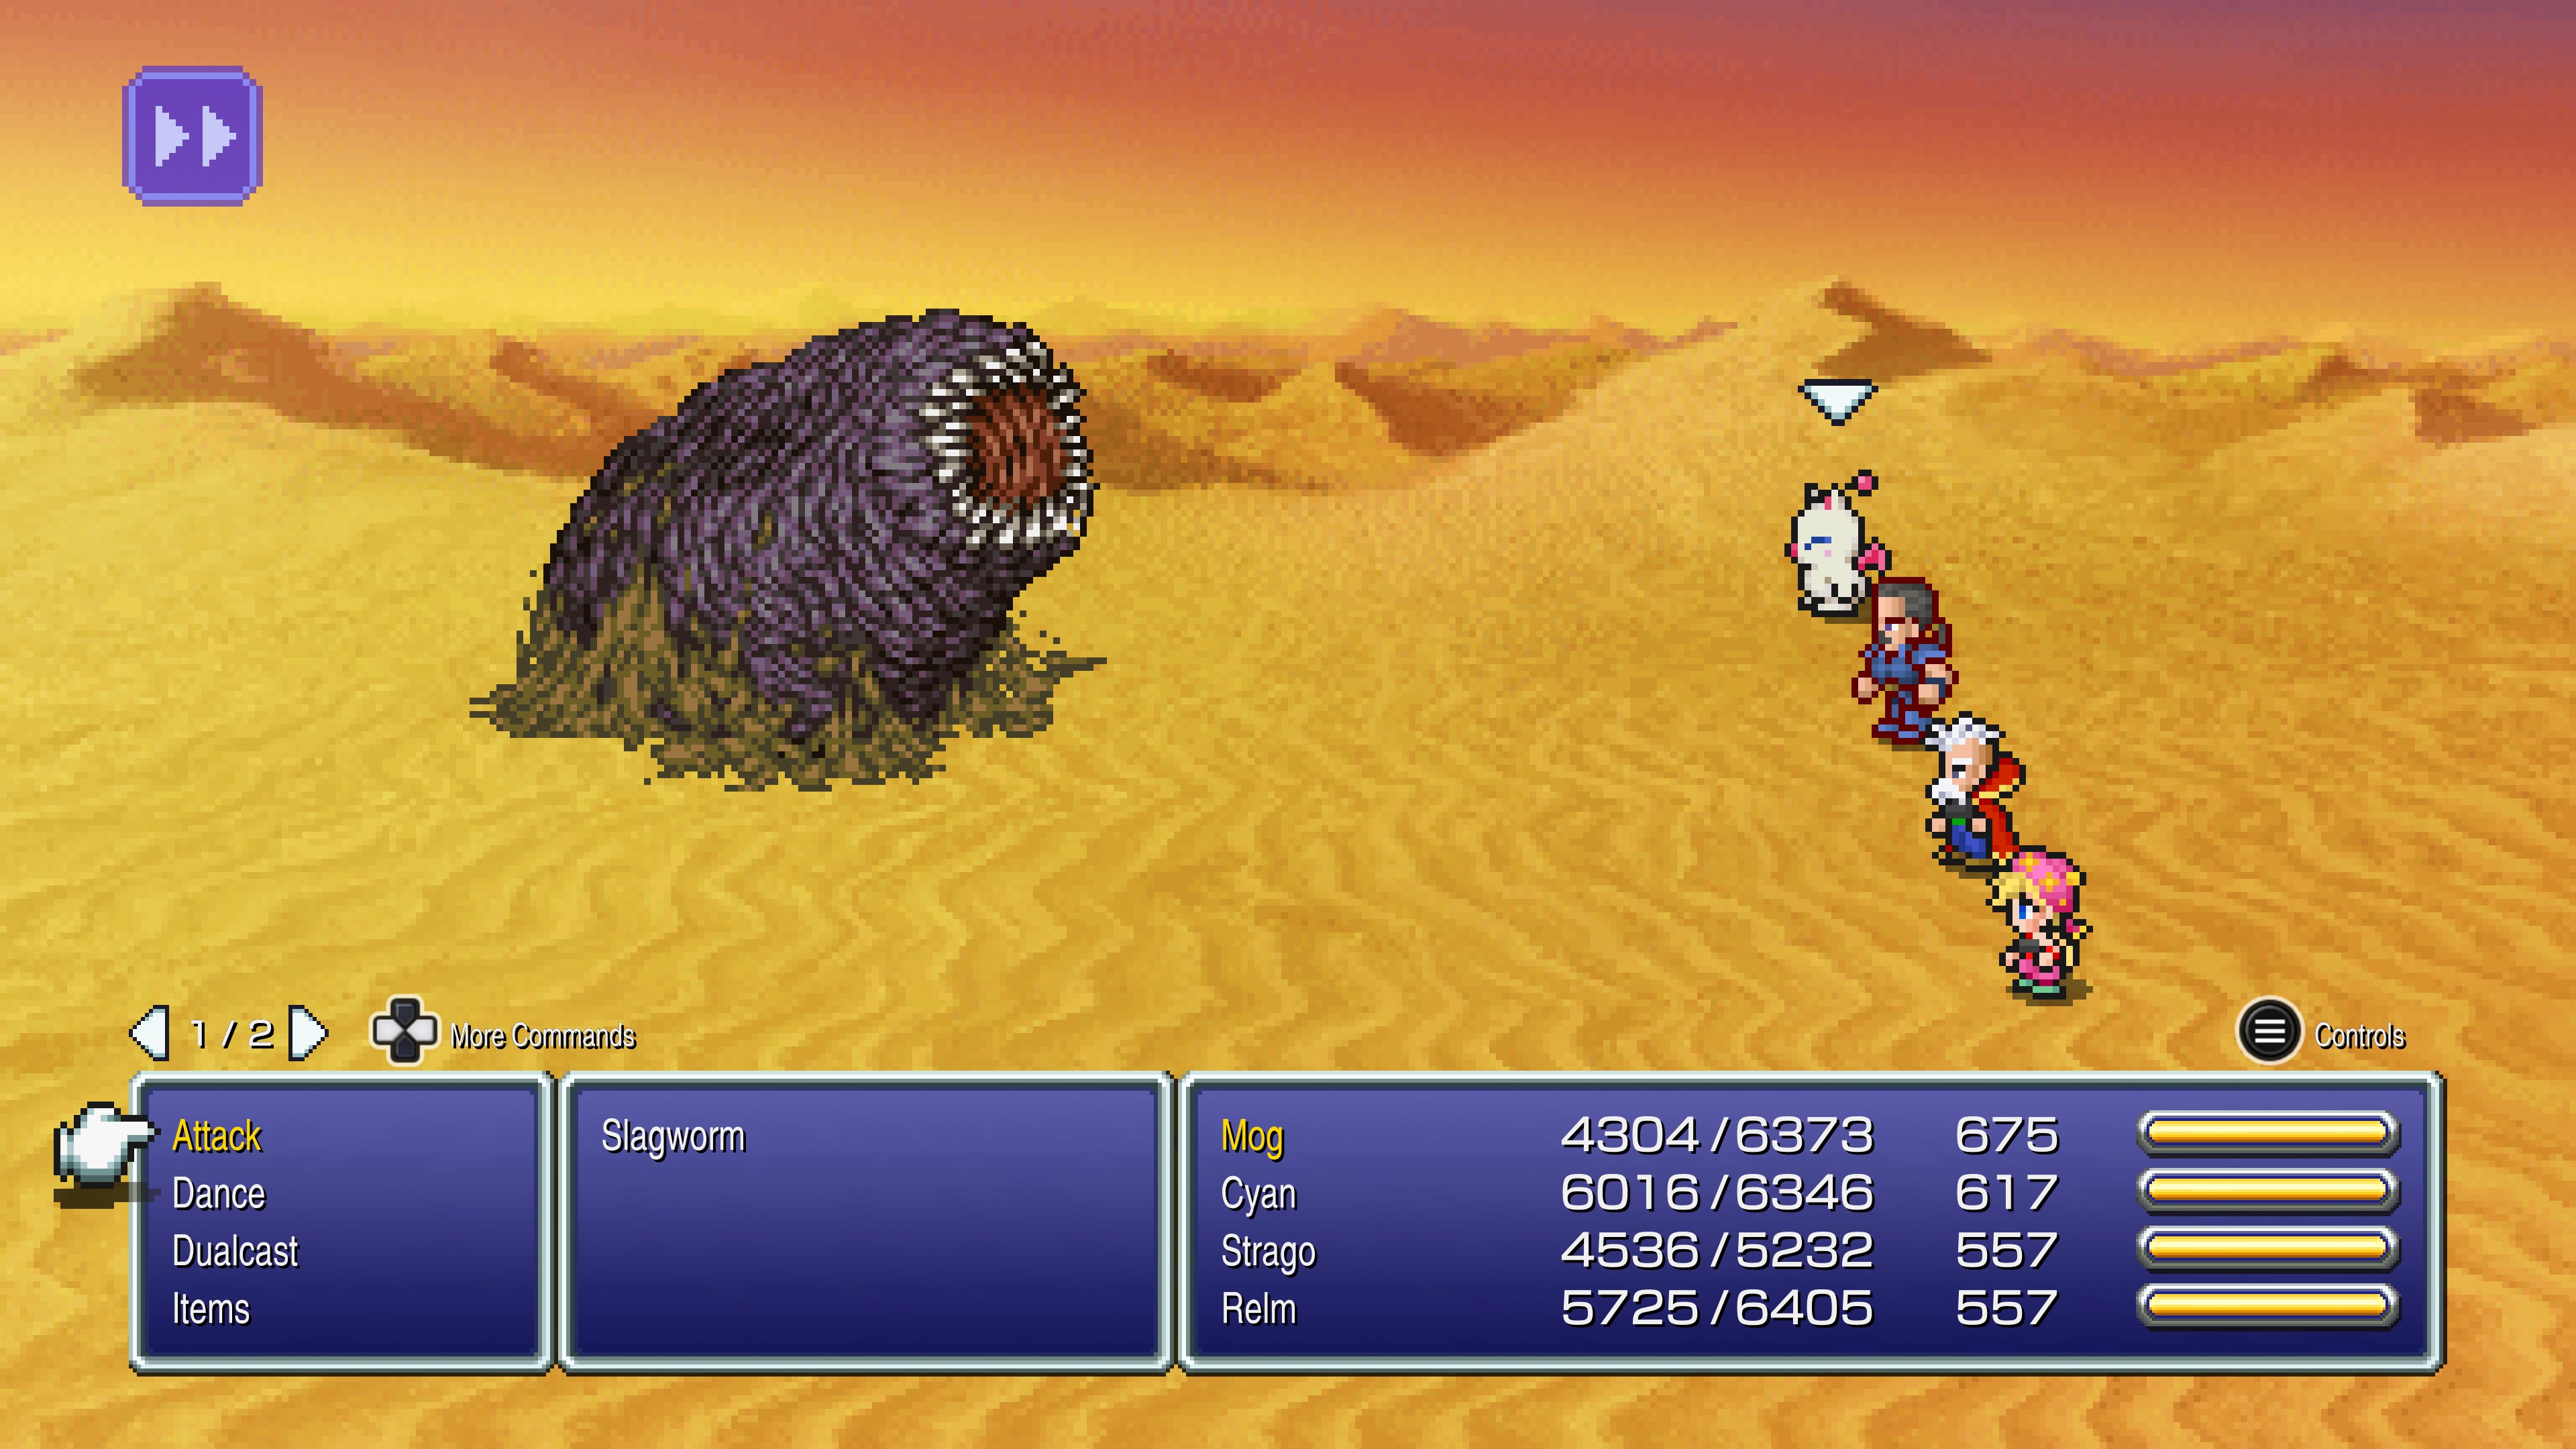
Once you have sighted the Cactuar, hit it with the unblockable attack of whatever character you brought along for this purpose. My favorite is Edgar and his Drill, but in this example I used Cyan's Fang Bushido attack.
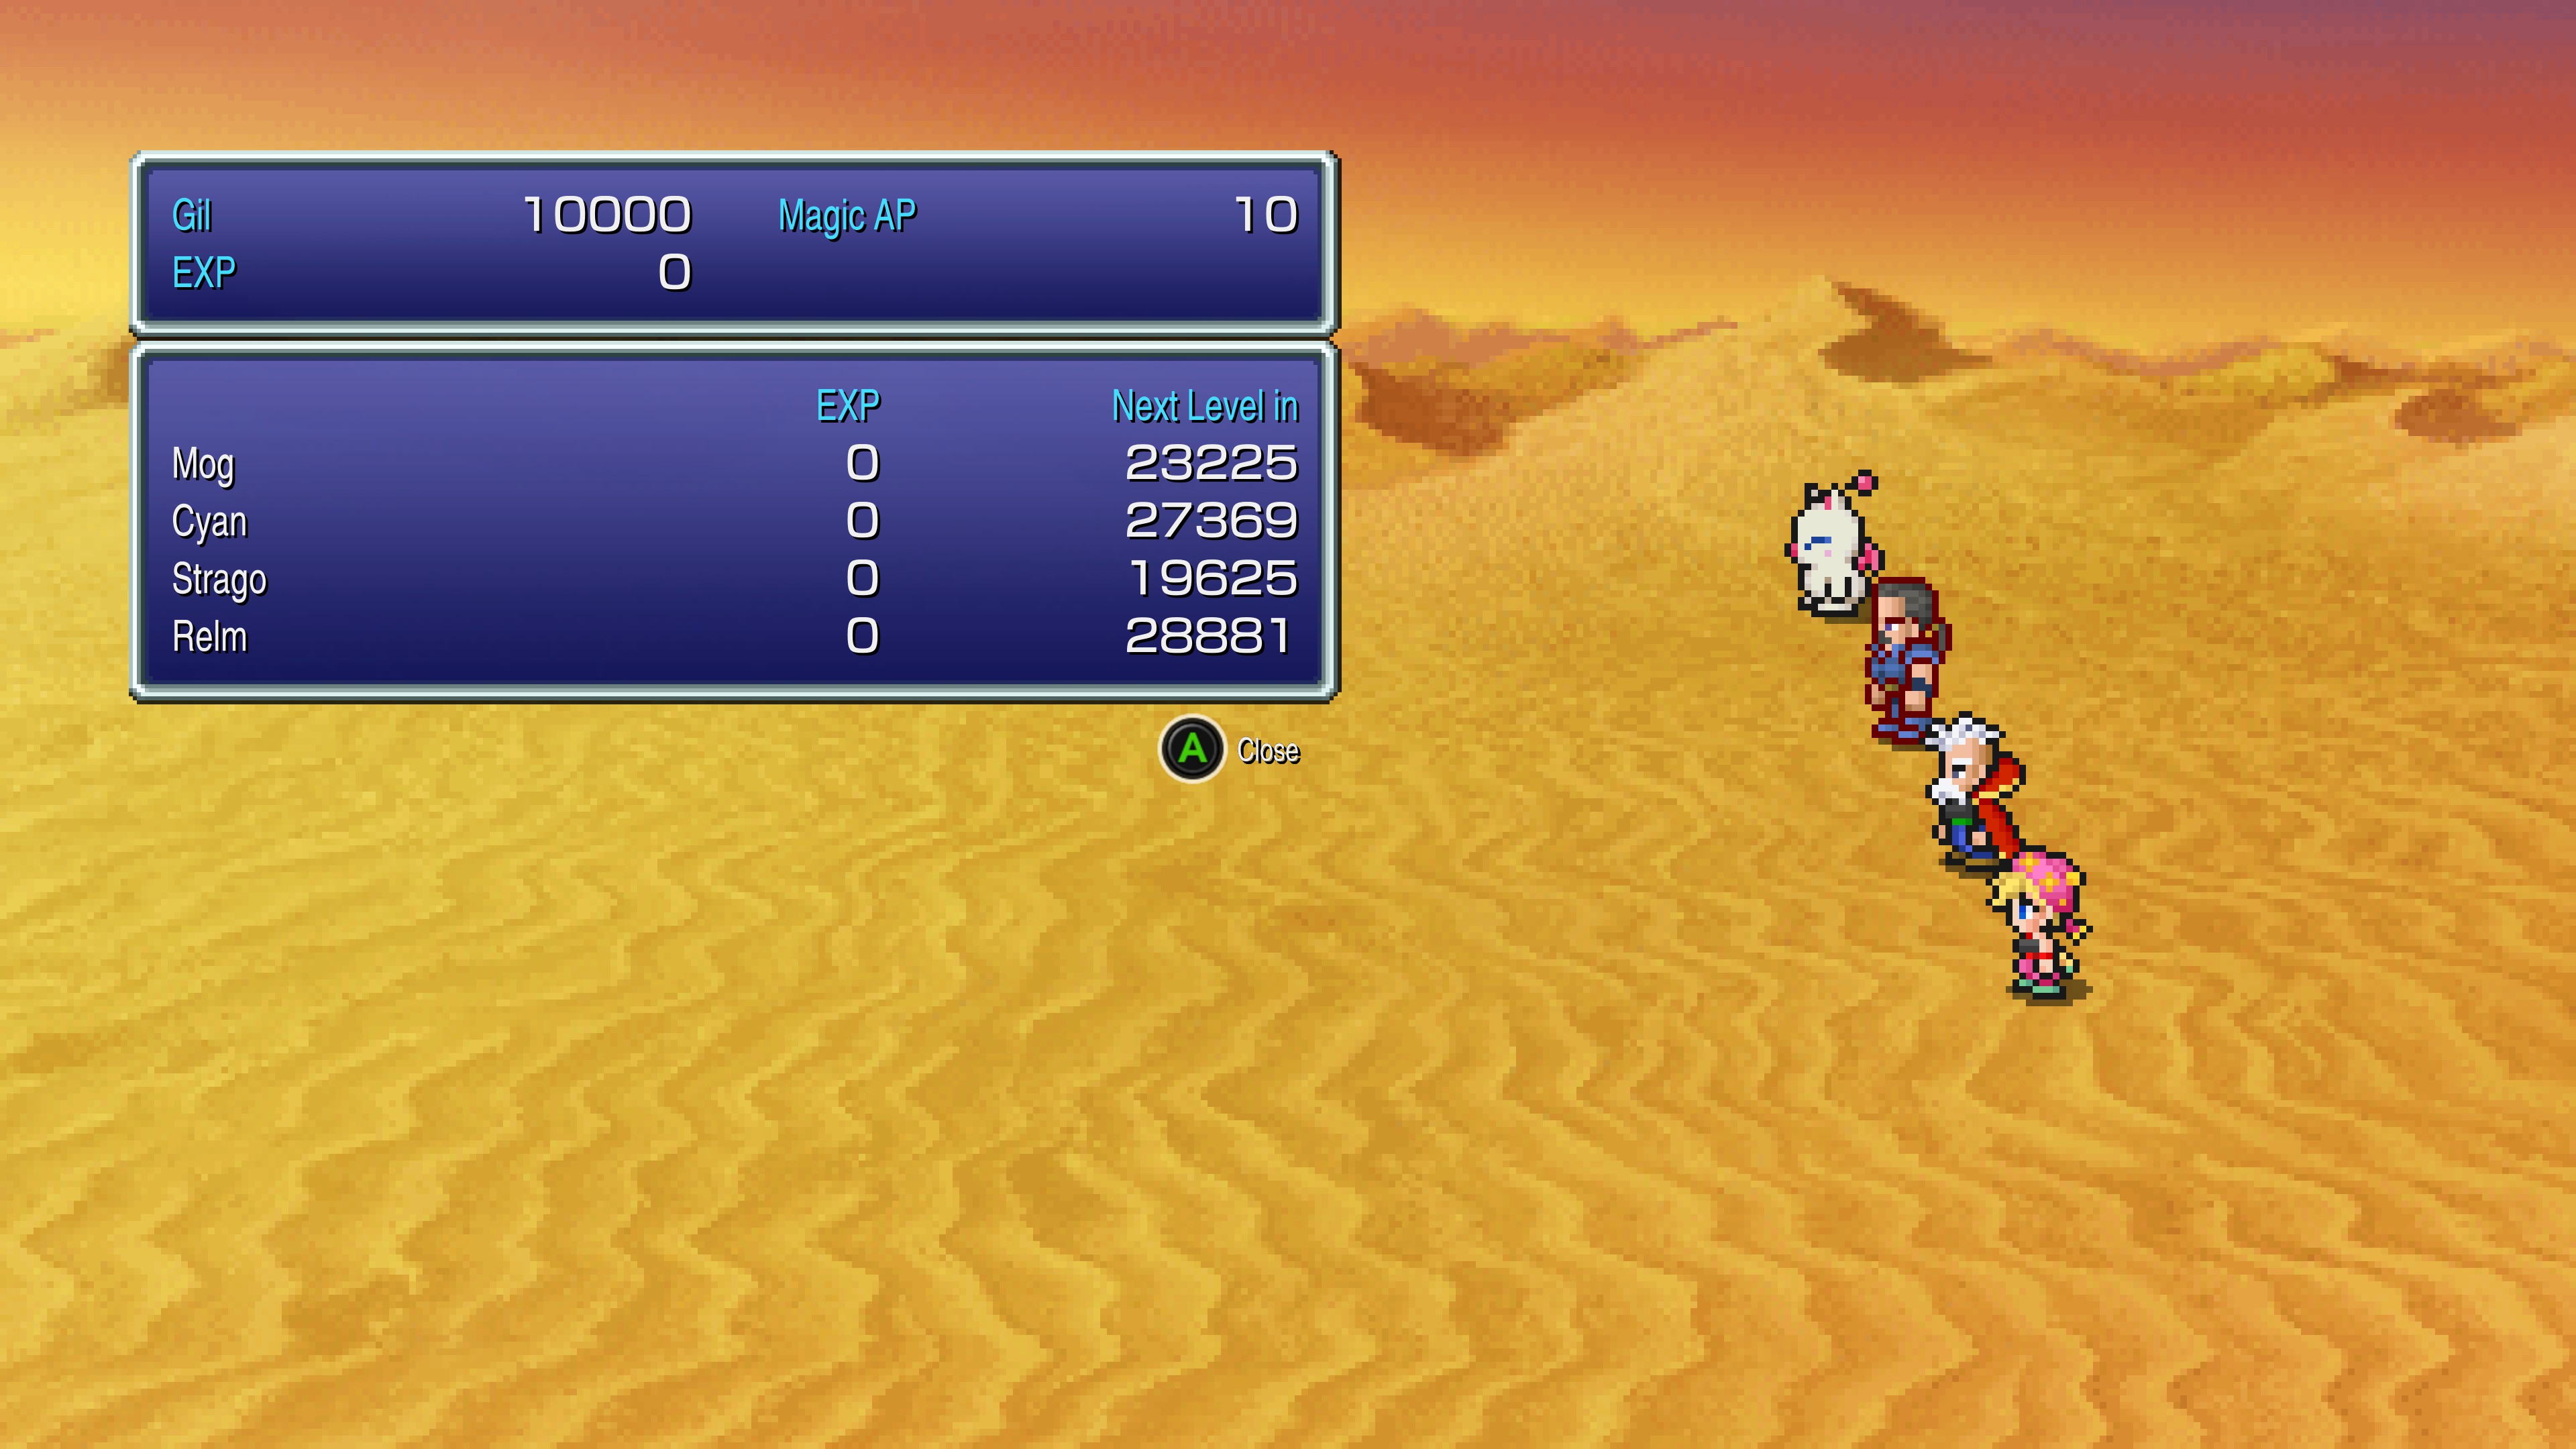
It doesn't take much damage to dispatch a Cactuar, and the reward is a hefty 10 Magic AP and a very healthy 10,000 Gil. At this rate, you will find that learning even the most powerful spells with the slowest advancement rate can be done very quickly.
And even though Cactuars are the rarer of the two enemy encounters in this desert, the more common encounter, listed below, is no slouch either.
The other monster in this desert besides the Cactuars are the mighty Slagworms, which use mostly physical attacks but will also hit you with the Sandstorm attack, which can be irritating.
Fighting these guys at the earlier levels especially could be a pain except for one thing: Slagworms are ridiculously susceptible to the Death spell.
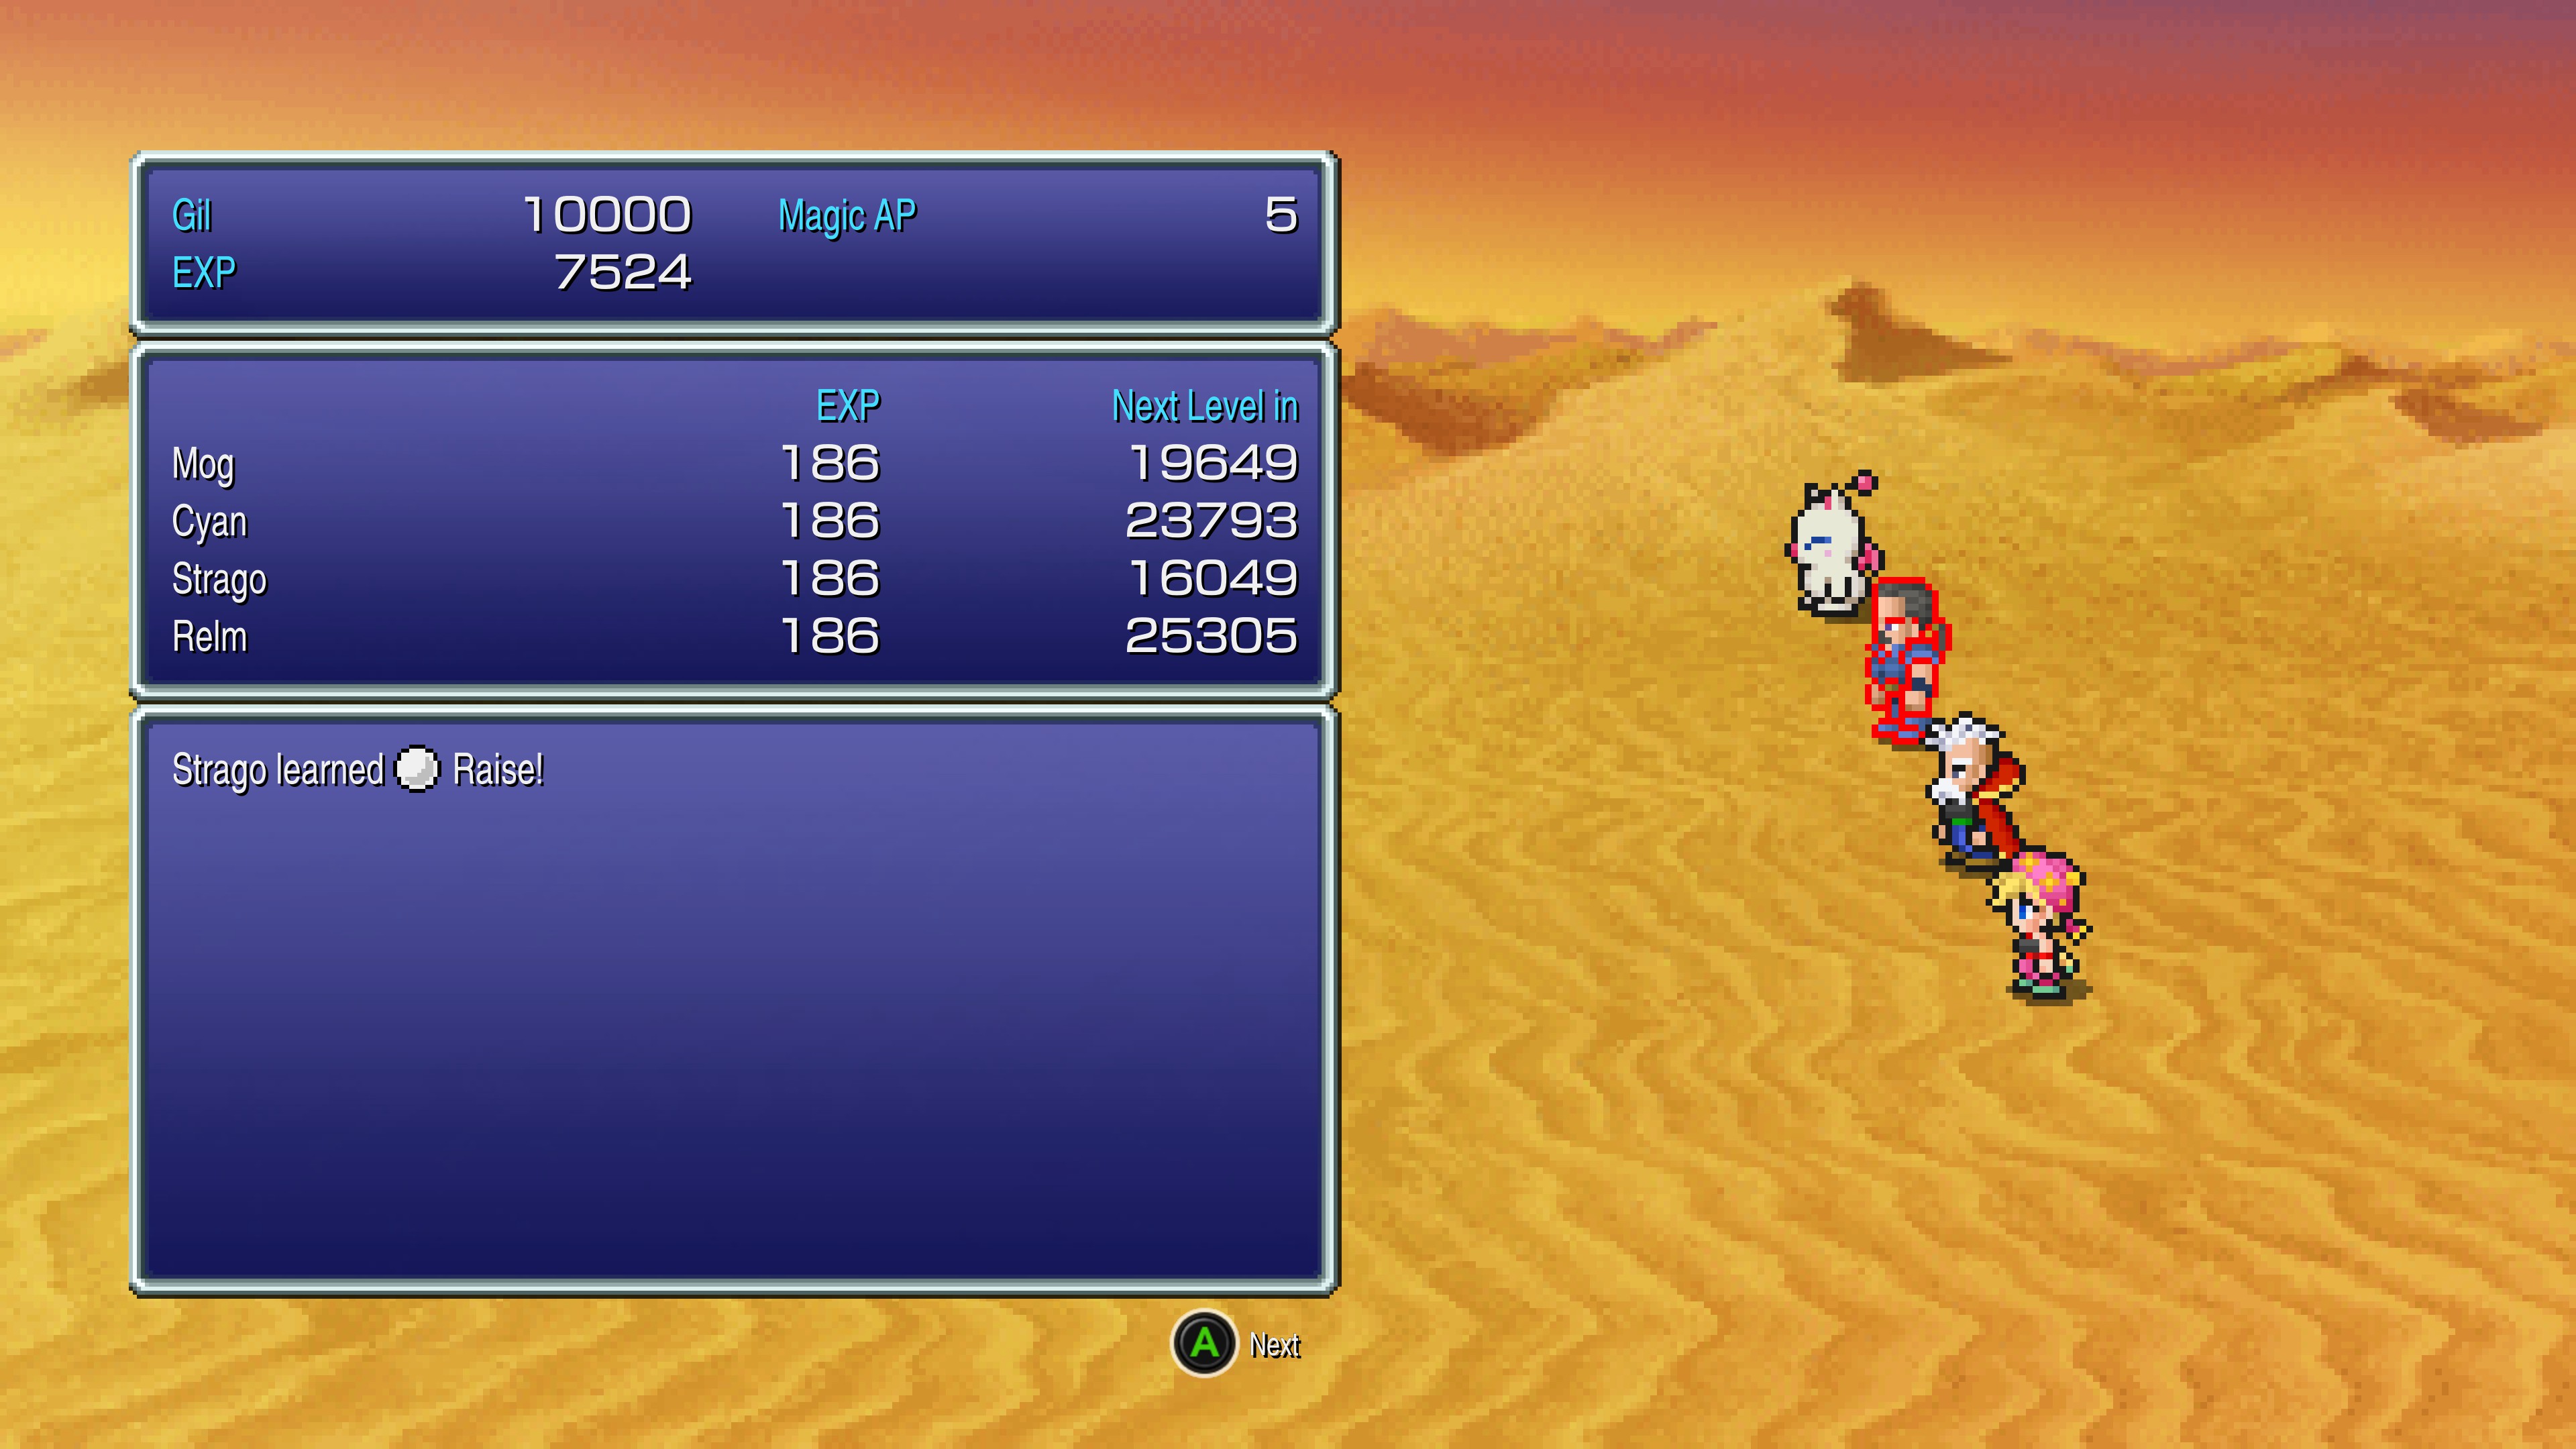
Just spam Death every time you see one, and more than 9 times out of 10, you will score an instant kill on the bloated monstrosity, netting a very respectable 5 Magic AP and 10,000 Gil.
So even when you get the lesser of the two enemy encounters, you still get 5 Magic AP and 10,000 Gil per fight as a bare minimum, meaning that even with the atrocious luck of getting nothing but Slagworms, you would still learn any spell on the spell list in 20 fights and rack up 200,000 Gil in the process. And in truth, you can expect a good number of Cactuar encounters to lower that number to somewhere around 12 fights or so to learn a spell with a 1-to-1 AP rate, meaning that you will be able to very quickly fill up the spell lists of your characters before heading out to unleash mighty magics upon the monsters of Final Fantasy VI!
I hope this guide has been helpful!
Source: https://steamcommunity.com/sharedfiles/filedetails/?id=2775691578
More FINAL FANTASY VI guilds
- All Guilds
- FINAL FANTASY VI Guide 103
- My favorite guides from the old community hub
- How to hack the battle speed to always be fast regardless of auto battle
- FINAL FANTASY VI
- FF6 PR Slots cheat
- How to install and use the Save Game Editor for ff6(Final Fantasy 6)
- Solucionar bug de la estatua de la reina (Odn)
- FF6: Complete Modding Guide and Index
- Veldt Trick - how to get a specific encounter