
Introduction
The reason I created this guide was from the Demon Wall fight. He went down pretty easy so I wondered how easy a Solo Cecil run would be. It honestly was not that hard. I would not recommend this as a 1st playthrough since we are going to be skipping a lot of the game.
**Version Differences from the SNES Version**
No Rydia Warp glitch
No Gil lost on running from battle
More Gil on wins
More XP on wins
CECIL HAS DARKNESS ABILITY!!
**Achievements you will miss**
Sword of Myth
Tail of Myth
Power Unleashed
Summon Master
Summon Collector
Seasoned Hero
Field Research- Professional
Legendary Treasure Hunter
Item Detector
Adventurous Wayfarer
Master of IV
I finished up with 19/30 achievements earned so beware if you are an achievement hunter.
**Main things to consider during the run**
Sell all Tents/Cottages and Phoenix Downs. They are useless to us.
Get to 99 Potions/Hi-Potions ASAP and keep status potions (Antidotes, Diet Food, etc.) as necessary.
Set Battle mode: ACTIVE
Set Battle speed: VERY FAST (only using one character and Normal is really slow after playing on very fast)
For reference, I will have the boss battles stated as:
Mist Dragon - Lv 12, 00:22 (Front Row)
with the level I was at when I defeated it, the playtime to get there, and what position Cecil was in fighting it. I also give a Chocobo rating 🐤 out of 5 on how hard the fight is.
I will try and warn about party healing that the story provides and instadeath things that could happen.
Baron To Mt. Hobs

Kill Kain - he was gonna betray you anyway.
Sell all of Kain's equipment and buy 20 potions, 5 Eye Drops, 5 Antidotes from Baron.
Keep Cecil's HP above 100 HP, use Darkness on groups (can miss in this version!?!)
Stay in front row to deal additional damage (most Solo Cecil guides from other verisons of FF4 have you fighting in the back row for additional defense but you don't need it).
*************************BOSS**********************************
Mist Dragon Lv 12, 00:22 (Front Row)
This fight is no different from a regular run, just longer. For reference, Mist Dragon turned into mist three times before dying.
1 Chocobo 🐤 because it is a tutorial fight on the Active Time Battle (ATB) system.
***************************************************************
Level to 15 before going into Kaipo (a cutscene will occur as soon as you walk into town)
*************************BOSS**********************************
General, Soldier x3 Lv 15, 00:31 (Front Row)
Leave one Soldier alive and kill General before killing that last Soldier for extra XP.
2 Chocobos 🐤🐤 because you have to switch enemies during the fight.
***************************************************************
RUN FROM JELLIES!! Darkness always misses and your attacks will do 1 damage.
RUN FROM ZOMBIES!!
Have Tellah hit himself with spells to kill himself faster when you get him.
Once you hit lv. 16+, everything in the cave should hit for 1 damage even with Cecil in front row.
✳️✳️HEALING WARNING✳️✳️ Rekill everyone after tent scene.
*************************BOSS**********************************
Octomammoth Lv 18, 00:53 (Front Row)
Be fully healed, turn on auto battle and attack with the new Shadowblade in the front row. Really easy boss fight (only did 60 HP total to Cecil)
1 Chocobo 🐤no different than a regular encounter.
***************************************************************
✳️✳️HEALING WARNING✳️✳️ Kill everyone again after getting Edward. Get Ice Arrow and Crossbow in Damcyan Castle for later when you go to Magnetic Cave (or you can buy it later from Troia).
*************************BOSS**********************************
Antlion Lv 20, 01:11 (Front Row)
Same as Octomammoth fight. Antlion's Counter Horn does 1HP from front row. Non-threat.
1 Chocobo 🐤 Antlions really are harmless.
***************************************************************
Use Emergency Exit to leave Antlion Cave. Don't forget to sell stuff and restock on items after delivering Sand Ruby.
Edward Fight in Kaipo!! He doesn't need equipment so don't worry if you sold it or he is unequipped, Sahagin dies after 3 attacks (I promise this will not ruin your solo Cecil run).
*************************BOSS**********************************
Mom Bomb and 3 Bomb, 3 Gray Bomb Lv 22, 01:27 (Back Row)
Cecil can't tank two Gray Bomb Self-Destructs so MOVE CECIL TO THE BACK ROW. All Bomb attacks will do 1HP to Cecil except Self-Destruct. Take out the front two Gray Bombs before they Self-Destruct and with ~300HP you can tank 2 Bomb (55HP) and 1 Gray Bomb (111HP) Self-Destruct, winning the battle
3 Chocobo 🐤🐤🐤 The first threatening boss you actually fight.
***************************************************************
DONT FORGET TO HEAL AFTER THE BATTLE!! Nothing is more embarrassing than dying right after a boss fight.
Head to Fabul.
Fabul To Mt. Ordeals
Buy Demon equipment in Fabul Castle. The next fights are gonna take awhile.
*************************BOSS**********************************
Fabul Fight Lv 24, 01:39 (Front Row)
Nothing special here. Just a lot of regular encounters set to boss music.
0 Chocobo. Not even a boss fight. The battle leds straight to a fight with...
Kain - Lv 25, 01:44 (Front Row)
Scripted fight... Can't win so don't waste your items.
***************************************************************
Get Demon shield and Deathbringer before leaving Fabul Castle.
Go on boat (don't bother killing everyone, the party is getting split up either way).
Buy Hi-potions (at least 4) and Paladin equipment in Mysidia.
On Mt. Ordeals, you can hit the skeletons but zombies are still a no-no.
Tellah has more equipment so make sure to remove it and sell later.
*************************BOSS**********************************
Scarmiglione, Skullnant x4 Lv 26, 02:07 (Front Row)
Hope you bought Hi-potions cause you can't win without them. Throw a Hi-potion at the Skullnant and they fall easy. Scarmiglione counters all attacks with Thunder (I thought he was Undead or Earth Elemental). Heal when ~200HP. Attack until dead.
3 Chocobo 🐤🐤🐤 with Hi-potions. Impossible to win otherwise.
***************************************************************
Heal and save after the fight. If you cross the bridge, you will begin another fight with...
*************************BOSS**********************************
Scarmiglione Lv 27, 02:13 (Front Row but Back Attack)
Stay in the back row and attack. Don't worry about poison. Just keep attacking until dead. Heal the poison and save after the battle (he literally did 4HP of damage)
1 Chocobo 🐤 why is he an Elemental again? And which element is he supposed to be?
***************************************************************
You can just walk in. You shouldn't lose this next "fight".
*************************BOSS**********************************
Dark Knight Lv 1, 02:15 (Front Row but doesn't matter really)
You know how to win this fight.
I'm really gonna miss using the darkness ability.
***************************************************************
You did buy Paladin equipment, right? Equip on Cecil and walk down the mountain. Get some blood on that Legend sword and collect XP. You should be level 15-20 before you get off Mt. Ordeals.
Go to the chocobo forest south of the mountain, heal your MP with the white chocobo, and ride back to Mysidia.
Buy more Hi-potions and the rest of your Paladin equipment. Go to Baron.
Congrats on becoming a Paladin.
Baron To The Underworld
Once in Baron, head to the inn and begin your next boss fight with an old friend.
*************************BOSS**********************************
Guard x2 Lv 18, 02:30 (Front Row)
When you attack the Guard, they will counter with a Mini spell. It is luck whether or not it hits.
When Mini'd, you deal 1 damage and will take ~300HP damage from a Guard's attack. You will most likely lose at this point.
Pray you don't get hit by Mini. Good luck!!
4 Chocobos 🐤 🐤 🐤 🐤 the fight is easy but luck based.
Immediately after that fight, you fight...
Yang Lv 18, 02:31 (Front Row)
Attack and heal if ~250HP.
2 Chocobos 🐤 🐤 Depends on how bad the first fight went.
***************************************************************
Go into waterway and get some XP. My Cecil is still in the front row so the battles shouldn't take too long. For healing, use your regular potions for outside battle and Hi-potions in battle. When you get the Ancient Sword, just sell it later. I never used it throughout the whole run.
*************************BOSS**********************************
Baigan, Left Arm, Right Arm Lv 24, 02:48 (Front Row)
Take out Left Arm, then Baigan, then Right Arm. Beware of the Right Arm self-destructing once it is alone. Don't be stingy with healing and you will be fine.
3 Chocobos 🐤🐤🐤 This fight could go upside down if you don't stay properly healed.
***************************************************************
Usually, you can just go sleep in Cecil's bed and beat Cagnazzo because Thunder spam, no problem. Because we are playing Solo Cecil, make sure you save before you fight Cagnazzo.
*************************BOSS**********************************
Cagnazzo Lv 30, 03:04 (Front Row)
Tried this fight at level 26, got destroyed repeatedly by Tsunami.
The goal is to survive Tsunami because it does less damage each time it is casted. The first tsunami should do 1000+ HP with the next one doing ~900 HP so heal when the tsunami comes out, attack twice, then repeat. Once turtle defense is up, attack until dead.
Our first 5 Chocobo fight 🐤🐤🐤🐤🐤 Not a fun boss fight at all.
***************************************************************
Make sure to buy non-metal stuff in Troia shop (since this is based off the original version, Cecil can use bow and arrows again!! Almost all the newer versions get rid of his ability to use them).
DONT FORGET TO TALK TO EDWARD IN THE INFIRMARY. It's a long trip back if you forget.
Battle around Troia with Cecil in back row. Use the chocobo forest to heal MP and cure with Cecil's magic.
RUN FROM CAIT SITH AND ITS BLASTER ATTACK. 💀💀INSTADEATH💀💀
**WARNING** If you start a battle in the Magnetic Cavern with any metal equipment, it should be an instant 💀💀game over💀💀. Just use the equipment in Troia to be safe.
*************************BOSS**********************************
Dark Elf/Dragon Lv 34, 03:44 (Front Row)
Switch to front row and put on your good equipment after the cutscene. 6 sword attacks and this boss is history.
2 Chocobo 🐤🐤 He could be a pain but he isn't.
***************************************************************
Restock on items before you enter Troia since you go straight to the Tower of Zot afterwards.
**Buy this stuff**
HI-POTIONS are located in Mysidia if you need them.
GOLD NEEDLES for Barbariccia fight. Buy 15-20.
Grab the treasure from Troia castle before you leave.
Once in the Tower of Zot, grab the FLAME SWORD on 2nd floor of Tower of Zot (guarded by Flame Hound in treasure chest).
*************************BOSS**********************************
Cindy, Mindy, Sandy (Magus Sisters) Lv 37 04:06 (Back Row)
Take off Flame Armor and put on Sage's Surplice. They don't really use physical attacks and the Flame Armor will take extra damage from flame attacks for some reason. The order you should fight them is Cindy (middle, fat one), Sandy (front, short one), then Mindy (tall, back one). You can be in the front row with your Flame Sword attacking and it should be easy for the most part.
2 Chocobo 🐤🐤 decent boss fight.
***************************************************************
Save up then go to the next floor.
Watch Tellah be awesome.
Your next fight is NOT going to be easy...
*************************BOSS**********************************
Barbariccia Lv 40 04:19 (Front Row)
Set Battle Speed to Normal. You need the extra time to use Hi-potions.
Tried this fight at level 38 but ended up leveling up some more. Equip Mythril Gloves and Mythril Helm, everything else is Flame equipment. Attack pattern in tornado form is Tornado spell, Ray immediately after, physical attack, then repeat. You should: Hi-potion after the Ray, attack if not on 3rd stage of pertify (Gold Needle otherwise) then repeat. Do not get greedy and try to break this pattern or you will get hit after Tornado and die. Hope you have lots of Hi-potions (20) and Gold needles (10).
I'm tempted to rate this 6 Chocobos but we will go 5 🐤🐤🐤🐤🐤 requires a lot of preparation beforehand to have a shot at winning.
***************************************************************
Dwarven Castle To The Moon

Head to the throne room once in the Dwarven Castle. You will have a cutscene that takes you into a crystal room.
*************************BOSS**********************************
Calcobrina Lv 42 04:44 - (Front row)
Tried at level 40, ended up in a loop of the dolls switching forms. You don't do enough damage in either row before it recombines.
✳️✳️HEALING WARNING✳️✳️ For some reason, your party gets revived and fully healed here.
Try to avoid the merged doll form. Merged doll will paralyze you and you will have to restart the match again. Hardest part is killing your team off again.
3 Chocobos 🐤🐤🐤 It's more about timing your attacks then being strong enough to win.
***************************************************************
Hope you aren't too beat up because the big boss is coming right after.
*************************BOSS**********************************
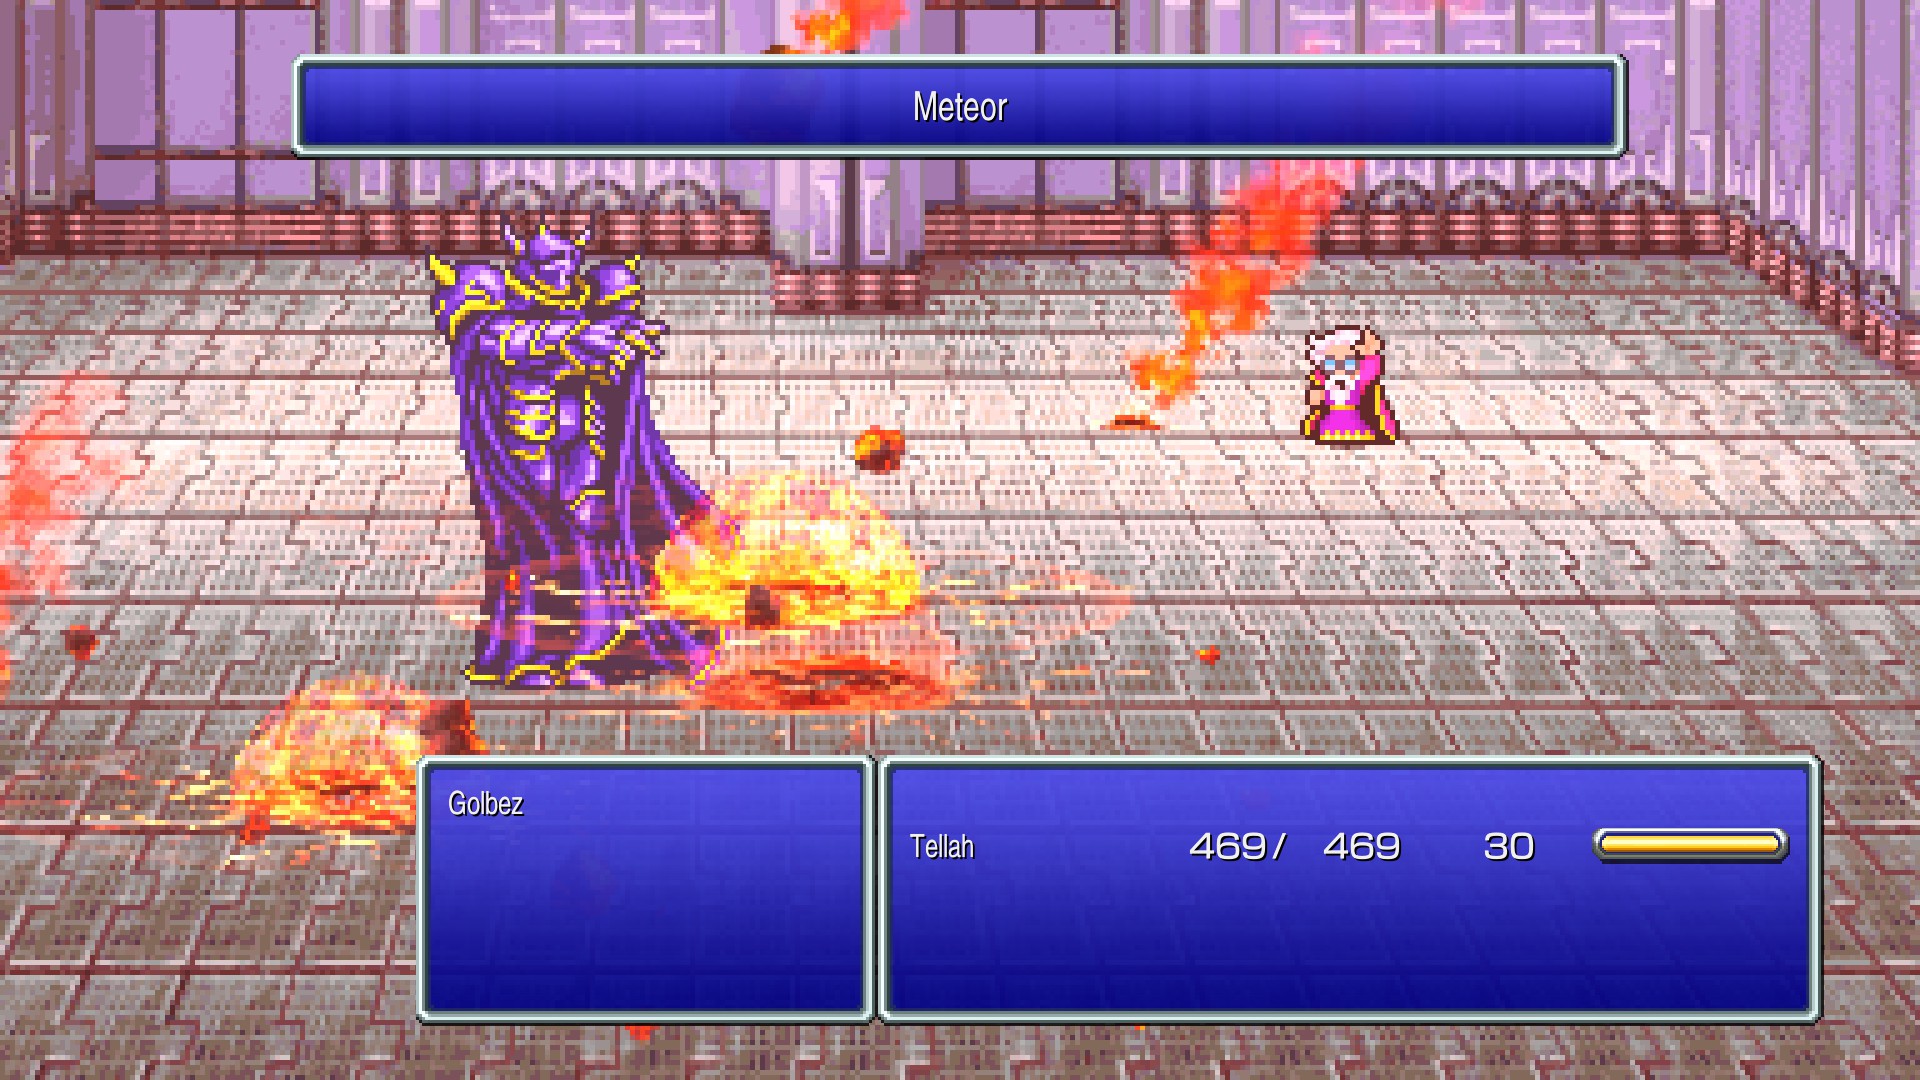
Golbez Lv 42 04:47 - (Front Row)
This fight is the same as a regular run.
Kill Rydia... 3 swipes later and all that is left of Golbez is an arm.
2 Chocobos 🐤🐤because of Bio threat and having to kill Rydia.
***************************************************************
Beware of flame attacks with Flame equipment on in the Tower of Babel. (Blaze isn't a flame attack even though the animation suggest otherwise, it's an Ice attack so watch for that with the Ice Shield equipped).
Dont forget the Icebrand on floor 2 and Ice Shield on floor 4.
You still have to run from White Mousse. I was doing 250 damage with a critical and Icebrand. Doing 1 damage to Mousses otherwise.
*************************BOSS**********************************
Barnabas Lv 48 05:18 (Either Row)
Just be healed for the inevitable Explosion (I actually DODGED THE SELF-DESTRUCT!!)
Dr. Lugae Lv 48 05:20 (Front Row)
Equip the Flame Shield for Dr. Lugae's Flamethrower attack. Counters every attack with Sleeping Gas. If it hits (which it will, it seems to be about 90-95% accurate), Laser will melt your HP as you sleep and there's nothing you can do about it.
You WILL need to use Elixirs (I used 3) to get your HP up the first couple of times he uses Laser. The best time to attack is right before his Laser (right after he uses Beam). It gives you time to heal and he will Pancaea you right after Laser giving you time to decide on how to heal. Usually, I healed to above 2000HP to survive Laser then attacked.
5 Chocobos 🐤🐤🐤🐤🐤because it is lucked based.
***************************************************************
✳️✳️HEALING WARNING✳️✳️ Everyone gets revived after Yang leaves the party so be ready for that (seems like your party gets healed randomly a lot in this version).
Make sure to grab Ogrekiller from the Tower of Babel (or buy it later in Tomra). You will be using it A LOT in the final dungeon.
*************************BOSS**********************************
King, Queen Eblan Lv 56, 06:04 (Front Row)
Can't lose, don't attack.
Rubicante Lv 56, 06:06 (Front Row)
DO NOT EQUIP ANY FLAME EQUIPMENT.
✳️✳️HEALING WARNING✳️✳️ Kill allies then do the usual strategy (Attack when cloak is open, wait when cloak is closed).
2 Chocobos 🐤🐤(Thanks for healing my team )
***************************************************************
Once again, you can't use the warp glitch to skip the Sealed Cave so don't bother reviving Rydia to try.
Fly to Tomra and buy some Remedies, Diamond Shield and Diamond Gloves.
You don't need Excalibur since you get Ragnarok later. Don't bother with either Slyph Cave or Land of Summons (can't float anyway).
**YOU CAN BEAT TRAPDOOR IN THIS VERSION AT EARLIER LEVELS** Just make sure you are in the front row, have the Icebrand equipped, and swing three times before he auto kills you. At level 59, you should be able to get 4 swings on the Trapdoor before it uses 9th dimension. If you don't defeat Trap Door in time, 9th Dimension = 💀💀INSTADEATH💀💀.
Once you get the Light Sword, you should be able to essentially level up each time you fight the TRAPDOOR with Diamond Shield, Diamond Gloves, Sage's Miter, and Black Belt Gi. You dodge almost every attack at this point in the game with this setup. Enemies begin to wonder if you were even there before you slash them to death...
*************************BOSS**********************************
Demon Wall Lv 65, 06:37 (Front Row)
Attack until dead. The infamous solo-run boss killer; the Ender of Solo-Runs is a joke in this version.
1 Chocobo 🐤 literally a beefy monster encounter.
***************************************************************
✳️✳️HEALING WARNING✳️✳️ Everyone gets healed after leaving the Sealed Cave. Take care of that before entering the Dwarf Castle.
Head back to Dwarven Castle, talk to the King, get the Lunar Whale, and head to the Moon.
FuSoYa, Giant Of Babel, And The Lunar Subterrane

Go get Fusoya and IGNORE the Lair of the Father (Bahamut Cave) :(
Switch to Ogrekiller and Ice Shield in Giant of Babel (makes killing Giants faster and tanking Flame attack from Mech Dragon).
Buy Rage of the Gods x20 and Bomb Arm x20 from Namingway shop (since they are sold in a shop, it is fair game to use).
*************************BOSS**********************************
Four Elemental Fiends Lv 72, 07:17 (Back Row)
✳️✳️HEALING WARNING✳️✳️ Equip Light Sword, Ice Shield, Diamond Gloves, Sages Miter, and Black Belt Gi and get ready to kill your allies again (Thanks, Rubicante). You fight them in the order you fought them in game.
Scarmiglione- Ignore Curse, use Bomb Arm until dead.
Cagnazzo - Use Rage of the Gods, watch for Tsunami as it does ~1300 HP.
Barbariccia - Weak to Light Sword. Hi-potion after Maelstrom and STAY IN THE BACK ROW!!
Rubicante - ELIXIR IMMEDIATELY OR DIE. His Inferno attack does huge damage and you don't wanna start over after all that. It shouldn't need to be said but swap to the Icebrand before attacking him.
5 Chocobo fight 🐤🐤🐤🐤🐤 Hands down the longest fight in the game.
***************************************************************
Save and go fight CPU.
*************************BOSS**********************************
CPU, Attack Node, Defense Node Lv 73, 07:30 (Front Row)
Same as SNES fight. Take out Defense Node, CPU next, then Attack Node last.
2 Chocobos 🐤🐤 It's the same fight as usual.
***************************************************************
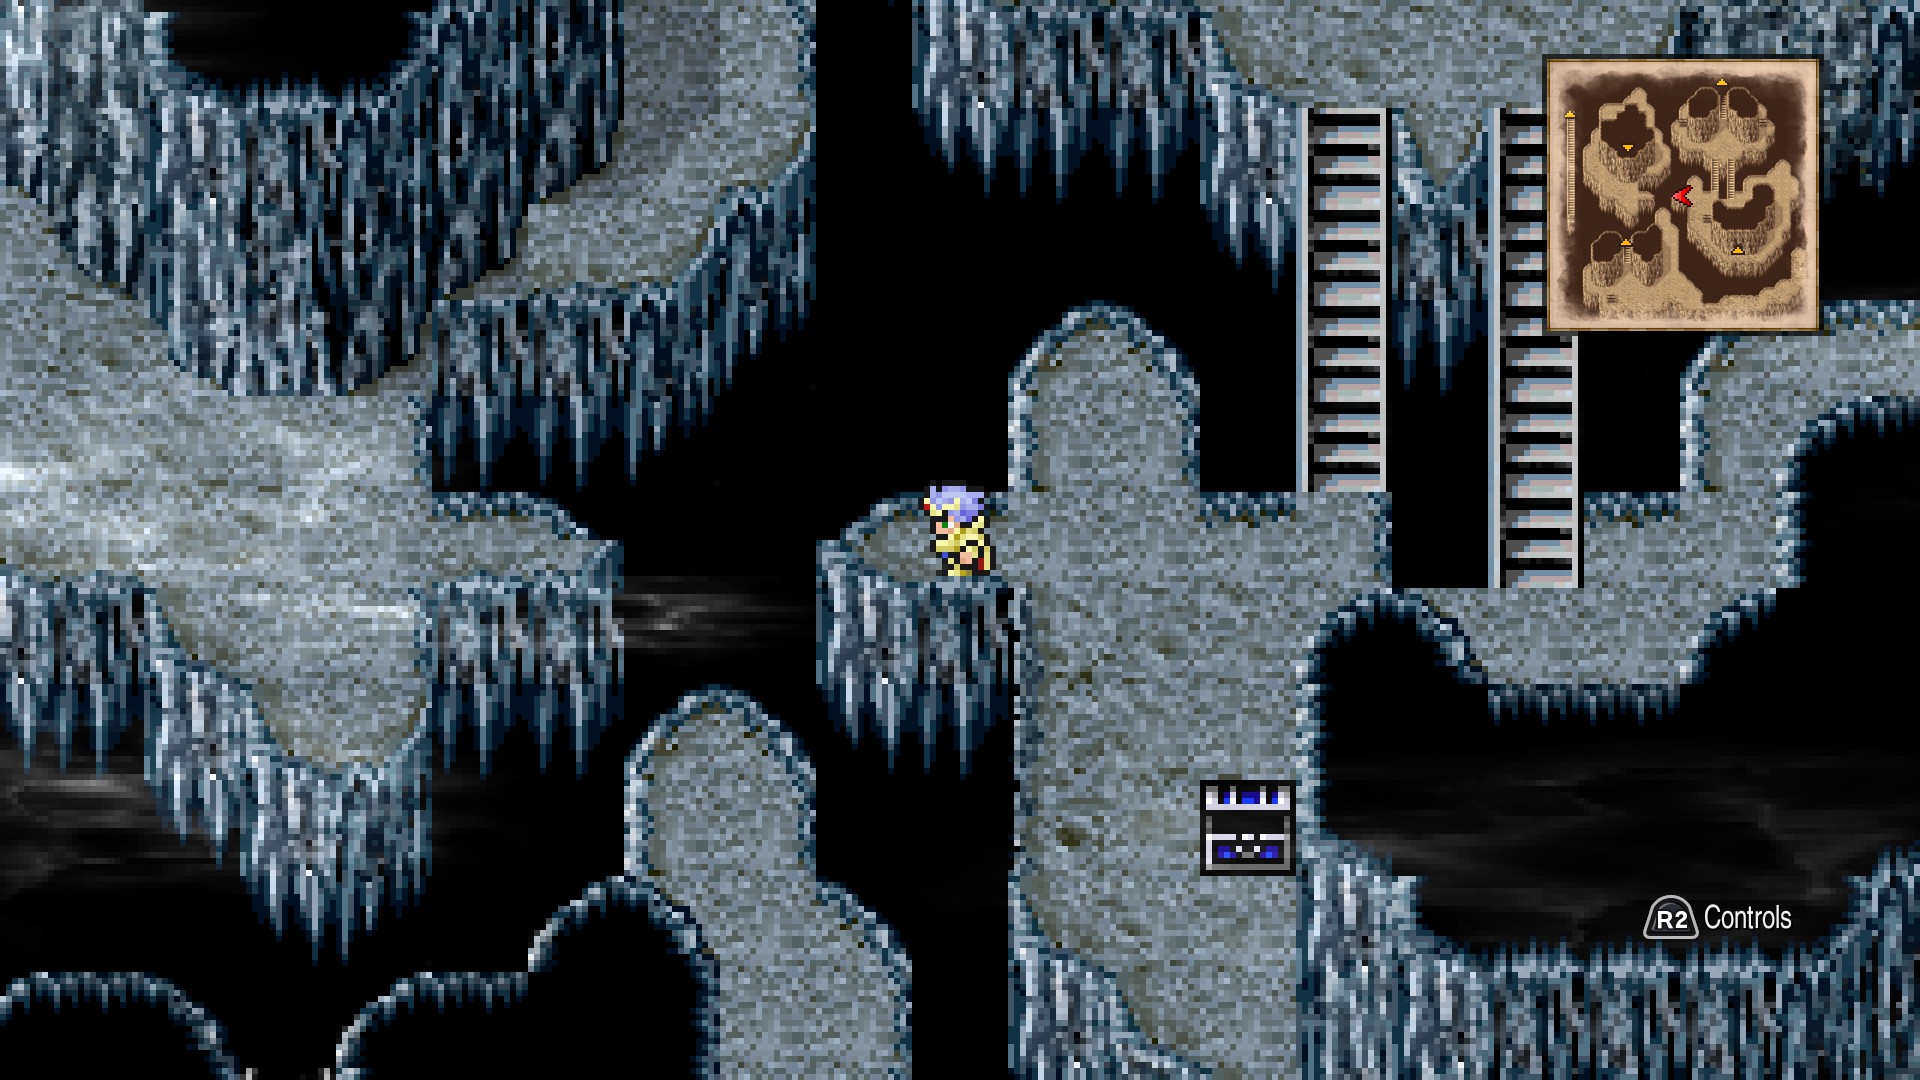
Kill Kain, head to Lunar Subterrane, and look for the Ragnarok (Ragnarok is on floor 6. Floor 7 is save point for reference).
The picture shows the hidden path you must cross to get the Ragnarok.
The sword is guarded by Dark Bahamut so save at the save point beforehand.
*************************BOSS**********************************
Dark Bahamut Lv 84, 08:05 (Front Row)
We get to fight Bahamut even after ignoring the Lair of the Father.
Just be fully healed, dodge the first Megaflare, and you should safely win without having to heal. Him bouncing flares off himself is annoying though.
3 Chocobos 🐤🐤🐤 only because Bahamut is cool 👍
***************************************************************
Make your way to the bottom of the dungeon. I would run away from the Masks and encounters of more than 2 enemies. Don't bother grabbing Edge's Legendary weapons. He won't be using them :)
*******************FINAL BOSS**********************************
Zeromus Lv 88, 08:30 (Front Row)
🙏 🙏The power of prayer will help you win. 🙏 🙏
✳️✳️HEALING WARNING✳️✳️ Kill your allies, use the Crystal and do what you do best you Death Machine.
You should be hitting for 5000+ each turn. Don't hold back on using Elixirs (heal when your HP is around 3000) and rock out to some epic boss music.
3 Chocobos 🐤🐤🐤 not too hard but not too easy.
***************************************************************
Watch ending. Collect achievement.
Final Equipment look:
Ragnarok
Crystal Shield
Protect Ring
Crystal Helm
Black Belt Gi
Conclusion And Hour By Hour Look
Thanks for reading my guide. The Solo-Cecil run is pretty easy to do in this version thanks to some changes that make it easier to clear without power leveling.
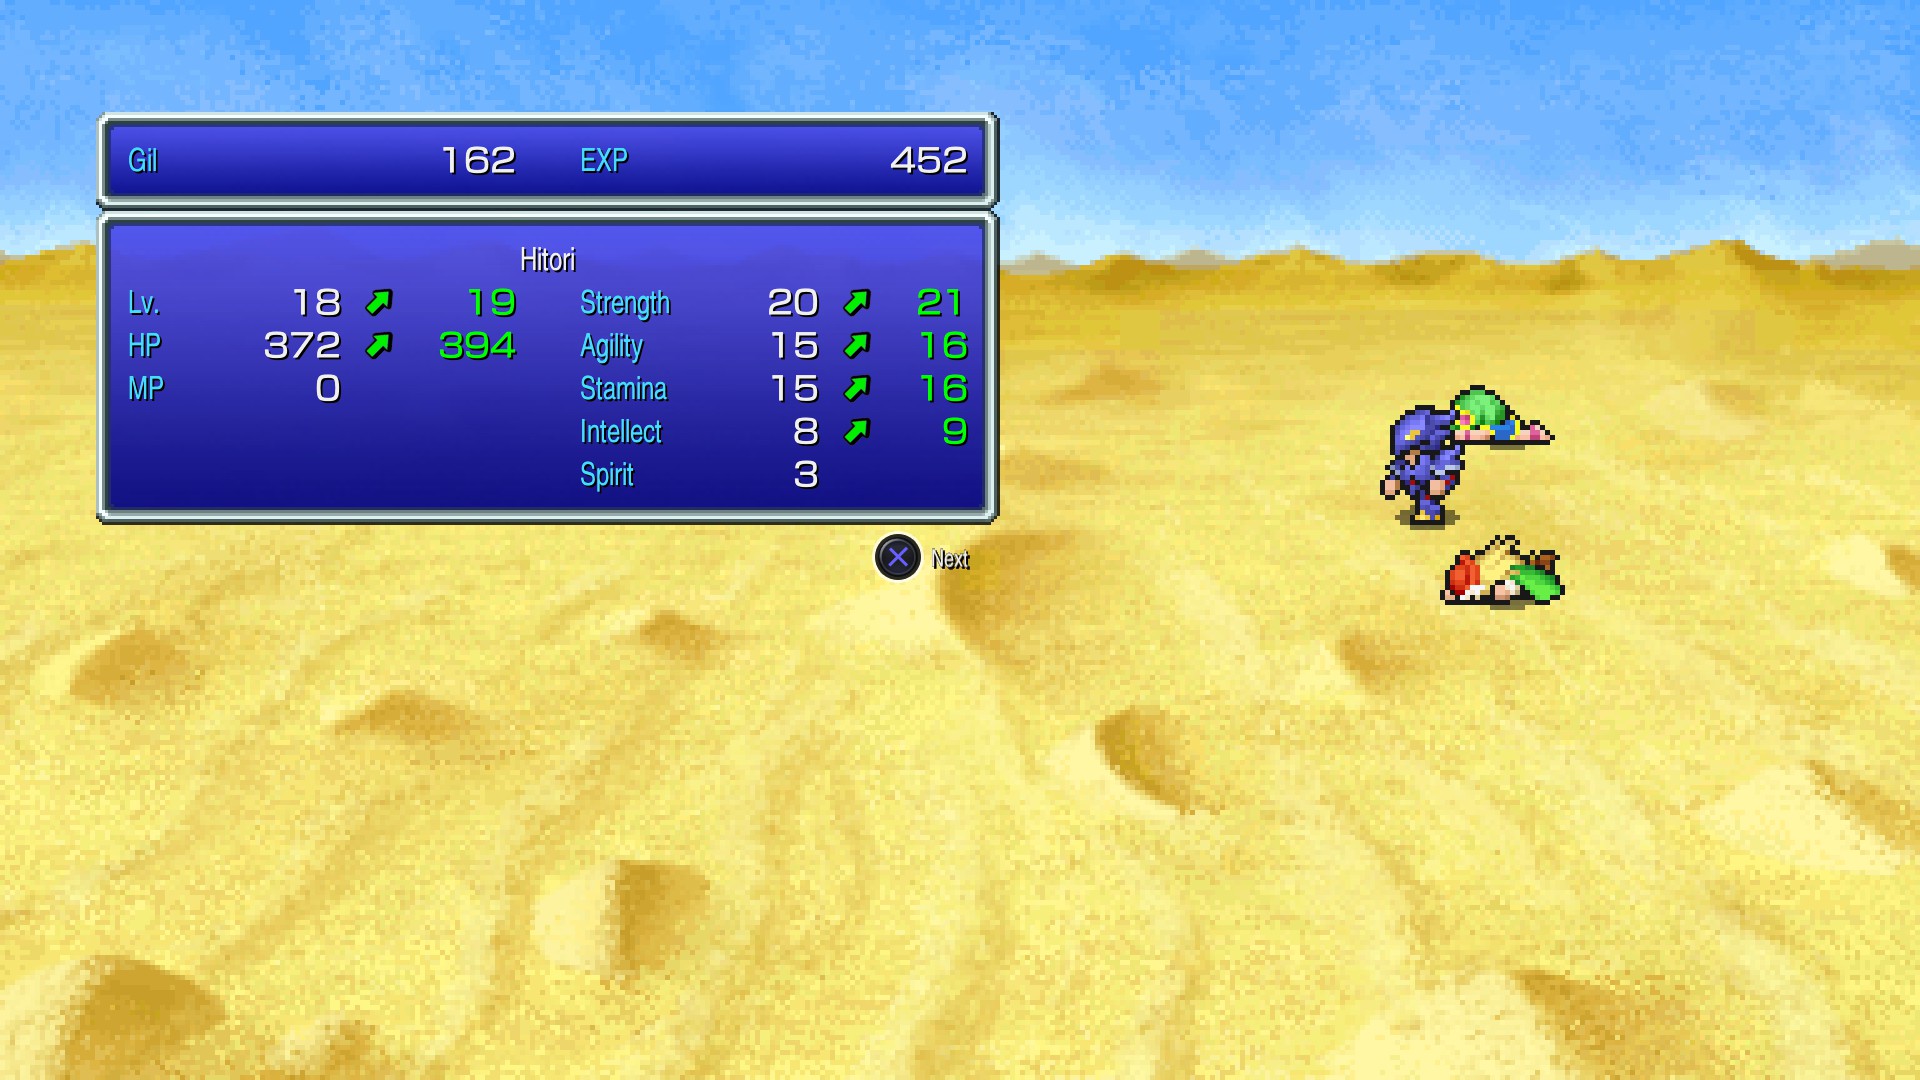
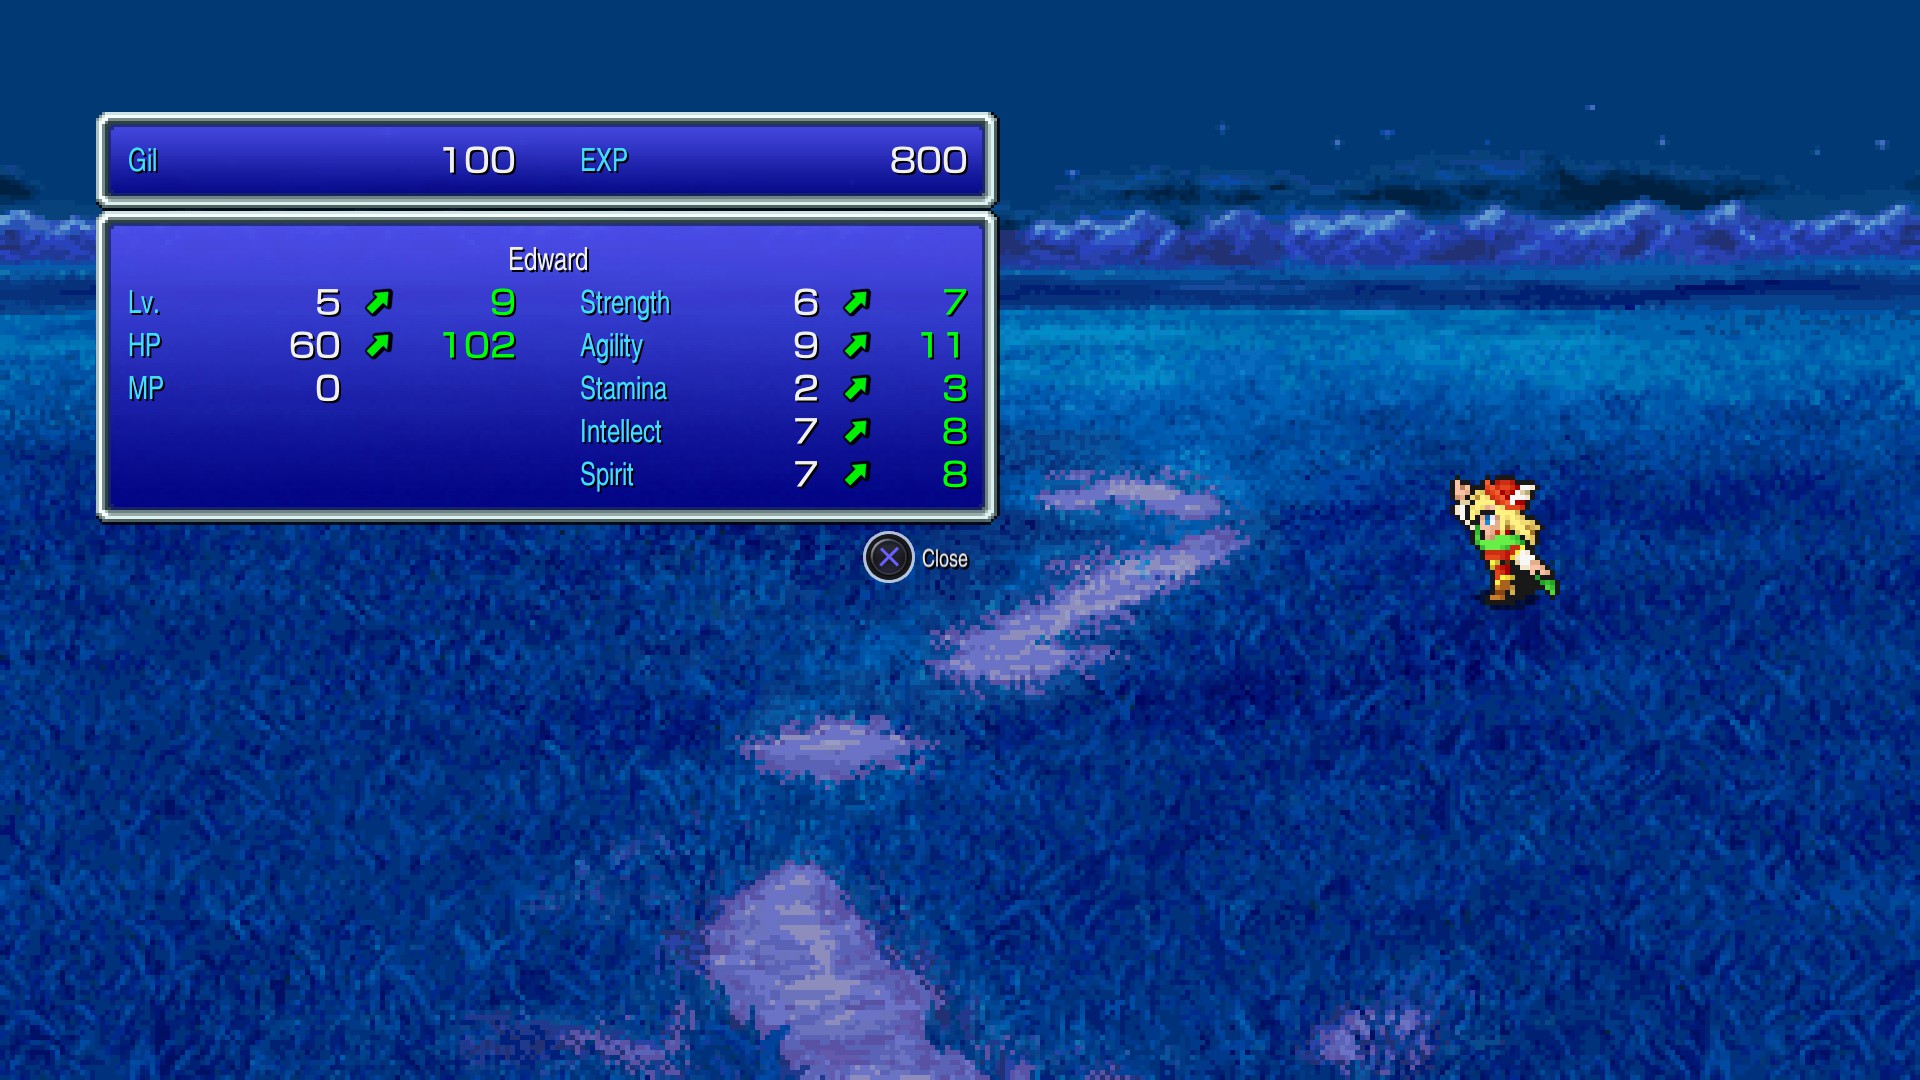
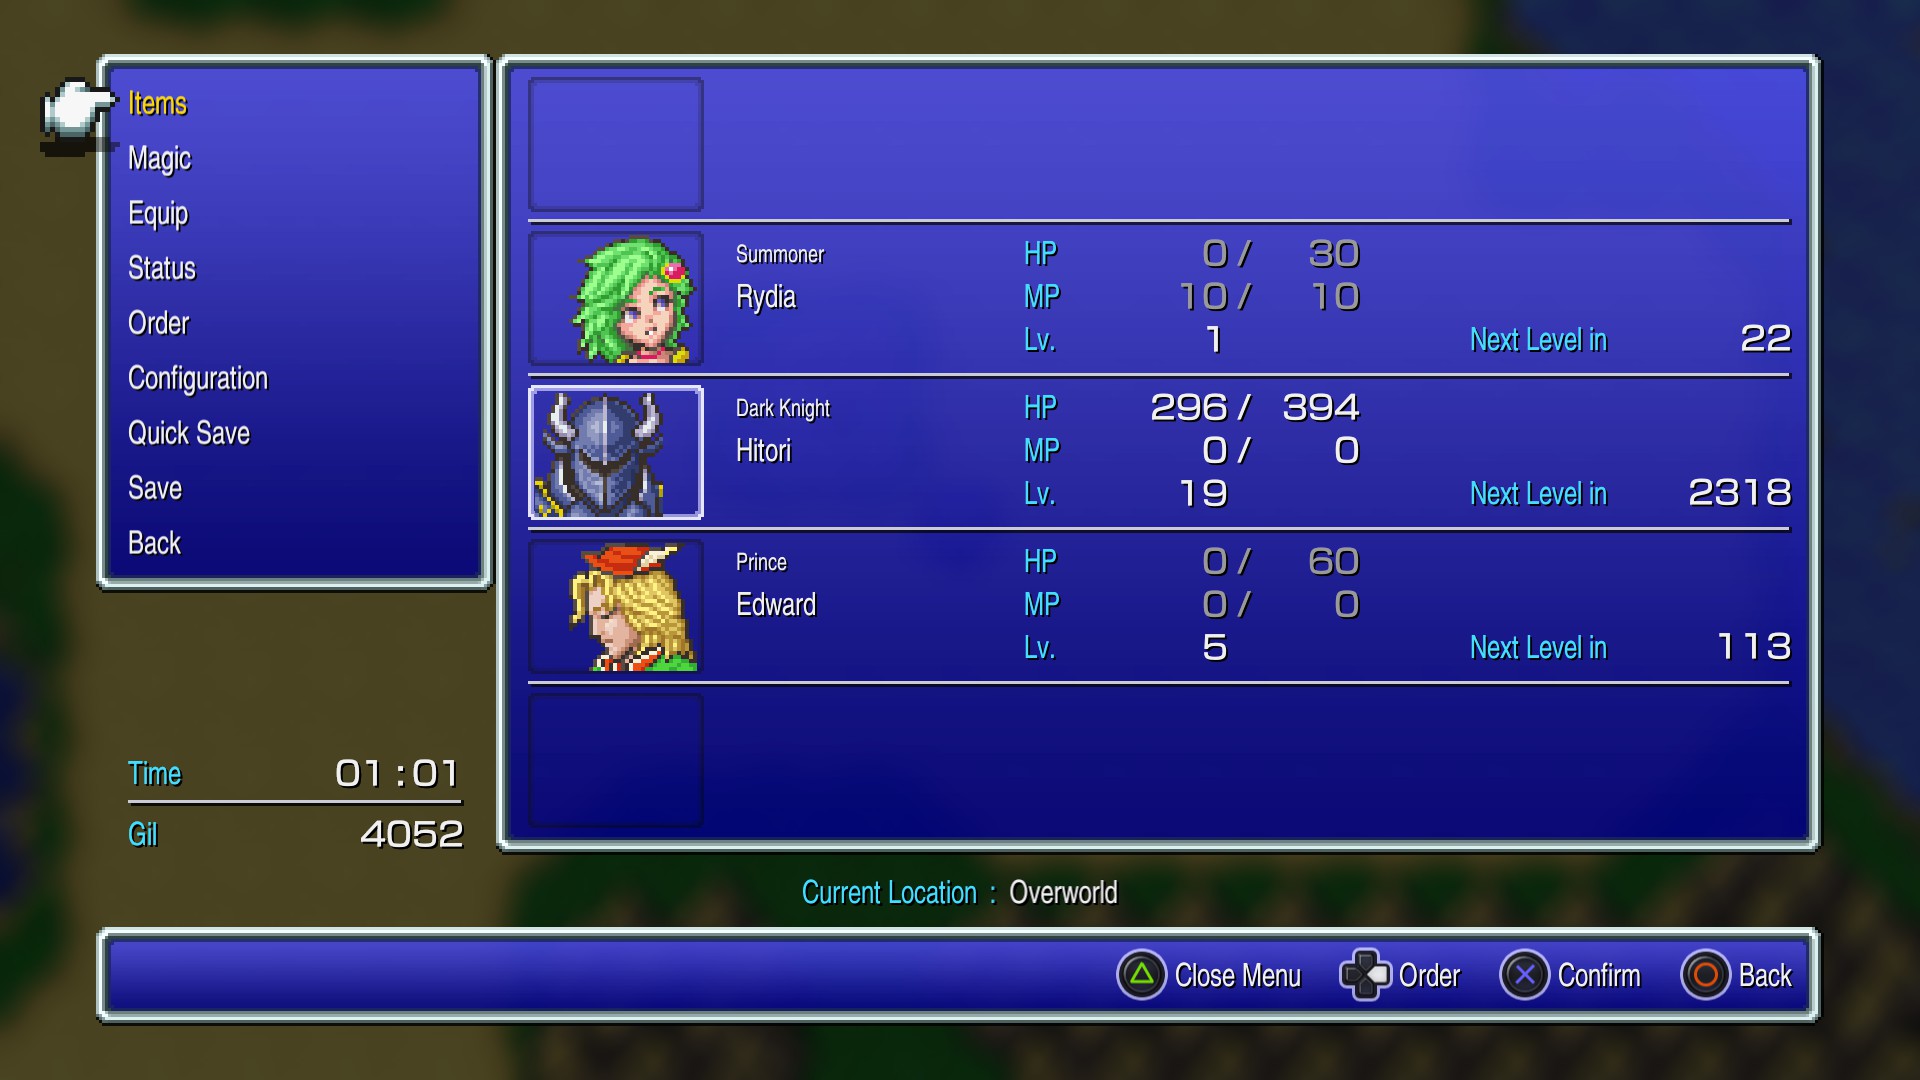
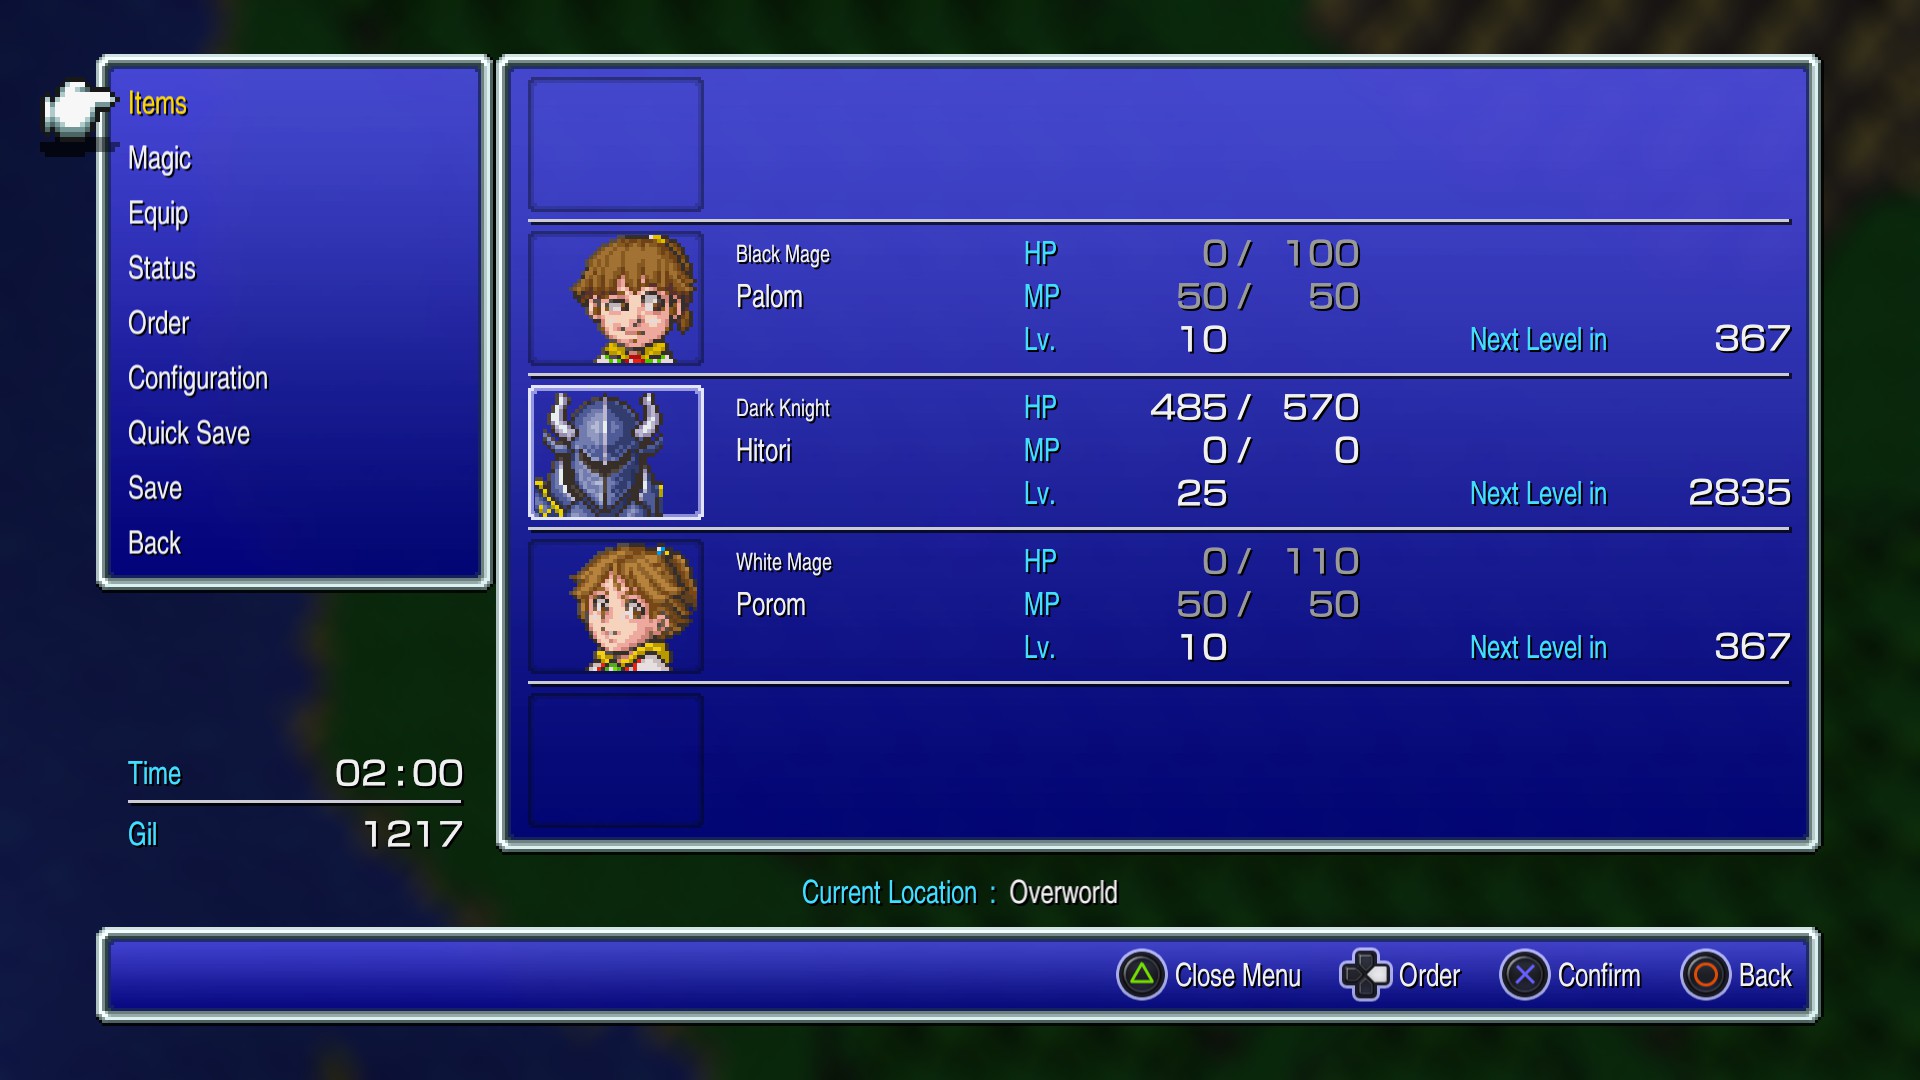
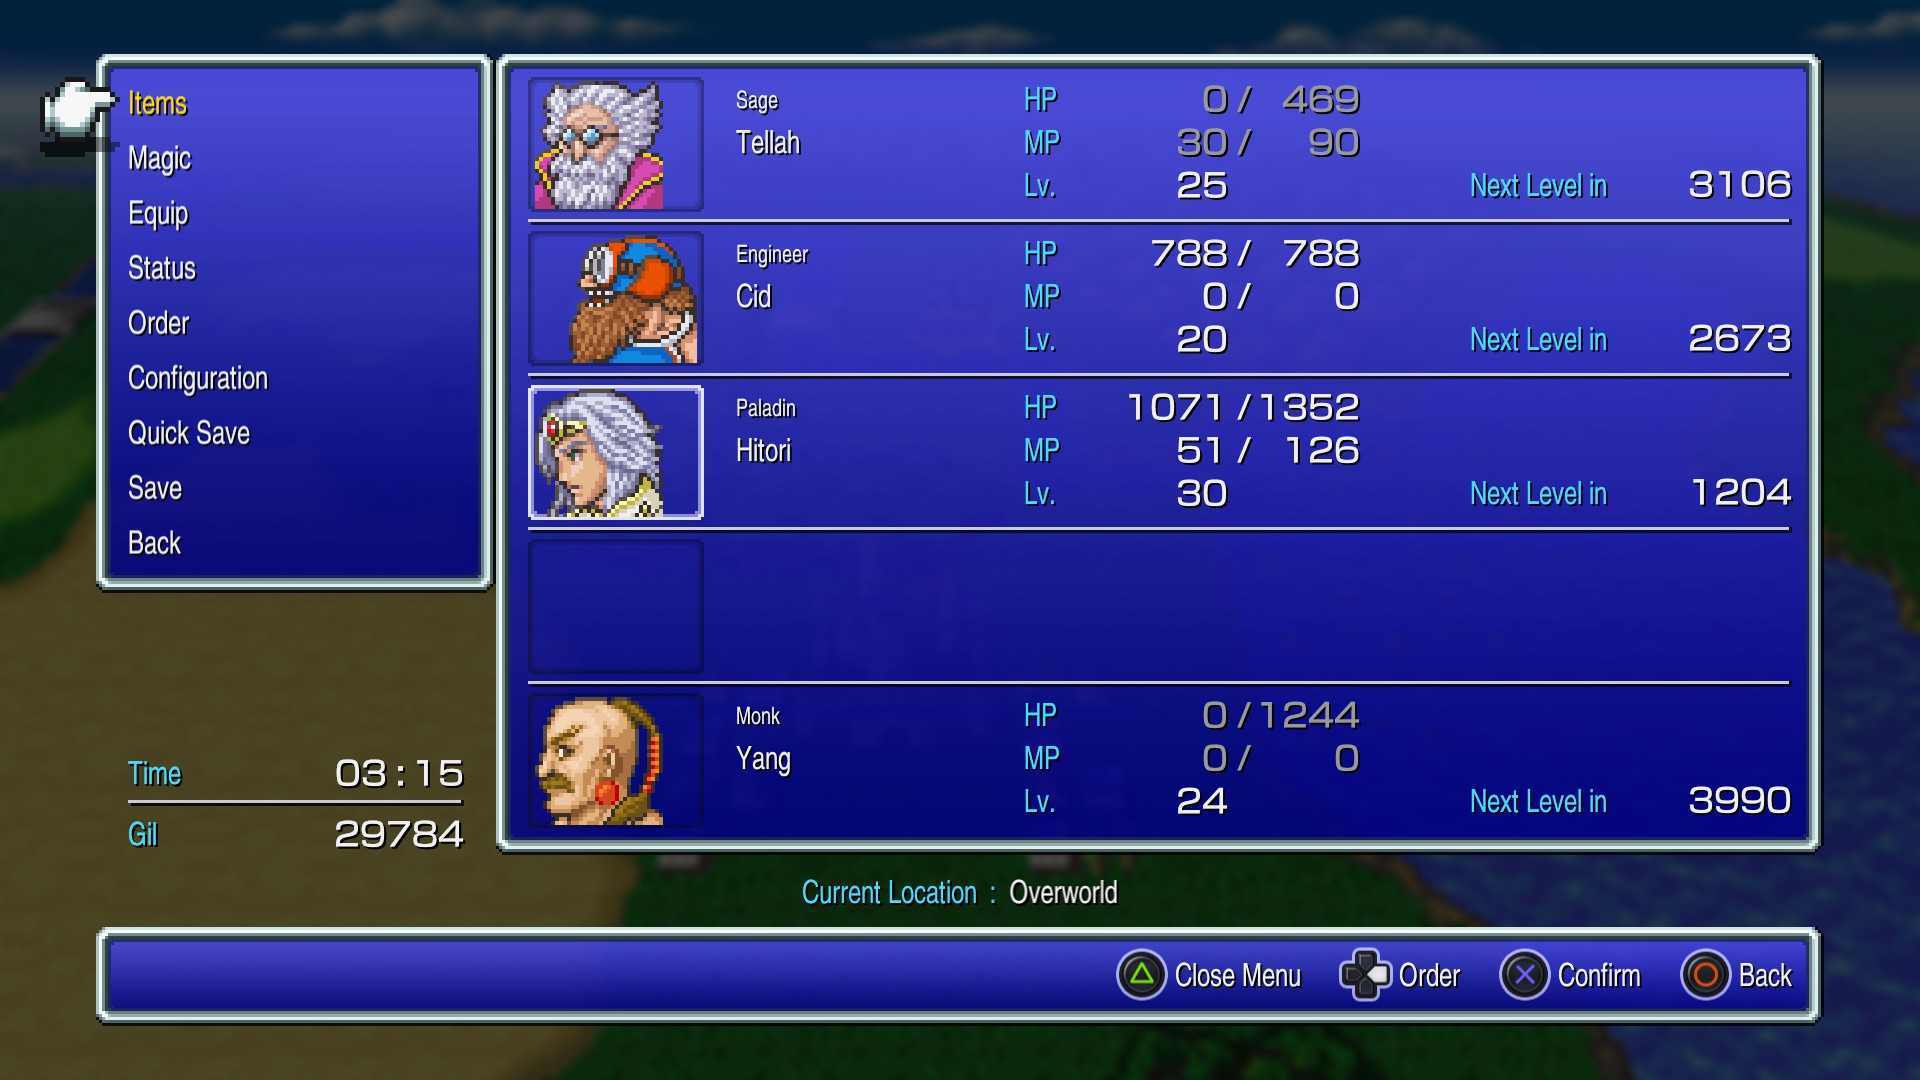
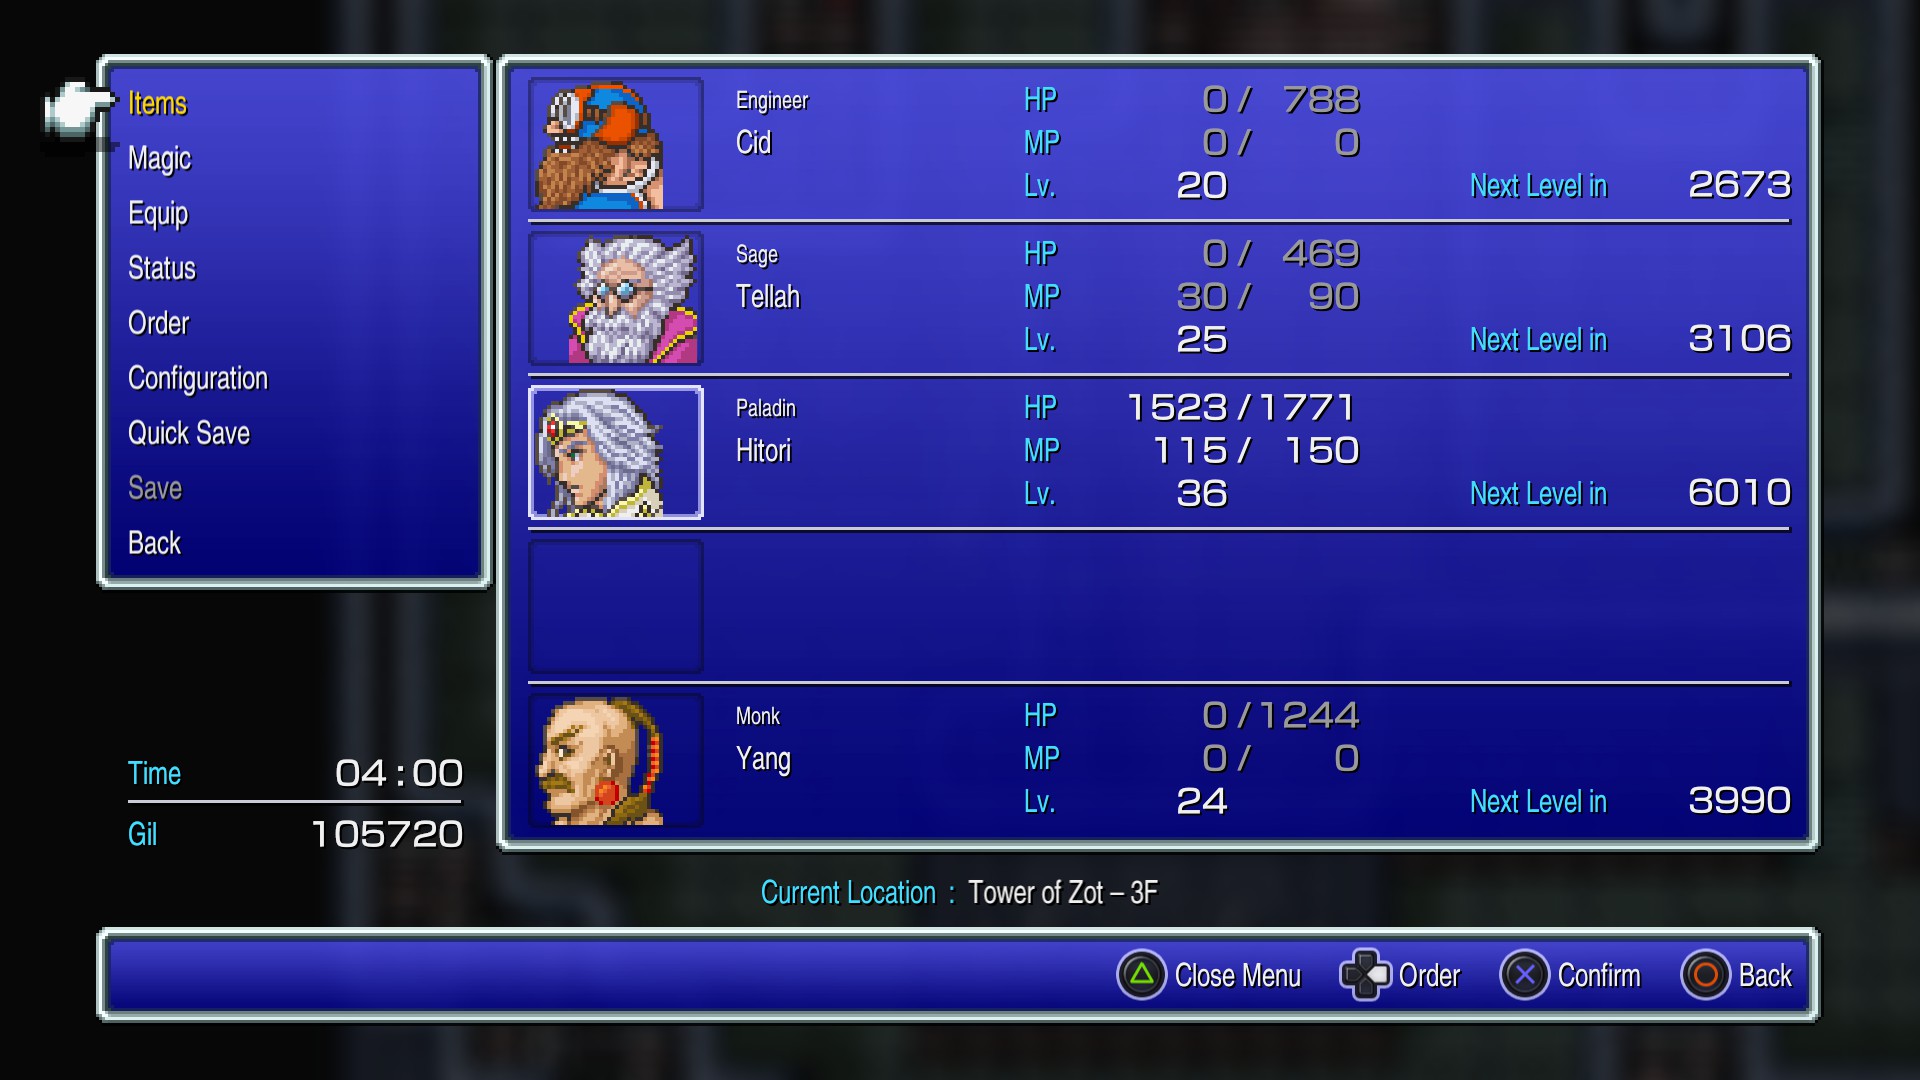
I took screenshots of each hour with what my equipment was or what level I was at. You can use it as a guide to see if you need to level more or change equipment.
Ask any questions you want and I will try and answer them.
**I used the SOLO CECIL GUIDE BY STORM HUNTER on GameFAQ as reference**
https://gamefaqs.gamespot.com/ps/197337-final-fantasy-iv/faqs/28533
This guide is accurate as of 12 September 2021 (in case of future patches)
Hour 1:
Hour 2:
Hour 3:
Hour 4:
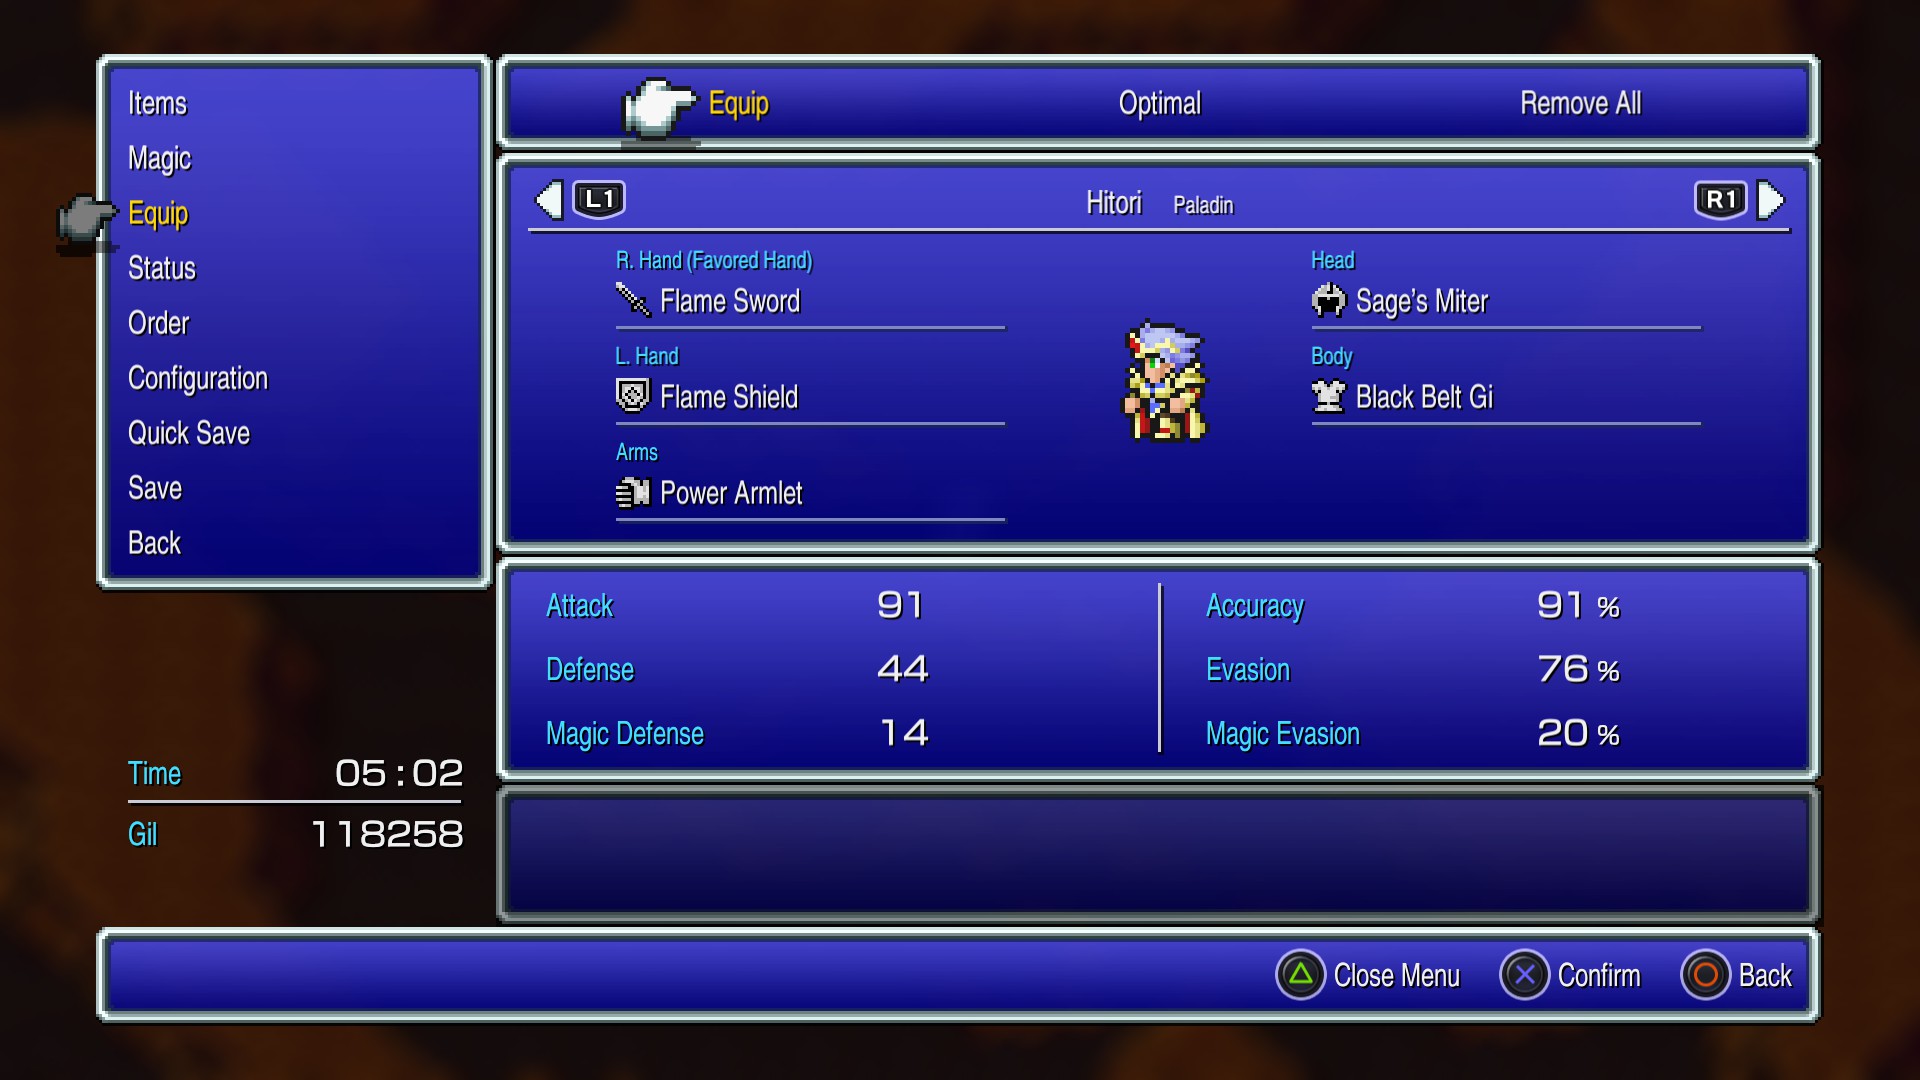
Hour 5:
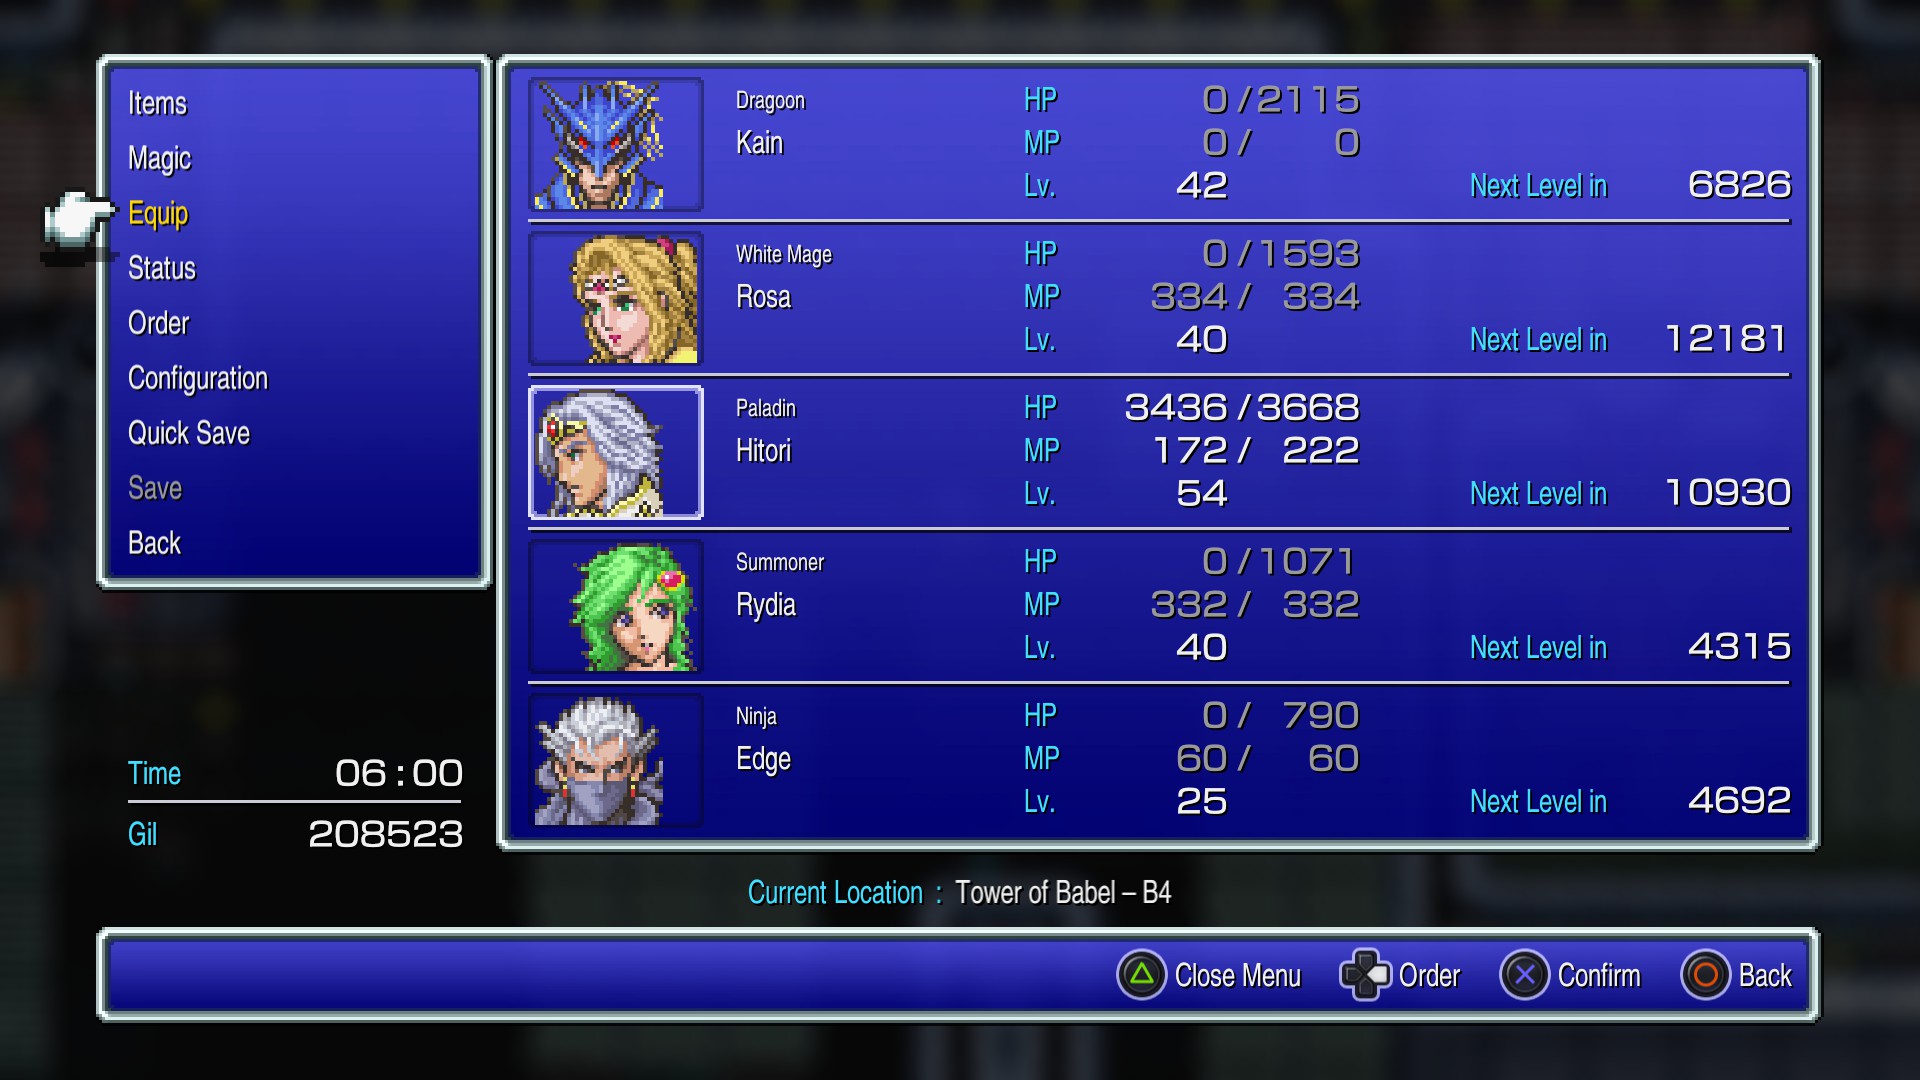
Hour 6:
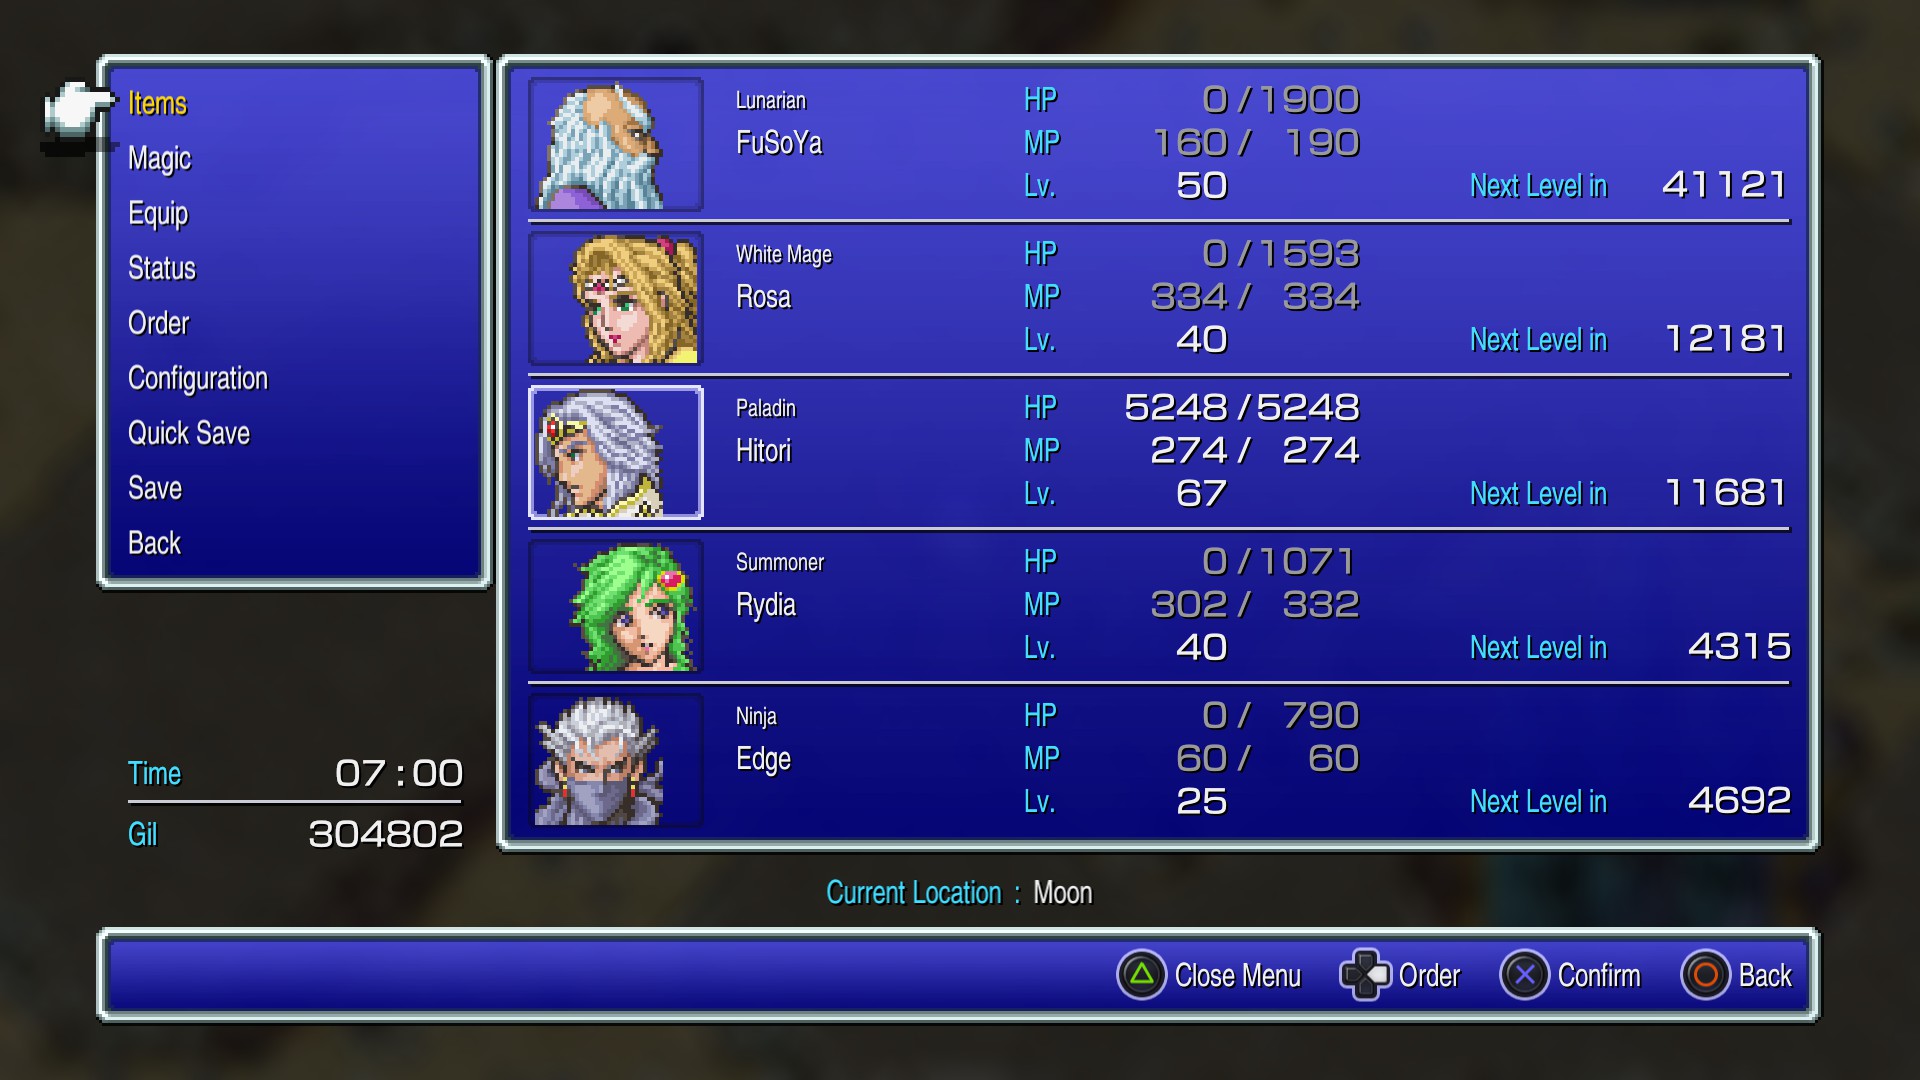
Hour 7:
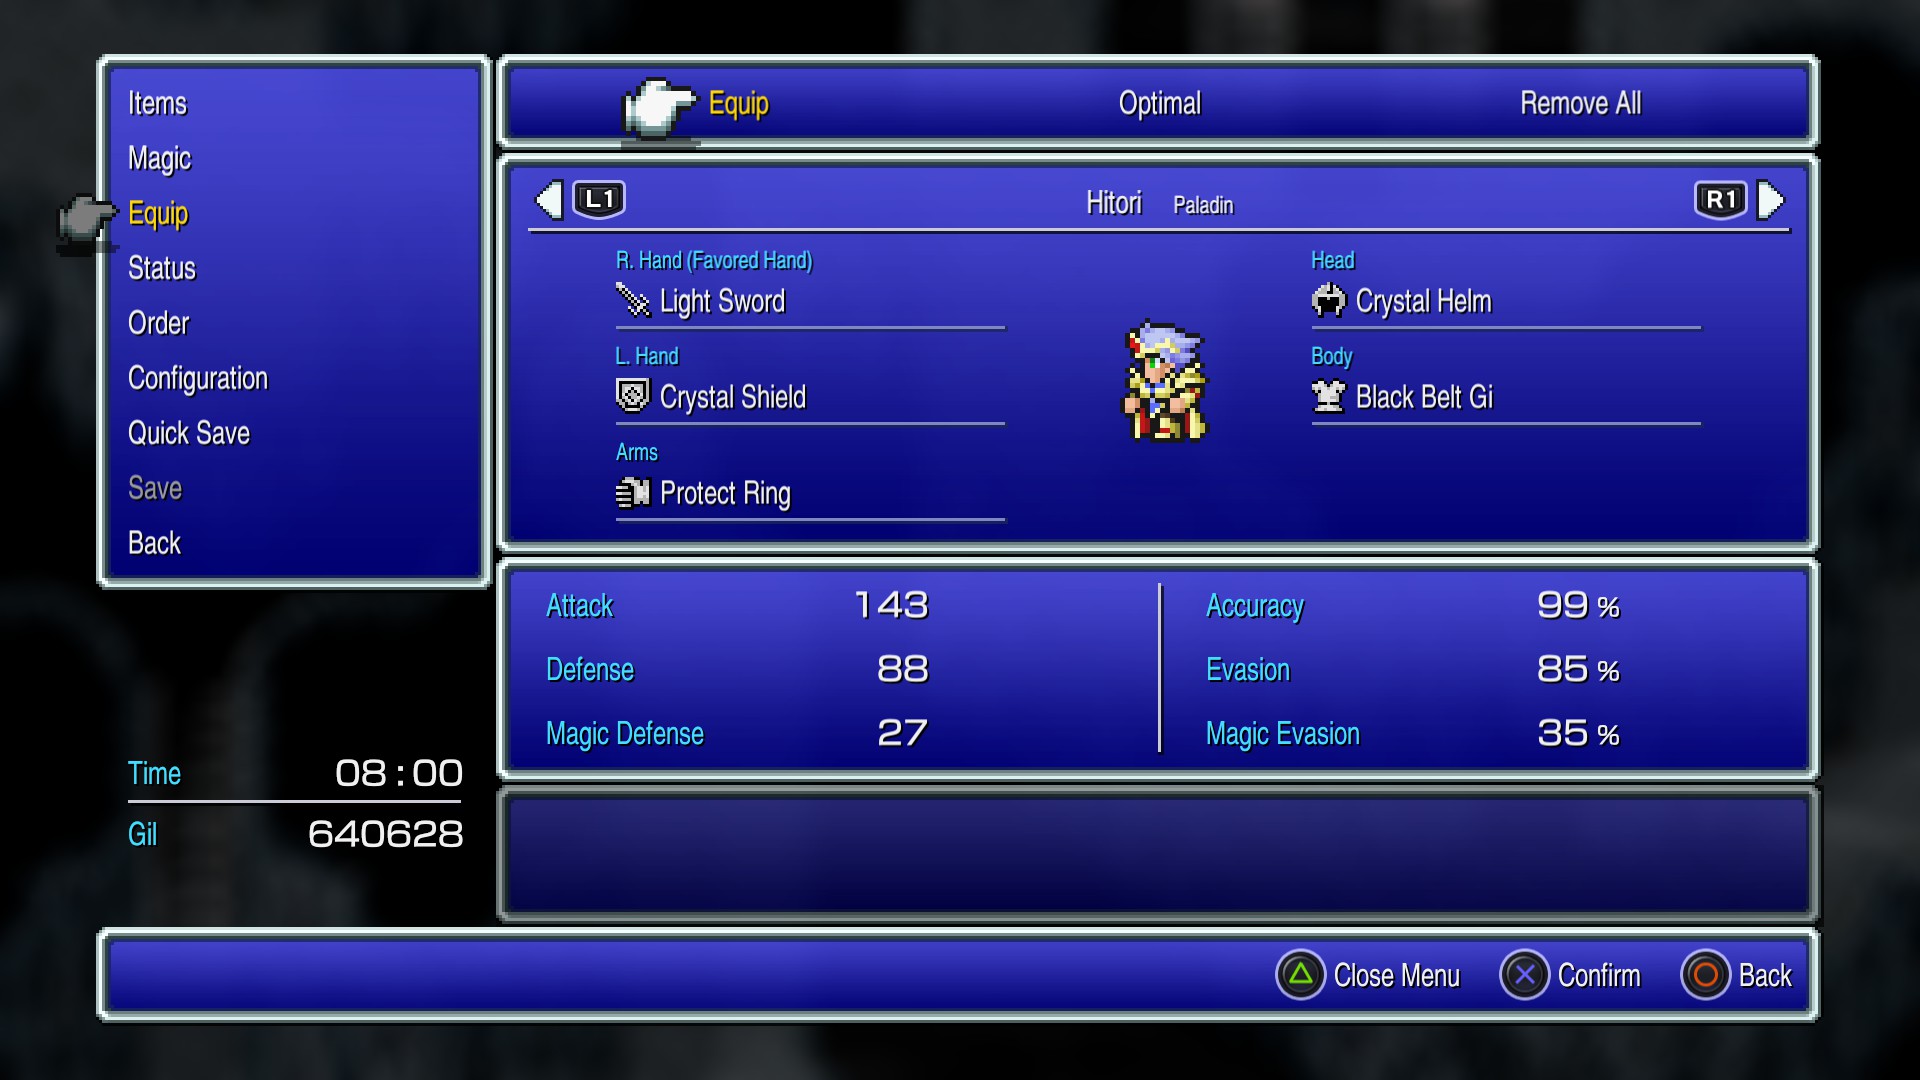
Hour 8:
Source: https://steamcommunity.com/sharedfiles/filedetails/?id=2600659539
More FINAL FANTASY IV guilds
- All Guilds
- FINAL FANTASY IV
- Final Fantasy IV | Progress Table
- Final Fantasy IV 100%
- Over-kill/reasonable end game BiS equipment
- Conquista Colecionador de Invocaes - Guia
- FINAL FANTASY IV Guide 80
- FF4: Complete Modding Guide and Index
- FFIV - Simplified Bestiary
- FFIV PR: Summons
- FFIVPR: Best Summon Item Farming Locations