
Introduction
Deathworld is similar to normal settings, except the game mode is centered around more numerous and powerful enemies.
Enemy bases are larger and more frequent, the starting area for enemy nests is closer, biters evolve at a much greater speed, and the pollution absorption from the environment is lower. This increases the difficulty of the early stage of the game, as biters are more dangerous and closer to the player. It should also be remembered, just as in standard settings, enemy expansion is on.
Pollution control is a much bigger issue in Deathworld, than on regular settings.
Game Map/Seed
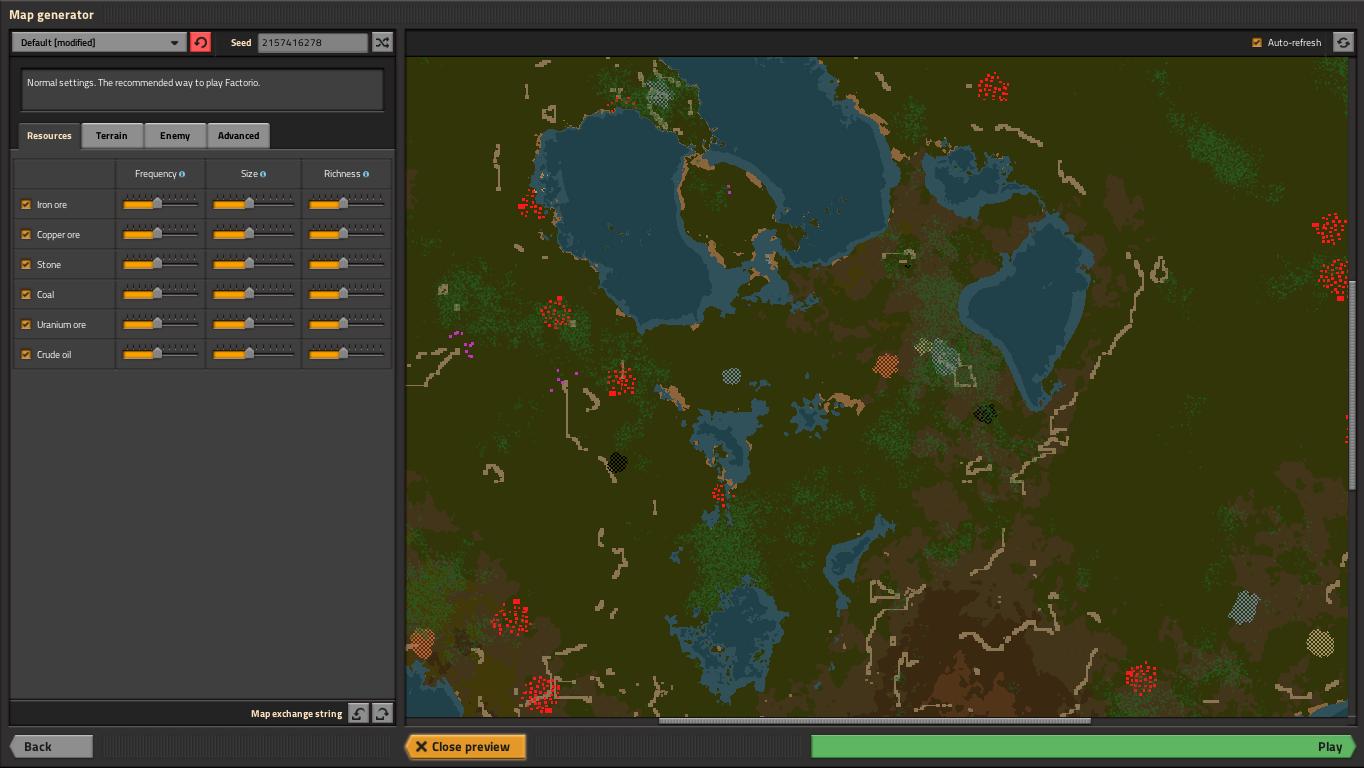
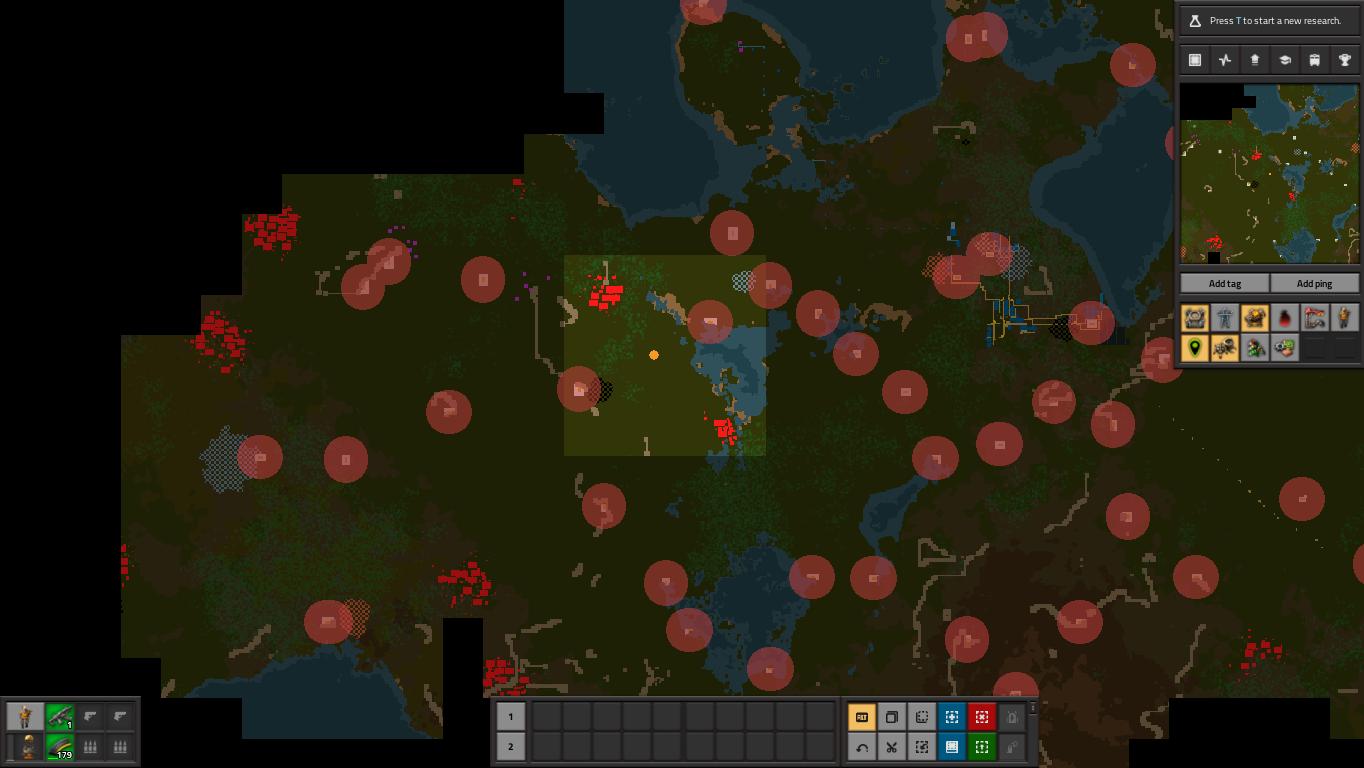
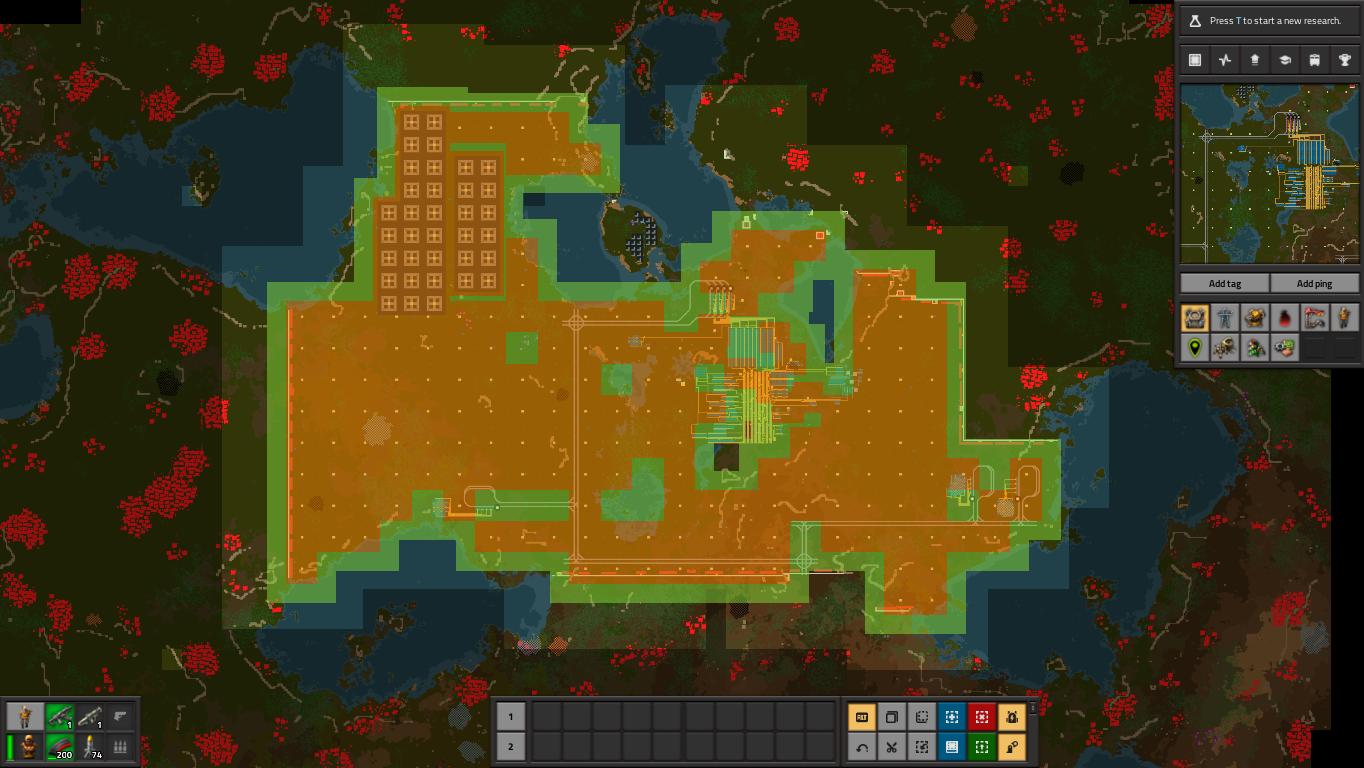
Depending on the level of challenge required, some maps are more favourable for Deathworld. A green environment absorbs more pollution than desert tiles. Trees and forests absorb far more pollution than regular tiles.
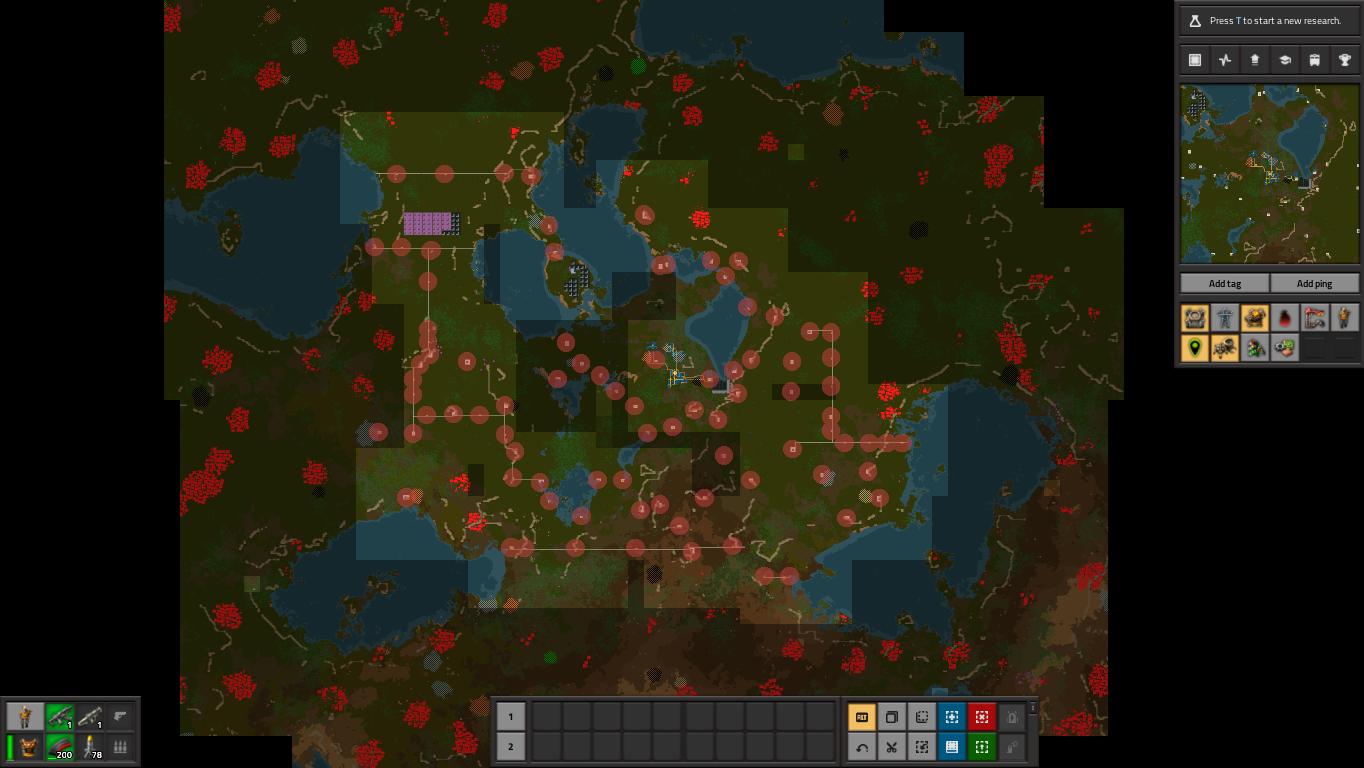
A starting area that has defendable choke points is advantageous for the player. For example areas close to water, peninsula type land formations, cliffs and dense forests, bottleneck enemies so defences can be concentrated. In addition, having all the initial resource patches close together is beneficial and enables defences to overlap.
An oil patch not too far away is also extremely important.
The careful selection of the map can make a significant difference in the level of difficulty. The game seed I used to demonstrate the concepts in this video is displayed here.
>>>eNpjZGBkEGUAgwZ7EOZgSc5PzIHxQJgrOb+gILVIN78oFVmYM7mo
NCVVNz8TVXFqXmpupW5SYjFQMYMDBANNzSzKz0M3gbW4JD8PVaSkKDW
1GFmEu7QoMS+zNBddLwNjWP/0hoYWOQYQ/l/PoPD/PwgDWQ+AloIwA2
MD0HagSqAYDLAm52SmpTEwKDgCsRPIIEZGxmqRde4Pq6bYM0LU6DlAG
Q+gIgeSYCKeMIafA04pFRjDBMkcYzD4jMSAWFoCtAKqisMBwYBItoAk
GRk/Zjzu2Prjix3jn5UfL/kmJdgzljXzfvmquMUOKMkO8icTnJg1EwR
2wrzCgOQEiNRNe8azZ0DgjT0jK0iHCIhwsAASB7yZGRgF+ICsBT1AQk
GGAeY0O5gxIg6MaWDwDeaTxzDGZXt0fwADwgZkuByIOAEiwBbCXcYIY
Tr0OzA6yMNkJRFKgPqNGJDdkILw4UmYtYeR7EdzCGZEIPsDTUTFAUs0
cIEsTIETL5jhrgGG5wV2GM9hvgMjM4gBUvUFKAbhQdM/2CgILeDAwMy
AAB/sGUvd19gAAPfGoAI=<<<
Pollution Control
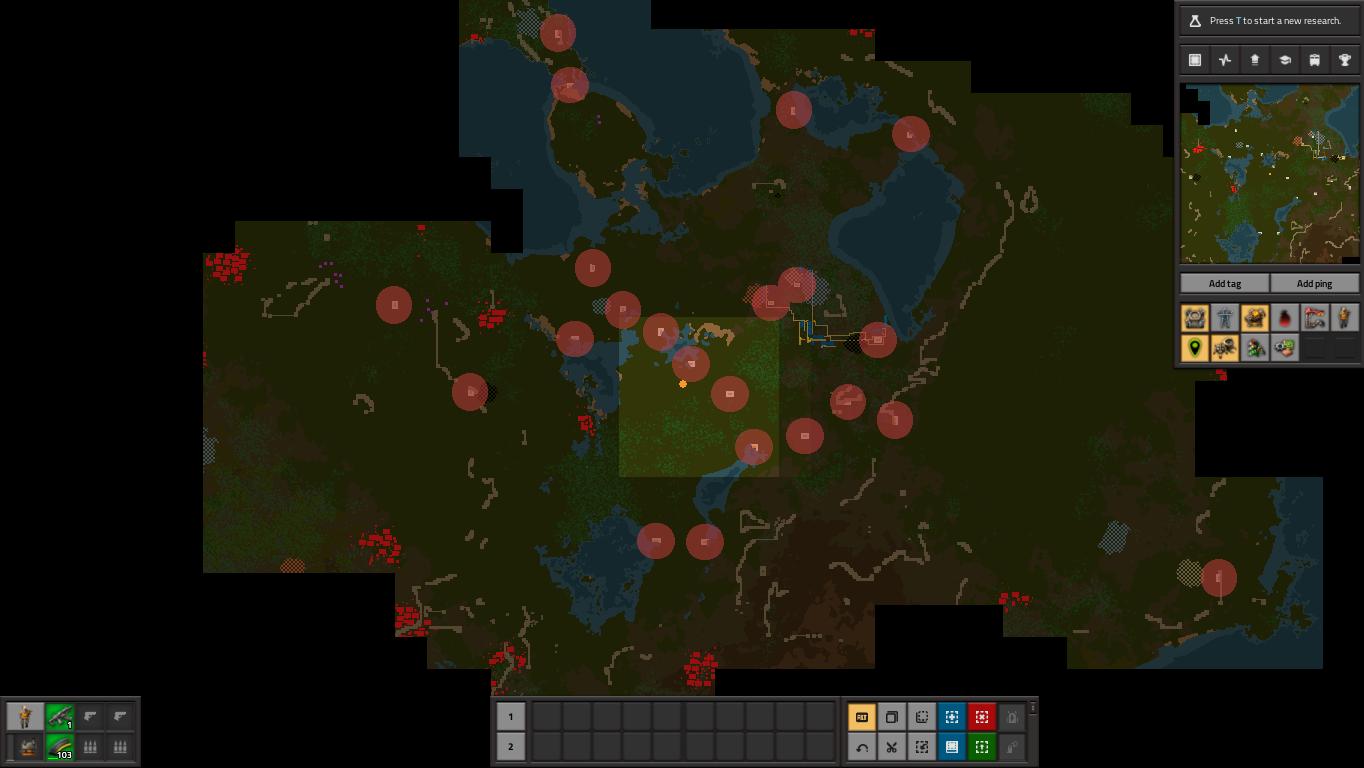
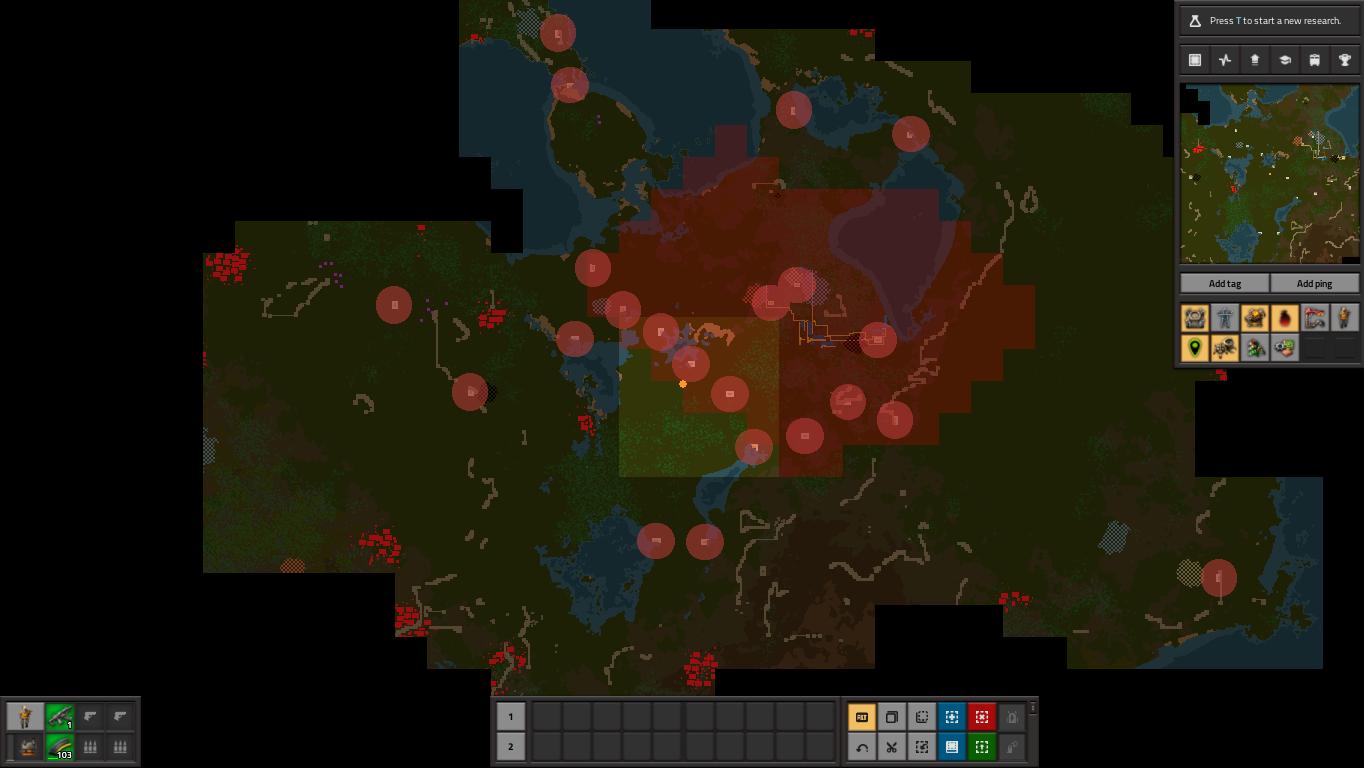
The most important thing in Deathworld, particularly in the early stage of the game is pollution control. The more pollution that is created, the faster biters evolve. An effort to limit pollution output will, over time, result in less powerful enemies, which is especially beneficial during the starting phase of the game. The environment absorbs less of the pollution cloud on Deathworld settings, so decreasing pollution output reduces the risk the cloud reaches biter nests (which causes wave attacks).
Provided the pollution cloud can be limited, and kept from reaching biter bases, enemy attacks can be managed without building a significant amount of defences. The more the cloud reaches enemy bases, the greater the amount of waves, and higher levels of defences are required. Preventing the pollution cloud reaching biter nests is a top priority within Deathworld.
It is worthwhile to remember a small amount of evolution happens over time, total pollution output has a bigger effect, however the destruction of biter nests has a significant effect on evolution. Enemy nests should therefore only be destroyed as a last resort.
Early Game
Stage 1-Small Factory/Capture Ground
In the early stage of the game, the goals are developing the factory, limiting pollution and capturing ground.
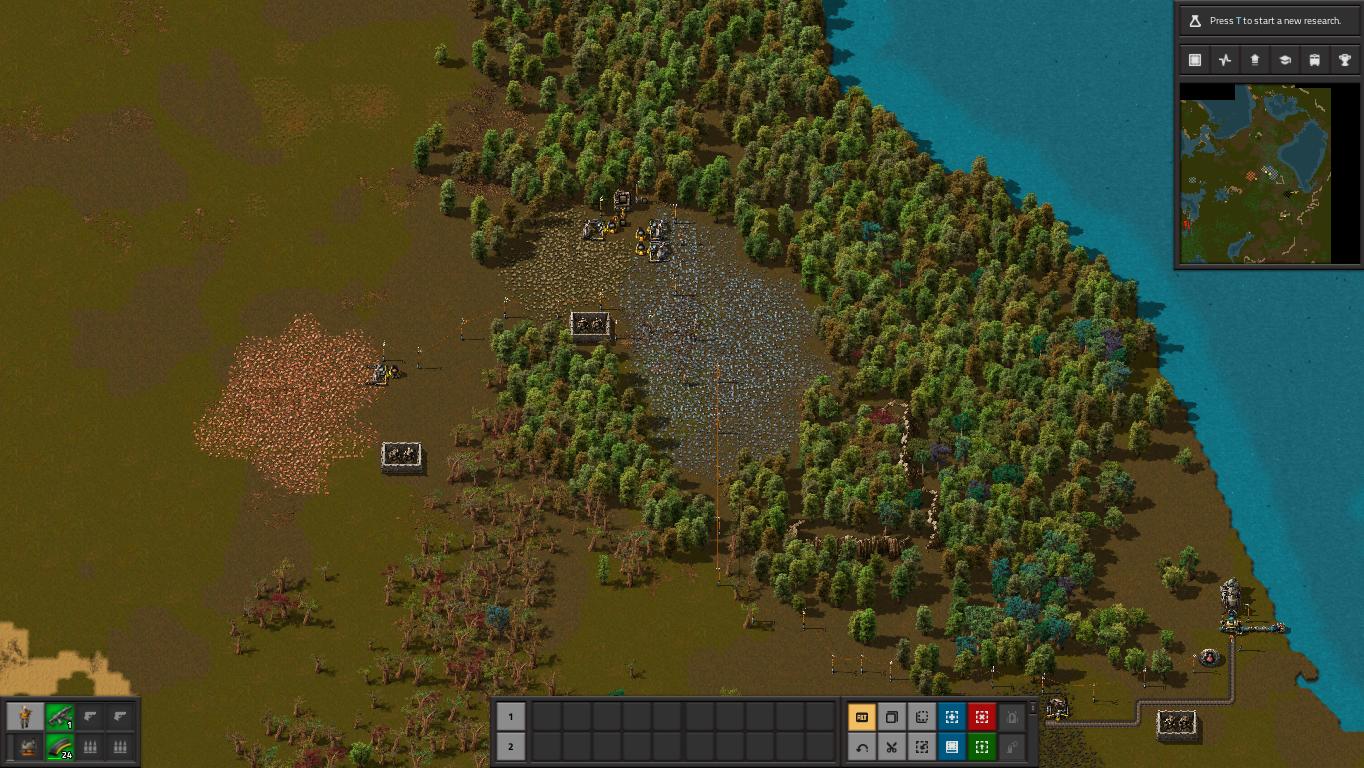
Early Factory DevelopmentUse the least amount of assemblers and furnaces as possible and produce only what is necessary. Handcraft as many items as possible as this does not contribute to pollution. Only use assemblers for the items that are time consuming or more awkward to handcraft.
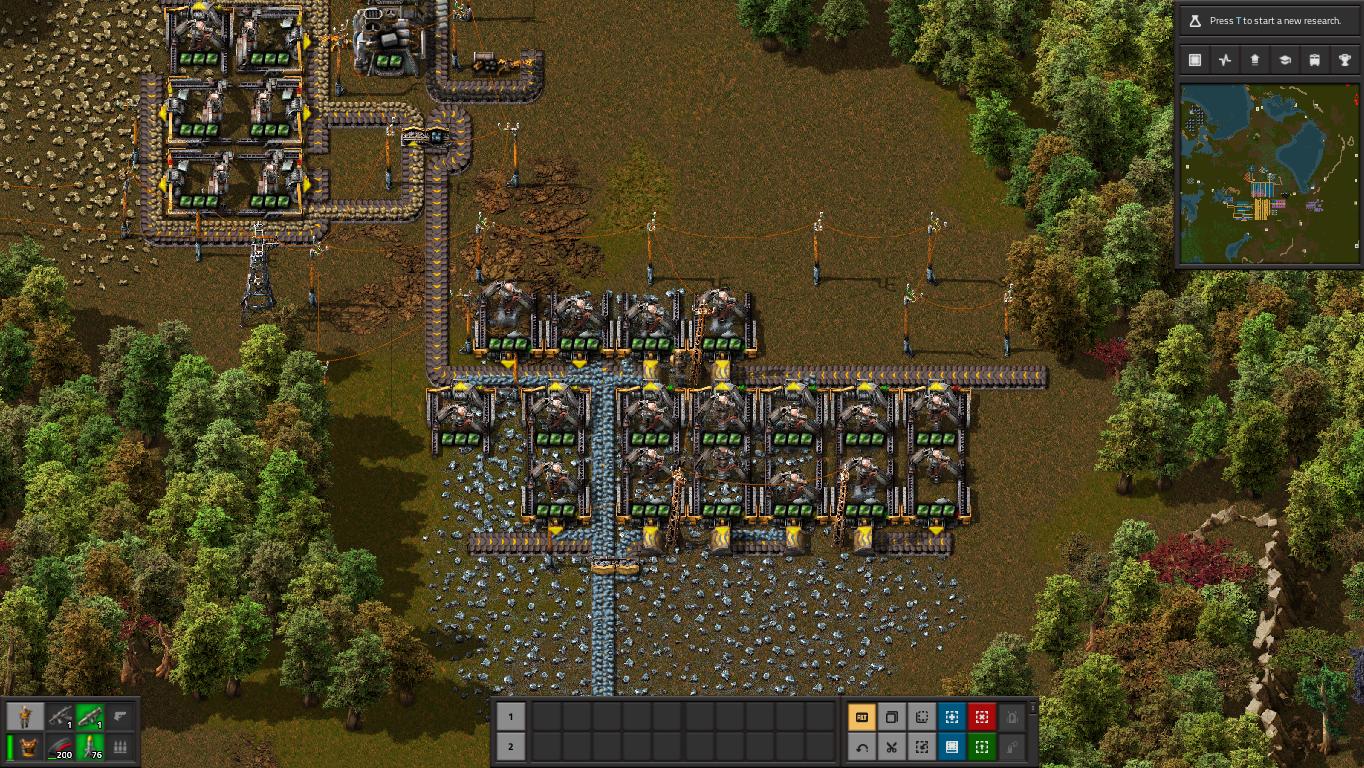
Keep the factory small at this stage, there is no need for malls (mass production of items) or buses (organised lanes). The priority is pollution control. Try and build smelters, within or close to wooded areas. Trees can absorb higher levels of pollution, and whilst, this doesn't stop the evolutionary effect on the biters, it will limit the pollution cloud and help prevent it reaching enemy nests.
Keep a spagheti set up small, limit the removal of trees, and switch to electric miners and assembler 2 as fast as possible as they produce less pollution. Turn off parts of the factory if the pollution cloud gets too large.
Deathworld starts slower than other game settings, as pollution control is the main objective.
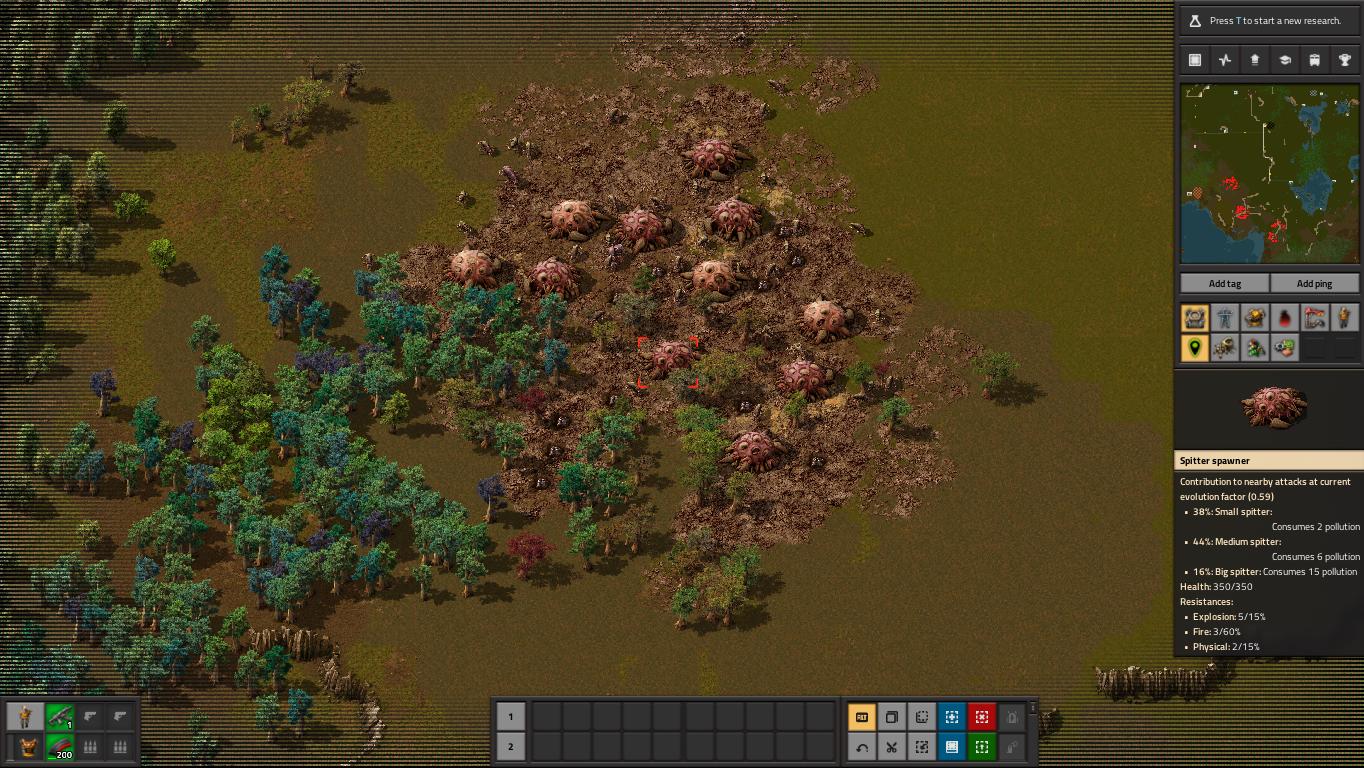
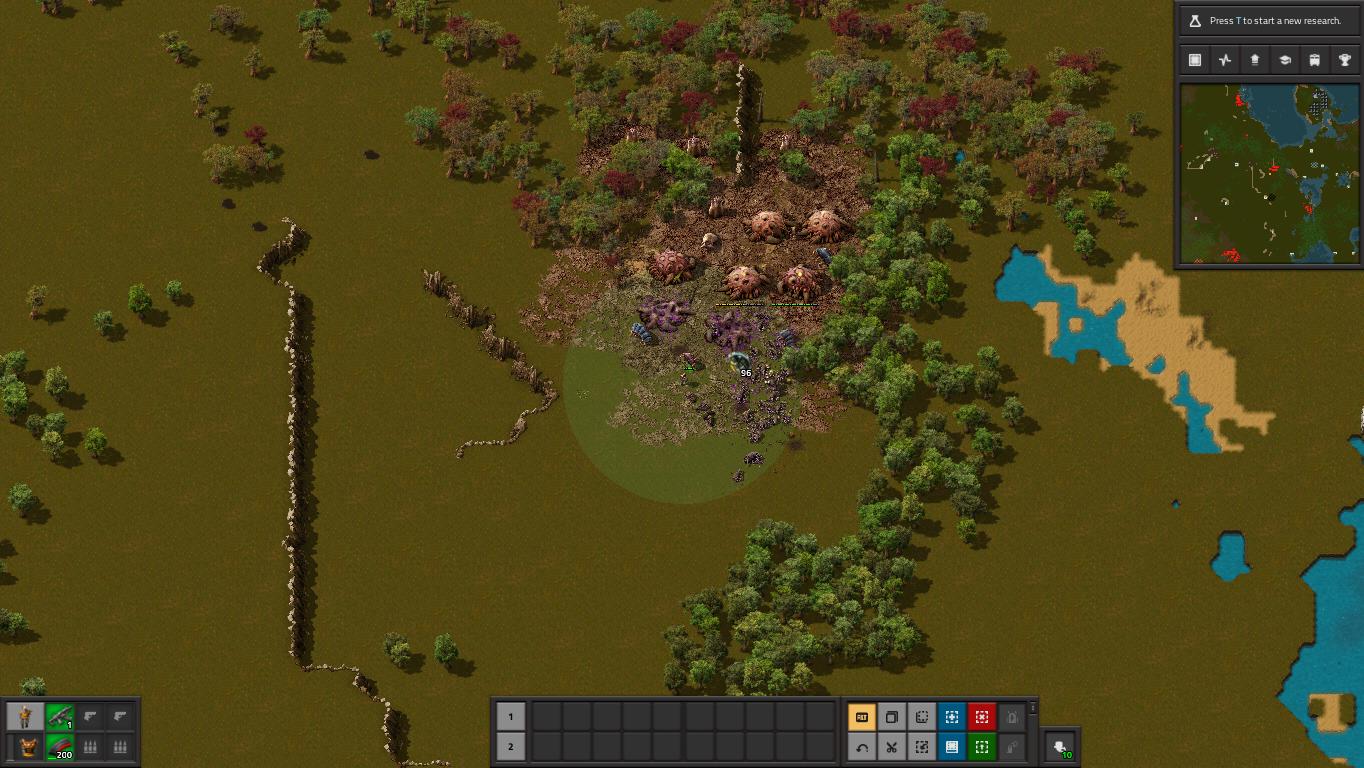
Capturing GroundThe enemy will periodically expand into new territory. This creates a problem for a number of reasons. Eventually you will have to find new resource patches, and there will be a greater number of biter bases in your way. Enemies can expand into your pollution cloud which would then trigger attacks against you. If the enemy sets up more bases, then more nests may need to be cleared, which increases biter evolution.
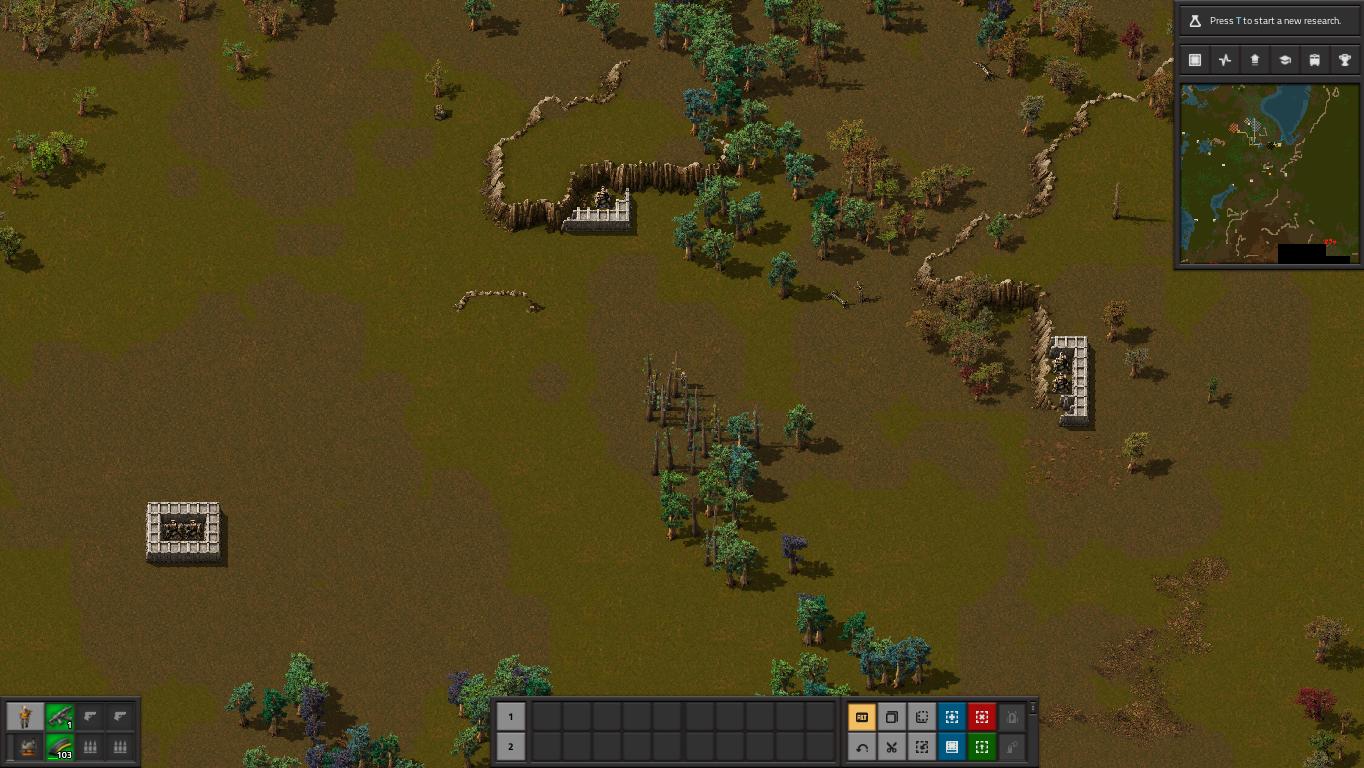
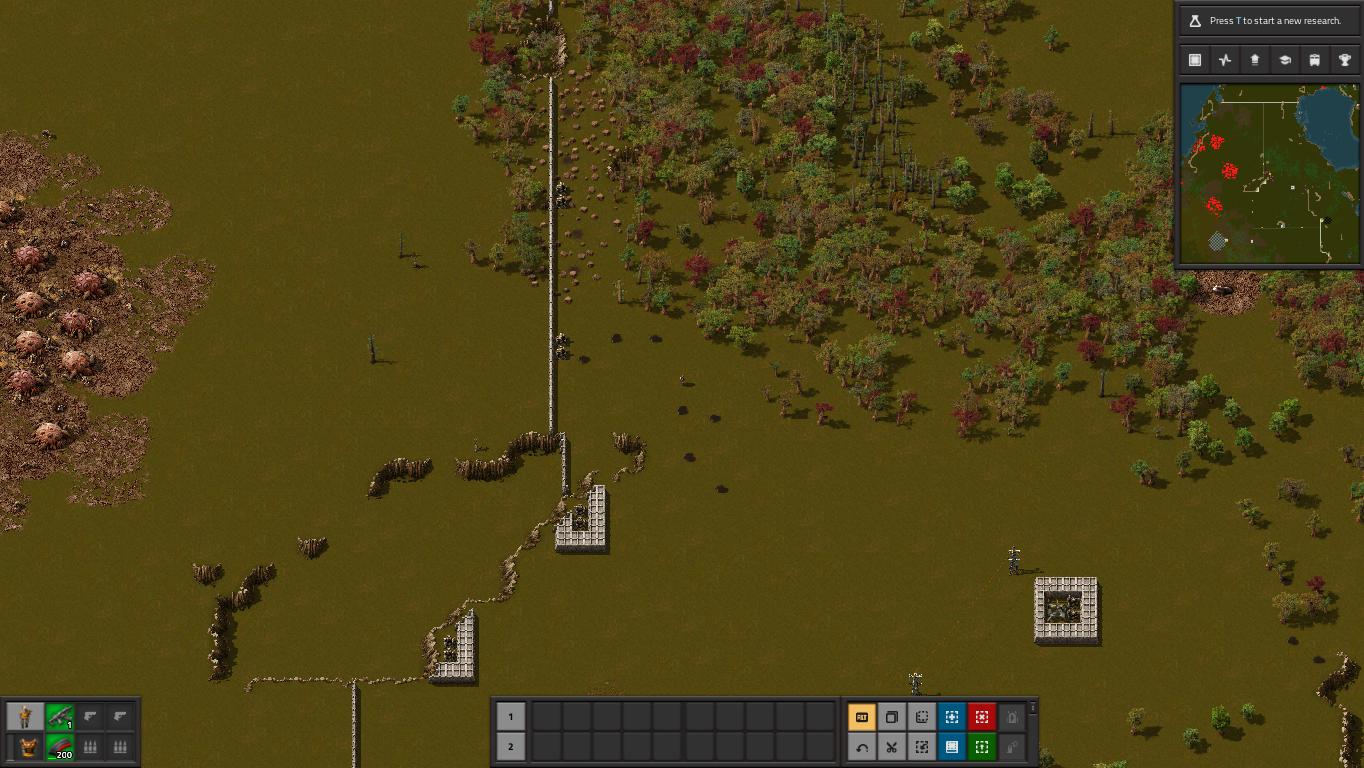
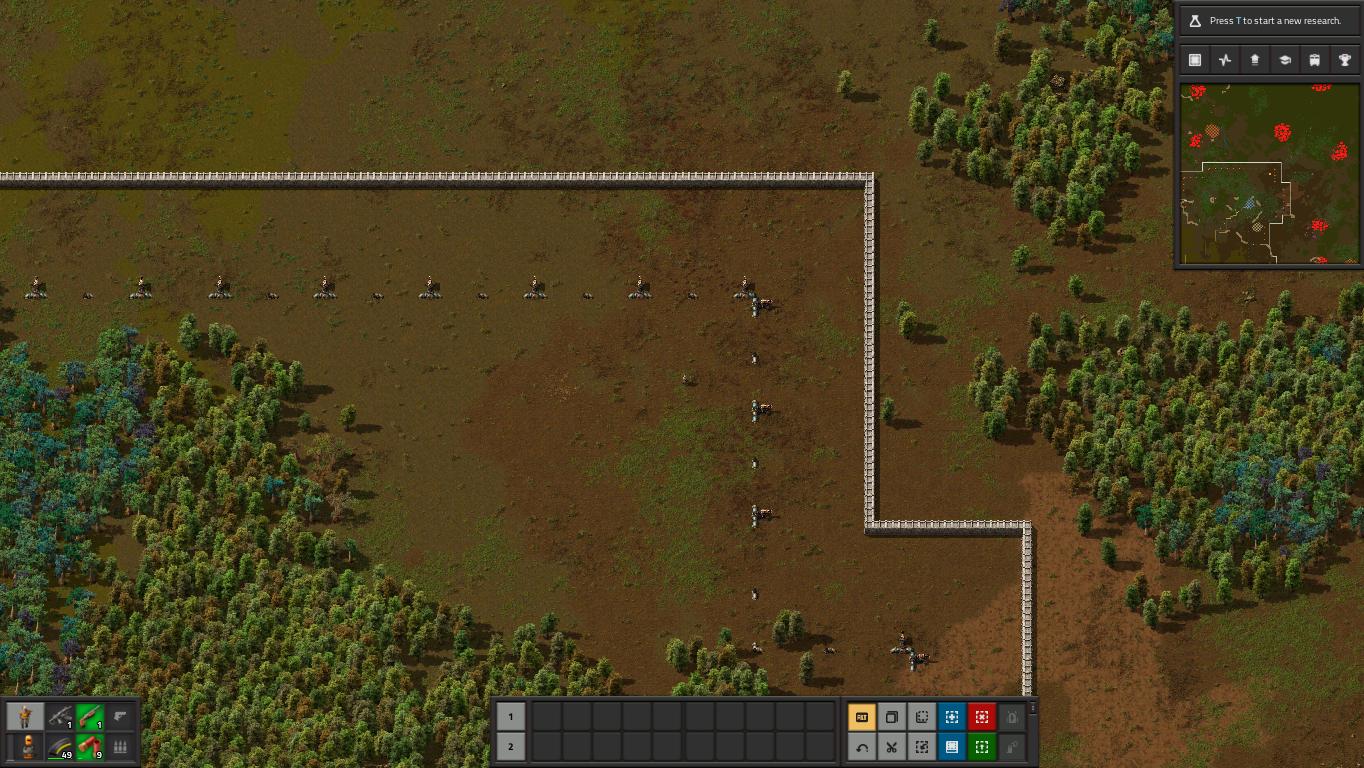
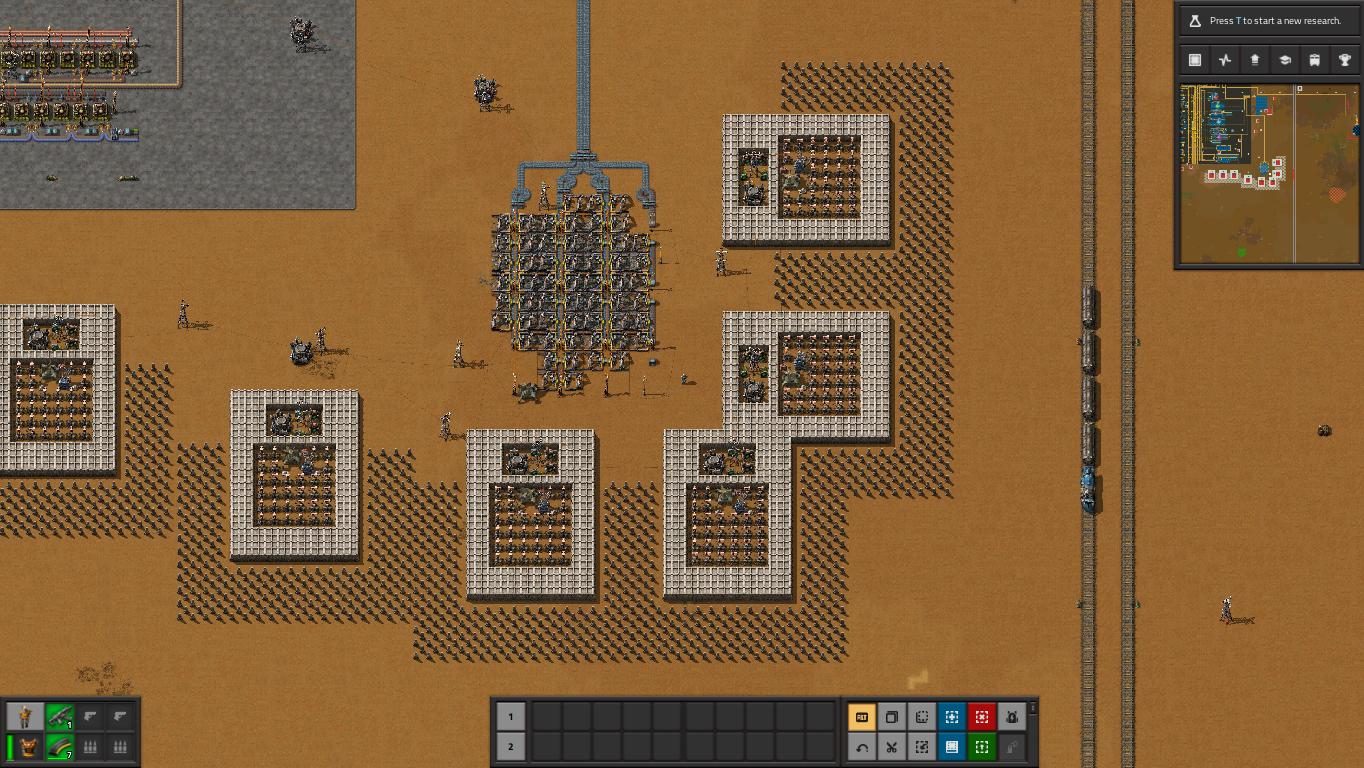
These problems are solved if decisive action is taken early in the game by capturing ground. Set up perimeter defences using pillboxes to defend your base at strategic points. However go further out, and set up defences at your next resource patches, and key defensive areas the enemy may try and expand into.
Enemy expansion can be manipulated, as biters do not like to venture into areas containing structures. A region containing several pillboxes may prevent an enemy expansion into that section. Eliminating the expansion party, is far more preferable than having to destroy newly built nests.
A comprehensive pillbox network surrounding your base also acts as a warning system of enemy expansion attacks, and reduces the need for any radar at this stage of the game. The gun turrets will give an alert to when they are firing, indicating repairs or ammunition may be needed. Radar at this early stage of the game is very costly in terms of energy and pollution. It should not be built until solar energy can be harnessed.
Stage 2- Military Tech/Solar

Stage 2 overlaps on the work done in stage 1, with a greater emphasis on military technology and building a solar network.
It is important in Deathworld to give a priority to military technology. The biters are more numerous and dangerous than in other game modes, so increasing your arsenal strength is of the utmost importance. Do not fall behind in military technology as the biters will punish you for it.
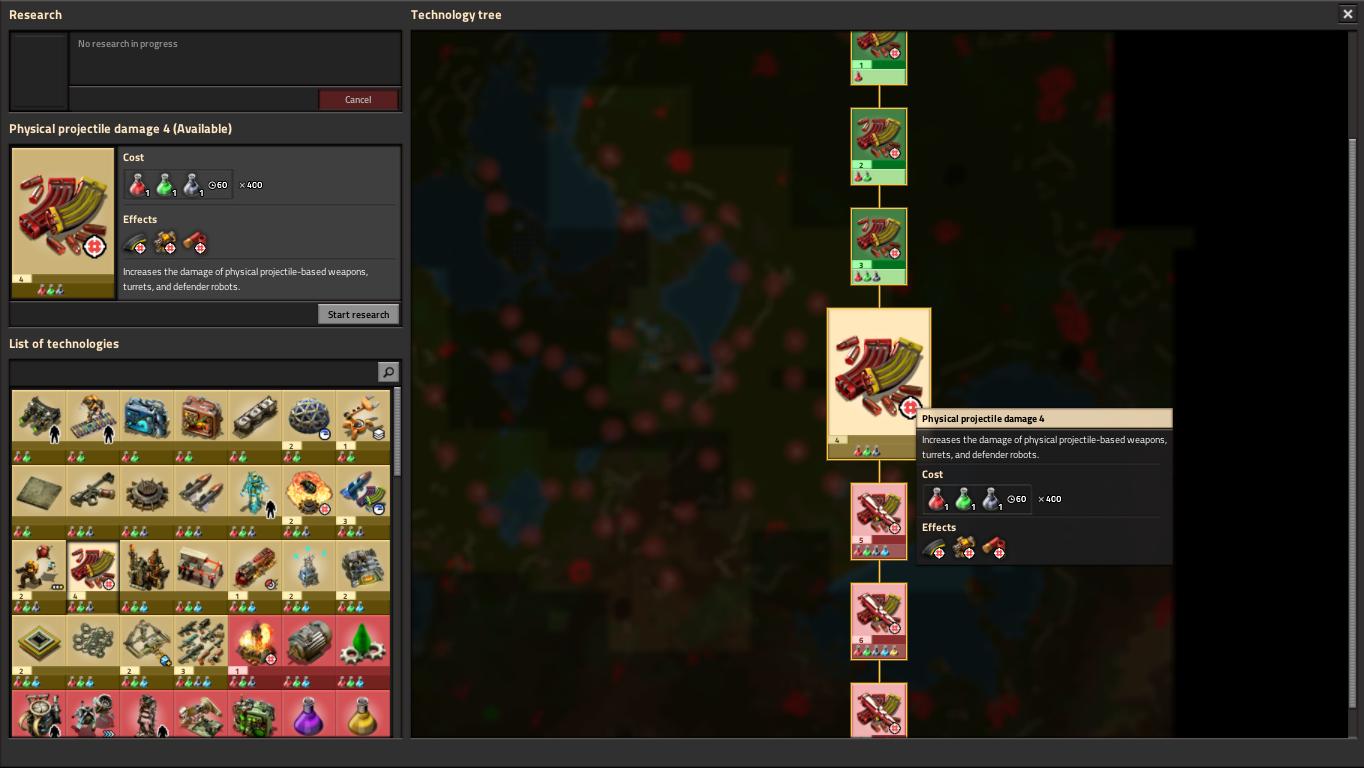
Military TechnologyThe priority technologies to research during the early stage of the game are Physical Projectile Damage and Weapon Shooting Speed. Each science, not only increases the power of your gun, but also the gun turrets, which are your primary defenders against enemies. Researching these technologies is important, as captured ground needs to be defended against enemy expansion parties.
It is very useful to research Explosives Damage as grenades can be used by the player as a secondary weapon in addition to your primary gun. Combat Robotics enable the use of defender robots who can assist in attacking enemies. Follower Robot Count increases the number of combat robots available for use at any one time. These additional military technologies can assist the player in defending against enemy attacks.
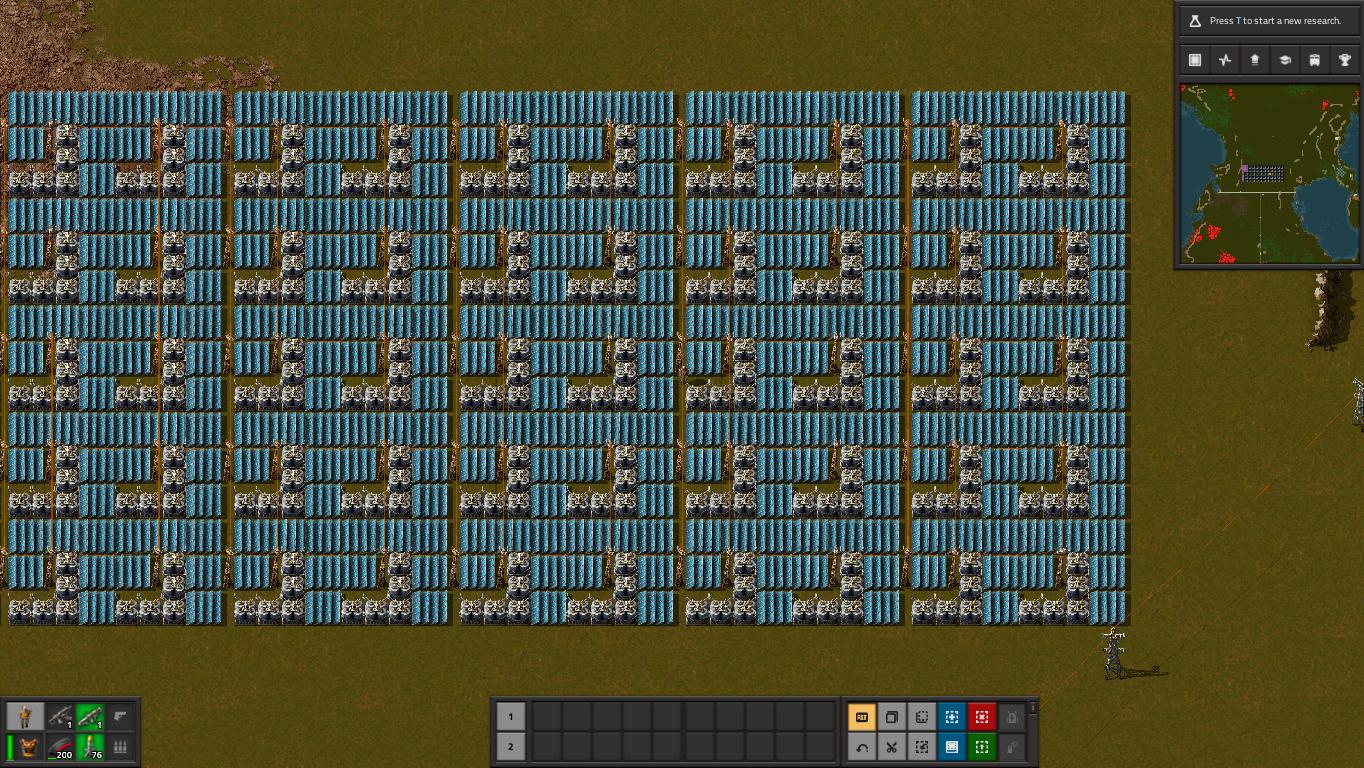
Solar Energy TechnologySolar research needs to be completed as soon as possible as a major source of pollution are boilers required for the steam engines. This technology requires a hefty amount of green science for this stage of the game, but will significantly reduce your pollution output. Since the evolutionary effects of pollution are accumulative, the sooner solar is completed, the more beneficial it becomes.
At this point of the game, a comprehensive radar network isn't necessary as many items are being handcrafted; most energy is going towards research labs. It is workable to run your factory during daylight hours using the solar network, and leave it offline during the night time (accumulators have yet to be unlocked).
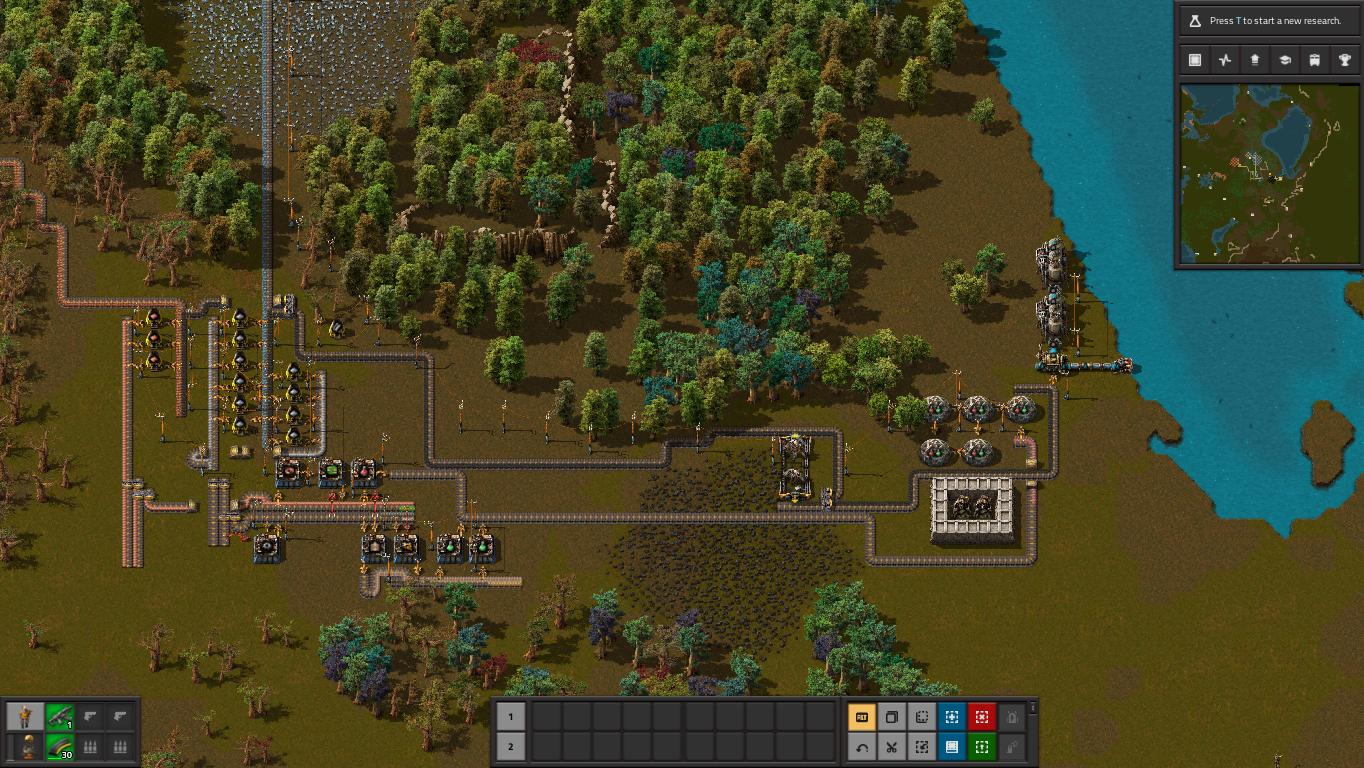
Stage 3- Secure Oil
Stage 3 overlaps and builds on what has been achieved in stages 1 and 2, however now there is an emphasis on obtaining an oil patch.
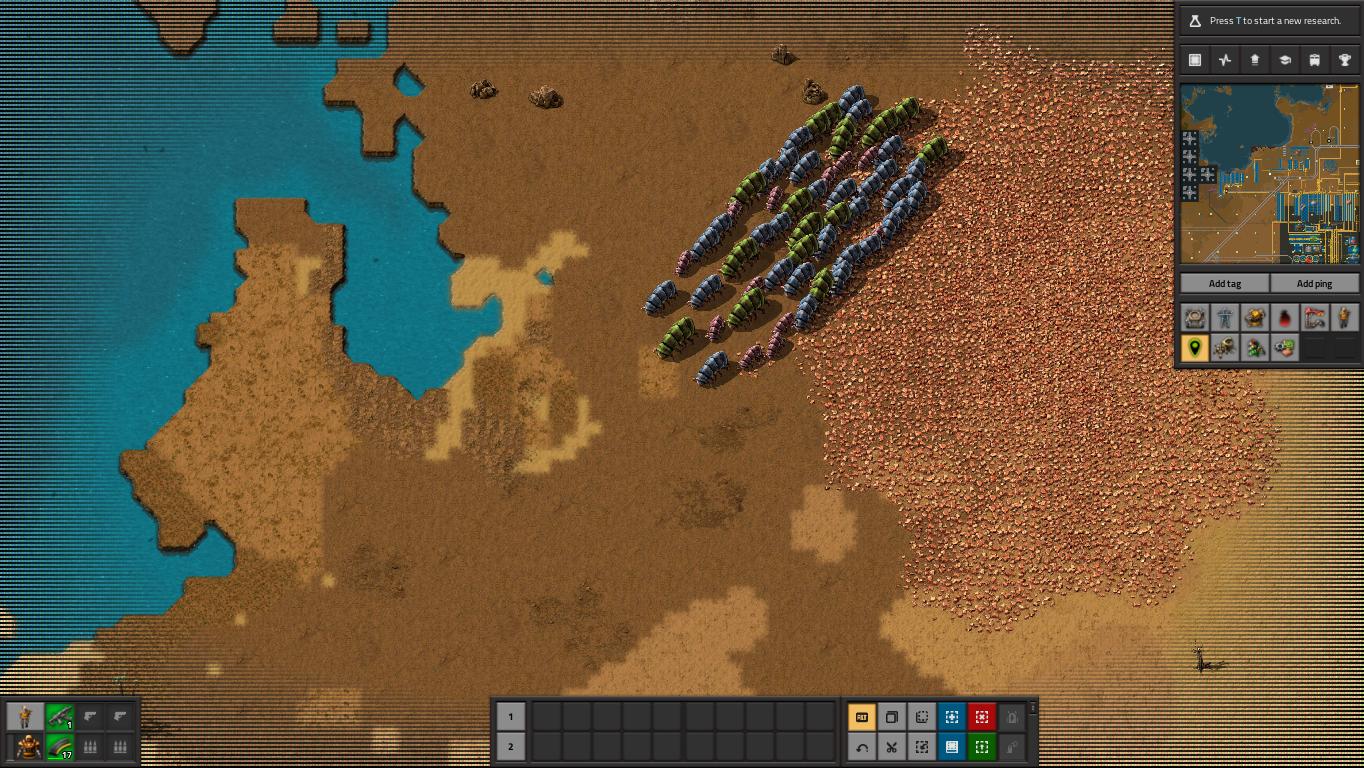
Secure Oil PatchIn order to progress, an oil source has to be acquired. Depending on the map selected, this task might be easier or harder to achieve as the level of enemies in your way can vary. Sometimes there is a small source close to your factory which can be captured early, however you may have to eliminate several large biter nests on a harder seed.
A large enemy nest will require some significant military technology to take down. Hopefully by this stage physical projectile damage/speed are well researched, and there has been some level of research gone into explosives damage and combat robots.
A helpful goal would be to obtain both shooting damage/speed to level 2, explosives damage to level 2, and combat robots to follower count 1. The more technology the better, however this should be enough to take down several nests to secure an oil patch.
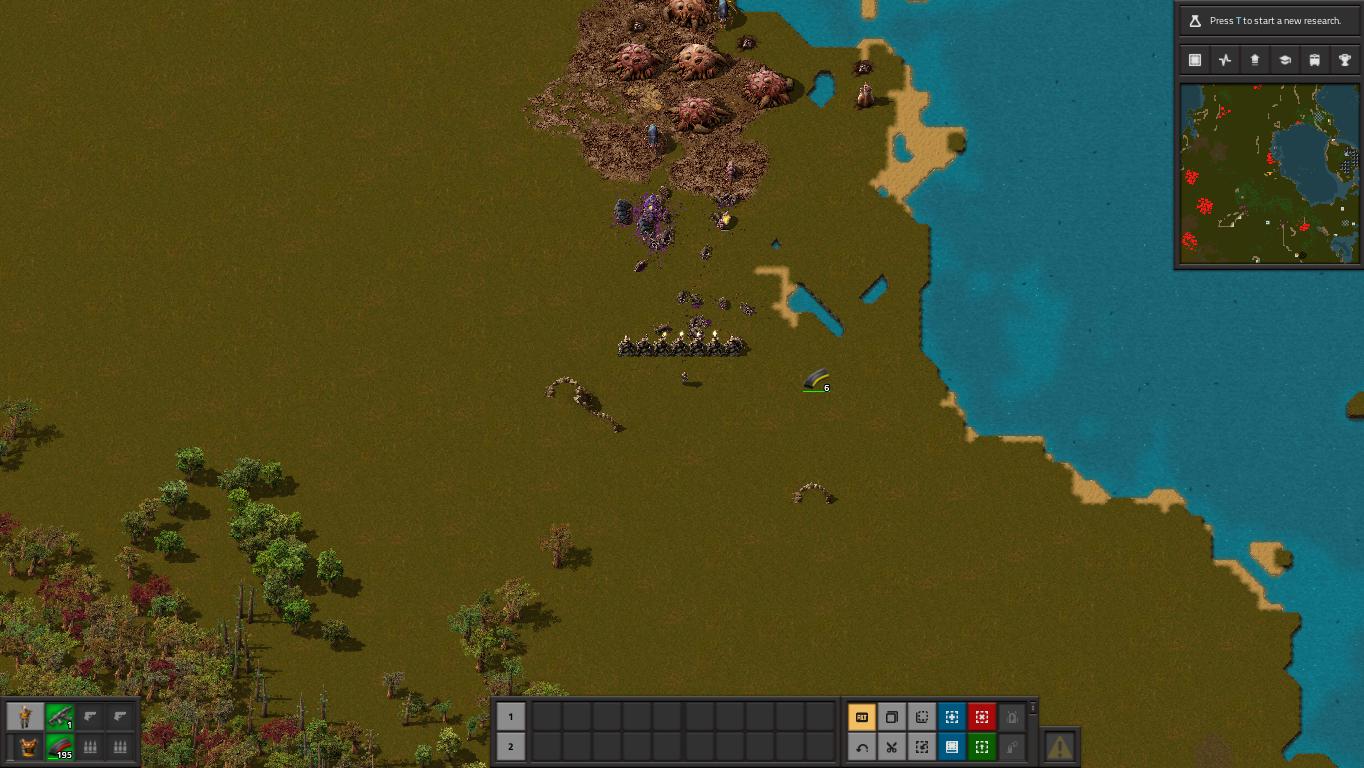
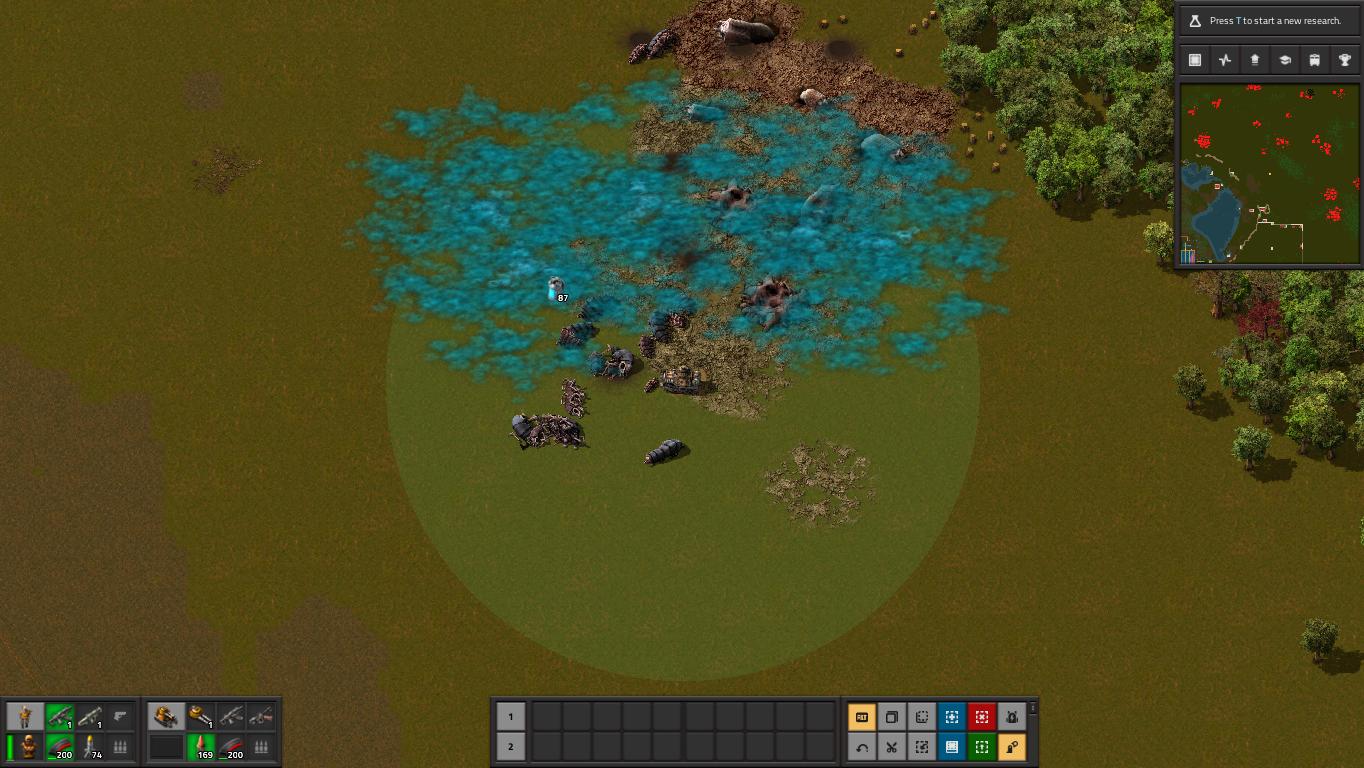
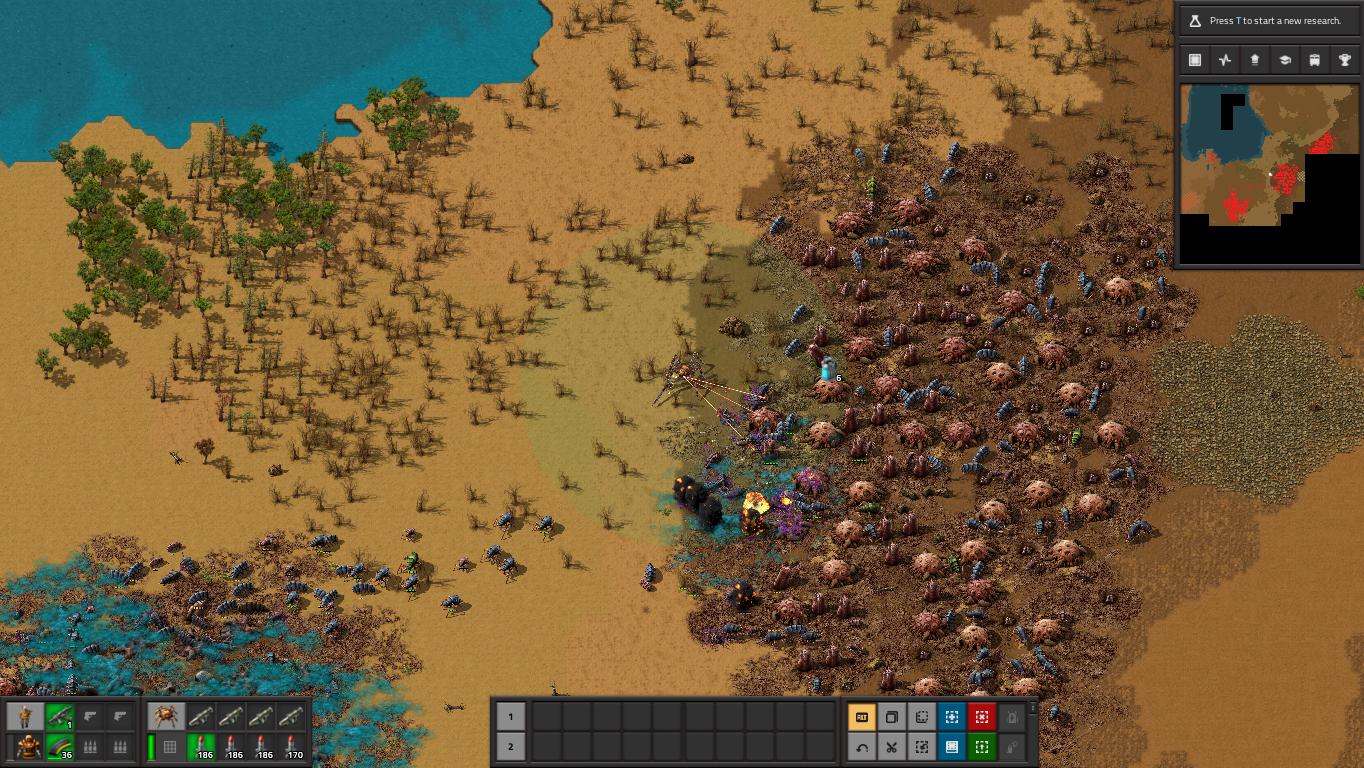
In addition to the player shooting, grenades and combat robots, gun turrets can be set up to help eliminate biters and their nests. This technique is called "turret crawl", where a line of turrets are set up and quickly loaded with ammunition to help with attacks (Fast reload using hot keys, Z, Ctrl+Right Click or Ctrl+Left Click). Fish may also be used to regain lost health quickly.
Once an oil patch has been secured, the ground must be captured, so make sure there are strategically placed pillboxes to defend the area from enemy expansion. The crude oil also enables the site to be defended by flamethrower turrets. These are incredibly useful for areas that require a more powerful level of defence. Several lines of walls, with flamethrower turret coverage is enough to eliminate all enemies at this stage of the game.
Mid Game
Stage 1- Modules/Accumulators/Radar
The factory should now have a defence network of pillboxes, an oil site has been secured and some basic military technology has been achieved. With the oil, we can research green modules, which is probably the single most important action in Deathworld. Accumulators can be manufactured with the production of sulphur so the factory can be powered at night time. A clean source of power has been acquired, so set up radars within your defence network.
Green ModulesSecuring the oil patch has enabled the production of green modules. Green modules not only reduce energy consumption, they also significantly reduce pollution output at no expense to performance. Each level 1 green module inserted reduces pollution output by 30%- the effects being accumulative the more modules that are inserted. This is your number 1 priority, and all subsequent buildings constructed need 100% green modules. (green modules can reduce power consumption down to a maximum of 20% of base power)
AccumulatorsBatteries can now be produced which enable the manufacture of accumulators. Accumulators can store power, so excess solar energy can be used at night time. This is a significant bolster to your power network, and allows your factory to be productive regardless of the time of day.
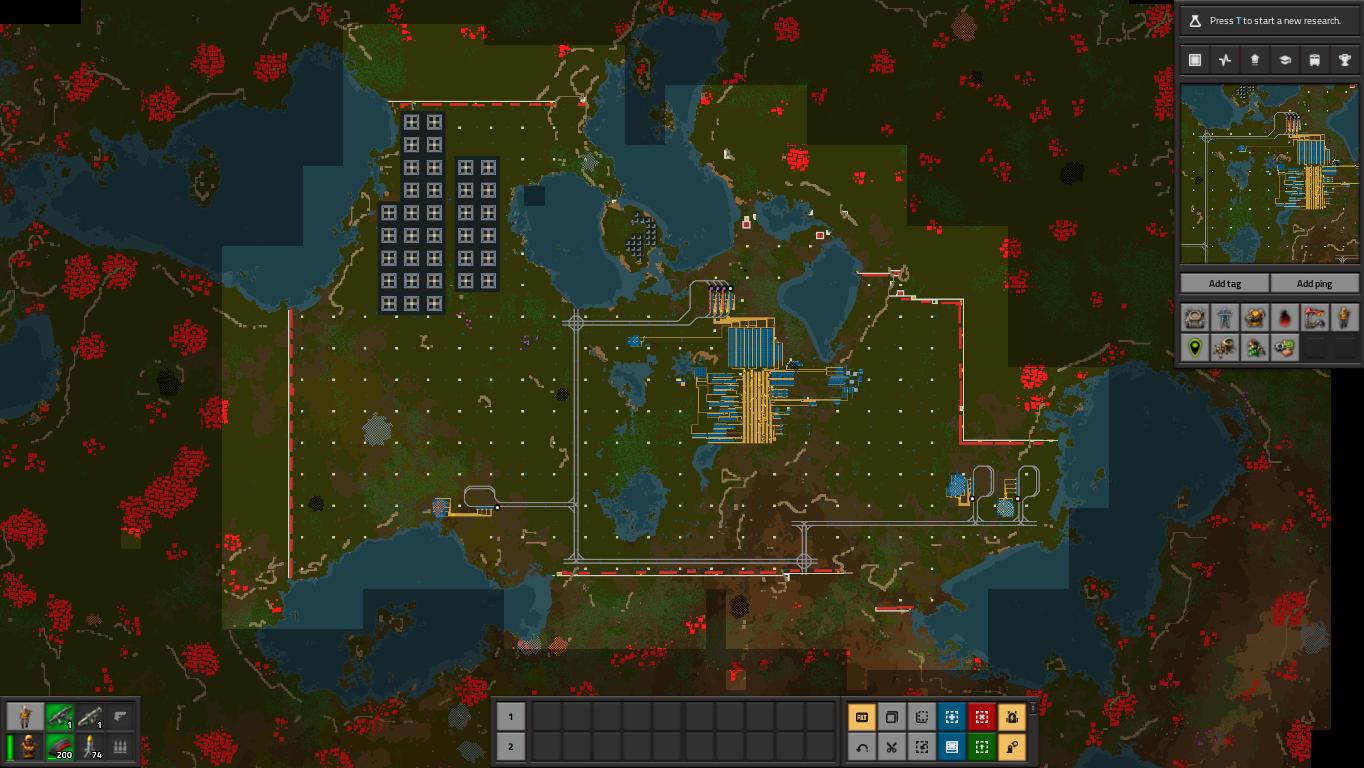
Radar NetworkThe power system should have a decent amount of solar panels by now, and the addition of accumulators is a major boost. The factory has access to free energy day and night. It is now cost effective to build a radar system which will help monitor outposts and reveal the surrounding territory. Construct a radar network.
Stage 2- Main Bus/Extend Perimeter
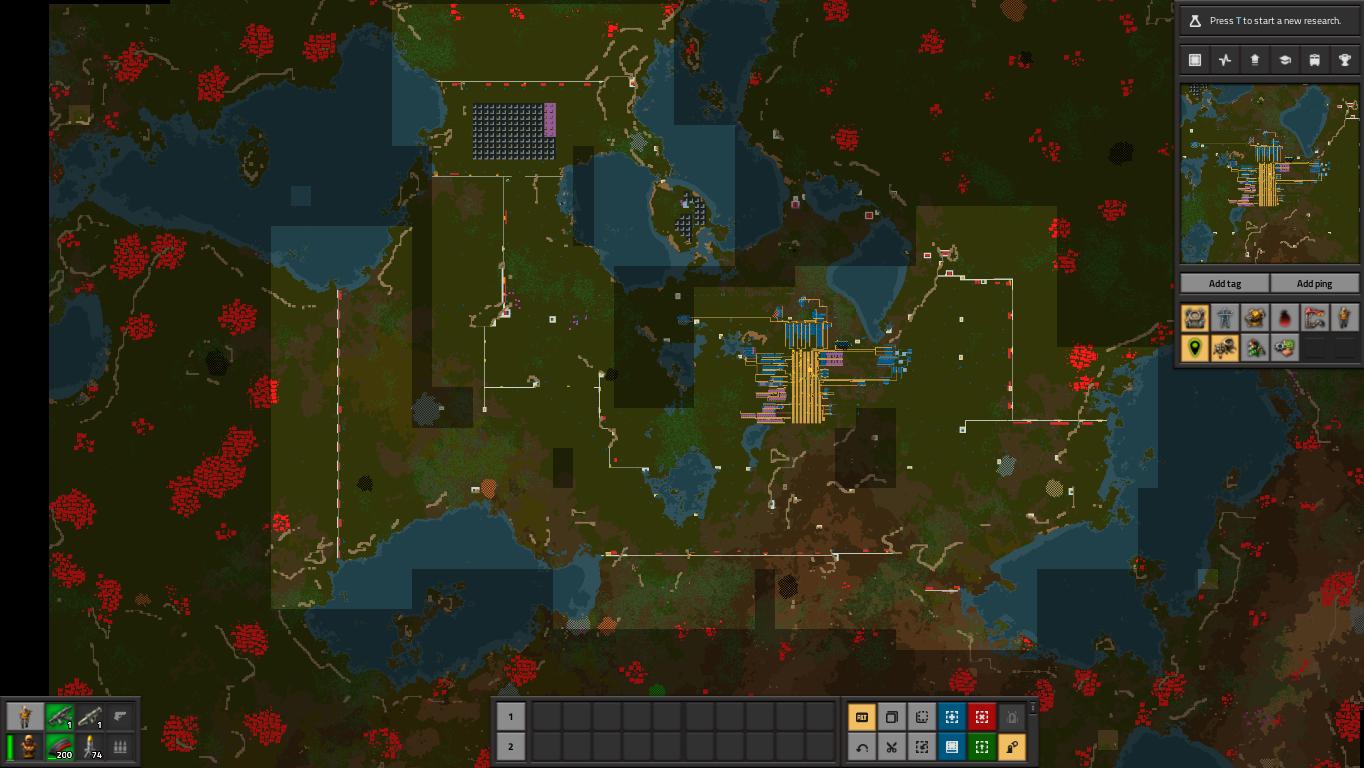

With the advancement to blue science, the factory needs to be reorganised into a more structured layout. Green modules have reduced the pollution output and cloud, so removal of trees is less of an issue. Transition to a main bus. Remove nearby nests, expand the outer perimeter and bolster defences. Construct a solid wall to 100% eliminate enemy expansion. Pay special attention to what resources could run low and the next patches that need to be captured.
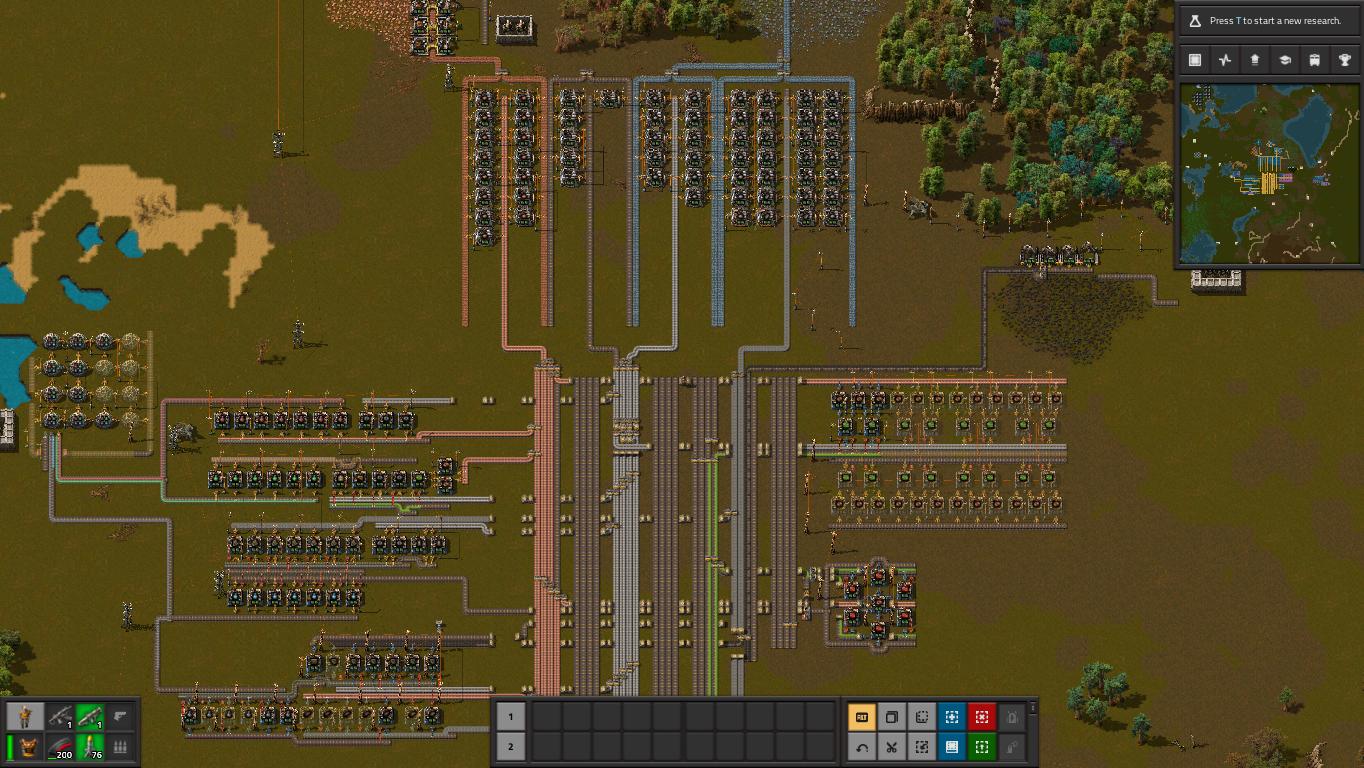
Re-organise Factory and Create Main BusBlue science signals the time to start reorganising the factory into a larger and more efficient layout. Using a bus for all the main resources is a good way to centralise production, and will save you time, especially when trains have to be used. It is also not feasible anymore to hand craft so many items. All science now requires automation. Automate green/red chips and add onto bus.
A standard bus layout in terms of belts is roughly; 8 iron, 8 copper, 2 steel, 1 stone, 1 coal, 1 stone brick, 2 plastic, 1 sulphur, 1 battery, 4 green chip, 2 red chip, 1 blue chip. These are the main resources used in most recipes, and the bus enables easy access.
Expand Outer Perimeter
Expand the outer perimeter with the aim of securing the next resources patches. Eventually the primary iron/copper/stone/coal patches will run out, so concentrate on the nests close to your next shortages. The ground where nests have been removed, has to be captured to prevent the enemy expanding back into the site. Be selective on what nests to remove, as not only will it increase biter evolution, but your current military technology is insufficient for tackling too many bases.
Wall Defences And New Military Items

Pillbox gun turrets have been useful for capturing ground and eliminating enemy expansion, however, without an ammo belt, they require manual loading. Ammunition also eats into iron resources and produces pollution. The perimeter defences must now be upgraded to overcome these problems, but also to fight off stronger enemies, who may have evolved greater resistance to gun turret damage.
New military technologies in the form of the tank, poison capsule and armour inserts are also now available to bolster your attacks against the biters.
Upgrade Perimeter Defences (Flamethrower Turrets)Improve the perimeter defences by upgrading the wall with flamethrower turrets. Ensure vulnerable spots are upgraded first, and all areas have at least some defensive coverage.
Flamethrower turrets are extremely effective against waves of enemies, they do not require electricity to operate, and are easily resupplied via pipes. Biters do not have fire resistance; the use of flamethrower turrets can wipe out many enemies at the same time (refined oil also yields higher damage Light>Heavy>Crude). The low rate of oil consumption and the very high damage value make flamethrower turrets an extremely cost effective defensive option.
Laser turrets could potentially be used to bolster the perimeter defences, however they are not as effective as flamethrowers at this stage of the game. In addition, laser turrets have an energy requirement, so the power network may need to be expanded before they are constructed.
Further ways to improve the defensive wall can be located within this guide.
https://steamcommunity.com/sharedfiles/filedetails/?id=2747633800
Utilise New Military Technology
Blue science enables the research of some useful military technologies. The tank is a formidable weapon that provides an extra layer of defence for the player vs more powerful biters. It can also be used to run over biters and nests, and the cannon shell provides a more powerful and explosive weapon. The poison capsule is another item that is extremely devastating against biters. The use of both the tank and poison capsule is a highly effective combination for dealing with more dangerous enemies.
There are also a number of personal items that can be inserted into armour that can increase combat effectiveness eg shields and lasers. Utilise these new weapons in your fight against biters.
Research And Rails

Once a secure perimeter has been established, the game plays in a very similar way as in normal factorio settings. Continue researching technology and set up a railway network to connect new resource patches to your factory. Add the resources to the main bus and expand production.
The only thing that varies is extra care should be taken to maintain and monitor the pollution cloud (via green modules), and the continued maintenance and improvement to the defence network. Bohemoths who evolve at around .90, will come on the scene earlier than in a default playthrough, so make sure there is a strong defensive perimeter before they spawn.
Provided military technology and defences are kept in check, what comes now is a fairly standard game of factory expansion. Effective use of the spidertron can eliminate all enemies regardless of strength. Artillery coverage prevents biter expansion close to your factory, and can also be used to remove the most dangerous of enemy nests.
Late Game Defence

For the late game, a defence is required that is not only powerful, but also easy to construct and repair. There are a number of options available, however the ease of use and effectiveness of laser turrets, provides the most obvious choice. Energy is also almost unlimited in the late game as large solar farms can be utilised in addition to nuclear power.
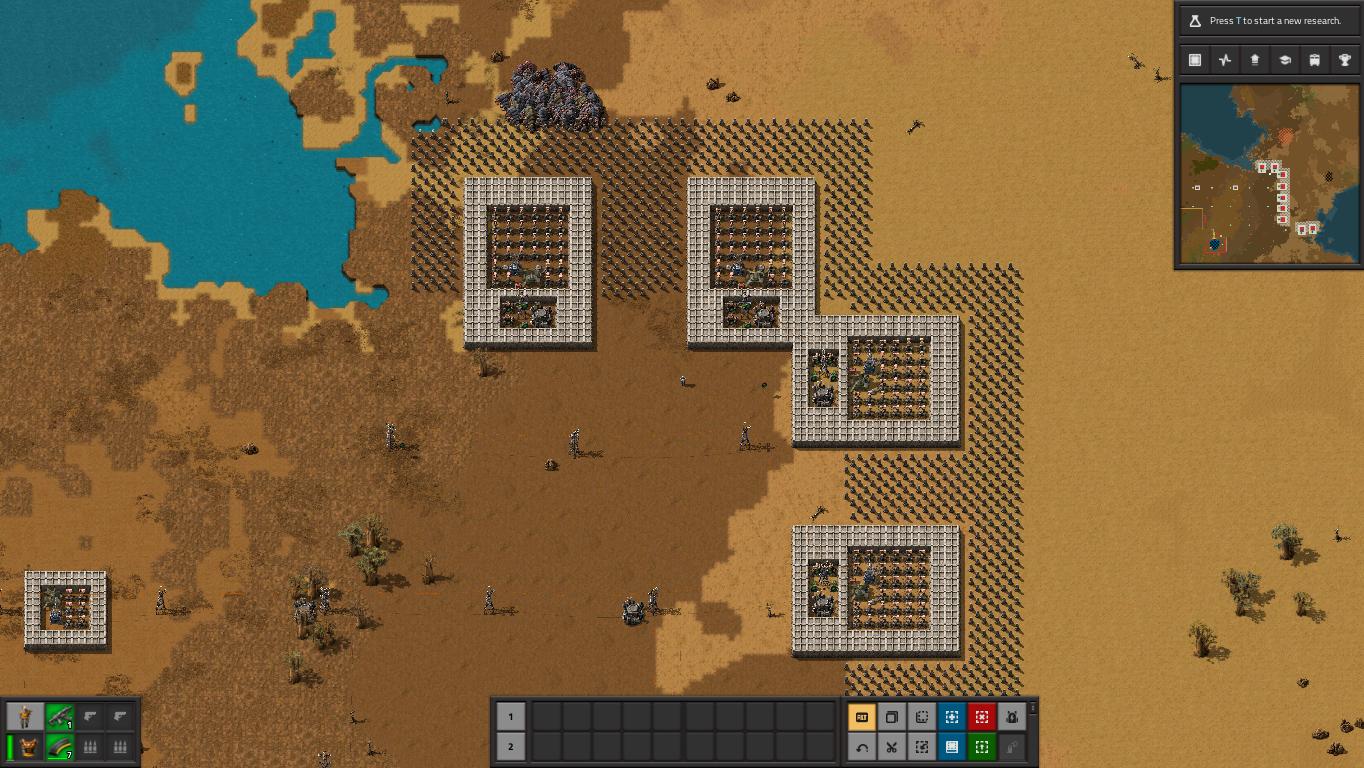
Flexible late game defenceA flexible defence approach using hardened laser pillboxes, enables quick and easy construction around terrain and/or useful resource patches. Blueprinted boxes can be dropped on the map screen and built by robots. Static line walls are still effective but can be slower to construct. It is easier to defend a strategic zone via a defence box, than build an entirely new wall.
Dragon teeth (wall posts) slow down biters so the defences have enough time to do their work. Flamethrower turrets are extremely effective against the toughest of waves. Uranium ammunition turrets can also be very useful vs bugs, however, physical ammunition reloading is required either in the form of a belt or robot logistics. A wall of landmines is another effective strategy for stopping large waves of powerful enemies.
Thanks for reading this guide and I hope it helped you.
Source: https://steamcommunity.com/sharedfiles/filedetails/?id=2385431916
More Factorio guilds
- All Guilds
- The Curse of "SIGSEGV"
- Guide to Legendary Quality
- How to use parameters in blueprints
- Factorio/Railway Design
- 1.0 / Maps with islands for 1.0
- Space Age: Fulgora | :
- How to escape
- How to remove Big rocks/Boulders (2024 UPDATED)
- Factorio Guide 1190
- Factorio Guide 1189