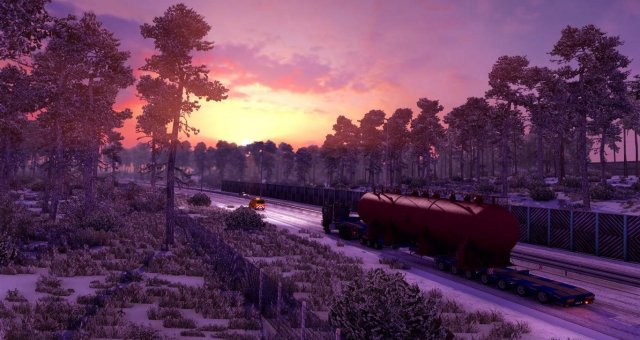
Learn how to take good pictures using ETS Photo Mode.
Guide To Photo Mode
Entering Photo Mode
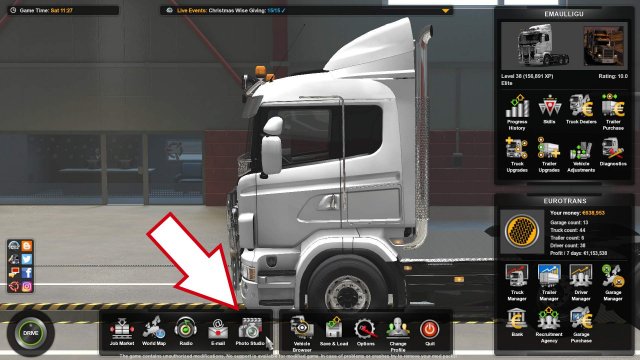
Photo Mode can be accessed from the main menu in two steps (and I put some big arrows just to be sure):
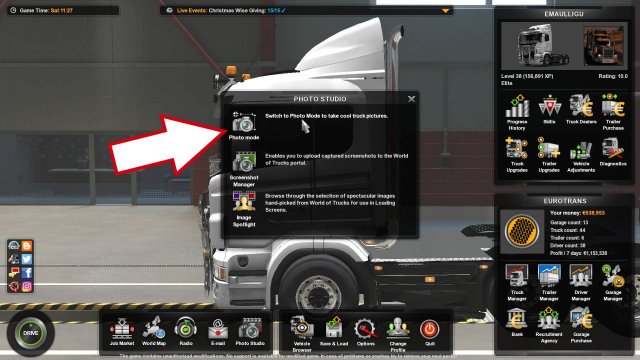
Click on Photo Studio
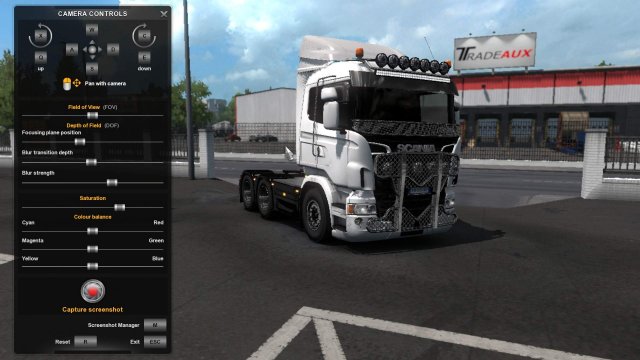
Click on Photo Mode
You will then be directed to the Photo Mode and this interface:
"It's On, What Do I Do Now?"
You've entered photo Mode, and now there's a lot of sliders with weird names flashing at you. I'll teach you what do to with all of these one by one.
Moving Around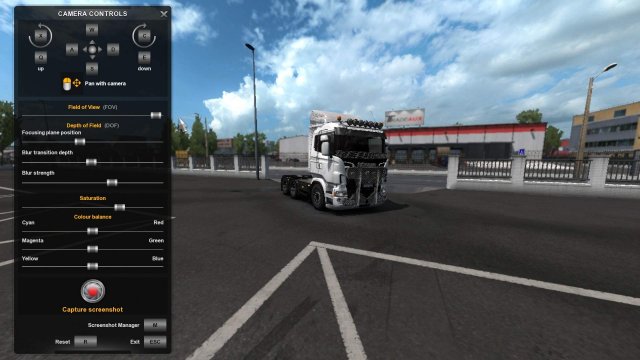
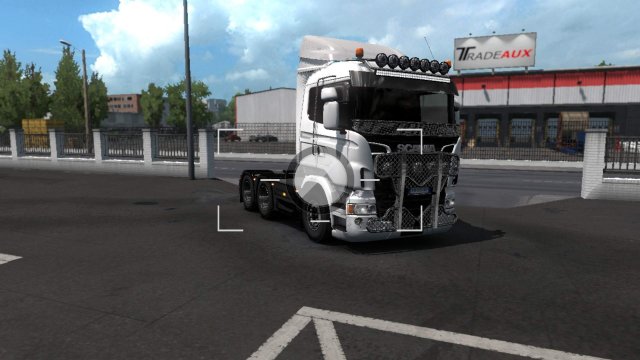
Moving your mouse anywhere that isn't the setting panel and holding down left click will hide the interface and bring a camera-like overlay, as well as allowing you to move around freely, using your WASD keys (ZQSD keys for AZERTY users). Press Q/A to go up, E to go down. X and C can be used to tilt the camera left and right on its axis. Additionally, you can also press these buttons directly on the panel.
The R key will allow you to reset camera placement and settings all at once.
The camera overlay displayed when moving.
 FOV Slider
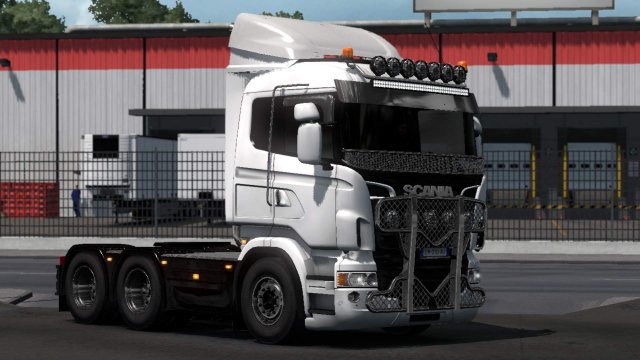
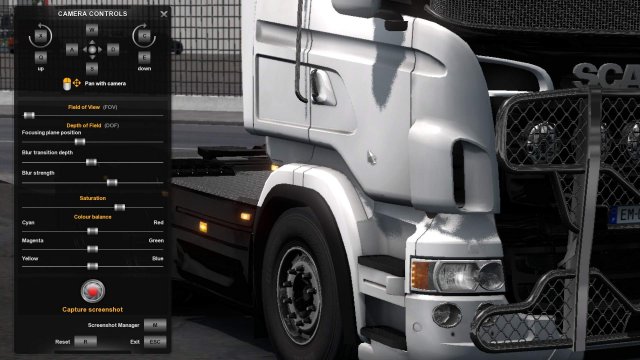
Probably the most important setting of all. The Field of View setting corresponds to how wide your camera angle is, and how "rounded" everything will appear on screen. These two pictures have been taken with exactly the same angle but a different FOV setting:
Max FOV
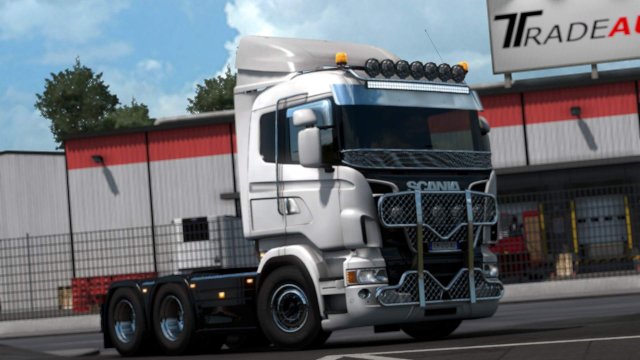
Min FOV
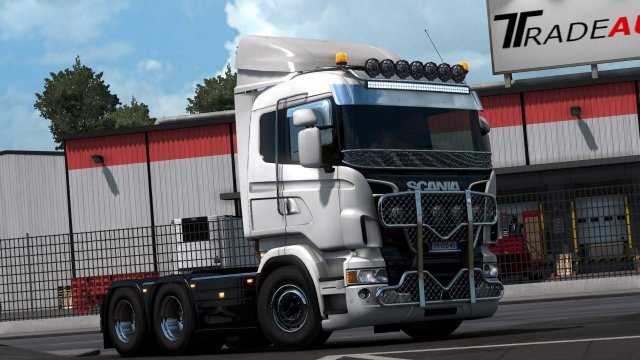
I'm begging you, do not turn up your FOV if you don't know what you're doing.
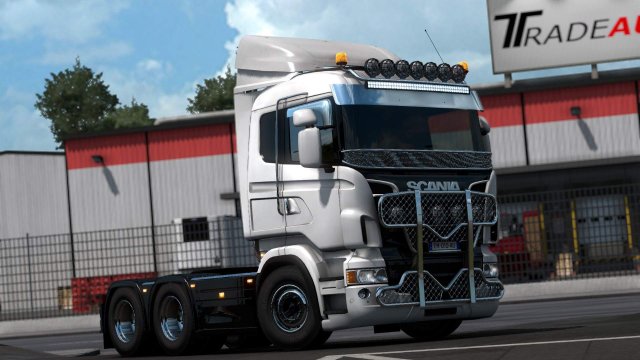
It makes everything look swollen and rounded, that's not cool.
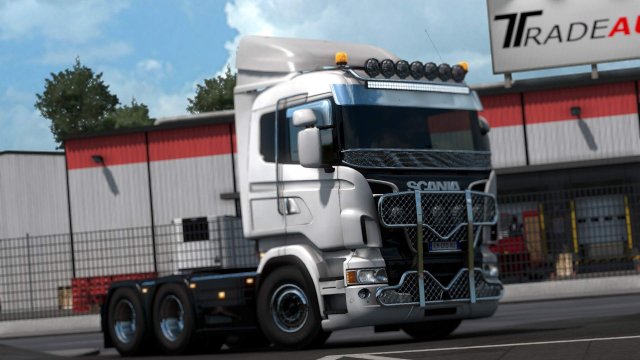
I suggest reducing FOV as much as you can for close-up shots, and leaving it somewhere within the first half even for medium-range shots.
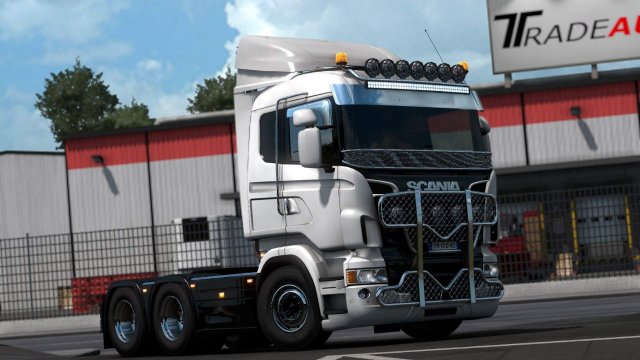
"I'm stuck and my camera won't move back any further!"
- That's correct, for some reason the camera has a very very short boundary which can luckily be disabled using this very useful mod!
I take no credit for it as it isn't mine, but it's a must-have for anyone even remotely thinking about taking screenshots. It allows you to move your camera away enough for this:
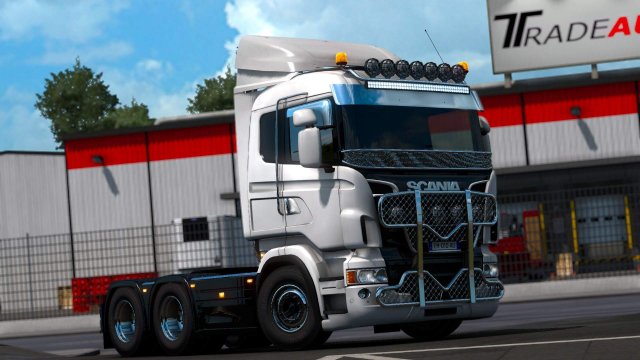
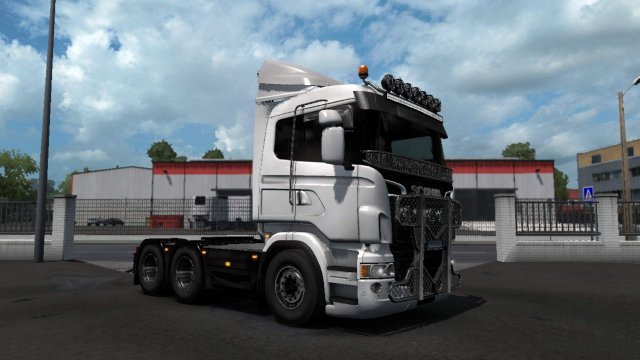
Fitting the whole truck inside the picture with default FOV value
Fitting the whole truck inside the picture with minimum FOV value
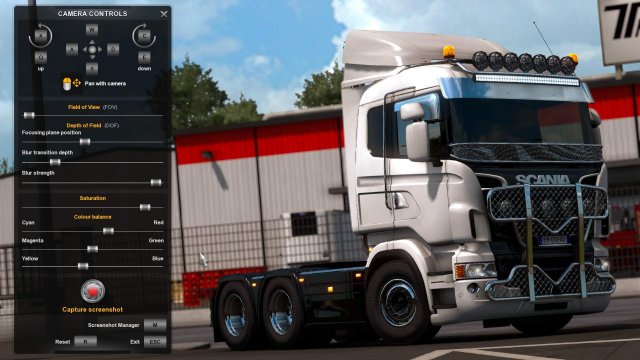
That's quite a change, isn't it ? FOV should be treated carefully as it can have a huge impact on your final result. Find a value that suits what you're trying to achieve, but don't just leave it at default because you don't know what it does.
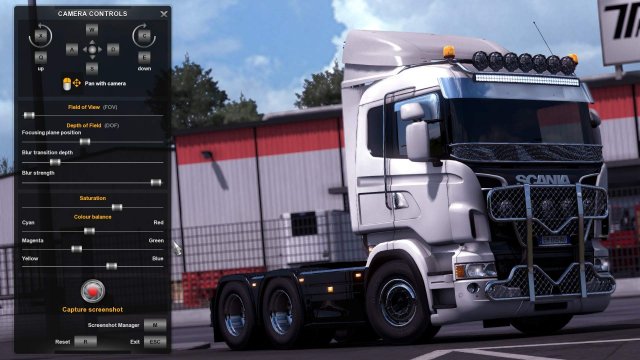 Depth Of Field
Focusing Plane Position: This corresponds to the point of focus of your camera. Anything beyond that point will be subjet to blur, said blur being regulated by the two following sliders. Ideally it should therefore be placed so that the object you're picturing (your truck) isn't blurred, but the background does, at your convenance.
Focus at minimum, everything is blurry.
Focus distance at maximum, nothing is blurry.
Appropriate focus distance, the truck is clear but the background is blurry.
Blur Transition Depth: This slider controls the amount of distance between the focus point and the point that will be 100% of your blur value. It makes your blur gradual. For this example I've set the Focus Position at the front of my truck.
0 Blur transition, everything past the focus point is blurred at maximum value.
Max Blur Transition, the blur is gradually increasing over a very long distance
Blur Strength: Says how strong your blur is. Minimum value is no blur at all, maximum blur have been used on previous pictures for demonstration. High blur tends to mess with wires and thin grids, adapt when needed.
SaturationThe Saturation slider controls color presence. More saturation means more color, less saturation less color.
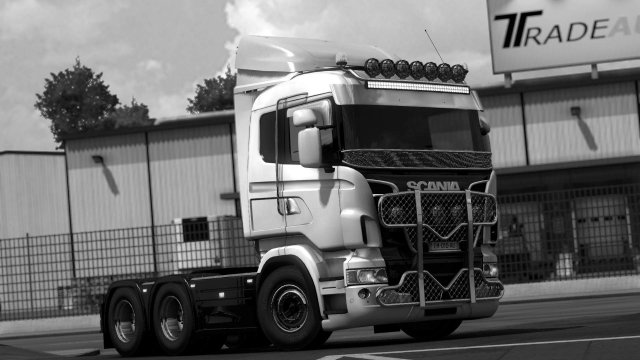
0 Saturation means black & white pictures!
Max Saturation makes color extremely bright and vivid
Going all the way up to the max is usually too much, a good balance between the default value and the max needs to be reached for each shot, in coordination with color correction.
Color BalanceThe game works on a combination of Red, Green and Blue to render colors, also known as RGB. Each of these sliders controls its main color. Increasing it will boost said color, lowering it will subsequently boost the two other ones. Pair with saturation to give each of your shots a unique glow and ambiance.
Warm summer
Cold Winter
Source: https://gameplay.tips/guides/9250-euro-truck-simulator-2.html
More Euro Truck Simulator 2 guilds
- All Guilds
- Euro Truck Simulator 2 - How to Claim World of Truck Event Rewards to Your Steam Profile
- Euro Truck Simulator 2 - Road to the Black Sea DLC Achievements Guide
- Euro Truck Simulator 2 - Xbox Controller Setting
- Euro Truck Simulator 2 - Map and Vehicle Changes (Update 1.35)
- Euro Truck Simulator 2 - Complete Achievement Guide (Heavy Cargo Pack DLC)
- Euro Truck Simulator 2 - How to Sign-up TruckersMP
- Euro Truck Simulator 2 - 100% Achievement Guide
- Euro Truck Simulator 2 - Adding Radio Guide (How to Do It)
- Euro Truck Simulator 2 - Complete Achievement Guide (Scandinavia DLC)
- Euro Truck Simulator 2 - Xbox Controller Settings
