Intro
In this guide i will share some info about the default map generator in 7d2d (A22 or v.1.0) and how to build your next favourite map.
The programs you need are:
• 7d2d
• paint / paintnet / GIMP or any other program like that (for an even better and personalized experience).
I use PaintNet for this
I will update the guide with every new info i found and every new major update.
Info About The Settings
None of this is "official" afaik, but it's multiple times tested.
The basic settings like towns, rivers and so on affect each other just minimal.
It's possible that one river is partially inside a lake, but that's it. Many lakes will move some of the wilderness POI but won't reduce their amount noticable.
The lakes slider only affects large lakes as important part of the landscape, not small lakes as part of the outer regions in some towns.
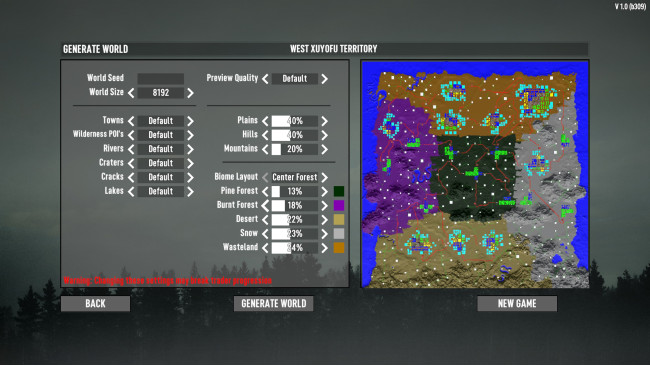
The preview quality should be set to default or lower for world sizes of 8192 or more.
Heavily depending on your system of course.
Plains and Hills affect the towns just minimal, there is a difference between 30%/50%/20% (Plains, Hills, Mountains) and 50%/30%/20%, but there is no general rule like: plains>hills → more towns
Mountains strongly affect the amount of towns (mountains < 20% → many towns)
The bioms define (unlike A21) the landscape and the towns. Most importantly:
• No mountains in wasteland
• The largest cities are only in wasteland
• No larger towns in both forest and burned forest
The Seed defines the boundary of the map. E.g. Water NorthEast, Mountain SouthWest
Create Your Perfect RG Map
For your perfect random generated map experience i recommend the following steps:
Set the basic settings
Towns, Wilderness POI's, Rivers, Craters, Cracks, Lakes.
I often use "many" for all of them
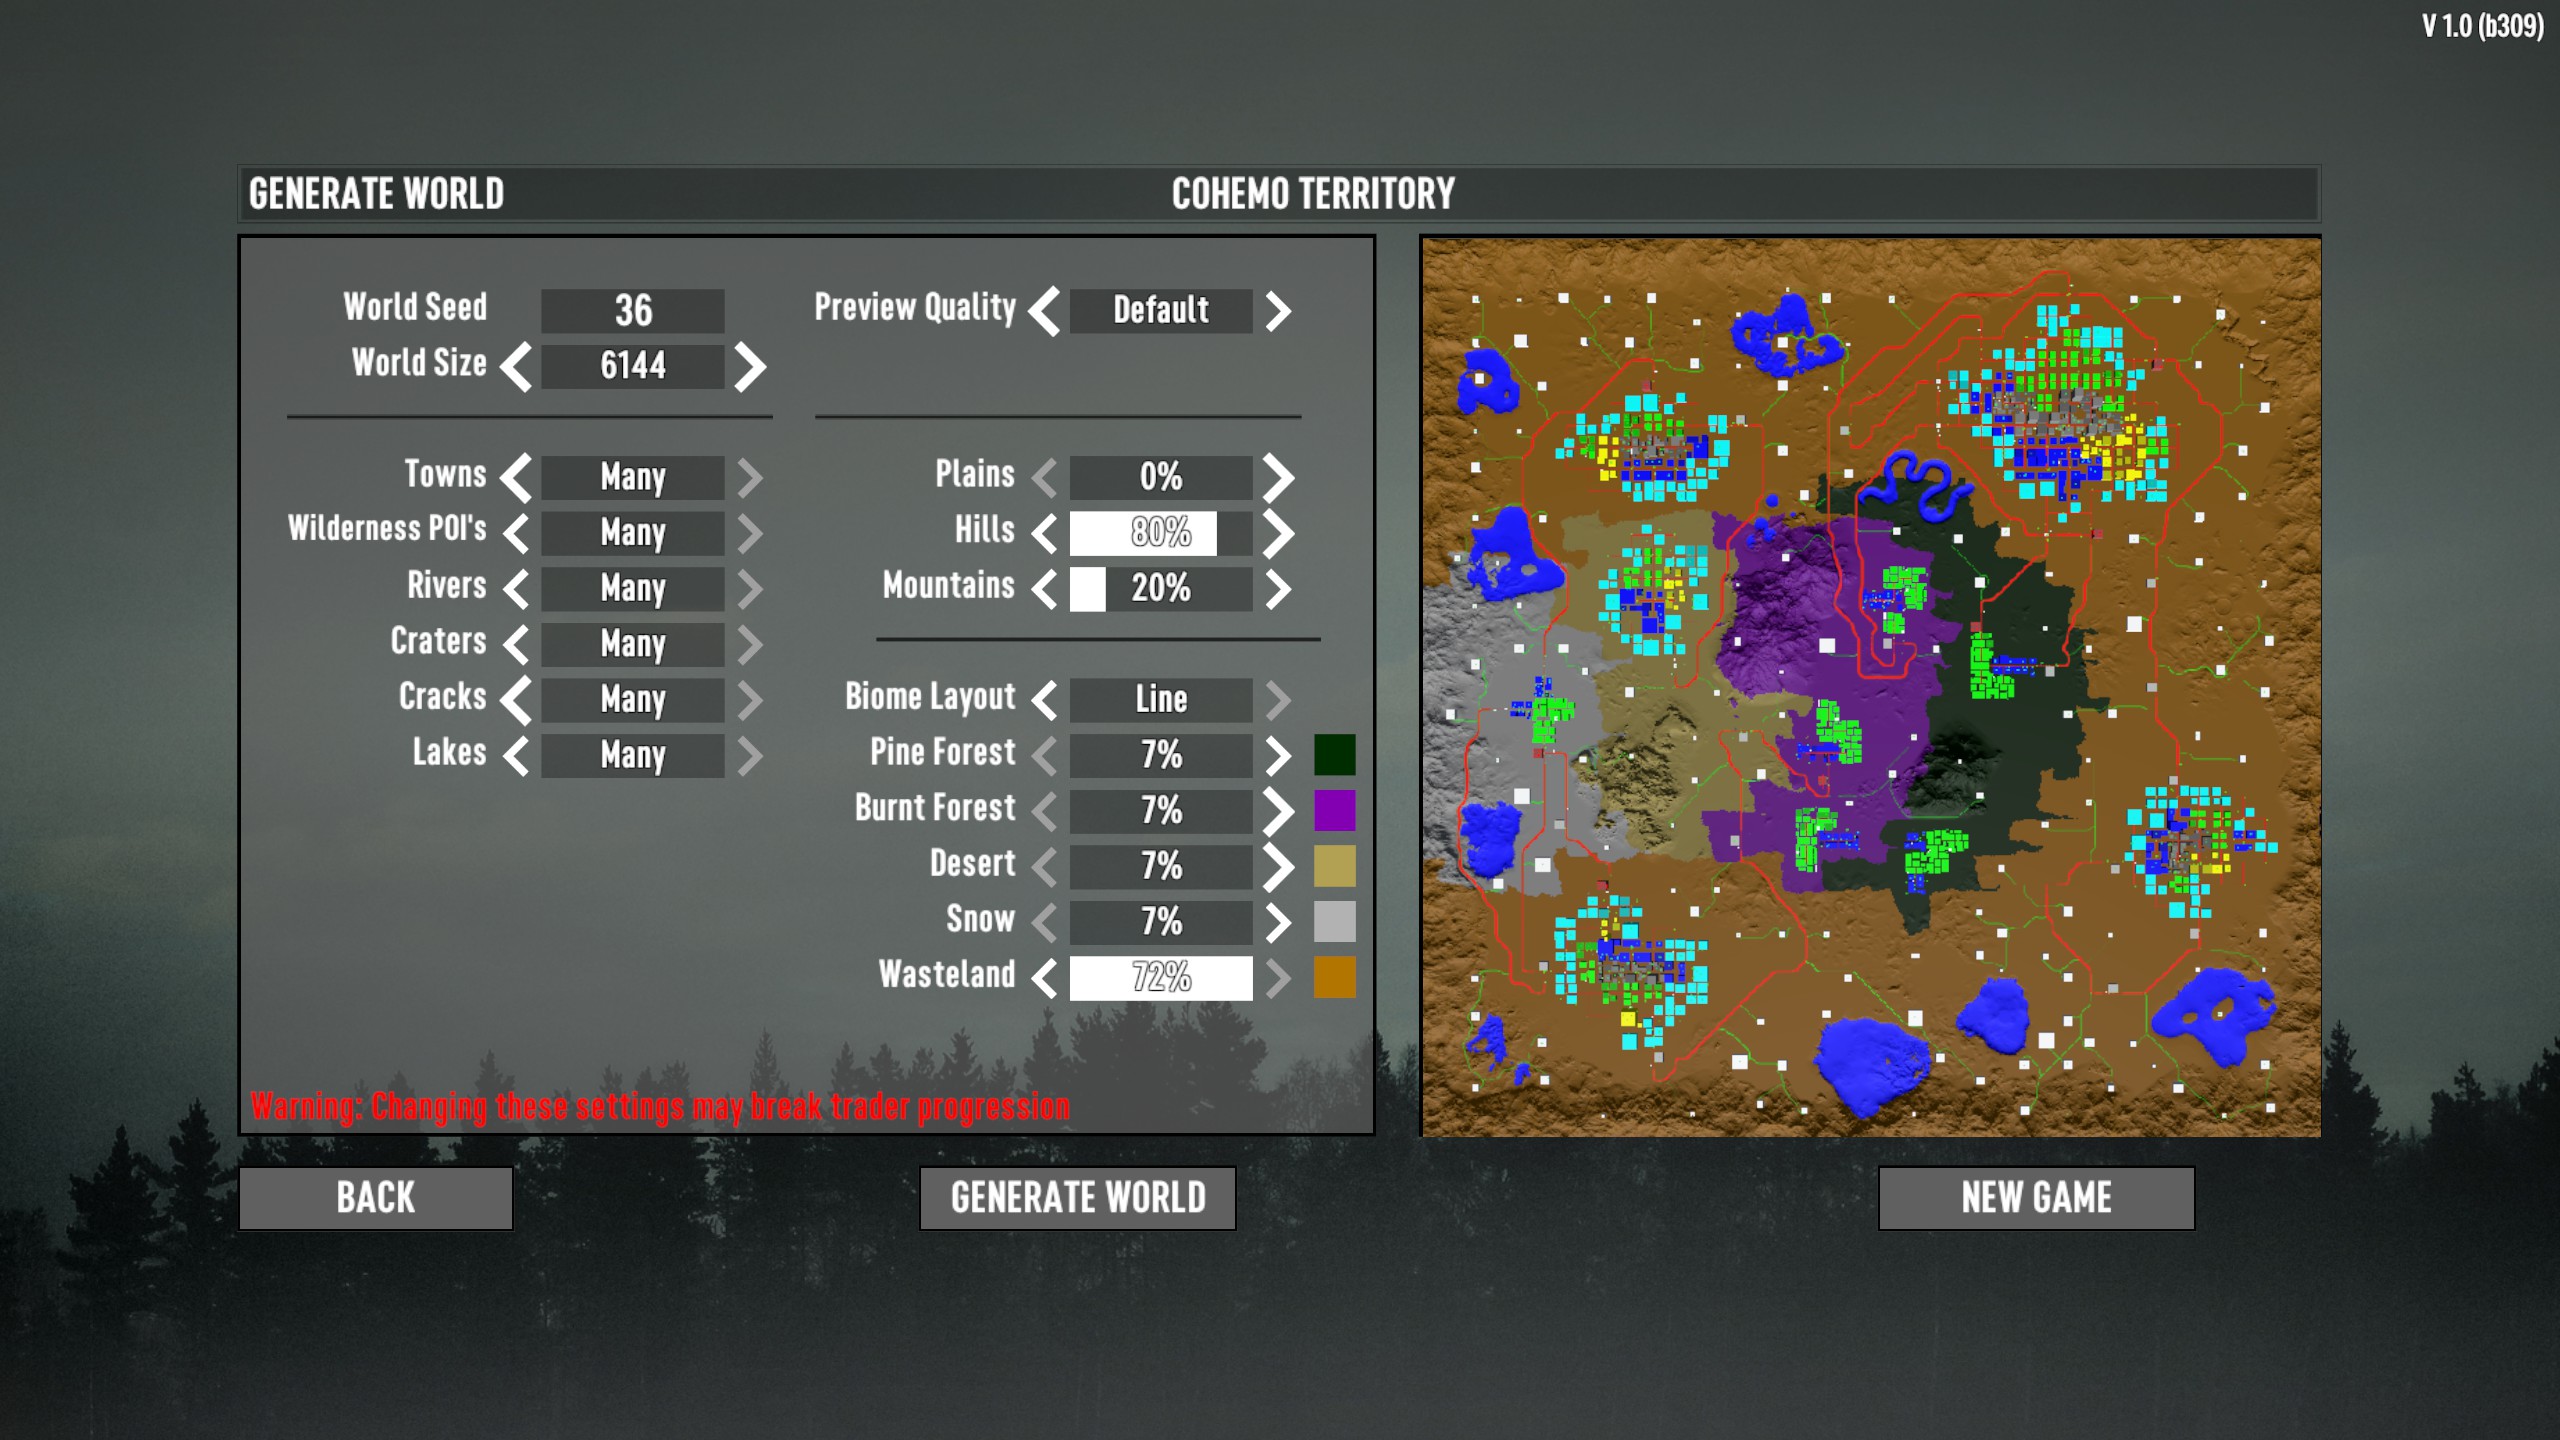
Set Plains/Hills/Mountains.
I often use values around 0% Plains (the towns are plain even with 0%), 80% Hills, 20% Mountains
Your prefered setup:
You like many big towns:
→ Maximum wasteland
You like mountains:
→ Minimum wasteland
You want as many as possible high tier quests and as few as possible small tier 1-3 tier towns:
→ Minimum forest and burned forest
So far i use minium forest, burned forest and desert, some snow and more than 50% wasteland
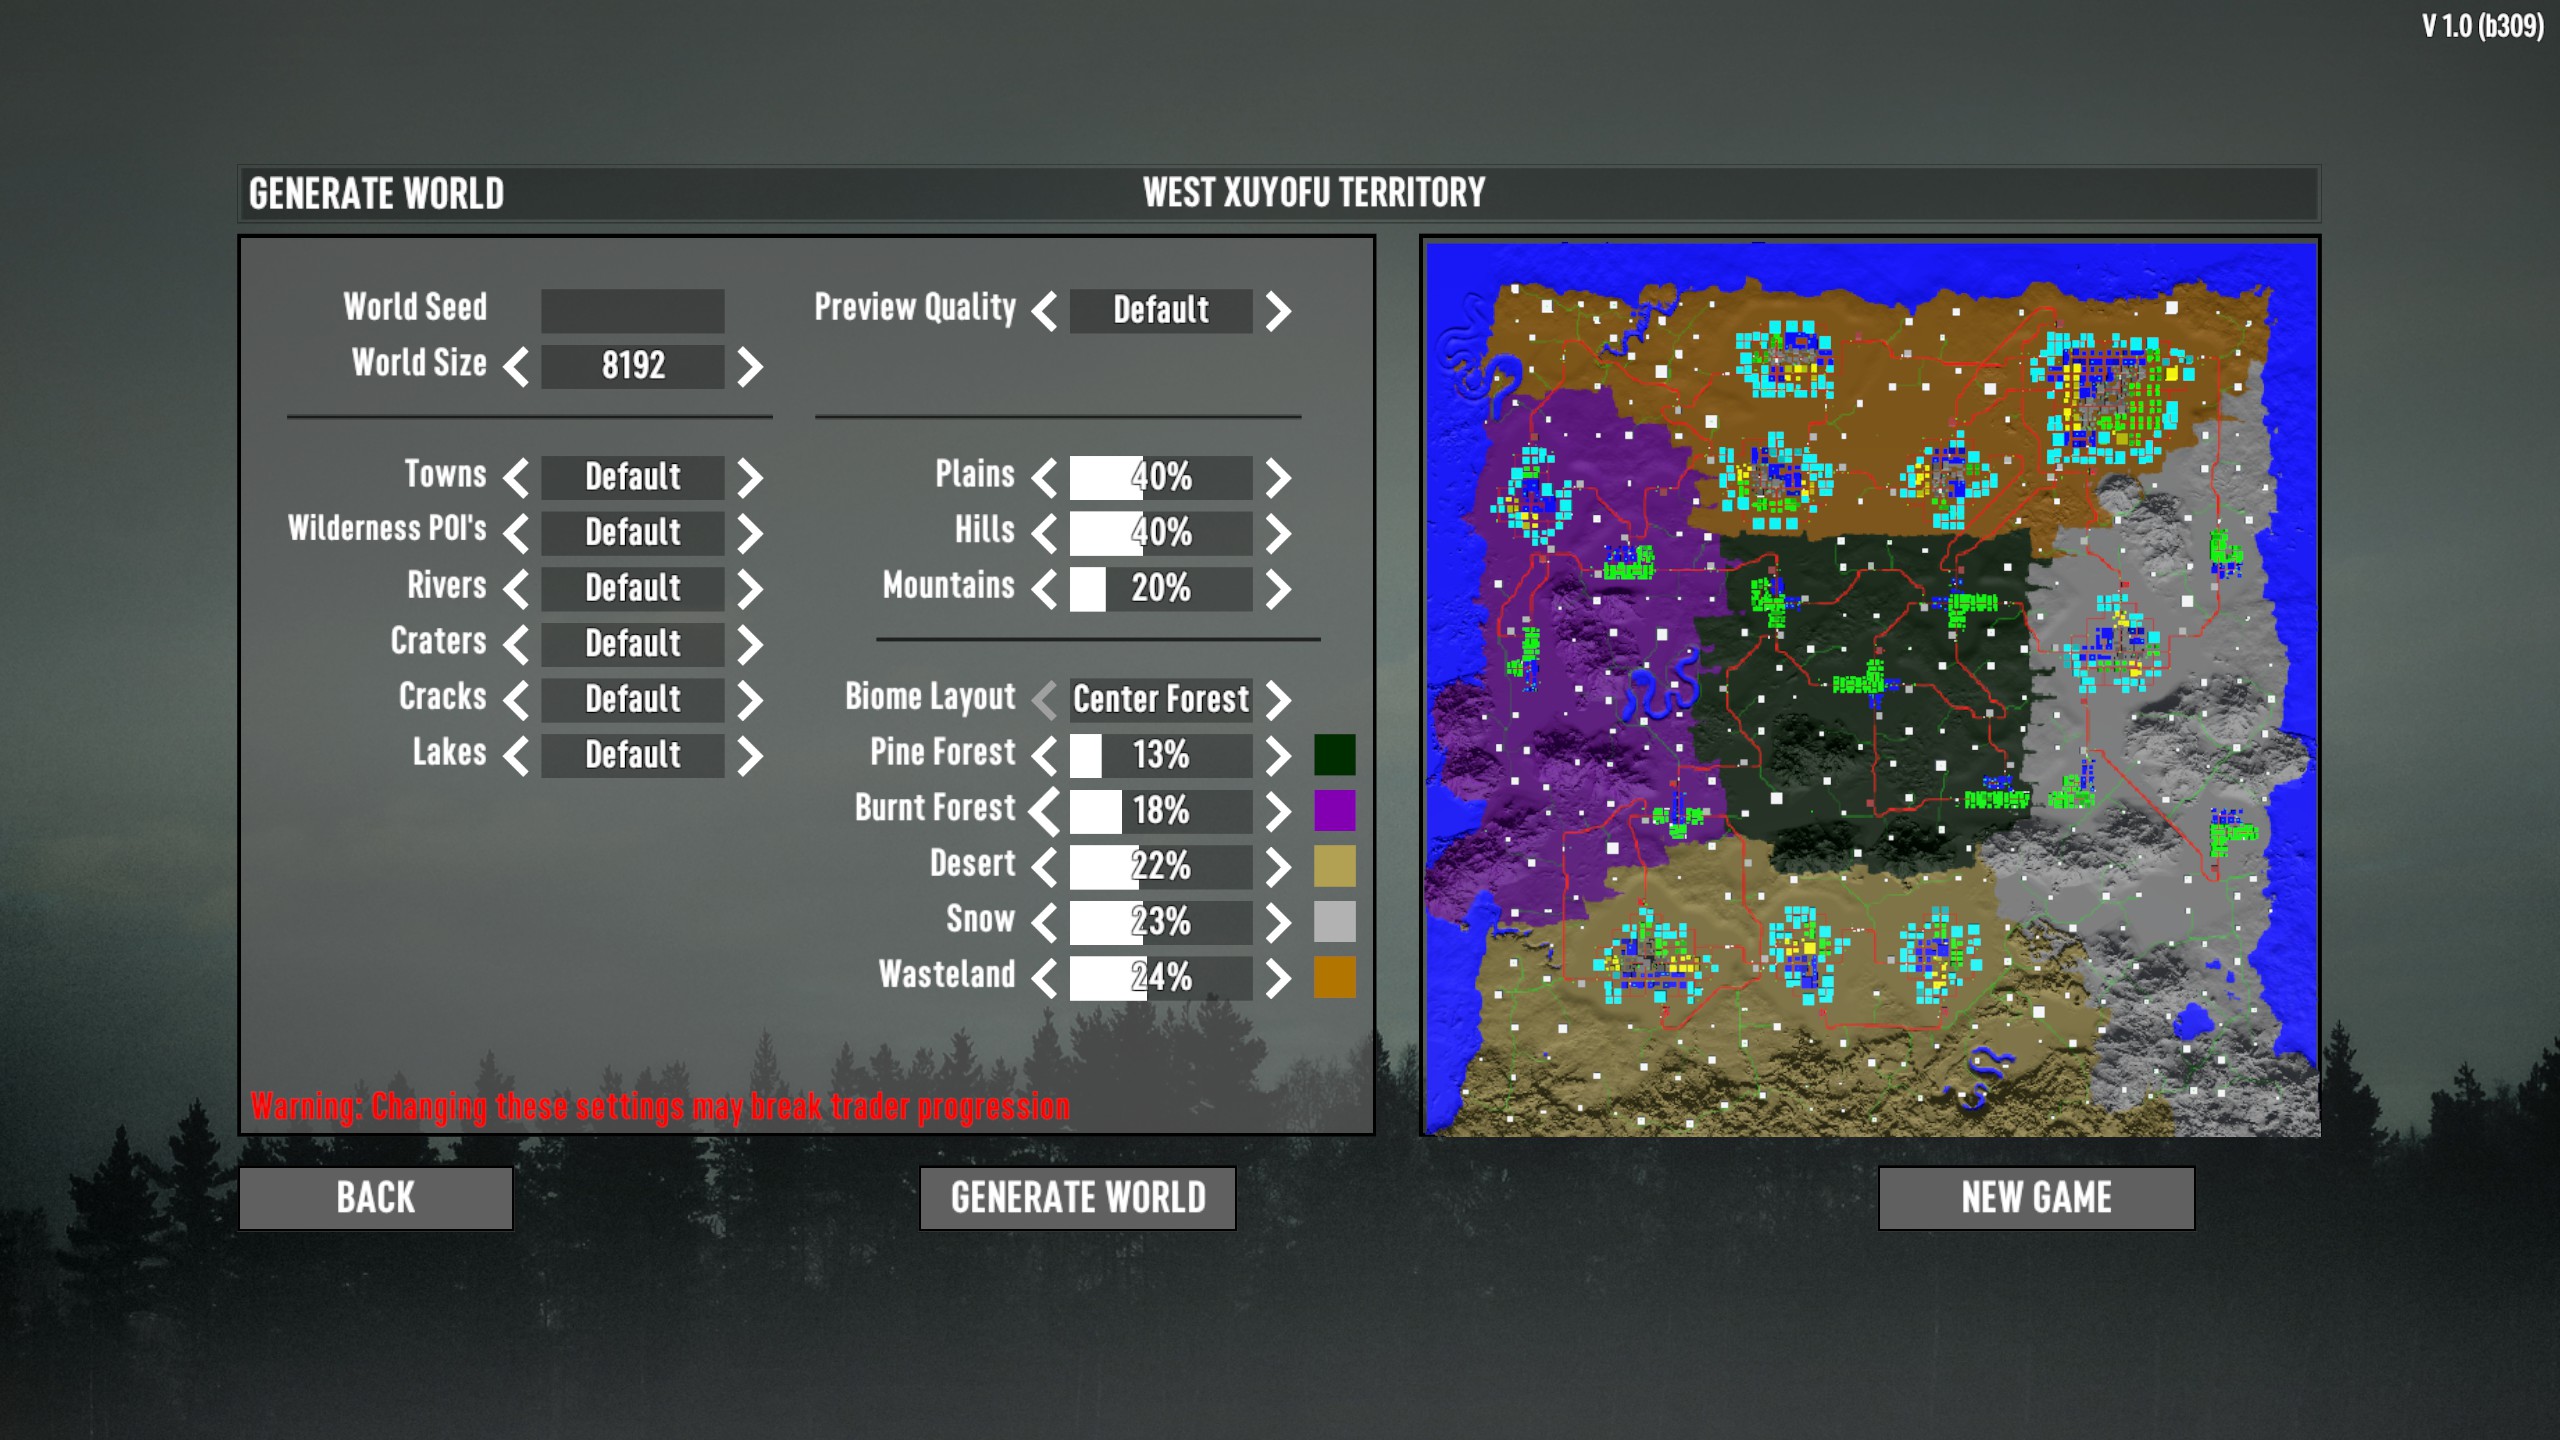
The biom layout options helps to arrange your mountains, most importantly:
• wasteland center block any mountains in the center
• line and one dominant biom (>50%) will create a U shaped map, where the main biom will be the U, and all other bioms will be inside the U.
My favourite here is line with a dominant wasteland biom
A random world seed, world size how you like, and preview quality default or lower
For singleplayer i recommend 6k or 8k.
Start the world generation and wait to finish (~2 minutes on modern systems for a 10 k map)
If you like the boundary don't change the seed or size of the map anymore
Otherwise change the seed to get a different boundary
The same seed on different world sizes won't build an equal boundary
Repeat the process till you like:
• The boundary
• The amount and size of towns
• The amount and size of mountains
If you don't want to test to much you can check the seeds section at the end of this guide.
After the generation make a screenshot of the map (Steam F12)
Do NOT create a new map from the random generator page, just go back to the main menu (save the map at the pop up) and close the game.
Follow the steps in the "optimize biom" section. Use the information of your screenshot to personalize and optimize your map. Ideas might be:
• all mountains covered in snow
• no desert close to the ocean
• no big cities in the wasteland (for better fps)
• at least one bigger town in every biom
• No direct connection between snow and desert
you won't hit everything to 100% but the general setting will work very good with a few minutes of work
Replace the old biomes.png with your new adjusted one
Start a new game using the name of the new generated map
Optimize Bioms


After the finished generation of a map open the folder of the map here:
C:\Users\"YOURUSER"\AppData\Roaming\7DaysToDie\GeneratedWorlds\
or:
%USERNAME%\AppData\Roaming\7DaysToDie\GeneratedWorlds
Here you find the:
biomes.png
It could look like:
• Make a backup of this biomes.png or of the complete folder
• Open it with paint net (steam blocks link so just type in paint net in google) or any other image editor program (e.g. GIMP)
• Use a brush or tool of your choice to change the bioms png.
The colors you choose set the bioms
Use the color picker tool to get the correct colors.
Alternativ you can use these values:
IMPORTANT: Only these values are allowed, some programs might start with a hardness of <100% and mix the old and new color. That's not working. Only these 5 colors are allowed.
• You can mix these 5 colors/bioms as much as you want.
The adjusted biomes.png could look like:
Seed/config Examples


Now a few good examples for Seeds and configs. (4k, 6k, 10k):
6k
4k
10k
Additional seeds will be added when i found good ones
Thanks for reading and have fun creating your perfect map
Source: https://steamcommunity.com/sharedfiles/filedetails/?id=3275538764
More 7 Days to Die guilds
- All Guilds
- 7 Days To Die VERSION 1.0.0
- 7 days to die armor [1.0]
- 7 Days to Die?
- [1.0] THE BEST 7DTD TIPS & TRICKS
- 7 Days to Die Guide 1849
- Manage 7 days to Die Dedicated Server on Windows with Powershell
- 7 Days to Die Guide 1837
- 7 Days to Die - ValMod Pack Expansion
- 7 Days to Die -