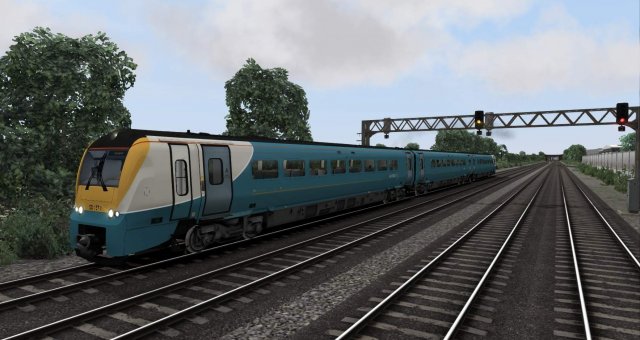
This guide explains typical details on a UK commuter rail system, alongside some other tips and tricks.
Introduction
When driving on a UK commuter rail system, there are many things to look out for. This guide attempts to explain the common features of a UK commuter rail system, from electrification to stopping points. Although this guide is specifically aimed at commuter railways, many of the features described below can also be found on mainlines.
Electrification And Loading Gauges
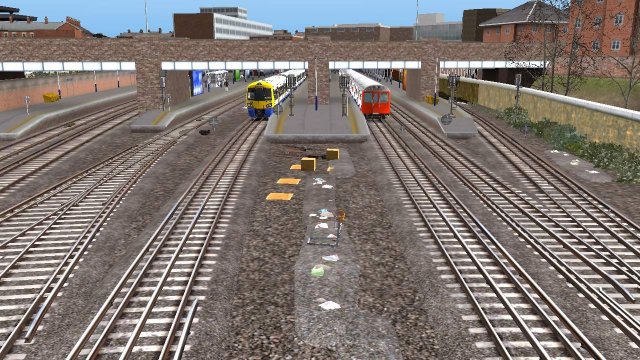 Electrification
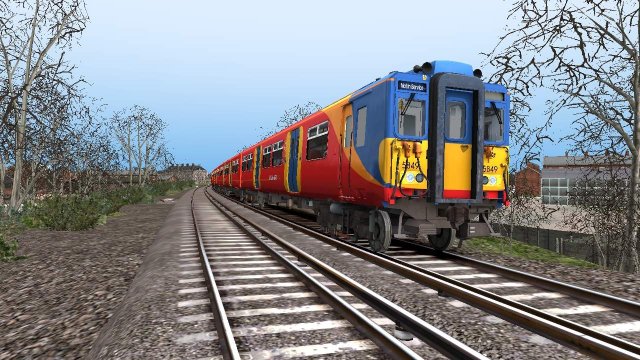
First off is electrification. Certain trains need certain power sources from the track to run. There are 4 main types of electrification on UK commuter rail systems: Fourth Rail, Third Rail, Overheads, and Unelectrified.
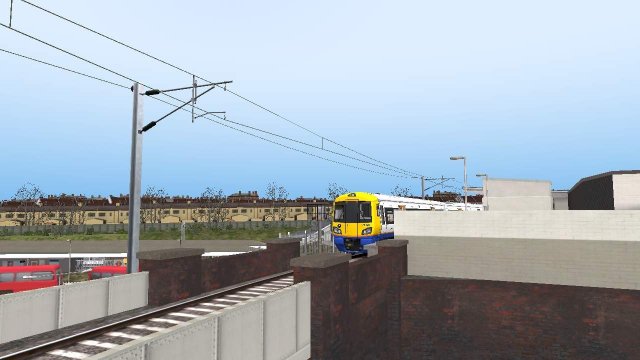
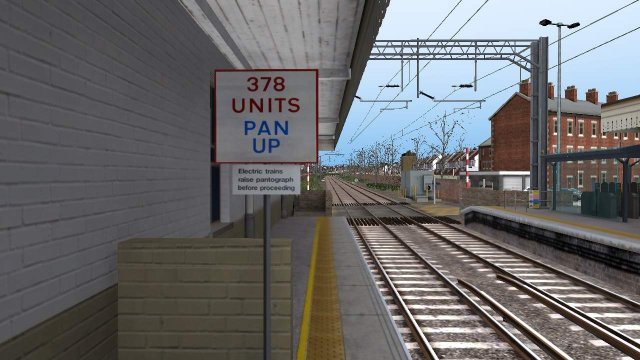
Fourth rail electrification is mainly used on the London Underground, however, some overground rail systems such as the North London Line share the same track with underground services. Fourth rail electrification features the 2 running rails, alongside 2 conductor rails for carrying electricity. Third rail is a more common type of electrification, and is very common on the "Southern" and South London network. Third Rail electrification is similar to Fourth Rail however, instead of having 2 conductor rails, it only has 1. Overheads are mainly found on express lines, however, some can also be found on commuter systems. Overheads are large steel poles holding up cables, which carry electricity to power the train. The train has a Pantograph raised which takes energy from the overhead cables into the train. If there is no electrification on a railway, electric trains can not run on it (some exceptions). This means only diesel and steam locomotives alongside any other trains that don't run on electricity can run on the line. Note that some types of trains may need to change power sources along certain railways. In Train-Simulator, a route can be electrified by going under track tools in the route editor, pressing the select track button, selecting the required track, and changing the electrification in the popup on the top right of the screen that will appear when you select the track.
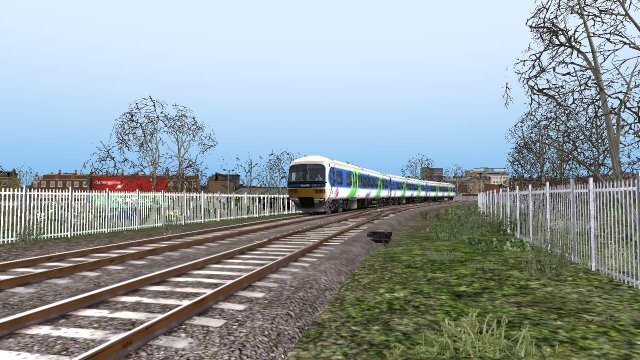
Fourth Rail lines at Richmond
Third Rail line
Overhead lines at Willesden Junction
Unelectrified line outside Gospel Oak
Sign marking a power change at Acton Central
 Loading Gauges
It isn't just electrification that affects which trains run on which lines. Loading gauges also play a role, especially in areas around London where some loading gauges are too small to accomodate standard trains. Loading gauges are the sizes of platforms, tunnels, bridges, overheads, etc. on a railway. Many railways are built to the standard UK loading gauge, however, some exceptions such as the London Underground can only run trains specifically designed for the small loading gauge.
TSRs And Possession Markers
TSRs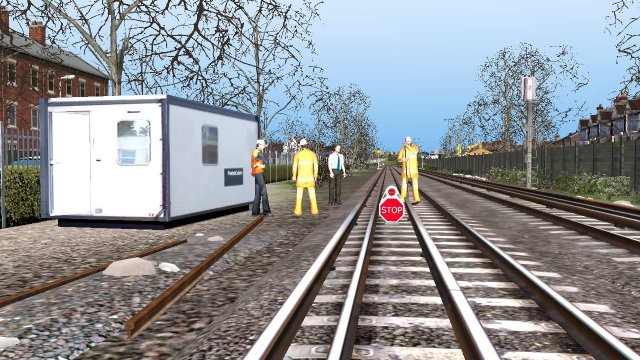
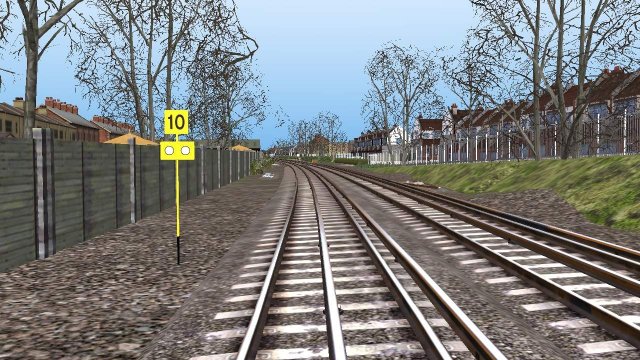
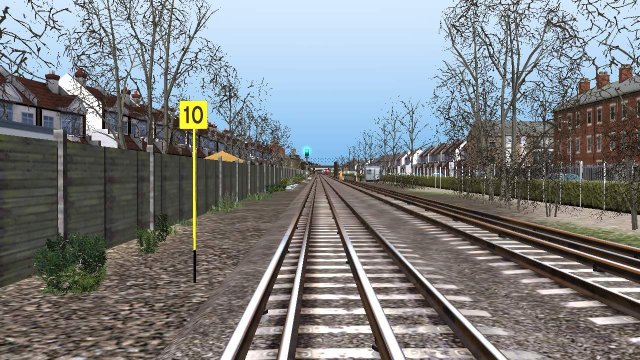
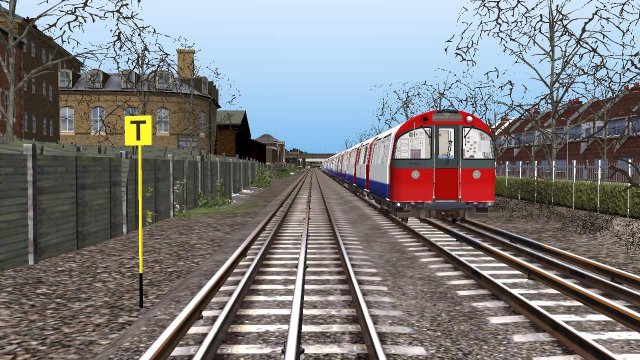
To make a scenario more interesting, the author may include some TSRs and Stops. A TSR (Temporary Speed Restriction) may be put into place if there are infrastructure upgrades going on on the railway. A TSR will show the driver the speed limit around certain areas of the railway. First, the driver will pass a TSR warning sign, with the speed limit on it. The driver should start braking and soon after, a second TSR sign will appear, marking the start of the speed restriction. After the speed restriction has ended, there will be a third TSR sign showing the speed restriction has ended, and the speed limit has gone up to line-speed again. To create a TSR in a scenario, go into the scenario editor, press the select track tool, select the track you wish to put the TSR on, and change the speed limit in the popup that will appear in the top right of the screen. Then, go under "Miscellaneous" in the scenario assets panel and look for the TSR sign (If the route has them included). At the start of the speed limit, place the TSR sign showing the speed limit and at the end, place the TSR sign with the large "T" on it. Place a third TSR sign with the speed limit a suitable braking distance away from the first sign, and put a TSR warning board below it to show it is a TSR warning.
TSR warning sign for 10mph
TSR start sign for 10mph
TSR end sign
 Possession Markers
Alongside the TSR, there are also possession markers showing that the line ahead is blocked. These are usually used for decoration in scenarios. The signs show that the track ahead is blocked and if the train is routed towards the sign, it should stop immediately and must not go beyond the possession marker. Possession markers can be made in scenarios by going under "miscellaneous" on the scenario assets panel then look for the possession marker asset (If it is included with the route). Place down the marker on a piece of track, making sure it is visible to the driver.
An example of a possession marker
Generic Information
Whistle Boards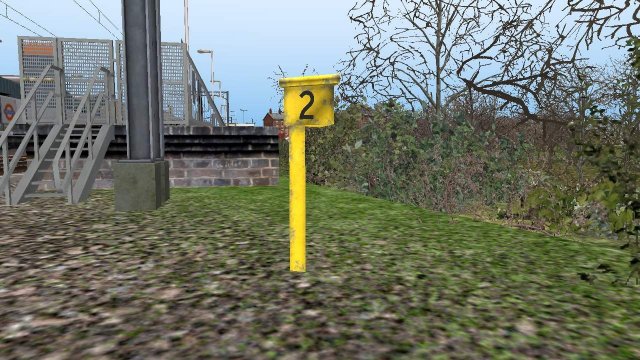
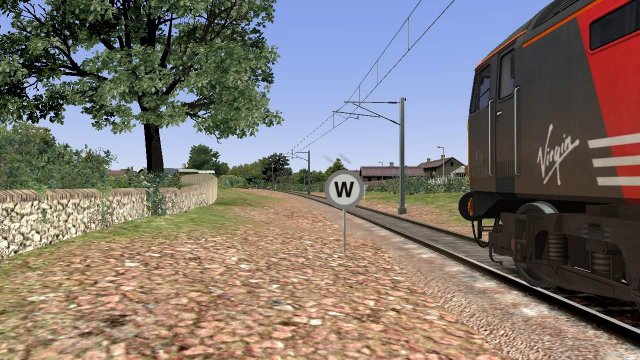
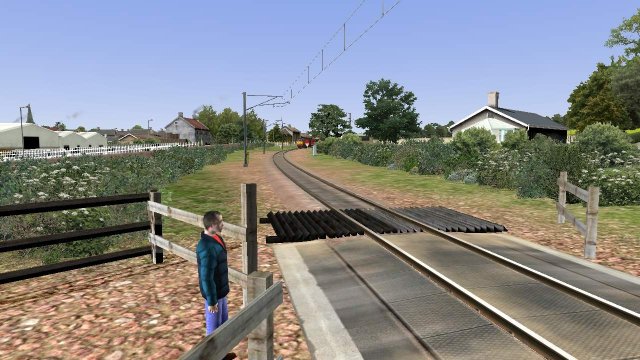
A Whistle Board is a sign showing the driver to blow the horn on the train. These boards are usually placed before or near manual railway crossings. When a driver passes a Whistle Broad, the horn should be blown signalling that a train is about to pass at the manual crossing. When passing a whistle board, the horn should not be blown if the time is between 23:00 and 07:00 (so as not to disturb sleeping people nearby). On some older railways, a whistle board may be marked as a small sign showing "SW" (Sound Whistle) on it. The horn should also be blown if there are people on / near the track, e.g. Track workers.
Example of a Whistle Board outside Lanark
A train approaches a manual crossing
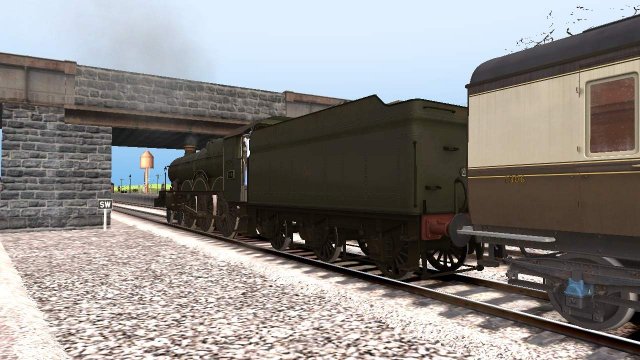
An old Whistle Board at Starcross
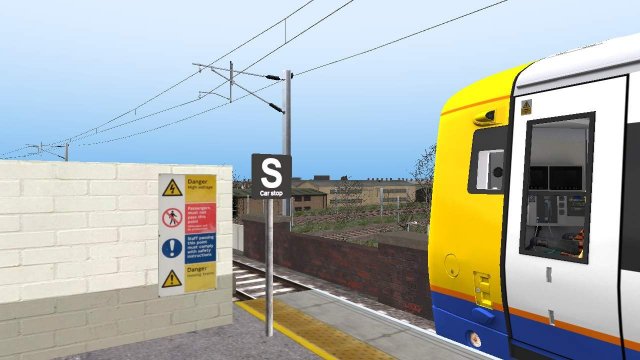
Carriage StopsAt a station, special stopping markers along the platform show where the train has to stop on the platform. The signs are usually a white letter on a black background showing the type of train that has to stop there. The signs have a number on them showing the number of carriages the train has if it is to stop there. If there aren't any signs with numbers on them, but a sign with a large "S" on it, all trains should stop there.
An "S" car stop sign at Willesden Junction
Mileposts
A Milepost is what it says on the tin. It's a small post marking how far into the route you are from the beginning of the route. These are more for decoration than for use onboard trains ingame as the F1 GUI shows how far you are from the destination anyway.
A 2 mile milepost at Acton Central
Routes
Thanks for reading, I hoped it explained some of the typical features of commuter lines. The main route that featured in the example images is the North London Line, however, there was also some images of the Glasgow SPT commuter line from WCML North and the Riviera Line in the Fifties. The London Underground stock is from the Virtual District Line freeware addon for trainsimulator, which adds a bit more to see on the North London Line. Some of the information on whistle board is based from General Wo's Guide to Horns.
Source: https://gameplay.tips/guides/5292-train-simulator.html
More Train Simulator guilds
- All Guilds
- Train Simulator 20XX Achievements List
- Fixing the Out of Memory Error
- Train Simulator Guide 9
- Using RealTimeTrains
- Editing the camera position for a better view - no extra tools needed
- [ENG] TS2015 - Controls Overview
- Driving and Firing Steam Engines
- Train Simulator - How to Get the Correct Picture When Posting a Scenario and Else Tips
- Train Simulator - Guide to Creating and Importing Custom Scenery
