
Bringing Your Unit Into Battle
You want to create a new unit card that shows how the unit looks in battle. Therefore you need the custom battle mode to create beautiful screenshots of the true look.
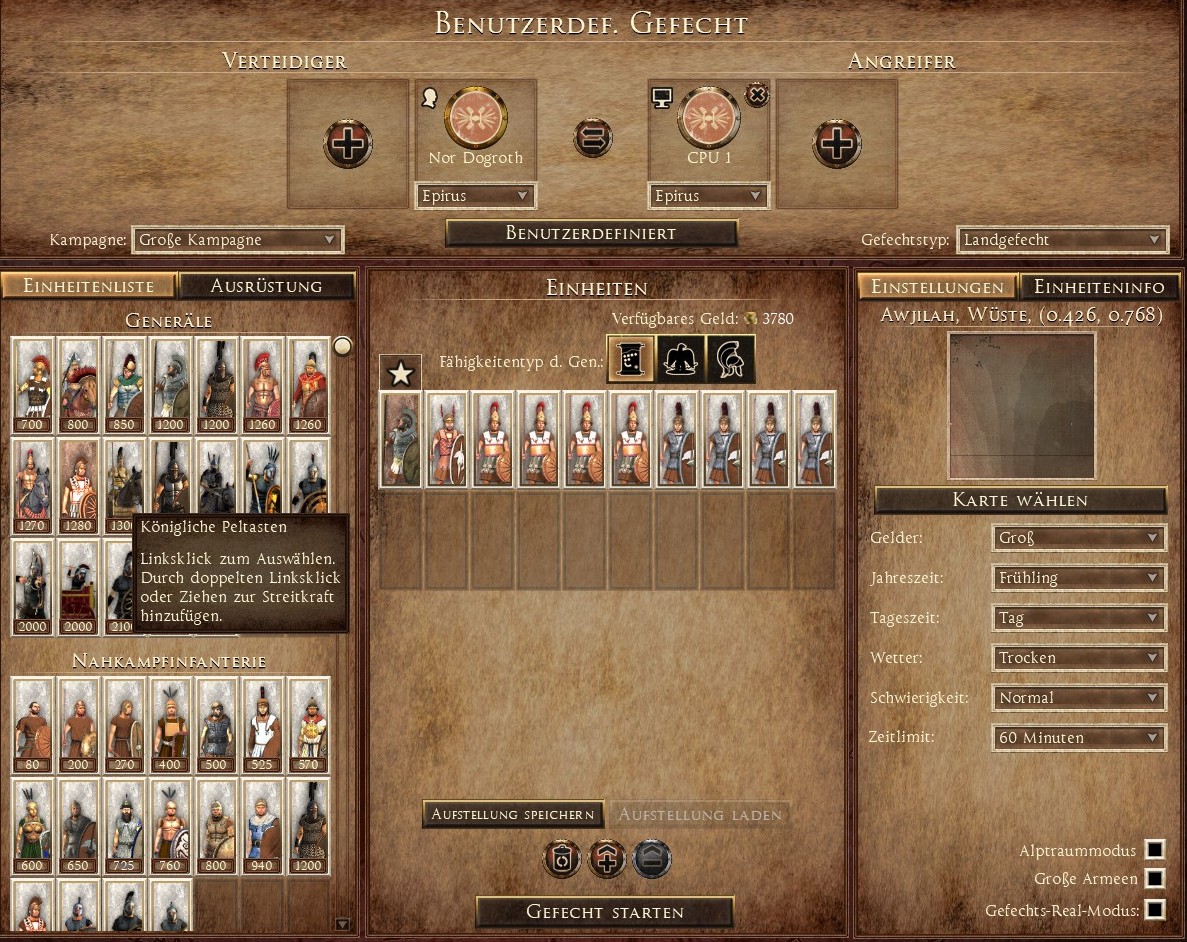
Obviously what you need is having access to your unit in a playable custom battle faction. If you're going to design a vanilla unit card, no problem, all of them should be playable with at least one faction. But if you're designing for a unit mod, you need to activate the mod first.
If the unit is already enabled in custom battles, let's go ahead. If no, you need the Pack File Manager (PFM) and simply give that unit to any custom faction you like. This is not a PFM guide, so if you don't know how to do that, browse through the internet, it's not that difficult. Afterwards you can select this faction in the custom battle mode and bring your unit to the battle field.
Important: Use a desert map!
To make the creation process easier, you should go on a battle field with a simple background. Having a desert map with monochrome ground and blue sky is perfect. Trees, grass and other stuff can ruin your beautiful images!
You do not need high environment graphics. What you need is high graphics for textures and unit details. After making the correct settings you can enter the battle.
Making Screenshots
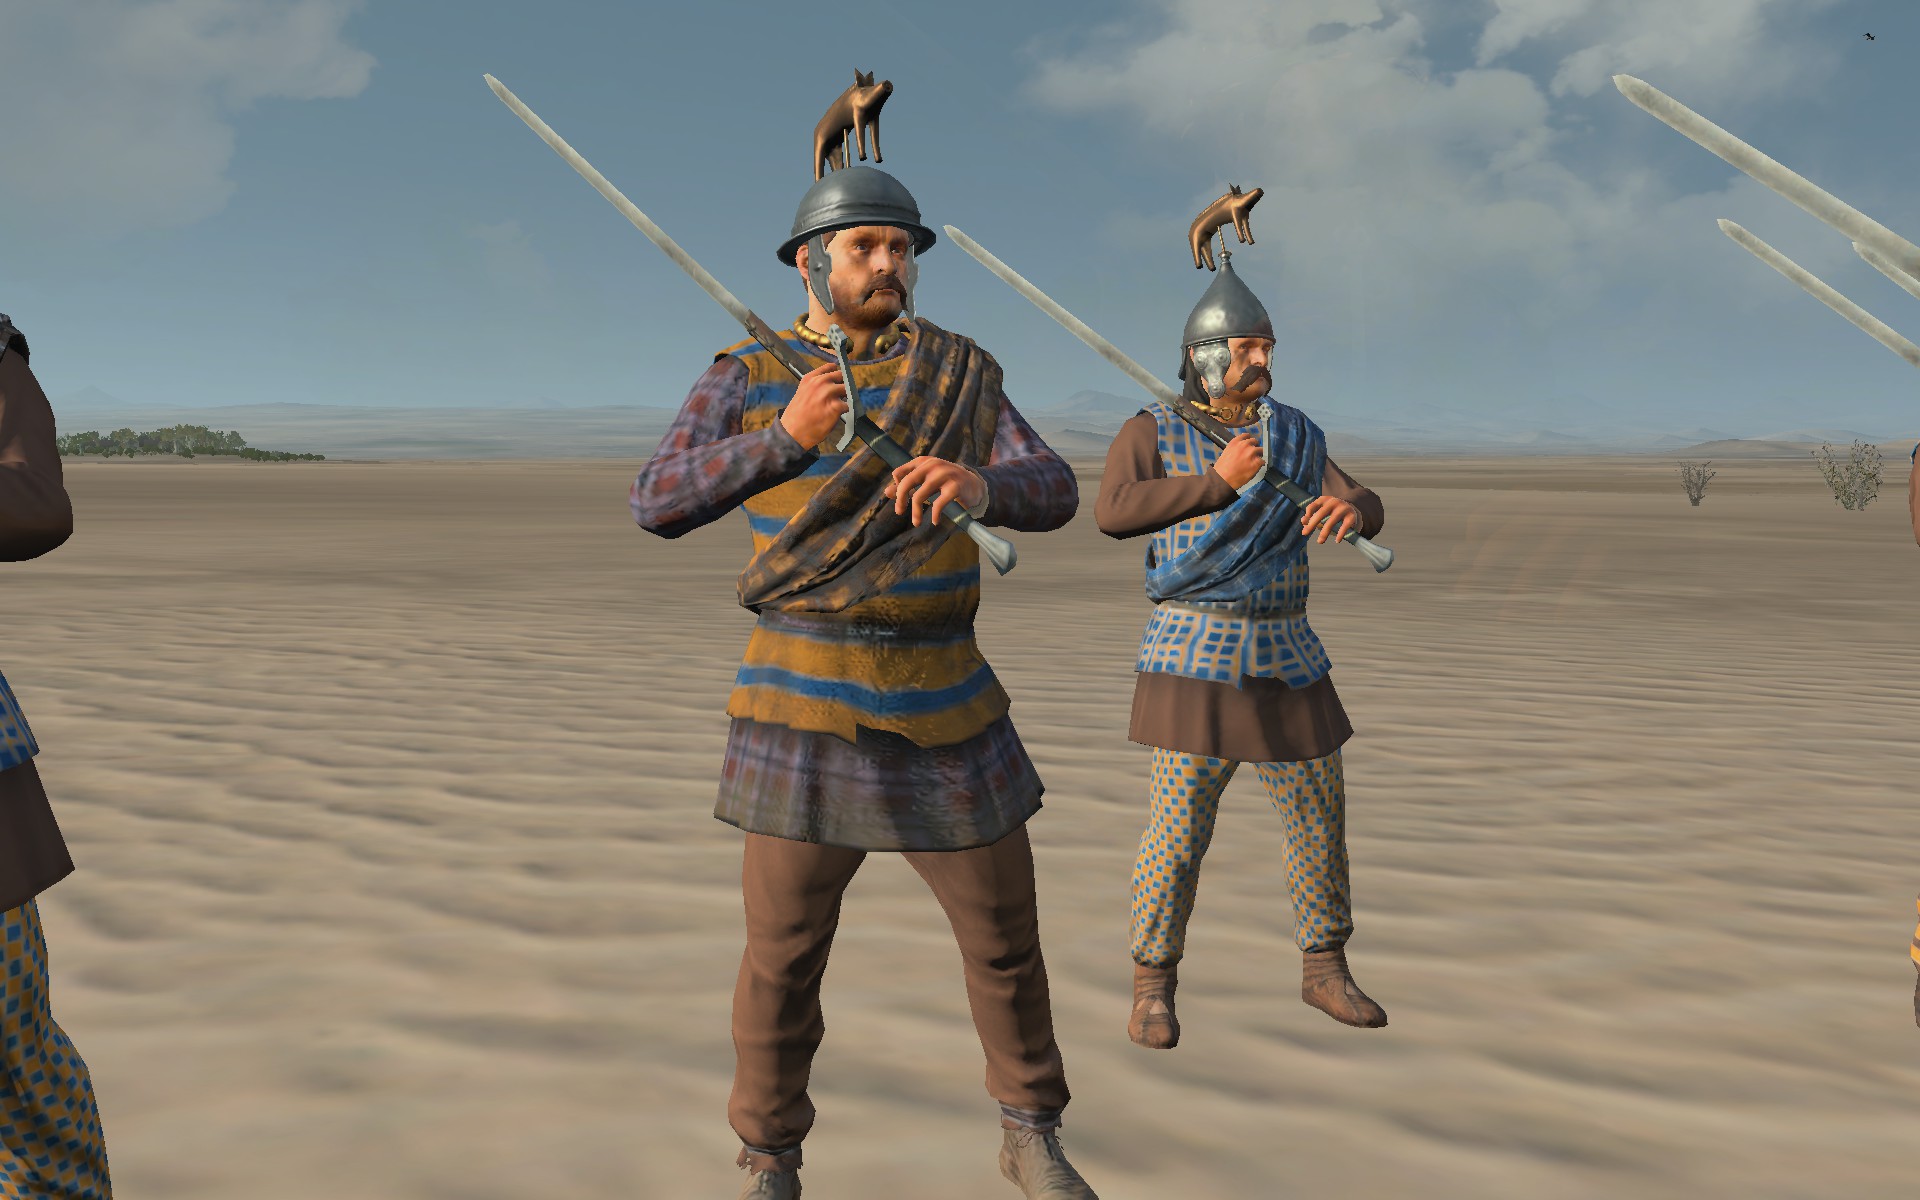
You are now going to create the screenshot that will be the basis of your unit card image. So you need a really good screenshot. A good screenshot means less time for image editing and post processing.
Here are a few points you need to mention creating the screenshot.
No annoying environment
Never make your images while your units stand in high grass! It's almost impossible to remove this grass from your card. Like I said before, a simple ground and sky background is perfect for you.
Brightness Setting
Make sure brightness is not that low. You do not want a dark screenshot, you want to see your unit and it's colours!
Isolate a single unit
You start the battle, placing your unit with as few rows as possible and navigate the camera to it. You may need the following commands to get your unit to where you want it on the screen:
'K' allows you to hide the user interface
'N' allows you to zoom in and out as far as you need Right pose
Think about the pose you want the unit to have on the unit card. You can compare the pose with other cards from existing units. But of course, you're free to do whatever you want. I recommend to go into slow motion while units stay and fidget and click pause when the pose is perfect.
More than one screenshot
Maybe you're lucky and the first screenshot is perfect. But it's always good to have several screenshots to choose from. You can try different poses and different units, because usually they do not look and stand uniformly. Sometimes it's a good idea to make single screenshots for weapons and shields if you're units have a bad day and aren't going to stay in the right pose.
Save the name
I also recommend to make a screenshot while the name of the unit is displayed. If you are going to create only one card you may not need it. But if you want to create several images for a unit mod e.g., you need to know how to name your image file later. Then you can look into the name string which usually consists of the same ID string as the unit card.
Creating The Card – Image Editing
Well, you now have a good screenshot. Time to extract the unit and bring it to the card.
A unit card is an png file with 64x152 pixels (about 2.26x5.36 cm). During the creating process I use 239x567.
But not everything on that image will be visible in game. Especially the first columns of pixels on the left and several lines on the bottom won't be visible because of the UI design in game.
So you must take care that everything you want is visible in game. Furthermore, it looks better if your cards have a similar positioning style, like head on the same height and so on.
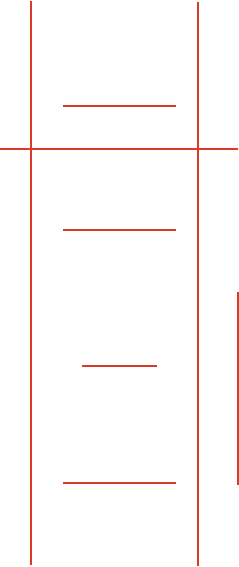
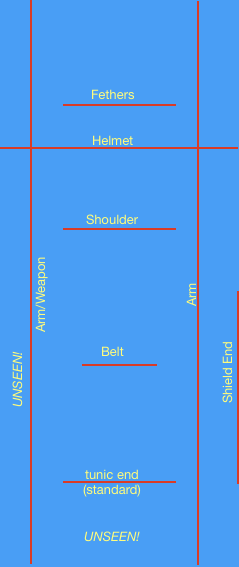
I personally use Apple's Pages to get a good positioning. You can also use GIMP for that. You need GIMP or something like that anyways. I also use a helper image for positioning. You can simply download it if you want to work in the style like I do in NordoPic. The second picture shows what the lines are for. Feel free to compare it with existing cards from NordoPic.
So here is what you can do step-by-step using GIMP:
1. Create a new image with 239x567 pixels (8.43x20cm)
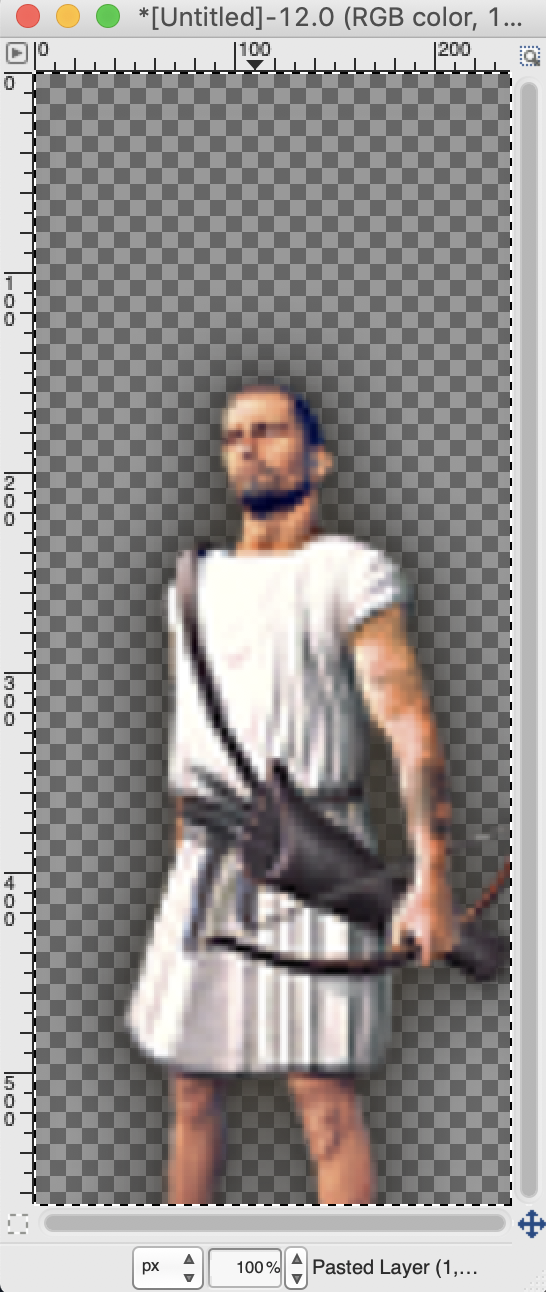
2. Open the screenshot, cut out an area with the unit, rescale it and copy it as new layer into your created image.
3. Open the helper image. Copy it into your unit image as second layer.
4. Now you have two layers, one with the unit and one with the lines for positioning. Now move the unit into a good position. You can use scale and perspective transformation but not too much. Take care of image quality!
OPTIONAL: If you aren't satisfied with the way your unit wields weapons or shield, you can use your screenshots, cut out shield and weapon, copy it to the unit image and move it to your desired position. I do this very often with shields when creating new cards. It's up to you and how familiar you are with image editing.
5. Once the position is correct, delete the second layer with the helper lines.
6. You now need to remove the background through image editing. You can simply cut it out which may take some time. That's why I use Pages which has a nice function to make areas with similar colours transparent. I guess you're working on Windows so you have to stay with GIMP or use something else.
7. Looking at a nice unit image without the background is always a good moment. The hard work is done but we have not finished yet. Now you should adjust brightness, contrast, colours and saturation to beautify the image. Dark images are usually ugly in game! You should also sharpen the image a little bit (depends on the card). Compare it with existing cards if necessary.
8. Now we should save the image in that size before scaling down. Whenever we need to do some design improvements or something like that later, it's good to have the bigger image left. Otherwise you would optimise a 64x152 image which is really small. So, create a "working data" directory and save the image.
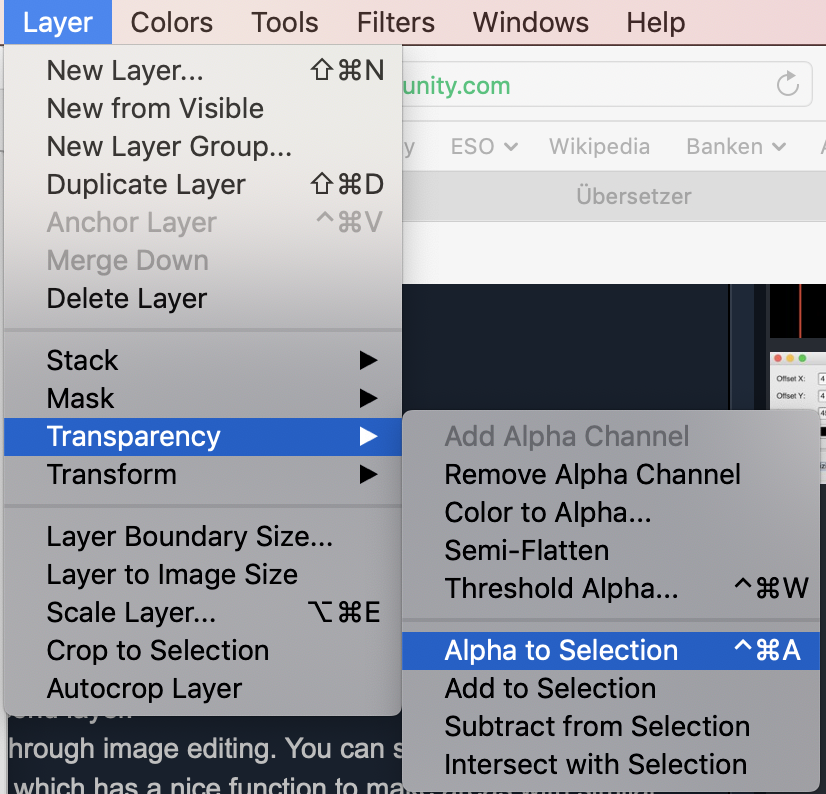
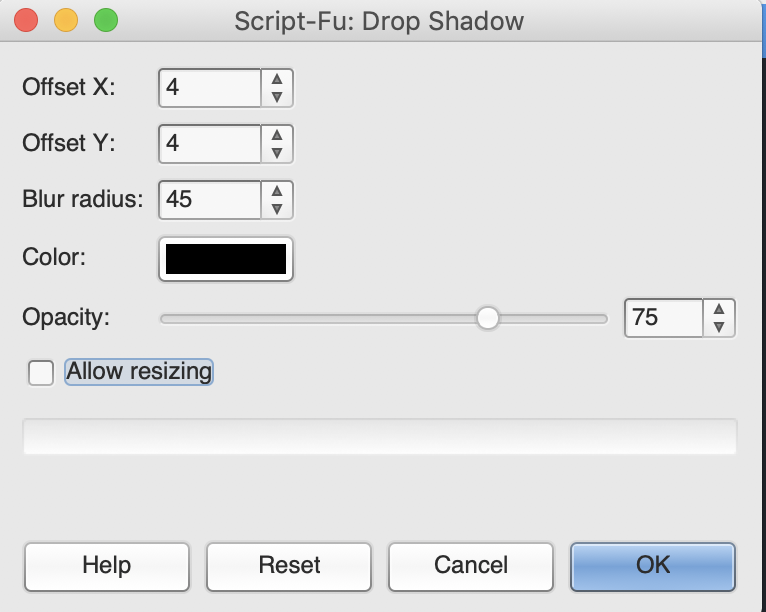
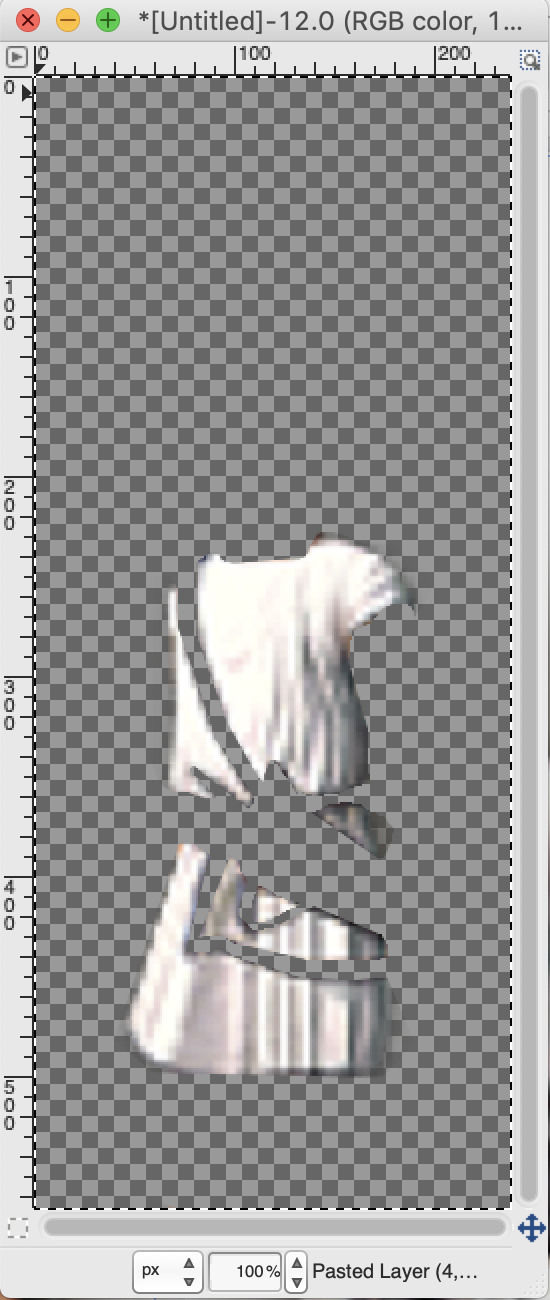
9. Last editing step is creating shadows. Go to Layer→Transparency→Alpha to Selection
Then go to Go to Filter→Light & Shadow → Drop Shadow and set the following settings:
Make sure to do not allow resizing!
10. Finally rescale the image to 64x152 pixels and save it. You need to use the same name as the original image cards has. Look into the pack file or string data to find the name ID. Example: The name ID for Greek Archers is "gre_archers" and the image name has to be "gre_archers.png".
(It can be that the card name and name ID are not equal. This might be the reason if your image does not show up in game later, although it does not happen often at all. To find the correct image name, you can use PFM, go to the unit_variants tables and look into the unit_card column.
Creating The Unit Mask
Creating the card is the main step, but now it will always be the same image. Most units in Rome II use the uniform colour of their faction, so it would be good to have the unit card in your individual faction colour too, right? Therefor we need a unit mask. Creating the mask is not that difficult as creating the main image.
Here is what we do step-by-step using GIMP.
1. Open the lately created unit image, the one with 239x567 pixels if you have it.
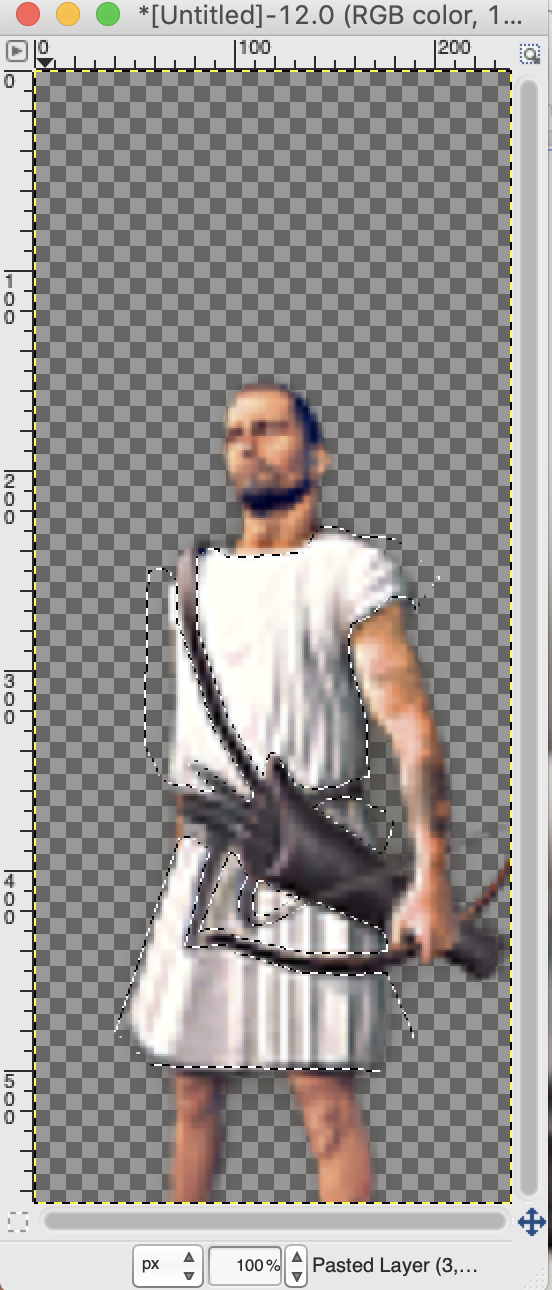
2. Use the selection tools to select all areas on the unit that use the certain faction colours.
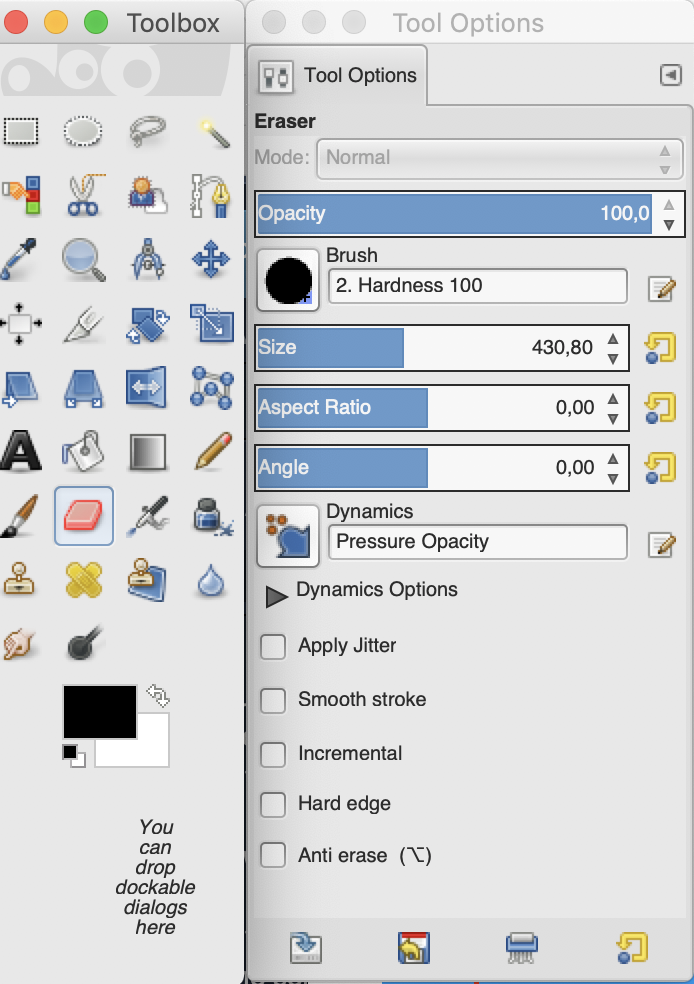
3. Invert selection and use the eraser tool to remove everything that should not be coloured.
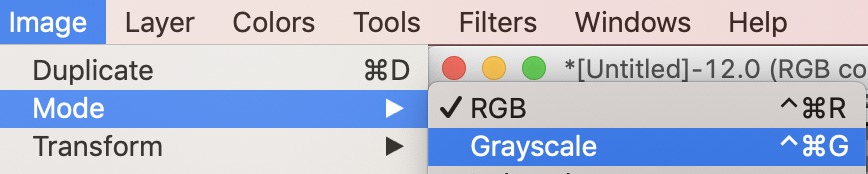
4. Go to image→Mode and change it to Grayscale. Finally change it back to RGB. This step is very important, do not save the mask as Grayscale.
5. Adjust brightness and contrast. Usually you have to increase both significantly, otherwise your card will be black and not coloured. Compare it with existing masks from NordoPic e.g. I use the gre_archers_mask for comparison.
6. Scale the image down to 64x152 pixels.
7. Save the image using the name of the corresponding unit image with the suffix "_mask_1.png"
Example: Your unit icon name is gre_archers.png and the name of the mask has to be gre_archers_mask_1.png.
Now you have a unit image with the corresponding unit mask. Time to put them into a mod pack.
Packing
Now it's almost done. All you need to do is packing both, the unit image and the mask file, into a mod pack. The directories are very simple:
Unit icon directory: ui / units / icons
Unit mask directory: ui / units / mask
Create the directories and add the files. Make sure that they have the same name as the original files. Safe the mod pack. If you're modding for a unit mod, make sure to give your mod a higher load priority. Standard load oder with the old TW launcher (still recommended in my eyes) is alphabetical. You can write "@" before your pack name to make sure the game will load it first.
That's all. Start the game and watch your new unit card. Check if everything is okay, if the mask is working correctly and if the brightness is okay. Otherwise, post processing is always possible if you keep the working image.
Conclusion
Well, I hope you can now understand the way of creating 3D unit cards. Of course, it takes time to improve skills and quality. Not all cards in NordoPic are created in that way and that quality, that's why I'm still working on redesigns.
However, I would be glad if this guide would make other modders create their own images. NordoPic supports a large number of modifications, but there are thousands more in the workshop and time is limited. If you have 3D cards for an unsupported mod, you are invited to contact me and I'll be happy to include them in NordoPic. Cheers!
Source: https://steamcommunity.com/sharedfiles/filedetails/?id=1840393179
More Total War Rome II - Emperor Edition guilds
- All Guilds
- ( ). . .
- The one and only mod list for Rome II
- How to Attack in Siege/City Assualt Multiplayer
- How to make vanilla Rome 2 a much better and more authentic experience!
- Rome 2: Formations (unit control tips)
- Roman Republican Era Army Composition (Historical)
- Total War: Rome II - Emperor Edition - Resource Locations Map (Rise Of The Republic DLC)
- Total War: Rome II - Emperor Edition - Guide to Politics
- Total War: Rome II - Emperor Edition - Comprehensive Faction Guide