Achievement Info
 ● Difficulty Level Of Achievements:● Total Achievements:● Offline Achievements:● Online Achievements: ● Estimated Time To Complete All Achievements:● Minimum Number Of Passes For 100%:● Glitchy Achievements:● Missable Achievements:● Achievements With Difficulty Levels:● Required DLCs For 100% Achievements:
Medium. 26 (100%). 26 (100%). 0. 15-20 hours. 2. None. Yes. Yes. None, at least for now.
I Do Belong Here/The Protocol Is About Life

I Do Belong Here is story-related achievement, cannot be missed. Unlocks after finishing a playthrough on any difficulty (the lowest difficulty is fine for this) after Chapter 8: Tower.
Maximum Security difficulty for The Protocol is About Life achievement is available from the beginning. You have infinite lives. If you die you respawn from the nearest checkpoint. There are lots of checkpoints so this isn’t too punishing.
The difference to Easy difficulty is that enemies have about twice as much health and deal about twice as much damage. The drop rate of items and ammo is unaffected. You get the same amount of Credits, Health Items and Ammo as you do on Easy. You can also craft Ammo and Health at every Crafting Station (found frequently after Chapter 3: Aftermath). Your health is shown on the collar on the back of your neck. Green means you have high health, yellow is medium, red means low health. When you approach low health you will find health pickups more frequently.
With this in mind, it will be better to complete the game twice: at an easy difficulty level and finding all collectible items and then at Maximum Security difficulty. Trying to do everything at once will be torture and creating problems for yourself.
The Outer Way


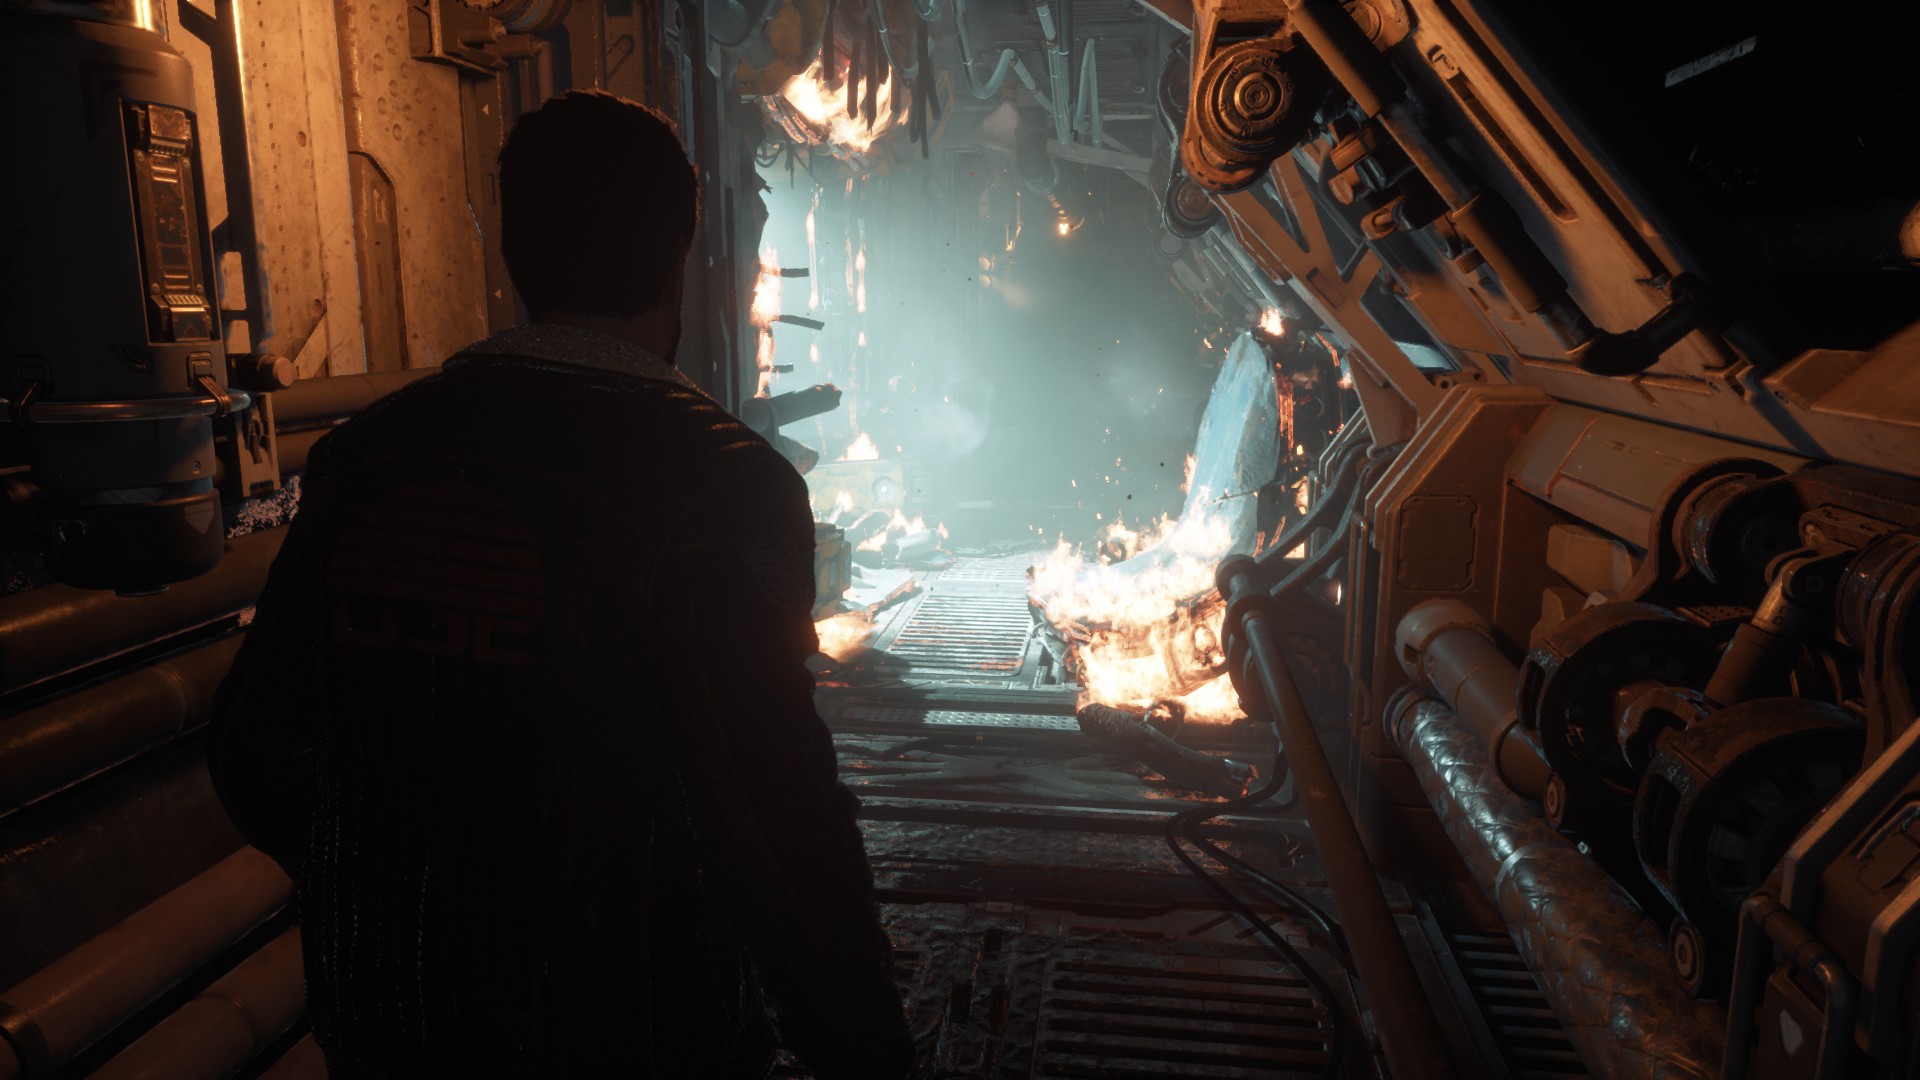
Story-related achievement, cannot be missed. Unlocked in Chapter 1: Cargo, when you enter a burning hallway.
Desperate Times


Story-related achievement, cannot be missed. Unlocked in Chapter 2: Outbreak, after meeting Elias in his prison cell for the first time.
Paper Jams

Story-related, cannot be missed. Unlocks in Chapter 3: Aftermath, early in the chapter there’s a mandatory main objective to print your first weapon, you can’t miss it.
If The SHU Fits...

Story-related achievement, cannot be missed. Unlocked in Chapter 3: Aftermath, after reuniting with Elias in front of a big space ship.
Without A Paddle

Story-related achievement, cannot be missed. Unlocked in Chapter 4: Habitat, after surviving a long water slide section.
Crash Site

Story-related achievement, cannot be missed. Unlocked in Chapter 5: Lost, after returning to the crashed spaceship.
In The Pipe, Five By Five

Story-related achievement, cannot be missed. Unlocked in Chapter 5: Lost, after riding the elevator with Dani to arrive on the roof.
Power Up

Story-related achievement, cannot be missed. Unlocked in Chapter 5: Lost, after riding the elevator with Dani to arrive on the roof.
Two Heads Are Better Than One

Story-related, cannot be missed. Unlocks during Chapter 6: Below. Two-Head is a main story boss. The fight takes place while riding a moving platform.
Keep dodging when Two-Head spawns. After dodging one attack you can fire a shot (Riot Shotgun works best), rinse and repeat. When he goes down on the floor you must attack 3 times with melee to tear his body in half. When he goes down the second time melee him again and he will die.
What Lies Beneath

Story-related achievement, cannot be missed. Unlocked in Chapter 6: Below, after pulling the 3 switches to turn on the power in the Reactor Room.
Full Circle

Story-related achievement, cannot be missed. Unlocked in Chapter 7: Colony, during the cutscene with Dr. Mahler’s hologram.
Flesh Wound

This should be one your first achievement in the game and will come naturally during the story. Keep attacking the arms of one enemy repeatedly until both arms are cut off. Works with melee and ranged weapons.
Reforged

You can print weapon upgrades at crafting stations, found throughout the game. The earliest opportunity is in Chapter 3: Aftermath, after getting the GRP glove, there’s a crafting station in the next room. Buy any upgrade, for example the first Pistol upgrade for 200 credits.
You Need A Gun

The cheapest weapon to fully upgrade is the Pistol, the first ranged weapon you get (automatic story unlock in Chapter 3: Aftermath). You can craft upgrades at crafting stations, found throughout the game (they first appear during Chapter 3: Aftermath). Credits are found as loot, dropped by enemies, in chests, and from selling items at Crafting Stations. Some loot can also be sold for a high price at crafting stations, such as “Energy Converter” (100 credits) & “Pristine Energy Converter” (200 credits). Later on you even find some valuables that can be sold for up to 1500 credits.
The pistol costs 2800 credits to fully upgrade:
Stability Upgrade – 200 Credits
High Capacity Magazine Upgrade – 200 Credits
Magnum Rounds Damage Upgrade – 600 Credits
TK23 “Boom Bullets” – 1800 CreditsGetting this amount of credits is no problem over the course of the game. However, there are not enough credits to fully upgrade all weapons. You can fully upgrade 2-3 weapons.
It’s best to reload your save after the achievement unlocks to get the credits back. It’s better to invest your credits into Stun Baton Melee Damage and the Riot Shotgun, especially when playing on Maximum Security difficulty.
Giving Back

Blind Enemies first spawn in Chapter 6. You will get this achievement naturally during the Chapter, it’s basically impossible not to get it. There are many sneaking sections and dozens of these enemies. Stay crouched to make less noise, sneak behind and stab them.
Get A Grip

The GRP glove is automatically unlocked in Chapter 3: Aftermath, you can’t miss it.
Then you can grab enemies and throw grabbed enemies. Simply grab 25 enemies throughout the rest of the game to get this achievement. This should come naturally over time. On the back of your collar it shows a blue status bar for how much GRP charge you have left, it automatically refills if you have a battery in your inventory. There’s no need to manually use batteries, they are automatically consumed when you run out of charge.
Terminated

Shoot a security robot in the head with a firearm to destroy it. The earliest opportunity is in Chapter 3: Aftermath – Objective: Get Through Security.
A security robot will patrol the area, shoot it in the head 3-6 times with the pistol (depending on its upgrade level and difficulty). This will disable the robot.
In Striking Distance

The GRP Glove is an automatic story unlock in Chapter 3: Aftermath. You can’t miss it. The GRP Glove allows you to toss enemies using Telekinesis.
Then you can grab enemies and throw them. Do this to throw an enemy against a normal wall (no spikes). With the next melee strike kill it. The first strike after the GRP throw has to kill the enemy. If you need 2 or more strikes it won’t unlock the achievement.
You don’t need any upgrades for the GRP Glove. It works without any upgrades. Weaken up the enemy beforehand so that it dies in 1 single strike. This will require some trial and error until you have the enemy weakened perfectly that it dies in 1 more melee attack. If you run out of GRP batteries you can reload the checkpoint to retry immediately.
Don’t throw enemies into traps or spiked walls. It has to be a normal wall so that the enemy survives the throw and can be melee-attacked again.
Float Like A Butterfly


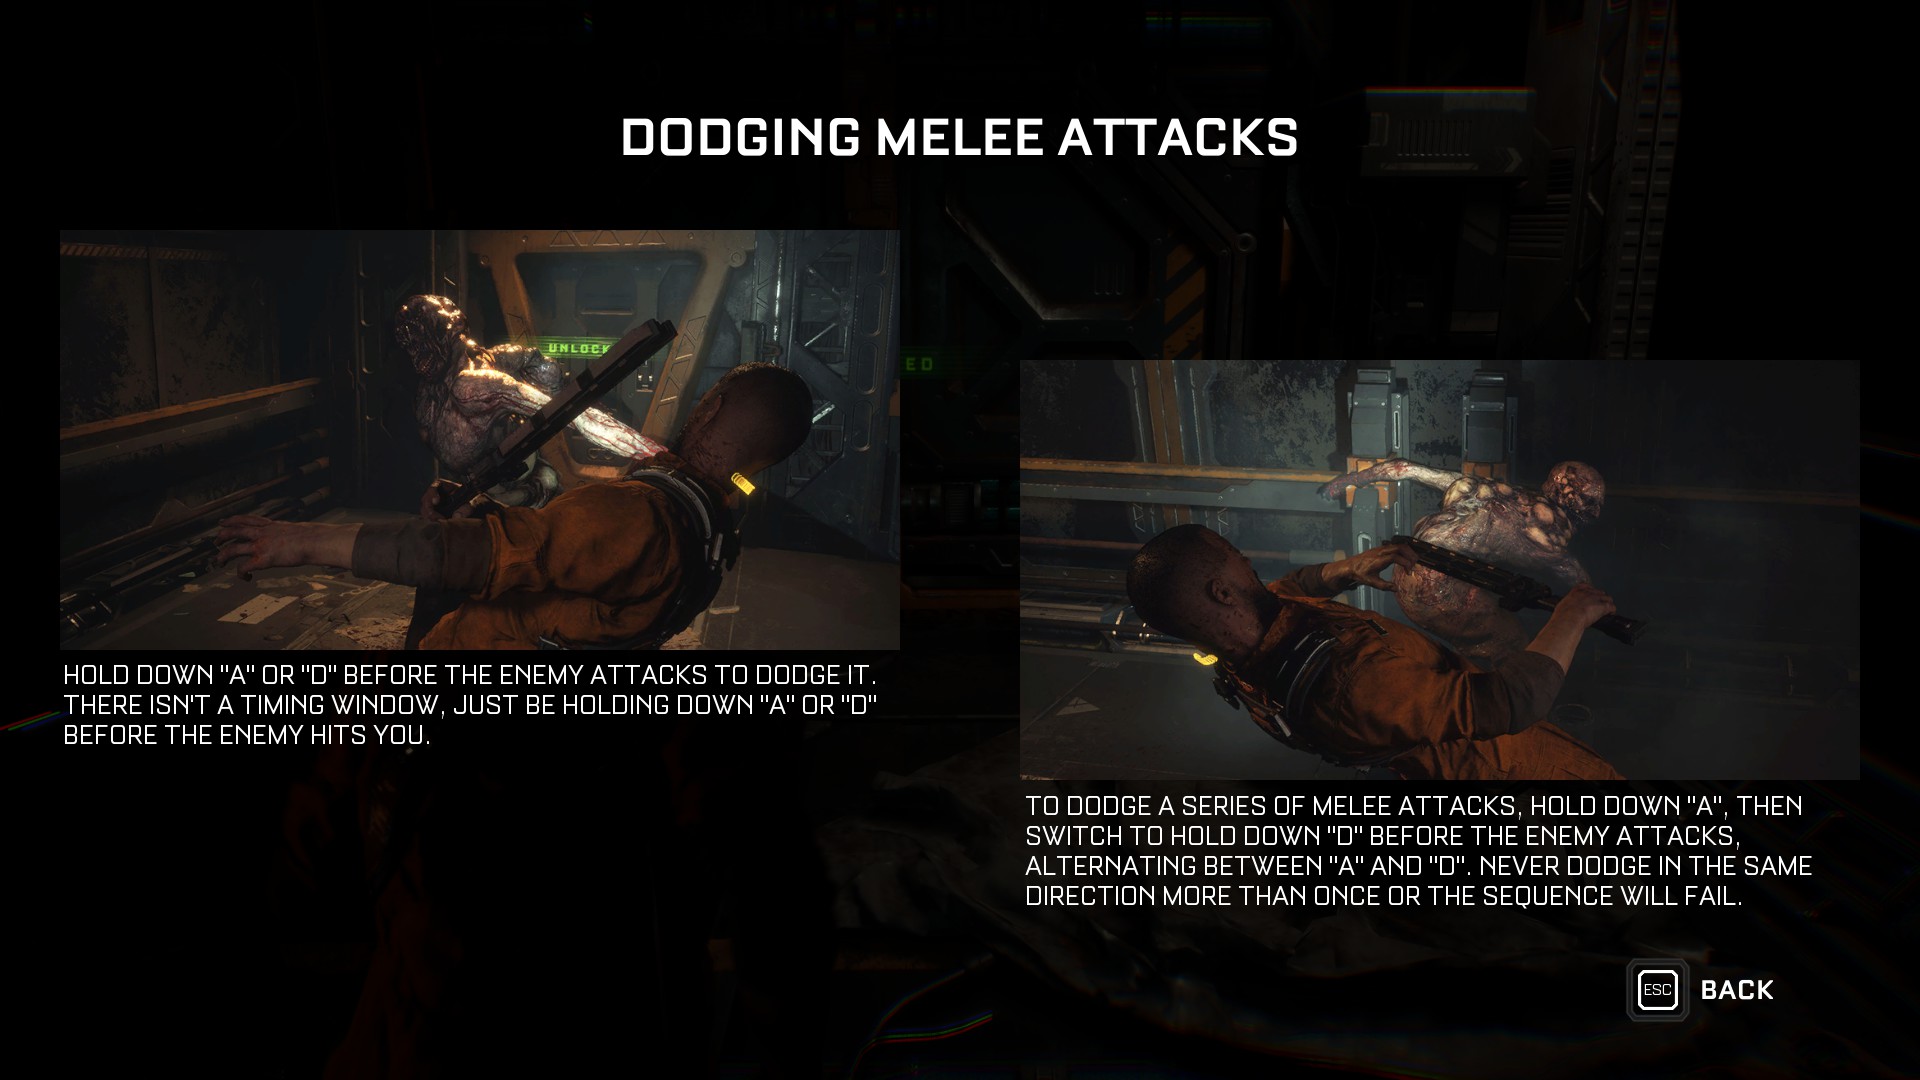
A “Perfect Dodge” is performed by dodging left or right in the last second before an enemy hits you. When done correctly the dodge will be in slow motion. The timing is tricky, but you can farm this one at a time by restarting the checkpoint or simply try it throughout the game from one enemy to the next.
A good place to do it early on is the 2nd enemy you encounter in the game, in Chapter 2: Outbreak (after the 1st enemy where you get the combat tutorial).
Chew 'Em Up

Environmental hazards are explosive canisters you can shoot, or spikes/blades you can throw/push enemies into. The easiest option is to use GRP to throw enemies into spikes on walls.
The GRP glove is automatically unlocked in Chapter 3: Aftermath, you can’t miss it. Then you can grab enemies throw them. Throw 10 enemies into spikes on walls or spinning blades, which count as “environmental hazards”, this instant kills them. On the back of your collar it shows a blue status bar for how much GRP charge you have left, it automatically refills if you have a battery in your inventory. There’s no need to manually use batteries, they are automatically consumed when you run out of charge.
Workplace Hazard

The GRP glove is automatically unlocked in Chapter 3: Aftermath, you can’t miss it.
The easiest option is to throw enemies into spikes on walls, or spinning blades, which count as “environmental hazards”, this instant kills them. On the back of your collar it shows a blue status bar for how much GRP charge you have left, it automatically refills if you have a battery in your inventory. There’s no need to manually use batteries, they are automatically consumed when you run out of charge.
Mugshot


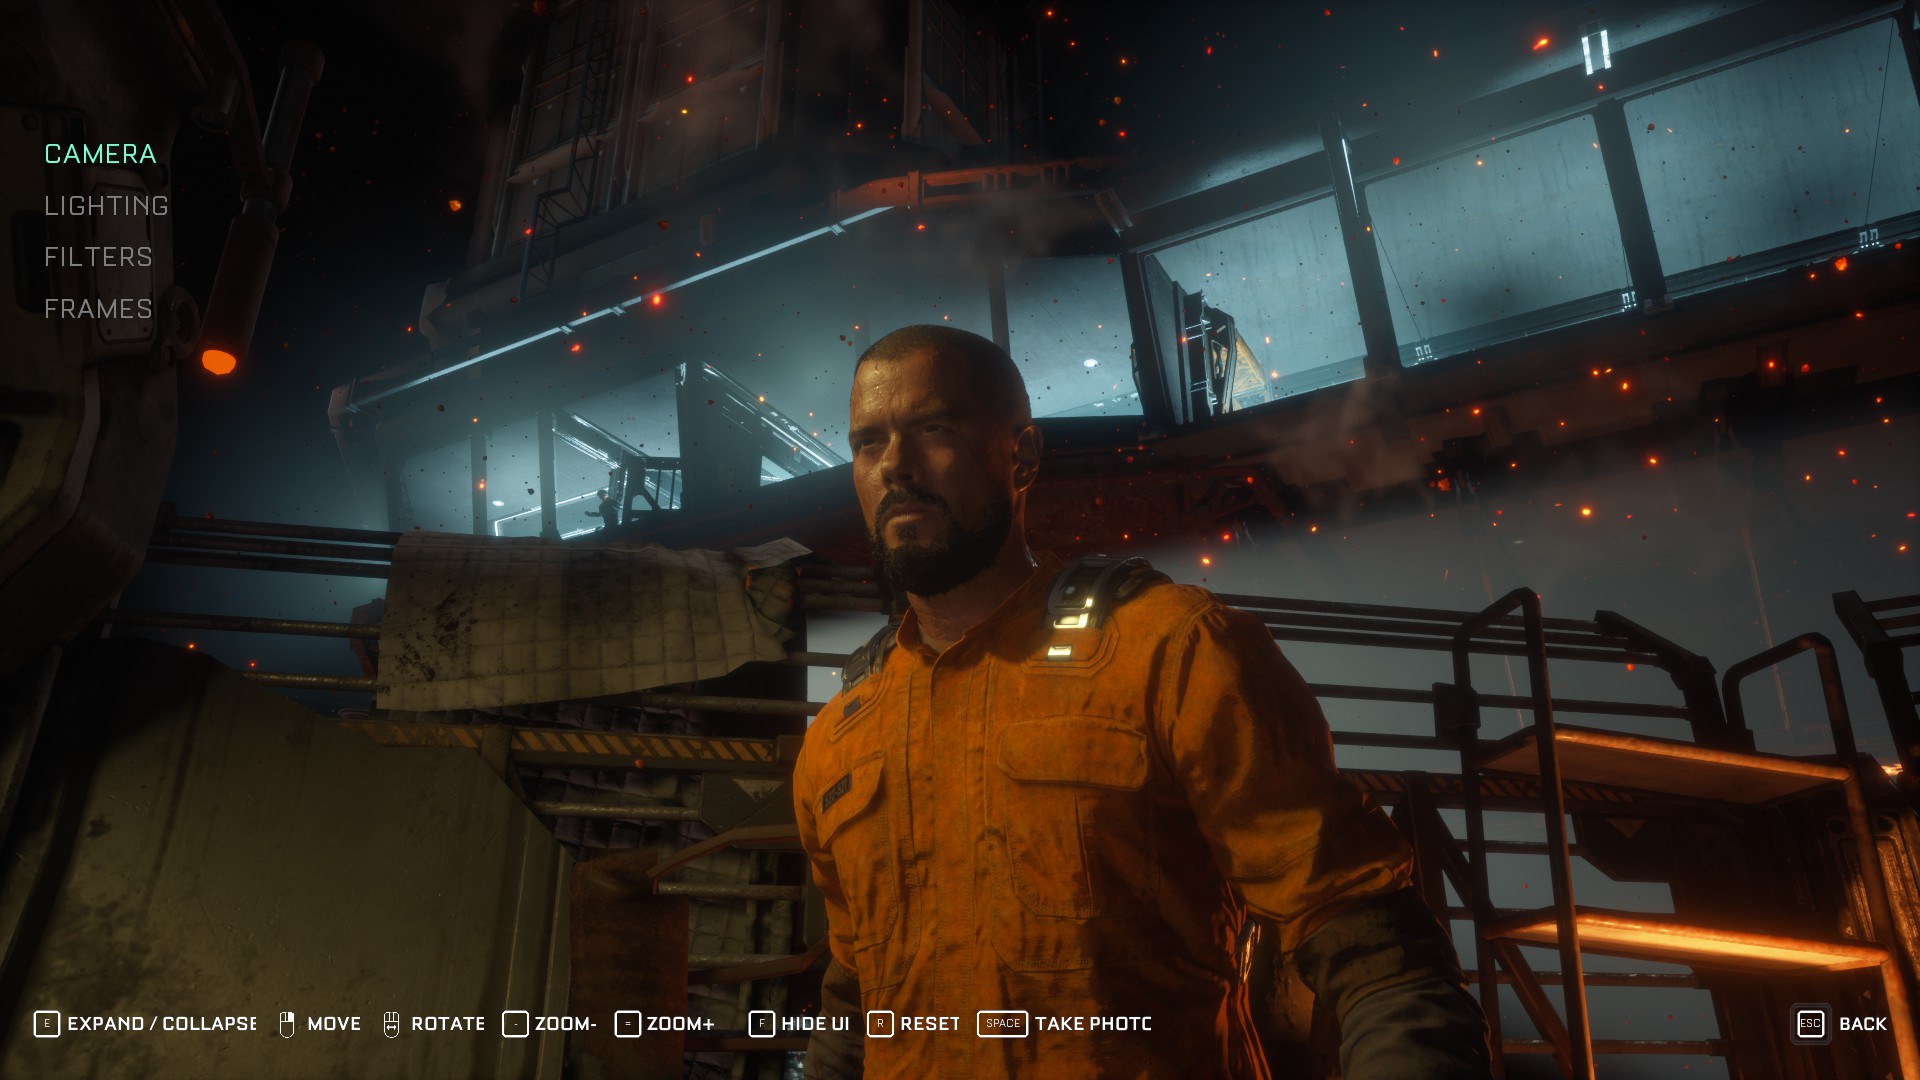
Press Esc anytime during the play and choose Photo Mode in game menu, press Space to take a photo, this pops the achievement.
Grim Reaper

The achievement description for “Grim Reaper” is misleading, it mentions that you need specifically “Implant Bios” (which are harvested from corpses) but you also DO NEED the normal “Audio Logs” (the ones that are not from corpses). There are 43 Data-Bios total and all their location with video and text description you can find in my other guide.
https://steamcommunity.com/sharedfiles/filedetails/?id=2896246064
The Commonality

Unlocked by finding two Data-Bios Collectibles:
“Data-Bios #7 – Duncan Cole: Secret Room 1”
“Data-Bios #31 – Yannick Sage: Secret Room 2“.
You can find more info about collectibles in my guide
https://steamcommunity.com/sharedfiles/filedetails/?id=2896246064
Conclusion


Please let me know in comments below or add me to ask a question about the guide or the achievements. Also you can get additional achievement if you rate, add to favorite or reward this guide.
Also check out my other guides. Hope you enjoy it!
https://steamcommunity.com/sharedfiles/filedetails/?id=2877197386
https://steamcommunity.com/sharedfiles/filedetails/?id=2847994141
https://steamcommunity.com/sharedfiles/filedetails/?id=2837387955
https://steamcommunity.com/sharedfiles/filedetails/?id=2789985144
https://steamcommunity.com/sharedfiles/filedetails/?id=2741848054
Source: https://steamcommunity.com/sharedfiles/filedetails/?id=2896234519
More The Callisto Protocol guilds
- All Guilds
- Skip Intro
- Stutter Fix and Smoother FPS
- All Ingame Collectibles Guide | Grim Reaper Achievement
- Stuttering and FPS Drops Fix Guide
- The Callisto Protocol
- The Callisto Protocol Guide 5
- Callisto Protocol 100% Achievement Guide
