
Intro
Combat in The Banner Saga is… weird. While the actual mechanics aren’t terribly complicated, the game relies on very different assumptions from a typical turn-based strategy, and it’s easy to get overwhelmed while you’re also dealing with resource scarcity in the form of Renown. My goal with this guide is to provide rules of thumb surrounding the murder-centric portion of your journey so that you can focus on “strategy” rather than “mechanics.”
I’ll be approaching this inside-out, essentially addressing the following questions:
It's my turn; what do I do?
I'm in a fight; what should my goals be?
I'm improving my units; how should I do it?
I'm running my caravan; which units should I care about?This guide is spoiler-free.
Combat Basics
The NumbersUnits have two separate bars that describe their health, and you can attack either one.
Armor (blue) protects you, but doesn't keep you alive; units can be eliminated even if they still have plenty of armor. Attacks against armor deal damage equal to the attacker’s Break stat.
Strength (red) is HP in the more traditional sense; drop to 0 and you’re out of the fight. Attacks against strength deal damage equal to Attacker’s Strength - Defender’s Armor. Your units don't die permanently when they fall in combat, so don’t worry about starting over if someone drops.
Lessons
Attack an enemy's strength if you can take out a chunk of it. This not only puts them closer to death, it also makes them less able to deal strength damage to you. My benchmark for “a chunk” is one-third to a half - you don’t want to waste a turn dealing 1 damage to a target with 15 strength.
You generally have to soften up an enemy’s armor before it makes sense to attack their strength. This is Banner Saga strategy in a nutshell: lower their defenses, then go for the kill.The FlowAs long as both sides have 2 or more units, turns alternate between the player and the enemy. When an army is reduced to a single unit, combat enters “Pillage!” mode, allowing the larger group to finally gang up onto the lone survivor.
In an ordinary tactics game, you’d want to focus-fire enemies in order to take a lead in the action economy; having 6 units to the enemy’s 3 would let you do literally twice as many things as them. That’s not the case here, so instead of trying to get more turns, you need to focus on getting more valuable turns.
Our goal here is not to construct elaborate formulas and ranking systems to divine mathematical “worth” of a turn based on the units and circumstances. Instead, just sort turns into broad categories of Good and Bad. A good turn generally entails dealing 3 or more damage to somebody, whether strength or armor. A bad turn means dealing 0-2 damage to a single unit, being unable to attack, or using an ability that never triggers -- like using Stone Wall on a unit that doesn’t get attacked. You don’t need to carefully orchestrate chains of synergistic actions, just make it your goal to give the AI bad turns as often as possible.
Lessons
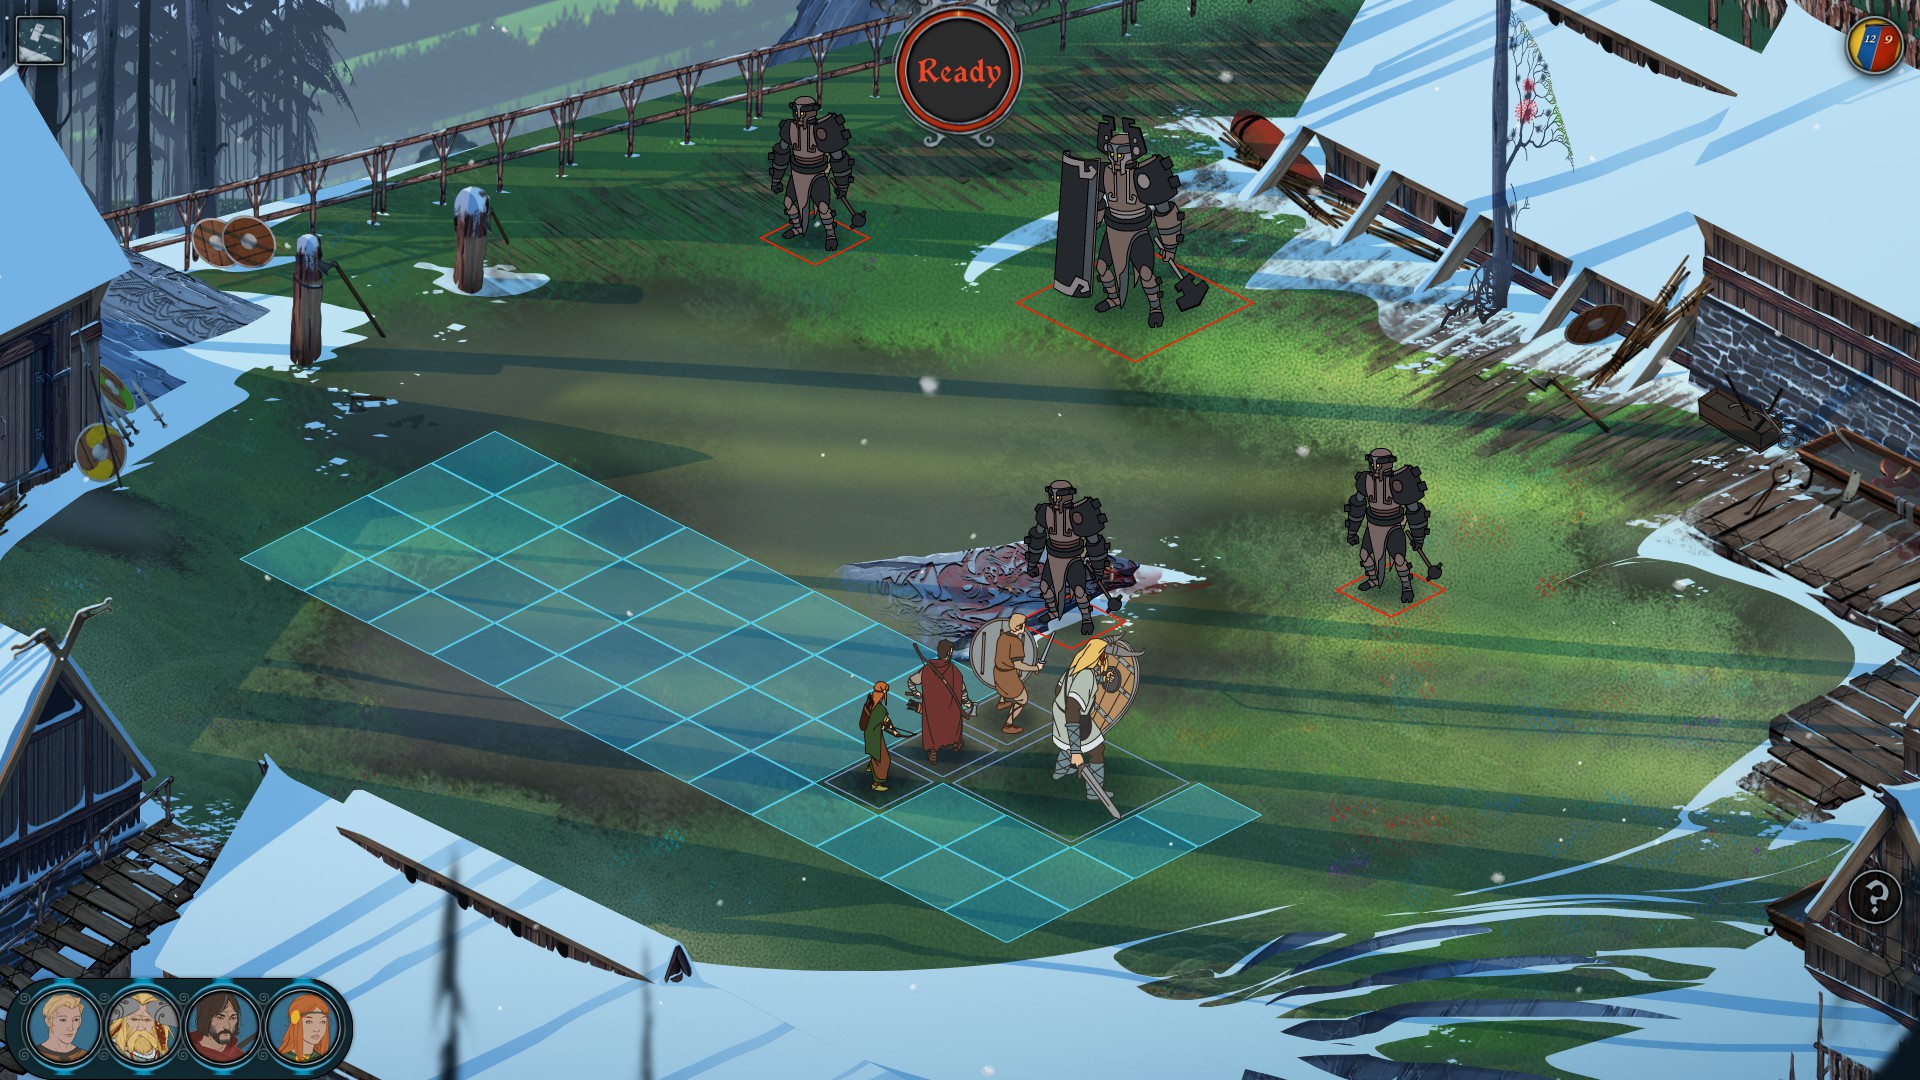
Keep your team together. The game likes to pre-set you to wide, open battle formations. Shift everyone to one side and enemies on the other end will spend their first few turns just running at you, leaving you alone to beat up their friends. Take care not to block your own units, though.
Hit first. Getting the first good shot at armor typically means getting the first good shot at strength as well. At the start of a fight, don’t move into enemy range unless you’re able to attack. And as the fight goes on, prioritize enemies who are coming up in the initiative order -- you want to weaken them before their turns, not after them.
Maim, don’t kill*. Leaving an enemy with 2 strength alive means clogging the AI’s turns with a unit that will struggle to do much. Generally, you don’t want to kill anyone until you’re ready to aim for Pillage mode. So if there are 6 enemies on the map, you start killing when 5 of them are ready to die.
The AI is oblivious to most active abilities; it doesn’t know that Egil used Stone Wall, Oddleif prepped a Rain of Arrows right in front of them, or that Mogr is ready to Return the Favor. These are great ways to make enemies waste turns, so take advantage.*This is true 90% of the time, but don’t be afraid to kill a unit with powerful abilities or armor break if it feels like the right thing to do; it probably is.
Overloading your team to one side will result in enemy turns spent crossing the map rather than attacking you.
Unit Roles
You’re going to see a lot of units and classes throughout the game, none of which are the traditional knight/wizard/thief. Rather than plunging into stats and abilities, think of in terms of our rough battle plan - break armor, then damage strength. Those are two separate tasks, but units can only do one on any given turn. That gives us two basic roles to build our teams around: units that break armor well, and units that kill well.
BreakersA good breaker has (unsurprisingly) a good maximum Break, meaning 3 or 4. And since breaking armor is phase 1 of our brilliant plan, they’ll need durability, which means Armor. Strength is nice, but not crucial - they won’t be using it to attack until the battle is pretty well in hand, and armor will do a better job of keeping them alive. As a side effect, that also means that injuries aren’t a huge deal for them, and Breakers can remain effective throughout a fight even if they’re near-dead.
Mogr is the quintessential breaker. With 4 break and 18 armor, he can get serious work done while taking a lot of punishment. On top of it all, his Return the Favor passive provides even more armor breaking, and his Bring the Pain active deals his break damage and buffs Return the Favor at the same time.
In Rook’s caravan, Iver and Egil are the top examples. Iver is a different flavor of Mogr, which leaves us little else to say. On the other hand, Egil’s abilities don’t help his breaking, but they do make him tremendously durable. That combined with his raw numbers makes him well suited for the job.
Speaking of abilities, a word of warning - some abilities that break armor deal fixed damage regardless of the unit’s break stat. Rook’s Mark Prey, Alette’s Thread the Needle, and Hakon’s Sundering Impact are examples here. While that doesn’t automatically disqualify them, keep it in mind when sorting through and developing your team.
When promoting breakers, their first points should go towards maxing their Break stat. A side effect of this is that you can let some breakers lag behind in level. Each caravan will need at least one high level breaker, but having one or two sitting at rank 2 all game is totally viable. Yrsa in particular is a good candidate for this, as she can use her range as a form of defense rather than needing stats for it.
On the item front, armor and break boosts are nice, but also keep an eye out for +aggro. Since these units are tough and don’t care much about their strength, it’s definitely in your best interest for them to get the bulk of enemies’ attention.
KillersKillers need high strength, with a bit of armor backing that up; it’s crucial that these units remain in good health until targets have been softened up for them. That means they need levels to keep up with increasingly strong enemy armor, and injuries affect them badly.
Gunnulf is a premier killing machine. 18 strength is monstrous, and 12 armor provides a decent buffer to keep him healthy but keeps him from being a tank. That his Tempest ability lets him use that massive strength on multiple enemies is a delicious cherry on top. If you’re careful to keep him healthy and mobile, he can carry you through much of the game.
On Rook’s side, there’s no one quite so lopsided. Iver and Rook himself can both lean in this direction. Really, Alette and Oddleif fit the bill closest. Their low durability and break means limited options in attacking armor, but if they can park themselves in the back lines, they'll deal massive strength damage thanks to Puncture.
Strength- and armor-boosting items are obviously a big help for these guys. But killers also benefit a lot from %Crit and %Dodge items, since they’re more likely to attack strength and care more about having their own strength attacked.
Eyvind, the MenderYou’ll eventually recruit Eyvind, the closest thing The Banner Saga has to a wizard. Unlike a Killer or Breaker, Eyvind rarely attacks at all, putting him in a class of his own. He also starts at Rank 5 with 8 stat points to allocate, making him both unique and valuable.
Eyvind’s most important ability is Arc Lightning, which deals strength damage that ignores armor. This makes him fantastic at softening up powerful dredge who may start with too much armor to attack their strength, while also having too much strength for your tanks to endure blows from. Be aware that the chain effect hits secondary targets harder than the primary one - choose your shots wisely, and watch out for friendly fire.
His other ability is Mending, which restores armor to a friendly unit. This is occasionally useful around the mid-point of a fight, but ultimately will not come up that often. Be aware that the math is a little funky on this one, but it mostly boils down to this: always use the Rank 1 version.
Item- and stat-wise, Willpower is number one with a bullet, providing more energy to cast spells and boosting the strength of Mending. Once that’s been filled out, a few points in armor and strength will provide a helpful layer of defense.
Caravan-Level Management
With only 6 slots available in your party, over 20 units in the game, and limited Renown for upgrades, not everyone is going to get to participate, and even those that do will not all reach Rank 5.
The initiative system often makes players think that there’s an advantage to using fewer than 6 people; don’t fall into this trap. Your units will take damage, and having a smaller team means that that damage has a greater effect on your overall strength. These are fights of attrition; bring as much meat as you can. Bring 6 units.
But again, even if you stick with just 6 units, you likely won’t able level all to Rank 5 due to Renown needs. I’ve found it helpful to consider 5 units the “core team” for each Caravan, with 3 of them designated as “priority” units that get the majority of level ups, and the other 2 picking up scraps where possible. Here’s an example:
Rook (4) || Iver (4) || Alette (3) || Egil (3) || Oddleif (2) || Hogun (1)
Here, my priority units are Rook, Iver, and Alette. I’d like to keep them roughly even with each other, so my next level will go to Alette. After that, I’ll focus on getting those 3 to Rank 5. Once that’s done, I'll give some attention to my mid-tier units, Egil and Oddleif. Hogun will get no levels until I’m out of other options, and other Rank 1s will swap in as injuries demand.
Basically, you don’t want 1 unit at Rank 5 while the others are Rank 1, and you don’t want 6-8 units sitting at Rank 2. Subdivide your team, and keep those sub-groups in a roughly even mix of killers and breakers.
The last piece of the puzzle is setting turn order. It’s easy to get the impression that there’s a ton of hidden potential here, but really, this isn’t rocket science. Like we’ve established, you want to break armor first, then attack strength. That means putting your breakers in the front of the order and the killers to the back, with higher-level units generally taking precedence over lower-level ones. So our previous example might become:
Egil (3) || Iver (4) || Rook (4) || Alette (3) || Oddleif (2) || Hogun (1)
Our rough game plan here would be to have Egil move forward and use Stone Wall, drawing aggro and wasting a few enemies’ turns with ineffective attacks. Iver would follow up with some armor breaks, and the rest would funnel in behind him to deal damage. Basically, the moral of the story is “Don’t overthink this.”
FAQs And Other Minutiae
What units are good? Which units should I avoid?
Rook and Alette are both required for the final battle, so you’ll definitely want to level them up. Aside from that, there really aren’t any wrong answers. I tend to pass on Krumr and Eirik since their abilities feel like wasted turns to me, but I’m sure you can make them work. Egil is also a candidate for the bench; he’s effective, but there are a lot of ways for him to die during the story if you aren't reading the wiki.
You barely mention Willpower and Exertion. Should I care about these stats?
Neither is that important in the long run. (Barring Eyvind’s willpower.) Exertion isn’t required to use higher level active abilities, so it’s best for units that (A) need more mobility, and (B) don’t use their abilities often. This is an elaborate way of saying “give Gunnulf 1 point of it. ”
Willpower is similar. Most units start with a decent pool of it, and while it can add some oomph to a single attack, you can also add oomph to all your attacks by raising strength or break. It’s a decent bonus when you’ve capped the stats you care most about, but not a major concern.
Closing Notes
This isn’t really structured like a traditional guide, so if I lost you somewhere along the way, please let me know in the comments. Likewise, that FAQ section is looking pretty bare, so feel free to chime in when you aren’t too busy throwing praise and money. Beyond that, thanks for your time, and enjoy the apocalypse.
Source: https://steamcommunity.com/sharedfiles/filedetails/?id=400080180
More The Banner Saga guilds
- All Guilds
- Empanadas para tu caravana
- The Banner Saga
- Basic tips for Beginners.
- The Banner Saga: Tips, Tricks and Combat Techniques
- Every Decision and Consequence
- The Banner Saga Achievement Guide
- The Banner Saga Guide 3
- , .
- The Banner Saga