
Two different paths of traveling through the Lost River and both Lava Zones. They will be shown in Creative and tell you where you must go.
Short Introduction
These are two methods on traveling through the Lost River and Lava Zones. These will be shown in Creative so you know how to get there but not what you must do to get there (Building vehicles and stuff like that). Bort's "Lost River and Beyond" guide is a very good guide on what you need to travel.
I will attempt to avoid as many spoilers as possible for new players but there will be a few necessary ones like the locations.
Method Number 1 is a longer, but safer, method of traveling the lost river. Your big concerns are Crabsquids, Warpers, and River Prowlers.
Method Number 2 is shorter and you don't have to worry as much about Crabsquids and Warpers, but you will have to go through a Ghost Leviathan. Only brave or foolish people should attempt this.
Method Number 1: Entering The Lost River
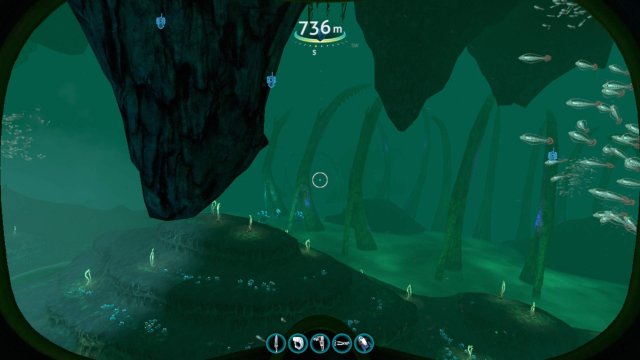
Method Number 1 involves entering the Lost River through the Blood Kelp Trench. Head West from your lifepod until you reach the Grass Plateau, bordering the Dunes.
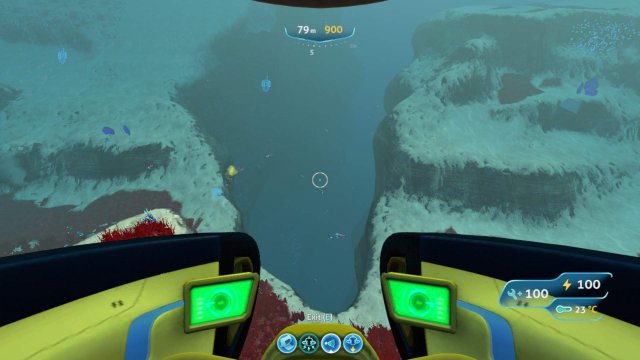
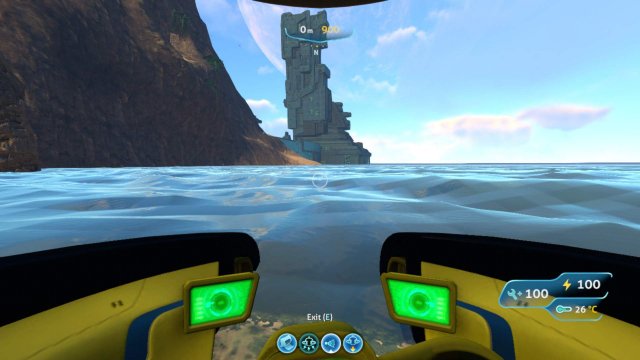
Follow the Blood Kelp Trench and go as deep as you can. Alternatively you can follow it on the surface and once you reach this:
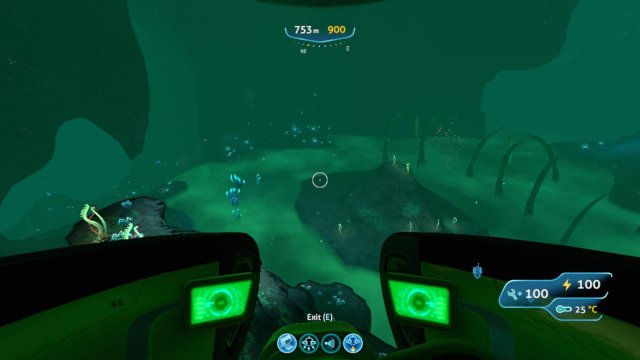
Dive down and follow the wall until you reach a large passage leading to the Bone Fields.
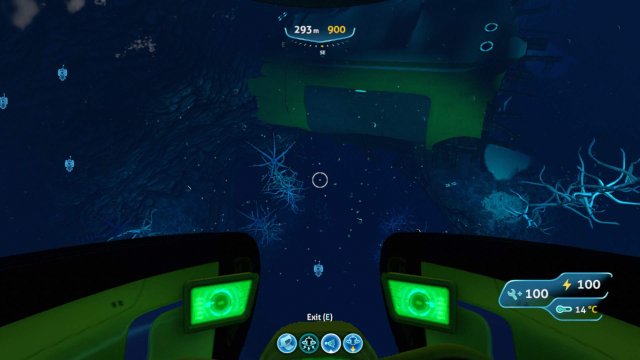
If you take a passage and see this:
You've taken a wrong turn so turn around and go right.
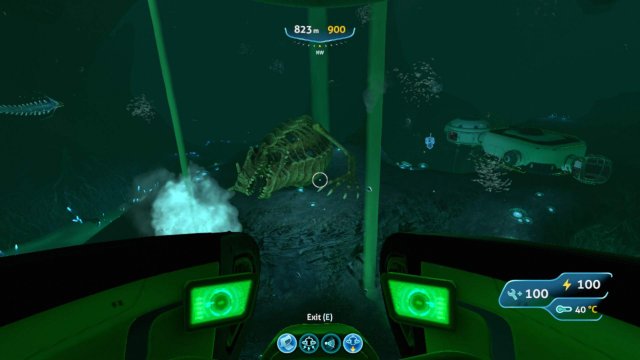
When you see the giant skeleton.
Follow the wall on the left side to avoid the Ghost Leviathan.
Method Number 1: Entering The Inactive Lava Zone

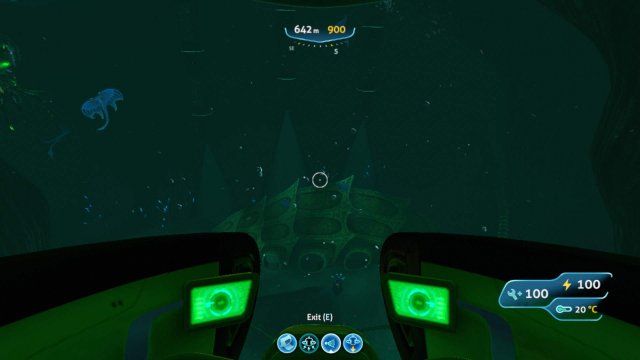
Now that you're in the bone field continue following the left wall until you reach this small skeleton.
Follow that left and down until you reach the Junction which looks like.
From there you have 3 ways to go. Straight and up leads to the Ghost Forest which leads out of the Lost River. Right leads toward the Disease Research Facility, which is great for new players trying to understand the lore, but other than that serves no important purpose.
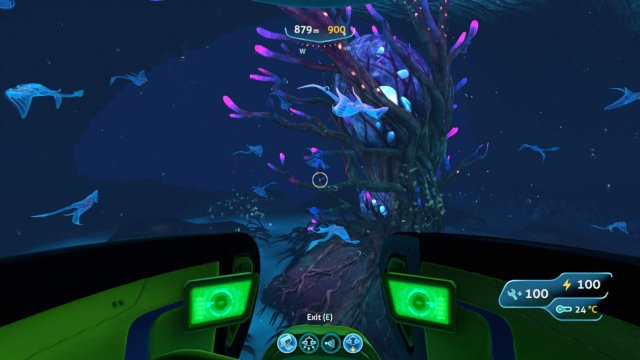
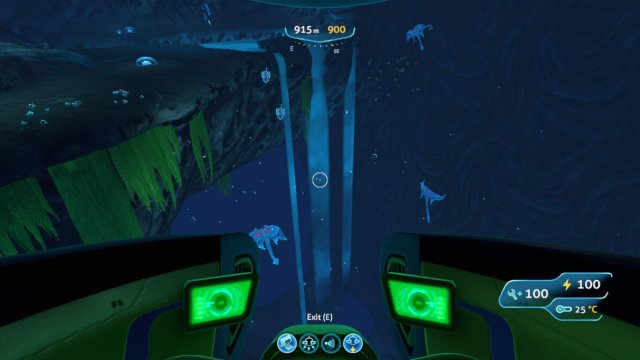
That leaves left towards the Ghost Tree. It's very difficult to miss. Follow that passage until you reach the large drop and brine falls. Descend and turn around and follow the right tunnel until you reach the Inactive Lava Zone.
Here are some screenshots.
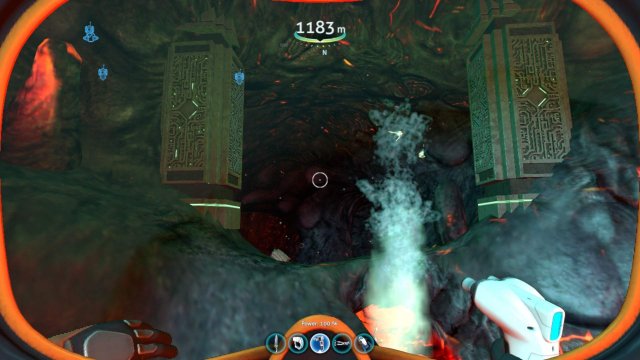
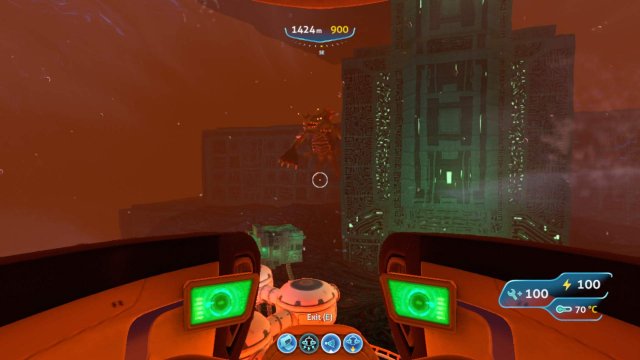
Once you reach the end of the tunnel keep going straight until you reach the big rocky castle. Follow the base around to the right until you find a big green door that looks like this. Don't forget to watch out for the two Sea Dragon Leviathans.
Follow the inside tunnel and go into the Alien Thermal Plant
Method Number 1: Entering The Active Lava Zone
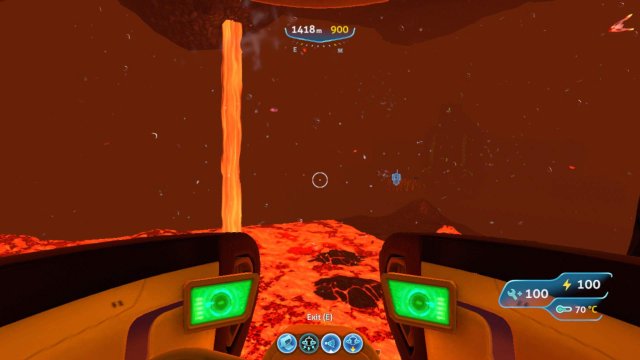
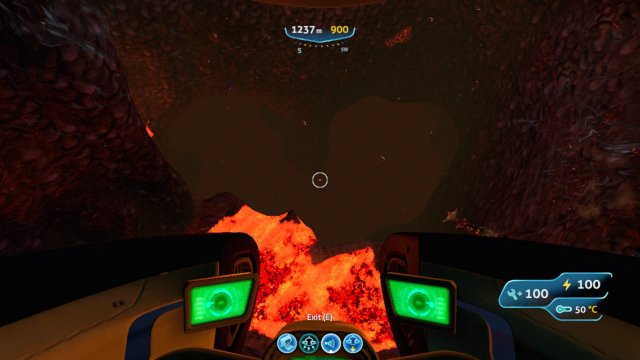
Once you have finished everything in there head back out and head towards the big skeleton. There should be a giant hole that you can go inside and follow to the Active Lava Zone. At the end you should see this:
Again watch out for the Sea Dragon Leviathan. They're really rude sometimes.
Once you're inside the Primary Containment Facility, however, you are safe and can finish the story.
Method Number 2: Entering The Lost River
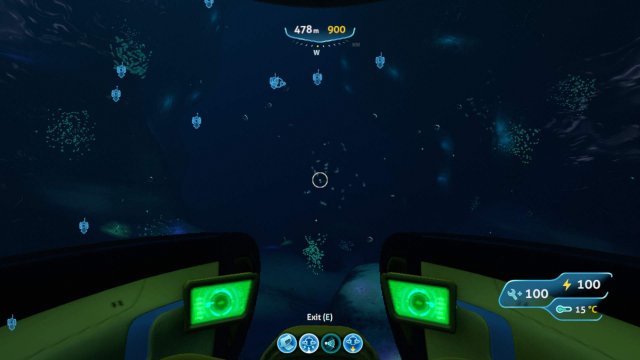
Alternatively you can take the shorter route, which if you're capable of taking on a Ghost Leviathan I recommend much more. Go to the East side of Mountain Island.
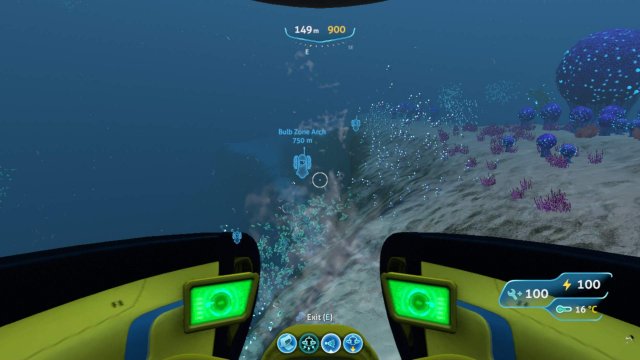
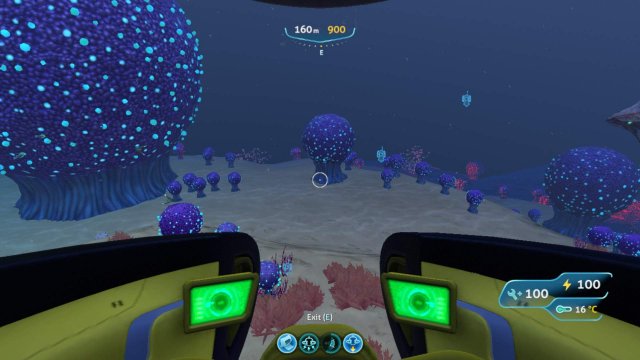
Face East and descend and go forward. You should start seeing these:
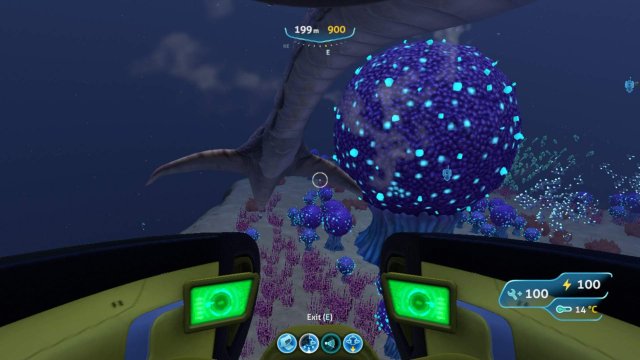
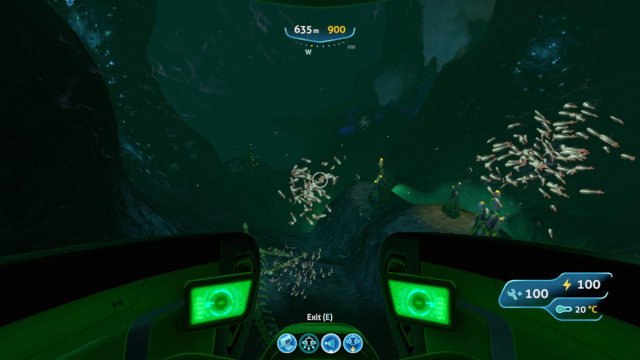
At the end of that is a large cliff. Descend as far as you can and turn around. Follow the large tunnel.
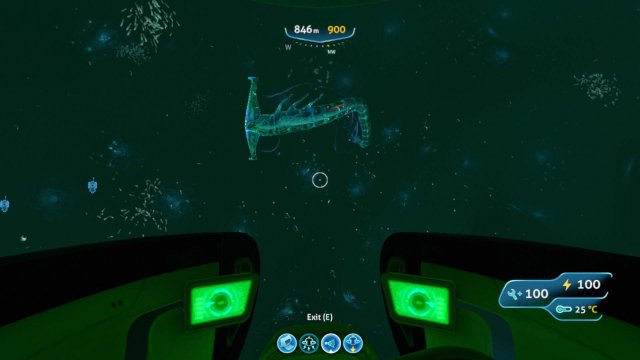
Watch out for the Juvenile Ghost Leviathan. He has a temper.
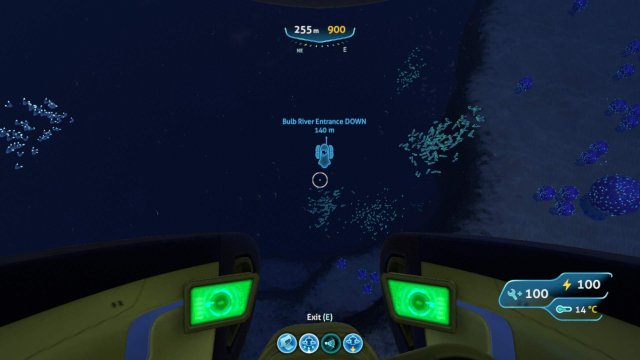
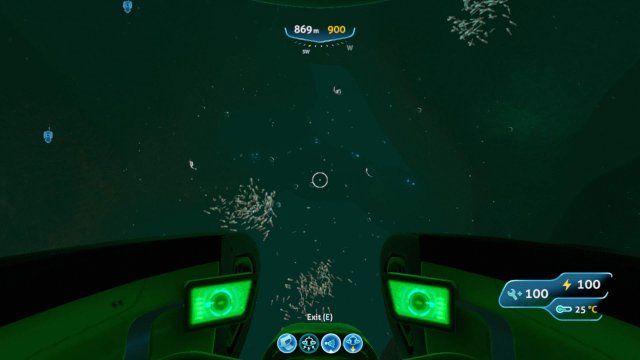
Anyways you should see this large hole around the Ghost Leviathan. It leads to the Inactive Lava Zone. The Research Facility is a little further down the tunnel if you want to use that first.
Method Number 2: The Lava Zones
From here on it's pretty much the same. Find the big rocky castle. There is another door on the side closer to you which should be easy to find as it's next to a skeleton. On your way there you should have passed a big drop that leads into the Active Lava Zone. Remember the Sea Dragon Leviathans are swimming around.
Once you are finished with the Thermal Plant you are free to go to the Primary Containment facility. Don't forget about this ugly guy.
Coordinates And Ending
If you are having trouble here are a list of coordinates.
- Blood Kelp Trench Entrance (-747 -156 -303)
- Bone Fields (-983 -736 36)
- Junction (-607 -843 280)
- Inactive Lava Zone Entrance 1 (-1216 -1000 426)
- Alien Thermal Plant Entrance 1 (-71 -1180 3)
- Active Lava Zone Entrance 1 (-268 -1329 -129)
- Bulb Zone Corridor Entrance ()
- Disease Research Facility (-229 -796 321)
- Inactive Lava Zone Entrance 2 (257 -919 685)
- Alien Thermal Plant Entrance 2 (-18 -1184 211)
- Active Lava Zone Entrance 2 (78 -1280 351)
Source: https://gameplay.tips/guides/5208-subnautica.html
More Subnautica guilds
- All Guilds
- Subnautica - Best Base Locations
- Subnautica - External Cyclops Storage and Fabricator
- Subnautica - The Stalker (Fanmade Documentation)
- Subnautica - How to find the PCF (Primary Containment Facility)
- Subnautica - Useful Tips for Hardcore Playthrough
- Subnautica - Minimalist Walkthrough (Early Access 7)
- Subnautica - Beginner Survival Guide
- Subnautica - The Alterra Vehicles Guide
- Subnautica - How to Defeat Reapers with the Prawn Suit (Easy Method)