
Introduction
As many of you probably have already found, there are plenty of ways to add or replace portraits to the game. The easiest and quickest way is to simply replace a game picture with another of your choosing, as described by BloodDoll.
However, if you do wish to keep the original files where they are - and there are some reasons why you might want that, be it out of plain zeal, or due to the possibility that UGC uses some of the included portraits in their own characters (therefore defeating the uniqueness of your picture) - then a different approach must be taken.
This guide shows you how you can accomplish that without replacing or modifying any game files. All you will need is the Shadowrun Editor and a text editor such as notepad. No need to download other mods or 3rd party software. Also, it does not require experience with the Editor, so anyone should be able to do it without effort.
The Portraits
First of all we will need to make the pictrues which will serve as our characters' portraits. There are some requirementes for the files to work:
- They must be 212 x 278 pixels in dimension.
- They must be in .PNG format.
- The picture files should have a name similar to that of the original game files: pc_<racegender>_<number>_<name>.png. Note that this is not actually required, though I found that too short names may cause the portrait to become distorted on the character creation screen (but not in the game itself).
For this guide, I have used the following pictures, and their names:
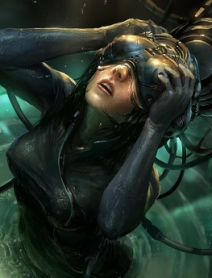
pc_humanfemale_20a_custom.png - source[omen2501.deviantart.com]
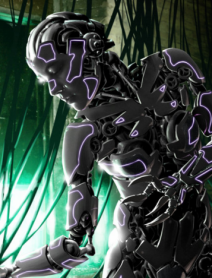
pc_humanfemale_20b_custom.png - source[tower-raven.deviantart.com]
*I don't own these pictures. Credit goes to their original authors, as in the images' sources.
For now, just save your pictures somewhere you can easily find them. If you're out of ideas, check this out, but be mindful of copyright, just in case.
Getting Started
We have our pictures set, so now let's get them to show up in game.
1) Open up the game Editor and create a new content pack. We can name it whatever we like, but for this example we're going to name it 'custom_portraits'.
2) Find the folder where the content pack has been created. In our example it is:
C:\Users\[User]\Documents\Shadowrun Returns\ContentPacks\custom_portraits
Inside this folder, create 2 new text files with the same name chosen for the content pack:
custom_portraits.pl.txt
custom_portraits.pcode.txt
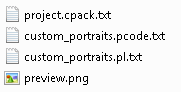
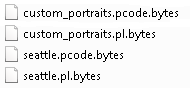
Our content pack folder should have at least these items:
No need to move the pictures around just yet, we'll get there later. Also, if we didn't check the "Resource Content Pack only" option when creating the new content pack, there should be a 'data' subfolder here, but such folder can be ignored.
As a side note, if you're developing a full mod on itself, a more structured directory is probably required. Don't just put files in the content pack's root folder as was shown in this guide. Here we will only use the Editor to convert some text files into .bytes files.
Setting Up The Config Files

The files we just created will contain information about gender, race, and the default appearance for the character model when the portrait is selected, so now we'll need to edit those text files.
3) On custom_portraits.pl.txt, we'll need to add the following text for each portrait we're adding:
entries {
value: "<portrait file name>"
race: Race_<race: Human, Elf, Dwarf, Ork, Troll>
gender: Gender_<gender: Male or Female>
}
Example custom_portraits.pl.txt:
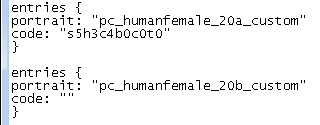
4) On custom_portraits.pcode.txt, we write for each portrait:
entries {
portrait: "<portrait file name>"
code: "<character model code>"
}
Example custom_portraits.pcode.txt:
The 'code' field can be left empty. In such case, the character model will not have a pre-defined appearance. But it is basically s#h#c#b#c#t#, where:
s# - skin color
h# - hair style
c# - hair color
b# - beard style
c# - beard color
t# - horns style
More info about styles can be found on the wiki page.[shadowrun-returns.wikispaces.com]
Almost There...
Now back in the Editor, we should follow these steps:
5) Reload the content pack by selecting:
File -> Recent Content Packs -> C:/Users/.../custom_portraits
This is important, otherwise the Editor won't recognize the files we just edited. It is safe to "discard" changes when asked.
6) Select File -> Publish Content Pack To... and save the zip file somewhere easy to find. At this point, the Editor is no longer necessary. The only use of the Editor in this guide is to actually convert the .txt files into .bytes files, which are the ones the game recognizes.
7) Open up the zip file you just saved and extract these files somewhere easy to find:
custom_portraits.pcode.bytes
custom_portraits.pl.bytes
No need to extract anything else.
8) Head to the game's directory:
C:\Program Files (x86)\Steam\steamapps\common\Shadowrun Returns\Shadowrun_Data\StreamingAssets\ContentPacks and:
Option A - place the custom files into 'seattle' subfolders
- move the portrait pictures into seattle\art\portraits\
- move the .bytes files into seattle\data\portraits\
The 'seattle\data\portraits' folder should have at least these files:
Option B - place the custom files into 'shadowrun_core' subfolders
- move the portrait pictures into shadowrun_core\art\portraits\
- move the .bytes files into shadowrun_core\data\portraits\ <- create this folder if it doesn't exist
Since all HBS campaigns and most UGC uses the seattle pack as a dependency, either way will essentialy get you the same results (unless, there is some advice against placing files in the 'shadowrun_core' folder, whereof I am unaware).
Notice that no files need to be overwritten in the game folder with this method. Beware of conflicting file names as replacing files may break your game.
Results
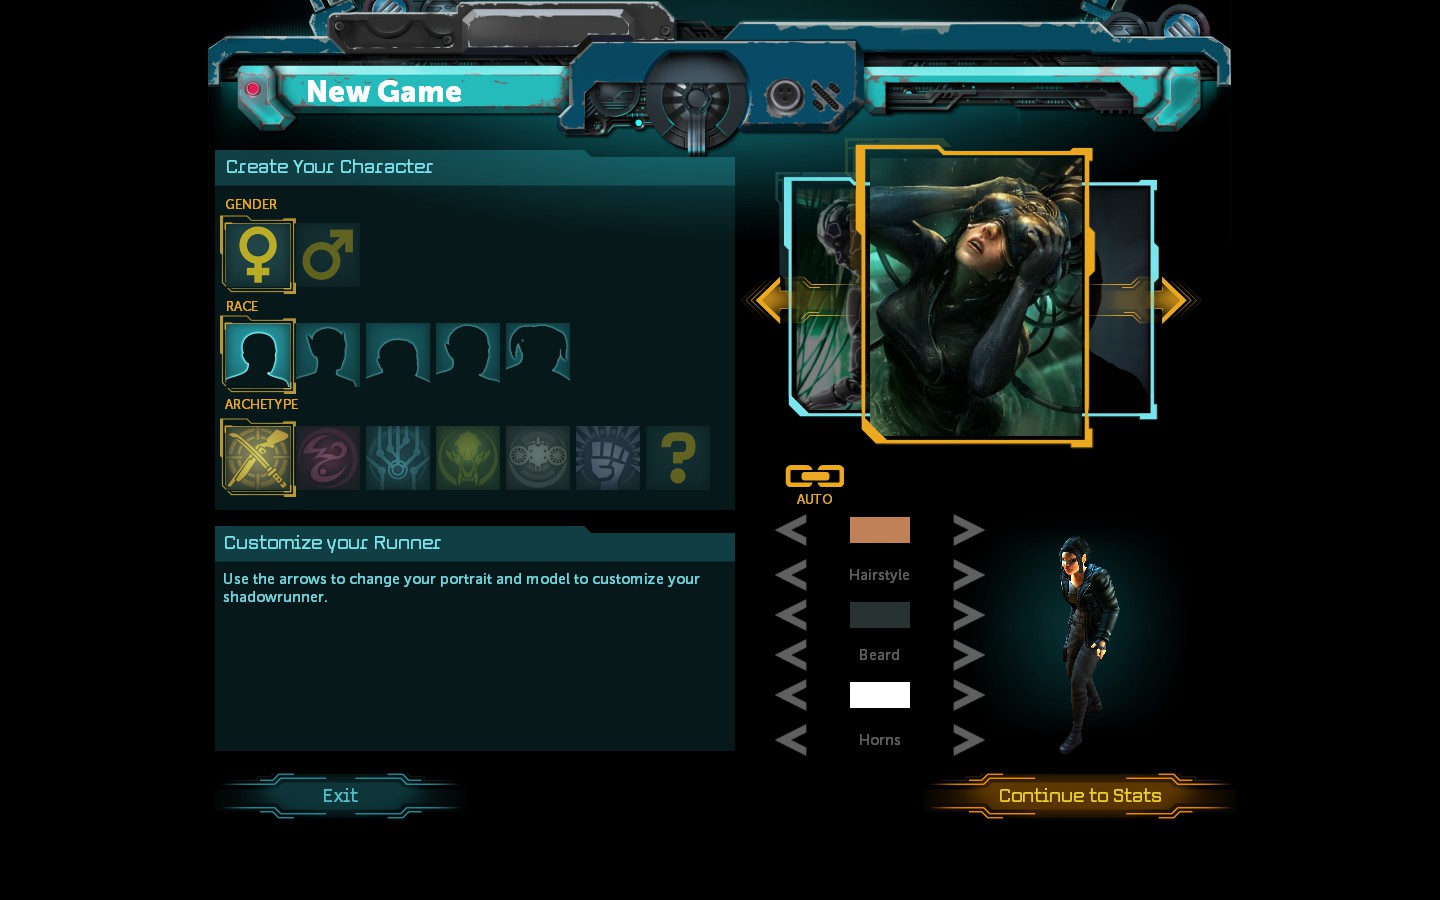
Here's how the portraits will show up on the character creation screen. The first one is for the portrait we did set up the character model code:
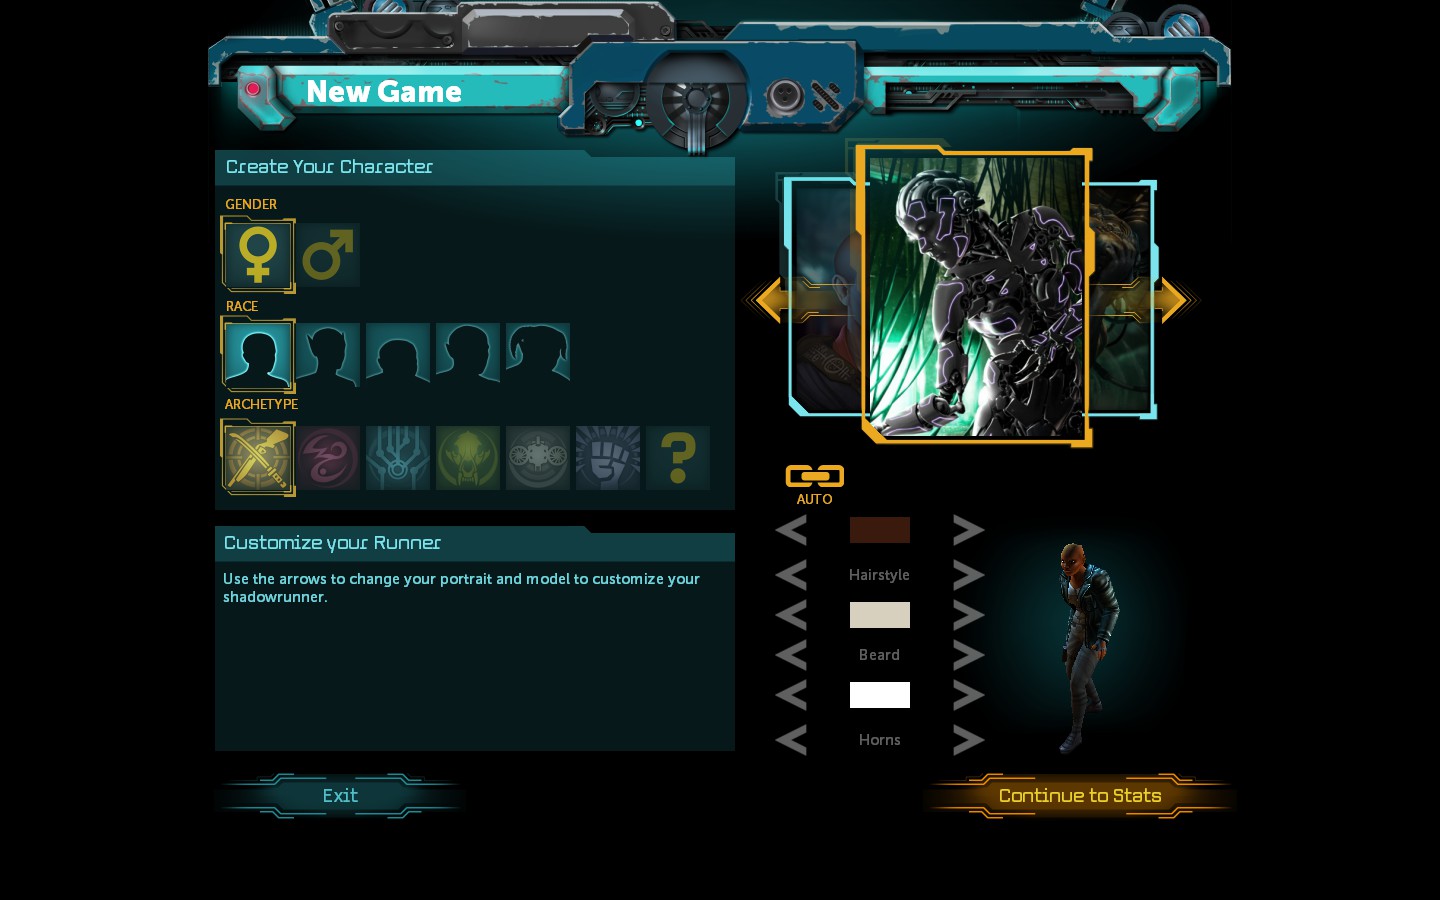
And this one is the one we the code field empty:
That's it. I hope this will be useful to you as I couldn't find this info anywhere else. Thanks for your patience and feel free to comment or contact me if you have any criticism or suggestions or if you find any errors!
Source: https://steamcommunity.com/sharedfiles/filedetails/?id=283353365
More Shadowrun Returns guilds
- All Guilds
- Shadowrun Returns Guide 20
- Puzzles and More
- Empanadas para tus horas de descanso
- Total Karma List
- Shadowrun Returns: General Strategy Guide
- Shadowrun Returns and Shadowrun Dragonfall
- Use Any Image for Your Portrait
- The Index
- Rew Champloo's Shadowrun: Returns - Debug Console "Cheats"