Sources
I wanted to have a nice short overview for farming chips, so I summarized different articles and added more infos and screenshots based on my last playthrough.
Sources:
- Steam Guide by Sennzai: Chip Fusing Chart & Guide – What’s Worth Keeping (Link)
- Reddituser GurlGod (Link)
- Nierautomata-Wiki Fextralife (Steam doesn't allow Link, use your favourite search engine ;))
You may also check out:
- Steam Guide by Mo: NieR:Automata Plug-in Chip Fusing Chart (Link)
Special thanks for commenting this guide:
- Coldacid
- Rayram Aurean Blue
Fusing Overview
In short: use only Diamond Chips on Level 2, 4 and 6 to create a new Diamond Chip. On the other levels you can fuse one Diamond Chip with a One Storage Cost Above Diamond Storage Cost Chip. Consider fusing low level One Storage Cost Above Diamond Storage Cost Chips using them for higher levels. The steam user Mo uploaded a nice flow chart (Link), with the most efficient usage of low level chips.
Chip Level Storage Cost Diamond Chips to fuse with for lvl.+1-diamond 0 4 4 or 5 1 5 5 or 6 2 6 6 3 7 7 or 8 4 9 9 5 11 11 or 12 6 14 14 7 17 17 or 18 8 21 -
For detailed informations how to fuse chips, I recommend the excellent steam guide from Sennzai: Chip Fusing Chart & Guide – What’s Worth Keeping (Link).
Good Farming Locations (Spoilers)

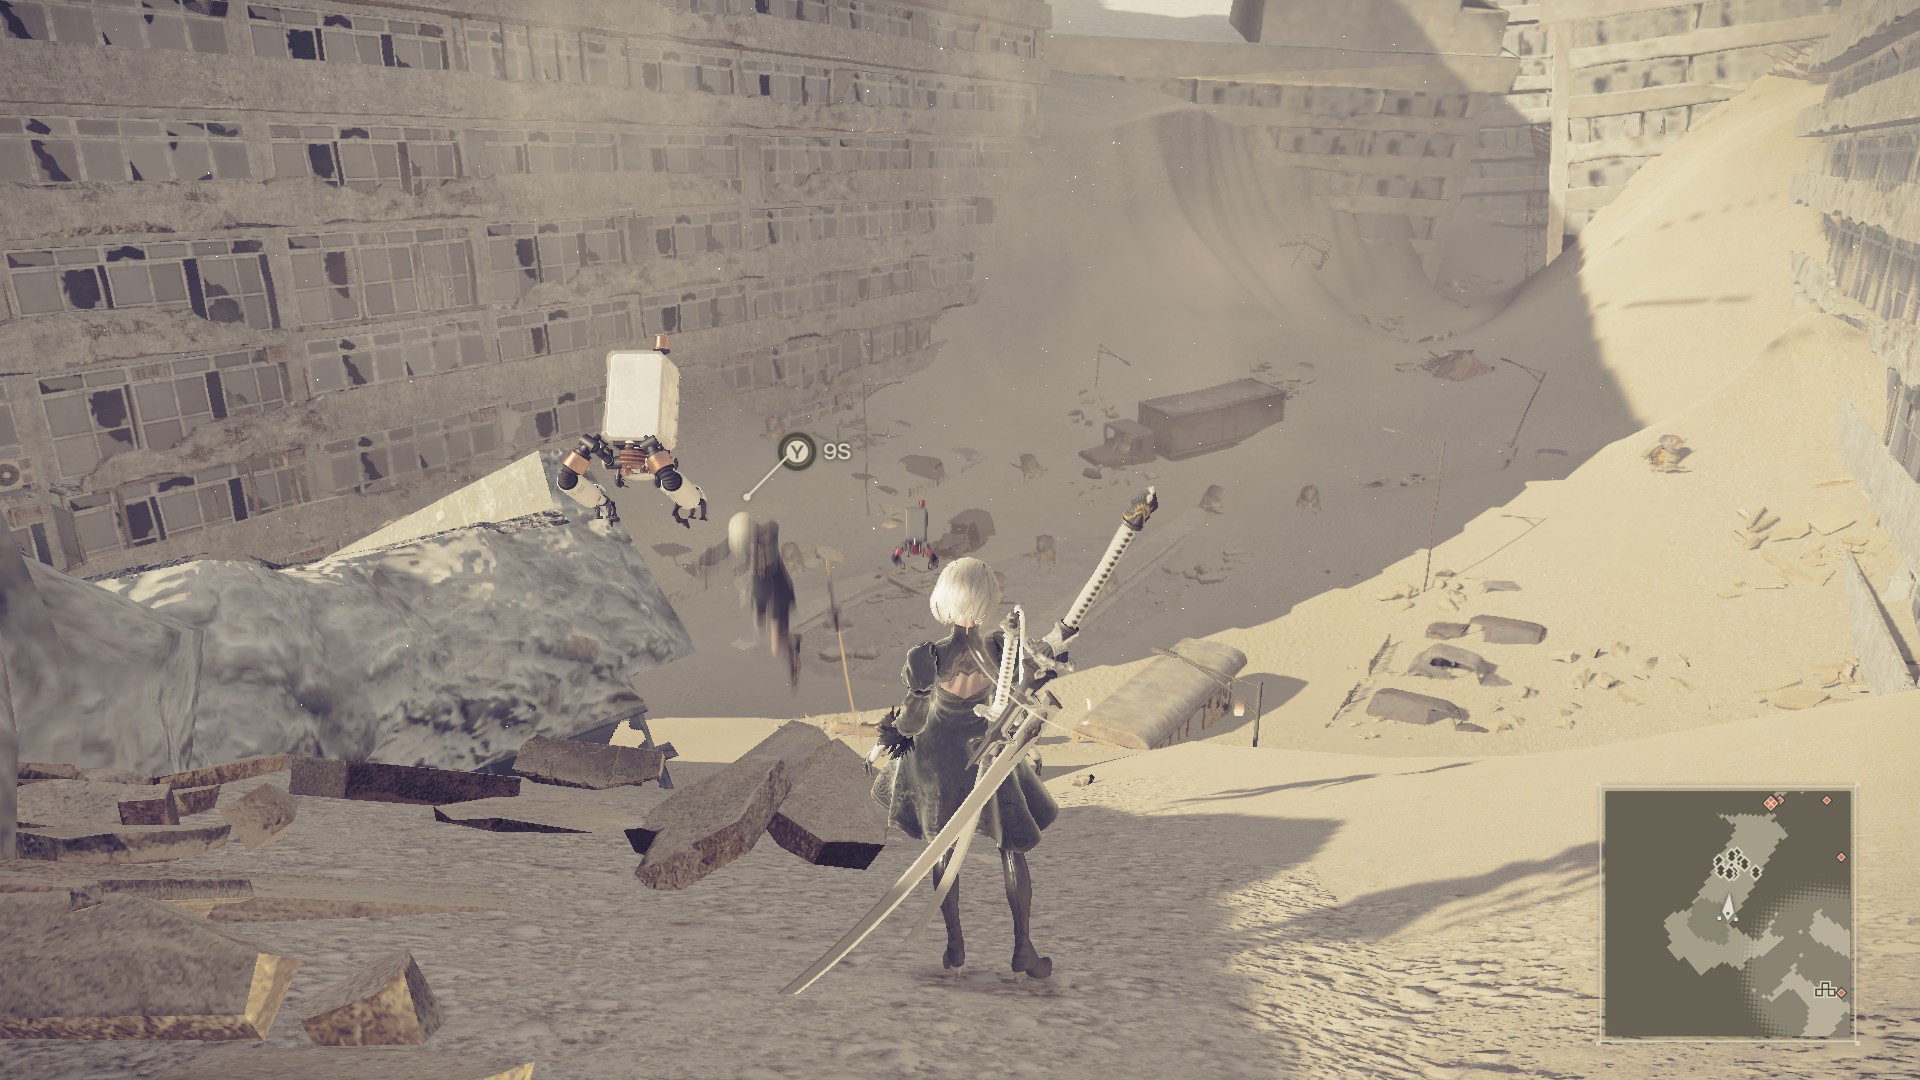
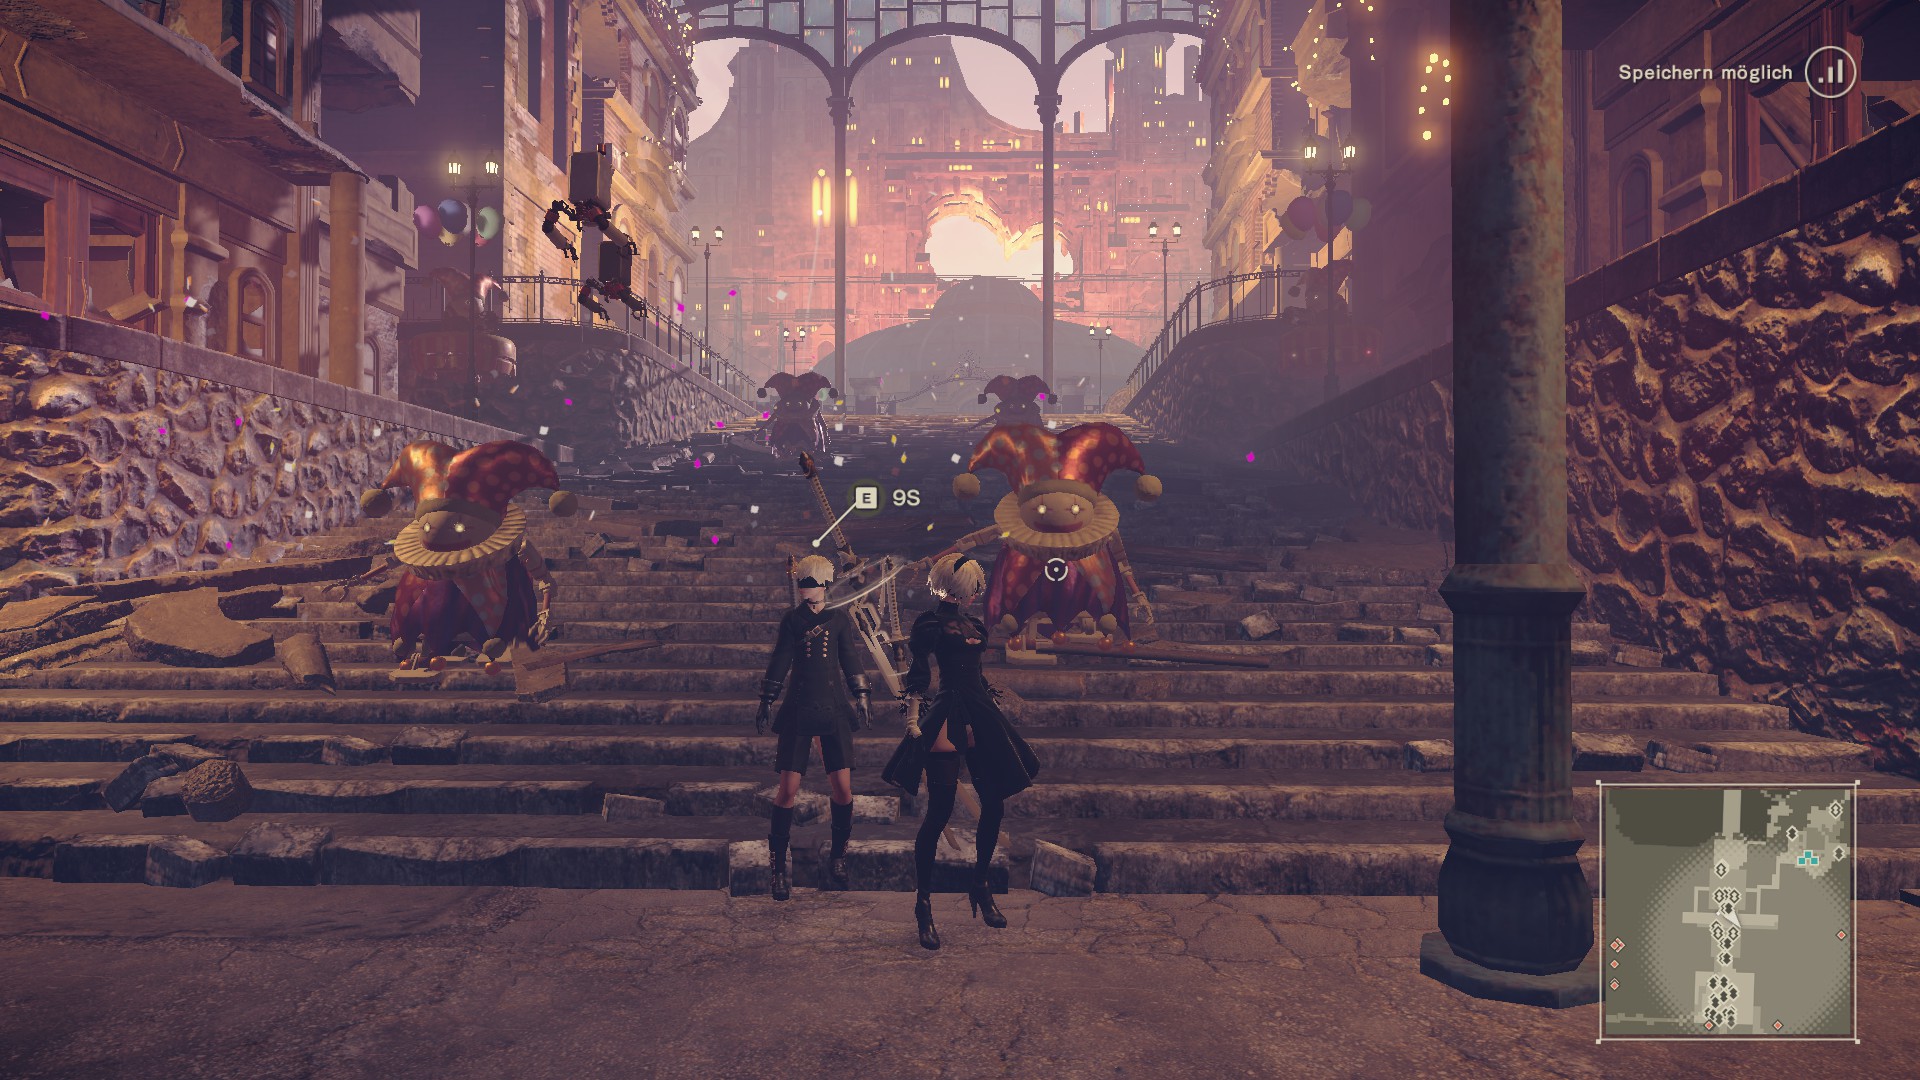
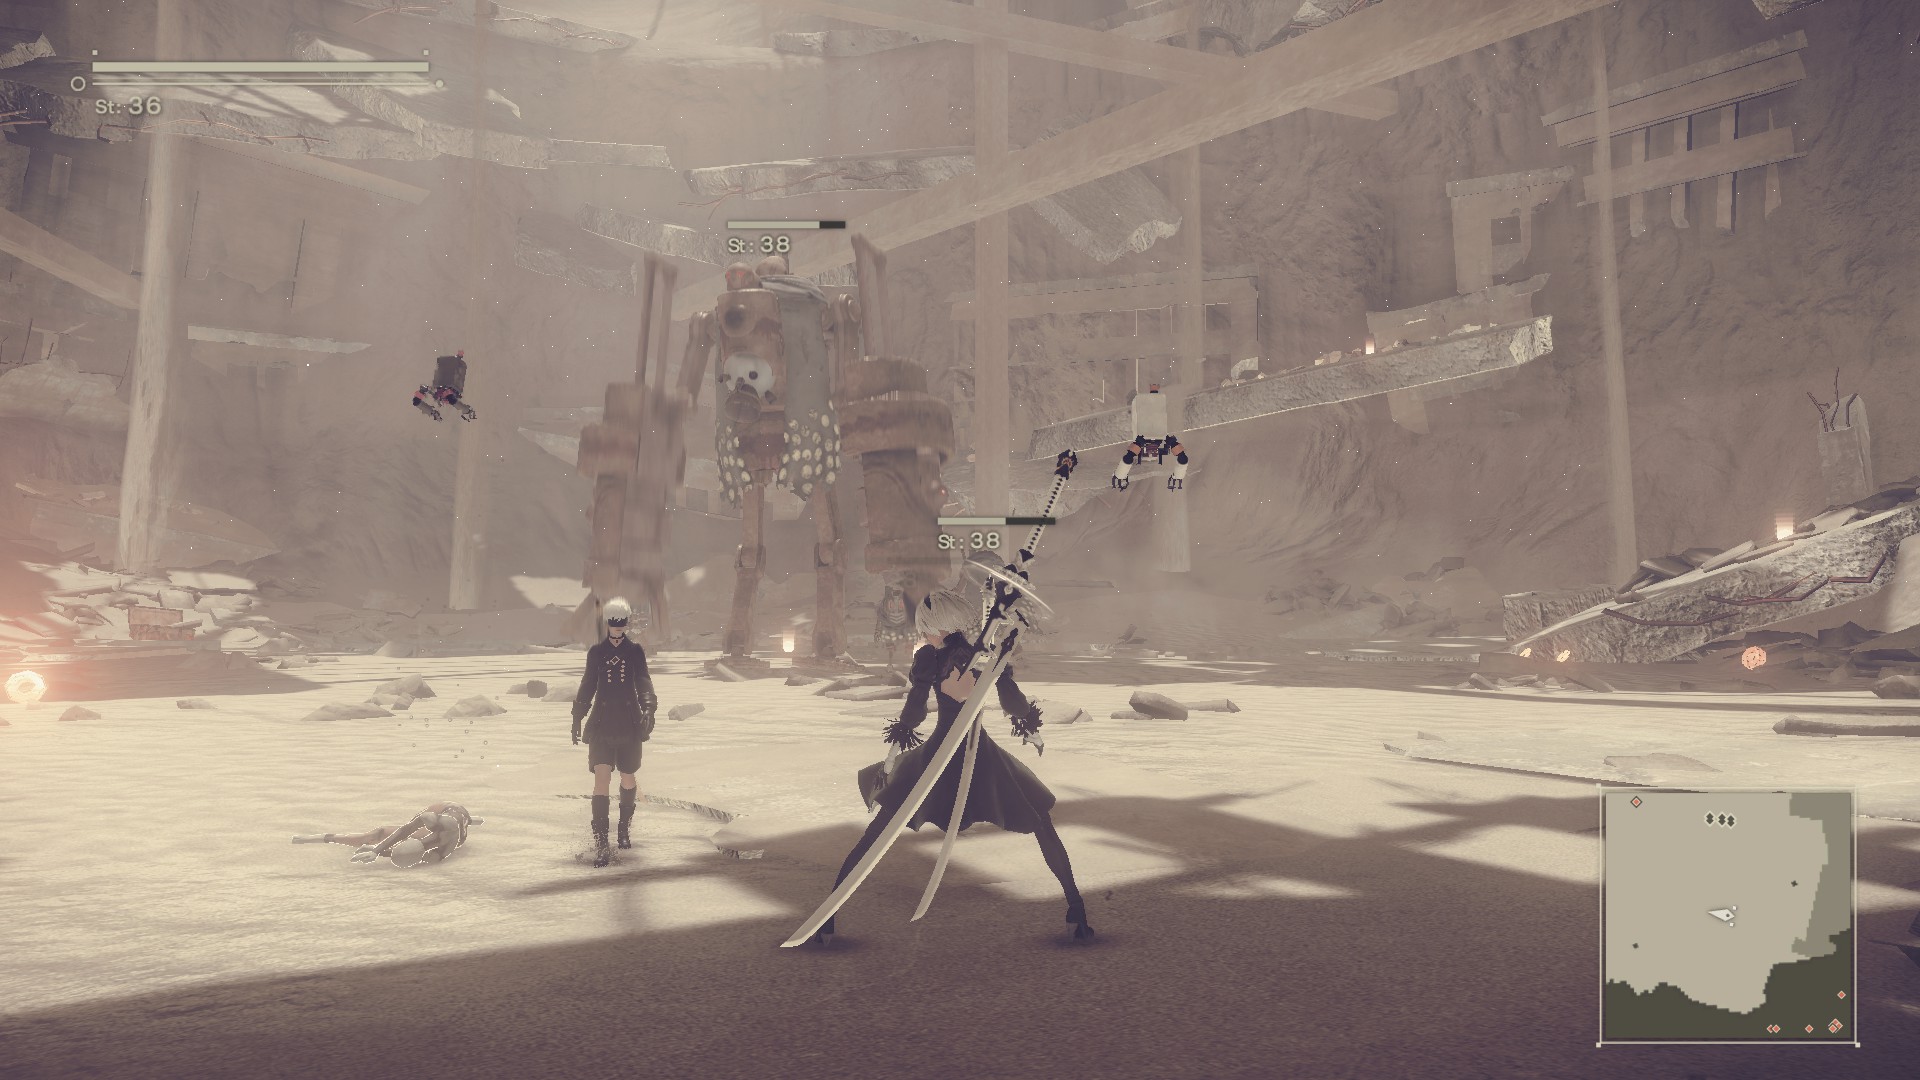
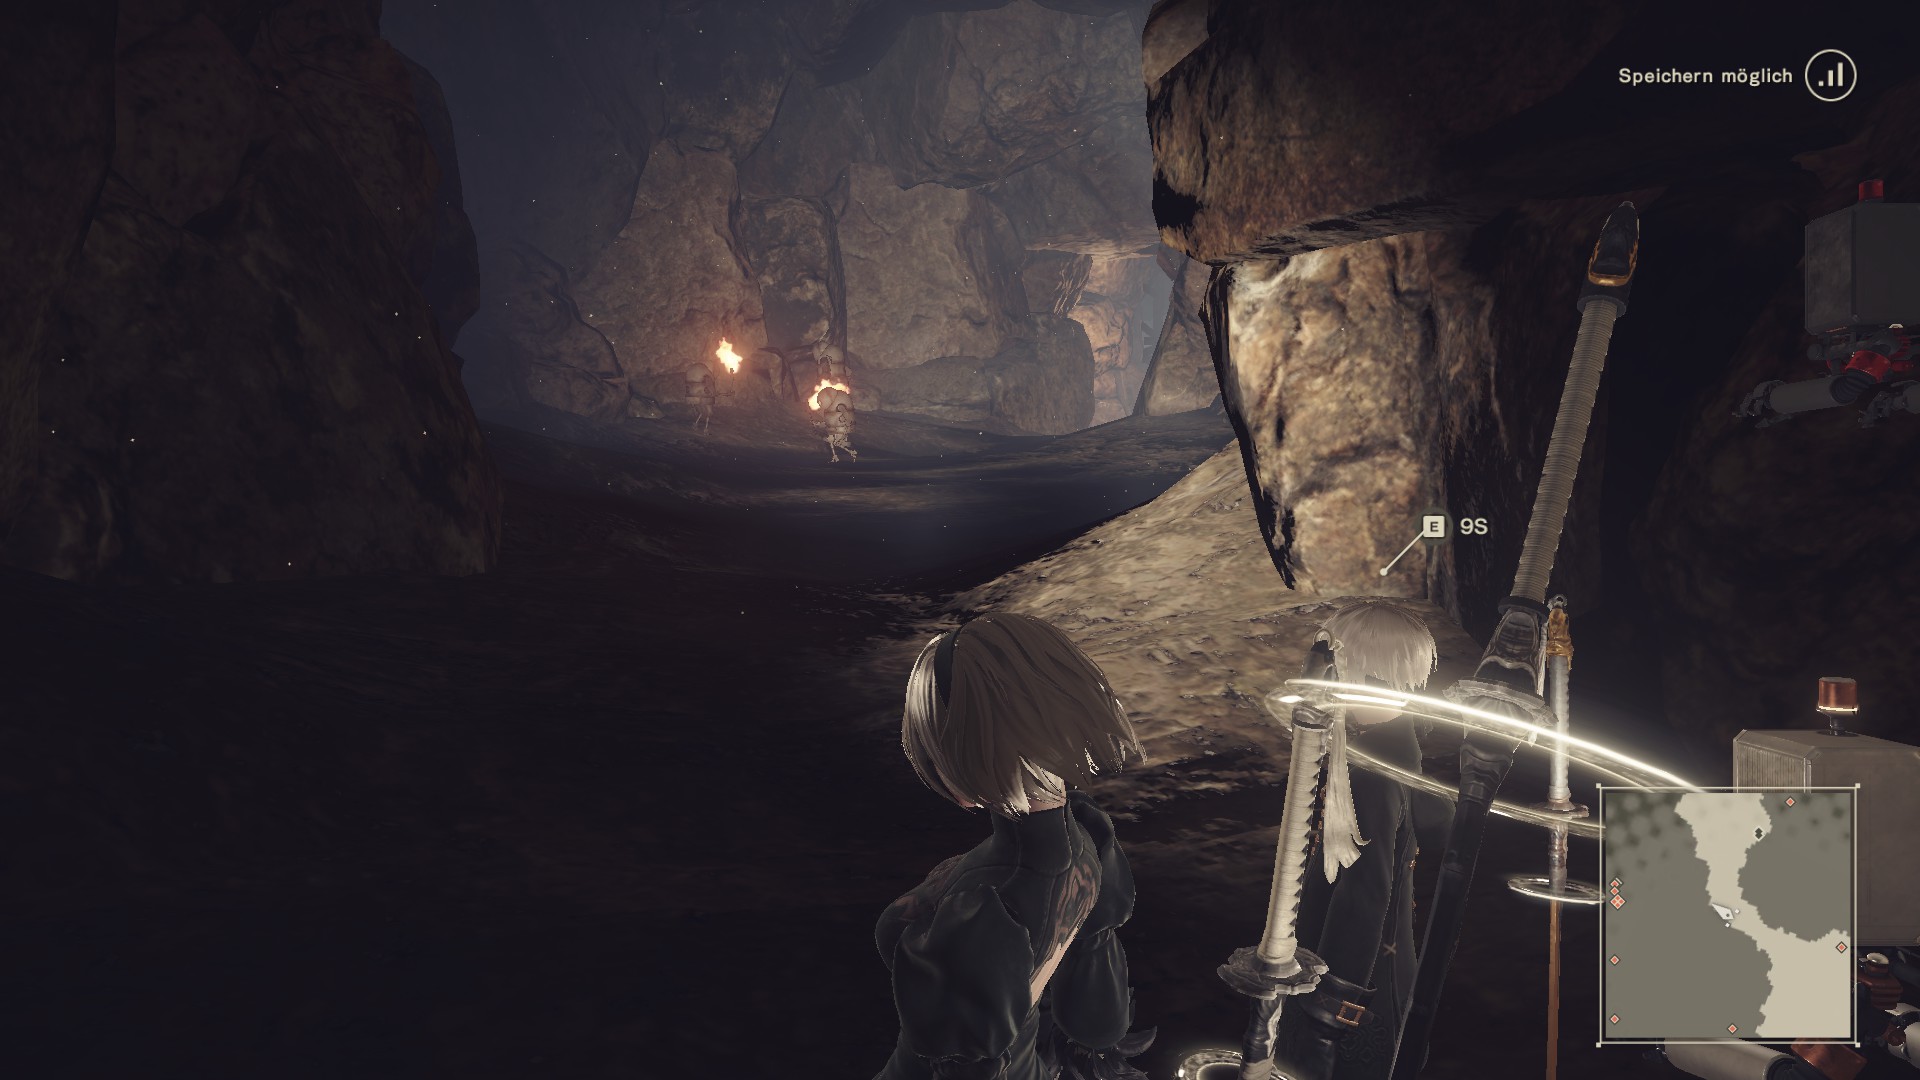
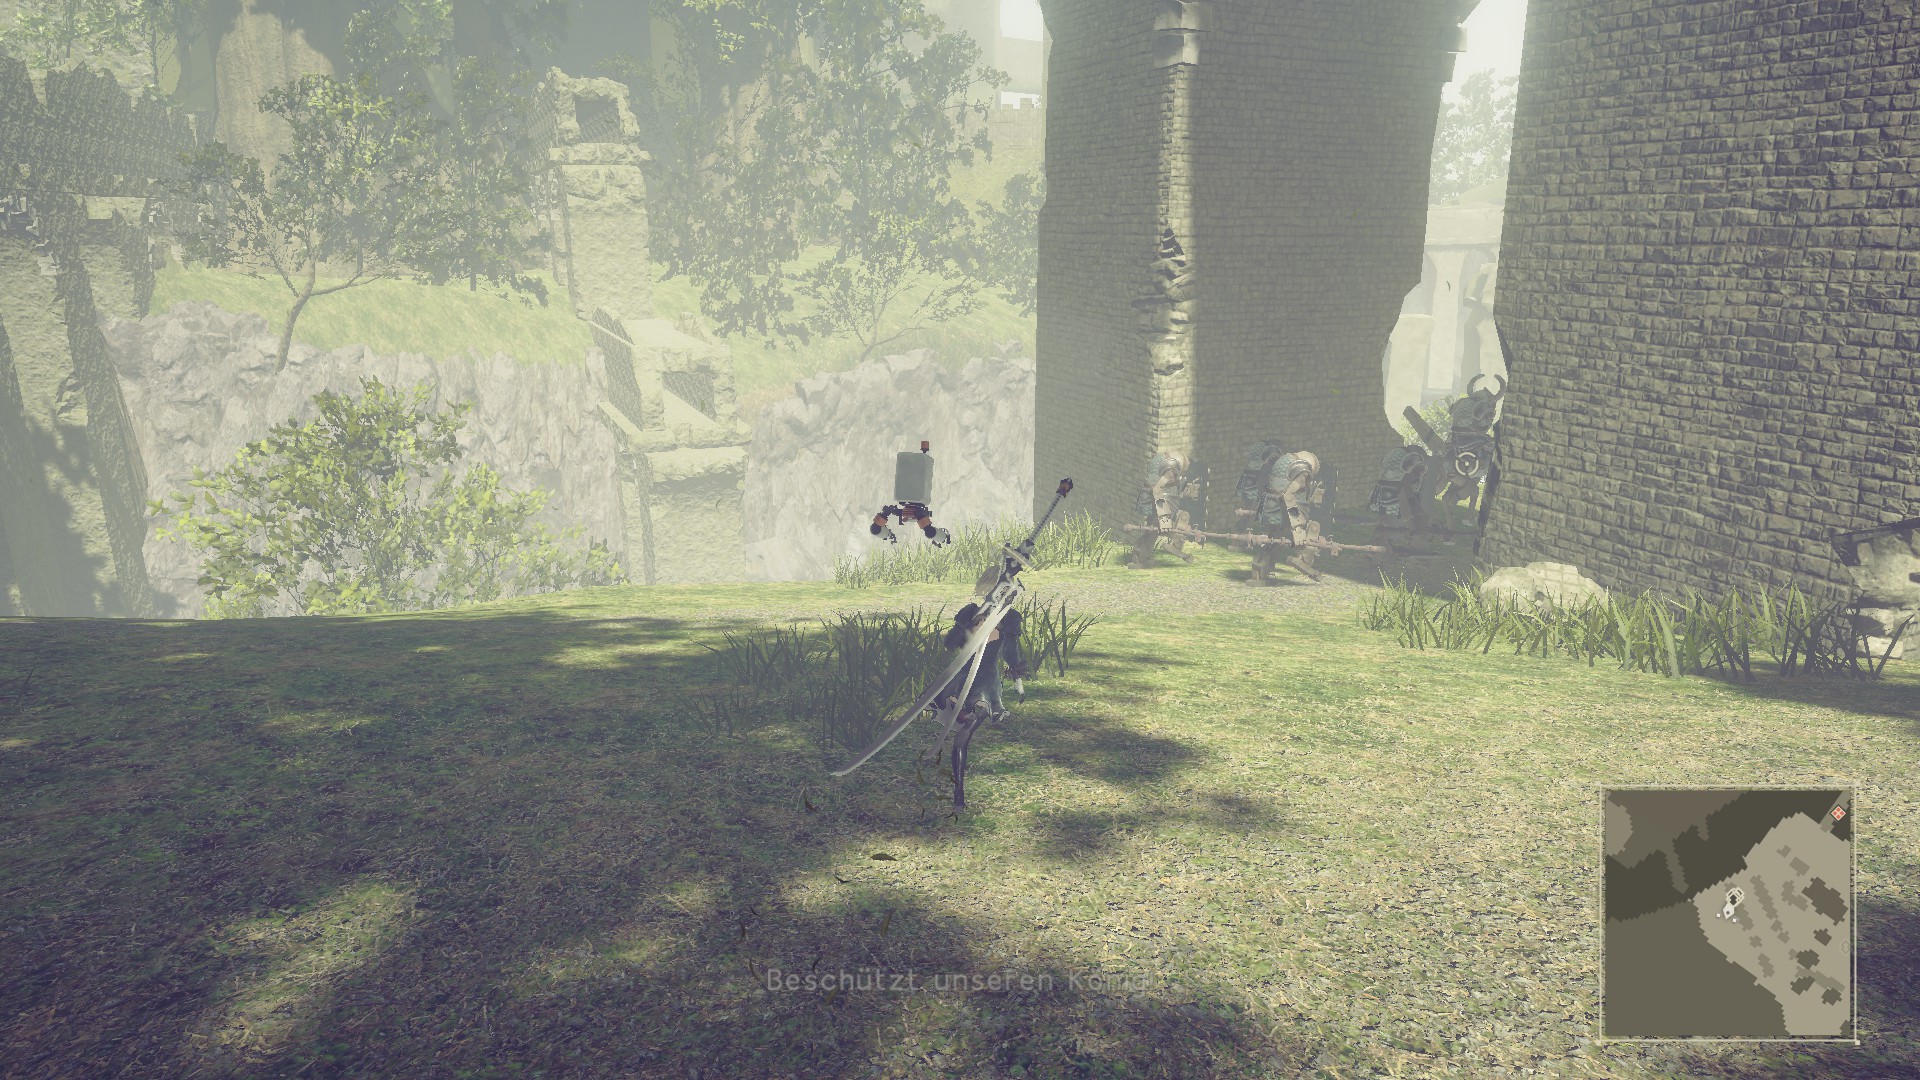


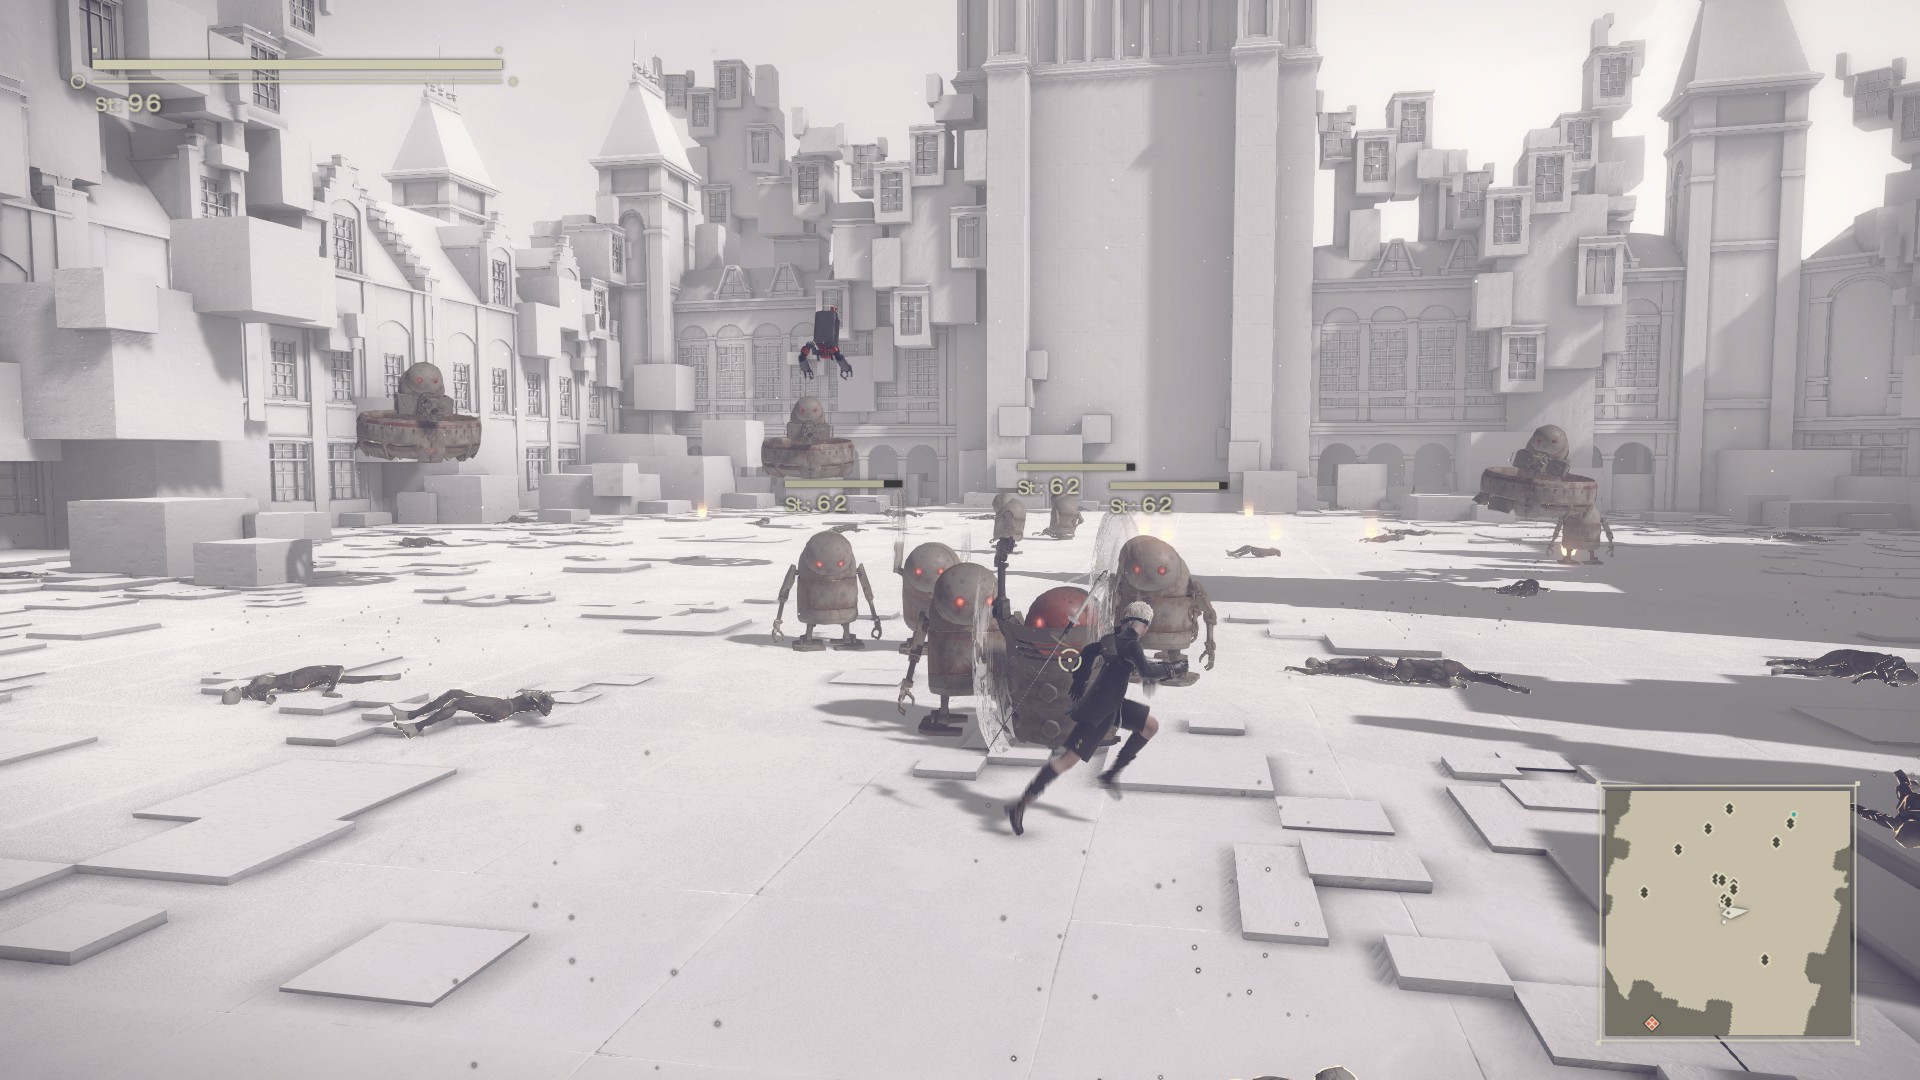
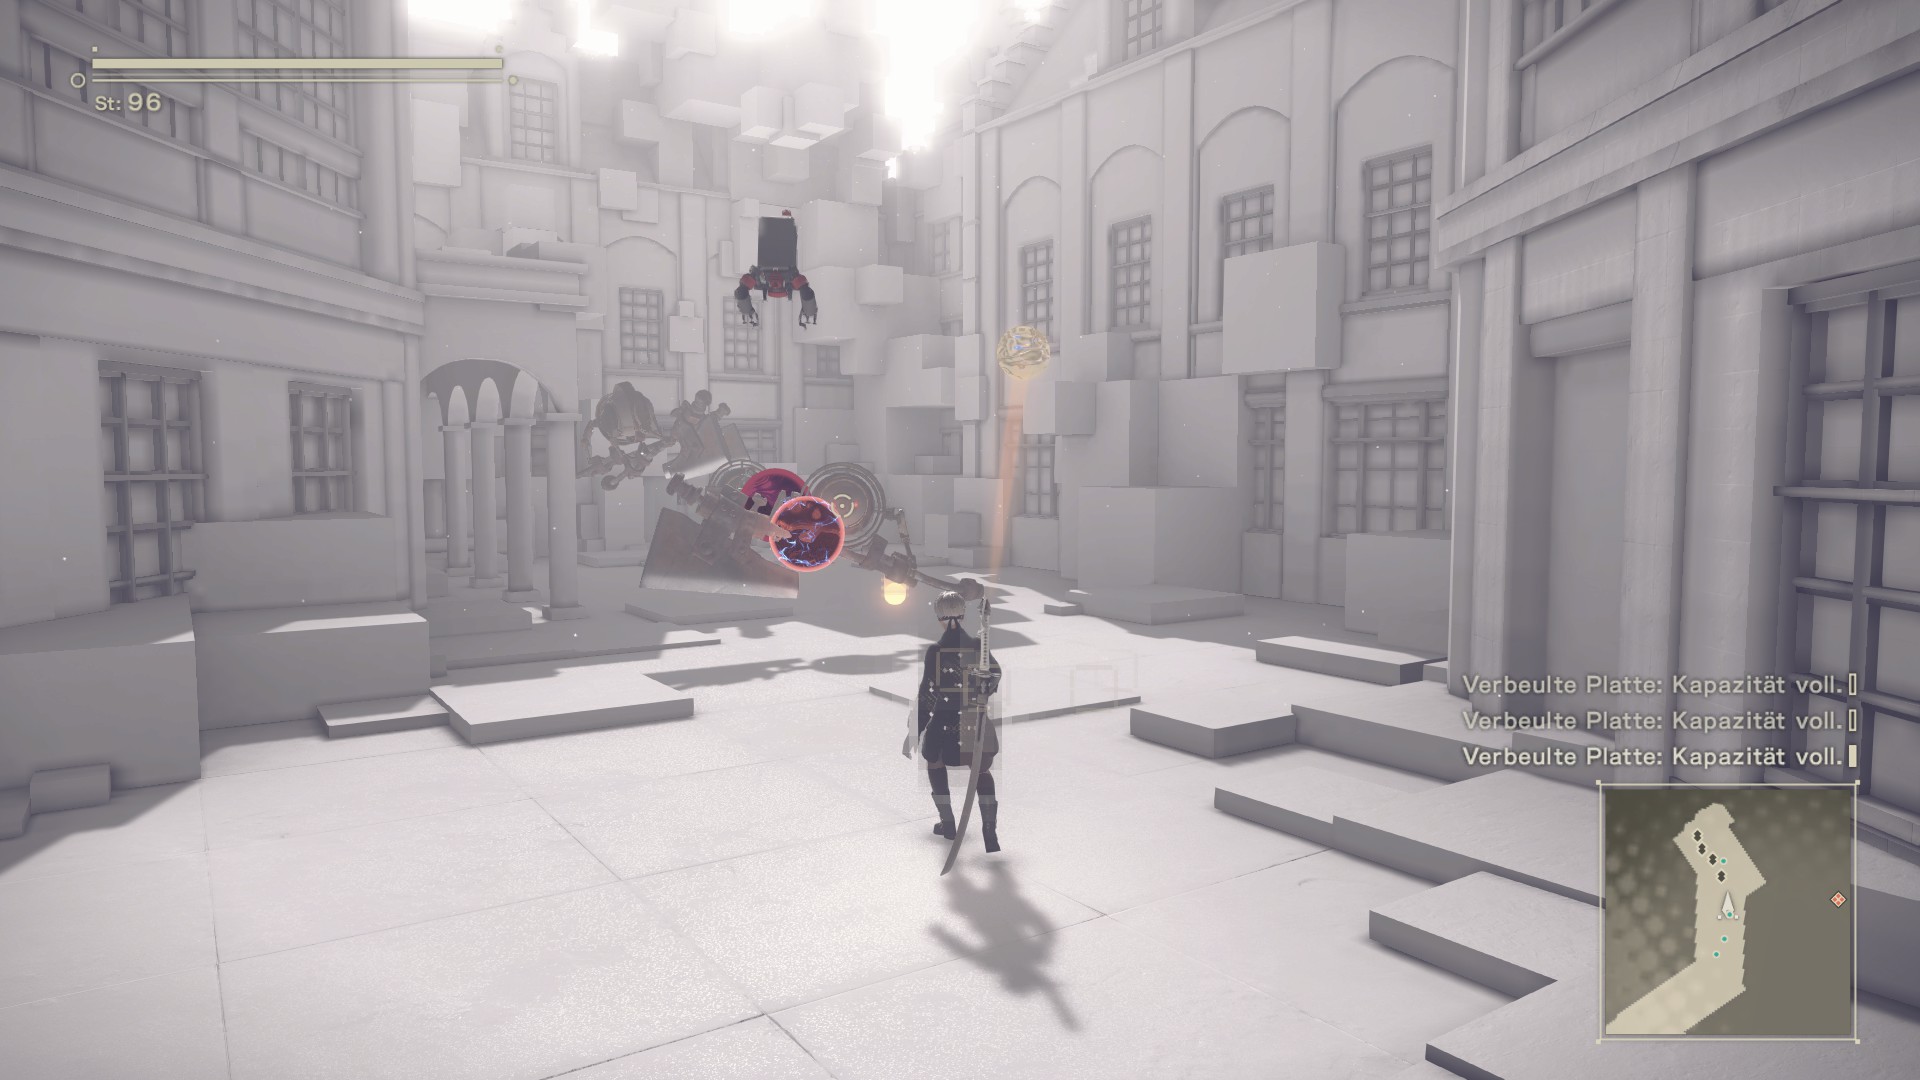
Here I give you a small list of my favourite farming areas. The list is chronologicaly orderd. To effectively farm an area, kill all the enemies, get to the next saving area, use quicksave and reload your game to respawn the enemies.
1. Amusement Park, Rollercoaster (after the beautiful boss fight)
I like to get my Drop Rate Up Chips asap, so I usually start here until I have one Level 3 Diamond and one Level 4 Diamond. This combination is the most storage efficient one to get the 90 % Drop Boost.
--------
At this porint you may consider moving on with the main story line until you can buy Auto-Collect-Item from the twins in the resistance camp after the boss fight in the Flodded City. This chip will pick up all droped items and chips automatically. Personally I prefer farming some chips before that point, because it will take quite a while to get there and you lose 9s.
--------
2. Desert, Housing Area
I love getting arround fast so I use this place to farm Speed Up Chips until I have two Diamond Level 3 Chips for the most storage efficient full boost of 20 %. They also drop Shockwave, which is usefull against enemy bullets, even if they are just Level 0. Therefore I have always at least one Shockwave-Chip equiped (Lvl. 0 Chips just take 4 Storage)
3. Amusement Park, Entrance Area
I farm this area for Exp-Chips. The bots also leave some other chips like Revenge, Damage Absorb and Drop Rate Up.
4. Desert, Adam's Boss Pit (after boss fight)
This is a good place to farm Exp. The enemies also drop a lot of diffrent chips like Speed Up, Counter, Combust, Evade Range Up and Charge Attack. Sometimes they even drop a machine core. Watch out the enemies there are tough. At the entrance of the Boss Pit there are two destroyed Androids, which give you a random chip. I prever using the Rocket Pod (finding location in appendix) here to get rid of the Exploding Bots.
Warning: If you spend to much time in the Boss Pit you may be overleveld for the rest of the game, which can massively drop the quality of your gaming experience.
5. City Ruins, Cave (after boss fight)
After the boss fight with Adam and Eve there will be a savepoint droped at the entrance. You can farm Crit.-Up and Auto-Heal. There are not a lot of enemies to farm but I like Auto-Heal and these chips are hard to come by.
6. Forest Kingdom
The squads here are easy to kill and they dop lots of chips, espacilly Anti Chain Damage, Deadly Heal and Offensive Heal, which are all usefull. There is also one squad next to the Canyon River (image below), which drops Melee Defense Up.
7. Forest Castle
There is one spot where you can easily farm Max HP Up (image bellow). The bots in this specific area respawn frequently. Therfore you have to go in the bottom left corner, kill the bots, climb the root and jump out of the window into the middle of the next screen. You should experiment a bit with you routing to find out, how to make them respawn quickly.
8. City Ruins after Twisted Religion (mission)!!!
One of the best if not the best farming options in the game. After Twisted Religion in the Factory the City ruins are heavily attacked. The bots respawn almost immediately after beeing destroyed. There is one specific location with three Medium Flyers, where you can farm Ranged Attack Up. There is also a spot with Goliath Bipeds closeby to farm Down-Attack Up. The Medium Bipeds swarming the fields leave Weapon Attack Up. Personally I like to collect as many chips as my inventory holds during Route A, even destroying chips I don't need, because once the attack stops you can't farm this place anymore until you unlock the chapter selector after finishing the game. To fuse chips during this event you have to unlock the shop in the City Ruins Canyon (Canyon Machine), because all the other shops are unreachable.
Warning: If you spend to much time here you may be overleveld for the rest of the game, which can massively drop the quality of your gaming experience. You may come back to this section after you have unlocked the chapter selection.
8. Copied City (Route C)
At the plaza where you fought Adam is a spawn point for Small Flyers (Ranged Attack Up) and Small Bipeds (Hijack Bost). There is also a dead-end street with Flying Axe Bot which drop Auto-Heal. Conviently they will respan if you kill the Small Flyers in another dead-end street (to the left of the clock tower).
Drop Locations (Spoilers)
I strongly recommend getting the Drop Rate Bonus to 90 % asap. There are some chips in the game that need less space if you stack two or more low level chips (e.g. Drop Rate Up, best combo: one +3-chip (7, 40%) and one +4-chip (9, 50%) for a total bonus of 90 % and a capacity of 16, instead of a +8-chip which has a capacity of 21 also for a bonus of 90%).
Support Plug-in Chips
Name Location Additional Info Auto-Use Item Collect one from 2B's corpse after the Introduction Mission (image in appendix). - Drop Rate Up Amusement Park: Rollercoaster, droped by Small Flyer, bots reset every ride. Important: You should do this during Route A with 2B, because with 9S in Route B the Flyers also drop Heal Drops UP instead. Max. Drop Boost: +90%, Best Combo: +3 (7, 40%) and +4 (9, 50%) EXP Gain Up Amusement Park Entrance Area droped by Short Stubby, Max. Exp Boost: ??? Evade Range Up - - Fast Cooldown - - Moving Speed Up Desert, Housing Area close to the school bus (image in Farming Location Section) Max. Speed Boost: +20%, Best Combo: two +3 (7, 10%) Overclock - - Taunt Up - - Vengeance Amusement Park, friendly bots -
Attack Plug-in Chips
Name Location Additional Info Charge Attack - - Coldown - - Critical Up City Ruins after Twisted Religion (mission), droped by Small Walking(!) Bipeds - Down-Attack Up City Ruins after Twisted Religion (mission), droped by Goliath Bipeds - Last Stand - - Ranged Attack Up City Ruins after Twisted Religion from Medium Flyer (image in Farming Location Section), Copied City (Route C) at the Adam Battle Arena.. Ususally droped by all flying units. Shockwave Desert, Housing Area from the bots close to the school bus (image in Farming Location Section) Keep a Diamond-lvl-0-chip, takes just 4 storage and you can get rid of slash bullets. Weapon Attack Up City Ruins after Twisted Religion from Medium Bipeds, City Ruins Canyon Usually droped by Medium Biped and Multi-leg Medium Model.
Defense Plug-in Chips
Name Location Additional Info Anti Chain Damage You can farm these easily in the Forest Area. Best Ratio at +3 (7, 2 sec). Auto-Heal City Ruins, Alien Cave from Small Sphere, Copied City (Route C) from "Flying Axe Bot" Damage Absorb - - Deadly Heal You can farm these easily in the Forest Area. - Max HP Up You can farm these easily in the Forest Castle (image in Farming Location Section). - Melee Defense Up - - Offensive Heal You can farm these easily in the Forest Area. - Ranged Defense - - Reset - - Resilience - min. Value: 5%, Best Combo two +3 (Test necessary!)
Hacking Plug-in Chips
Name Location Additional Info Combust - max. duration 7s, Best Combo two +1 (5, 3,5 s)(Test necessary!) Heal Drops Up - - Hijack Boost Copied City (Route C) at the Adam Battle Arena. Droped by Small Bipeds after Route A. Max. Bonus: +9, Best Combo: +3 (7, 4 levels) and +4 (9, 5 levels) Stun - -
I startet this list with a post from the reddituser GurlGod (Link) and extended it with some info from the Nier:Automata Wiki by Fextralife and from my last playthrough.
Tips And Tricks For New Players
After the Introduction Mission go back to the factory and collect 2B's corpse (image in appendix). You will get an Auto-Use Item, which heals you automatically, when your health drops below a certain threshold.
Buy the chip storage upgrades asap to be able to equip more chips. This is the best way to spend your money at the beginning of the game. You can do this after the introduction mission at the Terminal in the Bunker or in the Resistance Camp.
Usually chips become more storage efficient when they are upgraded. There are a few excepitons, where low level chips can be more efficient. The most important ones are:
Drop Rate Up: Max. Drop Boost: +90%, Best Combo: +3 (7, 40%) and +4 (9, 50%)
Moving Speed Up: Max. Speed Boost: +20%, Best Combo: two +3 (7, 10%)
Anti Chain Damage: Best Ratio at +3 (7, 2 sec) Afte the boss fight in the Amusement Park, you should go back to the rollercoaster to farm Drop Rate Up from the Flying Bots. To get the most storage efficient bonus of 90 % you just need a +3 Diamond (7, 40%) and a +4 Diamond (9, 50%).
Chips heavily vary in there storage cost. The chips with the best effect to storage ratio cost are called Diamaon Chips, because they have a little black diamond in the discription (see image below). You should never sell diamond chips or chips which are one storage cost above. For more information read the Chip Fusing Overview Section or the excellent Steam Guide from Sennzai: Chip Fusing Chart & Guide – What’s Worth Keeping (Link).
Use a Diamond +0 Shockwave Chip to add a small shockwave to every slash with your weapon. This will help you cutting the physical bullets from the bots.
Anti Chain Damage turns you invincible for a few seconds after beeing hit. This will prevent that bots can combo you, which can easily be deadly.
In the later sections of the game the level of the chips beeing droped are generally higher.
There are a lot of itmes in the game and most of them are necessary to upgrade your weapons. There are also a view items that says "can be traded for money" in the description. These items serve no other prupose than beeing traded. Especially at the beginning of the game you are low on cash, so you should sell these items without hesitation. Note: Later in the game the items will be more valuable, but until this point money is not that big of an issue anymore.
You can enter the City Ruins Canyon also via the Forrest Kingdom. At the bottom of the Canyon is the Canyon Machine, which can fuse your chips up to level +8 after completing its quest. If you push the chest next to the Canyon Machine you unblock the passage to the City Ruins Canyon.
My Questions To The Community
At this section I collect questions, which emerge during my current playthrough. If you know the solution, please write it in the comments or write a pm to me.
/
Appendix (Spoilers)

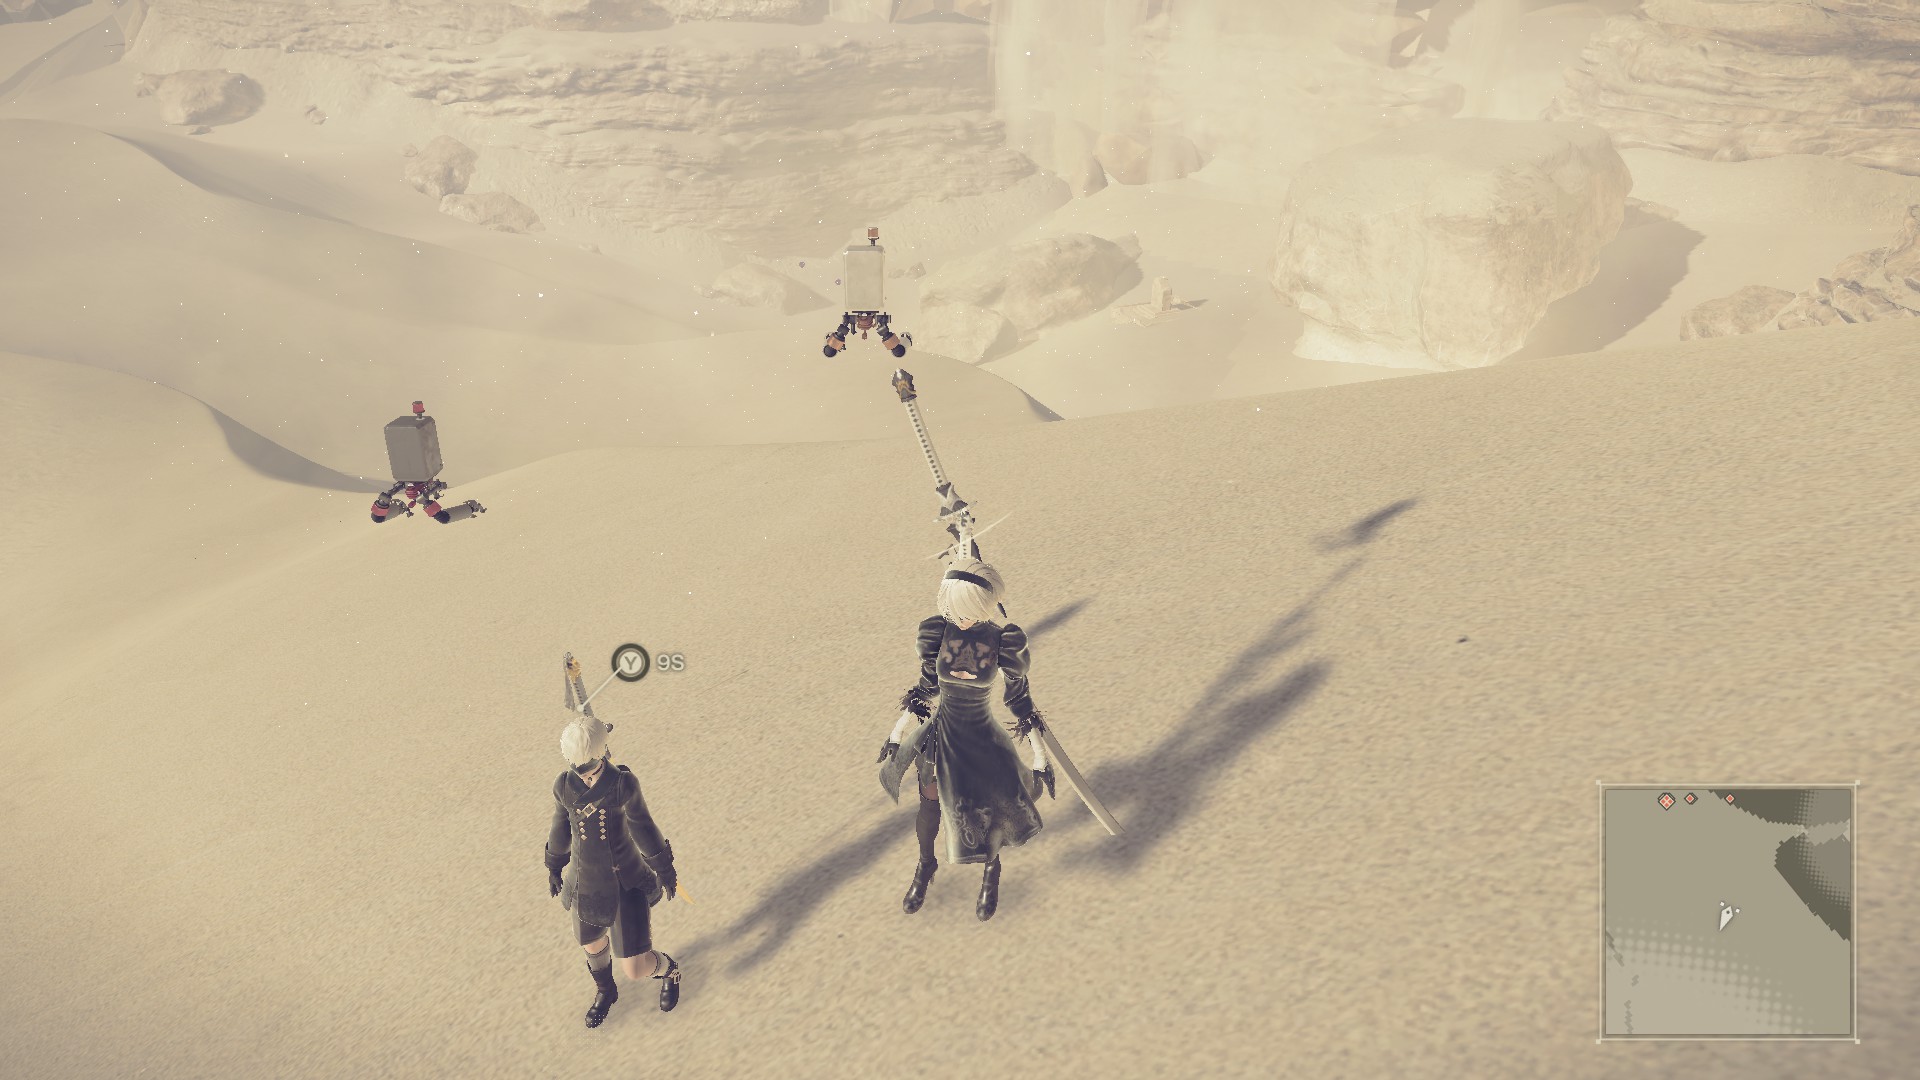


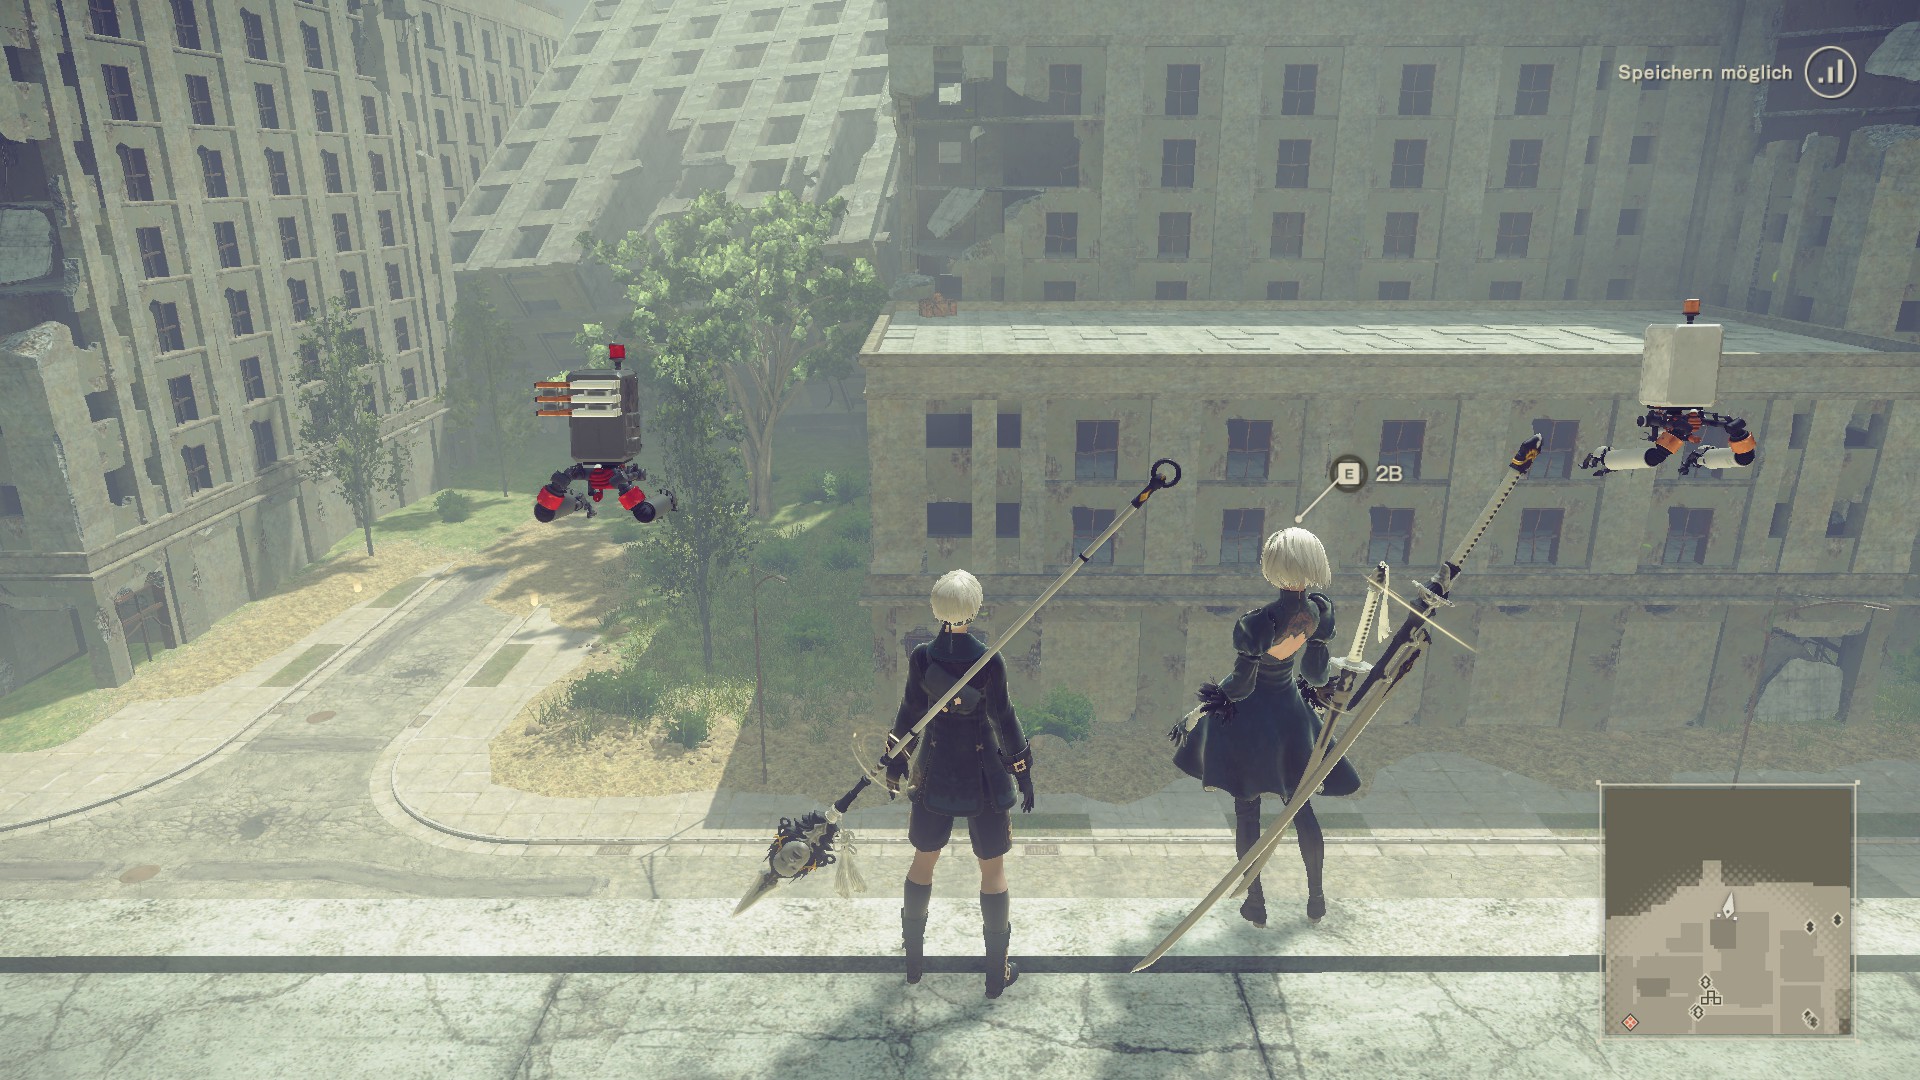
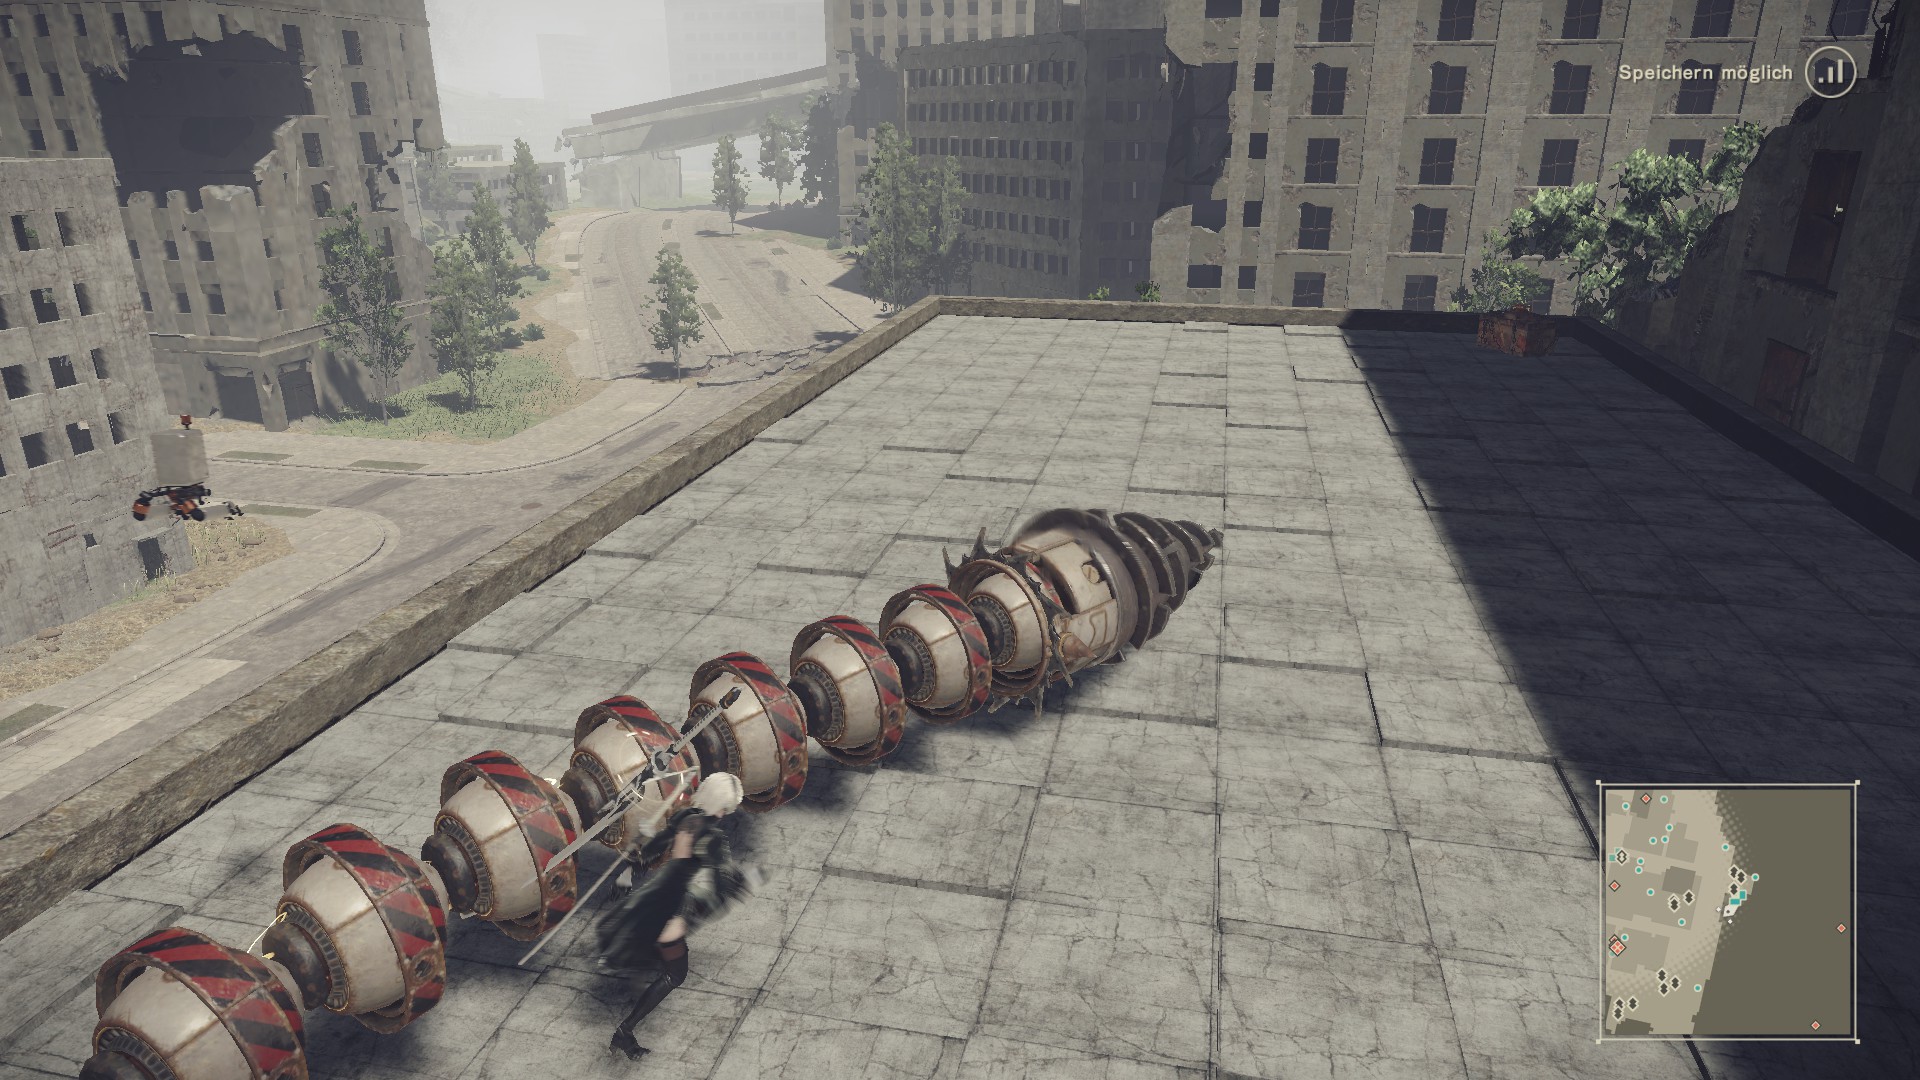

Location of 2B's corpse (backround) after the introduction mission.
Location of the Rocket Pod. 2B and 9S are looking in the direction of the Pod (not in the picture). If you enter the Dessert Area for the first time, the rock in the backround is on the left side.
Location of the Laser Pod in the Flooded City. You can obtain it by fishing in this area.
Location of the Cypres Stick (weapon) at the Forest: Castle Front. The weapon is inside the chest in the backround. I recommend to get it after 9S is seperated from 2B, because he regulary pushes you from the pillars.
Ever wondered how to get this chest?
Steam User Coldacid: "To reach that chest in the city, hijack a flyer and while remote-controlling it, spam the jump button to stay in the air."
Steam User Rayram Aurean Blue: "Also, to hack machines without blowing them up, you have to hack them before they are aware of your presence. It's easier to hack the bipedal machines at the Flood City entrance, then use those to get closer to the flying machines."
Steam User Strohhut87: " I couldn't reach the chest with a Flyer so I hacked a Linked-sphere Type. If you have problems hacking a specific bot, you can hack another one (e.g. Small Biped) first. The other bots won't attack the hacked bot until you do."
How do I reach this chest?
Seth Abercromby: "Sprint, double jump, pod-throw, dash, hover."
Source: https://steamcommunity.com/sharedfiles/filedetails/?id=2237549841
More NieR:Automata guilds
- All Guilds
- NieR:Automata Guide 796
- KingCrimson's Reshade Preset
- / Drawings from symbols
- NieR Series Extra Content
- NieR:Automata Guide 766
- <3
- "YoRHa"
- NieR:Automata 100% []
- NieR:Automata Guide 742
- NieR:Automata Guide 741
