Model The Turret
Disclaimer I am neither experienced with Unity nor the Nebulous modding process. This is a (relatively) simple set of steps I put together to wrap my head around the process, alongside some tips and stumbling blocks I came across as I went. It will help you sort through some confusing errors. It DOES NOT cover sound effects, textures, creating your own ammo, etc. It's literally just getting a model into the game and making it go shoot-shoot. The rest is up to better modders than I to figure out. I highly recommend you come to the #mod-development channel of the official discord server (which can be found on the main menu of the game, in the bottom right corner) for assistance.
READ THROUGH THIS FOR SETTING UP YOUR UNITY ENVIRONMENT AND PREFABS: https://steamcommunity.com/sharedfiles/filedetails/?id=2633083900
Follow that official guide religiously. Do not skip steps.
Model the turret
This is just a guide to setting up the model to be exported from Blender, not a guide on creating a turret model. Modelling is an entirely separate discipline. If you have no experience with modelling, start with Blender Guru's Donut Tutorial and then come back to this. Modelling is complex and a game-ready turret should not be your first modelling project. You don't need to be an expert, by any means, but have a basic grasp of the workflow.
In brief:
Model turret at desired game scale
Scale down all the turret parts to 1/10th scale (Optional. Only do this if you're having scaling issues when you bring it into Unity)
Make sure the turret is facing the -Y direction
Set the origins to overlap
Export with the FBX settings below
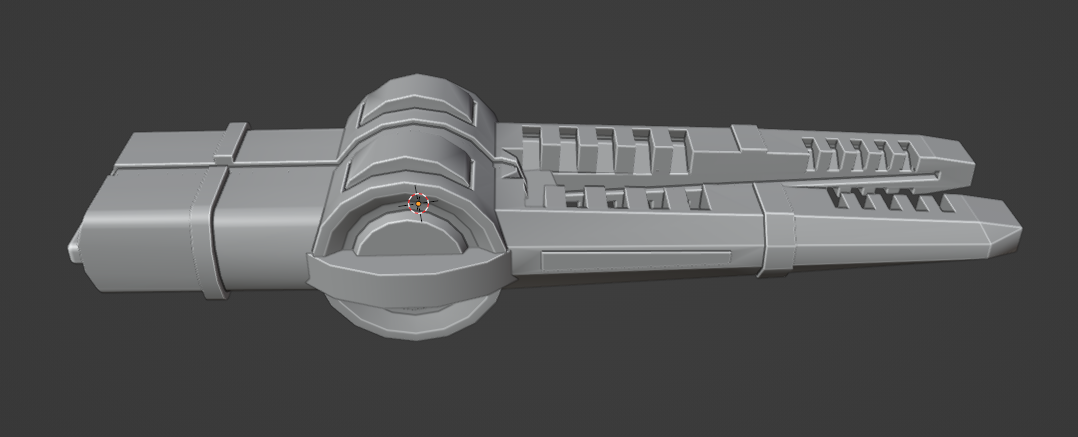
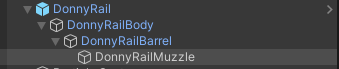
There are 3 parts to be modelled: Body (spinny bit), Barrel (shooty bit), and Base (stationary bit that connects to the ship). Make sure they're separate objects in Blender.
Make sure they all have the same origin. We will "assemble" them into position when we bring them into Unity:
Select the base of the turret > Hold Shift+S > Cursor to Selected
Select all turret components > Object > Set Origin > Origin to 3D cursor
Keep all turret components selected > Object > Set Origin
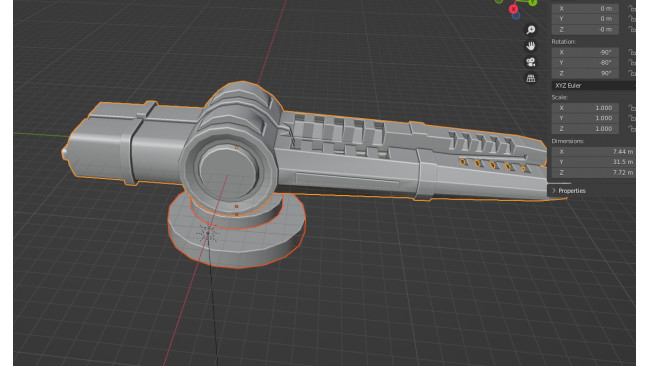
Before:
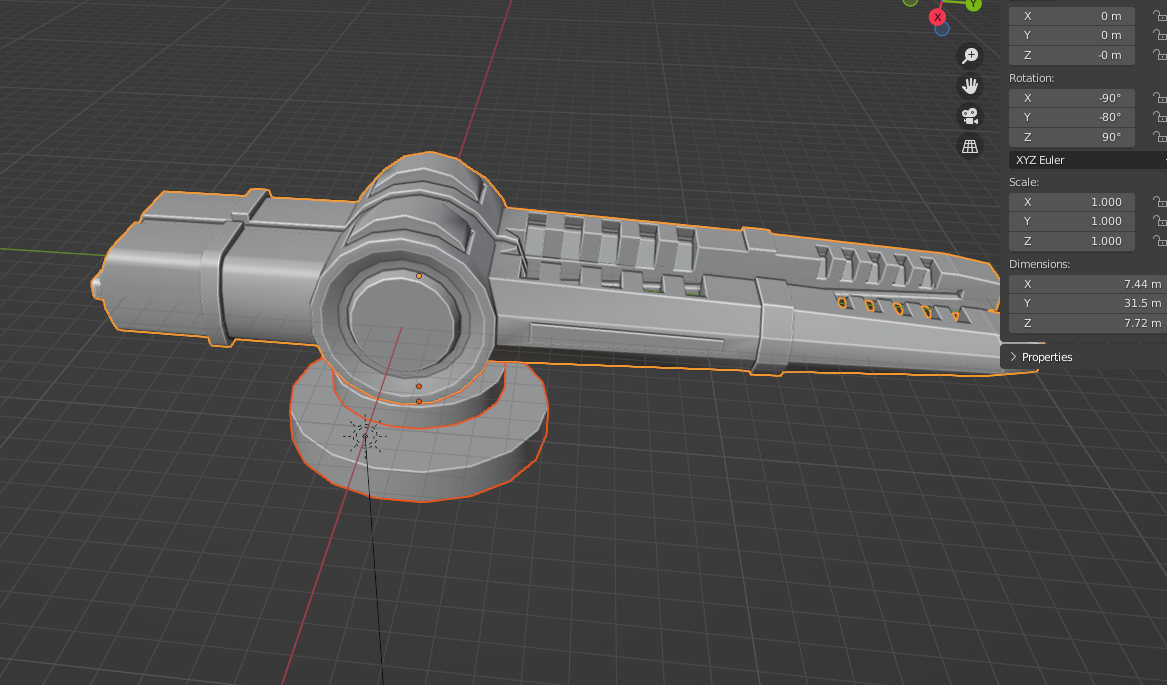
After:
Generally, you should make sure it’s scaled down ~10x from what it “should” be according to Blender. This isn't a hard and fast rule, but it can sometimes resolve scaling issues.
You’ll want the model to be facing in the -Y direction (along the green line)
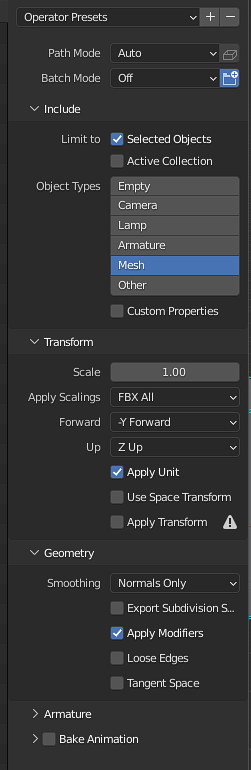
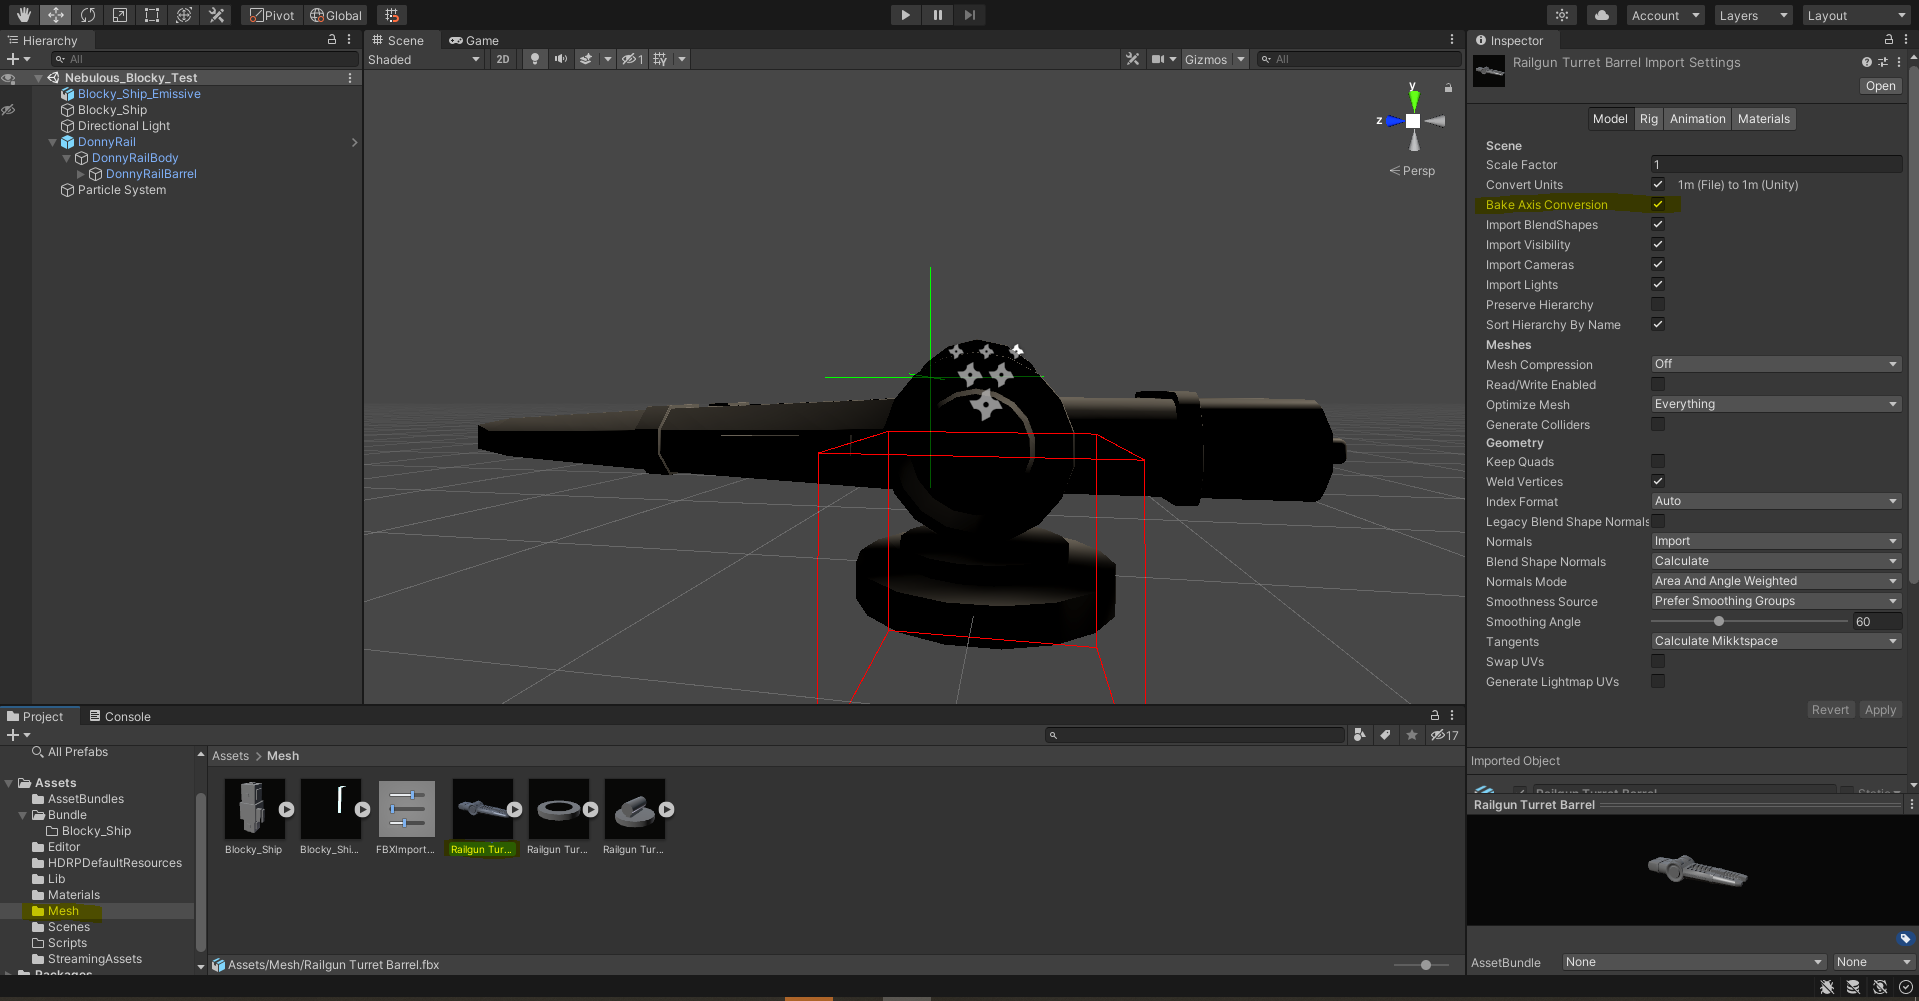
Export the FBX with these settings:
Import The Model Into Unity
I'm going to be assuming you know how to set up a prefab and the other Unity ephemera that are necessary for this to work. If anything breaks, go back and read the official guide first.
Drag and drop the mesh into the Unity environment. Make sure the parenting is set up correctly on your turret segments (Don't worry if there isn't that blue box there yet, that comes later):
Now reassemble the gun as it was in Blender, before you overlapped the origins.
Common Issues:
If everything's super washed out, like below:
Then find your DirectionalLight object and turn the intensity down to a value below 1.
If the turrets aren’t facing the right direction when you bring them in to Unity, then in Unity: in the import settings for the mesh, check the "bake axis conversion" checkbox.
(You can make this the default for the project via Edit > Project Settings > Preset Manager > Add Default Preset > FBXImporter > Select preset from right-hand dropdown)
Create Prefab

Another excellent resource is WaterisPoinson's modkit (still WIP): https://github.com/amelim/nebulousmodkit
It can help a great deal with making a lot of these steps much less tedious.
Add a muzzle
This is where our munitions will exit from.
Create an empty GameObject: RMB on the Hierarchy window on the left > Create Empty
Assign it to the bottom of the hierarchy
Apply Scripts:
To apply each of these components, select the object and click "Add Component", then search for the relevant script in the window that appears.
Components to apply:
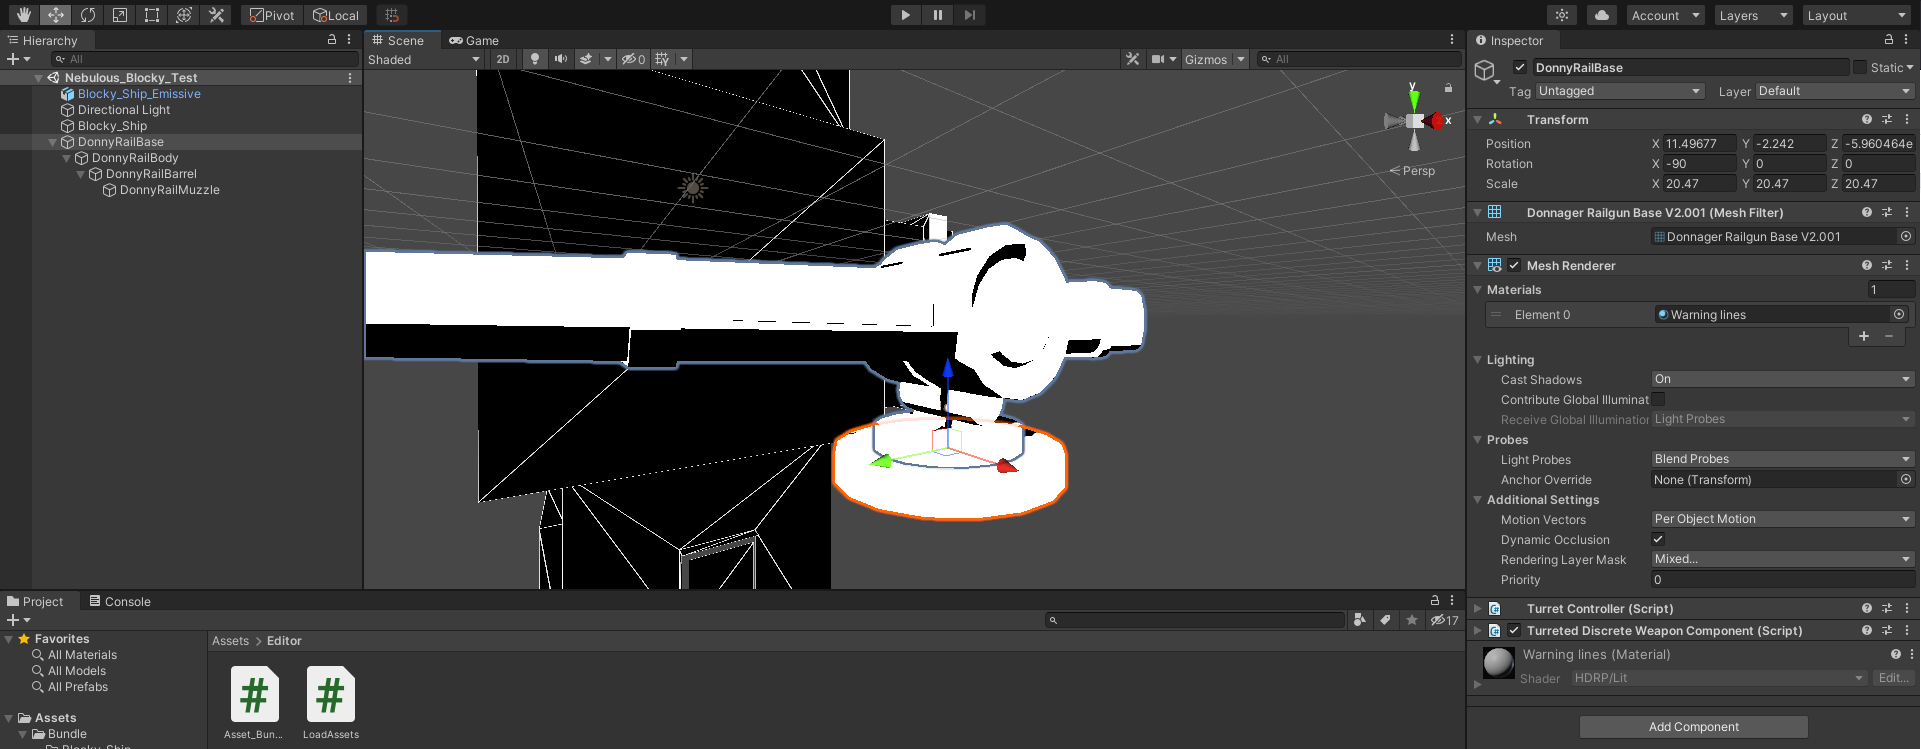
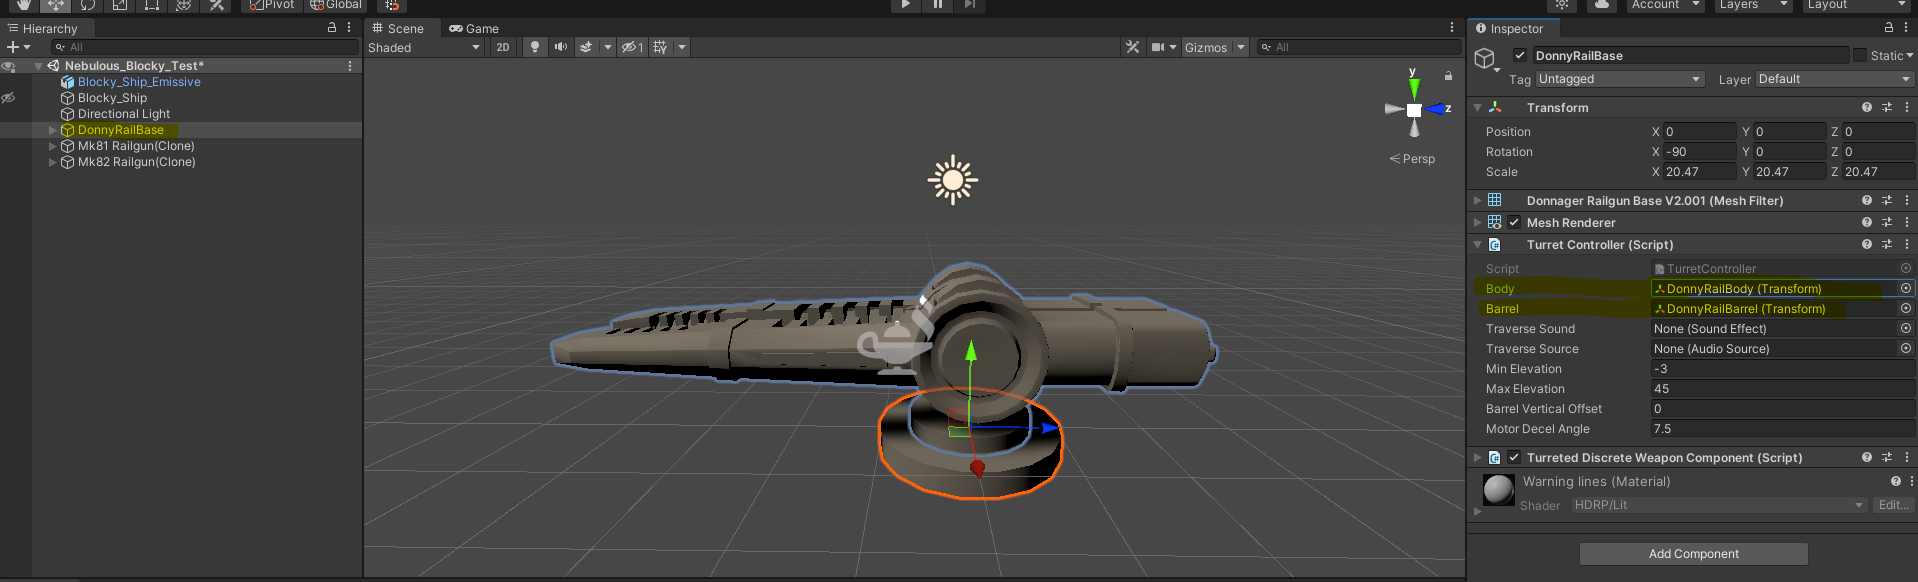
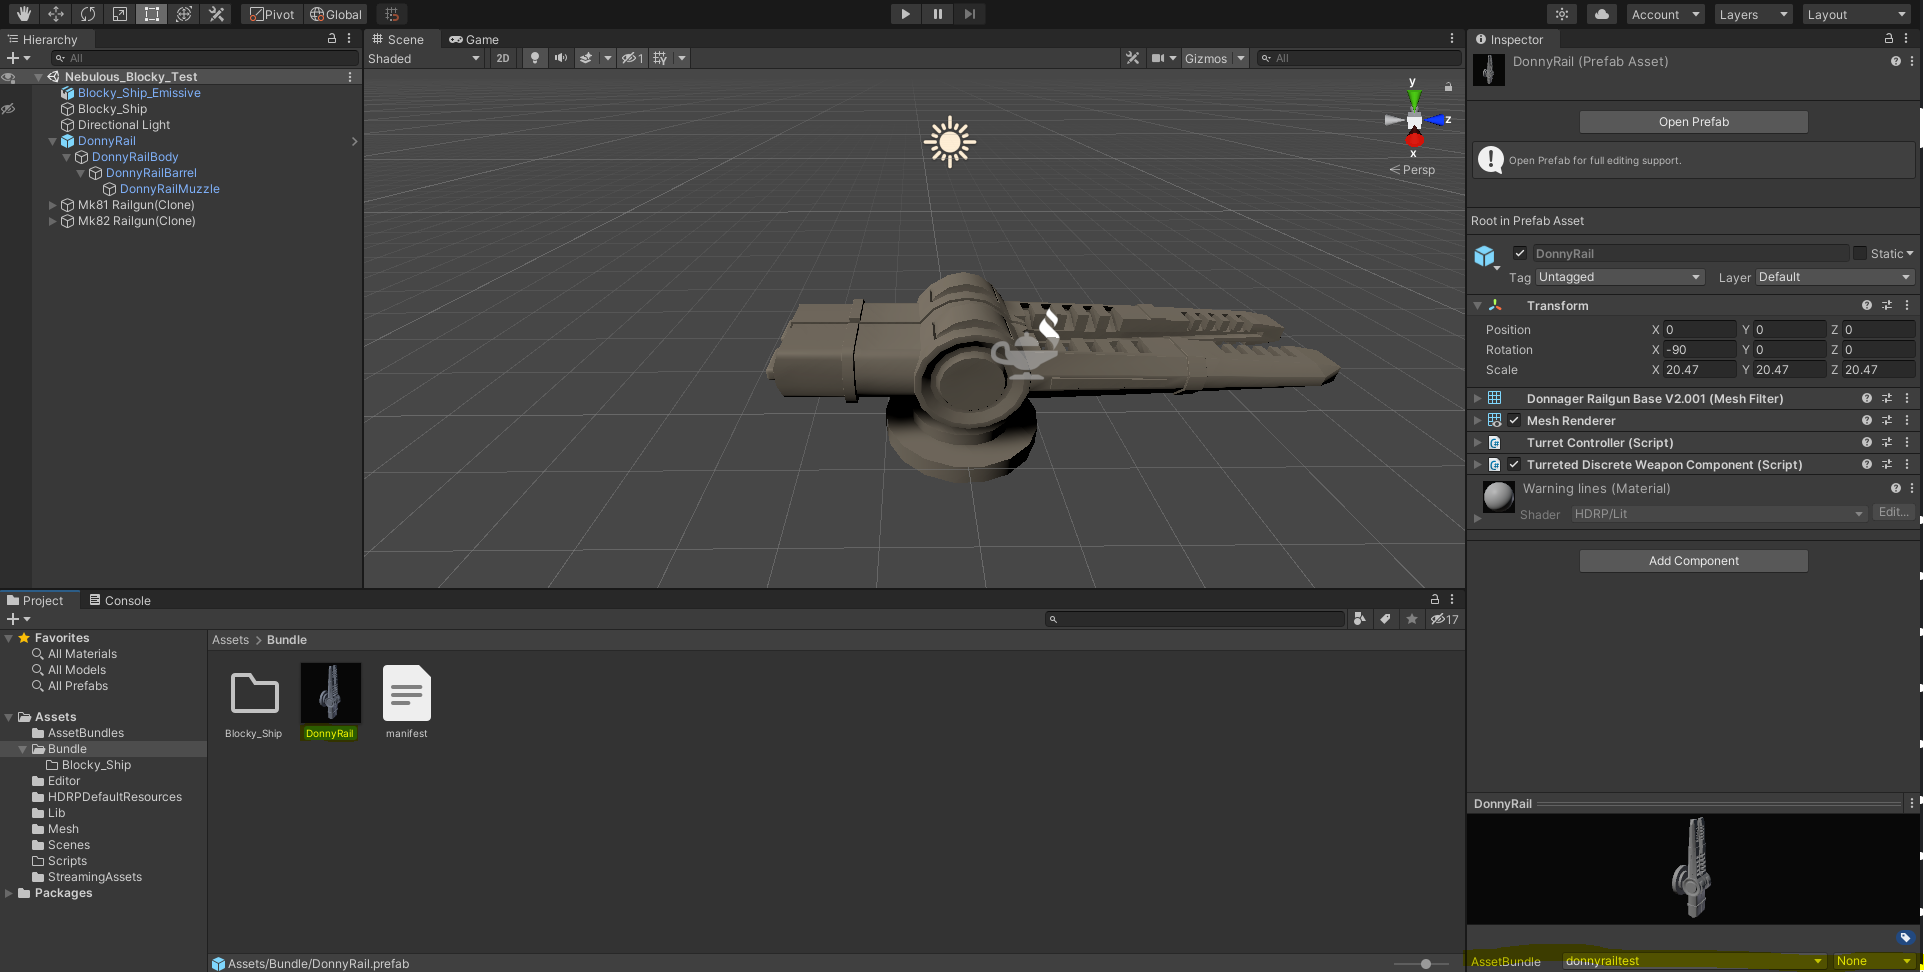
To the turret base mesh: Turret Controller and Turreted Discrete Weapon scripts (See Turret Controller demo image below)
To the body: Nothing
To the barrel: Nothing
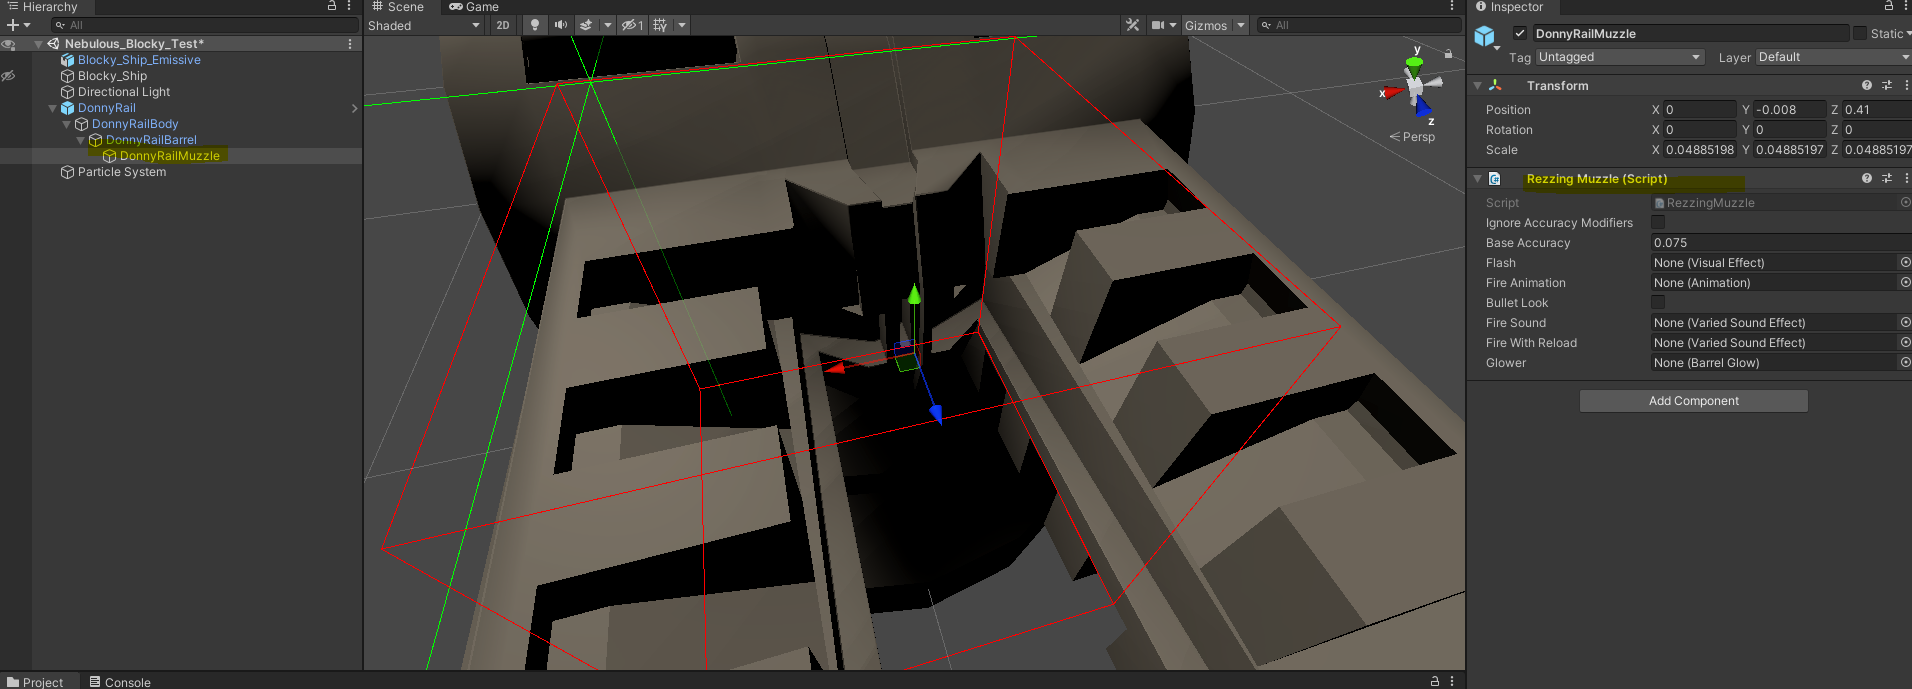
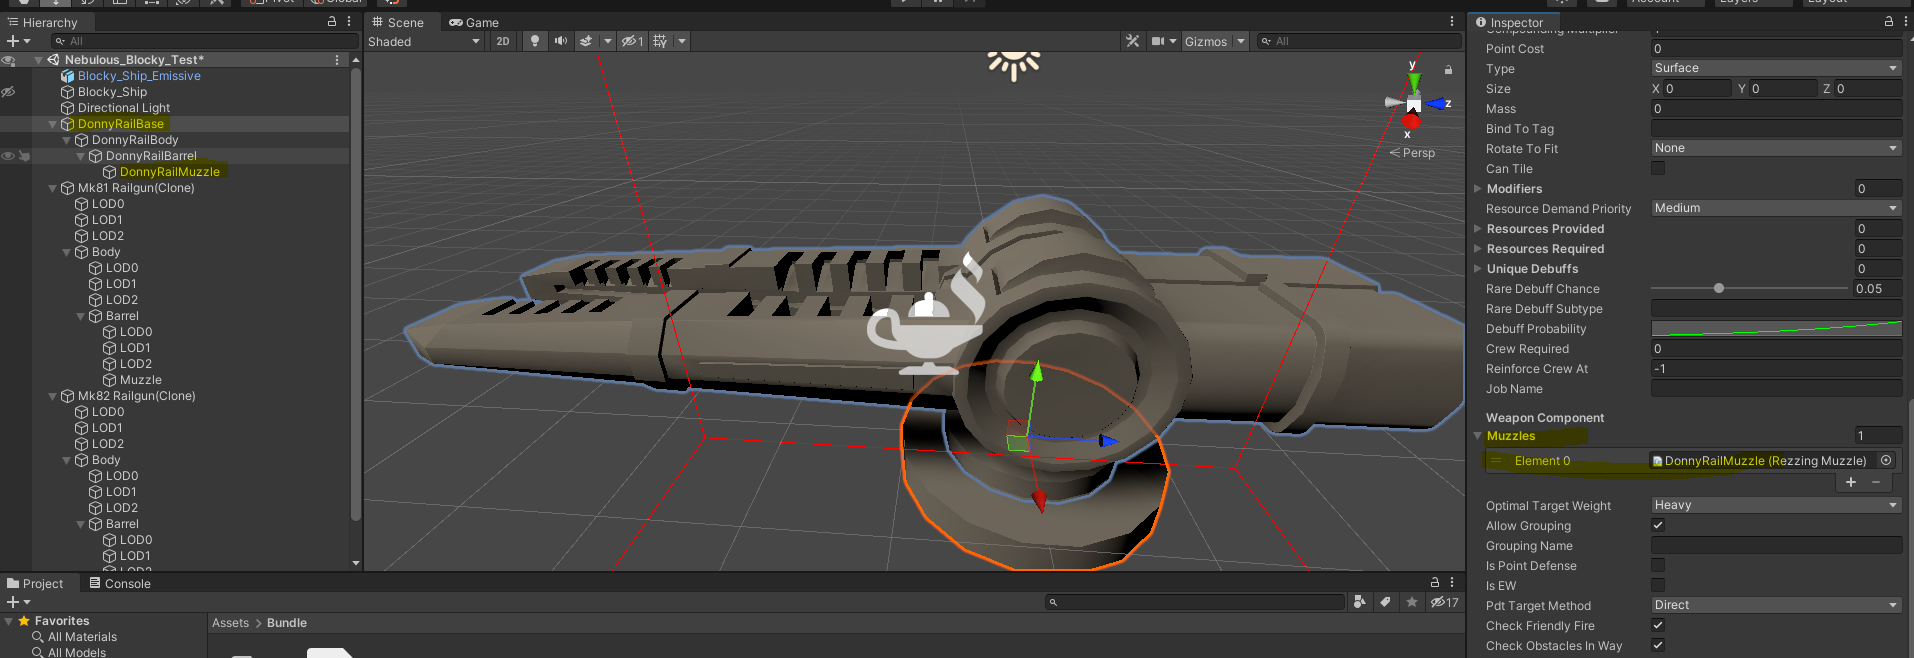
To the muzzle: Rezzing Muzzle (see demo image of muzzle above).
Set up each component's fields:
The Turret Controller component needs to have the Body and Barrel transforms assigned:
The Turreted Discrete Weapon component needs a Muzzle and Compatible Ammo. If the number next to either of these is 0, click the + to add one:
Muzzle:
Ammo:
WIP SECTIONNOTE: If you're copying ammo in from another object, check the names it uses for its tags. There’s no dropdown or anything. Otherwise you’ll need to create your own ammo type.
WIP: Explain how to bring in assets with the asset import script
END WIP SECTION
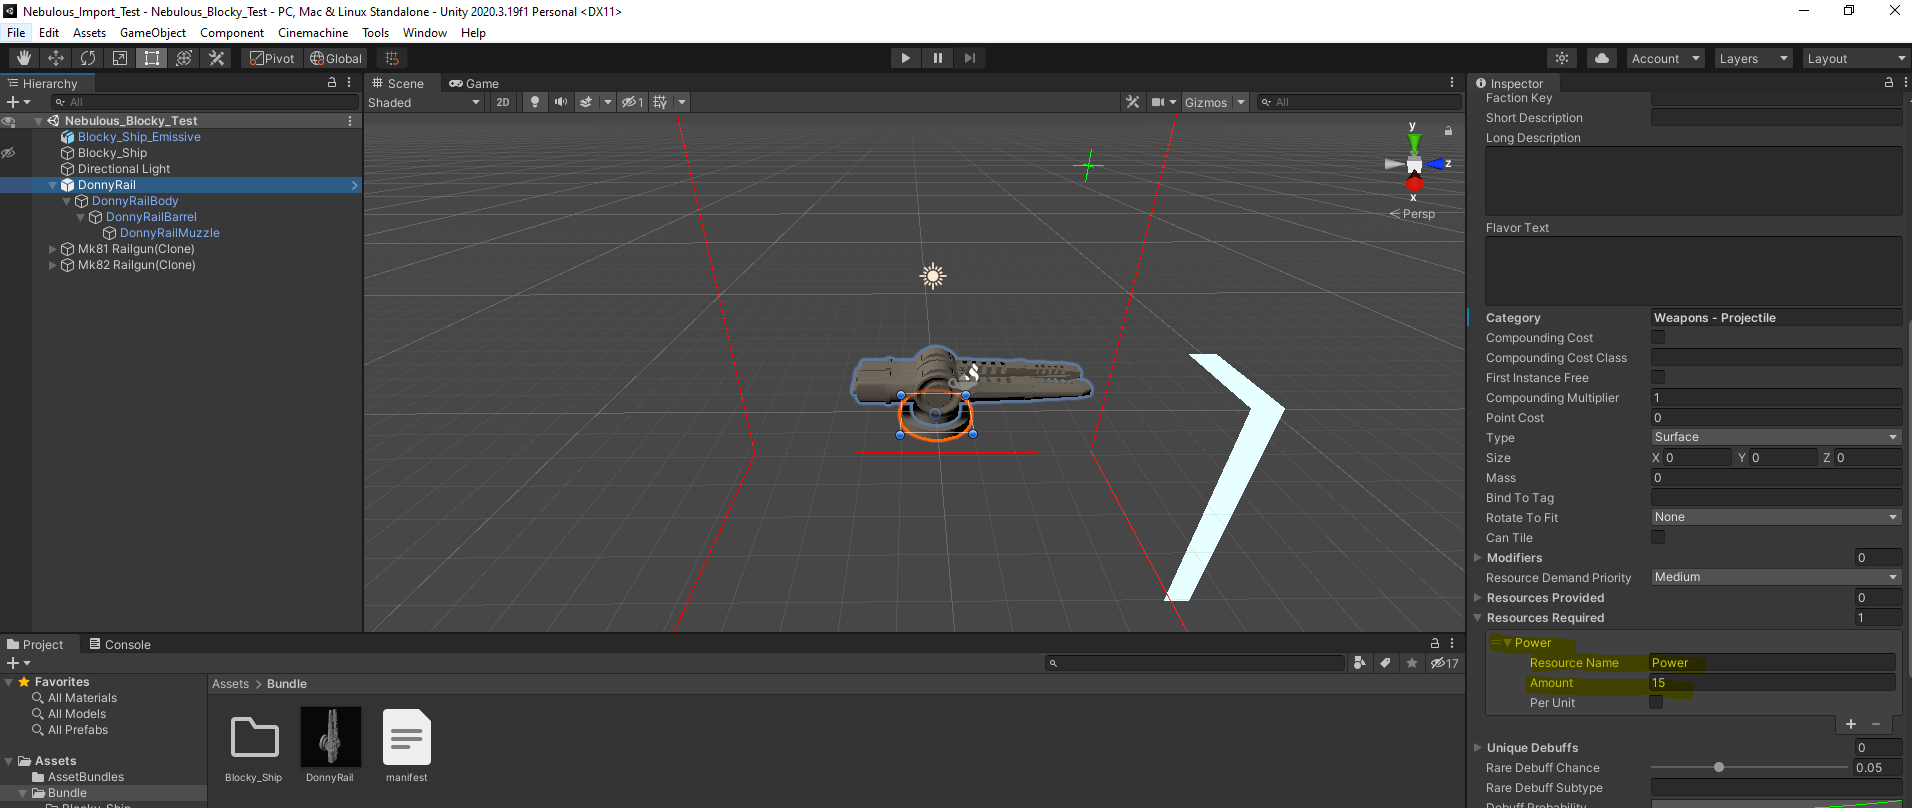
Optionally, you can assign the turret to a fleet editor group.
This will allow it to show up as being under the correct category. Otherwise it’ll be listed as a spinal weapon.
Compile Asset Bundle:
Common issues:
Manifest: Make sure your component’s address is correct
<Components> <Entry Name="Donny Railgun" Address="DonnyRail.prefab"/> </Components> Make sure to assign the <turret name>.prefab to the asset bundle (bottom right)
If your asset bundle builds instantly, you forgot to add something. It should not be 1 kb.
Note: This list is incomplete
Set the turret up as a prefab and insert it into your mods folder, as in the Official Modding Guide.
Source: https://steamcommunity.com/sharedfiles/filedetails/?id=2765369368
More NEBULOUS: Fleet Command guilds
- All Guilds
- Gopher OSP Guide
- Armament to Zoning, a Comprehensive Manual on OSPN
- The Vibes You Need For Frontline CLN (Or How to Ultrahot)
- Making a Puppy Map: Handling Player Feedback
- Making a Puppy Map: The Beginning
- NEBULOUS: Fleet Command Guide 454
- Understanding the Role of MDs and Rails
- Comprehensive Craft Clobbering Compendium for Chic and Comely Captains: A guide on ACM design and usage
- How to Win As a Carrier (Intermediate Doctrine and Tactics Guide)
- A Step By Step Guide to Setting Up Your Carrier and Loading Craft