
Introduction
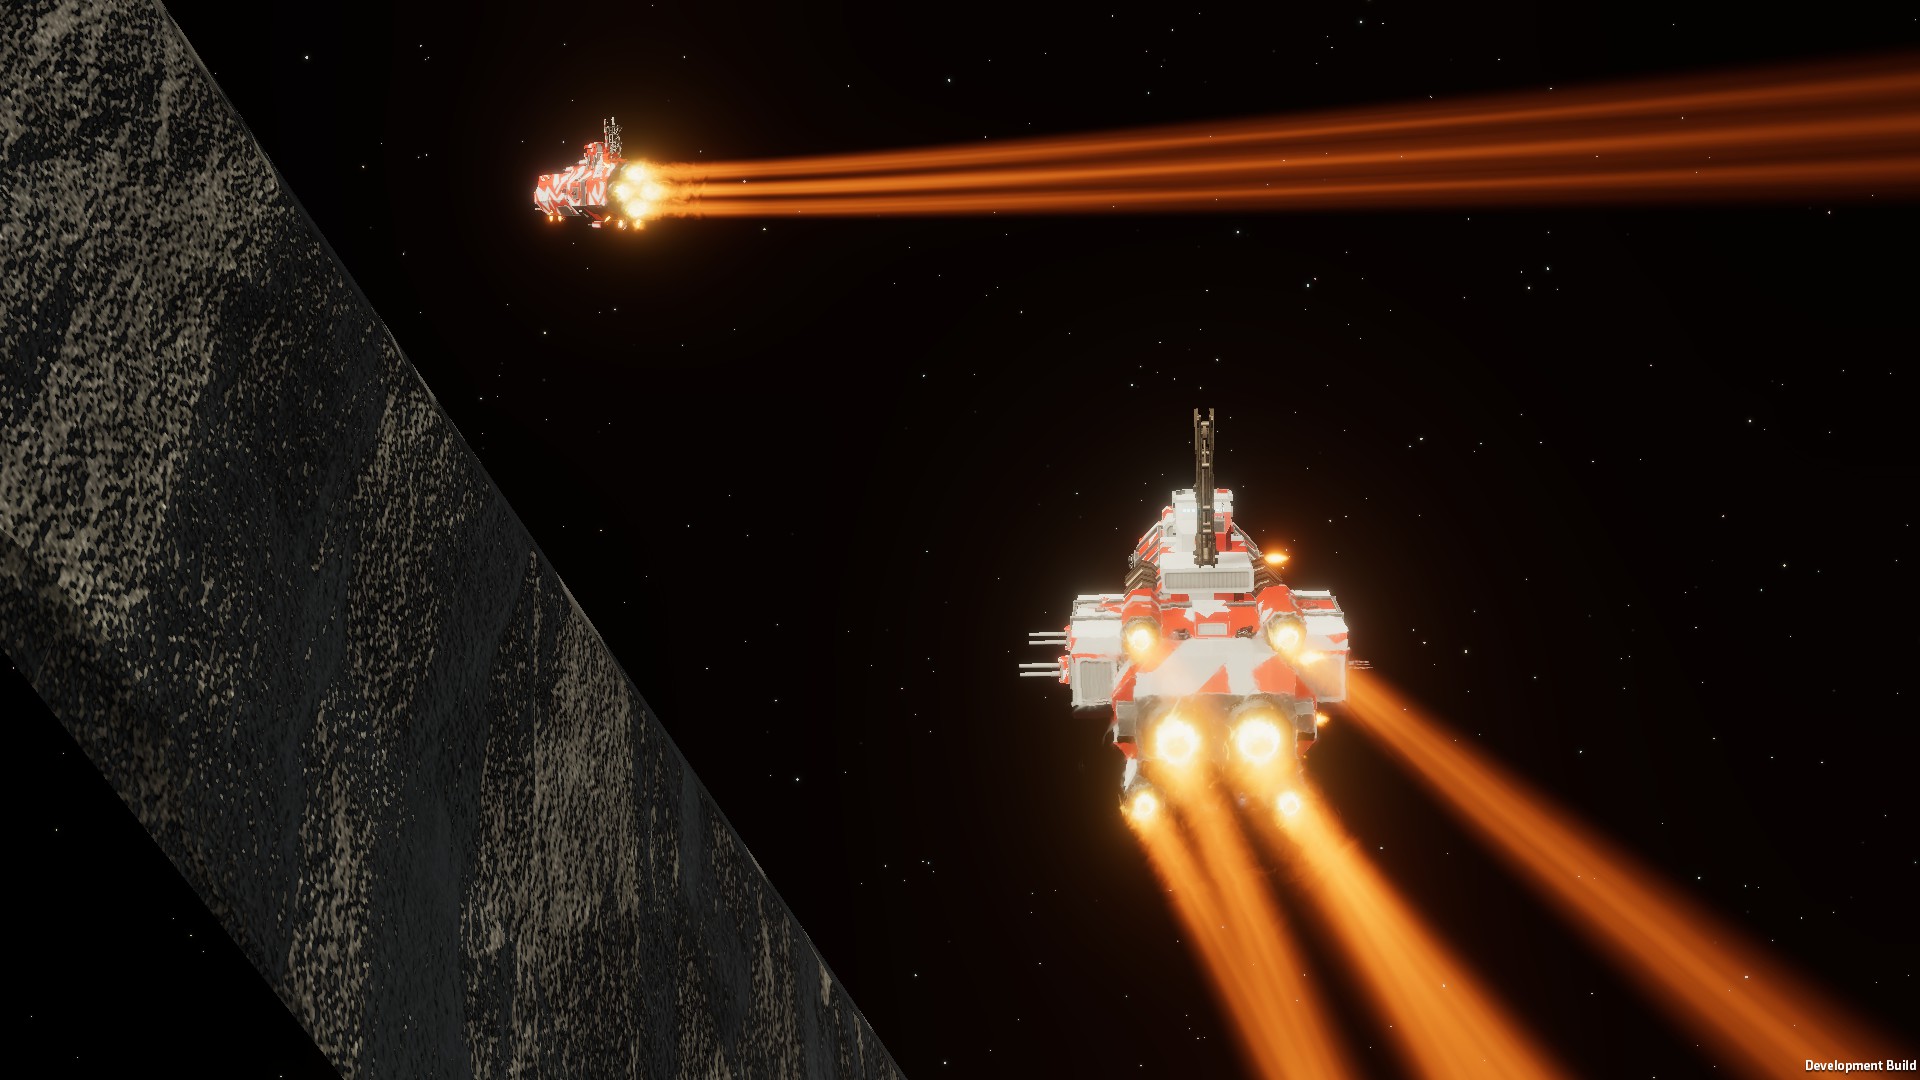
(Banner Image Credit: Dagaribus)
So I wrote a 3k Fleet Building Guide, but that is more an explanation of common fleet builds
This is a guide by myself and a number of contributors on how to build your fleet from the ground up with an in-depth examination of strategy, and the choices you’ll have to make. It sets out to answer the following:
What are the basic fleet doctrines in Nebulous, and how to gear your fleets to those doctrines?
How to structure a stable build that's resilient and well rounded against a spectrum of reasonable threats?
How do the choices you make in the Fleet Editor affect the build you are creating on a tactical and strategic level?
The guide does not answer the following:
Specific question such as the exact module and compartment layout, ammo counts for different weapons
Provide you with an immediate 3k fleet for you to get started
Thanks to this Guide's Other Contributors
Regional MathBlob
Goldstei
Hunter
PuppyfromHell
Note from Vren55: This guide turned out a LOT longer than we planned and things might be cut. I'm uploading it for the moment as this gradual process of editing and streamlining is going to take some time and I'd rather have something out rather than having it in editing hell forever. If you have any feedback, feel free to make notes in the comments, or catch me or any of the other contributors in the official Nebulous Discord here: https://discord.com/invite/ZvFF3Ca
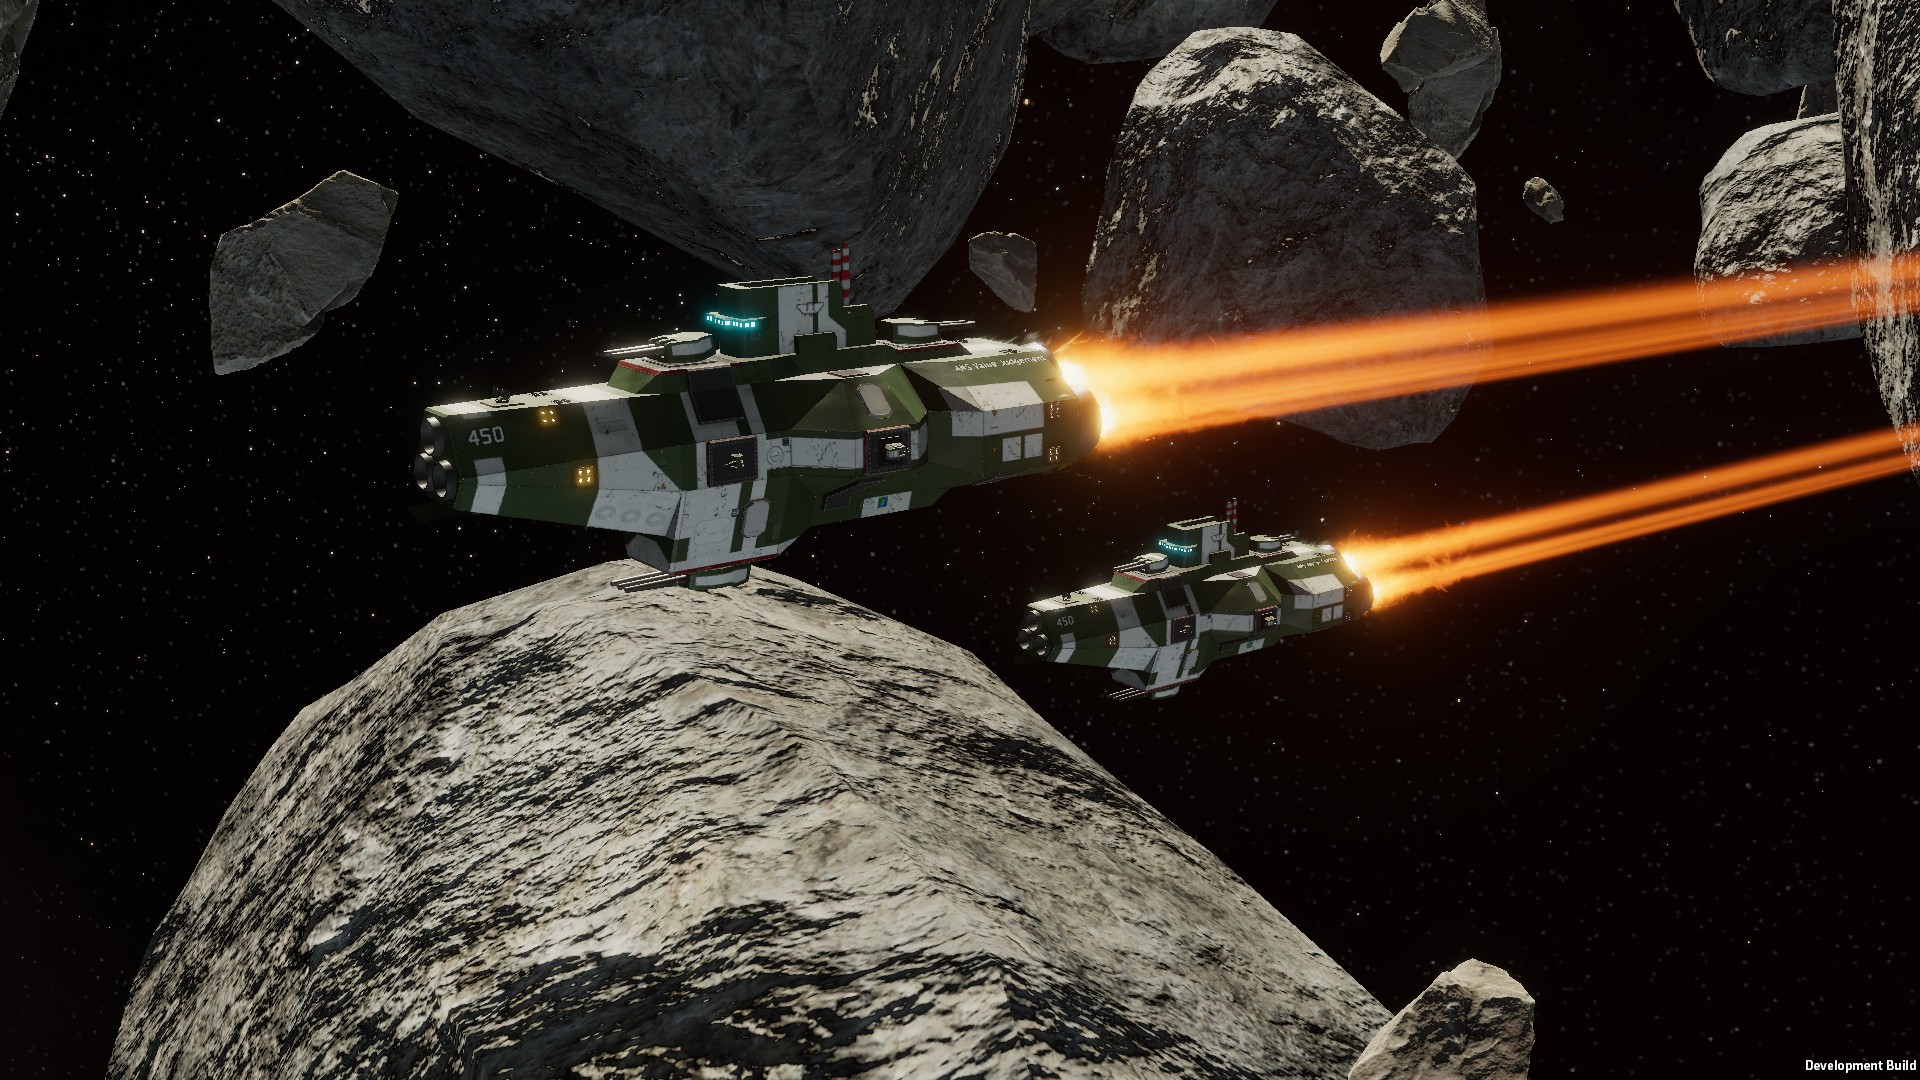
Fleet Doctrines In Nebulous
(Image Credit: Vren55)
While the power of dakka is universal and everlasting, fleets in Nebulous actually have 5 specific principals, or doctrines that underpin them. Each fleet does not necessarily need to fulfil all of these principals. In many cases trying to do so will stretch a budget of 3000 points very thin, but they are usually geared to fulfil a few of them.
This section serves to both explain what these doctrines are, and highlight the components of a fleet that fulfils said doctrine. Note that a number of these doctrines will overlap with one another.
Information Acquisition
(Image Credit: Vren55)
Also known as map awareness, and sensor coverage, in the context of Nebulous fleets, Information Acquisition is the principle of being able to gather information for your fleet and team.
This information can include the following
General tracks of ships gained through radar and electronic location devices such as Spyglass and Early Warning Radar and Pinards. These tracks may not be accurate enough for weapons to be able to hit, but will still reveal positional information.
Accurate tracks gained through more accurate radars. These are specifically tracks accurate enough to enable fire on a target and are attained through Bullseye locks, Long Range Tracking Radar, potentially enhanced through the use of Track Correlators
Map awareness gained through radar and by a network of scouts (usually shuttles or sprinters) or camouflaged scouts (Spyglass frigates and Prowler drive equipped ships) that cover different parts of the map from different angles
Intelligence and identification of enemy targets or non-targets attained through equipping a ship with an intelligence centre
Electronic Counter-Countermeasures employed to counteract enemy jamming and Electronic Warfare. This is achieved through the use of burnthrough, dedicated fire control radars such as Bullseyes on ANS, Floodlights, Long Range Tracking Radars, and offset scouts such as ships equipped with R400 on OSP)
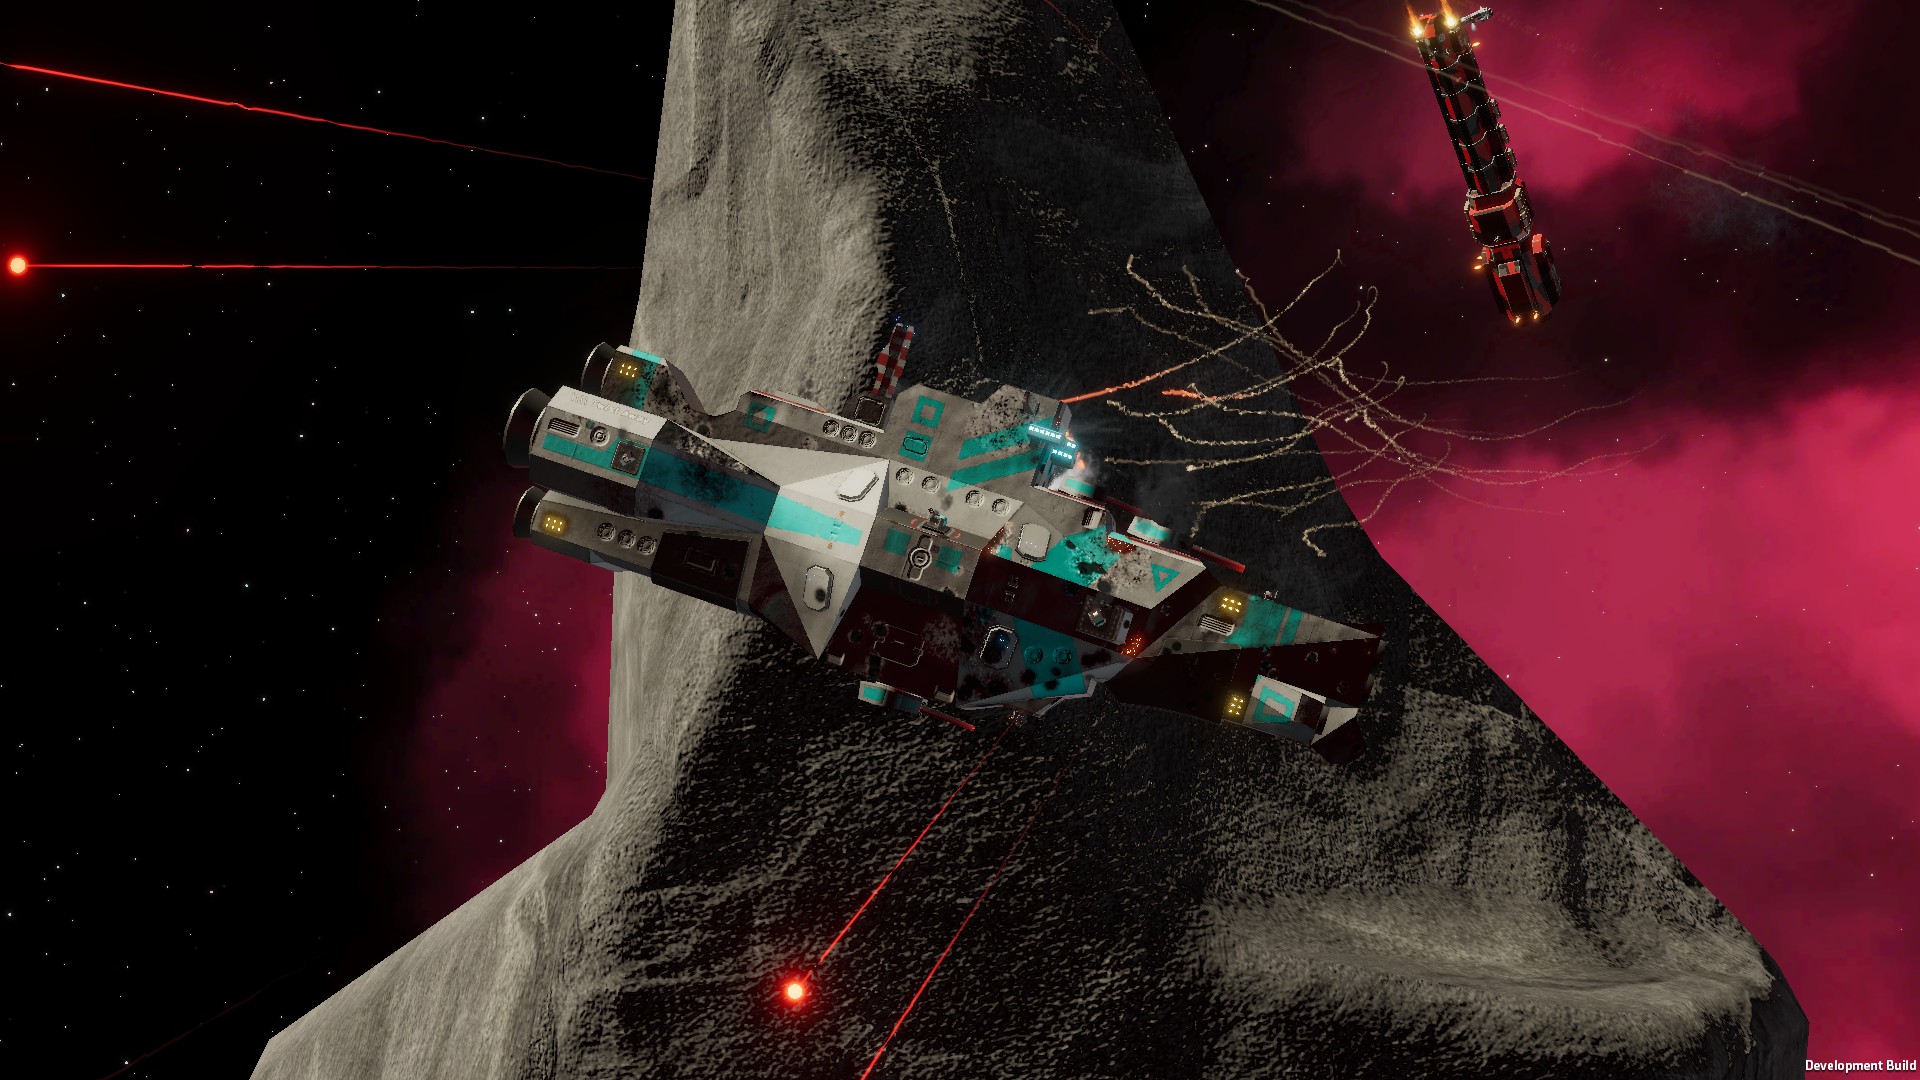
Information Denial

(Image Credit: Regional Math Blob)
Information Denial is the art of leaving your enemy deaf, disoriented, and discombobulated. The goal with information denial is to ensure that they have no useful information on your fleet or your team’s fleet, or to bombard them with contradictory and confusing information. Methods to achieve this include the following:
Specialising your warships to kill enemy scouts and intelligence gathering vessels. This can include, but is not excluded to: equipping your ships with Size 1 Ballestra type offensive missiles to be used against Shuttles or Corvettes, long range missile or rail/mass driver strikes against Early Warning Radar carrying ships, and using OSPN rocket Shuttles to ambush and seek out ANS Sprinters.
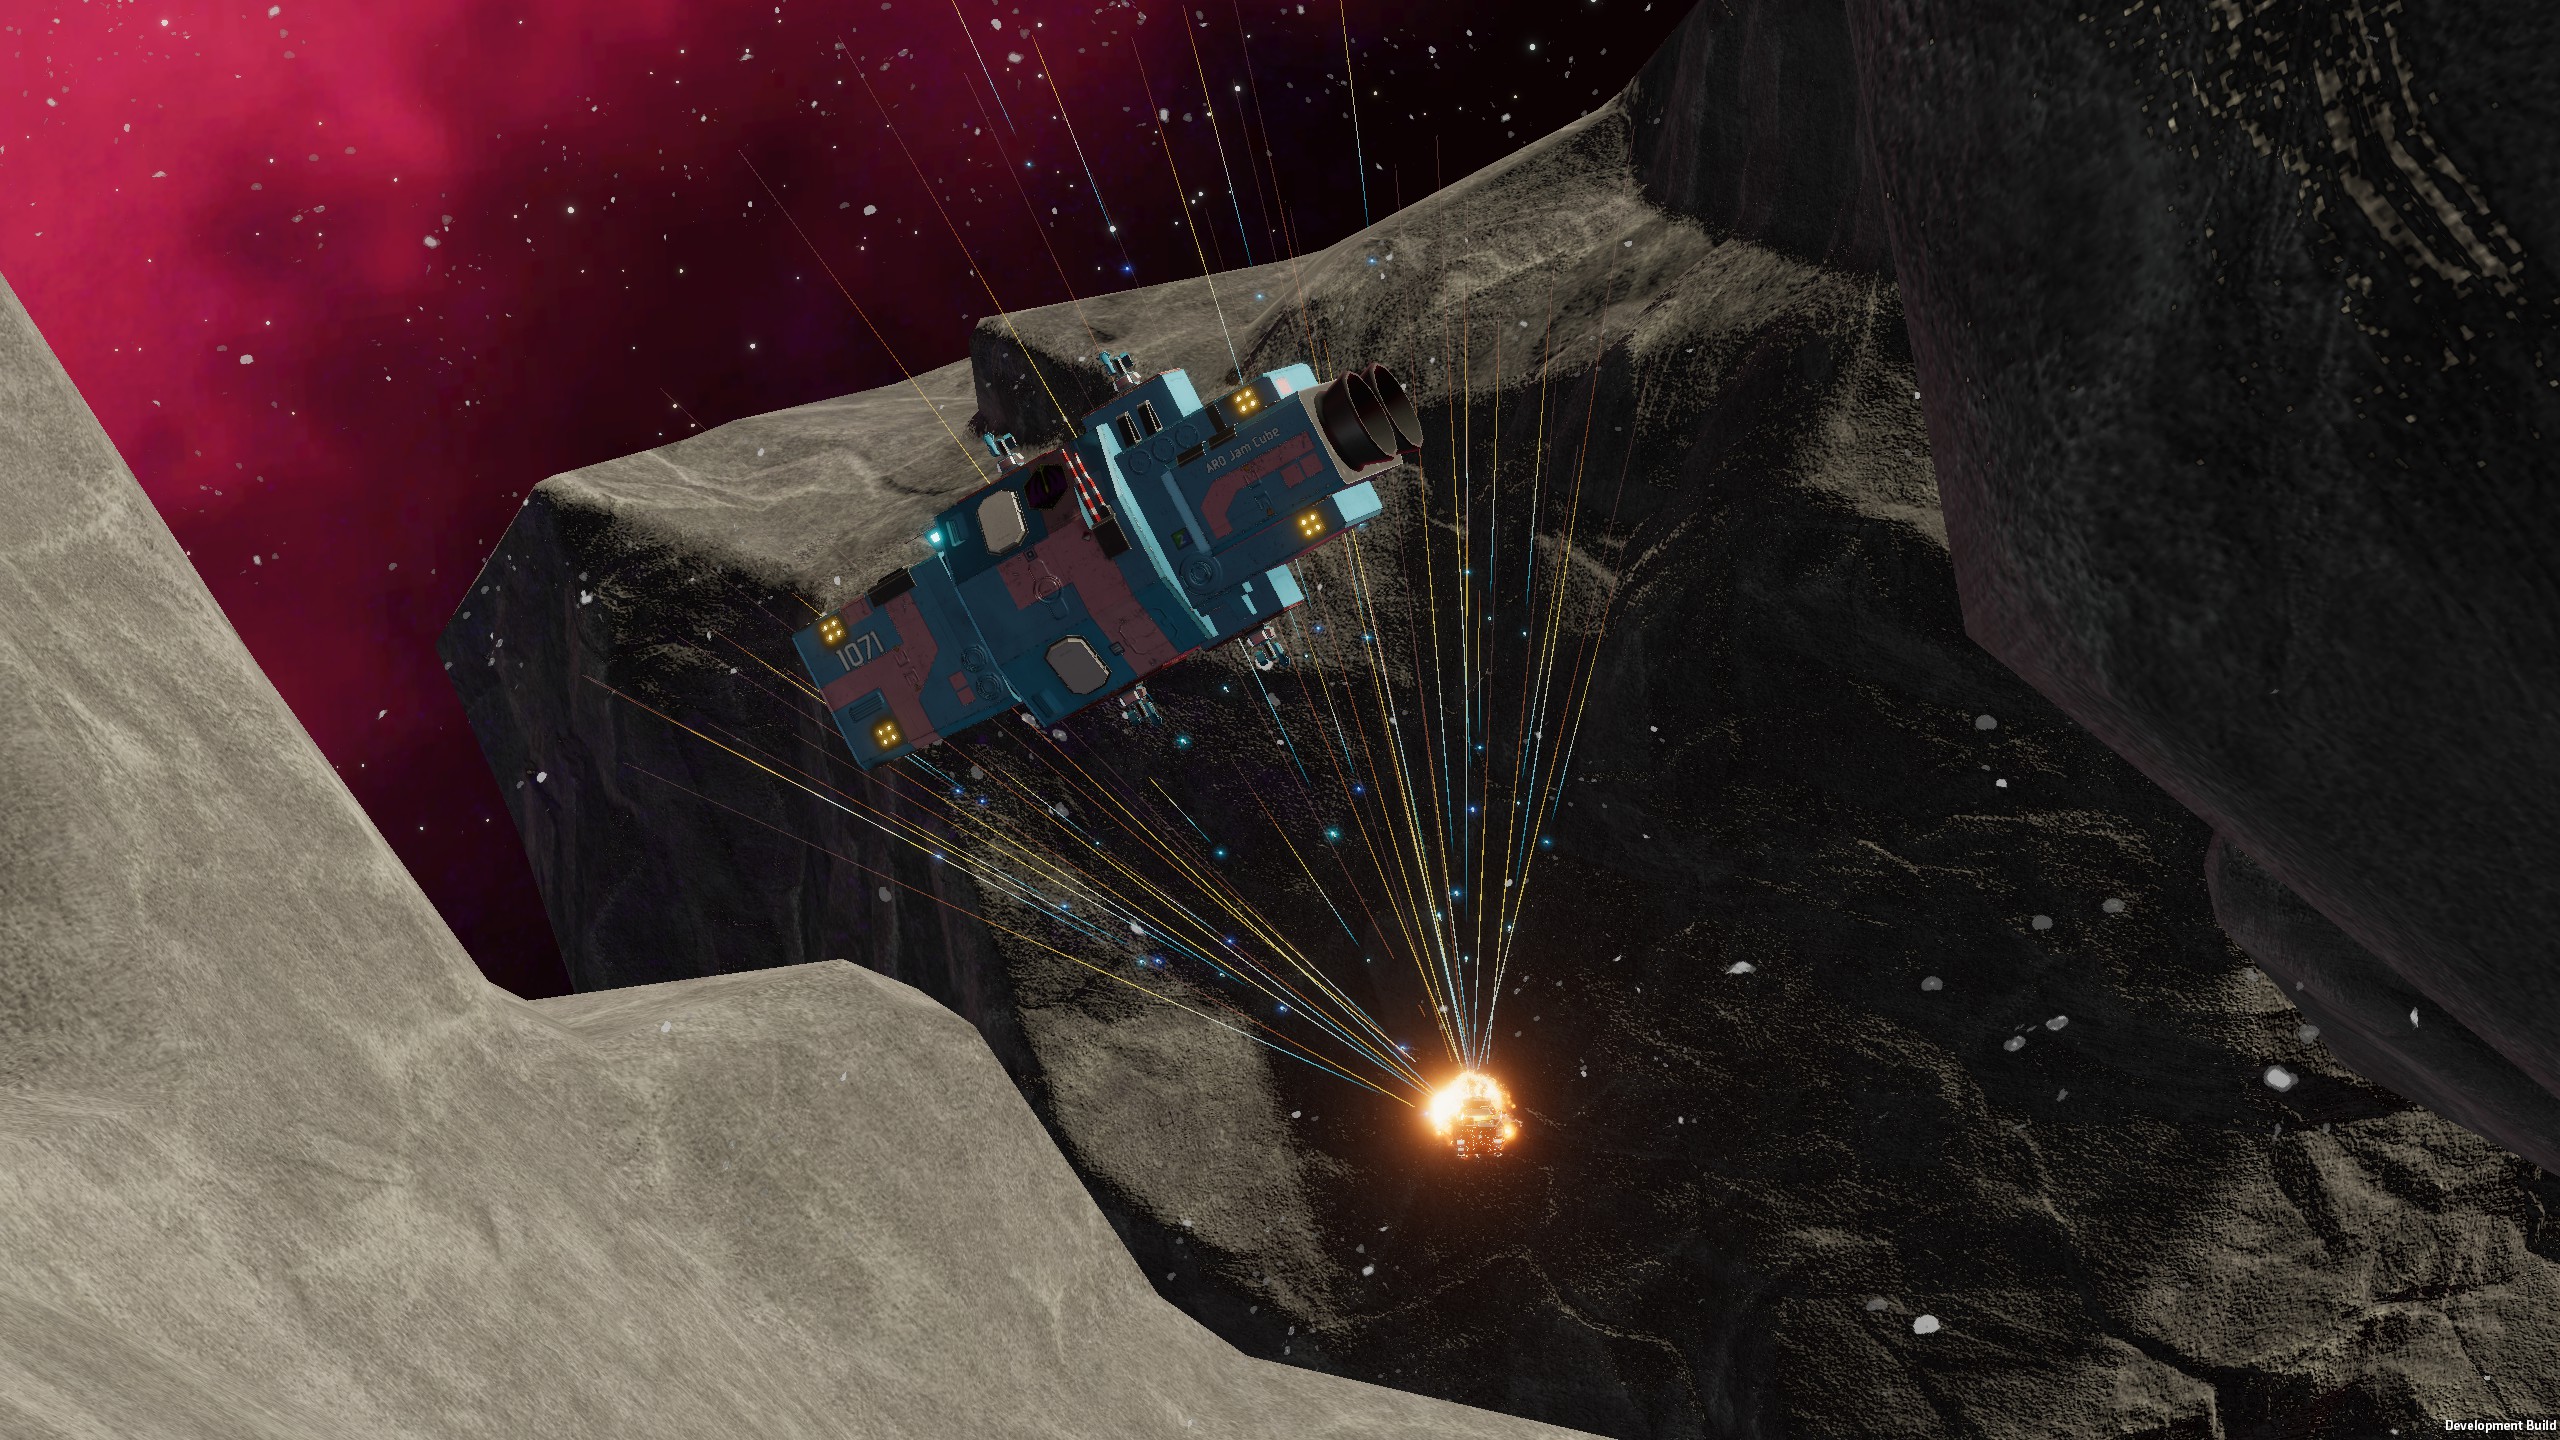
Employing Electronic Warfare aka EWAR or Electronic Countermeasures aka ECM. This is primarily through the use of Blanket and Bellbird jammers to prevent your warships from either being spotted or locked on. There is also the ANS Hangup jammer, which prevents enemy ships from communicating with one another and sharing tracks but it currently performs quite inconsistently right now.
Managing Detection ranges and Lines of Sight is the other way you can deny your enemy the ability to spot your ships. In the context of fleet building, this essentially is the principle that while larger ships may provide more upfront firepower, smaller ships usually present a smaller radar cross section and are just harder to be spotted by enemy radar and thus able to scout out enemy warships. Examples of this principle include Prowler Drive equipped ships and stealthy Spyglass Raines. It also means faster ships that can move from rock to rock more rapidly and prevent the enemy from identifying you.
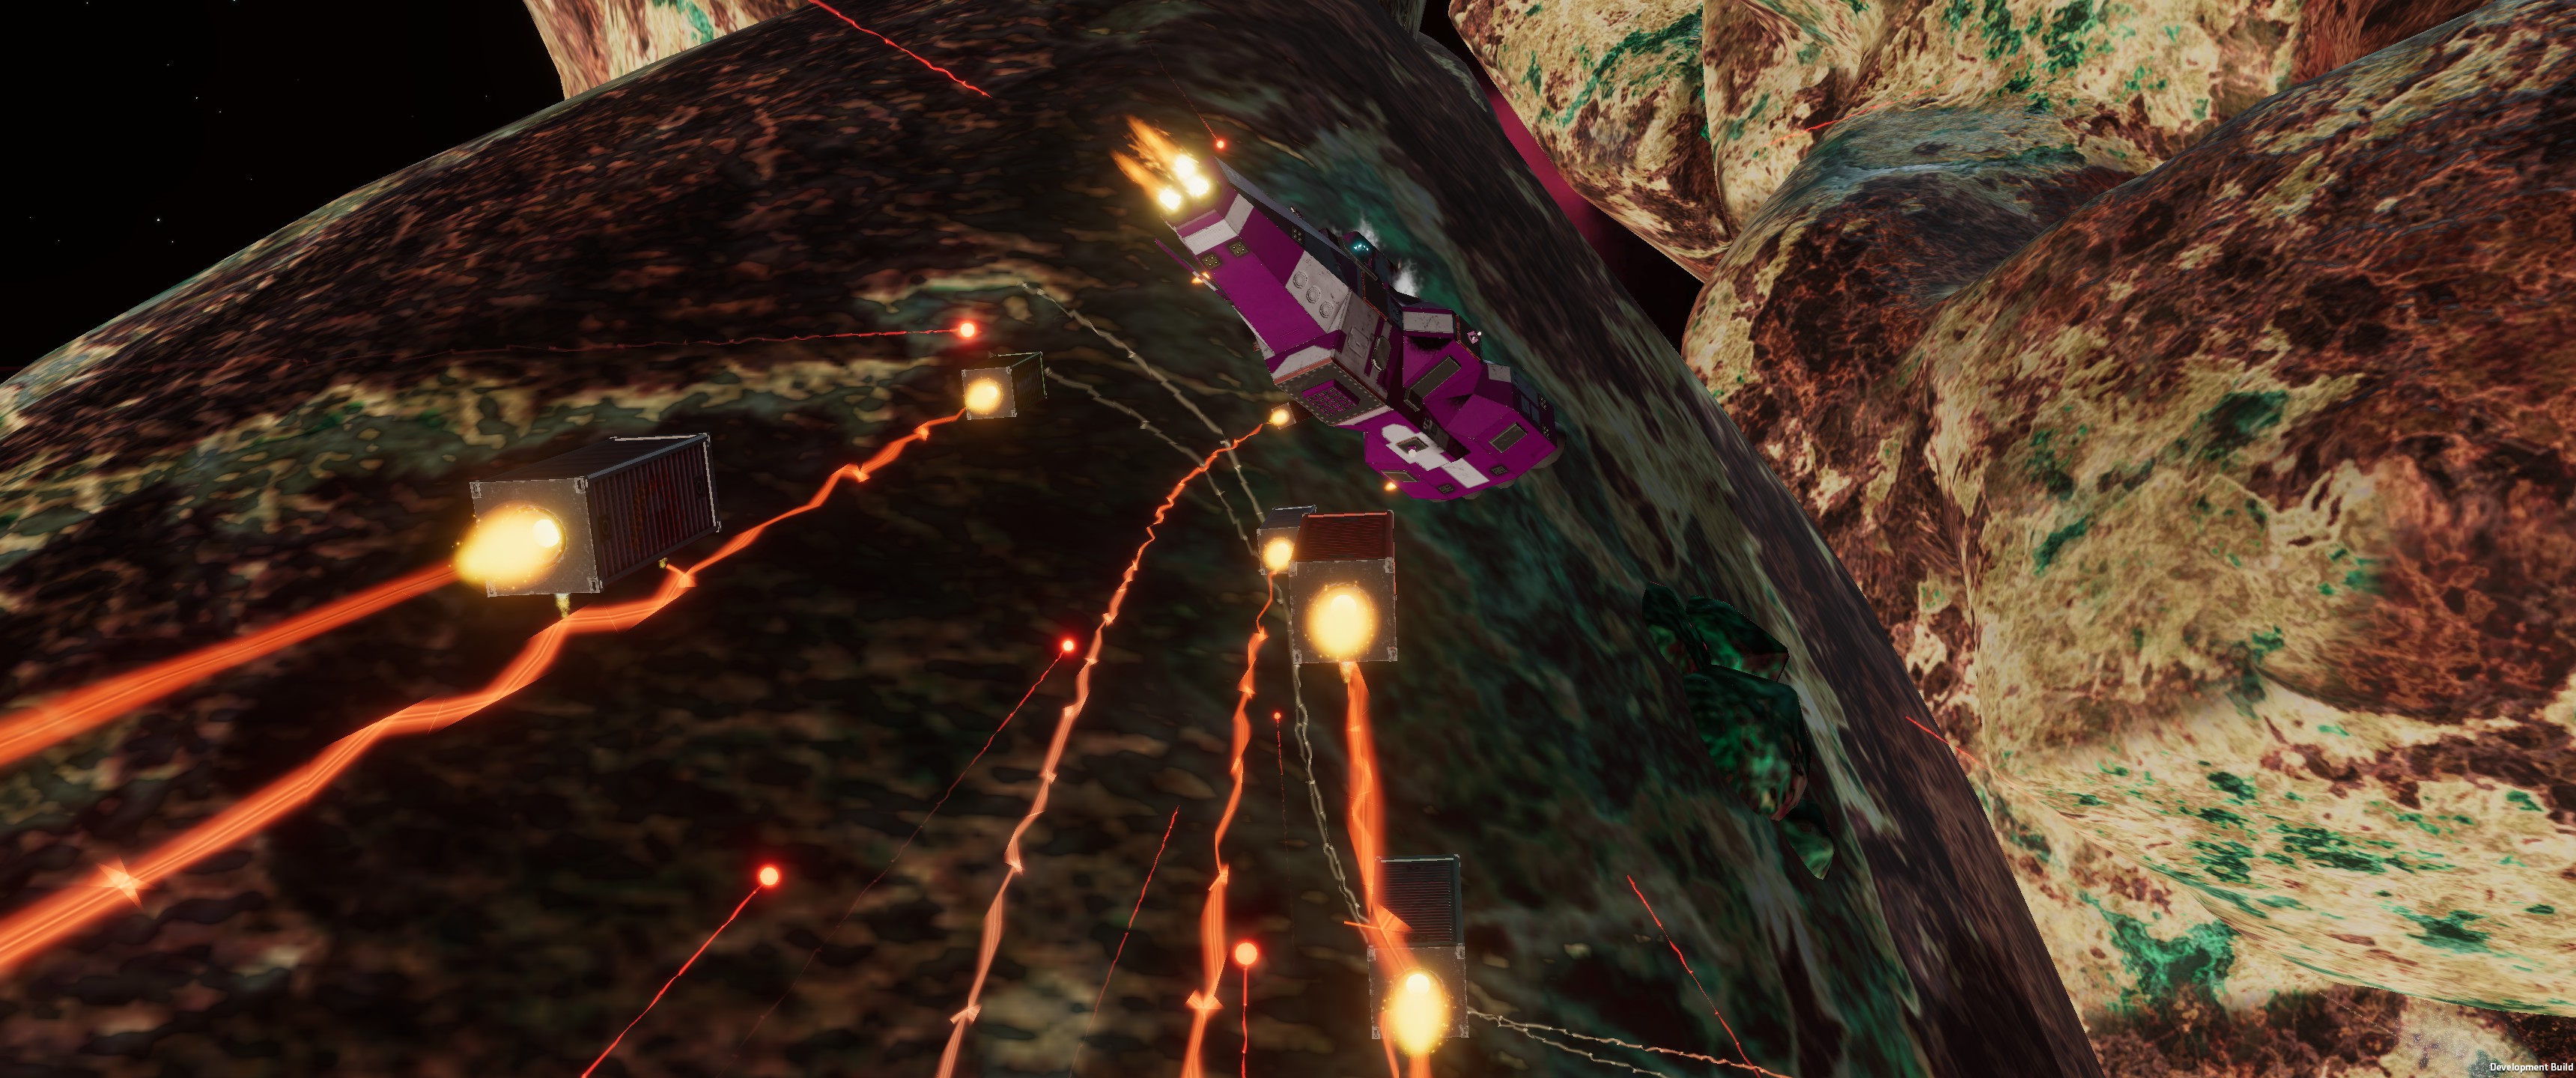
Finally, a player can employ Deception tactics to overwhelm the enemy with false information. In relation to the OSP’s Container Decoys, this can force their opponents to expend valuable munitions on targets, or decoy enemy missiles. With regards to ANS Masquerade Signal Boosters, disguising your warship as something it isn’t complicates identification, leading to a potentially different response from your opponent, and, at the very least, allows you to attain surprise.
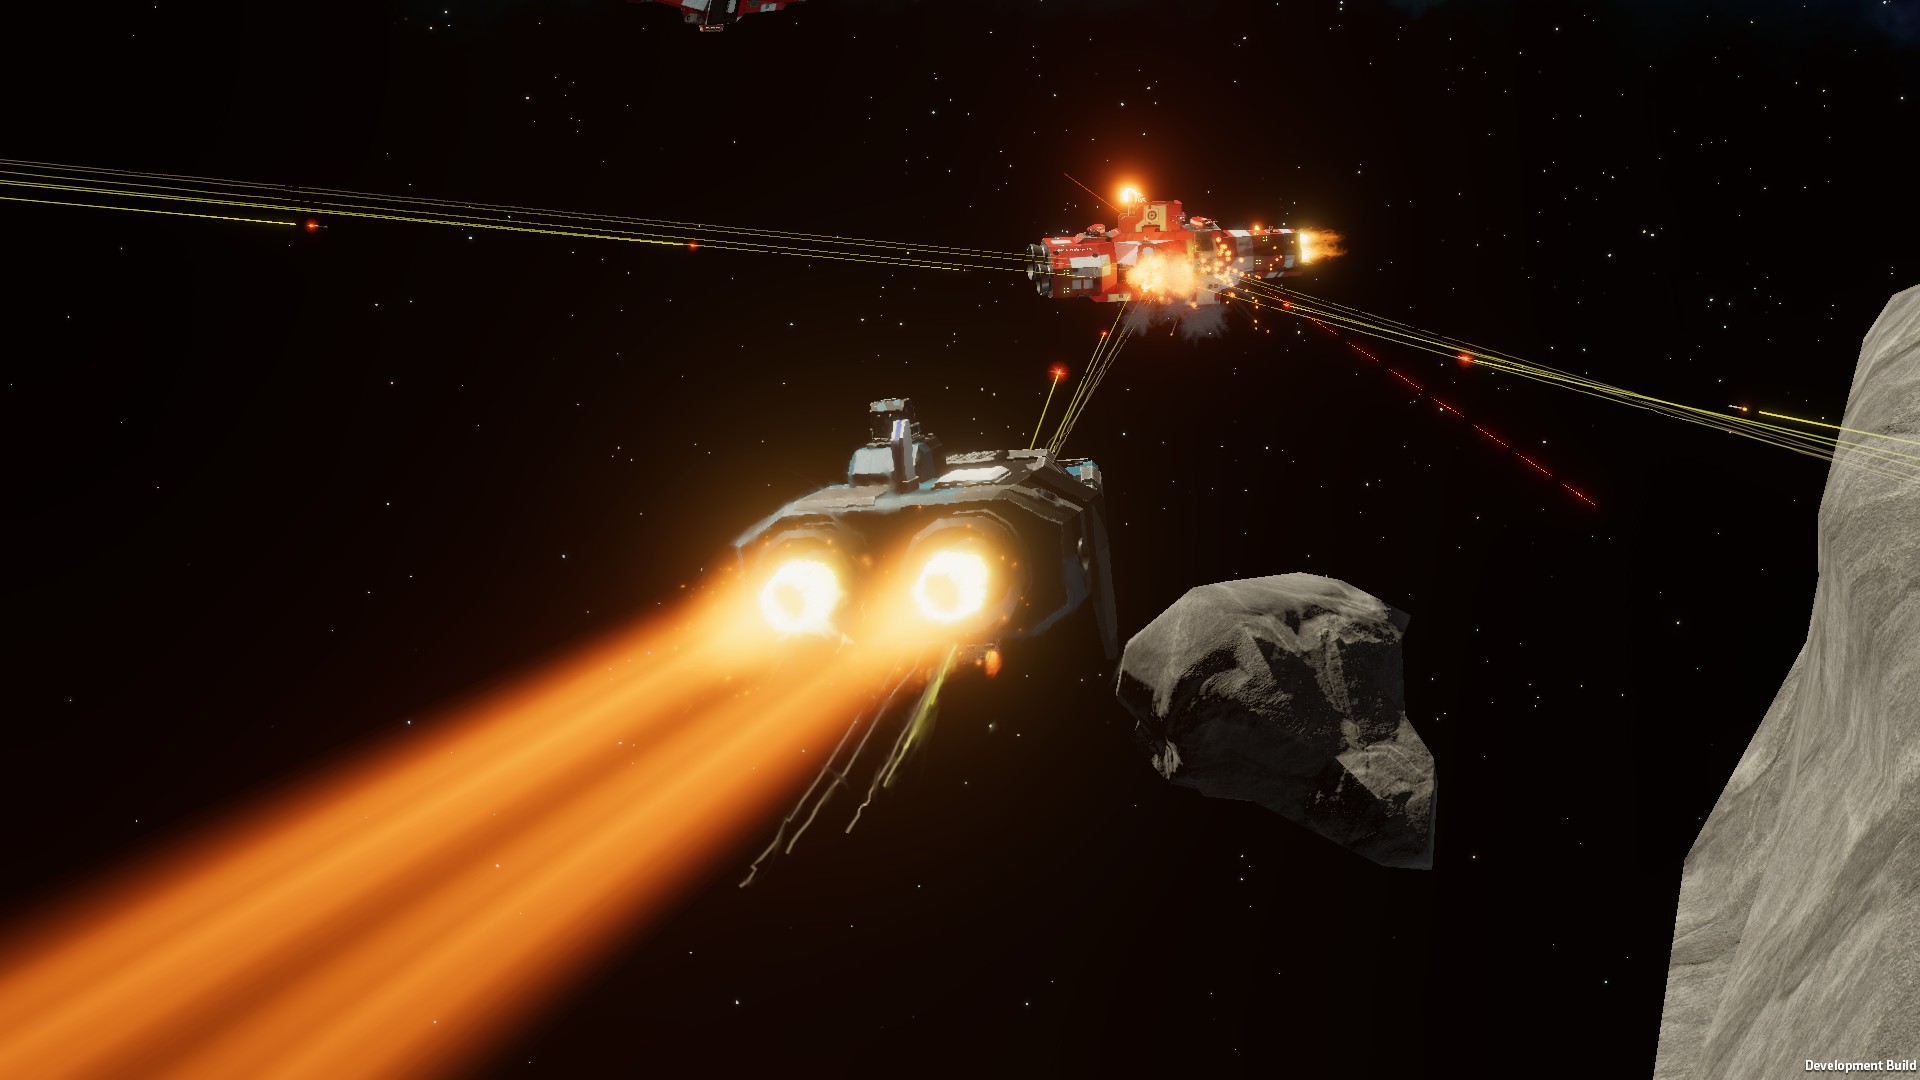
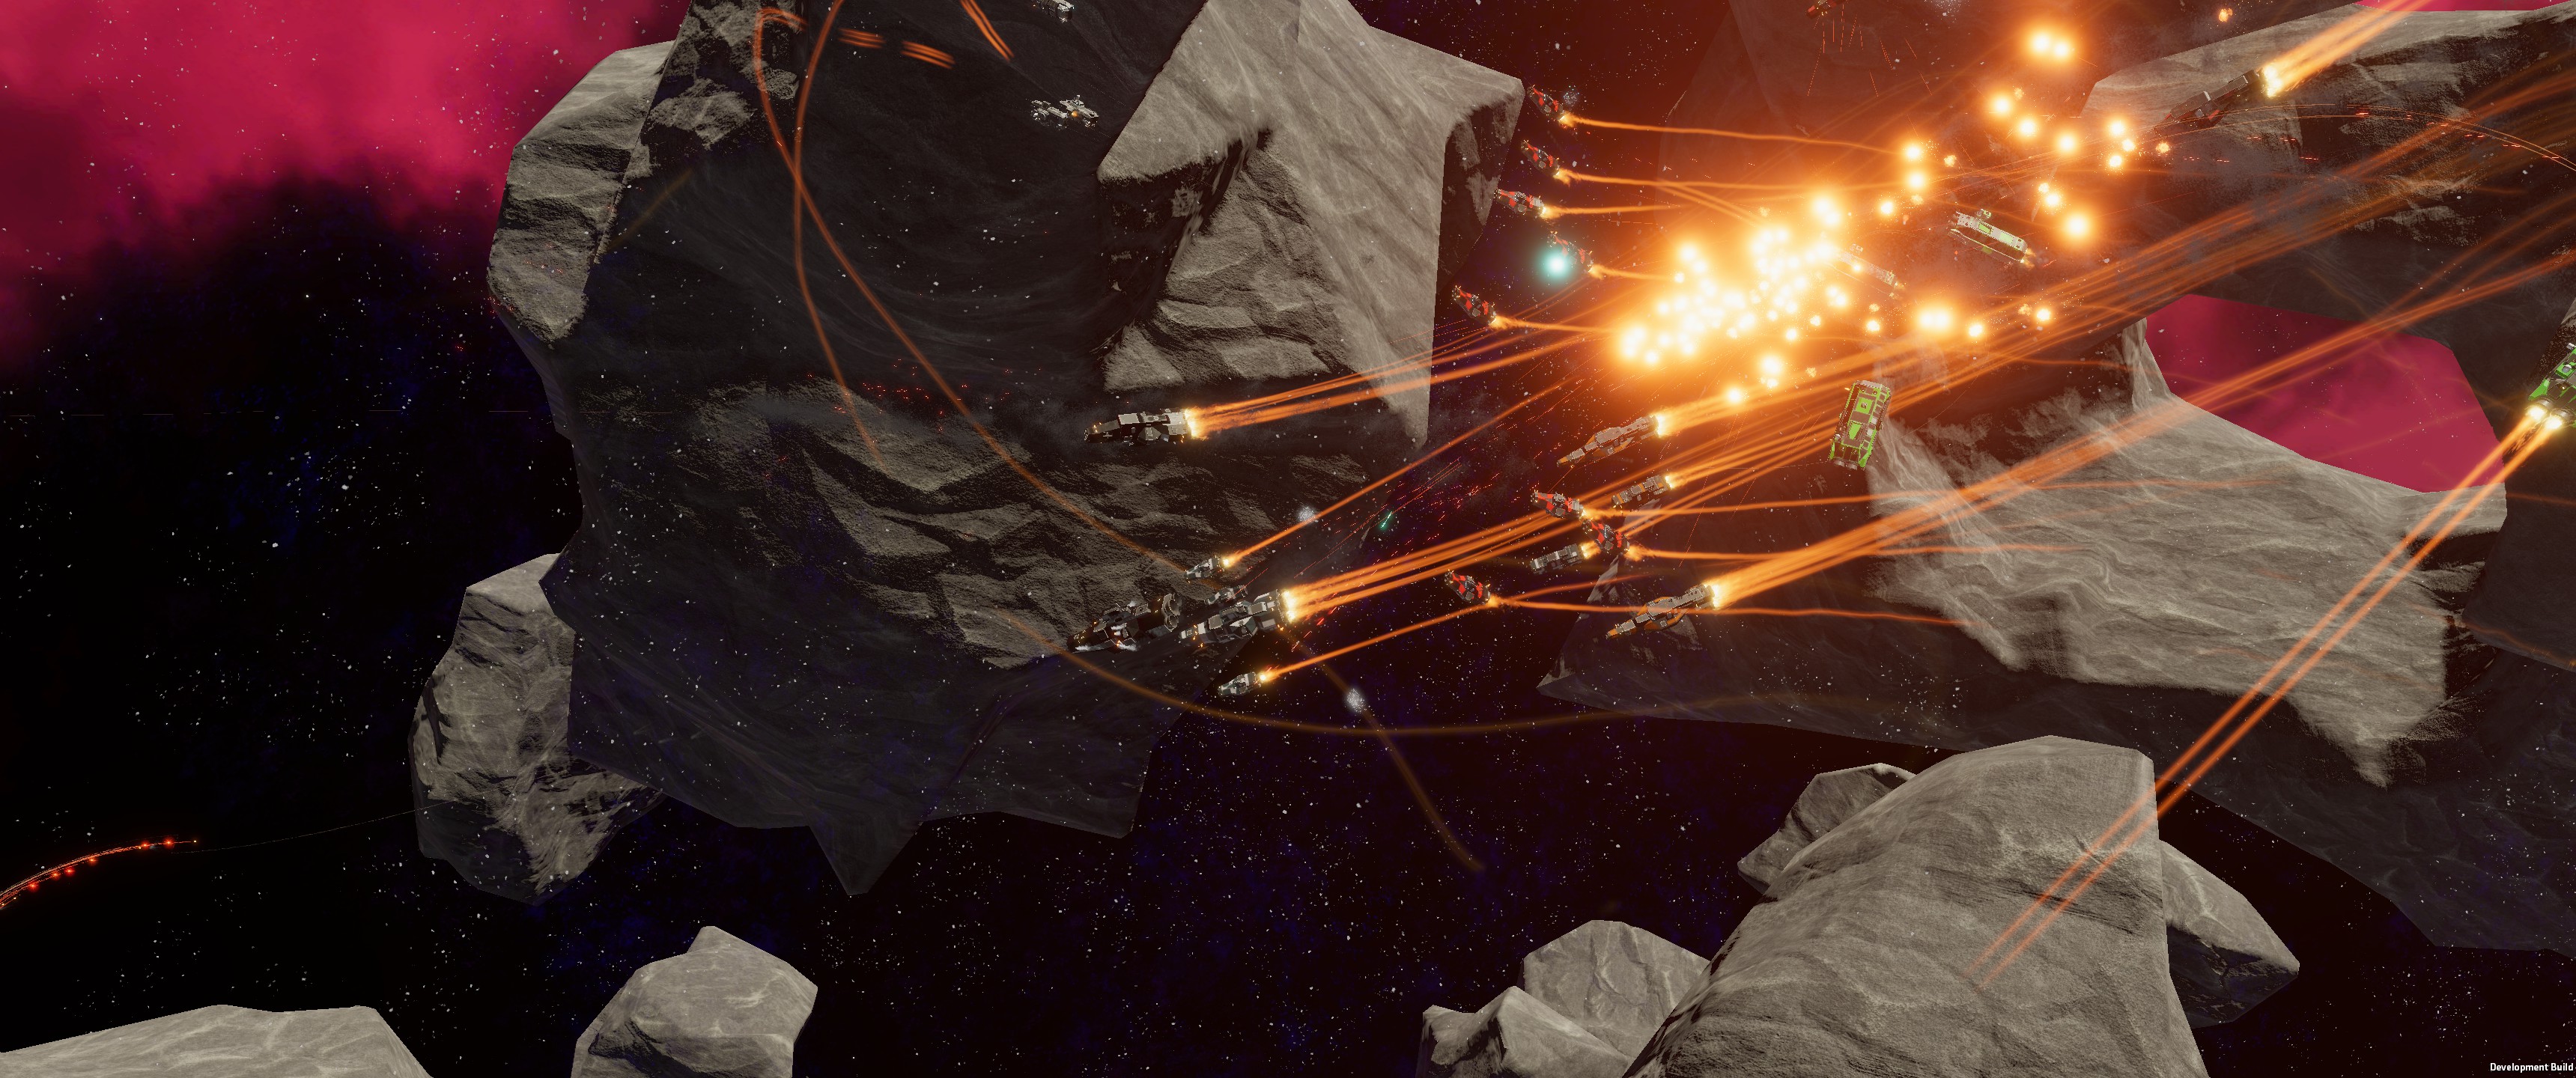
Attacking Points And Taking Space
(Image Credit: Regional Math Blob)
In order to win a Nebulous match you will, in many cases, have to take points the enemy controls. Points and space is the lifeblood of a Nebulous team as more space enables better angles of attack and the ability to manoeuvre. More flags/control points held by your team applies pressure onto the enemy team and ensures that your team has the initiative. Moreover, since the enemy might be there to stop you, you will need to be prepared to either force your opponent out and away from said area or destroy them. That, or you may have to sneakily get around them and steal their point from under their noses. All of this can be performed through the following:
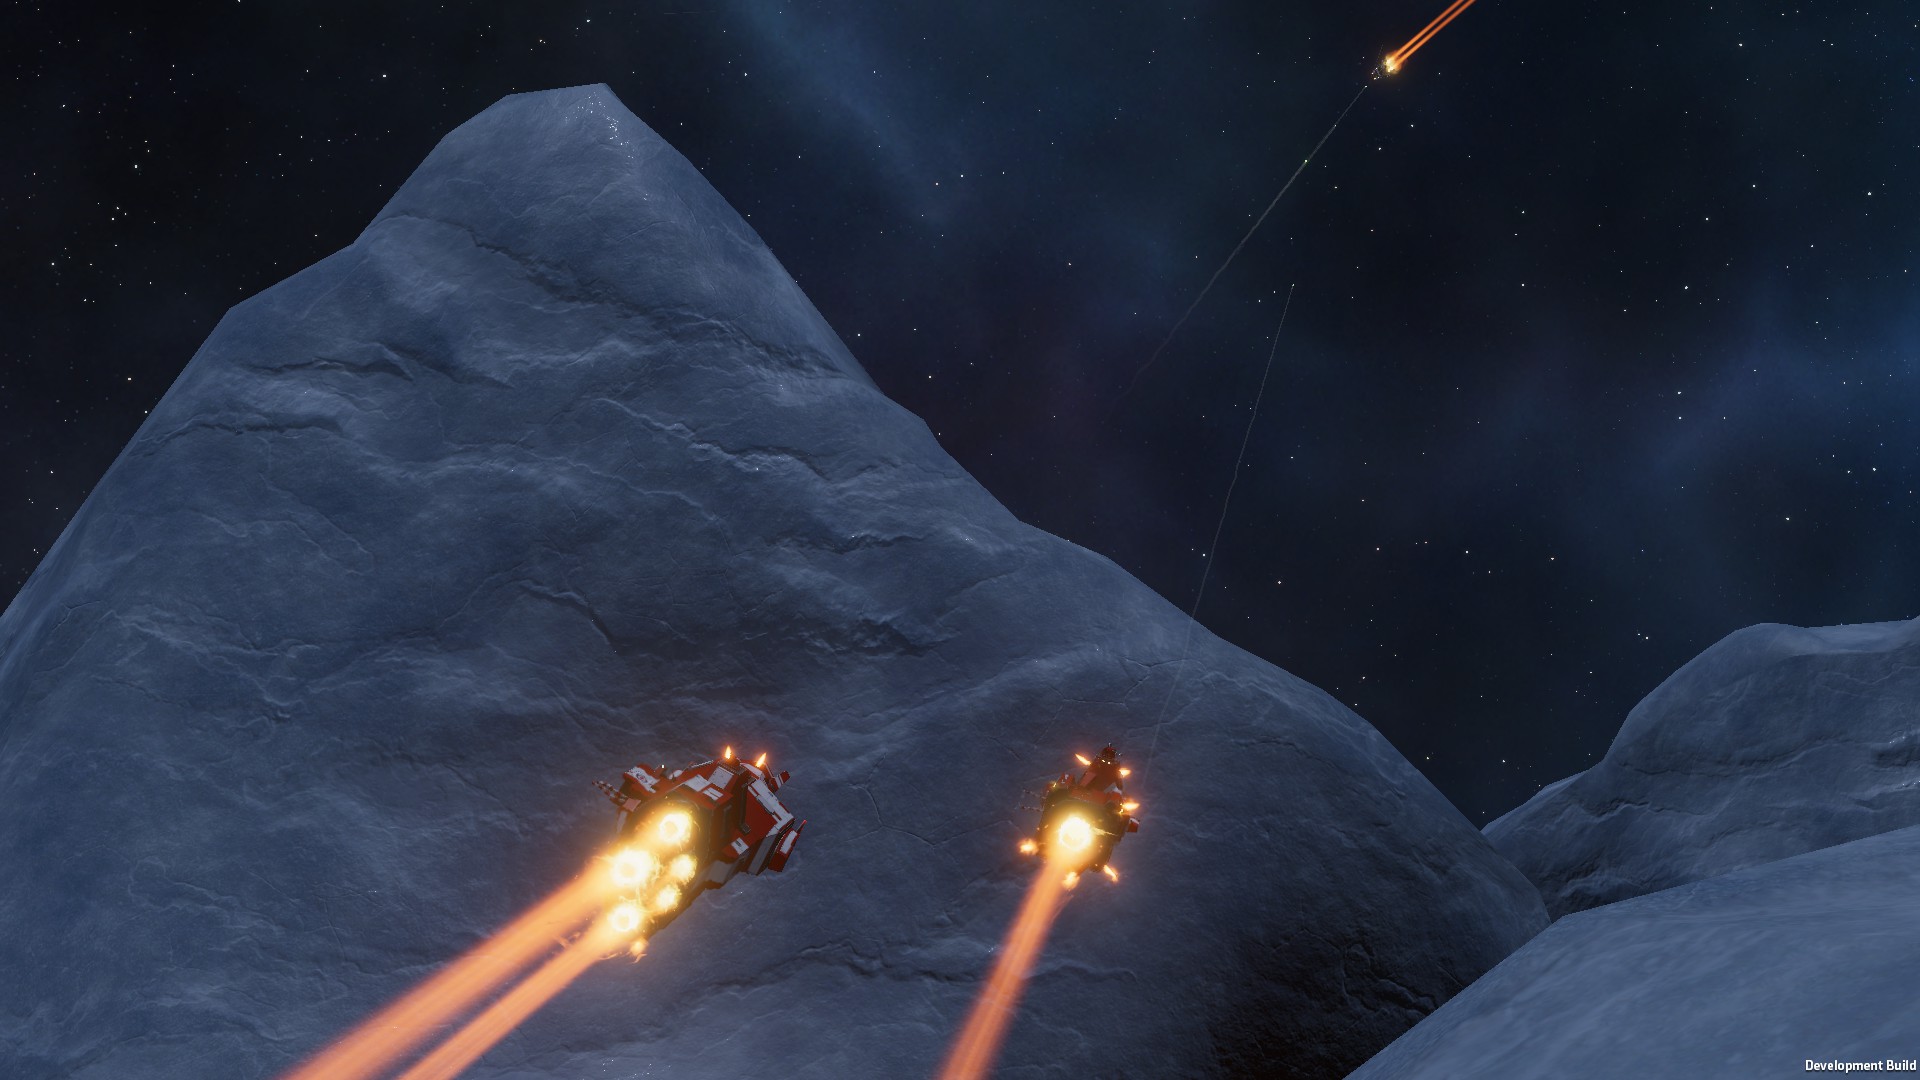
Speed is perhaps the most important tool to take capture points or caps. As points accrue over time, the faster your fleet and team can take and recapture points, the better. Capping points quickly can give you a significant advantage, and recapturing points quickly can save the game from being lost on points. In Nebulous, this means that small fast warships, such as Shuttles and Corvettes are highly valued for their ability to seize points in a quick and expedient manner. These ships may often use FLANK speed or enhanced drives to attain very high speeds. What happens though if there are enemies on the point though?
Projecting Power Forwards, sometimes called “Pushing” or “Brawling” is what a fleet needs to do if a point is contested with an armed enemy vessel. In these cases, it may not be expedient to use a Shuttle or Corvette because you have a large enemy warship sitting on the capture point that the shuttle or corvette is incapable of meaningfully damaging or defeating. As such, it’s necessary to employ armed warships to kill the contesting warship or threaten so much damage the enemy fleet needs to withdraw or be destroyed in place. Good power-projection fleets include Solomon Battleships and Axford Cruisers with some combination of guns, beams, or missiles, Keystones Destroyers with beams, Line Ships with Plasma and cannons, Rocket Shuttles and Cargo Feeders.
Back Capping refers to taking points the enemy controls but is not actively watching over. Having a stealthy, light warship that can speed around the enemy team’s main formations and steal the point while the enemy’s main ships are engaged is incredibly potent and can often win the game. Contrary to popular opinion, it does not require much micro and is surprisingly easy to pull off in your average match. This duty is usually performed, again, by Corvettes and Shuttles, though larger and faster ships of both ANS and OSPN can do this, just not as efficiently.
Sacrificial Captures is another type of capture strategy, usually done by the same kinds of ships and usually takes place on maps with a contested central point and at the beginning of a match. Because both teams’ attention is focused on the central point, using anything but an inexpensive sacrificial warship to try to capture that exposed capture point is unwise as that capturing ship is likely to get killed no matter what ship you use. If the sacrifice is successful in capturing the point, great! If the sacrifice is killed, but forces the enemy team to shoot stuff to kill it and thus expose their positions, also great! Either way, it’s a good way to try to capture a point.
Defending Points And Holding Space
While taking the points and space of your enemy team is important, it is also important to prevent your opponent from taking your points. Failure to do so is quite bad, because your team will cede the initiative, best attack angles and position to your opponents. There are thankfully quite a number of ways to make taking every cubic foot of space a living hell for your enemy:
Area Denial is the projection of power into an area of space to prevent enemy warships from moving into spaces, or ensuring that if they move they’ll take damage or won’t fulfil their objective. In other words, Area Denial makes the space the enemy is trying to occupy too hazardous to gain any advantage from being in and will dissuade them from attempting to occupy said space. This can be done at both short range, or long range, and quickly or slowly. This means that Area Denial is quite linked to Pushing and Projecting Power Forwards, but with some key differences. For example, ANS Rails as opposed to OSPN Mass Drivers are far more useful as a Area Denial weapon as they’re far easier to use to screen out areas of open space. While it is entirely possible to push a space and defend it with a Beam Battleship because of its endurance and ability to take damage, Beam Destroyers are less able to Project Power Forwards, due to their relative fragility and are better at defending points of interest or staging an ambush as opposed to being used in a push in the open. Similarly, Mines and Minelaying is an excellent way to deny and inconvenience an enemy’s advance into a position, but they’re not particularly easy to use as a pushing weapon.
Linked to Area Denial is the fact that both sides, ANS and OSP, have tools to Back Cap points. It’s thus a valid consideration to design one’s fleet around the prevention of Back Capping. This can come in the form of a Sprinter or Shuttle with say a single Size 1 Offensive Missile or a gun to just sit on an important point and prevent an unarmed small warship from capping it.
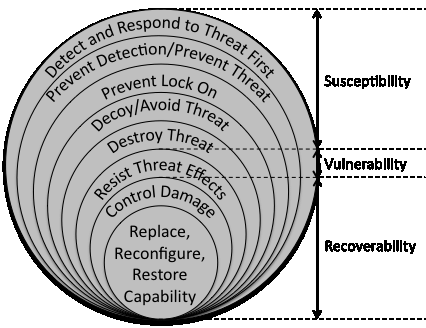
In order to Prevent Ship Loss, which is obviously vital for holding space, Nebulous players typically abide by the principal of the “Survivability Onion.” These are the steps one takes in a military context to prevent the loss of your ship. Books have been written on this concept, and to go into detail would be outside the context of the guide. You ideally want to make your ship harder to be shot at first, then make it more resistant to damage, before finally making it able to recover if it takes damage. In a fleet design context, you can improve and weight your survivability by increasing your ability to dodge, through strategic hull choices like an Ocello versus a Lineship, through taking EWAR modules to hide your ships. You also affect and improve your survivability by choosing what kind of Point Defense, known as “Hard Kill” or missile decoy devices, also known as “Soft Kill” to take.
(Image Credit: Dagaribus helped me search this up)
Killing Ships And Directly Reducing Enemy Combat Power

(Image Credit: Hermann Neb)
Killing ships seems to be an obvious goal in Nebulous. However, the win condition in the standard 3,000 point Control gamemode is not about killing the enemy, but rather capturing control points. Killing ships helps achieve this goal indirectly, but it alone does not guarantee success. It is important to kill warships, though, in order to prevent and facilitate the doctrines previously mentioned. Furthermore, the loss of your team’s combat power means an instantaneous win for the enemy team. The following is a quick breakdown of the different ways you can kill enemy ships in Nebulous. In general, these can be summarised into two separate approaches:
Ambush and Alpha-Striking is the technique of applying sudden, critical damage meant to knock out enemy warships. This can be achieved through equipping rapid-cycle cradles for OSP’s famous 450mm and 250mm auto-loader casemates, ANS Beams, and OSP and ANS Yub Nubbing. Yub Nubbing is specifically the technique of waypointing in missiles from far away out-of-sight warships filled to the brim with missiles. These crucial missile strikes inflict sudden unpredictable bursts of damage that can destroy, cripple or disrupt the cohesiveness of enemy fleets at opportune moments and at critical places. Consider the effect of a MLS-2 Yub Nubbing fleet killing the enemy corvette just before they capture a point. Similarly, a beam Solomon’s ambush on an otherwise deadly OSP Tug swarm can leave broken ships and a broken enemy team in its wake. That all being said, fleets specialised towards ambush and alpha-striking often require significant point investment into their weaponry at the cost of everything else. They are thus highly specialised and can be vulnerable.
Attritional Warfare is the opposite approach to killing enemy warships and exemplifies the idea of “death by a thousand cuts.” Fleets constructed around this concept tend to be more durable as the weapons that follow this doctrine tend to be cheaper in points cost and more flexible. ANS cannons exemplify this concept and can be deployed in many different ways. These include: ANS Frigate Blobs of 6-8 Frigates armed with 120mm or 250mm guns, 450mm armed Solomons and 250mm Vauxhalls. As for the OSP, Plasma and 250mm or Plasma and 100mm fleets tend to exemplify this concept as they apply damage that builds up over time rather than one-shotting warships. Attritional Warfare however requires time for the weapons to do damage. Even the highest DPS gun fleets take at least a minute or two to completely gut an opposing ship, which means your ships will be sitting outside of cover for longer.
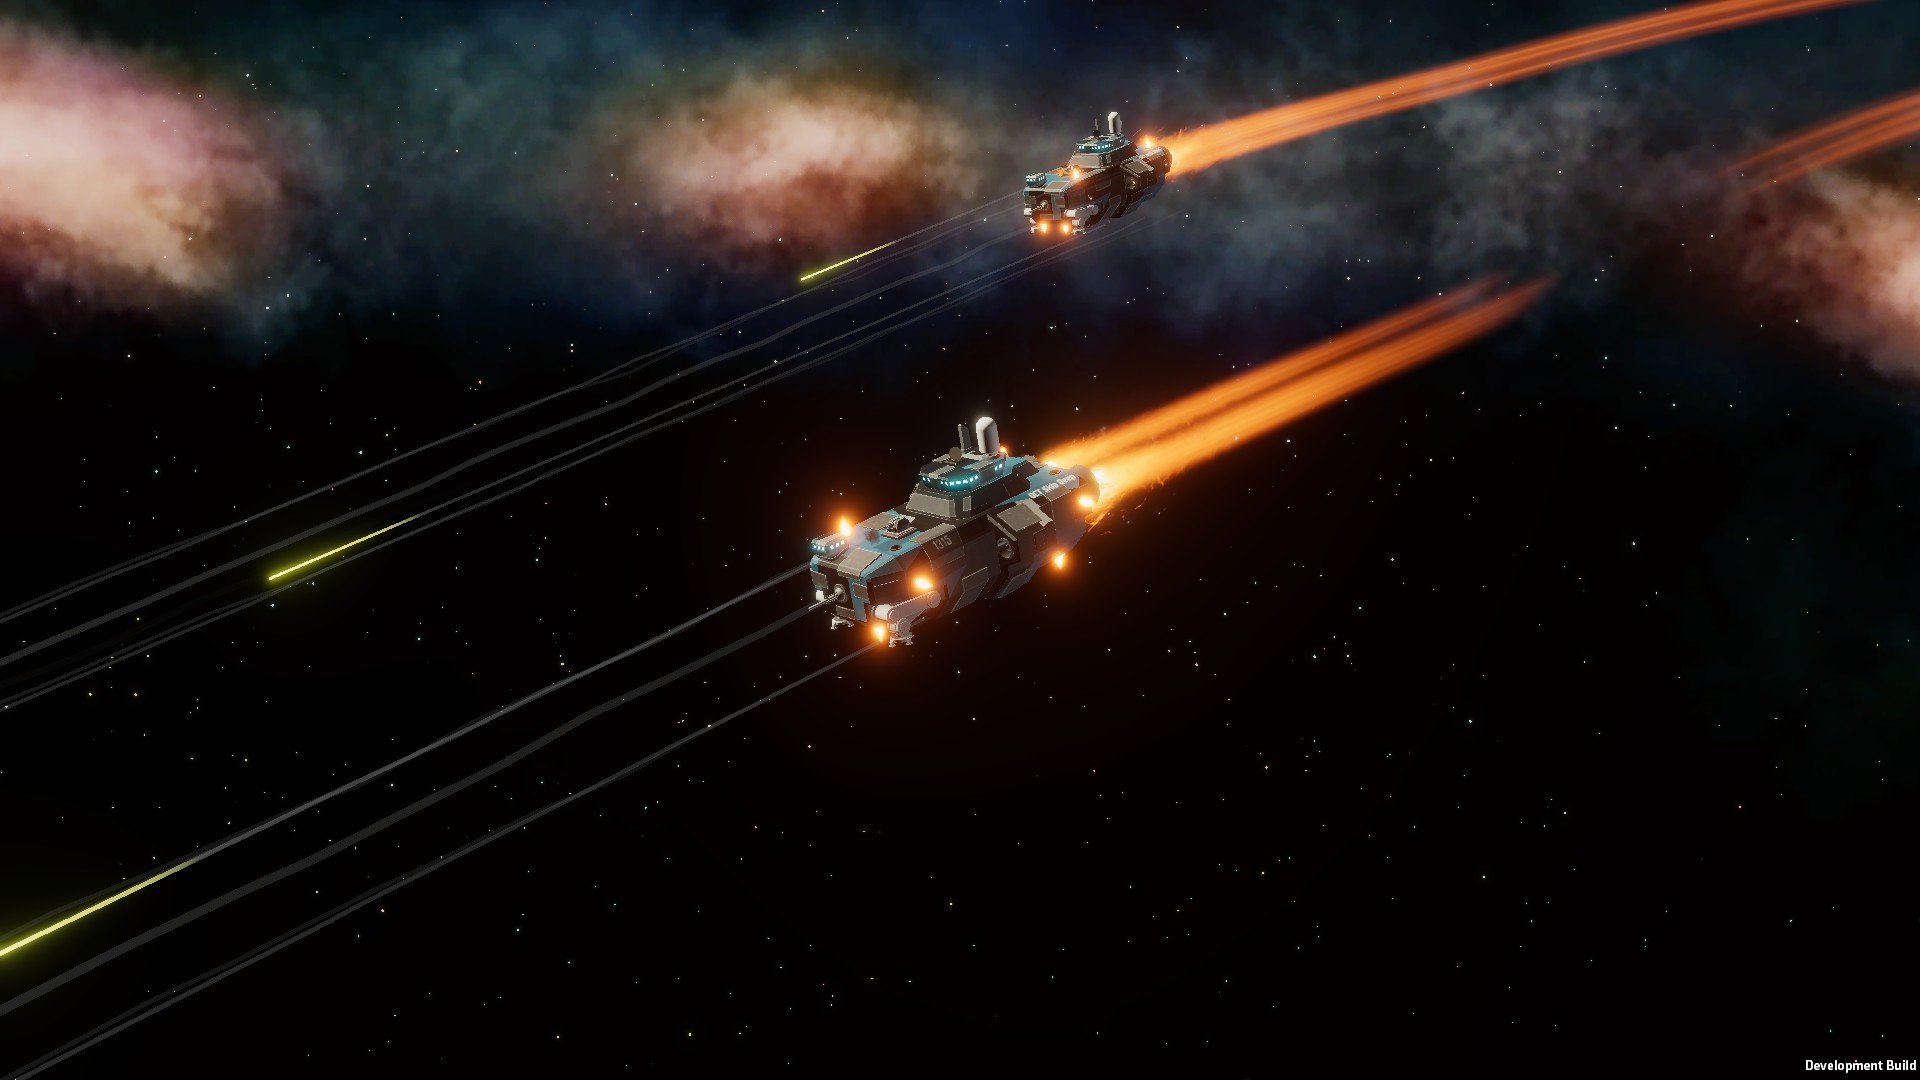
Gearing The Fleet To Doctrine
(Image Credit: vren55)
Let’s be real here though, when designing a fleet, while you can choose your Doctrine, you’re just as likely to choose a ship, a gun system, or a missile because it looks pretty or cool. It’s also a bit difficult to wrap one’s head around doctrinal concepts in an abstract way. Thus, in this section of the guide, we’ll be looking at how the choices you make in the Fleet Editor will affect what Doctrines your fleet can meet.
The first thing to mention is that doctrines can overlap. This is known as fleet homogeneity, the more homogenous a fleet the less doctrines it fulfils. An example of a fleet with Overlapping Doctrines is my favourite Axford Heavy Cruiser fleet with guns and missiles and a few supporting ships. These kind of fleets can both Attack Points and Take Space, whilst also Defend Points and Hold Space. This is due to the effects that ship choice, module choice, compartment choice, weapon choice and other hardpoint choices can have on what doctrines your fleet can fulfil, or not fulfil. While an Axford fleet is quite good at Taking Points and Holding Points, it’s a fleet that isn’t as strong in fulfilling the Information Acquisition and Denial doctrinal roles. Thus, an ANS team with an Axford fleet would benefit from having a friendly fleet featuring a single Vauxhall and a swarm of 120mm armed Sprinter corvettes to acquire information and capture points.
In general, you want your team as a whole to have fleets that fulfil the first four doctrines mentioned previously. Killing ships tends to come as part of Defending and Taking Capture points.
Ship Choice
Ship Choice is one of the most crucial aspects that affects what Doctrines your fleet fulfils are the hulls you choose to include in your fleet. ANS and OSP ship hulls in Nebulous are simultaneously restrictive and quite flexible. Generally how capable a hull is based on how many points are invested into it, and its own unique characteristics. The best example to illustrate this is the difference between the Ocello hull and the rest of the OSP lineup. Ocellos have ANS equipment, and do not mount casemates. They thus operate almost completely differently from a doctrinal standpoint as they can’t mount many of the burst fire weapons that characterise OSP warships.. This means that while they are very good Defending Points due to their inherent tankiness, and anti-hybrid point defence, they’re not as good as Attacking Points. Ocellos also bring the majority of OSP Electronic Counter Countermeasures (ECCM) which mean they fulfil an important Information Acquisition role, but one that is different from say an OSP Tugboat with an Early Warning Radar.
Brief Overview Of Hulls: ANS


(Image Credit: Vren55)
Sprinter - Fast, quite stealthy, but fragile warship typically used in a variety of roles. They can be employed for Capturing points, Scouting through distributing hulls to provide map coverage and ELINT, as they are unable to mount powerful radars without significant sacrifice. Their high speed and low detectability also make them excellent at acquiring fire control locks for more distant allies. They are occasionally used in a support role by mounting jamming and point defence for the rest of the fleet, especially supporting Vauxhalls, which move faster than any other ship on the Alliance roster. When put together into a swarm, or in trios, can be quite deadly in the Defense and Attack of points.
(Image Credit:Vren55)
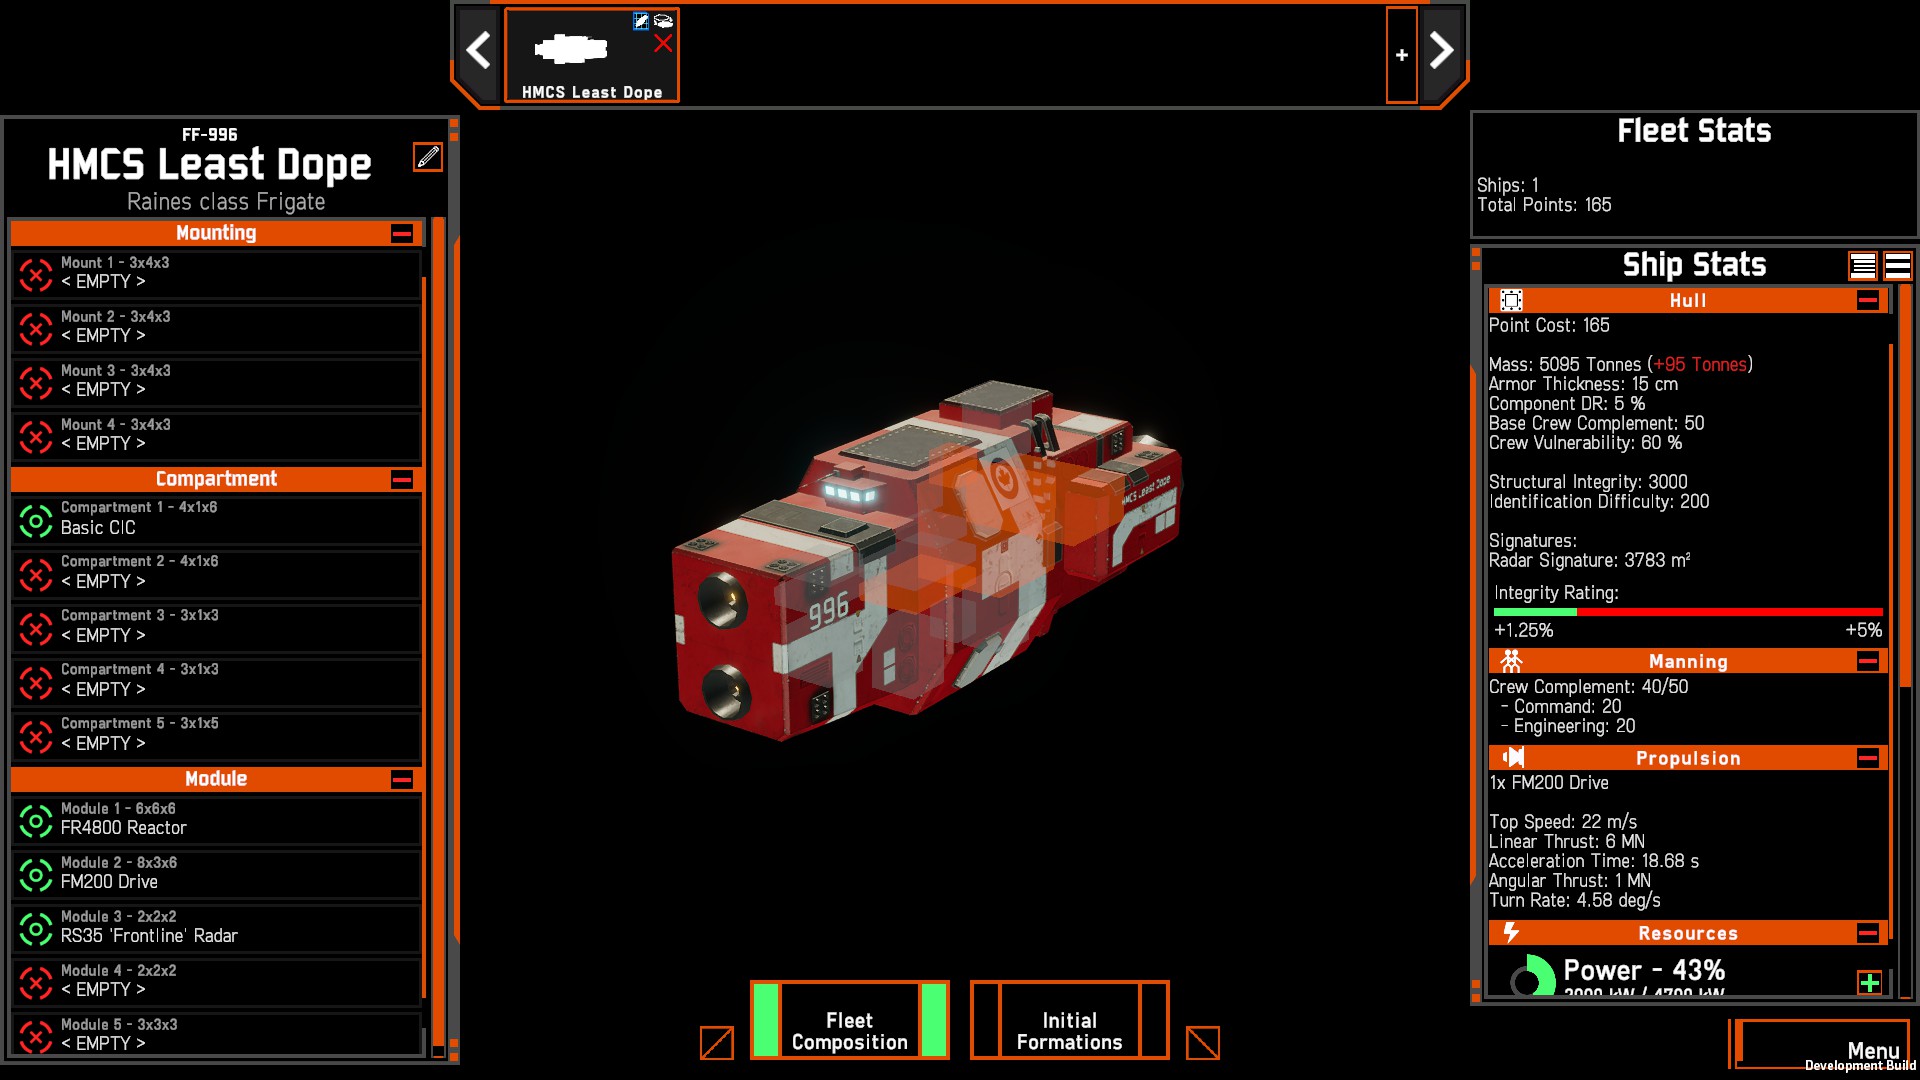
Raines - Fairly manoeuvrable, highly flexible and cheap warship that is one of the cornerstones to ANS fleet building. Raines can be equipped to fulfil ALL of the previously aforementioned doctrines with things such as a Spyglass radar for scouting, or guns and missiles for Attacking and Taking Points, Jammers for Information Denial, or Point Defense for Holding Space. The questions thus tend to be: how many points do you want to put in a Raines, what do you want it to do, and how many Raines do you want to put in a fleet?
(Image Credit: Vren55)
Keystone - A metaphorical glass cannon, the Keystone is primarily an offence-oriented ship designed to Take Space and Kill ships. The Beam Keystone can also be used to Hold Space through the sheer threat it poses, but its durability is quite lacking. The Keystone’s main feature is a choice between two spinal weapons, a Particle Beam Cannon and a Rail Gun. The Particle Beam Weapon equips the Keystone to do extreme damage at close ranges, at the cost of forcing the fragile warship to come to close range. The spinal Railgun does far less impressive damage, but is very useful for support and Area Denial. As well, enough Railguns shooting at a target can cause attritional damage and help Hold Space. Due to its slower speed and lack of manoeuvrability, though, it isn’t that good for Information Acquisition, though it notably is the smallest hull on ANS that is able to bring an intel centre, it’s high amount of module slots but still relatively small size also enables it to bring some niche radar builds. However the Keystone does have enough power to bring Blanket Jammers to Deny Information, and an impressive number of hard points a commander can equip with VLS-2 or VLS-3 launchers to turn the ship into a dedicated missile carrier.
(image Credit vren55)
(Image Credit: Dagaribus)
Vauxhall - Agile and only outsped by the smallest of hulls while also being able to bring a significant amount of firepower to bear from the front, The Vauxhall is able to rapidly project power wherever it is needed, letting it quickly take space and hold it against smaller ships. However, it’s not particularly durable, and so is highly dependent on range control for survivability, so it may need to cede ground to determined advances. Its high speed and ability to hide under jamming also lets Vauxhalls Deny the Enemy Information through the use of EWAR and cover, or by killing vulnerable scouts. It’s also possible to specialise the Vauxhall into a number of niche capabilities for gathering information. Most notably it is able to easily mount multiple search radars and is also able to occupy a more forward position than smaller scouts. As a final note, the back mount is not well suited for direct fire weapons, as the vauxhall is very vulnerable from its sides, this makes the mount a prime candidate to add utility.
(Image Credit: Vren55)
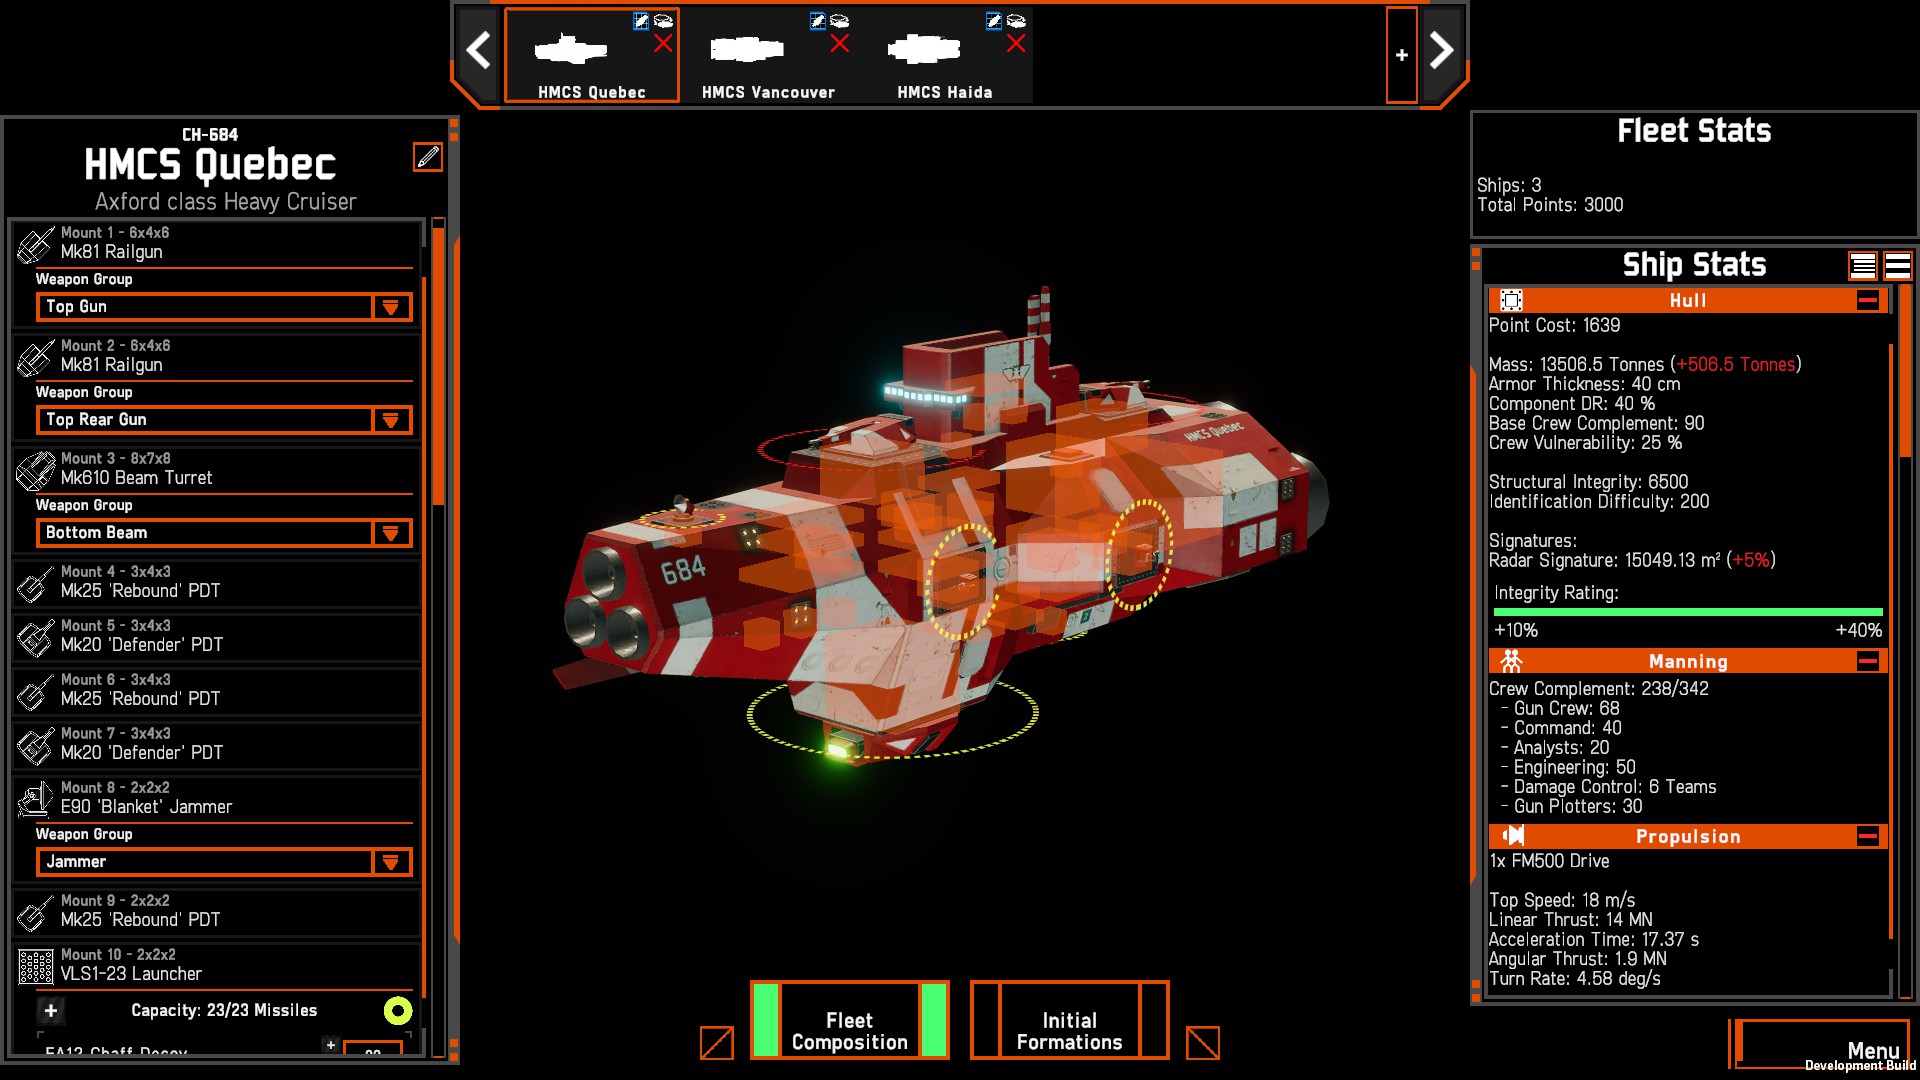
Axford - The second-largest ANS vessel, the Axford can be employed as part of an Attack oriented fleet as its the smallest vessel you can equip 450mm cannons, or a single Beam turret. The vessel however is also cheap enough to field a substantial group of support Raines and Sprinters that can assist in Capturing Points, Information Denial and Information Acquisition. Furthermore, patches to the hull have resulted in the vessel sporting fairly strong restorative capacity, meaning that it and its reasonable Point Defense grid can act as a good Defense oriented fleet used to protect points and space. What the Axford hull suffers in is Information Acquisition and Denial, as while you can bring smaller warships to assist in these fields and protect them with your weaponry, the hull itself is too big to be easily covered by jamming.
(Image Credit: Vren55)
Solomon -The Solomon is the purest embodiment of a hull designed to either Attack or Defend Points and Space in a Nebulous game. As a result, it suffers ineverything else except for perhaps Killing Ships. On one hand, it means that a Solomon can anchor a point on the map and your team will know that it’ll be unlikely for the OSP to seize it without a fight. However, if the OSP kills the rest of your team and captures the rest of the points you might just lose to points anyway. Some degree of speed and one or two scout ships in a Solomon fleet are thus strongly recommended to ensure that it has some Information Acquisition and Backcapping ability.
Brief Overview Of Hulls: OSP
(image Credit: Vren55 with help from Bluehaloguy)
Shuttle - Shuttles are the OSP equivalent to a Sprinter corvette and are even more fragile. They trade that for even more speed and stealth. This means that Shuttles are very good at Backcapping, and Information Denial as their Piranha rockets are horrifyingly effective against Backcapping and scouting ANS Sprinters, which they can out-run and (with rockets) often out-fight. Well-placed stealthy shuttles can also be used in Information Acquisition as scouts. Unfortunately, the sheer fragility of Shuttles means that while they’re good at attacking and ambushing lighter ANS warships, unless they attack en-masse or get a very well-timed run off on a damaged warship, they can’t hurt Solomons at all, and hurt Axfords only if they get a huge volume of rockets to hit. This means there are some significant limits to their ability to attack and defend space and points.
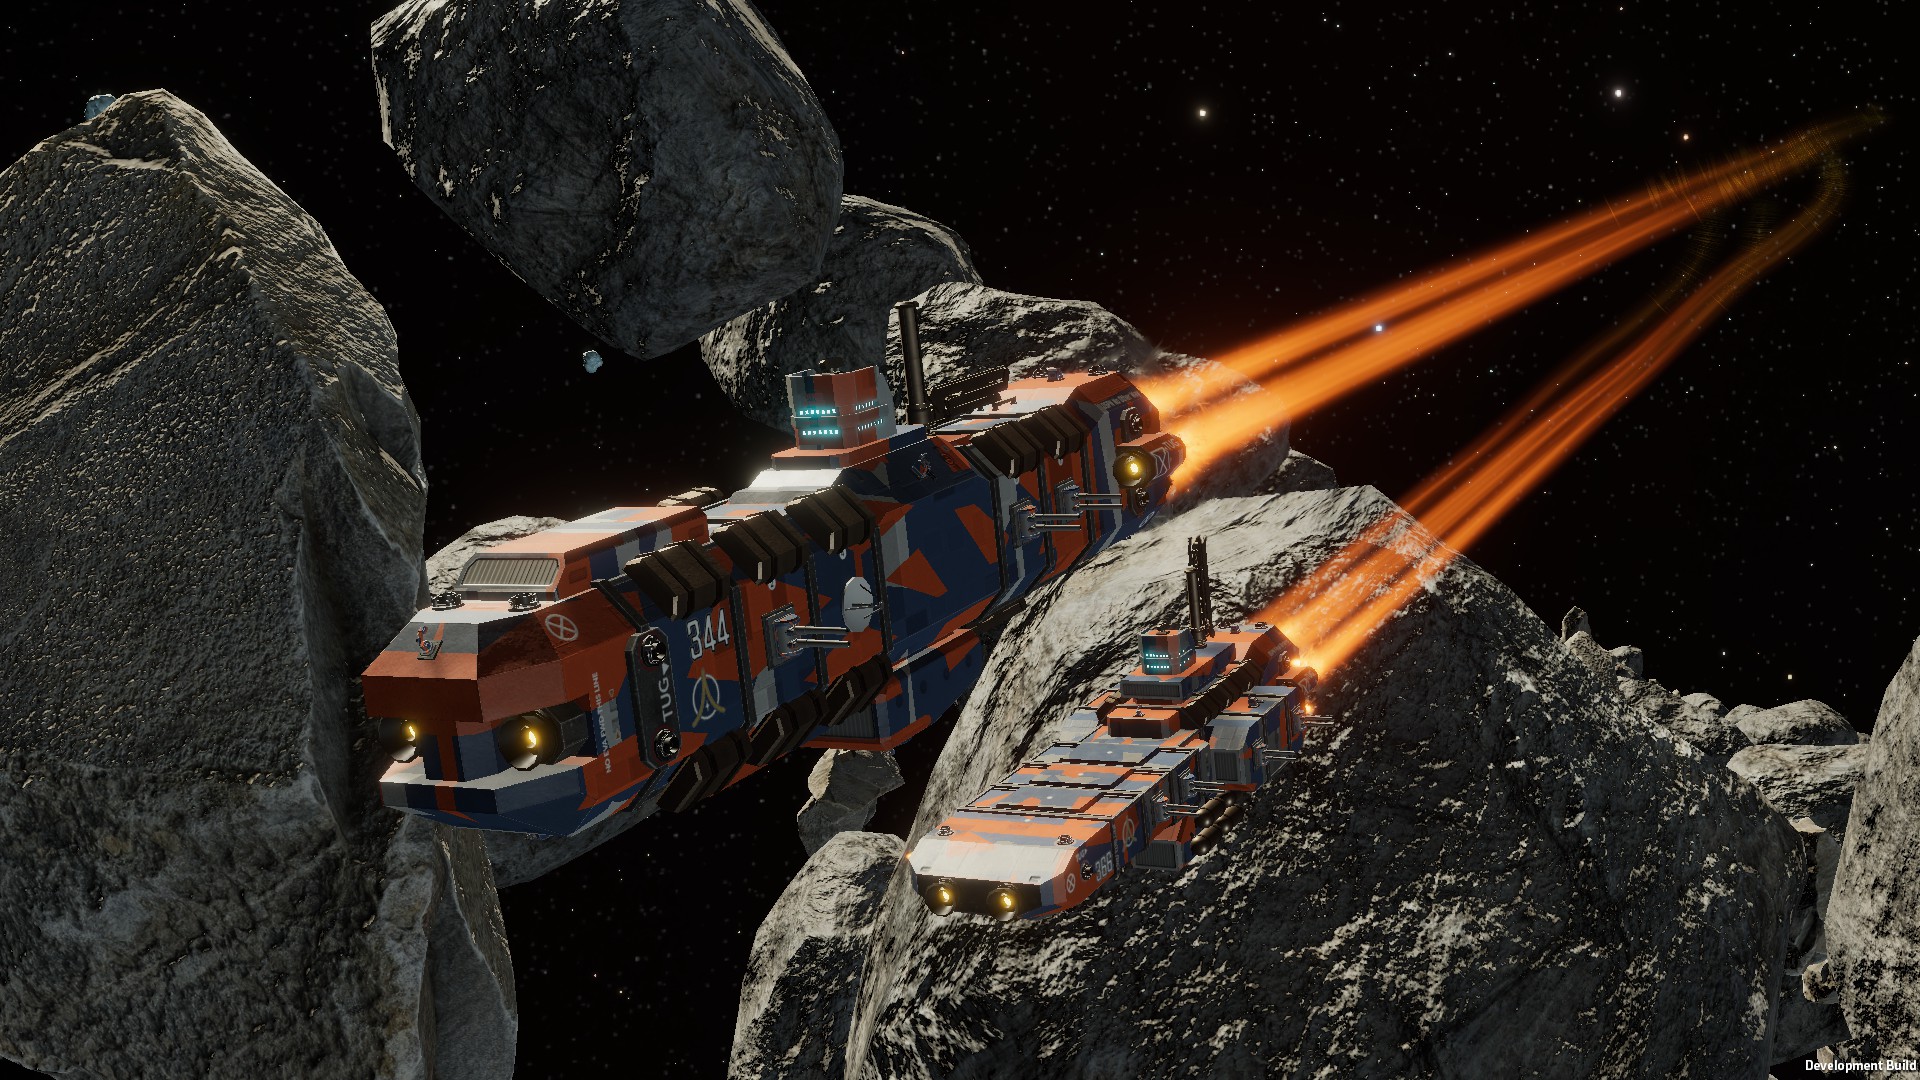
(image Credit: Vren55 with help from Bluehaloguy)
Tug - The OSP counterpart to the Raines Frigate, the OSP “Draugr” class Tugboat is a light warship that can fulfil a good variety of doctrinal roles. However, its durability is lacking even when compared to the Raines Frigate, which means it’s not very good at Holding Space. The tradeoff is that it can be customized for all other roles. It is typically seen as the ship used to carry Early Warning Radars and Long Range Tracking Radars that provide much of OSP’s Information Acquisition. It can also be specialzied into the Information Denial role with the right jammers and with a 250mm casemate on its bow to rip scouts to shreds. Finally, while the Tug can’t Hold Space, it can mostly certainly Take Space and kill ships. In a swarm of gun and jammer-equipped Tugs, S3 or S2 equipped tugs can overwhelm and inflict significant damage to ANS warships of all types. The Tug is also very fast, meaning that it can be a very effective Backcapping warship. Do be careful with this warship as its fragility is a serious limiting factor, but don’t underestimate it, it has the potential to be a nasty threat with the right builds.
(image Credit: Vren55 with help from Bluehaloguy)
Monitor - The Monitor is in a bit of an odd spot in the current state of the game. I (vren55) currently think that many of its uses in OSP fleets can be performed better by different ships. The most notable feature of the Monitor, aside from it being shaped like a brick, is its 40cm of armour, which gives it some pretty good durability. However, its lack of mounts and slow speed means it’s not ideal for the Capturing Points and Taking Space roles. A swarm of Monitors armed with either 450mm casemates or Plasma and 100mm guns could be quite a threat but their slow speed also hampers their pushing and capture point ability. Monitors are however, quite good as either durable platforms for Early Warning and Long Range Tracking radars. Fleets of Monitors either carrying plasma and/or guns or single monitors with minelaying racks can Hold Space and Deny points through their sheer tankiness. Monitors can also serve as missile carriers, as they’re able to carry a lot of missiles in their berths as well as mount up to four MLS-2 or MLS-3. They are also the smallest hull the OSP has that can take an intel centre.
(Image credit: Regional Math Blob)
Ocello - The Ocello is the only purpose-designed warship the OSP can field and it’s perhaps the most versatile capital ship in the game as it can fulfil every doctrine in some fashion. This is also in some ways its weakness. The Ocello can bring ANS anti-hybrid Point Defense making it a very strong Defensive vessel, it’s relatively well-armoured and the arrangement of its compartments gives it a very strong bow for tanking fire, though it is weaker to side-on fire from most ANS weapons. It can sport more forward-facing 450mm cannons, than a bow-on Axford. It can also carry ANS Radars, EWAR and ECCM equipment such as Blanket Jammers and Floodlights to help it acquire information and deny the enemy team information. This all sounds great, but the problem is that the Ocello can’t do it all. It’s the most expensive OSP hull aside from the Container liner and so you shouldn’t be using it to Backcap points. It’s quite a big vessel and while it can be hidden by jamming, it can’t be hidden forever. Although it can survive against an Axford and can do some damage, it can’t actually win that fight. The Axford has more buffing modules that can enable it to output more fire. Against a Solomon, an Ocello is going to slowly lose. The Ocello’s power and hardpoint slots are also rather limited as while it can mount Point Defense, Jamming, Illuminators and weapons, mounting all at once is impossible and so compromises have to be made. All in all it’s a very good ship, but has to be built carefully in the context of the rest of its accompanying fleet.
(Image credit: Vren55)
Lineship (Bulk Freighter) - One of the most unique hulls in Nebulous, the OSP Lineship is an incredibly variable platform that primarily serves in the Attacking Points, Defending and denying Space, Taking Space, and Killing Ships roles. Unlike other ANS capitals however, the Lineship is quite cheap. While a fully kitted 450mm Axford will set an ANS player back 1700 points, one can get a reasonably fitted OSP 450mm armed lineship by about a thousand. This enables OSP to equip their fleets with other warships to specialise in other roles, such as an Early Warning Radar equipped tug for the Information Acquisition, or sacrificial shuttles for the Capturing Points role. Some common Lineship builds are the Mass Driver lineship, 450mm lineship, the 250mm lineship, the Plasma and 100mm lineship, the Plasma 250mm 100mm lineship, and the MLS-2 missile lineship. Another funny thing about the Lineship is that it can absorb a surprising amount of damage, though generally less than a Solomon or Axford. While the Lineship will eventually and quite suddenly crumple, it usually needs a certain degree of sustained fire before it dies, however note that this survivability by its very nature is highly variable, especially versus lower rpm/higher damage per shot weapons, as any given shot that hits a Lineship can do anything from absolutely nothing to taking out vital components in one hit.
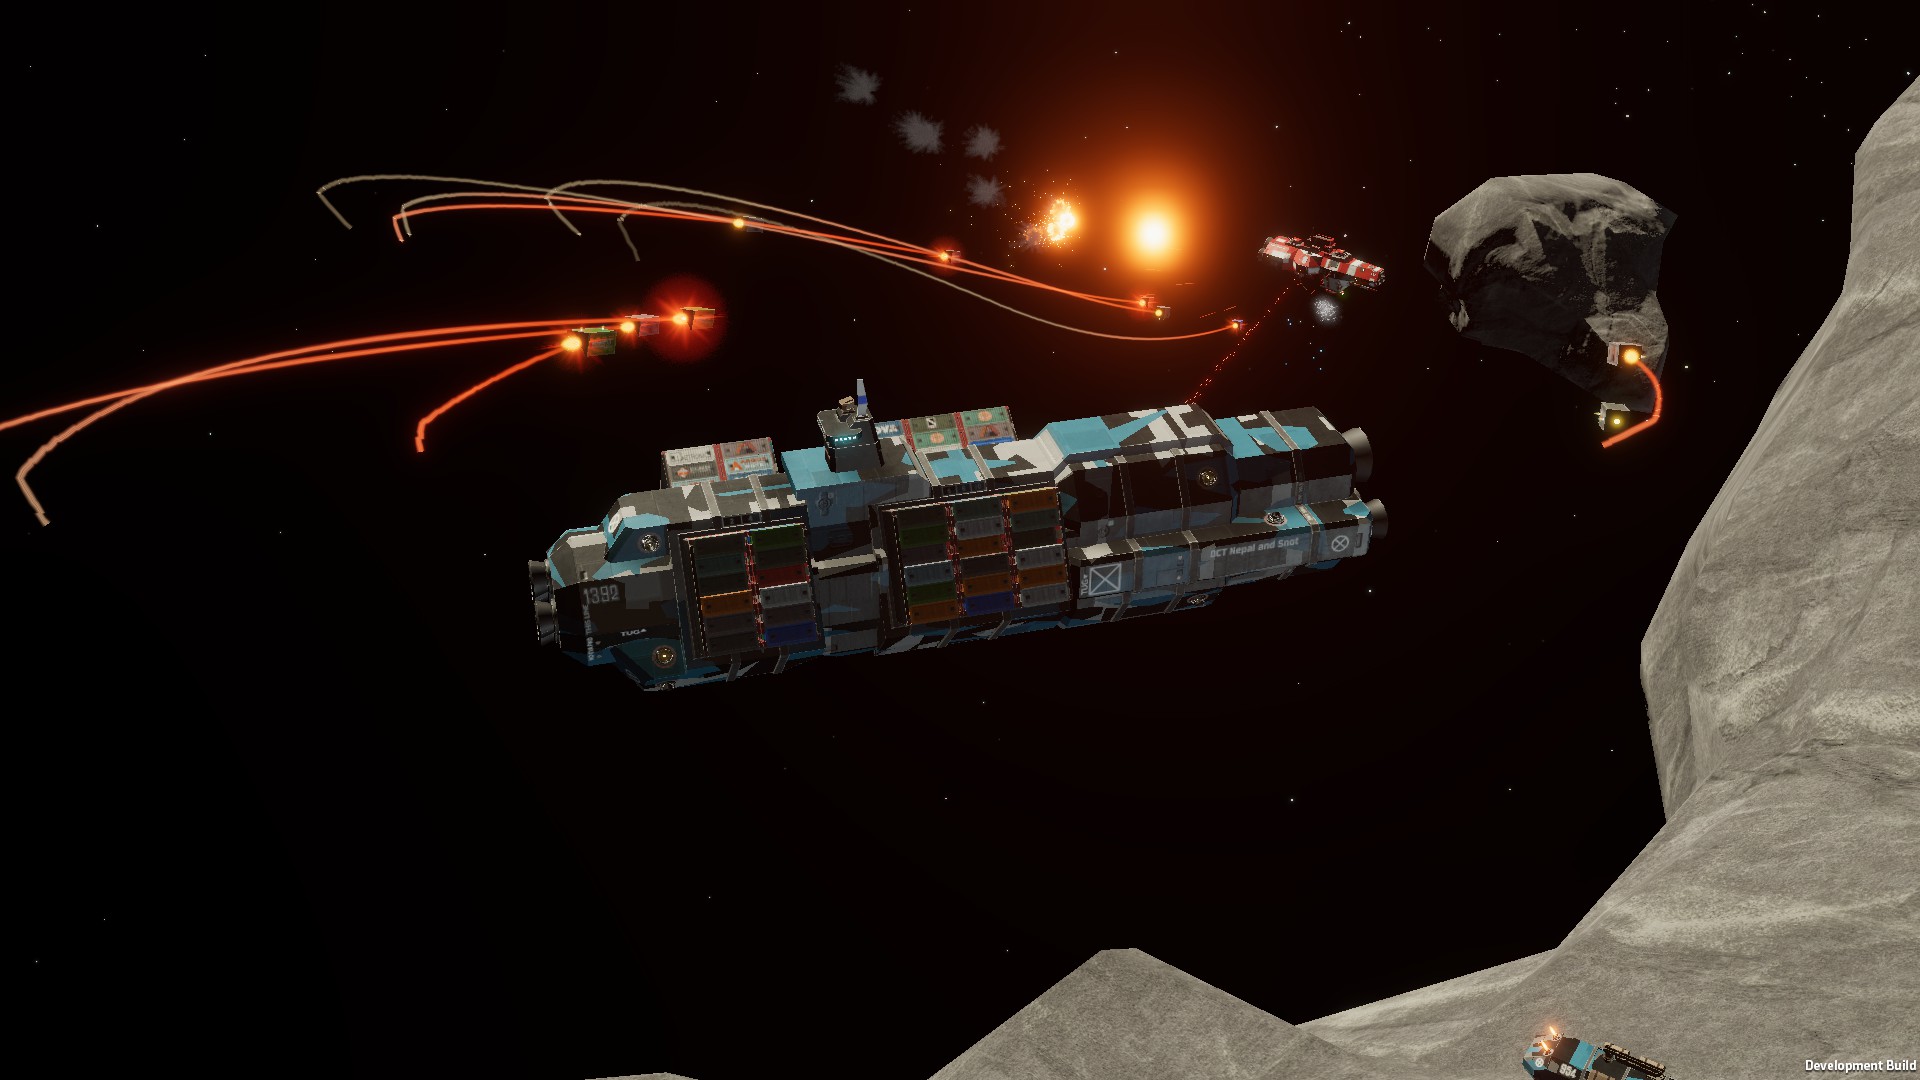
(image Credit: Vren55 with help from Bluehaloguy)
Container Ship - Exemplifying long-ranged firepower and suppression, the OSP Container Ship is aimed at Denying Space and Capture Points, Killing Ships and Information Denial. Able to carry a horde of cheap containers, the ship can exert continuous pressure on an enemy team through its long-range strikes. It can also, thanks to the decoy containers it can carry, confuse and cause enemy ANS warships to waste hybrid strikes. Finally, OSP Container ships can carry mine containers that enable them to deny Capture Points and space at a long range. That all being said, a Container Ship needs significant support as a player can only bring one per 3k fleet. This also means you really shouldn’t get found because while you can still launch containers, the liner itself is as vulnerable as a Bulk Freighter .
Radar
Unsurprisingly, Sensors and in particular, Radar have a significant effect on your ship’s capabilities for information gathering. Generally longer ranged radars are used for situational awareness, as their lower track quality makes you very liable to miss a target, due to their larger positional and velocity error. This is exemplified by the OSP’s Early Warning Radar, which lets you get a good picture of where the enemy is, but in order to actually fire at them you will need other sensors, given it can be off by a few hundred metres. A notable exception to this is the OSP’s R400 ‘Bloodhound’ radar, which, when equipped with a few Track Corellators, can produce fireable tracks at a range of up to 14km, though it’s very narrow cone means searching an area for enemies with it is rather difficult.
Shorter ranged radars tend to be less useful for situation awareness and contribute less to Information Acquisition, but have their own benefits. For example the Alliance’s ‘Frontline’ and ‘Parallax’ radar can execute burnthrough sweeps on s in order to counter jamming. The Protectorate has the ‘Bridgemaster’ radar, which can provide fireable tracks all on its own. More specialised types of sensors make more extreme tradeoffs. In this case, dedicated FCRs, or fire control radars trade off the ability to get their own tracks, but are able to ‘lock on’ to existing tracks, which gets you a very accurate track that is also hard to shake off through jamming. The Pinard, available to the Alliance, is a passive sensor that can detect enemy radars at extreme range, but only gives a very rough direction, if two pinards see the same target the two bearings turn into a ‘crossfix’ which is a very rough estimation on where the target is, though in order for this to happen they have to be on different ships that are a fair bit apart, as the distance between them affects how accurate the crossfix is.
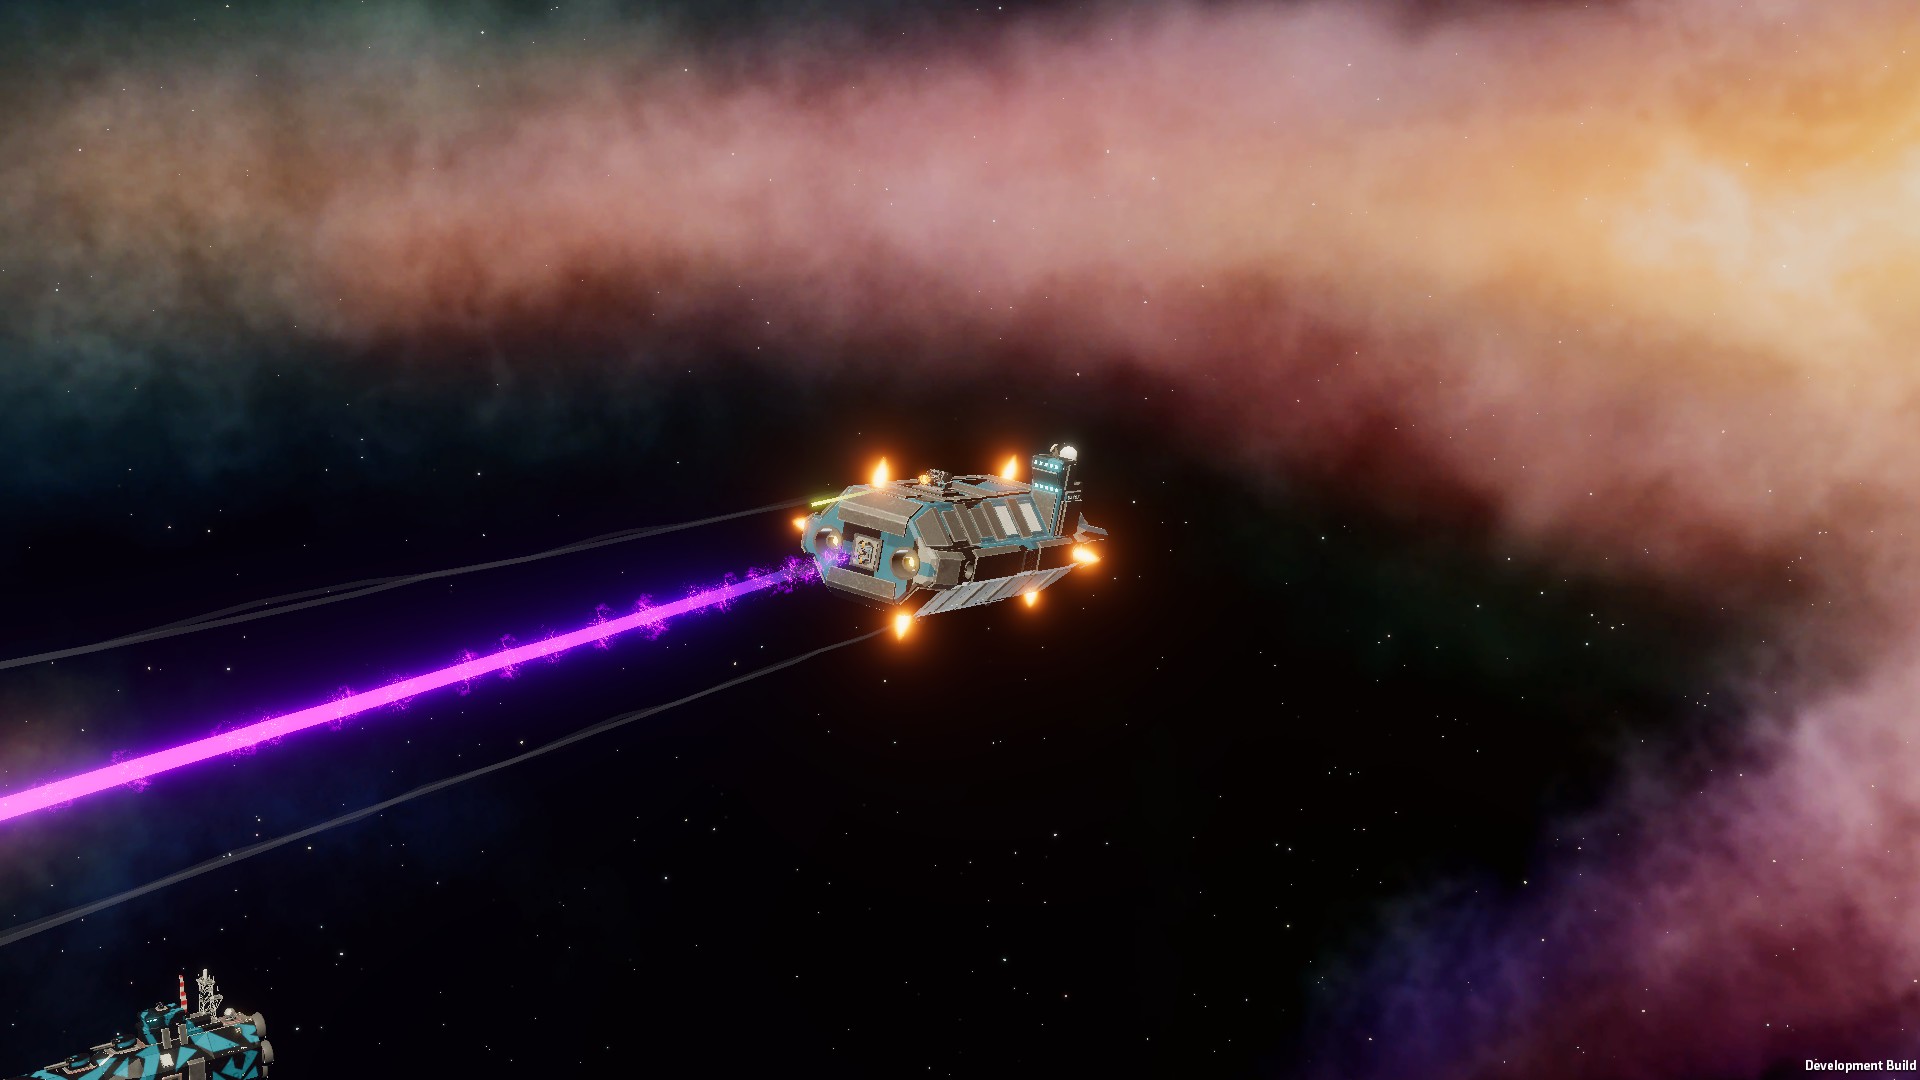
Drives
(Image Credit: vren55)
Drives in nebulous operate on an unusual principle, just having more drives does not produce any inherent benefit outside of redundancy and the small amount of extra power each drive provides. However the stat bonuses that drives provide stacking performance buffs, though with diminishing returns. As small sized drives fit in the same slots as large reactors, this leads to all but the smallest hulls being able to ‘multi-drive’. This refers to putting multiple drives on the same ship, this trades off increased power generation capabilities for significant bonuses to ship movement, which in a game all about positioning are very useful. Don’t fret about the low power warning when trading off your large reactors for drives, a couple of micro- or light civilian reactors can easily provide enough juice to power all but the most power-hungry ships. It is useful to think about drives as buff modules, just that instead of increasing the fire rate of your guns or letting you program more missiles at a time, they make your ship better at specific aspects of movement. The four main stat you want to keep an eye on are:
Top speed, this one is pretty straightforward, it’s how fast your ship can go. A higher top speed allows for more rapid strategic repositioning or moving to a far away position and better range control.
Linear thrust affects how quickly the ship can change its speed, higher linear thrust allows for more rapid tactical repositioning or moving to a closeby position and increases how effectively you can dodge, the latter is a very potent tool for avoiding damage, especially on smaller ships and purpose-build warships which have stronger lateral (sideways) thrust
Angular Thrust and Turn speed affect how rapidly a ship can control it’s heading (where the nose is pointing) and roll (how it’s rotated along its length axis). Angular Thrust and Turn speed are useful for unmasking fixed weapons such as OSP casemates and Destroyer spinals, as well as being able to more reactively change ship heading, which affects survivability as ships are generally most survivable if facing towards a threat, though there are exceptions
Flank Damage Chance, this determines how rapidly your thrusters will become damaged when at flank speed, unless you are very light on dc for your size or are using raider drives ships usually have no issue staying on flank for the entire match, beyond this a higher flank damage chance limits the amount of time you can spend on flank speed which is significant as flank speed provides a 50% bonus to top speed, thus a high flank damage chance effectively reduces your top speed
Choice of drive type is mostly up to personal taste and one’s ship performance targets, as each movement aspect has its uses across more or less any role you may want to fulfil, depending on the exact build.
Overview Of ANS Drive Types
A general note: usually there are large and small drives of either type, larger drives generally providing more power and being more durable, if stat bonuses vary between the types this will be listed in the Fleet Editor
Alliance (ANS)
Basic (FM200/500): These are just your standard drives, no bonuses here. They have average power output and average speed and thrust. Don’t underestimate them however as their low point cost means even cheap ships can get moving
Reinforced (FM200/500-R): The R series of drives are the same as the Basic drives, just much harder to take out. The FM200R is useful on cappers as it keeps them moving for longer under fire, or harder to kill when shot at. The FM500R tends to be an over-investment of points as the 500-Series Drives are already very hard to knock out due to their high health pool.
Whiplash (FM230/530): The “Whiplash” series of drives increase your ship’s top speed and reduces flank damage at the cost of turning rate. They also have a higher power generation than the standard drives. It is recommended that you use these if you want to go fast or want some extra power. Do mind the turn rate malus on larger ships however, as many large vessels need to bow tank. Furthermore, while the FM530 is tankier and provides more power, the FM230 provides better bonuses for its size and cost.
Dragonfly (FM240/540): The Dragonfly significantly increases turning at a minor speed penalty and has average power. The FM530 provides even better turning stats with a slightly higher speed malus. Altogether, it’s not a bad drive to use on larger capital ships or Keystone, but be careful of the loss in speed.
Raider (FM280/580): One of the most common drives in Nebulous used by ANS players, the “Raider” drive provides an increase to linear thrust at the cost of a larger radar signature, a very large increase to flank damage, and low power output. The FM580 has a slightly higher radar signature malus, whilst the 280 provides no power at all. However, the strong linear thrust that the Raider series provides is very strong as it enables even large ships to dodge fire, get up to speed faster and therefore, get to cover quicker. It is often paired together with “Whiplash” series drives on ANS capital ships or Ocellos.
Prowler (FM30X): The “Prowler” has a lower top speed, linear and angular thrust, low power generation compared to your standard drive. It’s also easier to knock out. However, it crucially reduces radar signature and makes you harder to spot. No large version exists, which renders it a niche choice but useful on scouts you want to hide. That being said, mind the lower top speed and thrust because it means you will have a harder time repositioning or getting out of dodge if things go sideways
Overview Of OSP Drive Types
Basic (BW800/1500): The OSP version of the standard drive. It provides no bonuses. It also has a lower power generation than Alliance drives, with the 1500 providing the same power as its smaller cousin, whilst being a bit more durable
Reinforced (BW800/1500-R): The OSP version of the reinforced drives. These are the same as basic drives, but are harder to knock out. As such, the BW800R is useful on cappers
CHI/Yard (CHI777/7700): The most popular drive amongst OSP players, this drive provides better turning and linear thrust at the cost of decreased speed. 7700 provides more linear thrust and is tankier, however it doesn't buff turning as much as the CHI777 and has a larger top speed malus. As Protectorate ships such as liners make heavy use of casemated weapons, OSP ships benefit heavily from equipping this drive to counter the slow turn of line ships. In addition, unlike the ANS Raider drive, the Yard drive provides no power malus and has the same power generation as the BW800 series of drives.
BW2000: The BW2000 is a large drive that provides significantly more power at the expense of a malus to top speed and linear and angular thrust. It cannot be equipped on any OSP ship other than Line ships, and is best used for power hungry builds such as Plasma ships or Mass Driver liners.
Long Haul (CHI9100): A large drive that provides a top speed bonus at the cost of a very high reduction in thrust, both linear and angular. It has the same power generation as BW800, but overall is generally not an advised pick due to the severe downsides.
Sundrive Racing Pro: A small drive with lower power generation, but a high top speed boost and flank damage reduction. It is however, incredibly fragile and due to the fact that it will stop working when below 50% HP, it will get disabled very quickly when under fire
Hardkill Point Defense

Hardkill Point Defense is vital for any fleet that is going to be targeted by missiles, as failing to properly defend against missiles means you will take a lot of damage or even die outright in short order. Softkill, which is covered in a later section can be effective but cannot be relied on.
(Image Credit: Dagaribus)
20mm (ANS Defender, OSP Pavise):20mm point defence turrets can output an incredible amount of damage per second (DPS), meaning they can kill missiles if they get a good stream on them. However, they severely struggle at hitting manoeuvring targets. They’re most effective against large, sluggish targets such as container missiles and longer range torpedoes, or small numbers of missiles without terminal manoeuvres. In fact, with the improved lead solver they can even kill hybrids, provided they move in a straight line. However, 20mm point defense turrets can be overwhelmed if saturated by very fast or numerous targets. They are, however,decently effective against a smaller number of missiles, meaning they’re a good choice for capture point ships, as well as acting as a “backstop” to catch small numbers of missiles that make it through other PD.
(Image Credit: Dagaribus)
Flak (ANS Stonewall and Rebound, OSP Bastion)Flak applies gradual Damage to an area of effect, making it the weapon of choice versus massed missiles such as Size 2 Tempest missiles. Because it applies damage in an area, missiles with high hitpoints or that are high speed can more easily penetrate flak defenses. Size 2 Hybrids, standard mines, and the decoys of any missile will suffer against a good amount of flak due to their low amount of HP. Thus the best way to penetrate flak defenses is through Size 3 Hybrids, Size 3 Pilum torpedoes, or extremely large and fast volleys of Size 2 missiles.
Lasers (ANS Aurora, OSP Grazer)Laser point defense provides the primary anti-hybrid missile defense in Nebulous. They provide burst damage, but struggle to sustain high damage per second. This makes them ineffective at taking out large numbers of missiles, or missiles with a large amount of hit points, as well as decoys. The main benefit to lasers is that they do not miss. As such, they can hit manoeuvring hybrids far more reliably than flak and 20mm. Grazers are guaranteed to kill almost anything they fire at in one burst with the exceptions being hardened skin torpedoes or containers. However, they cannot retarget during the firing cycle and have a long cooldown and so they mainly clean up stragglers your other point defences did not catch. Auroras on the other hand are the bread and butter of anti-hybrid defence and can be battleshorted for a significant but temporary increase in performance, at the cost of them continuously taking damage while active beyond usual limits.
AMMs or Anti-Missile MissilesArguably the strongest Point defence option in the game due to their ability to scale in strength with larger or more dangerous volleys through firing more AMMs. However, AMMs are also expensive and limited in number, making them best suited versus more expensive missiles such as hybrids or to add surge capability to an existing Point Defense network. AMMs also tend to require more active attention paid to them due to the Point Defense controller tending to shoot them into rocks or at faraway missiles that they are likely to miss. Note that AMMs are not guaranteed to apply the listed damage, instead they have a chance to deal damage to each individual missile in their blast radius, with this chance being based off of the intercept angle, tail on being best, then head on, then side on.
Sandshot (ANS Sarissa)Exclusive to the ‘Sarissa’ Point defence turret that can be mounted on ANS ships and the OSP Ocello (which is a former ANS warship), Sandshot is able to engage missiles at extreme range, useful for thinning out volleys or outright destroying smaller or slower ones, especially hybrids which are vulnerable during their cruise stage. However Sarissas can be easily defeated through jamming, pathing around rocks or by plotting winding Cruise paths which allow missiles to dodge incoming sarissas fire. Against opponents that know how to mitigate them, Sarissas are more of a suppression tool that forces lower effective speeds and denies track targeting, which is required for CMD missiles and lets EO missiles discriminate between targets. Also mind that sarissas cannot point up more than 60 degrees, which results in significant blindspots.
Dual-purpose Point DefenceNote that these options will not replace dedicated Point Defense, but can serve as a supplement.
Grapeshot
100mm Turrets 100mm Turrets such as the T30 and T20 will automatically engage missiles with grapeshot when not tasked to fire at something and PD is set to AUTO, without an external fire control lock. That being said, grapeshot is largely ineffective as point defense and if target locks are provided it suffers from the same issues targeting manuvering missiles as the sarissa. Be wary that Grapeshot, due to its high rate of fire and the long range it can engage missiles at, may unwittingly reveal the position of your fleet Being tasked to fire at missiles also means the Guns will automatically start a reload in order to switch to grapeshot, which can be disruptive as you may have to wait for a long reload to finish in order to switch back to the ammo you want to shoot at ships with.
HE-RPF
120mm and the Mk64 (single barrelled 250mm turret, the MK65 is not dual-purpose) will automatically engage missiles with HE-RPF rounds if not already tasked to fire at a target, these have the significant benefit over grapeshot of not actually having to hit the target, rather exploding when coming near a missile. Each RPF round also has a significant area of effect, but they only have a 50% to damage any given missile in the AOE. RPF is effective at thinning out large volleys given enough time on target, as well as being rather lethal to decoys. You can also use them to clear mines safely.
Weapon Choice - Guns
Guns are the “baseline” Weapon of Nebulous, due to being well rounded in terms of damage output, lethality, range, magazine depth and consistency. Higher caliber guns have longer ranges, higher armor penetration and more damage per shot, but generally lower muzzle velocities and a higher tendency to overpen i.e. pass clean through smaller targets, which makes them less suited against these, as well as a lower rate of fire and overall damage output when compared to smaller calibers, so keep in mind that bigger is not always better. In addition, calibers may have access to specialty rounds that allow for additional capabilities
Attritional Gun Weapons
120mm MK 61 and 62120mm guns can hurt any ship the Protectorate can field, but have a low max range and will struggle to fully finish off harder targets with any meaningful armour. In small numbers they serve as an effective way to dispatch lone smaller ships. If you dedicate an entire fleet to them they can rapidly disable the lighter-armoured OSP ships in range. 120mm also has access to HE-RPF rounds which are proximity fused and explode into a cloud of shrapnel. This makes them very effective against light targets and smaller ships, as they can be shot at even inaccurate tracks. RPF can also serve in a missile-defence role as previously mentioned. Mounted on an Ocello, these weapons cannot bring RPF. They can perform well against smaller ANS ships, but will be ineffective against capital ships.
250mm MK64 and MK65ANS 250mm guns provide an all-round option for a fleet as their ammo choices mean they can effectively threaten all OSP ships, while also having good range, damage and muzzle velocity. That being said, they can be underwhelming versus harder OSP targets and their short 8km range can put ANS warships into danger. 250mm RPF rounds can be used against shuttles to immobilise them before 250mm HE can be employed to finish them off (though there is a chance that 250mm HE will overpenetrate). Moreover, the Mk64 cannon serves as a strong main armament on gun-focussed lighter ships such as Vauxhalls, which can use the weapon’s accuracy, decent rate of fire, and their hulls high speed and evasiveness to skirmish and probe enemy weak points, while still providing a very credible threat. The MK65 provides capitals an option to punch below their weight class, though is less useful as a main weapon. This is because it tends to bring the big ANS capitals into range of more deadly OSP weapons. However, it is a good secondary option in order to widen your engagement profile. Given the option, it generally makes more sense to bring the Mk 65 on the Ocello, as a triple Mk 64 Ocello will be outgunned by many gun Vauxhauls. Like the 120 mm rounds, Ocellos cannon bring RPF for their 250 guns. Against ANS ships, 250 is effective, but only AP can effectively penetrate Axfords, and without Plasma, 250 will be useless against Solomons
450mm Mk66 and 68, 450mm C60The 450mm shell is the largest calibre in the game, with a significant maximum range of 11.5km. The slow muzzle velocity of the shell however means that the evasive manoeuvres aka dodging of any warship can reduce their effectiveness. 450mm does not have access to any specialty rounds and struggles severely versus small ships as even their HE rounds tend to overpenetrate. However, they can punch through heavy armour and effectively hurt and kill hard targets. For many of the toughest components, 450 HE is the only round that can actually kill them. With continuous fire 450 rounds can continuously exert pressure over a large area of the map if provided with good sightlines. Finally, 450 AP rounds are the only rounds that can reliably penetrate the Solomon from most angles.
Burst Gun Weapons
100mm T20, T30 and C30100mm is, much like 120mm. It’s short ranged, high rate of fire, and offers relatively high damage for its size, but its lack of armour penetration means it struggles to engage any ANS ship as heavy as or heavier than a Vauxhall on its own. While 100 mm AP can penetrate up to an Axford at some angles, it is very low damage per round and requires a lot of time to do noticeable damage. That being said, 100mm casemates or turrets can output high damage at close range against targets that have had their armour stripped by plasma, while also being reasonably effective on its own vs small ships. This is because aside from the regular 100mm AP and 100mm HE, there are also two specialty munitions. 100mm Grapeshot can effectively hit small ships at range, as well as shoot down the occasional missile. Grapeshot also has a higher chance than other rounds to cause critical events such as reactor overloads, which makes it very good for anti-Sprinter work. HEHC or High Explosive High Capacity trades much higher damage for very weak armour penetration and is very effective against targets that have been stripped of armour using plasma, but not against much else.
250mm C53Boasting a fast recycle time and a reasonably fast reload, the C53 is mountable on any OSP ship aside from the shuttle and can even fit in the Point Defense slots of liners. This enables the casemate to act as an effective secondary on turret builds, as well as allowing for some truly awe-inspiring firepower when specialised. 250mm only seriously struggles against the Solomon, though plasma allows it to work more effectively against Axfords. As such, the C53 250mm casemate is one of OSP’s most versatile weapons, especially when paired with plasma and allows for very high burst due to the C53’s autoloader. That being said, OSP notably does not have access to HE-RPF rounds so light ships can still effectively dodge at longer range and 250mm may overpenetrate when shot at a Sprinter from their top or bottom.
450mm C65Whilst suffering from low muzzle velocity and over penetration as all 450mm weapons do, the C65 allows one lineship to rival or even surpass a broadsiding Solomon in firepower, at least until the weapon needs to go into its lengthy reload cycle. The C65 is thus effective against hard targets and able to make ANS capitals such as the Axford and Solomon think twice about where they want to position, meaning it’s an excellent Area Denial weapon. High armor penetration and damage per shot also makes the C65 one of the most reliable weapons to disable and kill capitals. ANS Solomons can mitigate this by bow-tanking. It is recommended that AP shells are liberally applied to the Solomon in that situation.
Missile Choice

Size 1 “Balestra”The smallest of the missile bodies, mainly used for AMMs aka Anti-Missile-Missiles due to its small size and good manoeuvrability. It’s small warhead and lackluster range make it mostly unsuitable as an offensive armament, though it can be rather effective against small ships, just mind point defense can deal with them pretty handily
Size 2 “Tempest”A mid of the pack missile, overall good stats though not exceptional in any way, aside from the sheer amount of these you can fire using the OSP’s MLS systems, though mind that smaller amounts will struggle to penetrate the PD nets of anything but lone small ships, anything more usually requires an all-in investment. Due to the Alliance's limited salvo sizes and OSP having plentiful access to flak, S2s are limited on ANS, though they can punish lone Ocellos (which usually bring exclusively anti-hybrid PD) as well as being effective vs lone clippers. While penetration aids can also be used to get through stronger PD, this gets very expensive due to the volume needed. The cost of penetration can be somewhat reduced by only adding penetration aids on some missiles and using the mixed salvo planner when available.
Size 3 Torpedo “Pilum”The Pilum, usually just called torpedo, or torp for short, brings a large warhead and can be made very hard to shoot down due to high HP and enough manoeuvrability to effectively mitigate 20mm PD. This however comes at the cost of a very short range, as well as needing mass for effective PD penetration, though less so than S2s. This low range potentially makes ships that deliver these missiles more vulnerable in the time to close to the target. The range limitation can be lessened by foregoing high manoeuvre, though this makes you more vulnerable to 20mm.
Size 2 Hybrid “Cyclone”The smaller of the two hybrid missiles, These have a long range but vulnerable cruise stage, as well as a short ranged and highly manoeuvrable sprint stage which leaves other missile types in the dust. Per missile body these sport much better PD penetration than other bodies, though they are rather expensive, also note that higher sprint speed costs more points, though you don’t have to sacrifice overall range for it as the cruise stage can be individually tuned. Due to its low HP making it vulnerable to massed flak and small warhead size, S2h are mainly a niche weapon used for prompt strike on small targets, where they can make use of their fast cruise stage, though they can become threatening to even defended targets in large numbers, just mind that you’re getting significantly less damage per point than the next missile in the list, the
(Image Credit: Dagaribus)
Size 3 Hybrid “Atlatl”While large and slow in its cruise stage, the “S3H” offers unrivalled PD penetration once it lights its sprint engine, which can deliver a pretty large warhead to it’s target. Their high damage and low number, as well as a dedicated support module slot makes these the most economical missile to use penetration aids with, though lower cost designs can be effective when used in high numbers by dedicated missile fleets. S3h can pretty effectively engage and damage any target type, even in relatively low numbers, making these an excellent choice as a secondary weapon. The Atlatl is also the only missile that can utilise the full potential of HEKP warheads, which, when properly pathed into a target so that they go along the spine of the ship, can cripple or even outright kill anything in a few hits, however this comes at a pretty prohibitive cost.
(Image Credit: Dagaribus)
Size 4 CM-400 ContainersEven larger than an Atlatl and quite slow, the CM-400’s major advantage is that it’s cheap, long-ranged, has a massive warhead, and has a discount applied to all seeker types. The cheap cost of the container means they are the perfect missile to attack enemies and continue to apply pressure onto enemy fleets. However, the CM-400’s lack of manoeuvrability means that they are easily killed by 20mm Defenders and if not waypointed carefully they can be shot down easily by Sarissas. That being said, if a ship loses or is not designed with a proper point defense grid, it can go down very quickly.
(Image Credit: Regional Math Blob)
Mines The M-30 “Mattock” the M-30-N “Mattock” Cooperative and the M-50 ‘Auger’ Sprint Mine serve the same function. When placed correctly they can deny or delay the taking of space Regular Mattock mines activate when non-allied or ships with their Communications array turned off enter into its range. Cooperative mines do the same thing, but instead of activating when a ship enters the range of each individual mine, they activate other nearby Cooperative mines to deal one massive blow to a target. M-50 ‘Auger’ Sprint Mines are essentially stationary hybrids that can punch through enemy flak to hit targets. They don’t have terminal manoeuvres however, which means 20mm Defenders can kill them at the right angles.
Railguns
The Alliance Railguns, despite their flashy appearance are not actually particularly damaging, though they are pretty adept at finishing off high-Damage Threshold components. Railguns are primarily support weapons, using their long range to be able to assist in more or less any fight that is currently going on. While not particularly damaging, rails are guaranteed to apply a debuffing critical event (crit) to any component they hit, as well as applying one random crit to one random component if they only hit the ships structure. Crits include atmosphere leaks and fires, which slow down DC teams and can damage and spread in the case of the latter, crits also include status effects that severely reduce a certain aspect of an affected component, such as halving power generation or significantly increasing reload or recycle time, among many other that are listed in the wiki. Notably, while catastrophic events such as fuel line fires, reactor overloads or magazine detonations fall under crits, rails cannot directly cause these. Rails are most effective in suppressing enemies at range in order to assist your teammates in fights, as well as being a pretty convincing reason not to fly out in the open, especially for smaller ships or those light on damage control. Their high penetration also discourages bowtanking, as all that achieves against rails is letting them hit more components. Due to the inherent survivability benefits of capitals hulls, which are further amplified by staying at long range, the turreted rail has been balanced to be significantly less effective in terms of pure RPM as opposed to the spinal rail which can be mounted on the much more fragile Keystone. Furthermore, firing rails will make you much easier to spot for some time by boosting your radar signature, as well as letting radars see you even from beyond their maximum range.
Mass Drivers
Mass drivers sport high ranges, same as railguns but are more focused on dealing damage, which they do pretty well, though at the significant drawback of severely struggling to kill anything with moderate to high DT, especially on capitals off of which Mass drivers cannot completely knock the thrusters out. Thus these also often function in a support role of softening up targets, especially lighter ships in order for teammates to clean up, though on their own they can also very effectively pressure and Area Deny any space they have sightlines on. While Lineships allow for a higher damage output, they are also incredibly visible when firing due to the compounding signature increase, as well as being less numerous and thus less able to cover as many sightlines as Monitors, which can also more easily stay undetected, though the signature increase is still significant
Plasma
(Image Credit: Dagaribus)
Plasma lets the OSP very effectively reduce the armour on enemy ships, which lets them apply the higher Damage per second of low calibres to ships which would usually be entirely or mostly immune to them due to their armour. Dedicated plasma ships are a useful support asset, especially if you and your team are bringing a lot of small calibres, bringing some plasma is more or less mandatory for 100mm fleets as that calibre struggles heavily with armour and 100mm AP has very low damage. Casemates can be much more effectively buffed, making them the choice for dedicated plasma ships, while turrets offer greater performance as a secondary weapon. Just mind that plasma has very low muzzle velocity and thus can be pretty easily dodged, as well as its armour stripping falling off significantly at range. Plasma does do some component damage as well, though it’s not particularly effective on its own as this damage is spread out among a lot of components due to its large radius. It’s also a wise choice to keep your plasma ships well protected as they present a very visible and notable threat.
Beams
(Image Credit: Dagaribus)
Beams are defined by their incredible burst damage but also very limited range. They can spell a quick end to anything that comes within range, making them very effective ambush tools, however their capability is limited by the large and sluggish hulls beams are restricted to, so you will have to be careful. However, Beams can also be highly effective even if the enemy knows exactly where you are, provided you’re in a position where they can’t easily dislodge you from and can cover an important area, such as a capture point. By your mere existence you can effectively deny the enemy from entering a given, albeit small, area as they know that coming into range will very likely mean they very rapidly die. With good positioning even the small area they can deny can be incredibly valuable. Capitals with their turreted beams, while shorter ranged, can more flexibly point their beams on target than Destroyers, which while they do have a longer range and can battleshort much longer, letting them do more damage, must turn the entire ship to get the beam on target, which is currently very finicky, furthermore the Destroyer’s low agility and high fragility means it is rather liable to get killed before it can kill the enemy, especially by lineships. Furthermore, given that the spinal mount must be pointed directly at the target to hit it, it is often the first component to be disabled by return fire. Rocket shuttles also pose a serious threat to beam Destroyers, especially when coming from the sides or rear. Notably, Axfords can also be a bit more aggressive with battleshort due to higher repairability threshold, though not nearly as much as Destroyers.
(Image Credit: Dagaribus)
Rockets
(Image Credit: Vren55 with the help of Bluehaloguy)
Rockets are incredibly short ranged, due to dodging, Point Defense and their significant spread, rockets only become fully effective closer than about 2km out. However they can be mounted on any sized ship, especially shuttles can make very good use of them with their high speed and small profile. Rockets, while needing two hits in the same spot to penetrate the armor of capitals, are supremely threatening to anything smaller, though in large numbers even capitals can be significantly hurt. They are a good ambush weapons too, and excel at taking points from small ships and defending them against Raines, Keystones and Vauxhalls due to ample cover near any given control point. Their lethality against small ships as well as being able to be mounted on small and cheap platforms also makes them good for taking out enemy scouts if the opportunity arises. However, each shuttle can only carry a limited number of Rockets. Furthermore, a spotted rocket-carrying ship will be prioritised as a target over basically anything else, especially if they are rushing a target, so be mindful about sightlines.
“Other” Hardpoint Choices
Aside from weapons, there are a number of other modules and pieces of equipment that you can equip your fleet with in Nebulous.
EWAR - Electronic Warfare
Electronic Warfare is key to the Information Denial and ensuring your opponents cannot acquire information easily. As such it's one of the key doctrinal areas you can specialize your fleet in.
Radar JammingRadar jamming allows you to effectively blind enemies by saturating an area of space with noise, whether they will still be able to see you not is determined by the type of radar you have, how far away you are from them, how large of a radar cross section you are presenting to them and how many and what kinds of jammers are active and pointing at them. Jammer power does stack, though with harsh diminishing returns so there is an effective limit as to how well you can hide, which depends primarily on range, enemy radar equipment and your own signature size. For any given situation, there will be a range at which you are going to be spotted no matter what, simply due to the scaling heavily favouring radars at shorter ranges, so the key to effectively utilising radar jammers is knowing the ranges you can keep yourself hidden against given threats and then keeping these while managing sightlines to minimise enemies spotting you from outside of your jamming cone. The exact maths can be rather complicated, but Notsolonewolf’s radar calculator can be used here to help players out: https://docs.google.com/spreadsheets/d/1gawtZnzbqmfva-YpbYFR_fTbRr312TaJm6Cmi1Z1AaU/edit?usp=sharing.
Also mind that you can significantly reduce the radar cross-section you present to the enemy by managing your orientation, the nebulous wiki has 3D Radar Cross-Section graphs for further information. Certain drives such as the prowler, may also decrease your radar cross section.
MasqueradeThe Masquerade is a module available to the Alliance that lets a ship choose what hull it will be identified as by enemy intelligence, as well as boosting your ship’s radar signature, which will make it easier to detect and will increase the targeting priority for radar seekers.. Keep in mind that when mounted on an Ocello you are still only able to pick from the Alliance hulls. While the intel readout will continue to display the false hull until the ship is spotted visually, the enemy may still be able to find you out via your behaviour, so the most effective uses of the Masquerade tend to be subtle, though this does not mean they cannot be significant.
Communications JammingWhereas radar jamming blinds the enemy, comms jamming aims to deafen them, cutting the targeted ship off from tracks usually shared to it by allies, note that comms jamming does not prevent the sending of information, only receiving. This is best paired with radar jamming in order to stop the enemy from simply acquiring a track on you via their own sensors. Currently in order to be reasonably effective this requires a large amount of investment into Hangups. The Interrupt is also a comms jammer, but it is weak and short ranged and primarily used in missile defence. The difficulty in communications jamming comes from it being a geometry problem, as transmit power increases significantly with closing distance, for your jammers as well as for any of your enemies allies that are trying to overcome it. Furthermore CR75 communications arrays are built into the hulls of the Axfor and Ocello, which makes comms jamming difficult due to the array having an incredibly high transmit power. In practice, it means you need to be very close or have a lot of Hangups, though note that comms jammers stack without diminishing returns.The aforementioned radar calculator also has a section on comms jamming for those interested. If a target can be isolated through comms jamming this can be incredibly powerful, especially against the OSP who have comparably weaker antennae overall, as well as relying heavily on offset spotting to defeat radar jamming.
Electronic Counter Countermeasures (ECCM)
ECCM is the art of countering Electronic Warfare (EWAR) and thus is key to acquiring information and countering the enemy's Information Denial efforts.
BurnthroughThe Frontline and Parallax radars available to the Alliance are able to execute Burnthrough sweeps, which massively multiplies their power for one sensor cycle at the cost of mostly negligible damage to the radar module. Anything picked up by a burnthrough sweep is shown as a purple “ping.” These are however only snapshots and are still subject to base radar inaccuracy, so burnthrough pings are mostly too inaccurate to be used for non-AOE or missile weapons fire. However, they do give you a good picture of your surroundings, even through heavy jamming or against small targets that may otherwise evade your sensors such as Mines. Despite what the description suggests, the Burnthrough on the Parallax radar is actually significantly stronger than that of the Frontline.
Dedicated Fire-control Radars While Burnthrough tracks are only situationally fireable, they crucially allow the tasking of fire-control radars, which provide an incredibly accurate track that is sufficient for all weapons fire, this is important as dedicated FCRs, short for Fire Control Radars, i.e. the Bullseye and Pinpoint are highly jamming resistant thus letting you spot a target with burnthrough then lock it with a Fire Control Radar, allowing you to fire on it even through jamming. Note that while the Parallax Radar suite has inbuilt locking capability, the lock it provides is incredibly susceptible to jamming
FloodlightsEven dedicated FCRs have their limits and can be shaken off using strong jamming, especially on smaller hulls. This is where Floodlights come in. All illuminators increase the effective return power for radars (including dedicated and PD Fire Control Radar) in their cone, however the floodlight is unique in its much higher power relative to other radars, so only it is reasonably effective in combating jamming without taking 10 or more. Illuminators in effect make every radar more resistant to jamming, however the effect is most noticeable with dedicated ♥♥♥. As radar jammers suffer from diminishing returns, but illuminators do not, floodlights are incredibly potent at countering jamming, as there is a set amount that lets you lock a given target through any jamming they can throw at you, this is roughly 2 for large hulls and 4 for small ones.
Long Range Tracking RadarThe R400 Long Range Tracking Radar, aka Bloodhound or LRT in essence functions as an extreme-range fire control radar, when paired with 2 or more track correlators it is able to produce fireable (albeit not ♥♥♥ level) tracks on targets at up to 14km away. However, as opposed to FCRs, the LRT is very susceptible to jamming and instead bypasses it by using it’s long range to outrange radar jammers, which only reach up to 10km, additionally the Bloodhound must be manually aimed and is a fixed mount so it’s best utilised on small platforms staying at long range from any enemies. While it does not need a track to be tasked on, the LRT’s narrow cone makes it a poor spotting tool. Mind that the long range makes you very visible to ELINT (you can still be detected even if pointing away from it) and the fact that the LRT will not be able to use it’s full range against lower RCS targets.
Early Warning RadarThe R550 Early warning radar is a turreted, manually aimed radar that provides incredibly inaccurate tracks in its pretty generous cone. Its main strength lies in extreme range. Although still limited by noise and rather bad sensitivity, its ability to spot even small targets far away is very respectable, especially when equipped with an Adaptive Radar Receiver or two. While mostly a Situational awareness tool, FCRs are able to be tasked on its tracks, allowing it to act similar to a burnthrough sweep. The Early Warning Radar’s high power also allows it to see targets even through heavy jamming at closer ranges, though its incredibly high inaccuracy means firing on those tracks will not net hits with any reliability, and the high power draw and fragility means its not suited to frontline use.
Offset ScoutsIn theory having an offset scout is the simplest way to defeat jamming. Offset scouts counteract jamming by not being in the jamming cone and thus providing tracks to friendly warships who are being jammed. The main ways to achieve this is to be offset some distance from the main combat force, as not to be affected by any jammers aimed at them. This allows the offset to relay track data back to the main force. The second method is to outranging the jammers, which can only be achieved by the OSP’s LRT. That being said, the Alliance can also produce fireable tracks beyond 10km with the use of Spyglass Radars paired with at least 4 track correlators. In practice, offset scouting can get complex due to positioning requirements. Aside from having to avoid the jammers, the offset ship usually needs to avoid detection or else it will get jammed or shot at. At the same time, the offset ship also has to make sure to maintain sightlines on the target. Dedicated offset scouts usually take the form of small, fast ships equipped with sensors that can produce fireable tracks, However with some creativity and coordination anything capable of generating fireable tracks can act as an offset through the use of clever positioning. Keep in mind that although offsets are defined by their positioning, the equipment they carry is still vulnerable to being jammed.
Softkill
Softkill refers to a variety of techniques to defend against missiles by influencing their detection in order to make them not hit their target, as opposed to hardkill which functions by destroying missiles outright, Softkill however is not a replacement for hardkill, due to a significant amount of affordable and softkill resistant seeker combos existing, however it can function as a supplement to an existing hardkill network by reducing how many missiles the pont defence network has to shoot down.
Scryer Missile ID systemThis is a piece of equipment that lets ships identify the seeker combination of missiles it sees on its own radar, as softkill measures vary greatly by what seeker you need to defeat, this module is a strong addition to any fleet that plans on using softkill. It is also very useful to help identify the sizes of enemy missiles which is valuable intelligence when trying to survive missile strikes. Note that any ship with a Scryer ID system will only ID missiles that its own radar can detect, though these will be shared with the entire fleet, once identified.
DecoysThese work by presenting a more attractive or alternative target that missiles can seek after instead of your ship; however a decoy needs to be seen by the primary seeker and by the validator (if one exists)
Chaff Chaff will work against active radar seekers, as well as semi-active seekers, if the chaff is being illuminated, however every validator type save for active radar will ignore chaff
Flares will work only against wake seekers, but due to lacking any other signature, will not work against missiles validated with wake. This combined with the fact that wake seekers tend to make missiles miss all on their own means that flares are currently not particularly useful
Active decoys will work against active radar seekers, semi active if illuminated, as well as against ARAD seekers
Decoy ContainersThese containers which mimic the signature of OSP warships work like active decoys, but their long programming time means they will have to be launched proactively and hover around where your ship will be.
JammingA player can actually aim their jammers at a missile or activate a 360 field jammer to degrade a seeker’s ability to see by overwhelming it with noise. Note that seekers will be affected by jamming even when validated, though validated hybrids will not be staged early
Radar jamming will throw off active and semi active radar seekers, however ARAD and HOJ will actively home in on it so watch out for those. This can also be used to your advantage as you can use jamming to deliberately draw off missiles using these seekers. However, this is a rather hard technique to pull off as you will also need to cut jamming in time to make sure any secondary seekers on the missile don’t acquire and hit you anyways. In the case of hybrids, jamming can also cause unvalidated hybrids to stage early and run out of fuel.
Communications jamming will throw off missiles with CMD seekers. Many command missiles, though, usually have secondary seekers that make the missile continue on in a straight line if jammed. Comms Jamming also does not attract ARAD or HOJ. Finally, CMD seekers can also be thrown off by making the enemy loose track, e.g. via radar jamming.
Environmental softkill is situational and not always possible to take advantage of; however, building a more manoeuvrable ship may allow you to manoeuvre to prevent a missile hit. This can include ducking behind a rock to avoid acquisition by the seeker, putting a rock between the missile and your ship after the missile has acquired you, or manoeuvring to place another ship (dead or alive) between your ship and the incoming missile.
Hull Modules Compartment Choice And Arrangement - What Not To Pick
There are a number of Hull Modules and Compartments that you really don't want to pick in Nebulous for the moment. So please avoid equipping your fleet with the following:
Battle Dressing StationAs crew is currently not fully implemented, the battle dressing station only affects the survivability of DC teams. However it is still not worth the cost in this role, as crew vulnerability has a hard floor and DC teams and crew in general only really suffer significant casualties under select extreme circumstances
Magazine Extinguisher, Launcher Deluge System, Redundant Reactor FailsafesWhile catastrophic events are certainly threatening, the level of damage that usually triggers them also tends to knock out these pretty fragile modules first. Combine this with the fact that damage control is outside of extreme cases able to prevent these going off, and the value proposition these modules offer is incredibly dubious. Reactor failsafes have also been made somewhat redundant by the Emergency Reactor Shutdown feature.
Supplemental Radio AmplifierWhile these do increase the ability of your ship to share tracks with allies even while they are comms jammed, the relatively low bonus as well as the low power on the Cr10 and Cr70 antennas make these not worthwhile on any warship without a Cr75. Moreover, anything with a Cr75 antenna doesn’t need Amplifiers, as the Cr75 has incredibly high base transmit power and is able to mostly nullify comms jamming at base performance.
Strobe Correlator Jamming strobes are very inaccurate by design, so giving them sufficiently fireable accuracy takes a lot of Strobe correlators. Even then the tracks they provide are not useful against moving targets. As strobes only specify a direction, weapons will not lead targets due to a lack of velocity information.Furthermore, jamming strobes are not datalinked so only the ship that mounts the correlators will get a benefit from them in the first place.
Buffing Modules
There are a number of rules of thumb when adding buffing modules such as Ammunition Elevators, Focused Particle Accelerators, Rapid Cycle Cradles, etc. Here are some rules:
1. Generally you want to employ as many modules as practical on ships that need them. This means you want to put as many Ammo Elevators as you can on a Gun Axford. It also means that a Mount Gyro buffing module is useless on a 450 Lineship as your casemates won’t turn.
2. Every Nebulous buffing module has a falloff. The function that determines the falloff is exponential, with very rapid falloff after three instances of any module resulting in nearly non-existent incremental buffs after five to six modules.. Take a note of how much additional efficiency you are gaining for every buffing module and carefully consider the redundancy tradeoff and opportunity cost when taking more than three of any buff module.
3. When two types of buffing modules are needed for a warship, consider its role and add modules accordingly. For example, a 450mm armed Lineship can benefit from both Rapid Cycle Cradle and Ammunition Elevator Modules. If you want to make your 450mm armed Lineship pop out, unleash as many shots as quickly as it can and then duck into cover, you want more Rapid Cycle Cradles that reduce the recycle time (the autoloading fire time) of the 450mm C65 casemates. If you want your 450mm Lineship to be able to trade shots, you need more Ammunition elevators. If you’re doing a bit of both, take both.
Notes On Damage Control
How damage is applied and damage control is quite complicated due to Nebulous’s damage model, but here are a few principles to get you started.
Restores - One of the most important resources to Nebulous warships, this is what allows ships to repair critical compartments, weapons and modules. It increases the longevity of a warship and the ability for it to take successive engagements. It does not, however, enable a ship to actually resist incoming fire or increase its durability. You may take ten restores, but if enough missiles, shells, or beams hit you all at once, you won’t have time to use the Restores to fix your ship up. Restores are “owned” by a DC locker, so if the locker is destroyed, the restores are lost, unless the locker itself is restored. Note that due to costing a restore to gain back one or more restores, only Large DC lockers or Large DC storage with sufficient restores remaining should be restored in this manner.
Repair Speed and Repair Team Movement - Repair speed and Repair Team Movement speed are odd statistics because repairs do not act like a flat healthpoint “heal” in other games. Having high repair speed assists your durability in a number of facets, but doesn’t help you resist damage. Every component repaired in Nebulous is never repaired to full after being damaged. This means buffing repair speed and movement can increase the damage that compartments and modules can take as teams run around to fix them more quickly. It determines how fast your different damage control teams can fix debuffs such as fires, and solve critical events such as reactor overloads. Ships with high repair speed also can flank longer. Large ships with Repair teams that move fast and repair fast can fix a number of modules and critical events more quickly. Yet because modules and compartments can be knocked out, repair teams have a limit and extend your durability rather than directly adding to it.
Damage Reduction - Almost every Nebulous warship has a % of Damage Reduction, which scales higher for larger warships such as the Solomon and Axford. This reduces a percentage of damage from every hit a ship takes before the damage is then applied to the compartments. This powerful statistic is only applied though if your warship is not an empty hulk. This is because Nebulous ships also have an integrity rating based on the number of filled module and compartment slots. The more components put into a ship’s hull, the closer it can get to its full Damage Reduction being applied. As such, it’s strongly recommended that players make sure they ensure their ships have full integrity so they can activate the hull’s full Damage Reduction
Damage Threshold - Sometimes known as DT, Components, modules, and a number of Compartments have a Damage Threshold, which is the minimum amount of damage you have to do to a compartment to permanently “Grey” or destroy it to the point you need a Restore. Similarly, this statistic determines the durability of your warship, most notably because some damage types only damage the first live compartment they hit; thus if a component cannot be killed by a weapon, this may prevent damage from propagating further into the ship. Unlike Damage Reduction however, a player can build their warships, particularly the larger ones, to be very good at absorbing damage in one direction. This is most important on larger warships such as Line ships, Ocellos, Axfords and Solomons.
Compartment And Module Placement
Every OSP and ANS hull has certain safe spots and certain obvious danger spots. Both can be used to a ship’s advantage to maximise the possible damage a warship can take.
Essentially, a fleet can be designed to take advantage of areas being shot at and areas not being shot at by adjusting which compartments and modules go where. Consider the following:
1. Placing less important or sacrificial modules and compartments such as Berthing into the most vulnerable spots of your warship. This can be like the bow of a Vauxhall or Axford
2. Deliberately putting high Damage Threshold components to absorb enemy fire. This can be done on ANS and OSP capital ships with Reinforced Damage Control Lockers, and if you're feeling lucky Reinforced Magazines, but can actually be done on smaller ANS and OSP vessels with compartments and modules like Damage Control Centres and even the Parallax Radar which has 40 Damage Threshold
3. Always place important modules and compartments where you are going to get shot at the least. For example, don’t place the Command and Control Centre (CIC) of a Vauxhall in its bow. Put it in rear compartments, and preferably as small a compartment as you can manage
Average Ship Point Costs In 3k And What To Give Up
The Limit on fleet costs for most Multiplayer games is 3000 points per person, virtually all other formats are some multiple of 3k, with that player standing in for that multiple of players, unless you are new it is generally expected to adhere to the limit exactly. As to why 3000 points is the standard, it’s because it'd be large enough to allow one fully kitted most expensive hull on either faction, while being low enough to not hit the 10 ship limit without using basically exclusively small hulls. Most importantly though it does not allow you to do everything with your fleet, so you will have to make tradeoffs in some areas, be that leaving out certain capabilities or ending up with weak performance because you tried to make your fleet do too many things at once. Thus it is important to have an idea of what you want your fleet to be able to do, and perhaps more importantly, what you are fine with it not being able to do.
Usual costs for fitted out ShipsDue to varying equipment costs for different loadouts and how much DC people bring, these are pretty wide ranges.
That being said, they are a gauge as to whether your ship is significantly under or overfit. Ships can be made much cheaper through extreme cost cutting but this is generally the exception and of course comes with severe tradeoffs. These ranges are for the most common roles the ships fill, priority given to combat roles. Missile builds are their own category entirely and thus are excluded due to the high cost of missiles, with the exception of the Container liner as it is a dedicated missile carrier
ANSSprinter: 200-350 pt
Raines 300-400pt
Keystone: 500-700pt
Vauxhall: 800-1000pt
Axford: 1500-2000pt
Solomon: 2400-2800pt (while you can get a solomon to 3000pt this is inadvisable as your PD and map presence are severely diminished without escorts/cappers)
OSPShuttle: 150-300pt (beyond 200pt or so for rocket shuttles, below for guns)
Tug: 200-350pt
Cargo Feeder: 400-60pt
Bulk Freighter: 750-1000pt
Ocello: 1400-1600pt
Container liner: 2800-3000pt (most builds are exactly 3000 as bringing another ship means you loose out on a lot of missiles)
Conclusion
So, if you made it this far, thank you for taking the time to read. Good luck out there commanders!
Again, a big thanks to this Guide's Other Contributors
Regional MathBlob
Goldstei
Hunter
PuppyfromHell
Source: https://steamcommunity.com/sharedfiles/filedetails/?id=3035810215
More NEBULOUS: Fleet Command guilds
- All Guilds
- Gopher OSP Guide
- Armament to Zoning, a Comprehensive Manual on OSPN
- The Vibes You Need For Frontline CLN (Or How to Ultrahot)
- Making a Puppy Map: Handling Player Feedback
- Making a Puppy Map: The Beginning
- NEBULOUS: Fleet Command Guide 454
- Understanding the Role of MDs and Rails
- Comprehensive Craft Clobbering Compendium for Chic and Comely Captains: A guide on ACM design and usage
- How to Win As a Carrier (Intermediate Doctrine and Tactics Guide)
- A Step By Step Guide to Setting Up Your Carrier and Loading Craft