
Stationed on the Frontier
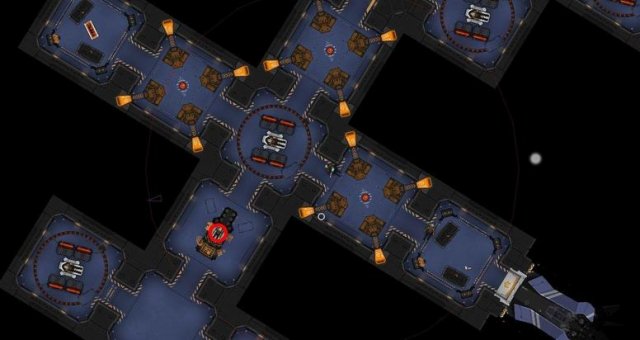
Stations are where you start your Heat Signature journey, and you will find yourself back here after each mission. Every station has the same set of services available, with faction differences only changing the aesthetic and which lore NPC you can talk to for backstory about that faction.
- Personal Mission (Sader Fiasco): Every character you select has a personal mission. These missions require you spend a significant amount of money on the necessary intel, and are quite difficult. While you will always get an entire bar of liberation progress by completing a personal mission, there are also individual rewards such as huge amounts of money (Steal an item to pay off a debt) or a new character (Rescue my idiot friend). It's generally advisable to do personal missions as soon as you feel ready.
- Character Select (The Bar): Switch out characters. Any character you switch to the bar will stay there until you're ready to use them again. In the early game, swapping is very useful, as it allows you to build liberation progress to get good items before attempting a personal mission.
- Lore NPC (Varies per station): Learn more of the lore of a particular faction. Lore NPCs show up in stations of that faction. Not necessary, but fun to learn some backstory.
- Special Shop: An item shop that carries three things: melee weapons, crates (which give you random items on purchase), and a single "Overpriced" item which is not restricted to what you have unlocked but which costs several times as much.
- Item Shops: Self-explanatory. Any items you have unlocked through liberating stations will be available at these shops. See the Liberation section for more detail on how shop inventories are populated.
- Stash: Stores items for future use. Most useful for being the place where you dump all items you want to sell when running a mission. Character-specific.
- Mission Board: Get missions here. Drop-off point for mission items is also directly above the mission terminal.
- Liberations: Liberate new stations here. More detail on how liberations work in its section.
- Retire: Retire your character. If your character has completed a liberation or personal mission, you will be able to name one item in your inventory that you or your steam friends can find on future playthroughs. Retiring without performing some famous task will simply erase the character. Don't get too attached to a single character; you will eventually retire them once their fame is too great.
- Elevator: Return to your pod.
Returning to a friendly station will recharge all rechargeable items and repair your pod, should it be damaged.
Mission Person Report
When you're ready to go out amongst the stars, you will usually pick a mission to do. Missions come in many different varieties, but all the information you need besides the layout of the ship is contained in the briefing.
Mission difficulties and payouts are self-explanatory. Difficulty is an aggregate of many difficulty-influencing attributes such as ship size, guard loadouts, and modifiers, and the payouts are the mission's difficulty plus any clause bonuses.
Making the right mission choice is all about evaluating if you're ready for it, and the best at-a-glance way of doing so is through the objectives and clauses.
Missions can be one of five different objectives, most of which are similar.
- Assassinate: Kill a target. No proof necessary; the moment the target is dead, you're welcome to take off for home.
- Capture: Capture a target. This mean you will need to incapacitate a hostile and get their body to a station. Naturally, impossible to do without non-lethal weaponry.
- Rescue: Rescue a target. Functionally the same as capture, except the target is already incapacitated.
- Steal: Steal an item. You will need to go to a chest and take the item back to a station.
- Hijack: Hijack a ship. You hijack ships by incapacitating the entire crew and then flying it back to a station.
These objectives can be modified special clauses. Clauses are more frequent on harder difficulties, but some - like Enigma - can be found even on easy contracts. Clauses increase the payout of a mission if they are adhered to, but decrease the payout if they are not followed.
- Silence: No alarms. Alarms are triggered if an enemy is alerted while a pilot is in their seat. Once the pilot is gone, you can no longer trigger an alarm.
- Enigma: No living witnesses. A living witness is somebody who has seen you while on alert.
- Bloodless: No deaths except the target. Non-lethal is required, and special care must be taken to not breach a window or destroy a room.
- Pacifist: No attacking any guards except the target. This means you can't get keys from guards by attacking them, so you'll need a different way through doors, such as teleporters or key cloners.
- Ghost: No attacking any guards except the target, no living witnesses. Essentially, if you are seen or hurt anyone, you fail the clause. Extraordinarily difficult, but also gives the best pay.
Source: https://gameplay.tips/guides/1291-heat-signature.html
More Heat Signature guilds
- All Guilds
- Heat Signature - 100% Achievement Guide (How to Unlock All)
- Heat Signature - How to Kill Armour / Shield Guards with Starter Gear
- Heat Signature - Fastest Way to Liberate Stations
- Heat Signature - Item Attributes
- Heat Signature - Ship Objects
- Heat Signature - Boarding and Combat
- Heat Signature - Guard Kits
- Heat Signature - Mission Details
- Heat Signature - How to Snipe Ships and Beat Any Mission