Introduction


The Bestiary is an accessible list of all the enemies in FINAL FANTASY. It first appears in the Origins[finalfantasy.fandom.com] release and appears in all future versions of the game.
This guide will give you the names, locations, and images of all 128 enemies in 'FINAL FANTASY (Pixel Remaster)' in order to get the "Field Research- Professional" achievement, which requires you to complete 100% of the bestiary entries. This guide can of course also be used to complete the "Field Research- Basic" (10% of bestiary entries), and "Field Research- Advanced" (50% of bestiary entries) achievements. Links to the Final Fantasy Wiki will be provided in case you want specific stats or other details for each enemy.
There are no unrevisitable locations in this game, so feel free to look at this list once the credits roll. After beating the game, you will get the opportunity to make a new specially-marked save file where you can finish up anything you haven't done yet. For the curious eye who likes to do things in order however, I have censored any enemies whose existence might be considered as spoilers. These enemies are in order of appearance, so if you have entries past a censored one, you're good to take a peek.
https://store.steampowered.com/app/1173770/FINAL_FANTASY/
How To Access + Features
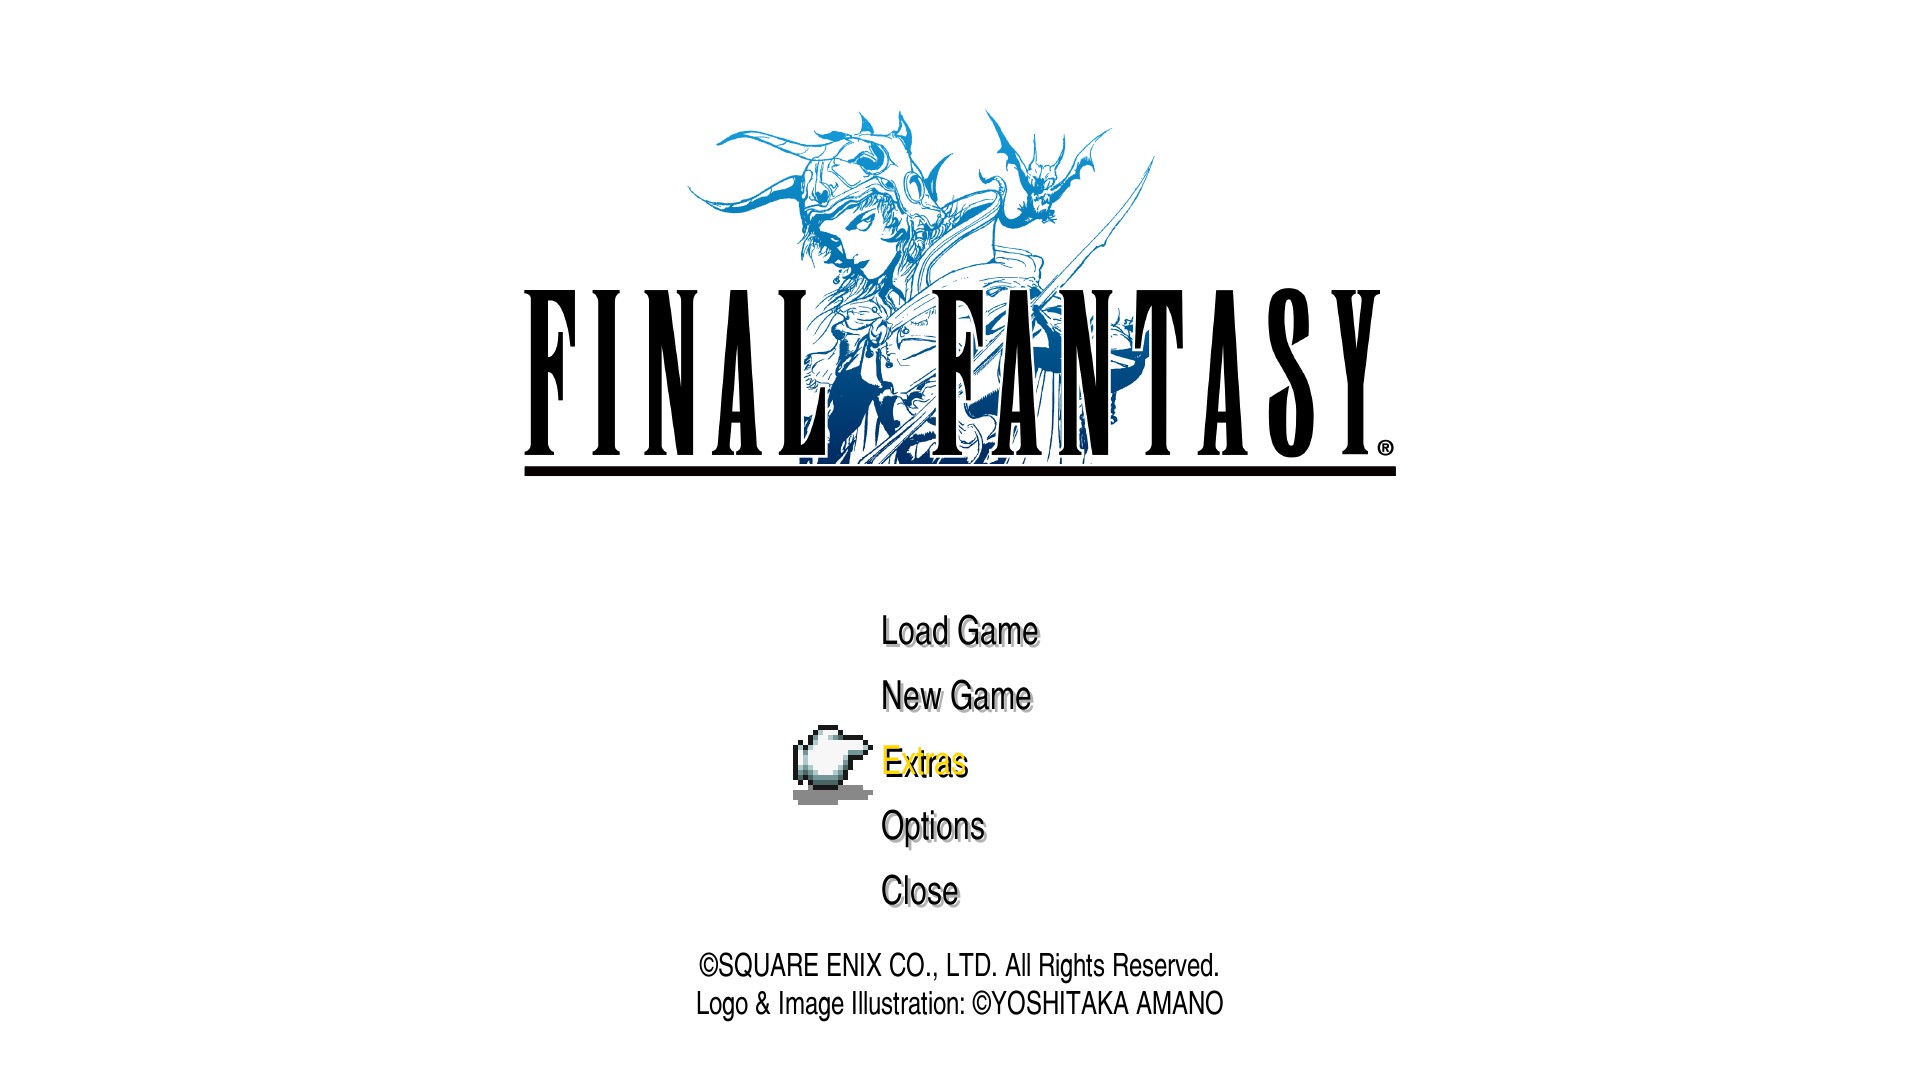
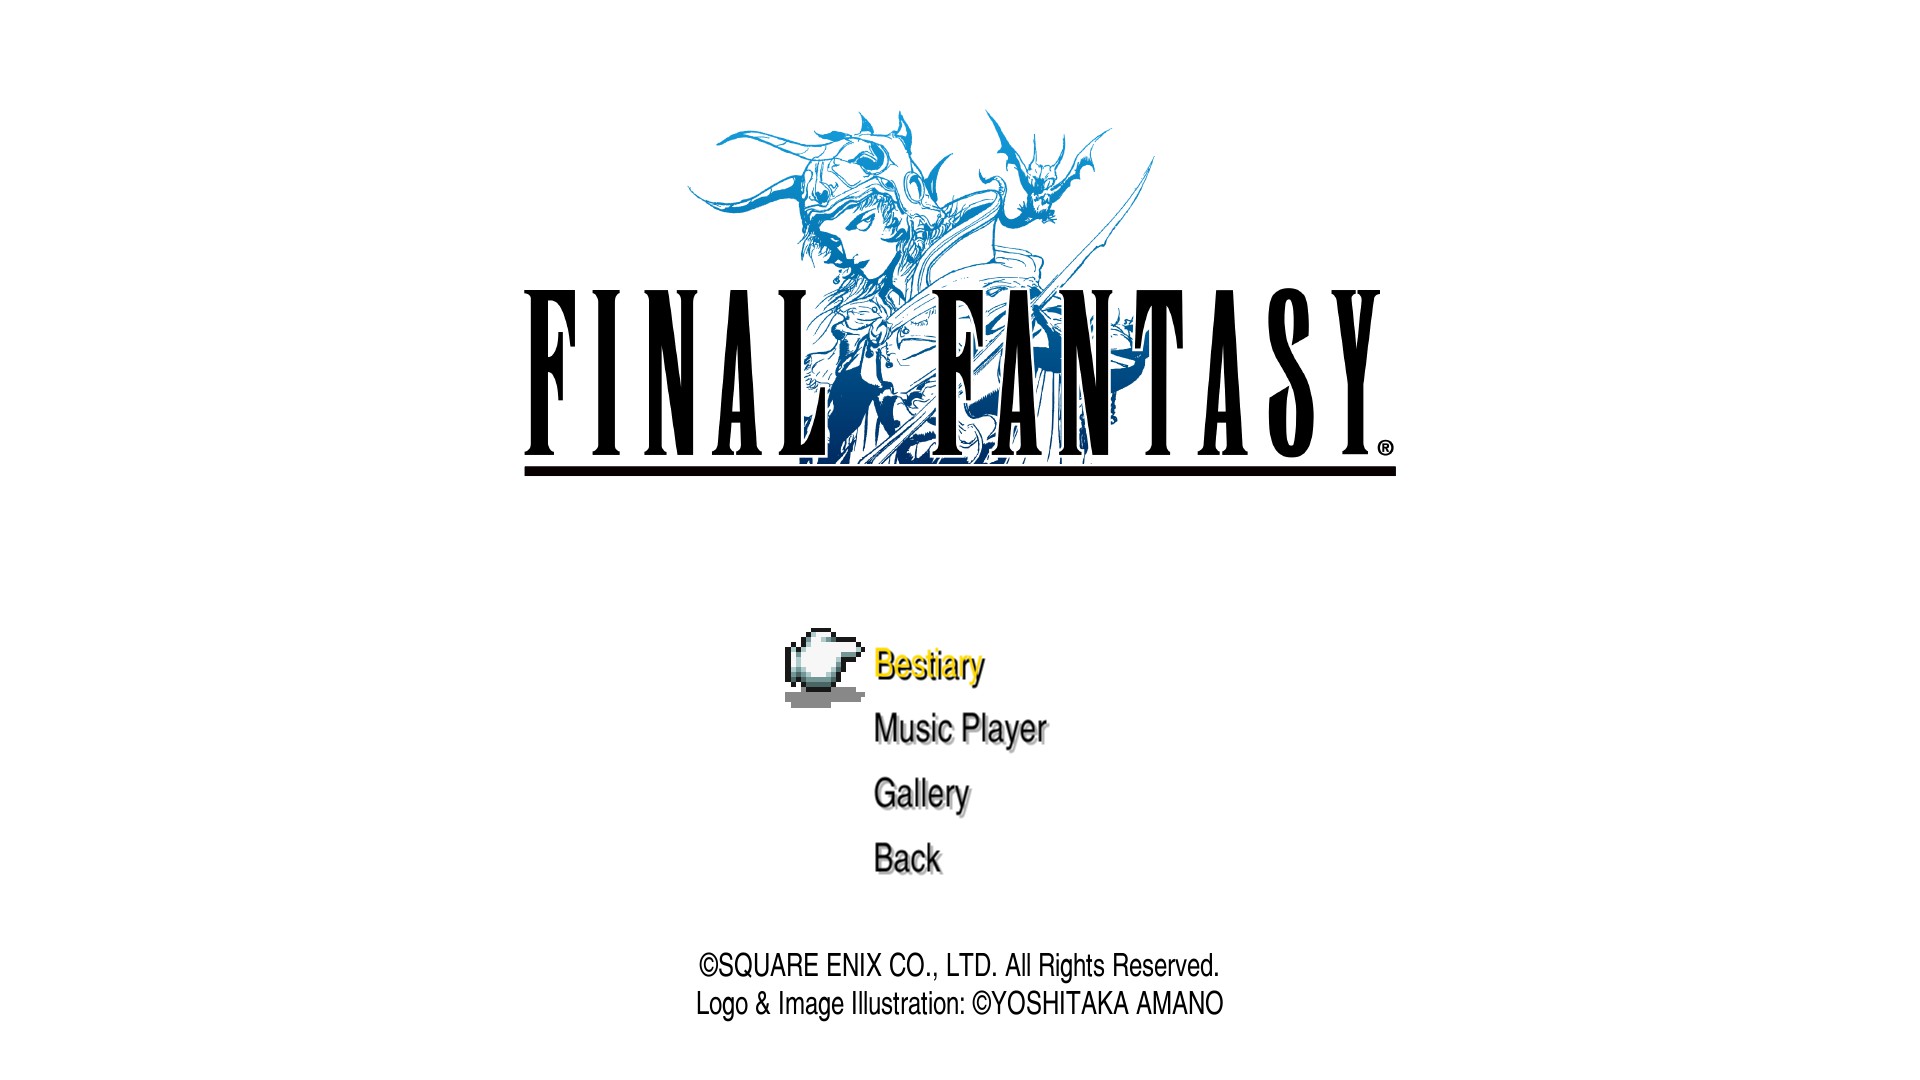
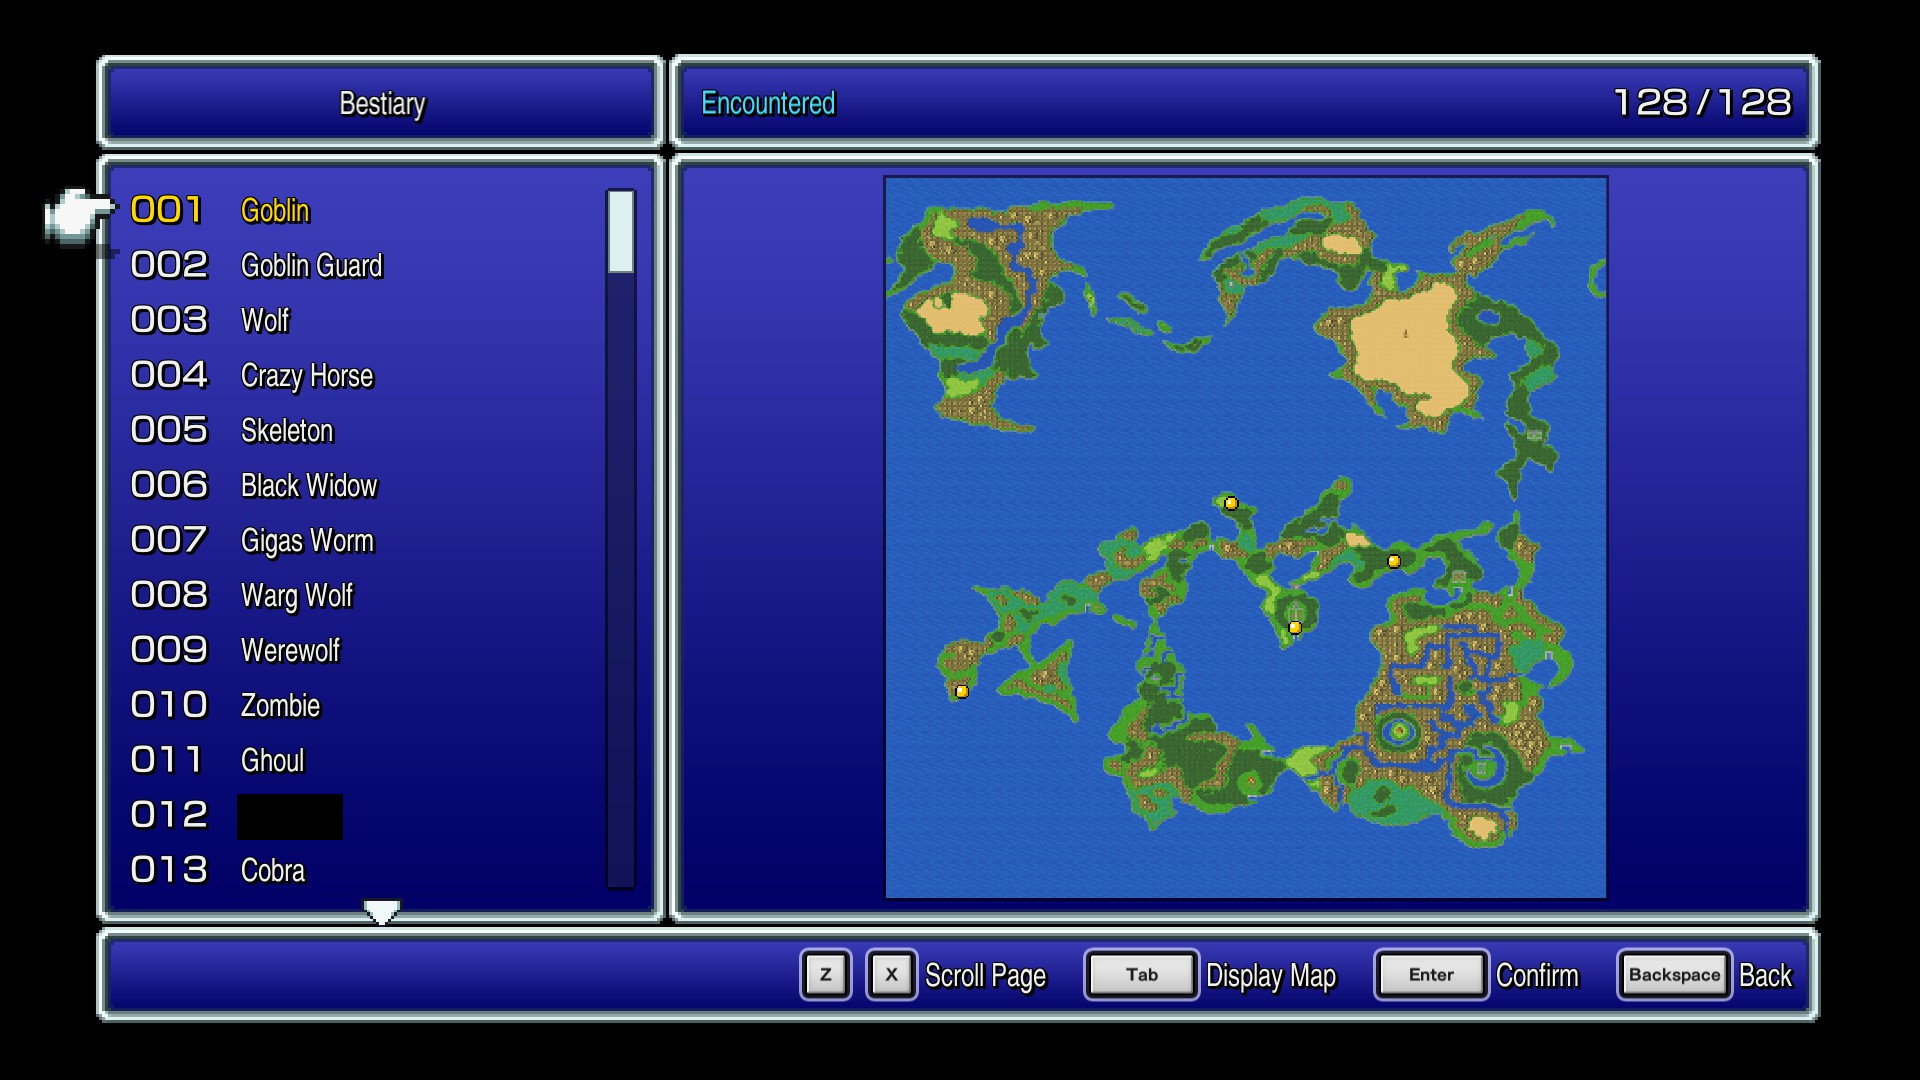
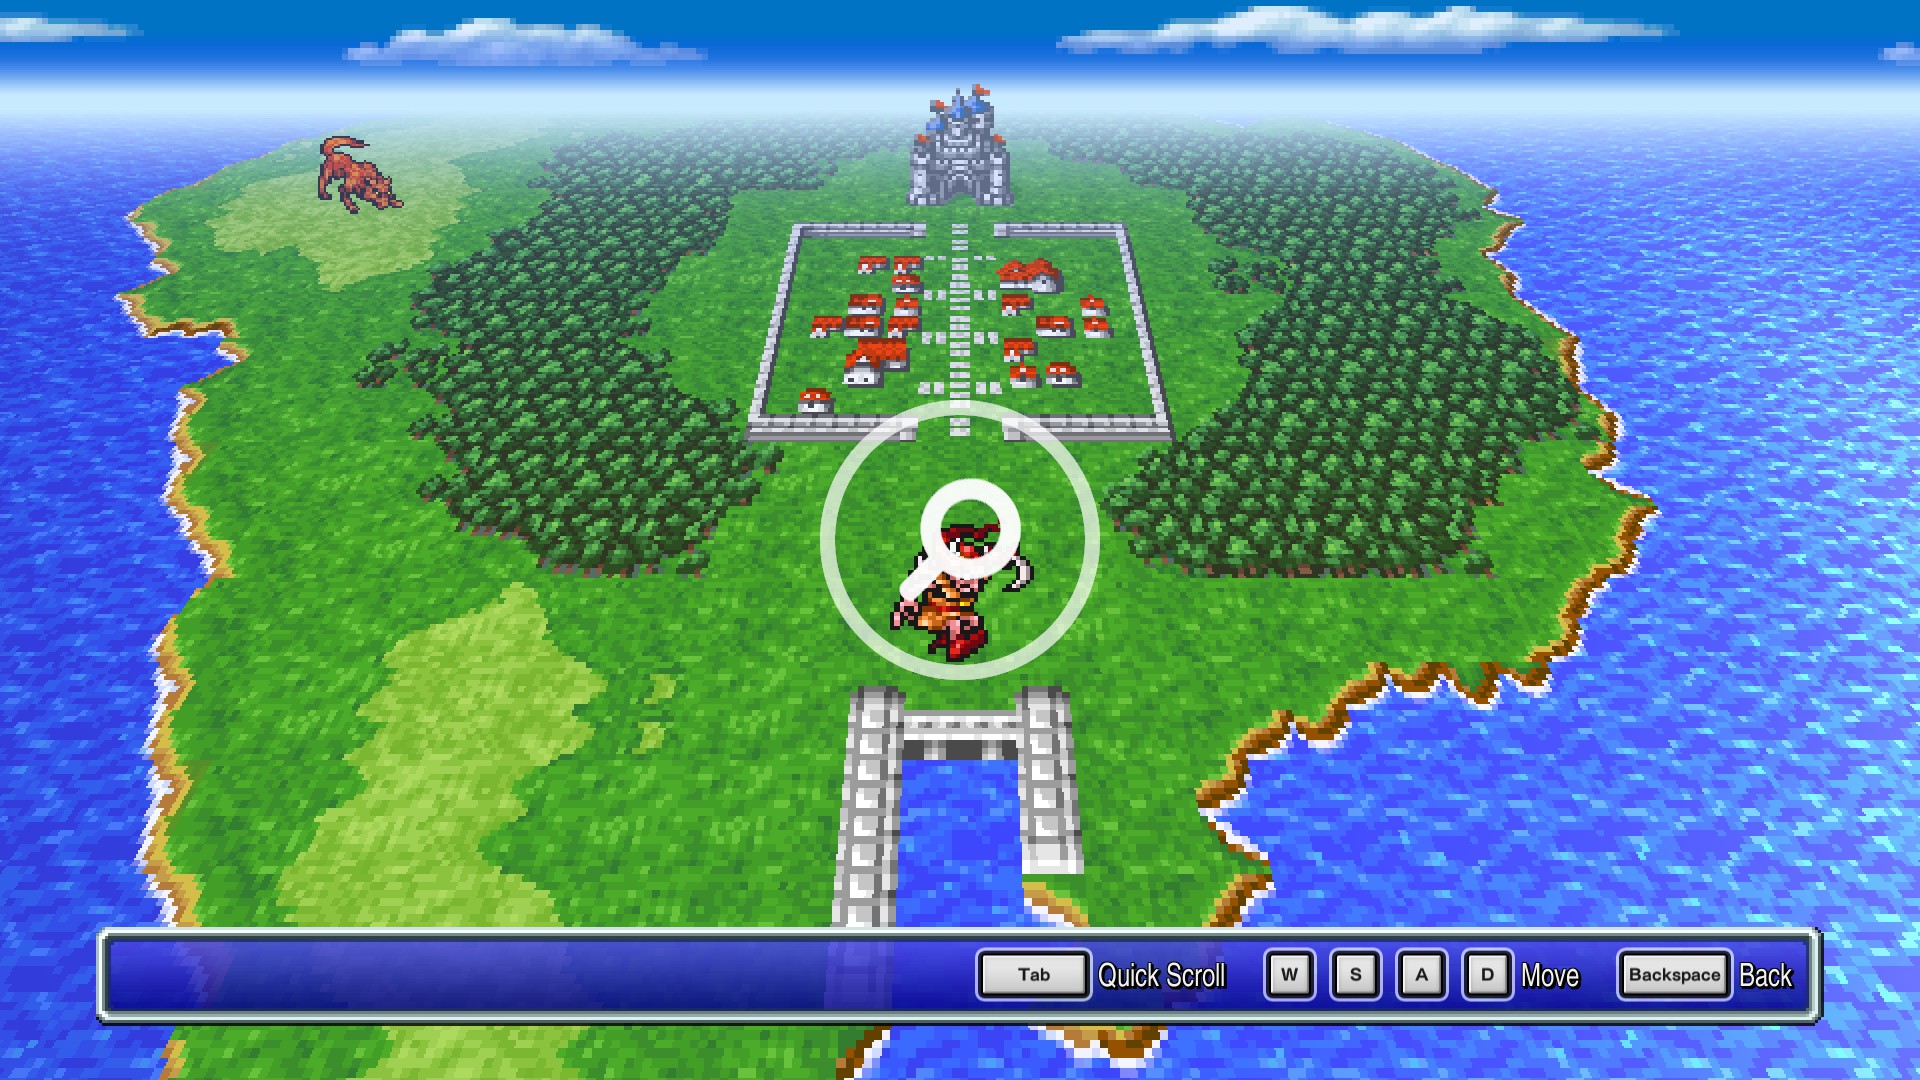
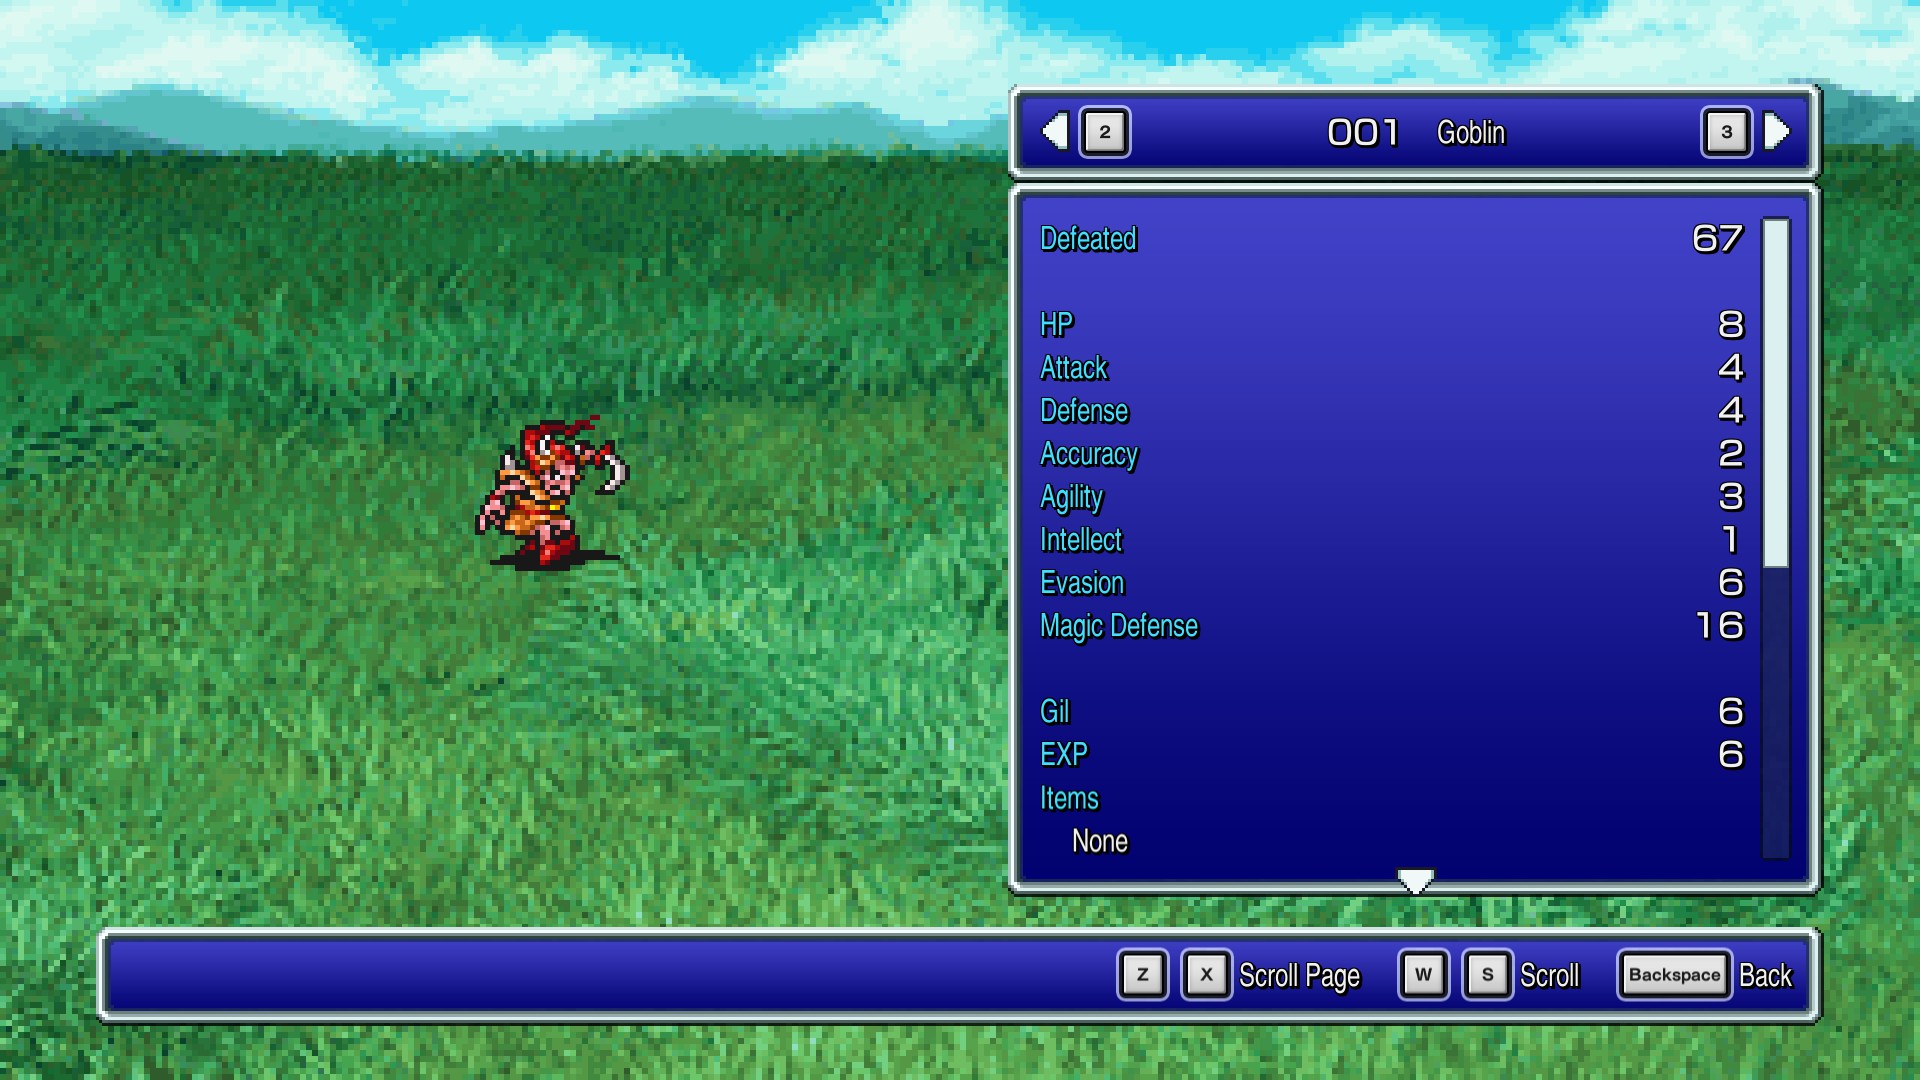
In order for you to access your current bestiary records, you must first navigate to the main menu.
On the main menu screen, select "Extras"
Then select "Bestiary"
Pretty straightforward, right? Here you can access a couple of features. For starters, you can see a list of every single enemy you have encountered. Moving your cursor onto the name of an already fought enemy will show its spawn locations on the map. Enemies that have not yet been beaten will be hidden and its entry on the list will be an inactive "????".
Pressing the button input for "Display Map" will also show you this in a zoomed-in interactive world map. Viewing the enemies in the bestiary shows the player the enemy's sprite on a battle background, their name, various battle integers, element and status information, as well as Gil and Exp received from defeating the enemy.
World Map
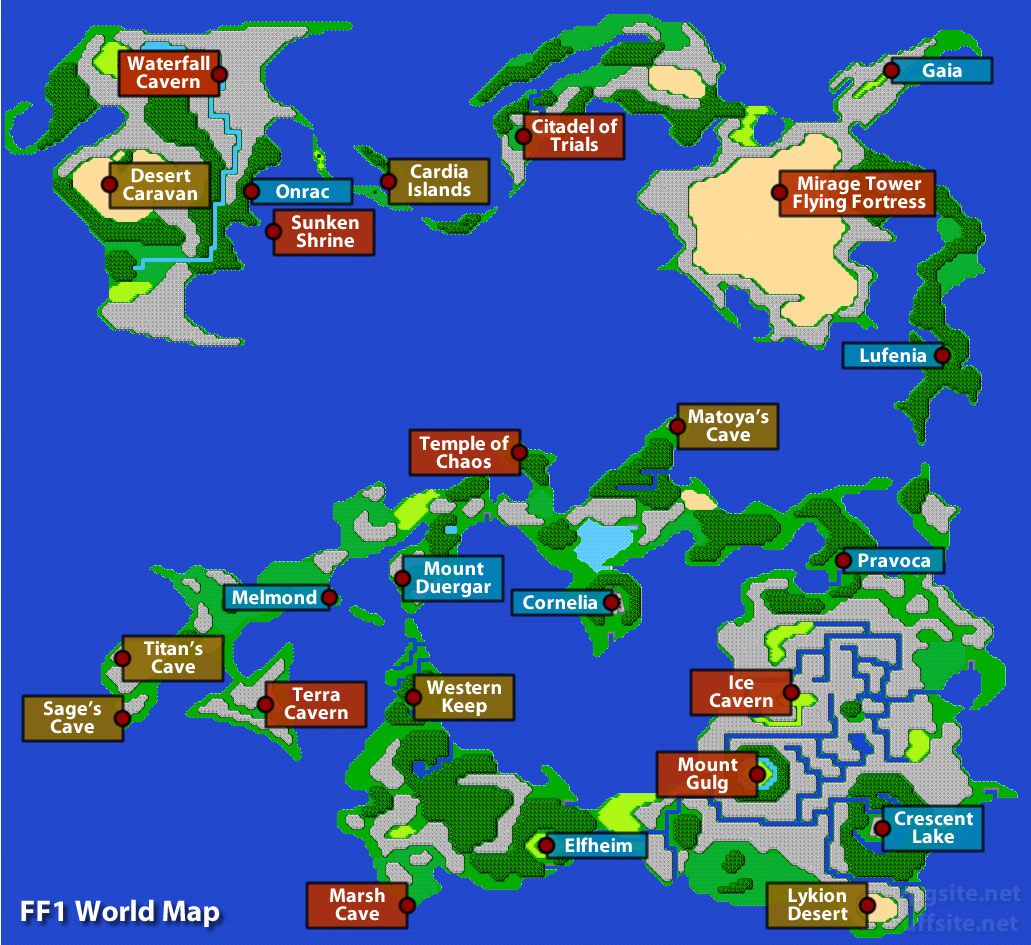
The following is an image of the world map of FINAL FANTASY as it appears in both 2021's Pixel Remaster, as well as the original 1987 version for the NES/Famicom. Although the names differ between the many iterations of this game, I will be referring to them as they are named here. Please refer to this if you are unsure what location I have listed an enemy under.
Map graphic courtesy of RPG Site[www.rpgsite.net]
The Bestiary
There are 128 enemies in total. The following sections list the entries numerically as they are in the game's official Bestiary. Enemies whose existence might be considered as spoilers are censored with a spoiler tag. These enemies are in order of appearance, so if you have entries past a censored one, you're good to take a peek.
Bosses are marked with a 💀. "Near [location]" simply means that it can be found on the world map outside of that location.
Entries 1-20


1 — Goblin[finalfantasy.fandom.com]
near Cornelia
near and inside the Chaos Shrine
near Pravoka
Terra Cavern
2 — Goblin Guard[finalfantasy.fandom.com]
near and inside the Chaos Shrine
near Pravoka
Terra Cavern
3 — Wolf[finalfantasy.fandom.com]
near Pravoka
near Elfheim
Chaos Shrine
4 — Crazy Horse[finalfantasy.fandom.com]
near the Chaos Shrine
near Pravoka
5 — Skeleton[finalfantasy.fandom.com]
near and inside the Chaos Shrine
Marsh Cave
6 — Black Widow[finalfantasy.fandom.com]
near and inside the Chaos Shrine
Marsh Cave
Terra Cavern
7 — Gigas Worm[finalfantasy.fandom.com]
near and inside the Chaos Shrine
near Pravoka
near Elfheim
8 — Warg Wolf[finalfantasy.fandom.com]
near Pravoka
near Elfheim
Chaos Shrine
Terra Cavern
9 — Werewolf [finalfantasy.fandom.com]
Chaos Shrine
Terra Cavern
10 — Zombie[finalfantasy.fandom.com]
Chaos Shrine
Marsh Cave
11 — Ghoul[finalfantasy.fandom.com]
near Melmond
Chaos Shrine
Marsh Cave
12 — Garland[finalfantasy.fandom.com] 💀
Chaos Shrine
13 — Cobra[finalfantasy.fandom.com]
near Elfheim
near Melmond
Terra Cavern
14 — Ogre[finalfantasy.fandom.com]
near Pravoka
near Elfheim
near Melmond
Terra Cavern
Titan's Cave
15 — Ogre Chief[finalfantasy.fandom.com]
near Elfheim
Terra Cavern
Titan's Cave
16 — Lizard[finalfantasy.fandom.com]
near Pravoka
Terra Cavern
17 — Pirate[finalfantasy.fandom.com]
Pravoka (story)
18 — Sahagin[finalfantasy.fandom.com]
World Map - Sea
19 — Sahagin Chief[finalfantasy.fandom.com]
World Map - Sea
Sunken Shrine
20 — Buccaneer[finalfantasy.fandom.com]
World Map - Sea
Entries 21-40


21 — Shark[finalfantasy.fandom.com]
World Map - Sea
Sunken Shrine
22 — Bigeyes[finalfantasy.fandom.com]
World Map - Sea
23 — Tarantula[finalfantasy.fandom.com]
near Elfheim
Marsh Cave
Terra Cavern
24 — Ghast[finalfantasy.fandom.com]
near Melmond
near Elfheim
Terra Cavern
Ice Cavern
25 — Scorpion[finalfantasy.fandom.com]
Marsh Cave
Mt. Gulg
26 — Shadow[finalfantasy.fandom.com]
Marsh Cave
Melmond
27 — Green Slime[finalfantasy.fandom.com]
Marsh Cave
28 — Crawler[finalfantasy.fandom.com]
Marsh Cave
29 — Gray Ooze[finalfantasy.fandom.com]
near Melmond
near and inside Terra Cavern
Marsh Cave
Mt. Gulg
30 — Gargoyle[finalfantasy.fandom.com]
Marsh Cave
Terra Cavern
Chaos Shrine
31 — Bloodbones[finalfantasy.fandom.com]
Marsh Cave
Ice Cavern
32 — Piscodemon[finalfantasy.fandom.com]
Marsh Cave
Terra Cavern
Ice Cavern
33 — Astos[finalfantasy.fandom.com] 💀
Western Keep
34 — Mummy[finalfantasy.fandom.com]
Western Keep
Terra Cavern
Ice Cavern
Mirage Tower
35 — Wraith[finalfantasy.fandom.com]
Terra Cavern
Western Keep
36 — Anaconda[finalfantasy.fandom.com]
Terra Cavern
Marsh Cave
37 — Hyenadon[finalfantasy.fandom.com]
Mt. Gulg
Terra Cavern
38 — Lesser Tiger[finalfantasy.fandom.com]
near Melmond
near Onrac
Titan's Cave
39 — Minotaur[finalfantasy.fandom.com]
Terra Cavern
Mt. Gulg
40 — Hill Gigas[finalfantasy.fandom.com]
Island northeast of Pravoka
Terra Cavern
Mt. Gulg
Entries 41-60






41 — Earth Elemental[finalfantasy.fandom.com]
Terra Cavern
Final dungeon (Chaos Shrine {past} )
42 — Troll[finalfantasy.fandom.com]
near Onrac
near Lufenia
Terra Cavern
43 — Wight[finalfantasy.fandom.com]
Terra Cavern
Ice Cavern
44 — Ochre Jelly[finalfantasy.fandom.com]
Terra Cavern (rare encounter on floors B3, B4, B5)
45 — Cockatrice[finalfantasy.fandom.com]
Terra Cavern
Ice Cavern
Mirage Tower
Sunken Shrine
46 — Vampire[finalfantasy.fandom.com]
Terra Cavern 💀
Mirage Tower
Final dungeon (Chaos Shrine {past} )
47 — Ogre Mage[finalfantasy.fandom.com]
near Onrac
Terra Cavern
Mt. Gulg
48 — Sphinx[finalfantasy.fandom.com]
Terra Cavern
Mt. Gulg
Cardia Islands
49 — Lich[finalfantasy.fandom.com] 💀
Terra Cavern
50 — Ankheg[finalfantasy.fandom.com]
Mt. Gulg
51 — Piranha[finalfantasy.fandom.com]
World Map - Rivers
52 — Red Piranha[finalfantasy.fandom.com]
World Map - Rivers
53 — Crocodile[finalfantasy.fandom.com]
World Map - Rivers
54 — White Croc[finalfantasy.fandom.com]
World Map - Rivers
55 — Ochu[finalfantasy.fandom.com]
World Map - Rivers
56 — Neochu[finalfantasy.fandom.com]
World Map - Rivers
Flying Fortress (floor 4F, 5F)
57 — Hydra[finalfantasy.fandom.com]
World Map - Rivers
58 — Horned Devil[finalfantasy.fandom.com]
Mt. Gulg
Citadel of Trials
59 — Pyrolisk[finalfantasy.fandom.com]
Mt. Gulg
Mirage Tower
60 — Fire Elemental[finalfantasy.fandom.com]
Mt. Gulg
Final dungeon (Chaos Shrine {past} )
Entries 61-80
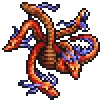


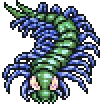


61 — Fire Hydra[finalfantasy.fandom.com]
Mt. Gulg
Flying Fortress
62 — Lava Worm[finalfantasy.fandom.com]
Mt. Gulg
Final dungeon (Chaos Shrine {past} )
63 — Hellhound[finalfantasy.fandom.com]
near Onrac
Mt. Gulg
Mirage Tower
64 — Fire Lizard[finalfantasy.fandom.com]
Mt. Gulg
Final dungeon (Chaos Shrine {past} )
65 — Fire Gigas[finalfantasy.fandom.com]
Mt. Gulg
Final dungeon (Chaos Shrine {past} )
66 — Red Dragon[finalfantasy.fandom.com]
Mt. Gulg
67 — Marilith[finalfantasy.fandom.com] 💀
Mt. Gulg
68 — White Dragon[finalfantasy.fandom.com]
Ice Cavern
Final dungeon (Chaos Shrine {past} )
69 — Winter Wolf[finalfantasy.fandom.com] 🌚
near Pravoka
near Onrac
near Lufenia
Ice Cavern
Final dungeon (Chaos Shrine {past} )
70 — Mindflayer[finalfantasy.fandom.com]
Ice Cavern
Flying Fortress
Final dungeon (Chaos Shrine {past} )
71 — Ice Gigas[finalfantasy.fandom.com]
near Onrac
Ice Cavern
Final dungeon (Chaos Shrine {past} )
72 — Specter[finalfantasy.fandom.com]
Ice Cavern (floors B1, B2)
73 — Remorazz[finalfantasy.fandom.com]
Forests near Onrac
Ice Cavern
74 — Dark Wizard[finalfantasy.fandom.com]
Ice Cavern
Final dungeon (Chaos Shrine {past} )
75 — Evil Eye[finalfantasy.fandom.com]
Ice Cavern
Flying Fortress
76 — Desert Baretta[finalfantasy.fandom.com]
near Onrac
Deserts on northern continents
77 — Sabertooth[finalfantasy.fandom.com]
near Onrac
Mirage Tower
78 — Wyvern[finalfantasy.fandom.com]
near Onrac
Mirage Tower
Great Desert (northwest of Lufenia)
79 — Wyrm[finalfantasy.fandom.com]
near Onrac
Mirage Tower
80 — Manticore[finalfantasy.fandom.com]
near Onrac
Flying Fortress
Entries 81-100


81 — Baretta[finalfantasy.fandom.com]
Great Desert (northwest of Lufenia)
Cardia Islands
82 — Basilisk[finalfantasy.fandom.com]
Cardia Islands
Citadel of Trials
Final dungeon (Chaos Shrine {past}; floor B1 )
83 — Allosaurus[finalfantasy.fandom.com]
near Lufenia
Great Desert (northwest of Lufenia)
84 — Weretiger[finalfantasy.fandom.com]
Cardia Islands
Mirage Tower (floor 1F)
85 — Sand Worm[finalfantasy.fandom.com]
Deserts on northern continents
Cardia Islands
86 — Minotaur Zombie[finalfantasy.fandom.com]
near Lufenia
Citadel of Trials
87 — King Mummy[finalfantasy.fandom.com]
Citadel of Trials
Mirage Tower
Waterfall Cavern
88 — Medusa[finalfantasy.fandom.com]
Citadel of Trials (floor B2)
Mirage Tower (floors 1F, 3F)
89 — Rakshasa[finalfantasy.fandom.com]
Citadel of Trials (floors 2F, 3F)
Flying Fortress (floors 3F, 4F)
90 — Clay Golem[finalfantasy.fandom.com]
Citadel of Trials
Flying Fortress
Final dungeon (Chaos Shrine {past} )
91 — Nightmare[finalfantasy.fandom.com]
Citadel of Trials (mandatory fight)
Waterfall Cavern
Mirage Tower
Flying Fortress
Final dungeon (Chaos Shrine {past} )
92 — Dragon Zombie[finalfantasy.fandom.com]
Citadel of Trials
Final dungeon (Chaos Shrine {past} )
93 — Sahagin Prince[finalfantasy.fandom.com]
Sunken Shrine
94 — White Shark[finalfantasy.fandom.com]
Sunken Shrine (floors 1F - 4F)
Final dungeon (Chaos Shrine {past; floor B3} )
95 — Deepeyes[finalfantasy.fandom.com]
Rare encounter in Sunken Shrine (floors 1F - 4F)
Rare encounter in final dungeon (Chaos Shrine {past; floor B3} )
96 — Sea Snake[finalfantasy.fandom.com]
Sunken Shrine
97 — Sea Scorpion[finalfantasy.fandom.com]
Sunken Shrine
98 — Sea Troll[finalfantasy.fandom.com]
Sunken Shrine
Final dungeon (Chaos Shrine {past; floor B3} )
99 — Ghost[finalfantasy.fandom.com]
Sunken Shrine
100 — Water Elemental[finalfantasy.fandom.com]
Sunken Shrine
Entries 101-120


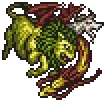

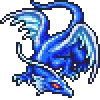
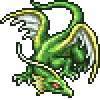


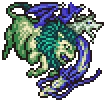
101 — Water Naga[finalfantasy.fandom.com]
Sunken Shrine (floor 3F)
Final dungeon (Chaos Shrine {past} )
102 — Kraken[finalfantasy.fandom.com] 💀
Sunken Shrine
103 — Tyrannosaur[finalfantasy.fandom.com]
Great Desert (northwest of Lufenia)
104 — Black Knight[finalfantasy.fandom.com]
Flying Fortress
105 — Chimera[finalfantasy.fandom.com]
Mirage Tower
Flying Fortress
Final dungeon (Chaos Shrine {past; floors 2F, 3F} )
106 — Guardian[finalfantasy.fandom.com]
Mirage Tower
Flying Fortress (floors 3F, 4F)
107 — Blue Dragon[finalfantasy.fandom.com]
Mirage Tower
108 — Green Dragon[finalfantasy.fandom.com]
Waterfall Cavern
Final dungeon (Chaos Shrine {past} )
109 — Stone Golem[finalfantasy.fandom.com]
Flying Fortress (floors 2F, 3F)
Final dungeon (Chaos Shrine {past; floors B1 - 41} )
110 — Air Elemental[finalfantasy.fandom.com]
Flying Fortress
111 — Spirit Naga[finalfantasy.fandom.com]
Flying Fortress (floors 1F, 2F, 4F, 5F)
112 — Death Knight[finalfantasy.fandom.com]
Mirage Tower
Flying Fortress
Final dungeon (Chaos Shrine {past} )
113 — Earth Medusa[finalfantasy.fandom.com]
Flying Fortress
Final dungeon (Chaos Shrine {past} )
114 — Black Flan[finalfantasy.fandom.com]
Flying Fortress
115 — Soldier[finalfantasy.fandom.com]
Flying Fortress
116 — Vampire Lord[finalfantasy.fandom.com]
Flying Fortress
Final dungeon (Chaos Shrine {past; floors 2F, 3F, B4} )
117 — Dark Fighter[finalfantasy.fandom.com]
Flying Fortress (floors 3F - 5F)
Final dungeon (Chaos Shrine {past; floor 3F} )
118 — Warmech[finalfantasy.fandom.com] ☠️
Secret superboss; 3/64 chance of appearing in the Flying Fortress on the bridge leading to Tiamat [#119]
119 — Tiamat[finalfantasy.fandom.com] 💀
Flying Fortress
120 — Rhyos[finalfantasy.fandom.com]
Final dungeon (Chaos Shrine {past; floor 2F} )
Entries 121-128


121 — Death Eye[finalfantasy.fandom.com]
Final dungeon (Chaos Shrine {past} )
122 — Purple Worm[finalfantasy.fandom.com]
Final dungeon (Chaos Shrine {past} )
123 — Iron Golem[finalfantasy.fandom.com]
Final dungeon (Chaos Shrine {past; floor B4} )
124 — Lich[finalfantasy.fandom.com]
Final dungeon (Chaos Shrine {past} )
125 — Marilith[finalfantasy.fandom.com]
Final dungeon (Chaos Shrine {past} )
126 — Kraken[finalfantasy.fandom.com]
Final dungeon (Chaos Shrine {past} )
127 — Tiamat[finalfantasy.fandom.com]
Final dungeon (Chaos Shrine {past} )
128 — Chaos[finalfantasy.fandom.com] ☠️☠️☠️
FINAL BOSS; final dungeon (Chaos Shrine {past} )
Conclusion


For completing the bestiary you will receive the following achievement:
Field Research- Professional (Completed 100% of the Bestiary entries.)
During the process of completing the bestiary, you should have also received the following achievements:
Field Research- Basic (Completed 10% of the Bestiary entries.)
Field Research- Advanced (Completed 50% of the Bestiary entries.)
Hopefully, this guide aided you in completing your quest and venturing across the World of FINAL FANTASY. Feel free to leave any questions or comments down below. This is my first guide on Steam, so please leave any suggestions as well. Until next time Warrior of Light!
Source: https://steamcommunity.com/sharedfiles/filedetails/?id=2567260207
More FINAL FANTASY guilds
- All Guilds
- Final Fantasy
- Final Fantasy I Achievement Guide (checklist mostly)
- walkthrough for 100% final fantasy
- Armor Modding for Final Fantasy Pixel Remaster
- FINAL FANTASY
- FINAL FANTASY | Guida al 100% del bestiario
- How to remove white screen flashing on critical hit in FF I PR
- Desequipar las armas del Monje mejora su ataque
- Character Tier List / Party Composition Guide
- FINAL FANTASY Guide 191
