
Intro

Welcome to one of the few frustrating as heck achievements in this beautiful game & awfully annoying DLC! You're probably here because you're struggling like i was with this frustrating achievement, and funnily enough when i went to go look for a guide about this achievement in particular i couldn't find one! I'm making this so that anyone who has trouble getting this achievement can look at this guide to help them out. Now before we begin let me start by saying a couple of things:
The AI in this game can be REALLY unpredictable and down-right awful (especially when they've detected you or are looking for you!) This goes into my next and main point for this guide:
TAKE. YOUR. TIME. BE. PATIENT. It's not a race! (Unless of course you're going for 3 stars), don't be afraid to wait and be patient when lining up your shots! ( if you're aiming at an enemies head and there's no red dot in the middle of your crosshair, DONT SHOOT! )
You have infinite ammo and a fully upgraded crossbow, so don't be worried about having only a few bolts!
This is pulled straight from the Dishonored Wiki, and I thought it would be somewhat useful: The player will get 300 pts for a headshot, and a surprise shot adds a 50% bonus to the points, so the two together give them 450 pts. Just pay attention to the right side of your screen to make sure Headshot pops up once you kill an enemy!
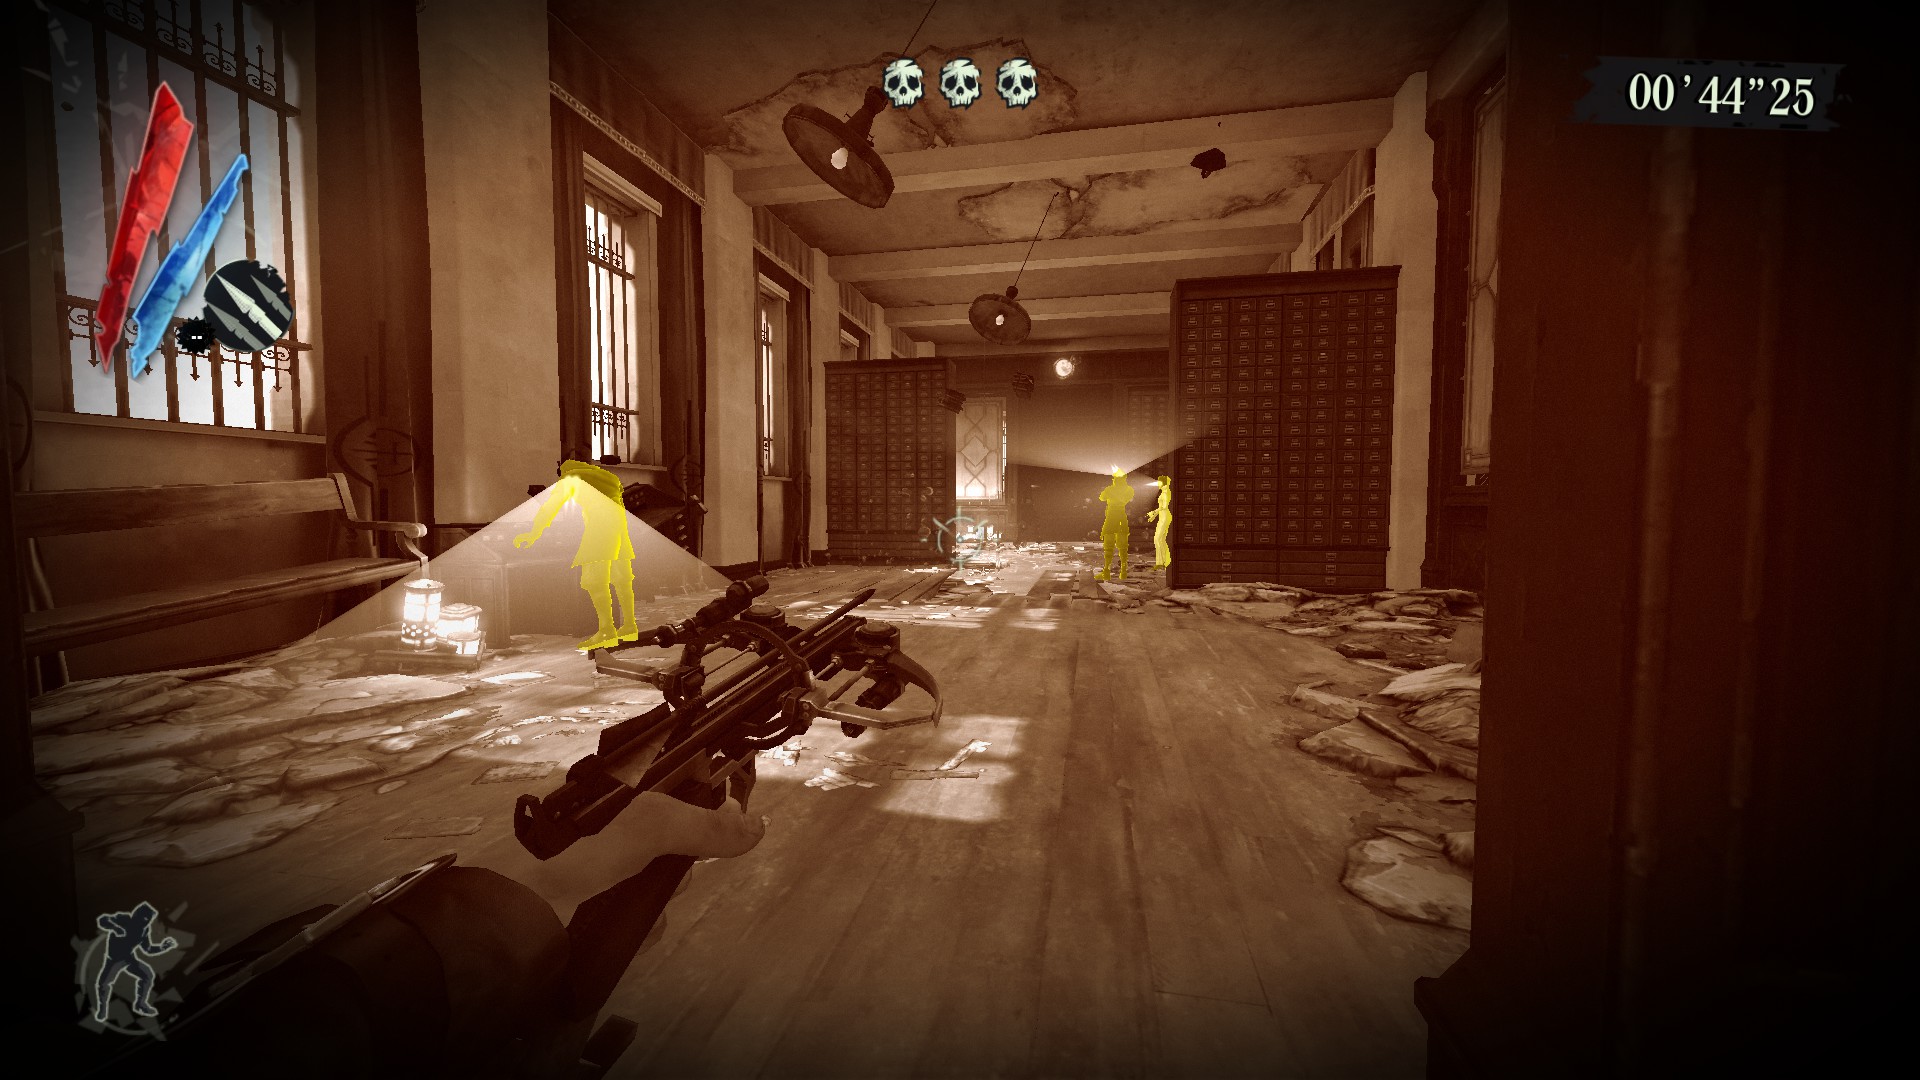
Just a personal preference, but I used Dark Vision on certain rooms to show me what the enemy layout was before I entered! (specifically for rooms 1, 4 & 5! Not 2 though, because you can already see all the enemies once the door comes down.)
Lastly, if you miss a shot... just restart immediately, as missing will void the achievement for you completely!
Okay, lets get into it!
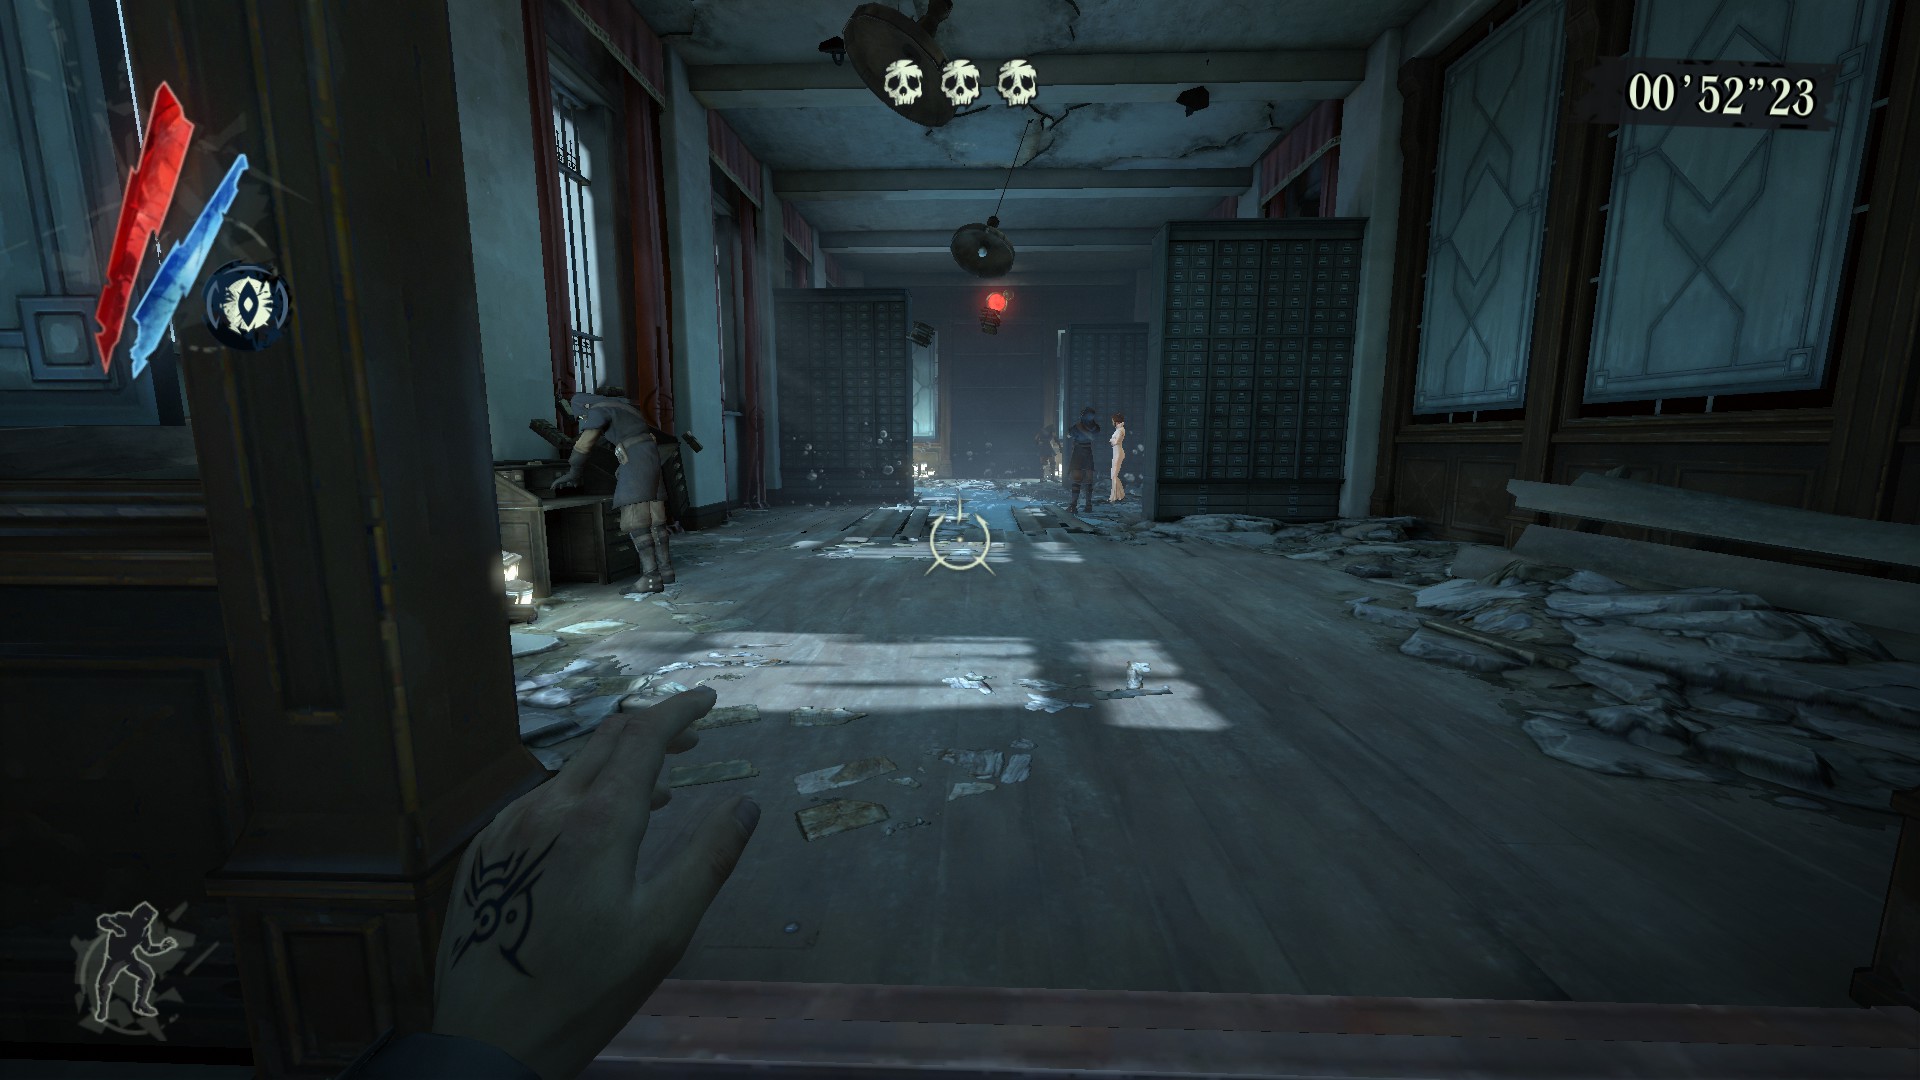
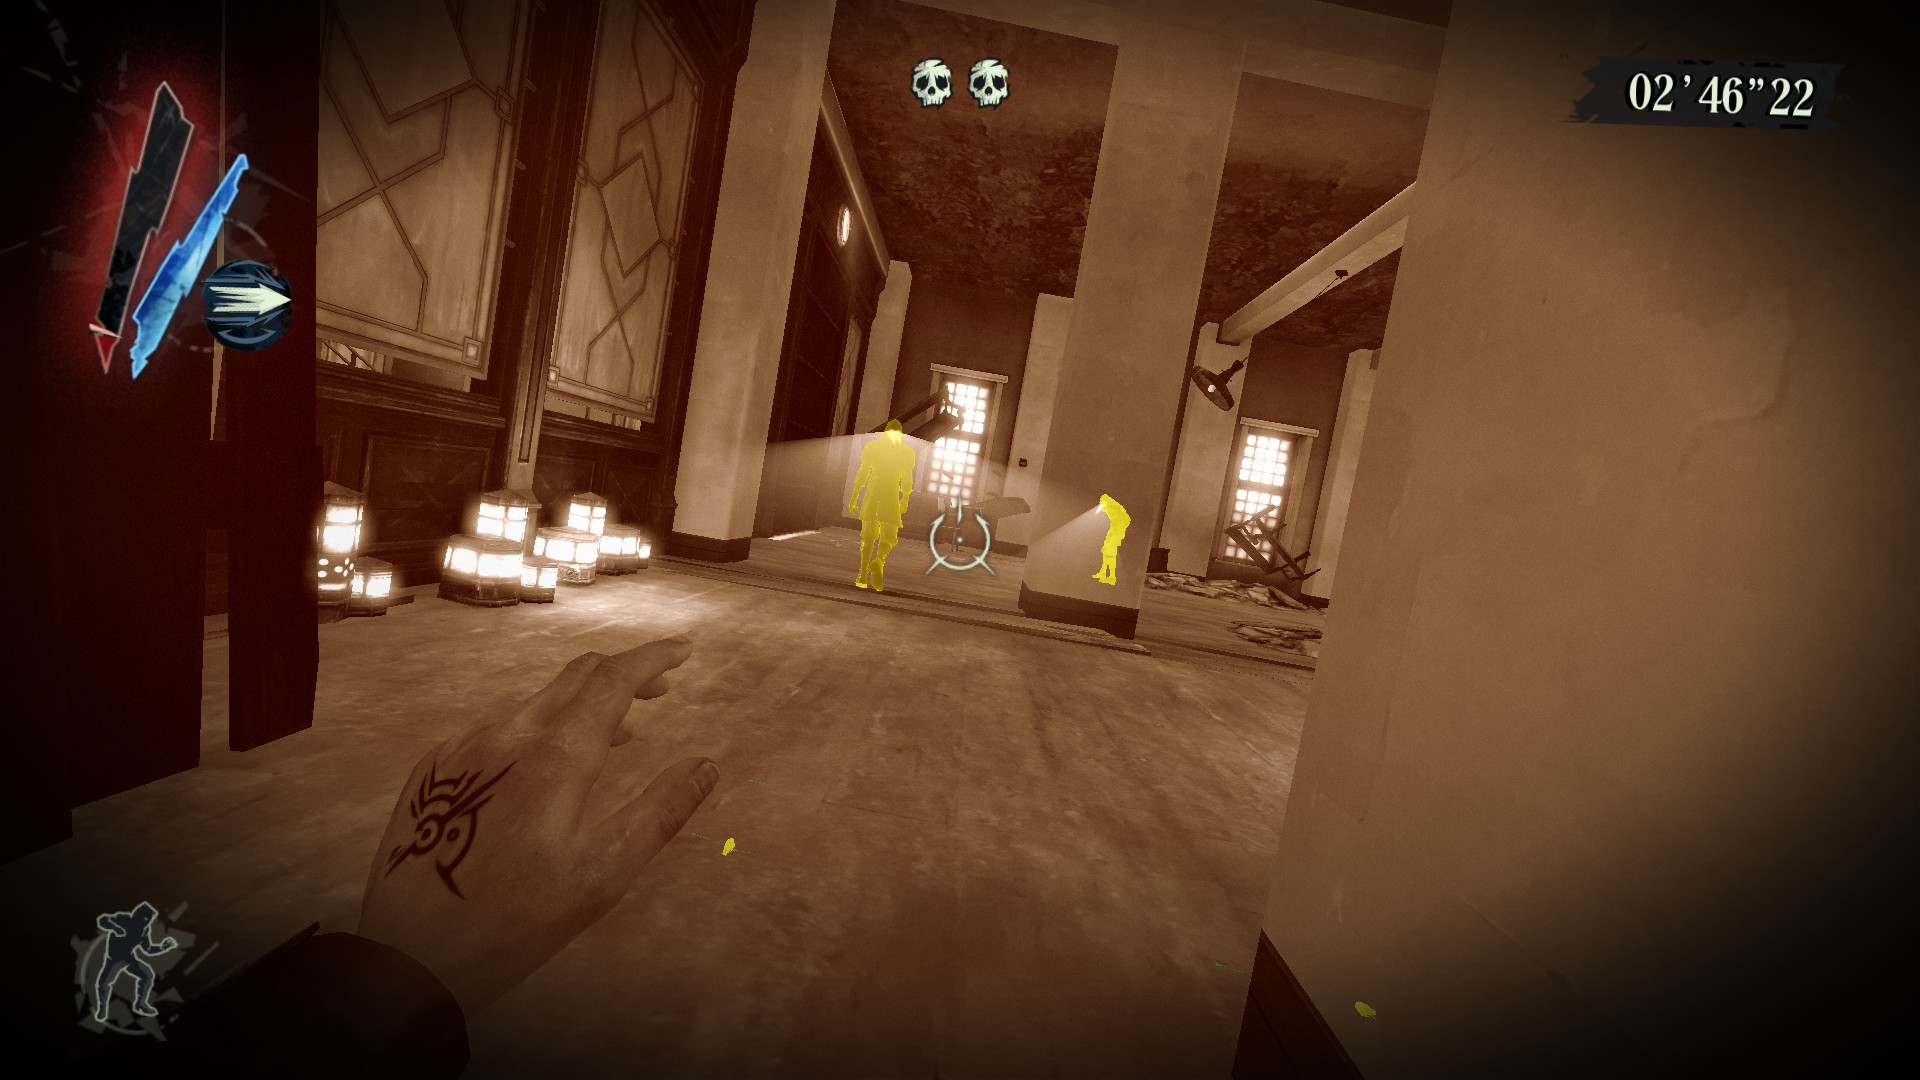
Room 1: 3 Whalers, 1 Civilian
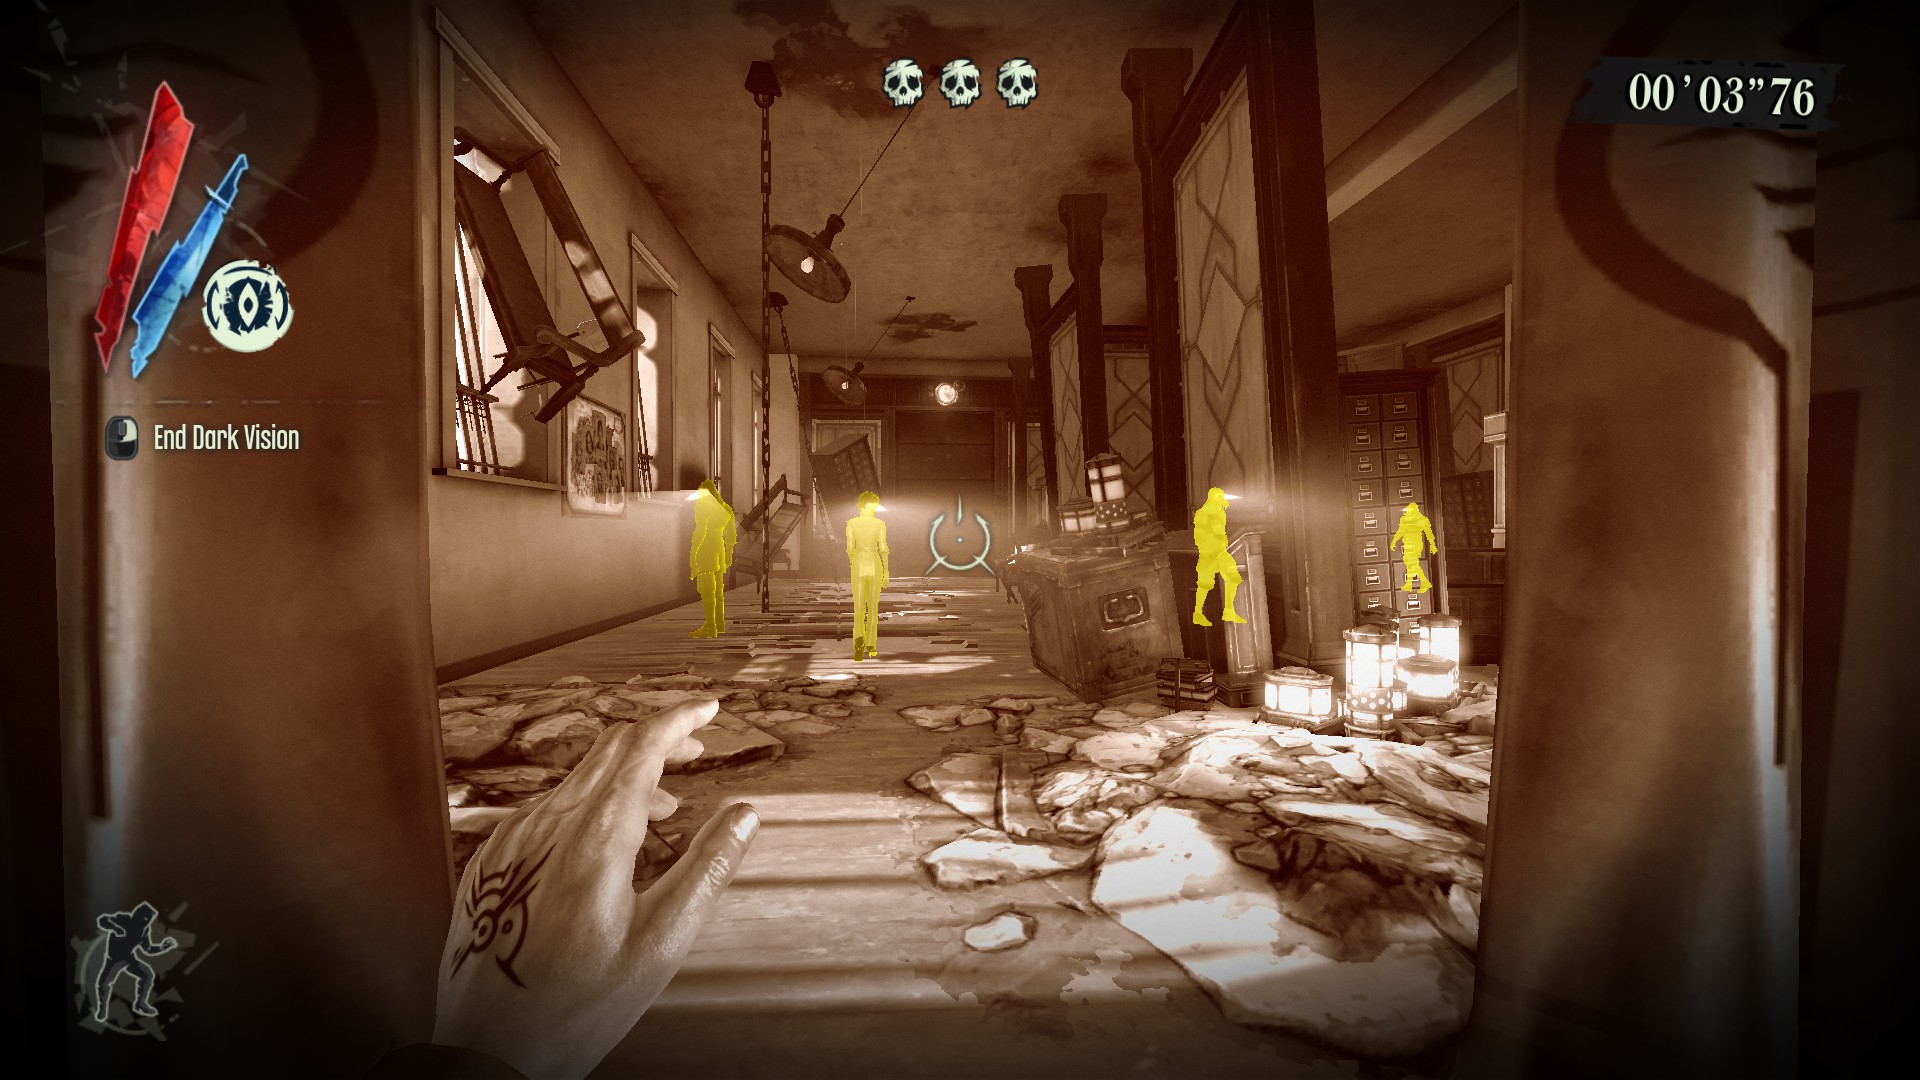
Now we are off with the first room, one of the easier ones out of the seven! (Obviously why would the first room be the hardest lol)
As i stated in the intro the AI for this game is unpredictable and just annoying (especially when you get aggro) i recommend using Dark Vision at the start as soon as the level begins to see the enemy layout for the room - not that it really matters much since you'll be taking your time in between shots!
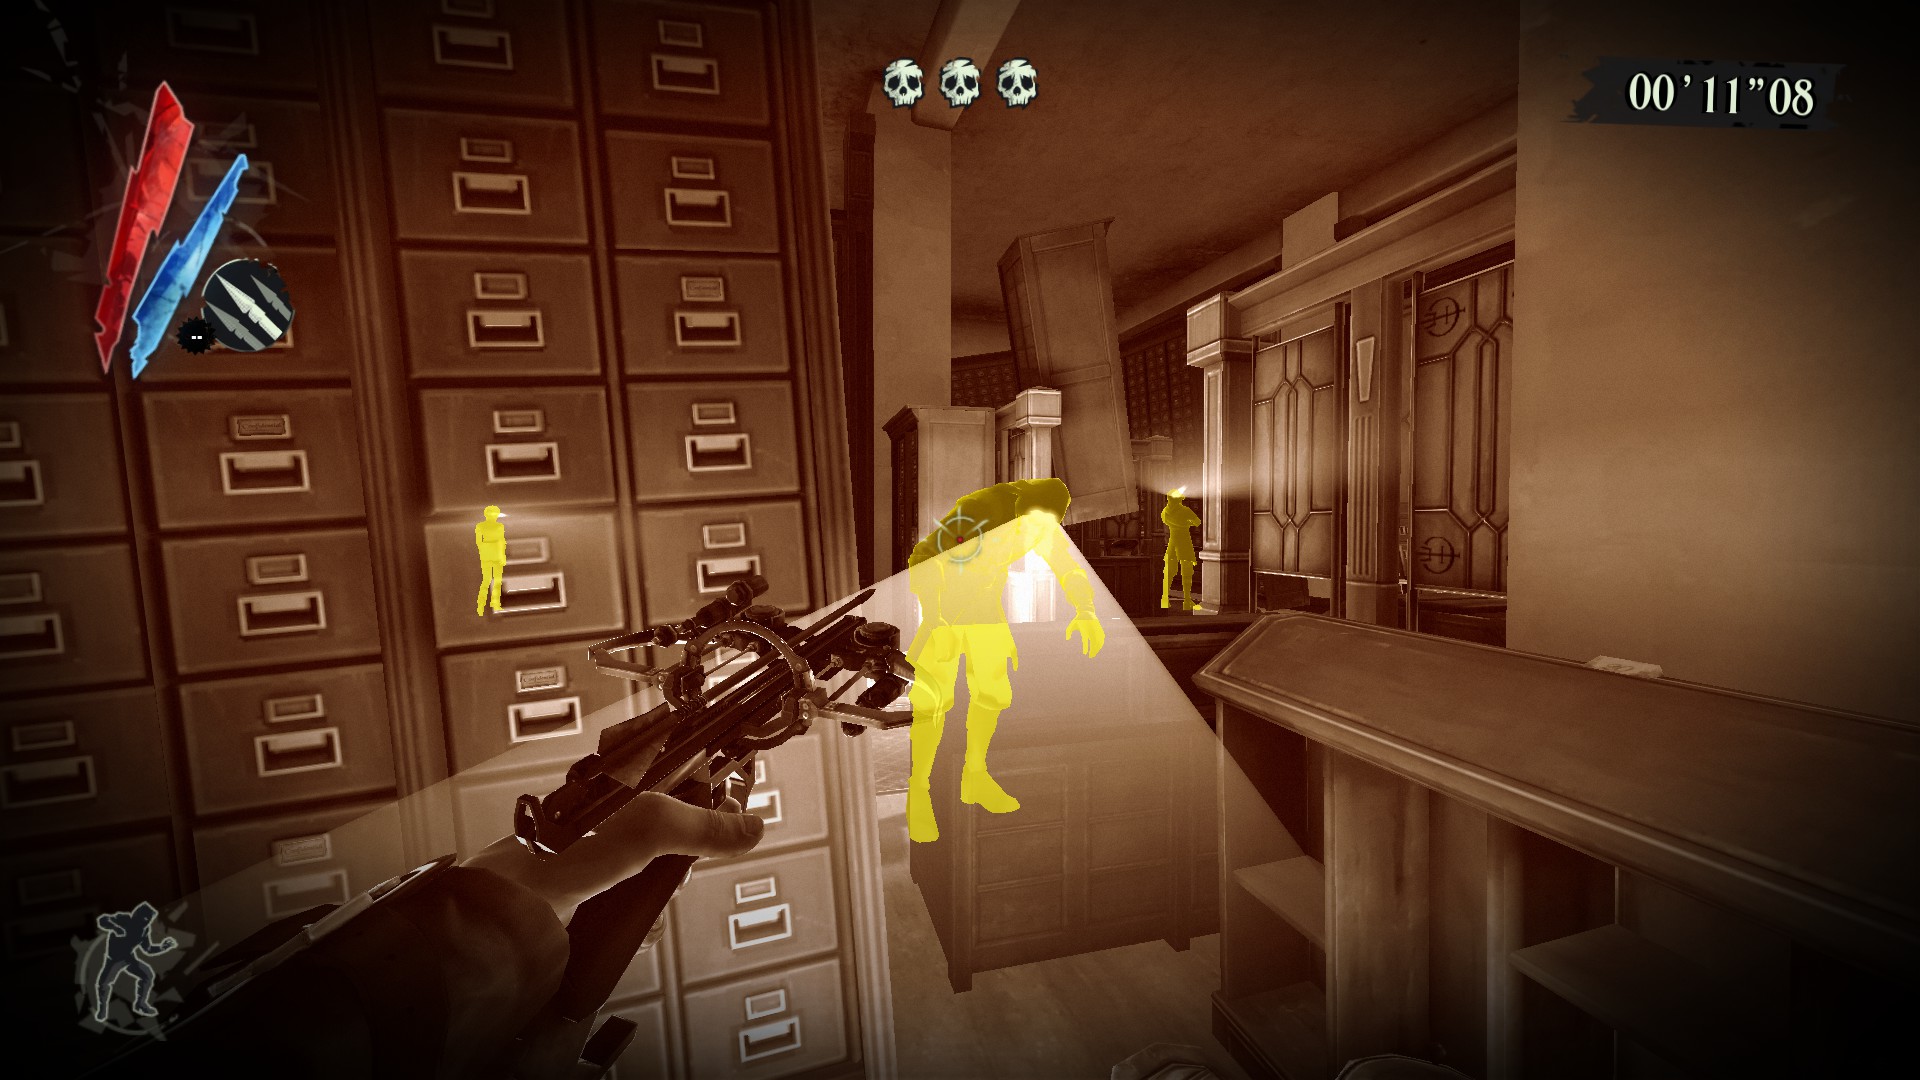
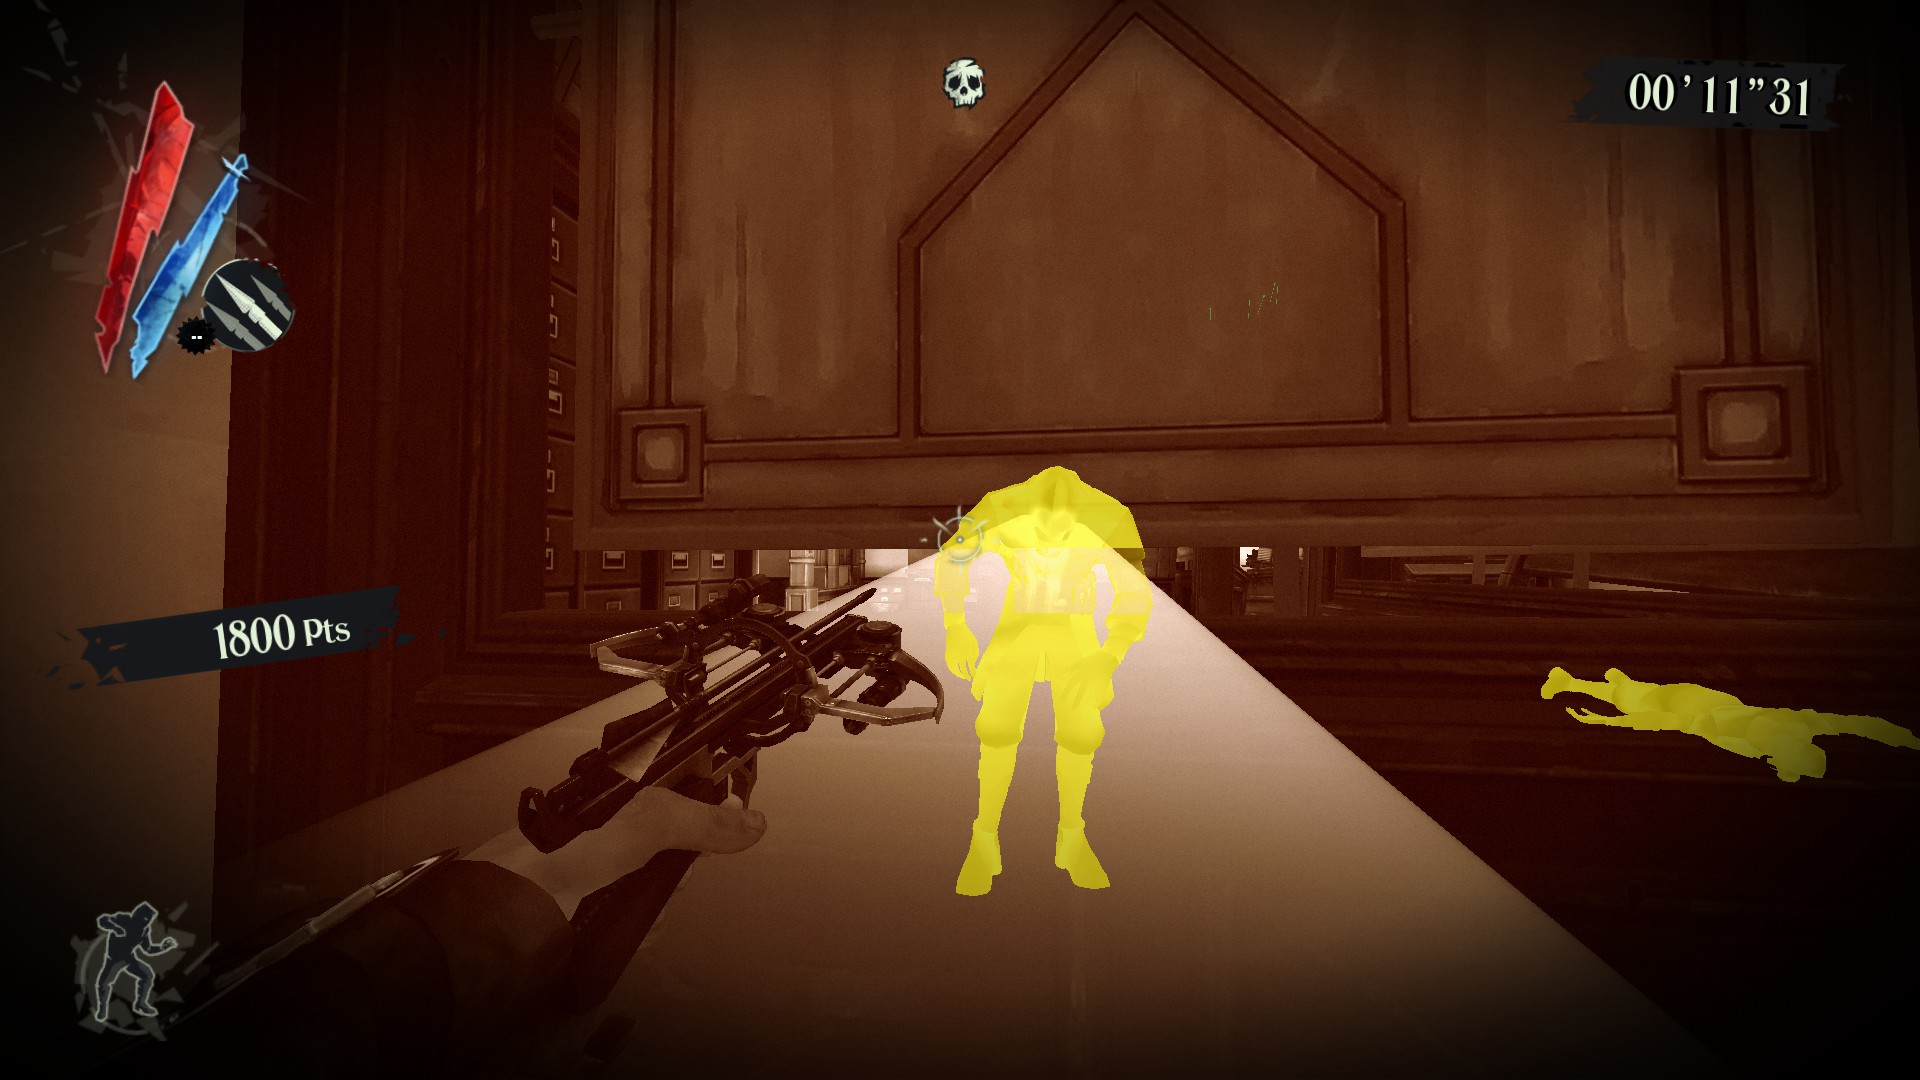
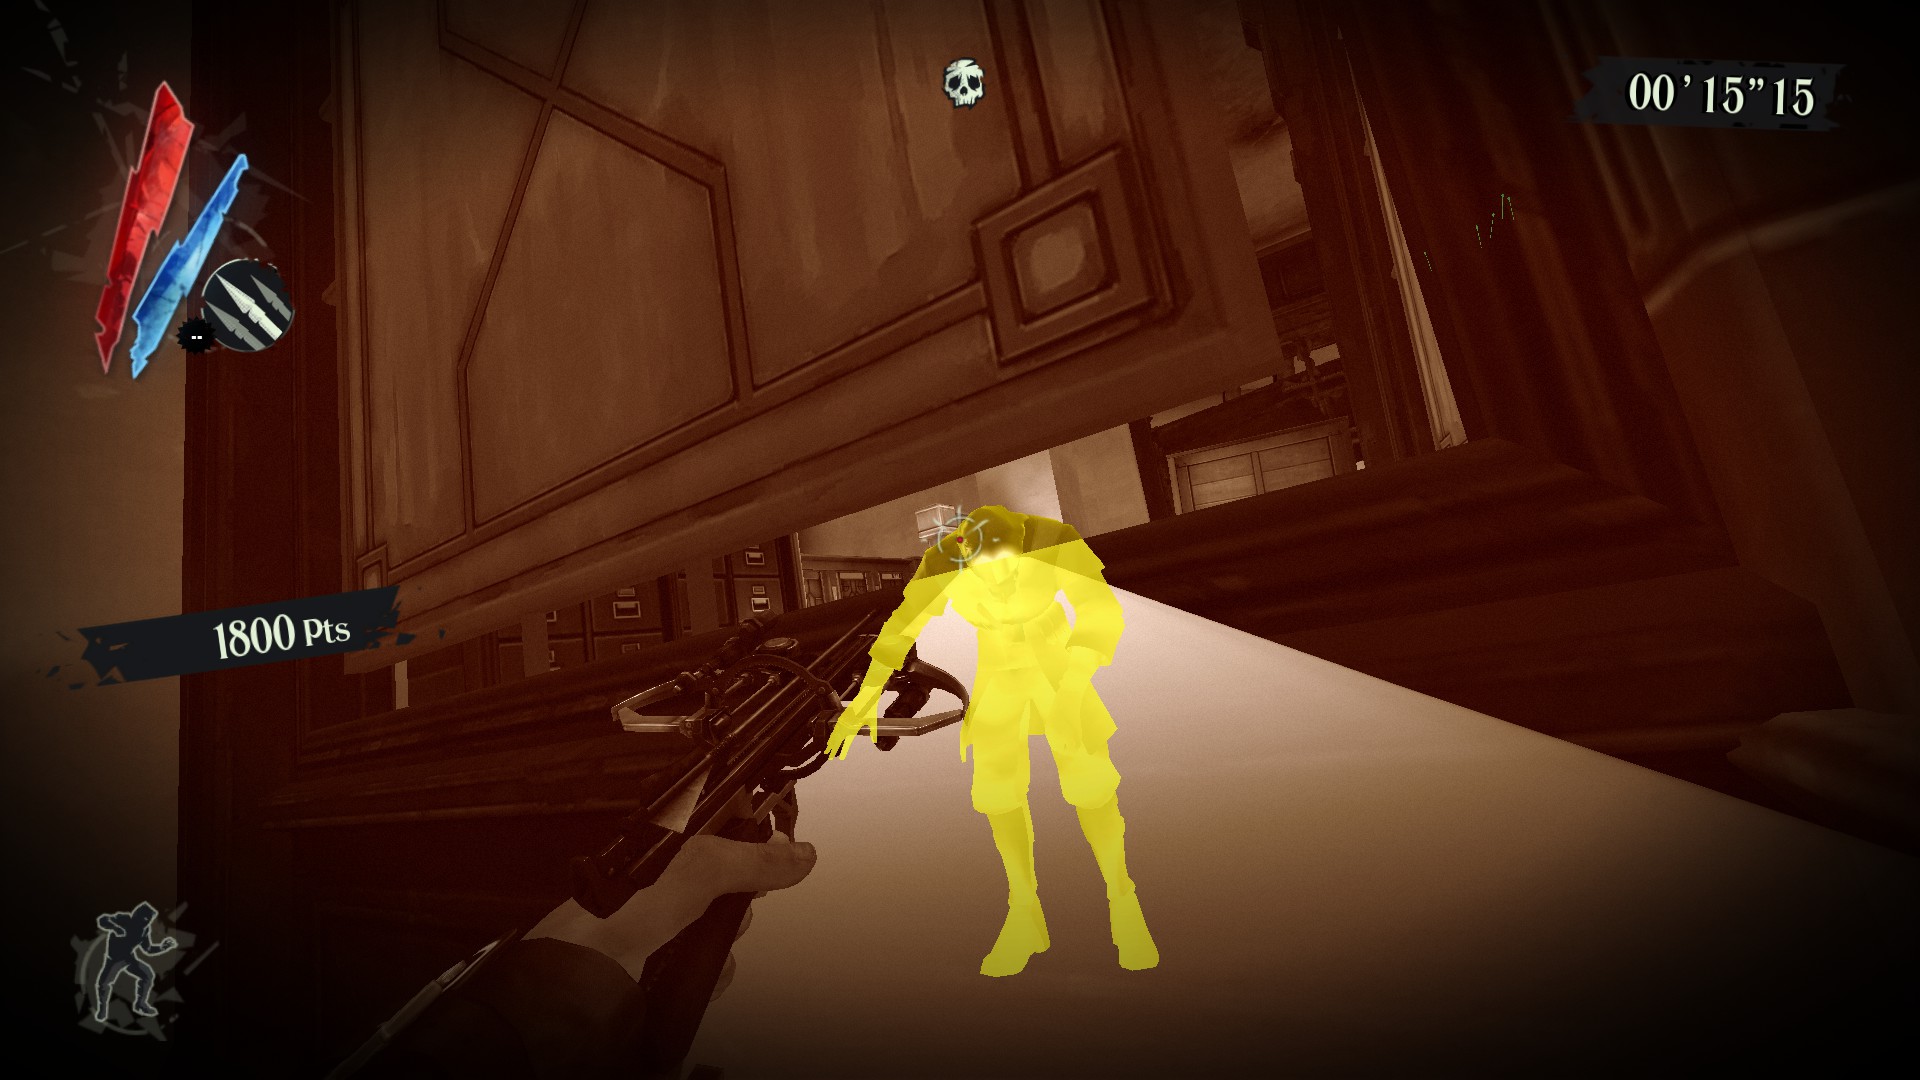
Here is one of the few ways a room could be laid out! Once you kill the first guy on the left, the guy in the middle will be either facing you as you come out the door or he will be facing the other direction looking down at the other desk:
I recommend to get right in front of him and aim directly at his head so you'll have absolutely no chance of missing; whereas if you go from the side it will be next to impossible to hit him in the head, as the hitbox is basically nonexistent. Then just hit the guy looking at the books to the right and that will be the first room done!
Sometimes the room will be set out with 2 whalers on the left and the civilian in the middle; if so the whaler on the right side will move towards you instead of stopping so just be ready to nail that shot before he notices you!
However If your inpatient like i am and want to get through this as quick as possible, and if the whaler is on the other side not facing you, you can blink over to the other side, pull your crossbow out and lean to the right so you can just barley peak through the crack and shoot him in the head!
Room 2: 3 Whalers, 1 Civilian
This room is nothing special if I'm being honest and there's nothing in particular for me to point out; besides just being careful if the whalers are standing next to each other, so when you shoot one the other one will aggro and standing running towards you! (if this happens just look up and blink onto the dresser in the air, pick them off careful and get those headshots!) Sometimes he will even go halfway to the door frame and start slowly walking, and you can just pick both of them off pretty easily
If you aggro any of these whalers in the first two rooms fully so they know of your position and start attacking you, id recommend just restarting: as it will make it extremely difficult to hit their heads as they are attacking you, and you can also be killed pretty quickly in a group!
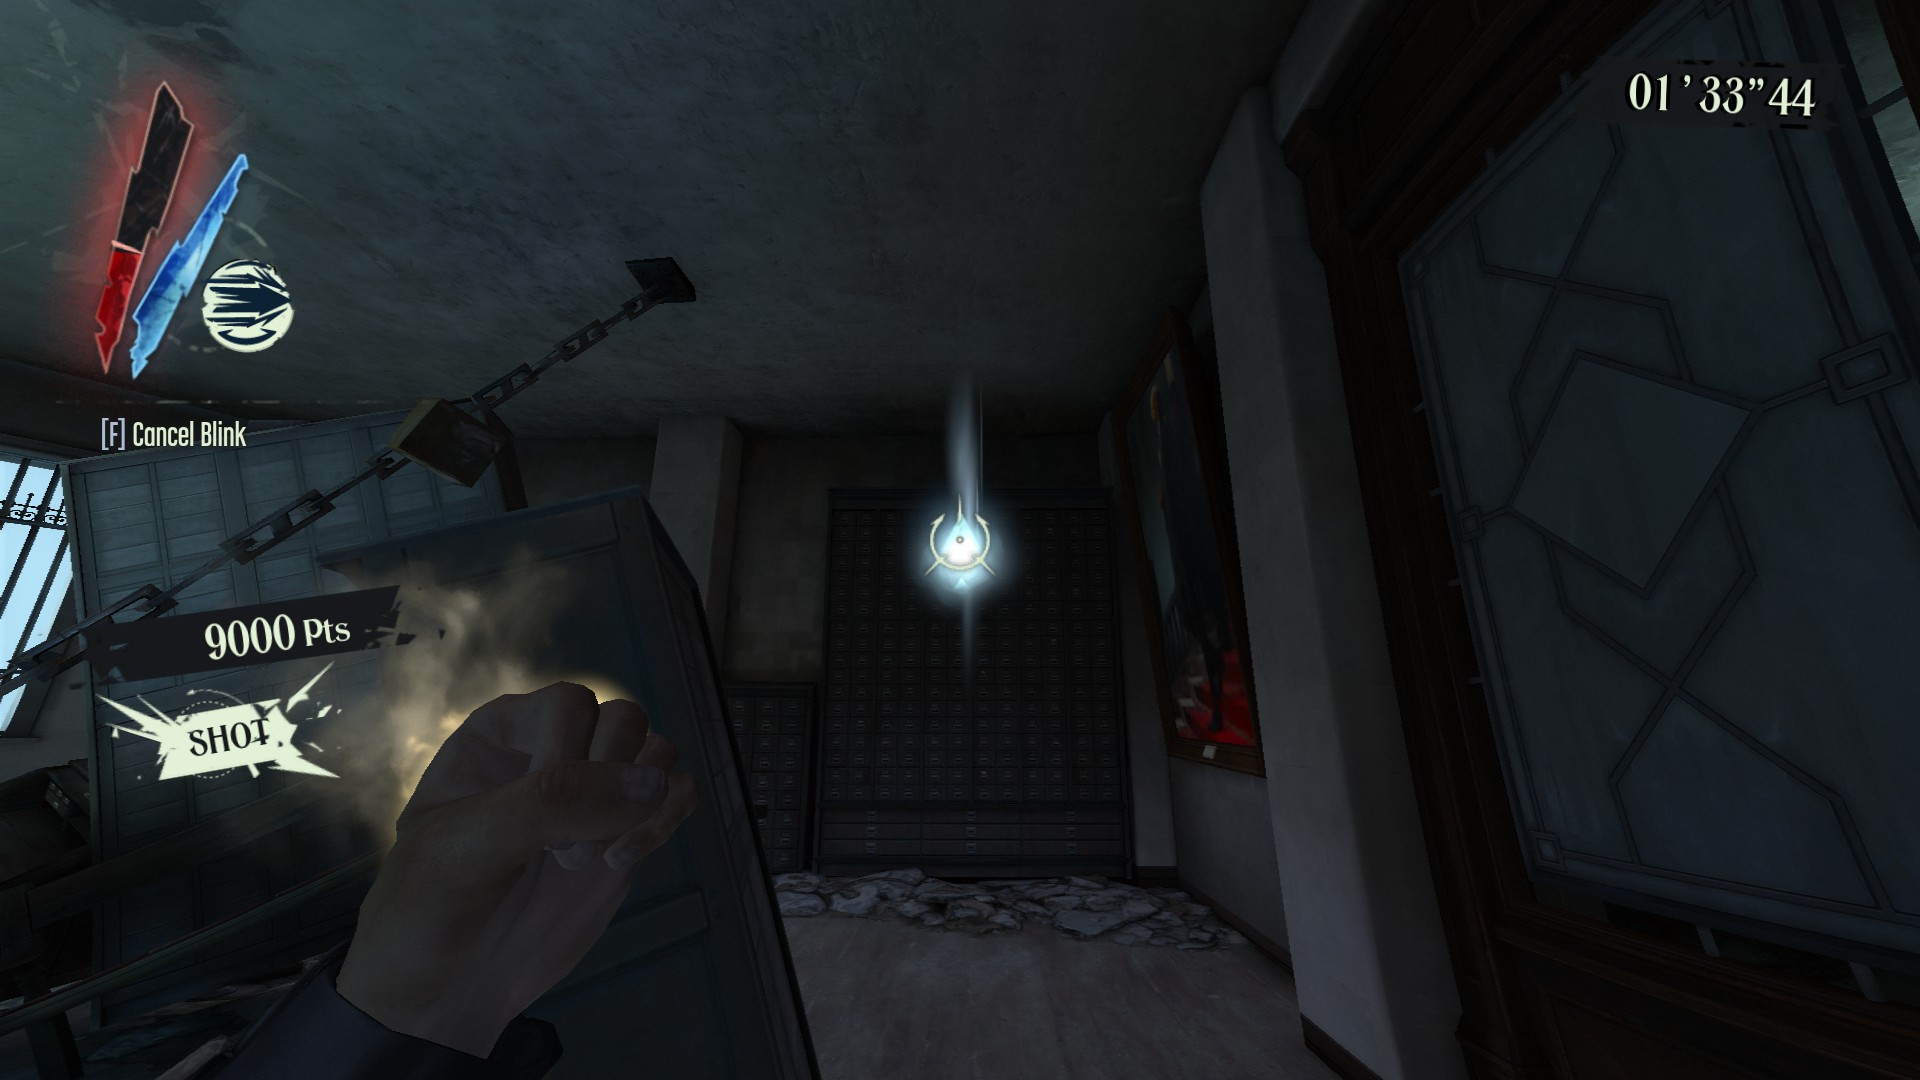
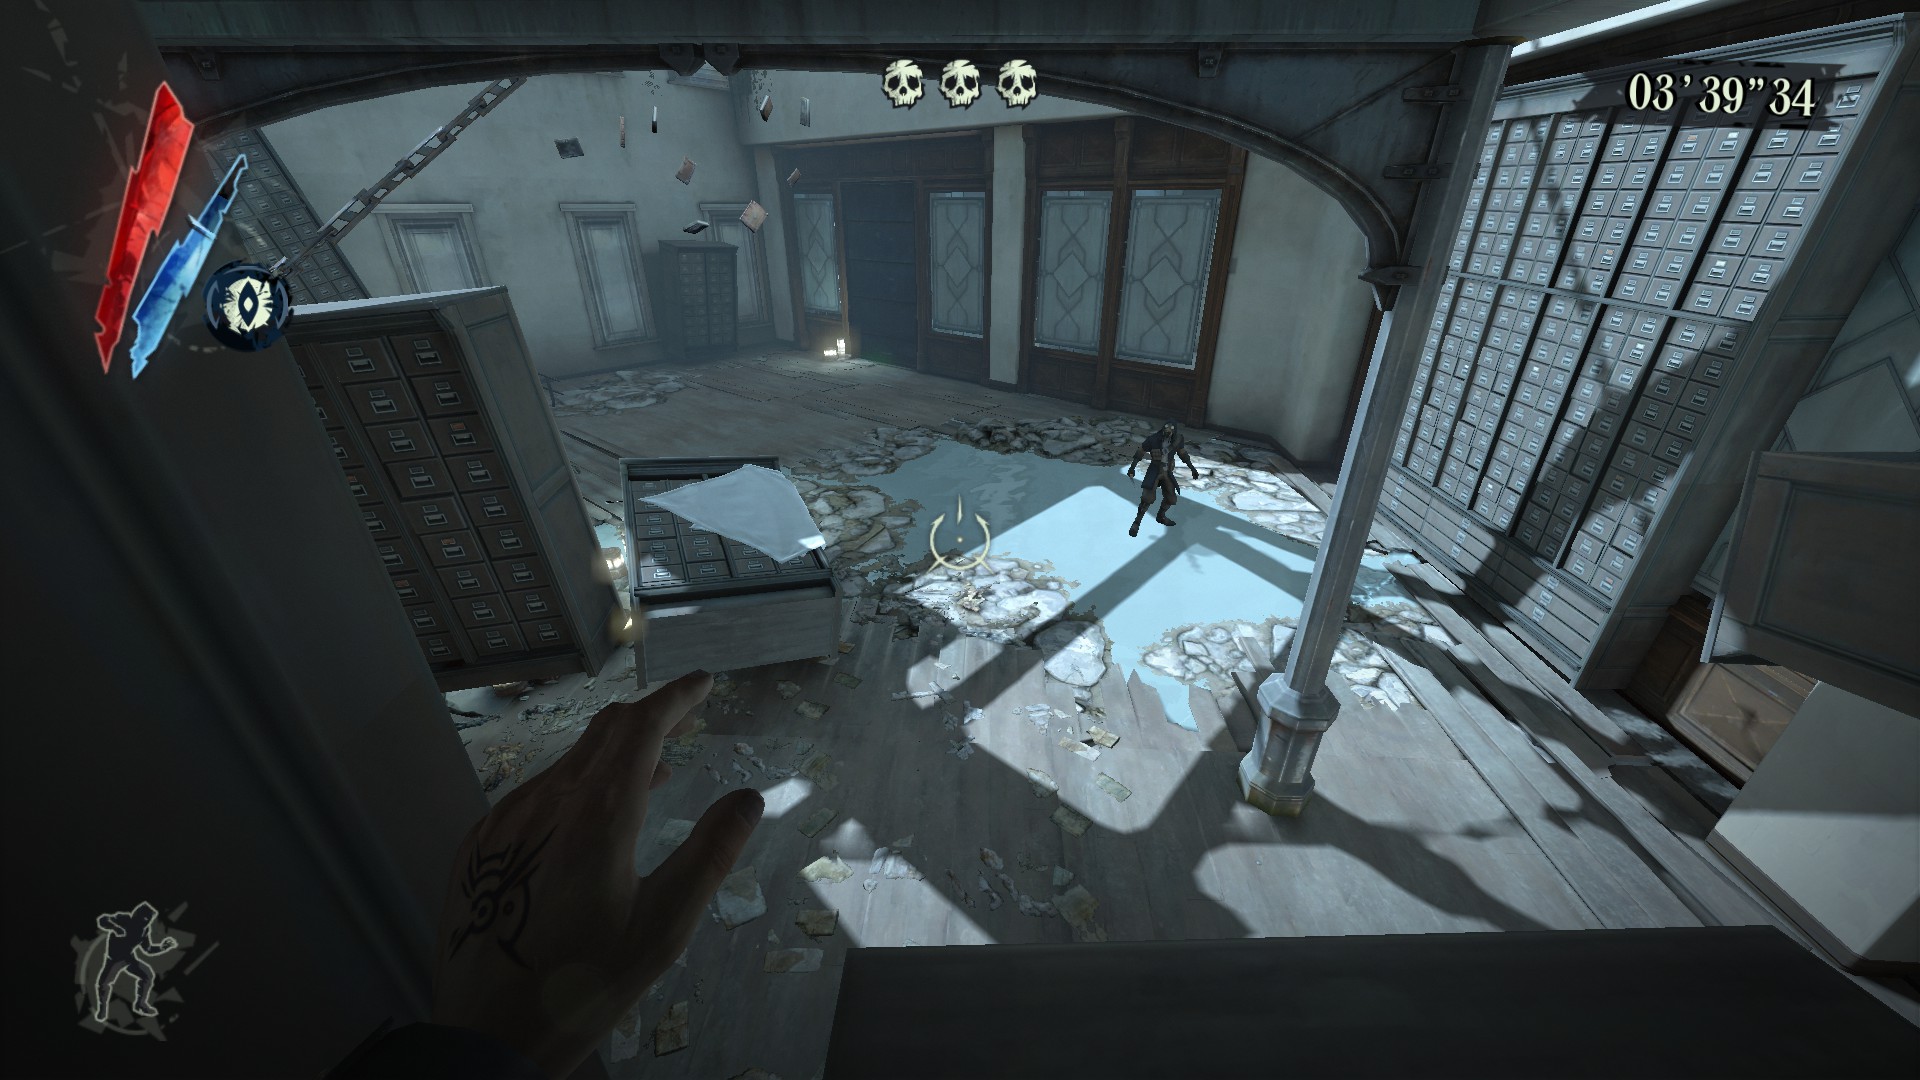
Room 3: 5 Weepers, 1 Civilian + Emily Doll
So originally this was the room i had to restart on the most, mainly because of how fast the weepers move: they instant aggro on you as you enter, and if you get close enough for them to grab you they can do some decent damage in their group. Now you could just run around in a circle and just shoot them when they aren't vomiting at you BUT... I'm going to show you a way to make this room one of the easiest out of the seven:
As soon as you enter the room you're going to immediately run towards the right corner of the room, and with blink out you'll blink on top of the dresser!
Once this is done, you'll turn around with your crossbow out and see that all the weepers are now standing still, ready to be plucked off one by one! Just be careful as they will still vomit... (not at you) but just be patient and wait until their heads aren't moving to shoot your shot!
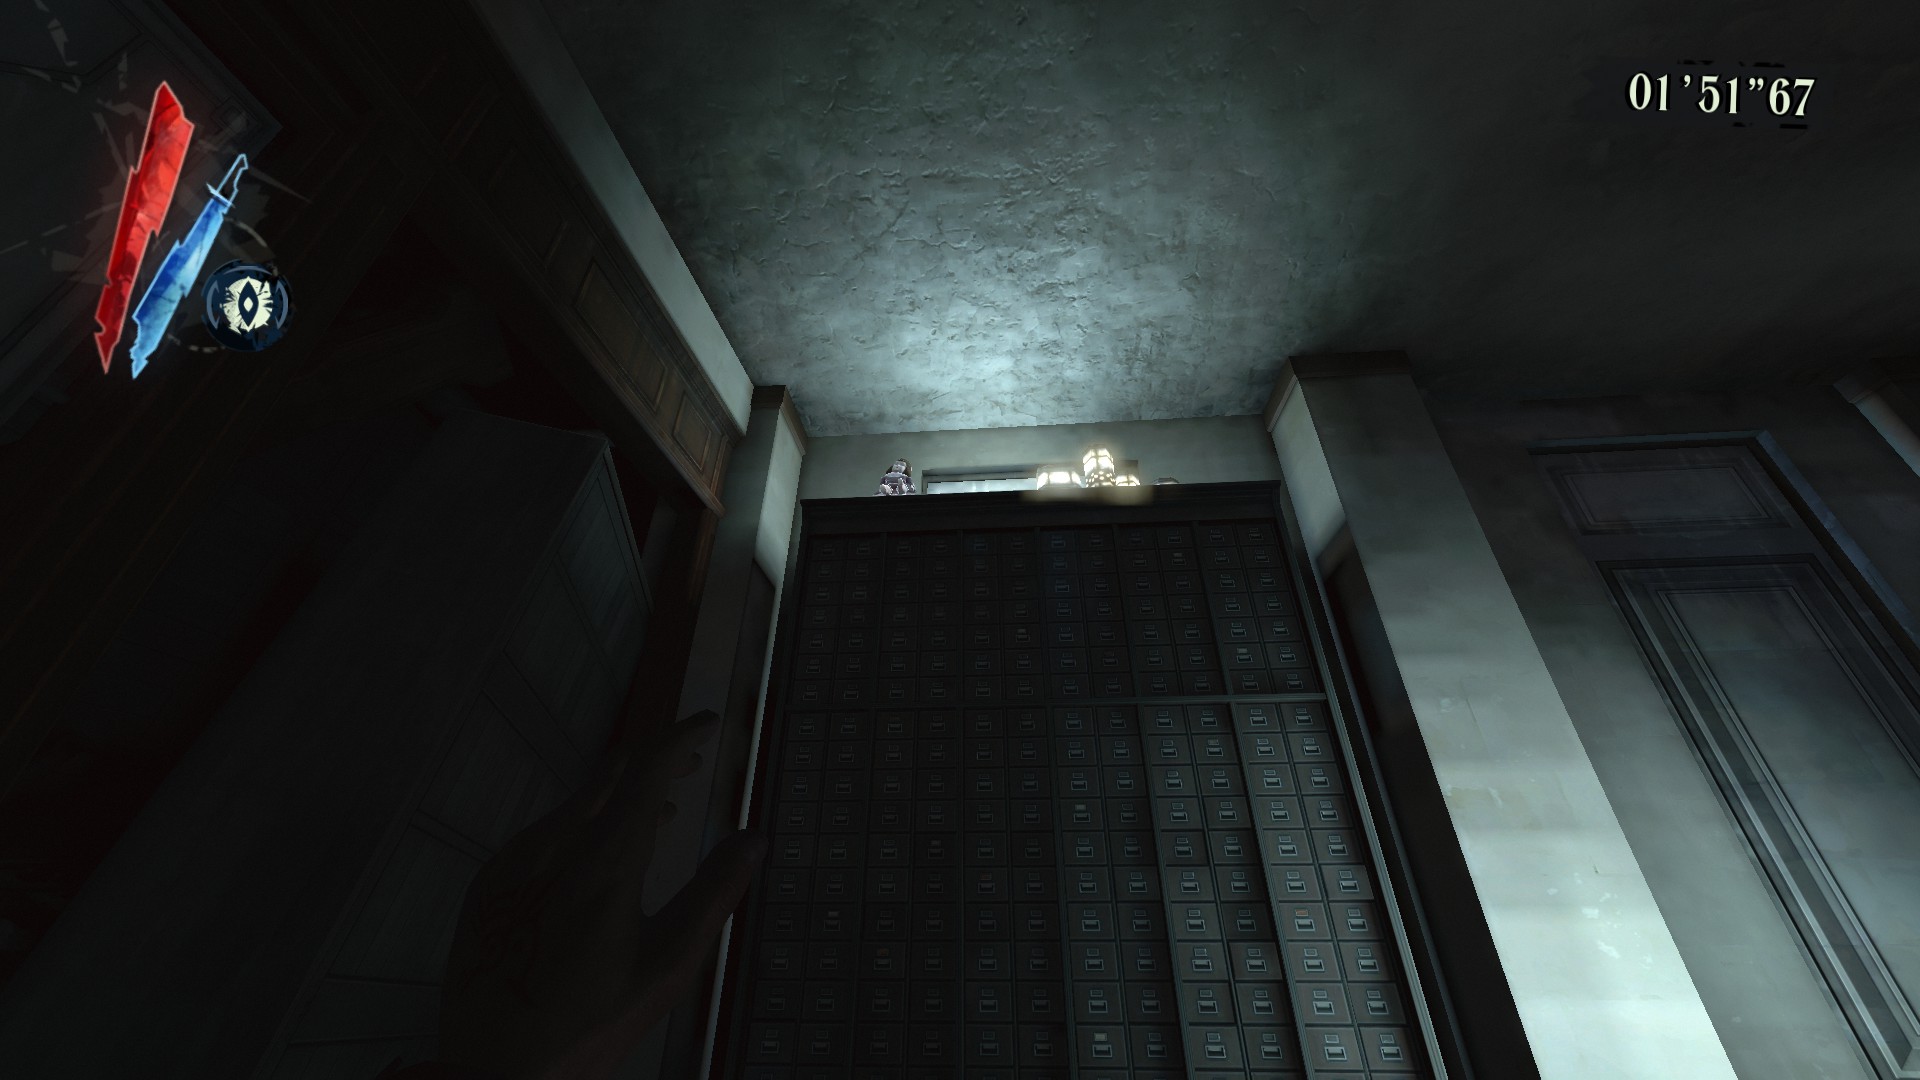
Lastly, I'm assuming you're wanting to collect all the Emily Dolls as well so I'll tell you where that is too. As soon as all the weepers are dead, go into the place they emerged from and go to the left most side of the room and look up on the dresser: there you'll find the Emily Doll for this level, as shown in the picture below!
Room 4: 2 Whalers, 1 Civilian
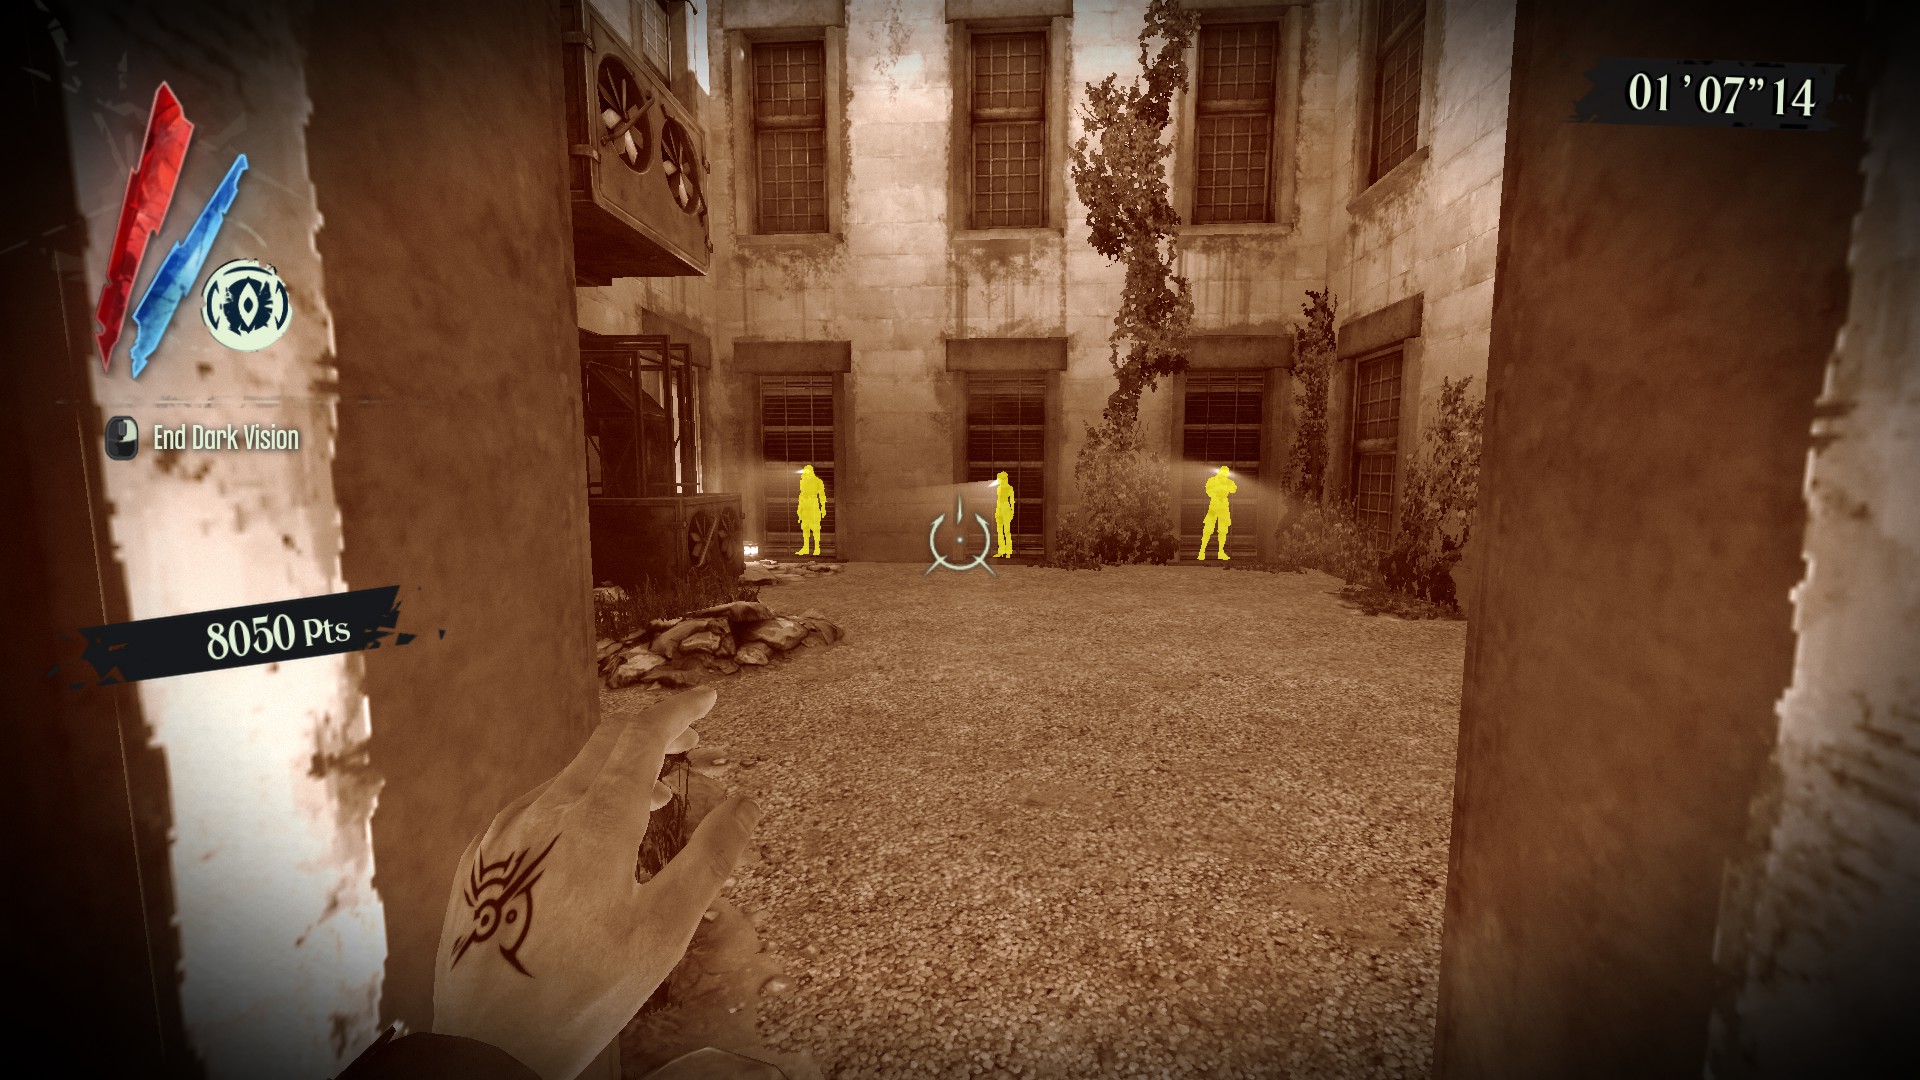
I HIGHLY recommend to pop Dark Vision before entering this room as you'll be able to see who is behind each of the three doors and it will allow you to get an easy shot on one of the two whalers in this room!
Dark Vision popped before you enter the room so you can see how its laid out!
Once you enter be ready to line up with the first enemy on the left side of the room so you can quickly pop him off. Once you've got one down, you'll want to immediately look to your left and blink up onto the air ducts and stay there with your crossbow out!
Doing this will cause the other enemy to blink under you and slowly move backwards on an angle! As he's moving backwards he will take a shot at you: just dodge it, and right after that get ready to quickly nail that shot on his head so you can quickly move onto the next room! If you don't take the shot quickly enough he will blink up to you and start swinging at you; if this happens just hop back down and wait until he comes down with you and blink back up onto the air duct and repeat!
Doing this strat will avoid any sort of up-close fighting and will help you get out of this room as quickly as possible!
Lets move onto the next and only unique room in this level!
Room 5: 2 Whalers, 1 Civilian

This is a pretty unique room in this level as it's the only one where the enemies are pretty far away from you! This one only features two whalers.
Your first whaler will actually be holding the civilian hostage: this shot is the easier of the two and pretty hard to miss. Just aim directly at his head and take your shot; be careful to not shoot the civilian when you're shooting him in the head (again very hard to miss this) Be wary: he can sometimes put his arm up over his head and put it back down! Try get this shot out of the way quickly so you can focus on the next one!
Now, I know I've said before I've restarted a bunch on previous rooms but this shot in particular took me a while to try and get. The two reasons why this one is one of the hardest shots you'll be taking are:
1) He's moving up the steps, already makes it harder to hit him in the head, and
2) He is further away than the other whaler, so you'll need to aim a bit above his head when shooting at him.
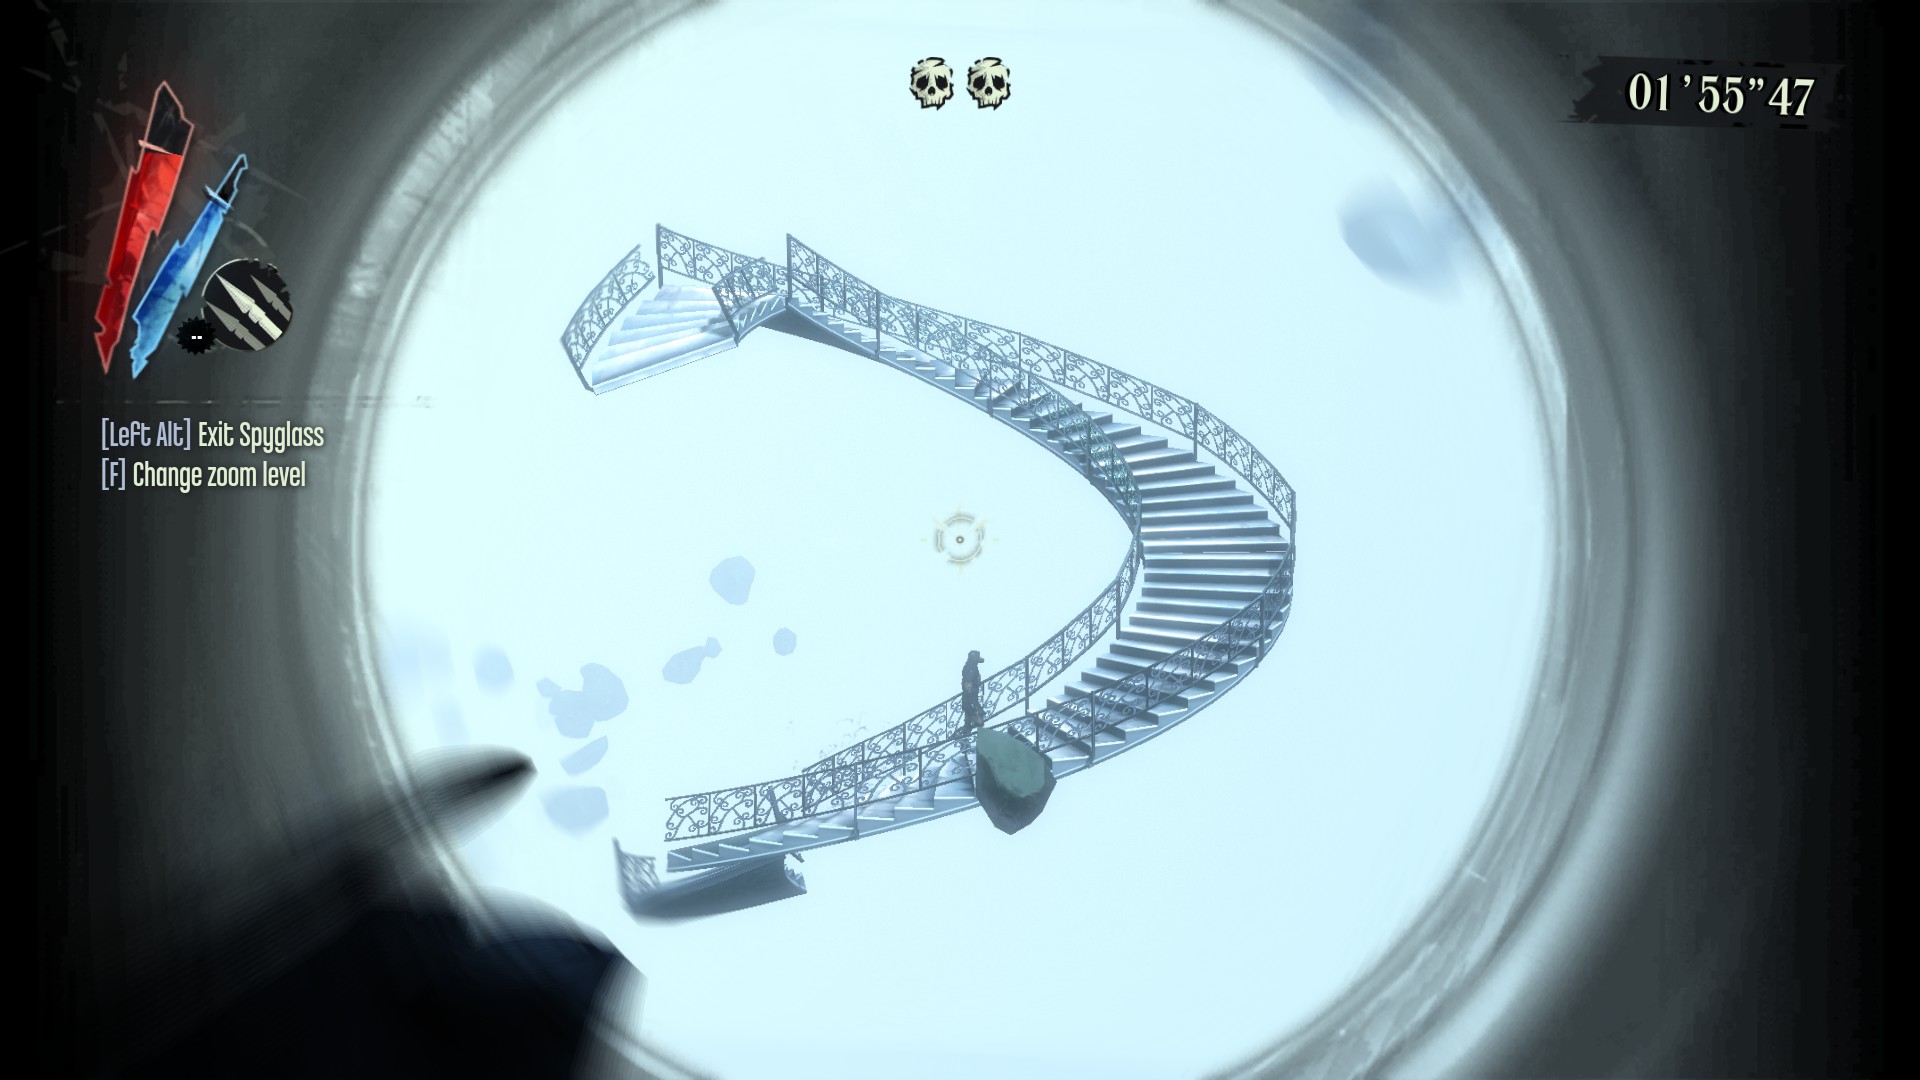
BE CAREFUL!! Once he nears the top of the stairs, he will blink back down to the bottom of the stairs; take this into account if you plan to take your shot near the top of the stairs! I personally had a lot more success landing this shot when he was at the bottom of the stairs since he was on his side, and he wasn't high enough on the steps to make the shot awkward! It's okay if you fail this shot a bunch (trust me I had to restart so many times once i got here) Just keep chipping away at it resetting if you miss, and eventually you'll nail the shot every single time you do this room!
Room 6: 2 Whalers
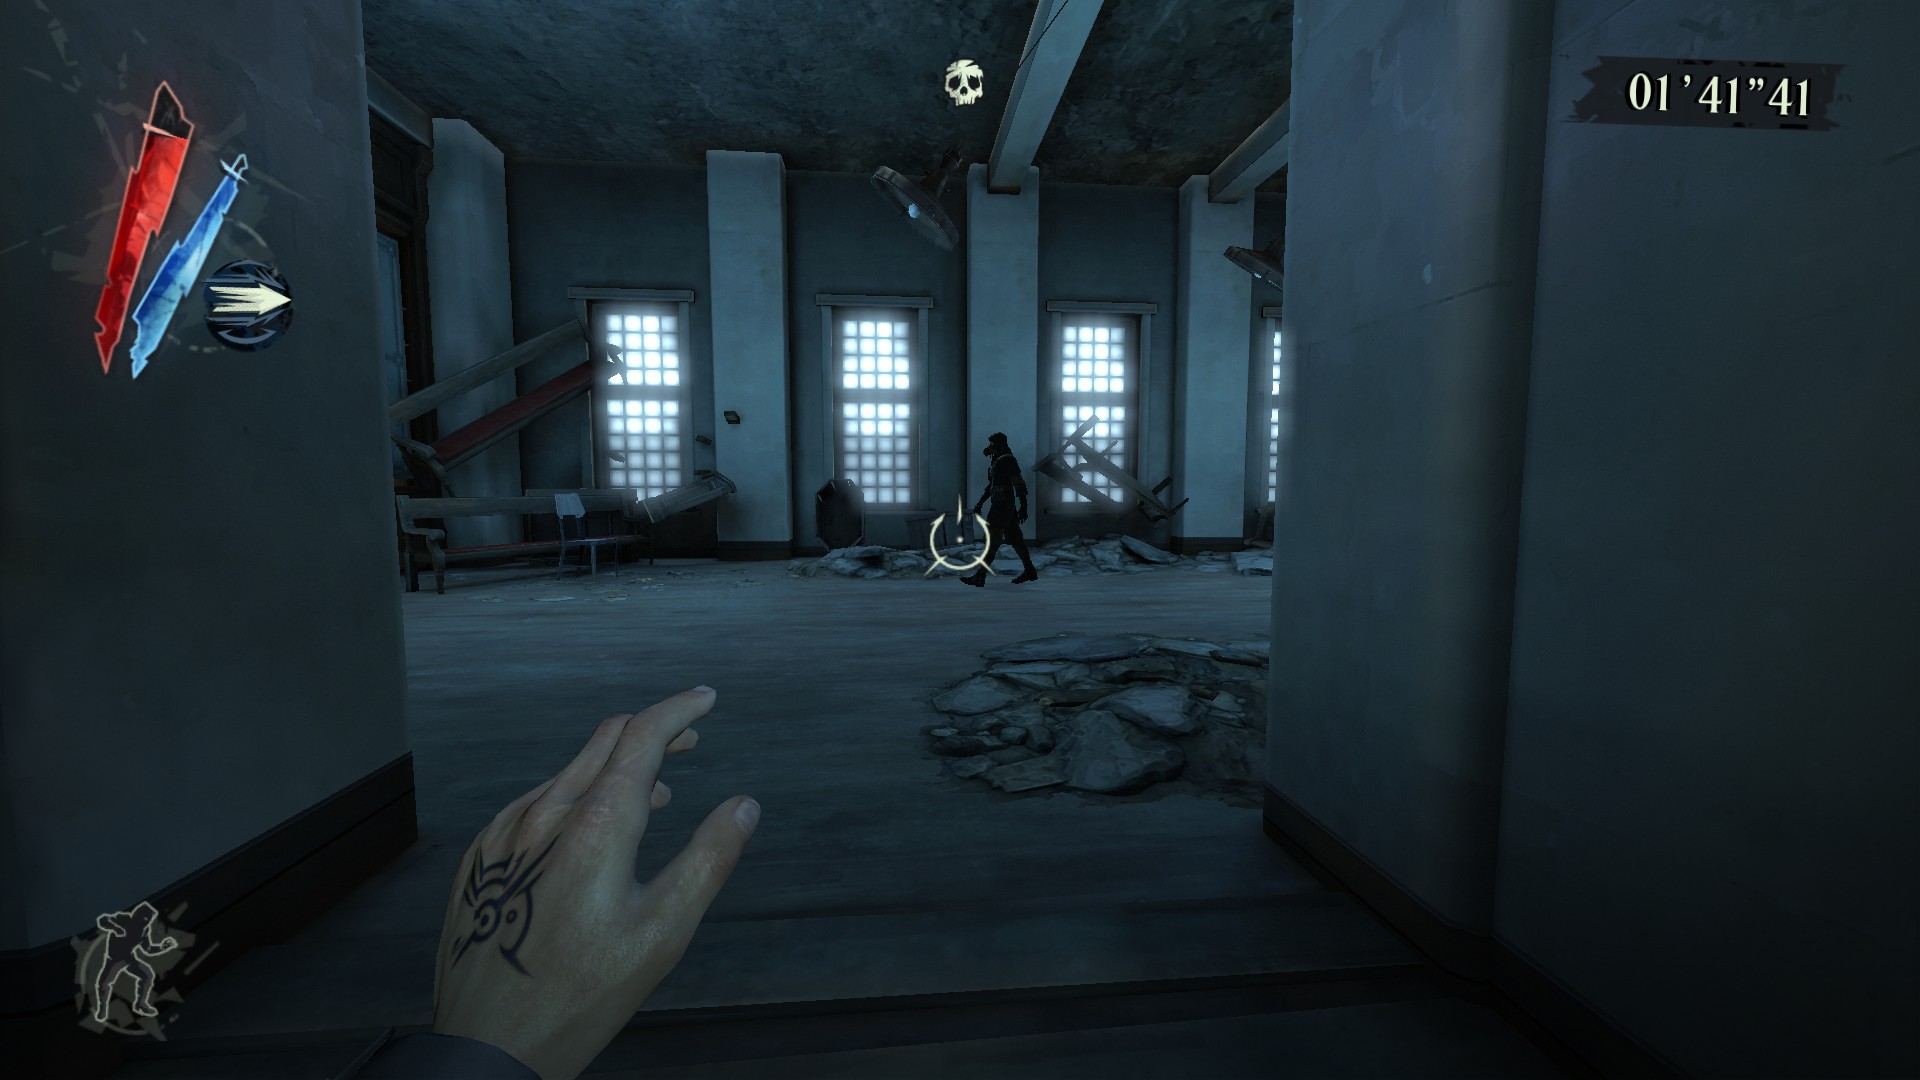
This is probably one of the easiest rooms of the bunch but there are still some things you need to look out for!
There's only one spot for both of these enemies to be so this aswell as rooms; 3, 5 and 7 are the only ones that aren't randomised and will be the same on every single run you do!
BE CAREFUL!! You'll obviously get the first guy down pretty easily but i recommend waiting for the guy in the back to start moving before you go and shoot his head; it's much easier to get him when he's moving as to when he's bent over and you don't have a good view of his head, As shown in the picture below!
(it would be awful to mess up here when your right near the end lol so just be wary!)
Now, let's move onto the final room for this Level!
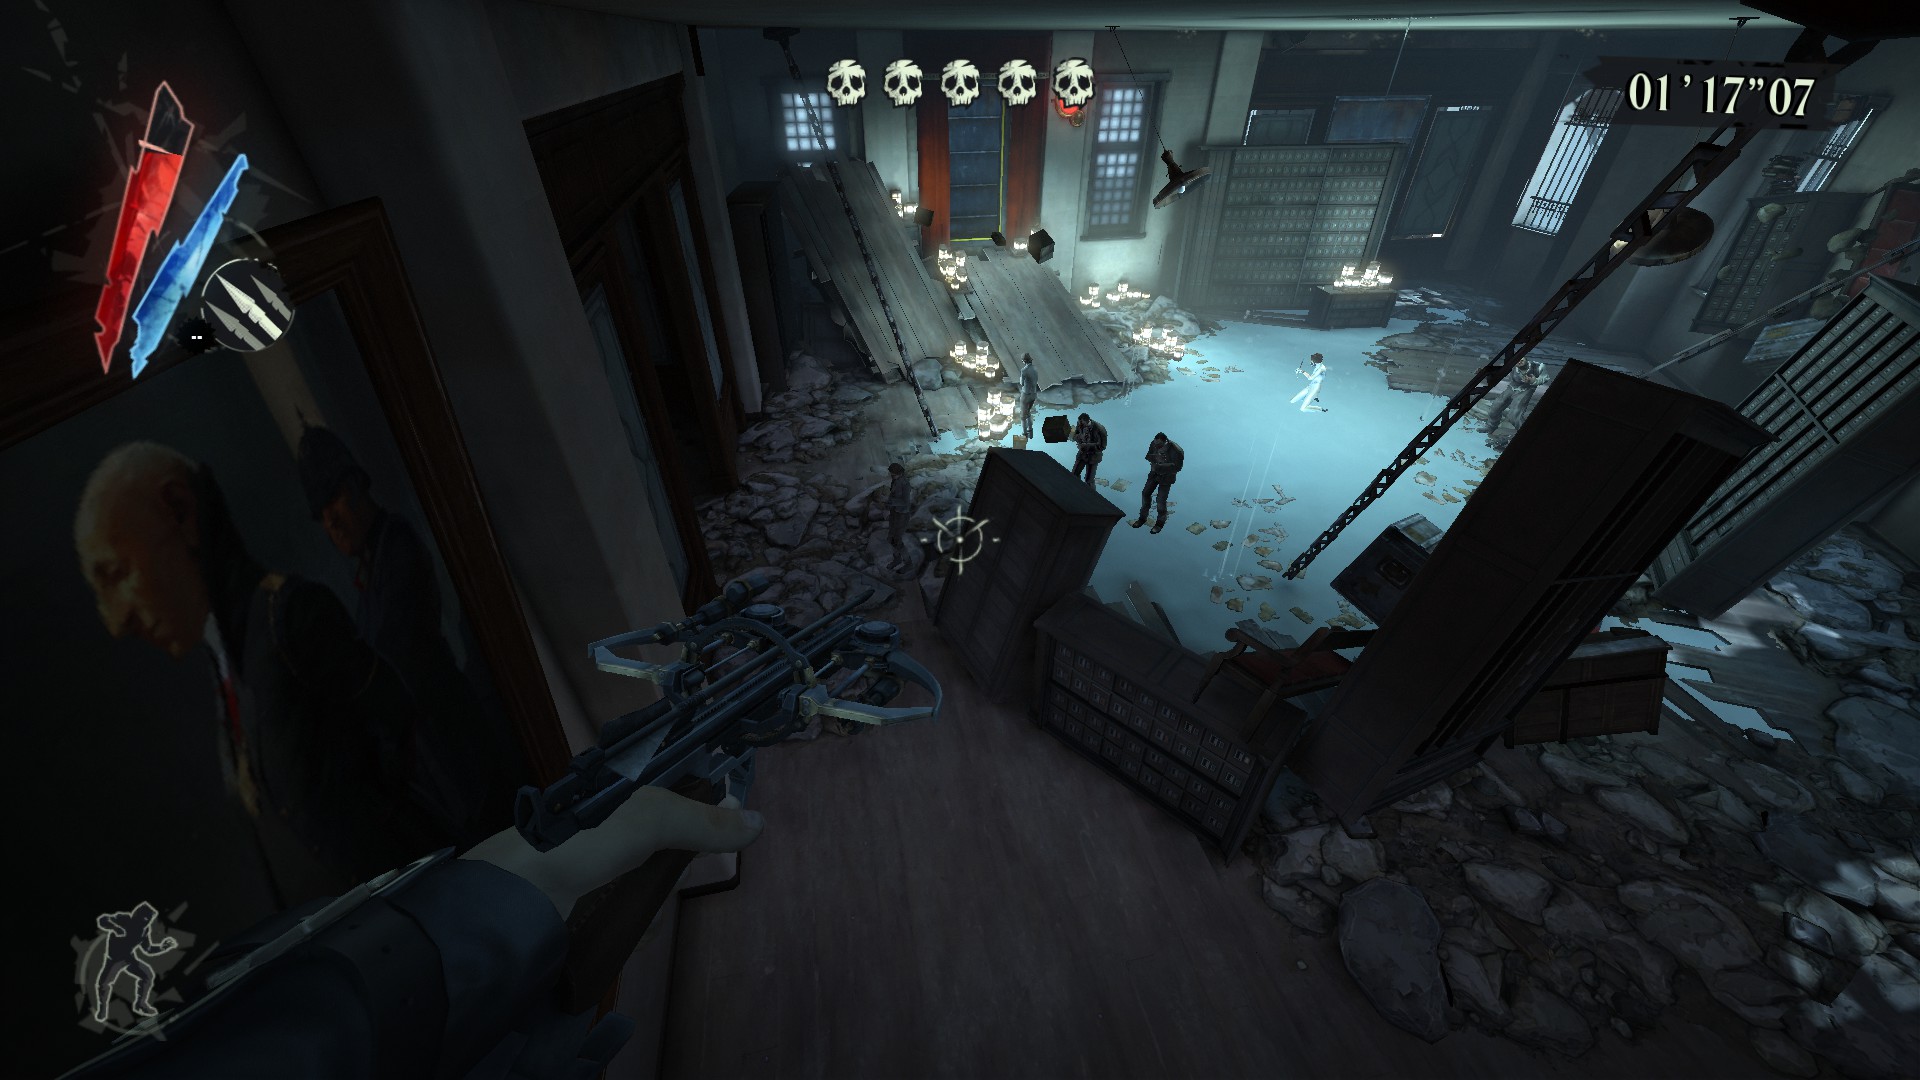
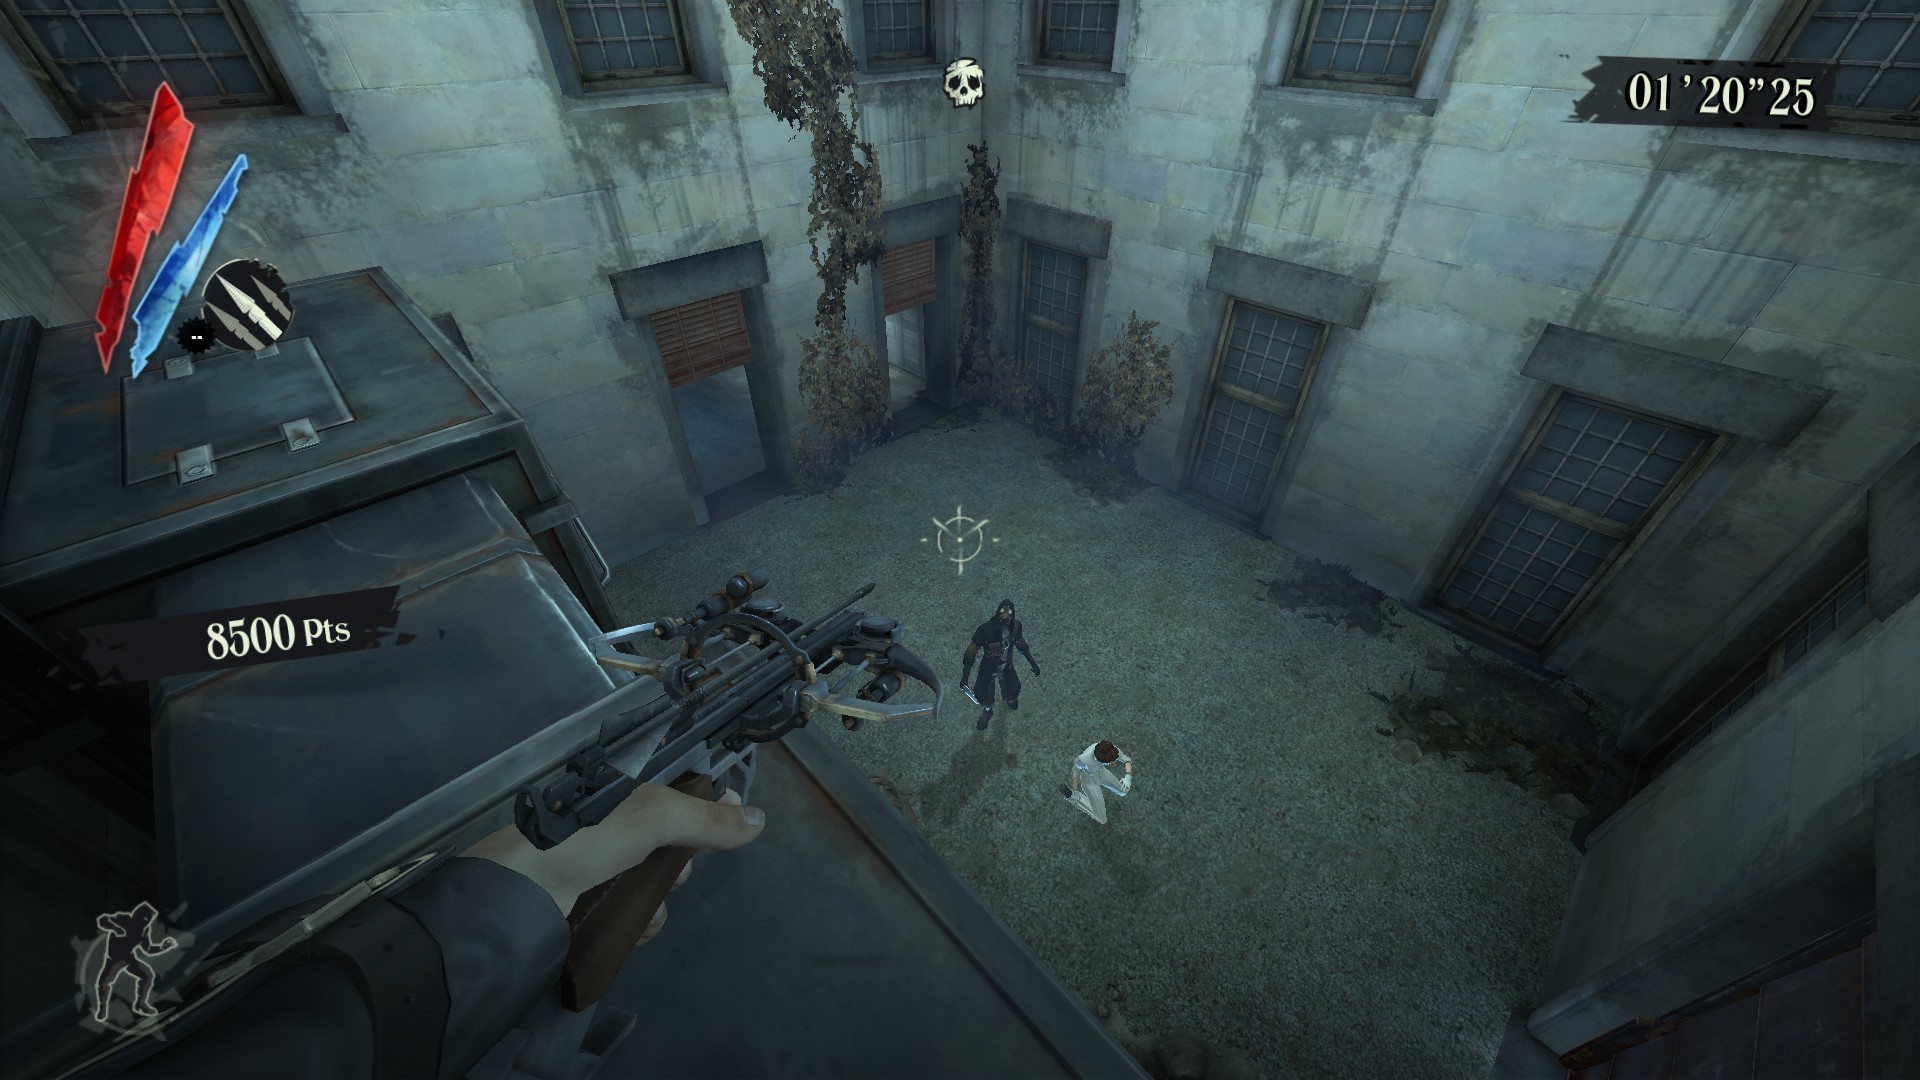
Room 7: 3 Whalers
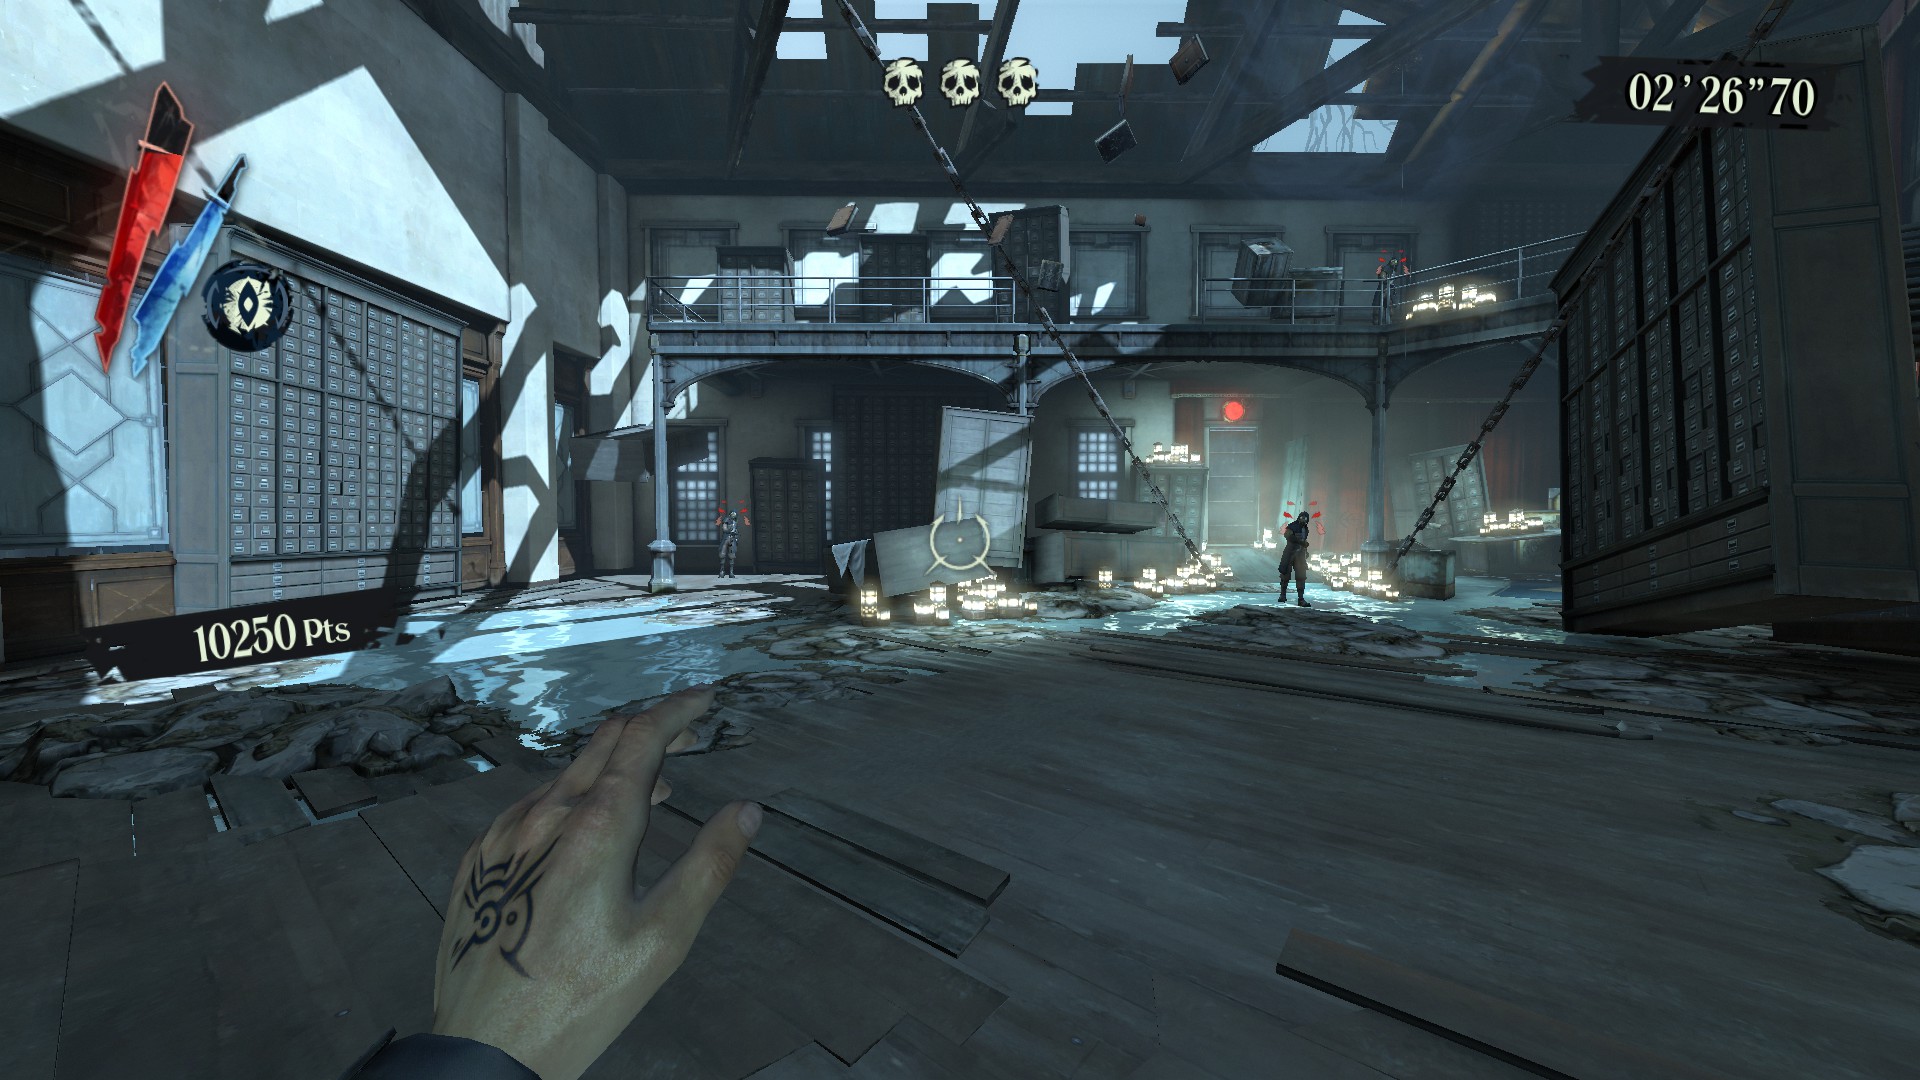
You've made it to the final room for this level!
This is another room exactly like Room 3 - however this time there's no weepers and the instant aggro will be from the whalers, which are a lot more dangerous and annoying to deal with than weepers especially in a group: they can kill you a lot quicker! Luckily for you though, I wouldn't be writing this guide if i didn't have a cheesy/easier strat like I did for room 3.
Once you enter the room you'll want to look at the dressers and start running towards them and blink onto the shorter dresser of the bunch! The leftmost dresser as shown in the picture above!
(If your good enough though you can try and pick one off before getting up there, but that's totally up to you!)
Now, even though your up here they will keep shooting at you; once you're up here you'll want to keep your crossbow out and move side to side to dodge their shots! Eventually you'll get to a point where one or even two of them will stop moving! Again just be patient and wait for your opportunity to take one and/or hopefully both of them out! If you've got one whaler left and hes being a little rat and not coming down, just blink off the dresser, move forward a bit until he comes down and blink back up; repeating the process above!
Once, they are all dead start running out and you'll be finished! Congratulations, if you've followed this guide well the achievement should pop up with the stat screen!
Conclusion
I hope this guide was not only helpful but informative in helping you get this annoying-ass achievement (and hopefully progress towards that 3 star achievement!) This is my first (of eventually many) guides that I'll write in the near future (if i feel like it lol)! Please Rate, Like and comment if you enjoyed it/found it helpful in any way! Feedback is greatly appreciated! Thanks!!
ヘ( ^o^)ノ\(^_^ )
Source: https://steamcommunity.com/sharedfiles/filedetails/?id=2842754631
More Dishonored guilds
- All Guilds
- The Knife of Dunwall: No Kills, No Alerts, All Runes & Bone Charms
- Come raggiungere i vari finali
- Games Like Dishonored
- Dishonored Gibi Oyunlar
- DISHONORED ????????????
- Infinite Bodies / No Intro Videos
- Tutoreal dE komo aser un juego shuuter el dishonrado
- DISHONORED -
- How to fix the issue of rendering thread exception fatal error!
- HOW TO OPEN THE GAME