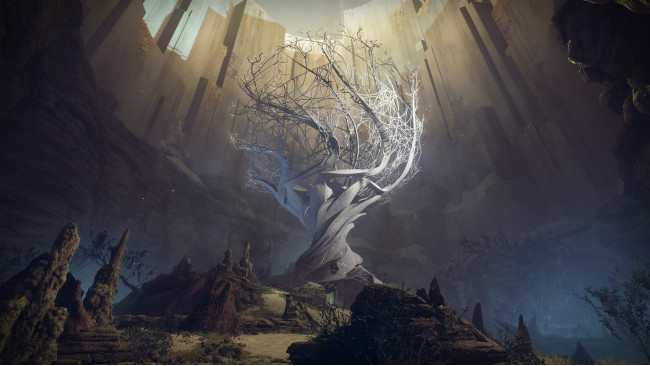
So, you want to beat the dungeon huh? Well buckle up buckaroo because this dungeon is by far the easiest of the 3 dungeons...if you know what you're doing.
Guide To Prophecy Dungeon
Learning The Basics
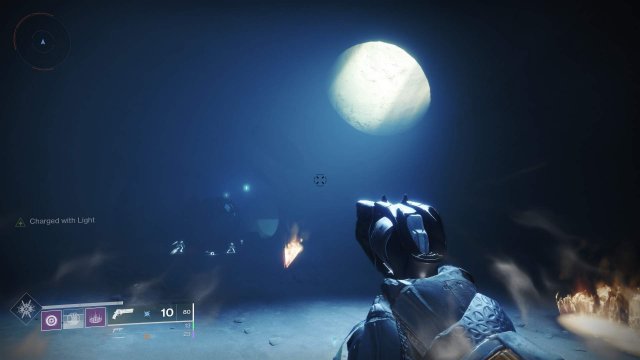
This dungeon heavily relies on Motes, more specifically, Dark and Light Motes.
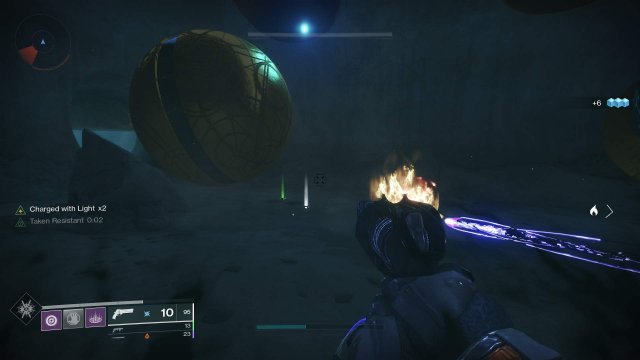
In order to get these Motes, you'll need to kill a Knight Echo. Each of these Knight Echoes will drop 3 of the corresponding Motes, however, to obtain either Dark or Light Motes, you'll need to be standing in either of these locations.

Light
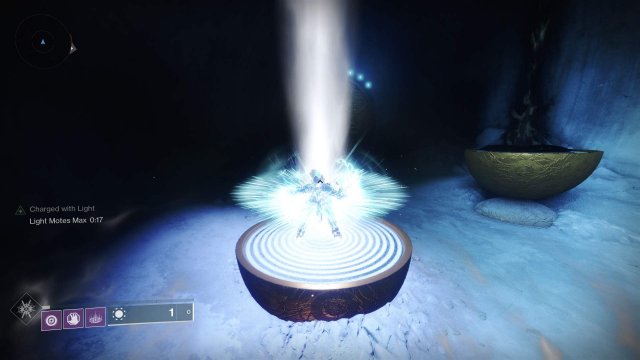
Dark
Always check before killing a Knight Echo as in some spots making a mistake could end your Solo Flawless run, if you're going for that.
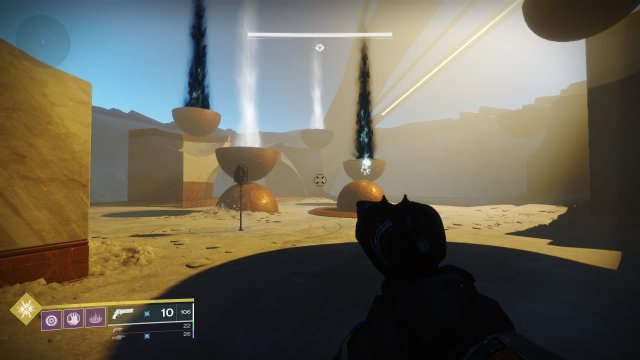
Now, where to Dunk the Motes. After killing two Knight Echoes and collecting their Motes, you will be put in a 3rd person state.
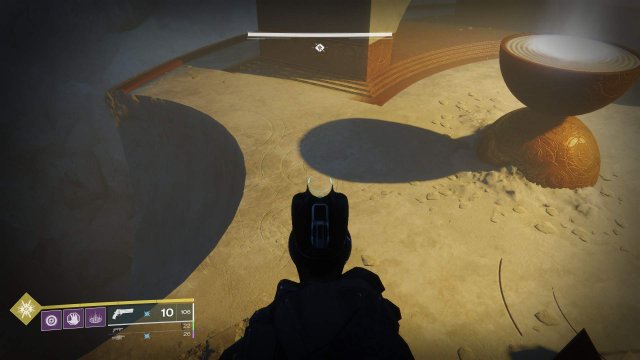
In most areas, there will be clearly marked pillars of Light or Dark, to get rid of these pillars you'll need to take Motes you just collected and stand on top of the corresponding pillar. From here you will need to press your M1 or your "Fire" button and you will cleanse the pillar.
Note: You do not take reduced damage while cleansing a pillar, in areas such as the Phalanx Boss, The Cube, and The Final Boss you will want to wait until enemies are done burst firing at you to make a move, you have 30 seconds so that is plenty of time to get your health back up to full.
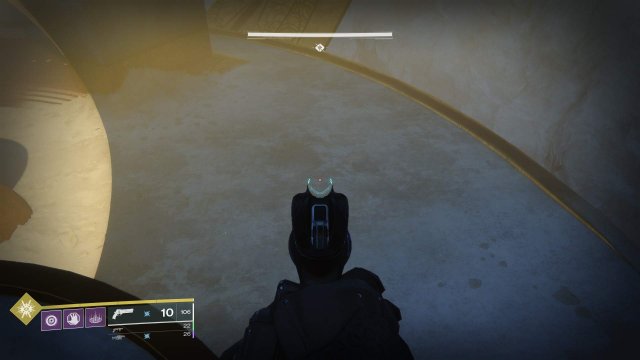
The rest of the starting area is basically this to get you to understand the mechanics of the dungeon, now it's time to put those skills to the test with the Phalanx boss, which in my opinion, is harder than the final boss.
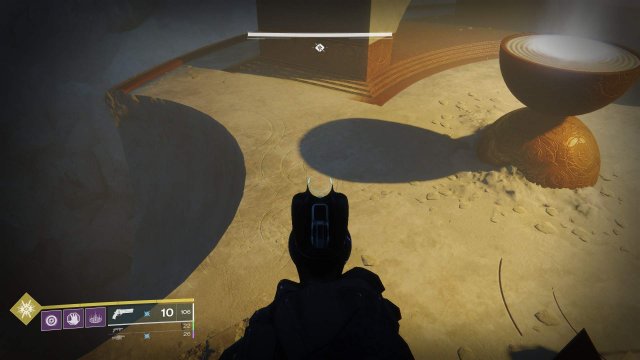
The Phalanx Boss
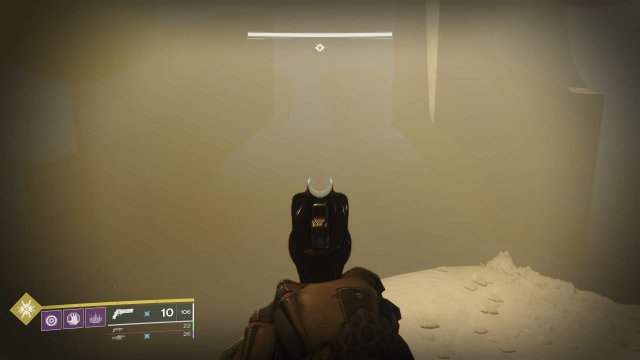
This boss is hard, I will not sugar coat it. Soloing this boss will take time, sometimes you will just die and have to redo the entire 1st area again which is annoying, but I'm going to include some tips and tricks you can do that will help you survive this nightmare.
There will always be 4 pillars in the boss encounter, while the 1st phase of the Phalanx boss are always the same, the 2nd or 3rd phases will be different.

Like before, you'll need to kill two Knight Echoes to cleanse one pillar, each of the Knights spawn in on these locations.
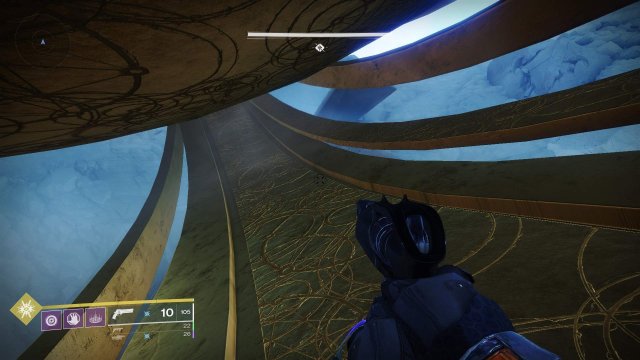
With Taken Psions spawning in with the Knights when you start the encounter. They spawn in here.
Note: The Taken Psions will only spawn at the beginning of the encounter, after your 1st cleanse and after you switch from either Dark to Light or vise versa. I heavily suggest cleansing either Dark -> Dark or Light -> Light As the number of enemies you have to deal with is lowered.
After cleansing a pillar the rings will rotate around the arena, which will change the area/shade in which you can get certain Motes, I suggest getting Light 1st, and then going for DARK. After cleansing all of the pillars you will have about a minute or so to damage the boss. I suggest Anarchy as you can do chip damage as you take a Shotgun or a grenade launcher to him as well. You will also want something that damages the boss enough to stun lock him, if you want you can run a sword but that gets risky if you don't do at least 1/3 of his health within the given timeframe.
During damage phase, Taken Goblins will spawn in they can make the boss IMMUNE, so I suggest dealing with them and then returning to your damage phase. Two waves of Taken Goblins will spawn, about 15 seconds after the 1st wave so you must deal with them quickly. After the 2nd wave of Goblins has spawned in you'll need to hide and start all over again, this is the start of the 2nd phase of the boss.
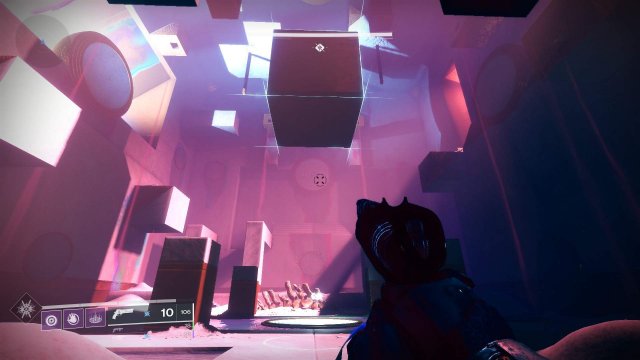
In most experiences I've had while running this dungeon, it has almost always been 3 Light and 1 Dark. However, do not anticipate this and you can mess up pretty badly and easily get killed.
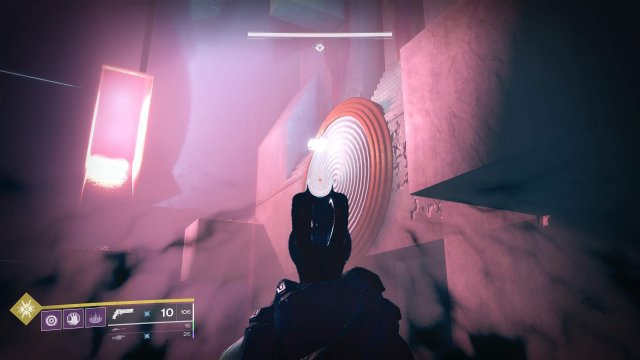
The Phalanx Boss: Tips And Trick
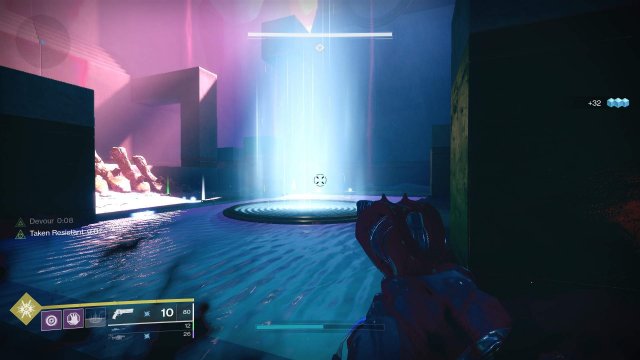
Around the boss arena you will see these rings. If you're in a tough spot and need a place to hide you can always jump down under the map (While staying on the ring) and you will be teleported out and back into the area into a "Safe" spot. Which is just on top of one of the structures.

Note: You will lose your Motes you have collected when you return to the boss arena, so use this with caution, I suggest only when there are no other ways to survive.
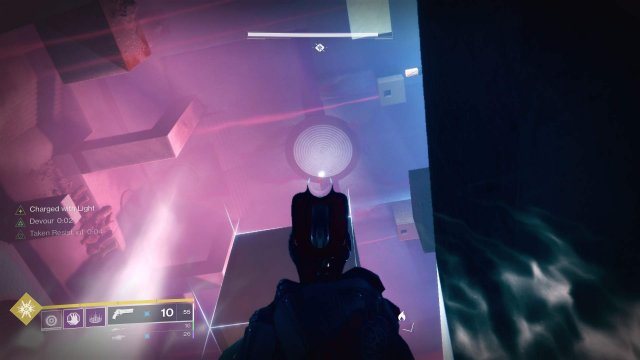
Next trick is sorta the same thing but riskier, the Phalanx Boss being a Phalanx has a shield that can launch you into space, but you can use that to your advantage. If he does push you off, let him, all around the arena prompts the "Joining Allies" message to appear, although you will lose your Motes, it is better to do that than do die and have to restart your entire Dungeon, especially if you're trying to get the solo flawless.
Wasteland
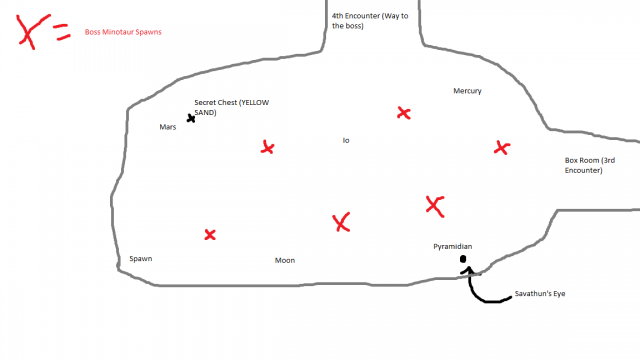
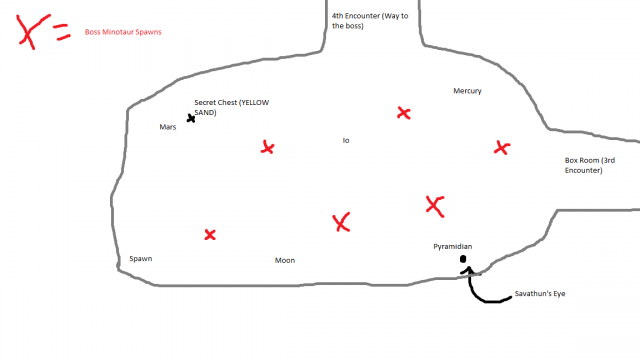
After defeating the Phalanx Boss you will sink into the Wasteland. Here it is pretty easy, you can take out your sparrow and explore, however, if you're going for a speedrun or just a quick run, you can get pretty lost while riding around. So I present to you a very poorly drawn map I made in MSPaint.
This area is pretty straight forward, find the 3 blights, destroy them, touch Toland's little blight thingy and then run off and do it again. After doing this 3 times you will want to head over to the 3rd encounter, or what some people like to call it, the cube.

Heaven/Hell (The Cube)

The cube is easy and hard all at the same time. Easy to get done but hard once you become overwhelmed.
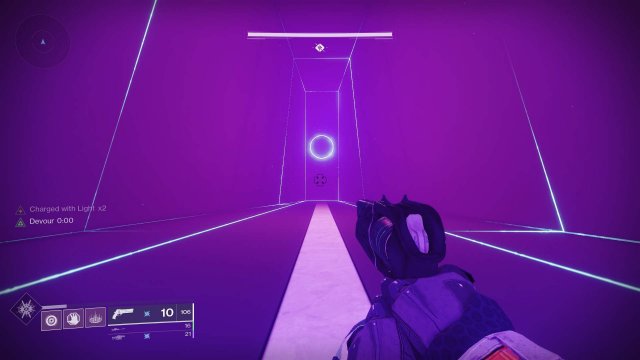
There are 6 sides to this Cube, and you'll need to "Follow" Toland's Blight in order to figure out which one of the sides you'll need to do.
Knights will not spawn in until you kill the snipers, when you kill a sniper a Knight will spawn in and about 30 seconds another sniper will spawn in, knights do not despawn. After cleansing the pillar you'll need to head to the center. However, don't go right away. Clear the acolytes and you'll be good to go. The Snipers and Knights will despawn once you cleanse but not right away so still be careful.
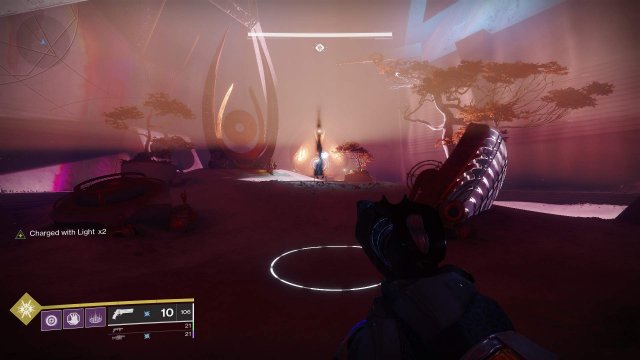
You'll need to do this for all 6 sides of the cube. Once a side is completed you'll see a side of the cube that is marked, which means that this side is completed.
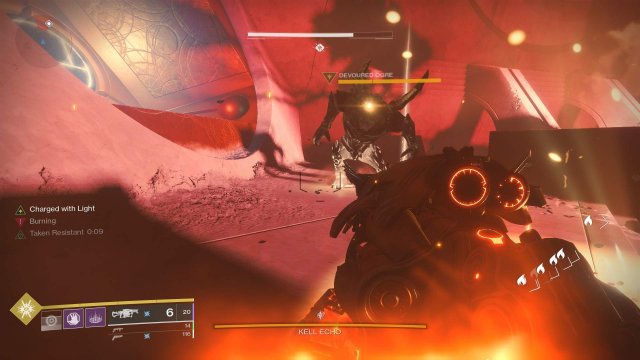
However, once in a while there will be no Toland Blight on the sides, that is because it is on the roof.
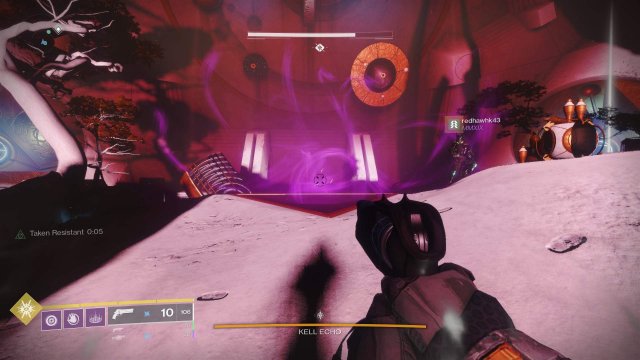
You can do any of the sides that do not have a side that has been marked, aka, you'll can do any sides that are blank. Once you complete all 6 sides you'll be teleported to the boss room (Which is just one of the normal rooms) and then you'll need to kill 2 Taken Centurions. After you beat them and collect your loot just make your way above the chest and head back into the Wasteland.
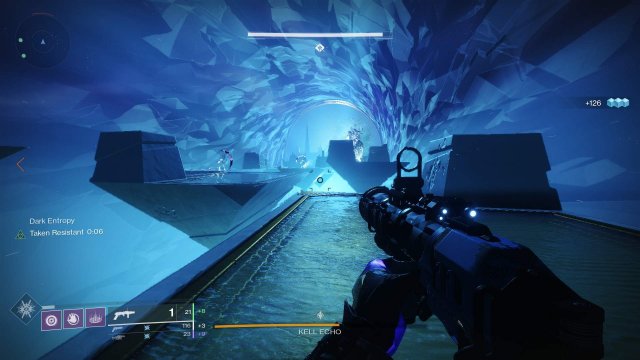
Wasteland Part 2
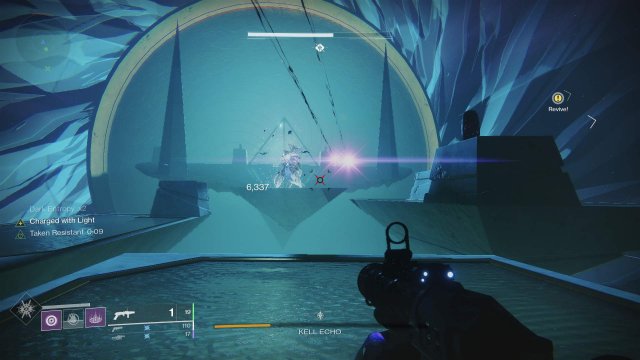
There is nothing to do here, all you need to do it head towards the Final Boss area.
Here is the map again if you want to get the chest or the Savathun eye.
Sparrow Ribbons
Once you head into the other box you'll see this.
Continue through and you'll see the 4th encounter.
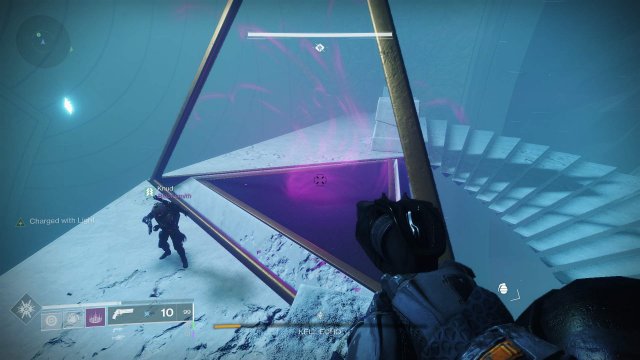
It's relatively easy to get through, you just have to avoid being shot by the snipers half way through and you'll golden. There is a hidden chest and a Savathun Eye in the last triangle thing along with an urn at the beginning of the encounter.
Once you get to the bottom of the encounter jump into the center of the pad and you'll be launched up. Head up the stairs and you'll this door; you'll be on the final boss.
Final Boss
The final Boss is really easy. All you have to do is kill the Psions as fast as possible. Again, you'll need to cleanse each of the pillars in the room in order to teleport to the damage phase. However, after you cleanse a pillar you'll be met with a powerful Taken Ogre.
These things will kill you if you do not handle them right away, so make sure you do that. After cleansing the boss will enter the middle area of the arena, jump into it and you'll be pulled into the damage phase.
Here you'll need to know 2 things. Dark Entropy and snipers. Dark Entropy is a debuff that you get when the boss becomes too far away from you, if this stacks to 10x you'll die. So I suggest sticking close to the boss. You'll have about 3 minutes of damage time so use it well.
The boss does not have a final stand or anything like that, it's purely DPS.
If you don't do enough damage to the boss he will retreat into the same Purple Quicksand and then you'll have to do another phase of cleansing and such.
Source: https://gameplay.tips/guides/7867-destiny-2.html
More Destiny 2 guilds
- All Guilds
- Destiny 2 How To Find Halo Weapons December 2021
- Destiny 2 - Leviathan Raid Guide (for New Light Players)
- Destiny 2 - How to Reach the Softcap in Beyond Light Fast
- Destiny 2 - All 9 Entropic Shard Locations (Beyond Light)
- Destiny 2 - Deep Stone Crypt Raid Guide (Beyond Light)
- Destiny 2 - How to Farm a Boss with Nightmare Adds (Fast Method)
- Destiny 2 - Warmind Cell Hunter Build
- Destiny 2 - Where is Xur / Location and Inventory (February 26, 2021)
- Destiny 2 - Where is Xur / Location and Inventory (February 19, 2021)
