
Strowen
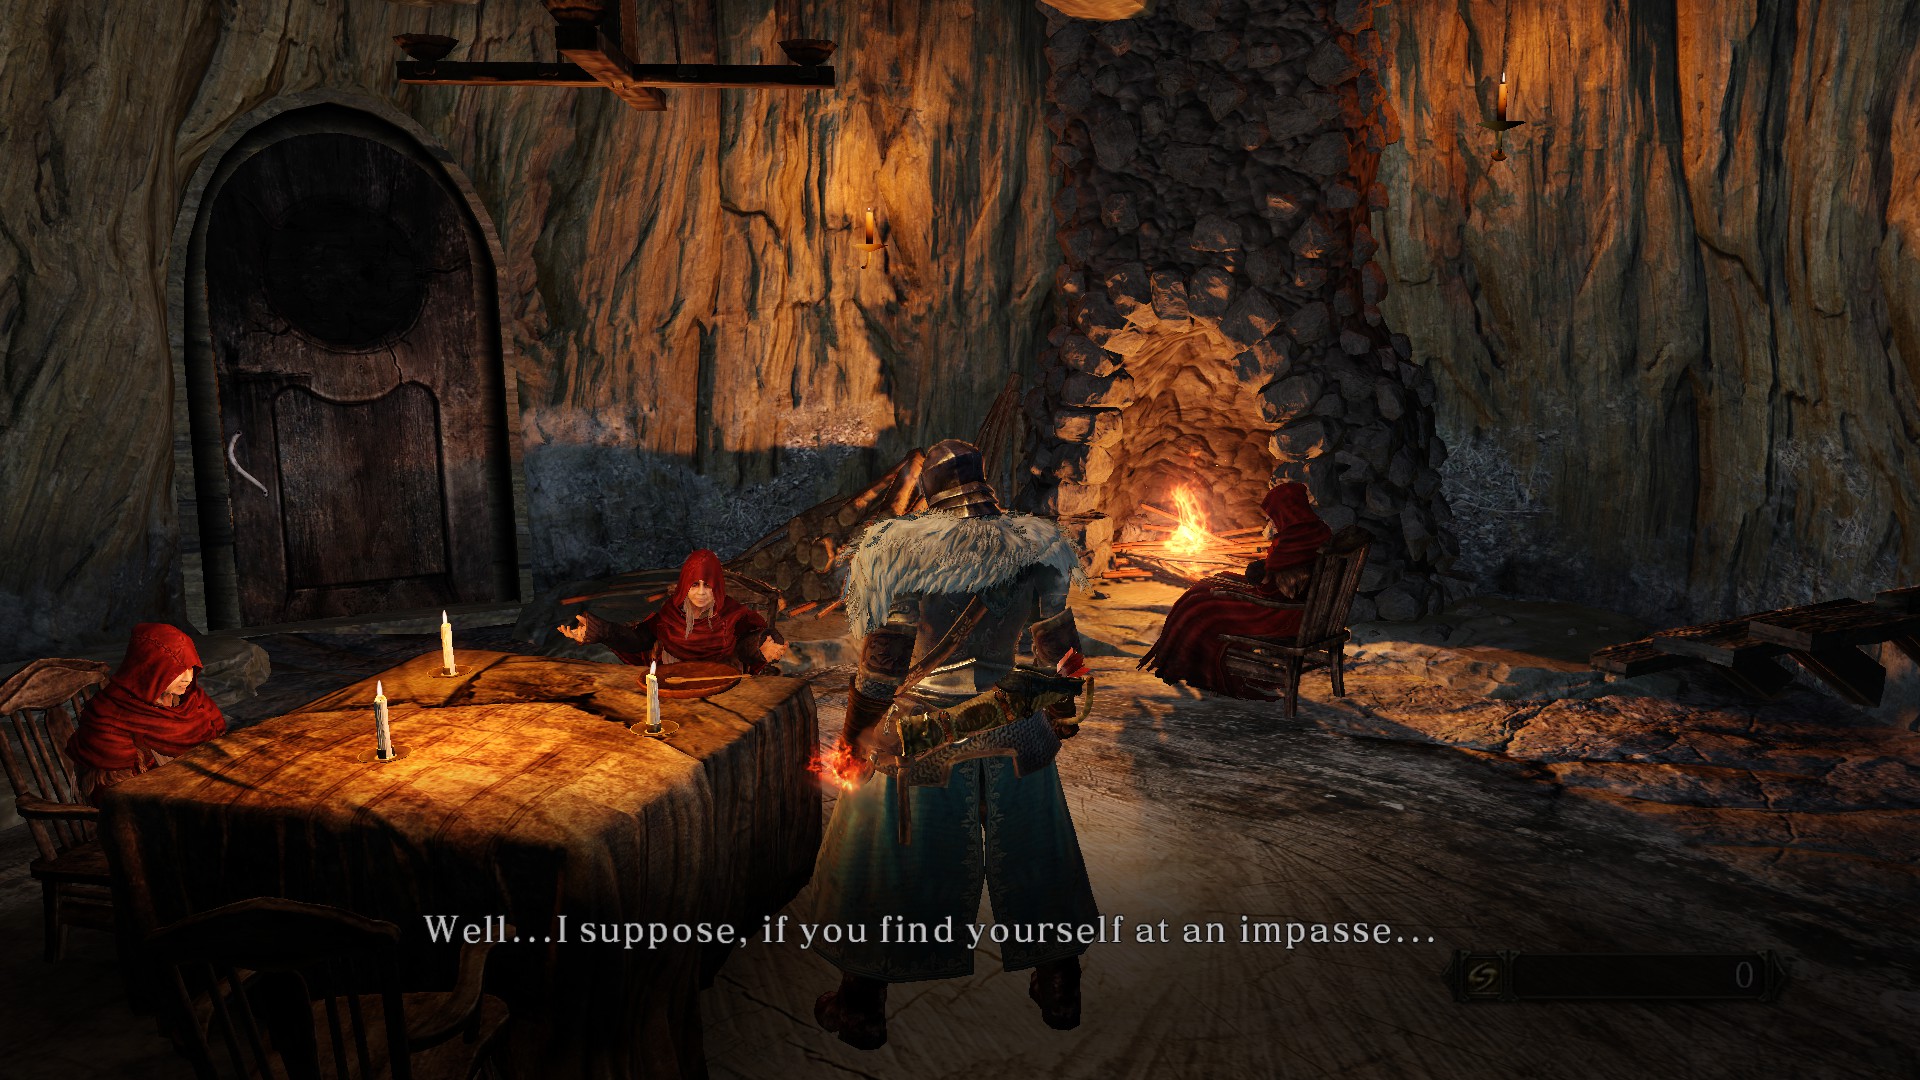
Strowen appears at the hut right as you start the game, at Things Betwixt. She allows you to reallocate all of your stats in exchange for a Soul Vessel, and will give you six Human Effigies once you have King’s Ring.
Housekeeper Milibeth
Milibeth appears at the Firekeepers’ Hut at Things Betwixt. After you have killed the two ogres on the beach at Things Betwixt, Milibeth will give you the Handmaid’s Ladle.
Dyna And Tillo
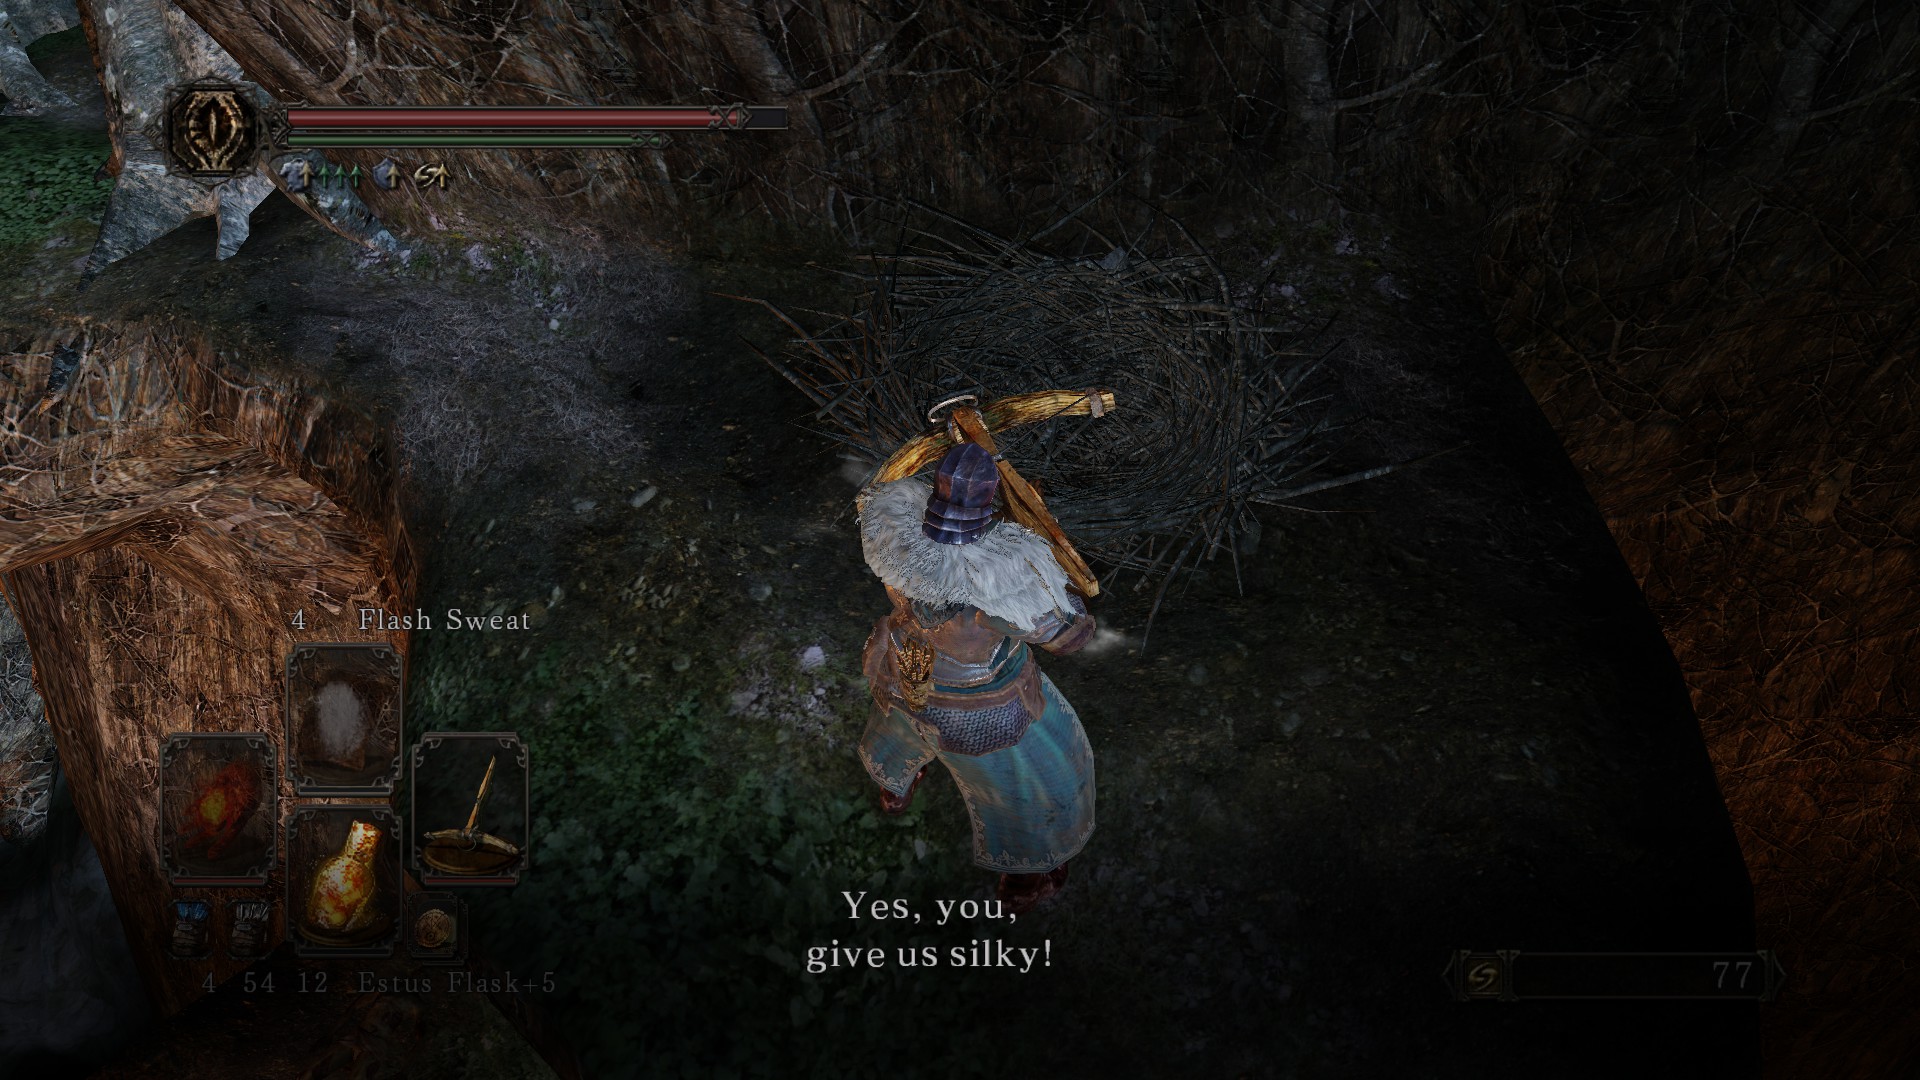
Dyna and Tillo's nest at Things Betwixt.
Dyna and Tillo are unseen characters, presumably crows, that can be interacted with from the nest on the raised platform at Things Betwixt, right next to the shortcut ladder.
Dyna and Tillo will give you a variety of items in exchange for any of the following four items: Prism Stones, Small Smooth and Silky Stones, Smooth and Silky Stones, and Petrified Somethings.
Crestfallen Saulden

Saulden sits at the tall pillar near the bonfire at Majula, where he allows you to join the Way of the Blue. He will give you the Ring of Steel Protection after you have died 100 times or more while playing alone. Saulden will give you a Soul Vessel after four or more NPCs have come to Majula.
Sweet Shalquoir

Shalquoir is a cat who lives in a house next to the pit in Majula. She is a merchant who allows you to abandon your covenant. She has an unlimited stock after you have opened the Shrine of Winter, and sells a new item after you have defeated the Royal Rat Vanguard and Royal Rat Authority.
Maughlin The Armourer

Maughlin operates out of the house bordering on Majula’s pit. He provides different stock after you have spent 1,000 souls on his wares, and again at 15,000. He also sells unique equipment after the following bosses are defeated:
The Smelter Demon, after spending 1,000 souls.
The Looking Glass Knight, after spending 1,000 souls.
The Lost Sinner, after spending 1,000 souls.
Velstadt, the Royal Aegis, after spending 15,000 souls.
The Throne Defender and Throne Watcher, after spending 15,000 souls.
The Burnt Ivory King, if you have the Crown of the Ivory King DLC.
After using a Bonfire Ascetic on Majula’s bonfire, Maughlin stocks a new set of armour. He stocks the corresponding headgear for this set after using two Bonfire Ascetics.
Maughlin will gift you the Aurous Set (Transparent) if you talk to him after spending 15,000 souls at his shop, but only if you currently have no souls.
If Maughlin is killed, his ghost can be summoned at his gravestone for 3,500 souls per summon. He serves the same function when summoned as he does while alive.
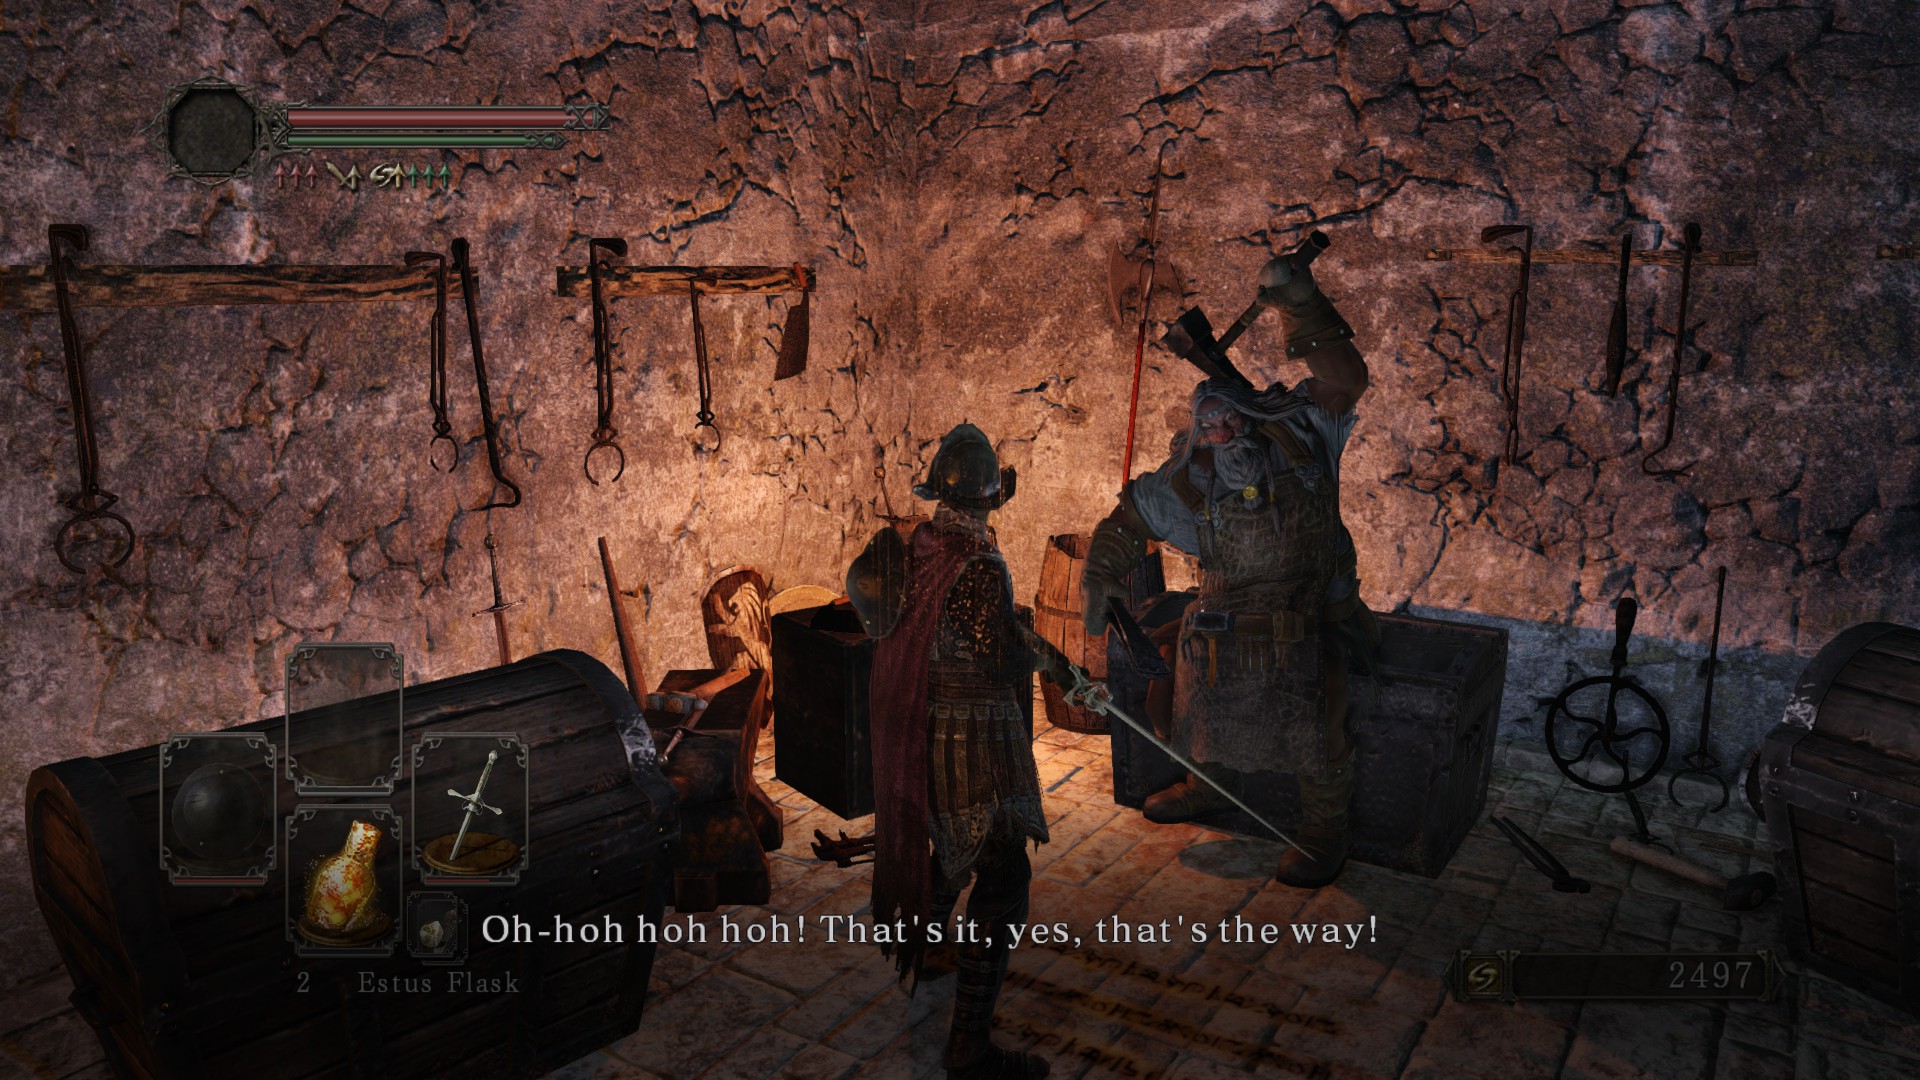
Blacksmith Lenigrast

Lenigrast in his workshop at Majula.
Lenigrast first appears at Majula, outside the house closest to the bonfire. He’ll be locked out of his shop until you let him in using Lenigrast’s Key, which you can buy from Merchant Hag Melentia for 1,000 souls.
After spending 8,000 souls on his services (excluding item purchases), he will give you the Blacksmith’s Hammer when you talk to him.
Lenigrast has unique dialogue after Laddersmith Gilligan and Stone Trader Chloanne come to Majula, and when spoken to with the Dull Ember in your inventory.
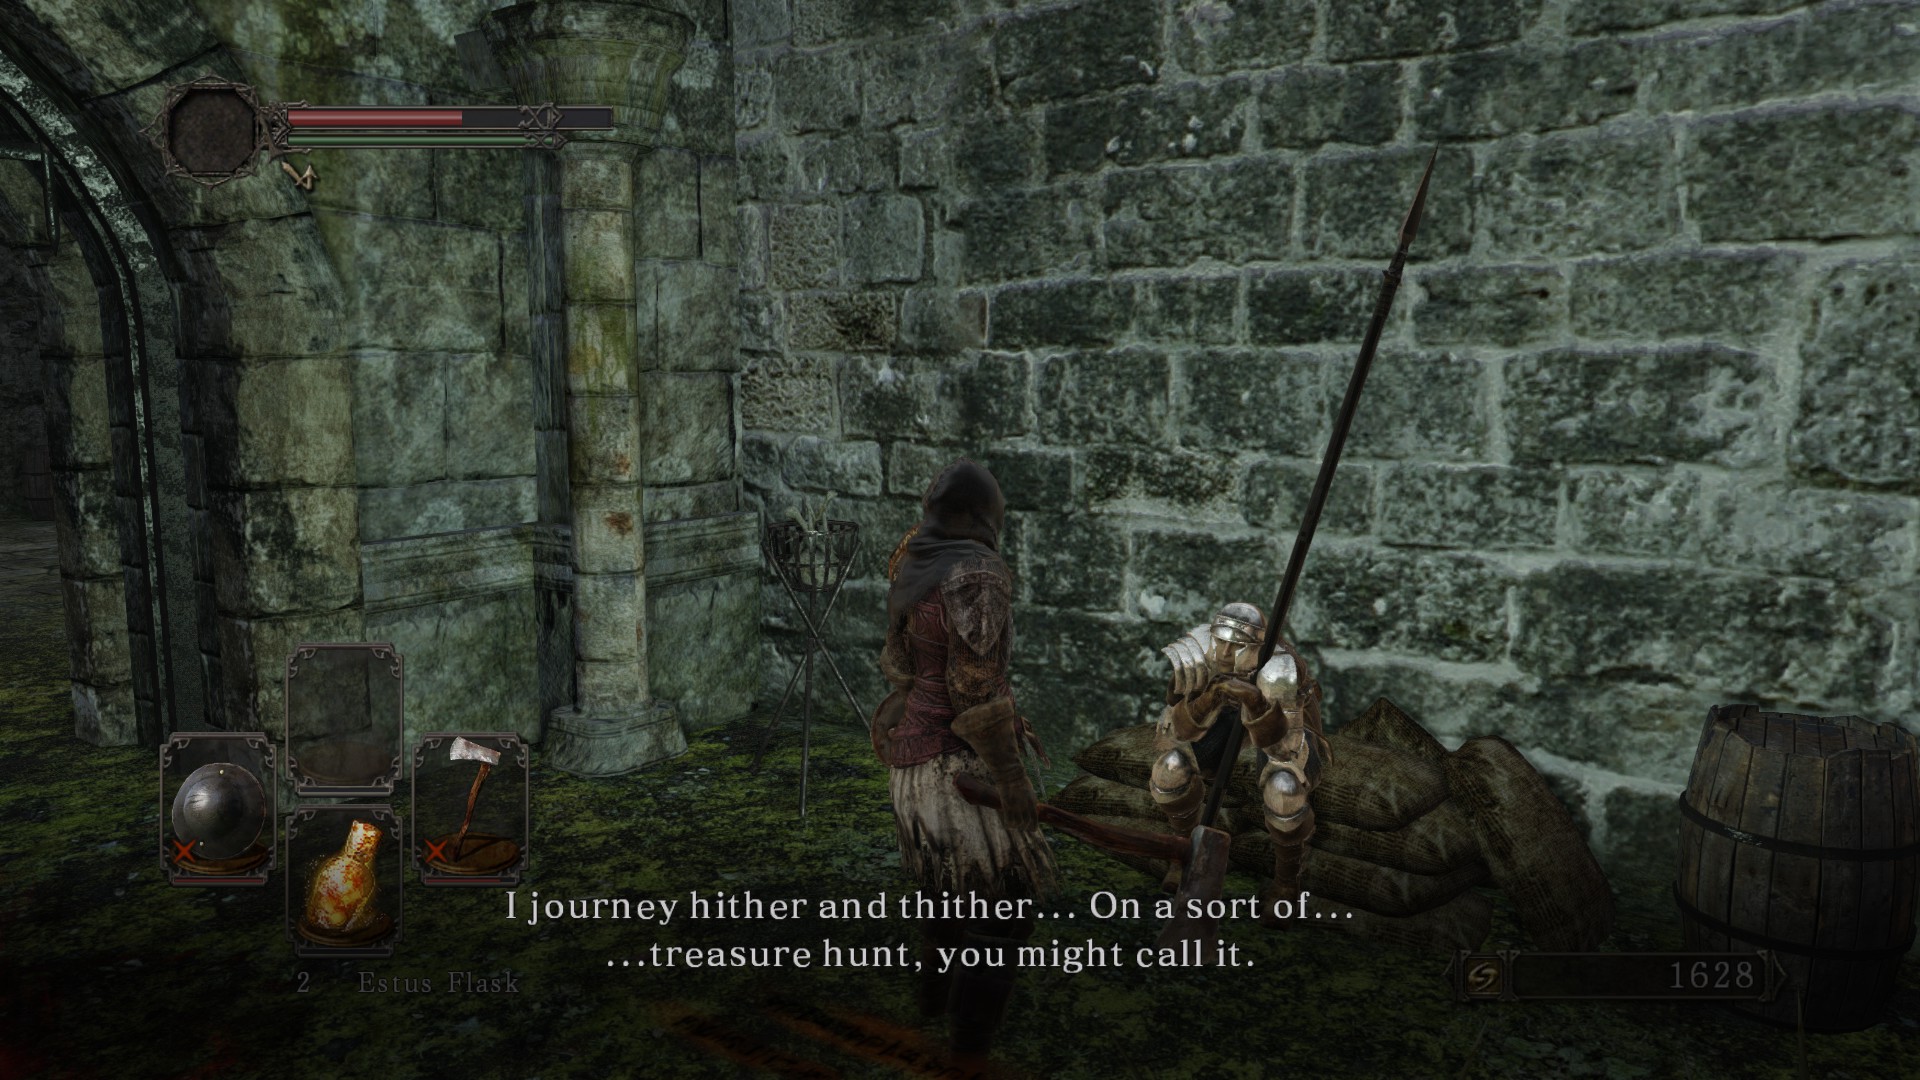
Benhart Of Jugo
Benhart outside Old Akelarre in Majula.
Benhart is first encountered on the path between Majula and the Shaded Wods, shortly before the Old Akelarre bonfire. Speak with him after using a Fragrant Branch of Yore to free Rosabeth of Melfia and open the path into the Shaded Woods.
Benhart appears at Drangleic Castle, in the same room as the Central Castle bonfire.
Benhart appears at the Forest of Fallen Giants, after the Pursuer’s boss fight and near the bottom of the stairs leading to the crow’s nest.
Benhart appears in the Memory of Orro, in the same room that the player begins in.
To continue Benhart’s questline, he must be summoned for (and survive) at least three boss fights.
After fulfilling this requirement, speaking to him in the Memory of Orro or Drangleic Castle will grant you his sword, shield, and armour. Note that killing him early will grant you his sword anyway and doing so will cause his armour and shield to be sold by Merchant Hag Melentia.
Maughlin the Armourer has unique dialogue if spoken to with Benhart’s sword in your inventory.
Benhart can be summoned to fight the following bosses. Note that fighting the same boss multiple times using a Bonfire Ascetic does count towards the three bosses required to complete Benhart’s questline
The Duke’s Dear Freja. His sign appears in a tent near the Royal Army Campsite bonfire.
The Looking Glass Knight. His sign appears immediately before the boss fight.
The Giant Lord. His summon sign is at the bottom of the stairs before the fog wall. You need to speak to Benhart in the Memory of Orro in order to summon him here. Summoning Benhart for this fight prevents Captain Drummond from being summoned, and vice versa.
The Throne Watcher and Throne Defender. His sign appears immediately before the fight. Benhart can also be summoned for the final boss that follows the Watcher and Defender; if he survives the first fight he will stay for the second, though he can also be summoned again if you return to the fight.
If you have the Crown of the Sunken King DLC, Benhart can also be summoned to fight Elana, Squalid Queen. This fight will count towards the three required to complete his questline.
Rosabeth Of Melfia
Rosabeth is first encountered at the entrance to the Shaded Woods from Majula. She is petrified and must be freed using a Fragrant Branch of Yore. After she is freed, Rosabeth will give you a Prism Stone. She will ask you for some clothes and giving her any of your equipment will cause her to move to the base of the tall pillar in Majula.
At Majula, Rosabeth sells pyromancies and will upgrade the Pyromancy Flame in exchange for Fire Seeds and a set amount of souls.
Rosabeth has unique dialogue after Carhillion of the Fold moves to Majula.
Merchant Hag Melentia
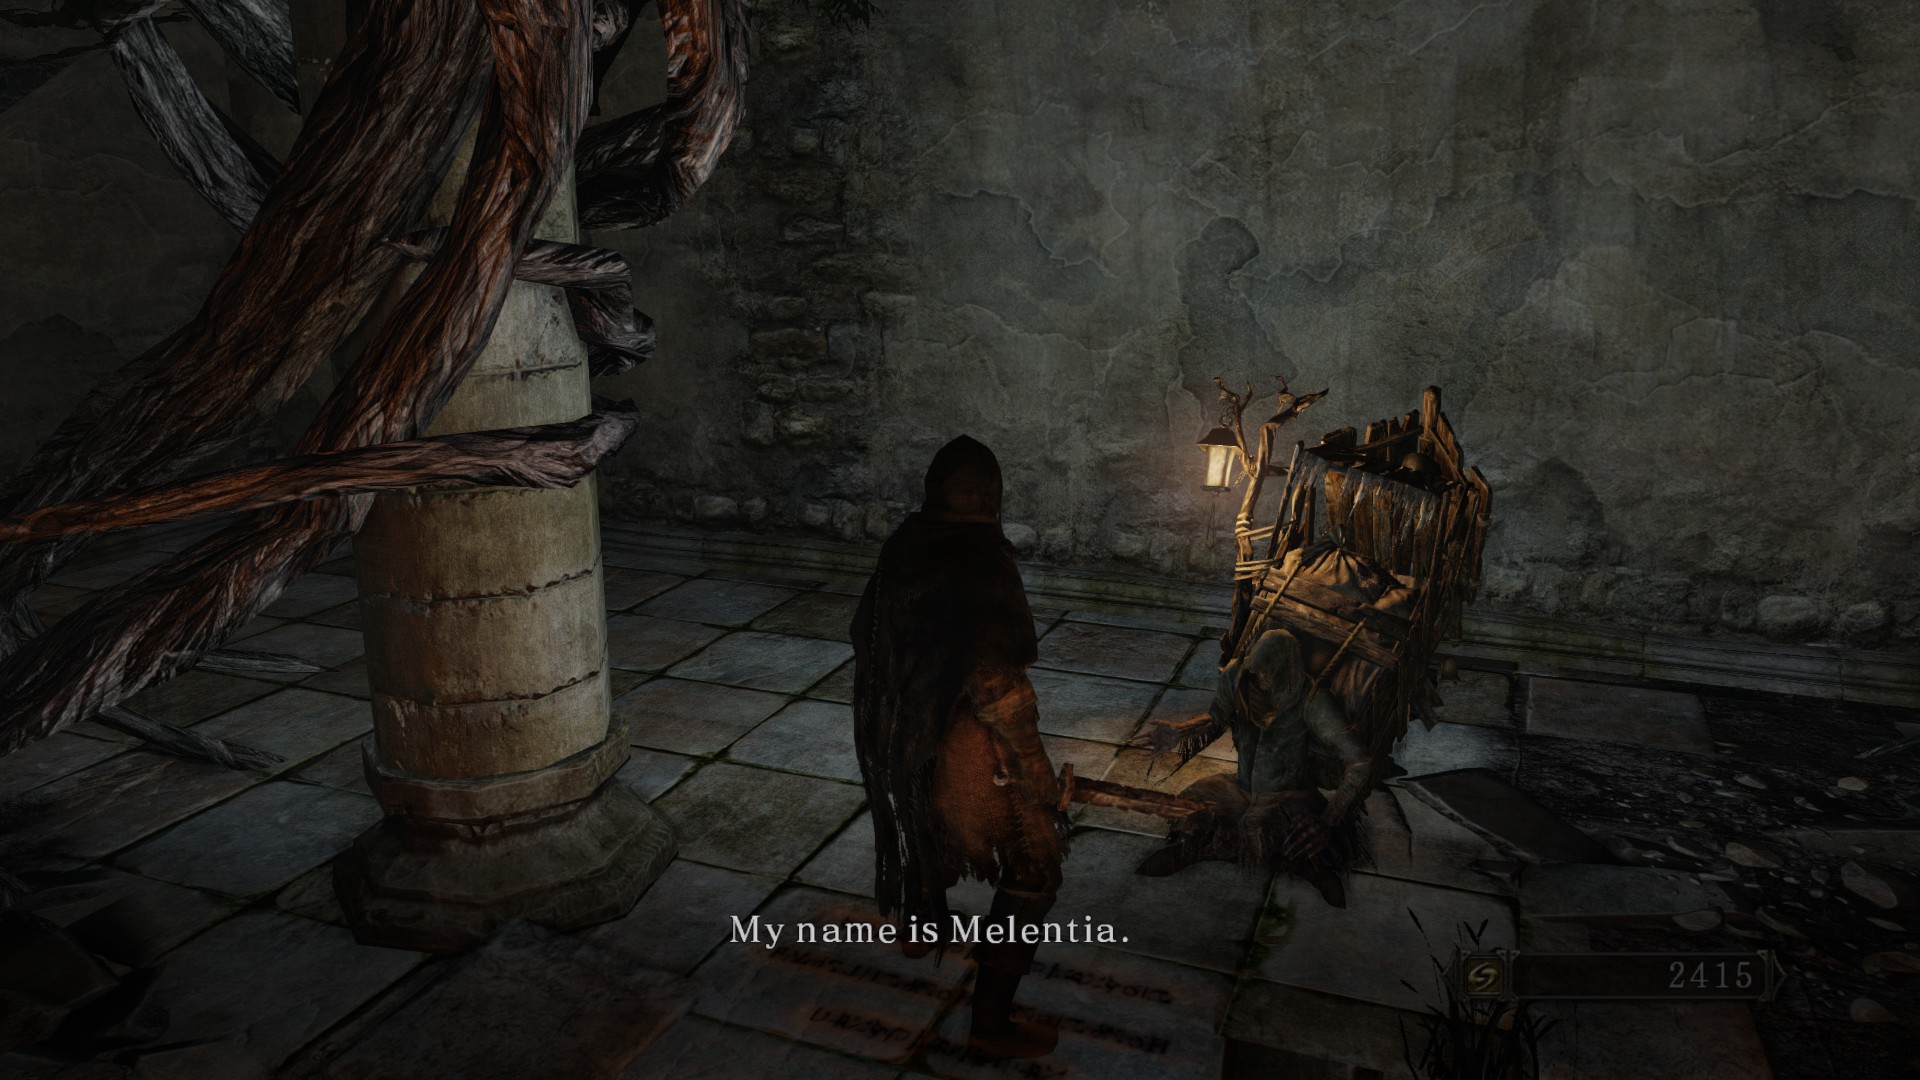
Melentia in the Cardinal Tower.
Melentia first appears at the Forest of Fallen Giants, where she sits next to the Cardinal Tower bonfire.
Melentia next appears at Majula, near the entrance to the Forest of Fallen Giants.
Melentia specialises in the equipment of NPCs that you have killed. She provides the following gear after their owners are killed:
Benhart of Jugo’s shield and armour.
Cartographer Cale’s clothes.
Mild Mannered Pate’s shield and armour.
Lucatiel of Mirrah’s greatsword and armour.
Licia of Lindeldt’s clothes.
Blue Sentinel Targray’s armour.
Straid of Olaphis’s clothes.
Felkin the Outcast’s clothes.
Creighton the Wanderer’s armour.
Titchy Gren’s scythe and clothes.
Grave Warden Adgayne’s clothes.
Royal Sorcerer Navlaan’s clothes.
Melentia also notably sells Lenigrast’s Key, which is required for Blacksmith Lenigrast’s questline.
After spending 10,000 souls at her shop, Melentia will give you the Covetous Silver Serpent Ring +1.
Cartographer Cale
Cale at the Forest of Fallen Giants.
Cale first appears in the Forest of Fallen Giants. He appears in a cave in the partially underwater area with archers, at the opposite end to the Cardinal Tower bonfire. He will give you the House Key if you speak to him here.
Cale moves to the basement of Majula’s mansion after you have spoken with him in the Forest, the Last Giant is dead, and the basement is cleared of enemies.
Cale will give you his armour and helm after you have lit all the fires on the map in the basement. The fires are lit when you defeat the Last Giant, Lost Sinner, Old Iron King, the Rotten, the Duke’s Dear Freja, and the Throne Defender and Throne Watcher. You also have to obtain the King’s Ring and Ashen Mist Heart to complete the map.
Cale has unique dialogue after meeting Creighton the Wanderer.
Cale does not drop the House Key, so killing him before he gives it to you makes the Majula mansion inaccessible for the rest of the play through.
Mild Mannered Pate
Pate at the Forest of Fallen Giants.
Pate first appears near an open portcullis at the Forest of Fallen Giants. He will advise you that the portcullis is a trap and will close after you. After triggering the trap and either escaping it or dying, talk to Pate to receive the White Sign Soapstone.
After talking to Pate at the Forest of Fallen Giants, he can be summoned to fight the Last Giant.
Pate appears at Earthen Peak, near the large fan with Desert Sorceresses. He will advise you that there is treasure nearby. Leave this room and take two rights until you reach an area with a Desert Sorceress on the other side of the gap and a destructible railing on your right. Break this railing and drop down to retrieve the Great Heavy Soul Arrow sorcery. Return to Pate and speak to him again.
Pate appears a final time at Brightstone Cove Tseldora, in an elevated house across the valley from the chapel. Here, he will be fighting with Creighton the Wanderer. If you help him kill Creighton, he will give you the Tseldora Den Key, which will give you access to a small locked house on the ground level with two chests.
If you side with Creighton and kill Pate, he will drop the Ring of Thorns and Pate’s Spear.
After opening the chests that the Tseldora Den Key unlock, Pate will disappear from the game. If you want his equipment, kill him after receiving the key and buy his equipment from Merchant Hag Melentia.
Lucatiel Of Mirrah

Lucatiel in the Lost Bastille.
Lucatiel initially appears in four locations: At the bonfire at No-man’s Wharf, at the tower adjacent to the Tower Apart bonfire at the Lost Bastille, at the Lower Earthen Peak bonfire in Earthen Peak, and on a hidden ledge below the main ledge in Black Gulch, immediately before the first black pools. To begin Lucatiel’s questline, you must talk to her in all of these locations. The order does not matter.
After speaking to her at every location, you must summon her for at least three boss fights. As with Benhart of Jugo, these can be the same boss fights done multiple times with a Bonfire Ascetic, but she must survive all three. Lucatiel can be summoned for the Flexile Sentry, the Lost Sinner, the Rotten, and the Smelter Demon.
Lucatiel will appear at the Foregarden bonfire at Aldia’s Keep. Here, she will give you her equipment if you have completed the required boss fights. Note that after speaking to her here, she will disappear for the rest of your playthrough, so if you want her equipment you should kill her and purchase it from Merchant Hag Melentia.
At the second location you speak to her in, Lucatiel will give you a Human Effigy.
At the third location you speak to her in, Lucatiel will give you the Ring of Steel Protection +1.
If you have the Crown of the Ivory King DLC, Lucatiel can be summoned for the Burnt Ivory King. Her sign is in the Grand Cathedral. This fight counts towards the three required to complete her questline.
Steady Hand McDuff
McDuff in his workshop in the Lost Bastille.
McDuff is located at the Lost Bastille, near the McDuff’s Workshop bonfire. McDuff can be accessed by following the ramparts from the Tower Apart bonfire to the descending stairs, then rolling the exploding barrel down the stairs to create a passage to his workshop. If the barrel doesn’t explode, Firebombs, fire weapons, or any large weapon can set it off.
McDuff’s services are only available after you give him the Dull Ember. The Dull Ember is located in Iron Keep, near the Smelter Demon fight and the chest containing the Zweihander.
McDuff will give you the Titanite Slab after you have spend 14,000 souls on his services, excluding item purchases.
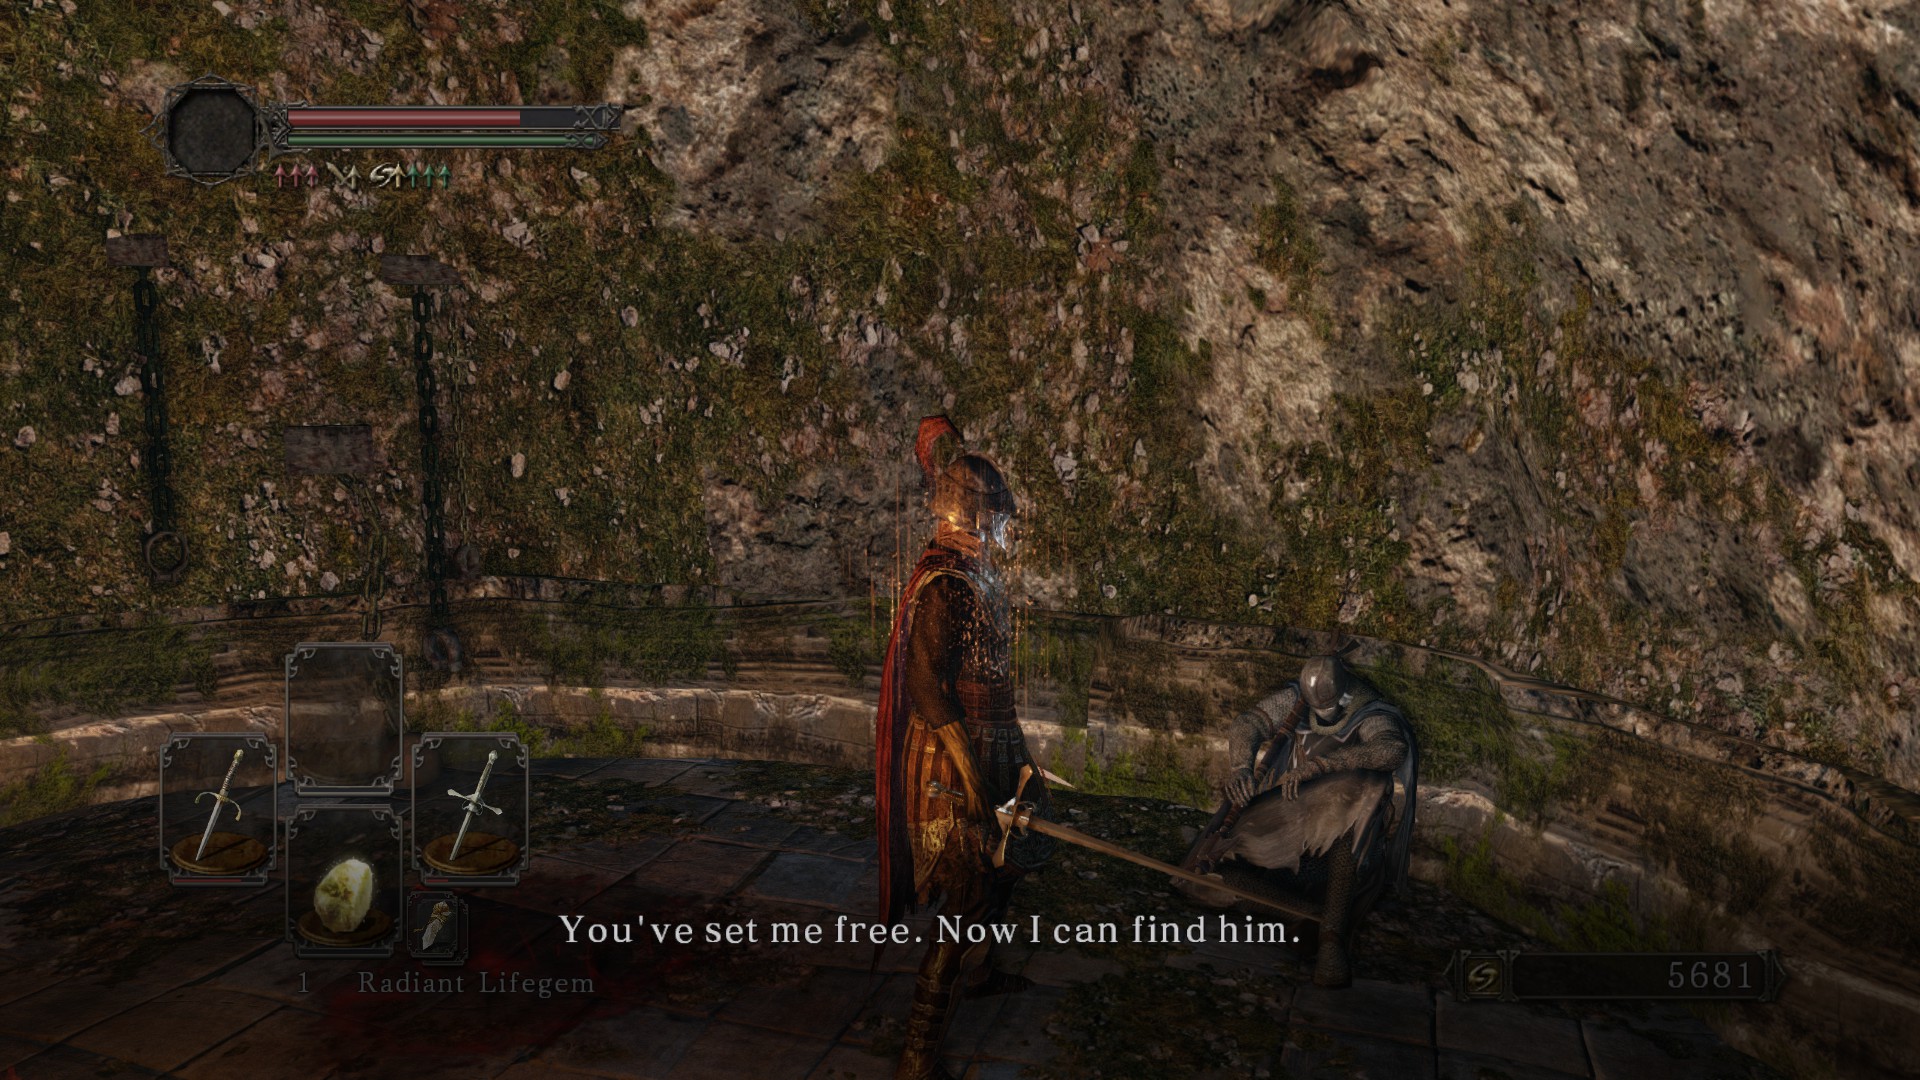
Straid Of Olaphis

Straid appears in the Lost Bastille, at the top of the structure opposite Sinner’s Rise. He is petrified and blocks the doorway to the Straid’s Cell bonfire. You need to use a Fragrant Branch of Yore to free Straid and gain access to both his services and the bonfire.
Straid creates special items using the souls of the following bosses: Mytha, the Baneful Queen; the Smelter Demon; the Pursuer; the Flexile Sentry; the Last Giant; the Belfry Gargoyle; the Dragonrider; the Skeleton Lord; the Covetous Demon; the Executioner’s Chariot; the Demon of Song; the Ruin Sentinel; Scorpioness Najka; Velstadt, the Royal Aegis; the Royal Rat Vanguard; the Royal Rat Authority; and the Giant Lord. He also makes a unique item with the Soul of Nadalia, Bride of Ash, which is available with the Crown of the Old Iron King expansion installed.
In Journey 2 and later playthroughs, the Lost Sinner, Old Iron King, the Duke’s Dear Freja, and the Rotten drop different boss souls than in Journey 1. Straid makes special items with these souls.
After making items out of four boss souls, Straid will give you the Black Set.
Belfry Guards
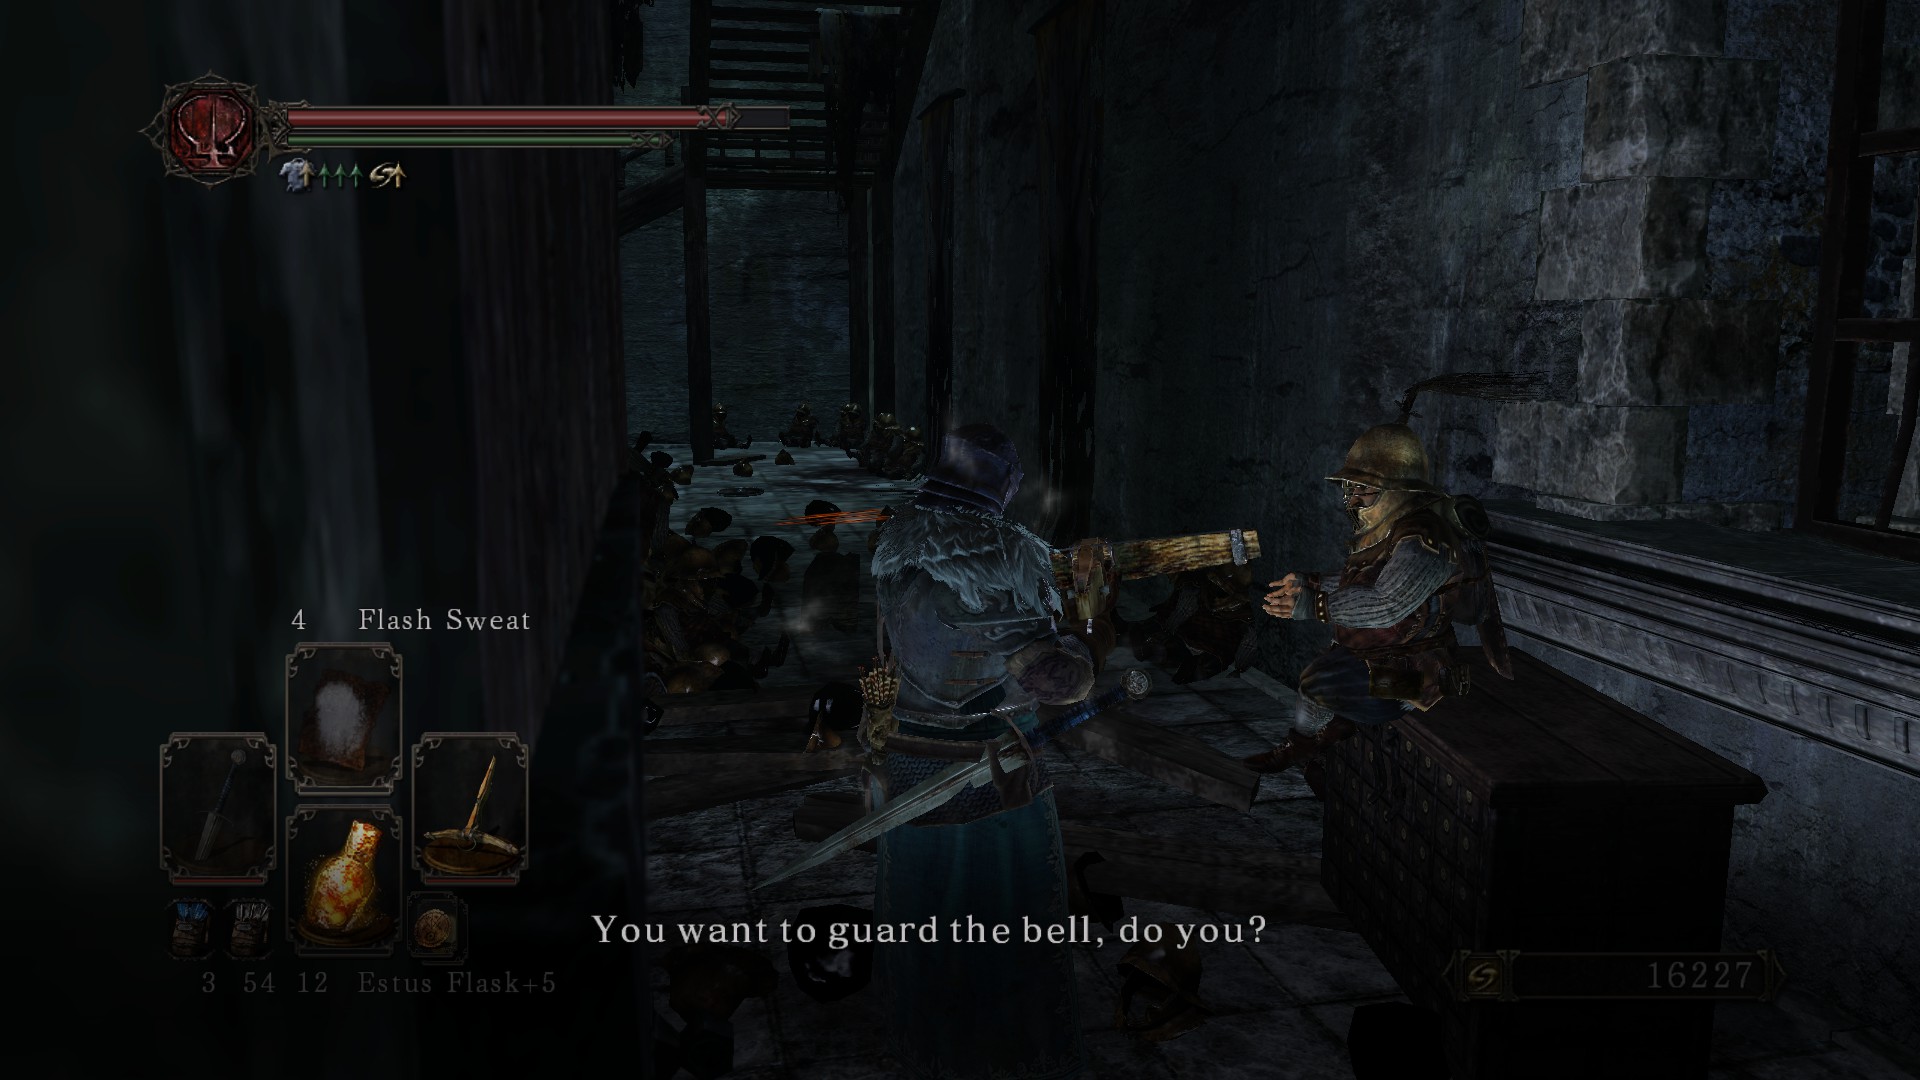
The Belfry Guard at Belfy Luna.
These guards appear at the entrances to Belfry Luna and Belfry Sol. They allow you to join the Bell Keepers covenant.
The first guard you talk to after joining will give you five Rusted Coins.
The guard will give you the Titanite Slab at rank 1 of the covenant, the Hidden Weapon sorcery at rank 2, and the Bell Keeper Set at rank 3.
Licia Of Lindeldt

Licia at Heide’s Tower of Flame.
Licia first appears at Heide’s Tower of Flame, at the Tower of Flame bonfire in the Dragonrider’s tower.
After speaking to her at the Tower of Flame, Licia moves to the passage from Majula to Heide’s Tower of Flame. She will move after the Flexile Sentry has been killed, even if you never spoke to her at the Tower. At Majula, she will open the door to the Huntsman’s Copse in exchange for 2,000 souls.
After you find the Crushed Eye Orb in the Undead Crypt, it can be used in Licia’s room in Majula to invade her. After defeating Licia, you will get her chime, clothes, the Soothing Sunlight miracle, and the Rotunda Lockstone. The Lockstone allows you to change the rotunda path yourself. Licia sells several miracles that cannot be obtained elsewhere in the game, so be sure to purchase everything you need before using the Crushed Eye Orb.
Licia will give you the Saint’s Set and Idol’s Chime if you speak to her with at least 30 faith.
Blue Sentinel Targray

Targray at the Cathedral of Blue.
Targray appears at the Cathedral of Blue, on the balcony behind the Old Dragonslayer fight. Targray’s services are only available when you are in the Blue Sentinels covenant. He allows you to join the Blue Sentinels covenant if you talk to him with a Token of Fidelity in your inventory.
Targray will give you the Spirit Tree Shield at rank 1 of the covenant, the Wrath of the Gods miracle at rank 2, and the Bountiful Sunlight miracle and Targray’s Set at rank 3.
Lonesome Gavlan
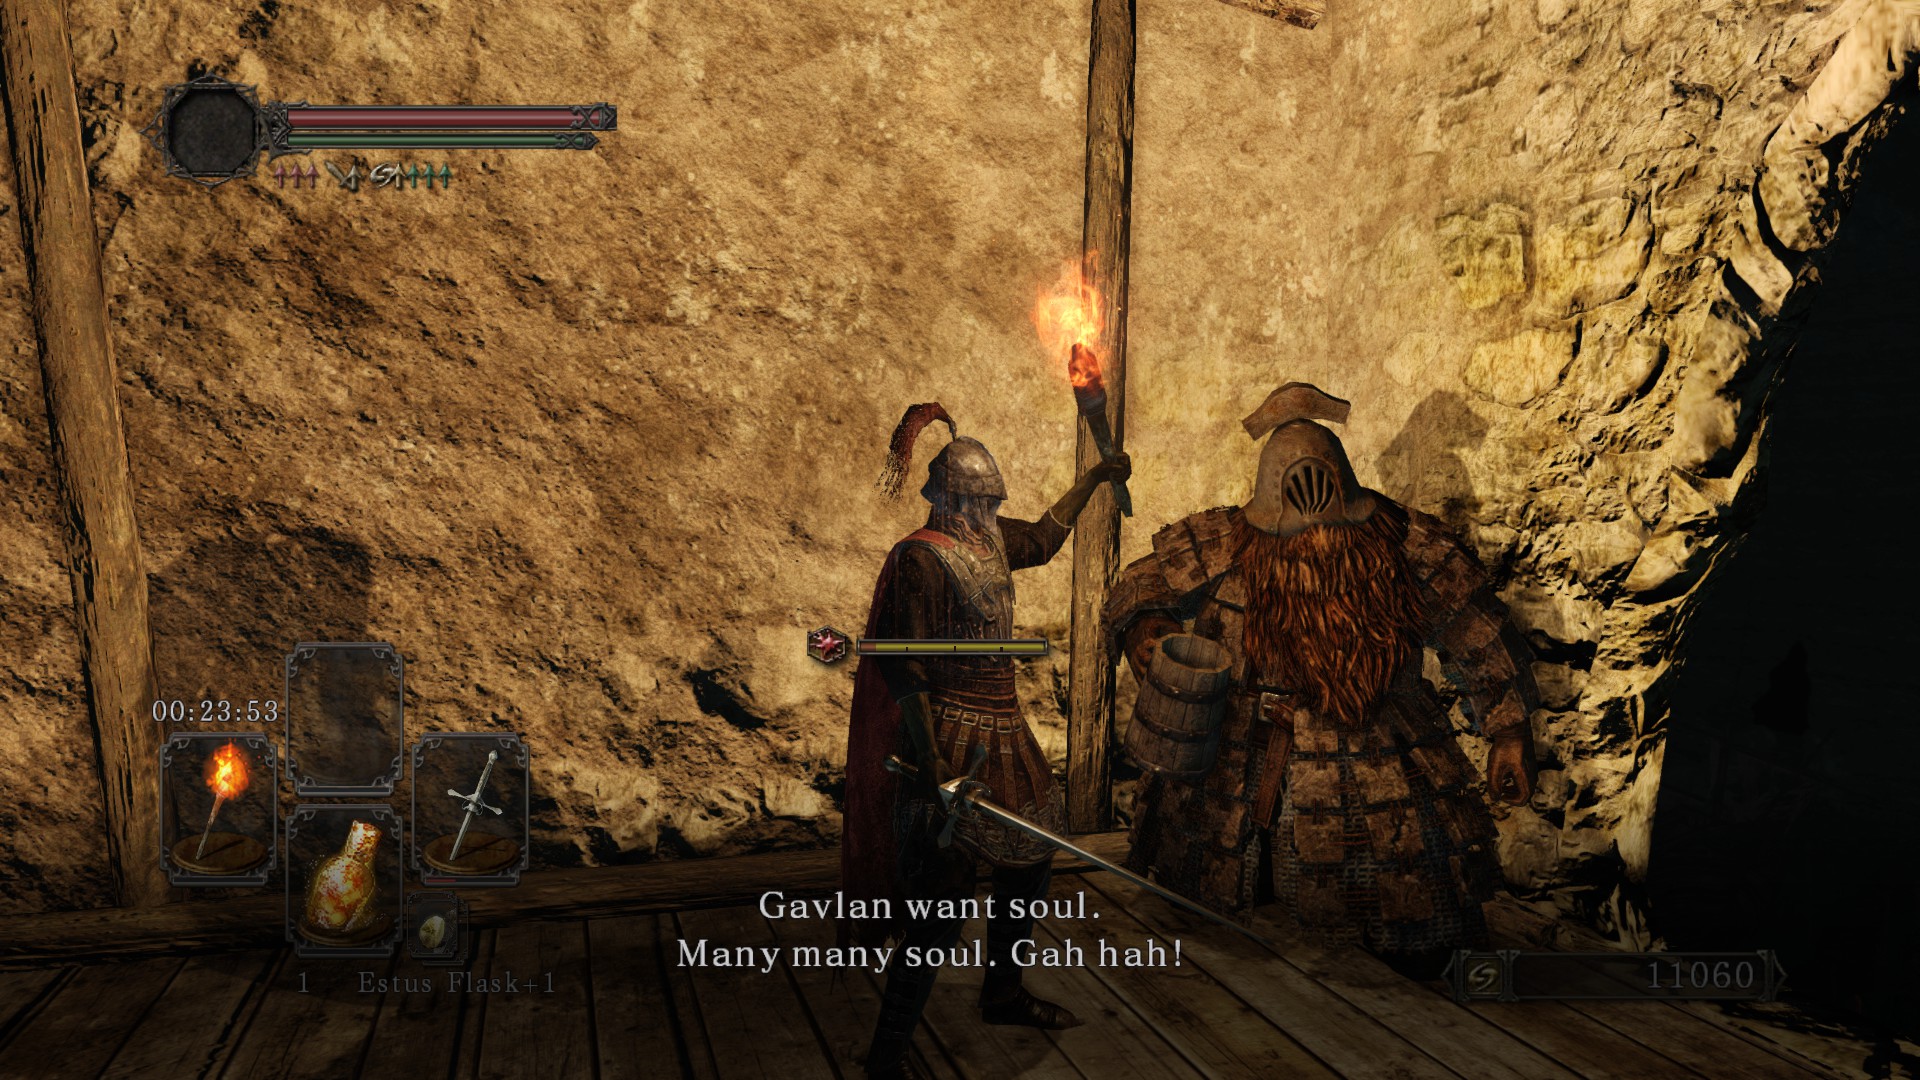
Gavlan at No-man’s Wharf.
Gavlan first appears at No-man’s Wharf, on the top floor of the building where many enemies break through the wall. After speaking to him here, Gavlan will move to Harvest Valley.
Gavlan next appears at Harvest Valley. Here, he can be found in a hidden passage at the first pool of poison gas. After speaking to him here, Gavlan will move to the Doors of Pharros.
Gavlan stays permanently at the Doors of Pharros. He is found near the top of the stairs outside of the Gyrm’s Respite bonfire.
At the Doors of Pharros, Gavlan stocks unlimited consumables and poison arrows.
Trading with Gavlan is the only way to ‘sell’ items in Dark Souls 2.
Gavlan will give you the Gyrm Greataxe after you have spend 16,000 souls on his wares.
Carhillion Of The Fold

Carhillion at No-man's Wharf.
Carhillion first appears on the dock at No-man’s Wharf. He won’t speak to you unless you have at least 8 intelligence, and his questline can only continue with 8 intelligence or more.
After speaking to him at No-man’s Wharf with at least 8 intelligence, he moves to Majula, near Lenigrast’s shop.
As well as selling useful equipment, spells, and consumables for sorcerers, Carhillion will upgrade the Pyromancy Flame in exchange for Fire Seeds and a set amount of souls.
Carhillion will give you the Northern Ritual Band +1 if you speak to him with at least 30 intelligence.
Cahrillion has unique dialogue after Rosabeth of Melfia moves to Majula.
If the Crown of the Old Iron King expansion is installed, Carhillion can be summoned to fight the Fume Knight at Brume Tower.
Felkin The Outcast

Felkin at Huntsman’s Copse.
Felkin appears at Huntsman’s Copse, in the tunnel that leads to the Copse from Majula. Felkin will not talk to you unless you have at least 8 faith and 8 intelligence. He will give you his staff and clothing if you talk to him with at least 20 faith and 20 intelligence. If he is killed, you can purchase the clothing from Merchant Hag Melentia at Majula.
Creighton The Wanderer
Creighton in the Undead Lockaway at Huntsman’s Copse.
Creighton appears at Huntsman’s Copse, in the small hut containing the Undead Lockaway bonfire. You’ll need the Undead Lockaway Key, which can be found in a small building on the ledge that leads towards the waterfall (and the Skeleton Lords).
Creighton appears again at the Ruined Fork Road bonfire at the Shaded Woods, at the entrance to the foggy area with the Head of Vengarl.
Creighton appears a final time at Brightstone Cove Tseldora, in an elevated house across the valley from the chapel. Here, he will be fighting with Mild Mannered Pate. If you help him kill Pate, he will give you the Tseldora Den Key, which will give you access to a small locked house on the ground level with two chests.
If Pate is already dead before you meet Creighton at Brightstone Cove Tseldora, he will not give you the key. To get the key at this point, equip the Ring of Thorns, and then agree to give it to him when he asks for it. If you do this, he will not take the ring and will give you the Den Key. Refusing to give him the ring at this point will make him hostile.
If you side with Pate and kill Creighton, he will drop Creighton’s Steel Mask.
After opening the chests that the Tseldora Den Key unlock, Creighton will disappear from the game. If you want his equipment, kill him immediately after receiving the key and buy his equipment from Merchant Hag Melentia.
Titchy Gren

Gren appears at the Undead Purgatory, at the bonfire. He allows you to join the Brotherhood of Blood covenant if you speak to him with a Token of Spite in your inventory. You cannot use any of his services unless you are in this covenant.
Gren will give you the Curved Twinblade after reaching rank 1 in the Brotherhood of Blood covenant, the Crescent Sickle after reaching rank 2, and the Great Chaos Fireball pyromancy after reaching rank 3. He sells new items after reaching Drangleic Castle, and again after defeating the Skeleton Lords. Gren has an unlimited stock of Cracked Red Eye Orbs once you begin Journey 2.
Stone Trader Chloanne
Chloanne first appears at Harvest Valley, shortly after the Poison Pool bonfire. She will move to Majula after you have spoken to her in Harvest Valley.
Chloanne appears outside Lenigrast’s shop in Majula after you have spoken to her in Harvest Valley.
Chloanne sells new items after finding Vendrick, clearing Drangleic Castle, defeating the Old Iron King, clearing the Undead Crypt, and defeating the final boss at the Throne of Want.
After spending 20,000 souls at her shop, Chloanne will give you a Twinkling Titanite if you speak to her.
Laddersmith Gilligan
Gilligan can first be met at Earthen Peak, near the Central Earthen Peak bonfire. He will build a ladder allowing you to reach some hidden items in exchange for 2,000 souls.
Regardless of whether you spoke to him at Earthen Peak, Gilligan moves to the pit at Majula after Mytha the Baneful Queen is dead. At Majula, he will offer you three different lengths of ladders in exchange for 500, 3,500, and 12,000 souls. Each ladder is required to safely reach the different platforms in Majula’s pit, and buying the longest ladder allows you to reach the Gutter and the Grave of Saints.
After buying the longest ladder, Gilligan will give you the Melu Scimitar as thanks.
If Gilligan is killed, he can be summoned from his tombstone, However, the tombstone is not near the pit. Instead, it’s at the tall pillar near Lenigrast’s shop, behind Saulden.
Magerold Of Lanafir

Magerold’s shop is at Iron Keep at the end of a side corridor in the first section of the actual castle.
Magerold stocks new items after you have used a Bonfire Ascetic on the Threshold Bridge bonfire.
Magerold will give you the Covetous Gold Serpent Ring +1 after you have spent 10,000 souls on his wares.
If you have the Petrified Egg from the Dragon Shrine in your inventory, Magerold will ask if he can have it. If you give it to him, he will allow you to join the Dragon Remnants covenant. There is no other use for the Egg.
If you have the Crown of the Old Iron King DLC, Magerold stocks new items after you have killed the Fume Knight.
If you have the Crown of the Old Iron King DLC, Magerold stocks new items after you have killed Sir Alonne.
Head Of Vengarl

The Head of Vengarl can be found in the Shaded Woods, specifically the foggy area. The easiest way to find him is to enter the foggy woods from the Forked Road bonfire and follow the left wall from the right exit. The head sits atop a pile of rubble in a clearing.
The Head of Vengarl sells Vengarl’s weapons and shield after you have killed Vengarl’s Body in the Lord’s Private Chamber at Brightstone Cove Tseldora.
The Head of Vengarl will give you Vengarl’s Helm if you listen to his story by talking to him repeatedly.
After Vengarl’s Body has been killed, Vengarl can be summoned to fight against the Throne Defender and Throne Watcher at the Throne of Want, as well as the final boss that is fought after them. Vengarl can also be summoned at the Dragon Shrine to fight the Ancient Dragon. His sign appears in the hallway before the Dragon.
If you have the Crown of the Ivory King DLC, Vengarl can also be summoned for the boss fight against Lud & Zallen at the Frigid Outskirts.
Manscorpion Tark
Tark appears in the Shaded Woods, near the Shaded Ruins bonfire. You cannot speak to him unless you’re wearing the Ring of Whispers. This Ring is sold by Sweet Shalquoir in Majula for 5,800 souls.
After talking to Tark with the Ring of Whispers, he can be summoned to help fight Scorpioness Najka.
After killing Scorpioness Najka with or without his help, Tark will give you the Fragrant Branch of Yore.
After killing the Duke’s Dear Freja, Tark will give you the Second Dragon Ring.
Weaponsmith Ornifex
Ornifex at her house in Brightstone Cove Tseldora.
Ornifex appears at the Shaded Woods, locked behind a door in the covered pit with the petrifying lizard enemies near the Shaded Ruins bonfire. She can be freed with the Fang Key, which can be obtained by using a Fragrant Branch of Yore on the nearby Lion Clan Warrior statue and killing it. Once free, Ornifex will ask you to meet her at her house “down the way”.
Ornifex’s house is actually at Brightstone Cove Tseldora, right next to the pit of quicksand. It is the house with a candle in the centre, surrounded by statues.
Ornifex makes unique items out of boss souls. She will do this in exchange for an amount of souls varying from 1,500 to 25,000. The first item she makes will cost no souls.
Rat King

The Rat King at the Doors of Pharros.
The Rat King appears in two locations: at the Grave of Saints, after killing the Royal Rat Vanguard, and at the Doors of Pharros, after killing the Royal Rat Authority.
The Rat King allows you to join the Rat King Covenant.
Pardoner Cromwell

Cromwell appears in the attic of the chapel at Brighstone Cove Tseldora. The attic can be accessed using a ladder hidden in an alcove as you leave the fight with the Prowling Magus and Congregation.
Cromwell will pardon your sins in exchange for your level multiplied by 1,000 in souls. Having your sins pardoned makes hostile NPCs non-hostile. This includes Vendrick and the Ancient Dragon.
Cromwell will give you the Ring of Resistance if you have at least 35 faith.
Darkdiver Grandahl

Grandahl at the Shaded Woods.
Grandahl appears at the Shaded Woods, in an underground area accessed via an obscured hole in the ground, near the Shaded Ruins bonfire.
Grandahl appears again at Black Gulch, in a hidden area accessed by dropping off the right ledge near the area where the first giant centipede appears. After dropping from this ledge, drop down again to access a room with two giants. Killing both giants grants you the Forgotten Key, which will open the door on the first ledge and give you access to Grandahl. The giants’ room has cages akin to the ones from Sen’s Fortress in the original Dark Souls. These cages can be used to return to the Black Gulch proper, allowing you to return to Grandahl’s ledge.
Grandahl appears again at Drangleic Castle, near the Under Castle Drangleic bonfire. To access this area, start from the King’s Gate bonfire, and enter the room with the Ruin Sentinels. On the left side of the room, the farthest door from the entrance has a broken section of floor that allows you to drop into this area. Note that it is possible for the Ruin Sentinels to drop down after you.
After speaking to Grandahl in all three locations, he allows you to join the Pilgrims of Dark covenant. Doing so gives you access to his services, including the Dark Chasm of Old, a set of three areas accessed from each of Grandahl’s locations. Grandahl opens a portal to the Dark Chasm in exchange for one Human Effigy each time you want to enter.
Each Dark Chasm of Old has a large brazier that can be lit by a torch. As there are no bonfires in the Chasm, you’ll need to bring a Flame Butterfly for each. After lighting the brazier and clearing each Chasm, you will fight the Darklurker boss. If Darklurker kills you, you will need to clear the Chasm again each time you want to fight it. Each attempt will cost you a Human Effigy to enter, although entrance will be free after Darklurker dies.
Grandahl gives you the Resonant Soul hex after clearing one Chasm, Great Resonant Soul after clearing three, and the Climax hex and the beautiful Xanthous Set after killing the Darklurker.
Grandahl gives you the Dragon Chime after killing the Darklurker.
It is recommended that you base yourself at the Under Castle Drangleic bonfire to fight Darklurker, as it’s very close to Grandahl.
Aldia, Scholar Of The First Sin
Aldia first appears at the fourth primal bonfire that you have lit. After speaking to him here, Aldia moves to the Undead Crypt.
Aldia appears at the entrance of the Undead Crypt. After speaking to him here, Aldia will move to the Dragon Shrine.
Aldia appears in a building at the beginning of the Dragon Shrine.
If you have defeated Vendrick and spoken to Aldia in all three locations, he will appear as a boss fight after the final boss at the Throne of Want.
Note that if your game is on a patch prior to 1.01, Aldia will not appear. This is not a bug; Aldia was added to the game in the 1.01 ‘Scholar of the First Sin’ patch.
Chancellor Wellager

Wellager appears in the entrance hall of Drangleic Castle, as a merchant. He sells new items after killing the Looking Glass Knight in the King’s Passage. He also sells new items starting on Journey 3.
Wellager will give you the Royal Dirk, Espada Ropera, and Llewellyn Set after the Giant Lord has been killed in the Memory of Jeigh.
Milfanito
The first Milfanito appears in the first hut at the Shrine of Amana. She will give you the Smooth and Silky Stone if you speak to her.
The second Milfanito appears immediately before the fight with the Demon of Song at the Shrine of Amana. She will disappear immediately if spoken to.
The third Milfanito is behind a door near the Rise of the Dead bonfire at the Shrine of Amana. The door doesn’t open unless you are hollow. She will give you the Smooth and Silky Stone if you speak to her.
The final Milfanito is at Drangleic Castle. At the top of the elevator near the Central Castle Drangleic bonfire, she is locked behind a door that requires the Key to the Embedded to open. She will disappear immediately if spoken to and leave behind the Ring of the Dead.
The first Milfanito will grant you a Divine Blessing after you have spoken to the other two at the Shrine of Amana. She will give you a second Divine Blessing after you have spoken to the Milfanito at Drangleic Castle.
The third Milfanito will grant you a Fire Seed after you have spoken to the one at Drangleic Castle. She will give you a Divine Blessing for defeating the Demon of Song.
Grave Warden Agdayne

Agdayne appears at the Undead Crypt, in the room just after the enemies that cast spells. If you enter with a torch lit or a Cast Light spell, Agdayne will warn you to put it out. If you don’t, and enter anyway, Agdayne and his guards will become hostile. Note that they can be made non-hostile again by paying Cromwell the Pardoner for a pardon.
Agdayne will give you his equipment and the sword Darkdrift if you speak to him after you’ve obtained the King’s Ring.
Be wary of the torch-wielding prisoner at the entrance to the Undead Crypt, who can follow you into the Crypt and make Agdayne hostile.
Royal Sorcerer Navlaan

Navlaan appears at Aldia’s Keep. He is in the main hall, under the right staircase.
To begin Navlaan’s questline, you must speak to him without pulling the lever under the left staircase.
Navlaan will ask you to kill Laddersmith Gilligan. You need to get the Ladder Miniature, which can either be taken from Gilligan’s corpse or bought from him for a high price. When shown the Ladder Miniature, Navlaan will give you the Dispelling Ring.
Next, Navlaan will ask you to kill Cartographer Cale. To prove this, you’ll need Cale’s Helm, which he will drop when killed or simply give to you at the end of his questline. When shown Cale’s Helm, Navlaan will give you the Simpleton’s Spice.
Next, Navlaan will ask you to kill Felkin the Outcast. The Sunset Staff is needed to prove this. Felkin will drop it if killed or will give it to you if you have at least 20 intelligence and 20 faith. The easiest method is just to get the other Sunset Staff from Aldia’s Keep, in a chest in the far corner of the clearing outside the Keep. When shown the Staff, Navlaan will give you the Forbidden Sun pyromancy.
Finally, Navlaan will ask you to kill the Emerald Herald. As proof, he wants to see the Herald’s Aged Feather, which she will give to you at the beginning of the Dragon Aerie. She also drops it when killed. When shown the Aged Feather, Navlaan will give you the Unleash Magic sorcery and access to his wares without the need of a Human Effigy.
Navlaan will give you the Chaos Set if you speak to him after finishing his questline.
Pulling the lever under the left staircase begins a different questline. Navlaan will not provide his services or ask you to kill anyone, and will instead invade in six different locations: at the Forest of Fallen Giants, near the Place Unbeknownst bonfire; at the Gutter, near the Upper Gutter bonfire; at Brightstone Cove Tseldora, on the bridge leading to the Duke’s Dear Freja; at Drangleic Castle, in the room with the cursed painting; at Aldia’s Keep, before the last ogre in the keep; and at the Dragon Aerie, on the bridge after fighting the third dragon.
If you are in the Company of Champions, Navlaan will drop an Awestone when killed as an invader.
Captain Drummond
Drummond appears in the Memory of Vammar.
Drummond can be summoned for the Giant Lord fight after speaking to him in the Memory of Vammar.
Drummond will give you the Drangleic Helm after you have defeated the Giant Lord.
Miscellaneous Summons And Invaders

Pilgrim Bellclaire’s phantom in the Lost Bastille.
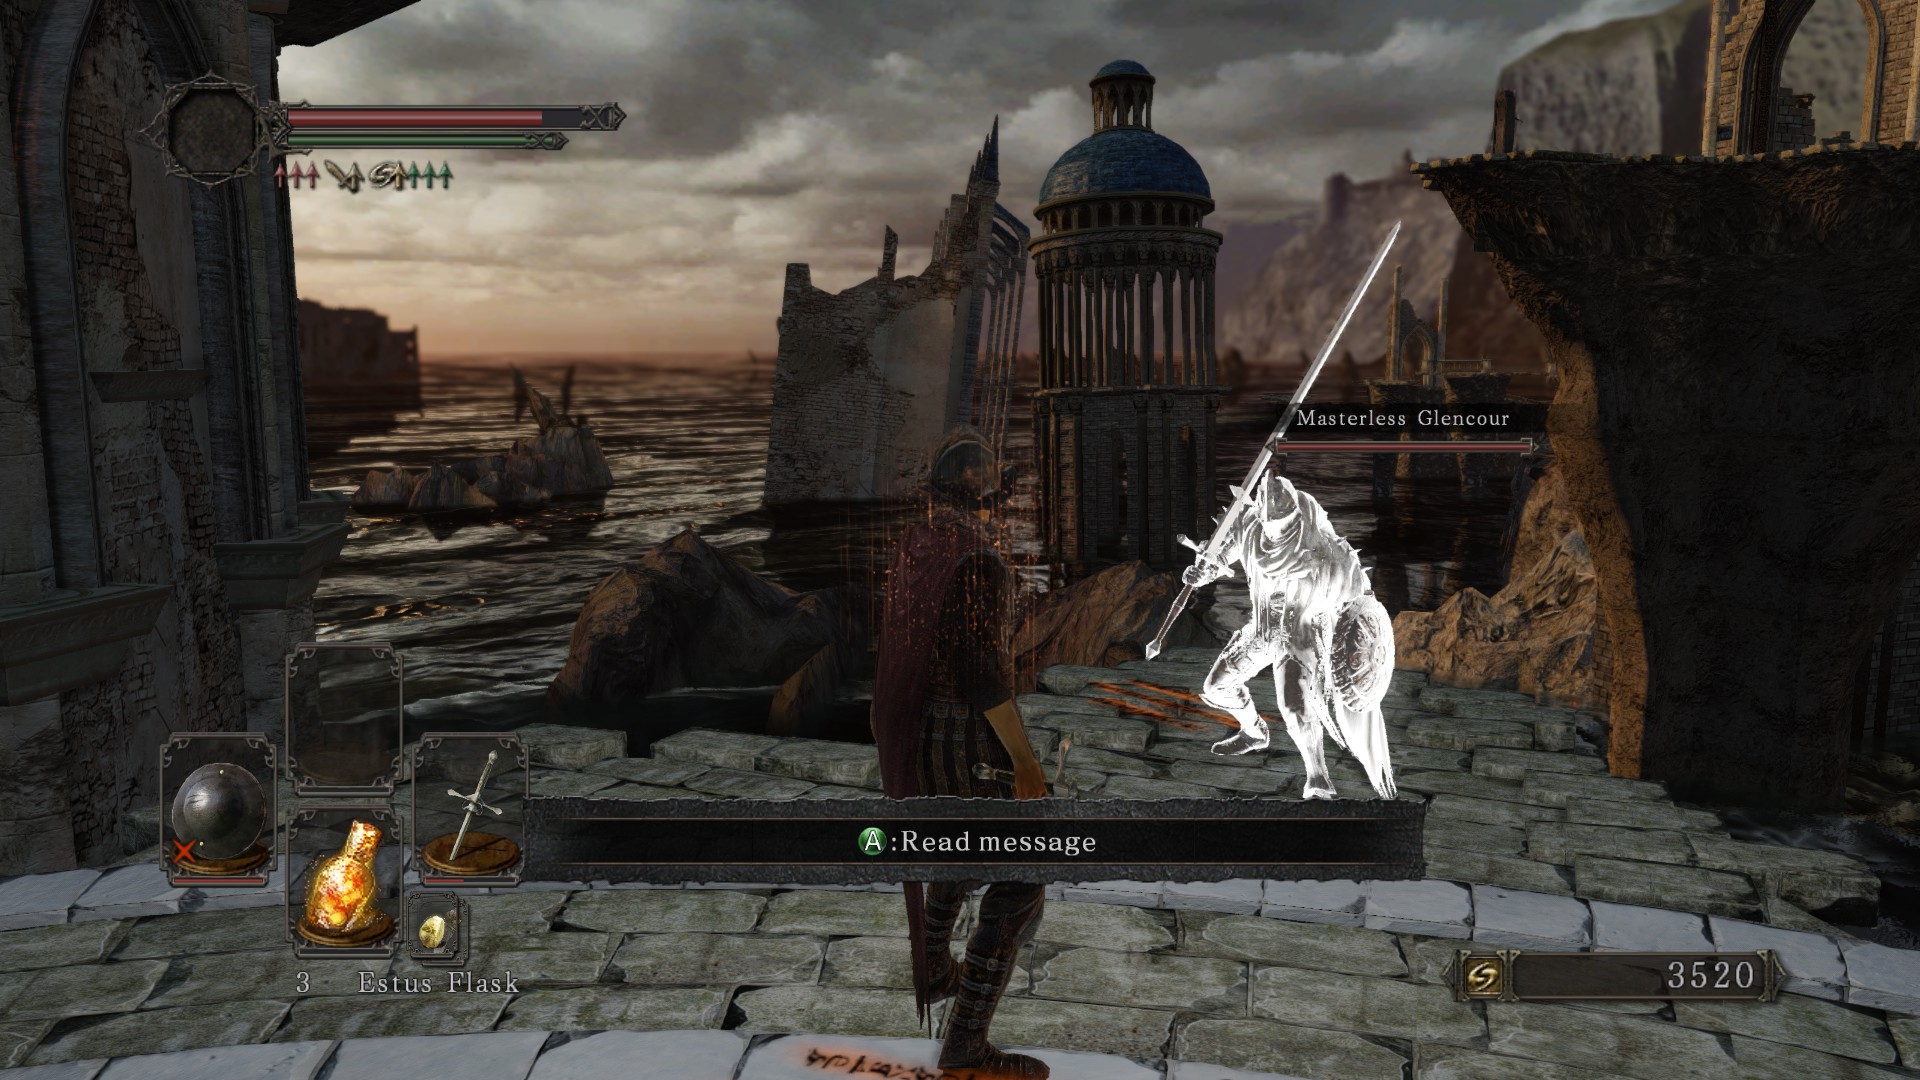
Masterless Glencour’s phantom at Heide’s Tower of Flame.
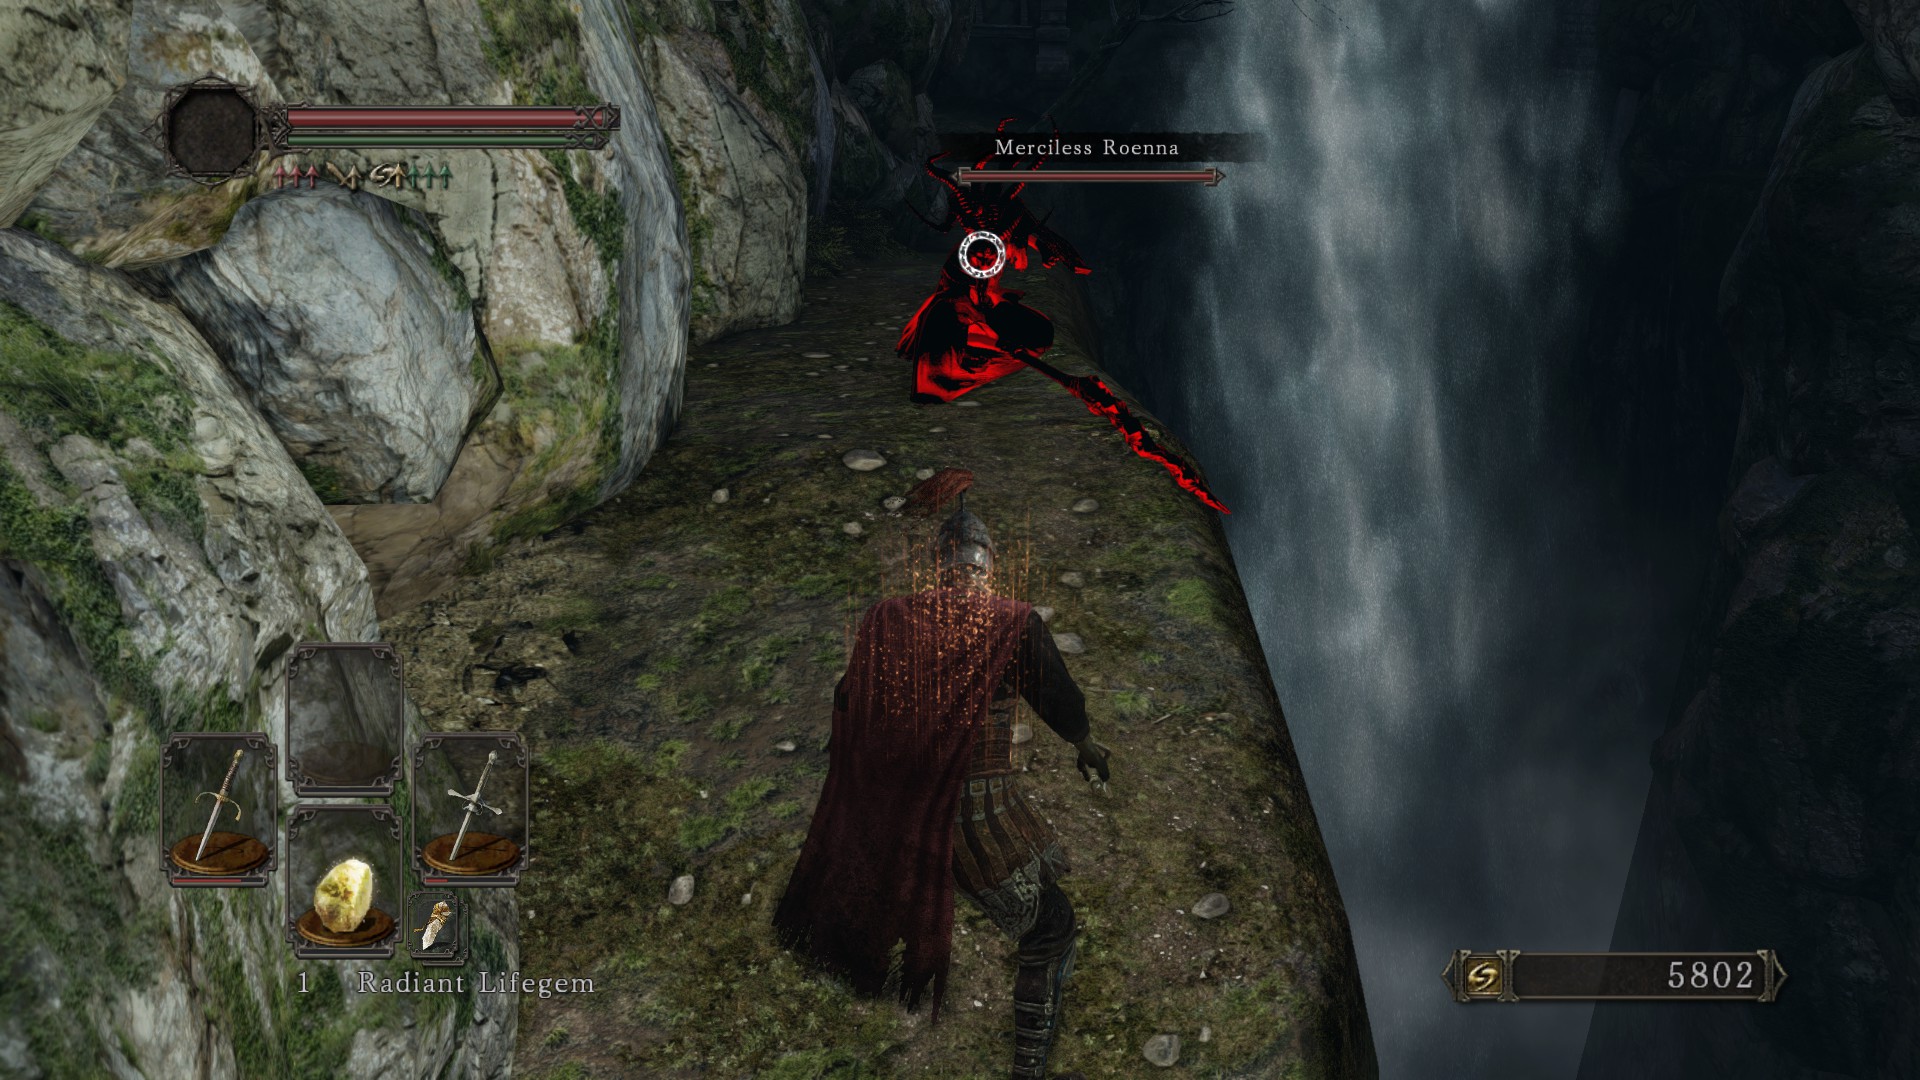
Merciless Roenna’s red phantom at Huntsman’s Copse.
Ashen Knight Boyd can be summoned at Brightstone Cove Tseldora, on the bottom floor of the structure immediately before the Duke’s Dear Freja.
Bashful Ray can be summoned for a short period of time at Huntsman’s Copse (in a hut near the poisonous butterflies), Earthen Peak (near Laddersmith Gilligan’s ledge), Brightstone Cove Tseldora (in the building next to Weaponsmith Ornifex’s house), Black Gulch (between the two giant centipedes), Drangleic Castle (in the Ruin Sentinels’ room, after activating the two statues), and Dragon Shrine (in the hidden courtyard near the Petrified Egg).
Felicia the Brave can be summoned in the Shrine of Amana, in the hut just after the ogre.
Jester Thomas can be summoned at Earthen Peak, near the staircase before Mytha, the Baneful Queen. If you haven’t burnt the windmill, his summon sign will be covered in poison. If you have the Crown of the Sunken King DLC, Thomas will invade the player just before the Lair of the Imperfect bonfire.
Lone Hunter Schmidt can be summoned at Black Gulch (to the left of the tunnel that leads to the Rotten) and the Shrine of Amana (in the hut just after the ogre).
Masterless Glencour can be summoned at Heide’s Tower of Flame, just to the right of the Dragonrider’s area. He can be summoned again after Dragonrider is dead to fight the Old Dragonslayer. If you have the Crown of the Ivory King DLC, Glencour can be summoned at Frozen Eleum Loyce, between the front gate and the Outer Wall bonfire.
Melinda the Butcher invades in the Gutter, in the area with the chest containing the Ring of Soul Protection. There is a very small chance of Melinda dropping a Raw Greataxe +3. After Melinda has been defeated in the Gutter, she can be summoned in the Dragon Shrine to fight the Ancient Dragon.
Pilgrim Bellclaire can be summoned at the Lost Bastille. Her sign is in a cell on the right side of the hall leading to the Ruin Sentinels.
Source: https://steamcommunity.com/sharedfiles/filedetails/?id=1703648295
More DARK SOULS II guilds
- All Guilds
- Super easy way to Melee VS Anceint Dragon
- Dark Souls 2 Best Anti Aliasing Guide
- Solaire's back to help you in game.
- Que es, y como enfrentarse a un TryHard
- DARK SOULS II Guide 510
- DARK SOULS II Guide 502
- 100 -
- Arepas rellenas mixtas
- " Dark Souls"
- DARK SOULS II Guide 478