
CHAPTER 1


Minigames in this chapter: 1
Soon as you get to inside fortress. You need to try to find all enemy locations. There is 16 Wutai encounters in Wutai Fortress.
What you need to do is be extra explore the base. While many of the fights are automatic, there are several hidden encounters, most of which are triggered by investigating the walls. REMEMBER TO CHECK TOWERS! There should be 2 towers as hidden enemies.
After you’ve done this, go to the end of the base for the final fight. Before you leave, look up in the top left corner: if your count is 16, then you got them all and can leave.
Achievement doesn’t pop until after you’ve talked to Lazard, and he evaluates you in front of Angeal.
CHAPTER 2


Minigames in this chapter: 2
This first one is missable. Soon as you get to the village in chapter 2. You need to interact all 5 treasures before going to factory! Unless if you dont interact all of the treasures you miss the achievement! DONT WORRY YOU JUST INTERACT THEM NOW, YOU DONT NEED TO TRY COLLECTING THEM RIGHT AWAY.
1.
2.
3.
After inside angeal house and cutscene you can interact the last 2 treasures.
4.
5.
After being in factory. When you get to the outside. Its time for the Shell minigame!
When you hear a sound and shell turns red press "slash". You need to destroy 10 shells in a row! If you dont get them all on first try. Reload game from the factory and try again.
OK! After this shell minigame its time to collect the 5 treasures!
Destroy all shells to get more time to collect the treasures in ground! There is 5 treasures you need to collect. They are the same 5 pictures as you just interacted them. Go pick them up when the time starts running!
you have 45 seconds to run to all five spots and still reach Angeal’s house. Do this successfully, and you get the Banora Treasures achievement.
CHAPTER 3


No minigames on this chapter.
BUT you need to do some missions for the later minigames.
These are needed for the Aerith`s flower vagon in chapter 7.
Mission: 7-1-1 - Freight Recall (Missable)
This Mission is missable. At the beginning of Chapter 3, head into the Briefing Room to find a rookie SOLDIER 3rd Class standing in there. He’ll ask you to complete his missions for him which will unlock 7-1-1 and the subsequent missions.
After accepting the mission 7-1-1 - Freight Recall from the rookie 3rd Class SOLDIER. Complete all the subsequent missions, and head back to him to receive the "Premium Tires". You need this item in flower vagons in chapter 7.
CHAPTER 4


Minigames in this chapter: 7
In the Chapter 4 Slums Market area, after getting your wallet back, interact with the "Item World" store to start this minigame. You must collect all 20 materia around the Market in under 14 seconds. Sprint and spam :x: to pick up the items, make sure to not miss any. Talk to the shop keeper after collecting the last materia. If you took more than 14 seconds the trophy won't pop. If you did it correctly the shopkeeper will rate your performance with "Godlike Speed".
PRO TIP: Go to settings and adjust camera to fast to make it easier to see the materias on the ground.
In the Chapter 4 Slums Market area, after getting your wallet back, interact with the "Shopping Paradise" store to start this minigame. You must count to the correct number of drops displayed. Drip = 1, DripDrip = 2, Splash! = 10. Press :x: when the correct amount has been reached to make perfect perfume. You can retry this as often as you want but it costs some money each time (there's also a save point right next to it).
TIP: If you're having trouble with the Perfume Blending press Start to pause it and take as long as you need to count/write it down when the Drips show up.
It is recommended that you do other minigames before this one. You should get the affection level of Aerith is highest before doing this one. Advice from Aerith is free, but it depends on her Affection Level.
In the Chapter 4 Slums Market area, after getting your wallet back, talk to the boy in the corner for a number-guessing minigame. You must guess how many kids walk by, between 1-6. Ask Aerith for her guess, she will give you 2-3 numbers (she gives 2 when your affection is above 50, and 3 when below 50). If you pay 50 gil, the boy will give you three numbers. Select the number that is shared between these for the correct answer.
There is a different prize every time you come. The following list contains a variety of bonuses that you can obtain. Prizes that have less chance of coming out are listed at the start.
ATK Up
HP Up
Vest (Bulletproof)
Armlet (Bronze)
Bangle (Bronze)
Blizzard
Hi-Potion
Fire
Thunder
Soma
Potion
In Chapter 4, in the Sector 5 Slums Market area, you must reach high affection with Aerith. Aerith affection will go up by +10 for interacting with each of the three shops when looking for Bruno, +1 for each time you select "Wait" when you talk to the girl (+10 total), +2 for each Potion given to the boy (+10 total), and +5 for choosing the first option when you speak to Aerith, or +10 for choosing the second option. This is +60 by the time you get your wallet back. You then get +5 every time you make perfect perfume (Master Blender trophy), +5 for getting the fastest time on the materia collection (Godlike trophy). Craft the Perfume 3 times in a row perfectly without miscounting the number of drops (Drip = 1, DripDrip = 2, Splash! = 10). This brings you to 75 Affection total. Leave the market and continue with the chapter until you reach the end of Sector 5. There you will run into Bruno, during the dialogue he must say "You and Aerith make a Good Couple". If he says you are an "okay couple" you missed something or blended bad perfume (if you miscount the drops during perfume blending Aerith won't like it and this can reduce your affection).
After leaving the Slums, when you get into the Hojos laboratory. Dont talk to Hojo first, if you talk you proceed in the story and you cant do these next 3 minigames!
In the Fusion Chamber room with Hojo, interact with the machine on his left. It will count down from 5 seconds, stopping at 3 seconds. Continue counting to 0 seconds and stop it correctly to get 100%. You must press :x: after exactly 5 seconds, only the timing of your button press is important, not the time it takes for the "press button animation" to play it. When pressing :x: after exactly 5 seconds it takes another 2 seconds for the animation to play out which is fine and doesn't affect anything. It might take a few attempts. If it didn't work you can immediately retry as often as you want. No need to reload saves between tries.
After leaving the Slums, in the Fusion Chamber room with Hojo, follow the bridge in the middle and interact with the fusion chamber. Answer the questions correctly:
1) A SOLDIER operative like Sephiroth
2) State-of-the-art science and technology
3) A person unafraid to challenge Shinra
You got the Steal Materia automatically from Bruno in Chapter 4. You will need to use Steal Materia on all 6 Experiment Enemies to get their keys, then open the cells and open the 3 chests in each cell, and return to Hojo before the time runs out.
CHAPTER 5


Minigames in this chapter: 3
(You can do this squat challenge till Chapter 7 before you head to Nibelheim)
At the start of the Chapter enter the Training Room and talk to the man to start the Squatting Minigame. Beat all four opponents. You must press :triangle: while squatting down, at the following times:
Speed 1 = press :triangle: when hands and feet line up
Speed 2 = press :triangle: when hands and sword line up
Speed 3 = press :triangle: when arms are swung furthest back
Speed 4 = press :triangle: as soon as he ducks down
PRO TIP: If you are playing with controller, put VIBRATION on. Everytime it vibrates you need to press Triangle.
Speak to this guy to start Wutai spies quest.
Locate all 6 Spies to receive this as a reward. Must talk to each Spy 3 times, they must be found in a fixed order, nothing will happen if you try to speak to them out of order.
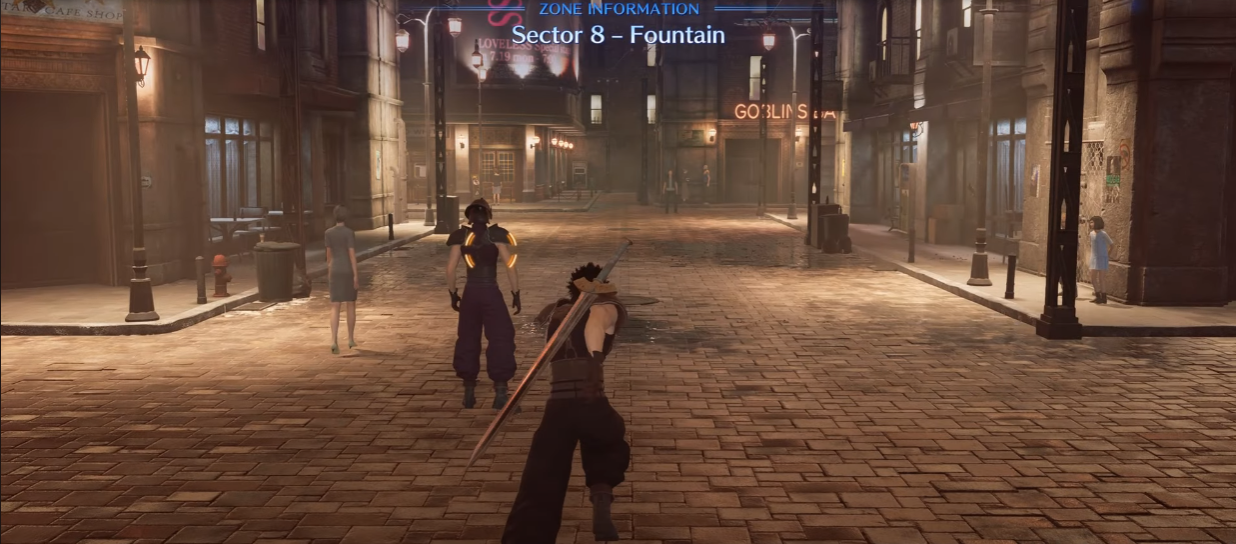
Speak to the SOLDIER 2nd Class in Sector 8 - LOVELESS Avenue and agree to help find the Wutai Spies.
1 - Man walking the street outside LOVELESS Avenue Theater
2 - Shinra Trooper walking in Sector 5 Market (go there via Fountain -- Train Station -- Market)
3 - Male Shinra Employee coming out of elevator in Shinra Building Entrance, upstairs. If he doesn't spawn right away, run in circles downstairs and upstairs again until he shows up in front of the elevators.
4 - Woman talking to a man in Fountain area, outside the entrance to Sector 1 Train Station
5 - Shinra Employee in front of the rocket in the Shinra Building Exhibit Room
6 - Kid with a hat in Sector 6 Slums Park (access via Fountain -- Train Station -- Market -- after leaving market turn right to enter Park)
Before infiltrating the facility in Modeo Ravine (story-related, snowy area), make a manual save. There's a save point right before it. After infiltrating the facility, avoid the patrolling guards. Crouch in the blue zones to hide, and run past when they’re not looking. When you reach the exit without being seen the trophy will pop. If you were seen, reload the last manual save to retry.
First run to first hide spot.
wait till the first enemy from the left goes past. grab chest.
go back to first hiding spot. let enemy go past.
run sametime and grab chest. wait in second hiding spot enemy goes past.
run to the right. grab couple chests and you are done.
CHAPTER 6


Minigames in this chapter: 1
During the assault on Junon, a minigame will start where you must stop enemies from reaching the purple outline at the end of a road. It will show a counter in the top left corner how many enemies you defeated. Stay near the end of the road where the enemies are heading. Run into all the enemies heading towards the gate to fight them and defeat them all. Don’t let any reach the gate. There are 30 enemies total, if you didn't let any reach the gate the achievement will pop!
CHAPTER 7


Achievements in this chapter: 1 (also you can still do squats and 3 minigames in the market: materia-collecting, perfume-mixing and number guessing. )
Flower Wagon 1
You obtain all of these parts during Chapter 7 for the first flower vagon. This first one is for the story so other 2 you need to do after.
Used Tools - These tools can be found on the ground in the Church area, there are a number of orange items on the ground for you to search.
Old Lumber - Interact with the pile of wood to the right of the Accessory Shop in the Slums Market. A man approaches that he's working on building a bar in the Sector 7 slums and asks you for a name, select "Seventh Heaven" as an option
Worn Tires - Travel to LOVELESS Avenue and speak to the man in the North-West who is standing in front of a car. He will give you these tires.
How to Build a Wagon - After you have collected the previous three parts return to the Church area and re-examine the Shinra Helmet glowing on the ground to obtain these instructions
After you have build the Flower Wagon 1. you'll be asked by a Soldier if you're ready to meet up with Sephiroth yet or if you want to continue exploring. At this point select that you want to keep exploring. Return to Aerith to do the other 2.
WHAT YOU NEED FOR 2 WAGONS:
- Craftmans monthly from chapter 2.
- Premium Tires from chapter 3.
- 4x flower wagon parts from squat minigame from chapter 5.
- Mythril Tools from chapter 4.
- Walnut wood from chapter 5.
Cute Flower Wagon 2
Aside from the Mythril Tool all of these pieces can be obtained during Chapter 5
Walnut Wood - Catch all 6 Wutai Spies as part of the Wutai Spy questline that can be begun in LOVELESS Avenue in Chapter 5 by talking to the Soldier 1st Class. Finding the Spies will unlock the M4-3 missions but you do not need to complete any of them to obtain this item.
Premium Tires - To obtain this item start the Mission set '7-1: Recall Missions' Storyline by talking to the Soldier 3rd Class that is being chewed out in the Briefing room. After completing mission M7-1-6 return to the Briefing Room and talk to the Soldier 3rd Class once more to obtain these items.
Mythril Tool - In Chapter 7 return to the Exhibit Room in the Shinra Building and talk to the Scientist looking at the display. You'll obtain Mission M2-1-6 from this. Complete the mission and talk with him again to obtain the Mythril Tools.
Craftsman Monthly - Speak with the Captain in the South-East of LOVELESS Ave to be challenged and obtain the beginning of M1-2: Peacekeeping Troops. After completing M1-2-6 return to the Captain and talk to him to obtain this item.
Cool Flower Wagon 3
CHECK THE SQUAT GUIDE IF YOU HAVENT DONE THIS ONE YET.
You earn all of these parts by beating the four rounds of Squat challenges that begin in the Training Room on the SOLDIER Floor at the start of Chapter 5
Shinra Lunch Cart Specs - Beat Infantryman (Round 1) at ~22 Squats
Shinra Ceramic - Beat Captain (Round 2) at ~29 Squats
Shinra Treads - Beat SOLDIER 3rd at ~43 Squats
Shinra Solder - Beat SOLDIER 2nd at ~53 Squats
CHAPTER 8


All Nibelheim Seven Wonders Locations
The Seven Wonders are all found in Chapter 8 & Chapter 9. This is missable and you should do it right away!
To start talk to the Wonder Hunter boy in front of the inn.
First Wonder
Talk to the boy in the town center to learn about the 'Seven Wonders' in the town of Nibelheim. He will then give you the first wonder; the town's red drinking water.
Climb the Water Tower
There's a water tower at the center of the town. Go to the side and climb up to clear the First Wonder; the Phoenix Materia is turning the water red!
Second Wonder
Talk to the boy again to learn about the second wonder; the eerie painting of the girl on the second floor.
The boy will tell you about the painting of the girl on the second floor of the inn.
Examine the painting of the girl on the second floor of the inn.
Talk to the boy and tell him about the picture.
The boy will then tell Zack the Second Wonder; the girl will sometimes leave the painting to explore the real world.
Go back to the painting and the girl in the painting will not be there.
Go back and forth between the first and second floor multiple times.
Eventually, the innkeeper will start to walk up the stairs to the second floor. Follow him and talk when he is at the painting.
Zack will then catch him taking something out from behind the painting. It turns out, the innkeeper is using the painting to hide his finances. He will pay Zack 2000 gil to keep it a secret.
Third Wonder
Talk to the boy again and he will tell you about the third wonder; there's a different kind of Bomb Monster in Mt. Nibel and Zack needs to bring proof that it exists.
Go to the end of Mt. Nibel Trail, where two chests are located.
Zack will encounter the Gray Bomb, Touchy Bomb, and Remedy Bomb. They will look different from the usual Bombs Zack encounters.
Defeat them before they explode to complete the Third Wonder!
After defeating them, Zack will receive a Gold Shard. Bring it back to the boy to exchange it for a Safety Bit.
Fourth Wonder: Laughing Safe Code Answers
The boy will then talk about the fourth wonder; the 'laughing safe' in Shinra Manor. Zack needs to acquire the safe code to solve this wonder!
Go to Shinra Manor. Once inside, go up the stairs to the second floor and head to the left.
Enter the first door to the right. This room is where the "laughing safe" is. Examine the piece of paper on the floor containing hints to uncover the four-digit safe code.
Hints:
1st Digit: Knowledge overflowing
2nd Digit: Unwelcome faces
3rd Digit: Tasty reminders of home
4th Digit: Resting on all four feet
The Four Digit Safe Code
1st Digit: Knowledge overflowing
Upon reaching the 2nd floor, head to the northeast room and peek through the keyhole. Count how many books NOT in shelf. I had books in Top. They can be on chair.
2nd Digit: Unwelcome faces
Head back down the 1st floor and peek through the room to the east. Count enemies. They can be on corners too.
3rd Digit: Tasty reminders of home
Go back up the 2nd floor and head to the door at the end of the hall. Count apples and cans.
4th Digit: Resting on all four feet
Head back down the 1st floor and head to the west room. Count how many chairs.
Note: The number of items or monsters in the room will vary each gameplay.
3 After acquiring the code, open the safe to release the Cactuar trapped inside; this is what's causing the 'laugh' of the safe! Zack will then be rewarded with the Vital Slash.
4 Return to the boy to inform him of the mystery.
Now you need to proceed story a little bit before you can continue. Go talk sephiroth and after that you can proceed. After a story cutscene, talk to the boy again to get the fifth wonder; the bloodcurdling moans from underneath Shinra Manor.
Fifth Wonder
Go back to Shinra Manor and head straight to the 2nd floor.
Go to the southwest room to find the entrance to the underground cave.
Run around and kill Sahagins for keys.
There are four coffins here; three of them contain Bizarre Bugs, but the fourth one contains a man sleeping. Open the coffin containing this man to solve the Fifth Wonder.
After solving the Fifth Wonder, you can skip going back to the boy, as he has no special reward to give Zack.
Continue on with the story to access the next Wonder.
Sixth Wonder
To solve the sixth wonder, you must have completed the previous five wonders. Otherwise, the boy will not appear!
After Sephiroth sets the town of Nibelheim on fire, Zack will see the boy standing outside the burning general store; his mother is inside the building and Zack needs to save her!
Zack only has 1:00 to save the mother. The catch? You will not see the inside of the building and must guide Zack from the outside!
You need to run all the way to upstairs and talk to mom and then run back outside.
UP, RIGHT, UP, RIGHT, UP, LEFT, UP, LEFT, DOWN, RIGHT, DOWN -> TALK, UP, LEFT, UP, RIGHT, DOWN, RIGHT, DOWN, LEFT, DOWN, LEFT, DOWN.
Seventh Wonder
To solve the seventh wonder, you must have saved the boy's mother from the burning building. Otherwise, the materia will not be there!
After Zack and Cloud get out from shinra mansion, the boy will send a message regarding the lack of the Seventh Wonder. However, as a thank-you for saving his mother, he left a treasure for Zack, if he can find it.
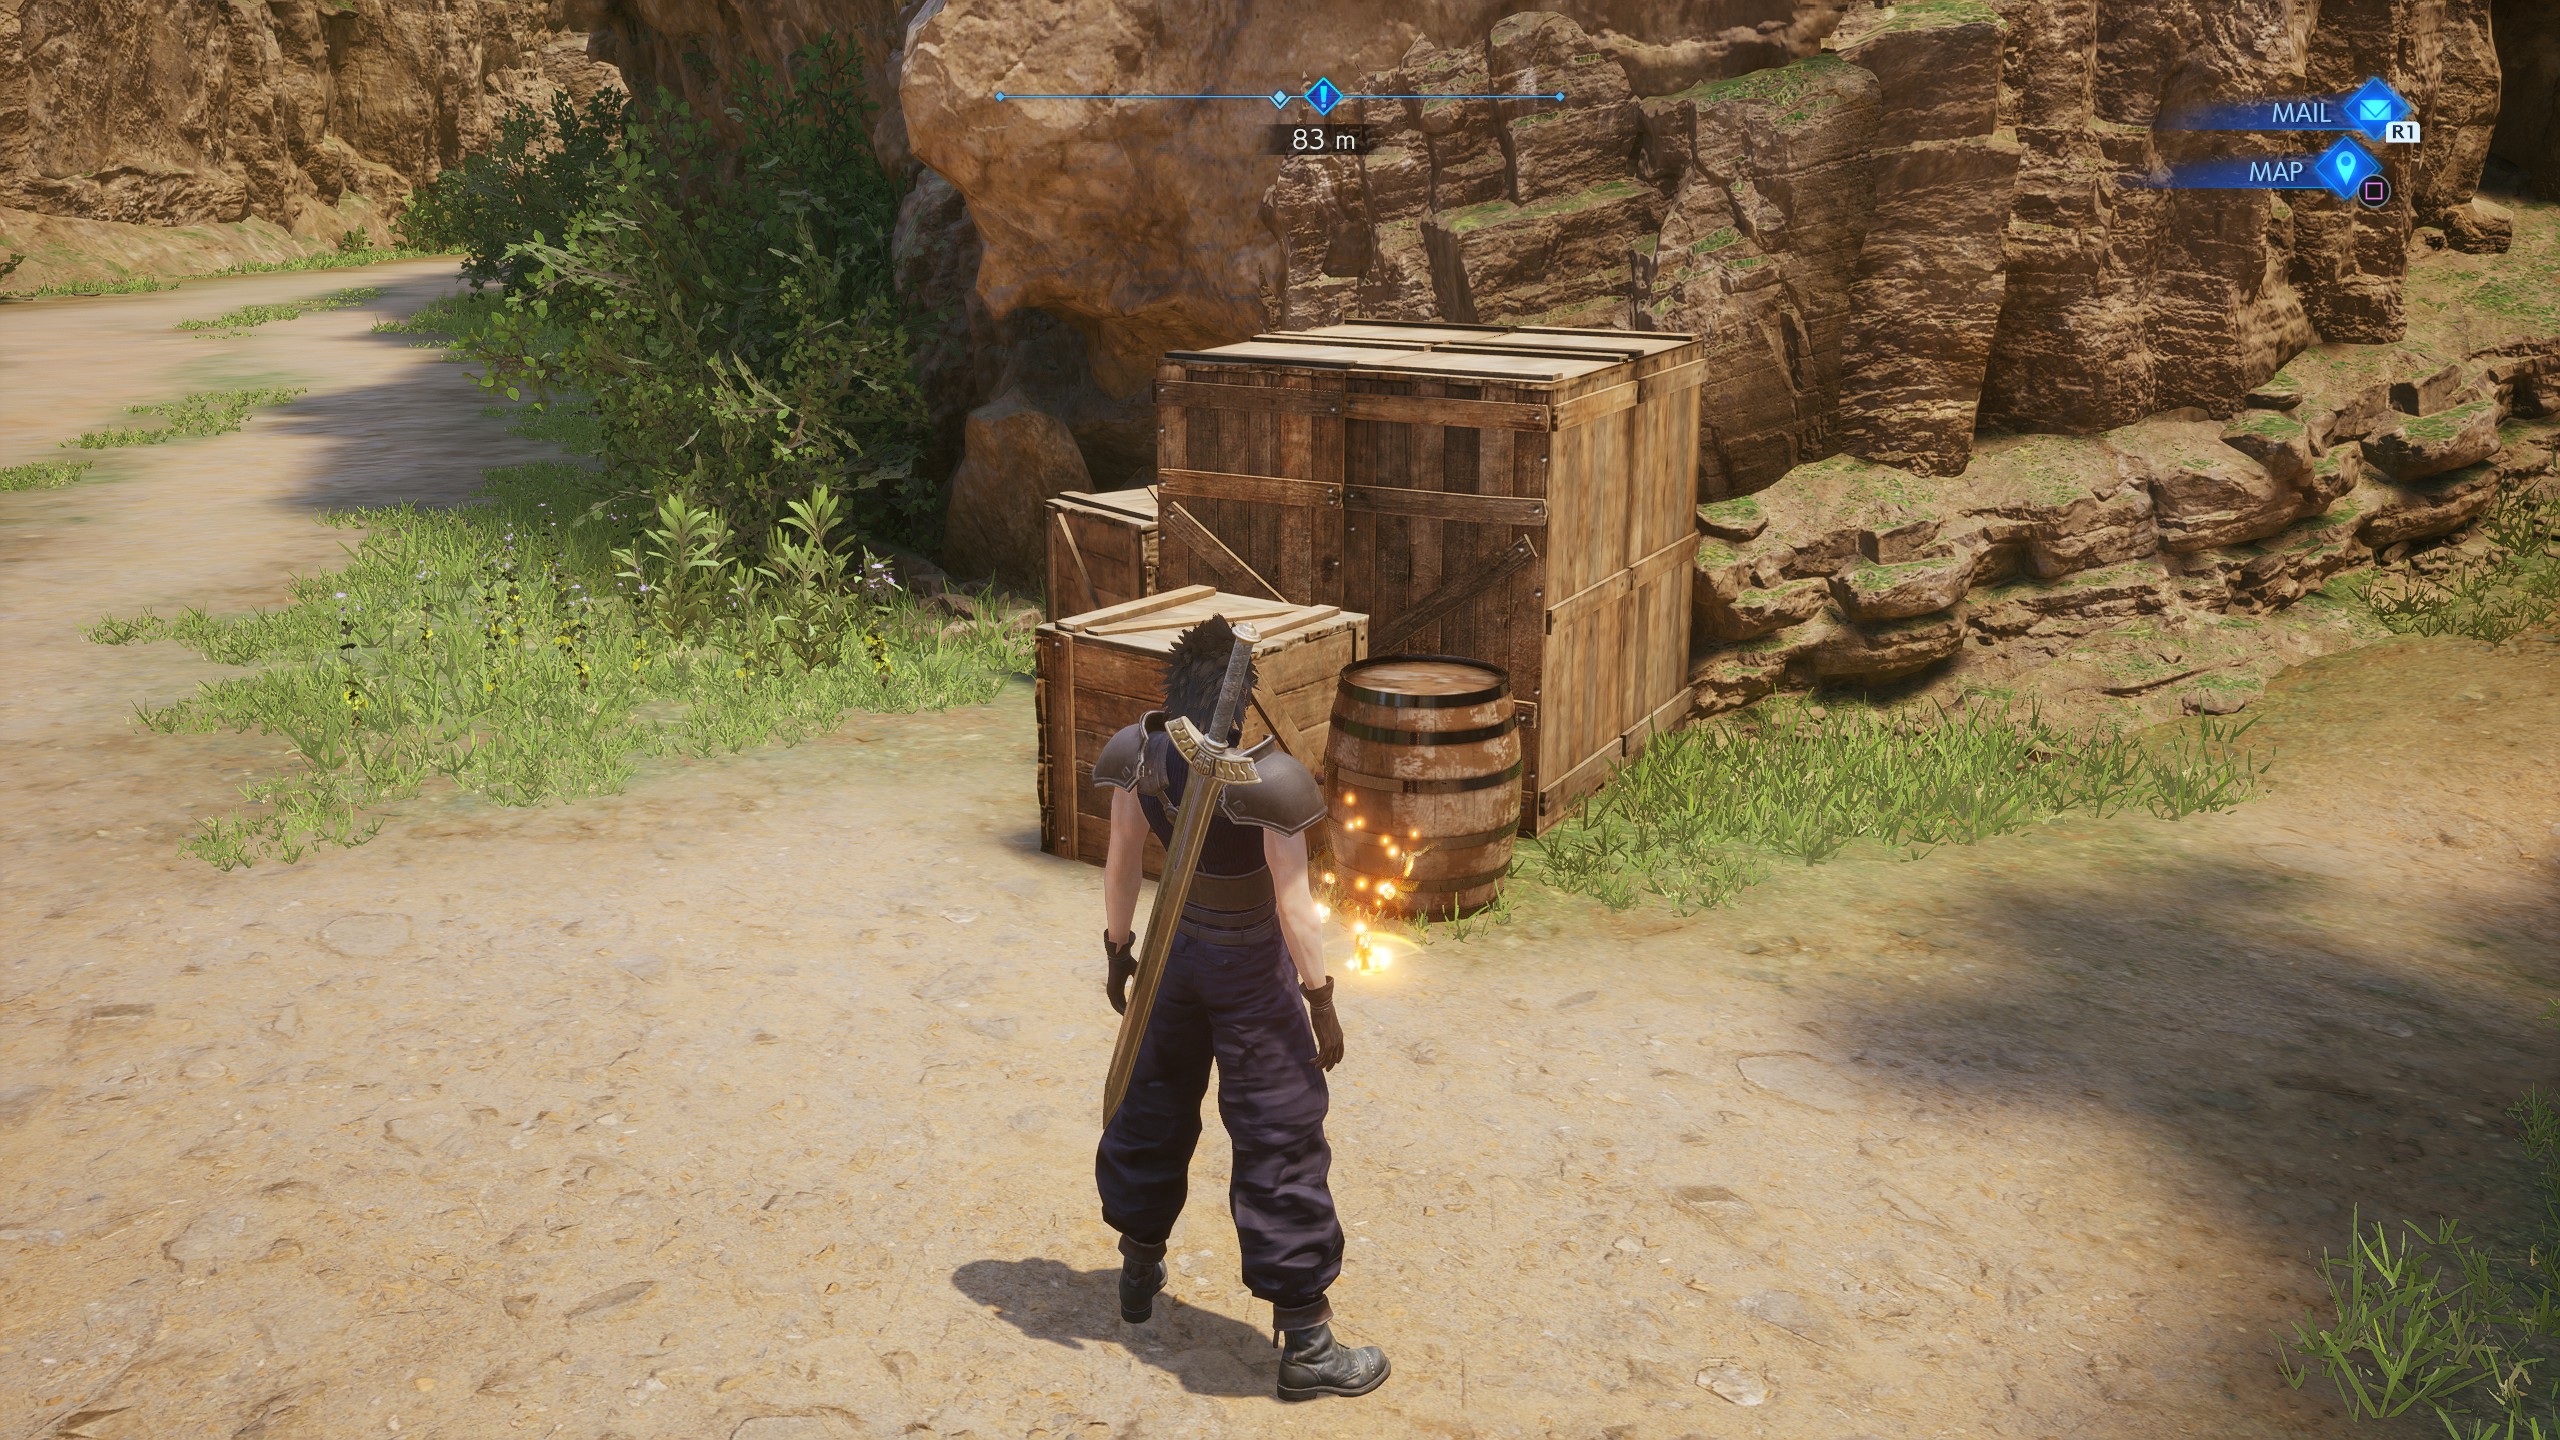
The treasure is by the fence near the farmhouse in the Nibelheim Outskirts. Look out for a glowing materia in the ground! Check the map and screenshot.
CHAPTER 9


Minigames in this chapter: 2
After leaving Nibelheim, you will go down a hill and have to shoot robots with sniper rifles. You have to kill all robots at sniping spots without any of them escaping. If you alert them and take too long they will run away after a short time. Aim for the head as it does enough damage to instantly kill all the regular ones. After fully upgrading the rifle you can also aim for their shields as they are easier to hit and the fully upgraded damage still deals good damage plus staggers the robots on each hit. There are no checkpoints during this minigame, if a robot escapes you must reload the last autosave to respawn at the start and redo everything.
PRO TIP: You can grind the weapon to max almost instantly by just running around and killing enemies.
Kill these enemies named: Alert Head, to get fast max stats to gun.
1st sniper will have 1 stationary robot.
2nd sniper will have 1 stationary robot.
3rd sniper will have 2 moving robots.
After the 3rd sniper run back and forth to farm kills on normal robots and fully upgrade your sniper rifle before triggering the 4th sniping spot.
4th sniper will have 3 moving robots in the distance, kill the one on the right first, then left, then middle.
5th sniper requires going right at the split in the road, it has 3 stationary robots that you can instantly kill by shooting the barrel.
6th sniper is down the road on the left with 2 boss robots: BIGGS and WEDGE, who have 9999 HP each. With a fully upgraded rifle it will take 3 headshots to kill one, and you can simply fire a smart bomb to kill the other one.
7th sniper is at the next split on the left with 3 robots. Quickly kill them before they retreat, with fully upgraded damage you can simply shoot their shields which staggers them but still kills them quickly (this is easier than trying headshots and missing).
8th sniper is the final one, it’s when you follow the road to the right. Shoot the barrel near the left robot, then headshot the other two or just shoot their shields quickly. If they try to retreat, you may be able to hit the barrel to stop them.
Continue to the end of the section and the trophy will pop before the next save point.
Soon as you get to gongaga. You need to proceed till you see the waterfall. Run top of the hill. See the cutscene with genesis. After that you can do this minigame!
After the cutscene with Genesis, run around until you complete 7 battles. Try to leave the area and you can do waterfall minigame, choose the first option to participate in it.
Chests and enemies will fall down the waterfall, and you will need to collect all 10 chests.
They will fall in the same order: Chest in the middle, two enemies on the left and right, two chests on the left and right, repeat this for 10 chests.
If you get hit by an enemy you’ll be stunned and miss the next two chests, so every time you grab the middle chest, you will want to quickly run to the left out of the water to safely dodge the enemies, then quickly run back to grab the chests. If you get hit by an enemy and miss a chest, simply leave the area and come back, then redo 7 battles to trigger the minigame again.
Getting all 10 chests will also reward you with Goblin Punch, which can be combined with any of the DMW Materia (purchasable from Research Dept. QMC+) to create Costly Punch, one of the best combat materia.
CHAPTER 10
No minigames in this chapter.
Source: https://steamcommunity.com/sharedfiles/filedetails/?id=2904278331
More CRISIS CORE FINAL FANTASY VII REUNION guilds
- All Guilds
- CRISIS CORE FINAL FANTASY VII REUNION
- FFVII:CRISIS CORE - HOW TO UNLOCK "Cursed Ring"
- FFVII:CRISIS CORE - ALL MATERIA FUSIONS, BEST MATERIA & ACCESSORIES, STAT MAXING GUIDE
- CRISIS CORE FINAL FANTASY VII REUNION Collectibles & Achievement Walkthrough
- FF VII: Crisis Core Reunion - MISSABLE Achievements Guide
- Reunion Changes to the PSP Crisis Core
- CRISIS CORE -FINAL FANTASY VII- REUNION
- Materia Fusion
- FFVII:CRISIS CORE - HOW TO UNLOCK ALL DMW`s GUIDE