EVERYTHING YOU NEED TO KNOW
You should be fine without the information from the Level Specific Guide section, but it is there if you need help with a specific level.
Getting Started
While it seems obvious that one should play all three games in order, this is not the wisest choice. Crash 1 is the hardest out of the three games since it does not feature most of the abilities that you get in Crash 2 and 3. Crash 3 is the easiest while Crash 2 is the most well balanced in terms of difficulty. I recommend starting with Crash 2 first if Crash 1 begins to get too difficult by the end of the first island.
If you decide to skip to Crash 2 or 3, you can access my guides for them here:
Crash 2: https://steamcommunity.com/sharedfiles/filedetails/?id=1427555230
Crash 3: https://steamcommunity.com/sharedfiles/filedetails/?id=1428646867
Special Controls
In all three games, you can jump and bounce higher by holding the jump button instead of tapping it. In some cases however, you might need to use a short jump to avoid overshooting small closely spaced platforms.
Strategies To Avoid Game Overs
Make sure you get as many lives as you can by collecting wumpa fruit and completing bonus stages. Failing bonus stages does not take away lives and you can retry them as much as you want. Many people make the mistake of restarting a hard level with only 4 lives. Dying a lot gives you extra masks (which protect you from a hit) and spawns more checkpoints. You can use these to your advantage so that you don't have to replay the entire level again.
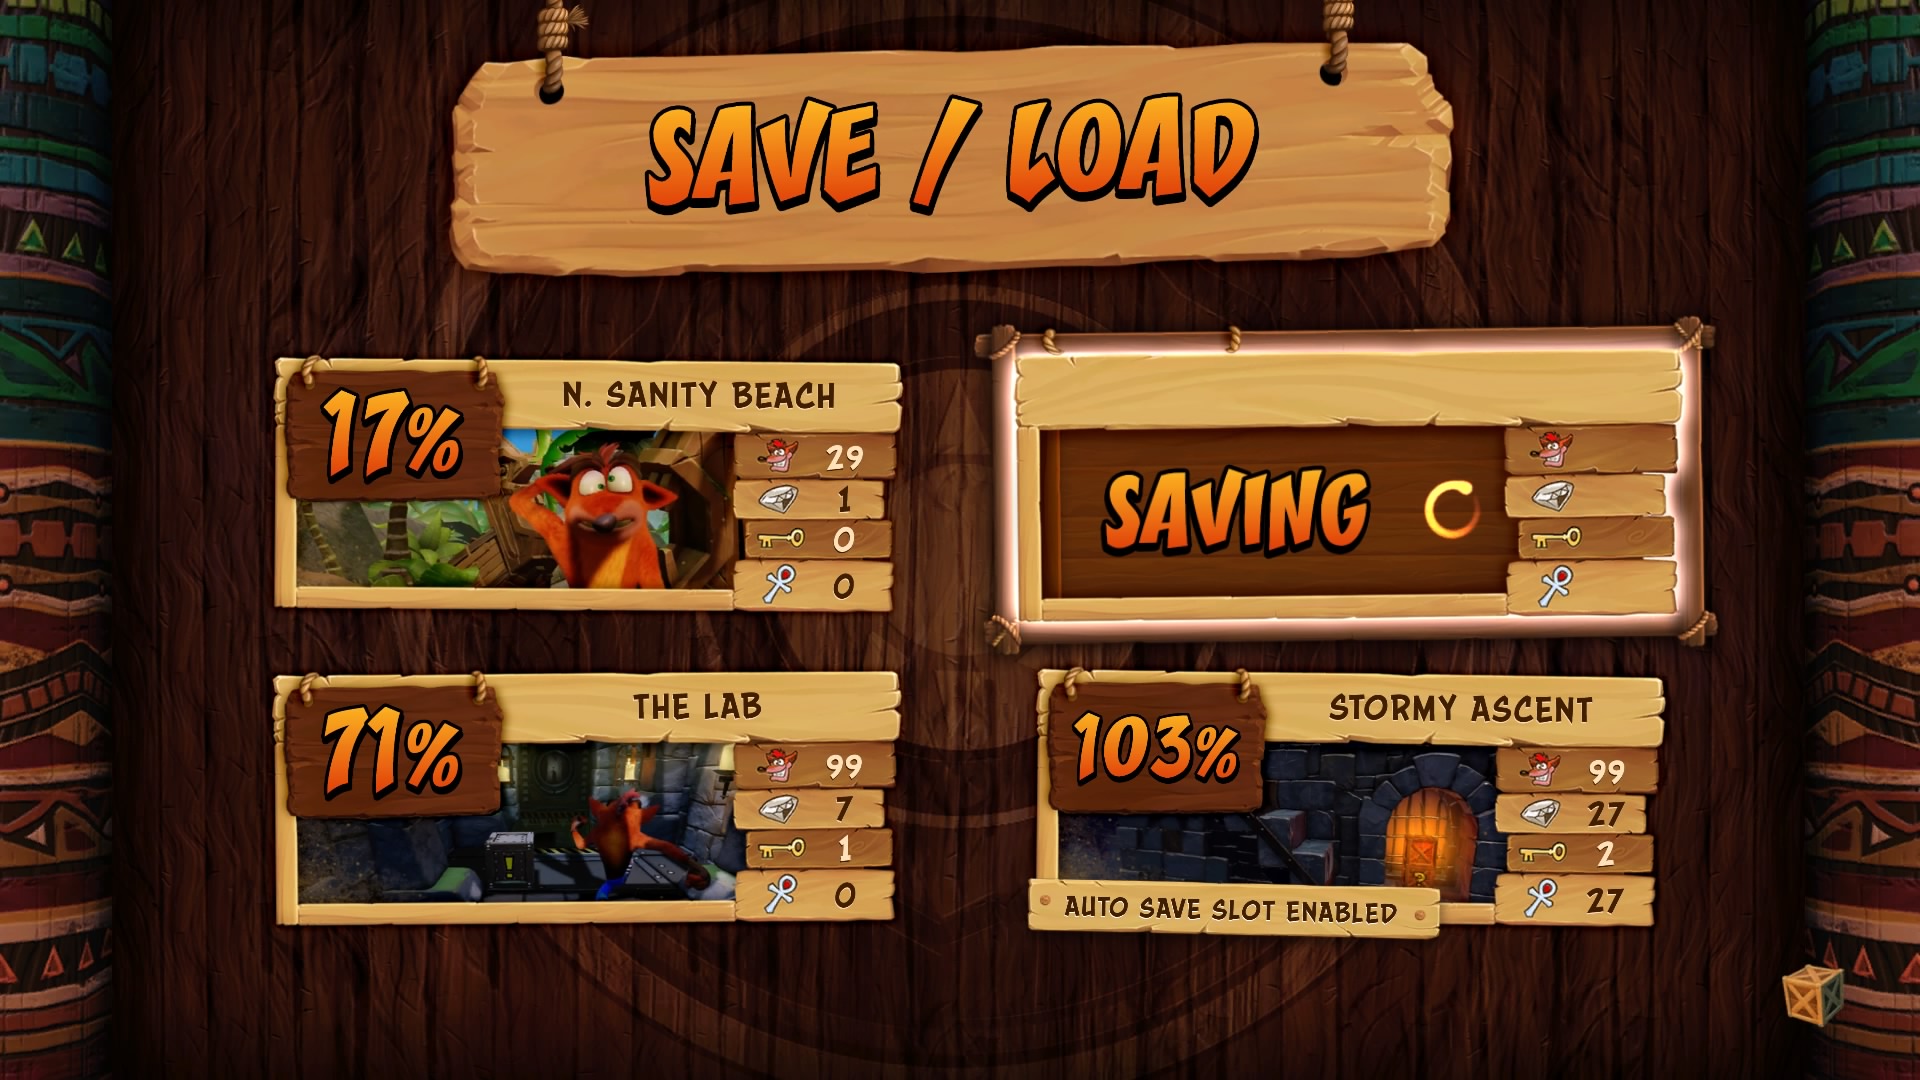
Save on a non-auto save file before entering levels. If you get a Game Over, you can reload your save file and reclaim all of the lives you lost.
If you’re running low on lives, you can respawn the lives found in any level by exiting them and reloading your auto-save file. This is great for farming lives.
Unlocking The 2nd Playable Character
Coco Bandicoot, Crash’s sister from Crash 2 and 3, is now fully playable in all three games. You can unlock her in Crash 1 by approaching the device on the alternate path right after the first boss on the island map. While she has the same hitbox and abilities as Crash, she has her own unique animations. However, her animations do look faster than Crash’s, which may or may not affect your gameplay.
Getting The Alternate Ending
You will get an alternate. non-canon ending if you collect 20 gems in Crash 1. However, you must collect all the gems in Crash 2 and 3 to get the true ending for those games. Crash 3 is the only game that requires you to also get all of the time trial relics (at least sapphire or above), but is also the easiest game to beat and get the true ending. The relics award you nothing in Crash 1 and 2.
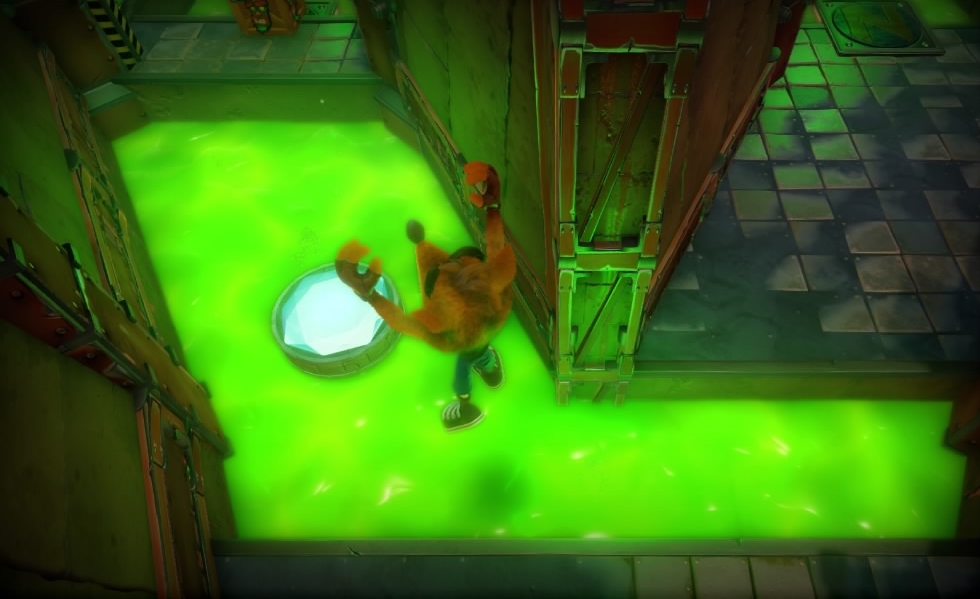
Getting Gems
You must obtain 20 gems to get the alternate ending. Most levels have clear gems that can be obtained by breaking all the boxes. However, most of these levels require you to unlock special paths by collecting colored gems. The levels that contain colored gems require you to beat the level without dying in addition to breaking all the boxes. The game does not count dying before the first checkpoint or in a bonus stage as a death.
Since you only need 20 out of 27 gems to get the alternate ending, you can skip having to get the no death colored gems from Slippery Climb, Generator Room, and The Lost City.
Secret Levels
There are three secret levels. View the level specific guide below for these levels if you need help.
The level key for unlocking the level, Whole Hog, can be obtained by completing the Cortex Bonus Stage in the level, Sunset Vista.
The level key for Fumbling In The Dark can be obtained by completing the Cortex Bonus Stage in the level, Jaws Of Darkness.
The final level is Stormy Ascent, a level that was so difficult that it was removed from the original game on Ps1. This level is available as dlc.
Explaining The Opening
Crash Bandicoot is a eastern barred bandicoot, a marsupial native to Australia. Neo Cortex, the scientist with the “N” on his forehead, planned to build an army of mutant animals to take over the world, with Crash as his general. Nitrus Brio, the scientist with the oval shaped head, is Cortex’s assistant. Tawna, the tall bandicoot woman, is Crash’s girlfriend and is the person Crash is trying to save. Tawna does not appear in any of the other Crash games because parents complained about her design. Aku Aku, the mask that appears in the loading screens, is a spirit who is summoned by Crash in the first level and now protects him as his guardian. The playable girl with the ponytail is Coco Bandicoot, Crash’s sister from Crash 2 and 3, who is using the time machine from the third game to help Crash in the first and second games.
LEVEL SPECIFIC GUIDE
The level specific guide below details specific levels, and includes detailed information about how to complete difficult segments, efficient or easy ways to obtain specific gems and hidden boxes, advice for completing levels, and level specific secrets or obstacles. If you’ve already read everything above, you should be fine without reading this section, but it is here in case you want something that is more in depth or if you need help with a specific level.
N. Sanity Beach

You can obtain the clear gem now by breaking all the boxes.
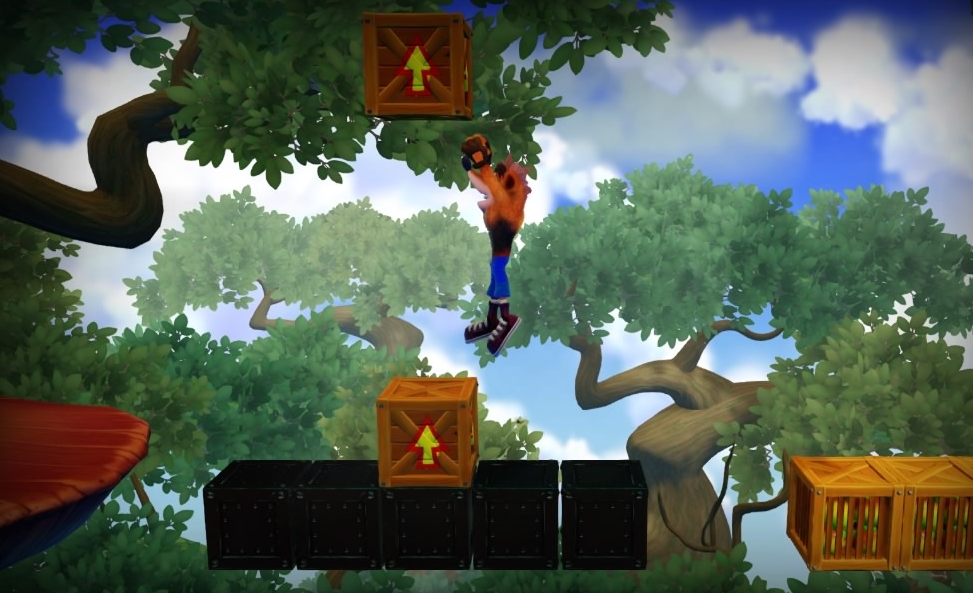
At one point you will come across a “!” box next to white outlined ones. Hit the ! box and hold the jump button to gain height as you bounce on the boxes that are over the pit.
At the end of the level, backtrack down the left path to find the last two boxes.
Coco will greet you with her own animation if you return to this level as her.
Jungle Rollers
Some ? boxes contain face tokens. Collecting three matching face tokens will unlock their bonus stage. You cannot obtain the clear gem without the green gem from The Lost City.
Obtaining the green gem will unlock a gem platform that will take you to another area with boxes.
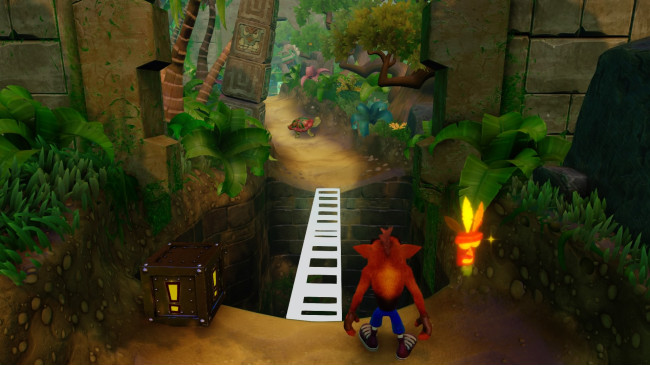
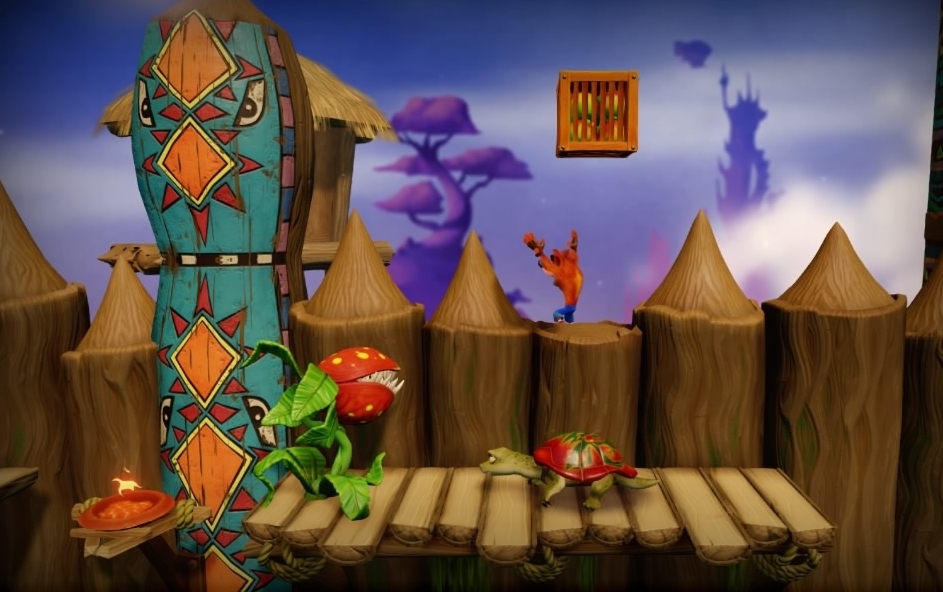
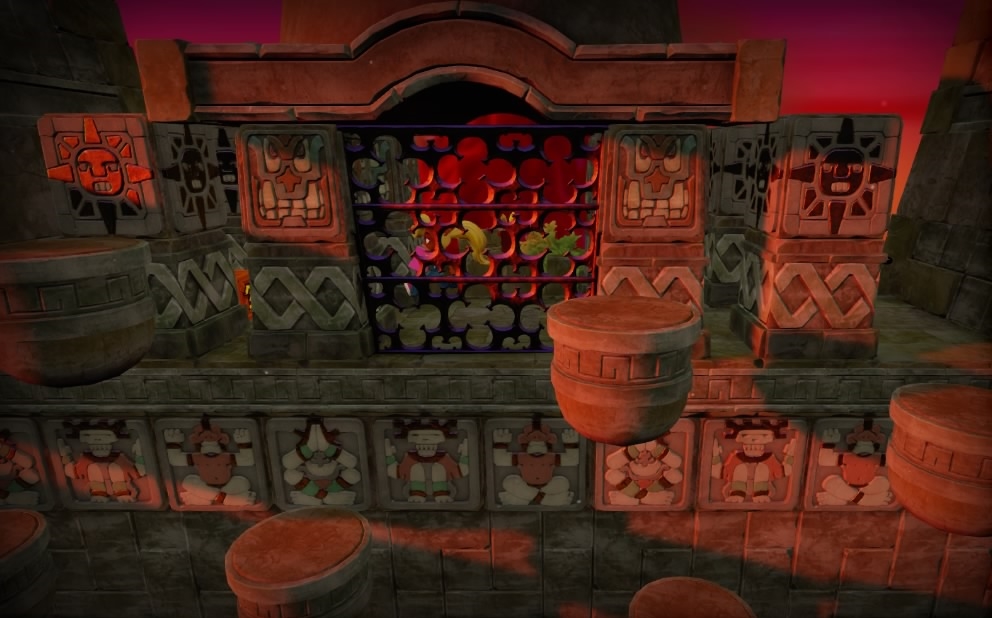
The Great Gate
You can jump on turtles to flip them over so that you can bounce on them. You can jump on wooden log switches by spinning them first. You can kill tribesmen that are carrying shields by jumping on them and then spinning. You can bounce on torches when they’re not emitting fire.
You cannot obtain the clear gem without the yellow gem from The Lab.
Boulders
You can obtain the clear gem now by breaking all the boxes.
Upstream
You cannot obtain the clear gem without the orange gem from the level, Generator Room.
BOSS: PAPU PAPU
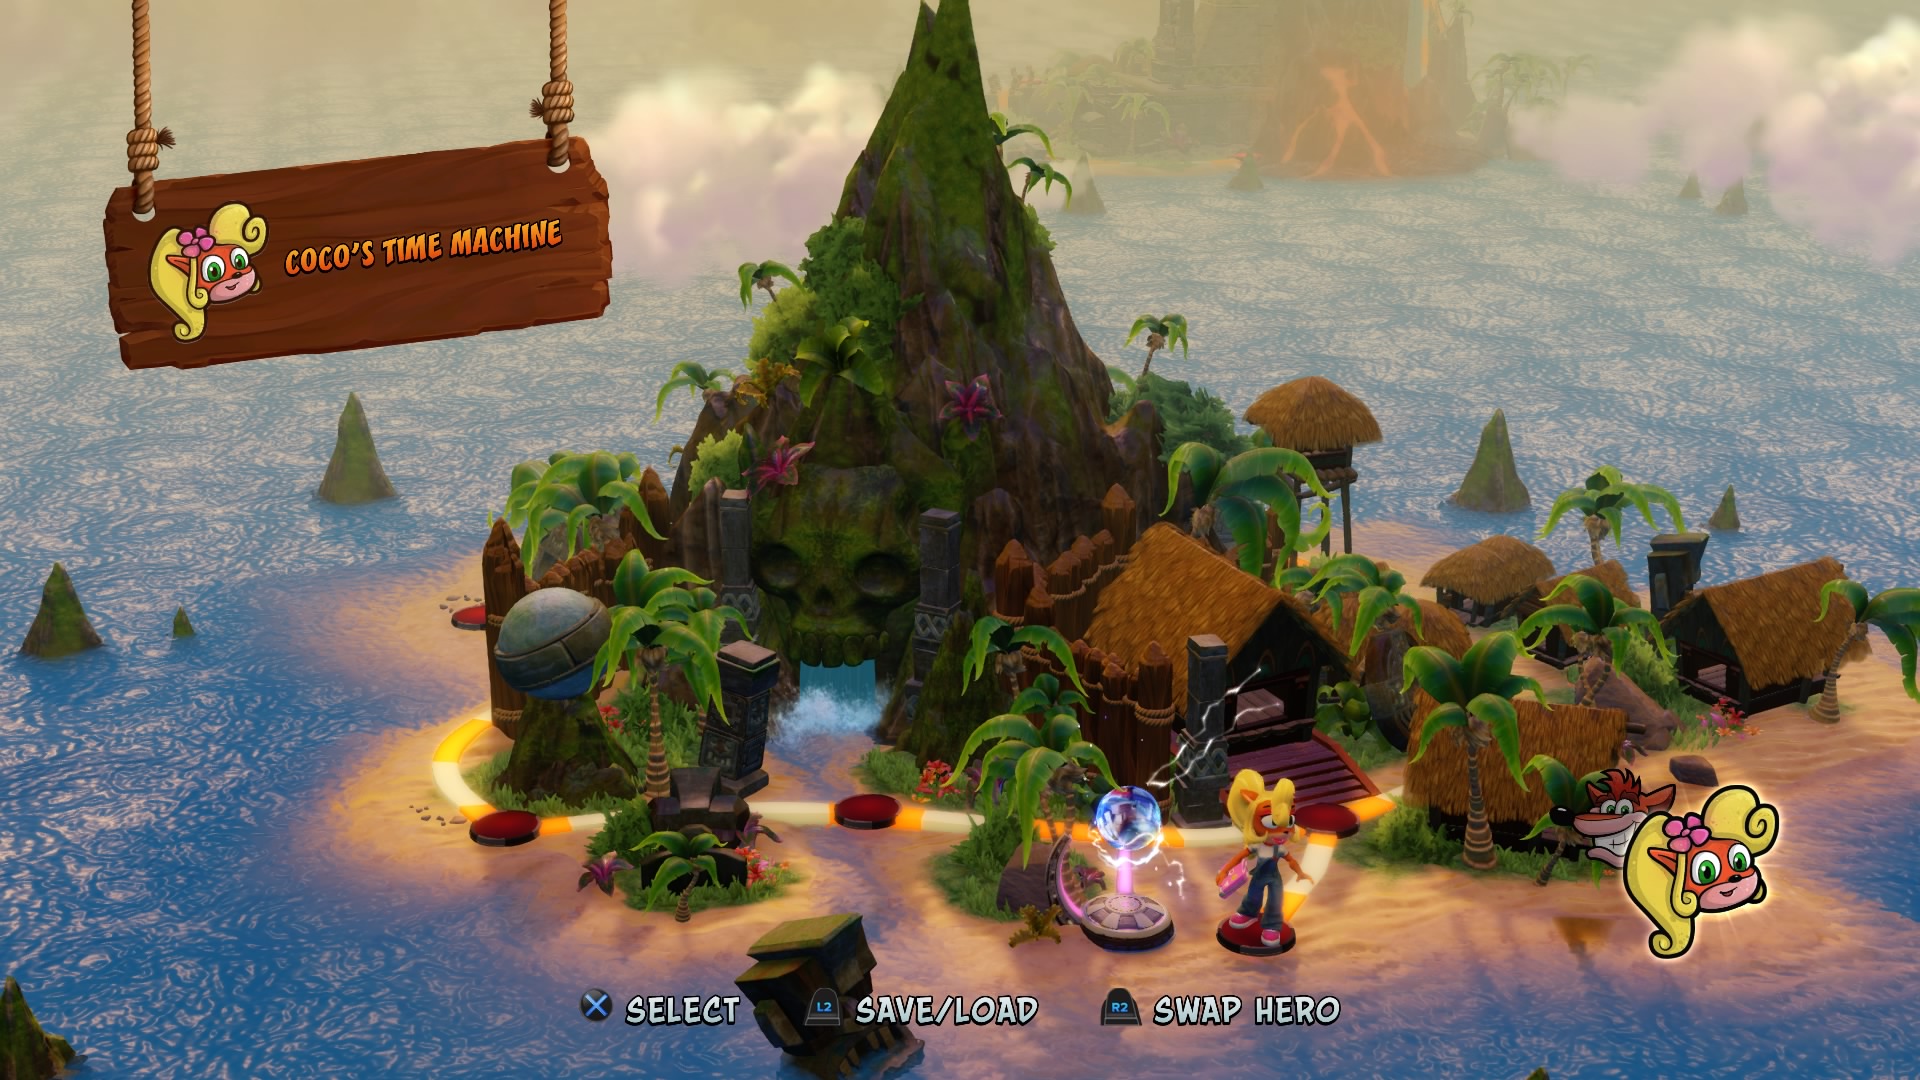
You must jump on his head.
After defeating the boss, you can unlock and play as Crash’s sister, Coco from Crash 2 and 3, by backtracking on the island map to the alternate path and interacting with the device.
Rolling Stones
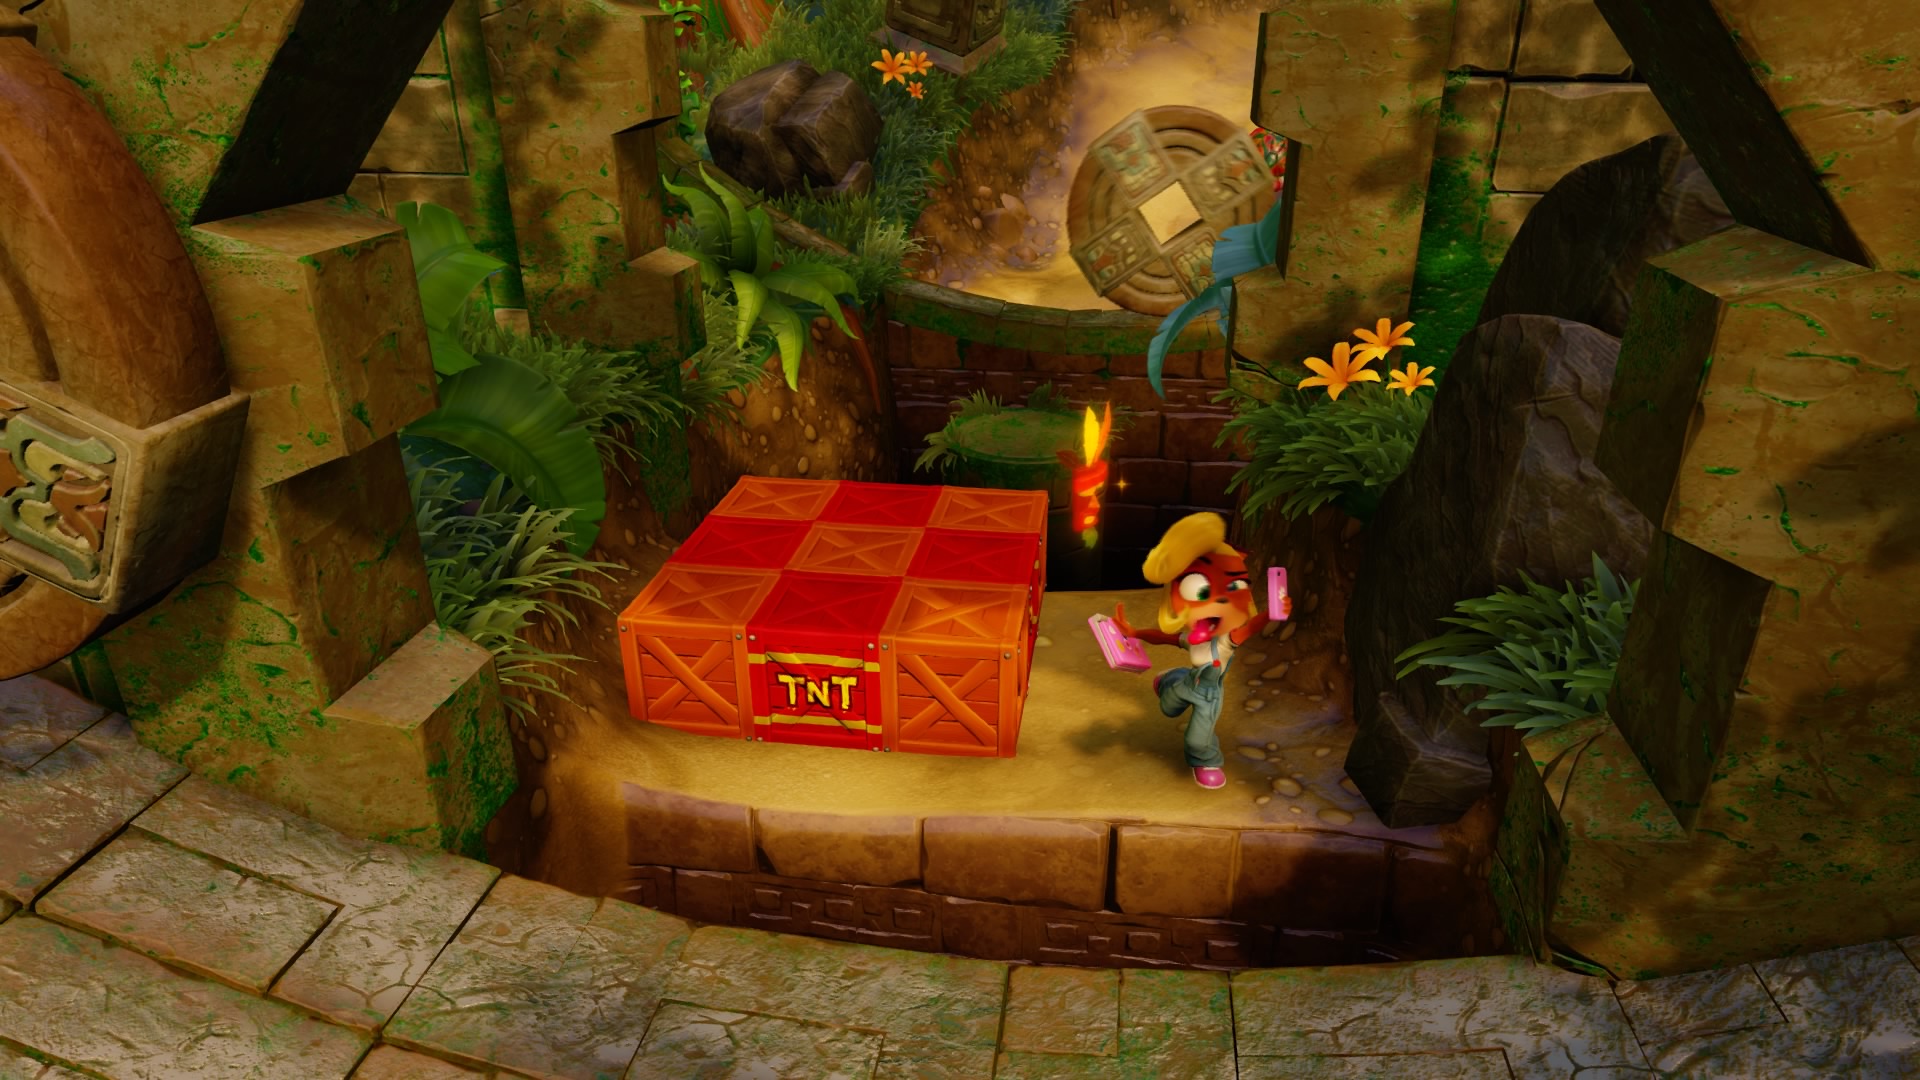
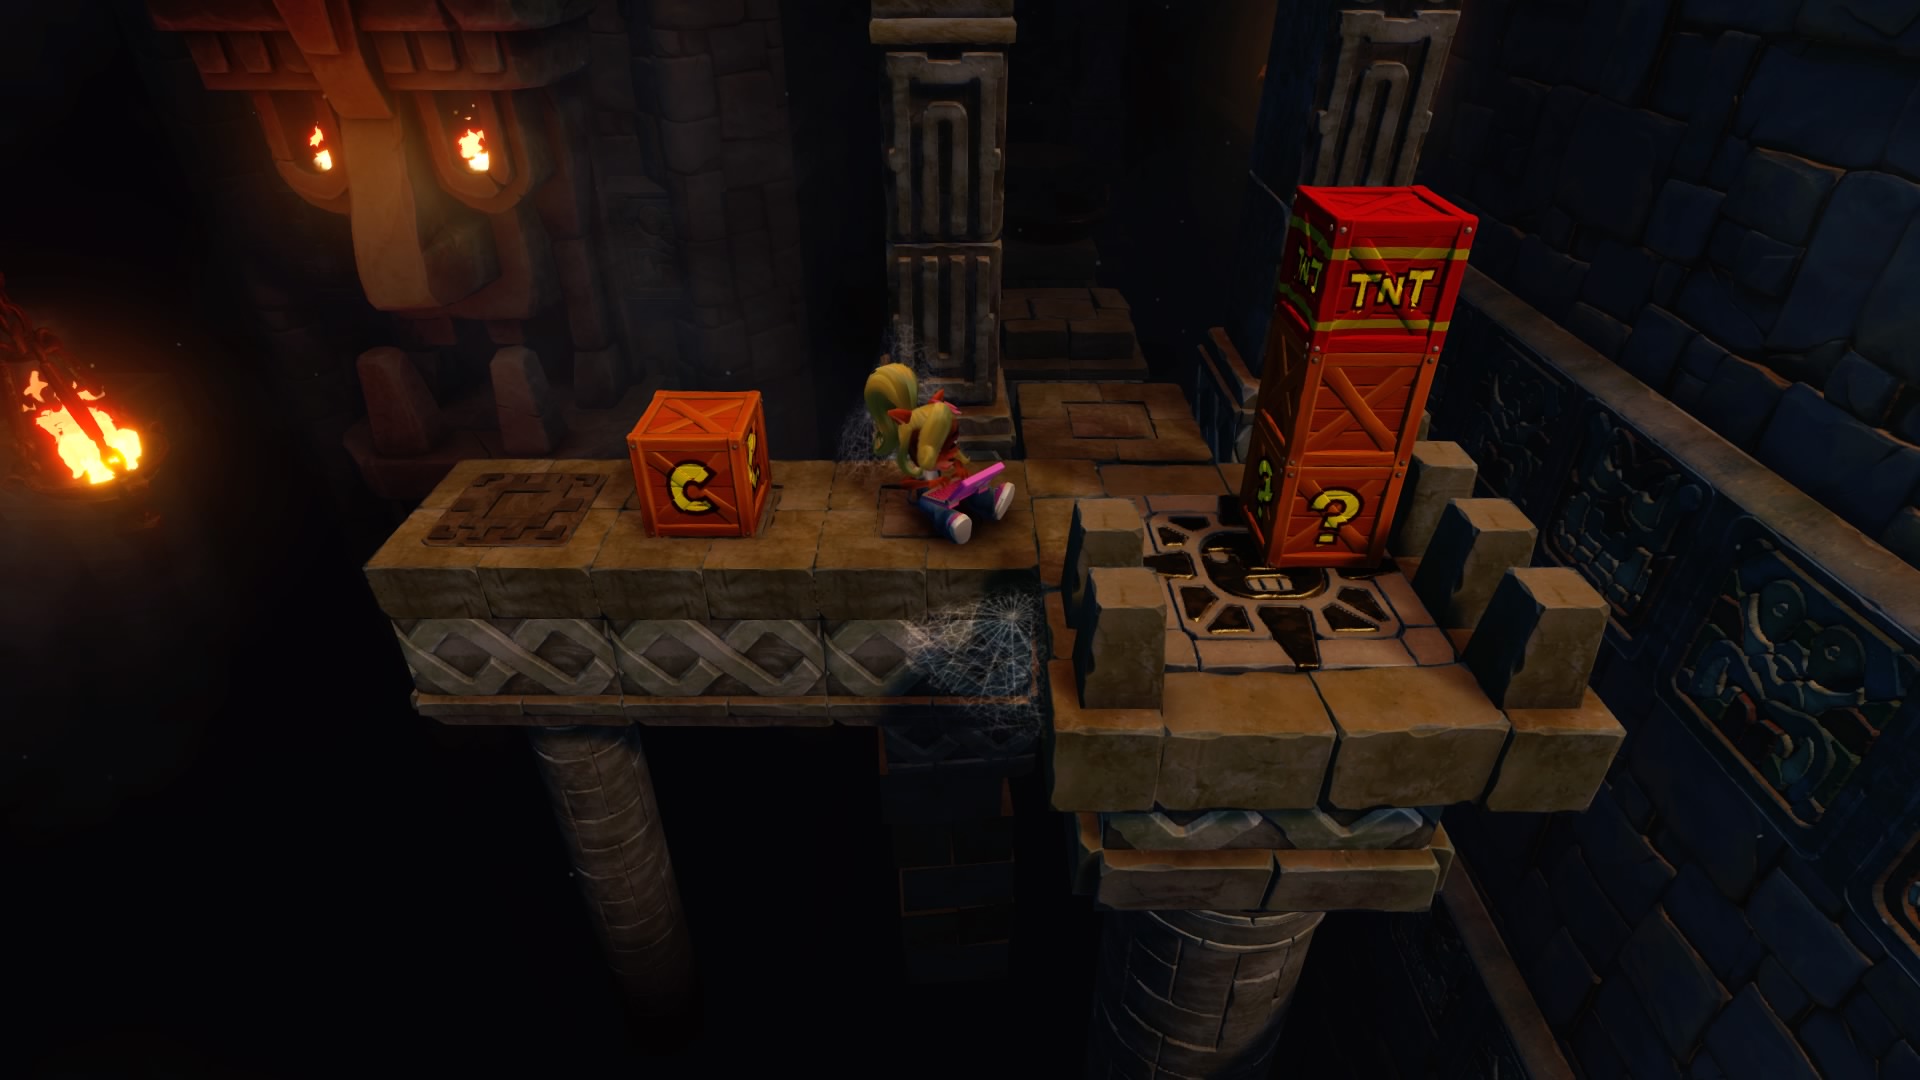
You will find a group of boxes with four TNT boxes in it. A box that contains a Brio face token that is required for entering the Brio Bonus Stage is hidden on the top left. Collect the Brio token before blowing up the TNT, or else you will lose it.
You cannot obtain the clear gem without the blue gem from the level, Toxic Waste.
Hog Wild
This is a on-rails section. This and one other level are the only levels that do not let you play as Coco.
You can obtain the clear gem now by breaking all the boxes.
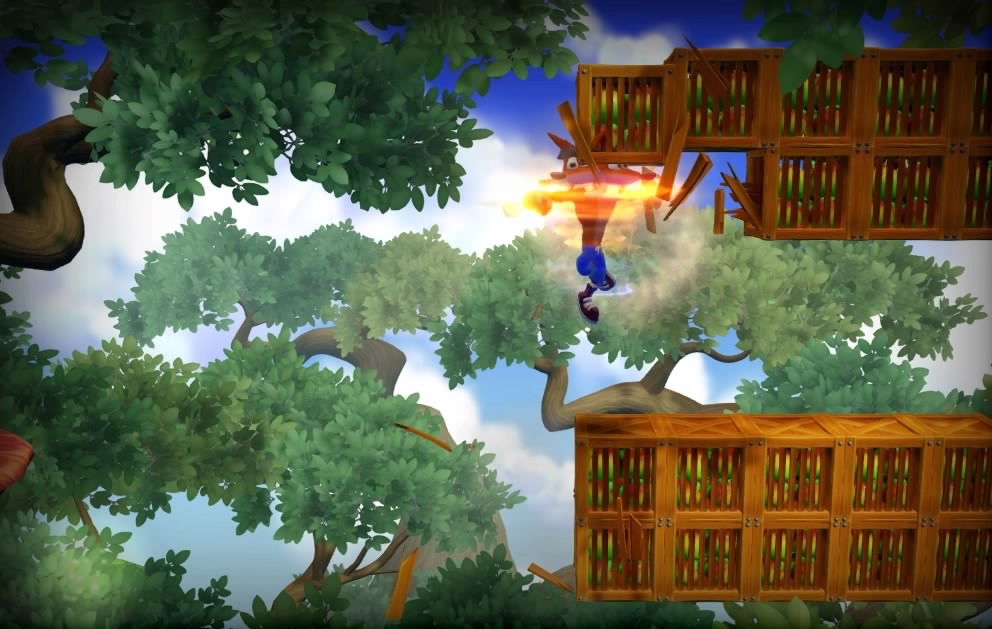
Native Fortress
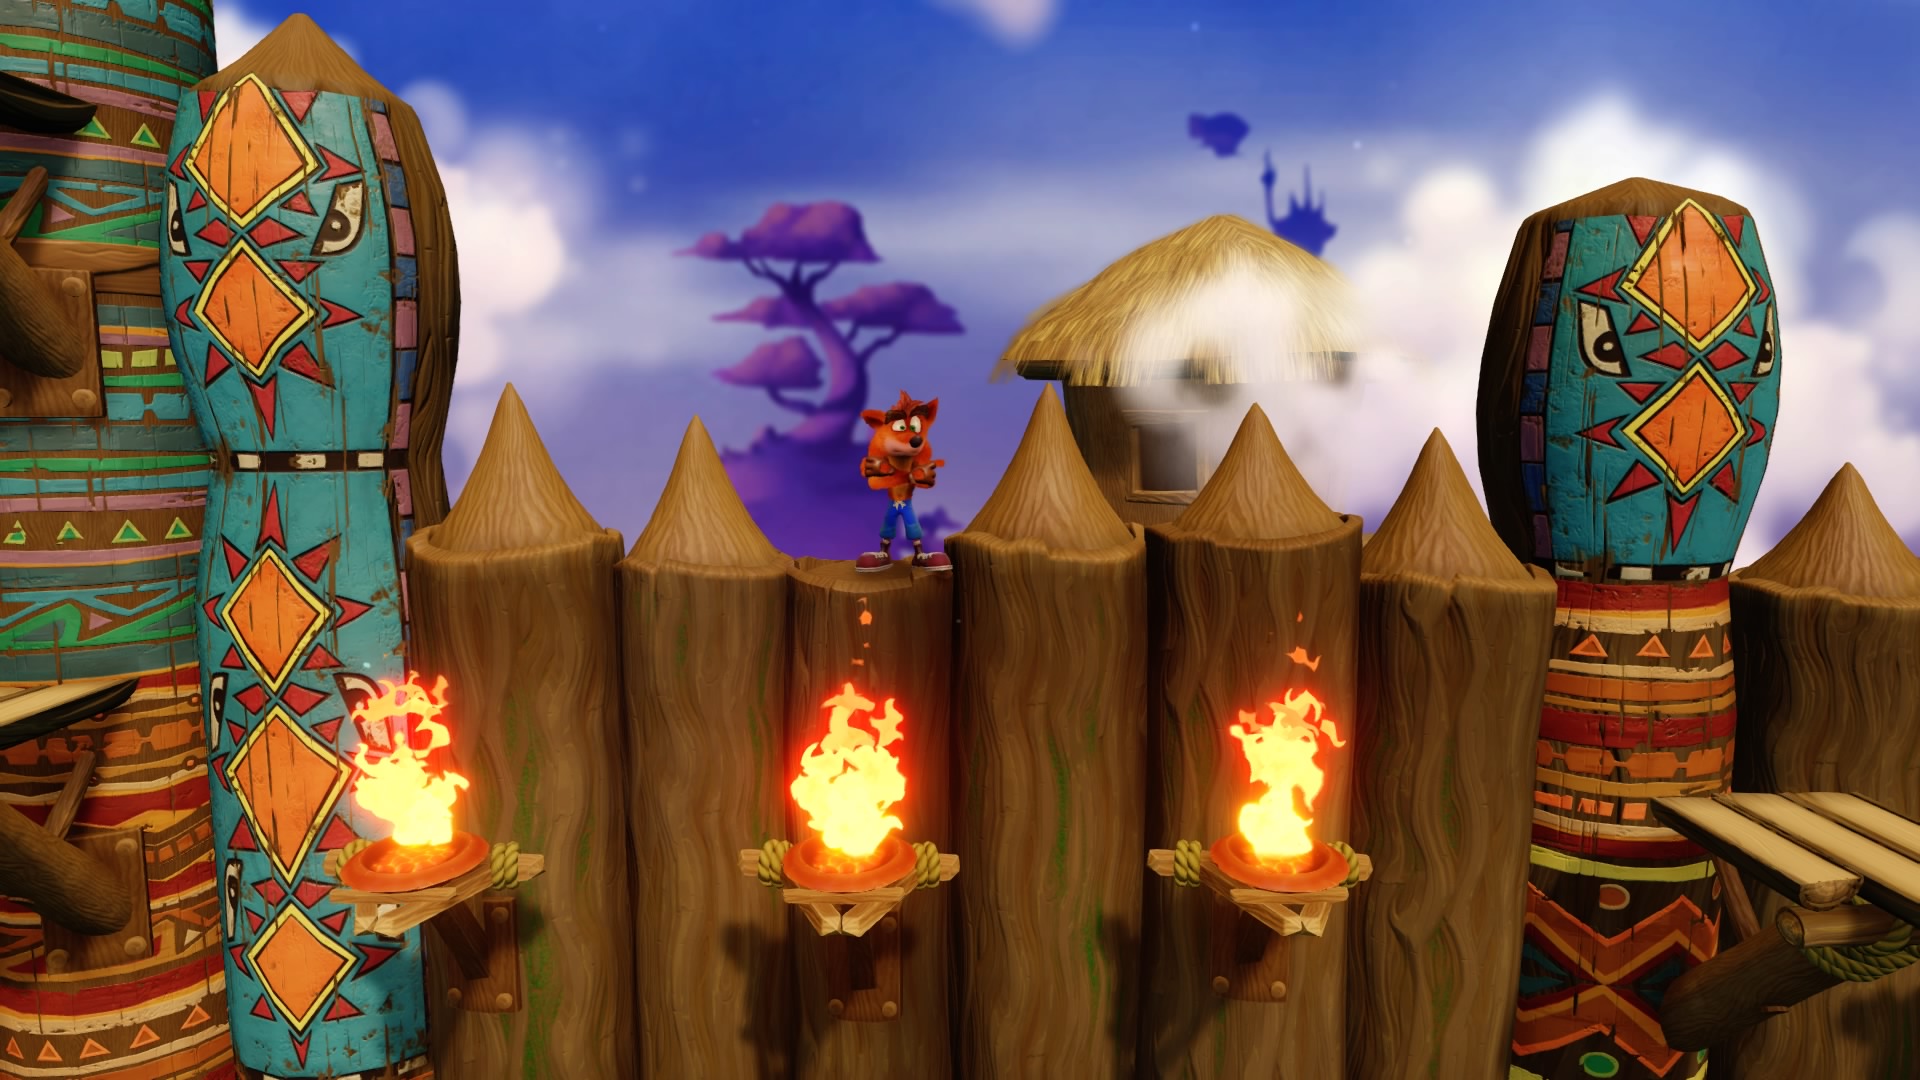
This is one of the five hardest levels in the game. If this level gets too difficult, I’d recommend skipping to Crash 2 or 3. Do not play this level with only 4 lives! At the top of the log fence, you will notice that the top of one of the logs is flat instead of pointed. You can jump onto this log to run behind the fence and skip one of the hardest segments of this level. This segment contains no boxes and is completely pointless to beat normally.
At the end of the level, there will be three torches that have very strict timing. However, there is another flat log above the second torch that allows you to jump behind the fence and be safe from the fire.
You cannot obtain the clear gem without the red gem from the level, Slippery Climb.
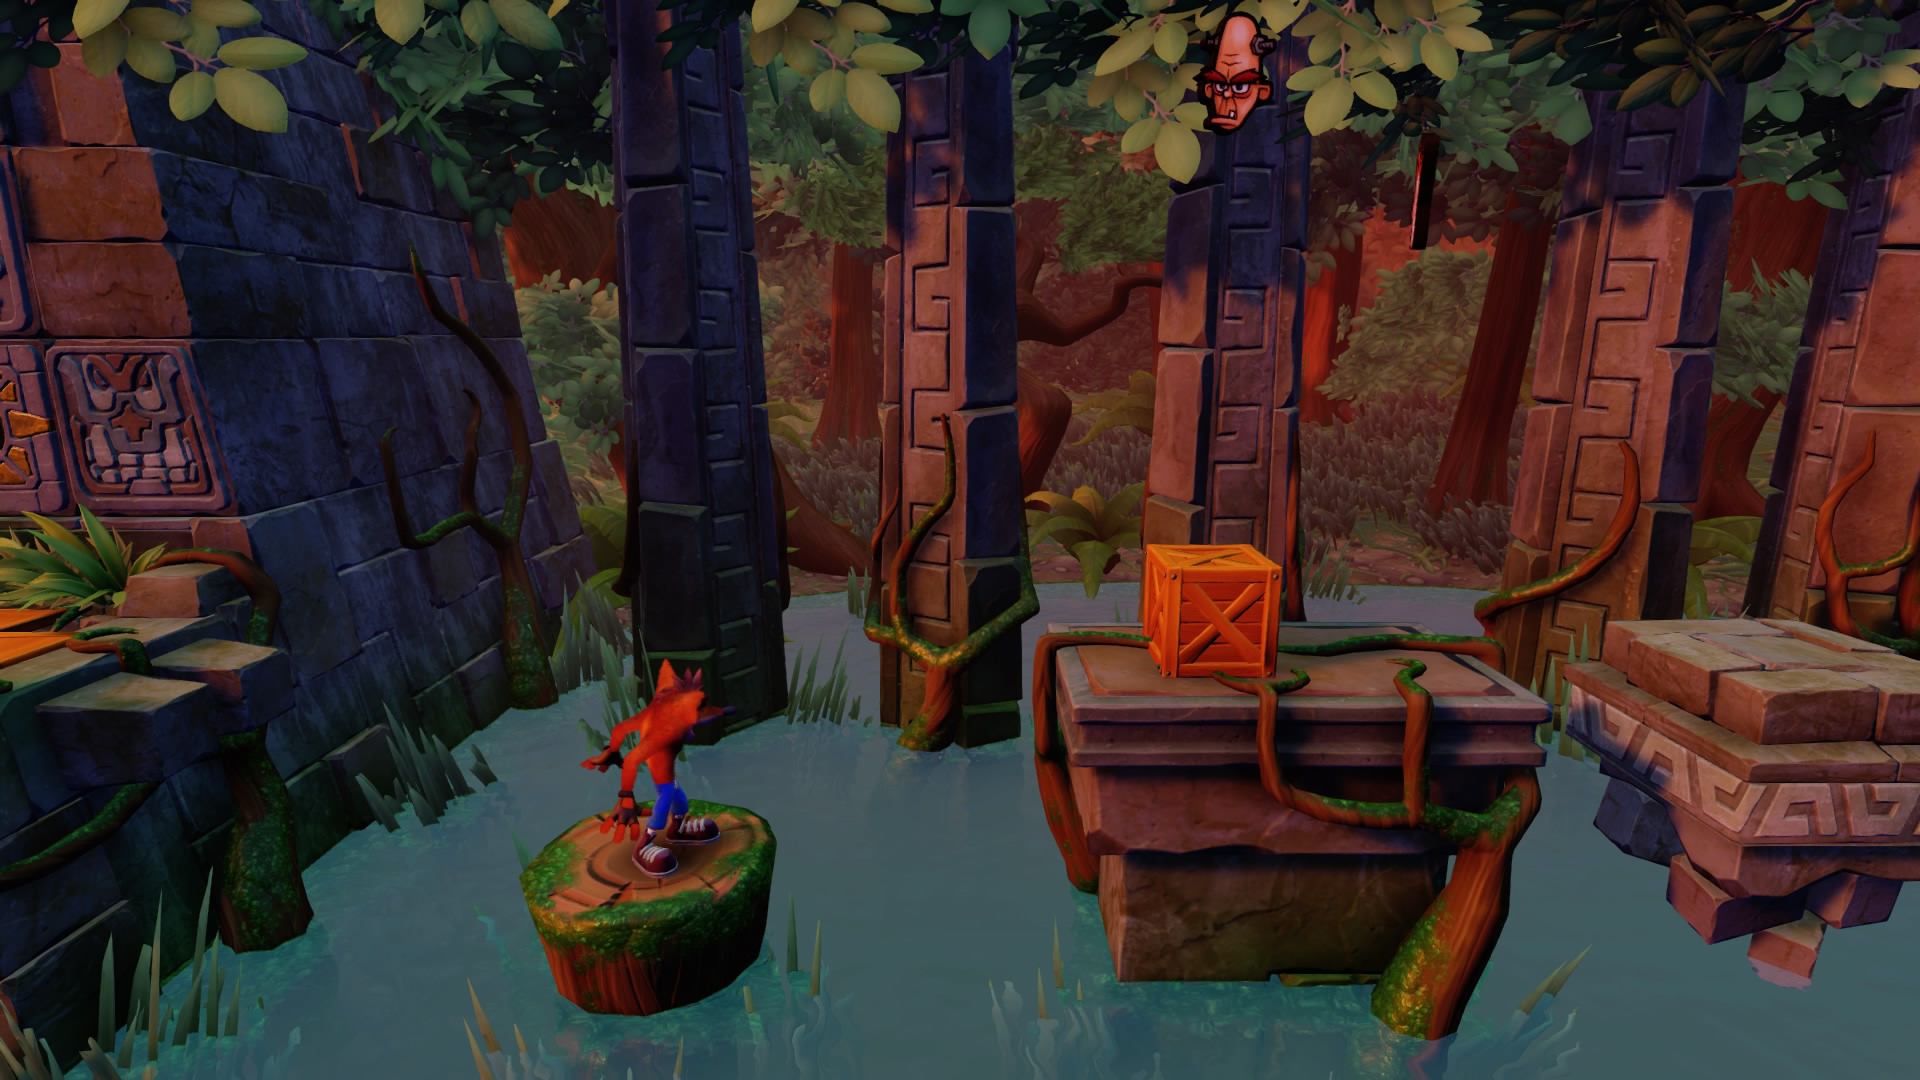
Up The Creek
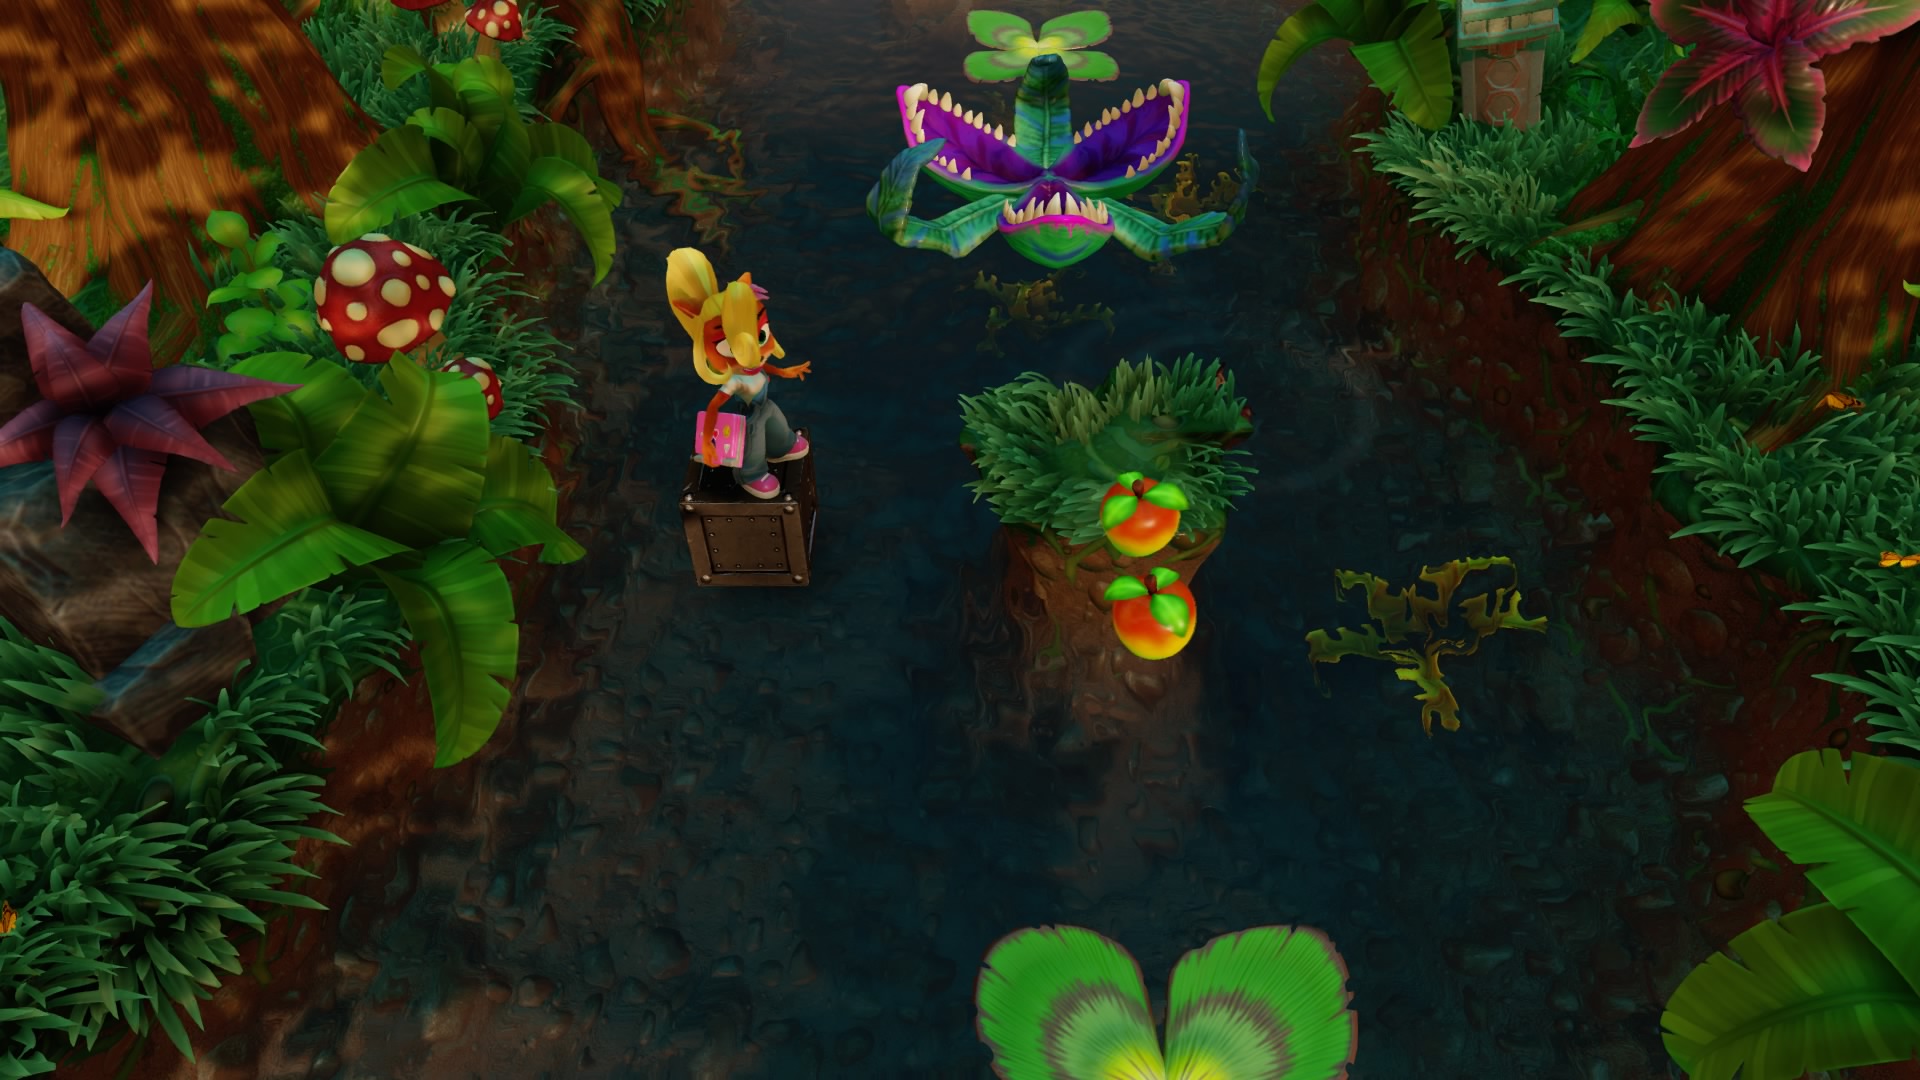
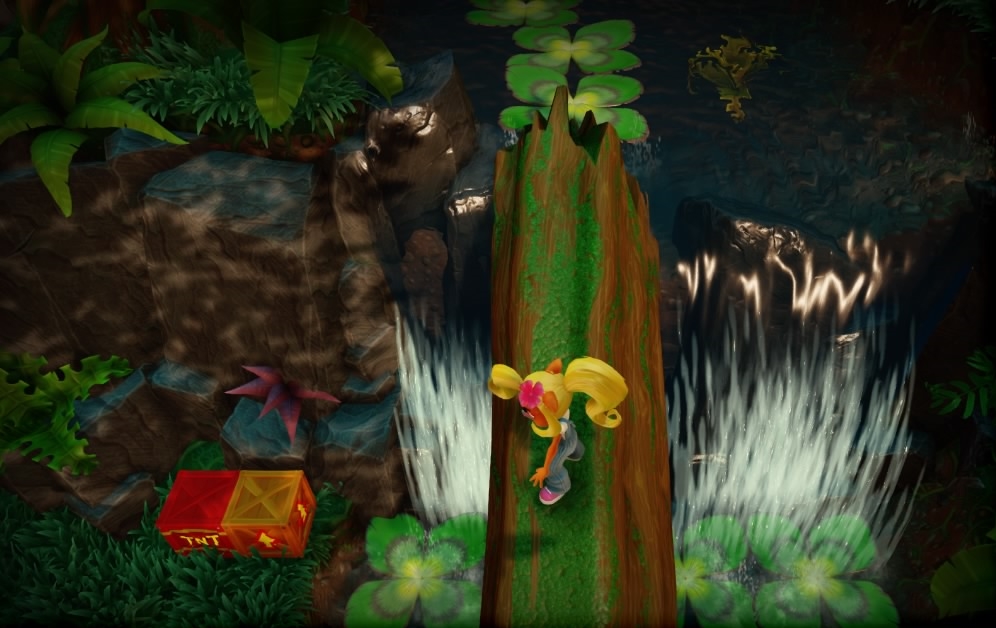
Watch out for the monkeys here, they cannot be damaged when they’re rolling and they will roll backwards in a weird pattern. At one point you will see a ! box in the water. Jump on it and backtrack to the waterfall.
To the left of the log you’ll notice that a TNT and arrow box has spawned. Jump on the leaves beneath the log to obtain a life and then bounce on the TNT and the arrow box to get back on the log.
You can obtain the clear gem now by breaking all the boxes.
BOSS: RIPPER ROO
Jump on the big TNT to blow it up when he’s near them.
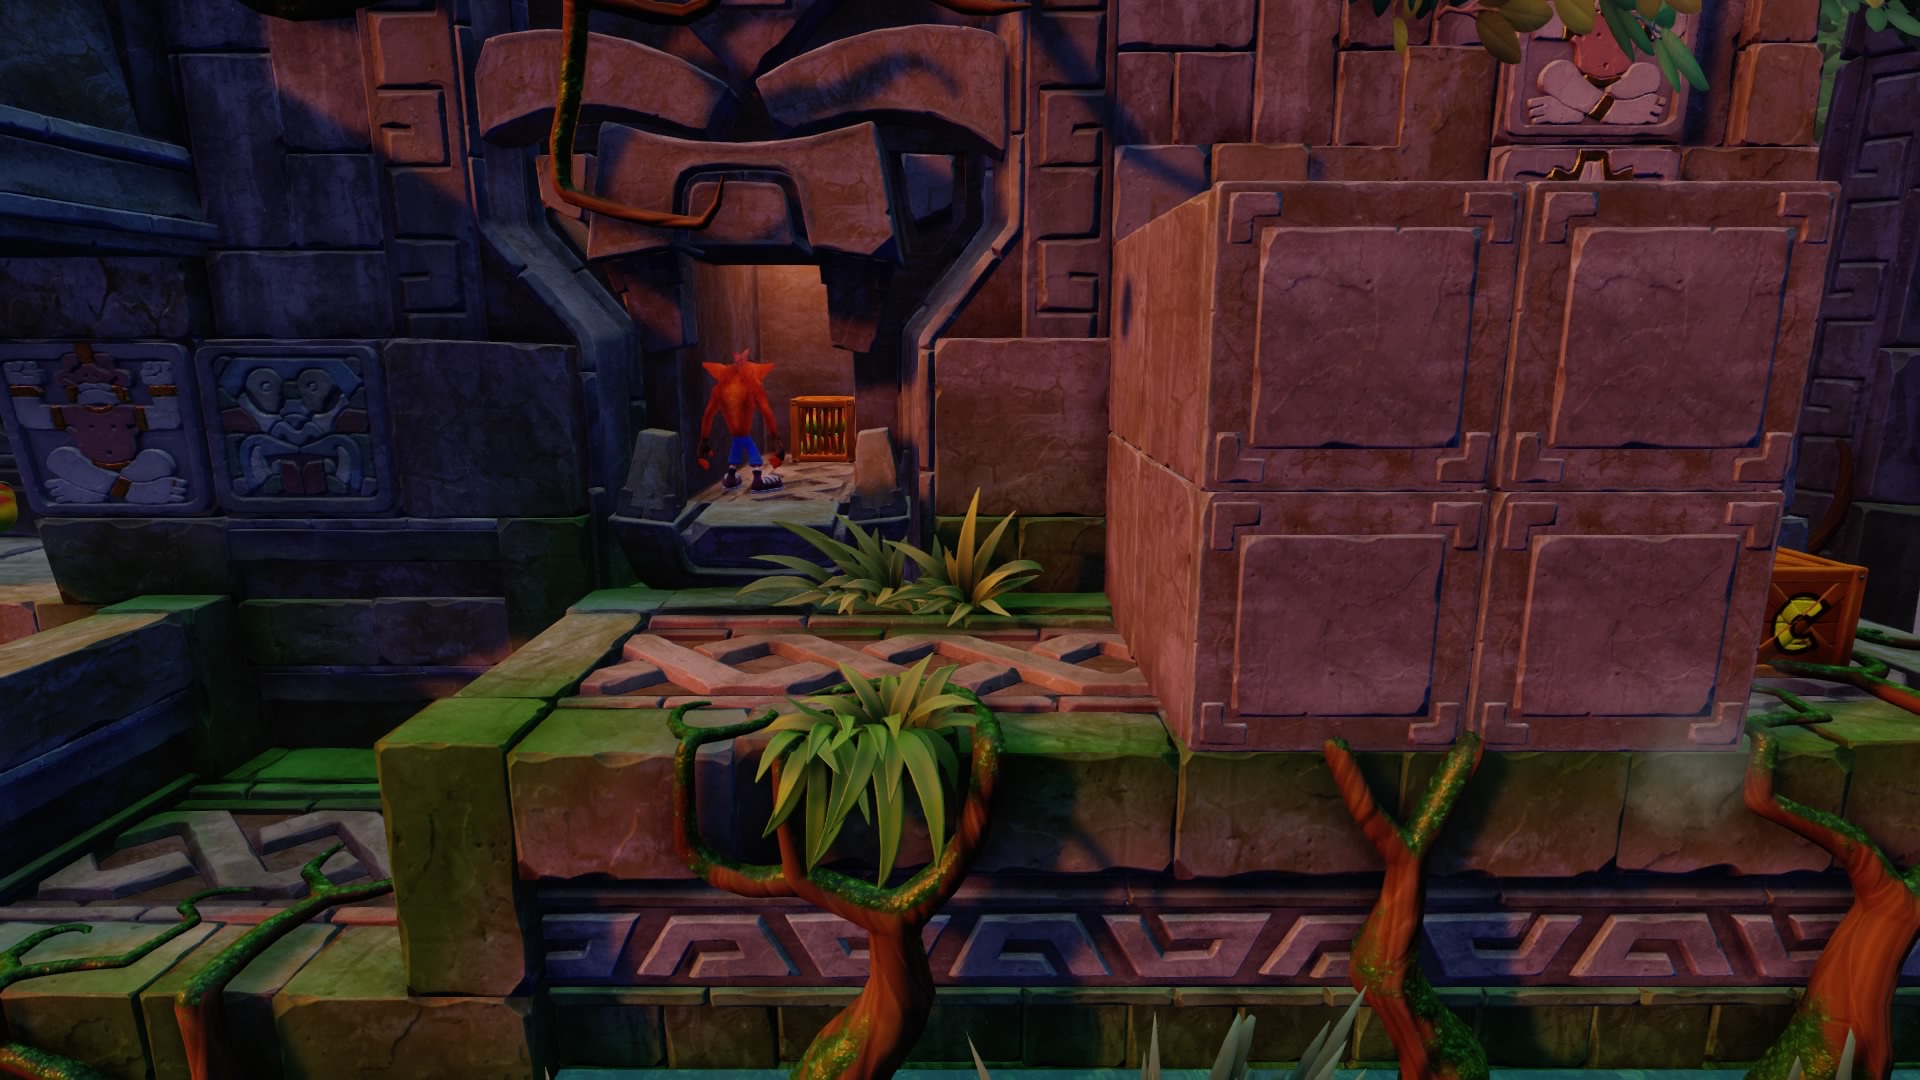
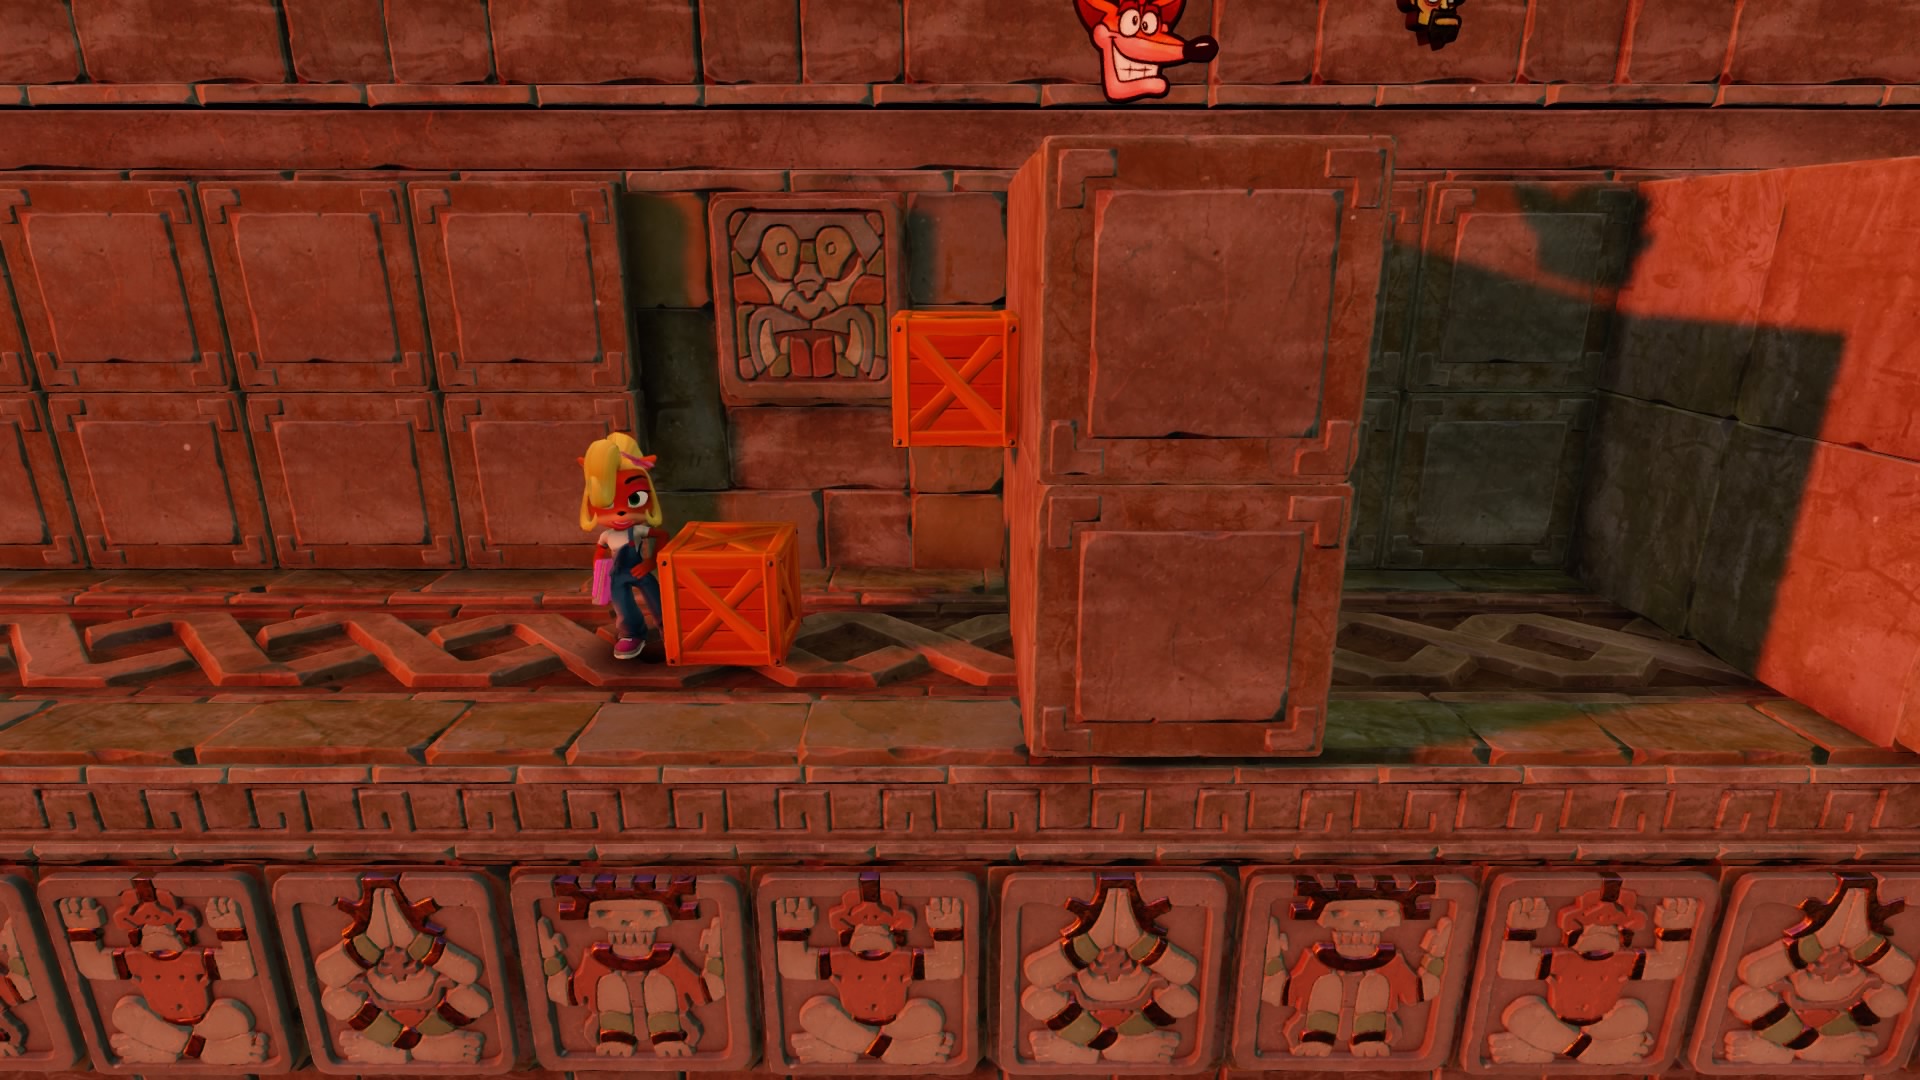
The Lost City

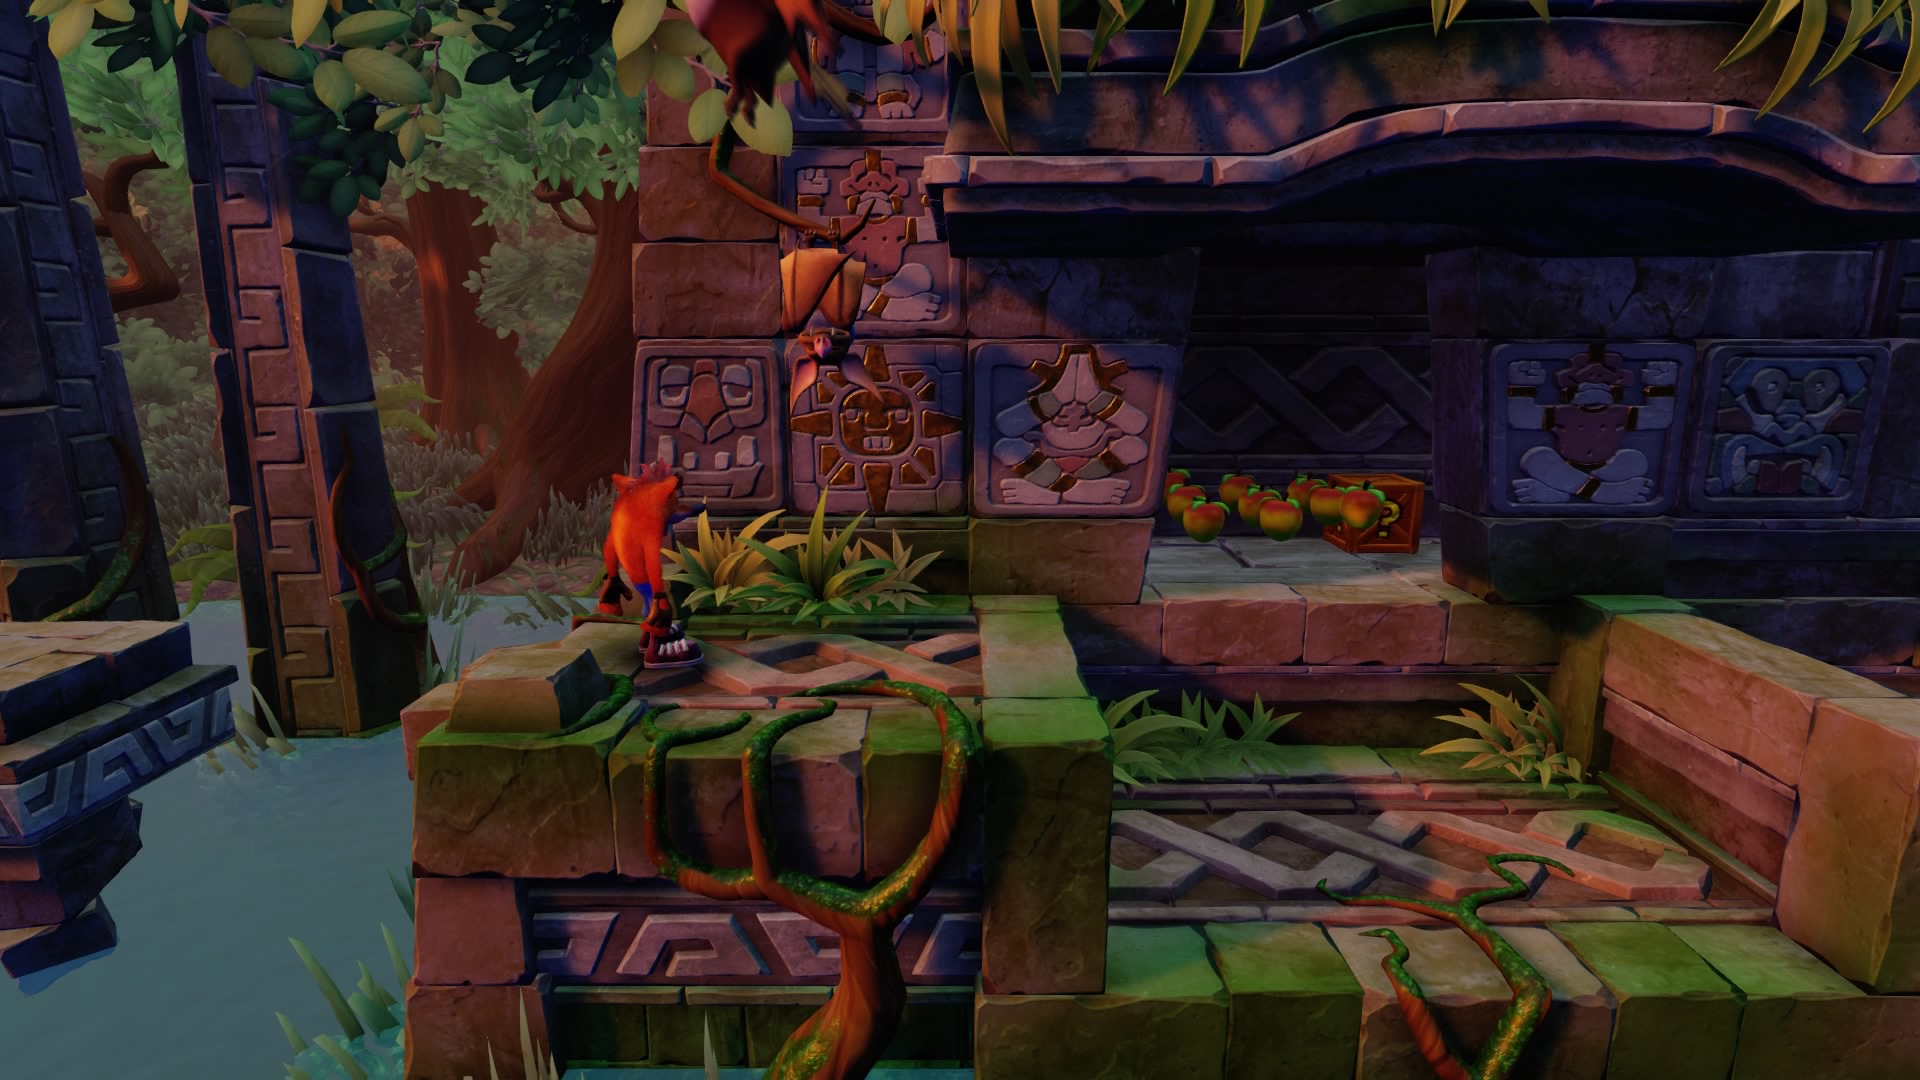
The 3 lives at the start of the level makes this a great place to use the Farming Lives Trick. This level contains the green colored gem required for getting the clear gem in Jungle Rollers, and thus must be beaten without dying in addition to breaking all the boxes. The game does not count dying before the first checkpoint or during bonus stages as a death.
When you start the level, you’ll see two boxes behind a wall of metal boxes. You must jump around the wall, towards the screen, to get to them.
One of the Tawna tokens is hidden behind a wall.
A ! box is hiding over a bouncy box in a room that is cut into the wall.
You must bounce on the wooden box while holding the jump button to get the floating Brio token.
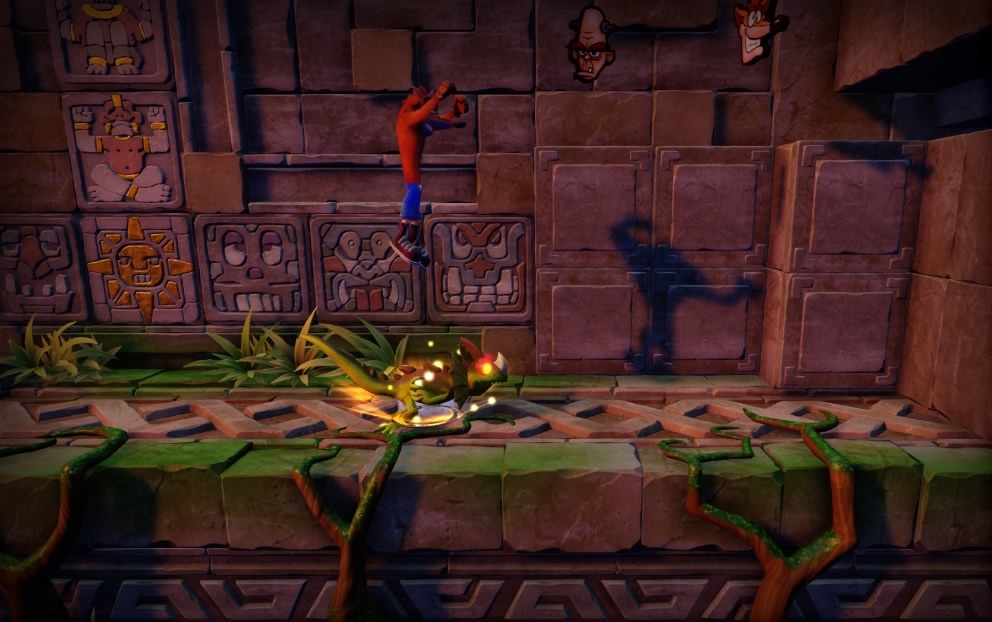
Leaping lizards can only be killed by jumping on them or spinning them while they’re still in the air, otherwise they will knock you backwards. They are often needed to reach floating face tokens or boxes.
Retracting walls that appear to be moving in a random pattern will eventually let you pass if you wait for a moment. To break all the bouncy boxes in the Tawna Bonus Stage, spin the upper boxes while you’re in the air first, and then take care of the lower boxes. A bouncy box will break after bouncing on it five times.
Near the end of the level after the Tawna Bonus Stage, you’ll find a final leaping lizard that you’ll need to bounce on to hit a ! box and break the remaining boxes.
Temple Ruins
A trail of wumpa fruit over the abyss will spawn a bridge if you walk over them, which will lead you to an area with boxes.
You can obtain the clear gem now by breaking all the boxes.
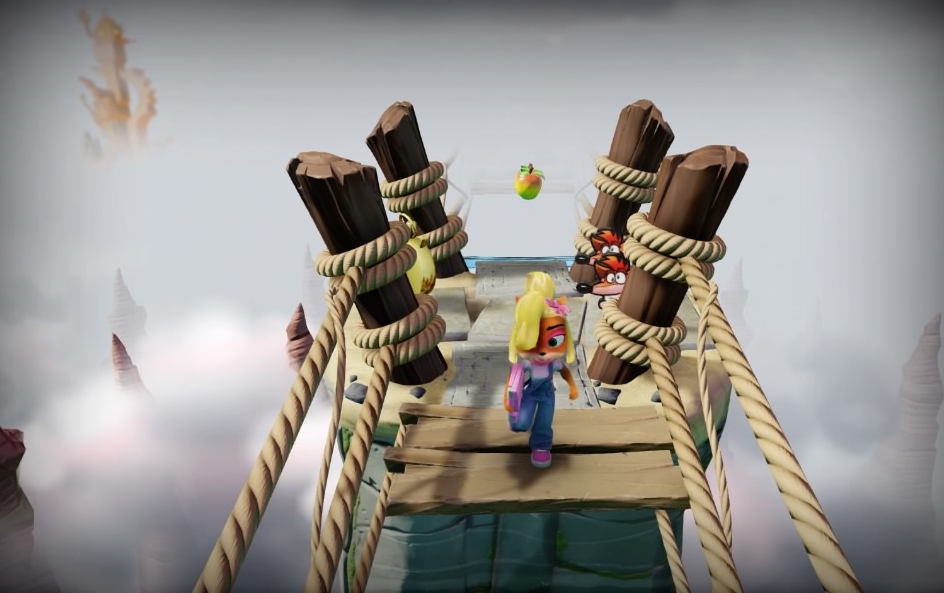
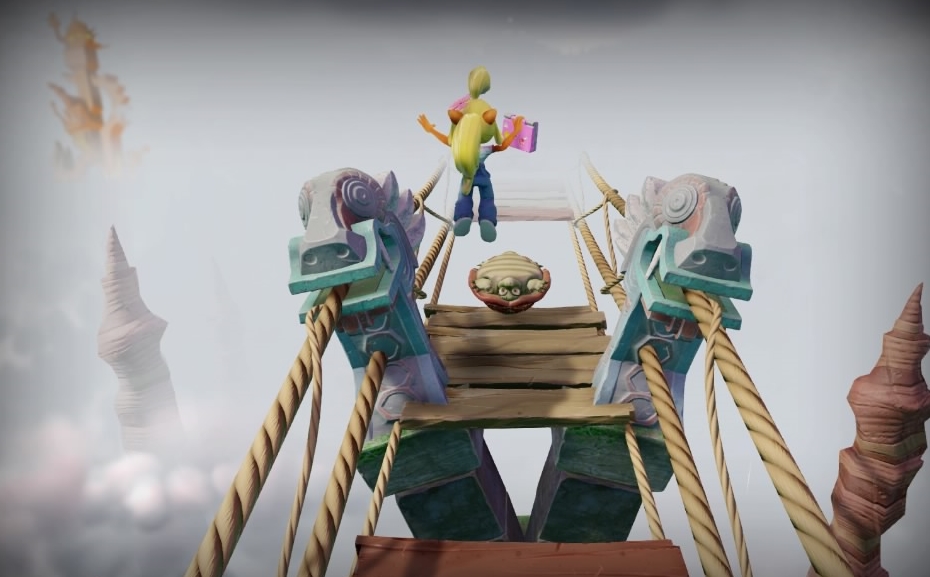
Road To Nowhere
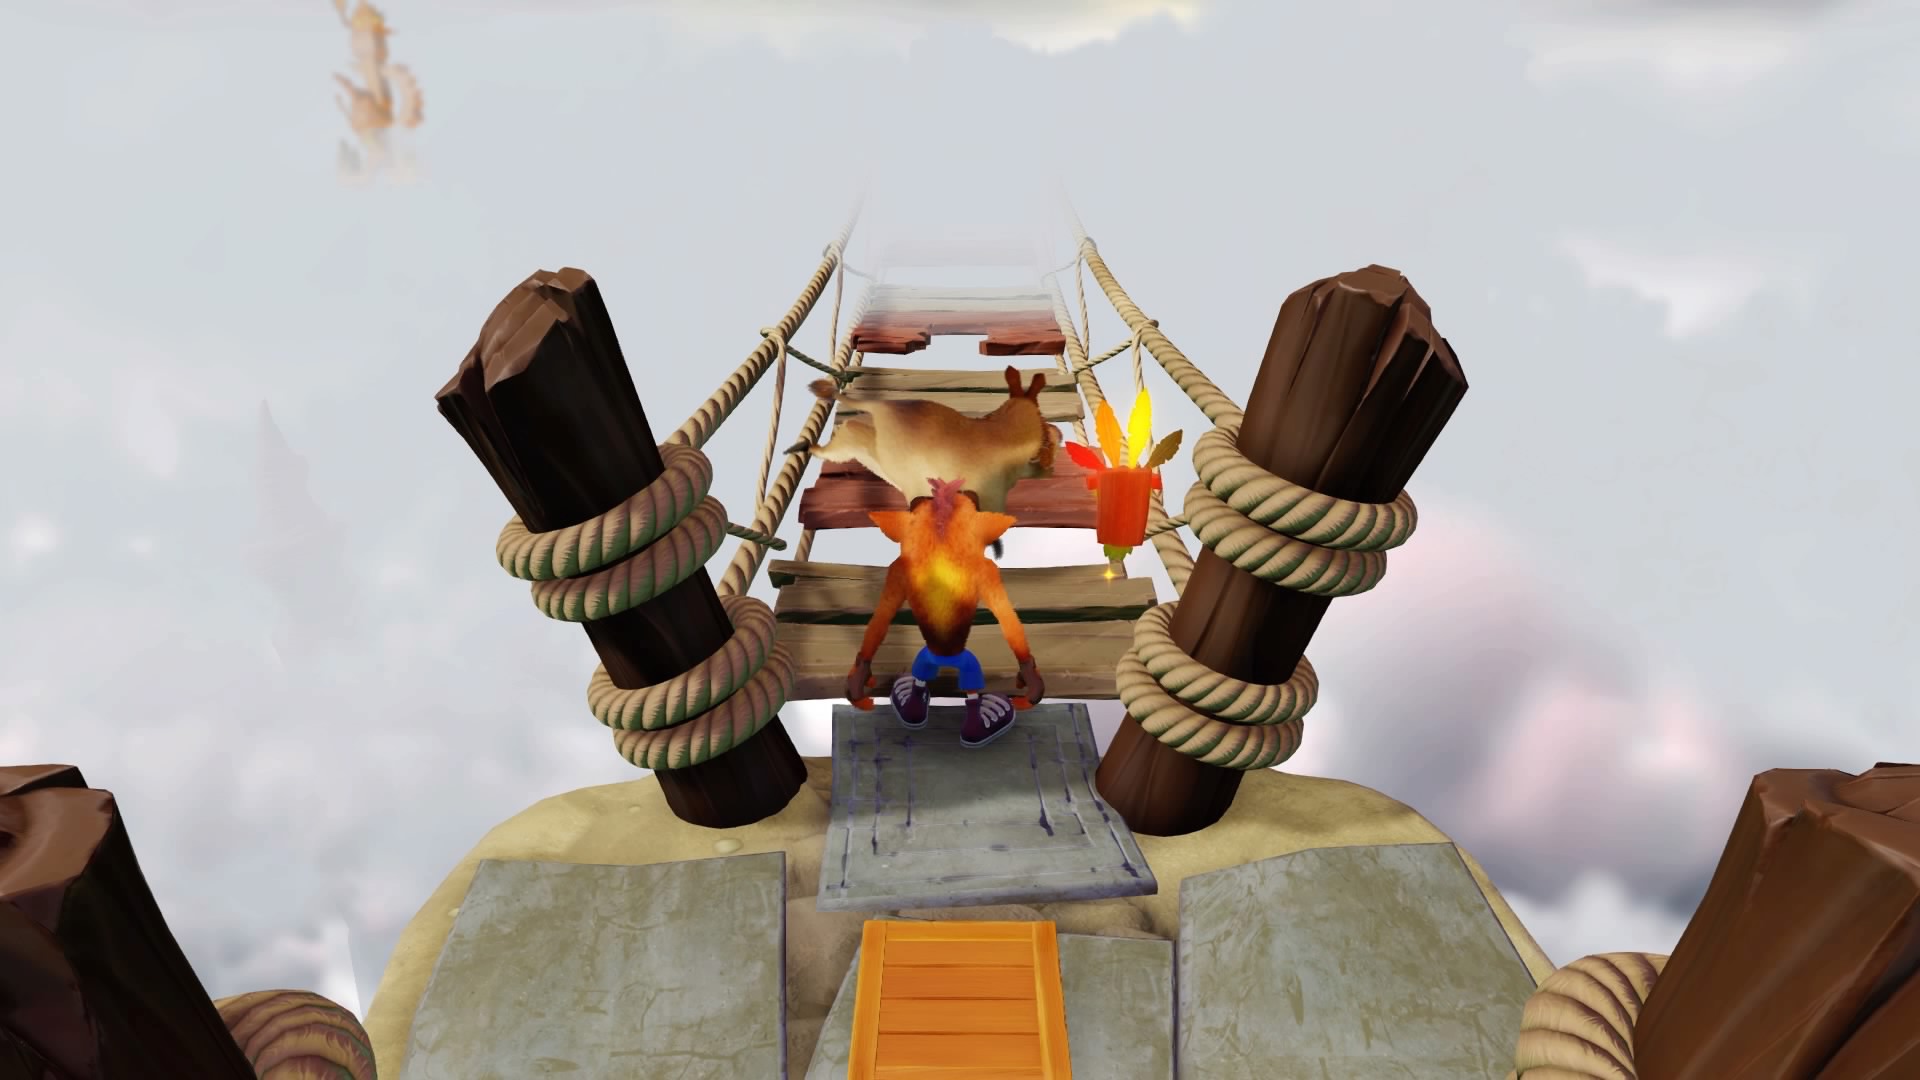
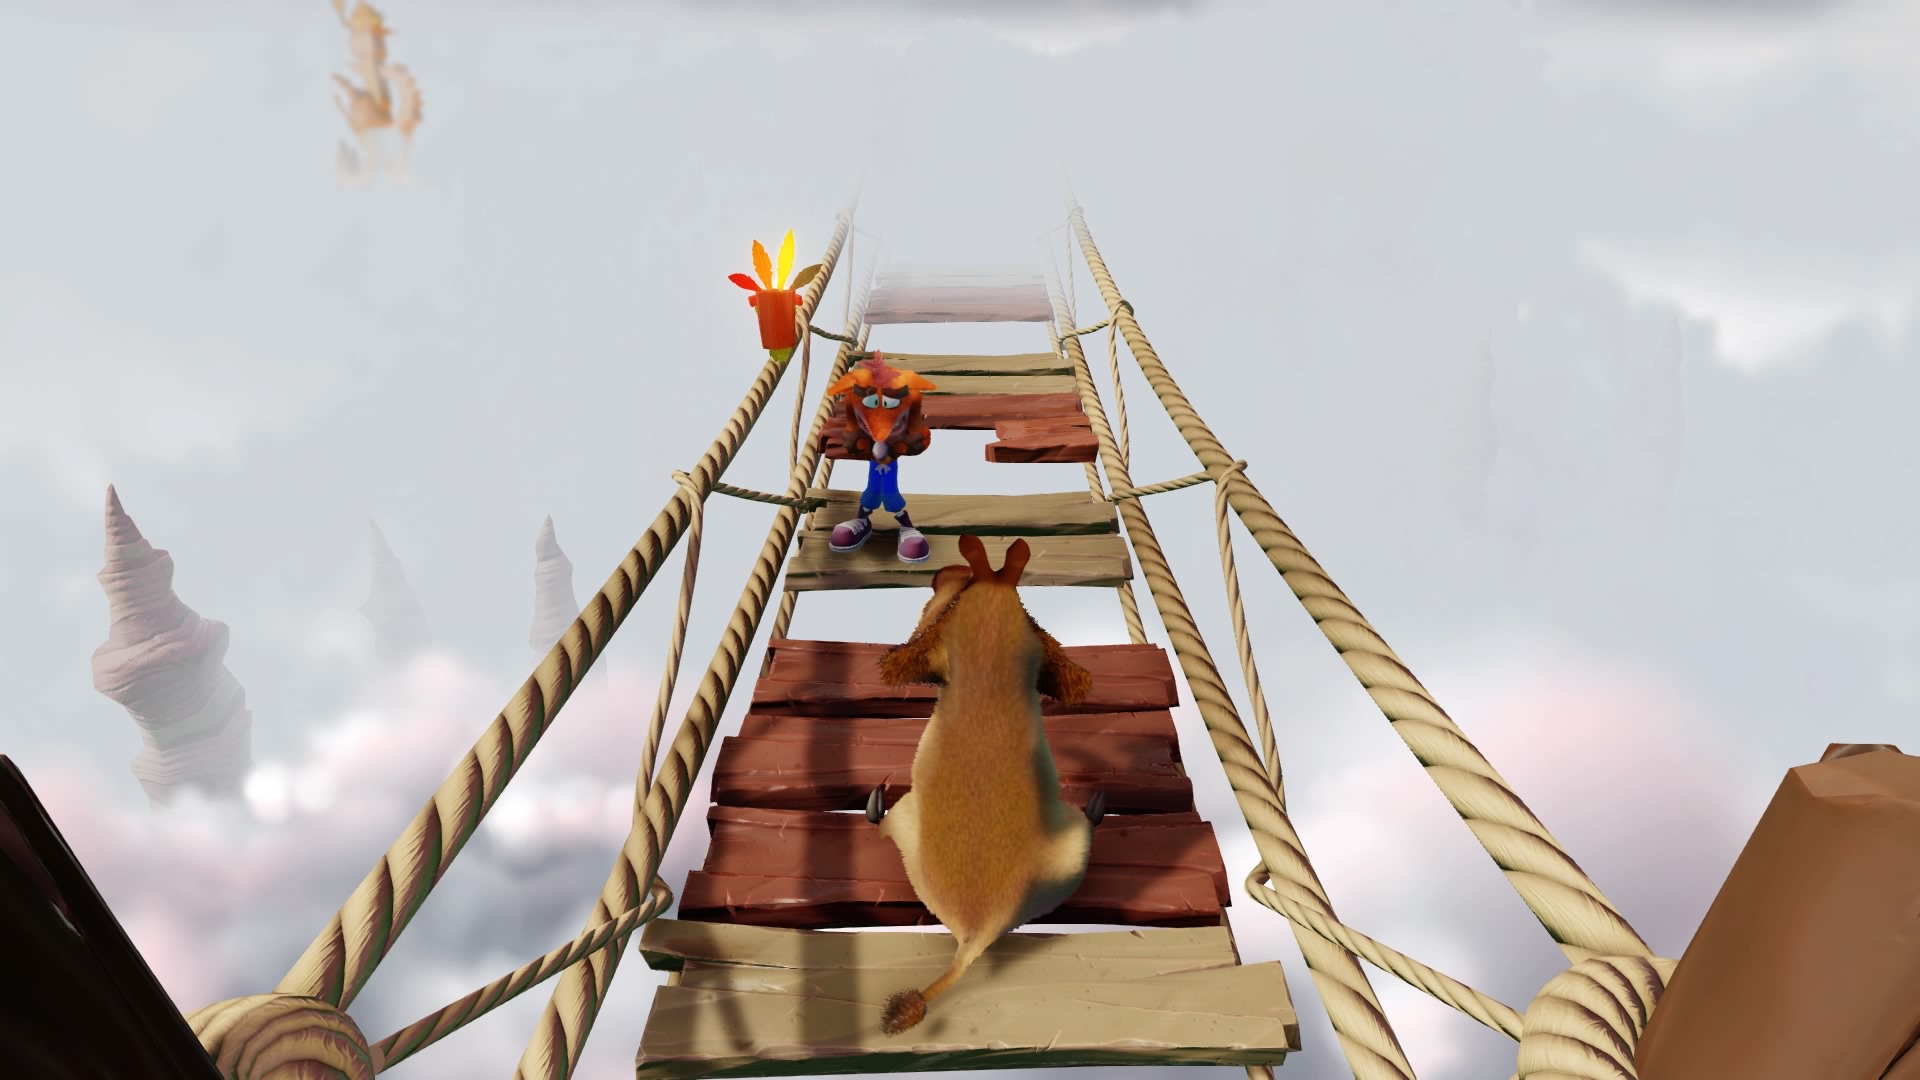
This is also one of the hardest levels in the game. If this level gets too difficult, I’d recommend skipping to Crash 2 or 3. Do not play this level with only 4 lives!
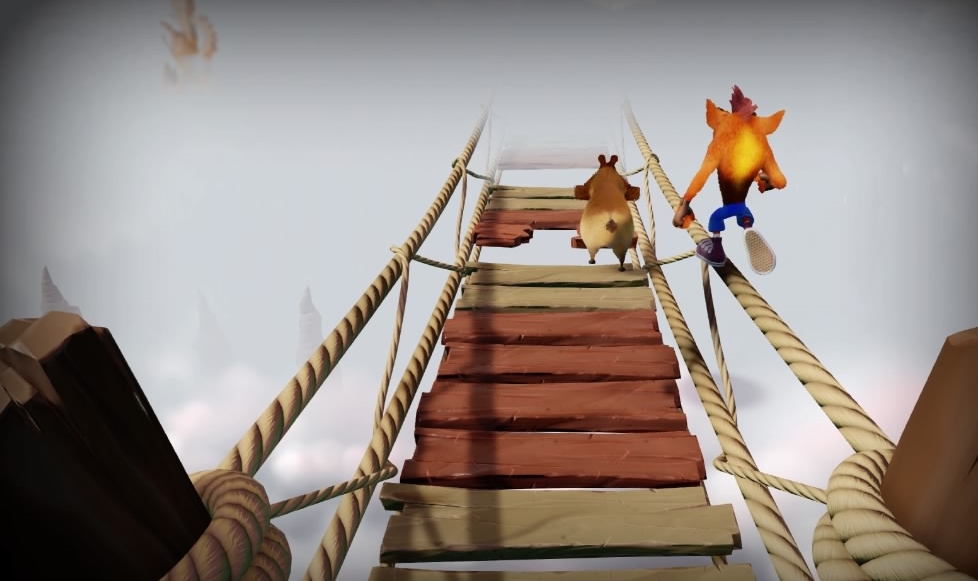
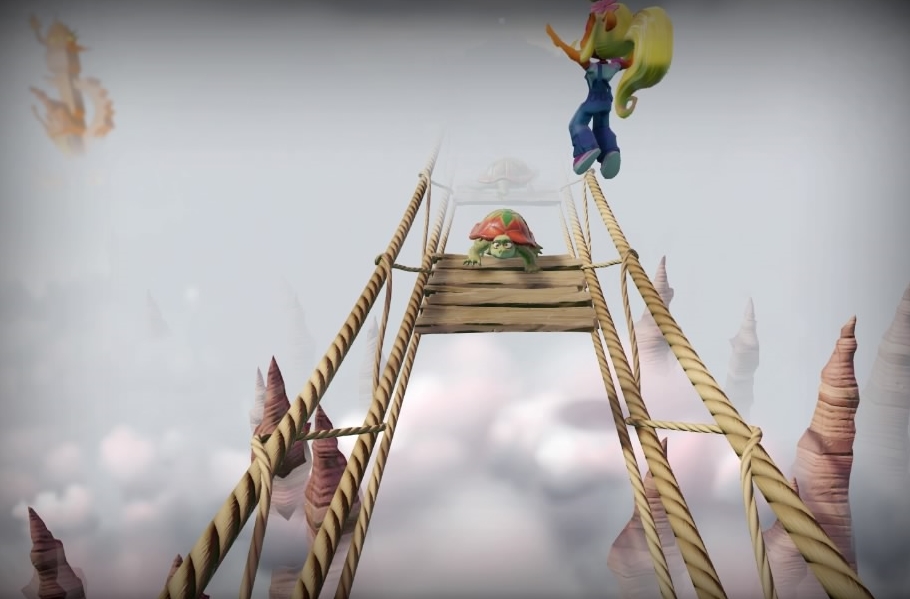
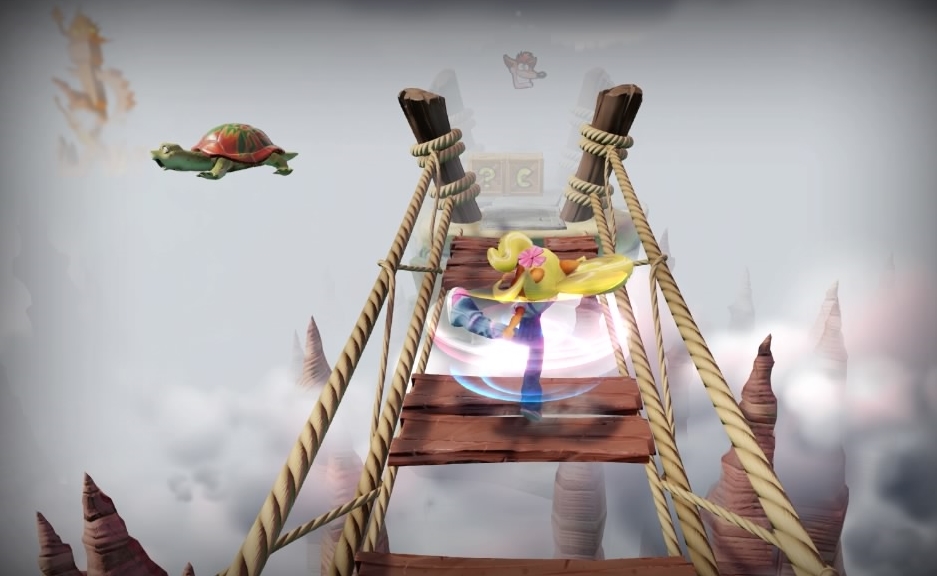
The light brown planks are safe, the dark ones fall a moment after stepping on them, and the broken ones cannot be landed on at all. Use short jumps to land on platforms that are closely spaced together to avoid overshooting platforms. Use long jumps after running to the very edge to get to far platforms. There are high altitude hogs running back and forth that cannot be killed. Stand in front of the spot where you see the hog turn to run back, and then jump over the hog when it returns to make it sit down and stop moving.
You can jump onto the ropes of the bridge, but they are very slippery and difficult to land on, which will likely cost you more lives than if you chose not to use them.
Watch out for the gap around the Tawna bonus stage entrance! The pillar of the bridge hides a gap between you and the bonus stage.
You cannot obtain the clear gem without the red gem from the level, Slippery Climb.
Boulder Dash
You cannot obtain the clear gem without the purple gem from the level, Lights Out. Coco’s death animation from the boulder is pretty funny.
Sunset Vista
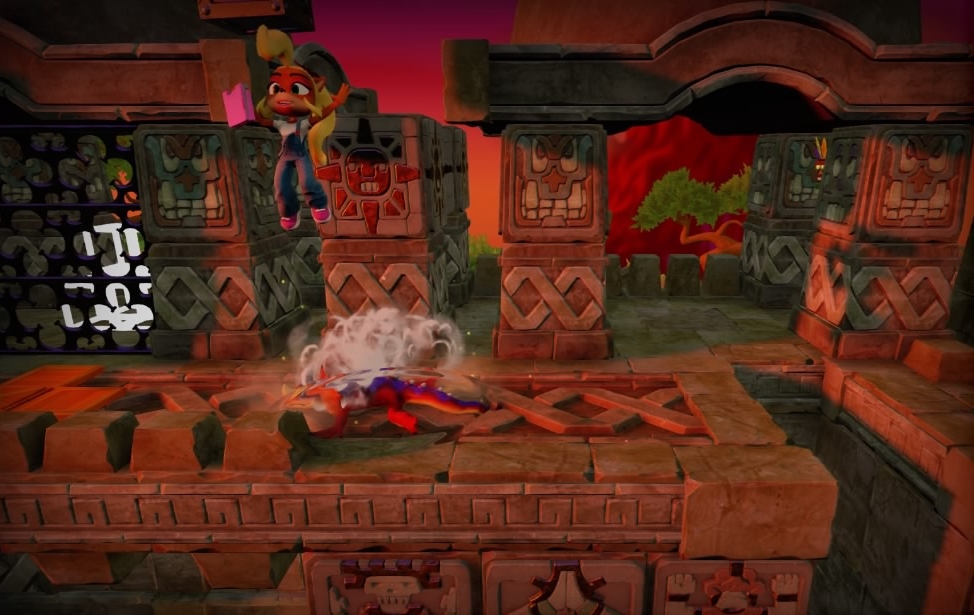
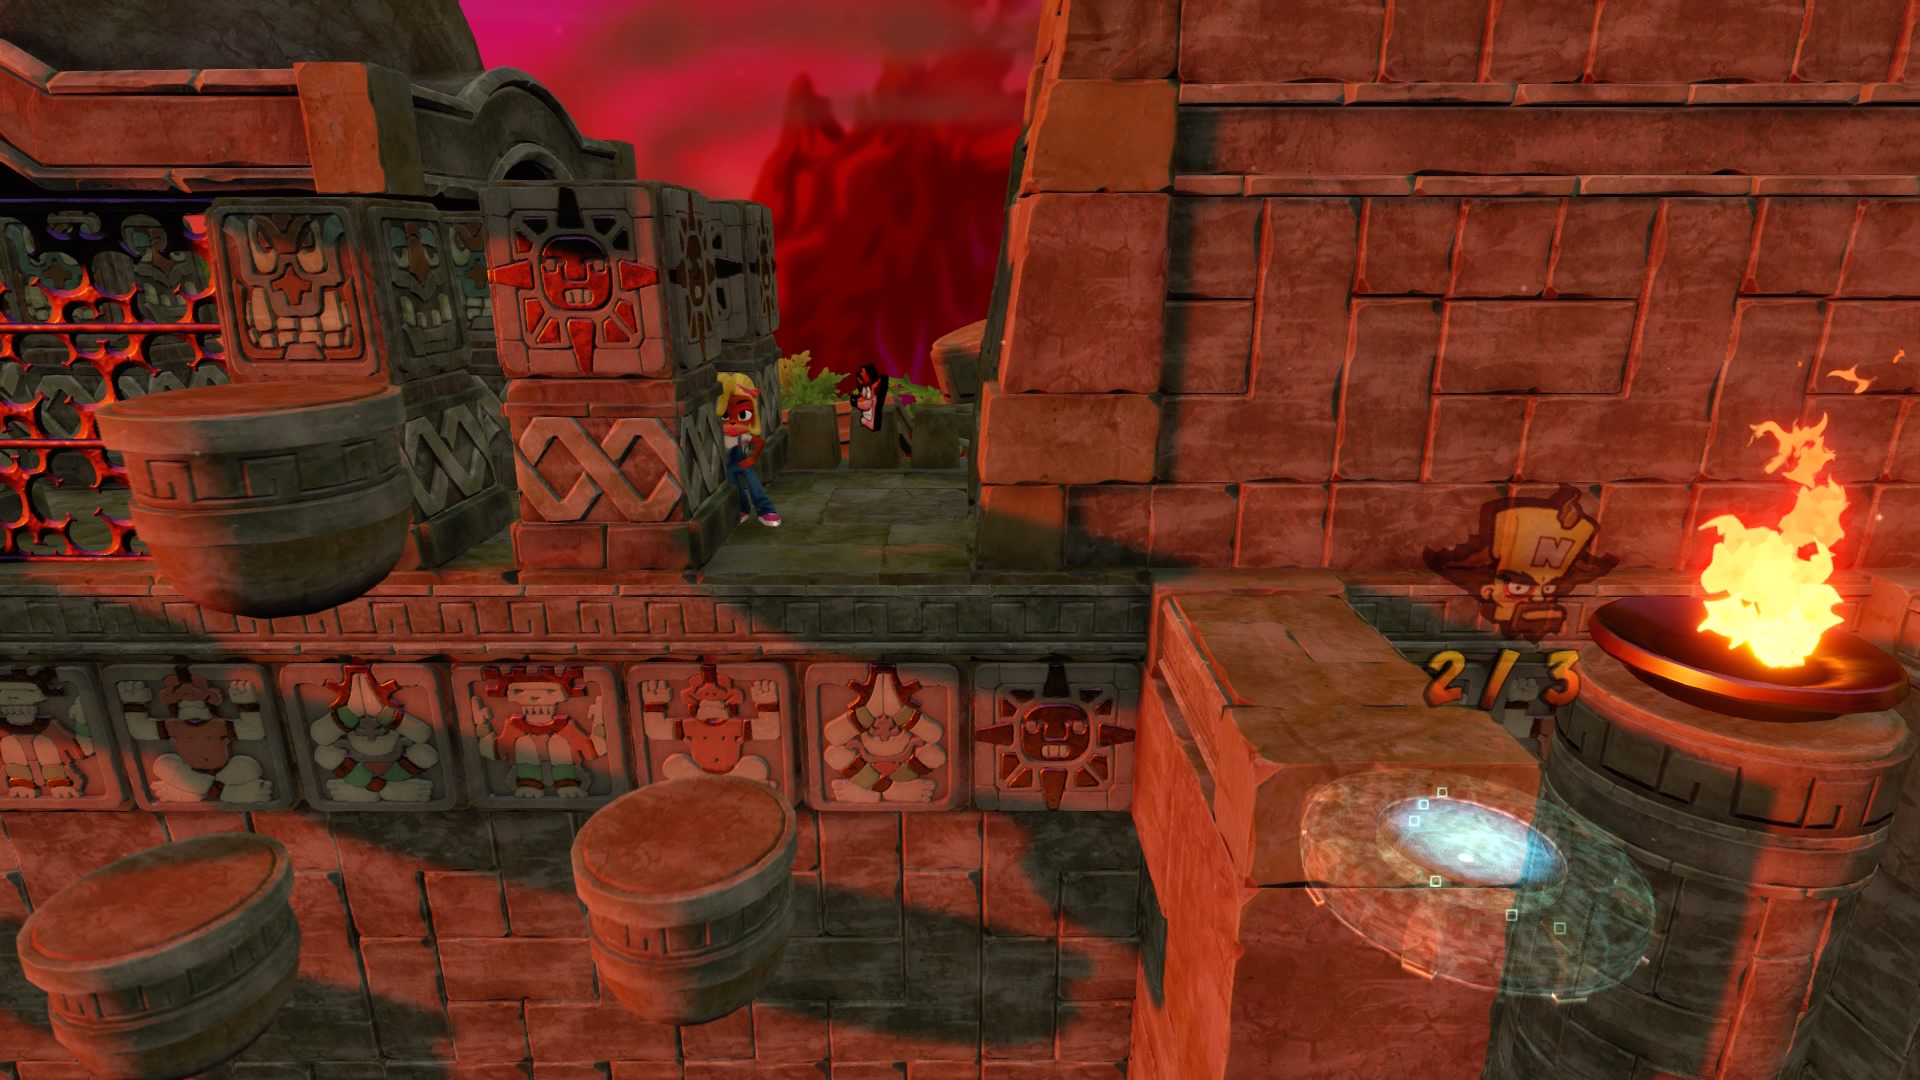
This one can be pretty rough as it is one of the longest levels in the game. This level contains a level key needed to unlock the secret level, Whole Hog, that can be obtained by completing the Cortex Bonus Stage.
You must bounce on a red leaping lizard to hit a ! box for the first Cortex token.
You must jump onto floating boxes over the retracting walls to get the second Cortex token.
Near the Cortex bonus stage entrance, jump into the background where the life is and run left behind the wall to find a ? box containing the final Cortex token.
You can obtain the clear gem now by breaking all the boxes.
BOSS: KOALA KONG
When he throws a large boulder at you and begins to pose, spin it back at him while avoiding the minecarts.
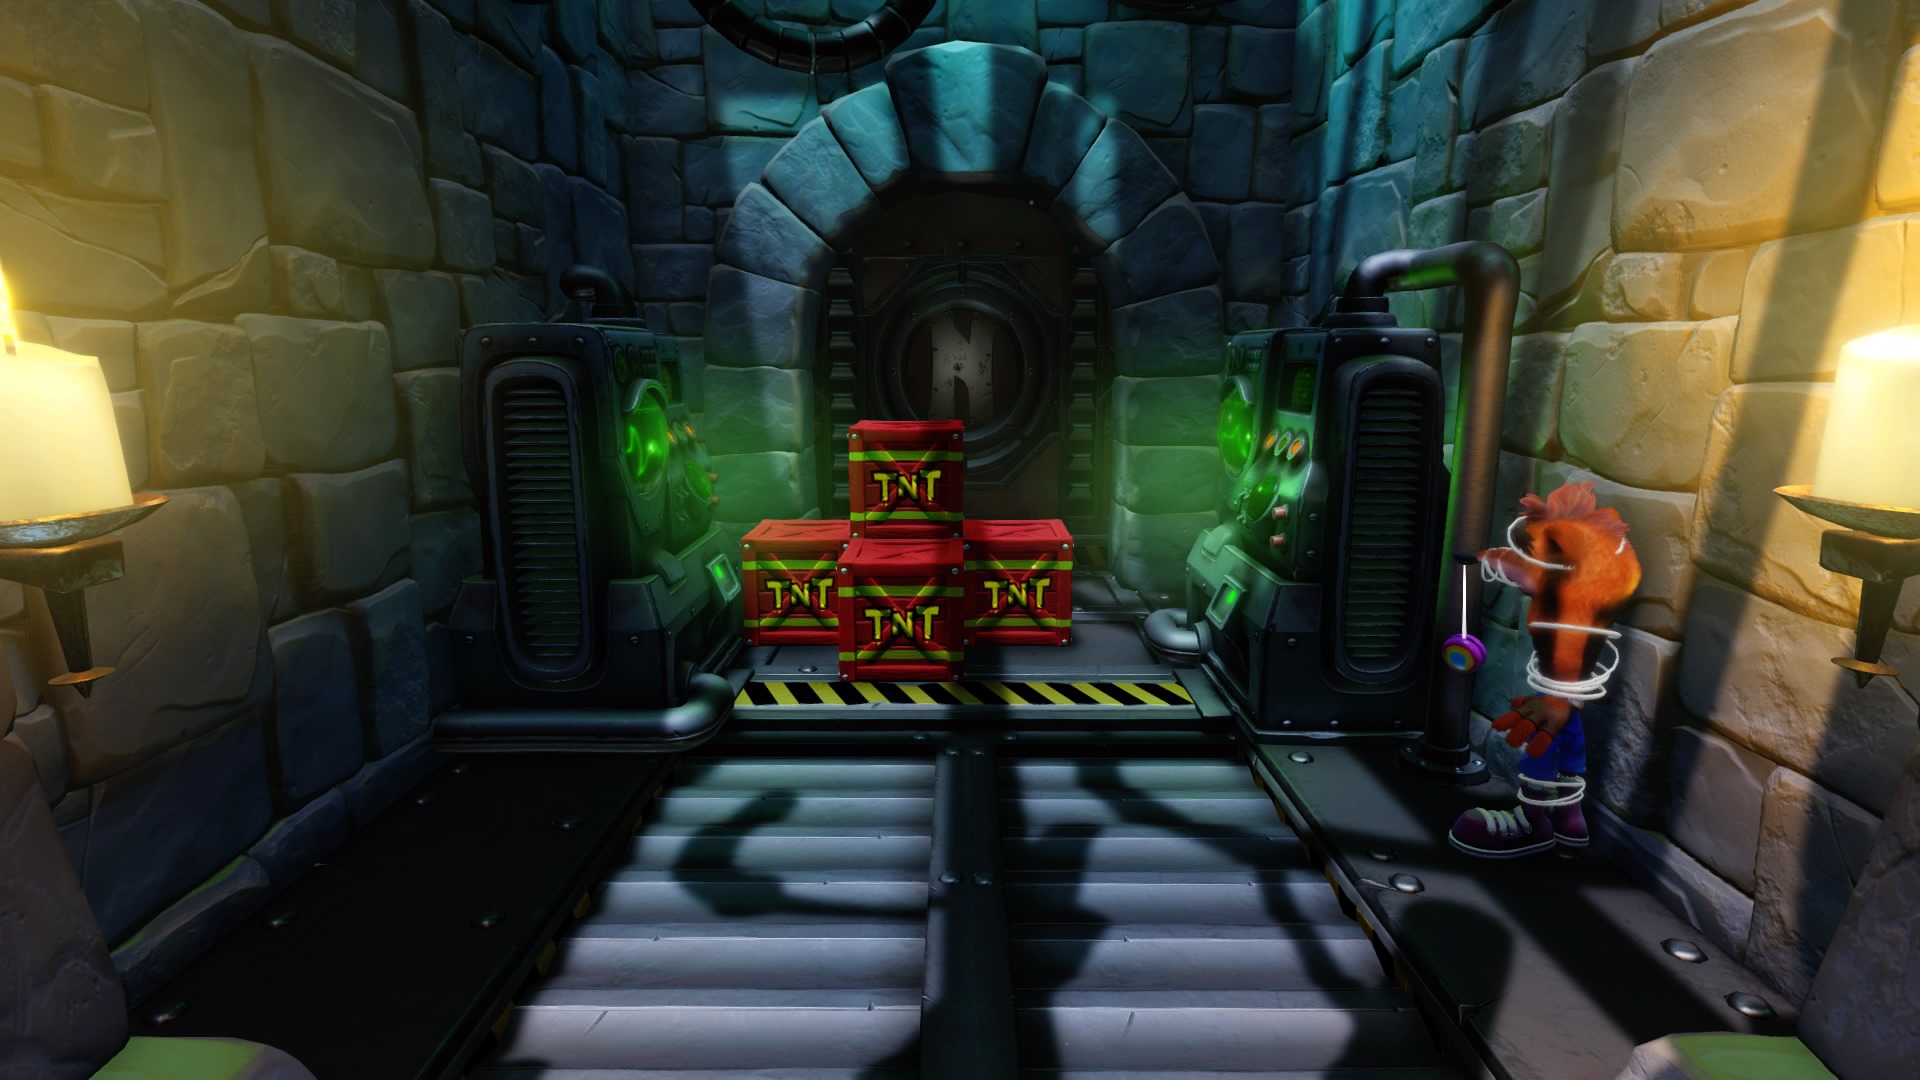
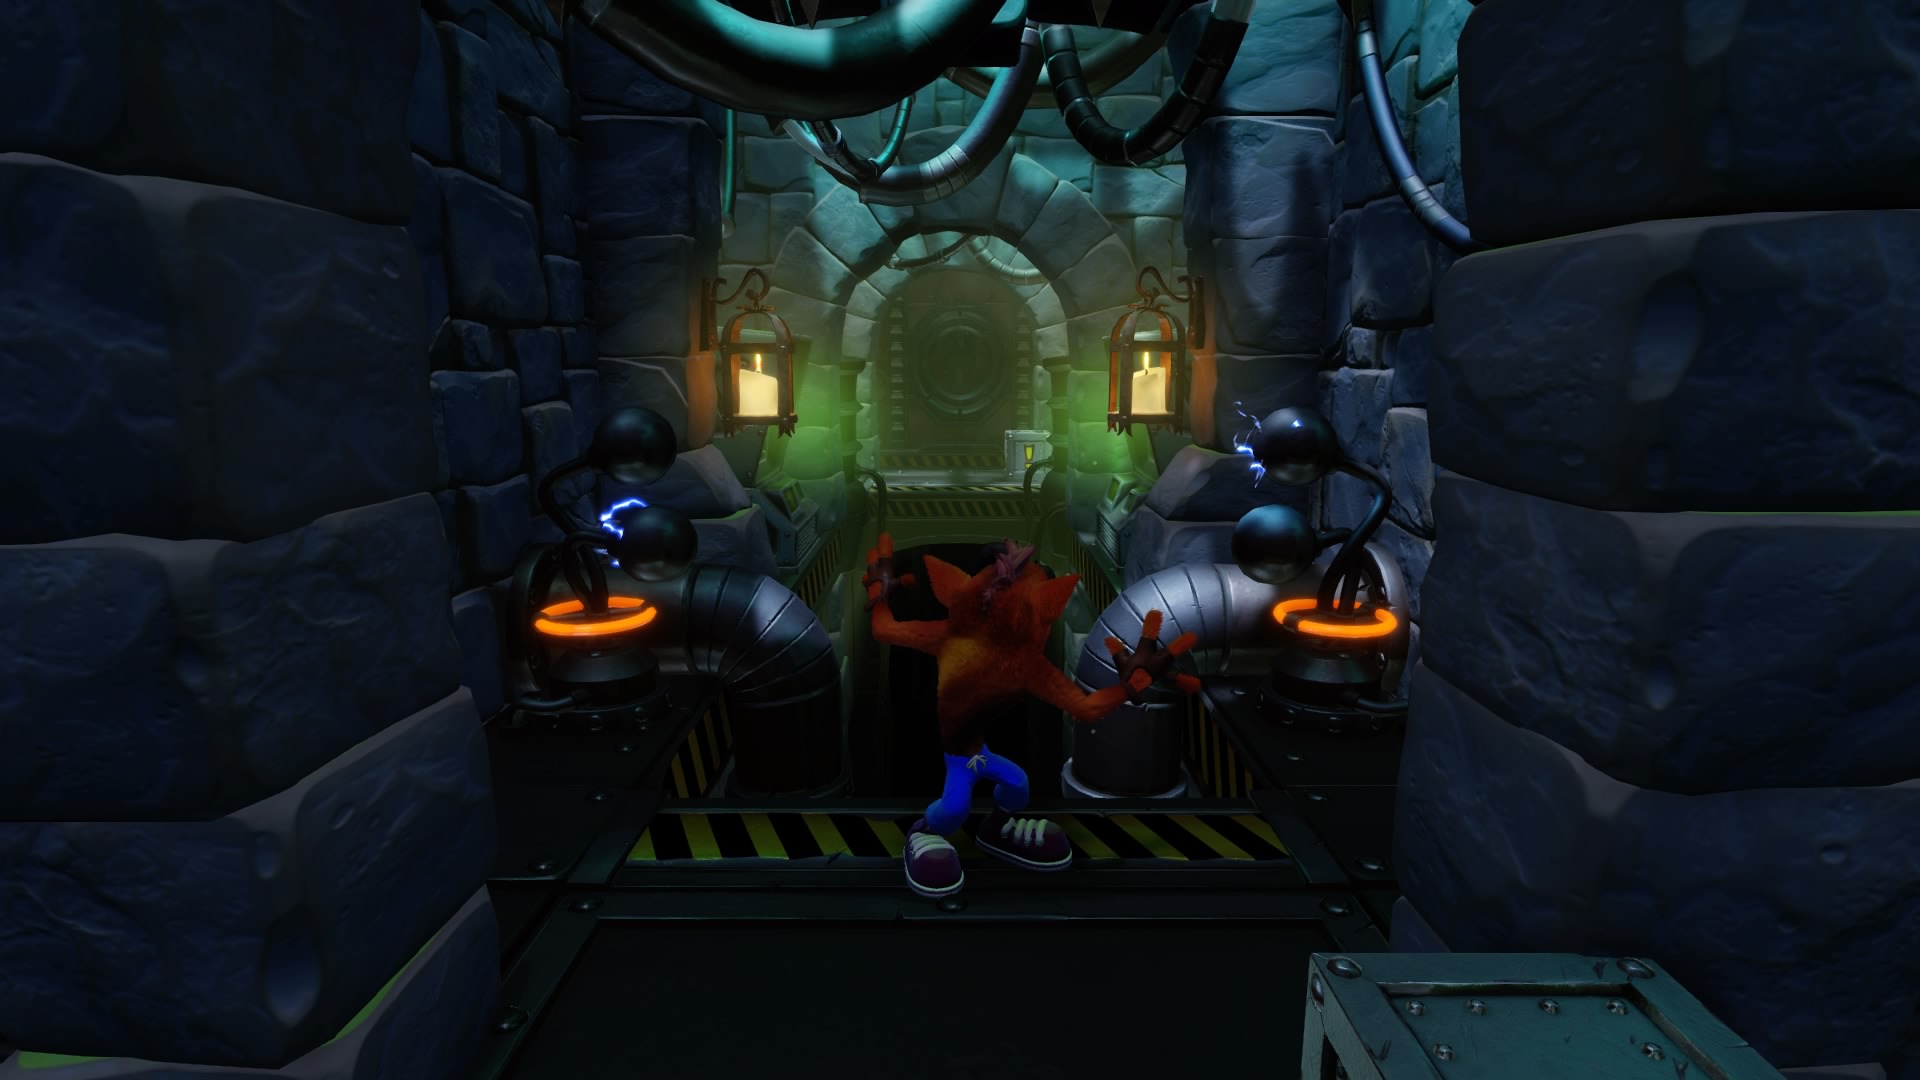
Heavy Machinery
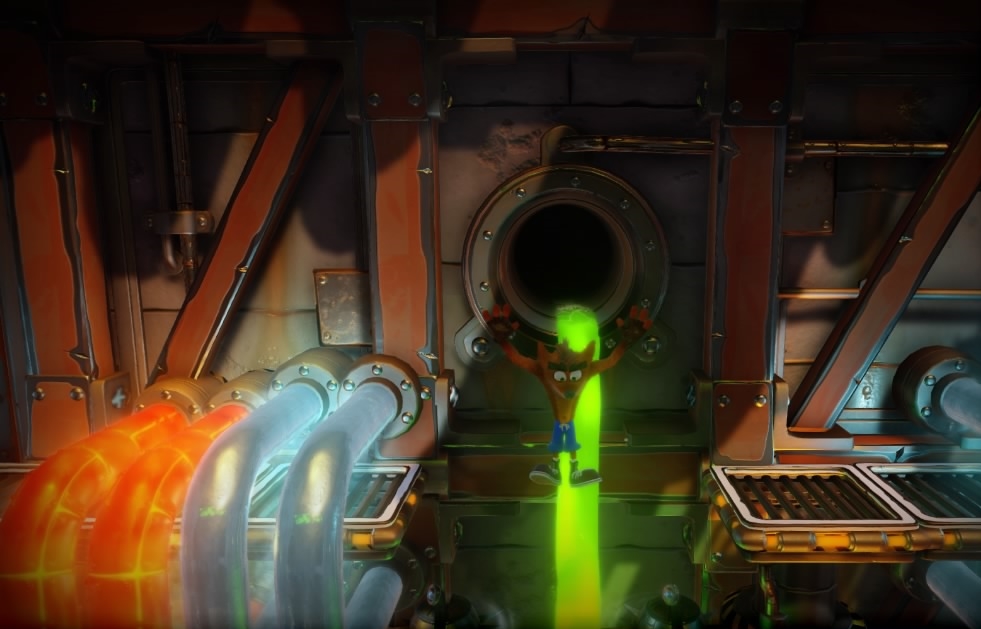
Near the beginning of the level you will see two spiked saucers beneath a gap at the bottom of the screen. Jump in between them to find a secret route containing boxes and a Brio token.
Yellow, square shaped bounce pads will launch you into offscreen boxes. This level contains one of the hardest Brio Bonus Stages, good luck!
You can obtain the clear gem now by breaking all the boxes.
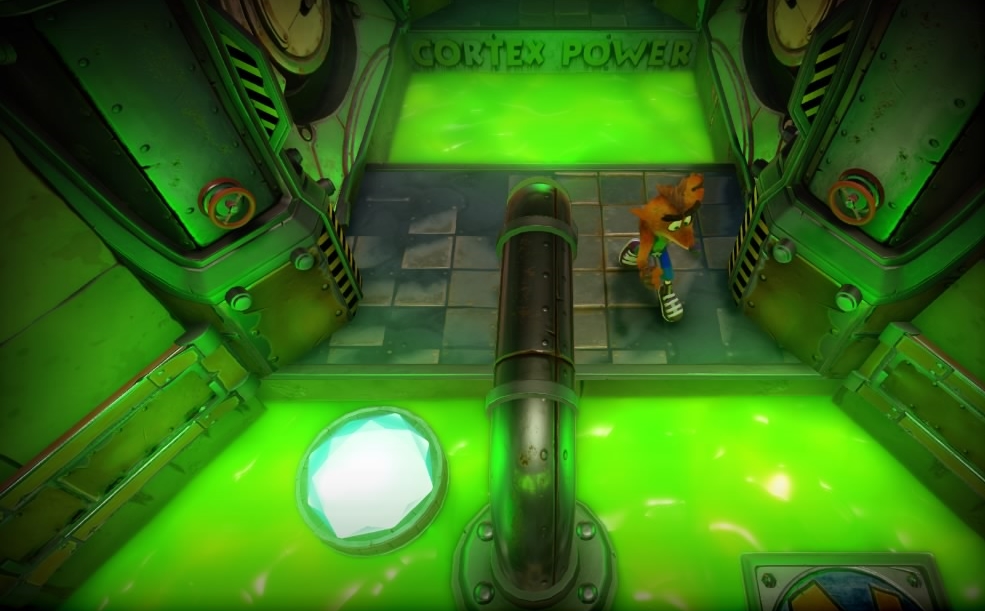
Cortex Power
Always stick with the paths on the right. You’ll eventually find a dead end with a ! box. Hit this box to spawn a bridge of boxes that you’ll need to get to the level exit.
You cannot obtain the clear gem without the blue gem from the level, Toxic Waste. Information on getting all the boxes is covered later in this guide.
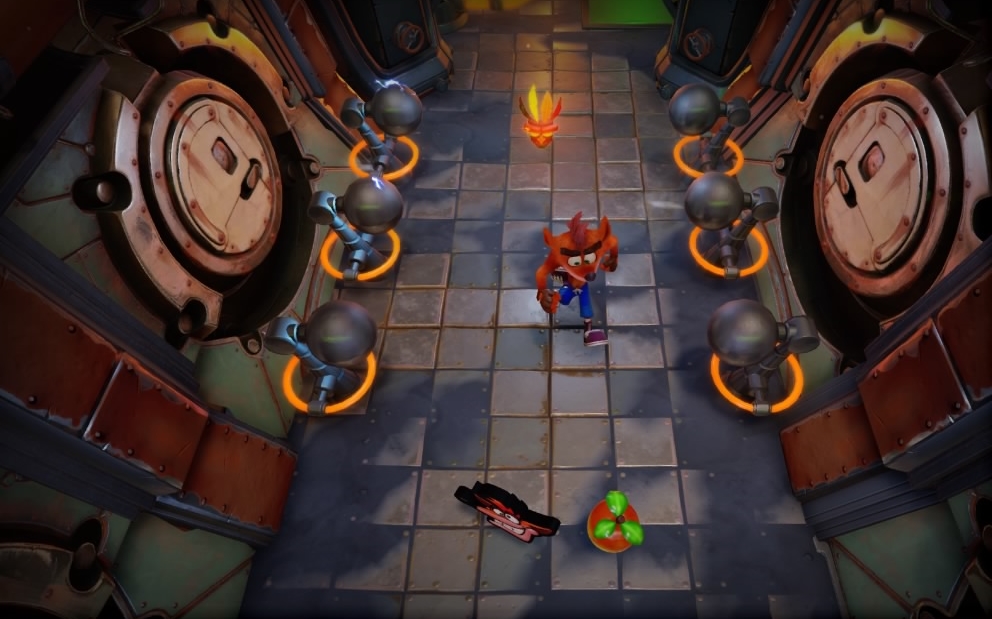
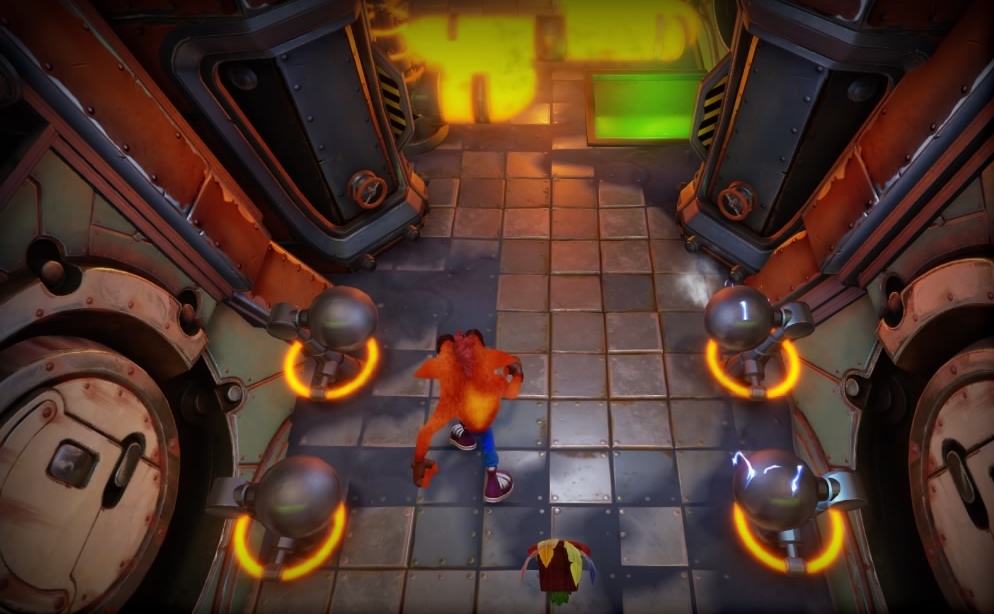
Generator Room
This level contains the orange colored gem required for getting the clear gem in the level, Upstream, and thus must be beaten without dying in addition to breaking all the boxes. The game does not count dying before the first checkpoint or during bonus stages as a death.
If you’re going for the colored gem, I’d recommend grabbing two Aku Aku masks by beating the first level again since they’ll protect you from the spiked saucers. You can hit a box that is sandwiched between a TNT by doing a light short jump and then spin right before you touch the ground. Pay attention to your shadow to know where you’re going to land.
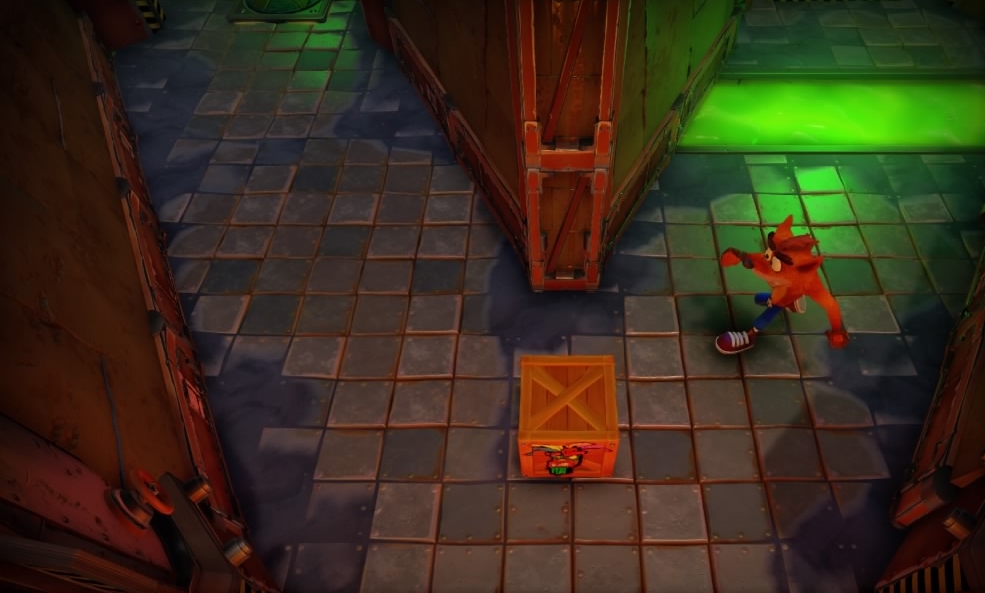
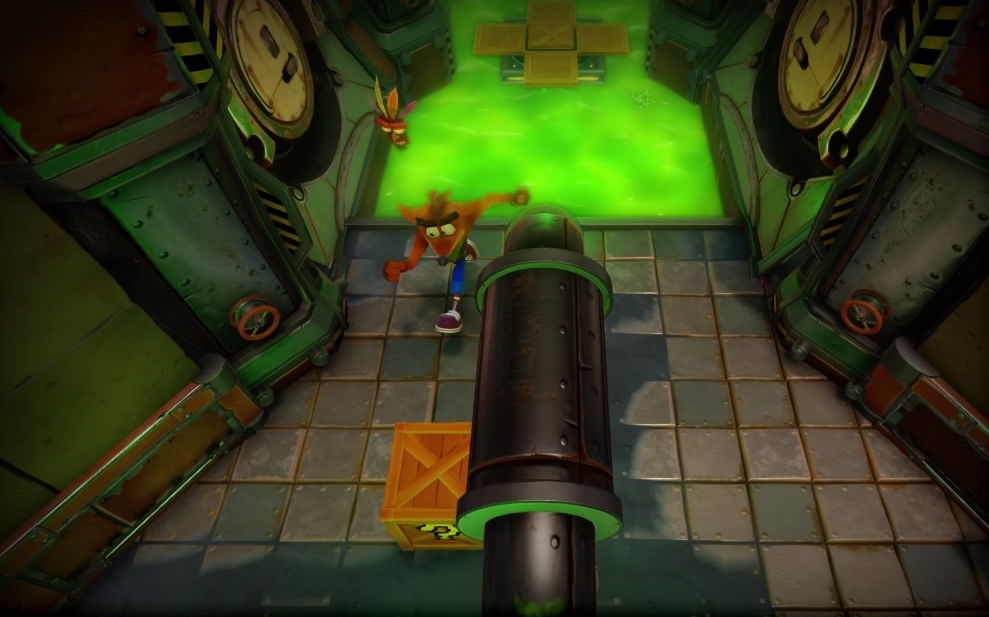
Toxic Waste
This level contains the blue colored gem required for getting the clear gem in the level, Cortex Power, and thus must be beaten without dying in addition to breaking all the boxes.The game does not count dying before the first checkpoint or during bonus stages as a death.
There are marks on the floor that indicate where the bouncing barrels are going to land.
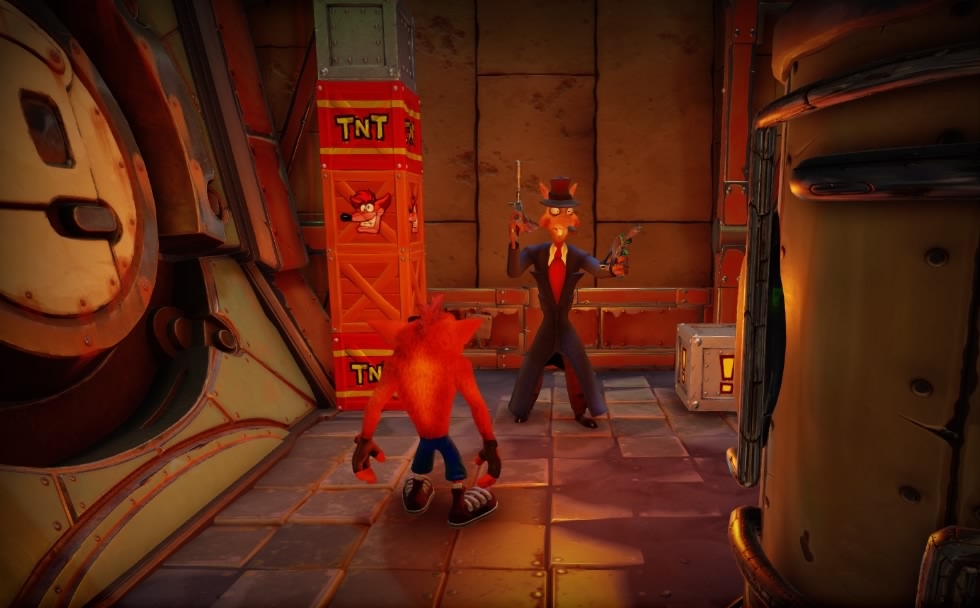
BOSS: PINSTRIPE POTOROO
Spin him when he’s reloading or when his gun gets jammed.
The High Road
This is THE HARDEST LEVEL IN THE GAME next to Stormy Ascent. If this level gets too difficult, I’d recommend skipping to Crash 2 or 3 despite getting this far. DO NOT play this level with only 4 lives!
At the start of the level, backtrack and you’ll find wumpa fruit floating above the cliff that will spawn in planks if you land on them. You will find four boxes at the end of this path.
You’ll have to bounce on turtles to make most of the jumps. Wait until the turtle walks up to the edge, and then use a short jump to flip the turtle. When the turtle is flipped, run back to gain enough distance to use a long jump to get on the turtle. Do not stay bouncing on the turtle. You must keep your forward momentum going to make the jumps. Don’t forget to hold the jump button to bounce higher.
If you accidentally flip a turtle when it’s not close enough to the edge, wait a moment and the turtle will unflip itself. Turtles will not respawn, so you’ll have to jump on and off the rope of the bridge if you accidentally kill one.
Some gaps are spaced close enough for you to make the jump without the turtle. In this case, kill the turtles that you don’t need.
You can obtain the clear gem now by breaking all the boxes.
Slippery Climb
This is also one of the hardest levels in the game, but is not as bad as the last one. If this level gets too difficult, I’d recommend skipping to Crash 2 or 3. Do not play this level with only 4 lives!
This level contains the red colored gem required for getting the clear gem in the level, Native Fortress, and thus must be beaten without dying in addition to breaking all the boxes. The game does not count dying before the first checkpoint or during bonus stages as a death.
If you’re going for the colored gem, you should know that this gem, along with The Lab, is one of the hardest to obtain in the game, but you won't need it for the alternate ending if you obtain 20 gems from the other levels. The bonus stage for this one is also pretty tricky, so good luck!
Lights Out
You cannot obtain the purple gem without the yellow gem from The Lab. Once you obtain the yellow gem, return to this level and break all the boxes without dying to obtain the purple gem for the level, Boulder Dash.
This level is unique in that you need Aku Aku to light up the darkness. However, Aku Aku’s light will only last for a few seconds. Getting hit, even with Aku Aku, will almost guarantee death as you will immediately lose your light and it will be too dark for you to see the various pitfalls. You can jump onto the ledges at the sides of the wall. Use this to your advantage to get on moving platforms.
Once you’ve obtained the yellow gem, I’d recommend activating the time trial by touching the stopwatch for the colored gem so that you can easily restart the level if you die.
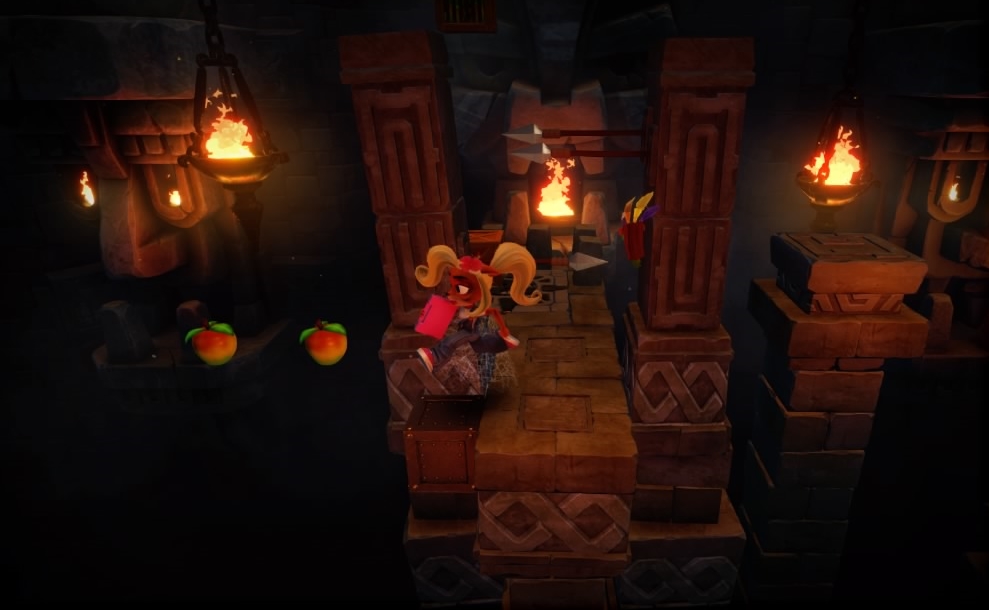
Jaws Of Darkness
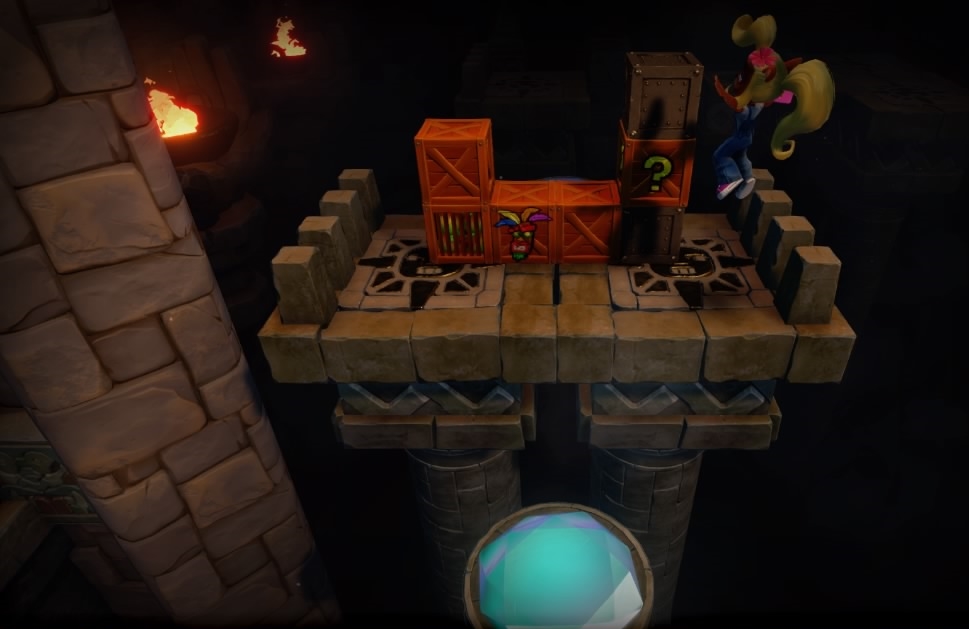
This level contains a level key needed to unlock the secret level, Fumbling In The Dark, that can be obtained by completing the Cortex Bonus Stage.
This level has a lot of hidden boxes that are easy to miss. The first Cortex token is in the ? box with a TNT stacked on it.
After entering the blue gem path, you will find a ? box sandwiched between two metal boxes. Break it and jump while on the metal boxes to hit a hidden life box.
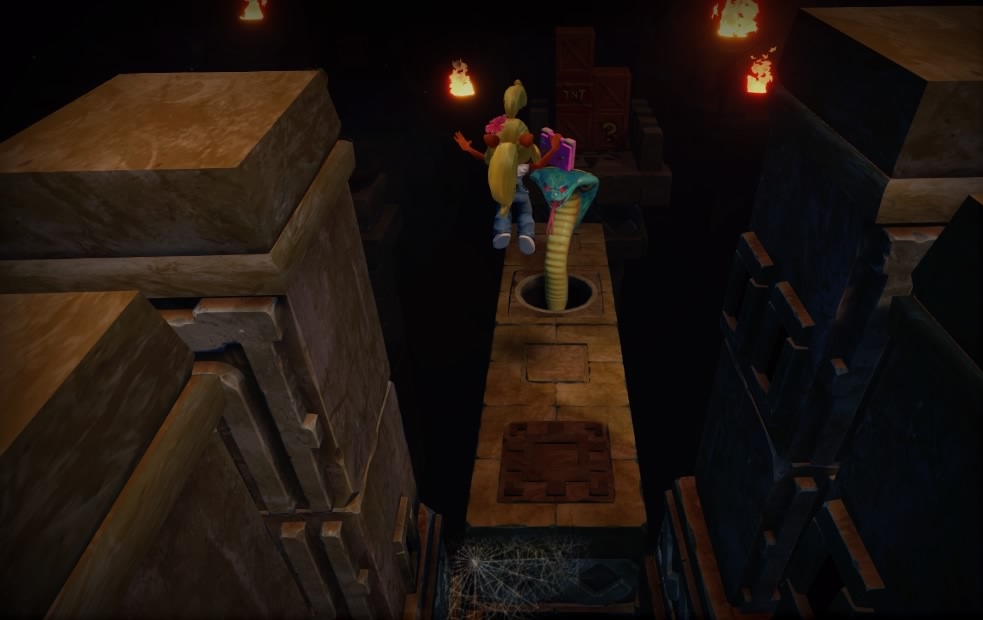
After clearing the blue gem path and wall crushers that come after it, you will come across a snake that you must JUMP on. If you spin the snake, it will fly into a TNT that will blow up the second Cortex token.
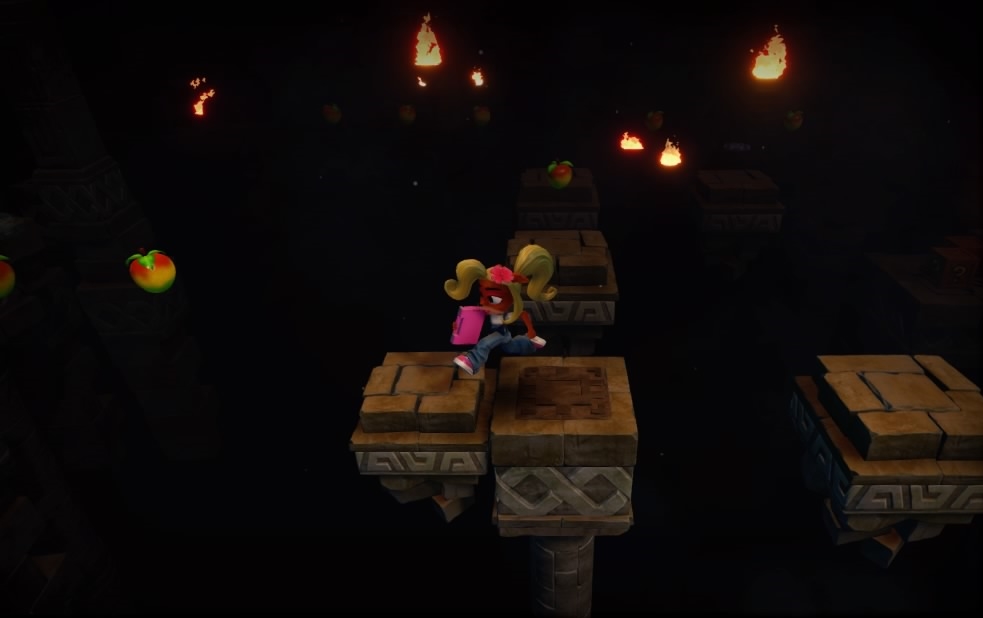
Right after obtaining the second Cortex token, proceed left and follow the trail of wumpa fruit that is floating over the abyss to spawn a bridge of falling platforms that will take you to the Cortex Bonus Stage entrance.
You cannot obtain the clear gem without the blue gem from the level, Toxic Waste. This level contains the most boxes in the game, which means that Crash and Coco will get obliterated by 112 boxes if you skip all of them.
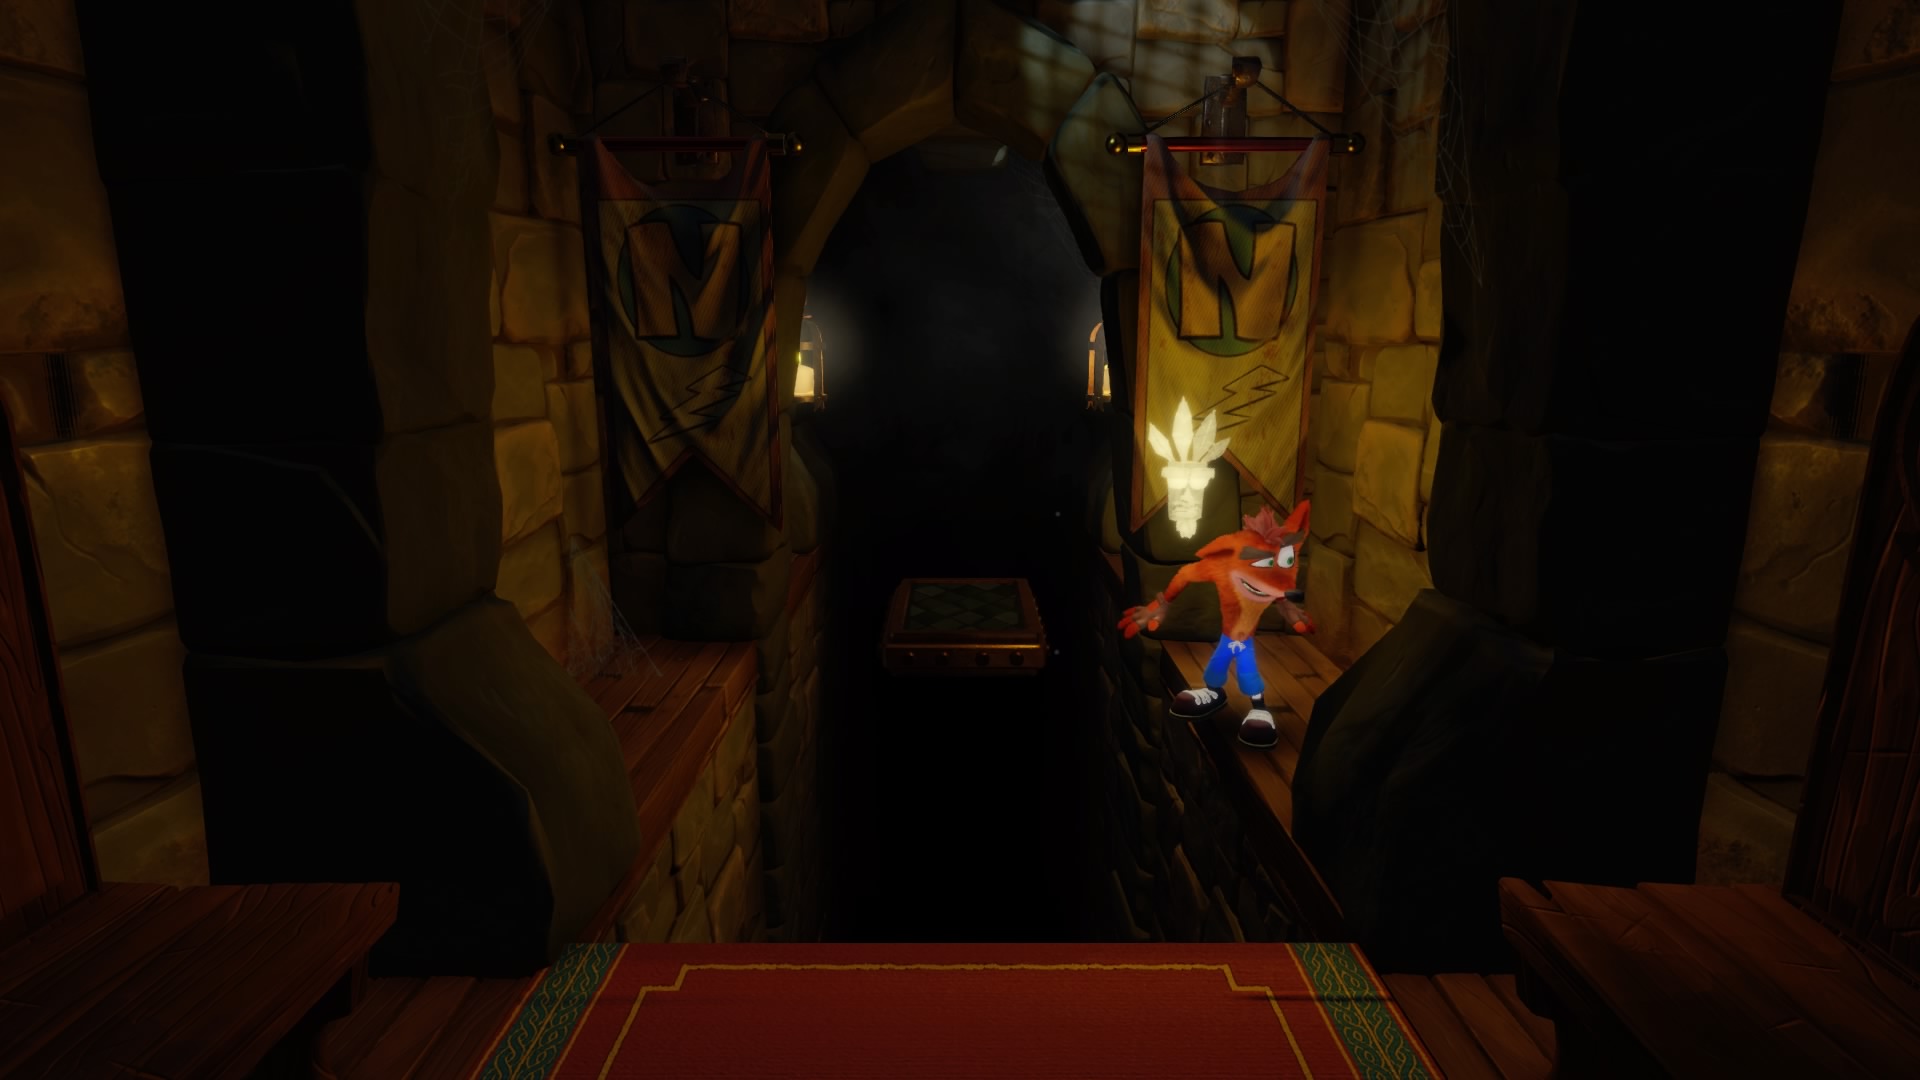
Castle Machinery
If you obtain the green gem from The Lost City, you can take the green gem path at the start of the level to get a surprise.
You can obtain the clear gem now regardless of having the green gem or not.
BOSS: DR. NITRUS BRIO
This one is pretty tricky. Jump on the green blobs to squirt juice into his face.
The Lab
This level contains the yellow colored gem required for getting the purple gem in the level, Lights Out, and thus must be beaten without dying in addition to breaking all the boxes. The game does not count dying before the first checkpoint or during bonus stages as a death.
If you’re going for the colored gem, grab two Aku Aku masks by beating the first level. You must hit the ! boxes to activate the doors and close the trap doors. In the bonus stage, you must jump on the arrow box without breaking the one above it by approaching it on the right side.
You can only kill the electrified lab assistants by spinning them off the platform. You can jump onto the ledges that are on the sides of the trap doors to avoid falling in them.
Beware that the switch doors will close and kill you if you’re standing beneath them. At the end of the level, you will open a switch door with an automatic trap door that has electric poles and a pit at the front, and another pit at the back. Stand at the edge of the pit near the electric poles, and jump on the trap door when it is closed to get on the ledge next to it behind the computer monitor. Wait for the trap door to close again to jump over the second pit.
In the final room containing the level exit, jump and remain on the first TNT for a moment to stop bouncing so that you can run across the other TNTs to jump over the pit.
Wait for the TNTs to explode before exiting the level to obtain the yellow gem.
Whole Hog (Secret Level)

After obtaining the level key by completing the Cortex Bonus Stage from the level, Sunset Vista, take the alternate path from Boulder Dash to access it.
This is the only other on-rails level in Crash 1 that Coco cannot be used with. Hold the jump button while bouncing on drums to bounce higher.
You can obtain the clear gem now by breaking all the boxes.
Fumbling In The Dark (Secret Level)
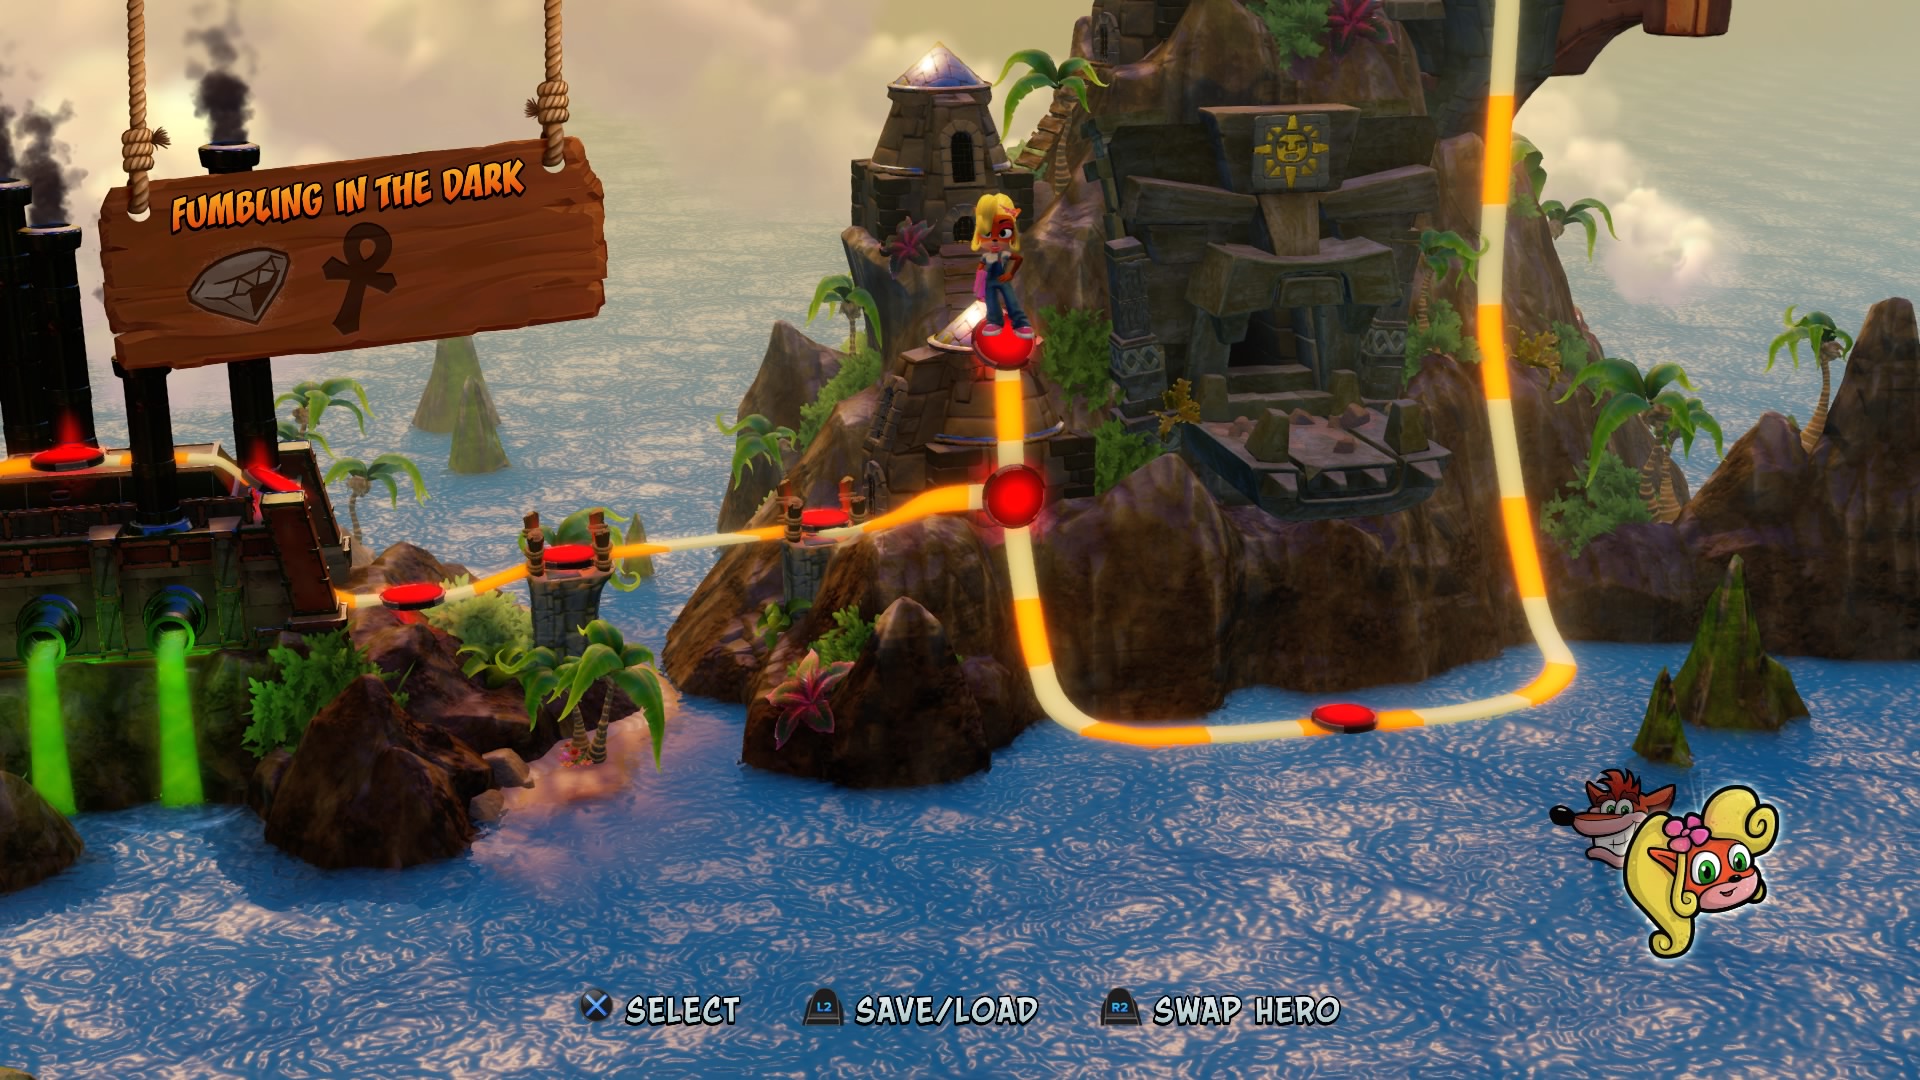
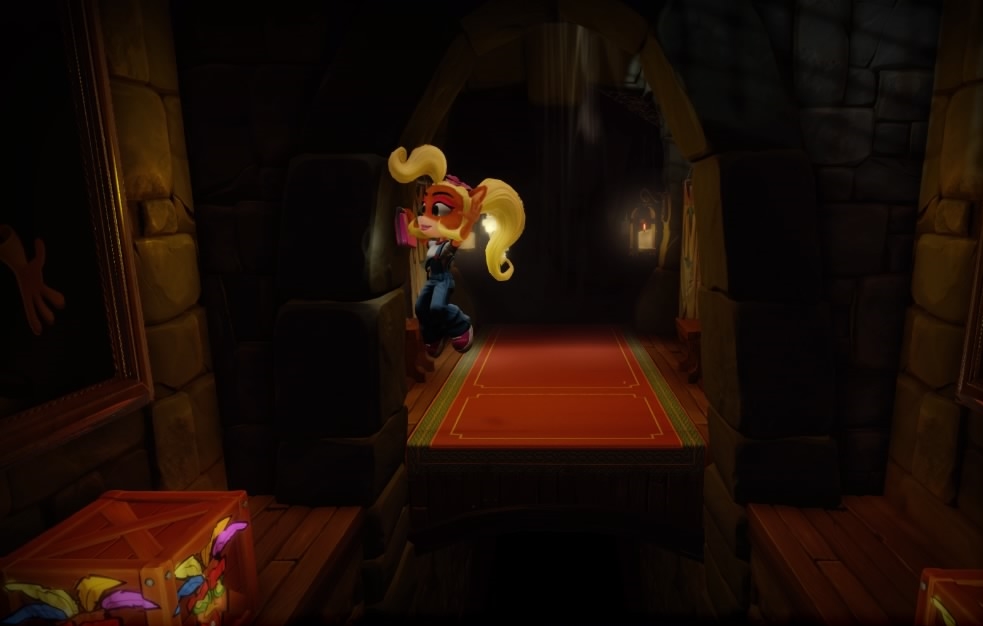
After obtaining the level key by completing the Cortex Bonus Stage from the level, Jaws Of Darkness, take the alternate path from Lights Out to access it.
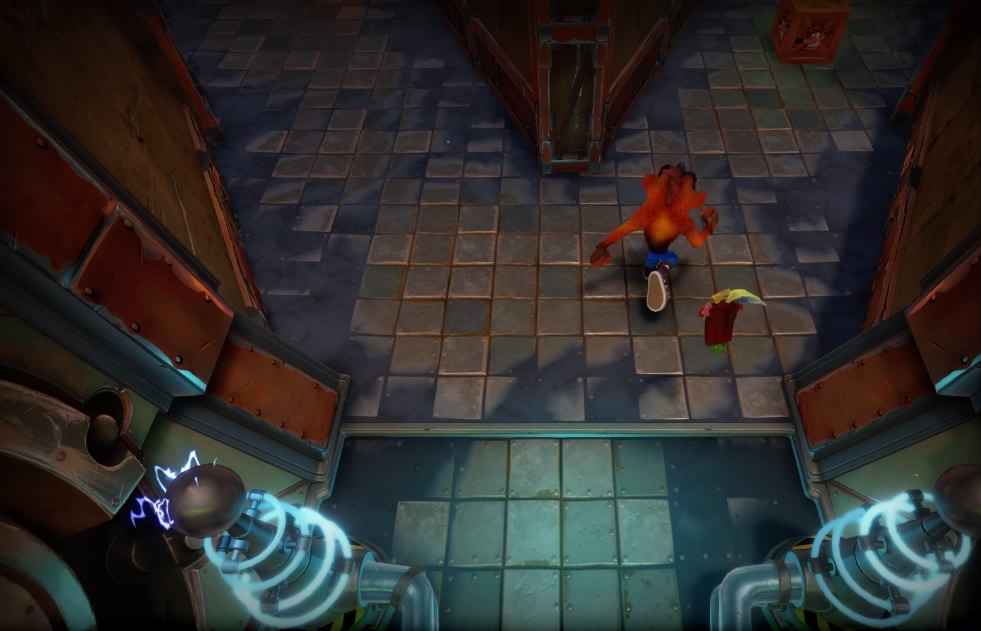
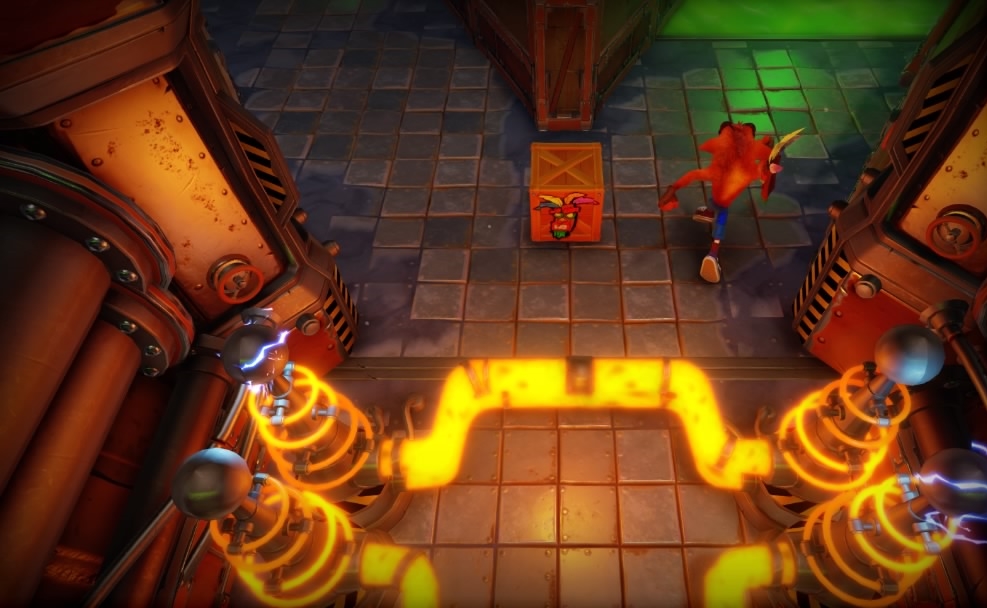
At the start of the level after breaking the Aku Aku box, backtrack two rooms by jumping on the side ledges to find several boxes. Watch your shadow to know where you’re landing.
You can obtain the clear gem now by breaking all the boxes.
Cortex Power (Gem Route)
While the gem routes for the other levels are pretty straightforward, this one is trickier since it has multiple paths.
After obtaining the blue gem from the level, Toxic Waste, return to this level and take the right paths at the first two forks.
Hit the ! box, backtrack to the fork, and then take the left path.
Activate the checkpoint and then backtrack down the left path.
You should reach another fork with the gem route entrance.
Head down the gem route until you reach another fork. Backtrack down the right path to break two hidden boxes. The boxes might already be broken if you spun the enemy into them.
Return to the fork and continue straight towards the exit.
Stormy Ascent (Extra Level)
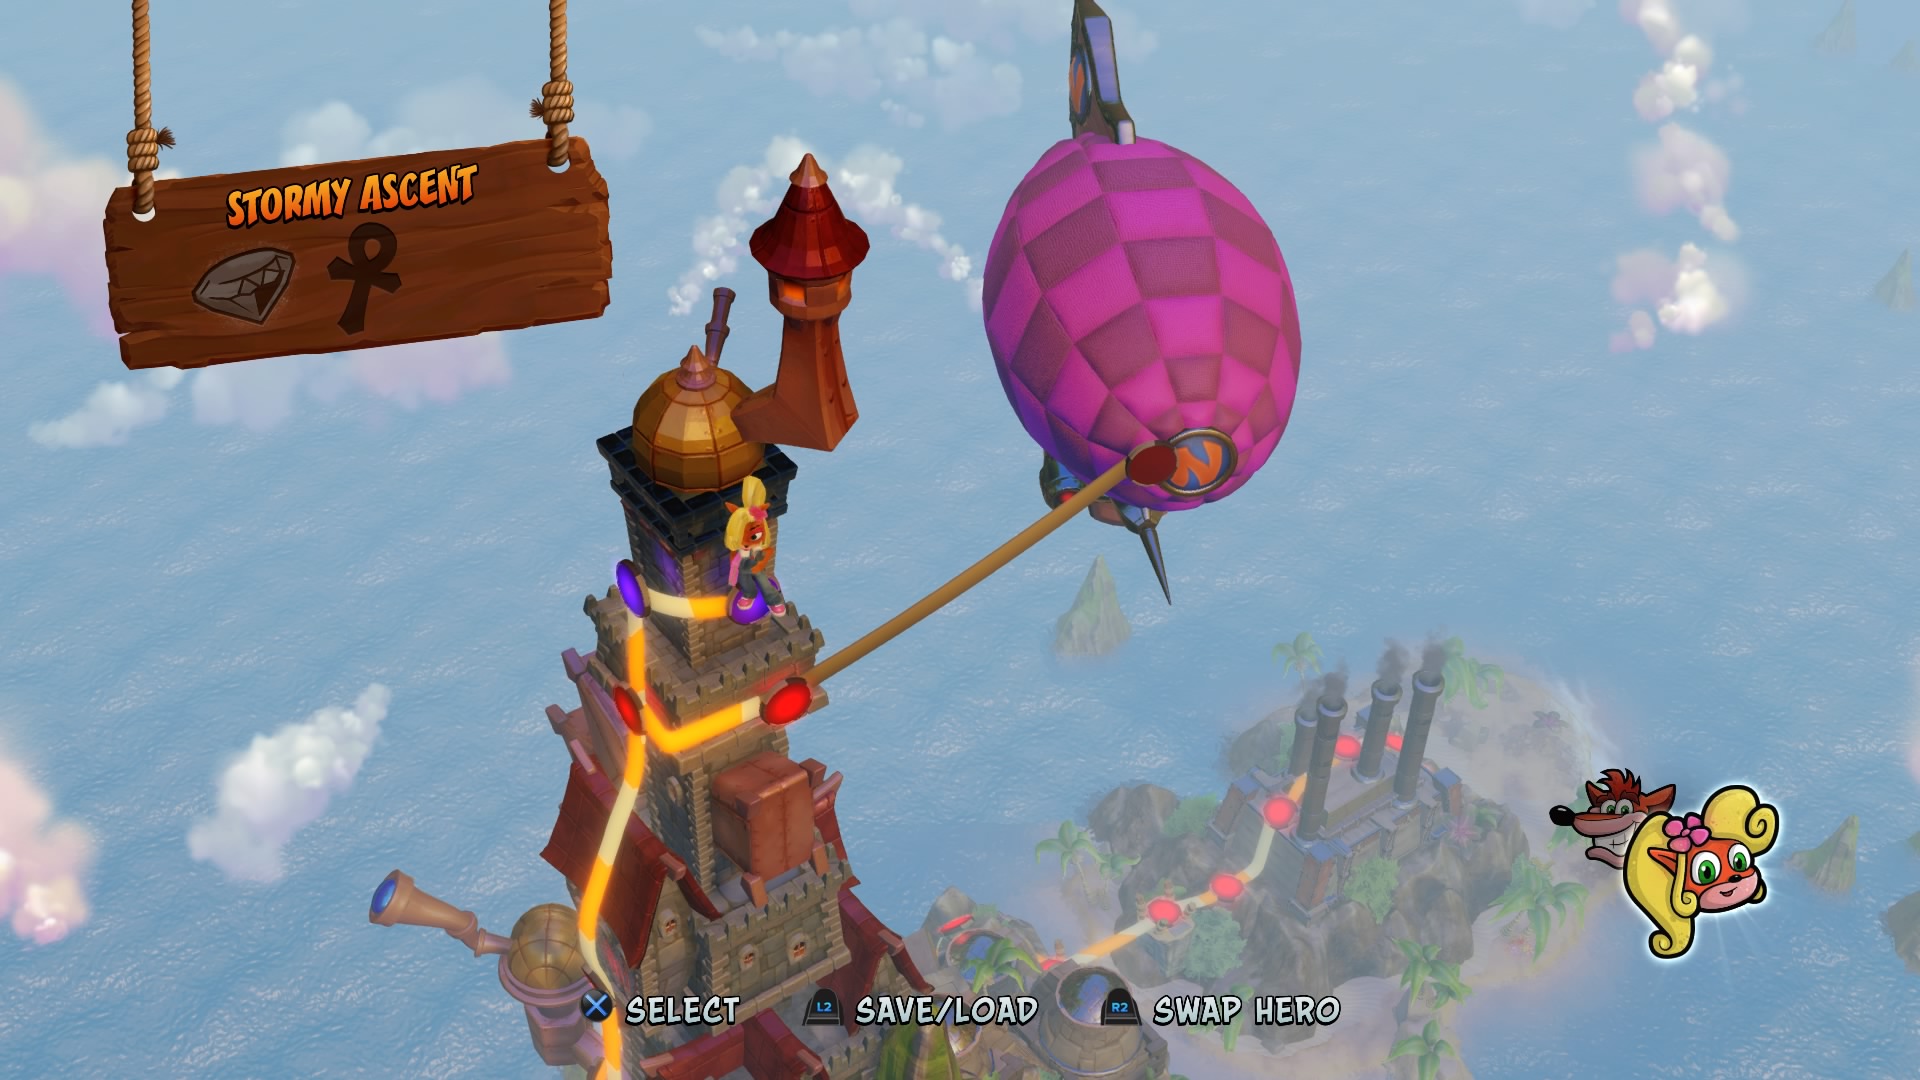
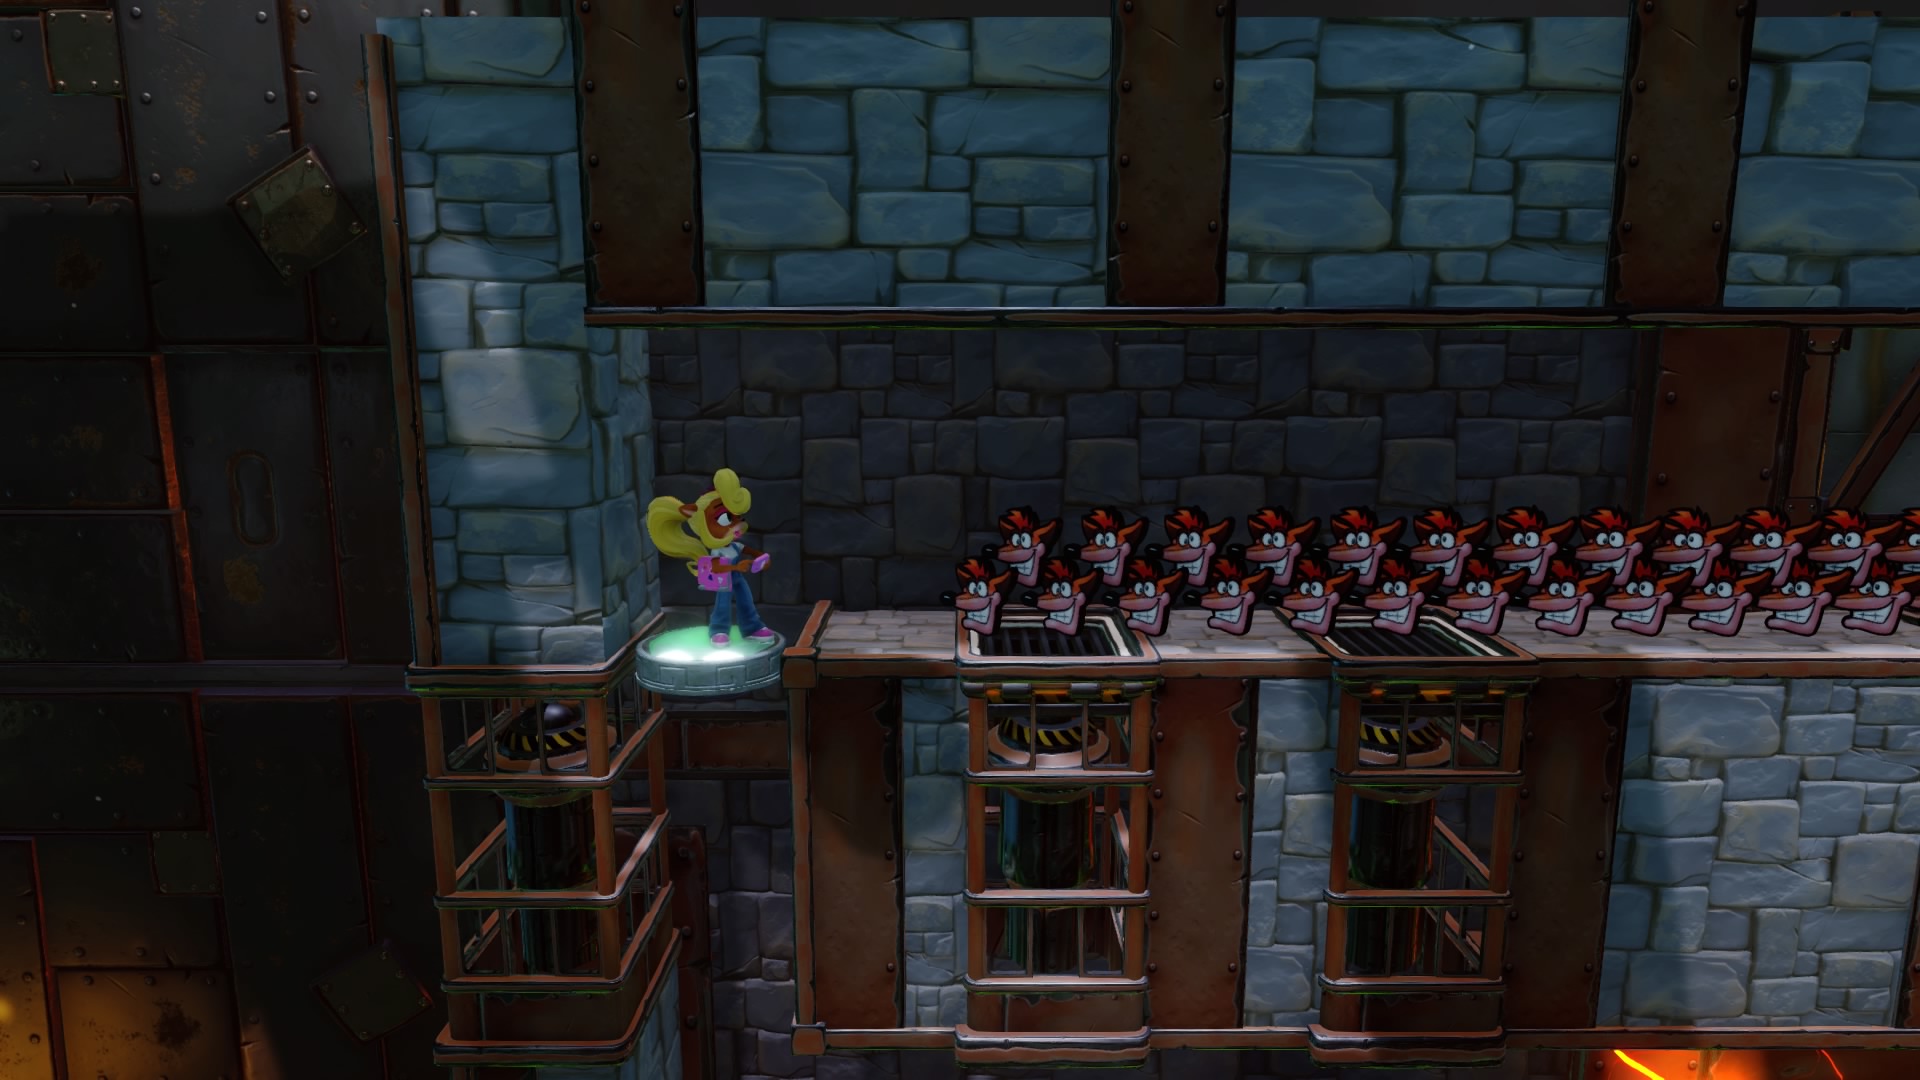
This level was removed from the original game for being too hard, but has been added as an optional challenge level to this remake.
This level is as hard if not harder than The High Road, both being the hardest levels in the entire trilogy. I STRONGLY recommend that you farm 99 lives from The Lost City or Castle Machinery if you have the green gem before attempting this level.
Be sure to save on a non-auto save file so that you can reload your save and reclaim your lost lives if you get a Game Over. DO NOT ATTEMPT THIS WITH ONLY 4 LIVES!
You can obtain an extra clear gem by breaking all the boxes.
The Great Hall
If you’ve collected 20 or more gems, you can take the gem route to see the alternate ending. Since you only need 20 out of 27 gems, you don't have to get the no death colored gems from Slippery Climb, Generator Room, and The Lost City if you get the gems from all of the other levels including Stormy Ascent's.
If you did not obtain 20 gems, simply head straight for the level exit.
Getting 105% (Must Get Before Cortex)
To get 105% in Crash 1, you must collect all of the gems, gold or platinum relics (including Stormy Ascent), and view the alternate ending through The Great Hall before fighting Cortex due to a percent bug. This has no effect on achievements.
BOSS: DR. NEO CORTEX
This is one of the harder boss fights in the trilogy. You must spin the green energy blasts back at him. Good luck!
The End
Congratulations! Even more so if you’ve obtained all the gems. You have completed the hardest game in the trilogy! The remaining two games are a lot easier than this one. Crash 2 being the most balanced, with Crash 3 being the easiest. If you decide to continue with Crash 2 or 3, you can access my guides for them here:
Crash 2: https://steamcommunity.com/sharedfiles/filedetails/?id=1427555230
Crash 3: https://steamcommunity.com/sharedfiles/filedetails/?id=1428646867
Source: https://steamcommunity.com/sharedfiles/filedetails/?id=1426839357
More Crash Bandicoot N. Sane Trilogy guilds
- All Guilds
- 100% Achievements: A Comprehensive Guide
- Crash Bandicoot 1 Achievements Guide
- The Miracle
- How To Unlock Framrate
- Crash Bandicoot N. Sane Trilogy
- Crash Bandicoot N. Sane Trilogy - How to Kill the Papu Papu Easily
- Crash Bandicoot N. Sane Trilogy - Making the Last Jump in Slippery Climb Bonus Stage (Crash Bandicoot 1)
- Crash Bandicoot N. Sane Trilogy - Achievements Guide (Crash Bandicoot 1)
- Crash Bandicoot N. Sane Trilogy - Unlimited Lives Exploit / 99 Lives (Crash Bandicoot 2)