
Introduction


This guide will help with locating and completing each of the quest objectives for the quests added in the Bloodhunt Summer update. With this update comes a whopping 15 new quests, so there is a lot to go through.. Note that this guide features only the new quests added in the Summer update, as my previous guides cover the quests from the previous season. I made it as SPOILER FREE as I could while still being relatively coherent as there are some story elements to many of these quests, and some interesting things to learn along the way.
You will know a new quest, or the next step in the current quest line is available when the quest indicator appears above an NPC in the Elysium. It looks like this:
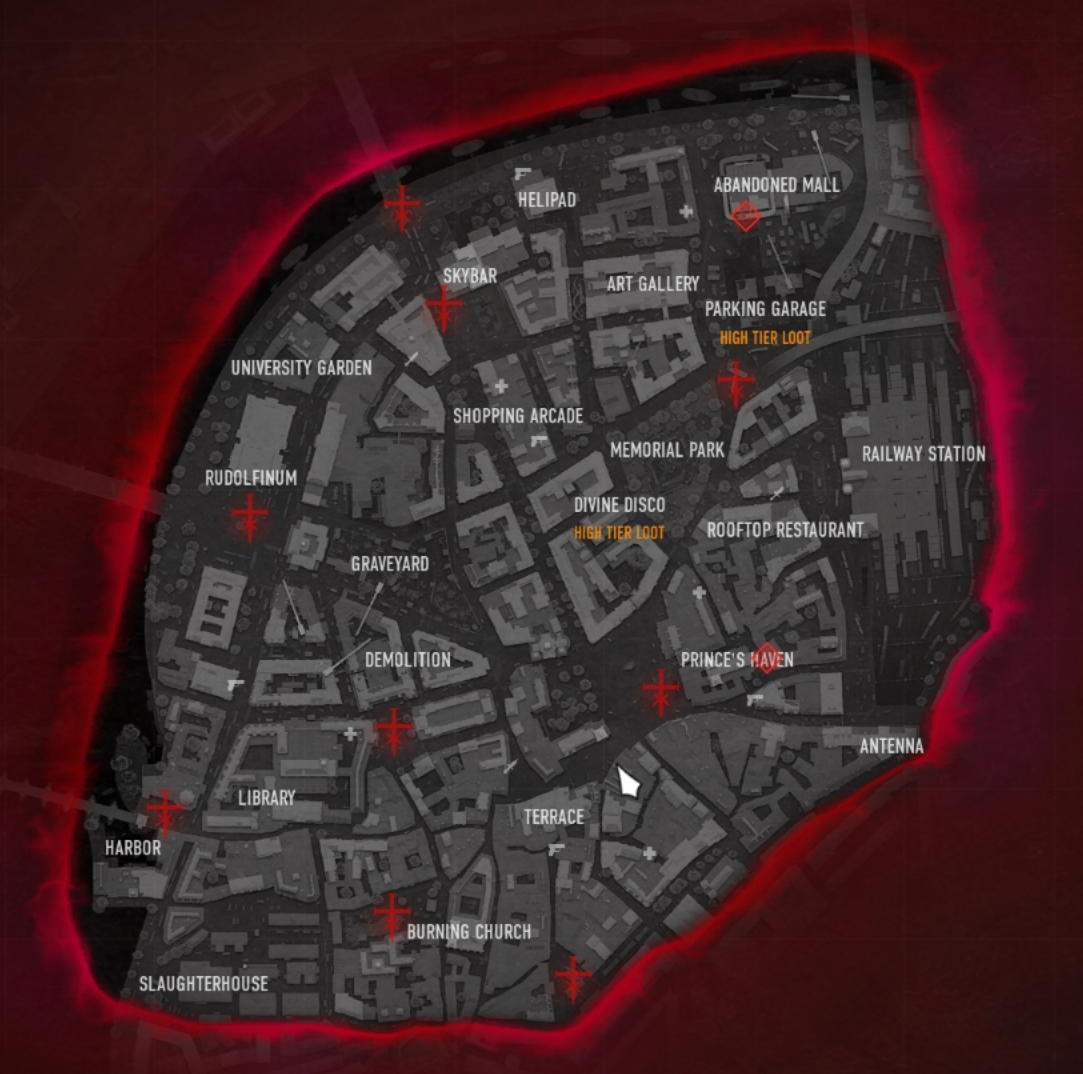
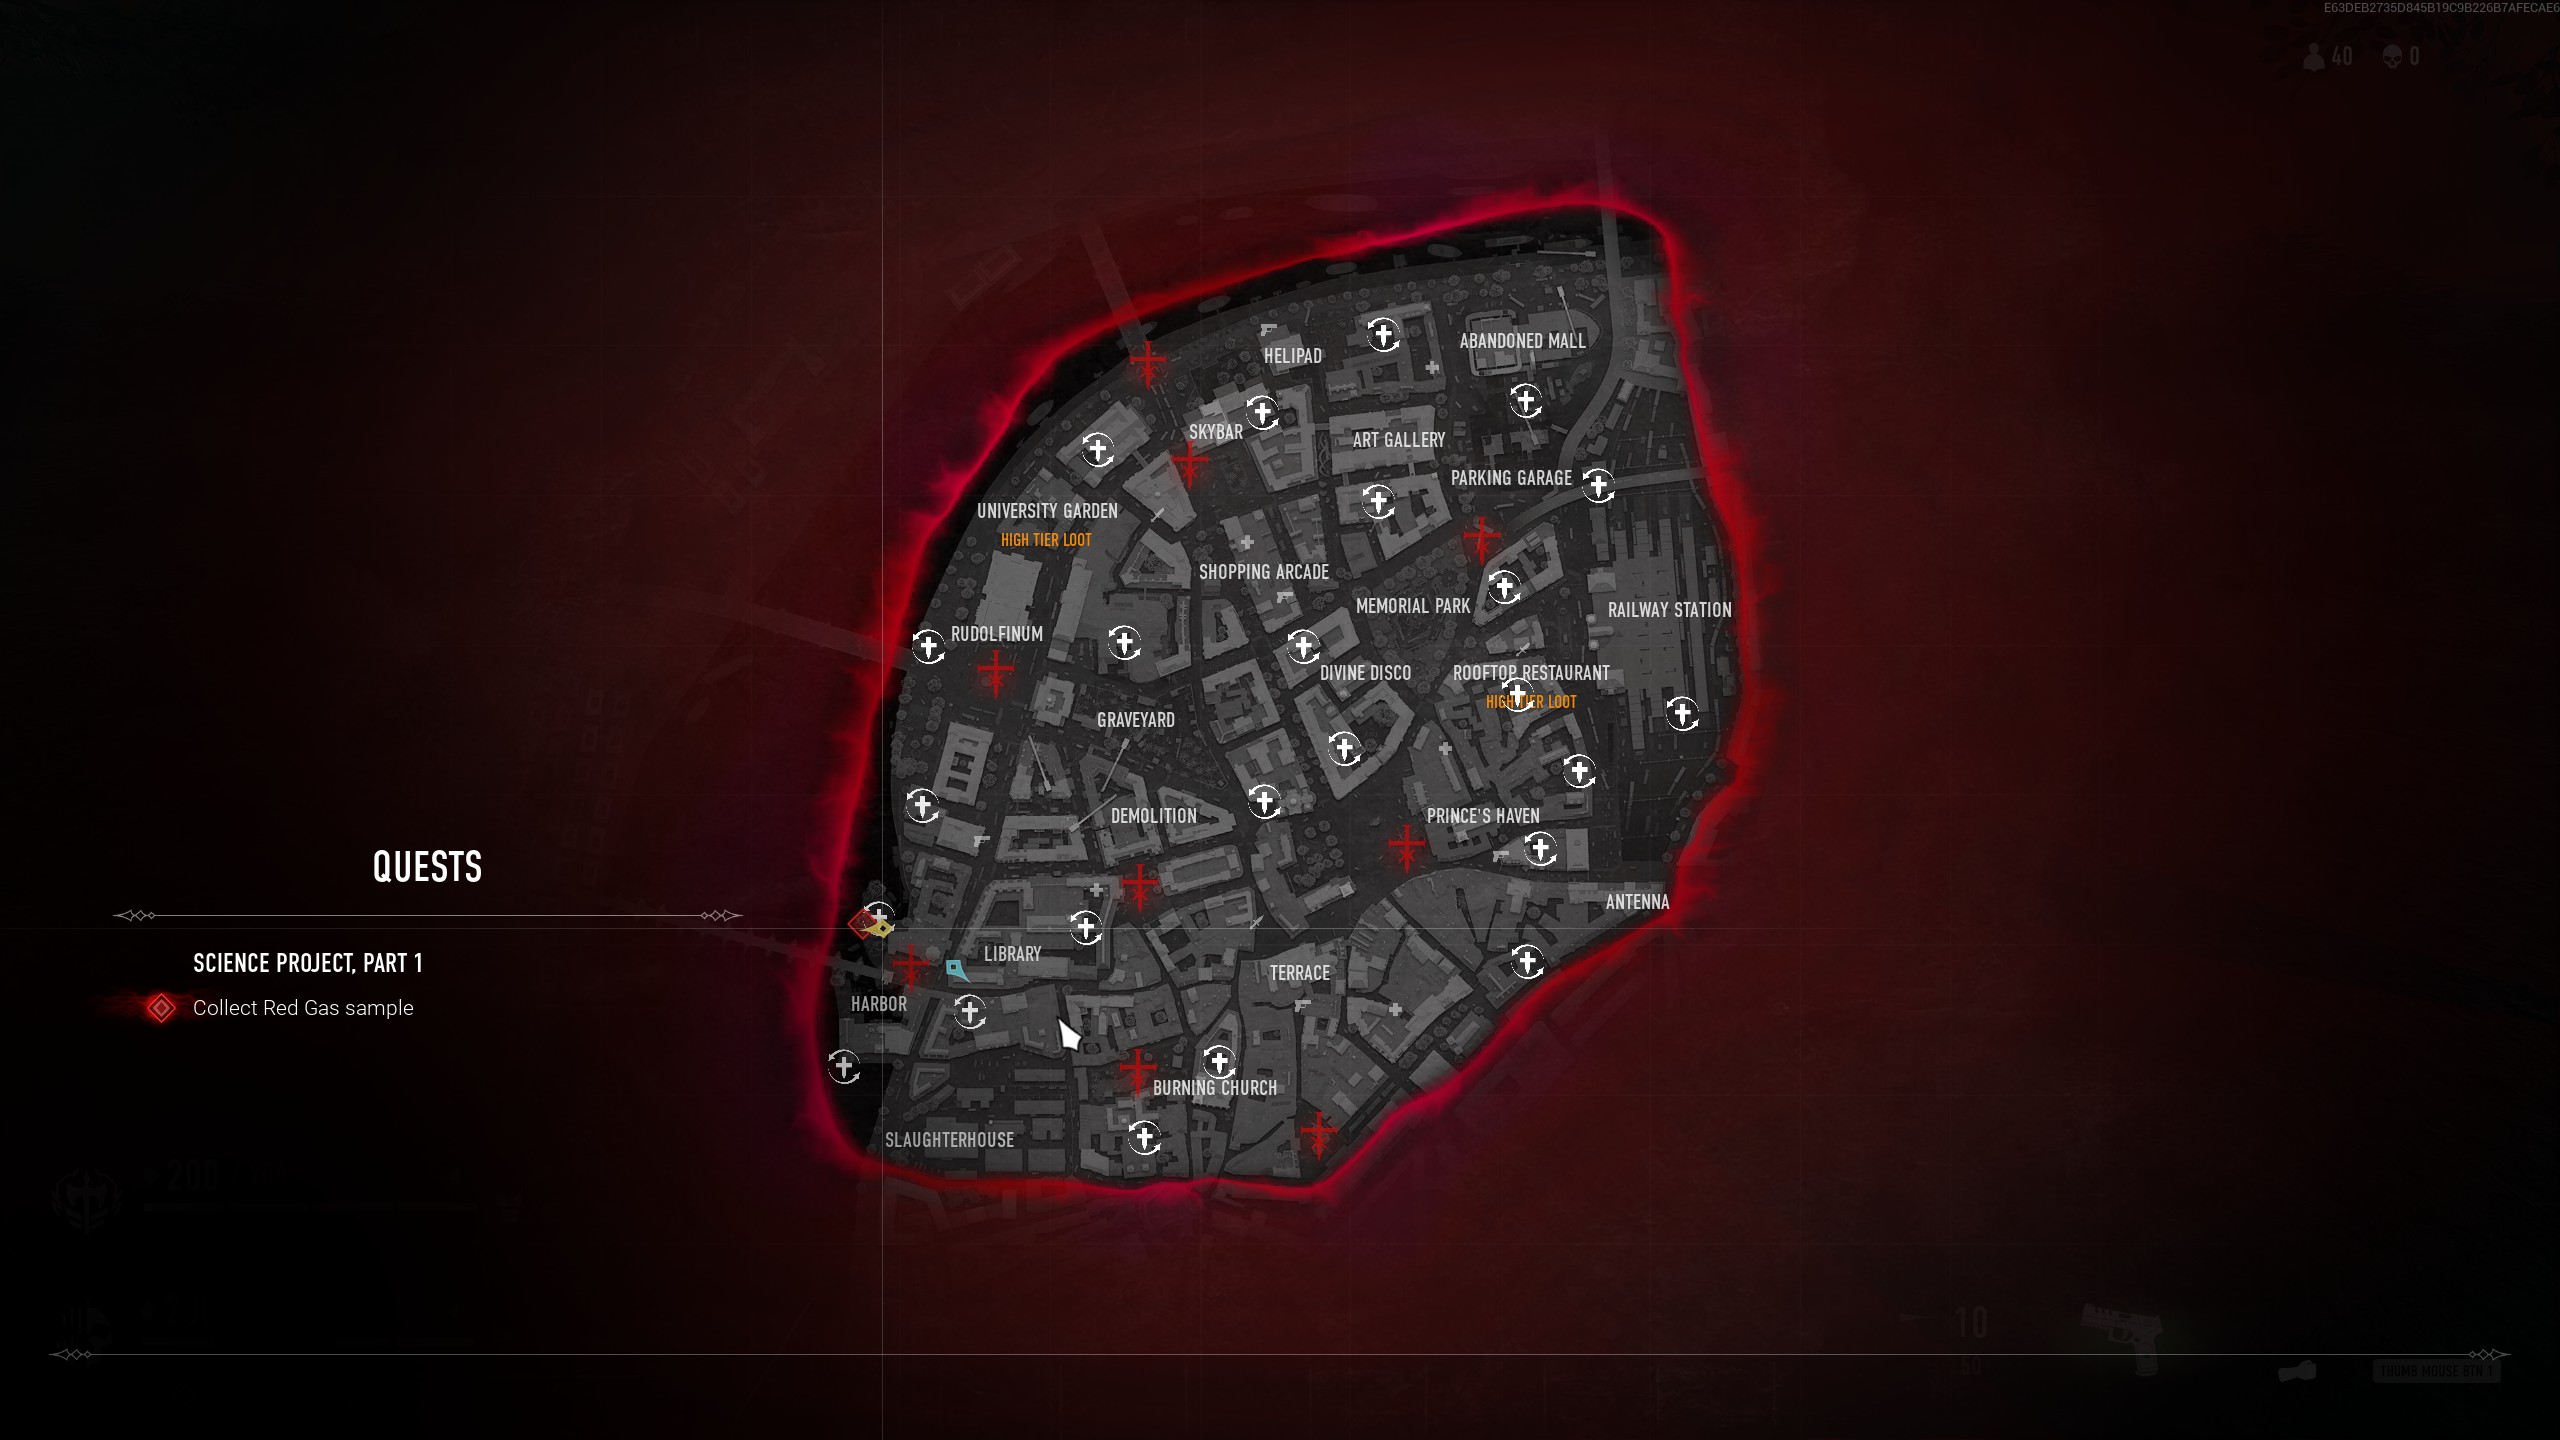
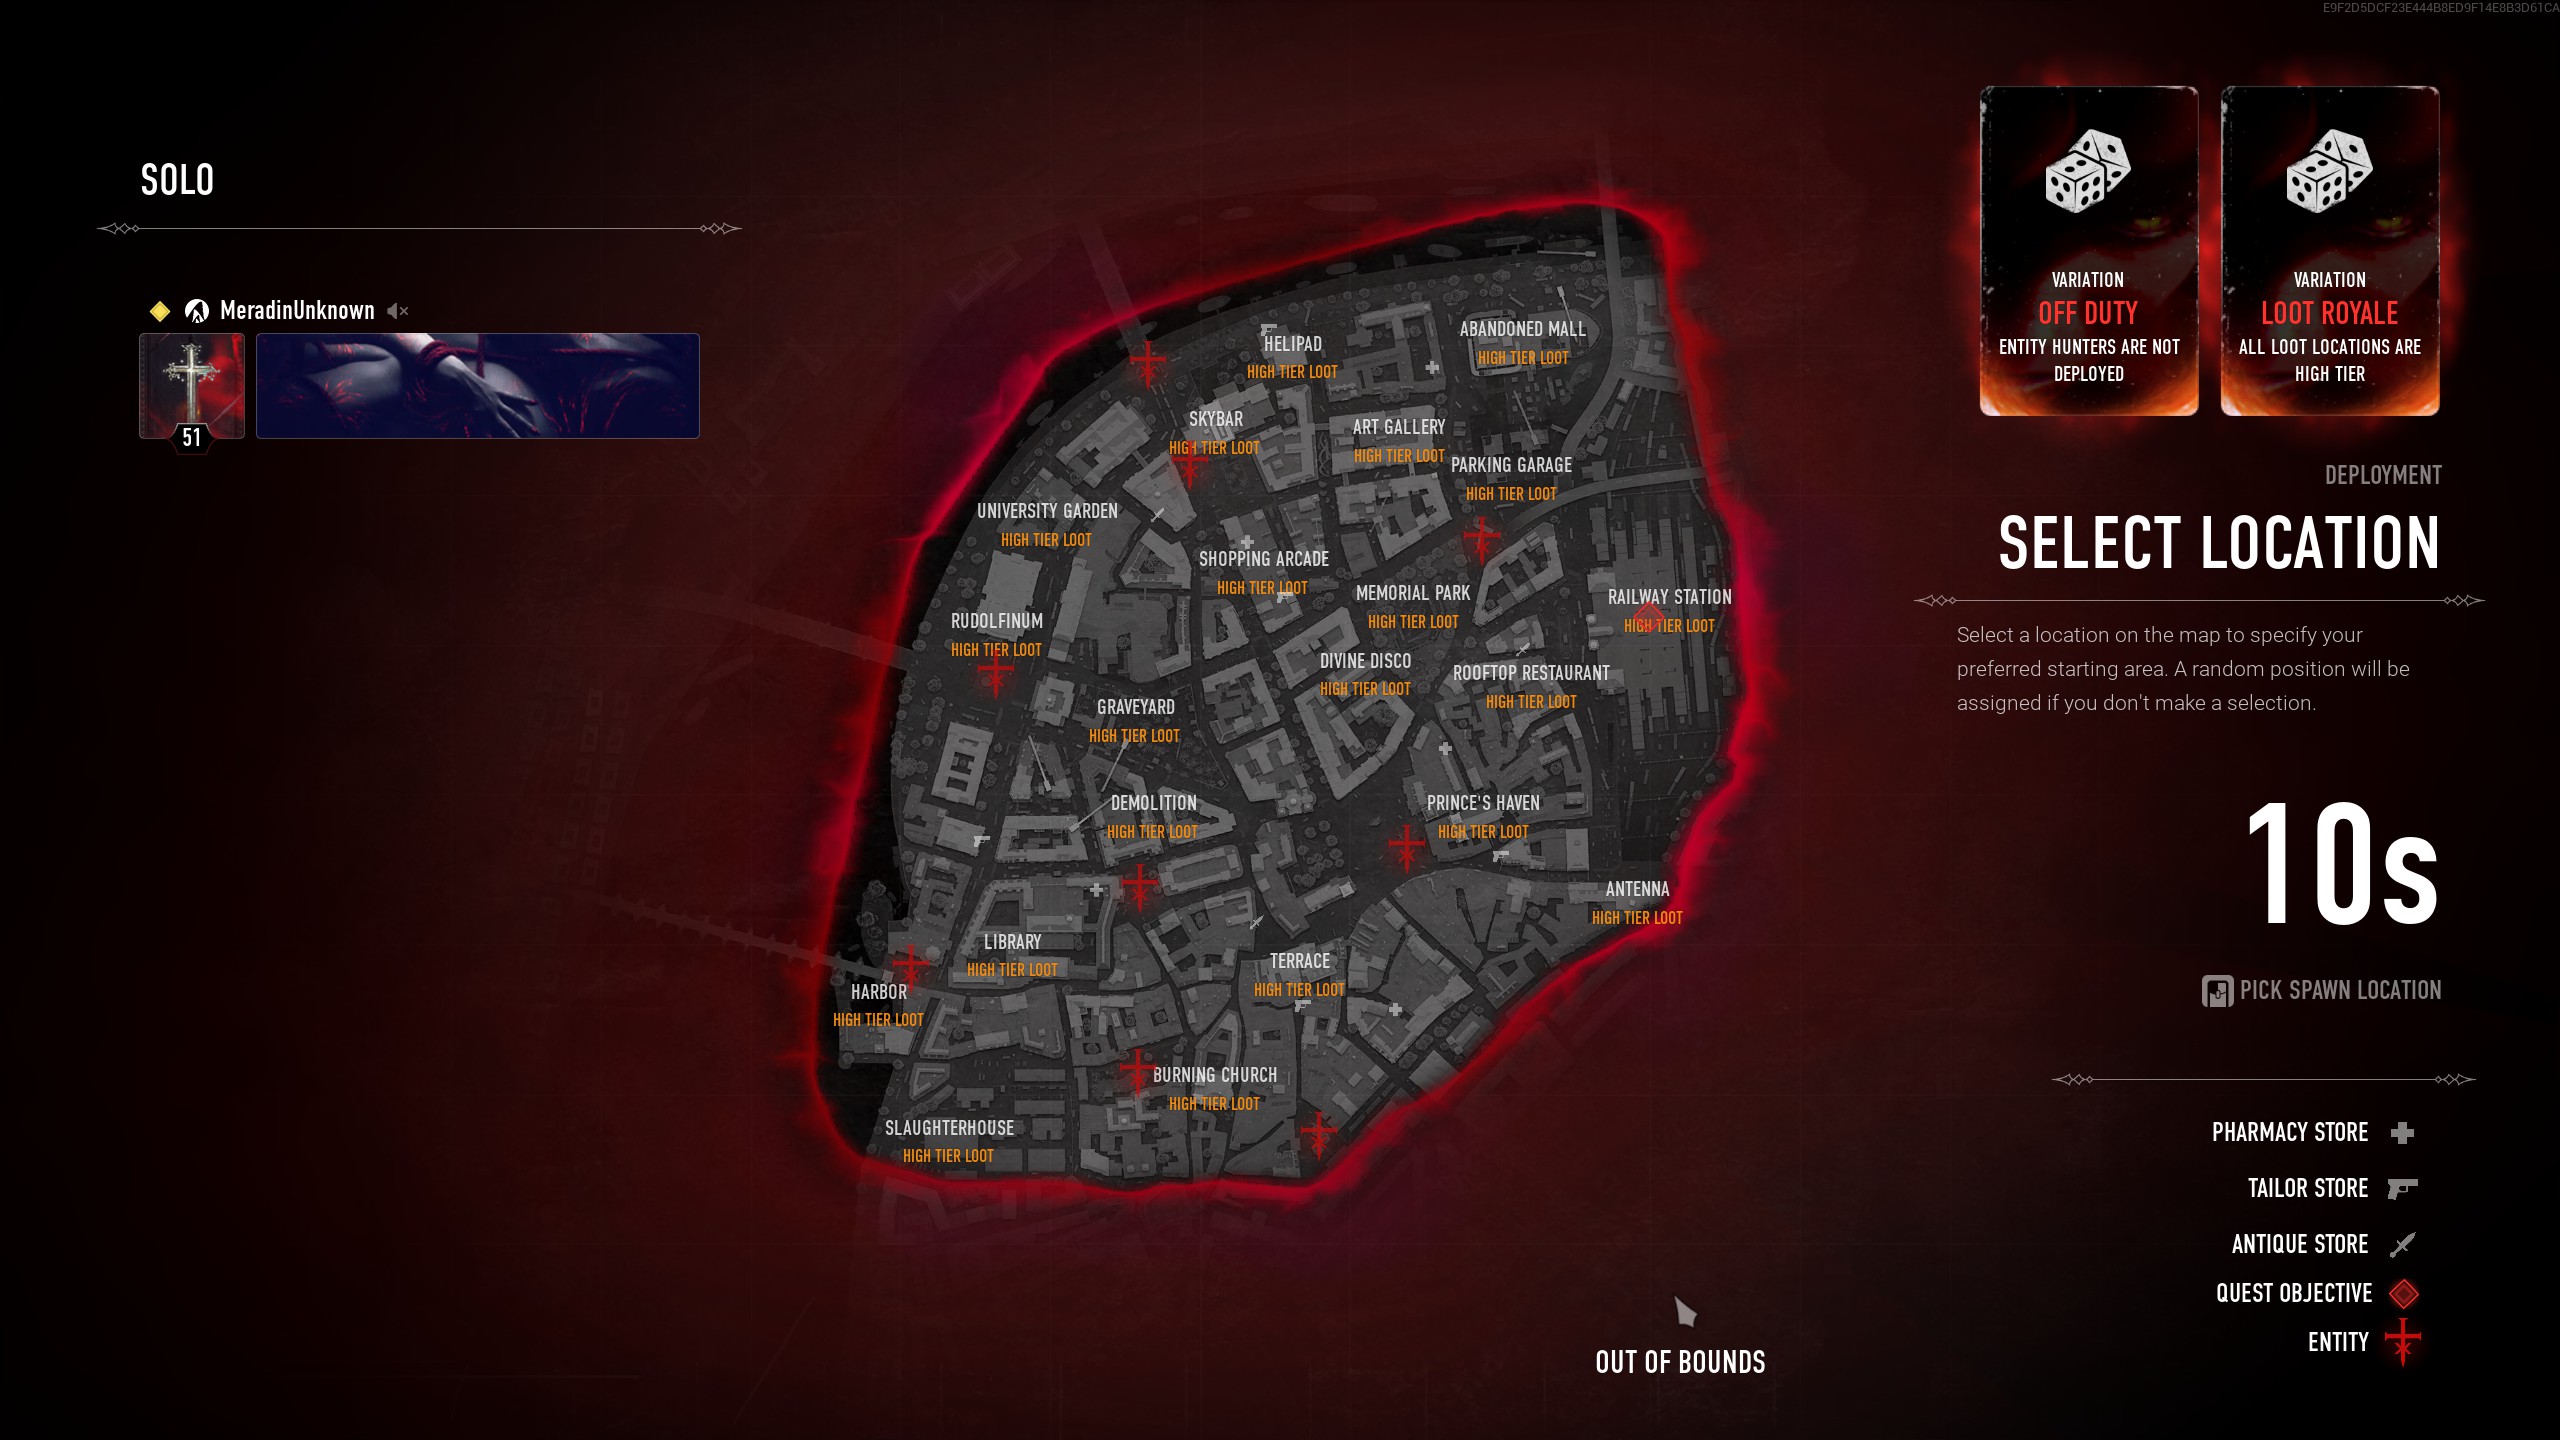
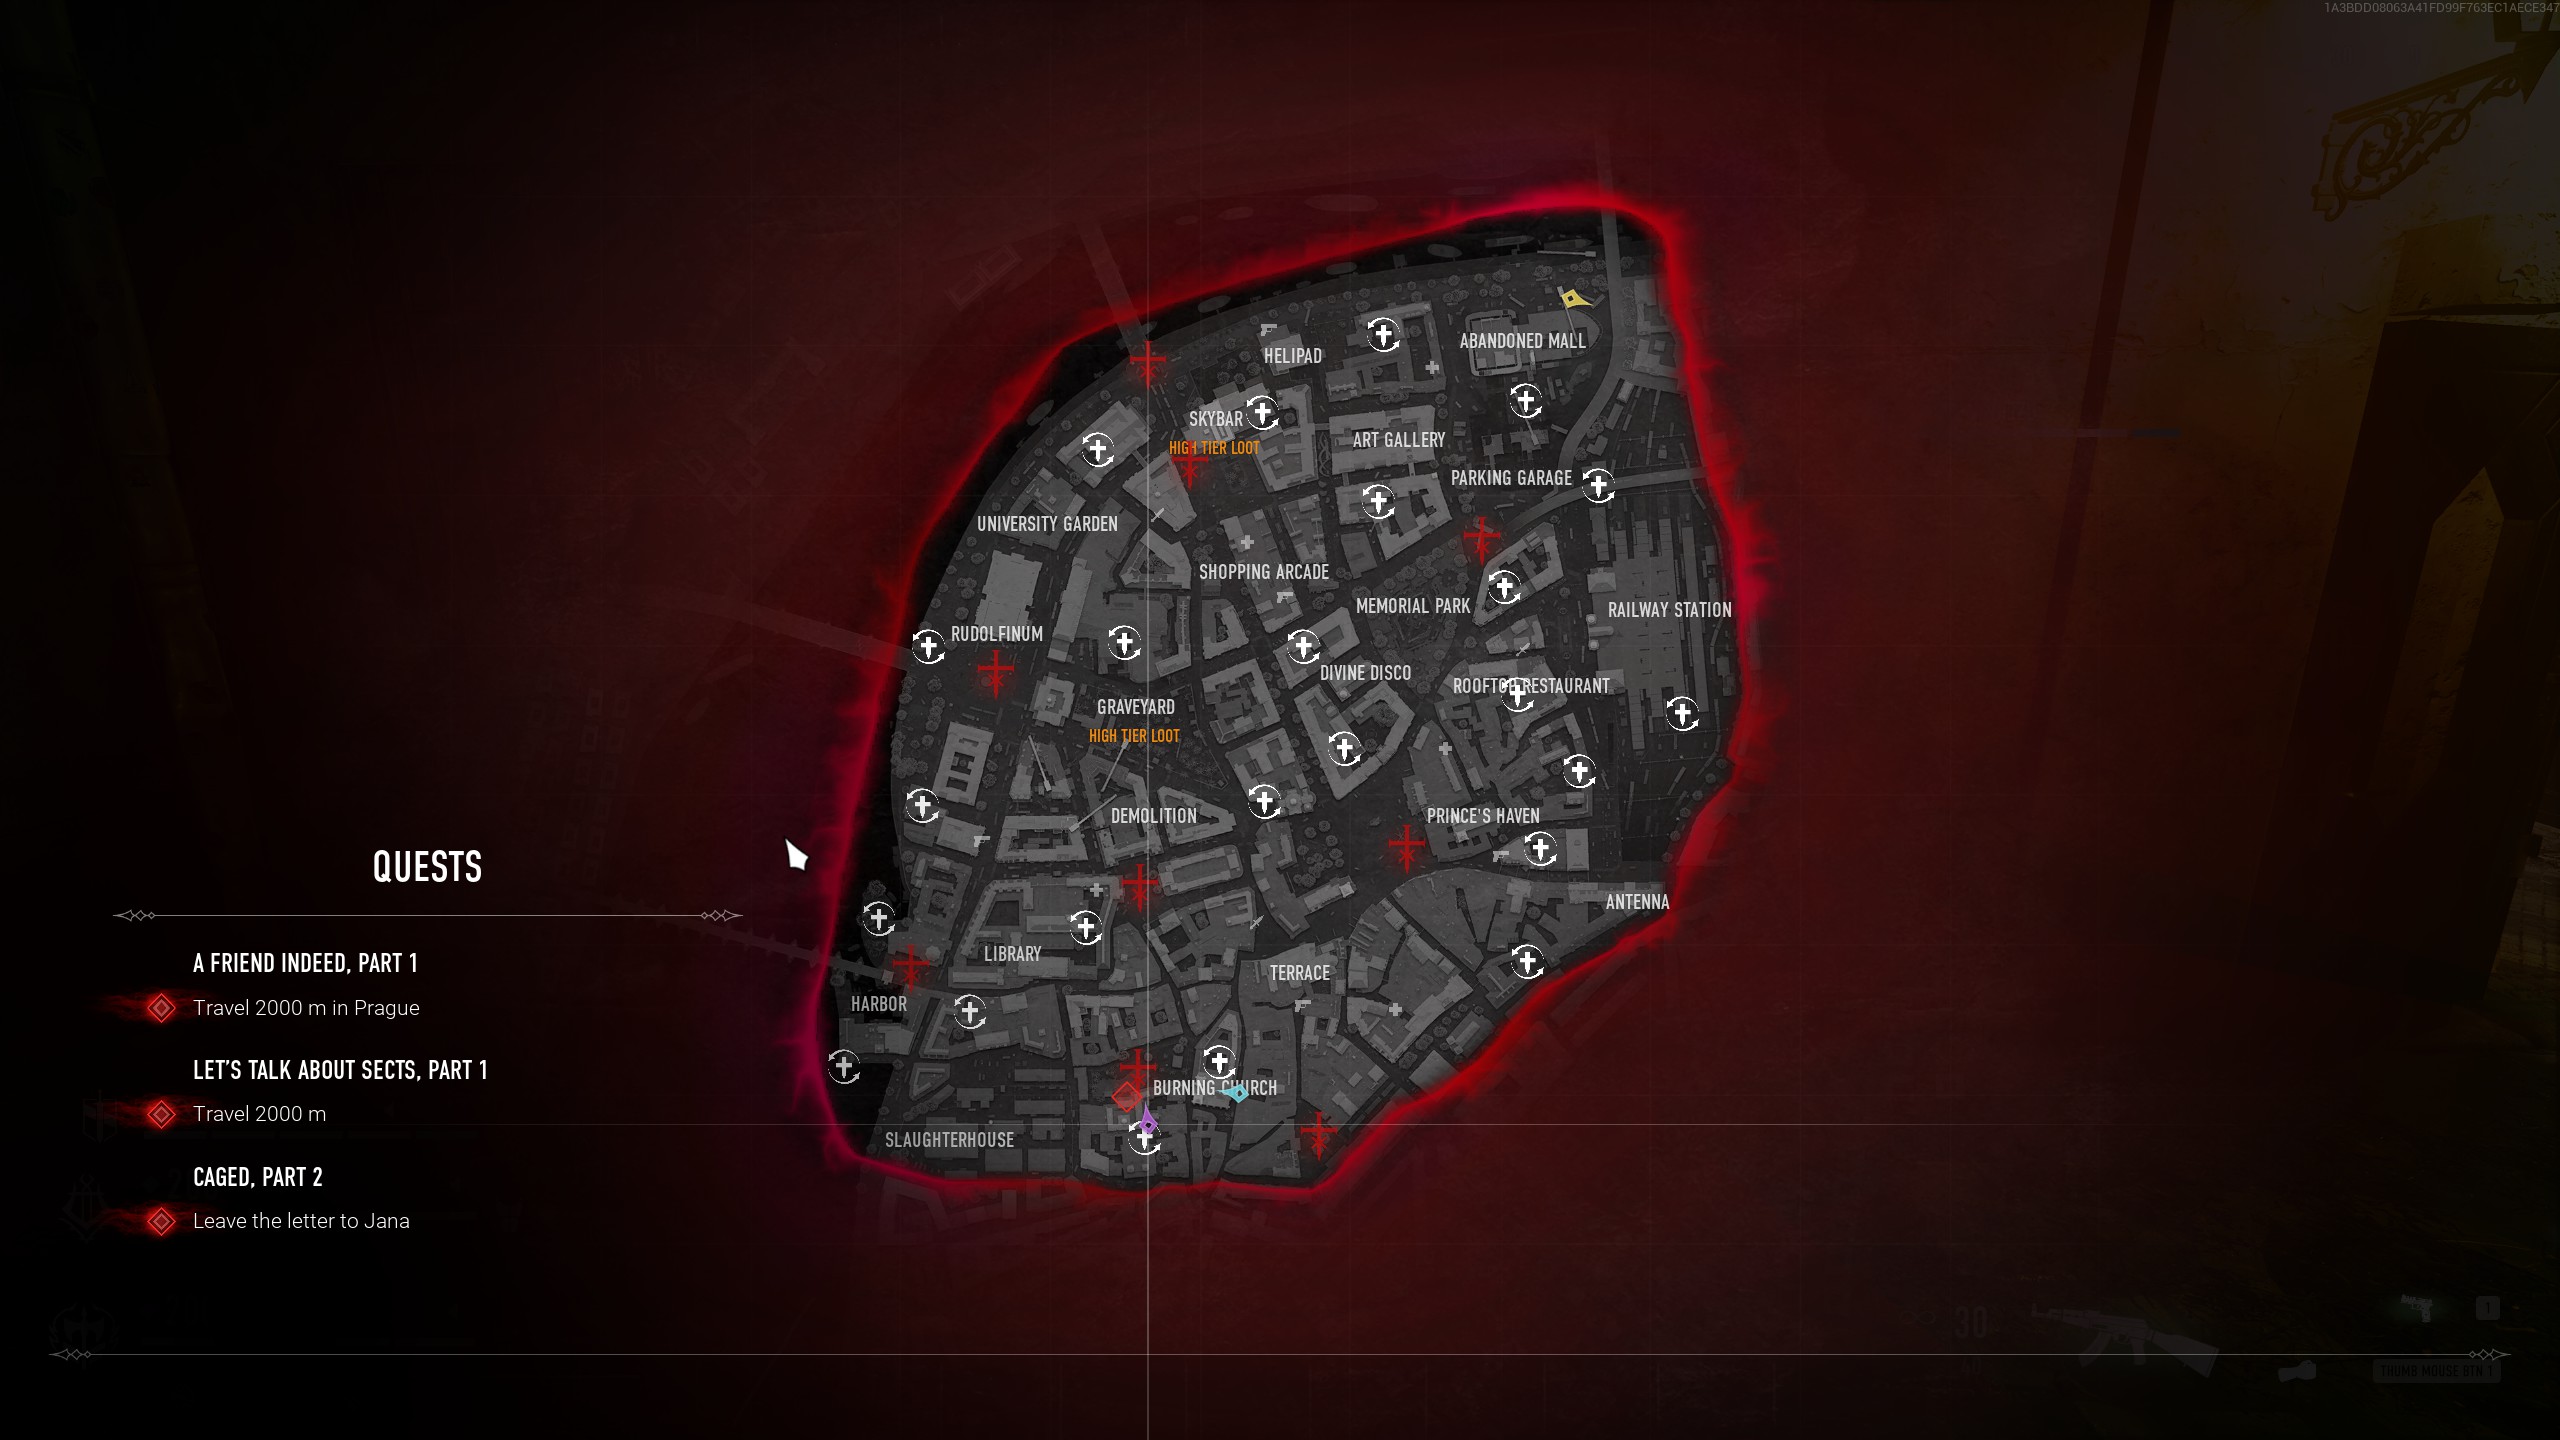
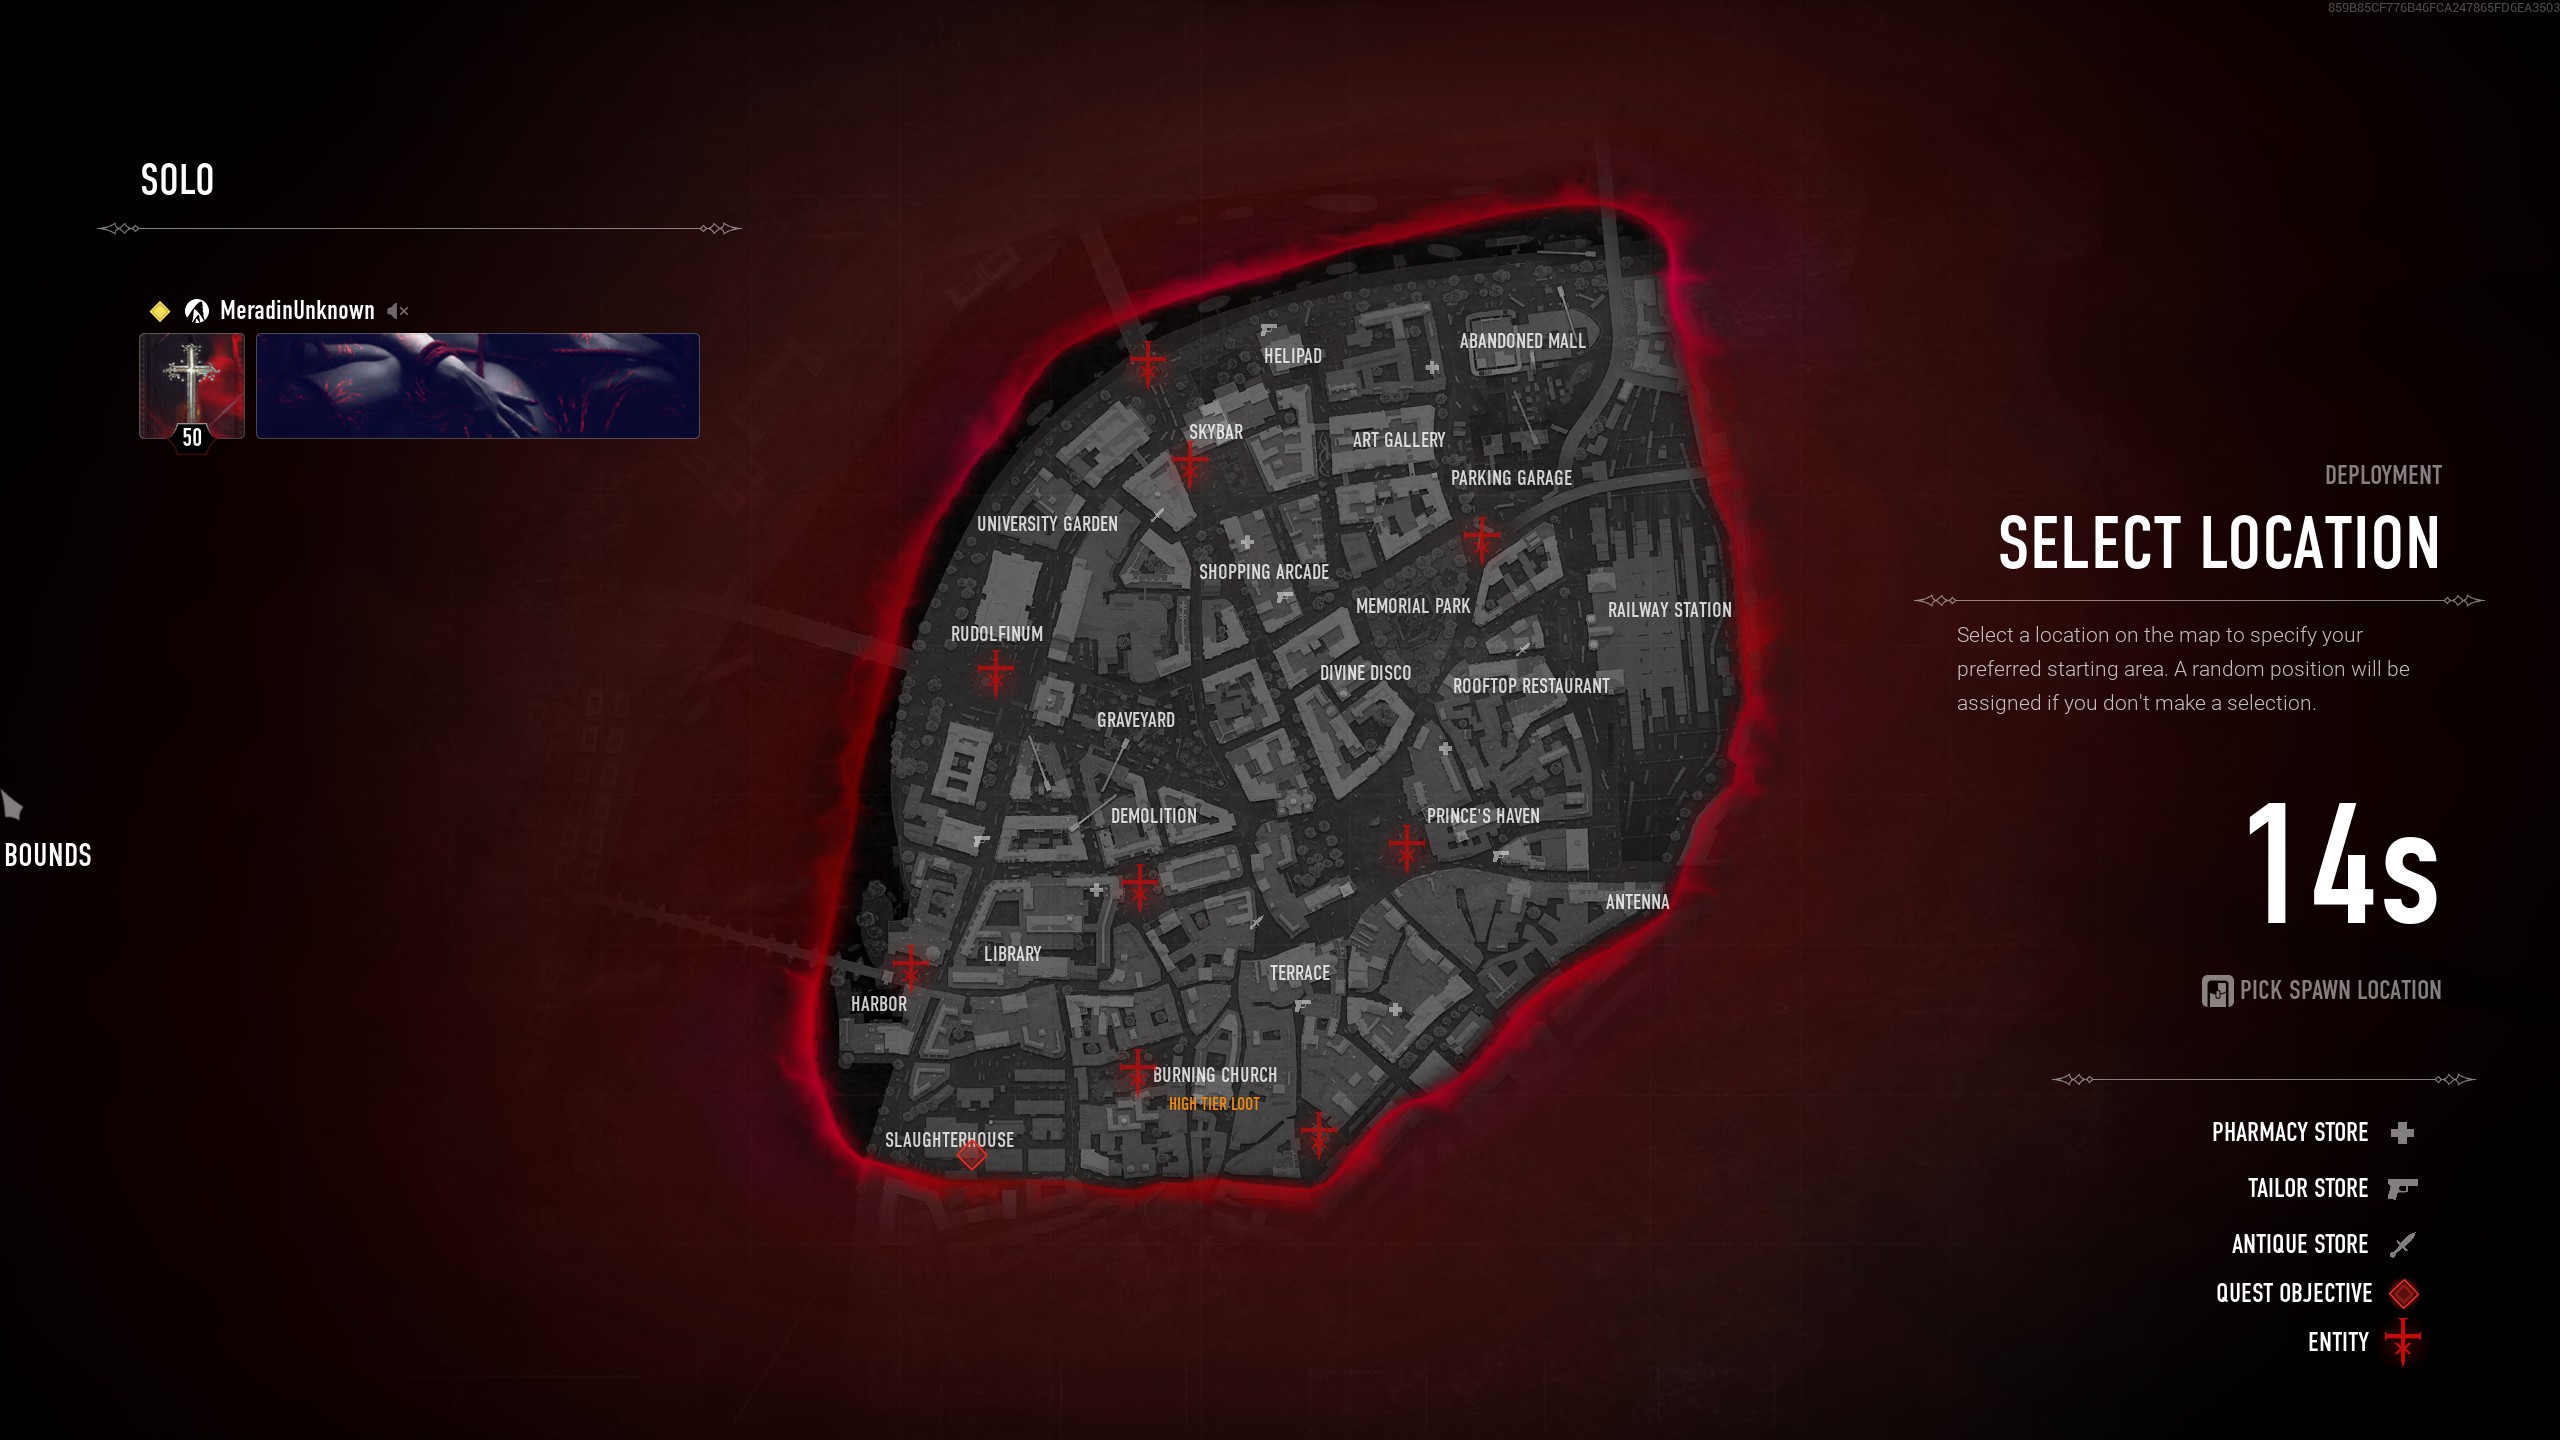
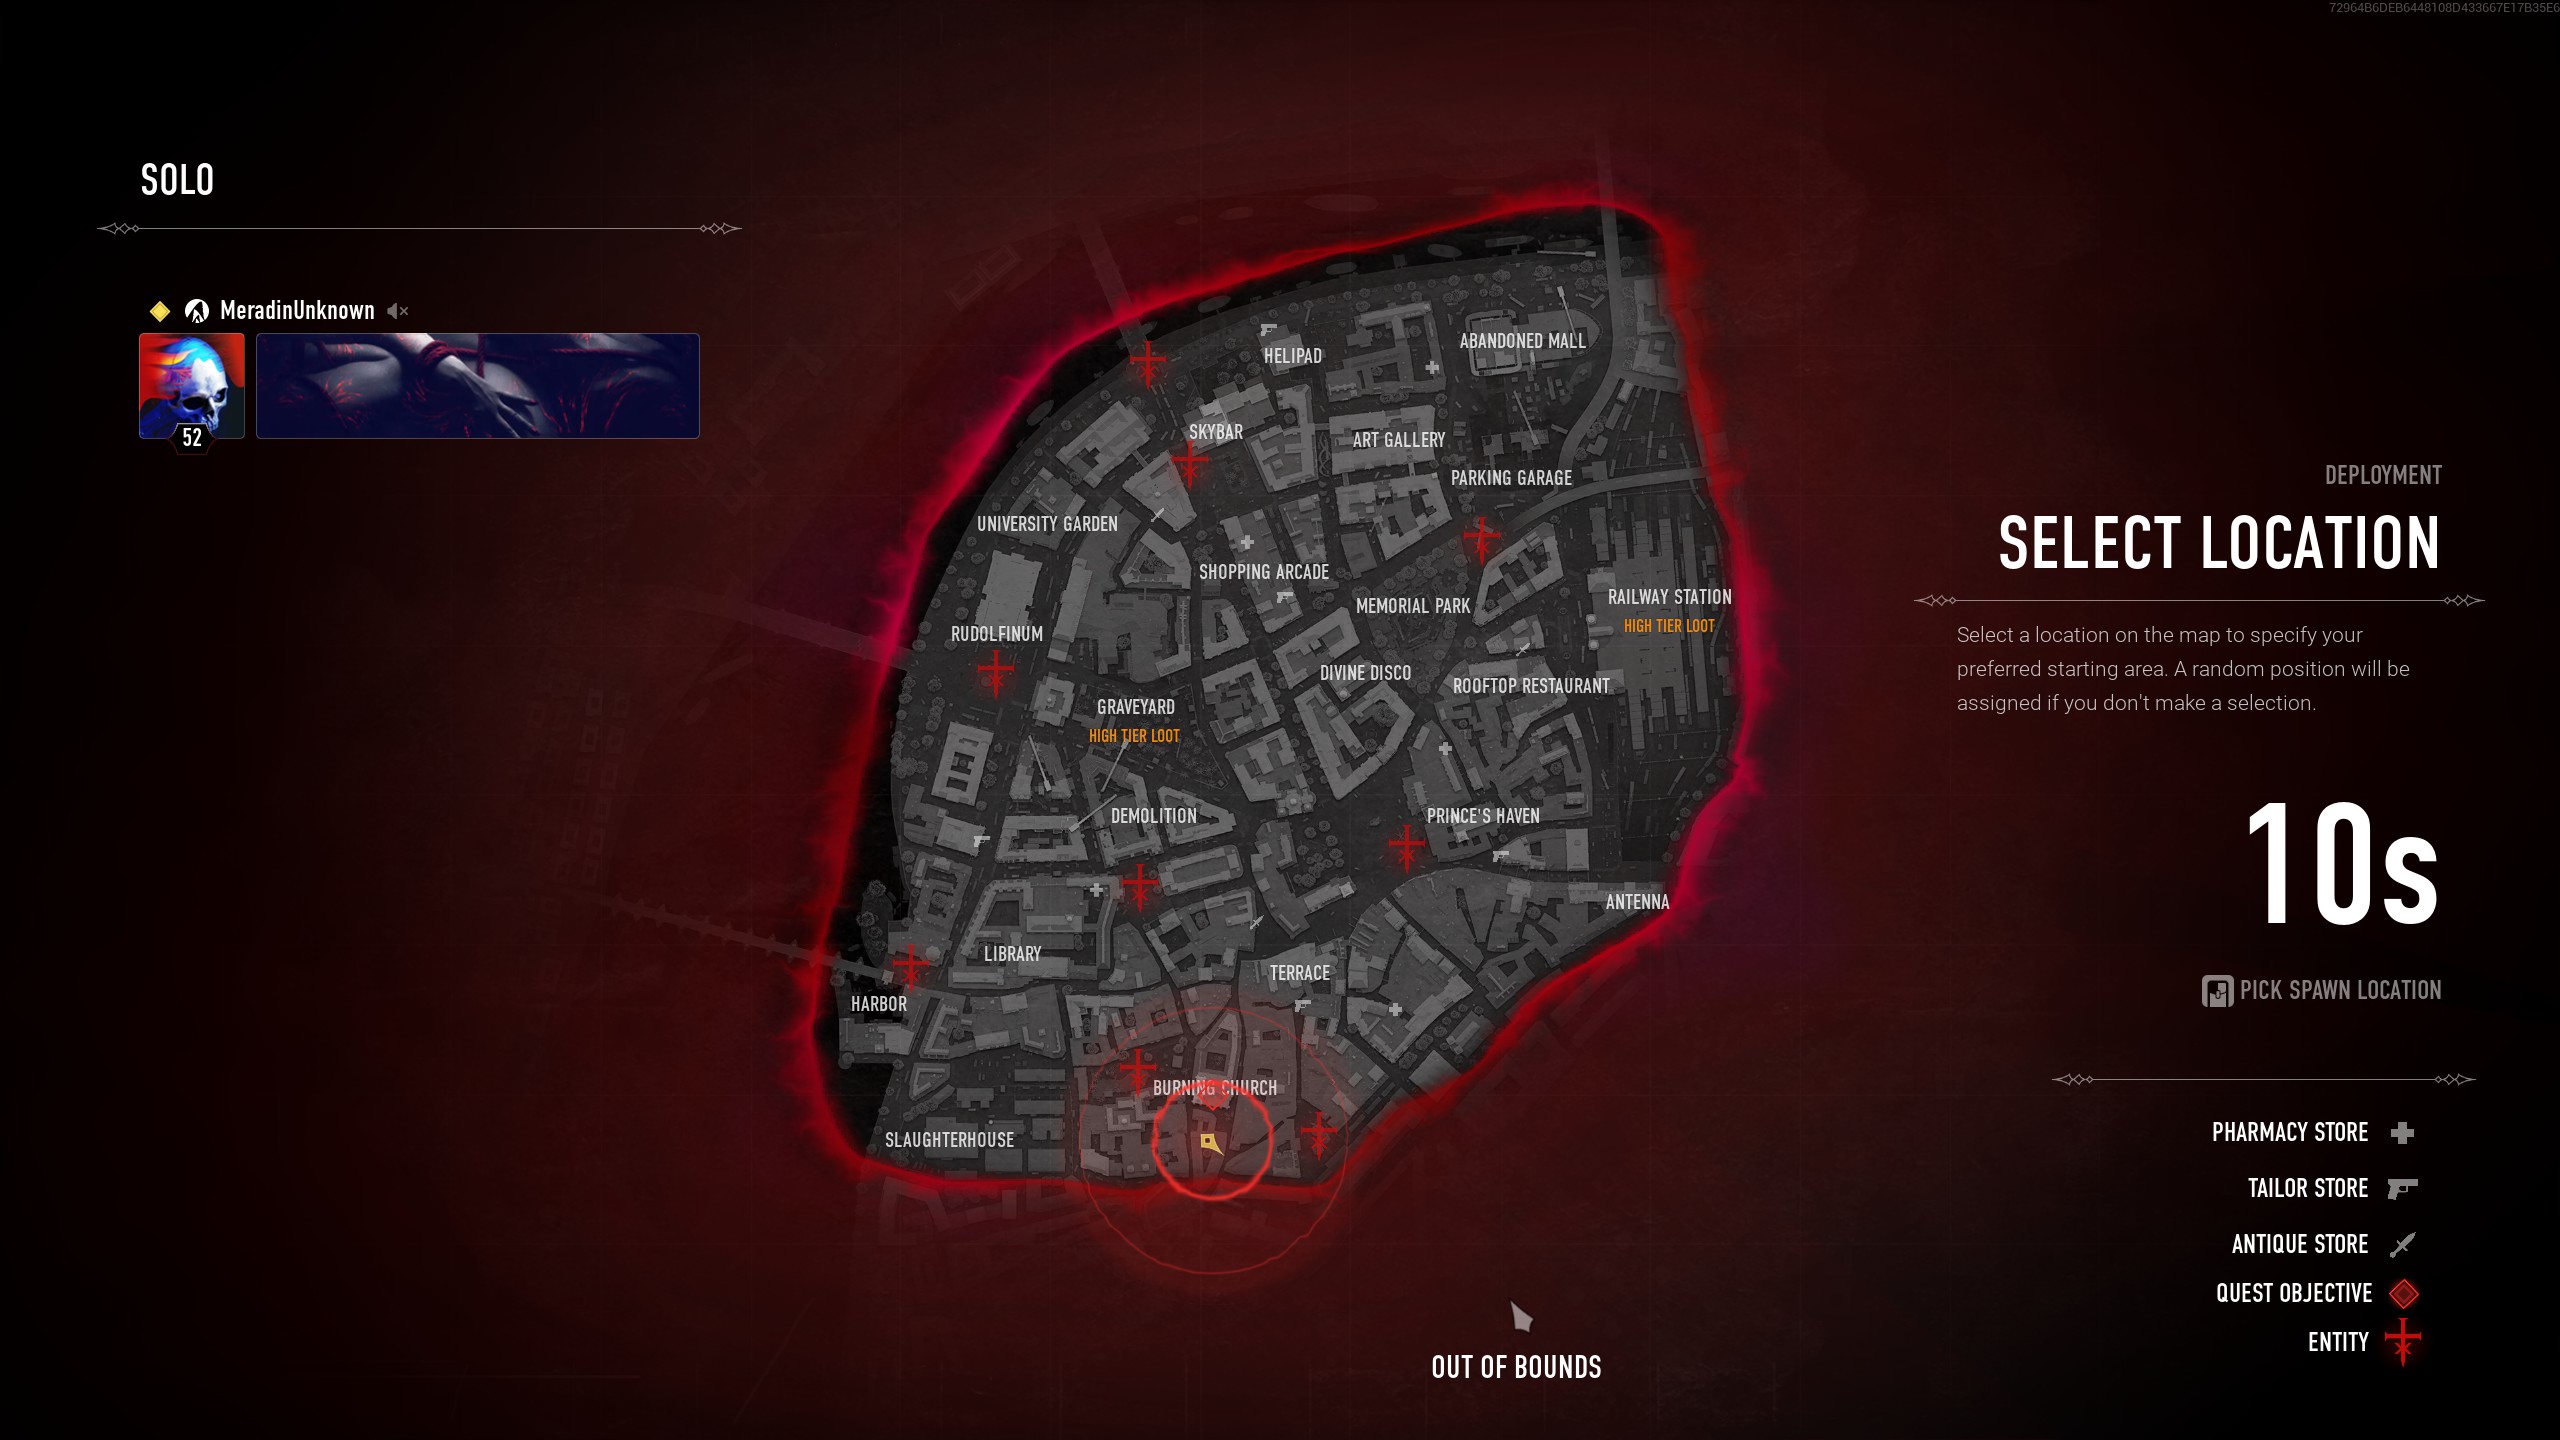
Unlike my Octahedron collectible guides, I will not be providing a screenshot of the map for these locations. The quest location will generally show up on your map when you enter a match. If for some reason you don't see it right away, it may appear when you are in the general vicinity of the item. The symbol you are looking for is a red diamond, which is featured on the legend of the map. It appears as follows:
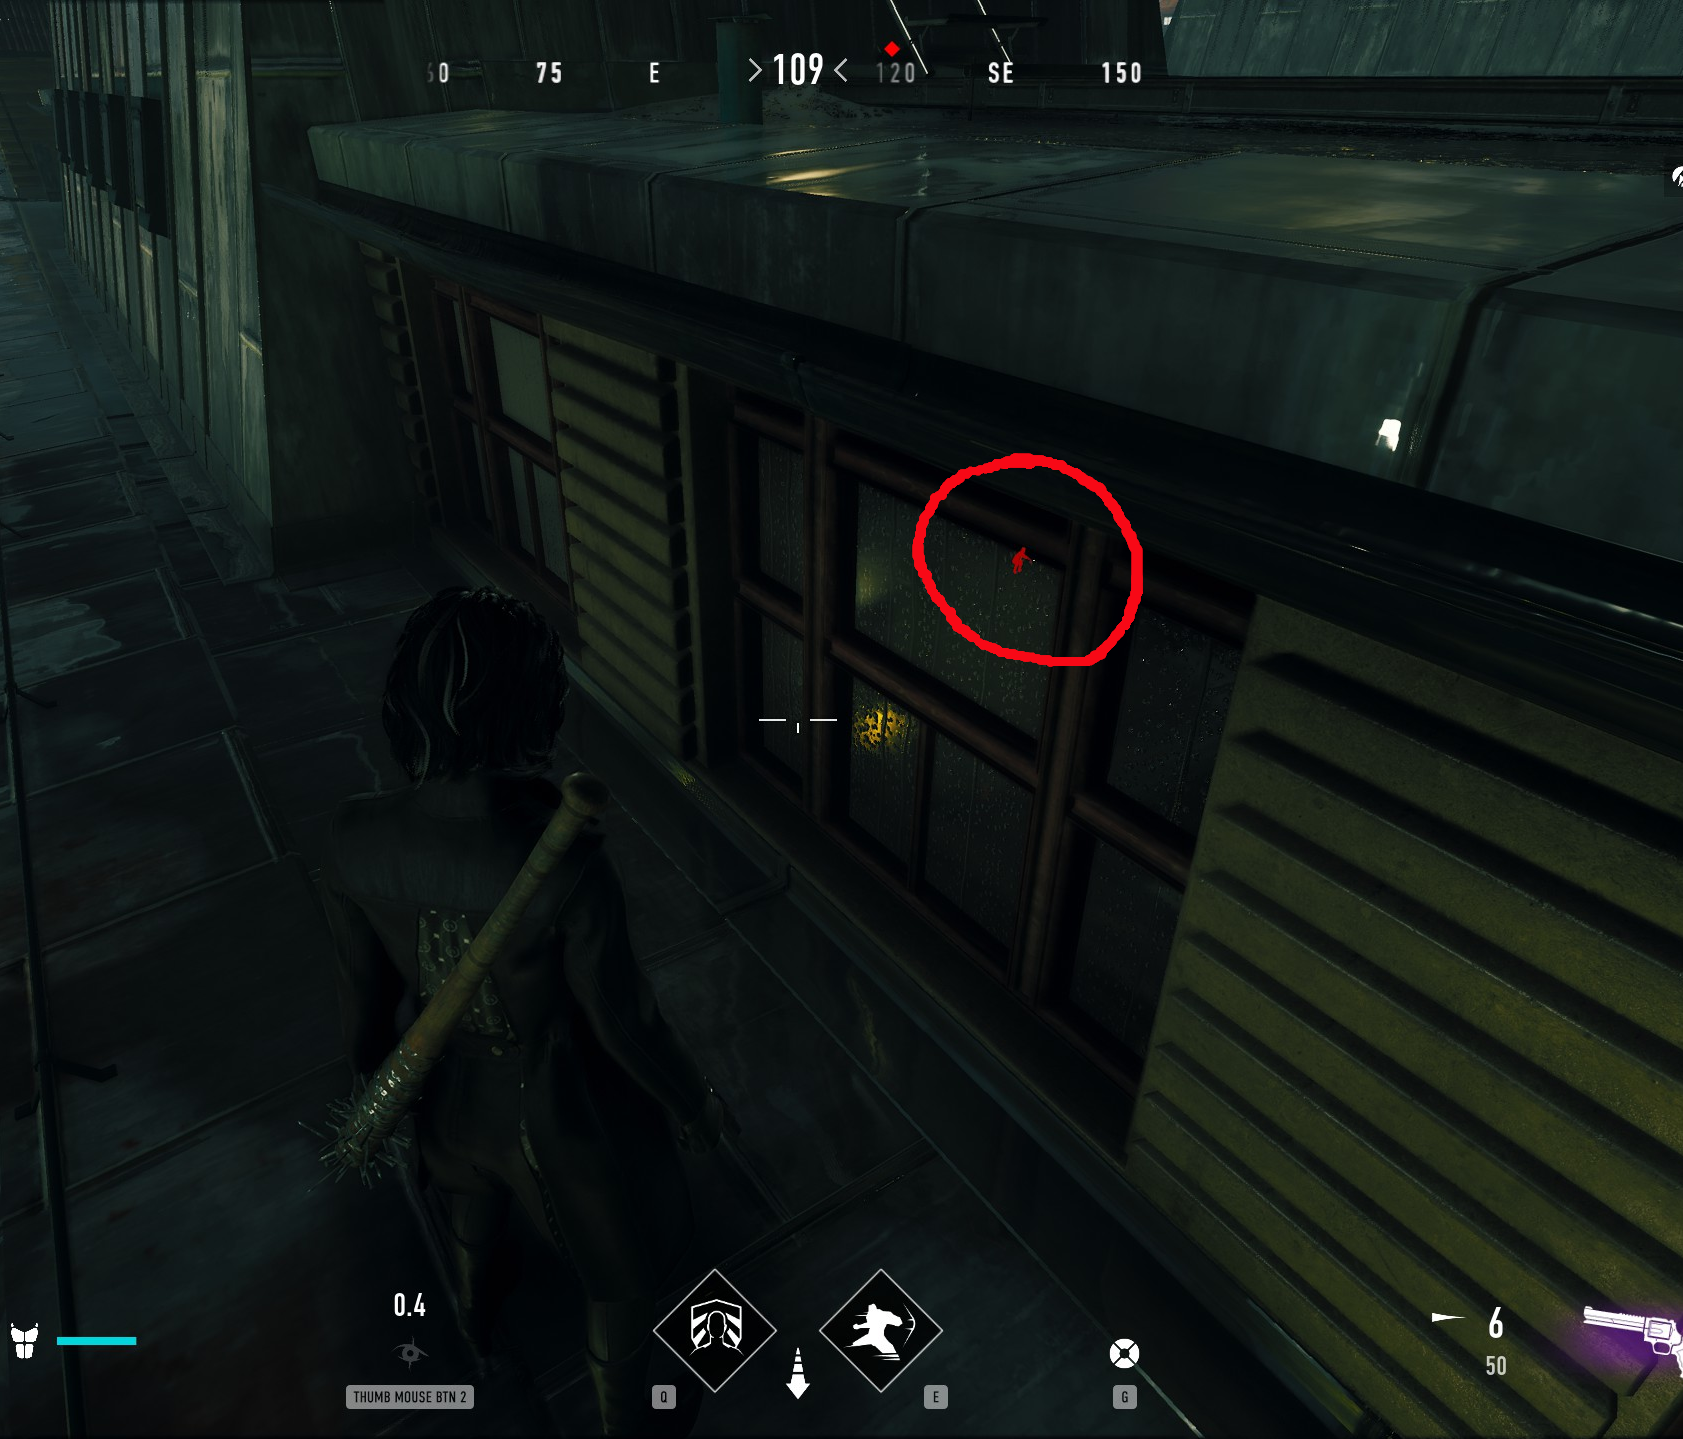
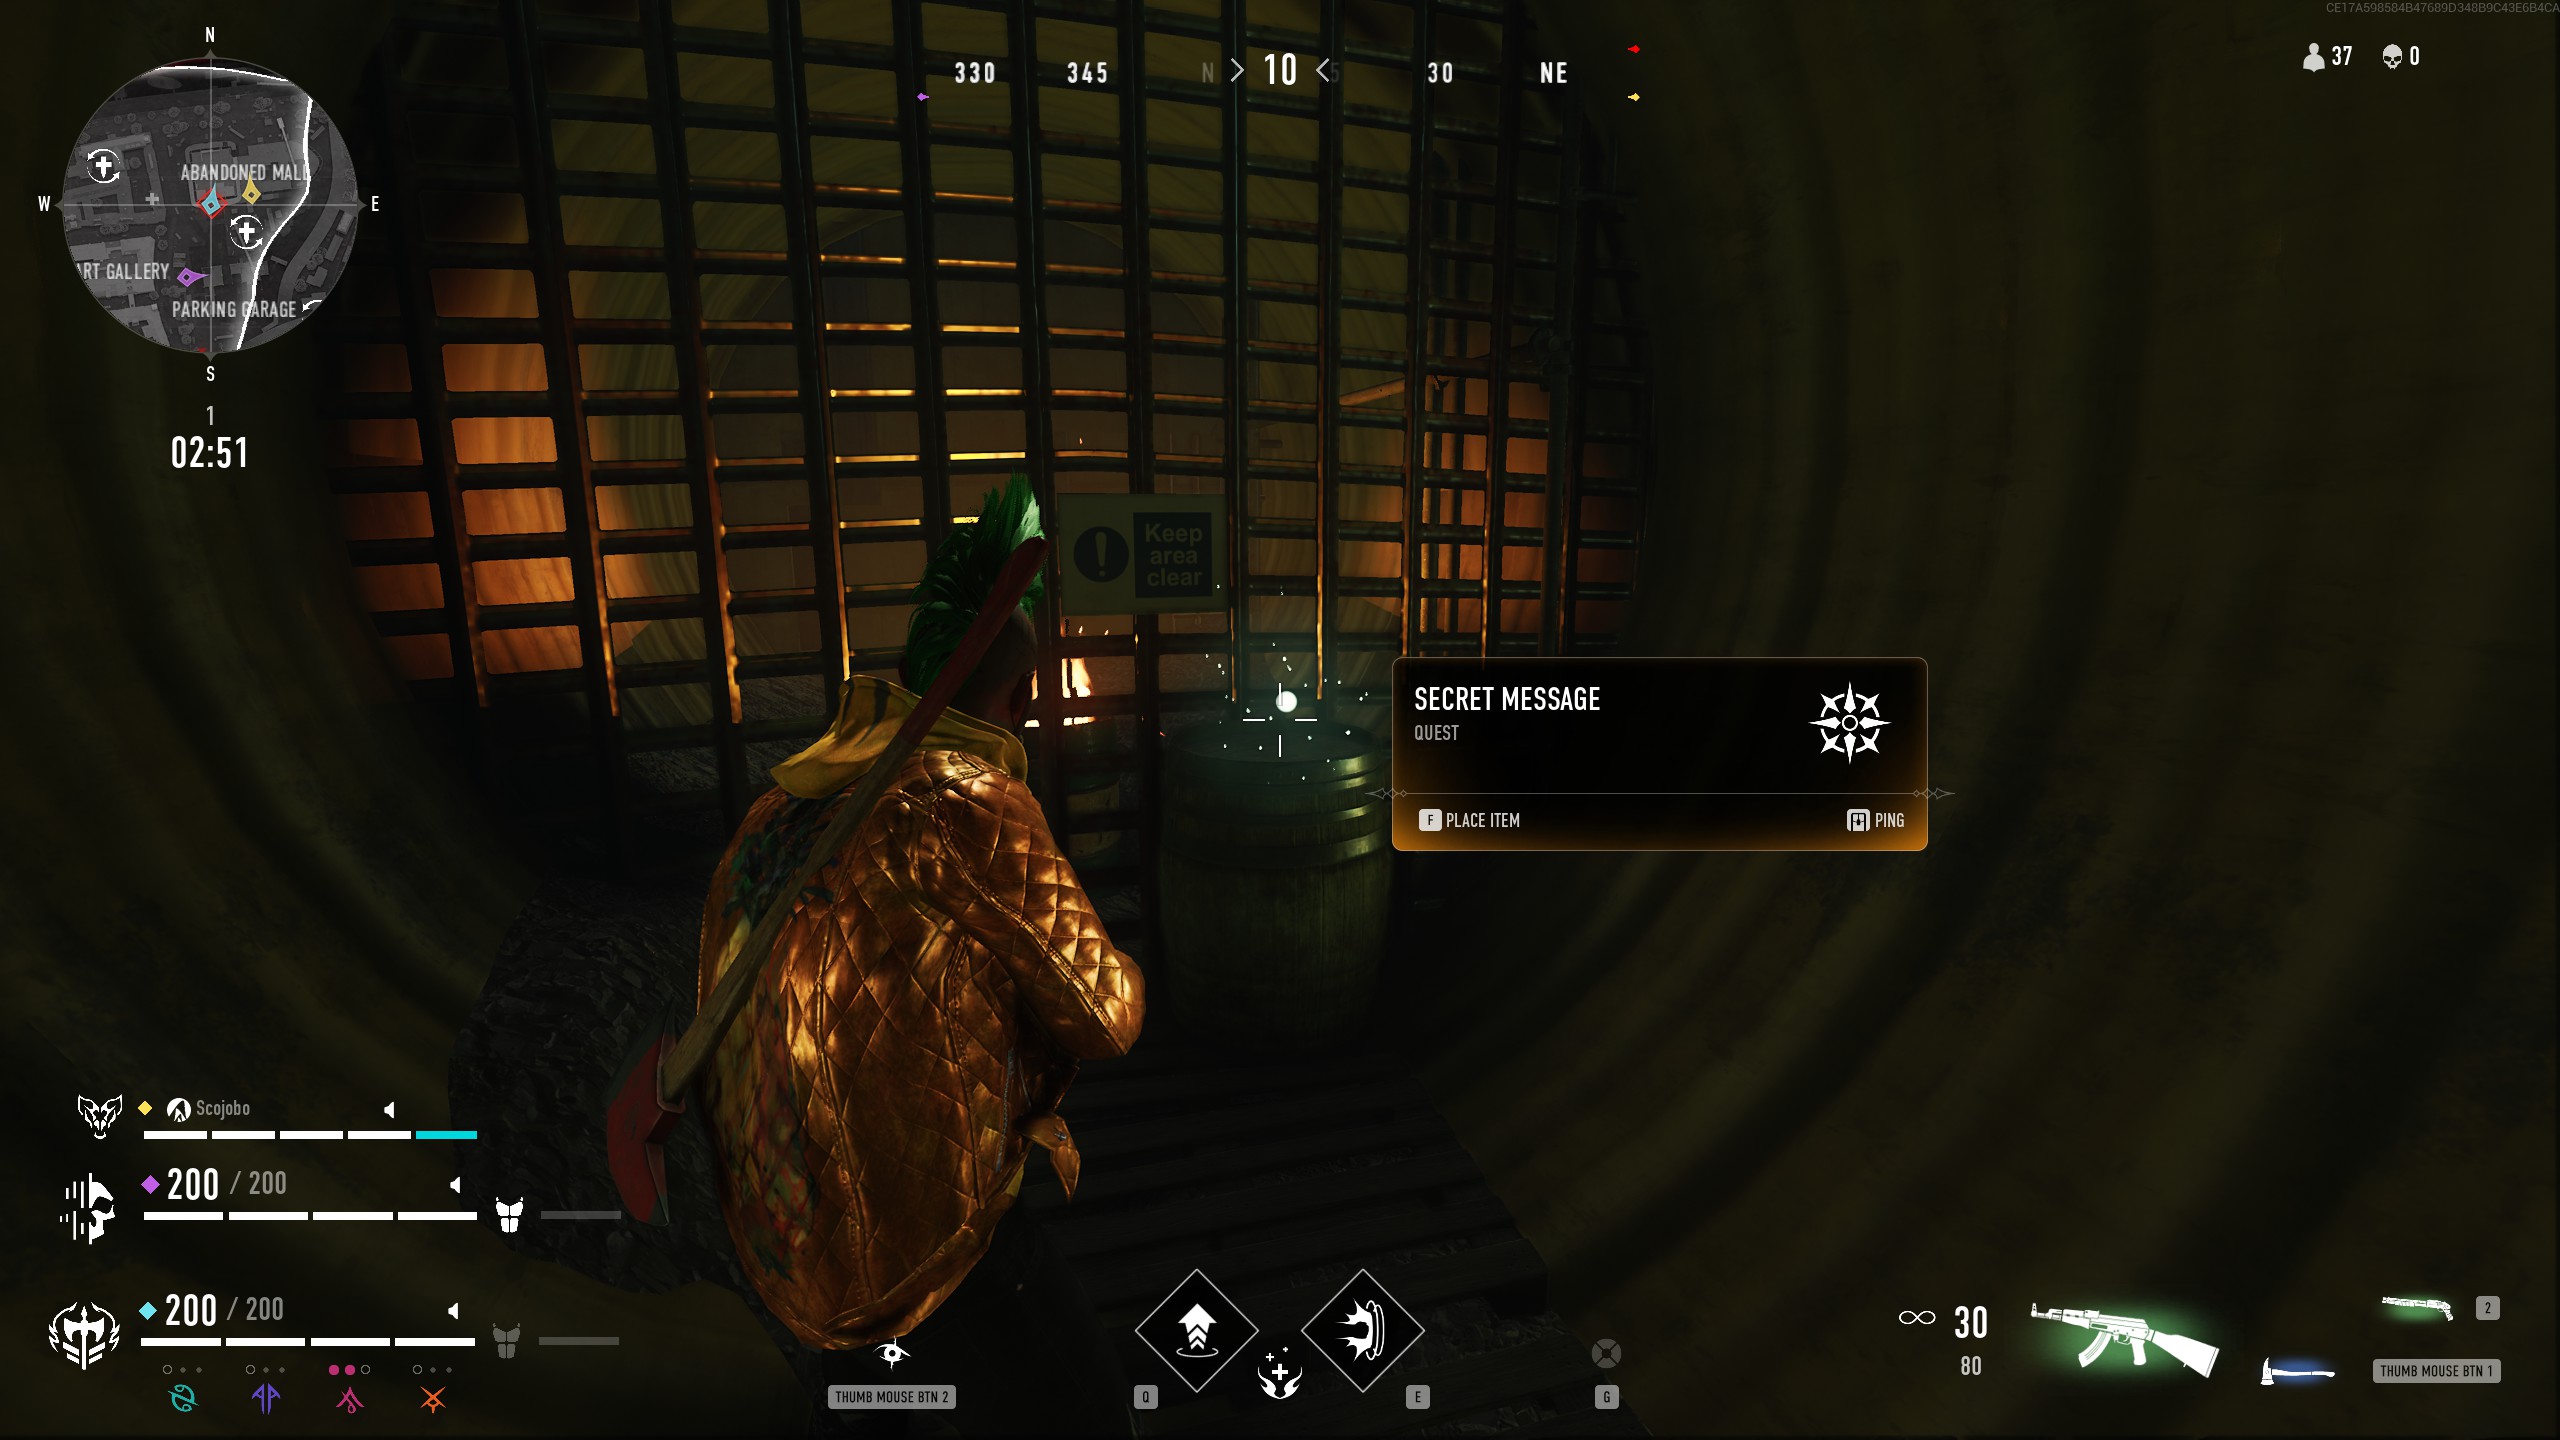
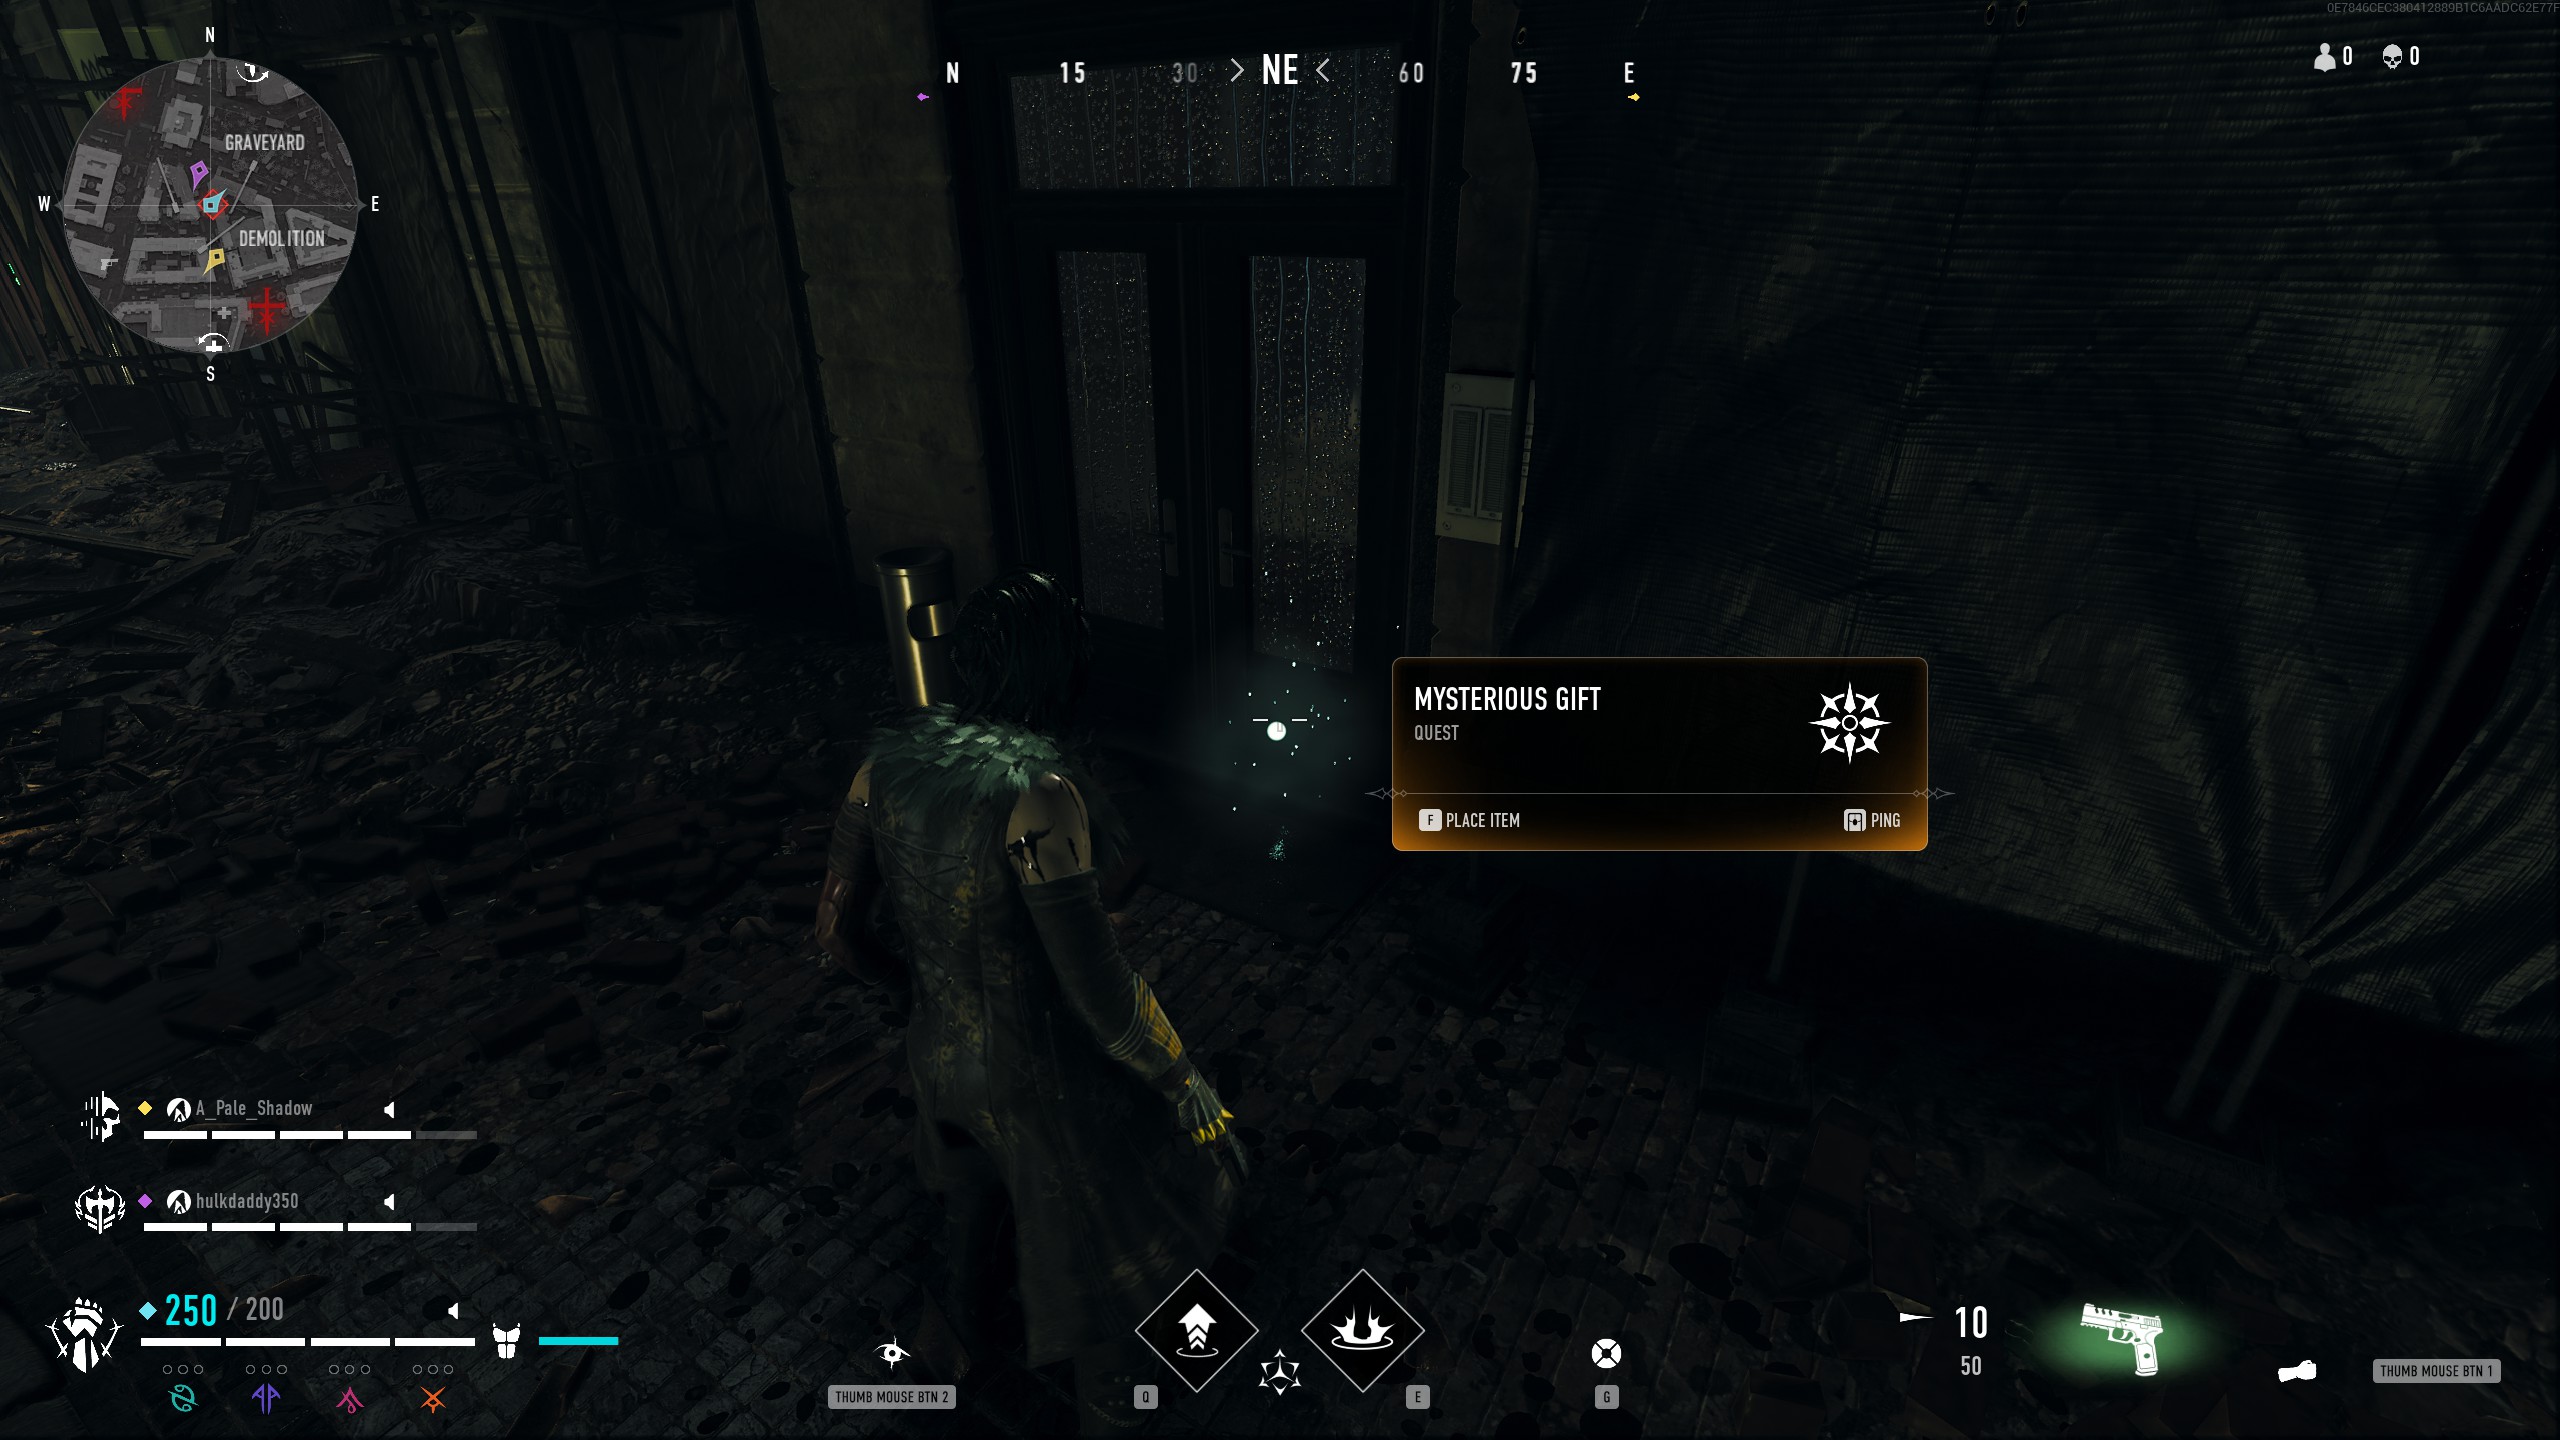
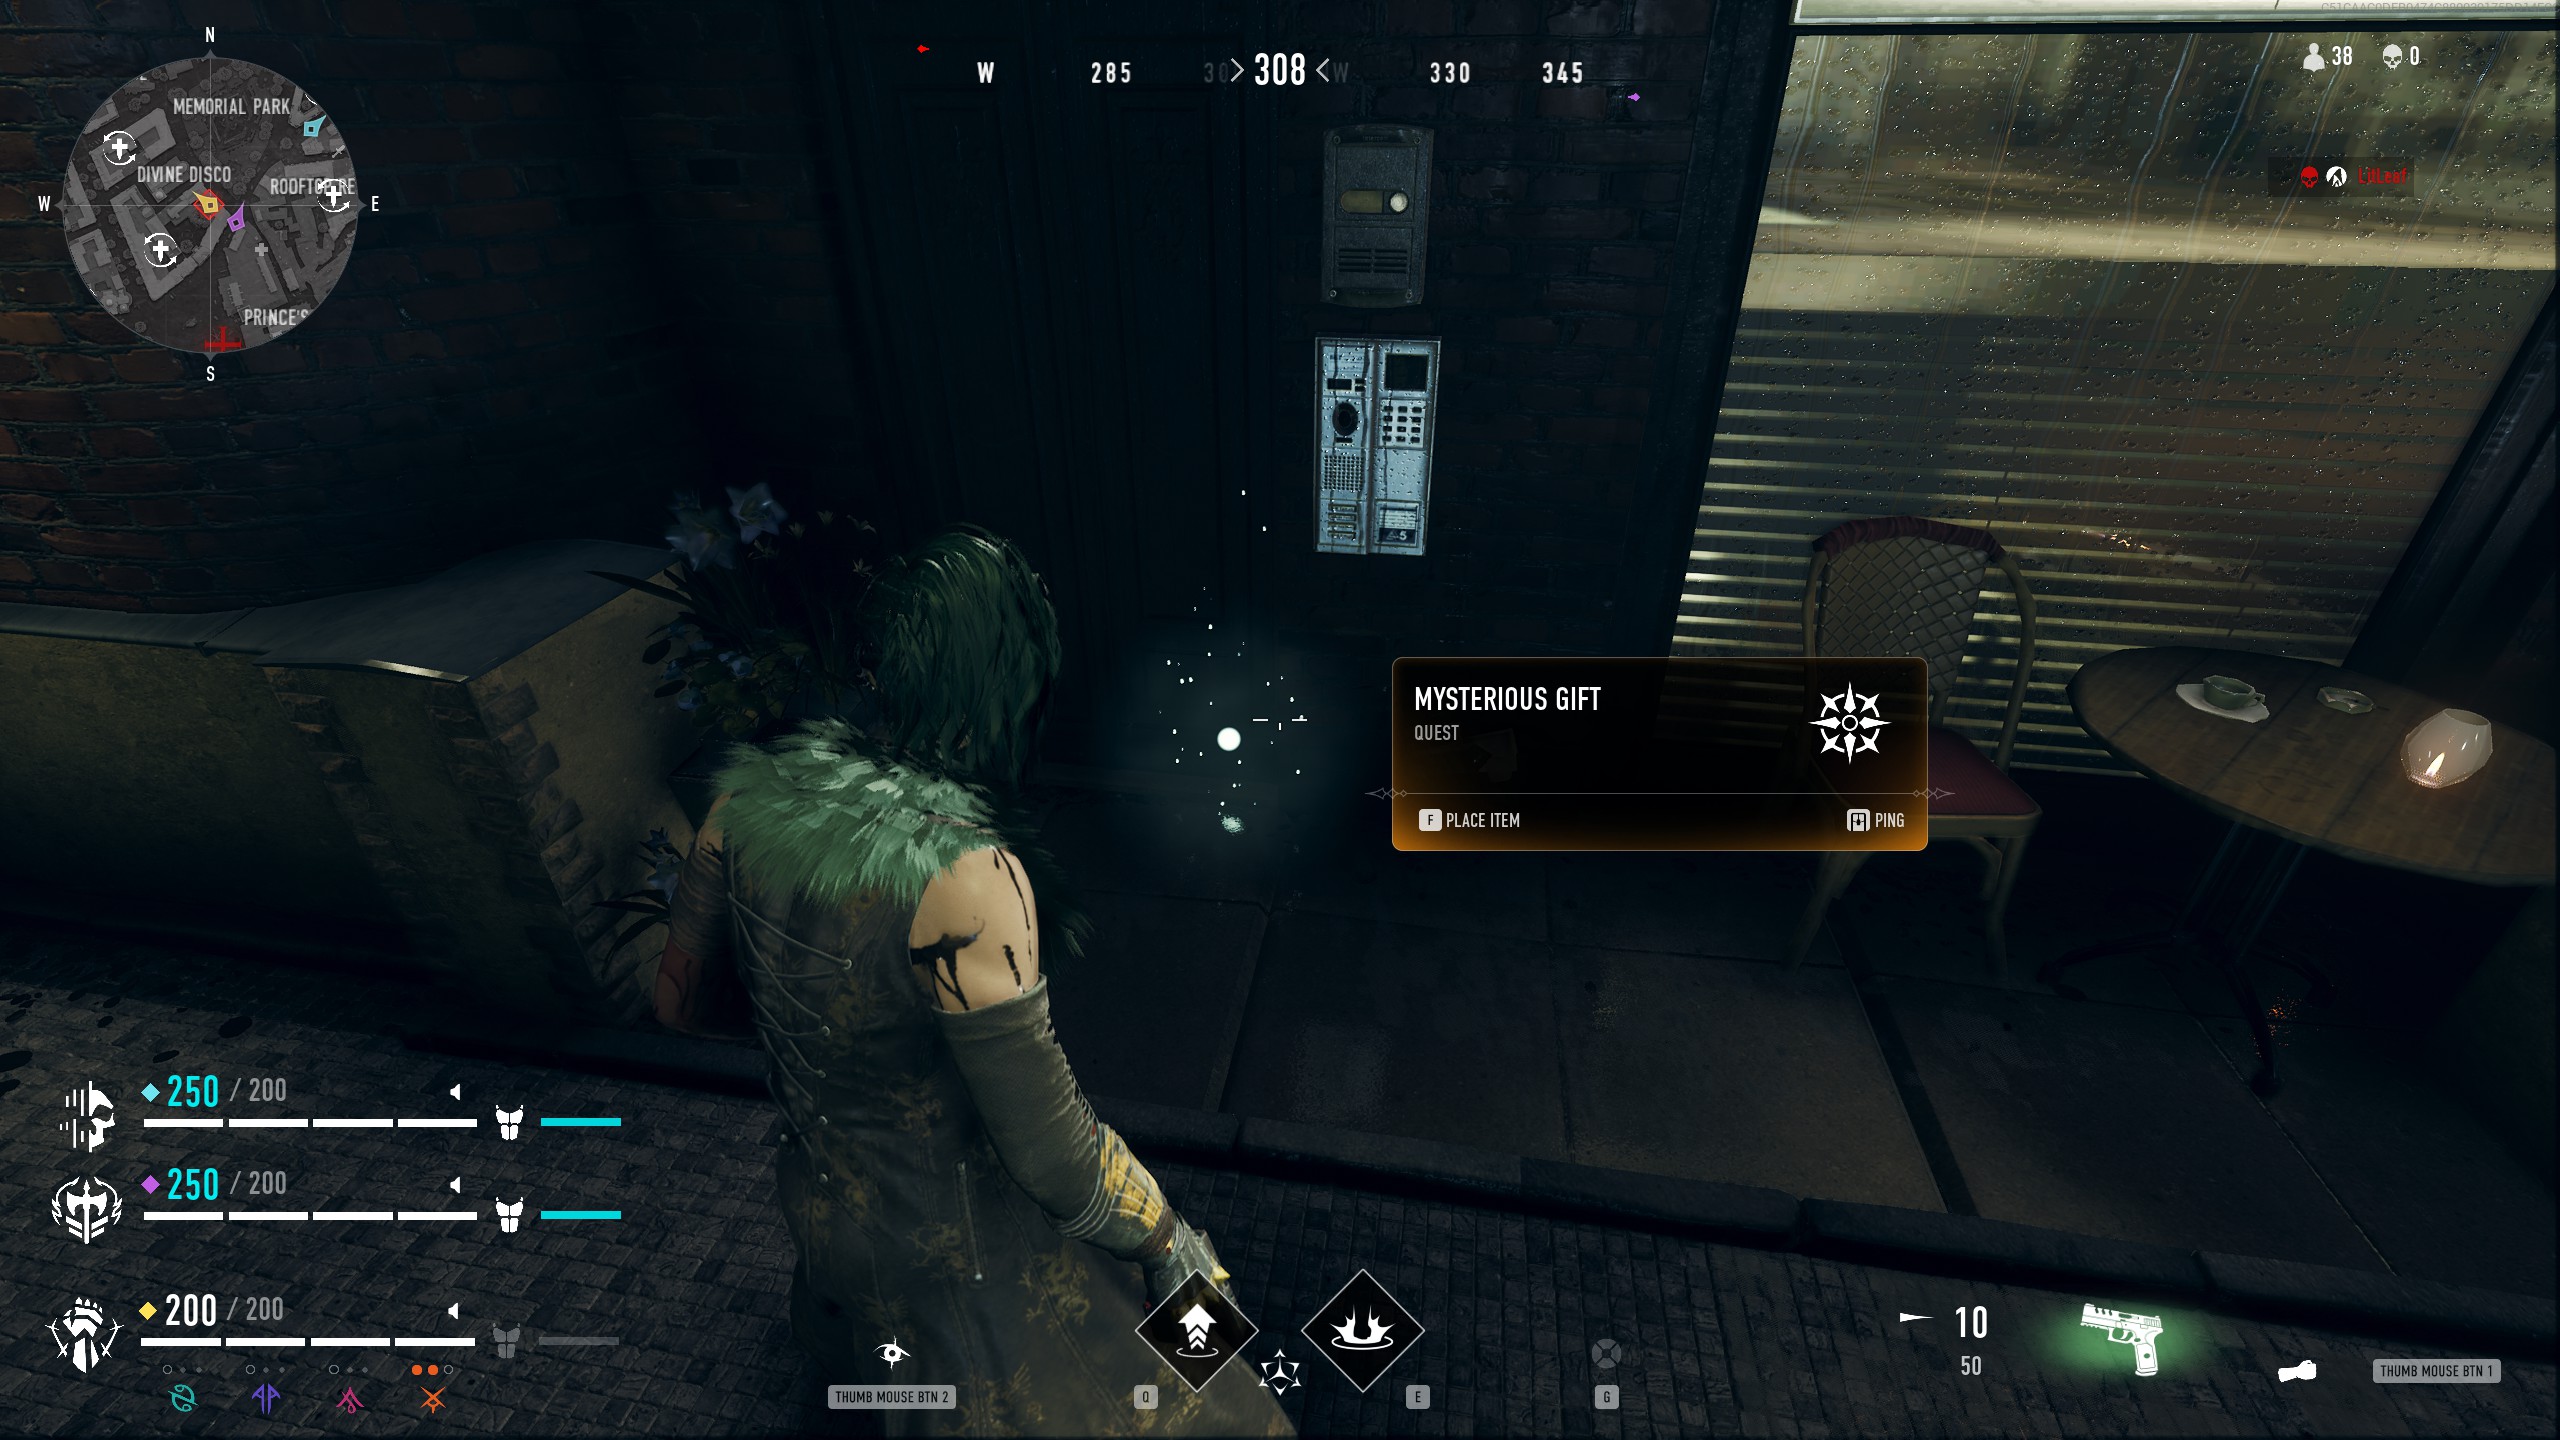
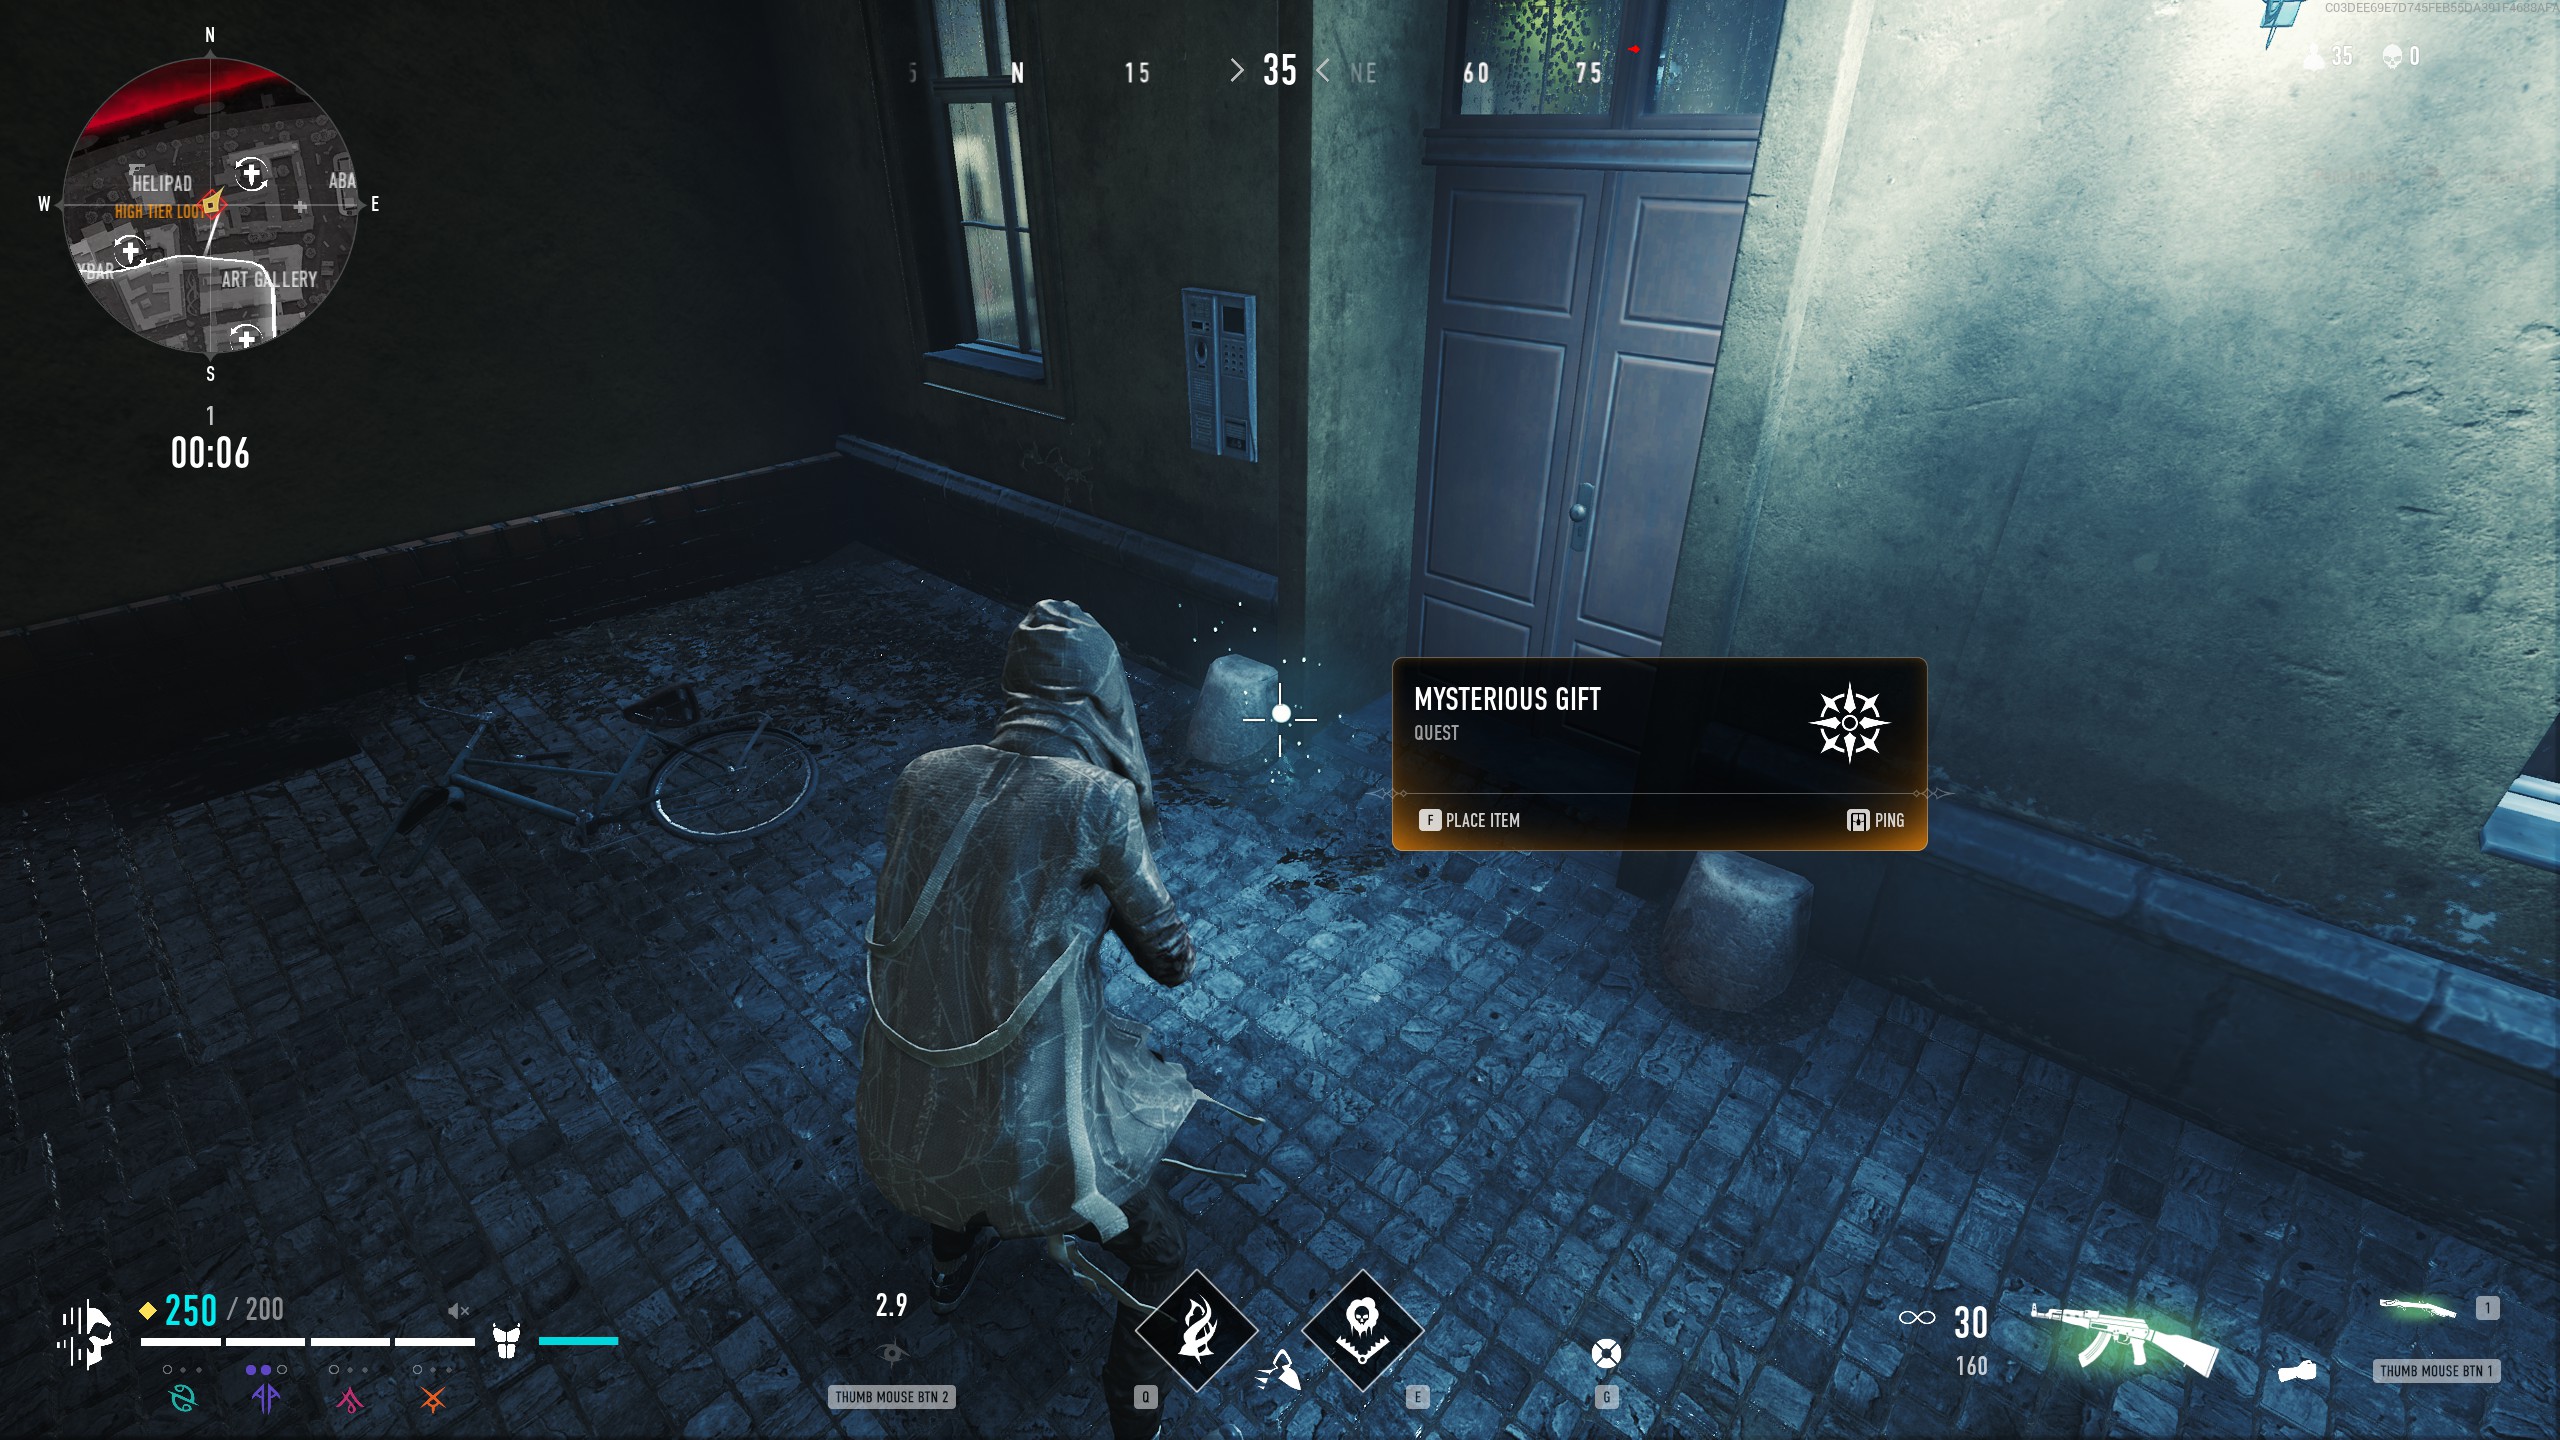
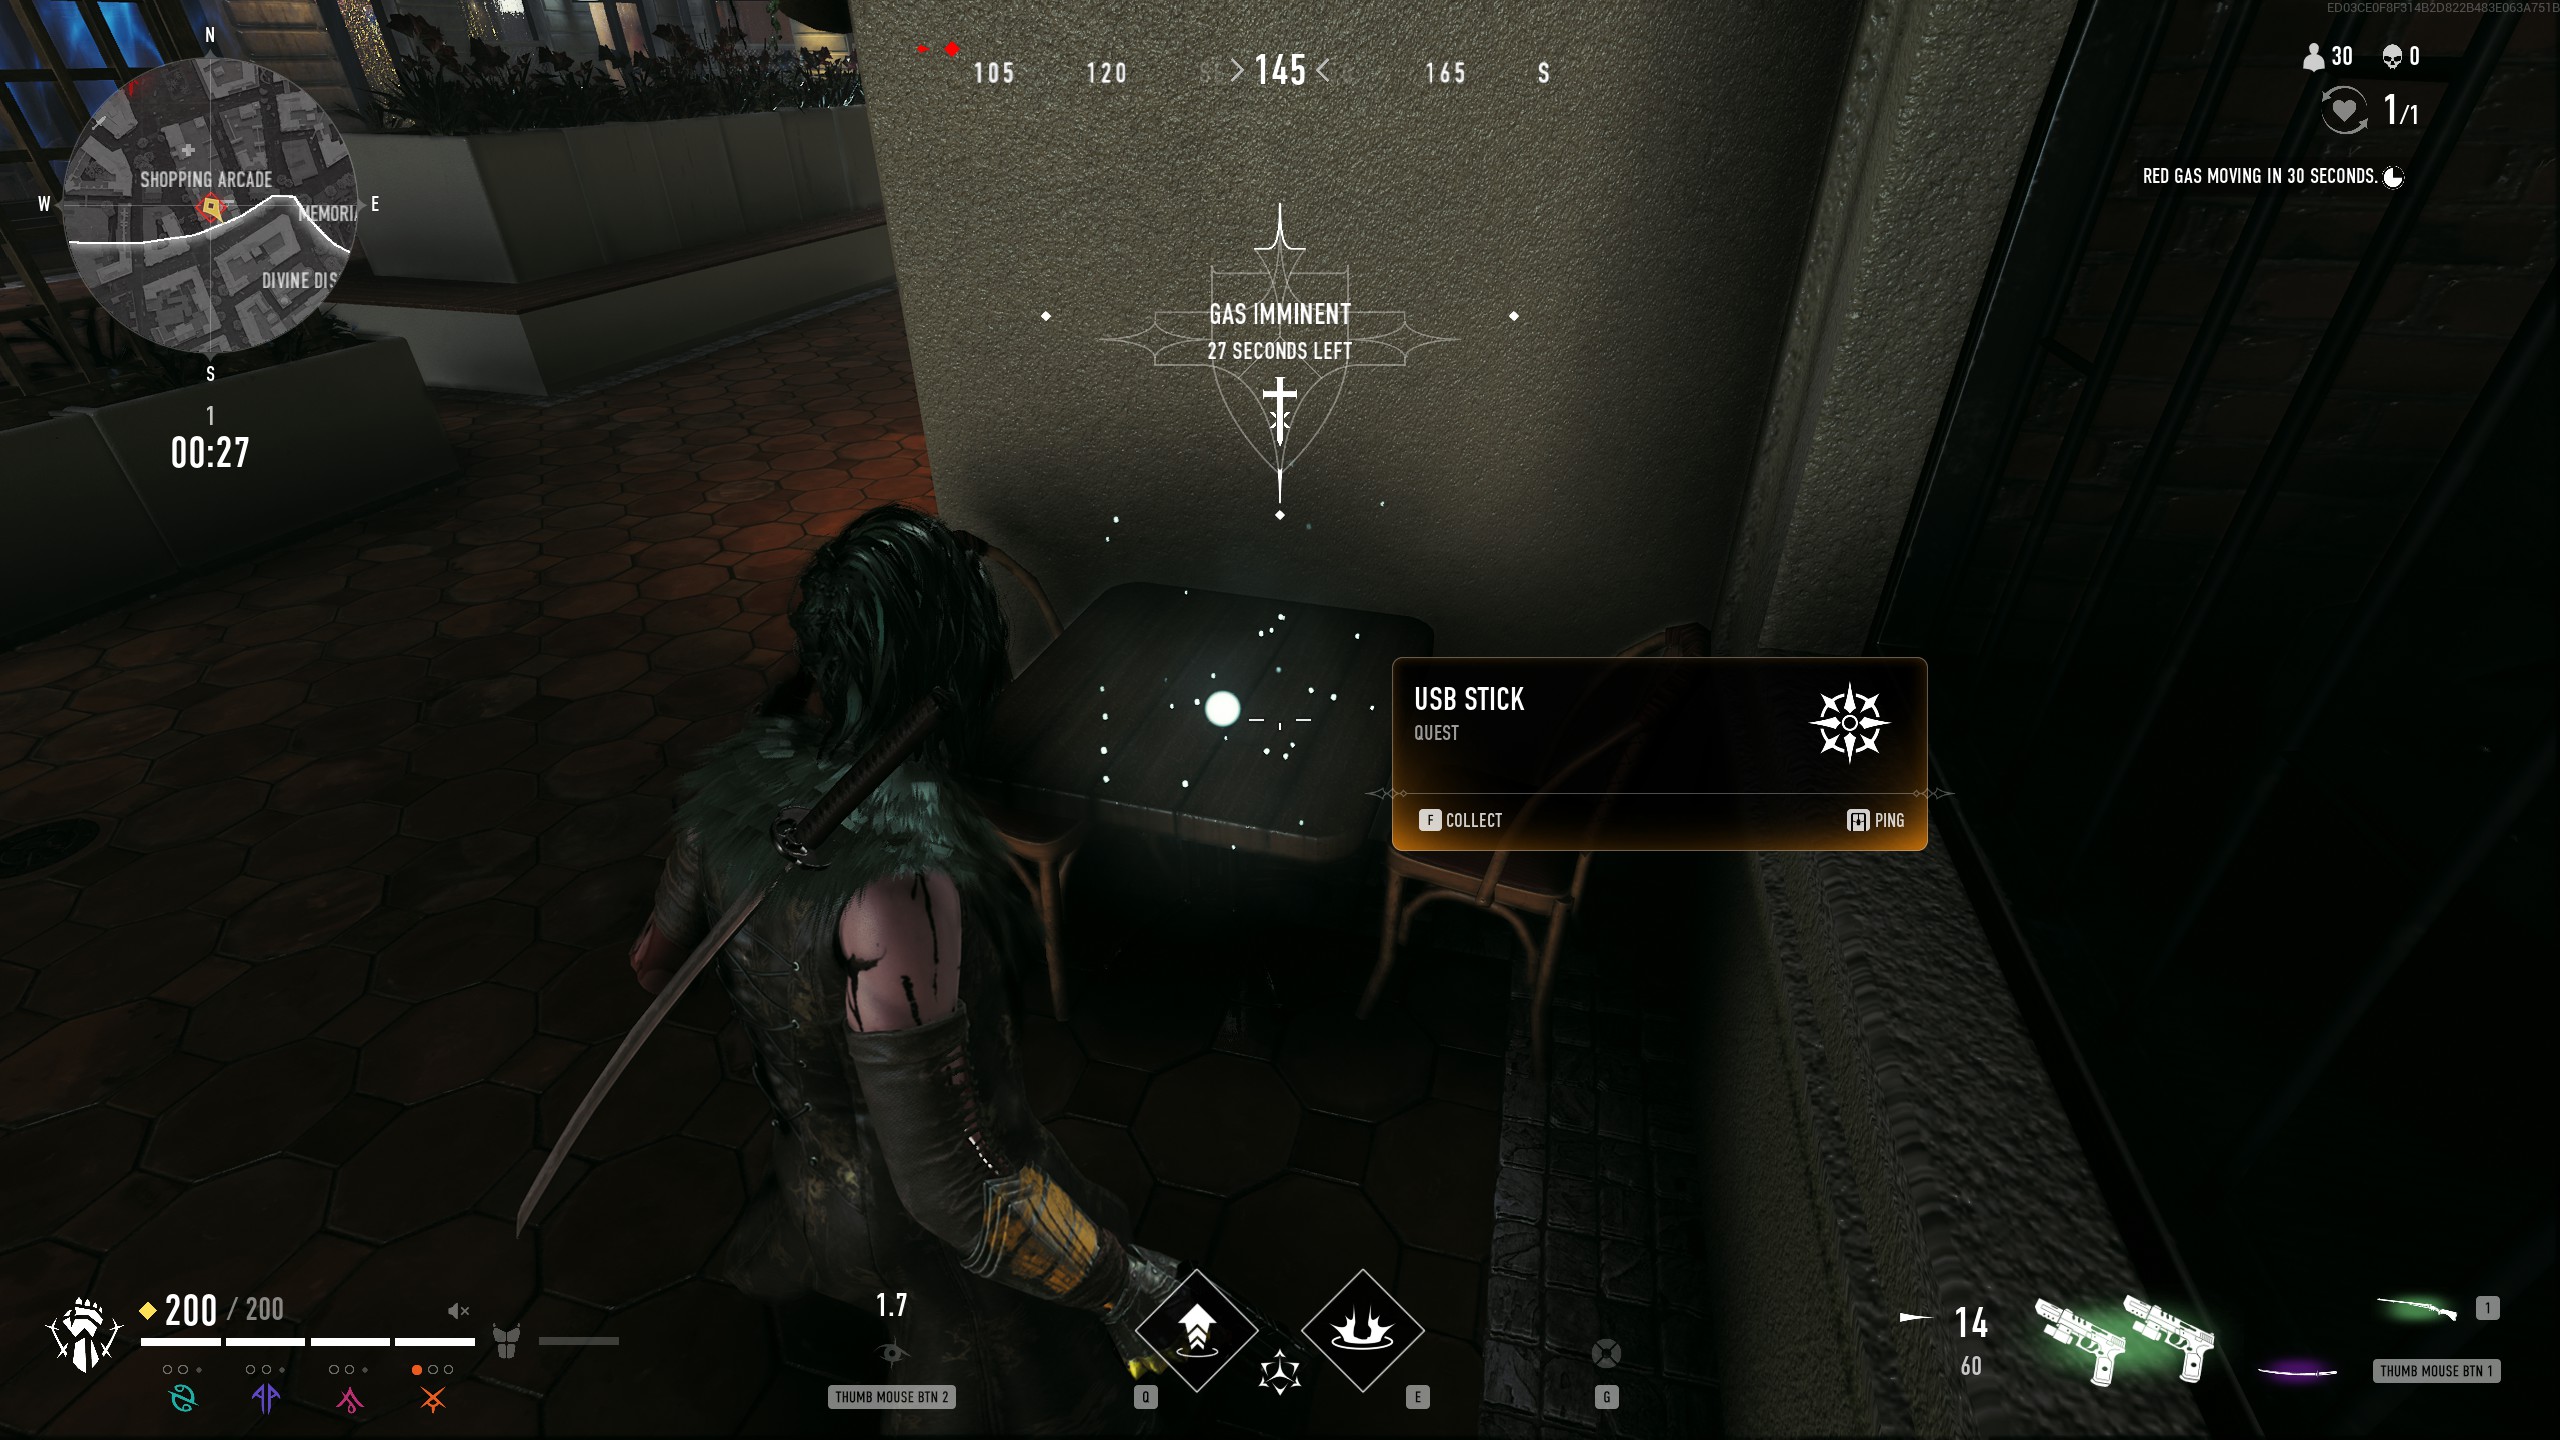
In addition, when you are near a quest object and use "Heightened Senses" to scan the area, you will be able to see the quest object through walls. The quest objects as a small ball of light on an object in the world and will look like this:
Most objectives will be collectible objects in the field, though there are some that require you to perform a specific action or go to a specific place. With the new update, the Quest UI has been revamped to be easier to use, and convey quest information faster. It should be noted that there are two types of quests, Seasonal Quests, which will expire at the end of the season along with their rewards, and Side quests which should be persistent throughout future seasons of the game.
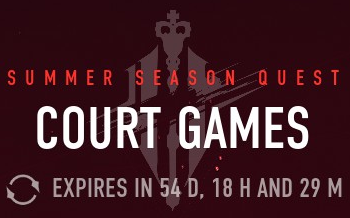
When you pick up a quest it will not which type it is at the top of the quest window, above the qeust name. If it is a seasonal quest, it will also be accompanied by an expiration timer below the quest name as seen here:
Be sure to complete these quest before the timer expires if you wish to earn their rewards.
I will list all the Seasonal quests first, followed by the side quests in the guide. These should be approximate with the order they are likely to be picked up in.
PLEASE NOTE: At this time, no quest objectives can be progressed in Team Death Match mode, and can only be done in Solo Bloodhunt, Duos, or Trios modes. Keep that in mind when working on quest objectives.
Talent Show

NOTE This quest is a Seasonal Quest, and can only be completed during the Summer Update season, which runs from 07/14/2022 to 09/13/2022.
Part 1:
The quest begins with Custos, who tells you of the arrival of the Ventrue, Em. He requests that you introduce yourself.
Em is located in the newly unlocked Ventrue area. You get there by taking the elevator located on the 2nd level of the main hall, past the fountain.
Taking the elevator should take you straight to Em. Talk to her to progress the quest.
Em will introduce her self, but indicates she is quite busy and you should speak to her Door Keeper to receive a task and begin to prove yourself.
Part 2:
The Door Keeper is located just below Em, in front of the stairs that lead to her location. The elevator will sometimes send you here instead of directly to Em.
Speaking with him, he tasks you with playing 3 matches without being blood hunted. This one is quite straight forward and if you just wish to complete the objective as quickly as possible, go into Solo mode, spawn near the water and jump in to kill yourself to finish the match quickly. Do this 3 times and you will be able to return to him.
Otherwise, simply enjoy 3 rounds of the game, making sure not to kill or be seen feeding on mortals to avoid having a blood hunt called on you.
Part 3:
After returning to the Door Keeper, he wants you to survive in a match for 3 minutes. This will be easiest to complete in Solo mode, due to the extra life. Enter a match and try to spawn away from other players, and persist in the match for 3 minutes. Once you see the quest objective complete, you are done and can finish the match normally, or get yourself killed to return to the Elysium and the Door Keeper.
Reward:
The Door Keeper says he will let Em know of your competence. Your reward is waiting in your inventory.
Business As Usual

NOTE This quest is a Seasonal Quest, and can only be completed during the Summer Update season, which runs from 07/14/2022 to 09/13/2022.
Part 1:
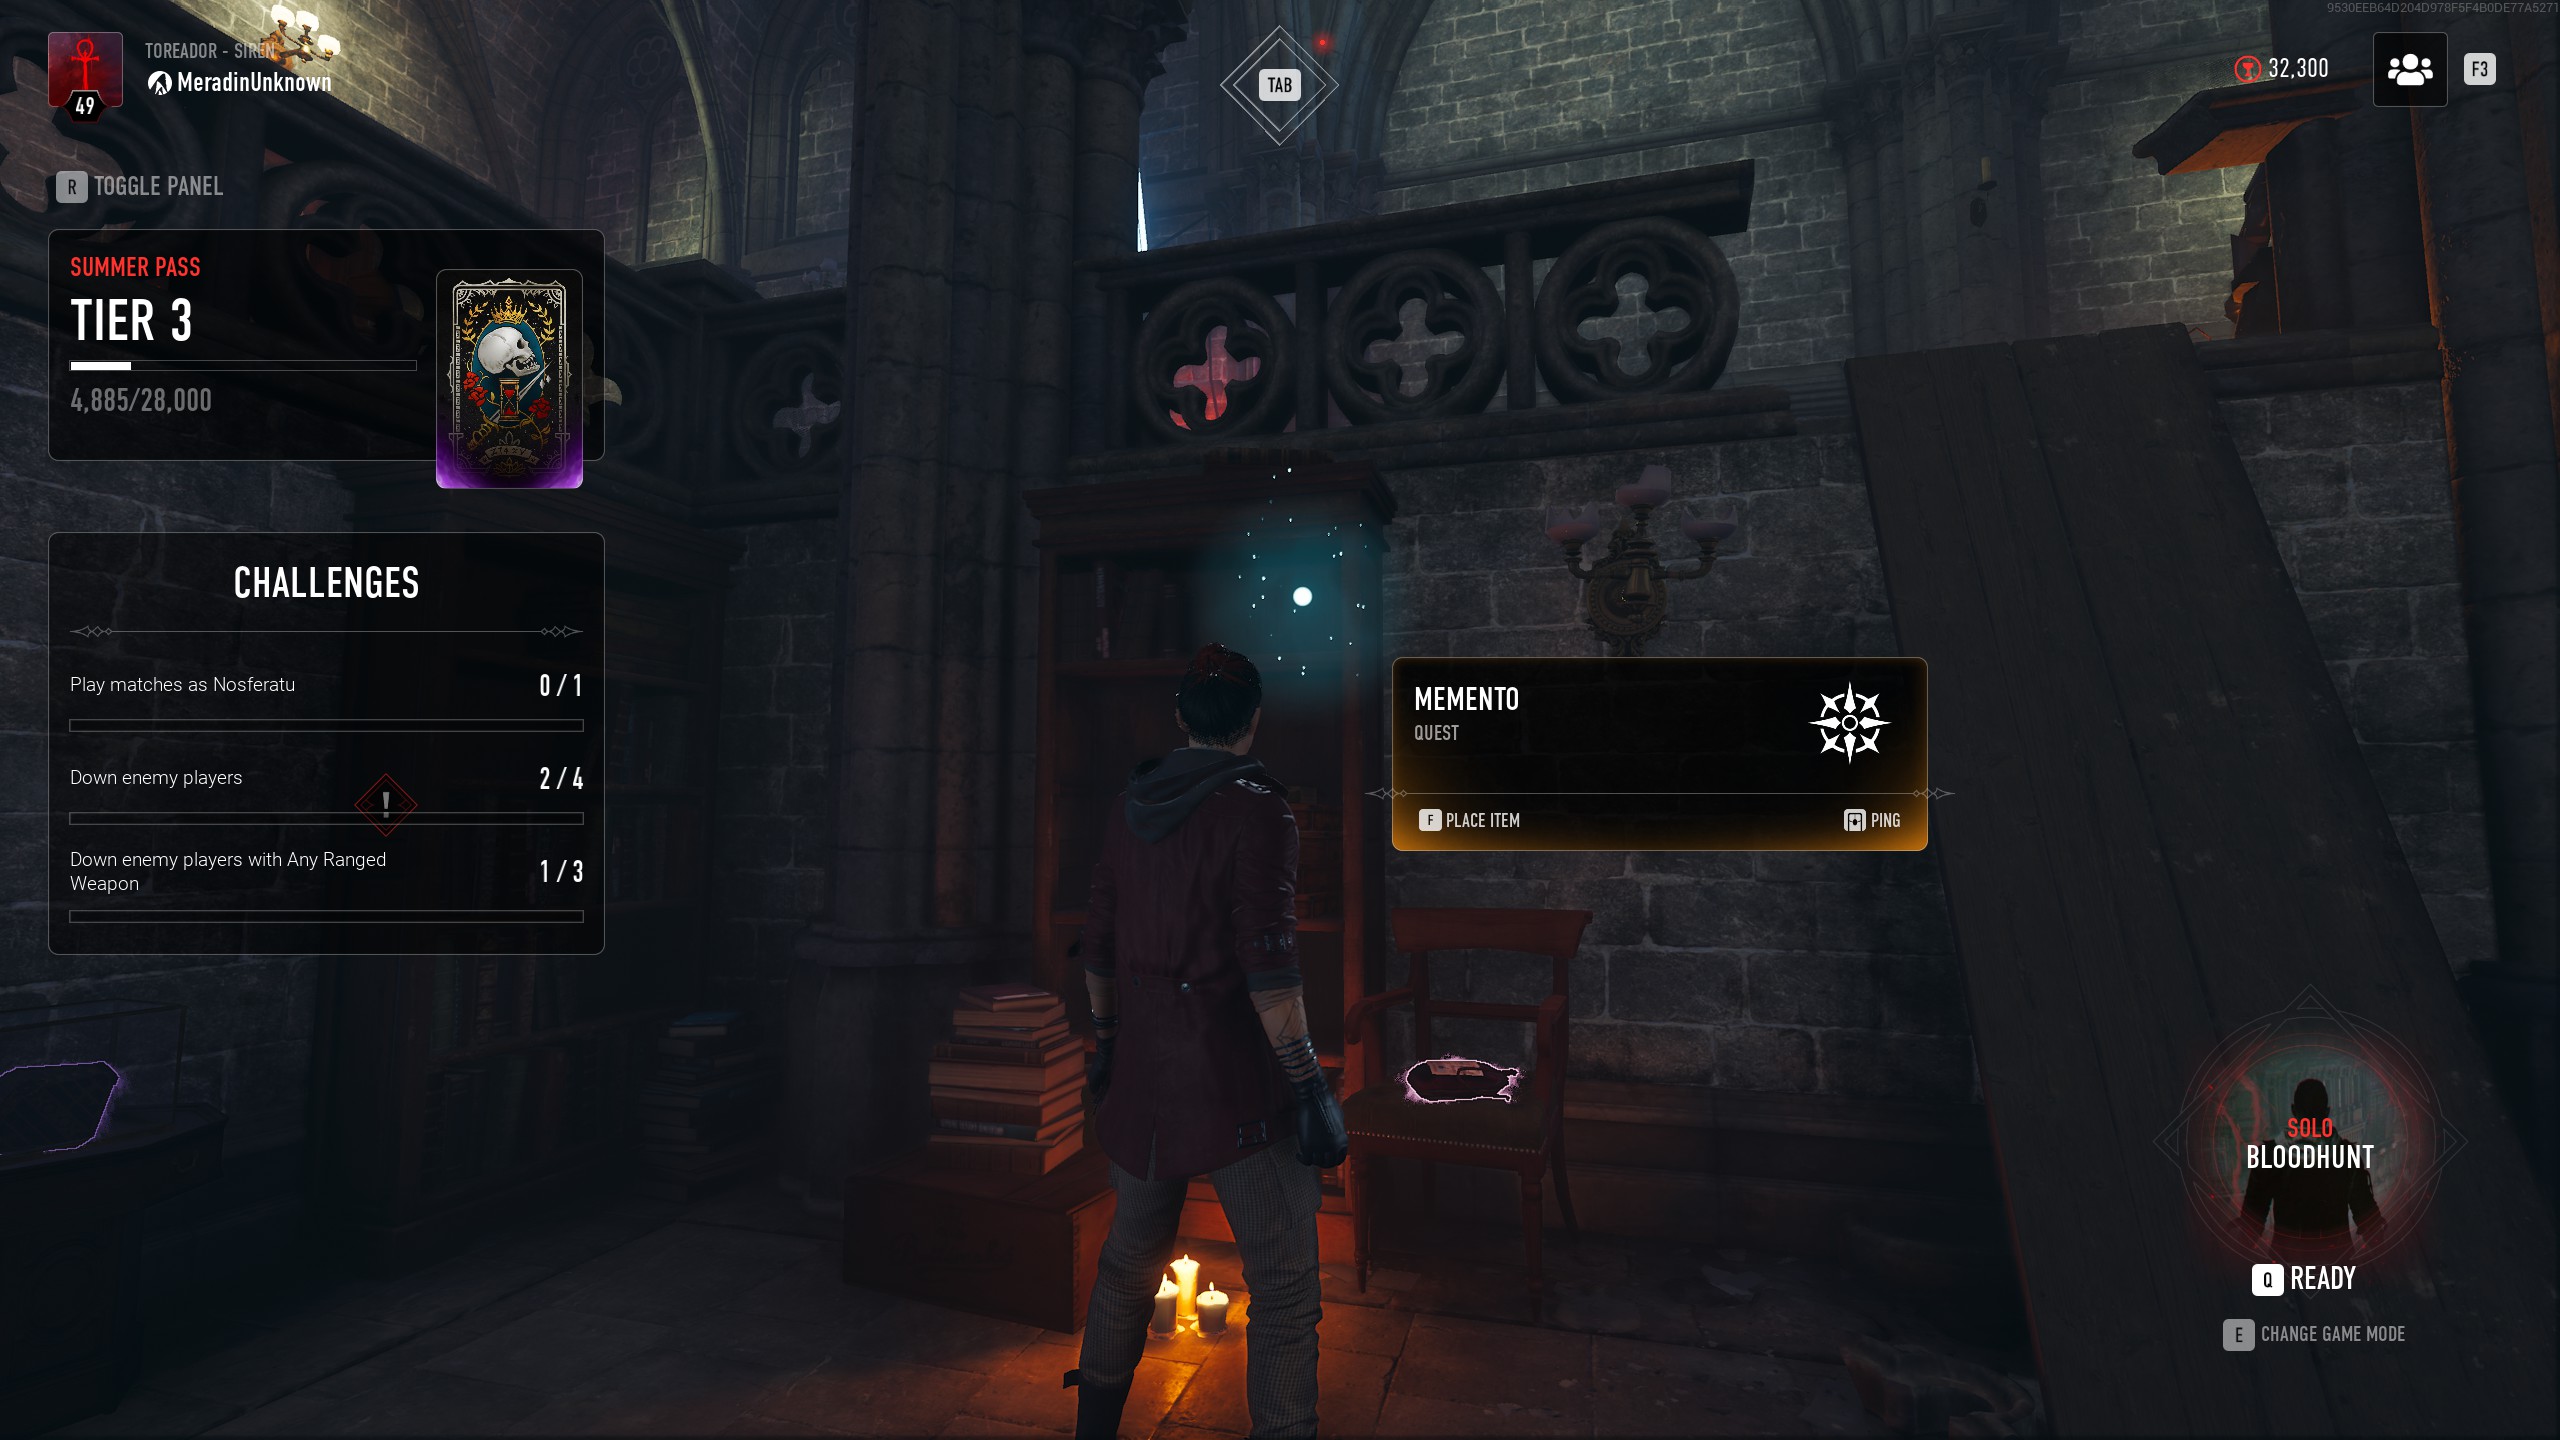
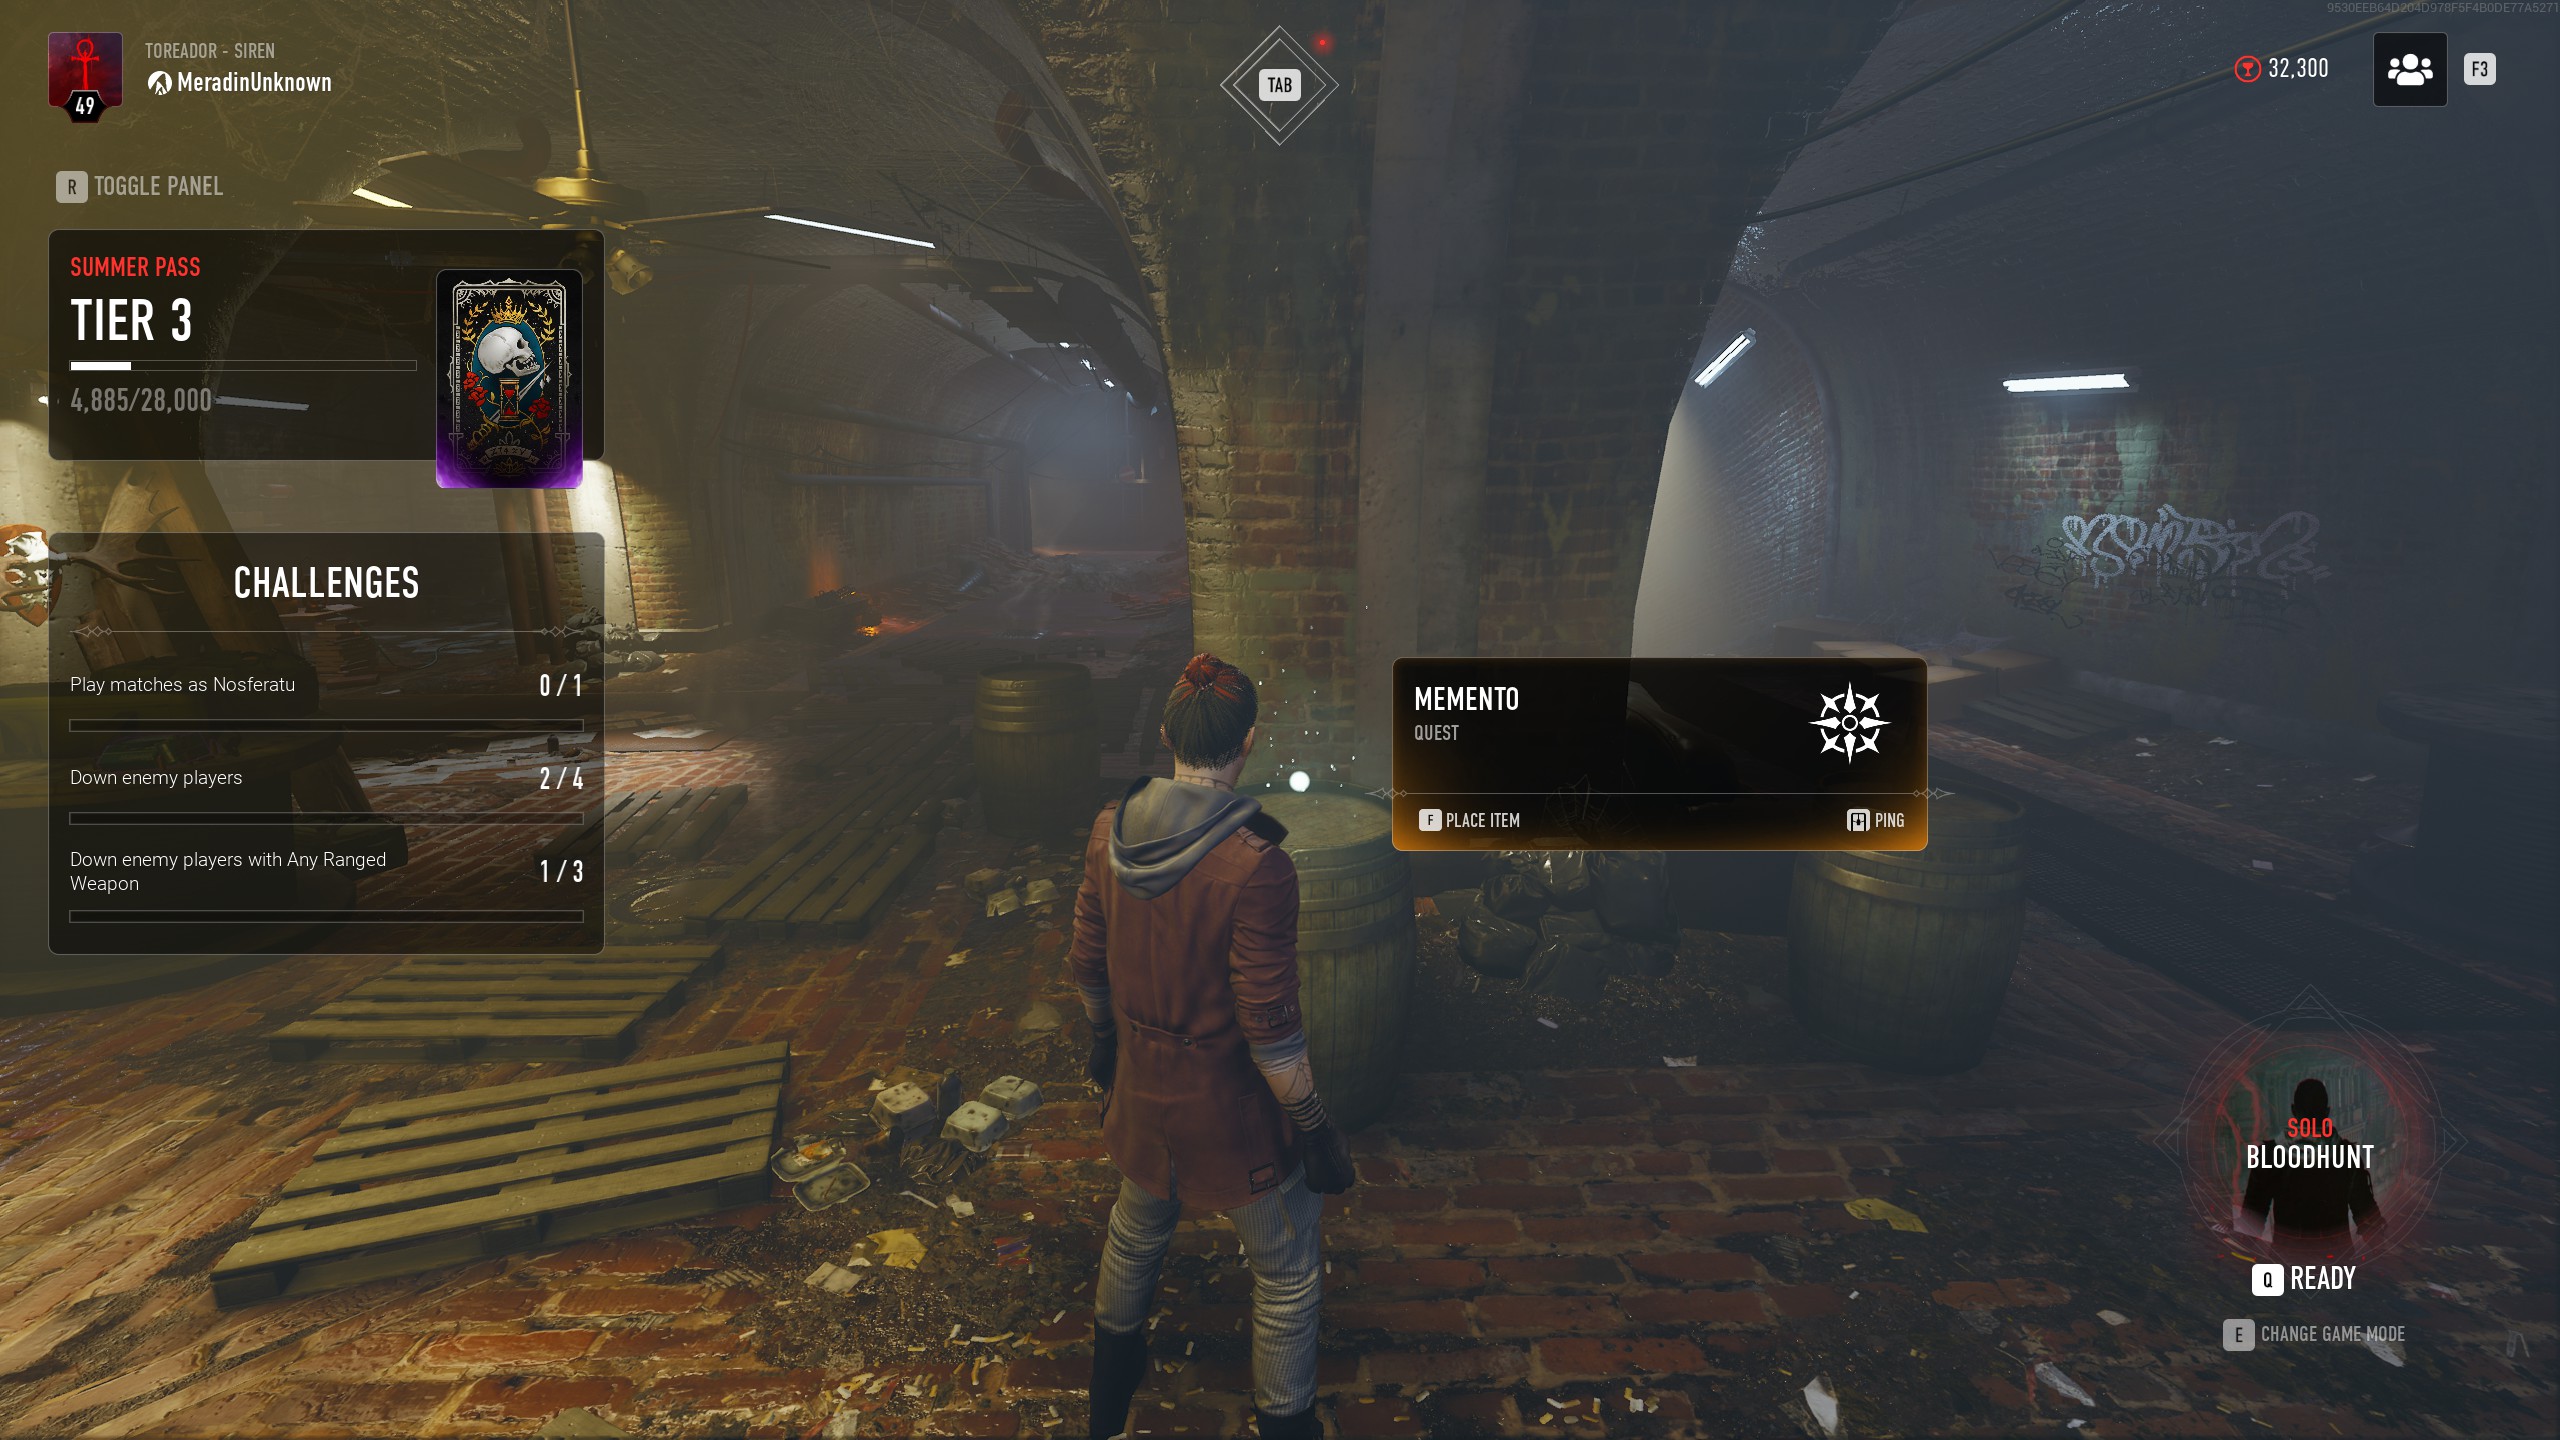
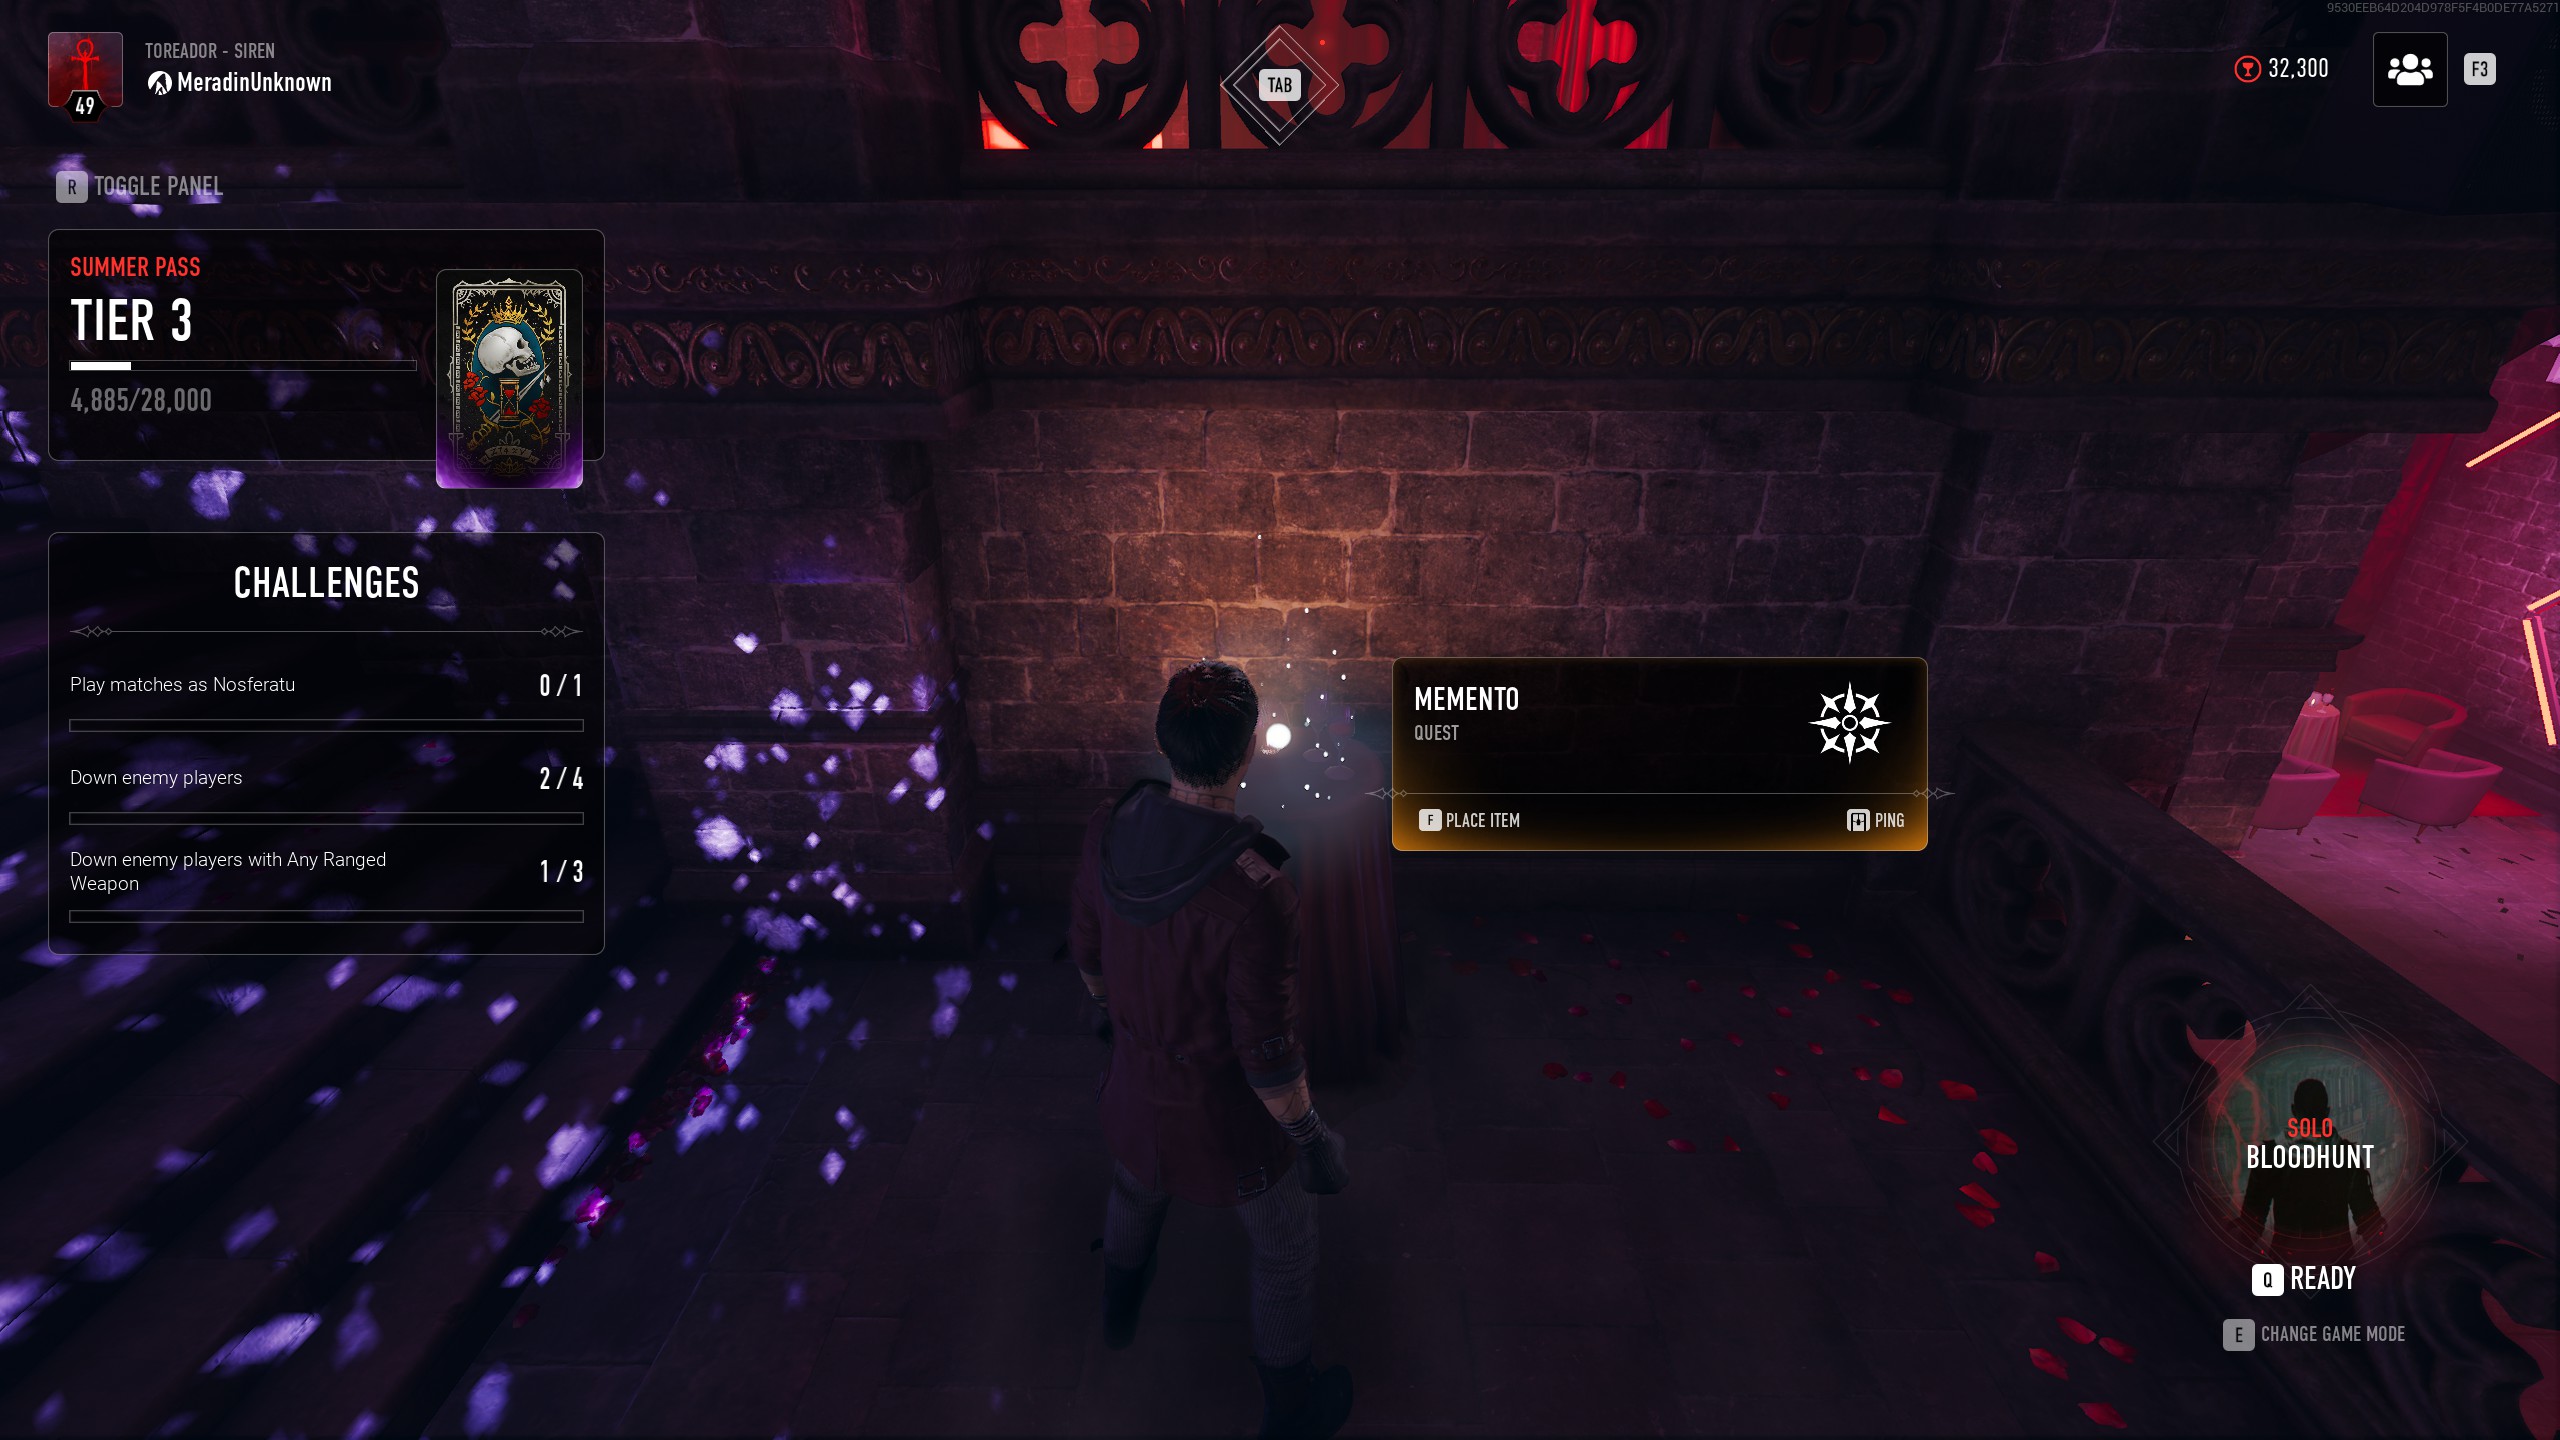
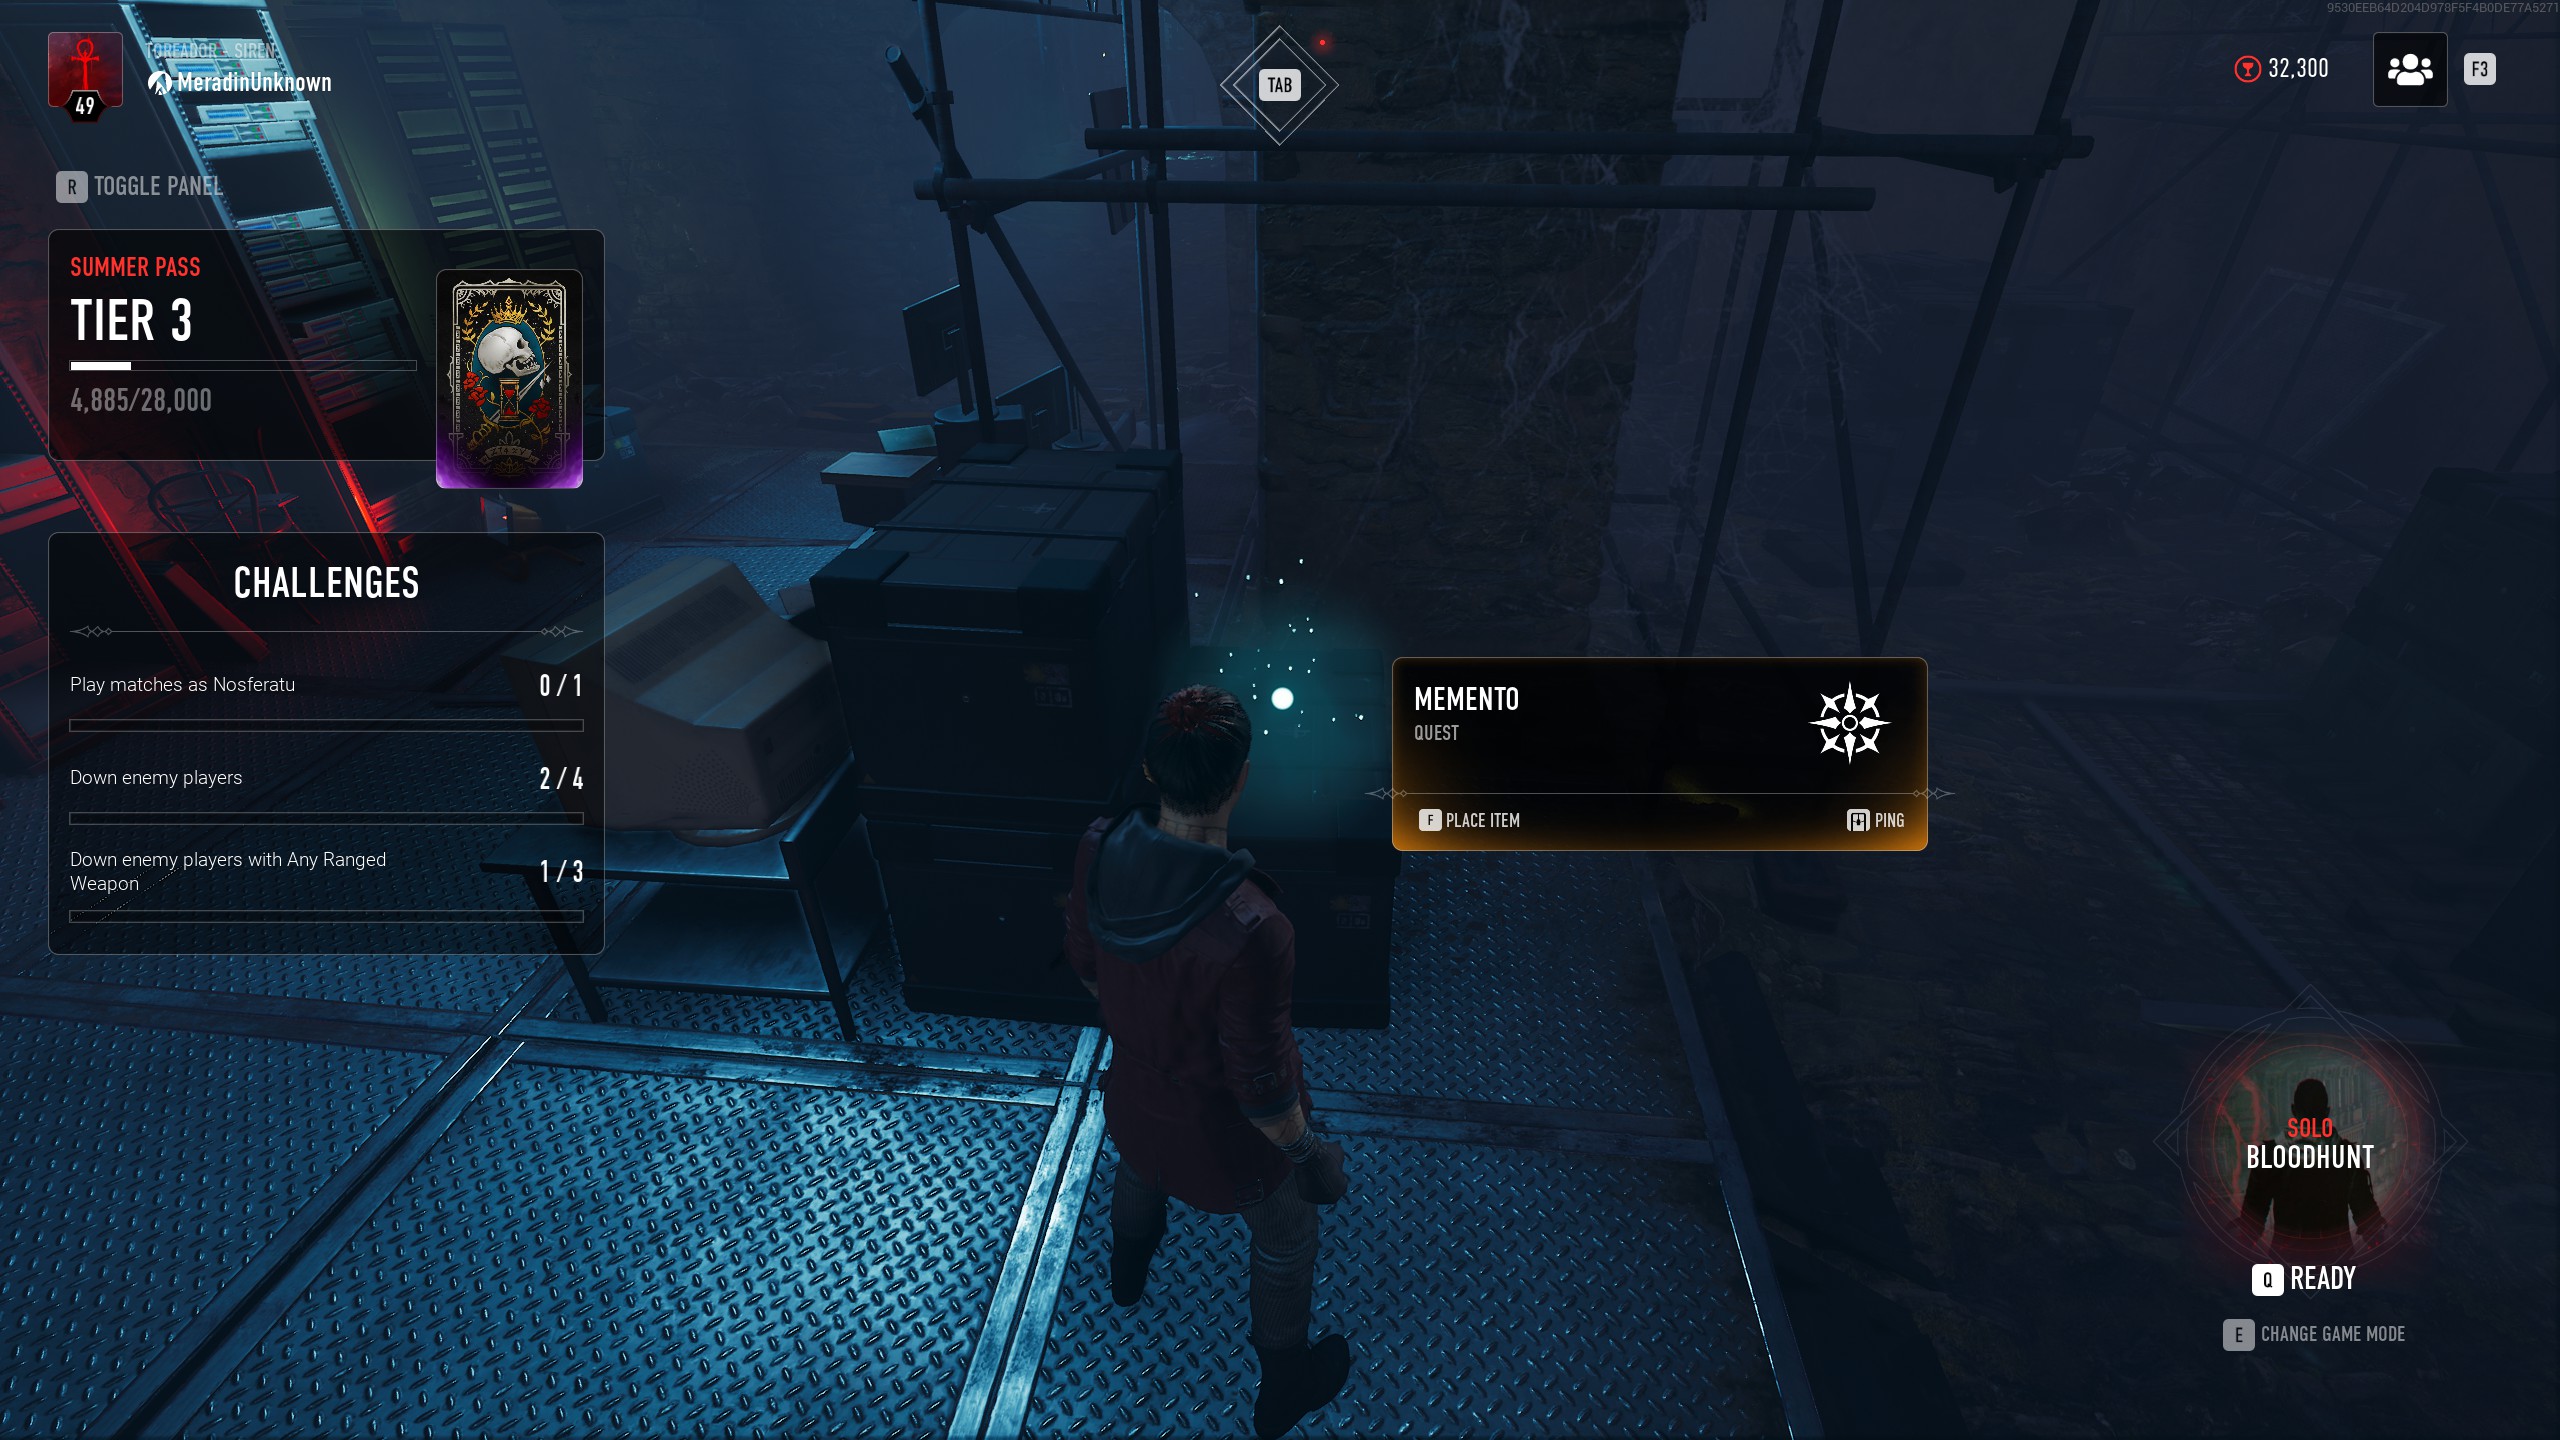
This quest begins with the Door Keeper. He gives you mementos belonging to the other inhabitants of the Elysium and asks you to place them near their owners, starting with Custos and Kirill.
First is Custos, who's memento will be placed on a bookshelf against the wall near his location.
Next head to Kirill, located through the hole in the wall to the right of Custos. Place the memento meant for him on a barrel near where he is standing.
Part 2:
Returning to the Keeper, he offers you two more mementos, this time meant for Maia and Omnis.
Head over to Maia's area of the Elysium, and you will place the memento for her on a small table near where she is standing.
Next is Omnis, who is in a slightly different location from where he was in Season 1. His area has been expanded and he is located just a bit further back from his previous location. This area can now also be accessed via stair leading down from both Kirill and Maia's areas of the Elysium.
Once you find Omnis, the memento will need to be placed on a stack of crates near some computers not far from him.
Part 3:
With this task complete, the Door Keeper has a new job for you, out in the city. He wants you to fire some warning shots at the Anarchs to let them know you mean business. Specifically the variety that hits them in the head. You must land 10 headshots on enemy players. This can be done using any ranged weapon. Simply select the one you prefer and land some headshots. Note that this CAN be done after the player is downed if you have trouble landing headshots on a target in full motion.
Part 4:
You return to the Door Keeper only to learn the warning (head)shots were not enough. The threat persists, and you are now tasked with killing enemy players who have been blood hunted.
A player is blood hunted when they kill a mortal, or are seen feeding on a mortal by another mortal. When this happens a message will pop up in the top right corner of the screen to say a player has been blood hunted, and they will show up on the map. When you get close enough to them, they will stand out silhouetted in bright red and visible through walls.
You must ELIMINATE them while they are still under the effects of the blood hunt for credit. Downing them is not enough, but you do not need credit for downing them. Just the elimination.
Part 5:
Finally, your efforts have paid off. Upon returning to the Door Keeper, he informs you that Em would like a word with you. Head upstairs to speak to her and complete the quest and claim your reward.
Reward:
The 3 V's

NOTE This quest is a Seasonal Quest, and can only be completed during the Summer Update season, which runs from 07/14/2022 to 09/13/2022.
Part 1:
Em has another quest for you. She asks you to speak with Kirill, to see if he's willing to cooperate with the mandate she was sent to enforce. Simly head into Kirill's area of the Elysium to speak with him on Em's behalf.
Part 2:
Kirill is more than clear about his thoughts on Em, and though he agrees with her goal, he does not agree with her method and wants you to make use of a fire axe to send that exact message. Instead, go speak to Em and let her know his intentions.
Part 3:
Knowing where Kirill stands, Em decides to let you follow through with his task, but in a way that shows more finesse. Instead of a fire axe, you must deal damage to enemy players weapons of her choice. For this step, you must deal 1000 damage to enemy players with a Revolver, and 500 damage to enemy players with a pair of Scourge Blades.
As with other similar quests, the damage done while the player is downed counts towards the total, allowing you to do 400 damage or more to a single player depending on their health when you first encounter them.
Conversely, if these weapons do not suit you, down them with your weapon of choice and then finish them off with the quest mandated weapons. It may take a little longer, but you will find the experience less frustrating overall.
In addition, Brute, Vandal, Prowler, and Siren all also have a perk called "Warrior" that starts you with a purple melee weapon instead of the pistol so if you use one, you'll have a 50% chance of starting with Scourge Blades. Otherwise they are most commonly found in antique shops, marked on the map with a small dagger icon.
Part 4:
Having done things Em's way, she want you to deliver a note to Kirill as the final step of this quest. Head down to where he is and hand it over. Needless to say, he is not happy about it and sends you away.
Reward:
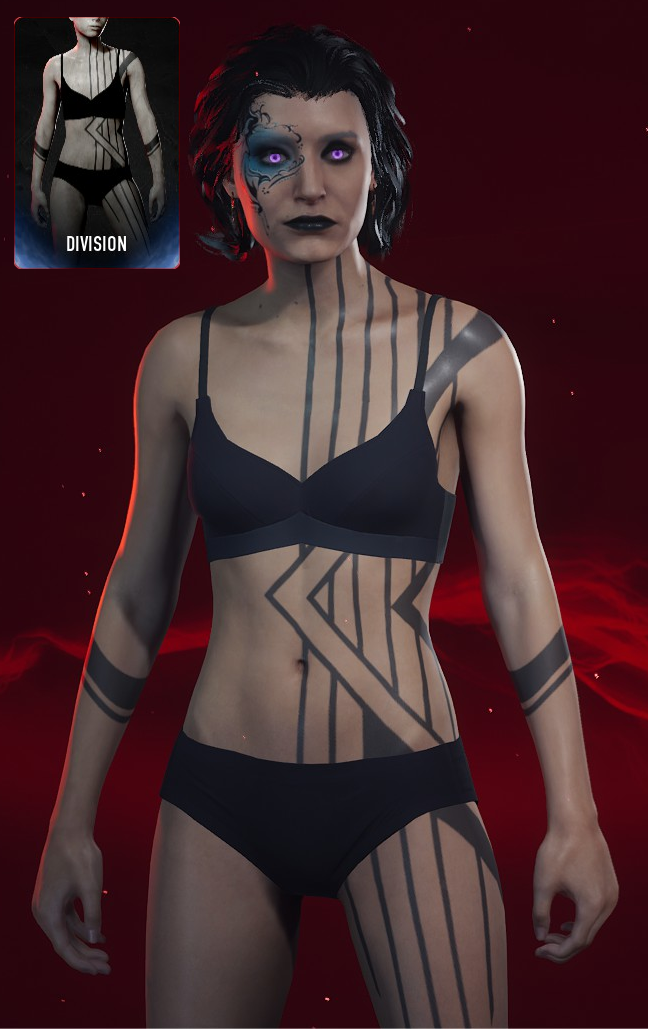
Once you leave Kirill, you can return to Em to report on Kirill's reaction and learn what the note she sent had said. Either way, your reward,a new tattoo option, is waiting for you in the Customization tab.
Court Games
NOTE This quest is a Seasonal Quest, and can only be completed during the Summer Update season, which runs from 07/14/2022 to 09/13/2022.
Also note, this quest is not able to be completed yet. Only the first step is currently available. This is not a bug, and the quest is meant to unlock over the course of the Season. I will update the steps as further parts unlock.
Part 1:
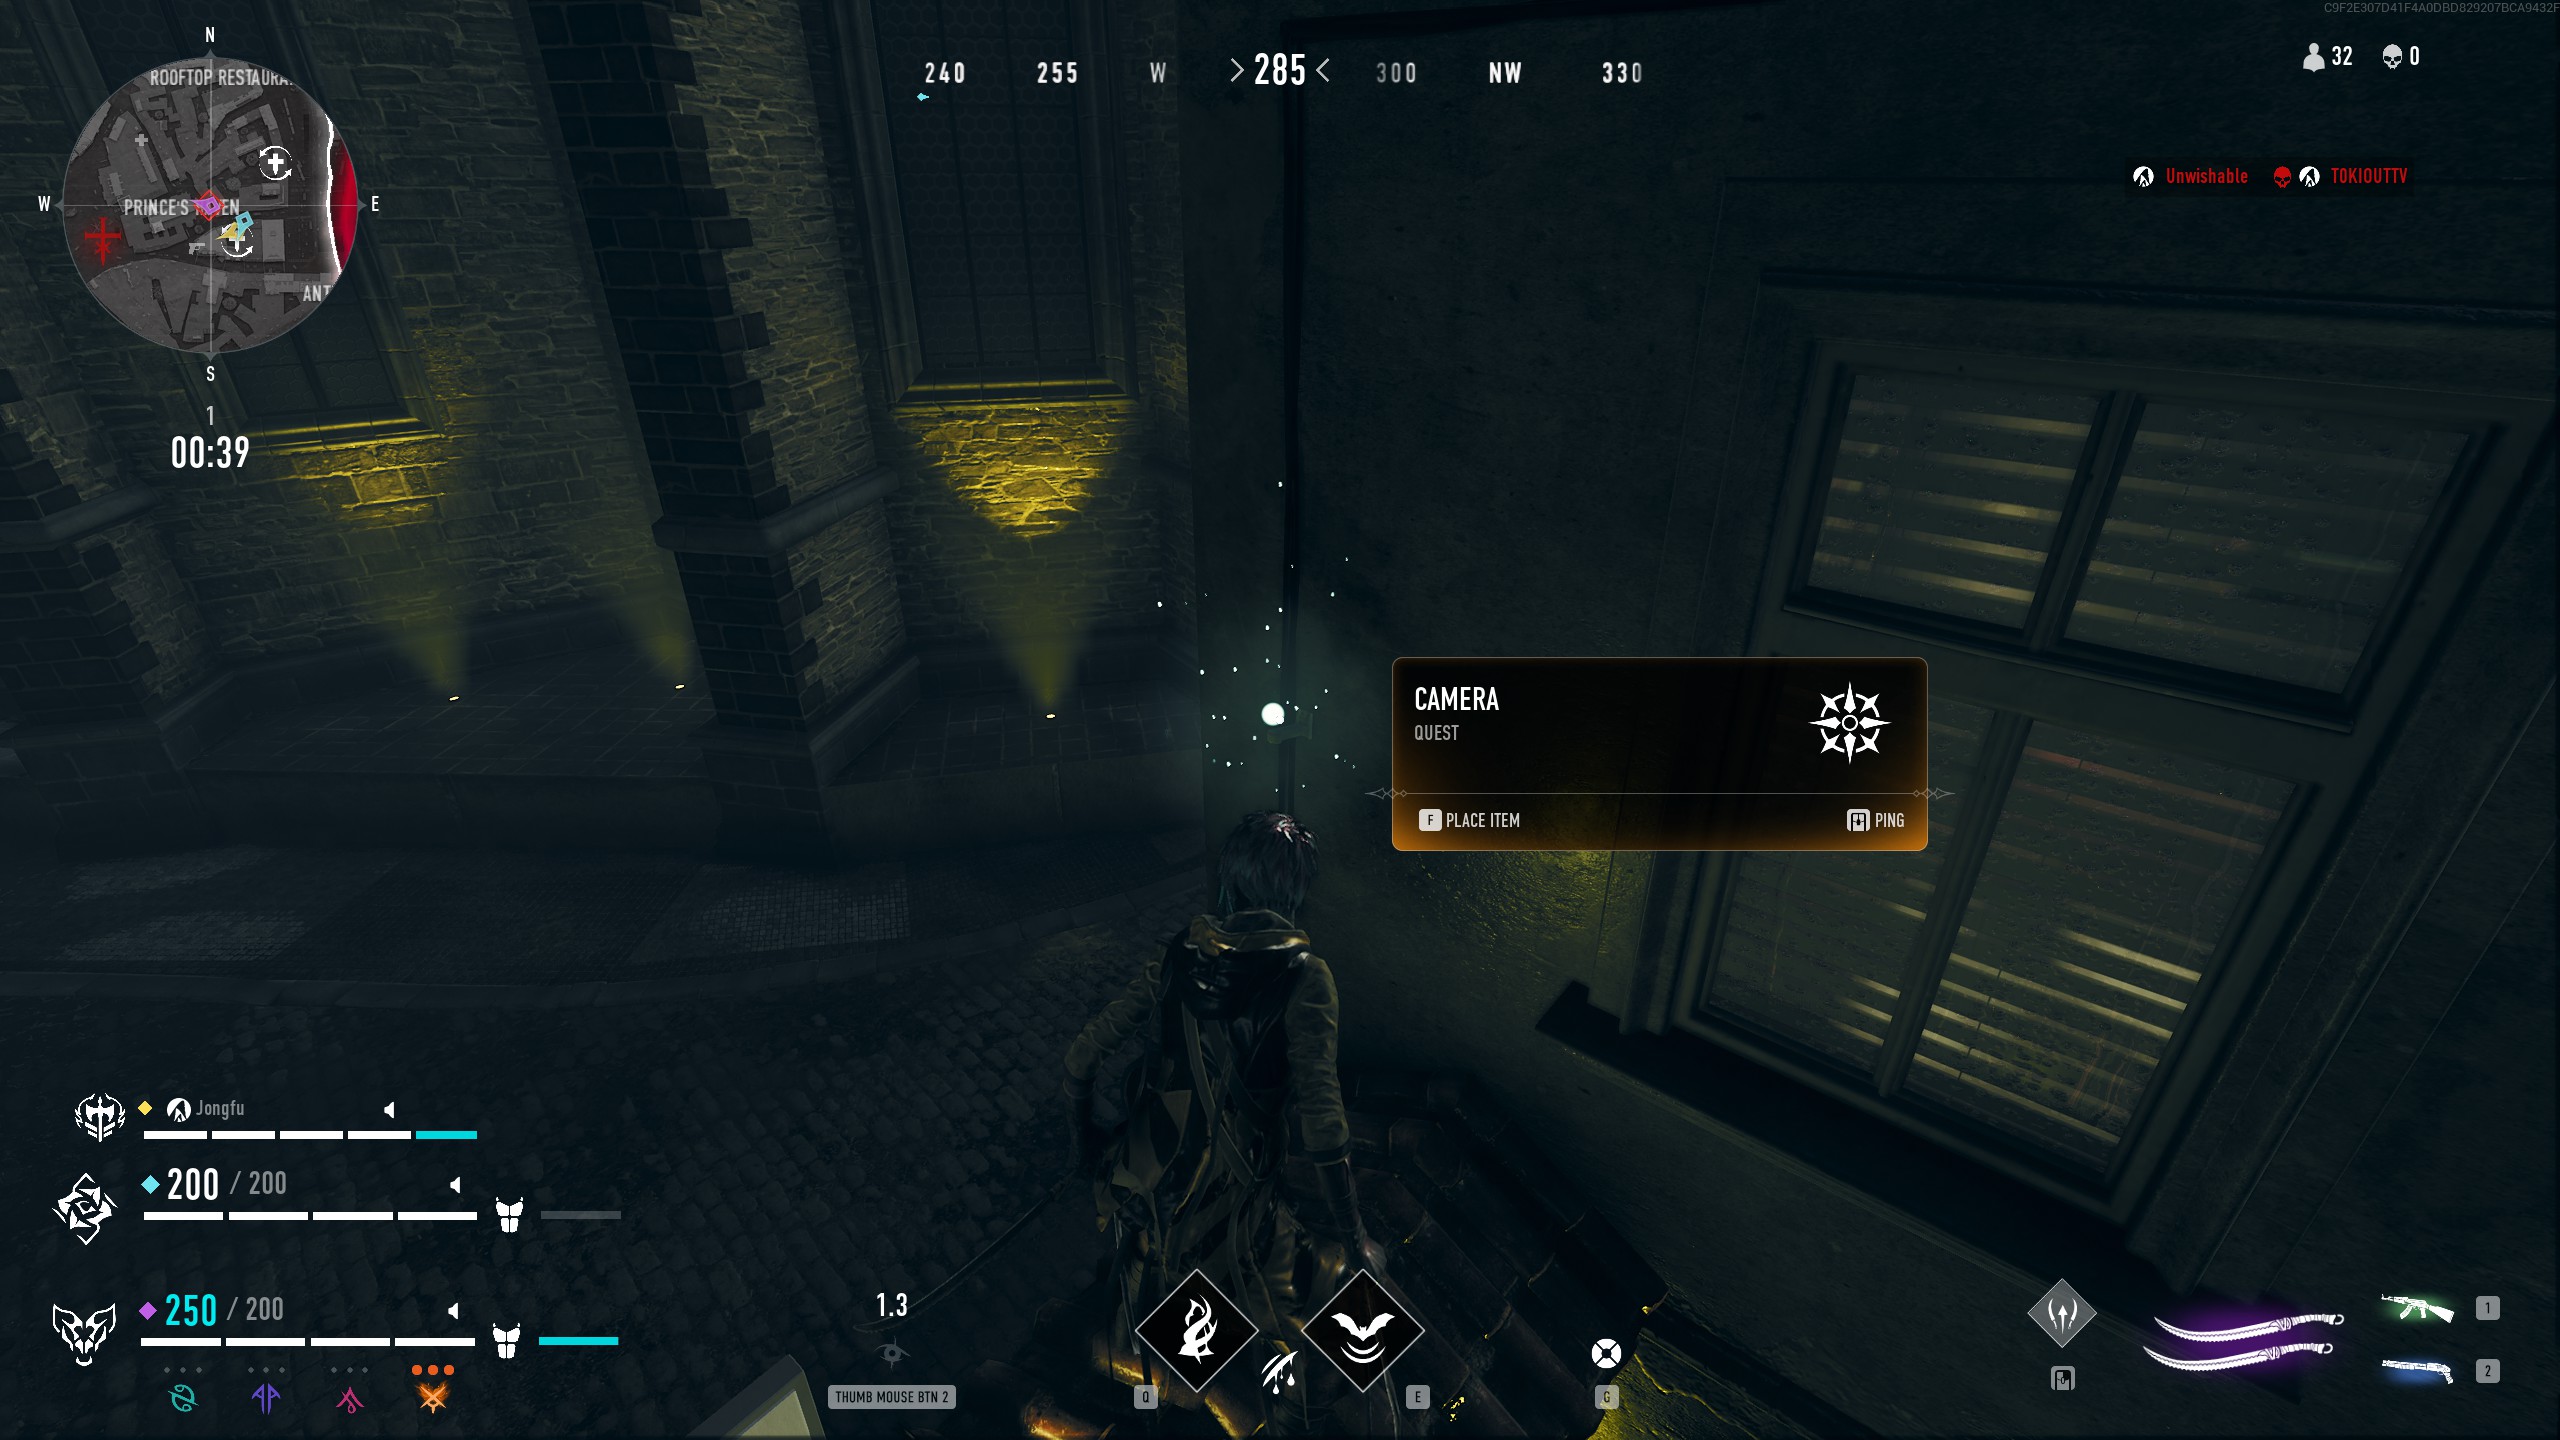
Kirill is suspicious of Em's motivations and wants you to do some digging. He requests that you set up a camera near the Prince's Haven, and leave instructions for one of his contacts near the Abandoned Mall. Both locations are marked on the map.
Camera setup location:
Instruction drop off location:
Once you complete both tasks, head back to Kirill. The quest will stop progressing here as of 07/14/2022.
Part 2:
This part of the quest is not yet available.
Part 3:
This part of the quest is not yet available.
Part 4:
This part of the quest is not yet available.
Part 5:
This part of the quest is not yet available.
Reward:
Twenty Questions
Part 1:
This quest begins with Kirill, who decides he wants "loosen everyone up" and directs you to Maia to ask a question. Head over to Maia, who is taken aback by the question and does not answer. Returning to Kirill, he expresses his disappointment.
Part 2:
Speaking to Kirill again, he decides turn to Custos next and sends you to pose a question to him. Heading to Custos, you are given a direct, if long, answer to the question. Returning to Kirill, he is pleased with your success.
Part 3:
Next, Kirill wishes to learn more about Em, and sends you her way to pose yet another question. Head to Em's location and speak with her. She presumes some one put you up to this and sends you away empty handed. Kirill expected as much, but thanks you for trying.
Part 4:
Finally, Kirill turns his sights on Omnis. Finding Omnis in the depths of the Elysium, they manage to talk around the question, giving only a partial answer amidst their long response. Return to Kirill one final time. Kirill expected as much, but appreciates your help with everything.
Reward:
Science Project
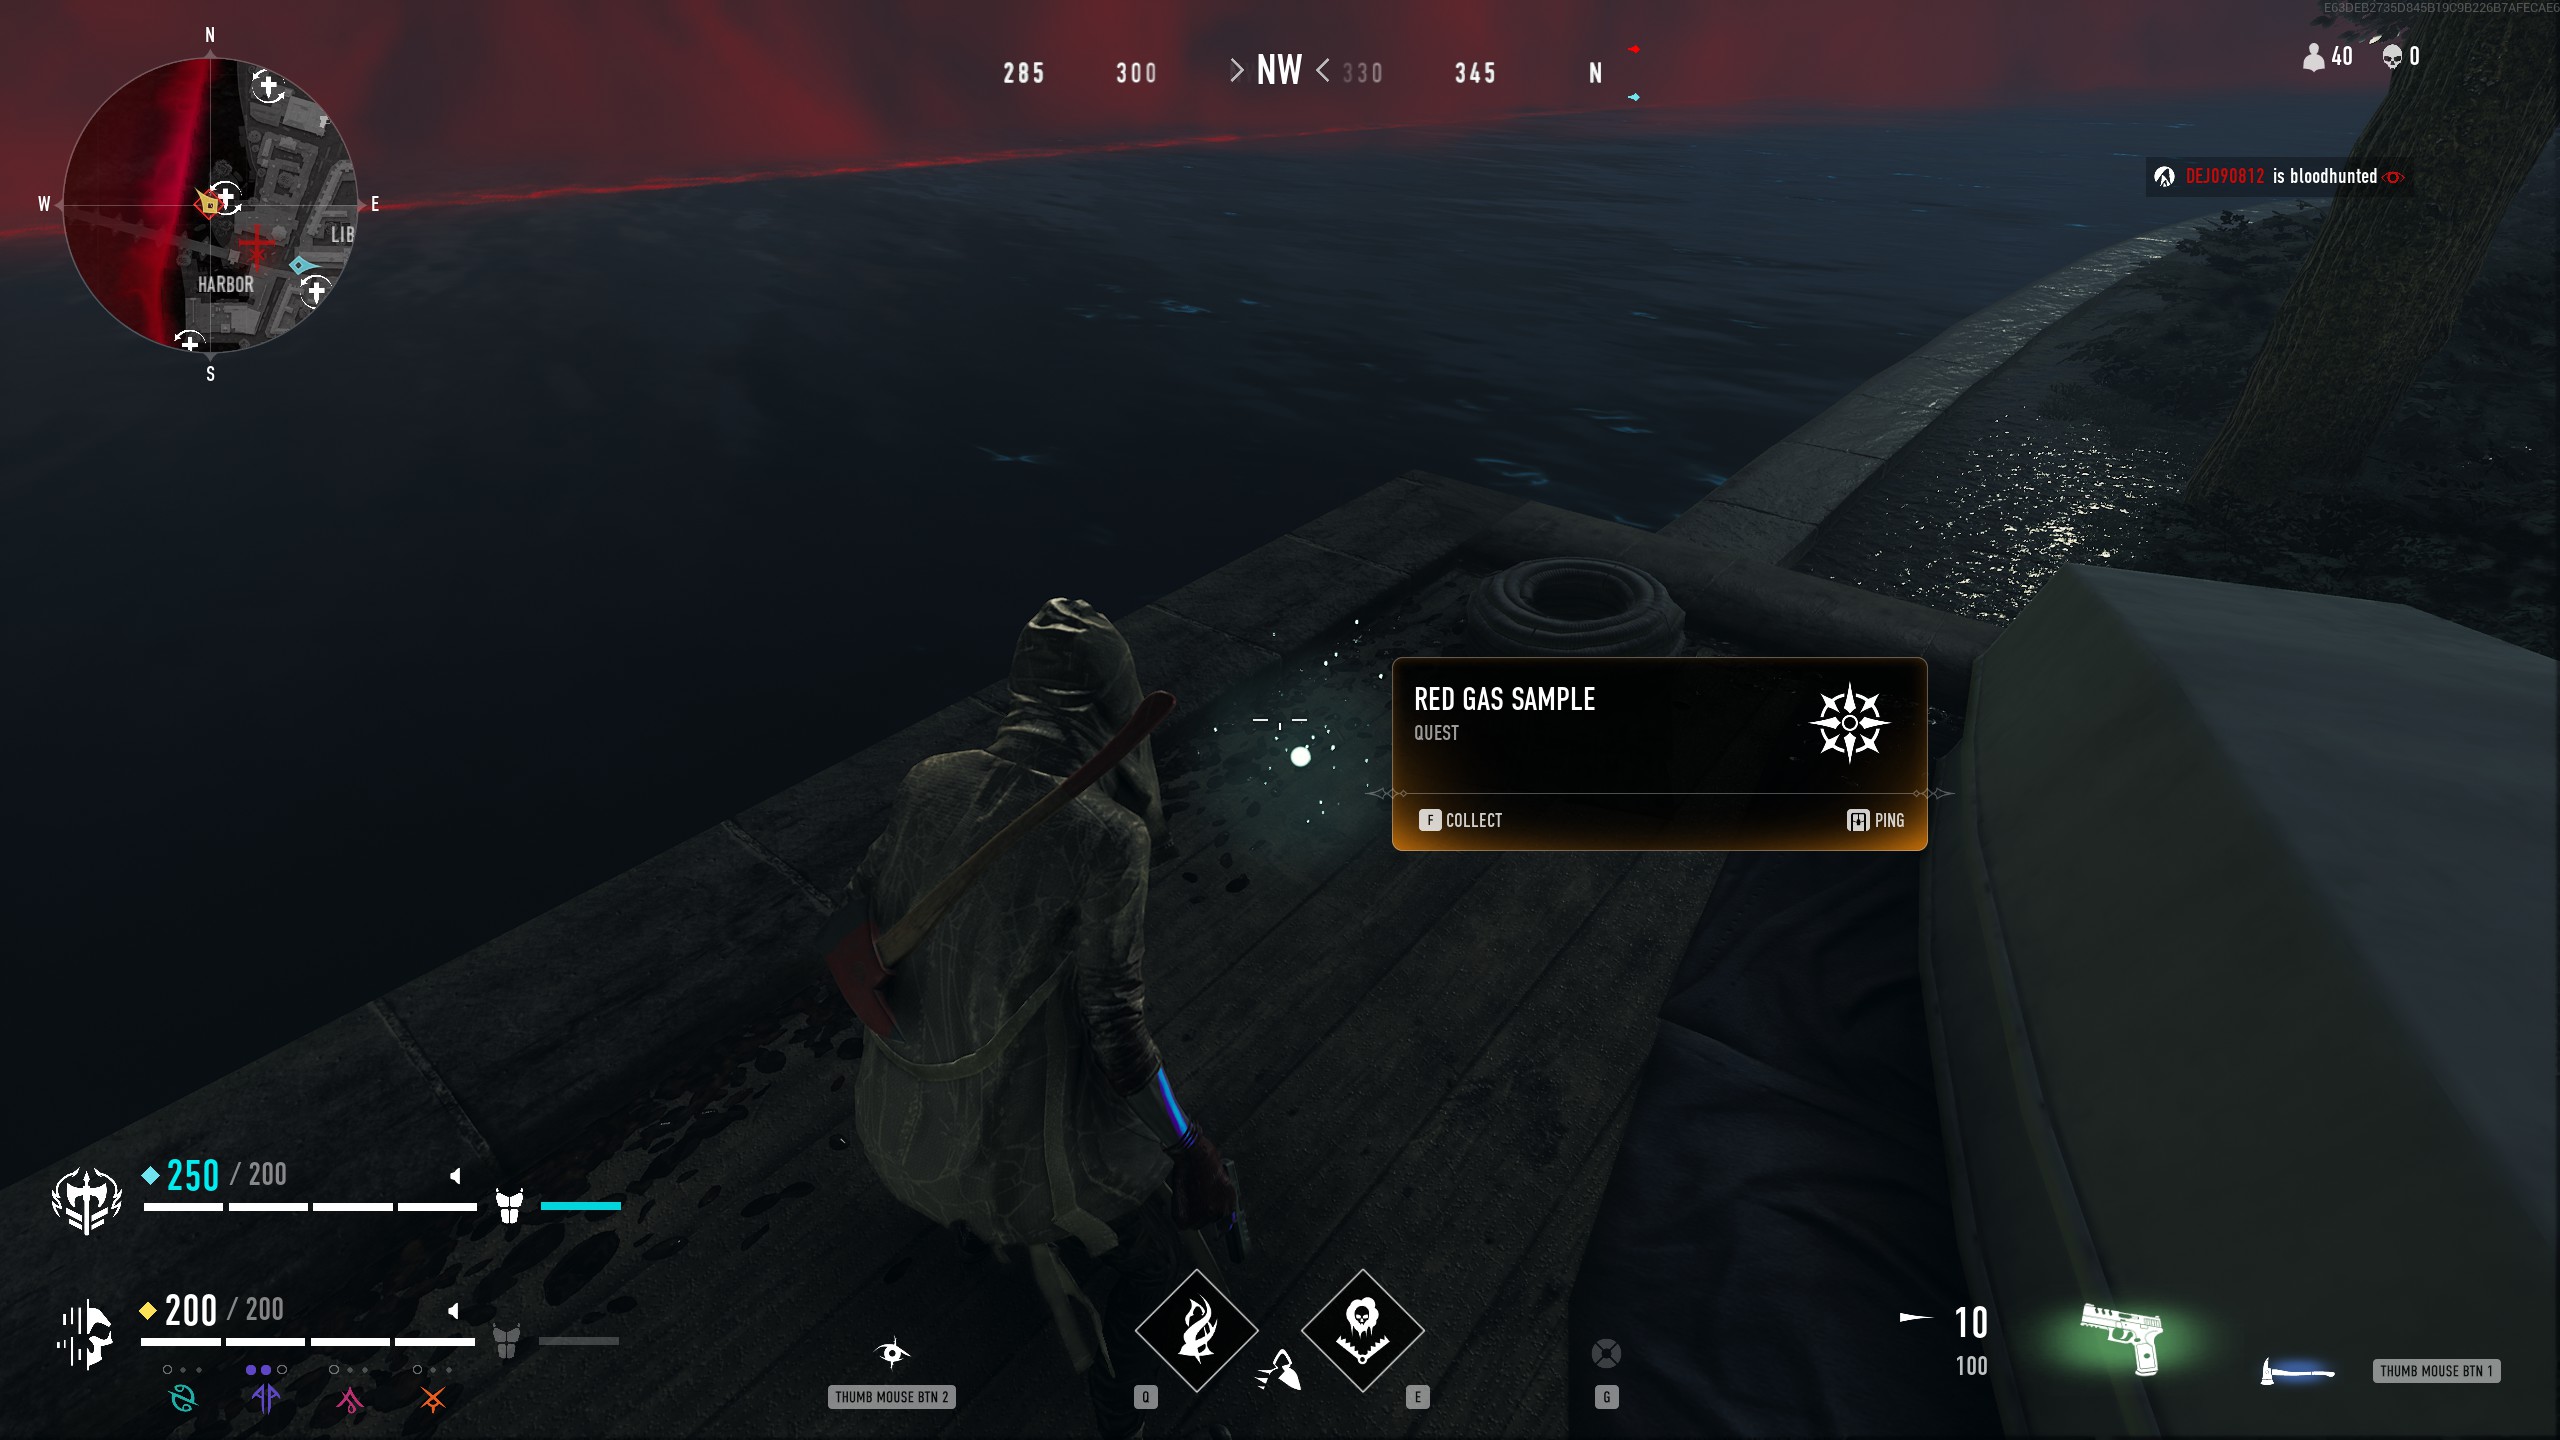

This quest begins by speaking with Omnis.
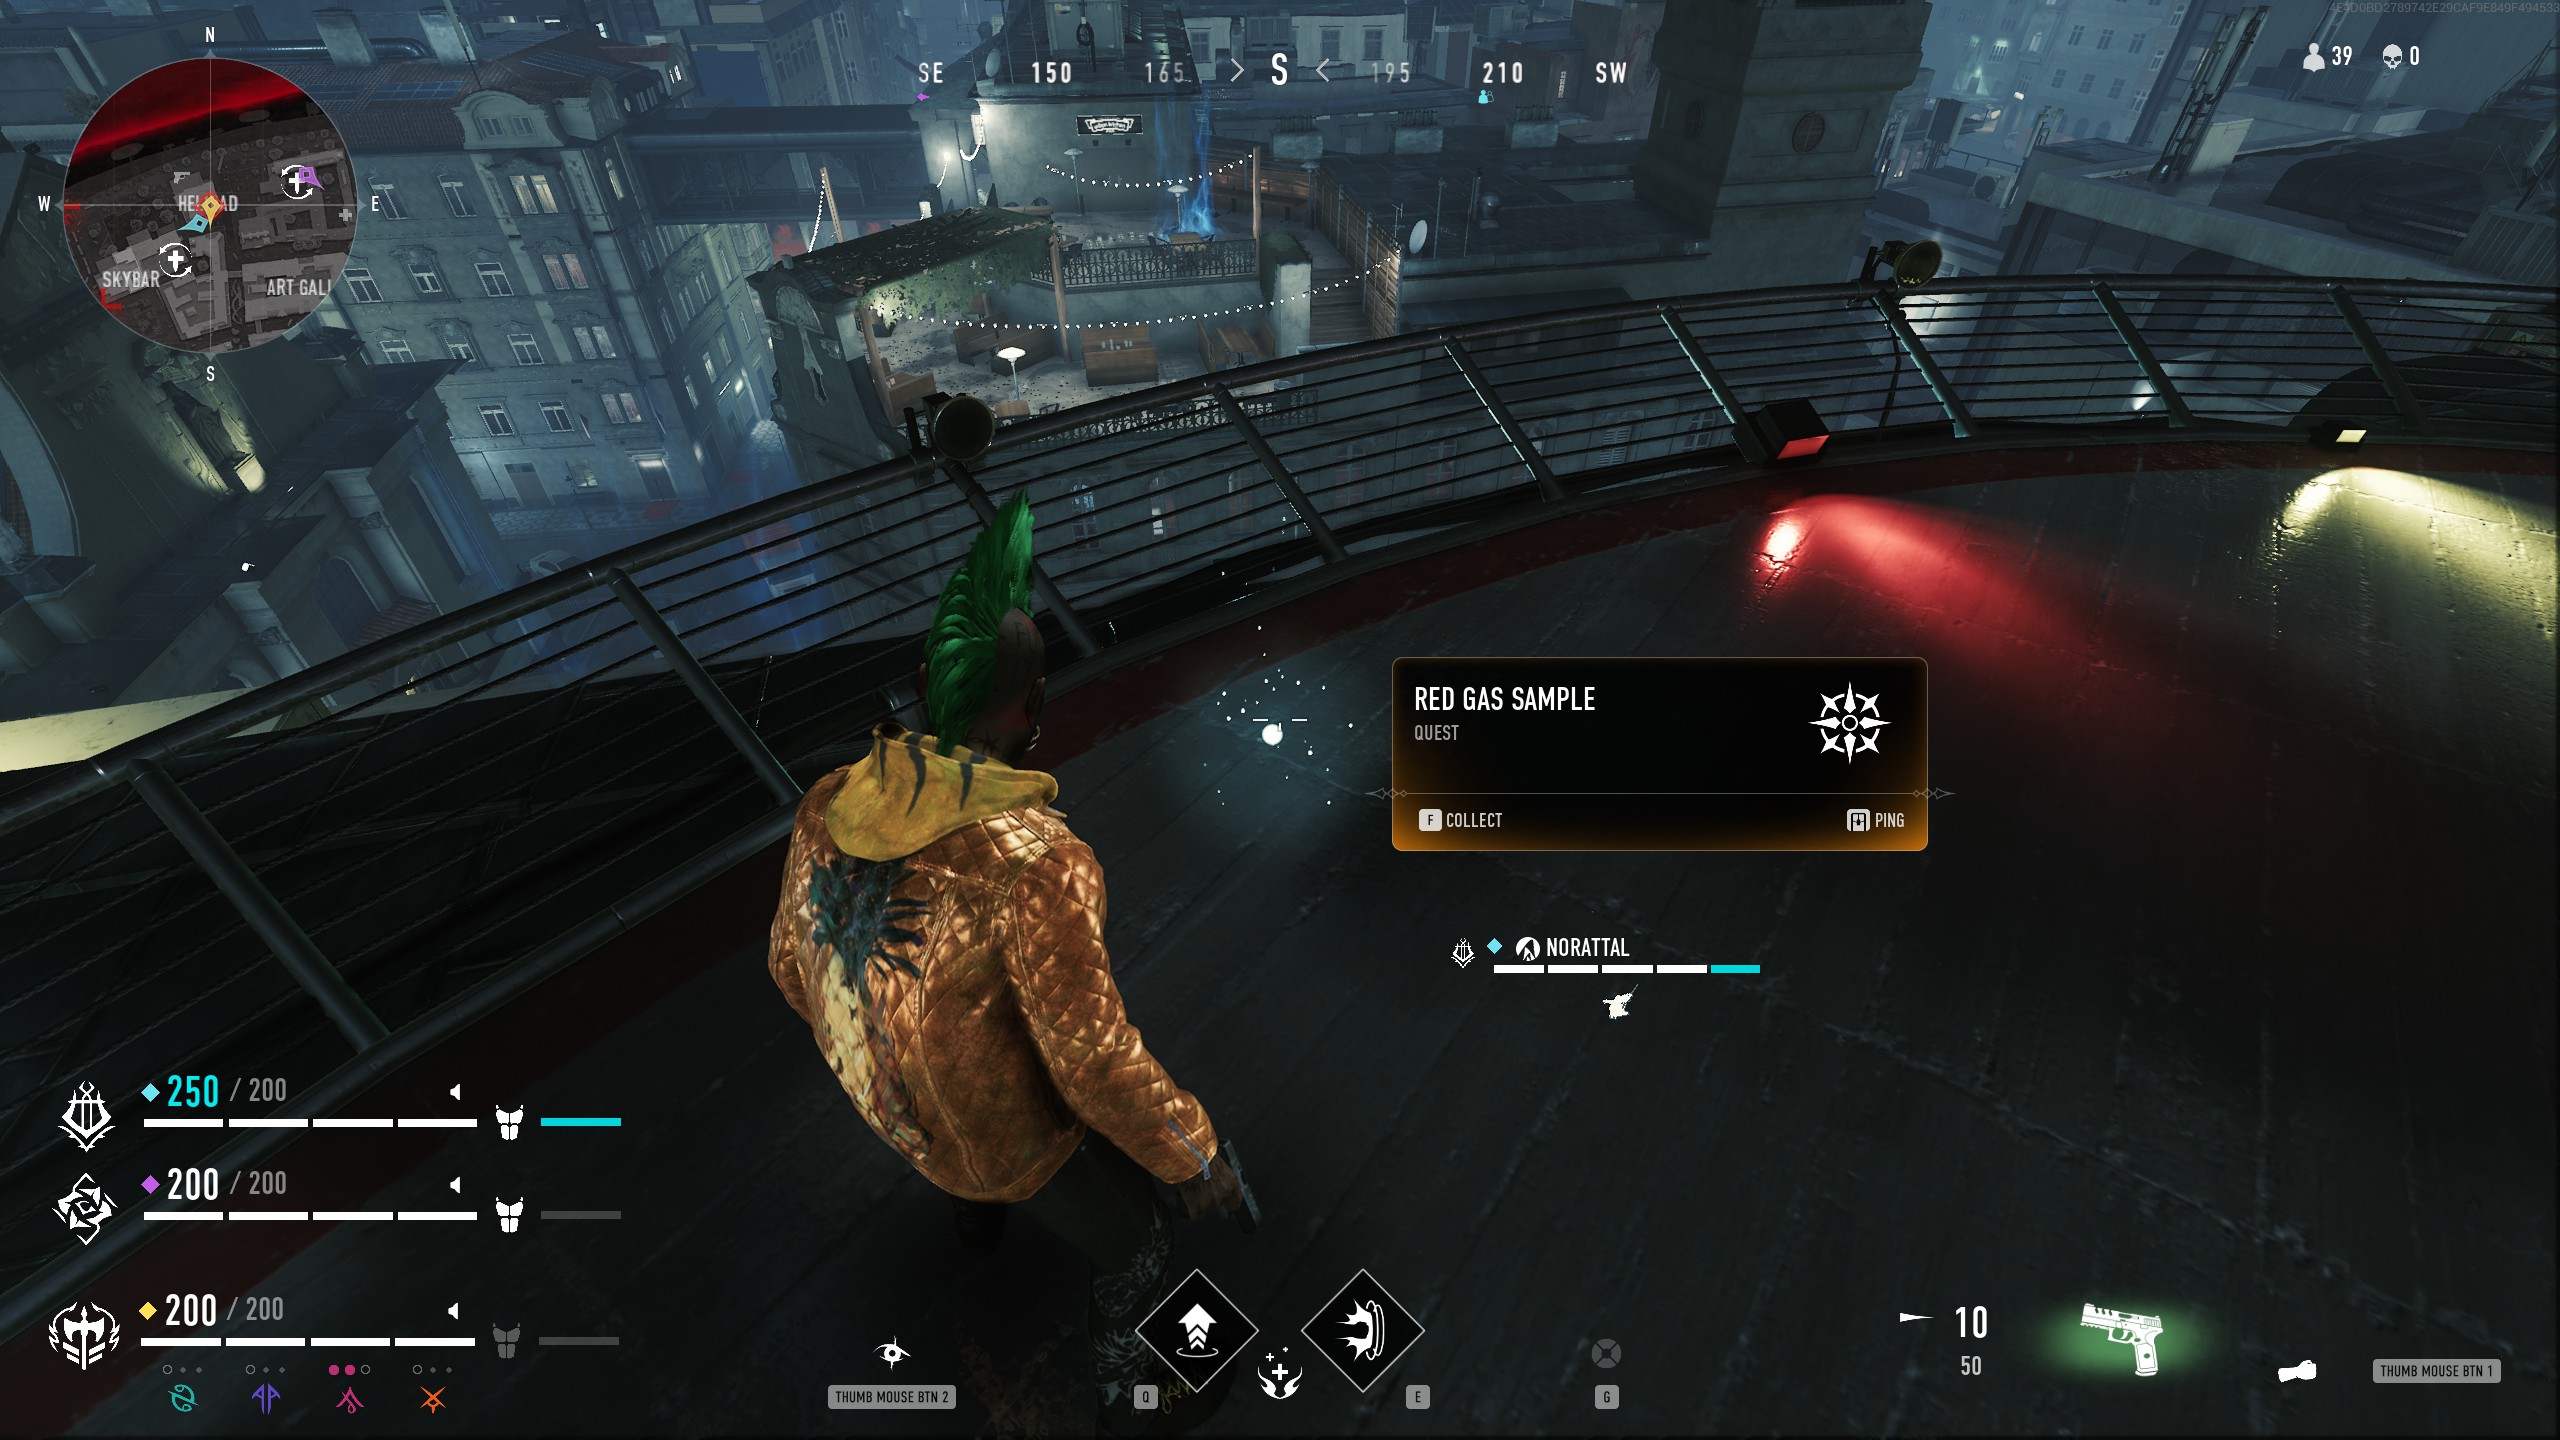
Part 1:
Omnis requests that you help him investigate the Red Gas. To this end, they want you to gather samples for them from throughout Prague. The first sample they want is at the Harbor. You can gather the sample at a small dock just north of the Harbor Bridge as seen below.
Part 2:
Return to Omnis and learn that the next sample they want can be found at the Helipad. For this one, just climb all the way up to the Helipad itself to find the sampling spot as seen below.
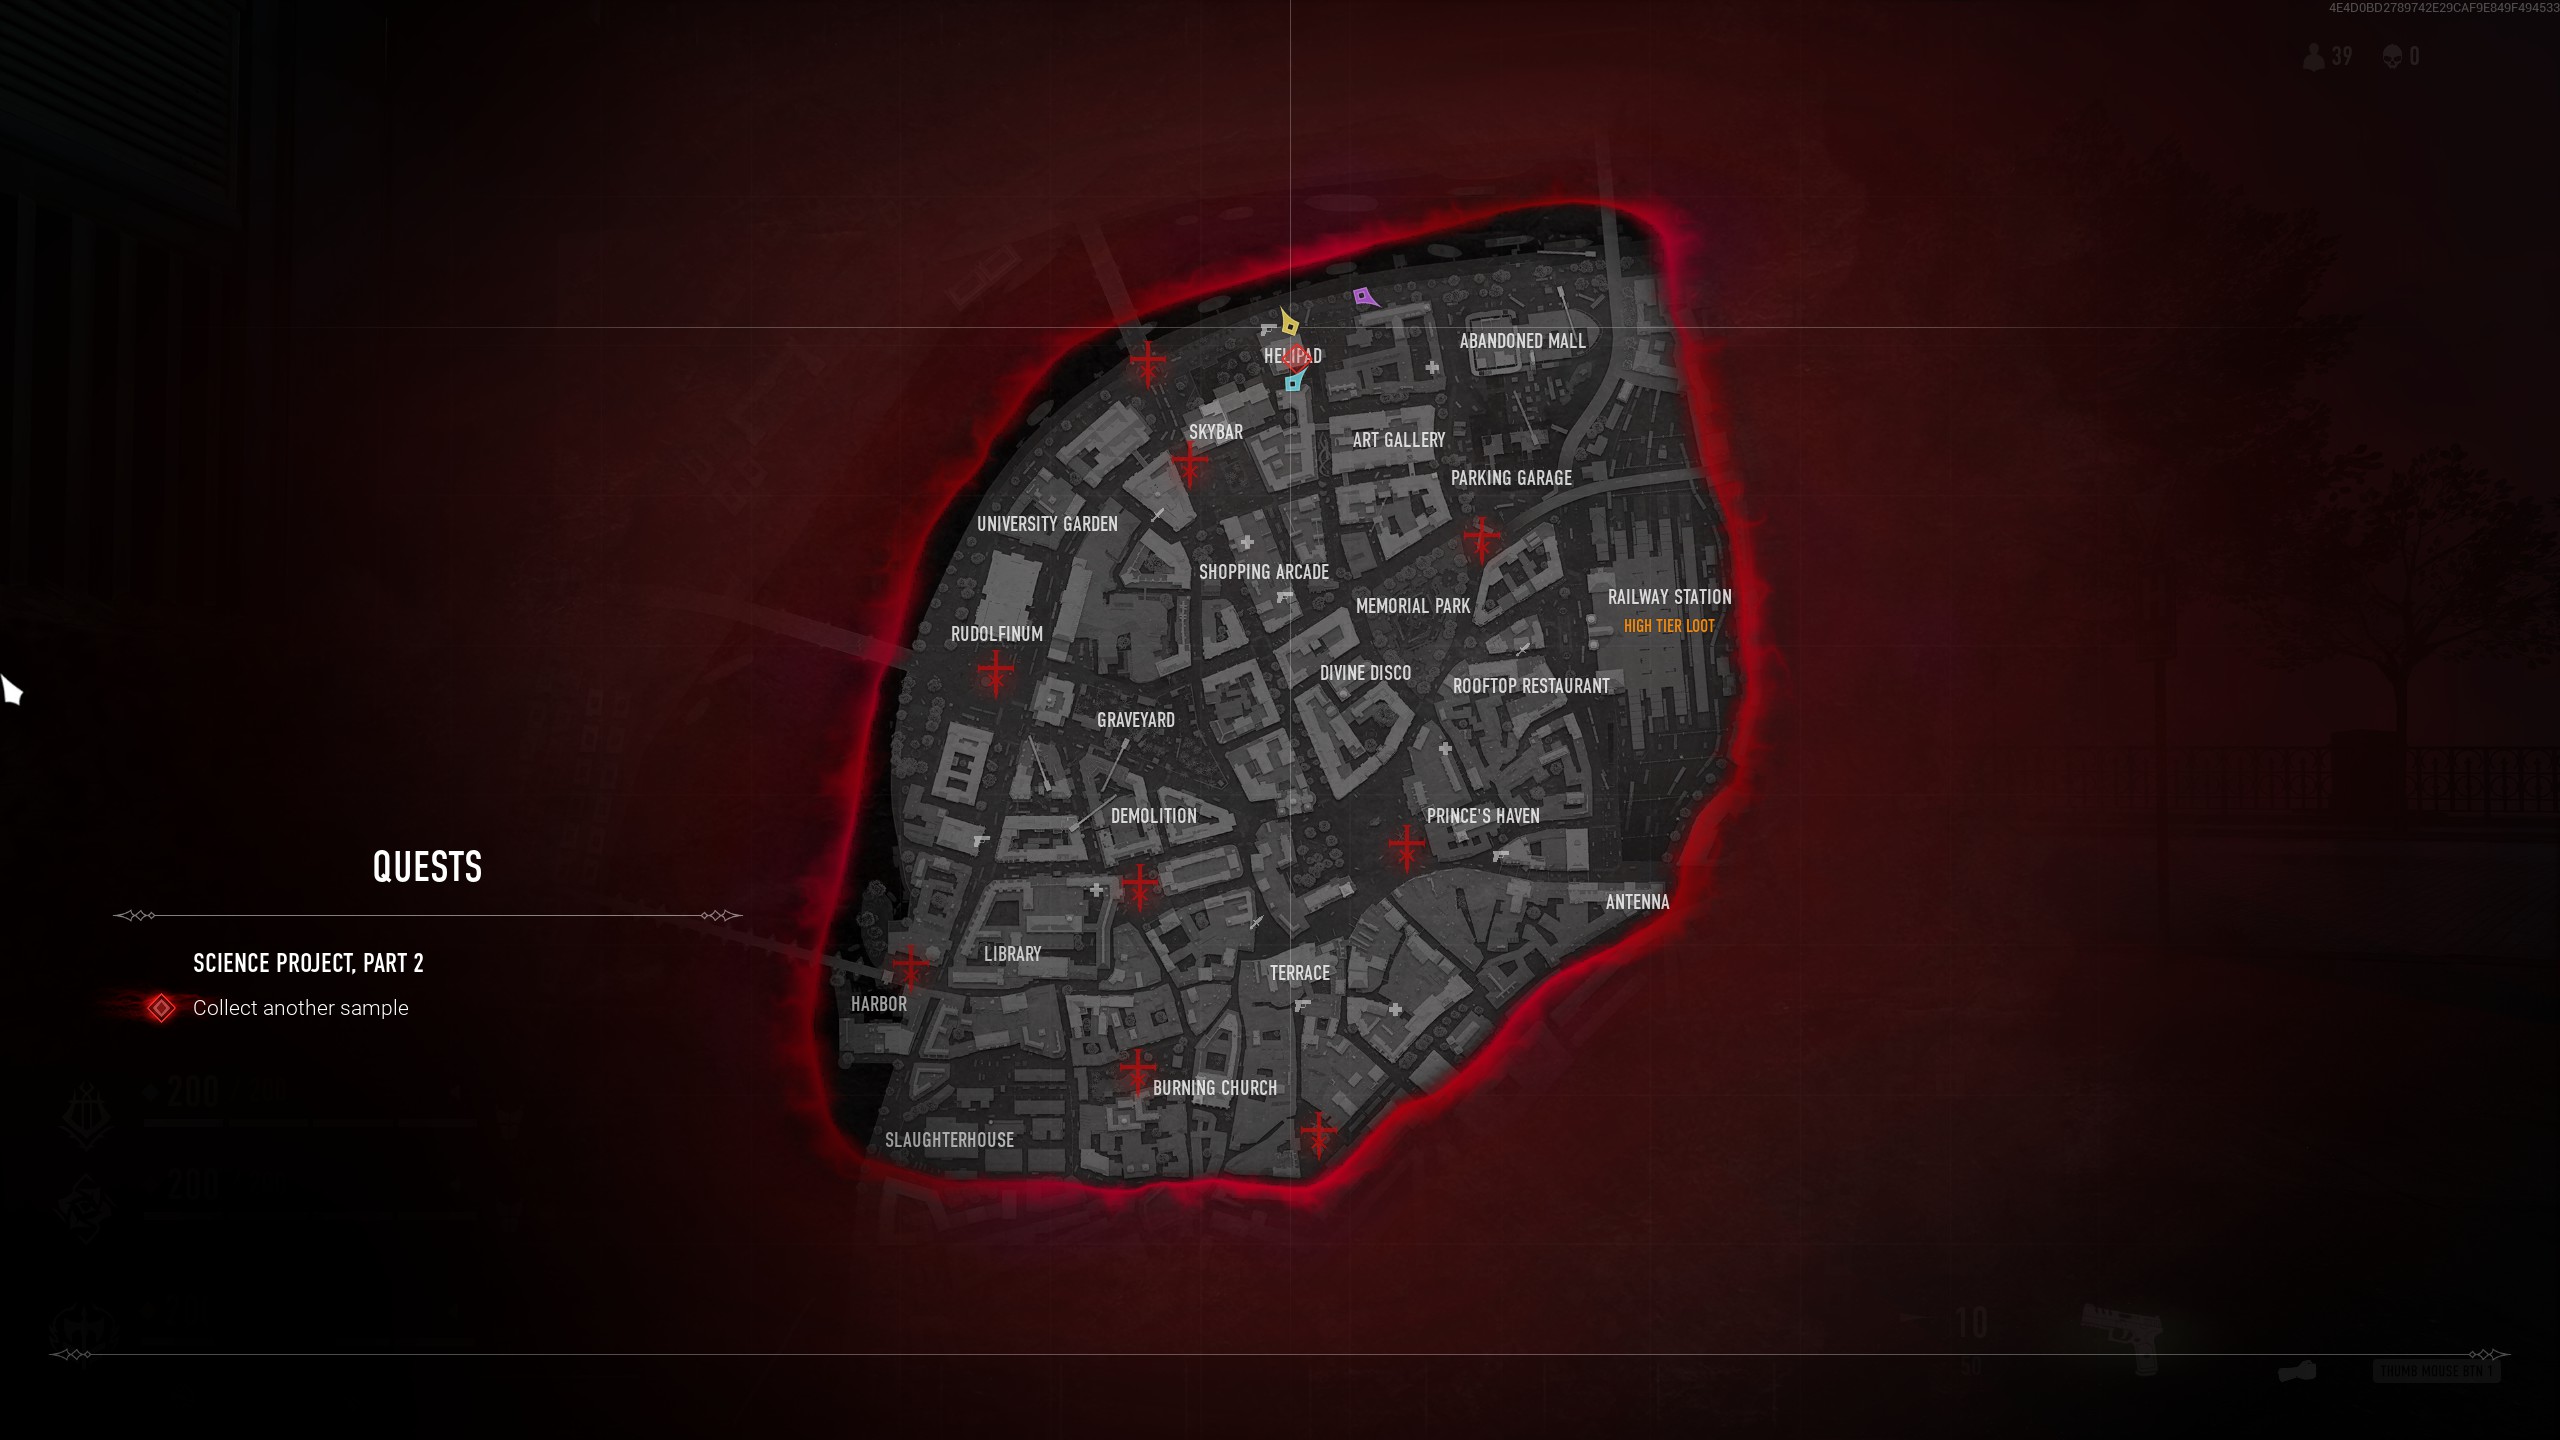
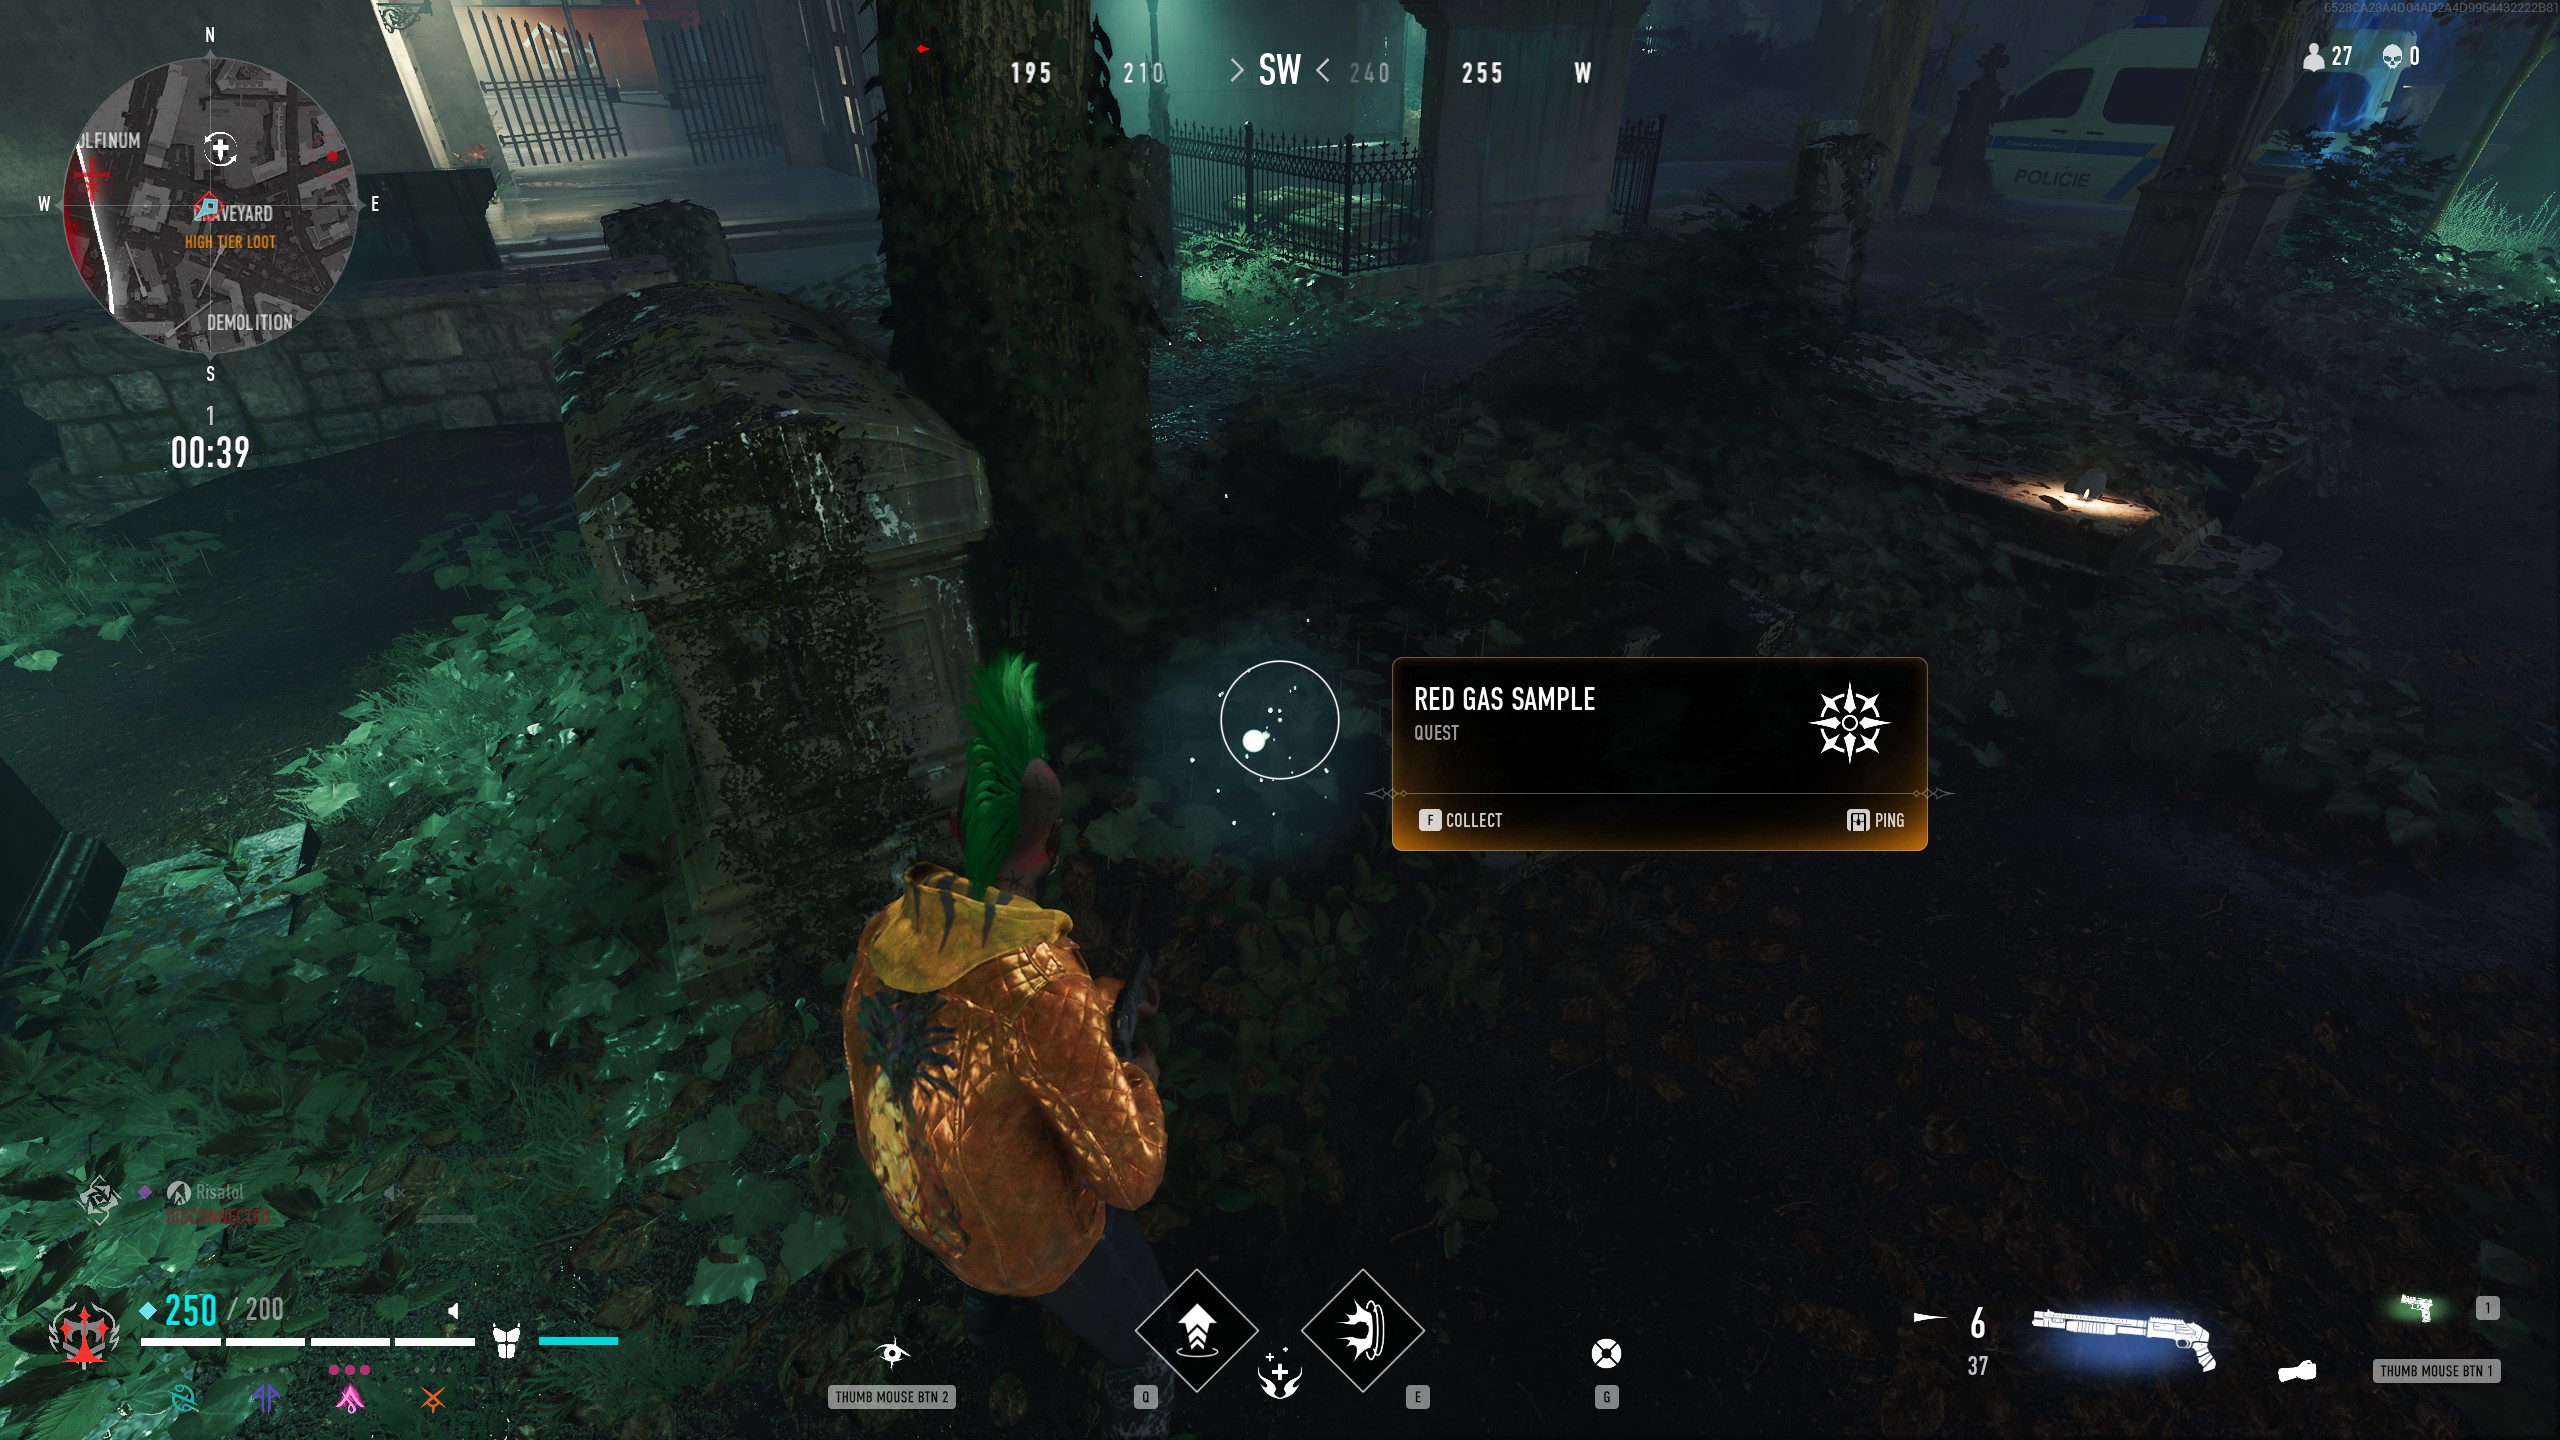
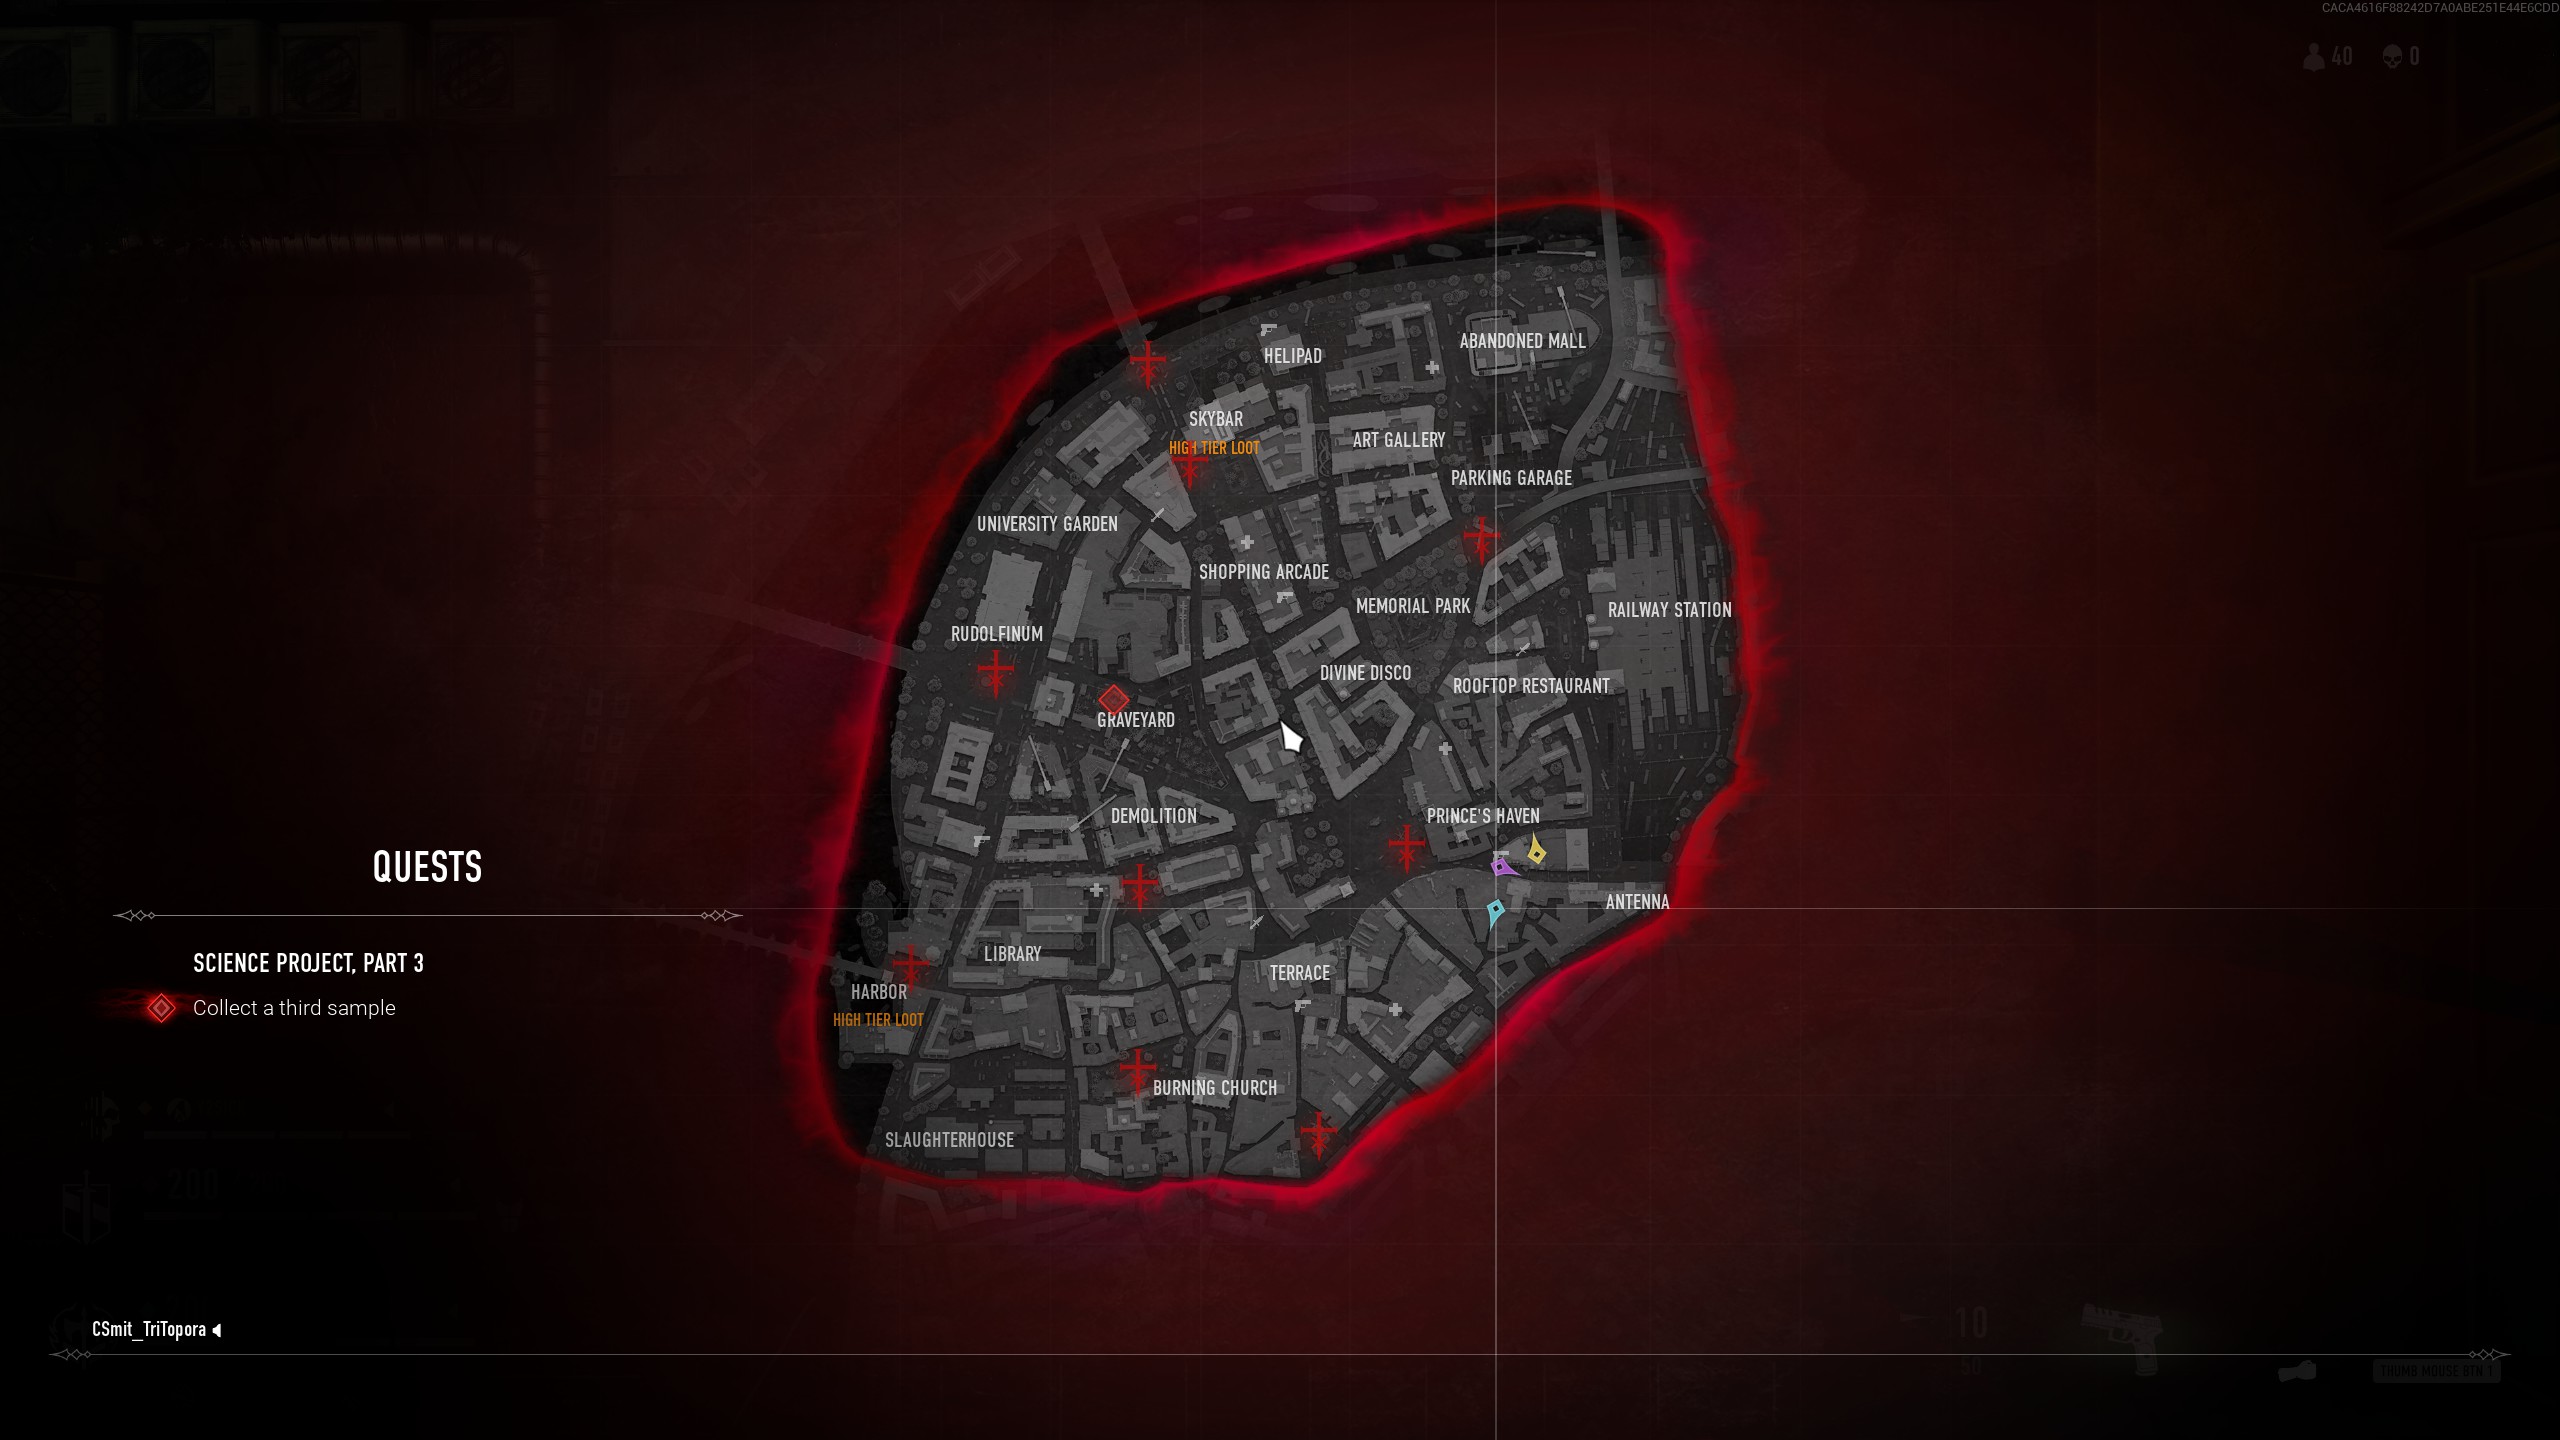
Part 3:
Return to Omnis once more and you will be sent to collect a 3rd sample from the Graveyard. You will find the spot near a tree near the Northwest corner of the graveyard.
Part 4:
Returning to Omnis you will learn that the final sample can be collected at the Burning Church. You can find the collection spot for this right in front of the flames coming out of the top of the Southeast corner of the Church roof.
Reward:
Return to Omnis with the last sample and they will thank you for your assistance. Your reward is waiting in your Customizations.
A Friend Indeed

This quest begins by speaking with Omnis.
Part 1:
Omnis wishes your aid in protecting a group of vulnerable individuals in Prague. Begin by scouting the city.
For this first step, you simply need to travel 2000m while in matches. This does not have to be done in a single match, though doing so is possible. Just stay on the move and you'll unlock it before long.
Part 2:
Return to Omnis, and they'll determine that the Entity are an imminent threat to the group under their protection. For this step, you need to eliminate 3 Entity Hunters. This can be done in any location there are Entity present, which is denote by this symbol on the map:
Part 3:
Upon returning to Omnis this time, they send you after another group that poses an imminent threat, the Anarchs. This step can be a bit tricky as it requires you to eliminate 2 teams of Anarchs. As such, it can only be performed in Duos or Trios mode. You must get credit for downing all the players that make up a particular enemy group. This can be a bit challenging if you are not communicating with your ally. You need only down them yourself. Damage done does not matter, and though both players must be eliminated, it does not have to be by you. Only putting them in a downed state matters. I have provided a short video showing my completion of the quest step upon the elimination of the last of the two in a group I had downed. (Please pardon the talking in the video, I was watching a stream when I recorded it).
https://youtu.be/pD8eBa6sWgc
Reward:
Omnis thanks you for your aid and your reward can be found in the Customization section of the menu.
Let's Talk About Sects

This quest begins by speaking with Custos.
Part 1:
Custos has begun to received strange reports from the city and thinks it could be related to the cultists that have begun to appear. For this first step, simply travel 2000m in the city. This does not need to be done in one match. Simply keep on the move while playing and this will complete quickly.
Part 2:
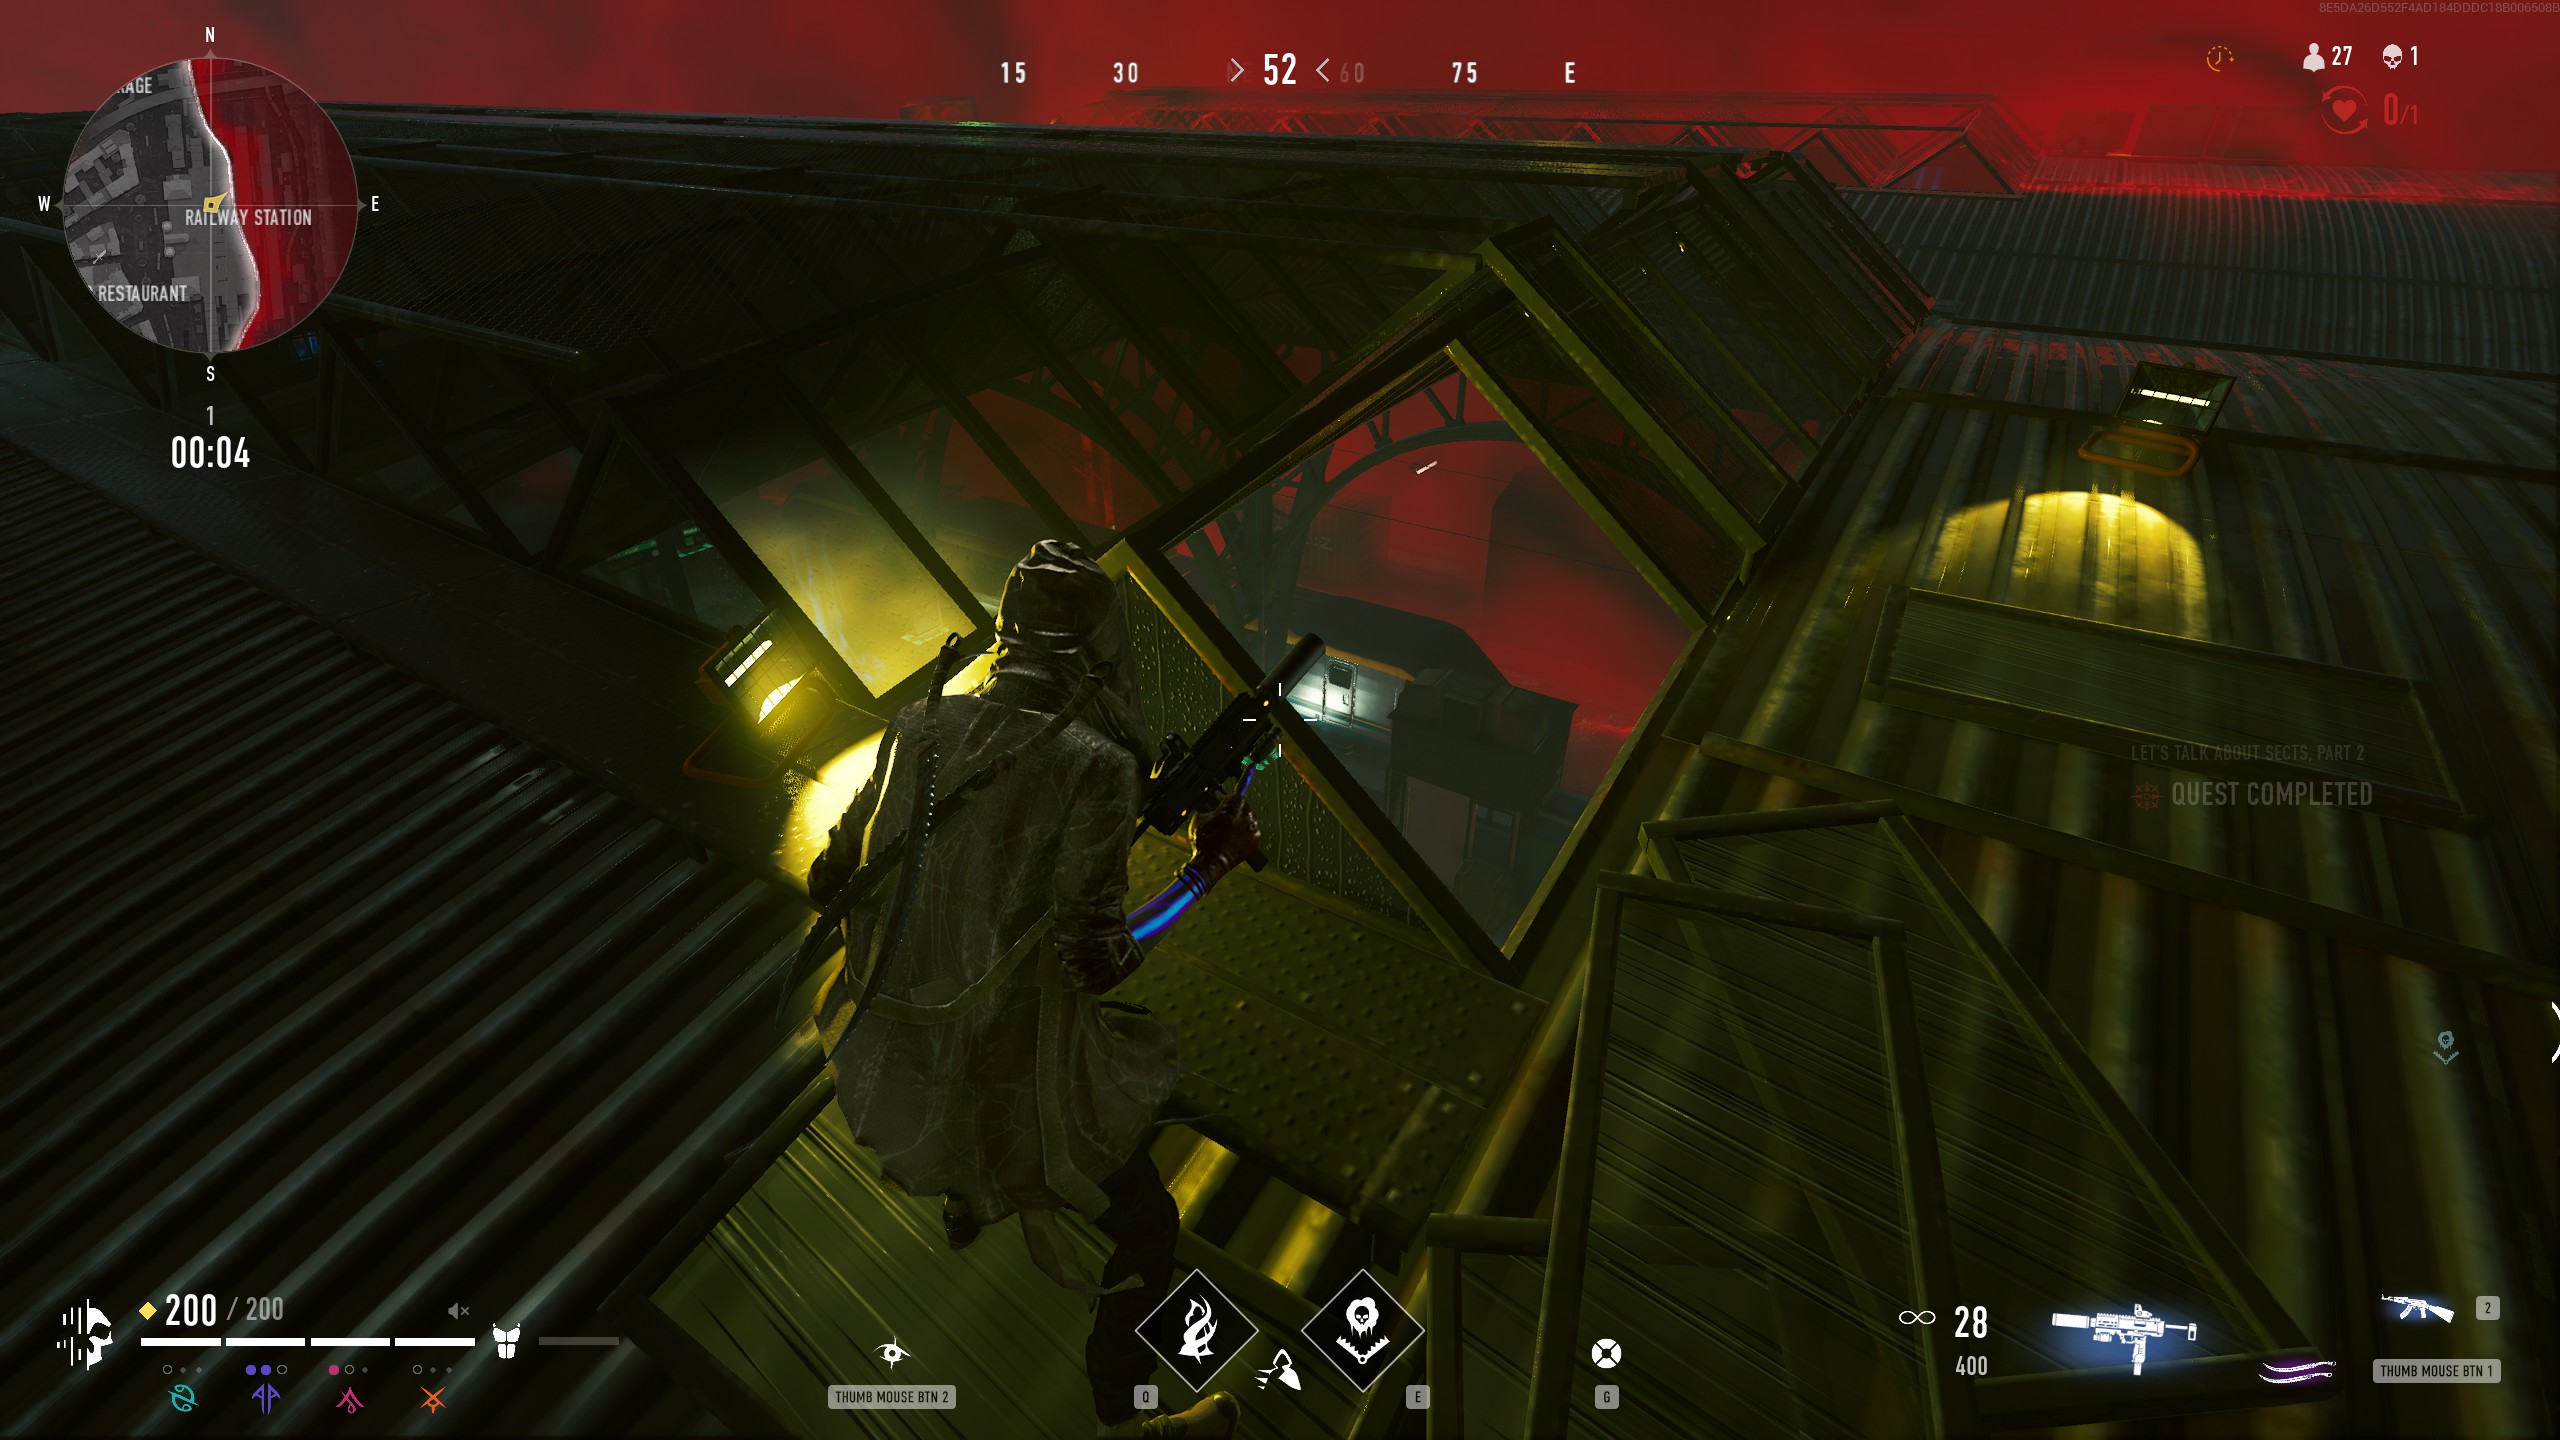
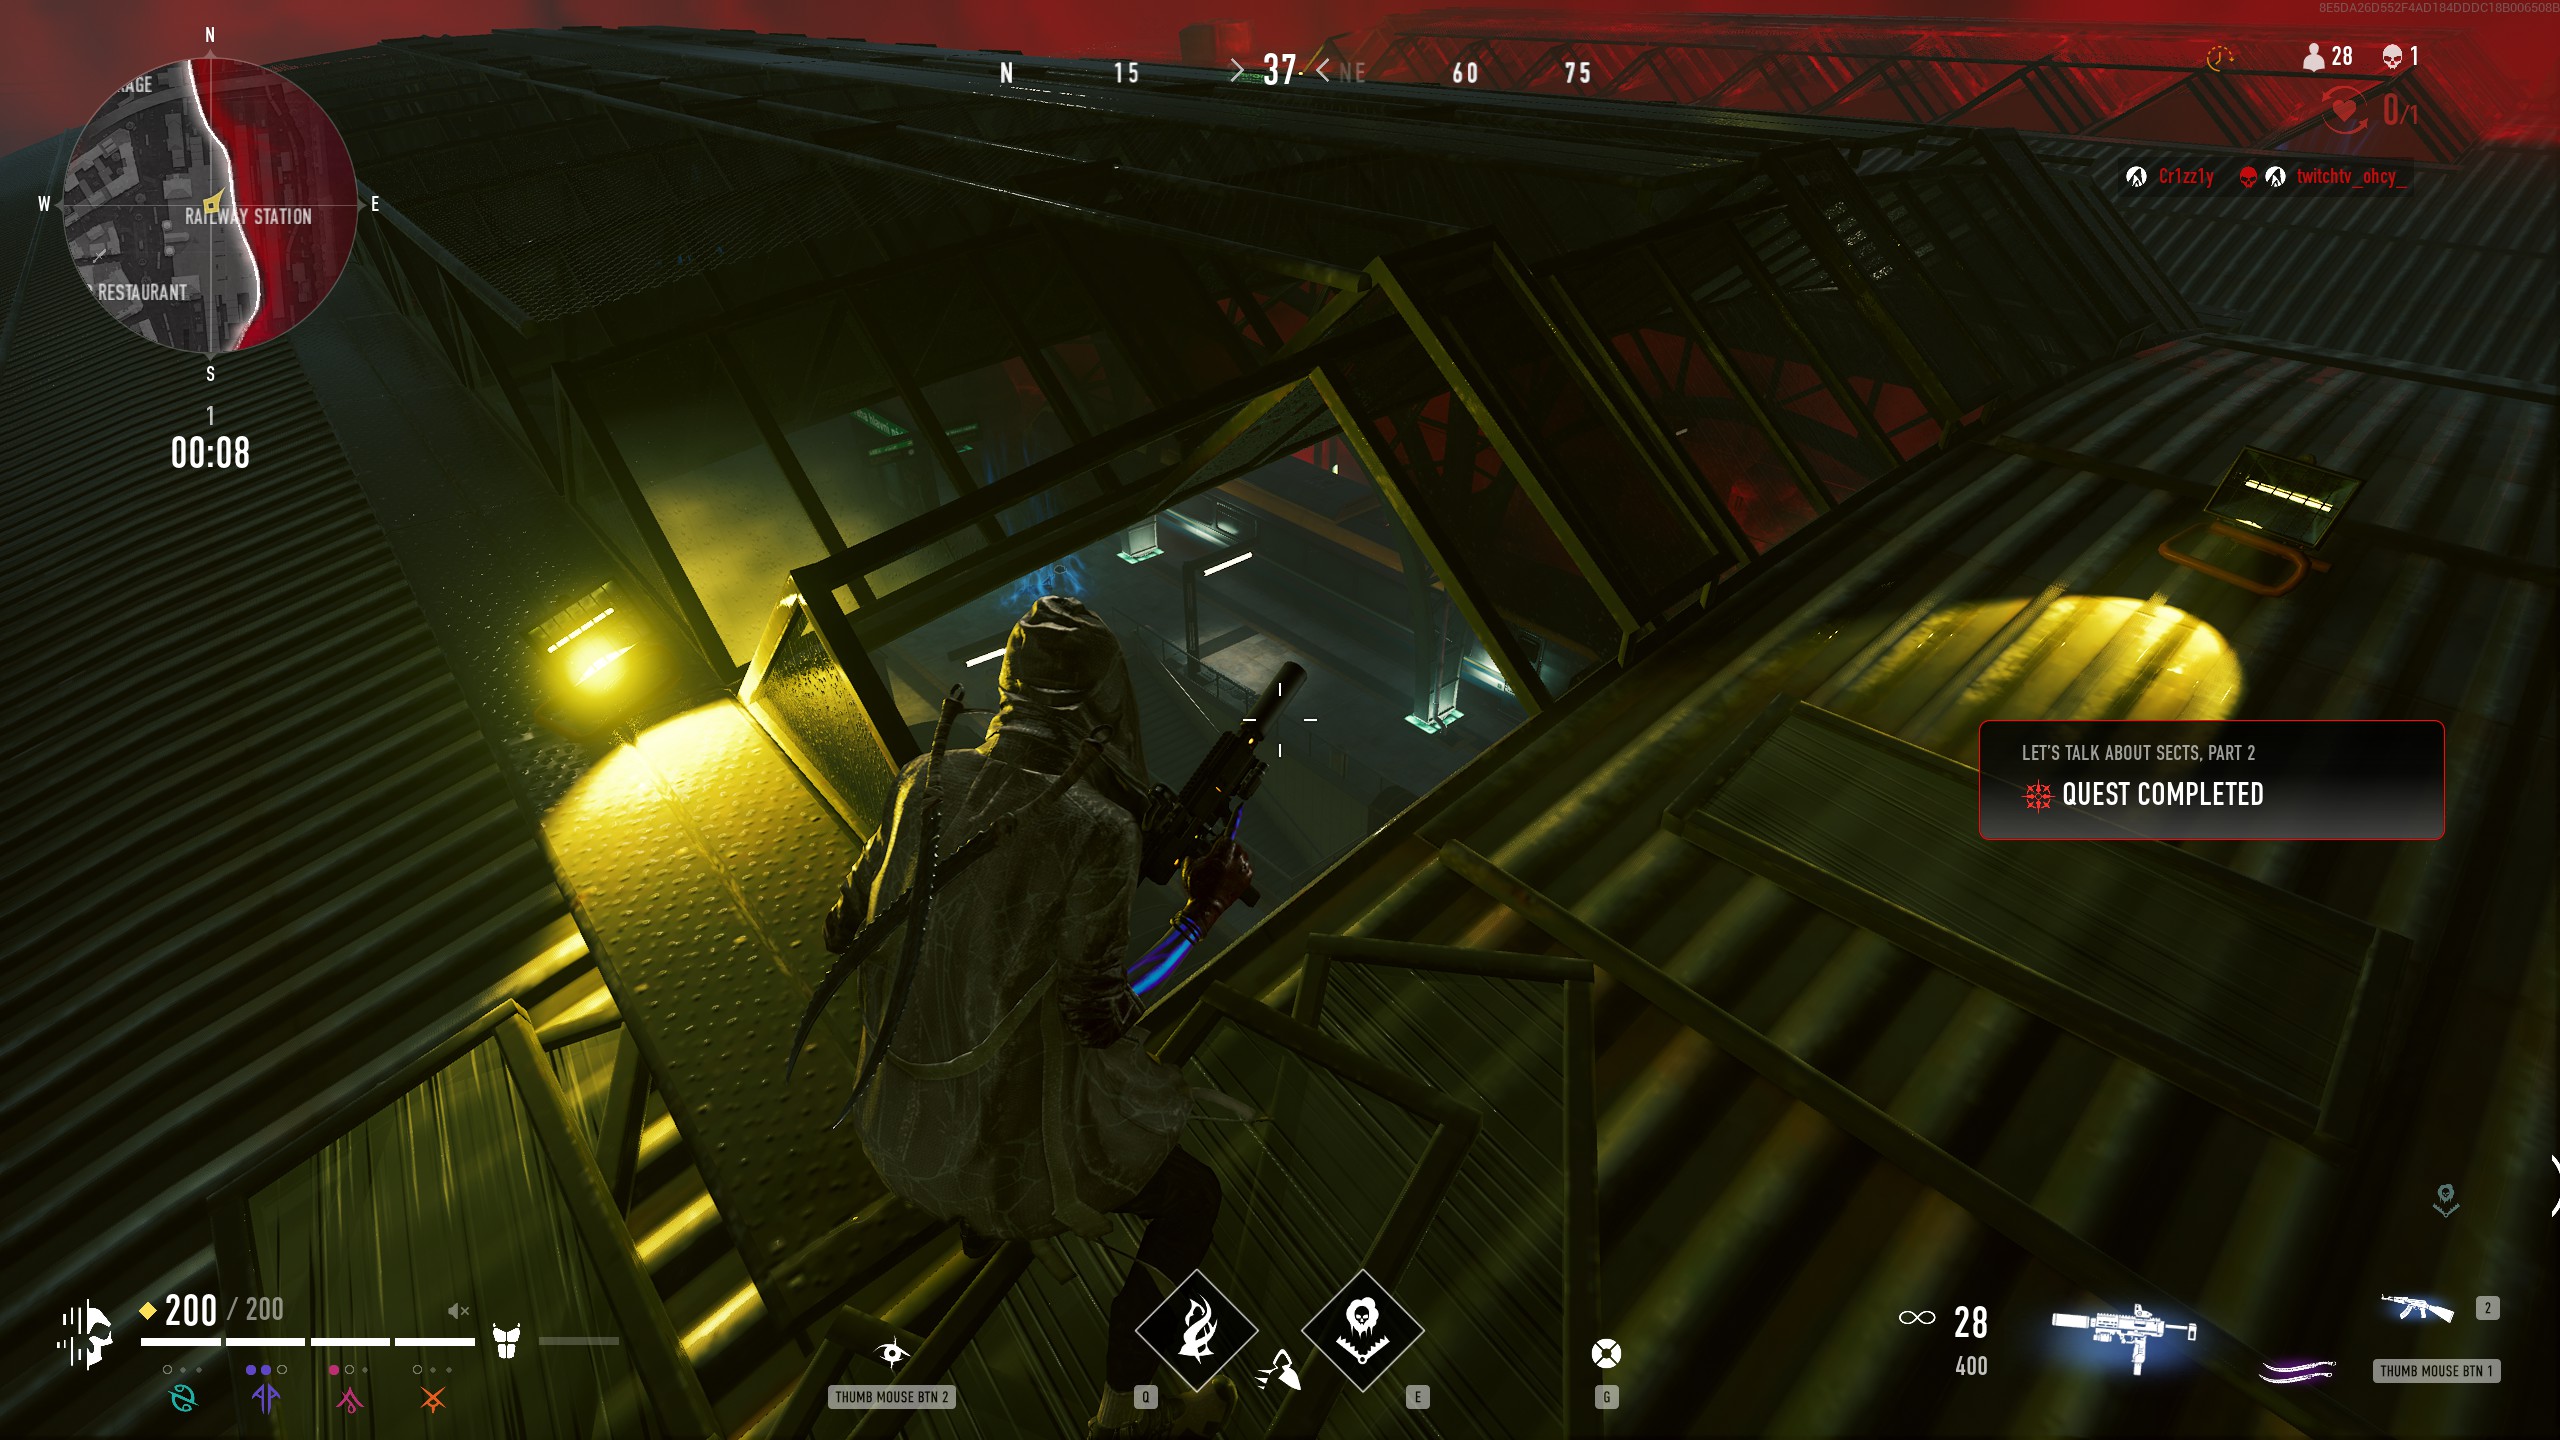
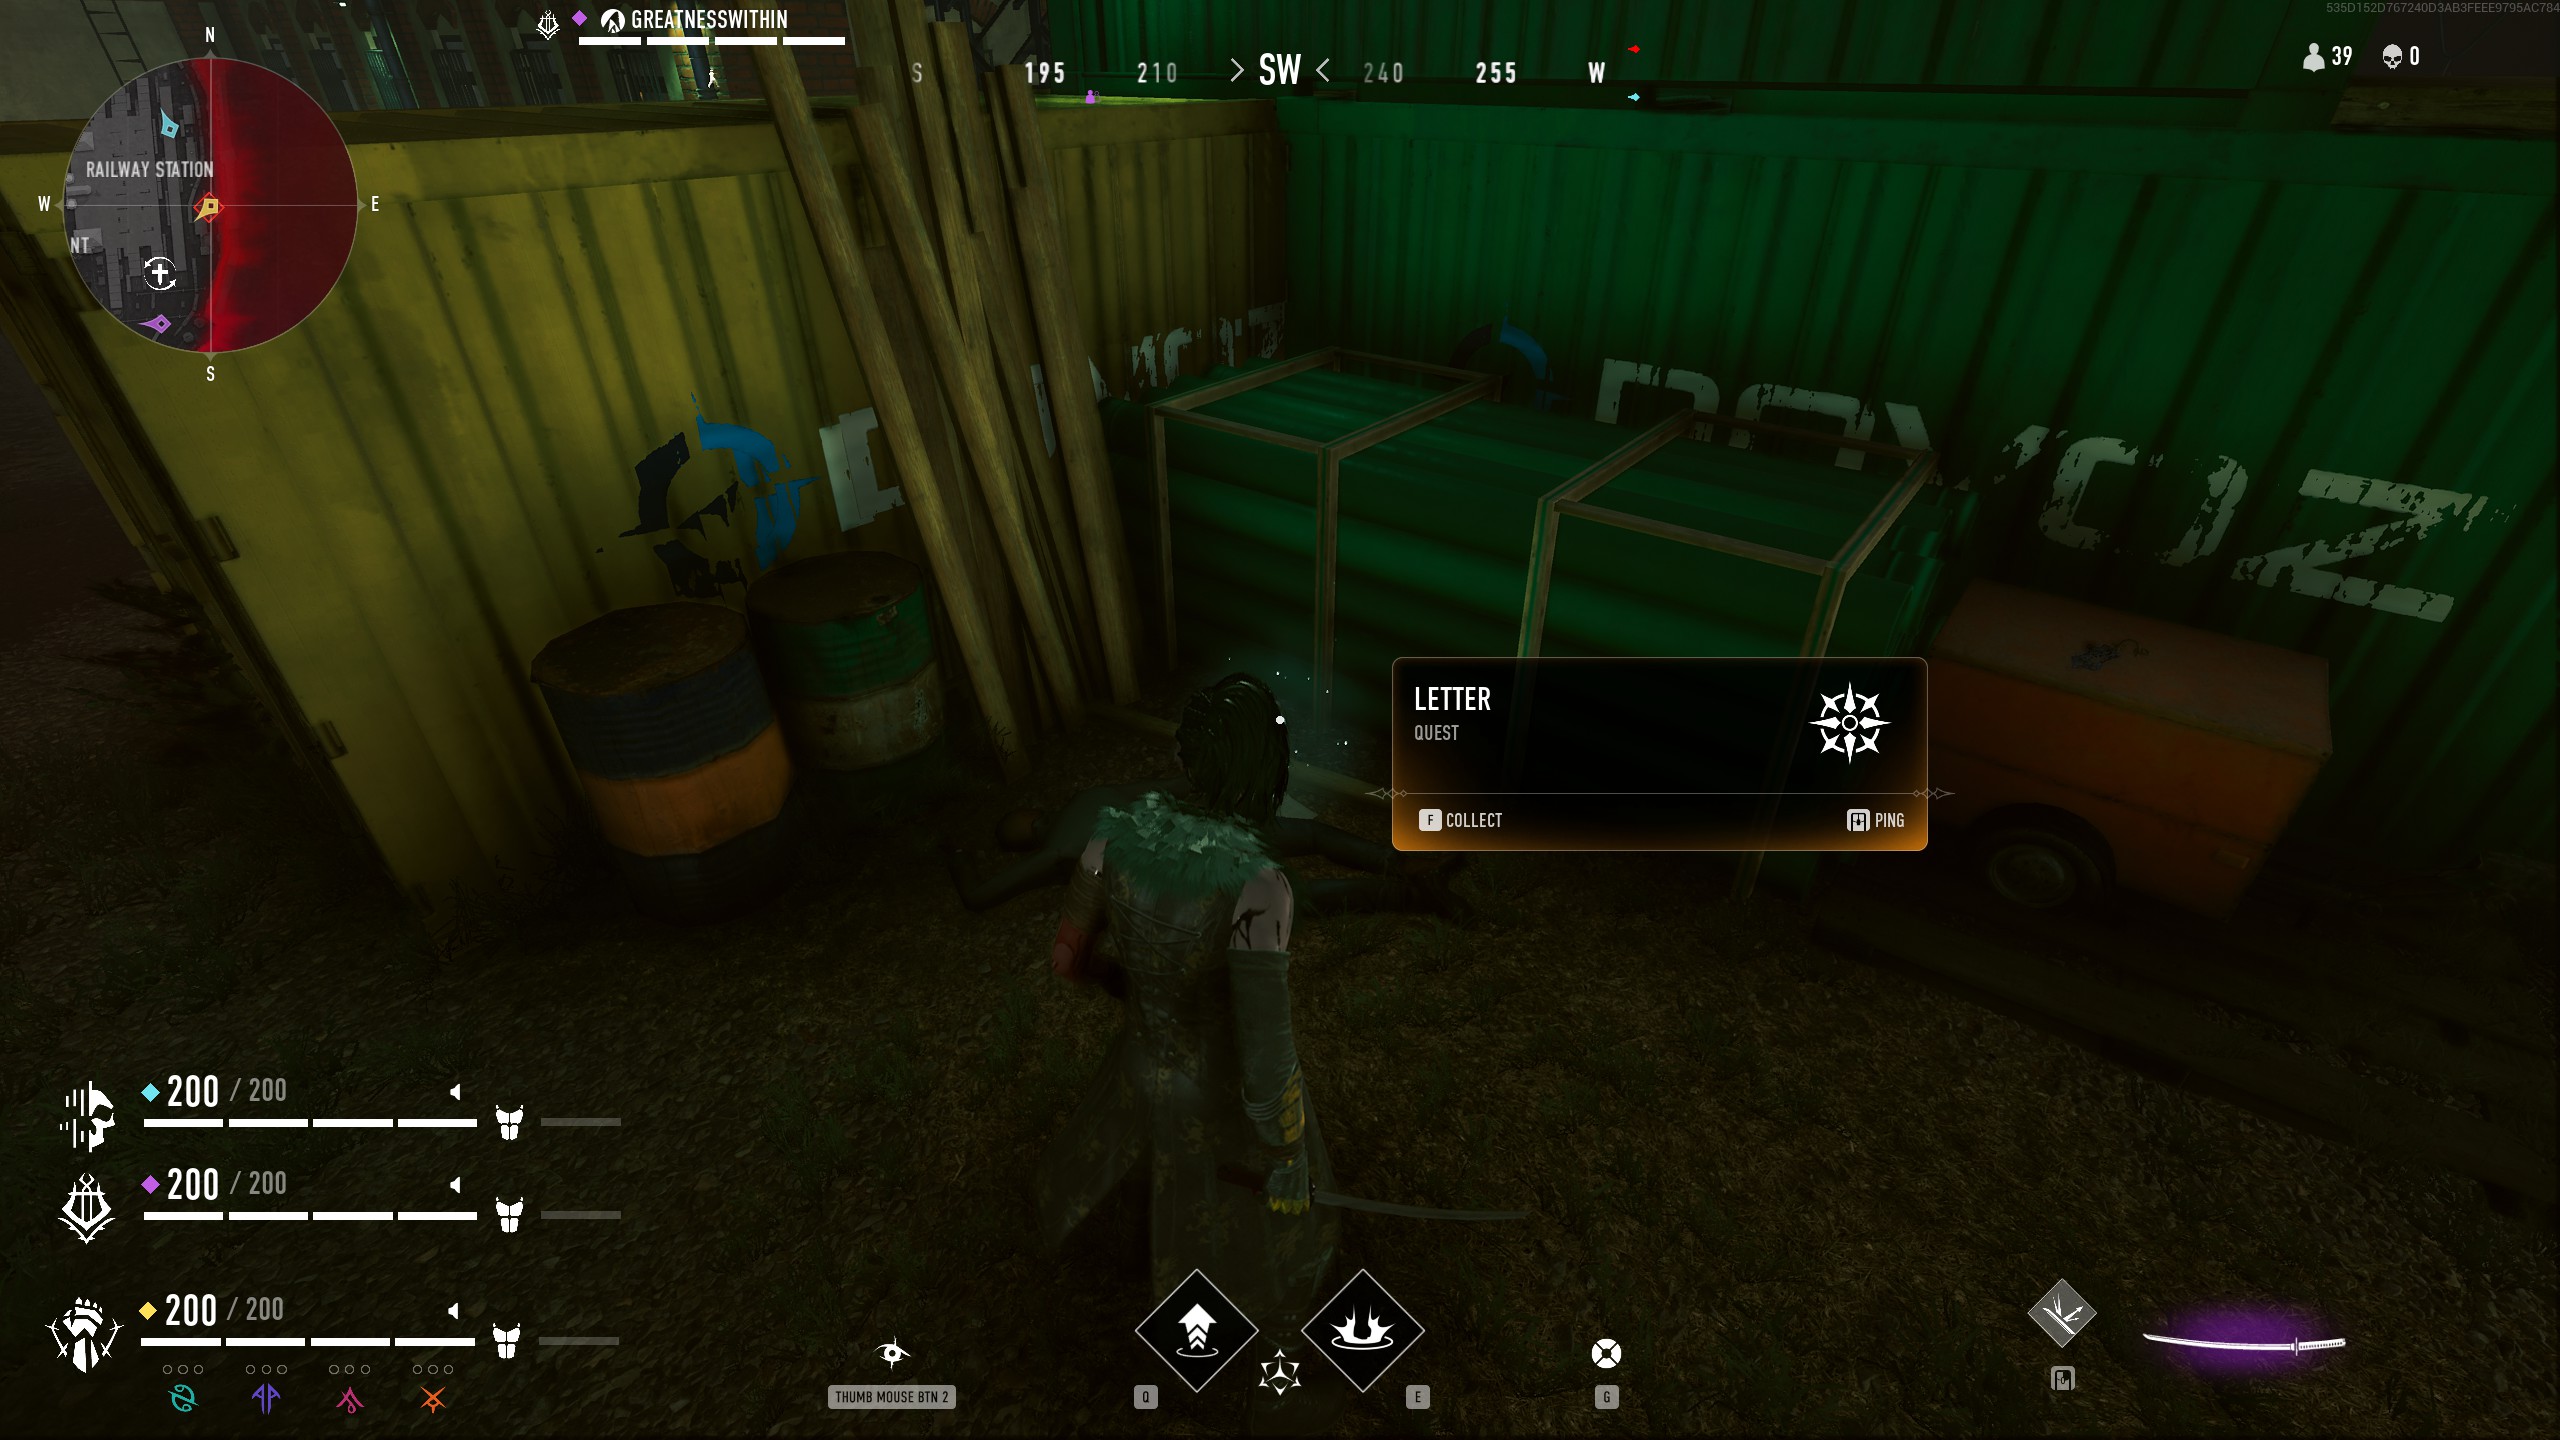
Returning to Custos, he suggest investigating the Railway Station based on your report and sends you back out. This objective can be a little tricky as there are limited clues in the quest text, and no objective indicator on the map. You must climb on top of the railway station roof and look down at the tracks through a corner window located approximately above the "IL" in the word "Railway" on the map. I've attached images of the approximate location it unlocked for me.
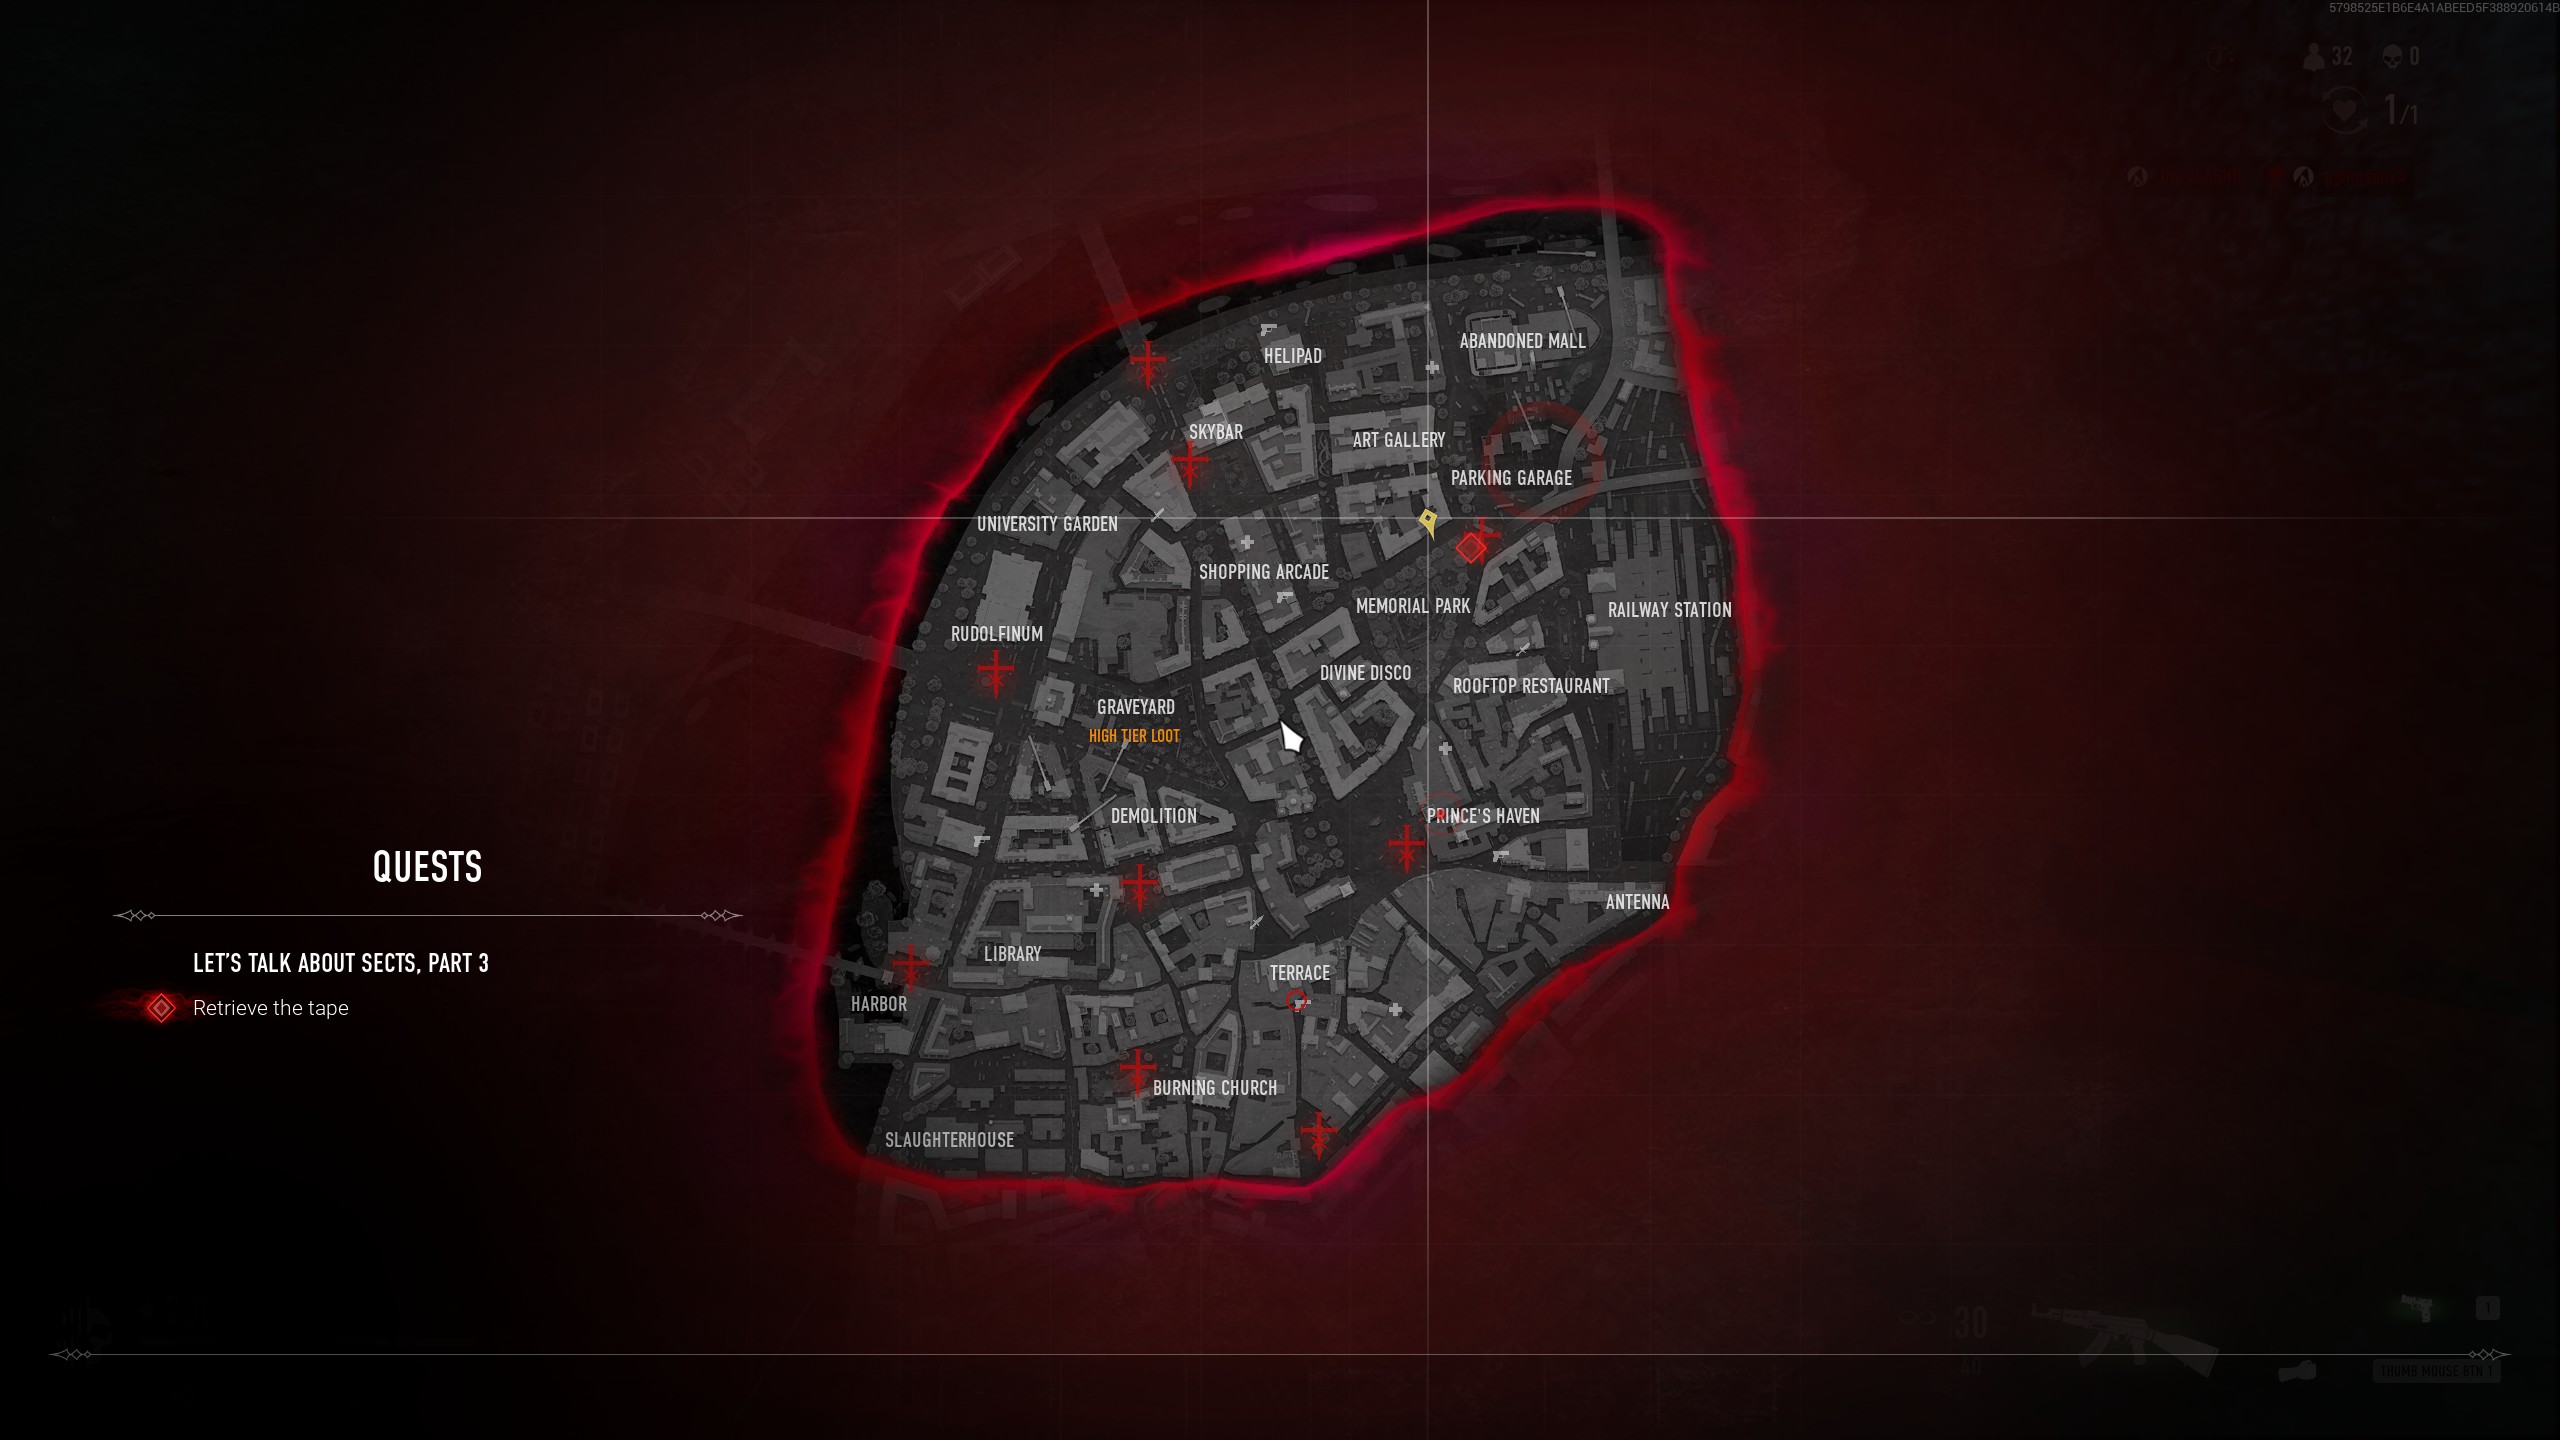
Part 3:
Going back to Custos, he is disheartened you could not find anything, but had the idea to check the surveillance tapes for the station. Retrieve the tapes from the security station by the Abandoned Mall.
Part 4:
Taking the tape back to Custos, it seems the tape does indeed provide a clue and he directs you back to the Railway Station where something was left behind.
Reward:
Return to Custos a final time to learn the pages you found were not from just any book, which could mean even more dark times ahead for the city. Find your reward in the Customization section of the menu.
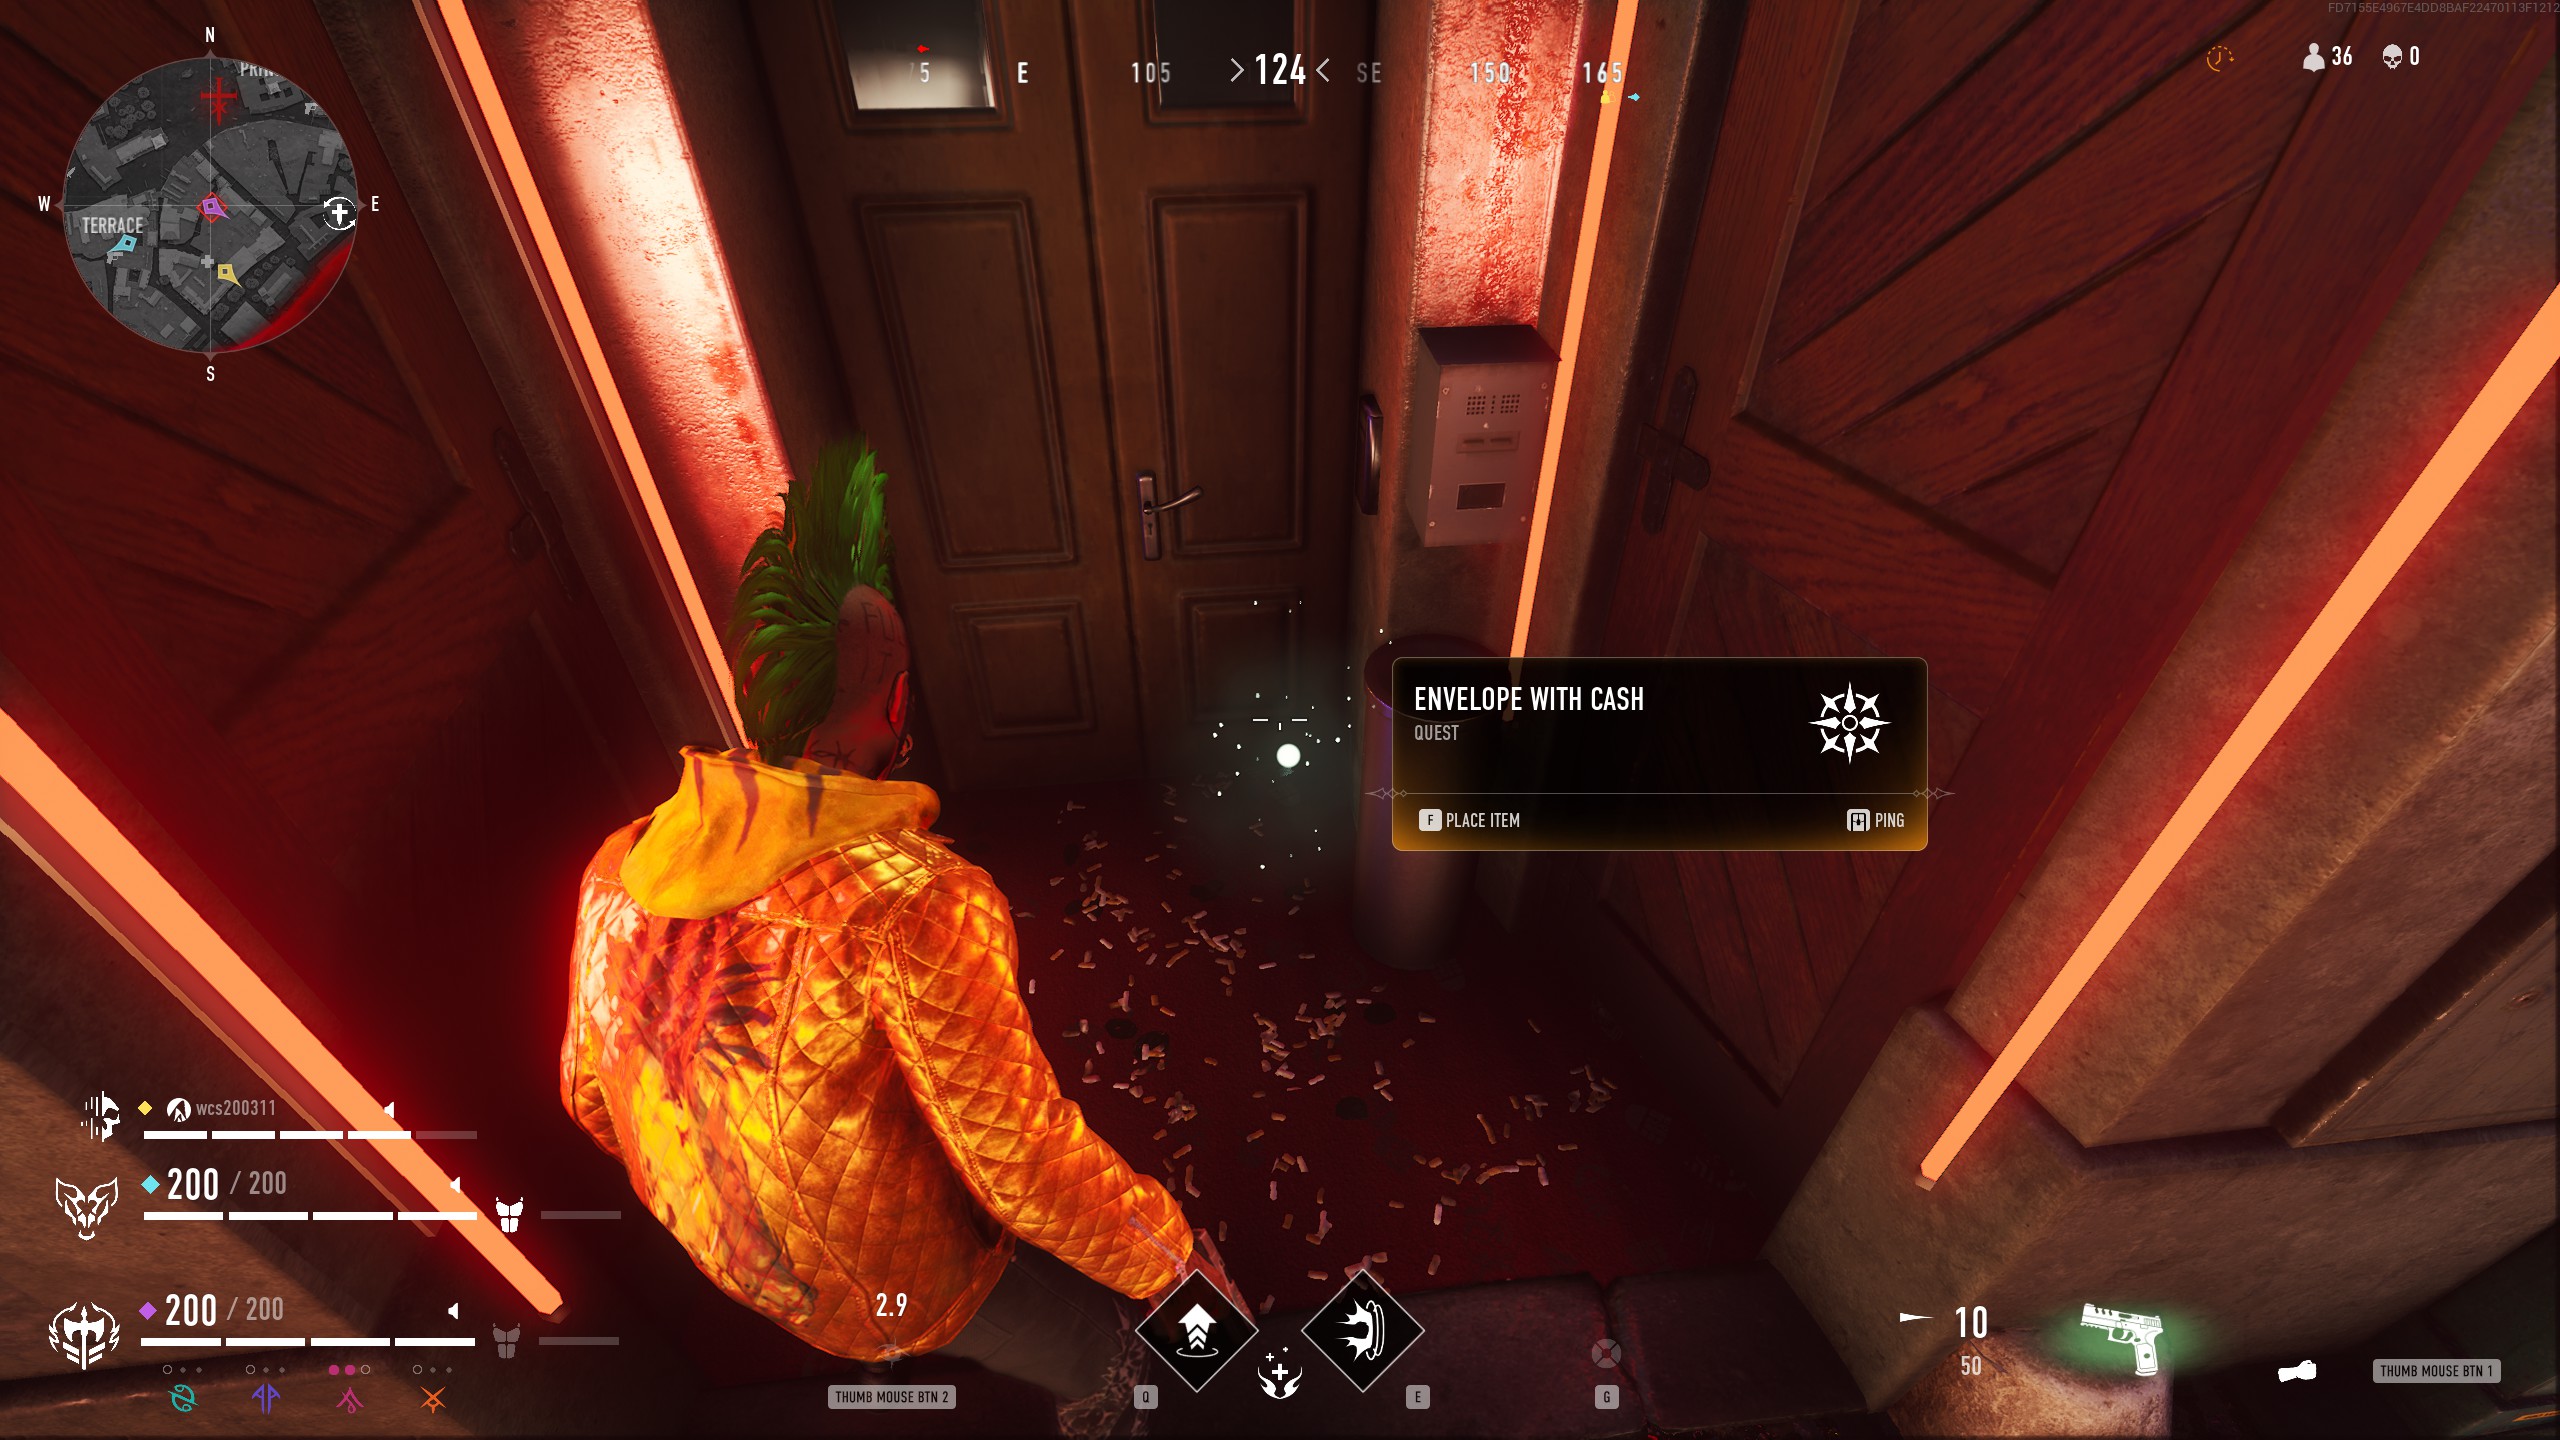
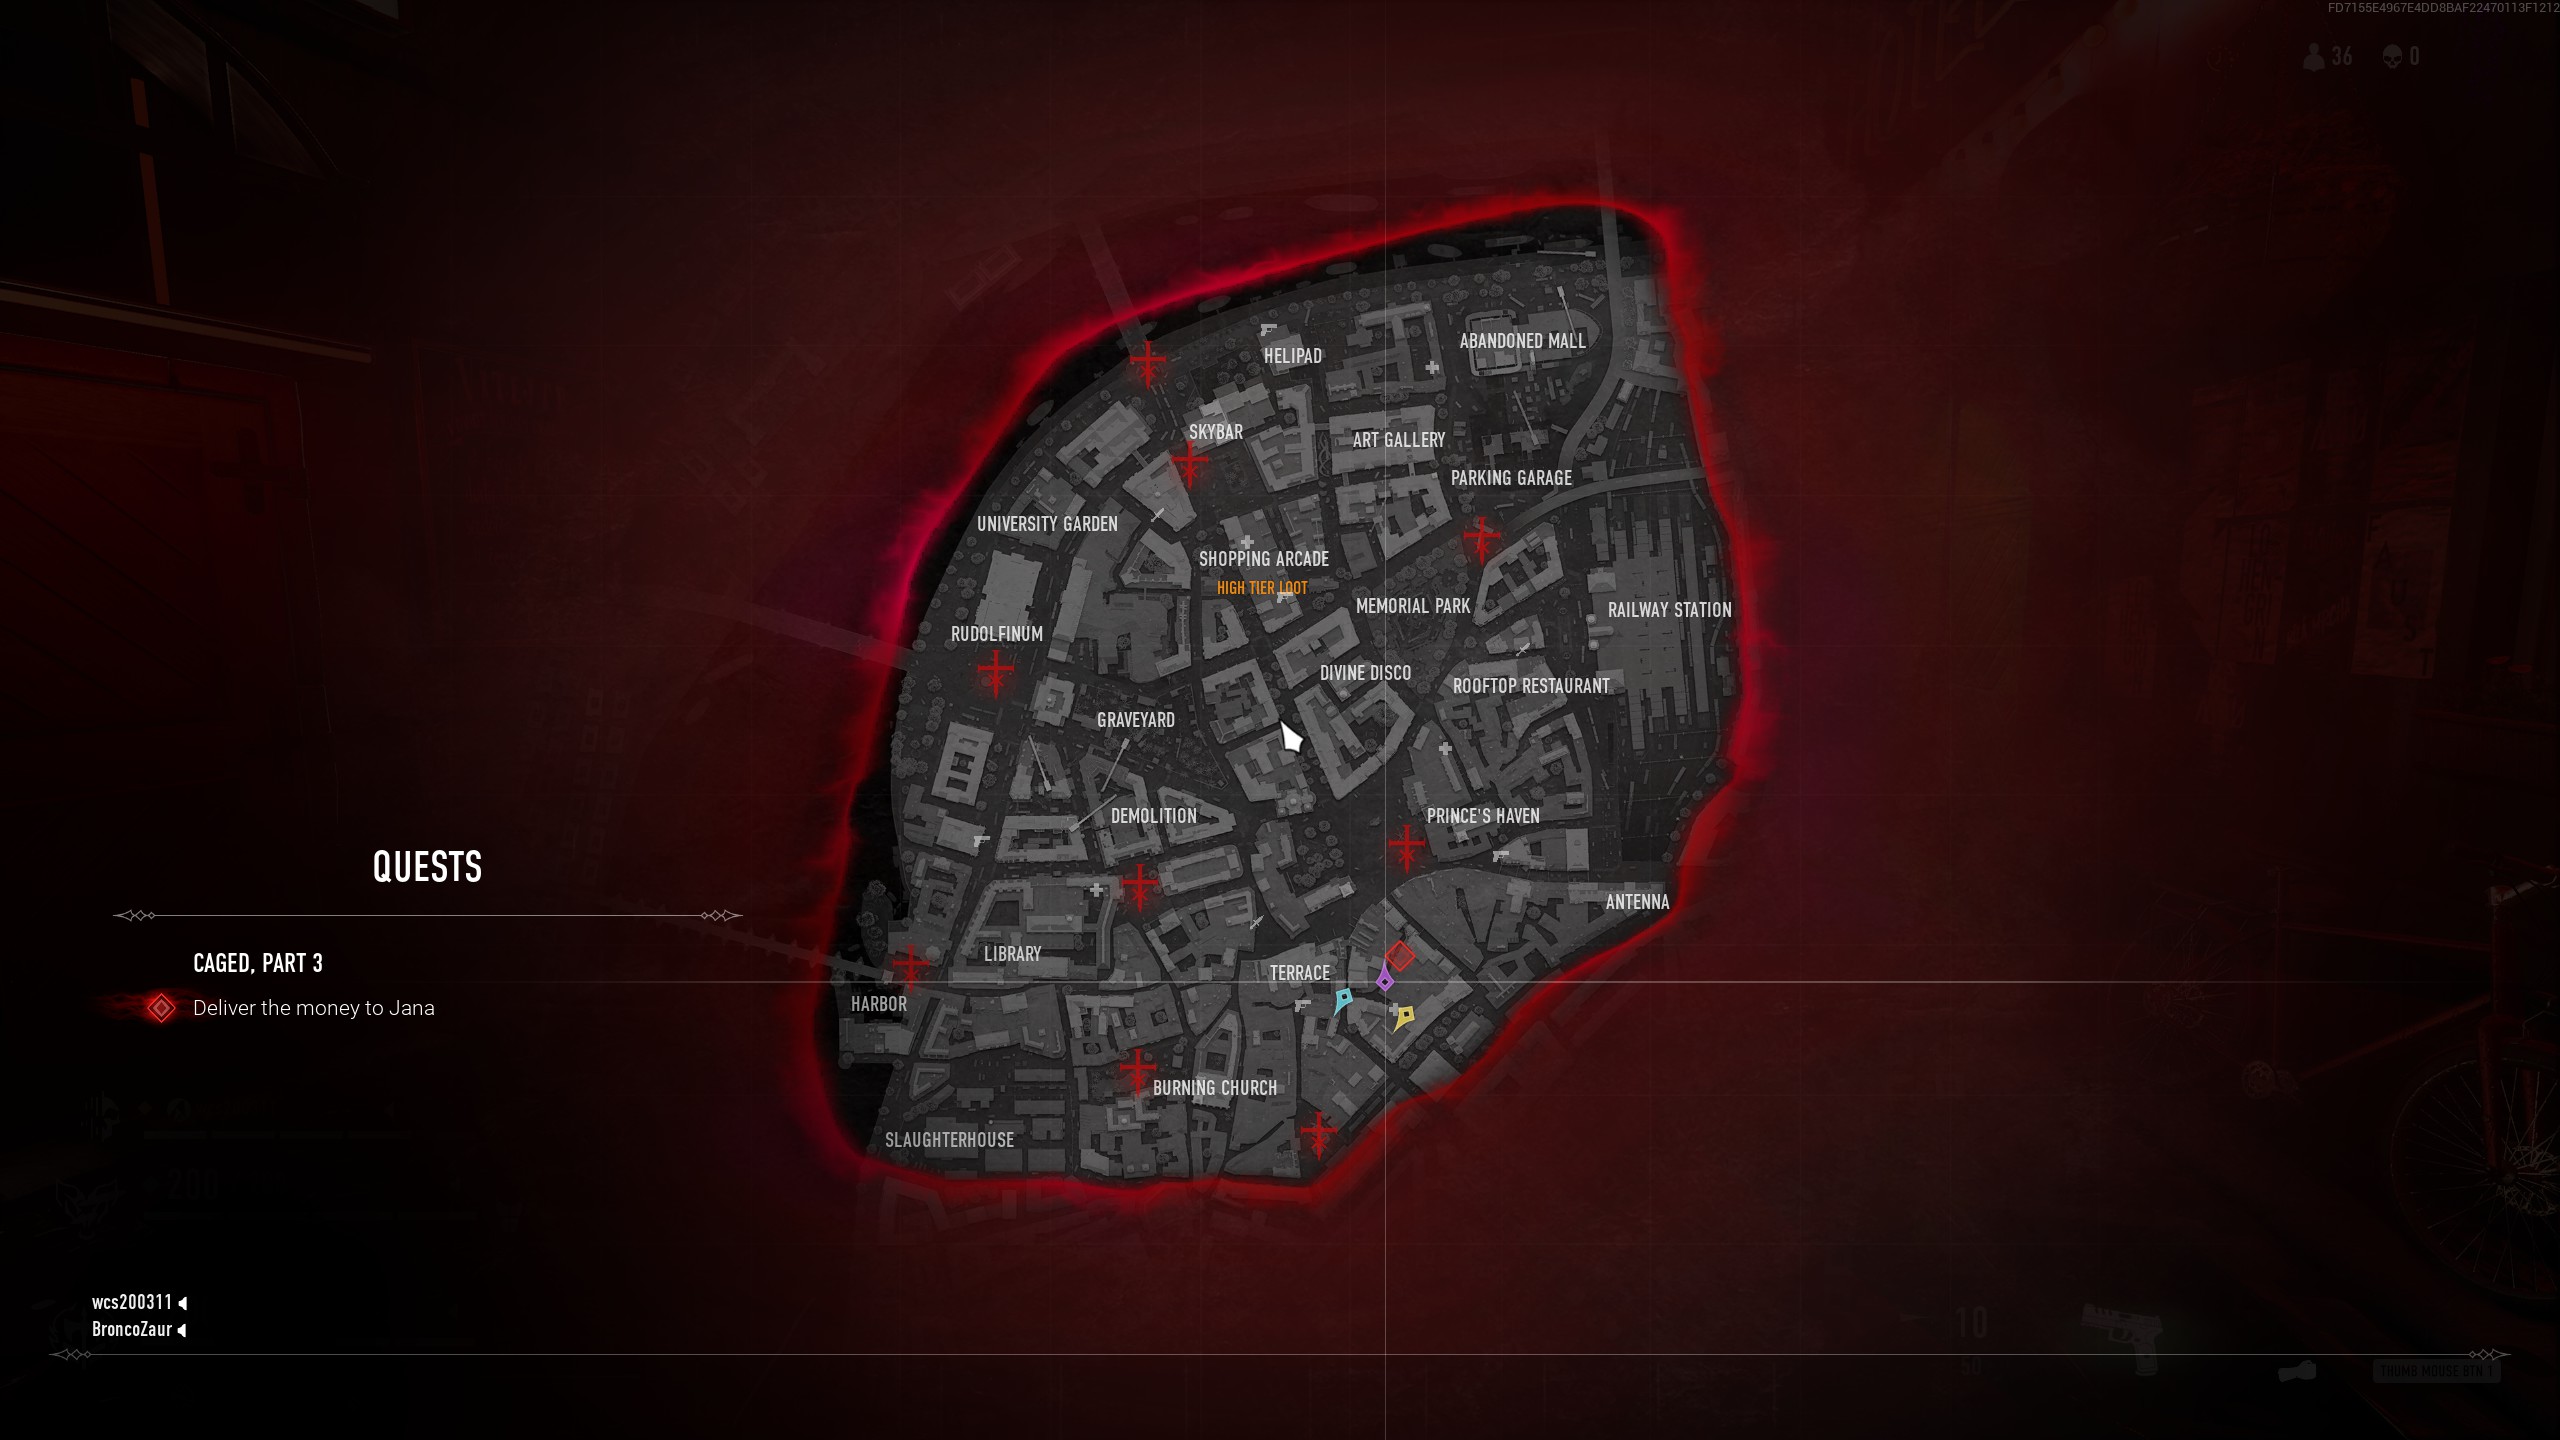
Caged
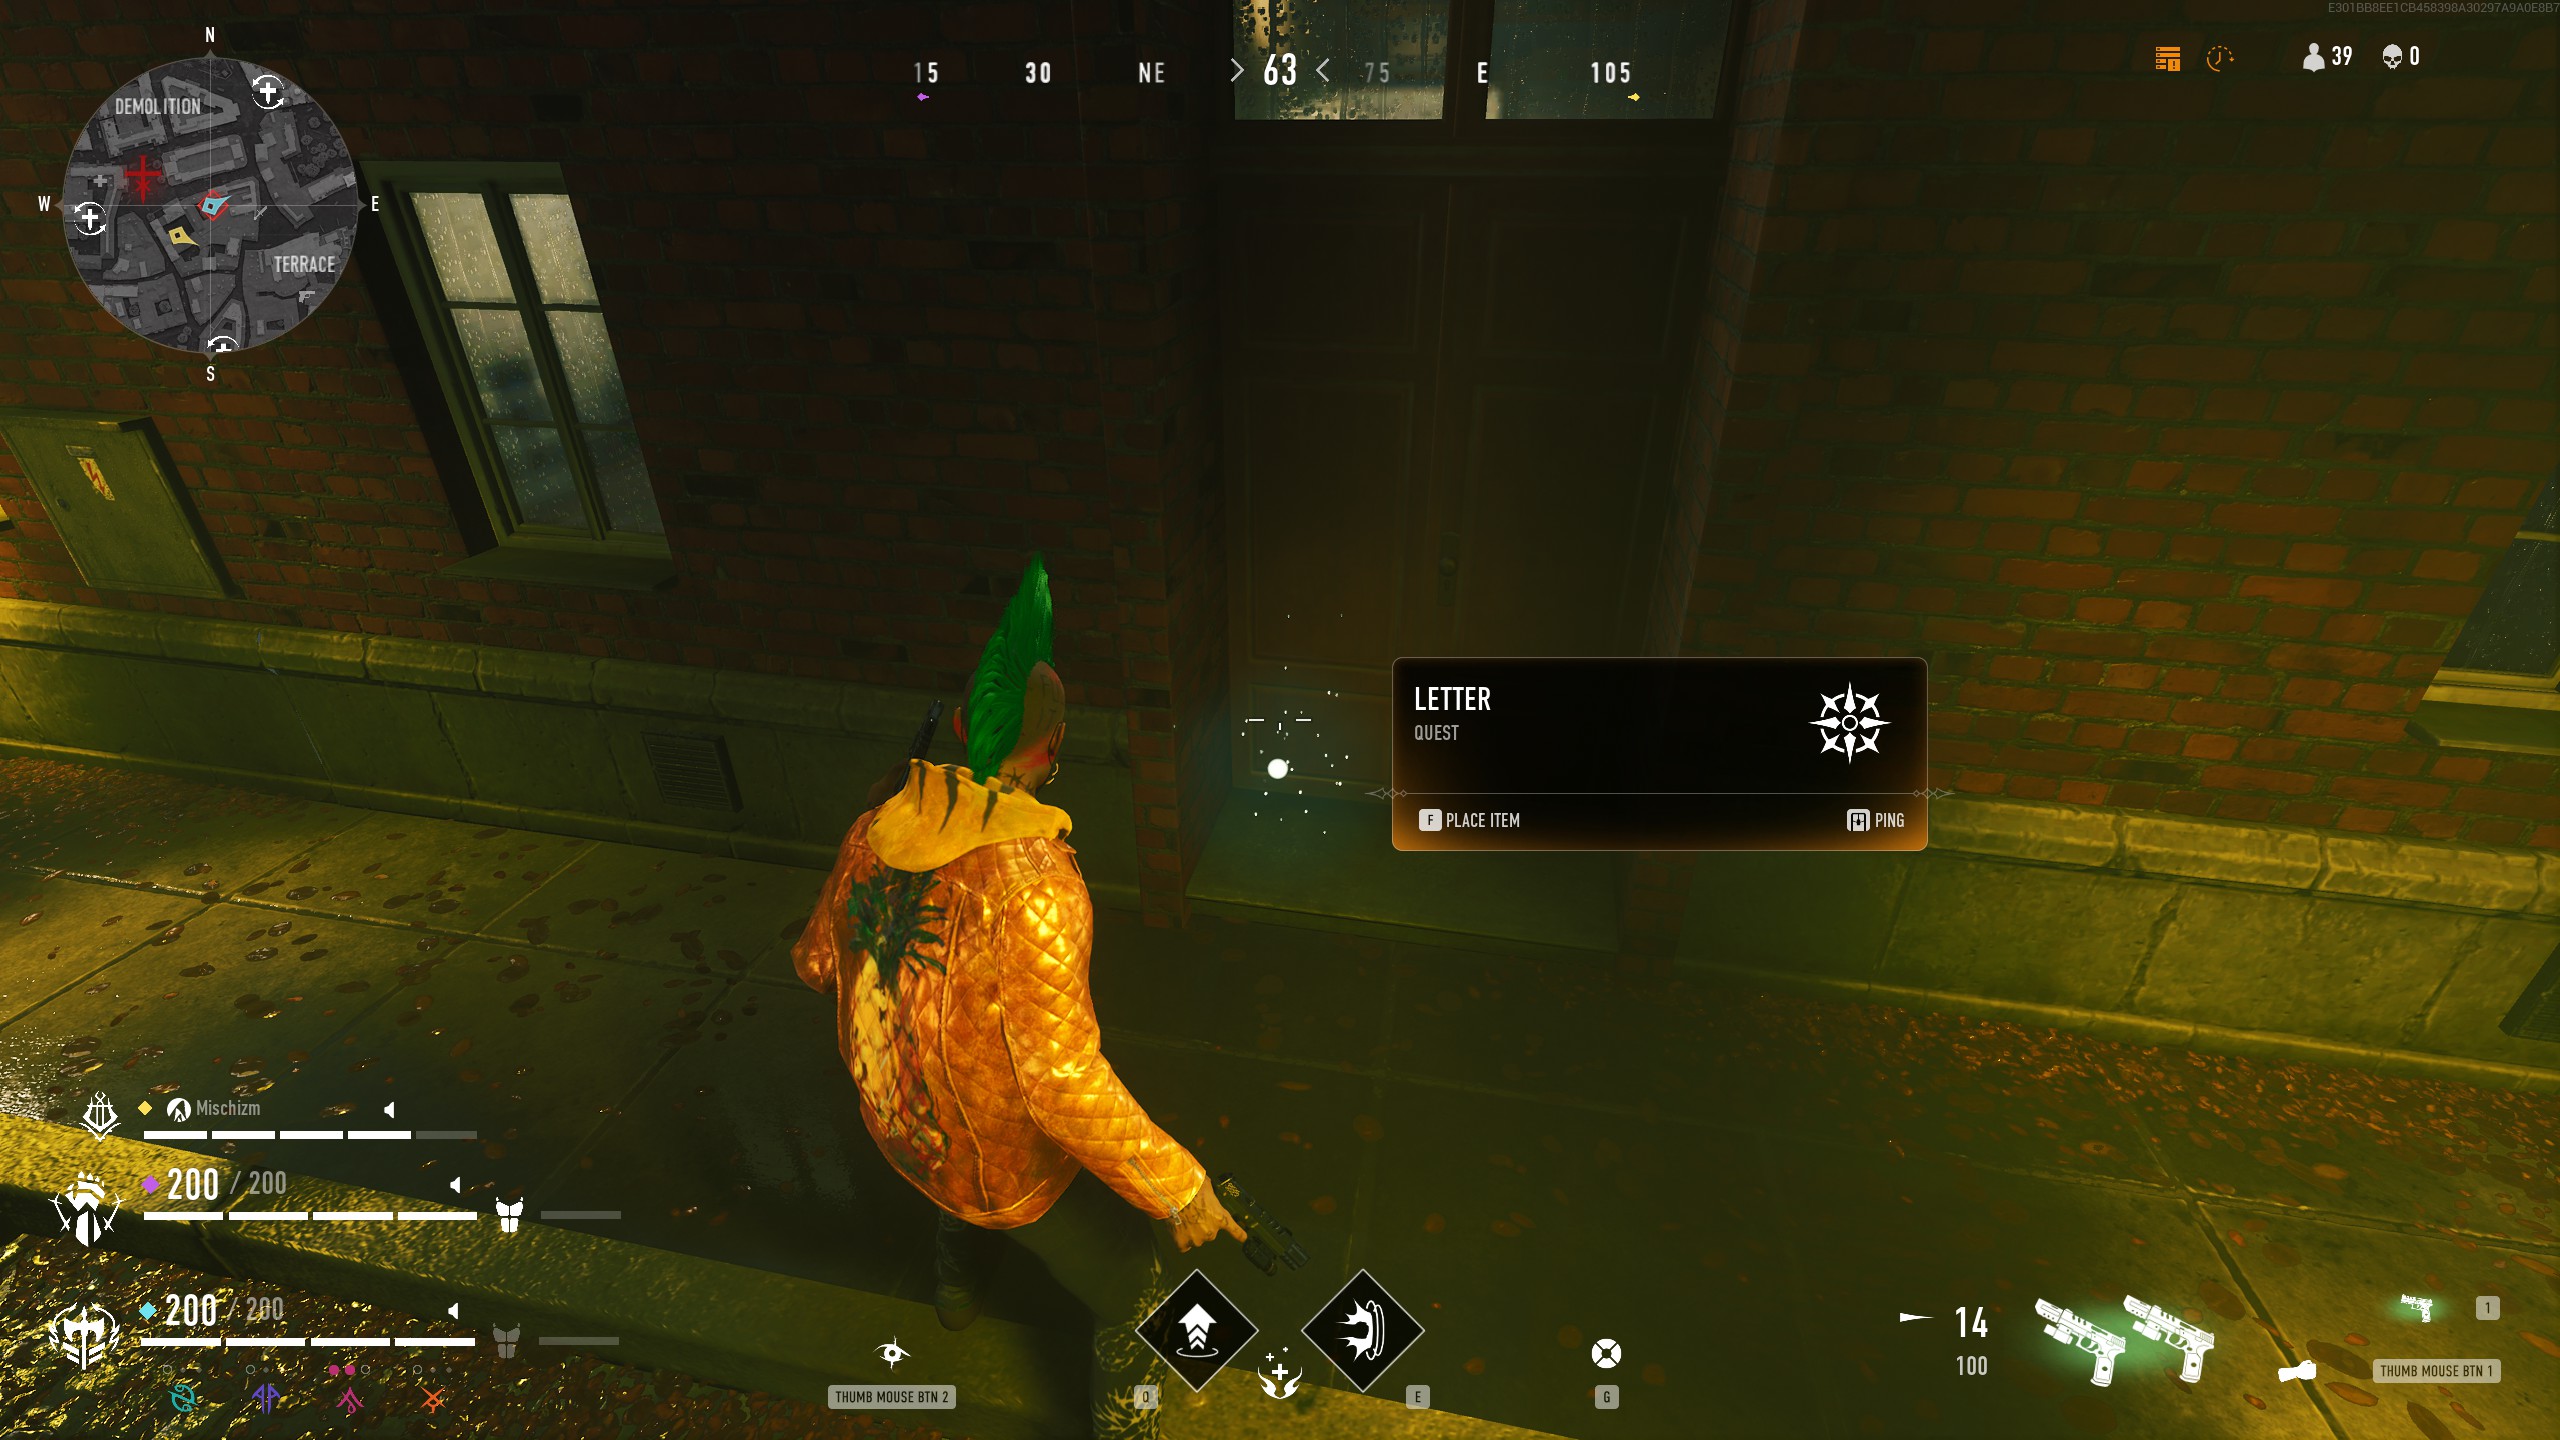
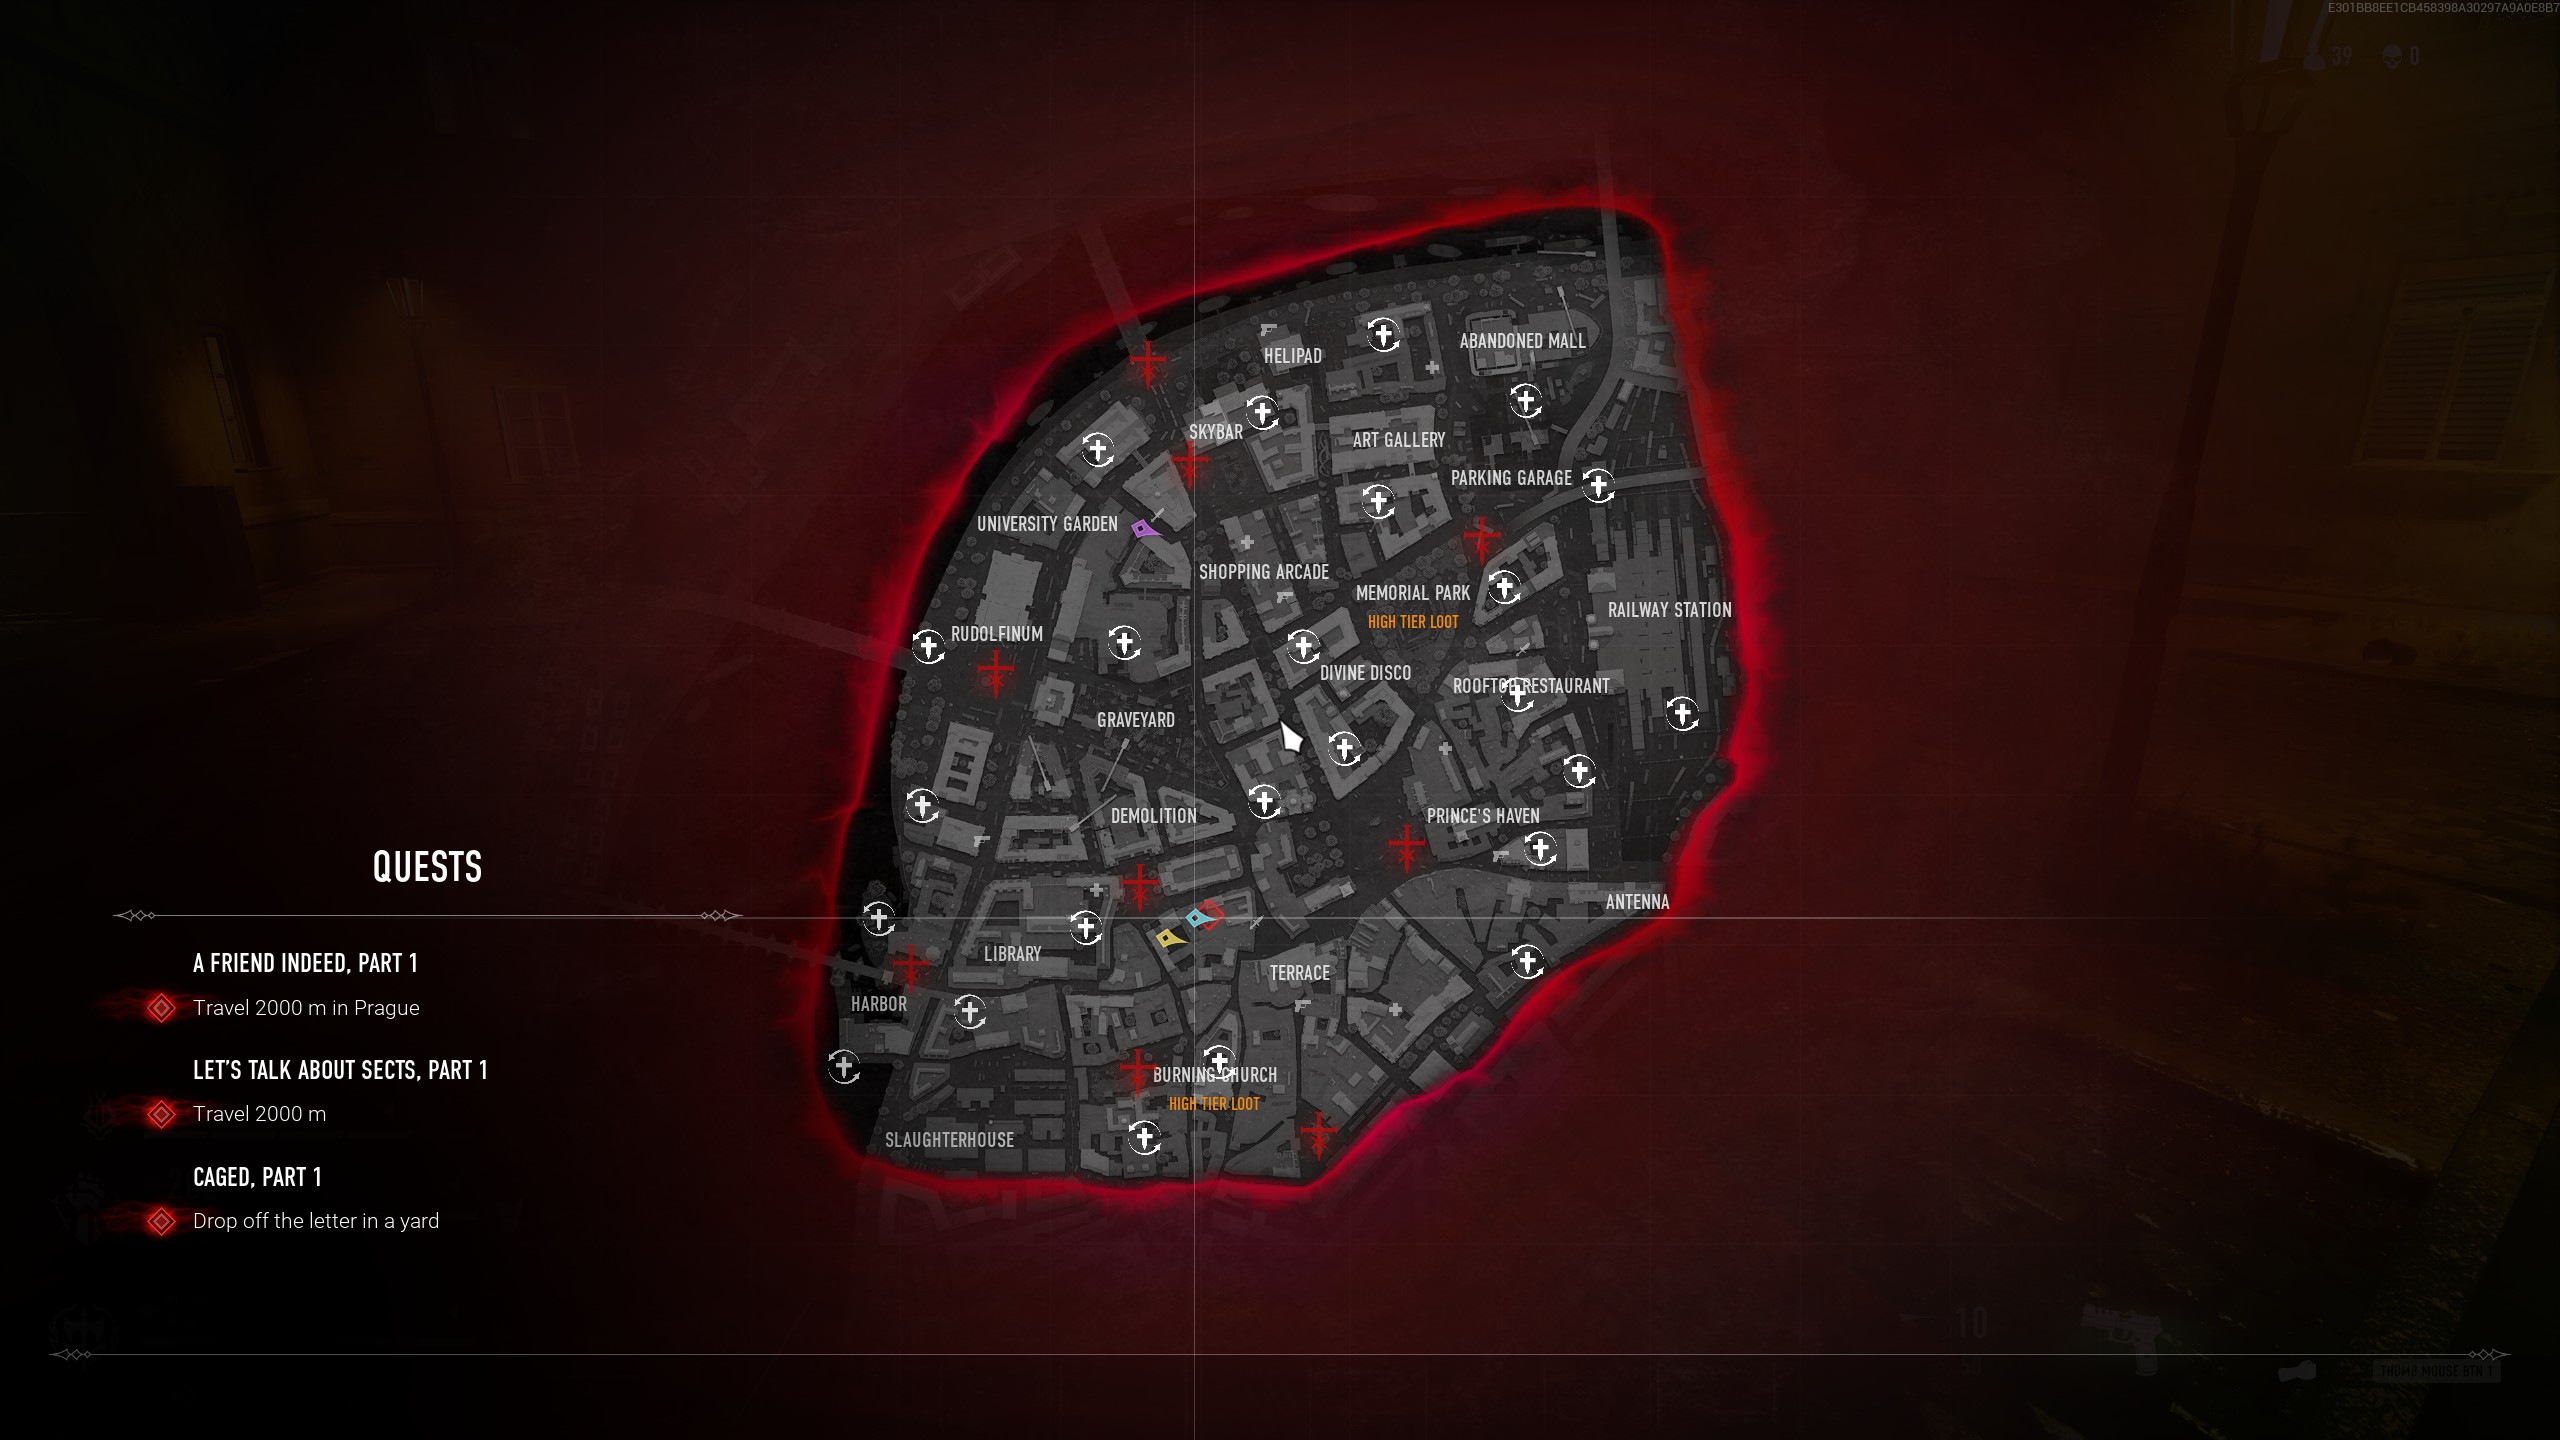
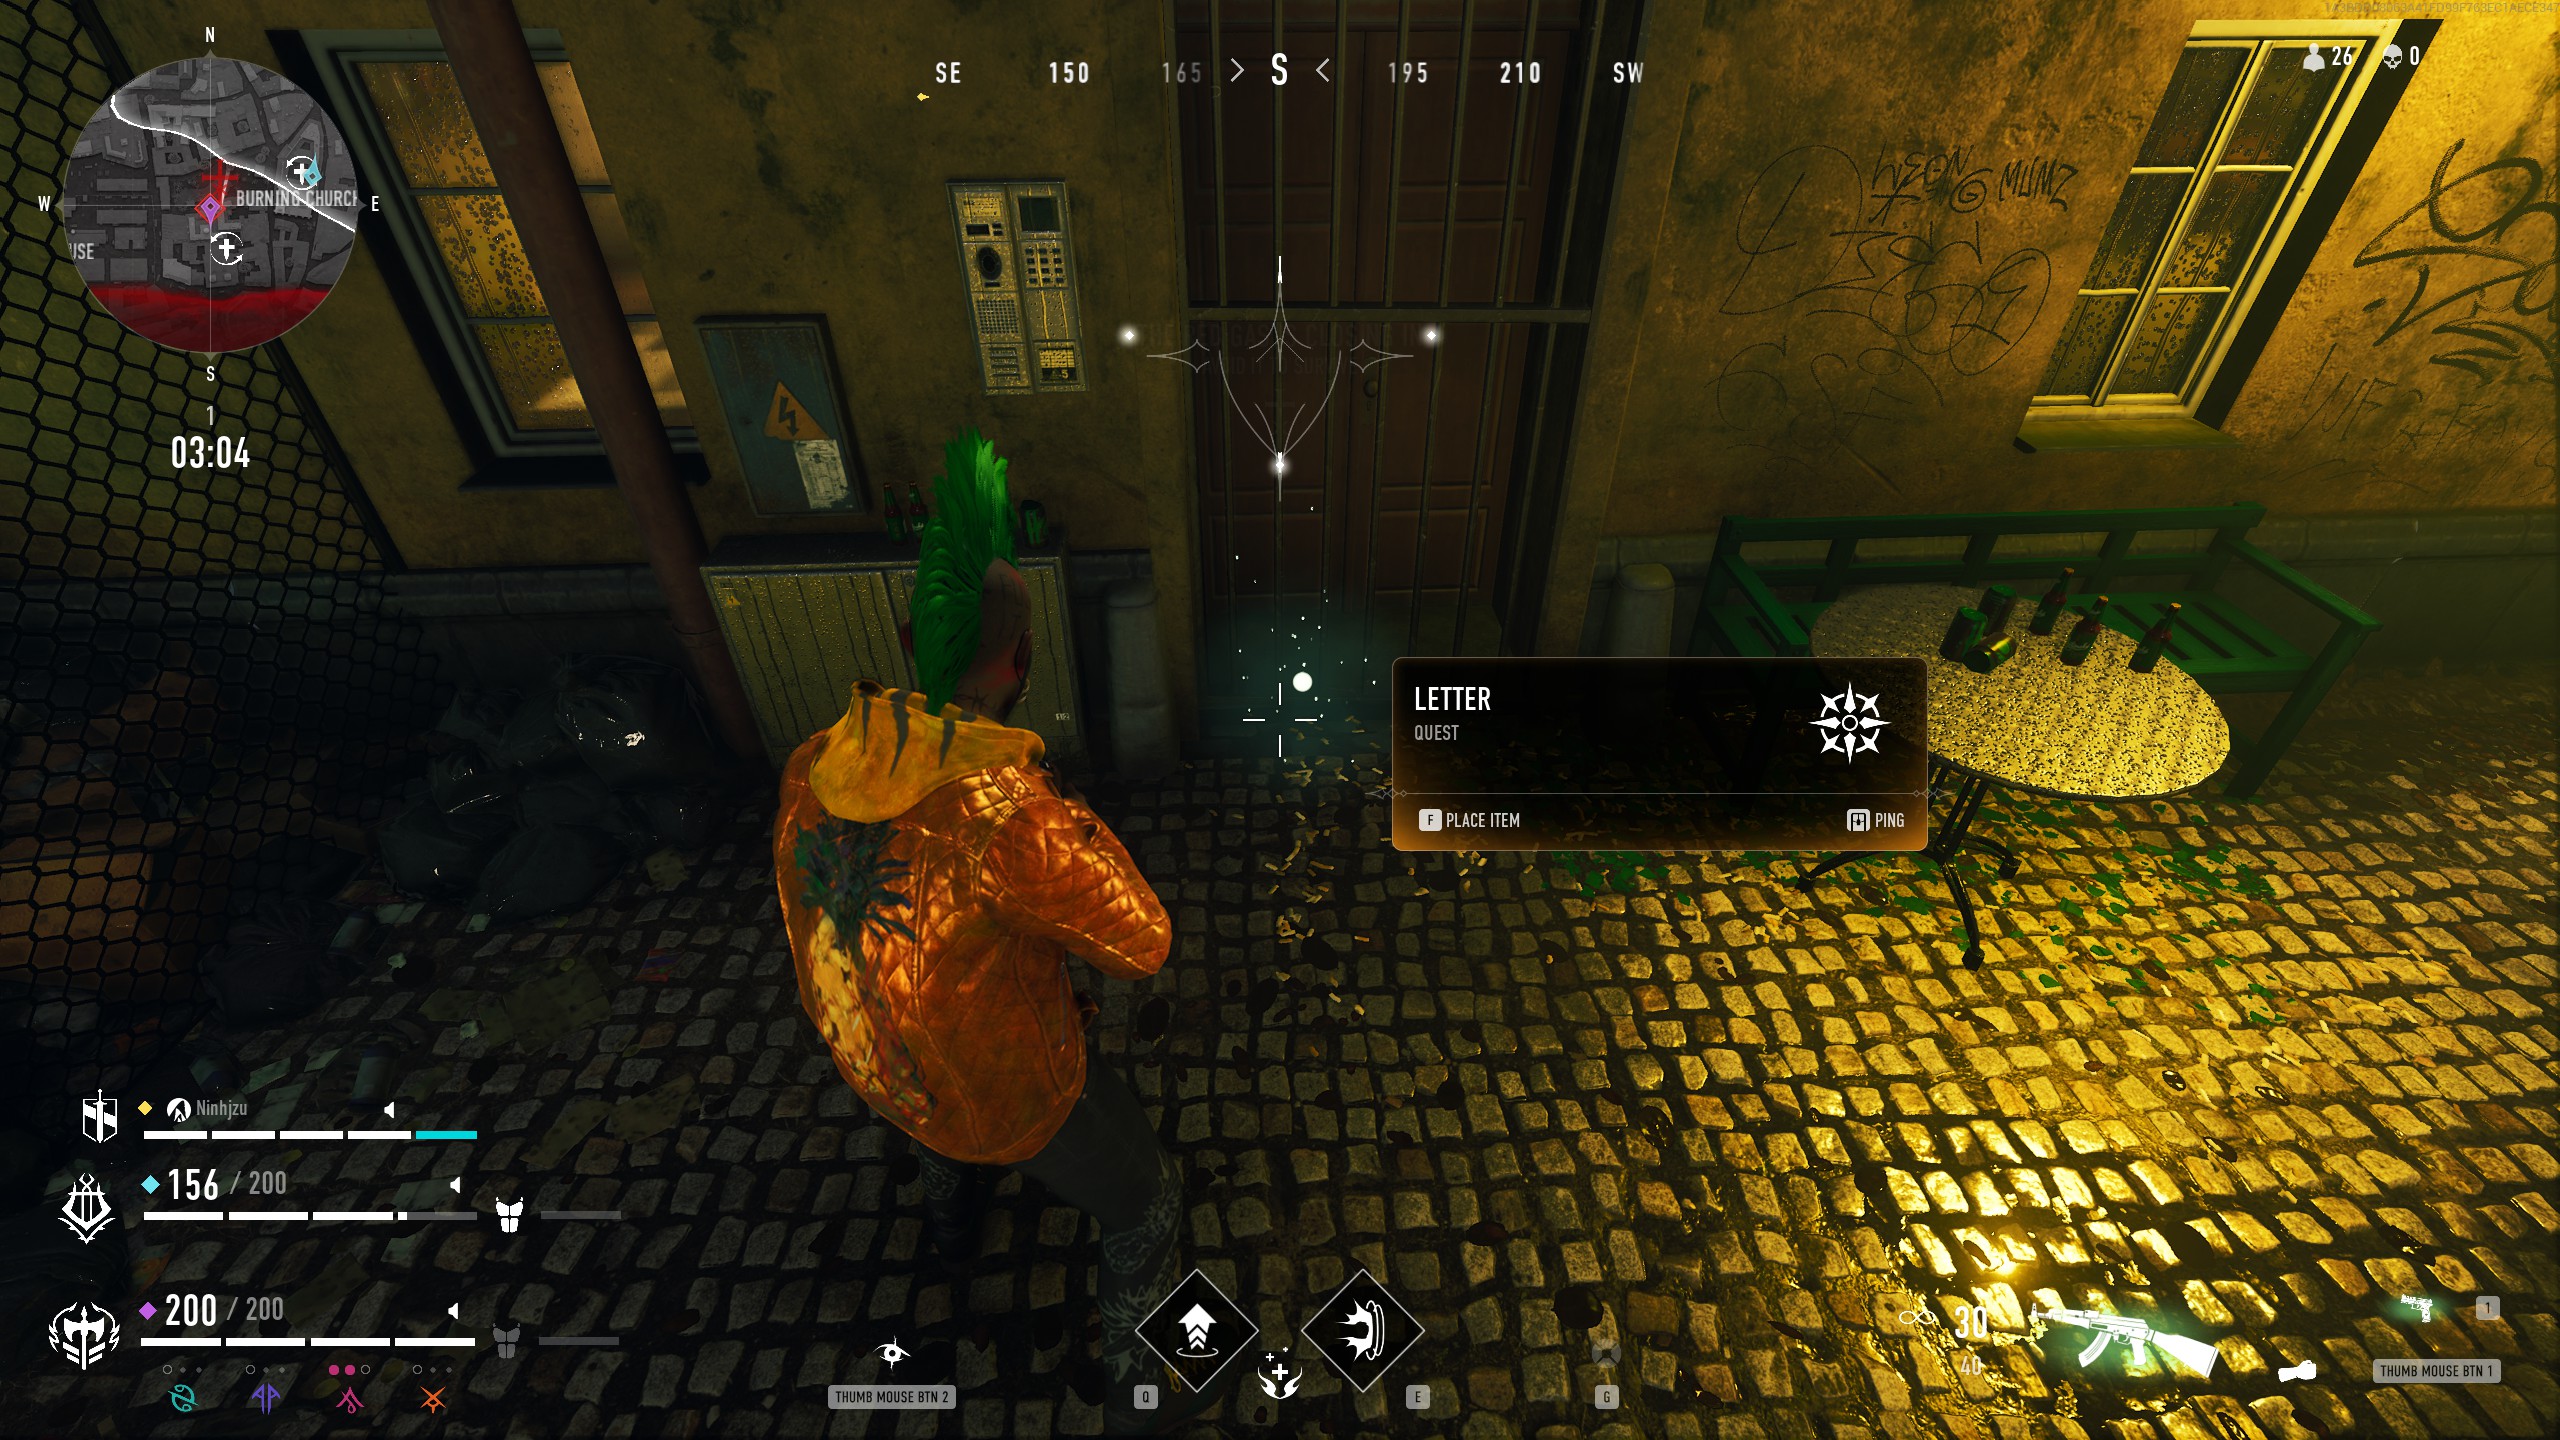

This quest begins by speaking with Maia.
Part 1:
Maia remembers your previous help and hopes that you will help her again. She asks you to deliver a letter to a shelter near the Terrace. Go to the location in the following images.
Part 2:
Returning to Maia, she provides you with a second letter to deliver, this time to the west of the Burning Church as seen in the images below.
Part 3:
Maia has one final letter for you to deliver, this time to the Red Light District, located east of the Terrace. If you have trouble finding it, images of the location are provided.
Reward:
Return to Maia one final time to let her know you accomplished your goal. You can find your reward in the Customization section of the menu.
A Way With Words

This quest begins by speaking with Maia.
Part 1:
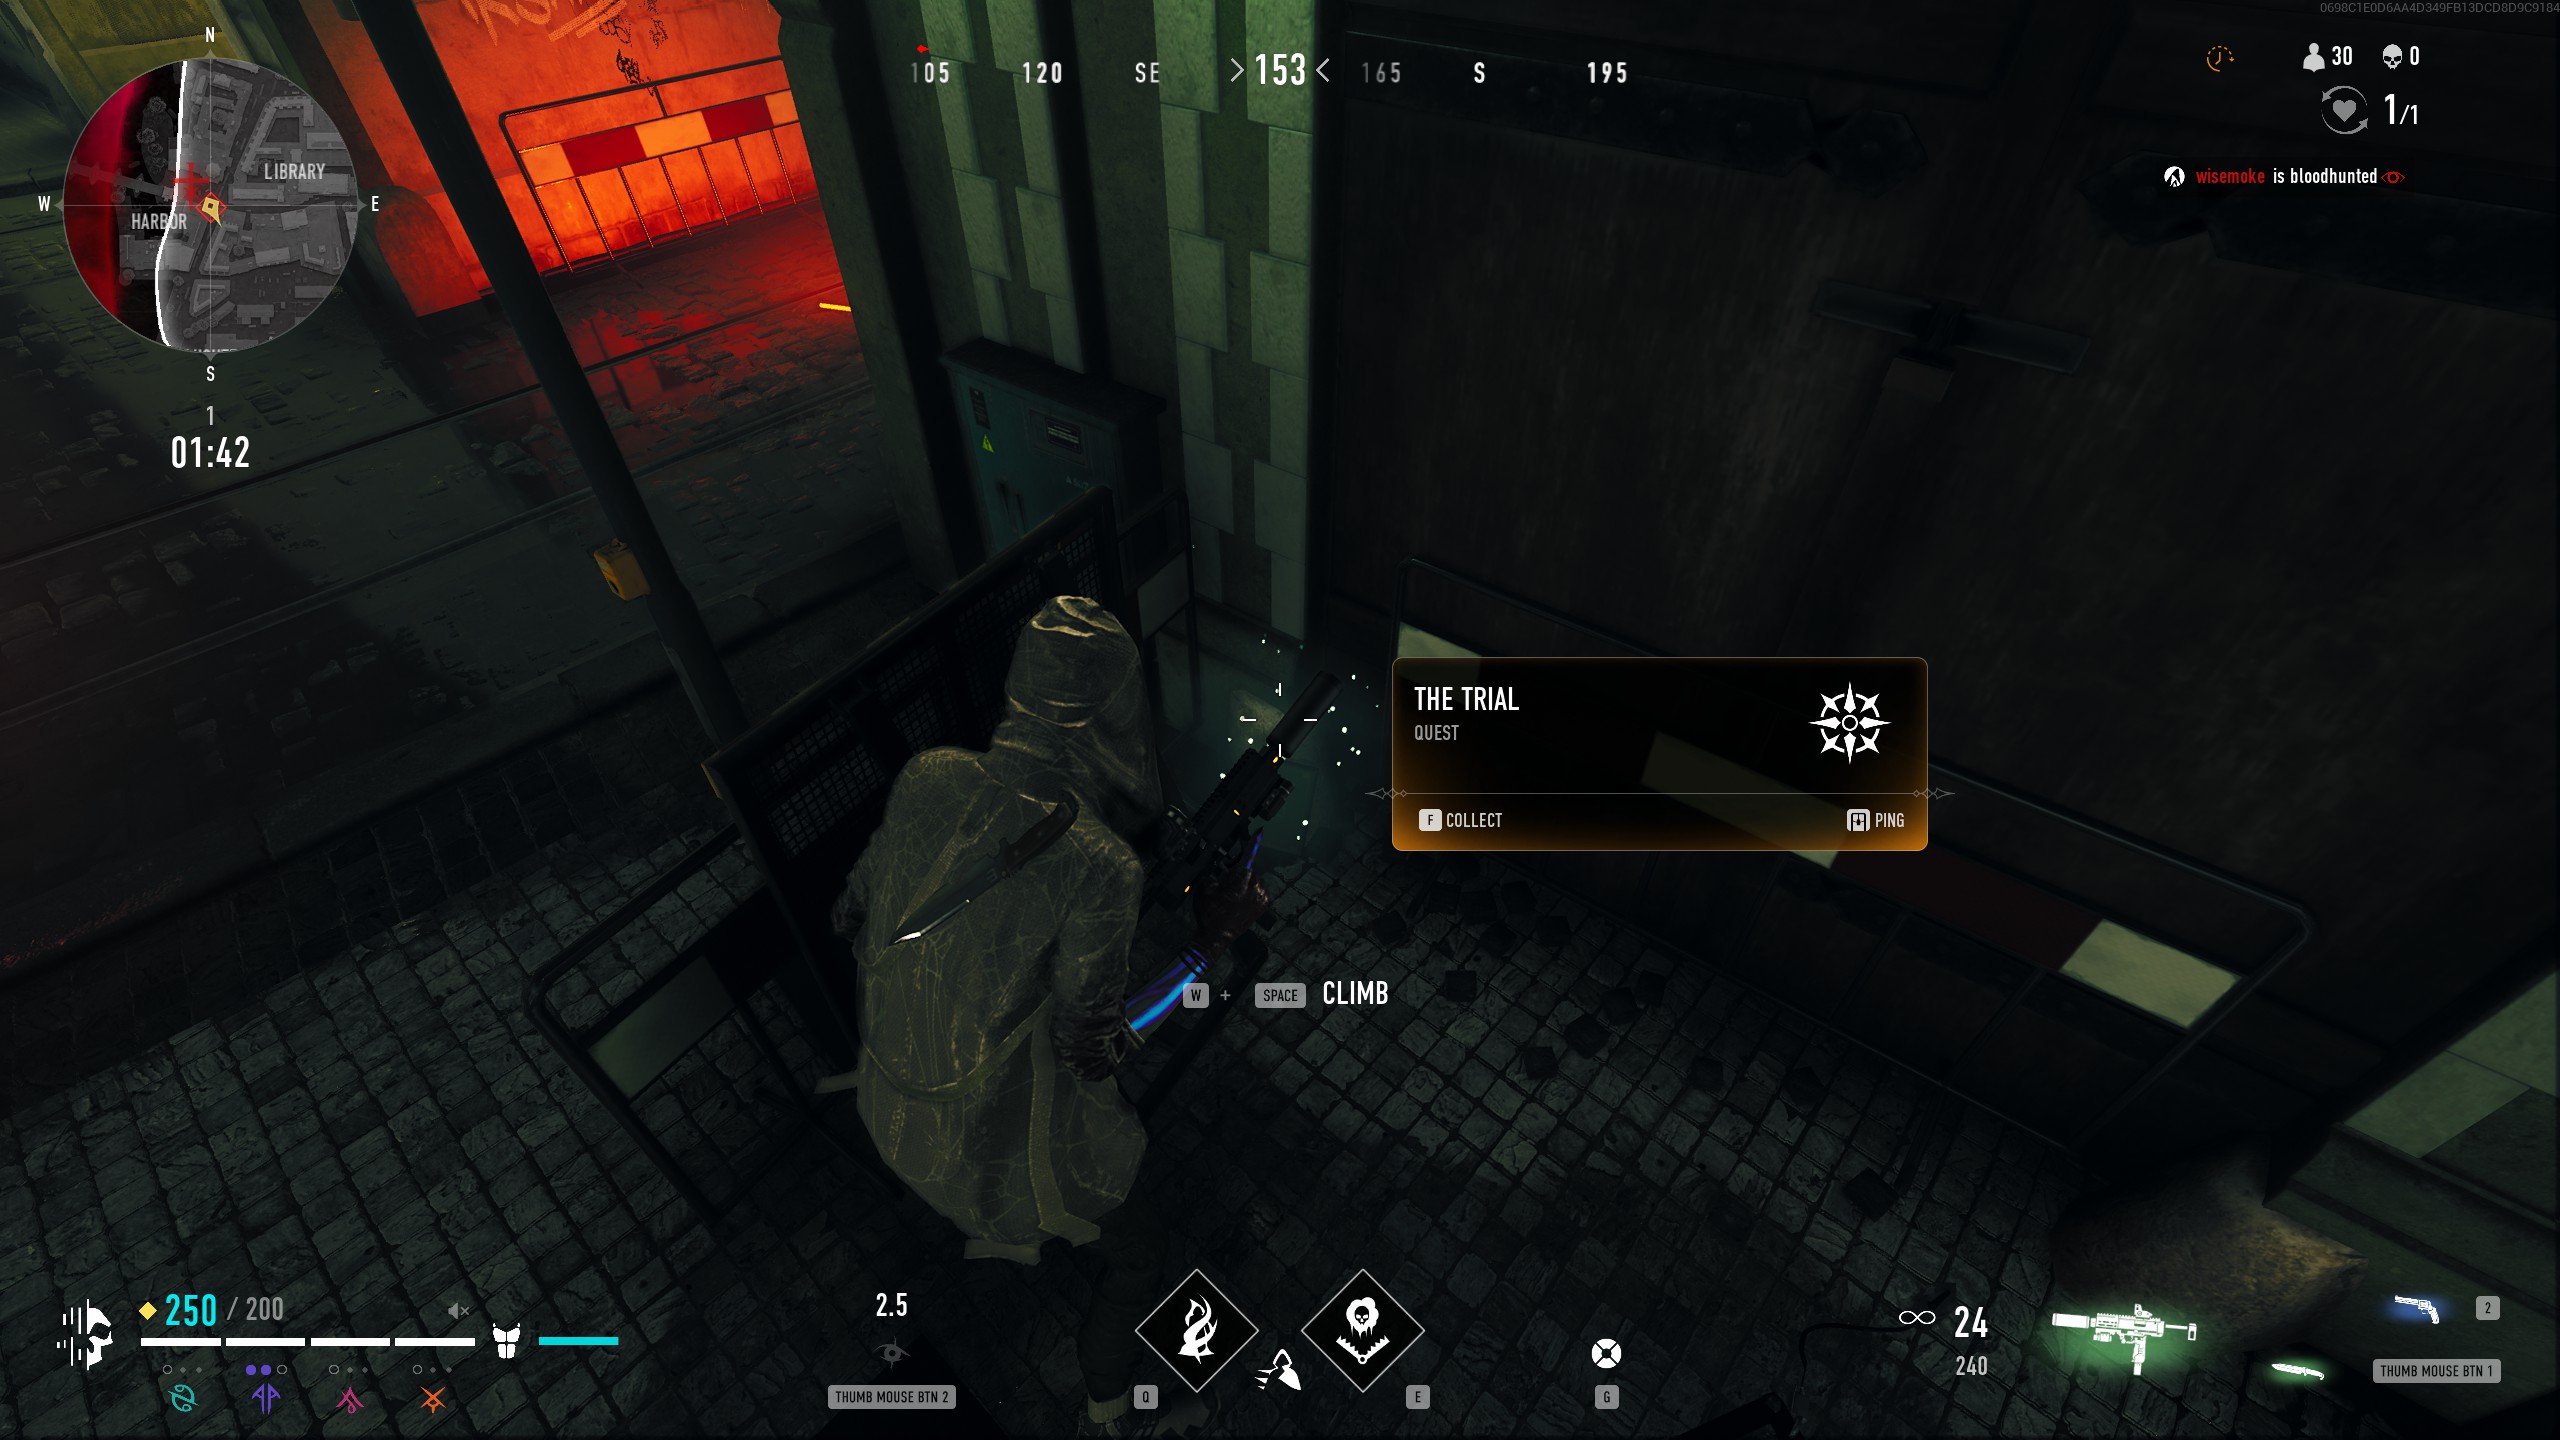
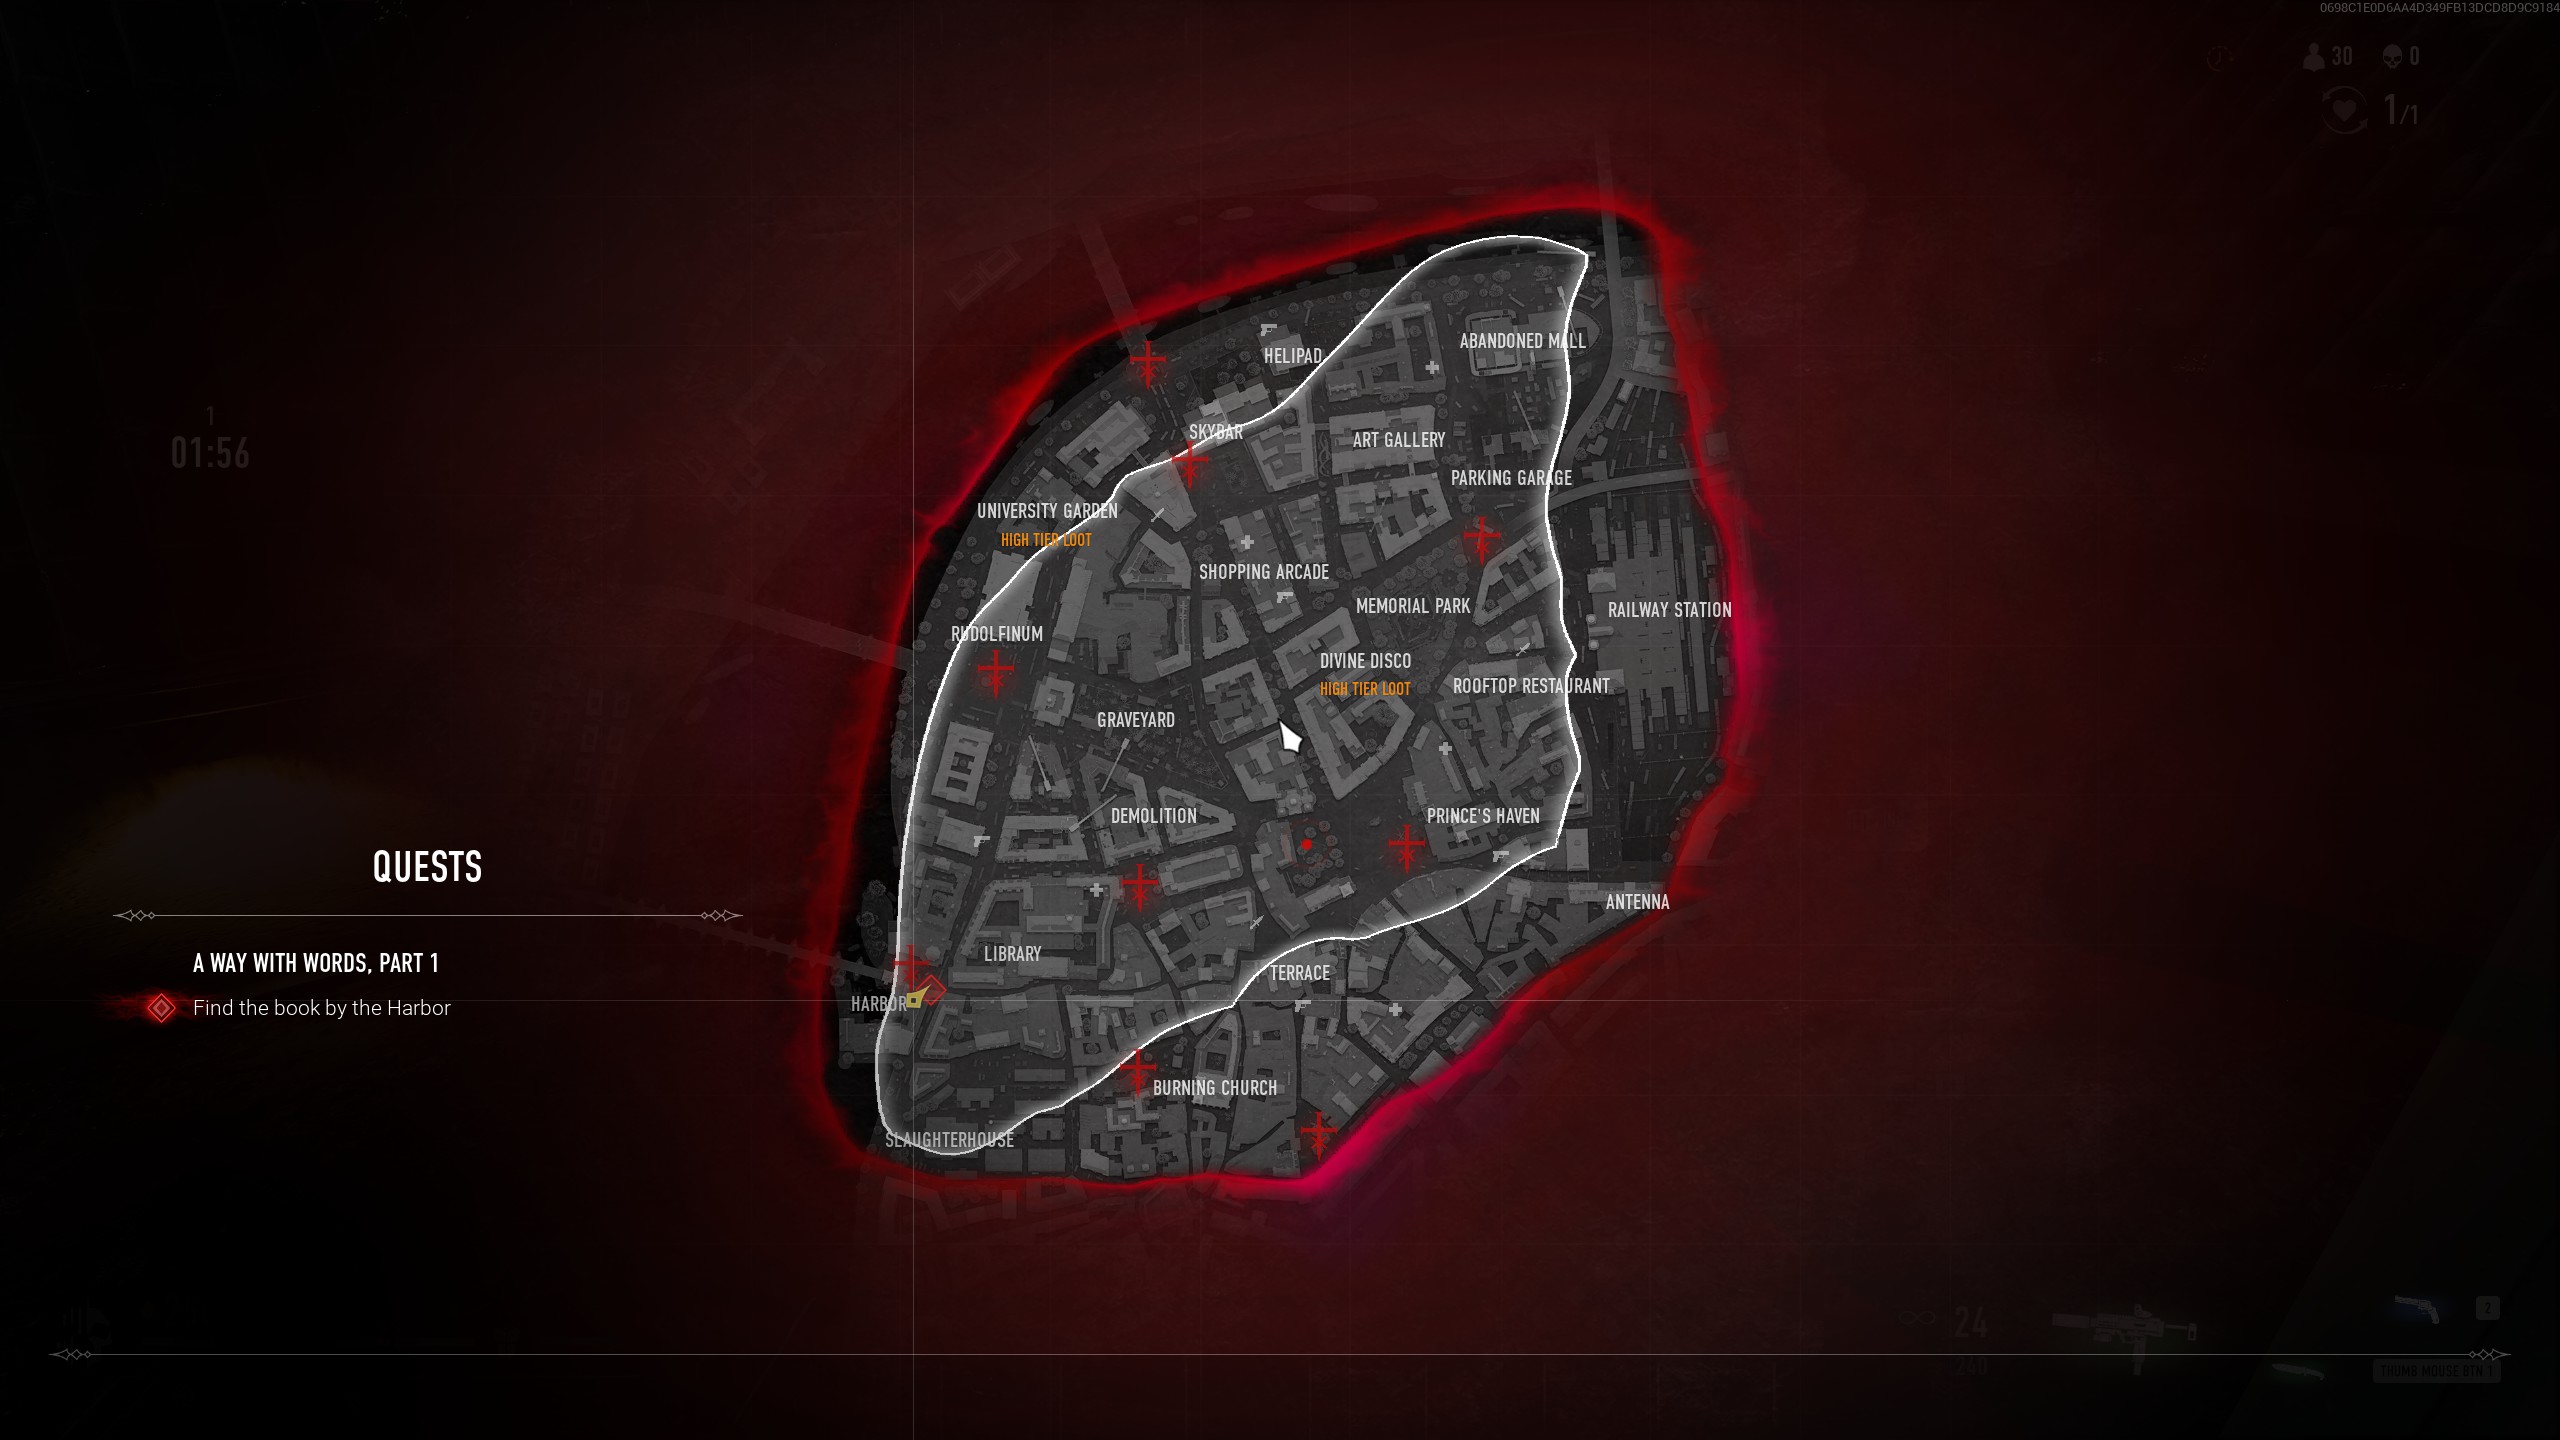
Maia requests that you find some rare books for her while you're out in the city. The first is located just East of the Harbor.
Part 2:
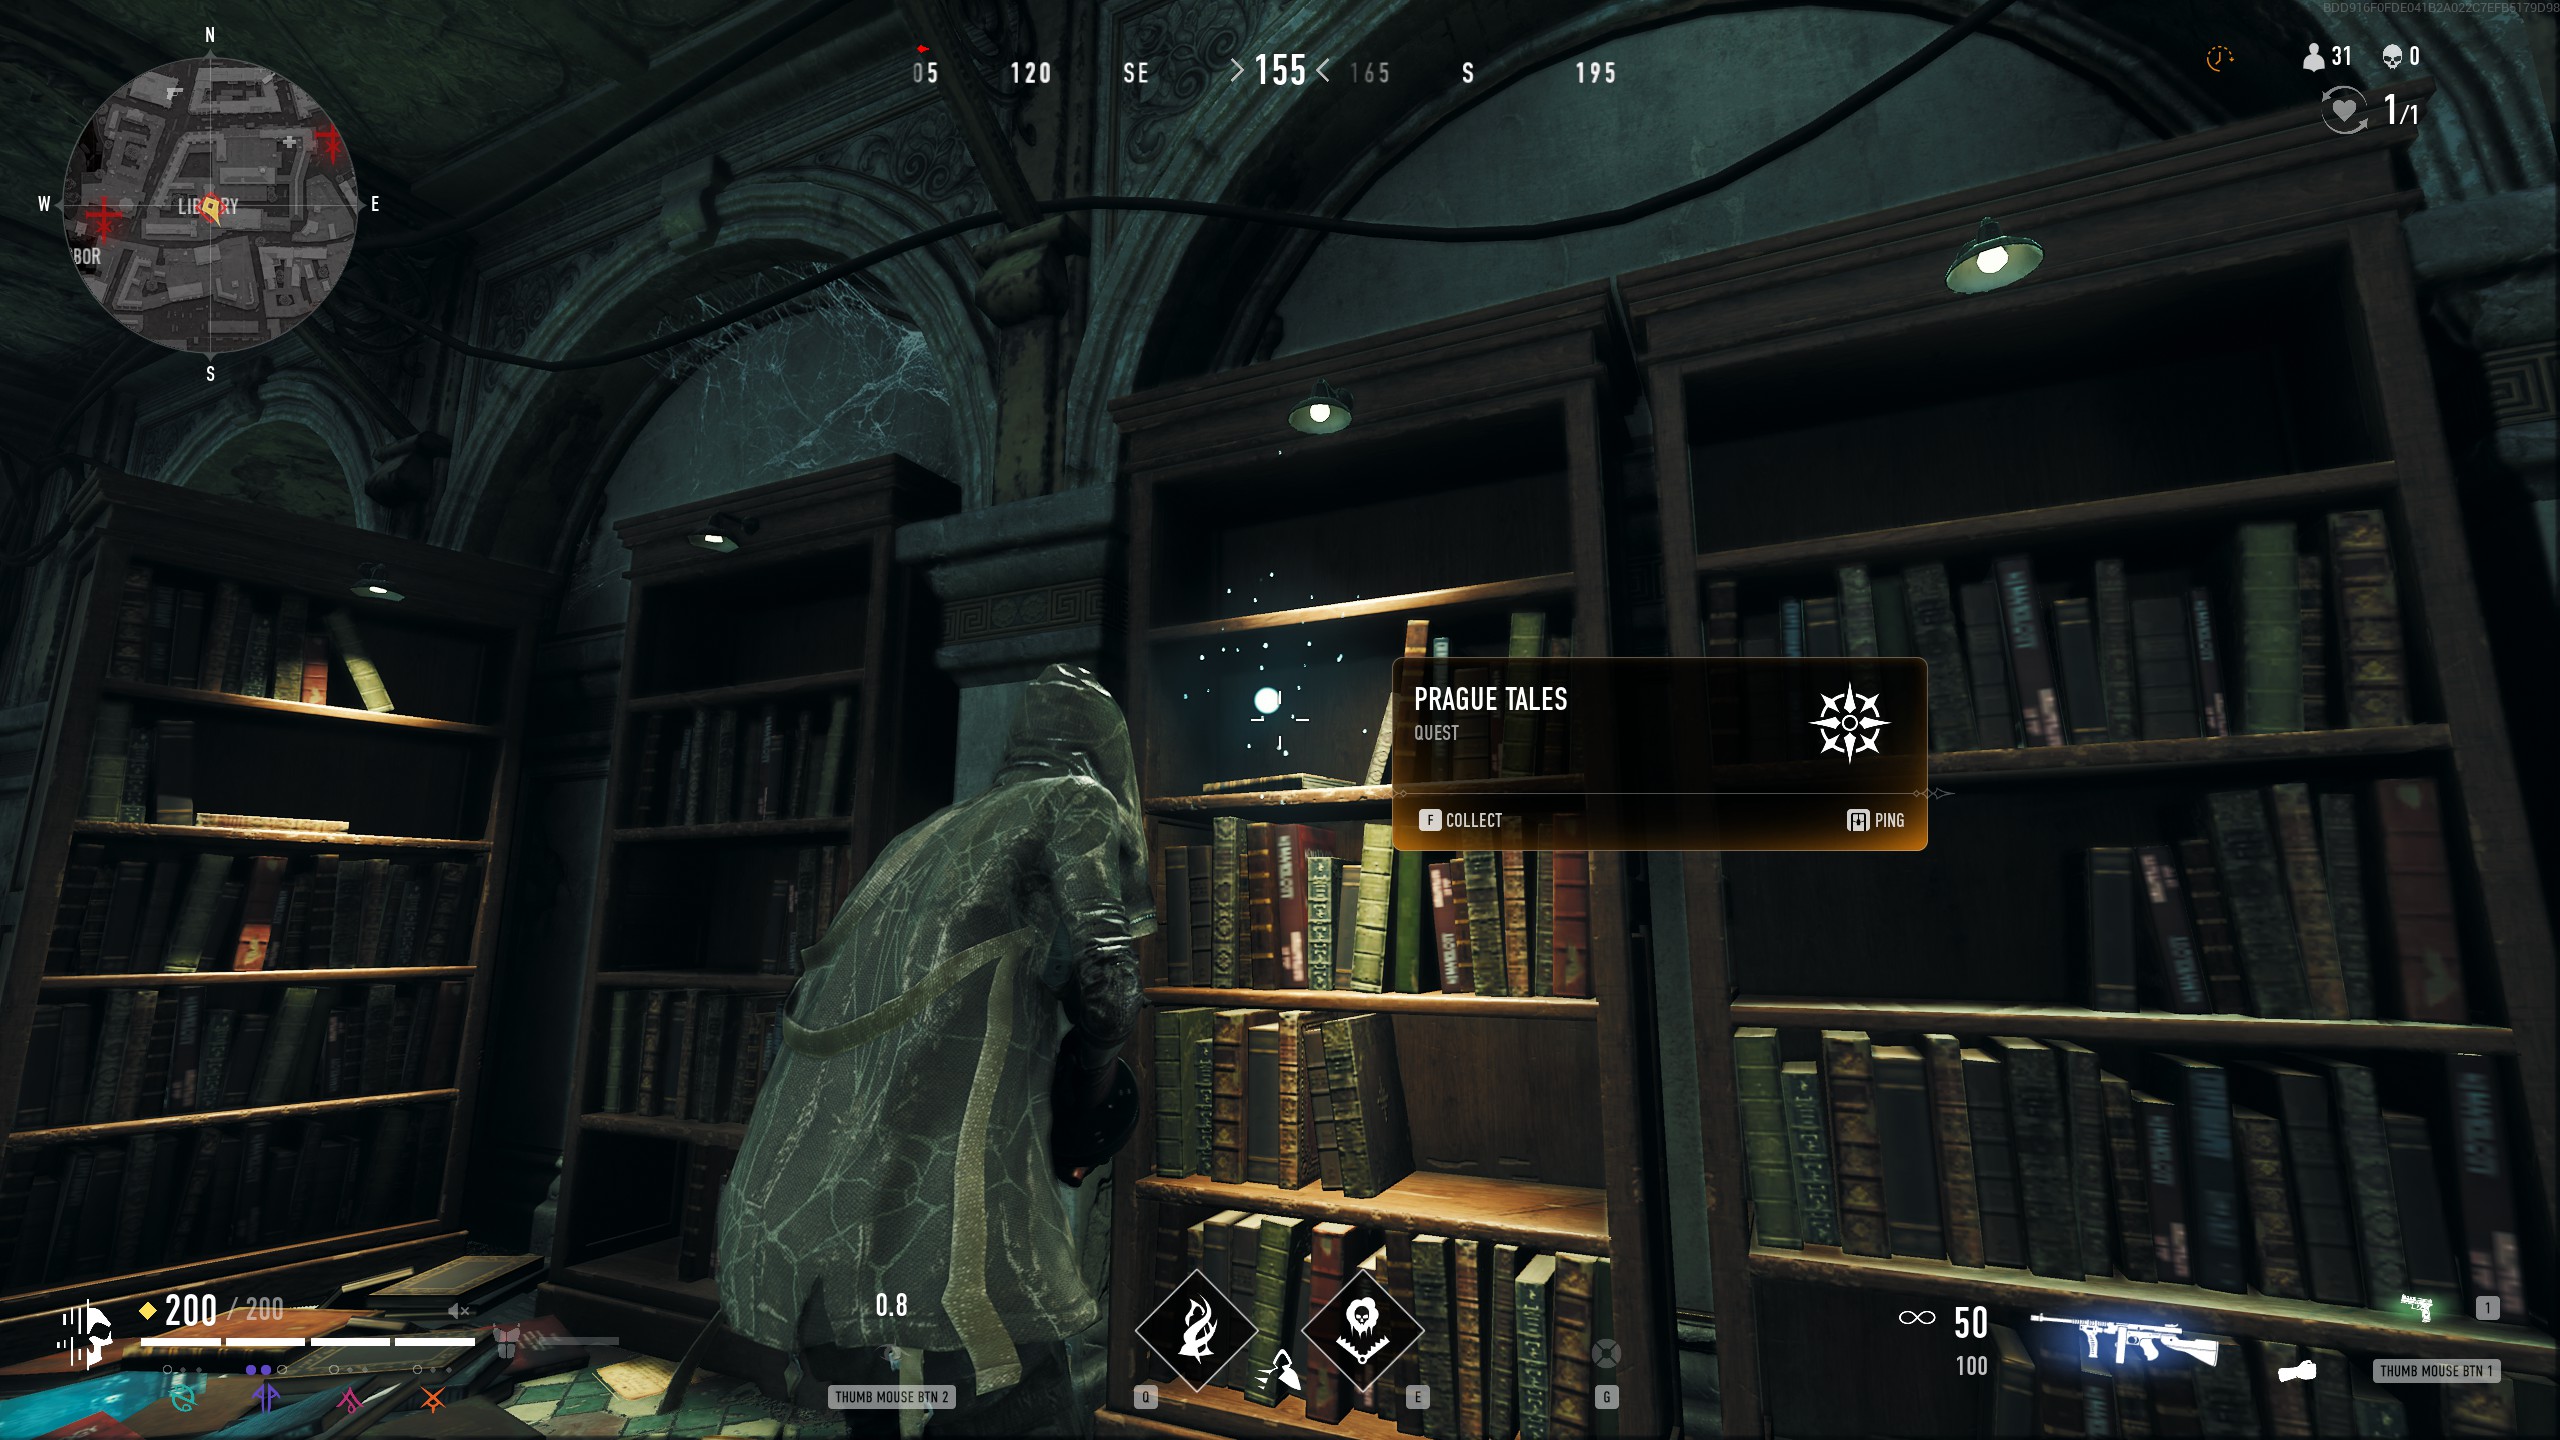
Return the book to Maia and she will provide the location of the second book. It is, of all places, in the Library. Enter the Library and you will find the book on a shelf of one of the upper levels.
Part 3:
Return once more to Maia and she will give you the location of the 3rd and final book. It is located in the break room of the Slaughterhouse. Go there an collect it.
Reward:
Returning to Maia, she discovers a poem has been left in the last book, and Maia reads it to you. With the task complete, your reward is waiting for you in the Customization menu.
In Vino Veritas
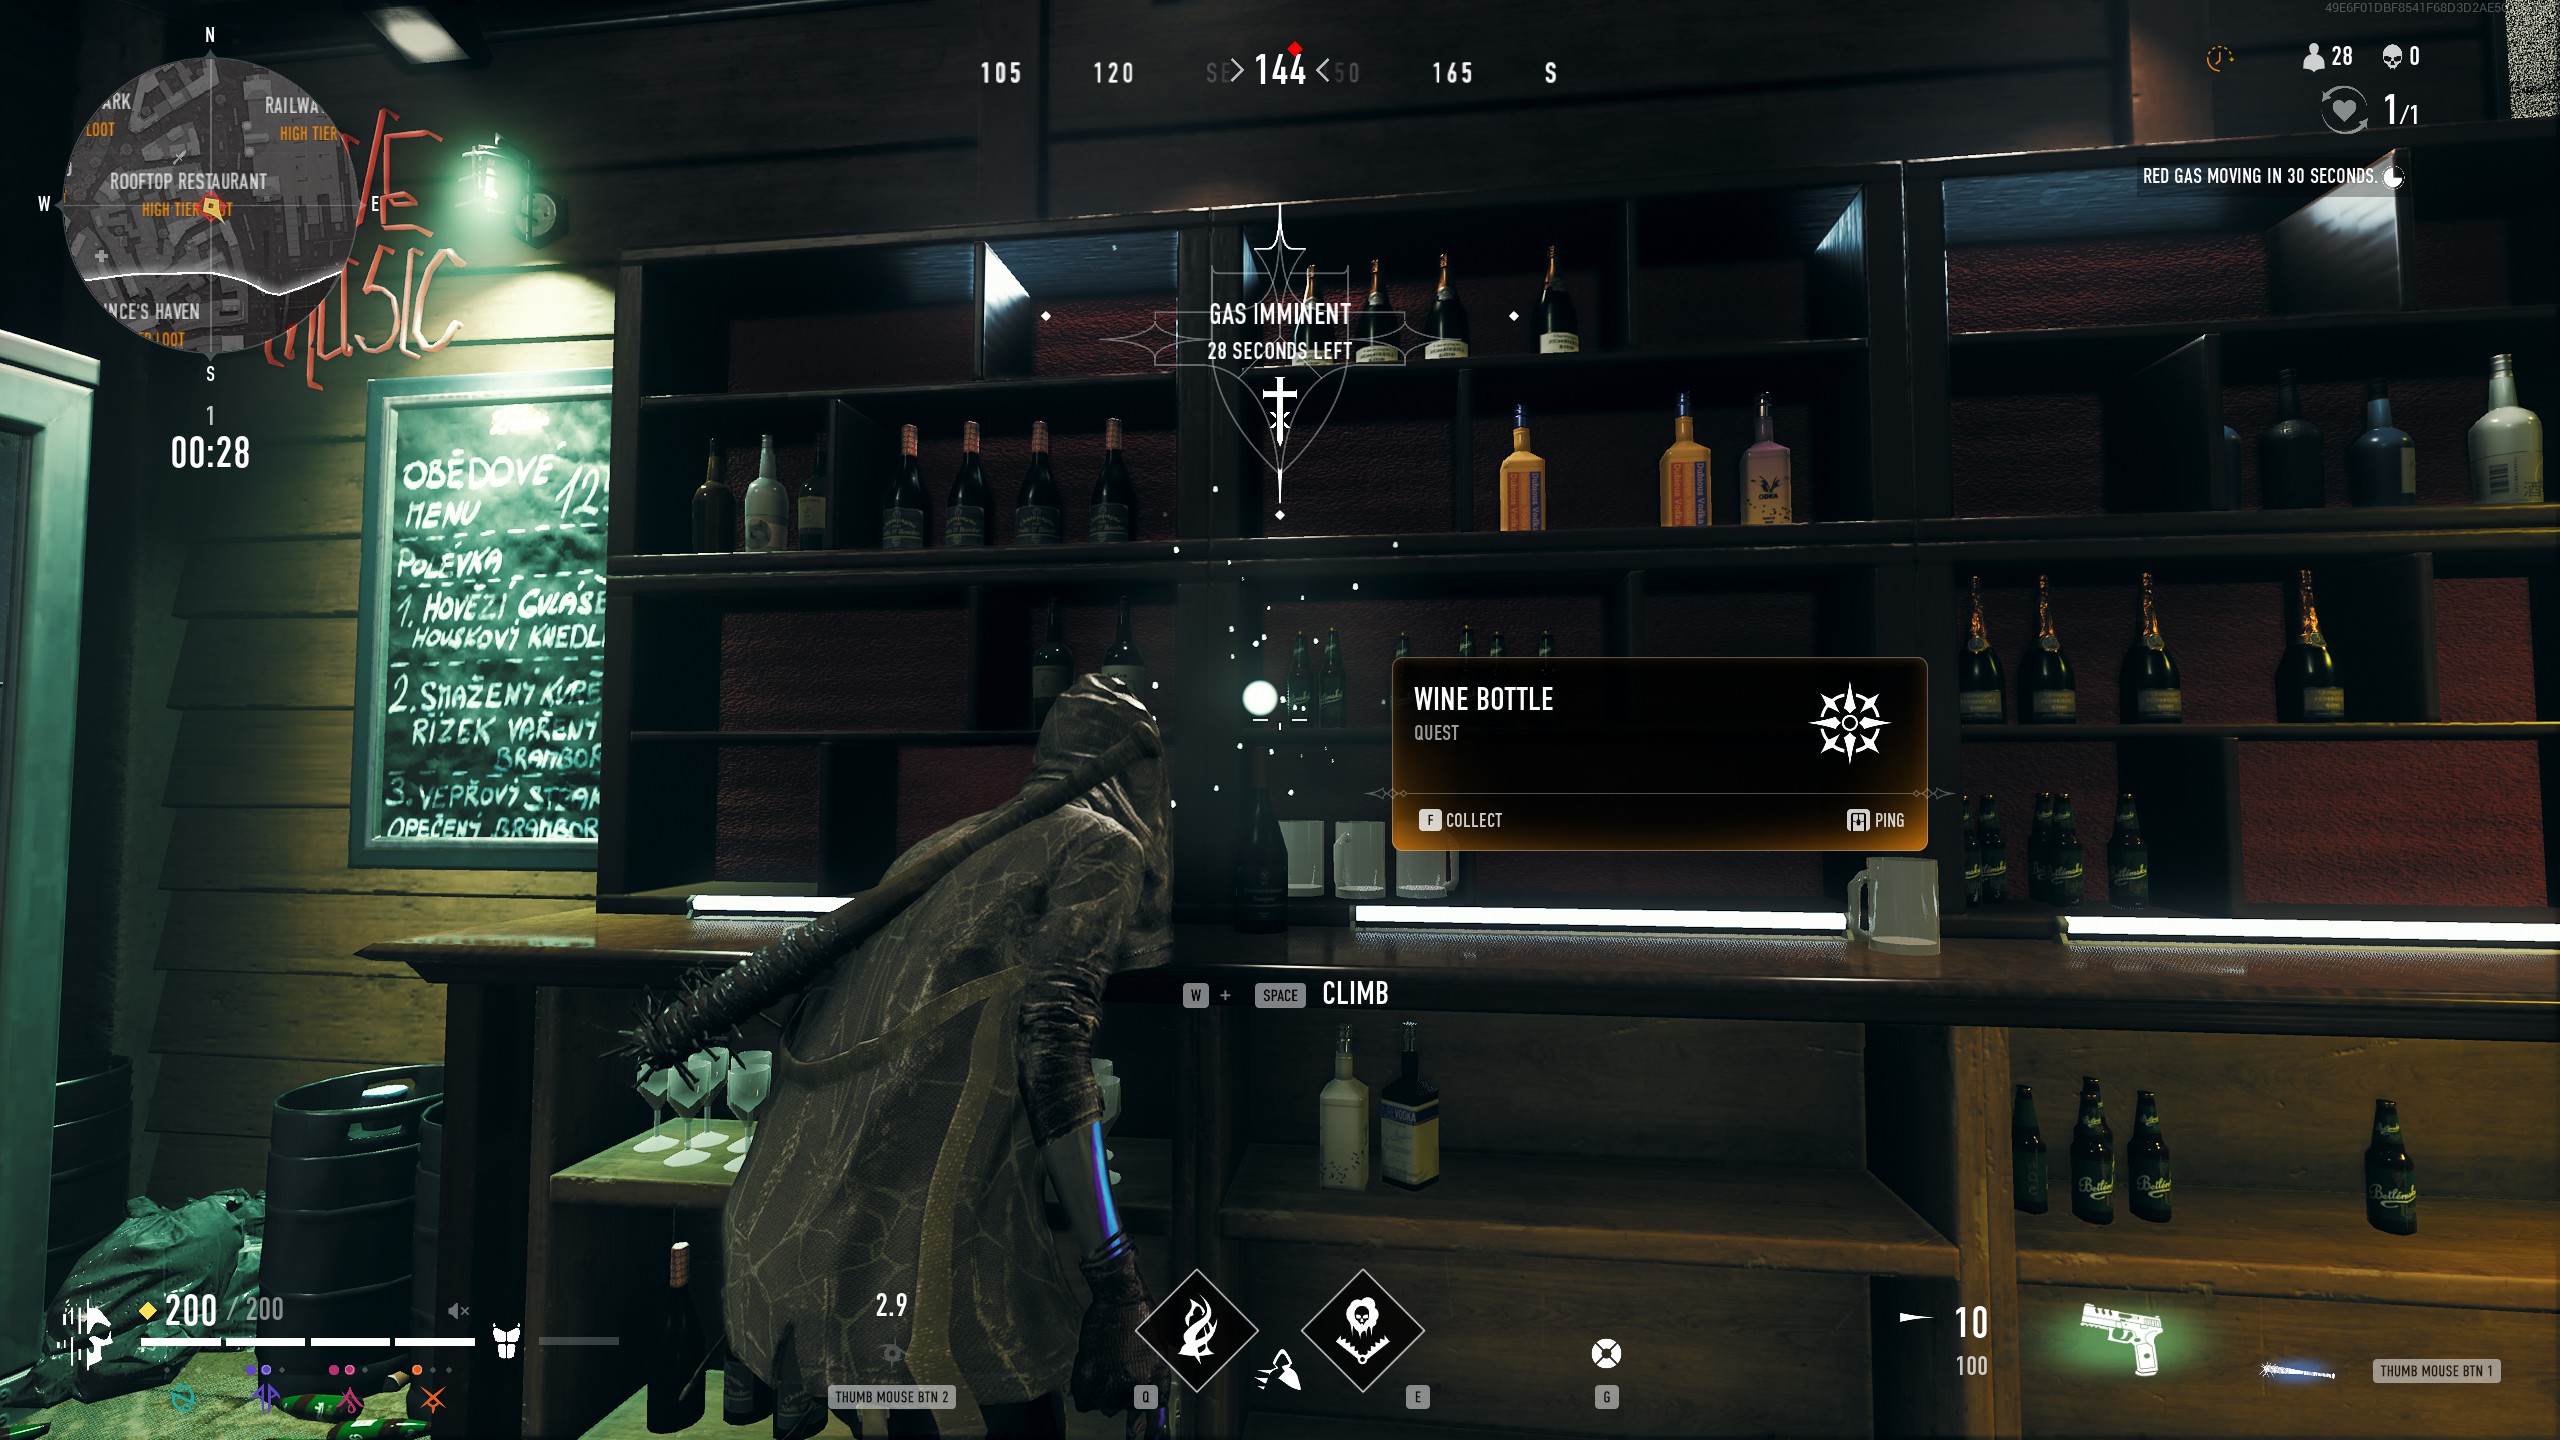
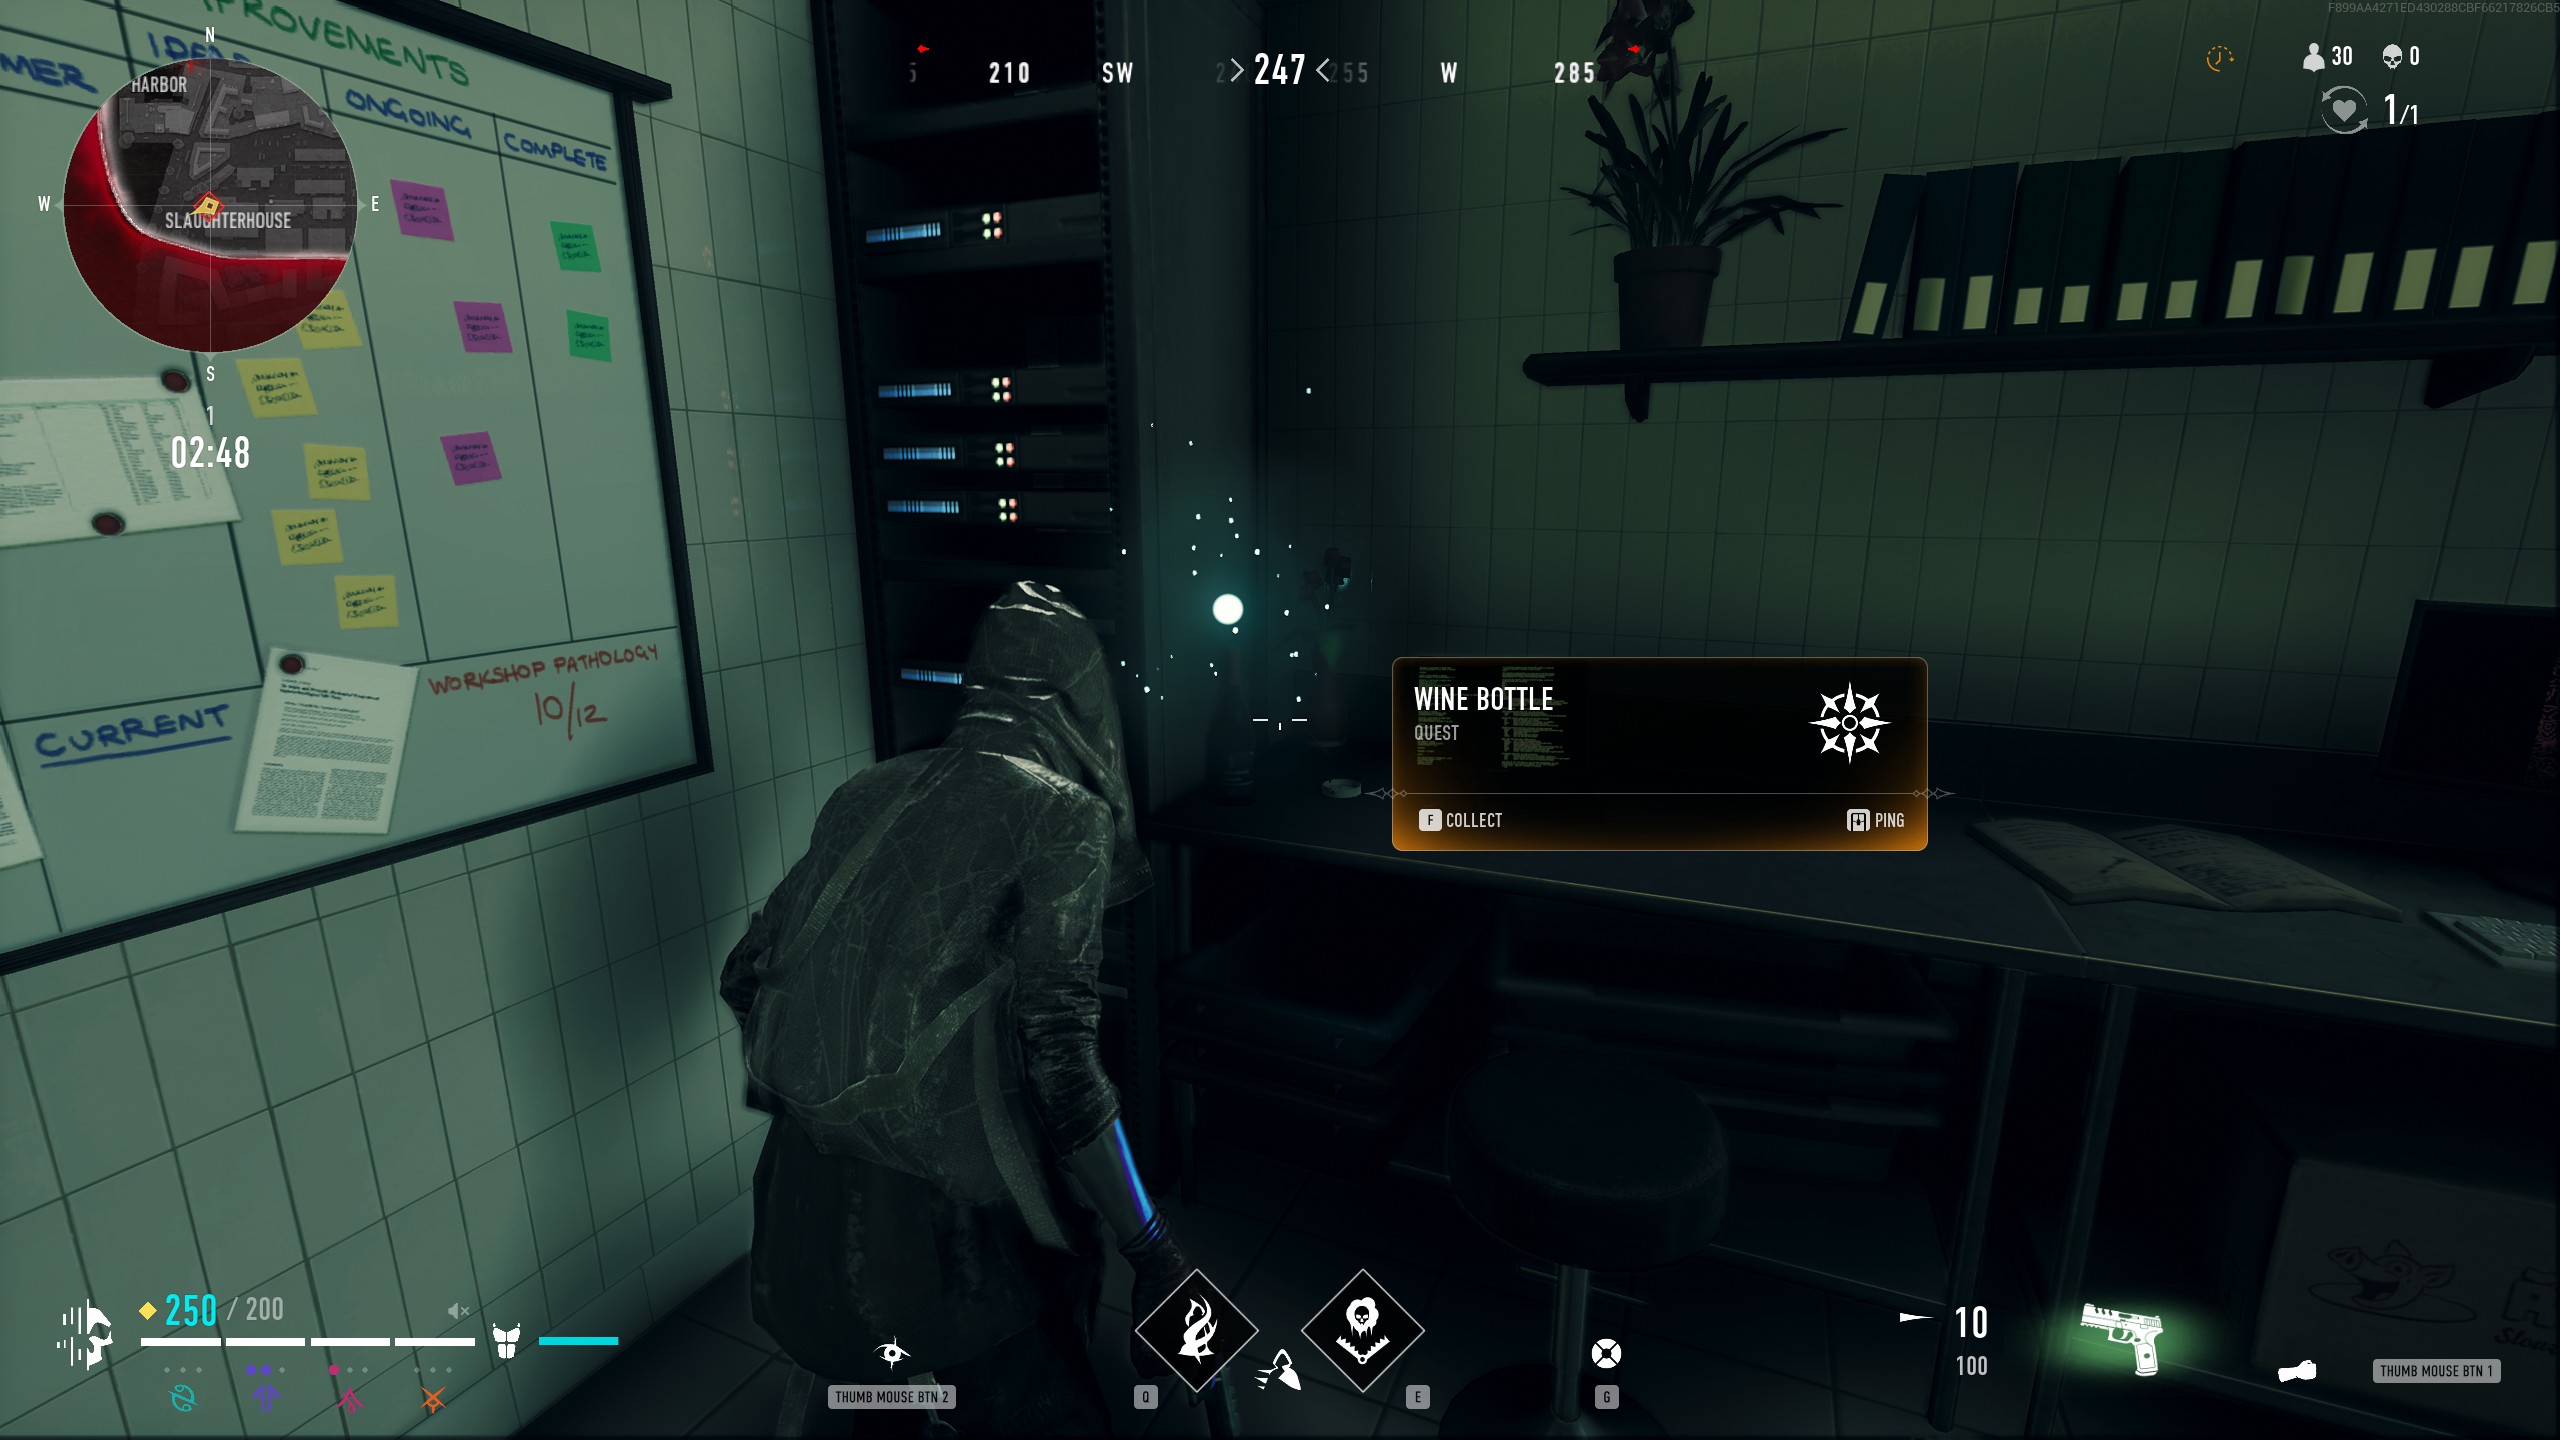

This quest begins by speaking with Maia.
Part 1:
Maia has a new task for you while you are out in the city. She wants you to find her a bottle of wine. She recommends the Rooftop Restaurant as a good place to find one. Head there now.
Part 2:
Return to Maia with the bottle, and she will request another bottle, this time of a "special" vintage. It can be found in the strange backroom of the Slaughterhouse, on a table in the corner.
Part 3:
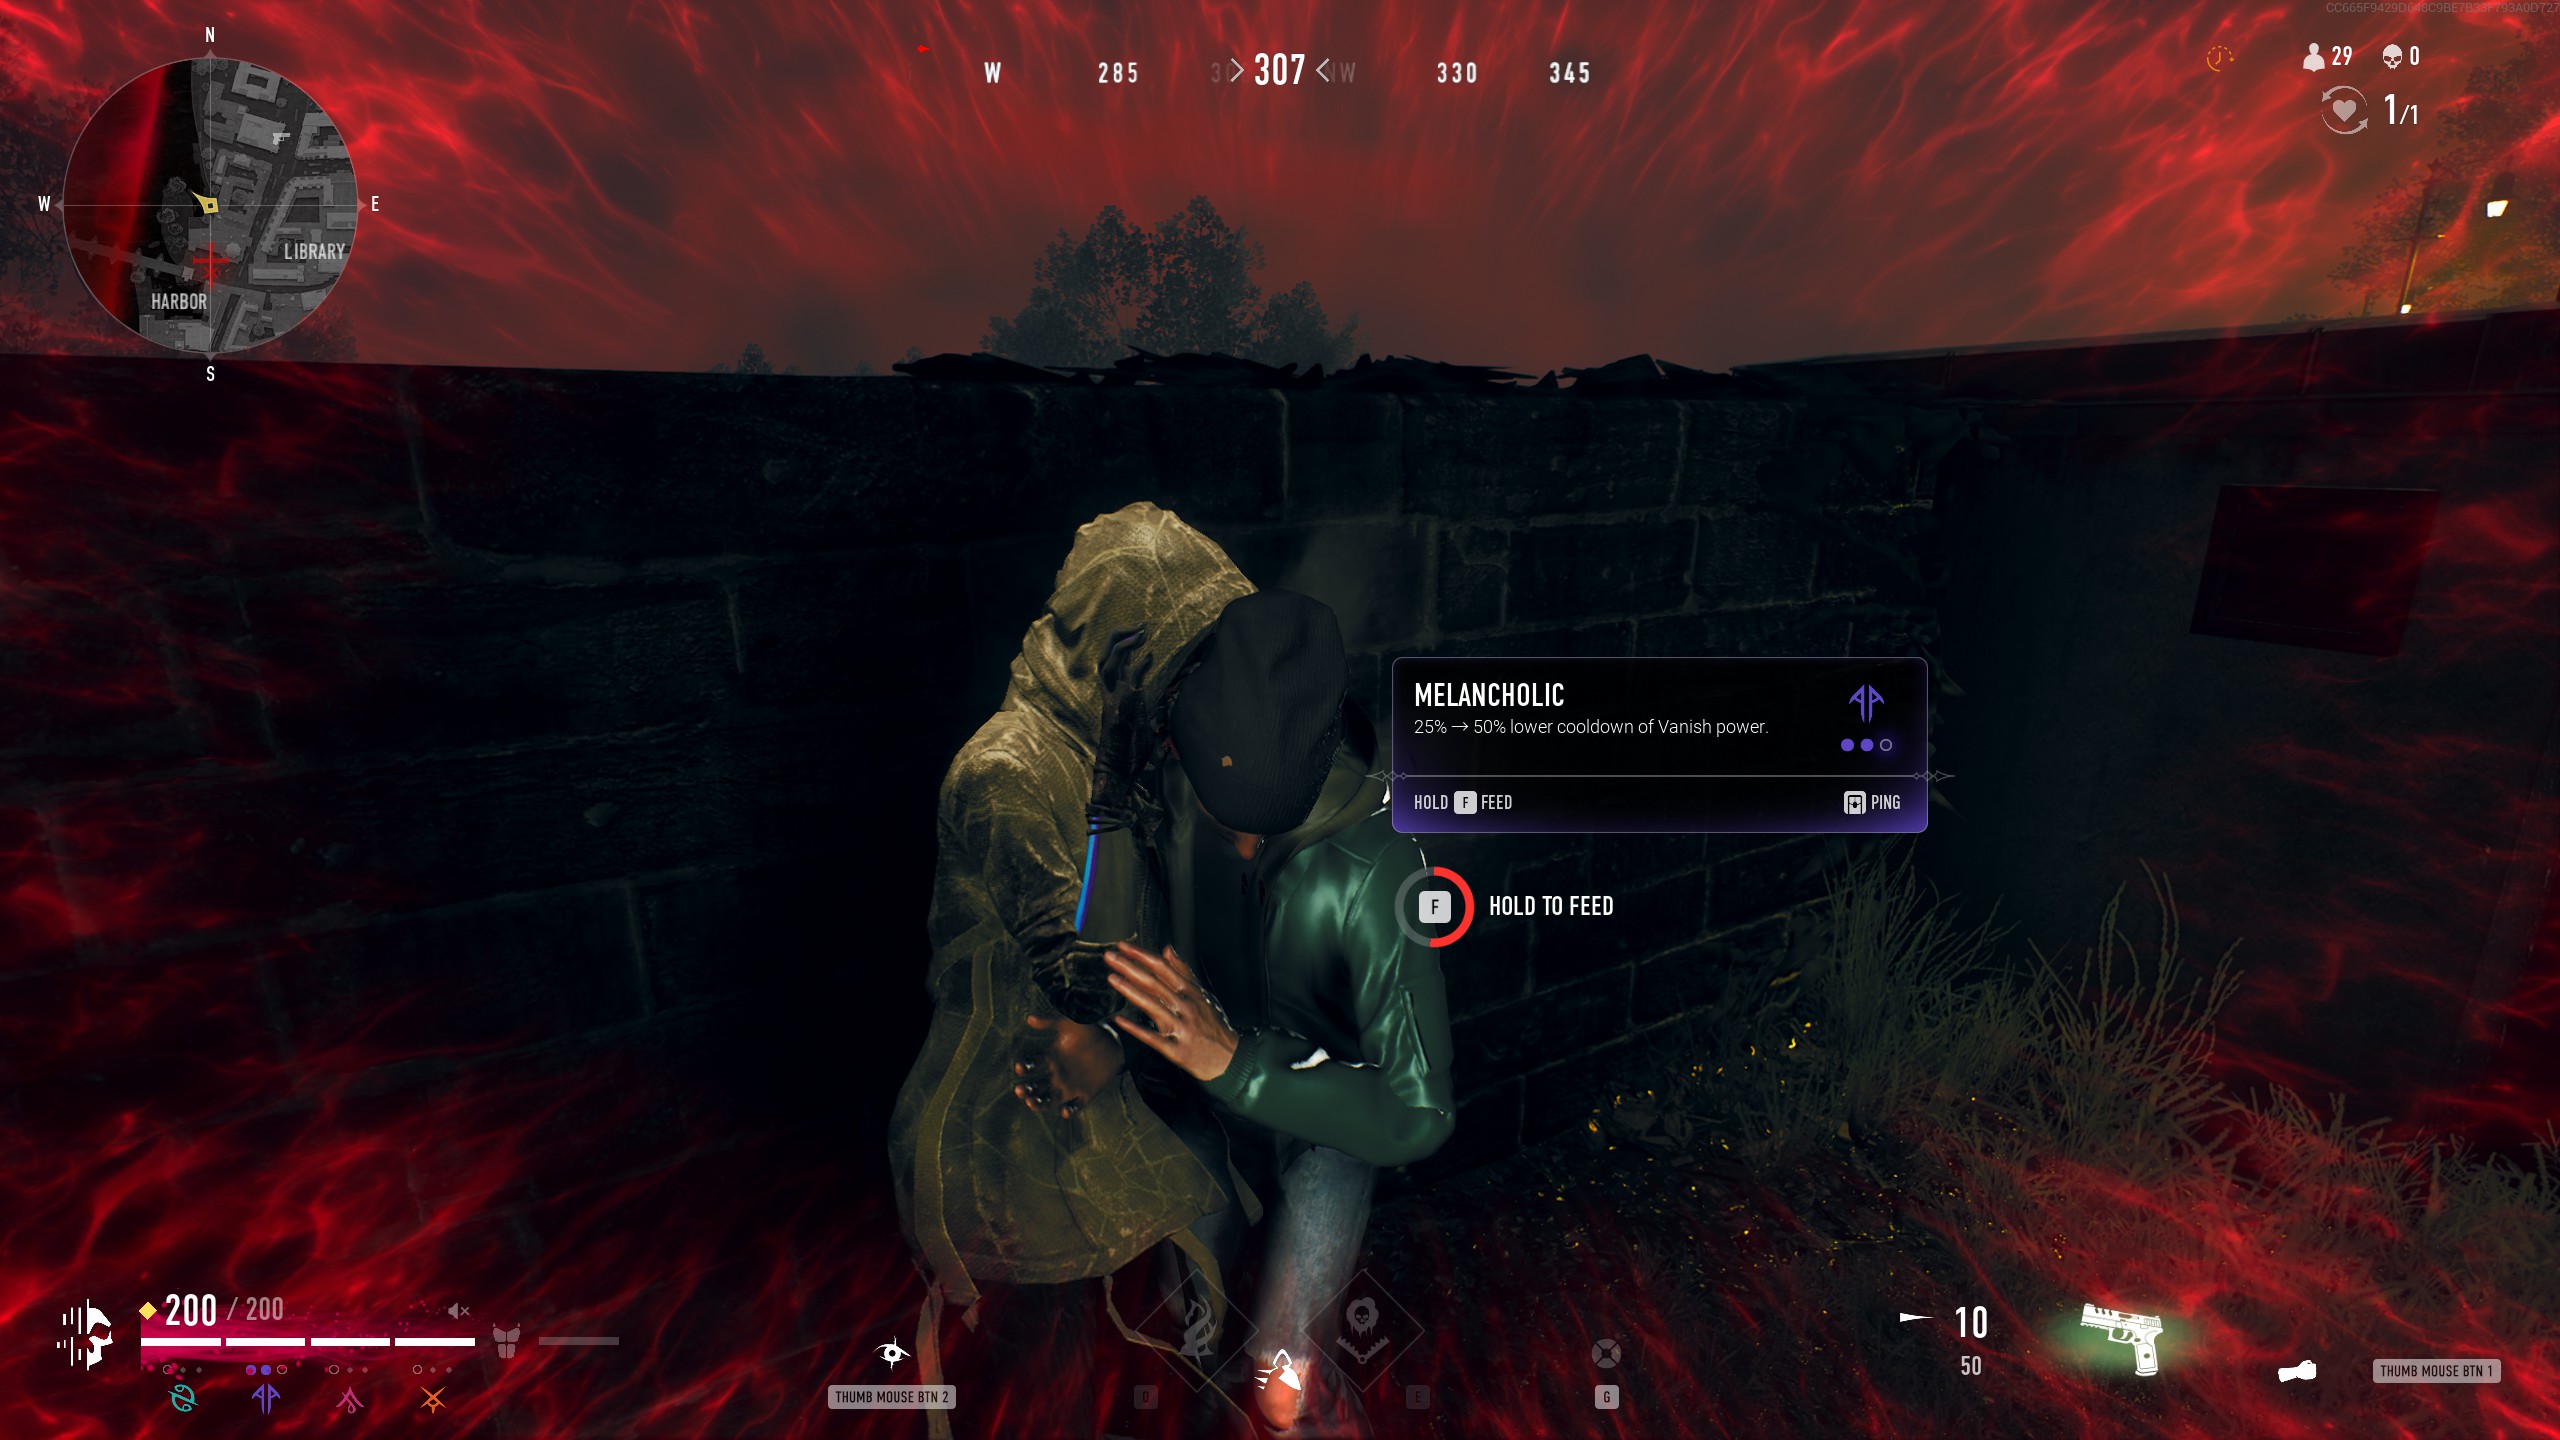
For the final task, she asks you to simply feed on a mortal. Although the quest does not specify, it is probably best to feed on one with Resonant blood to ensure the quest completes properly. They can be found all over the city and show up easily with the use of Heightened Senses. Return to Maia when you have fed for your reward.
Reward:
Maia thanks you for your aid in her experiment. Your reward can be found in the Customization menu.
Pest Control
This quest begins by speaking with Kirill.
Part 1:
Kirill has some new challenges for you to complete. Starting with dealing 5000 ranged damage to enemy players. There are no restrictions on this one, so find your gun of choice and just have at it. This can be completed over multiple matches.
Part 2:
After returning from your shooting spree, Kirill is pleased and sends you out once more, but this time to do 2000 damage with melee weapons. You have a couple options here. You can use an Archetype with the Choleric perk (Prowler, Vandal, and Siren) for the bonus damage and seek out an Antique Shop to acquire your own melee weapon, or you can use an archetype with the Warrior perk (Prowler, Vandal, Brute, and Siren) to start with a purple melee weapon and seek out Choleric resonance yourself. Keep in mind that with the buffs in the Summer patch, the Fire Axe has the highest damage potential out of all the melee weapons, but any one will serve your purpose in the end. This also does not need to be done in a single match. Once you have done 2000 damage, you can return to Kirill.
Part 3:
Kirill continues to be pleased with the destruction you are causing. This time however, damage will not be enough. Your task now is to eliminate 5 enemy players. For this, you can once again play as normal. Note that the quest requires ELIMINATION. So downing them will not give credit. You must finish them off for it to count, whether you downed them or not. This does not have to be done in a single match.
Part 4:
Your next task from Kirill requires you to land 20 head shots on other players. Luckily, you can do this with whatever ranged weapon you choose, and head shots performed after the person is downed still count towards the total. This does not need to be completed in one match. Return to Kirill when done.
Part 5:
For the final part of this quest, Kirill wants you to eliminate a full team of enemy players. Much like "A Friend Indeed" part 3, despite the quest stating to eliminate, you will only get credit for this if you yourself downed the whole team, and elimination credit doesn't matter as long as they do get eliminated. Unlike that quest, you only need to do it once this time. I've provided a video showing completing of this step on a team. Return to Kirill once you are successful.
https://youtu.be/RnmBsPK8KA4
Reward:
Kirill thanks you and assures he will call on you again in the future. You can find your reward in the Customization menu.
Counterbalance


This quest begins by speaking with Omnis.
Part 1:
You have begun to gain the trust of Omnis and they wish to have you help with delivering some packages to various citizens of Prague. The first delivery will be to a building in between the Demolition and the Graveyard. Deliver the package and return to Omnis.
Part 2:
The second package you are given is to be delivered to a building South of Memorial Park, near the Divine Disco. Deliver it and once again return to Omnis.
Part 3:
Omnis has one final package for you to deliver. This time to a building East of the Helipad, near the hospital. Take it there and then return once more.
Part 4:
Though the last package was delivered, your task is not yet done. The finally delivery was never received, and Omnis requests that you check on the person the package was meant for, directing you to the Railway Station. Head to the far east of the station, near the red gas border to search.
Reward:
Returning to Omnis one last time, the news is grim and Omnis has preparations to make, but thanks you for your aid. Your reward can be found in the Customization menu.
Dust To Dust
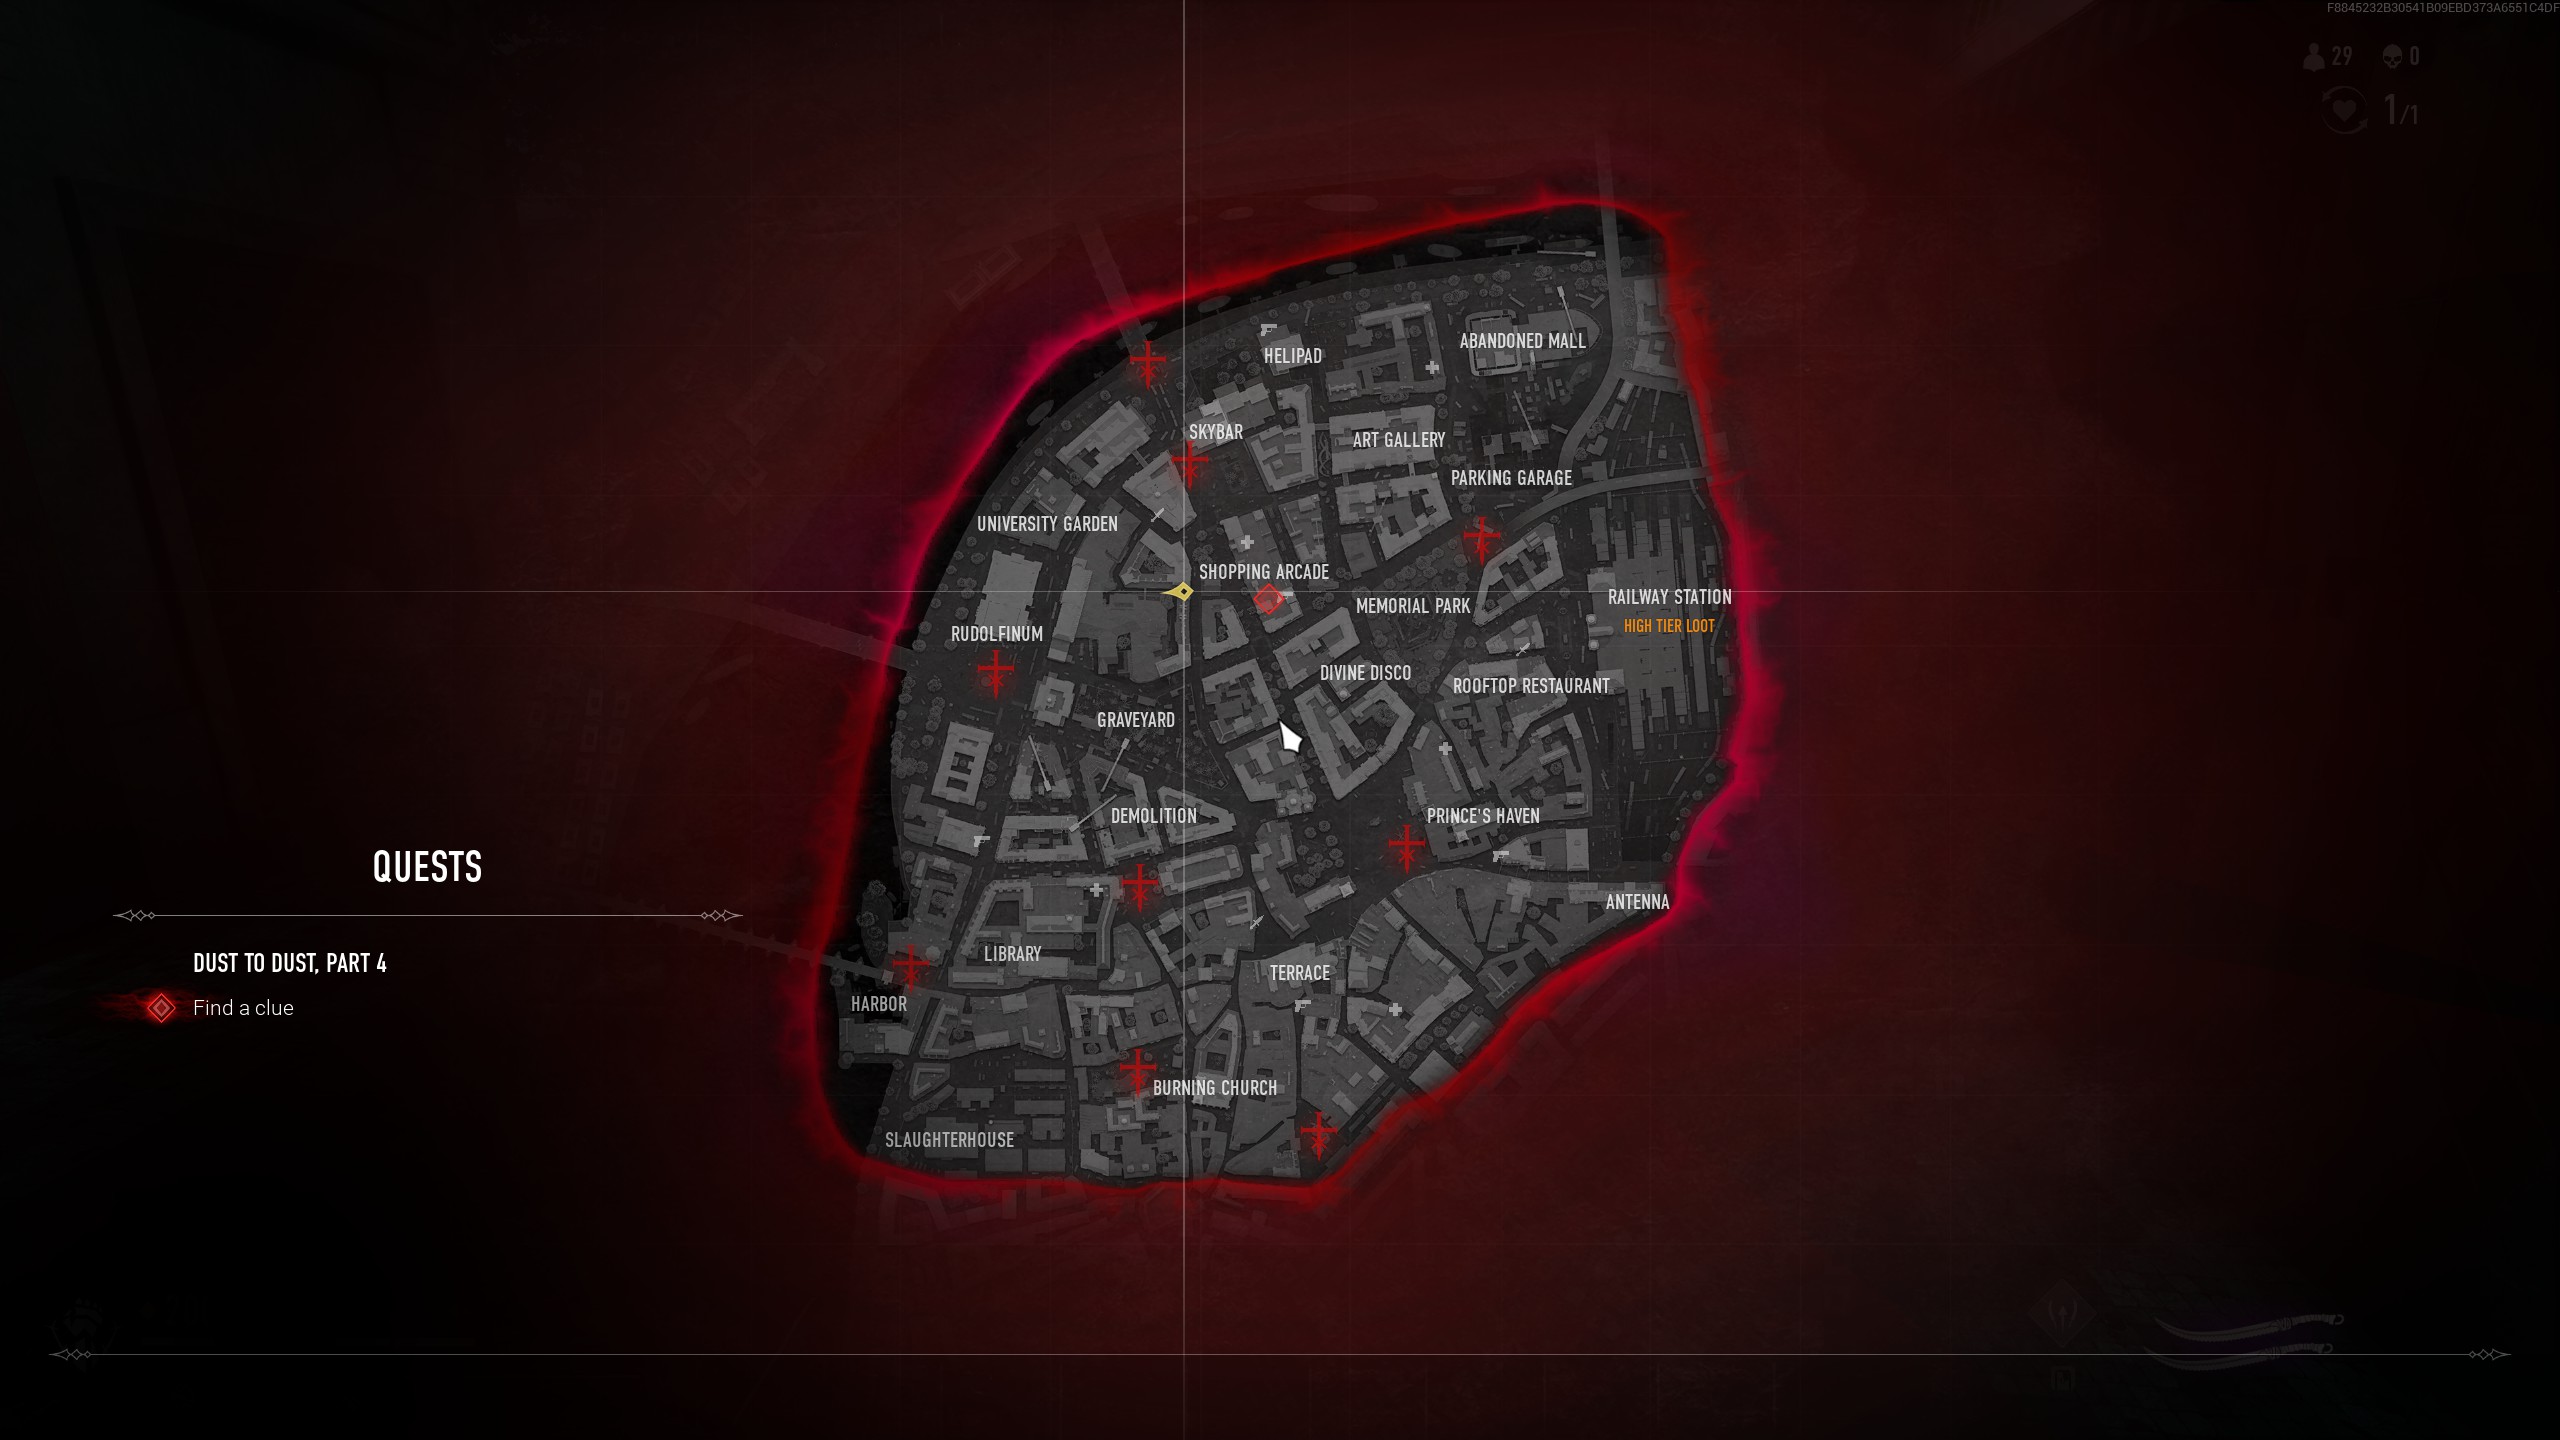
This quest begins by speaking with Kirill.
Part 1:
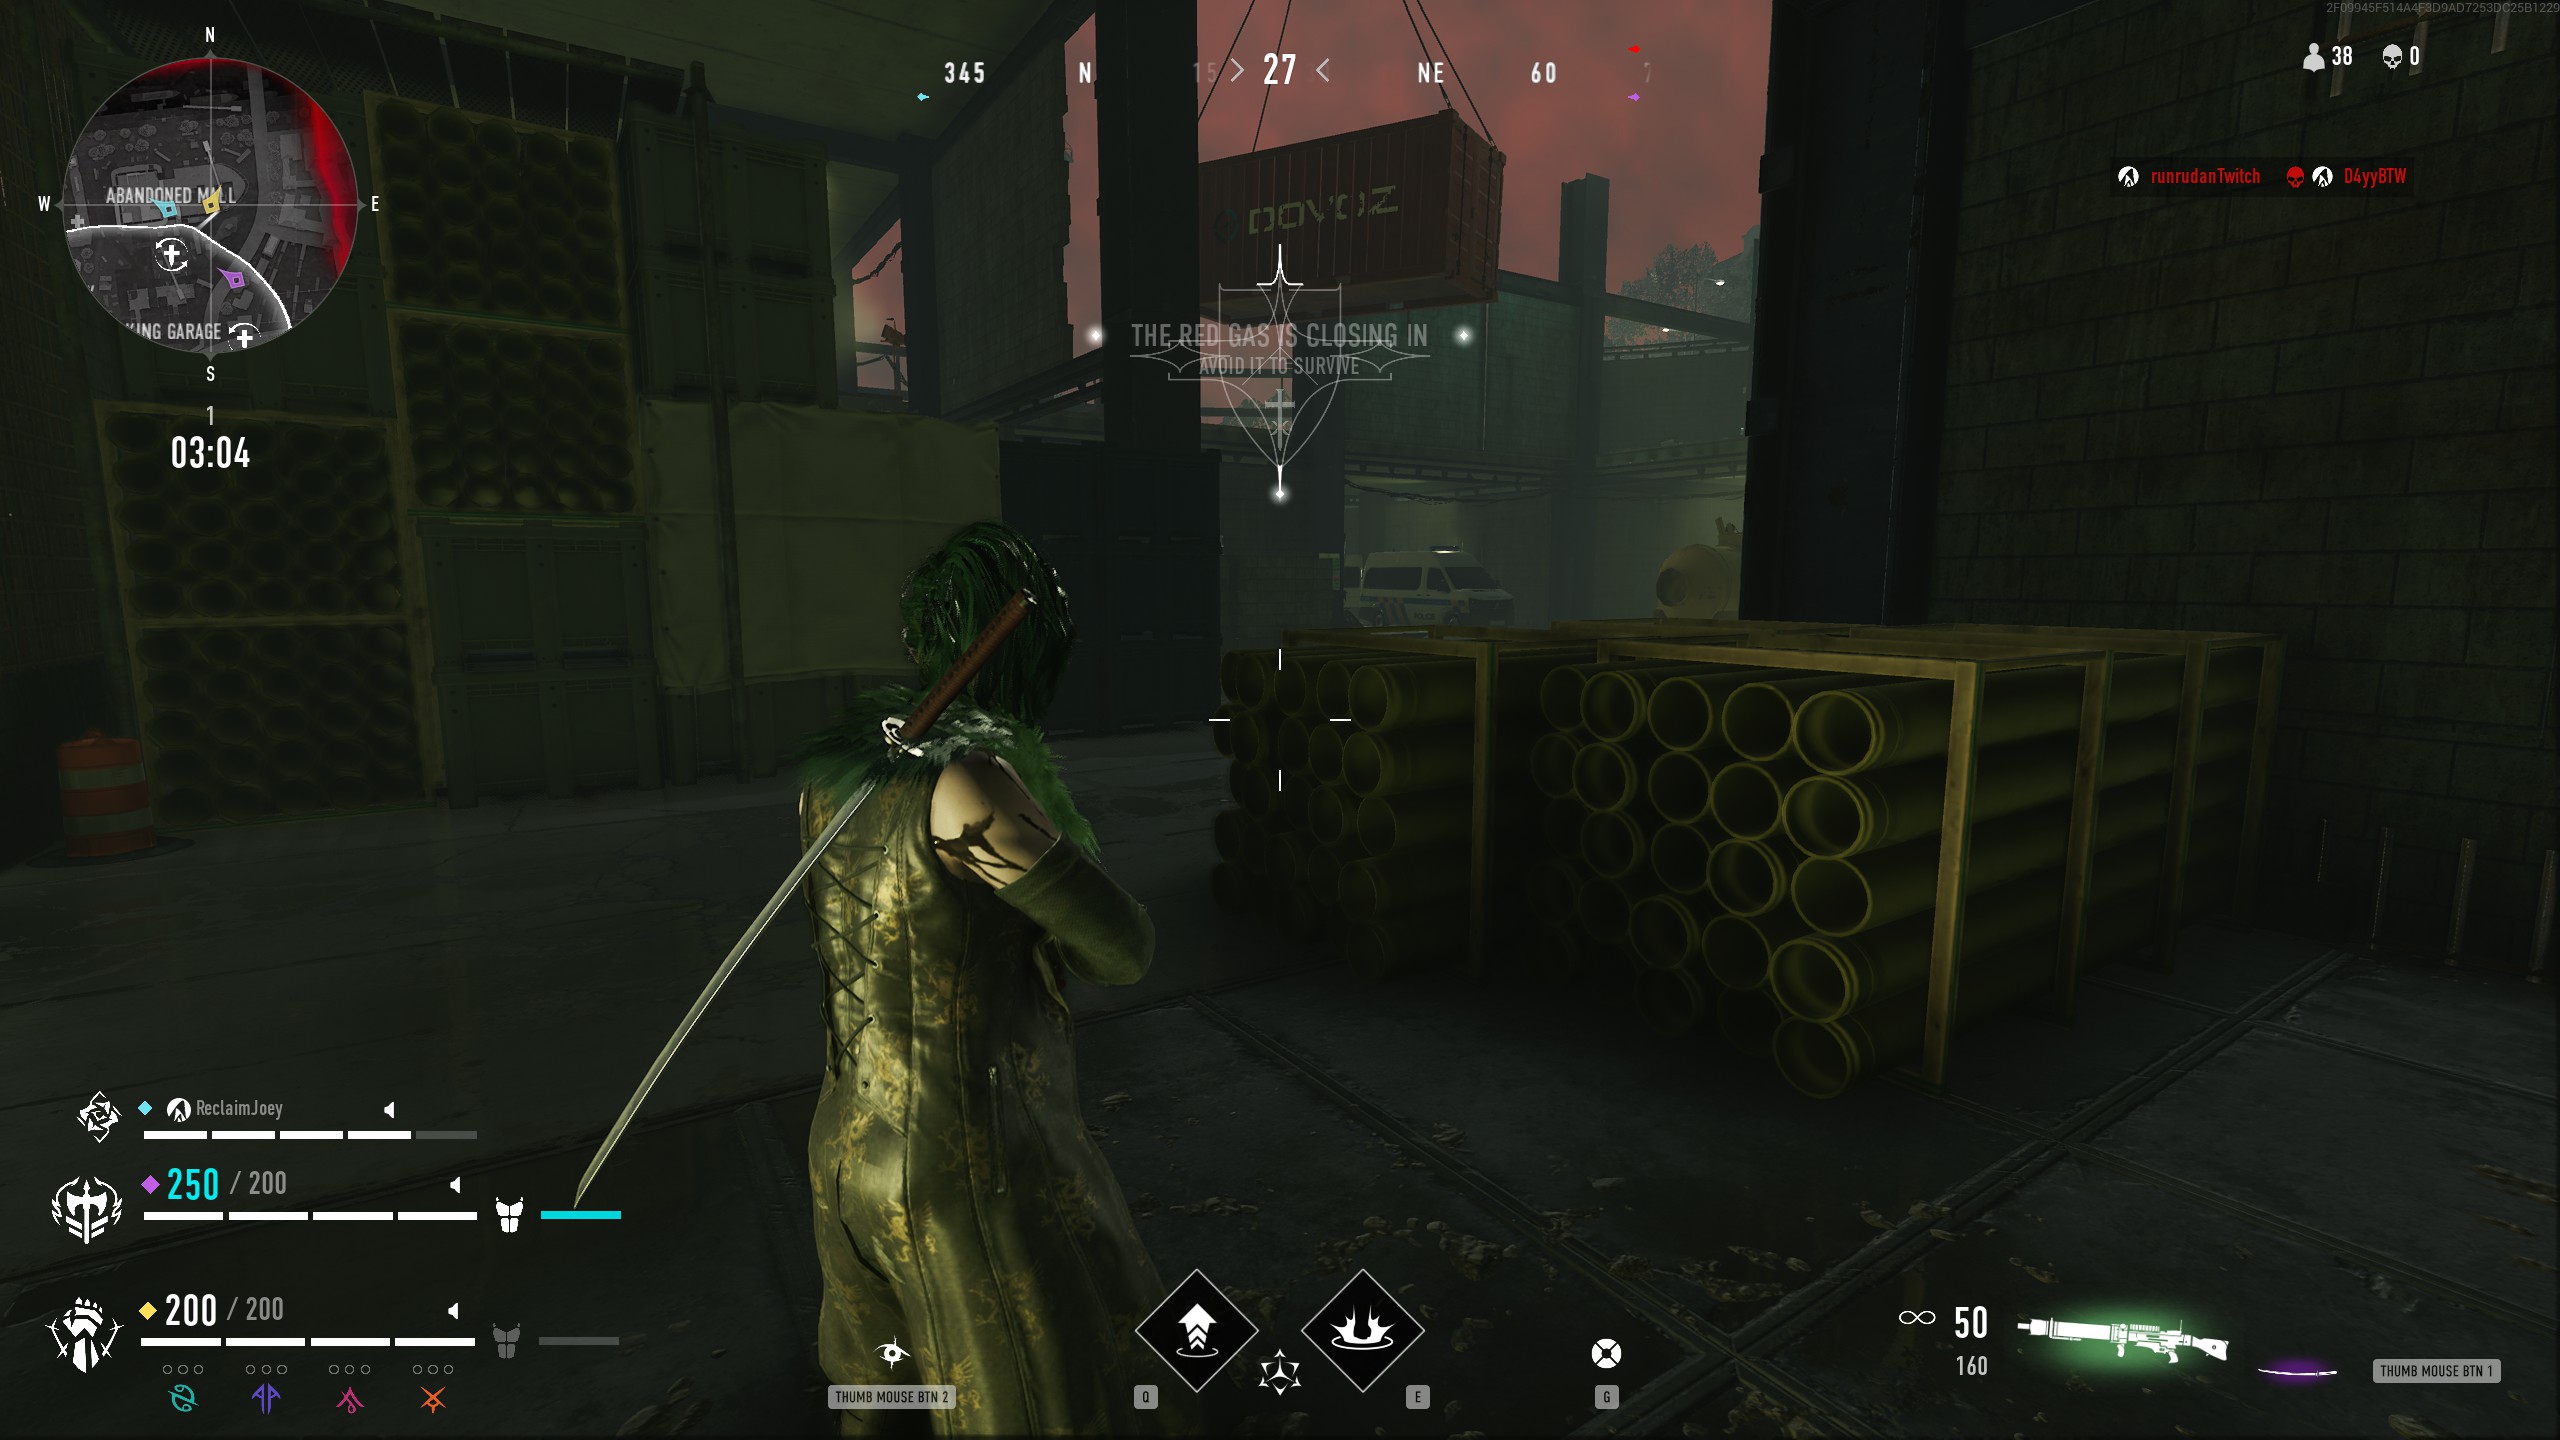
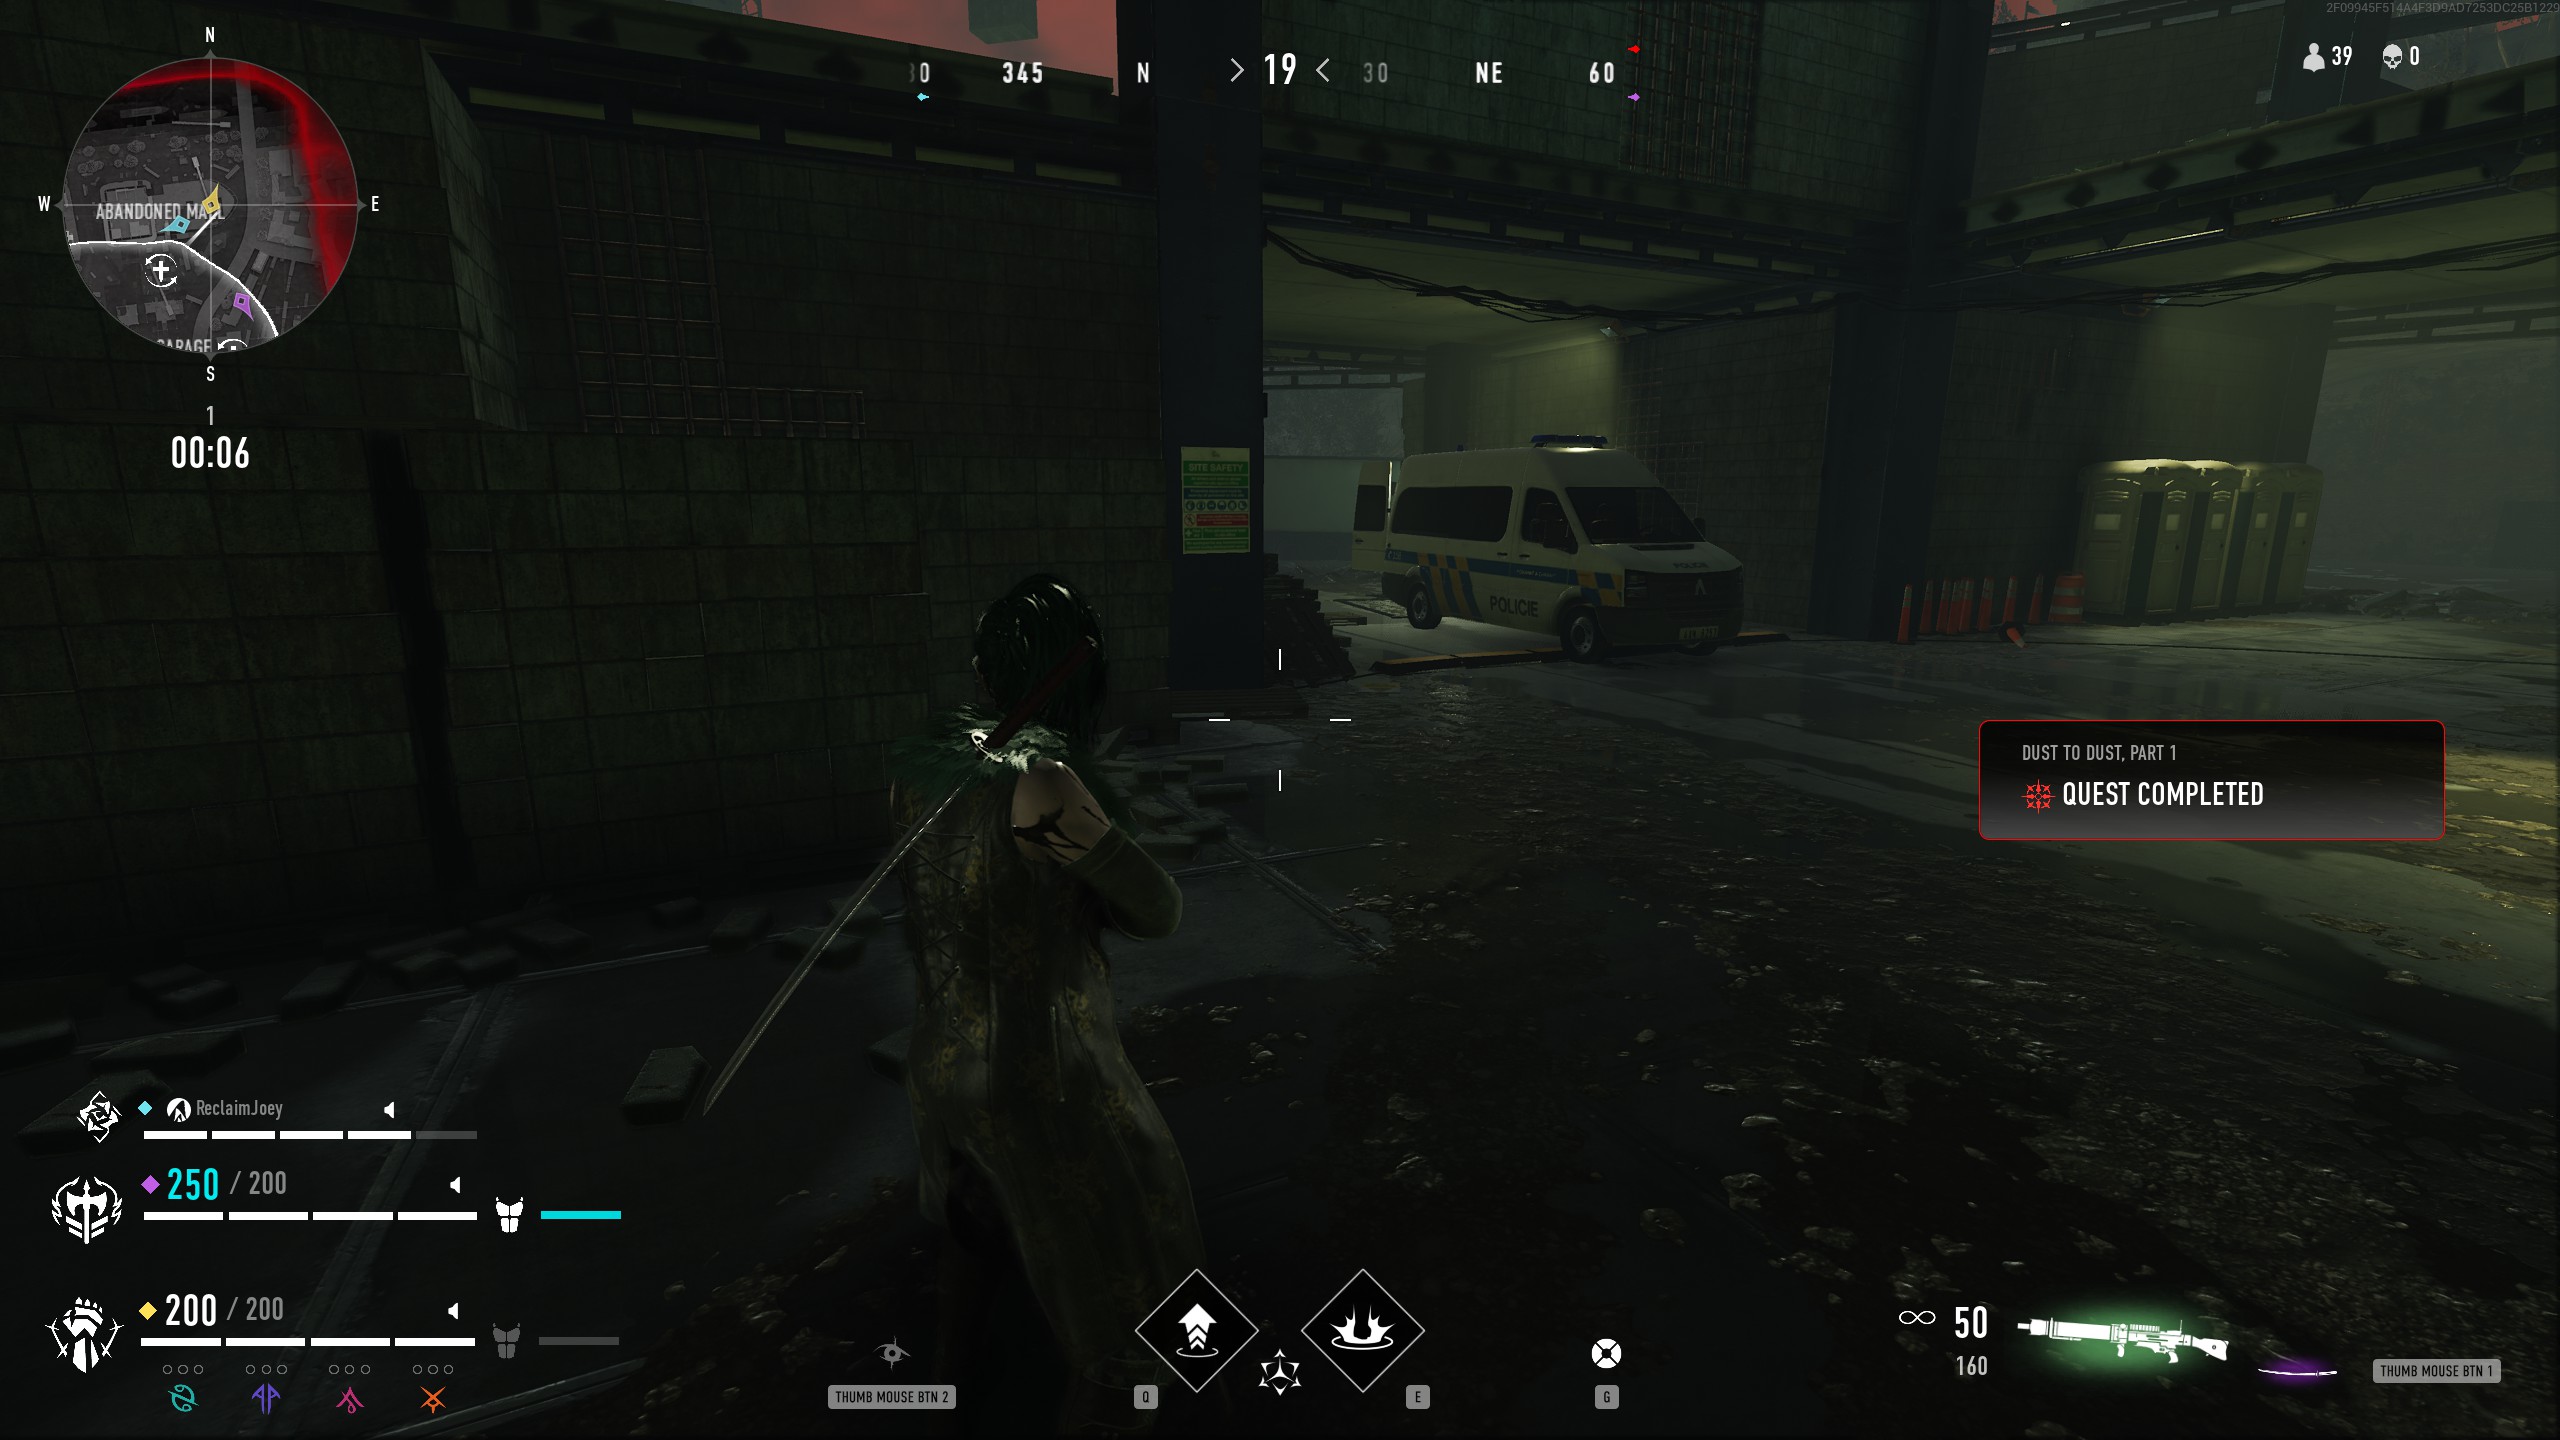
Kirill has a new mission for you. One of his men went missing in the Abandoned Mall and Kirill wants you to track him down. This objective can be a little tricky to find as it is not marked on the map. I got completion credit when waling through the bottom level of the Abandoned Mall on the far east side of the structure, as depicted below.
Part 2:
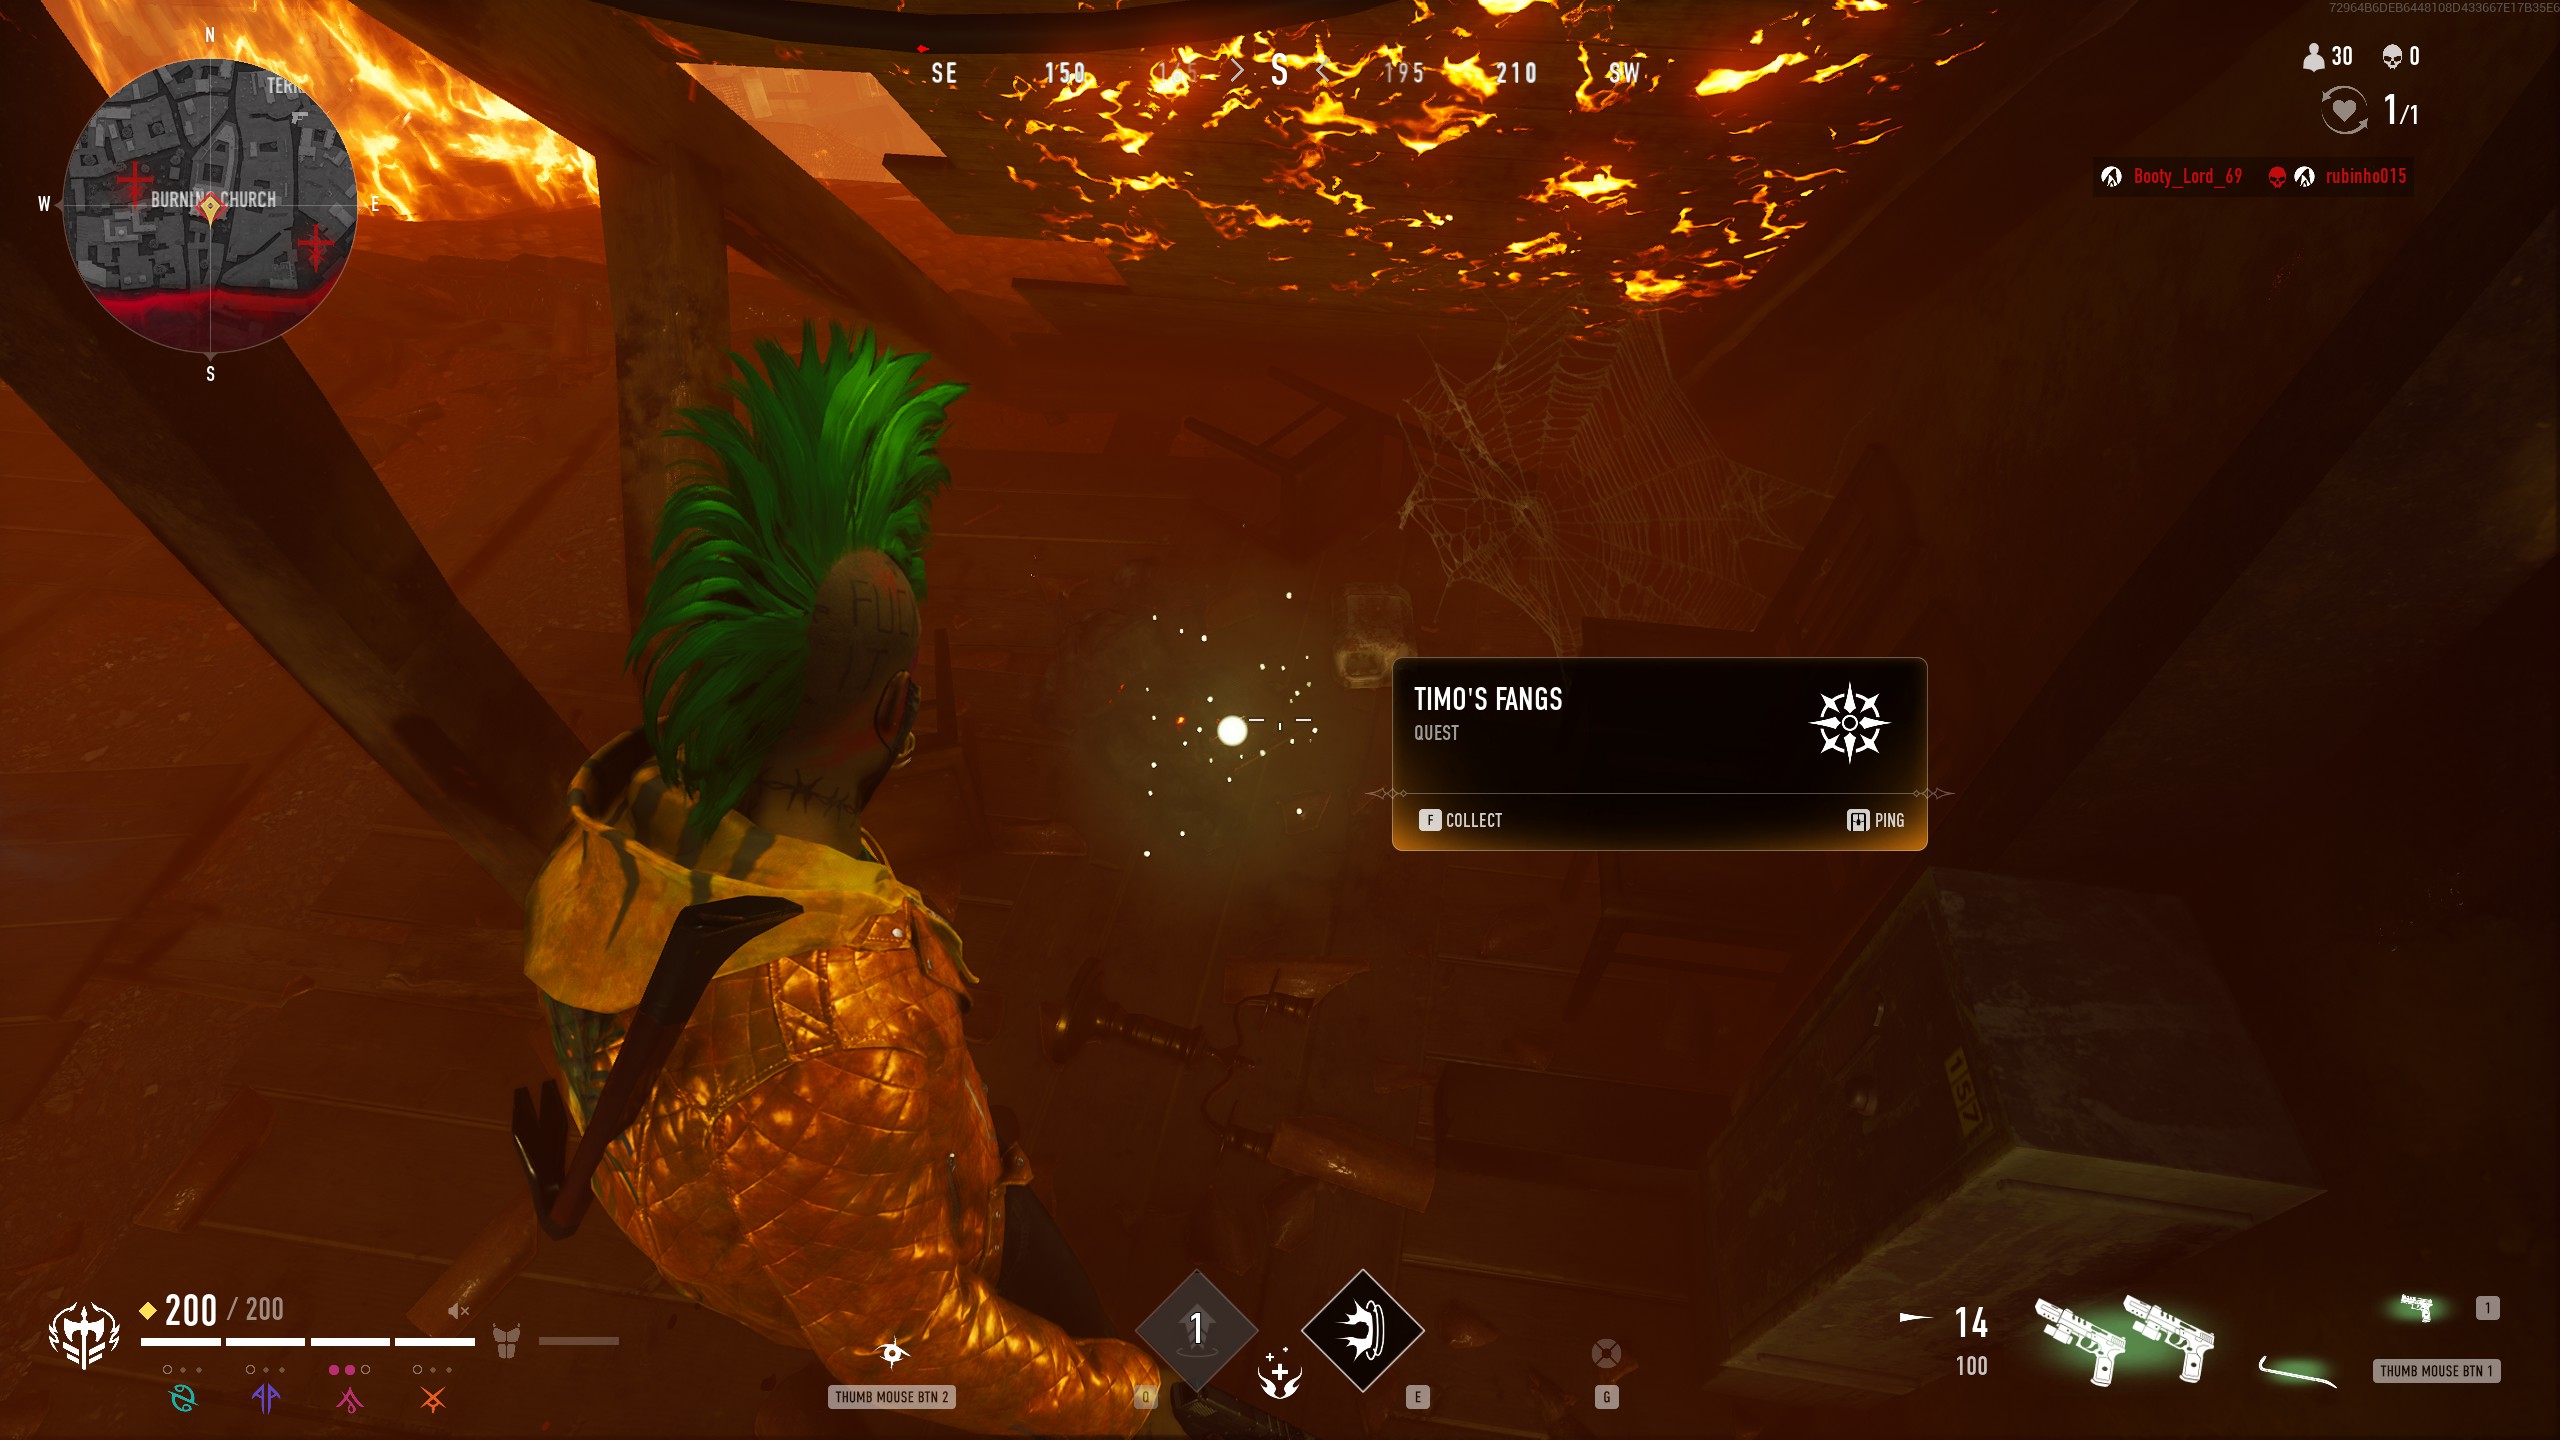
Kirill's man is nowhere to be found, so he sends you to the Burning Church to see if any other contacts left information for him. Head to the top of the burning church, and inside the exposed attic area, find what you are looking for in the Southeast corner of the room.
Part 3:
Kirill is not happy with what you found. He demands immediate retaliation and sends you out to destroy an Anarch. For this step, simply eliminate another player in a match, and then return to Kirill.
Part 4:
For the final step, Kirill asks you to search for any clues regarding what happened to his man. You are directed to the Shopping Arcade, where just such a clue can be found on a table in the South end of the interior part of the area.
Reward:
Kirill appreciates your help, and intends to contact you if more information surfaces. In the meantime, your reward can be found in the Customization menu.
Draw Enforcement
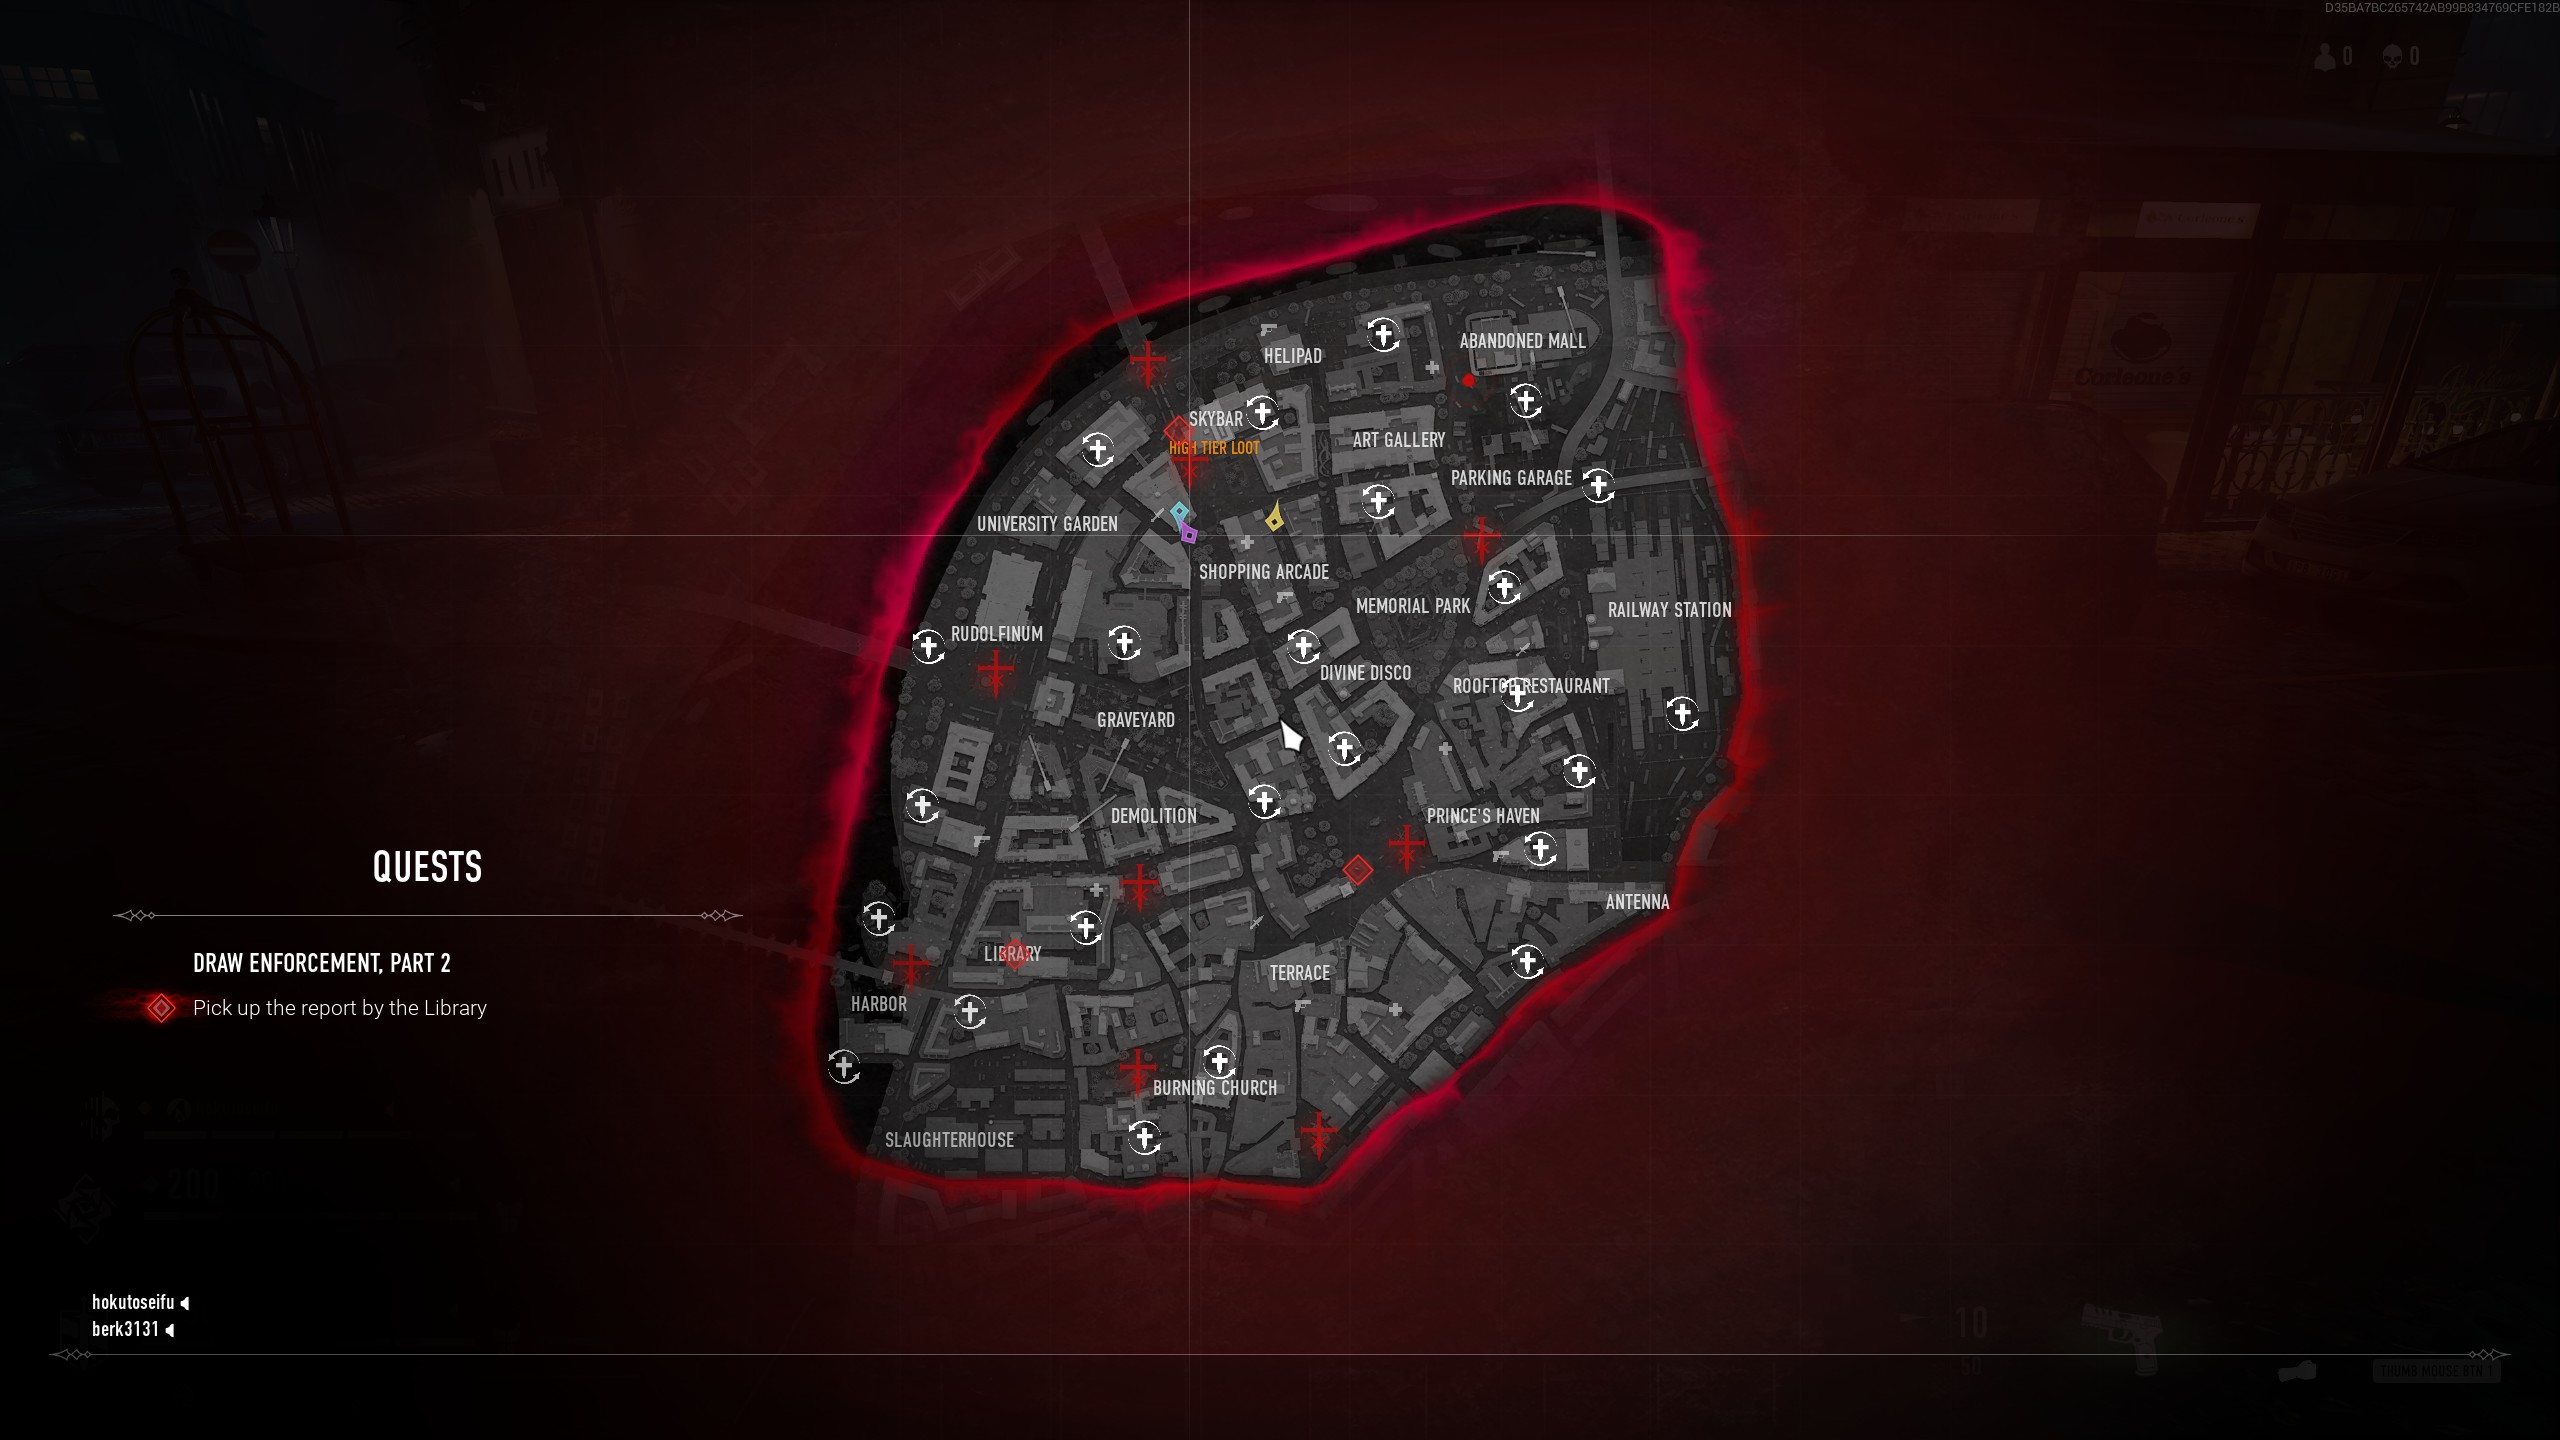

This quest begins by speaking with Em.
Part 1:
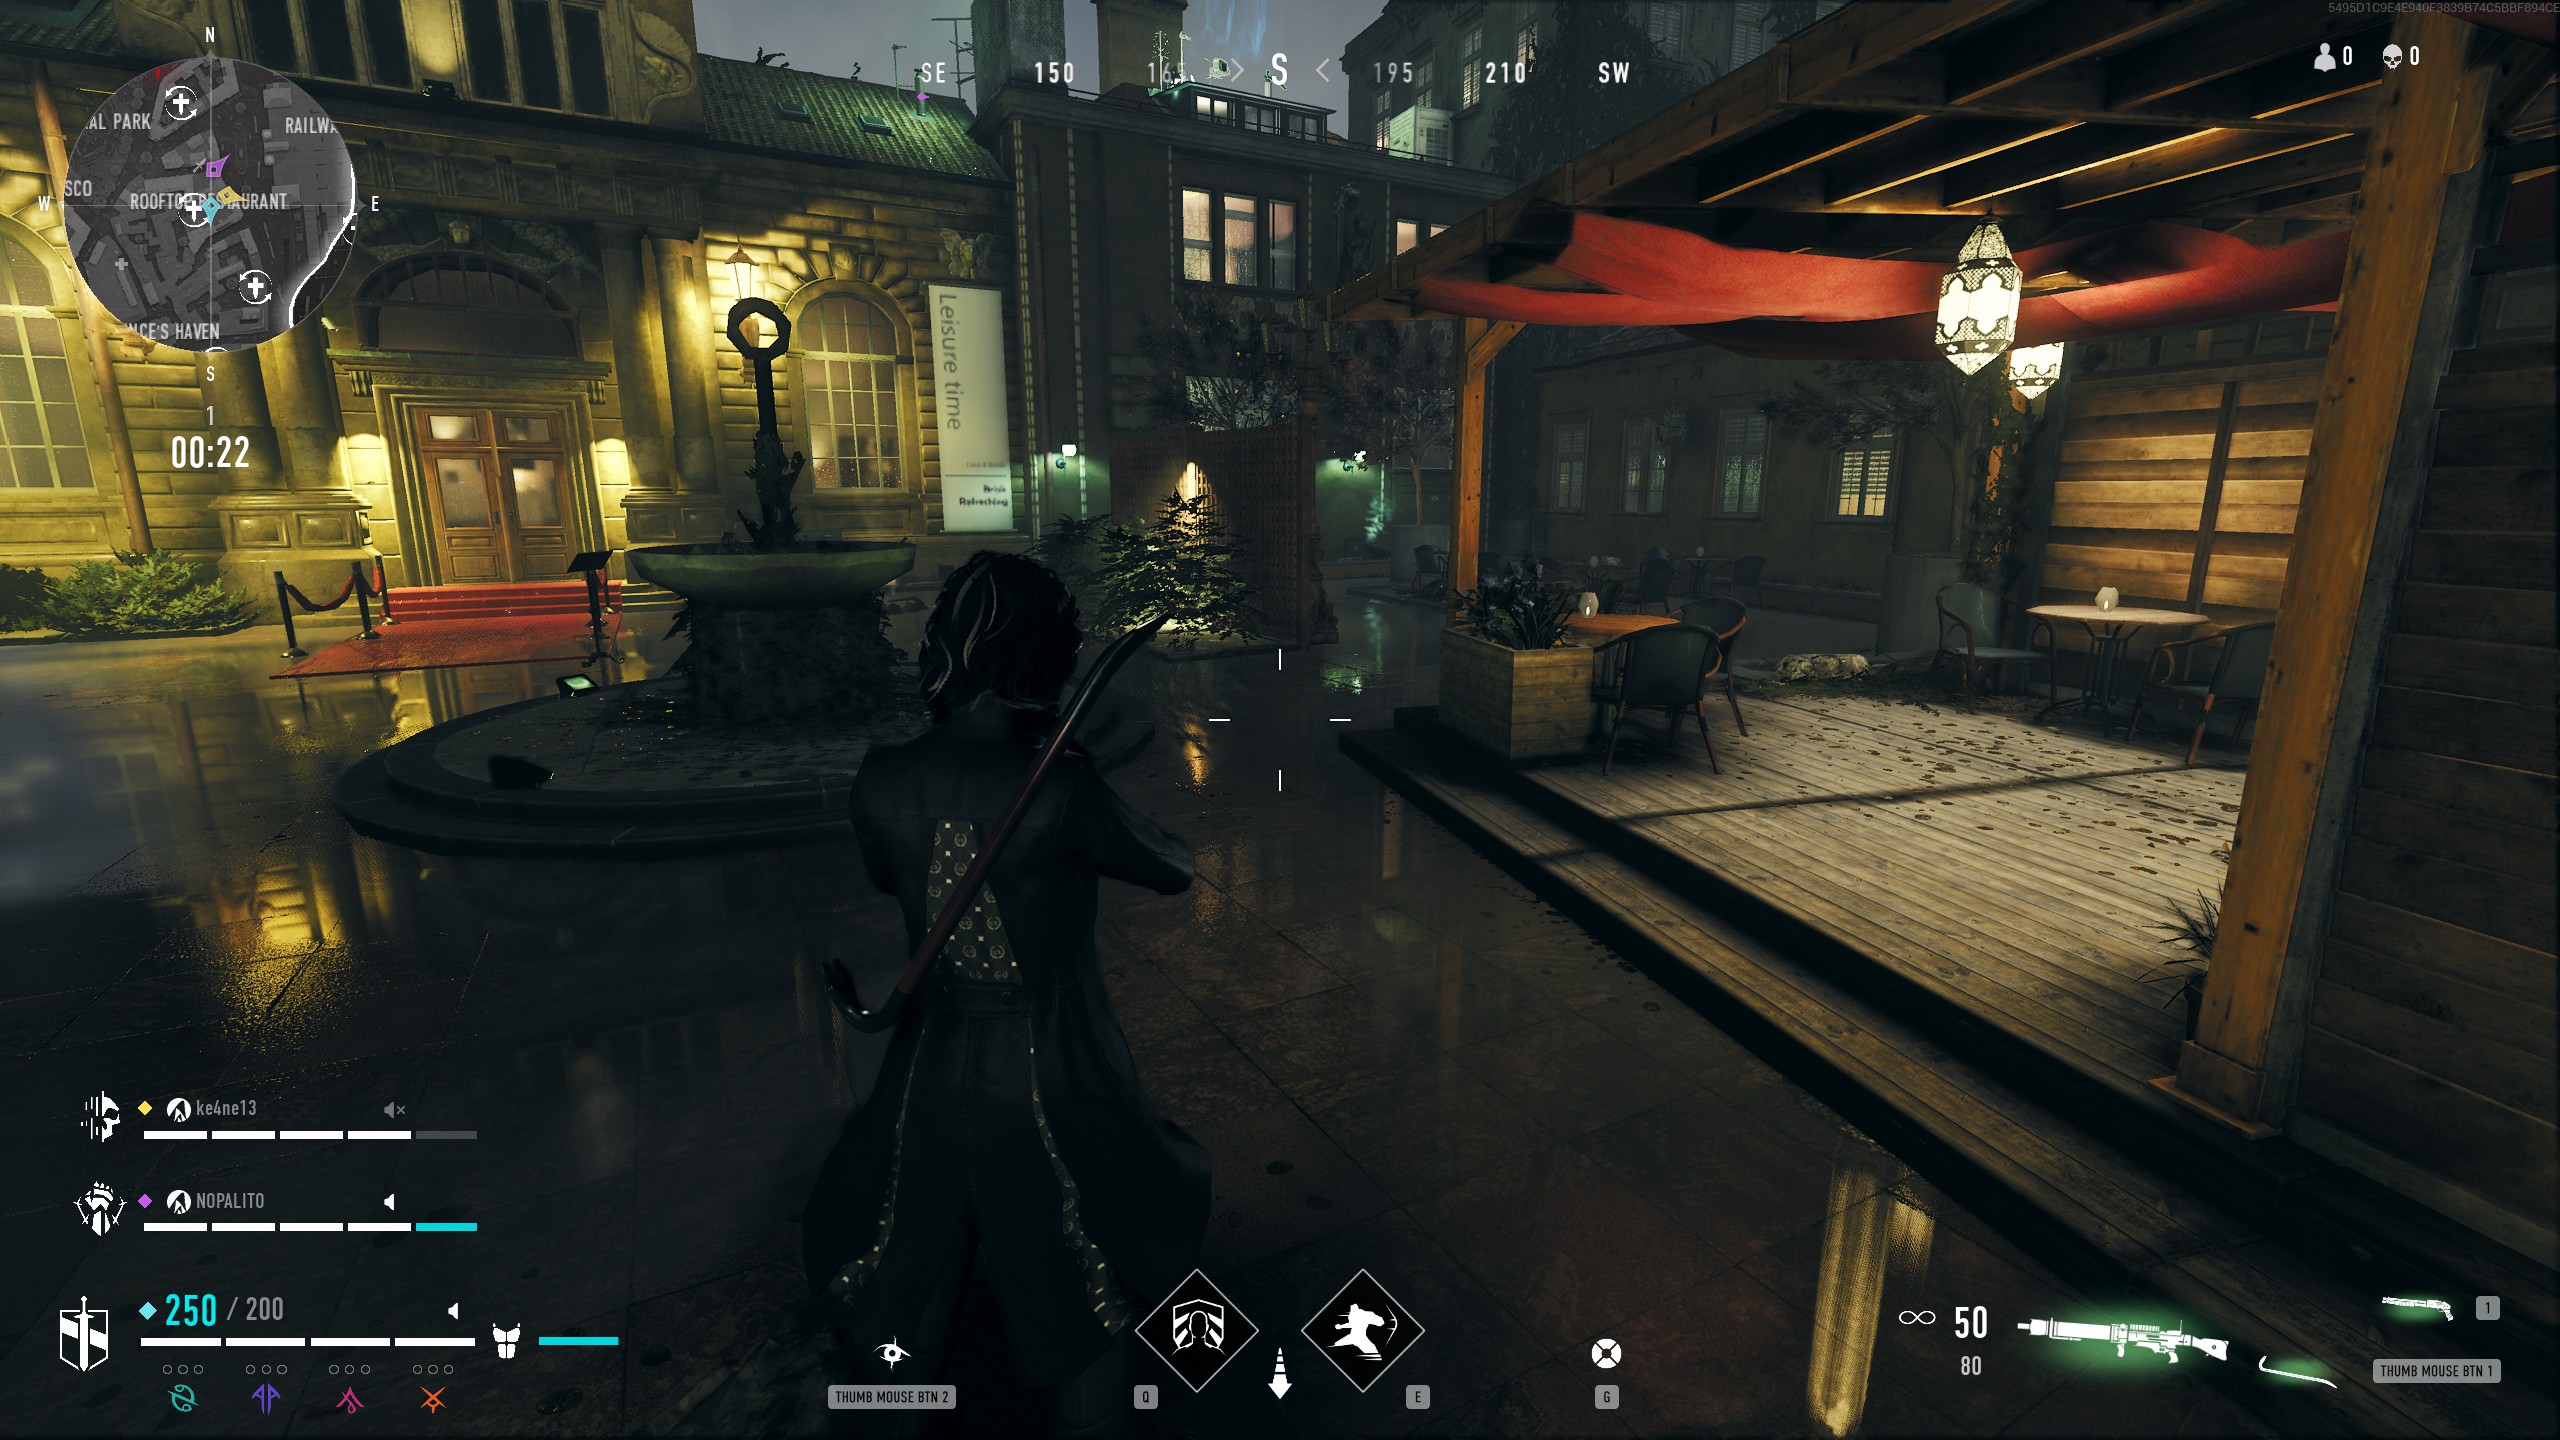
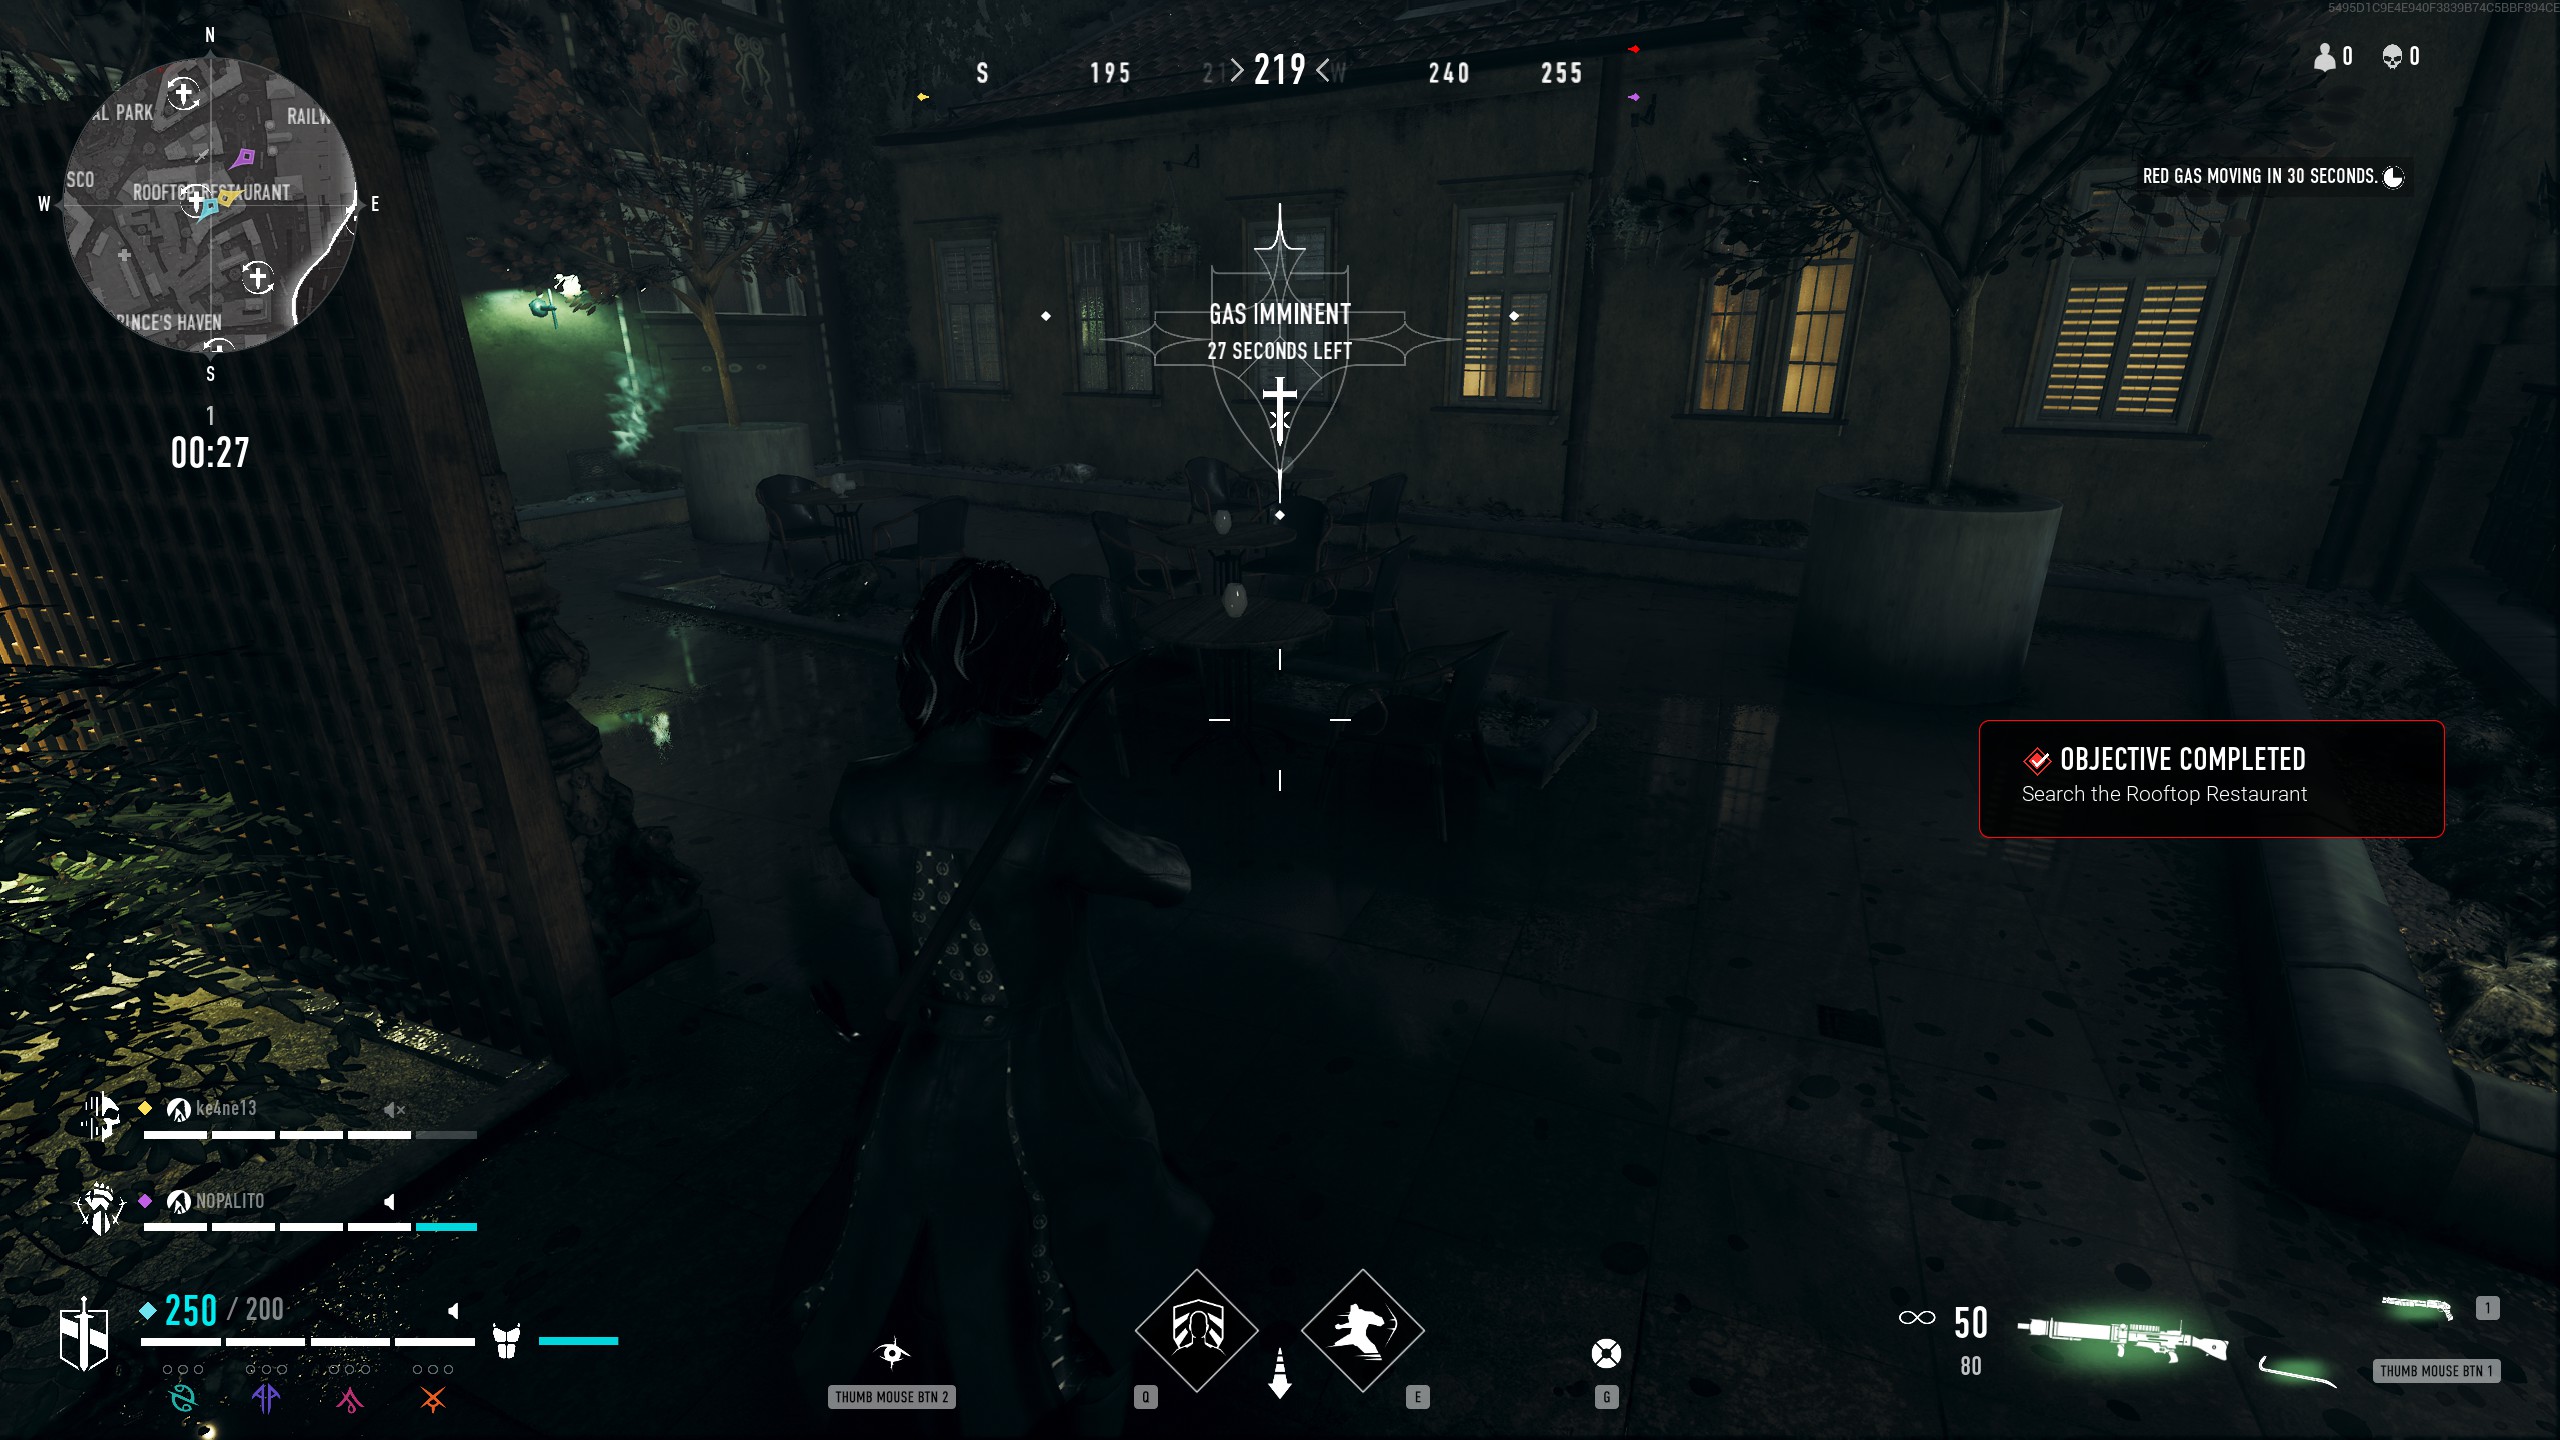
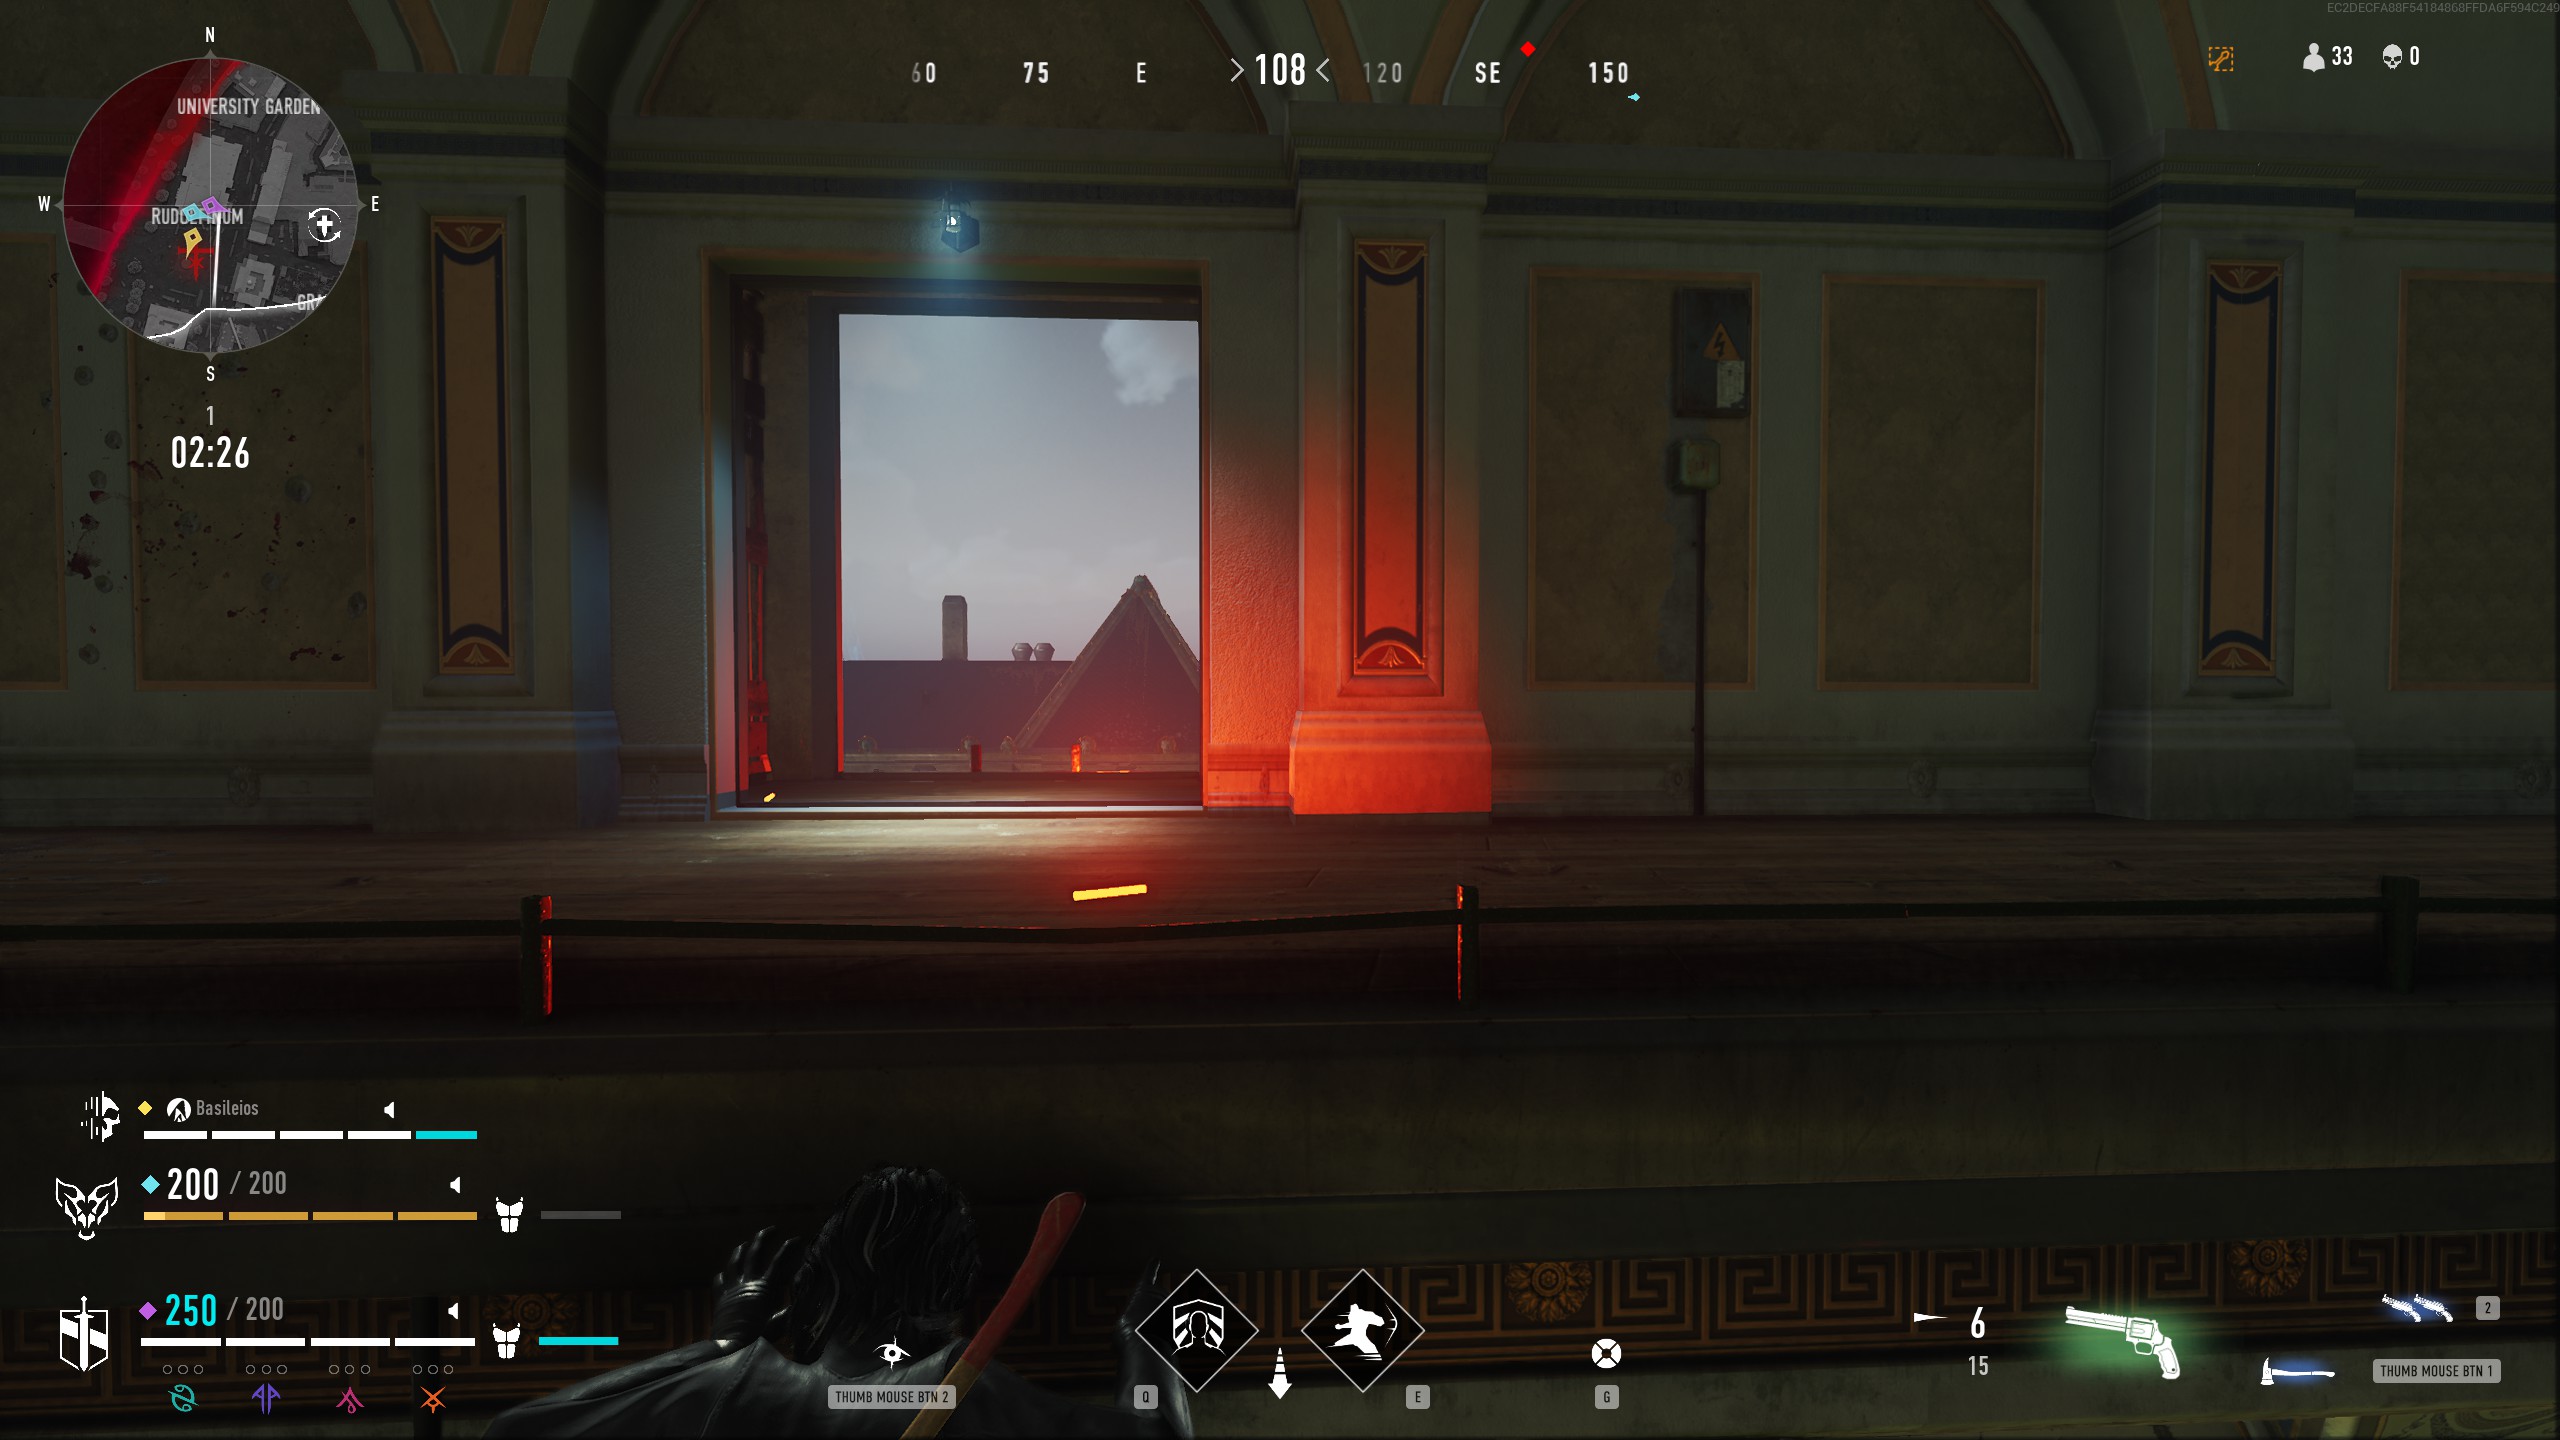
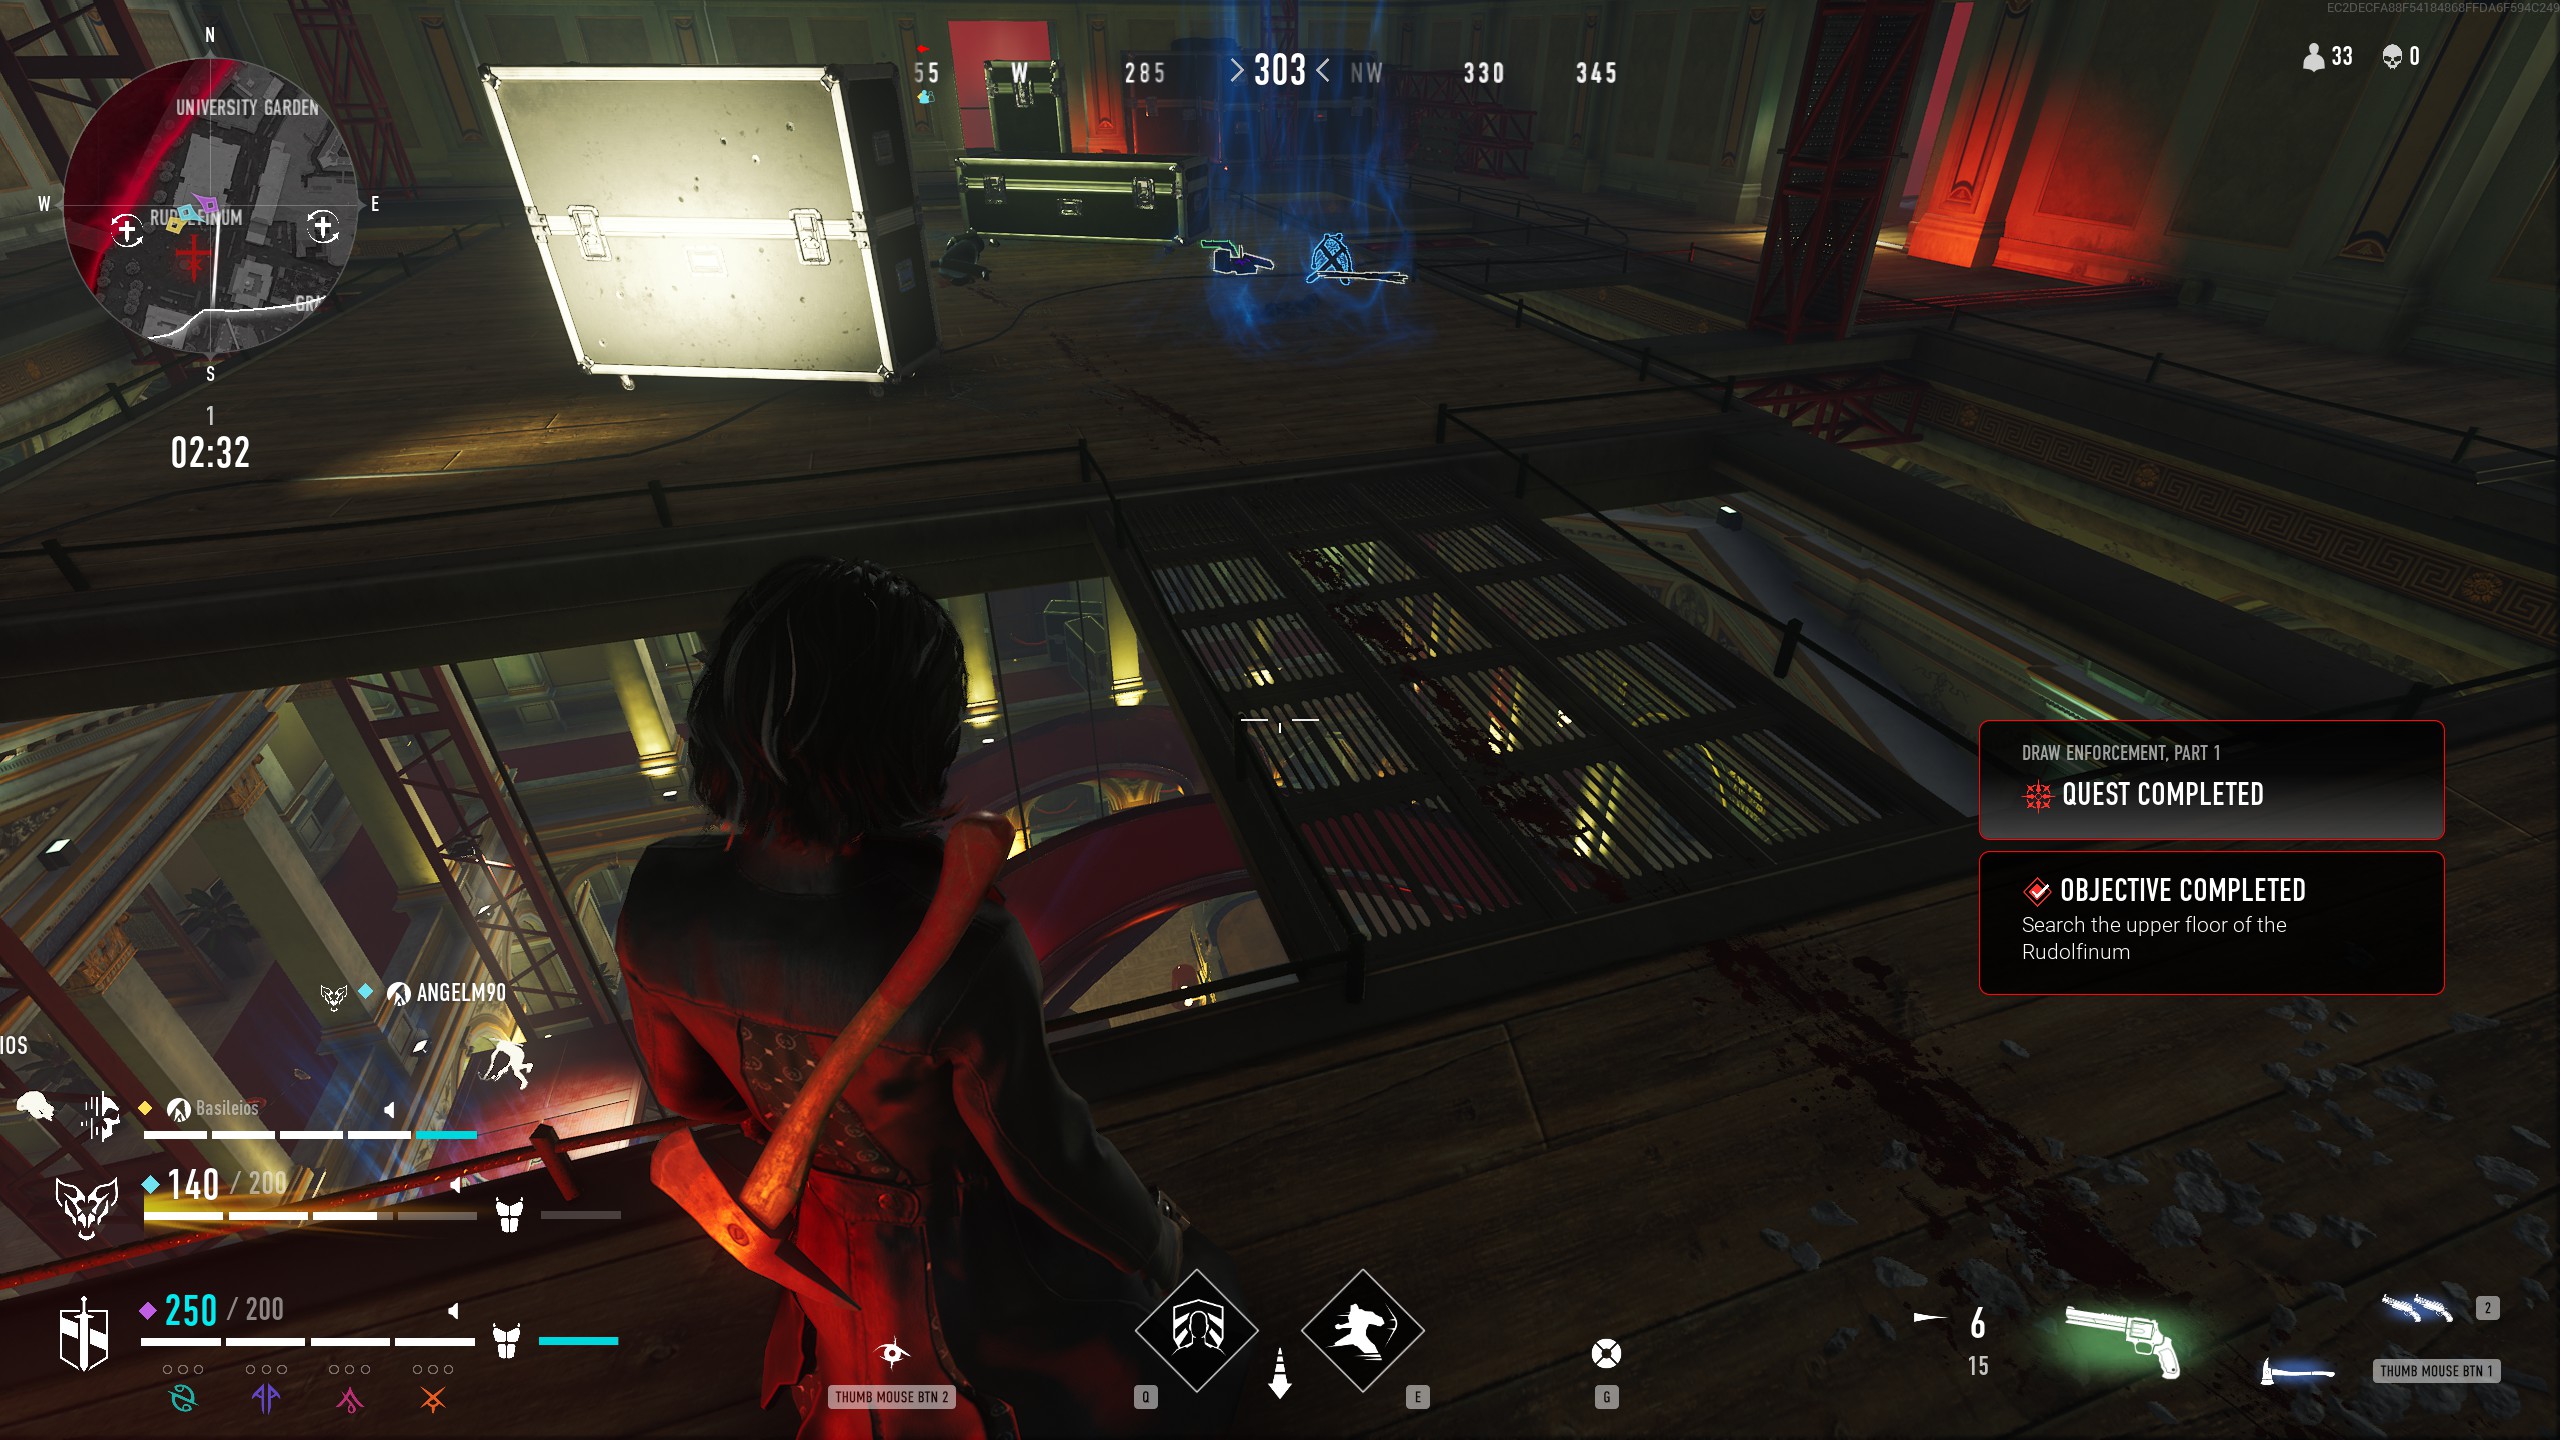
For this quest, Em wants to put some heat on the Entity using the local law enforcement. Your first task is to scout for an officer she has in mind. She gives you two locations to search: the Rooftop Restaurant, and the Upper floor of the Rudolfinum. These areas are not marked on the map, and must be discovered by searching those areas, though both are a bit simpler than similar objectives have been. I've provided images of where they completed for me.
Rooftop Restaurant:
Rudolfinum Attic:
Part 2:
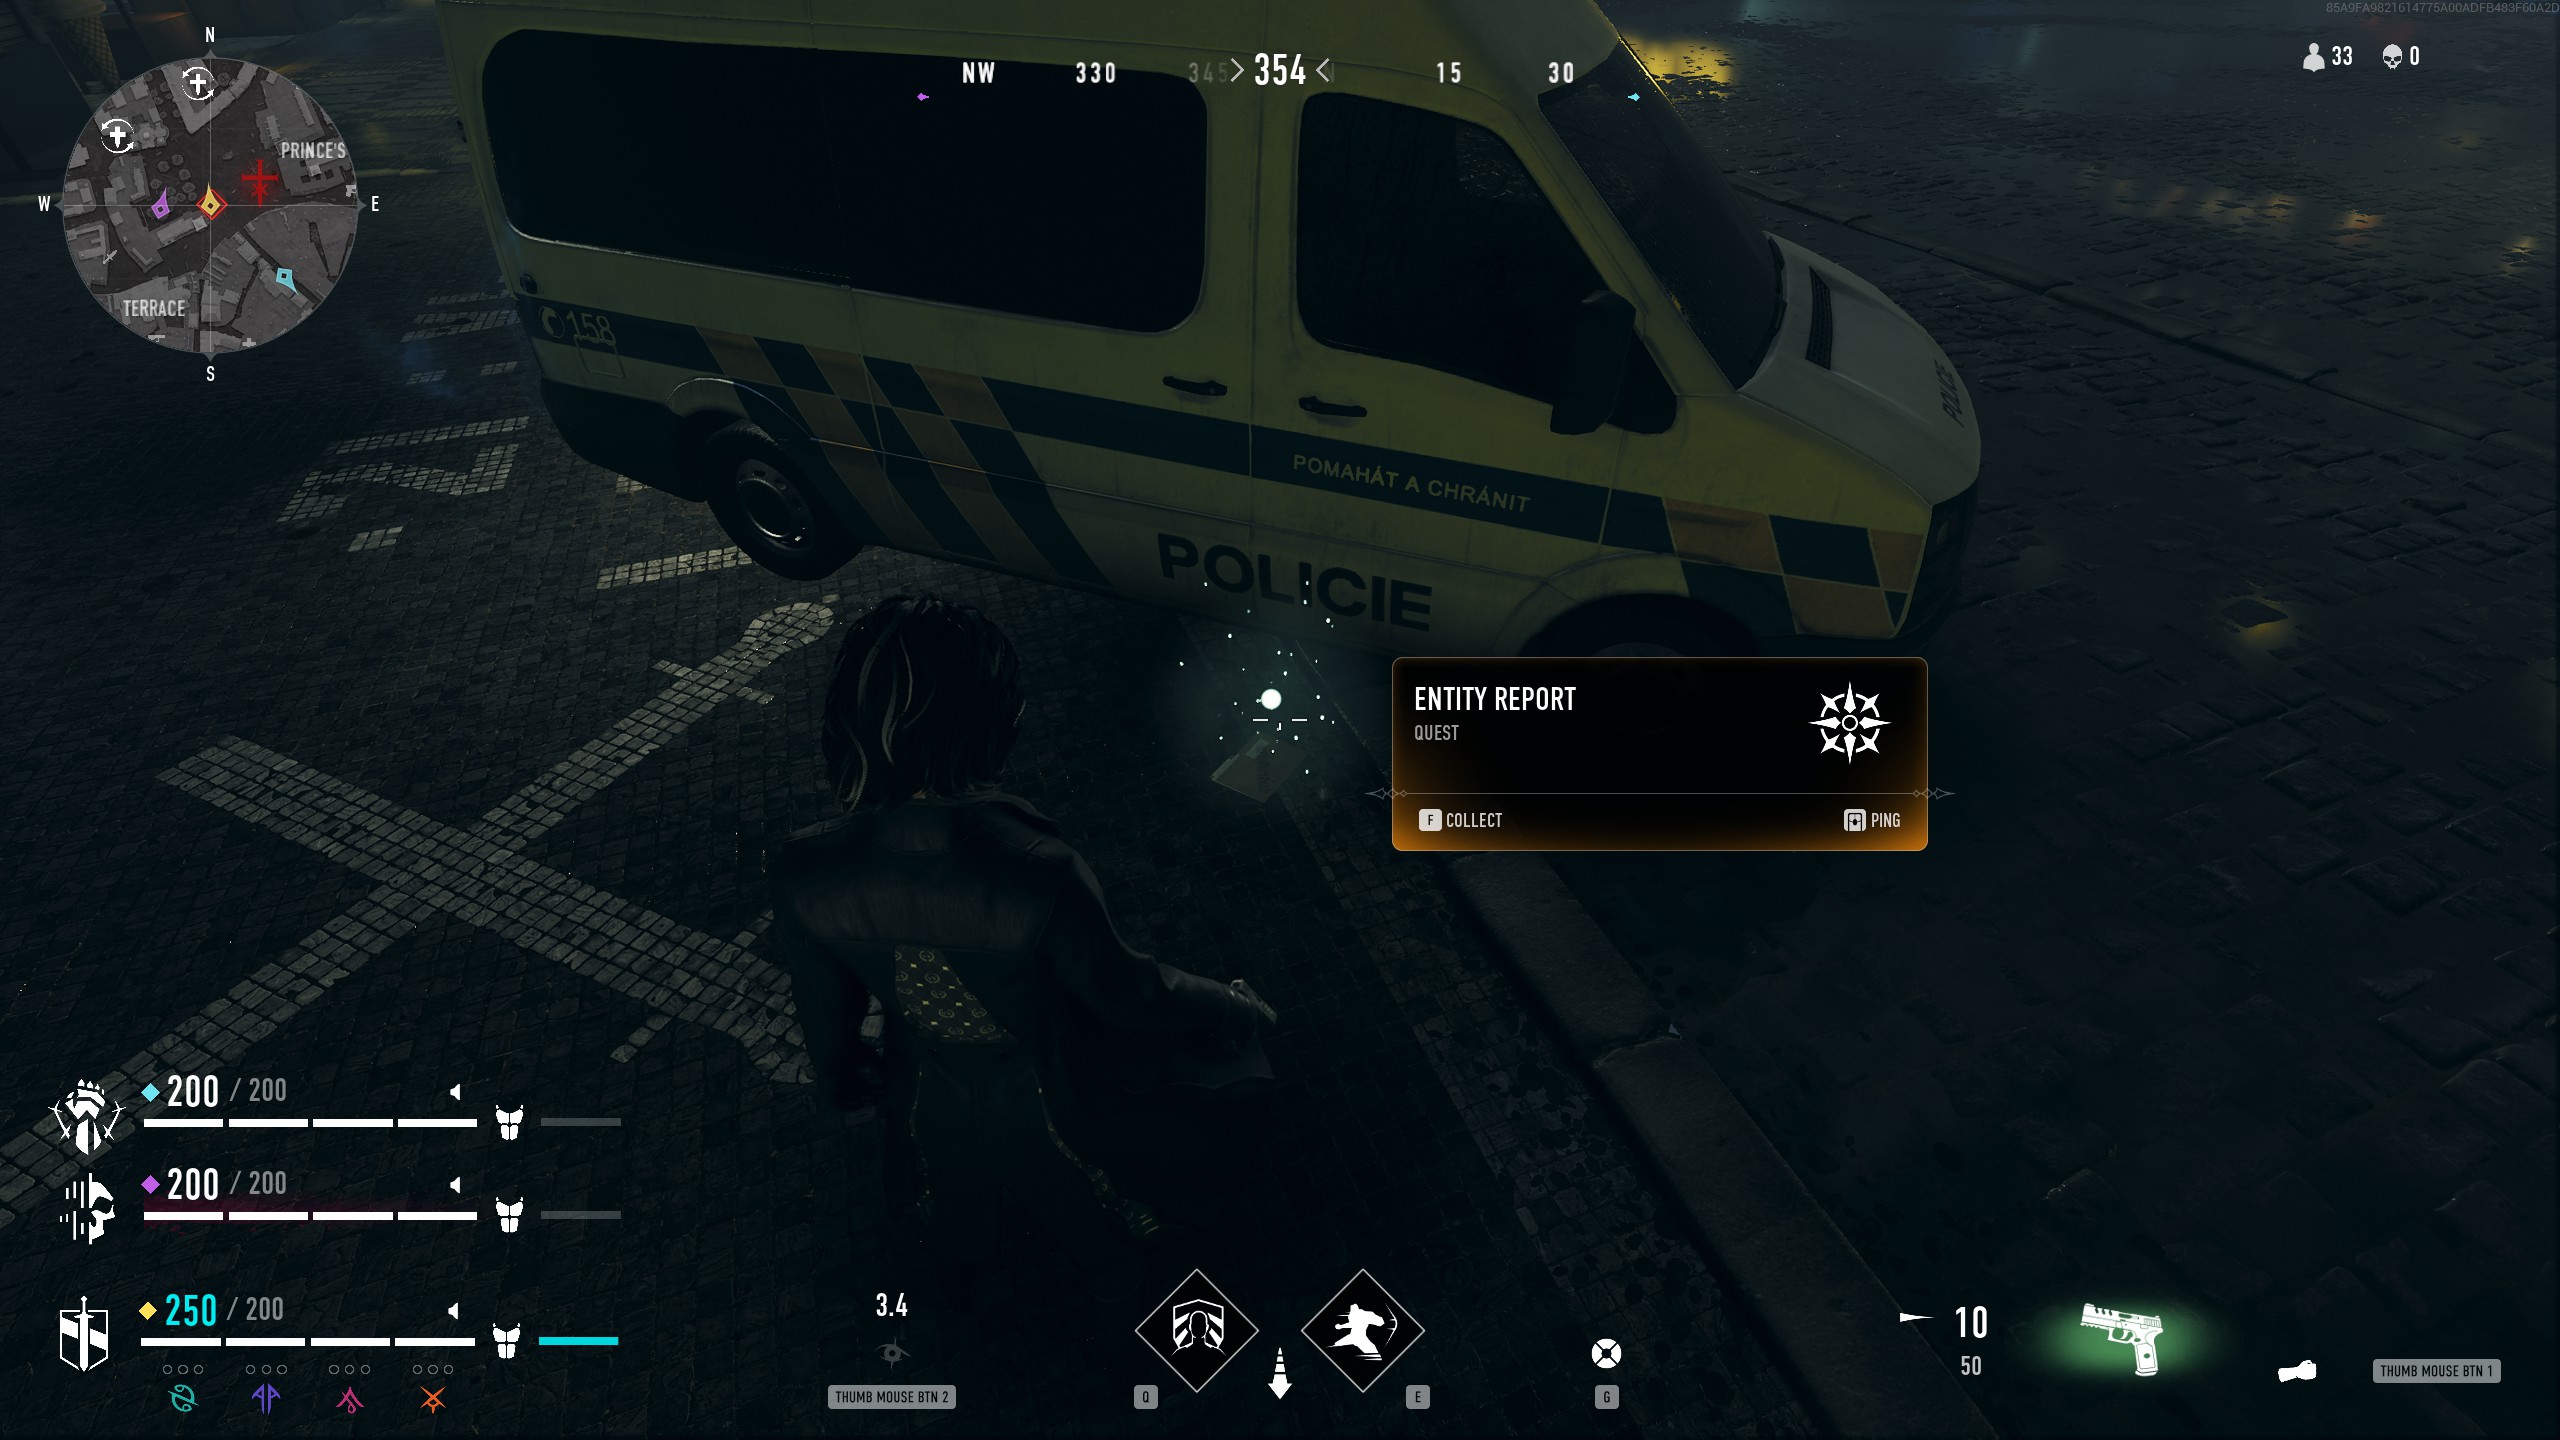
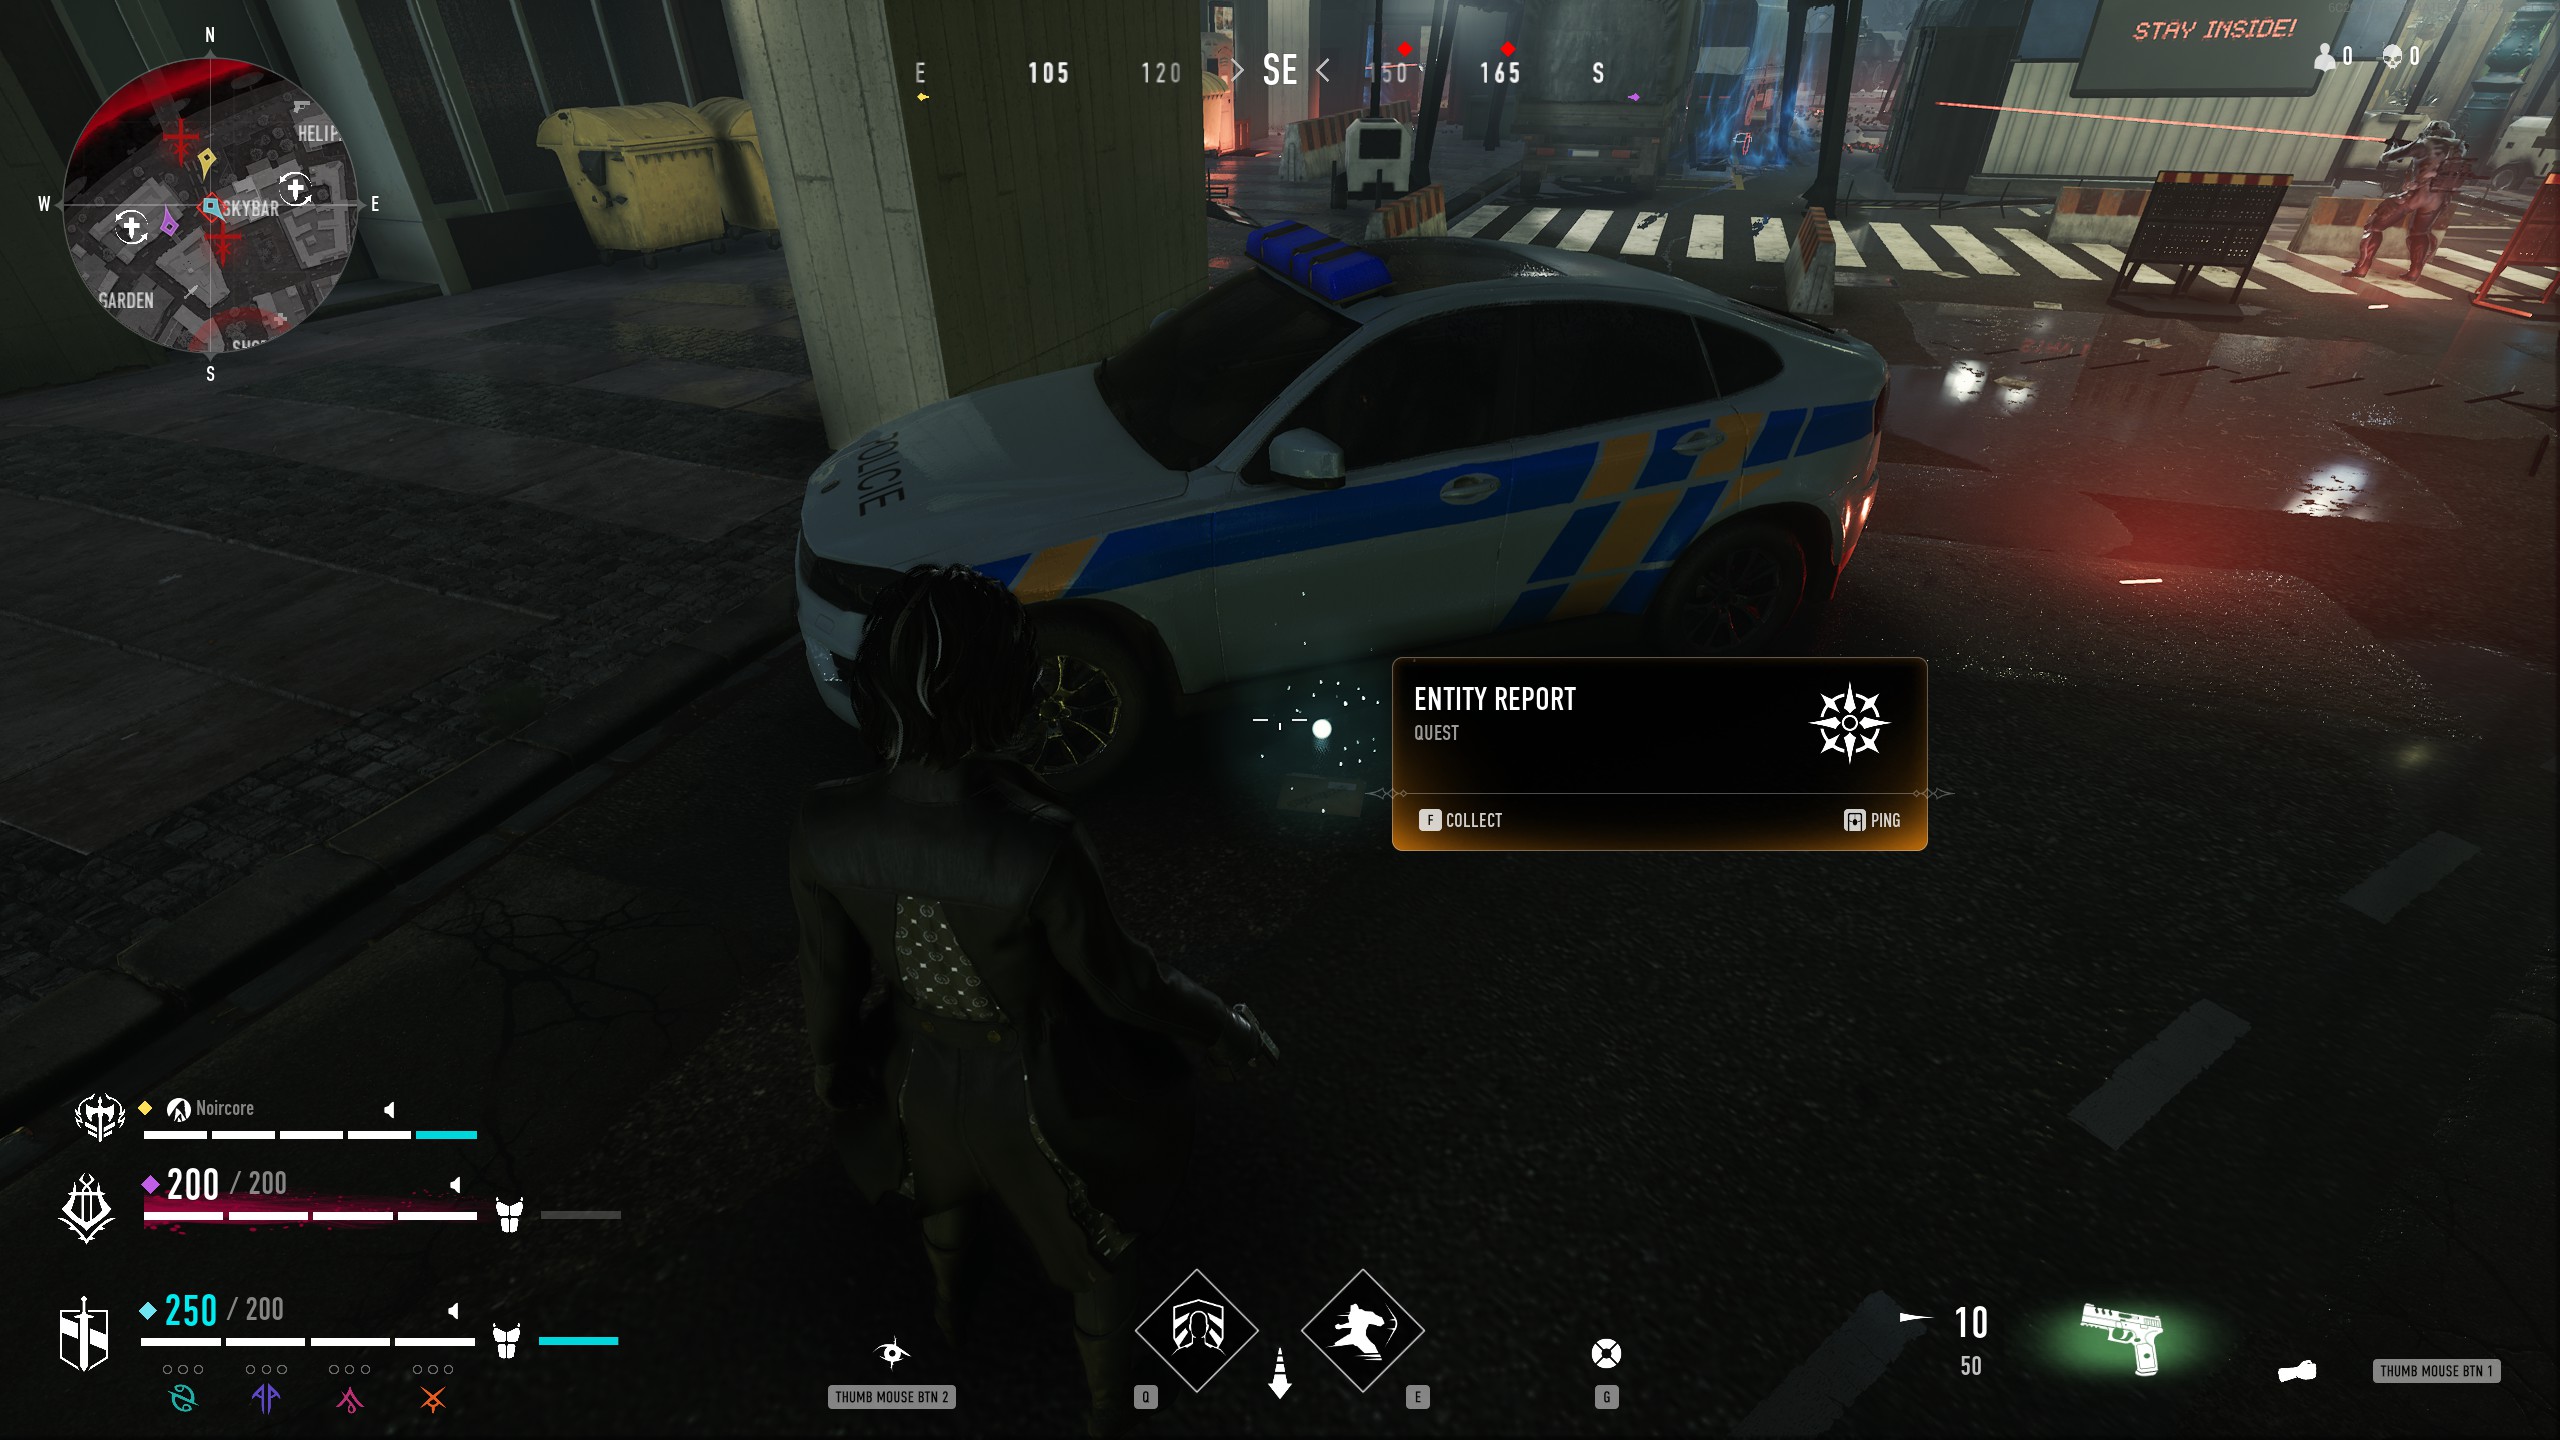
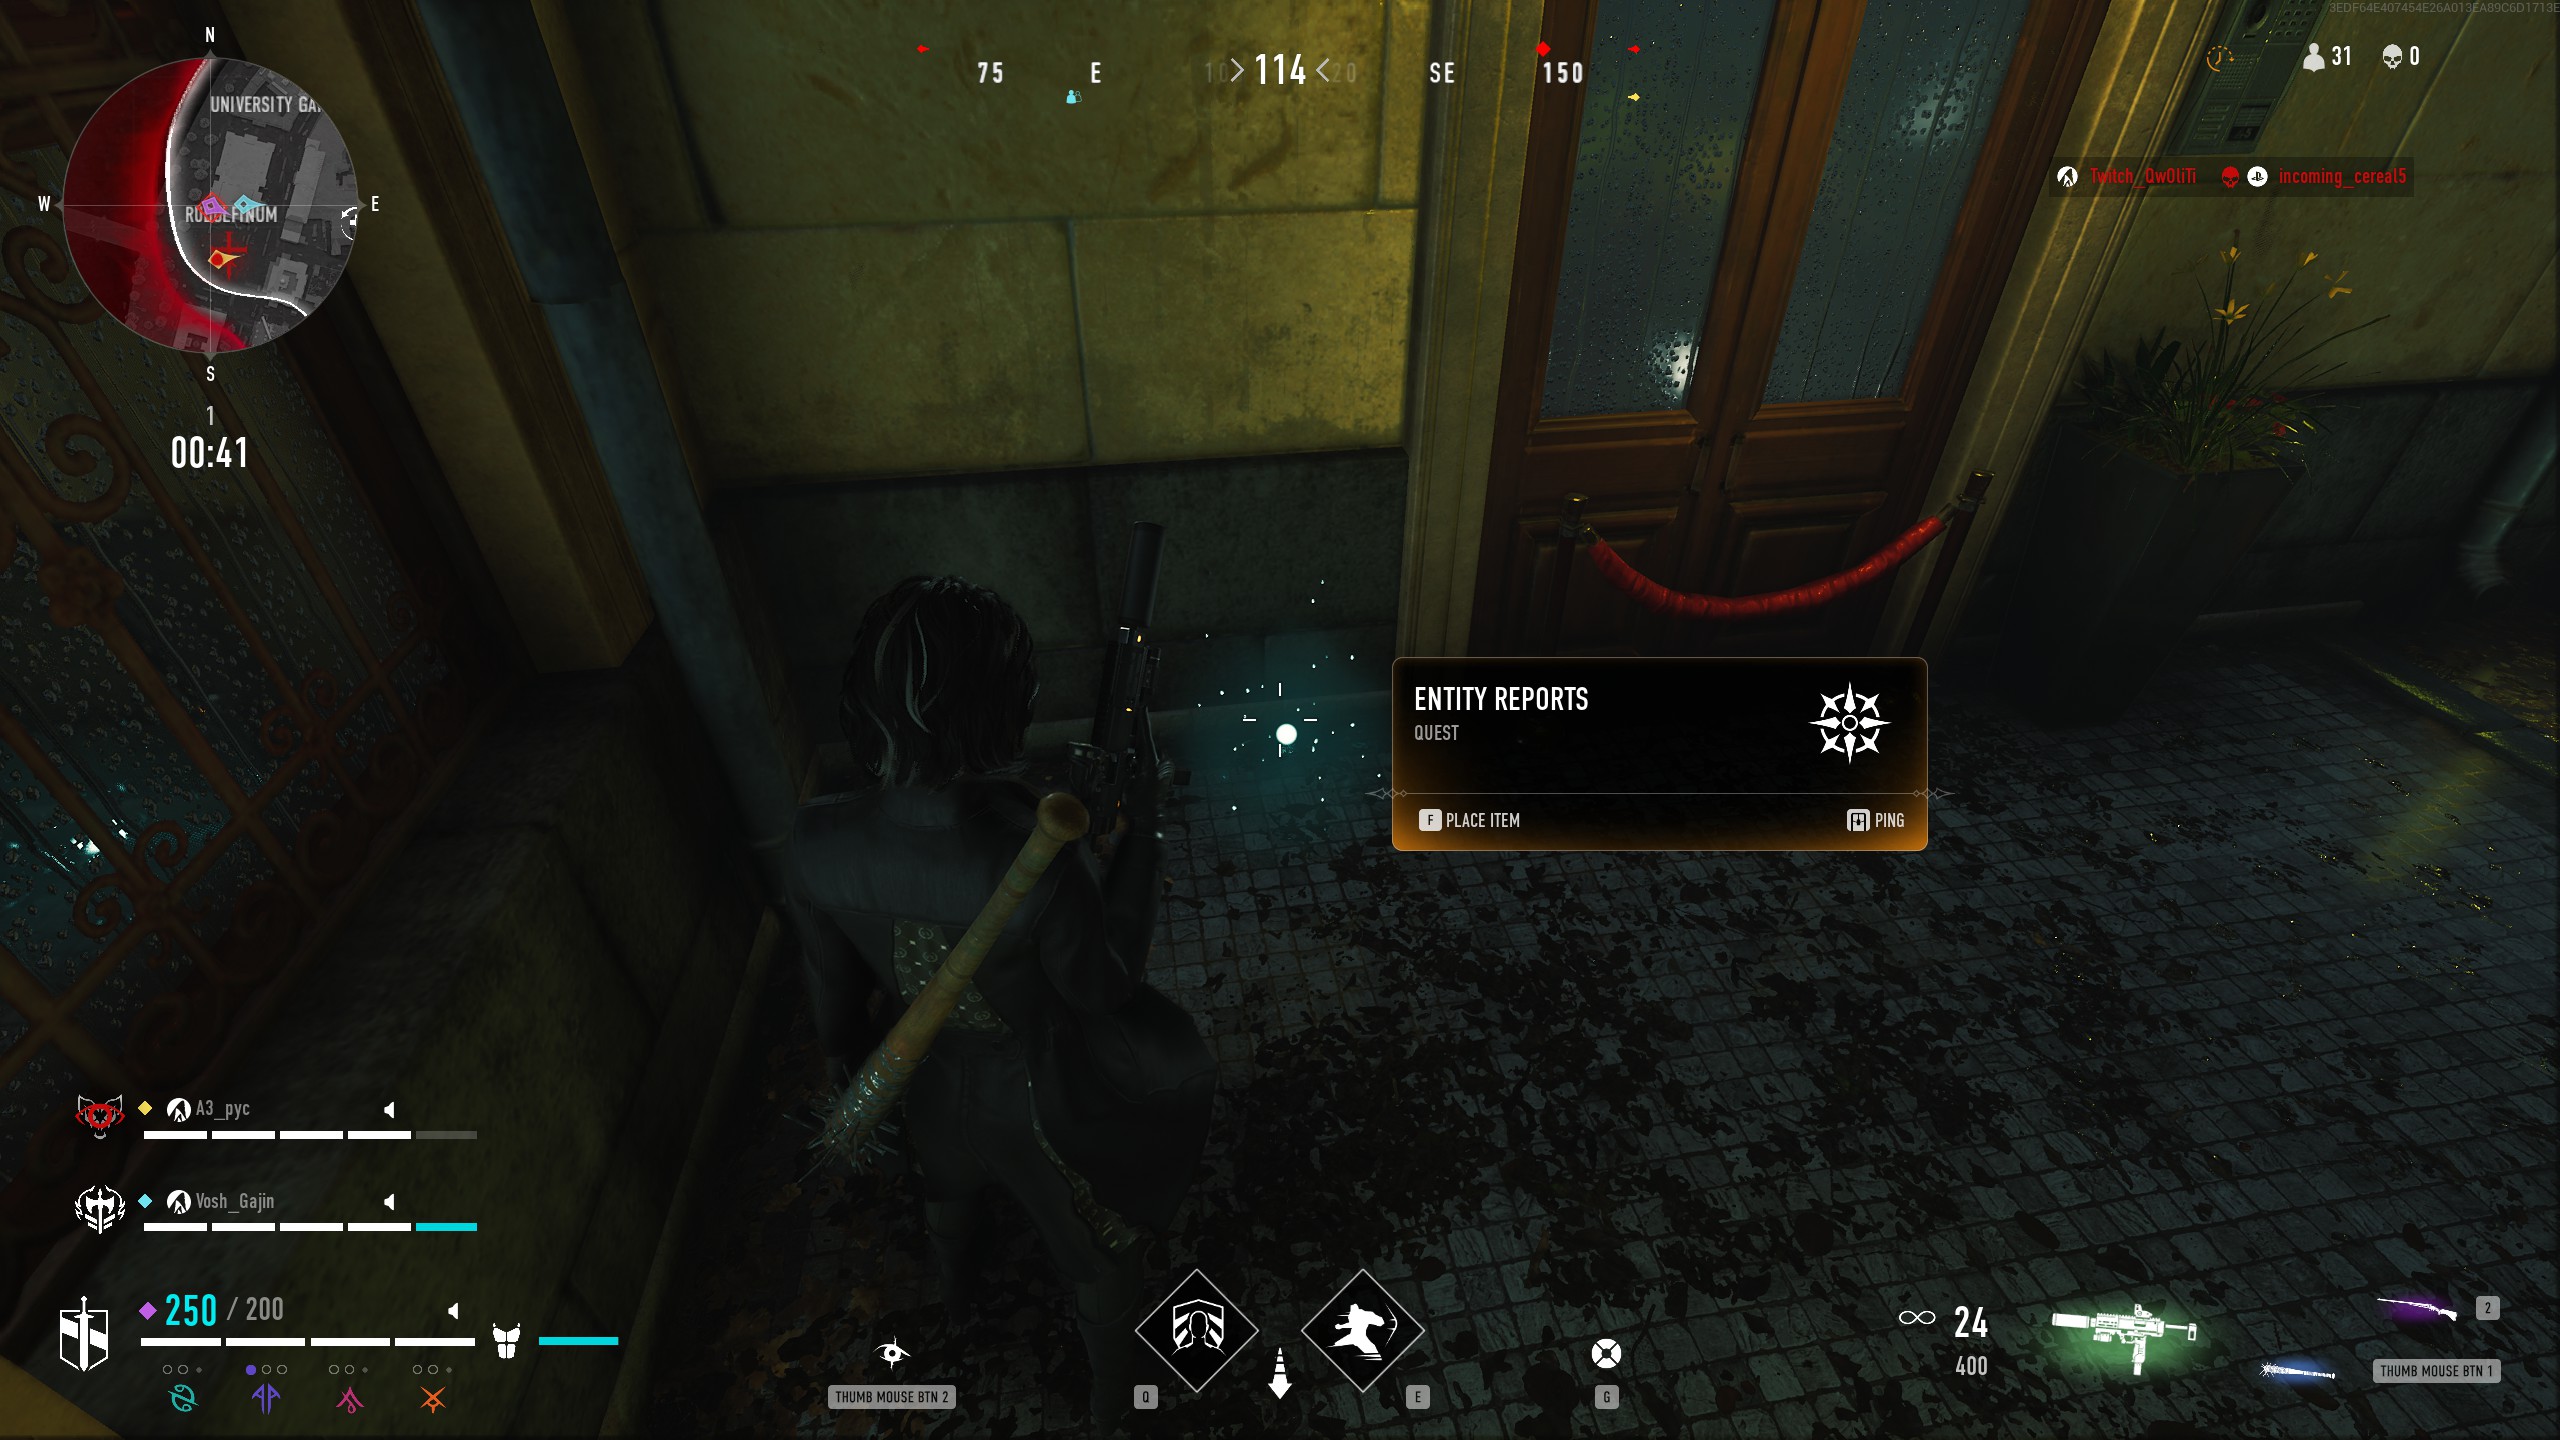
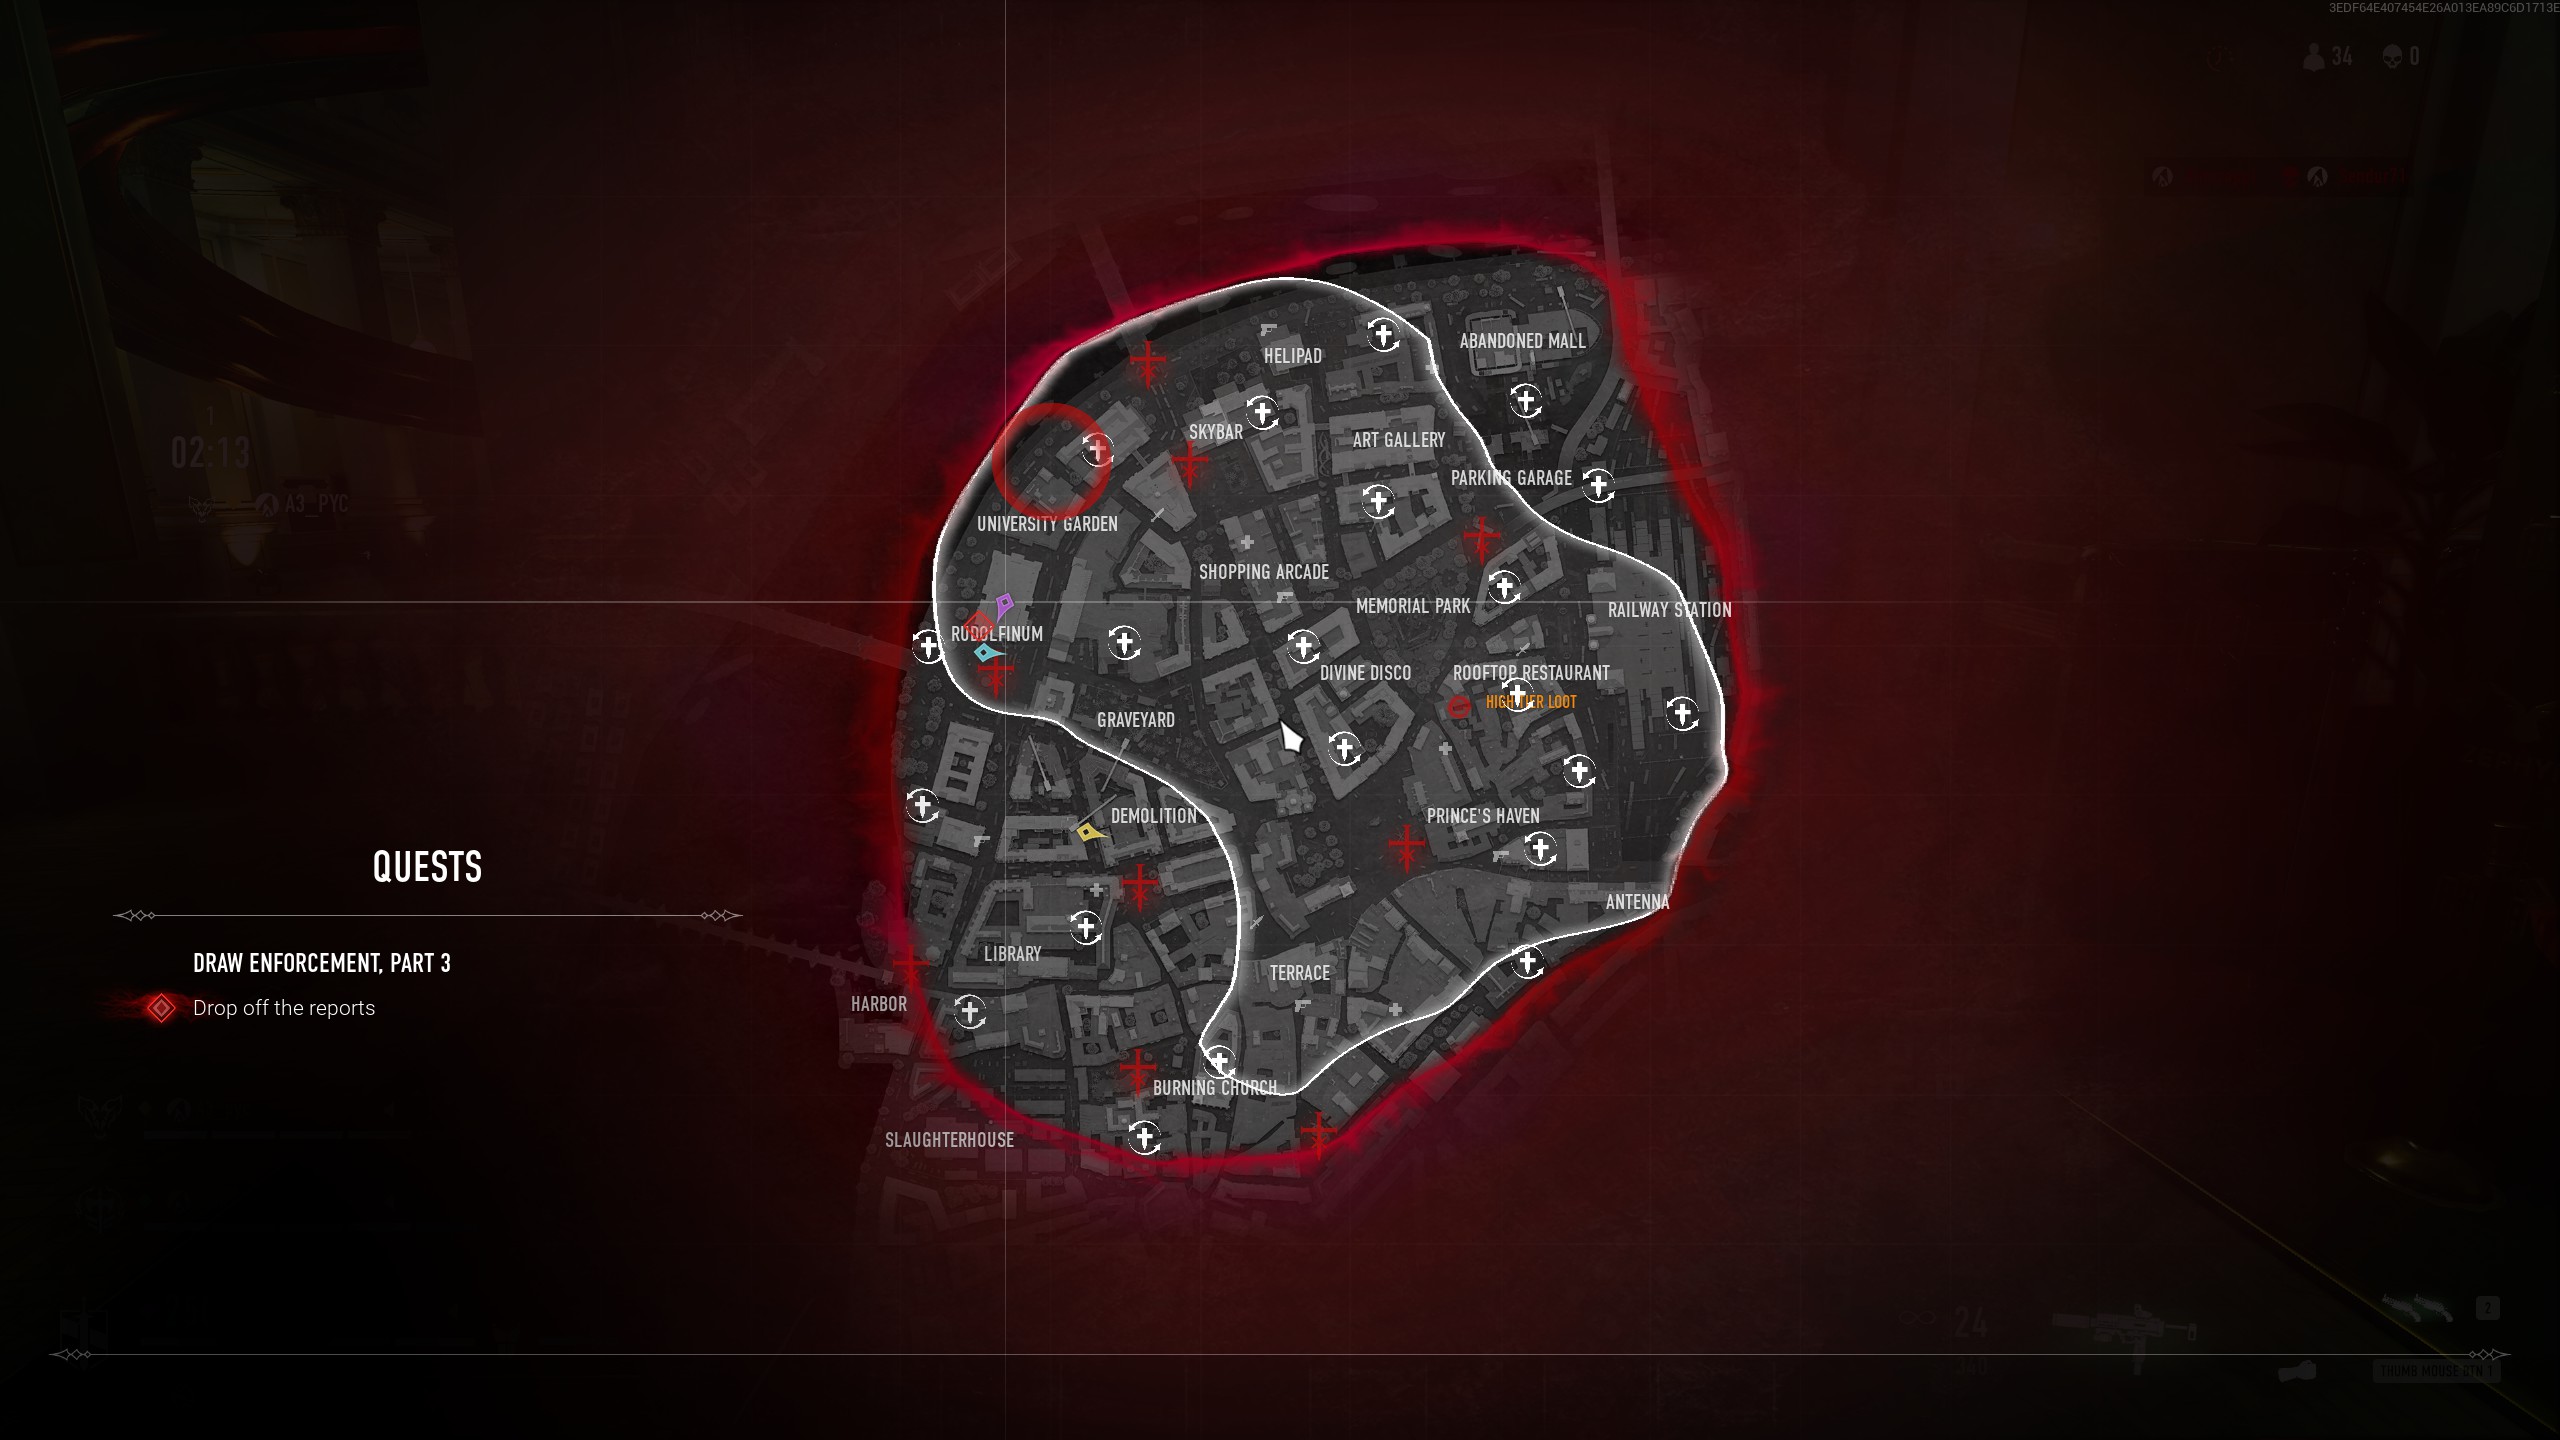
Now that you've located the person in question, Em asks you to gather intel on the Entity to plant for the officer to find. There 3 such pieces to locate, but luckily Em is a model of efficiency and provides you all 3 locations at once, instead of one at a time. All 3 will be marked on your map and can be found at the Library, the courtyard near Prince's Haven, and the Skybar.
Part 3:
Now that you have gathered the intel, Em asks you to plant it outside the Rudolfinum for the officer to come across. It can be placed outside the building, in the Southwest corner.
Part 4:
Em applauds your delivery skills, but it seems the officer is not quite taking the hint. In order to ensure their attention is drawn where needed, Em sends you ti eliminate an Entity Hunter. Despite the location you dropped the files off at, this quest can be done using any Entity on the map. Just head to any of the locations marked on the map, and kill at least one of them to complete the final step of the quest.
Reward:
Source: https://steamcommunity.com/sharedfiles/filedetails/?id=2838170189
More Bloodhunt guilds
- All Guilds
- How to Jerk Off Players in Elysium
- Unlimited Steam Points Exploit
- how to actually play the game
- Guide so you know what the is happening (Hunting Rifle Patch)
- Bloodhunt Guide 385
- HOW TO GET A WIN GUARANTEED!!!
- Bloodhunt Guide 367
- ? How to slide?
- ? How to move?
- Cheats For Bloodhunt [+Link]