Introduction
This guide will explain most of the mechanics in Beneath, from the enemies you will cross, tips on which class to choose, upgrades and areas! (DISCLAIMER!!!: THIS WILL CONTAIN A LOT OF SPOILERS! SO IF YOU WANT TO DISCOVER THE GAME YOURSELF, CLICK OFF THIS GUIDE!!)
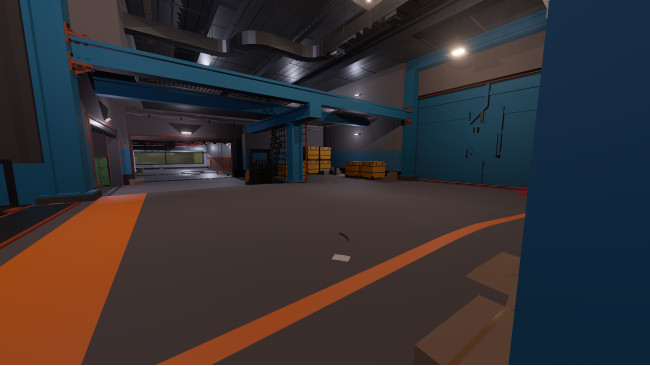
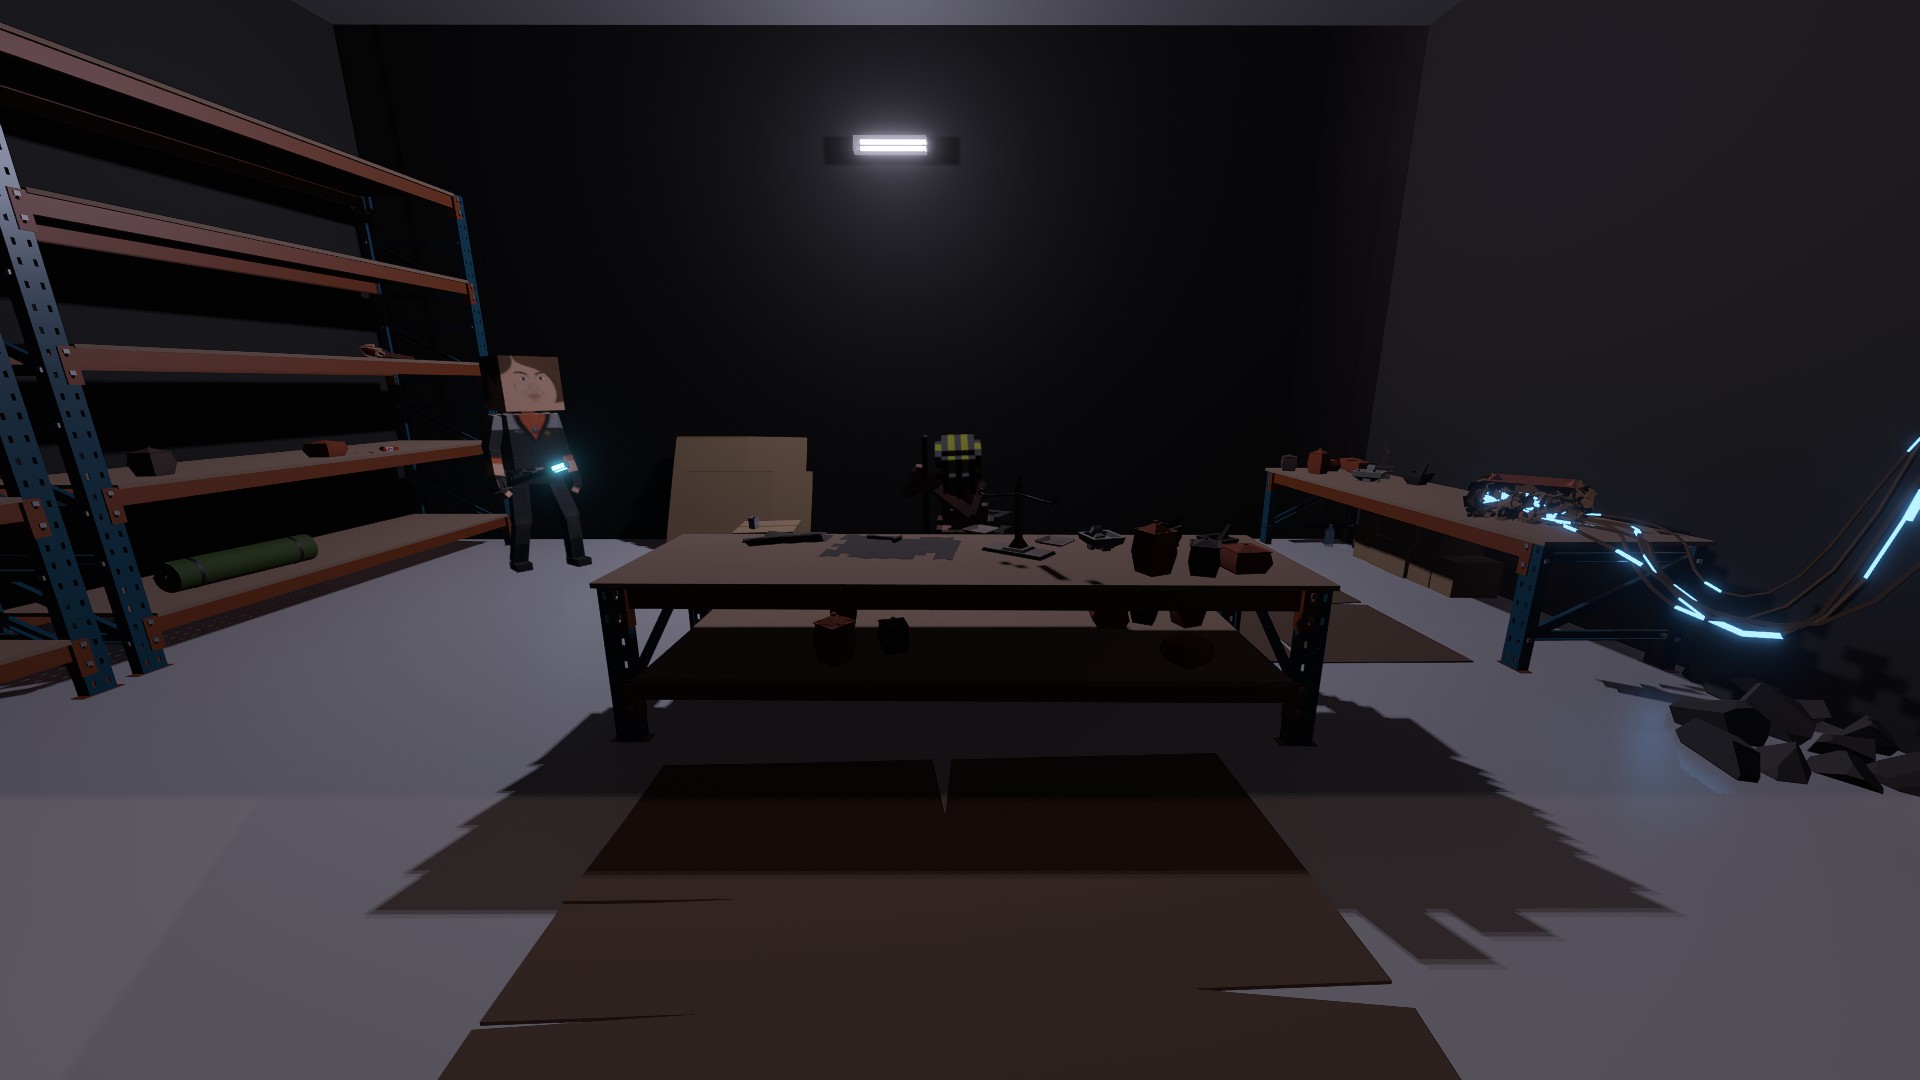
The Facility
The Facility is the place that you will spawn into when you start the game, it was built by the UHDF and is a safe space from all horrors.
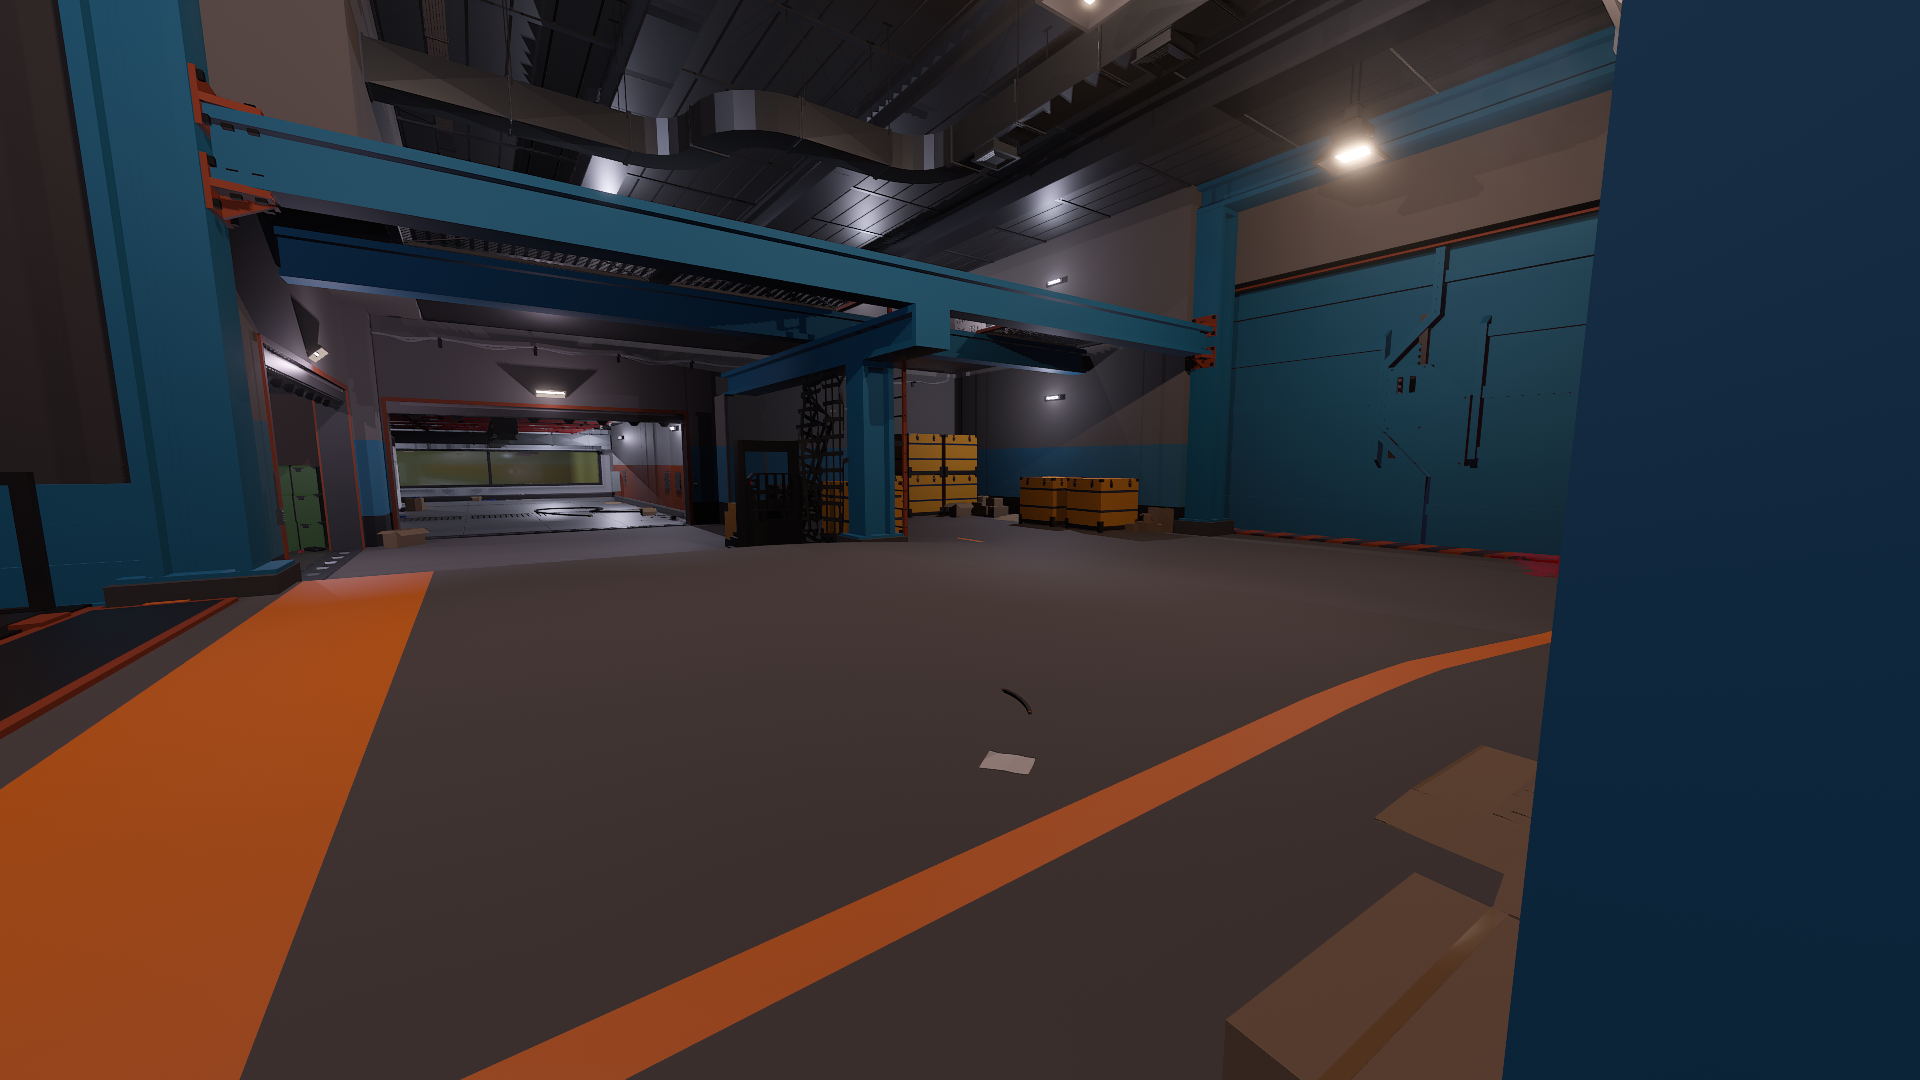
Classes
In The Facility, there is a room with four (to start) holograms of humans, these are the classes. There are four classes, The Brawler, a attack-based class, The Warlock, a magic-based class, The Spectre, a speed-based class, and The Vanguard, a protection-based class. Each of them come with four of their own attacks.
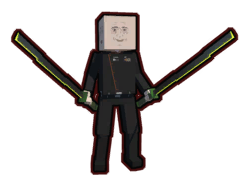
The Brawler

The Brawler comes with four attacks that will help you kill your enemies with brute strength.
Kick: a energy-based attack which does a short kick that knocks down enemies hit by it (NOTE: only some enemies can be knocked down, mainly zombies and traitors)
Shockwave: The least power-costing attack the Brawler has. When done, The Brawler will slam his fists together to create a huge shockwave that throws enemies (that can be knocked down) around them into the air.
Stone Skin: the second least power-costing attack the Brawler has. When done, you will have increased attack speed and damage for a limited time.
Beserk: The most power-costing attack the Brawler has. When done, everything will turn into slow-motion and the Brawler gets significantly stronger attack damage, allowing him to blow heads into little pieces of flesh.
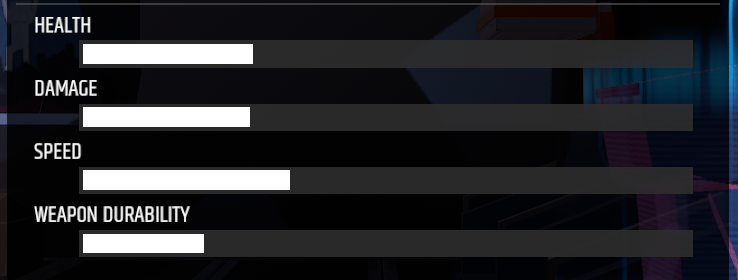
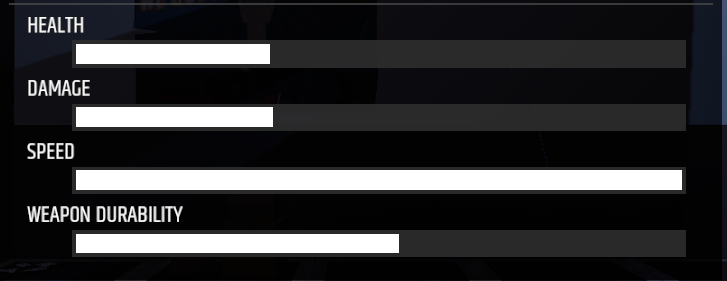
Brawler Stats:
The Warlock
The Warlock comes with four attacks that will help you kill your enemies with the art of magic
Fireball: A energy-based attack which will shoot a weak fireball out of the Warlocks hand
Seeker: The least power-costing attack the Warlock has. When done, The Warlock will shoot a fireball that will explode and kill its target, and bring in ones around its area.
Fire Bomb: The second least power-costing attack the Warlock has. When done, the Warlock will fire a big fireball that when, it makes contact with an enemy or the ground, will explode, dealing group damage.
Chaos: The most power-costing attack the Warlock has. When used, you will get increased power damage for a short amount of time. In addition, all enemies in that area will fight eachother.
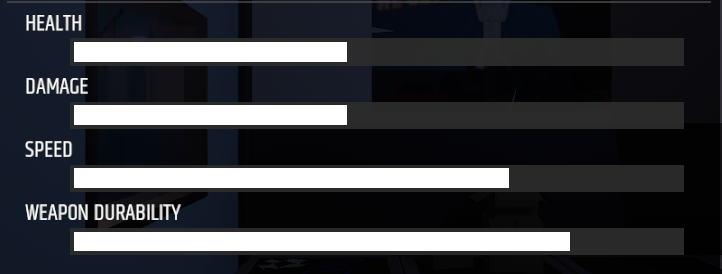
Warlock Stats:
The Spectre
The Spectre comes with four attacks that will help you kill your enemies with efficiency and speed
Dash: a energy-based attack which will make the Wraith dash towards the direction it is facing, it can knock down knock-able enemies if it hits them.
Speed: The least power-costing attack the Spectre can use. When done, the Spectre will have increased movement speed and attack speed.
Enchant Weapon: The second least power-costing attack the Spectre can use, When done, will enchant the weapons in the Spectre's hand.
Teleport: The most power-costing attack the Spectre can use. When done, the Spectre will teleport the way it is facing, this attack deals no damage.
Spectre Stats:
The Vanguard
The Vanguard comes with four attacks that will help you kill your enemies in a protectively.
Charge Weapon: A energy-based attack which will charge the weapon in-hand, giving it slightly better attack speed and damage
Light Blast: The least power-costing attack the Vanguard can use. When done, the Vanguard will shoot out a small blast that knocks down knock-able enemies.
Restoration: The second least power-costing attack the Vanguard can use. When done, the Vanguard will create a circle zone that heals anyone that is inside it for a short amount of time.
Smite: The most power-costing attack the Vanguard can use. When done, Everything will go into slow-motion. When the Vanguard points at a target, they will be smited from above, insta-killing almost anything.
Vanguard Stats:
Into The Beneath

Now it's time to talk about the actual gameplay, Again, before I start going in depth about everything to do in Beneath MASSIVE SPOILER WARNING!!. with that out of the way, let's get started!
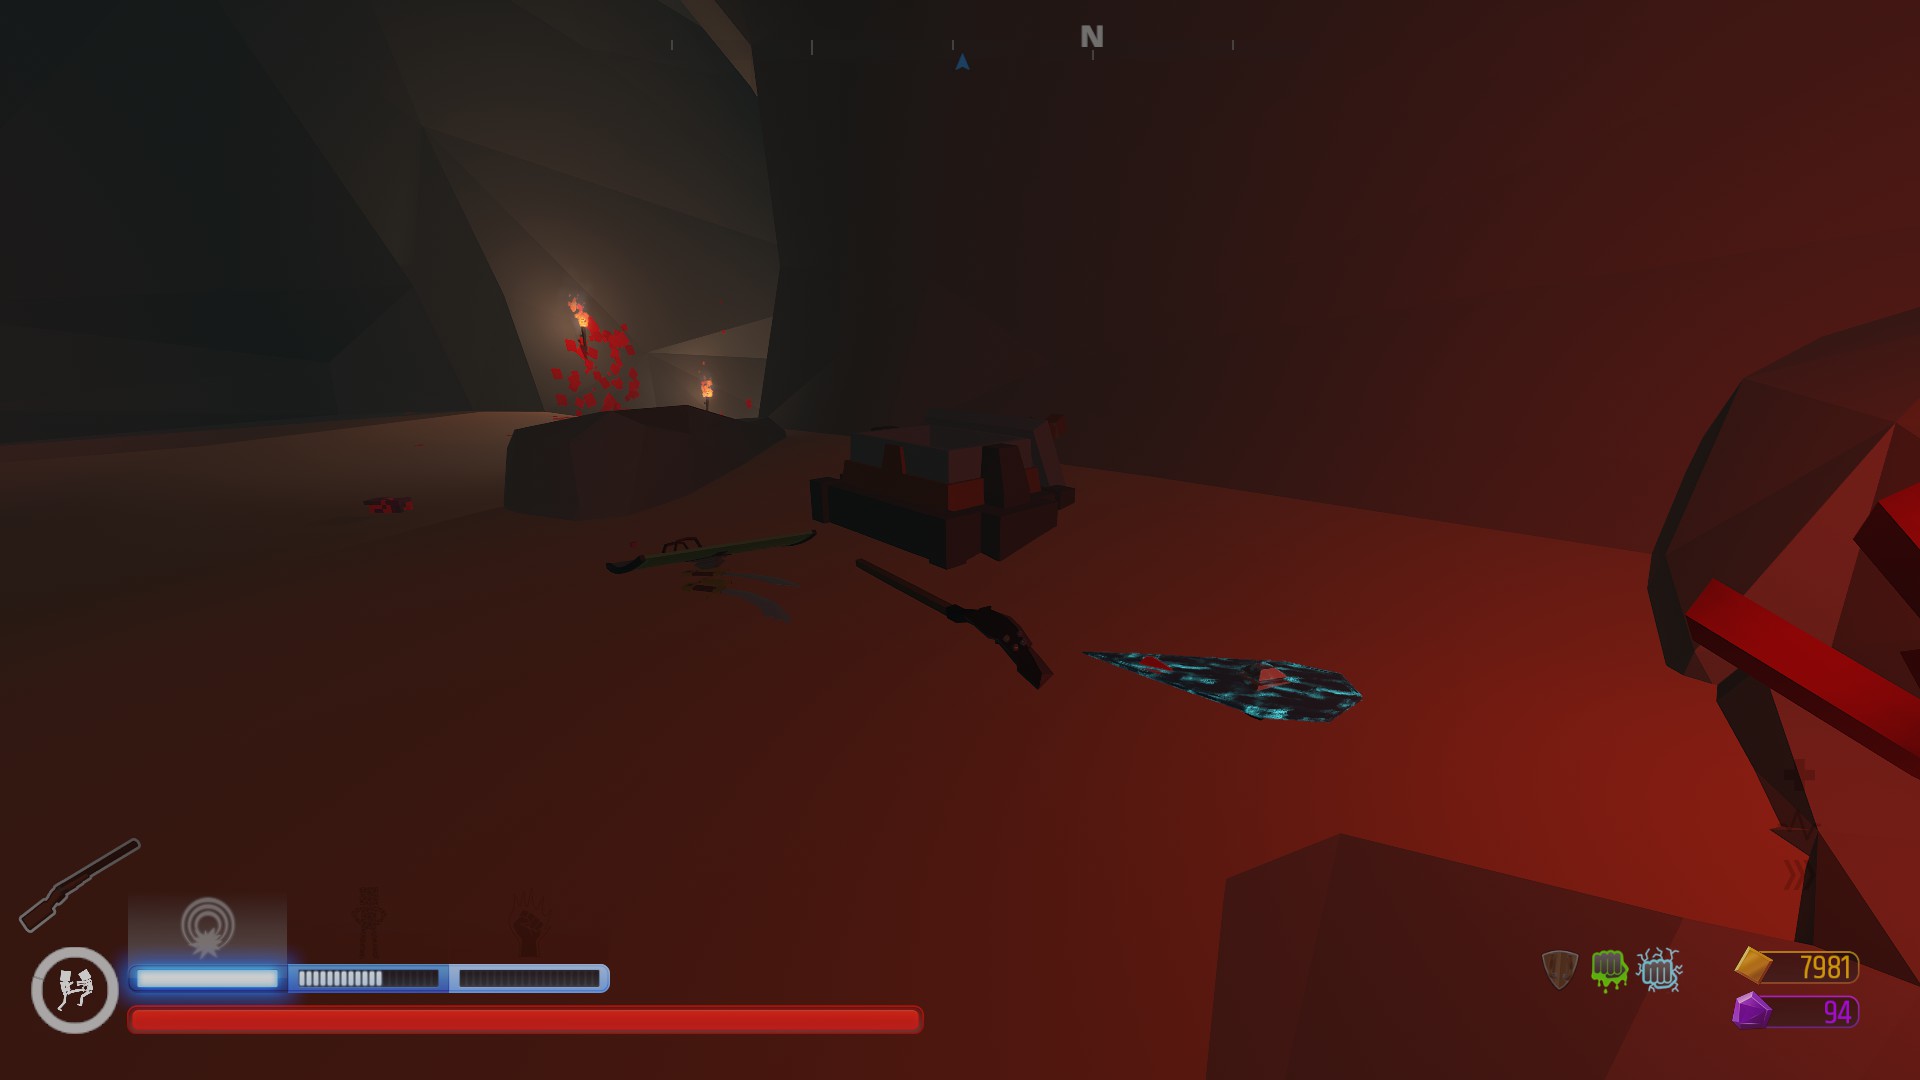
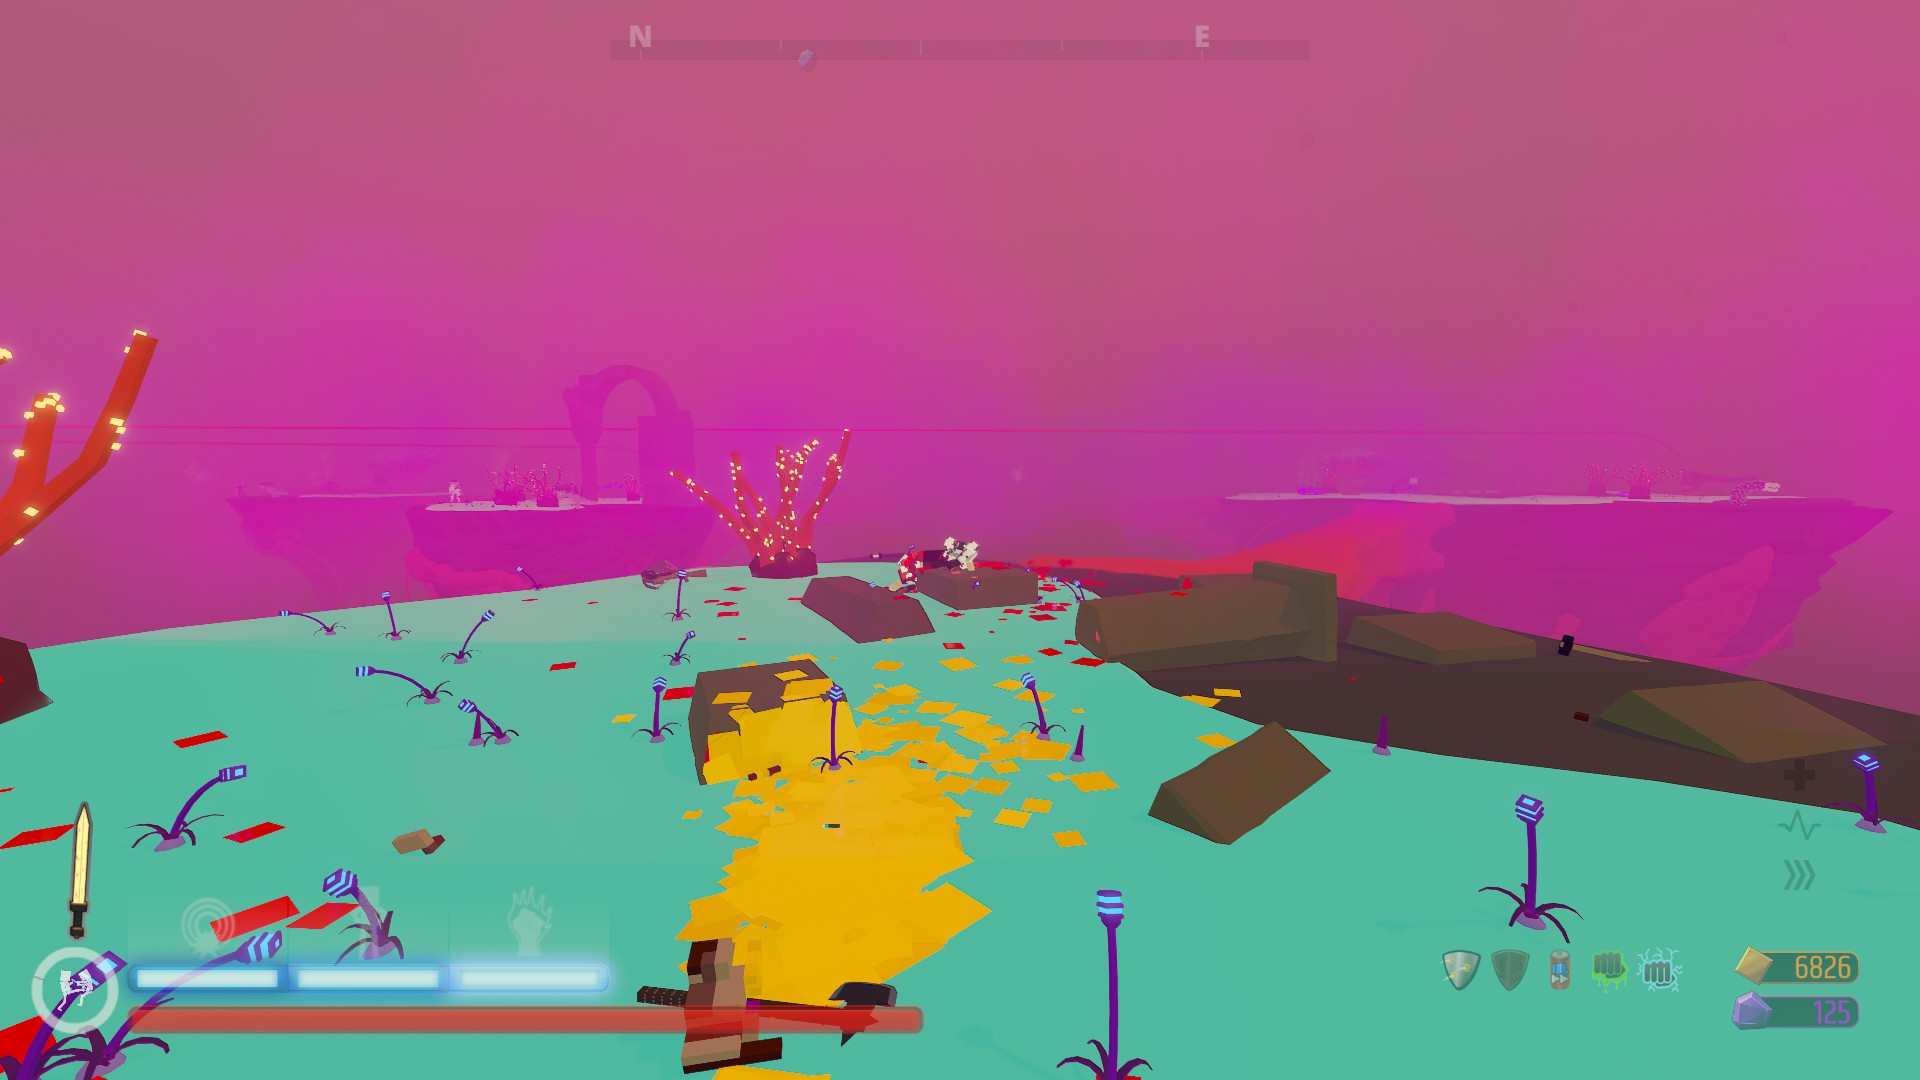
The Caves

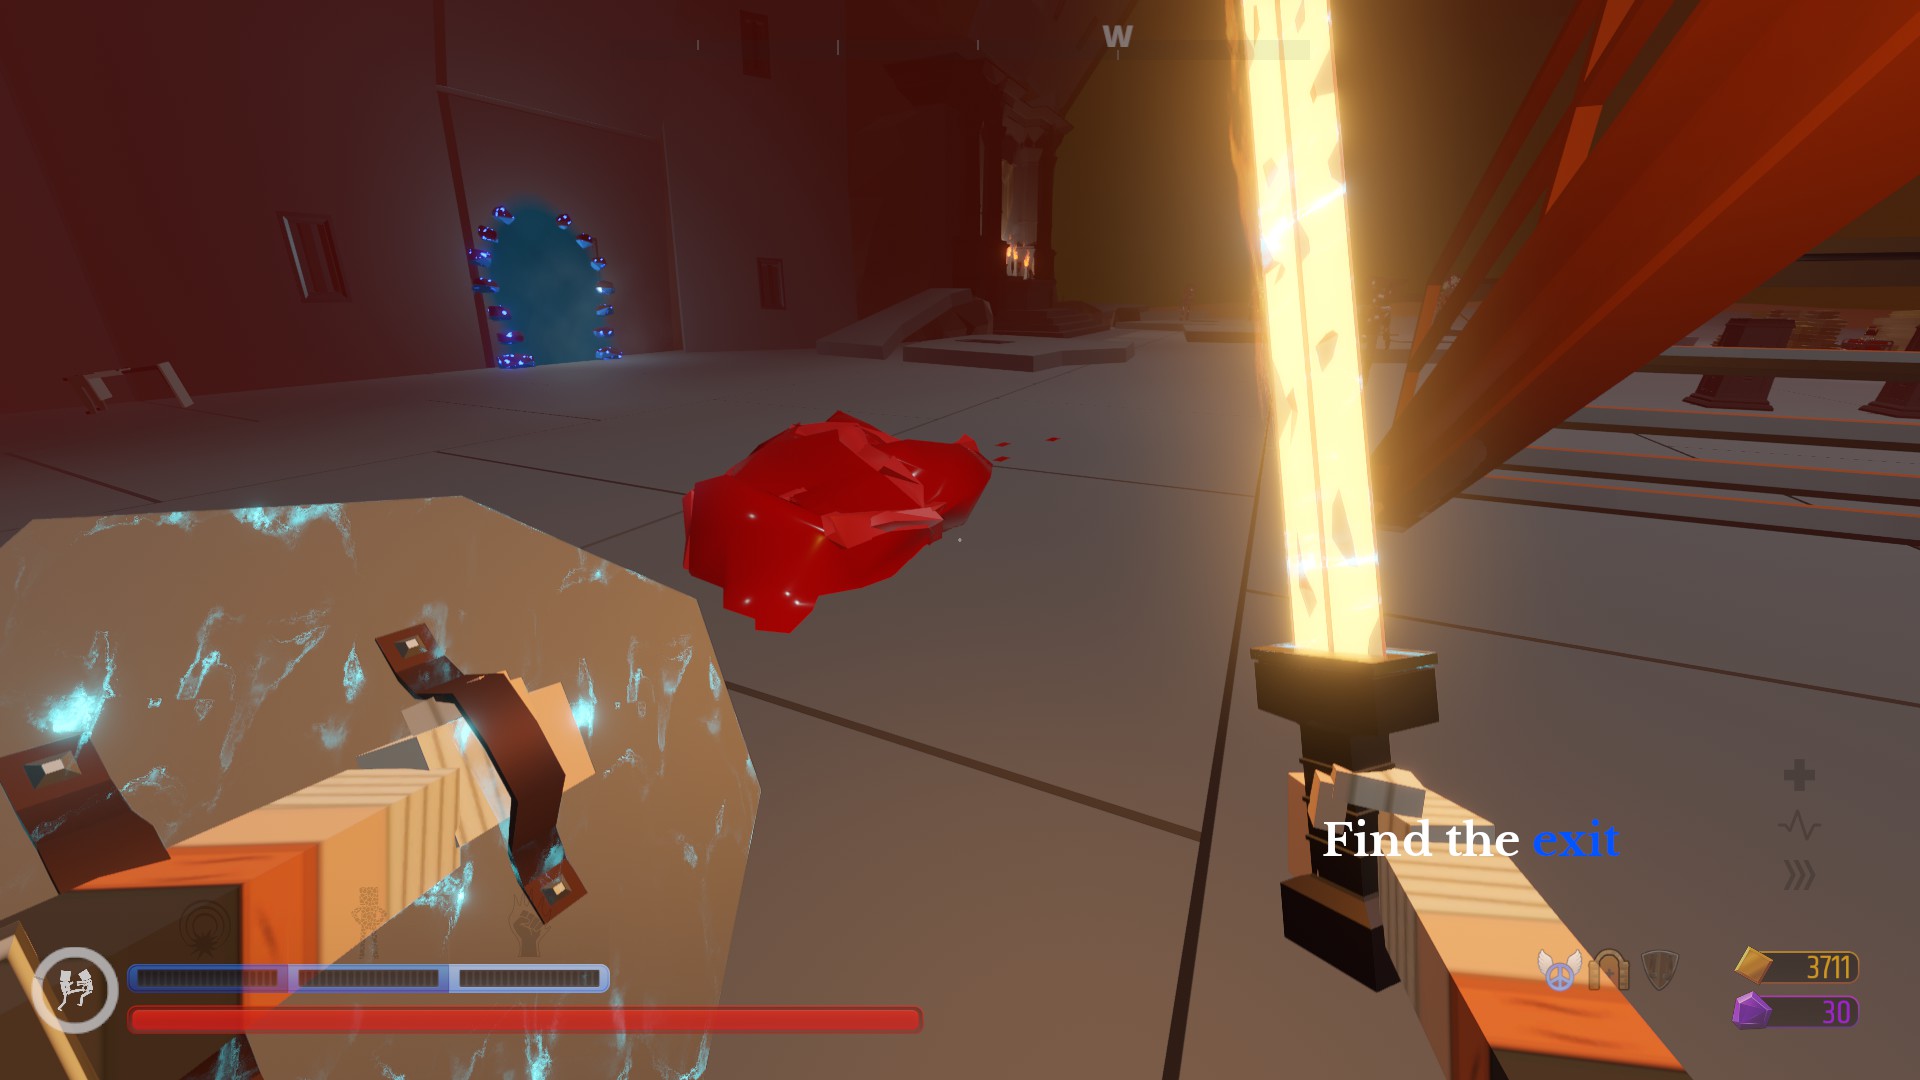
The Caves is the first area you will come across beneath, there are three levels to this area, one with one floor and the other two with two floors. once you come out of the elevator, you will be granted with one perk. you can find a total of five types of enemies in the Caves, the Zombie, Mutated Zombie, Crystal Crab, Floating Head, and the Minion. to exit the Caves you must find the exit which is marked by a blue marker in Caves lll to reach the Crystal Caverns.
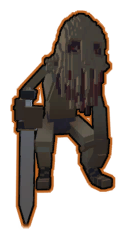
Zombie
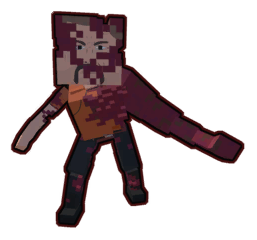
Zombies are weak melee enemies found in the Caves, Crystal Caverns and the Ruins. they are usually paired with their less common counterpart, the Tentacle Zombie.
Attacks:
Body Swing (Zombie Only): When Zombies attack, they will lean backwards and hit the player, dealing weak damage.
Tentacle Whip (Tentacle Zombie Only): Tentacle Zombies will quickly swing their tentacle arm at the player, dealing moderate damage.
Best Strategies:
Zombie: The best strategy to kill a normal Zombie is to quickly hit them before they have the chance to attack because of how weak they are.
Tentacle Zombie: The best strategy to kill a Tentacle Zombie is to bait them and let them to attack by backing up, and then rushing into them and attacking them because they're Tentacle Swing does a lot of damage so it's best to not test them.
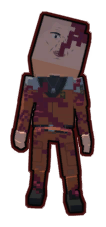
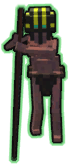
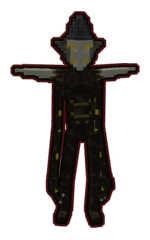
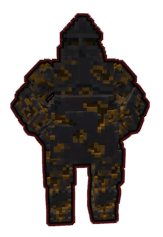
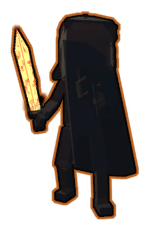
Traitor
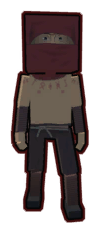
Traitors (AKA Acolytes or Servants) are humans that have betrayed the UDHF and decided to live beneath. they can spawn in Caves, Crystal Caverns, and the Ruins and can carry hammers, crowbars, pickaxes, obsidian weapons (Caves Only), cutlass', crystal shards (Crystal Caverns Only), axes, daggers, spears, maces, bats, shovels and all types of shields
Attacks:
Since Traitors are human, they don't differ from normal brawlers in the scenarios, as they attack with their weapons and enter rage mode when under 25% health.
Best Strategies:
-Without shields, you can kill Traitors pretty easily, just make sure you are not close to them when they are attacking and try to hit them outside their range.
-If they have a shield, I recommend kicking around it so that they drop their shield and then kill them while they're down.
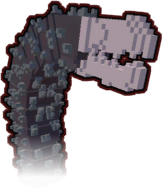
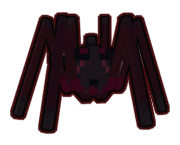
Crystal Crab
Crystal Crabs are spider-like creatures which roam around the Caves, Crystal Caverns (blue variant only) and The Ruins (spawned in by the Giant Mage).
Attacks:
Energy Beam: Crystal Crabs will charge up and shoot a powerful energy beam that can nearly insta-kill the player if hit.
Leg Slam: When approached, Crystal Crabs will strike the player with their legs, dealing moderate damage.
Best Strategies:
-When a Crystal Crab starts charging up its beam, start running around it so that it shoots somewhere behind you, once that happens, run towards it and attack it.
-I recommend attacking the legs of a Crystal Crab for a faster kill then attacking its shell
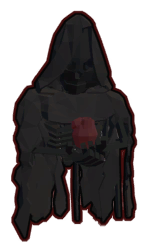
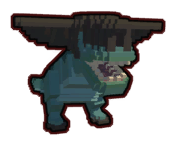
Floating Head
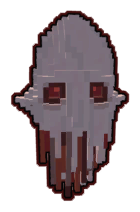
Floating Heads are disembodied heads that float around the Caves, Crystal Caverns, and the Ruins. They are white fleshy heads with that resemble the Giant Mages head that charge at the player.
Attacks:
Charge: Floating Heads will charge up their attack (shown by their glowing red eyes) before charging into the player, headbutting them.
Best Strategies:
-Waiting for Floating Heads to attack then sidestepping their charge is the best way to avoid them
- While they are charging up their attack they are very weak, which you can take advantage of by attacking them in that stage.
Minion
Minions are small humanoid ranged enemies found in the Caves, Crystal Caverns and the Ruins, they first appear in Caves II.
Attacks:
Staff Beam: When a Minion is in range, it will raise its staff and shoot a red beam out of it. Unlike the Crystal Crabs beam, a Minions beam is continuous, meaning that it is significantly for dangerous, though it is weaker. After they attack, they will start backing away from the player and then start shooting again.
Best Strategies
-Once a Minion starts attacking, start running around them until it ends, then when it does, hit them in the back while they back away.
The Apostate (and How To Unlock Them.)
The Apostate is an NPC that can be found in Caves I, once found they will help you in your gameplay by helping you earn permanent upgrades.
How to unlock the Apostate: When the player goes beneath, they may see the message "Something needs help here...", from here if they follow the yellow marker they can enter the room it leads them to. Once entered, the doors will close (similarly to the Challenges) and once all the enemies are killed, the jail that the Apostate is in opens up and he will teleport up and the message "The Apostate has been moved to the Facility" will appear. This will unlock the Shard Upgrade Room in the Facility
The Crystal Caverns
Once you reach the exit on Caves III you will be met with a pathway to another door. This door leads to the Crystal Caverns. The Crystal Caverns are blue, icy caves with 2 levels with two floors. The Crystal Caverns has a total of nine enemy types and introduces four, Bore Worm, Hydra, Teleporter and the Crystal Entity. The Crystal Caverns also introduce the slightly stronger Blue Crystal Crab variant. To exit the Crystal Caverns you need to find the exit (marked by a blue marker on the compass) in Crystal Caverns II
Bore Worm
Bore worms are long, grey burrowing melee enemies with scales, they also have a big head with a long jaw on it. they first appear in Crystal Caverns.
Attacks and Abilities:
Burrowing: Bore Worms have the ability to borrow into the ground and travel underground, they cannot be hurt underground. while travelling, you can track their movement by the rubble and debris it makes.
Bite: Once the player is in range, a Bore Worm will do a quick bite, dealing weak damage
Body Slam: The Bore Worm will keel back and slam their body on the ground, dealing lots of damage.
Best Strategies:
-When a Bore Worm burrows, run around the area and keep an eye on the debris it makes, it will most likely come up behind you so keep looking behind you.
-Once the Bore Worm comes up, bait him into attacking (they attack quickly) by backing away then rush into them and kill them (may take a few hits to kill depending on the weapon).
Crystal Entity
Crystal Entities are slight transparent melee enemies found in The Crystal Caverns. Crystal Entities attack the player with a electric ball produced from their energy
Attacks:
Electricity Ball: Crystal Entities will charge up their attack from their chest. Once its ready, a Crystal Entity will charge at the player until it either hits them or the ball of electricity times out. They have a short cooldown before they start charging up their attack again.
Best Strategies:
-When a Crystal Entity is charging up their attack (since it takes about 3 seconds) you can hit them during that and deal some early damage.
-While a Crystal Entity is attacking, you can either wait for it to time out and attack them then or you can wrap around them and hit them from the back.
Teleporter
Teleporters are tall, lanky ranged enemies that appear in the Crystal Caverns and the Ruins, but they first appear in the second level, Crystal Caverns II.
Attacks and Abilities:
Magic Ball: If Teleporters are in range, they will throw a slow, magic ball at the player, dealing weak damage.
Teleportation: If the player takes to long to attack while in melee range, Teleporters will use a spell to teleport away from the player.
Slap: Teleporters will slap the player within melee range, dealing moderate damage.
Best Strategies:
-While teleporting, Teleporters are very, very vulnerable and can be killed in nearly one hit
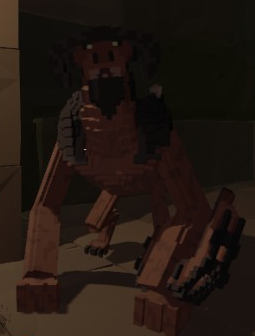
Hydra
Hydras are three-headed dragon enemies found in tje Crystal Caverns. Hydras are one of the most powerful enemies in the Crystal Caverns because you have to cut off all three of their heads for them to die.
Attacks and Abilities:
Fire Breath: when in range, Hydras will breathe fire at you. It has short range but does a lot of continuous damage.
Three-Head Bite: When in melee range, Hydras will bite with one head, dealing one big hit.
Regeneration: if one of the Hydras head is wounded, it will start regenerating the voxels that have been damaged.
Best Strategies:
-Blunt weapons (clubs, bats, etc.) are effectively useless against a Hydra because of its regeneration. If you have no access to a sharp weapon, avoid Hydras at all costs.
-If a Hydra starts breathing fire, it can easily be avoided by running away from it until the attack ends.
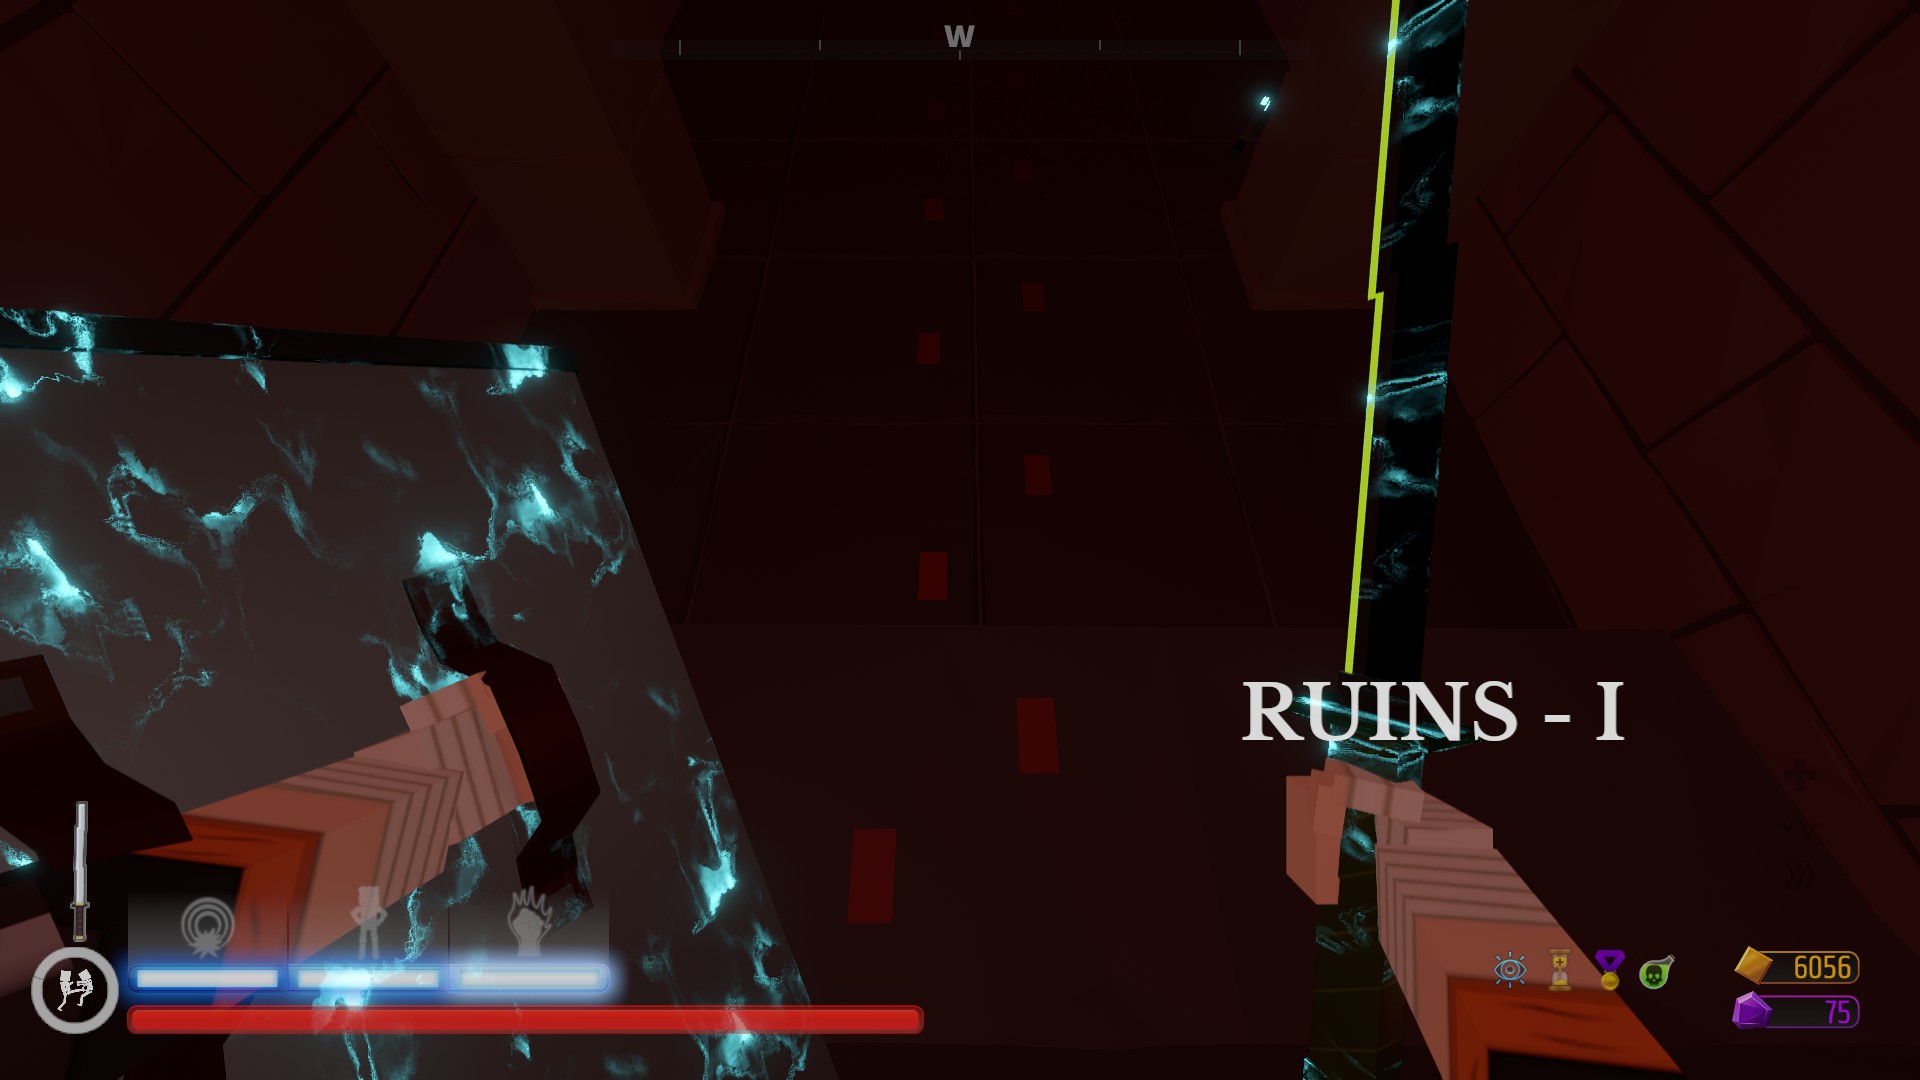
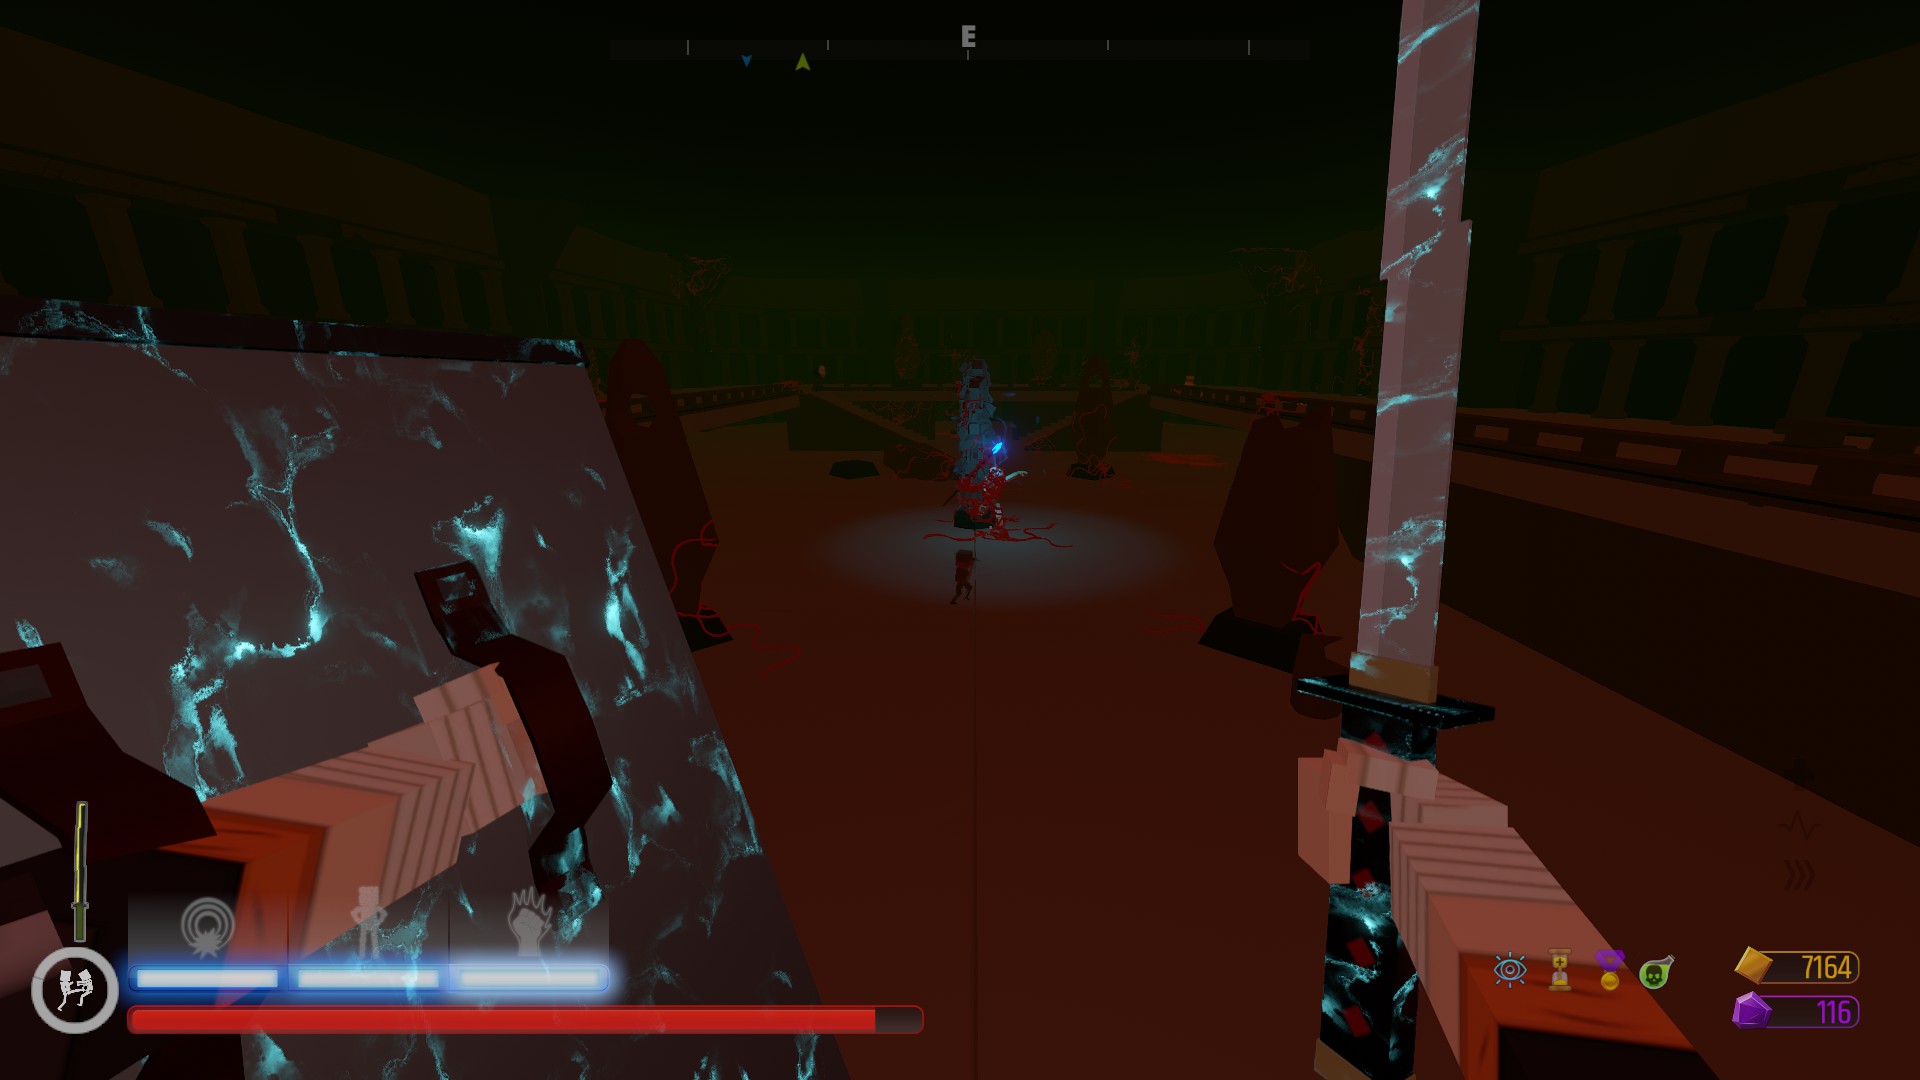
The Ruins
After finding the exit to Crystal Caverns II, you will be transported to another bridge, this time leading to the next area, the Ruins. The Ruins is a dungeon-type of area with three rooms, each with one floor. The Ruins have nine types of enemies and introduces 4 more enemies, The Leaper, Interceptor, Giant Statue and the Giant Mage. To exit the Ruins you need to kill the Necromancer (marked by the blue marker on the compass) in Ruins III
Leaper
Leapers are small spider-like creatures which attack by leaping at the player. They first appear in the Ruins and are the weakest enemies there.
Attacks:
Leap: Leapers will bend back and leap at the enemy, causing weak melee damage. While leaping, they will make a loud screeching noise that makes them very noticeable.
Best Strategies:
-Look down frequently while in the Ruins as Leapers will usually be hiding out, blending in with the environment because of their color and size. They are easy to kill with any weapon.
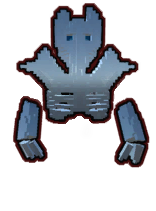
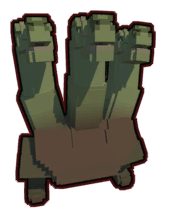
Giant Statue
Giant Statues are big, strong enemies found in the Ruins. They are the strongest enemies in the Ruins that will take tons of effort be killed by weaker weapons (maces, knives, etc.).
Attacks and Abilities:
Sneak: The Giant Statues biggest advantage, when you are not looking at them, Giant Statues will sneak up behind you until they are close enough to melee attack you, while when you are looking at them they won't move.
Stone Jab: Giant Statues will quickly attack you with two jabs with their arms, both are quite weak
Stone Slam: Giant Statues will lean back and slam the ground with both hands, dealing strong melee damage.
Best Strategies:
-Since Giant Statues will sneak up on you, you should kill them before they can do anything.
-Hitting them in the head with strong melee weapons with well-timed jumps can kill them in one or two hits.
Interceptor
Interceptors are large, dinosaur-like melee enemies that are found in the Ruins. they are very fast and all their attacks are quite strong.
Attacks:
Punch: Interceptors will punch the player with their right arm, dealing strong melee damage and knockback.
Bite: Interceptors will bite the player quickly, dealing moderate melee damage.
Best Strategies:
-Interceptors may look intimidating, but are very easy to kill. A couple hits to the head will kill them pretty easily.
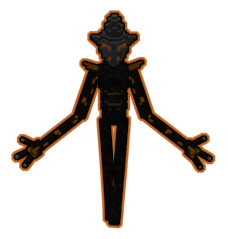
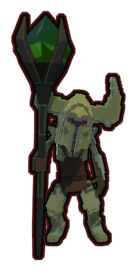
Giant Mage
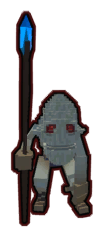
Giant Mages are at the top of the hierarchy beneath and wander the Ruins. They must be protected at all costs according to the monsters beneath.
Attacks and Abilities:
Staff Knockback: The Giant Mage will slam his staff on the ground, knocking the player back but deals no damage.
Staff Hit: Giant Mages will hit the player with their staff when in melee range.
Slap: Giant Mages will raise their right hand and slap the player.
Homing Missiles: This is the default attack of the Giant Mage. Giant Mages will charge up their staff and shoot five or six missiles into the air that will hone in on the player until they either hit something or time out.
Enemy Spawn: Giant Mages will create two portals that will mostly always spawn two Crystal Crabs (rarely Floating Heads or Bore Worms).
Superiority: Minions and Interceptors will rush to the Giant Mages to protect them in their own means (Interceptors will make a body shield and Minions will make a force field around the Giant Mage)
Best Strategies:
-Once you notice a Giant Mage, go kill it as fast you can before it can attack (hitting it in the head can almost instantly kill them.).
-If you see any Interceptors or Minions kill them right away because their may be a Giant Mage in the room.
Other Creatures (Gremlins, Golden Boxer, Pursuer)

There are some other creatures that appear in all areas beneath that don't usually appear in normal gameplay.
Gremlin: The Gremlin is a enemy that can spawn in any area and does not attack the player. Instead runs away from the player. When killed, the Gremlin will drop a lot of gold and energy. If the Gremlin outruns you and you can't get him in time he will run into a portal (similar to the Giant Mages portal) and you don't get anything.
Golden Boxer: The Golden Boxer is an enemy that will randomly appear in any area after the upgrade "Golden Gloves" is unlocked in the Persistent Upgrades Shop. Once killed, the Golden Boxer will drop a lot of gold (similarly to the Gremlin)
The Pursuer: The Pursuer is an enemy that cannot be killed (Unless in the Fire and Blood area) and insta-kills the player. The Pursuer will only come sometimes when the message "The Pursuer watches over this area.." appears. After about five or four minutes, if not exited the area the Pursuer will come after you. From here you will have to leave the area before they catch up to you.
The Shop

The Shop is a place in every area which can be accessed by walking through a green field and walking in. The Shop (marked by a green marker) is usually hidden and a moderate difficulty to find. You can buy items and upgrades in the shop with Gold and Energy
Shop Sections:
Main Shelf: The Main Shelf has five weapons or perks lined across on it. Which cost their own amount of Gold.
Stalls On the sides of the shop there are six stalls (three on each side) which contain health and power on the left and run upgrades on the right. the left stalls cost 500 Gold each and the right stalls cost 1500 Gold each (to start).
The Guiding Light and The Pursuer Spawner: On the back walls, you'll find to pillars with a blue light (right) and a Pursuer Heart (left). These are called the Guiding Light an the Pursuer Spawner. The Guiding Light costs 950 Gold (to start) and when activated will light the way to the exit. The Pursuer Spawner is free and will spawn the Pursuer early.
Enchanting Table: On the left side on the front wall, you'l find a jewel covered in chains, this is the Enchanting Table. Using the Enchantment Table costs 750 Gold (to start) and will enchant the weapons in the players hand.
Persistent Upgrades: On the right, you'll find a Minion. You'll find the Persistent Upgrades here. These are upgrades which carry on through all your runs and all cost a certain amount of energy each.
All Persistent Upgrades:
Stamina (3 levels, permanently increases Stamina Regeneration for all classes)
Health (3 levels, permanently increases Maximum Health for all classes)
Ammo (3 levels, permanently increases Ammo amount for all ranged weapons)
Weapon Durability (3 levels, permanently increases Weapon Durability for all classes)
Speed (3 levels, permanently increases Speed for all classes)
Inheritance (3 levels, keep some of your gold and energy from the previous round)
Starting Weapon (3 levels, You will be offered a starting weapon at the beginning of a new run)
Starting Shield (2 levels, You will be offered a starting shield at the beginning of a new run)
Fist Spikes (unlocks the Fist Spikes)
Battle Axe (unlocks the Battle Axe)
Flaming Gladius (unlocks the Flaming Gladius)
Flaming Spear (unlocks the Flaming Spear)
Nailed Bat (unlocks the Nailed Bat)
Machete (unlocks the Machete)
Black Katana (unlocks the Black Katana)
Cutlass (unlocks the Cutlass)
Combat Knife (unlocks the Combat Knife)
Shovel Axe (unlocks the Shovel Axe)
Double-Barrel Shotgun (unlocks the Double-Barrel Shotgun)
Electric Baton (unlocks the Electric Baton)
Ranged Taser (unlocks the Ranged Taser)
Triple Crossbow (unlocks the Triple Crossbow)
Harpoon Gun (unlocks the Harpoon Gun)
Steel Shields (unlocks the steel variants of all shields)
Golden Gloves (unlocks the Golden Gloves enemy)
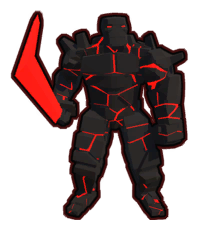
Shard Lords
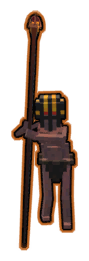

Shard Lords are hidden enemies that can be found in all areas. Shard Lords are basically upgraded versions of six of the enemies in the game. These enemies are the Minion, Giant Statue, Teleporter, Crystal Crab, Traitor and Floating Head (or Giant Mage). When killed, Shard Lords drop Gold and Energy like usual, but what makes the Shard Lords unique is the fact that they drop Shards.
There are six Shard Lords in the game:
The Pyro: The Pyro is an upgraded version of the Minion. The Pyro has more health than the Minion and shoots fire instead of a laser.
The Golem: The Golem is an upgraded version of the Giant Statue. The only difference is that the Golem has more health than the Giant Statue.
The Deceiver: The Deceiver is an upgraded version of the Teleporter. The Deceiver does more damage than the Teleporter and can create duplicates of themselves. The duplicates can't attack.
The Crawler: The Crawler is an upgraded version of the Crystal Crab. The Crawler has more health and shoots nine or ten lasers.
The Centurion: The Centurion is an upgraded version of the Traitor. The Centurion carries a transparent shield and carries a Flame Gladius. The Centurion has an absurd amount of health.
The Beast: The Beast is an upgraded version of the Floating Head but uses the attacks of the Giant Mage. The Beast has more health and does a lot of damage.
Shard-Powered Upgrades
Shard-Powered Upgrades are upgrades which can be unlocked using Shards. The unlock the upgrade table you need to first free the Apostate in Caves I, after that you will find the table in a room next to the classes room in the facility. All these upgrades are permanent.
Shard-Powered Upgrades:
Better Compass (Upgrades the compass in beneath, will show Shard Lords on the compass as a shard icon and shows Challenges on the compass as a red marker)
Free Item (2 levels, will place extra perks outside the elevator in the Caves.)
Increased Damage (3 levels, increases base damage for all classes.)
Cheaper Shop (3 levels, makes shop items cheaper.)
Extra Energy (3 levels, enemies will drop more energy.)
Item Stalls (3 levels, adds more Item Stalls throughout the areas beneath.)
Brawler to Mauler (upgrades the Brawler class to the Mauler class, increasing their stats.)
Warlock to Sorcerer (upgrades the Warlock class to the Sorcerer class, increasing their stats.)
Spectre to Wraith (upgrades the Spectre class to the Wraith class, increasing their stats.)
Vanguard to Guardian (upgrades the Vanguard class to the Guardian class, increasing their stats.)
Corrupted to Necromancer (upgrades the Corrupted class to the Necromancer class, increasing their stats.)
Challenges
Challenges are rooms that can generate in any area. They are rooms that when entered will close behind you with dungeon doors. Once completed, the doors will reopen and a chest will open with Gold, Energy, and some weapons.
Challenge Types:
Kill all Enemies: You must kill all enemies in either a certain time range (60 seconds, etc.) or without taking damage.
No Sprinting: You must kill all enemies without sprinting in a certain time range (usually 120 mins) or survive in the same time range.
Elder Gods
The Elder Gods are the final bosses of the game. There are three mini-bosses and one final boss. the three mini-bosses are the Necromancer, the Aberration and the Trickster. The final boss is the End. The bosses are all reflected by their respective runes on the menu scroll.
Accessing The First Elder God

The first Elder God you'll need to face is the Necromancer. The Necromancer is unlock quite easily.
Step 1. Reach Ruins III
Step 2. Once you reach the exit of Ruins III, you will notice that it is different than all the exits in the past rooms, this is because it is the entry to the Necromancer boss fight.
Step 3. Beat the Necromancer
The Necromancer
The Necromancer is the first Elder God you will have to beat to unlock the rest of the Elder Gods, they lives in the Ruins. After the Necromancer is beat, you will unlock a new class, the Corrupted.
Attacks and Abilities:
Staff Swing: The Necromancer will swing his staff at the player, dealing a lot of damage
Punch: The Necromancer will quickly punch the player
Kick: The Necromancer will quickly kick the player
Homing Missiles: This attack is almost like the Giant Mages attack, but it shoots about ten missiles.
Resurrection: The Necromancer will resurrect enemies you have killed in the Ruins.
How to Beat The Necromancer:
-Eight Minions create a force field around the Necromacer, four behind the pillars in front of you and four on the stages around the room, you must kill them before you do anything else.
-After you kill the Minions, you can rush at the Necromancer and kill him, you will need some strong weapons to defeat him (the usual loadout I go with is an enchanted shotgun, black katana, and shield).
The Door
-Once you've killed him, you will be transported to a bridge, similarly to the bridges that transport you to new areas.
-The door that is locked will open once you kill all three mini-bosses, for now the only thing left to do is die and return to the Facility using the Iron Maiden to the left of the door.
The Corrupted
The Corrupted has four attacks that will help you kill your enemies with dark magic. It is unlocked by killing the first Elder God, the Necromancer.
Drain: An energy-based attack. If hit, Drain will drain the health of the target.
Acid Rain: The least power-costing attack the Corrupted has. When done, Acid Rain will spawn a green cloud that rains green, acid rain which if hits an enemy, will drain their health.
Entangle: The second-least power-costing attack the Corrupted has. When done, Entangle will spawn a zone in which, if enemies go into it, will be stabbed by spikes risen from the ground. this attack does no damage but will stop the enemies where they were stabbed.
Raise Dead: The most power-costing attack the Corrupted has. When done, Raise Dead will create a zone in which Zombies will come out of the ground. these zombies are friendly to the player.
Stats (a little bit differed since it is upgraded to the Necromancer):
Accessing The Second Elder God
The second Elder God is The Aberration. The Aberration can be unlocked by going into the secret area, the Islands.
How to get to the Islands:
Step 1. Once you kill the Necromancer, you will unlock a monument with a piece of a artifact on it, you'll need to grab it.
Step 2. Reach the Crystal Caverns and find the room with the same monument in it, walk up to it.
Step 3. Once you do that, a cutscene will play where both the pieces of the artifact will join together. You will be transported to a bridge.
Step 4. Reach the end of the bridge and go through the pink portal. You will transported to the Islands.
The Islands
The Islands is the first of three secret areas you need to go to to finish the game. The Islands have two areas, with at least two shard lords each. The gravity in the Islands is reduced by a bit. Some enemies like the Interceptor and the Zombies spawn in the Islands, but two new enemies are introduced, the Observer and the Charger. In Islands I, you have to kill either Observers or shard lords connected to the exit portal to leave. The Islands is the home of the Aberration, whom you can fight at the end of Islands II
Charger
Chargers are small dinosaur-like enemies found in the Islands. When Chargers see the player, they will charge at them.
Attacks and Abilities:
Charge: When a Charger sees the player, they will growl and charge at the player. It has short range but strong knockback.
Best Strategies:
-You will need to be EXTREMELY careful of Chargers because if they hit their attack it can easily end your run by knocking you off the Islands.
Observer
Observers are floating heads found in the Islands. Their most noticeable feature of the Observers is their big, orange, singular eye.
Attacks and Abilities:
Tentacle Stab: Observers will quickly stab the player with one of their tentacles when in range. They will usually combo it with another stab if it hits.
Bite: Observers will bite the player.
Best Strategies:
-Observers are one hit to most sharp weapons.
-Observers really like to get close and get small hits in. It is advised to hit them out of their range.
The Aberration

The Aberration is the second Elder God you'll have to defeat to finish the game. The Aberration has no physical form except the tentacles it uses to attack the player. The Aberration can be found in the Islands and can be fought in Islands II.
Attacks and Abilities:
Tentacle Swing: The Aberration will swing one of their tentacles when they are in range of the player.
Tentacle Slam: The Aberration will slam one of its tentacles on the player.
Tentacle Spin: The Aberration will spin one of its tentacles around on the ground continuously to fend off the player.
Fireball Spit: Blue tentacles will spit fireballs at the player which will hone in.
Burrowing: The Aberration will sometimes burrow their tentacles to avoid being hit.
Enemy Summon: The Aberration will summon enemies to help it defend itself.
Regeneration: If one of the Aberrations tentacles are not fully cut, it will start regenerating the damaged voxels (similarly to a hydras regeneration).
How to Beat the Aberration:
-All you have to do to kill the Aberration is to slice off all its tentacles, every tentacle cut will injure the Aberration.
-Always remember to bring a sharp weapon with you when going to fight the Aberration.
-If you keep running to the tentacles, killing them quickly and then move on quickly to the next, you can kill the Aberration really easily.
Accessing The Third Elder God
The third Elder God is the Trickster. The Trickster is the hardest boss to get to and one of the hardest to kill.
How to Access The Trickster
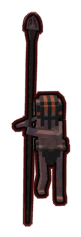
Step 1. Capture a Pursuer: The Pursuer plays a vital role in getting to the Trickster, but first you'll need to capture one.
First you'll need to buy the Capture Device (image) from the shop in Ruins I. Once you do that you can plant it on the ground, ideally in a wide open area with no enemies. Now wait for the Pursuer to arrive or you can summon the Pursuer from the shop. Once he spawns in, lure him into the light of the Capture Device. Once done, you can return to the Facility and find the Pursuer you captured in a caged area near the spawn area in the Facility.
Step 2. The Jerk: If you've wandered around the Facility, you've probably encountered the Jerk, A twitchy and questionable member of the UHDF. You must deal with him to get to the Trickster. When the Pursuer is in the cage they will drop a heart (image), take it. Now, you can either bump into or throw the heart at the Jerk so that it sticks onto him. After that wait until he gets to the elevator for a fun surprise.
Step 3. The Bloody Mass: Next, start a new run and a message will appear, "A bloody mass has begun to form..". Near the elevator you'll see a big bloody mess, it will grow as you play more runs and eventually burst. It will take four runs to burst. Once It's burst you'll see footsteps coming out of it.
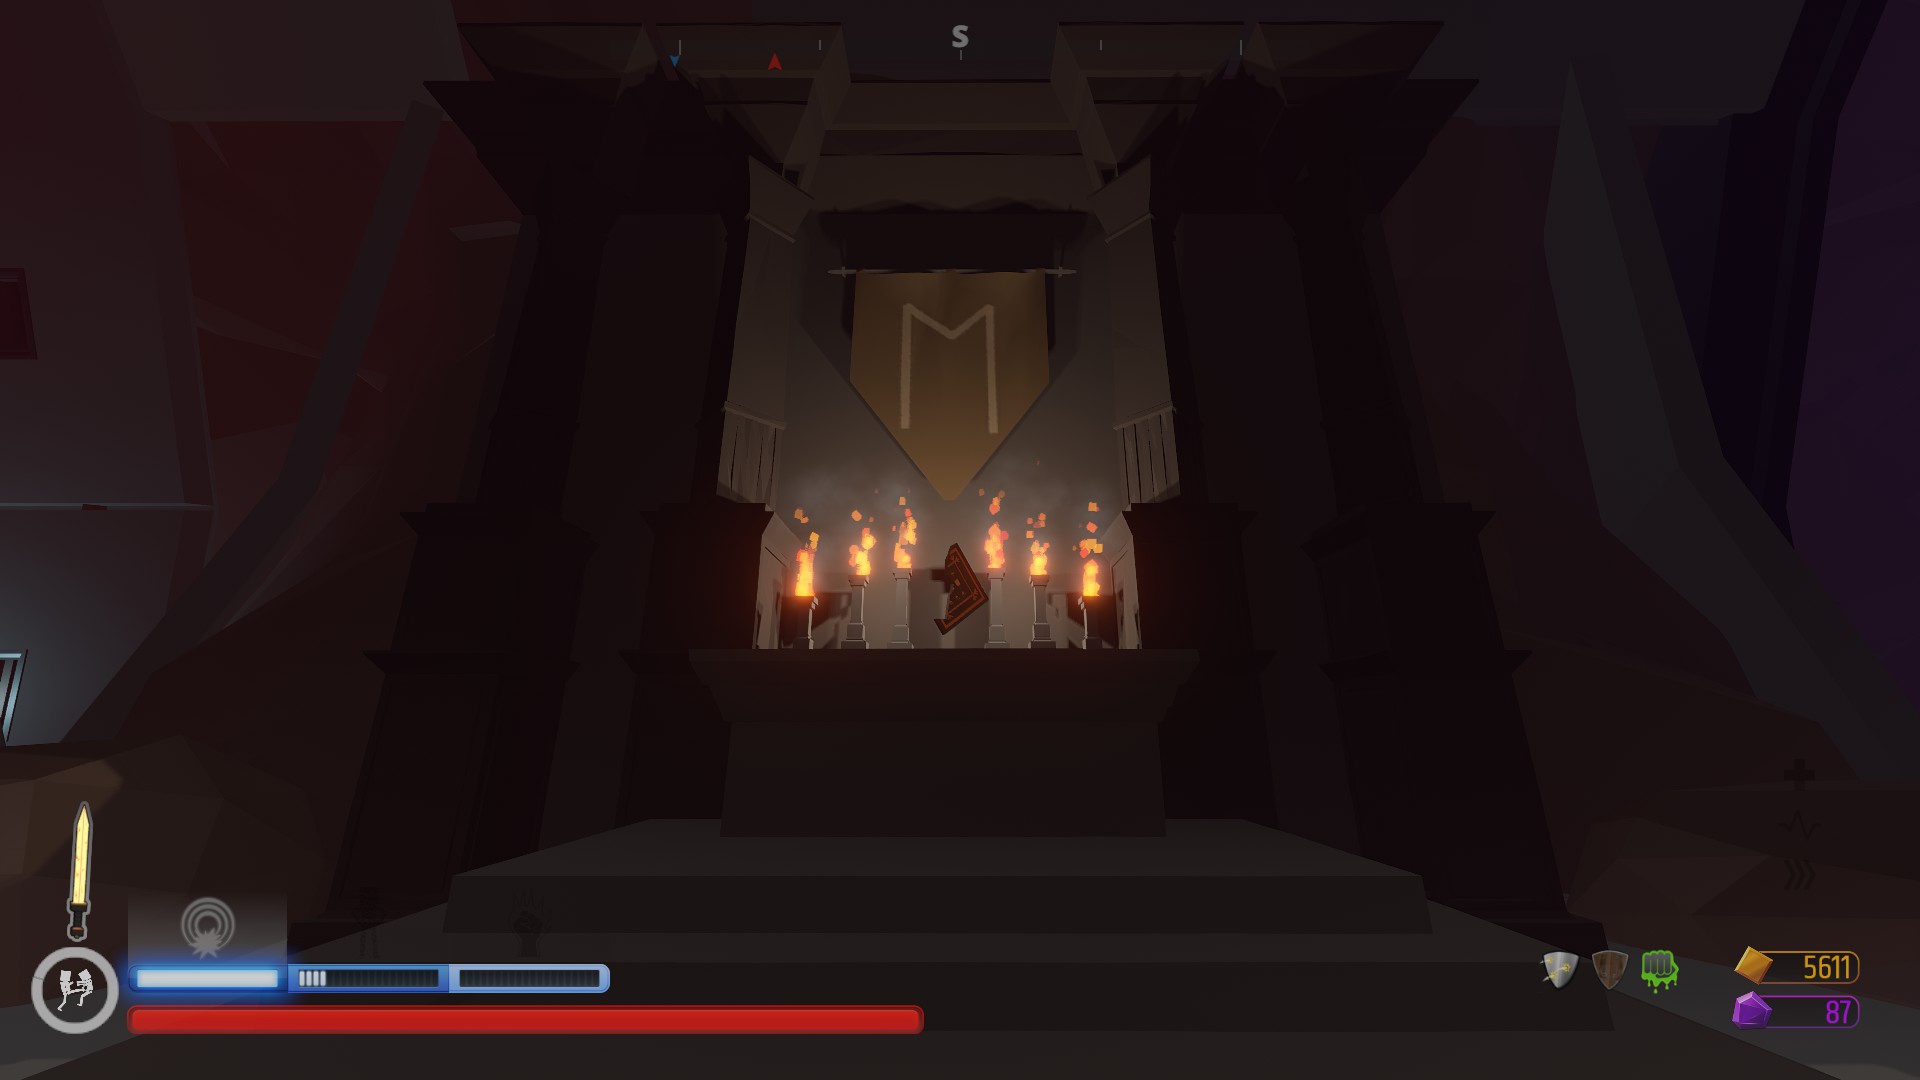
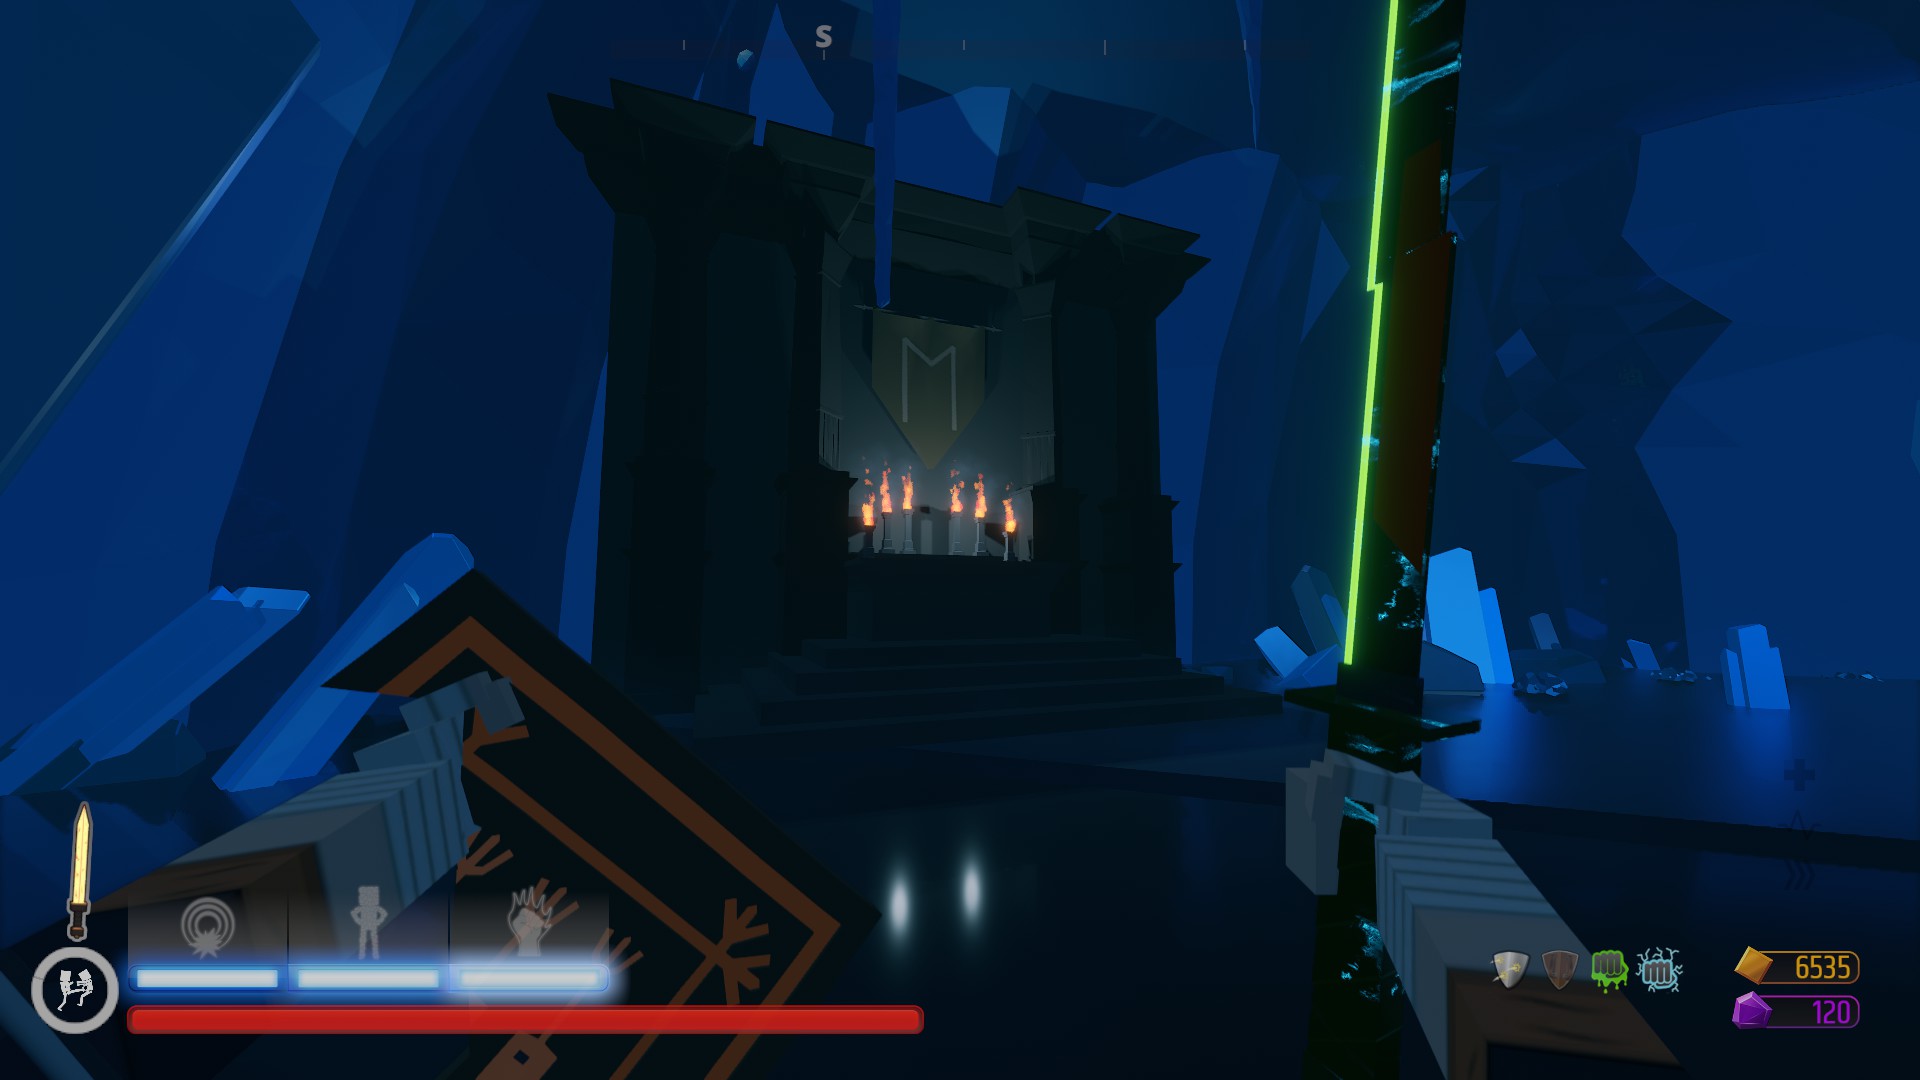
Step 4. Reaching the Construct Probably the hardest step of reaching the Trickster. First you'll have to go to the Ruins. In either Ruins I or II you'll find bloody footsteps on the ground on the entrance, this is how you know the Trickster can be accessed. You will also see bloody vines.
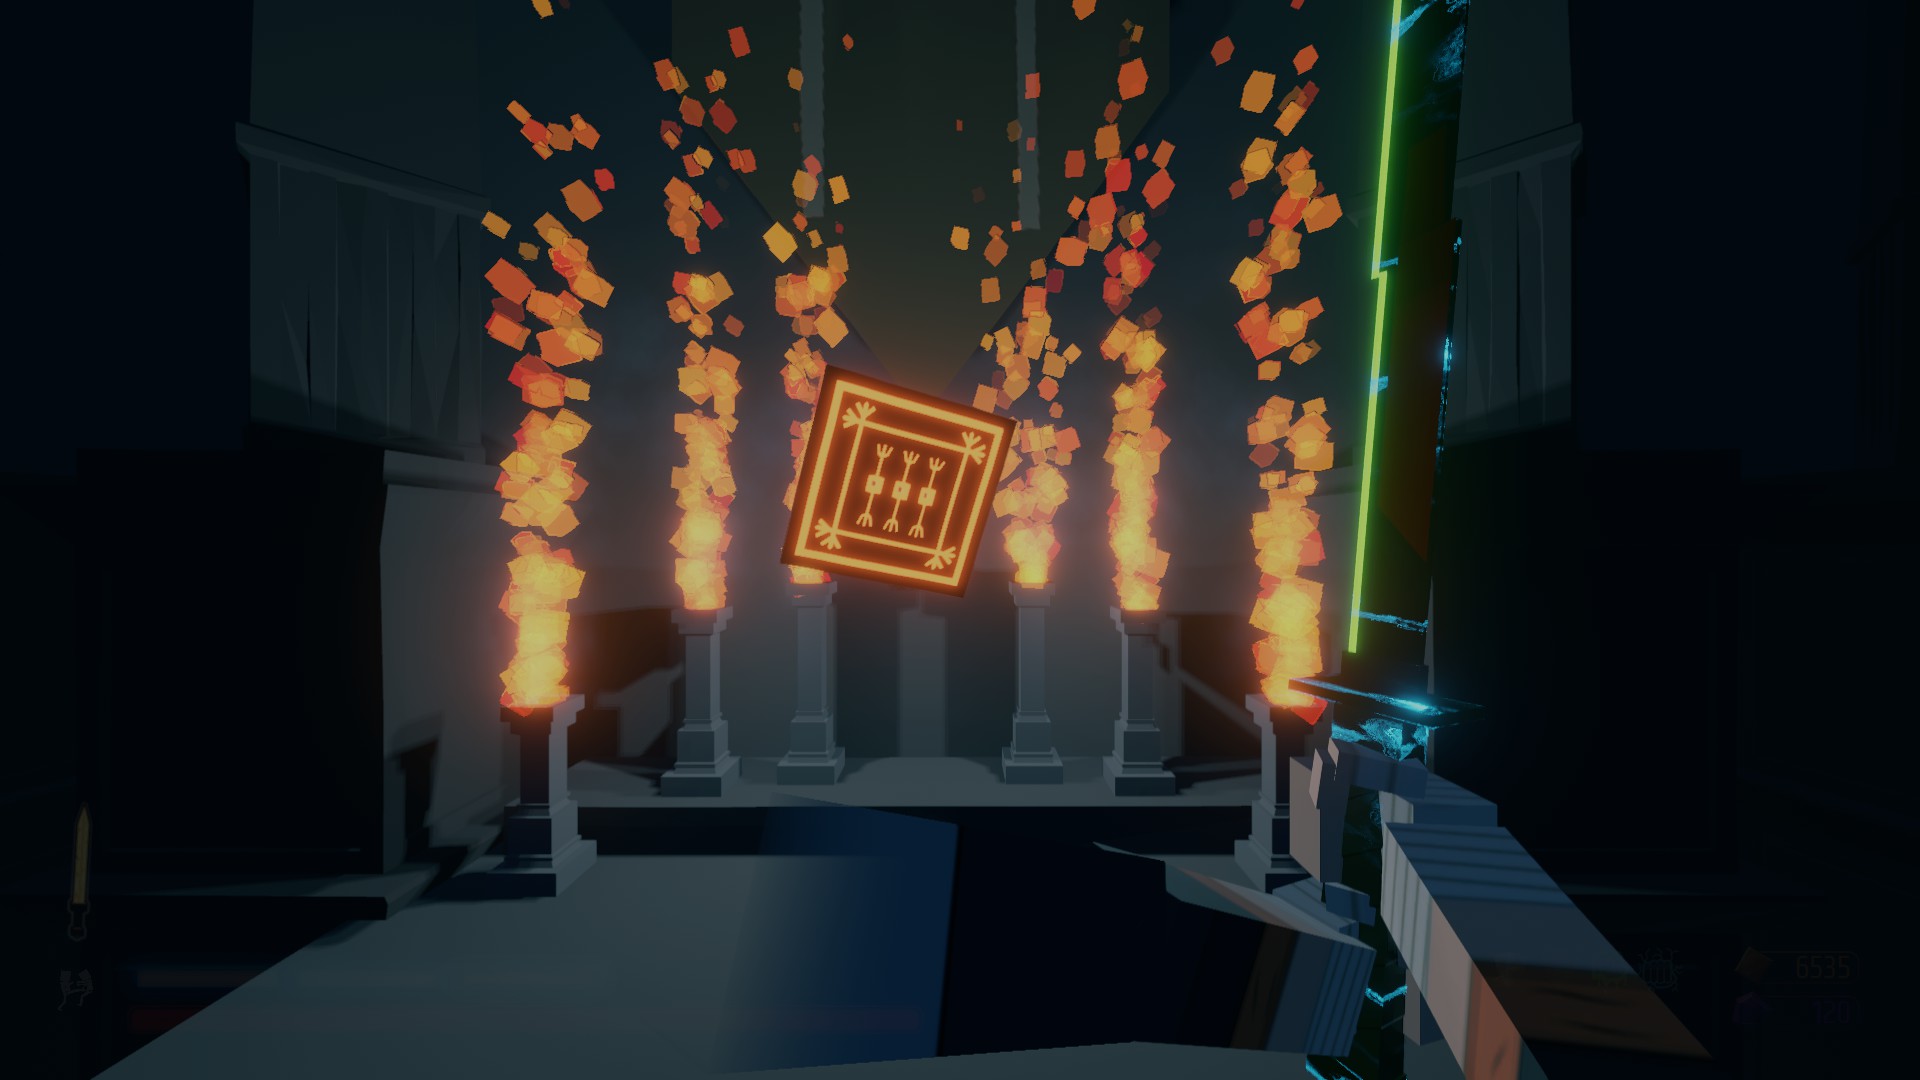
While exploring the rooms, try to find the room found in the right image, this will be where the staff is found.
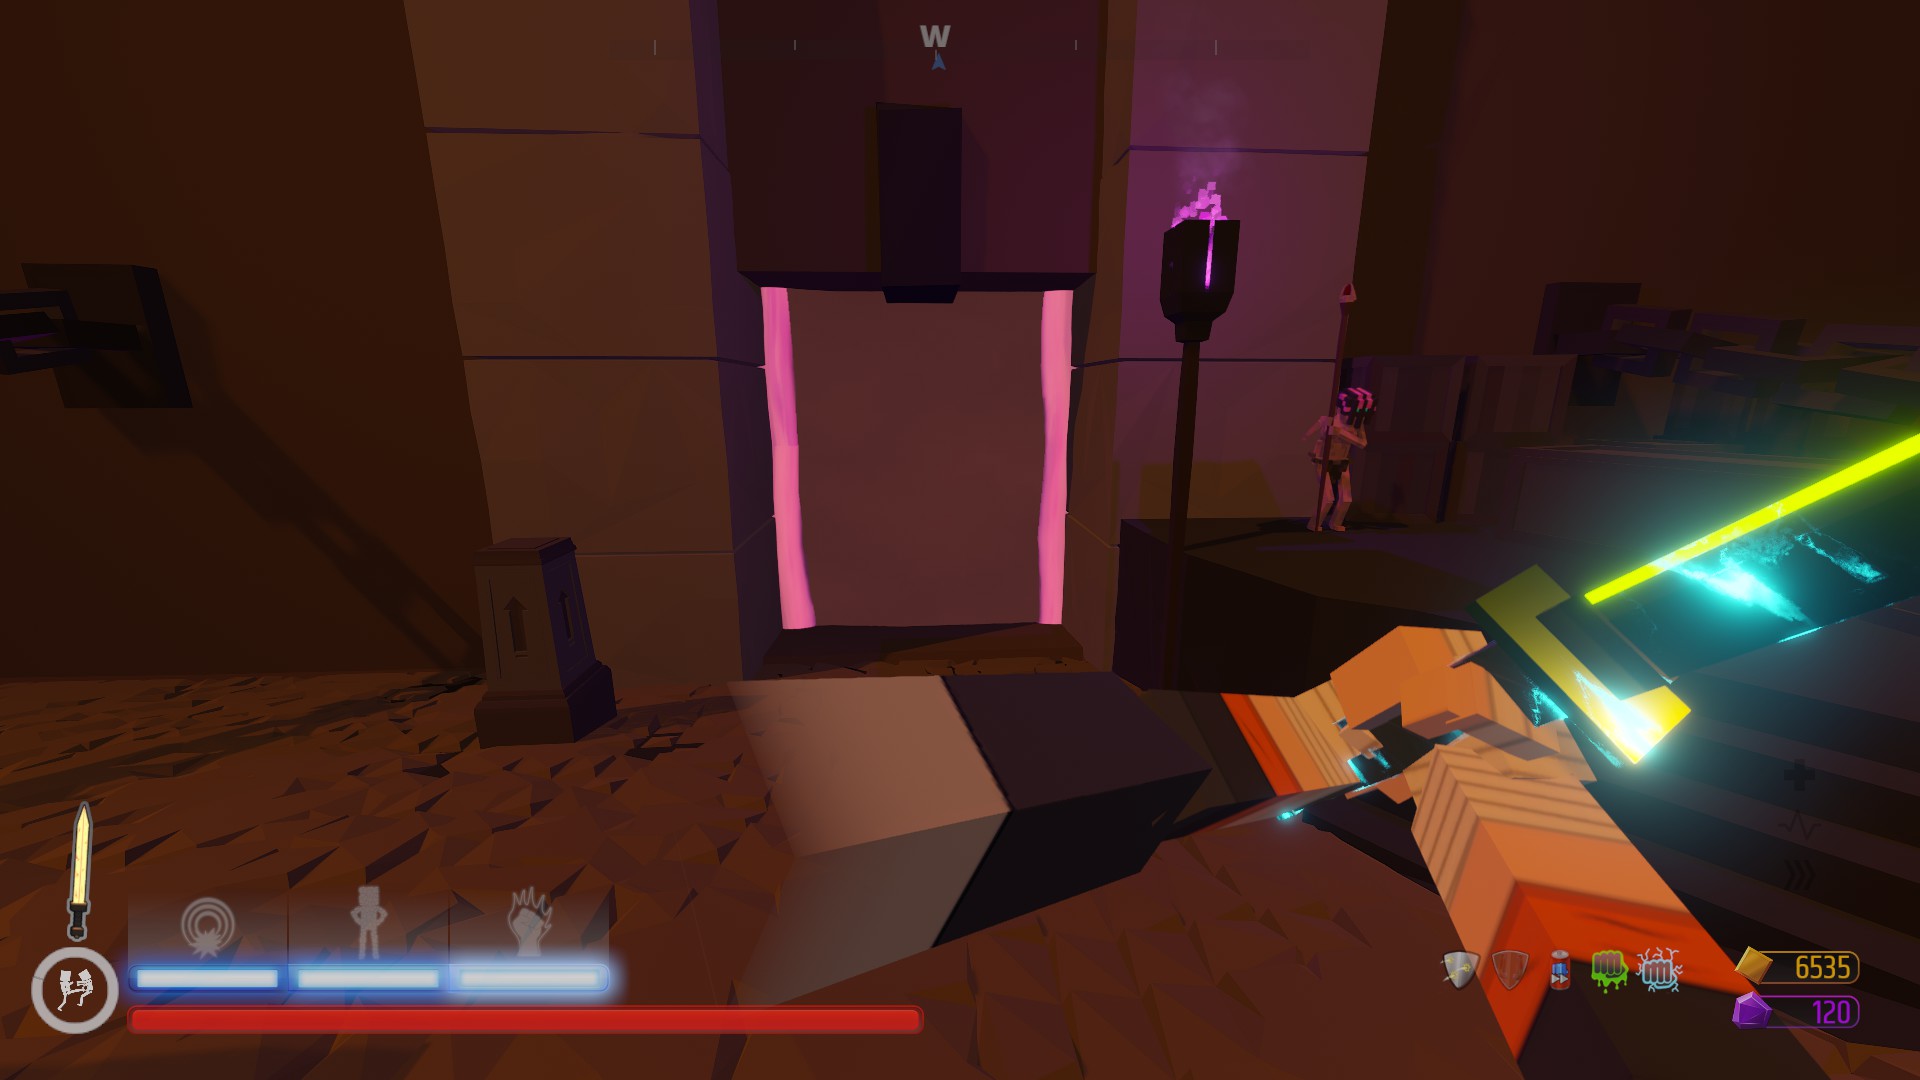
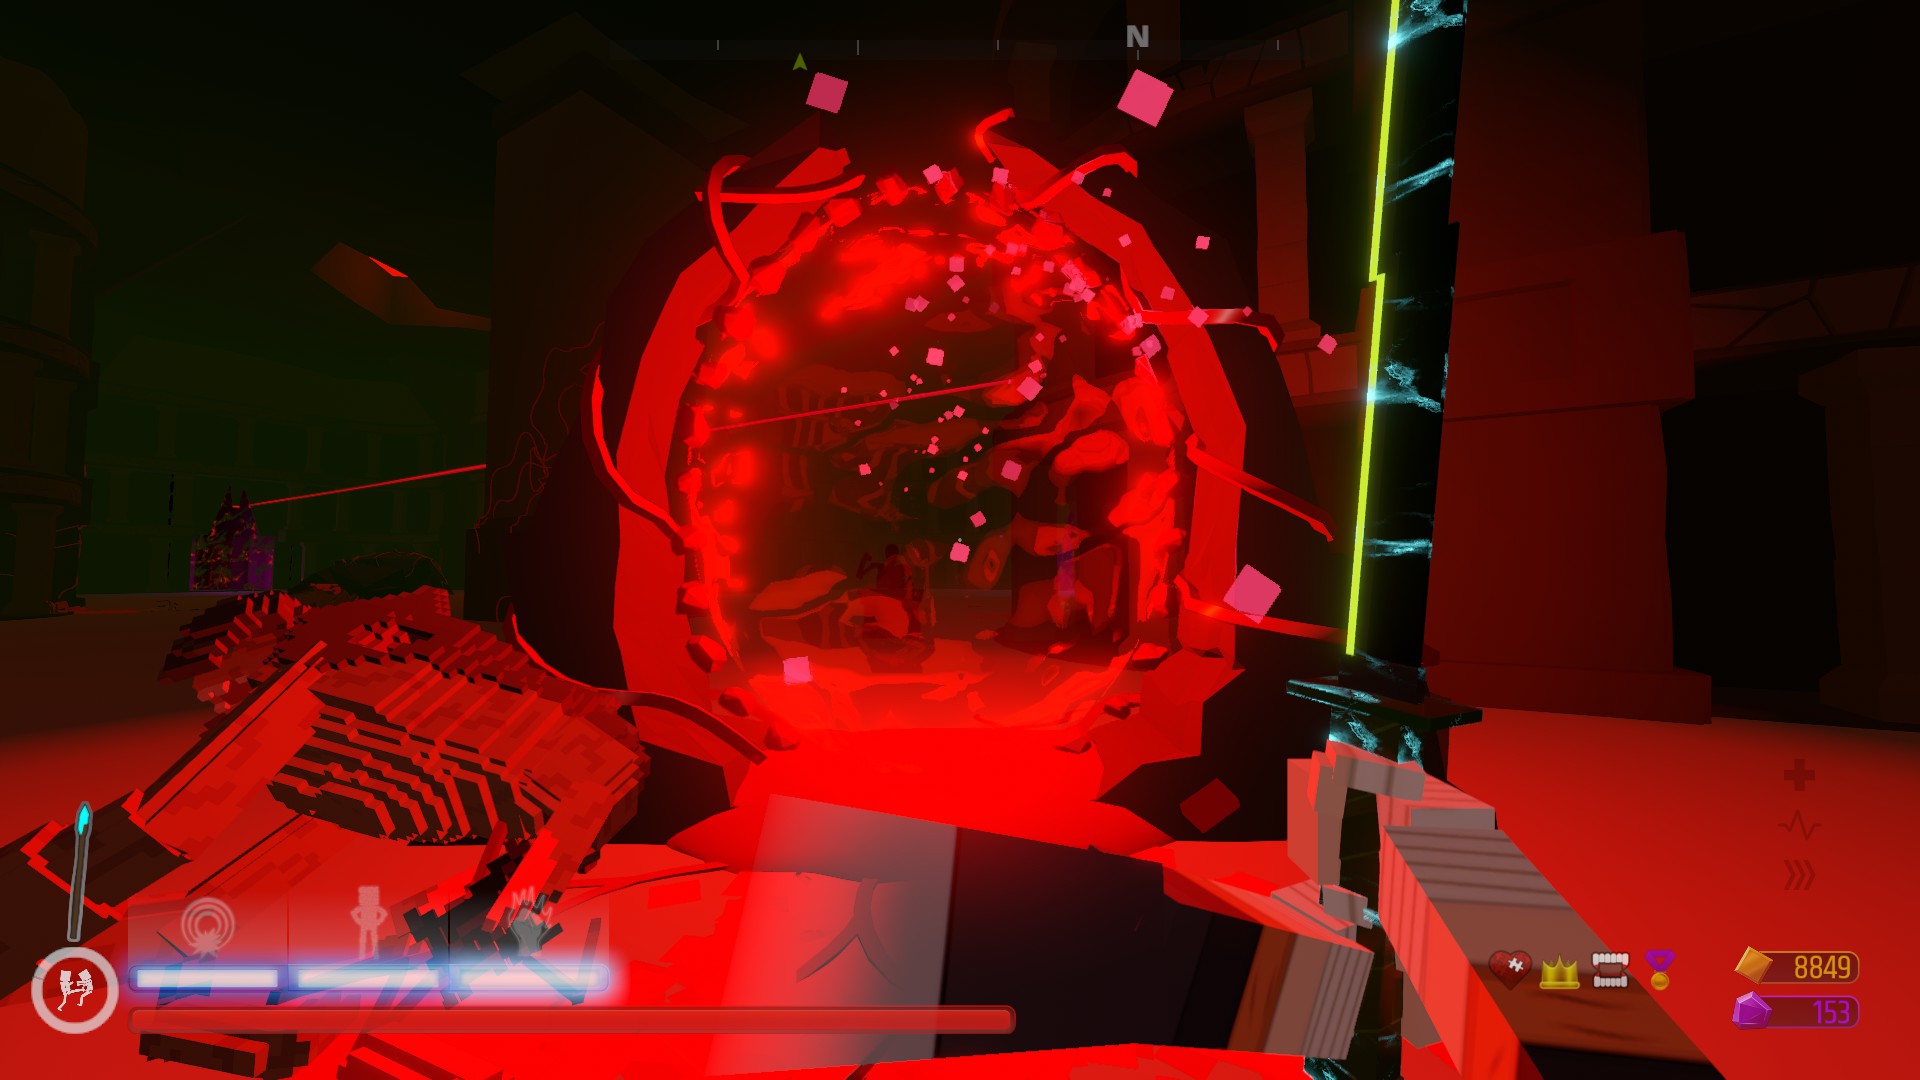
Once you found the room, you can wait for the Pursuer to come. Once he does, lure him into the Giant Mage so that he falls apart. Once that happens, wrap around the Pursuer and grab the staff (NOTE: you have to hold the staff with two hands, so you will drop your shield if you have one.). Once you pick it up, you need to find the Pursuers Portal. Once your looking in its direction, The staff will light up red (image).
After that, if you keep following the red light, you'll find something that looks like a portal (image). what you wanna do is shoot a magic ball into the portal (Left Click with the staff). It should turn on. Now you can walk through the portal.
You will be transported to a room with a bridge, once crossed will lead to a doorway, inside two capsules with one occupied by the Trickster. Walk up to the empty one.
Step 5. Reach the Trickster: You've now reached the Construct, the world of the Trickster. There are four levels here, each are some sort of broken version of all the original scenarios. What you need to do is destroy them all. There are two hidden weapons in the scenarios, a Black Katana in the Disco level and a shotgun in one of the cells in the Prison scenario. After you complete all of them, an exit will show, leading to the Trickster.
The Construct
The Construct is the fifth area In Beneath. Just like the Islands, it is hidden and you have to do some things to enter the area. The area isn't like the rest, to find the exit you must defeat warped versions of four scenarios, Biker Bar, Disco, Prison and Pirate Cove (Saloon was released after Beneath was released). After completed, an exit will open up leading to the third Elder God, the Trickster.
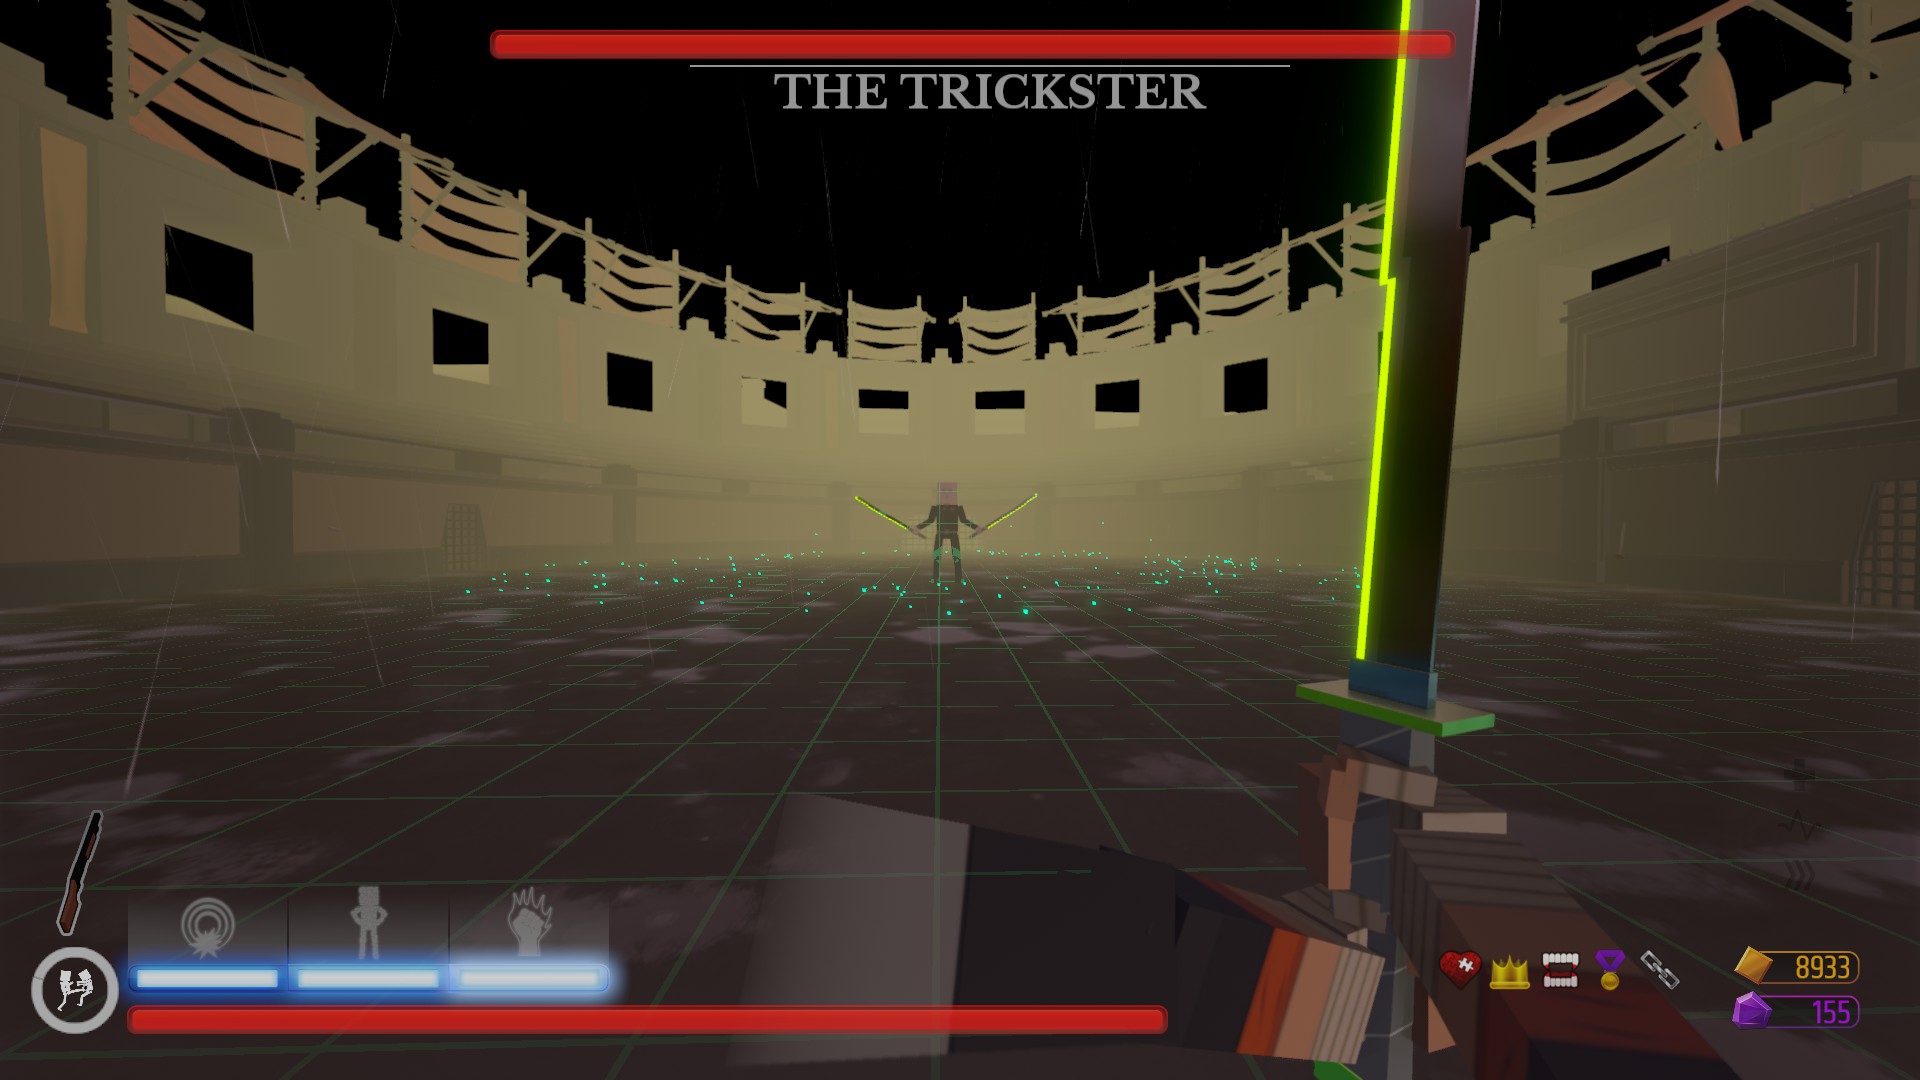
The Trickster

The Trickster is the third Elder God and is the final Elder God needed to be defeated to enter the Fire and Blood area. The Trickster uses a mix of attacks related to the four original scenarios.
Attacks:
Katana Spin: This is the attack the Trickstar starts his attack cycle with. This is the Tricksters Disco based attack. The Trickster will pull out two black katanas, if approached, will spin around for a long period of time.
Boxing Gloves: This is the attack after the Katana Spin in the Tricksters attack cycle. This is the Tricksters Biker Bar based attack. The Trickster will raise boxing gloves and, when approached, will quickly swing his fists.
Ballistic Shotgun: This is the attack after the Boxing Gloves in the Tricksters attack cycle. This is the Tricksters Prison based attack. The Trickster will pull out a shotgun and a ballistic shield and start shooting the player. The only way to damage him in this is state is shooting him in the legs.
Cannon Fire: This is the last attack in the string of attacks the Trickster can use. This is the Tricksters Pirate Cove based attack. The Trickster will rise rocks and will then rise water just under the rocks, if you are still on the ground, you will die to the water. The Trickster will be in the middle, shooting cannon balls at the player with a cannon. You can avoid the shots by jumping onto other rocks.
How to Beat the Trickster:
-Unlike other Elder Gods, the Trickster can't be killed by simply draining his health bar. You will have to drain his health bar three times before you can kill him. Everytime the health bar is drained, a gridded cube will appear. You will have to pick it up to deal a hit. You will have to repeat this three times and he will die.
-For his two melee attacks, you can rush in and hit them quickly, then back out before they have a chance to attack.
-Always remember to bring a strong ranged weapon (shotgun, etc.) to the Trickster fight so that you can damage them during their ranged attacks.
Fire And Blood

Fire and Blood is the sixth and final area in Beneath. Fire and Blood is unlocked after the three mini bosses, the Necromancer, the Aberration and the Trickster. Once completed, the door will open and you will be transported into the area. You will have to traverse through the Fire and Blood area using bridges to big land plates. Once landed on a new plate, the bridges will lower until you kill all the enemies on that plate. All enemies can spawn in this area. Five or six Pursuers will spawn in the Fire and Blood area and can be killed using the Ancient Weaponry scatted around the area. Unlike other hidden areas, the Fire and Blood area has a shop. When you make it to the end, you'll find a portal leading to the End, the final Elder God.
Skeleton
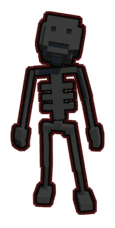
During the fight against the End, Skeletons will rise up from the ground to help the End defeat you. Skeletons can carry any of the Ancient Weapons and will attack just like Zombies.
Strategies:
-You should kill them right as they come out of the ground so that they can't group up and attack you in groups as they can be very powerful when attacking together.
Accessing The End

The End is quite simple to access after you've killed all the previous Elder Gods.
Step 1: Once you've completed all the previous Elder Gods, enter through the door that leads into the Fire and Blood area.
Step 2: Reach the exit of the Fire and Blood area by going through the portal at the last plate.
Step 3: Once entered, you'll see the Spiral and a bridge leading up to it, all you have to is walk towards it.
Step 4: Once there, go down the area the Spiral is coming out of.
The End
The End is the final Elder God and final boss in the game. They are found at the end of the Fire and Blood area.
Attacks:
Sword Swing: The End will swing his sword at the player.
Kick: The End will kick the player.
Sword Slam: The End will slam his sword into the ground, creating five explosions in front of the End.
Shockwave: The End will kneel down and make a shockwave. If too close, this attack can deal massive amounts of damage.
Meteor Shower: The End will point upwards and cause small meteors to fall out of the sky. You'll know where they'll fall by the red lines.
How to Beat the End:
-The End cannot be damaged so don't try to damage him. After about five attacks from the End, they will go back to their chair and summon two Shard Lords. After these Shard Lords are killed, two pillars will lower. This will repeat two more times until you kill all six Shard Lords. these Shard Lords must be killed so that you can damage the End.
The order the Shard Lords come in are the following:
- The Pyro and the Centurion.
- The Crawler and the Beast.
- The Golem and the Deceiver.
-You don't have to anger the End either, he will attack automatically
-After all the Shard Lords are defeated, the End will lose his armor, you can attack him then.
-Always run around and kill all the Skeleton that rise up so that they don't group up and overwhelm you.
Bosses Video
For better visualization if you had trouble following the steps to the Elder Gods, I have made a video doing them all so you can see what i've done (Step 4 through 5 for Trickster).
Youtube Link: https://youtu.be/9YvwNGgAlKo
Conclusion
Hey! Thanks for checking out my guide! I really enjoyed making it though it took nearly a whole week to complete. I really hope this helped you finish the game and give you some insight on some other things related to Beneath! If you had anything you'd like me to add, you can leave in the comments!
Source: https://steamcommunity.com/sharedfiles/filedetails/?id=2544212703
More Paint the Town Red guilds
- All Guilds
- How to Unlock Every Achievement
- HOW TO CREATE STEALTH LEVELS
- Unofficial Paint The Town Red Achievements
- Everything You Need To Know About The Prison
- Everything You Need To Know About The Western Saloon
- Jak poskada lamusa w 10 sekund
- Paint the Town Red - Western Saloon Guide
- Paint the Town Red - Beginner's Guide (Currencies, Combat, Shard Lords and the Apostle)
- Paint the Town Red - Secret Weapons in the Biker Bar Stage