Other Warframe Guides:
- Ways to Earn Platinum.
- All Warframe Parts and Where to Get Them.
- Quickest Way to Gain Mastery Rank and Get Lots of Loot.
- Easiest Way to Kill Sentients (Tips and Tricks).
- Abilities Versus Demolysts.
- Partnership Fragment Locations (Gas City).
- All Secret Lab Locations (Gas City).
- Hidden Sentient Labs (Gas City).
I see many people struggling with the new Railjack system.
The Horror Of The Railjack
When playing Warframe I noticed a lot op players who don't understand the new Railjack system. If it is building the railjack or finding out where all the keys controls and other game mechanics are.
You probably remember that day you could start building a Dry Dock in your dojo.
After that building the Cephalon Cy. And together with your new Cephalon Cy buddy you did some Story missions to build the amazing Railjack, and ended poor and broke. Than finally that day came you had your sweet Railjack baby all finished up and went on your first mission.
Or you just joined others, who did what I mentioned before, and jumped into your first Railjack mission.
The moment you joined the mission people started screeming and cursing, because they didn't knew the basic's of operating a railjack.
Don't use the Omni to fix the damages. Someone man the guns. We can't destroy that Grineer Crewships. I'm lost how do I get from ... to ...?
Lets start of with the basic's.

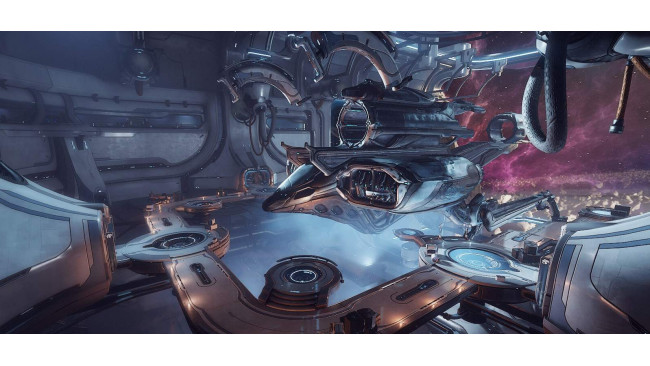
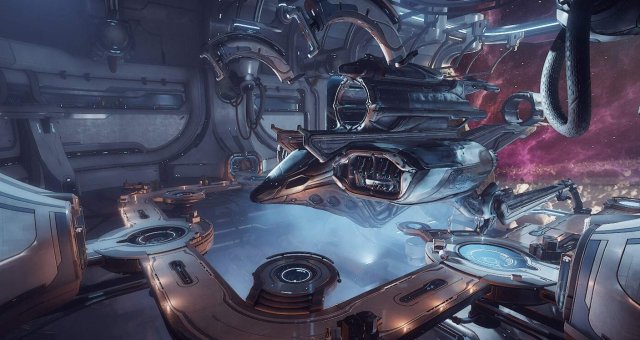
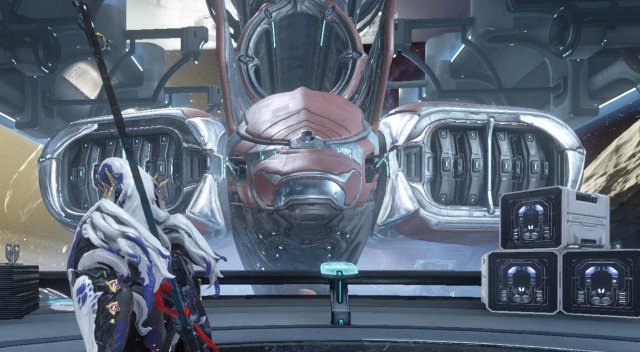
Dry Dock
Welcome to the amazing place where we can build our first space ship.
But first things first.
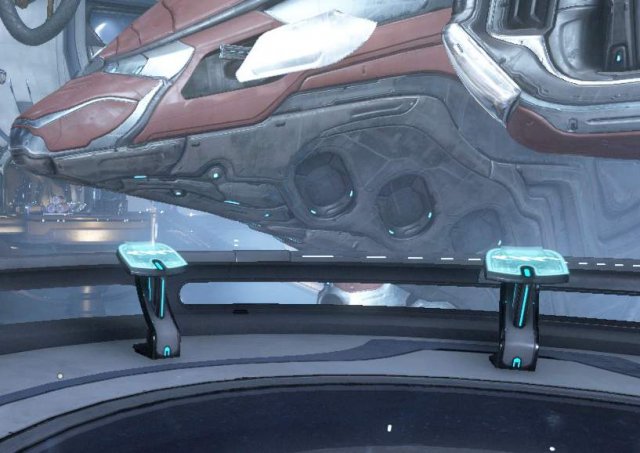
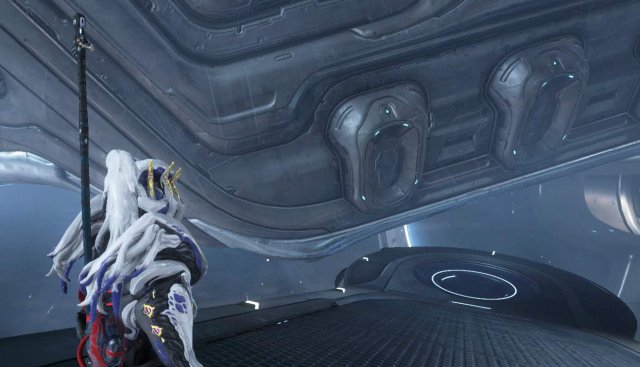
 What Is Where In Our Dry Dock?
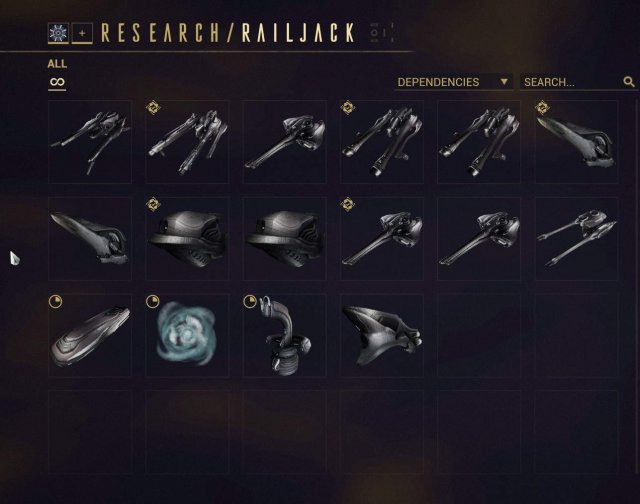
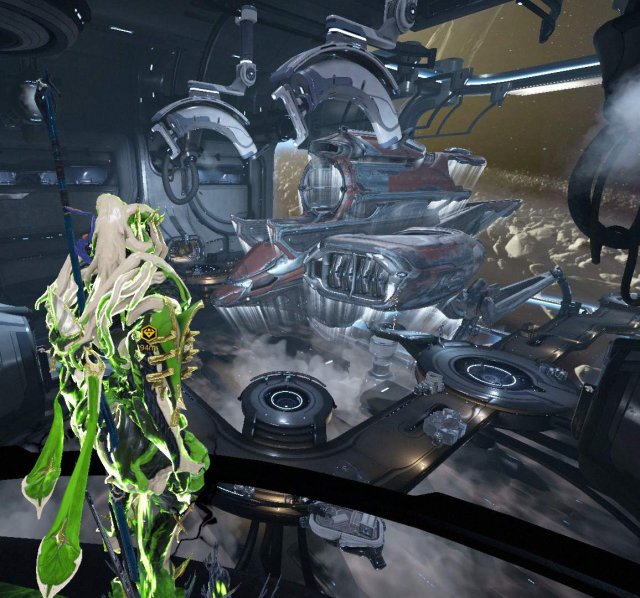
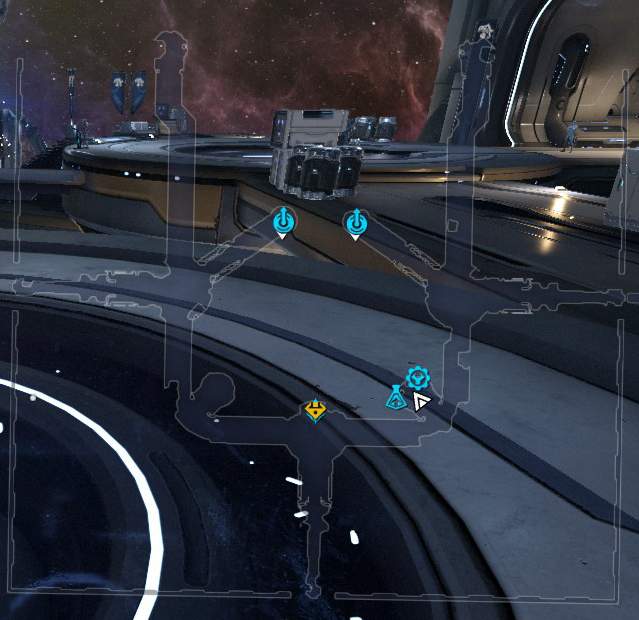
In the bottom right we have two consoles, in the middle we have an other console, on the sides of the railjack we have to platforms. And in the top left the last console.
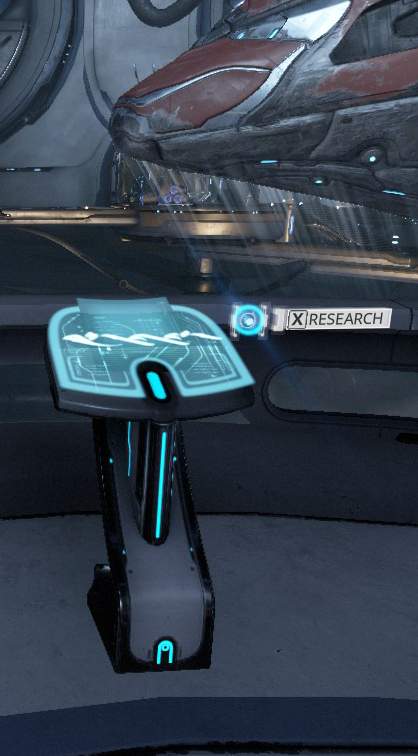
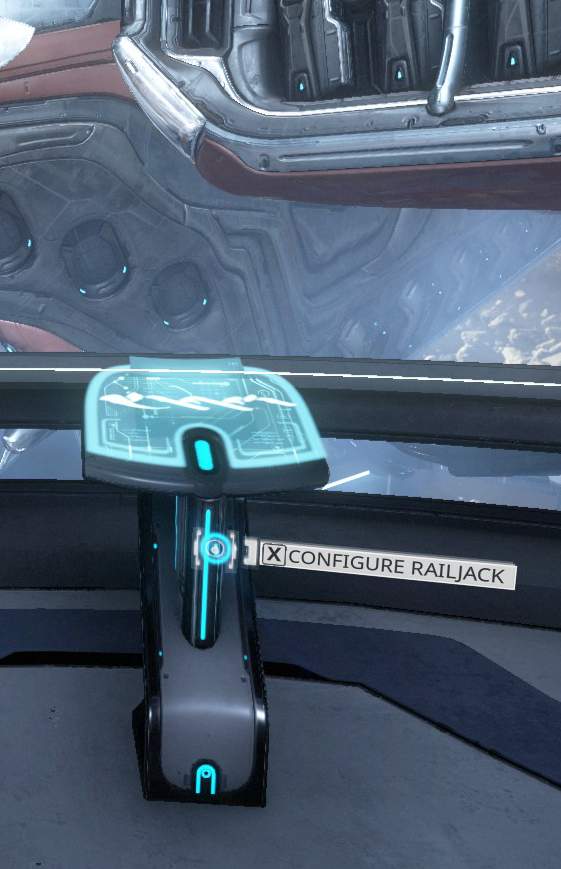
Lets start with these two consoles. On the left "Research" and on the Right "Configure Railjack". These two will be your best friends.
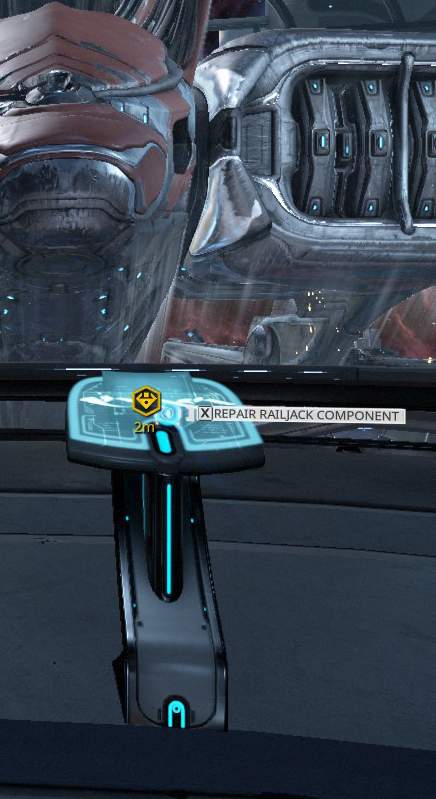
In the middle we have an other console "Repair". I don't like this one because this one will take a lot of credits from you. (6,000,000 credits).
On the left and right side of your railjack, if finished, you find two ramps going towards it. On end of the platform "Board Railjack" you can enter the railjack, if you have one.
On the top left of your Dry Dock, you have your final console "Return To Orbiter", this one can send you home to the orbiter.
Research
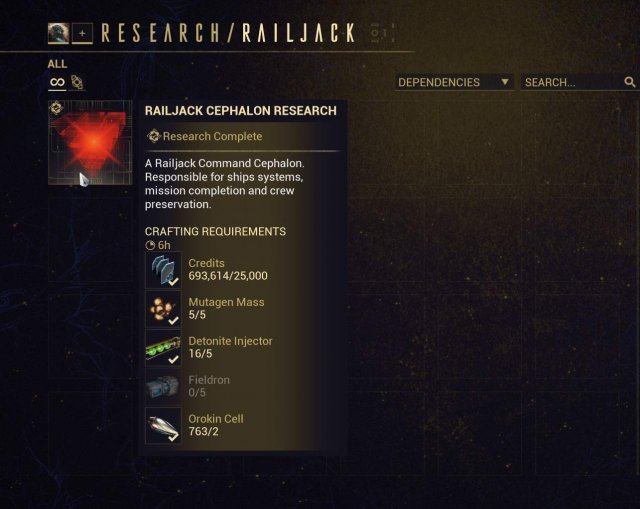
Lets start with the first console you should touch. When you just build your dry dock this console will help you achieve your railjack.
You will notice you can only purchase "Railjack Cephalon." This will stay so until you finish your Railjack at the Repair Console. Once you have finished building your "Railjack Cephalon." in your Orbiter you can come back to the Dojo Dry Dock to begin your new missions at the Repair Console.
Later you will be able to build new parts for your Railjack.
Repair
This console is available after you created your Railjack Cephalon. You will get missions from the new Cephalon, and after finishing each mission you need to craft one of six components of your Railjack.
First Fuselage, second Propulsion Systems, third Port Nacelle, fourth Starboard Nacelle, fifth Tail Section and finally Engine Cowling. Afther this you have spend 1,000,000 credits per part. Total of 6,000,000 credits.
 Total Cost
Resource / Quantity

- Credits - 6,000,000
- Cubic Diodes - 100
- Carbides - 120
- Copernics - 120
- Pustrels - 100
- Argon Crystal - 15
- Orokin Cell - 30
- Neural Sensors - 30
- Neurodes - 35
- Morphics - 50
- Control Module - 200
- Rubedo - 15,000
- Circuits - 5,000
- Polymer Bundle - 4,500
- Plastids - 3,000
- Cryotic - 1,000
- Alloy Plate - 27,000
- Ferrite - 20,000
- Nano Spores - 20,000
- Salvage - 10,000
- Detonite Ampule - 500
- Fieldron Sample - 500
Configure Railjack
Not until you finished your Railjack, this console will stay inactive.
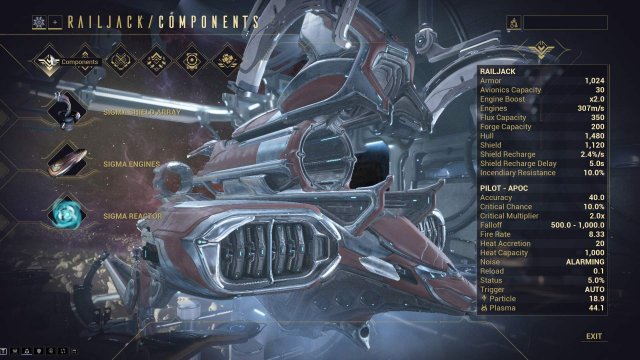
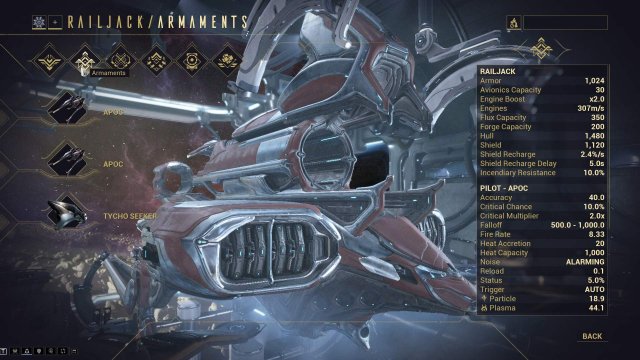
Configure Railjack (Components)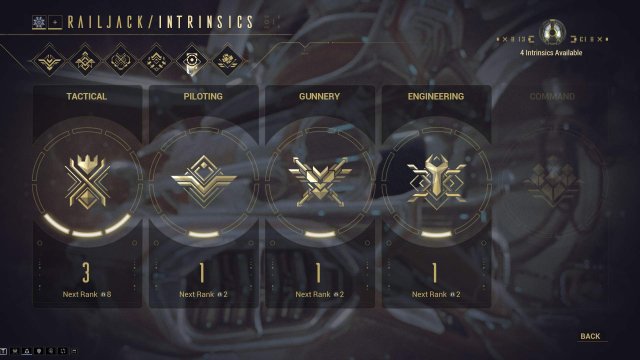 Configure Railjack (Armaments)
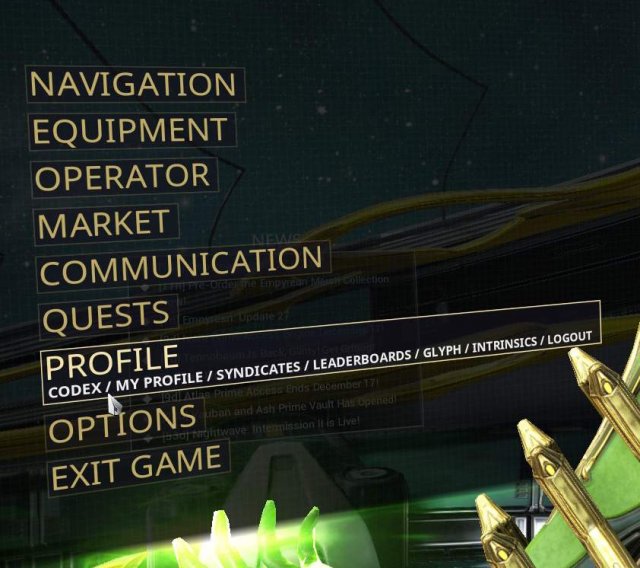 Configure Railjack (Avionics)
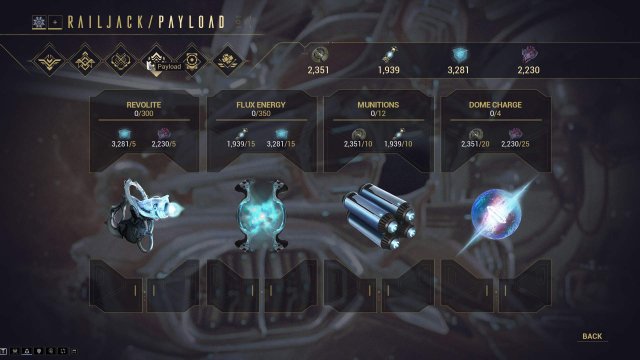
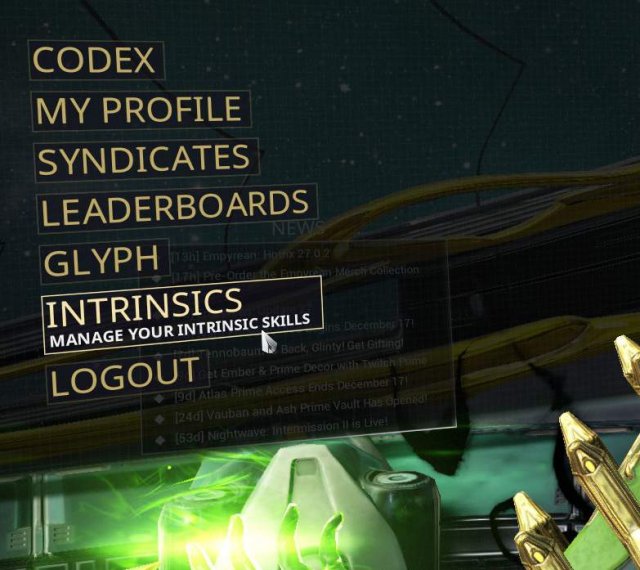 Configure Railjack (Payload)
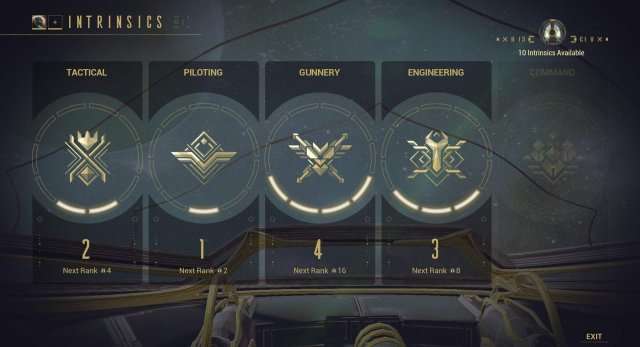 Configure Railjack (Intrinsics)
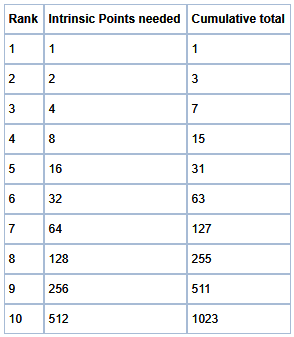
Here you can spend your skill points "Intrinsics" in one of the current four trees.
For players who unfortunately not yet finished there Railjack, or are to lazy to go to the Dojo Dry Dock. You can also get to this one through your main menu on the Orbiter.
Go to your Menu.
Go to Profile.
Under Profile find Intrinsecs.
And here you can spend your Intrinsecs skill points you earned during your Railjack missions in the current tree's.
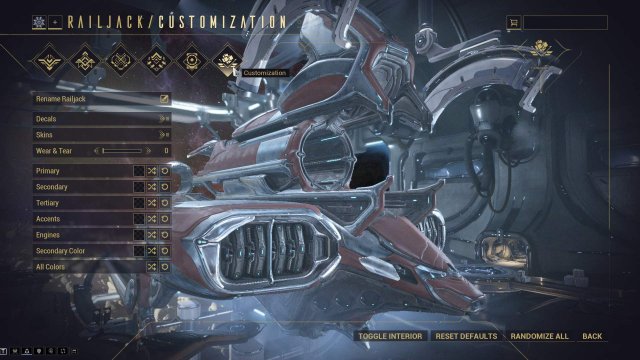
 Configure Railjack (Customization)
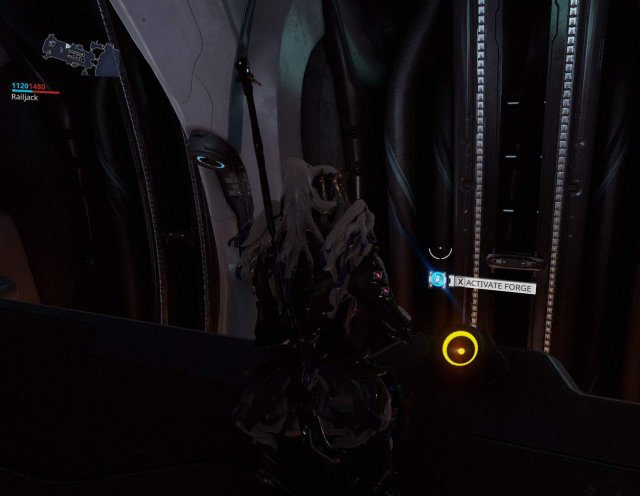
Fixing The Railjack
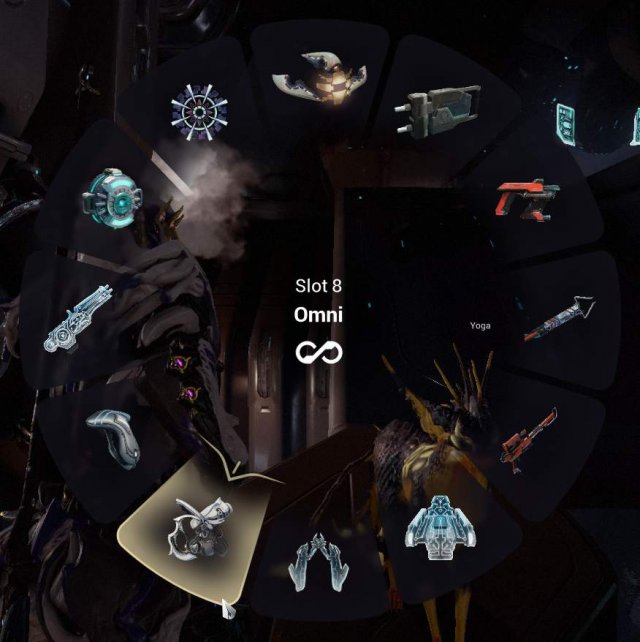
For your Omni-tool to fix your ship you don't need engineering level, nor you need engineering to craft the ammo it's the basic thing you can build at your forges or before you go on your mission at your payload.
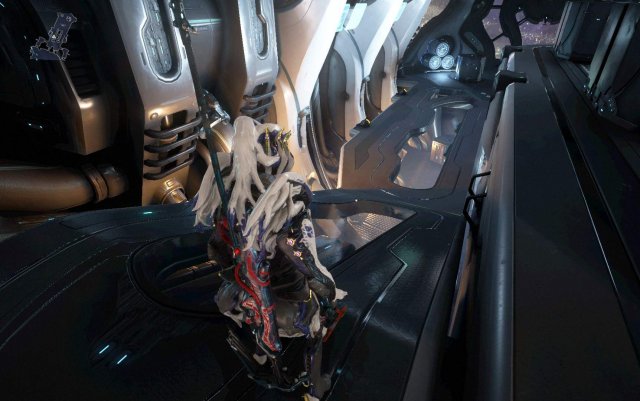
2 Forges on the Left Side.
2 Forges on the Right Side.
The 4 ship forges.
The materials for your Omni-tool ammo you get by killing enemy forces. So if you are doing your mission and grab enemy debrie or salvage, you can craft more Revolite.
Railjack hull breach takes 1 minute until failure, you can fix it in that time. If you fail to fix it in that time, Cy simply warps you back home.
Crafting Revolite takes 2 minutes so start your forges before getting hull breach.
Take a note while fixing holes and gaps in your ship, that it has just like mining the perfect fix checkpoint. There are also different ways to fix different damages.
- Ship Fire
- Electrical Cable
- Hull rupture
- Hull breach (this gives you the one minute timer).
Source: https://gameplay.tips/guides/6097-warframe.html
More Warframe guilds
- All Guilds
- Warframe Shortcut
- how to get all prime access
- The Hildryn Guide
- Warframe - Abilities Versus Demolysts
- Warframe - Partnership Fragment Locations (Gas City)
- Warframe - Hidden Sentient Labs (Gas City)
- Warframe - Easiest Way to Kill Sentients (Tips and Tricks)
- Warframe - An Easy Guide for Maxing Out PoE Standing
- Warframe - Credit Farm Guide