What Will You Need
An image that you want to use as a sticker (preferably a png image with transparency)
Adobe Photoshop
NVIDIA Plugin for PhotoshopSearch for your desired image on google with something like "DMC Devil May Cry PNG" (always put PNG after your key-words)
You will also need to download this plugin for Photoshop: NVIDIA Plugin for Photoshop[developer.nvidia.com]
Preparing Your Custom Sticker In Photoshop
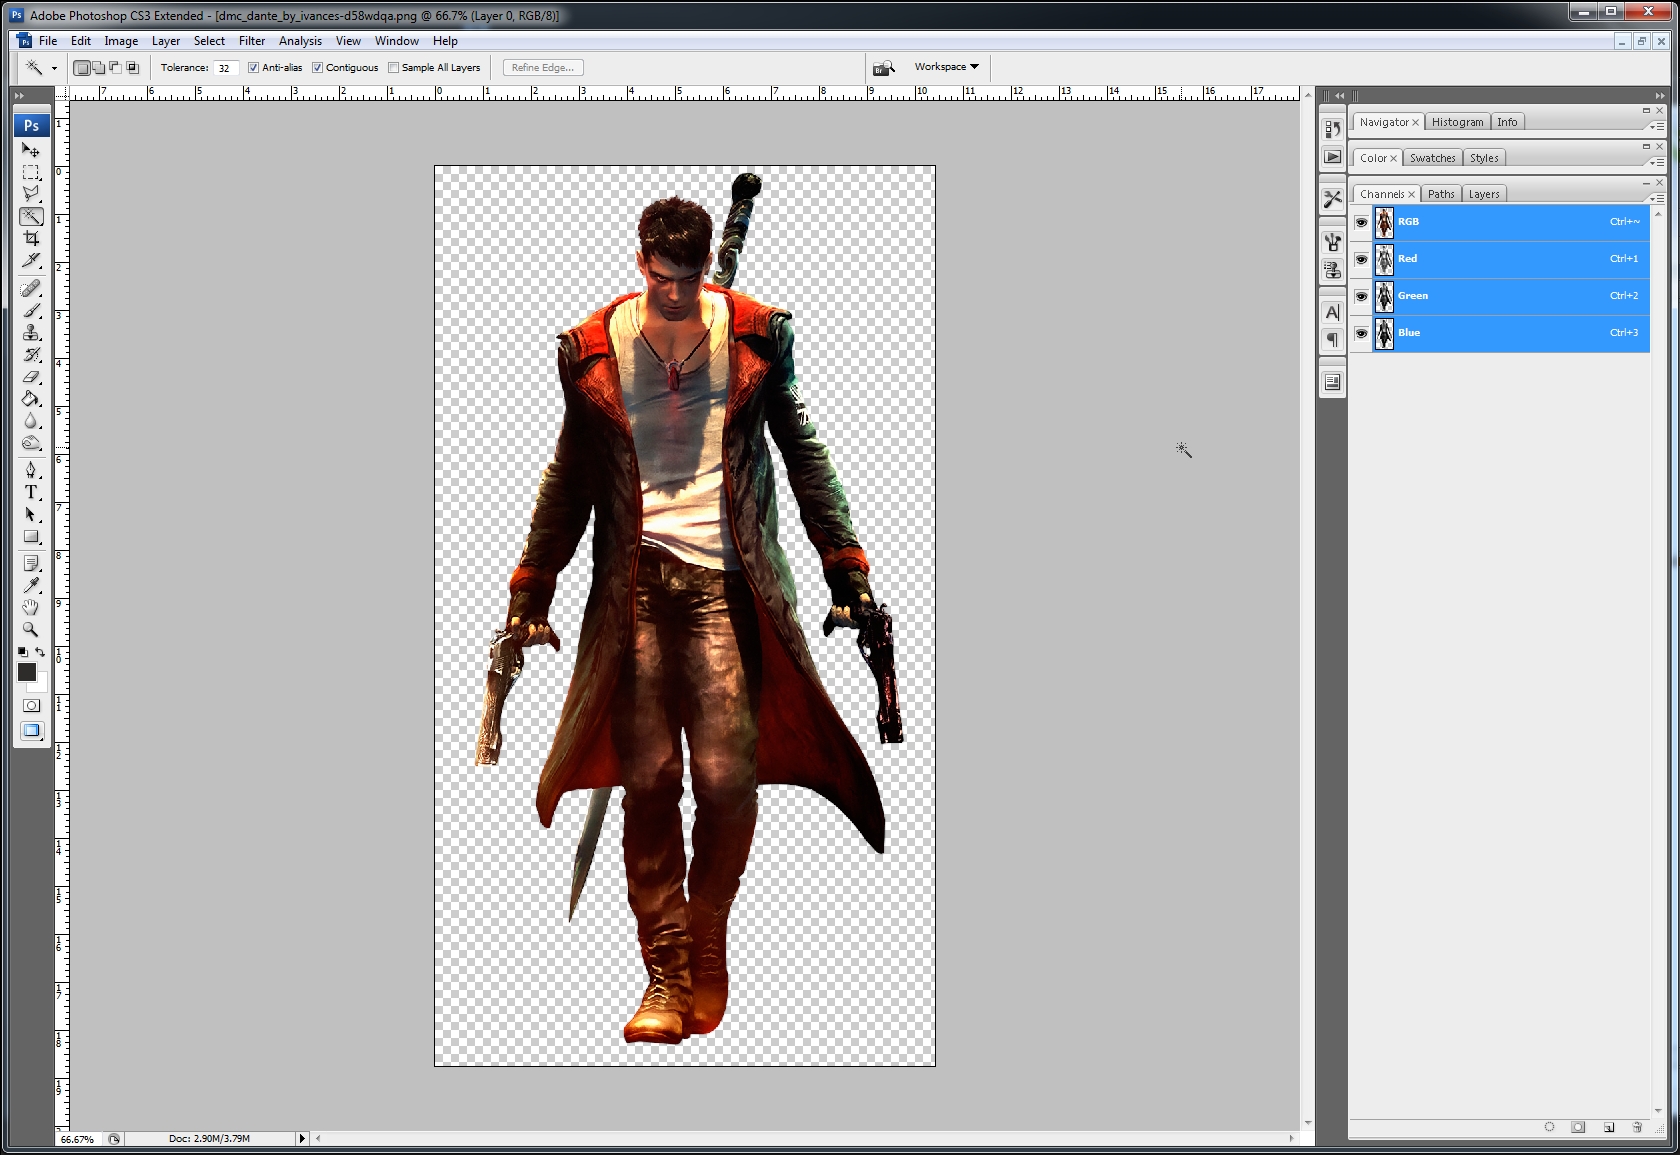
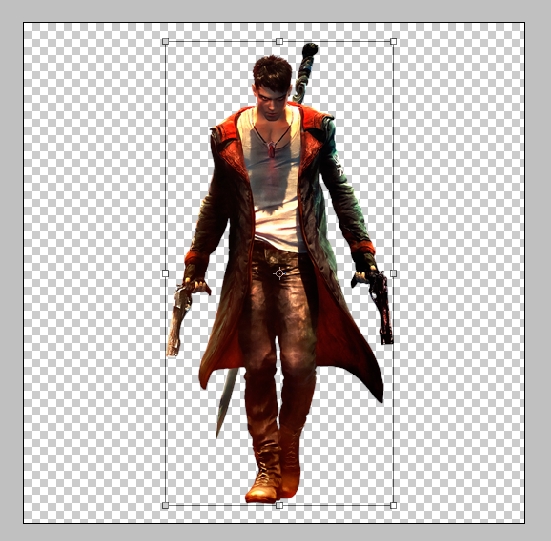
Drag your image in Photoshop. I will use a transparent png image with Dante from DMC.
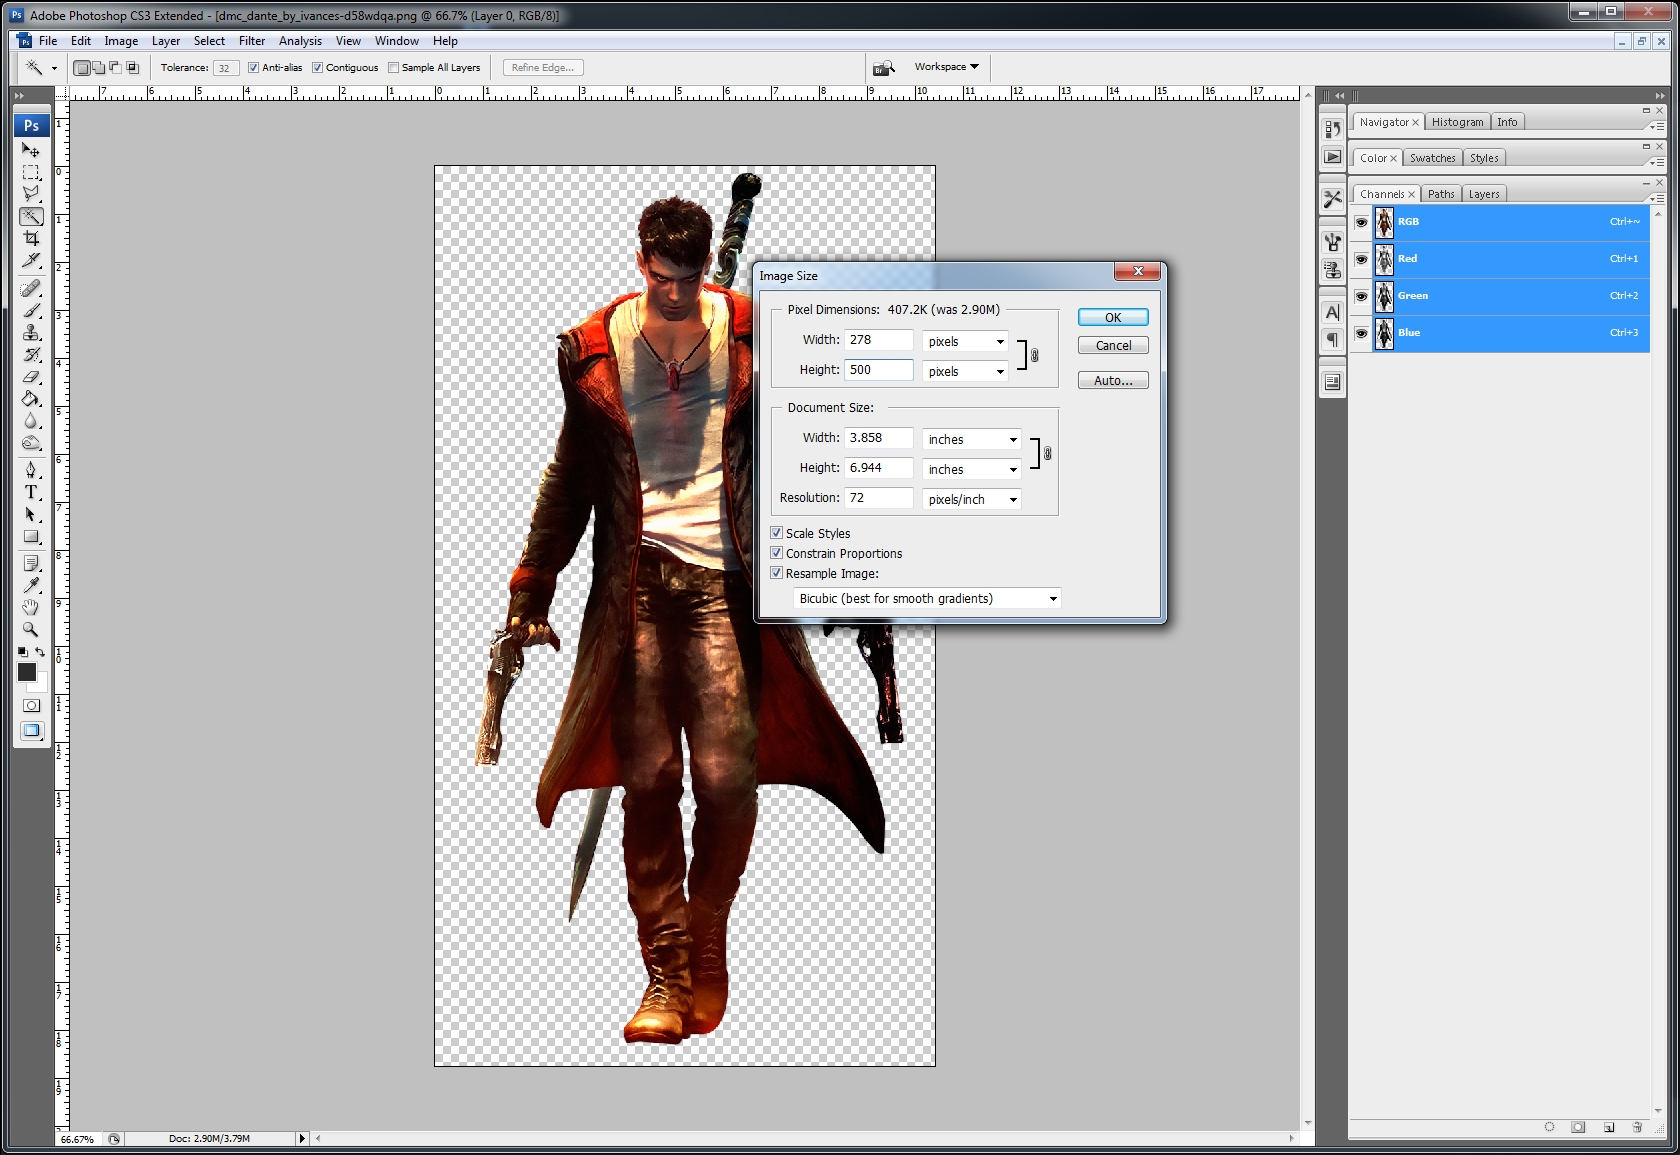
Take the long side and make it 500px by clicking image/image size or (Alt+Ctrl+I), if your image is larger than 500px trackmania editor will not know how to handle it, so I recommend 500pixels. Also be sure that Constrain Proportions is checked.
[/list]
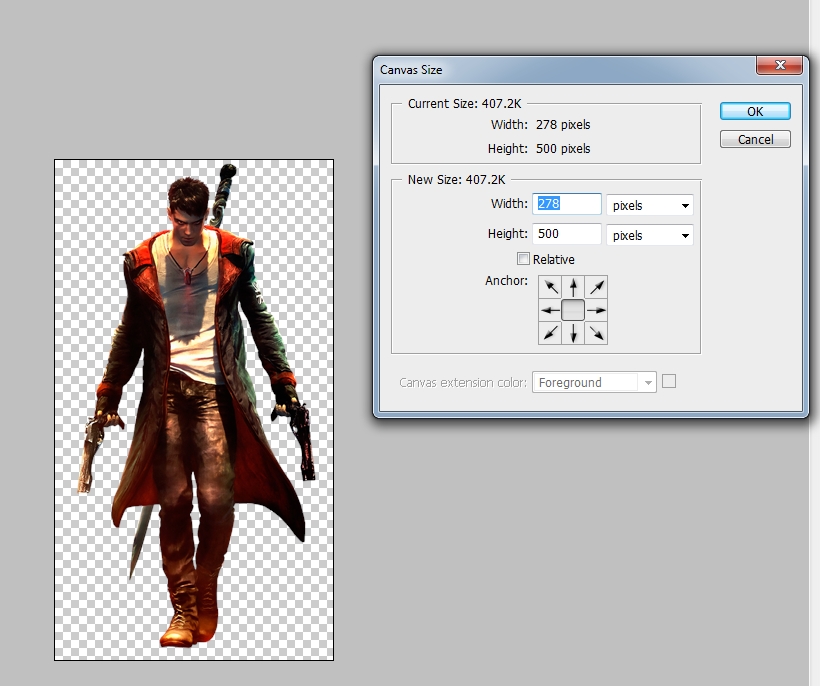
Let's make a square from our picture and for that you will need to go to image/canvas size or (Alt+Ctrl+C).
Put 500pixels instead of the value of the short size of the image.
Press Ctrl+T or transform and holding shift transform your image, so that you will have a safe zone and your image will not touch the edges. Sometimes if your image comes too close to the edge of your canvas, it will bleed colours when you apply the sticker to a car, and that's why we need to take this step.
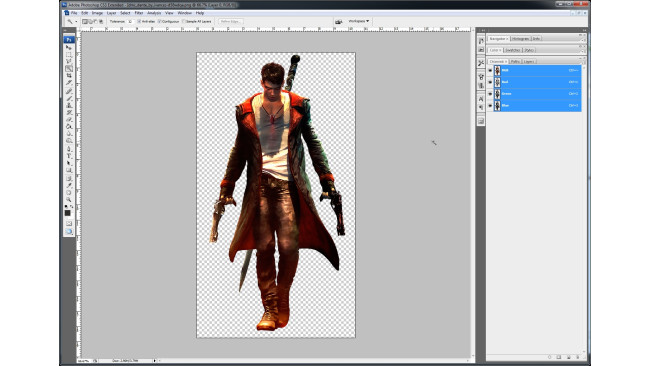
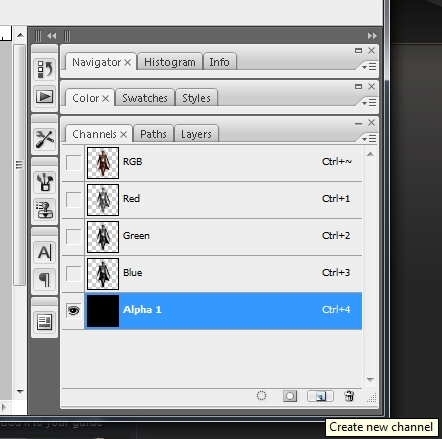
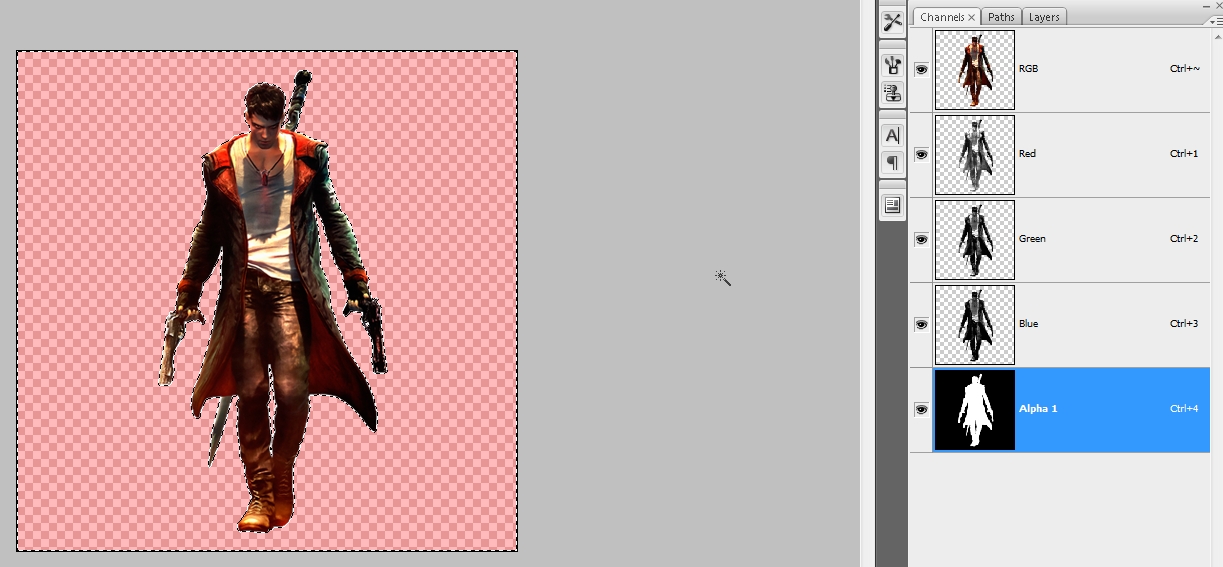
Its ALPHA time! Go to channels window, if you don't see one go to window/channels (check it) and create new channel by pressing the small icon next to the garbage bin (left). You will have a new layer named Alpha 1.
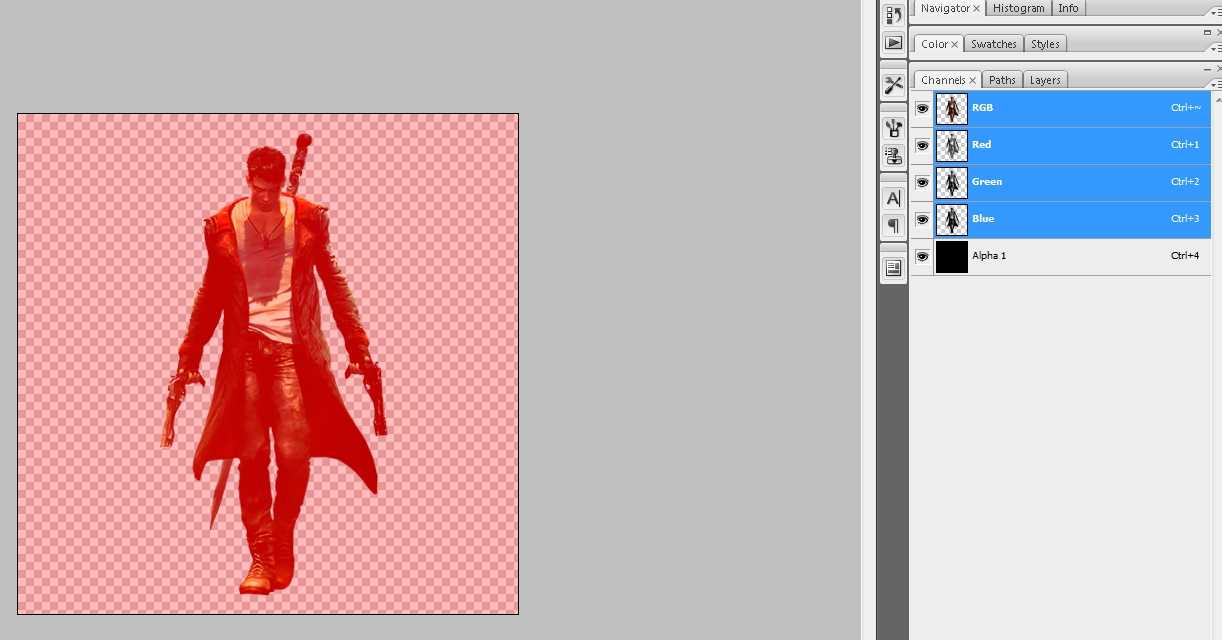
Click on the layer named RGB, the image will have a red shade but its a normal thing don't worry.
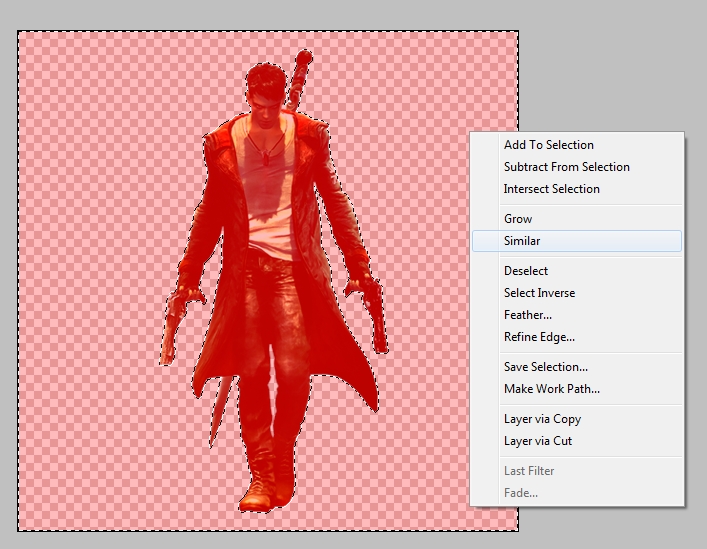
Now press W (magic wand tool) and click on the transparent zone of your image. After your zone is selected, right click and select similar (this will select all the transparent zones from your image).
After this right click again and press Select inverse. Now that you have your image selected, press the Alpha 1 layer, press D (this will switch your colors to the default b/w), then Ctrl+backspace (by doing this you will see that your selection is now filled with white color). In the Alpha channel all that is white will be interpreted as solid color and the black area will be transparent.
Your image is now ready for publishing. Congratulations!
Publishing Your Custom Sticker
Only few steps left. Now that our image is ready let's publish it!
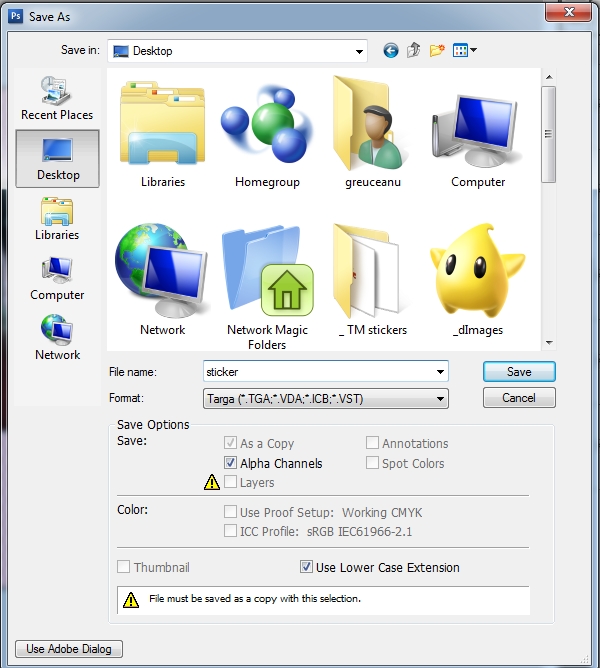
Go to File/save as. The name of your image must be Sticker otherwise Trackmania painter will not know to handle it. So, under File name put Sticker and select the format Targa (.tga). Press save then OK. Also save it on your desktop (it will be easier to find)
Now our sticker is ready, but you will have to find it in Trackmania so we will also need a icon for it.
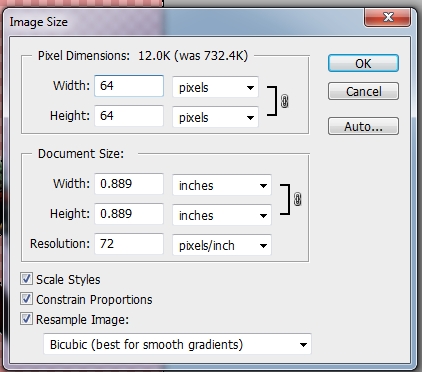
For this go again at Image/ image size or (Ctrl+Alt+I) and make it 64 x 64 pixels.
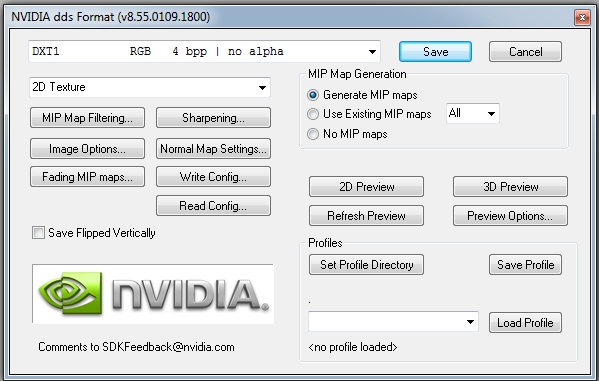
Let's save our icon, go to File/save as. The name of your icon must be icon otherwise Trackmania painter will not know to handle it. So, under File name put icon and select the format D3D/DDS. (this is why we have installed the nVidia plugin). Press save and the nVidia dialog will pop out. Make sure it is set to DXT1 RGB 4 bpp | no alpha (it's the first option in the drop down list) and do not change anything else, just click Save.
Trackmania editor reads your custom sticker only if you put these two files together (sticker.tga and icon.dds) in a folder - I named my folder "Dante Guns" and this is the name I should look for in Trackmania.
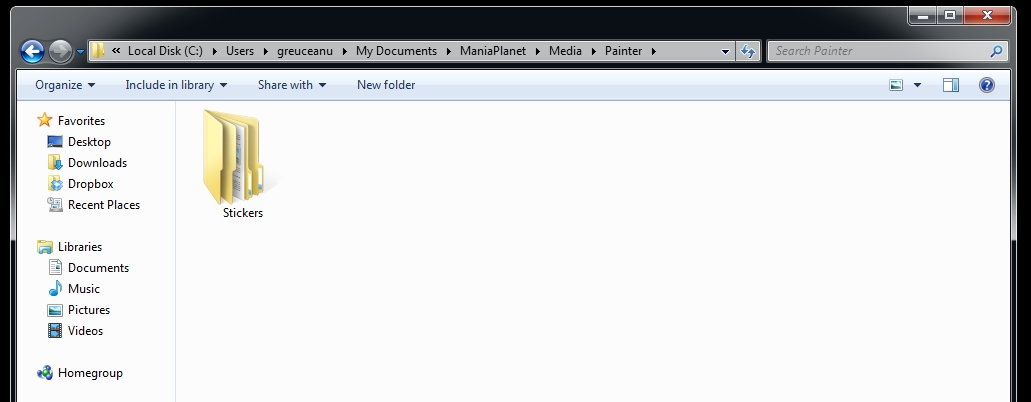
We will copy the folder in C:\Users\YOURNAMEHERE\Documents\ManiaPlanet\Media\Painter. Here you will make a new folder named Stickers. Here you will put all your custom stickers, so after you have maked the new folder the corect path for your custom stickers will be: C:\Users\YOURNAMEHERE\Documents\ManiaPlanet\Media\Painter\Stickers
Testing Your Custom Sticker.
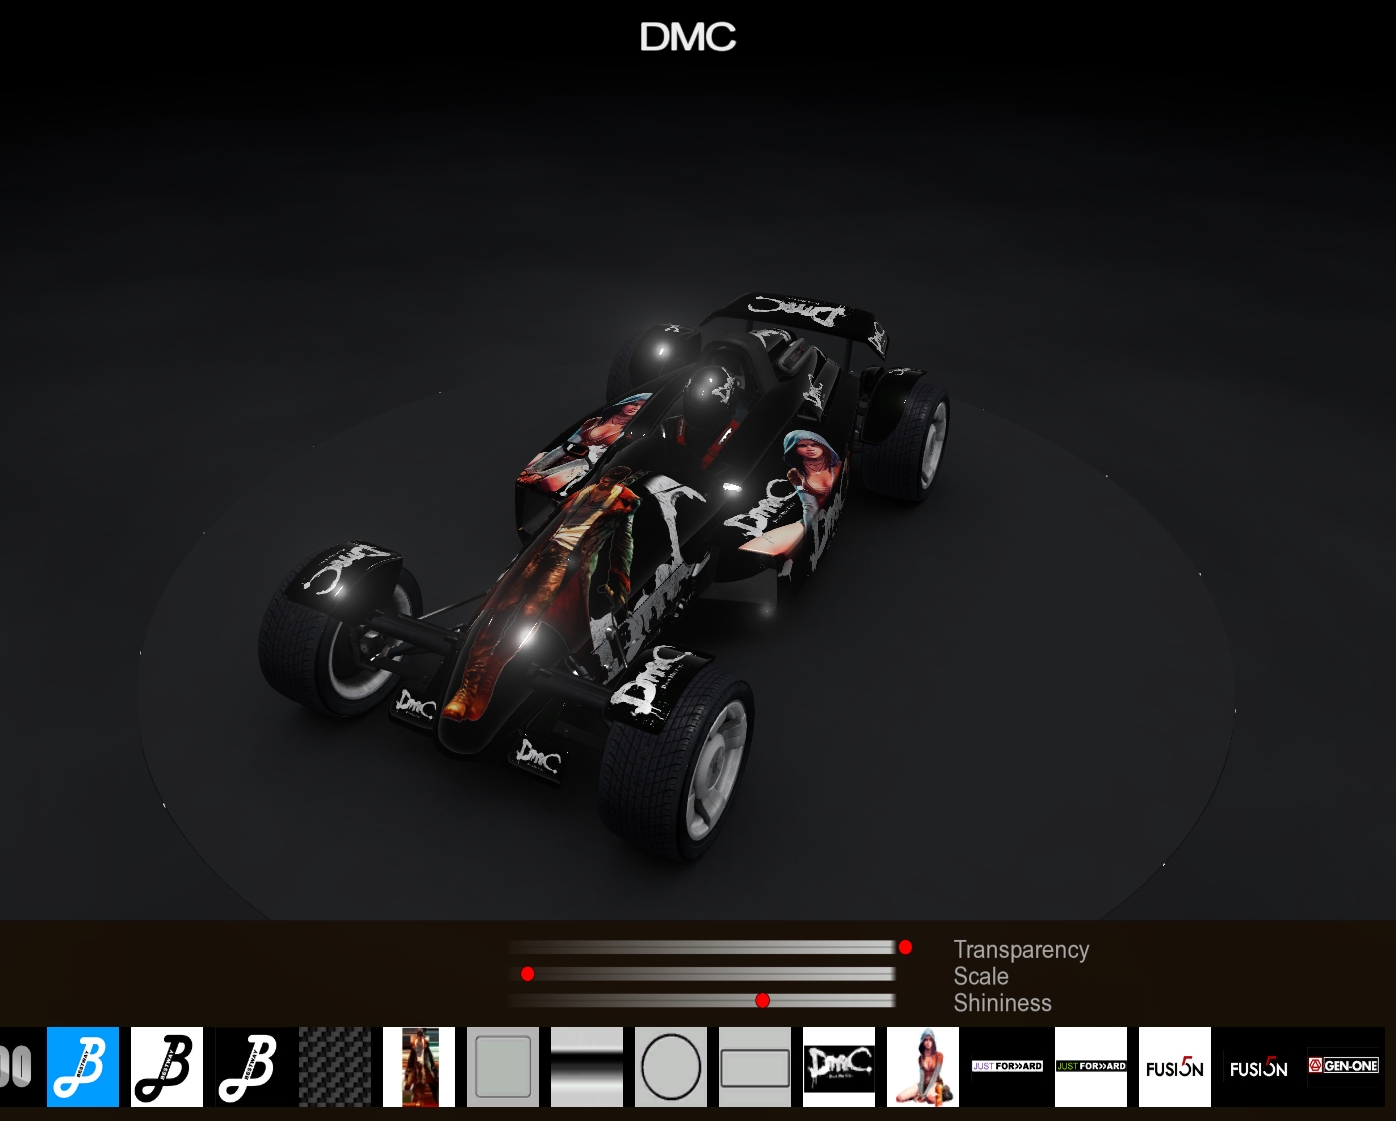
Now you can test your sticker.
Open Trackmania 2 and go to editors/paint a car/paint!
Select your sticker and have fun!
Source: https://steamcommunity.com/sharedfiles/filedetails/?id=139913294
More TrackMania Stadium guilds
- All Guilds
- Making a Map: The Basics
- Les mdailles d'auteur sur Trackmania Stadium
- Macroblocks
- [E-sports] A Guide to competitive TrackMania
- How to Grass Slide
- Comment peindre une voiture?
- TrackMania Stadium Guide 4
- How To Download And Play Custom Titles
- All times for trackmasters in official campaign